
Masking is key to getting a good finish on a model. It’s something I struggled with when I started making models! Here I will help you avoid many of the mistakes I made.
Like most things in the Model Industry there are a variety of materials you can use for masking. Masking Tape, Curved Masking Tape & Masking Fluids.
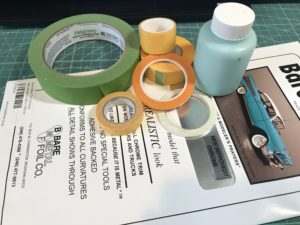
You’ll probably use them all at one time or another – but for me Tamiya masking tape is my go to.
The main type of masking you will use is tape, you will need a variety of sizes – Tamiya’s most popular tapes are 6mm, 10mm & 18mm wide and available on nifty dispensers!
Do not try using the normal decorators tape, this will not provide the sharp edge you need. In model making we thin our paint a lot, the paint will leak under the tape edge and you’ll end up in a mess!
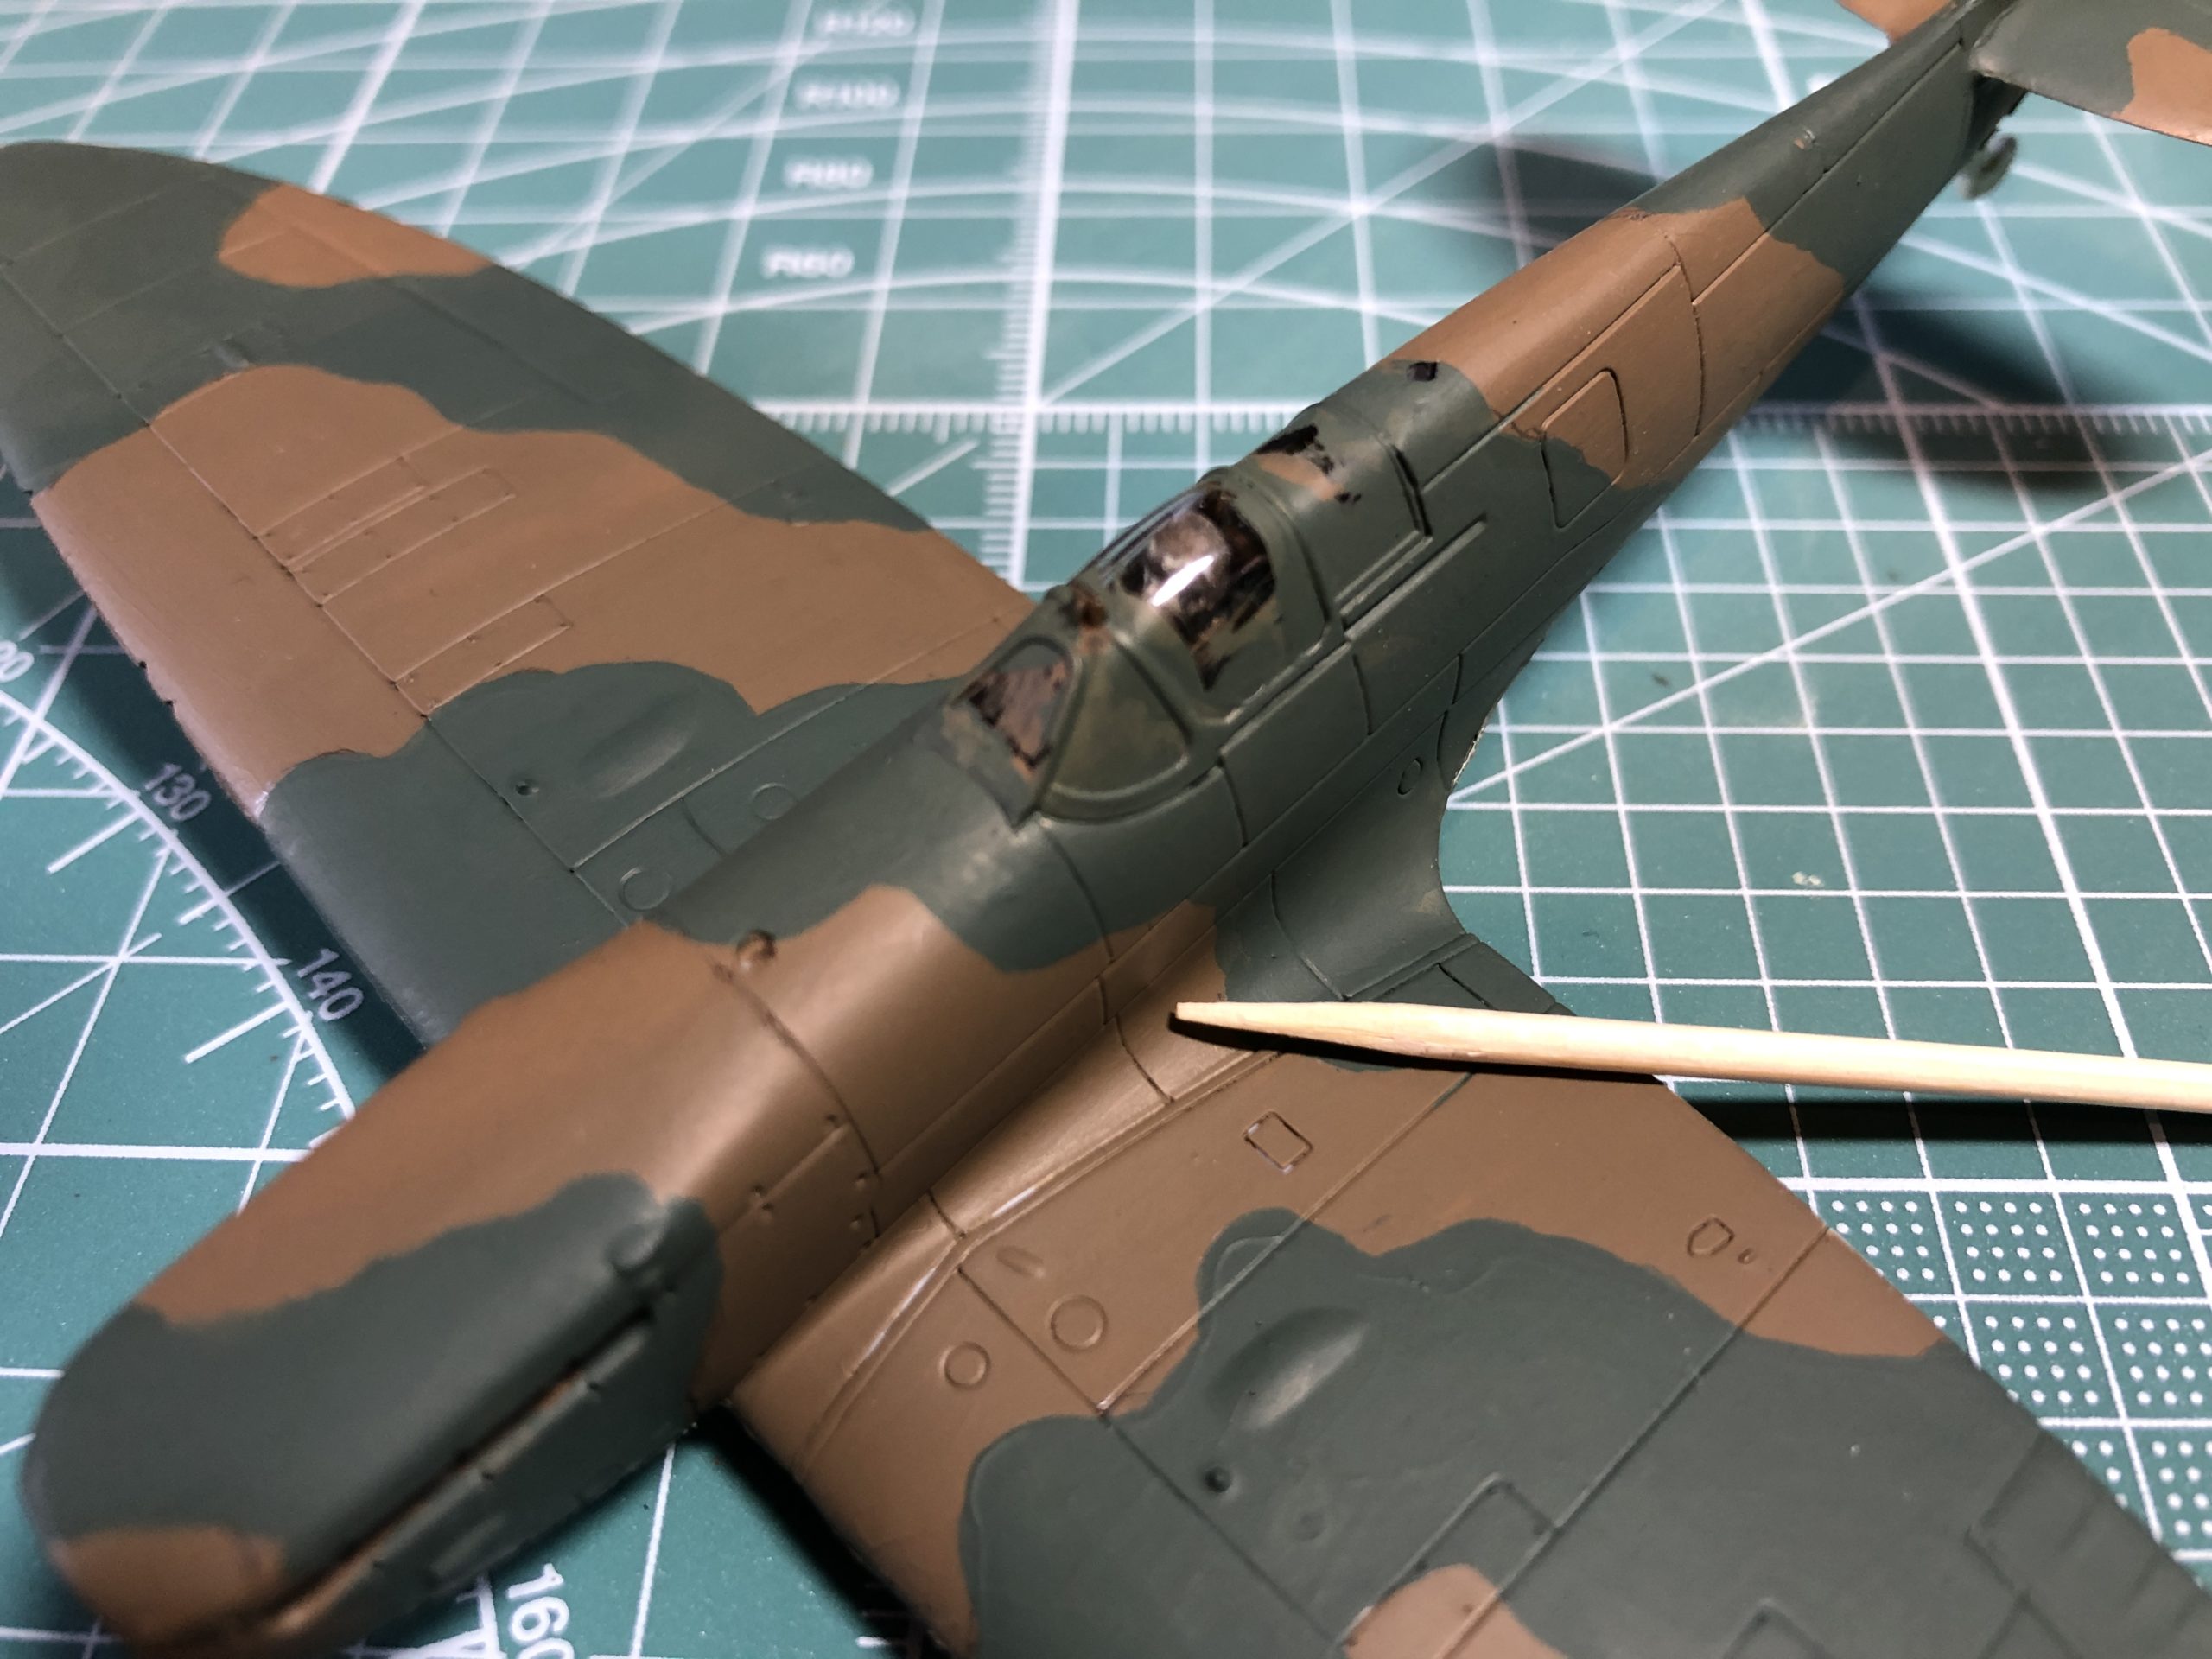
To start, let’s have a look at aircraft canopies.
Dont mask – go freehand!
The first and easiest option is not to mask at all, just like I did on my recent Airfix starter kit build. If you have a steady hand then give it a go with your paint brush or even try using a felt tip marker pen!
You can see the full build here.
Masking Tape
The second method is to actually use masking tape. You can get flexible masking tape which can be curved around a radius. Some people love it, but I have never really got the results I want with it though, so I typically use regular tape.
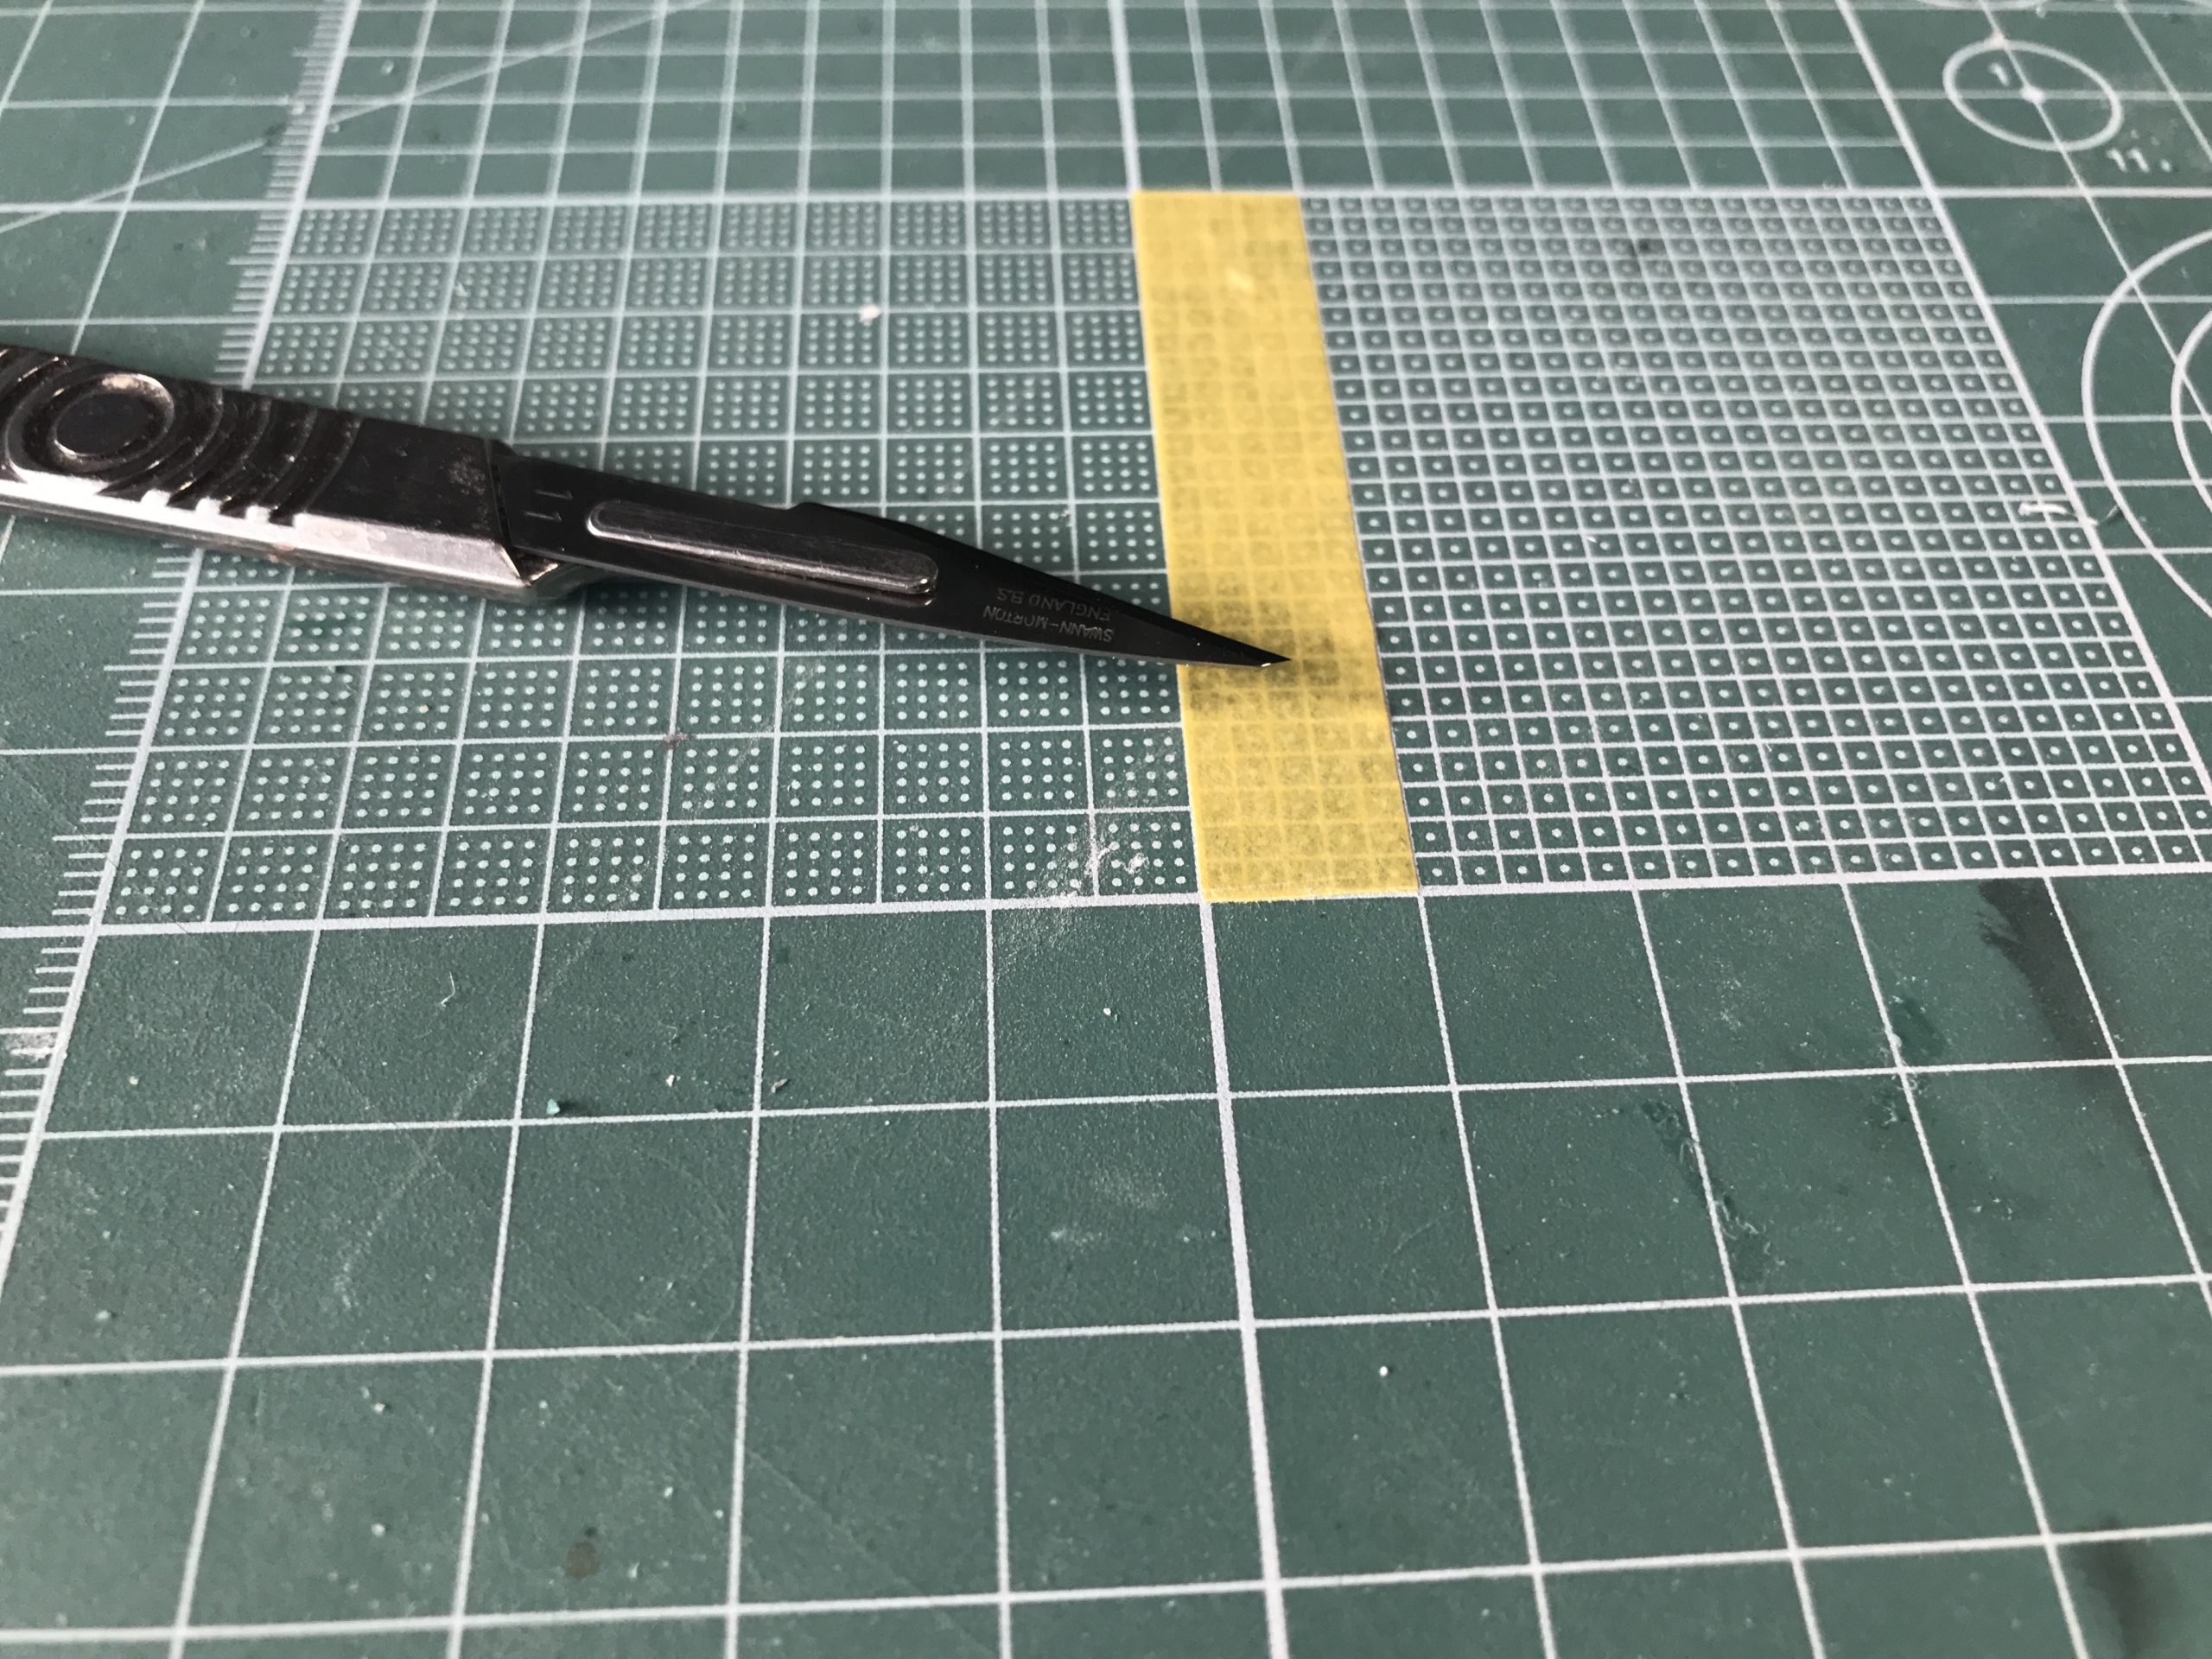
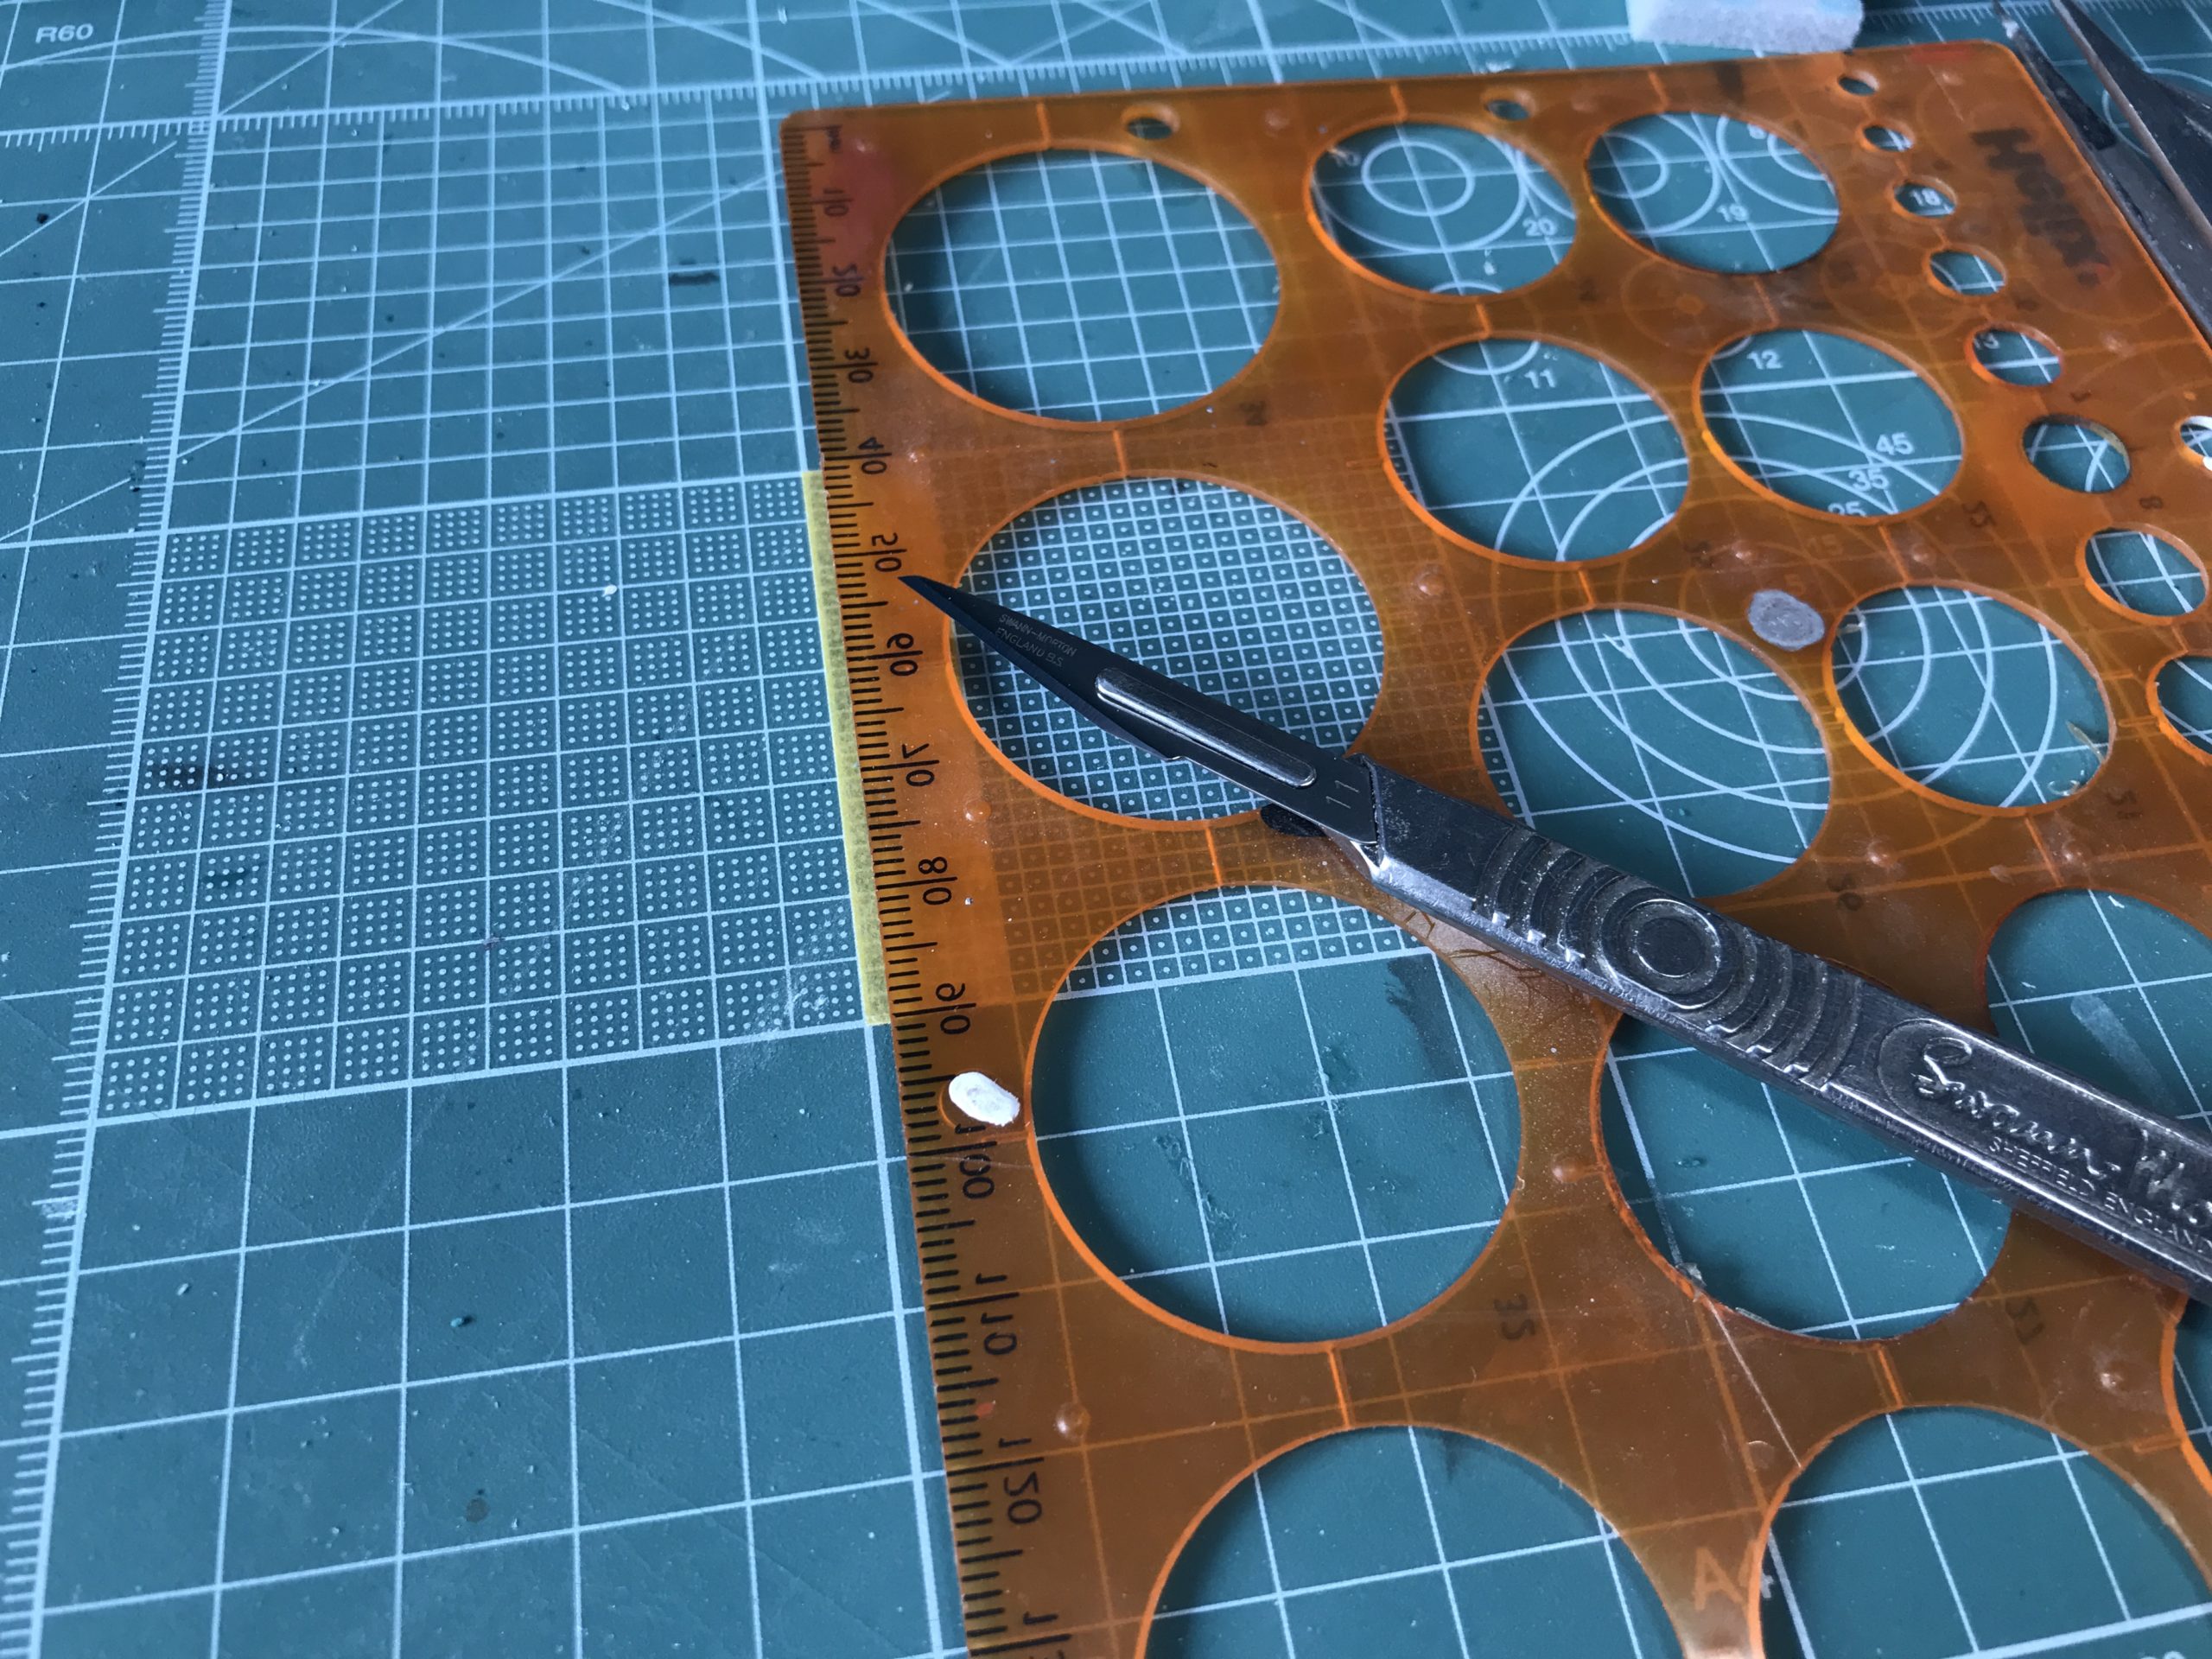
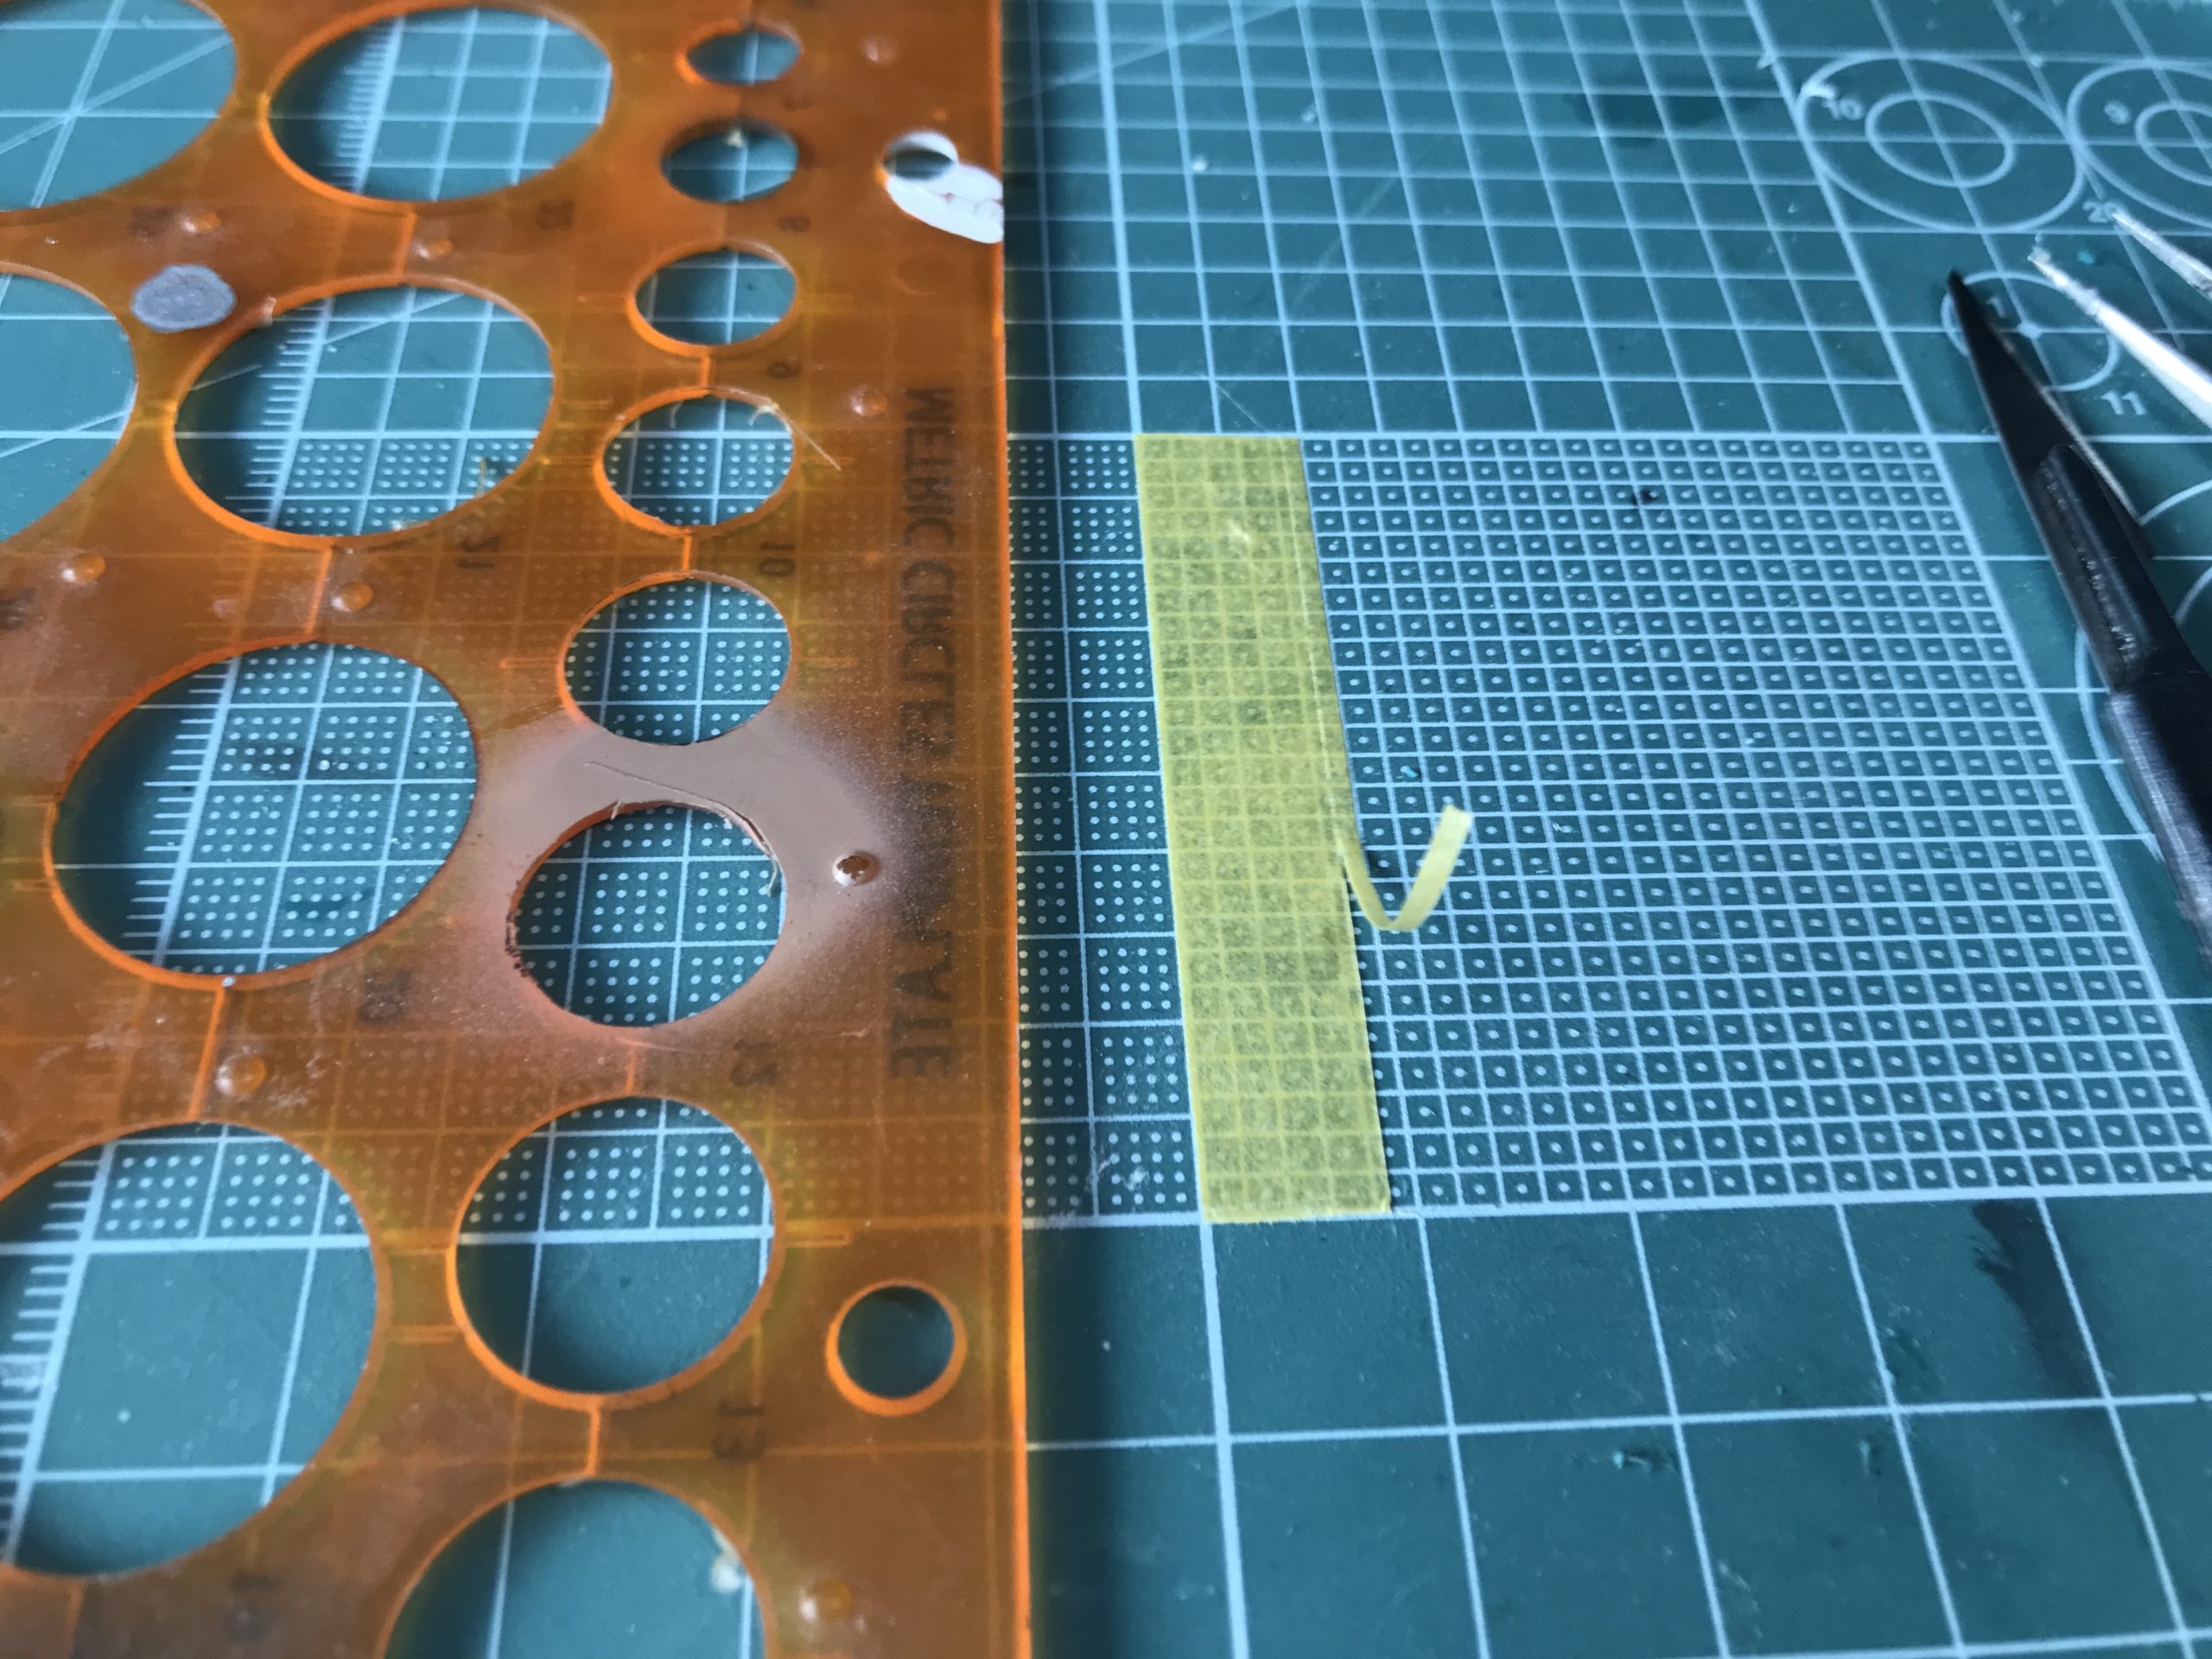
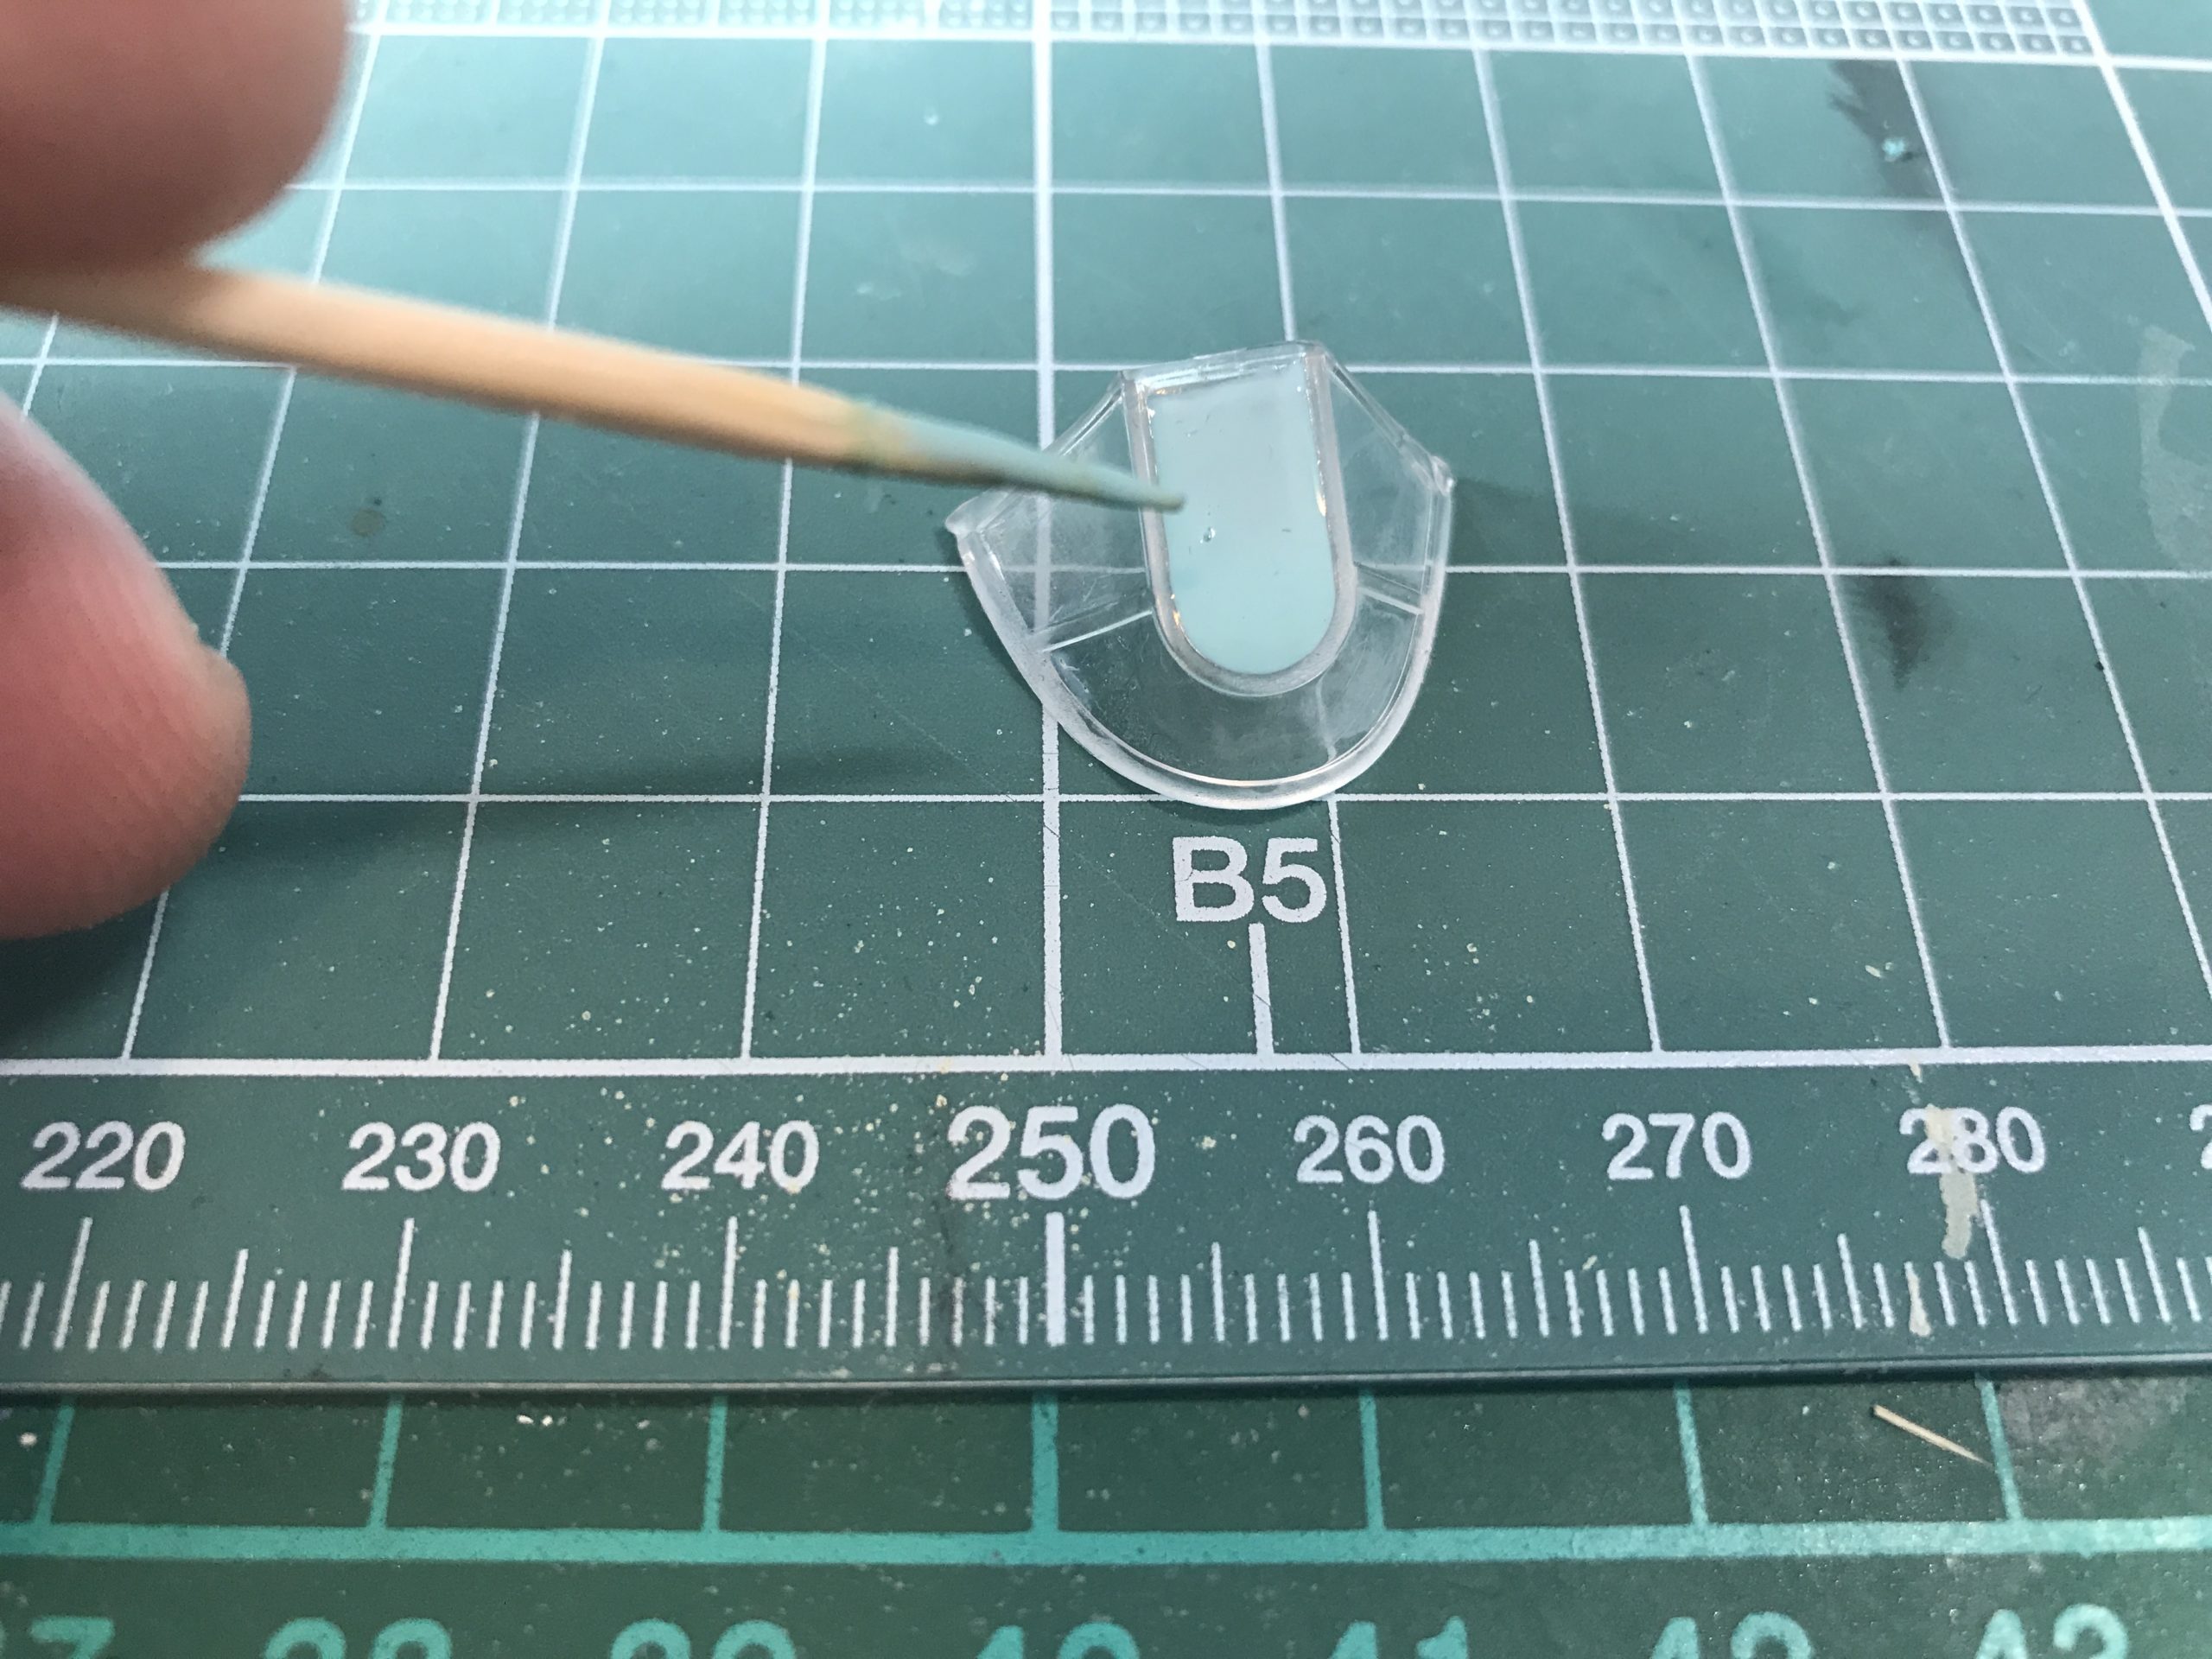
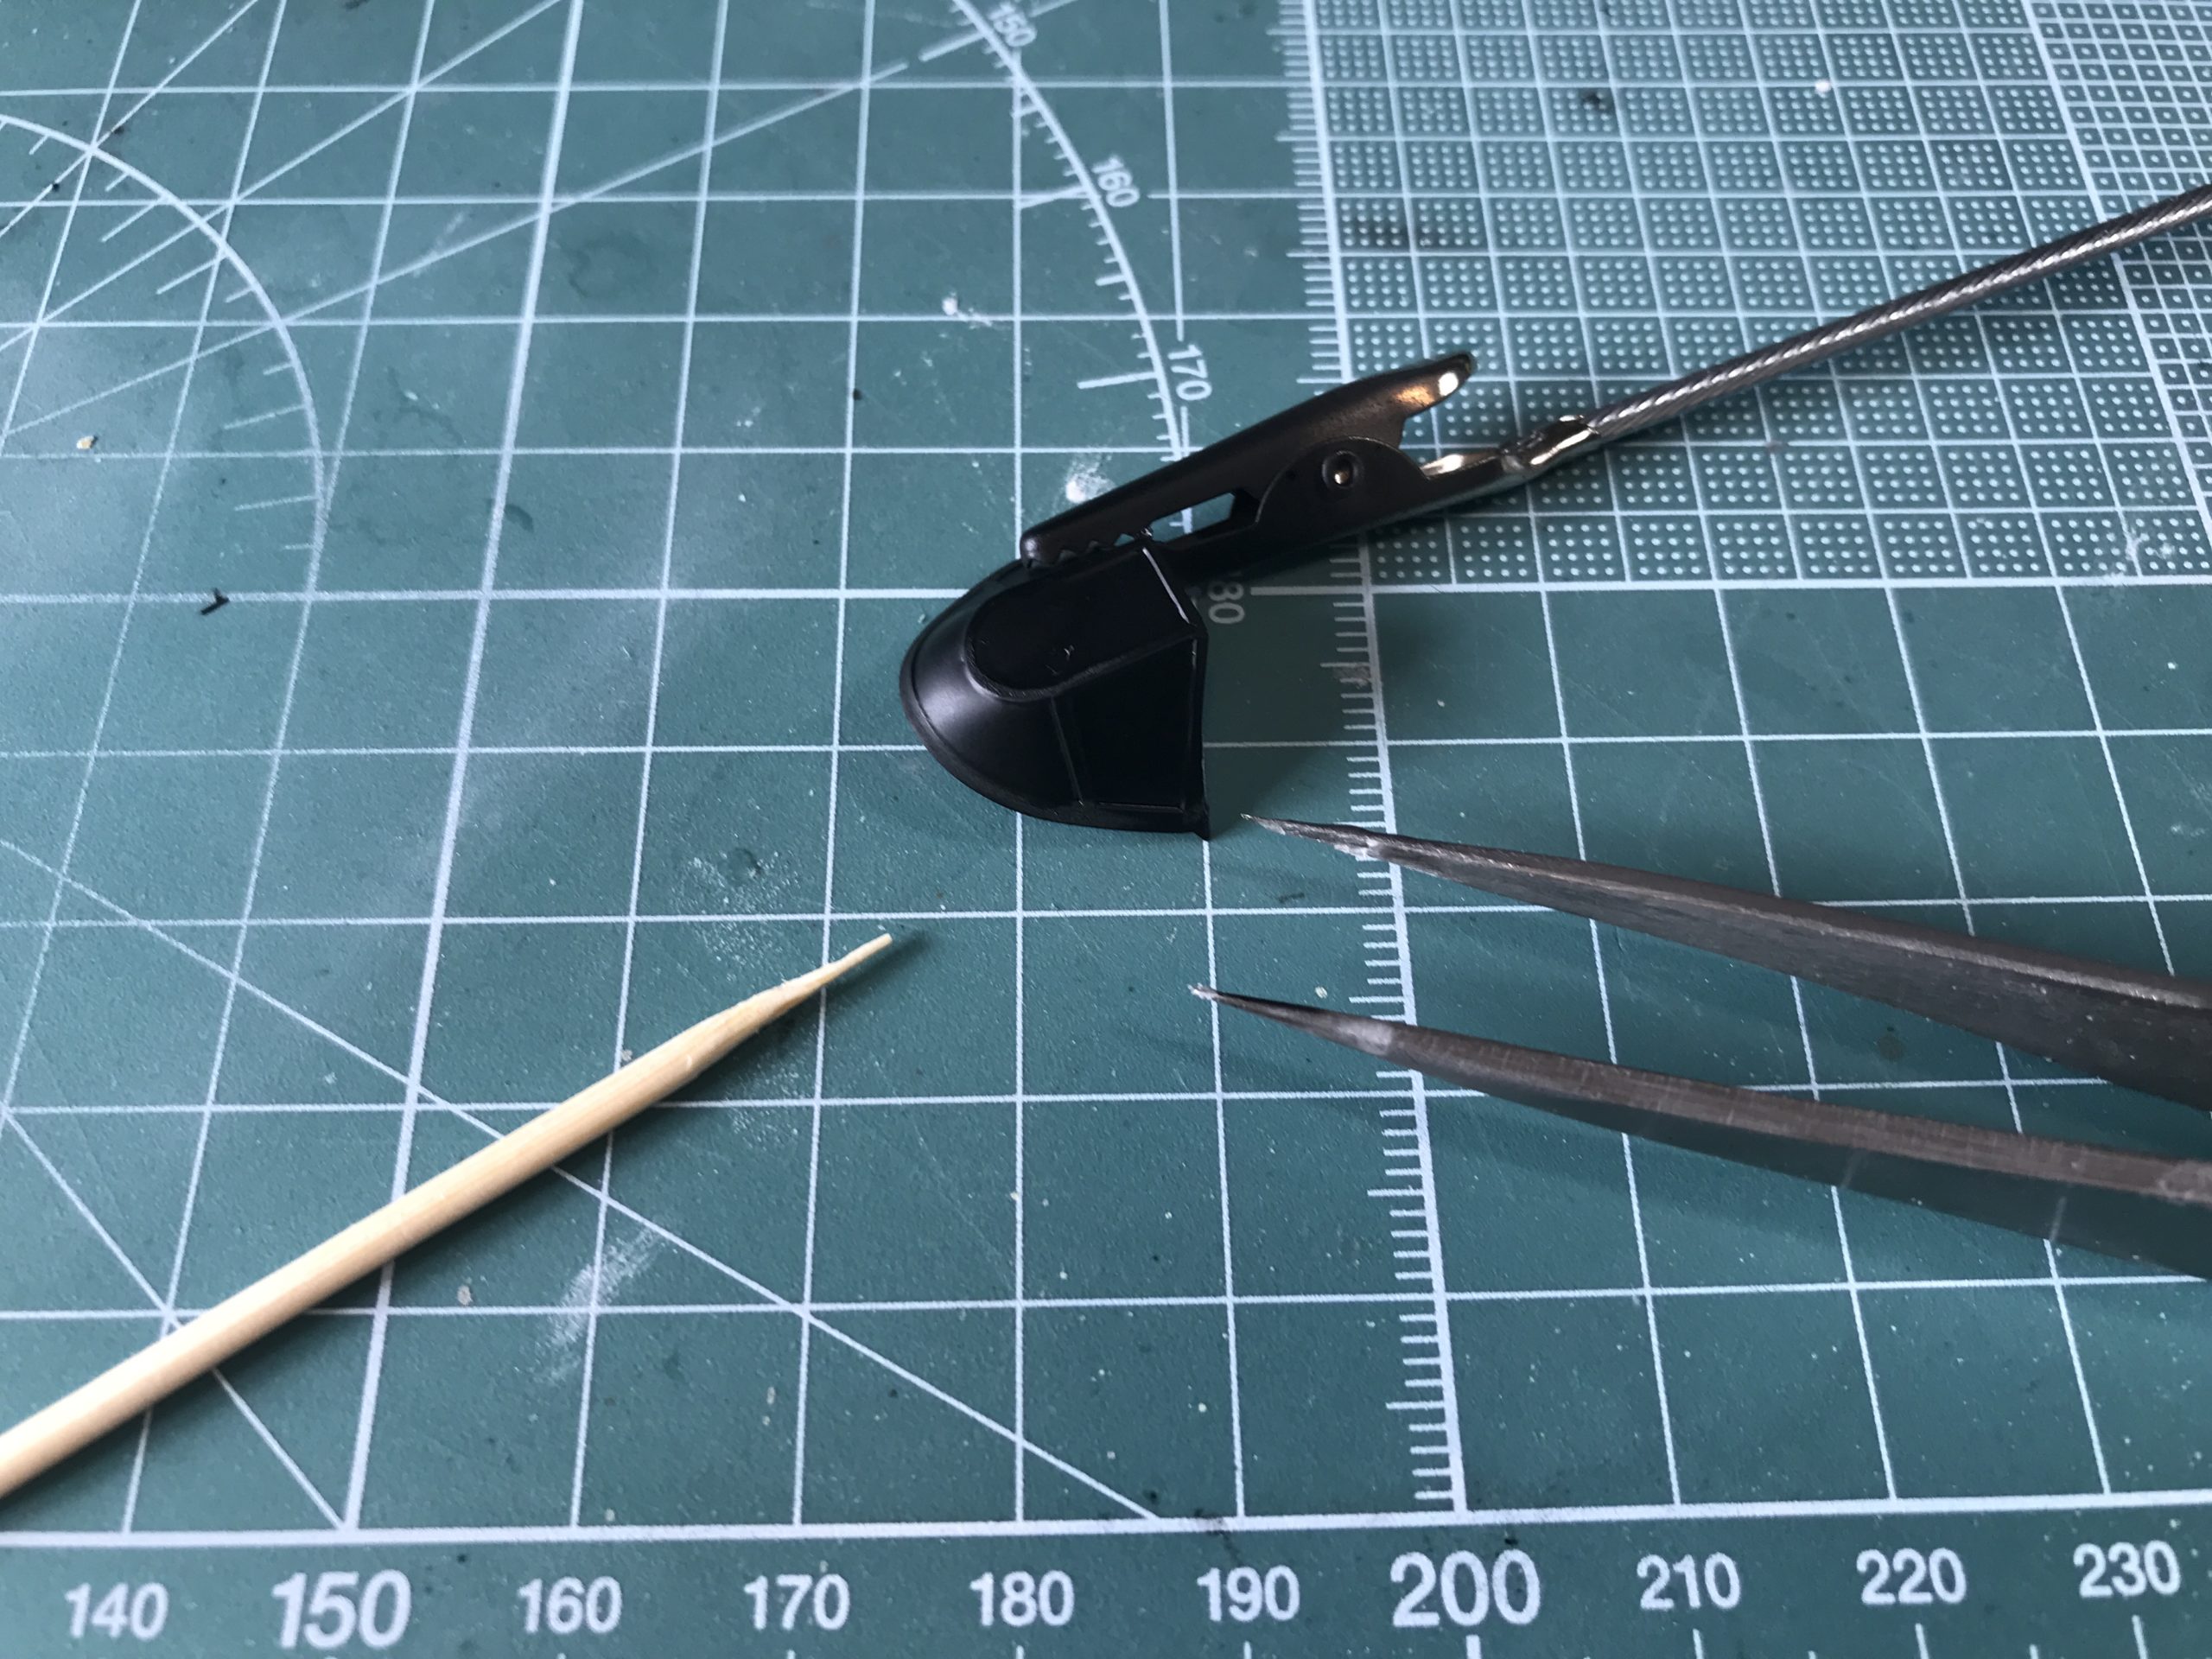
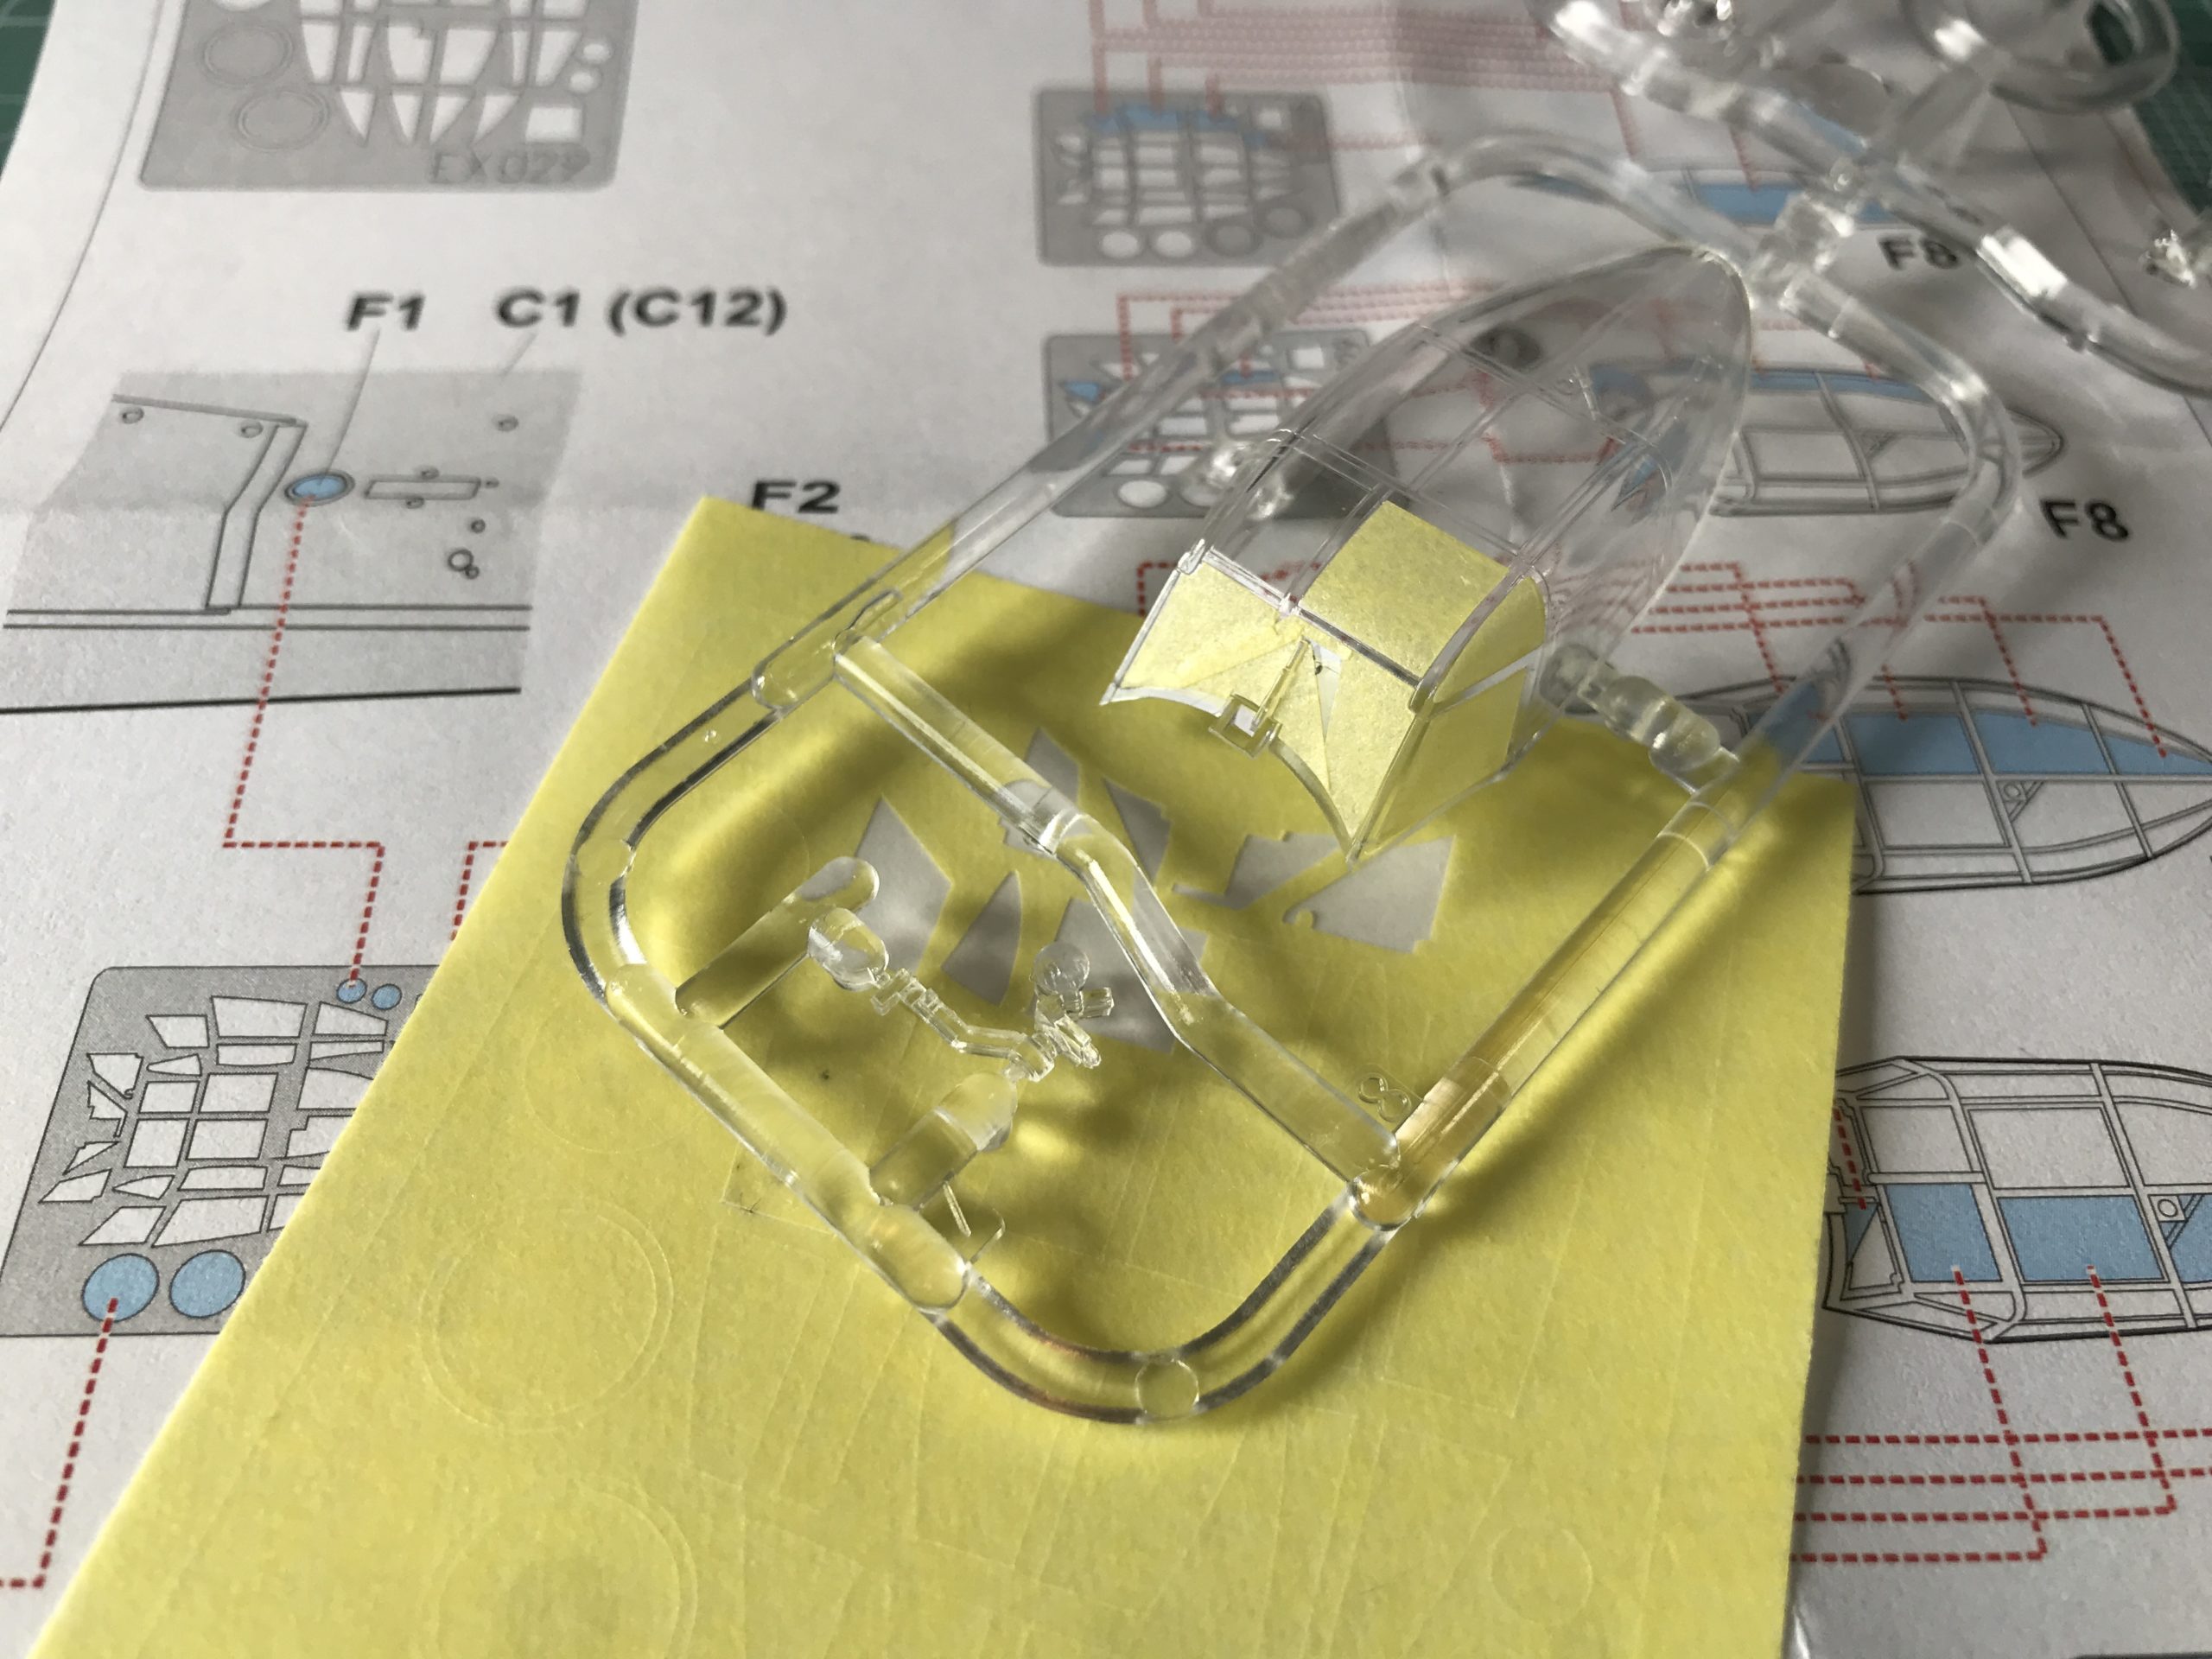
The first job is to cut the tape into thin strips, the thinner the strip the more flexible it is. Its also worth putting a 45º angle cut on the tape, this will enable you to get the tape right into the corner of the canopy frame.
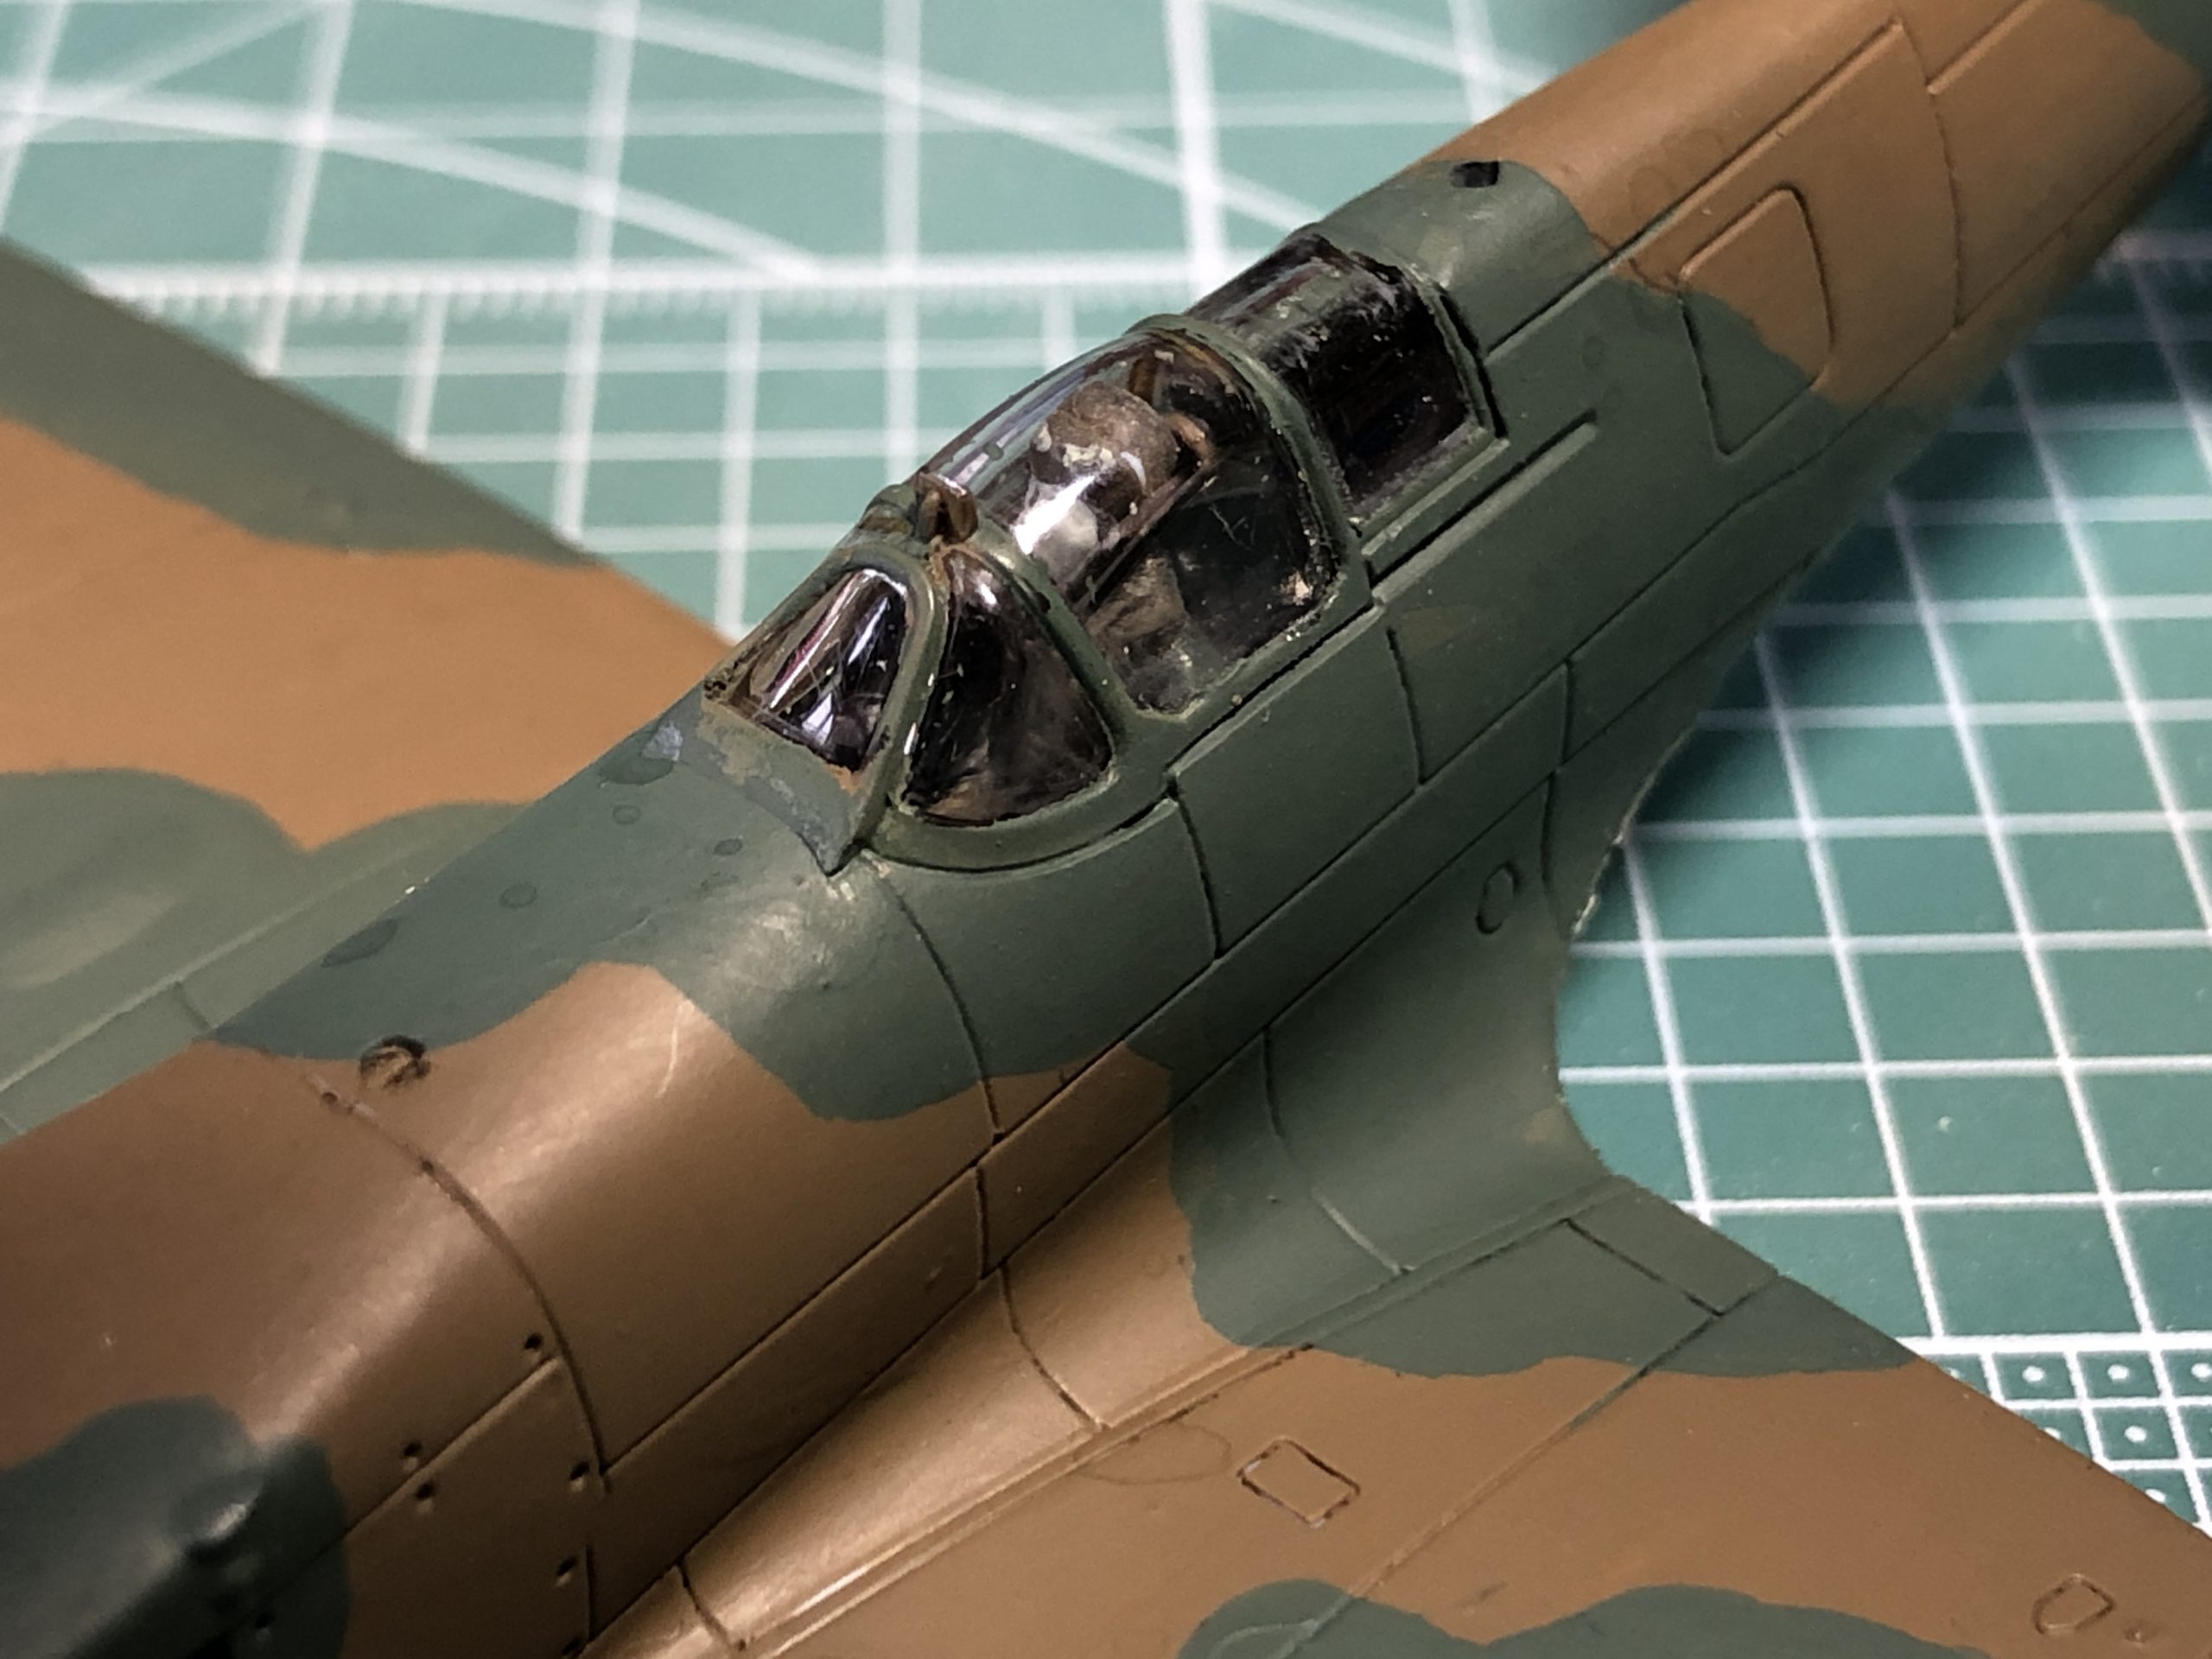
The thin strip of tape can then be applied along the outline of the canopy. As the tape is nice and thin its quite easy to make it conform to the complex curve of the canopy.
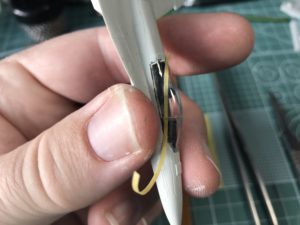
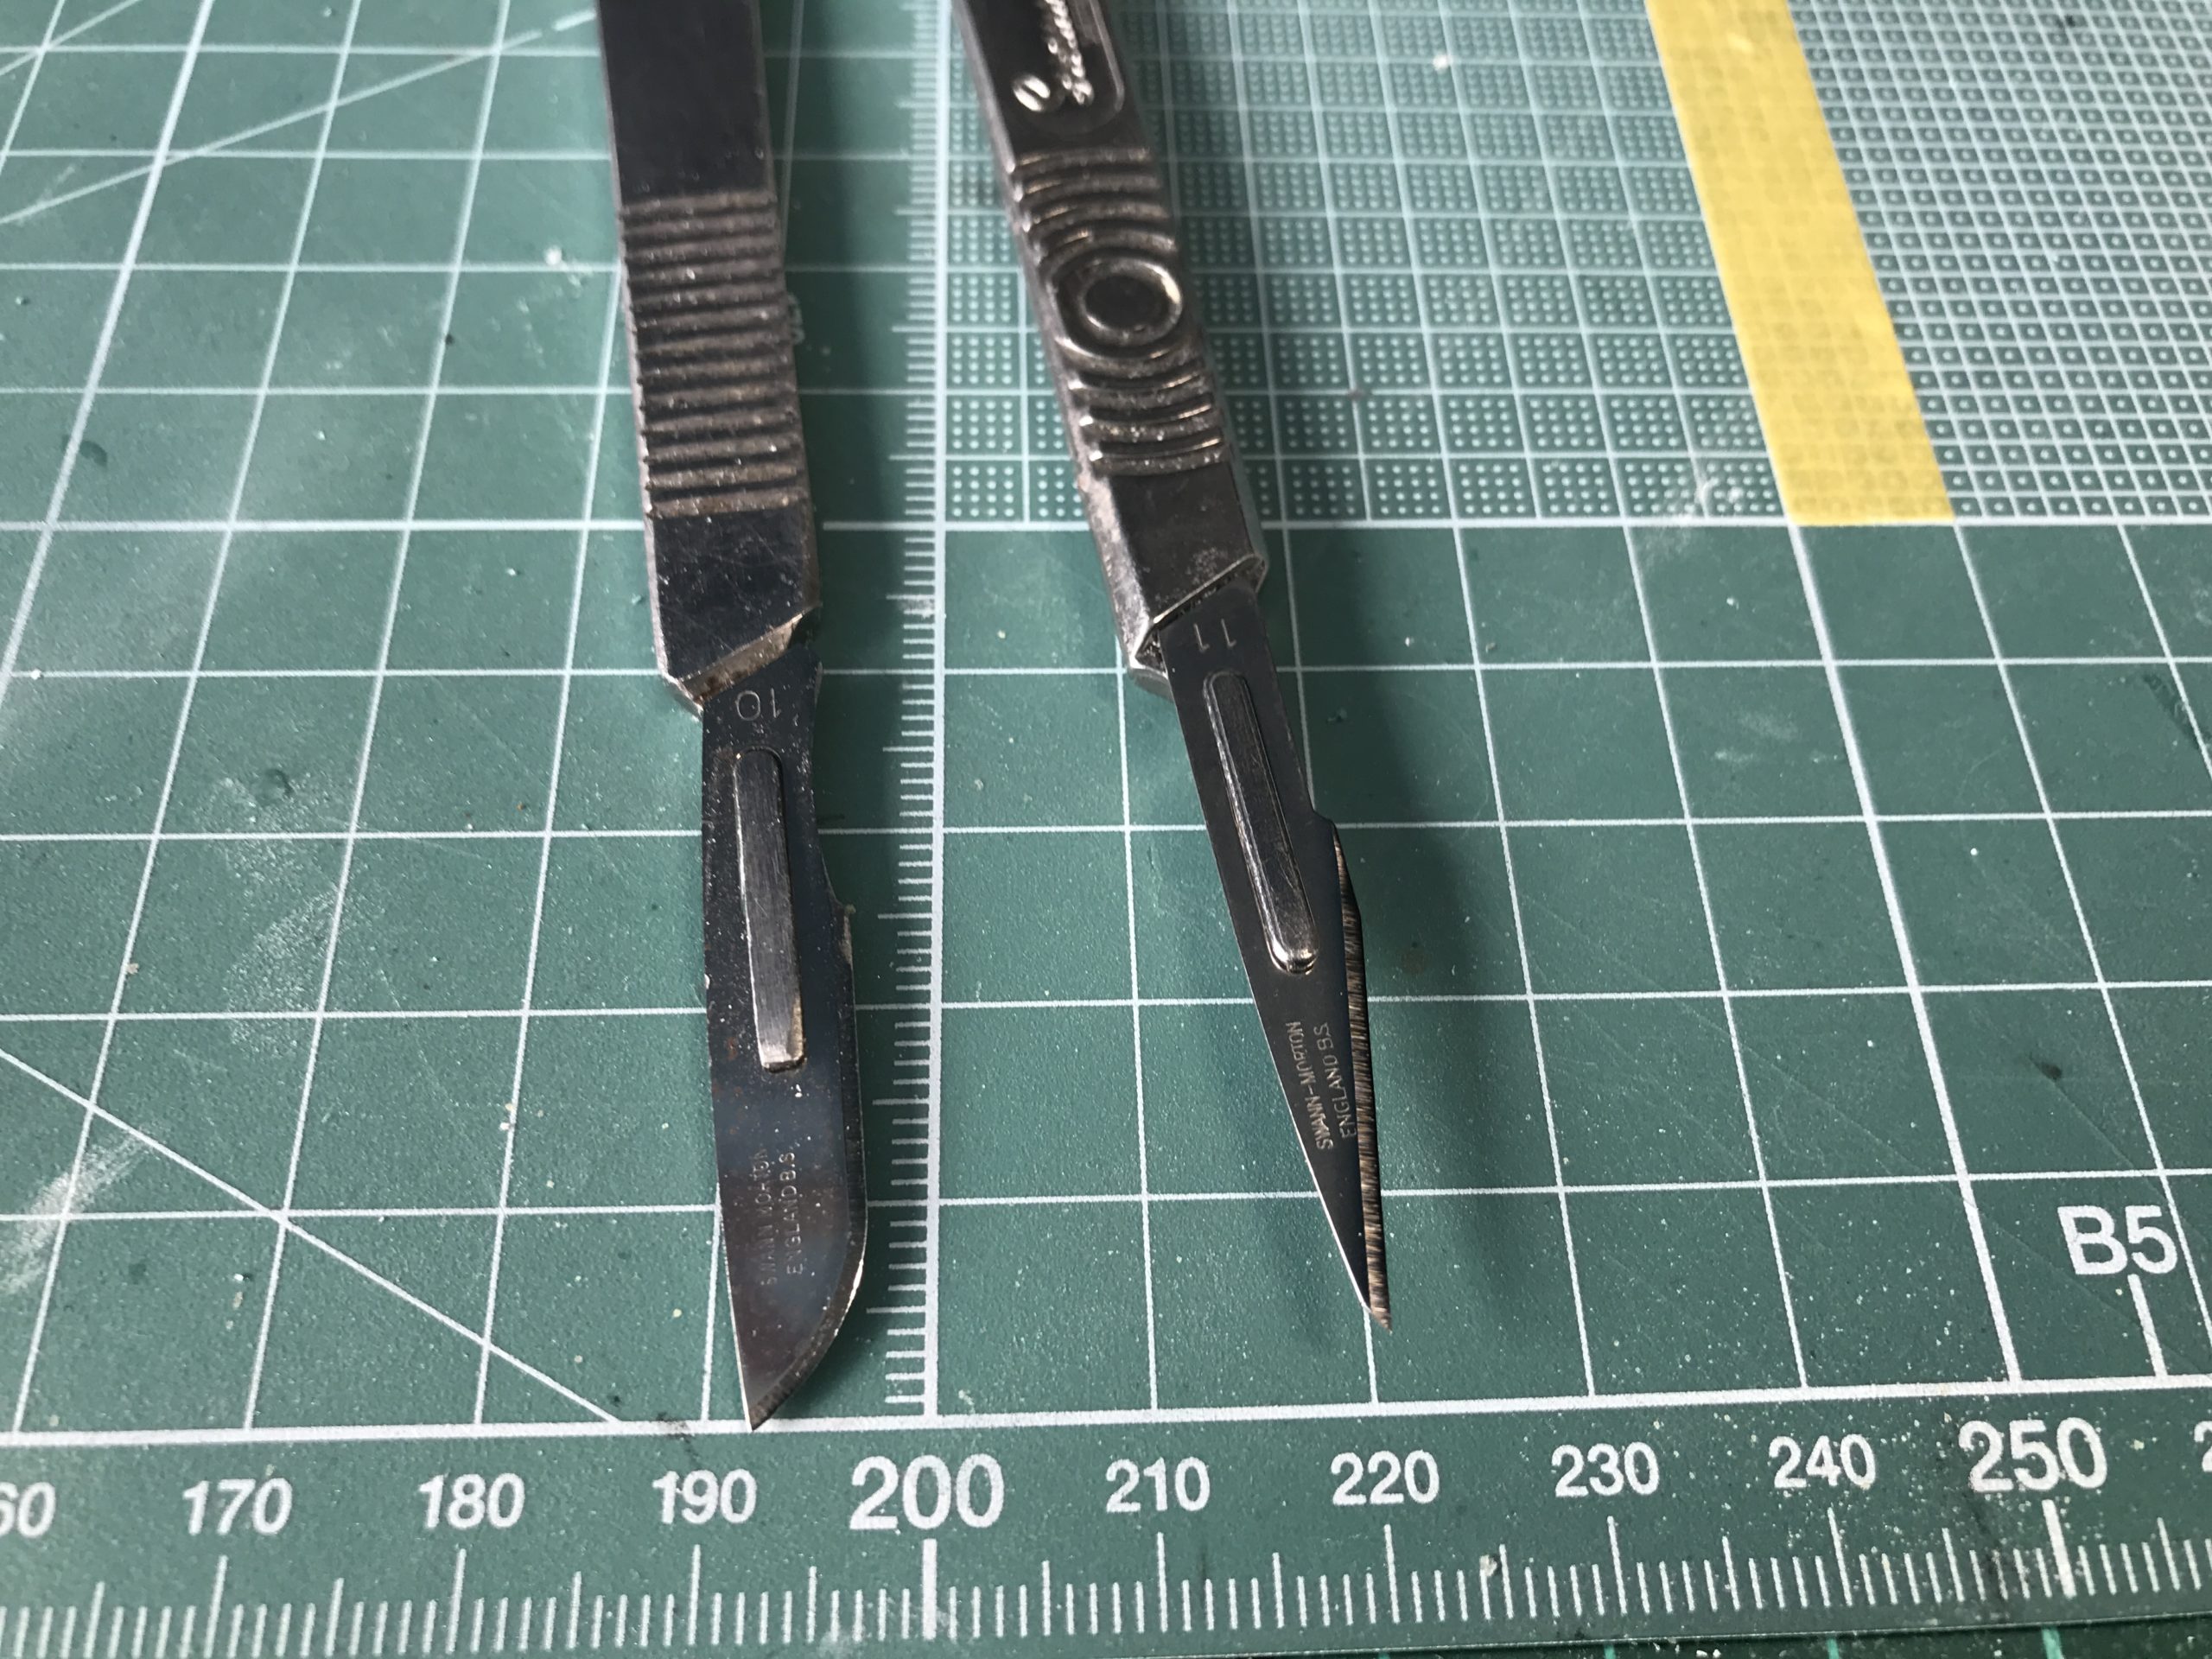
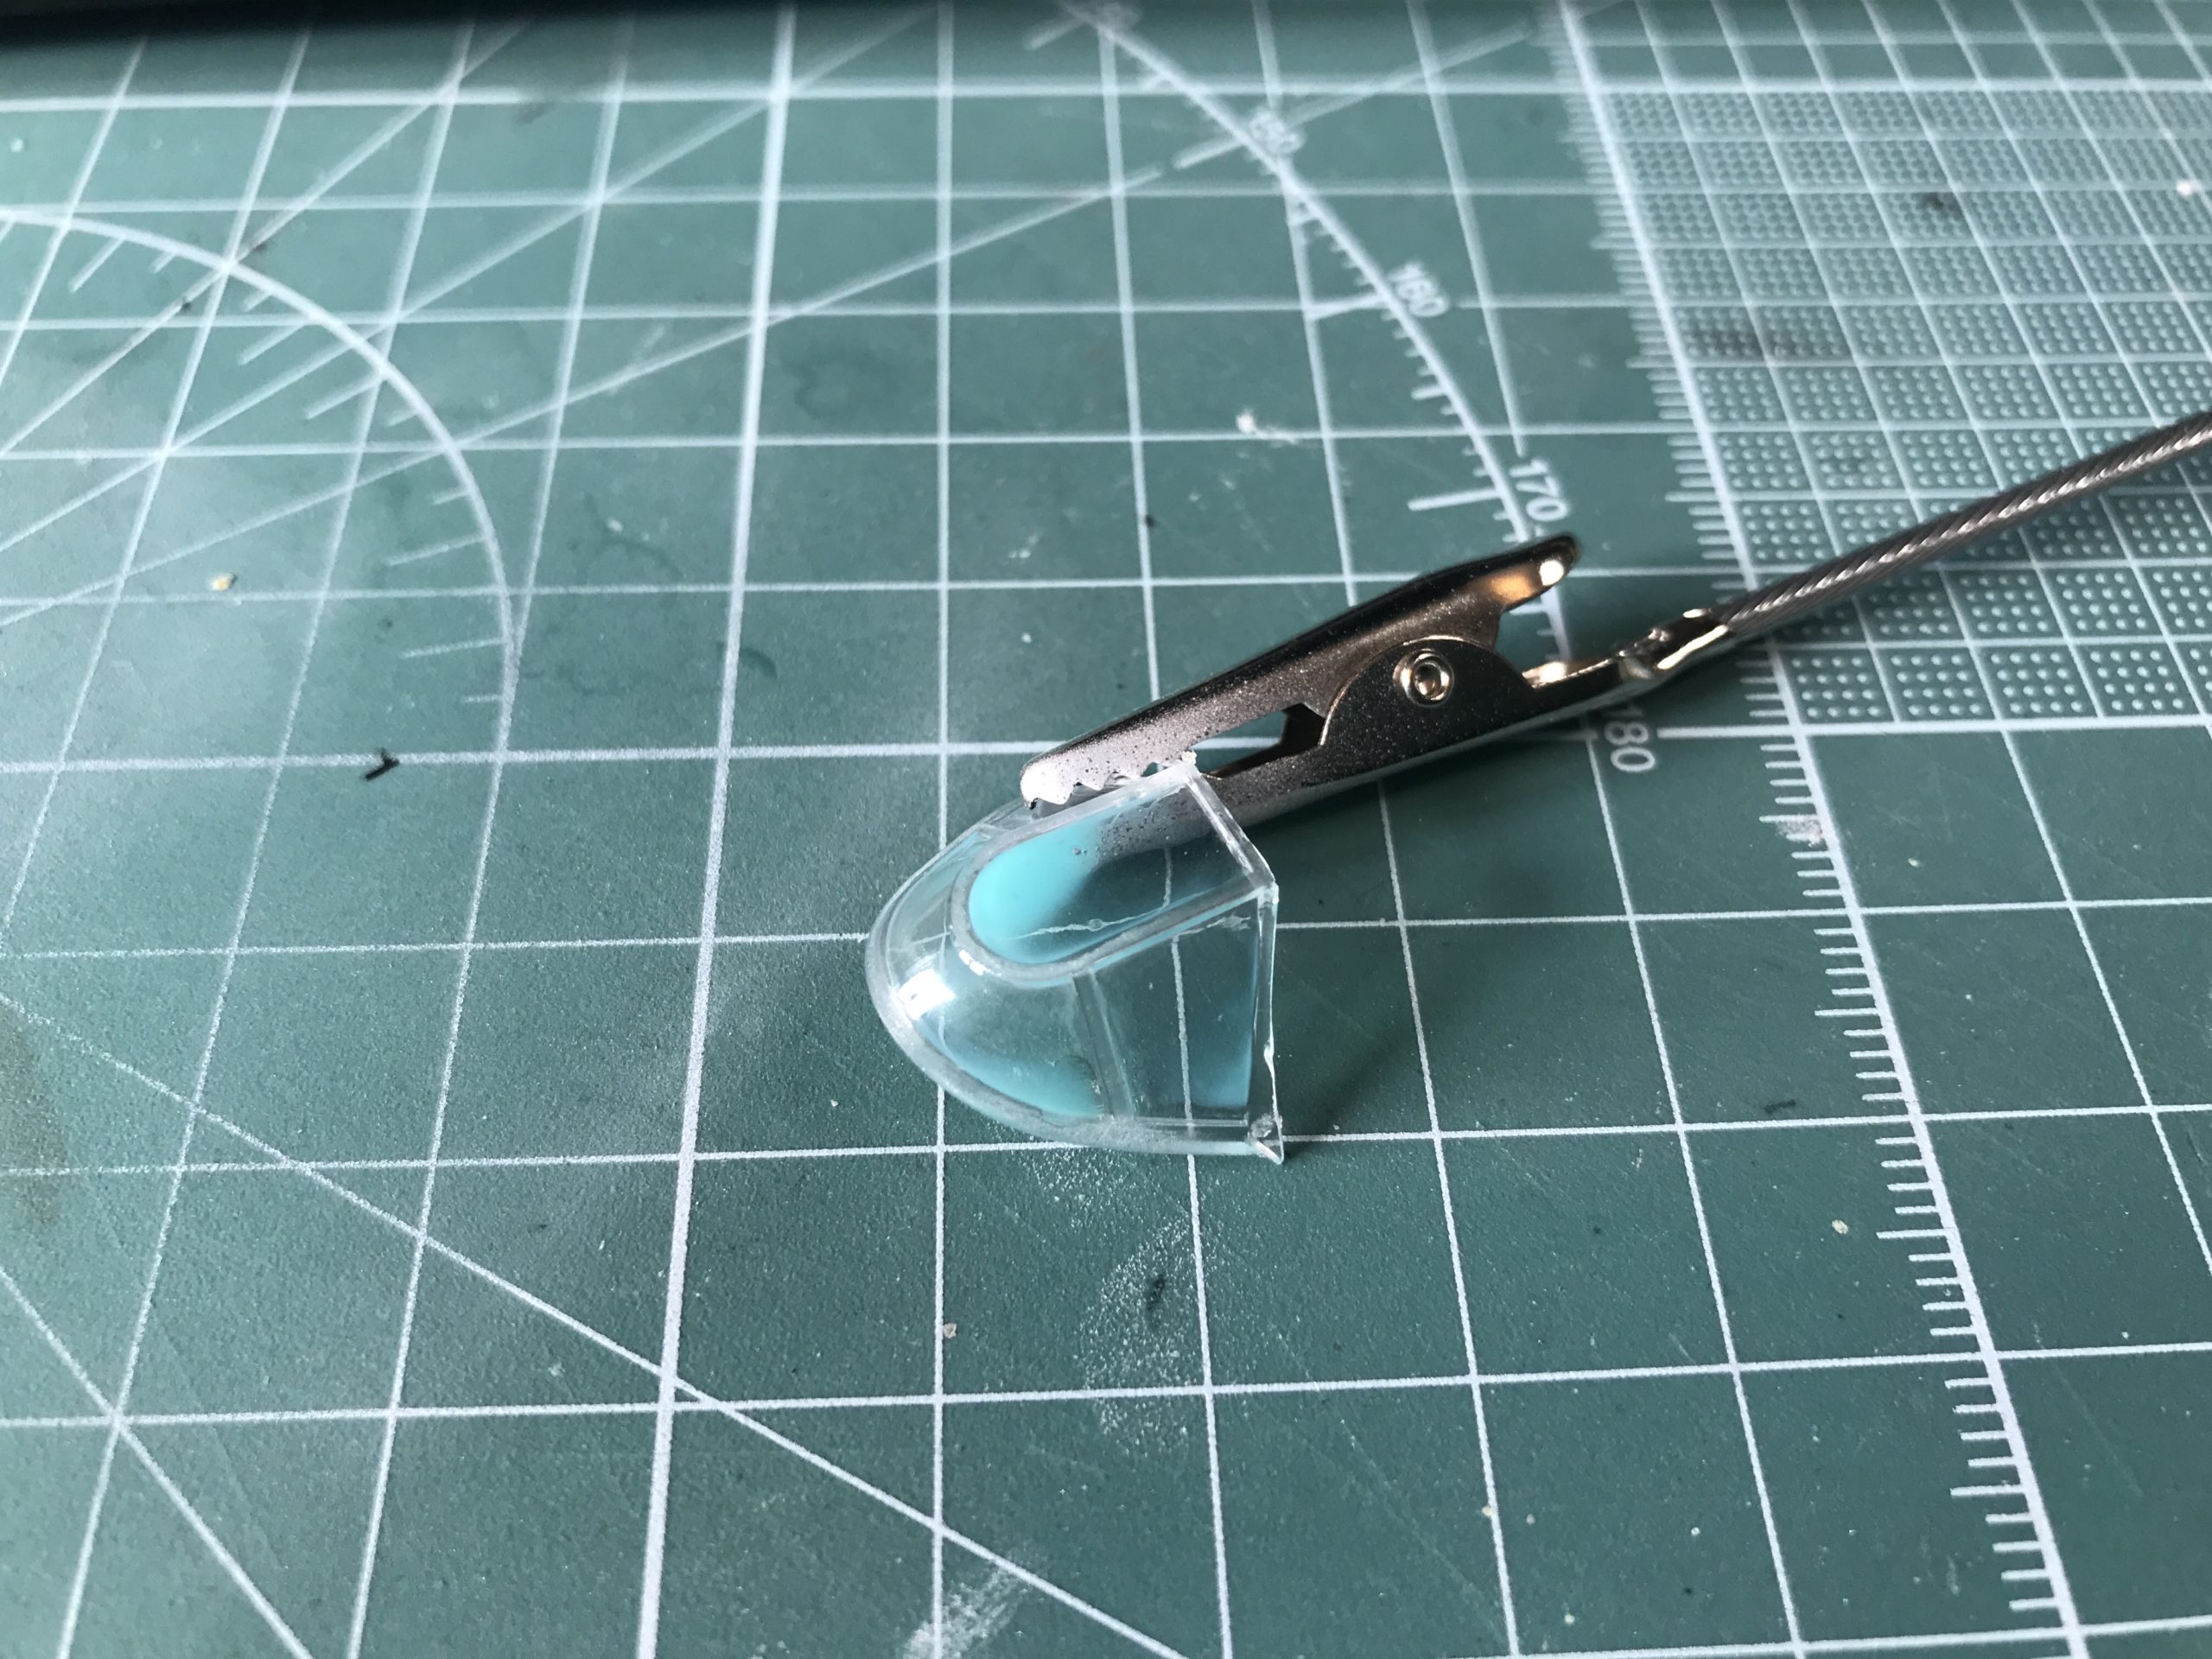
I use the number 10 curved blade to trim the excess tape by gently rocking backwards and forwards where i want the cut.
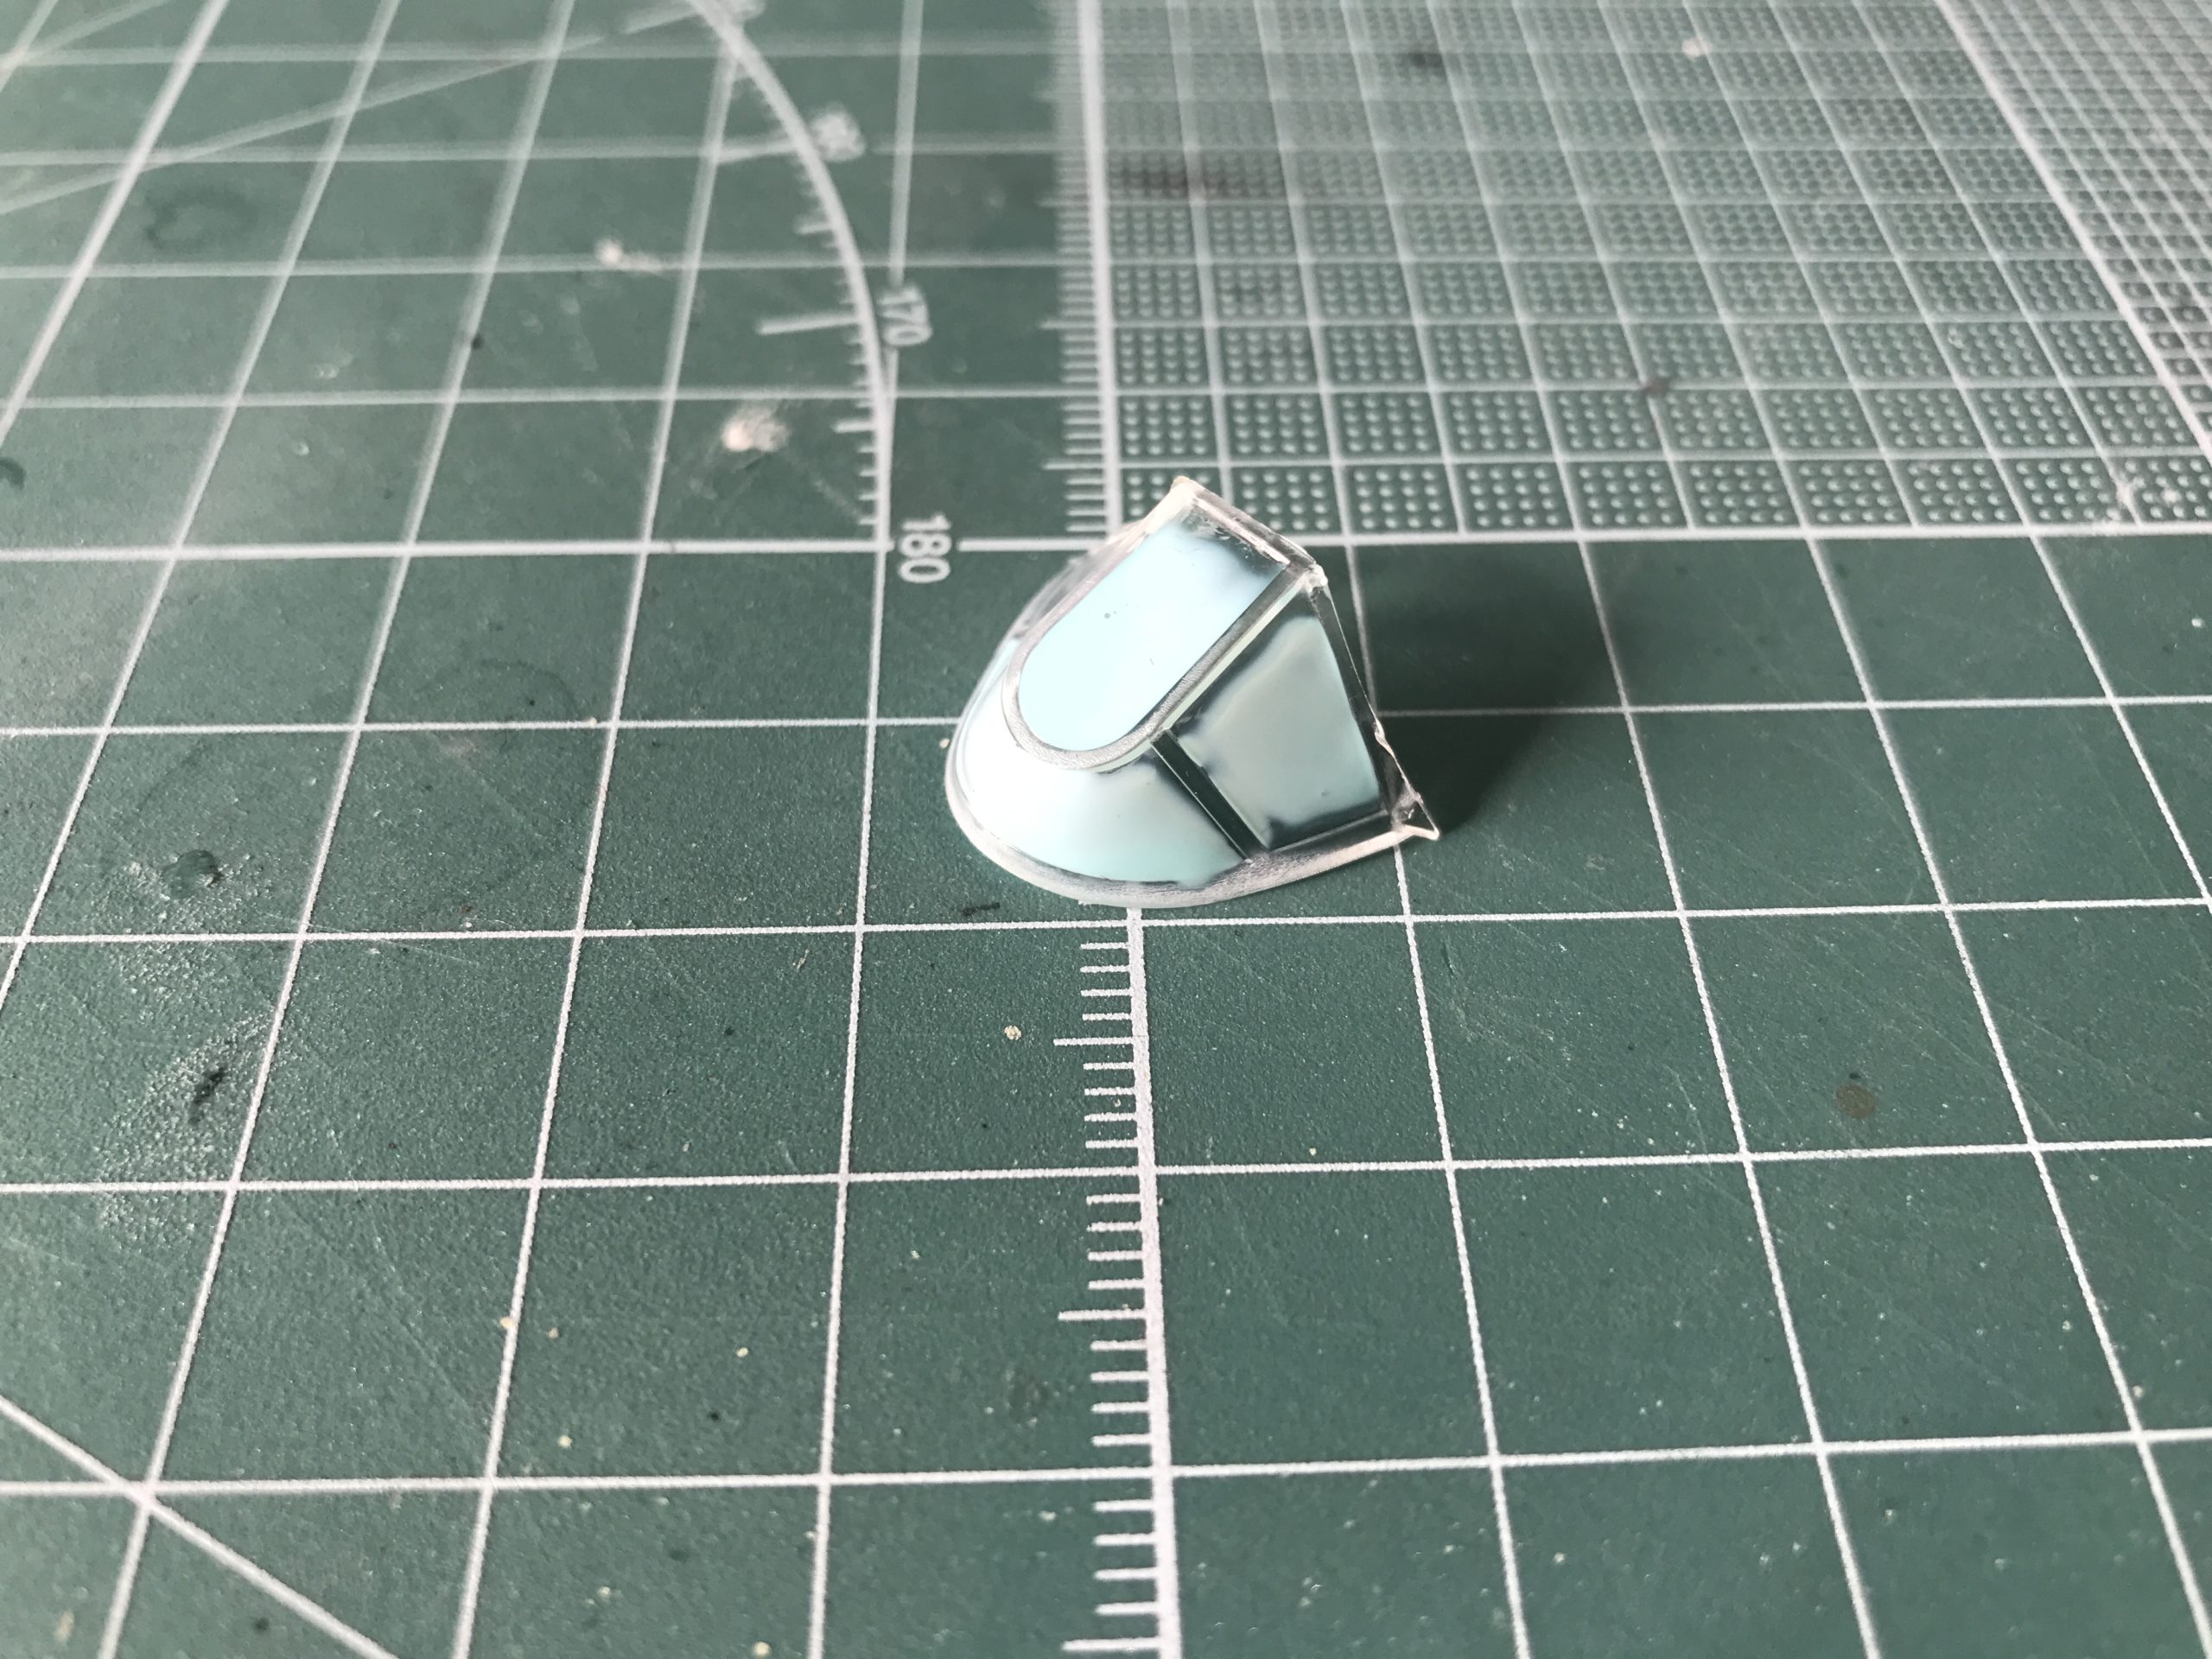
The rest of the edges are treated exactly the same.

Once you have masked the edges/outline its simple to fill in the rest of the canopy with tape, take your time!
Masking Fluid
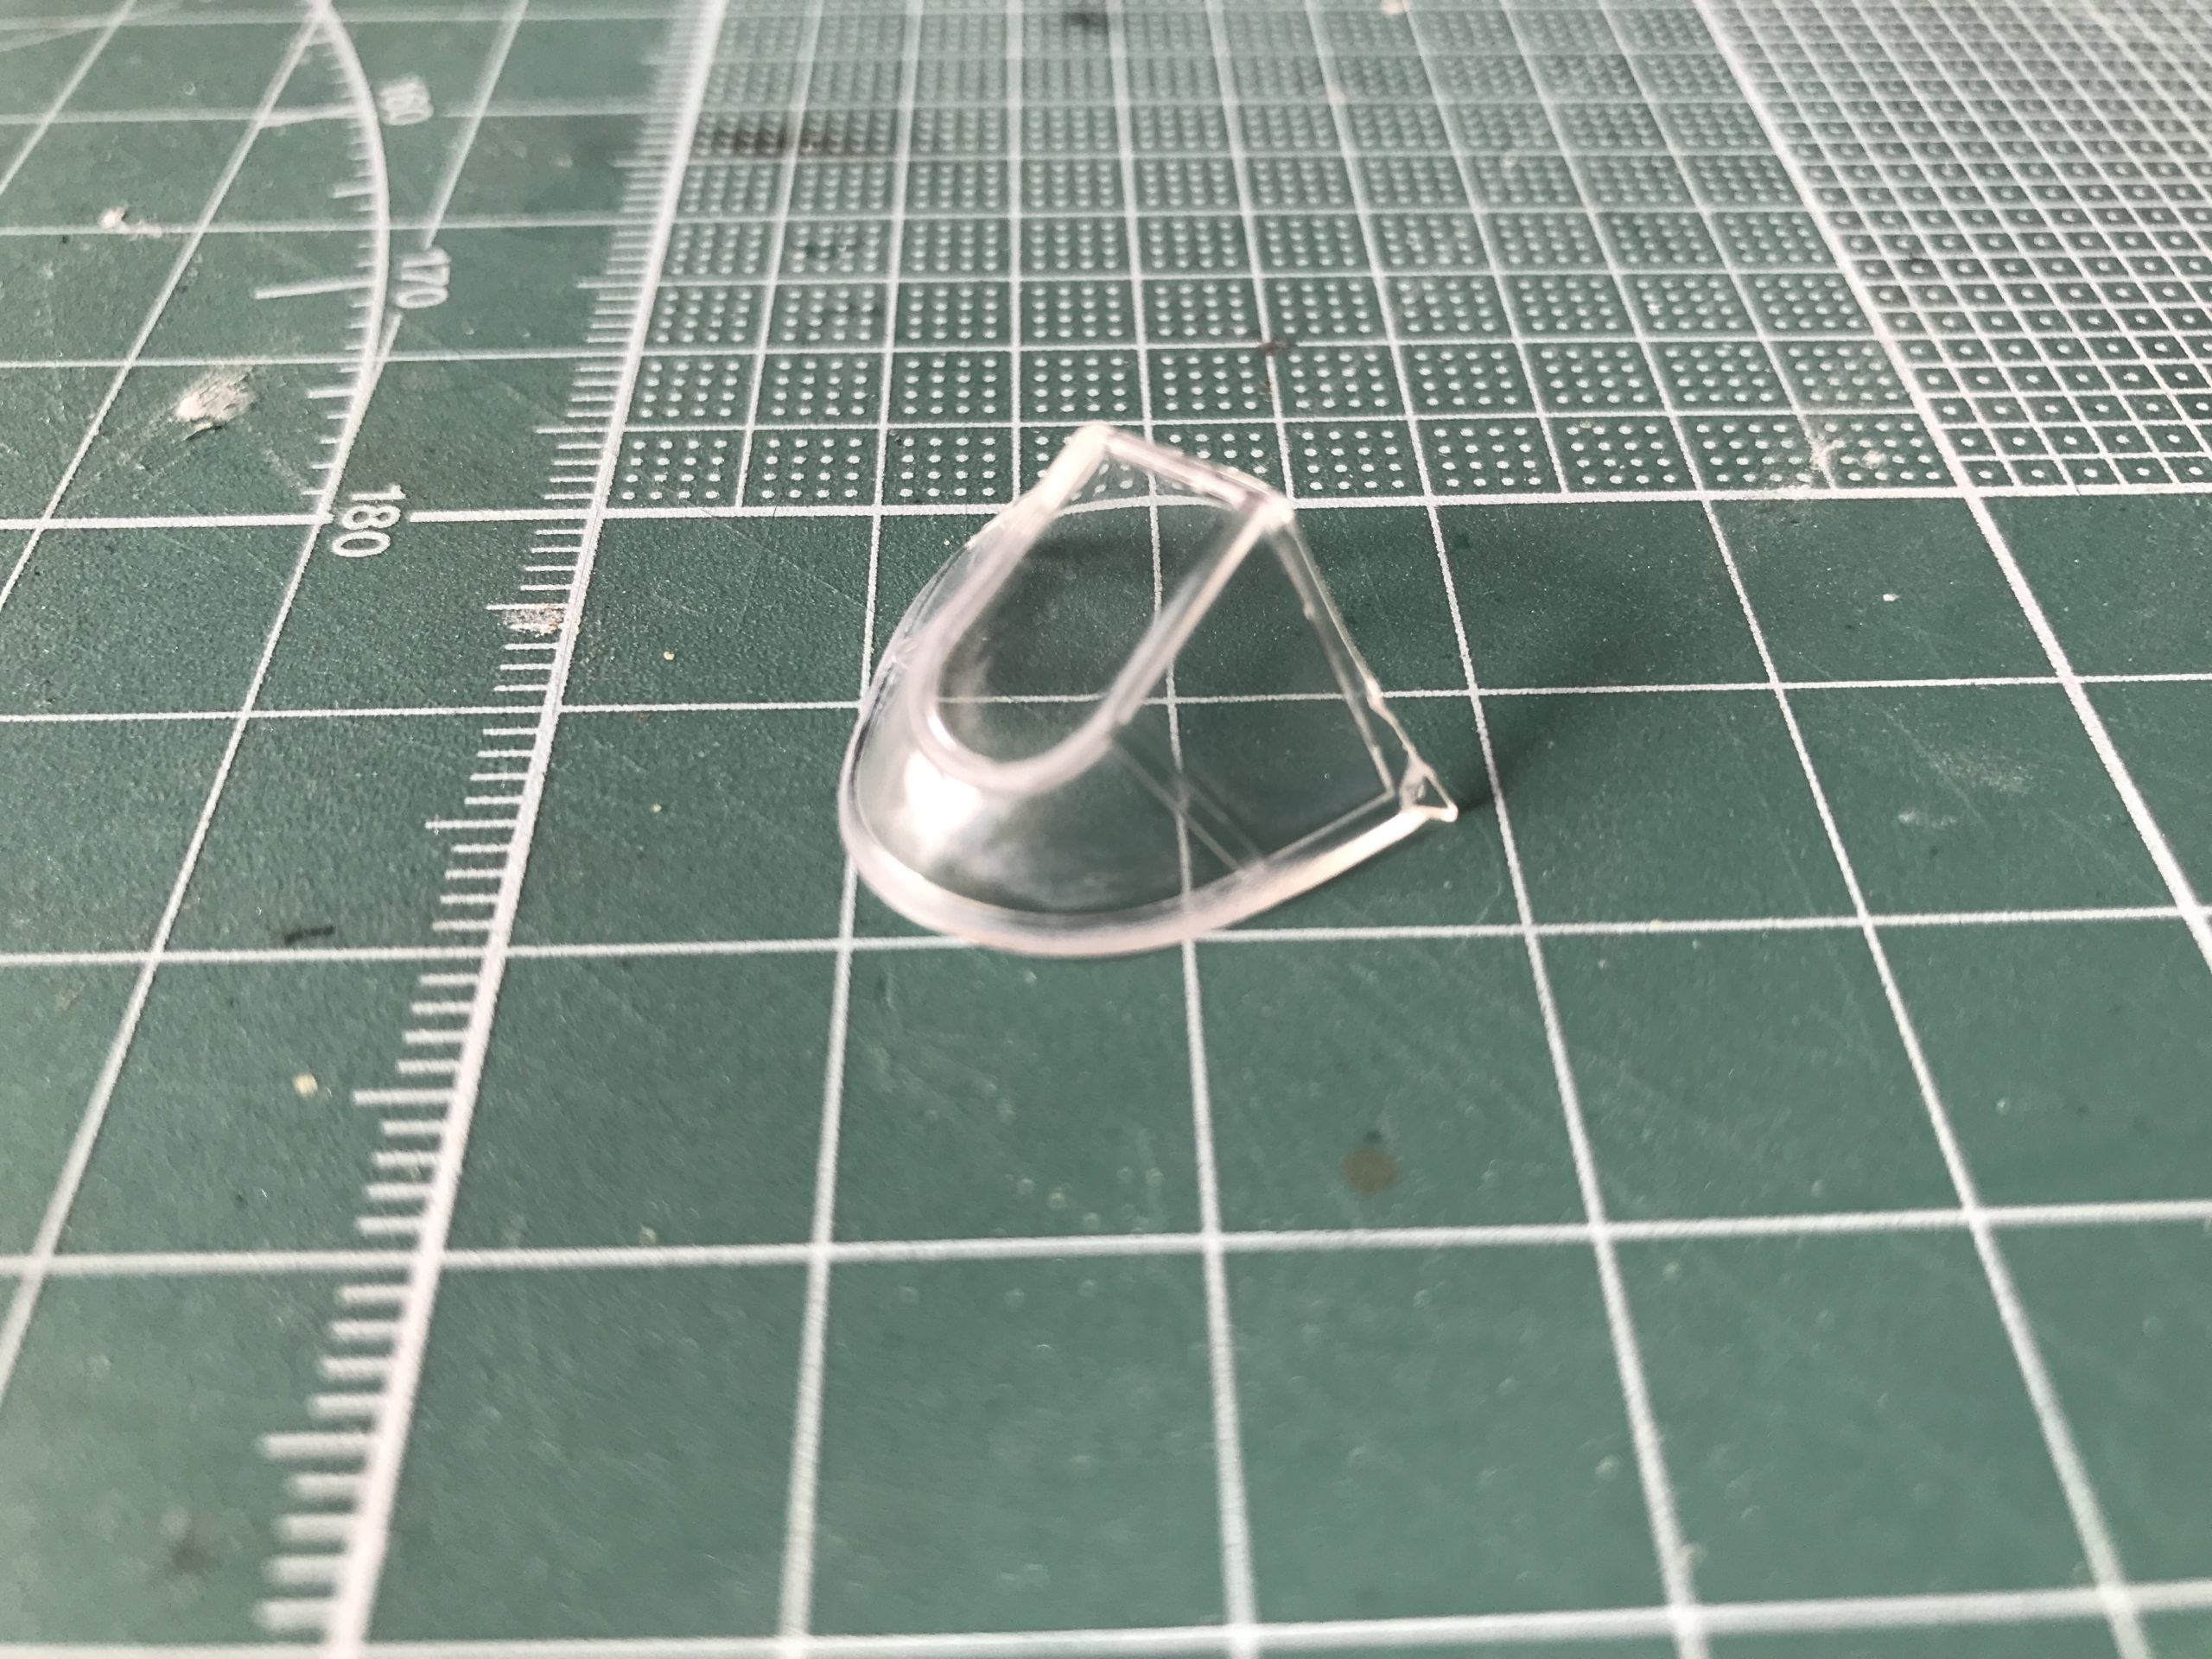
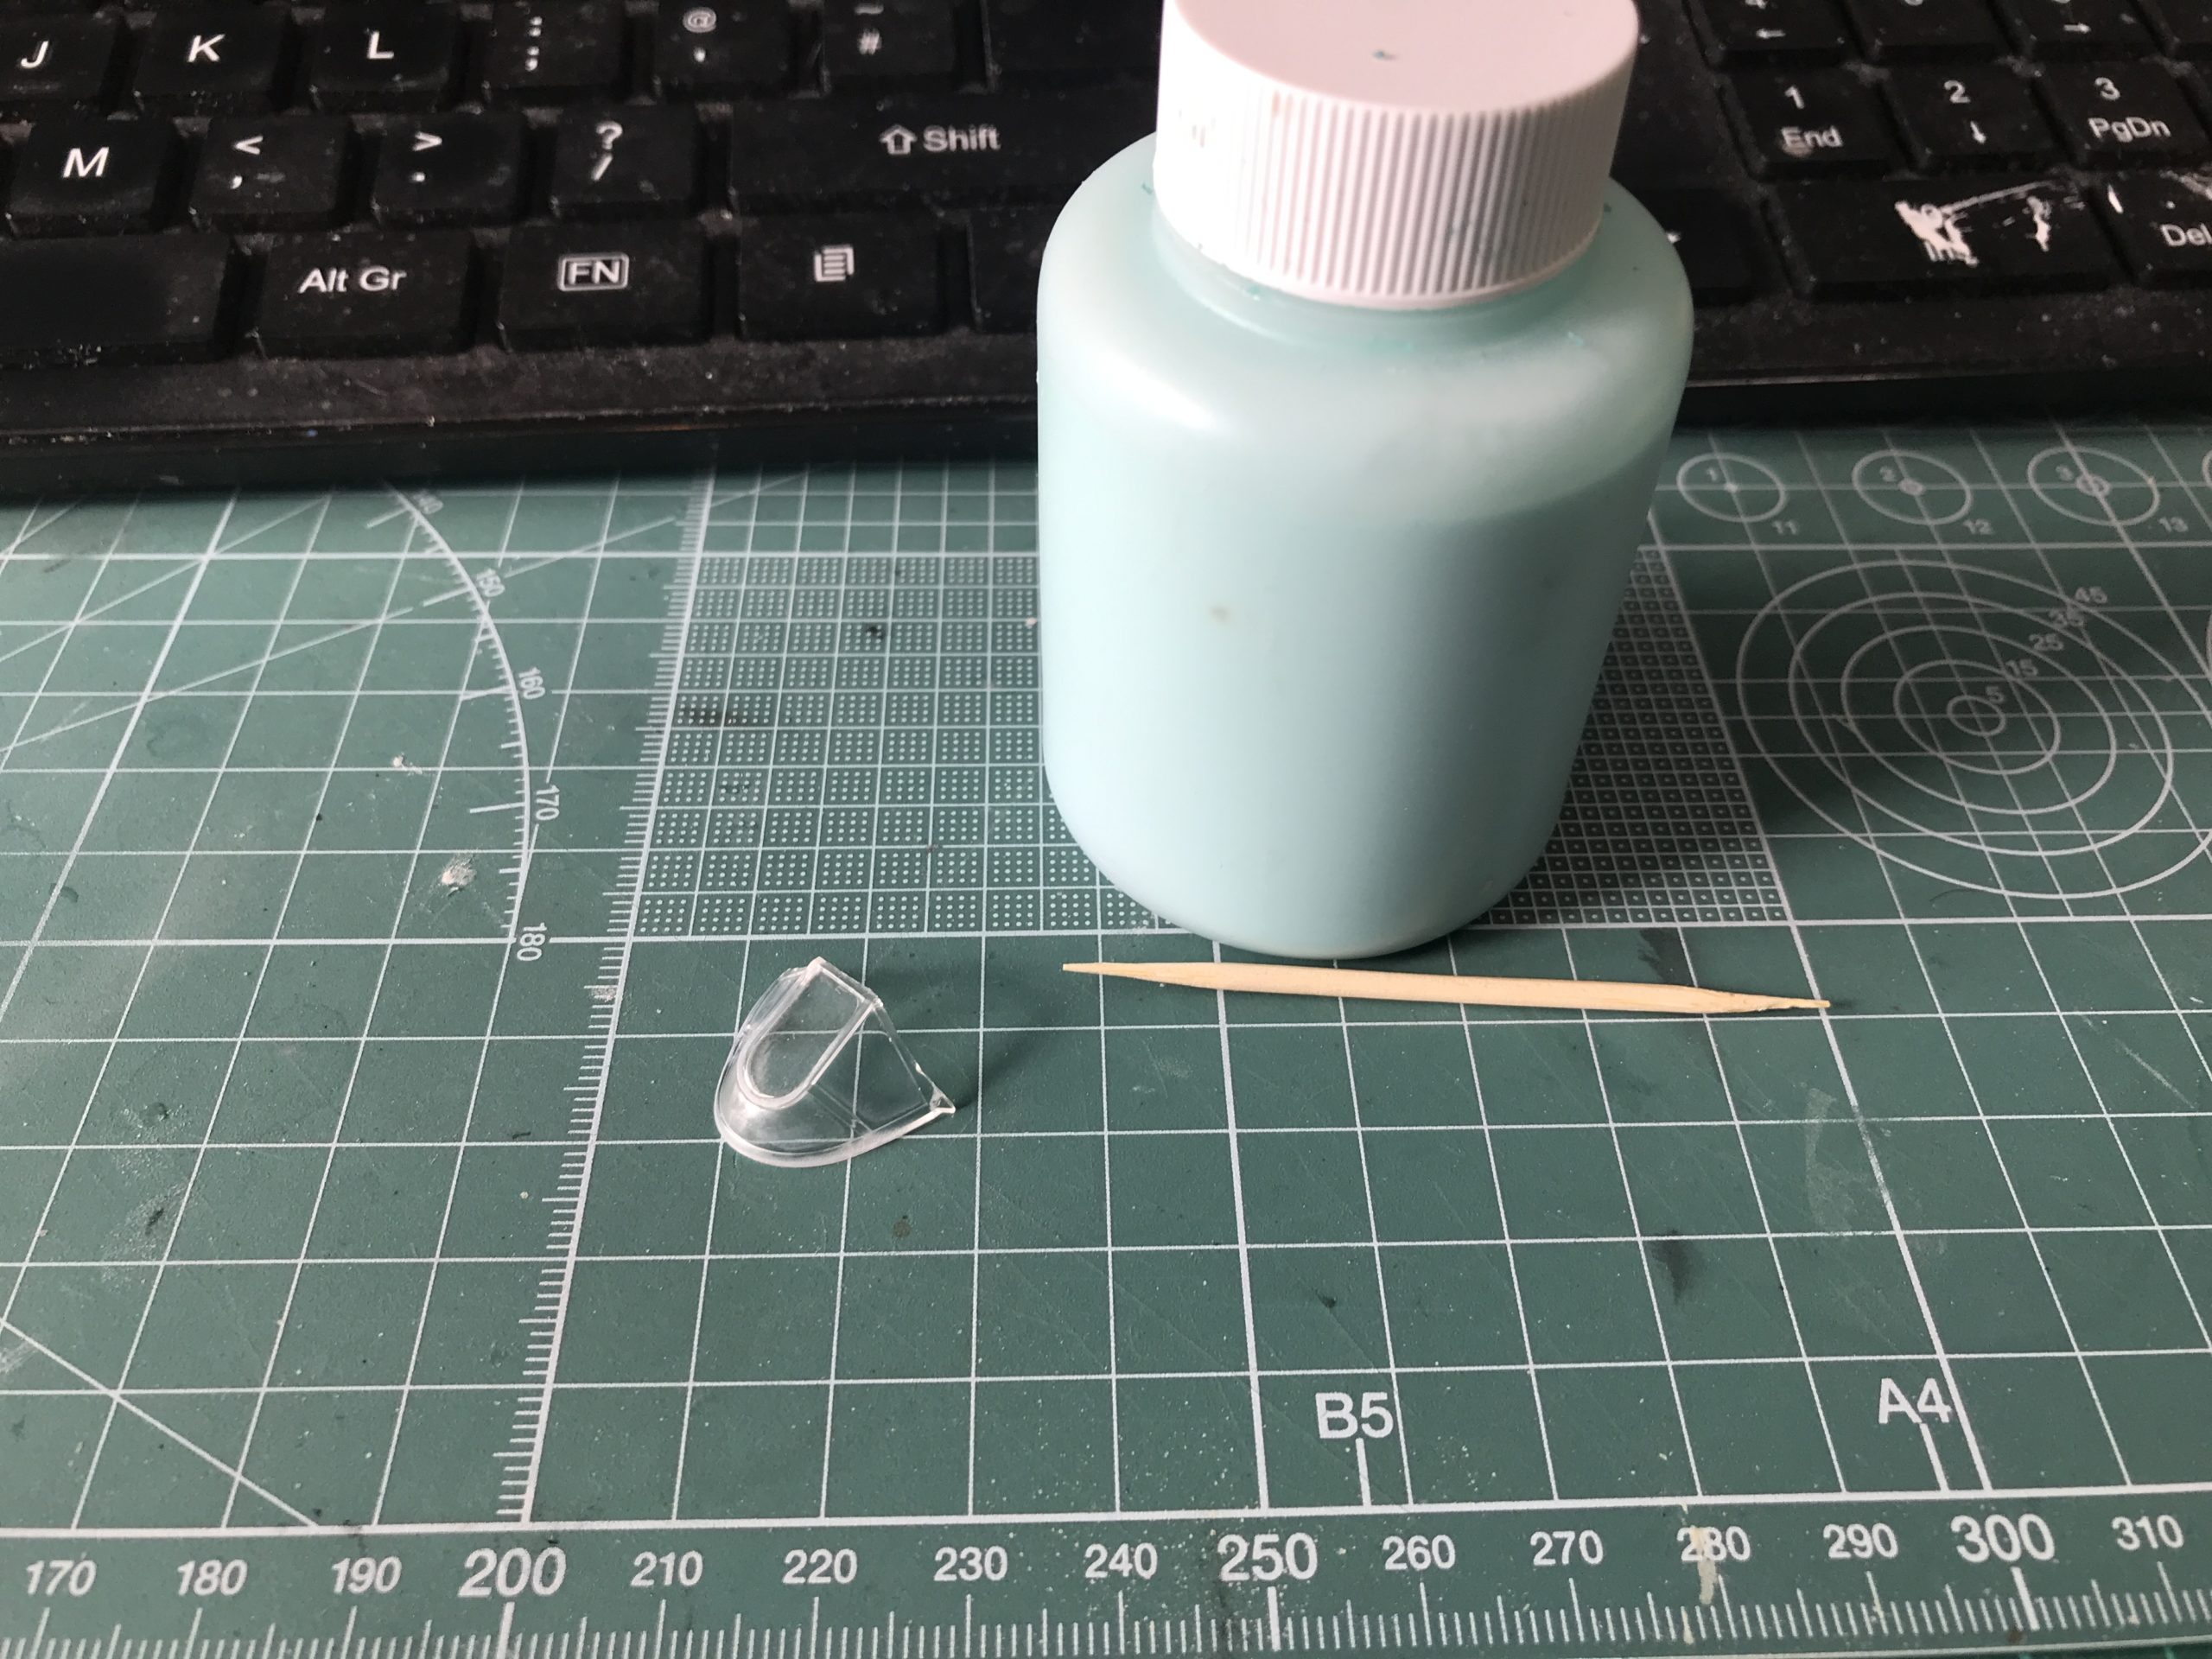
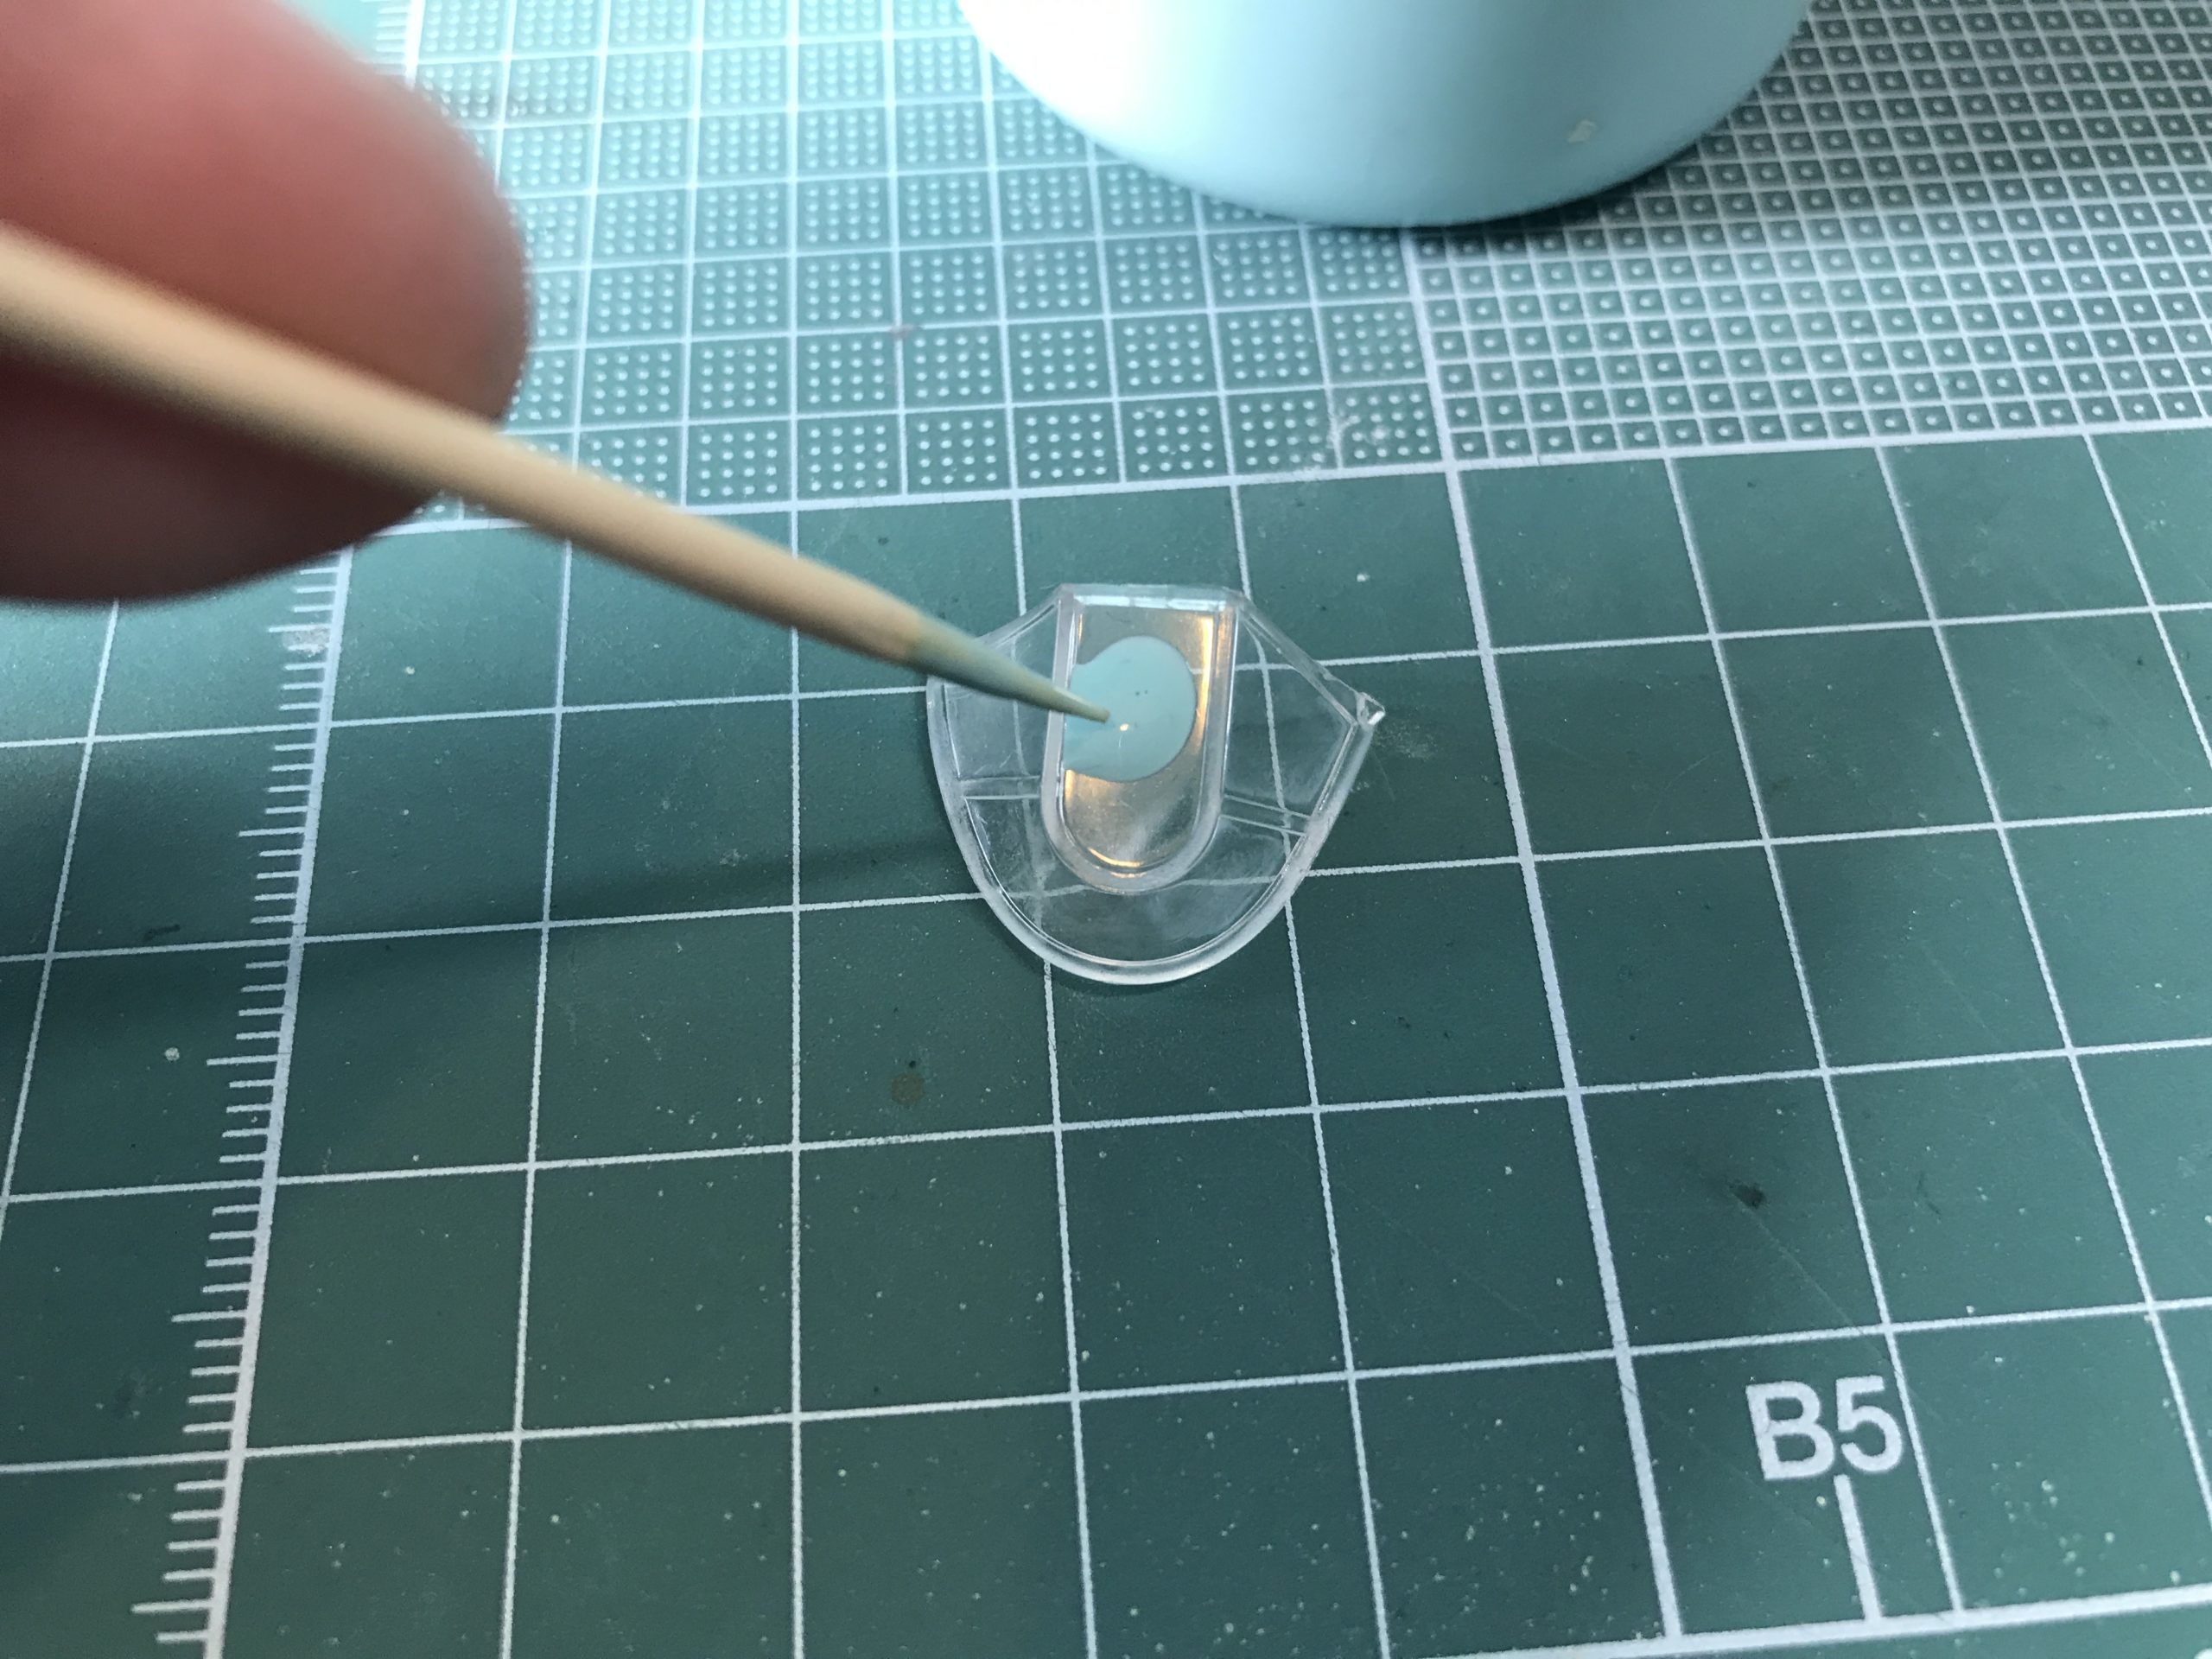
A third way of canopy masking is using masking fluid, This is normally only suitable for larger parts where the canopy frame is well defined.
I have to say I am not a massive fan of this method and I don’t think it gives as neat a finish as the masking tape, although it can be very useful on radiuses!

You can also use base metal foil for masking too. I have never used this method as the foil is expensive and I don’t want to waste it.
For the perfectionists
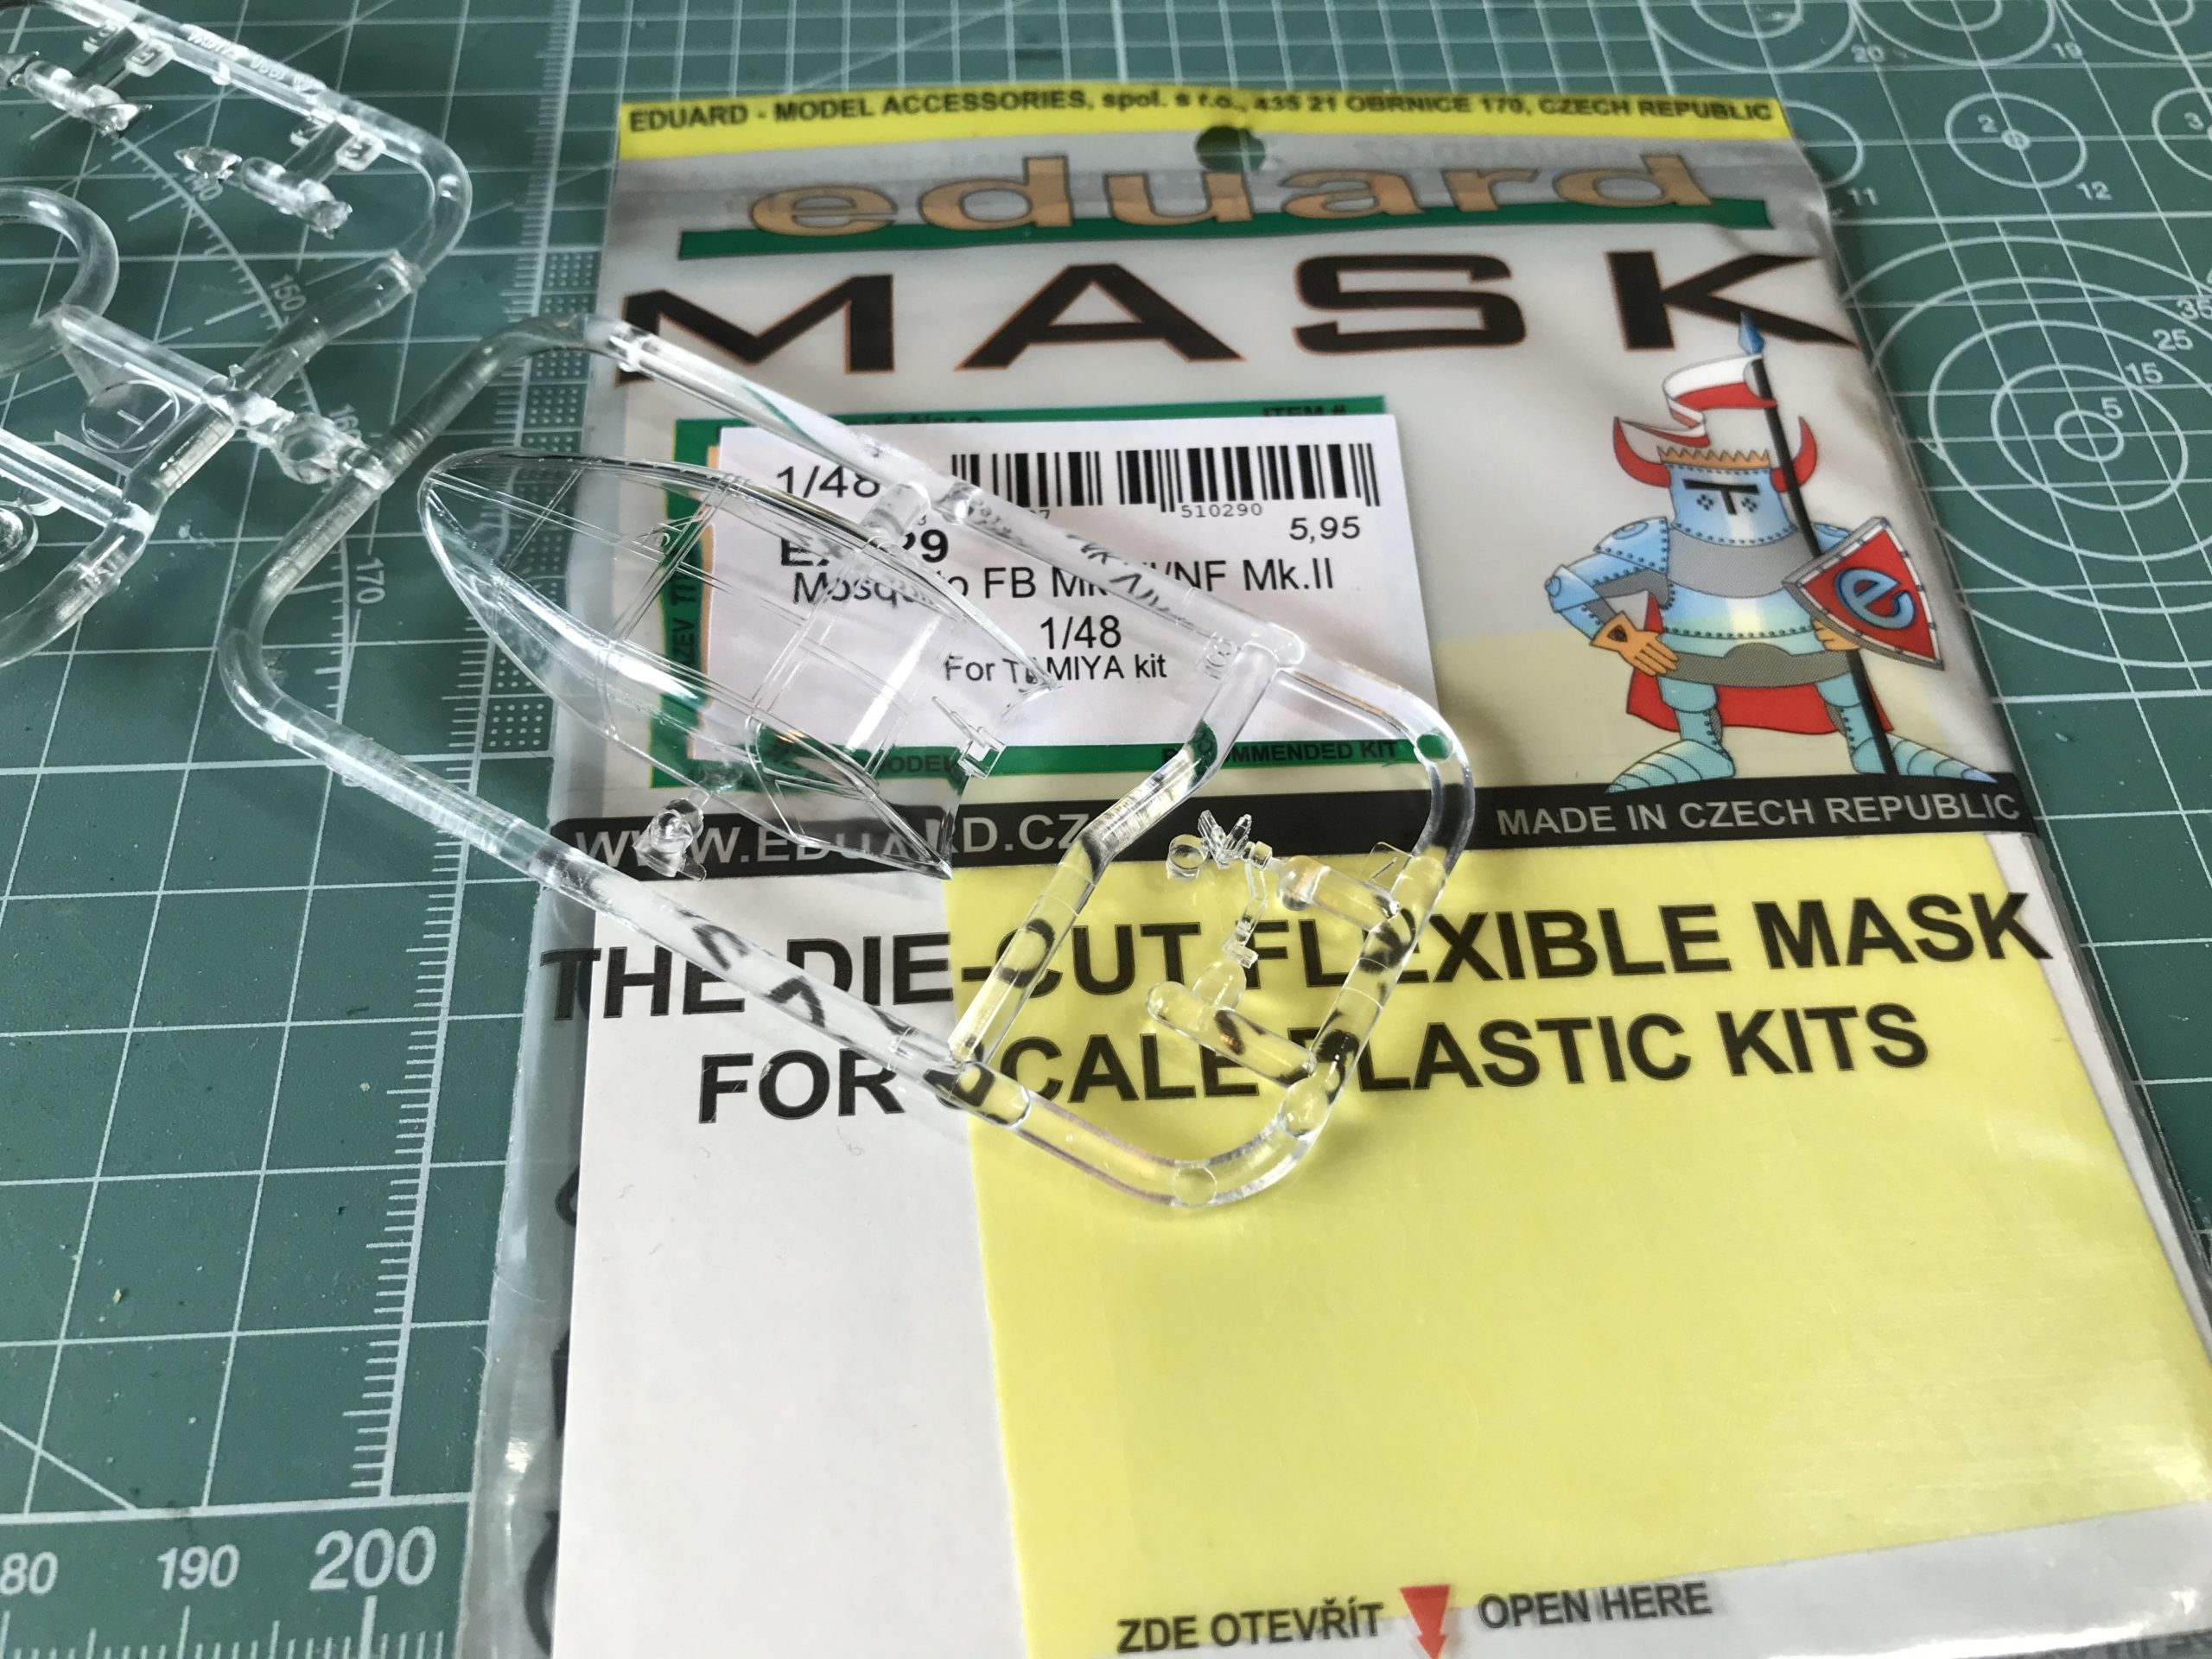
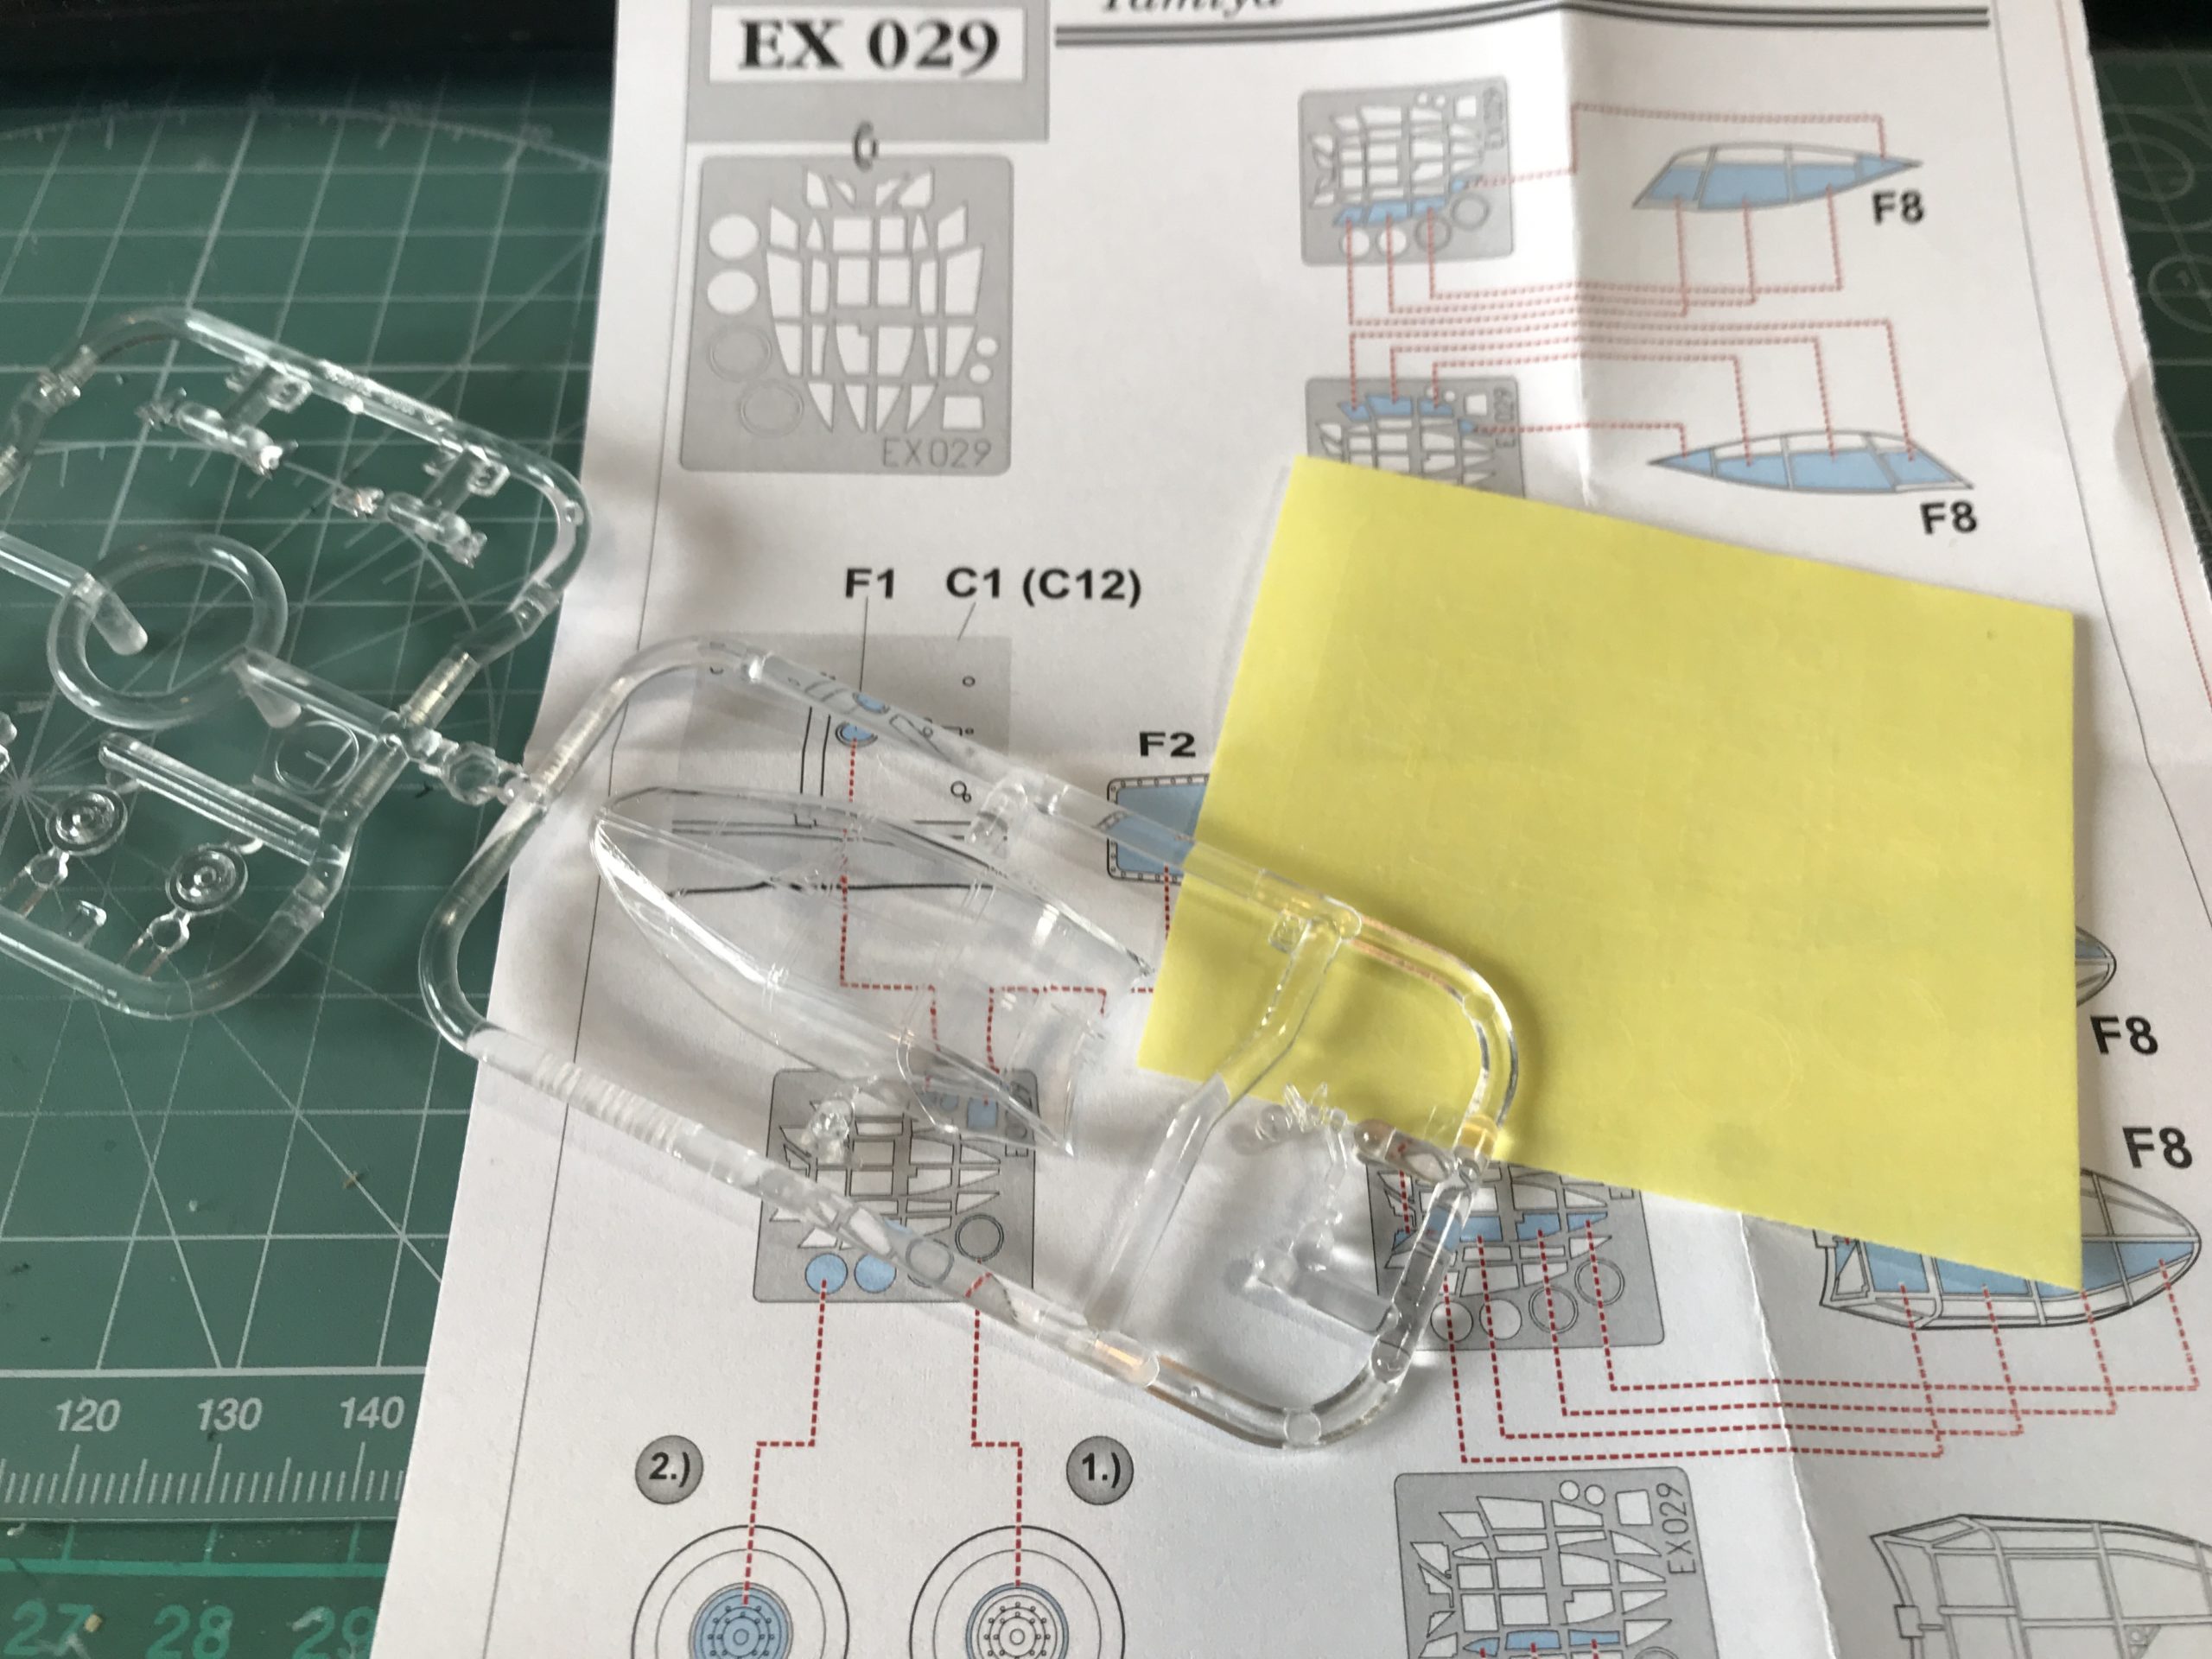
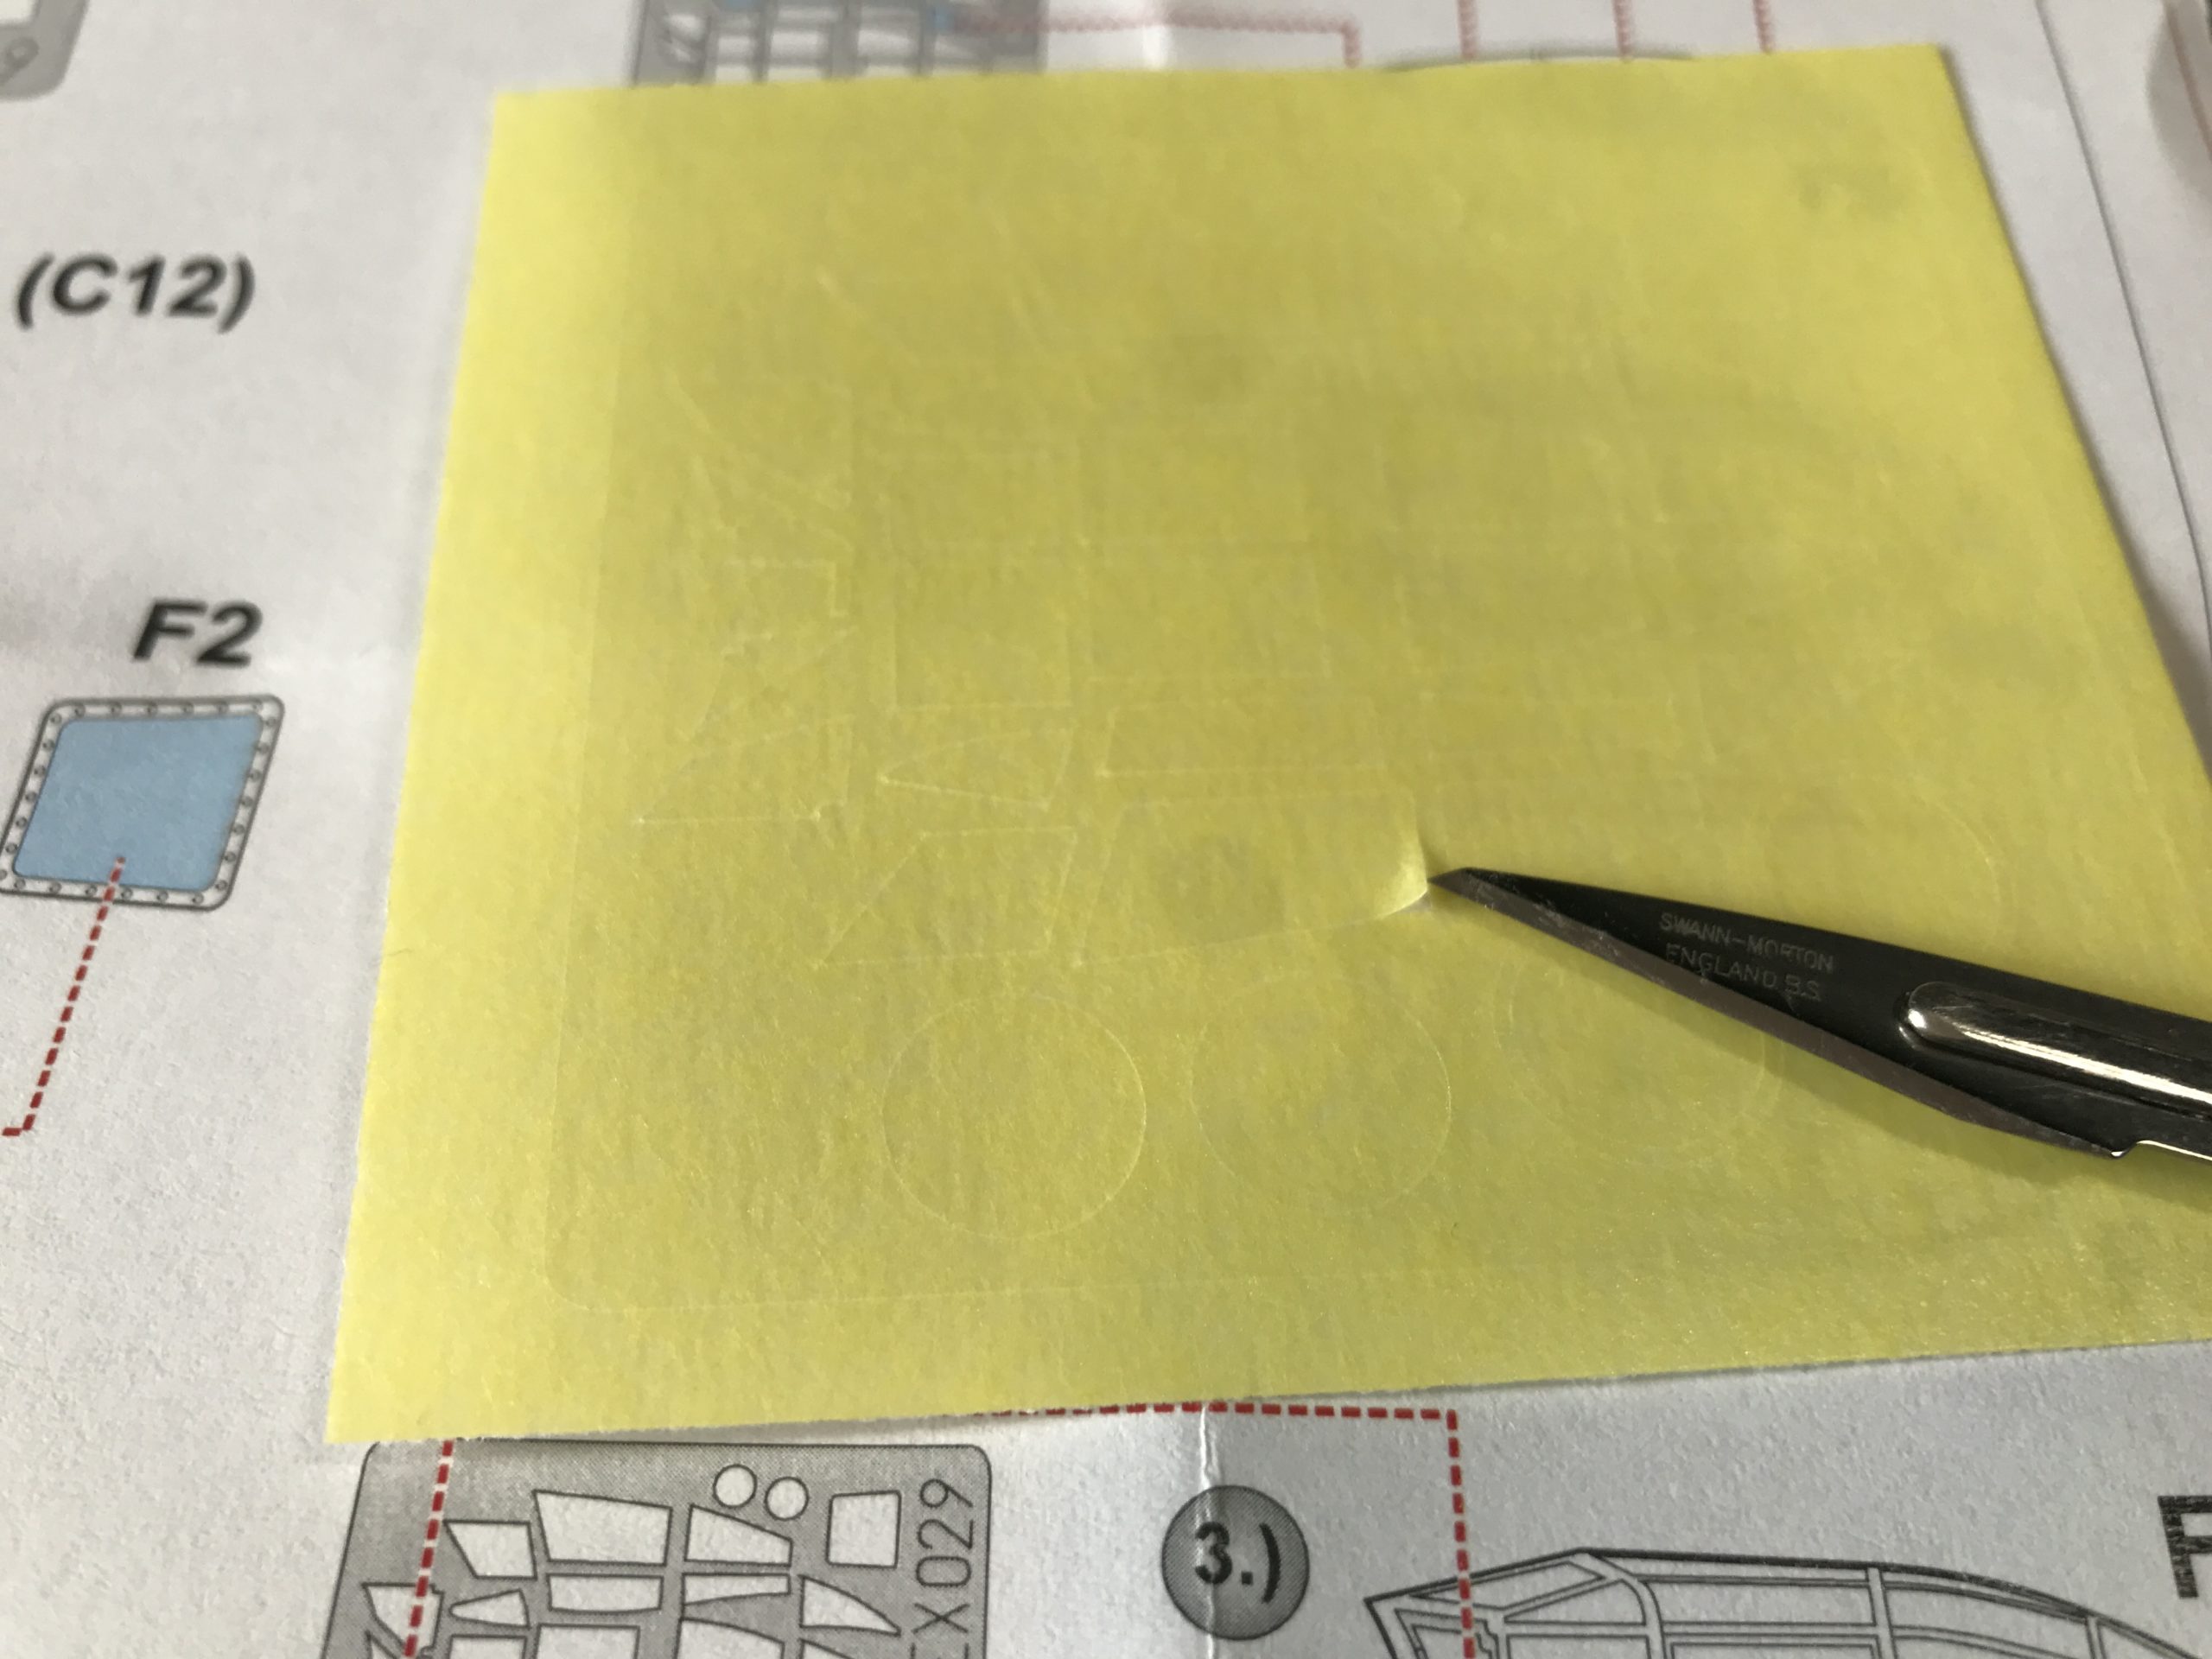
Ultimately the easiest and most accurate way to mask a canopy is to use a die-cut masking set from someone like the good people at eduard. eduard supply a pre-cut masking set available for various canopies, they come with clear and easy to follow instructions.
As a side note eduards Profipack kits come with a set of masks and Tamiya kits sometimes do too, but you have to cut them out yourself.
Its not all about Canopies
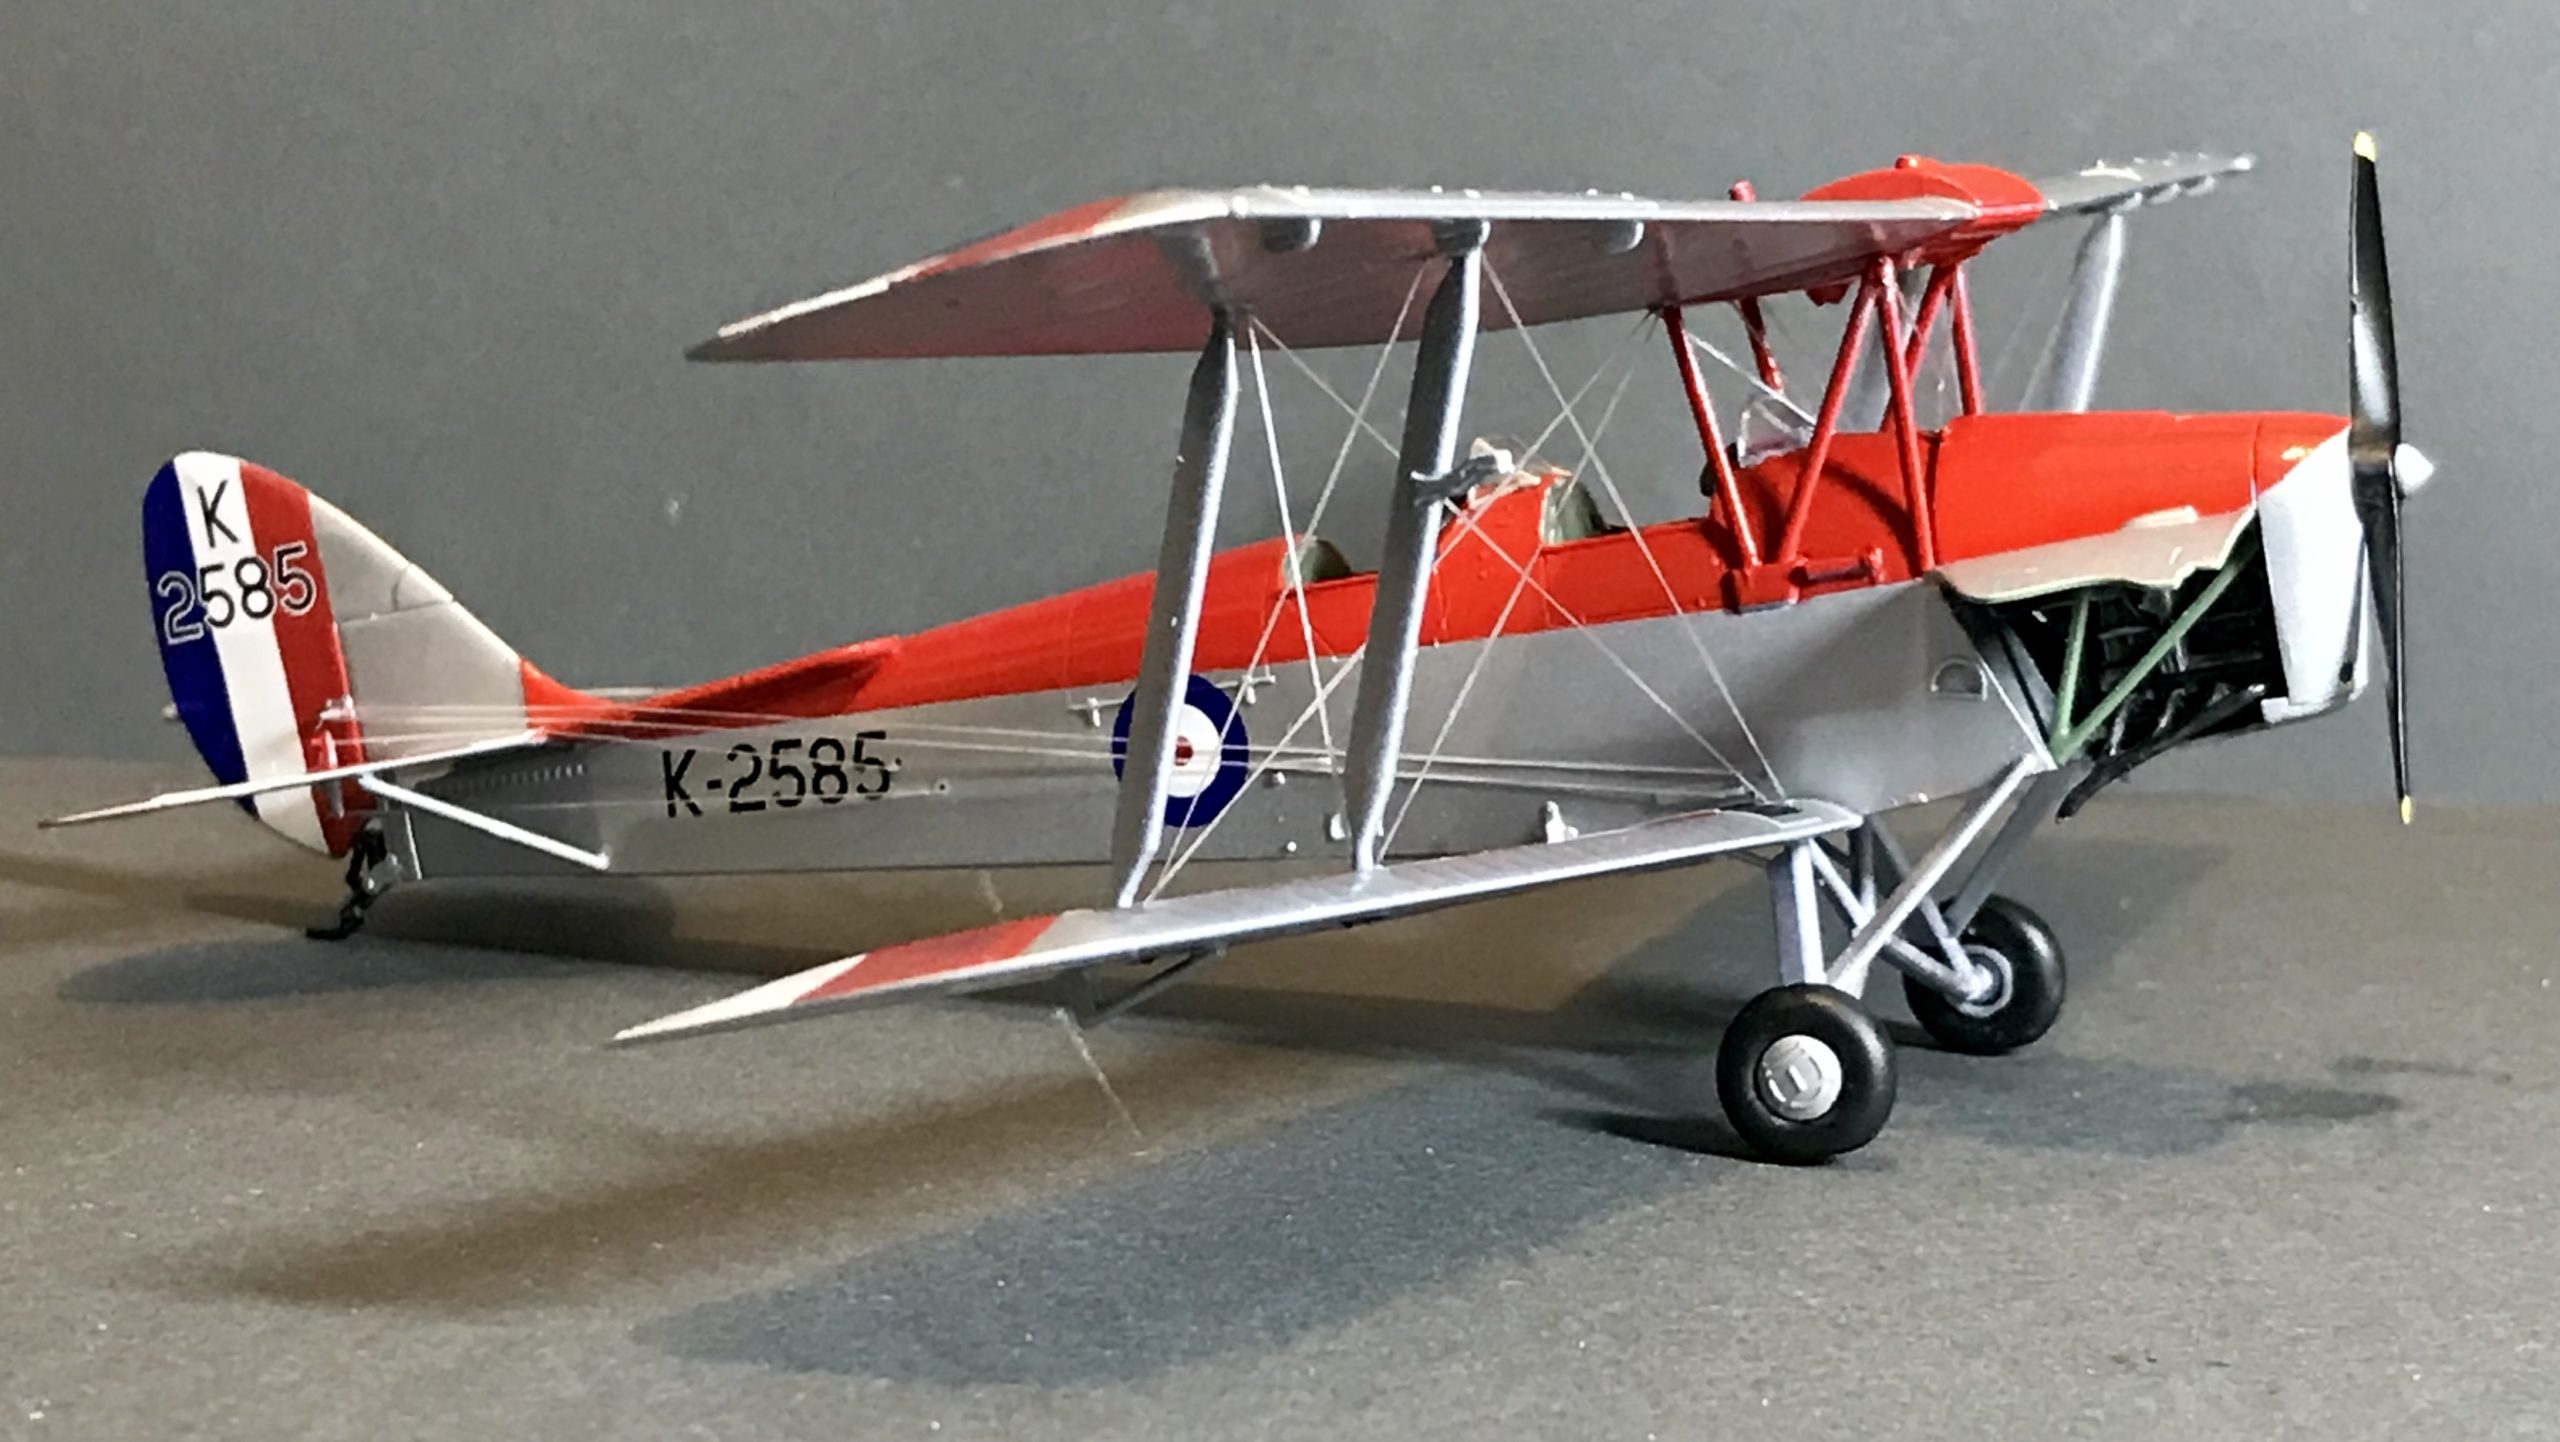
Canopies aren’t the only thing you will need to mask, you will also need to think about masking for more complicated paint jobs. Take a look at what I did with this Airfix 1/48 Tiger Moth – you can apply these same methods to nearly any kit you paint.
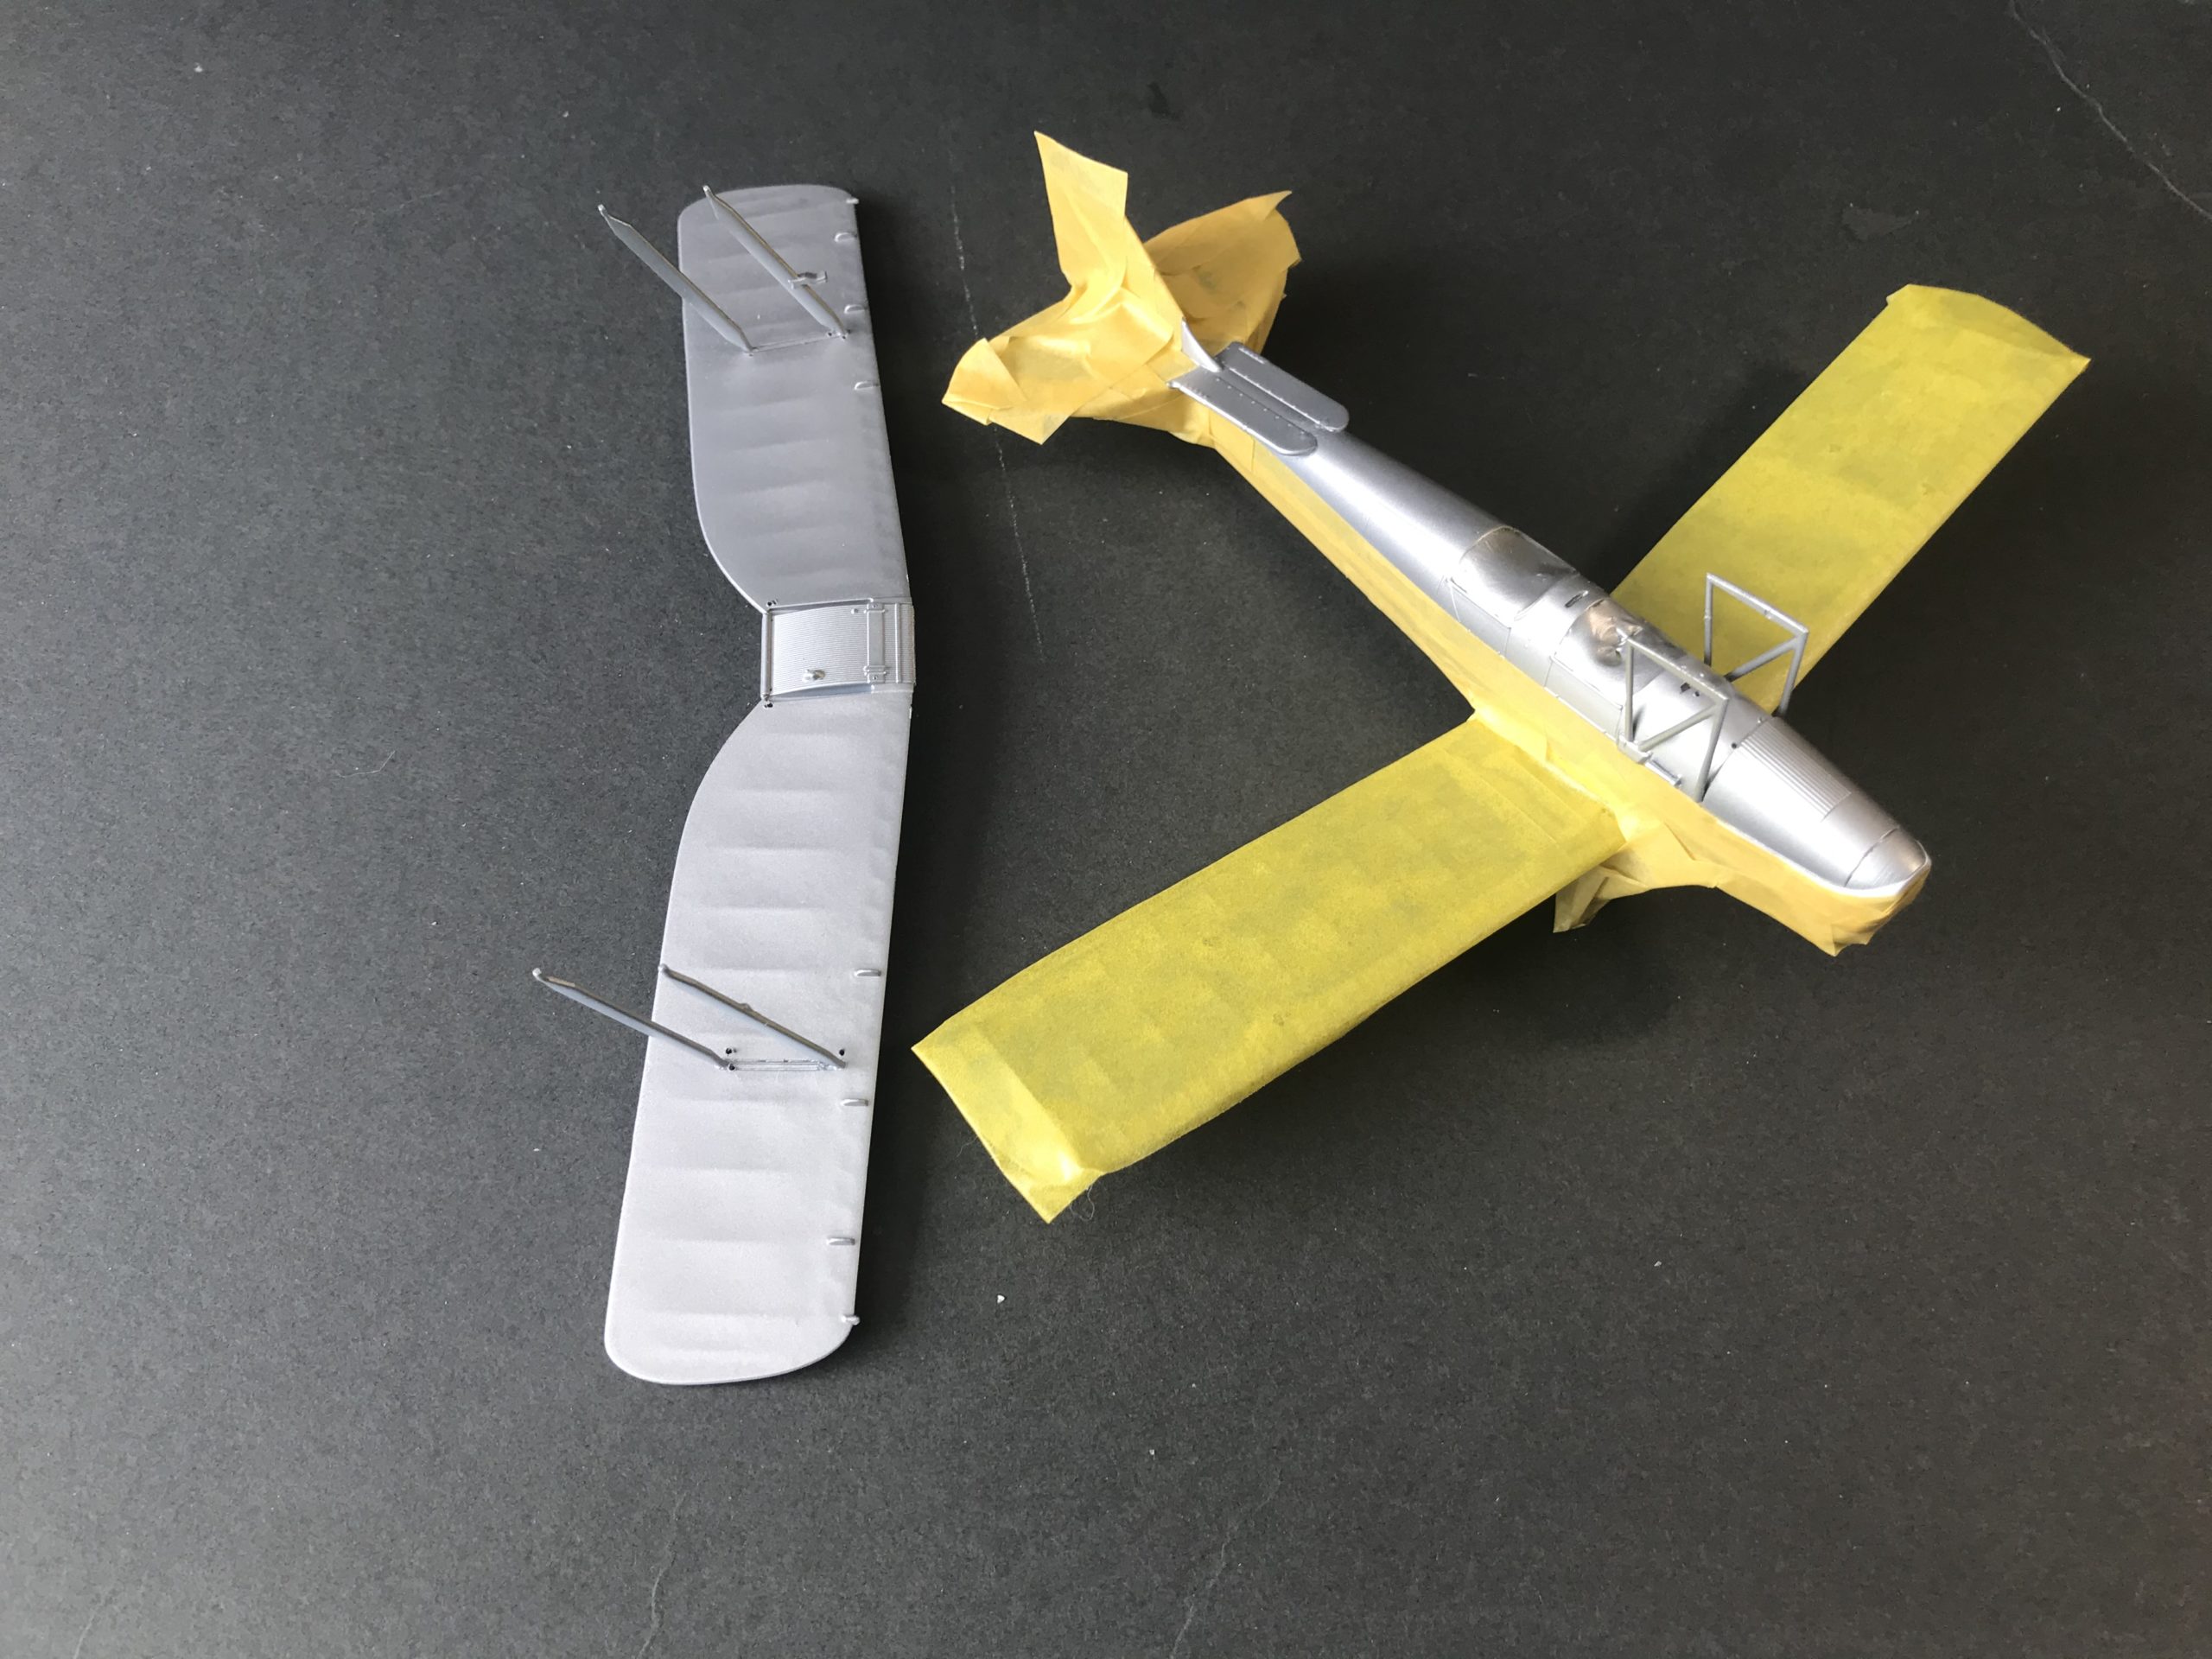
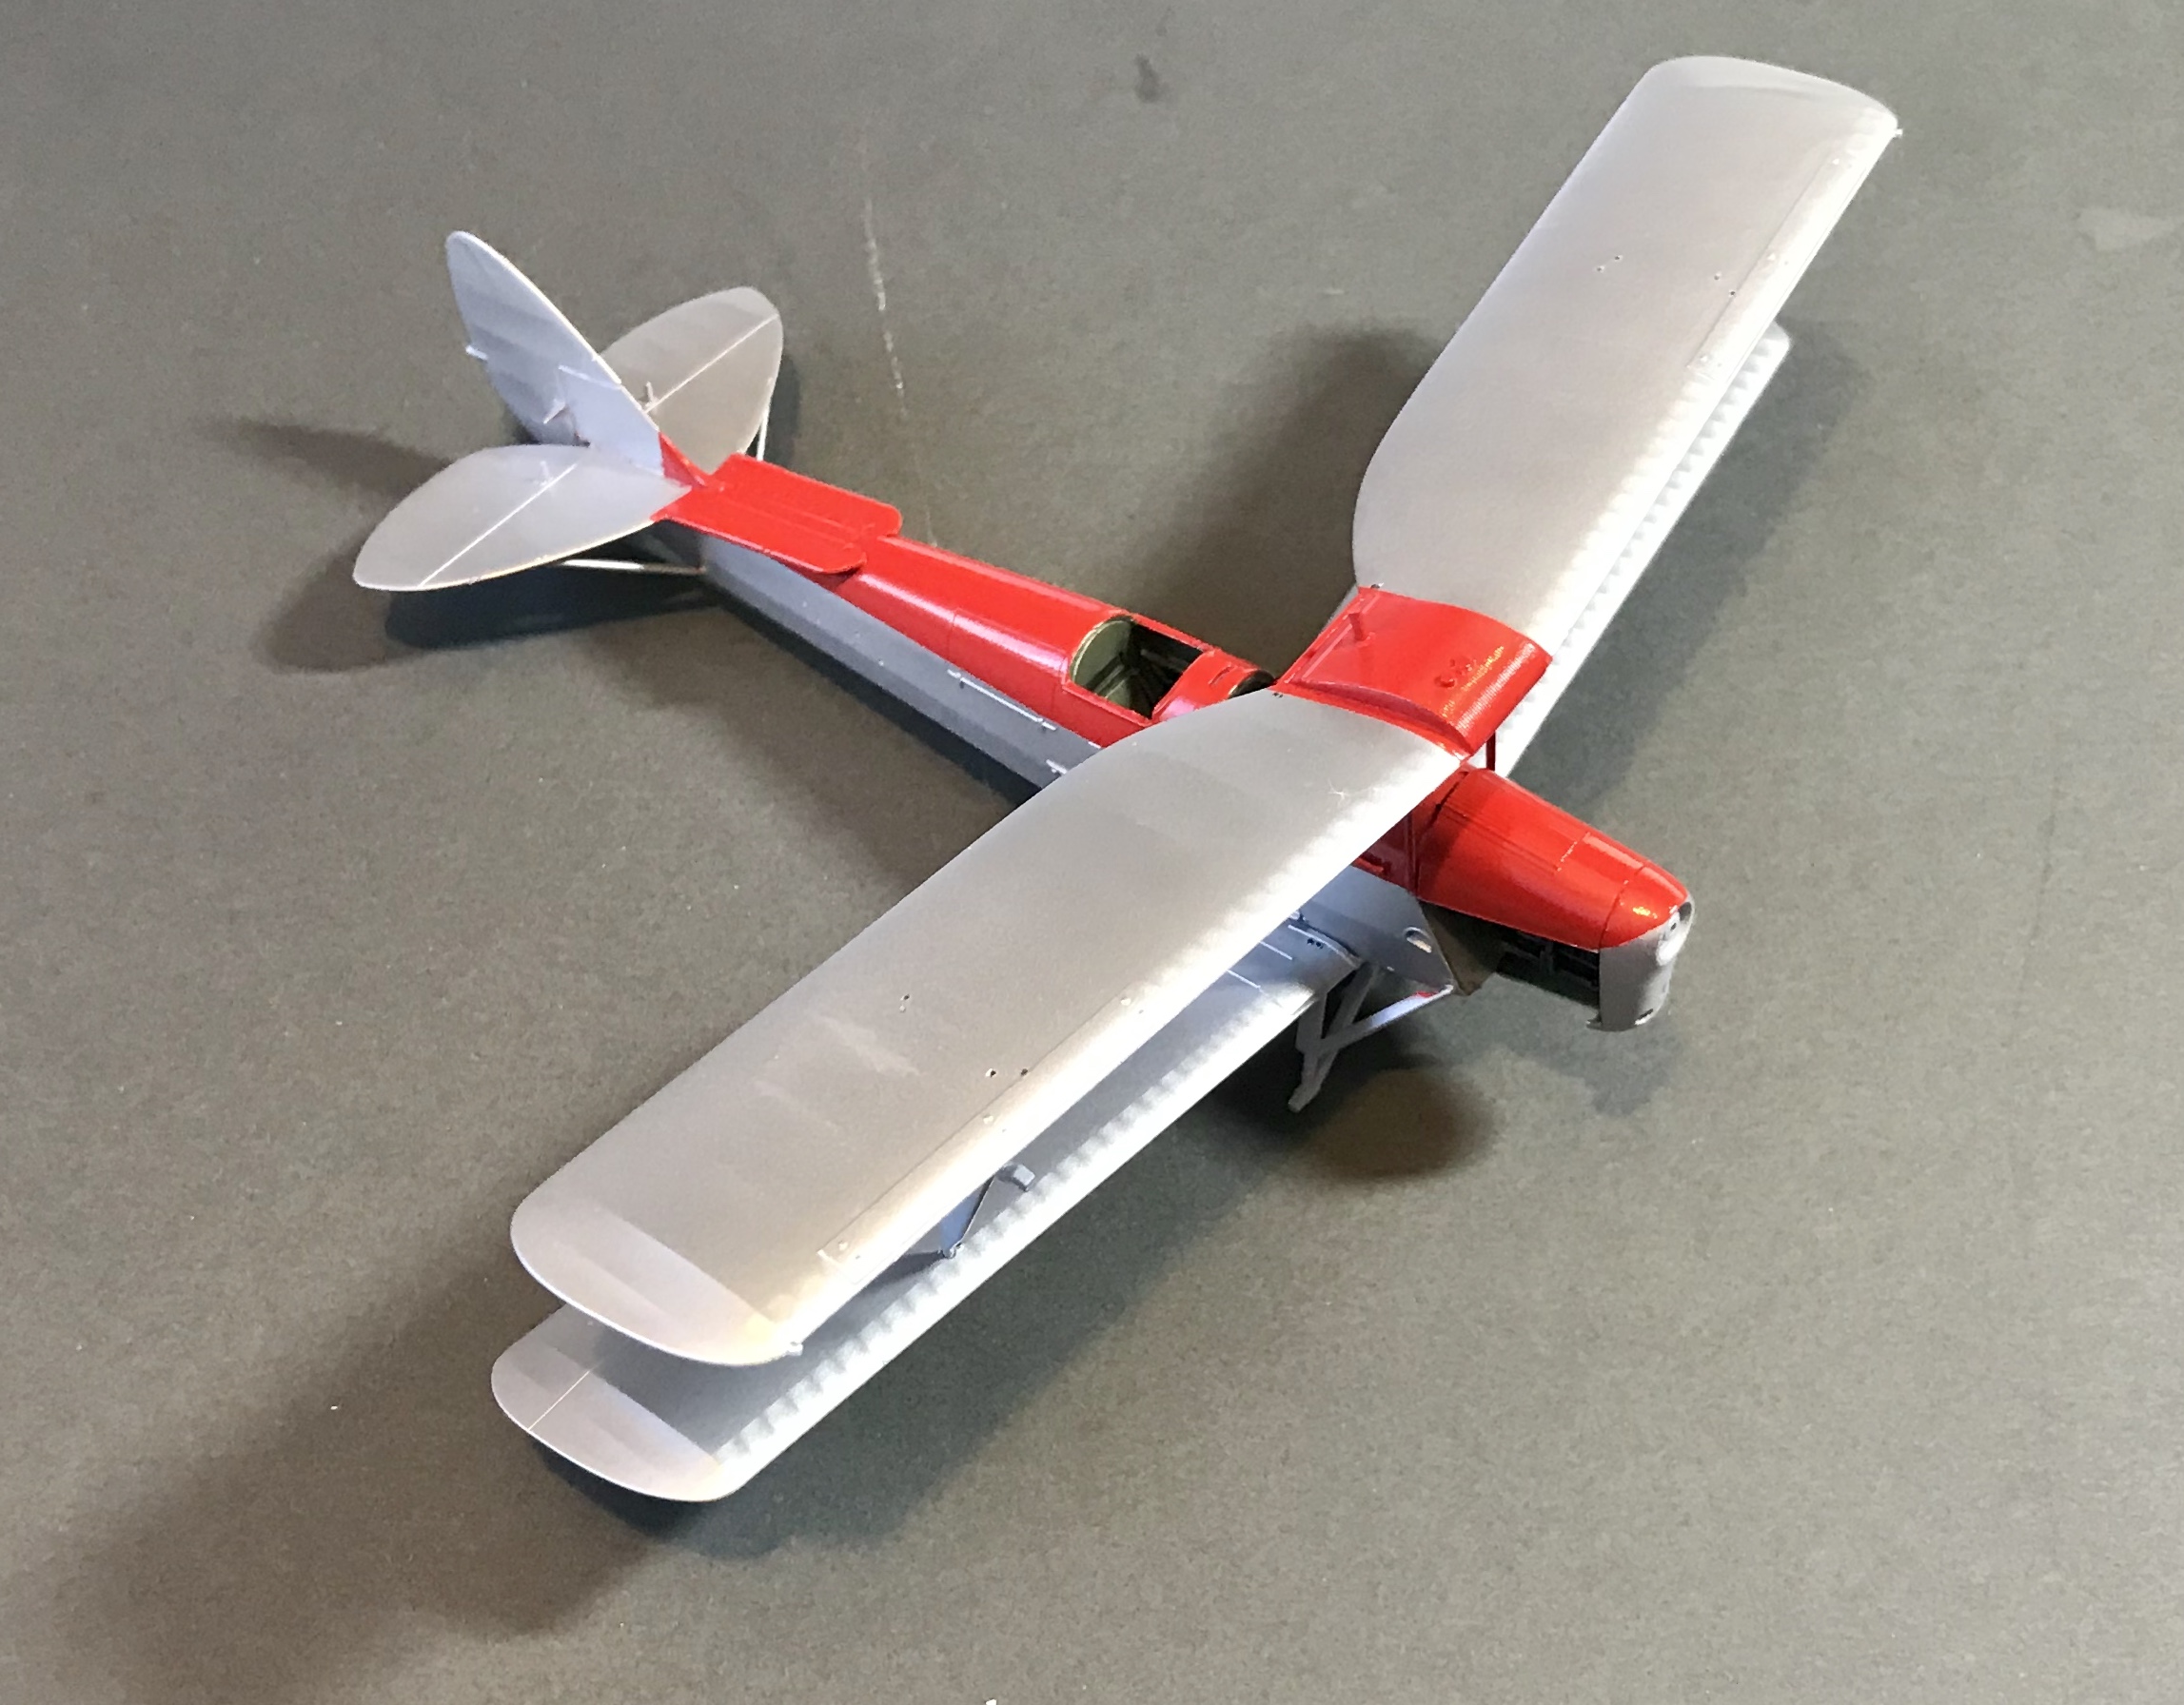
Whilst masking tape is sufficient for most masking tasks – sometimes you need something a bit more flexible, a good example are cockpits or engine bays – demonstrated again on the Airfix Tiger Moth. For areas like this you can get away with covering/filling the areas with Blu-tack or silly putty.
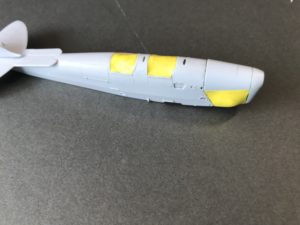
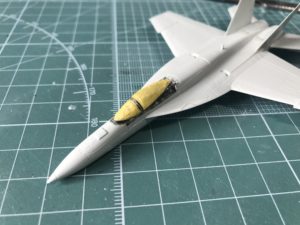
If these areas are relatively shallow you can also use masking fluid as shown on this Revell 1/144 scale FA-18E super hornet.
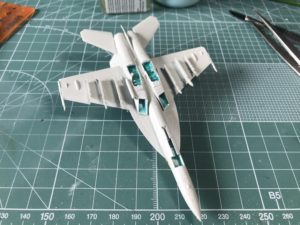
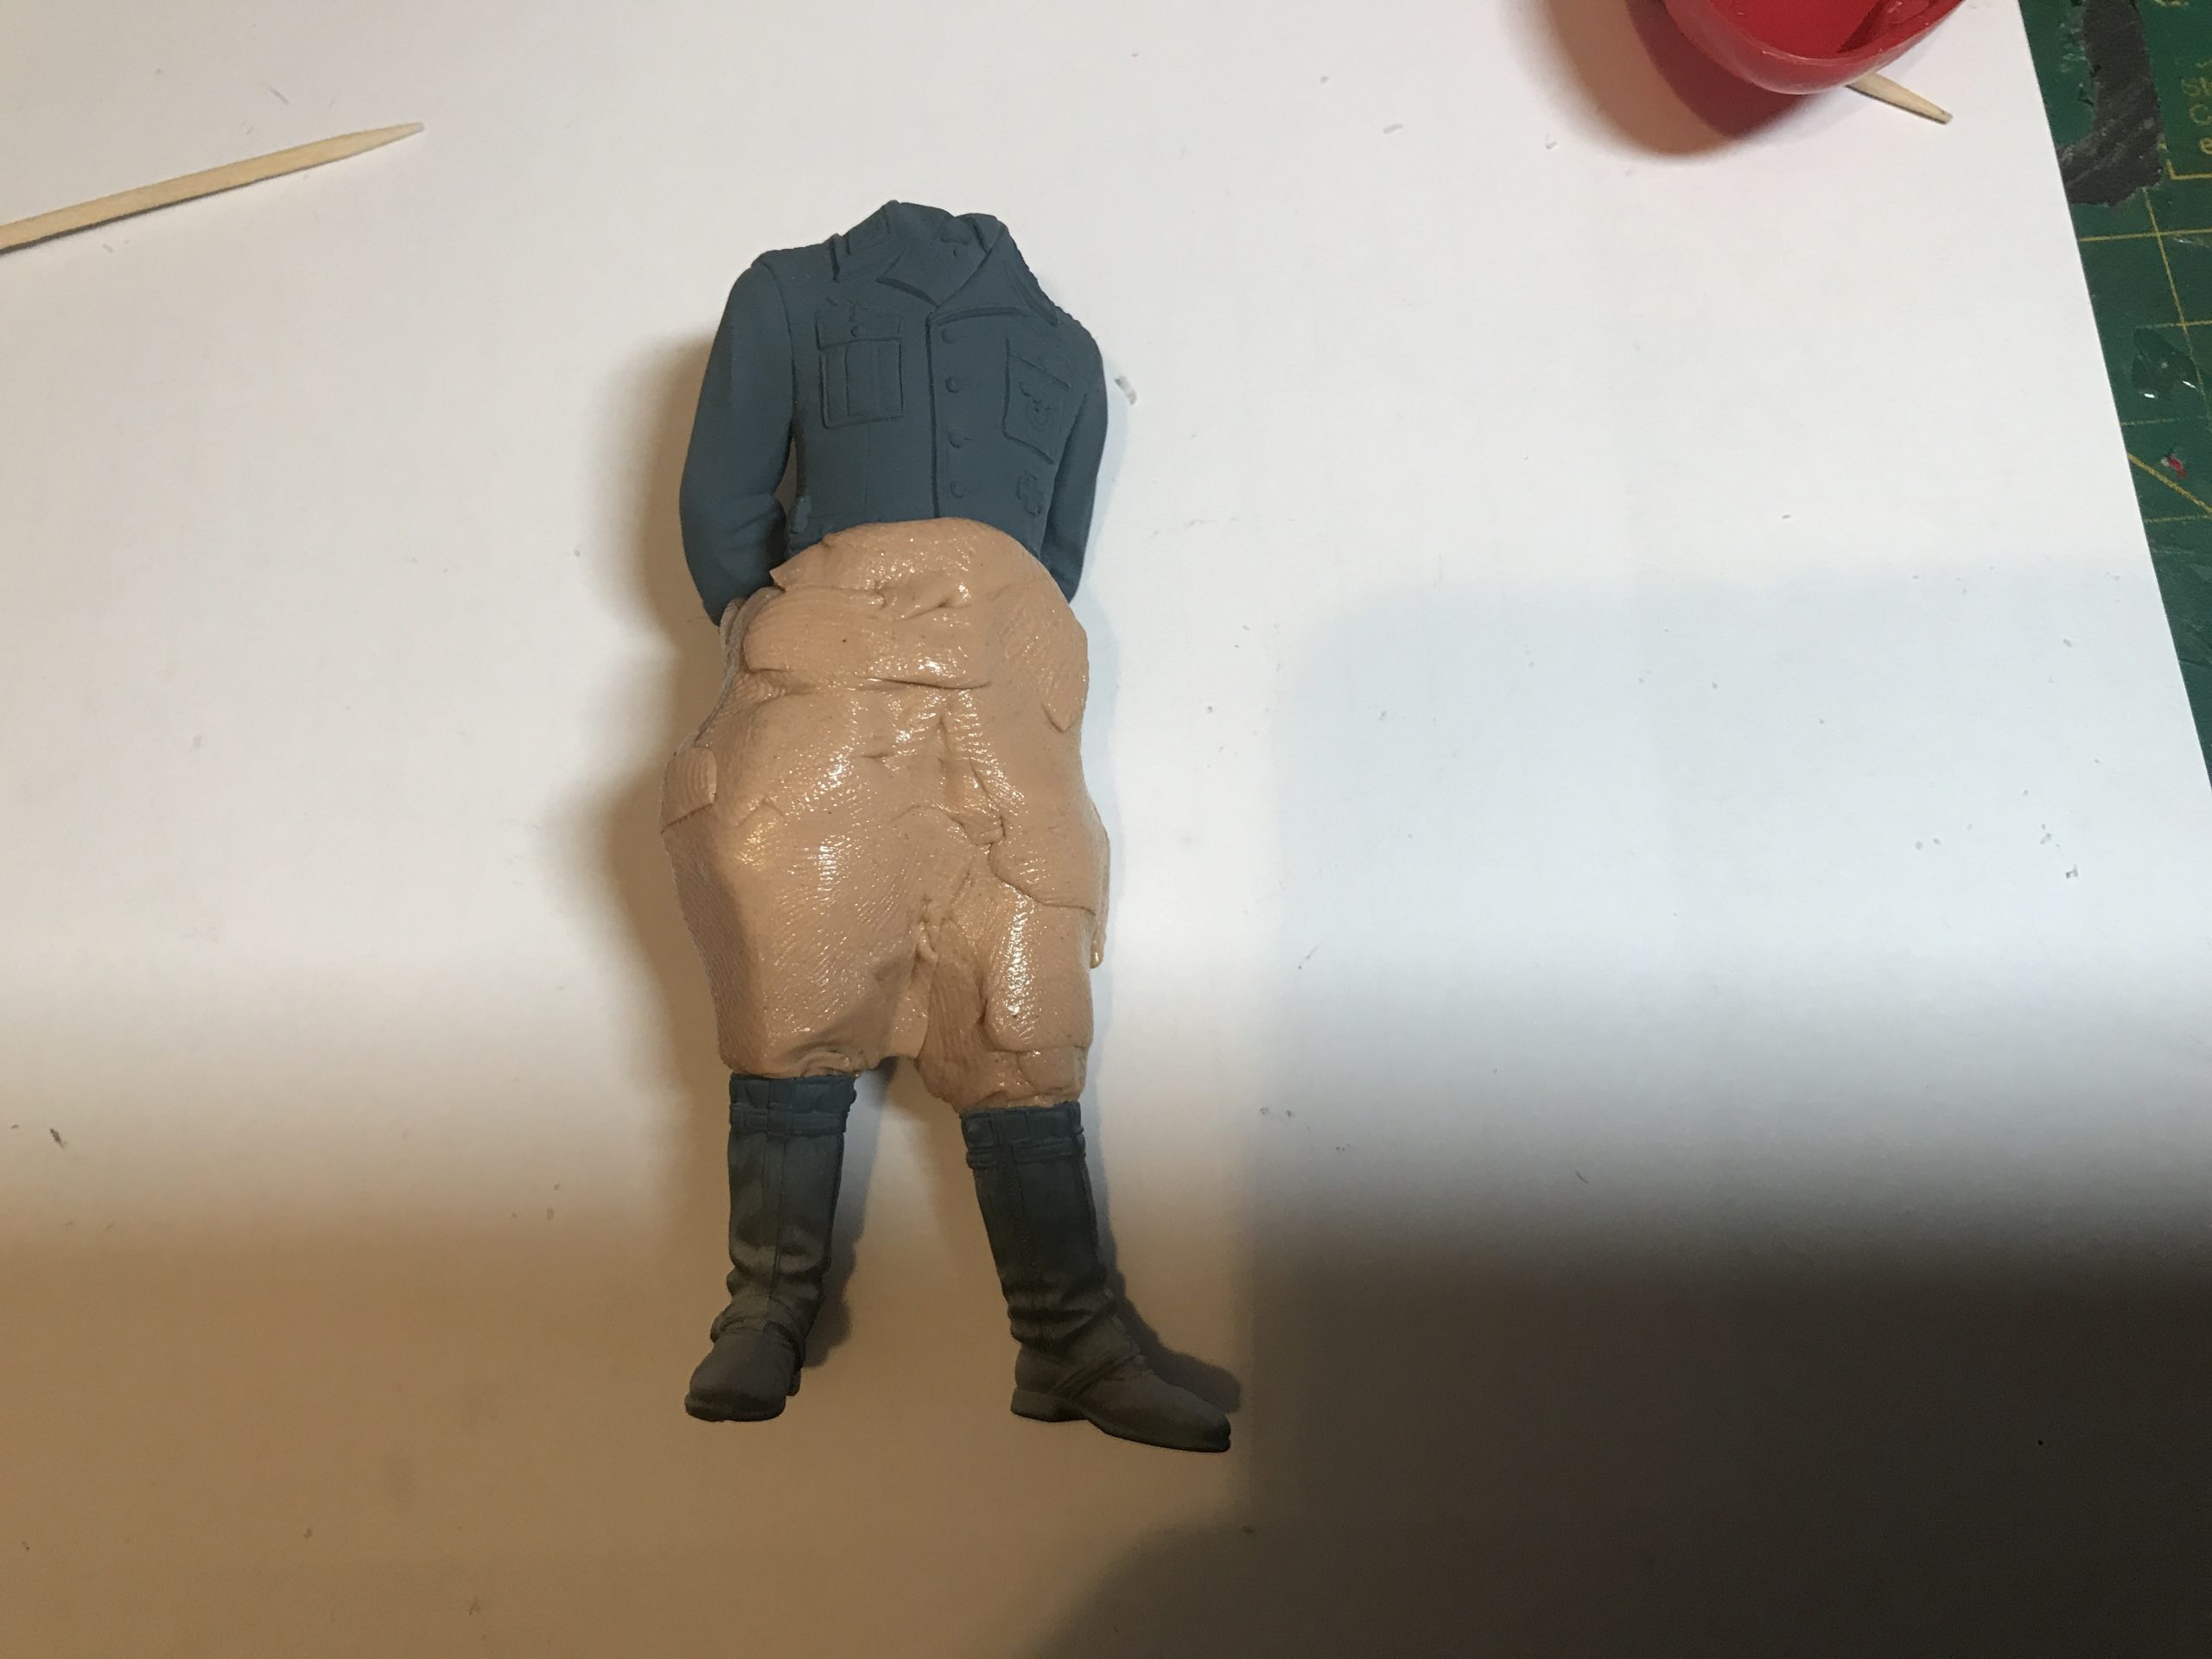
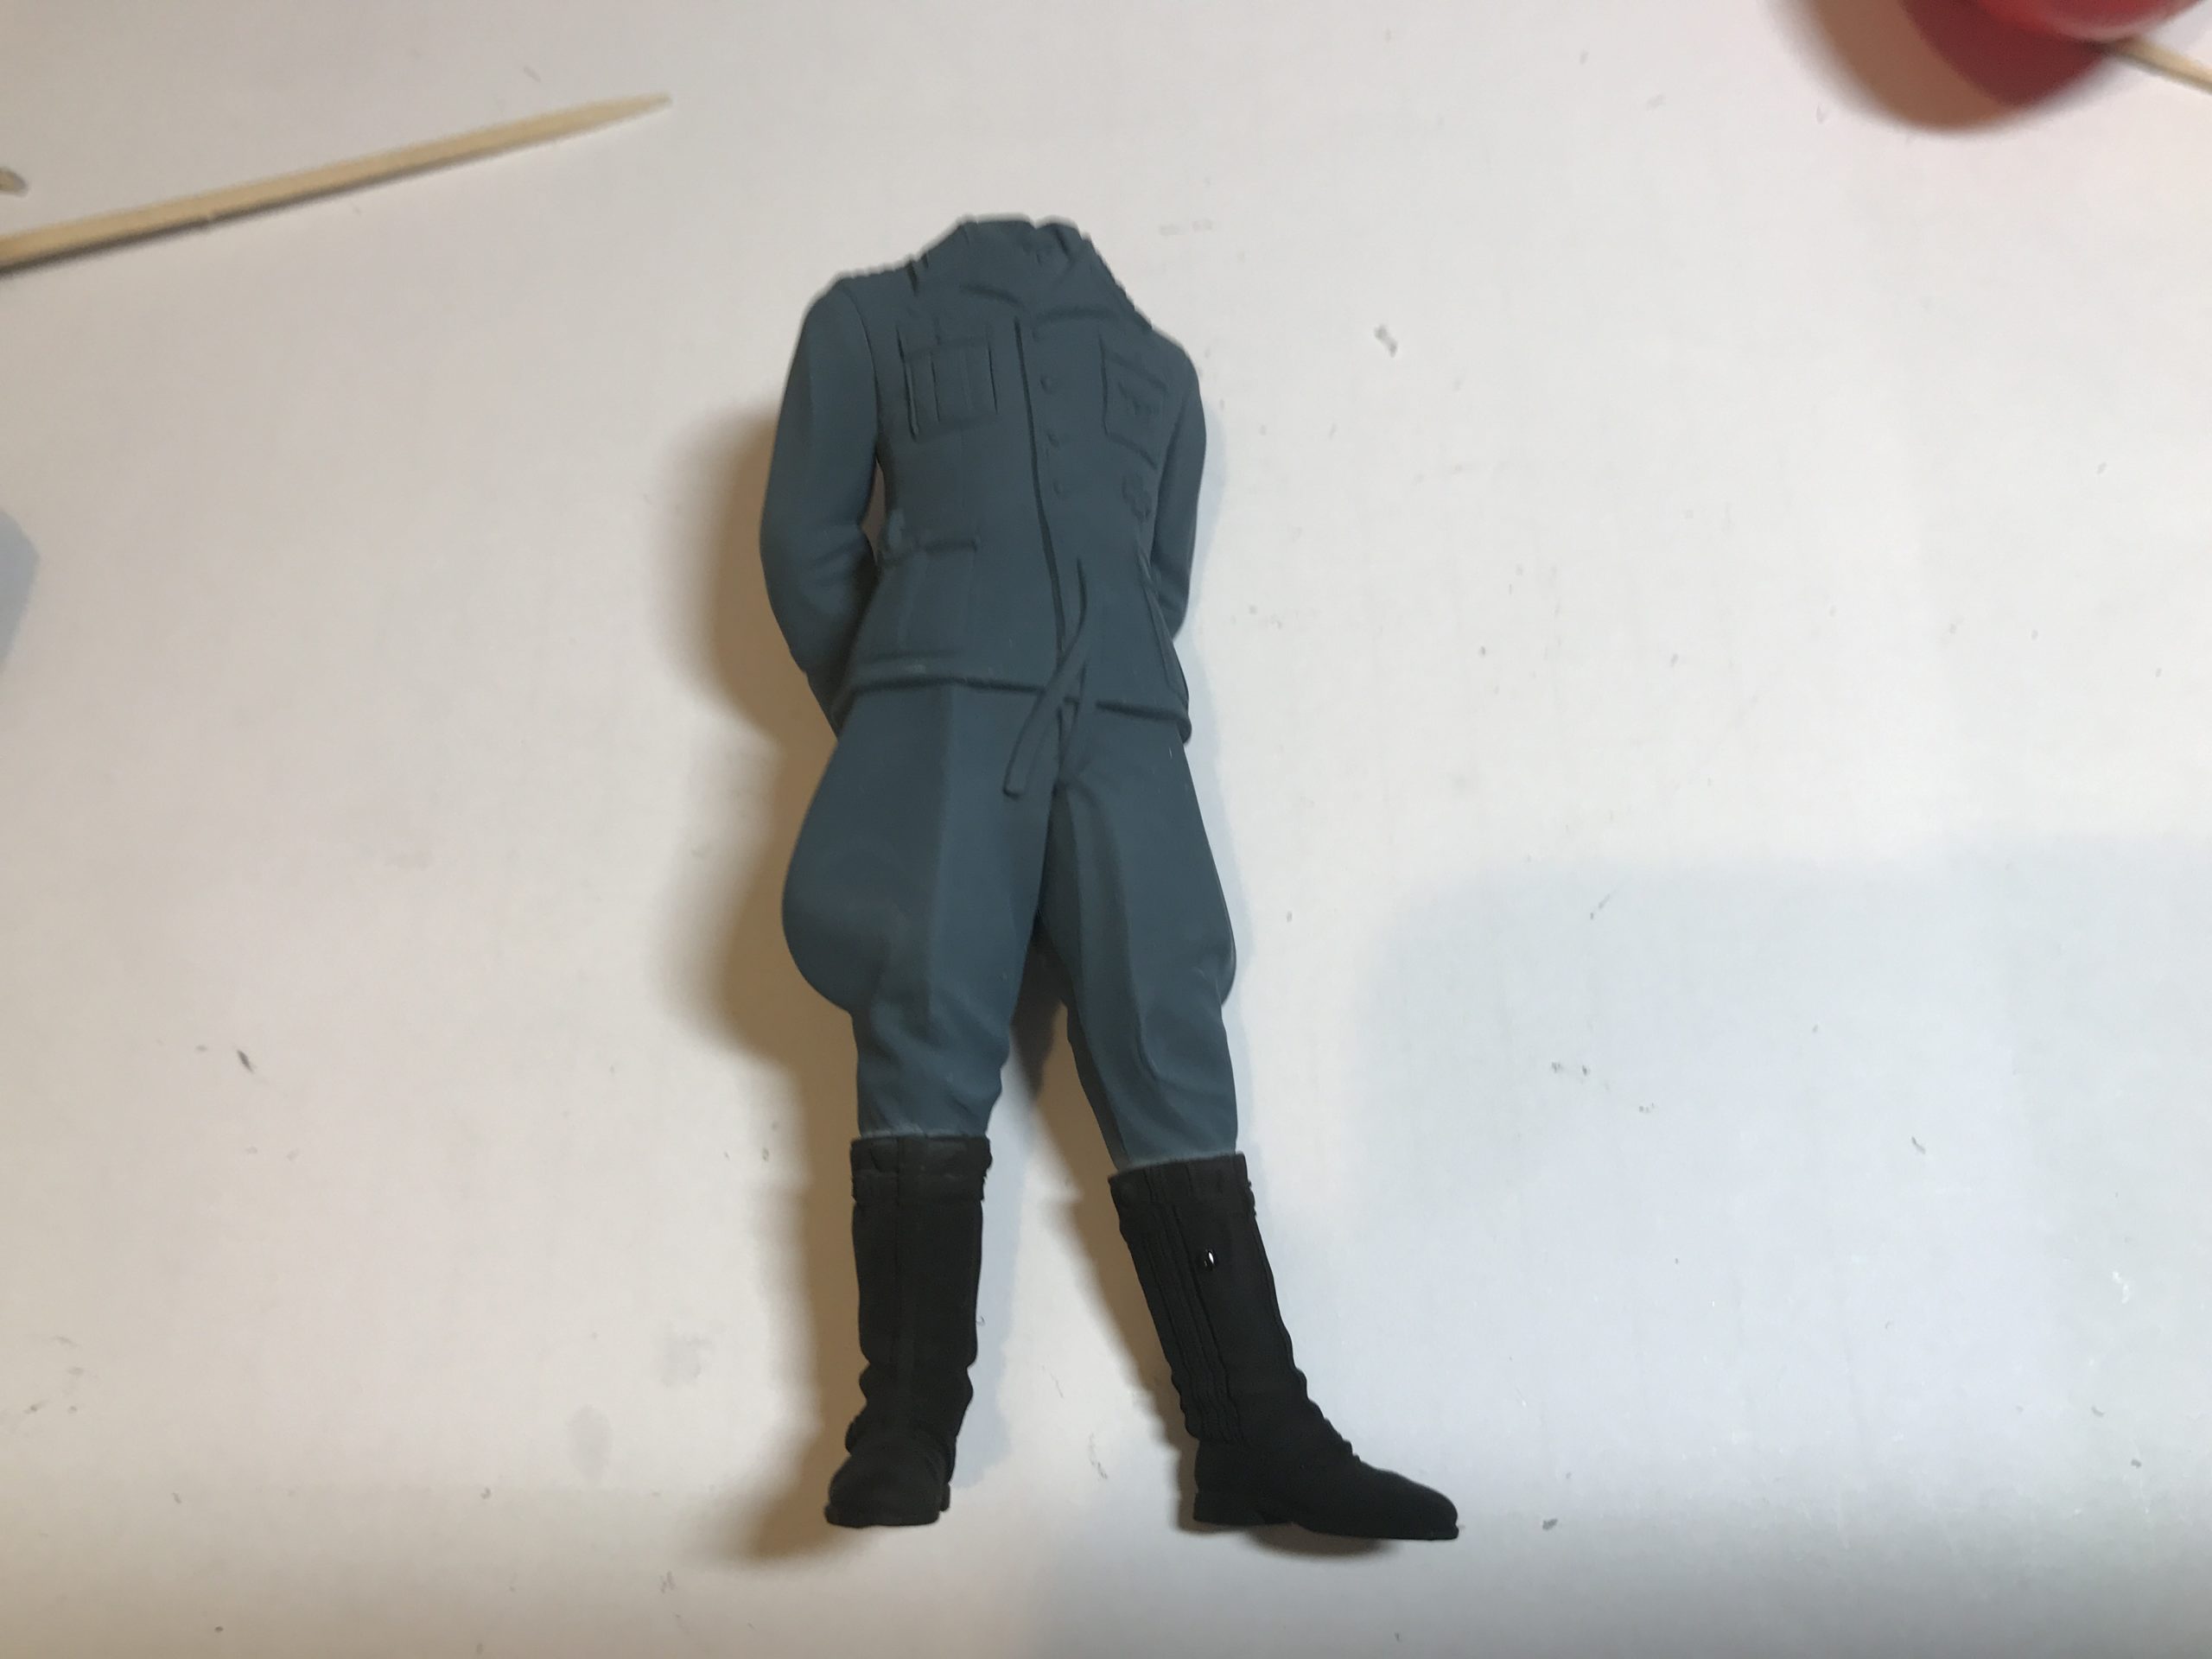
Figure this out..
I also “mask” when painting figures. I know that sounds a bit odd, but airbrushing the main colours and using silly putty to mask areas you don’t want to paint help give a great sharp and clean finish.


So to summarise; becoming good at masking is crucial to becoming a great modeller. Take your time in this stage and the results will be obvious. As above there are quite a few ways to approach it, but give them all a go (masking bits are fairly cheap!) and use what works best for you and the kits you build.
Believe it or not I actually look forward to canopy masking these days…..
Painting
The first tip with painting is to take time and care with your first coat.
First and foremost don’t have too much paint on the brush – You want to avoid the paint flowing under the tape.
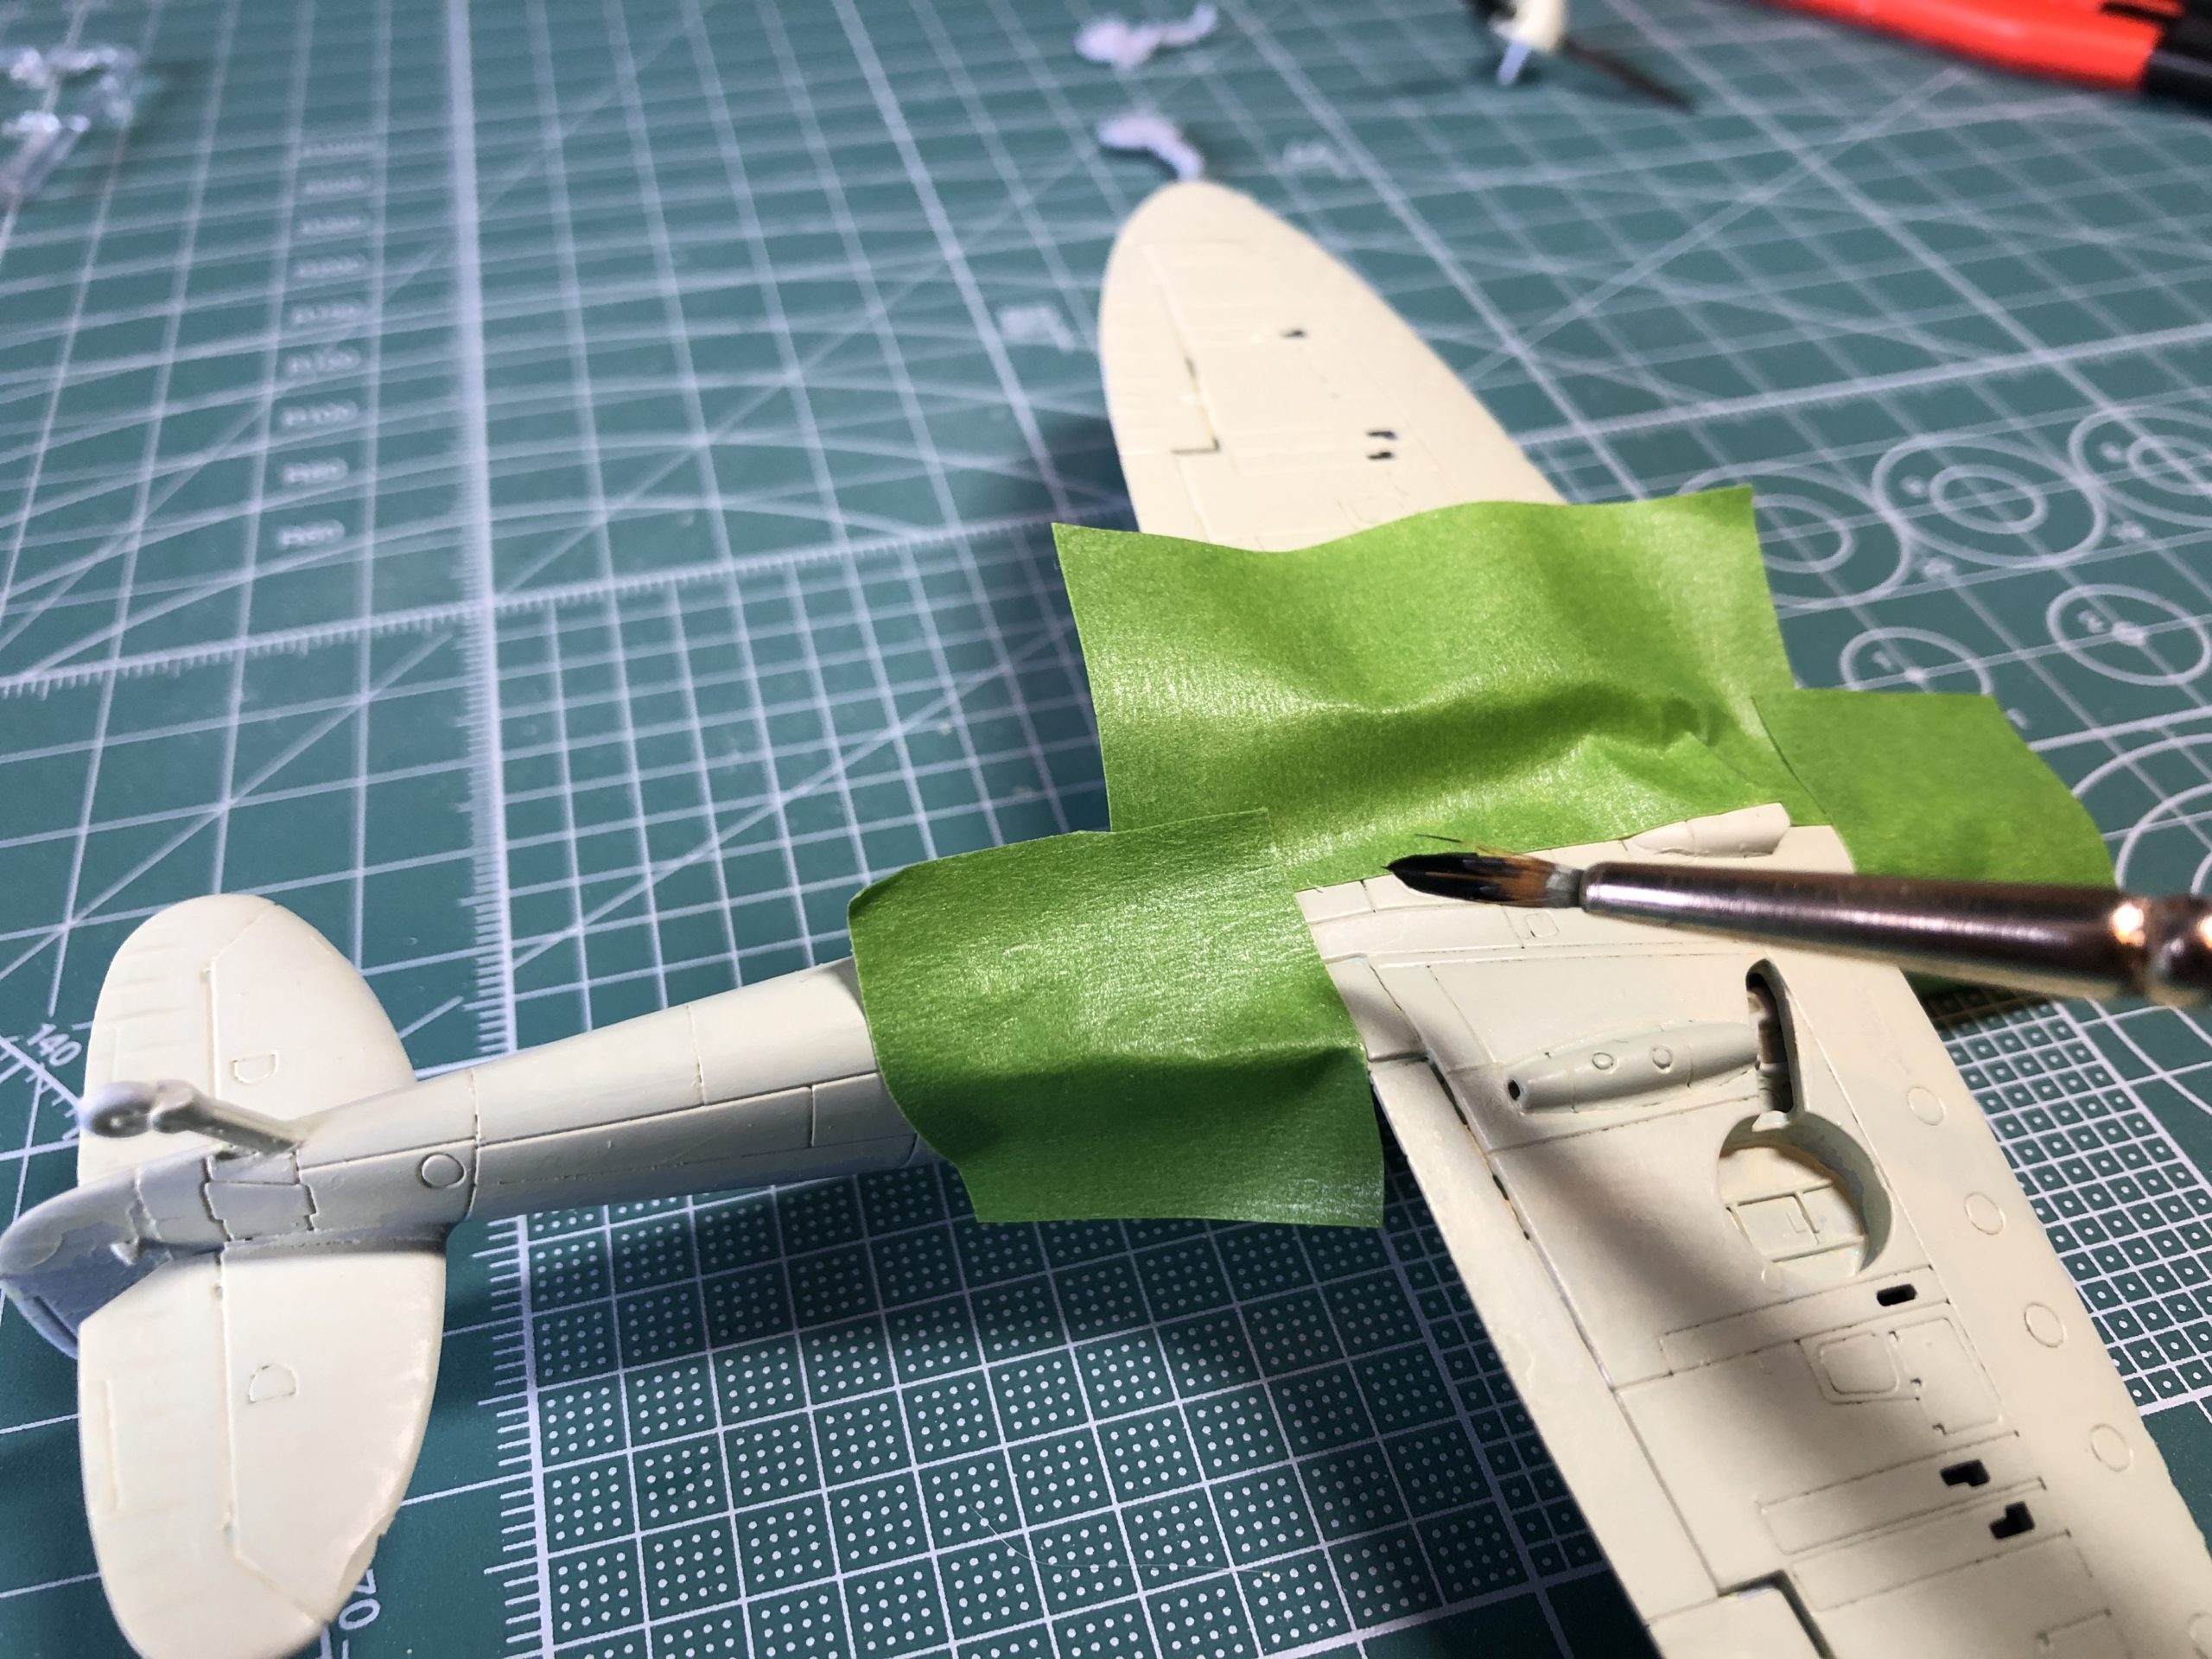
Start with your brush on the tape at roughy 90 degrees to the model. Stroke the brush toward the area to be painted, i.e away from the masking tape boundary – This will minimise the risk of paint seeping under the tape.
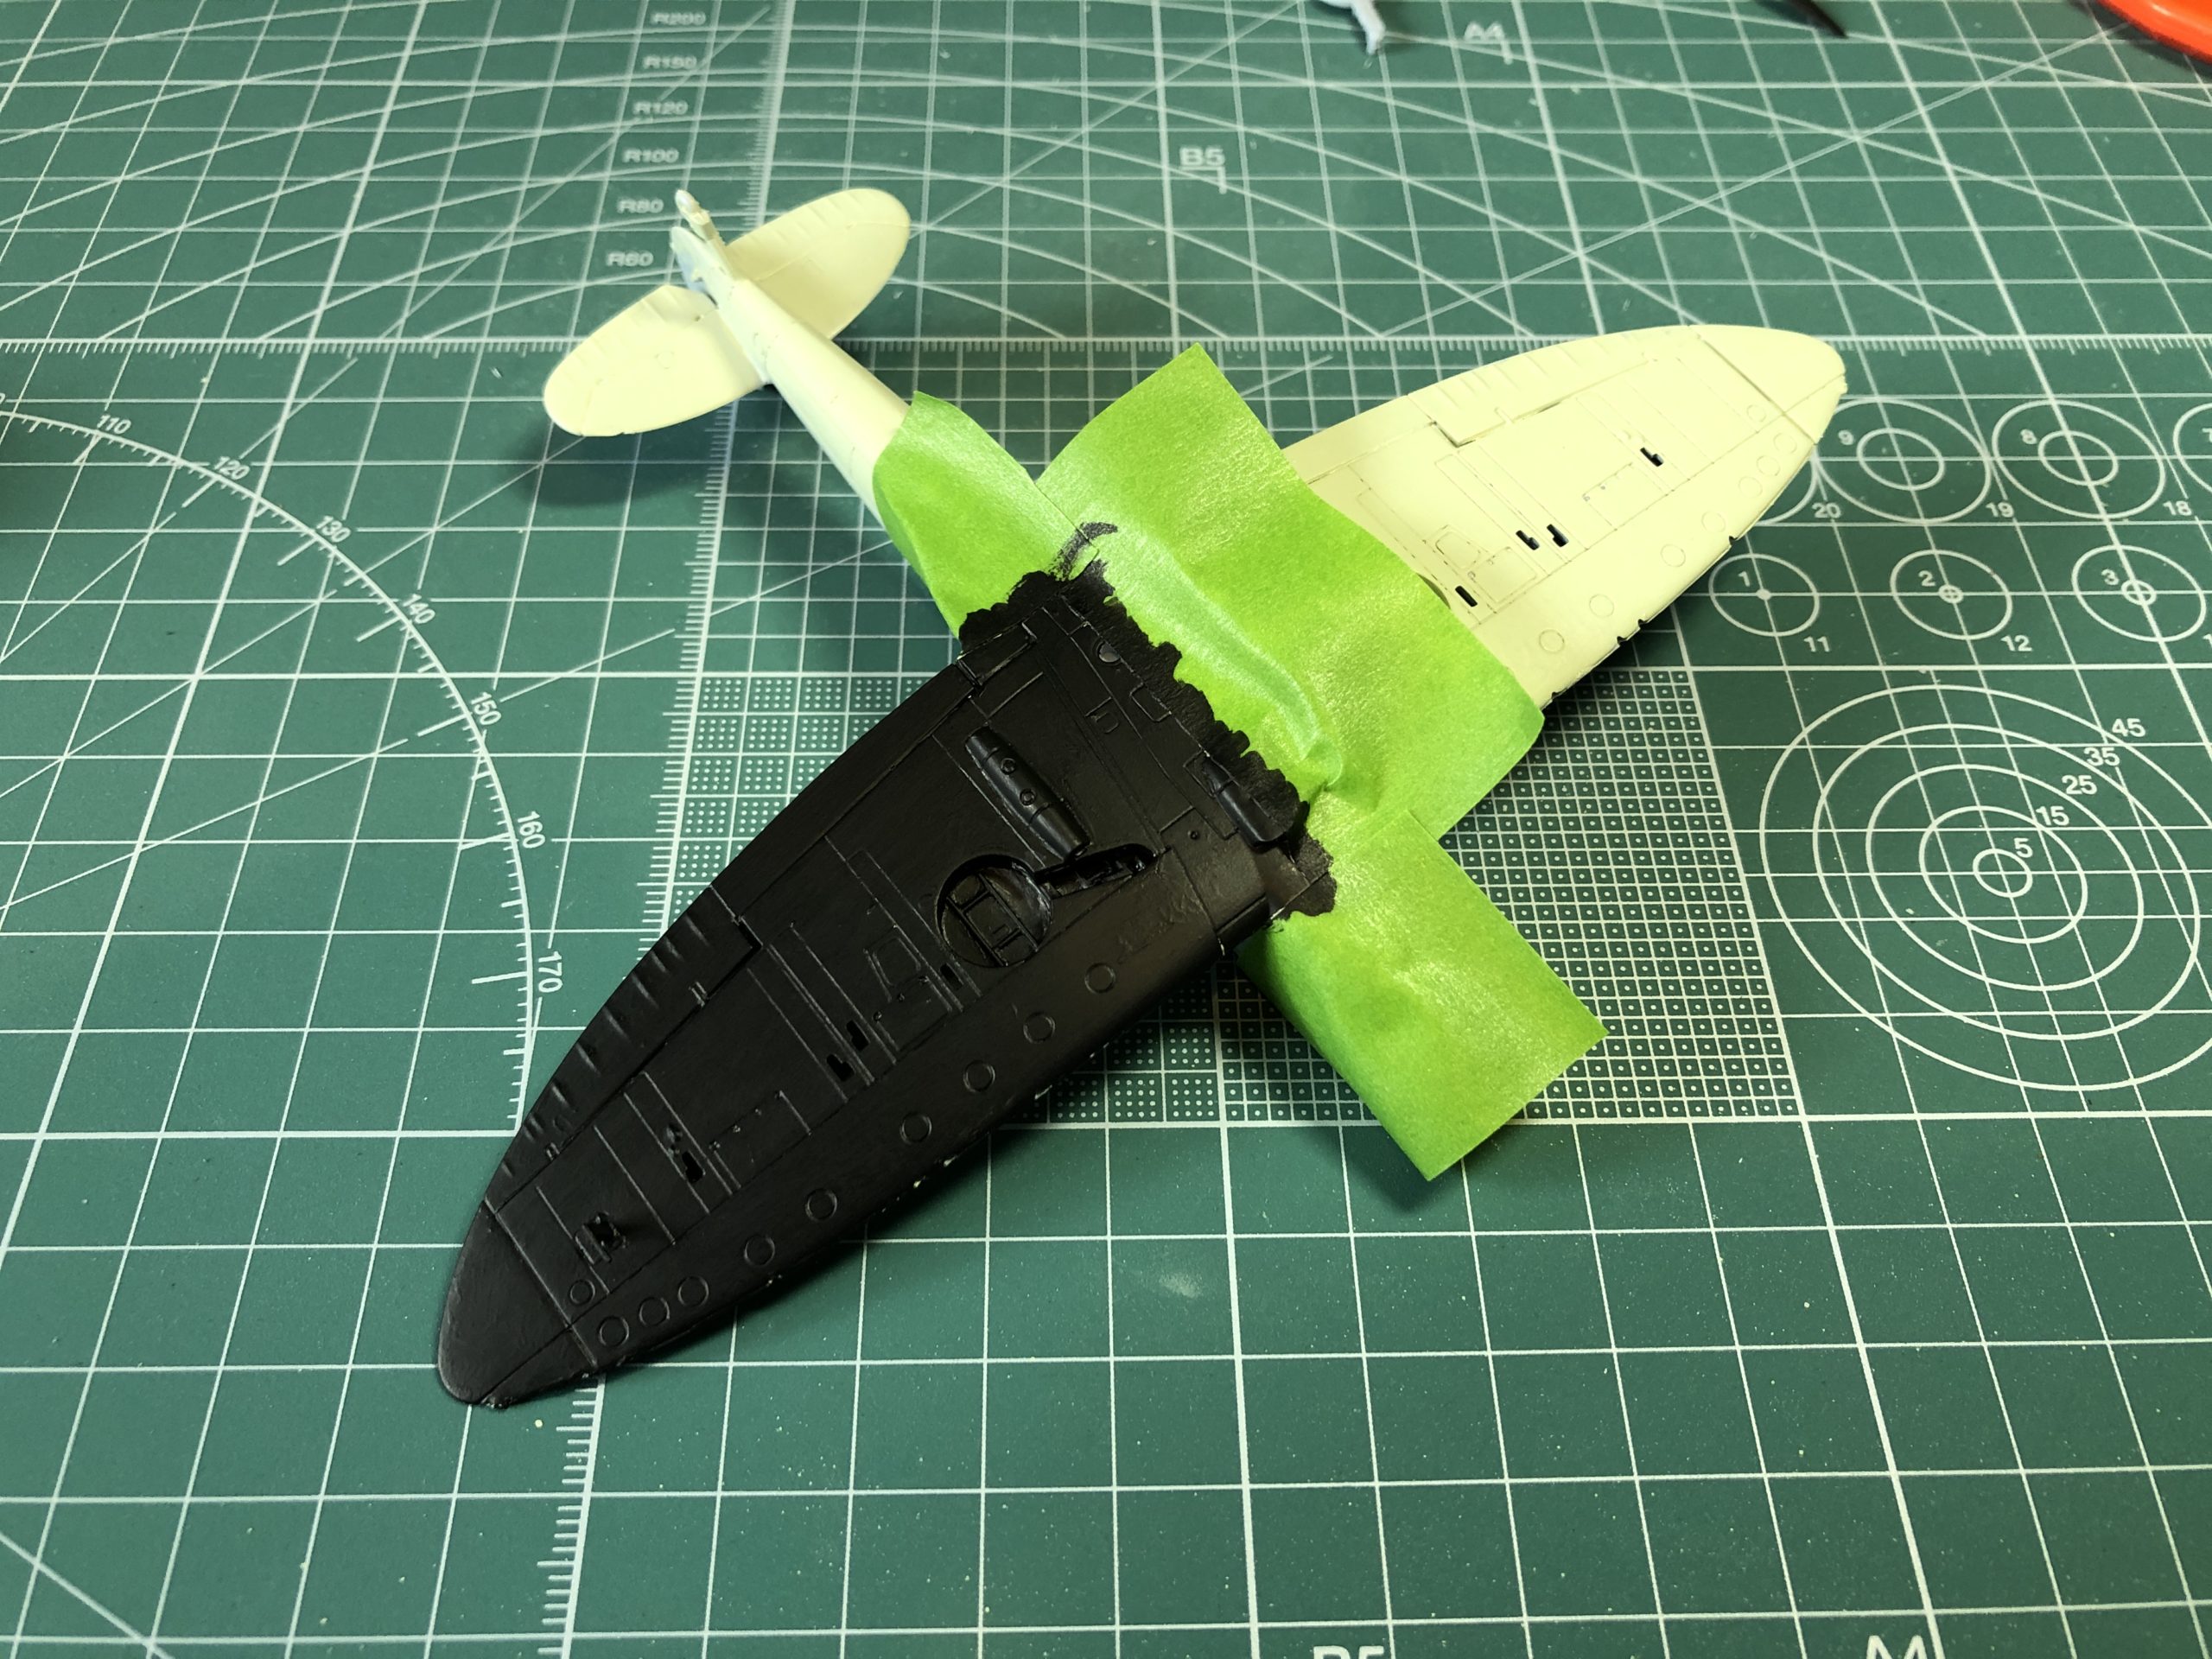
Gradually build up coats of paint until you get your desired finish – take your time and build coats, do not lather on a thick layer of paint.
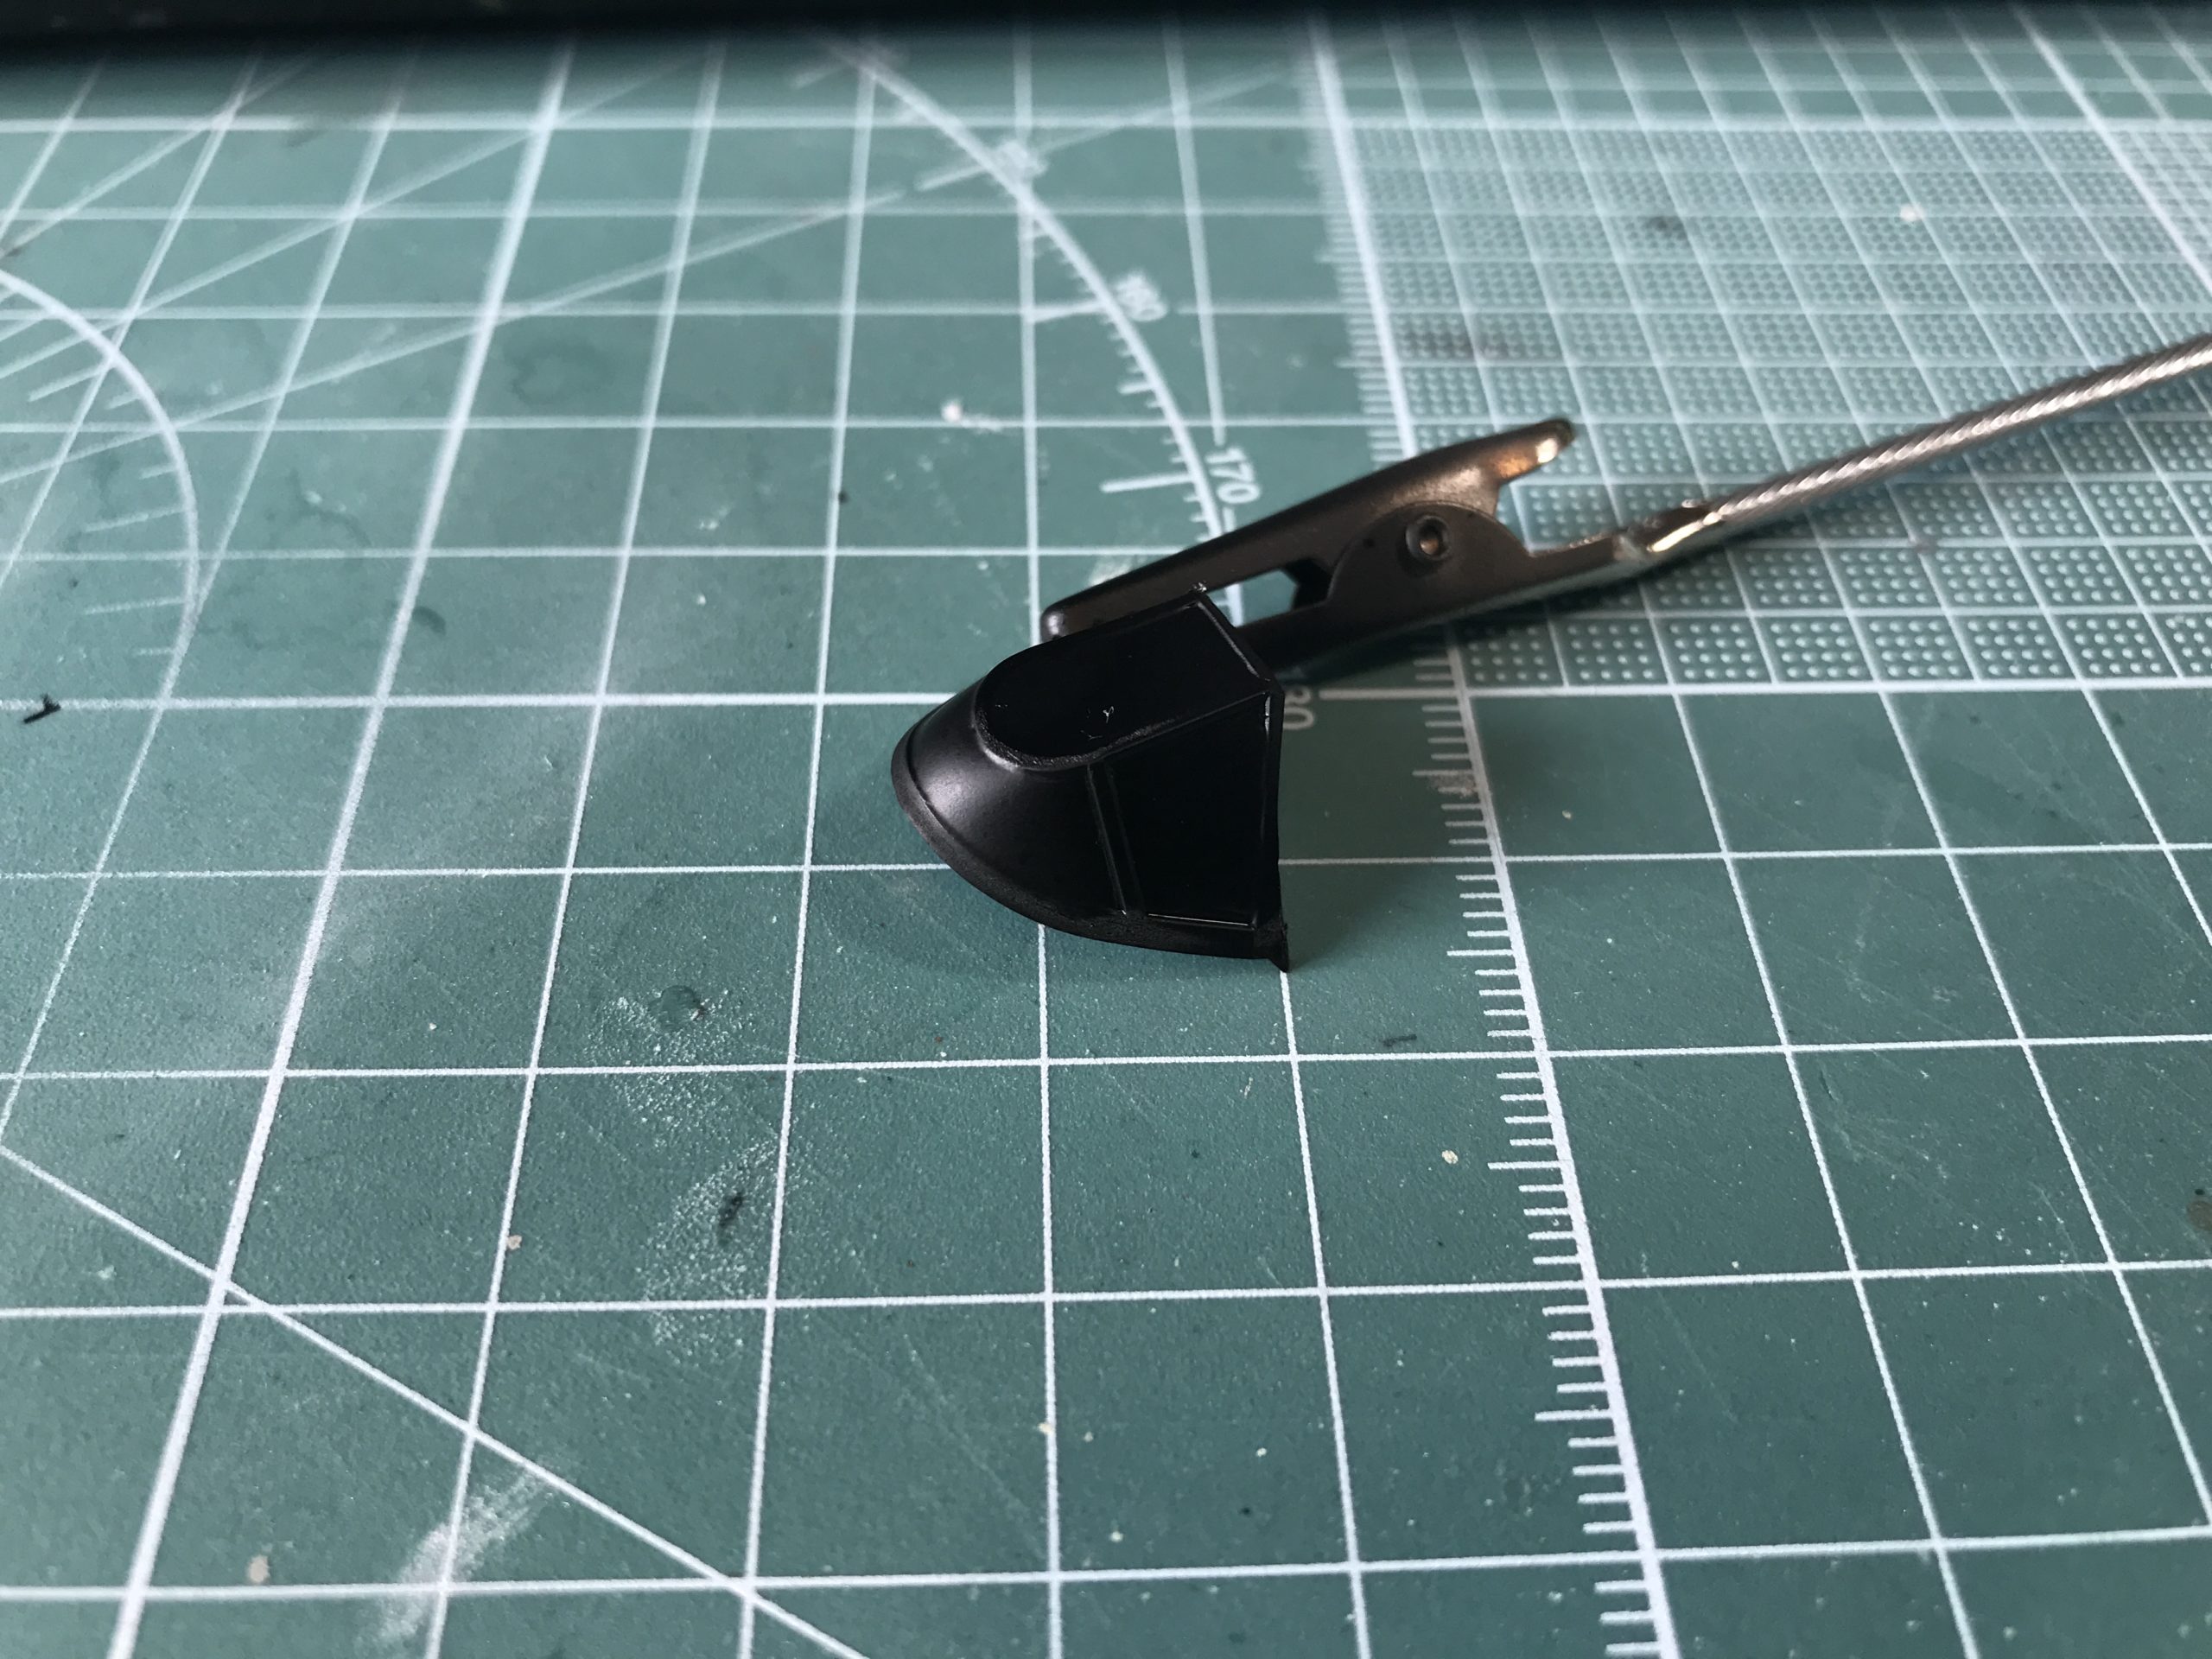
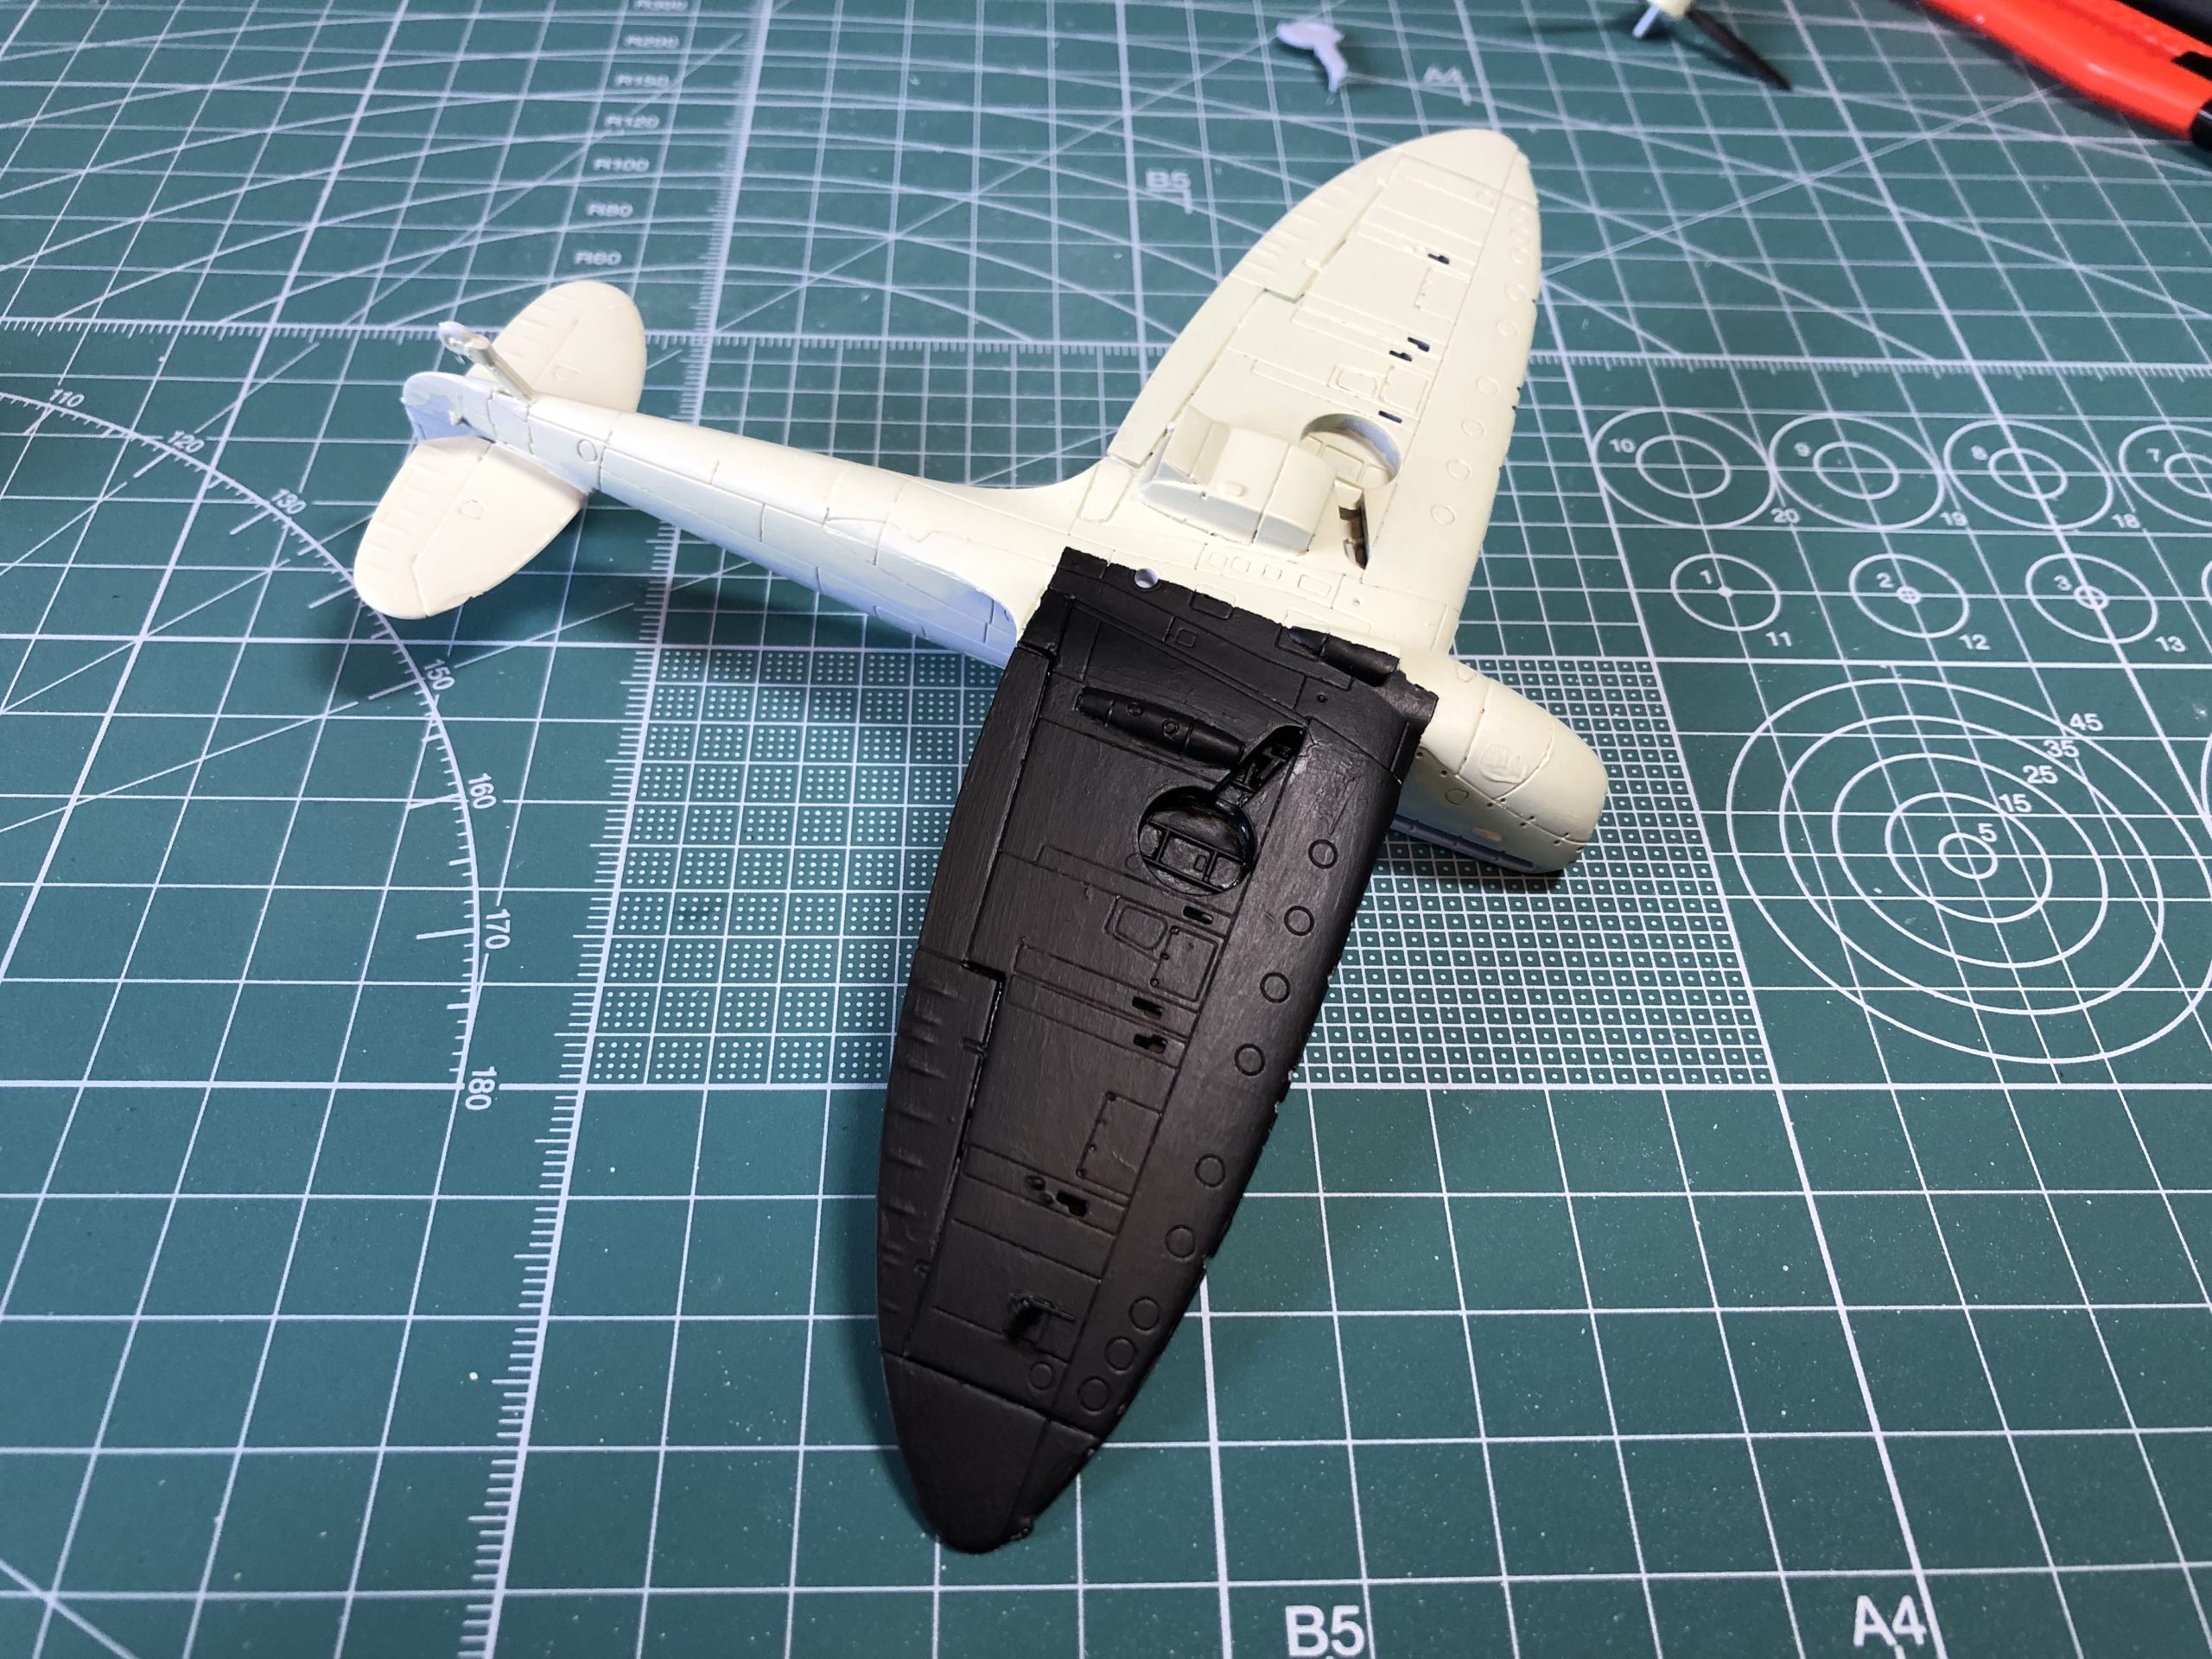
Make sure you allow plenty of time for your paint to dry/cure, when you are confident its dry remove the tape slowly and fingers crossed you’ll be left with a clean sharp edge!
No criticism of the techniques in this post, but I would like to remind people that scalpel blades are restricted items under the Criminal Law Act and cannot be sold to persons under 18 years of age, nor should any child under that age be left in possession of such items without the supervision of a responsible person over 18.
I am sure Jadlam, as a responsible company, would not mind my pointing this out.
I know of two companies being fined £5k each for sale of bladed items to persons under 18 Years.
This is a great point. I sometimes take it for granted that anyone reading my posts will be of sufficient age and experience to handle the tools mentioned.
I wouldn’t ever advise anyone to use tools or materials they weren’t comfortable with or legally entitled to use.
Just as an aside; I don’t work for, or indeed speak for Jadlam. They just put my posts on their blog.