
Washes are a basic way to add detail to a model. You basically apply a coat of paint over the model and wipe it back off – leaving paint where you want the effect.
Examples of where you might use a wash:
- Aircraft panel lines. (Paint the wash over the surface and wipe off, leaving paint in the panel lines.)
- To create shadows around raised parts. e.g a figures face, shadows in and around eyes and nose.
There are many different types of washes to provide a number of effects. There have been many books and YouTube tutorials created that go into the extreme detail and you can also spend a small fortune on potions and products to produce specific effects.
This is a very basic guide on how to create a wash and some basic techniques aimed at somebody looking to add a little more detail to your build.
The first thing to consider is paint. Most manufacturers have two ranges of paint, in the case of Tamiya its Acrylic and Lacquer. The two paints below are the exactly the same colour, but very different.
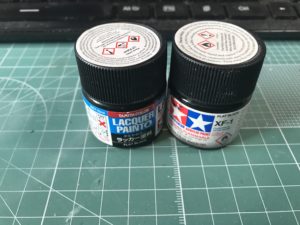
Acrylic paints are water based (I know the Tamiya ones aren’t strictly speaking) & Enamel & Lacquer paints are based around a type of solvent.
The type of paint you use will determine the type of wash you use, i.e If you use a solvent based wash on a solvent based paint job the two will mix and your carefully created paint job will be trashed. The same applies with Acrylic on Acrylic.
The easiest way around this (and really should be considered best practice) is to seal all of your paint finishes with a clearcoat before any wash or weathering. Once again the clearcoat needs to be dissimilar to the wash you intend to use, this is absolutely crucial.
The first example is a basic home made panel wash. This is also sometimes called a sludge wash – It works well on aircraft models.
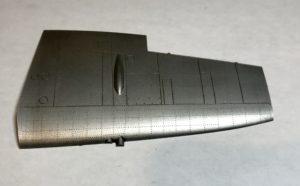
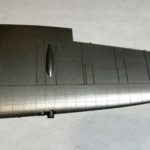
In the example I have used a wing from an Eduard spitfire, this is a great test piece as the surface detail is excellent. Here is the part painted with a lacquer based silver paint.

You can see the surface detail, including the panel lines – but we want it to really pop and add depth to the panel lines.
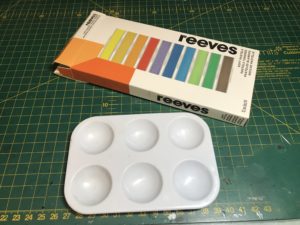
I’m going to use a panel sludge wash made from artist pastels. I bought the pastels from a discount store on the high street for about £1, of course you can buy an expensive wash from us – but this will do just fine.
I want to create a dark wash so will use black and brown pastels.
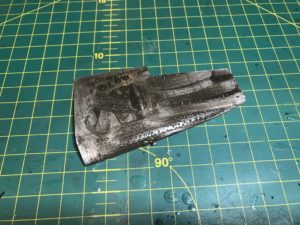
To create the pigment I run the pastel gently along the blade of my scalpel blade.
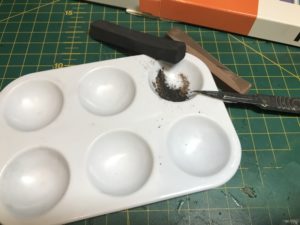
Pile it up in your pallete (the more you add the thicker the wash.)
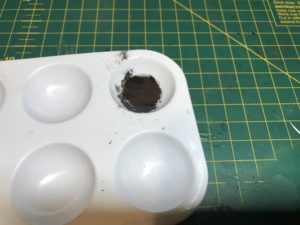
Add a few drops of water at a time until you get the consistency you want. If you have it, use deionised water as typical tap water will have impurities and minerals – but in all honesty for a sludge wash tap water will be just fine.
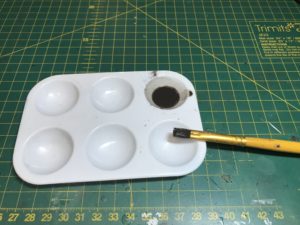
I like something roughly the consistency of milk. At this point add a tiny amount of washing up liquid. I dip a cocktail stick in a pot and that’s enough. The detergent breaks the surface tension of the water.
Apply the wash liberally to the model part – don’t worry about making a mess as you’ll wipe most of this back off in the next step – but dont go out of your way to make a mess!
It looks like this once it has dried properly.

Once it has dried you can set about removing the excess wash – we can do this with a microfibre cloth, you can dampen the cloth slightly to ease the process.
As you wipe the wash away, you’ll find the wash stays within the panel lines and rivets and creates an awesome effect that adds detail to the entire part.
This is what you end up with.
so a direct comparison.
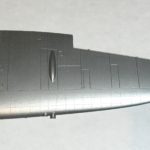
You can see how the wash has added detail and makes the entire part look more realistic and less factory fresh. The wash also adds a slight filter to the part and makes it appear more metallic.
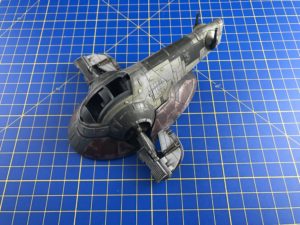
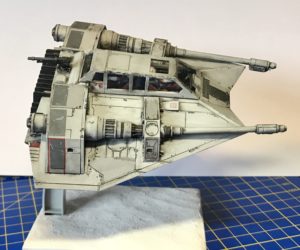
Here are a few more examples.
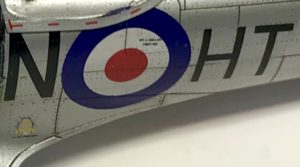
Getting washes like this to work with decals is a bit of a trick, but possible if the decal has been applied well and fits flush on the surface of the model.
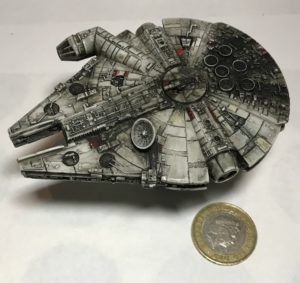
This works really well on star wars kits too.
We hope this has helped you – but please remember if you have painted your model with Solvent based paints then you must use an Acrylic wash and vice versa.