
Oversteer is when the rear of the car tends to spin out in a corner…
It’s what Americans describe as the car being ‘loose’ – the rear-end steps out if you’re going too fast. The opposite is understeer, when the car tends to go straight on in a corner – the car is described stateside as ’tight’. Both oversteer and understeer effect slot cars as well as real cars, although for slightly different reasons.
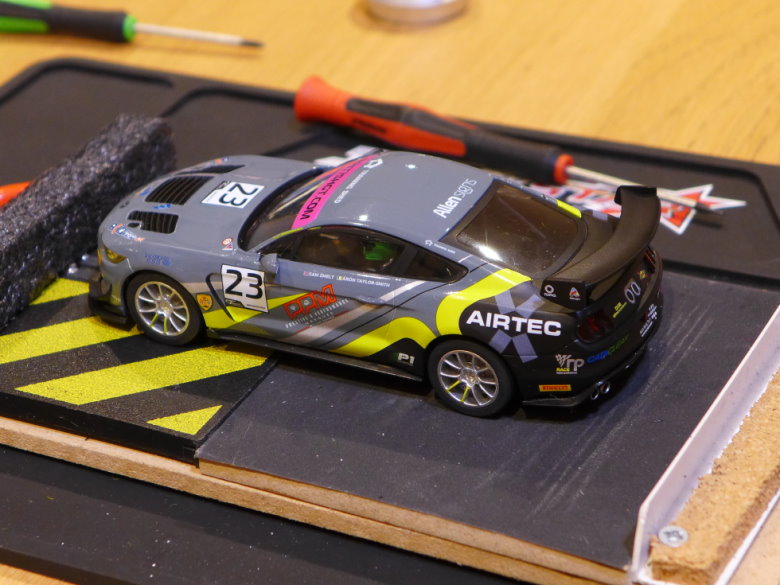
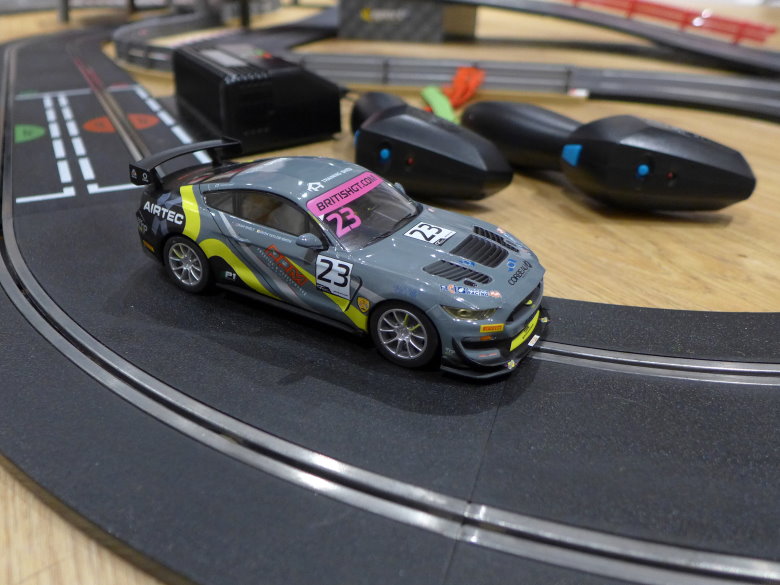
We all have our own driving style, so some of us might like a bit of oversteer on a slot car. I enjoy the tail-out action of our Scalextric Mustang GT4 test car, but it’s also something I want to reduce to give a better-handling GT racer that is quicker over a lap of the Jadlam SL6 test track and – ultimately – at my Scalextric digital club.
The Mustang’s problems seem to be due to poor rear-end grip. A light scuffing of the tyres vastly improved handling and lap times. Increasing magnetic downforce also helped, but that tweak gave the car negative side-effects such as a tendency to tip over and a motor that was running hot.
In this blog post I am going to concentrate on more advanced tyre treatment and adding a little weight to the car. I am sticking with all the standard parts that came with the Mustang and introducing important techniques for future tweaking and tuning.
Rear Tyre Truing
Tyre Truing is a term you’ll come across wherever slot car tuning is talked about. What it means is sanding the rear tyres flat and ‘true’ across their surface. The reason slot car racers do this is to get the maximum amount of tyre gripping the track. If the surface of the tyre bulges out – as it often does on a new car – only the top part of the bulge will be making good contact with the track, seriously reducing grip in the corners.
To true the Mustang’s rear tyres, we could use the sandpaper-on-track technique used to scuff up the tyres in Part 2 – Tweaking a New Car. However, effective tyre truing is a more time-consuming and precise process – and a more robust set-up is required. There are expensive tyre truers available to buy for £150-£250 or more. Most of these won’t do the job on Scalextric axles and wheels – they are for truing tyres on removable alloy wheels. One type of tyre truer that is designed to take the whole axle and both wheels is produced by both Tire Razor and Overdrive. However, you can make something that works just as well for a few pounds…
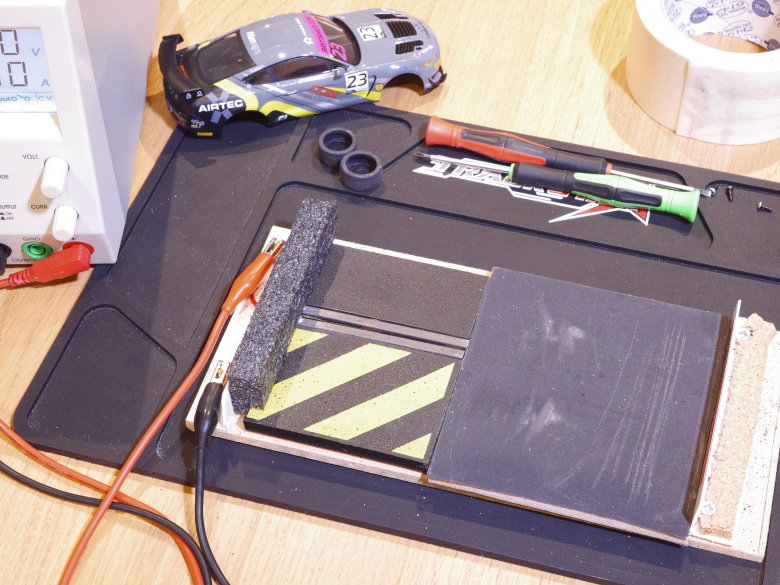
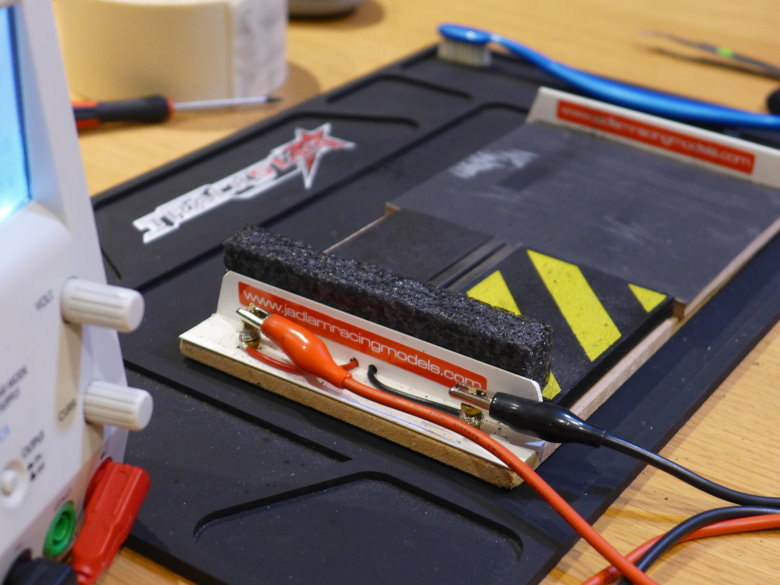
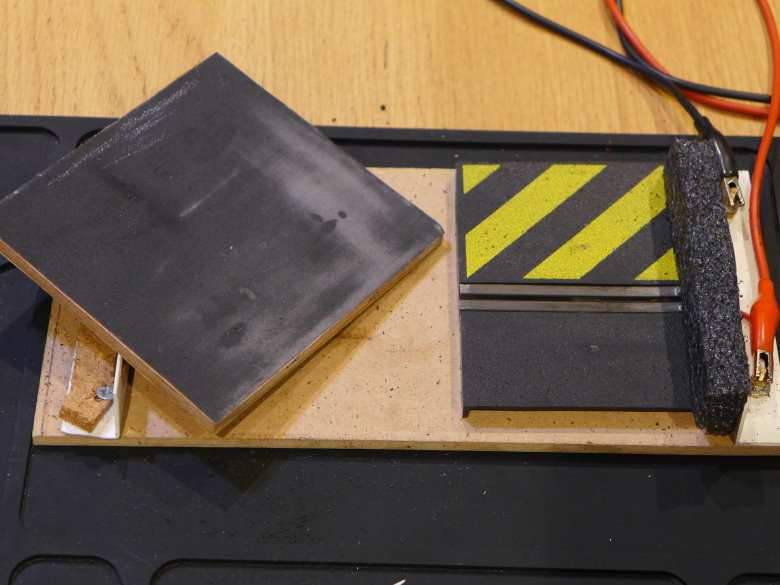
My DIY tyre truer is made from a scrap piece of Scalextric track that I’ve cut in half lengthways and then hack-sawed out a slice. At the front, I have soldered wires from each rail to terminals (brass bolts), to which I attach my old Maplins bench power supply set to 12 volts. At the other end of the track piece, I have a square of 6mm-thick mdf sheet that has sandpaper glued to each side – 400 grit on one side and 600 grit on the other. This give a lovely flat sanding block. The base is a 25 x 12 cm piece of mdf, each end braced by a piece of white PVC angle.
It wasn’t a difficult job and I had all the kit and materials lying around. To avoid the soldering and need for a power supply, you can use a Scalextric powerbase, power supply and controller – the C8545 powerbase costs just £3.95 here in the Jadlam store. The plastic and metal connectors will need to be cut from one end to allow the sanding block to sit snuggly. You can slice the track in half length-ways if you want to. You’ll need both hands to concentrate on the car, so a rubber band should be wrapped round the controller trigger to give permanent full power.
**Caution** I don’t recommend sanding tyres when a digital chip is fitted in the car. The added friction of the sandpaper requires more power to go through the chip to the motor. This risks damaging the C7005 retro-fit chip, the C8516 F1 digital plug and older versions of the C8515 standard digital plug. The latest version of the C8515 plug and the Slot.it SP15B chip are both designed to handle more power, but I would still urge caution. It is always advisable to remove a chip before any tyre sanding or truing.
The process of tyre truing is straightforward, but requires patience and care. Sanding too hard and too quick risks damaging the car’s motor, melting the tyres and messing up the sanding block.
The first step is to sand the plastic wheels, which may have lumps and bumps from the manufacturing process that will cause the tyres to be out of shape too. I remove the body from the car and then remove the tyres. The Mustang’s wheels looked pretty good, although there was a slight ridge from the moulding process. I placed the car on the truing track so the motor and wheels spin, holding them up and away from the sandpaper. With the tyres removed, it’s important to be careful of the gears – especially with a sidewinder car – you really don’t want to sand down the gear! I move the sanding block to one side, so the wheel comes down on the edge of the block and the rest of the axle is suspended in mid air.
I slowly lower the wheel so it is just touching the sandpaper – the coarser 400 grit is best for this. You don’t want to push the wheel down. Let the sandpaper gently do its work for five seconds – a count of “1,000 – 2,000 – 3,000 – 4,000 – 5,000” – and then lift up. After a break of at least five seconds, I lower the wheel for another five seconds of sanding. I repeated this process a few times until the centre of the wheel looks nice and smooth and any moulding imperfections have been sanded away. Then do the other wheel in the same way – moving the sanding block across. Each wheel took about two minutes of gentle, methodical sanding.
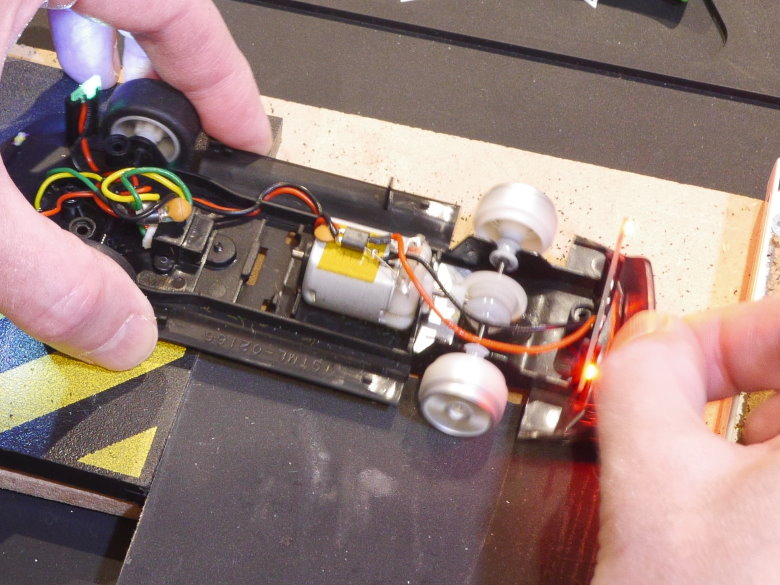
Now it’s time to true the tyres… I replaced them on my nicely-trued wheels and placed the car back on the truing track, the tyres held above the sanding block. Using the 400 grit paper, I went through the same process as the wheels – gently lower onto the sandpaper, letting the grit do its job for a count of “1,000 – 2,000 – 3,000 – 4,000 – 5,000” and then lift and rest. The tyres grip the sandpaper much more than the plastic wheels, and the back of the car will shudder and rattle – it is important to hold the car steady with both hands, but without pushing down.
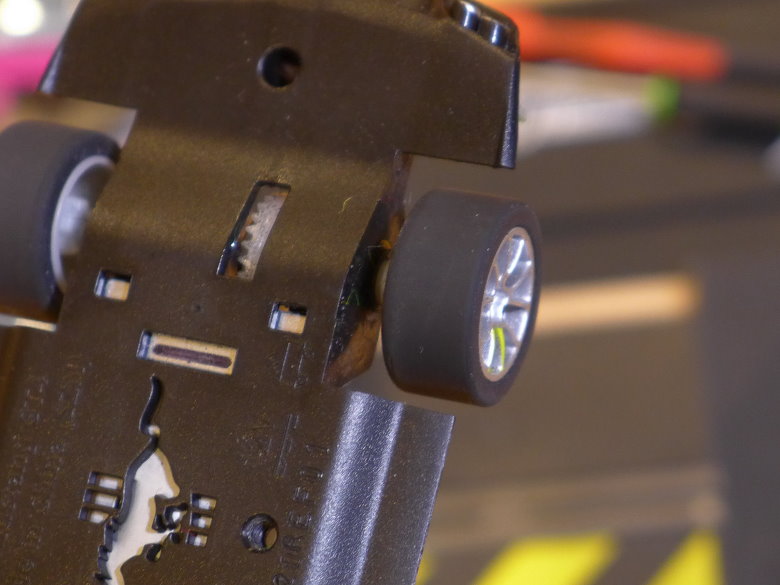
On Scalextric cars that have the motor in-line, you will see the motor flex in the underpan when you true the tyres. The shaft and small pinion gear will climb up the crown gear, adding to the rattling noise. This isn’t good. It shows what happens under harsh acceleration on track – the movement and the poor mesh is a waste of energy that could be powering the car. It also adds wear and tear to the gears. Gluing the motor to the motor mount helps keep everything tight and reduce the noise – we’ll look at this in a later blog post.
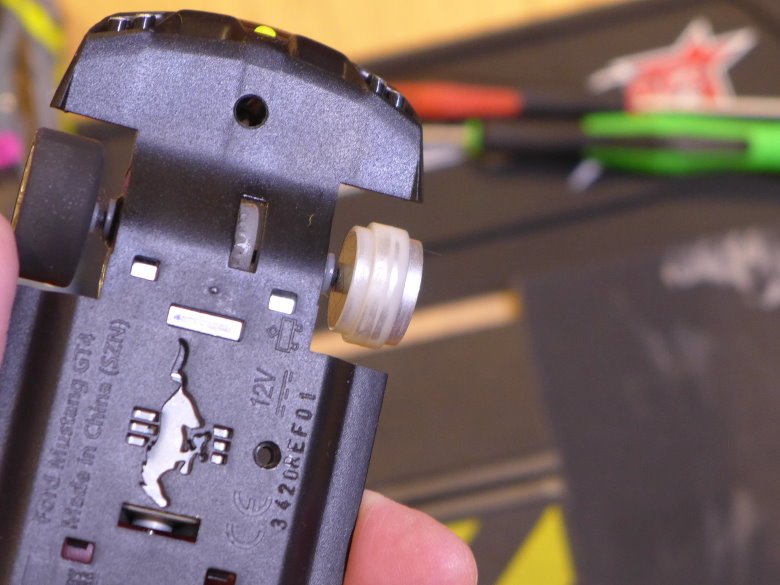
One thing I did need to glue was a wheel! Early on, I noticed one of the wheels wasn’t turning when lowered onto the sandpaper – it had come loose on the axle. This is an occupational hazard of tyre truing with plastic wheels. I simply pulled off the wheel, cleaned the end of the axle and the plastic hub with a little lighter fluid – and then added a dab of superglue to the hole and refitted it on the axle. I was careful not to push the wheel too far and risk gluing it to the axle bushing. I left it for an hour to set before returning to tyre truing.
Notice how careful I’m being with the truing process. I could be more speedy – using coarser grit sandpaper, pushing down and truing for longer – but that risks damaging the motor and ruining the tyres. Even with my over-cautious technique, I regularly check the temperature of the motor and the tyres. Hotter than “warm-ish” and I stop. This is something I do once to a set of tyres, so it is worth spending time to do it well.
The aim of the truing process and repeated five-second sandings is to produce a tyre surface that is perfectly flat and a circumference that is perfectly round. In practice, I am looking at a tyre surface that is smooth and has no shiny spots left – or perhaps just a narrow ring on each edge. That still gives a rounded ‘shoulder’ on the edges, which is important. A completely square edge can increase the car’s tendency to tip over. You can create a more rounded shoulder by spinning the wheels and sanding with an emery board. The tyre truing process took me just over ten minutes for the Mustang. Tyre residue did build up on the sandpaper and I brushed it away from time to time with the soft make-up brush in my tool kit. And there was plenty of muck that came off the tyres when I cleaned them on masking tape.
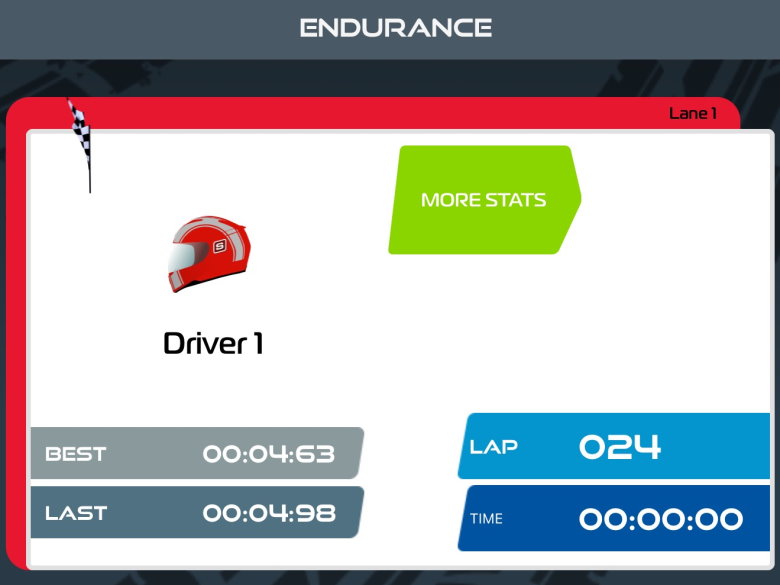

Before truing I ran the Mustang on the SL6 test track and timed a two minute session using the ARC app. The car was fresh from a full service and tyre scuffing – and I managed a pretty pleasing 24 laps and a best lap of 4.63 seconds, my fastest yet in ‘standard’ spec. After truing the tyres, another two minute session gave 25 laps and my fastest lap time had plummeted to 4.28 seconds – quicker than with the magnet tweaks and the best time for the Mustang so far.
Did the car feel different? It did, especially in the tight Radius One corner, where I had loads of confidence to carry more speed. Unlike the stronger magnet tweaks, I wasn’t feeling the car tip – the rear still stepped out, but only at a much higher speed. I found myself adjusting how I drove the circuit – there were two short straights where I could now blip the throttle where I couldn’t before. That showed I was able to get on the gas sooner and brake a little later.
Although most of the improved performance will be due to extra grip of the tyres on the track, there will also be a small magnetic factor. By removing some rubber from the tyre (about half a millimetre), the traction magnet is now fractionally nearer the metal rails, increasing the magnetic downforce – enough to push up the Mustang’s reading on my magnet scales by nearly 3 grams.
Tyre Softening Treatment
A lot of slot car racers rub oil, WD40 or other more esoteric fluids (NSR tyre oil at Jadlams) into the rear tyres of their cars to soften them and give more grip. It’s something I ‘discovered’ as a teenager when tyres we’d used in rally-cross races – we added a little oil to them to make them slippy – suddenly became ultra-grippy when the oil soaked in. It turned out we weren’t the first people to do this… and the 3-in-1 oil we used was the most popular treatment – as it is today.
The theory is that the oil degrades the rubber and opens up the structure a little, making it softer. We only want to do this to the surface of the tyre that sits on the track – the surface we’ve trued – as we don’t want the tyre to swell up and distort. If that happens, the tyre may not fit tightly on the wheel and the surface will no longer be flat and true. The tyre would then need to be glued on the wheel (a palaver I don’t think is ever necessary on a standard Scalextric car) and then re-trued.
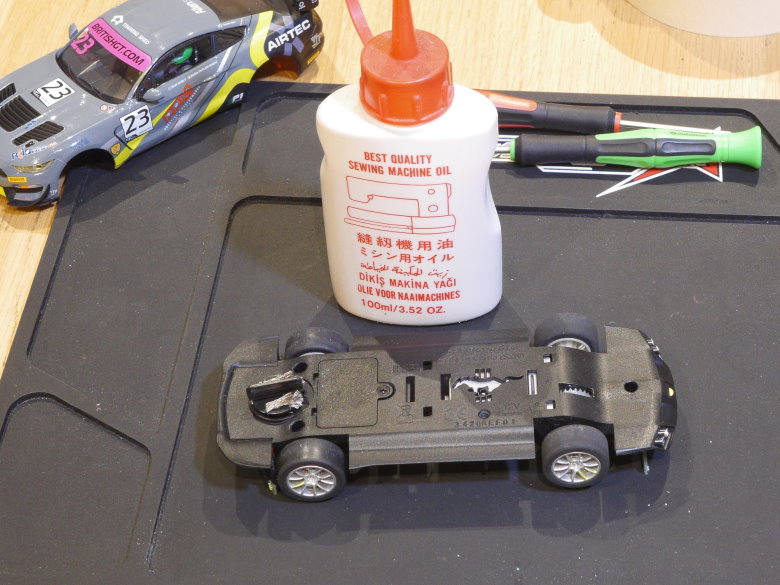

With the body removed from the Mustang, I rubbed a couple of drops of my favourite sewing machine oil onto my thumb and forefinger and then rubbed this onto one of the tyres – just coating the surface I’d trued. I topped up the oil on my thumb and forefinger with another drop and rubbed it in to the other tyre.
A thin layer of oil soaks in pretty quickly. After just ten minutes, the surface felt softer and very slightly sticky. I left the tyres overnight before returning the Mustang to the track – I managed 25 laps and a fast time of 4.38 seconds. The feel of the car wasn’t as good – the grip was there, but the sliding had been replaced by a sudden ‘letting go’ when traction was lost. The Mustang felt ‘tippy’ again and I had it on its roof a few times! Another downside was that the stickier tyres picked up more dust and debris from the track, so the initial grip started to disappear before the end of two minutes.
This reminds us that a tweak doesn’t always produce a better-handling car. And it’s not possible to revert to the harder tyres – there’s no going back to ‘standard spec’ anymore. It’s time for the next piece in the jigsaw…
Adding Weight
Adding weight – or ballast – to a Scalextric car is an important tuning technique when traction magnets are removed. However, it can also be used in a standard car to help with oversteer and understeer. My aim was to do two things: help with rear grip and move the centre of gravity down towards the track a little. I hoped this might give the Mustang more stability.
There are lots of materials used to add weight – and plenty of different opinions of how much to add. When I am tuning a car, I like the flexibility of being able to add and remove very small amounts – so the big 5g and 10g wheels weights or lead sheet aren’t my choice. Instead, I use either tungsten putty (Slot.it putty at Jadlams) or good-old Blu-Tack. Unlike some racers, I don’t like my cars to pile on the pounds – an extra gram here or there is enough, an extra 10 or 20g and the car becomes a tank!
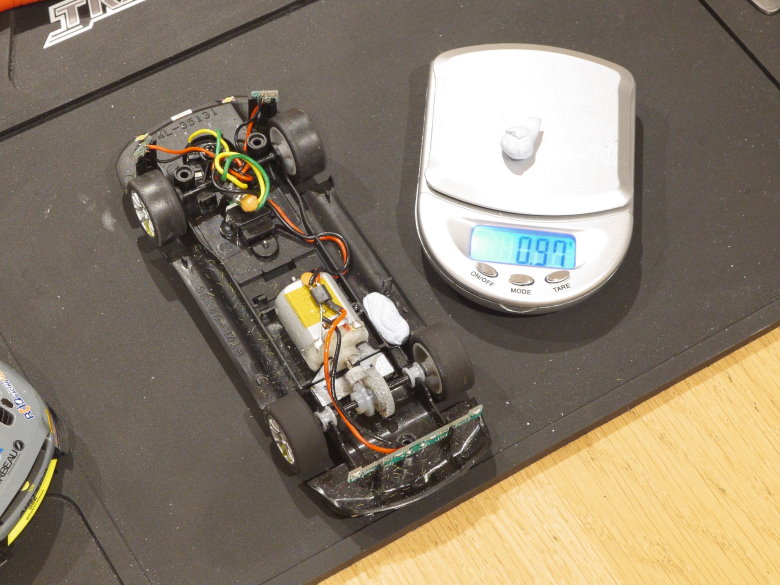
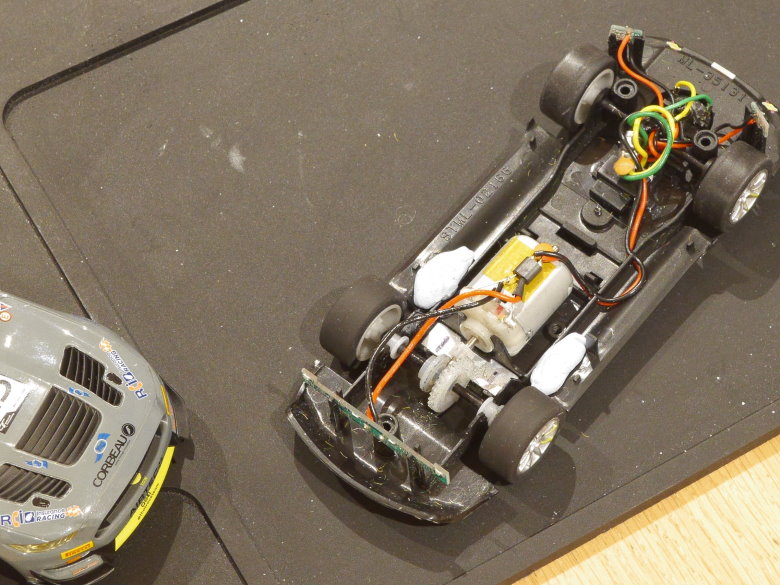
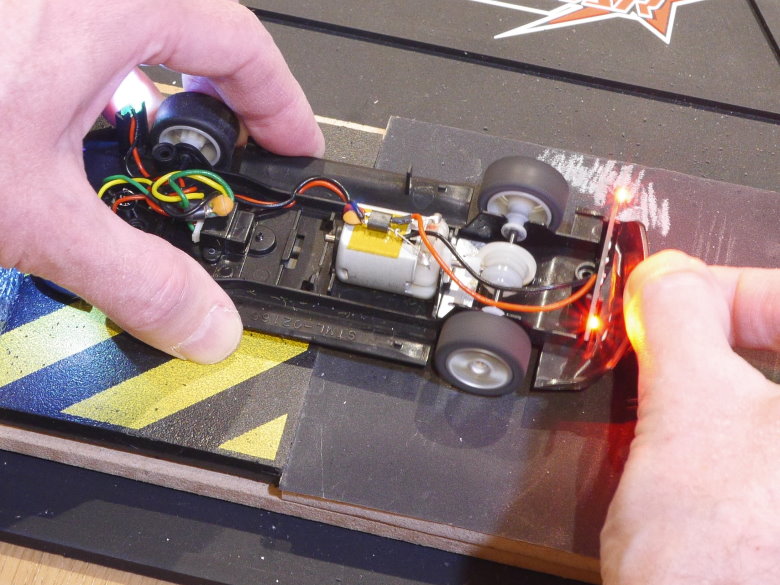
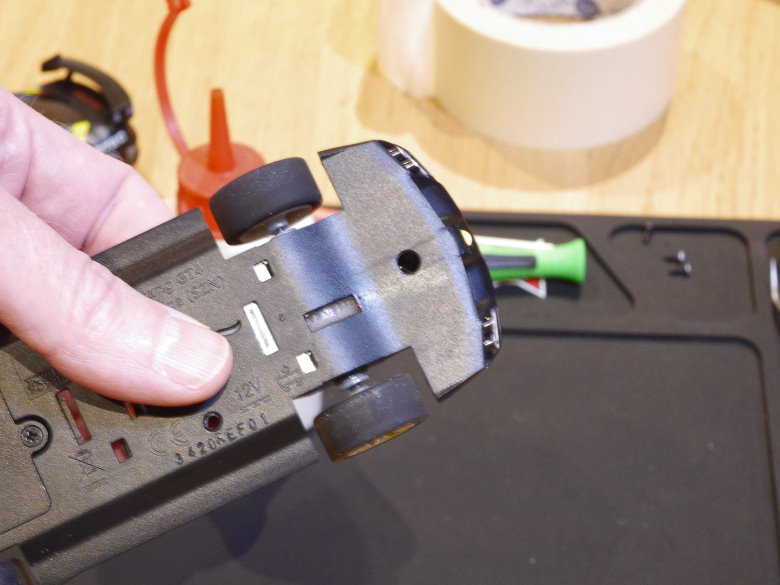
I measured two 1g pieces of Blu-Tack and simply pressed these into the underpan, just in front of each rear wheel, either side of the motor. I made sure the Blu-Tack didn’t impede any body-roll or interfere with the tyres, axle or gears.
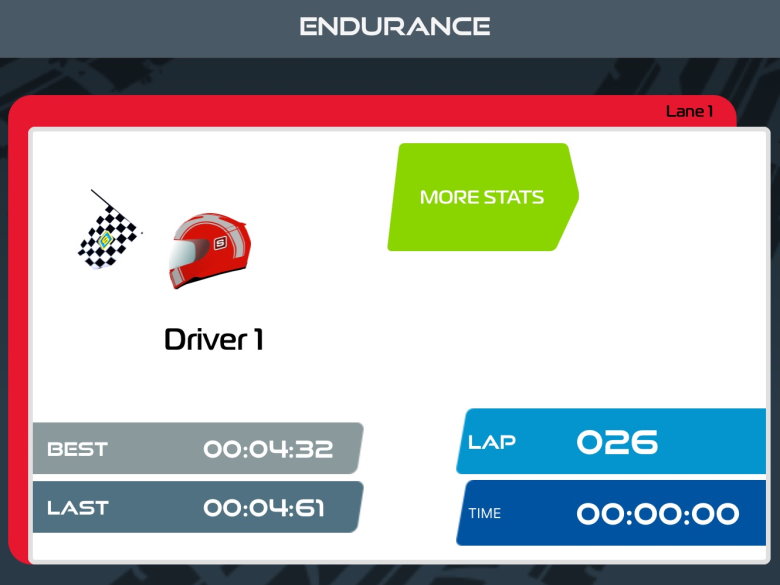
On track, the Mustang’s handling was transformed – back to how I like it, but with more grip. In the initial ‘shakedown’, I managed a stunning 4.18 second lap. In a proper two-minute test run, I wasn’t able to replicate that fast time, but I managed a record 26 laps and a fast lap of 4.32 seconds. My aim in these test sessions is always to set as fast a pace as possible for two minutes without crashing, rather than an all-or-nothing search for a top time. In that respect, the 26 laps is as important a measure of handling and performance as the 4.32 second best lap.
The beauty of the Blu-Tack is that it’s easy to fine-tune – remove the body, whip out the Blu-Tack, re-weigh and replace. I tested with 0.25g, 0.5g, 0.75g and 1.30g on each side – but the original 1g (or 0.97g to be precise) remained the sweet-spot. The car felt superb, the rear was more predictable when traction was lost – sliding rather than breaking loose or tipping. In fact, the only offs were when the front of the car de-slotted in fast corners… I have created understeer!
In the next blog we will shift our attention to understeer and tweaking the front of the car – including truing the front wheels and tyres, reducing front grip, adding weight and tightening up the guide. This is the half way point of my Scalextric Tuning series and I hope you’re finding the blog posts interesting and useful. Don’t forget you can find all ten posts here: https://blog.jadlamracingmodels.com/tag/scalextric-tuning/
Really great guidance and tuning advice – thank you!
Great stuff! I wrote a similar article about guides. I’d like to share it with you.
Keep up the good work mate.
Hi Andy,
An excellent set of tuning guides!
Easy to read, and understand. Precise information, but without lots of extra spending.
Really nice to see the Scalextric brand of cars being spoken about with such enthusiasm. They are good cars, and good value. Thank you.