
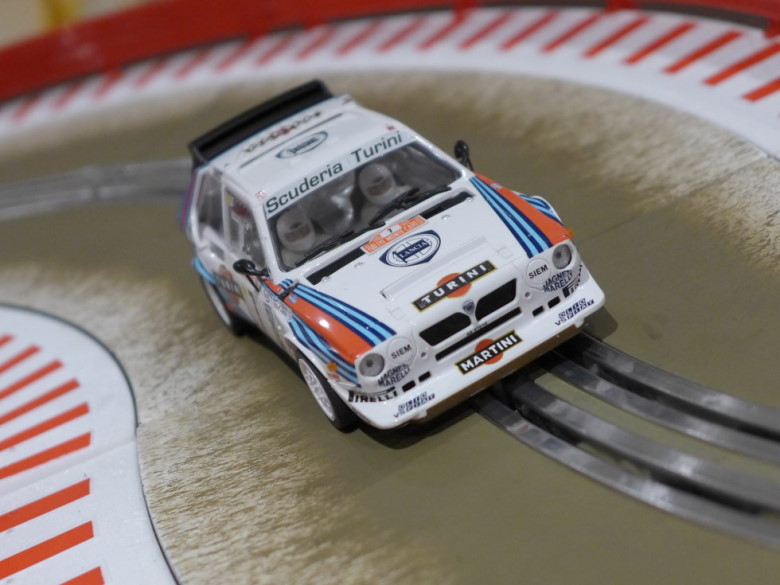
Want to build your own rally track?
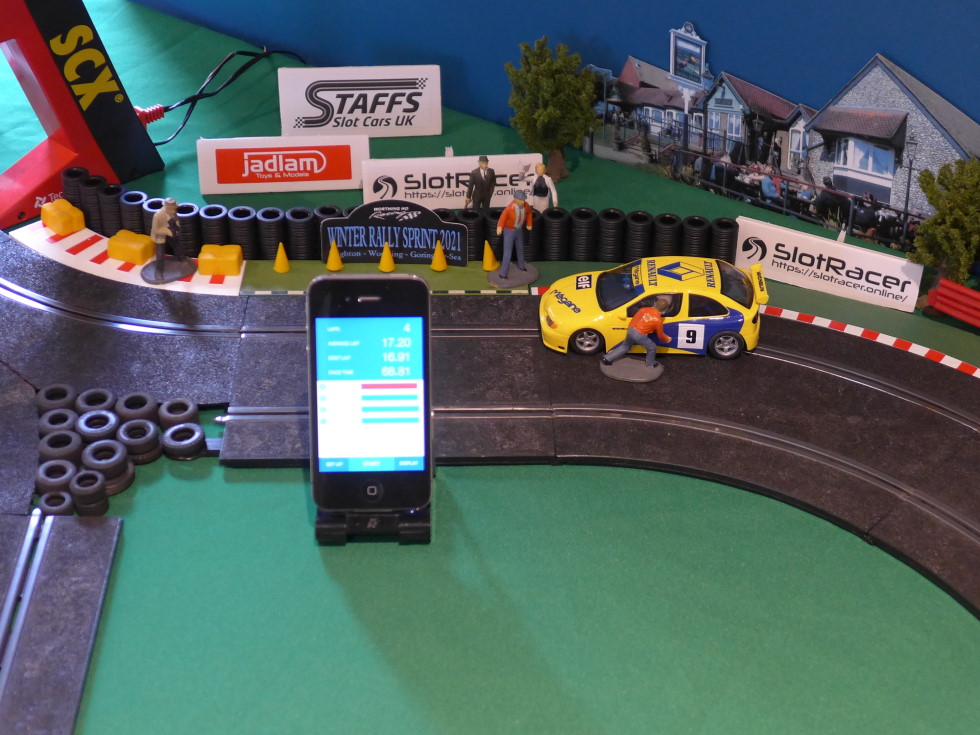
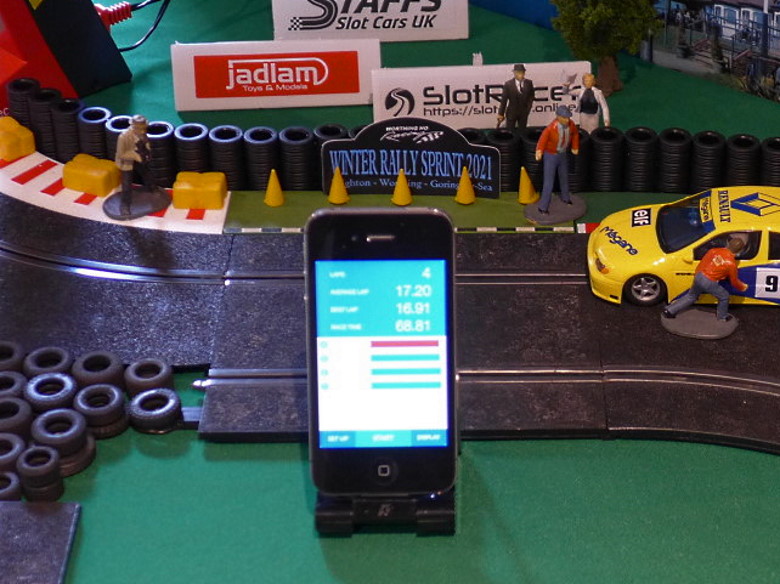
Then you’ve probably got your eye on a pair of turnaround loops for each end. This creates a single-lane rally stage that packs a lot of action into a small space. That’s exactly what a few of us on the south coast did recently for a Rally-Sprint event sponsored by Jadlam Racing Models. Twenty-eight competitors sent forty-six cars from all around the UK to race on eleven rally stages built in our various homes. It has been a lot of lockdown fun!
In this blog post I’ll look at how to make your own rally loops using Scalextric track pieces that are readily available on the Jadlam site (www.jadlamracingmodels.com/scalextric-slot/track) – a much cheaper and easier solution than trying to pick up the vintage loops secondhand.

‘Off the peg’ options
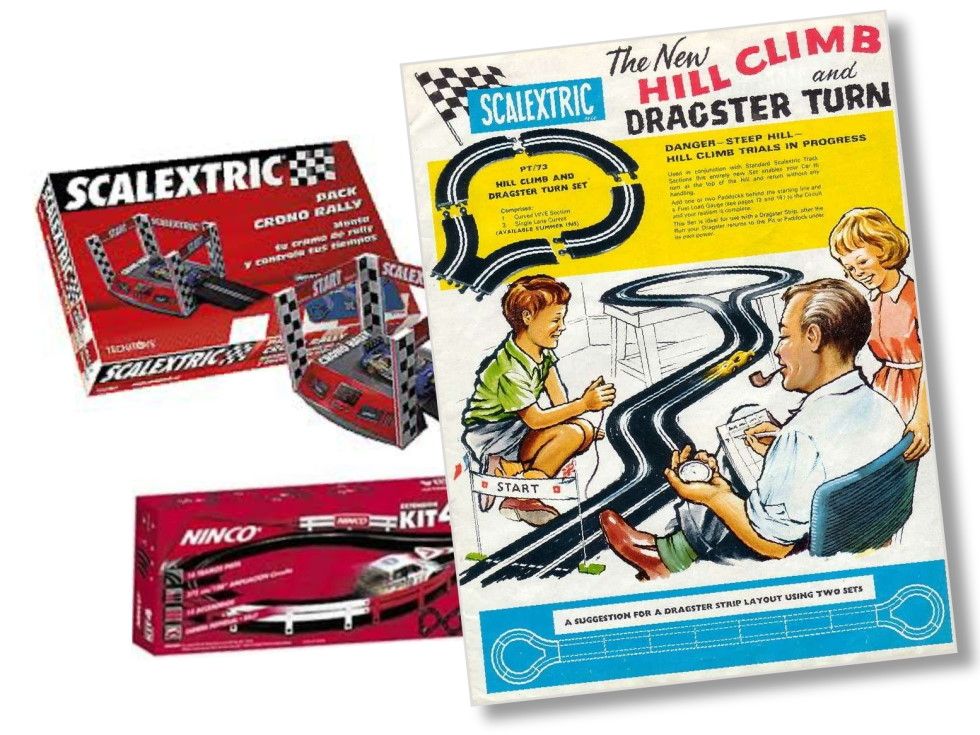
What we think of now as ‘Rally Loops’ first appeared in the 1965 Scalextric catalogue as ‘Hillclimb and Dragster Turns’. Each PT/73 set included one ‘Y’ piece to split the track into single lanes, plus three single lane curve pieces. A bona fide PT/73 in good condition is worth a lot of money these days – and you really need two loops to run through a stage more than once. A more recent Spanish Scalextric / SCX version (two loops bundled in the ‘Chrono Rally Pack’) is much sought after and Ninco also produced rally loops for their track system. Expect to pay premium prices (we’re talking three figures!) to pick up any of these old loops in usable condition. You’ll also need a pack of C8222 converters to connect modern Scalextric Sport track to these older ‘classic’ pieces.
DIY rally loops
Although Scalextric don’t currently make a rally loop, they are easy to make. We used three different DIY rally loop versions during the Winter Rally-Sprint – Simon’s ‘teardrop’ design, Oli’s fabulous cross-over ‘donut’ loop and my basic Radius 2 loop. All can be made using Scalextric track pieces available on the Jadlam website (www.jadlamracingmodels.com/scalextric-slot/track). You will also need a Stanley knife (or other heavy duty utility knife) to cut the plastic track surface. Please take care with any cutting – young people should ask a sensible adult to supervise this, especially to avoid damage to valuable furniture or work surfaces. Simon’s design doesn’t require any track to be cut up, so lets start there…

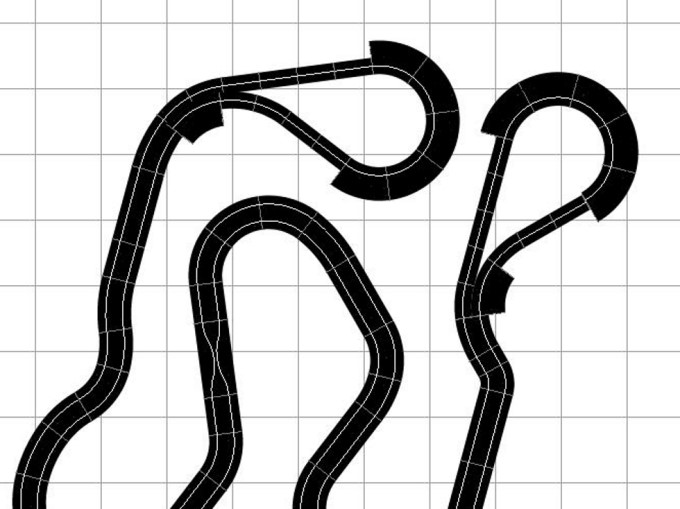
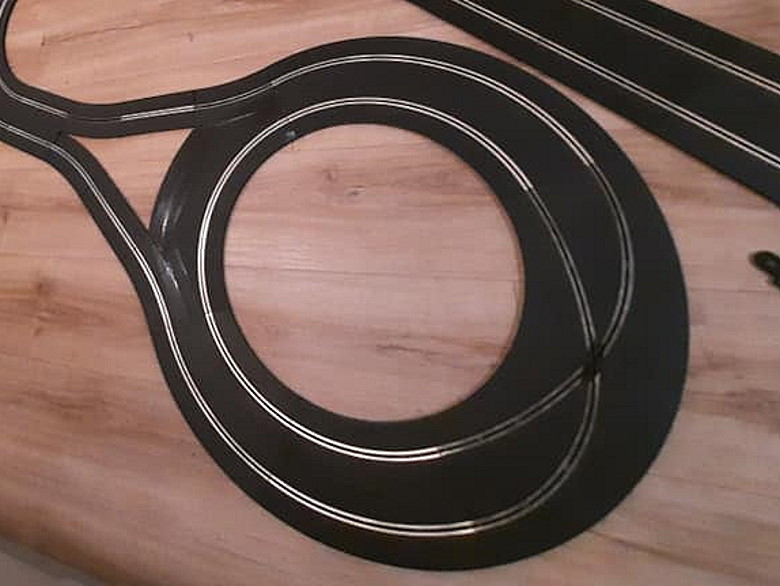
Simon experimented with several configurations of loop, using variations on this ‘teardrop’ shape. What he eventually used for his rally stage was a loop using six C7016 single lane half-straights, two C7017 single lane curves and six C8206 standard Radius 2 curves. It starts with one C7017 curve and one C7016 straight outside a standard curve – that’s the ‘Y’ that splits the track into two single lanes. Three more C7016 straights are added on the outside and a C7017 curve to outside lane of the standard curve, followed by two C7016 straights. The two ends are then joined using the inside lane of the five remaining standard C8206 curves. Simon cut some of the two-lane curves to make it look neater, but the leaving the five other curves as two lanes gives you a ‘border’ to drift onto and makes the track connections more secure. It worked really well.

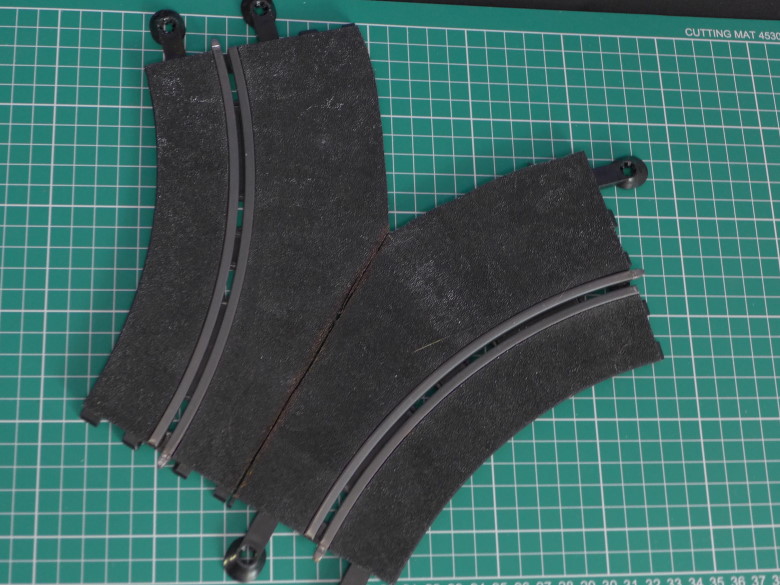
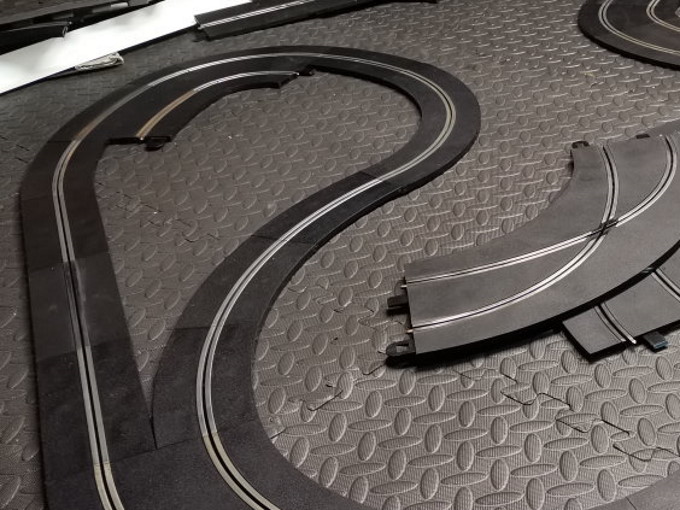
My simple loop was made from old ‘classic’ Scalextric track, but modern Scalextric Sport can be used in the same way. The pieces needed are eight C8206 standard Radius 2 curves and two C8207 half straights. The loop uses the inner lanes of two standard Radius 2 curves cut to form the ‘Y’ – see the first two pictures above. The loop is then made from a half-straight on each side of the ‘Y’ and six Radius 2 corners. The cars go round the outer lane of the loop. The inner lane could be removed, but the double connections do give extra stability. Borders and barriers (www.jadlamracingmodels.com/scalextric/borders-barriers) are optional, but the standard curve and half-straight borders will fit perfectly round the outside and allow cars to take the loop nice and fast.
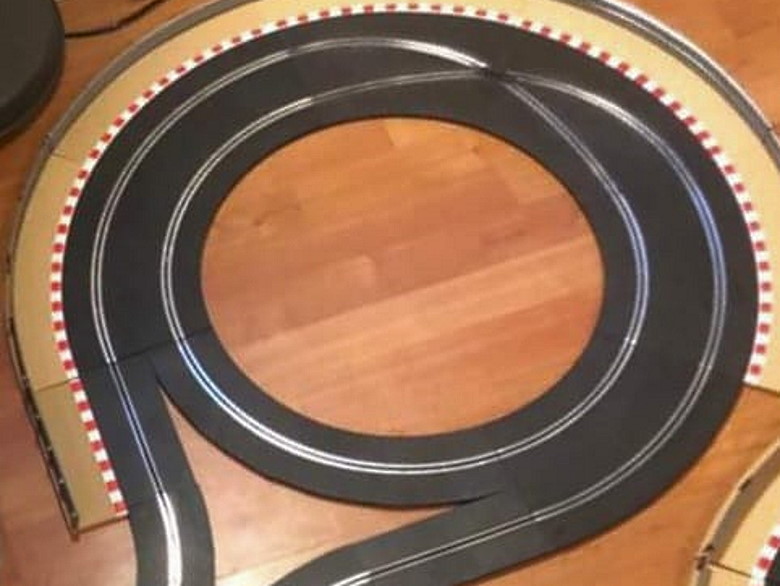
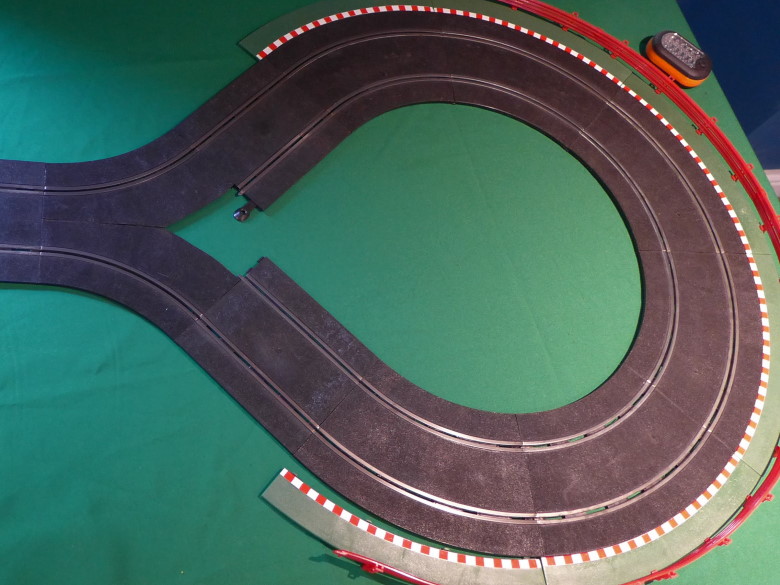
The pieces you’ll need for Oli’s rather special ‘donut loop’ are eight C8206 standard Radius 2 curves, two C7017 single lane half straights and a C8203 Racing Curve crossover. Oli’s loop used the same ‘Y’ as mine – that’s the inner lanes of two standard curves, with the outer lane cut off. A C7017 single lane straight connects to either side of the ‘Y’ – and these feed into the outer lane of un-cut standard curves, with a C8203 Racing Curve cross-over in the middle. That gives an extra inner loop, the gap filled with the inner lanes cut from two more C8206 curves. The loop within a loop means cars do 360-degree donuts around the loop – which looks utterly fantastic! For visual impact, this loop gets top marks.
Powering a rally stage
With a Rally Loop in your track, you’ll need to take extra care with the power. Unlike on a normal track, the car runs on both lanes but in opposite directions. This means only one lane of the powerbase should be powered, otherwise you’ll get a short circuit / power overload warning. ARC Air and ARC Pro powerbases won’t work – unless you snip the power wires to one lane… Not something I recommend, unless you’re going to use the ARC powerbase exclusively for rally events. A standard C8545 powerbase should work – as long as only one controller is plugged in – but the safest bet is to designate a powerbase for rally use and remove the power wires from one lane. Any standard power taps will need to be attached the other way round to normal, otherwise you’ll get a short circuit / power overload warning. A simple ‘rally’ power tap can be made with one piece of track positioned near the powerbase. Be careful which rails you link – it will be the opposite to normal. So the two rails nearest each other and the two furthest from each other connect – see the first picture below…

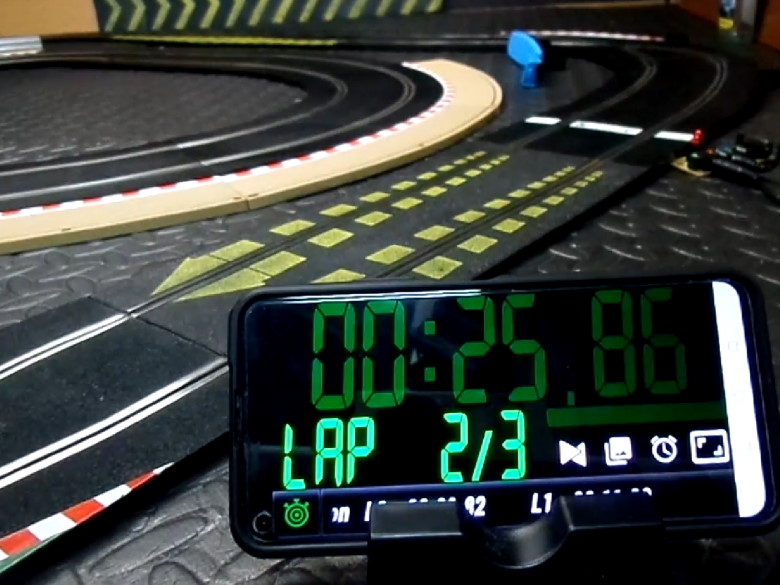
Timing a rally stage
Not being able to use our ARC powerbases with the rally loops, Simon and I looked at other options to time the cars. We ended up using lap timing apps on our phones – Simon used Lap Trax on his Android phone and I used LapTracker/Auto Timer on an old iPhone. Both apps use the phone’s camera to detect movement, which does need careful setting up and calibration to prevent ‘ghost’ laps being added or laps being missed. In the end, neither of us had any problems, making these apps are absolutely perfect for single-car racing. For multi-car and pace car racing, ARC Air and ARC Pro are more reliable and have loads more features, but these simple timing apps did the job for a rally stage.

Our event finishes this weekend and you can follow the coverage at SlotRacer Online. It has certainly been a rather different way of racing – competitors posting their cars to be raced by the hosts – but we’ve all really enjoyed ourselves in circumstances where there’s no other way to race together. I shall recap all of the action and drama of our Winter Rally-Sprint in a couple of weeks’ time.
A big thank you to my co-hosts Oli, Simon and Jean for helping run the Rally-Sprint and sharing the pictures of their stages with me – including their fabulous rally loops! And many thanks to everyone at Jadlam Racing Models for supporting our Worthing HO Racing events.
Hi, I’m making a Race of Champions track using a Arc pro. + it can double up as a Rally stage . Question, Arc pro. Can it count laps in reverse direction? .
Cheers Martin