
A note from the author…
Hello there! I’m Thomas – I’ve been building scale models for a few years now and always relish the opportunity to try something new and to expand my skill set. I mainly specialise in 1/24 scale cars, particularly racing cars, and I love to research and learn about the stories behind their development and the people involved. In July 2020, I started Building on a Budget Models YouTube channel, which currently has over 2,000 subscribers.
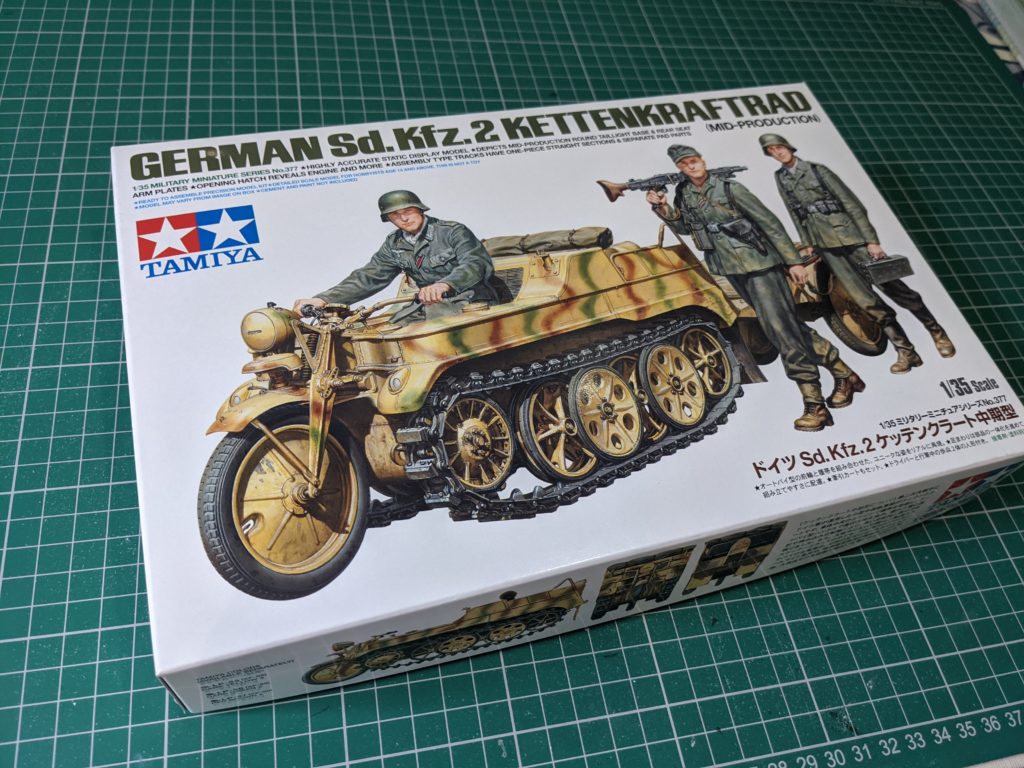
Name – Tamiya 35377 Kettenkraftrad Mid Production 1:35 Plastic Model kit
Number – 35377
Scale – 1/35
Price – £22.49
Availability – Available now! Get yours here!
Hello model-makers,
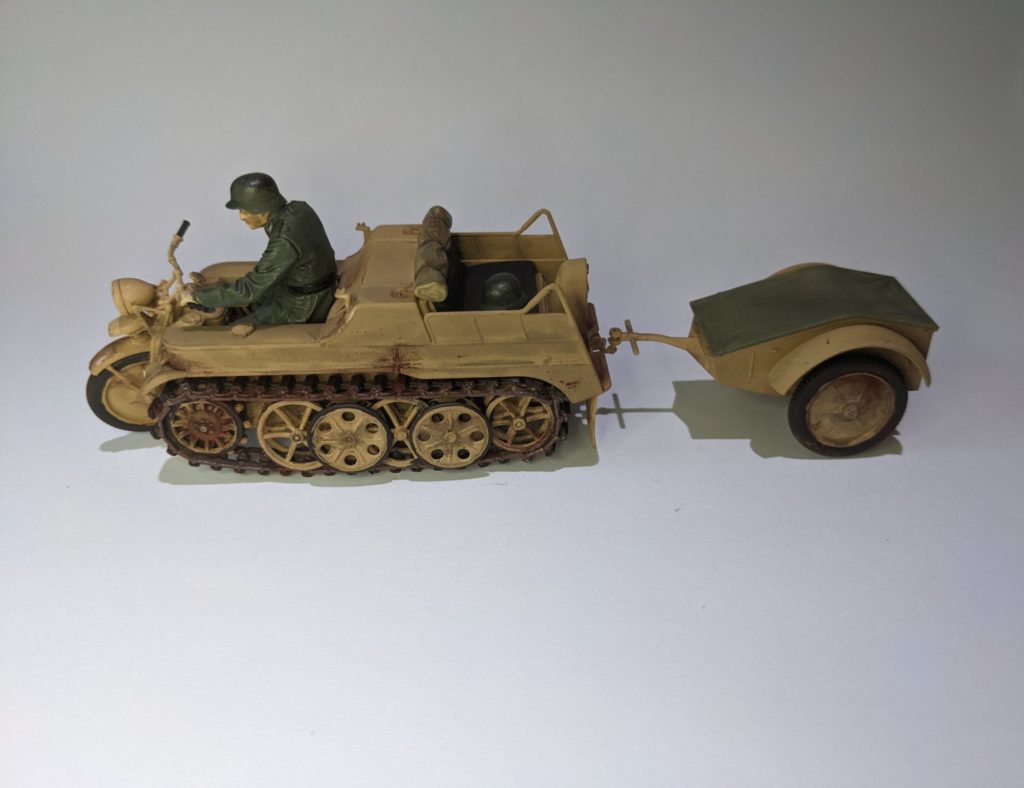
What we have here is a brand new tooling of the Kettekraftrad which was previously released in the 1/35 Military Miniature Series as Item 35029 back in 1973. The kit depicts a mid-production version, as opposed to the early-production version seen in the 1973 release. The Kettenkraftrad was originally developed for commando units, but was found to be highly useful on the poor terrain in Soviet territory. Of its numerous versions, the mid- production was the most prolifically manufactured, and was used to transport materials and even guns in the latter half of WWII.
Whilst I may usually build cars, I was really excited to build a brand new tool Tamiya kit of such an interesting looking subject. This would be my first time making tank tracks too! Incidentally, Ketten is the German word for “chains” or “tracks” whilst Kraftrad (sometimes shortened to Krad) means motorcycle.
Now let’s see what’s in the box!
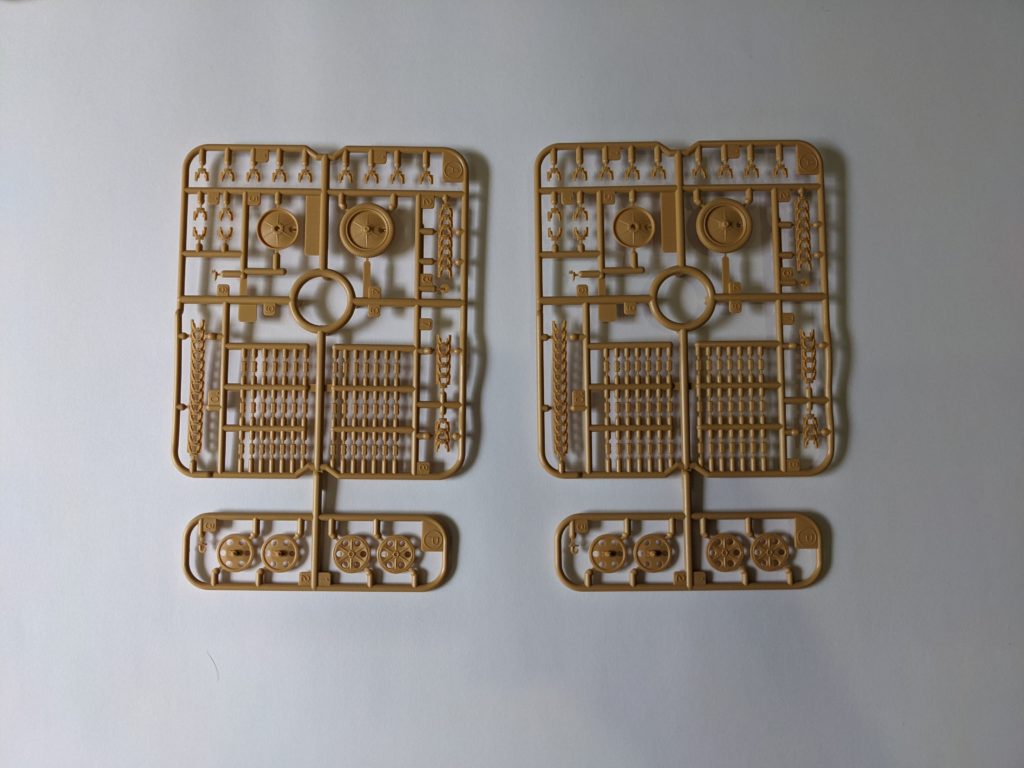
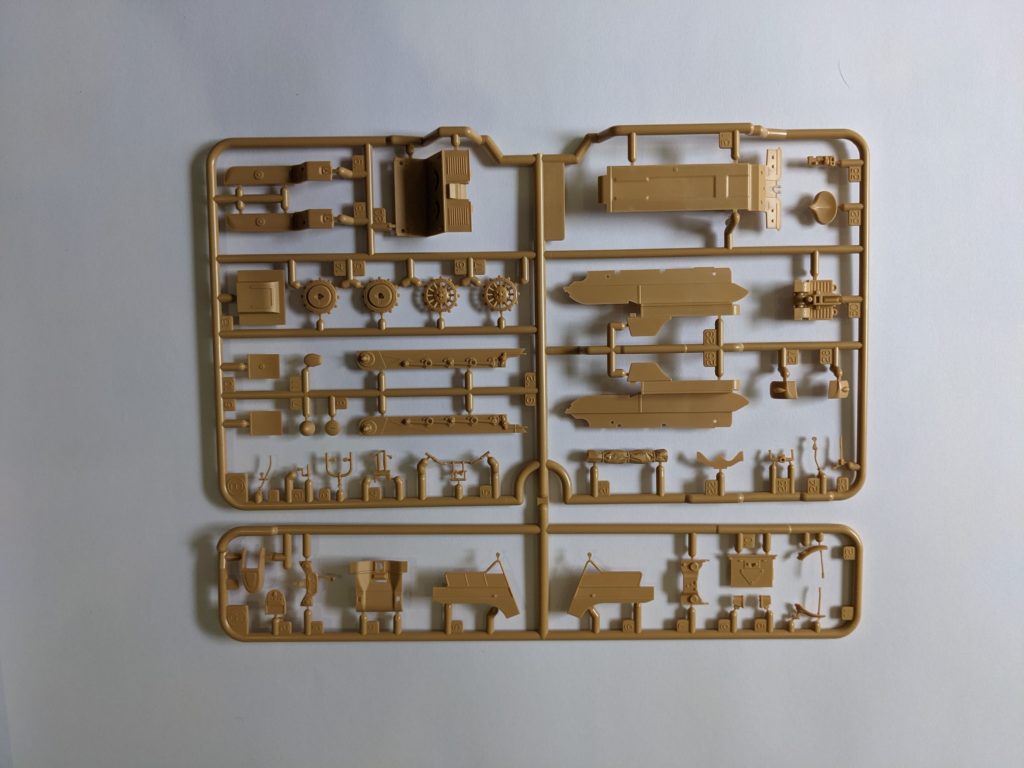
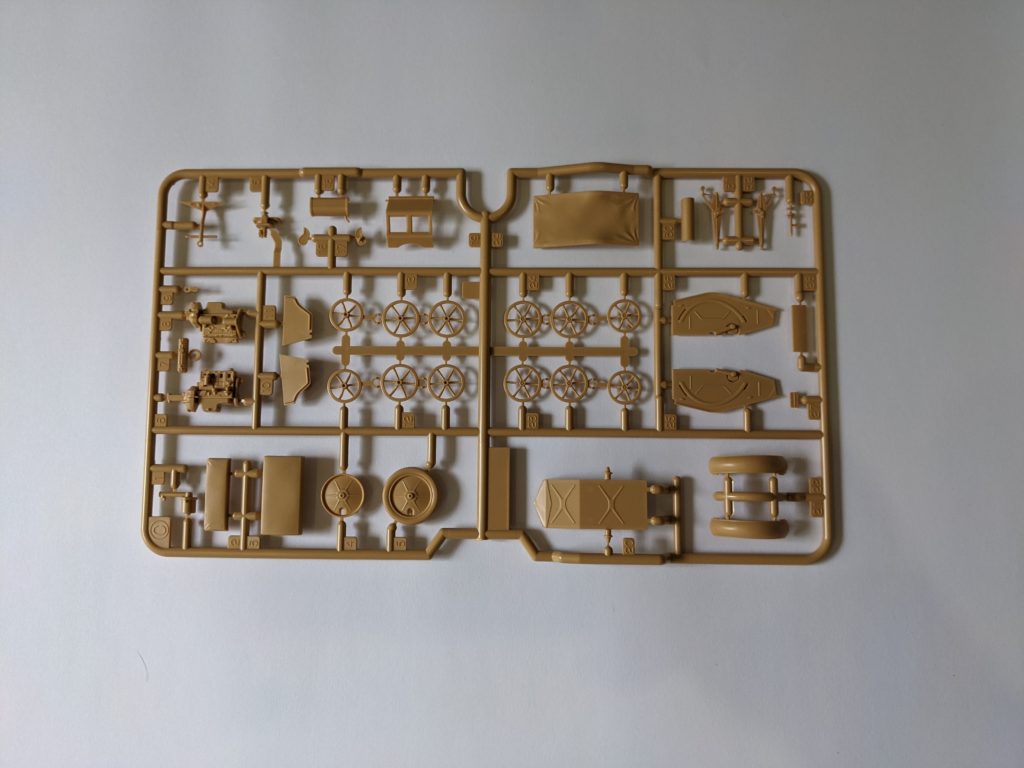
You get 5 sprues of sandy coloured plastic as well as a small photo etch fret and decal sheet. It is beautifully moulded with zero flash and incredible detail although some injection points will need to be removed – the instruction book makes it clear where all of these are.
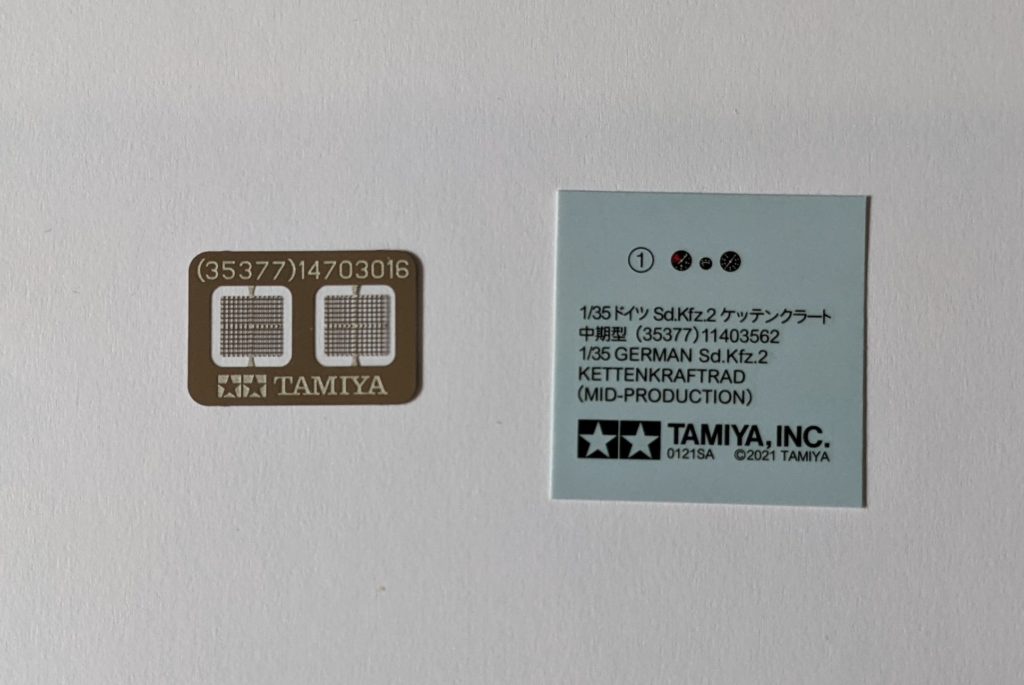
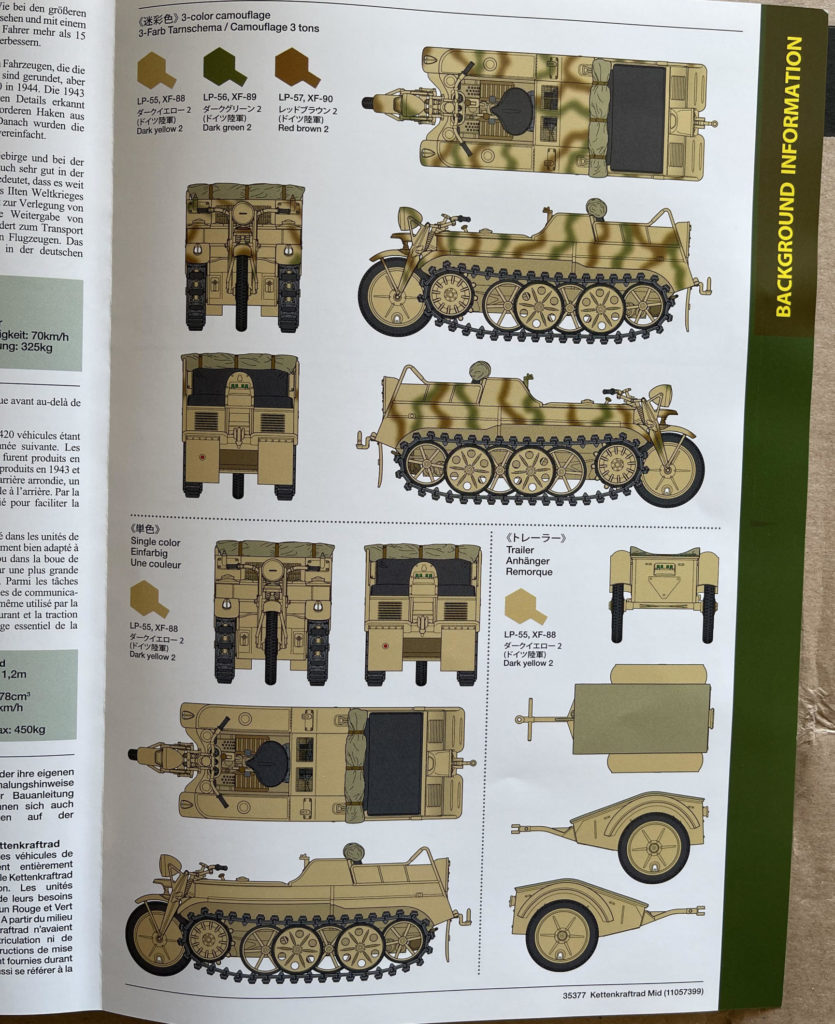
Also included are the usually helpful Tamiya instructions, Tech tips sheet and a colour printed fold out booklet with history and options for two different paint schemes – these halftrack vehicles were all finished in sandy yellow with additional camouflage being added by the soldiers themselves. All of this information is printed in Japanese, English German and French.
The build
I followed the step by step instructions in order as recommended although some parts were painted before construction. I mainly used Tamiya acrylics, brushed, although the sandy yellow colour was achieved using Humbrol 93 desert yellow spray can. When I found that I didn’t have exactly the paint called for, I found the Hobby Color Converter app very useful. Parts were glued using either Tamiya extra thin cement or Gorilla glue CA gel for photo etch and some other small parts.
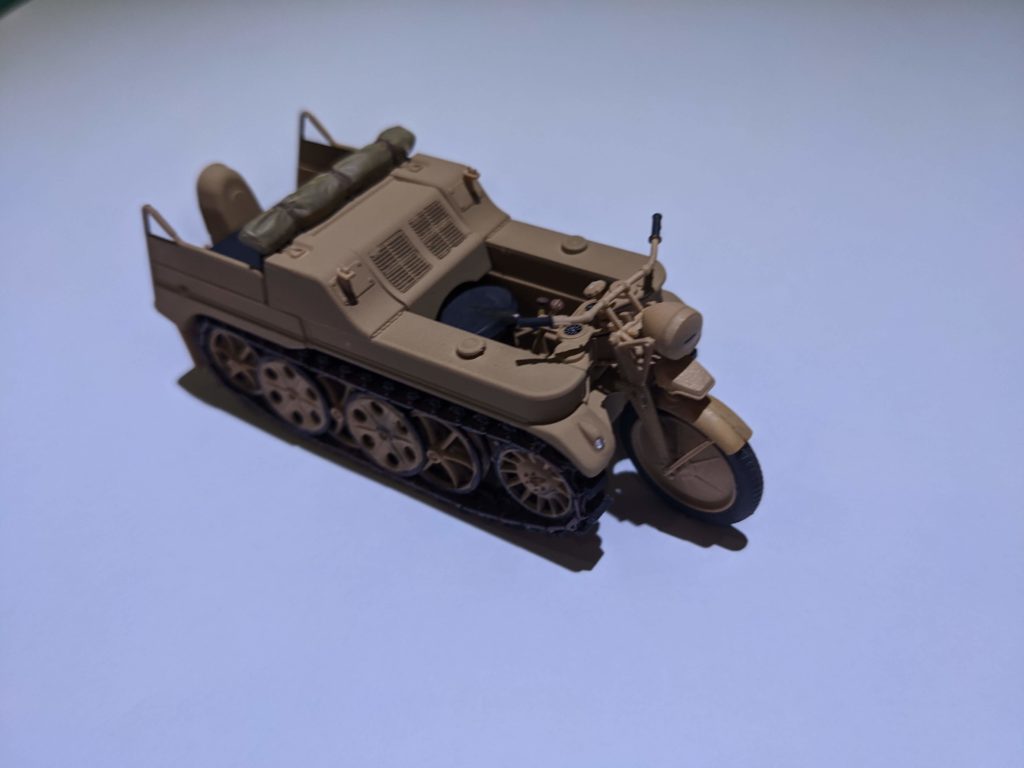
Bodywork
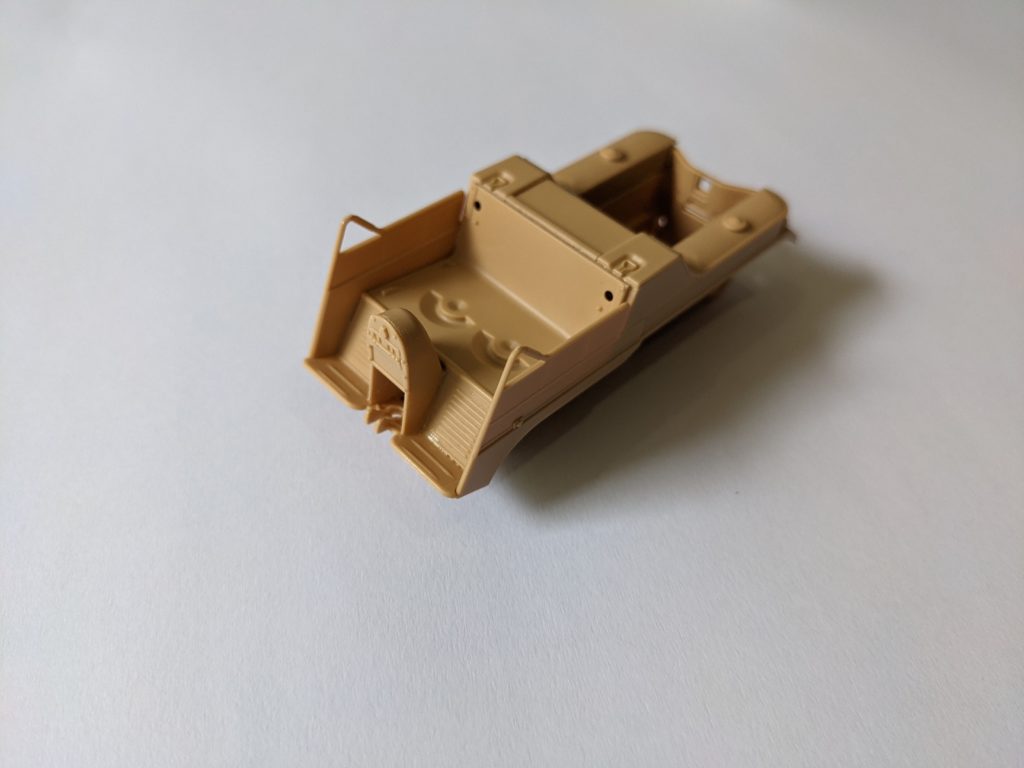
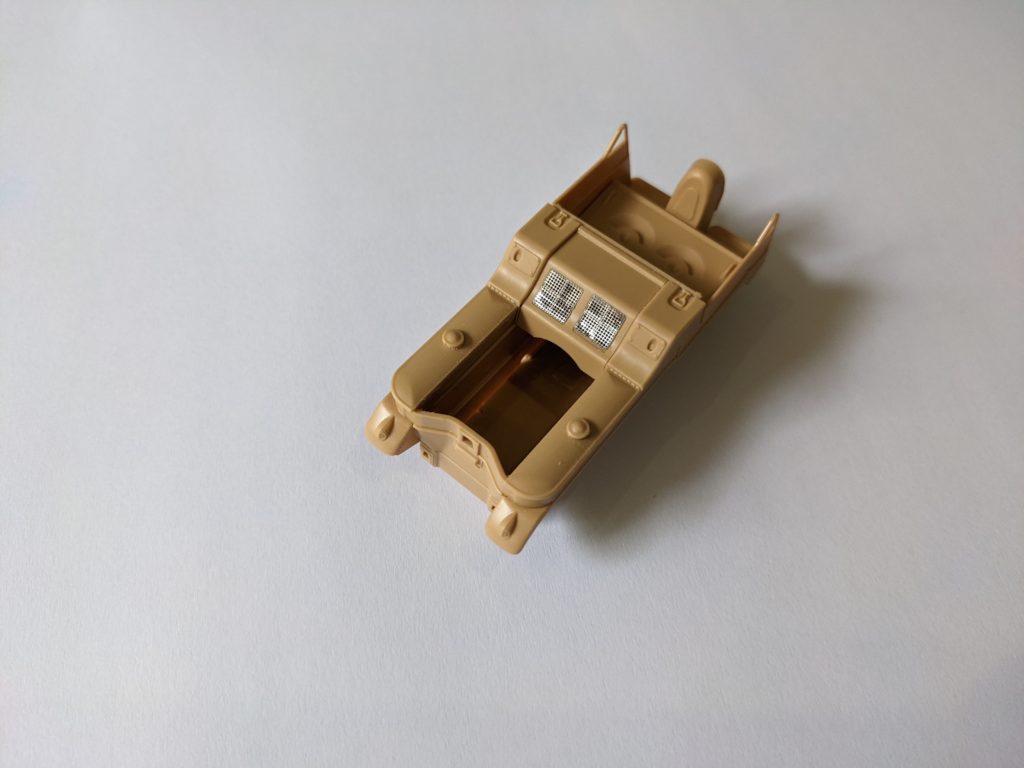
The first 5 steps of the build process concern the bodywork – parts clip together easily and were secured with a little Tamiya extra thin cement. Step 3 refers to the photo etch grilles, helpfully showing which way up the grilles need to be applied. Part B13 is a sort of framework to help bend the photo etch parts to match the engine cover – which were then glued in place with some gorilla glue gel. The engine cover is a moving part so don’t glue it in place as you will be unable to add the engine later.

I then primed the body in Tamiya fine white primer before painting it in Humbrol 93 desert yellow acrylic – a good match for the Tamiya LP55 dark yellow 2. The instructions suggest using metal primer for the photo etch, but I had no issues with Tamiya’s standard primer. Later in World War 2, markings and number plates were not required on this kind of vehicle, hence the lack of decals.
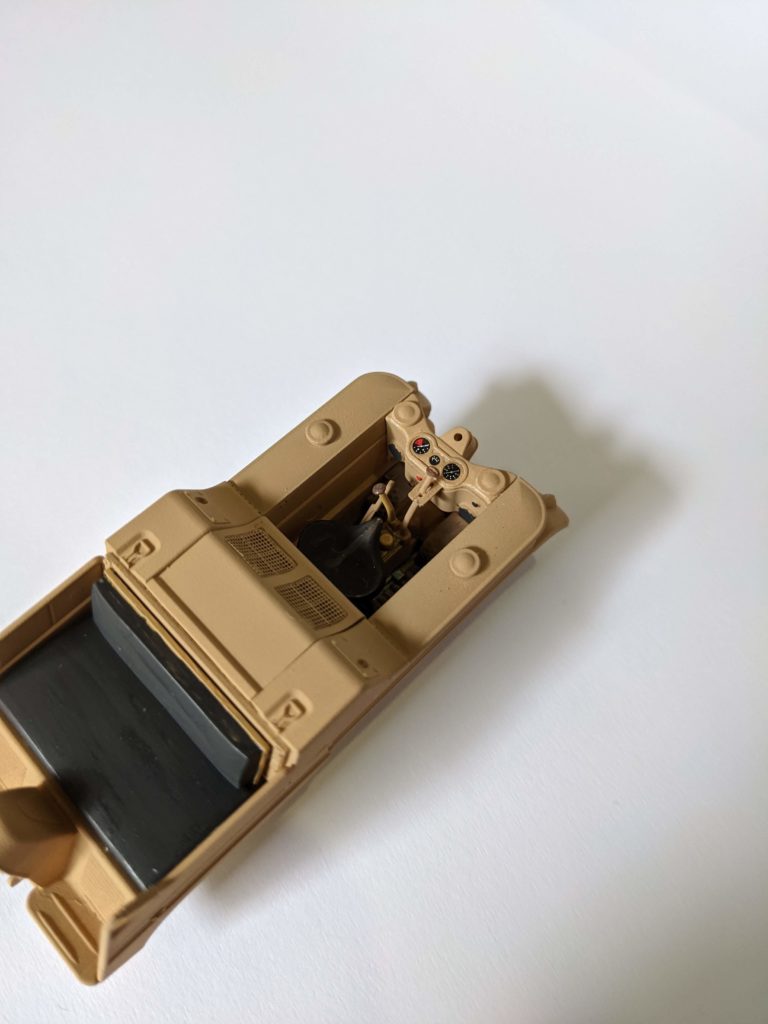
Engine and seats
One the body was painted, the exhaust and seats can be added. Then move onto the 4 cylinder engine, seat and levers. These parts offer a really nice amount of detail and there are even spots for ignition wires to be added should you wish. The fitment of these parts was excellent although some of these parts are very small and fragile – be careful.


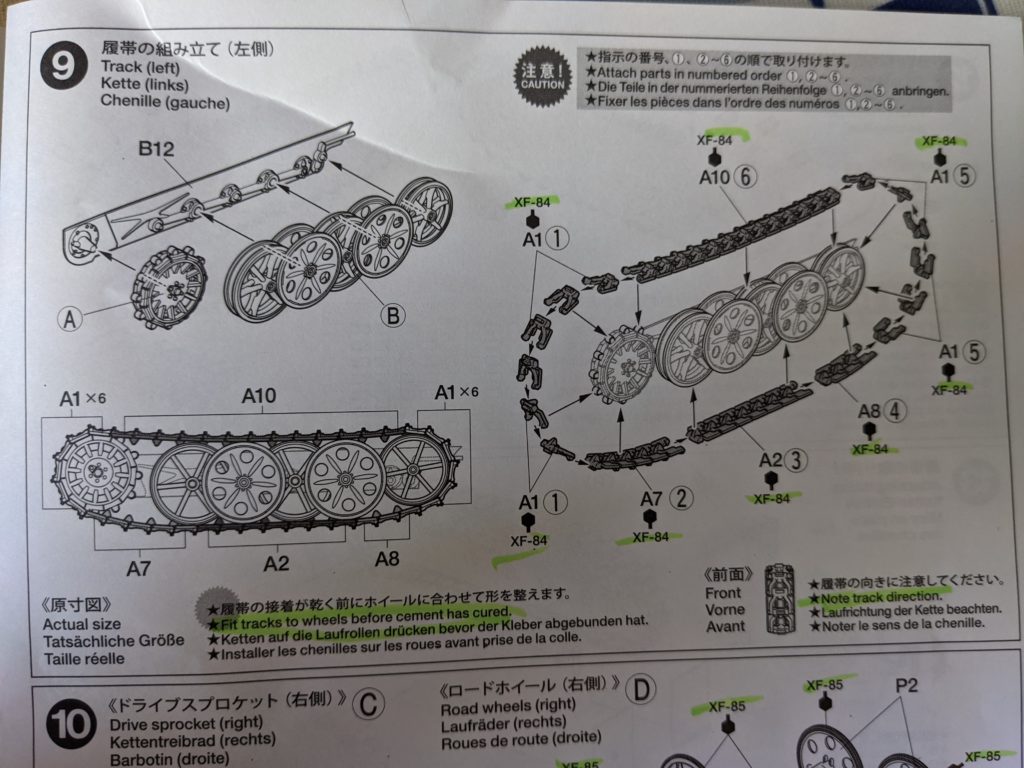
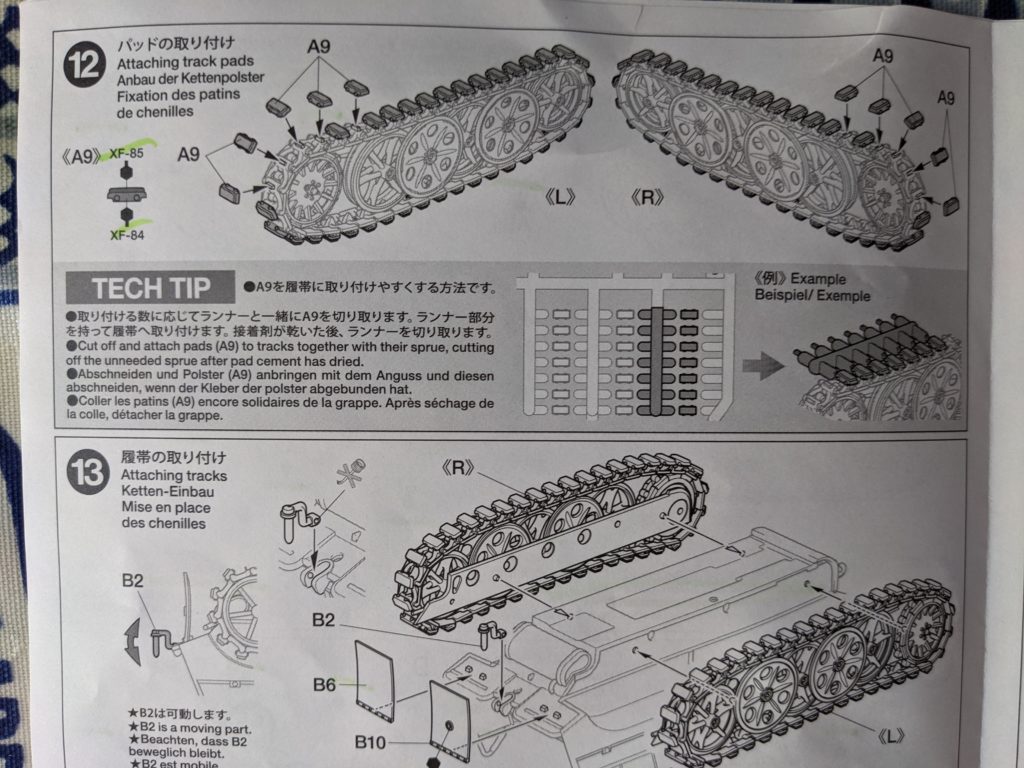
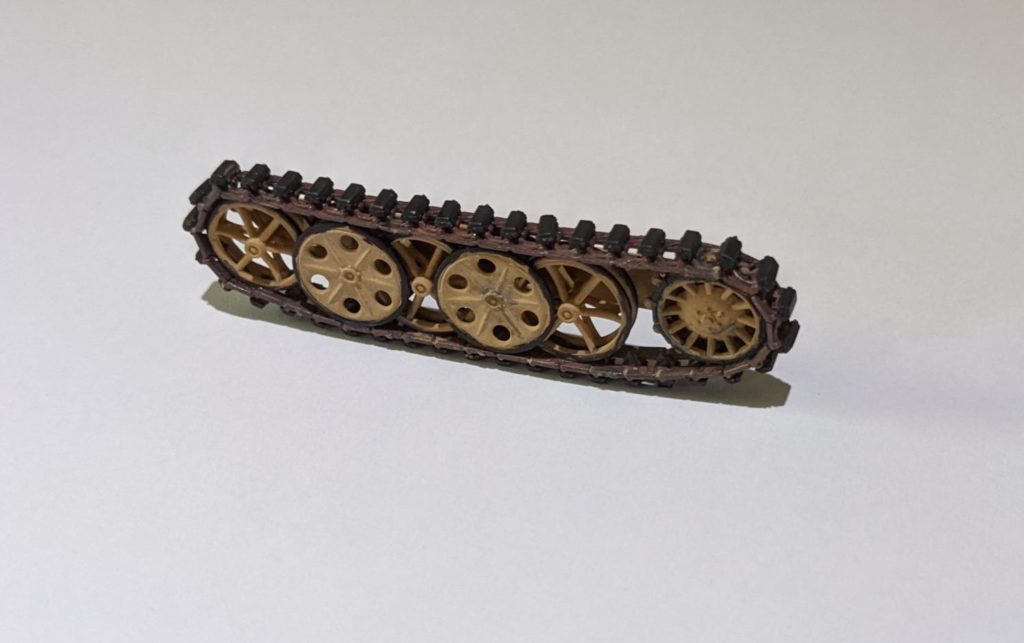
Tank tracks
When it came to make the tank tracks, the rubber exterior of the road wheels are very narrow so I used some black Sharpie marker pen whilst the exterior of the drive sprocket was painted in rubber black XF-85. Pay particular attention to the shape and centres of the road wheels to ensure these are assembled correctly. The instructions when assembling the tracks themselves are really helpful, giving the correct order and direction to place the parts – extra track links are provided in case you lose any (I lost one).
Steering
The handlebars and steering is probably one of the most awkward parts of the build as many of the parts are long and thin, therefore they must be handled with care. Unfortunately, the front mudguard is made up to two halves which means there is a seam down the centre. If you are careful however, it should be able to adjust the direction of the front wheel with no problem. Tyres were painted in XF-85 rubber black.
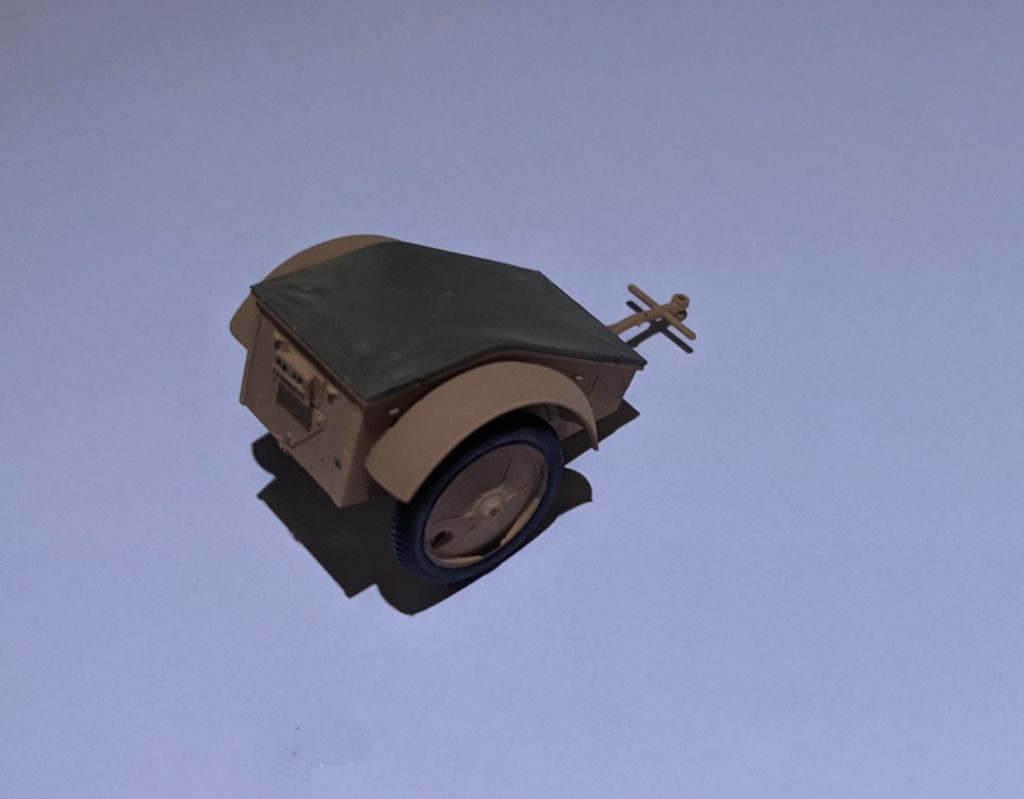
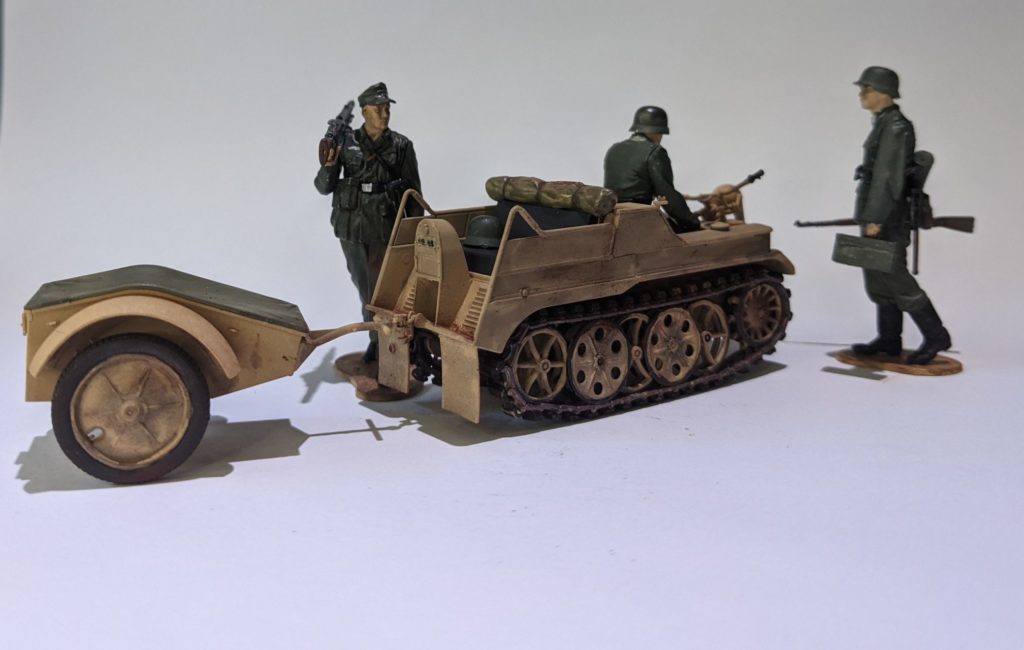
Trailer
The trailer goes together very easily and you can choose to leave the canvas cover off should you prefer. I do feel Tamiya missed a trick by putting the separate wheel hubs on the inside of the trailer wheels – had they put them on the outside, it would have removed the need to carefully paint the moulded tyre around the outside of the hub.
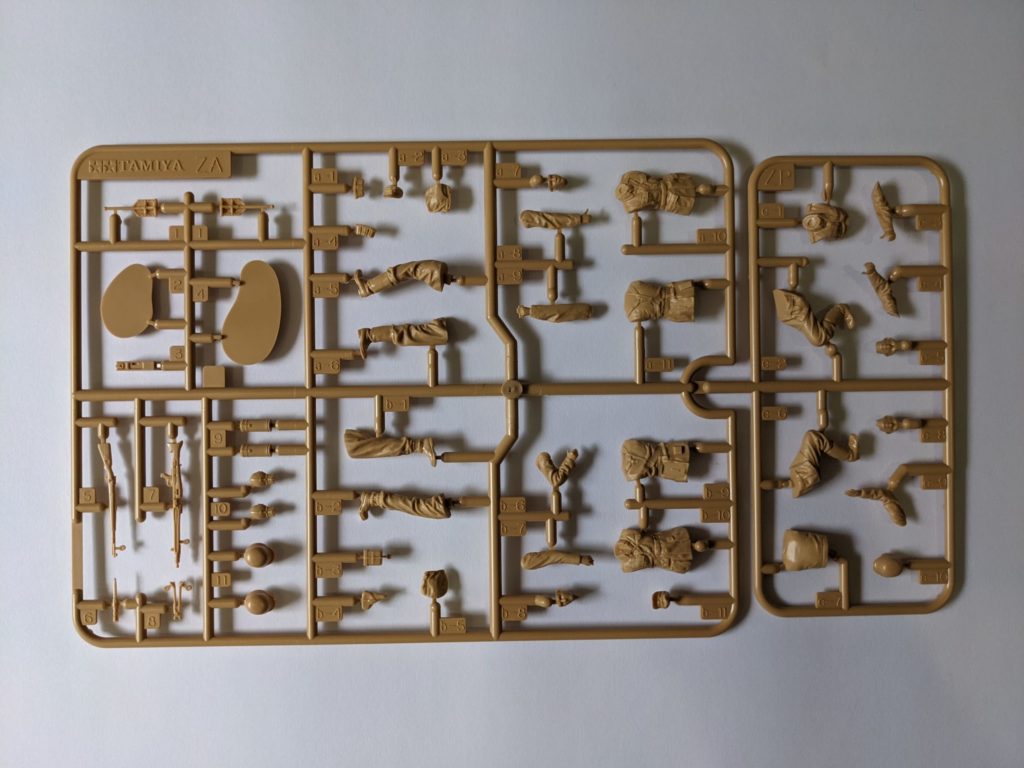
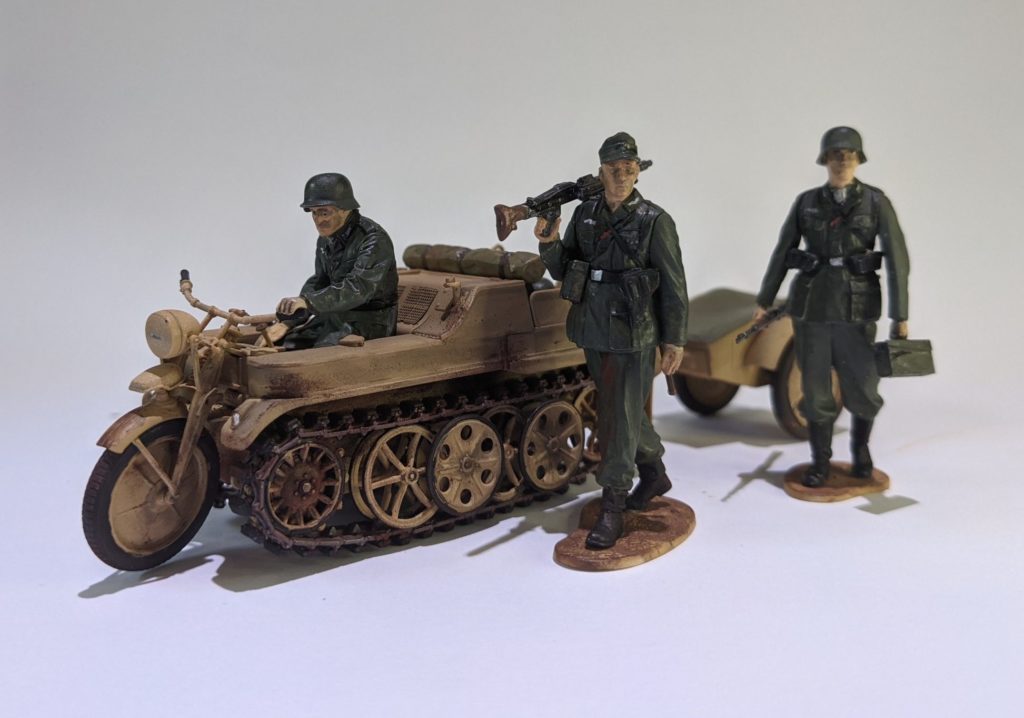
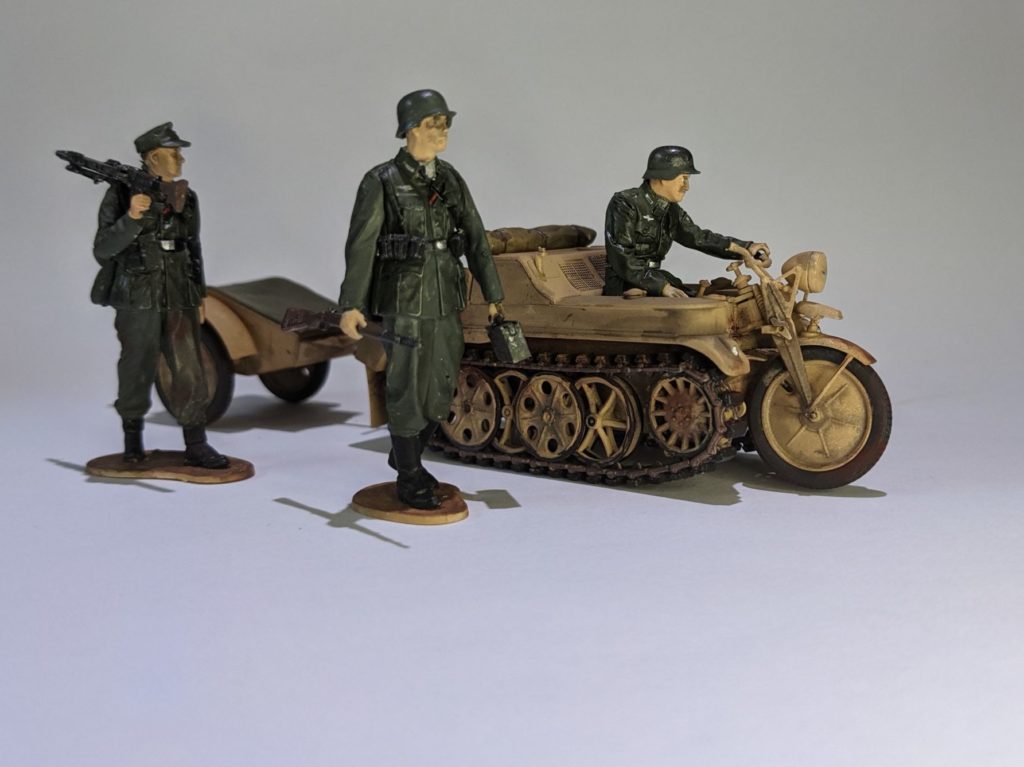
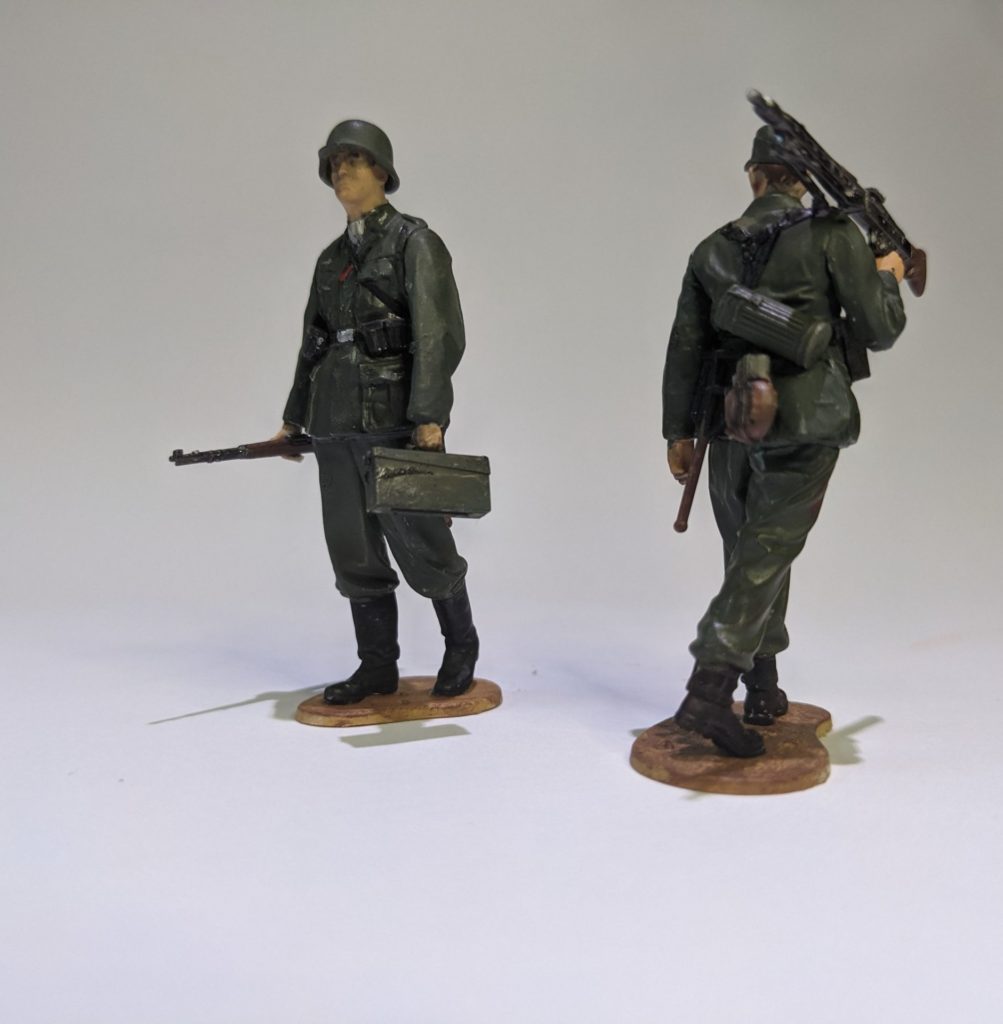
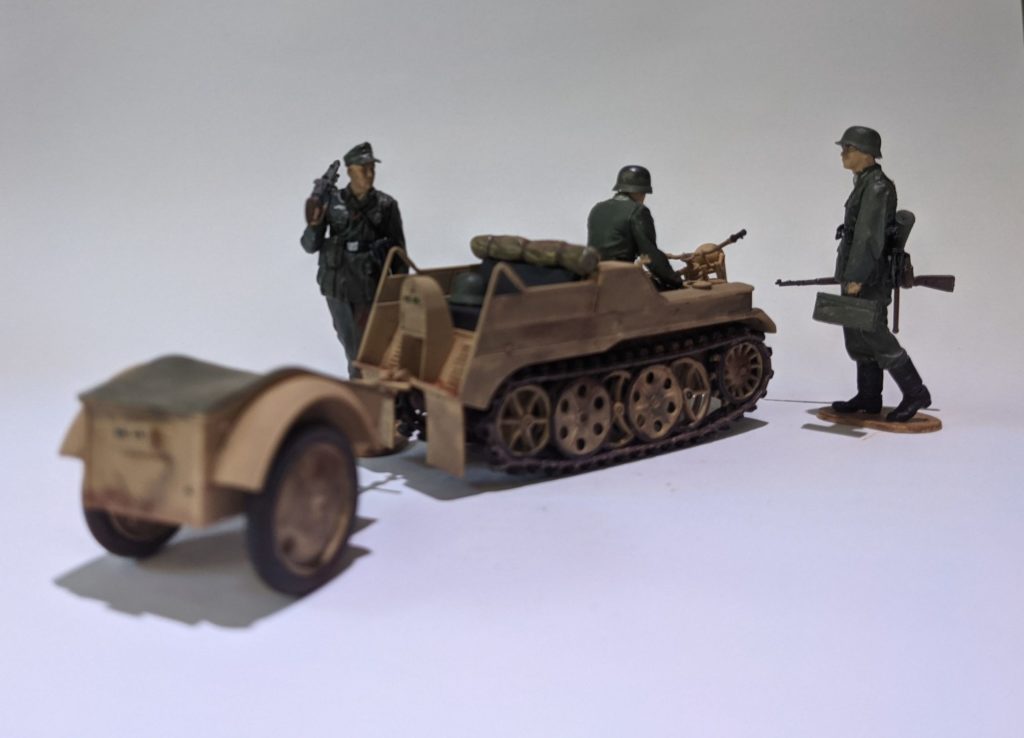
Figures
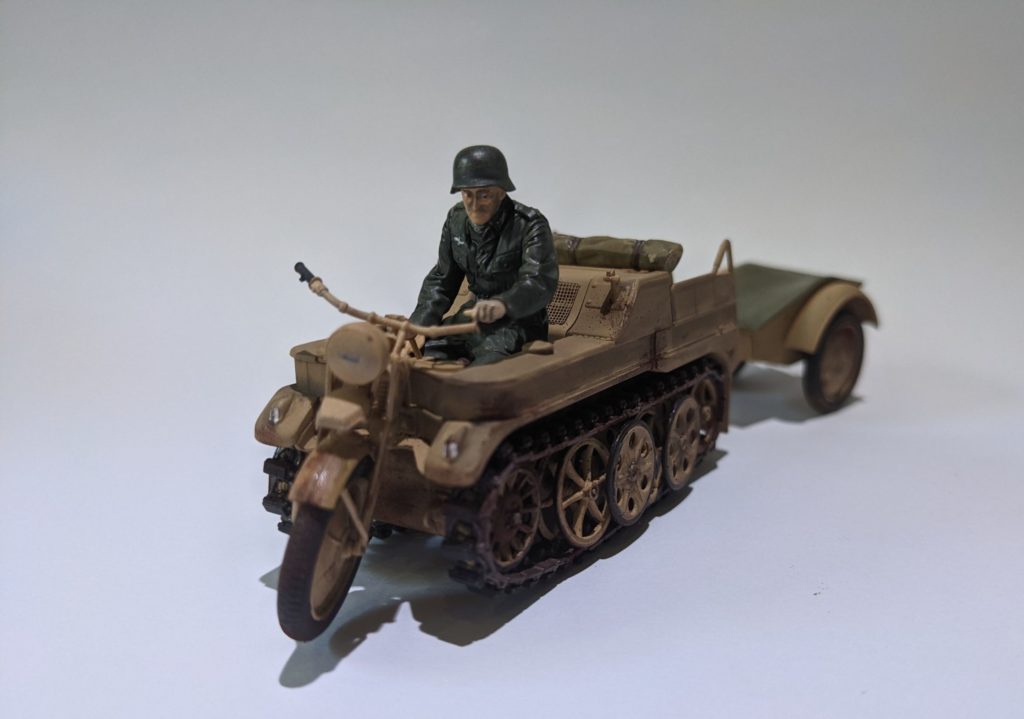
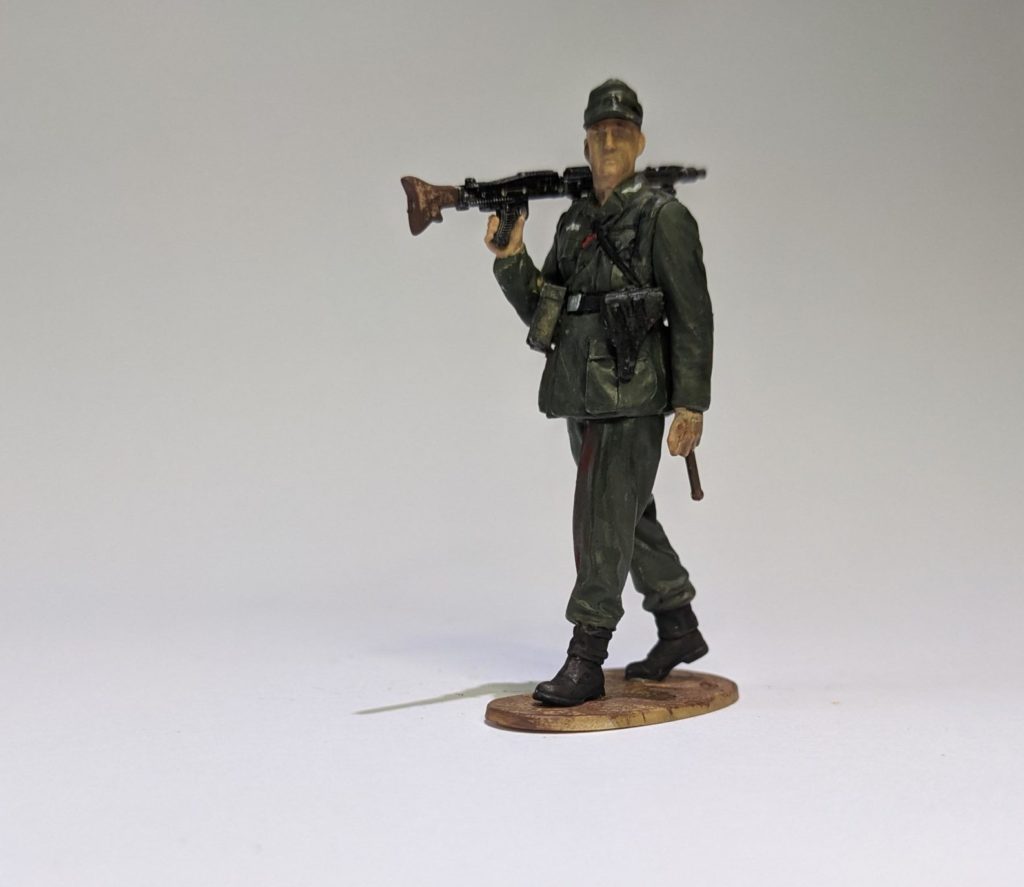
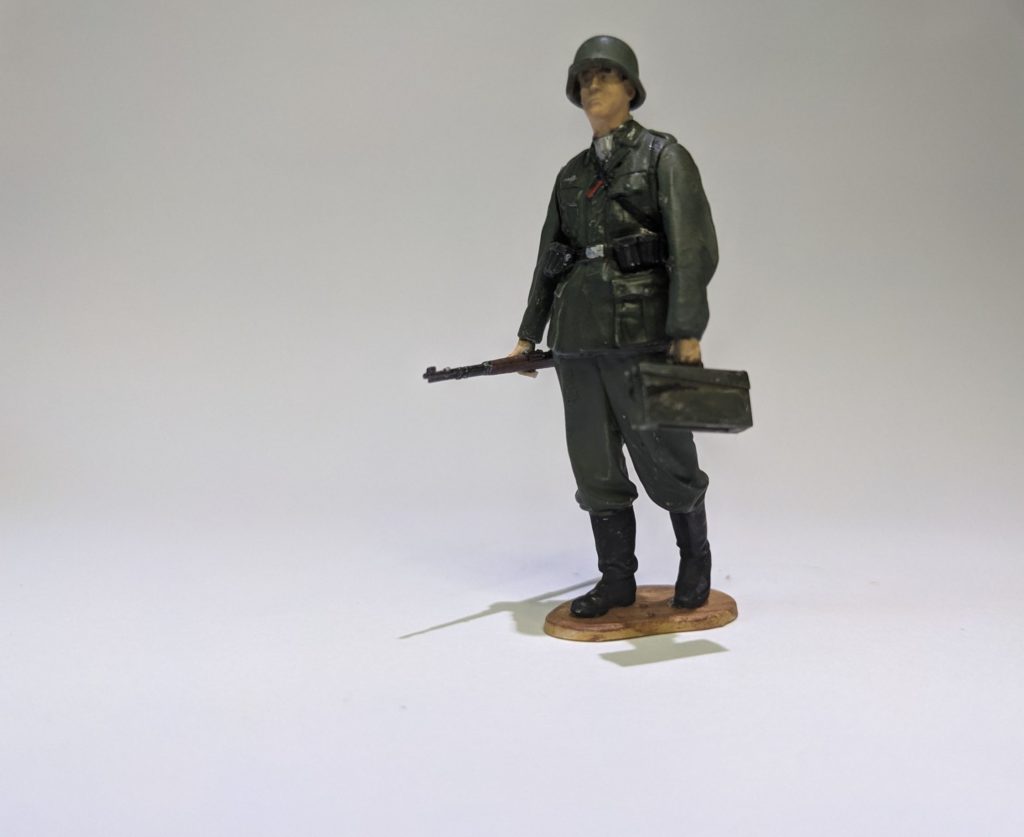
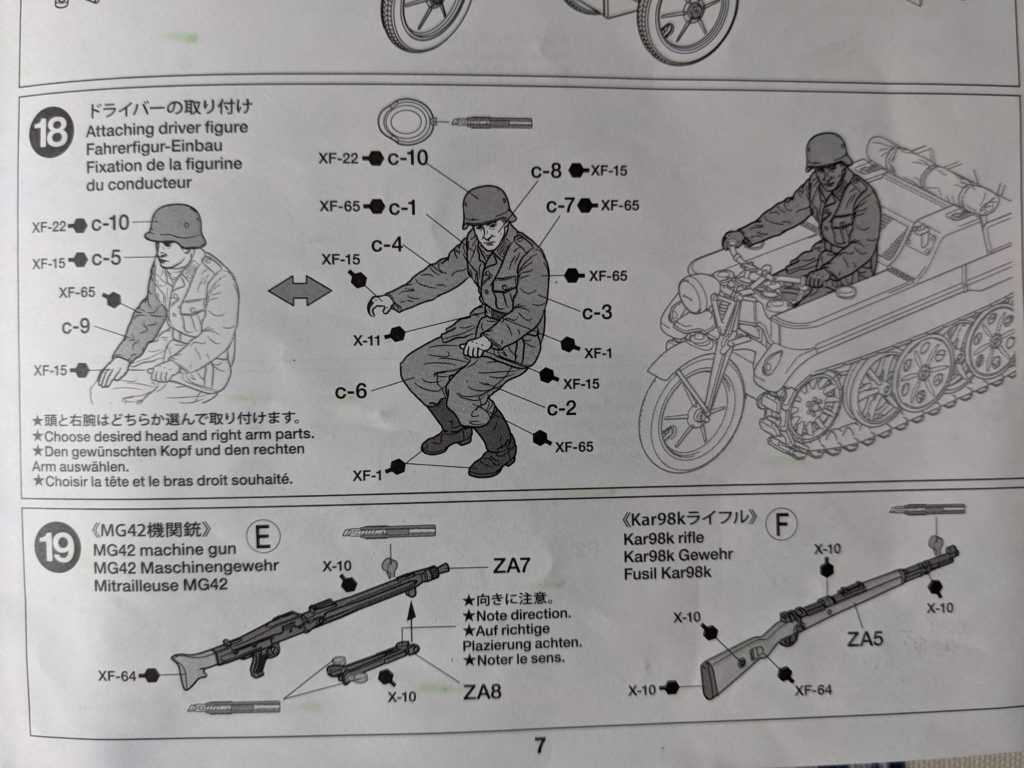
The three figures are very well cast with realistic looking uniforms. I painted them according to instructions although I also dry brushed a little gun metal X-10 onto their helmets to give a slight metallic sheen. When I constructed the driver however, I found that he would not fit into the driver’s seat. Therefore, I took him apart and constructed him inside the vehicle instead. I doubt that I will now be able to open the engine compartment, so bear that in mind if you want the to leave the engine on show.
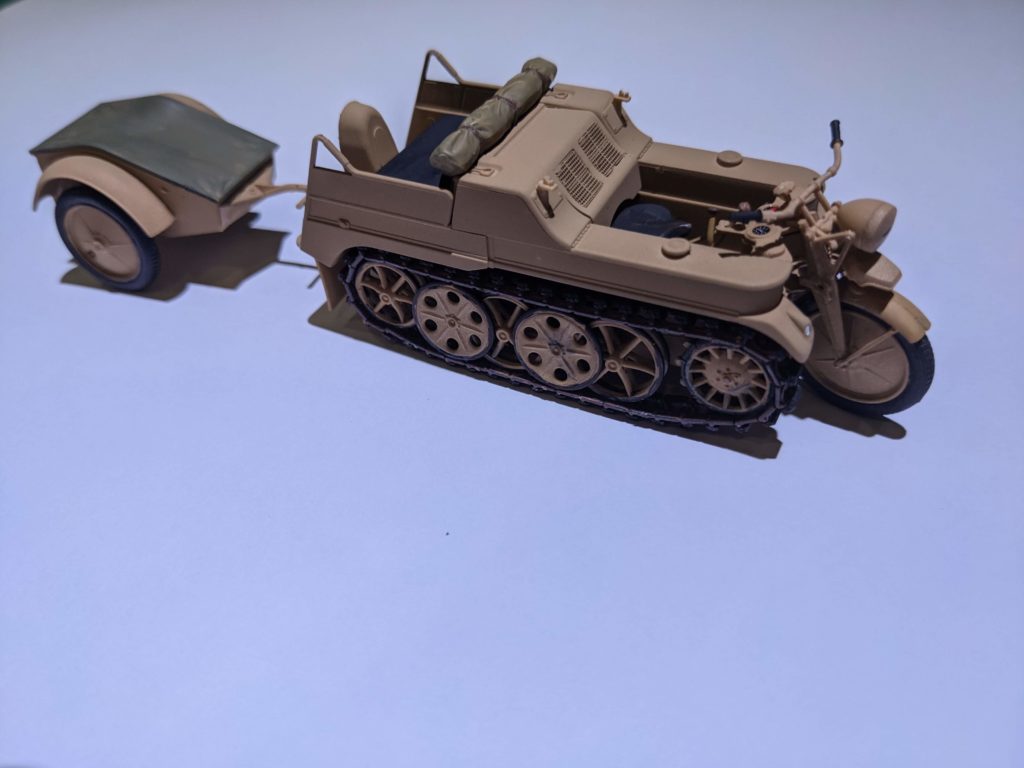
Final touches
I used a little Tamiya black panel line accent over figures and the vehicle to add a little shading, definintion and “dirt”. Then I dry brushed a little Humbrol rust and mud weathering powder into areas such as the tracks, mudguards and the soldiers’ boots to weather the kit. To top it off, I added the spare Helmet to the back seat of the Kettenkraftrad to add a little more realism. I am sure that I have not done a perfect job on this build, but I am pretty happy with how it has turned out – Tamiya’s excellent design and moulds really helped.
The verdict on this kit
Build time
I think this took about 10 hours, although if you didn’t want to make the figures or the trailer, you could chop a fair chunk off that. If you were going to do the paintwork depicted on the box, it may take a little longer.
Suggested tools
Brushes of various sizes, Extra thin cement and a CA glue for the Photo etch parts are all a must. I made this without using an airbrush, but you may find one useful if you are planning the camouflage on the box art. A variety of sanding sticks (I used Ultimate Modelling Products) are useful to remove burs and mould marks in prominent places.
Kit specific advice
Read the instructions with care and dry fit the parts before adding glue. There are also many small and delicate parts, so be careful and treat the kit with respect.
What I have taken away from this build
Tamiya really really make excellent model kits – this went together very nicely and the instructions were very helpful. I enjoyed making my first 1/35 armour kit – will I make more in the future? Probably. I wouldn’t have minded some small decals for the uniforms of the soldiers, but those would be very tiny and it is only a very minor niggle. All in all, a really unique vehicle from the Second World War and a fantastic model for a beginner, intermediate or more advanced scale modeller.
A full build video of this build is available to view at BOAB Models Youtube channel now!
Thanks for reading and happy modelling!
Thomas
In order to save aviation fuel, German jet aircraft were towed to the runway, rather than taxiing under their own power. The vehicle was also used in the North African theatre and on the Western Front. Kettenkraftrad in 1:35 scale Tamiya released a 1:35 scale Kettenkraftrad way back in 1973.