
Once started, the tuning process never ends…
I had hoped to finish this ten-part tuning series with the Mustang GT4 racing at my local Scalextric digital club. However, the club hasn’t yet returned after our lockdown layoff – and I doubt the Worthing GT Championship will resume until next year. So this final part will focus on my usual method to prepare and develop a car for digital club racing.
In this post, I’ll be looking briefly at blueprinting, gluing the motor and axle bushings, plus fitting and testing the digital chip. I’ll also explain how ongoing development can improve a well-prepared car and turn it into a contender. Don’t forget, you can read the entire Scalextric Tuning series here: https://blog.jadlamracingmodels.com/tag/scalextric-tuning/
Slot Car Clubs
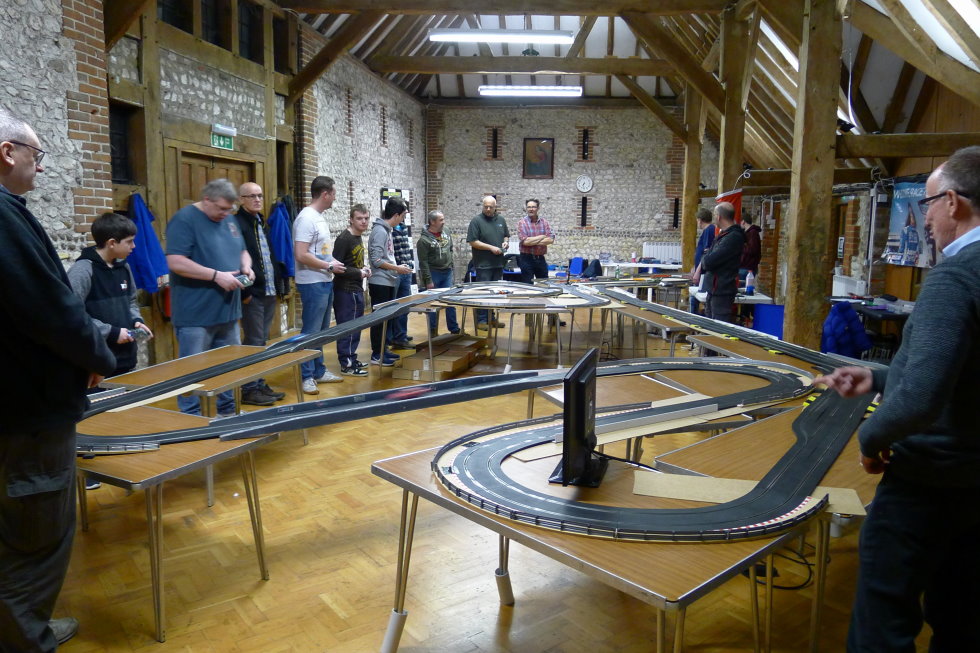
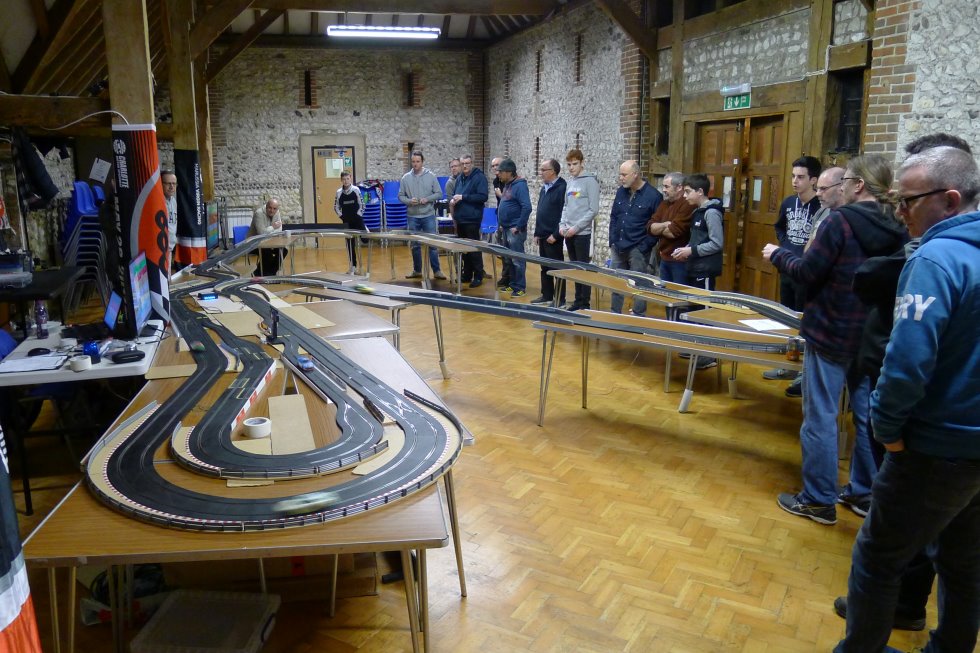
There are all sorts of slot car clubs – from families racing on the living room floor, to international groups hiring sports halls to run 24-hour races on huge replicas of the Le Mans circuit. I’ve enjoyed both those extremes – and everything in between. Of course, every club is different – from the cars they race, the tracks they race on and whether the format is one-car-per-lane ‘analogue’ or a multi-car digital.
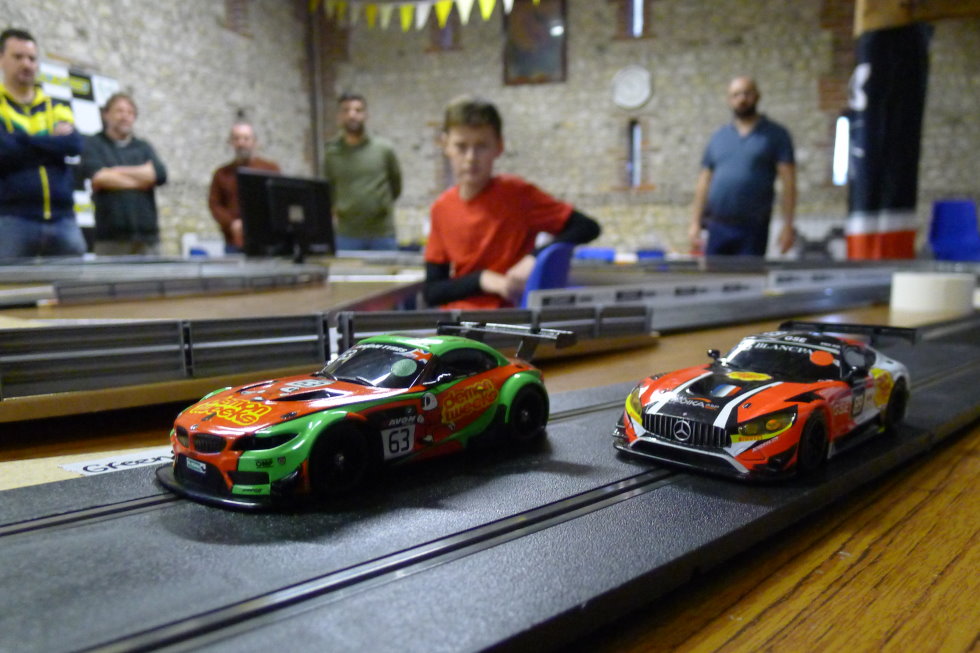
At my club – WHO/digital – we race mostly bog-standard Scalextric cars on Scalextric Sport track, using the Scalextric digital system.
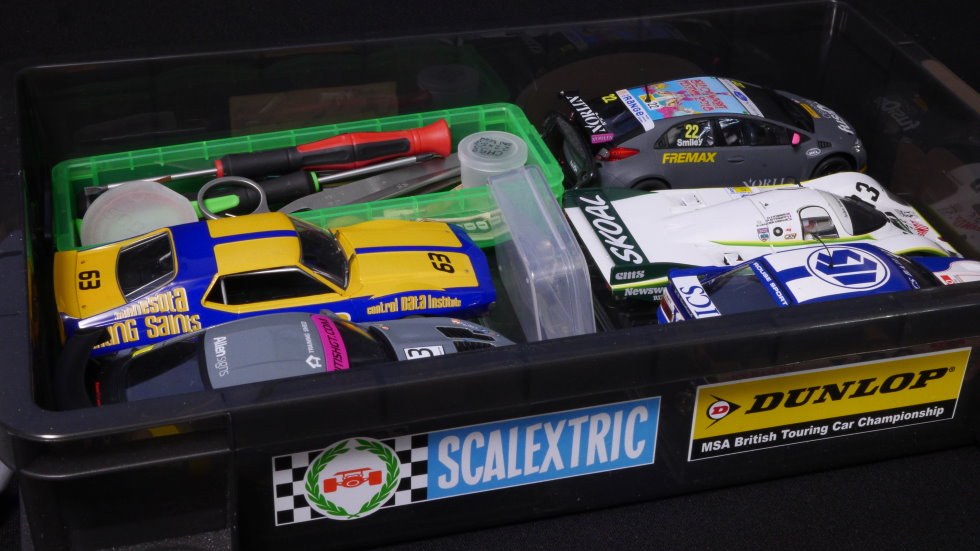

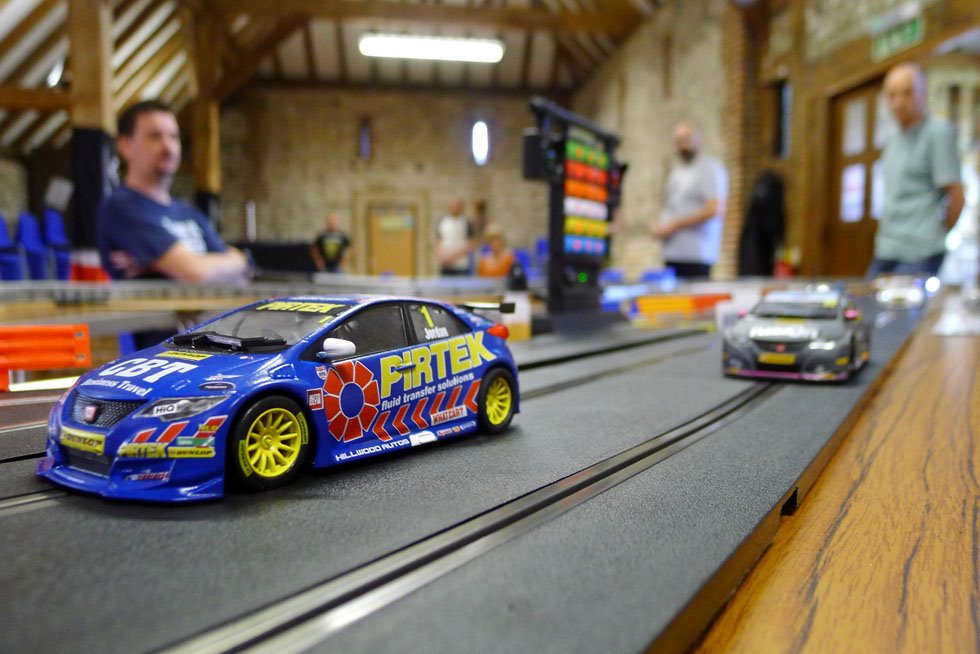
You can see my race box containing the Ford Mustang (GT Championship), a Honda Civic (BTCC), Ford Sierra (Group A Saloons) and Porsche 956 (Slot.it Group C) for our Digital Saturdays – plus an AMC Javelin (Trans-Am) for Wednesday evening events. There’s also a small tool kit, some spare braid, body screws and a digital chip – just in case!
Each club has its own rules and regulations. Ours are very simple. My Scalextric cars have all been prepared using the steps I’ve outlined in this series. However, there are a few extra things I do…

Blueprinting
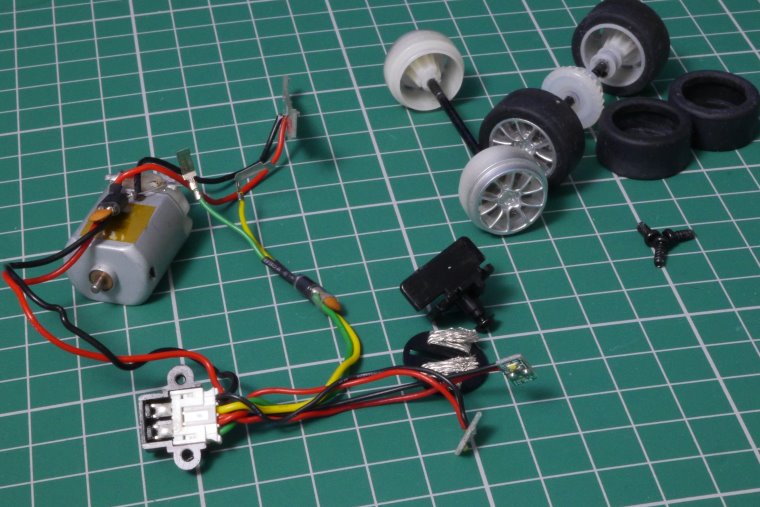
Common in all forms of motorsport, ‘blueprinting’ means stripping down your car and rebuilding it, making sure the parts are as good as possible and fit together perfectly. In a Scalextric racing class where parts must be standard, you’ll want to use the flattest underpan, straightest axles, roundest wheels, smoothest gears and most powerful motor. In Part 8 – Using Upgrade Parts, I stripped out the standard components from a second Mustang GT4 to build the ‘Monster Mustang’ with NSR and Slot.it parts. I will look through the parts I removed and see if any of them are better than those I already have in the car. Whatever parts are left over can serve as spares for my race programme.
Gluing the Motor & Rear Axle Bushings
In Part 9 – Removing the Magnet, the newly mag-less Mustang suffered from wheel-hop under acceleration. Although the NSR tyres and some weight improved things, I still want to tighten up the drive train. Gluing the motor was also mentioned back in Part 5 – Fixing Oversteer when I was truing tyres. The main reason we tighten up the drive train is to conserve energy and prevent unnecessary wear and tear. It also makes the back of the car more rigid, which should improve handling under acceleration – reducing wheel-hop.
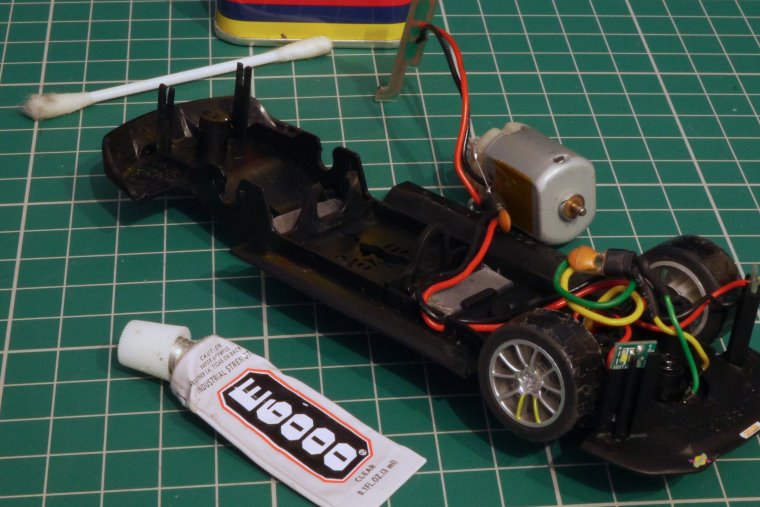
First, I remove the motor and rear axle, clean the surfaces I’ll be gluing with lighter fluid (naphthalene) and then I put a couple of dabs of glue between the rear of the motor can and the motor mount – avoid gluing any moving parts! The glue can be a flexible glue (Shoe Goo or E6000, for example) or a superglue. I used E6000. Then I re-fitted the motor and let the glue set. When the glue was set, I fitted tungsten putty either side of the motor to replace the Blu-Tack I’d used before.
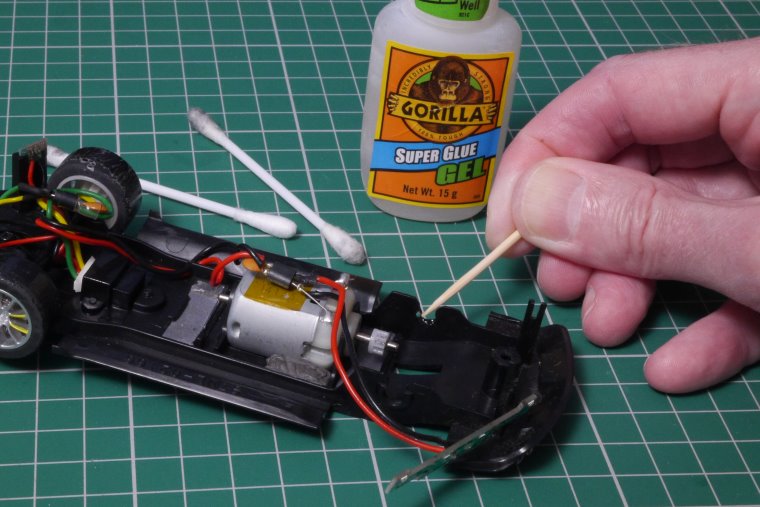
Next it’s time to glue the rear axle bushings. I find superglue is best for this. After cleaning the surfaces to be glued, I placed a small drop of superglue in the socket and smoothed it round the edge with a cocktail stick. I prepared both sockets this way before pressing the axle into place. I checked the bushings clicked in fully and left the glue to set – making sure the wheels were off the ground, so not to push the bushings up.
Does it make a difference? A test run on the Jadlam SL6 test track gave me a smooth handling car with good acceleration on the long straight and none of the wheel hop. The car sounded quieter under acceleration, suggesting less movement and better gear mesh. So I’m happy. A two minute run wasn’t spectacular – 20 laps and a best of 5:55 seconds. That was slower than last time, but everything I drove today was well below par. Blame the driver.

Fitting The Digital Chip
The Mustang GT4 is a Digital Plug Ready car and the C8515 chip is just plug and play. I’ve left digital conversion to this stage for two reasons: Firstly, I wanted to tune the car without the added complexity of digital – and second, some of the steps (tyre truing, for example) risk damaging the chip. Adding the chip introduces about two grams towards the front of the car, so there shouldn’t be any extra tweaking necessary.
Once fitted, I always check the wires at the front do not stop the front axle rotating; the chip doesn’t interfere with the cockpit to prevent body float; and the Ferrite Man (see Part 1 – Parts of a Slot Car) is fully isolated from the motor can.
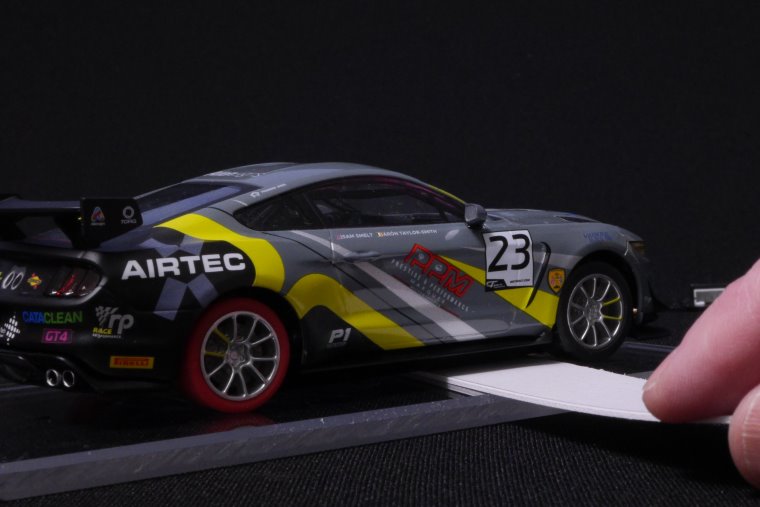
I also check that the LED is not poking out the bottom of the underpan too far – it shouldn’t be anywhere near touching the track. I check this on my acrylic set up block by passing a strip of plastic (1.2mm thick) under the car. In the case of the Mustang, the plastic strip lifts the front of the car up when it passes under the LED – it’s too low. This means the end of the lens will get worn and that might stop the LED communicating reliably with the track sensors. Scalextric have given us lovely low and flat underpans recently, but the chips are still designed for older cars that sat higher.
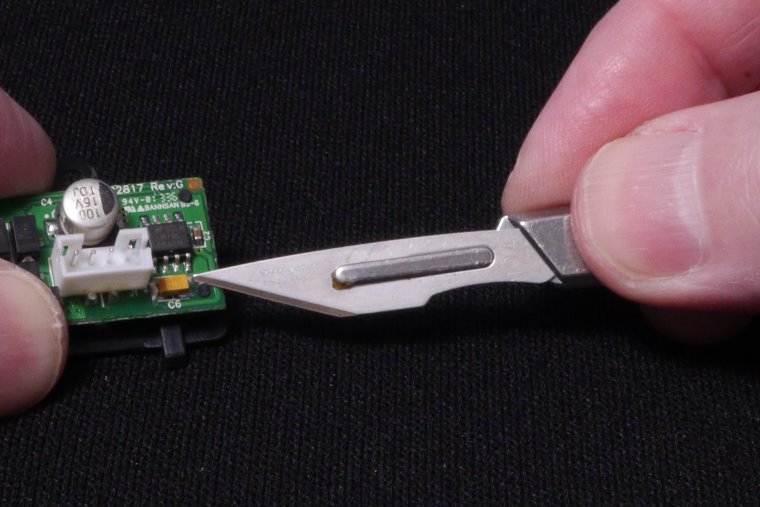
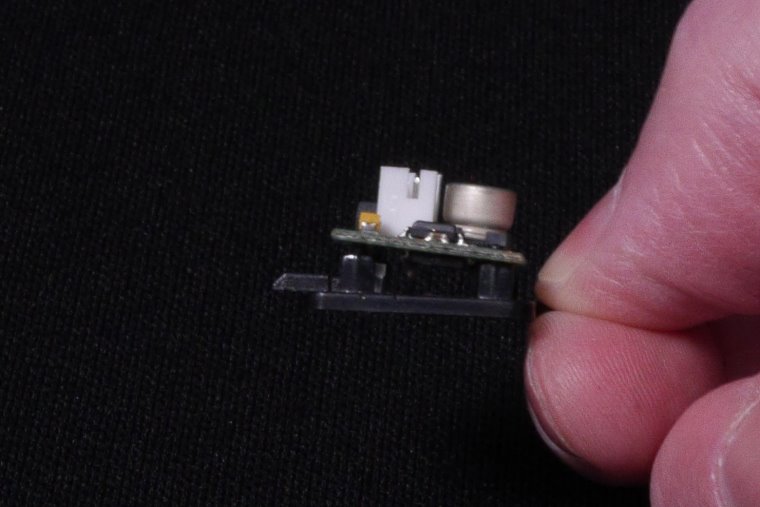
To fix this issue, I remove the chip from the car and very carefully slice off the two plastic retaining lugs at the front of the chip. I then pop the circuit board off the front plastic legs, so it is angled up – the tip of the LED moves to a position flush with the bottom of the flap. The board should stay in this position without adding any glue, spacers etc. The angle can make re-fitting the plastic plug into the underpan a little tight, especially with the older chips with the large silver capacitor.
If you’re wondering why I’m using an older ‘Rev G’ version of the C8515 digital plug, then I’ll briefly explain… The latest version (Rev H) is a big improvement – it handles more powerful motors and gives a slightly more power. However, for non-mag cars that are top-heavy, I prefer the power profile of the older chip for racing on our big club tracks. I discovered this when developing my AMC Javelin – swapping the chips made the car easier to drive and a potential race winner. However, I use the latest chip (without the big silver capacitor) on most of my DPR cars – more power is a good thing!
Finally, the Mustang gets a quick digital shake-down on the SL6 layout with an ARC Pro powerbase and a digital lane changer fitted. I want to see that the chip works, communicates with the powerbase, counts laps and successfully triggers lane changes. I want to be totally confident my car will work when I get to a club event. The good news is that the Mustang passed all those tests with flying colours. In fact, it handled slightly better than earlier and a gentle two-minute run gave 20 laps and 5:46 seconds. That’s the final timed run of this development process.
At The Race Track
Preparation at home does save time at the track – you know the car works. That means you can spend the practice session familiarising yourself with the track layout, relaxing and being sociable.
This first event will be all about understanding the character of the Mustang on the big tracks we use. I will focus on adjusting my driving style and evaluating the car’s handling. I’ll record lap scores and times (taking a photo of the race screens with my phone), plus jotting down my impressions – and any feedback from my co-drivers – in a notebook or on my phone. I’ll be looking for what’s good and what isn’t – especially whatever factors might be causing crashes and where on the circuit I’m losing out to the better cars. Those notes will be useful as a reminder of what I need to work on between races and as a record of how any tweaks improve the car.
What I’ll avoid are any hasty changes. So far, all my tuning steps have been methodical and thoroughly tested. Rushed changes at the track won’t help. If the car is awful, I might try one thing to improve it. That might be using Slot.it P6 tyres to give more ‘slide’ if the car is very tippy in corners. Or it might be adding some weight in one place, depending on what the problem is. I’ll take those P6 tyres and some Blu-Tack just in case.
Between Races
The time between races is important – a good start are the maintenance tips in Part 3 – Maintenance & Repairs. Done soon after the race, any repairs can be completed and new parts sourced and fitted. Once the car is clean and back to its best, any tweaks can be looked at. Any mention in my notes of oversteer, understeer, centre of gravity, wheel hop and weight should lead me to the solutions we’ve looked at in this series. Of course, an improvement in one area can make other characteristics worse. It’s a case of changing one thing at a time and testing it – at home and then at the club track.
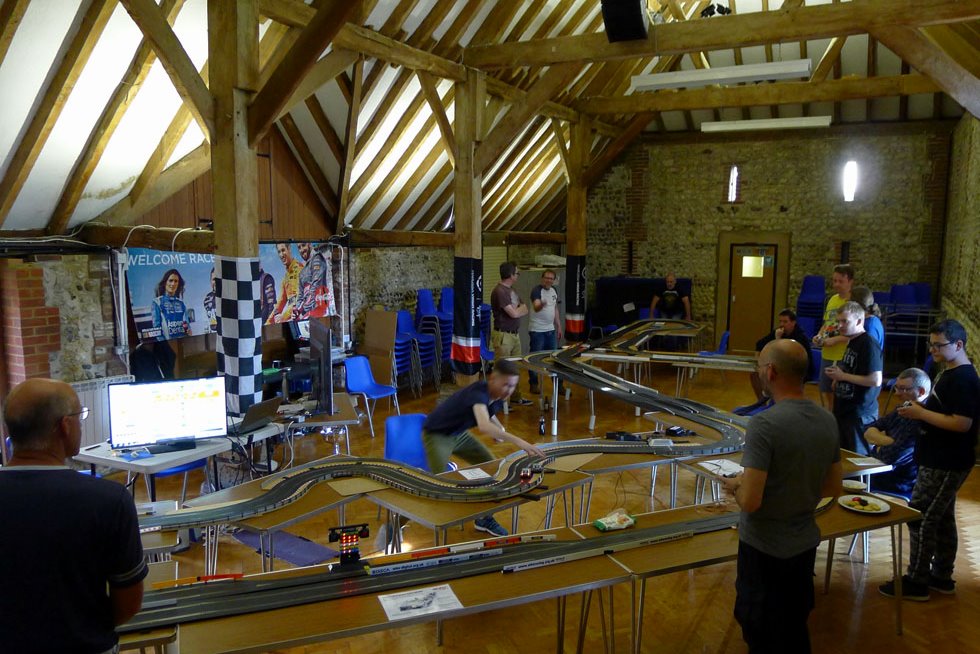
At WHO/digital, we race on a different layout at each event – a good all-round set-up is what I’m looking for. With more experience of the Mustang, I might come up with a ‘fast-flowing’ set-up and a slightly different set-up for more twisty tracks. At clubs that always race on the same track, searching for the perfect set-up is the aim.
Learning From Others
It is exciting and satisfying to develop a race car. However, you can’t do it entirely on your own – gathering information and advice is essential to progress. I discovered a few things as a youngster, tuning Scalextric cars at home – most of it handed down by my dad and older siblings. I’ve picked-up much more from the people I’ve raced with in recent years – and from resources I’ve found in books, magazines, plus online forums and blogs.
Two WHO/digital racers who’ve generously shared their knowledge are Mike Dadson and Gary Skipp. Gary has written tuning articles for the Scalextric website, his DiSCA website and also starred in an excellent video for the Scalextric Test Track team (https://youtu.be/nod0pK00zvU). Mike holds tuning sessions at his home for new WHO/digital racers – if you’re lucky, you might find something similar at your local club. Racers don’t always have time to help or answer questions at a busy club event, but do ask – detailed help and advice might be offered via phone or email in between events.

Scalextric Tuning – It’s a Wrap…
That’s it for this Scalextric Tuning series. I really hope you’ve learned something from these ten blog posts. Most of all, I hope you’ll carry on with your slot car tuning and development. I certainly haven’t covered everything – but there’s lots of information out there and lots of slot car racers that are far more skilled and successful than me. However, by focusing on one standard Scalextric model, this series of blog posts should offer you a solid starting point.
The Mustang GT4 was a good subject – representative of modern Scalextric cars, but not one of the best. Other Scalextric models will require you to focus on different aspects of handling – but the same tuning techniques apply. From time to time, I’ll add a one-part ‘How-To’ for other cars in the range – do keep an eye out for those. And you’ll often see me refer to some of the tips in the Scalextric Tuning series when I review new cars for the Jadlam blog.