
A note from the author…
Hello there! I’m Thomas – I’ve been building scale models for a few years now and always relish the opportunity to try something new and to expand my skill set. I mainly specialise in 1/24 scale cars, particularly racing cars, and I love to research and learn about the stories behind their development and the people involved. In July 2020, I started Building on a Budget Models YouTube channel, which currently has over 2,000 subscribers.
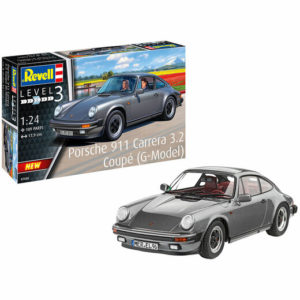
Name – Revell Porsche 911 Carrera 3.2 (G-Model)
Number – 07688
Scale – 1/24
Price – £27.95
Availability – Available now! Get yours here!
Hello model-makers,
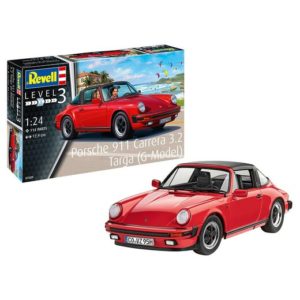
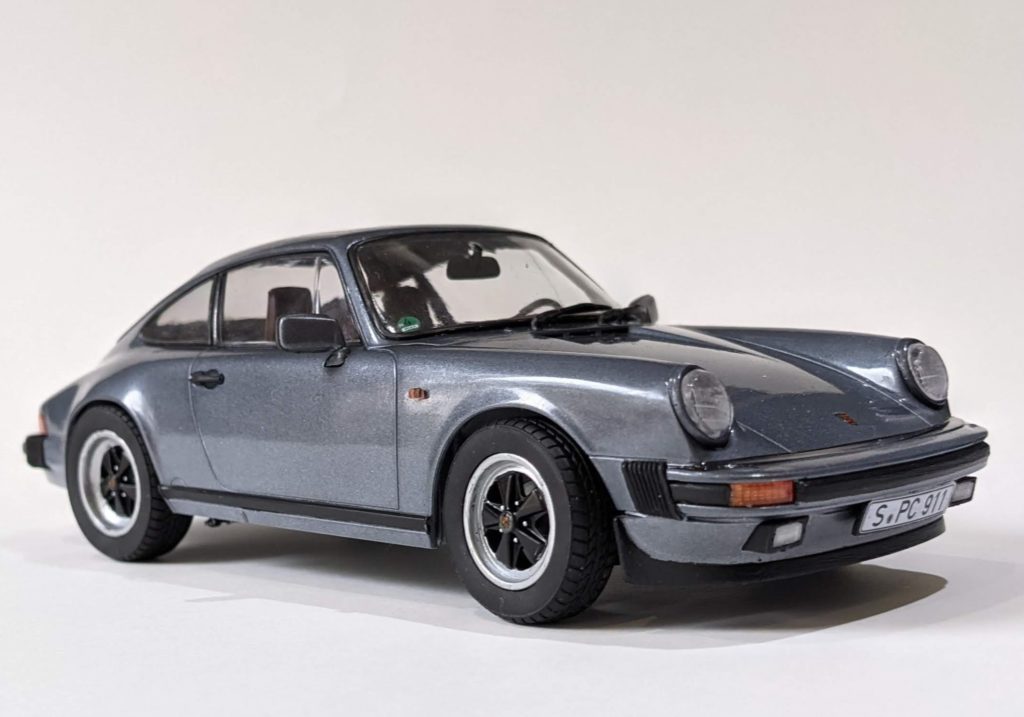
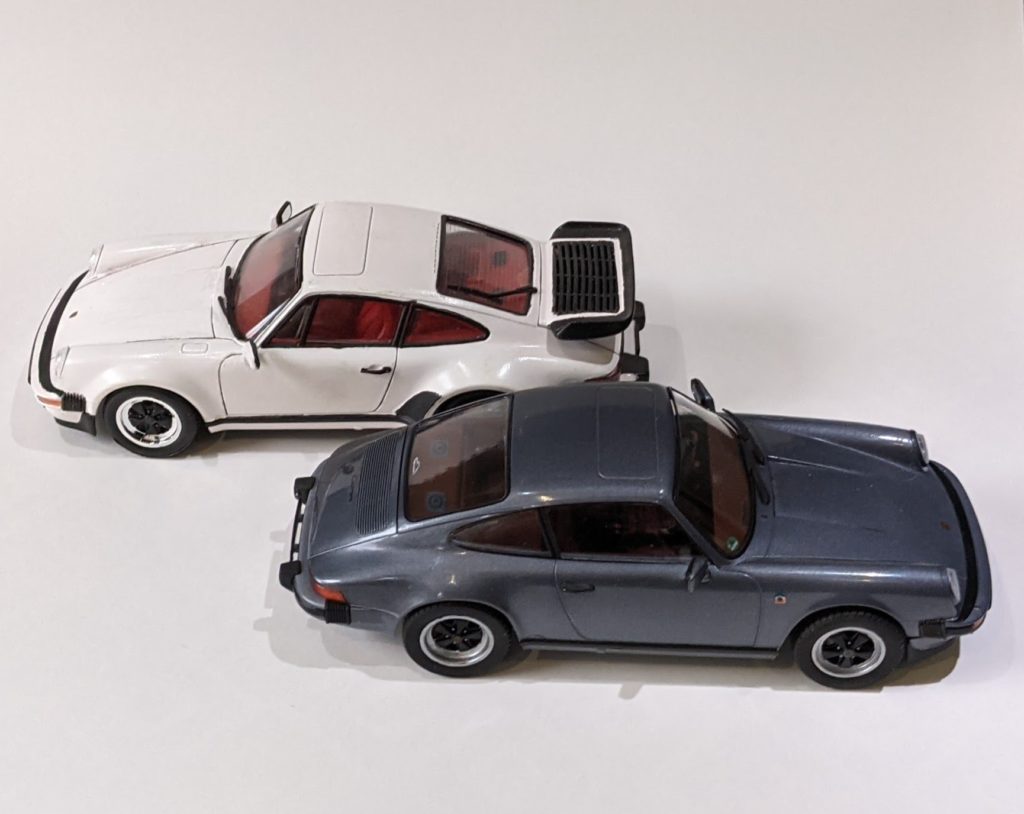
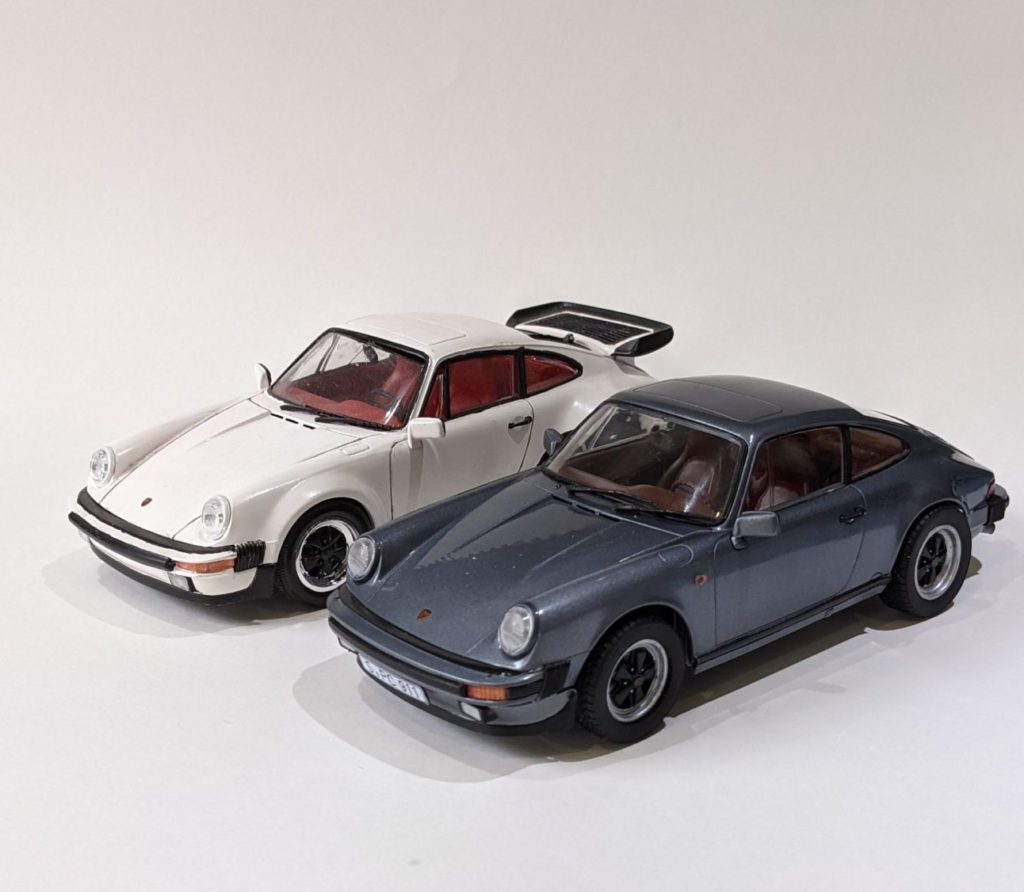
What we have here is a brand new tooling of the Porsche 911 Carrera 3.2 which first hit the roads in 1984. The name “G-Model” refers to the second generation 911, built from 1973 to 1989, the longest lasting of any of the 911 generations. This kit is a brand new tooling, unrelated to any of the previous G-Model 911 kits from Revell, such as the 911 Turbo kit (07189) which was most recently released by Revell in 2017. A convertible Targa top version of this kit is also due to be released soon (Pre-order the 911 Carrera Targa here).
I made Revell’s 911 Turbo kit a few years ago so it will be interesting to compare the two in my build review. I have really enjoyed building some of Revell of Germany’s new releases over the past couple of years, such as the Land Rover series 3 and the Jaguar E-type, so I couldn’t wait to get this one open and start.
Now let’s see what’s in the box!
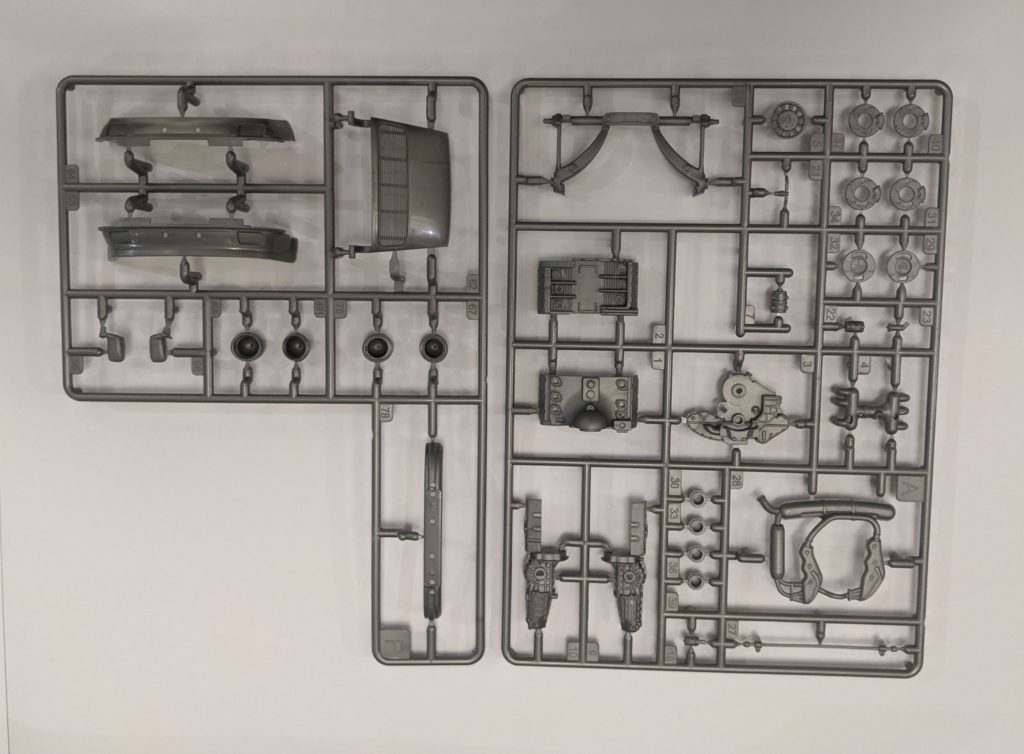
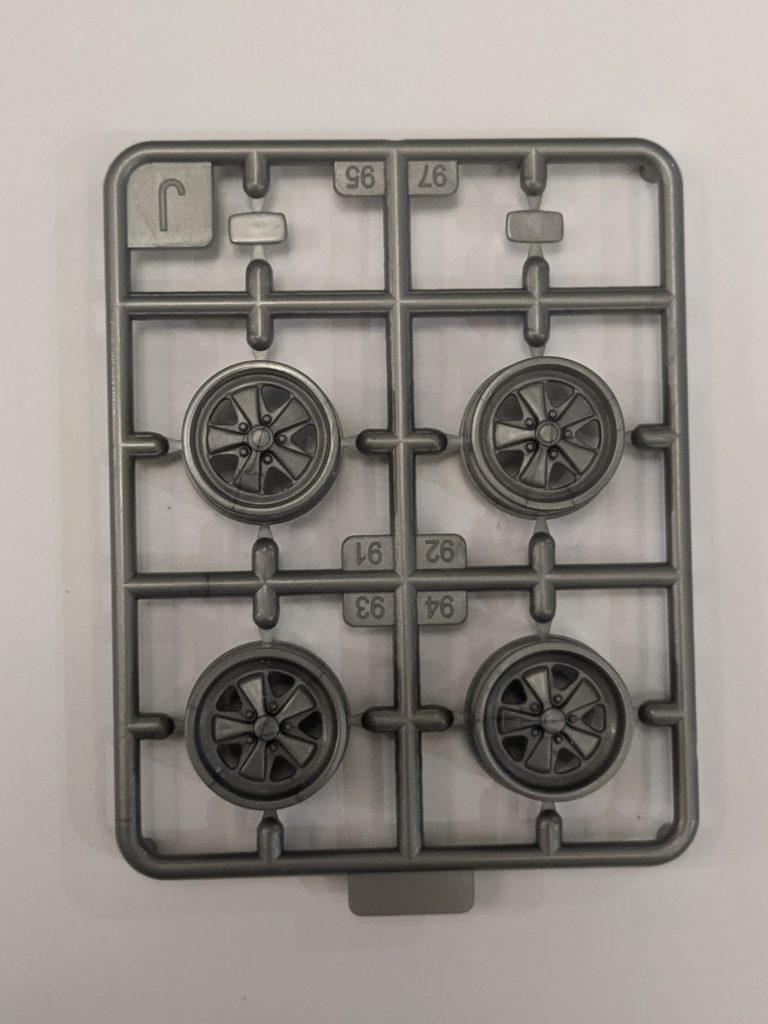
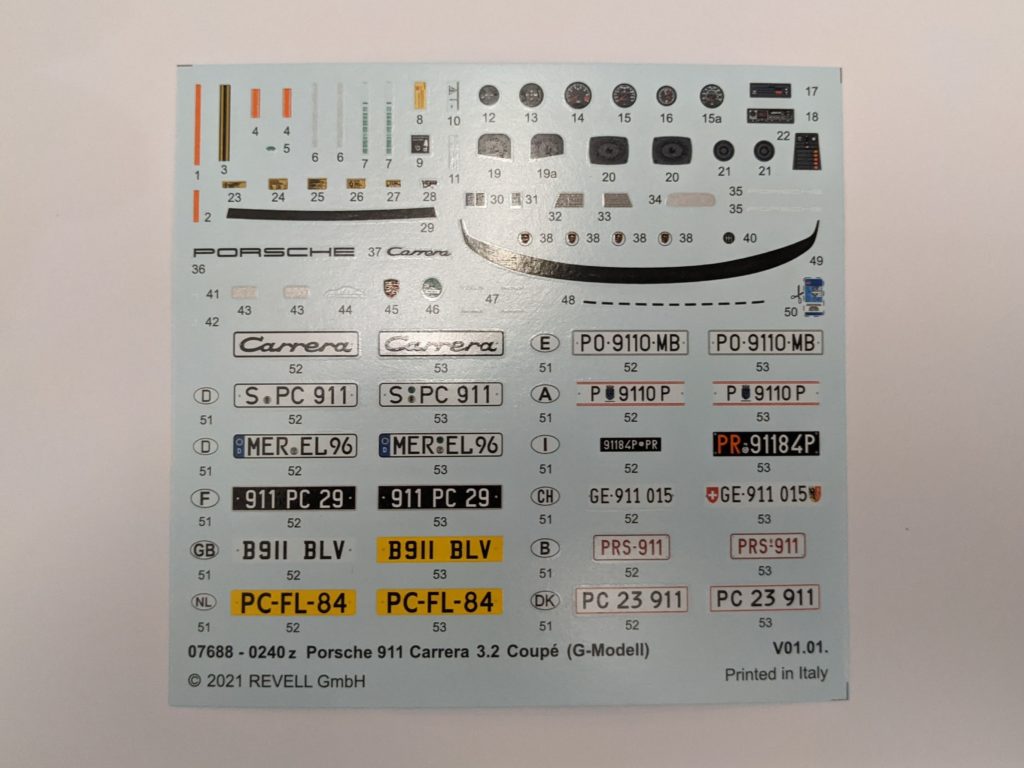
You get 9 sprues, 4 tyres, the bodywork and decals as well as a full colour instruction booklet in a variety of languages.

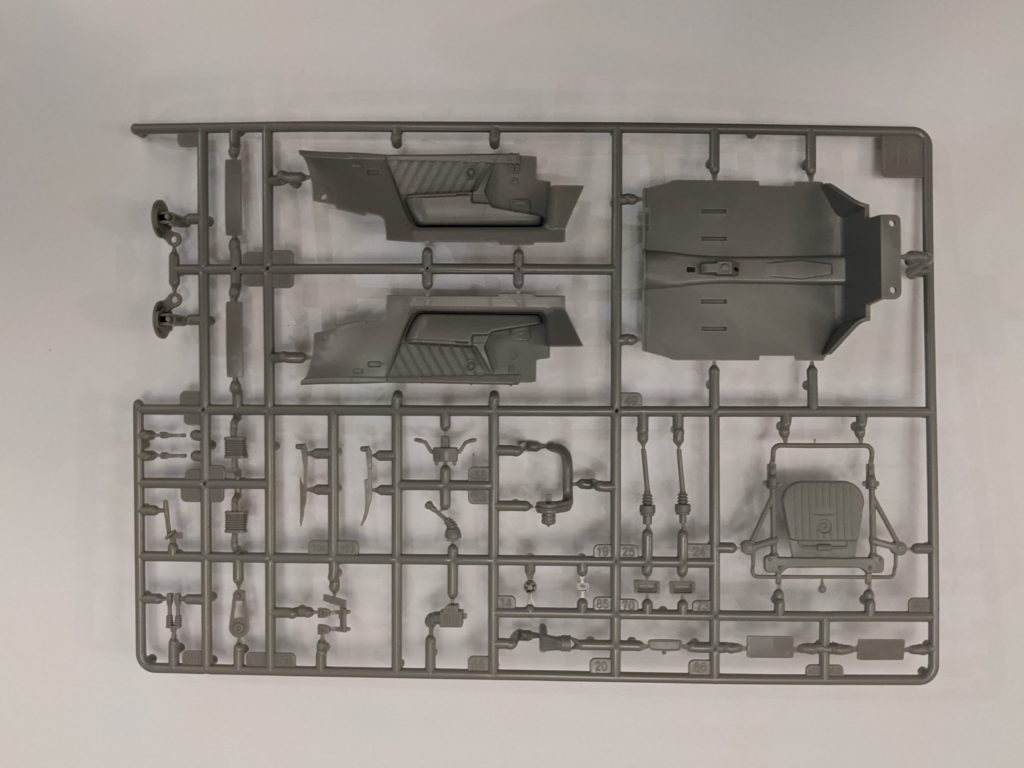
The Revell instructions are full colour and very clear. The recommended Revell paint codes are listed here but are also on the rear of the box – I mainly used Revell aqua as well as Tamiya acrylics and TS paint cans. This kit shares some parts with the Targa top variety so the instructions clearly state which parts are not used.
The build
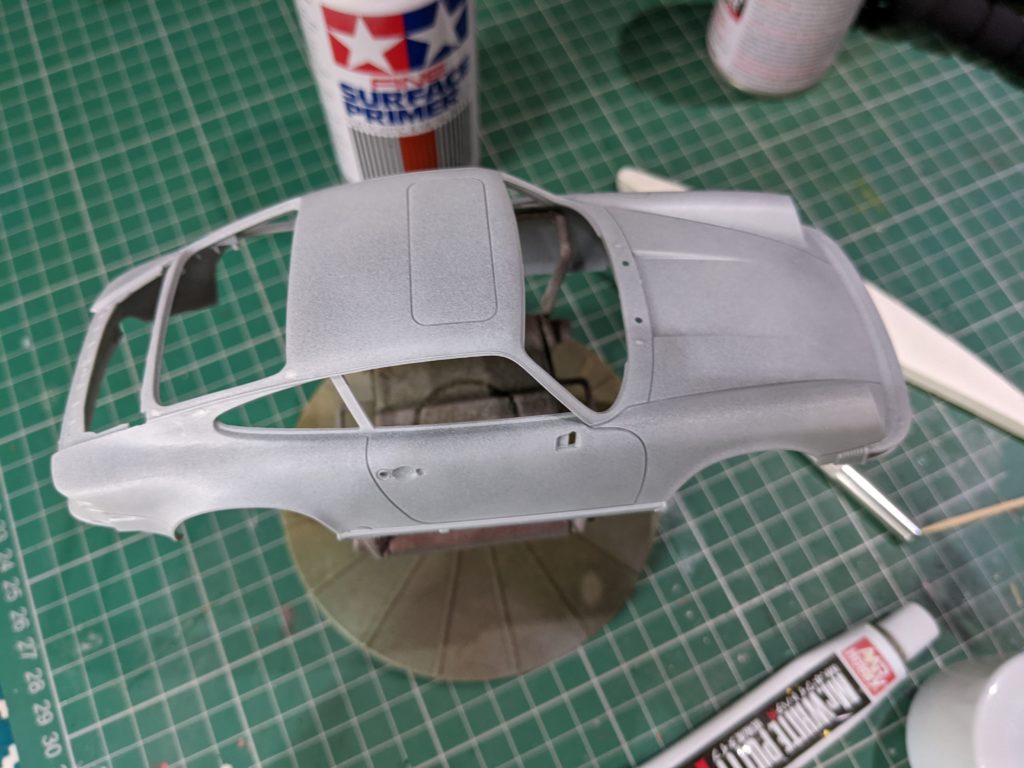
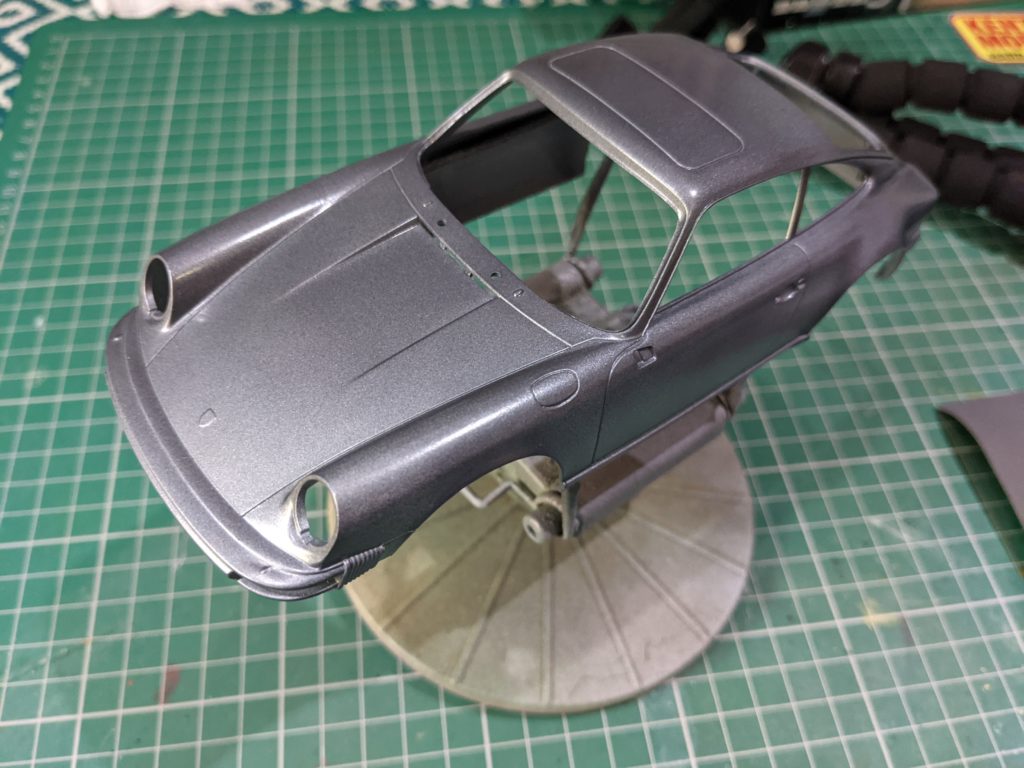
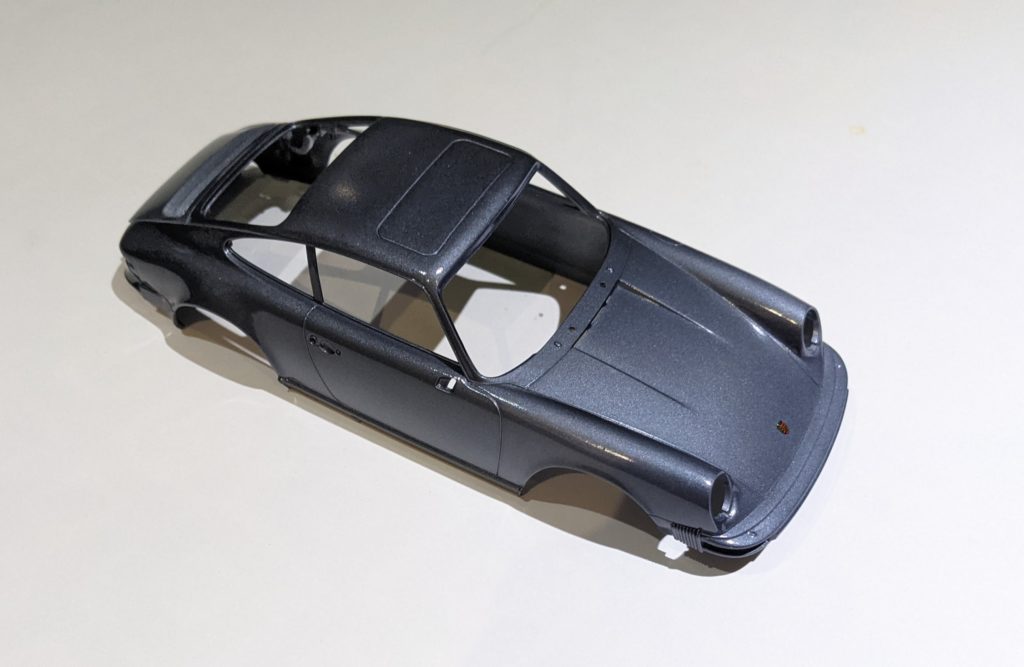
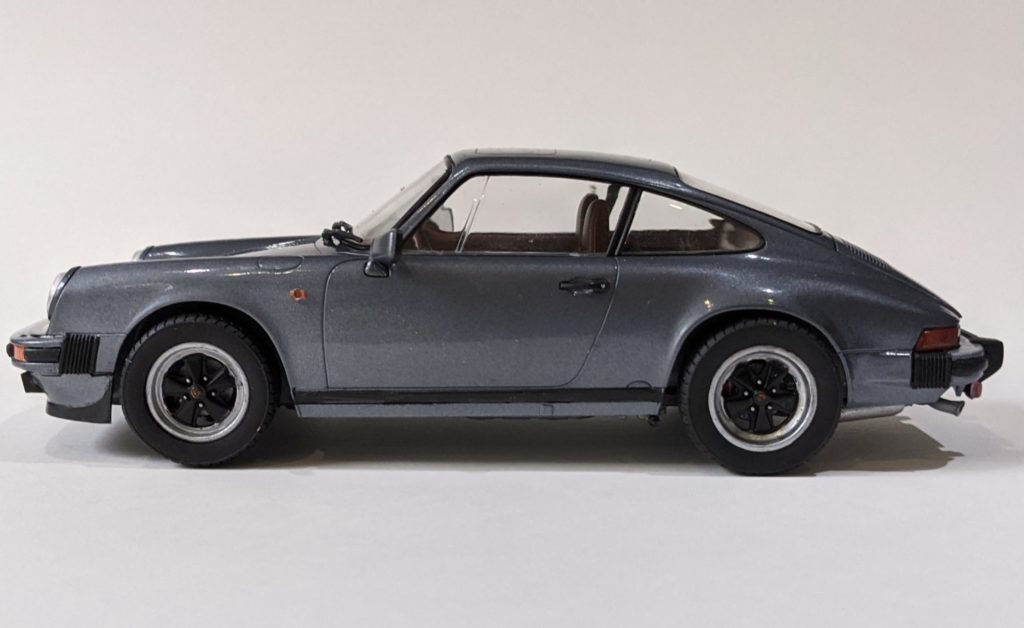
I followed the step by step instructions in order as recommended although some parts were painted before construction and I also chose to wet sand and polish the bodywork. For the bodywork, I chose Tamiya TS-100 Semi-gloss light gun metal as I felt it was close to the grey metallic on the box art. When I found that I didn’t have exactly the paint called for, I found the Hobby Color Converter app very useful. Parts were glued using either Tamiya extra thin cement, Revell Contacta clear, or Gorilla glue CA gel.
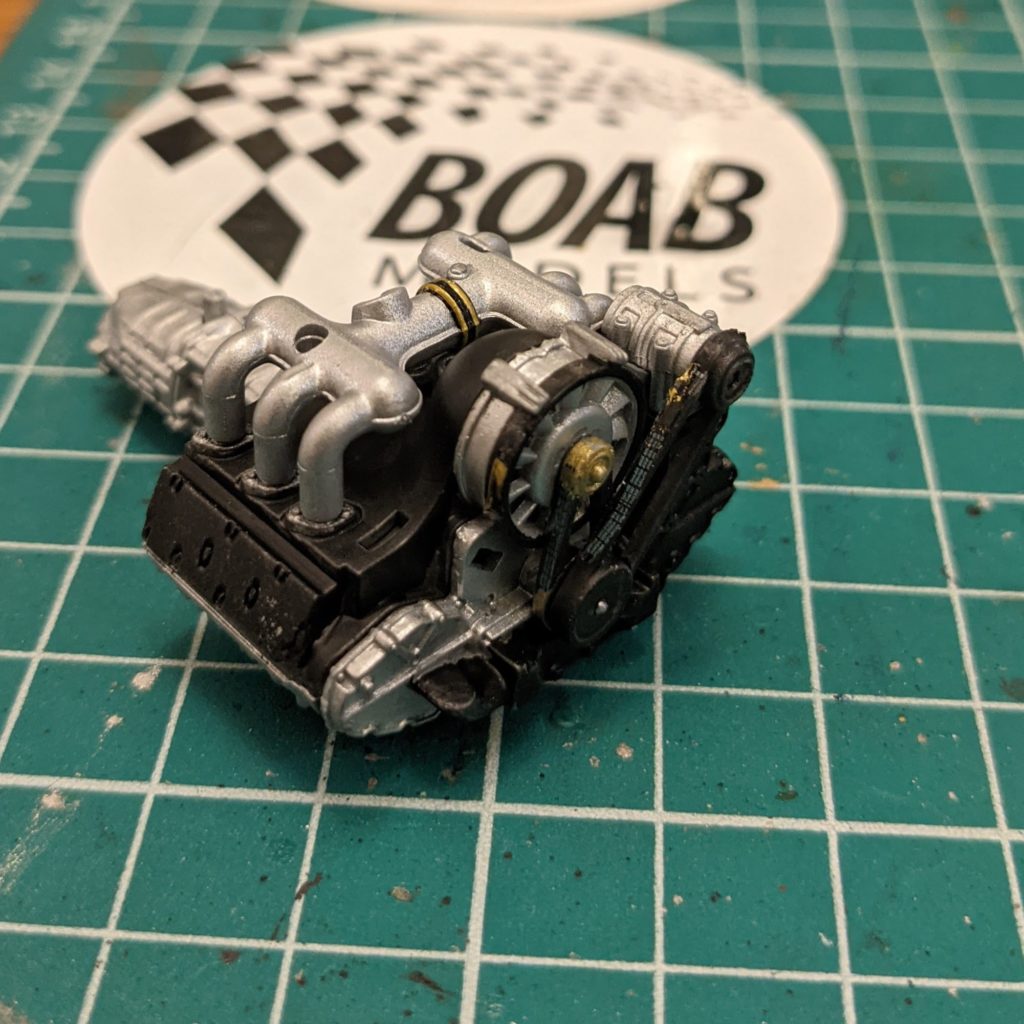
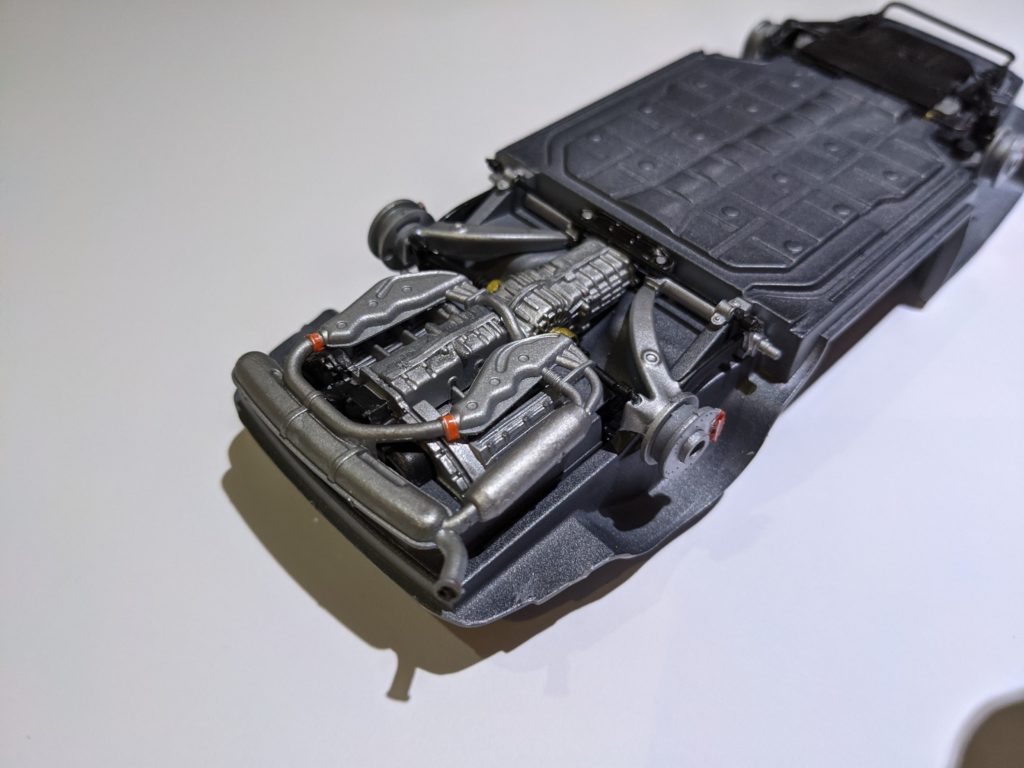
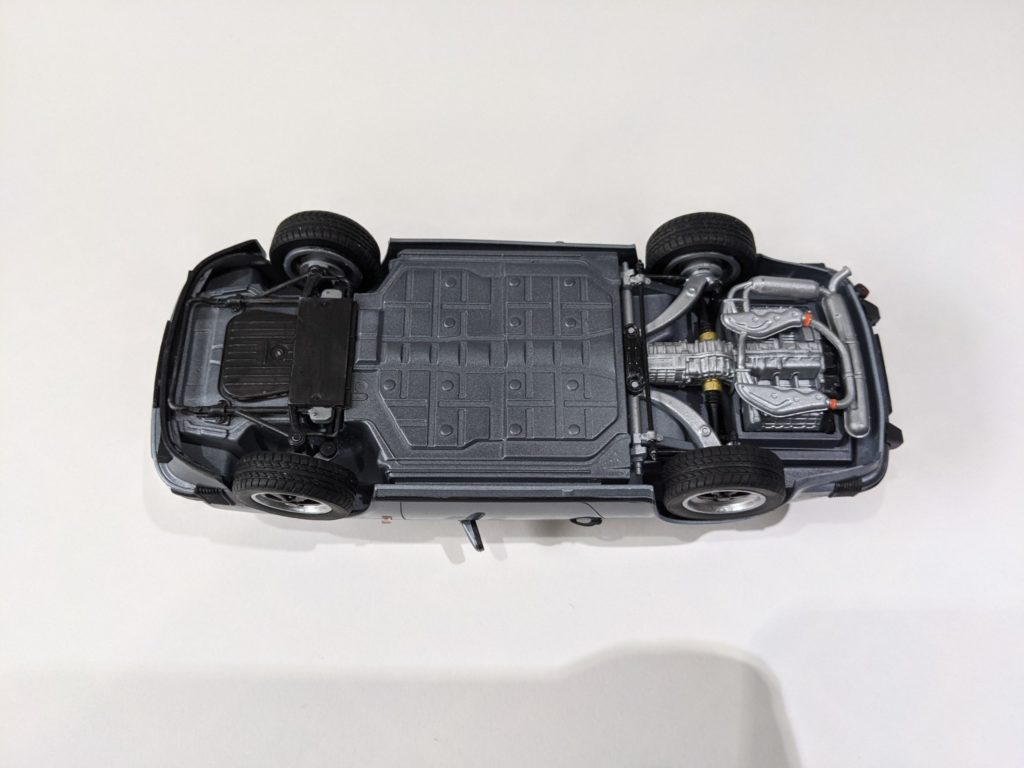
Engine and undercarriage
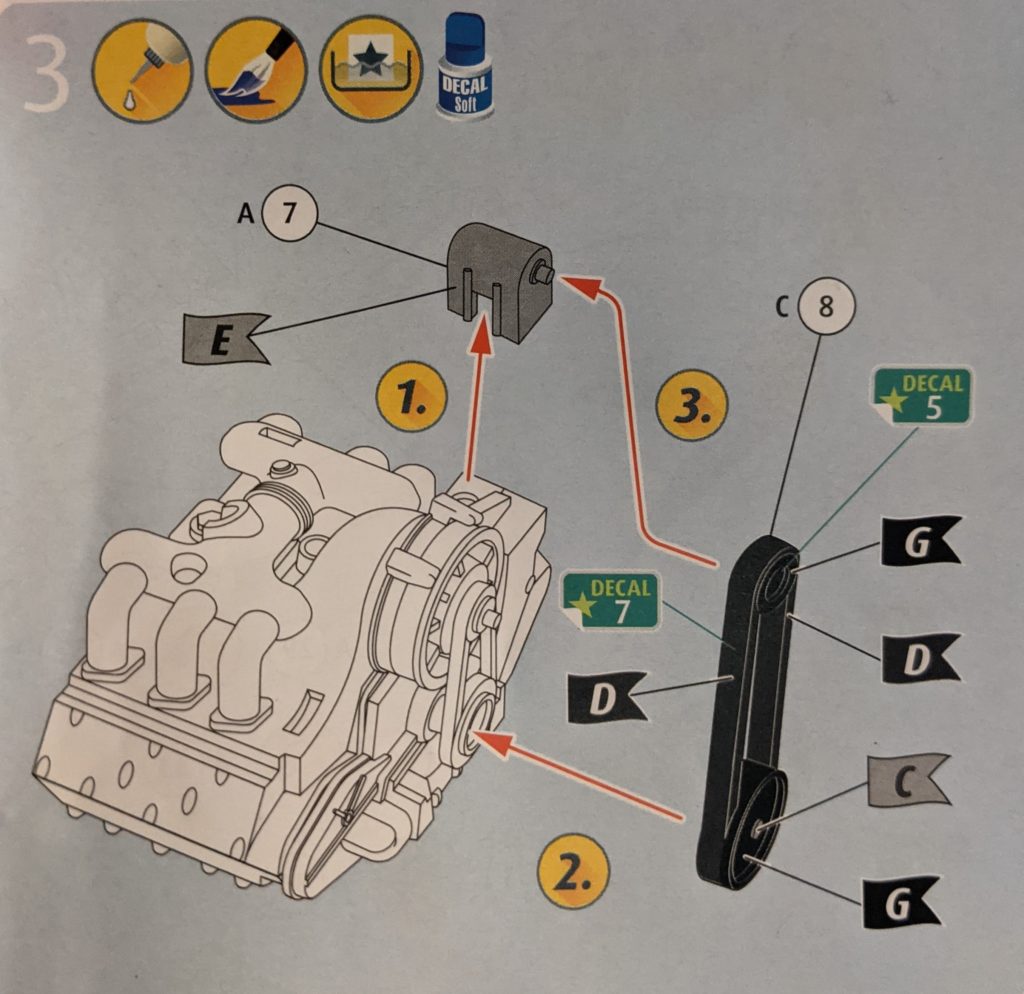
The first few pages refer to the engine, undercarriage and suspension. I tend to paint small parts with a brush whilst still on the sprue although I gave the parts a light prime first. In some cases, parts need a light sanding around the joins but most went together well. Everything went together easily except the distributor which is a very tight fit and needed to be sanded and trimmed to fit.

The underside of the bodywork needs to be painted in body colour but I chose not to clear coat this section. The exhaust system and other parts of the undercarriage slot into place very nicely but the brakes go together a little unusually. Make sure these parts have fully cured and wait to add the wheels. I also chose to drill a hole in the exhaust pipe and then add some Tamiya black panel line accent.


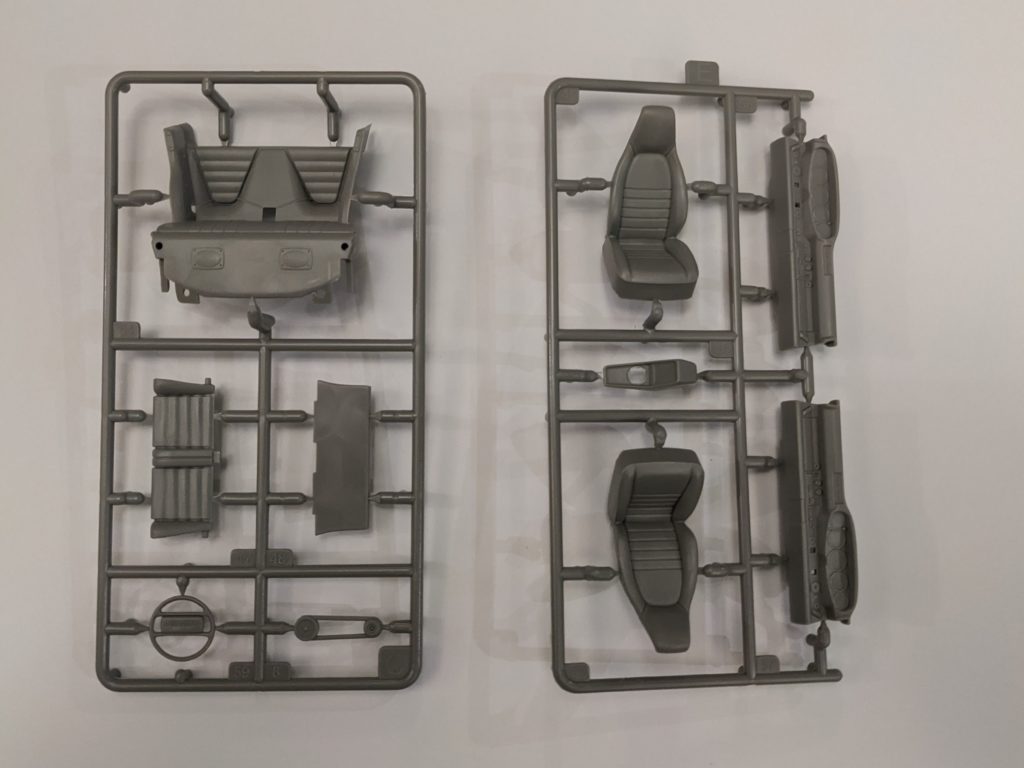
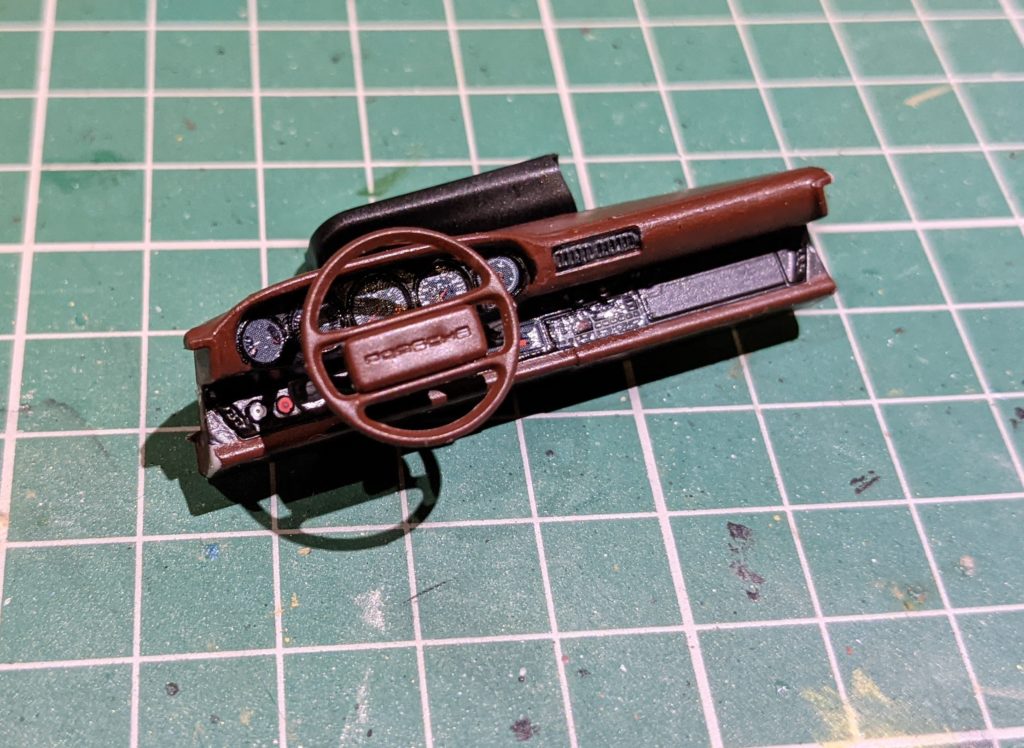
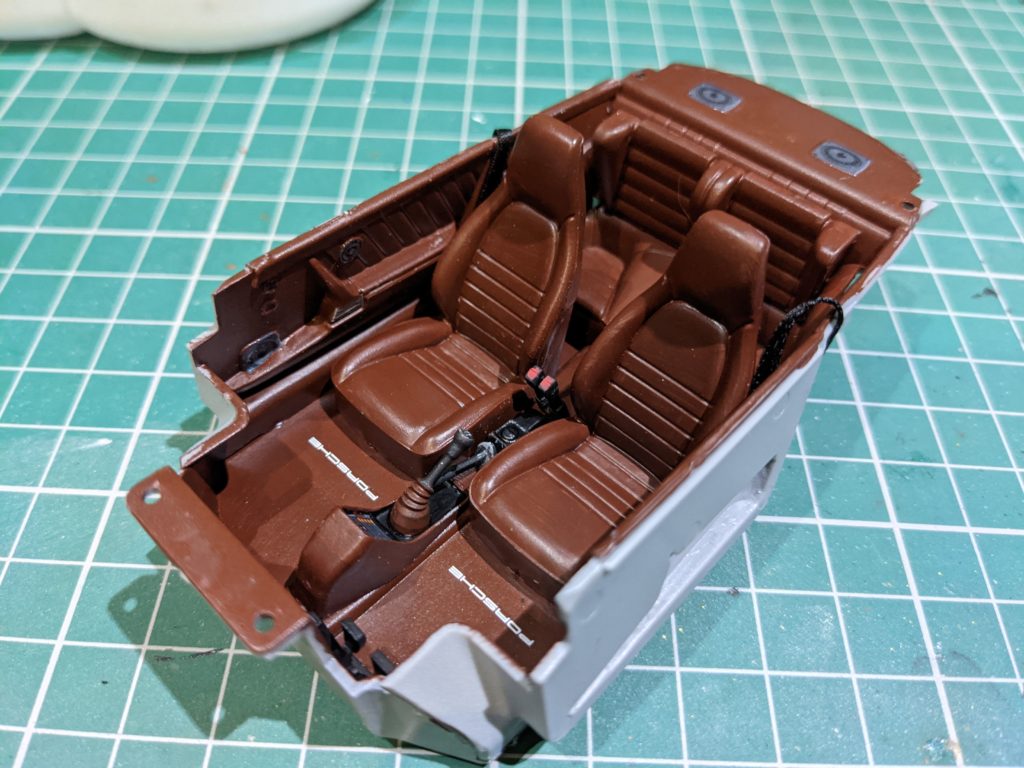
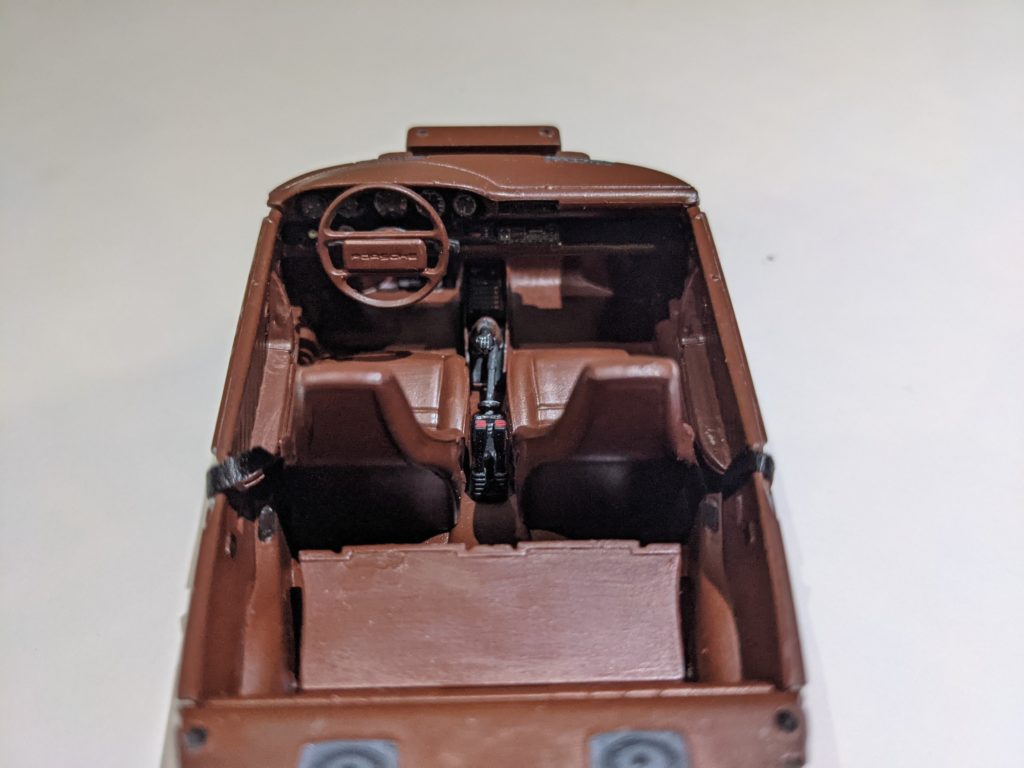
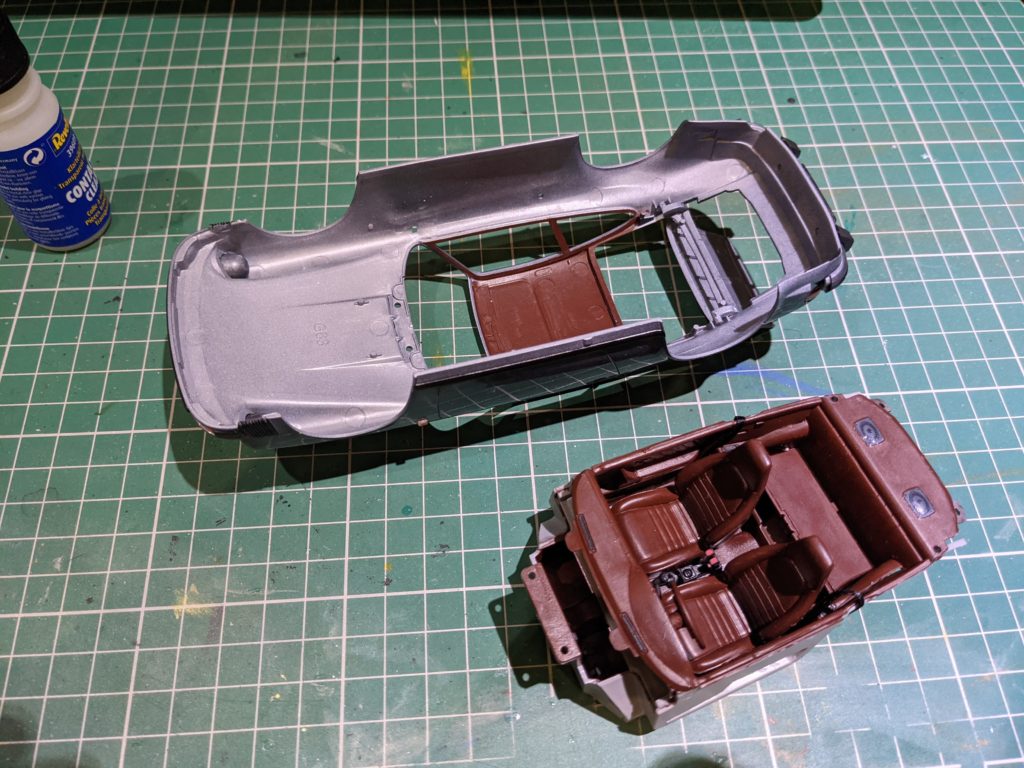
Interior
I chose to do the interior in satin Hull red and added some clear matte to places which were supposed to be carpeted. There are some great features in the interior such as folding rear seats, seatbelt sockets for the front seats and decals for the speakers and window switches. As with most new Revell releases, it gives you right and left hand drive dashboards. Details like the speakers and switches are moulded in shape so you could paint these if you chose to.
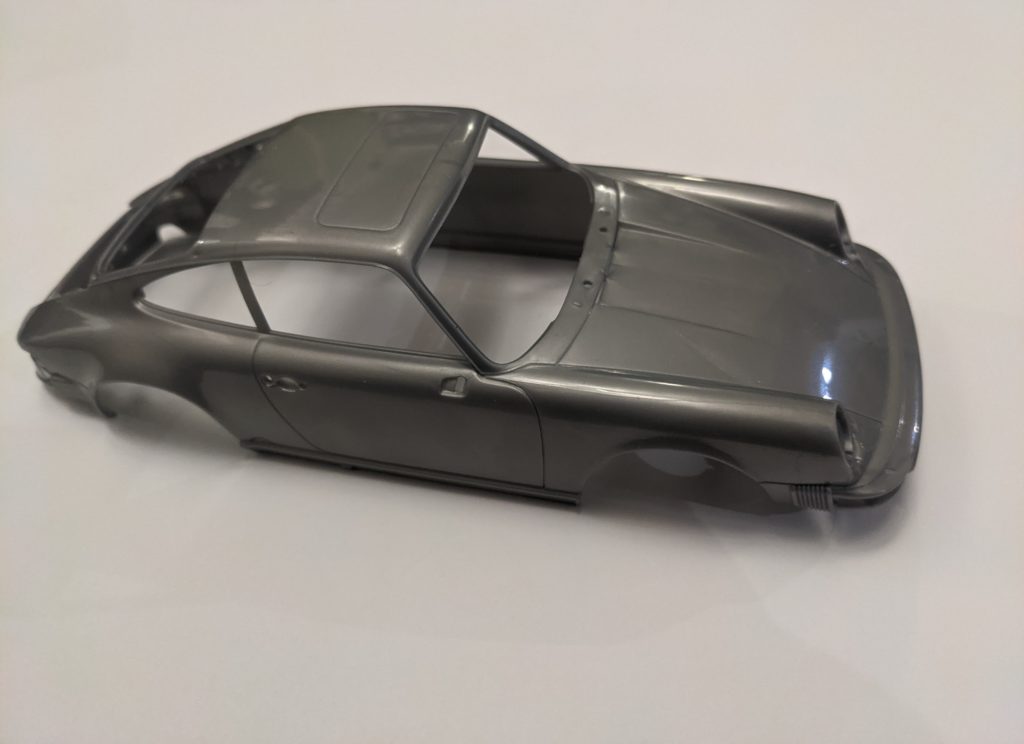
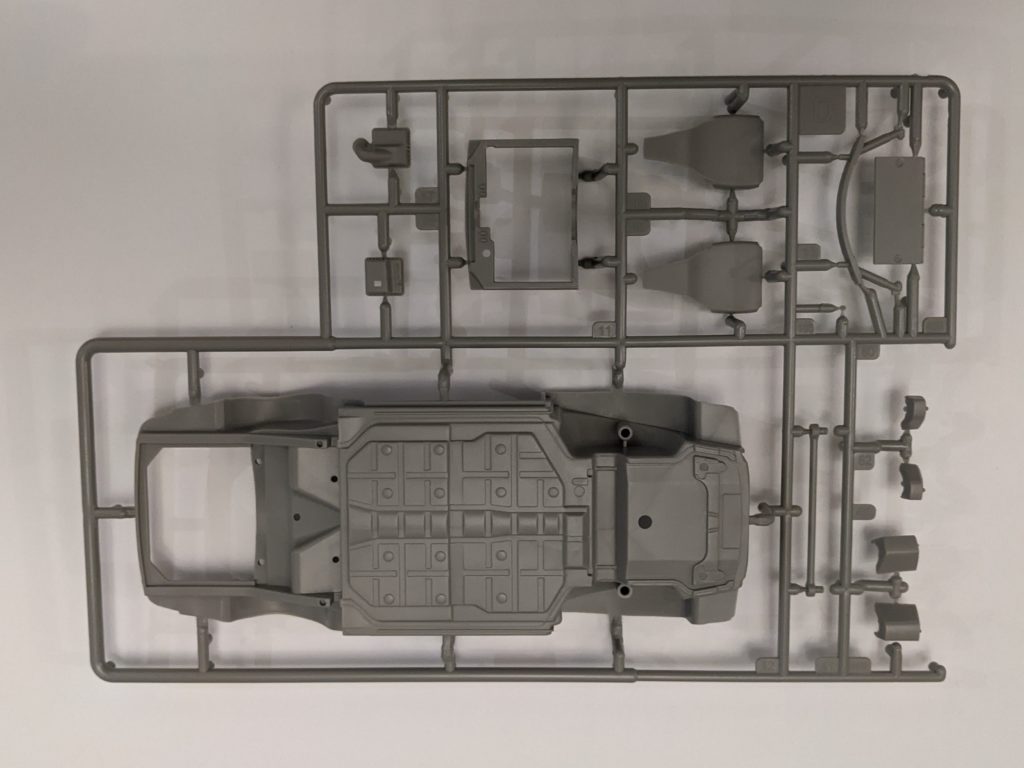
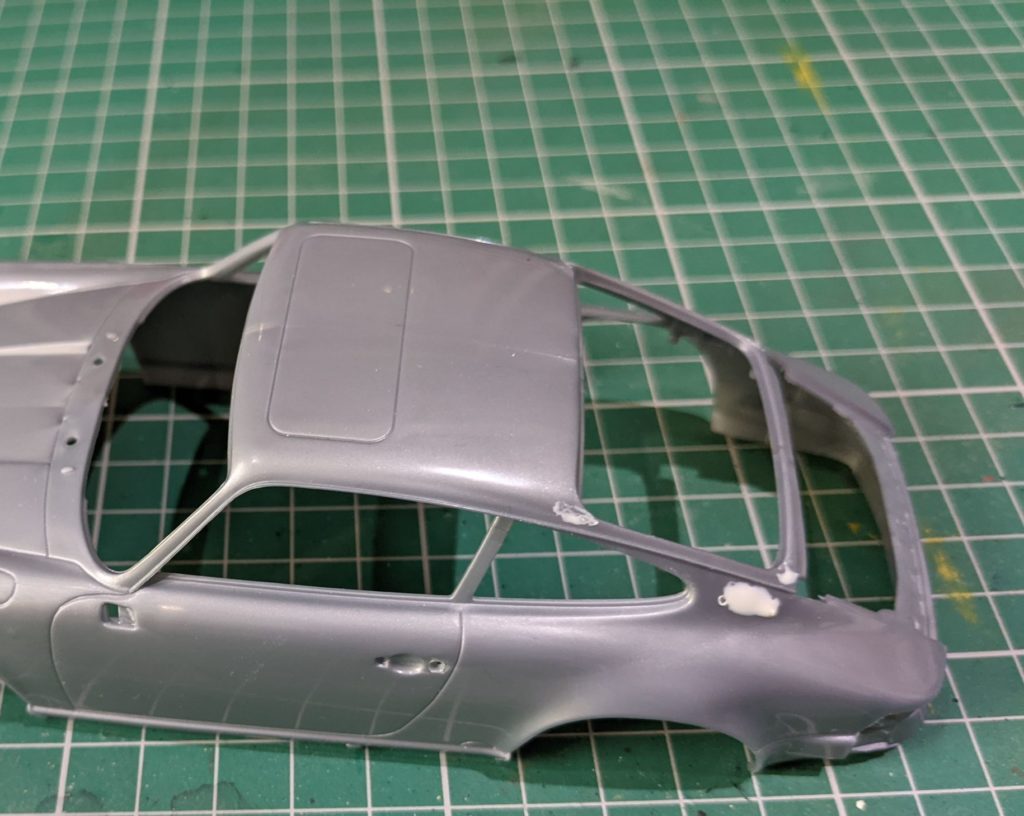
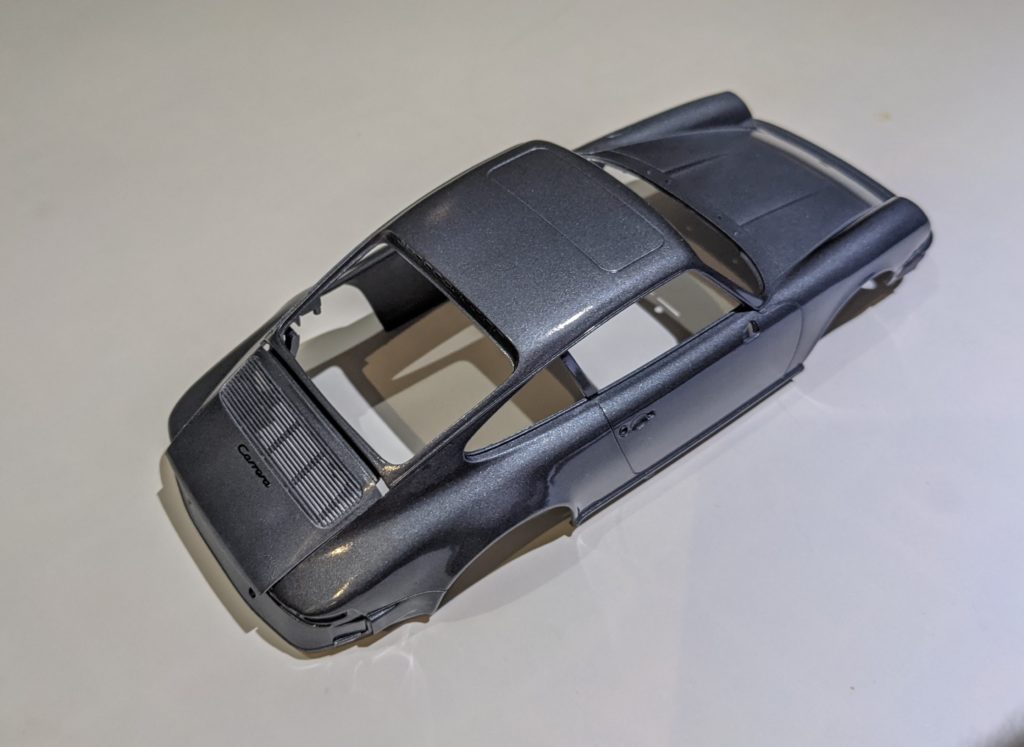
Bodywork
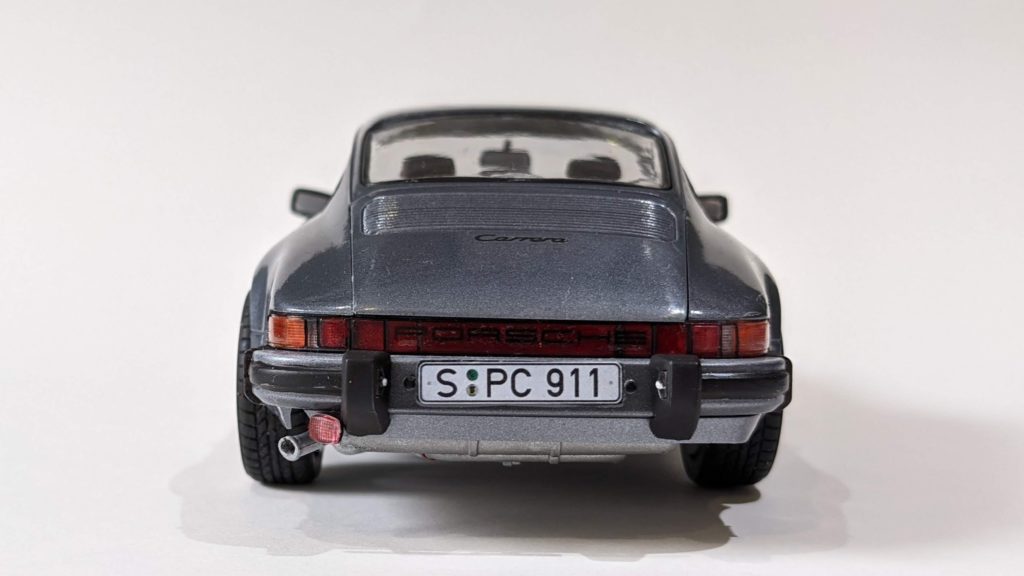
As I mentioned before, the bodywork unfortunately has some sink marks near the rear window which needed to be filled before painting. I chose to paint the car in the same colour as the box art. If you want to add the side indicators and the rear fog light, make sure to drill out these holes now.
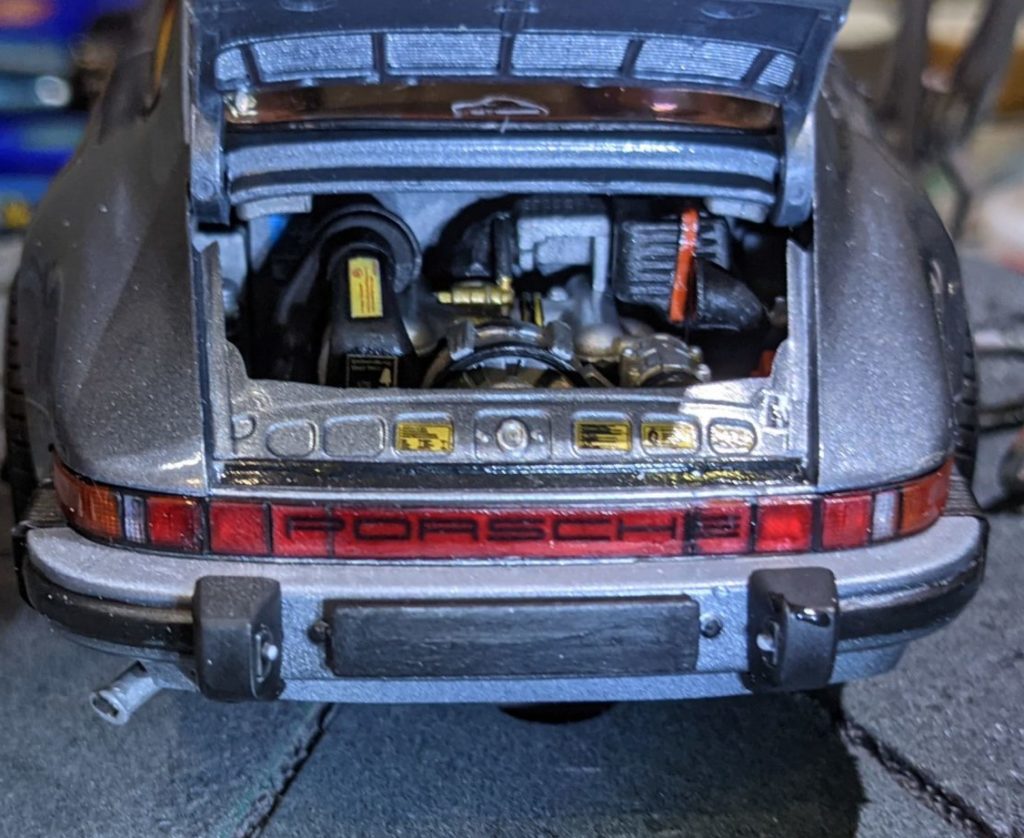
Final Assembly
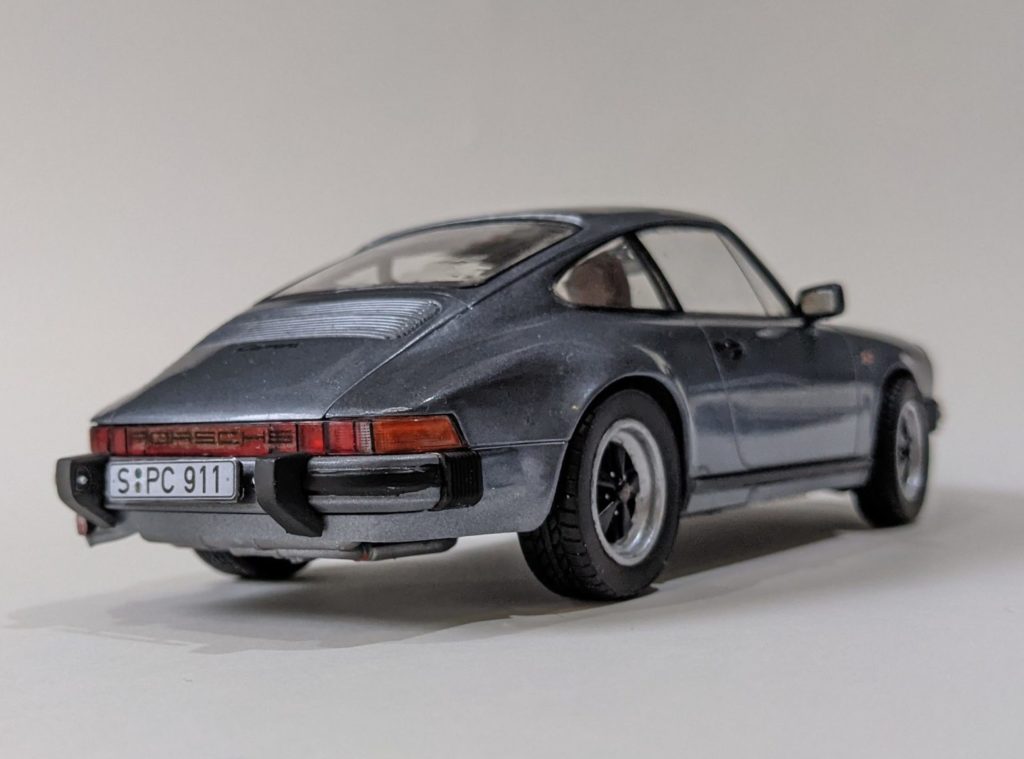
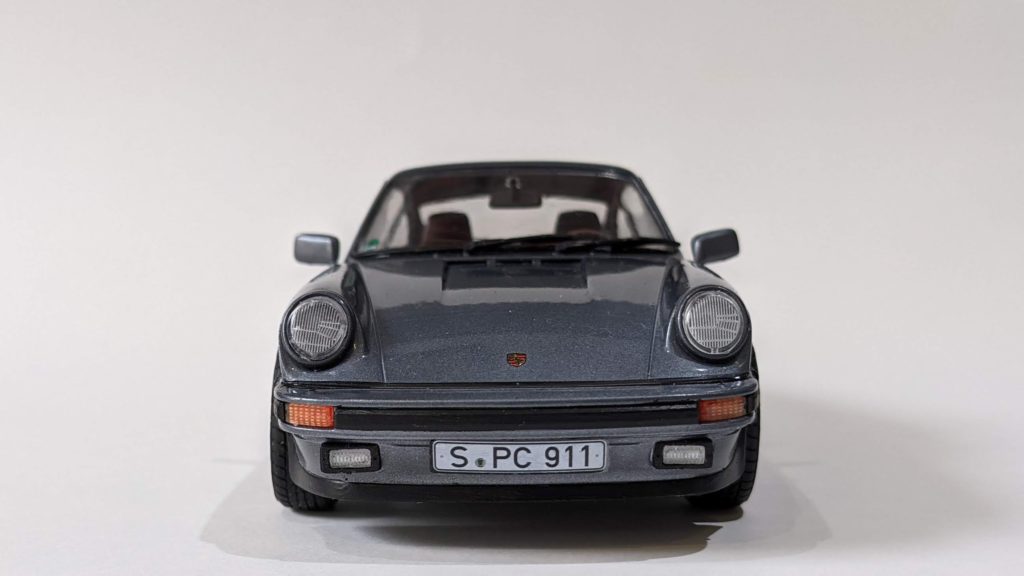
Once the bodywork, interior and undercarriage are joined together, adding the front bumper “locks” the parts in place – don’t add the front bumper before joining these parts as they will not fit. There are two options for the front bumper – one with a front lip and the other without. The rear bumper has options for rubber overriders with standard Euro or oversized US versions. I chose the rubber front lip and the Euro style overriders and then added fog lights and number plates once they had cured.

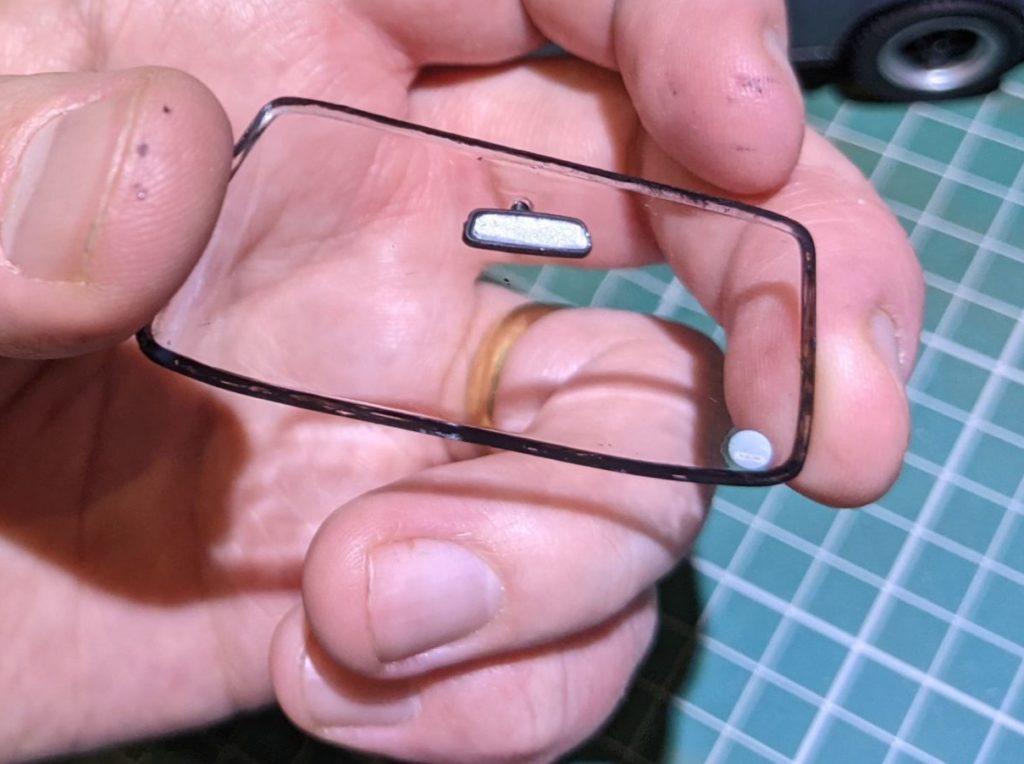
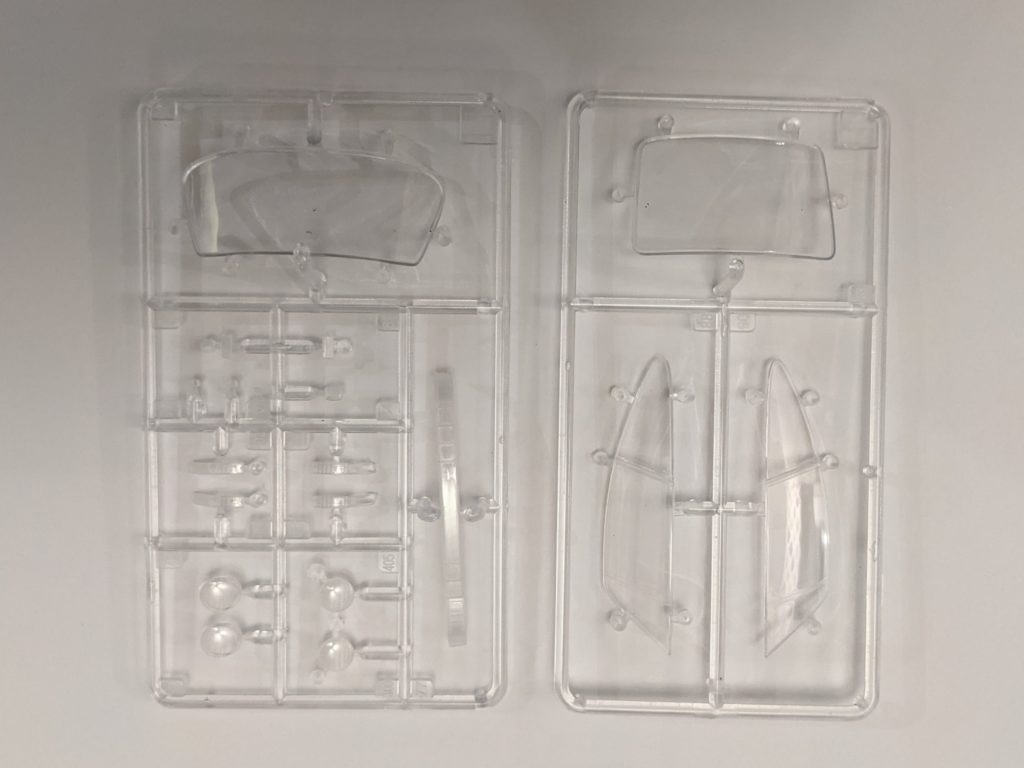
The windows had a little flash around the edges so therefore needed a little sand to fit well – as always, I dry fitted them first before using some Revell Contacta clear around the edges. There’s a small tax disc decal for the front window and a Porsche one for the rear which I chose to add to the inside.
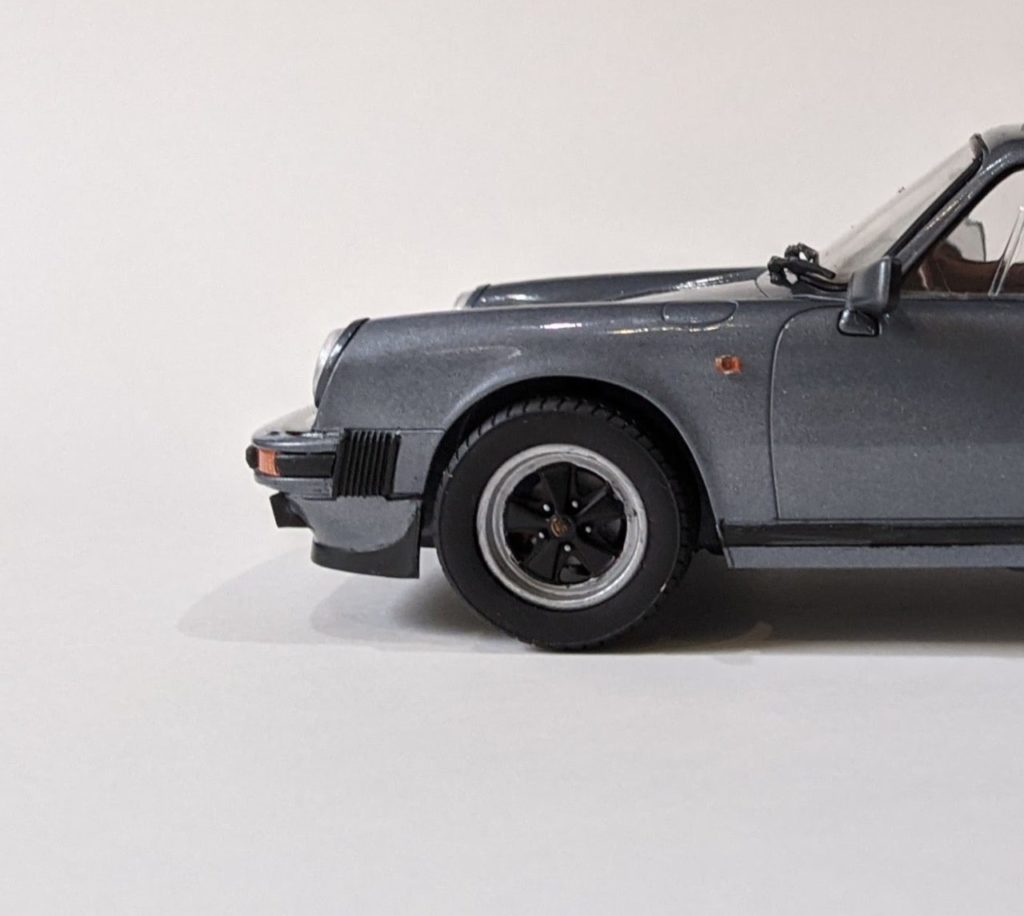
The door mirrors were done in body colour with a black rubber trim around the edge of the glass. There are decals for the mirror parts but I chose instead to use aluminium tape as it is more reflective. The wiper blades needed a little trim to fit into place and were fitted with a little CA glue.
The verdict on this kit
Build time
I’d estimate it took around 20 hours but cure times depend on what kind of paint you choose. I also let the clear coat to cure for nearly a week before wet sanding and polishing so that meant I spent over a longer time on the build
Suggested tools
Using spray cans or an airbrush for the bodywork is a must as it would be challenging to get a smooth finish with brushes. A selection of paints (I used acrylics) to paint the rest with a variety of brush sizes. Poly cement, CA glue and glue for clear parts, such as PVA or Contacta Clear, are also a must. If your bodywork has sinkmarks, fill them with putty.
Kit specific advice
Read the instructions with care and dry fit the parts before adding glue. Check carefully where and when decals need to be applied and where parts of the kit need to be drilled.
What I have taken away from this build
Revell have made another excellent 1/24 car kit with a lot of options for modification. It’s a massive improvement on the previous G-Model 911 Turbo from Revell and goes together so much better. It’s a very familiar car recreated in great detail and I really enjoyed putting it together. This is a great model for a beginner, intermediate or more advanced scale modeller.
You can watch my build video here on the BOAB Models YouTube channel.
A full unboxing video of this build is available to view at BOAB Models Youtube channel nowhere!
Thanks for reading and happy modelling!
Thomas