
A note from the author…
I’m Rob the modeller, a normal guy who just enjoys making his model kits. I’m not a ‘professional’ and represent your average modeller! All views and opinion expressed in every review are my own, I don’t want to be buying the bad models either! Hope you enjoy each post and find it useful, happy modelling!
Featured in this review is the Airfix A55100 Supermarine Spitfire MkIa Starter Set 1:72 Aircraft Model Kit. Want one? Shop here!
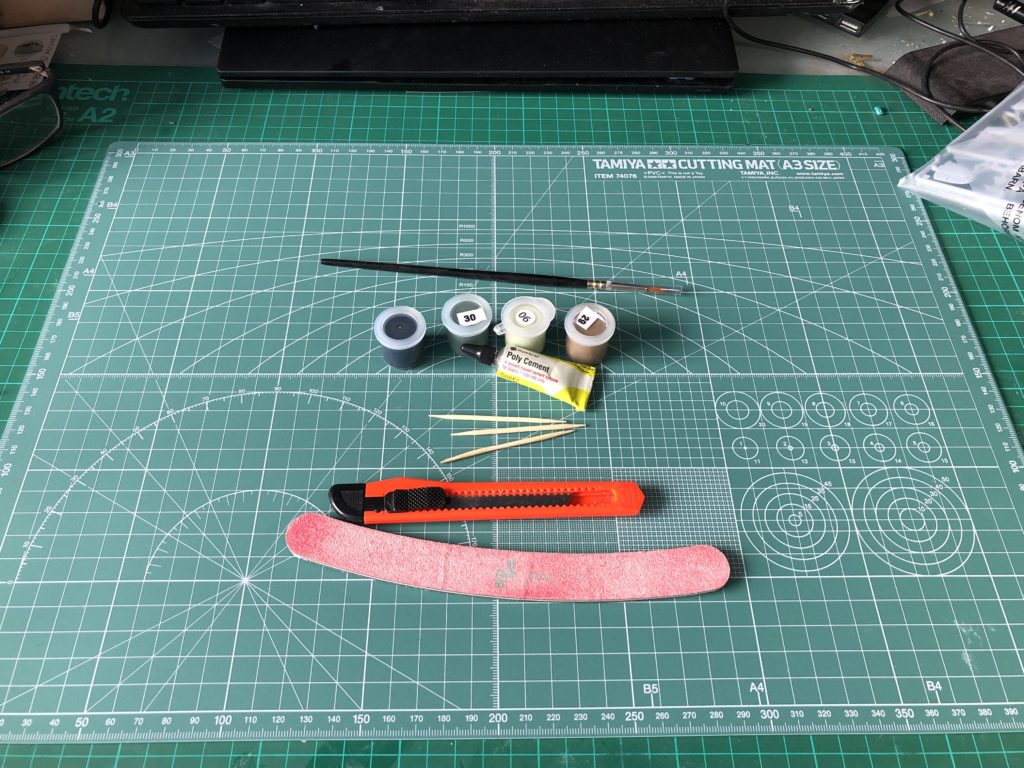
When I was growing up making a model spitfire was almost a rite of passage. These would usually be a Matchbox, frog or Airfix kit picked up for a couple of pounds from the local corner shop, yes that’s right in the eighties your local newsagent of hardware stores would also have a small selection of kits. You would save your pocket money for a couple of weeks, get your spitfire and go home and build it from start to finish in a day (often just an afternoon) You might even paint it… As part of my ongoing midlife crisis I thought I would try and recreate the model builds of my younger days. I got hold of the Airfix Spitfire starter set and gave myself a day to build it. I also decided to go old school with the tools I would use for the build. So all I would use for the build would be what comes with the kit, a few cocktail sticks, a general purpose craft knife, a nail file and a bit of masking tape. No fancy airbrush paint jobs or pre-shading here.
Let’s see how we get on….
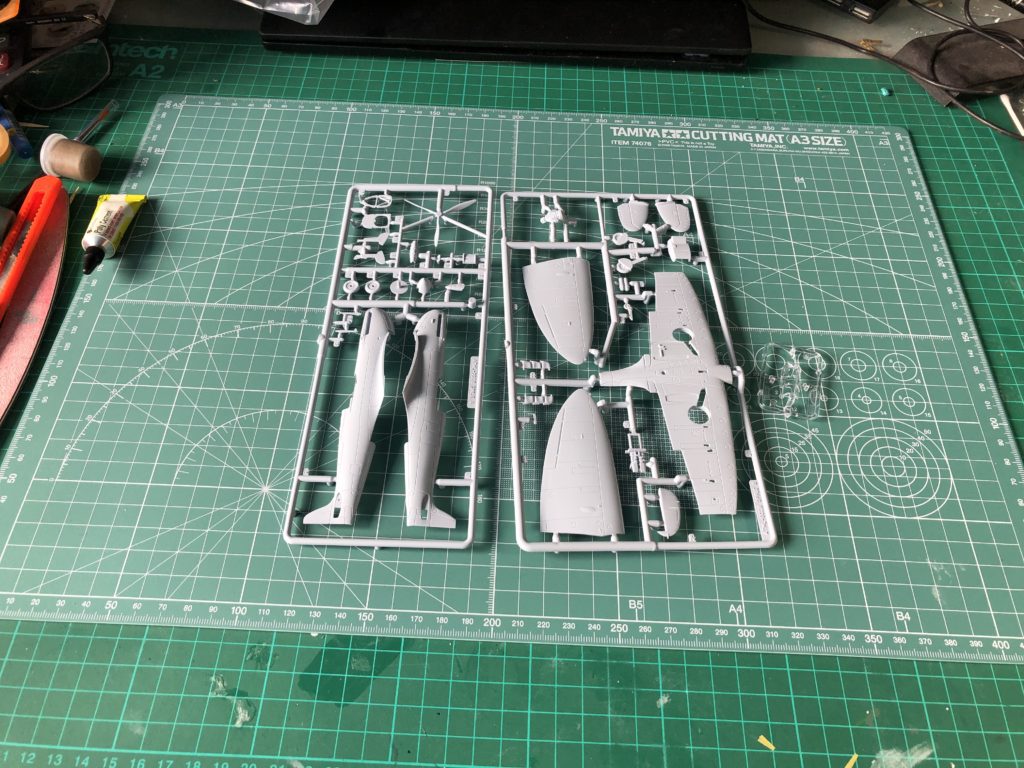
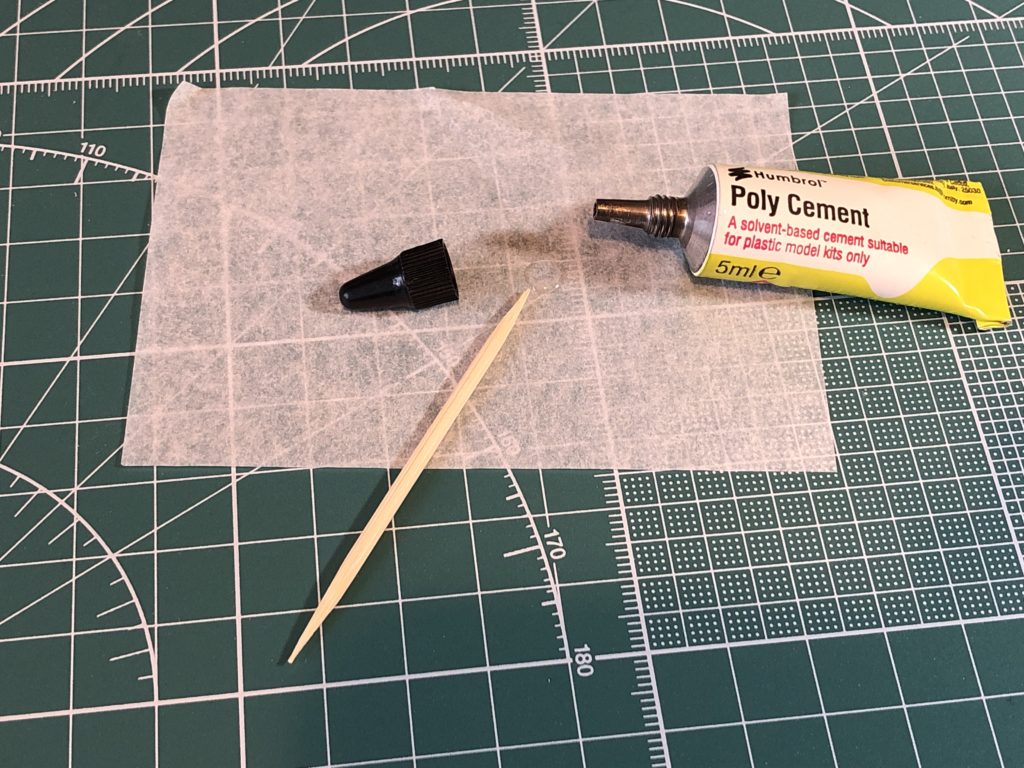
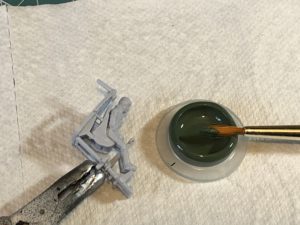
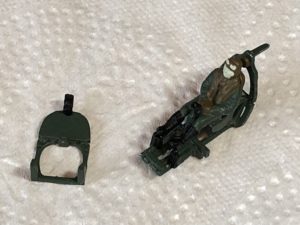
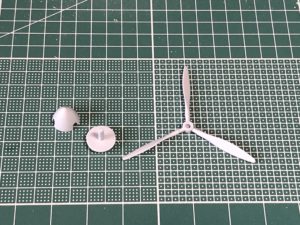
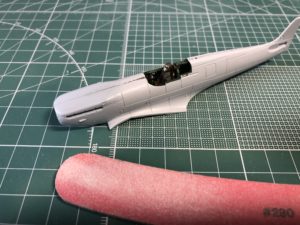
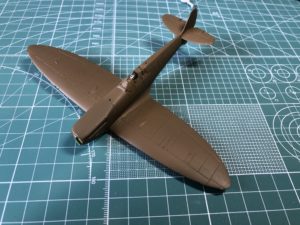
First things first. I washed the parts in warm water and washing up liquid, making sure I got every part. The idea here is the mould is sprayed with a nonstick release agent prior to the moulding process. Sometimes this get transferred on to the parts and they can become non-stick too. The washing up liquid solves the issue and make sure the paint sticks. Once the parts are dry is time to start removing the parts from the sprue. I used the craft knife making sure to make the cuts well away from the actual part. Once the part is removed I use the knife to remove the excess plastic. If you cut too close to the part you can often cause some accidental damage, something you don’t want. You can remove all the parts in one go for such a simple kit, but I just removed the parts as required for each step of the instructions. When the parts were cleaned up I could actually start sticking things together. You can use the glue directly from the tube, but you’ll get a messy result. It’s better to squeeze out a blob and use a cocktail stick to apply a small amount to where you actually need it. It’s also worth bearing in mind that glue and paint together only make a mess. I always try to assemble a few parts together before painting to stop this being a problem. I painted the whole assembly in green as this was the main colour and would act as an undercoat or primer for the rest of the colours. When the green was dry I painted as indicated in the instructions. It’s a little untidy, but the best I could do with the relatively large brush in the kit. After the cockpit the propeller was assembled and painted in the same way.
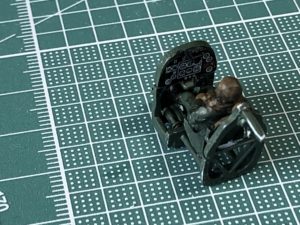
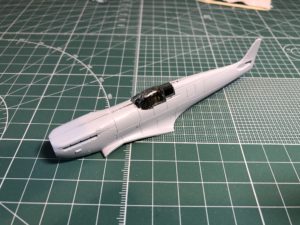
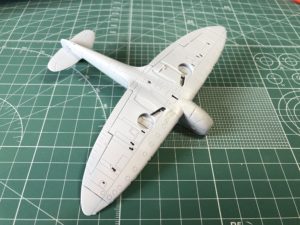
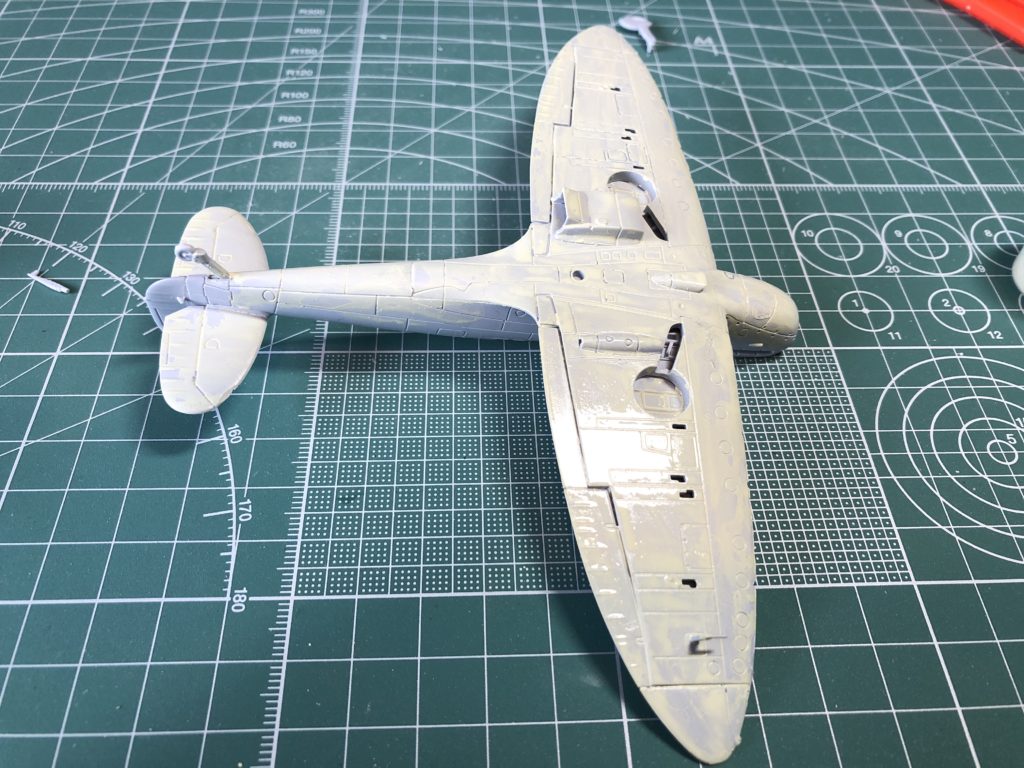
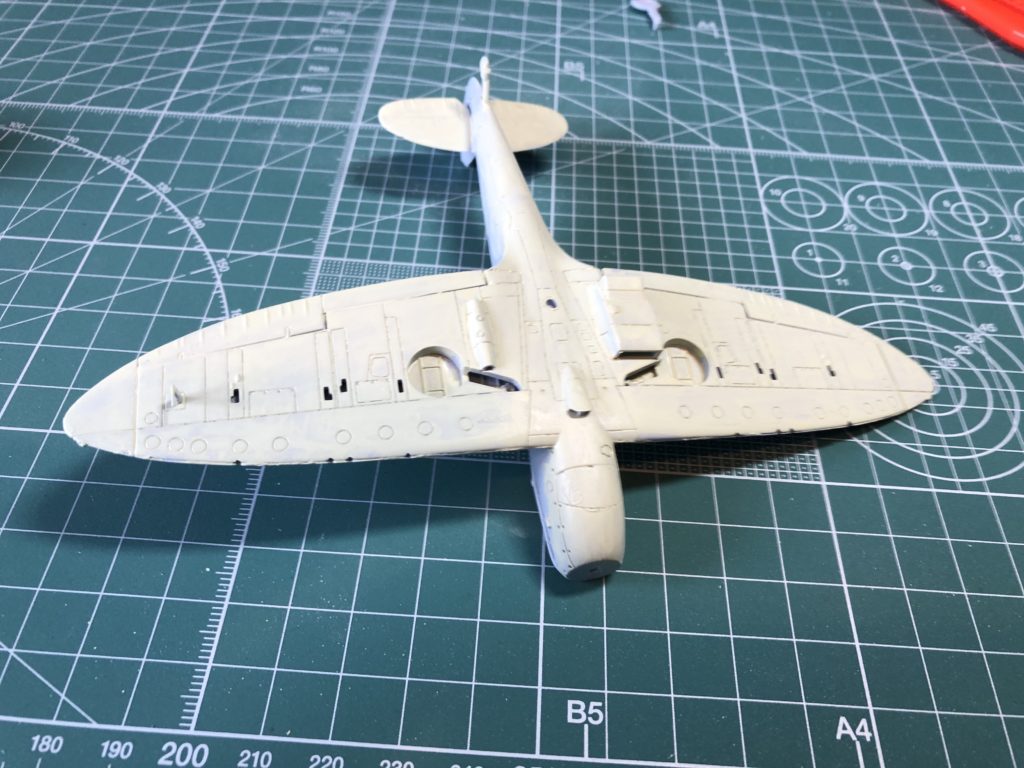
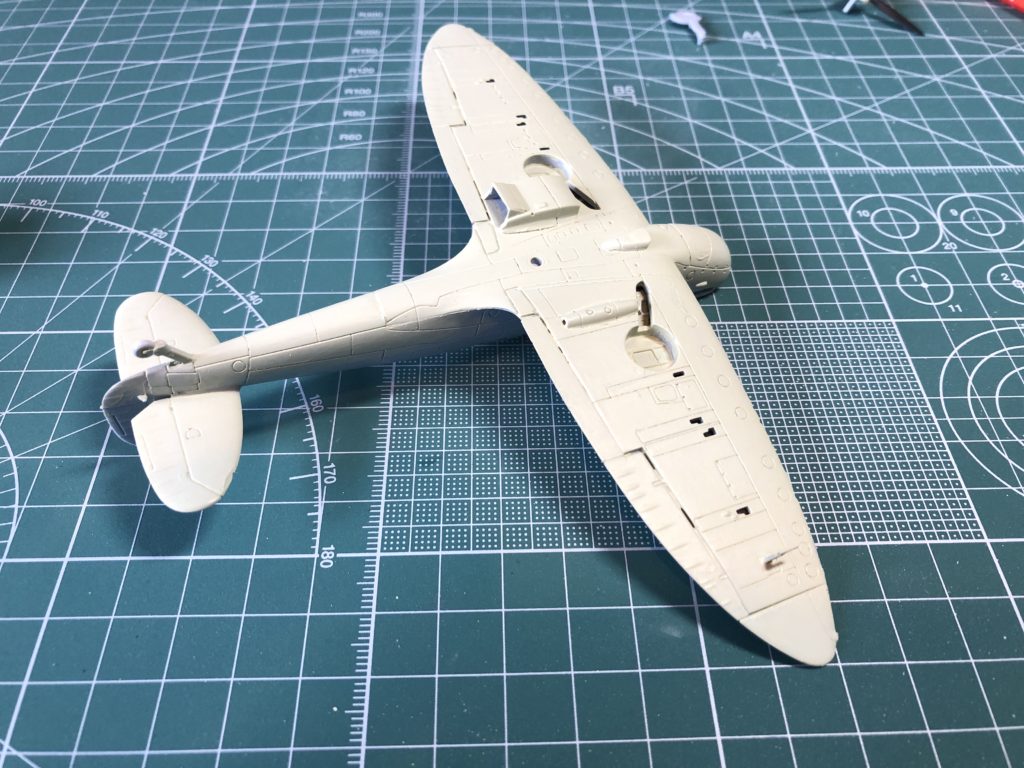
The next step was to remove, clean and test assemble or dry fit the fuselage together without glue. There seemed to be a slight issue with my kit as the two halves didn’t go together that well. That’s going to cause me a headache…..
When the fuselage is assembled with the cockpit inserted there is a gap in front of the pilot. That would really spoil the end model and needed to be filled. Not being allowed to use my normal filler I had to get creative. I shaved a little plastic off an unused part of the sprue, soaked it in the glue (it’s actually a solvent that melts the plastics) and when it was soft used it to fill the gap. A bit of a messy process. When it had set I trimmed the worst away with my knife. Then used the nail file to remove the join between the halves of the fuselage. This removes a bit of the detail of the panel lines from the kit, but these can carefully be re-instated using the tip of the knife. This was by far the worst part of the build. After this everything went together well. And by following
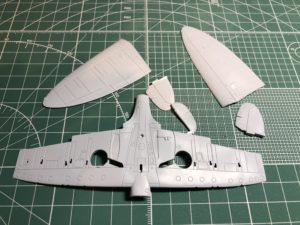
the instructions step by step the familiar shape of the spitfire quickly came together.
Once the assembly was done it was time to look at the paints. The paints I think are Humbrol. In the pot they are very thick though and using them like this would give a lumpy result. As they are water based this isn’t a problem. Very small amounts of water were added until the paint was the consistency I wanted.
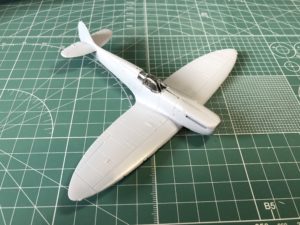
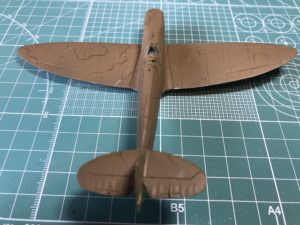
I started by painting the whole aircraft in the pale green “Sky” colour. As with the cockpit this was going to be the foundation of the other colours. With the paint watered down I had fewer brush marks, but it took four coats to get a nice opaque covering. It’s important not to put too much paint on and try and do it in one go. One thin coat 20 minutes to dry and then the next. Takes a little time, but it’s a good excuse to have a cup of tea and take a little break.
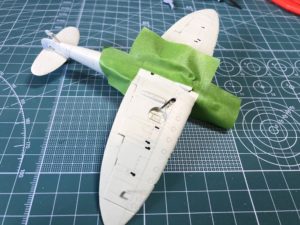
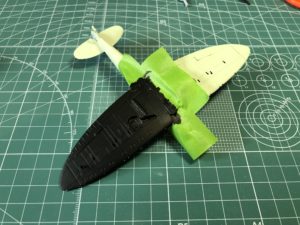
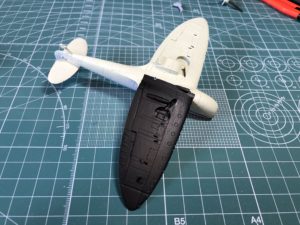
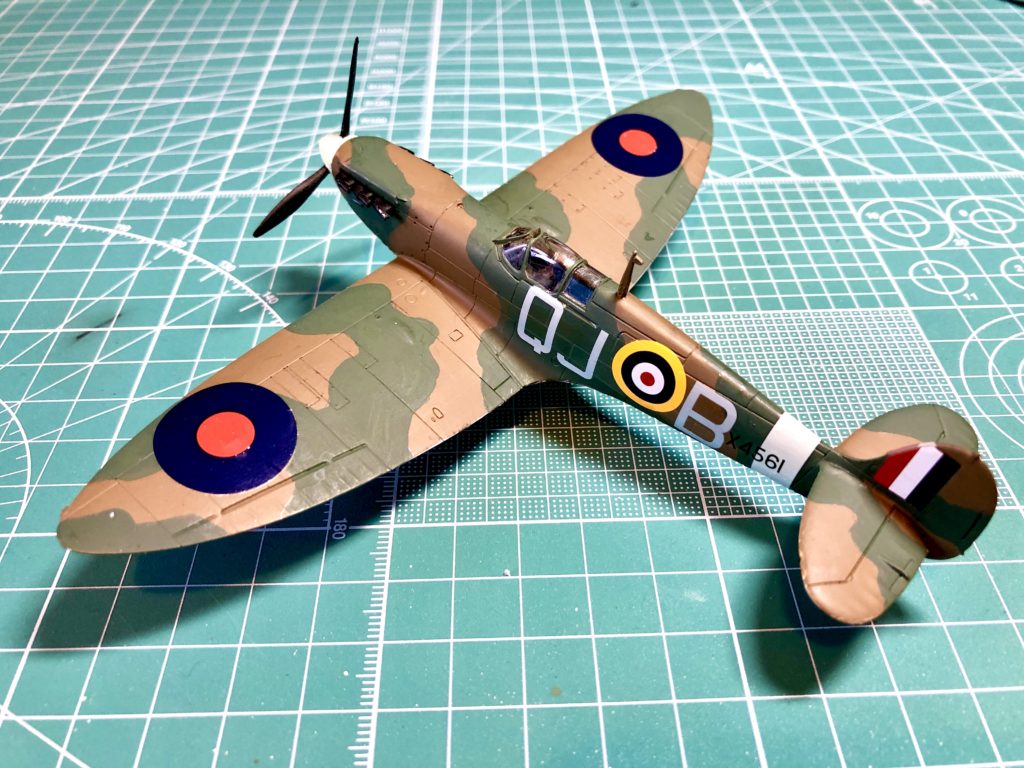
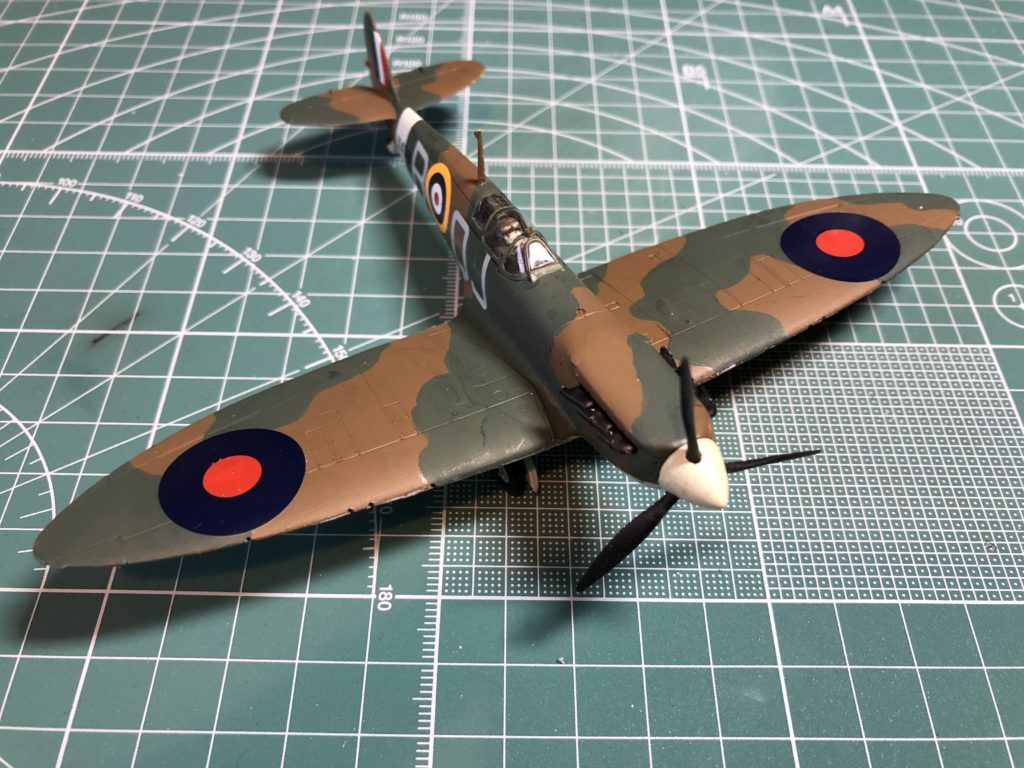
Once the final coat was dry I used my masking tape to mask off the wing for painting black. This may seem a little odd to some, but it shows this spitfire was used in the evacuation of Dunkirk.
When brush painting over masking make sure you don’t have too much paint on the brush, start on the masking tape and stroke the brush over the masked edge. If you go towards or along the edge, then paint may “wick” under the tape. This is only really necessary on the first coat. Looking back, I probably should have thinned the black paint down a little more, but nobody’s perfect.

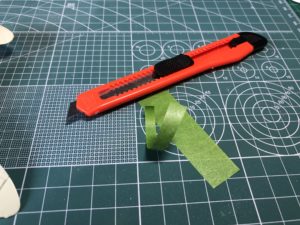
Once that was all dry it was time to look at the top of the aircraft. I used my knife to cut strips of masking tape which were easier to handle than wide strips. I then used this to mark out the line
between the top and bottom colours. You could try to do this freehand of course, but unless your job is putting the pinstripe on Rolls Royces masking is the safest bet.
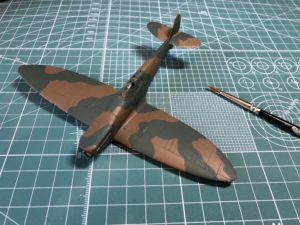
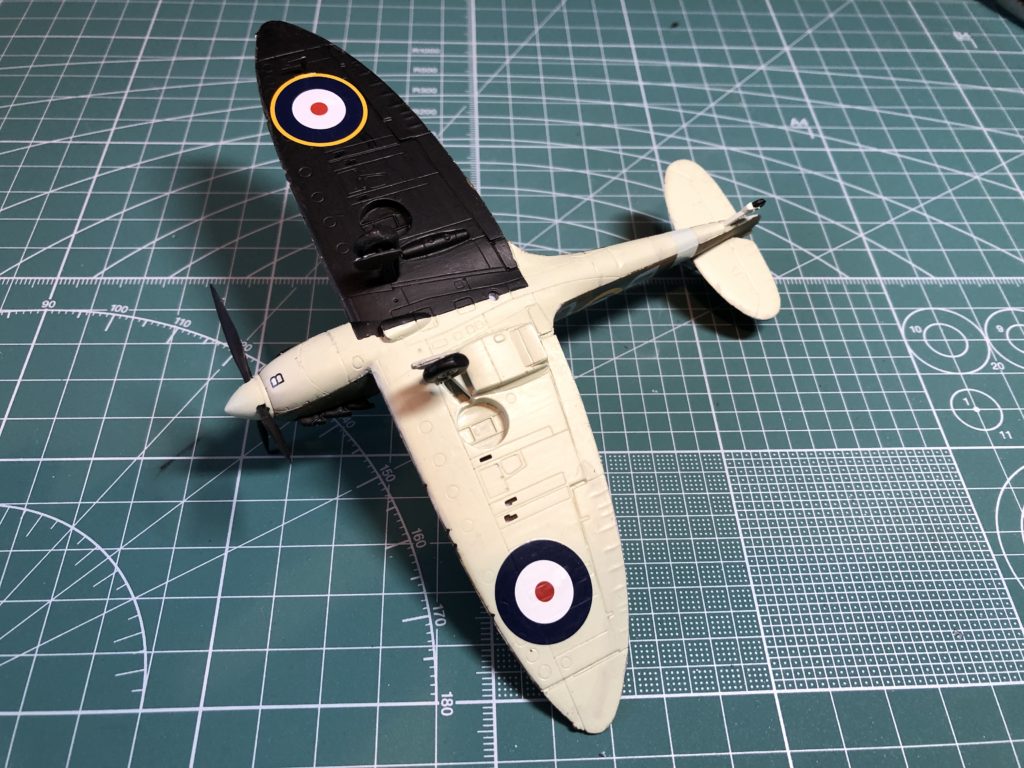
I then painted the top part in brown including the canopy frame. You can see I wasn’t too careful about the glass area, that wasn’t really an option with the brush in the kit. Just make sure you get all of the frame and we can worry the paint on the glass later.

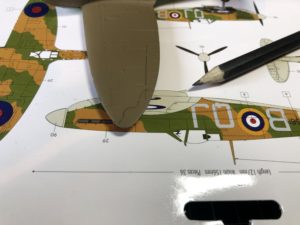
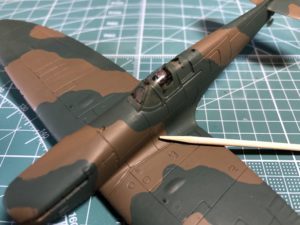
Once the brown paint had dried it was time to turn my attention to the camouflage pattern. I used the colour picture on the box as a guide and with a soft pencil sketched the pattern on to the model. It was the just a case of applying the green paint inside of the lines a bit like grown up colouring in.
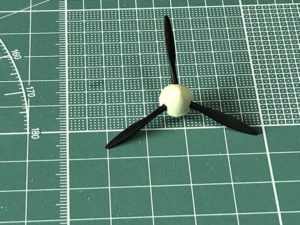
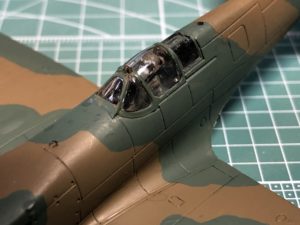
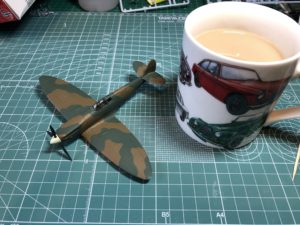
Time to revisit the glass. Once again employing my trusty cocktail stick I very lightly started to use the point to remove the paint on the canopy. This shouldn’t scratch the plastic if you are gentle. Once the canopy was clear I gave the glass a quick polish with just a cotton bud to get rid of the last few specs of paint. At this point I test fitted the propeller and rewarded my hard work with a cup of tea.
Next up it’s decal time. Your best approach is to cut the decal sheet into smaller groups of decals. This will save you rushing things. Try and use warm water on the decals as this helps the decal
conform to the model. Put a little drop of the water onto the model and put the decal onto the water. You can then move the decal around a bit to get it just right. Once you’re happy with the location use a soft cloth or cotton bud and gently press down on the decal to push the layer of water out from under it. Once its fixed in place you can continue to rub the decal to get it to conform to all the panel lines etc.
Decaling is a funny thing I know some people who love it. Personally it’s my least favourite part of the build.
Nearly there now and just a few parts left to complete the kit. These are painted, left to dry and attached to the model.
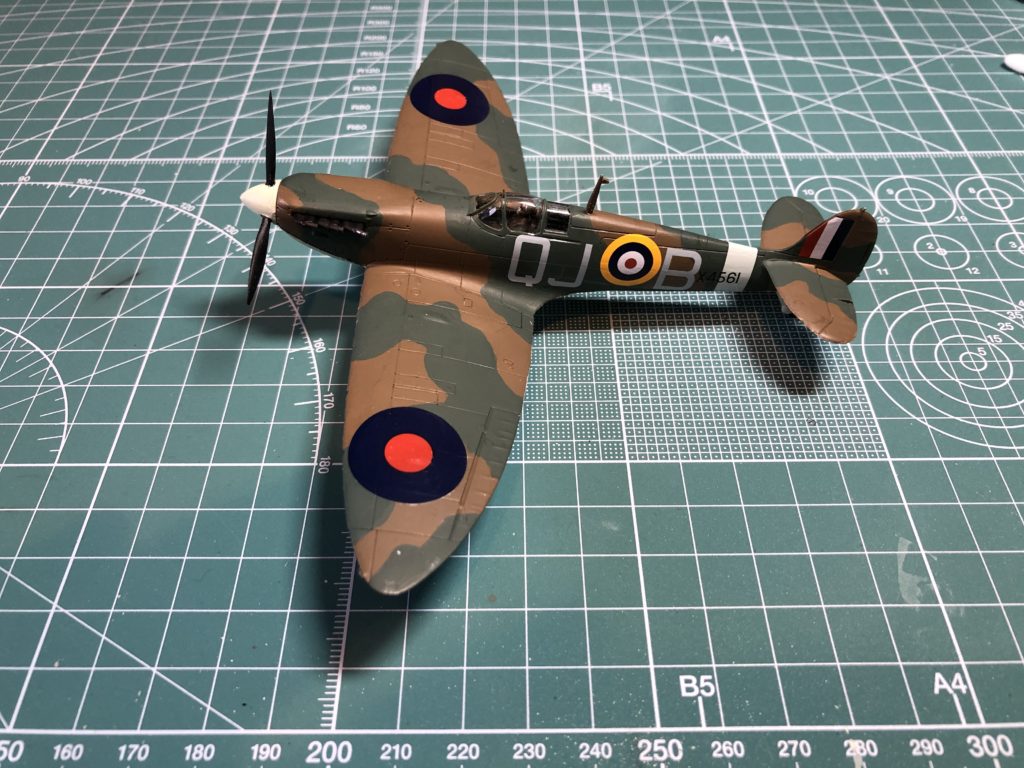
Now you can see how easy it is time to try it for yourself.
The verdict on this kit:
Build Time:
Start to finish the kit took only several hours, this includes waiting for paint to dry!
Suggested Tools:
Being able to use my modelling filler would have helped speed up the process and prevent the need for finding alternative solutions to small fitment discrepancies.
Kit specific advice:
The paints provided need watering down to be able to create an even surface covering without showing up brush strokes.
What we’ve taken away from this build:
All things considered this is a great little kit which can be completed straight out of the box, no need for an extensive array of tools and paints. As an introduction to the hobby for a beginner or even as a fun back to basics build for a more experienced modeller its a great kit with a rewarding finished result.