
A note from the Author
Hello fellow model makers! I’m John and, although I’m no expert at all – just a car enthusiast and keen model maker – but I always strive to improve and achieve the best results I can. I’ve built models from being a youngster – competition/sports cars of the 60’s/70’s are my number 1 ‘thing’ – and now I’m fully retired I can put the extra hours into this wonderful hobby.
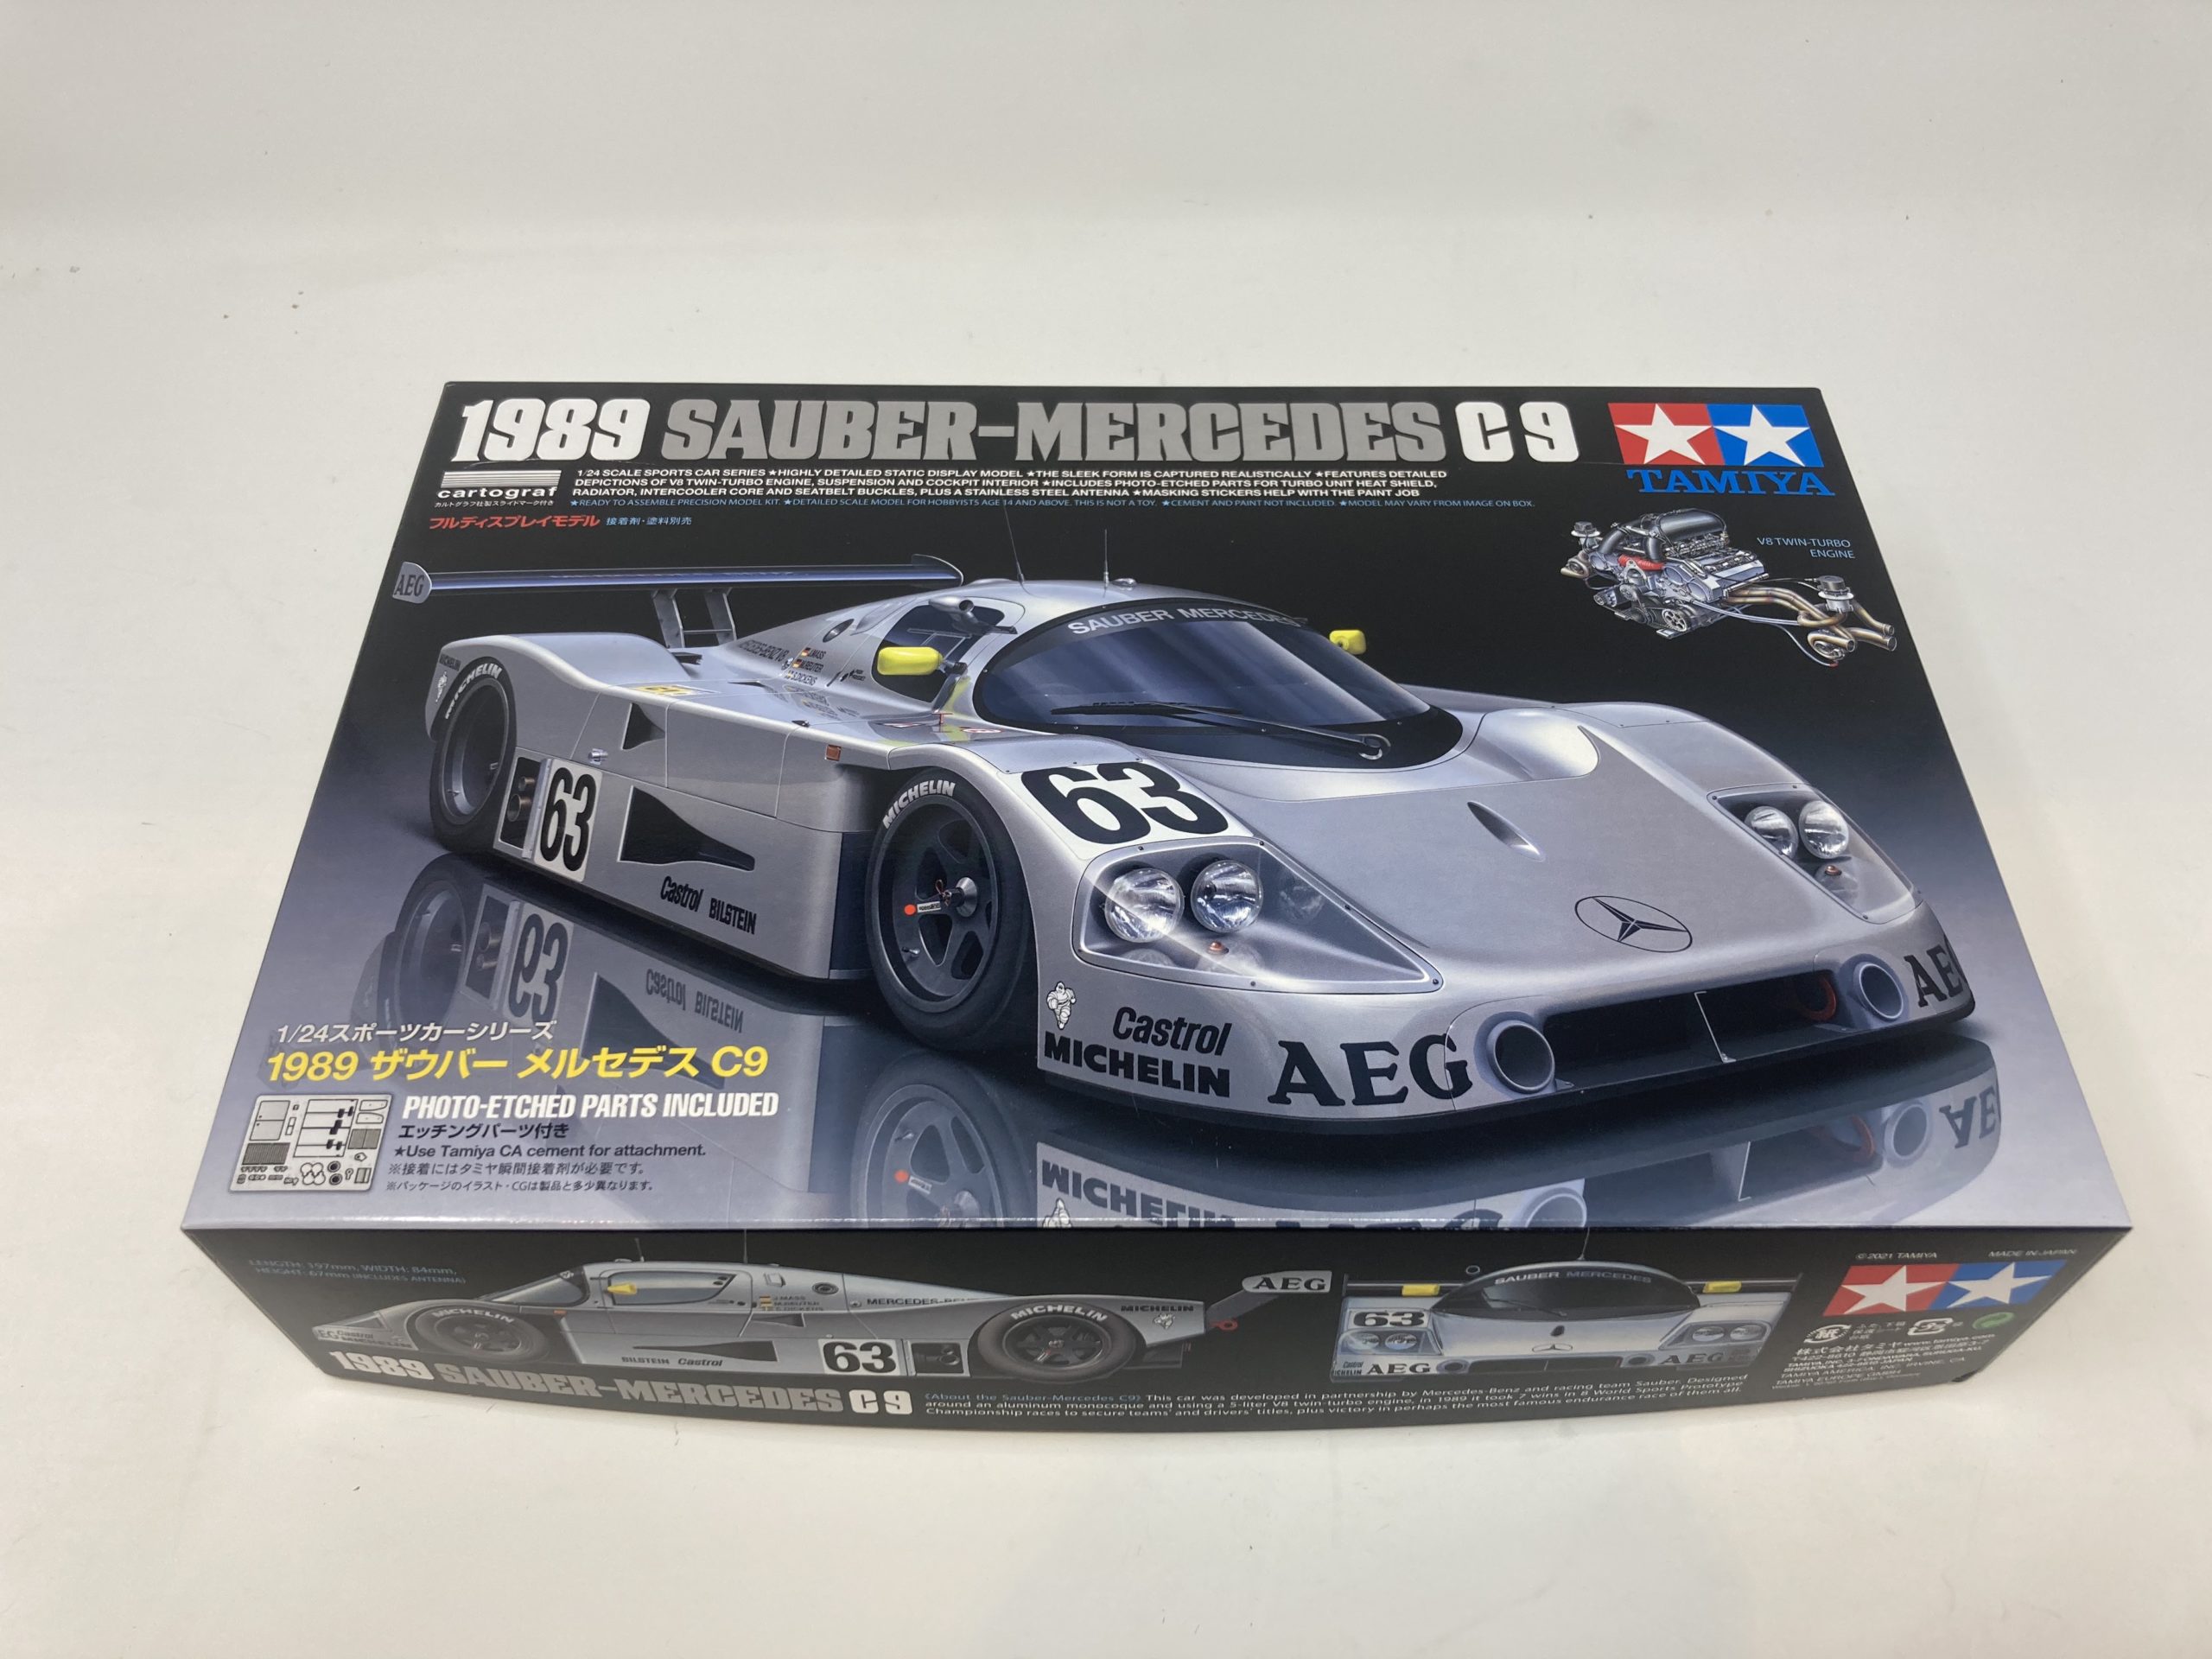
Name – Tamiya 24359 1989 Sauber Mercedes C9 1:24 Plastic Model Kit
Number – 24359
Scale – 1/24
Price – £35.95
Availability – Available now! Get yours here!
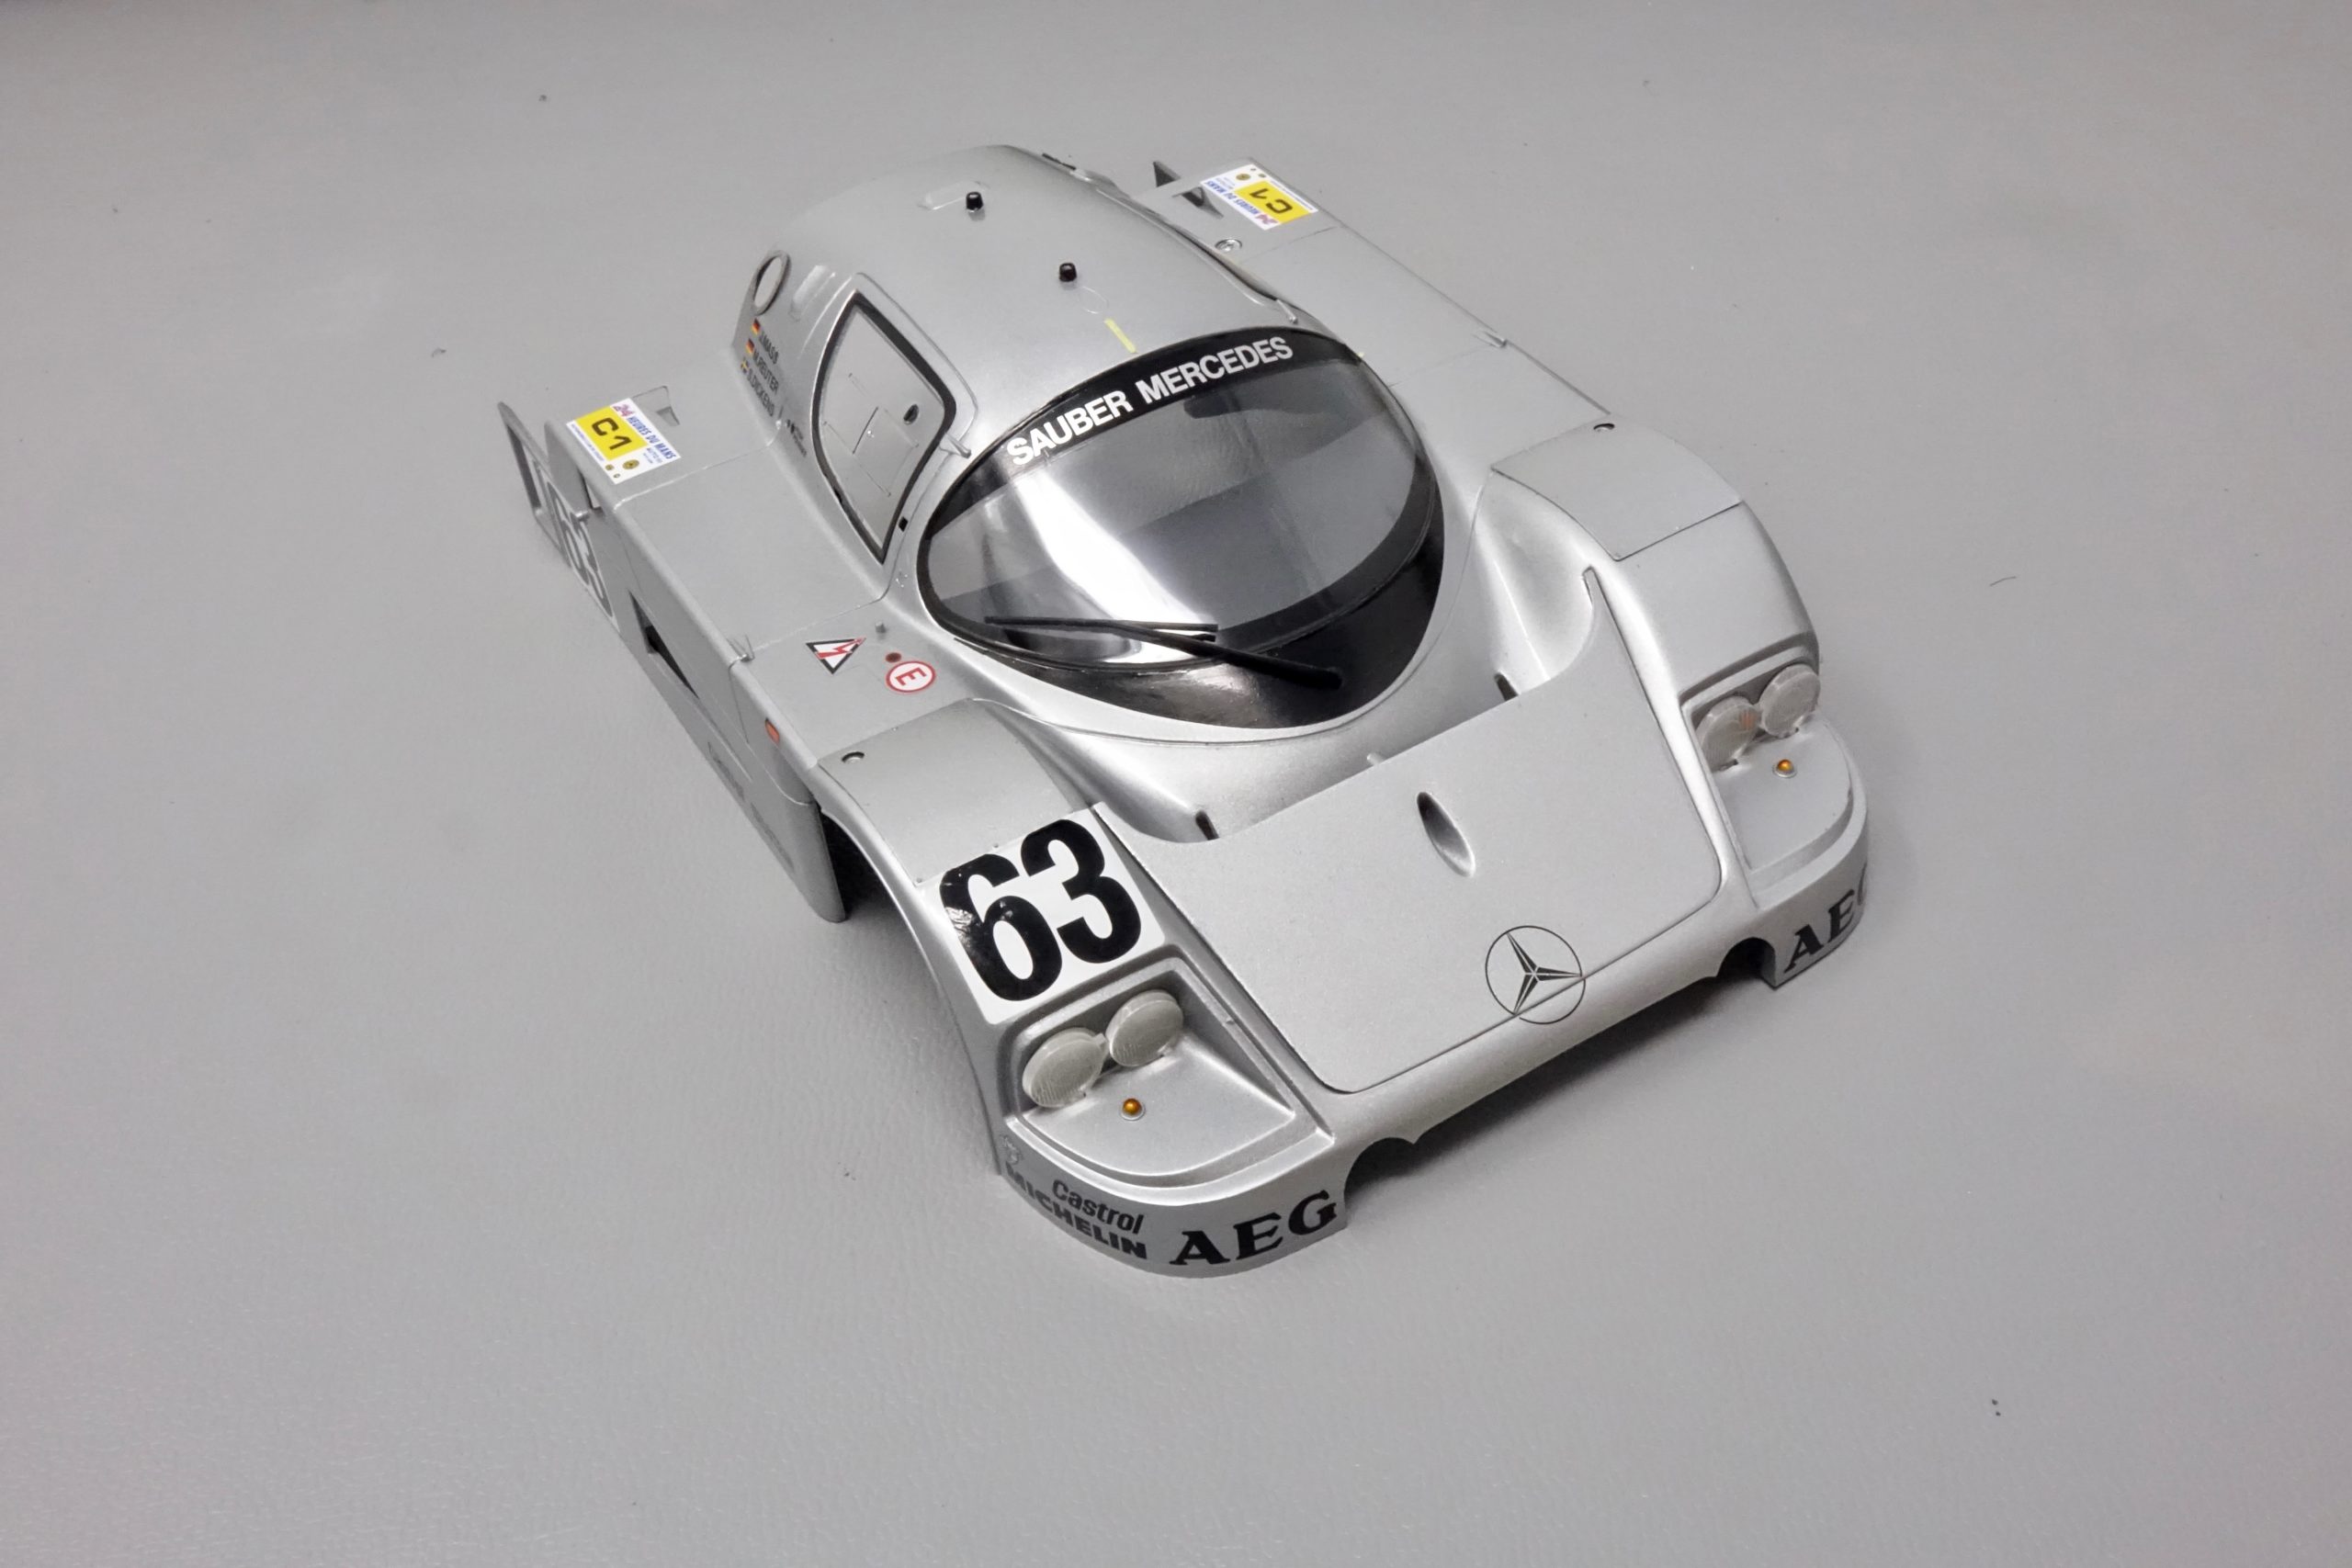
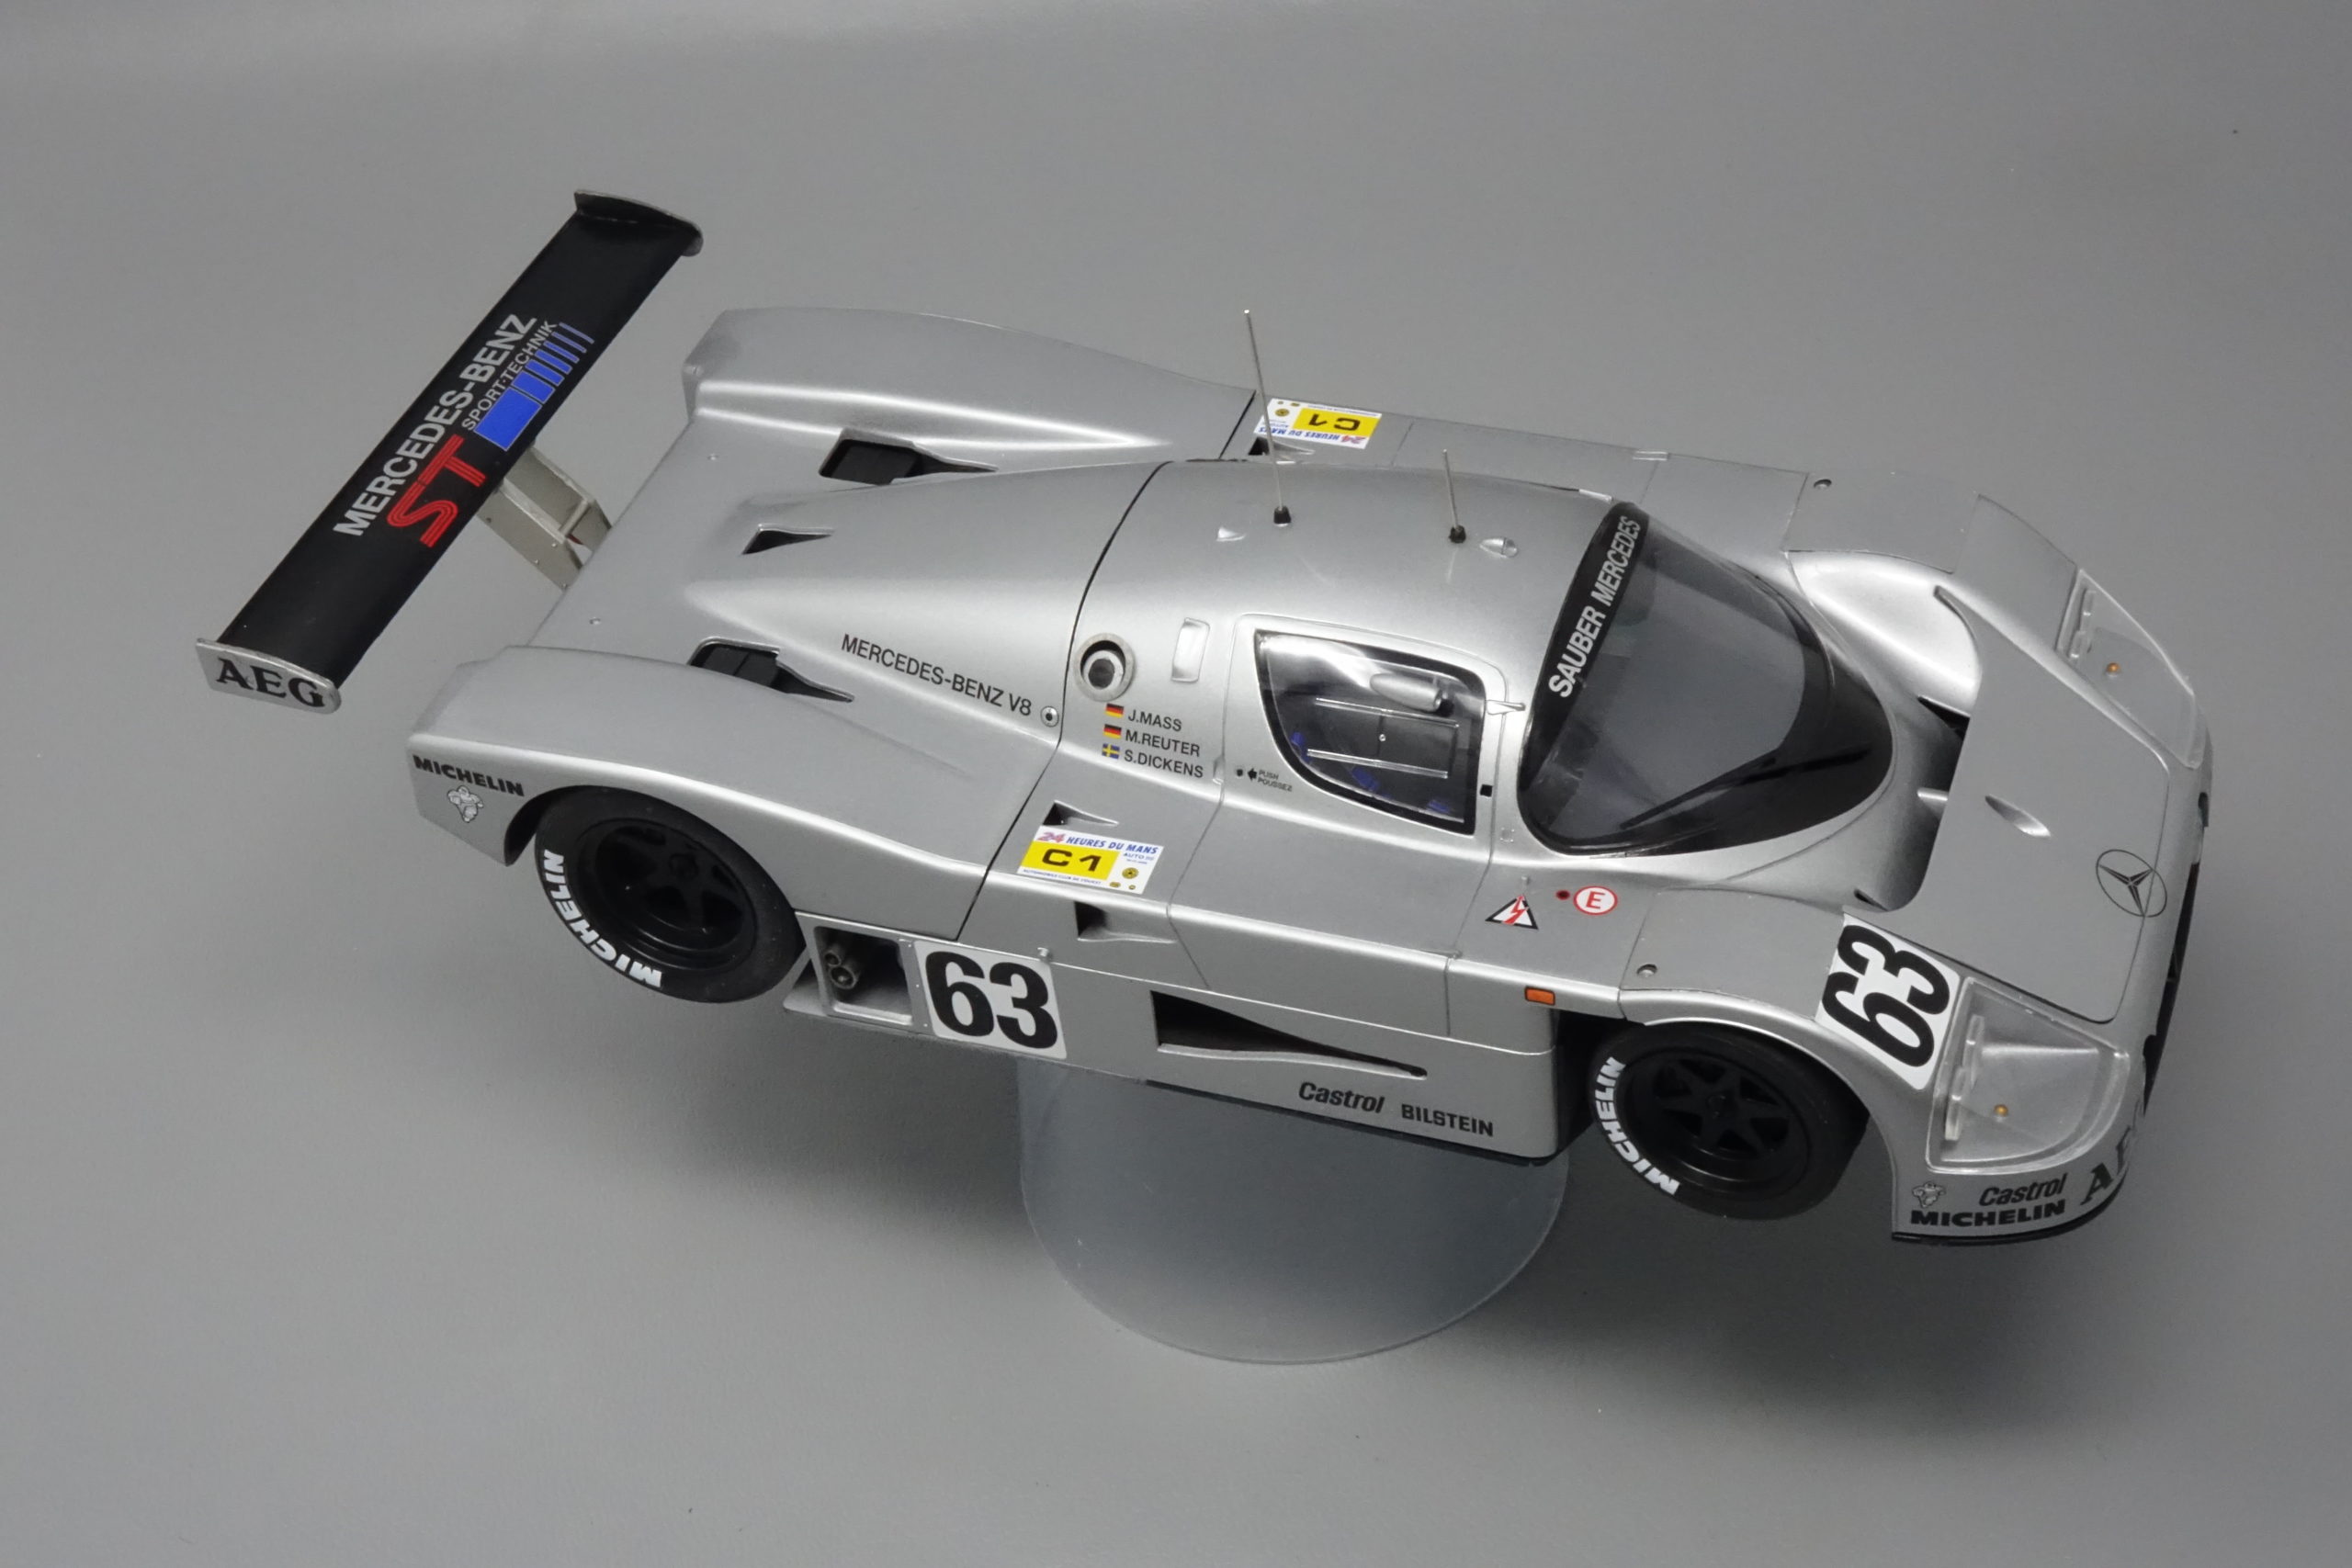
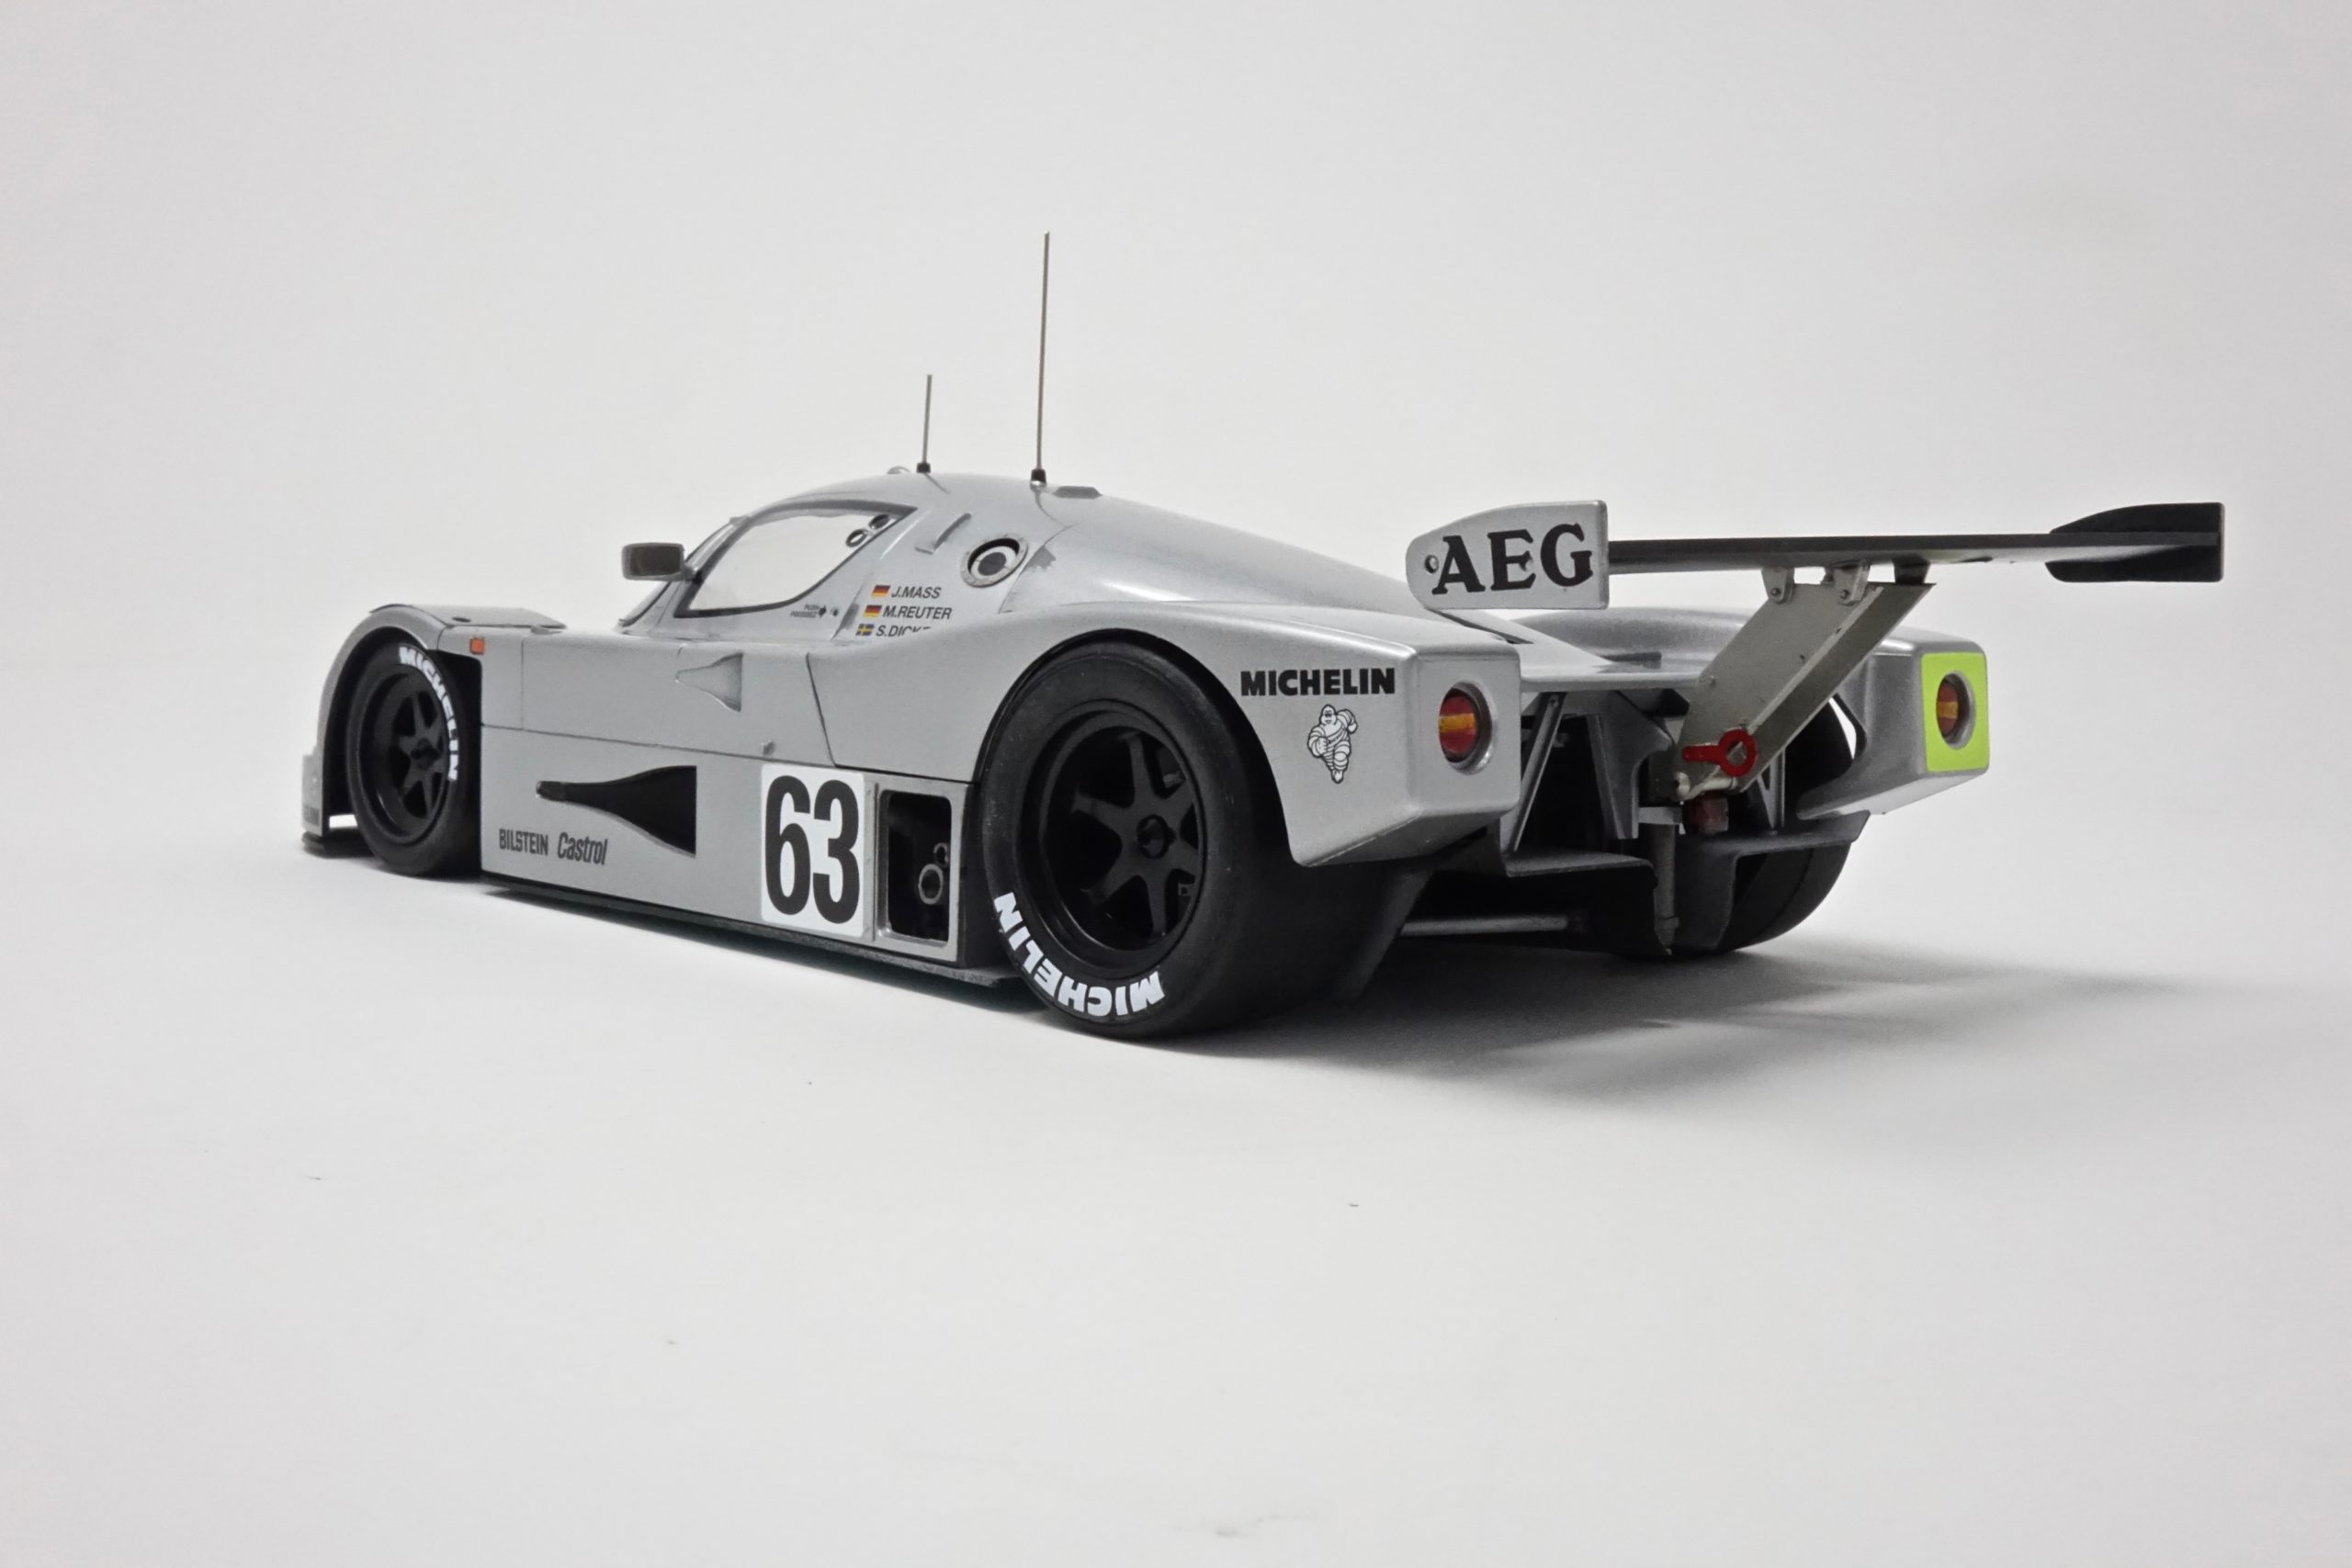
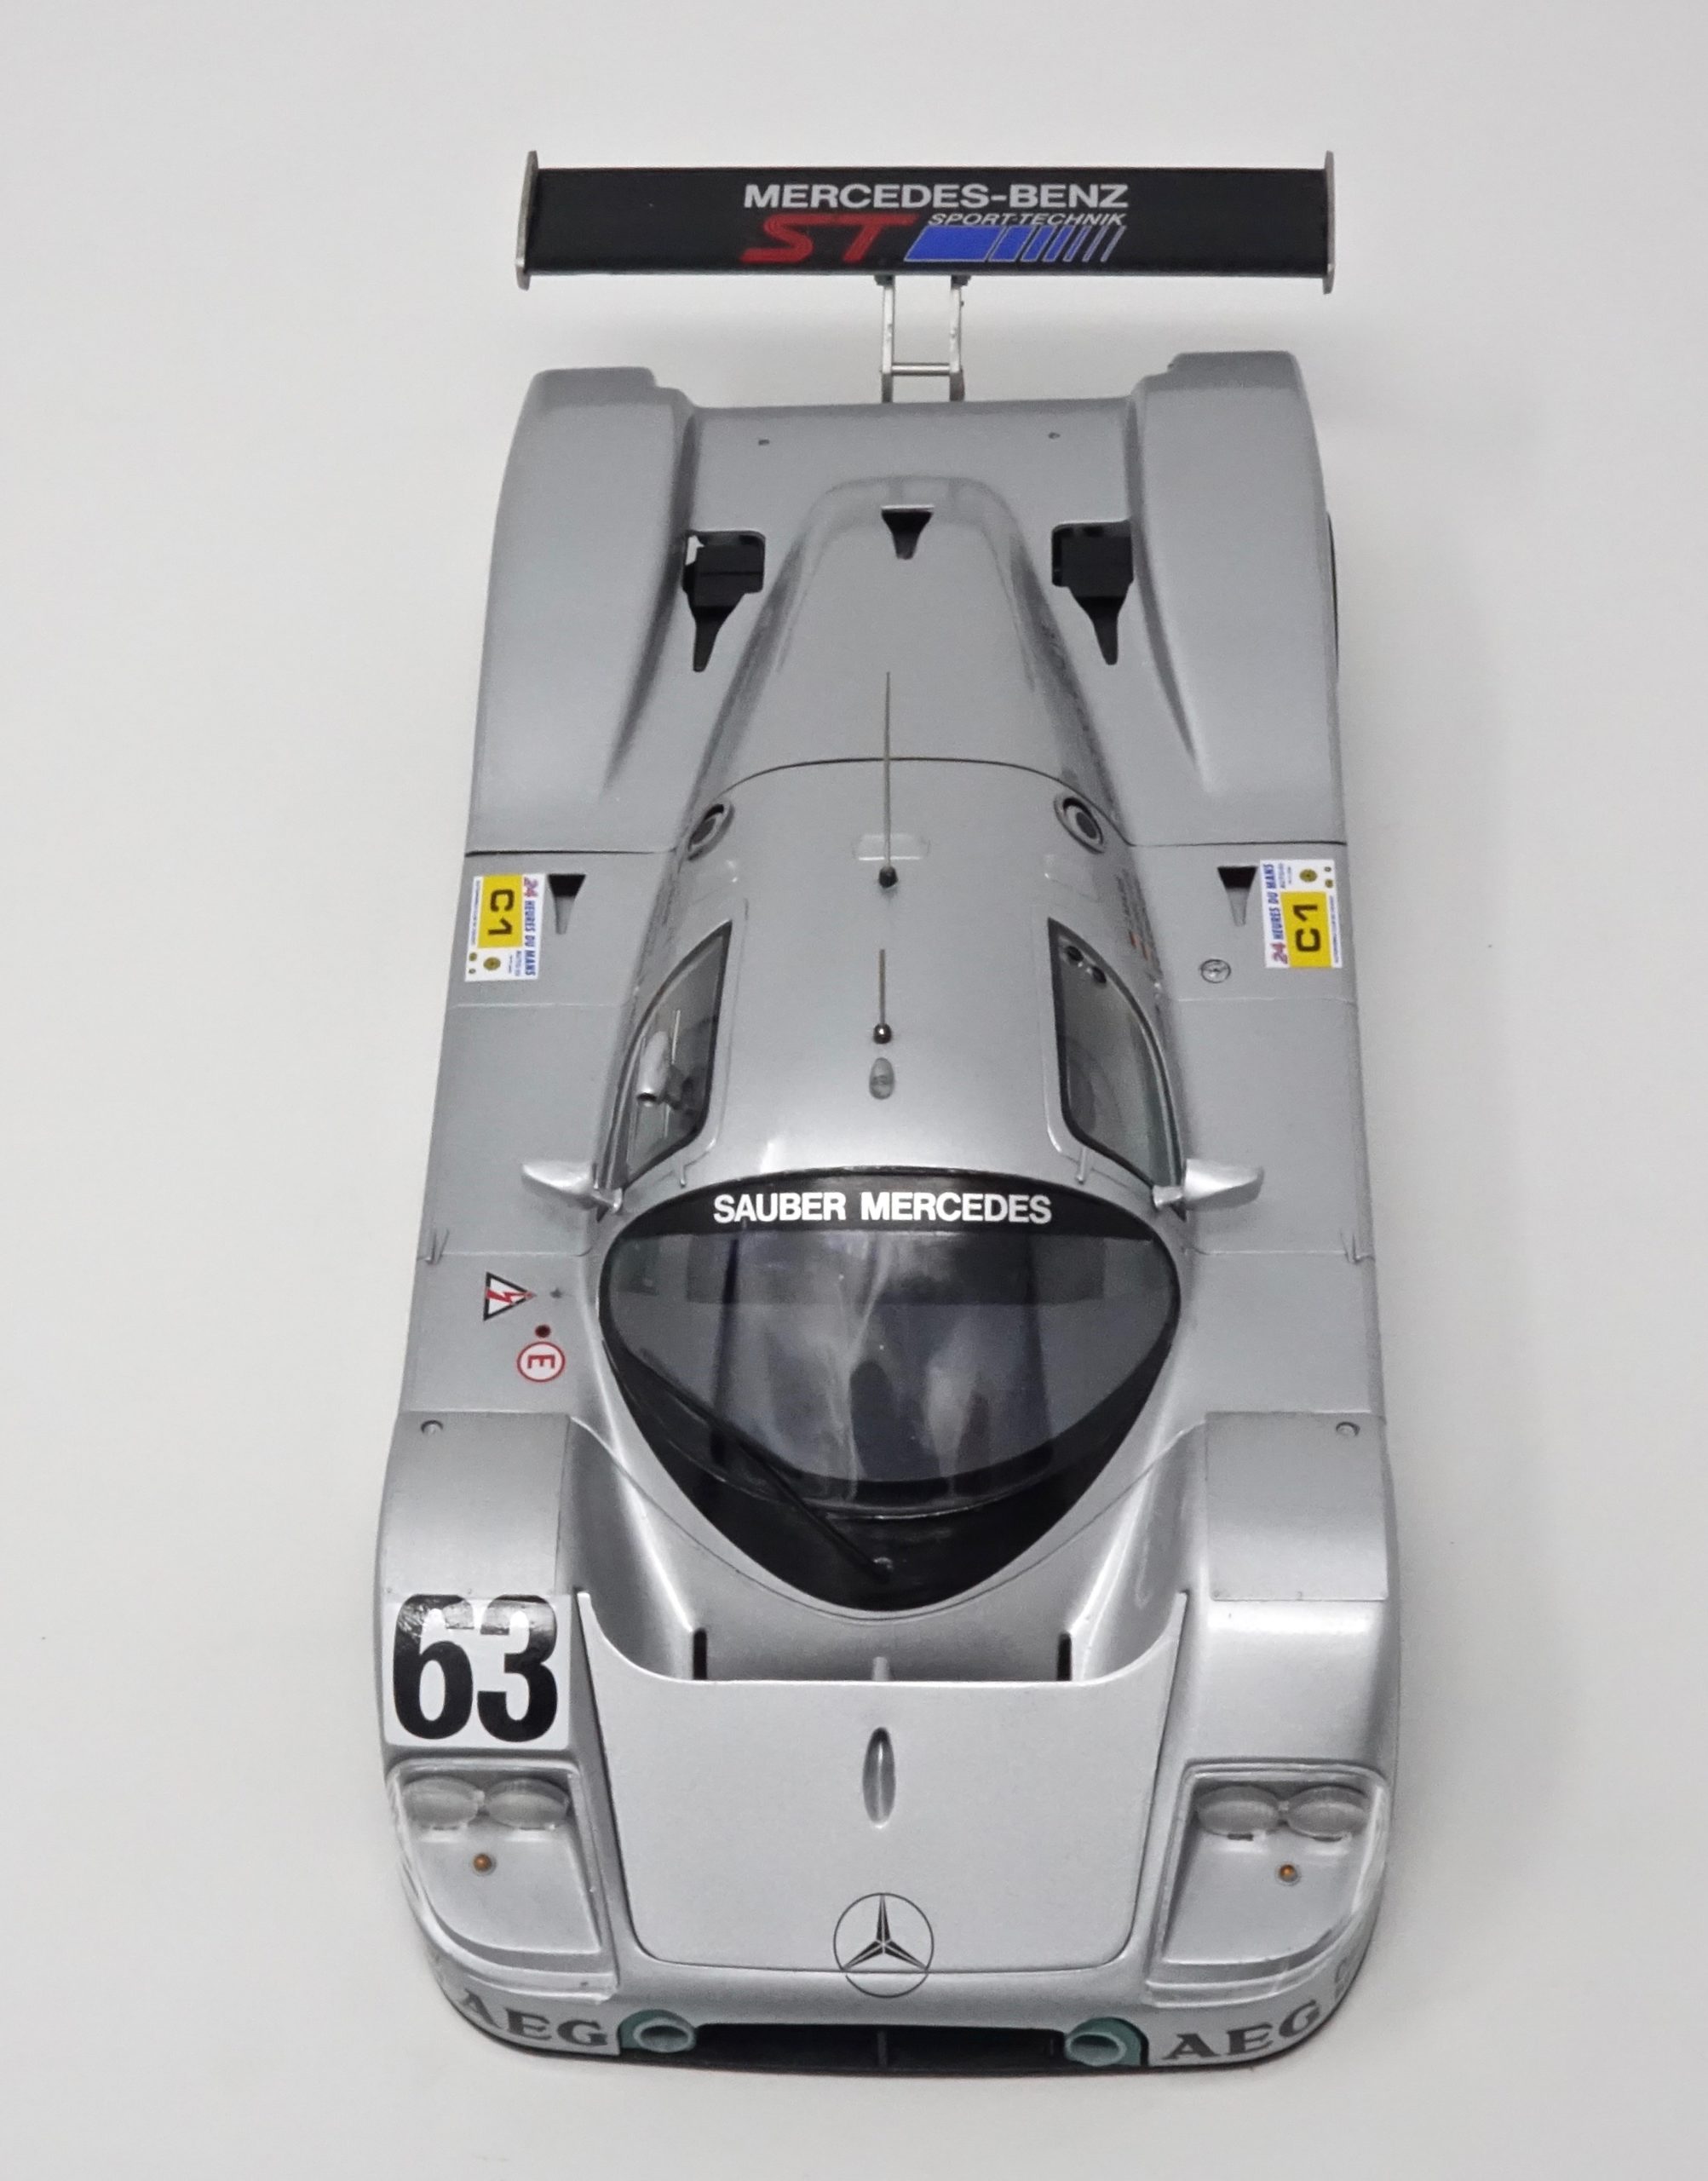
Tamiya 1/24 1989 Sauber-Mercedes C9 (24359)
What we have here, as I’m sure most of you will know, is a re-issue of the kit first released in back in 1990. Indeed, I have the very same kit here – built back in the day – a bit dusty, a few peeling decals, etc but very interesting to see how this new release shapes up. It’s re-boxed and comes with photo-etched parts, Cartograph decals, seat belts, updated instructions and a few other bits and pieces.
I’ll say this at the start of this review that the brief I had was to build this kit and review it in a very short space of time – 6 days in fact! I’m saying this because it was certainly a ‘speed build’ and, although I’m very happy with the outcome (and a bit surprised to be honest!), there are a few details here and there where normally I would have spent more time trying to achieve a higher quality build. Not every seam and mould mark has been sanded down/filled/primed etc. This is very much an ‘out of the box’ build. But…..no excuses!
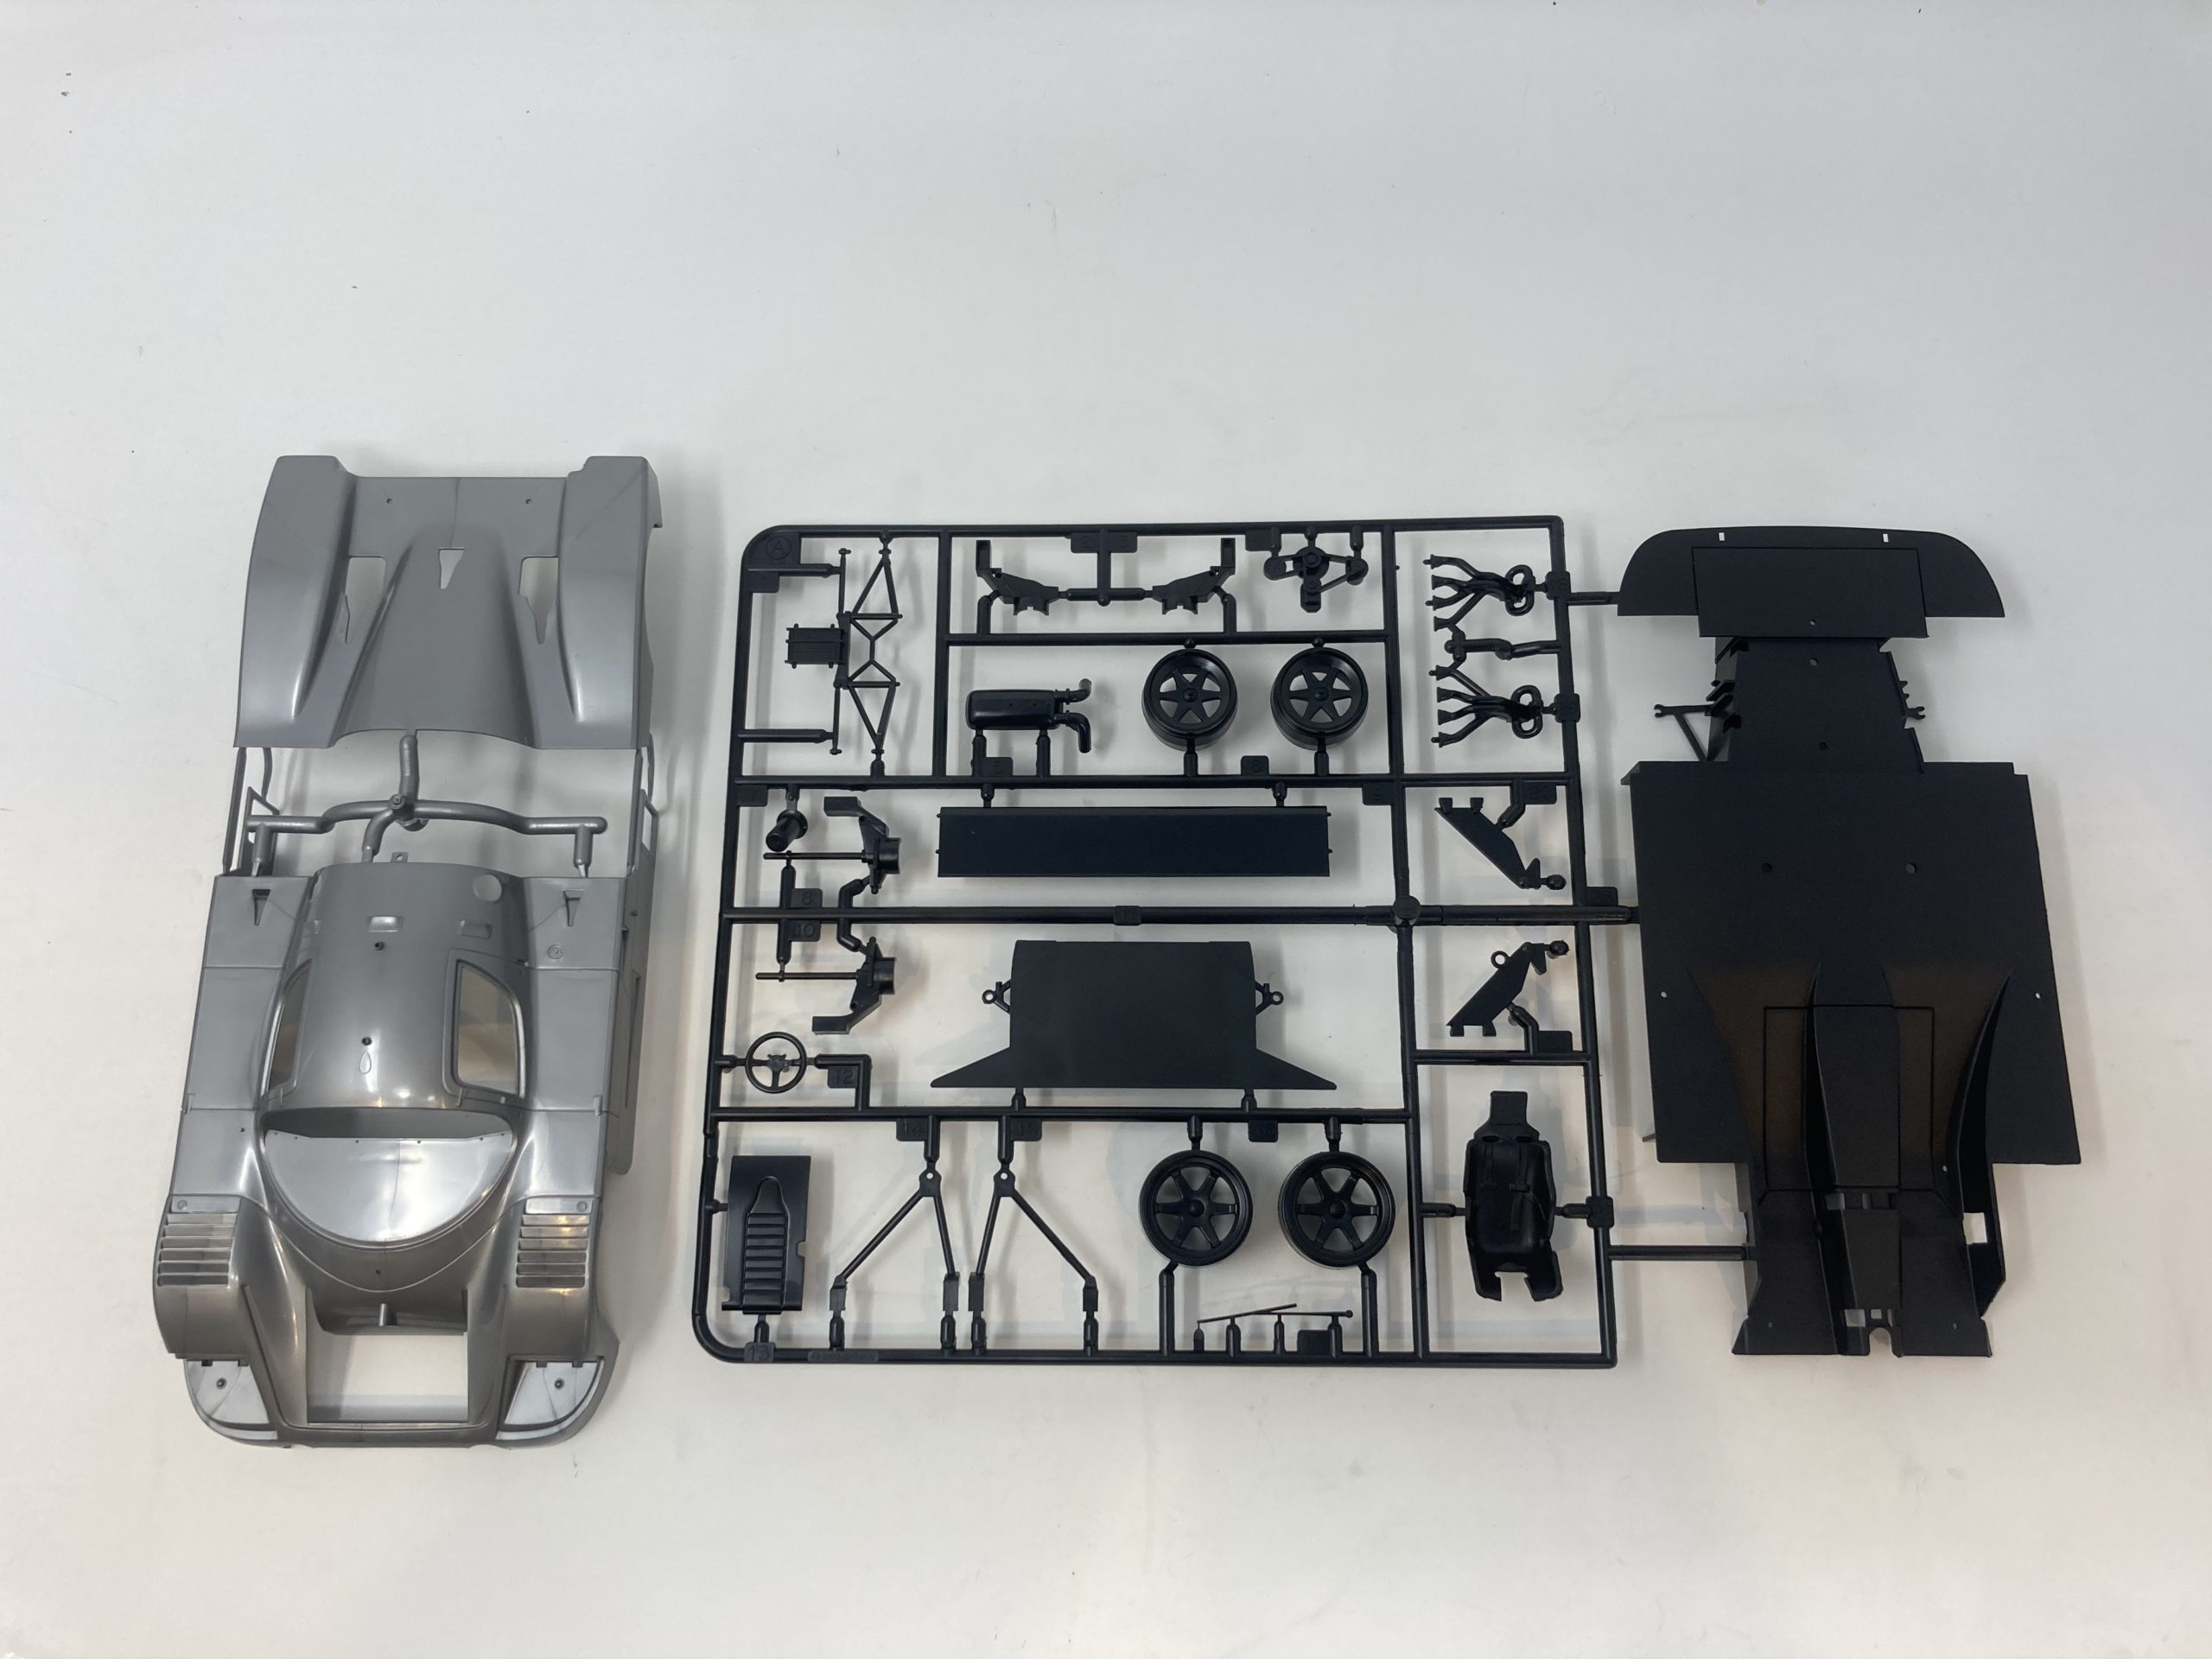
What’s in the box?
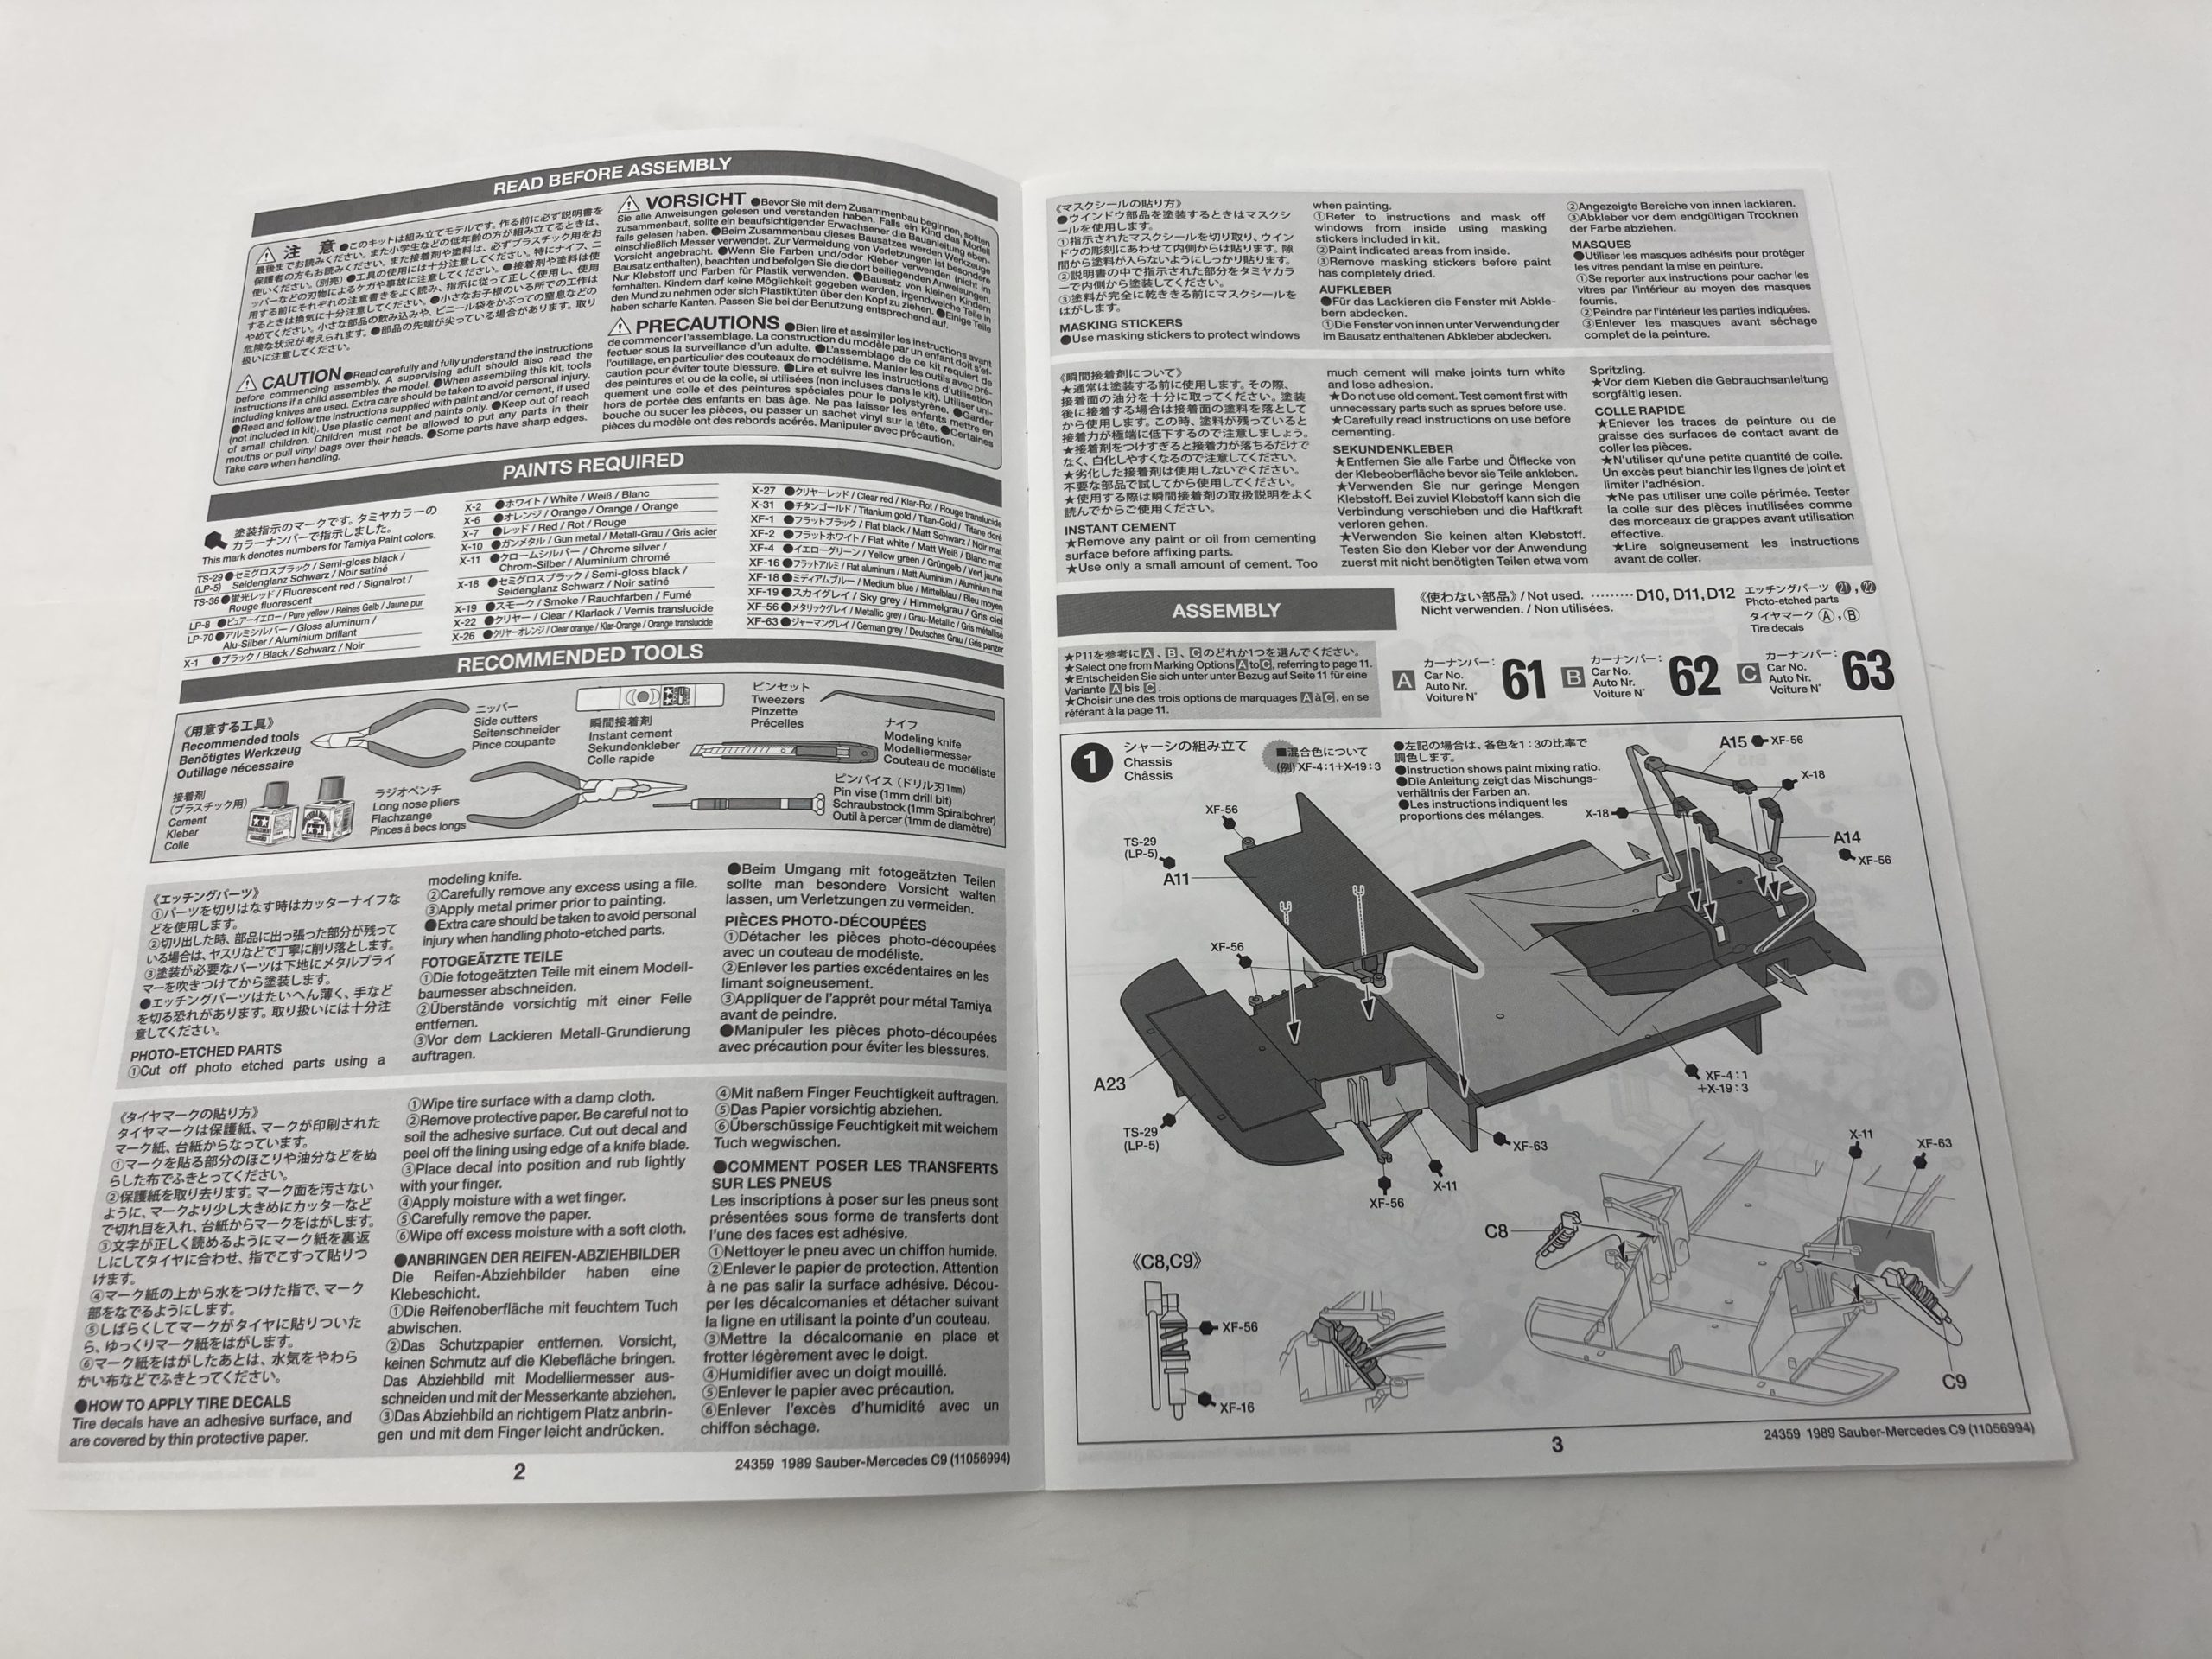
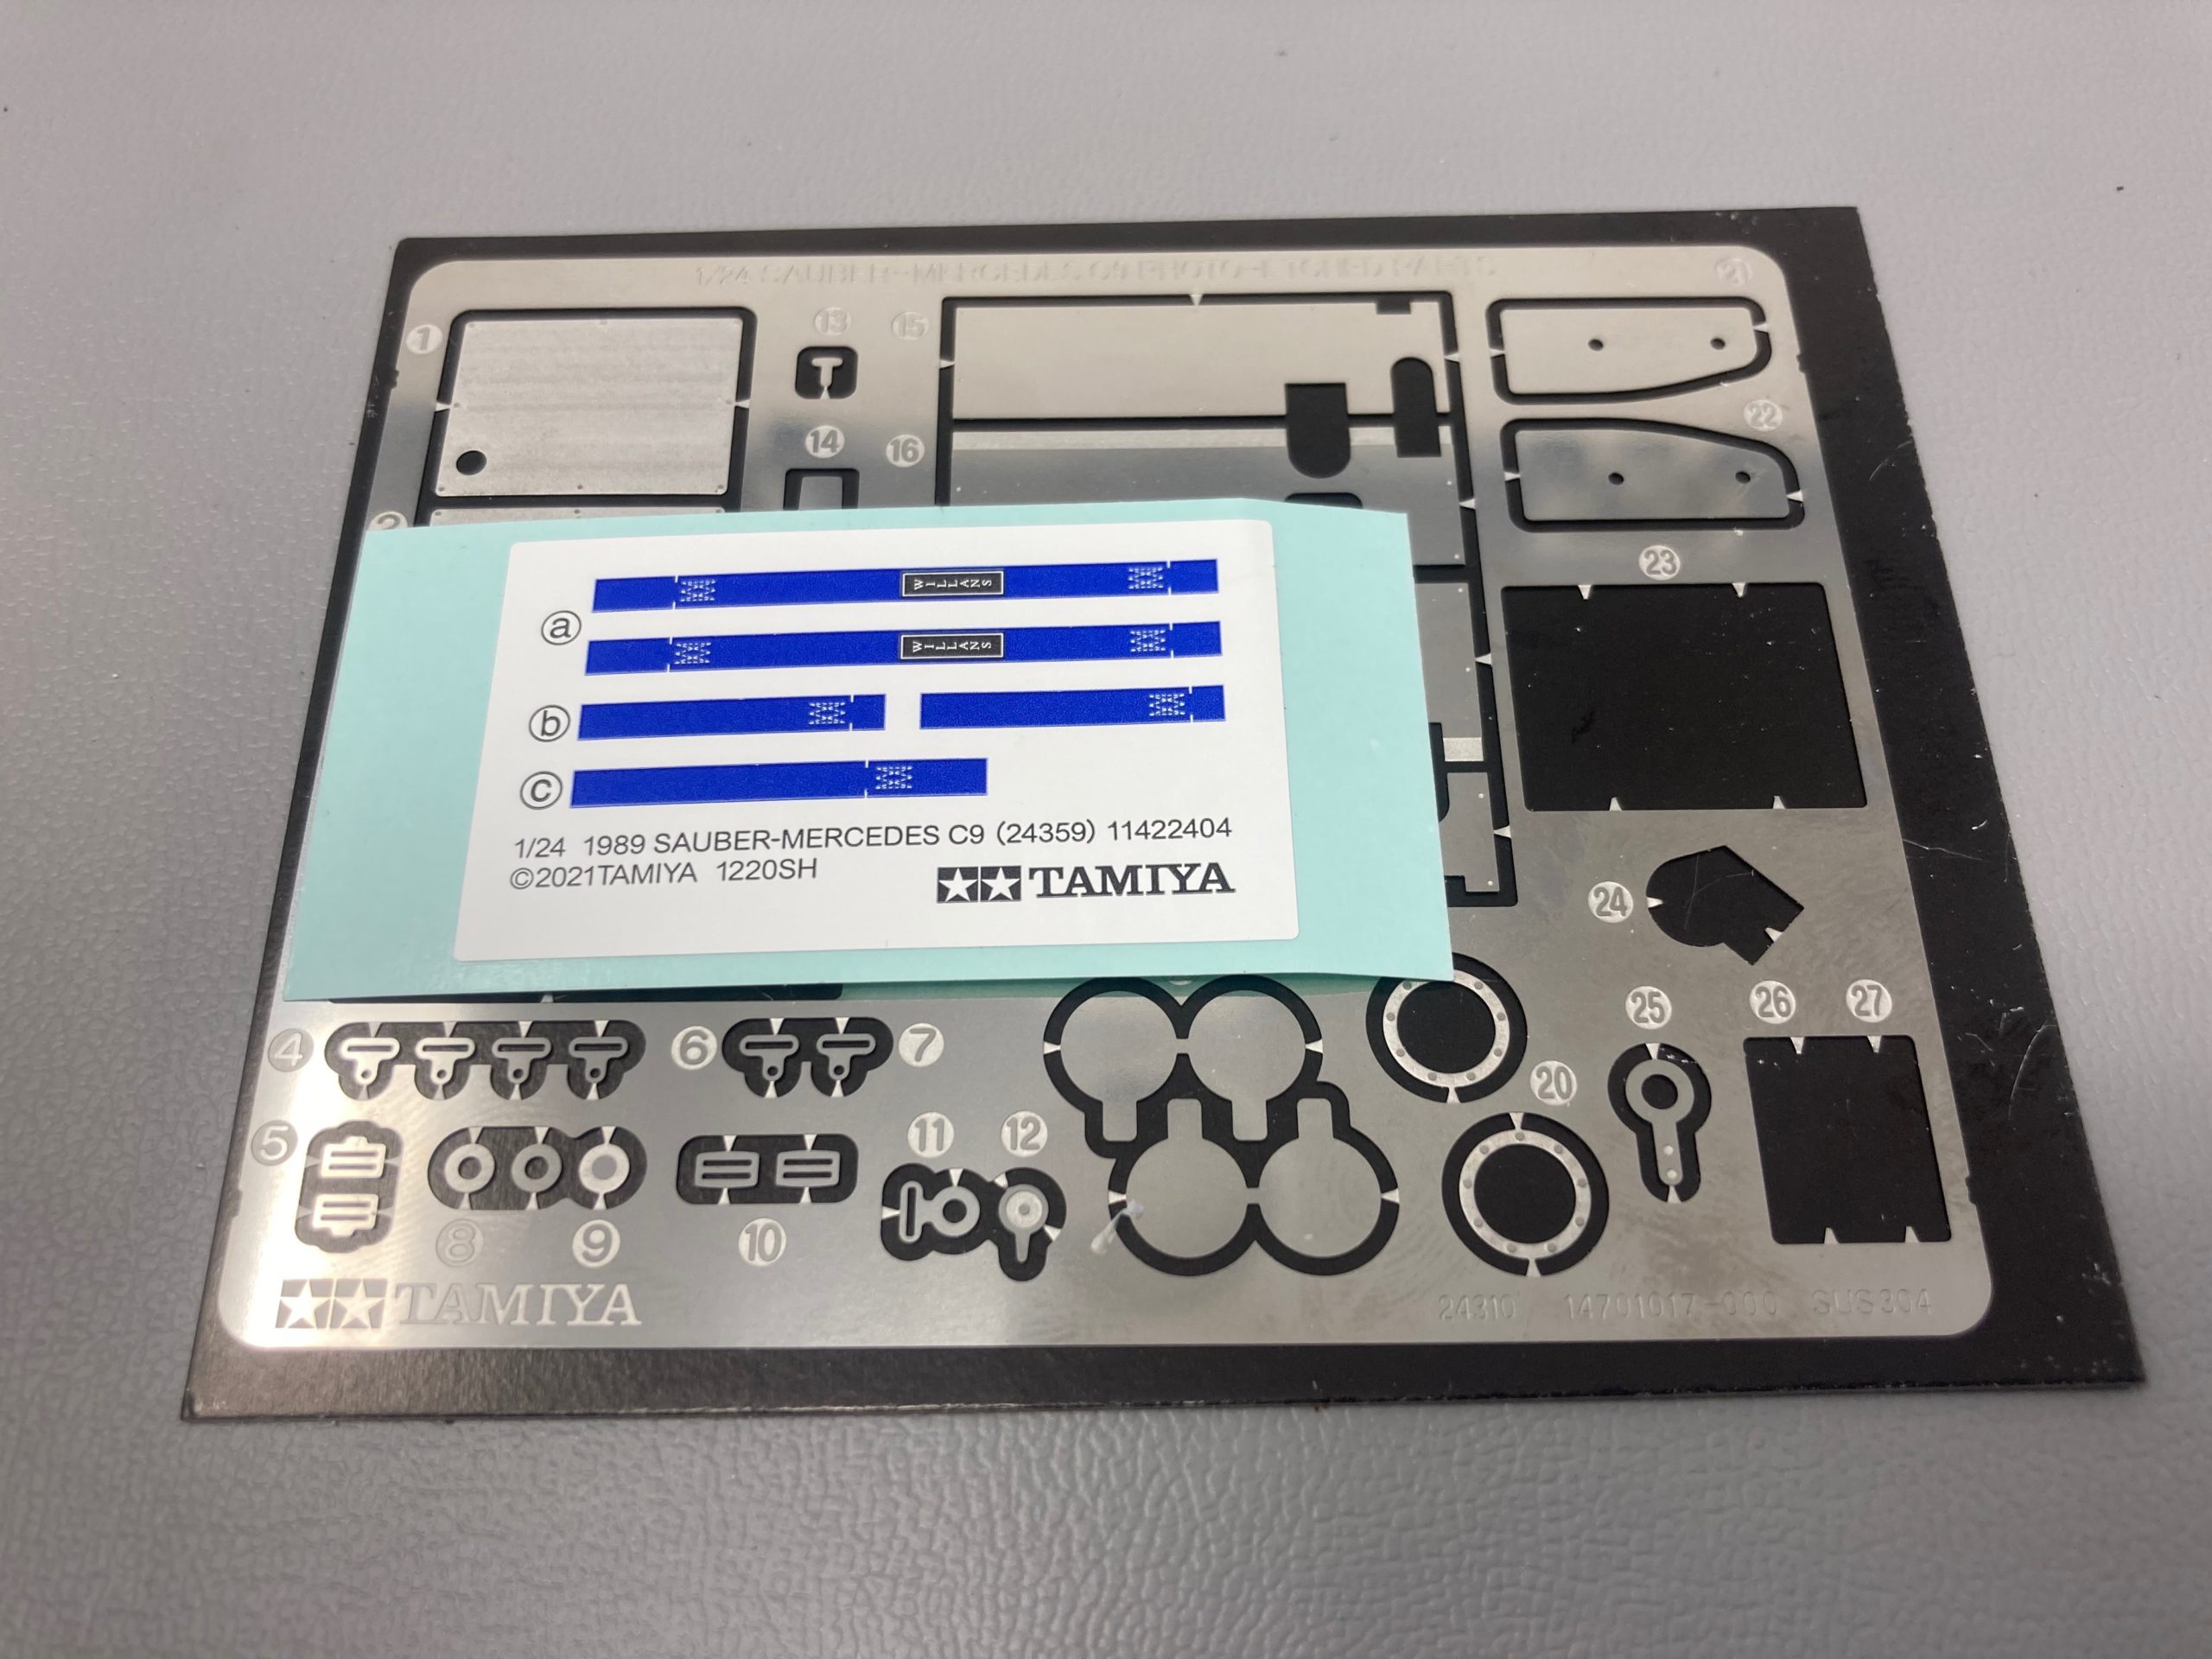
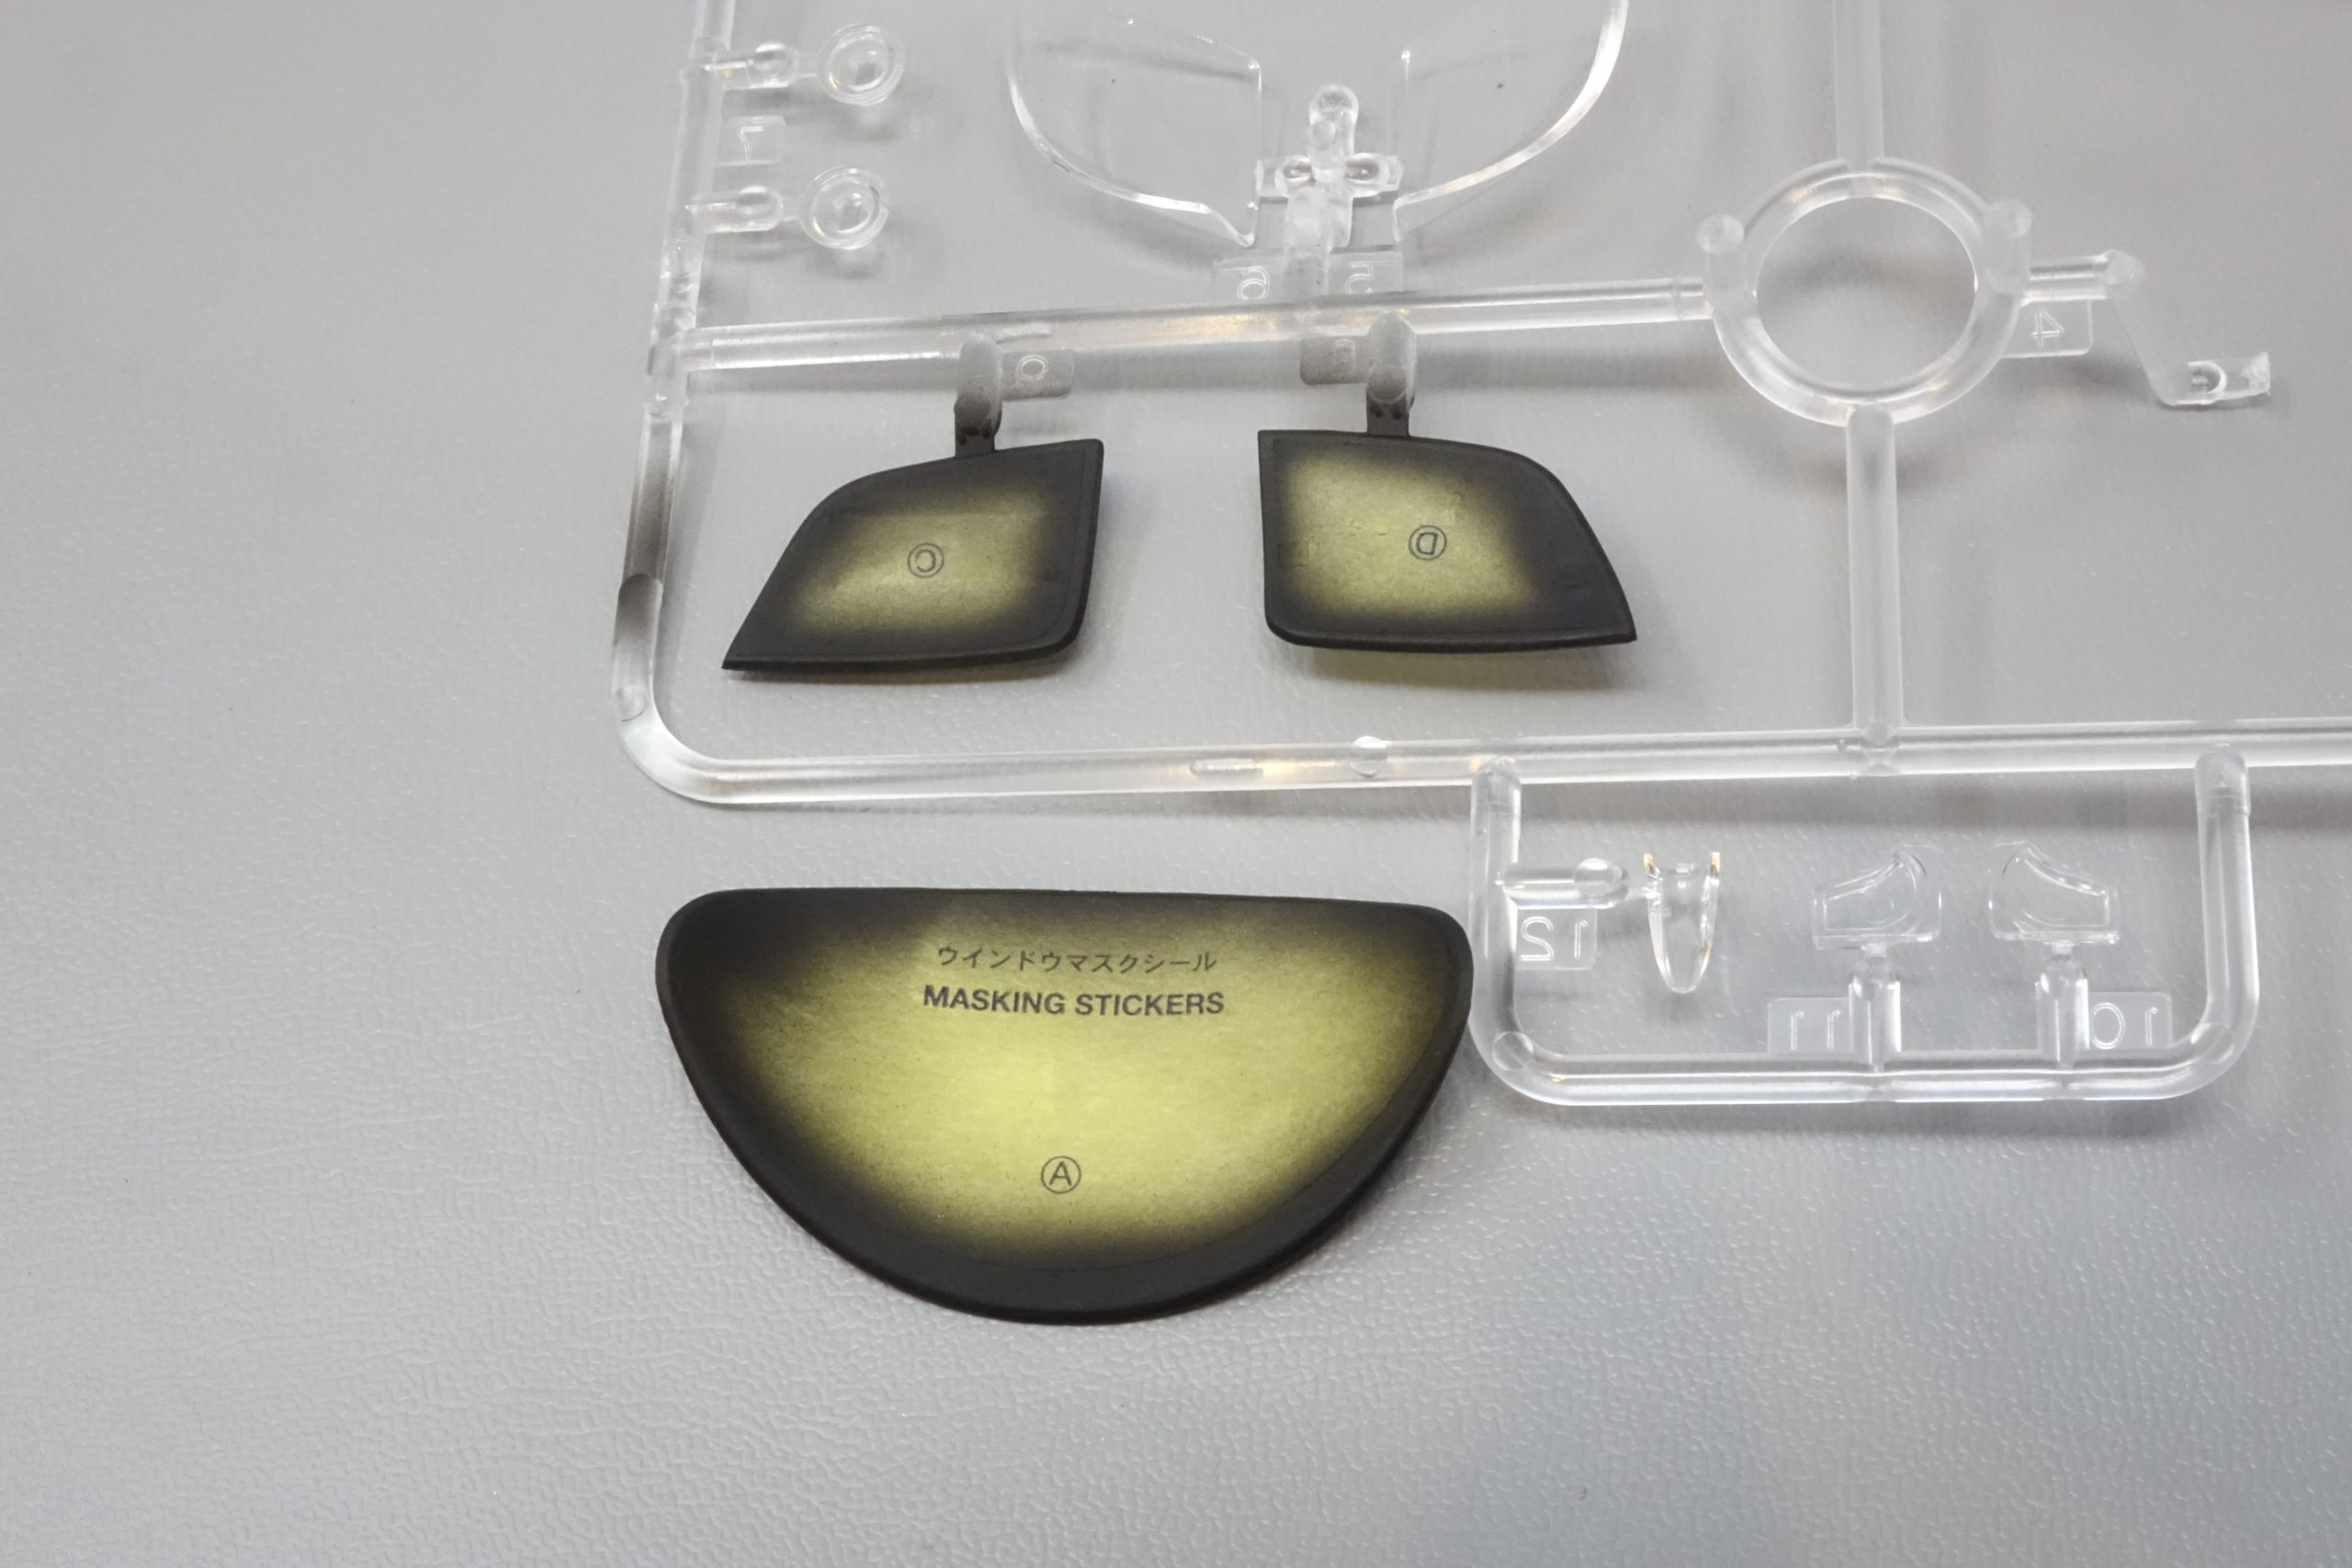
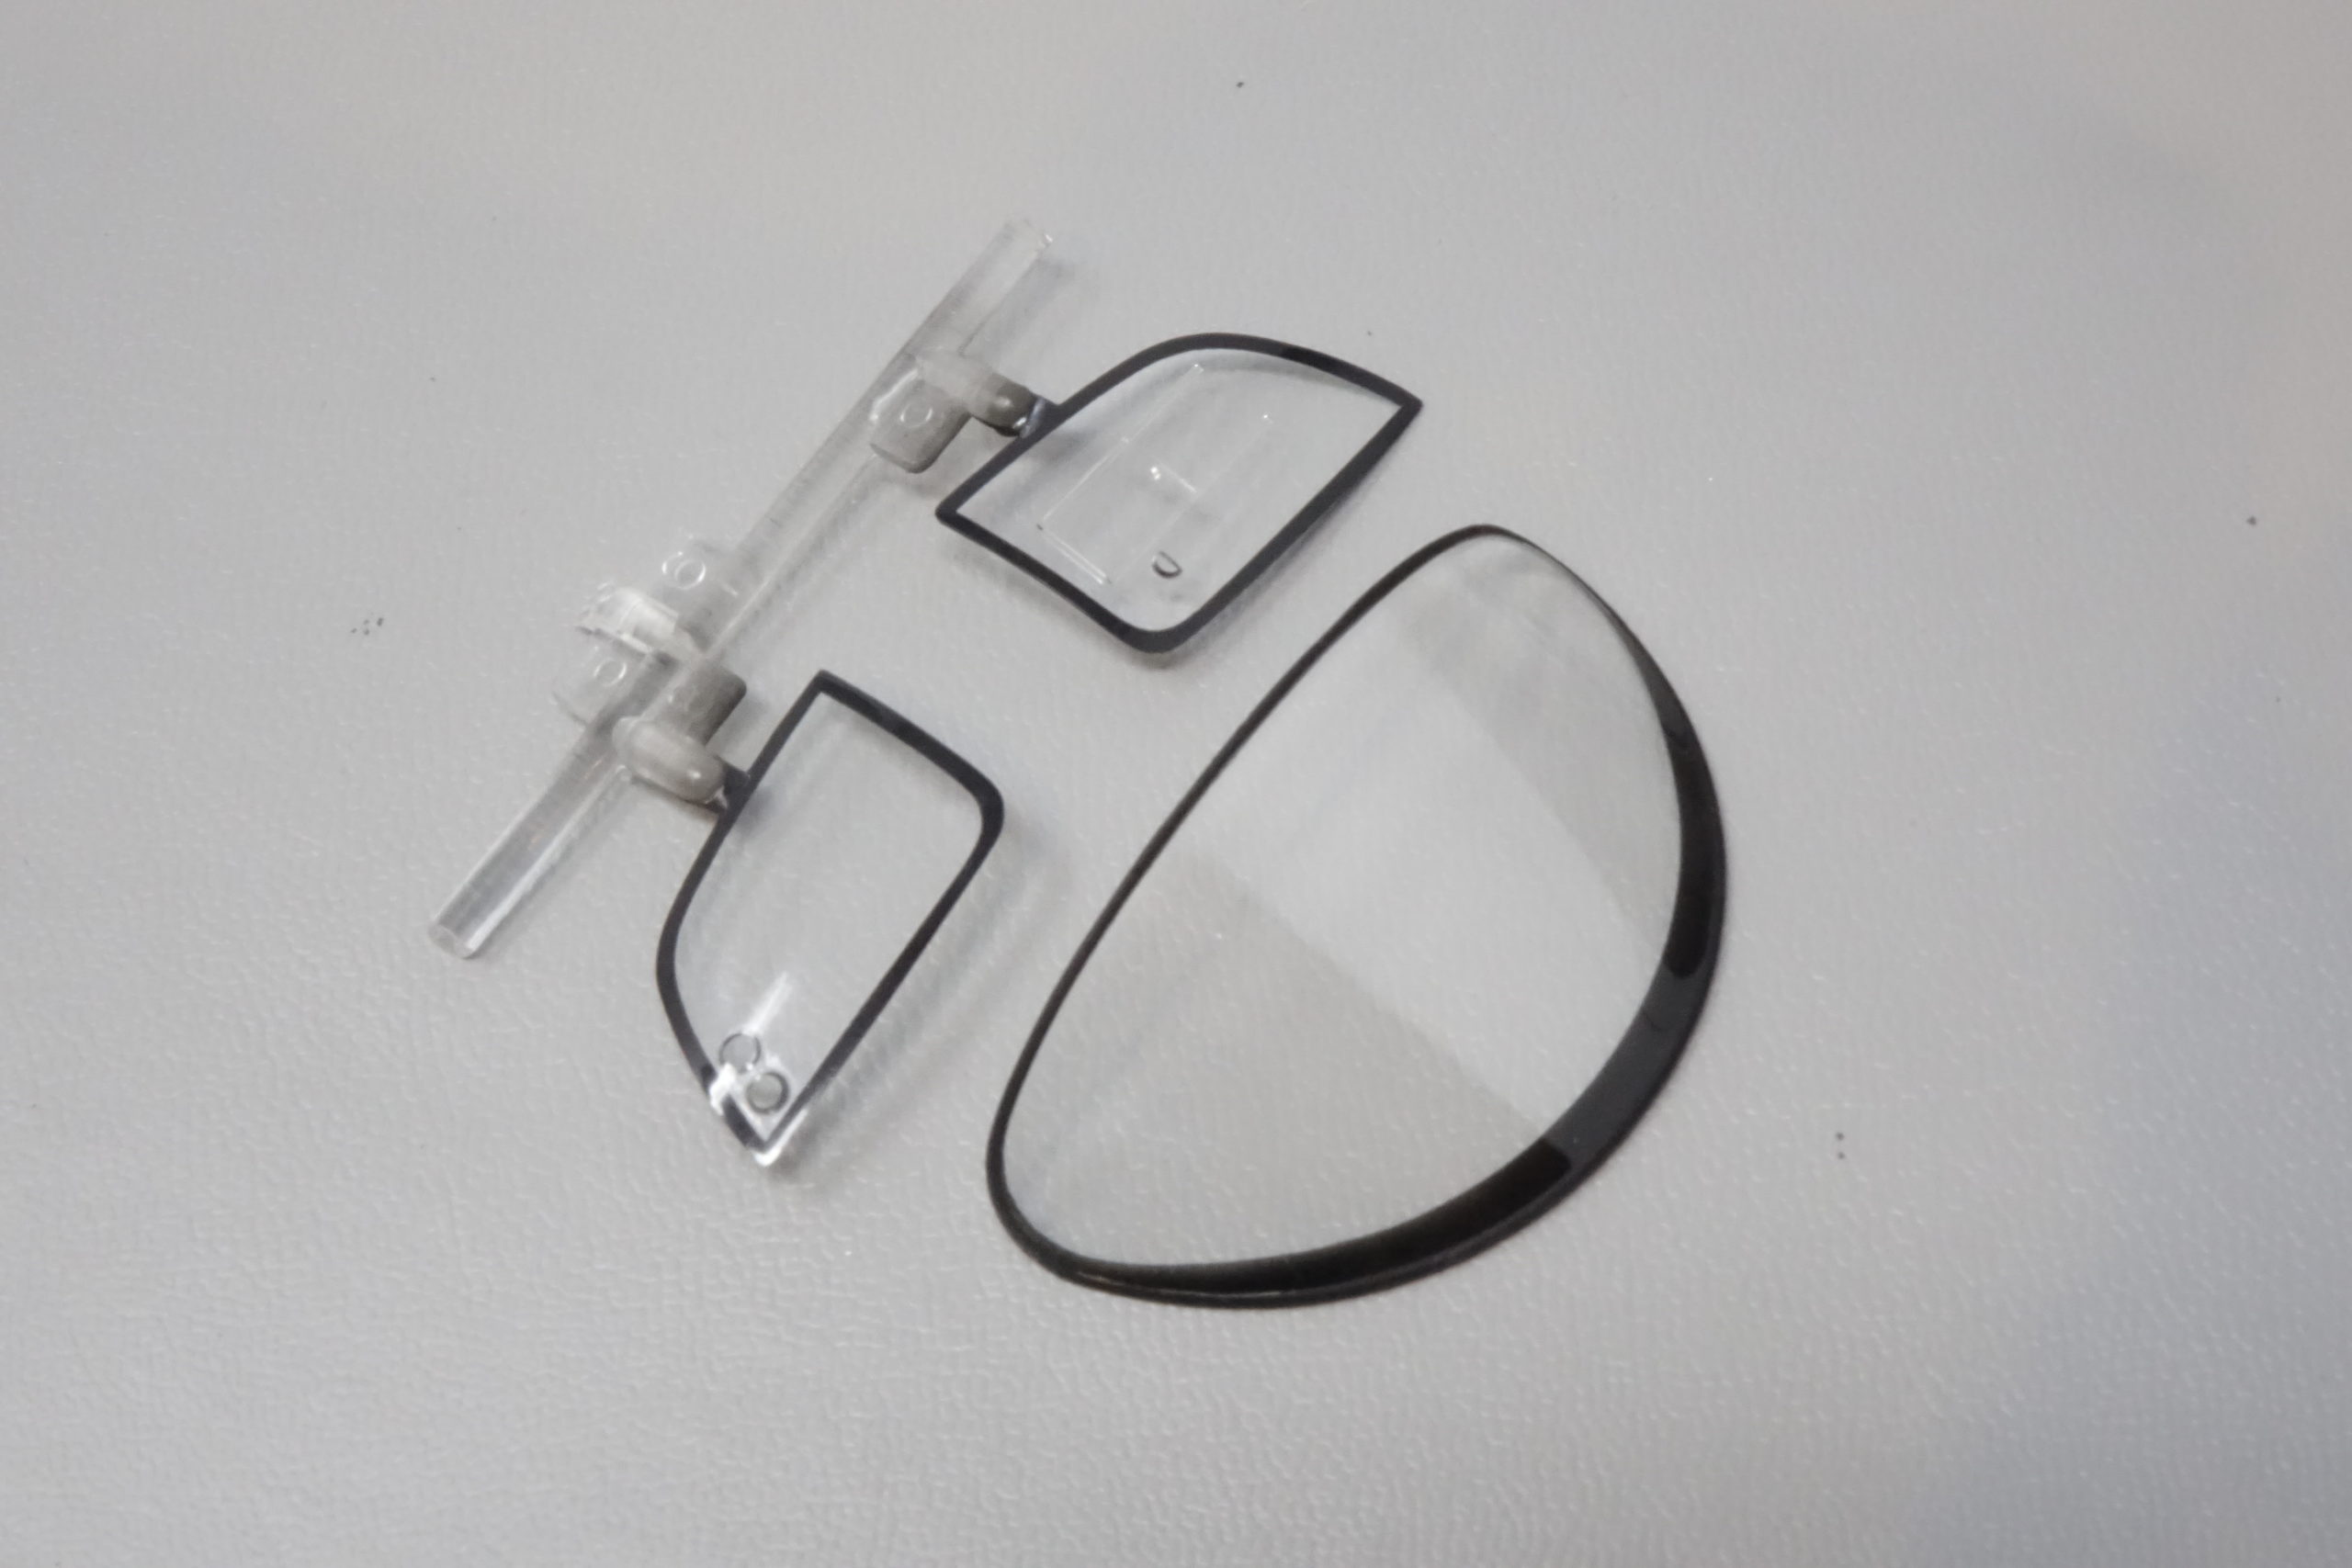
As you would expect from Tamiya this a high quality package – beautiful box art, very clear instructions and a ‘hints and tips’ sheet. We have lovely clear Cartograph decals, a separate sheet of ultra-thin tyre marking decals, a photo-etch parts frame, three main parts sprues, main bodywork parts, rubber tyres, clear parts, self adhesive sheet with the seat belt elements, masking stickers for the windows, poly caps for the wheels and a piece of wire for the aerials.


The build
Firstly, this was very straightforward build. All parts fitted well – no issues whatsoever matching up segments of the build (like the cockpit tub to the chassis, the rear frame to the bulkhead, the built up chassis to the bodywork etc). Everything just fitted perfectly.
So, I’ve kept my building log quite brief and just highlighted any areas where a bit of extra care was needed.
I use good quality modellers CA adhesive for all my building.
All parts of the build were painted with Tamiya LP Lacquer Paints – which really came into their own in this ‘speed build’ – they dry so quickly that (and I wouldn’t recommend this as a normal process) that within 20 minutes of airbrushing the paint has really dried and adhered well enough to mask over for the second colour (eg doing the floorpan). I will mention here that, although the instructions are generally very clear and have been updated in this re-issue, the paint colours/codes have not been updated for the new Lacquer Paints – so there has to be a certain amount of matching up going on. Not a problem at all – but worth mentioning. There are actually 24 different paints recommended in the instructions! – I didn’t have them all – but again it’s not a problem.
There were just a few slight issues (which I’ll mention in the build notes) where the plastic parts of the kit had not been updated from the original and had to be modified to accept the new, additional parts (like thePE parts, seat belts etc). Just slightly frustrating – but not a big issue if you’re not trying to build, paint and present the model in 6 days!
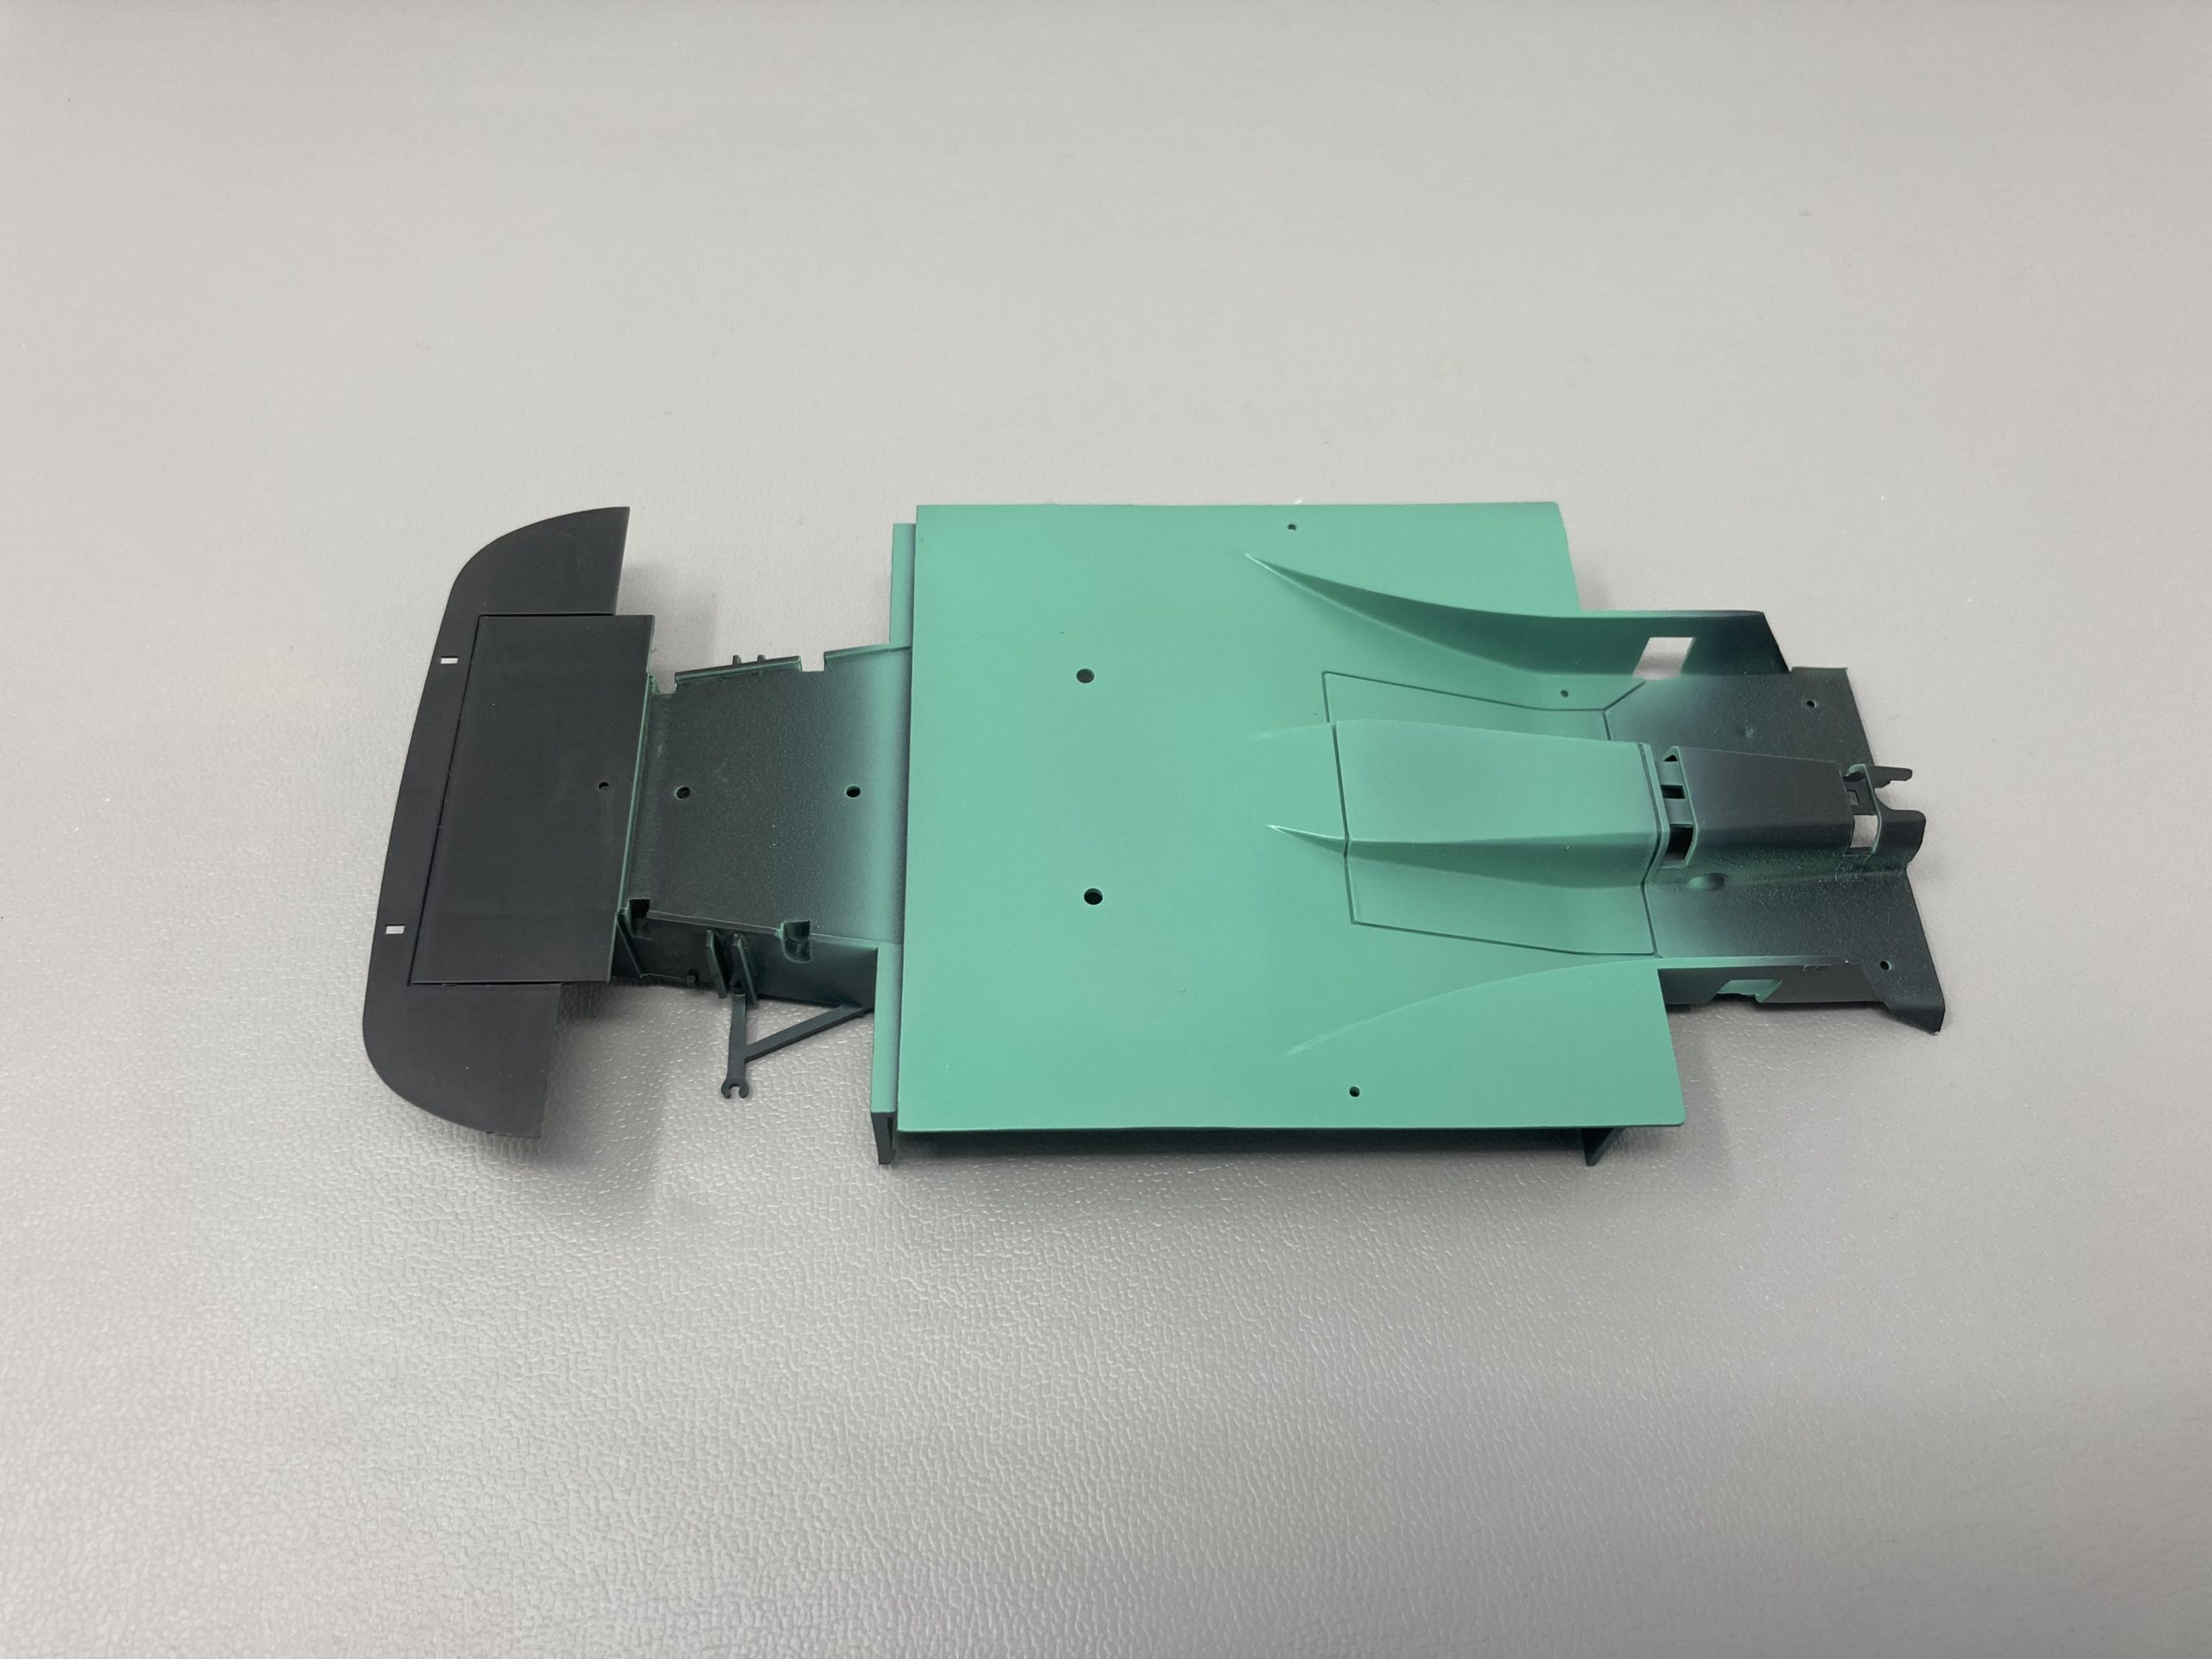
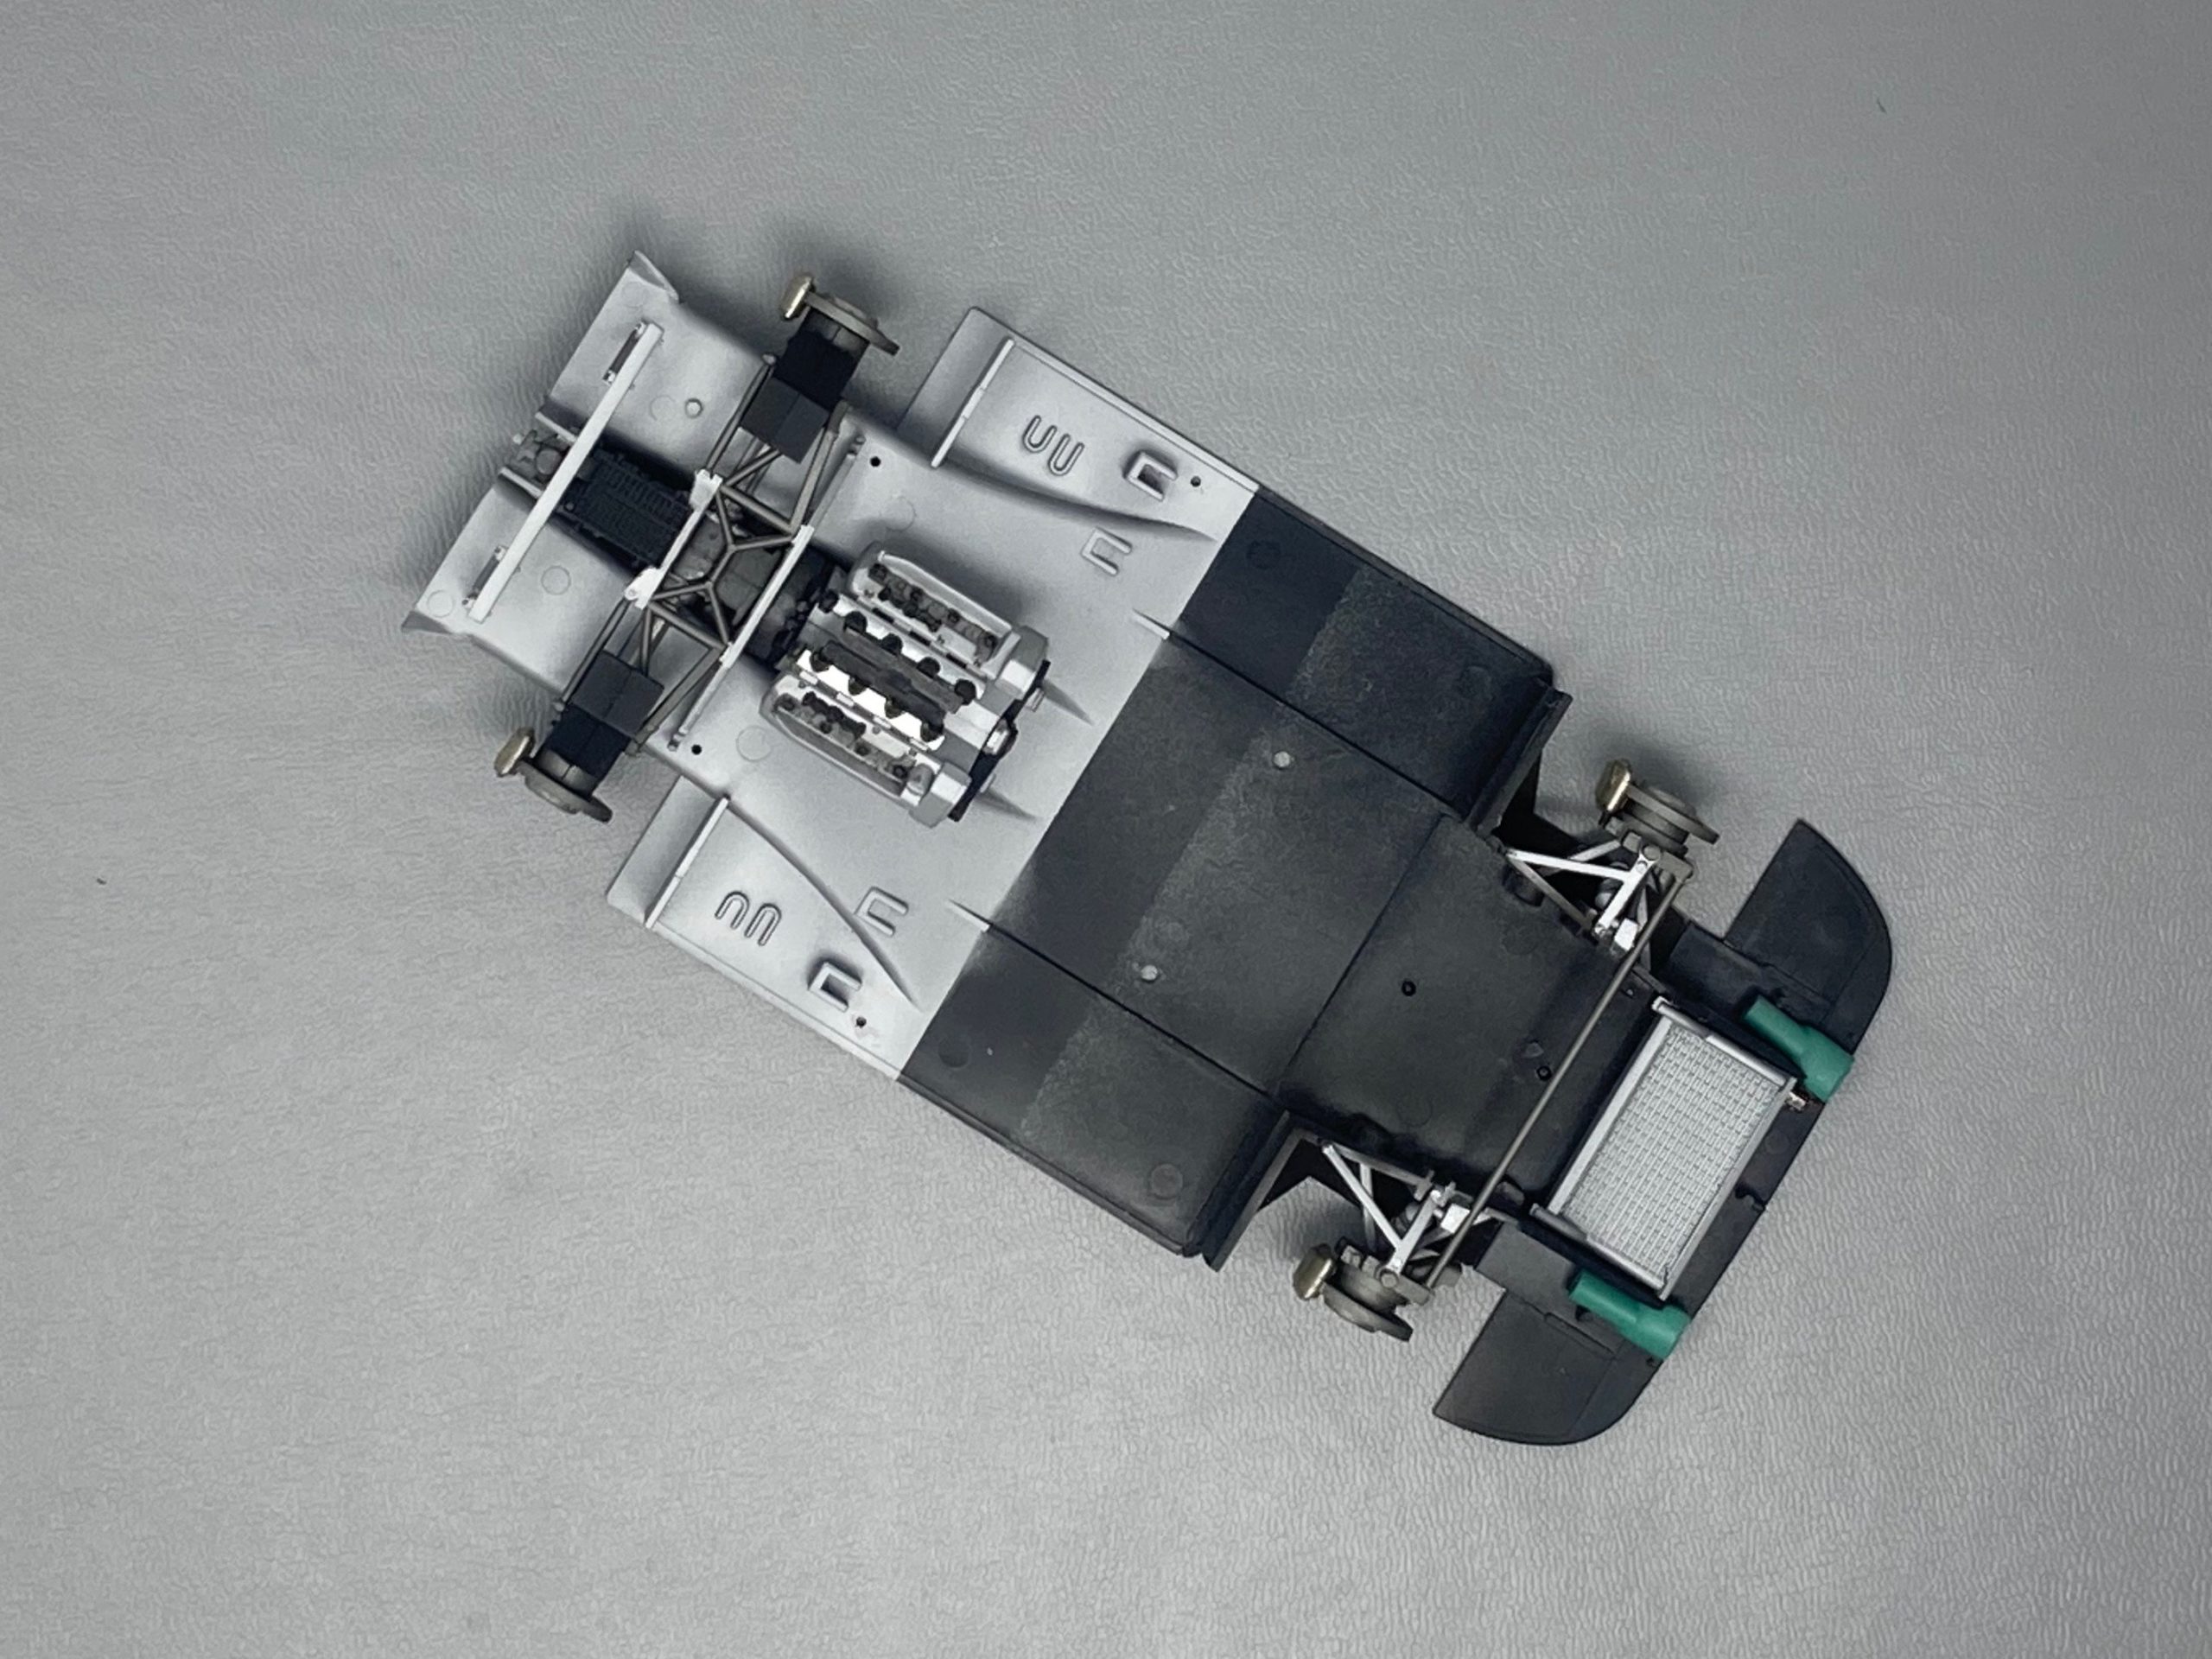
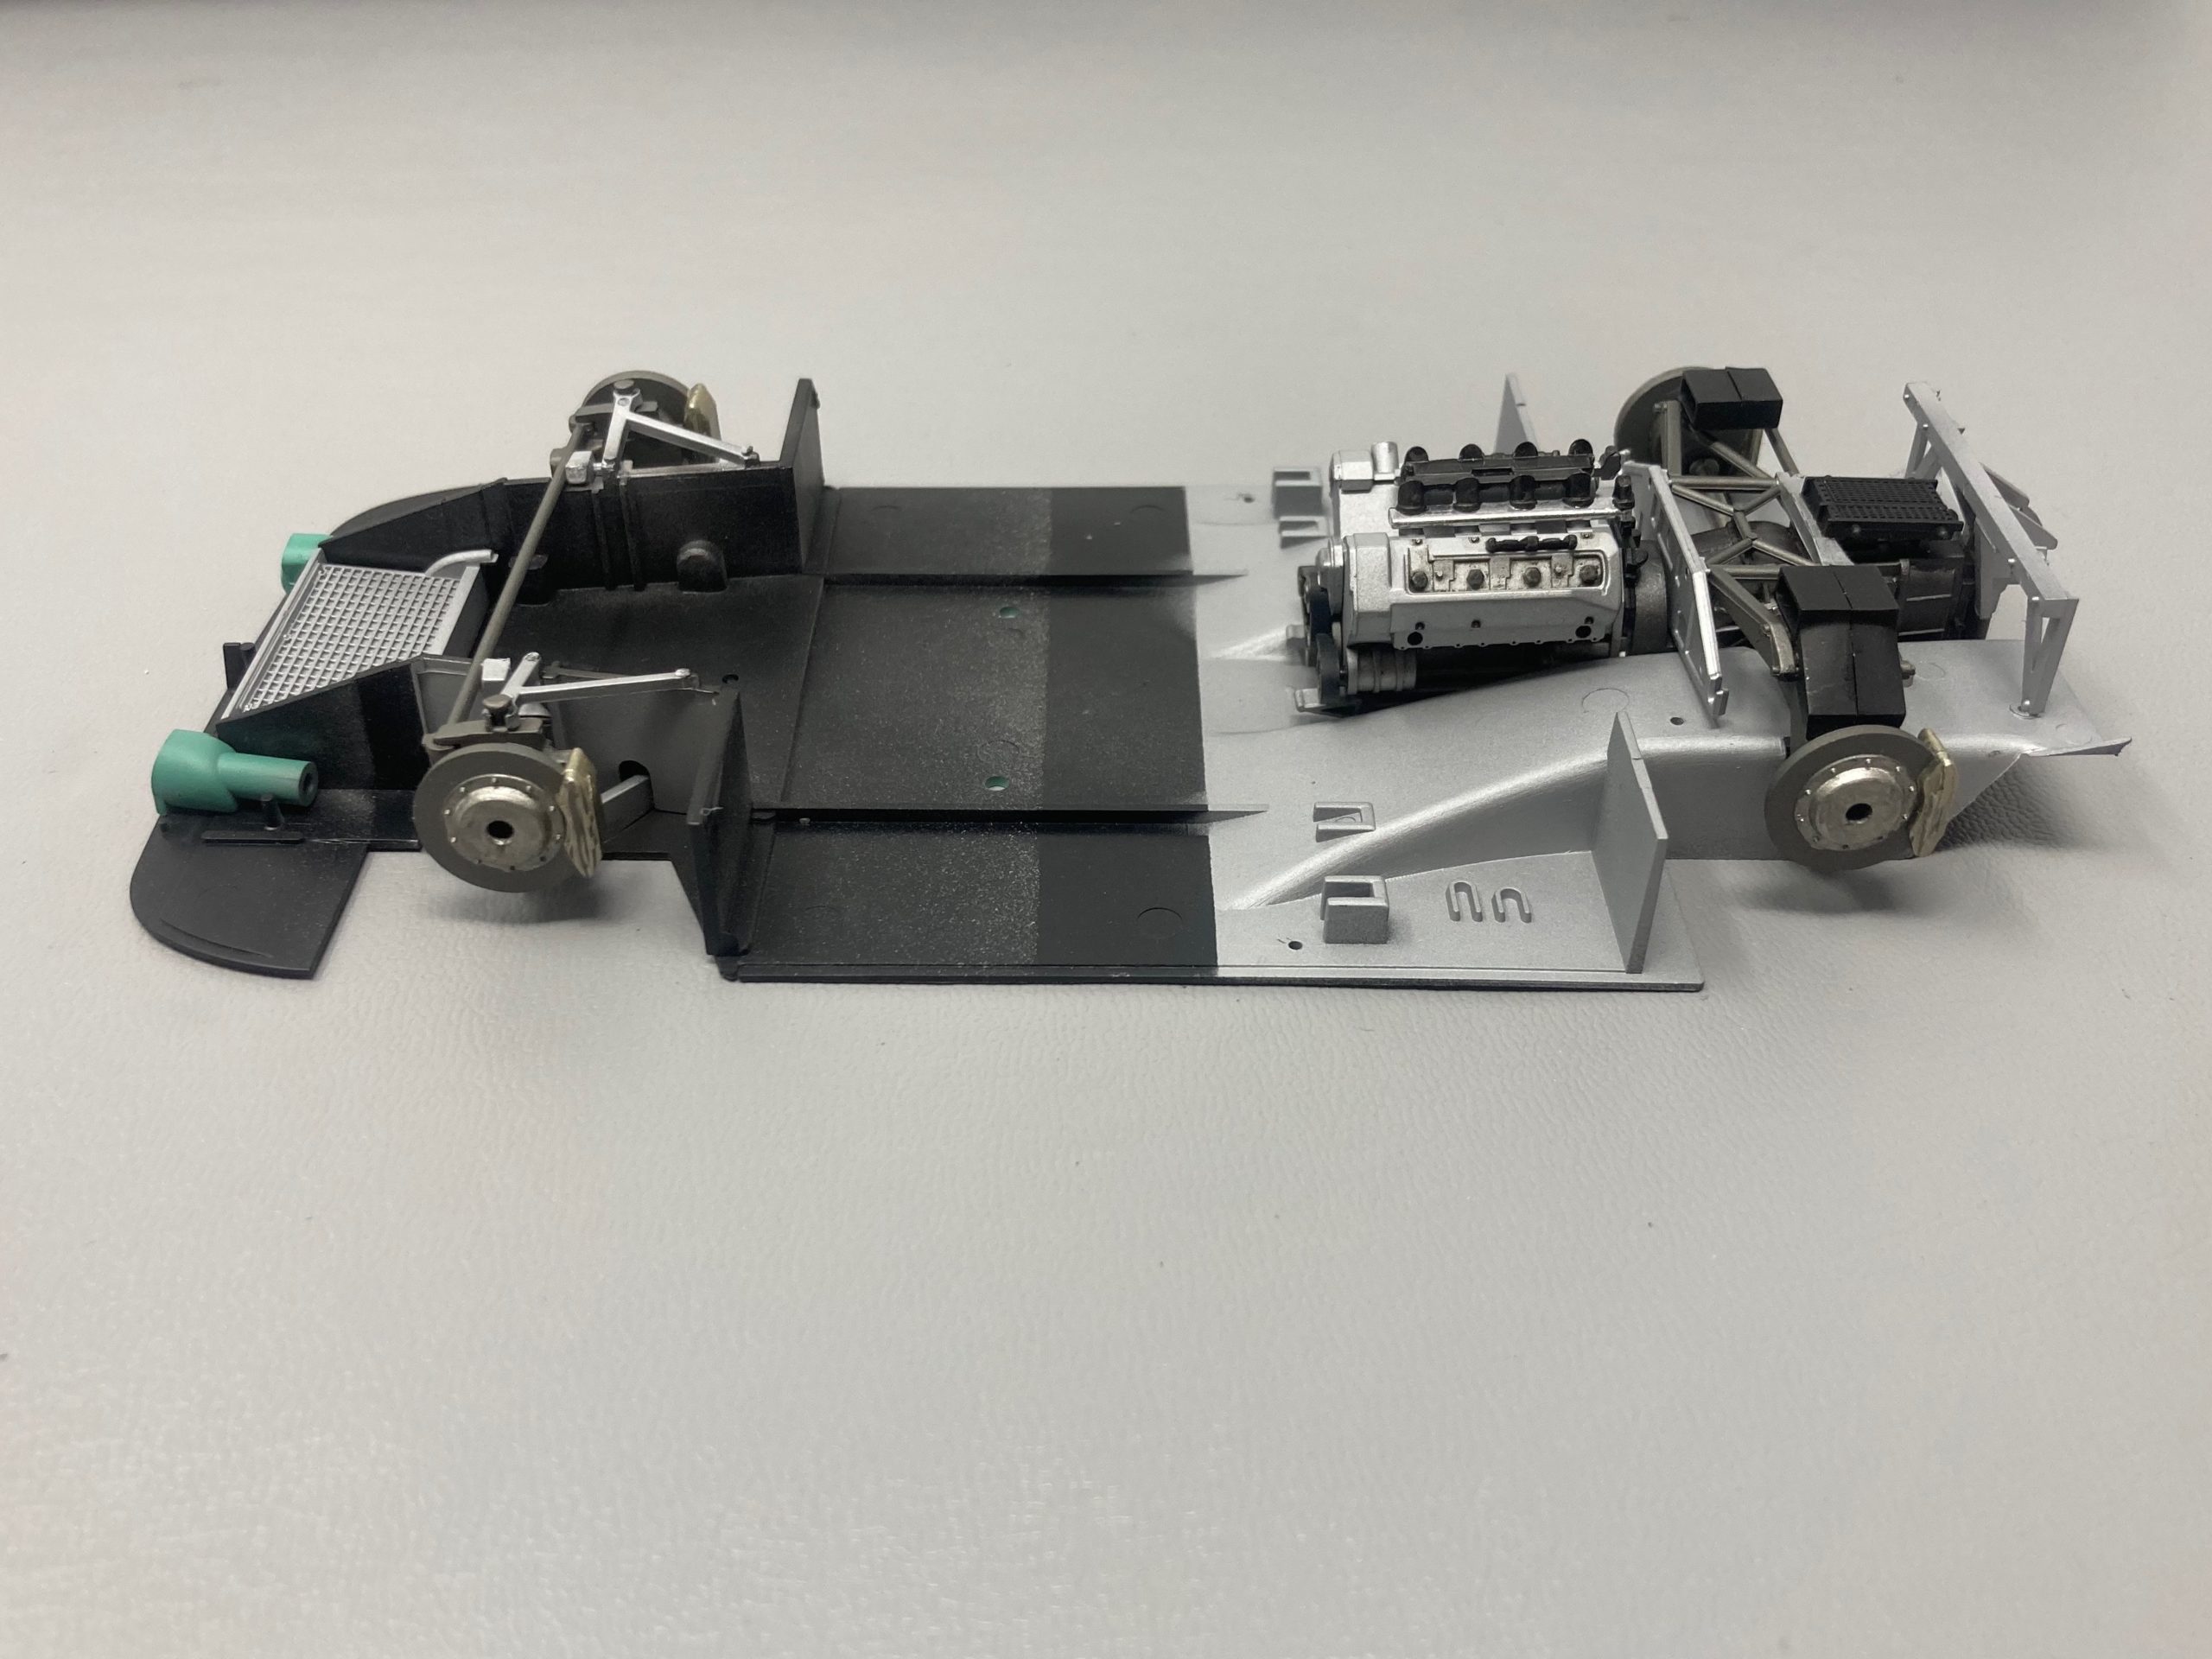
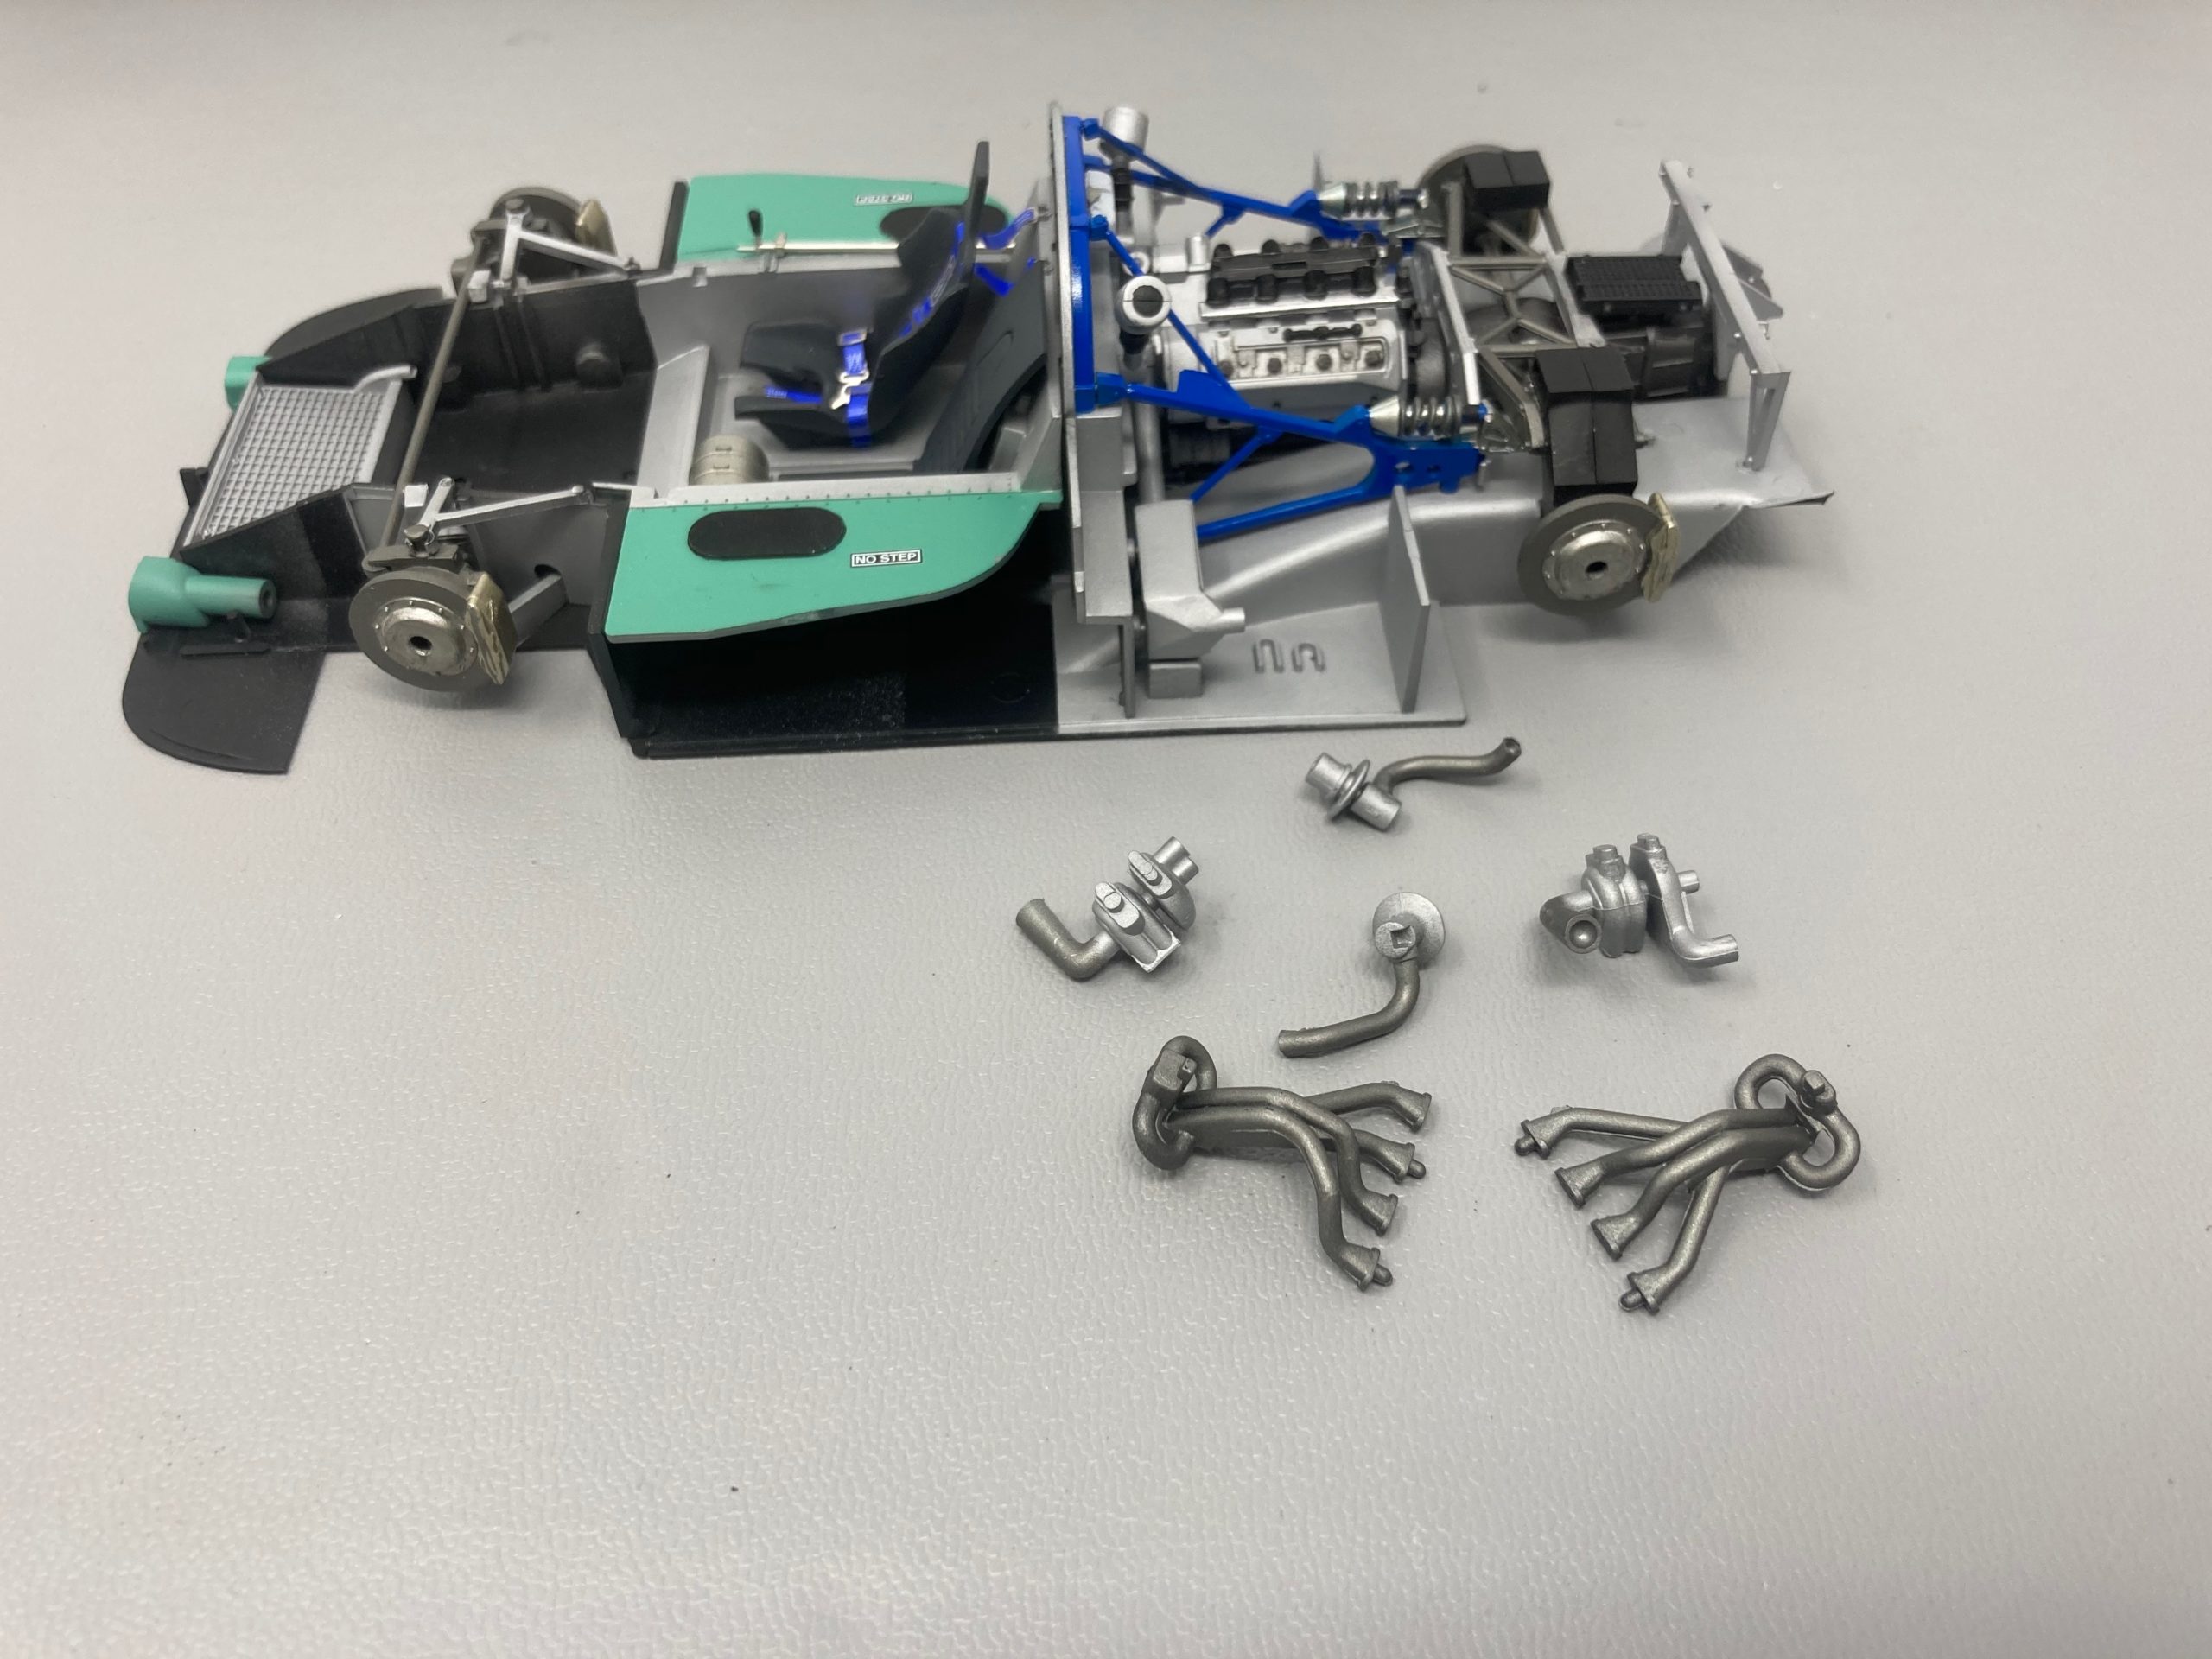
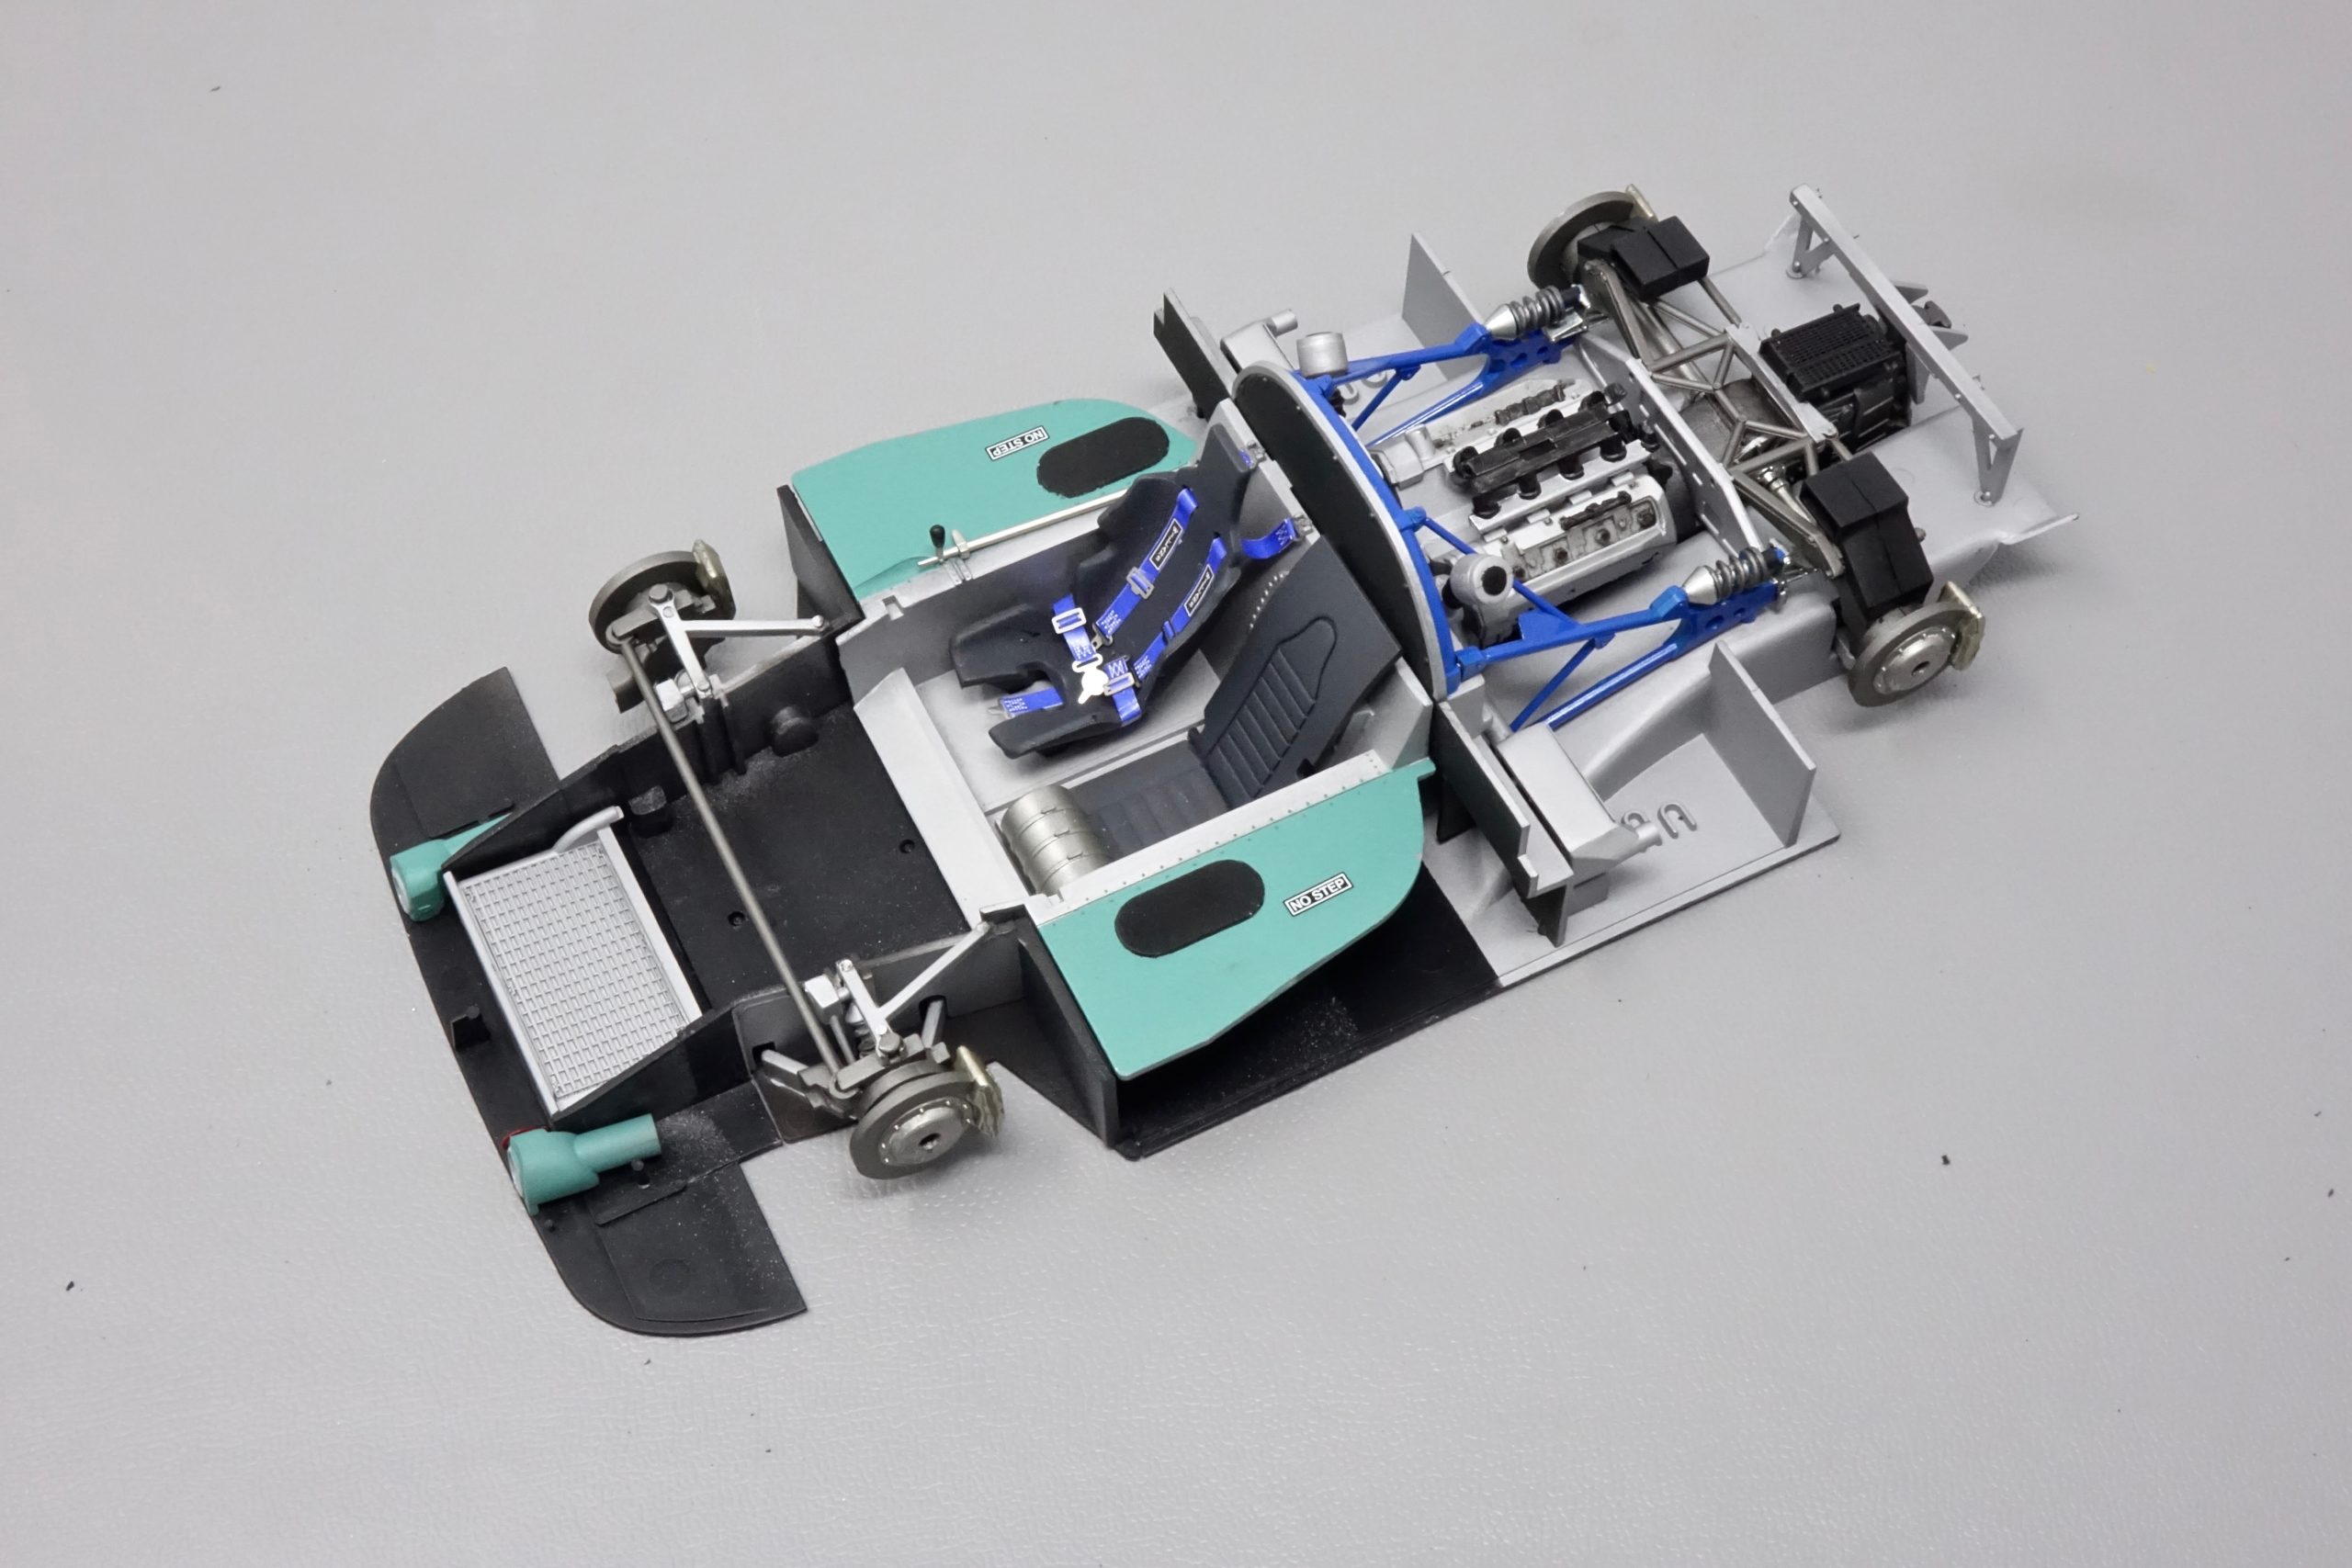
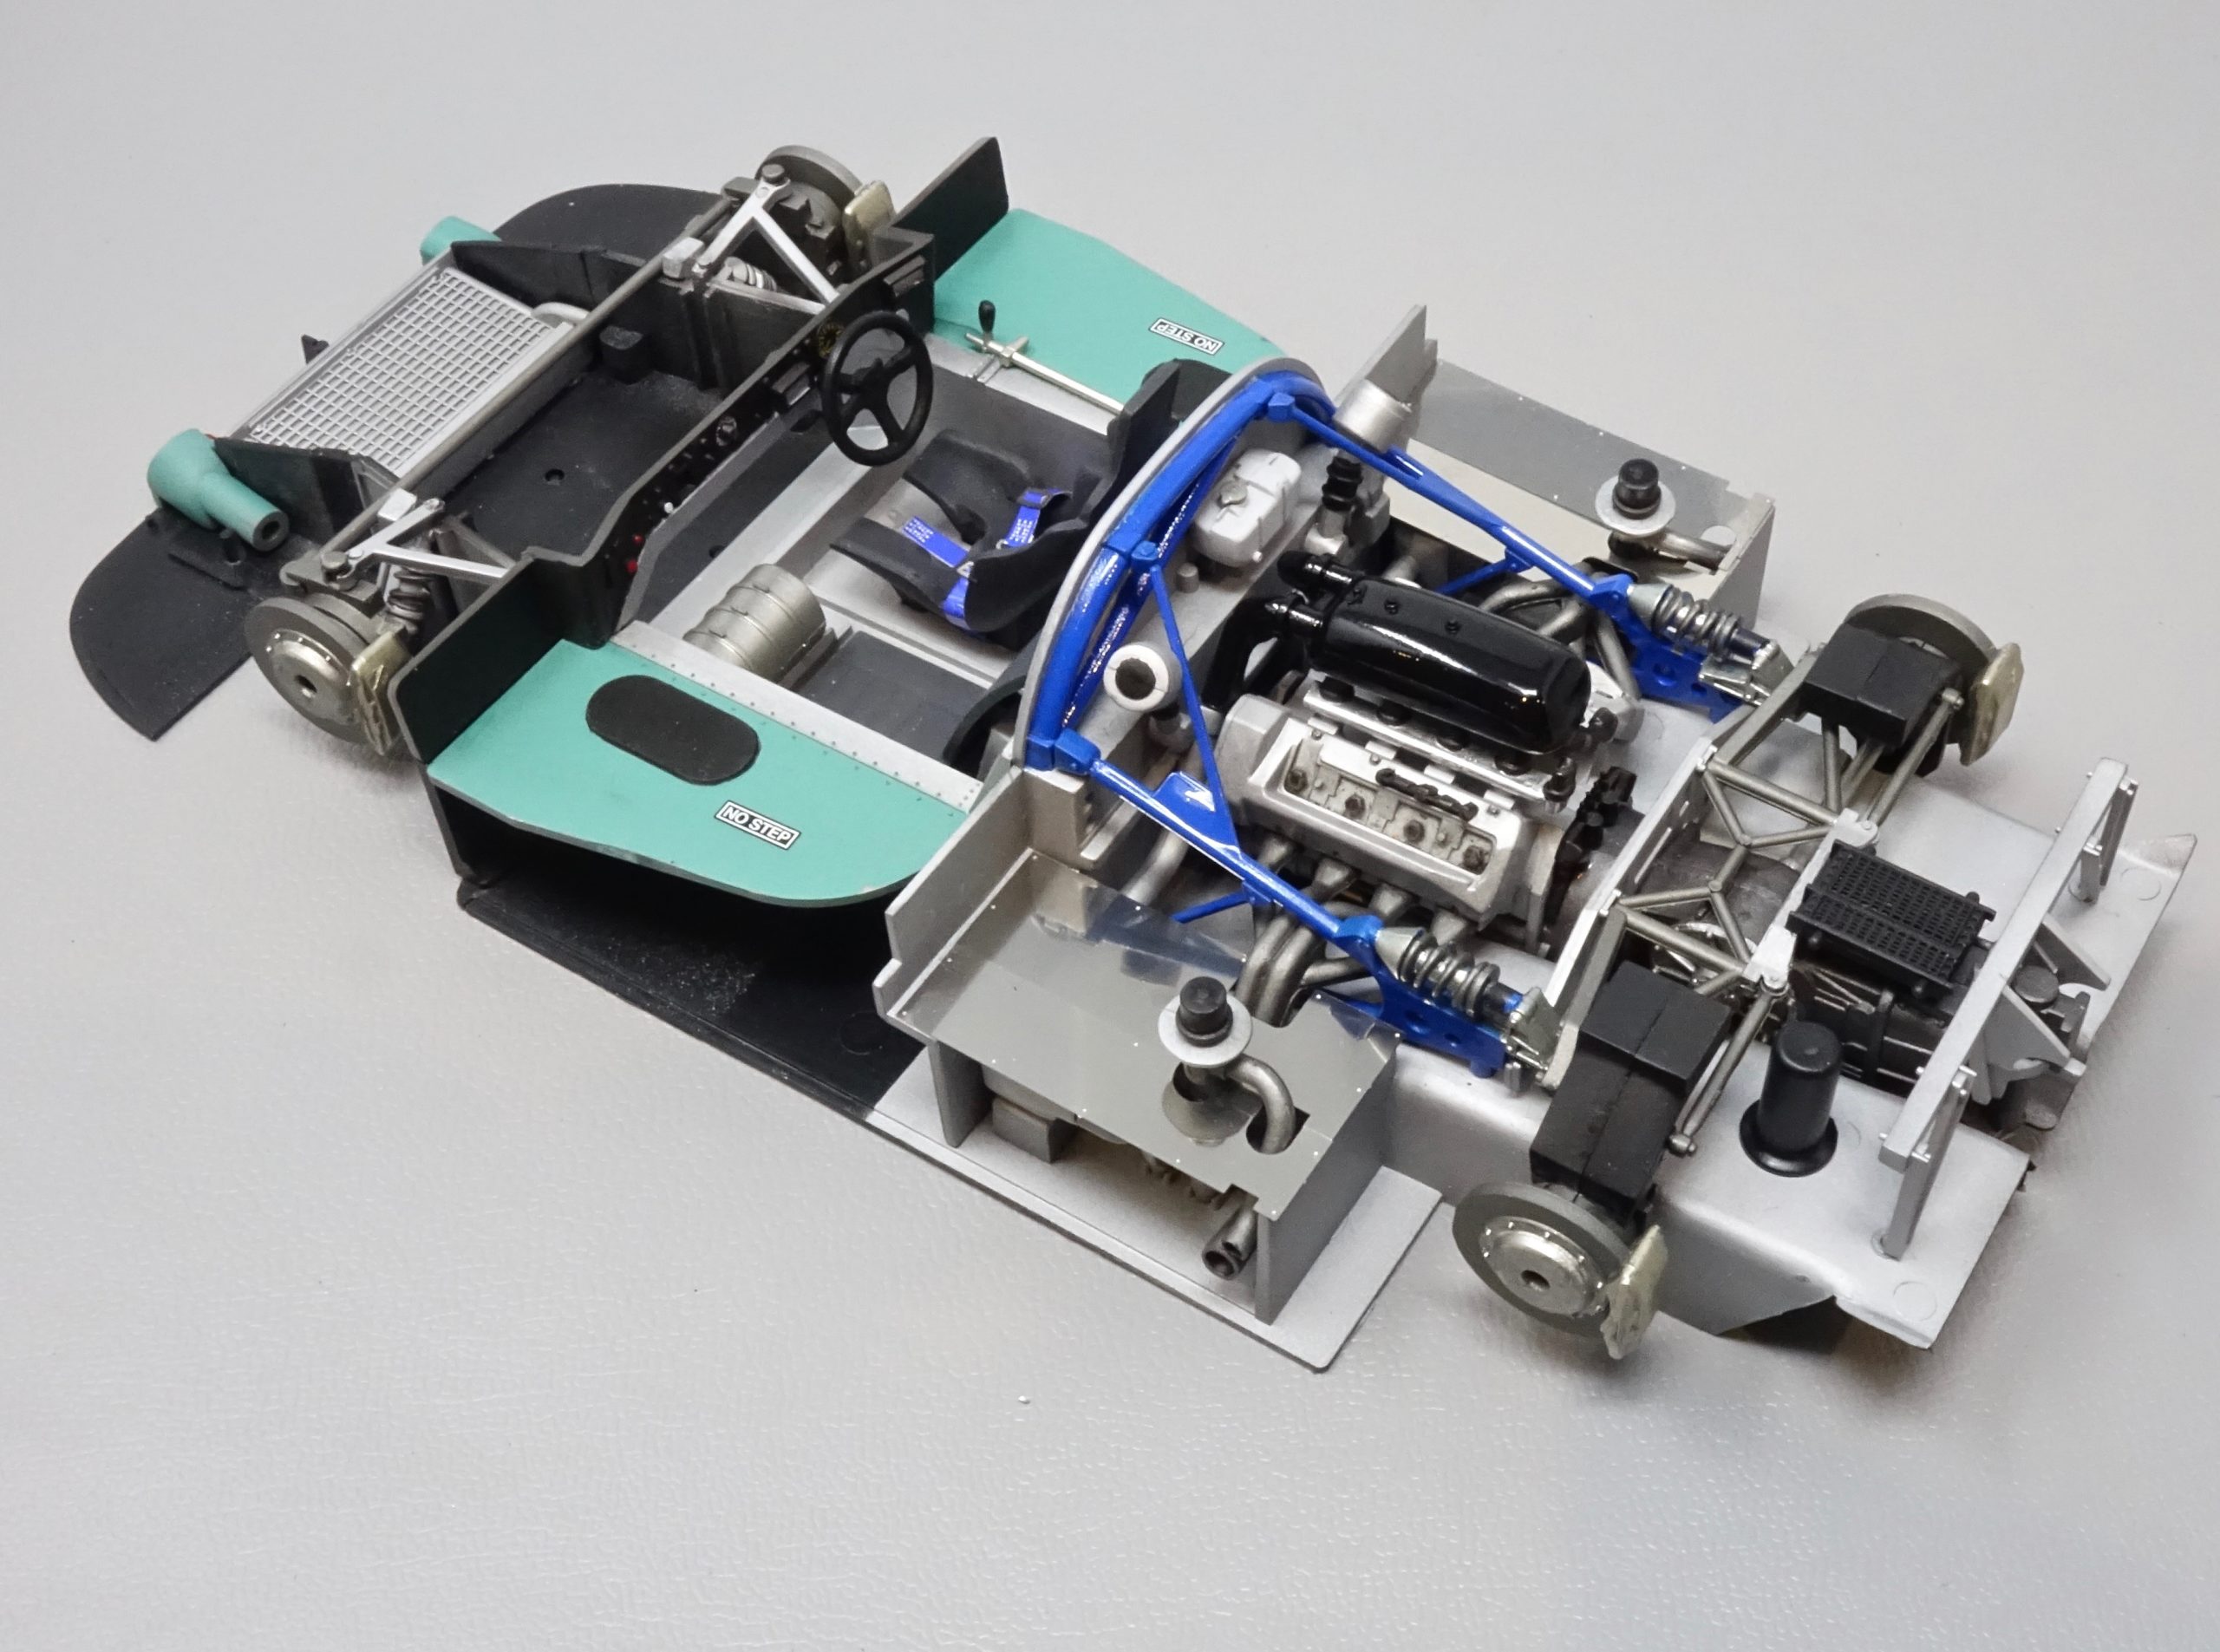
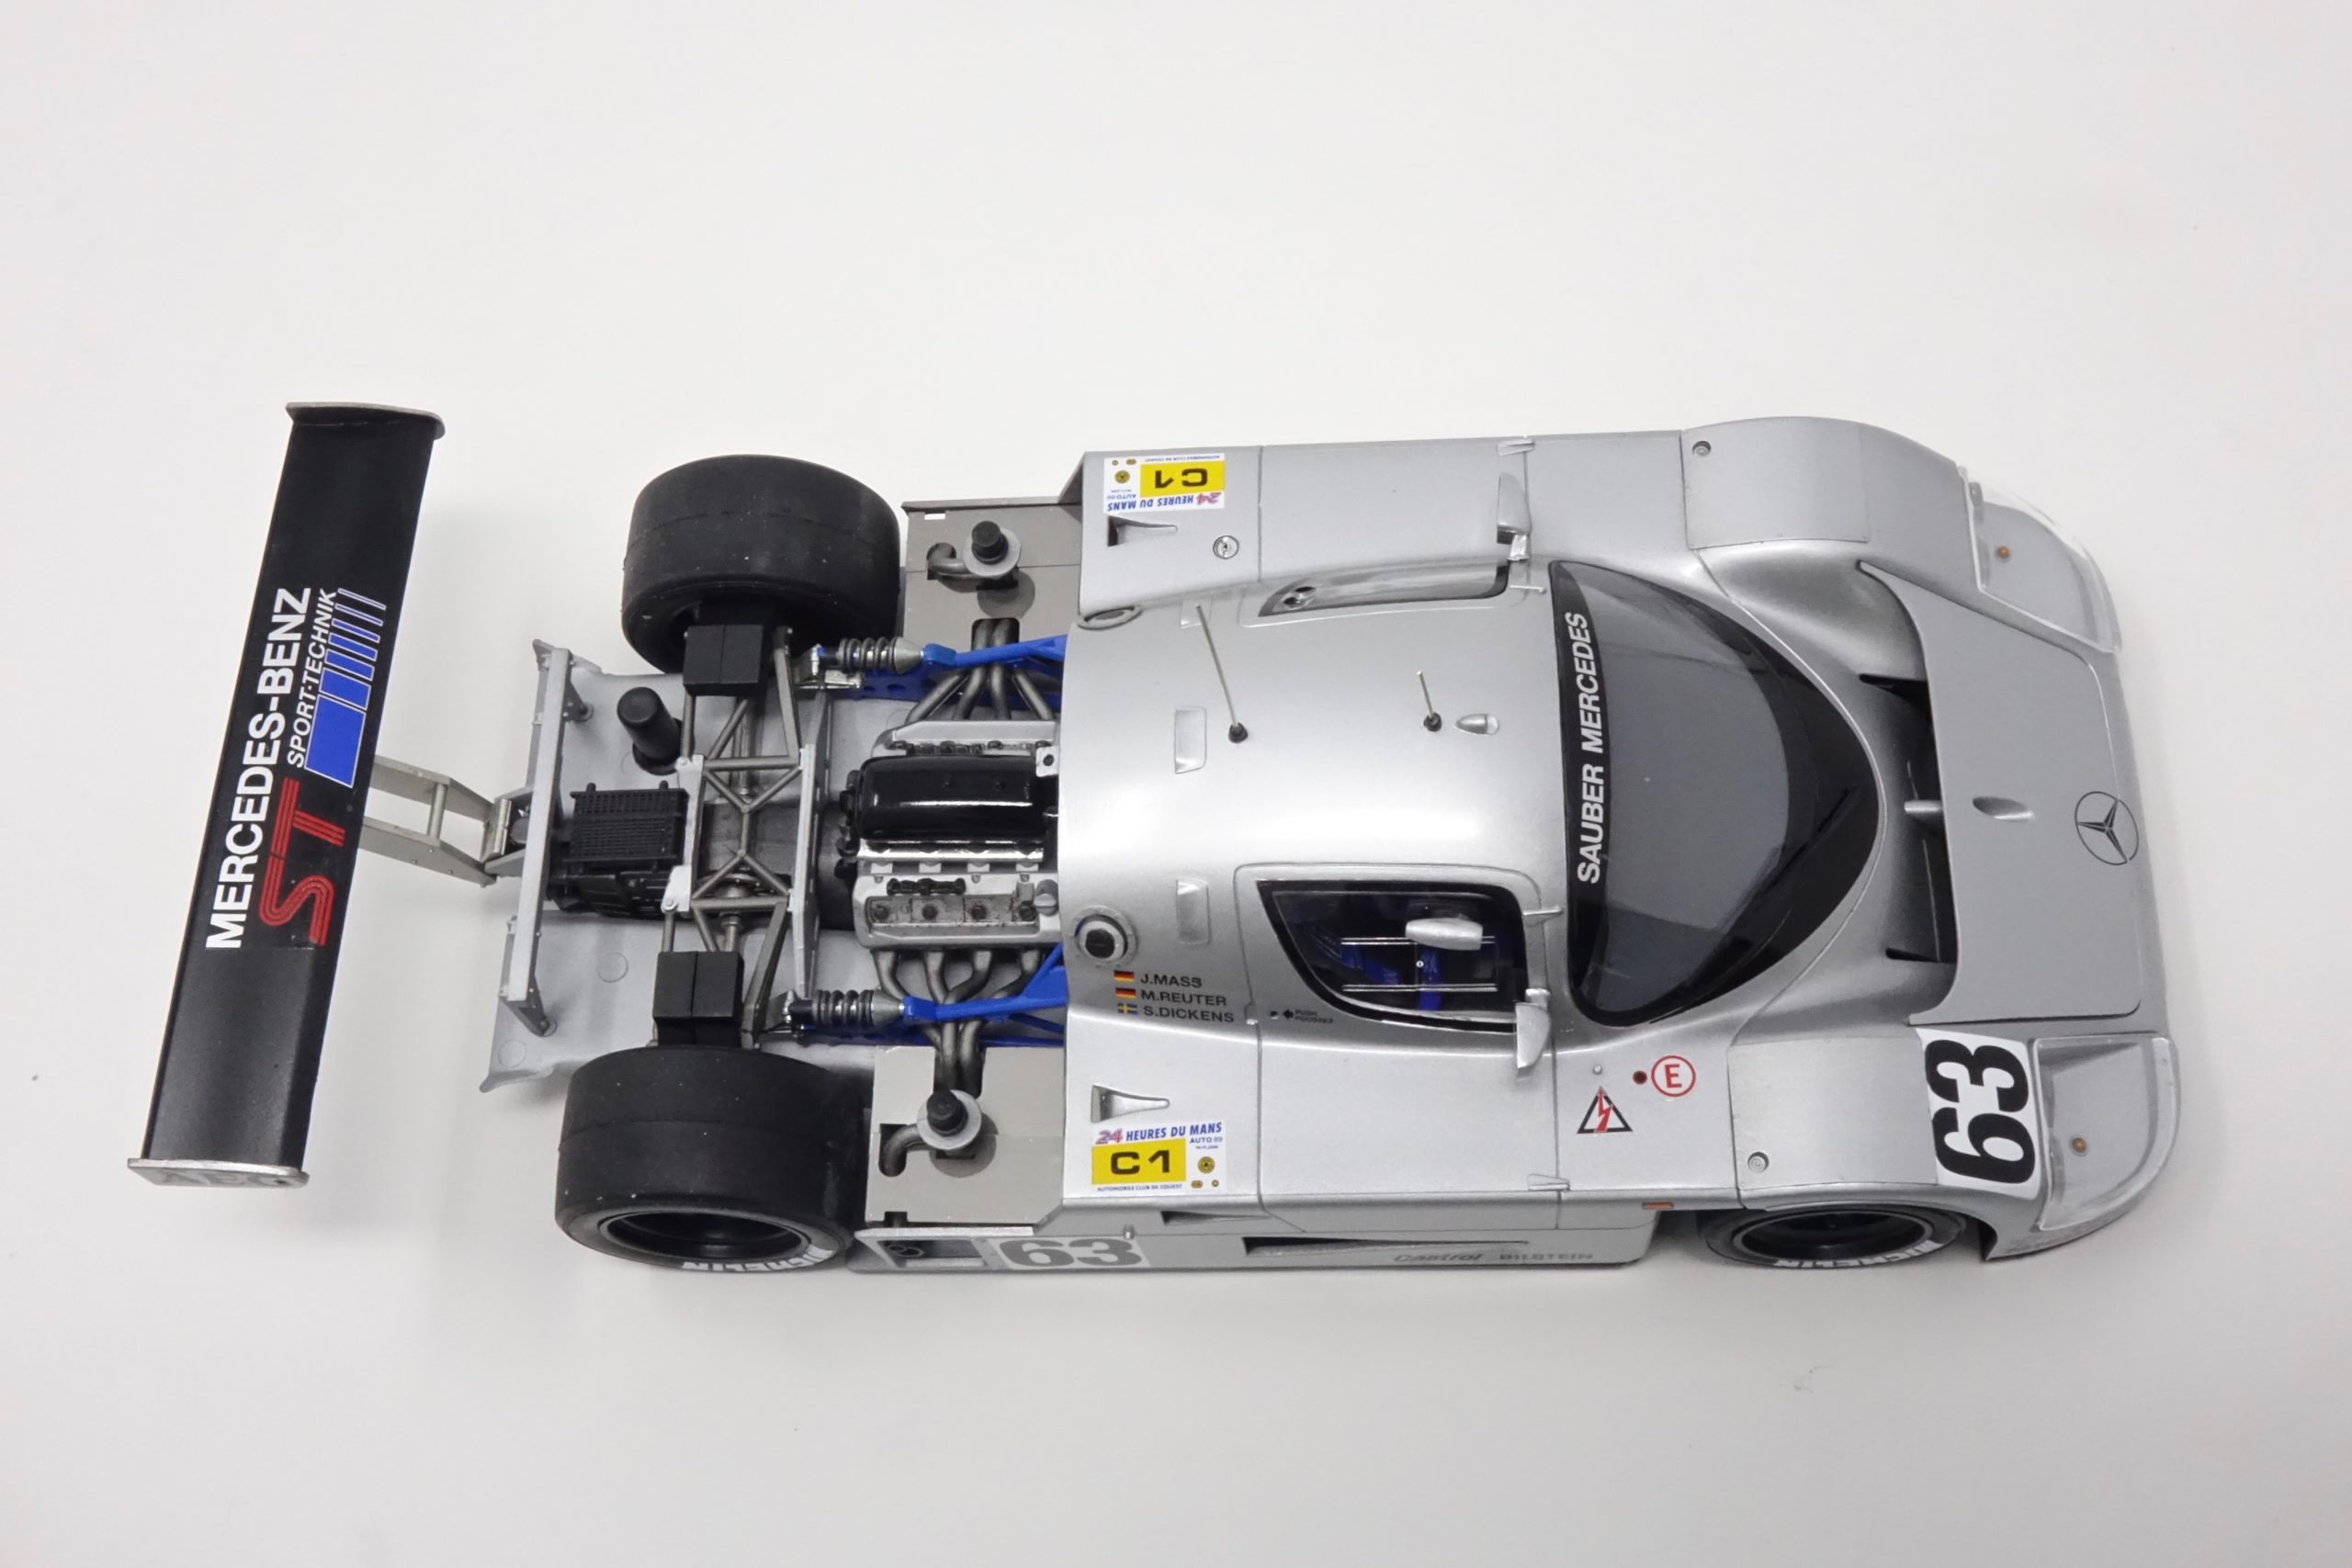
Chassis, engine and suspension
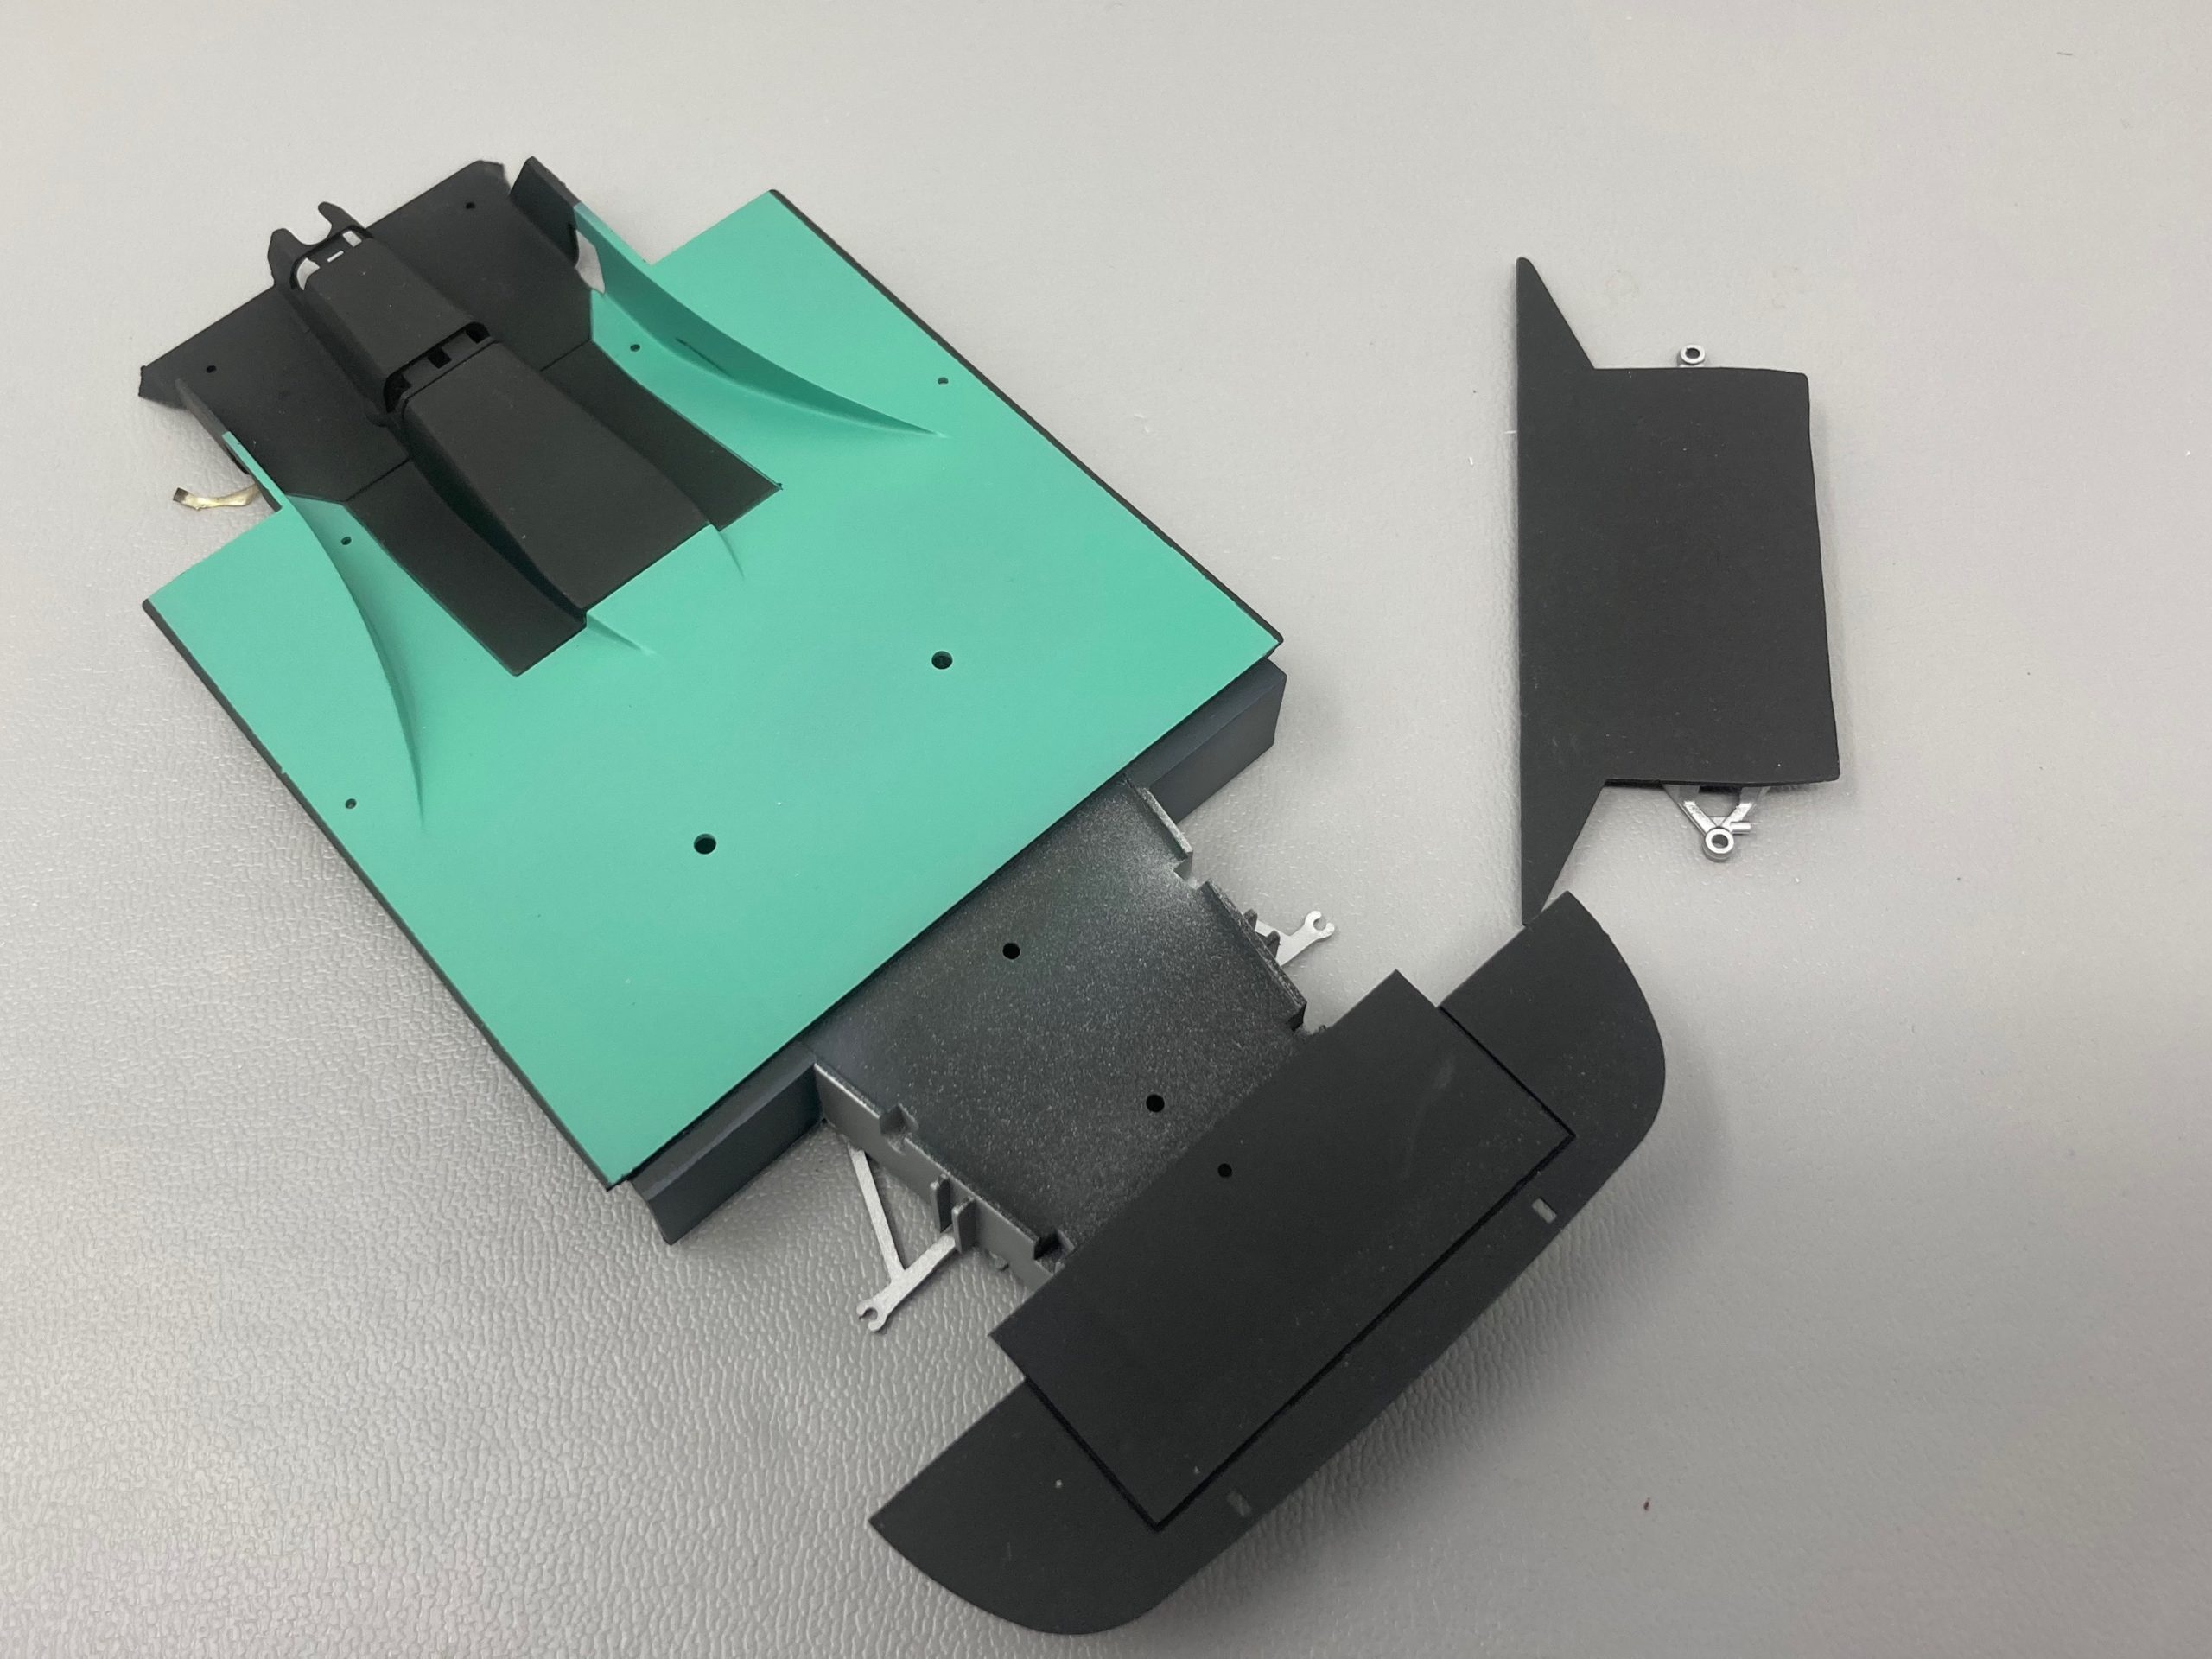
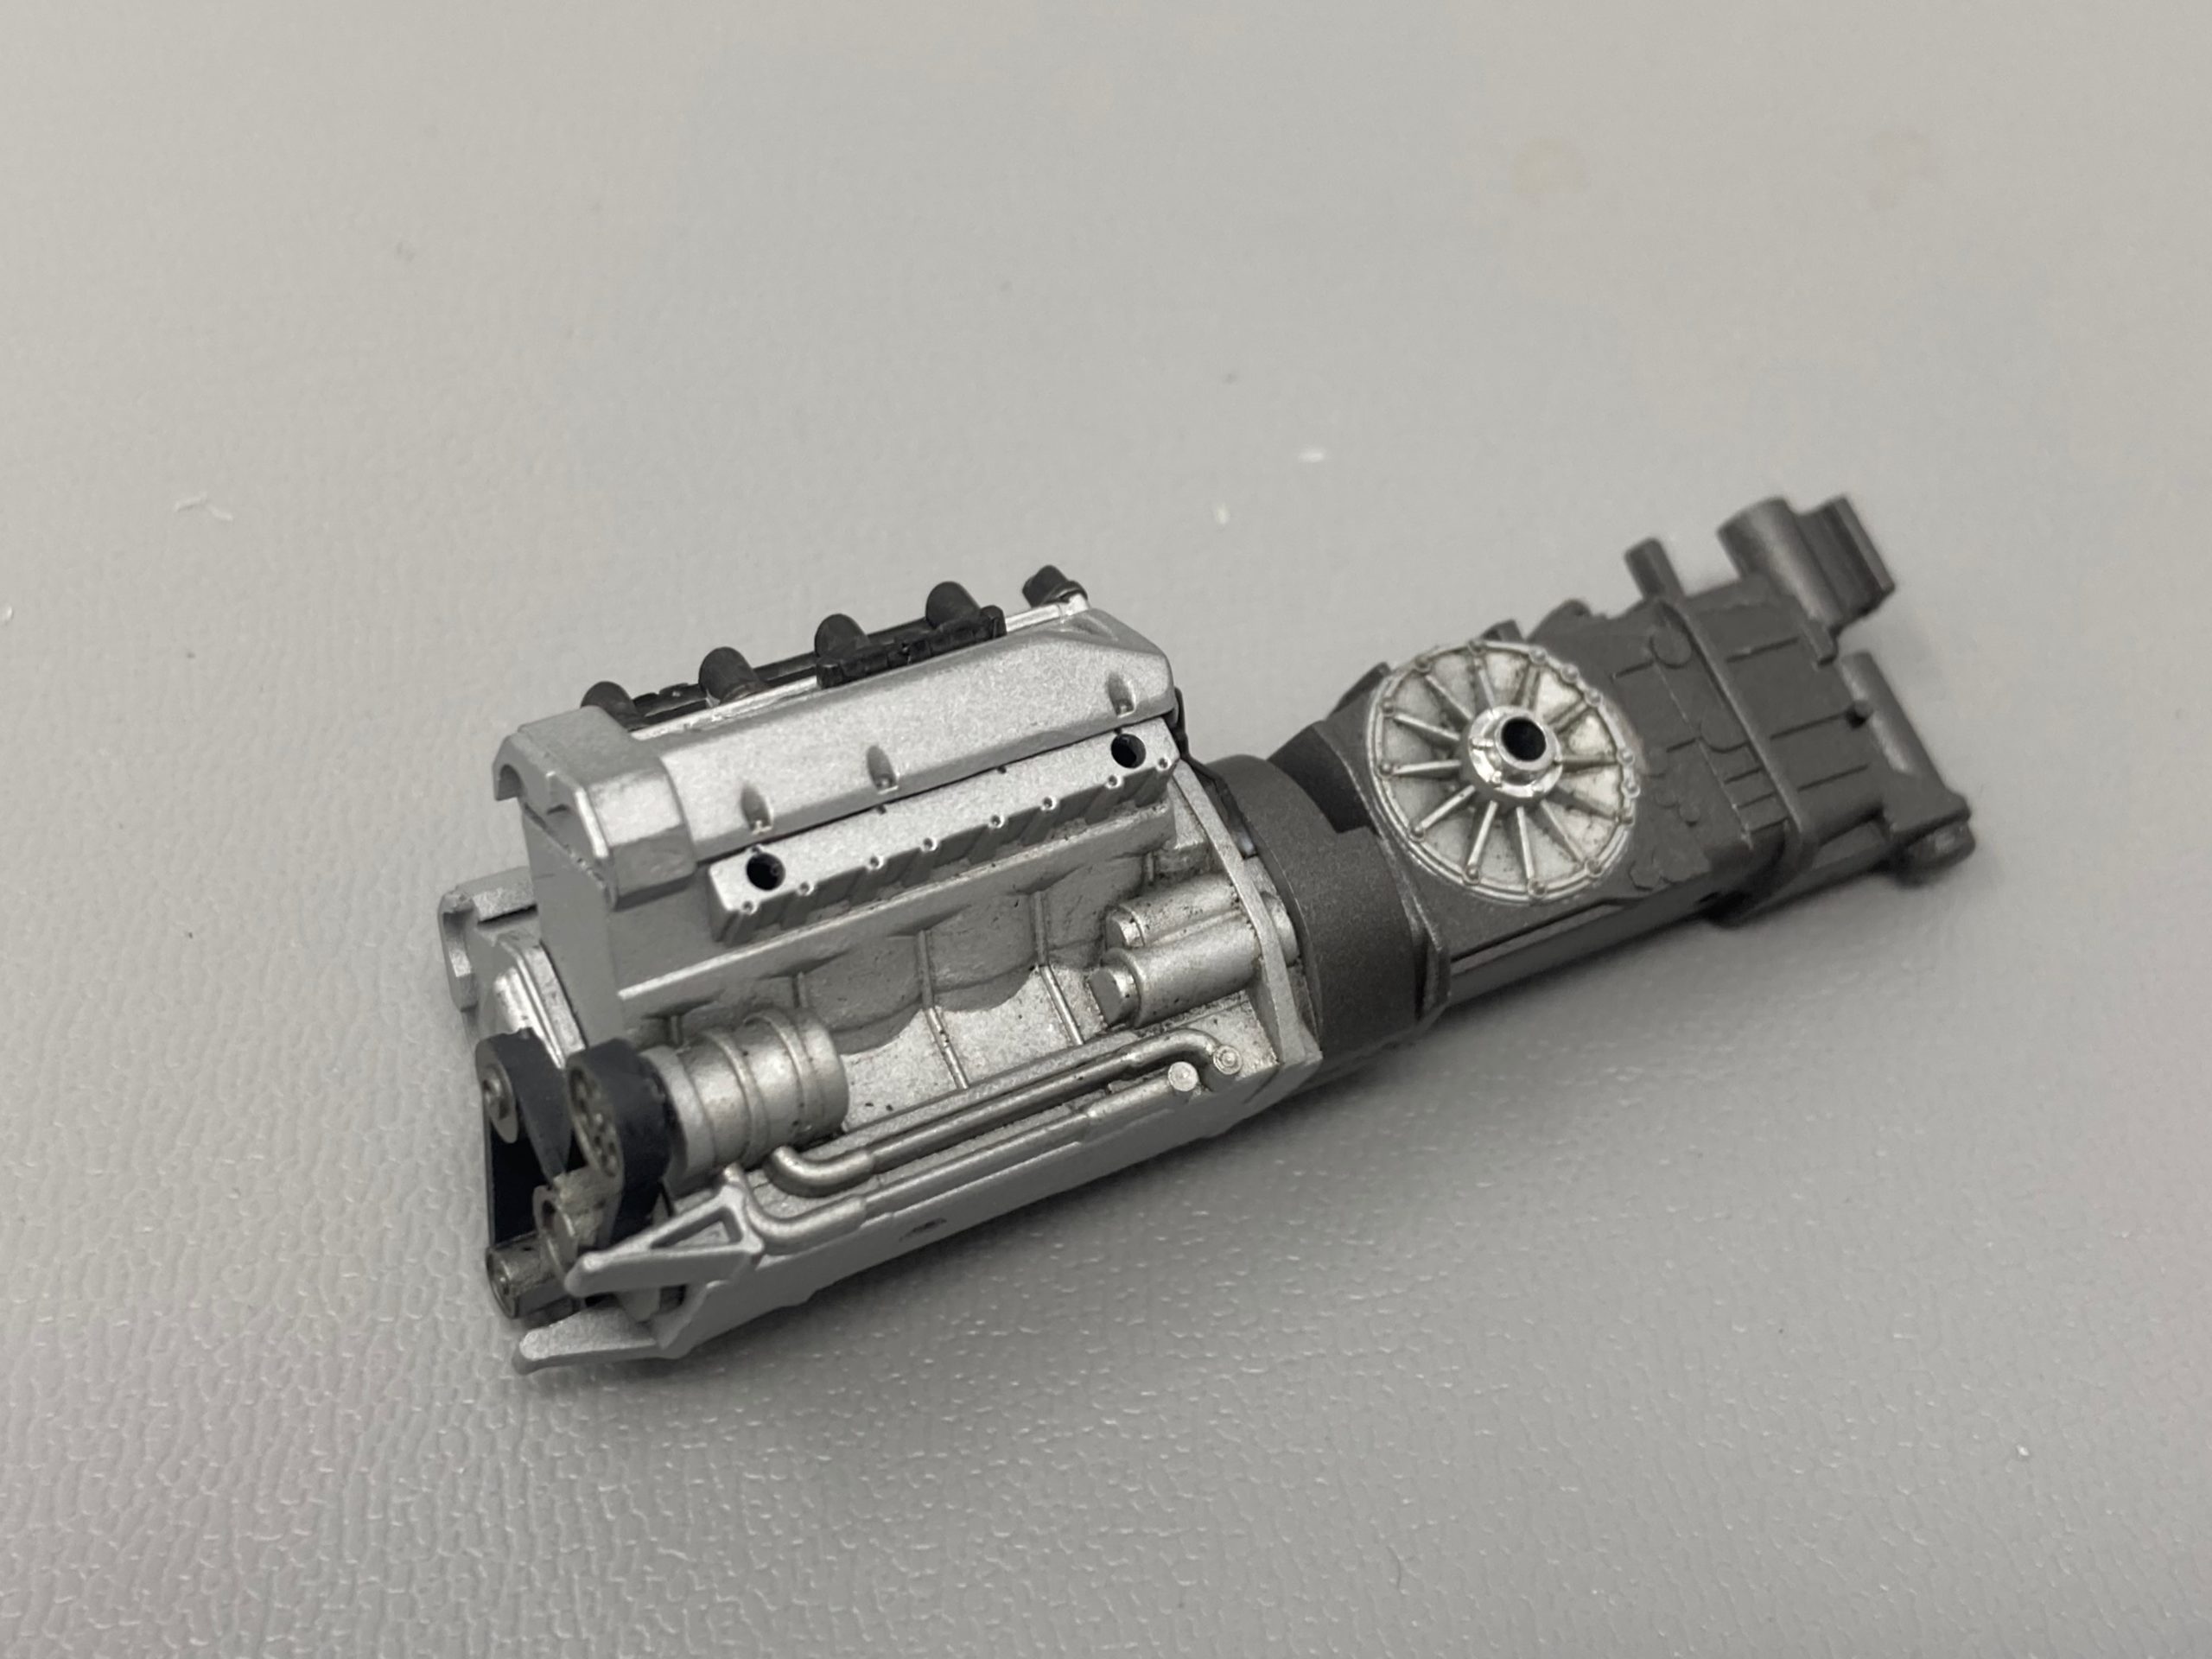
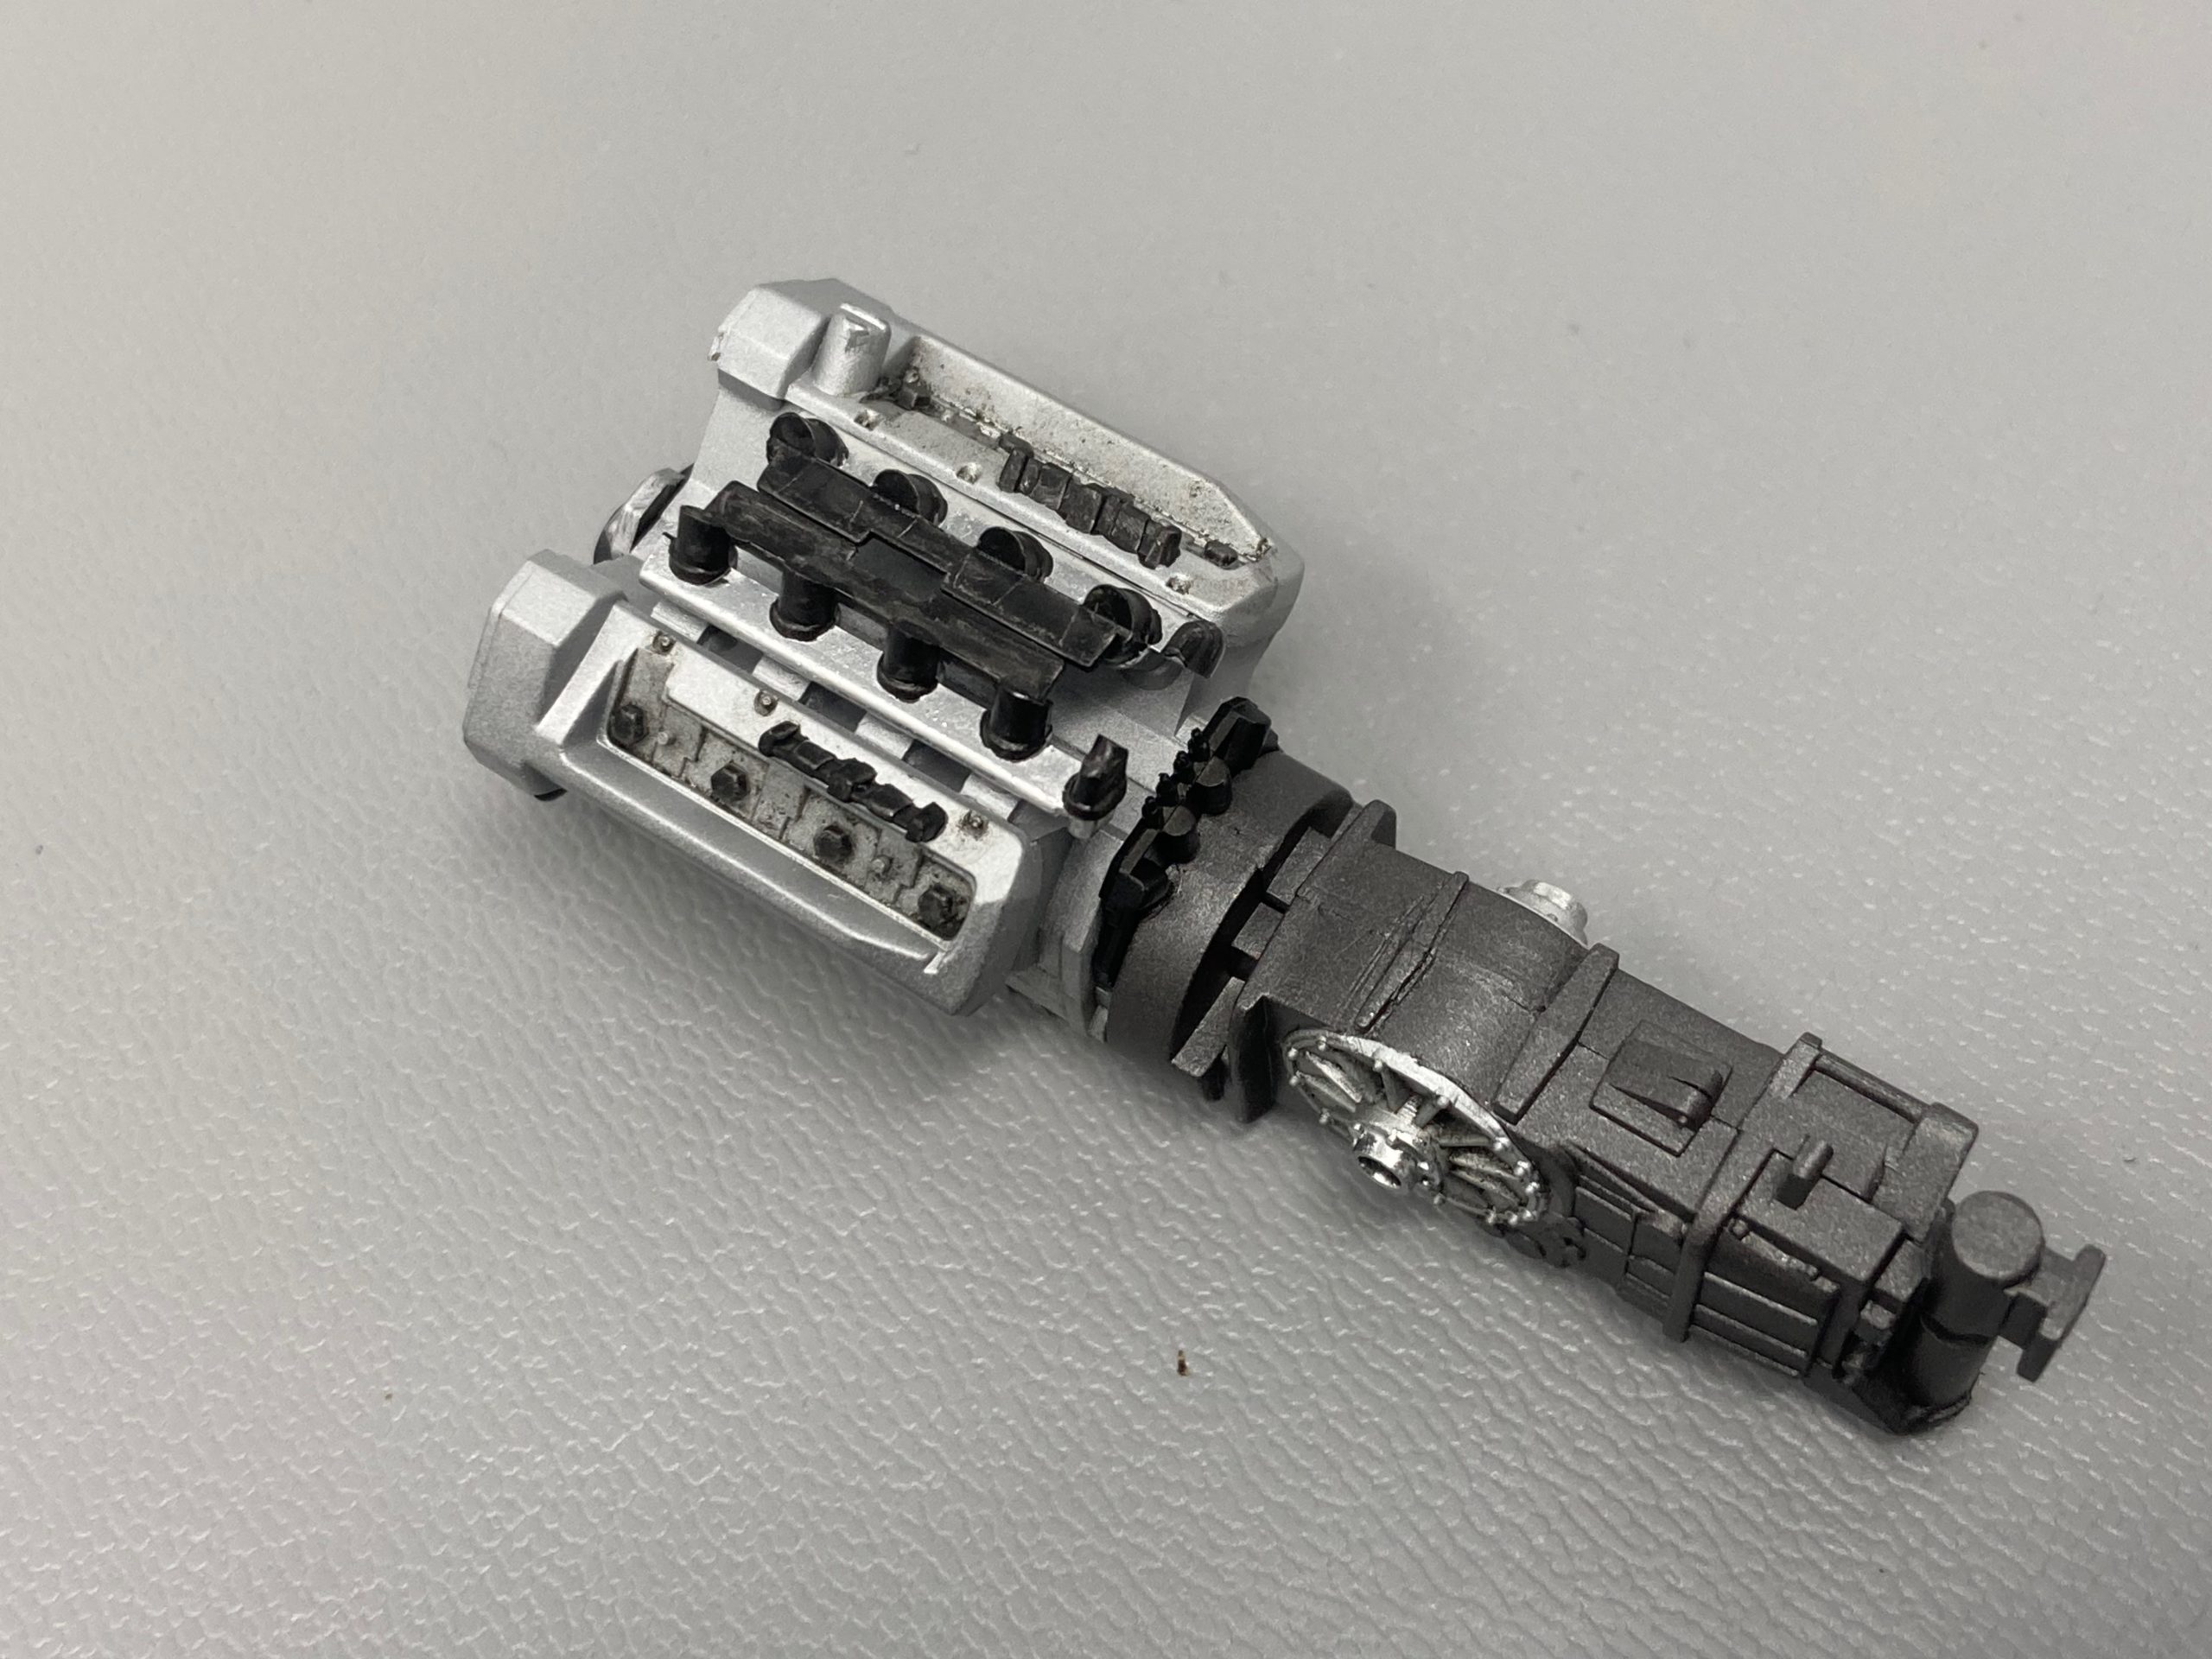
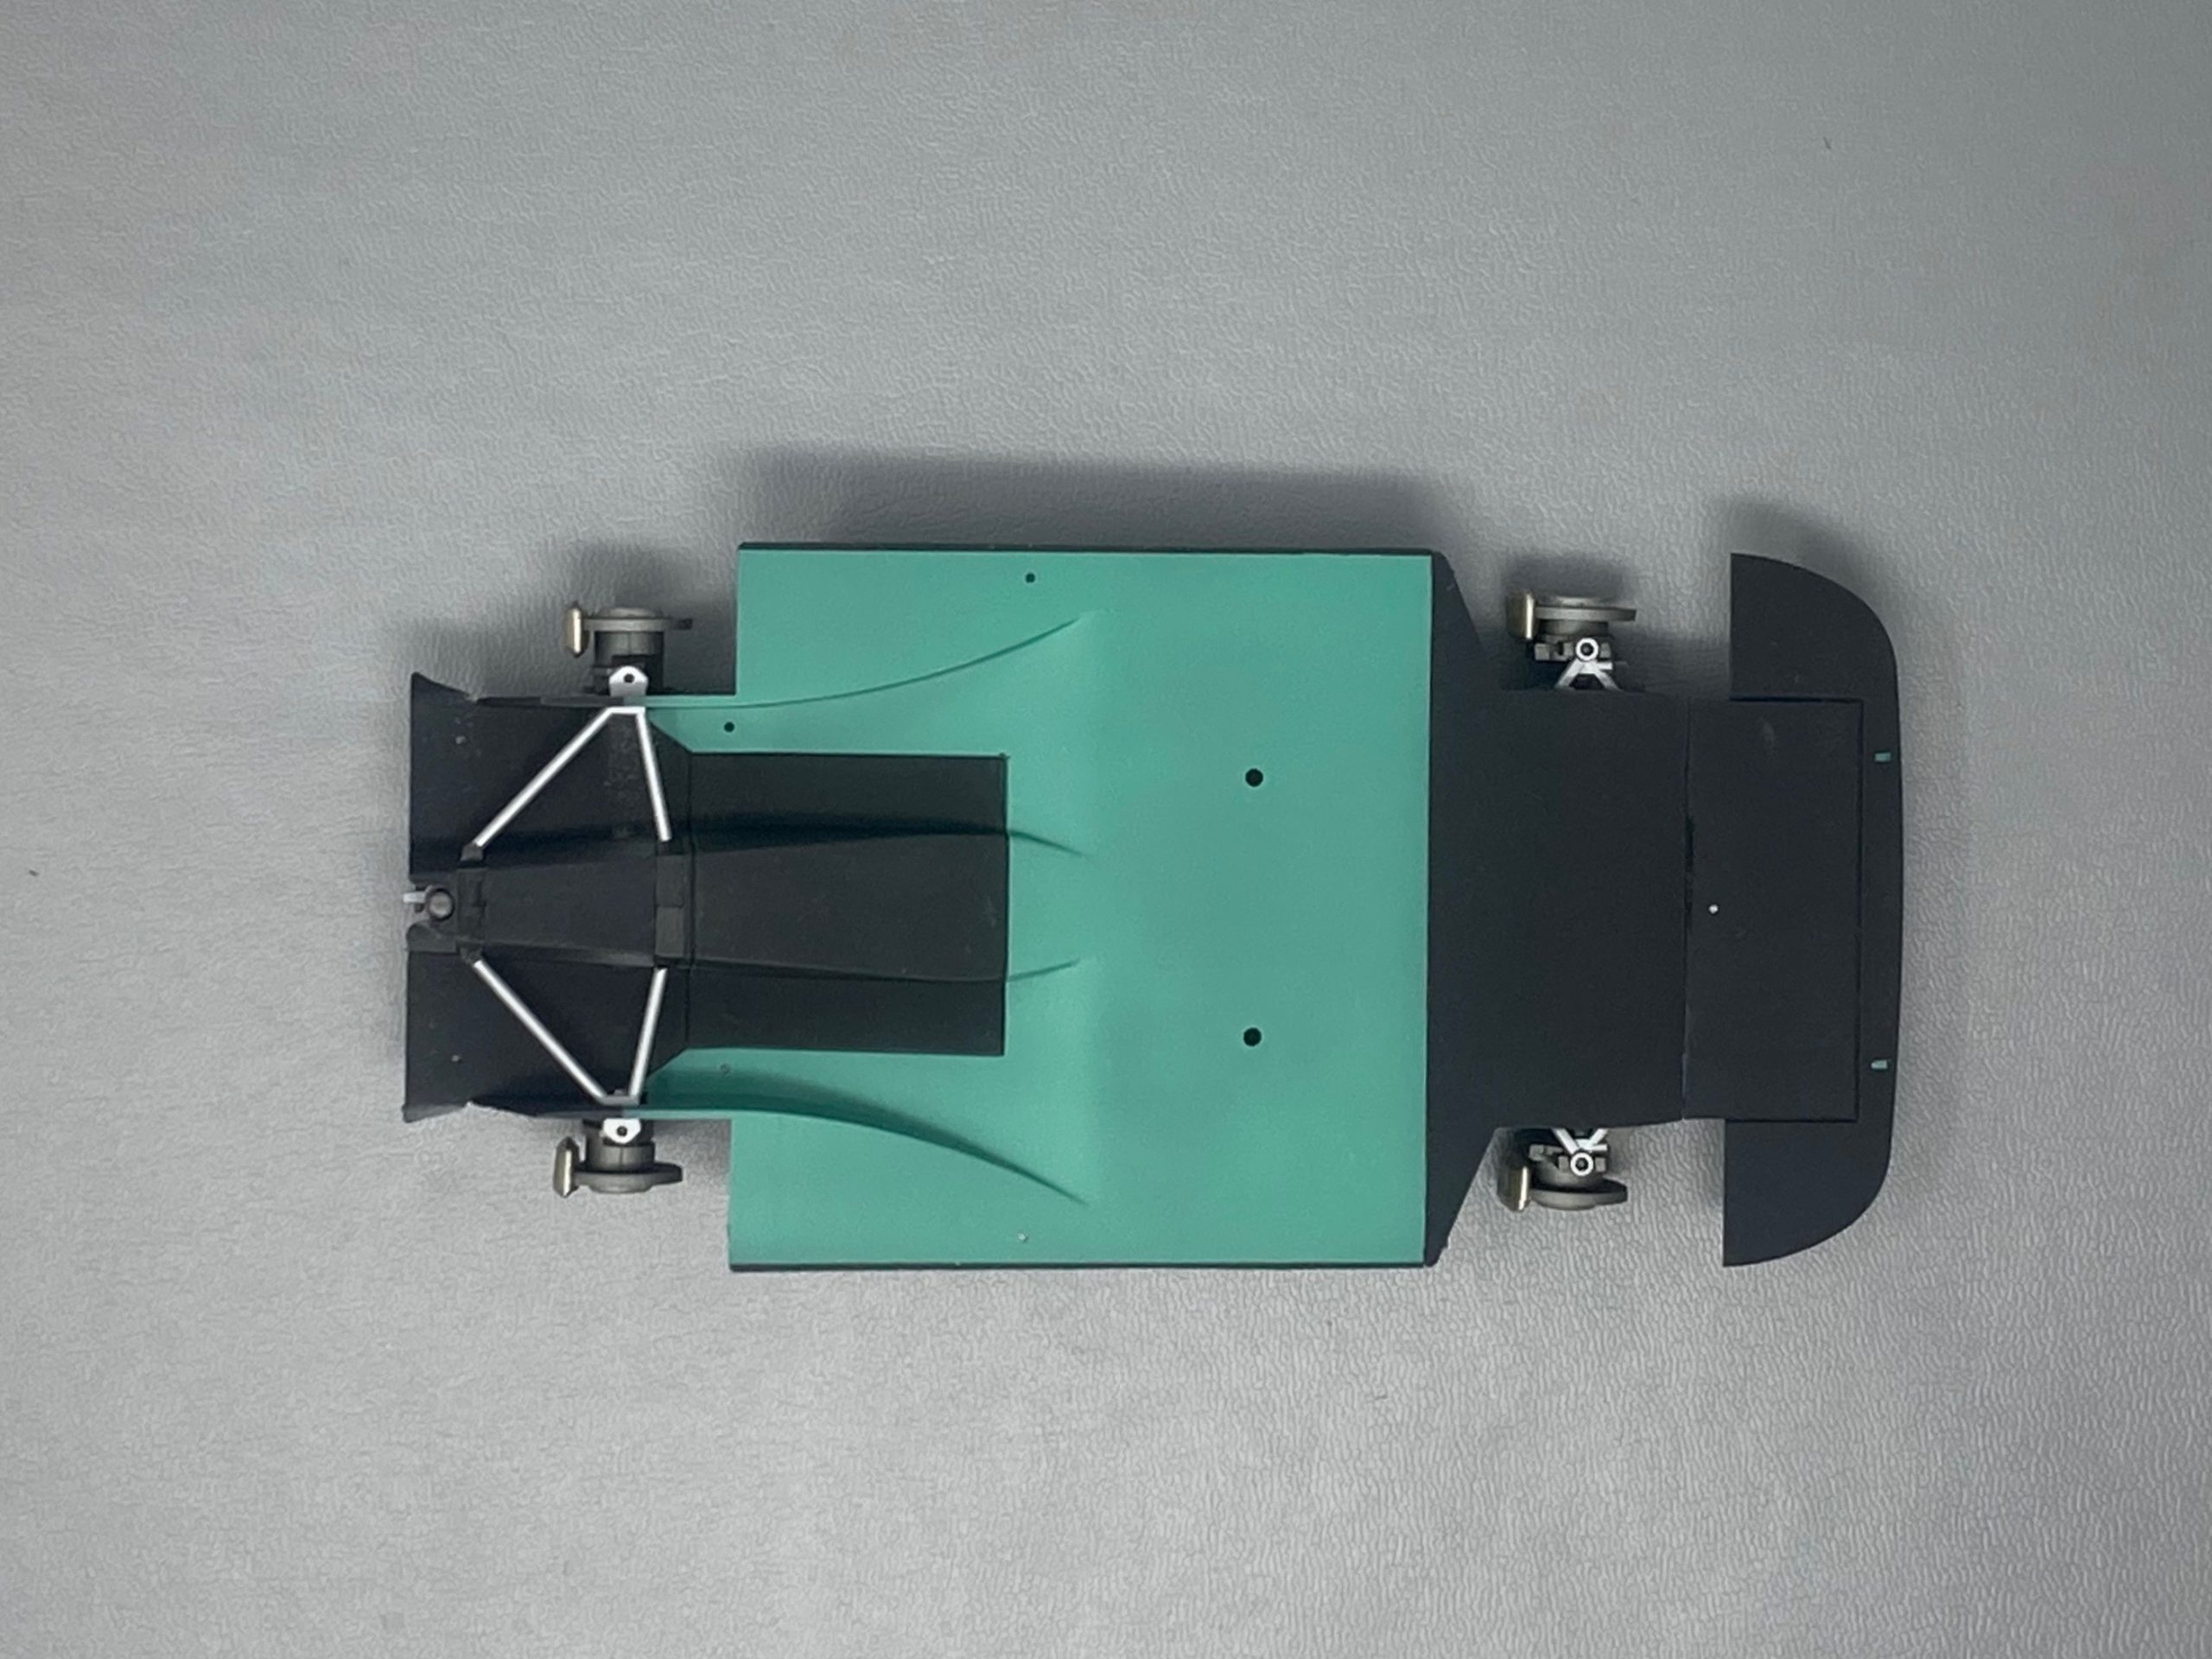
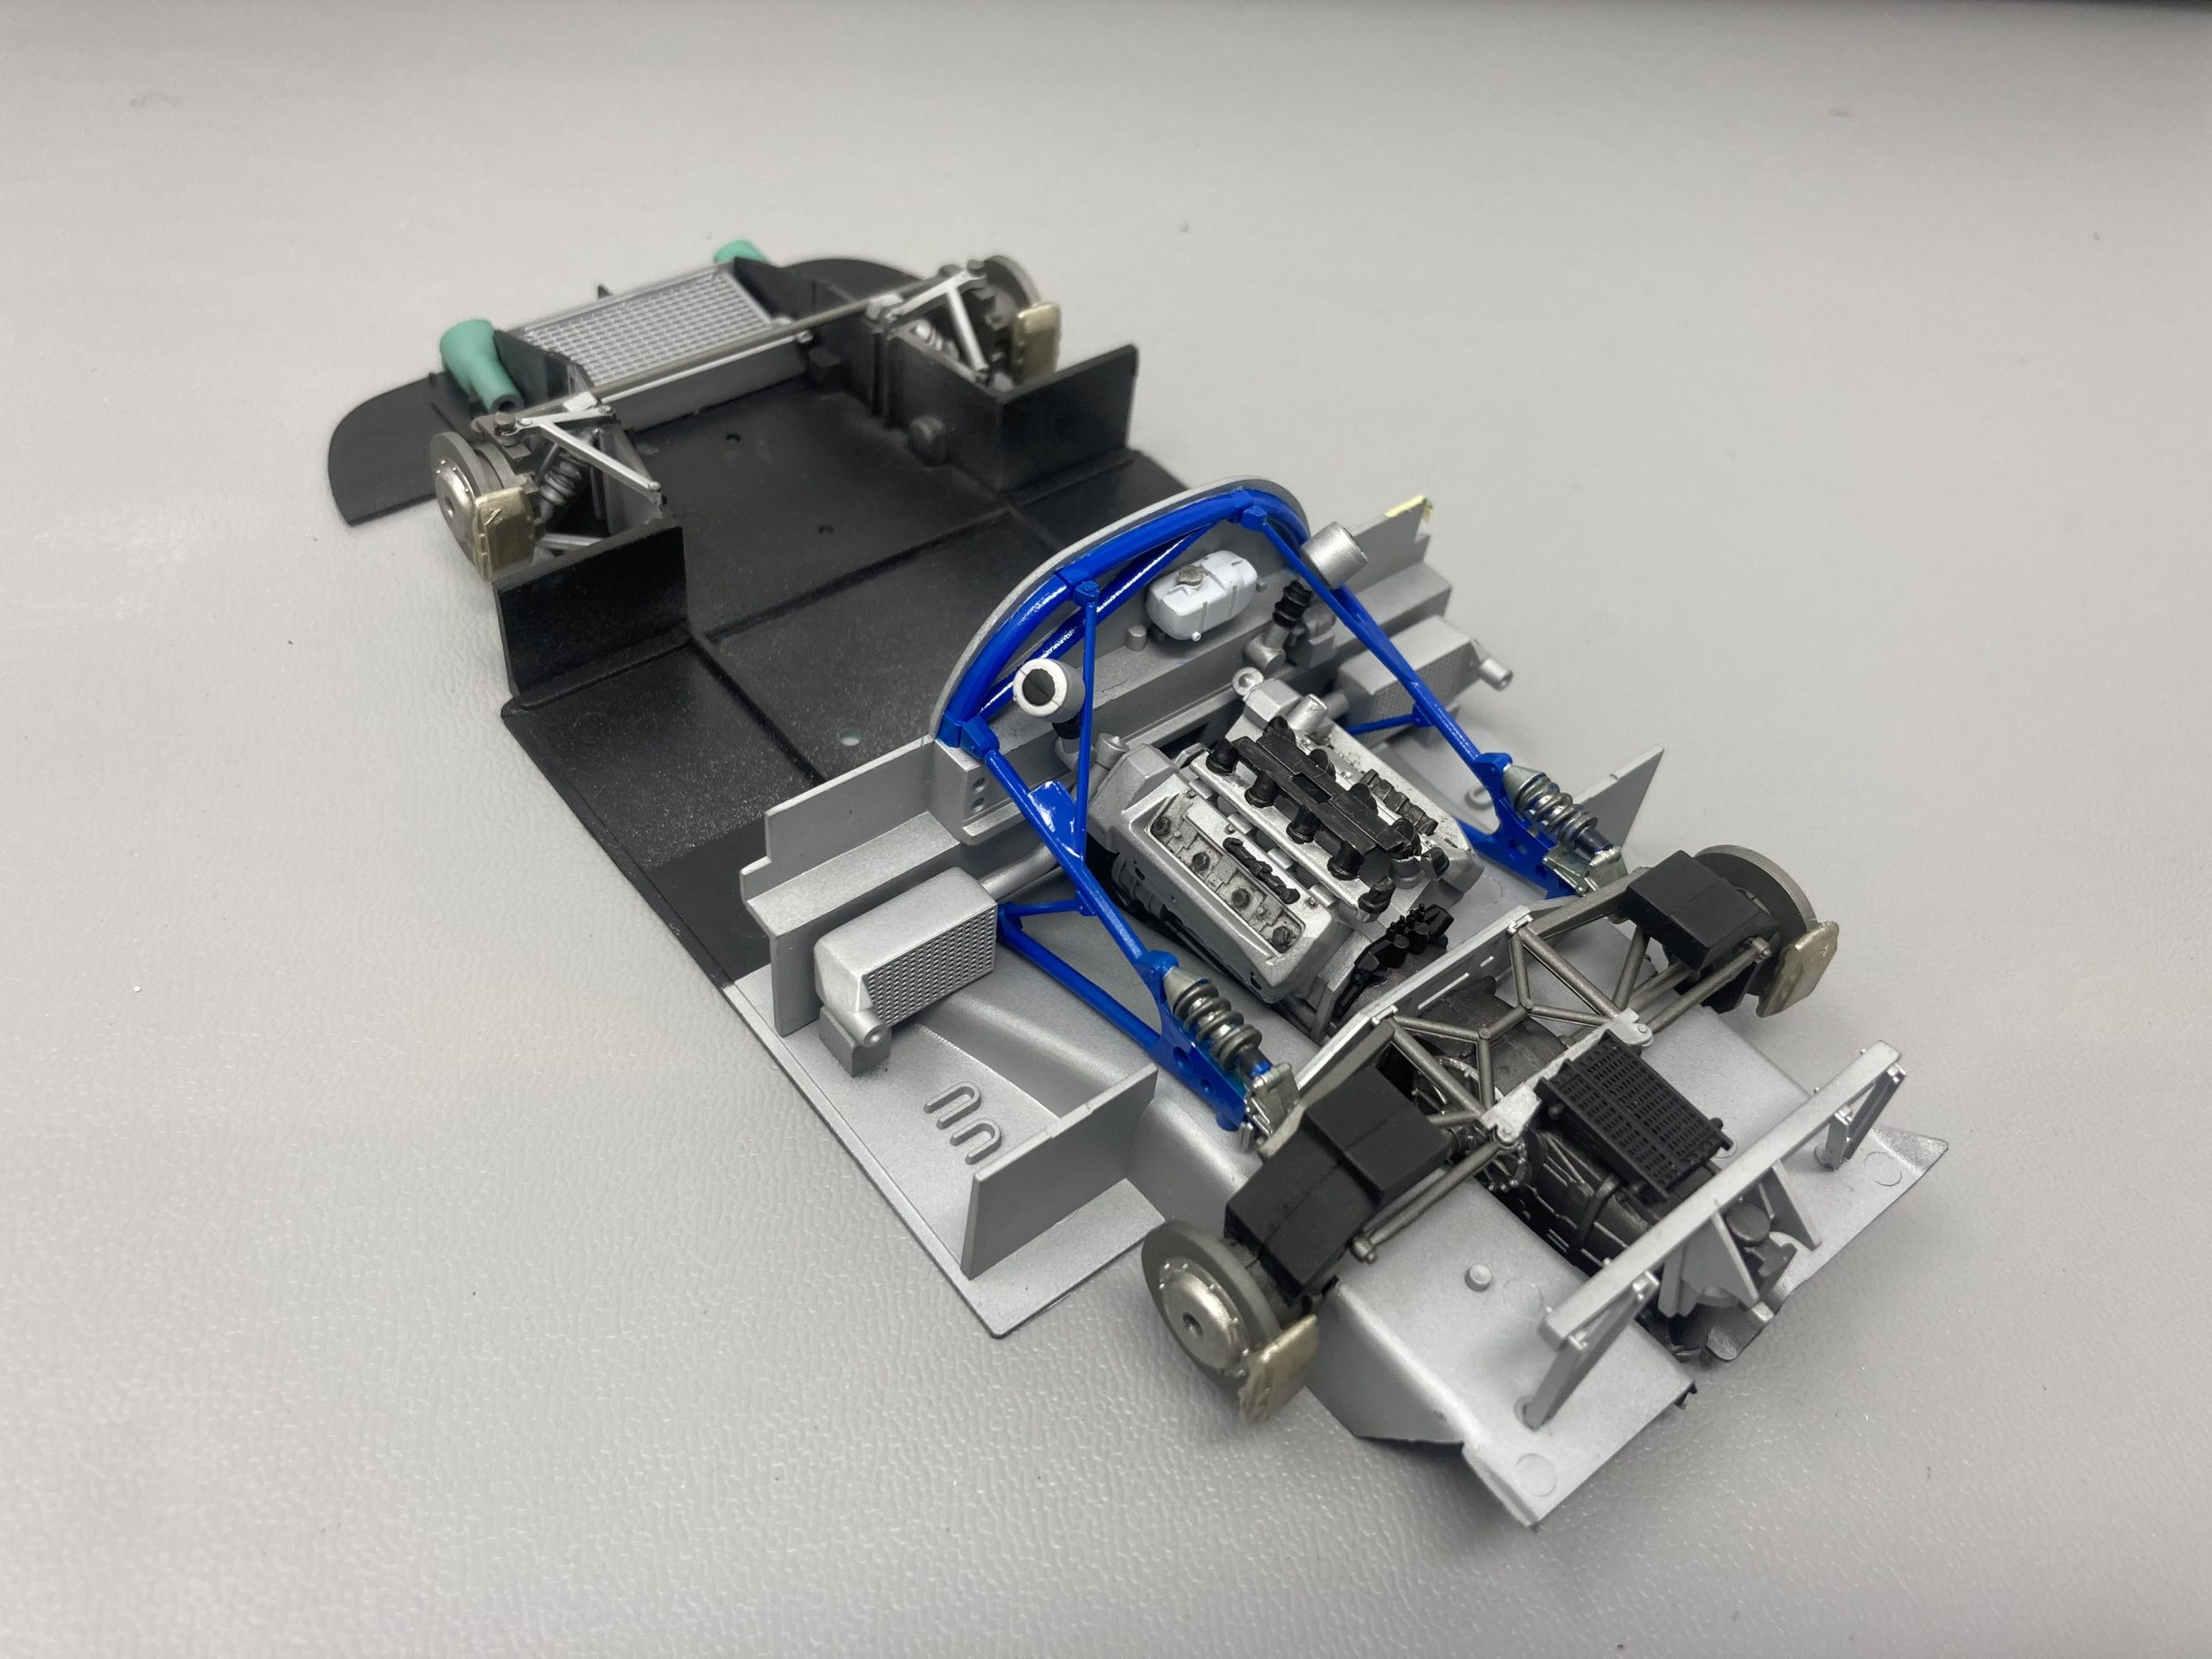
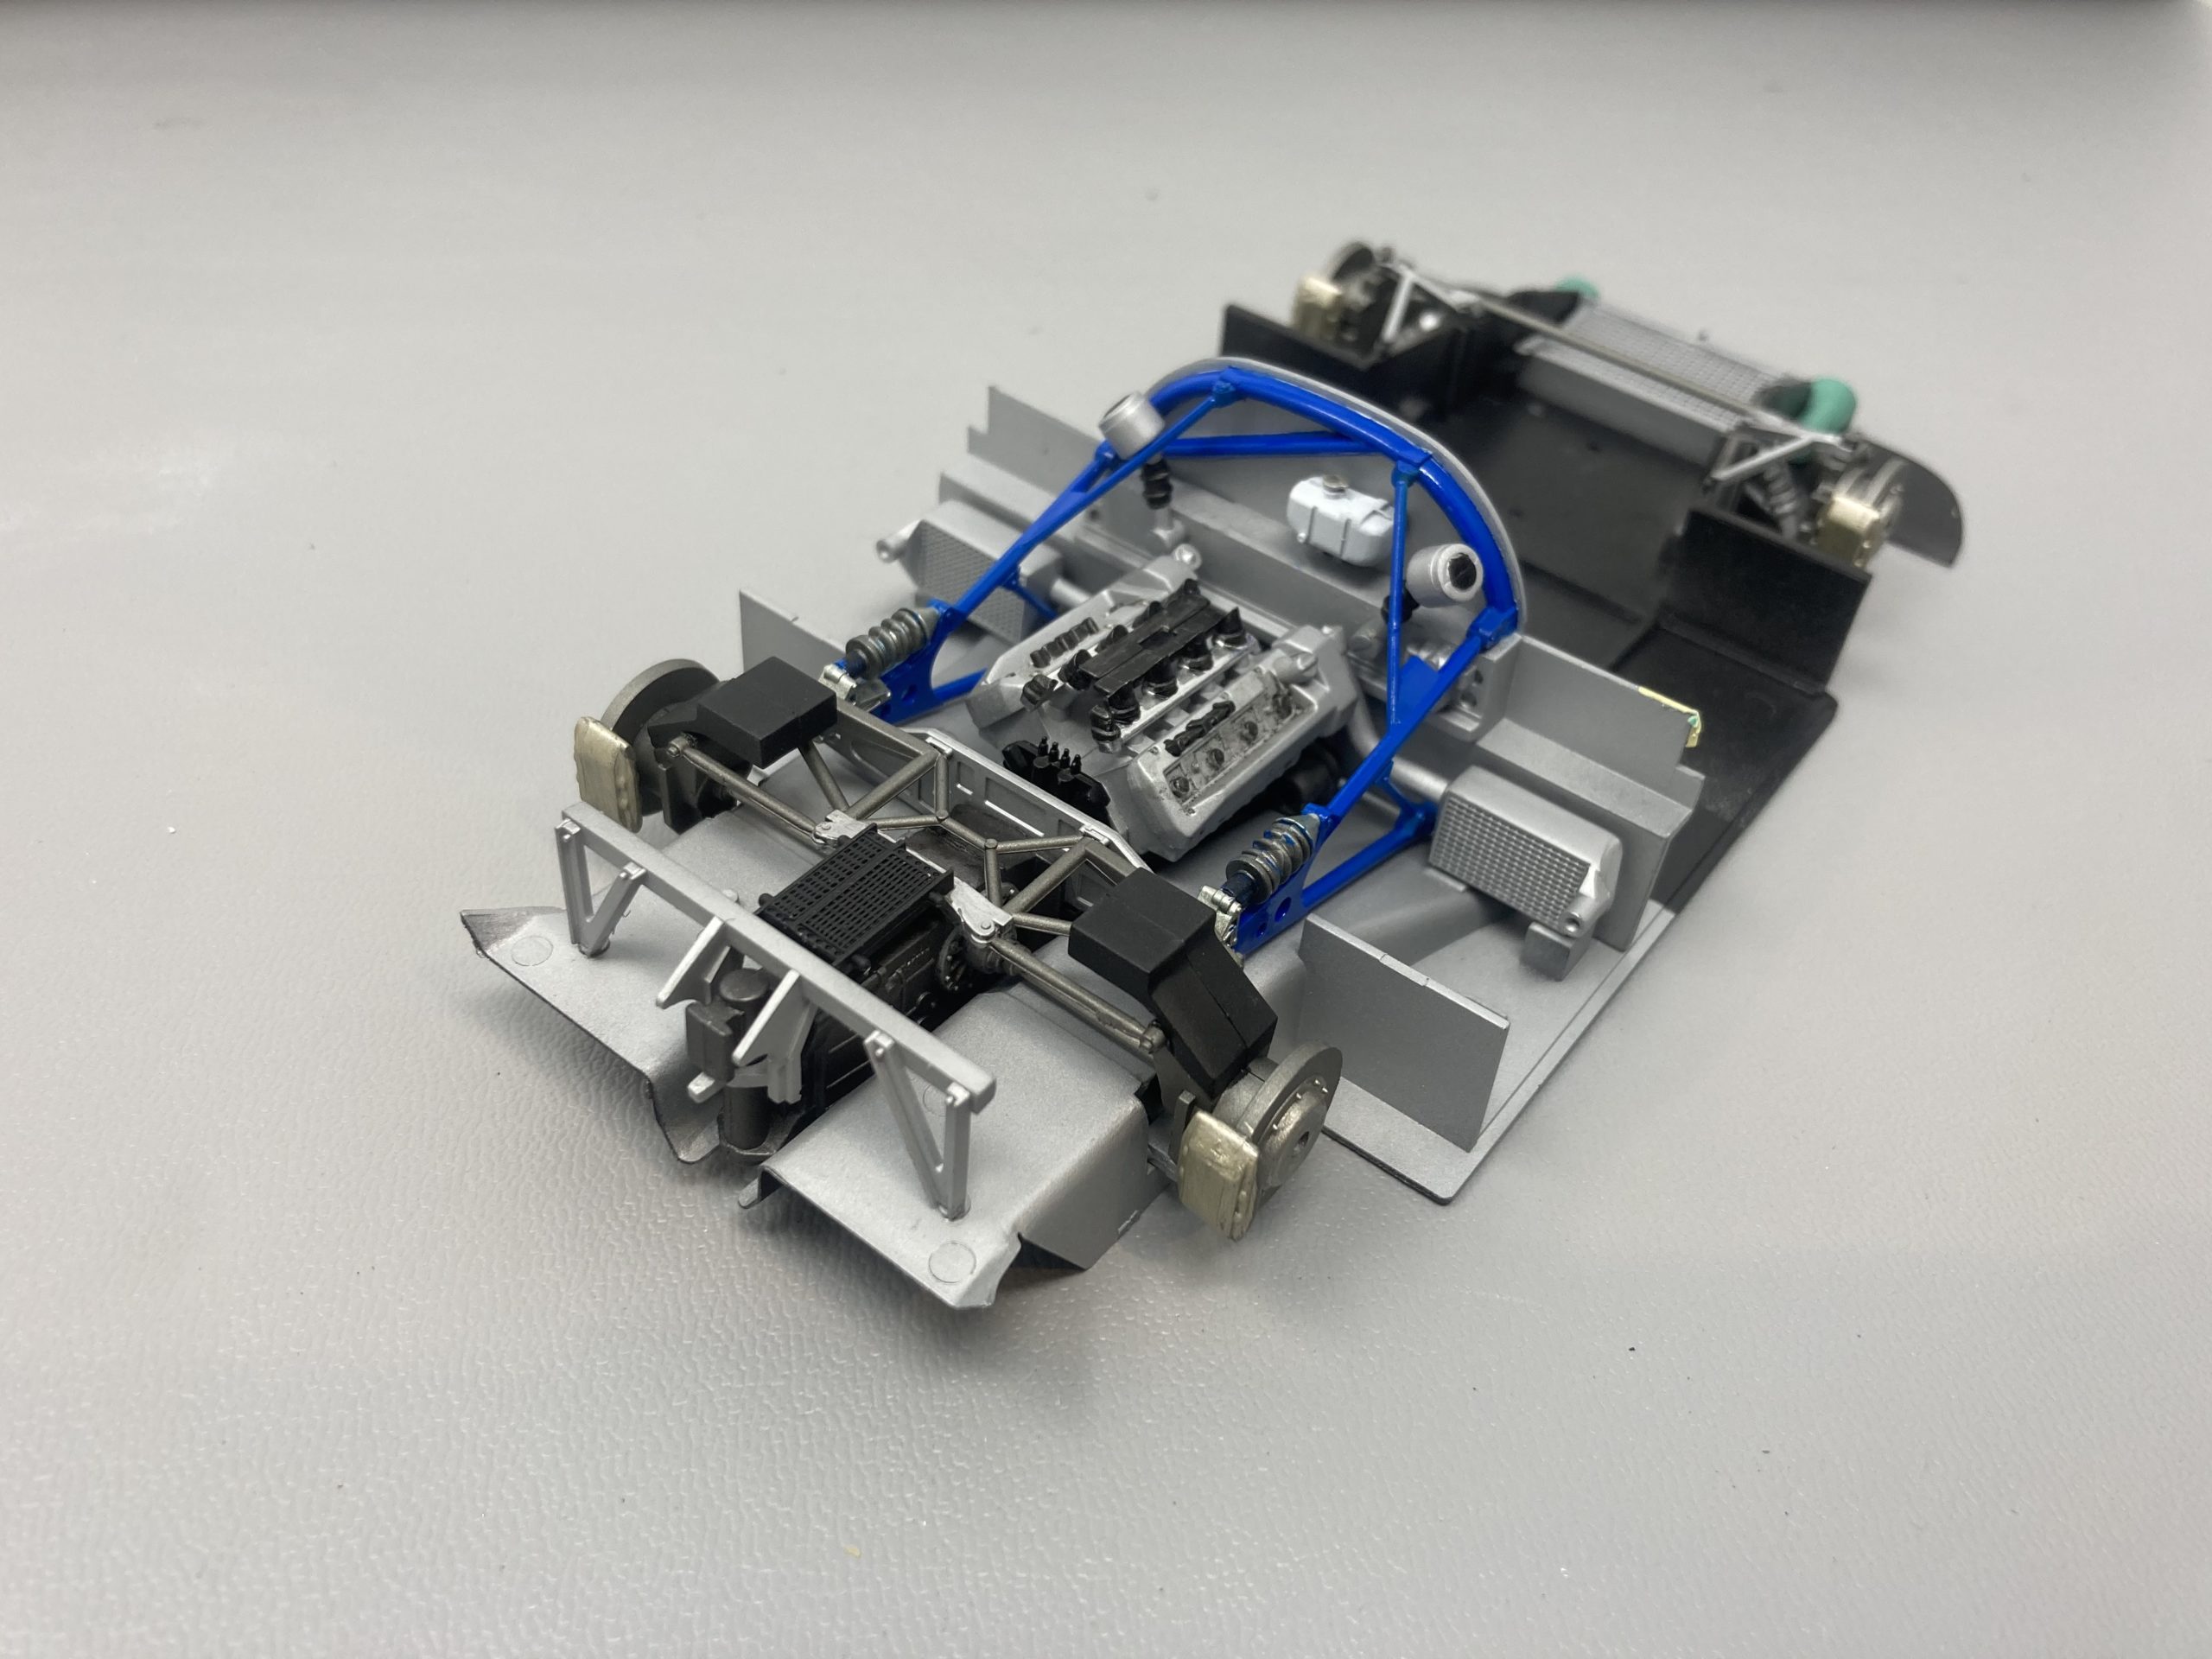
Very straightforward – following the build and painting instructions. The green colour (which you can’t really miss!) on the floorpan etc – in the painting guide it’s a mix of acrylics 1 part XF4 : 3 parts X19 Sky Grey – I didn’t have either in LP, so I basically guessed and mixed up my own. I’m not sure if it’s accurate, but I do like it! All the engine parts were airbrushed in the appropriate LP, masked where necessary and fitted. Very straightforward. A little oil wash (I use a weak mix of acrylic for this) was used to ‘dirty it up’ a little.
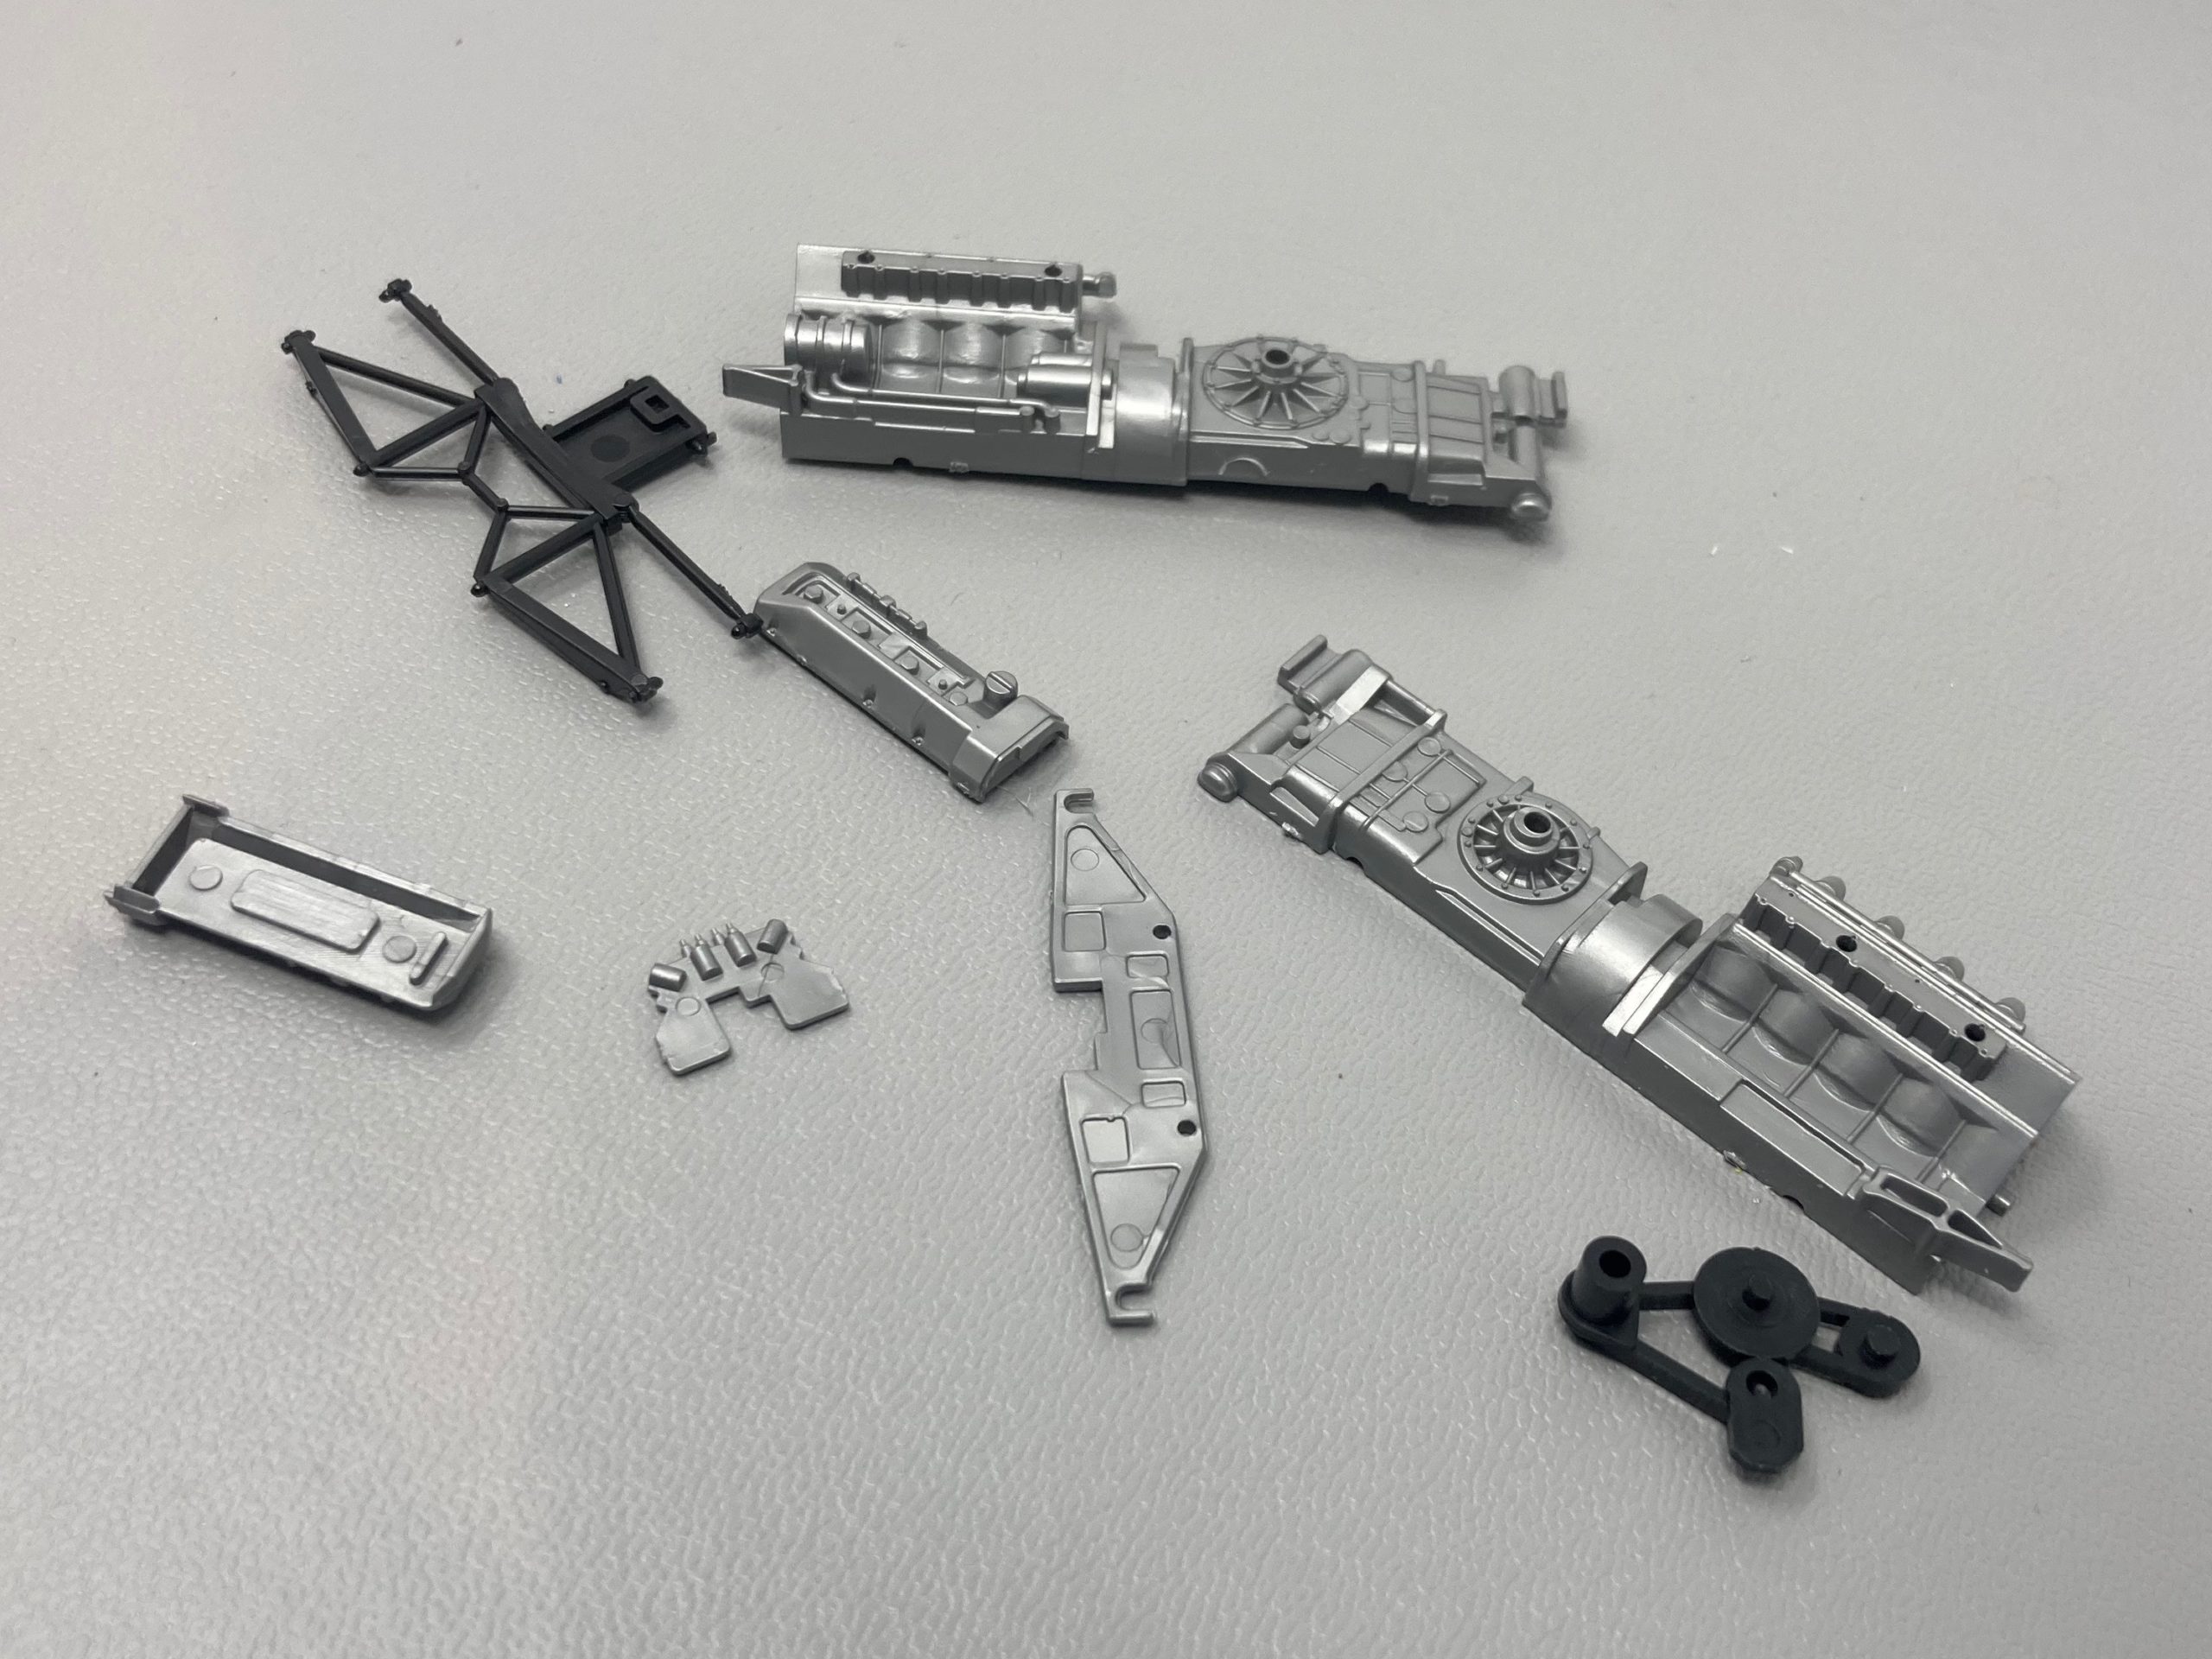

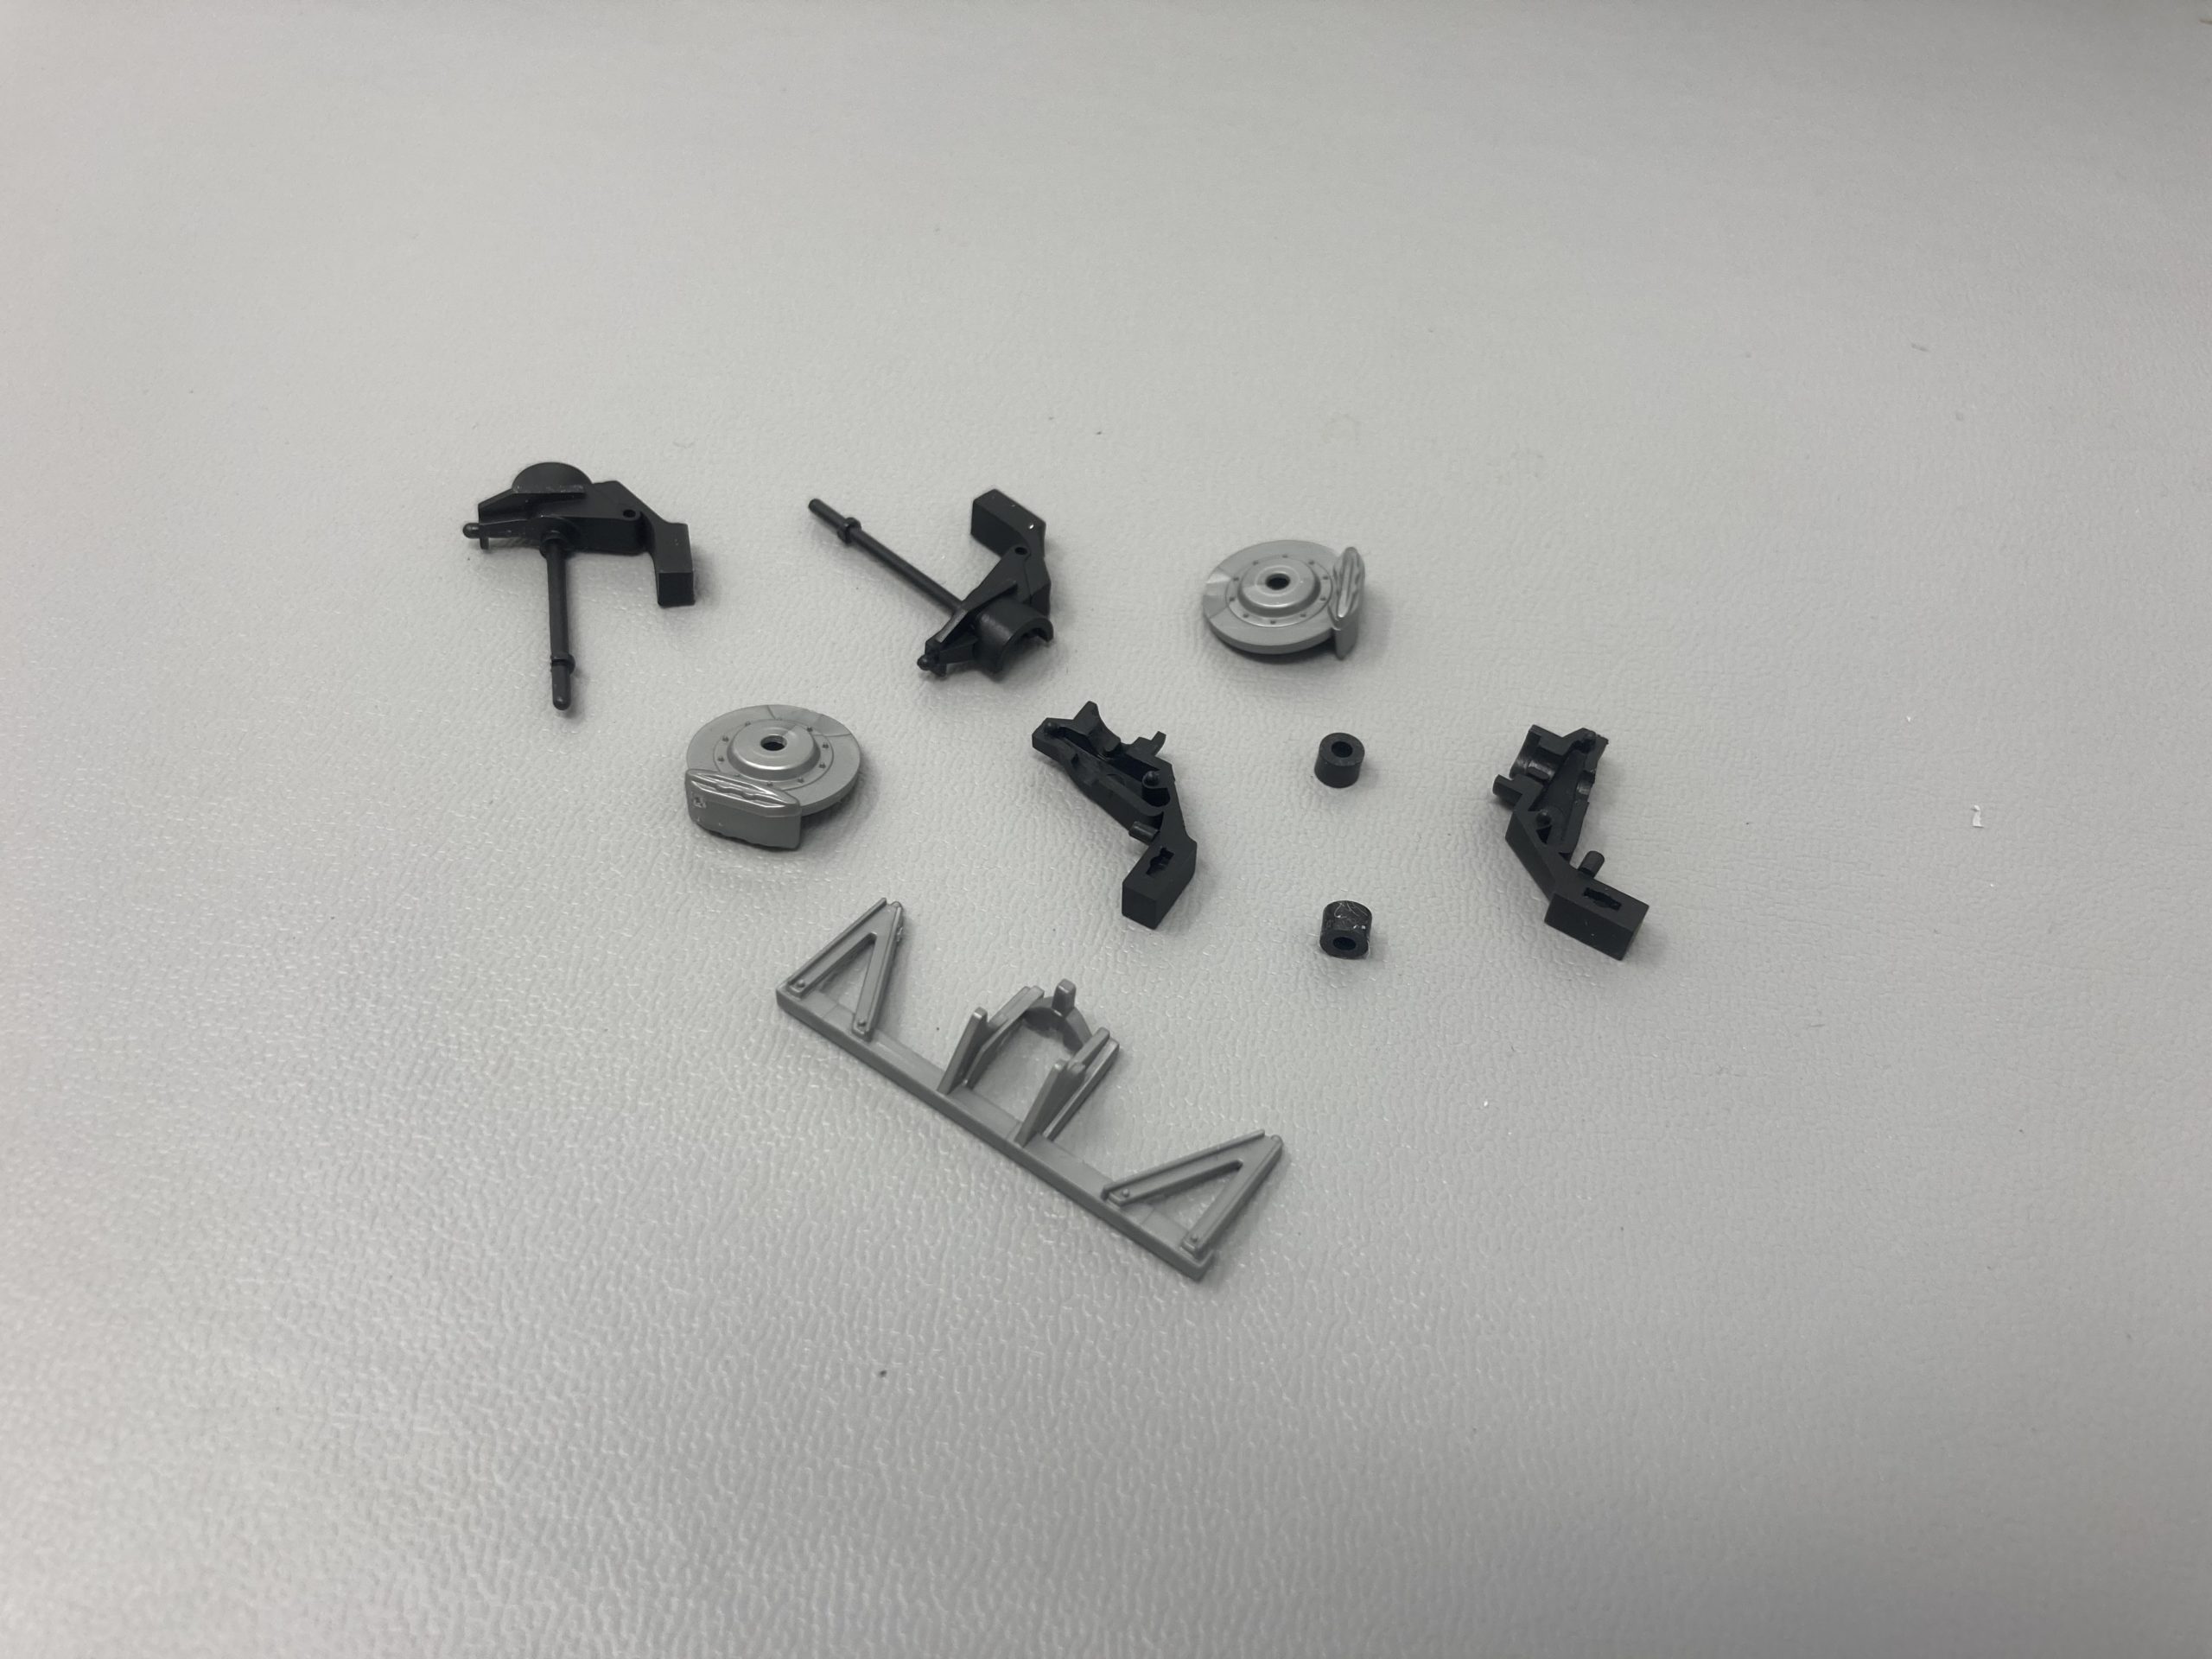
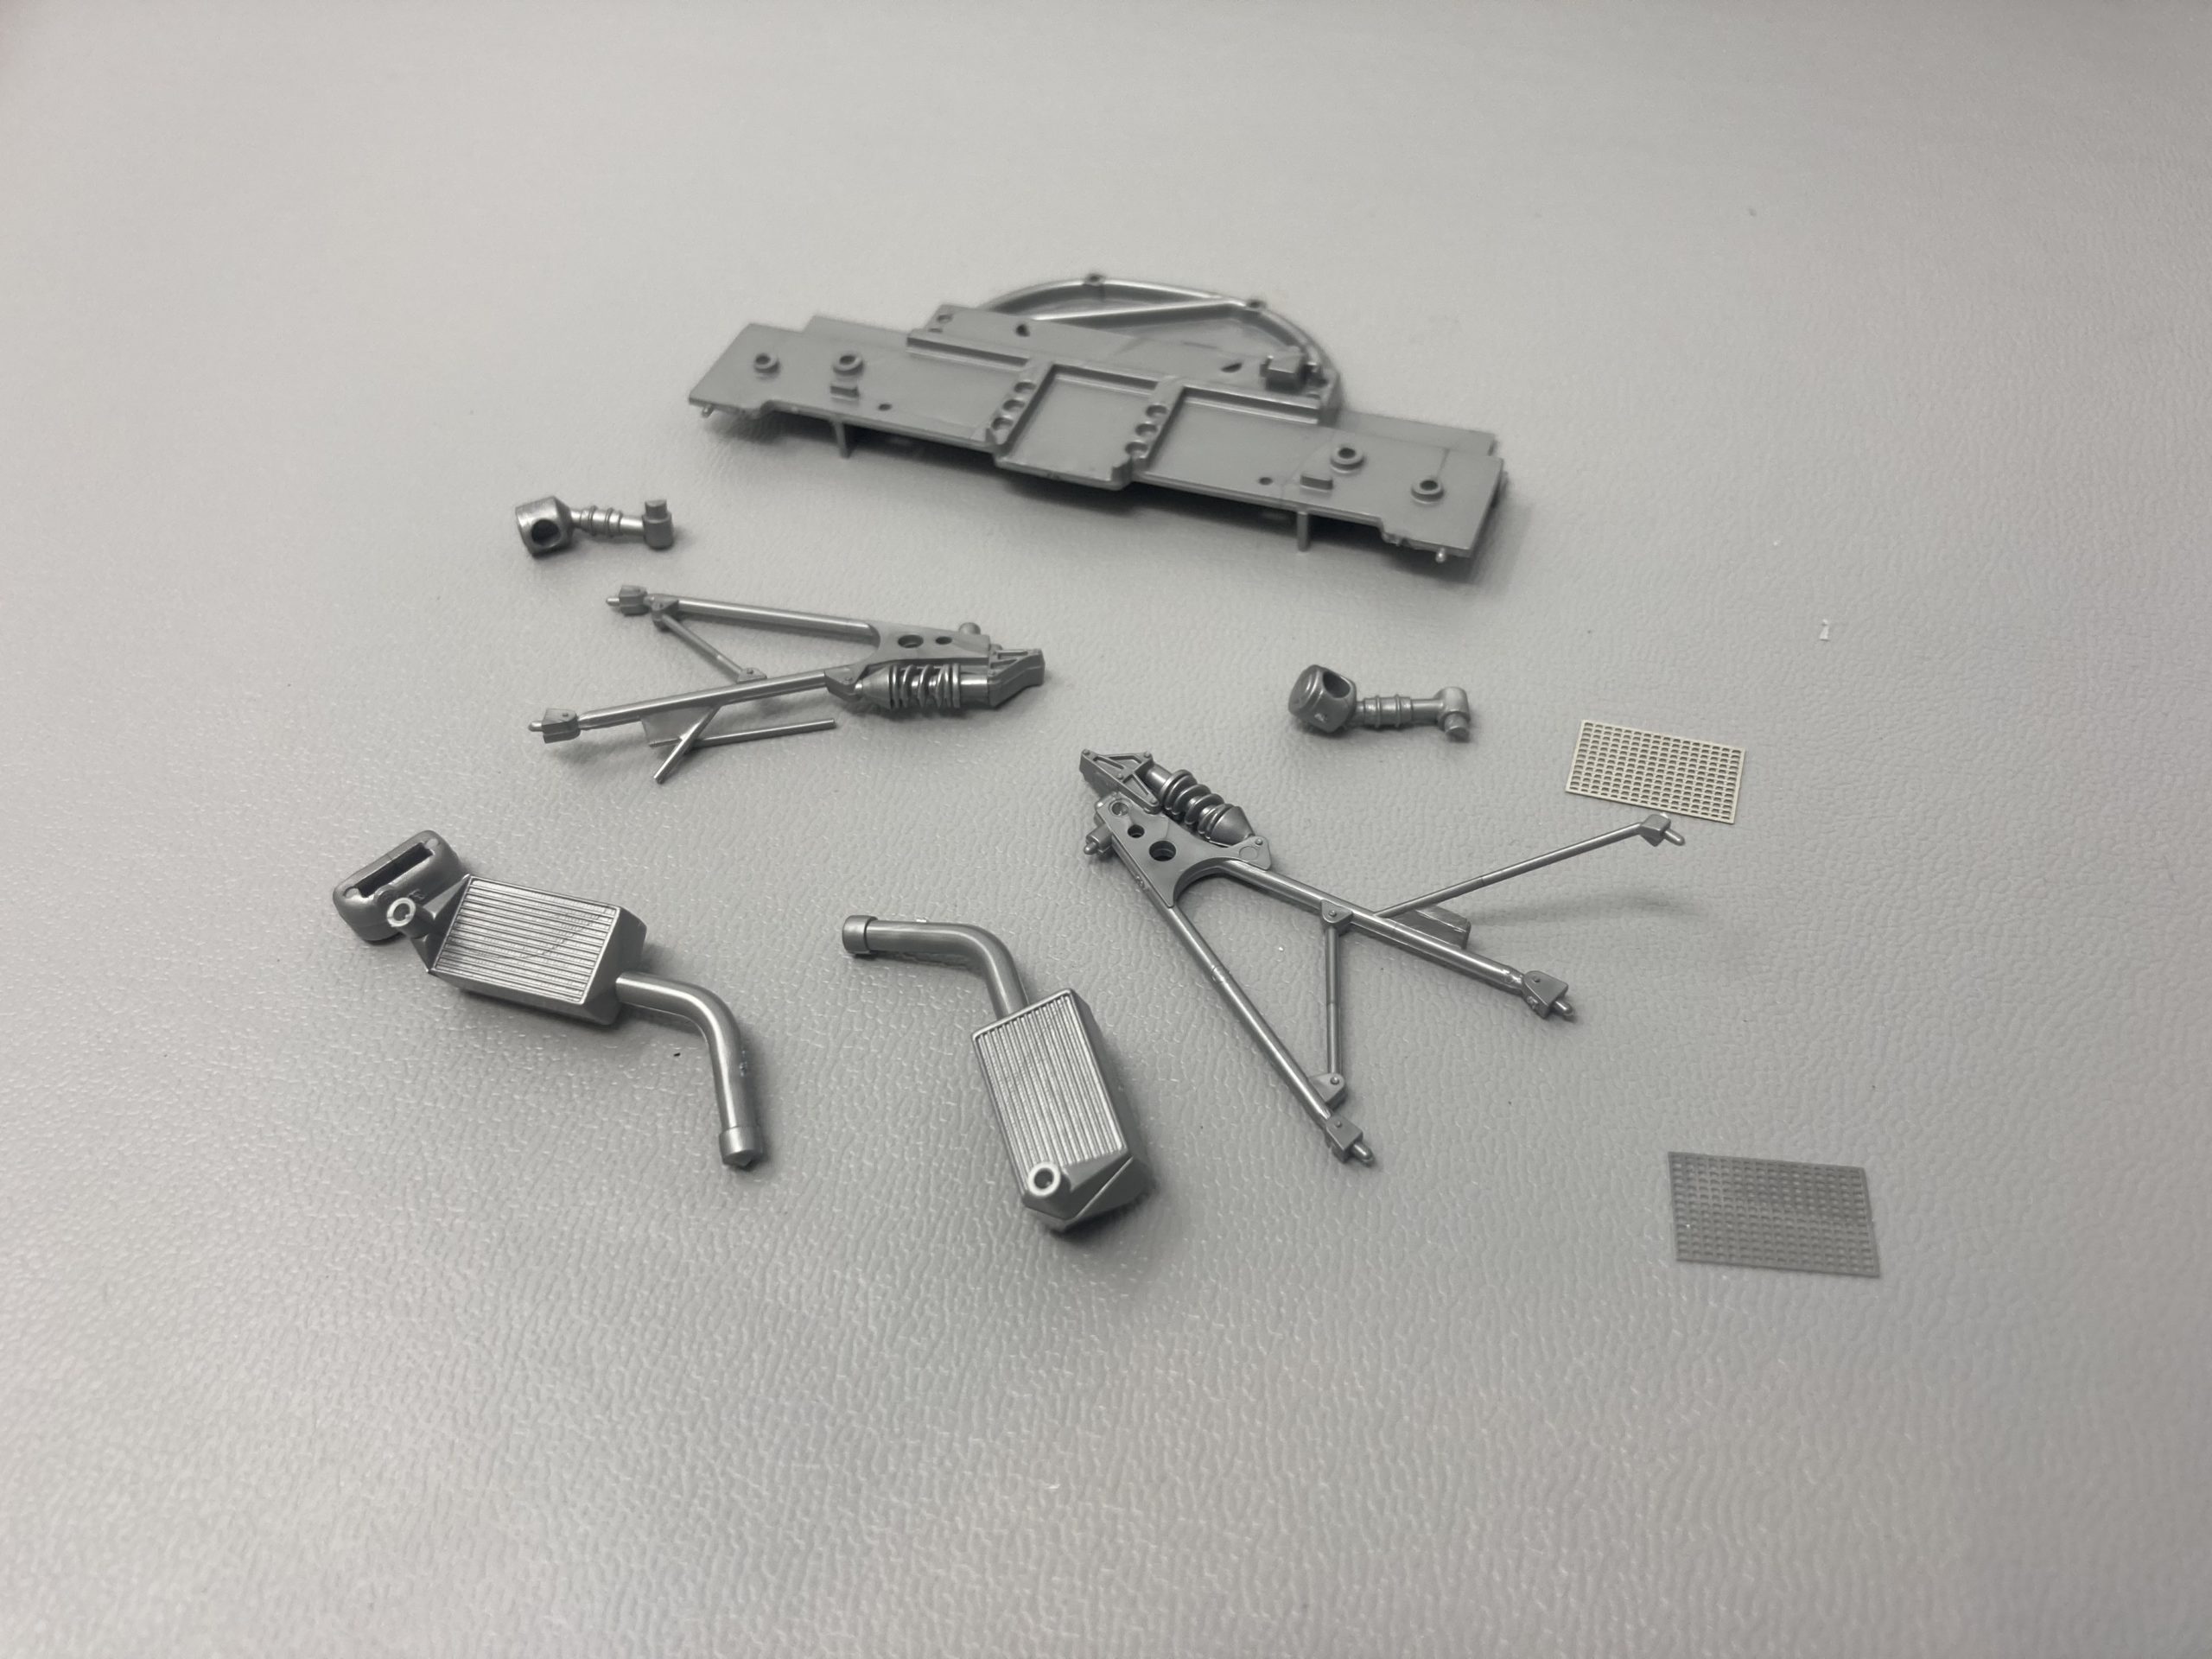
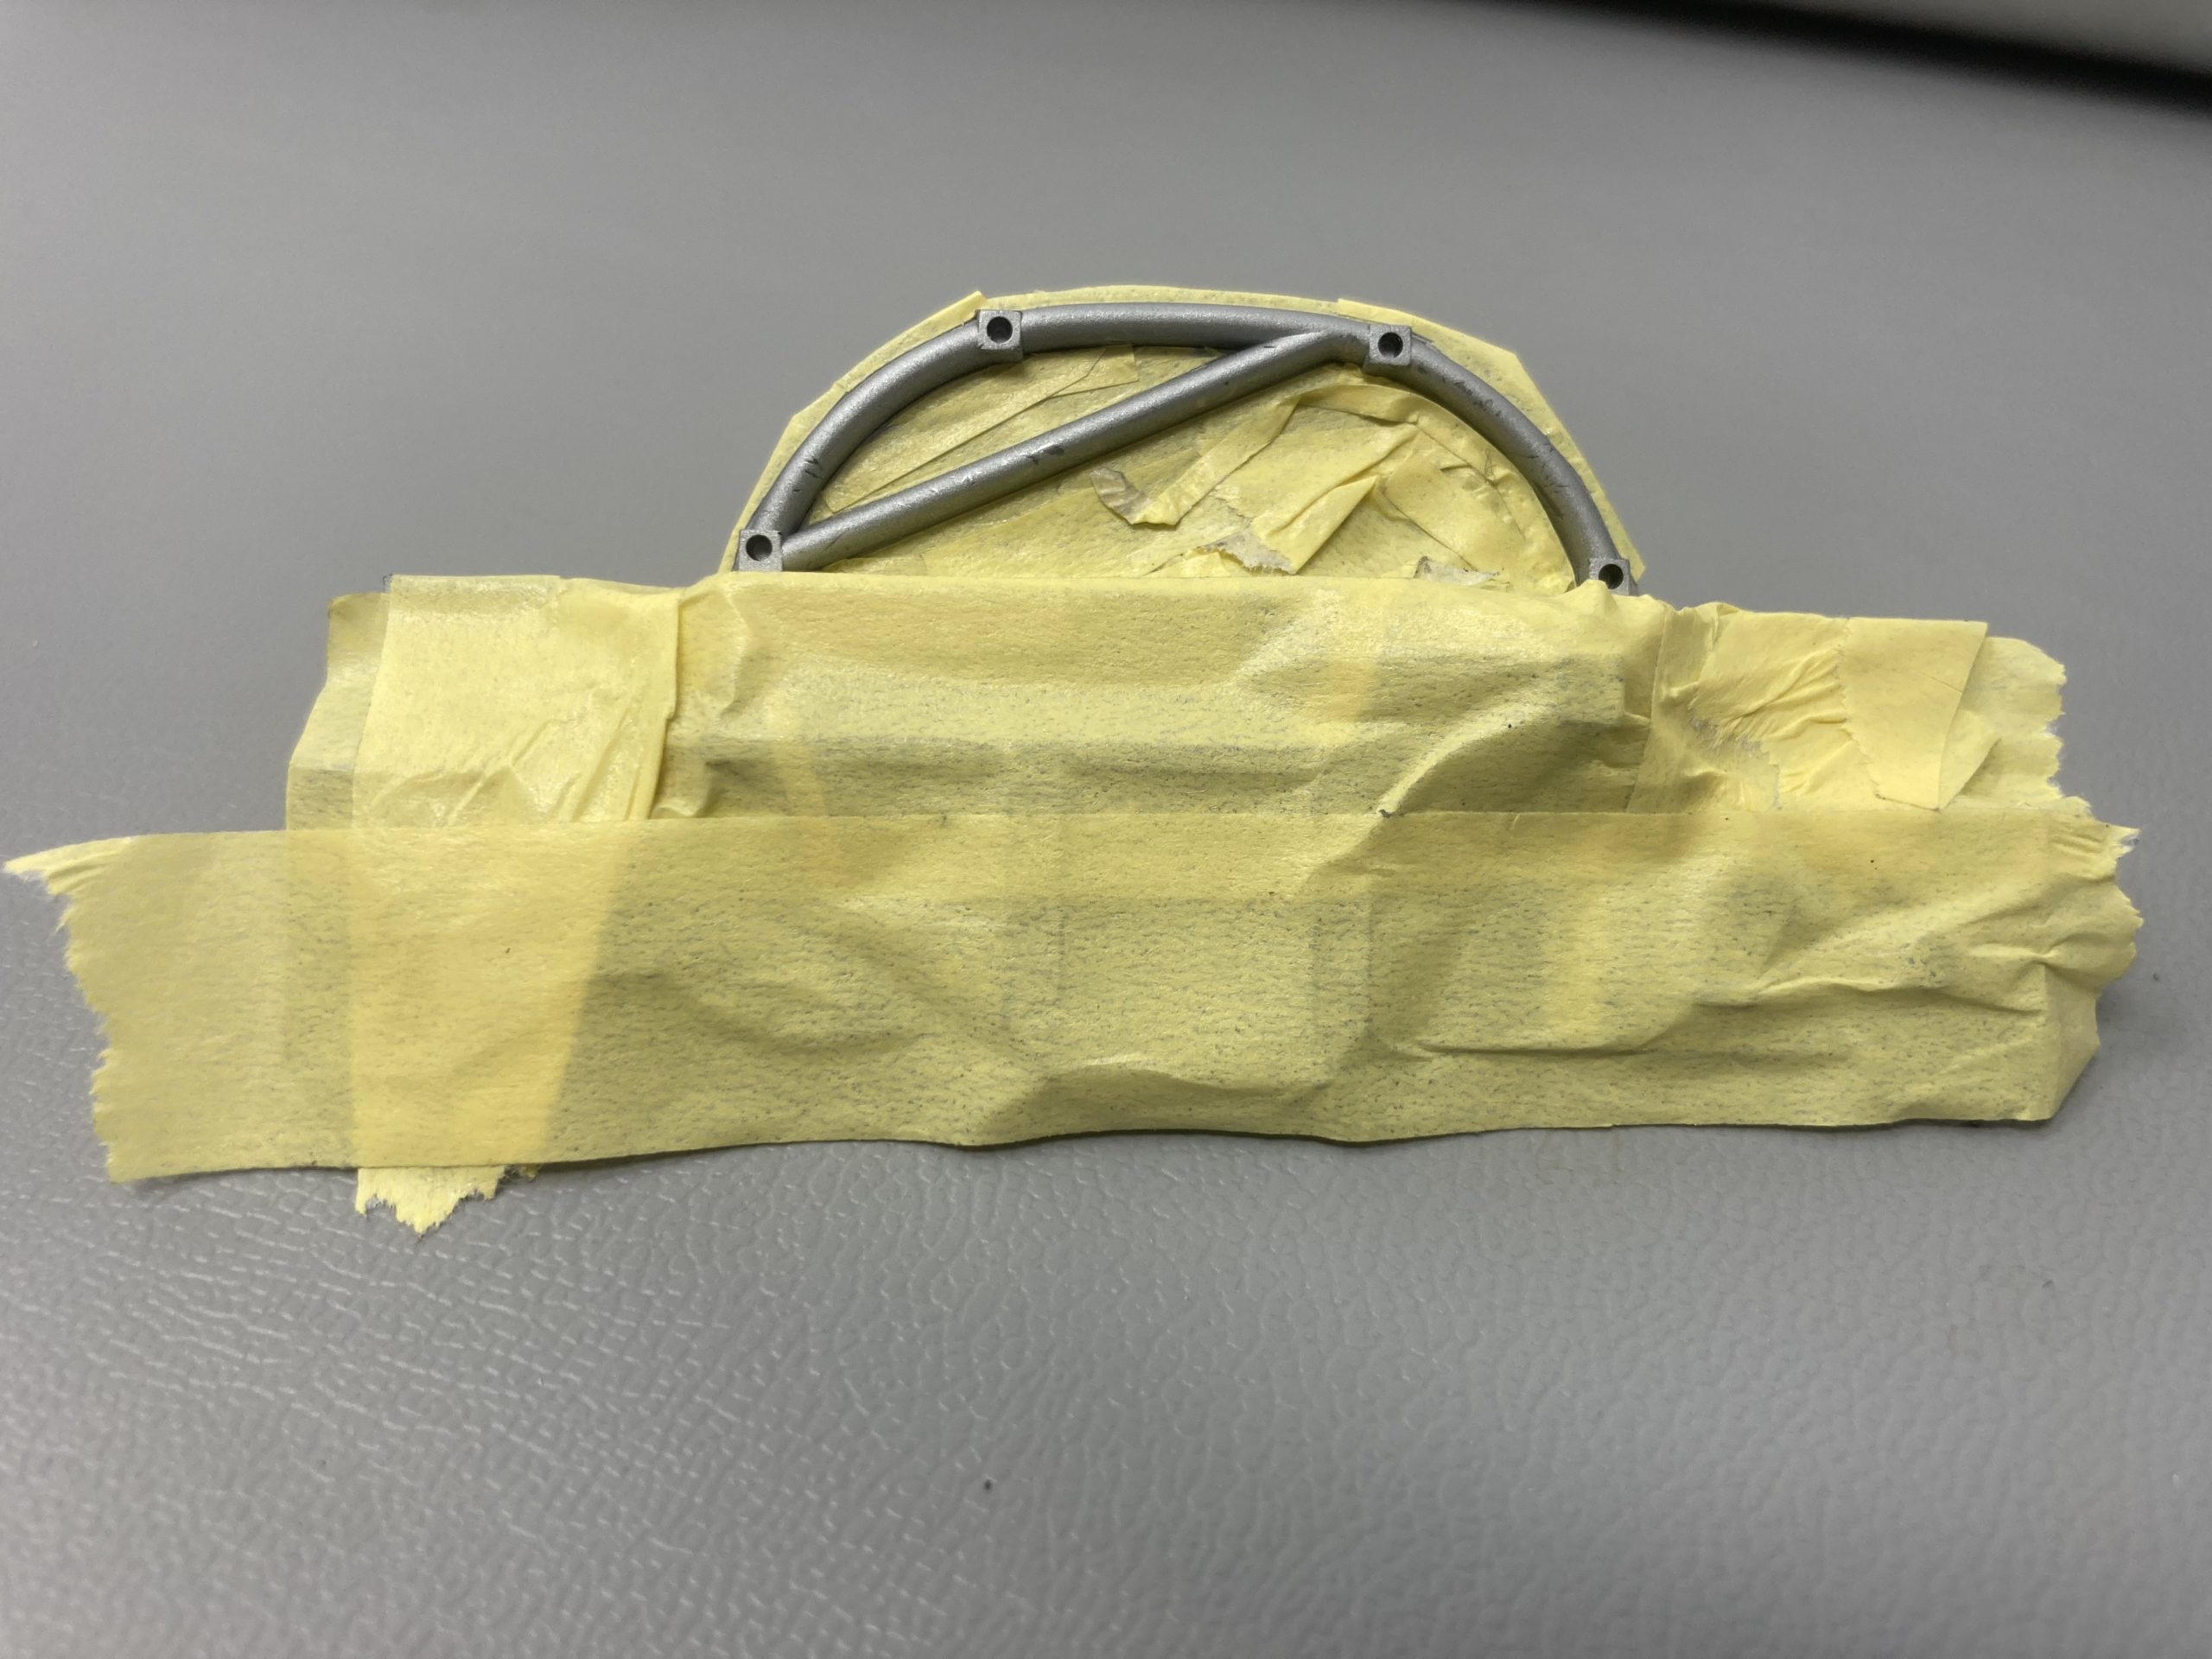
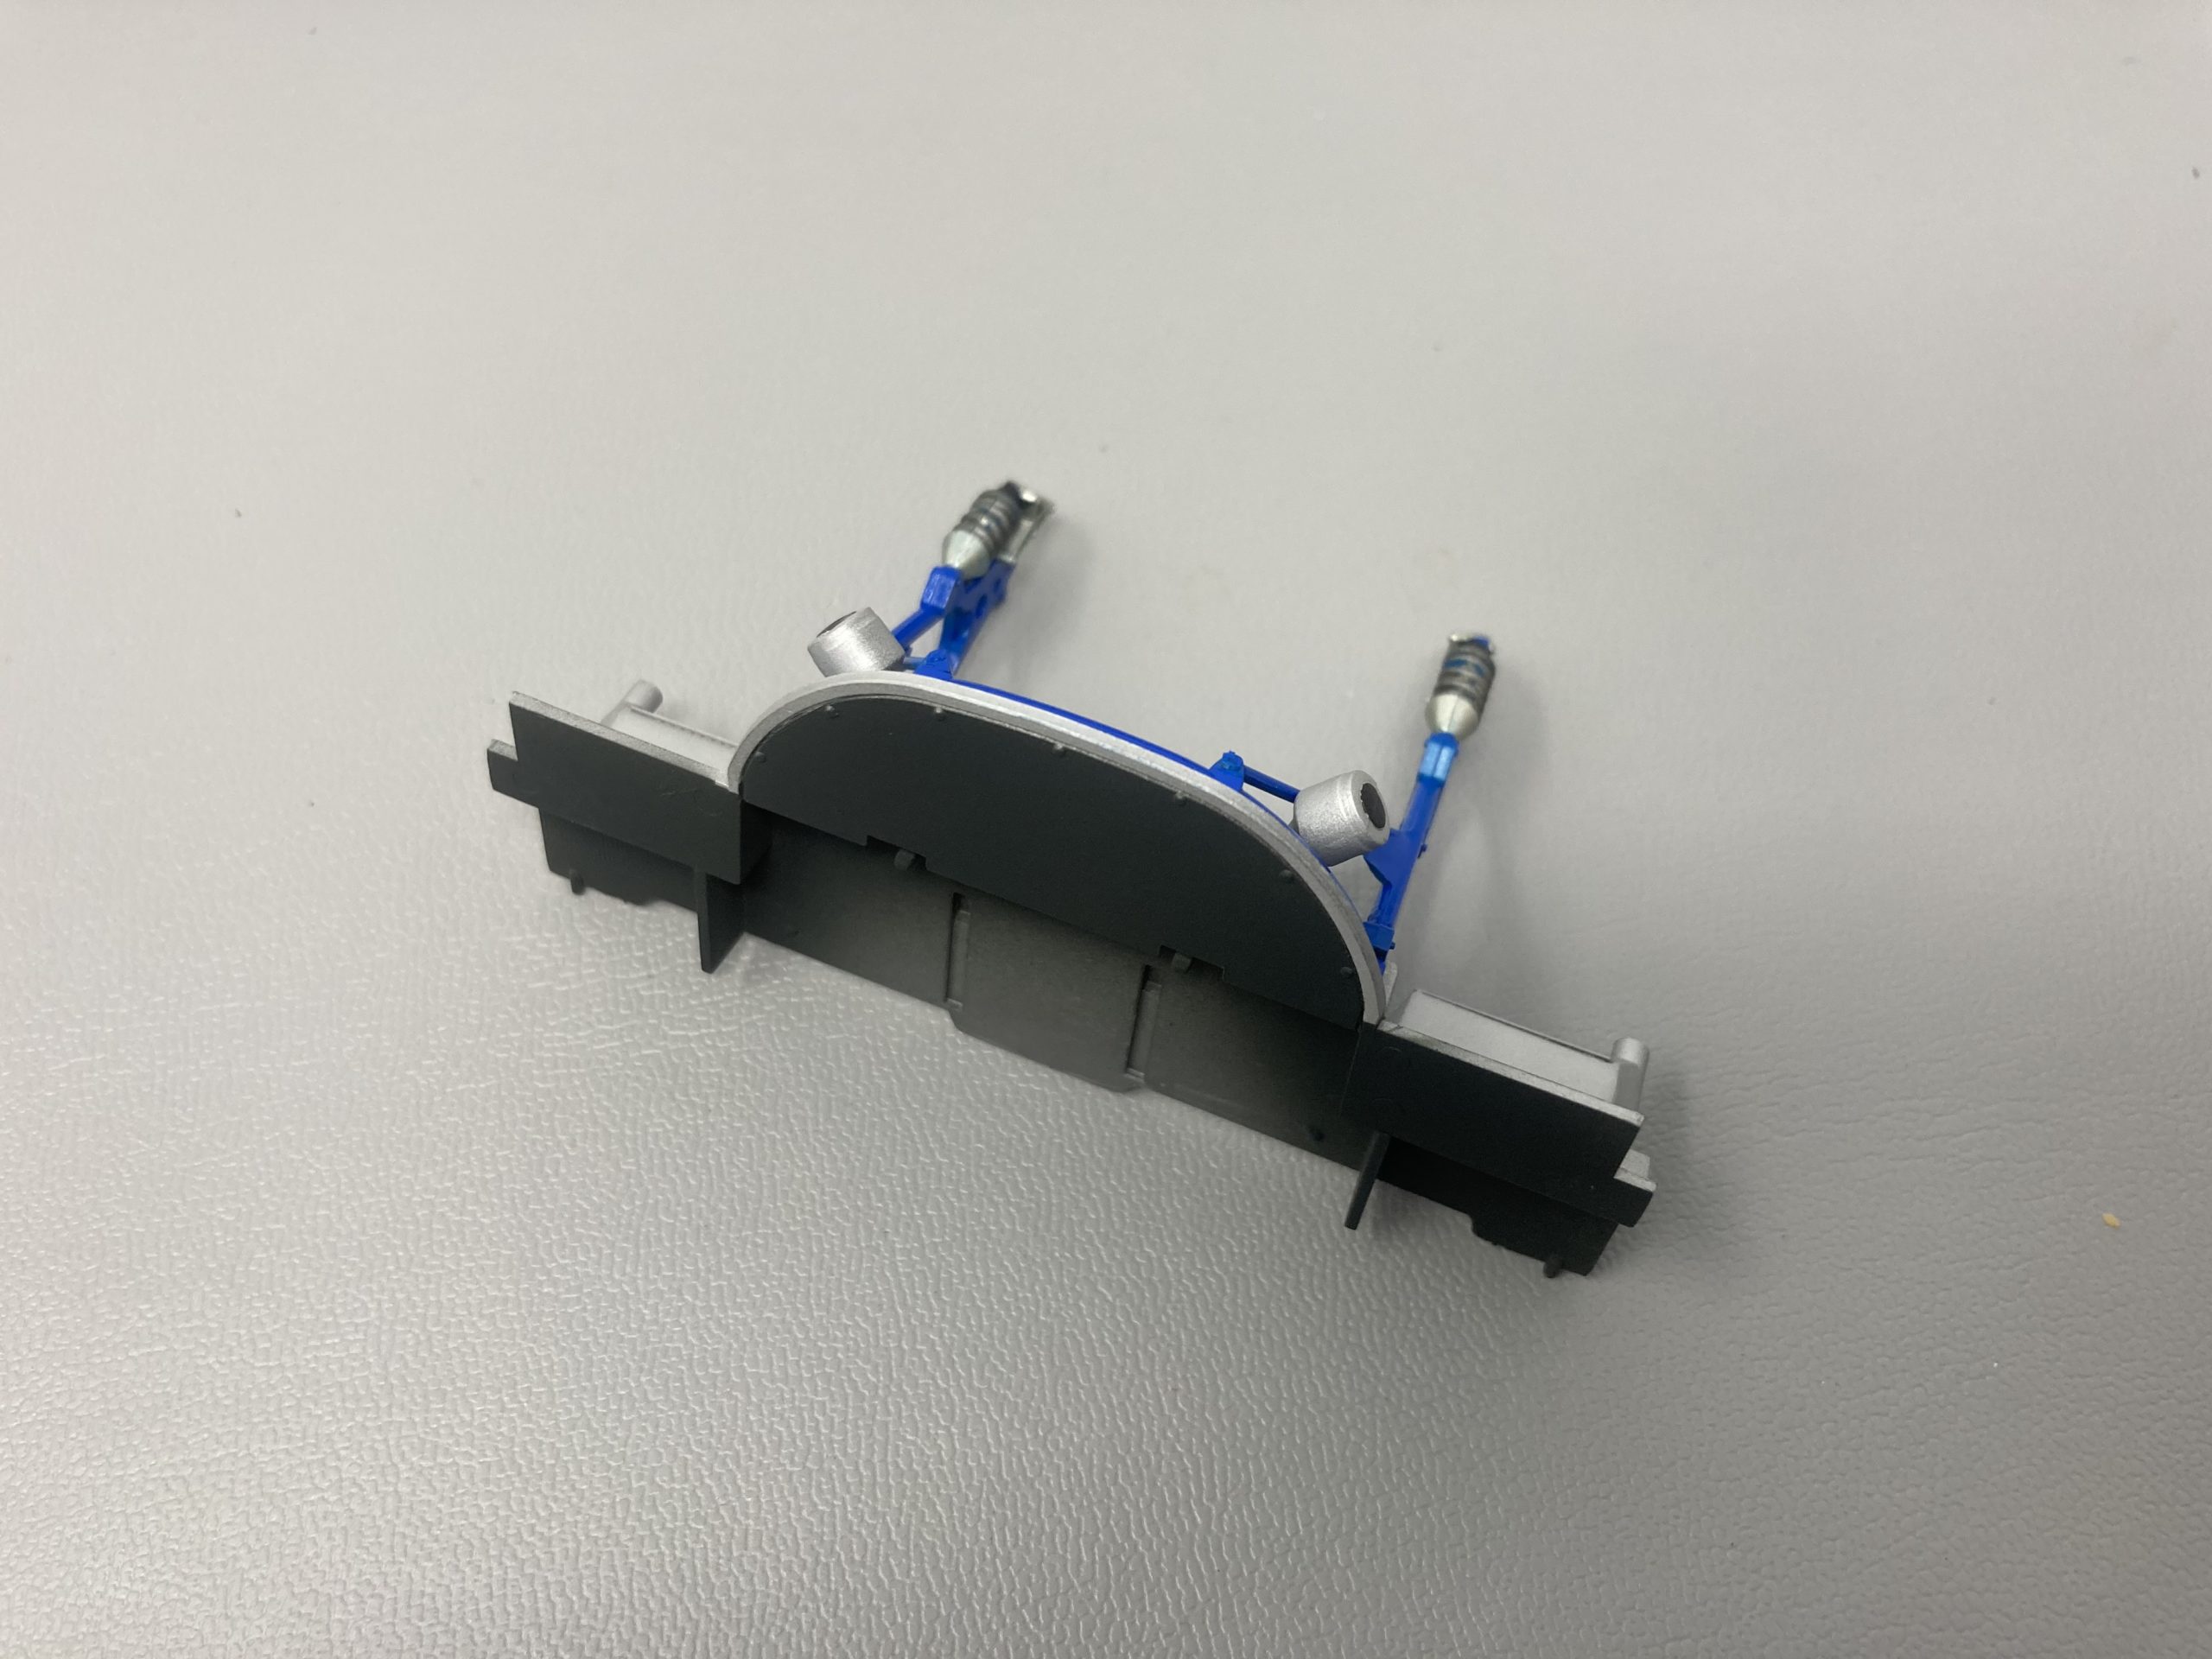
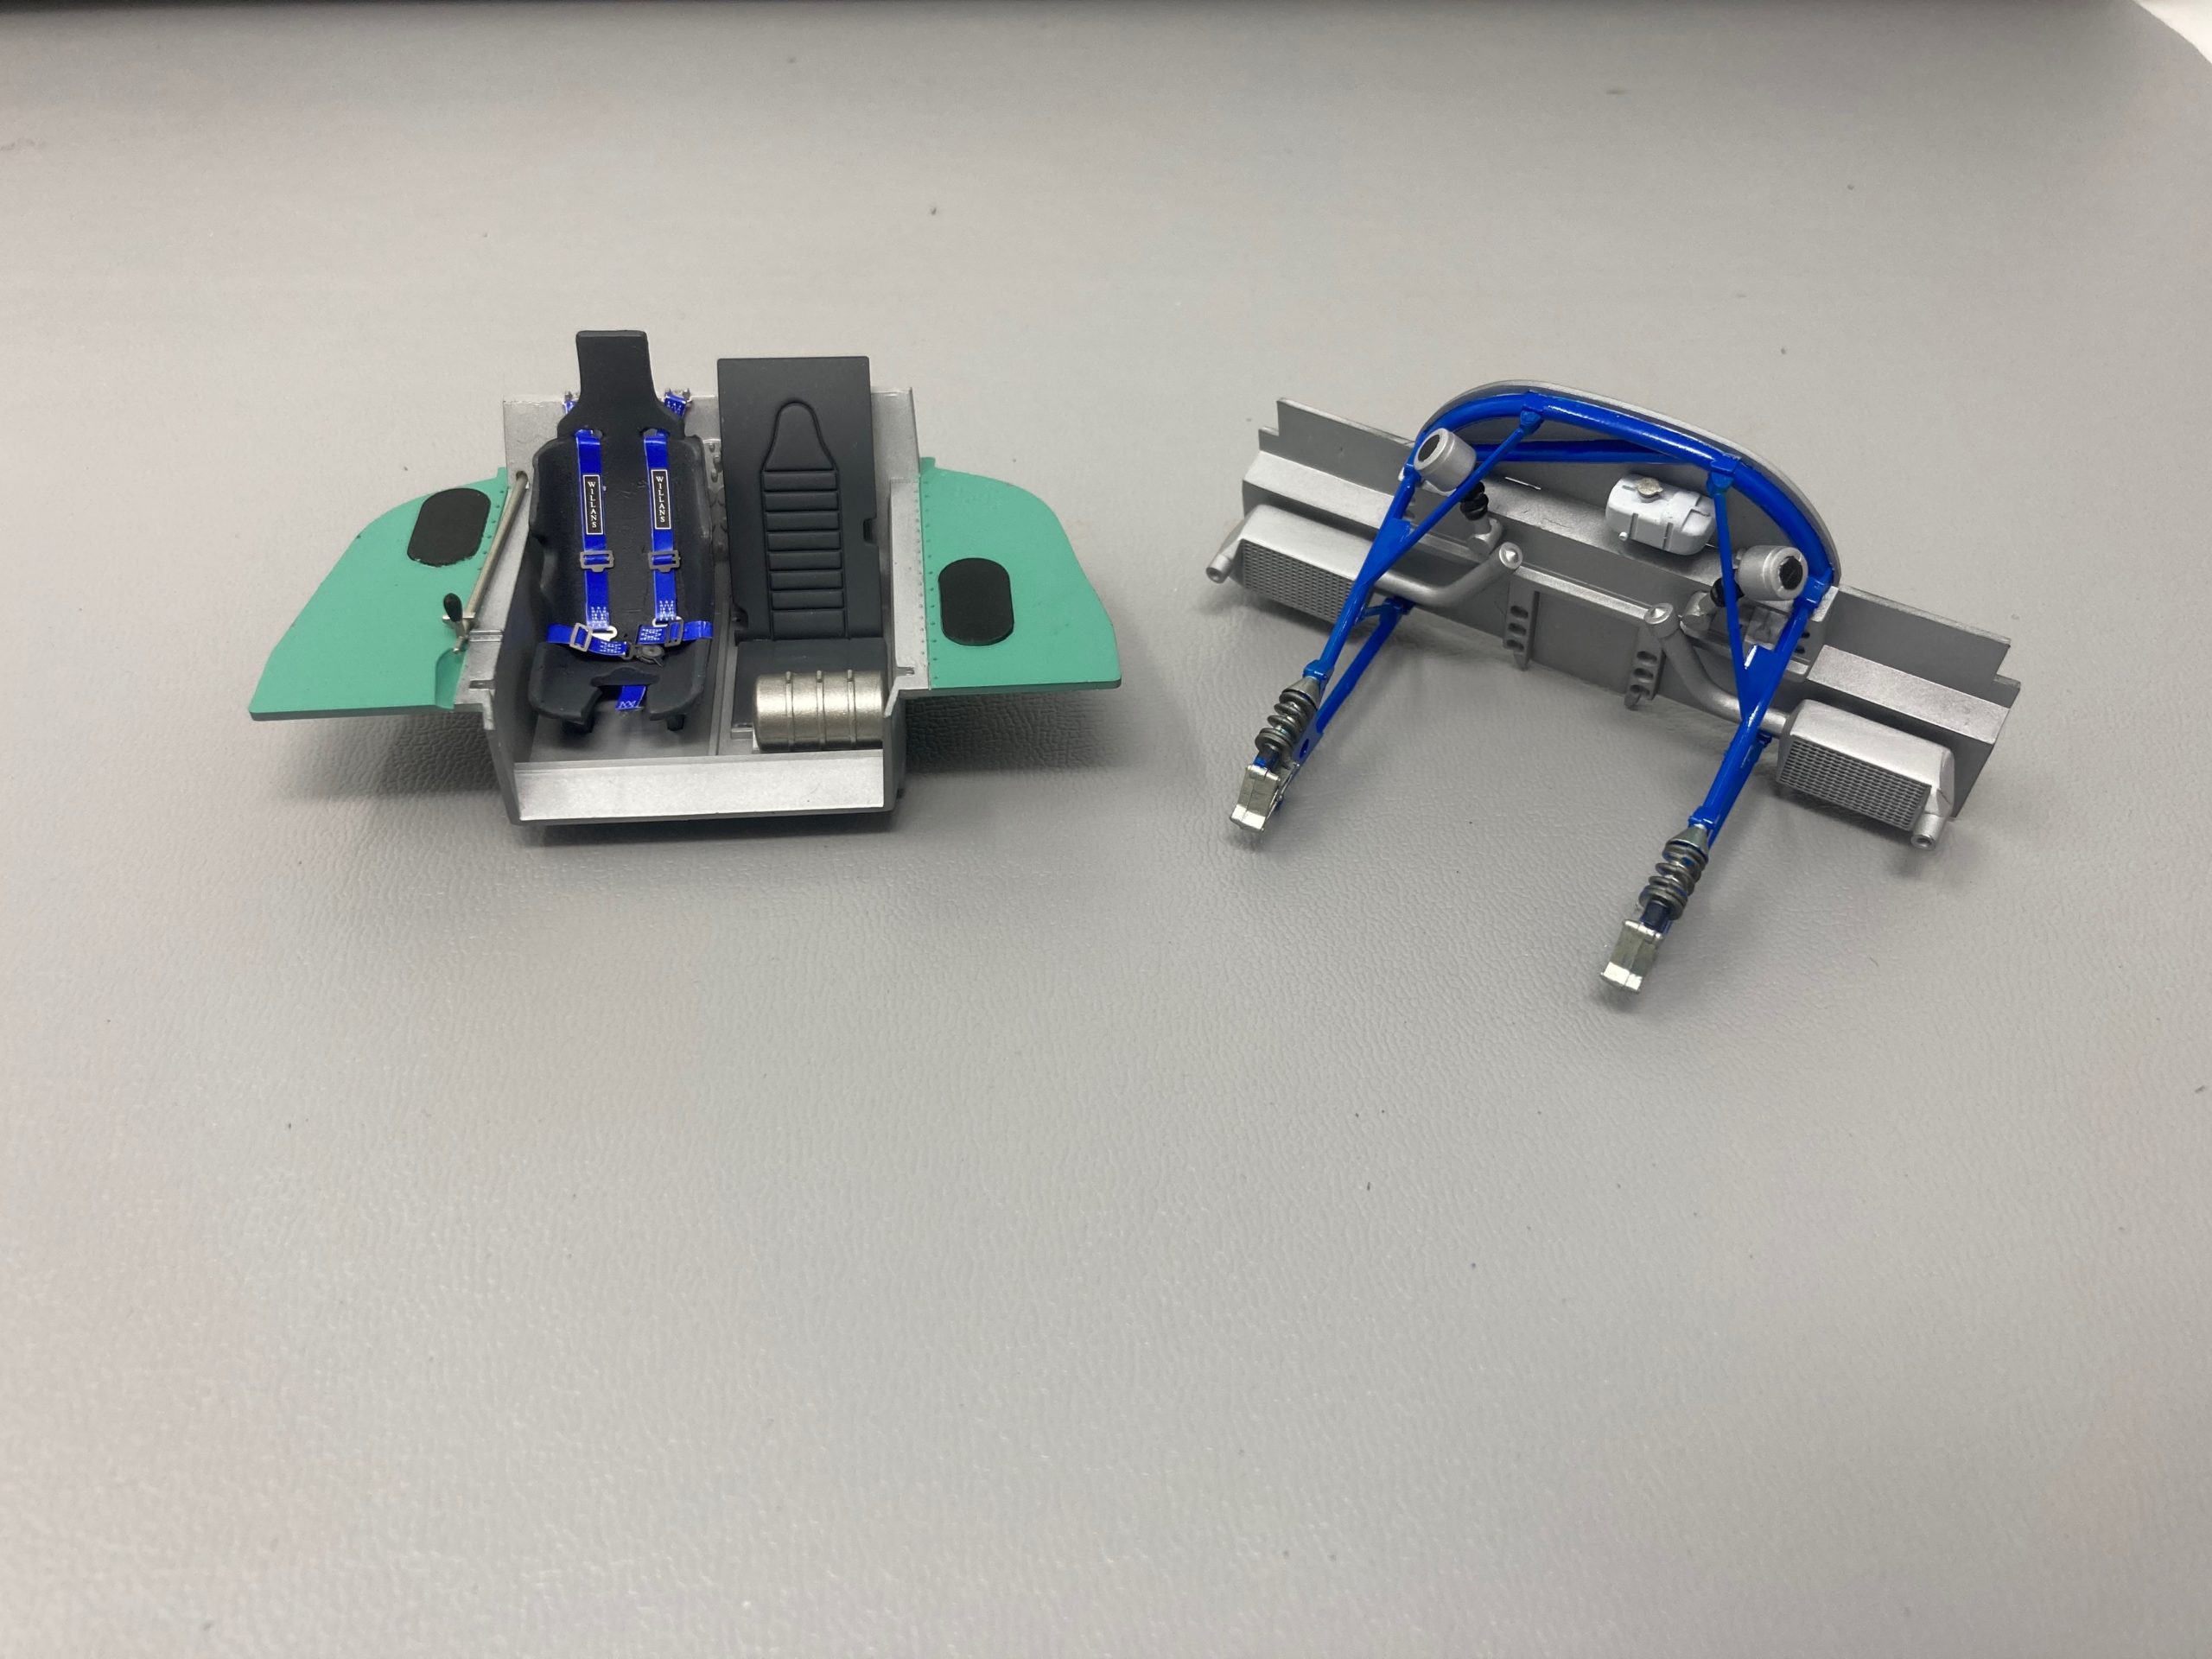
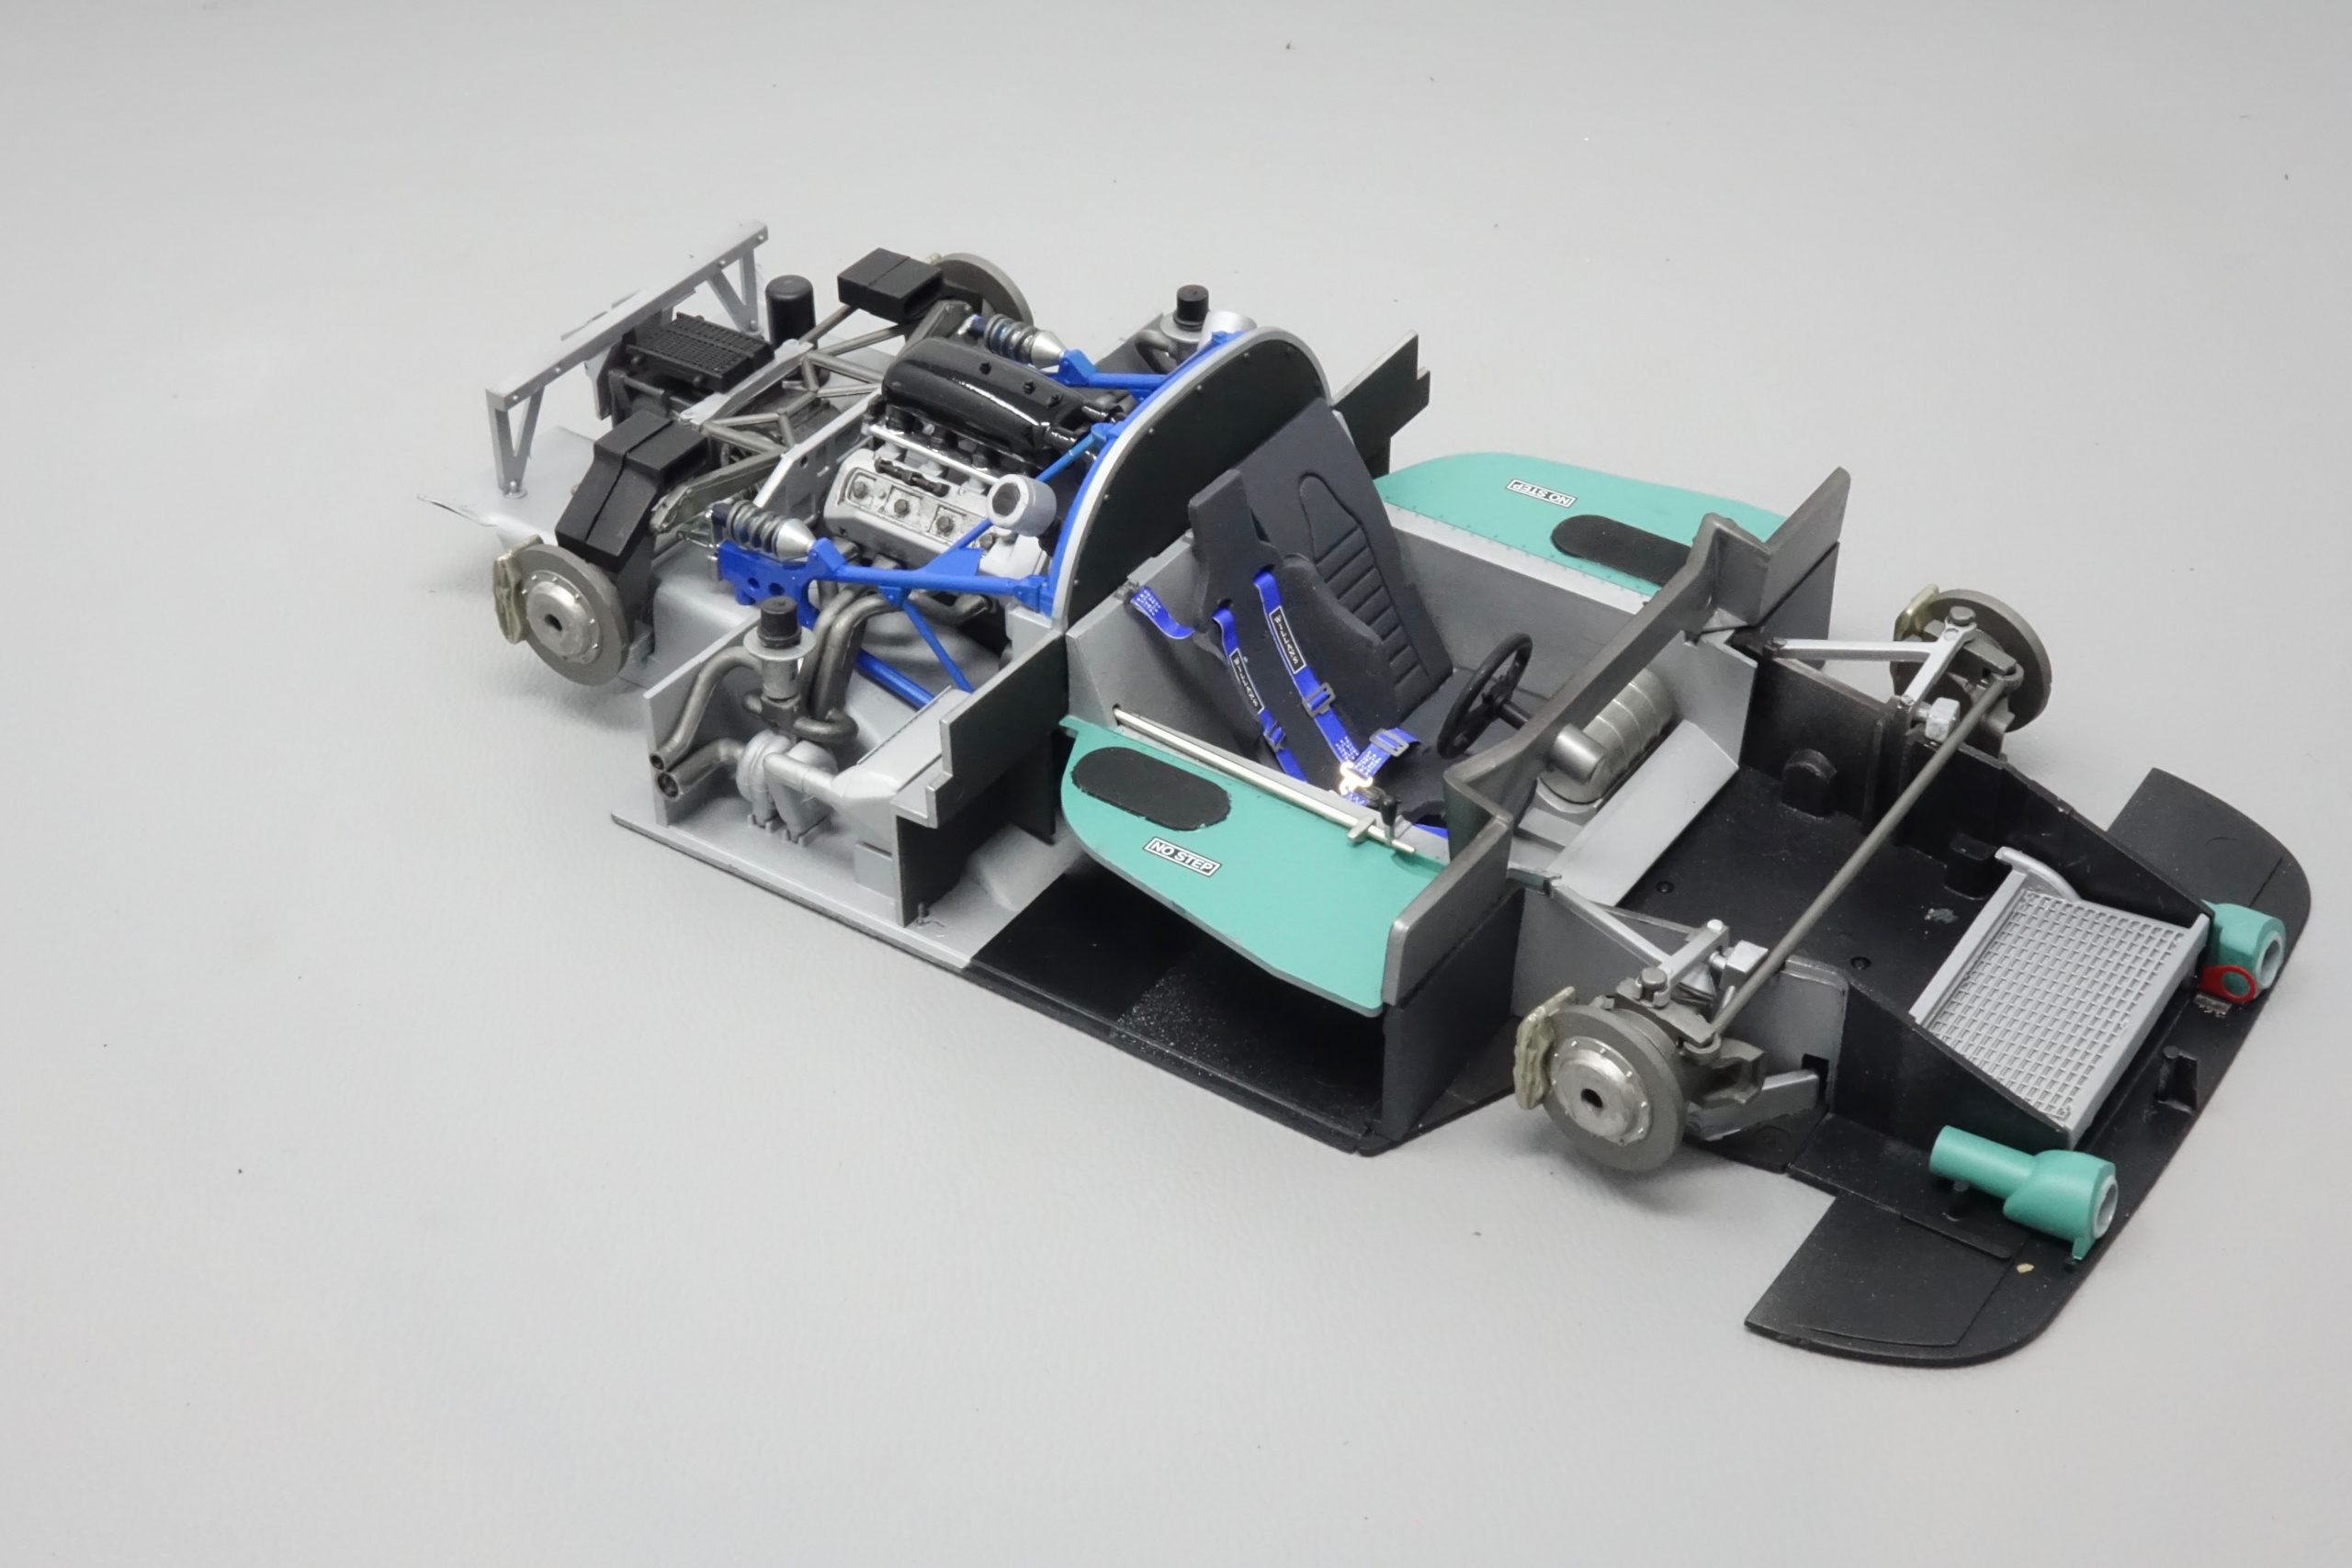
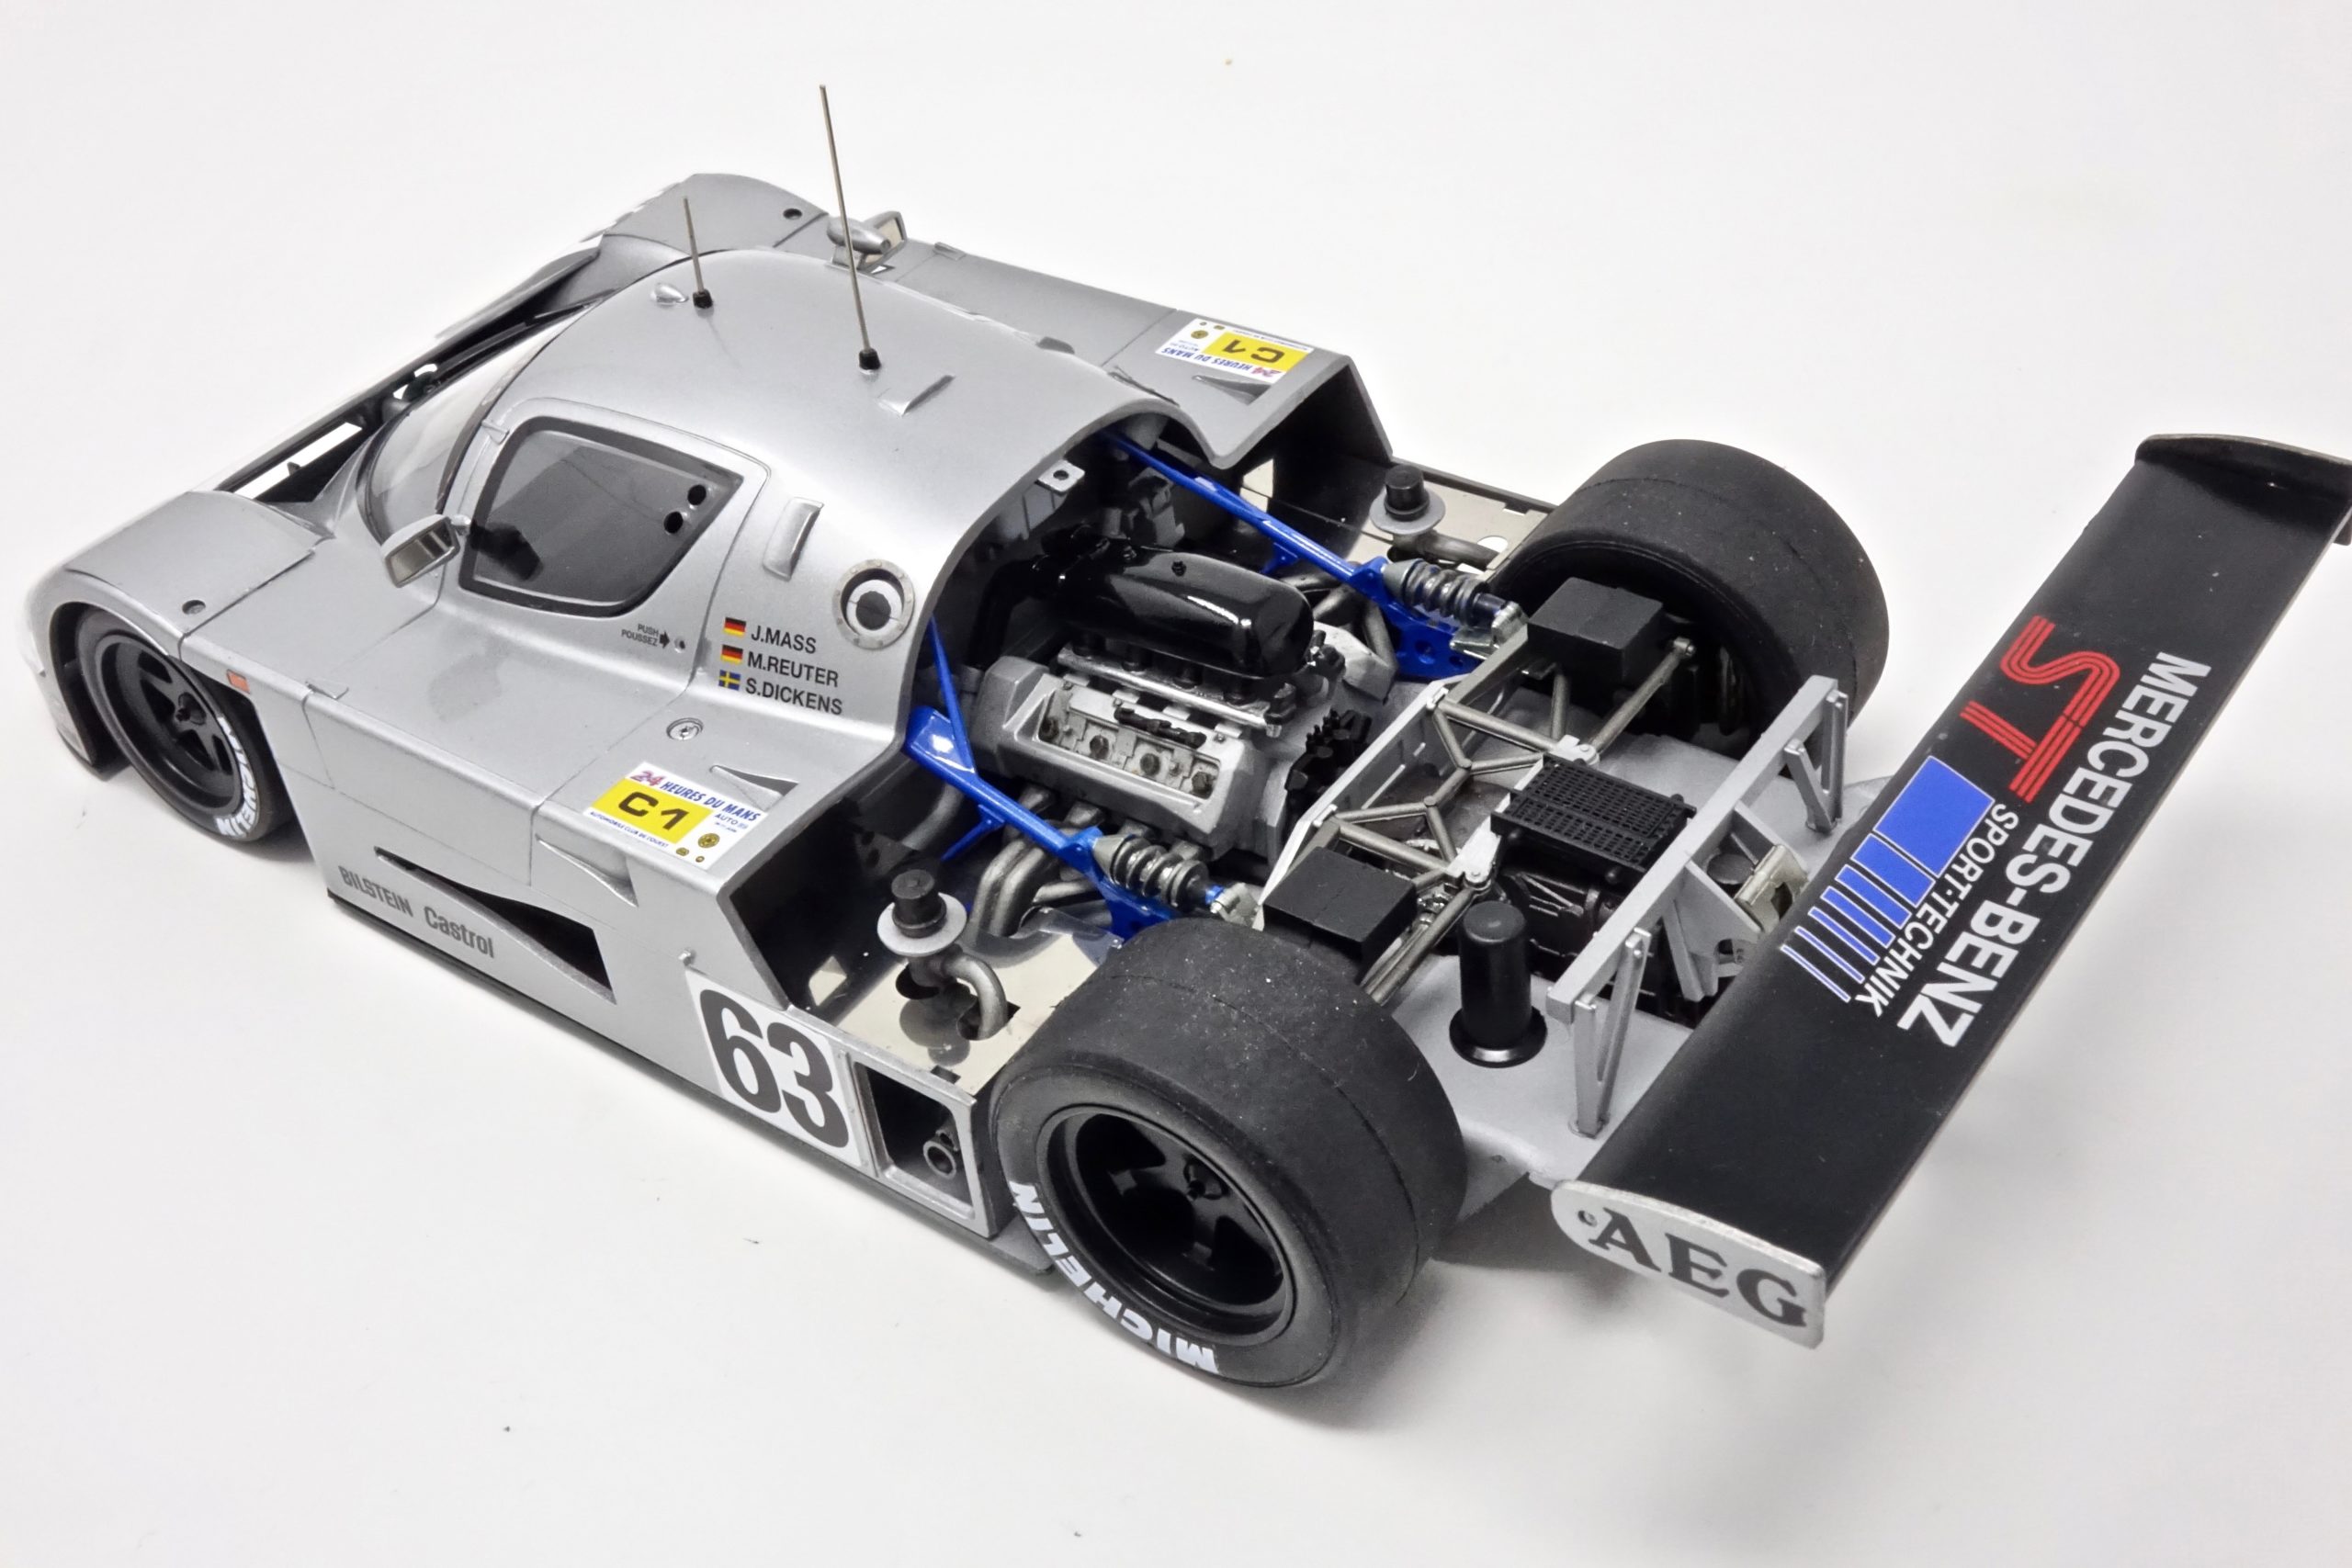
Rear frame/suspension
This was a little more challenging – in the masking up of the rear bulkhead for the blue tubular chassis mouldings, the flat black inner panel and the aluminium main part. Quite fiddly really – but I was in a rush which probably made it trickier than it actually was.
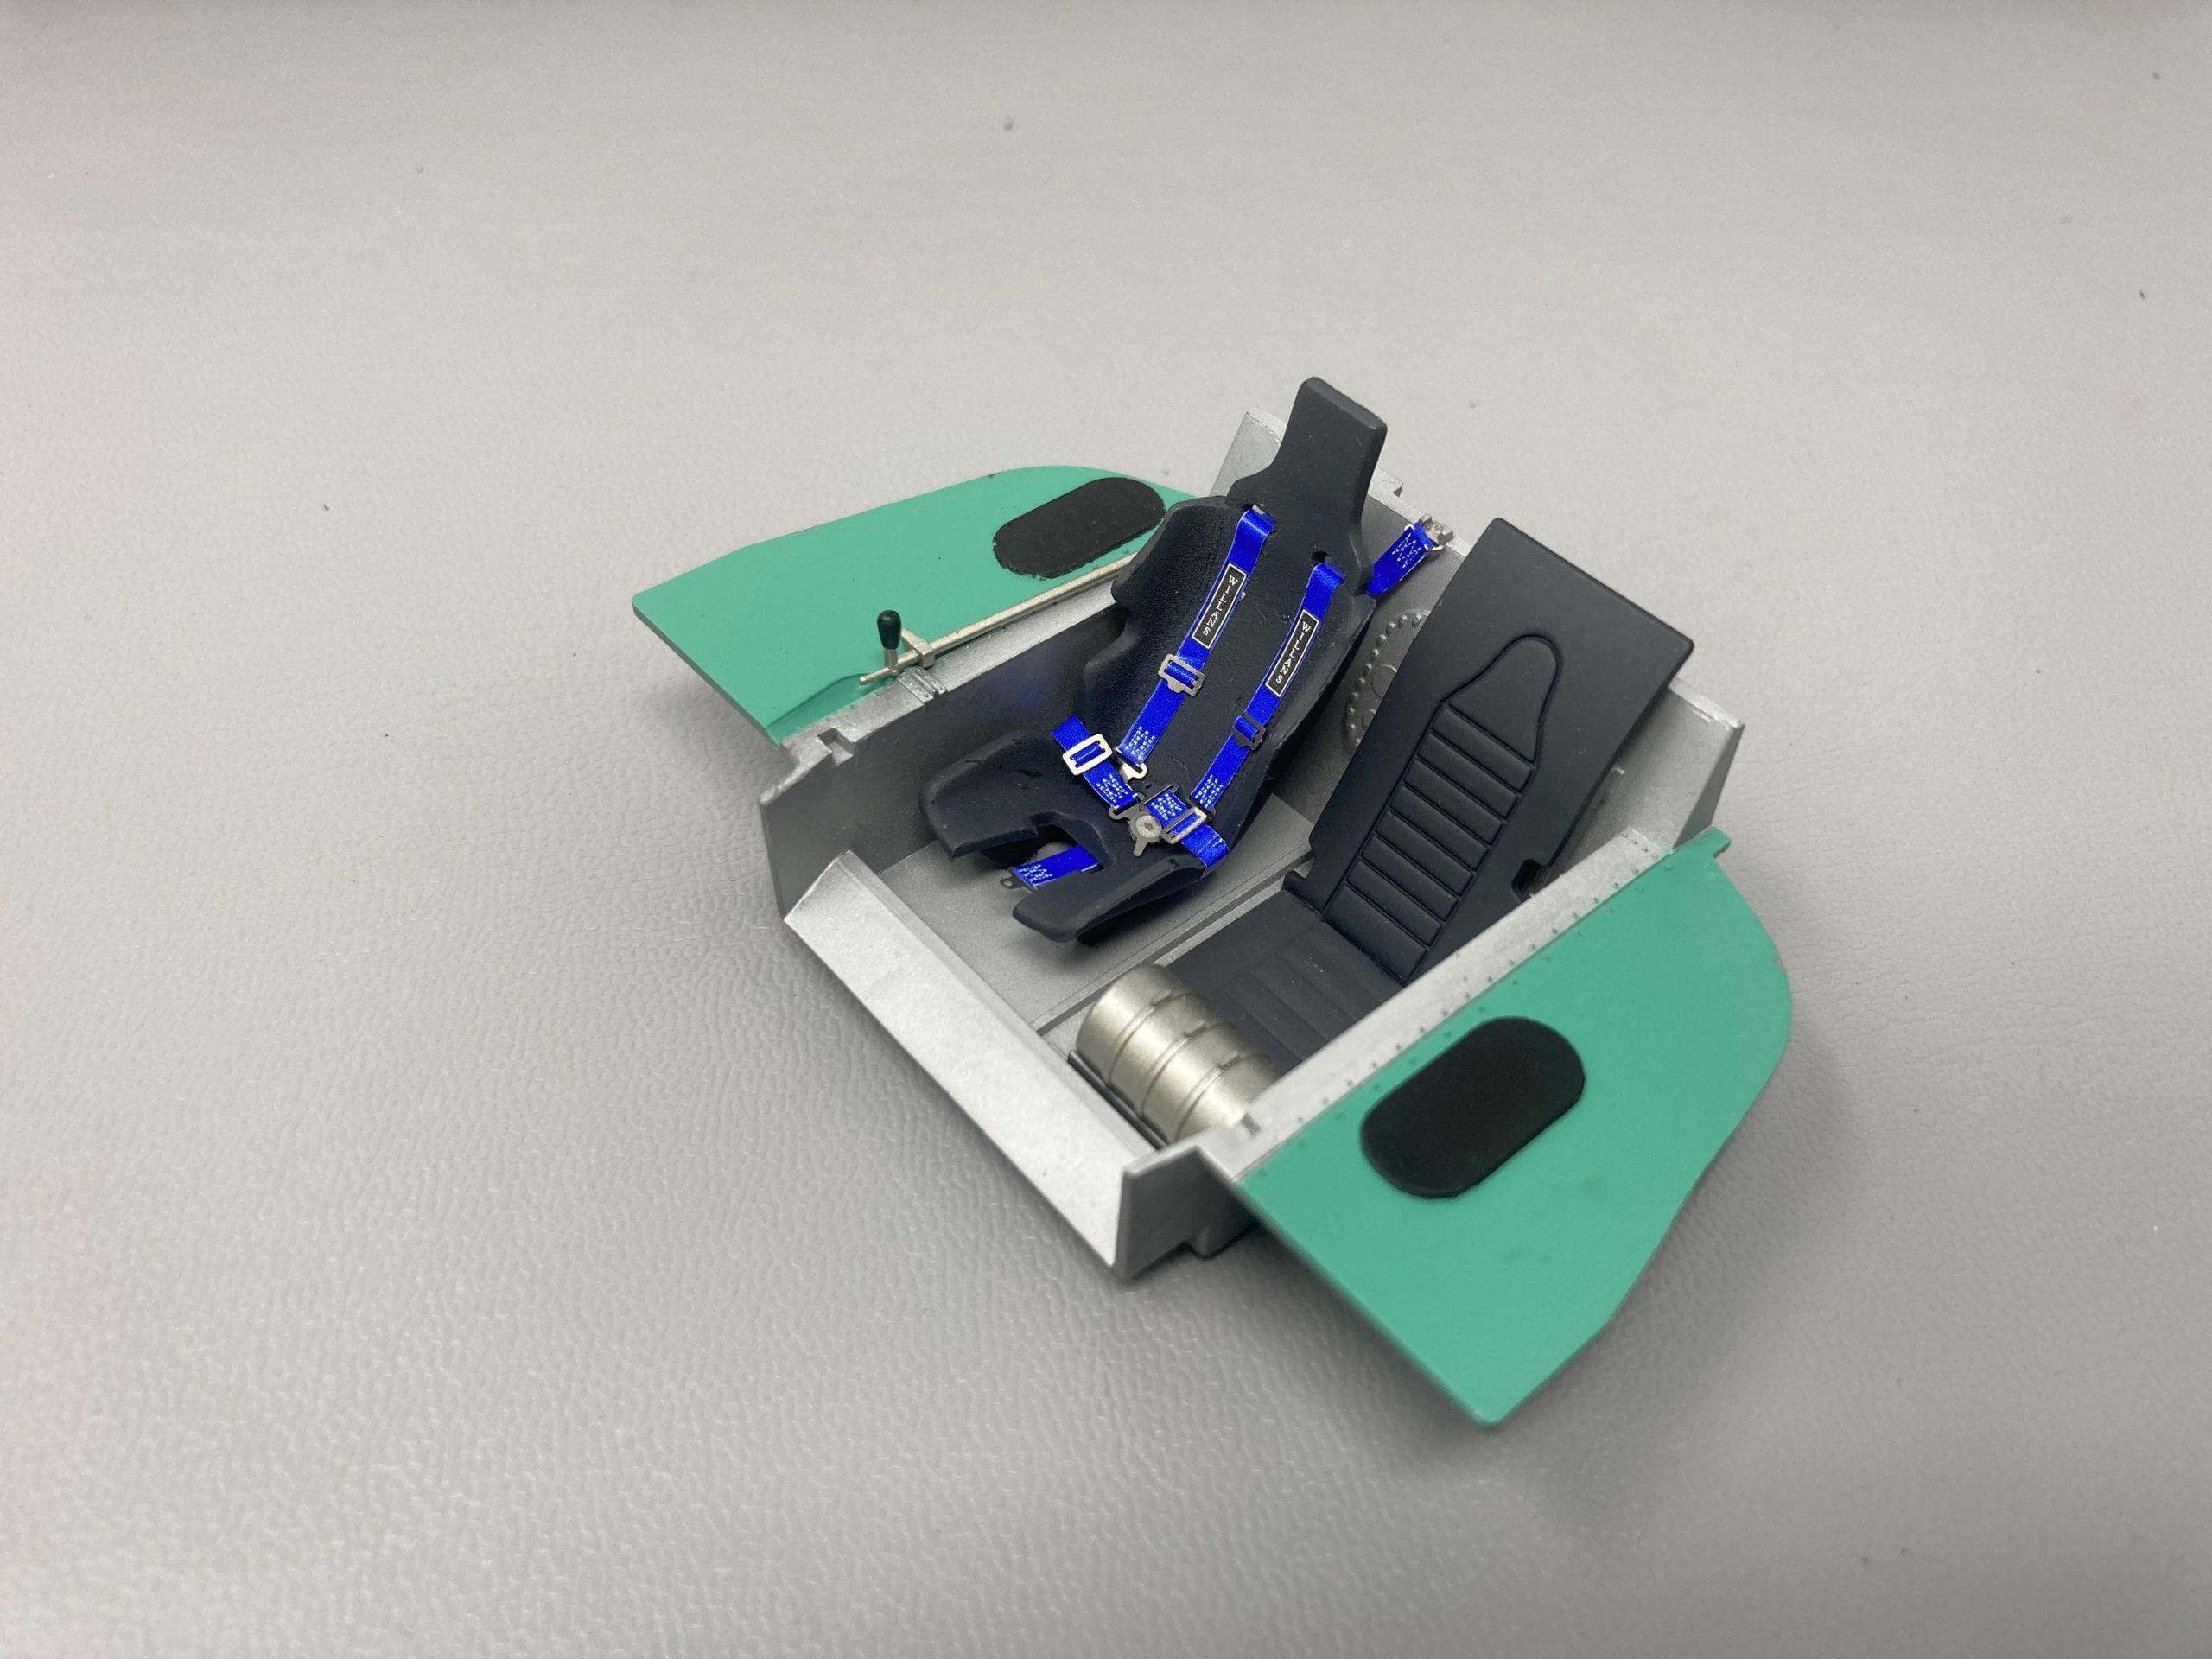
Interior/seat/seatbelts
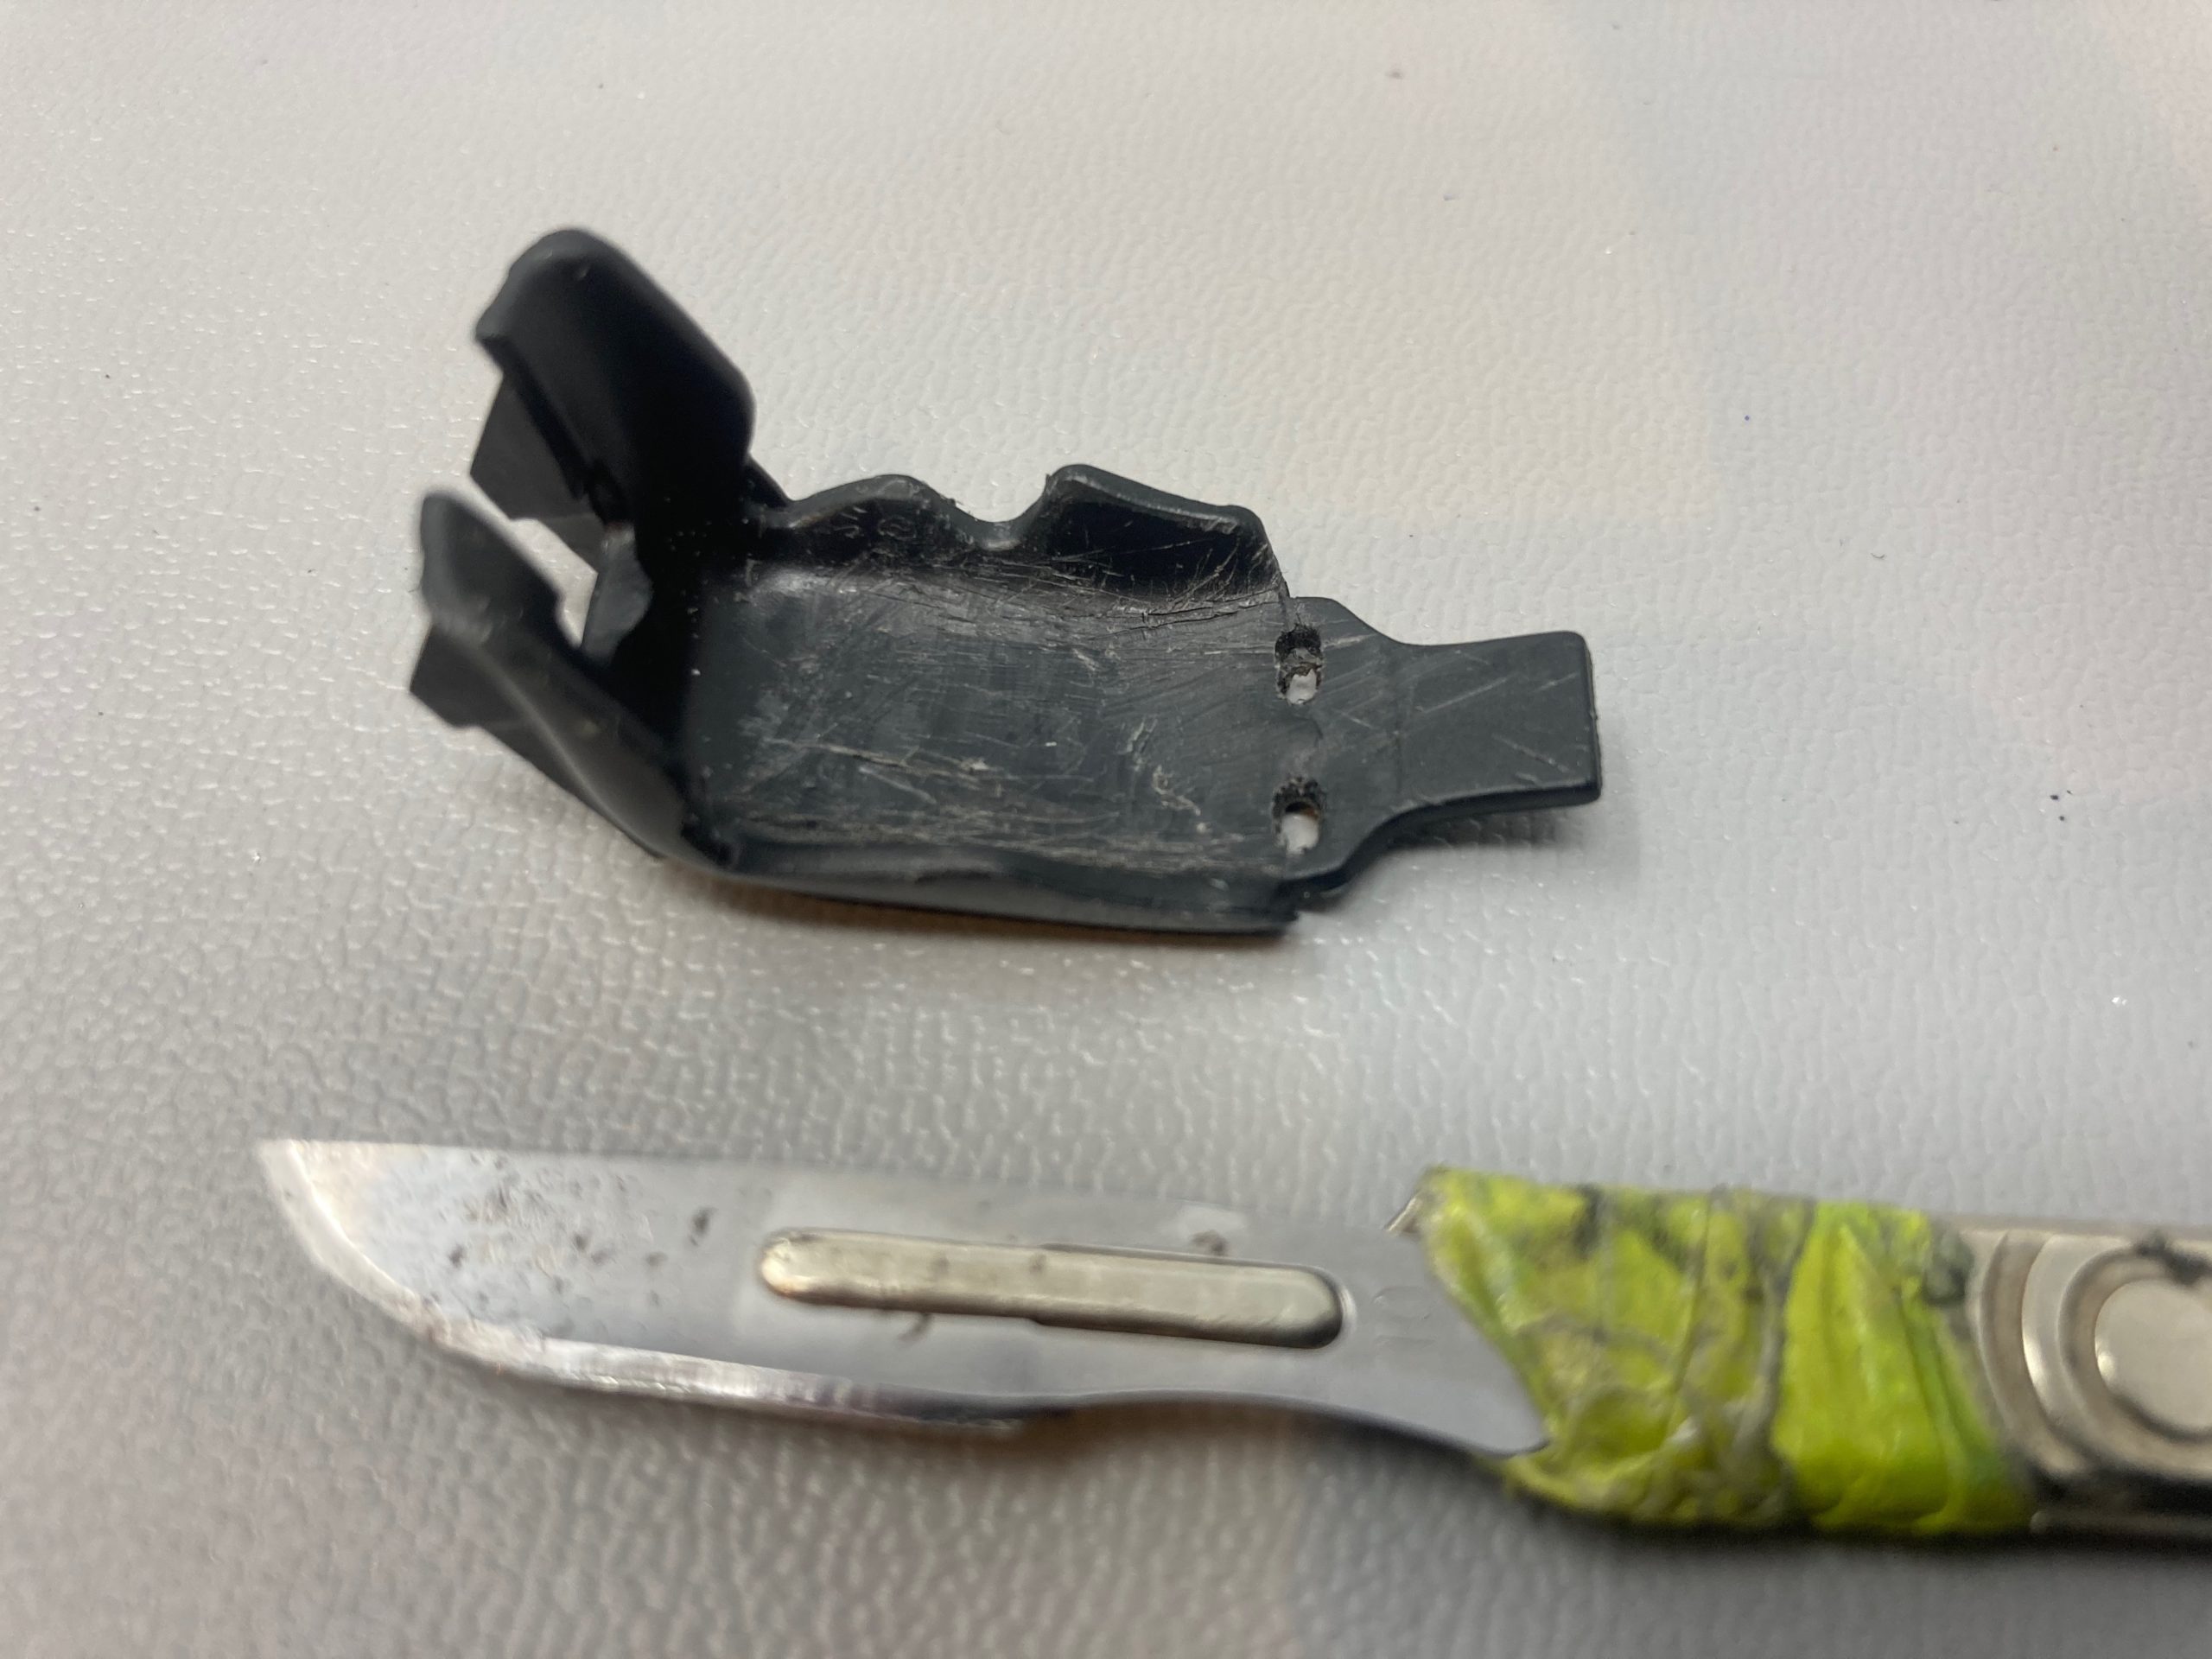
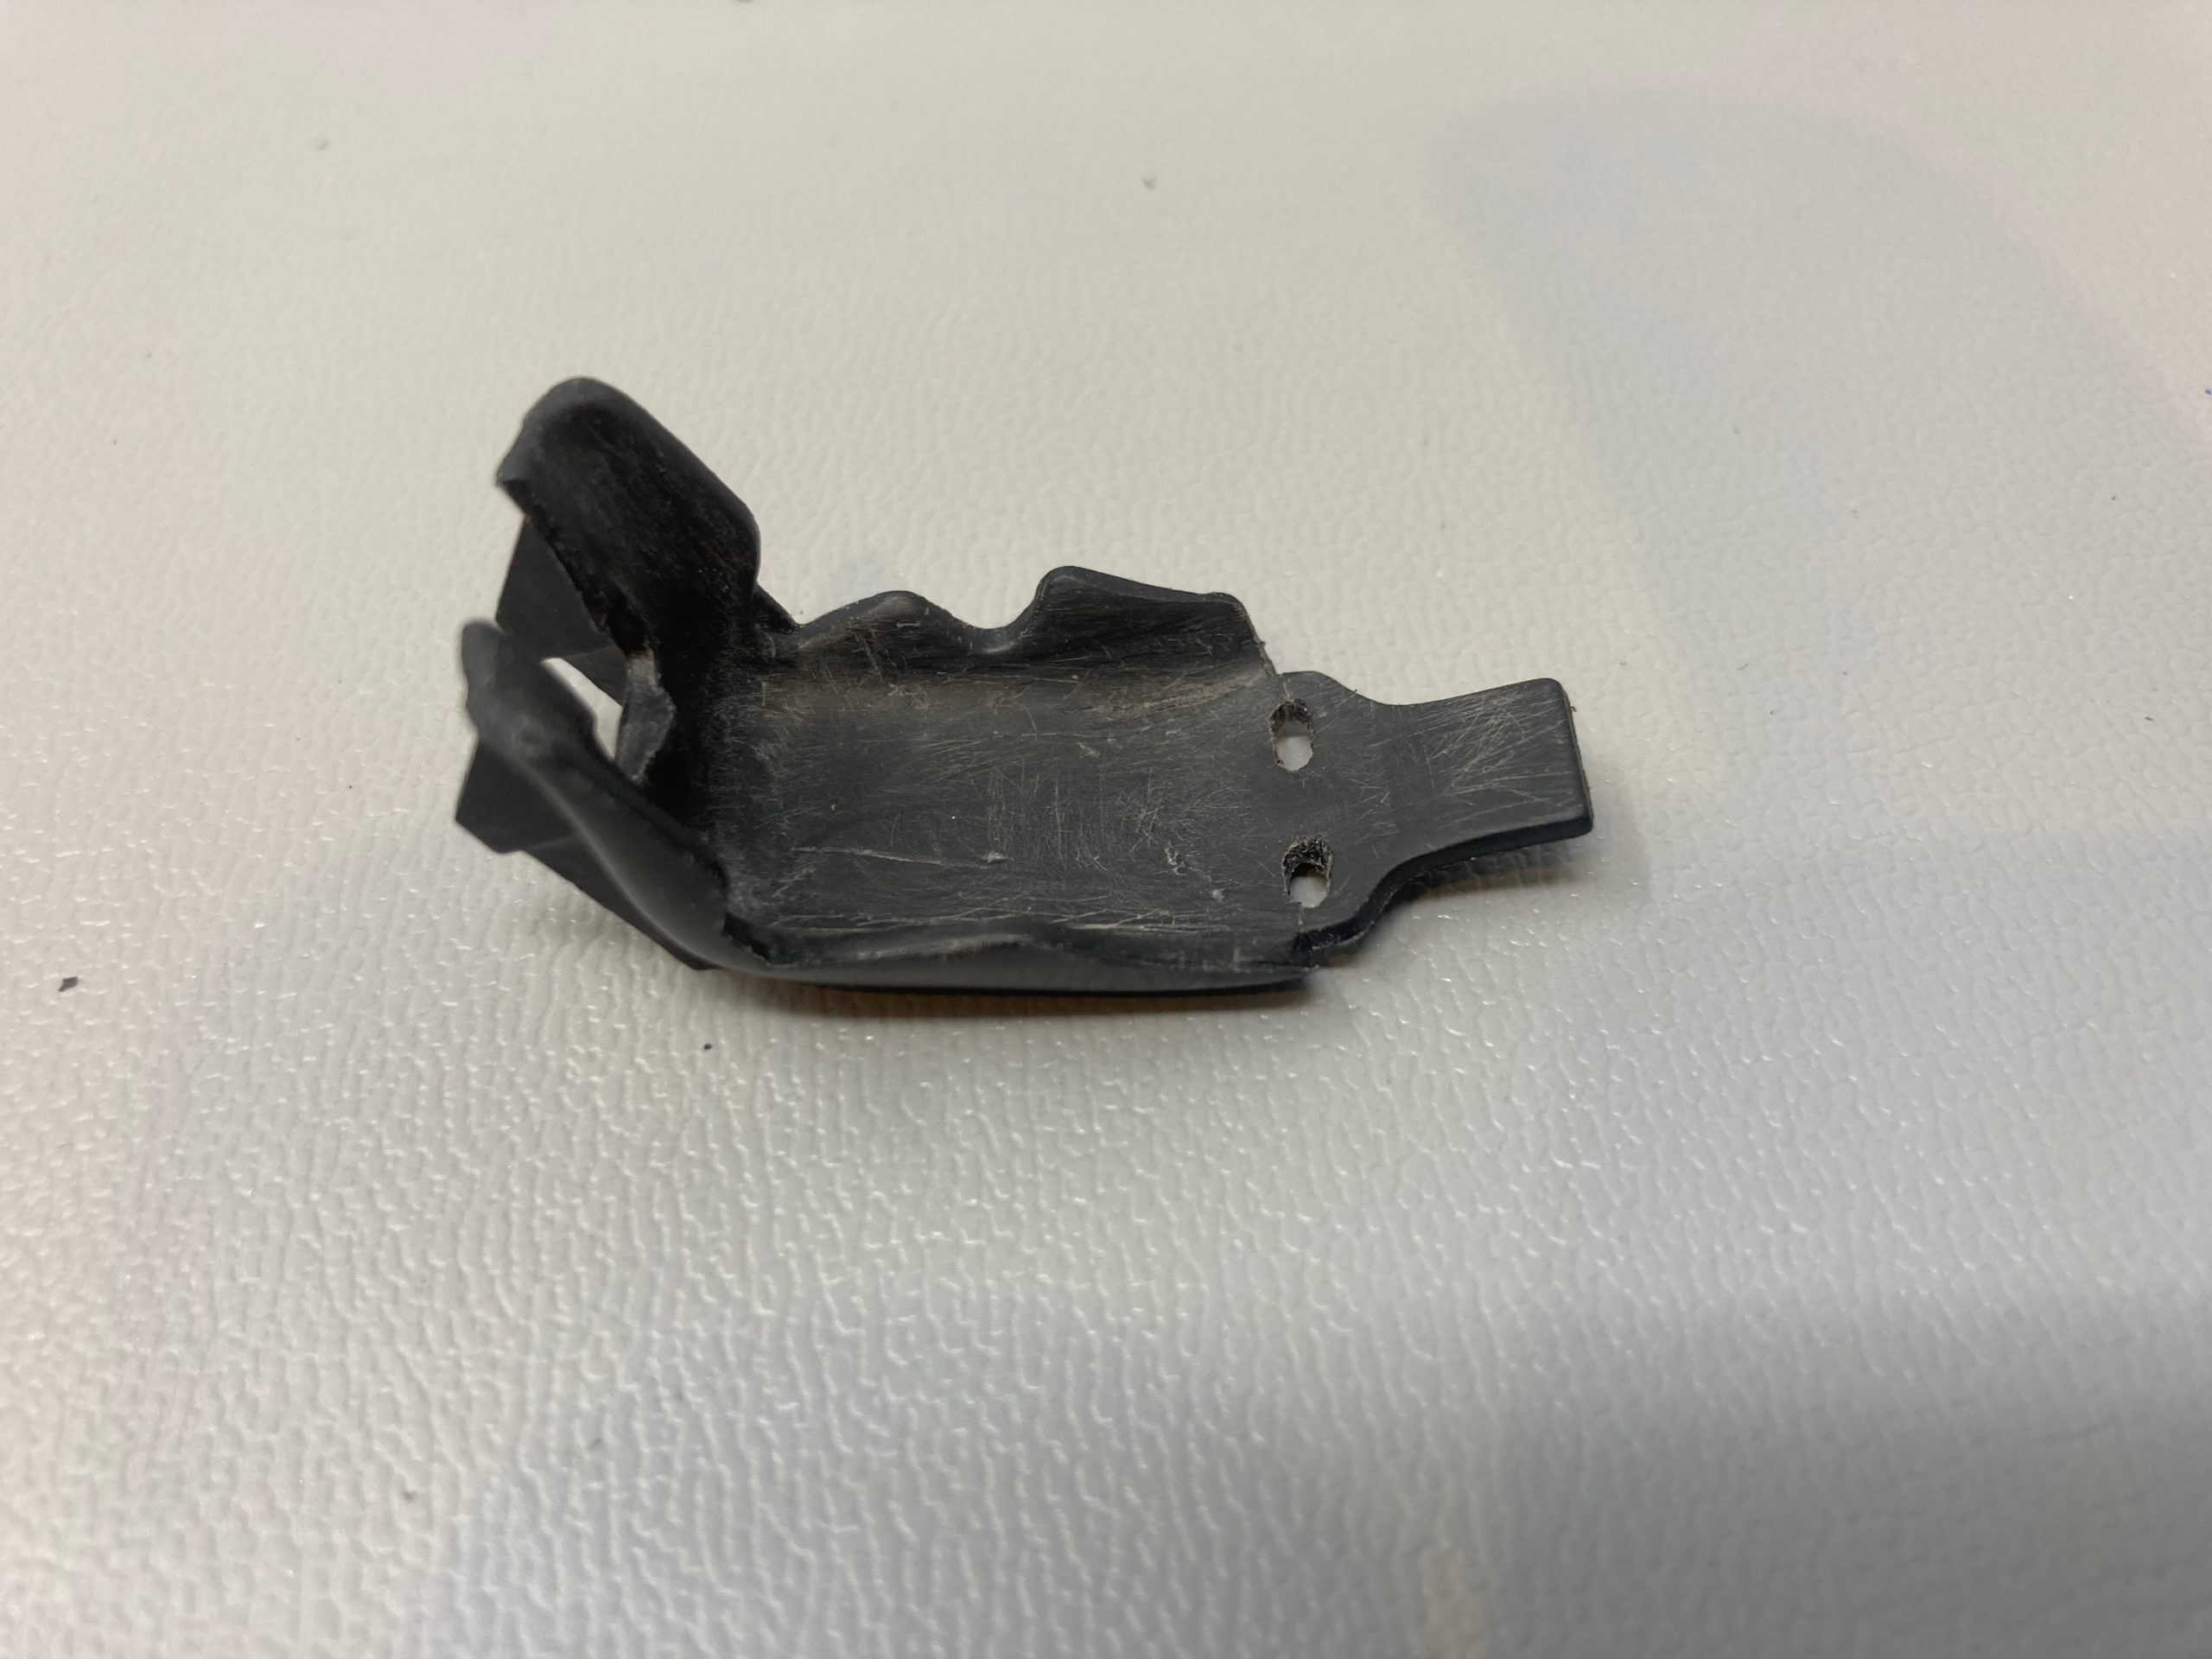
Seatbelts first. This was one of the places where the ‘old’ moulding hadn’t been updated in the kit. The seat had moulded seat belt parts on it (I’ve tried to show in the photo). In the instructions it simply says ‘cut off pre-moulded seat belt parts’. At first I looked and thought “Really?” But, I did – armed with a scalpel I shaved off the mouldings – (very difficult to get a blade in), scraped it, sanded it and eventually it became acceptable for the paint. I suppose it’s all part of model-making – but I’m so used to Tamiya being everything ‘ready to go’.

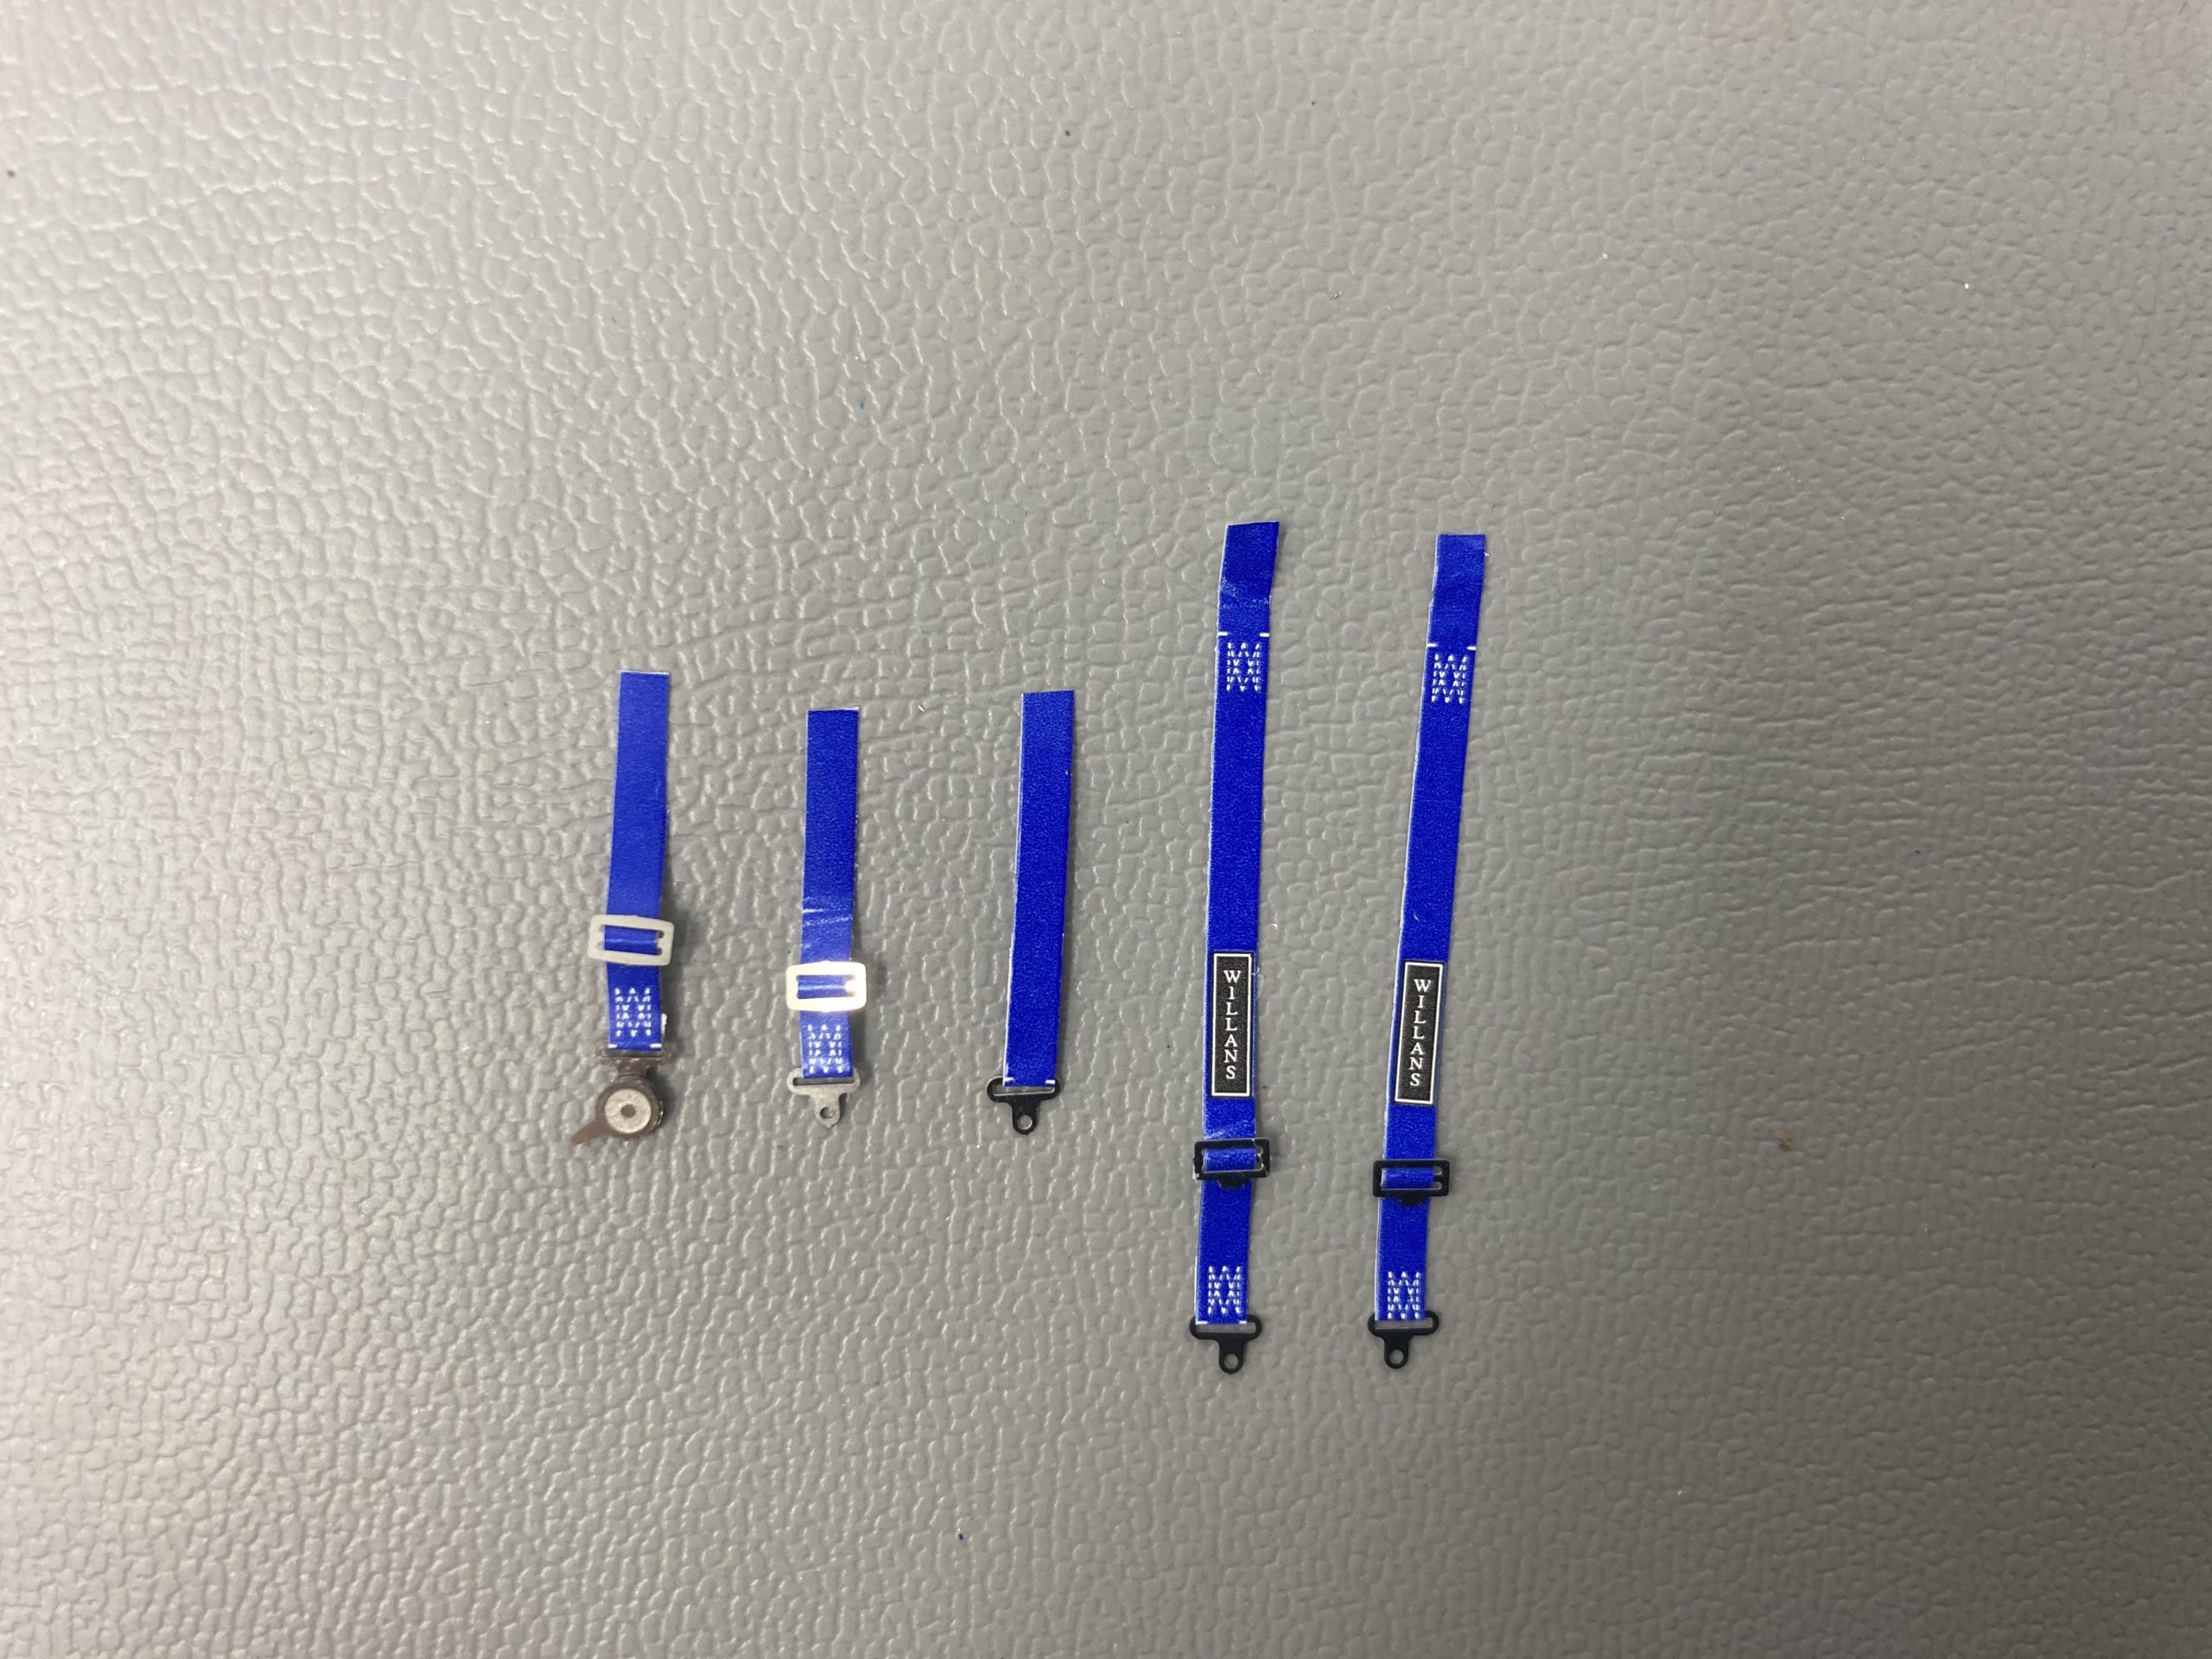
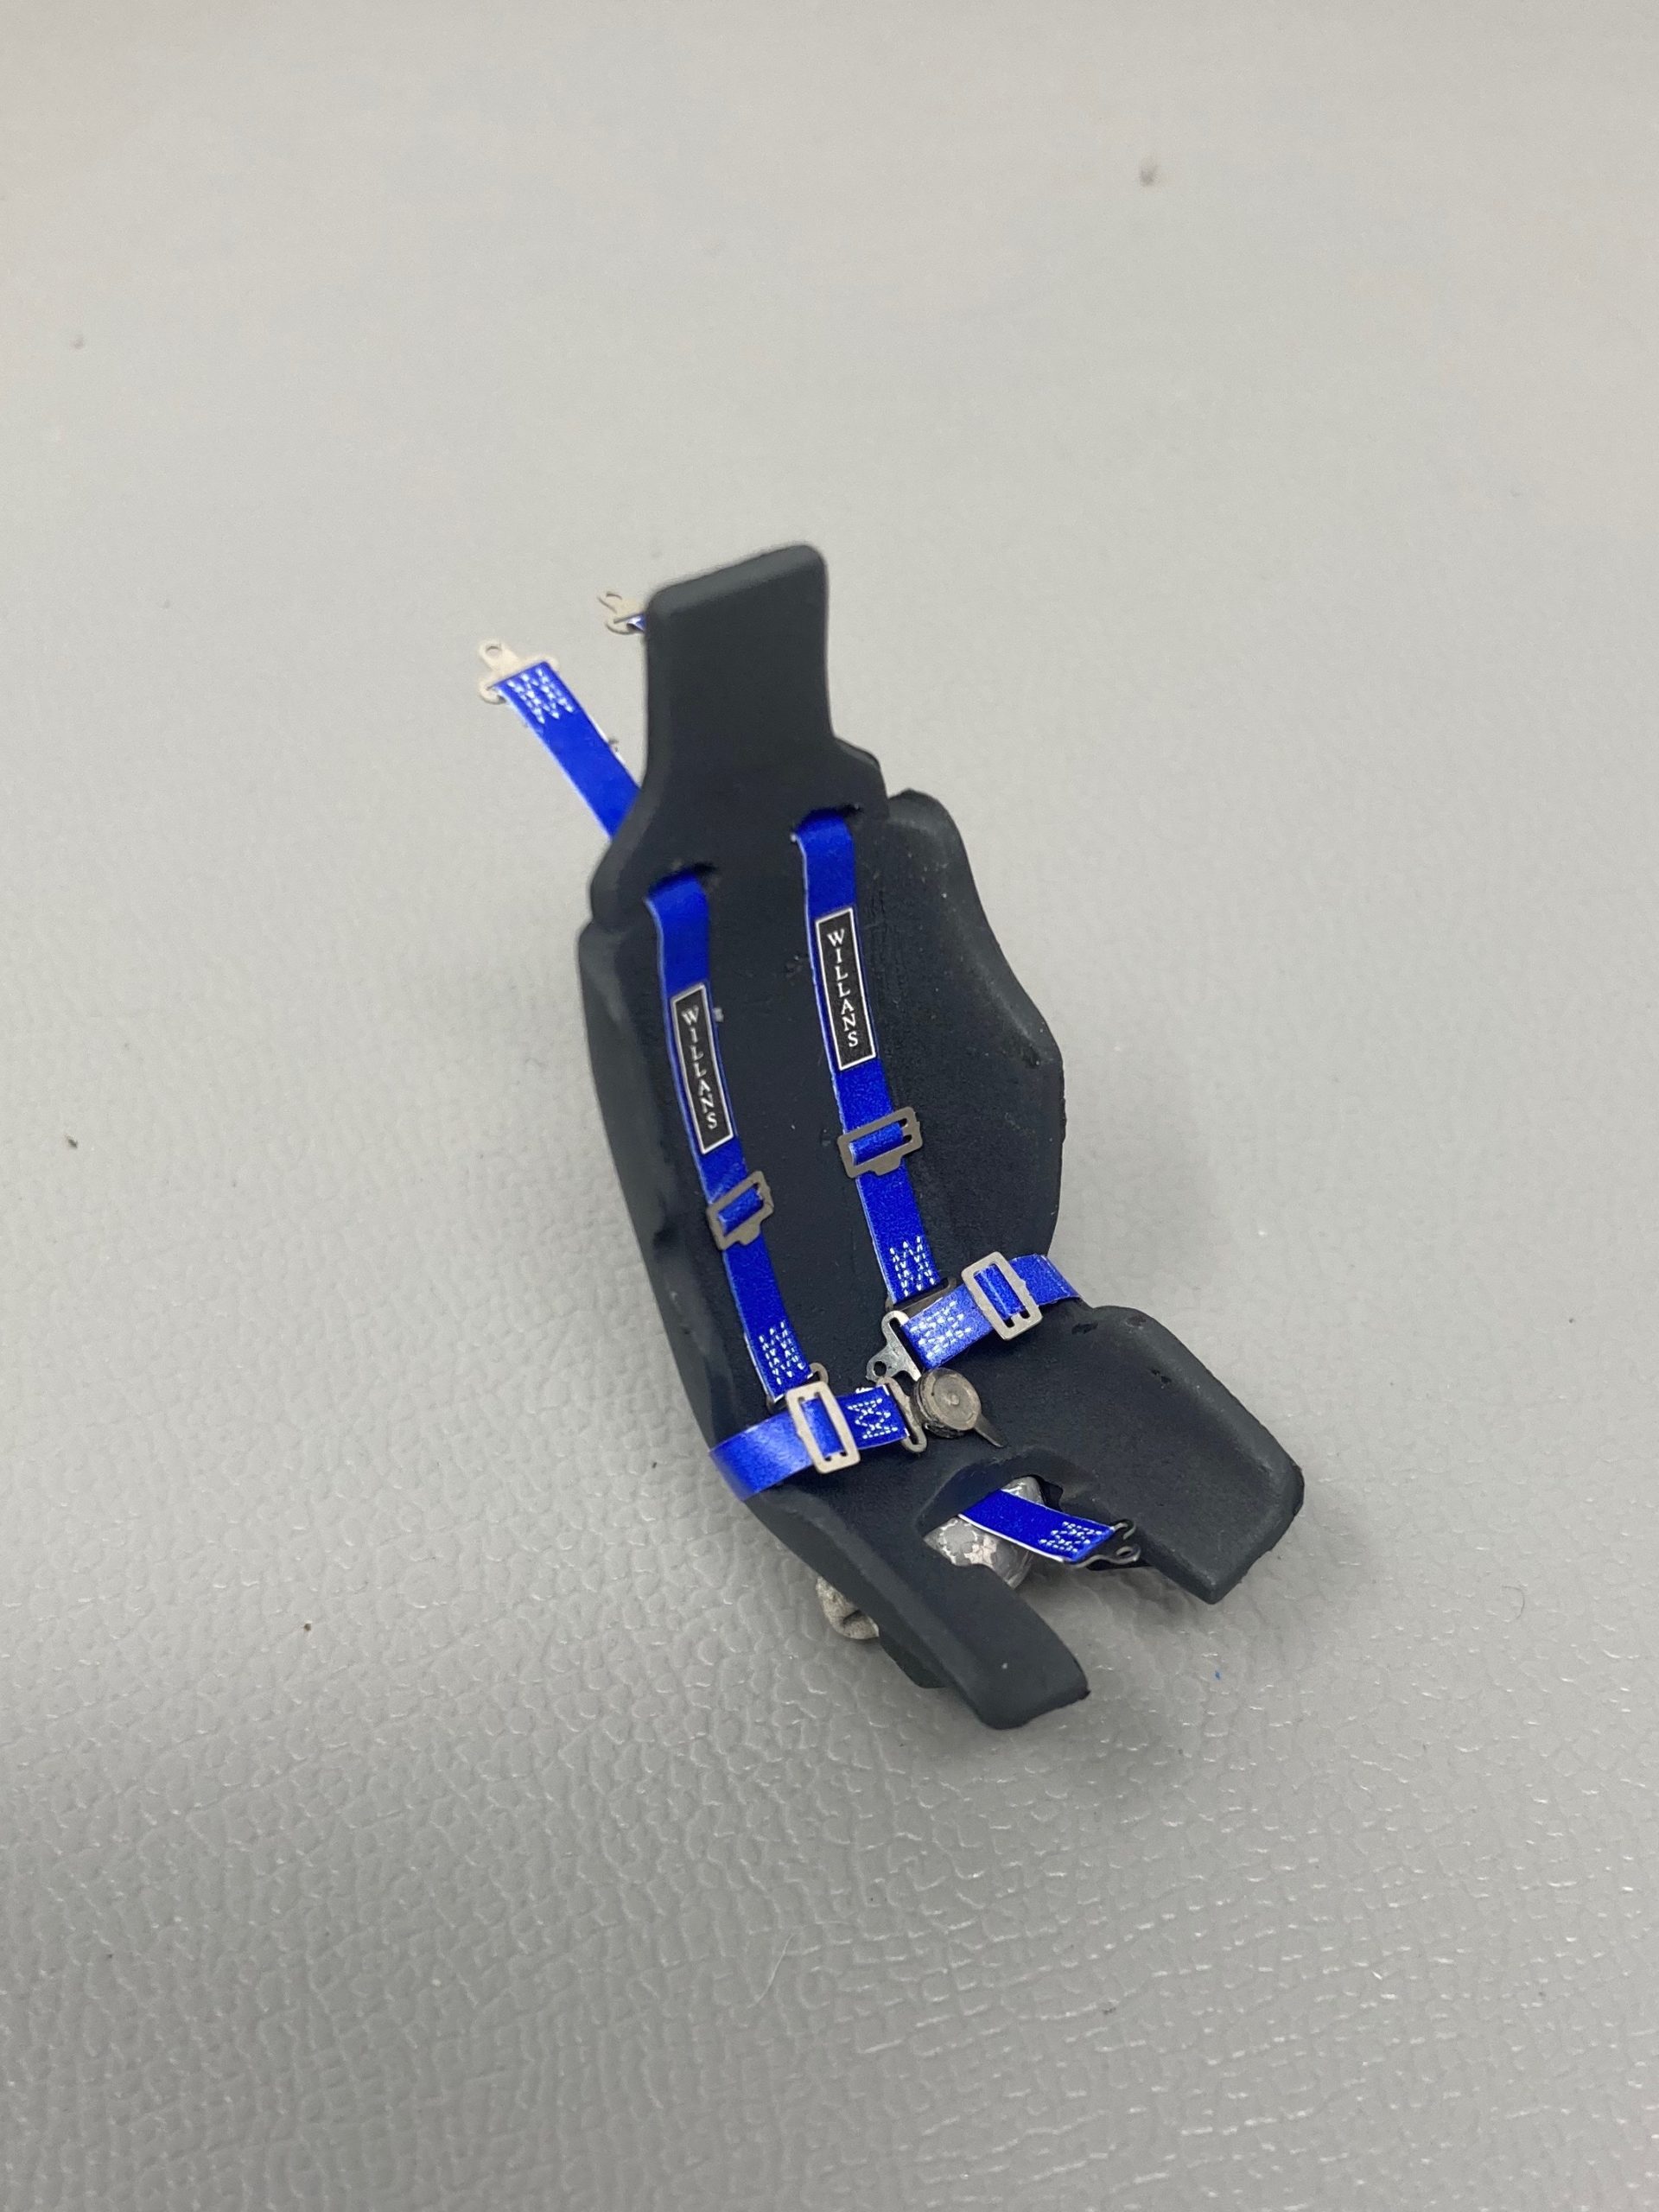
The seatbelts themselves come on a thin, self adhesive vinyl sheet and have to be cut out. The buckles and fasteners are photo etch parts. Everything worked fine here. I was a bit dubious about the final look of these belts, but they were ok – and in the final assembly disappear from view when the model is fully assembled. Maybe detail-up seat belts might be a way some modellers may wish to go?
The tub was masked and airbrushed, the dashboard had a couple of decals to add and a few switches got some tiny parts painted.
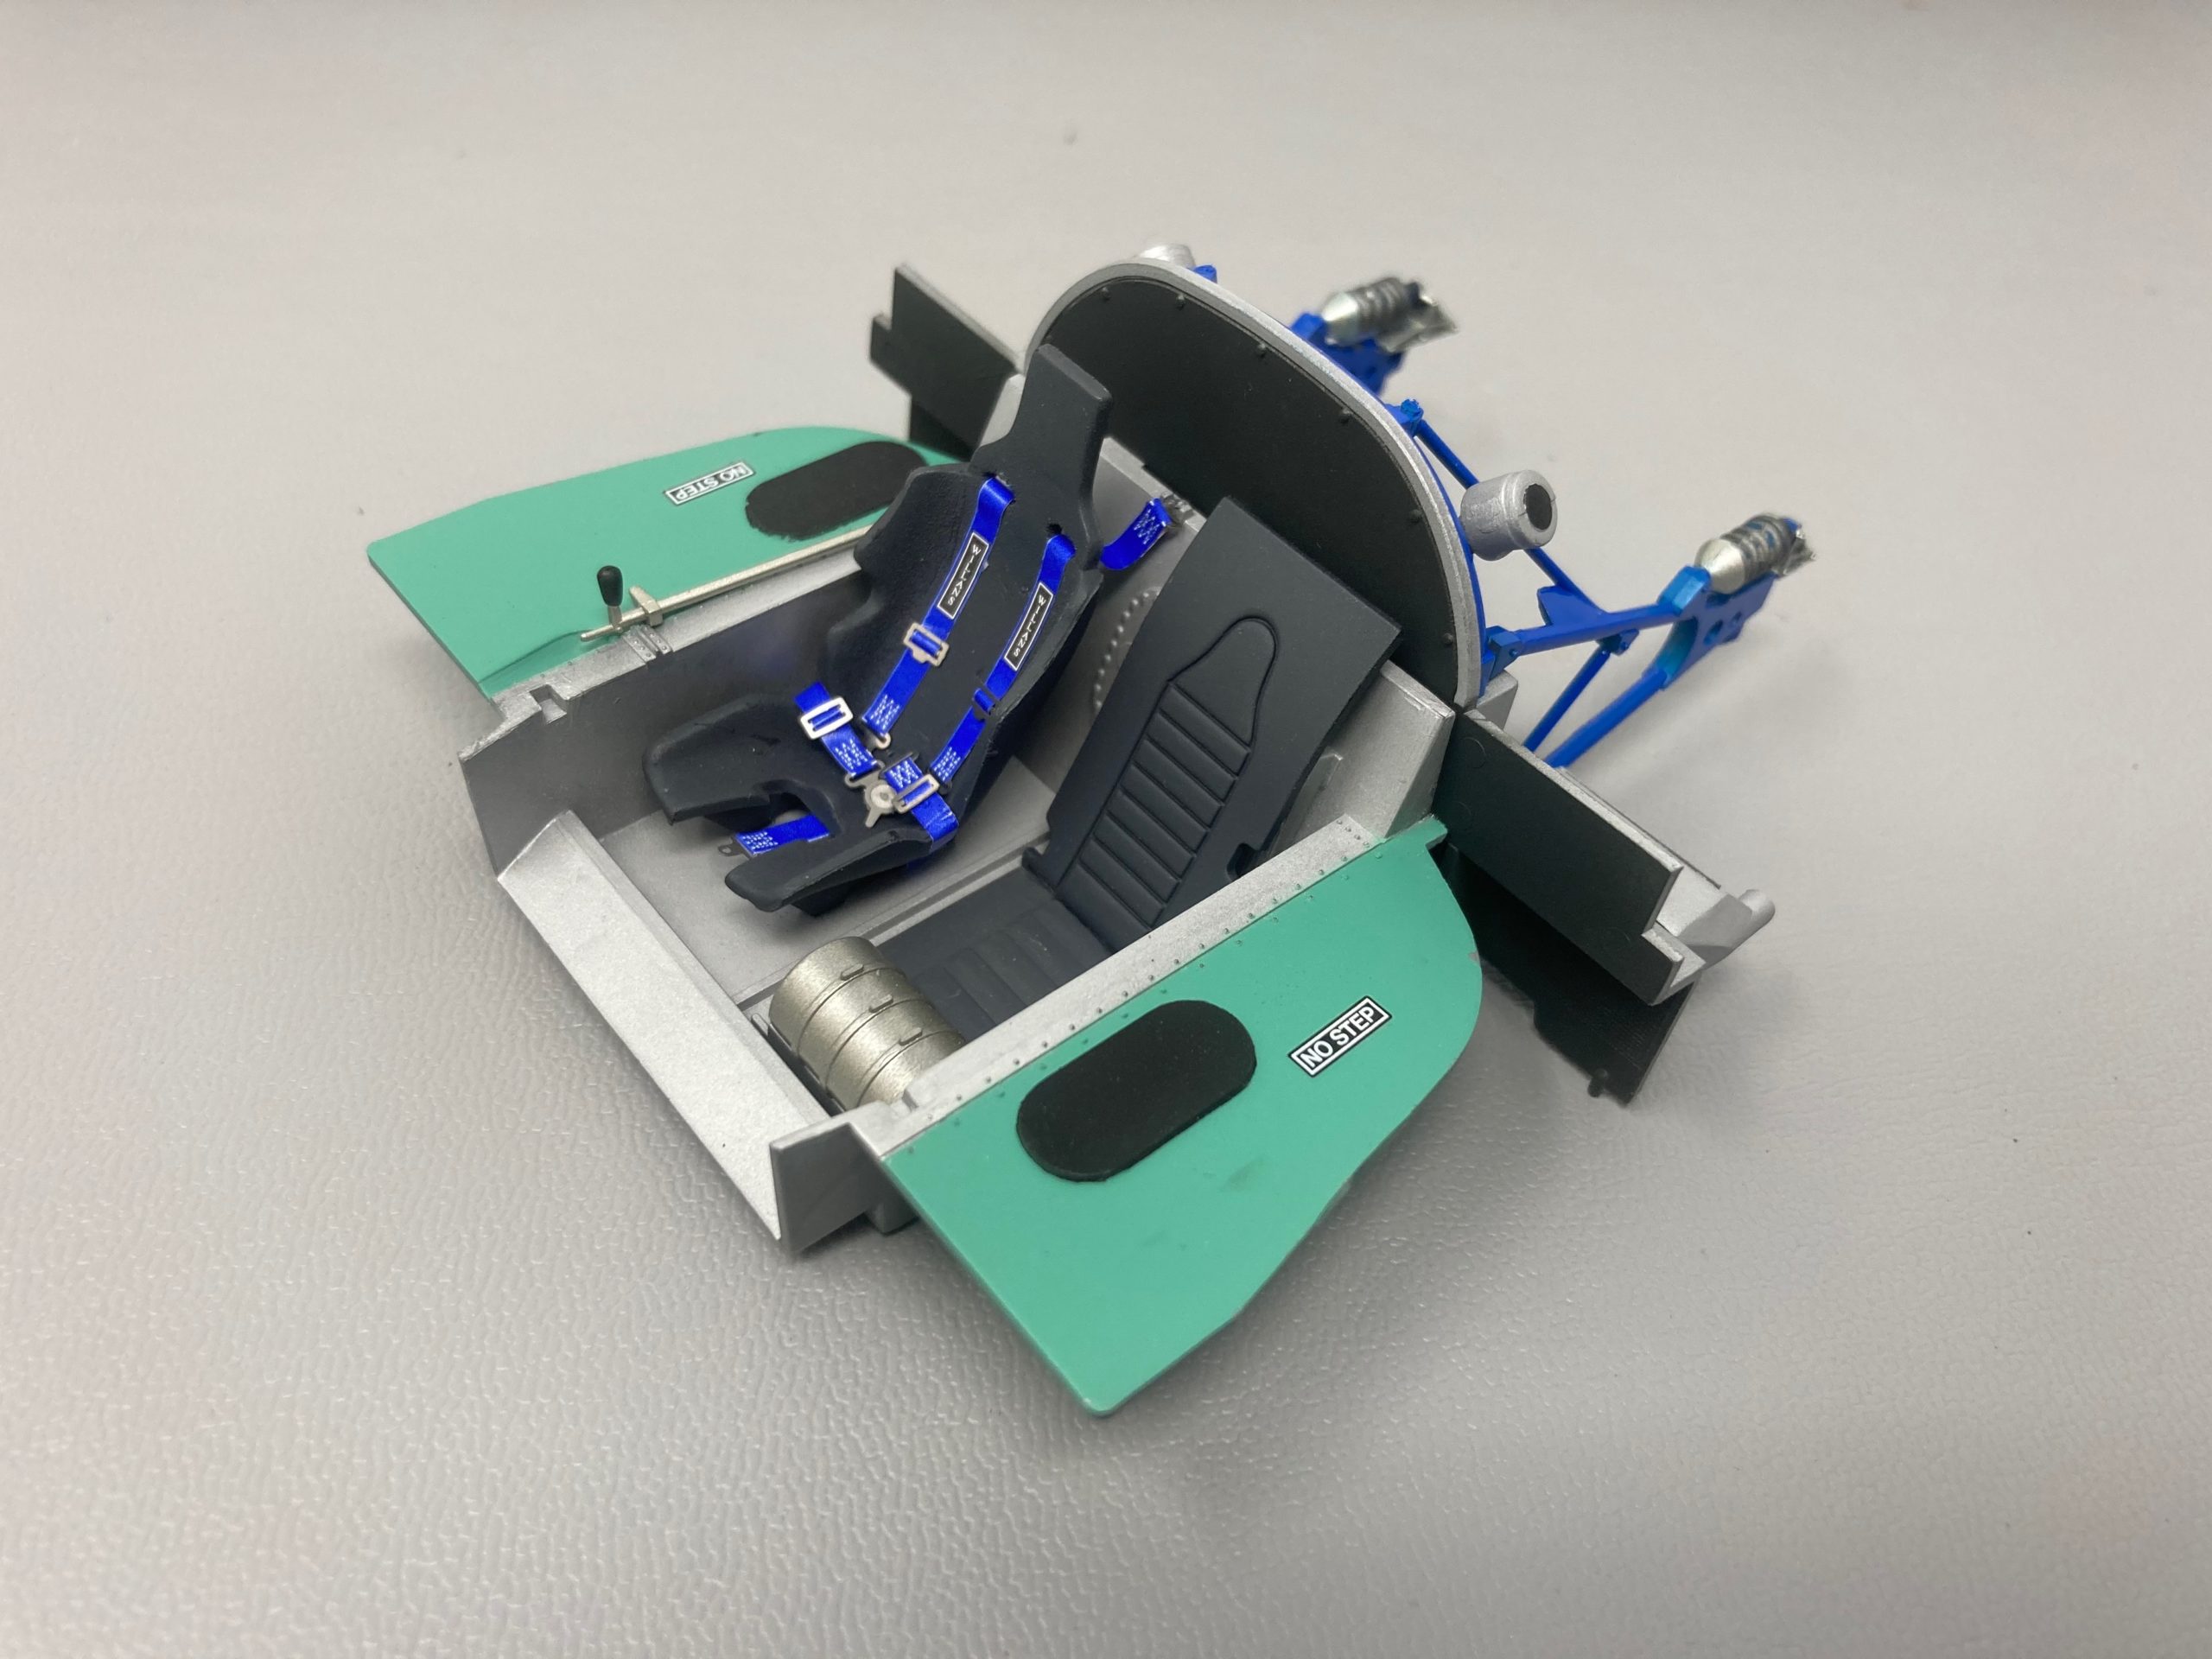
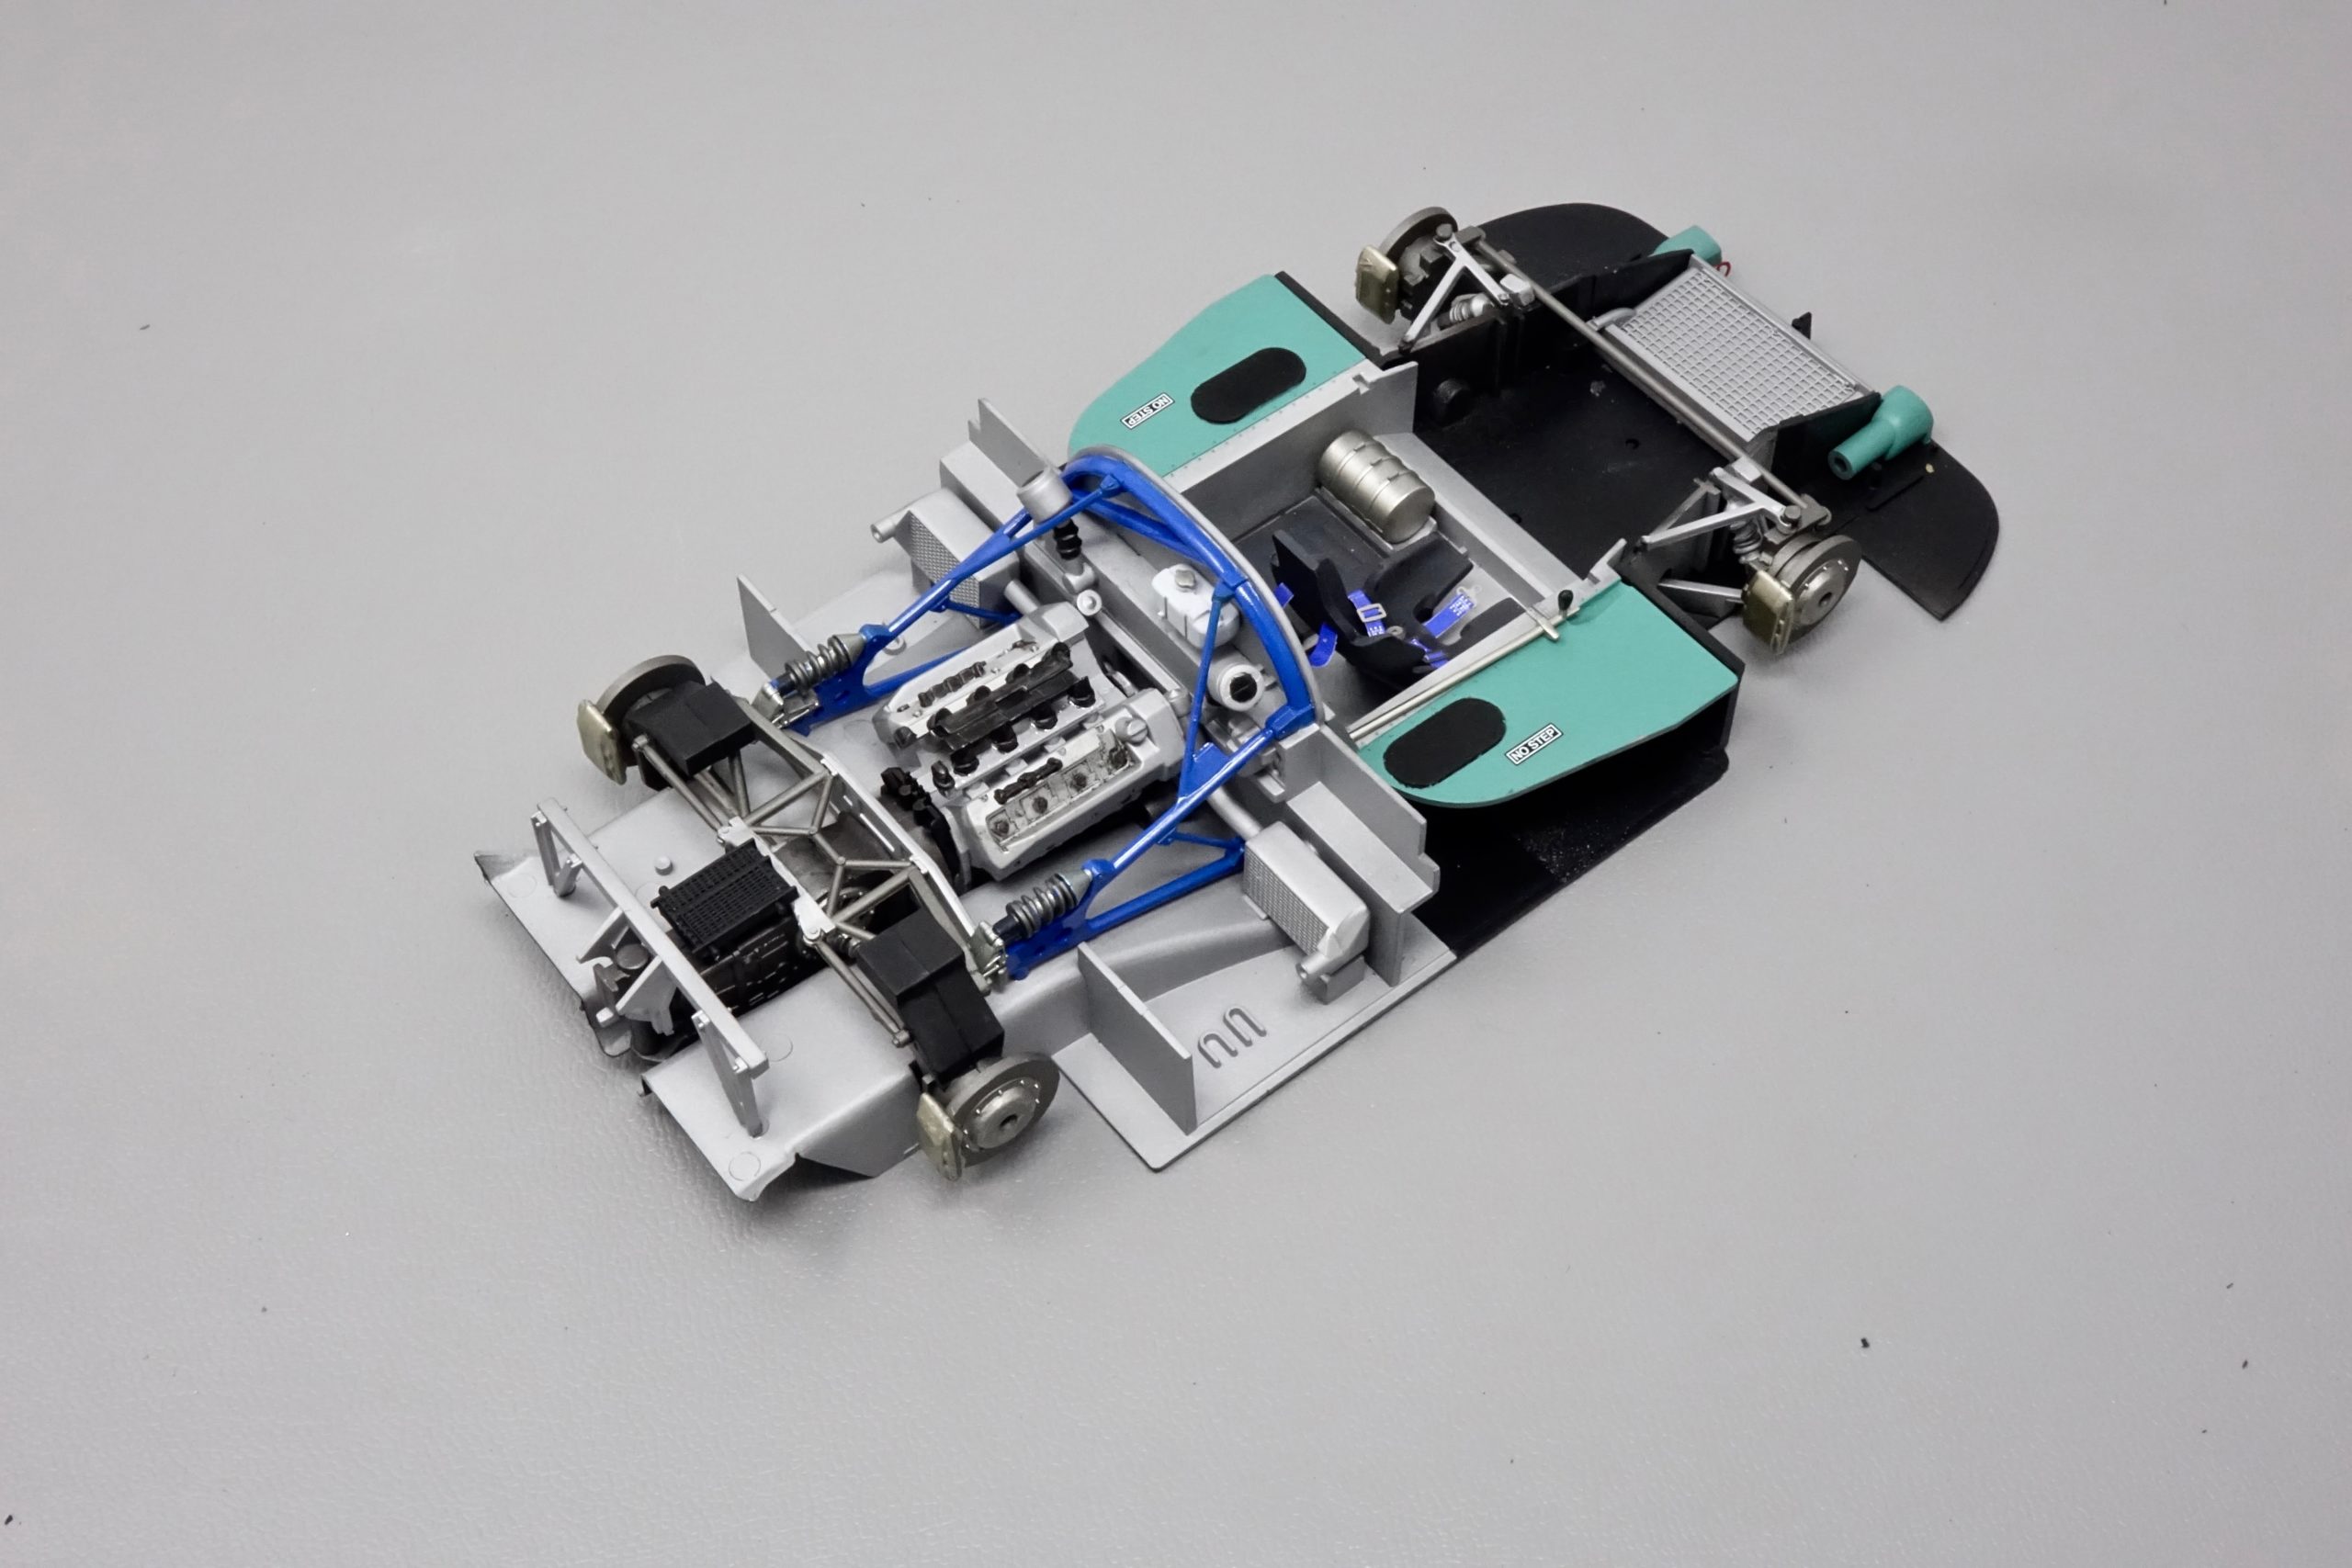
Rear suspension all went together easily – everything fitting perfectly. I will mention here that the black cooling cowls have still got visible seams – which is something I would have dealt with by filling/sanding etc – but just didn’t have the time. They would certainly look better if I had.
All the elements of the cockpit tub/rear bulkhead/suspension etc all fitted perfectly together. Brilliant Tamiya quality.
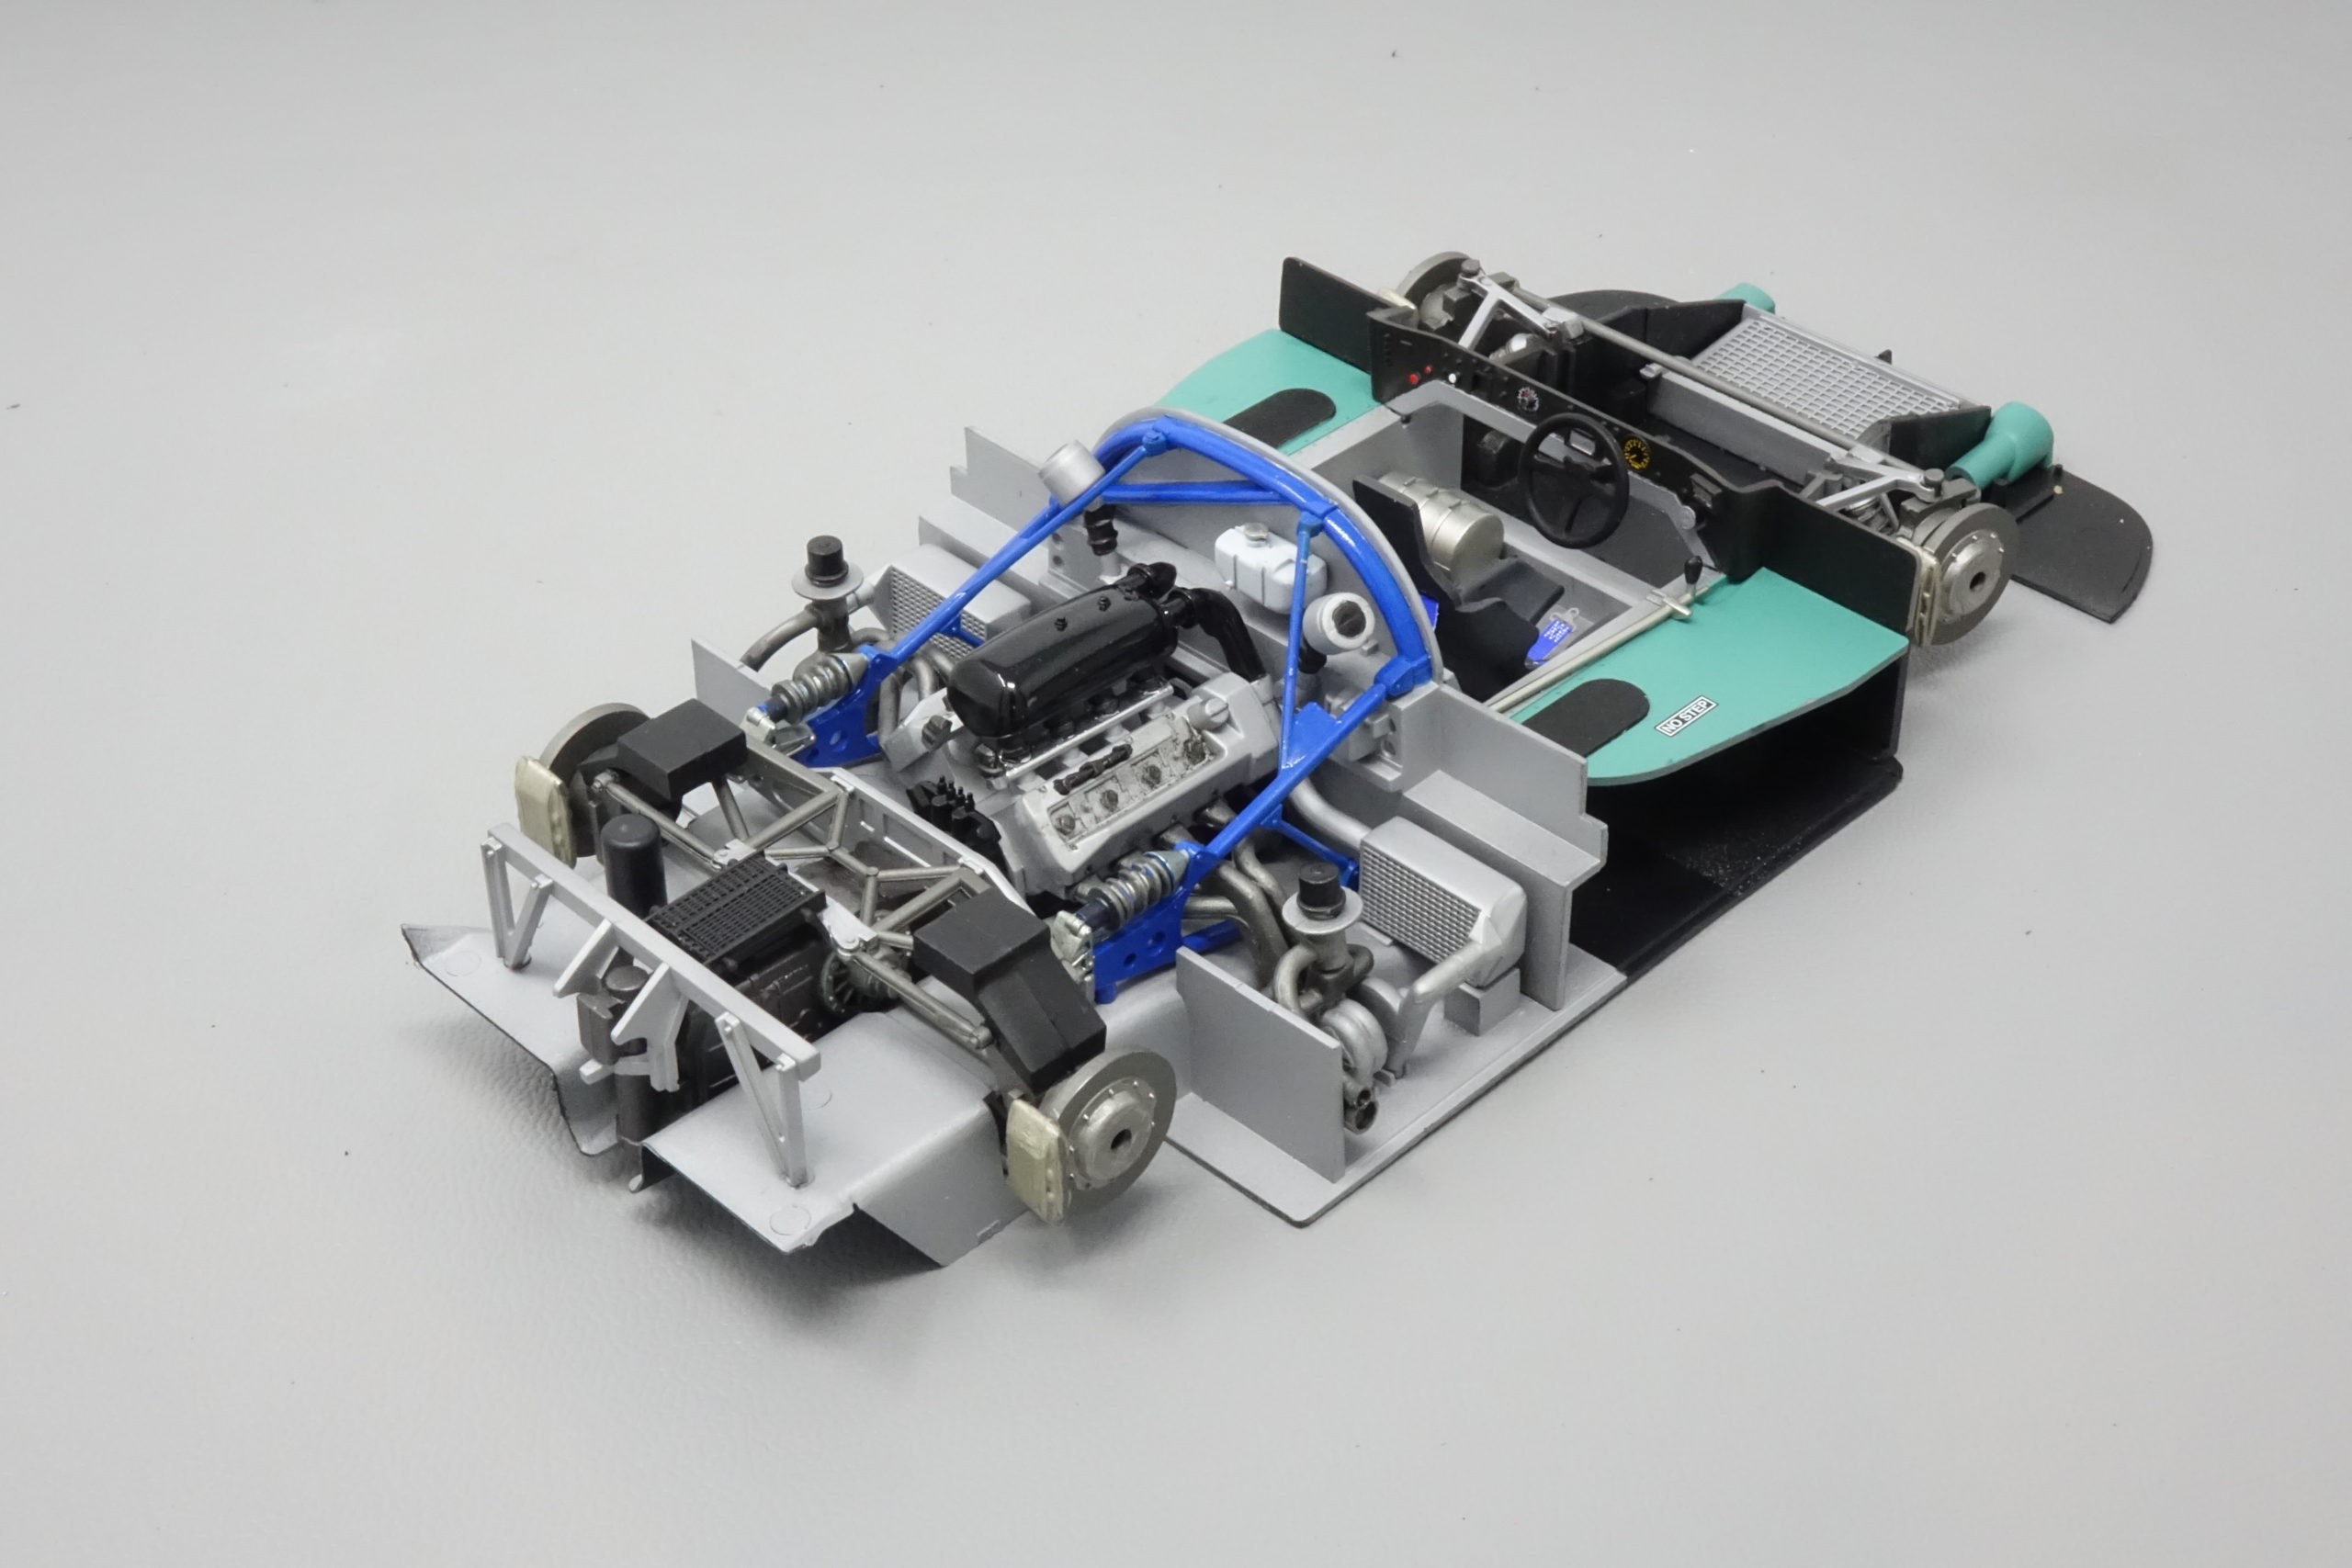
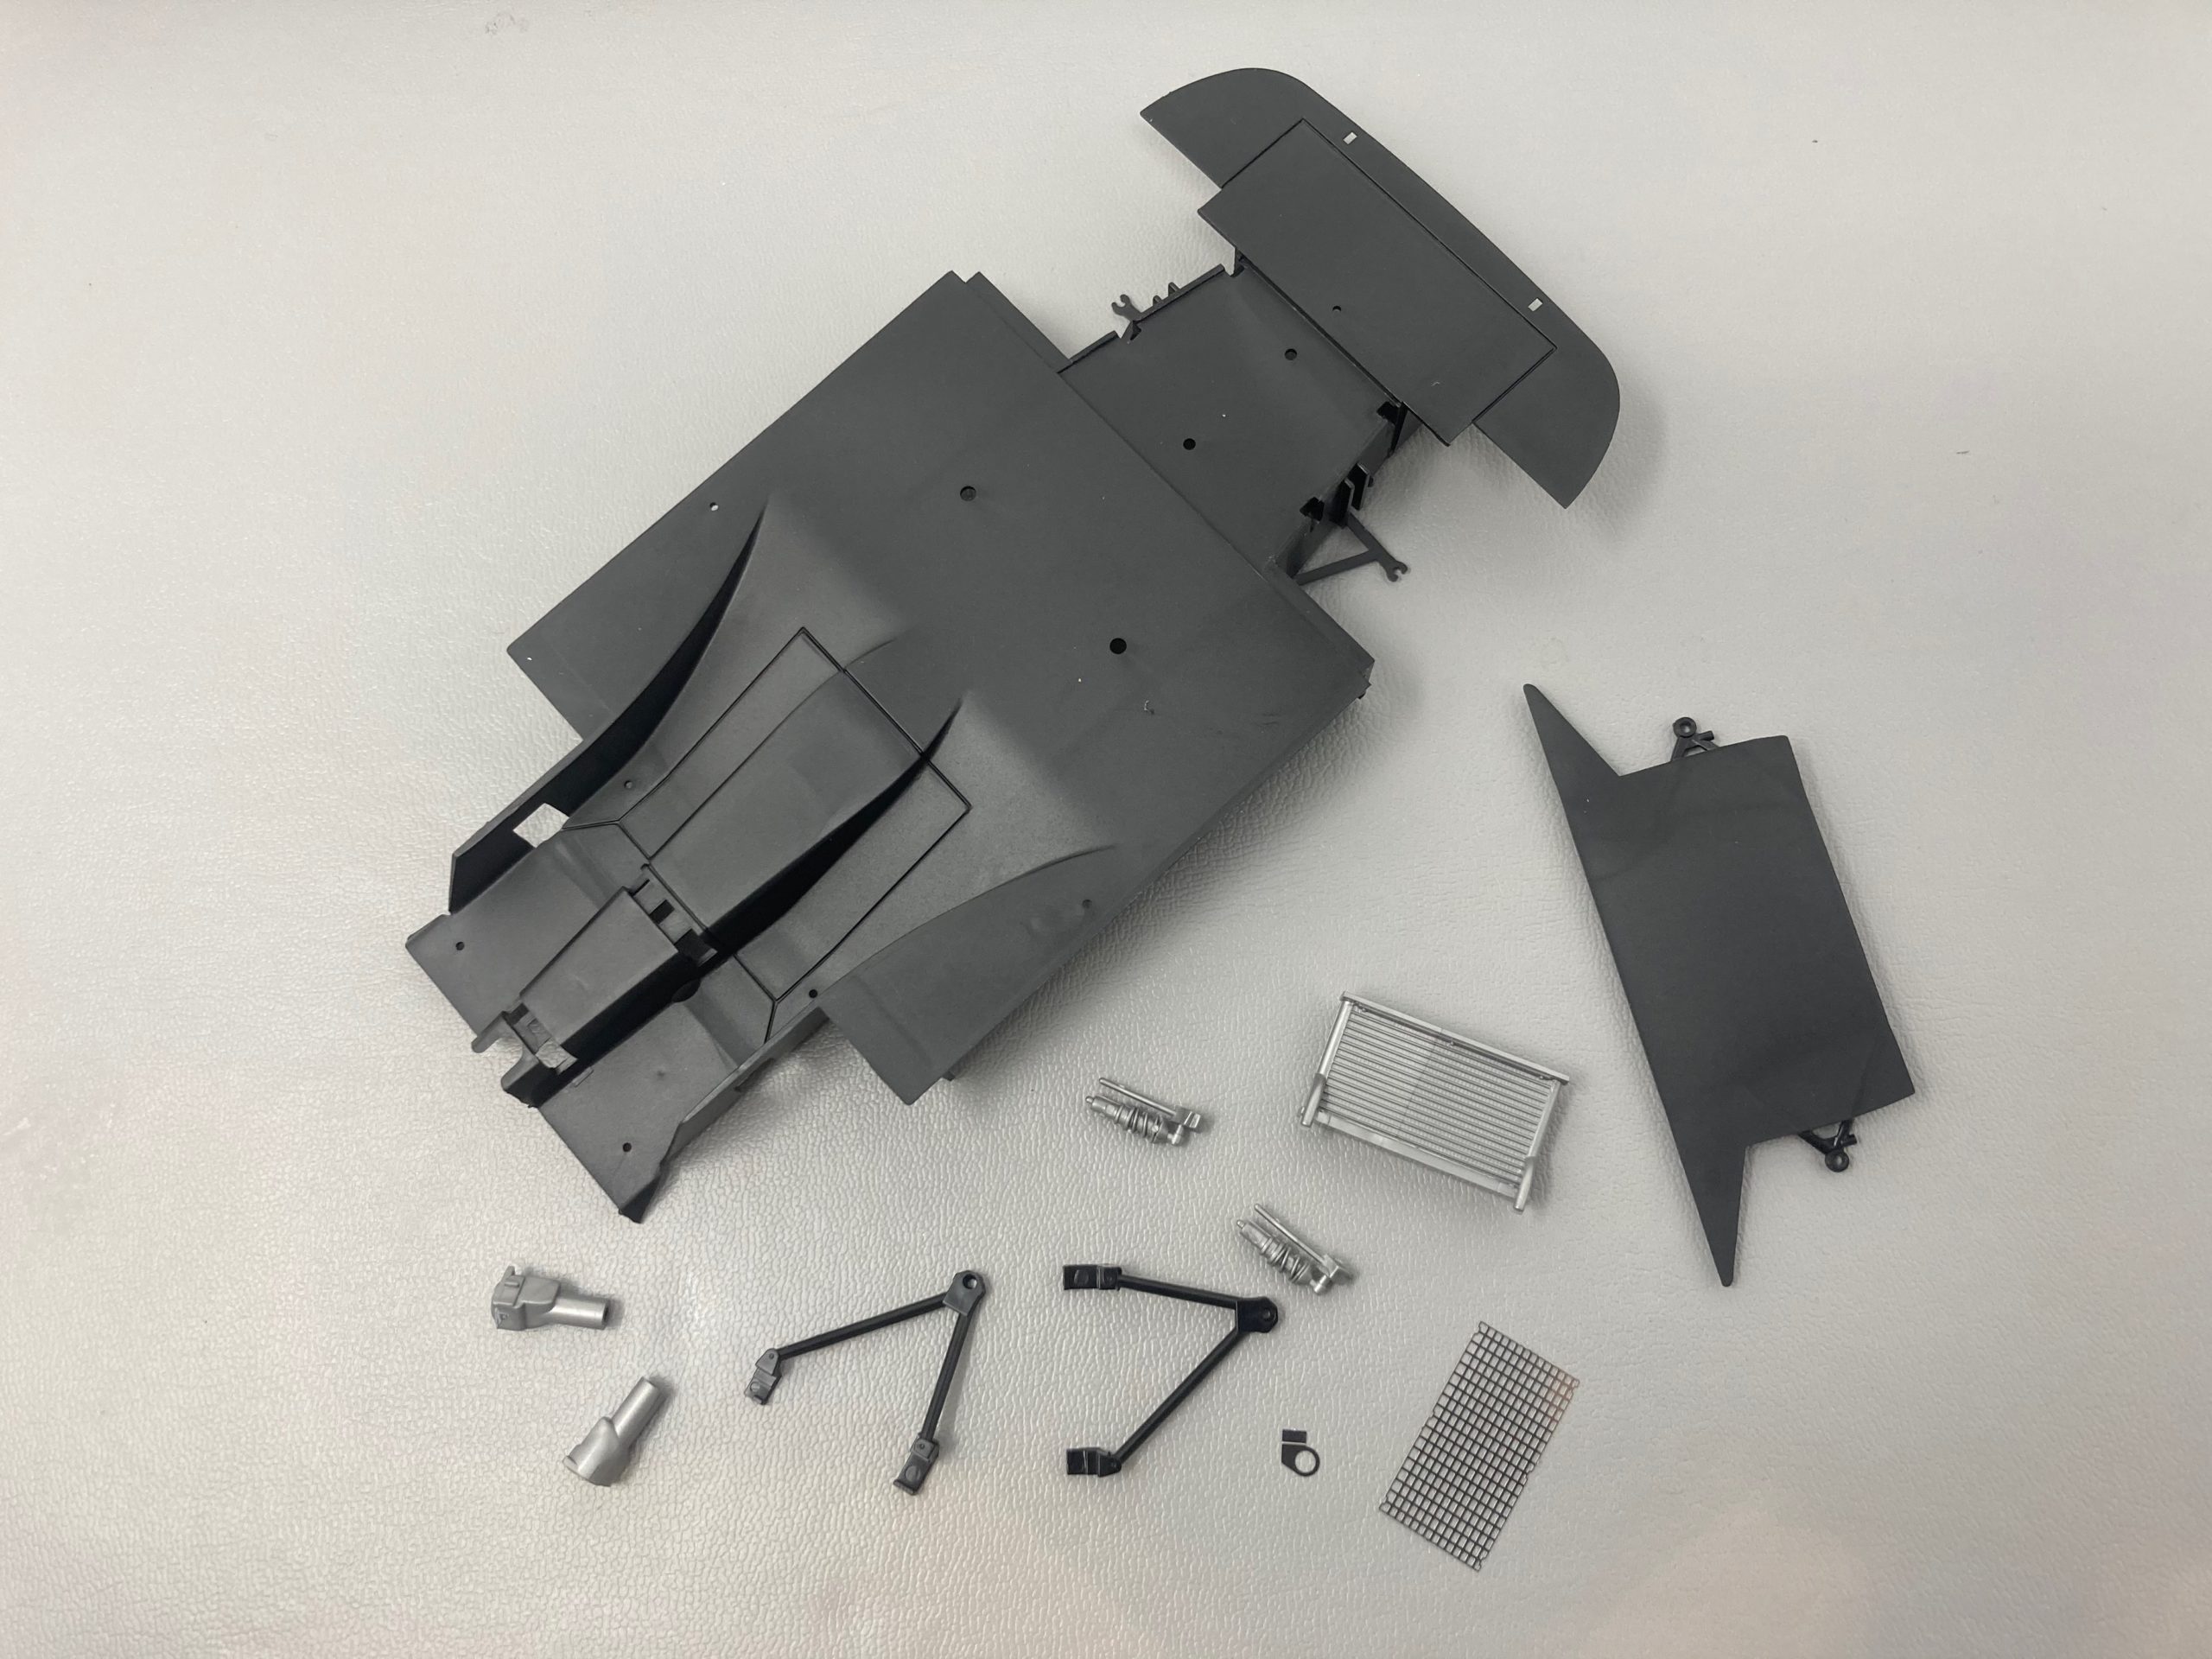
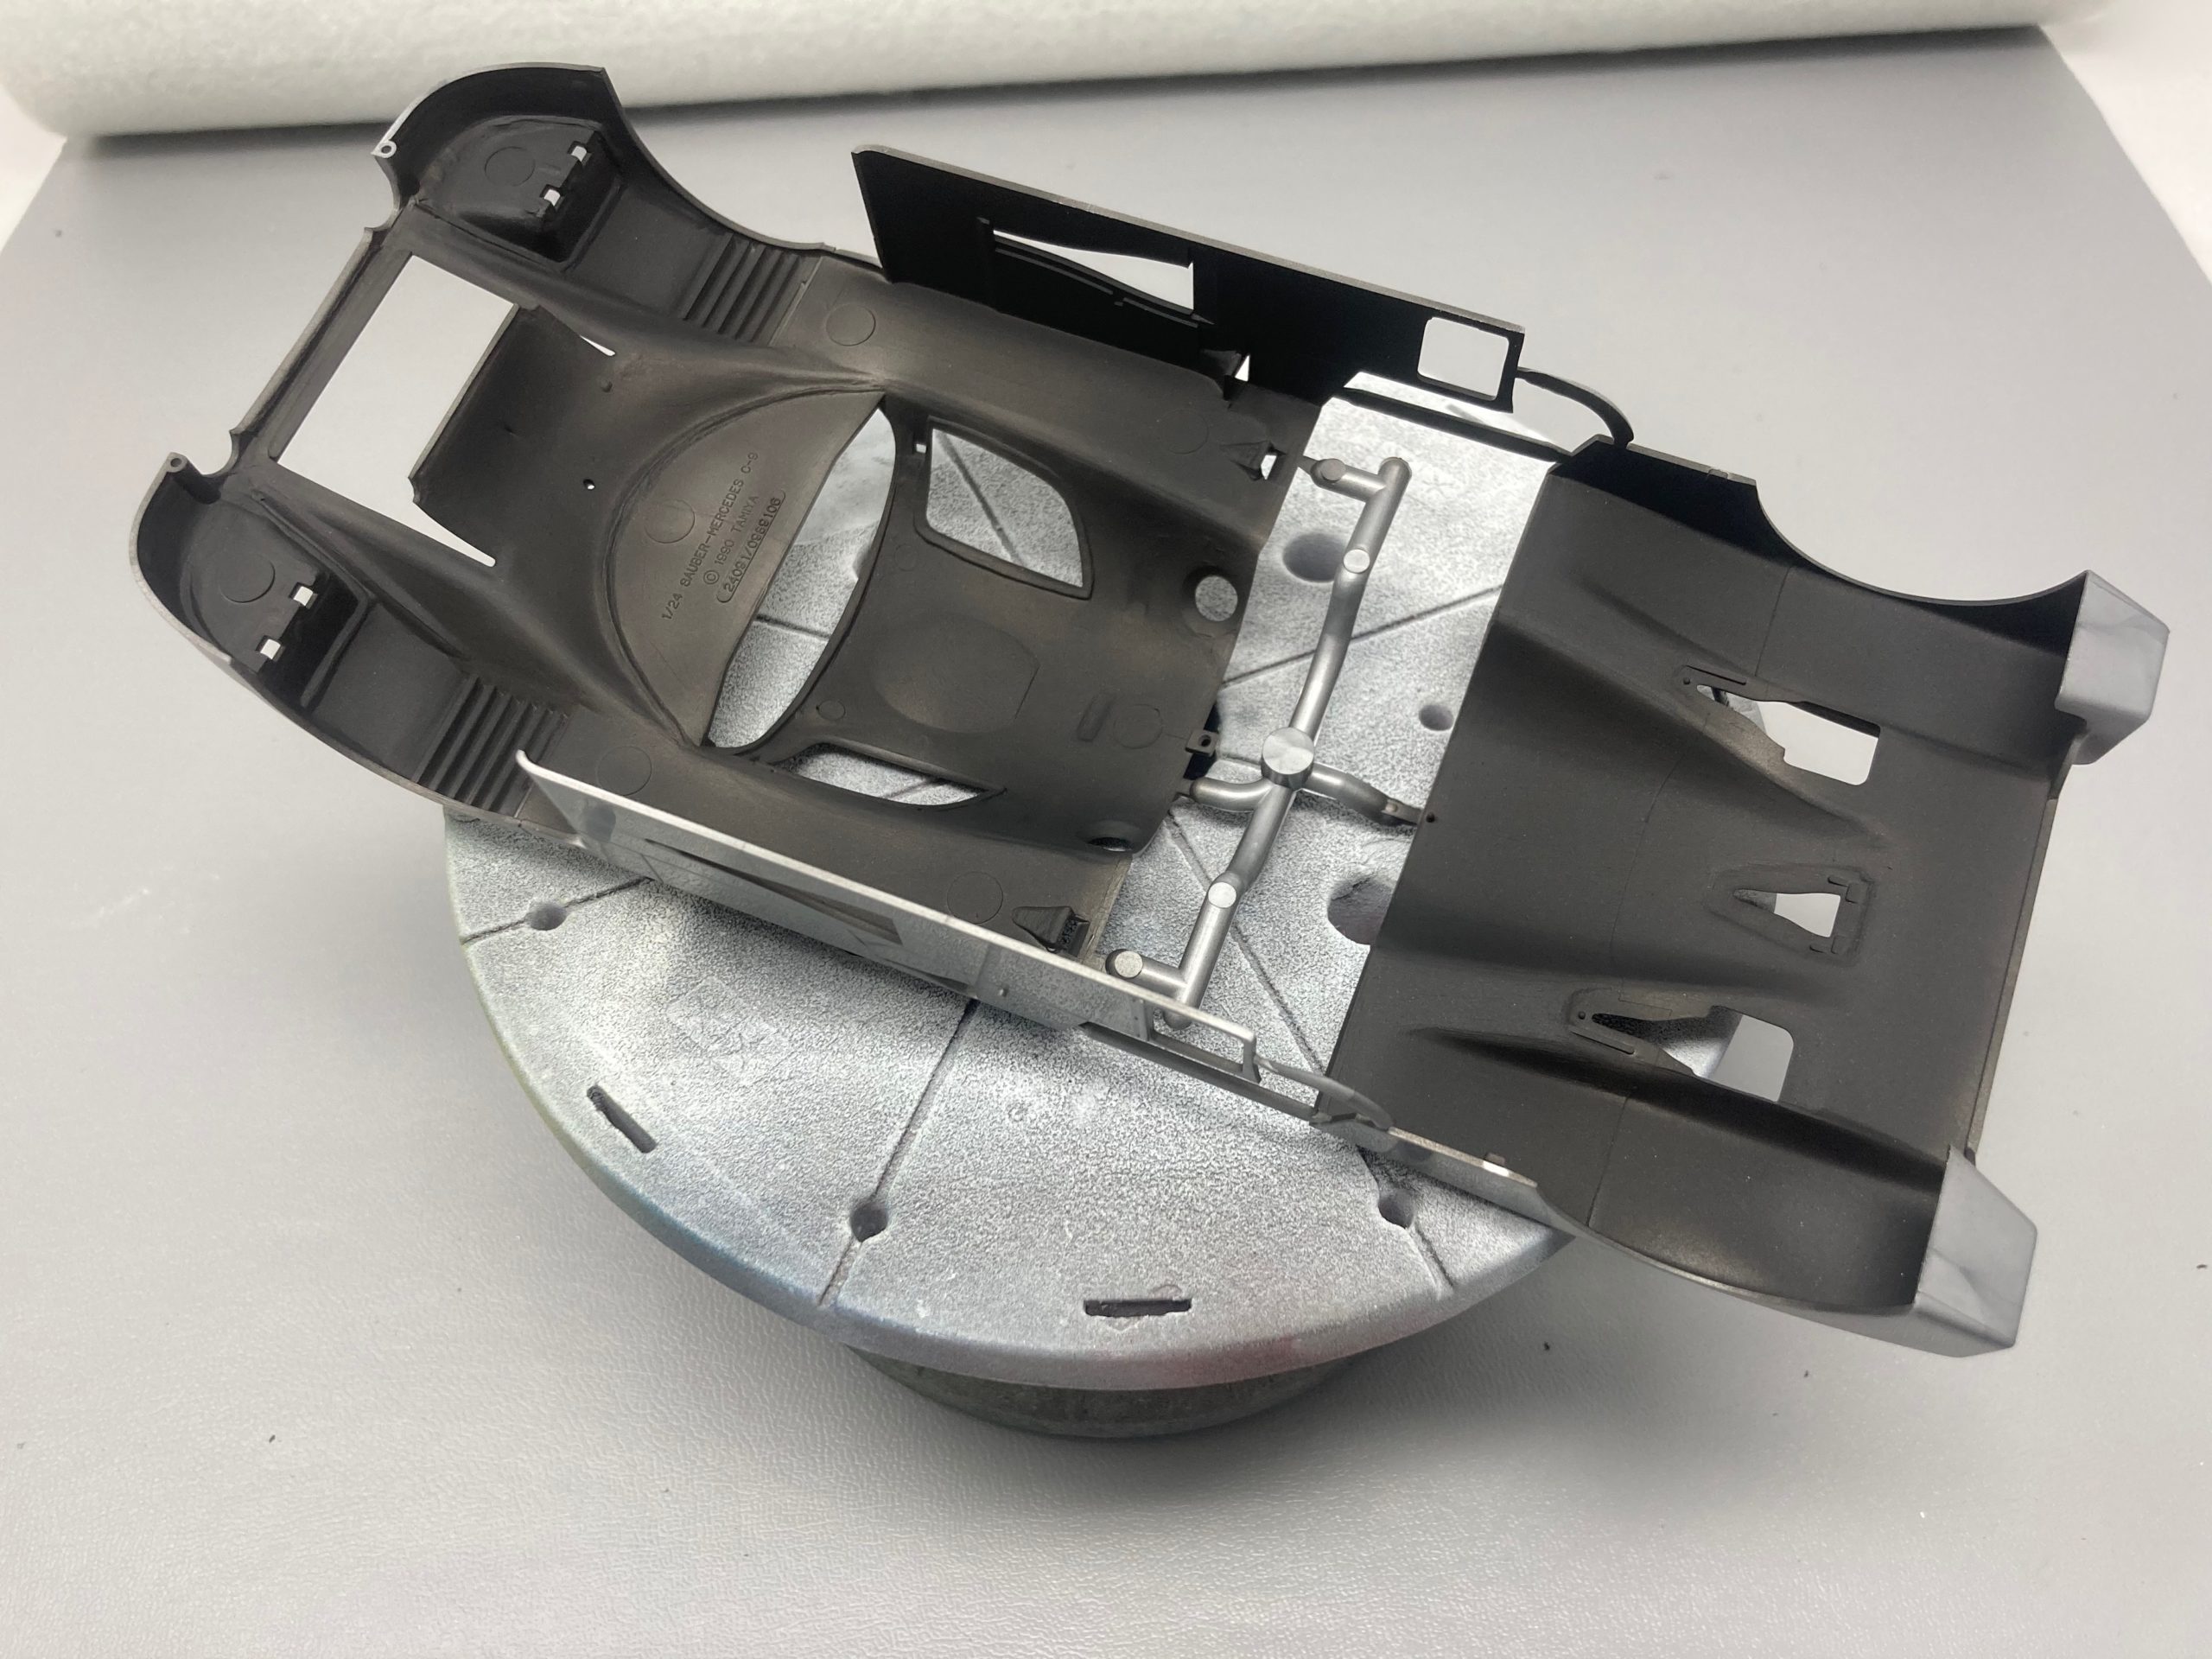
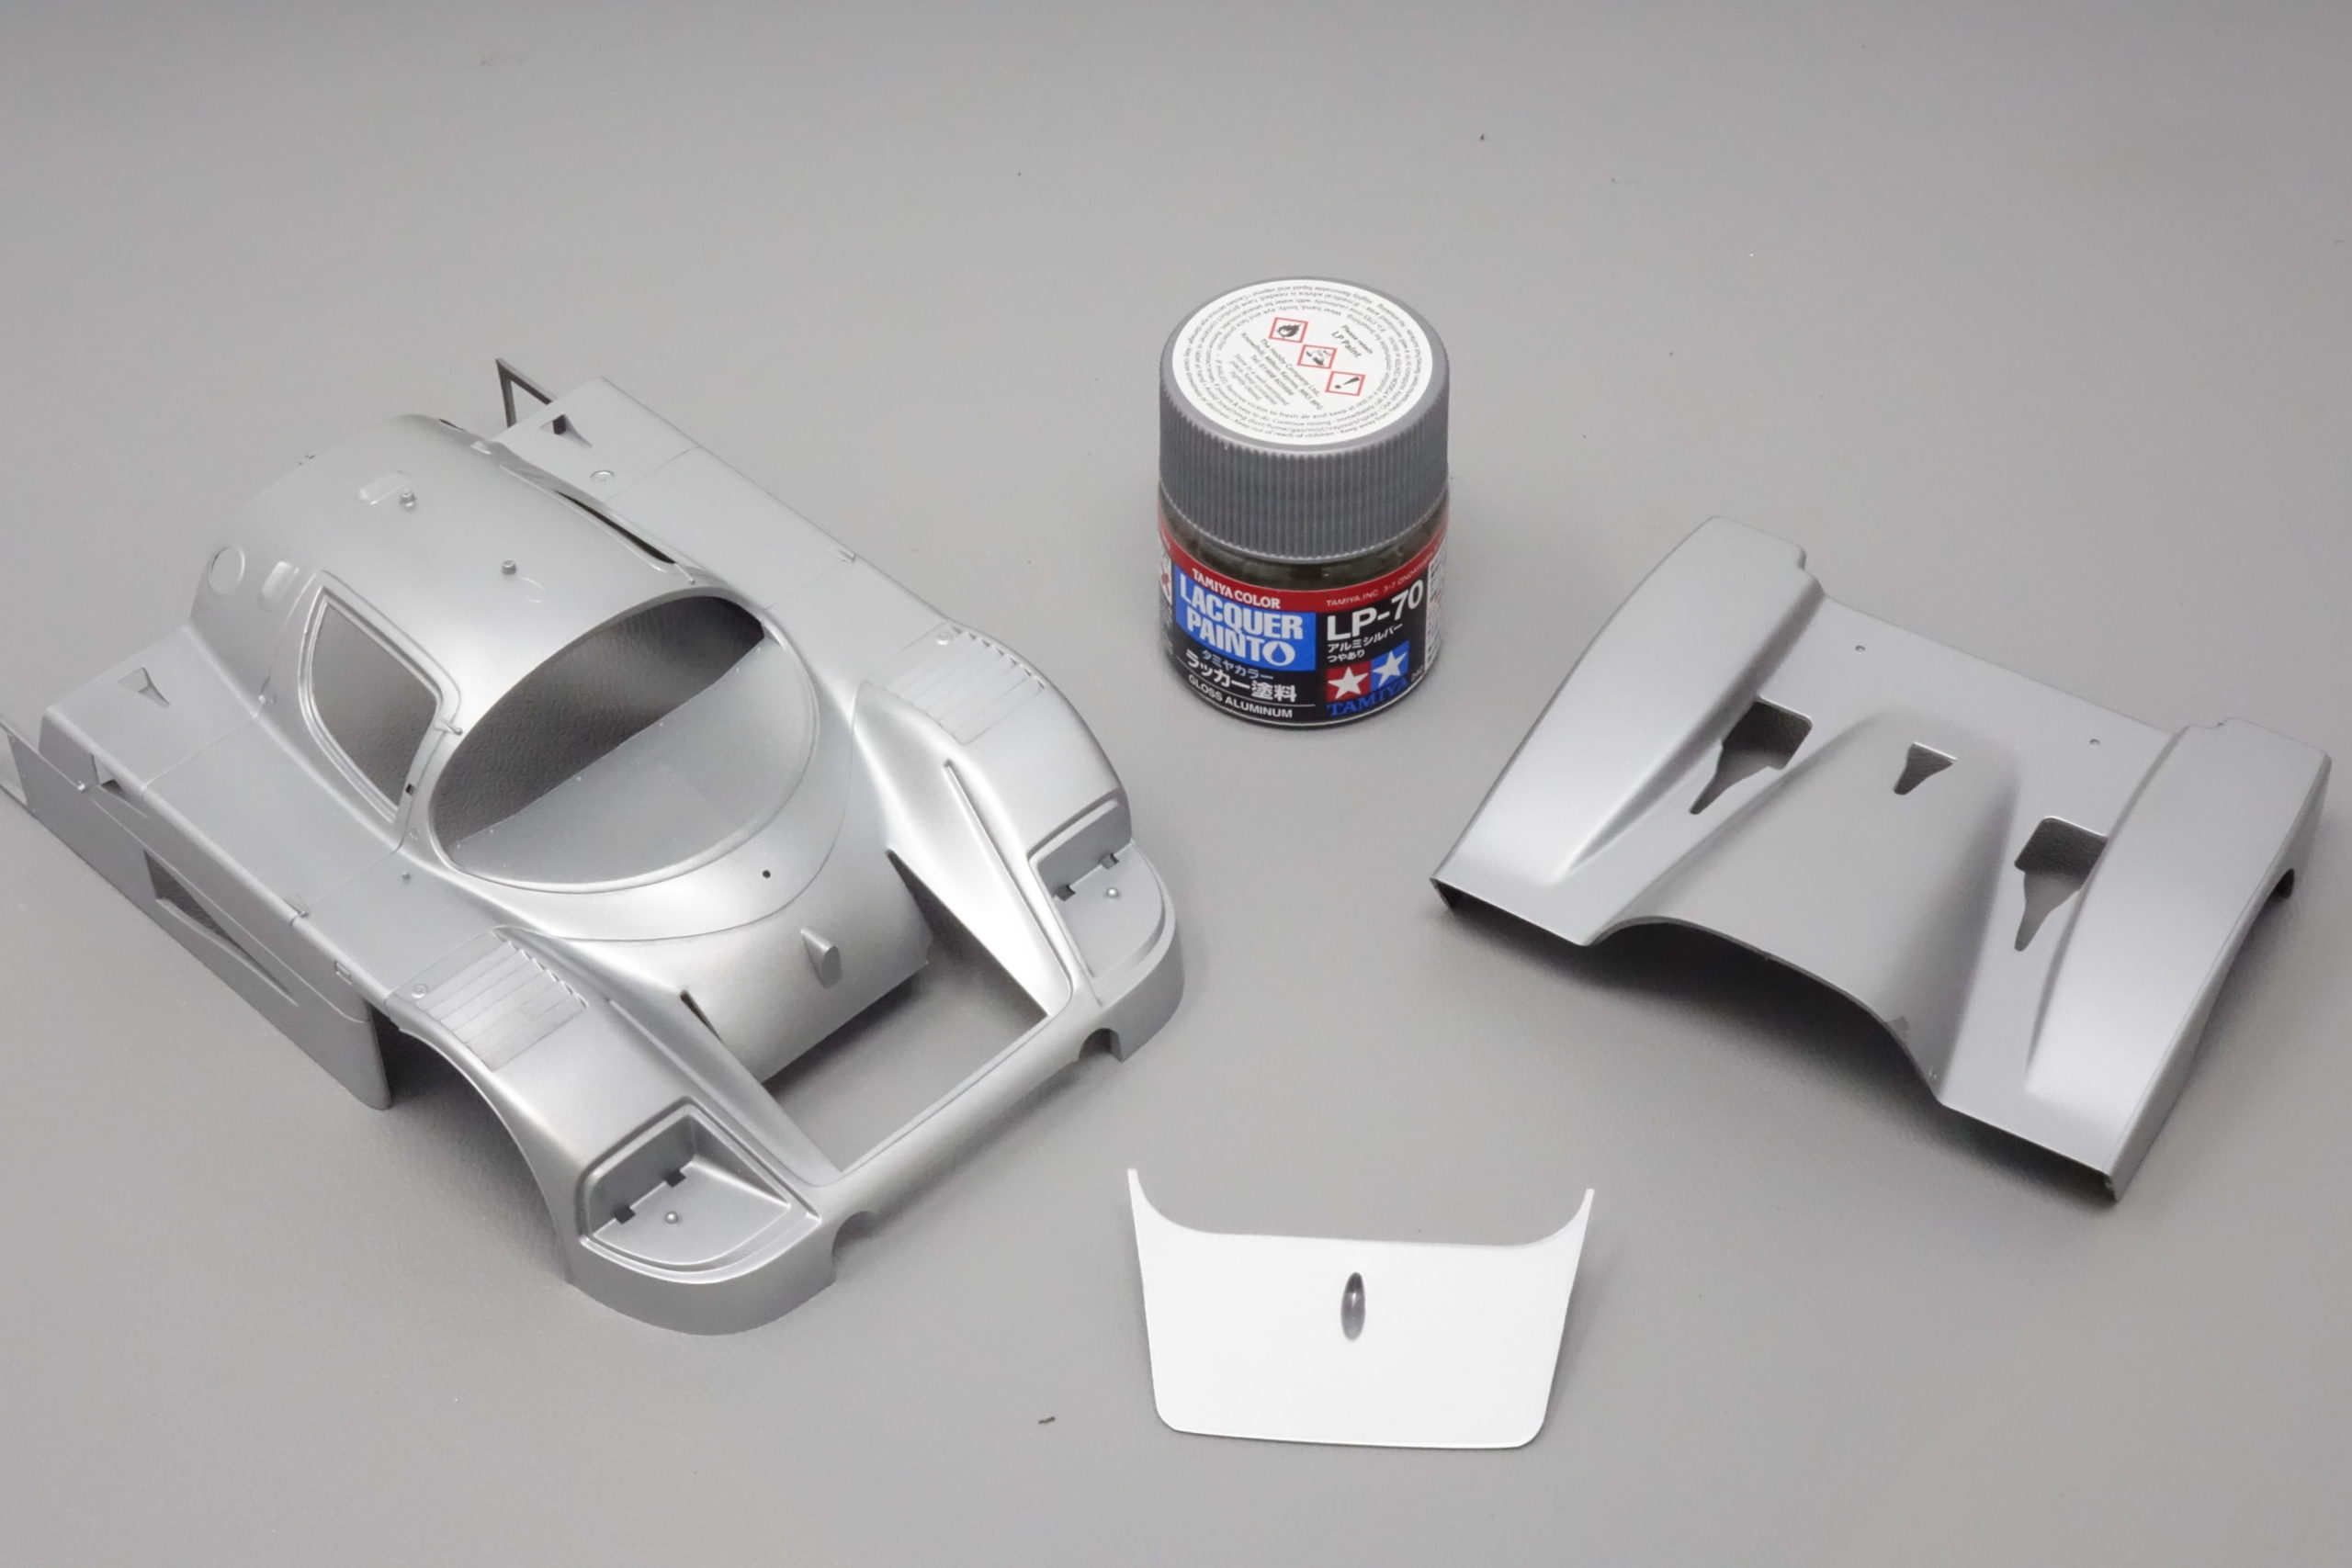
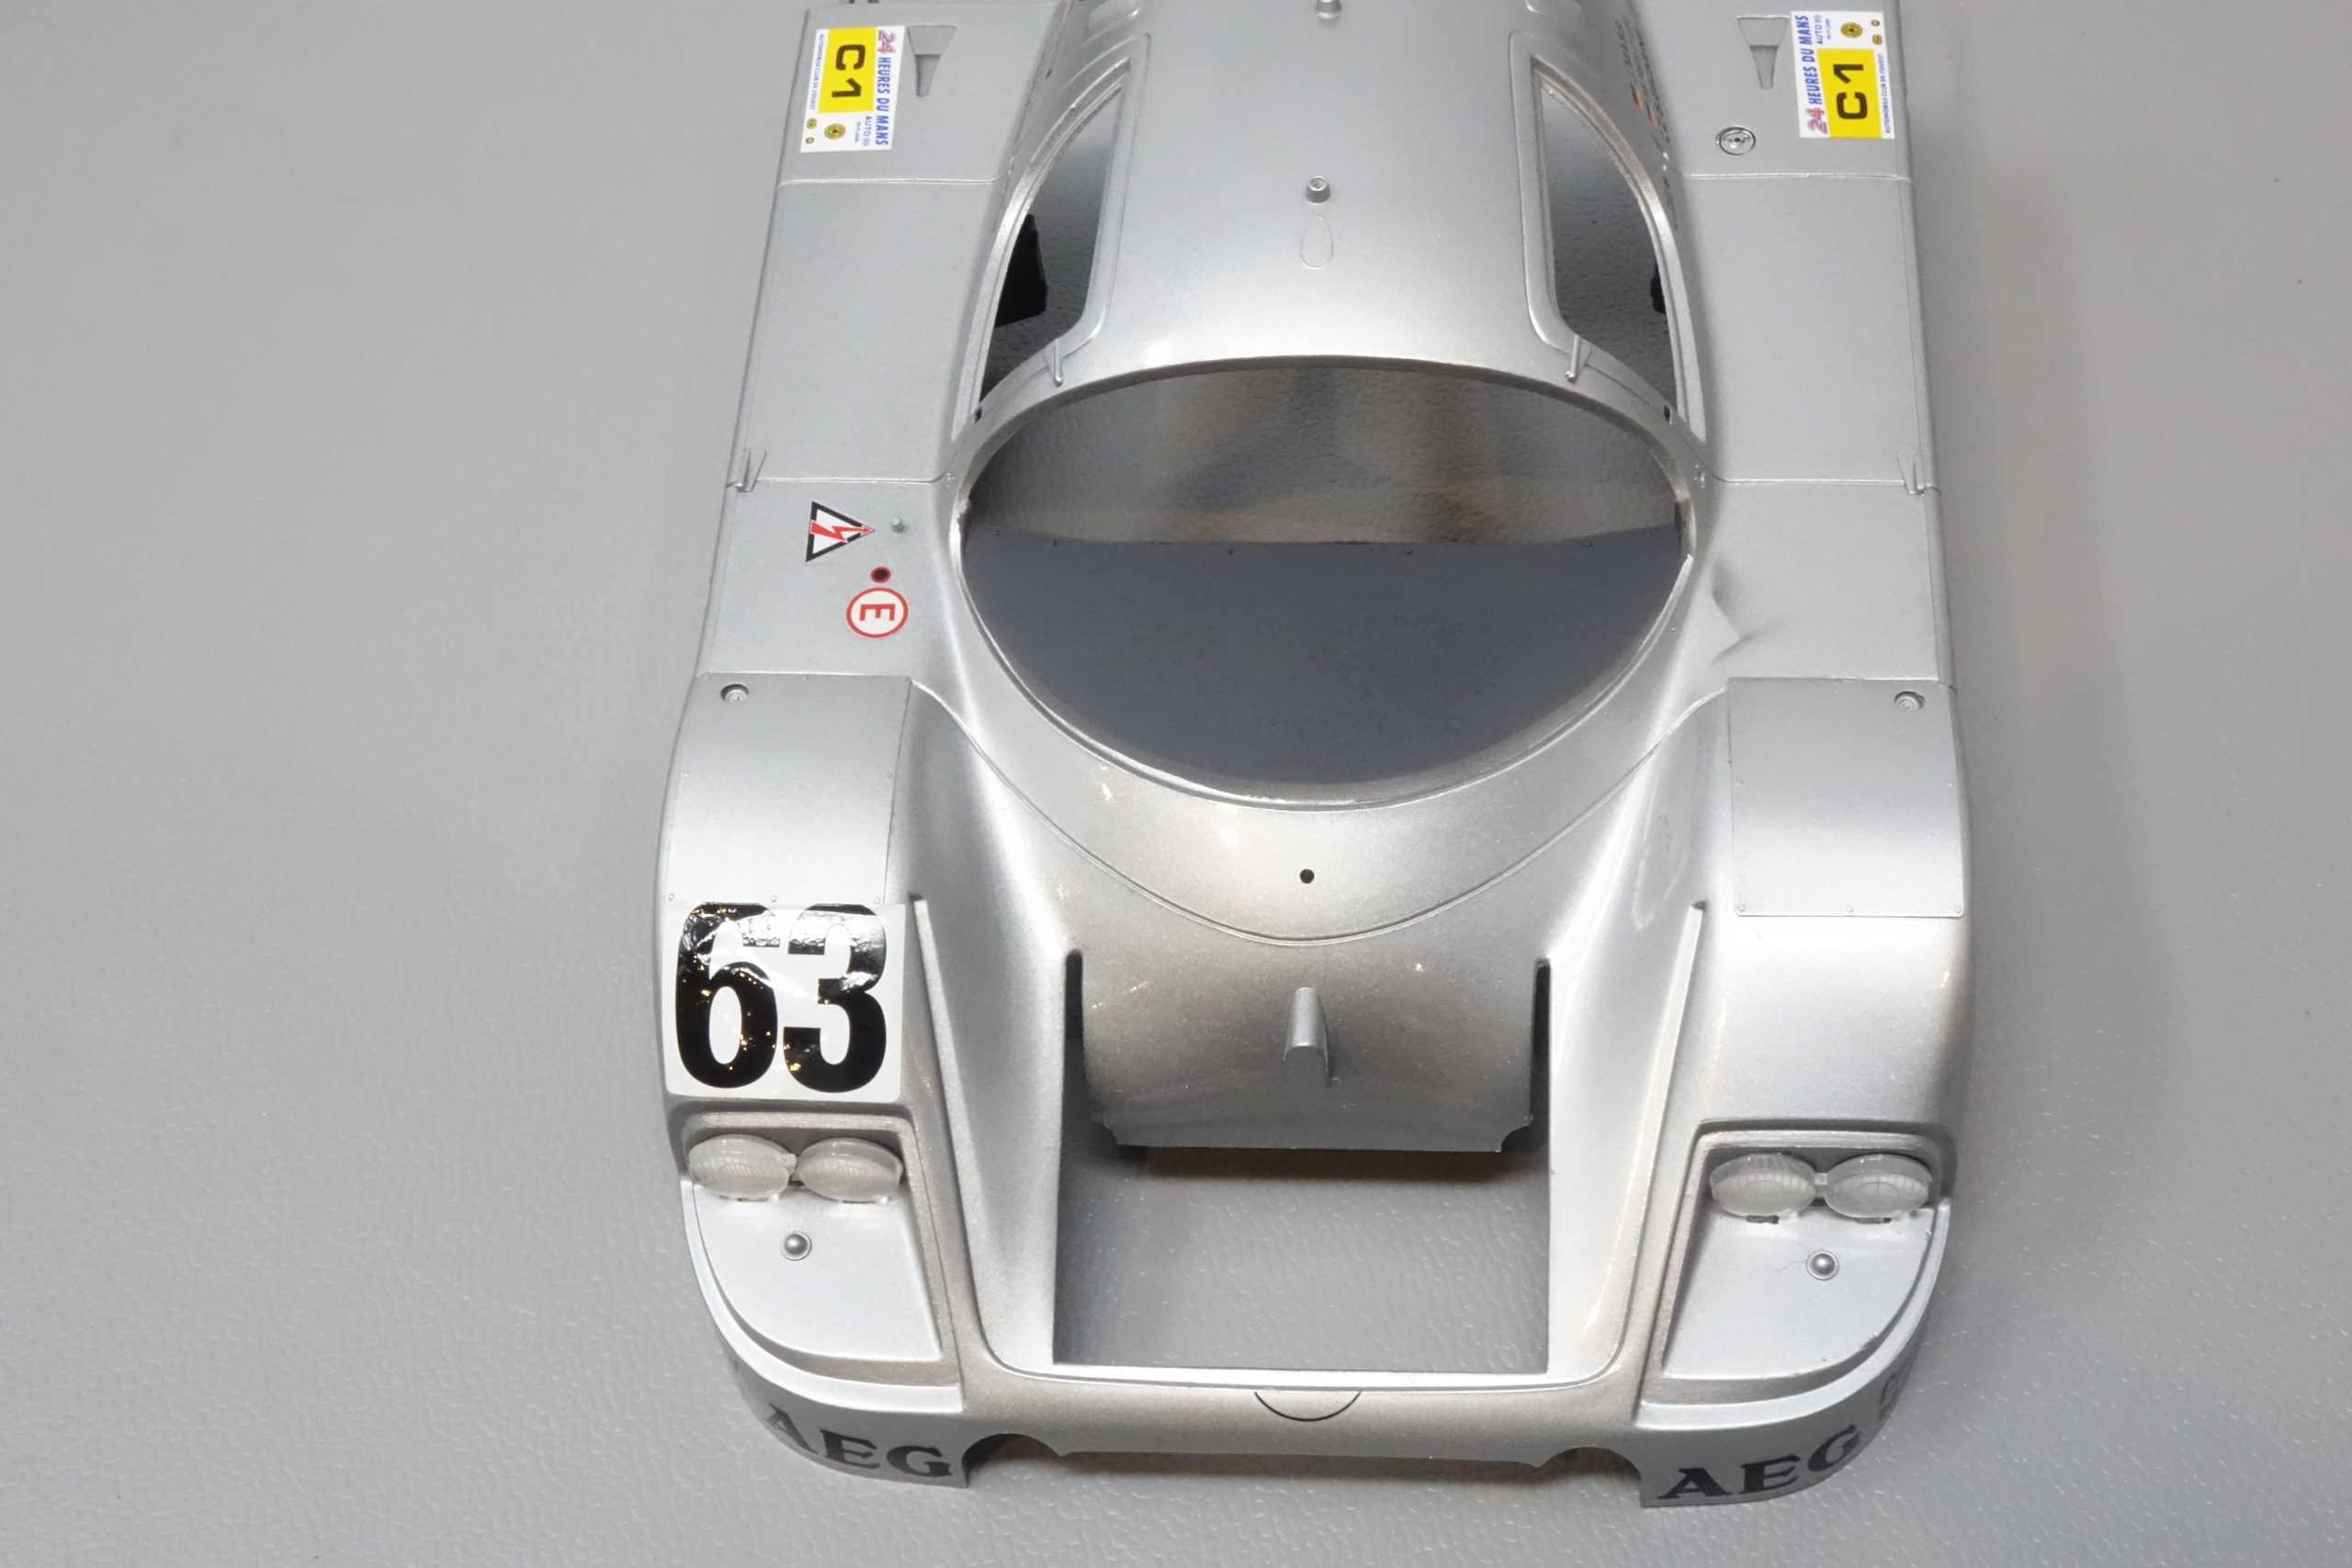
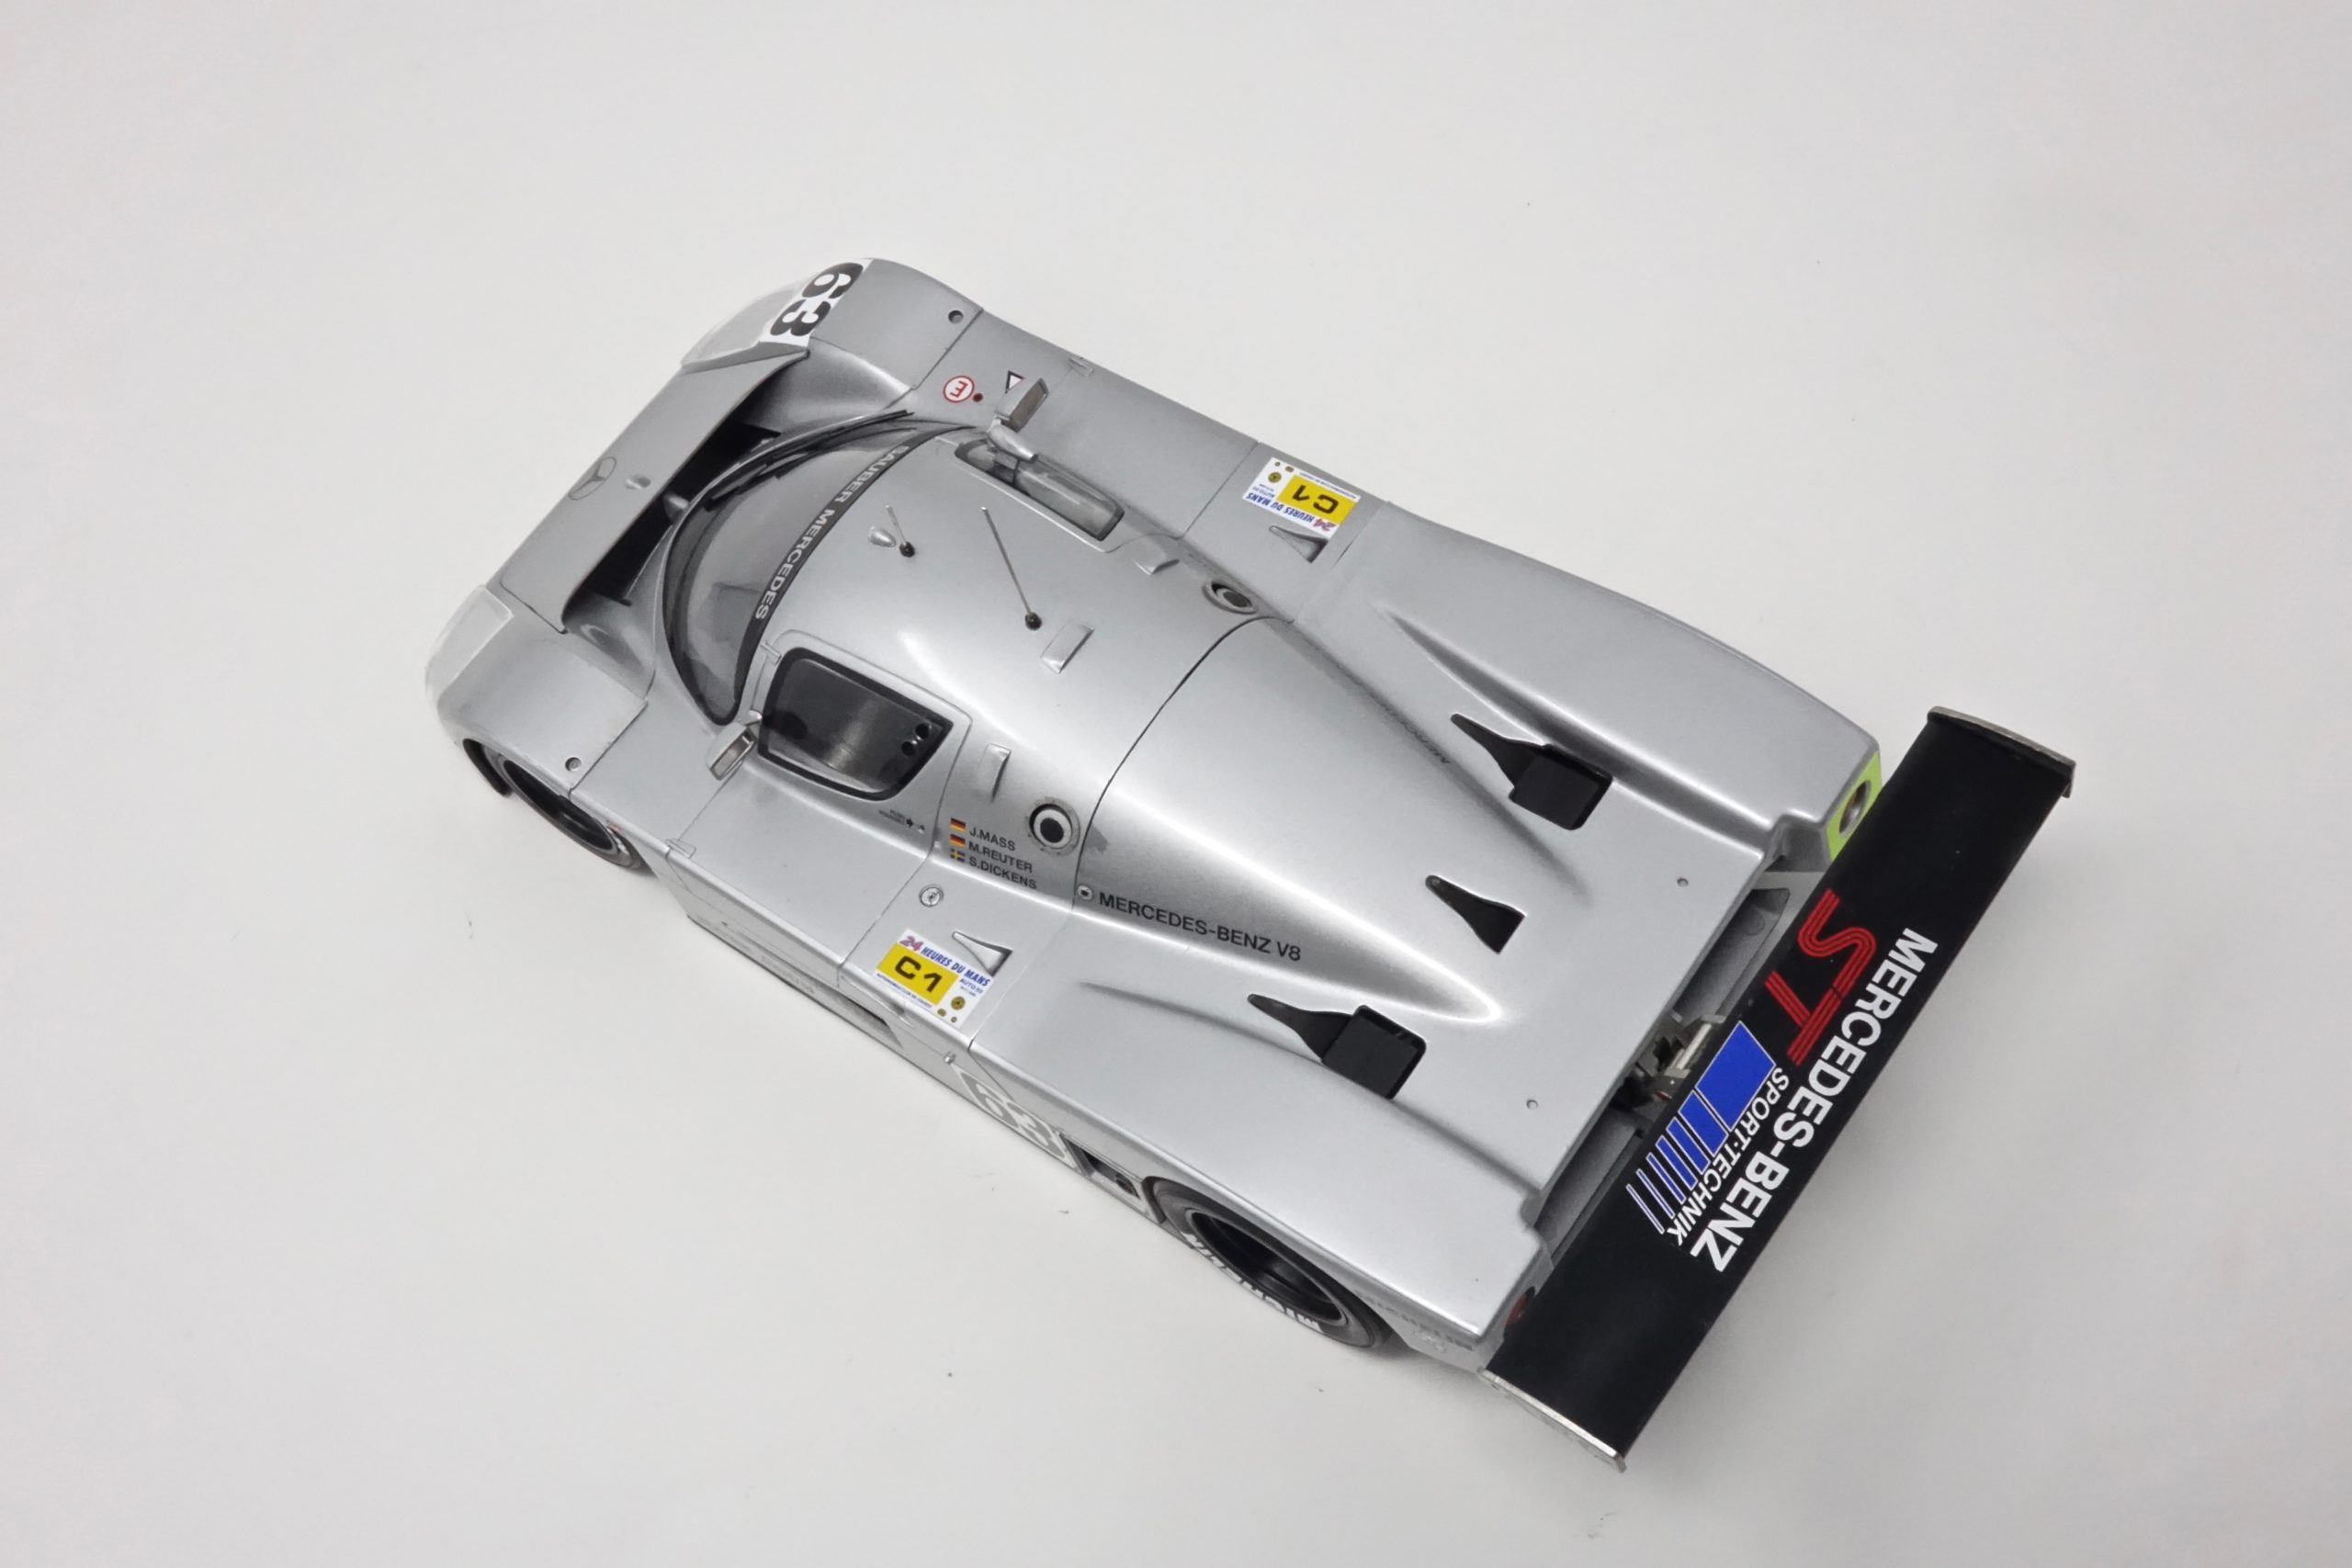
Bodywork
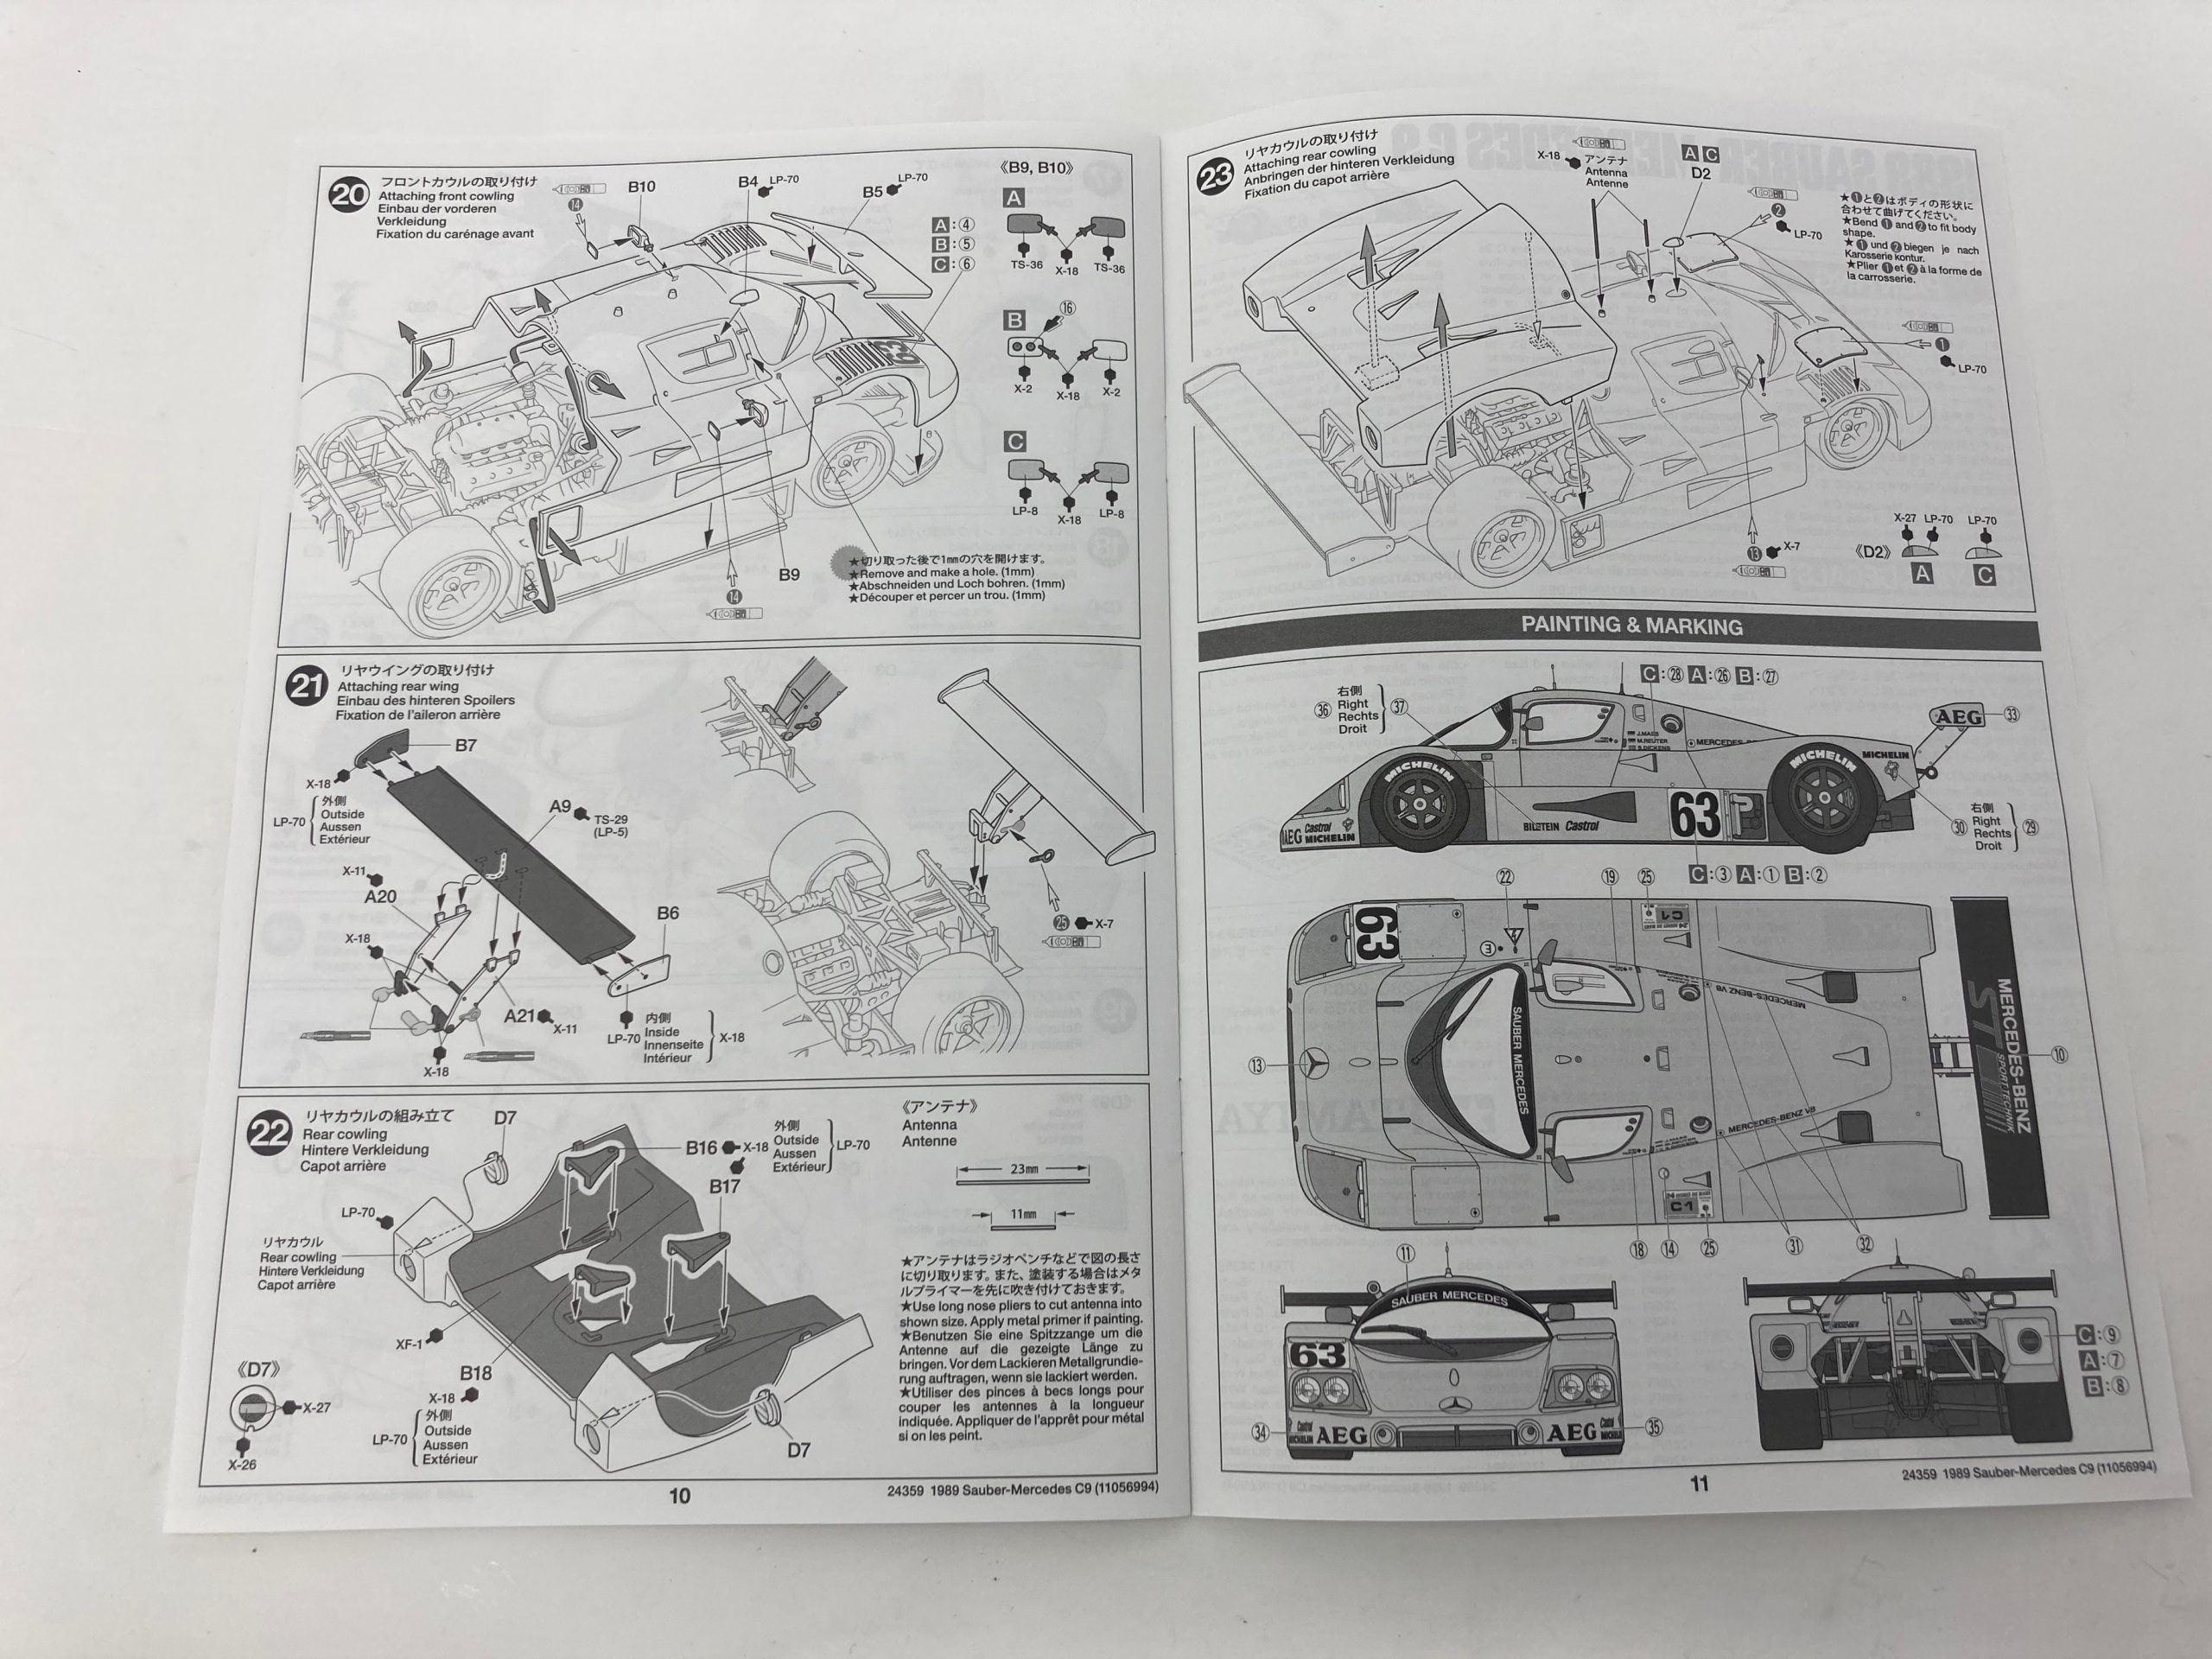
The paint of choice here is LP70 Gloss Aluminium. It airbrushes beautifully (thinned down a little with LP Retarder Thinners). The inside of the body parts had previously been painted in Flat Black. There are a couple of PE parts which are covers for the cooling louvres on the front wings (I’ve tried to show on on the photo). They have to be carefully bent to suit the body contours – I find that gently ‘rolling’ the part over a rounded corner of eg the workbench works well. It creases easily so care is needed.
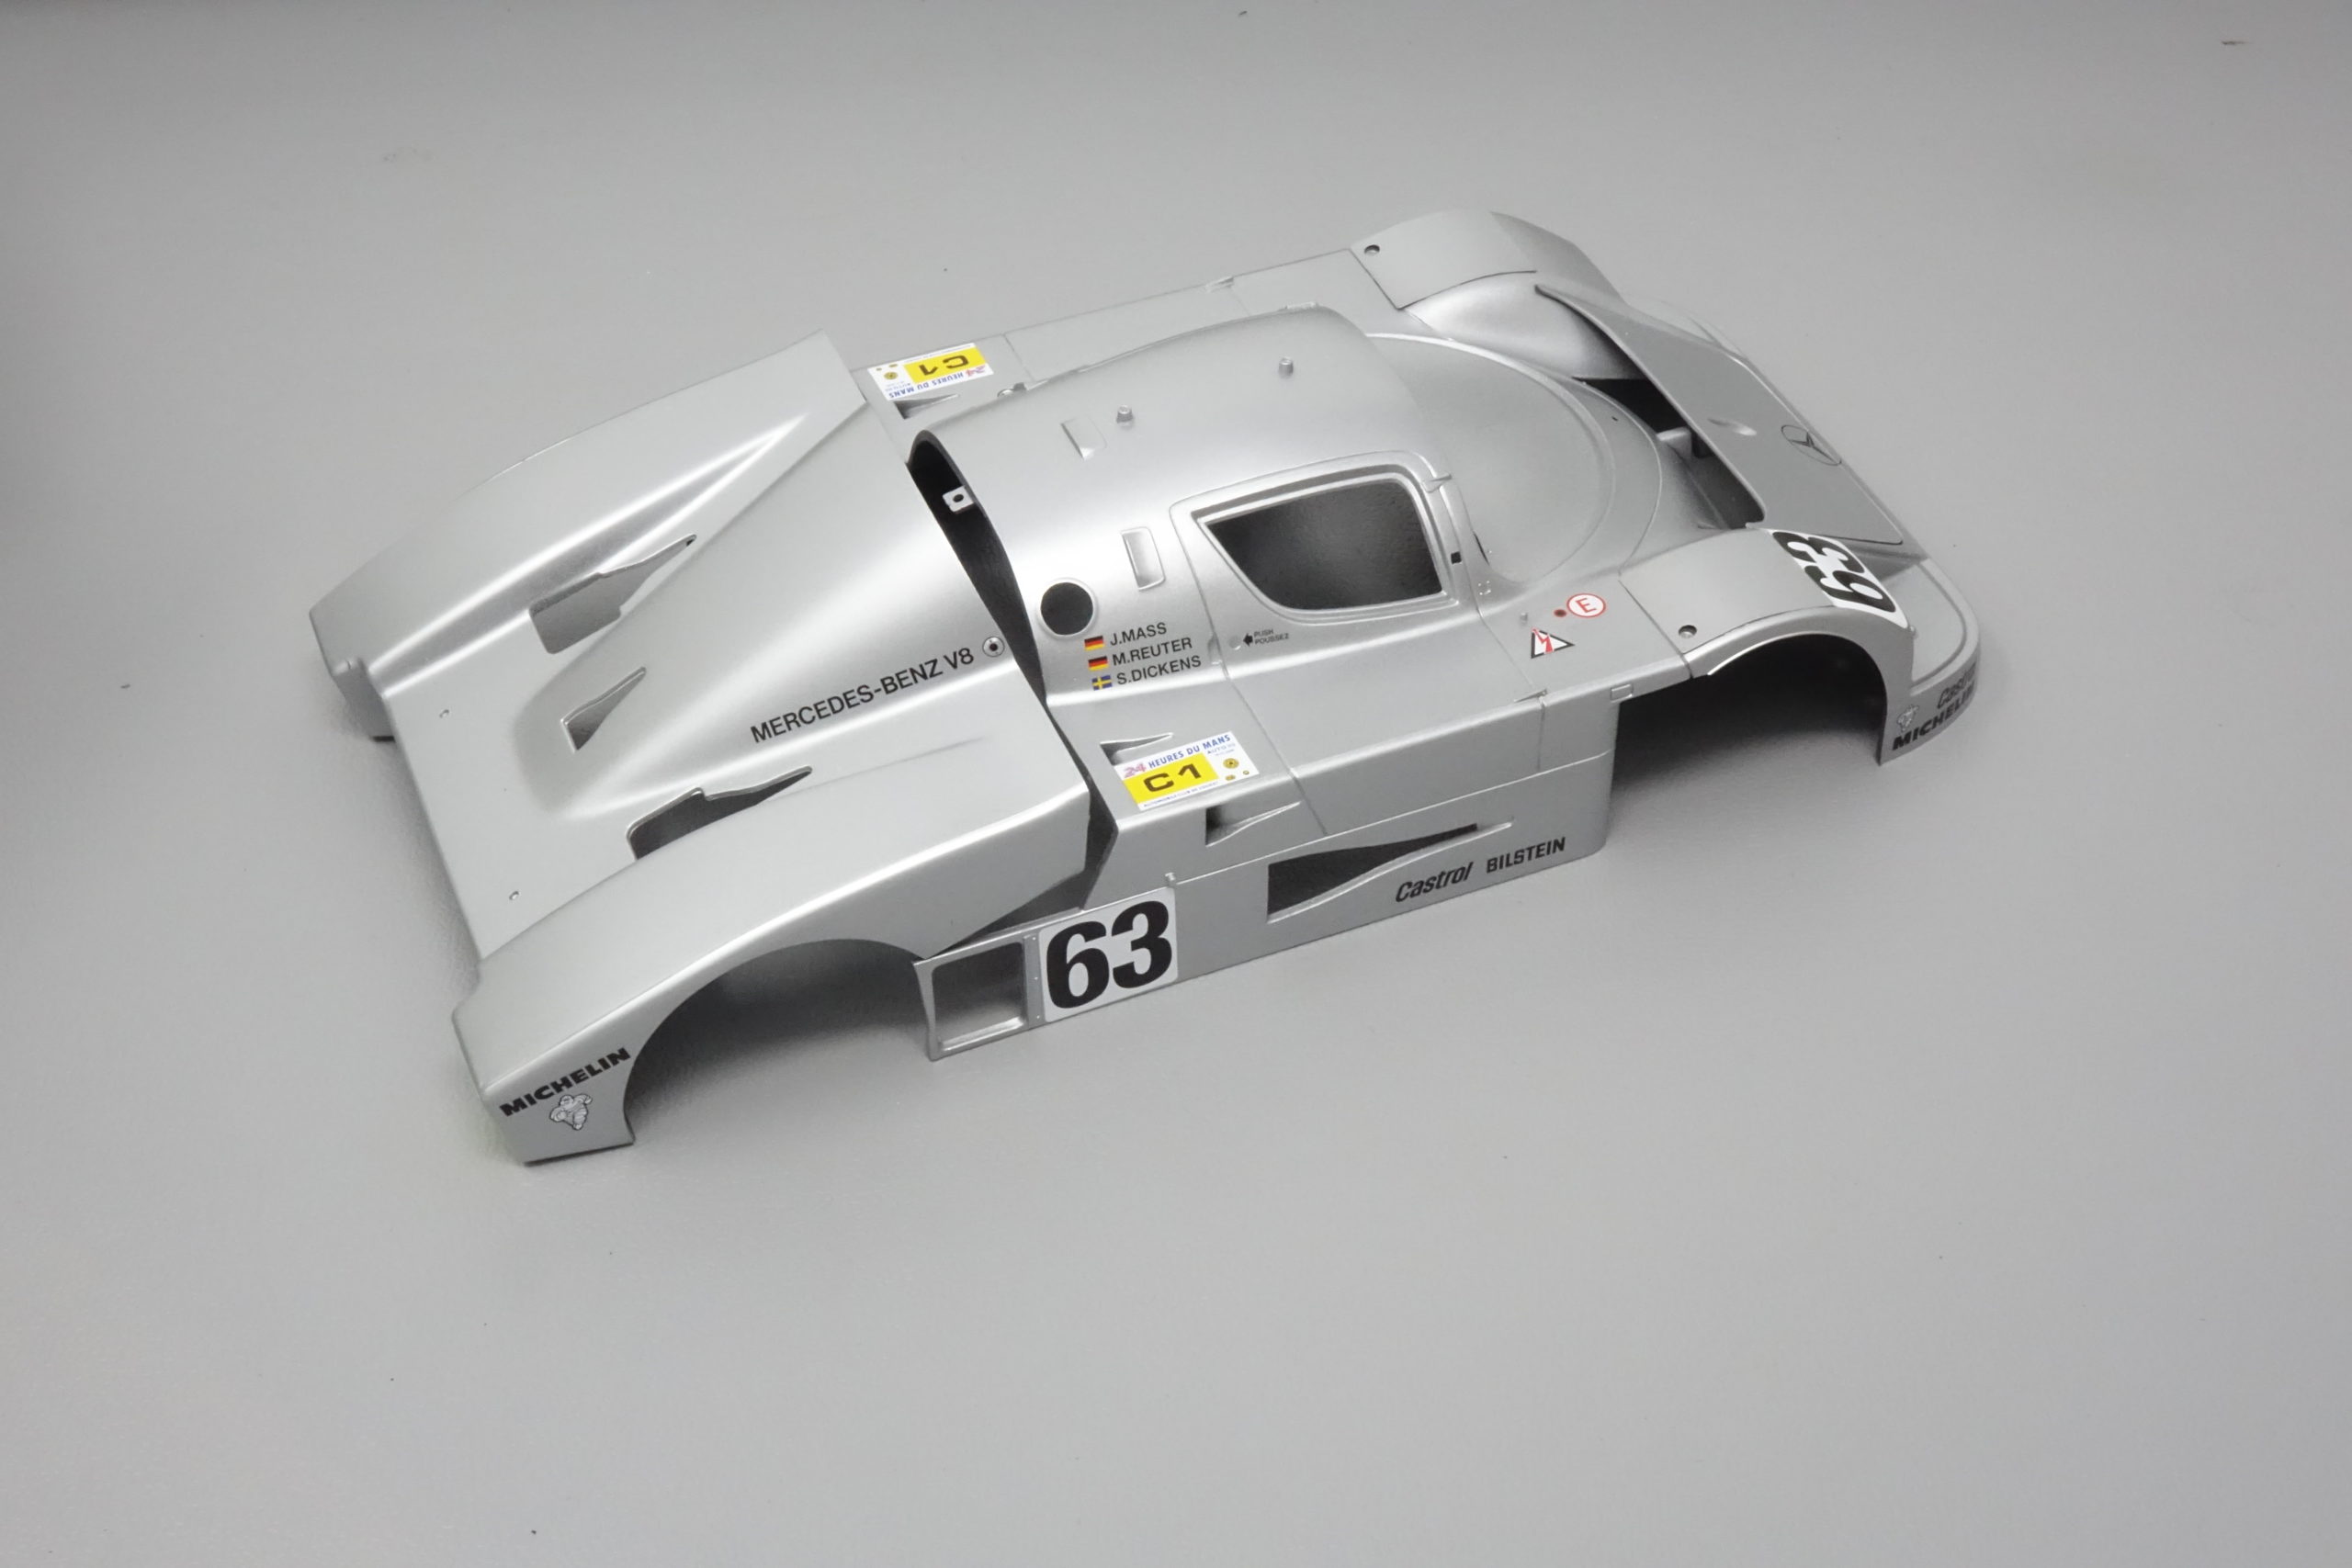
No sanding was needed for the bodywork paint and, next, decals were applied. When all decals had been applied and properly dried, an overall coat of LP Clear was applied to seal them and give a gloss to the paint. I didn’t need (or have time ) to buff up the lacquer afterwards.


A few extra parts were now fitted to the engine bay – including 4 polished PE plates that shield the exhaust. They were fiddly to fit, but with forceps and patience all was good. I’ve tried to show one of the plates in the photo.

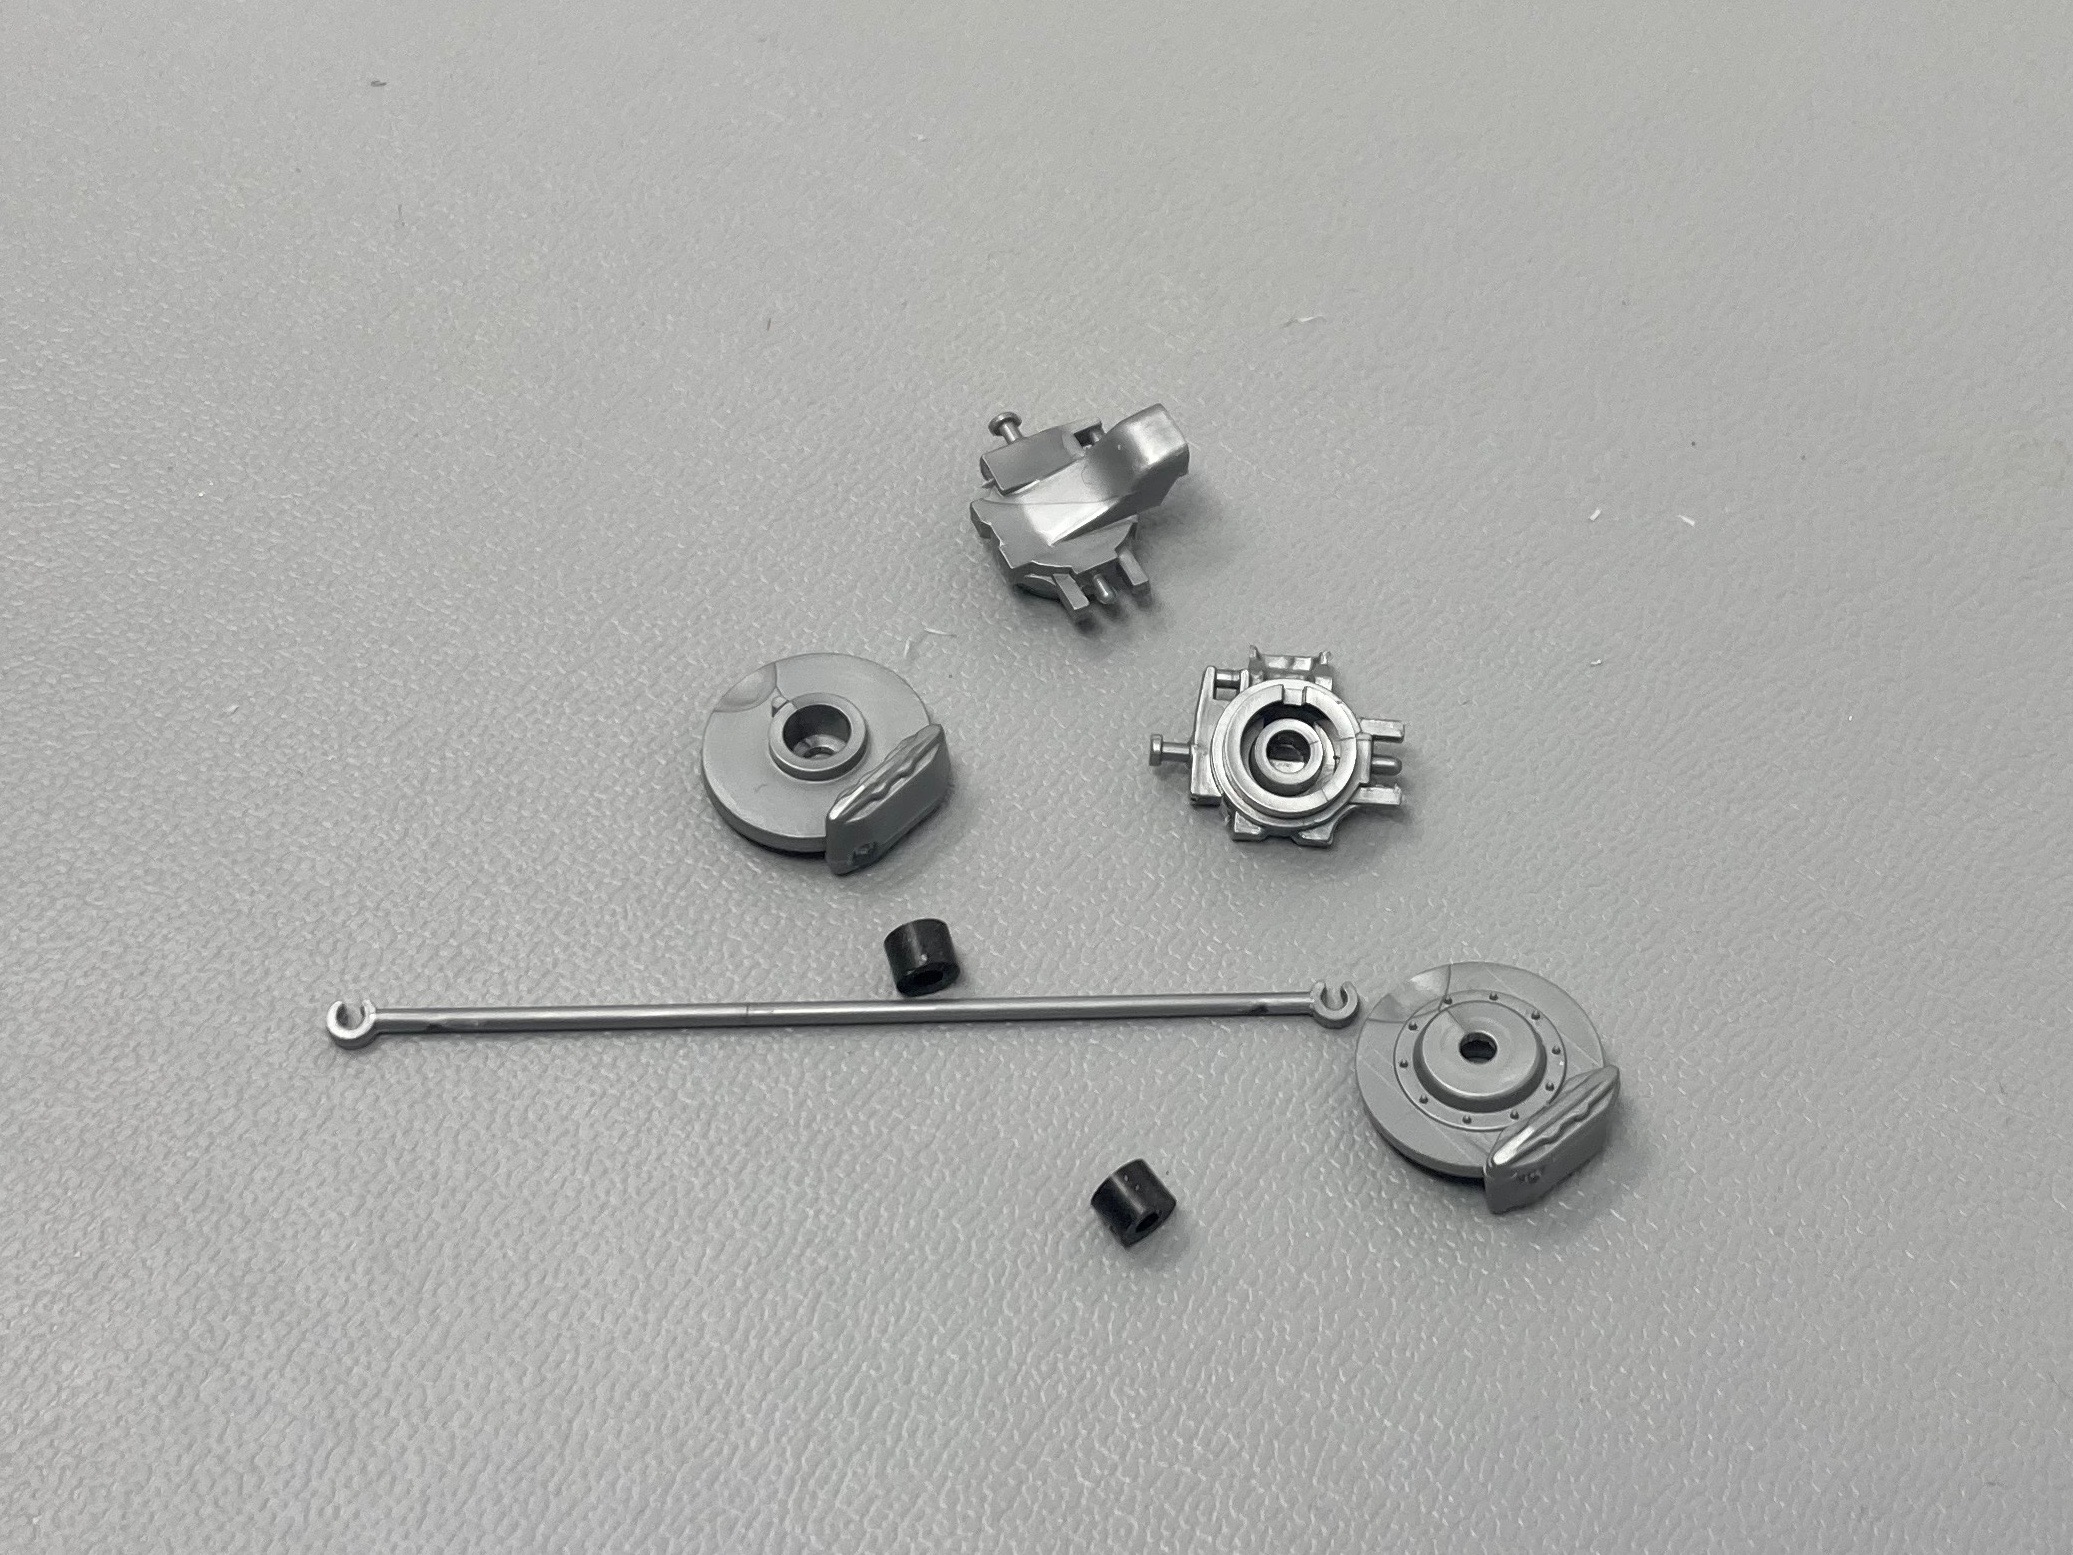
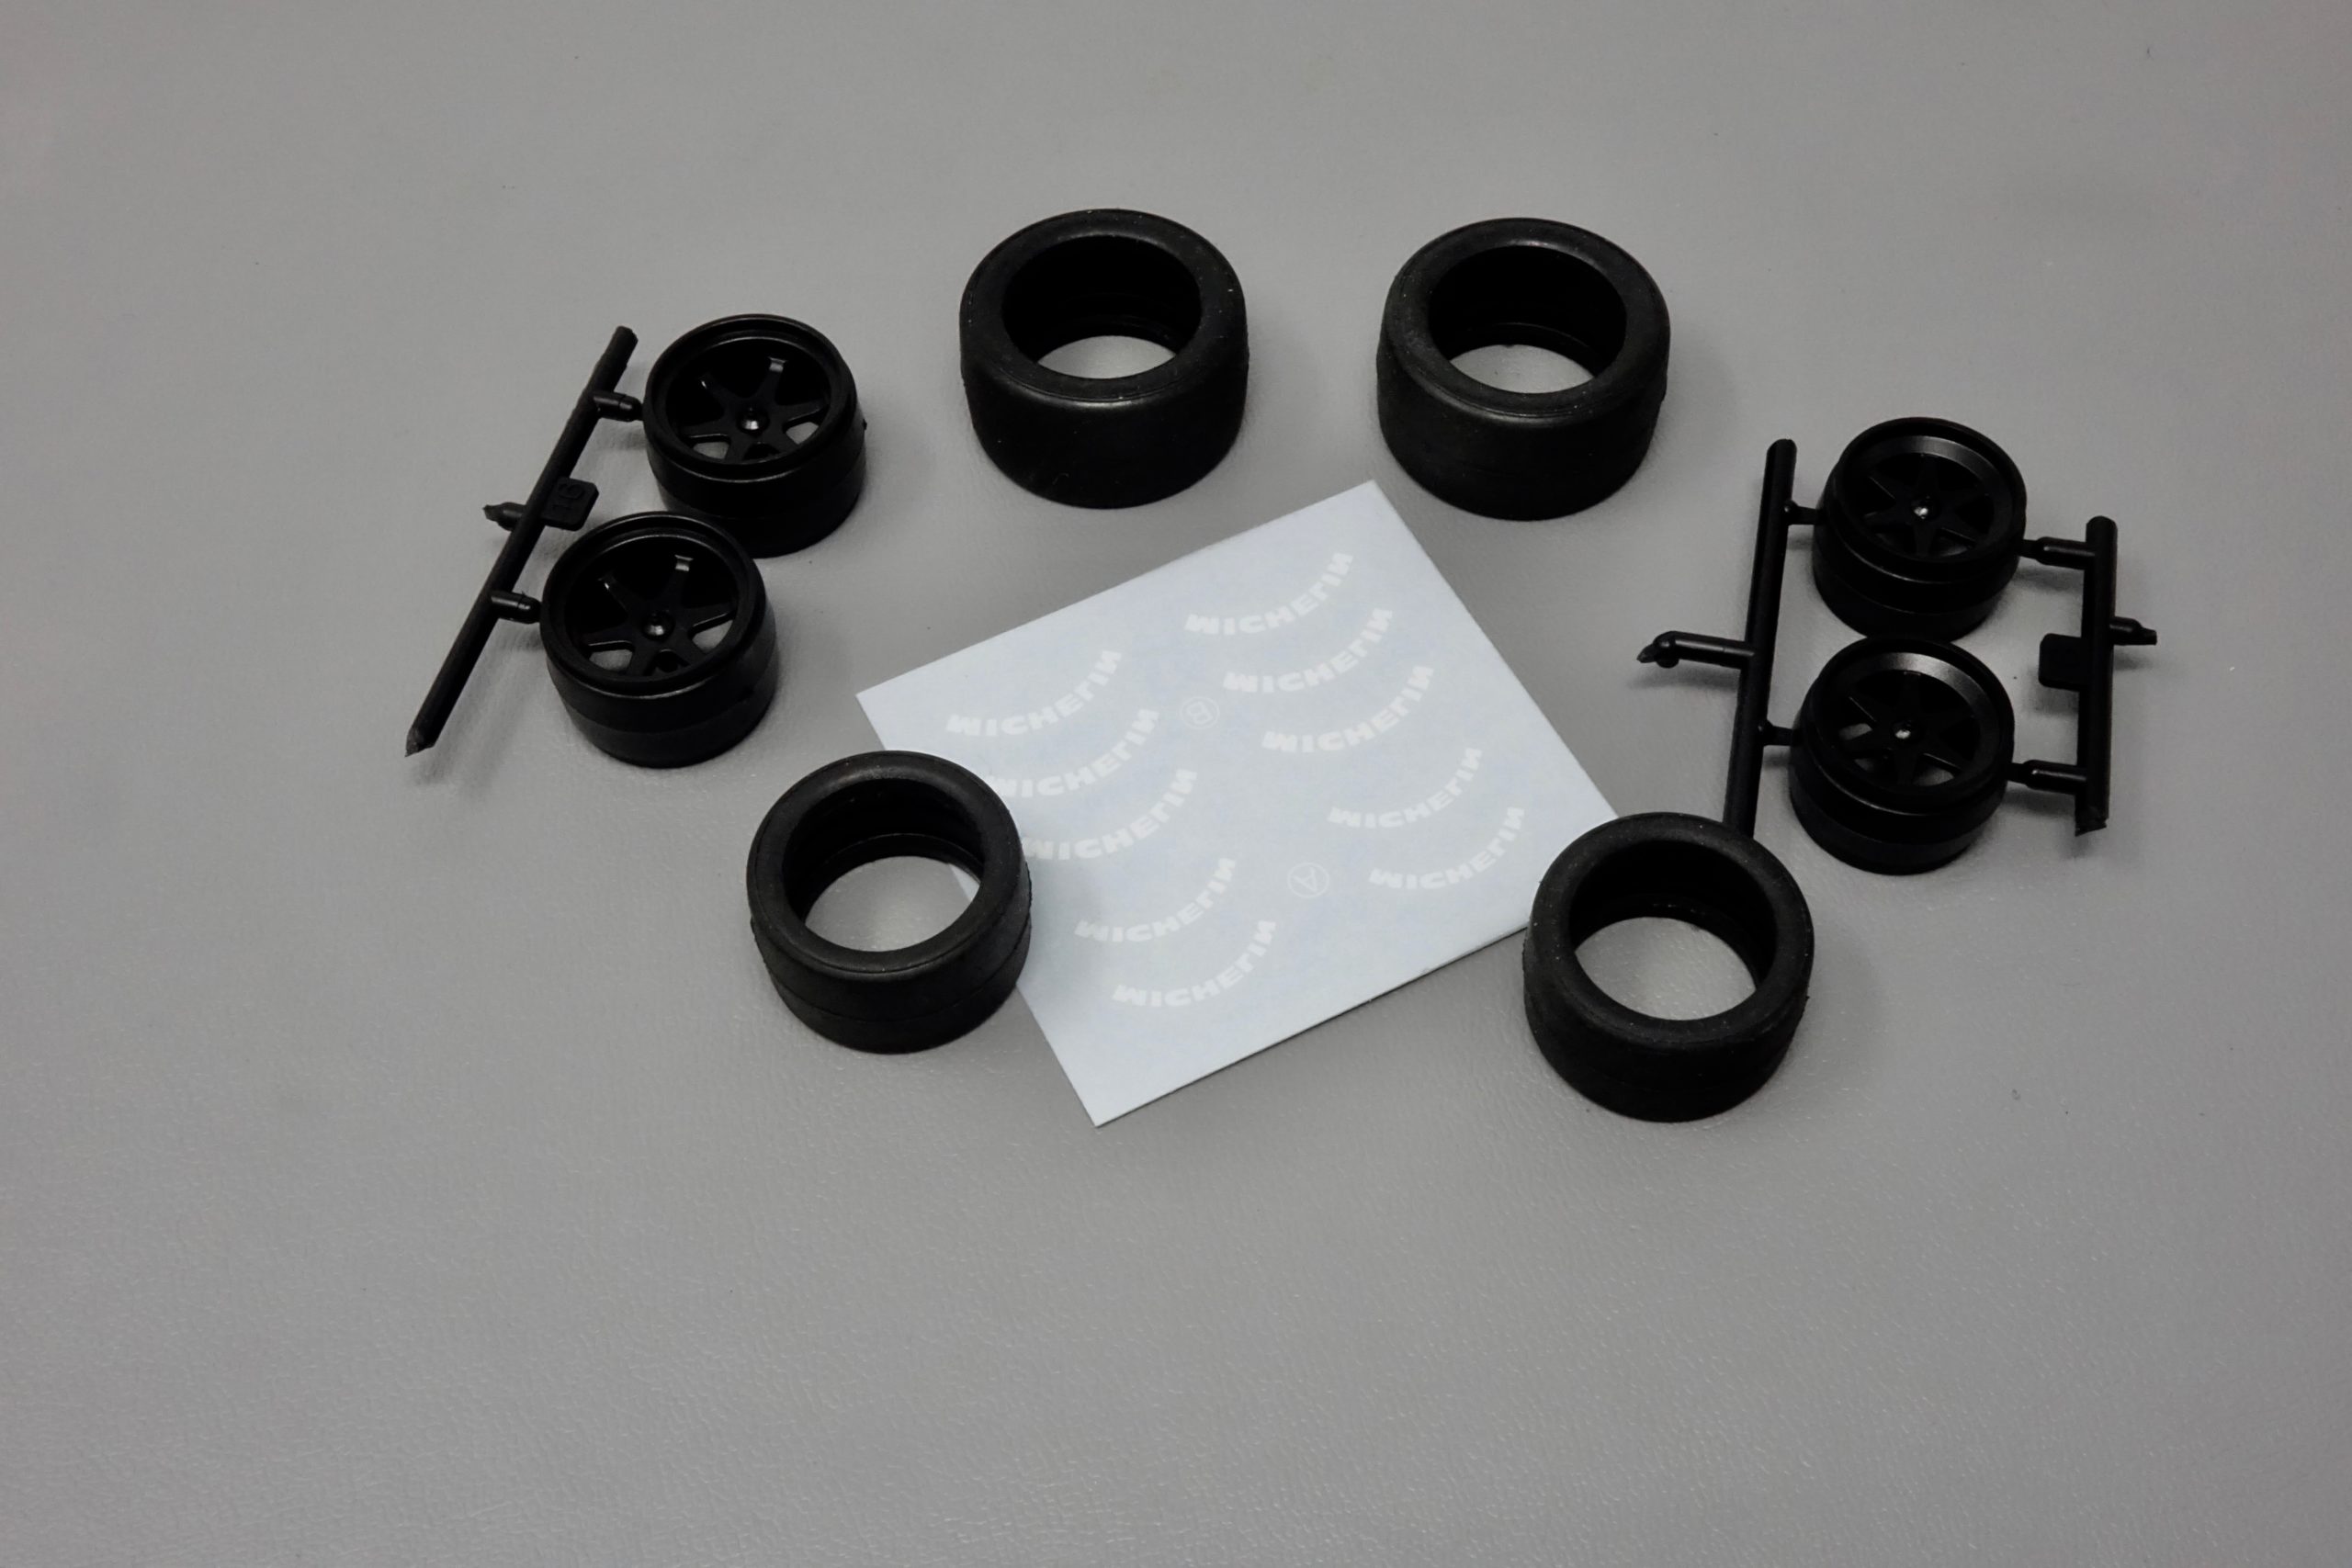
Wheels and tyres
Very straightforward – wheels airbrushed in Gloss Black and then over-coated in Semi Gloss Clear (I had run out of Semi Gloss Black by this point and this is a way around it – I use it quite often). The tyres were good – but there is central mould seam which was very resistant to being sanded off – so is still there. Usually I can get rid of these but, for me, not this time.
The decals went on amazingly well – but they are very delicate and are easily damaged with over-handling. There are spares on the sheet . It seemed a bit strange to be applying them ‘back to front’ – but that’s what has to be done.

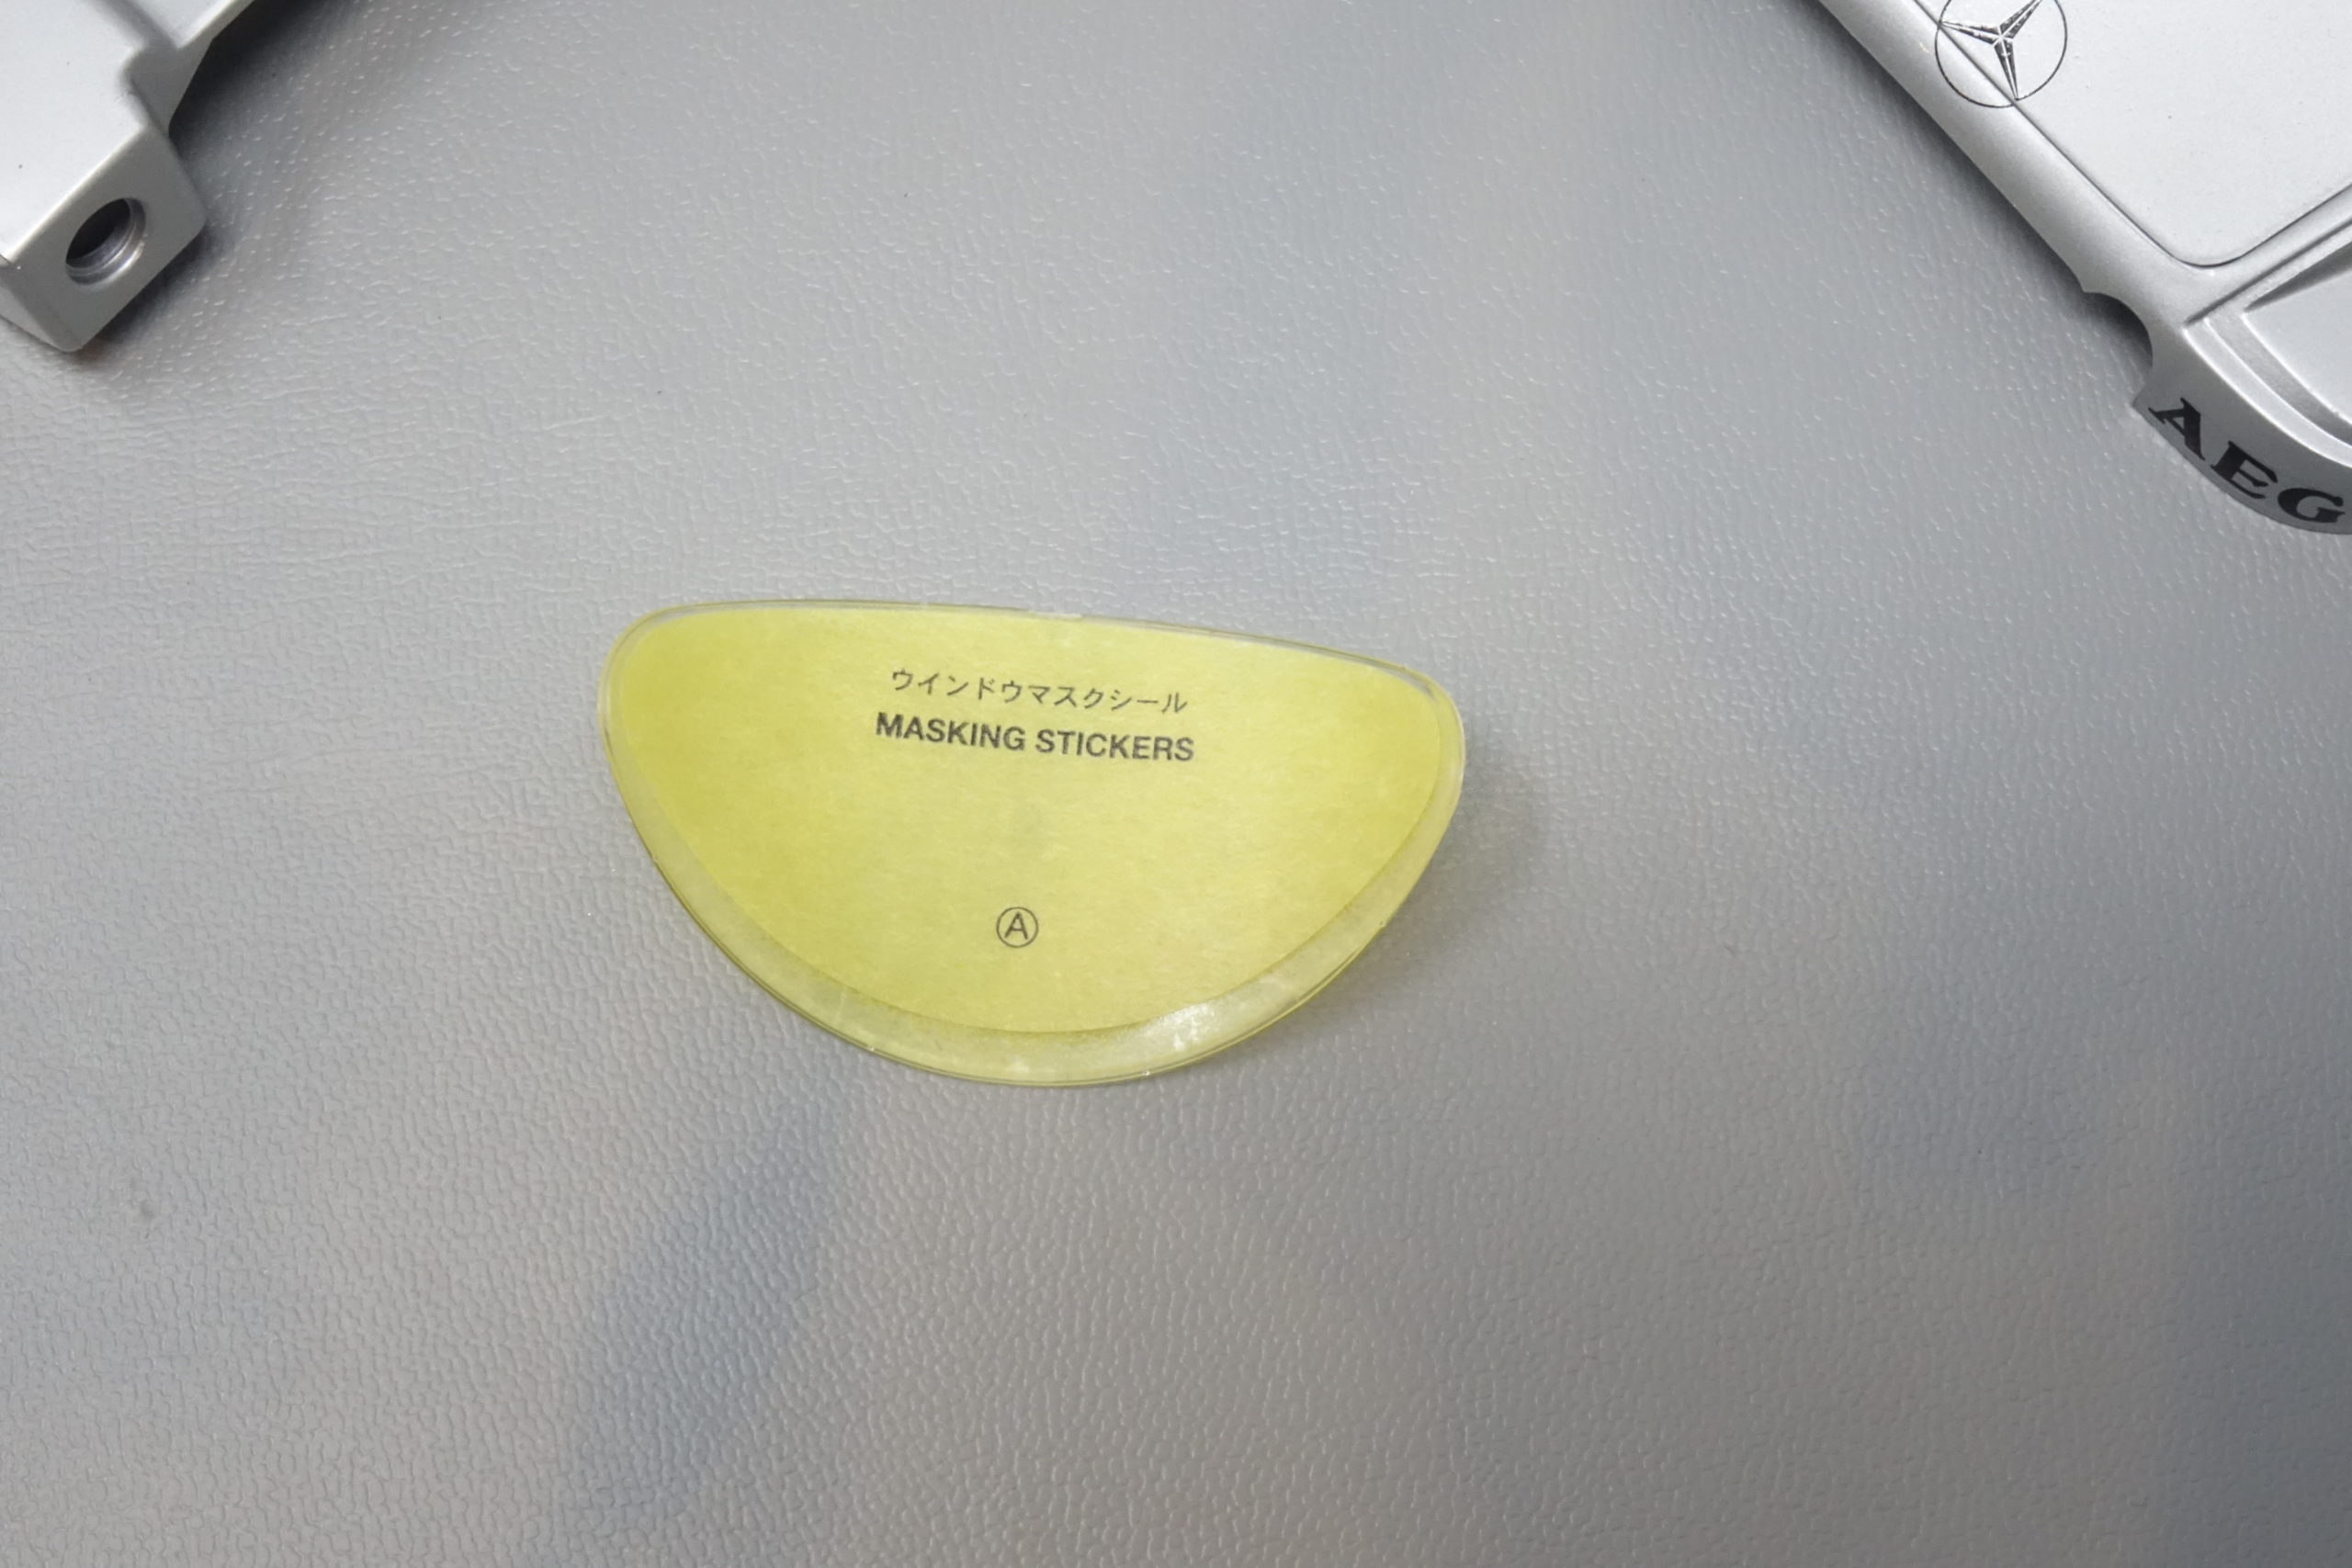
Windscreen and windows
The dreaded clear parts!!
Before I moved on to preparing and fitting the windscreen, I masked off the body to airbrush the inner panel (the dashboard top) in grey. A bit tricky and much holding of breath when I did it – I was really concerned about spoiling the painted up body – and I used a very fine setting on the airbrush so I could apply the grey paint very thinly and build it up. It worked fine and removing all the masking on the relatively recently lacquered body work caused no problems.
So, the windscreen. Deep breaths and calm! I used the masking stickers provided. The screen has to be masked inside and out for a different painting pattern on each surface. It took me several attempts to get them in the right place! The adhesive is very strong, but they are very tough and, although they tend to ‘curl up’ on themselves when removed for repositioning, I had no real problems with them tearing or going out of shape, even though they were on and off about 5 times to get them in the right place. When I was happy with the positioning I sealed down the edges with pressure from a cotton bud and airbrushed Flat Black LP very very lightly until I achieved the coverage. All good! Side windows were done in the same way – but these were easier.
Then it was fit the windows and screen (I had done the test fitting when they were masked up but before painting). They were secured with tiny drops of CA adhesive which were, conveniently, hidden behind the black screen edges. And…. I even managed to avoid getting any fingerprints (or glue) on the clear parts!

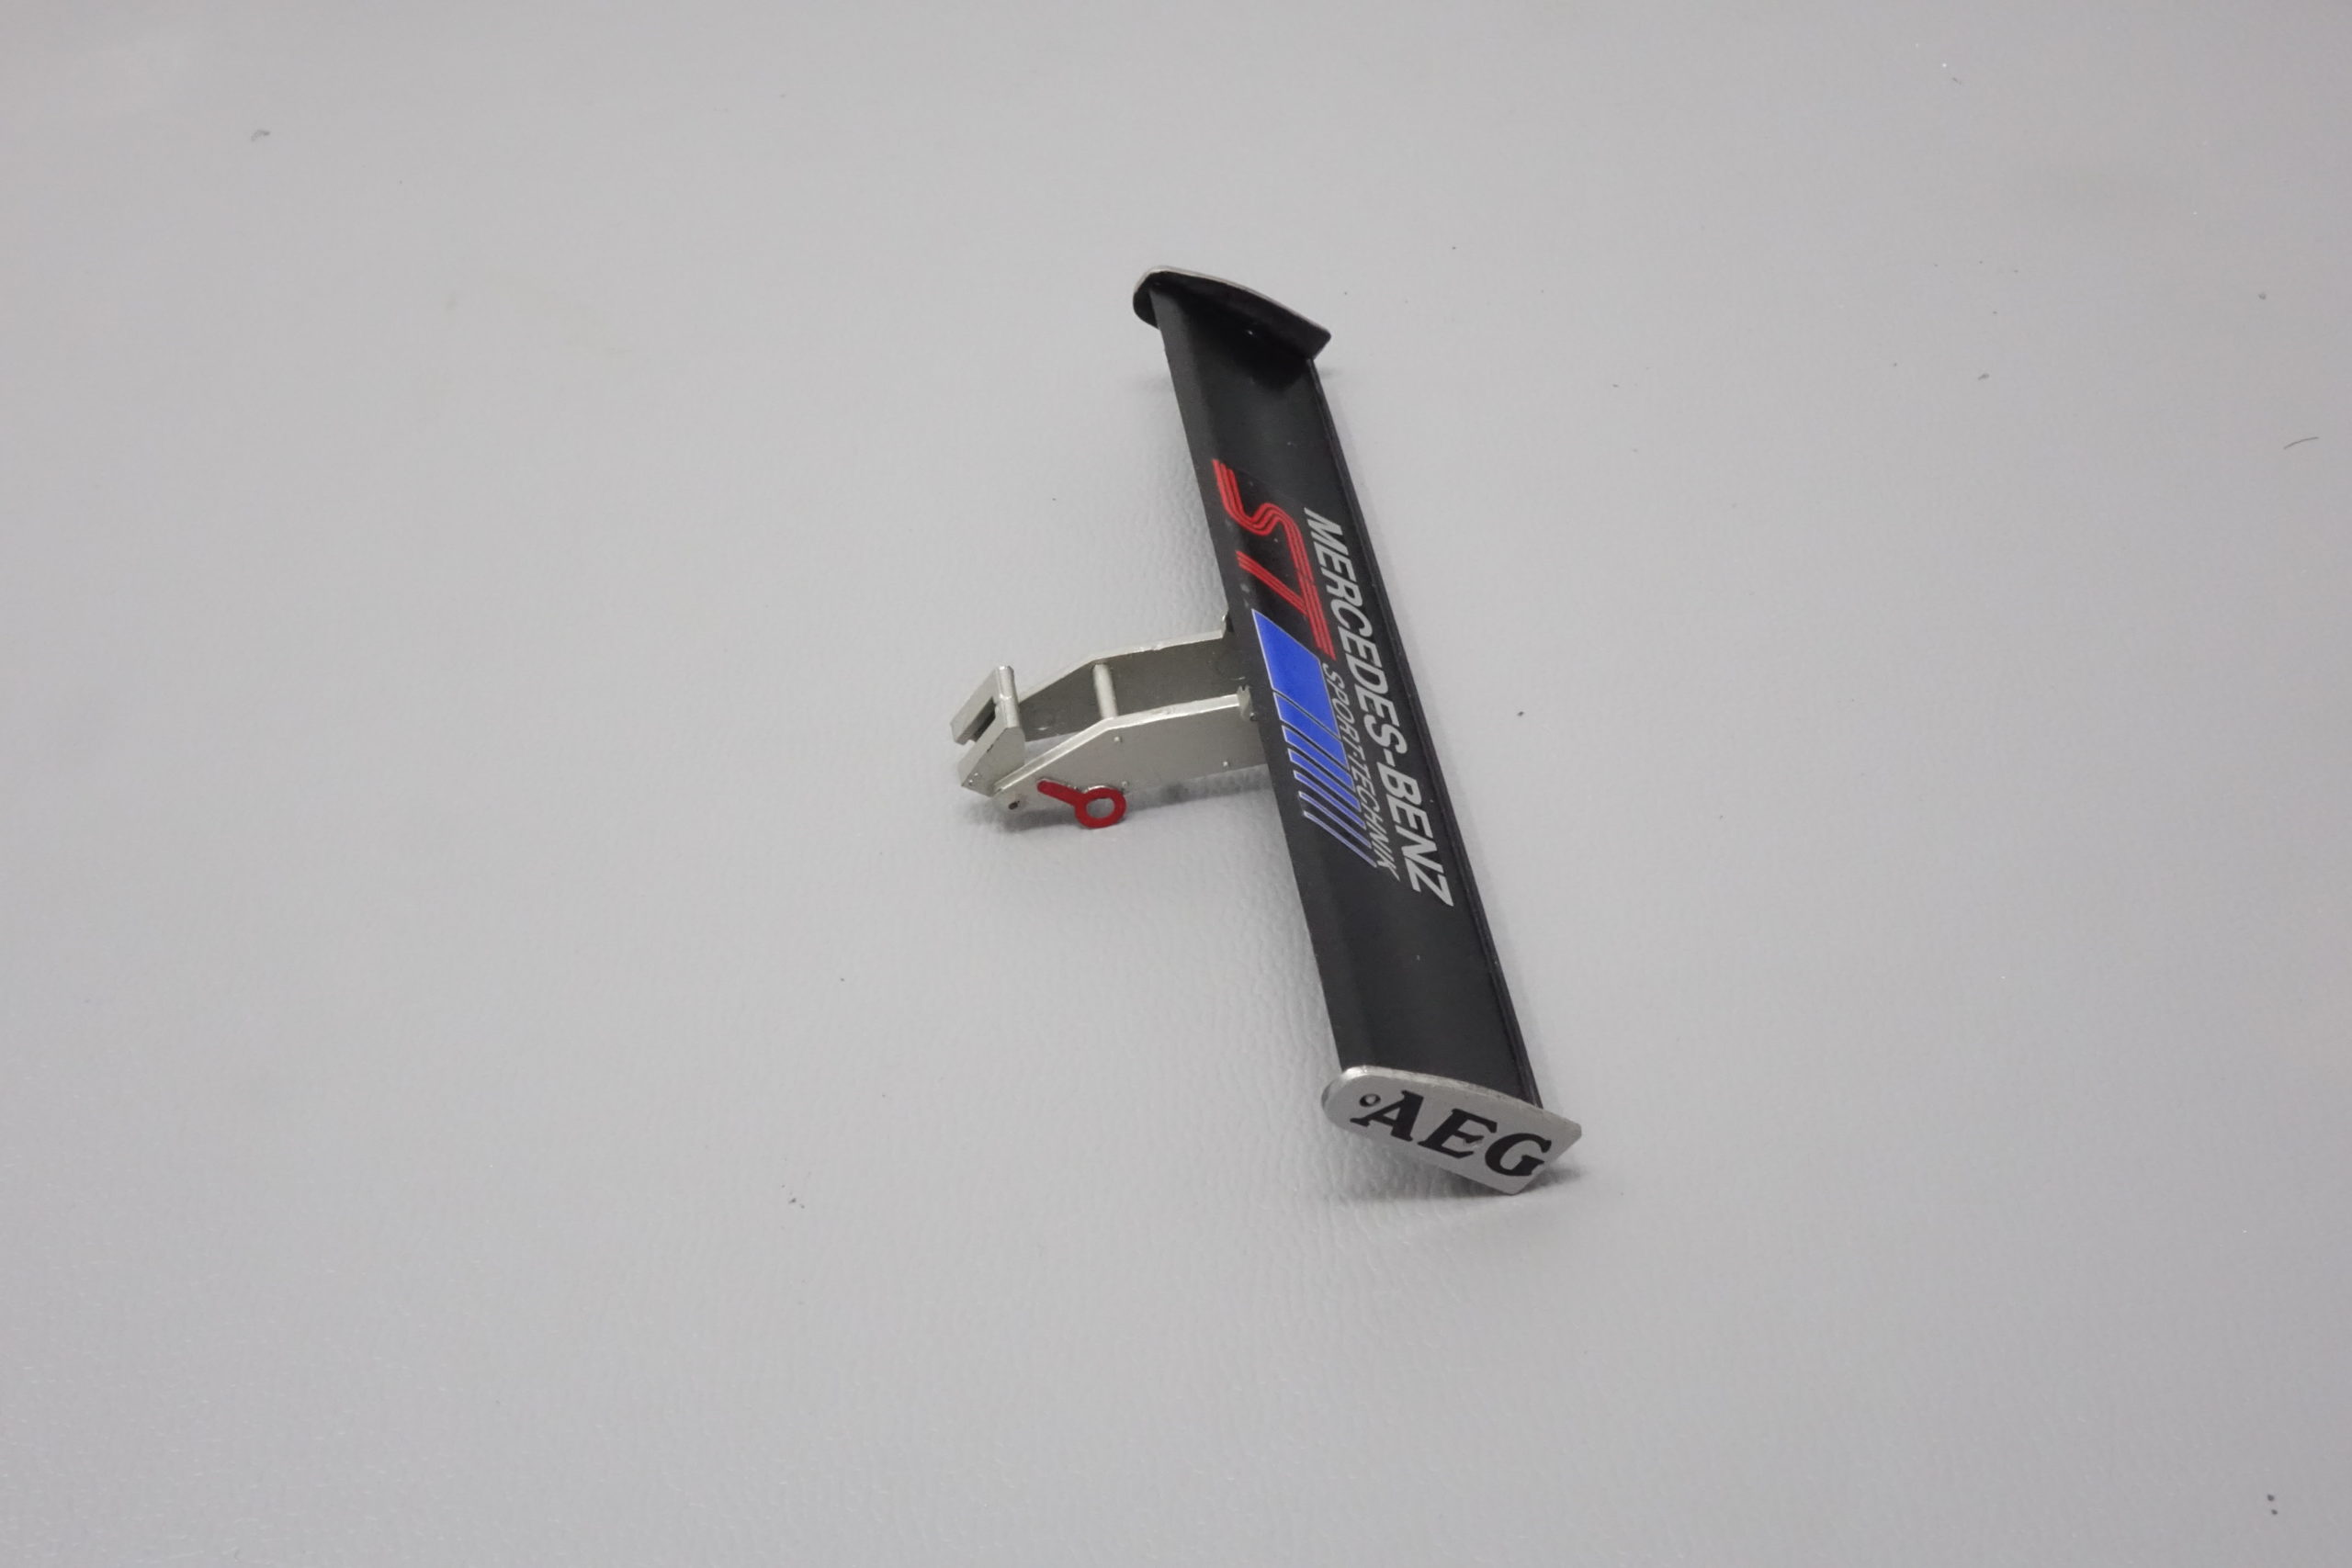
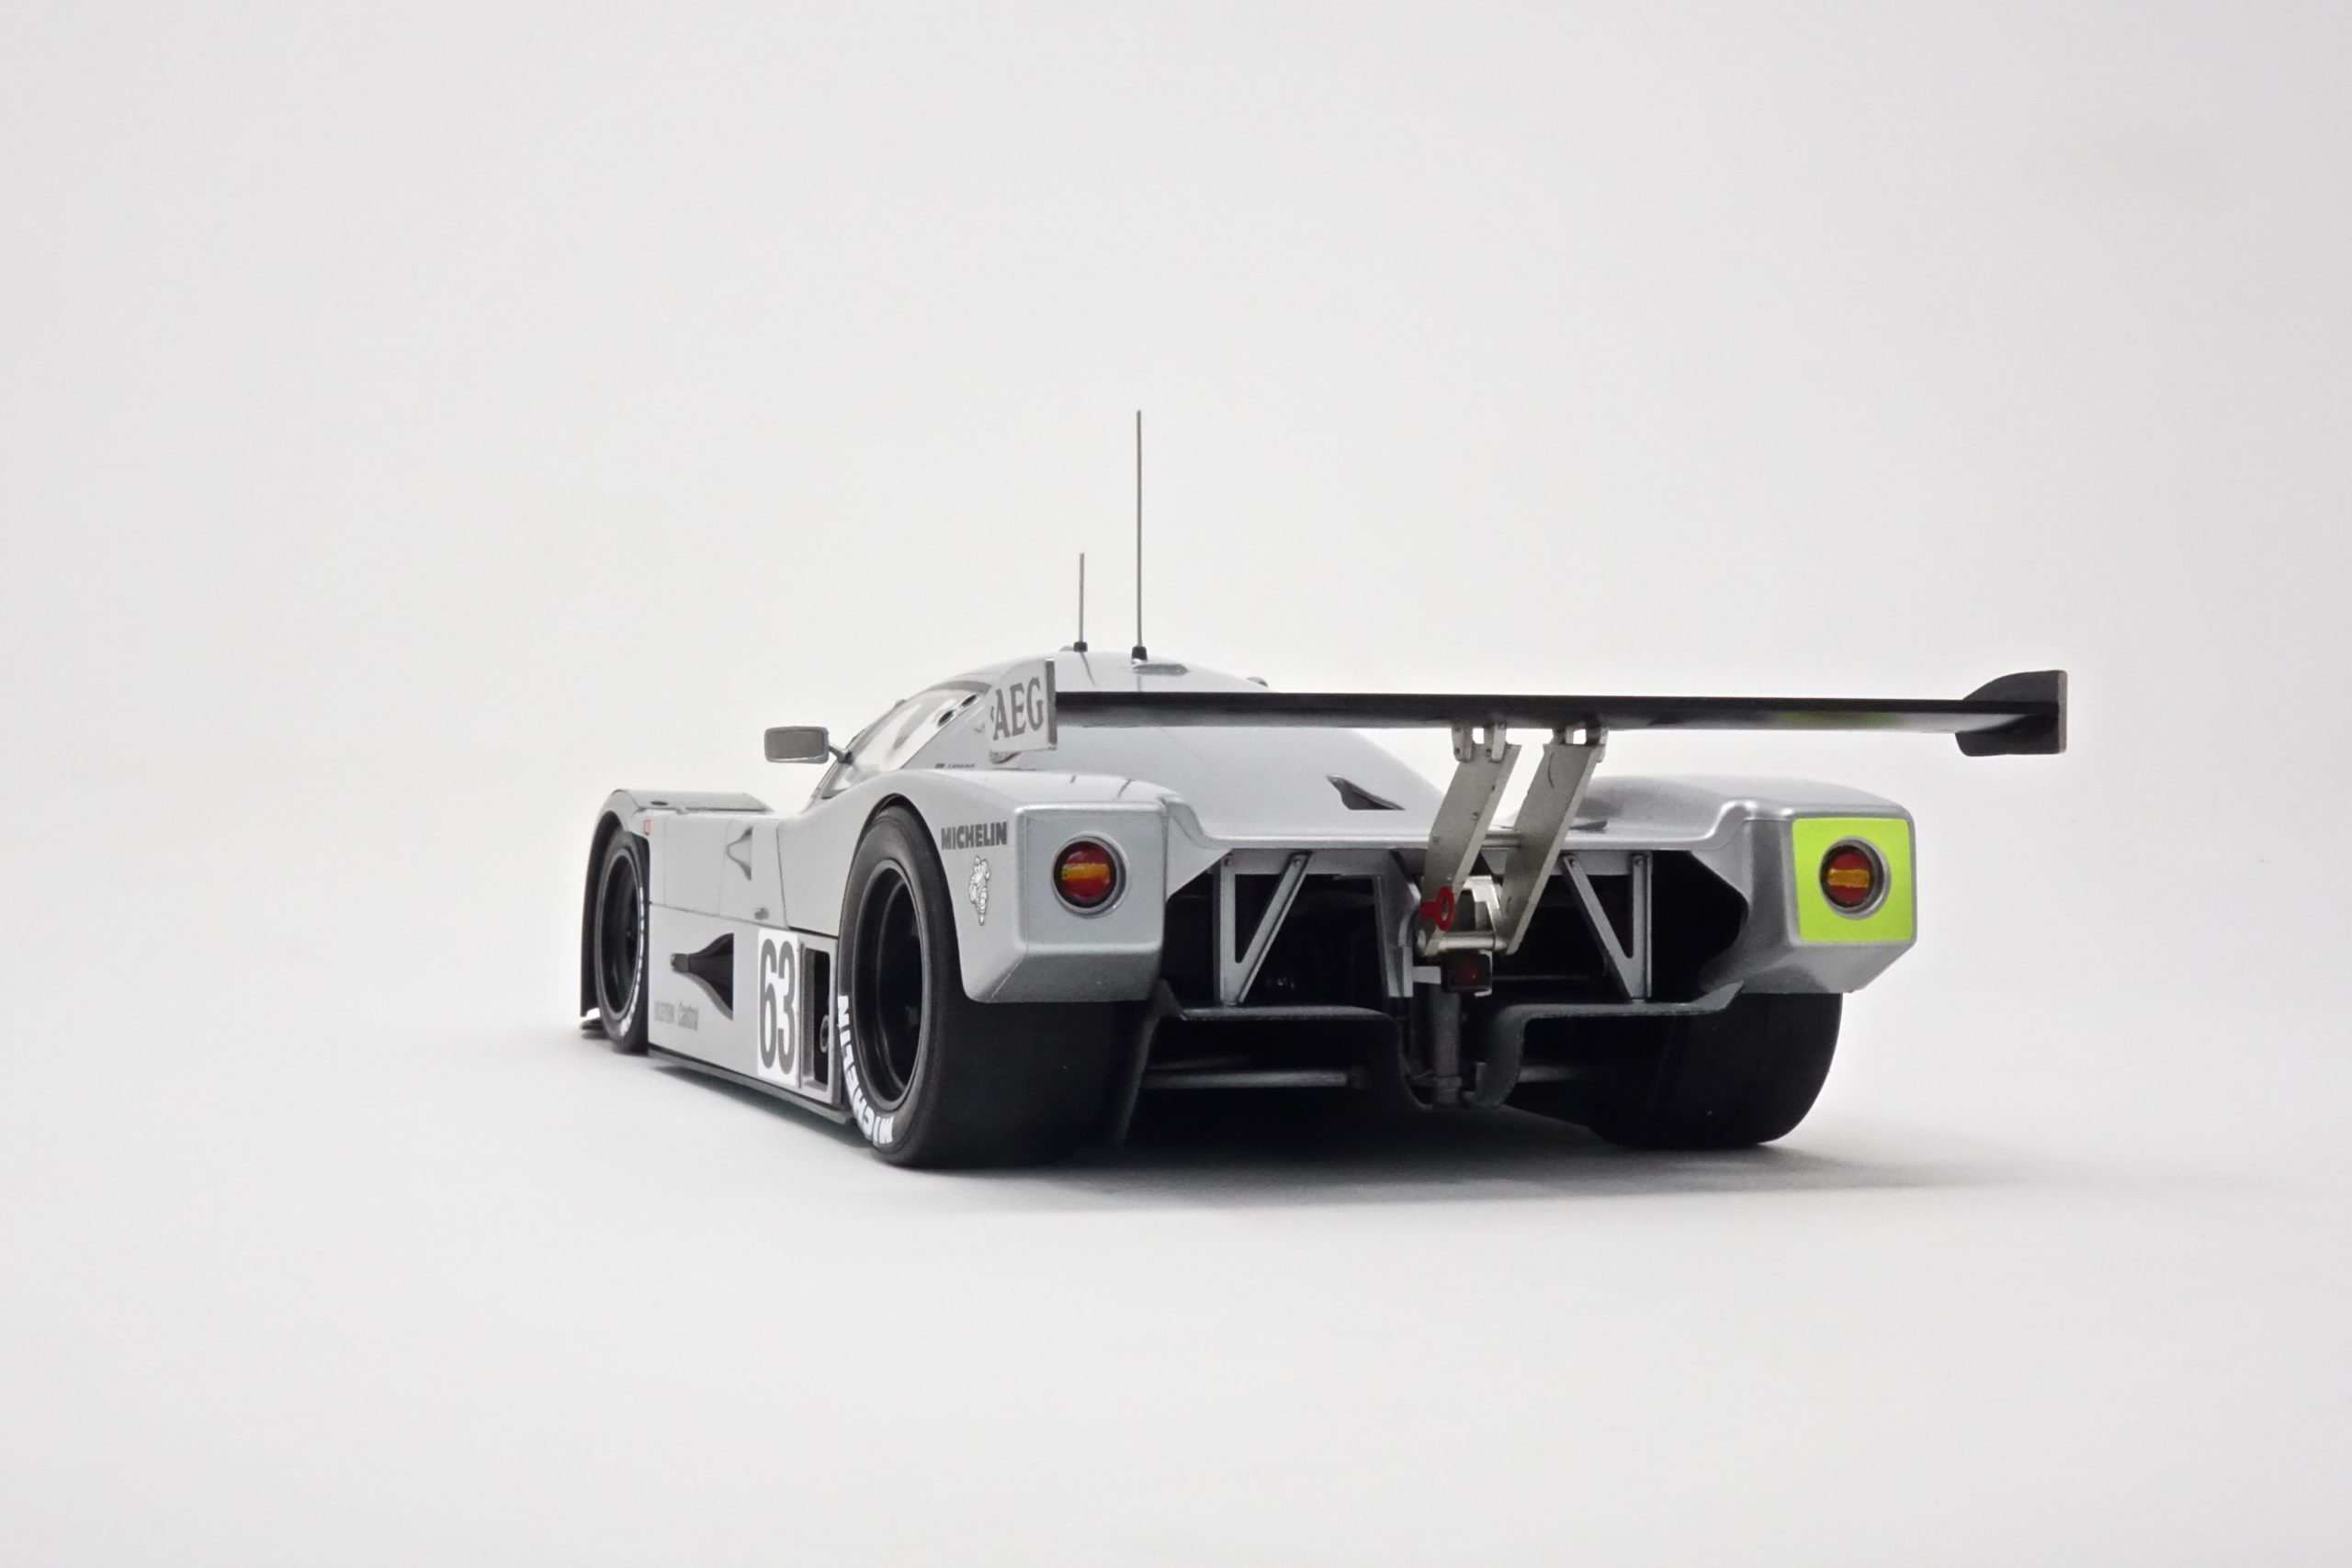
Rear wing
This was built up from several parts – each being painted and decalled as per instructions. A little frustration here – I followed the instructions and nowhere does it say that there are PE replacement parts for the wing ‘tips’! I didn’t realise until I had finished it all, that there were 2 parts left on the PE frame – the wing tips! So beware – they are NOT in the instructions!
Final assembly
Everything just fitted! Not even any adhesive needed for the body to the chassis.
I used my own thinner gauge wire for the aerials – I felt that the wire in the kit was too thick to look right.
And just a note on the wing mirrors…… I’m sure you enthusiasts will have noticed that the mirrors on my build are body colour and not the correct yellow coding for this car, No. 63. The simple reason for this is that I just could not get them to look right! My excuse is that they aren’t particularly good mouldings – but , in the time I had to get yellow housing, black edging and stem to look clean and crisp – it just wouldn’t work. So, I defaulted to my ‘if it looks better as it is (in this case in body colour) rather than messy (as on the paint plan) – then do it’. I did the yellow job and test fitted the mirrors and tbh they just spoiled the look. So, off came the yellow and re-done in body colour. When I get chance I’ll try again. Honest!
Job done. Phew!
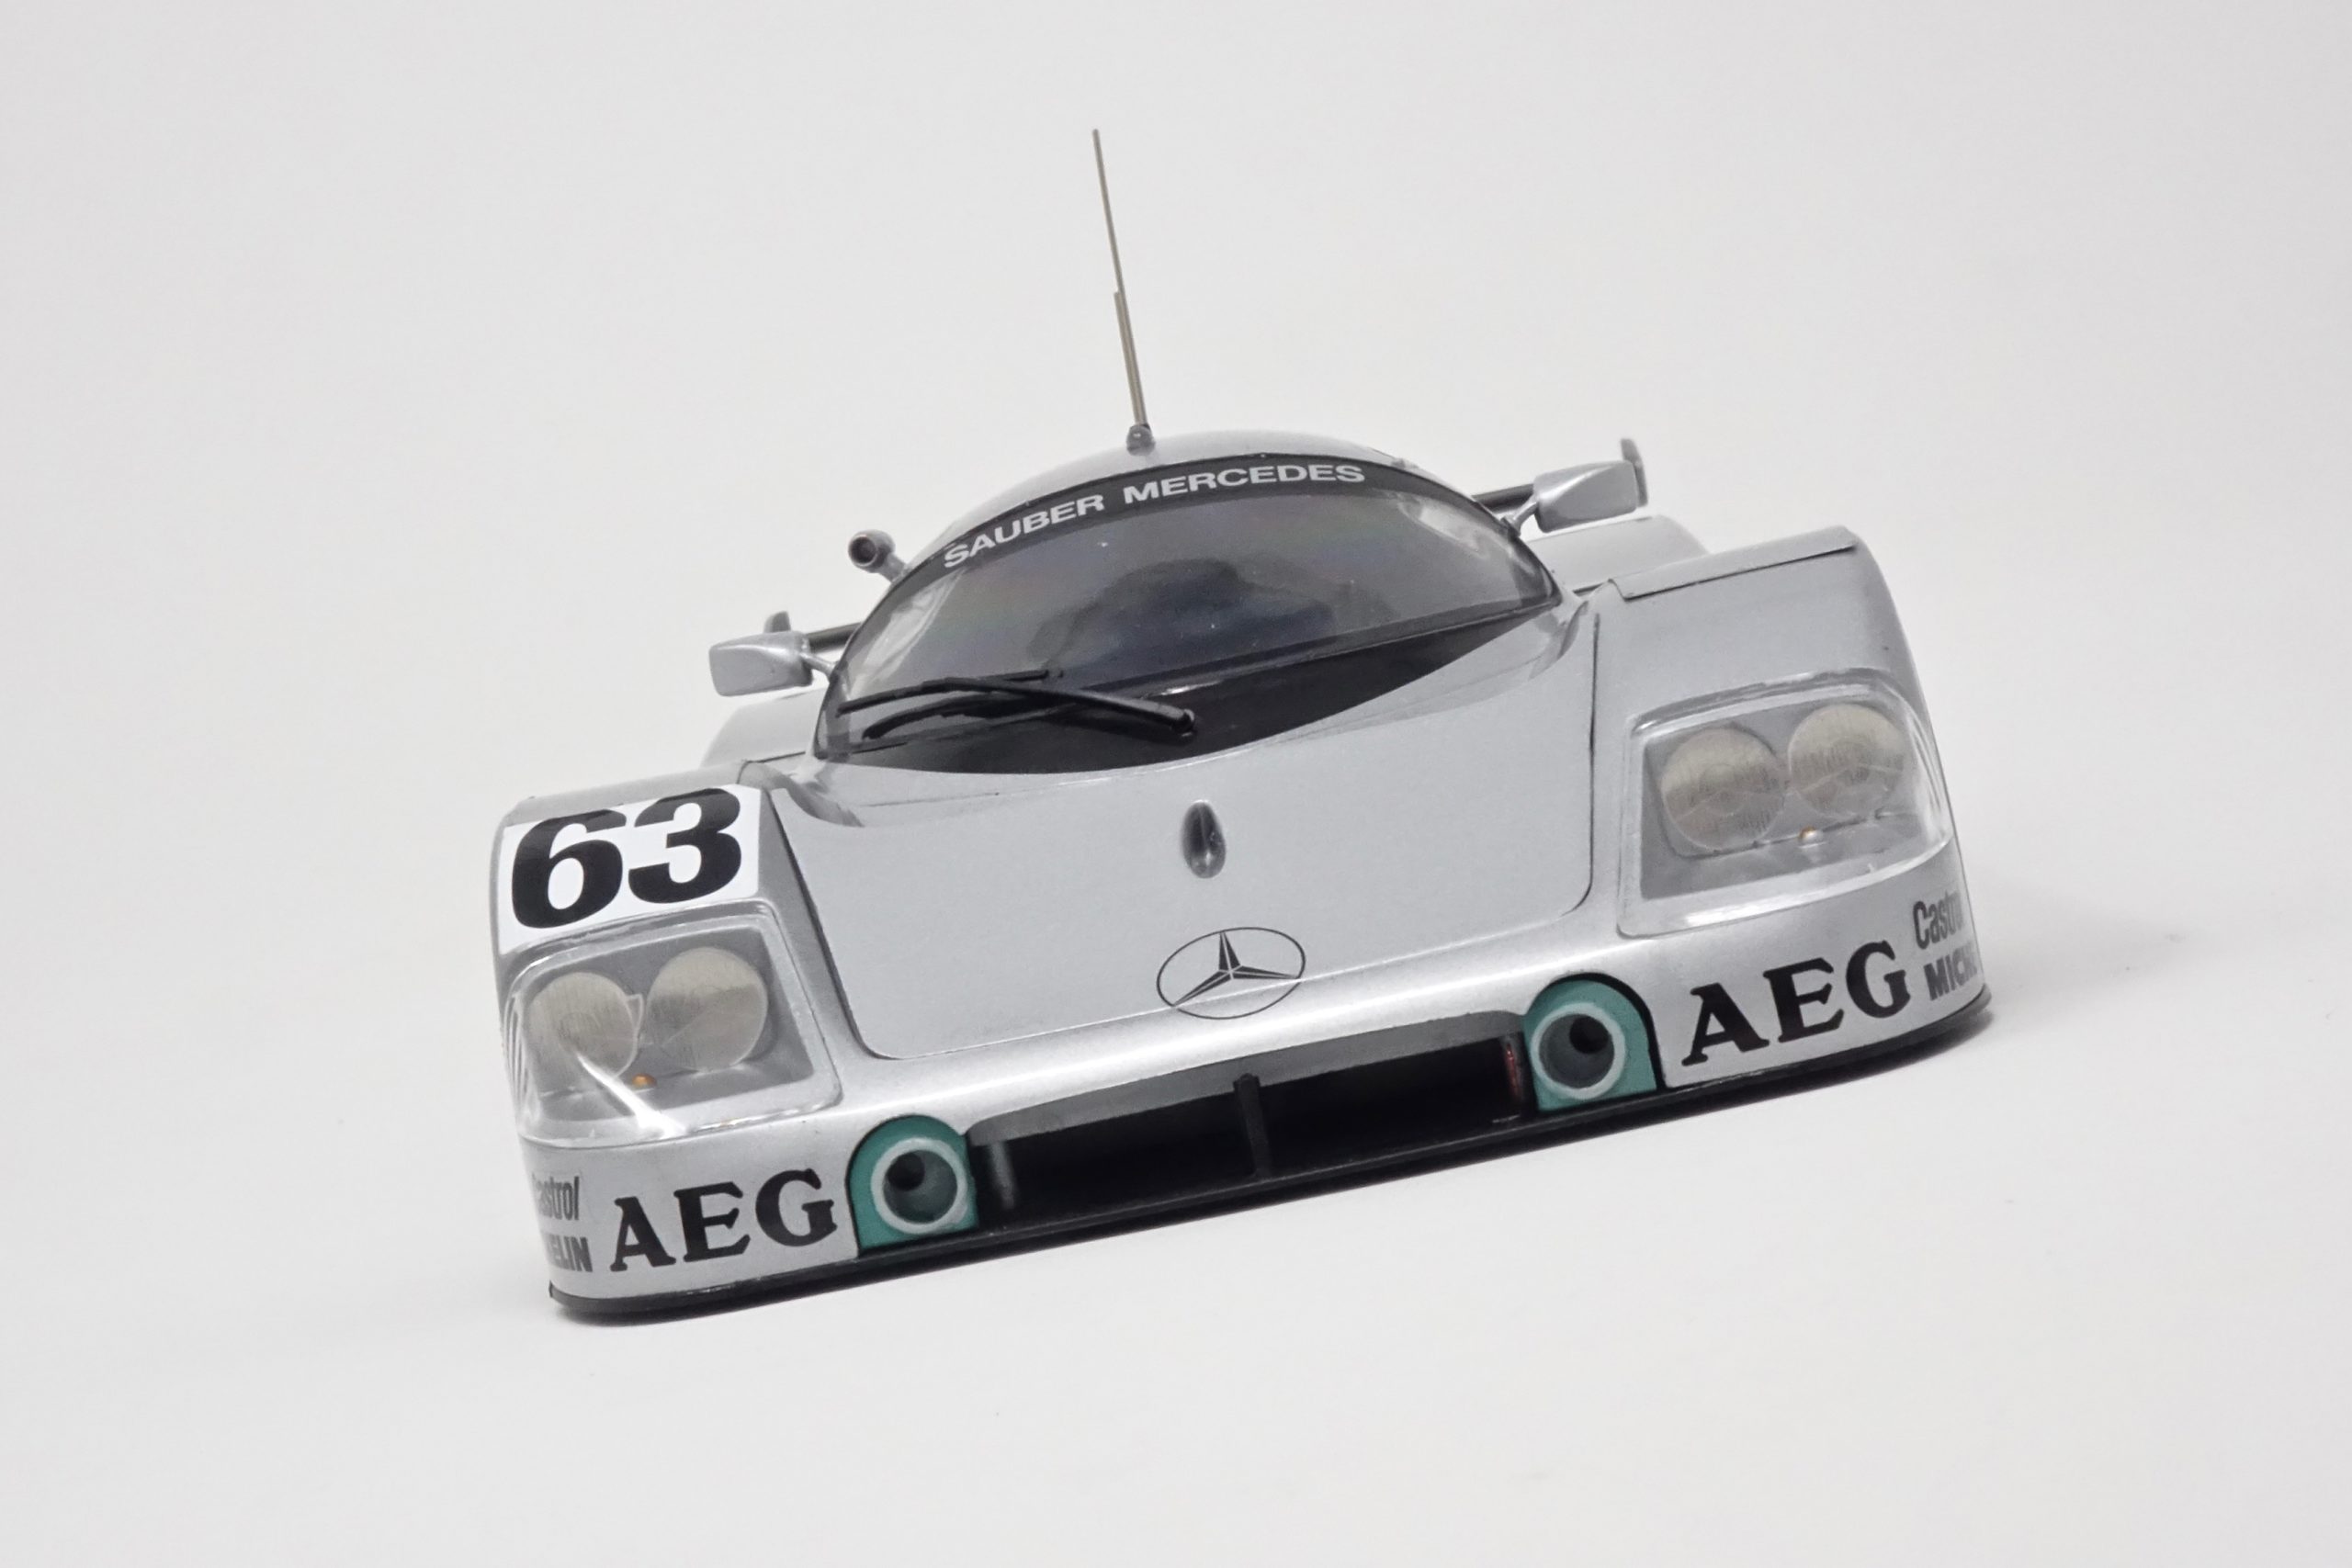
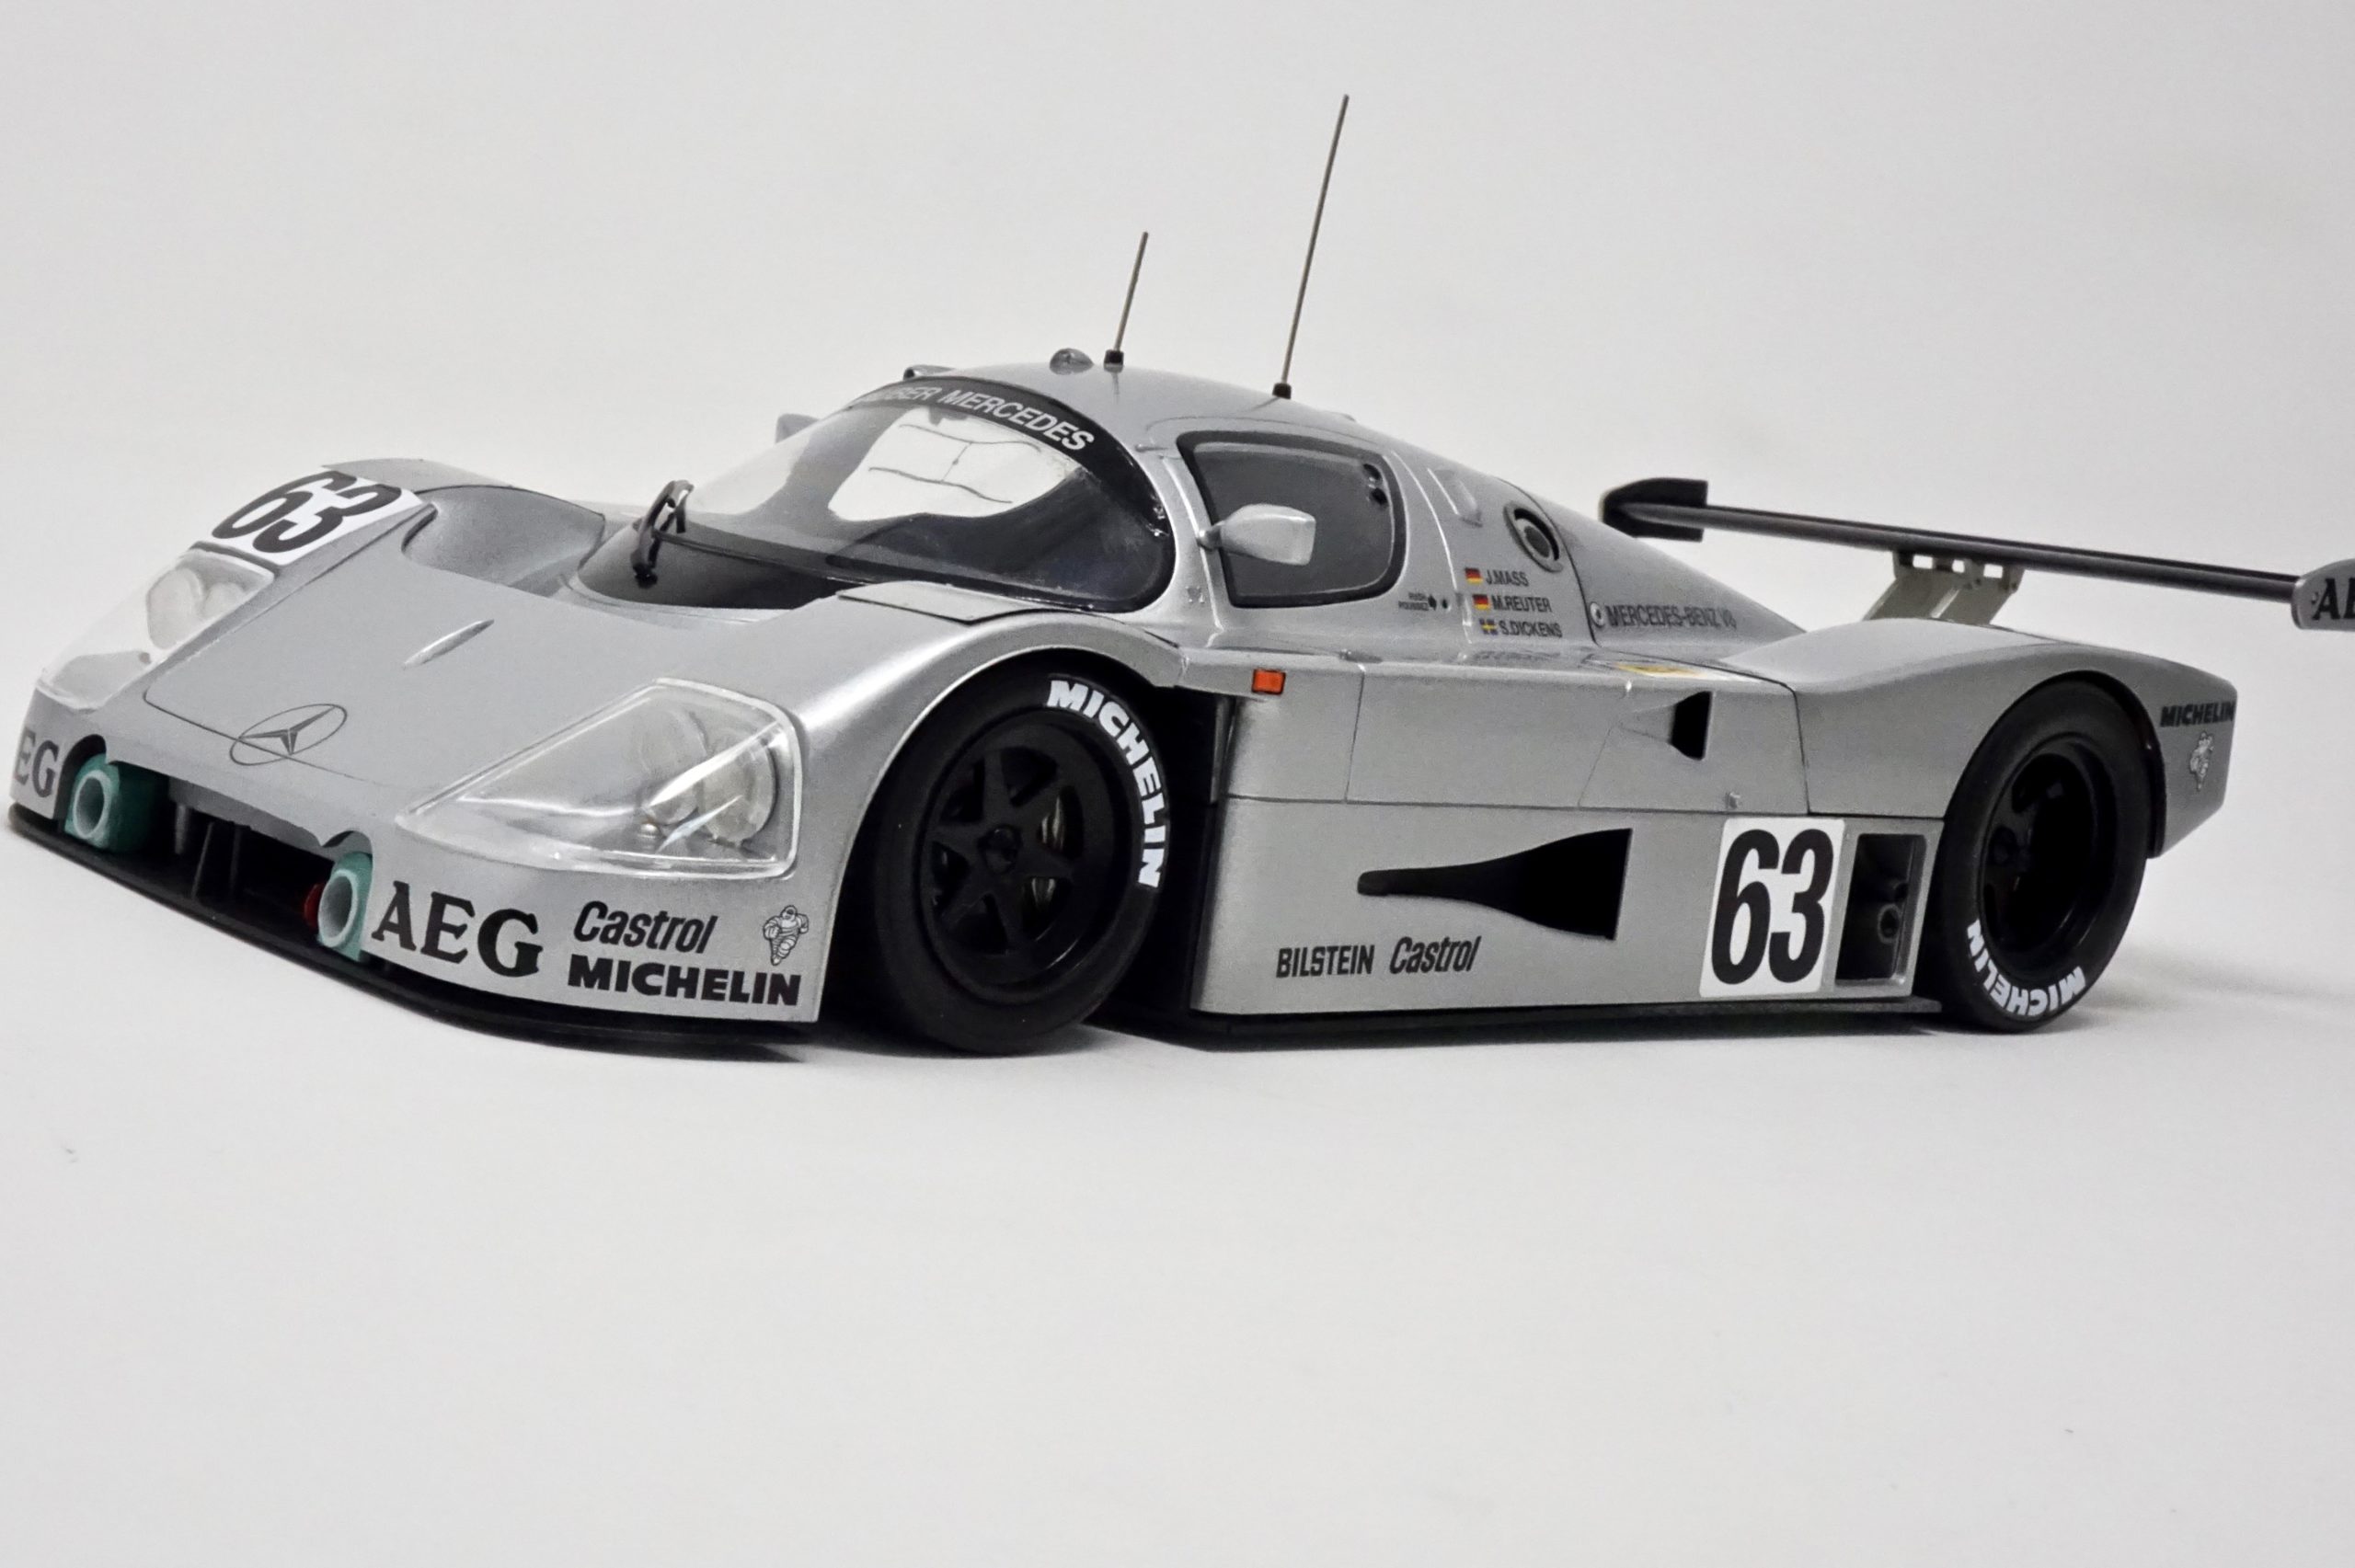
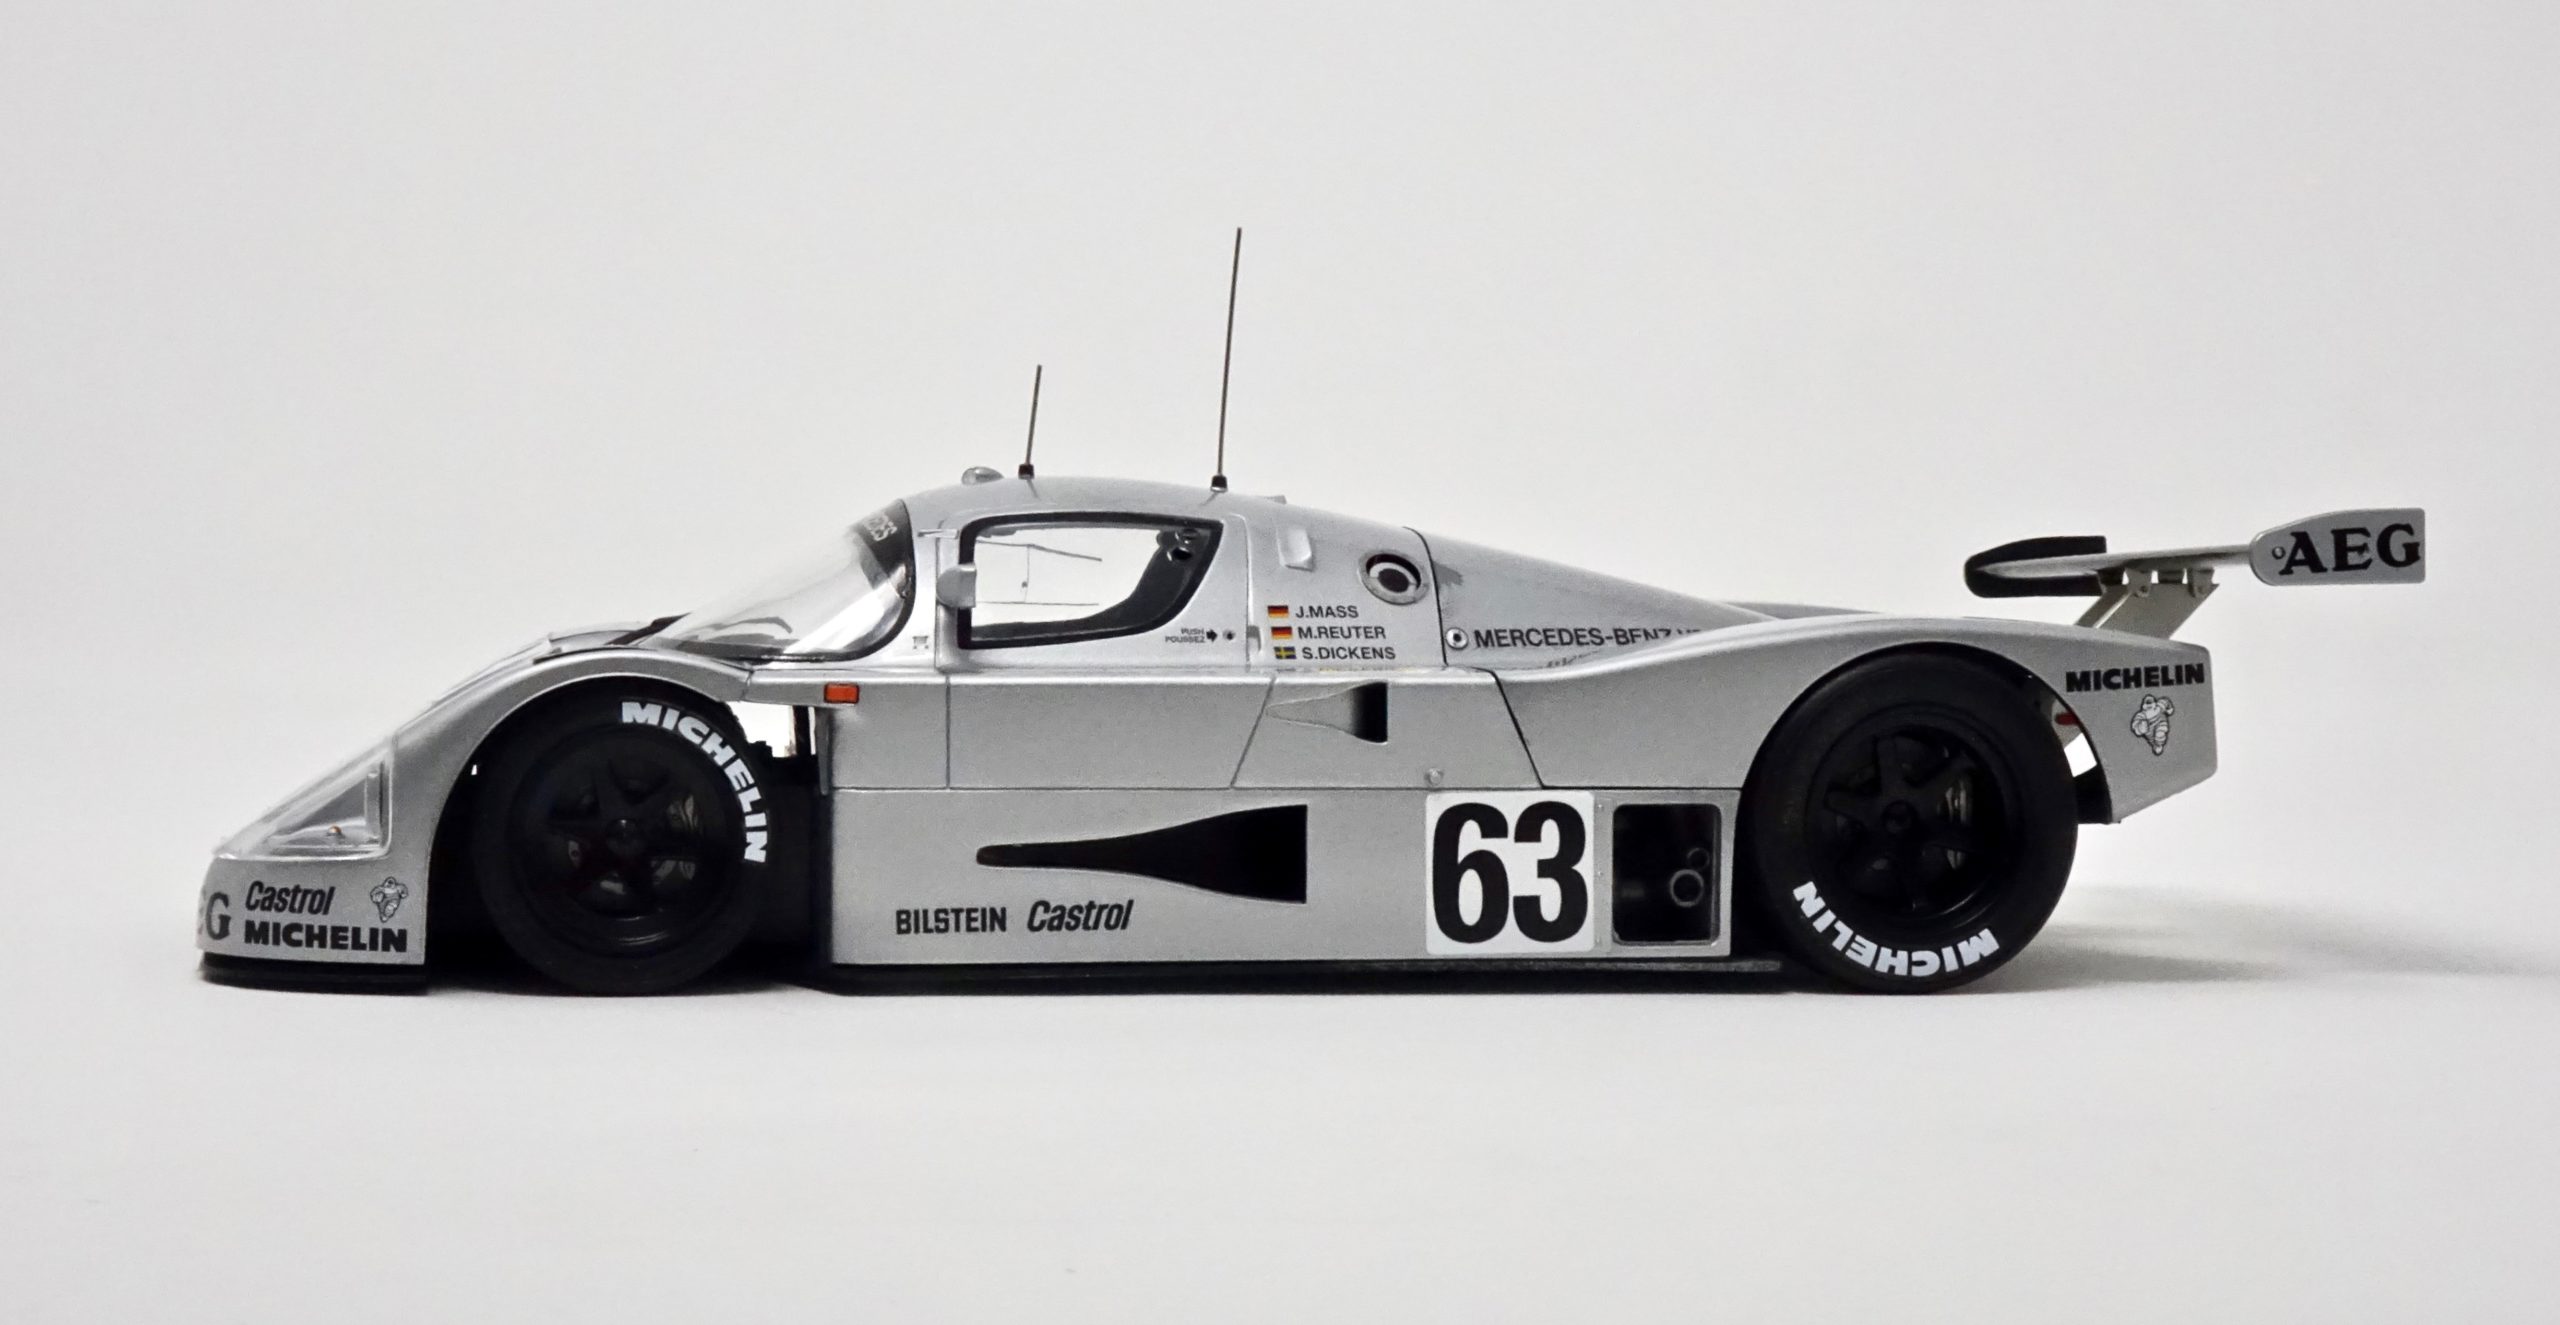
Completed model gallery


The verdict on this kit
Build time
Well I’ve mentioned several times that I squashed this build into only a few days – but overall I would say about 20 hours – but I could easily have spent another 10 quite easily attending to detail. The overall paintwork is straightforward and there is no complex decal scheme, so on this kit it makes a big difference.
Suggested tools
I used my airbrush on just about everything. I do find that Tamiya Lacquer Paints are superb through the airbrush – but not so good when applied by brush, especially the lighter colours. Good quality masking tape (like Tamiya) and the usual modelling tools (craft knife or scalpel, forceps, sanding materials, and adhesive) are needed. CA adhesive (like Zap-a-Gap) is my choice for all kit building.
Kit specific advice
This is a very straightforward build. The only suggestion I would make is to check the PE parts and identify where they are all going to fit and where the parts may have to be modified or drilled in advance. I got caught out a couple of times!
What we have taken away from this build
Another beauty from Tamiya in my opinion. The original was a very neat model of this iconic car and with the extra detailing parts it really does look good. Other than a couple of places in the instructions which hadn’t been updated (unless I really have missed something) I can’t fault it at all. Excellent quality throughout – in terms of packaging, moulding of plastic parts, superb quality decals and PE parts, very useful masking stickers that work very well indeed – and, like all Tamiya kits, everything fits together properly.
Excellent value and highly recommended.
Happy modelling!