
About the modeller
Hi. I am Rob. I got back into modelling a few years ago in a big way.. I spent most of my free time on making all sorts of kits. Prolific is a bit of an understatement. Recently I have been building far fewer models for a variety of reasons.
When the good people at Jadlam asked me to get my modelling tools out of storage and build this kit I thought I’d give it a go and put my rusty skills to the test.
Let’s see whether I can still do a decent job….
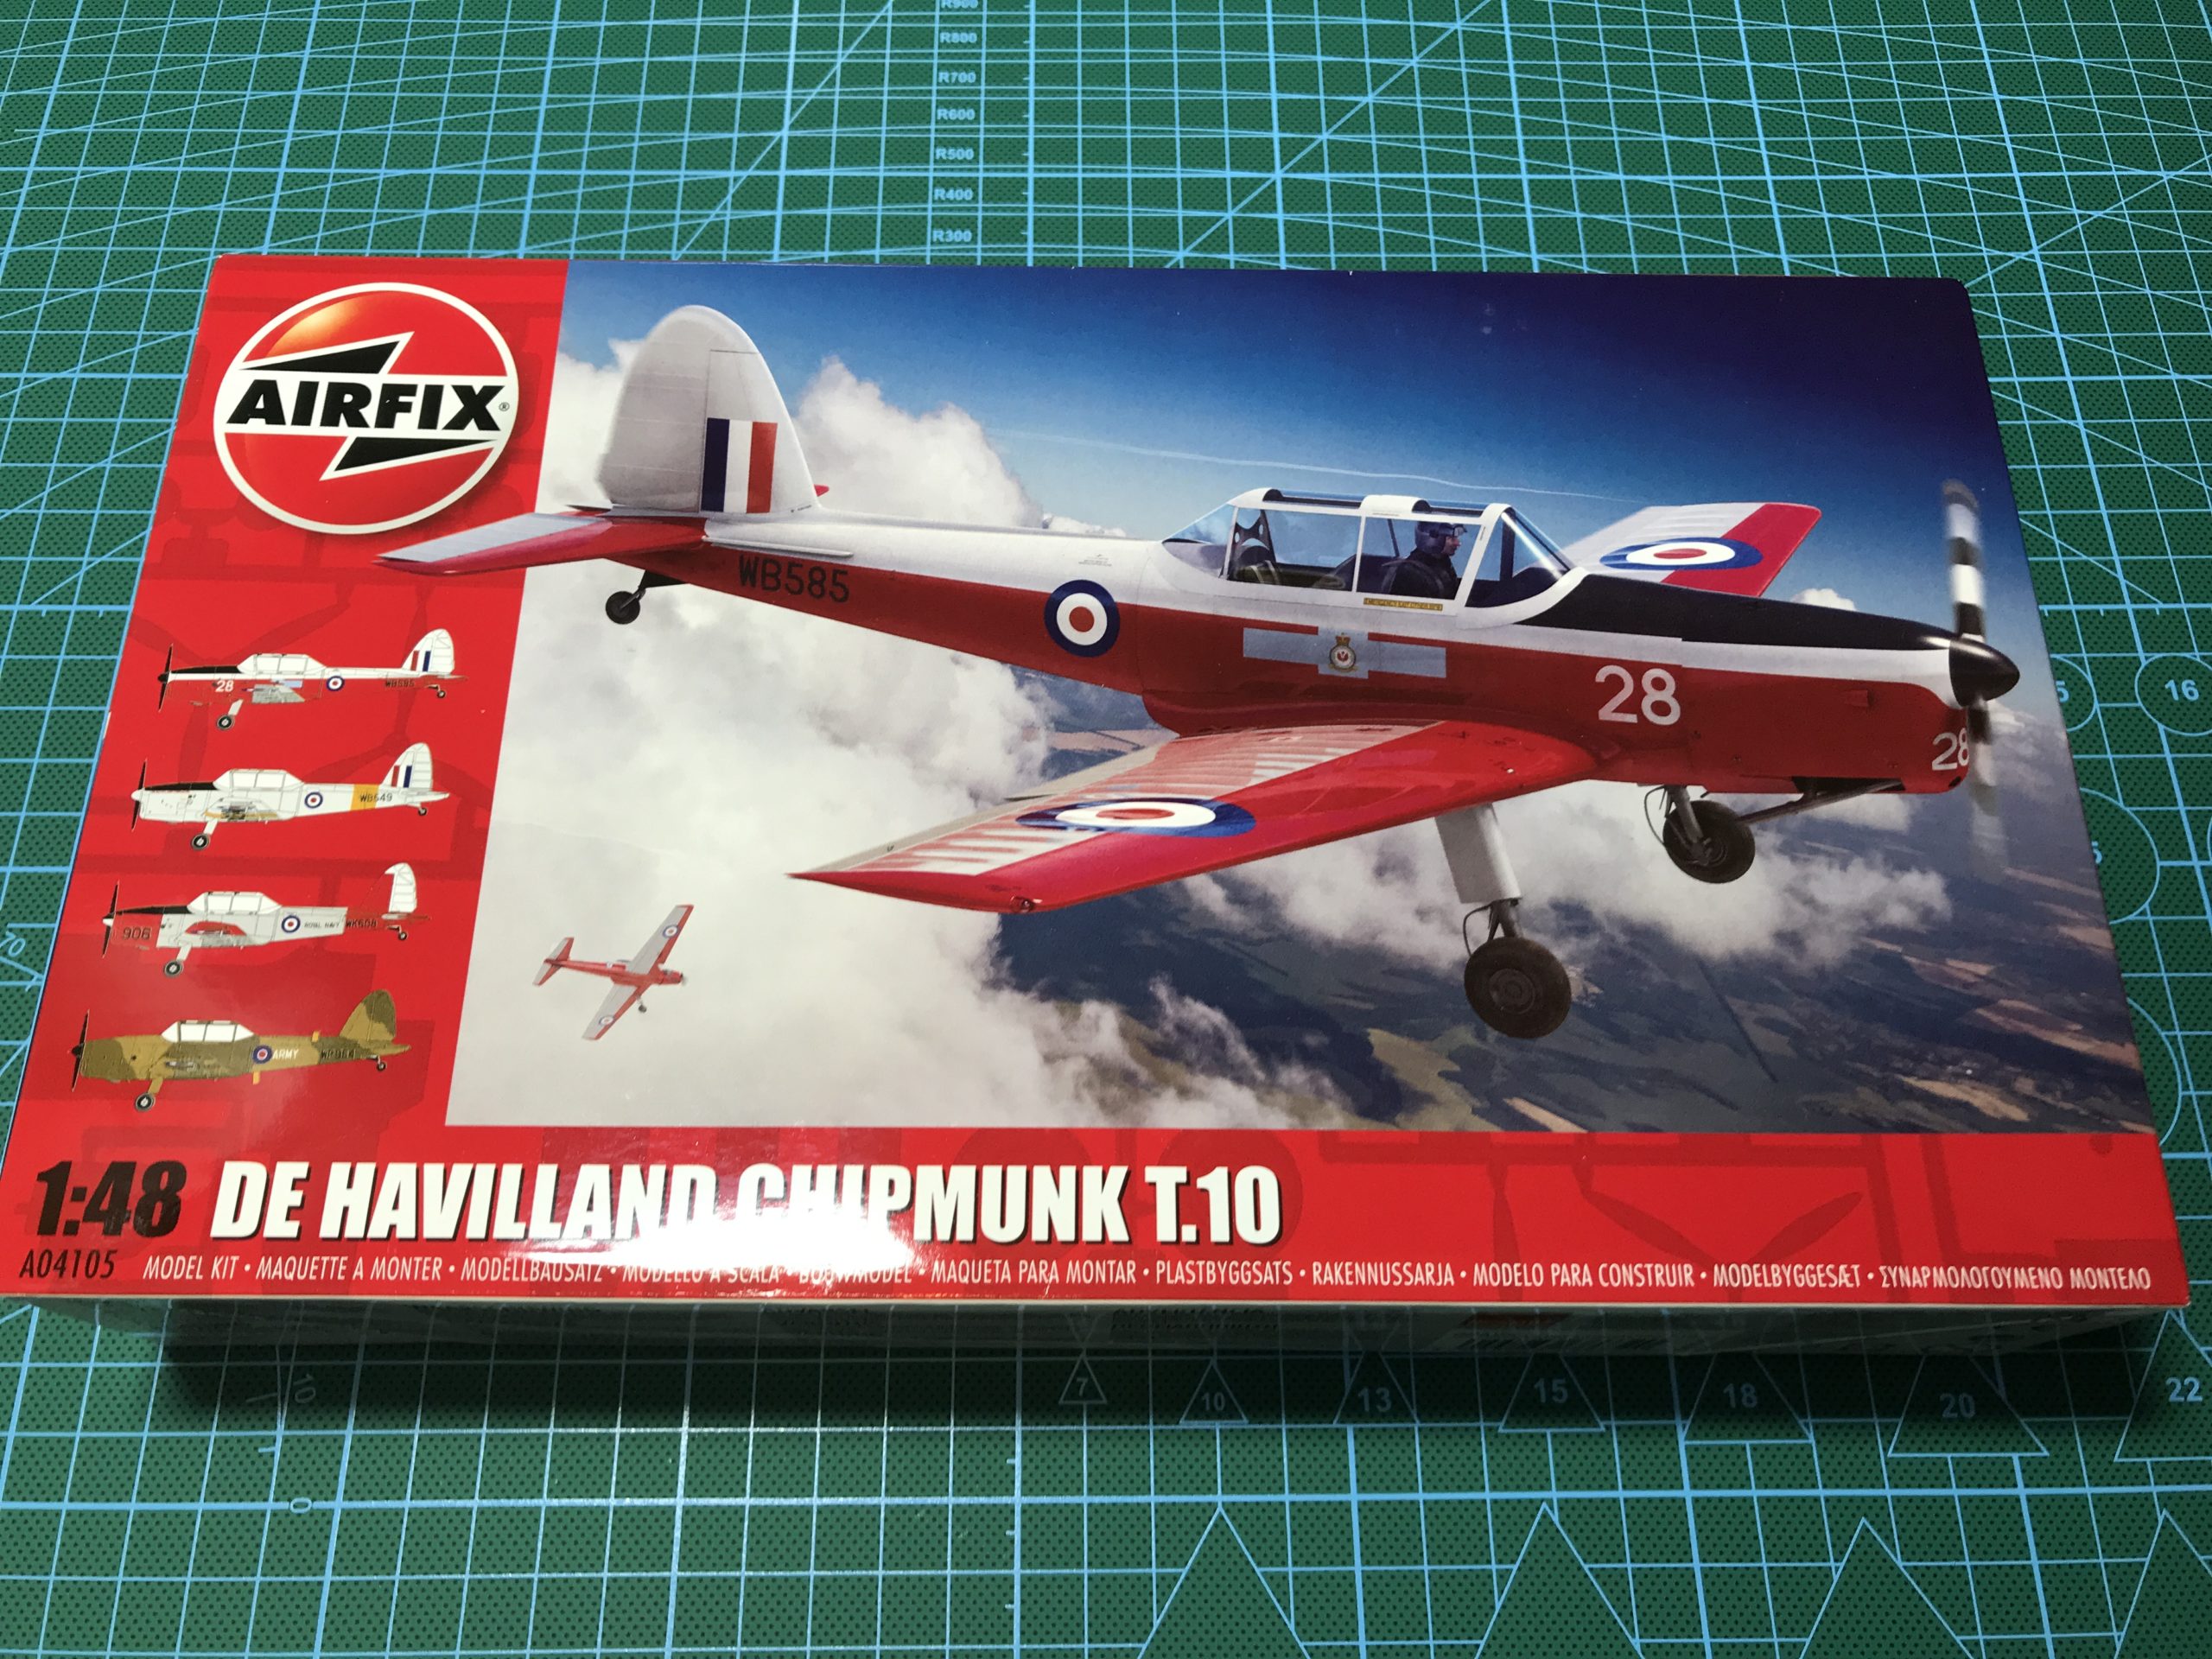
Name – Airfix A04105 DeHavilland Chipmunk T.10
Scale – 1/48
Price – £21.95
Availability – Available now! Get yours here!
The kit
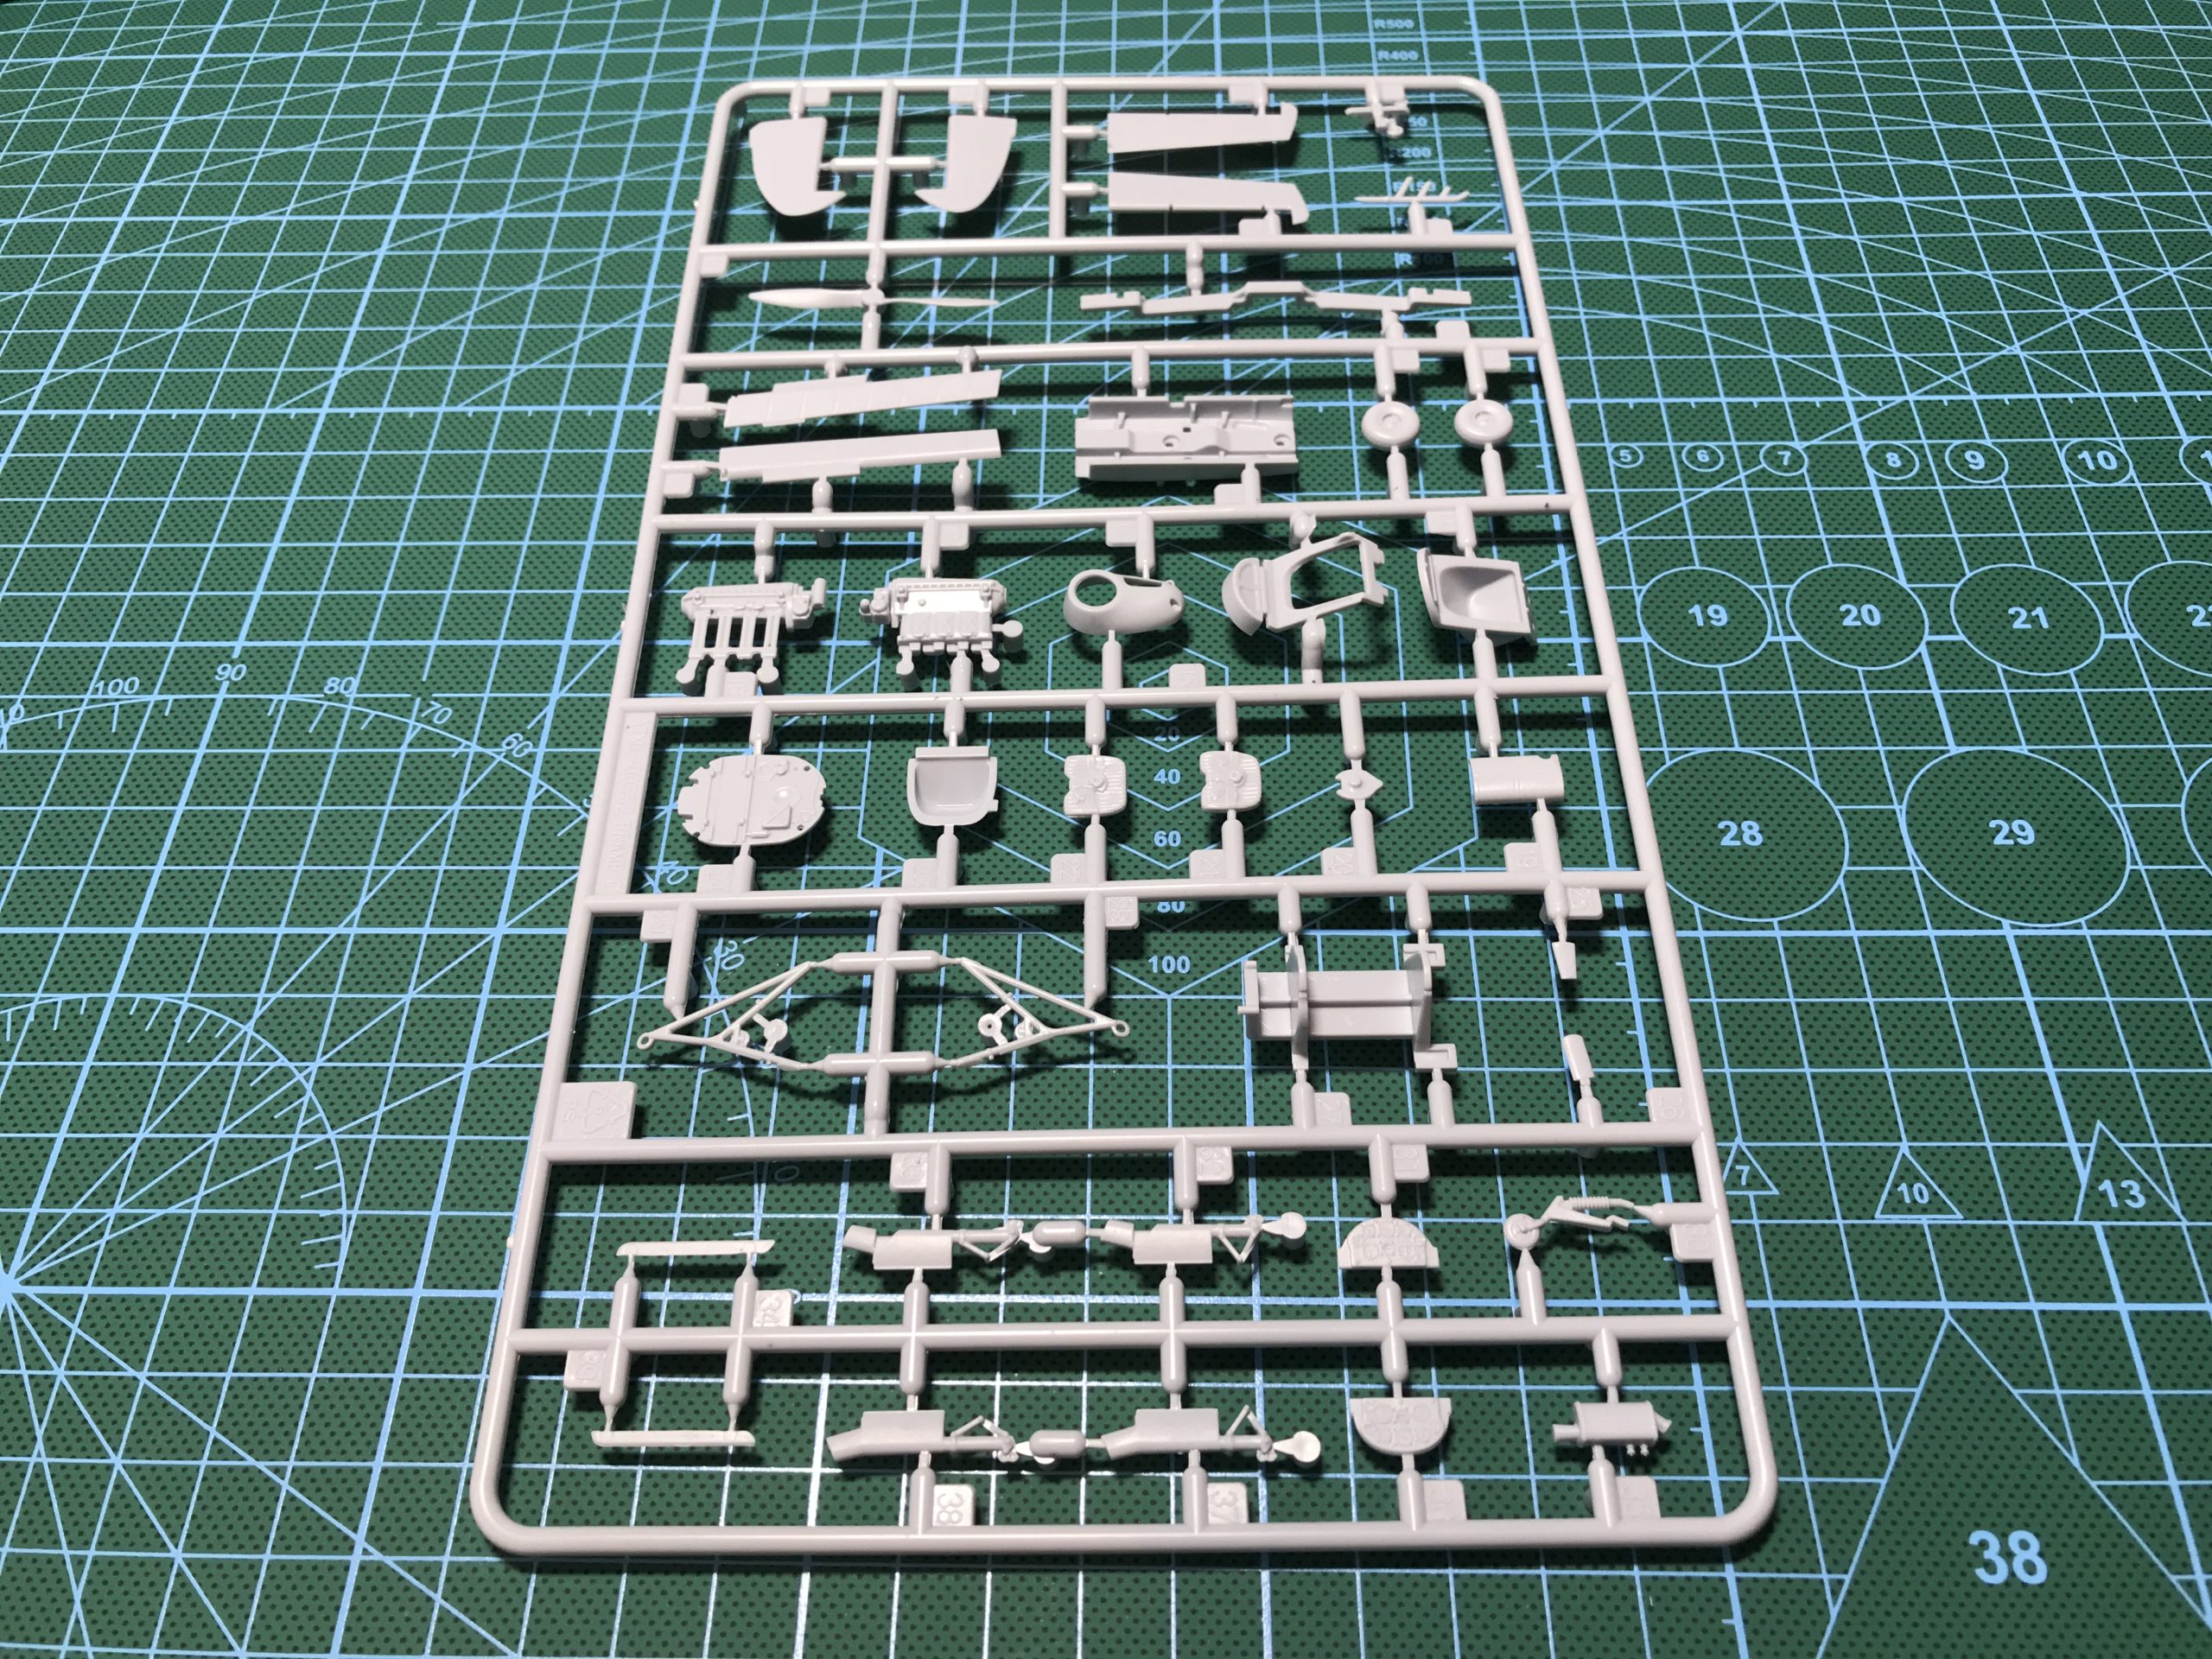
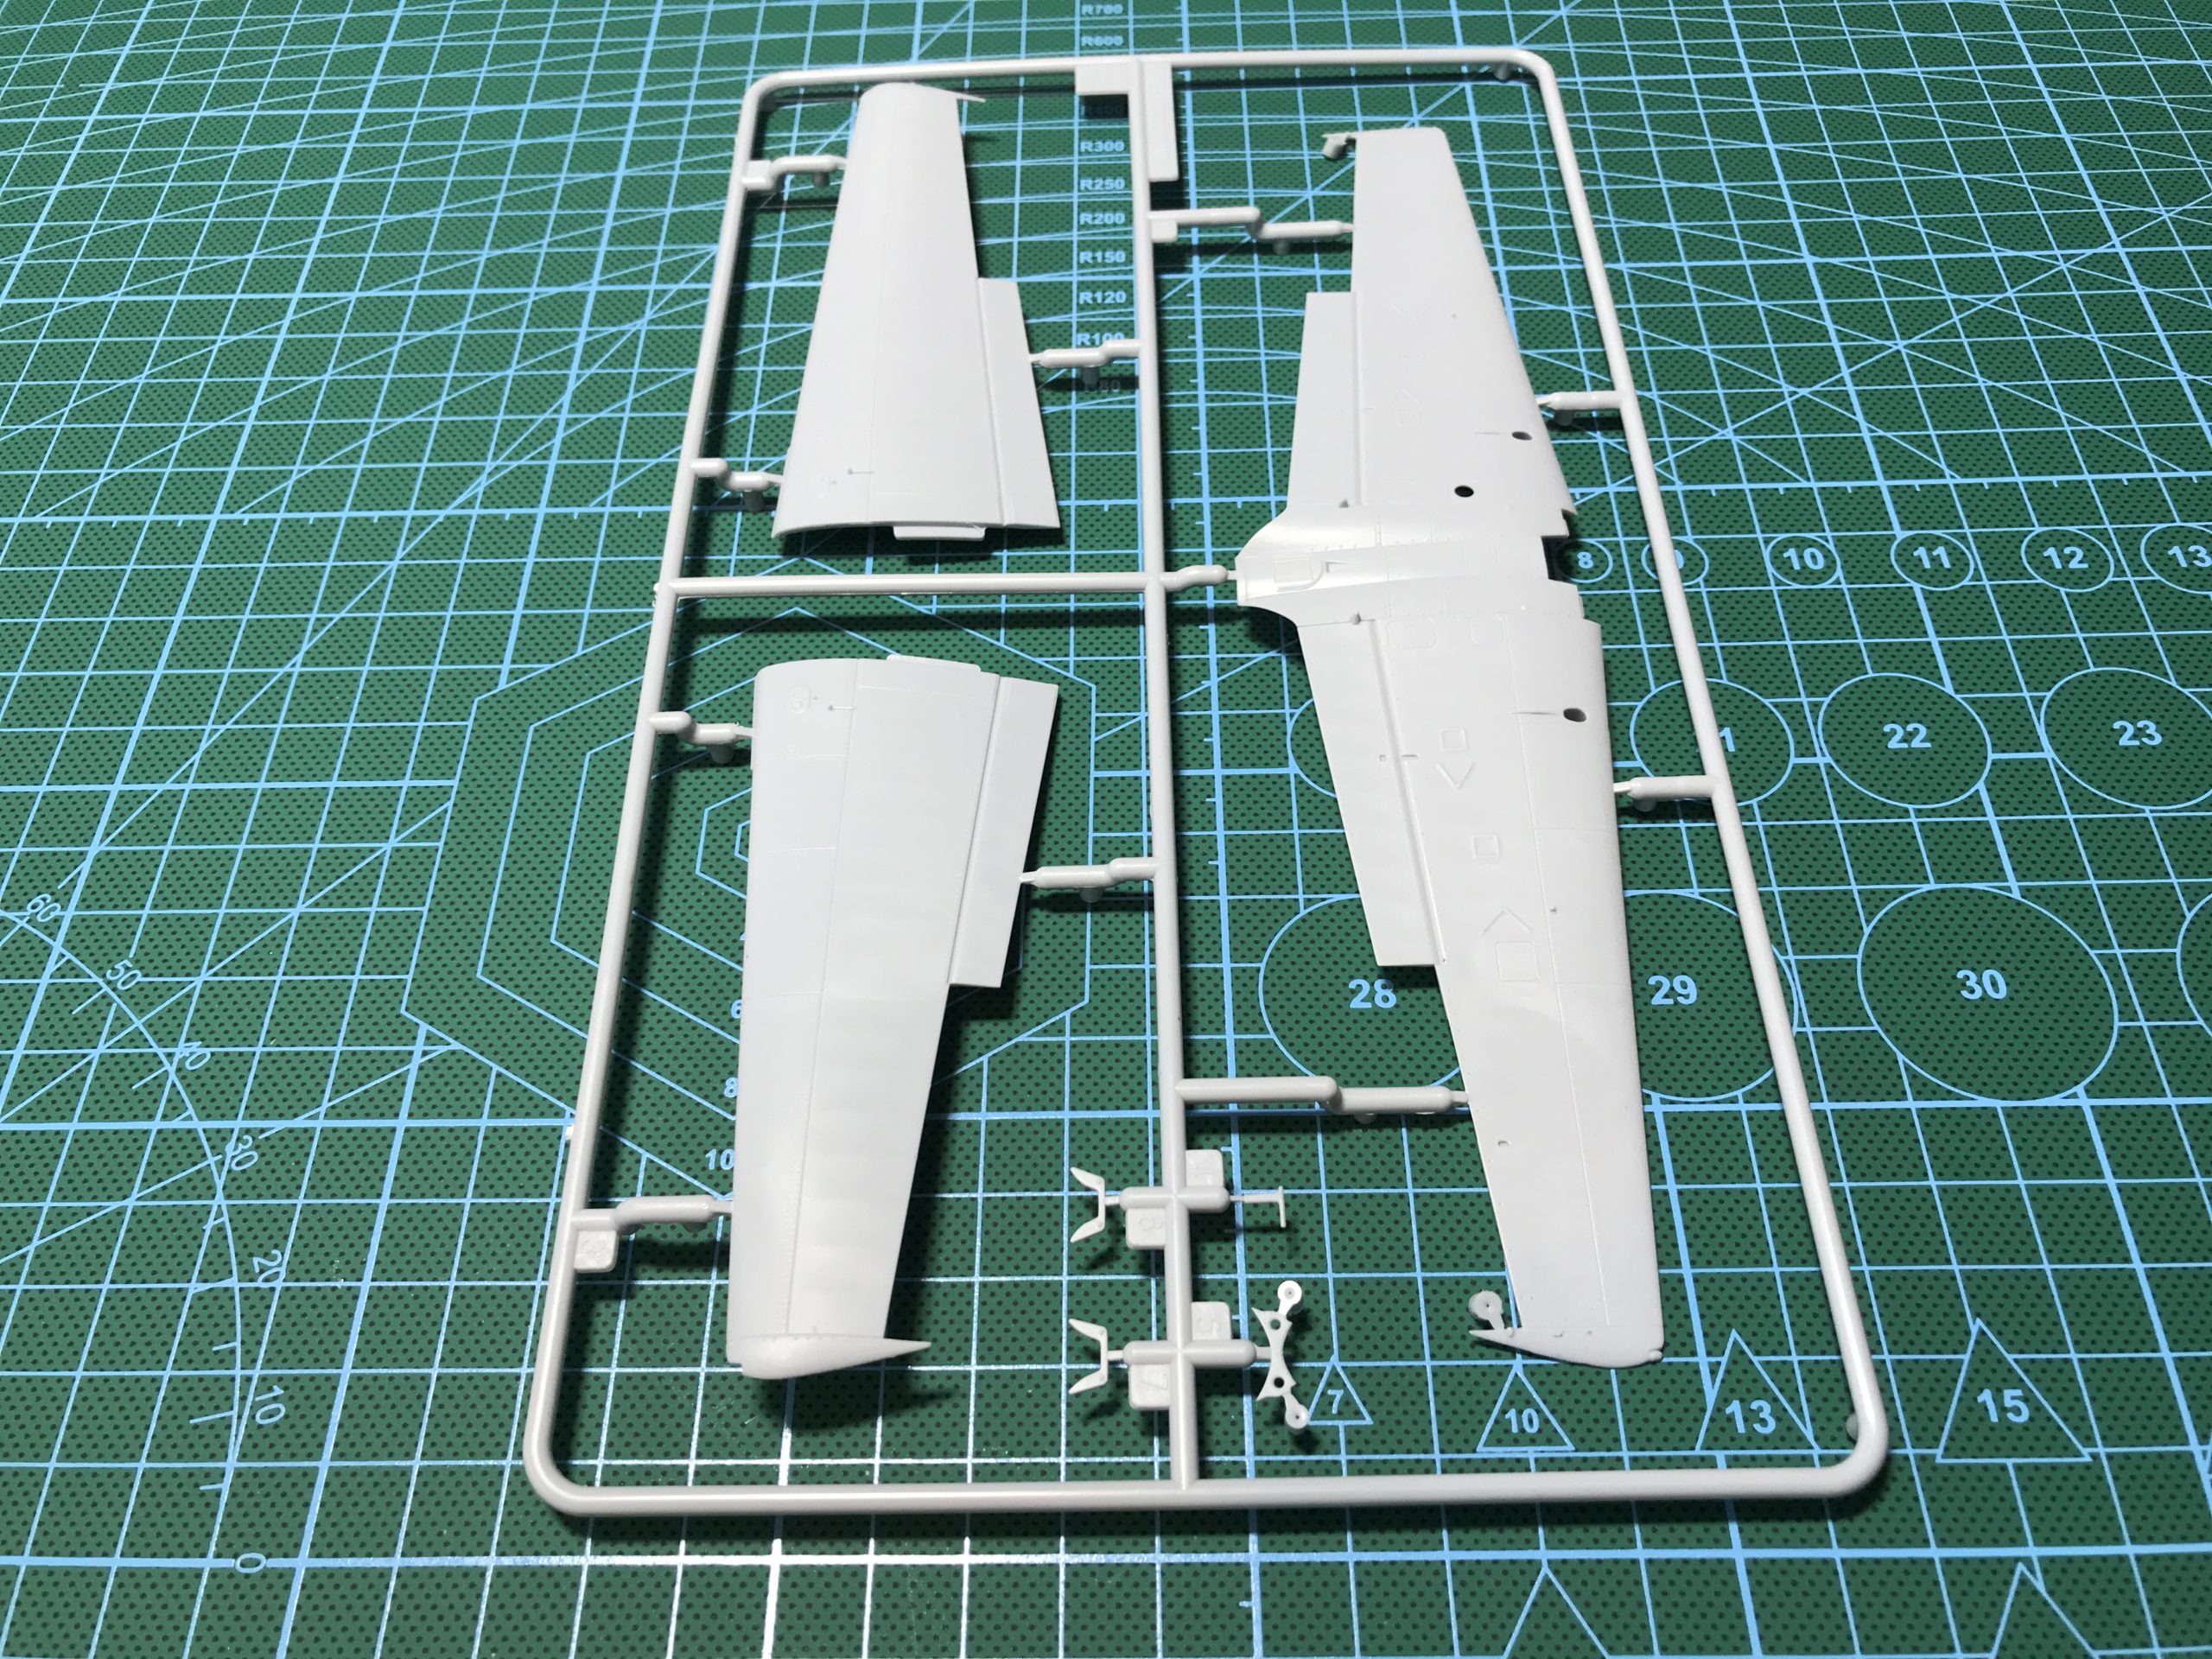
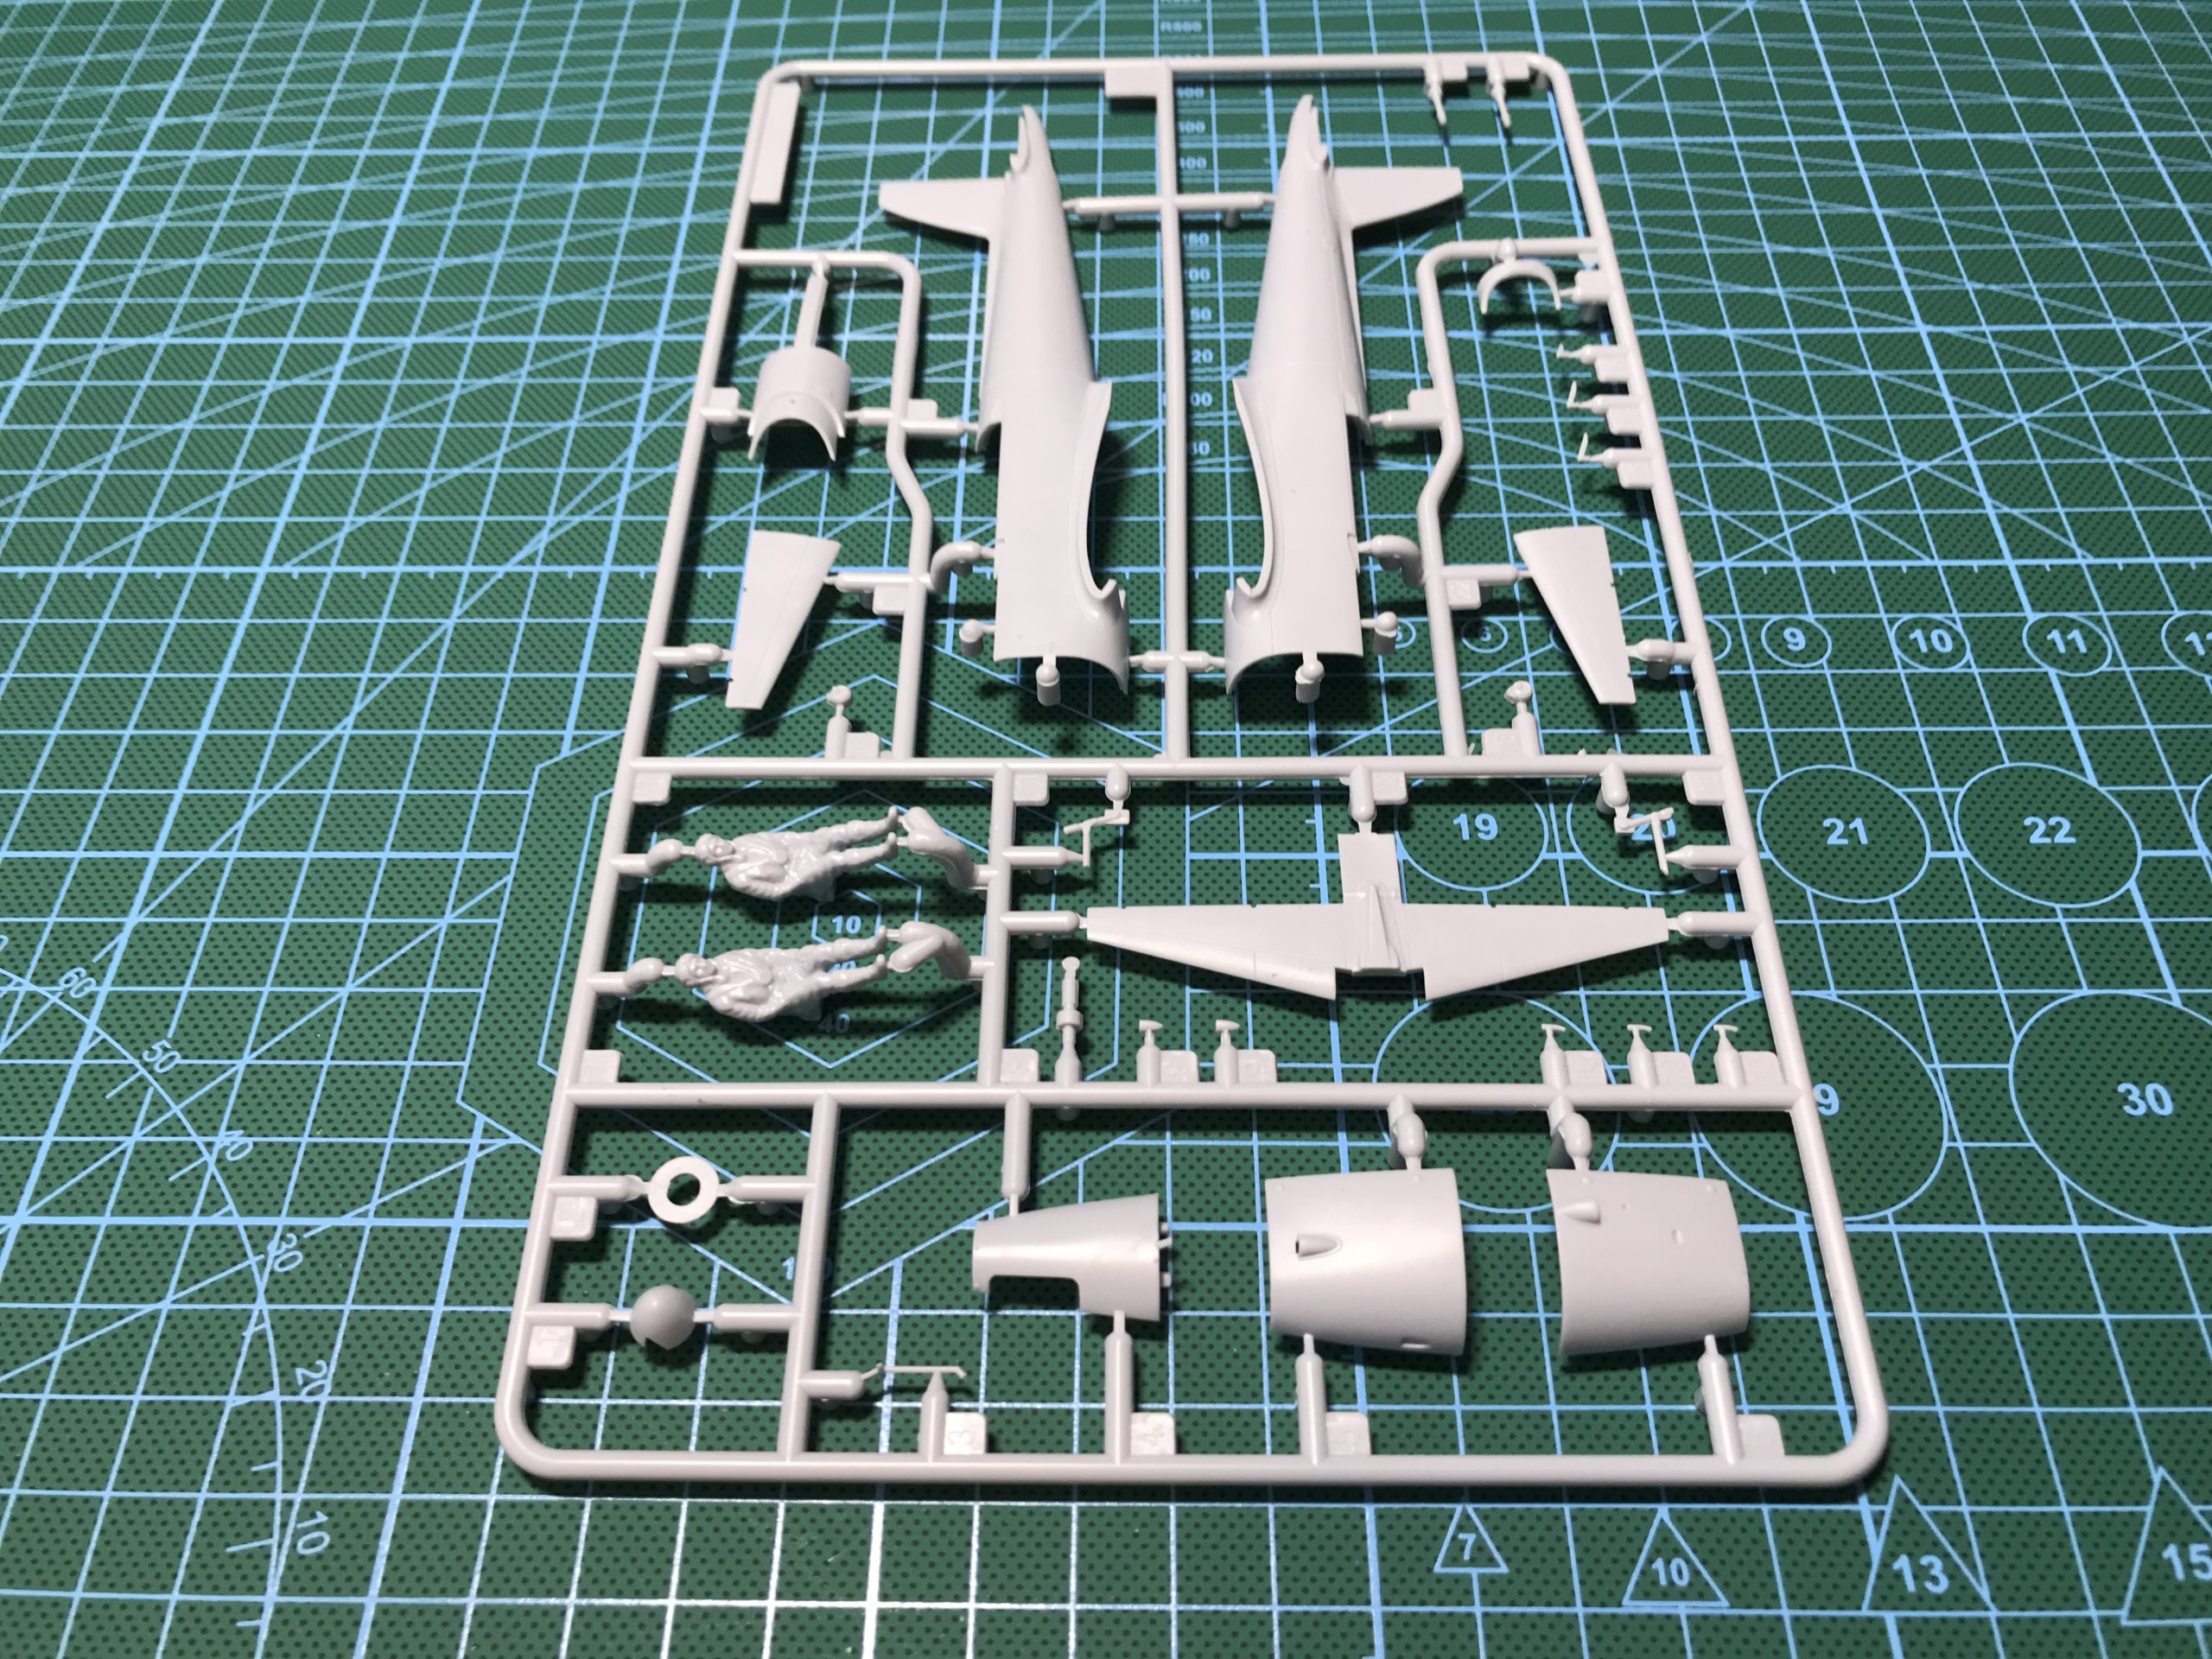
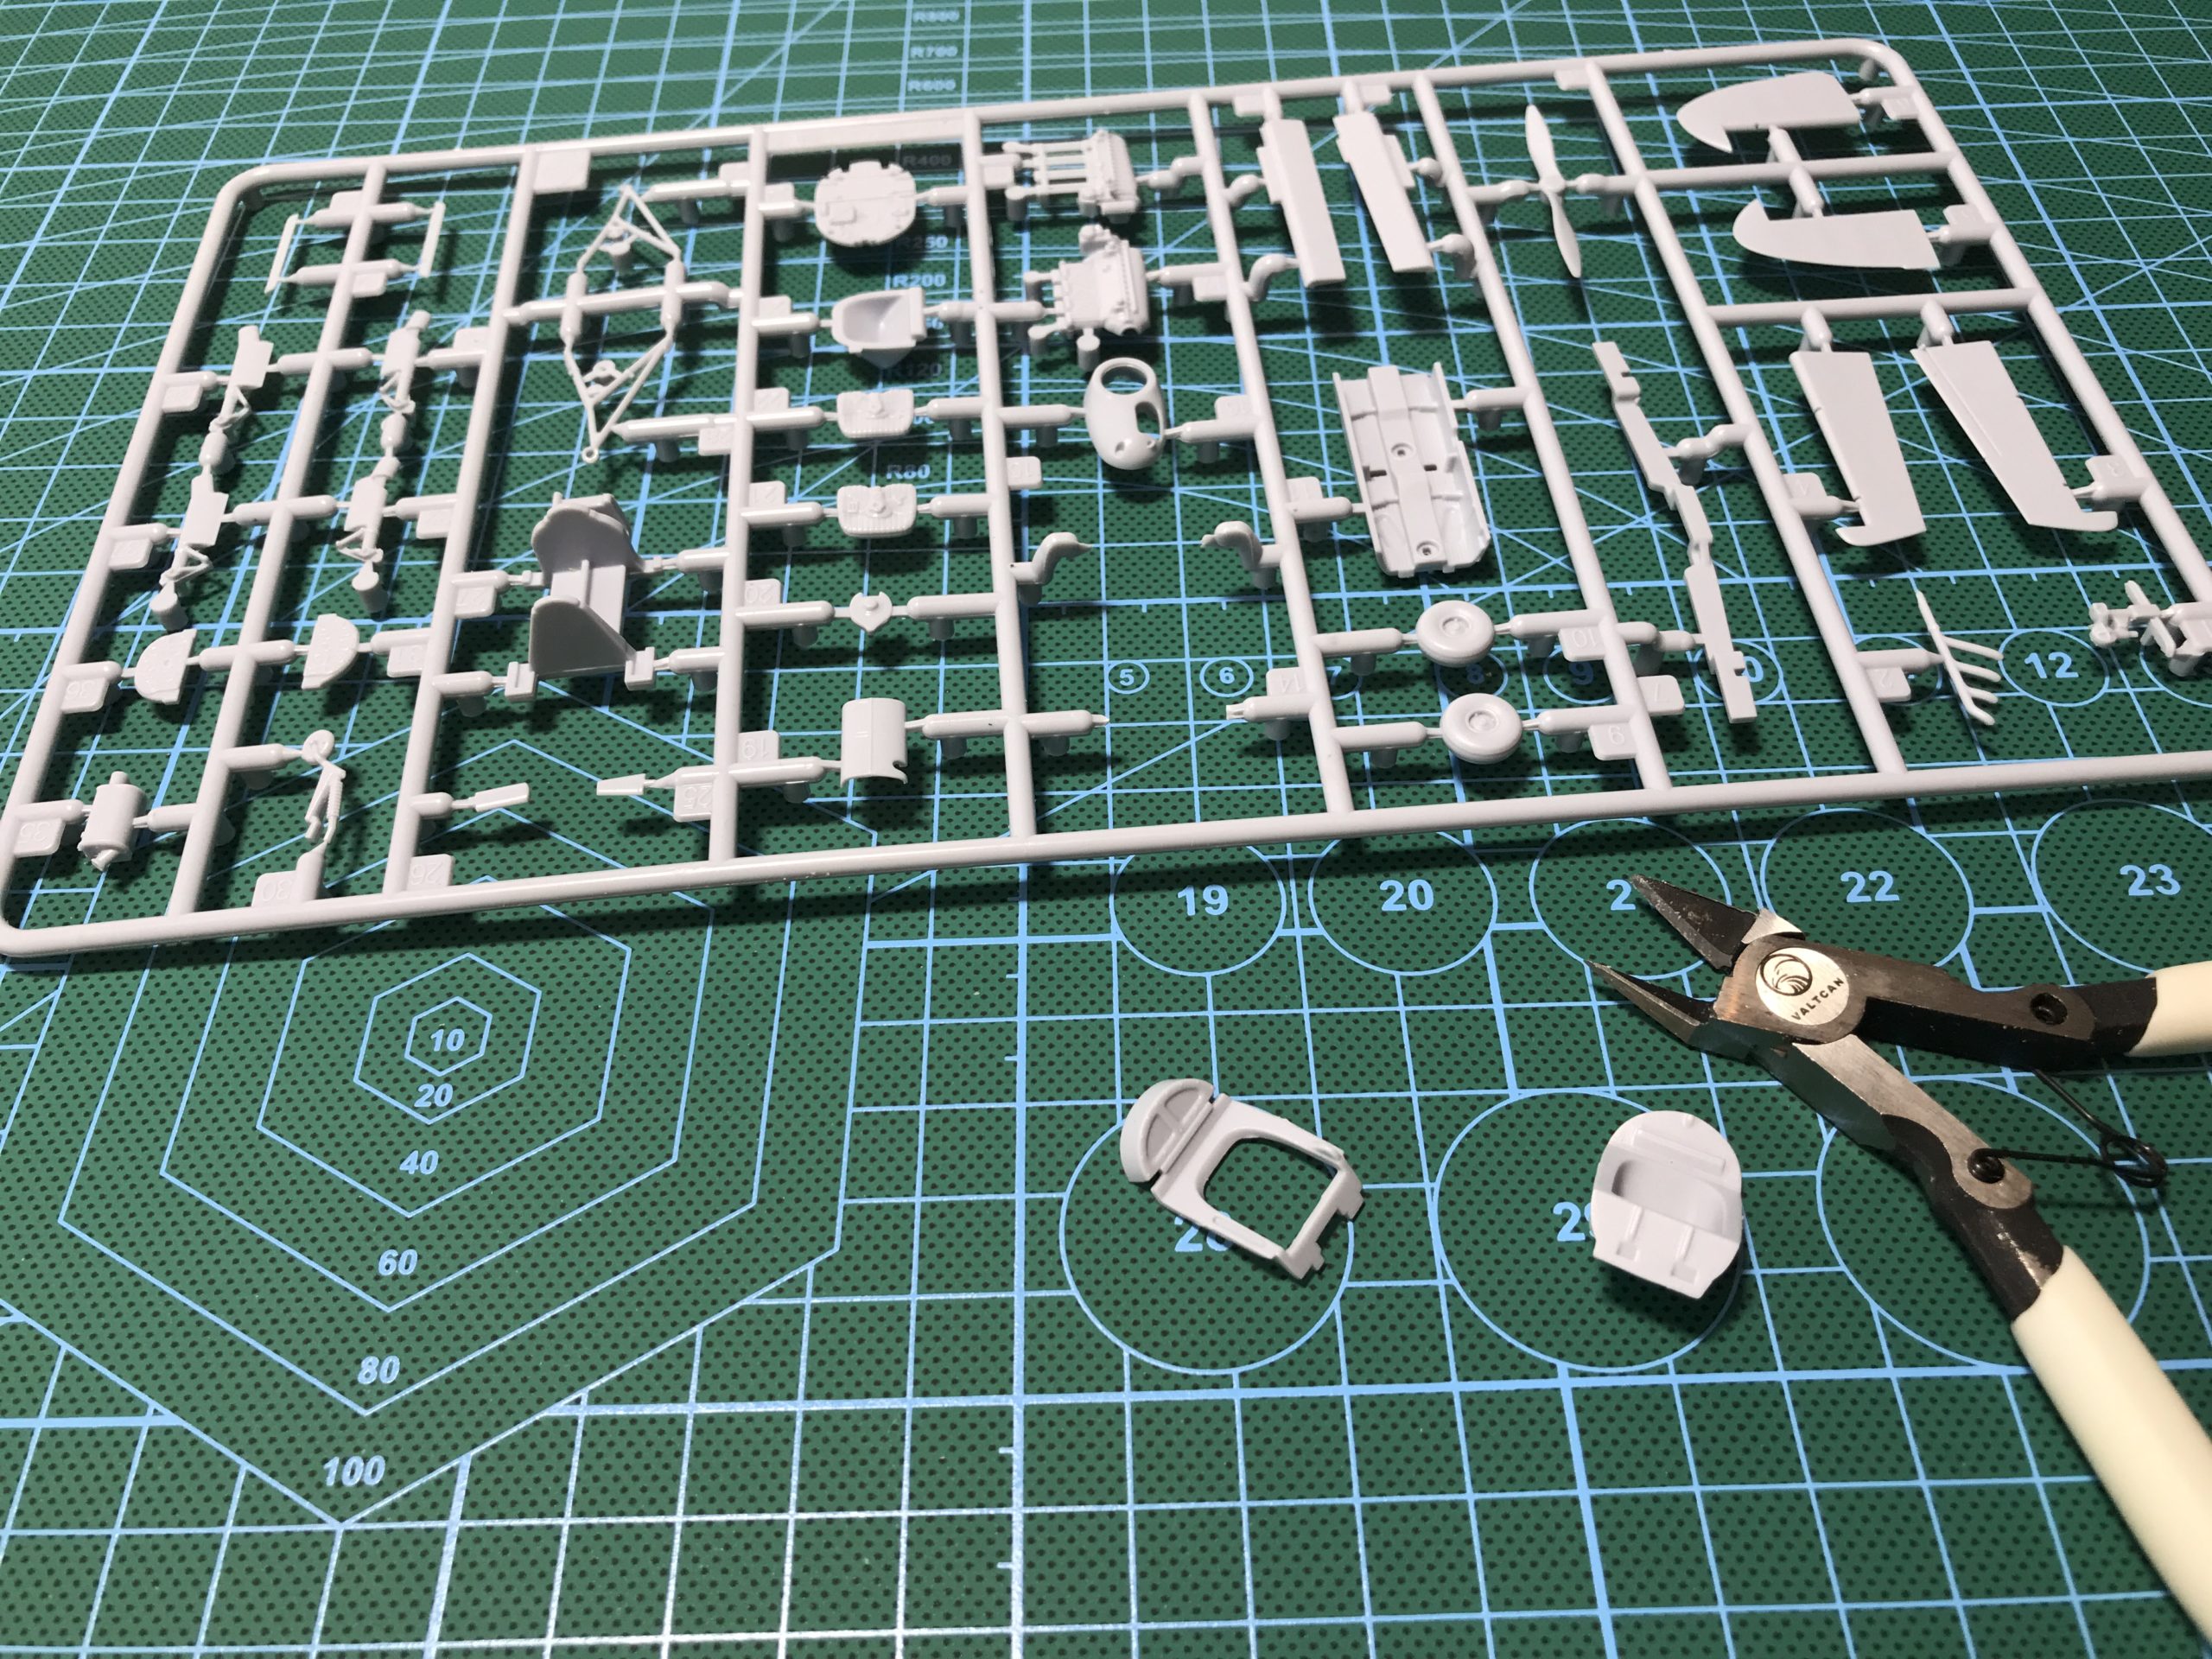
The kit is pretty simple with just three sprues in light grey styrene and one in clear (which I didn’t get a picture of for some reason??)
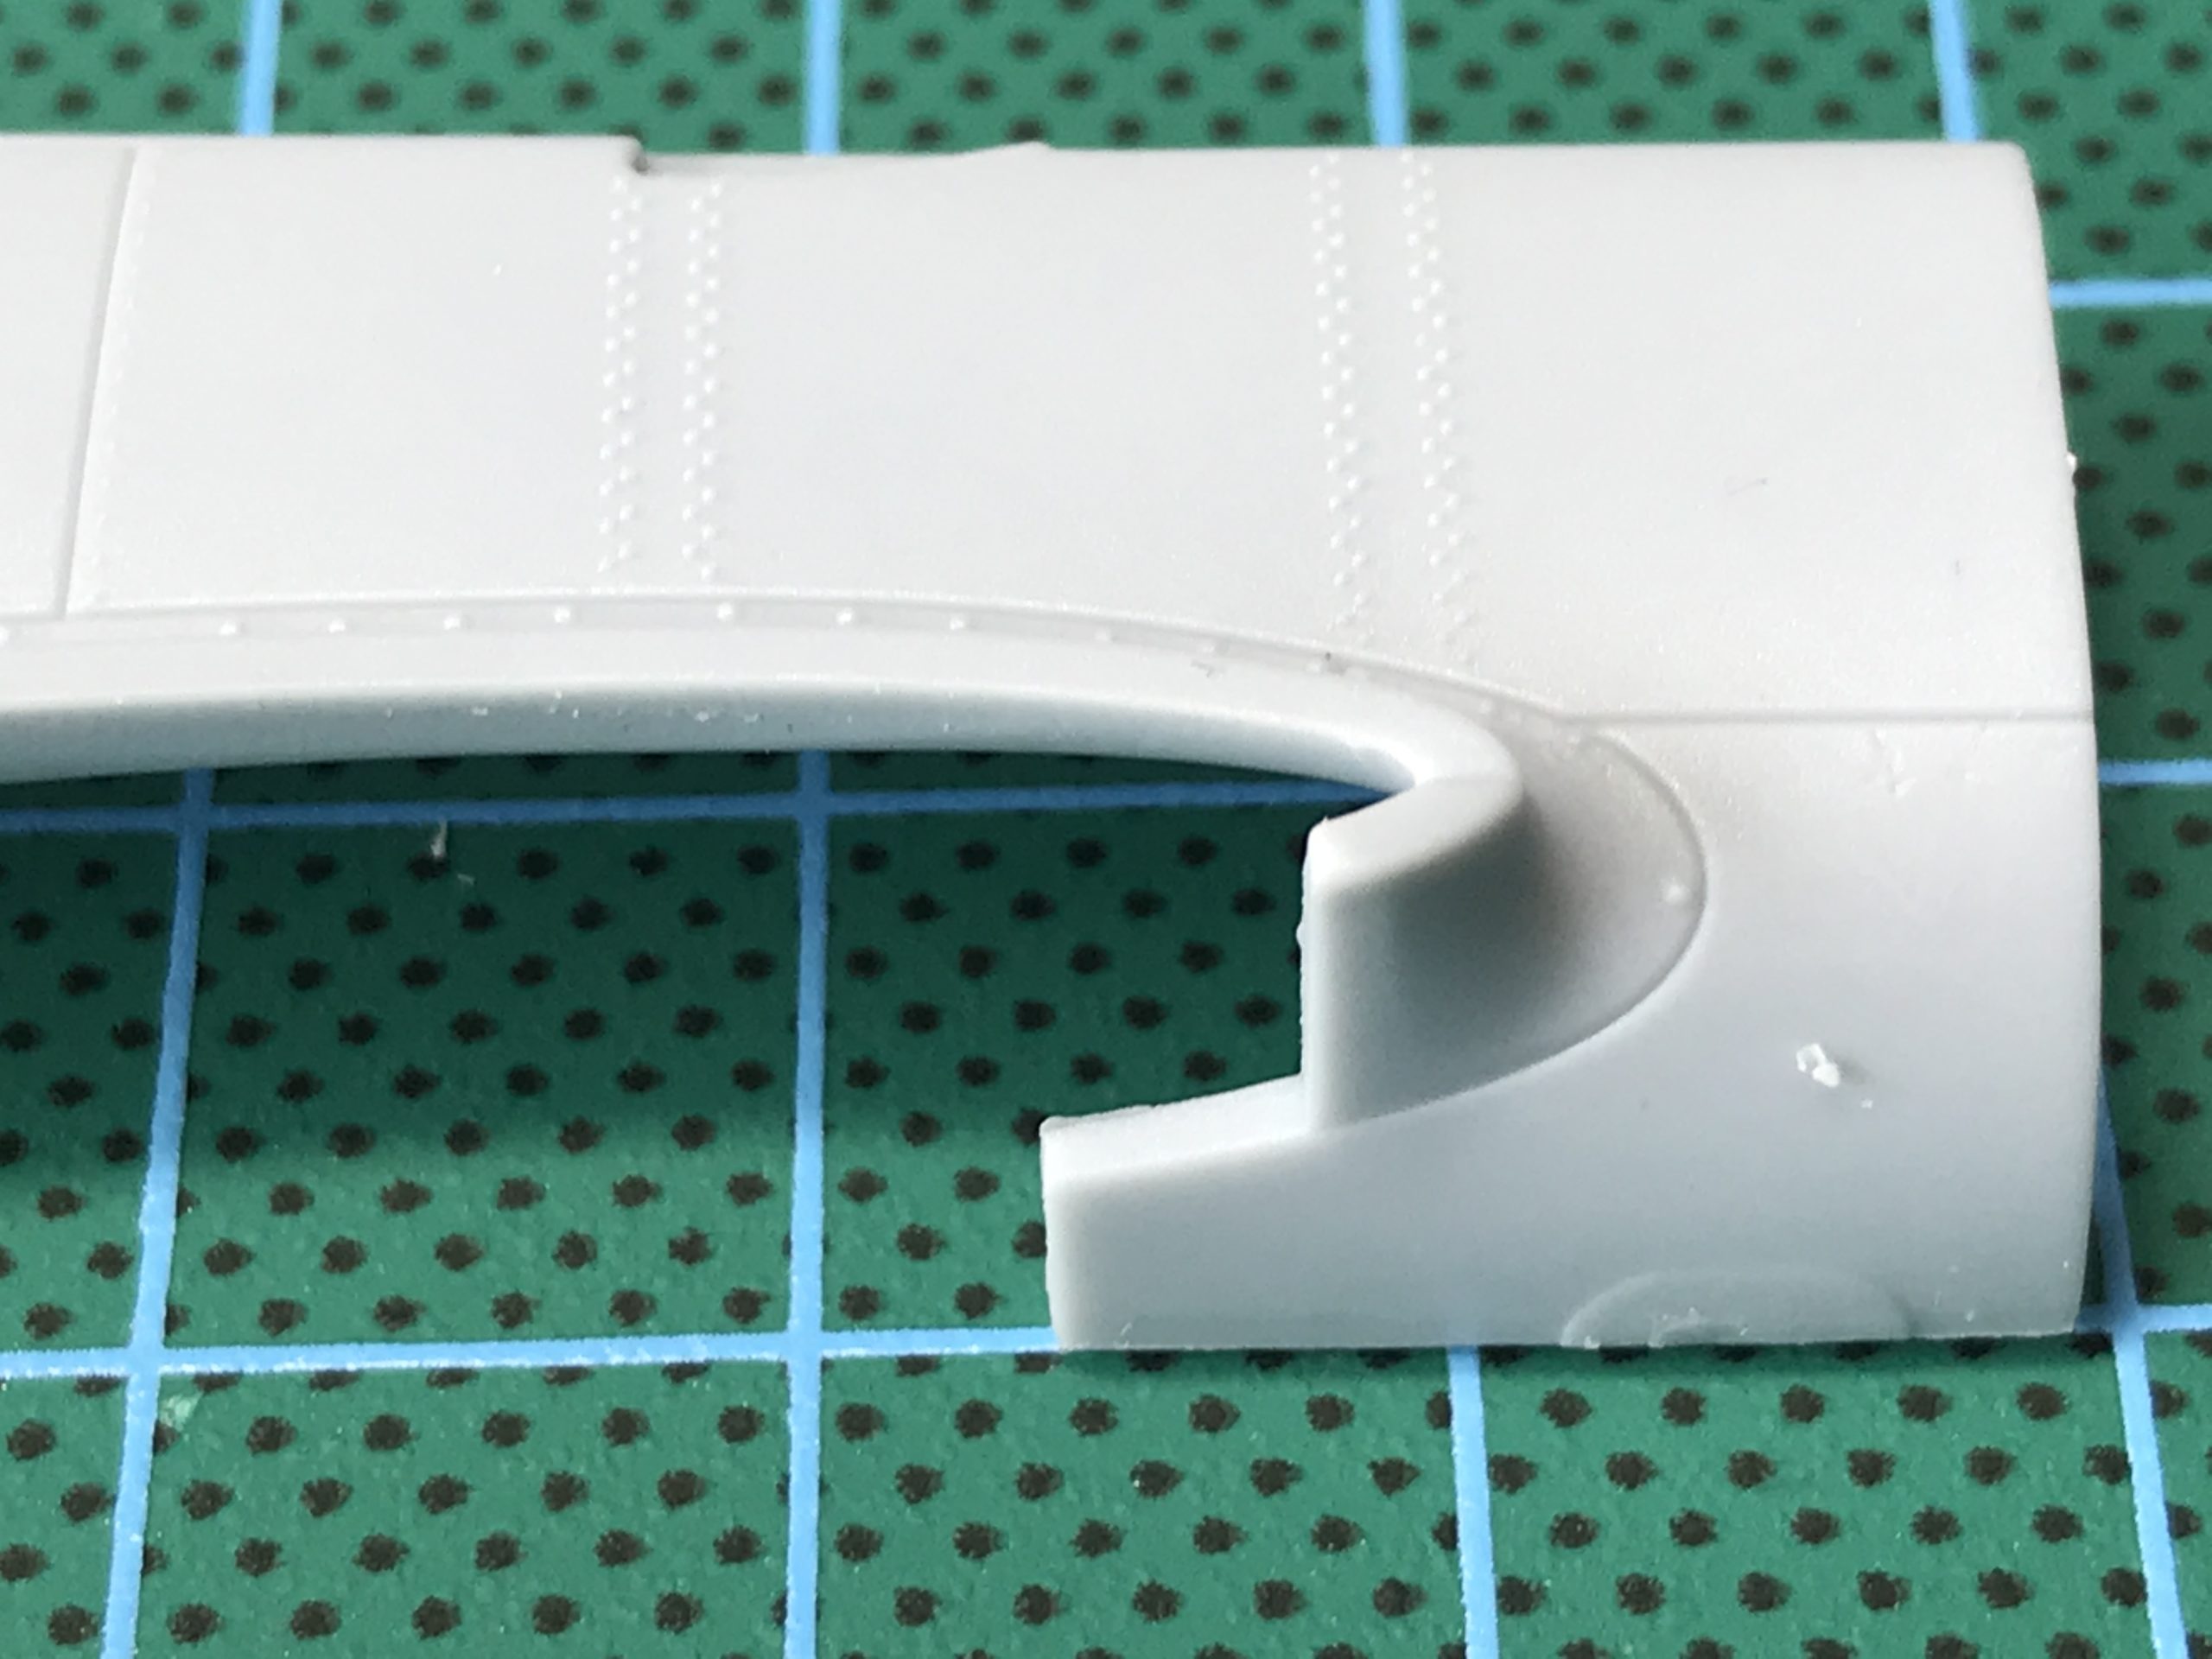
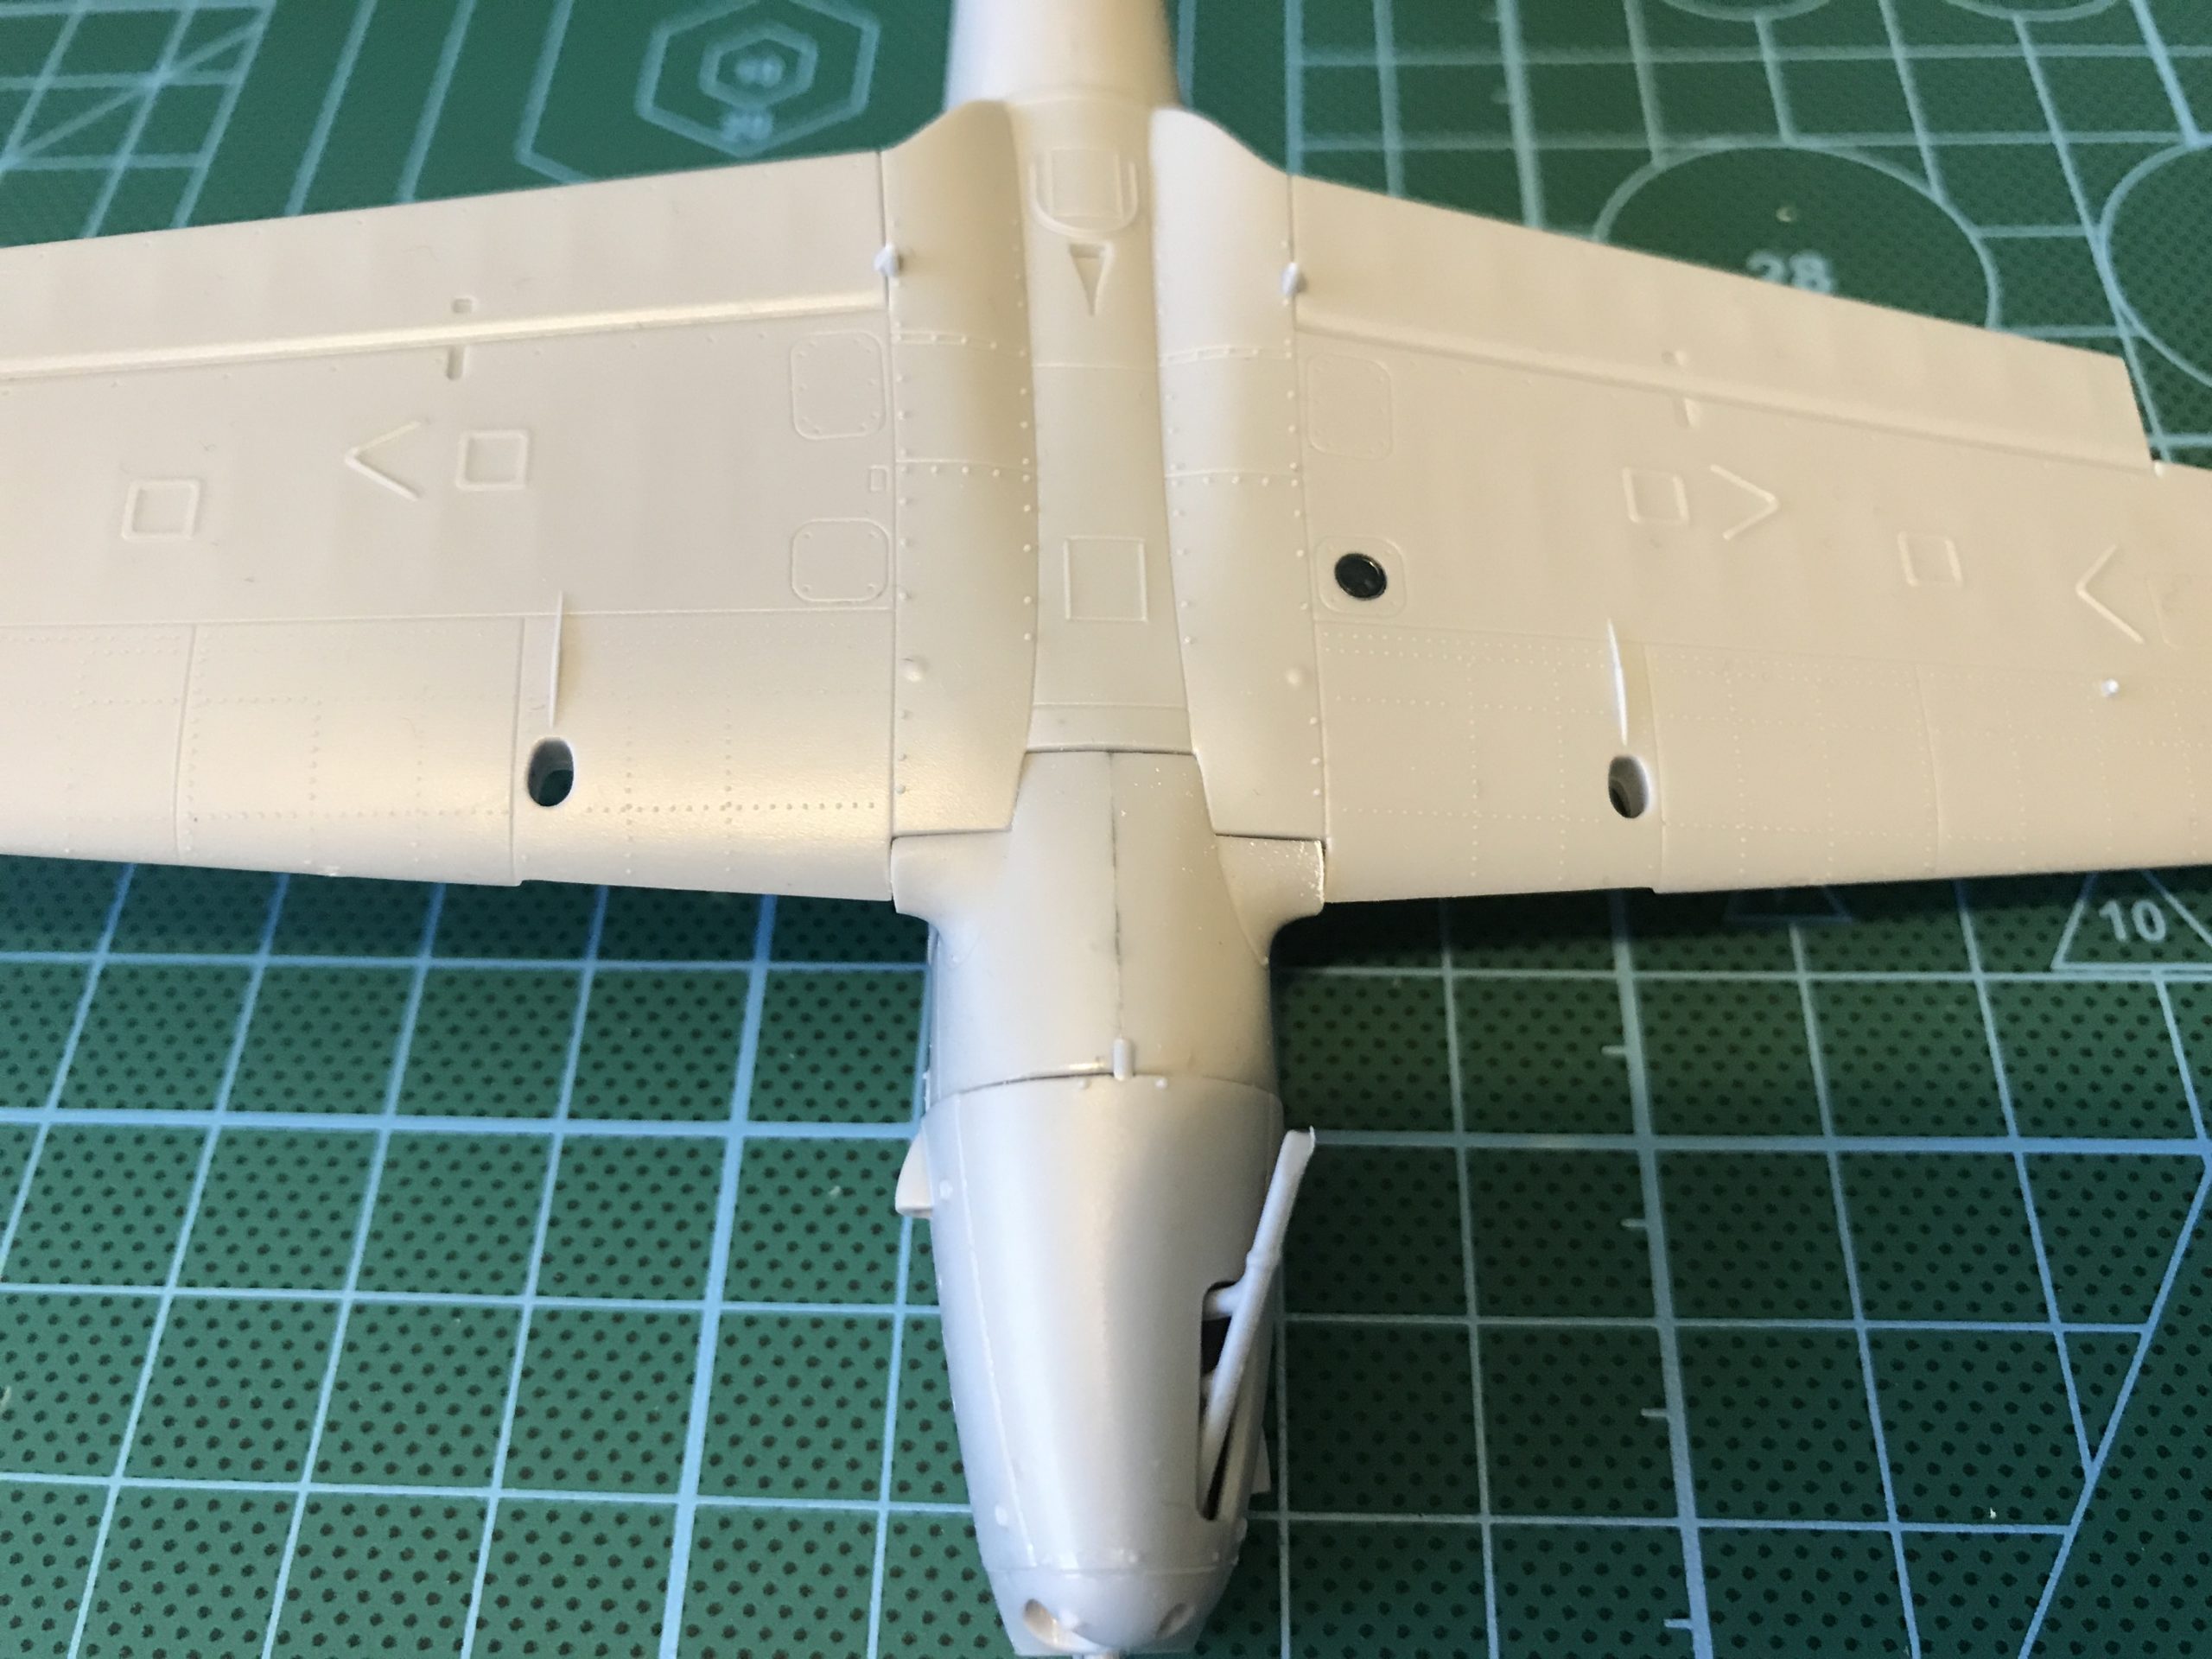
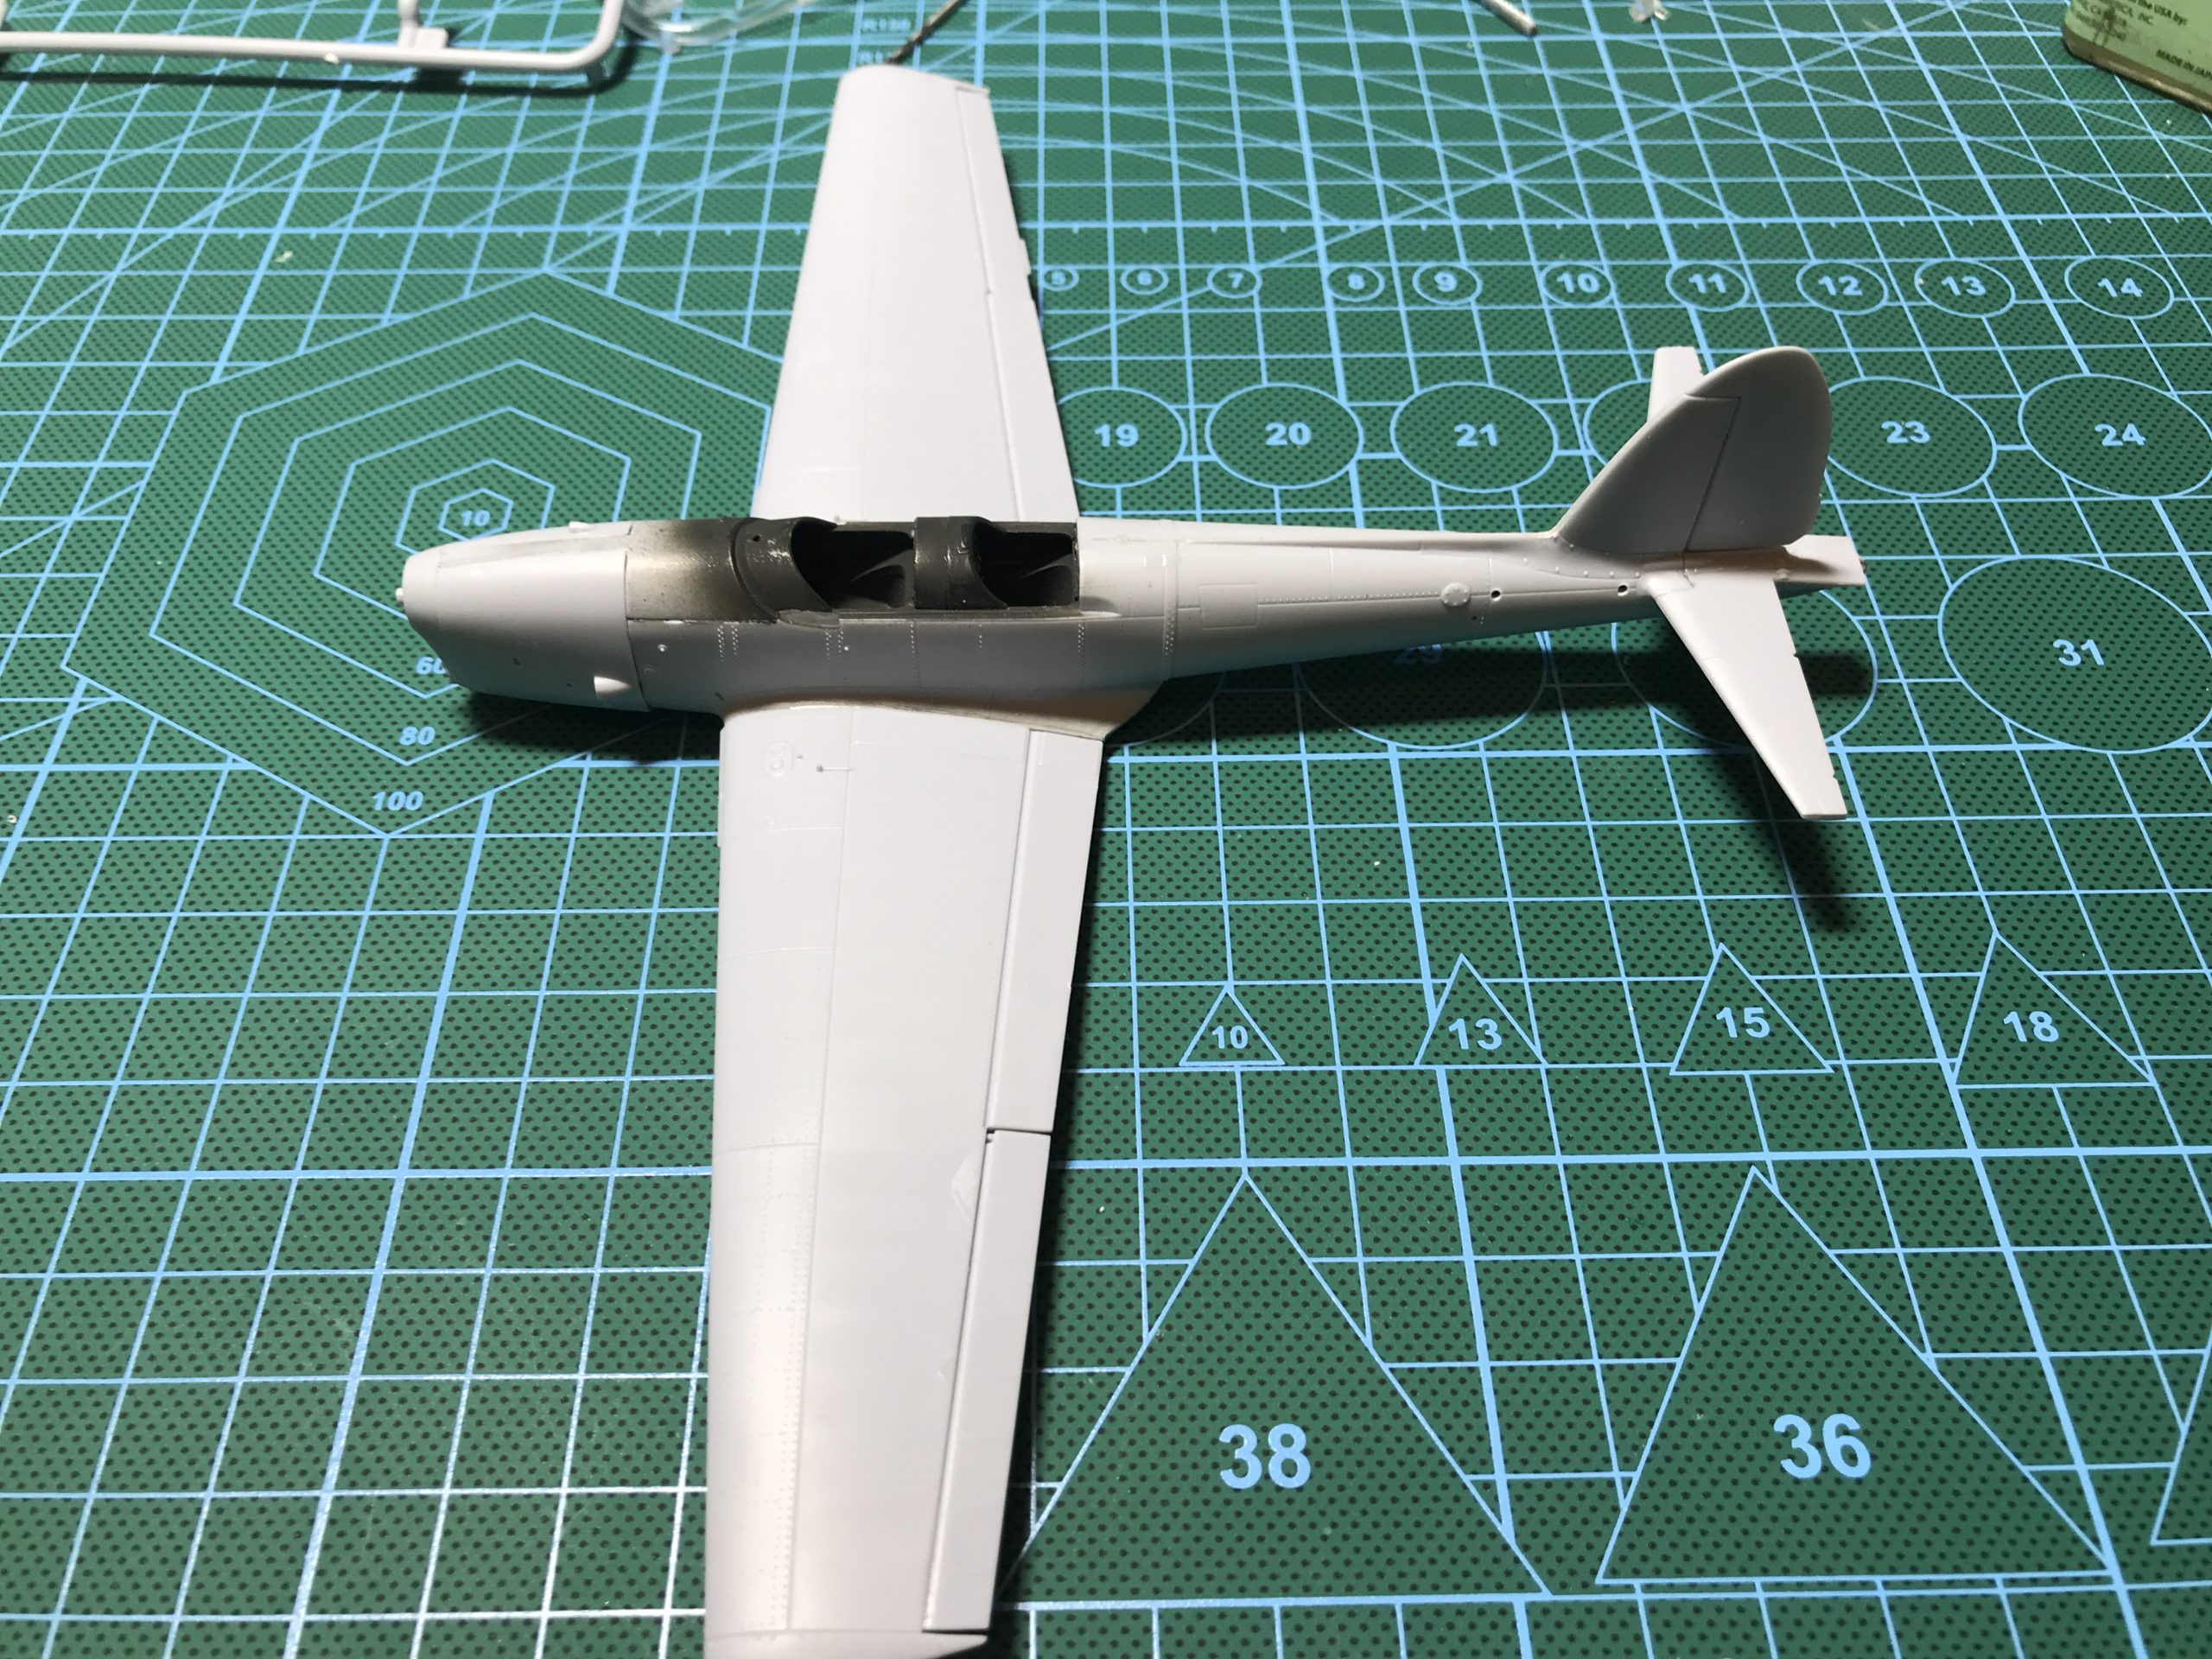
Surface detail is excellent with some lovely raised panels and rivets and fine recessed panel lines. The best example of this can be seen on the fuselage halves. Should you wish to apply a wash this would really make this detail pop out. For this build though I am keeping things very simple.

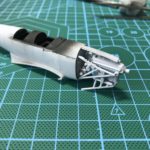
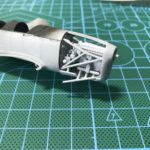
The kit also comes with a detailed engine and the option to have the service panels open to display it.
Clear parts (once again sorry for the lack of pictures here) are very good. The rear canopy is made up of no fewer than four parts though. I think an option of a single piece version that sacrifices some of the interior detail for a simple build may have helped the beginner. Airfix have thoughtfully included an assembly jig to aid the process, but more of that in the build….
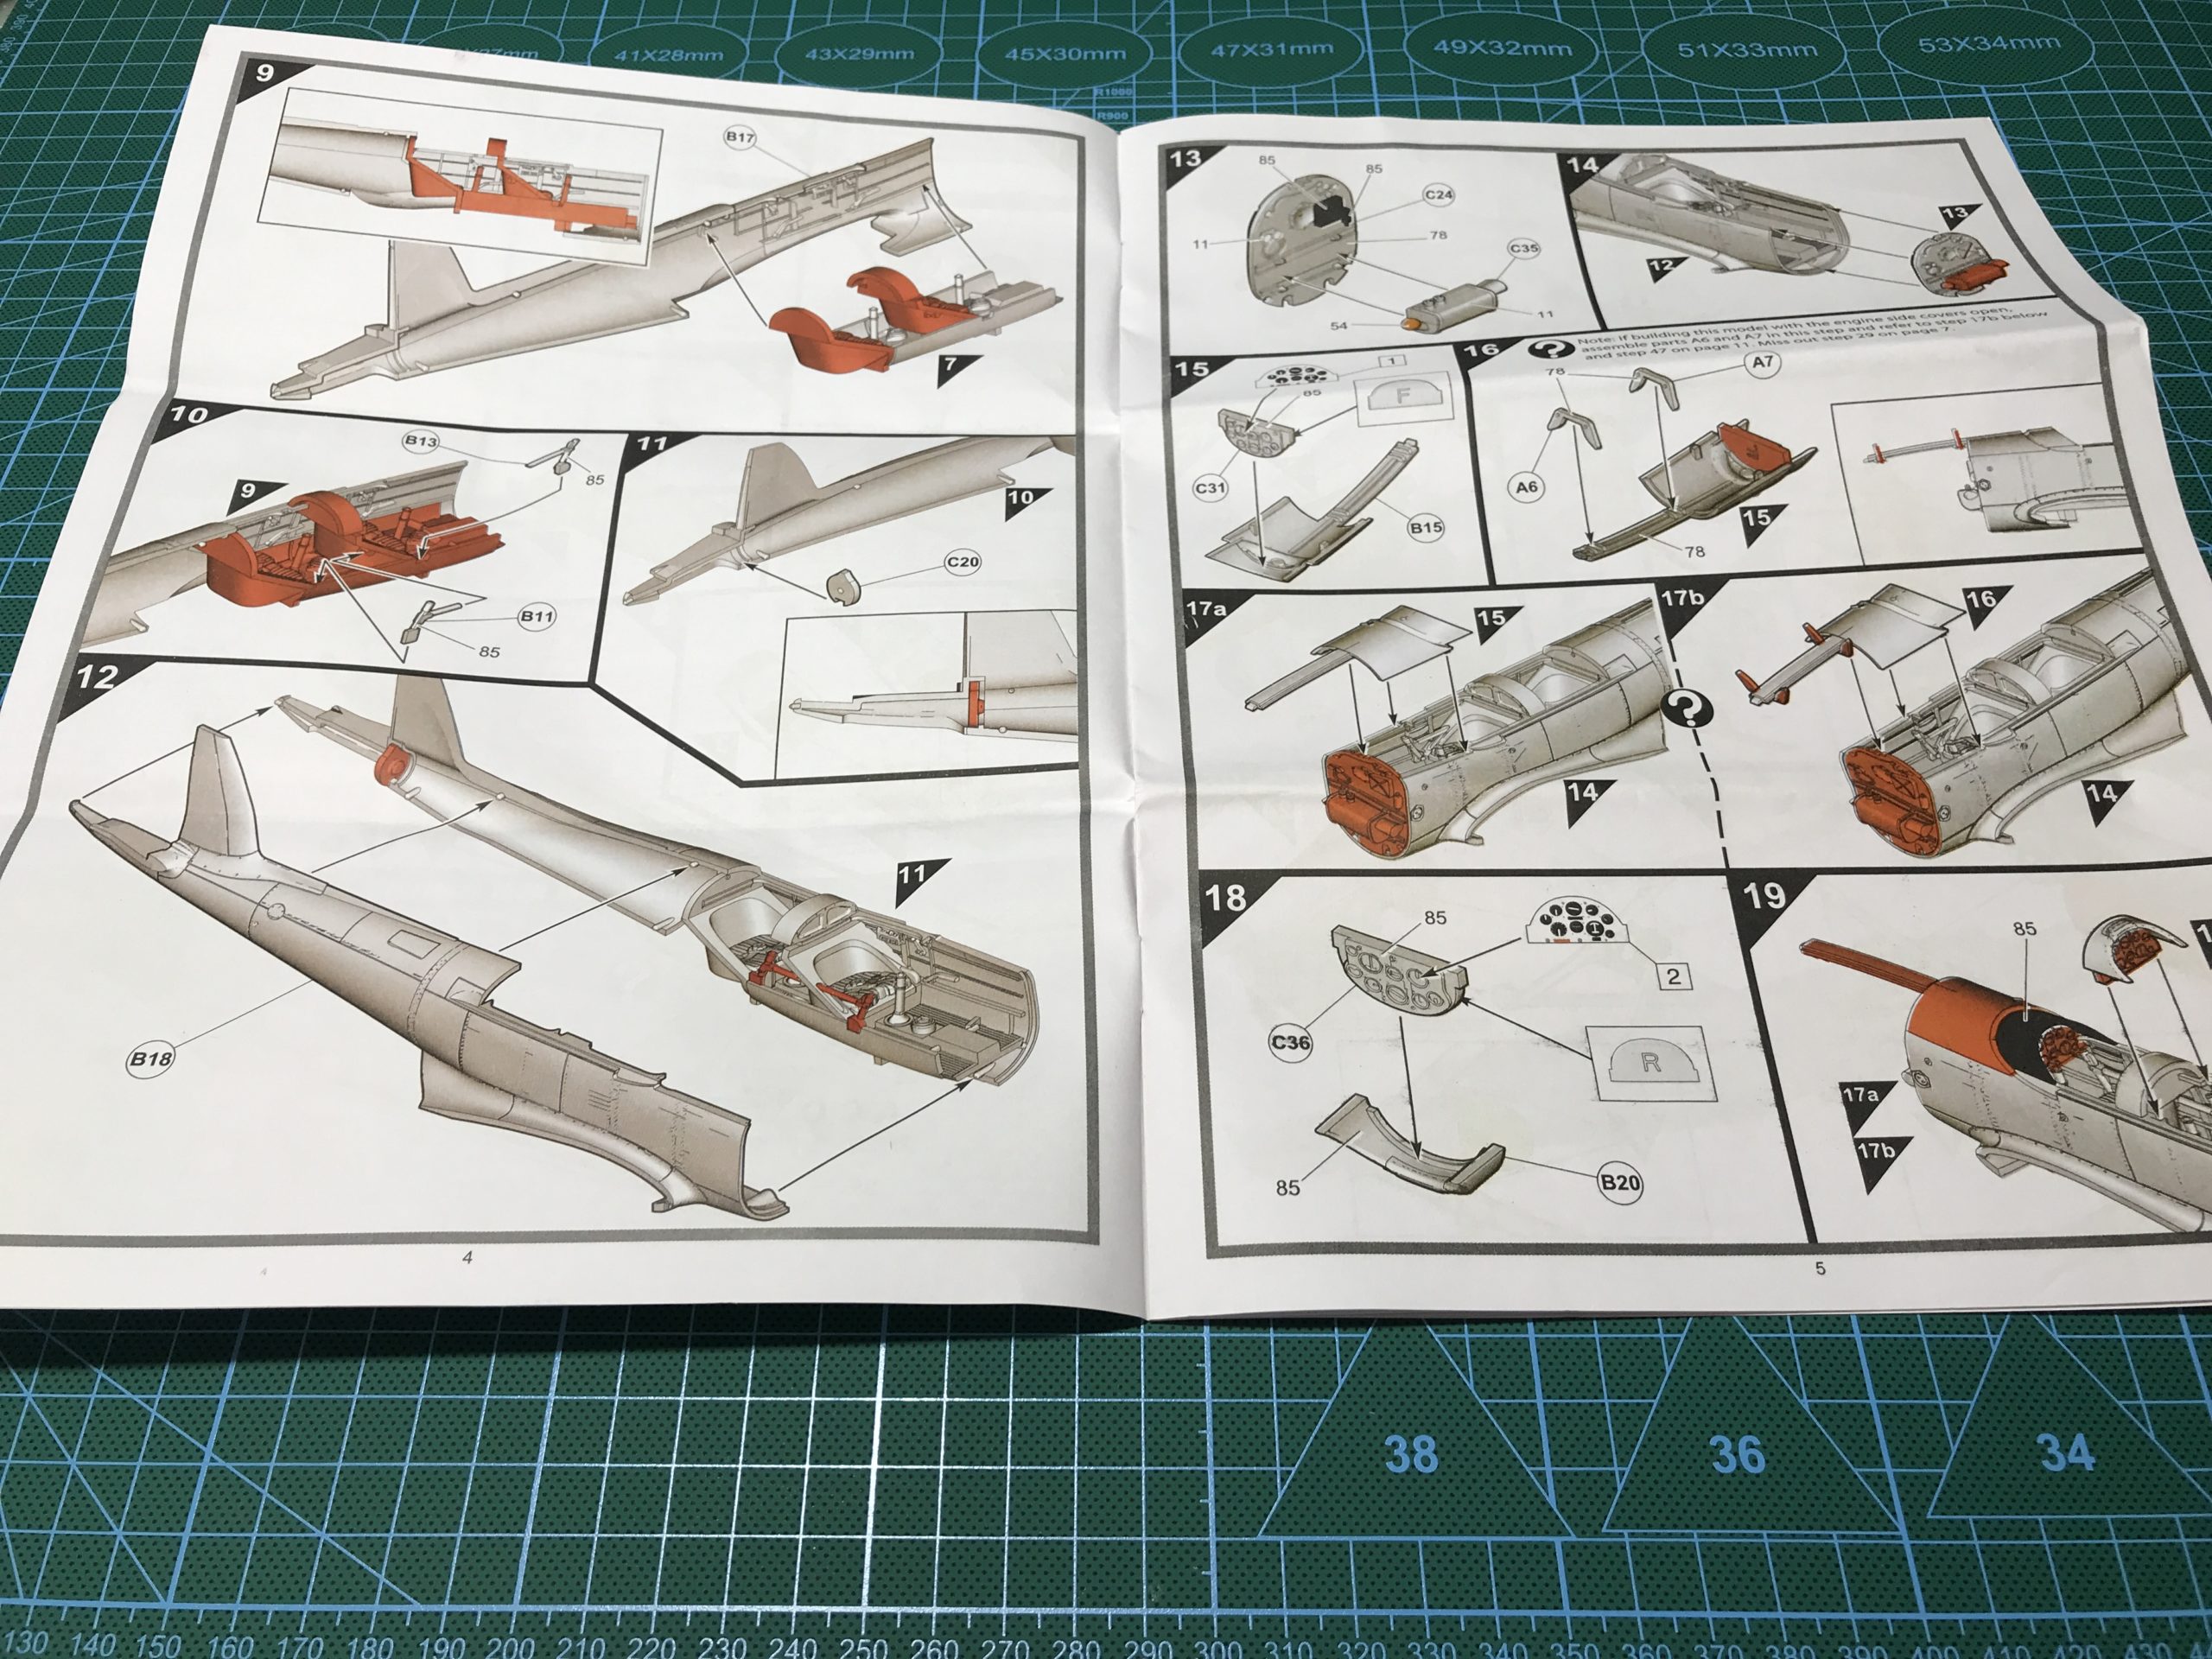
The instructions are nice and clear. The concept of highlighting parts added in the previous step in red should eliminate the risk of missing a part. The instructions look and feel like a colour photocopy on cheap paper. They seem slightly cheap to be honest and the colours on painting instructions bare very little relation to the actual required colour. (Matt Dark Green looks Brown in the picture) This is one area where Airfix should put in a little more effort.
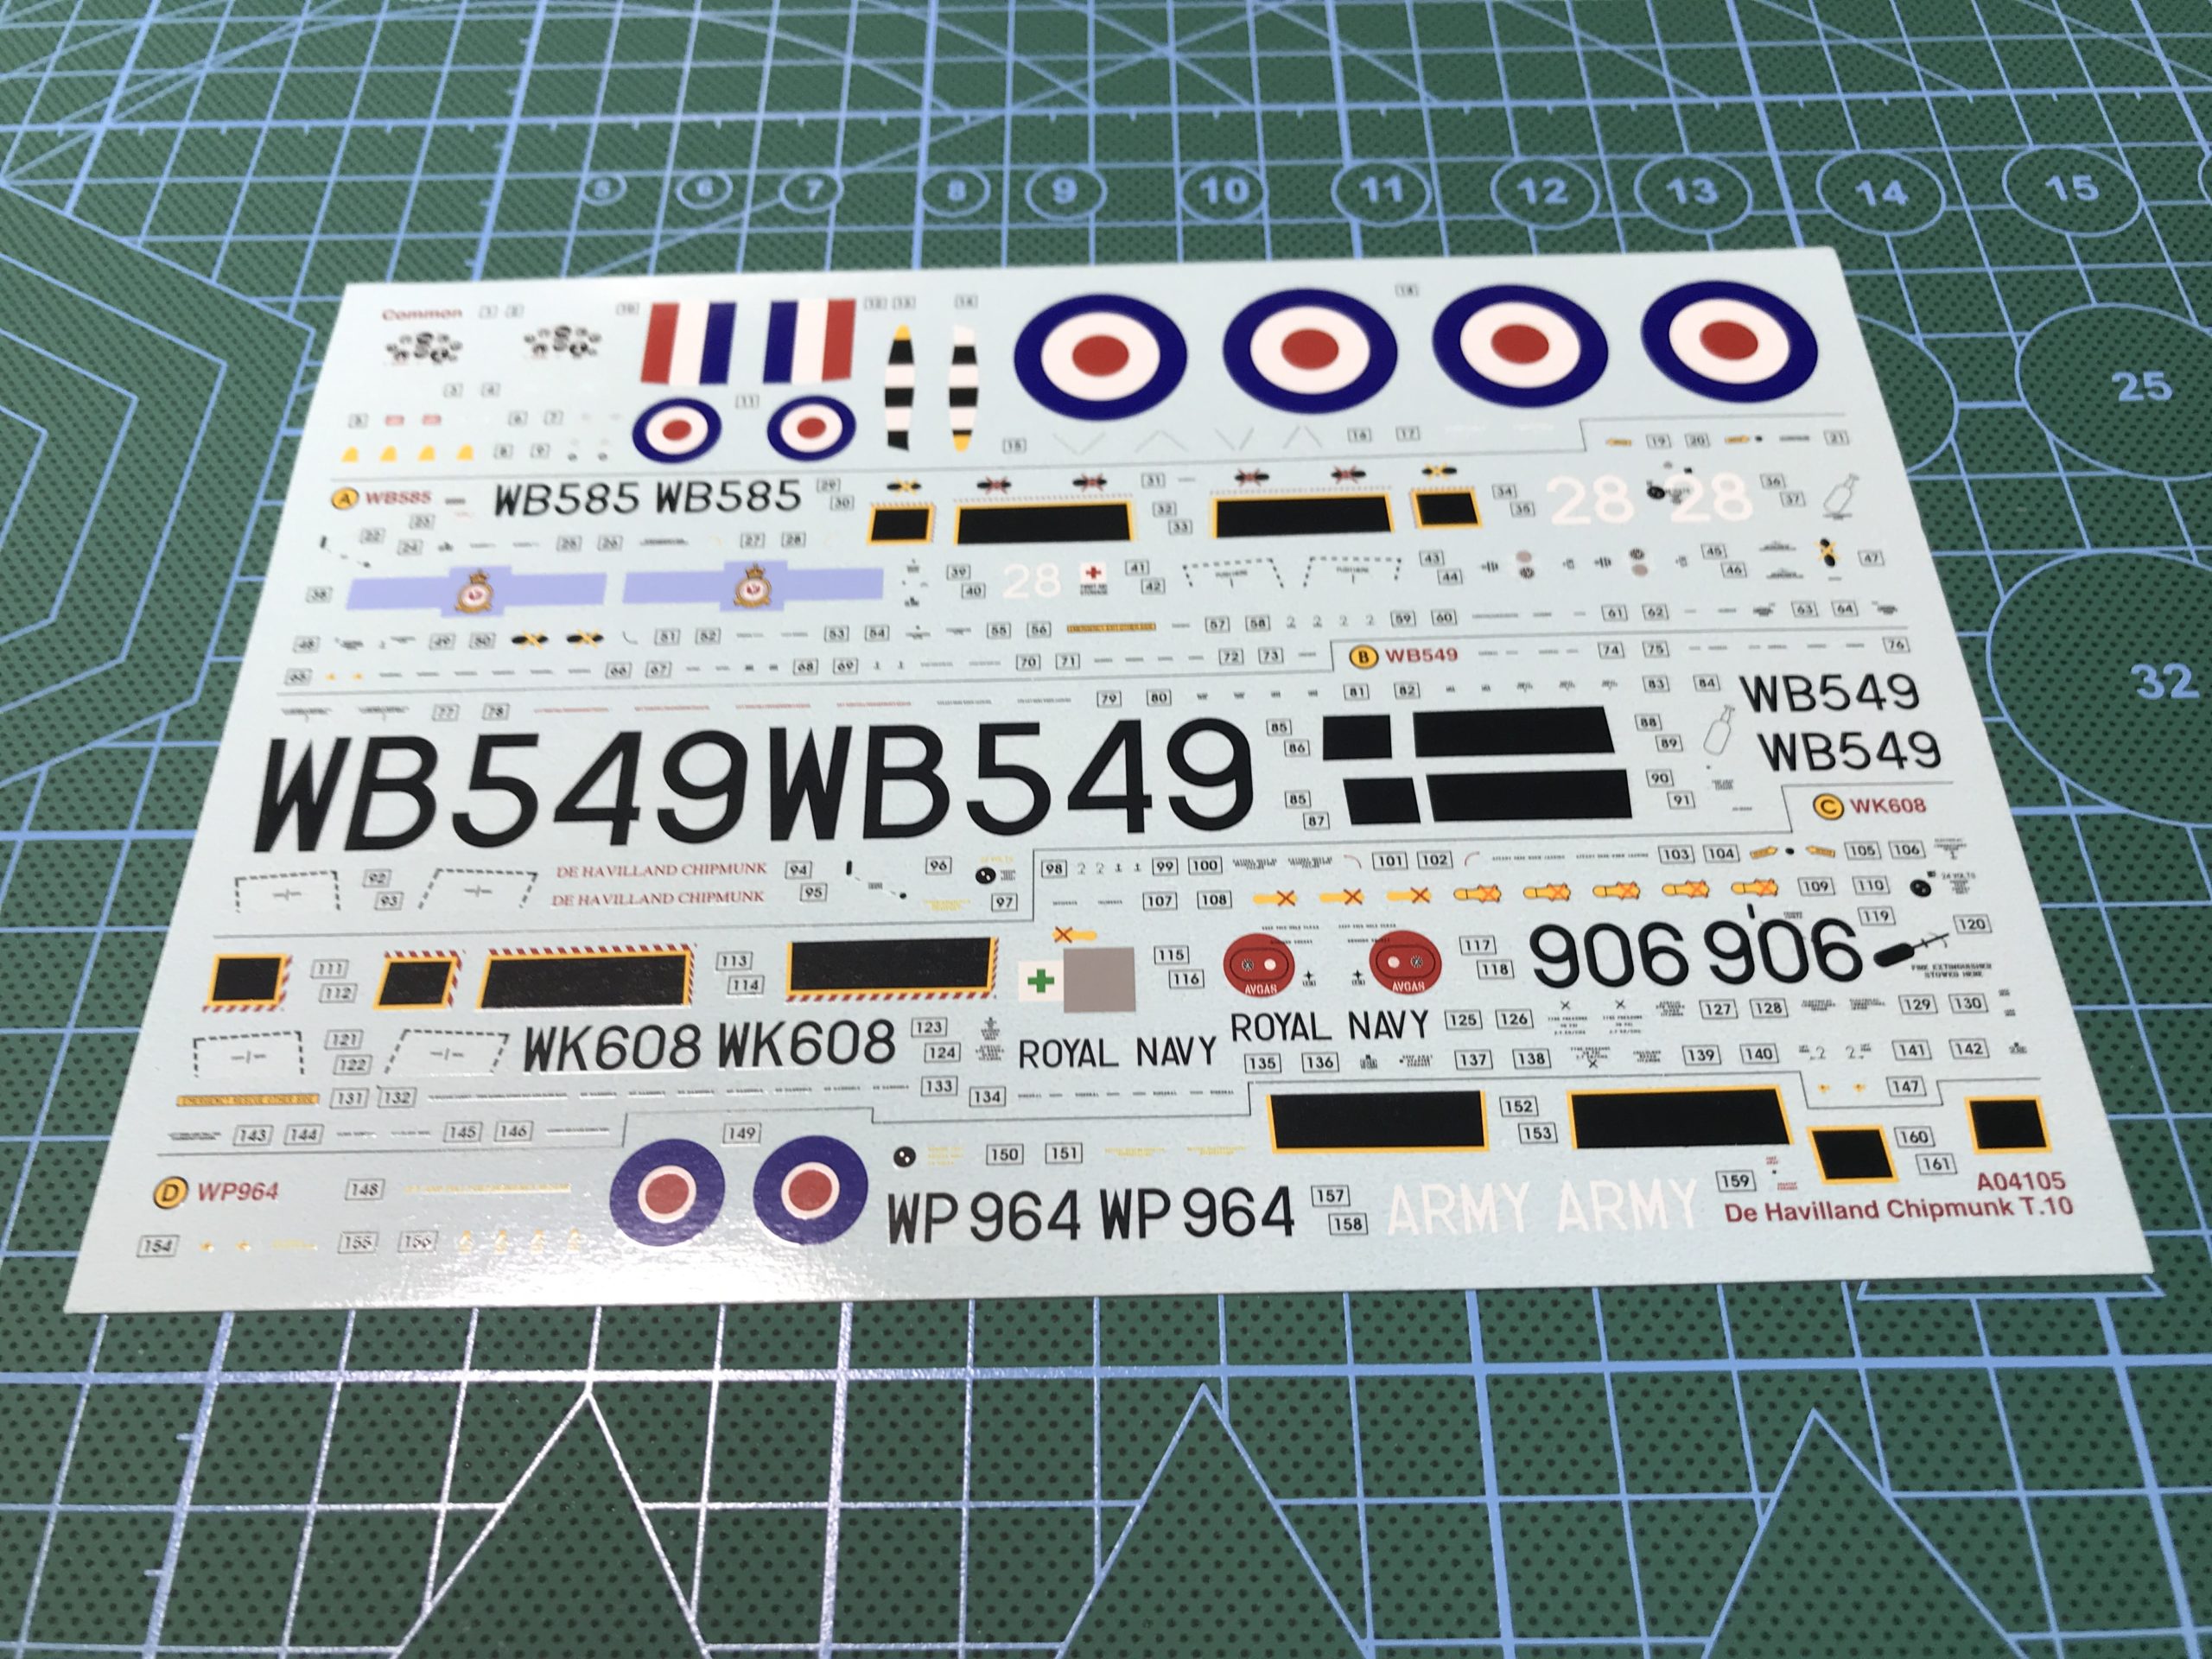
Decals are an area where Airfix seems to have absolutely nailed things. Excellent solid colour, but not too thick. Even the smallest stencils are actual text unlike other manufacturers.
Overall I would say the kit is decent value for money.
The Build
This is not going be a long build due to the relatively small number of parts.
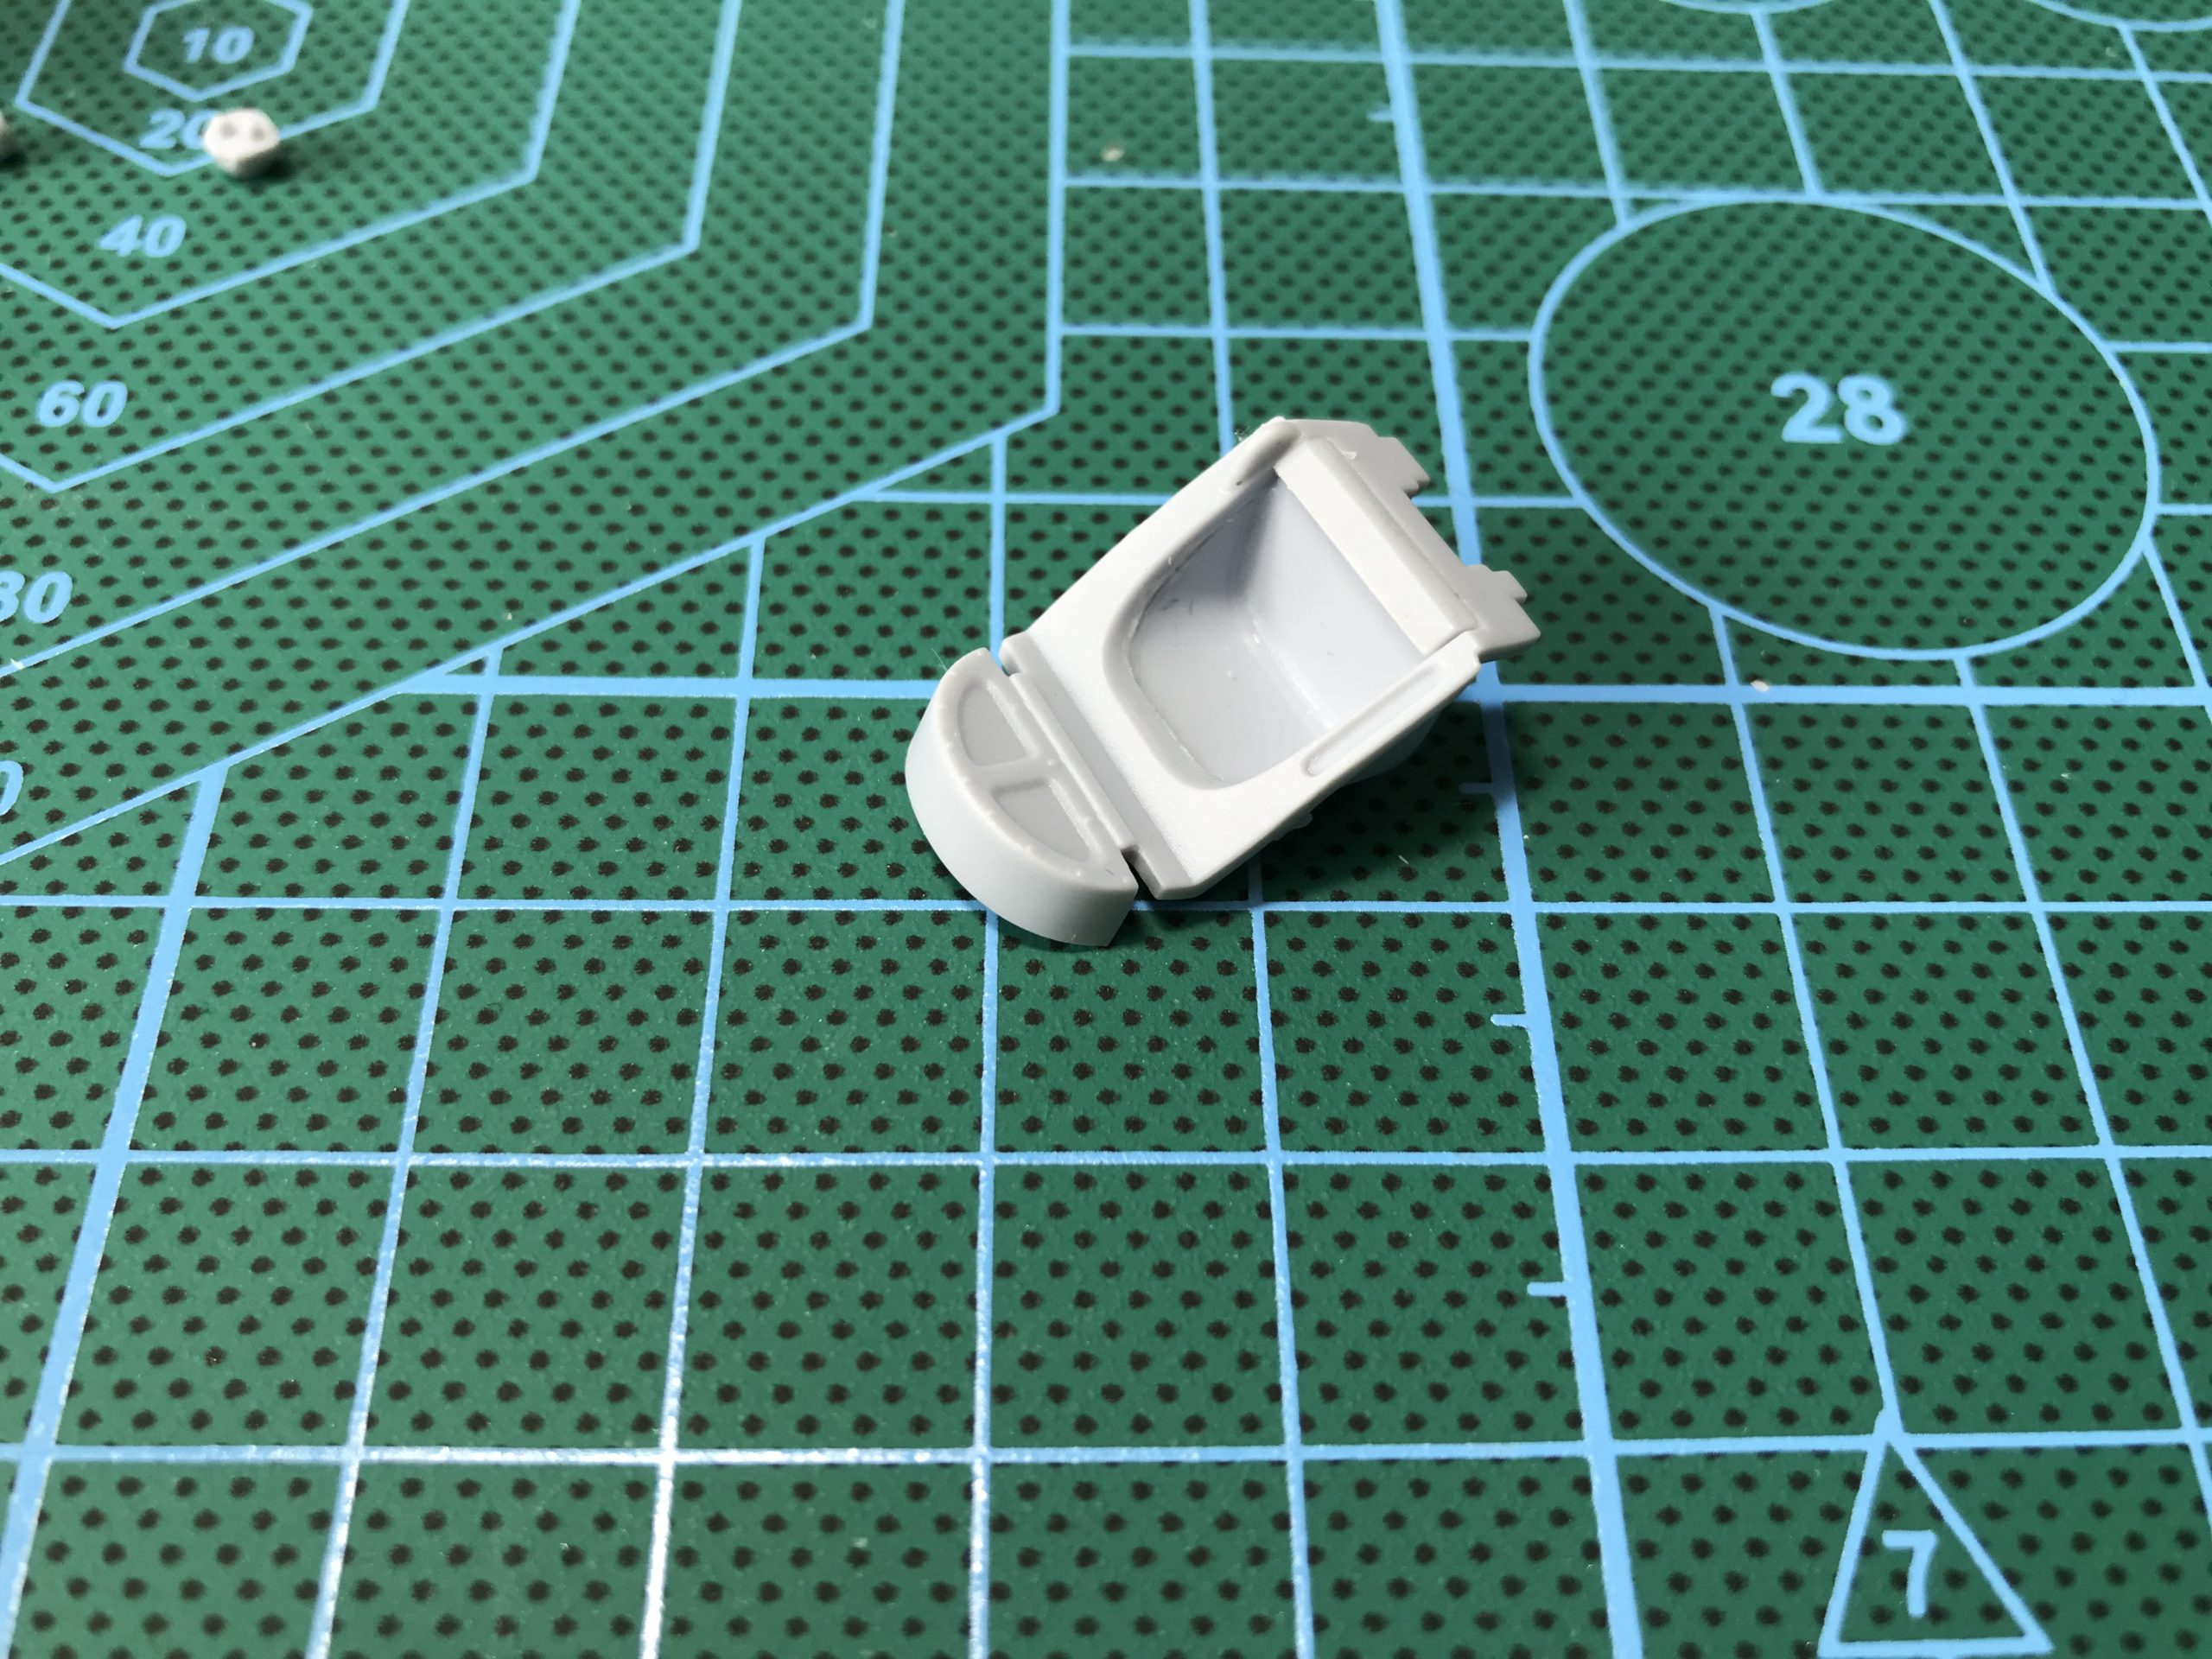
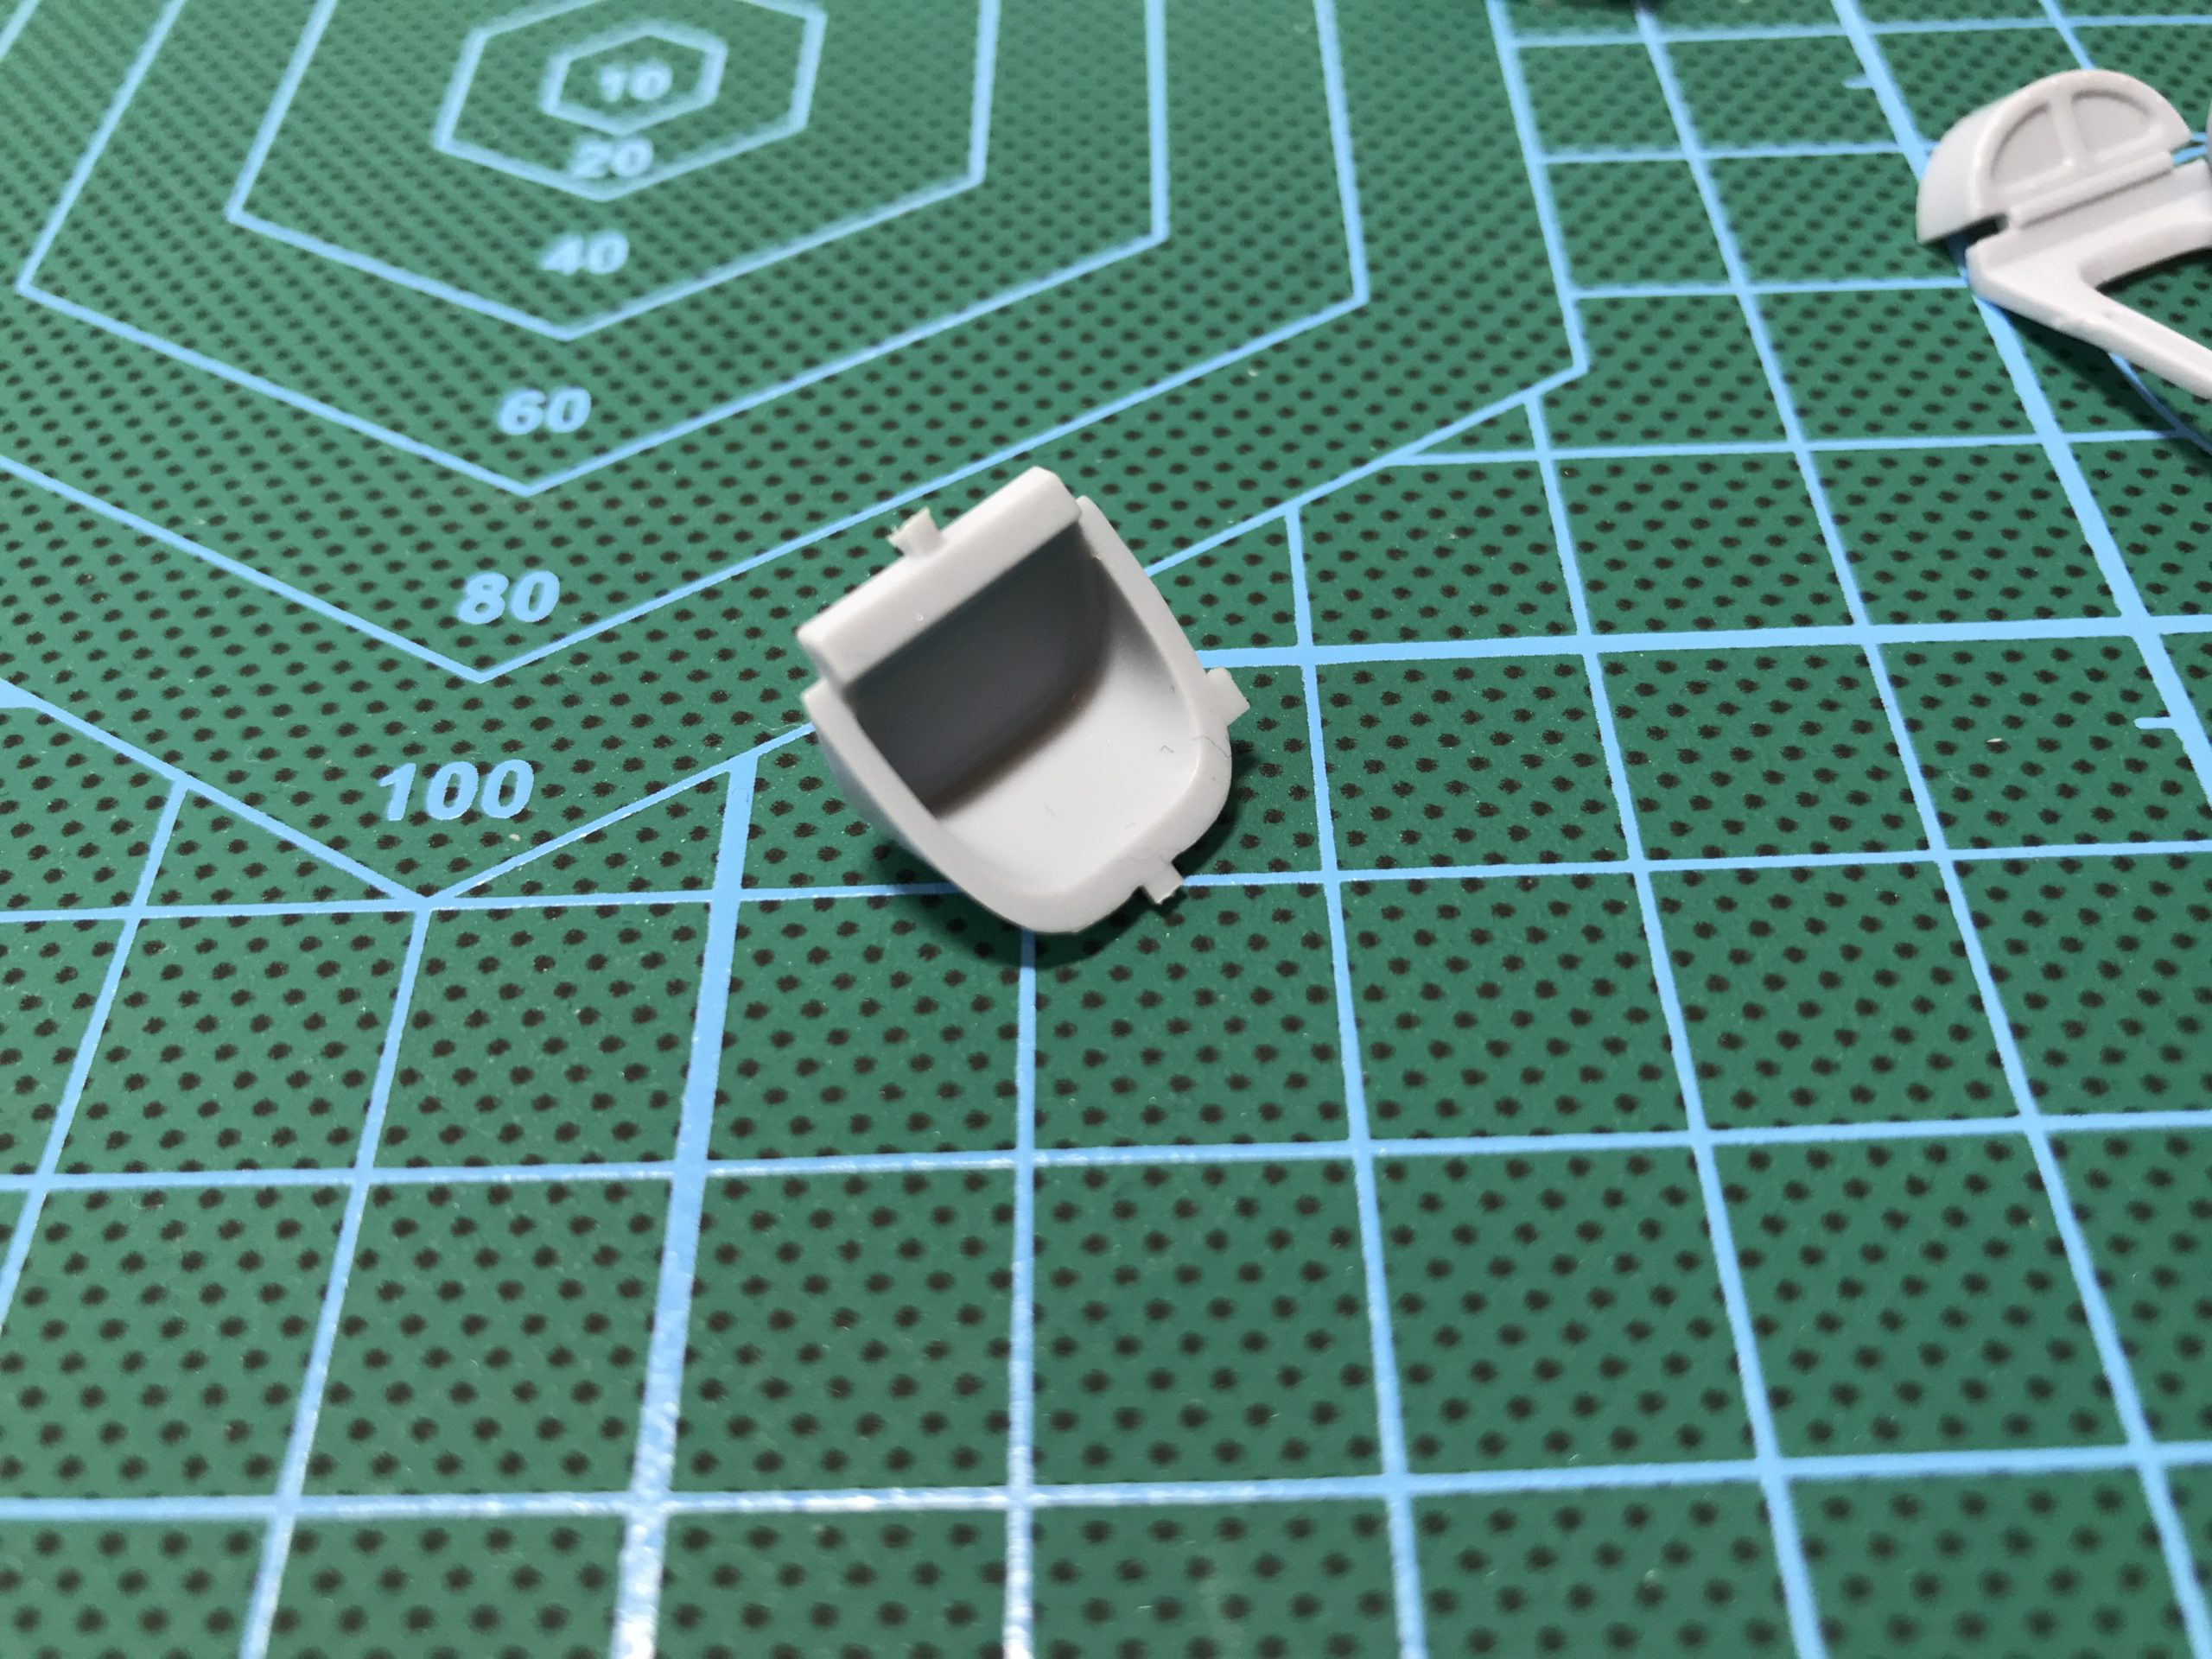
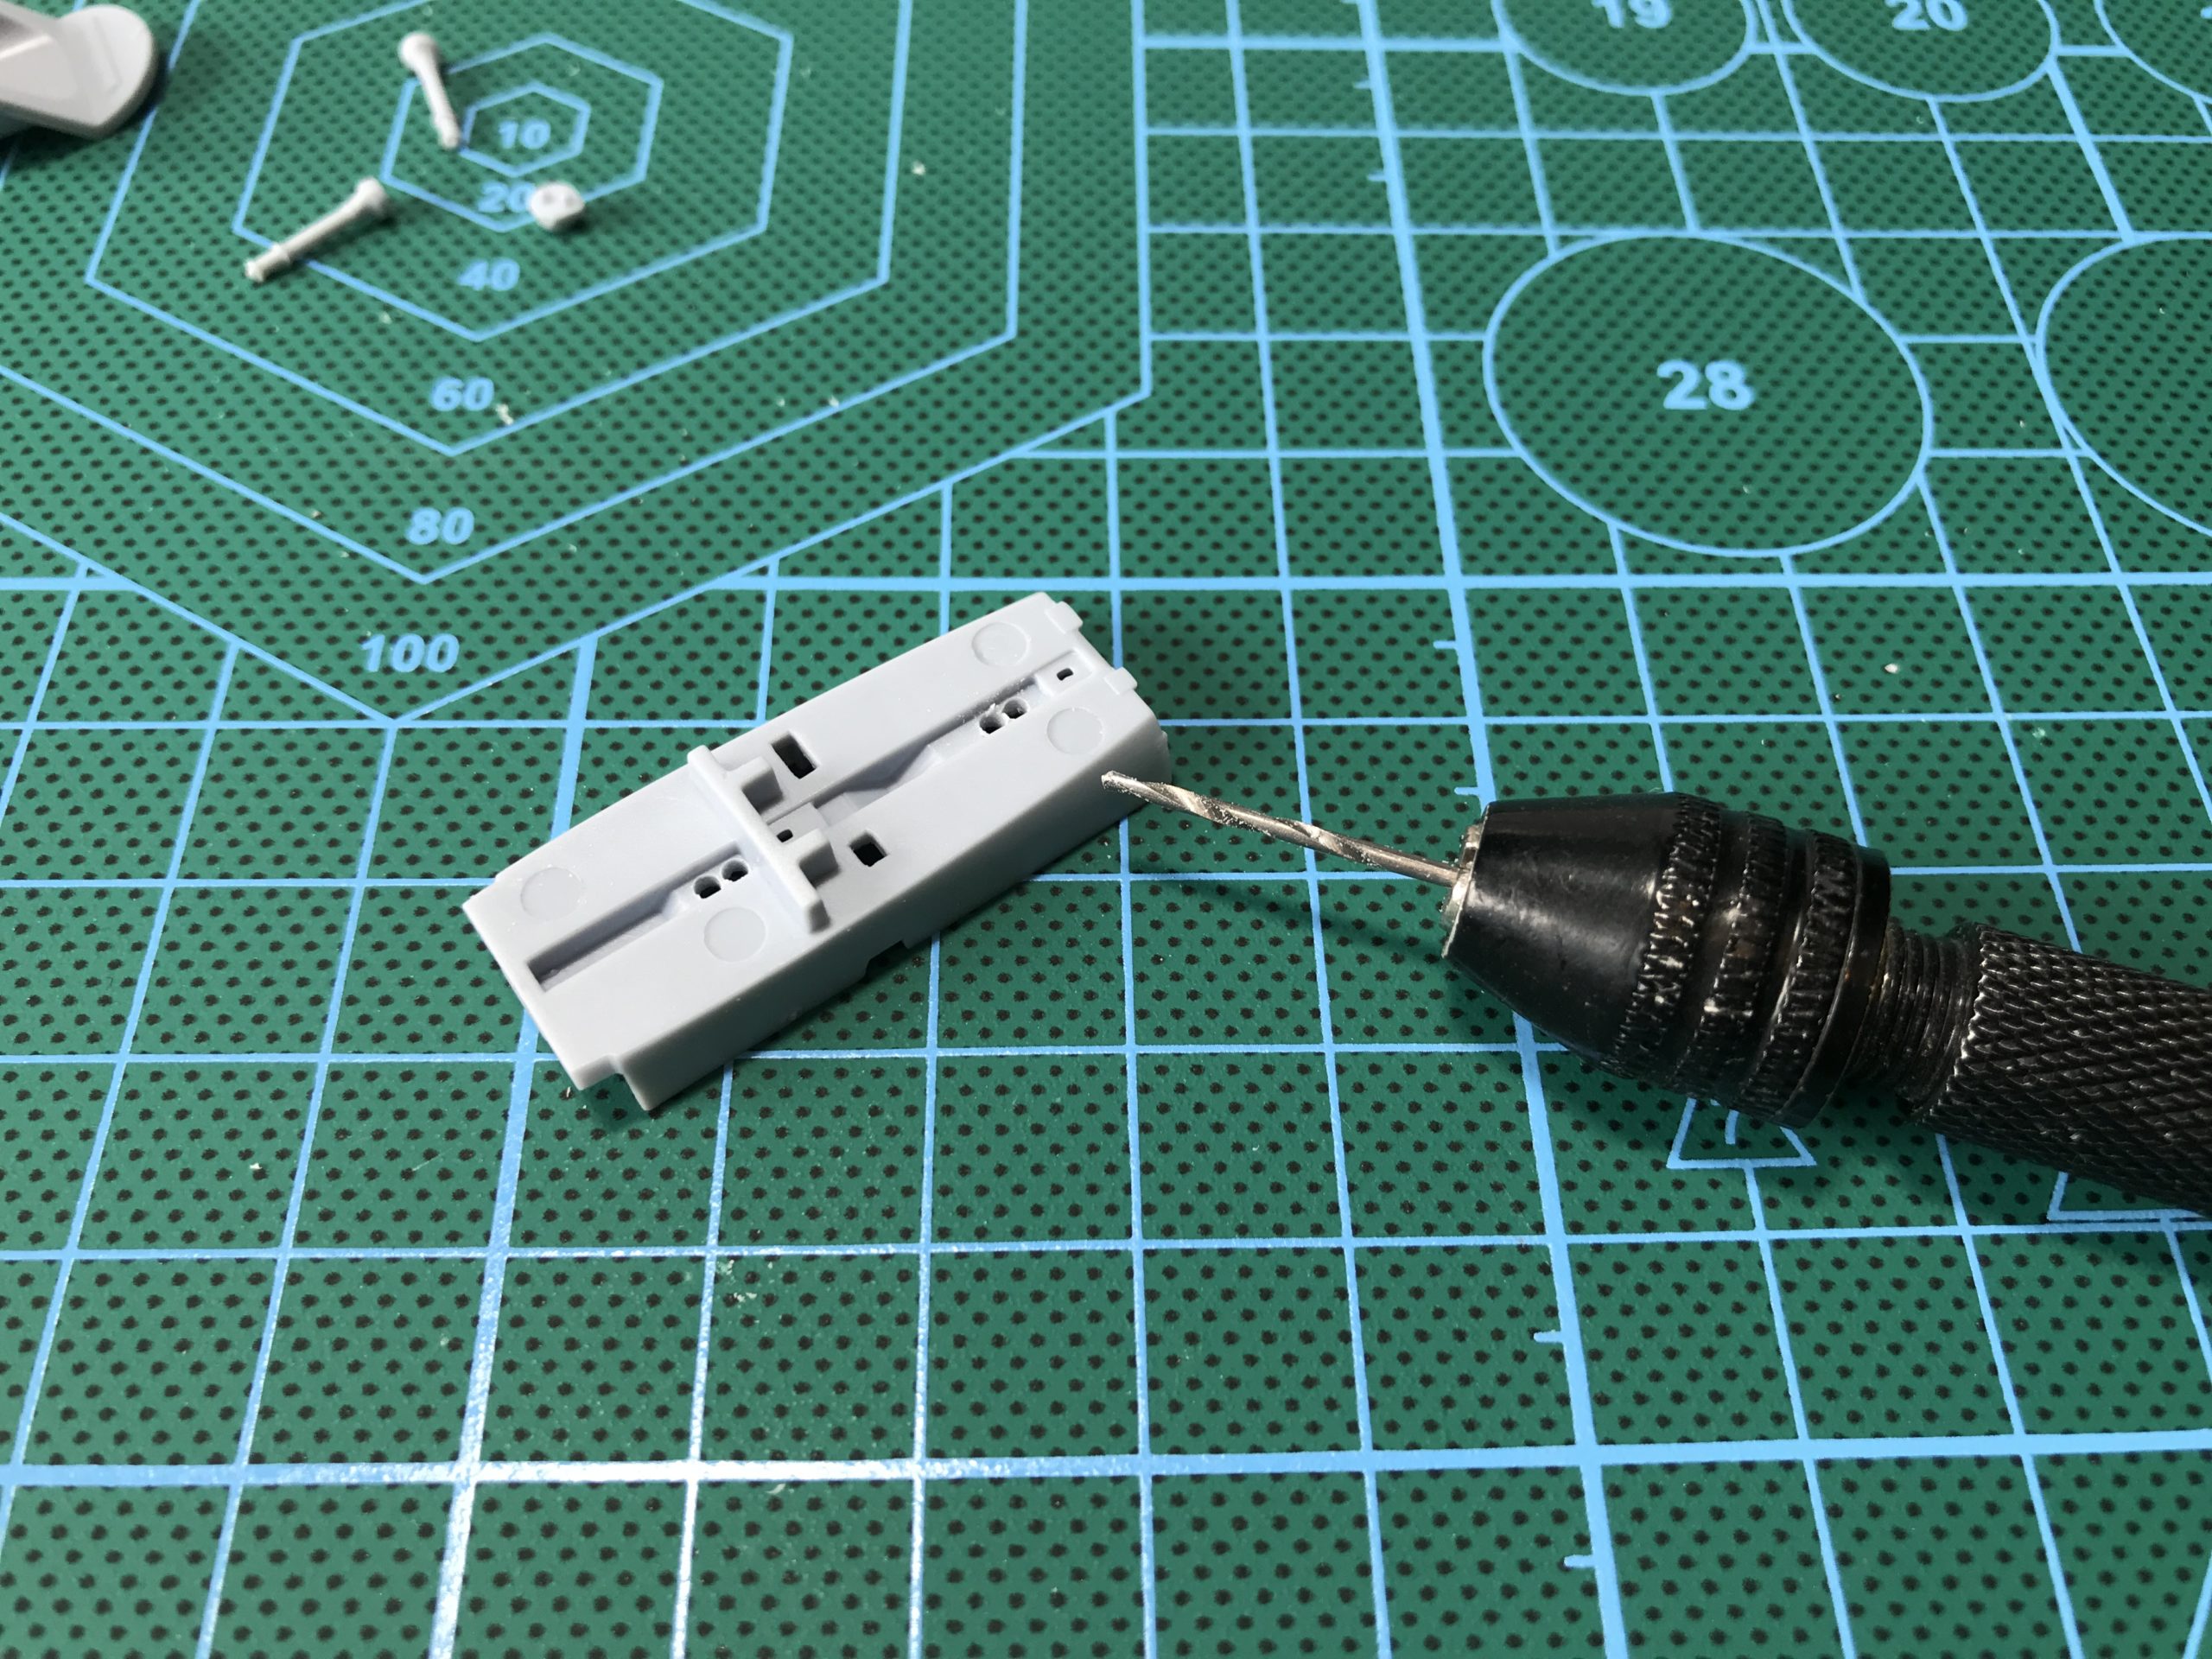
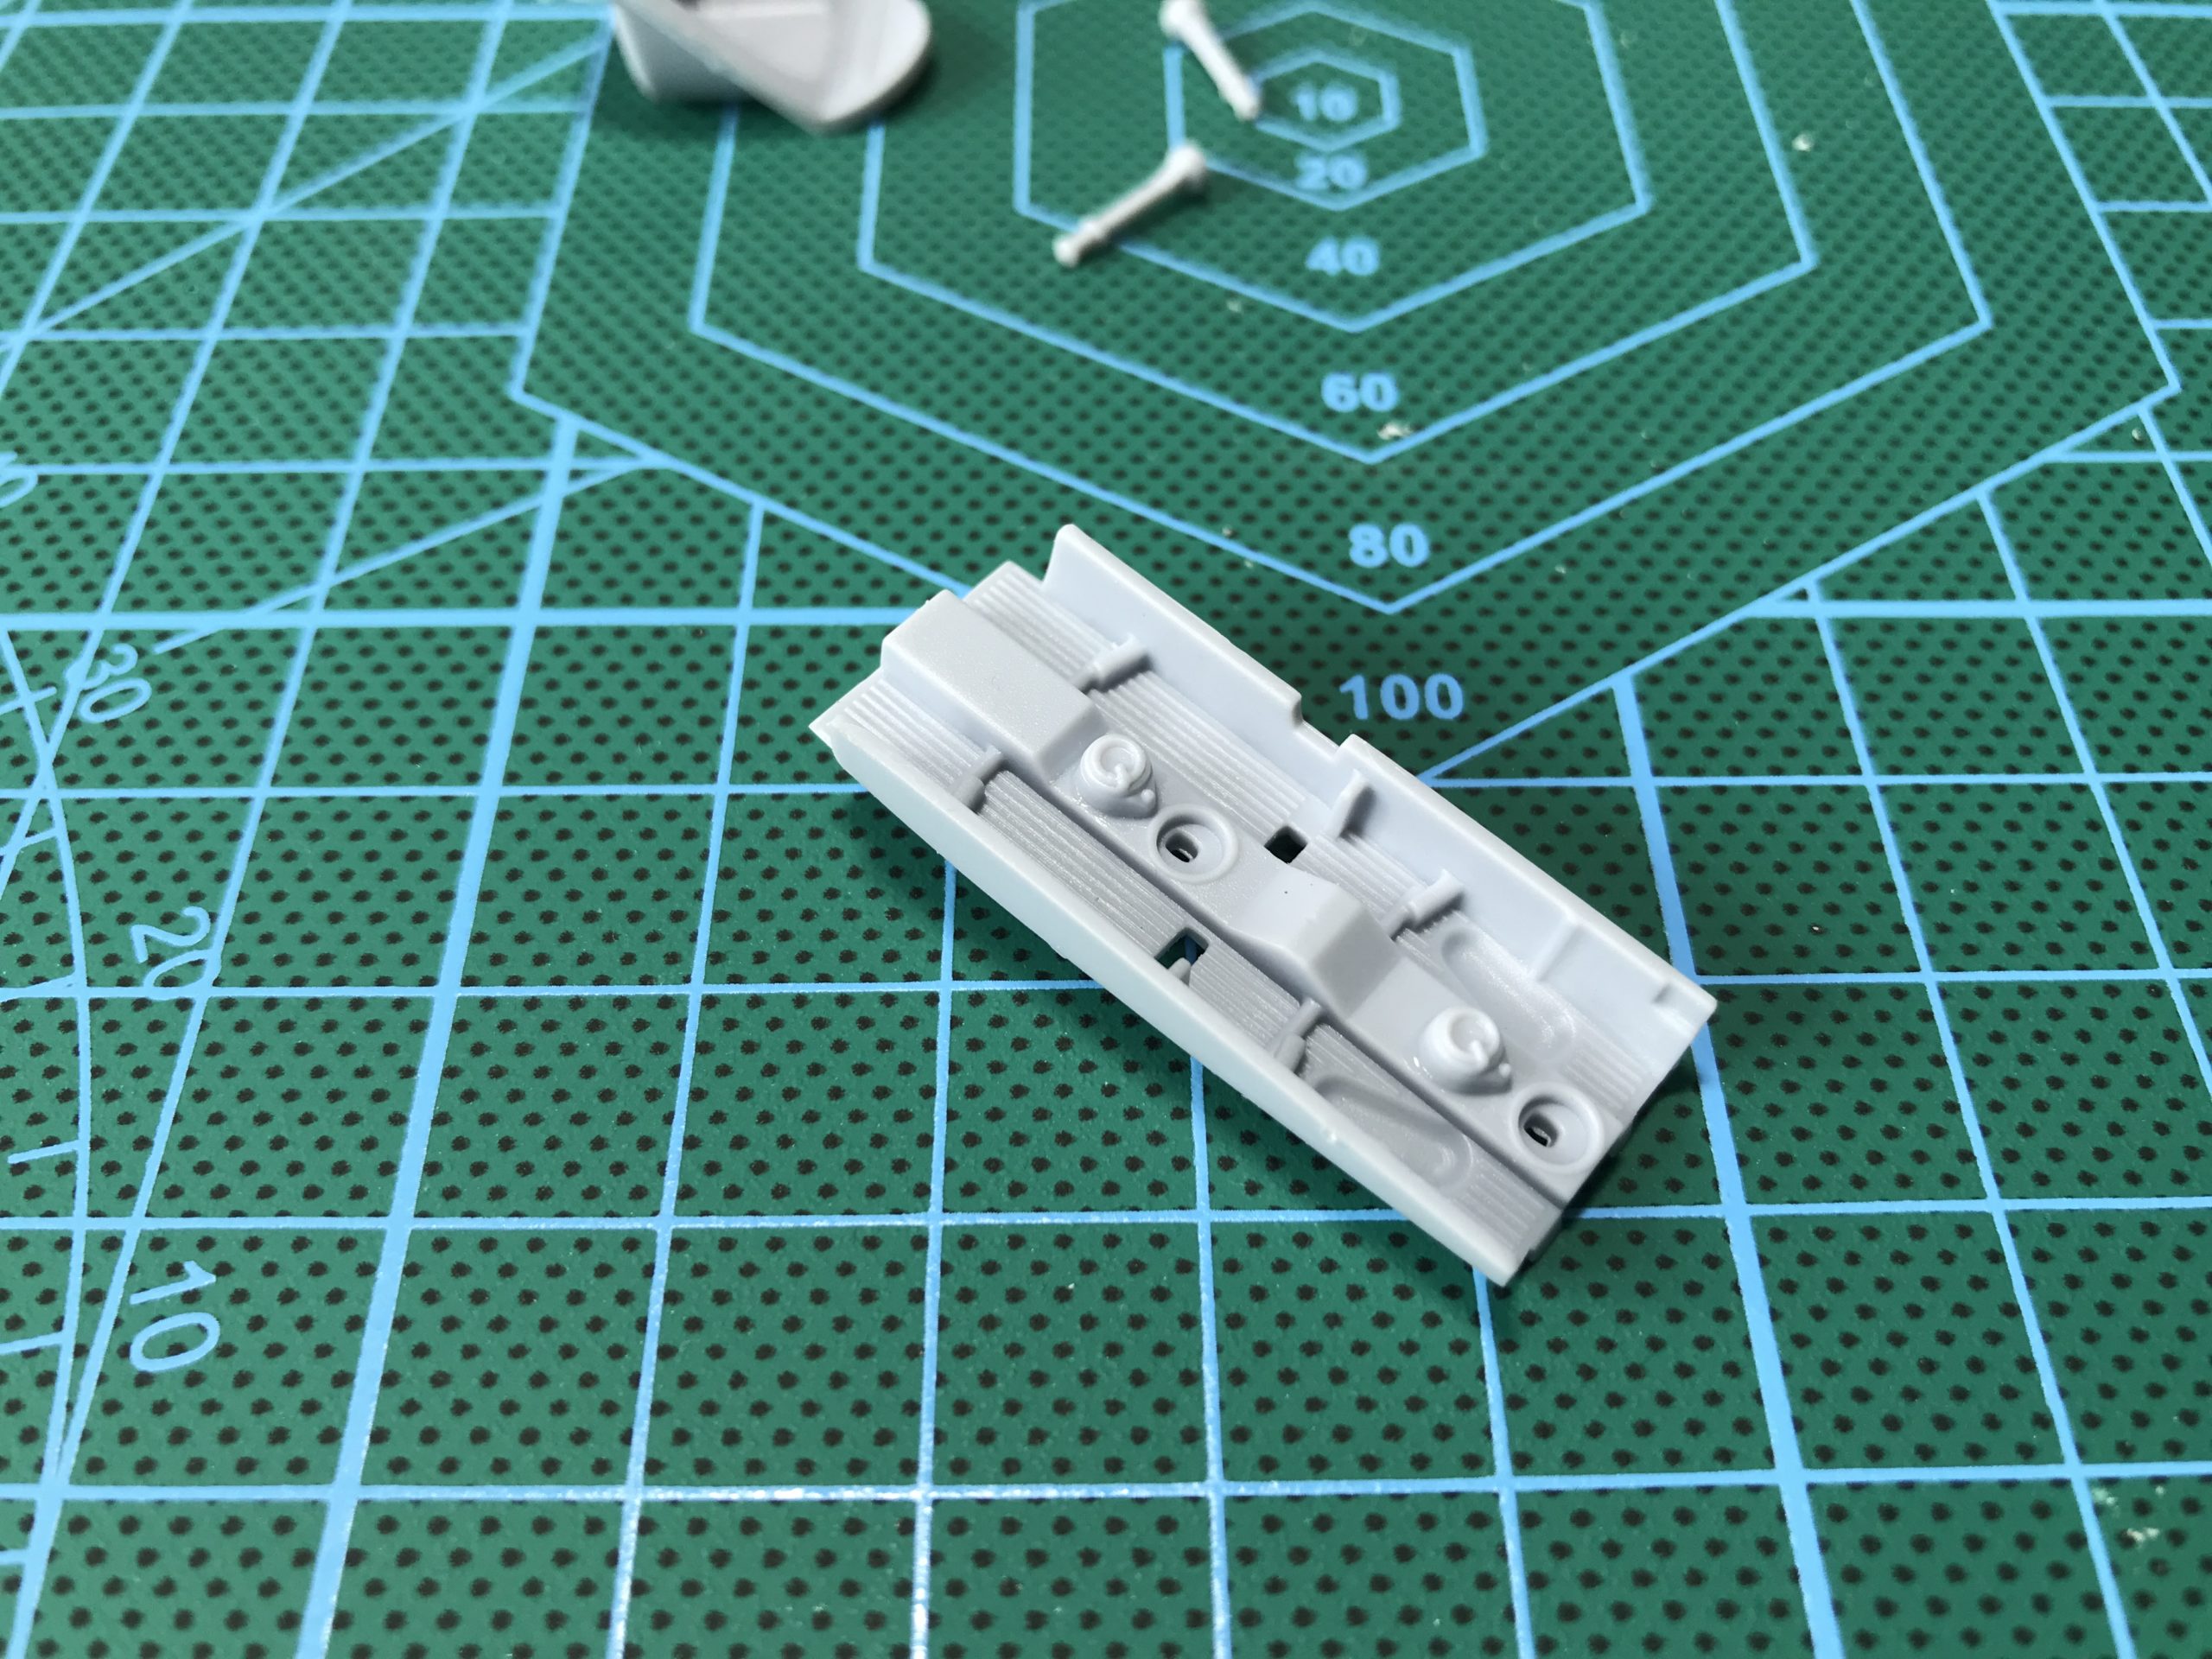
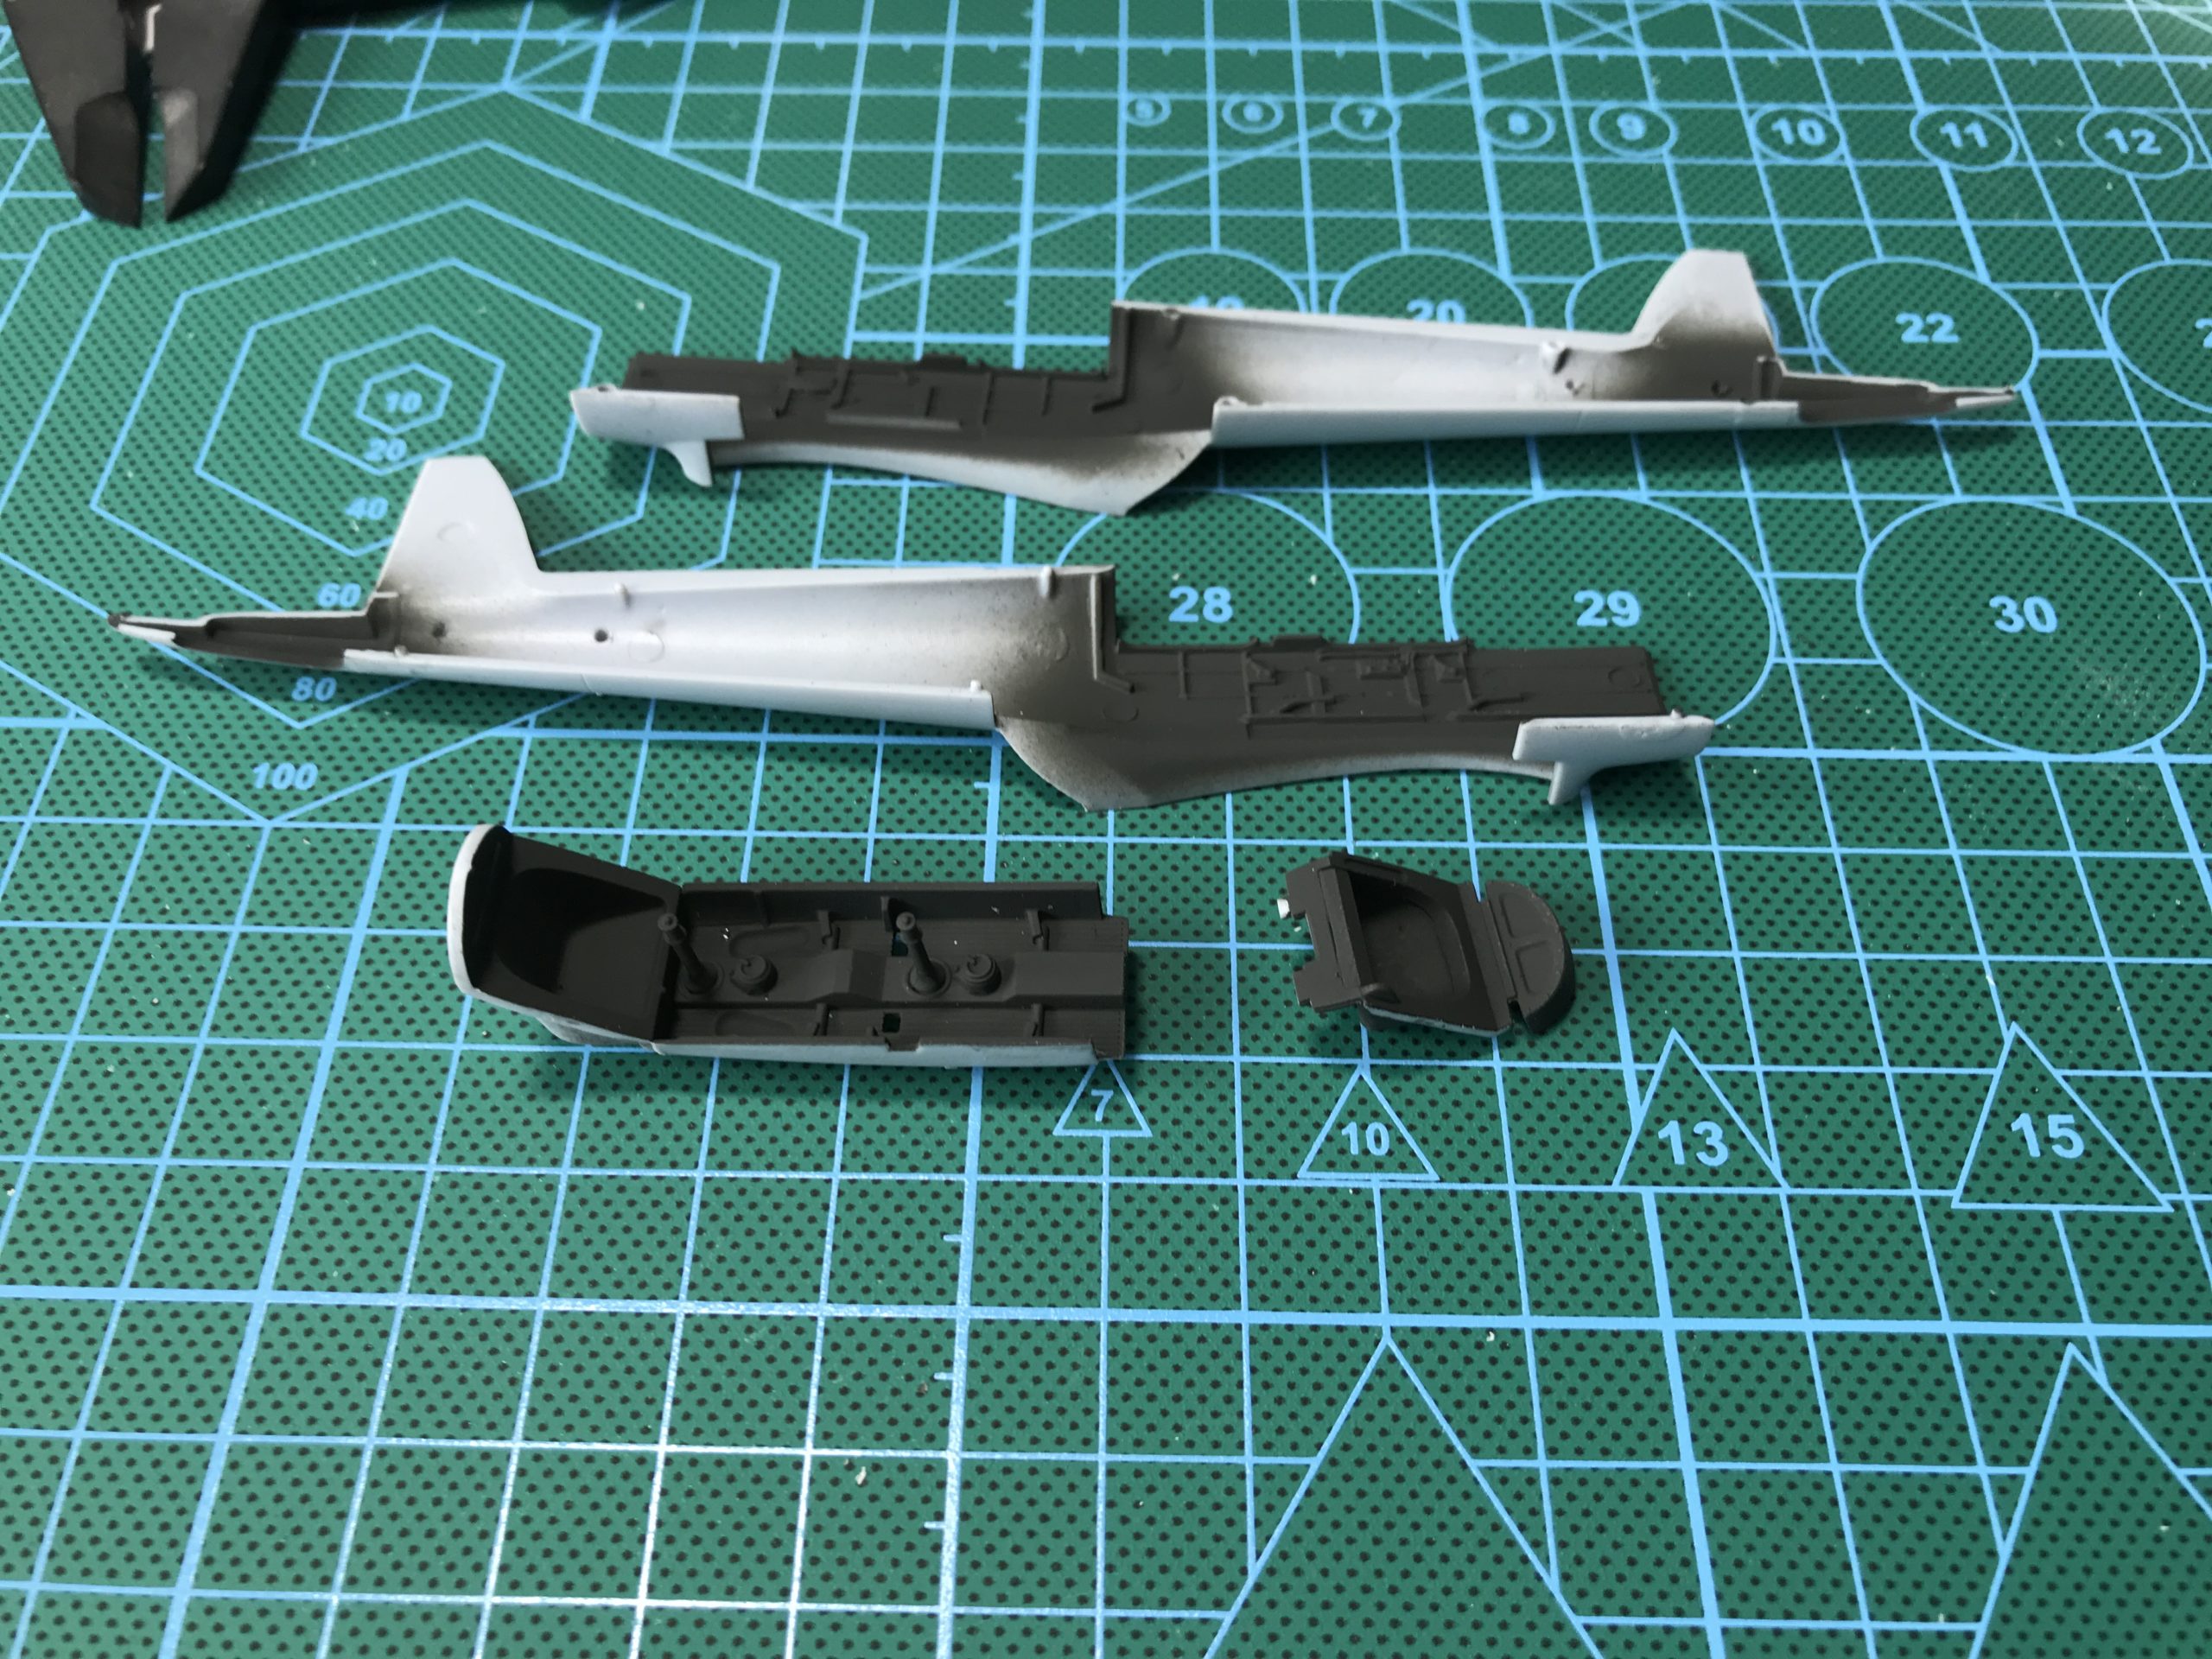
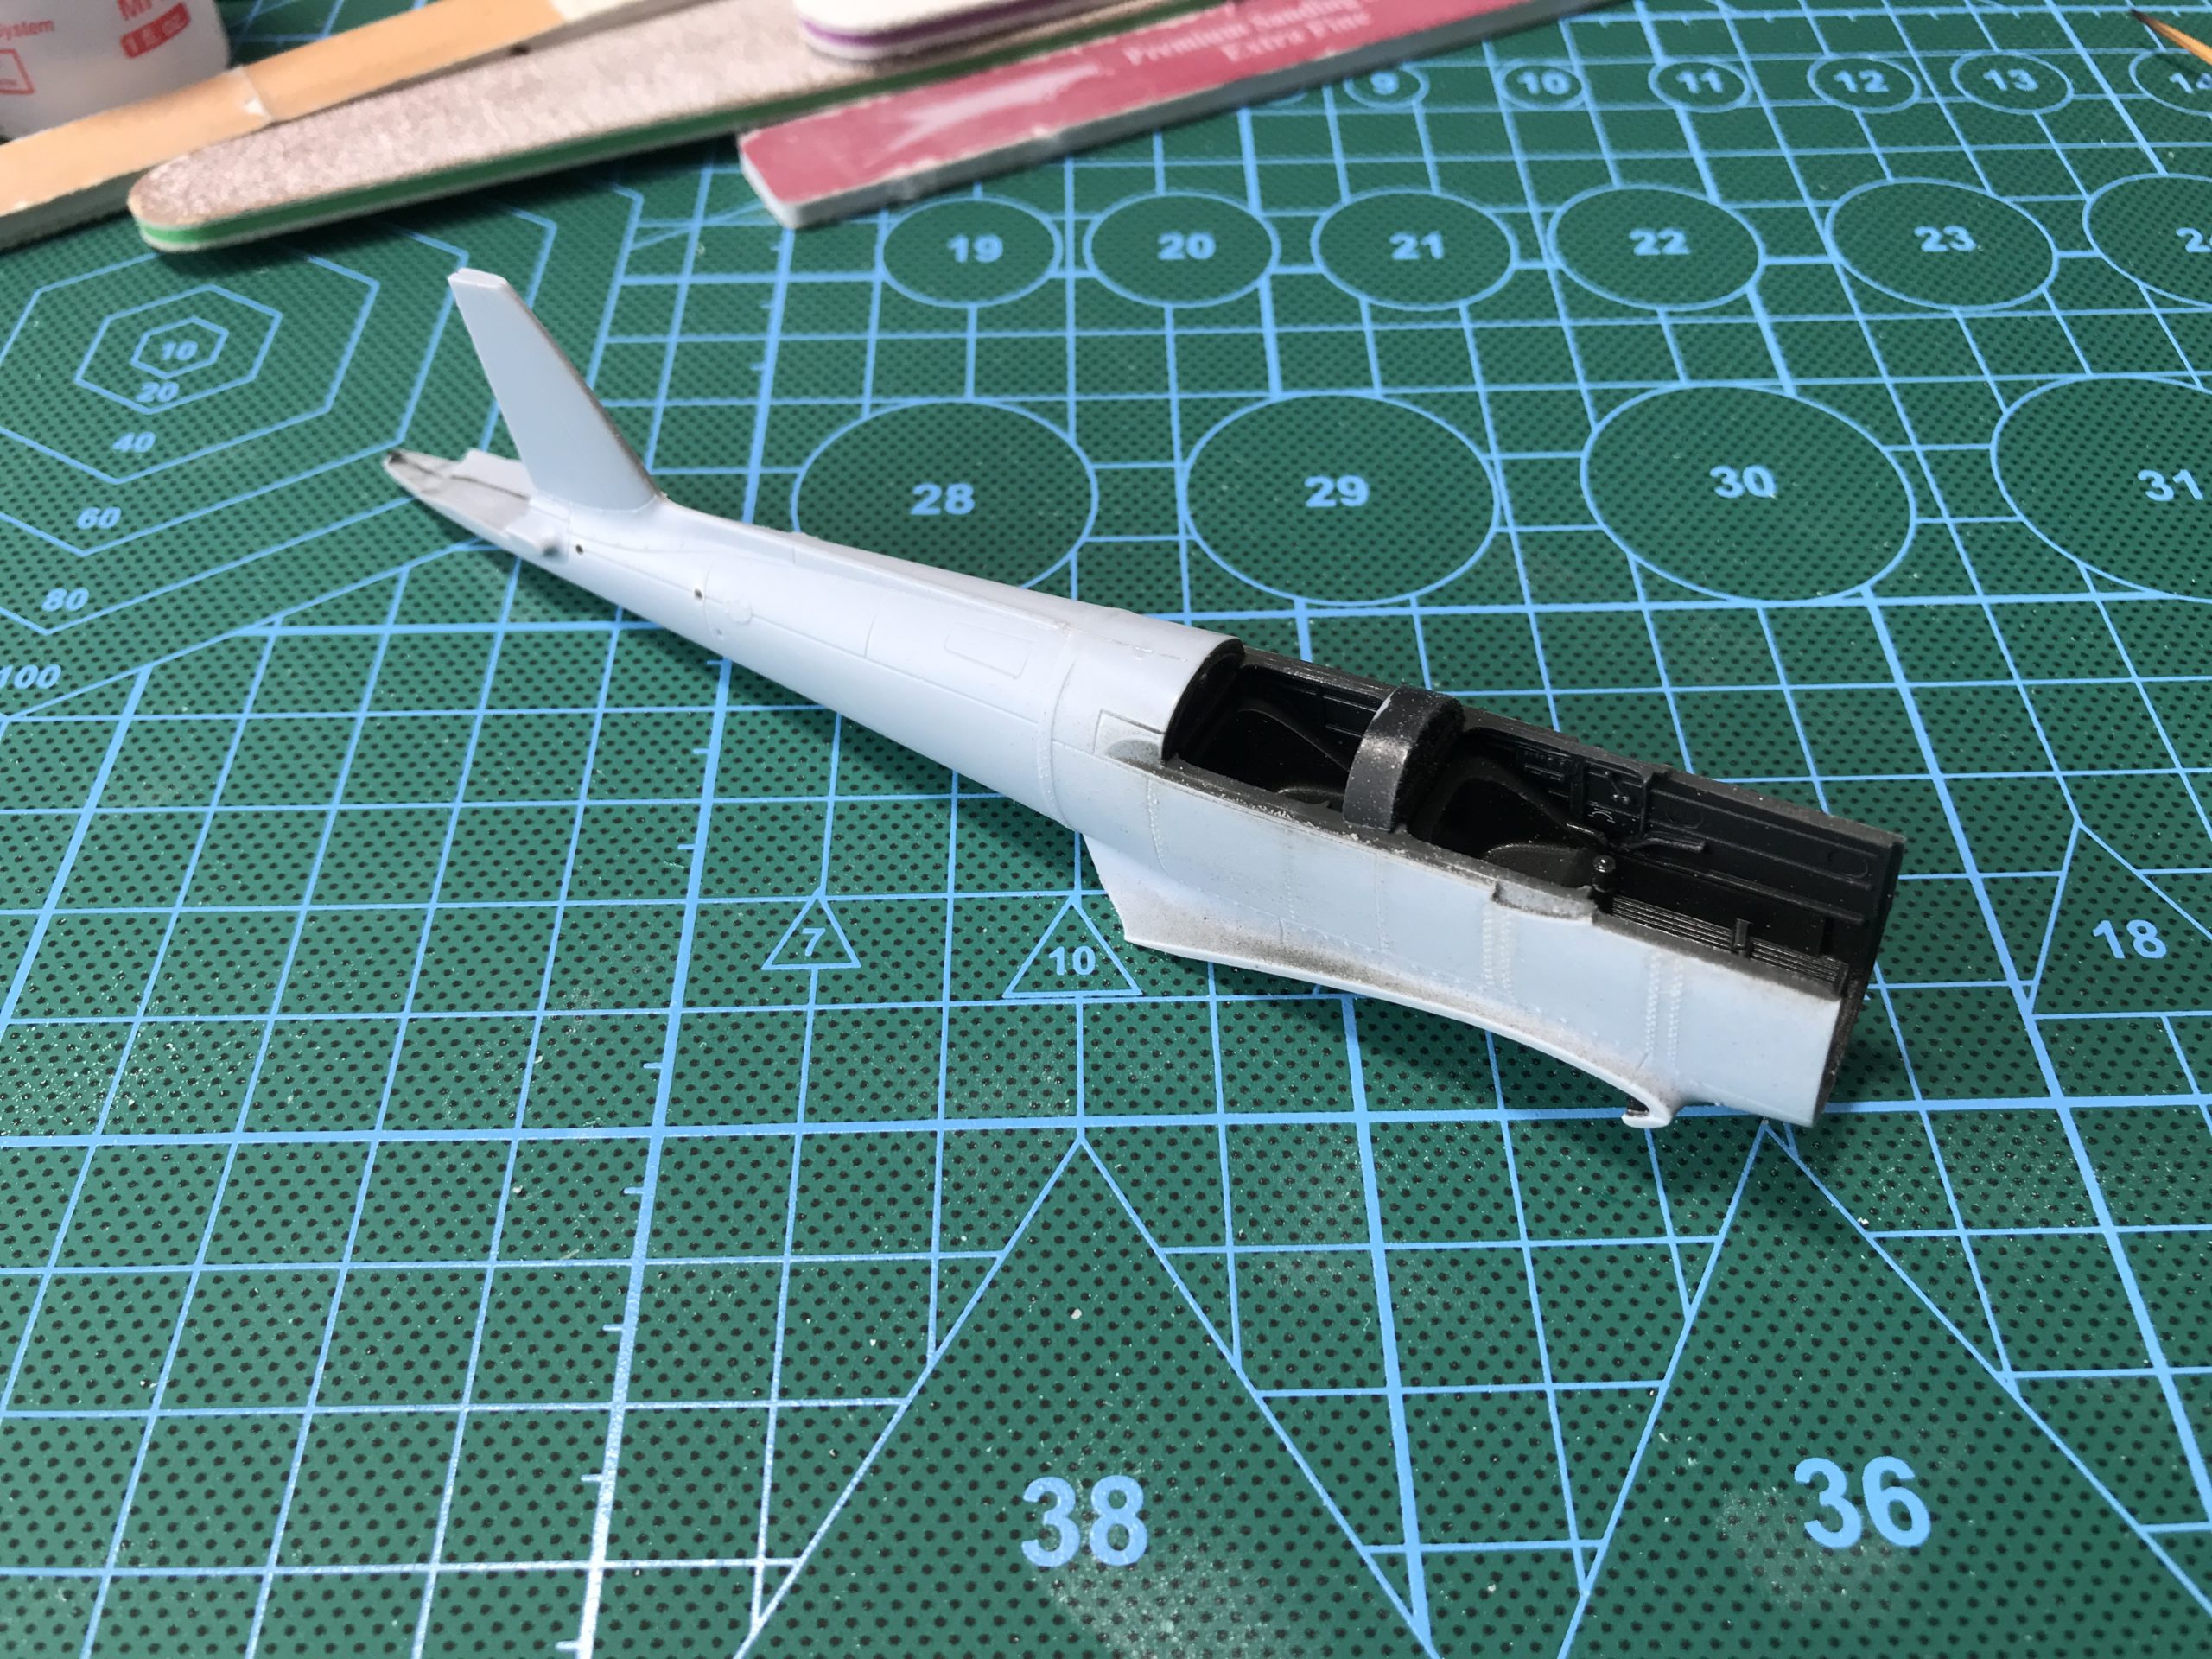
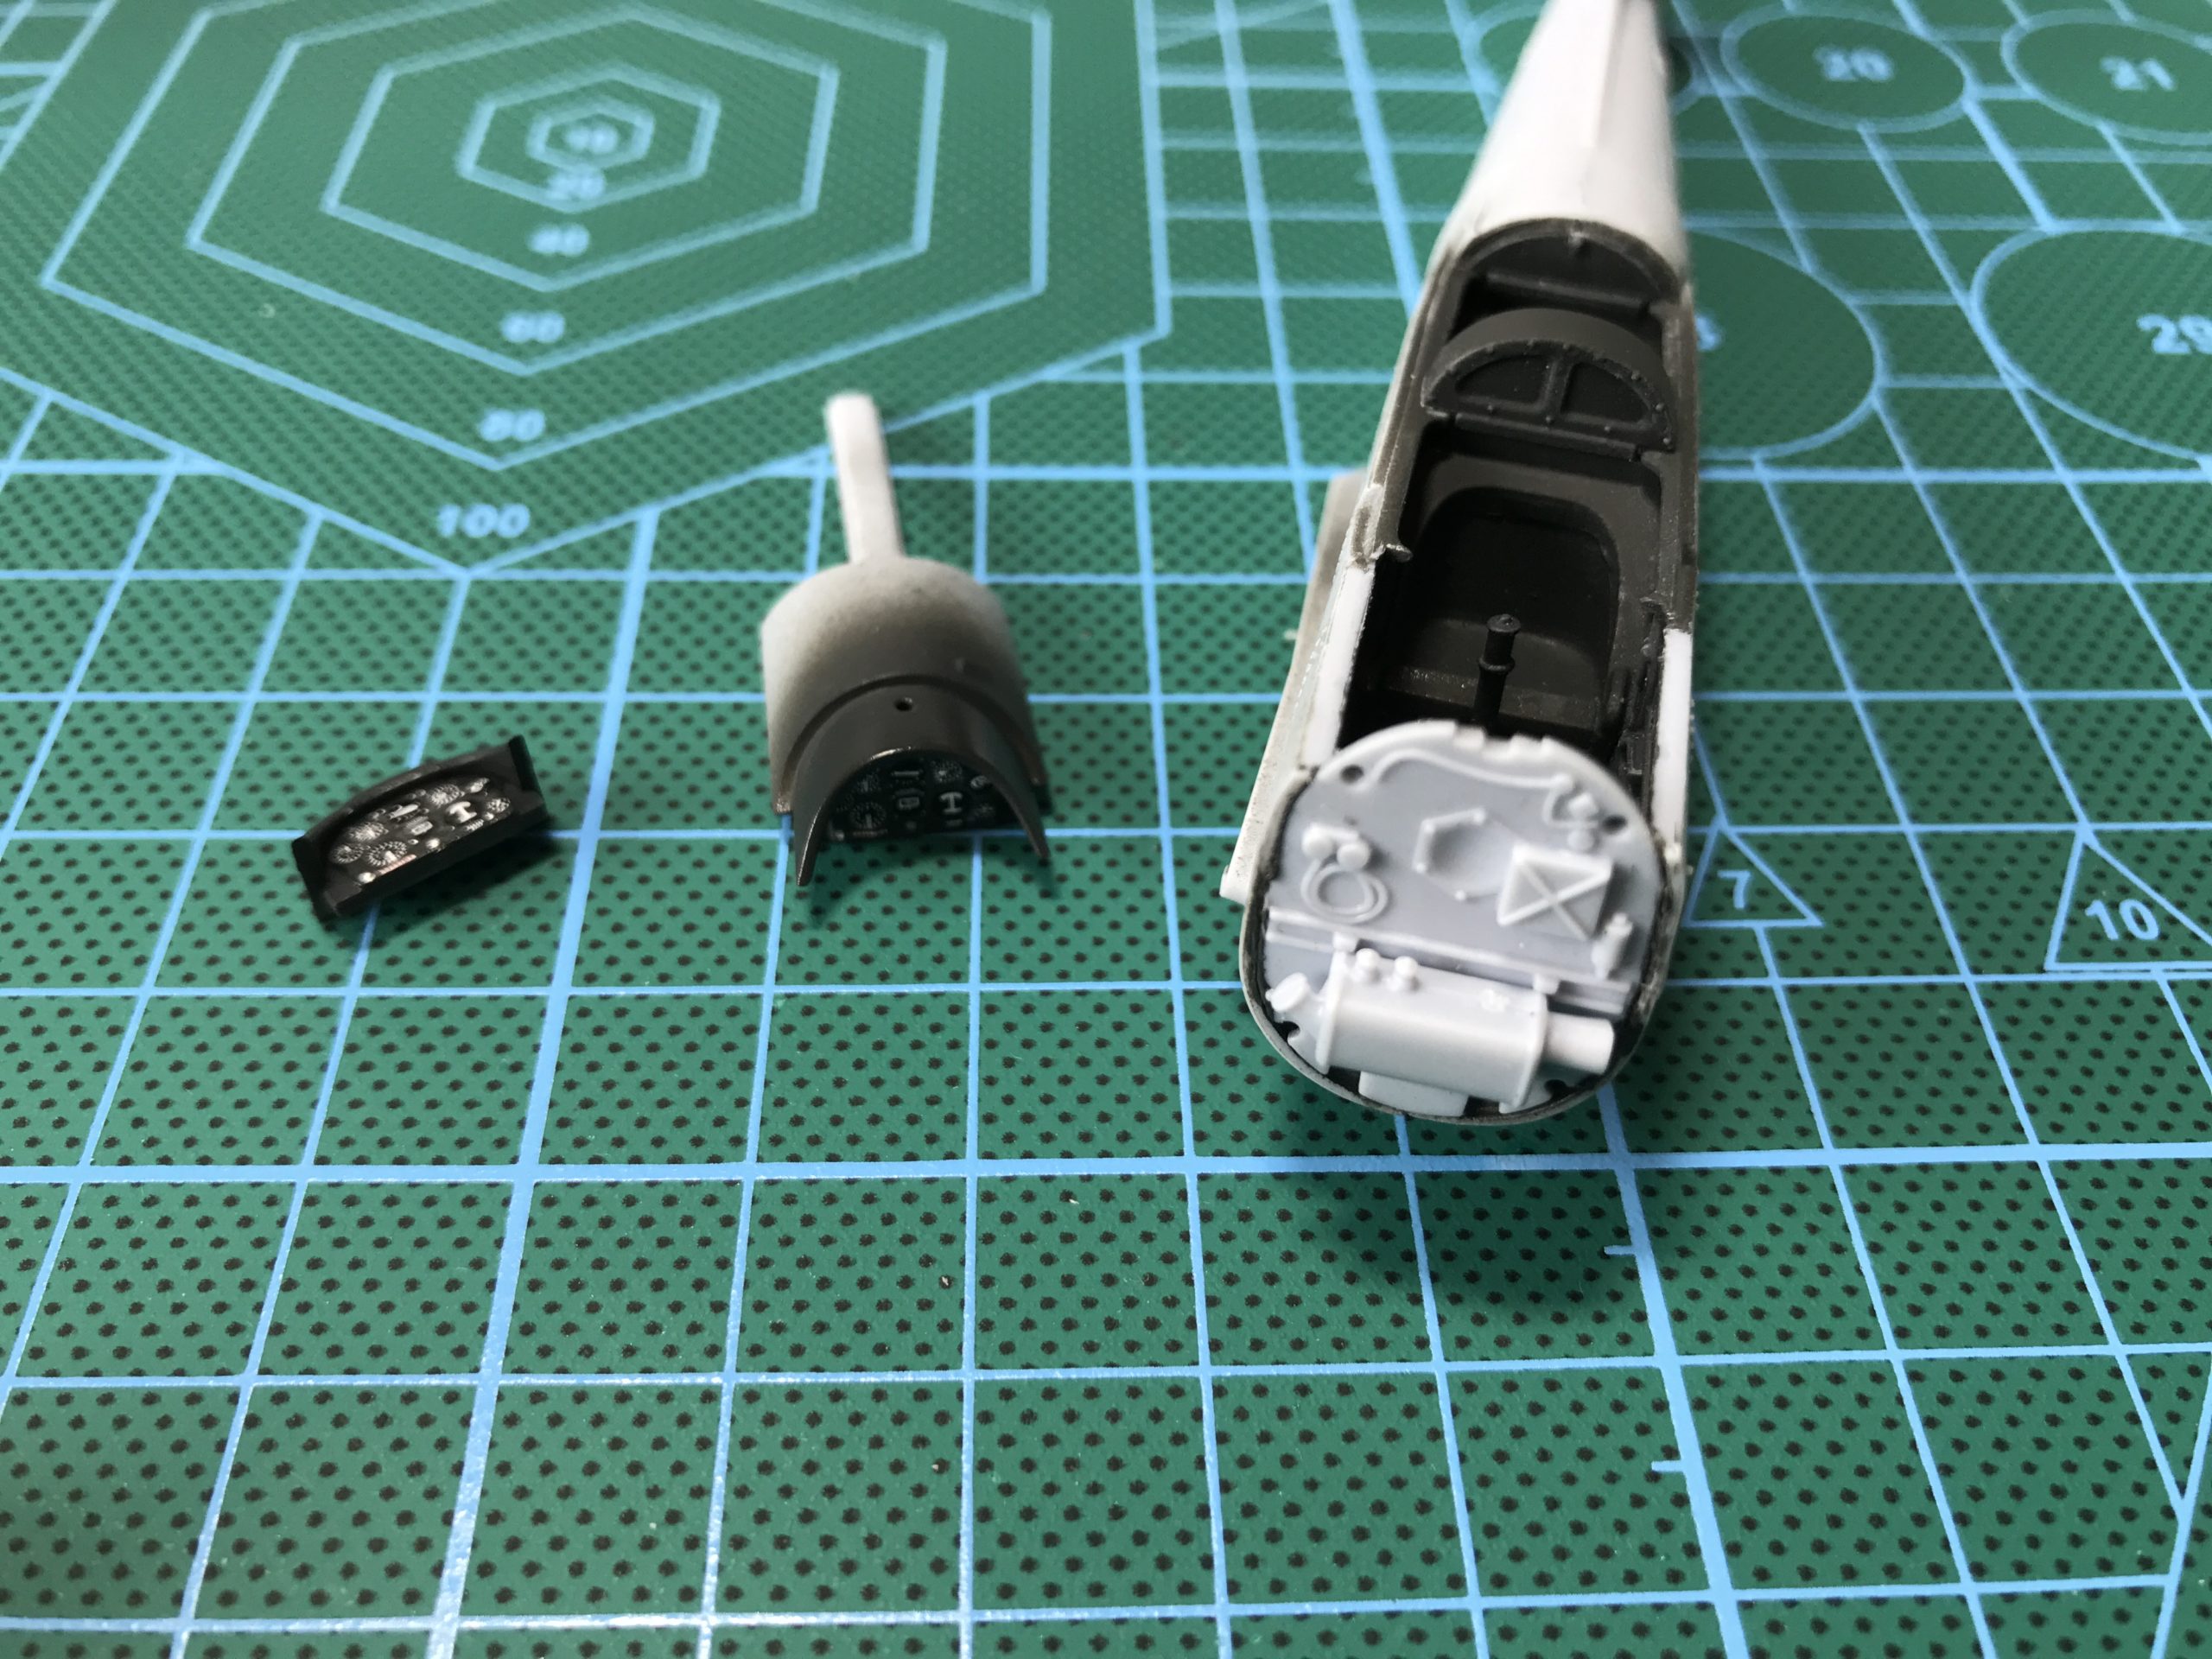
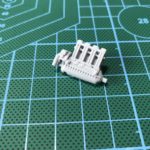
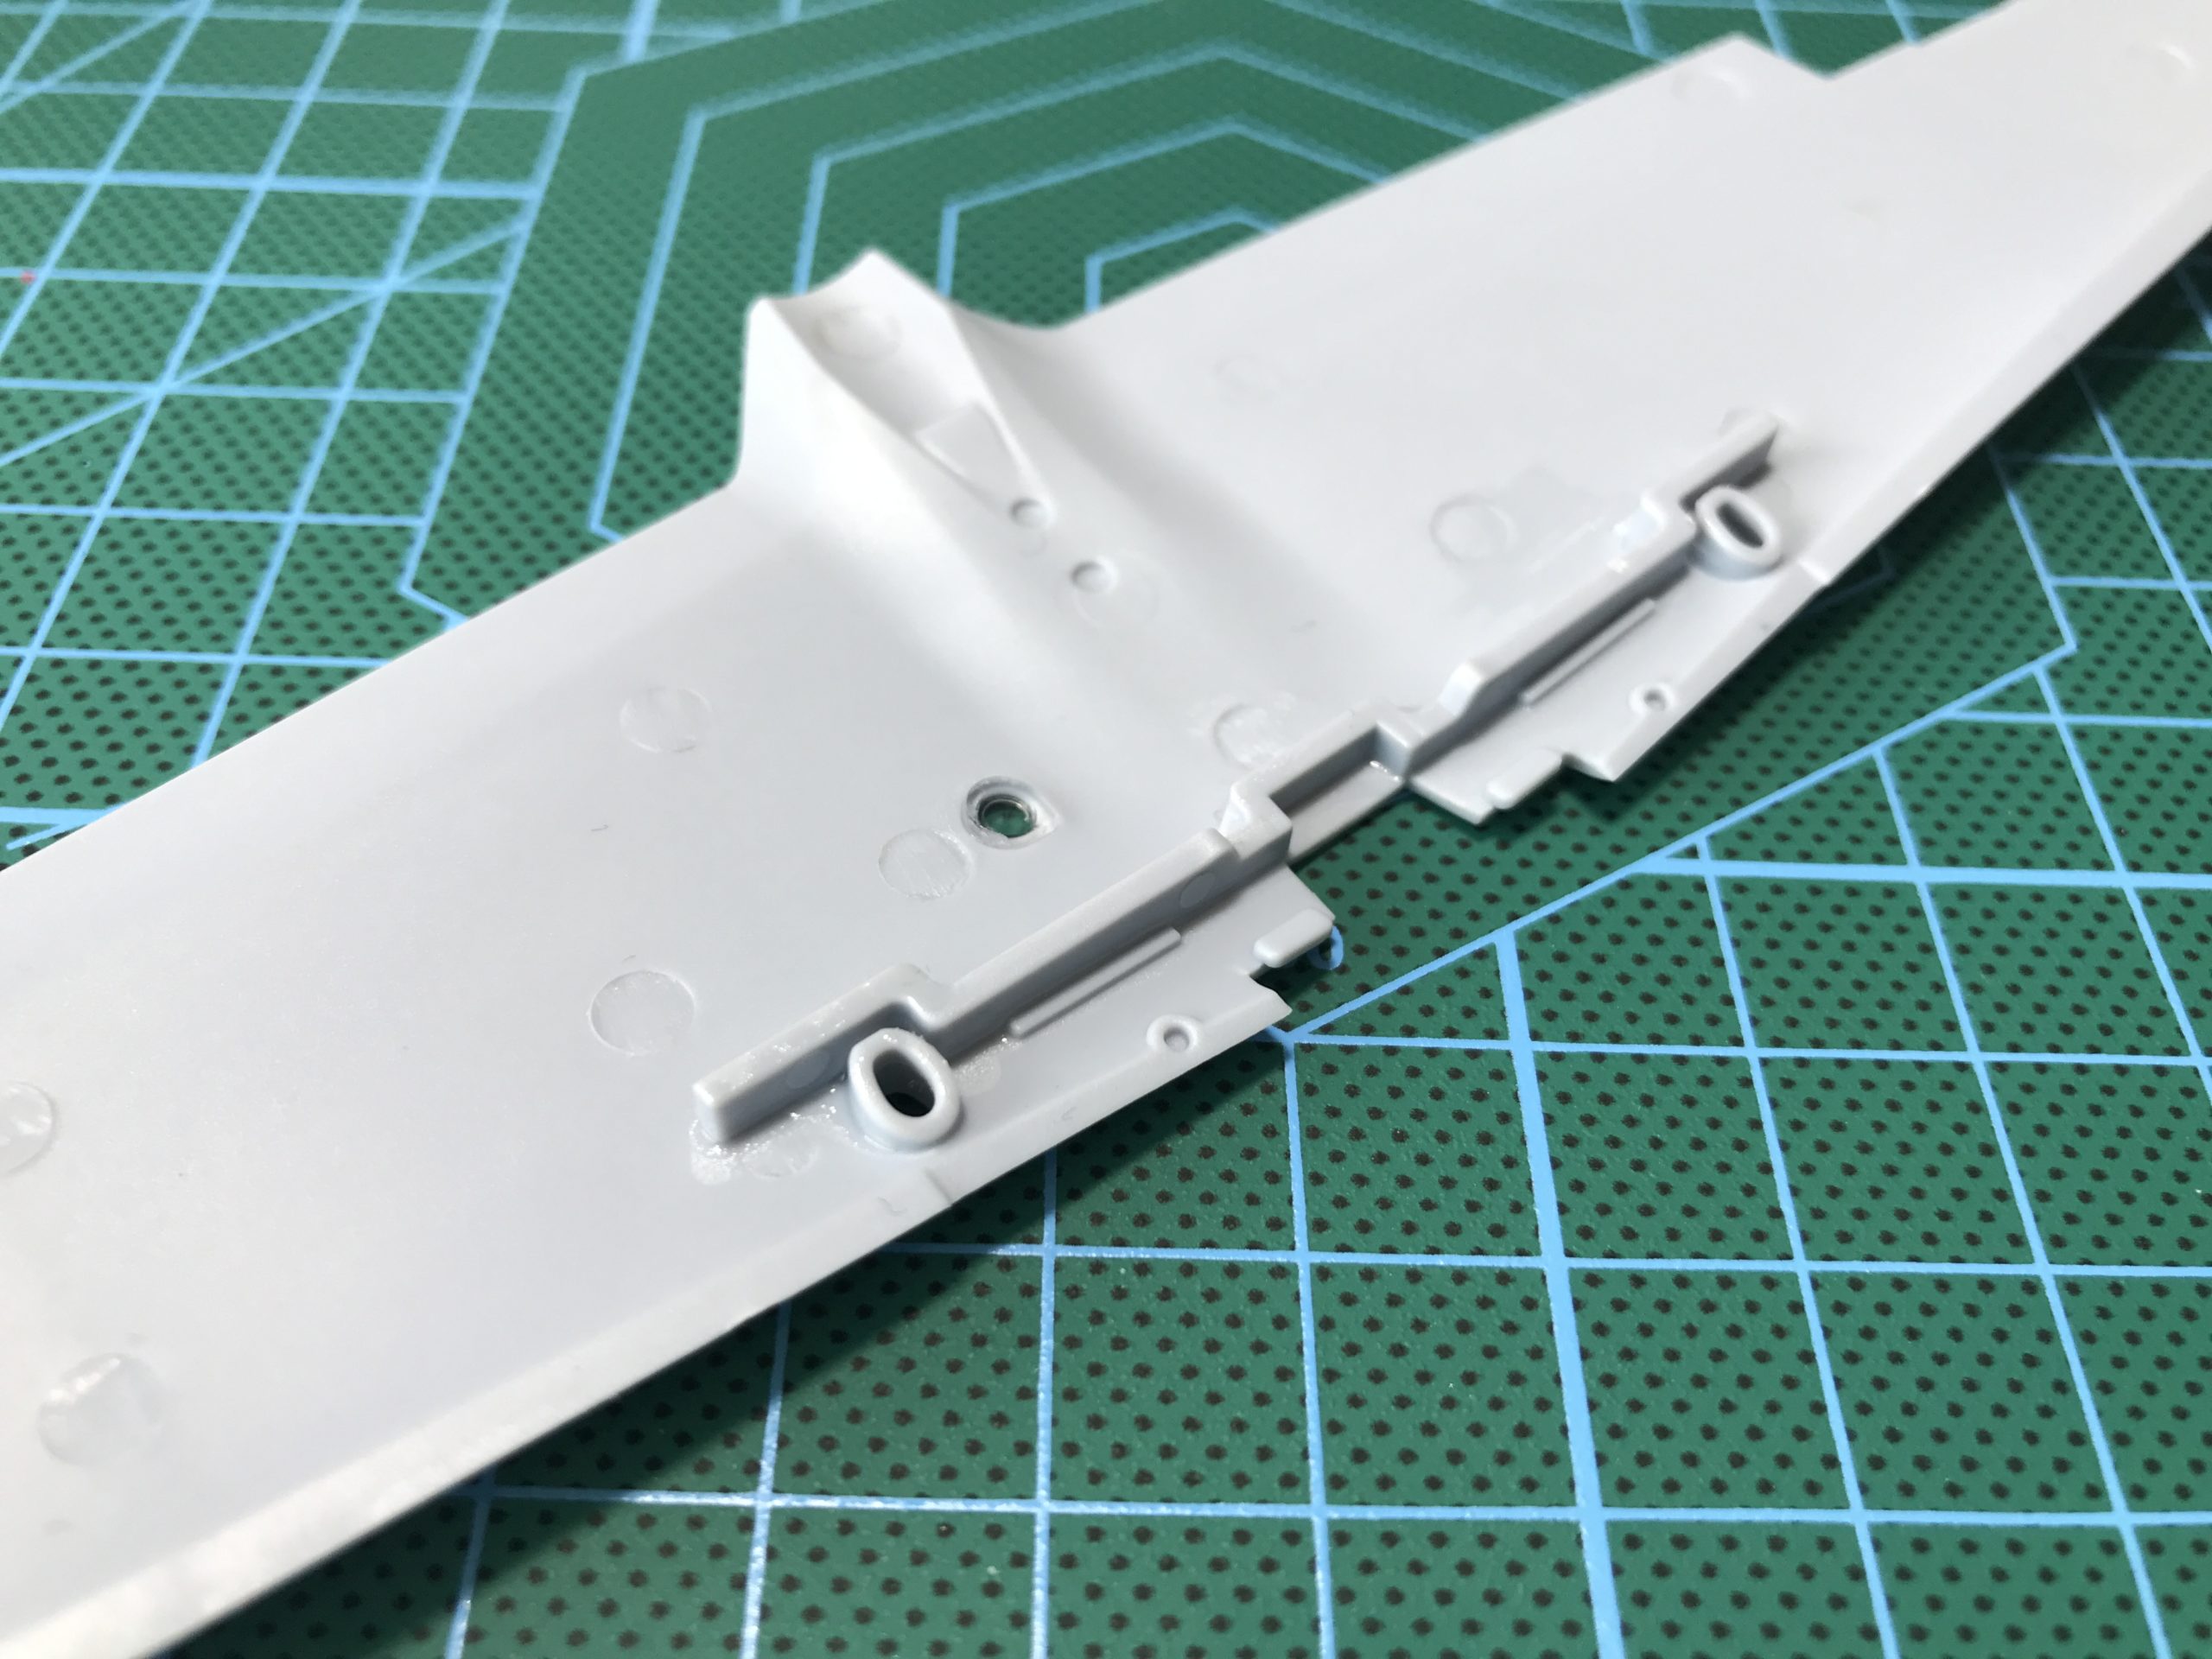
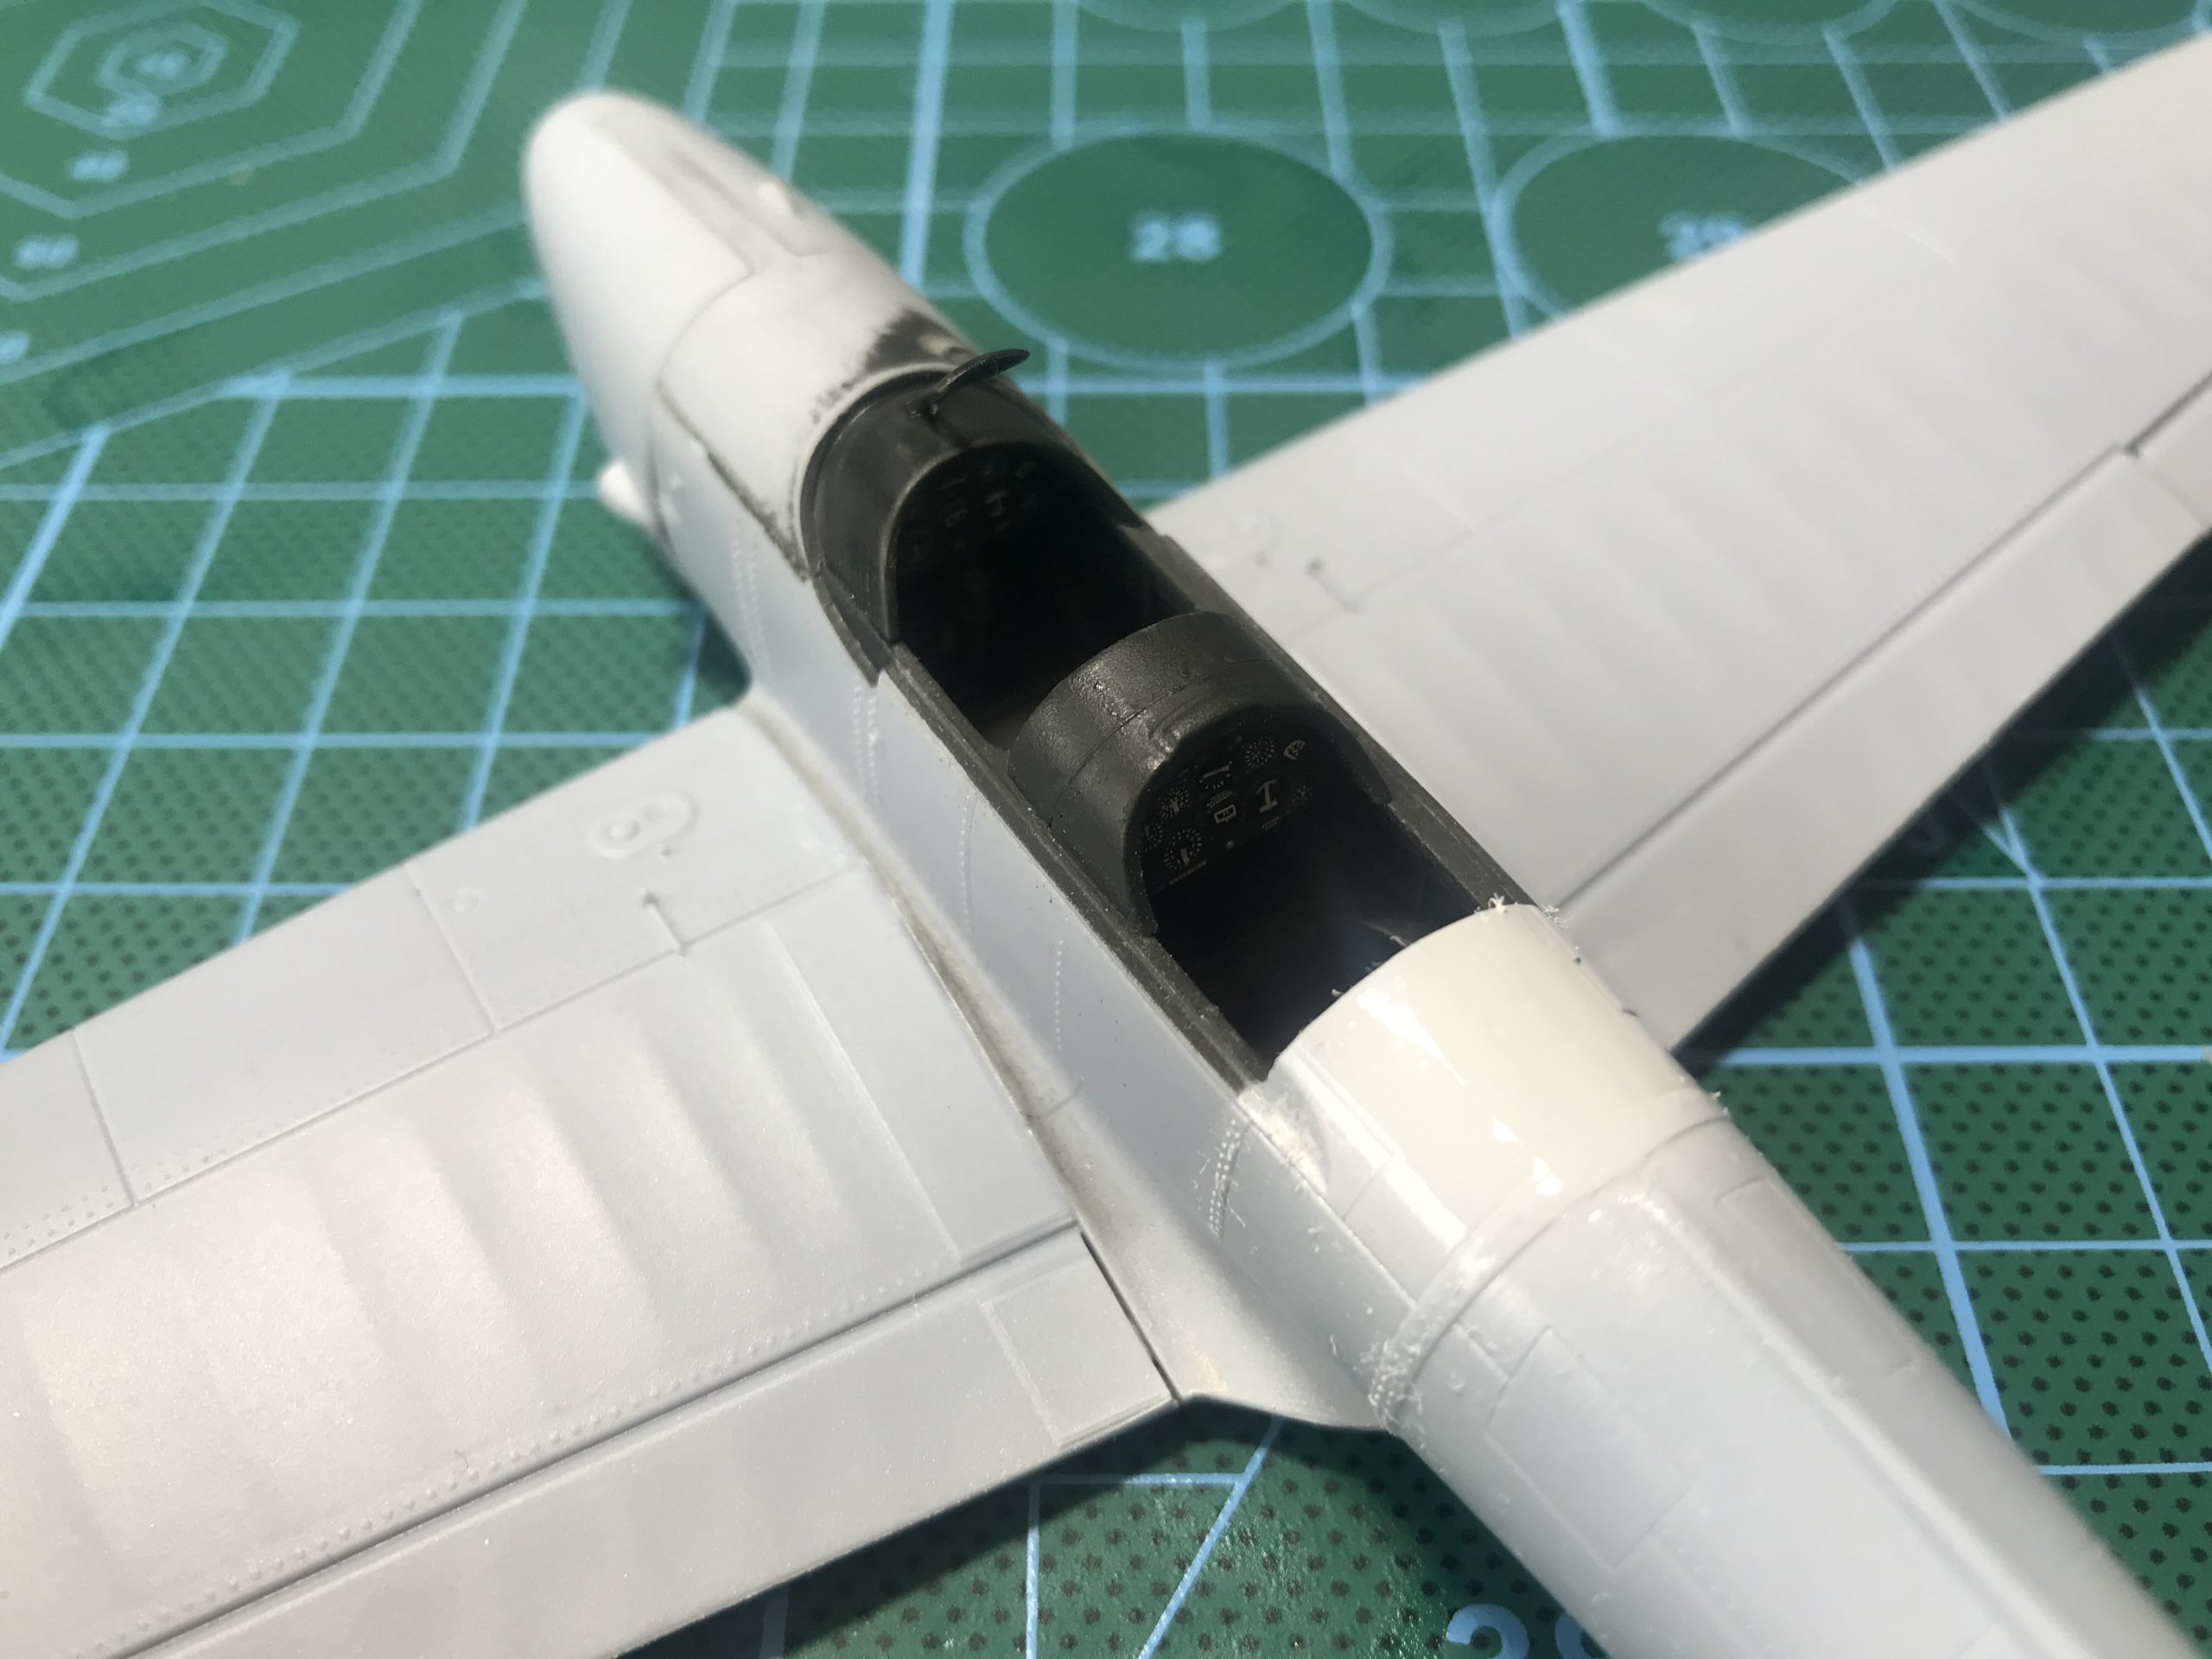
As you would expect assembly starts with the simple cockpit. Usual stuff here; parts removed from the sprue, cleaned and assembled. montage below.
The modeller is required to drill a couple of holes during the build. The instructions call out a Ø1mm drill, but on reflection a slightly smaller drill might be more appropriate.
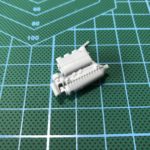
The cockpit is then dry fitted (no glue) to ensure a good fit. This is important as you need to ensure it all goes together before you commit to gluing things.
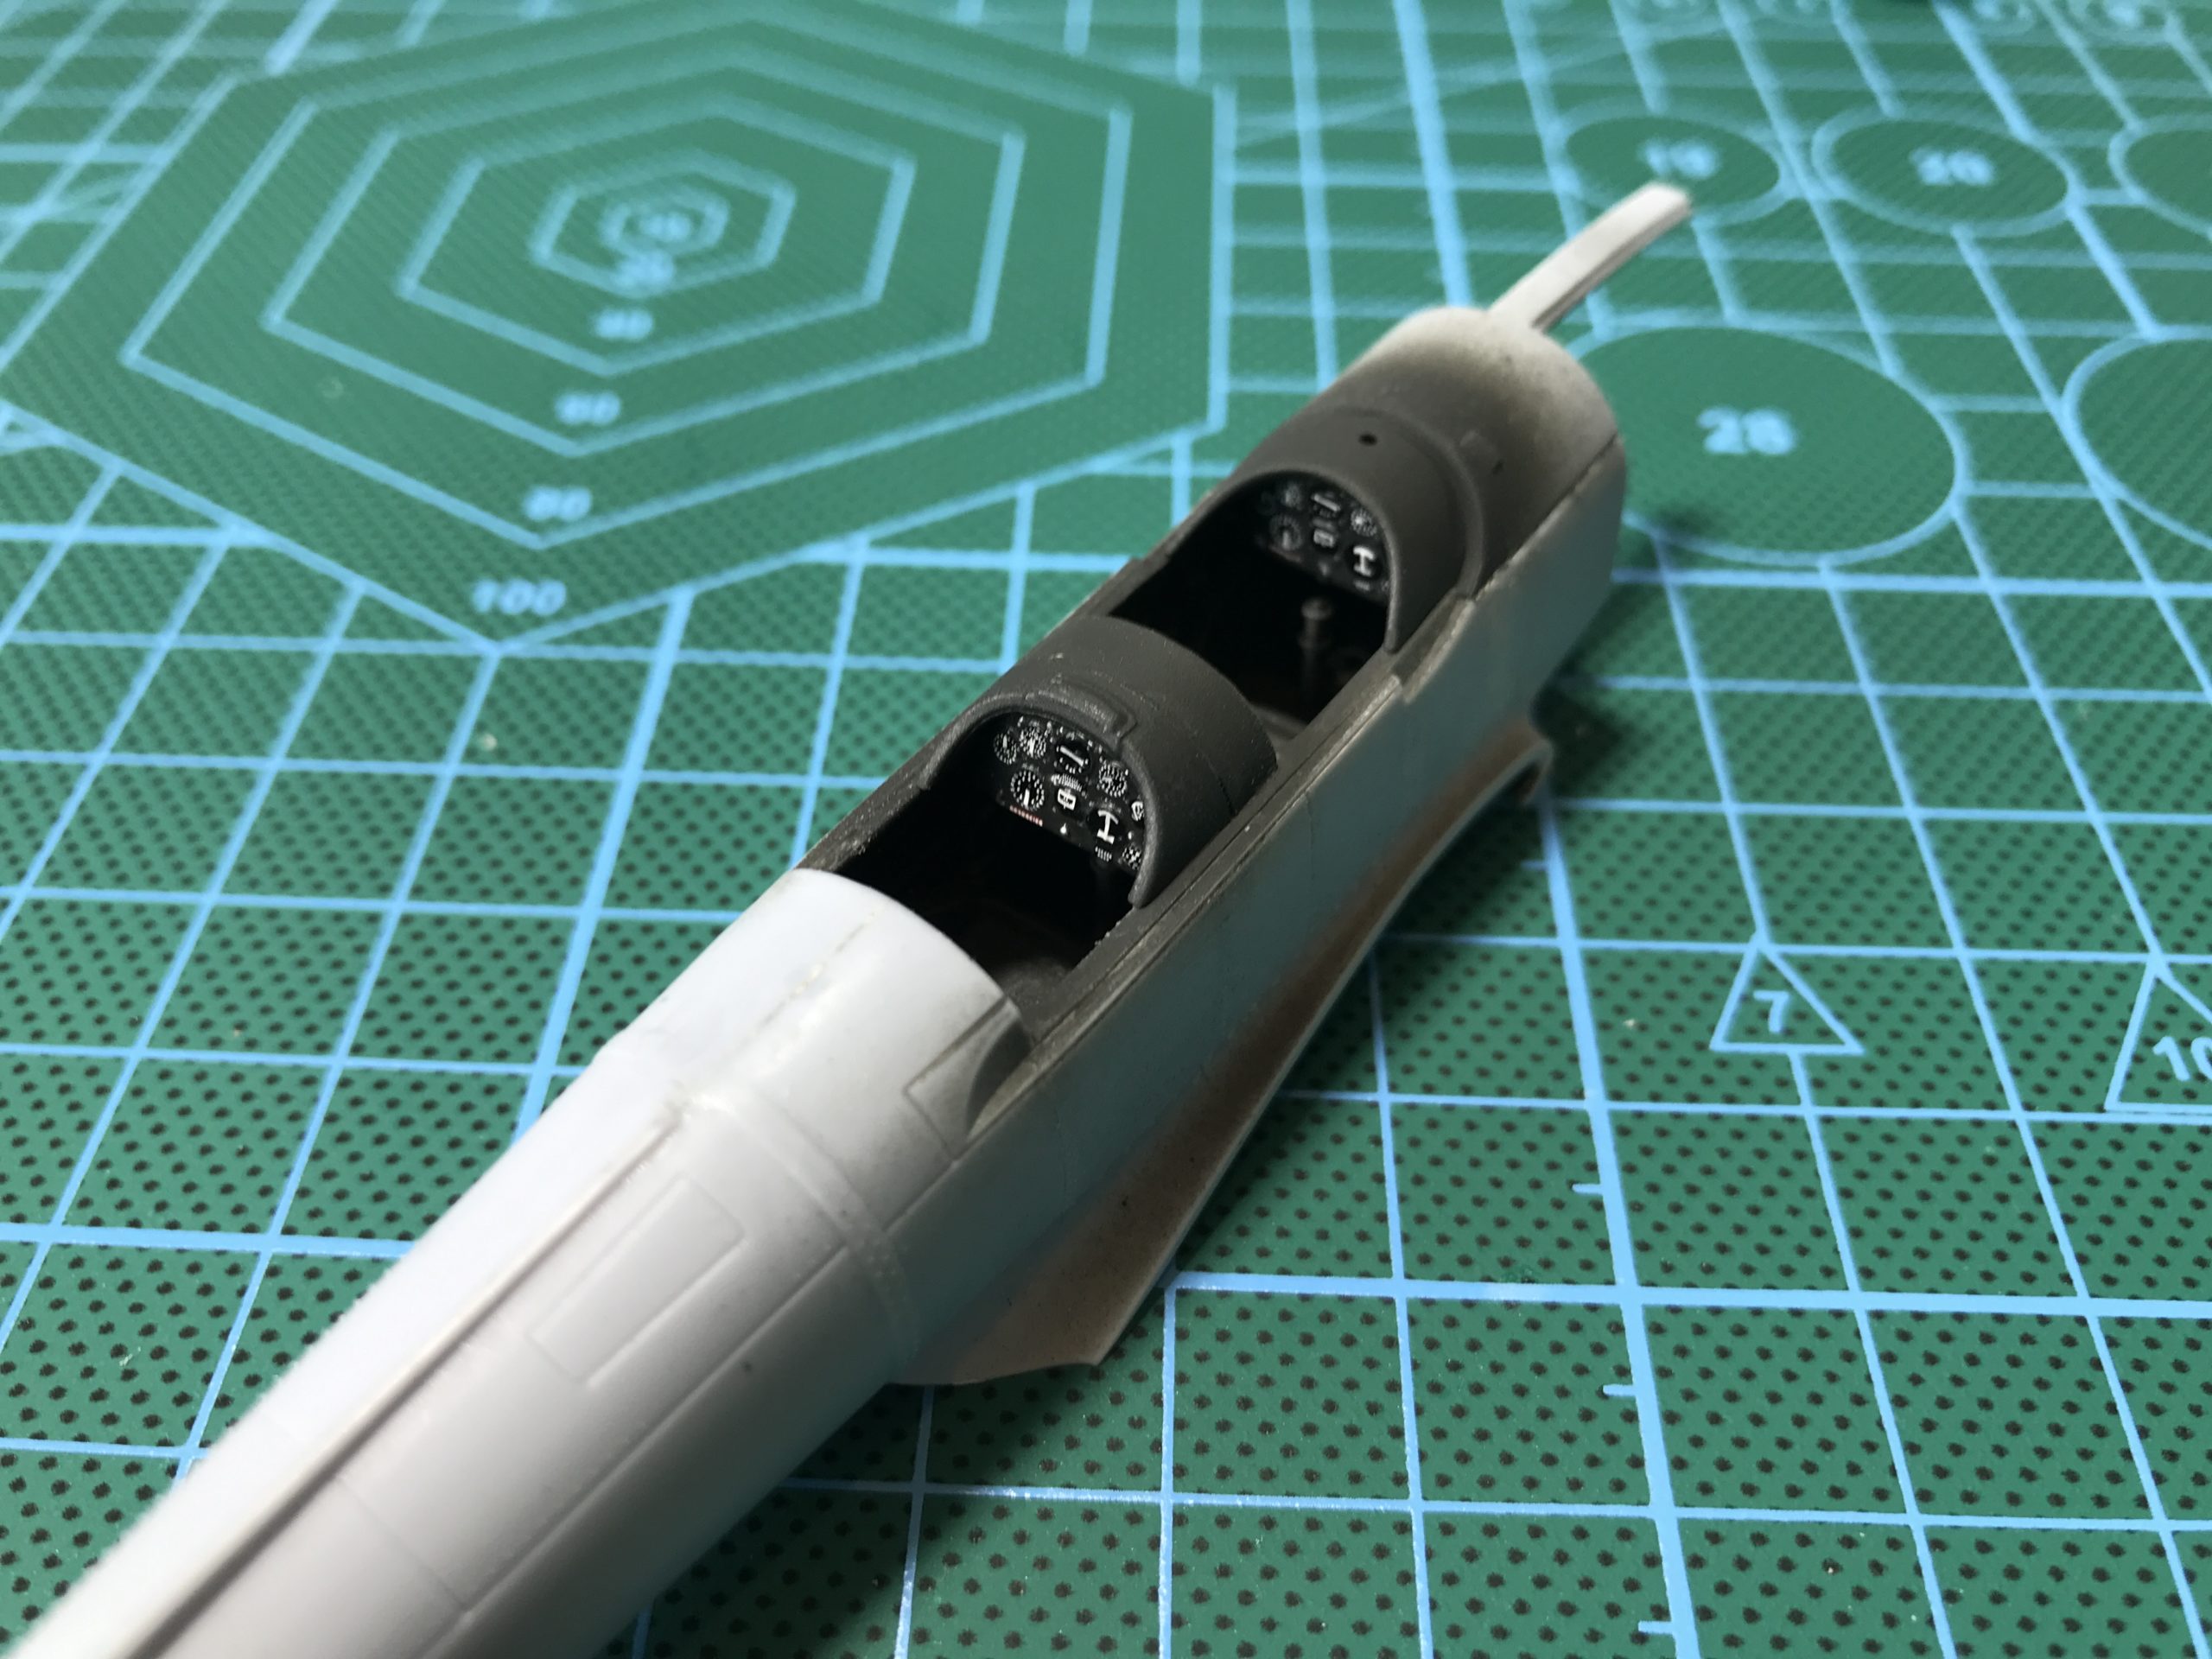
The fuselage can now be dry fitted together.
You can see now why this stage is important. The front section has a gap. One way of dealing with this would be to apply some cement and use a clamp to force the parts together until the glue sets. The other way is to fettle the parts to get a proper fit.
I went with option two. As I didn’t want to damage the nice detail on the inside of the fuselage I started to remove small amounts from the cockpit tub. Only a very small amount of material was removed, but that was enough to improve the fit as seen below.
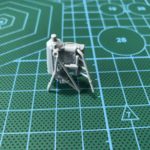
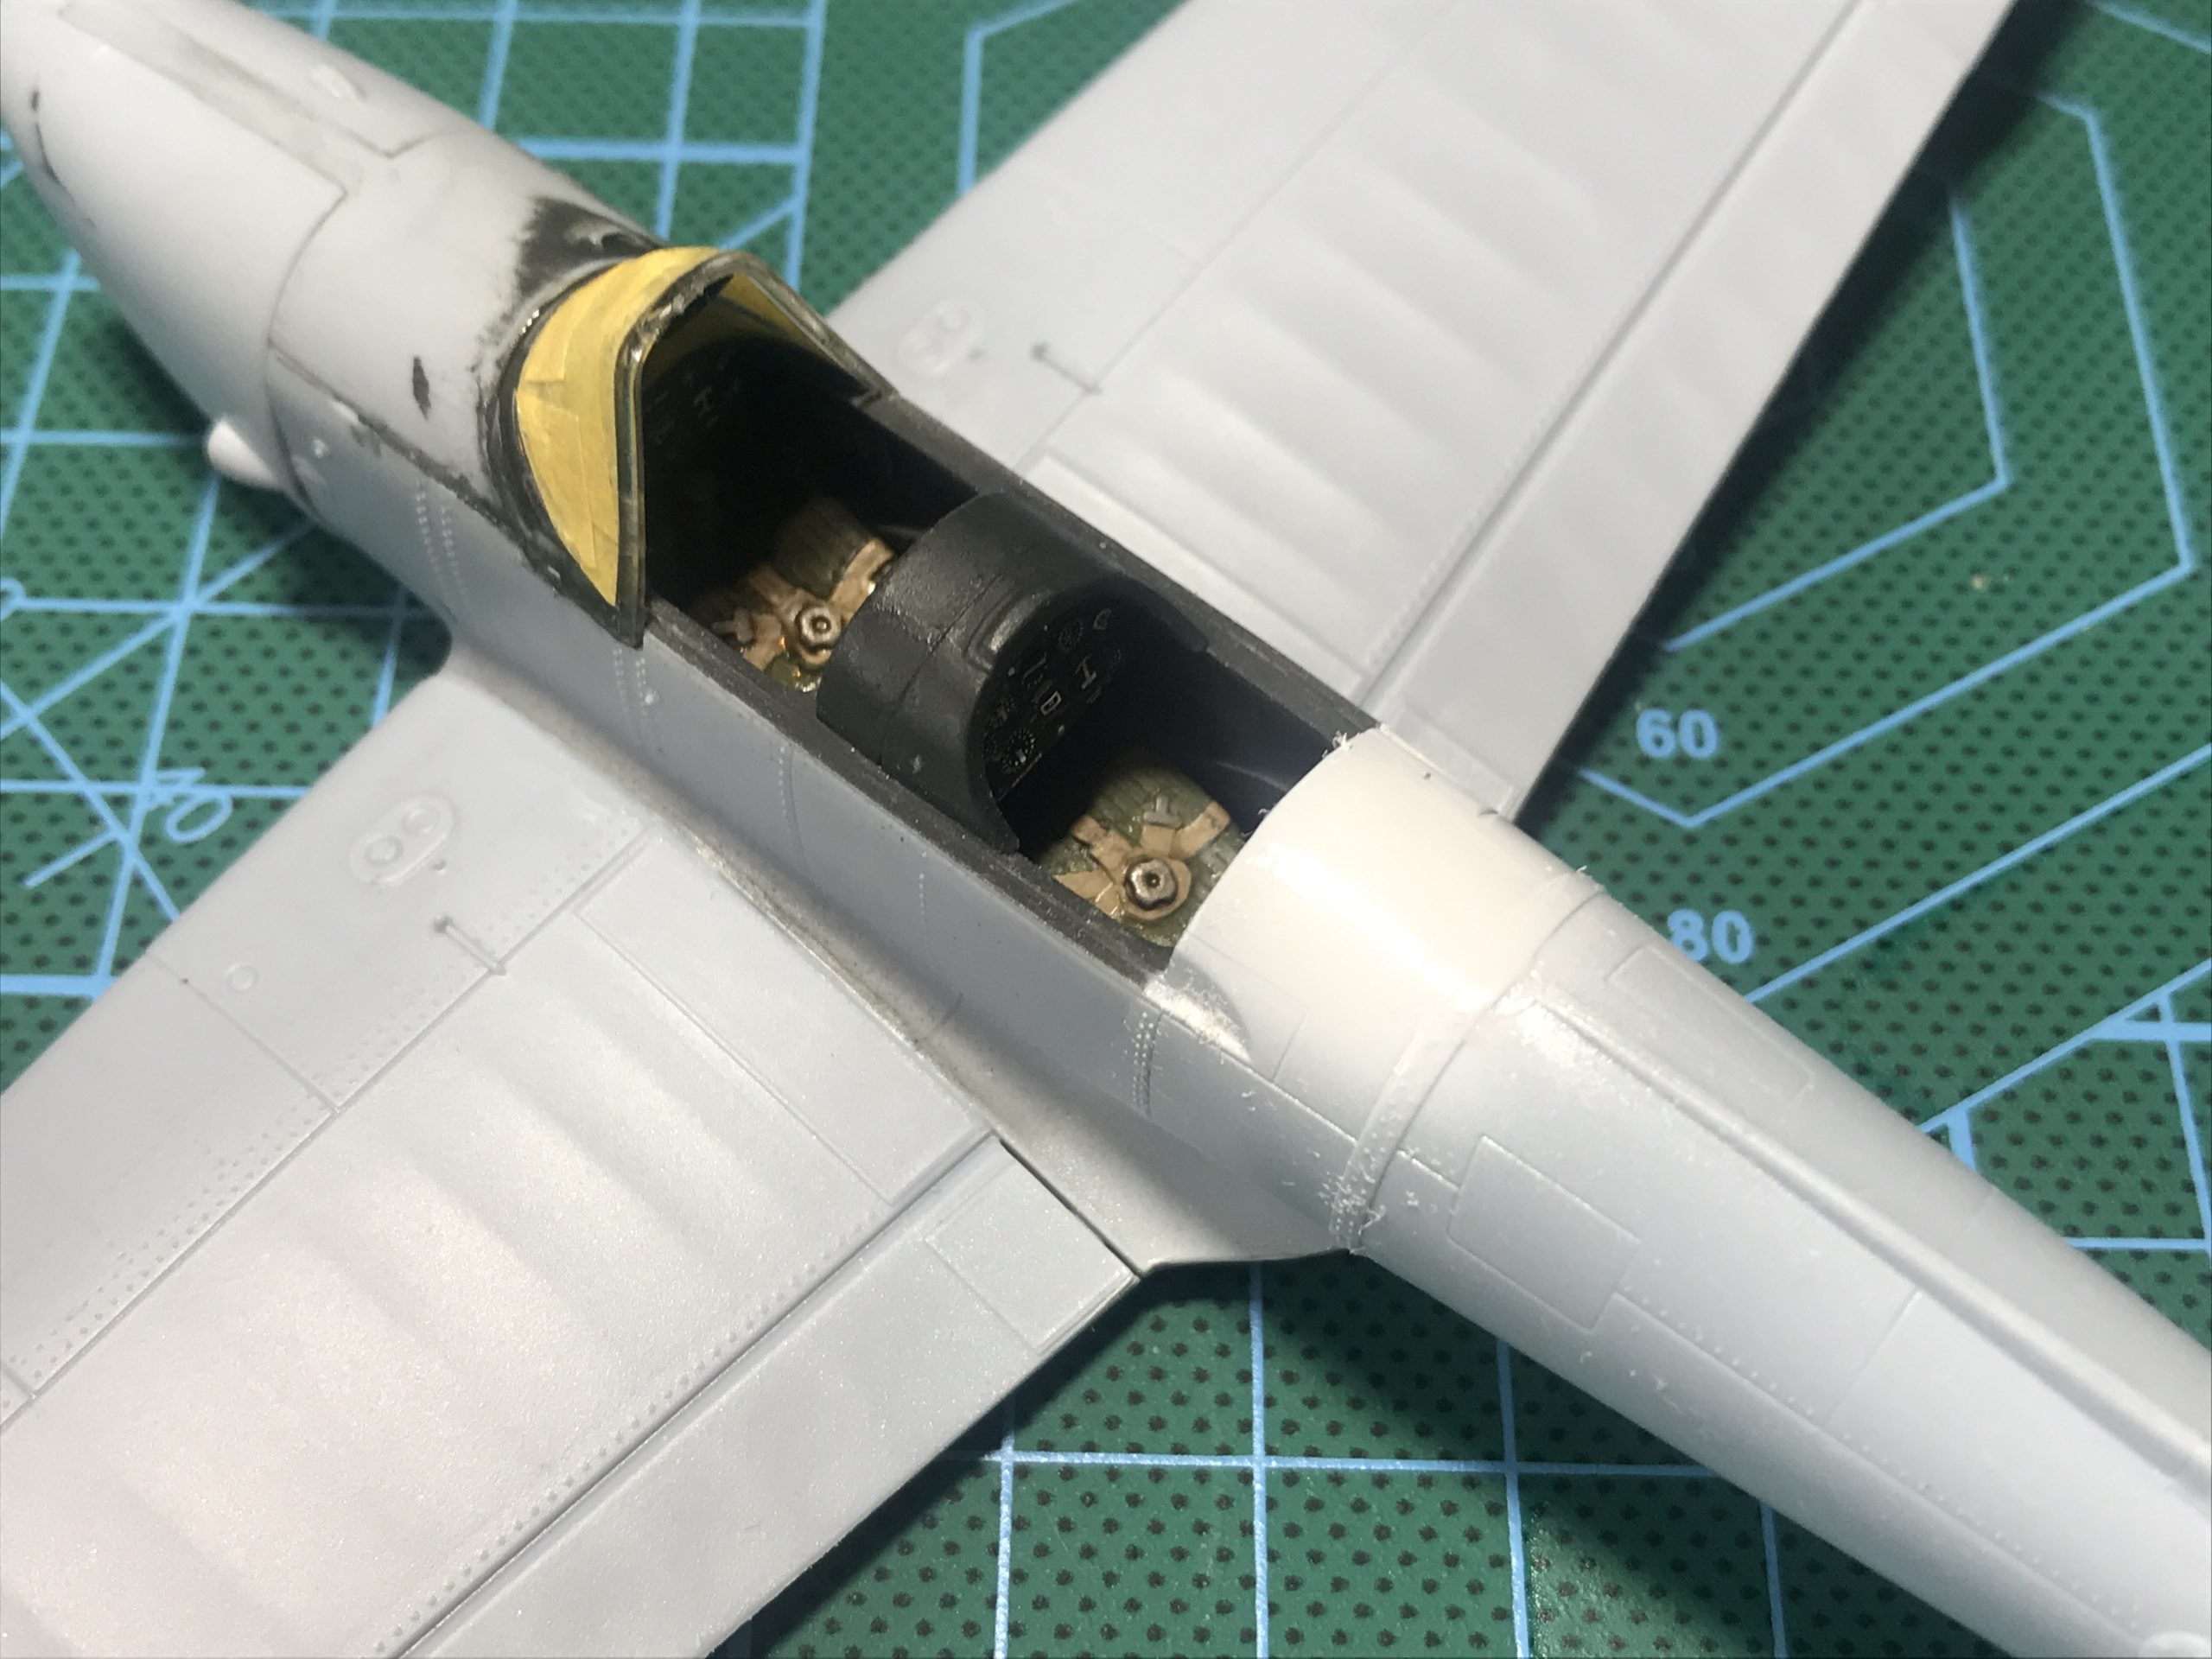
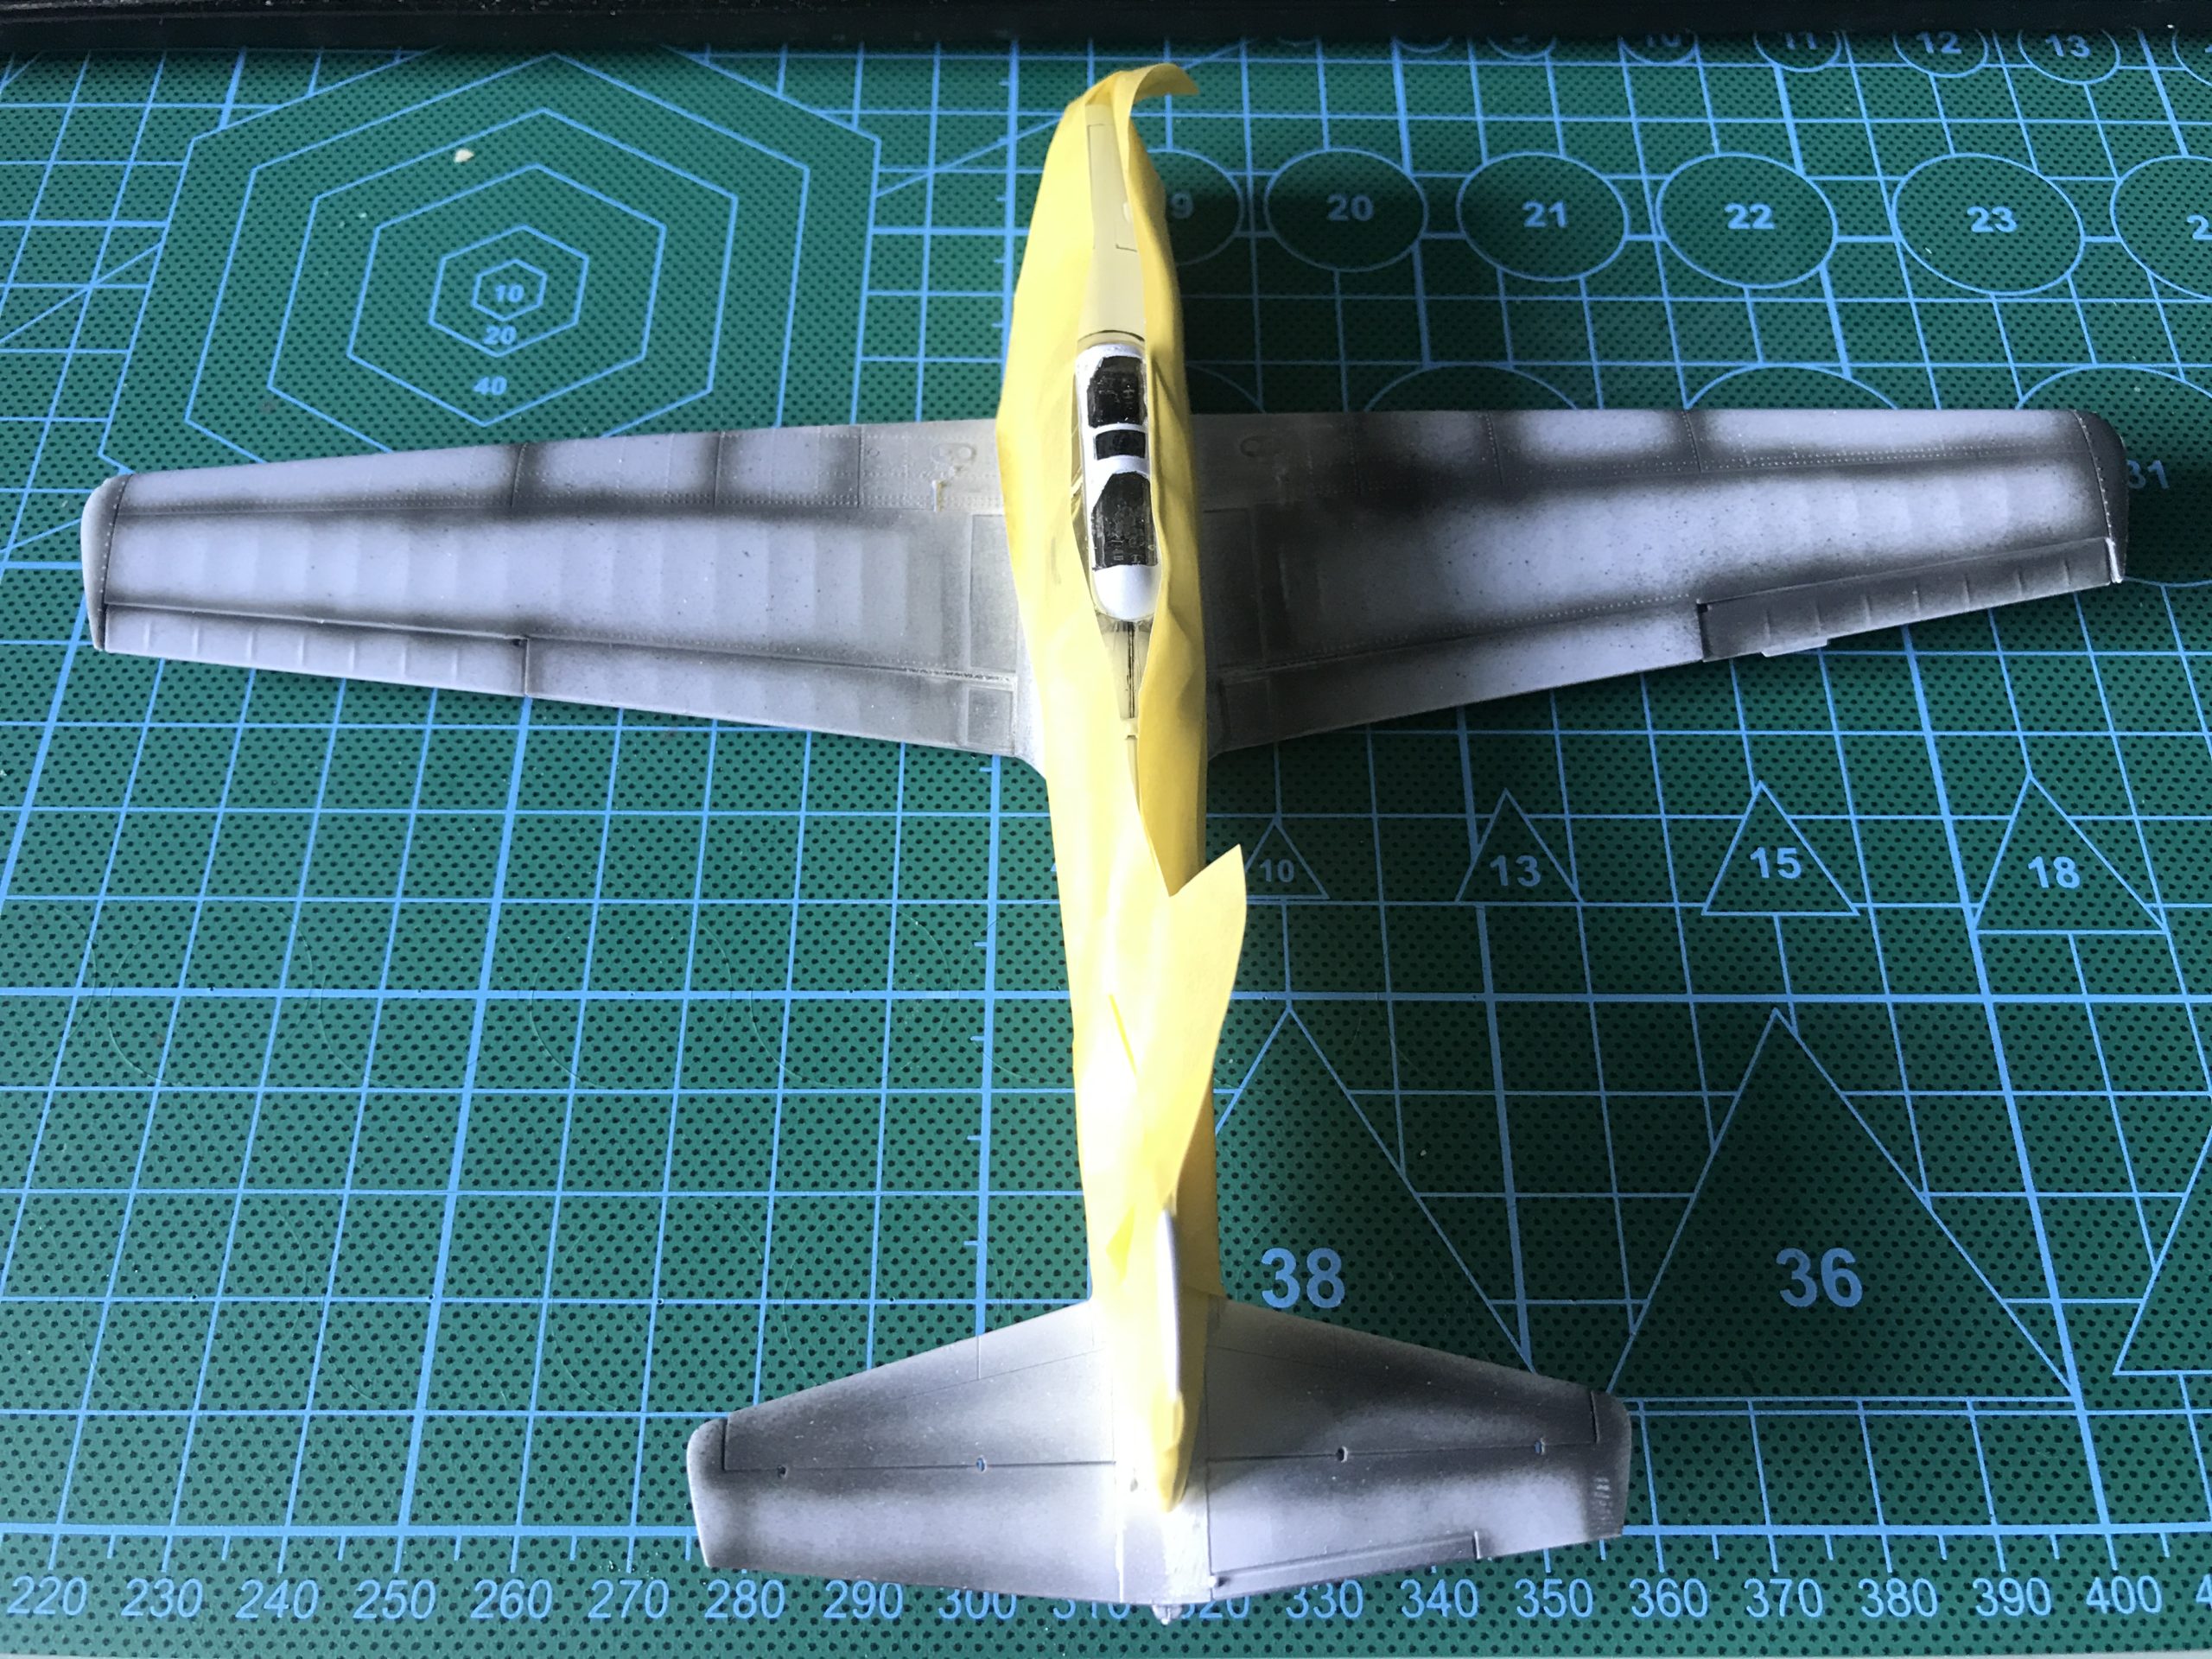
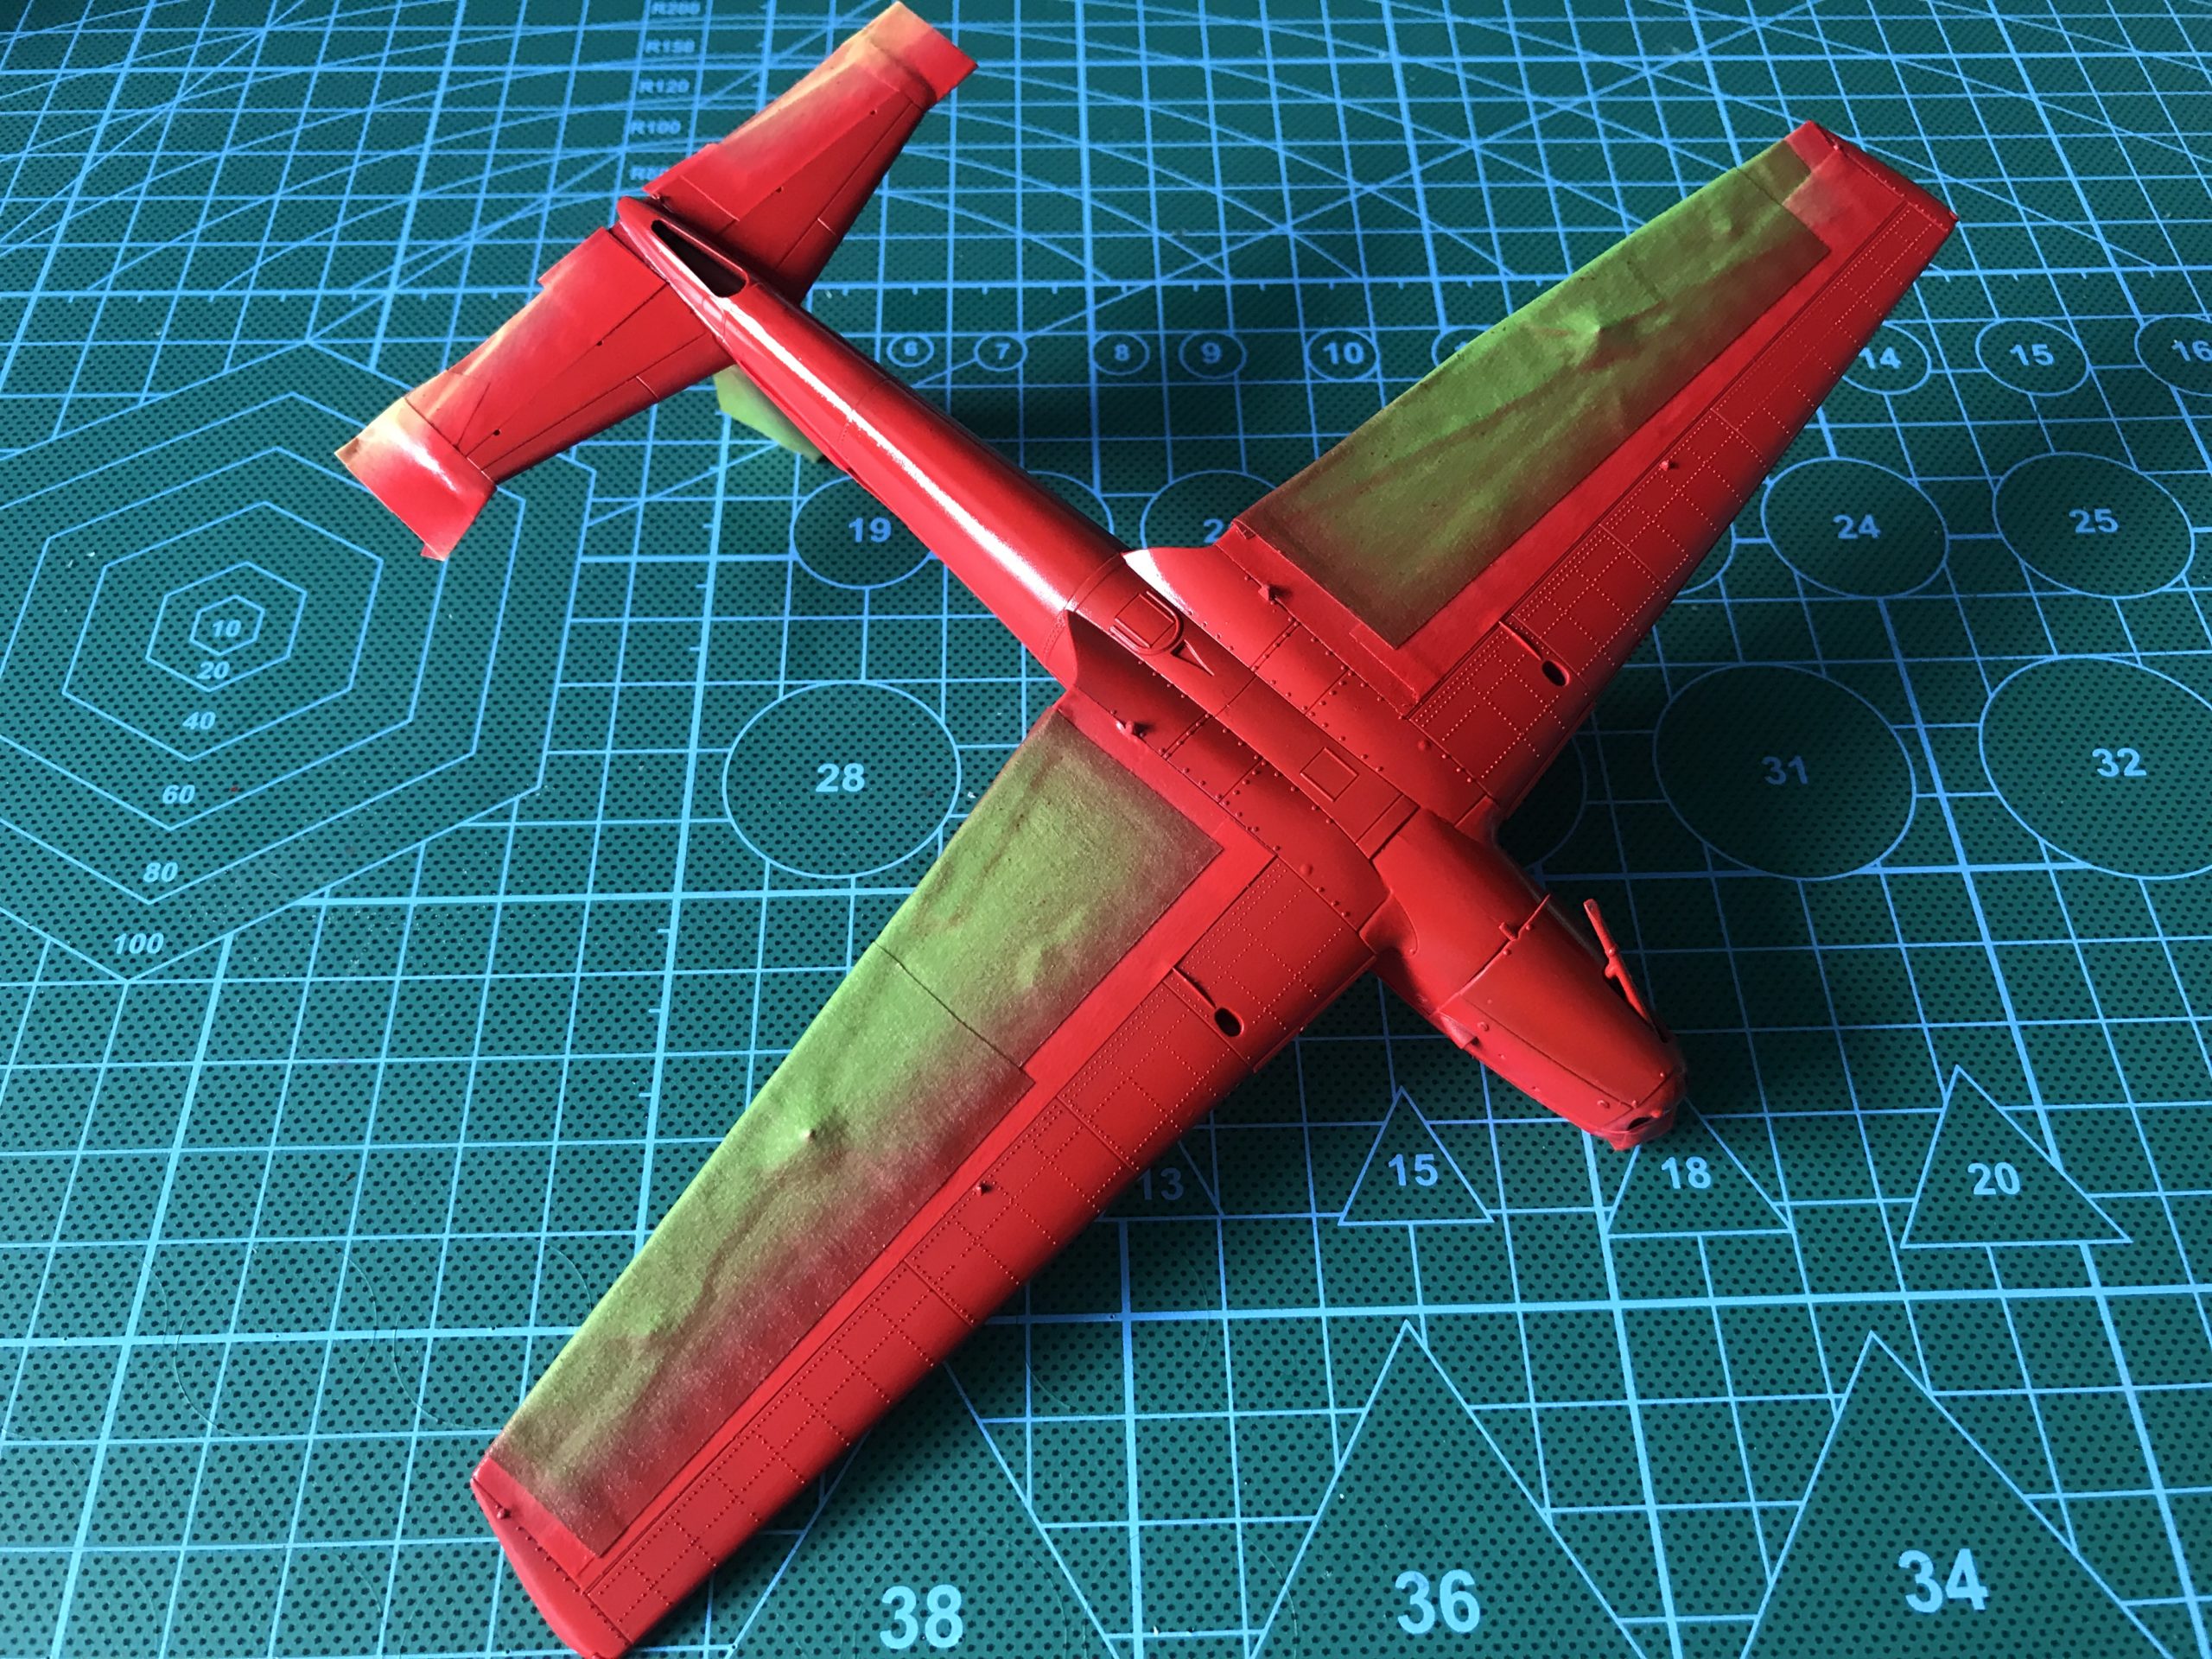
Once I was happy with how the parts went together I painted the parts in the colours called out on the instructions….. Basically black..
To provide a bit more visual interest I used the dry brushing technique to highlight the detail.
A gloss coat was then added before putting on the decals.

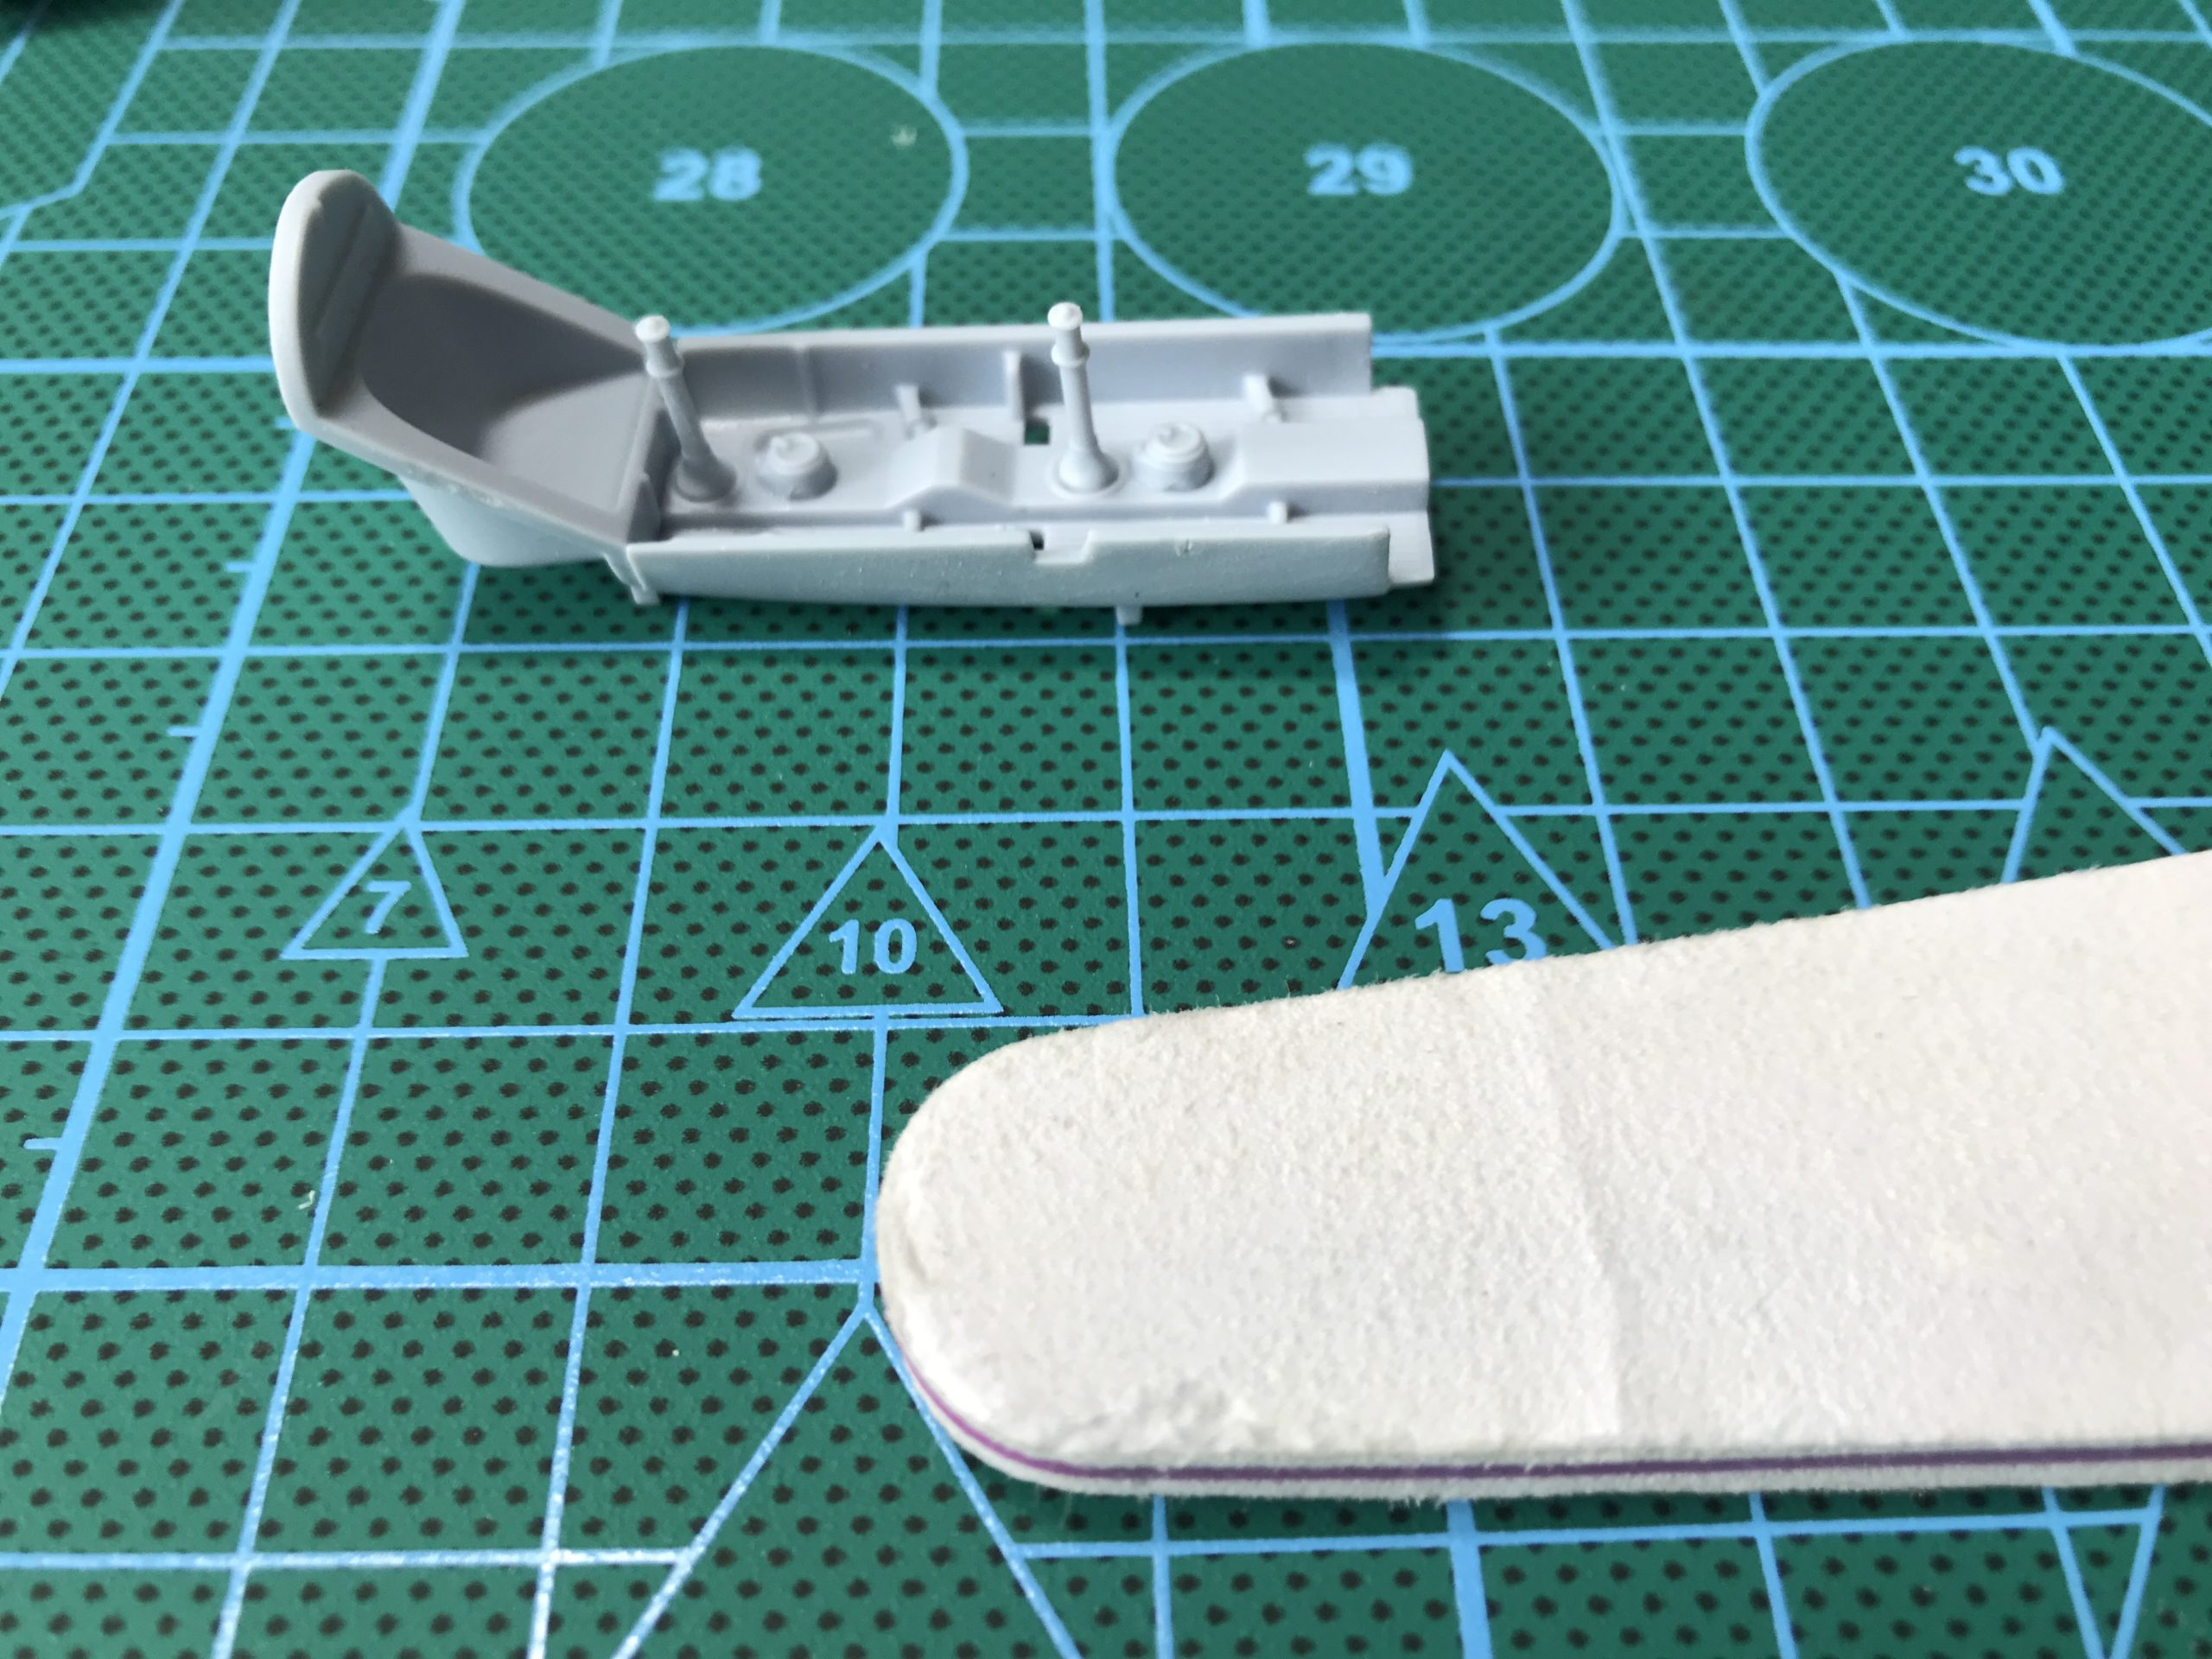
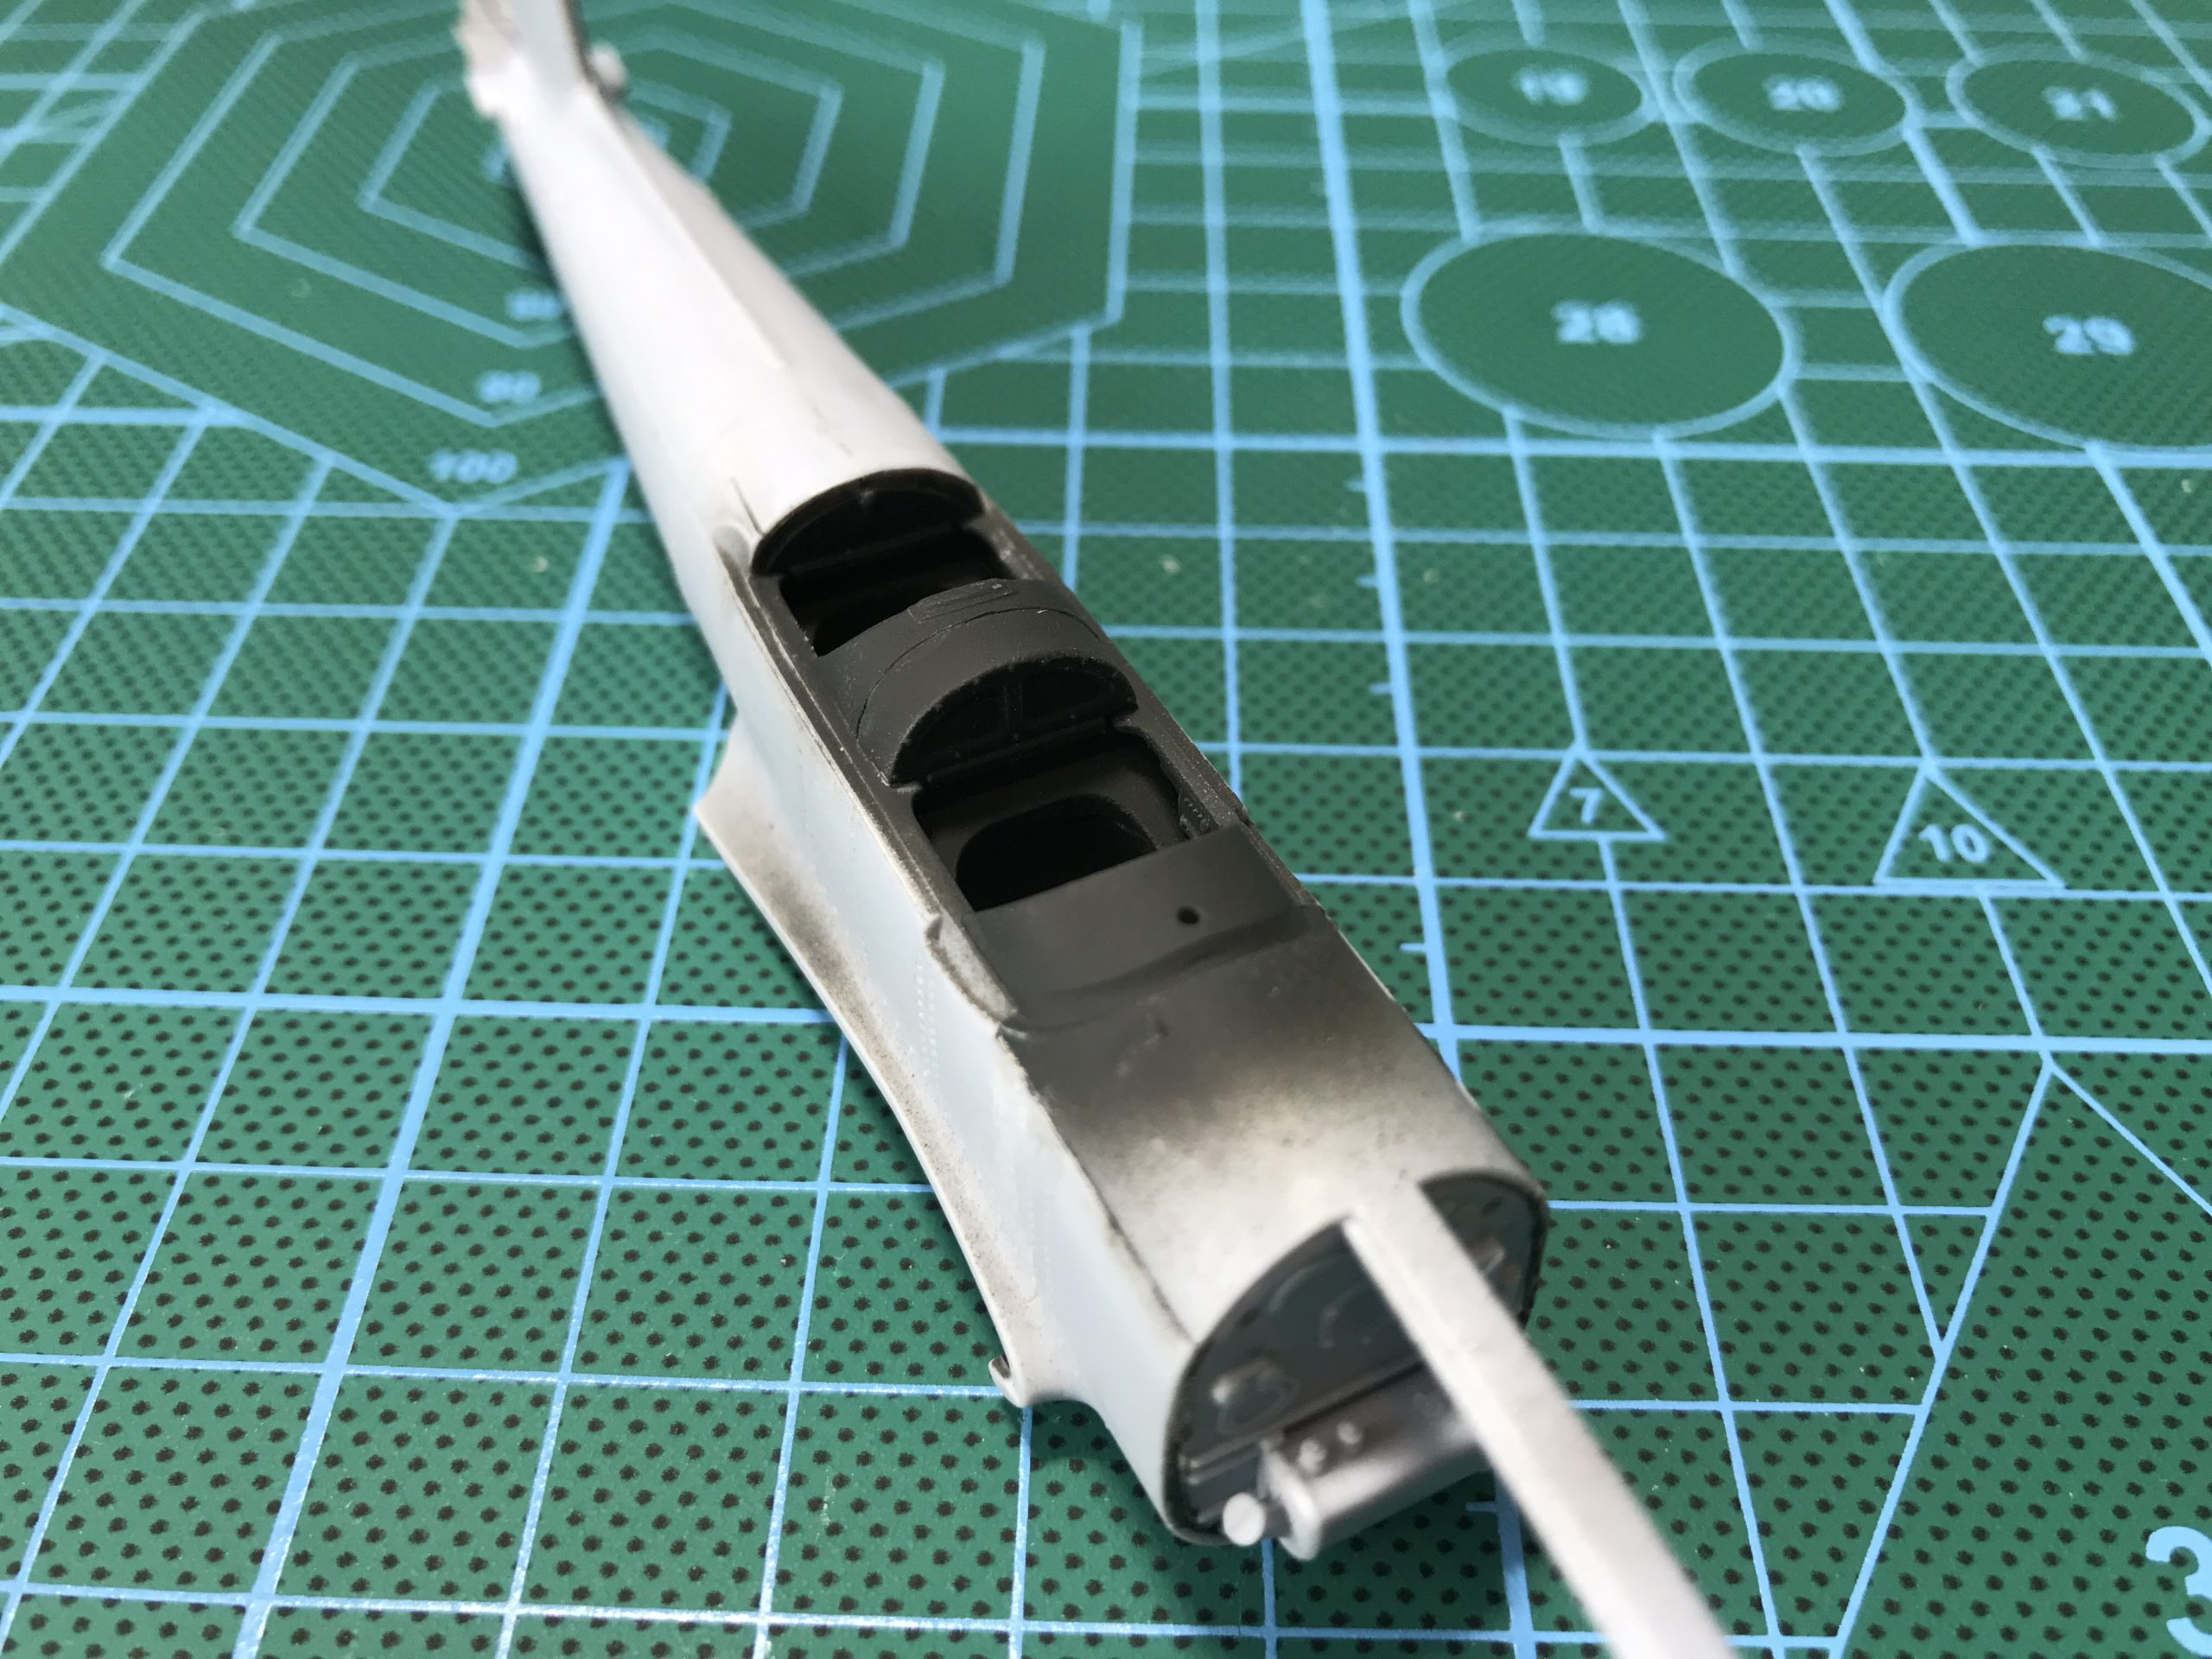
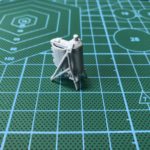
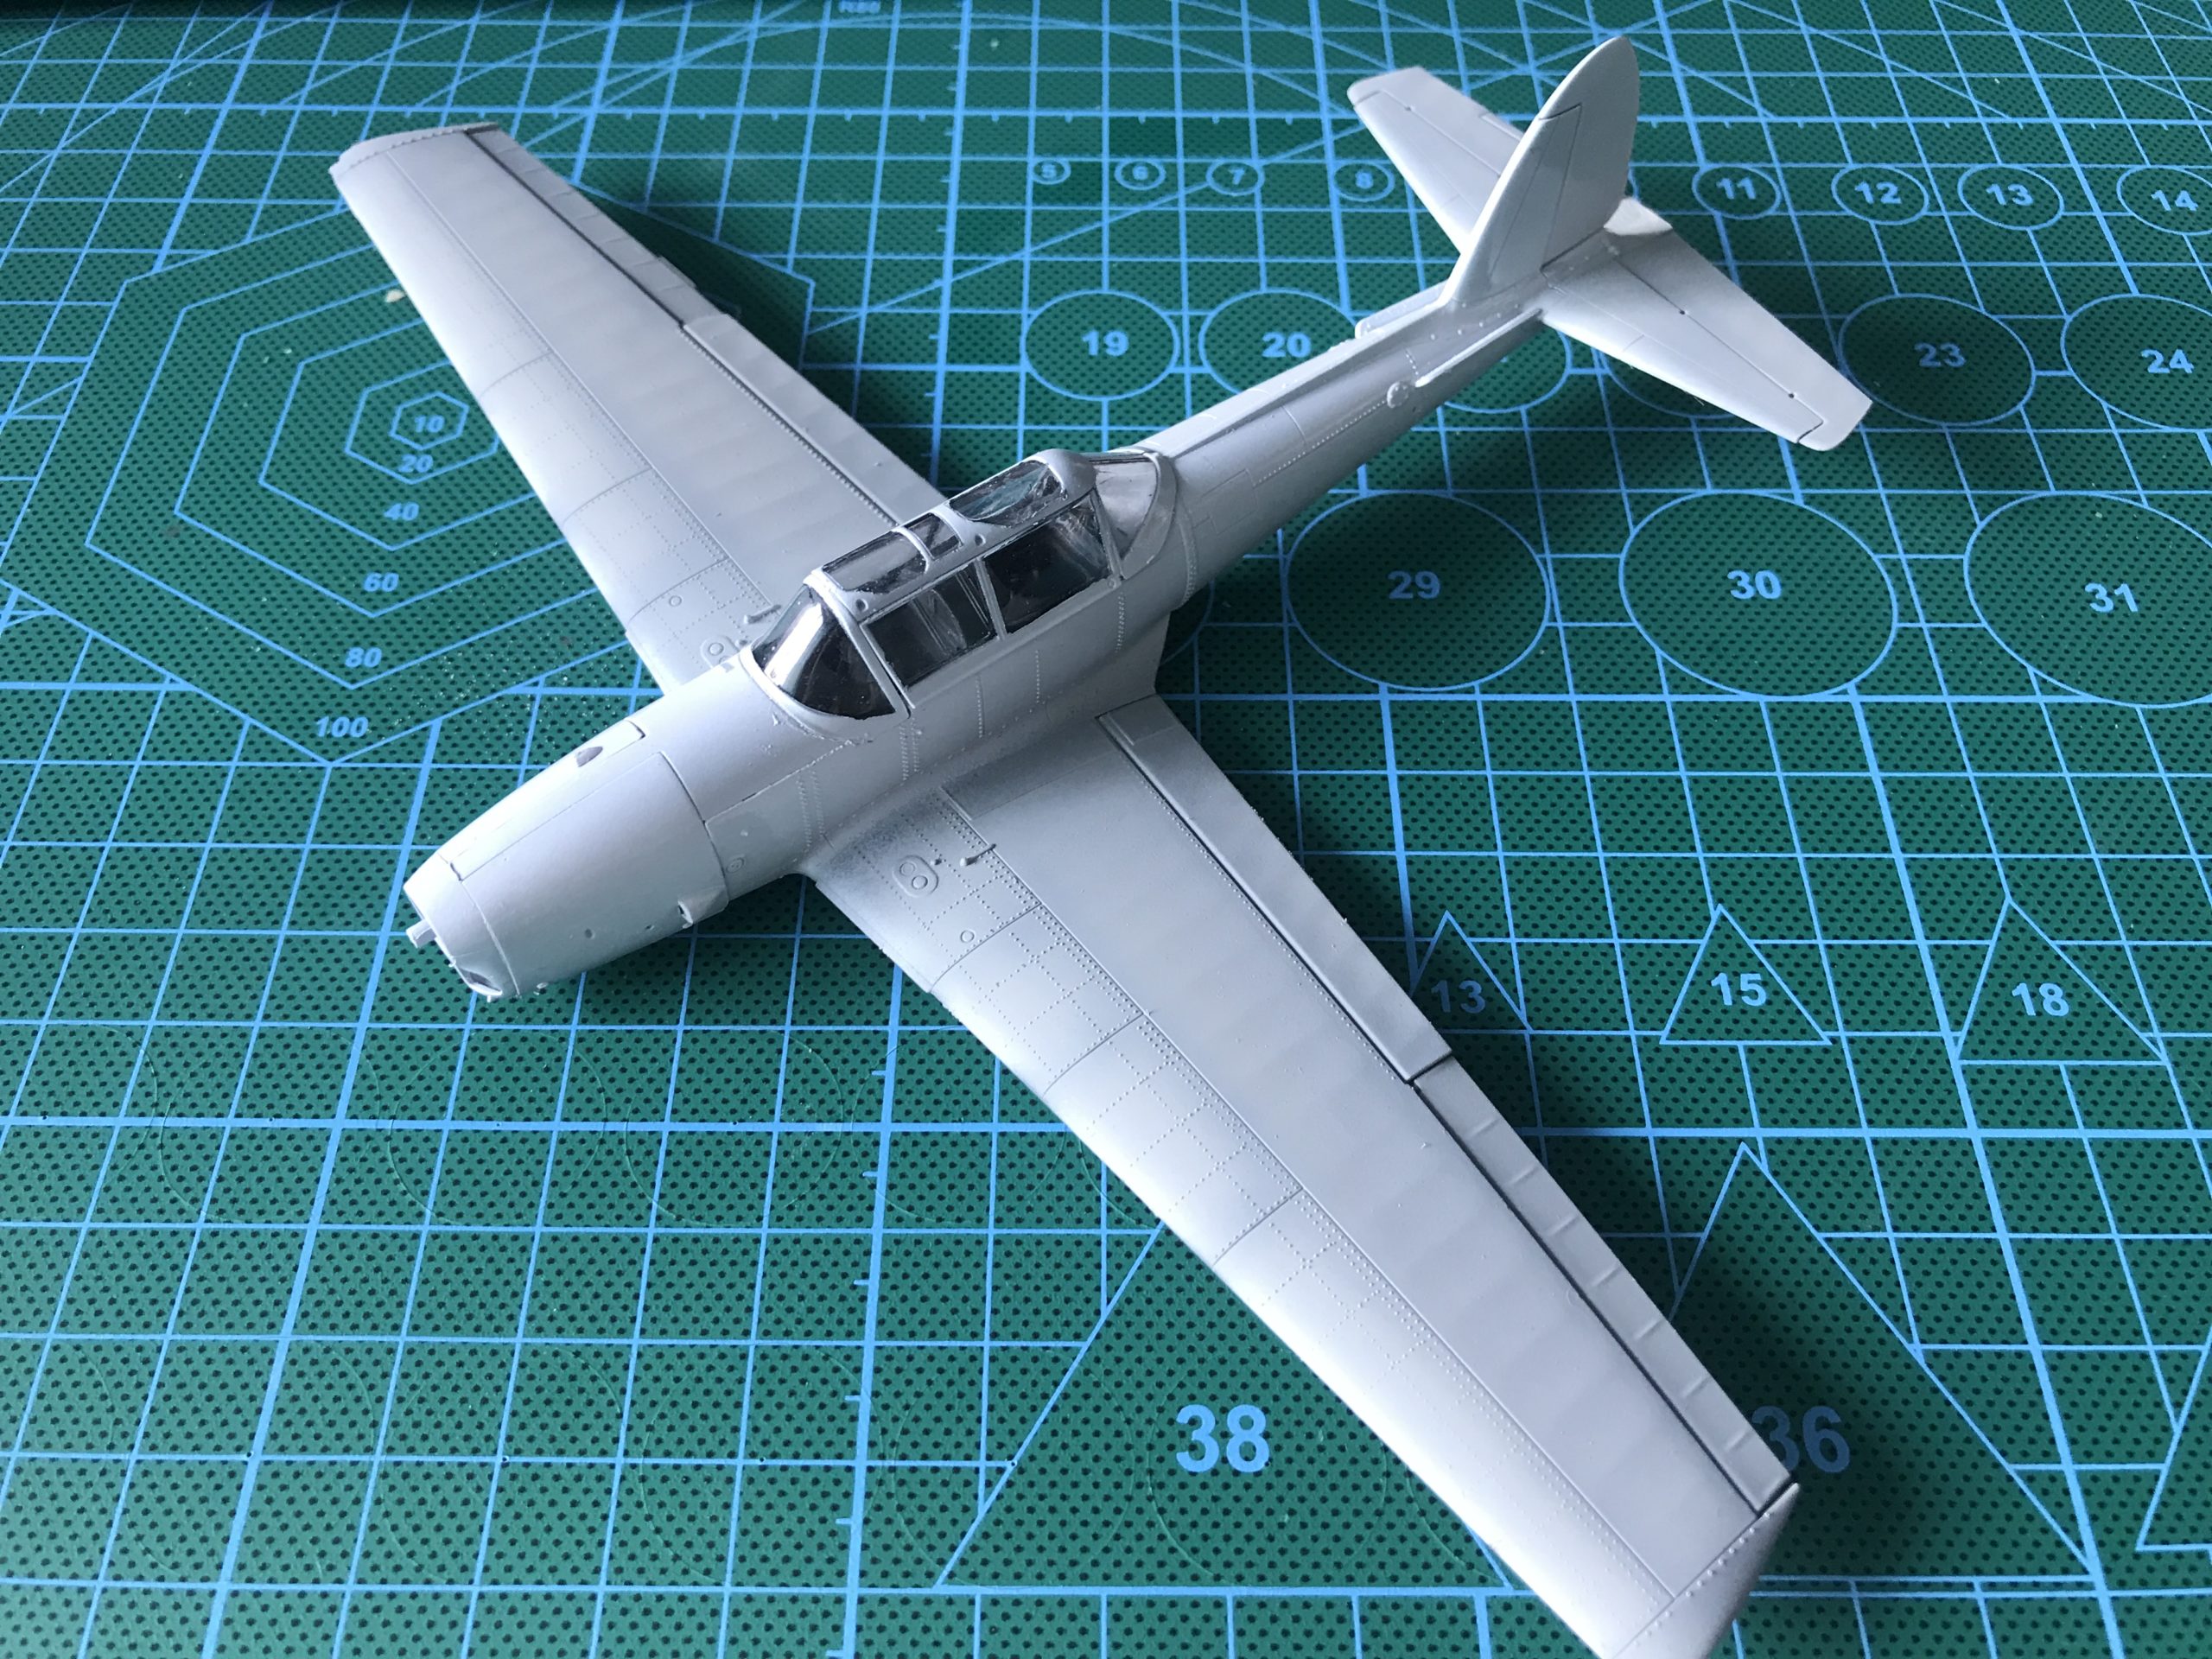
The fuselage can now be assembled properly. Sanding materials are used to remove the the resultant join between the two parts.


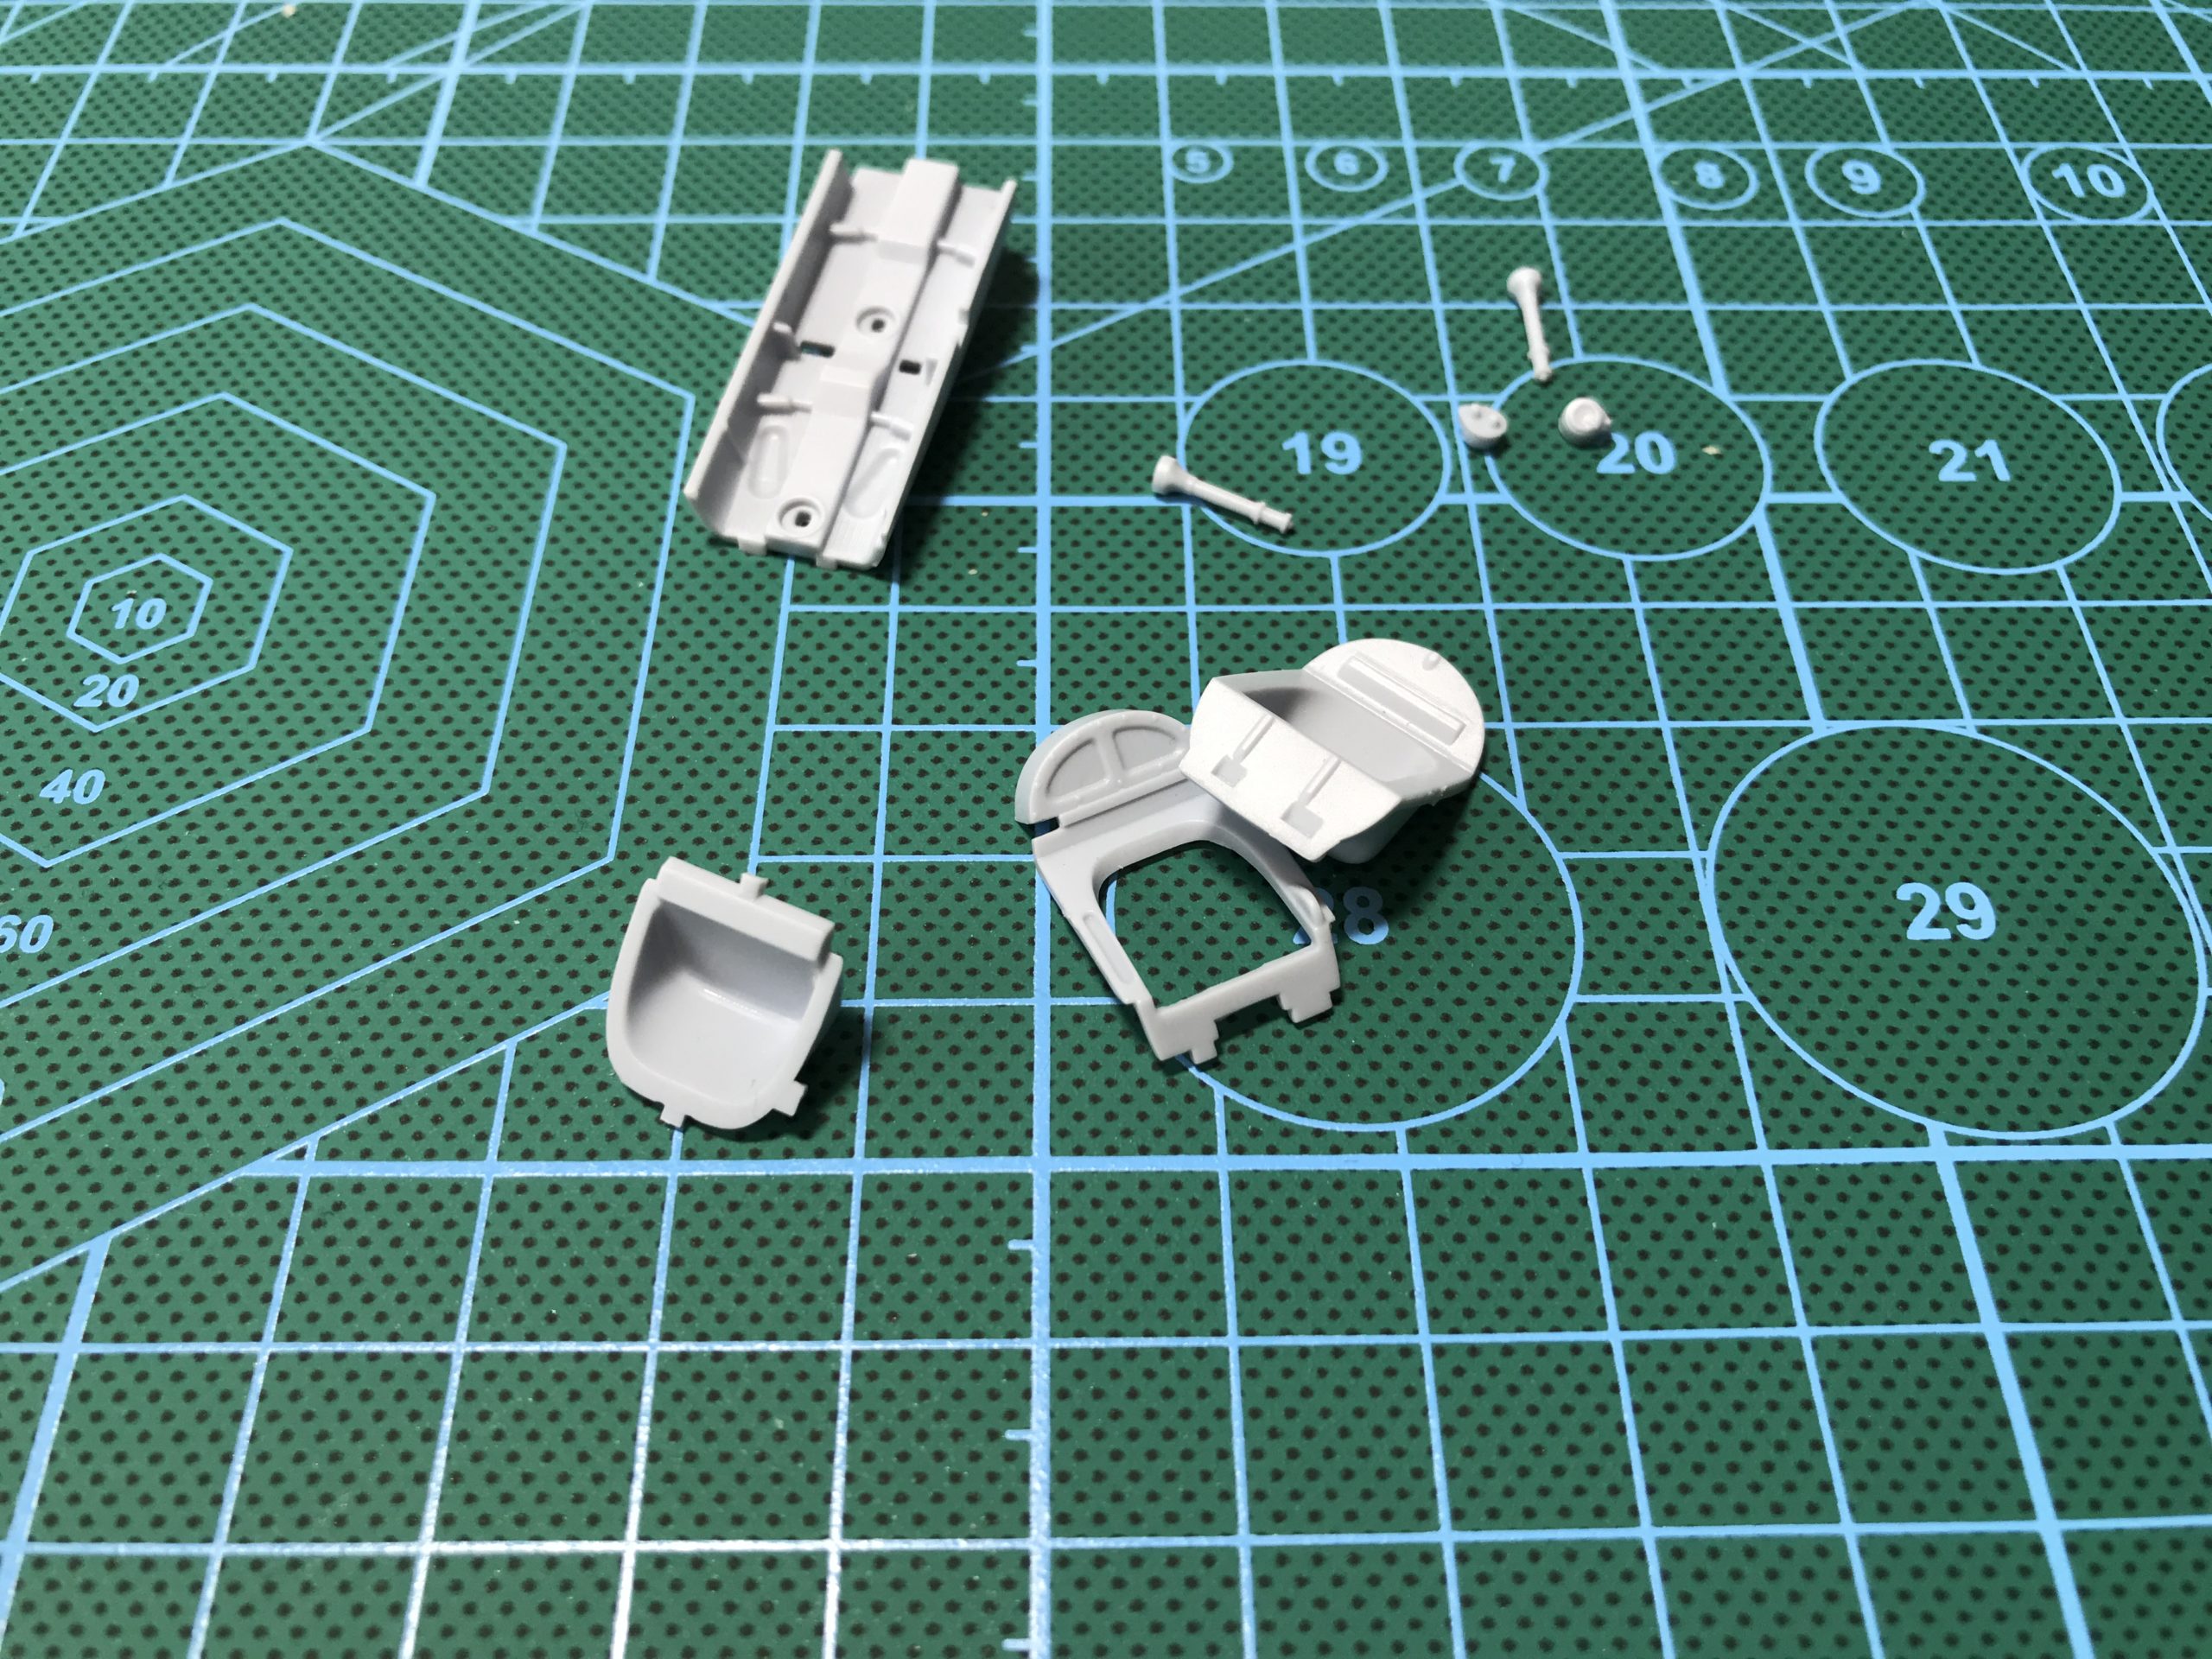
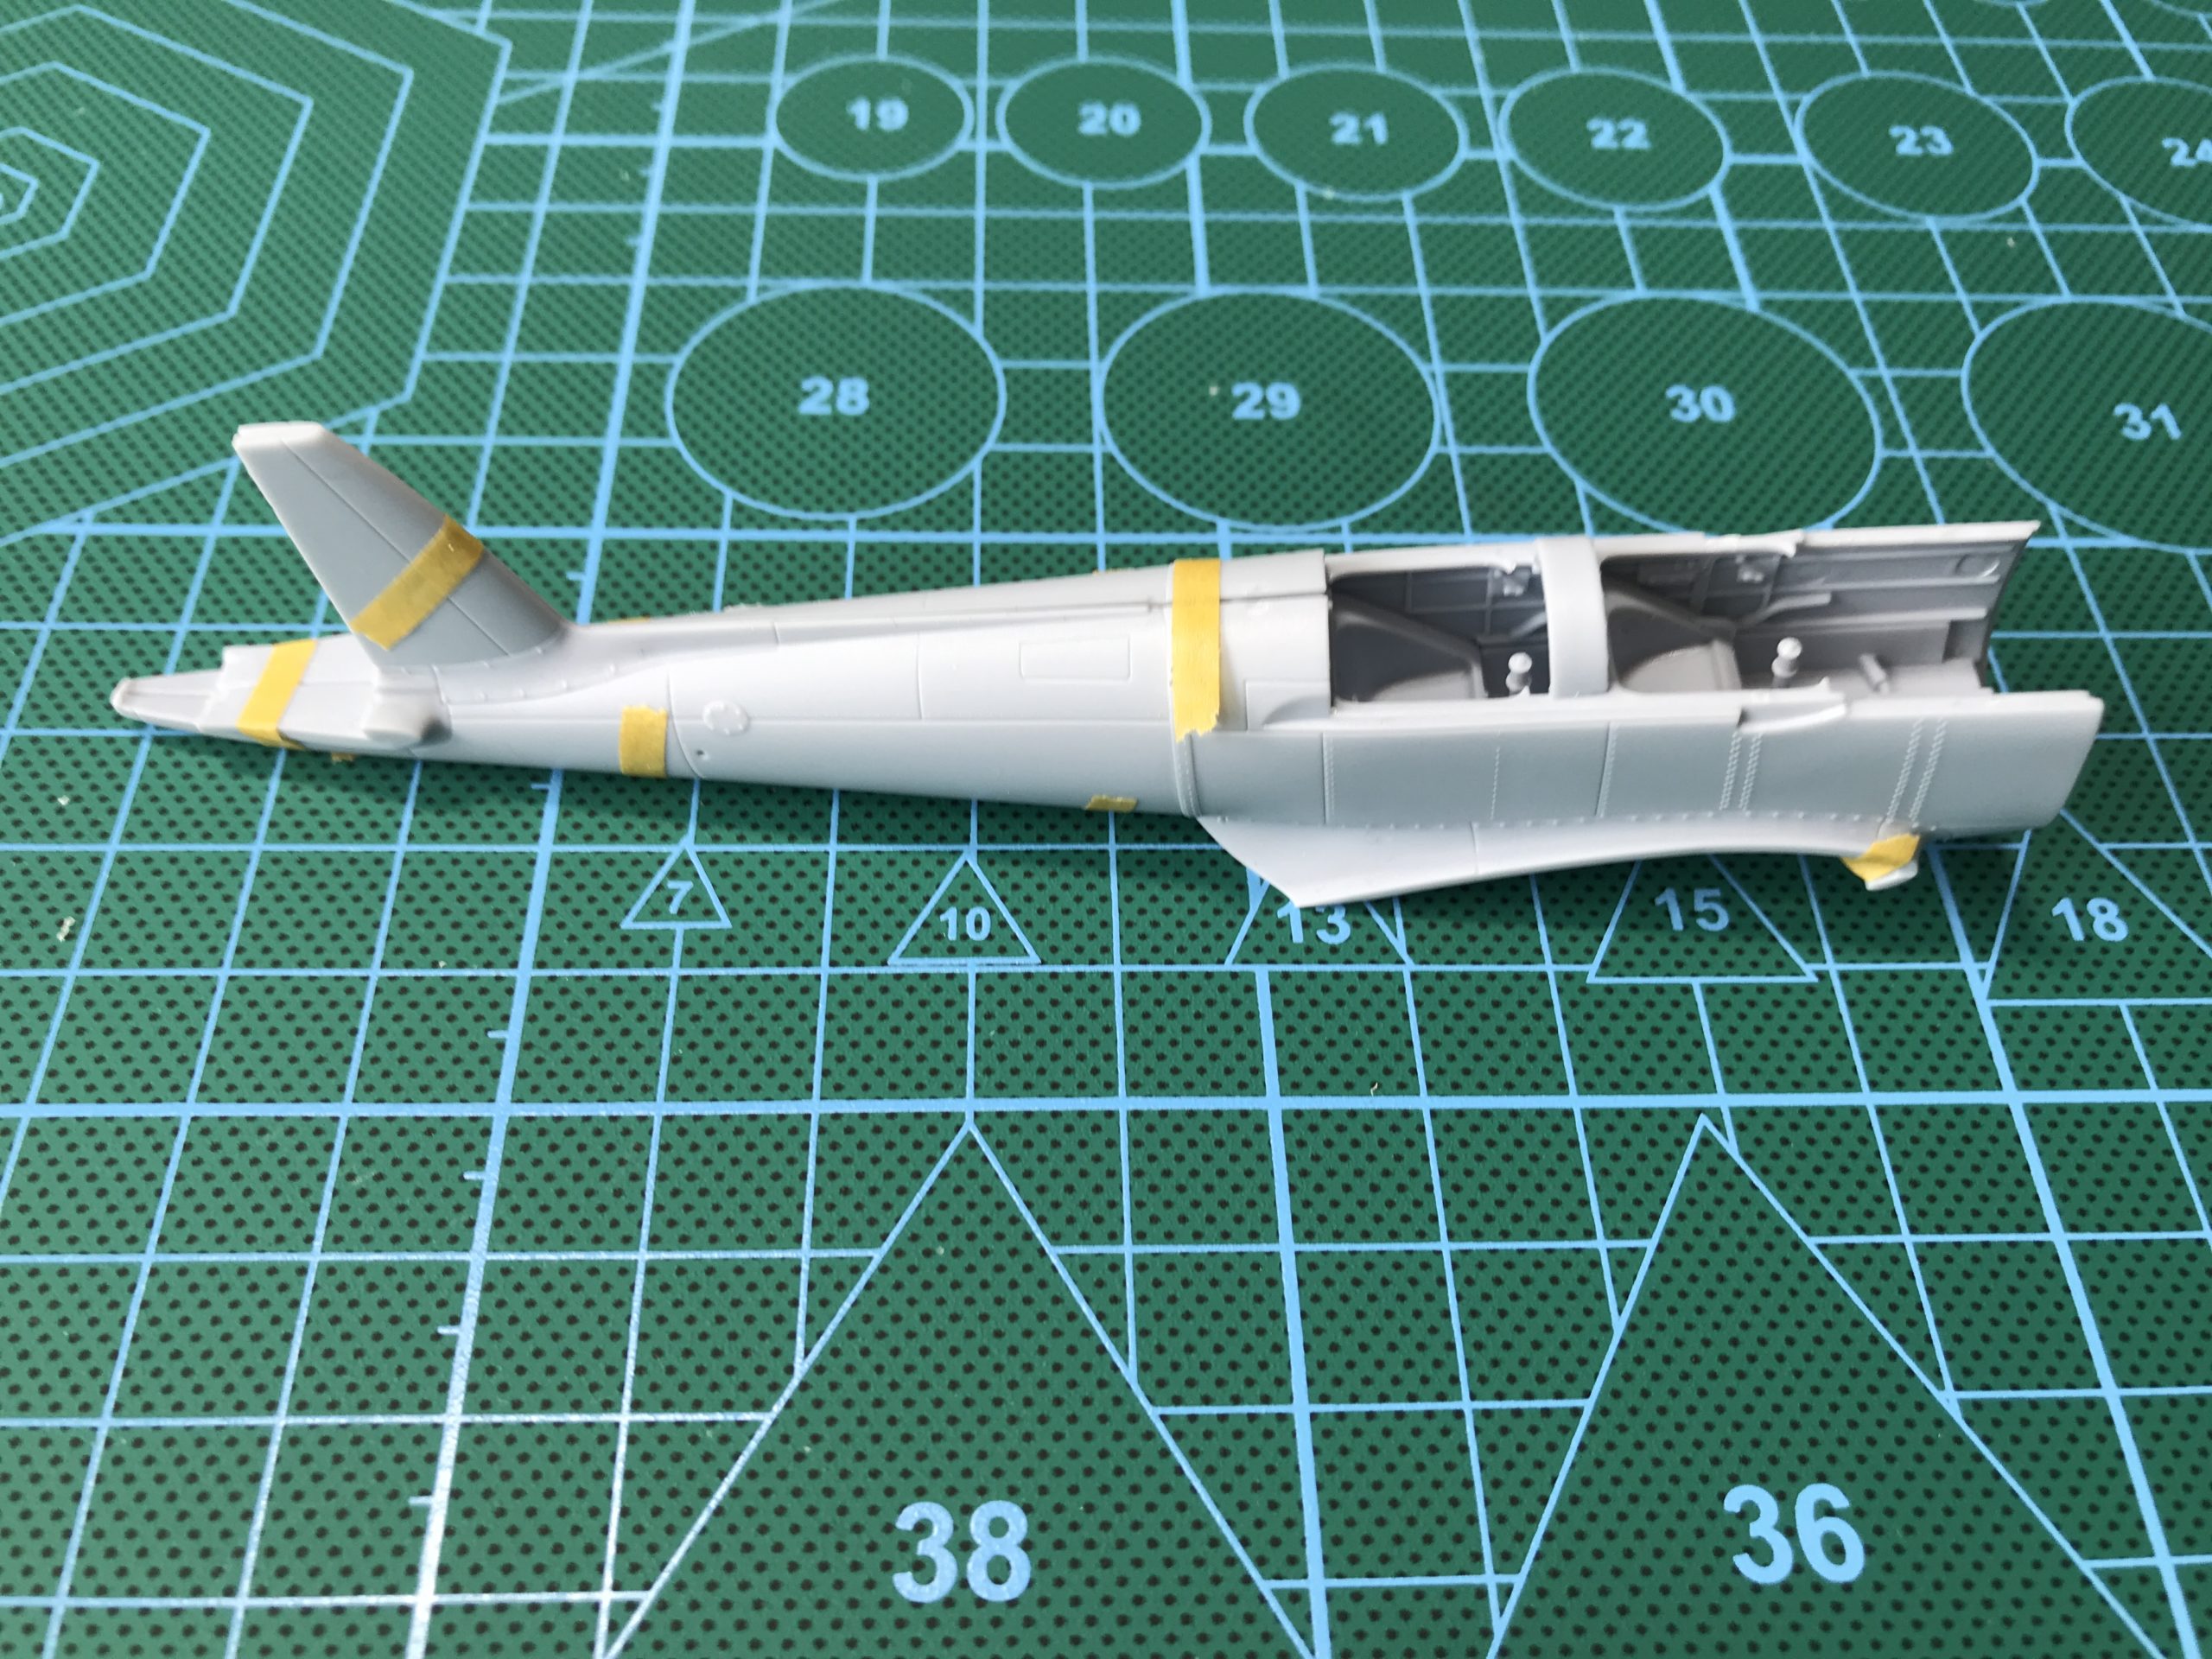
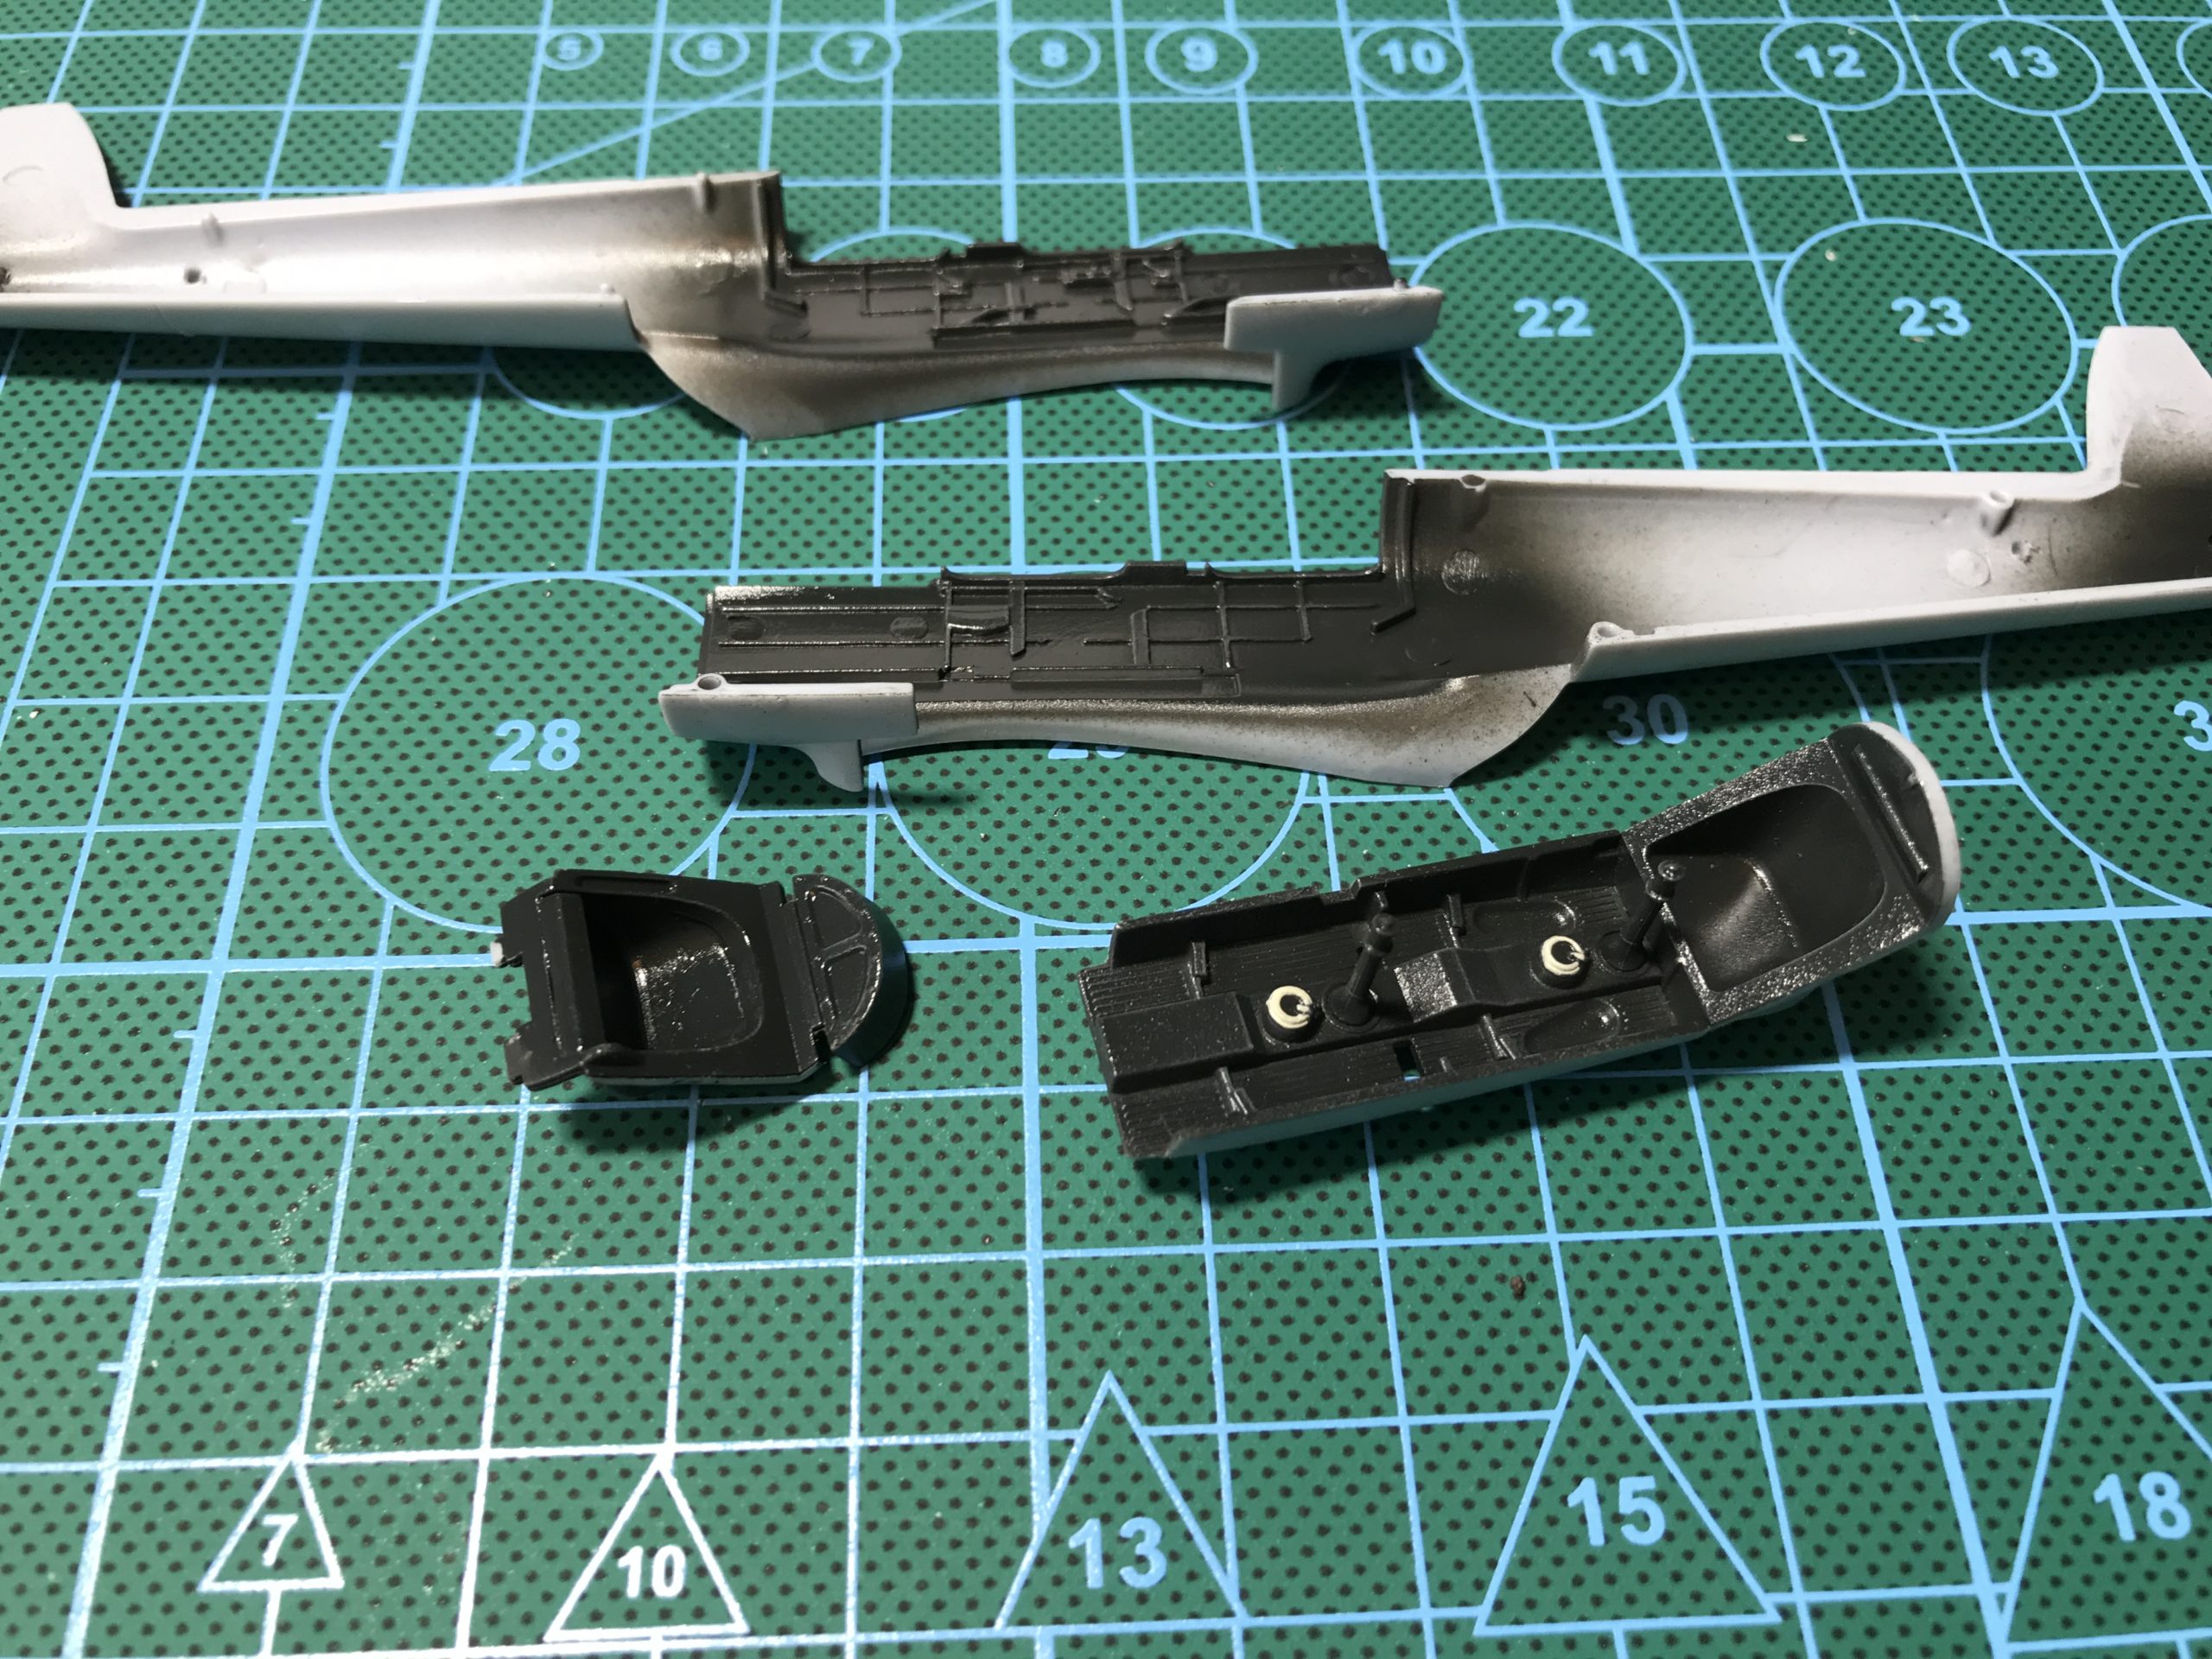
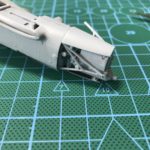
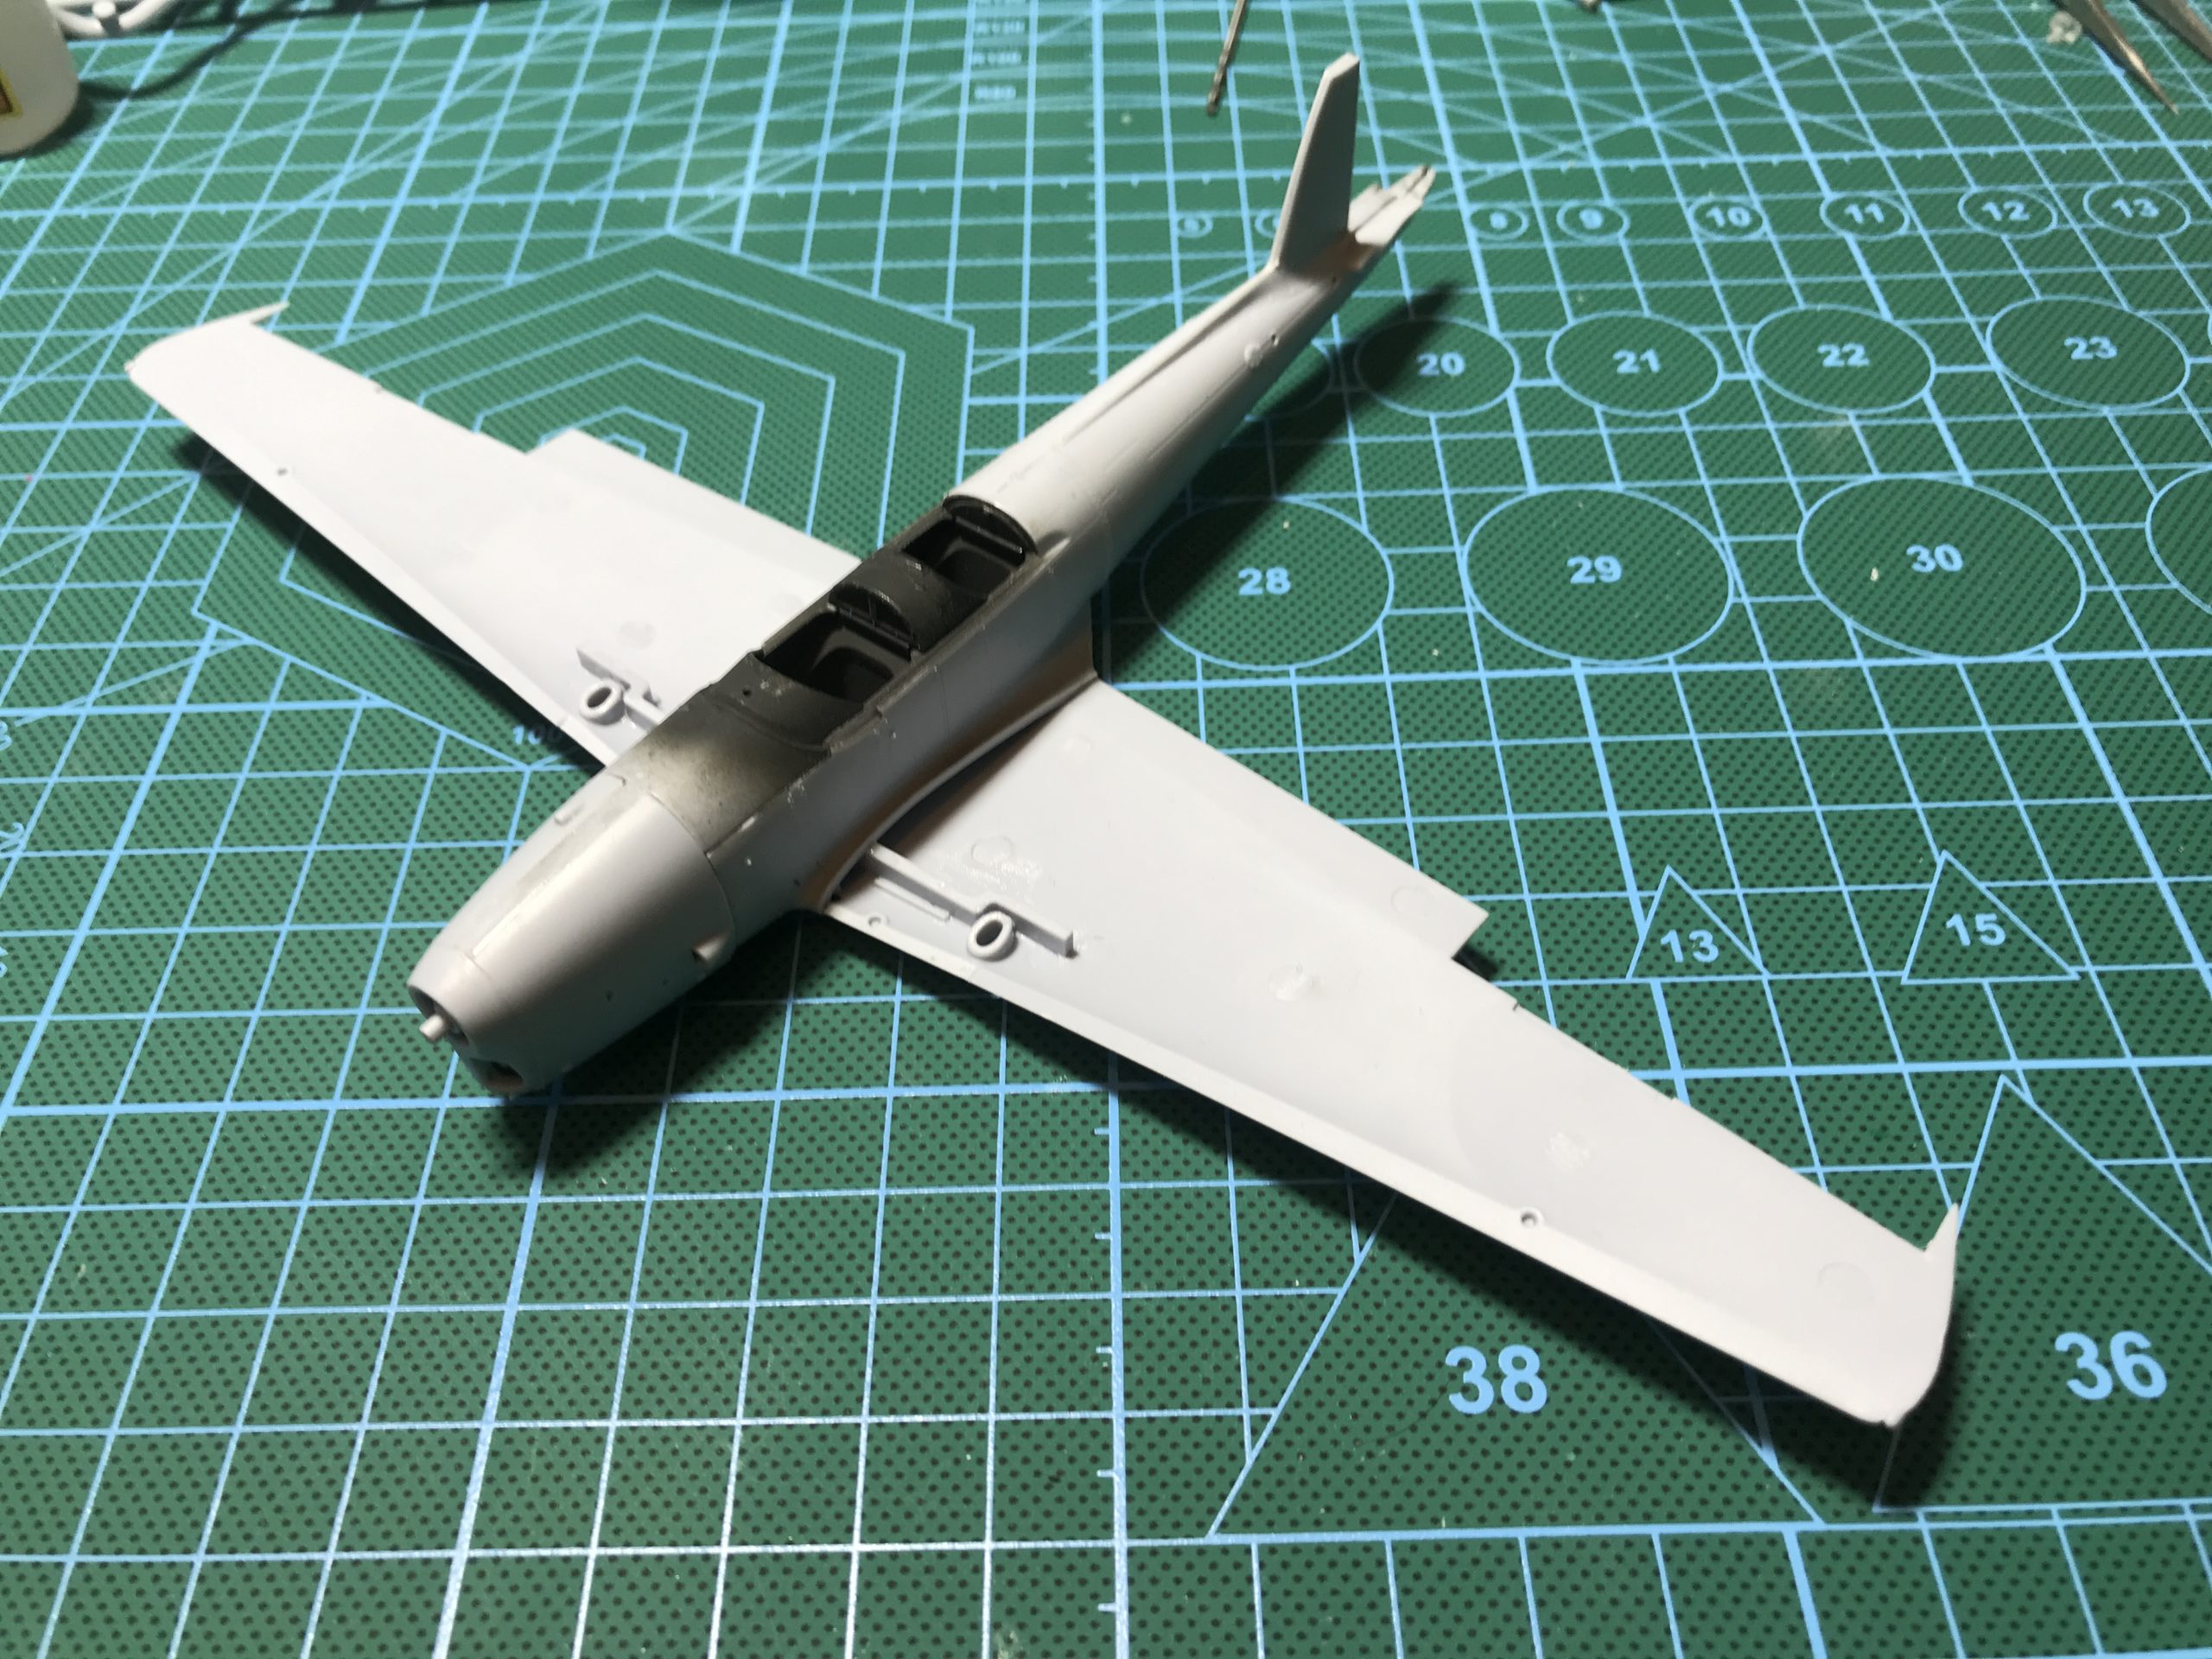
With the main fuselage assembled the next step is to add the fuselage in front of the pilot, firewall and front and rear instrument panels.
As before it’s a simple case of painting, dry brushing and decaling the parts.
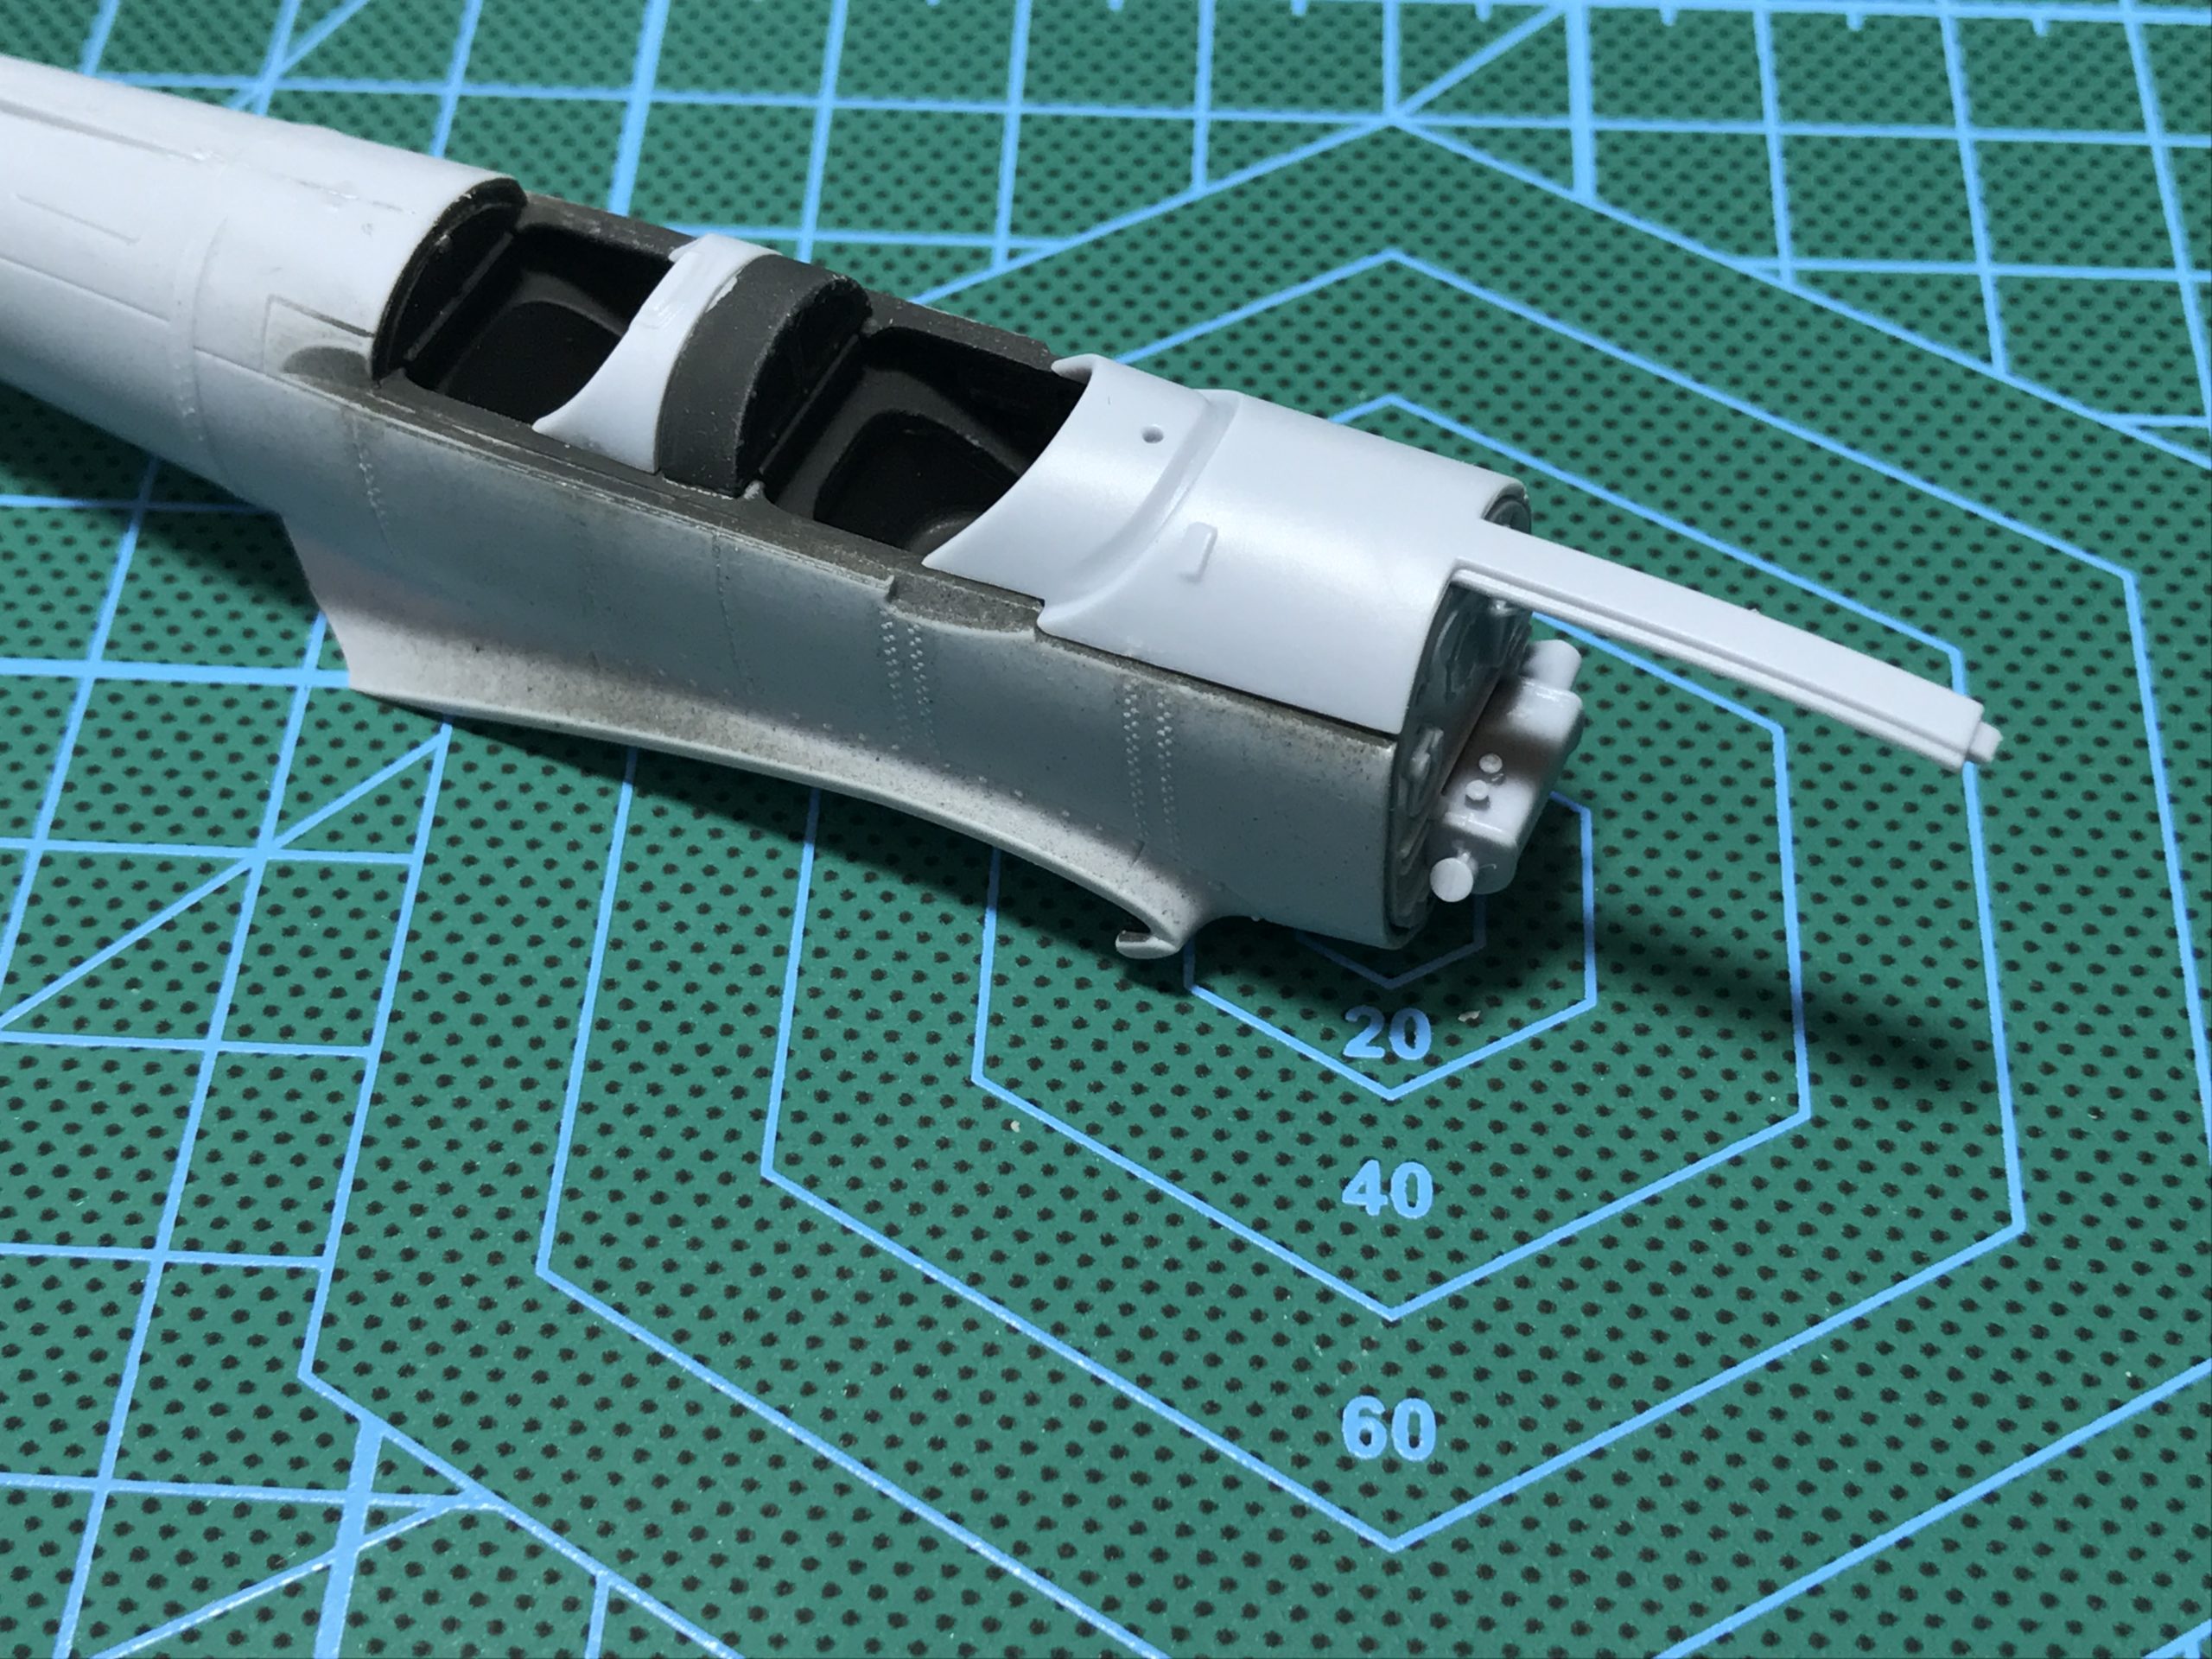
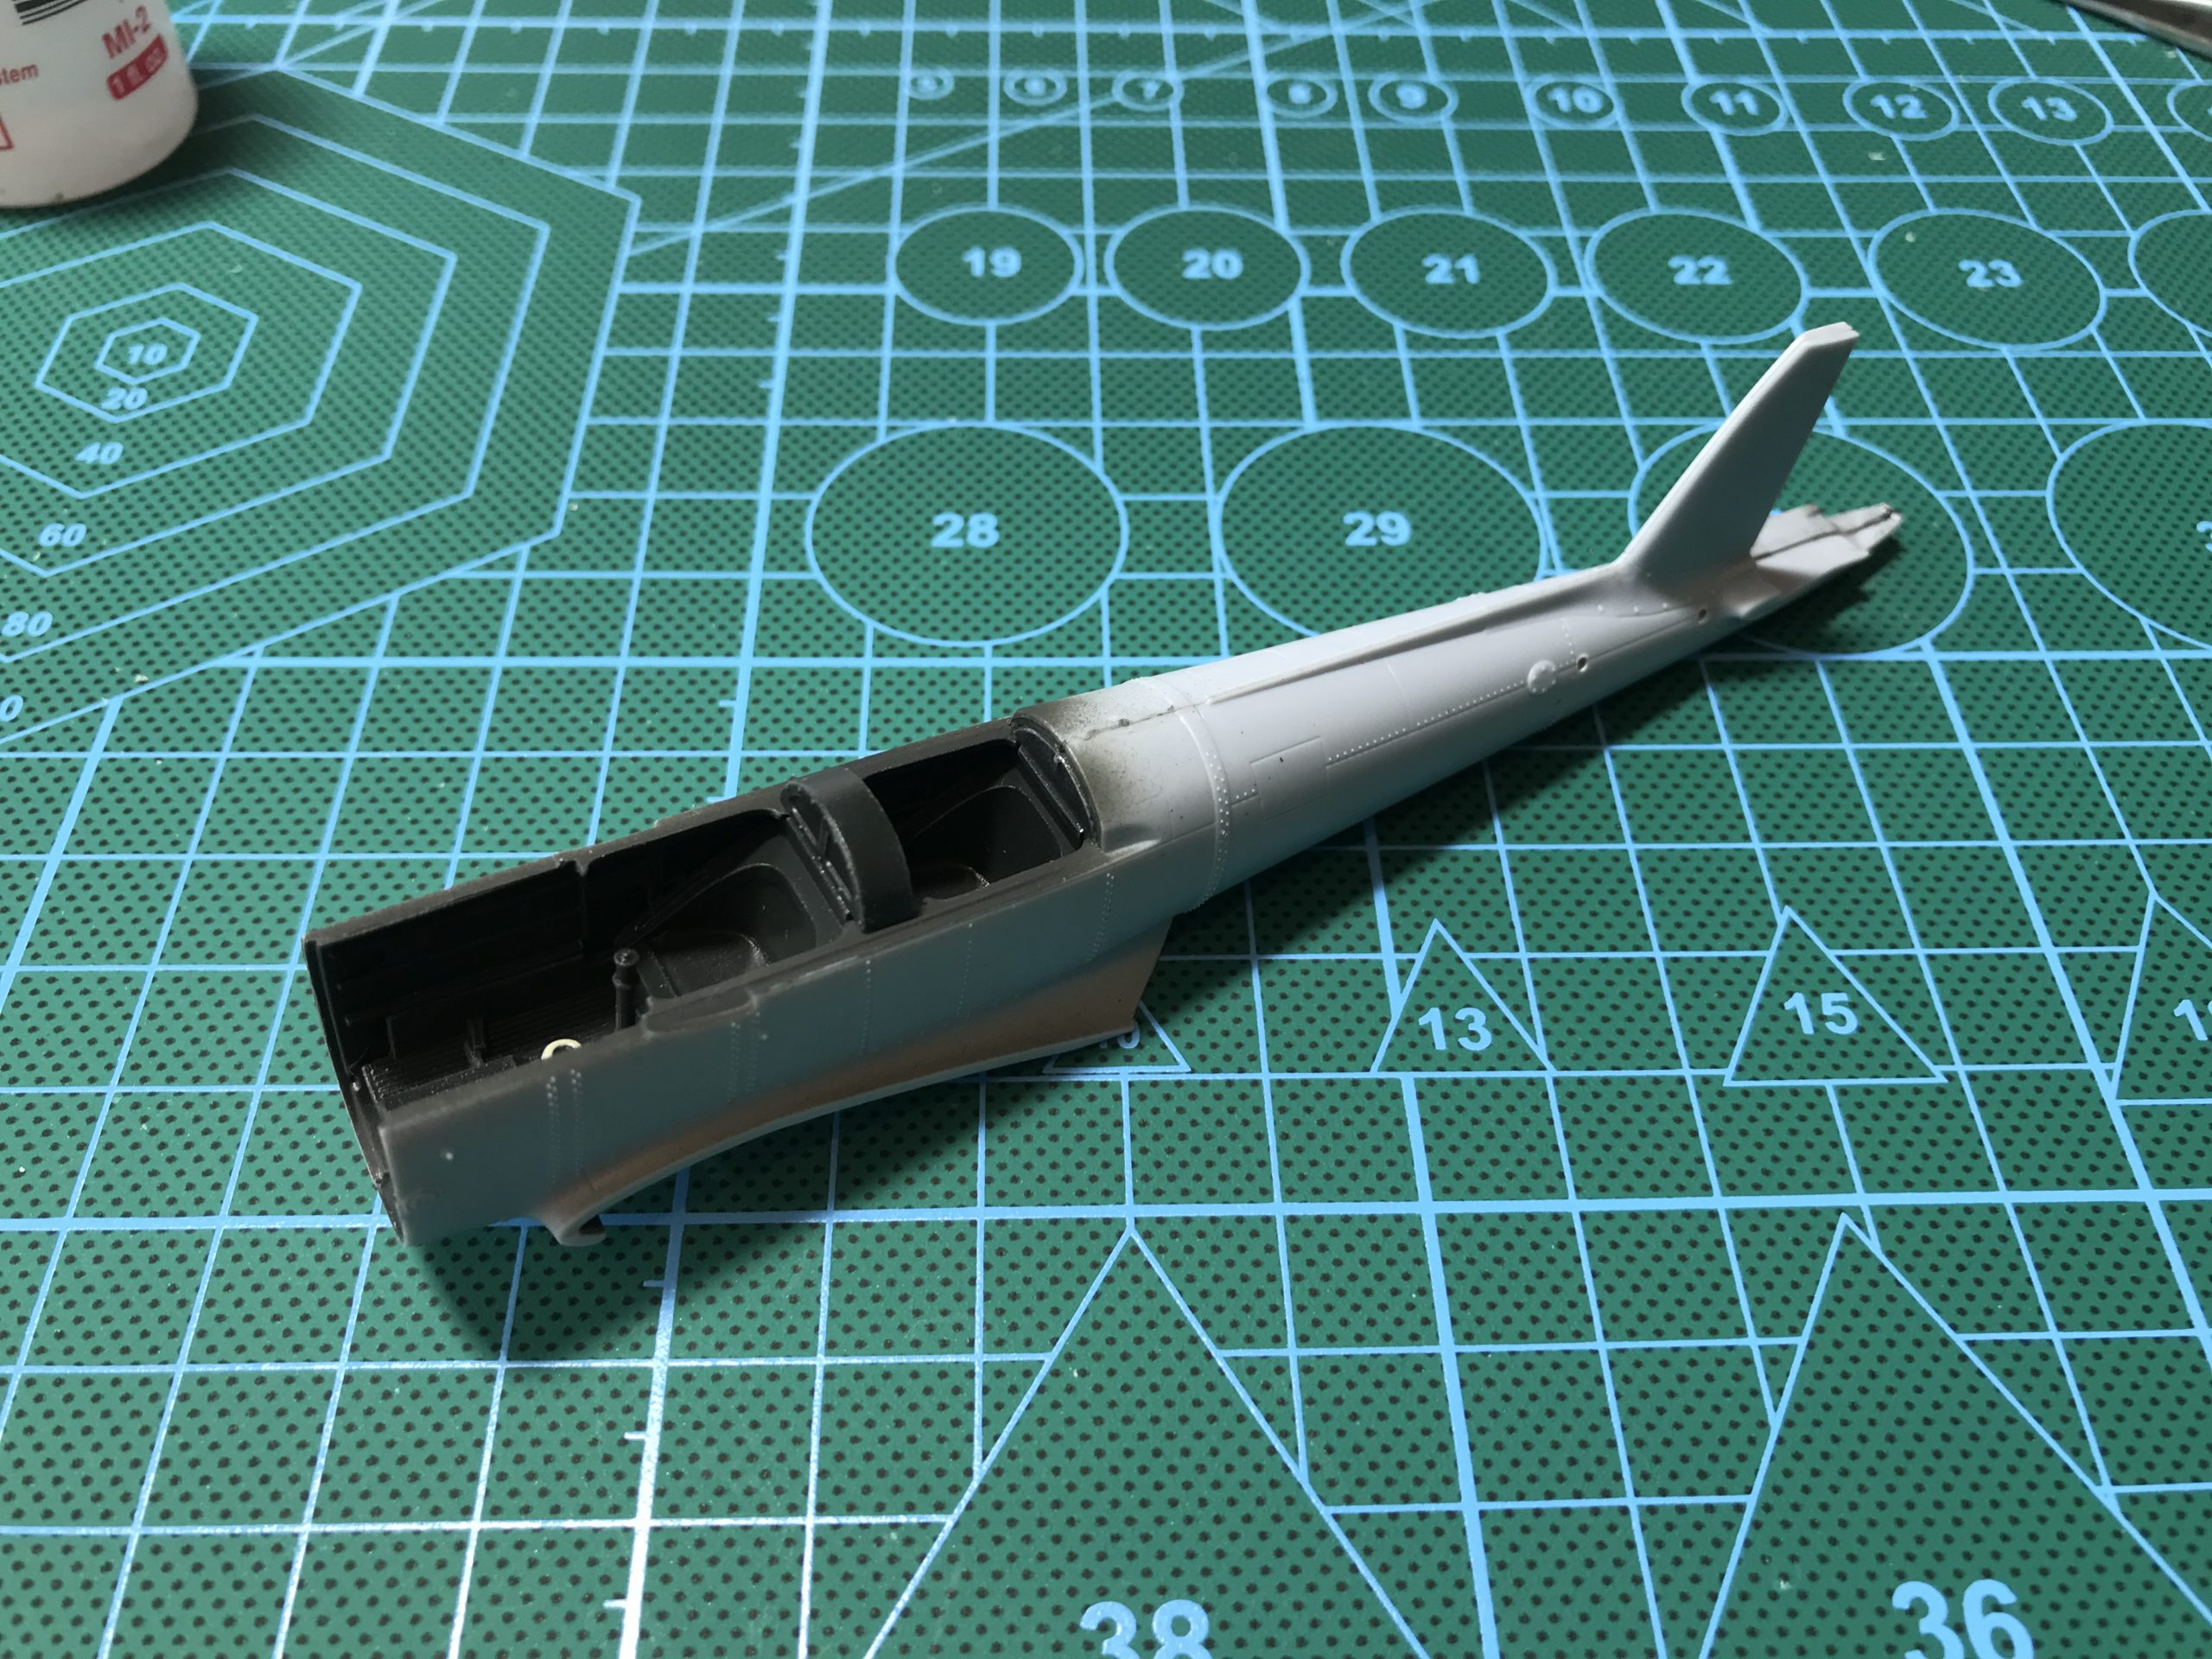
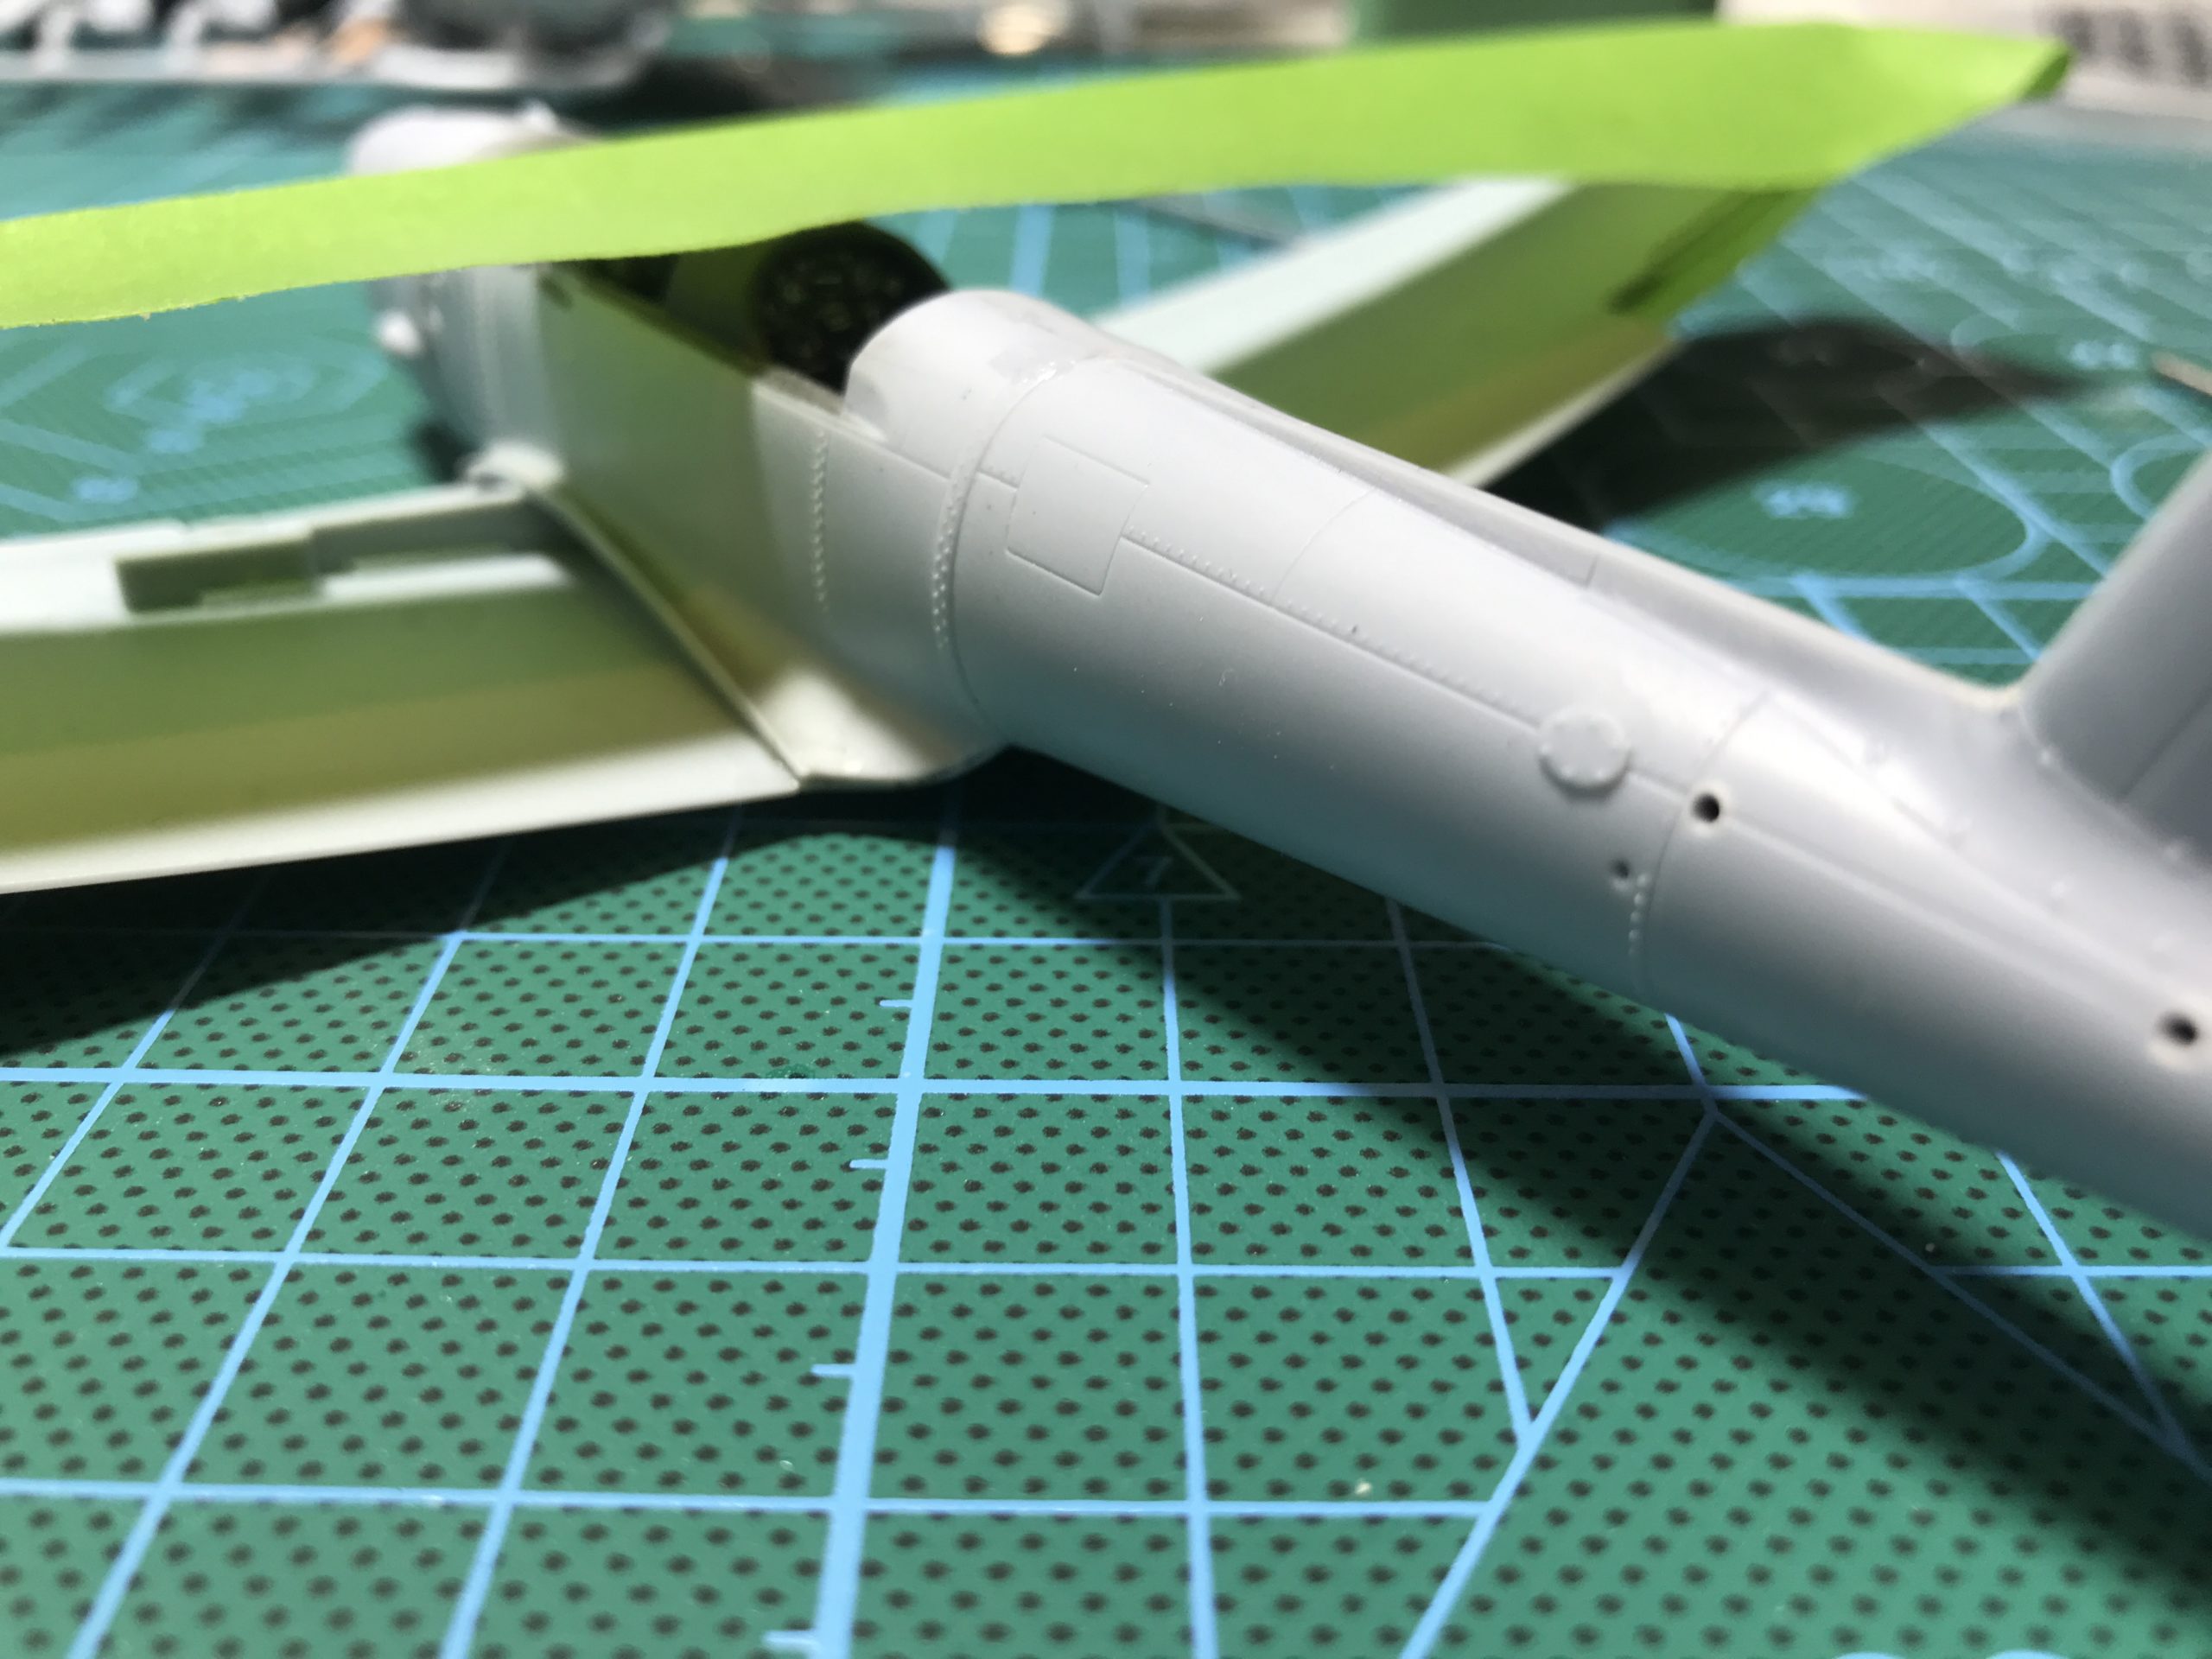
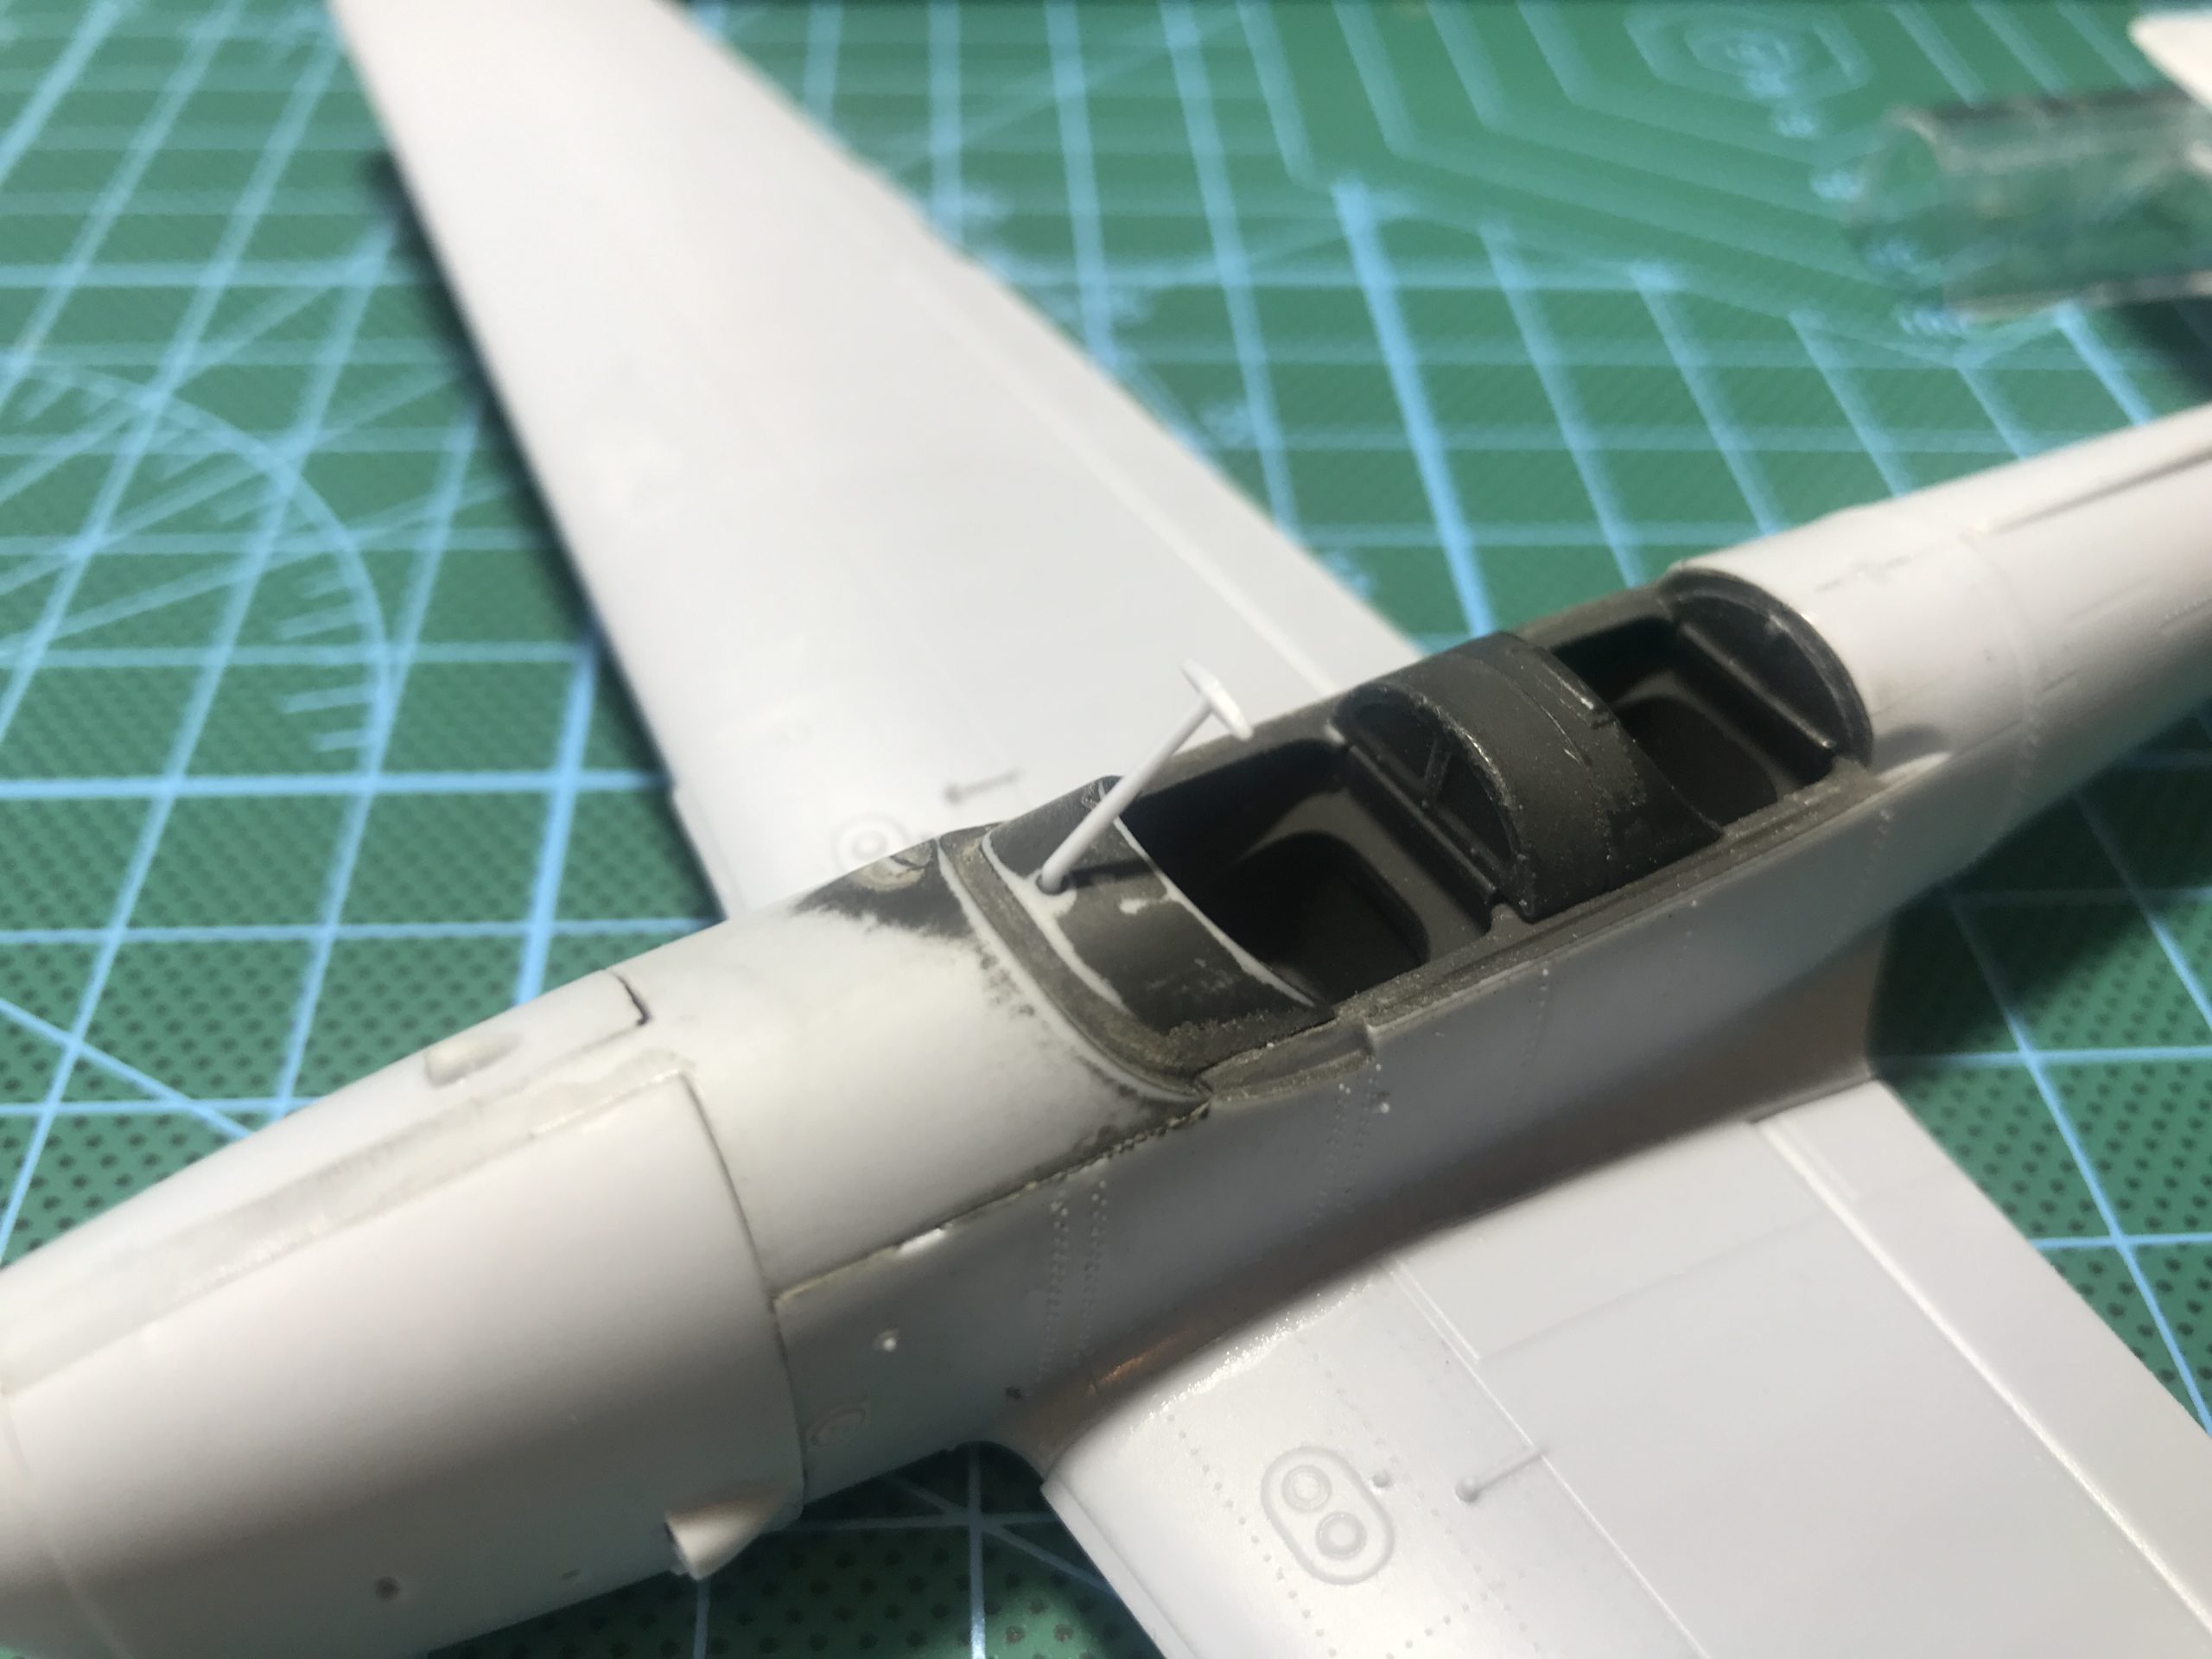
Now attention turns to the fully detailed engine. As I am not displaying my model with the engine covers open I will not be painting, so its a nice, easy assembly job.

After a well deserved cup of tea the instructions perform their primary purpose by instructing the builder to look at the wings. As before lots of trial fitting was undertaken to ensure proper fit on all the parts as several large parts come together in this area.
Once again there were a few minor fit issues that required a small amount of fettling to resolve. It’s not a massive deal, so don’t let it put you off. just take a bit of time and you’ll be absolutely fine.

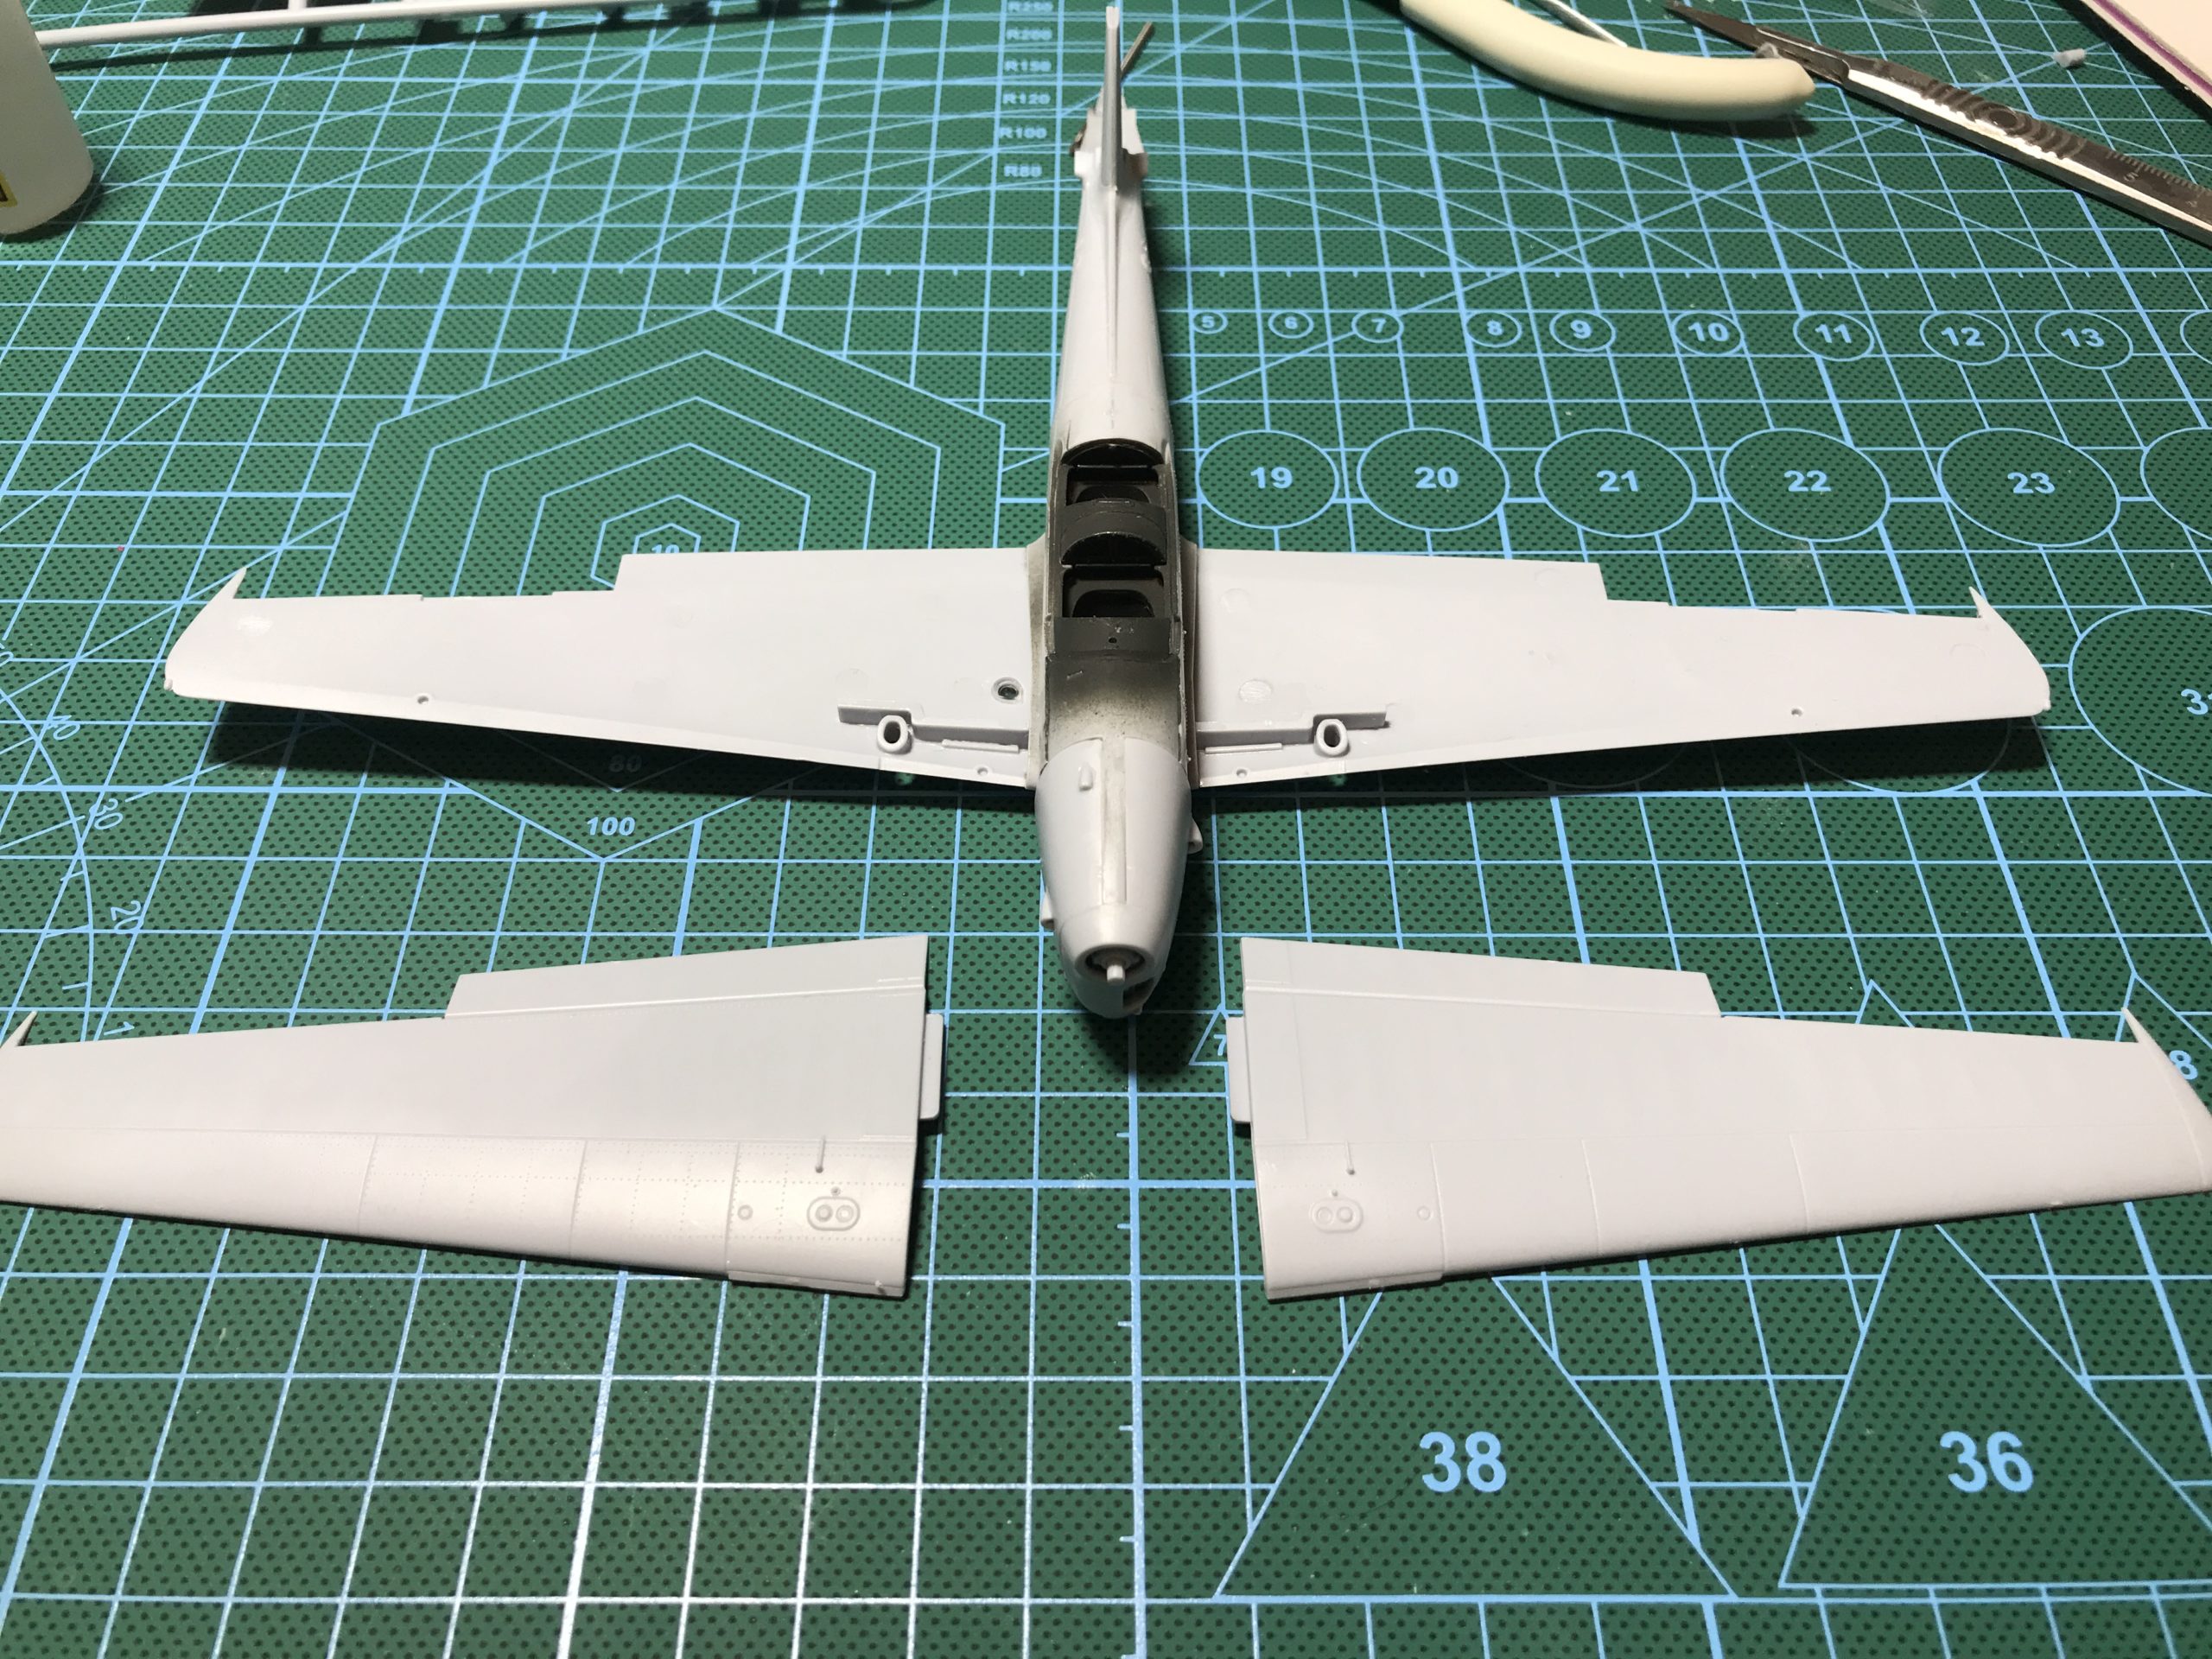

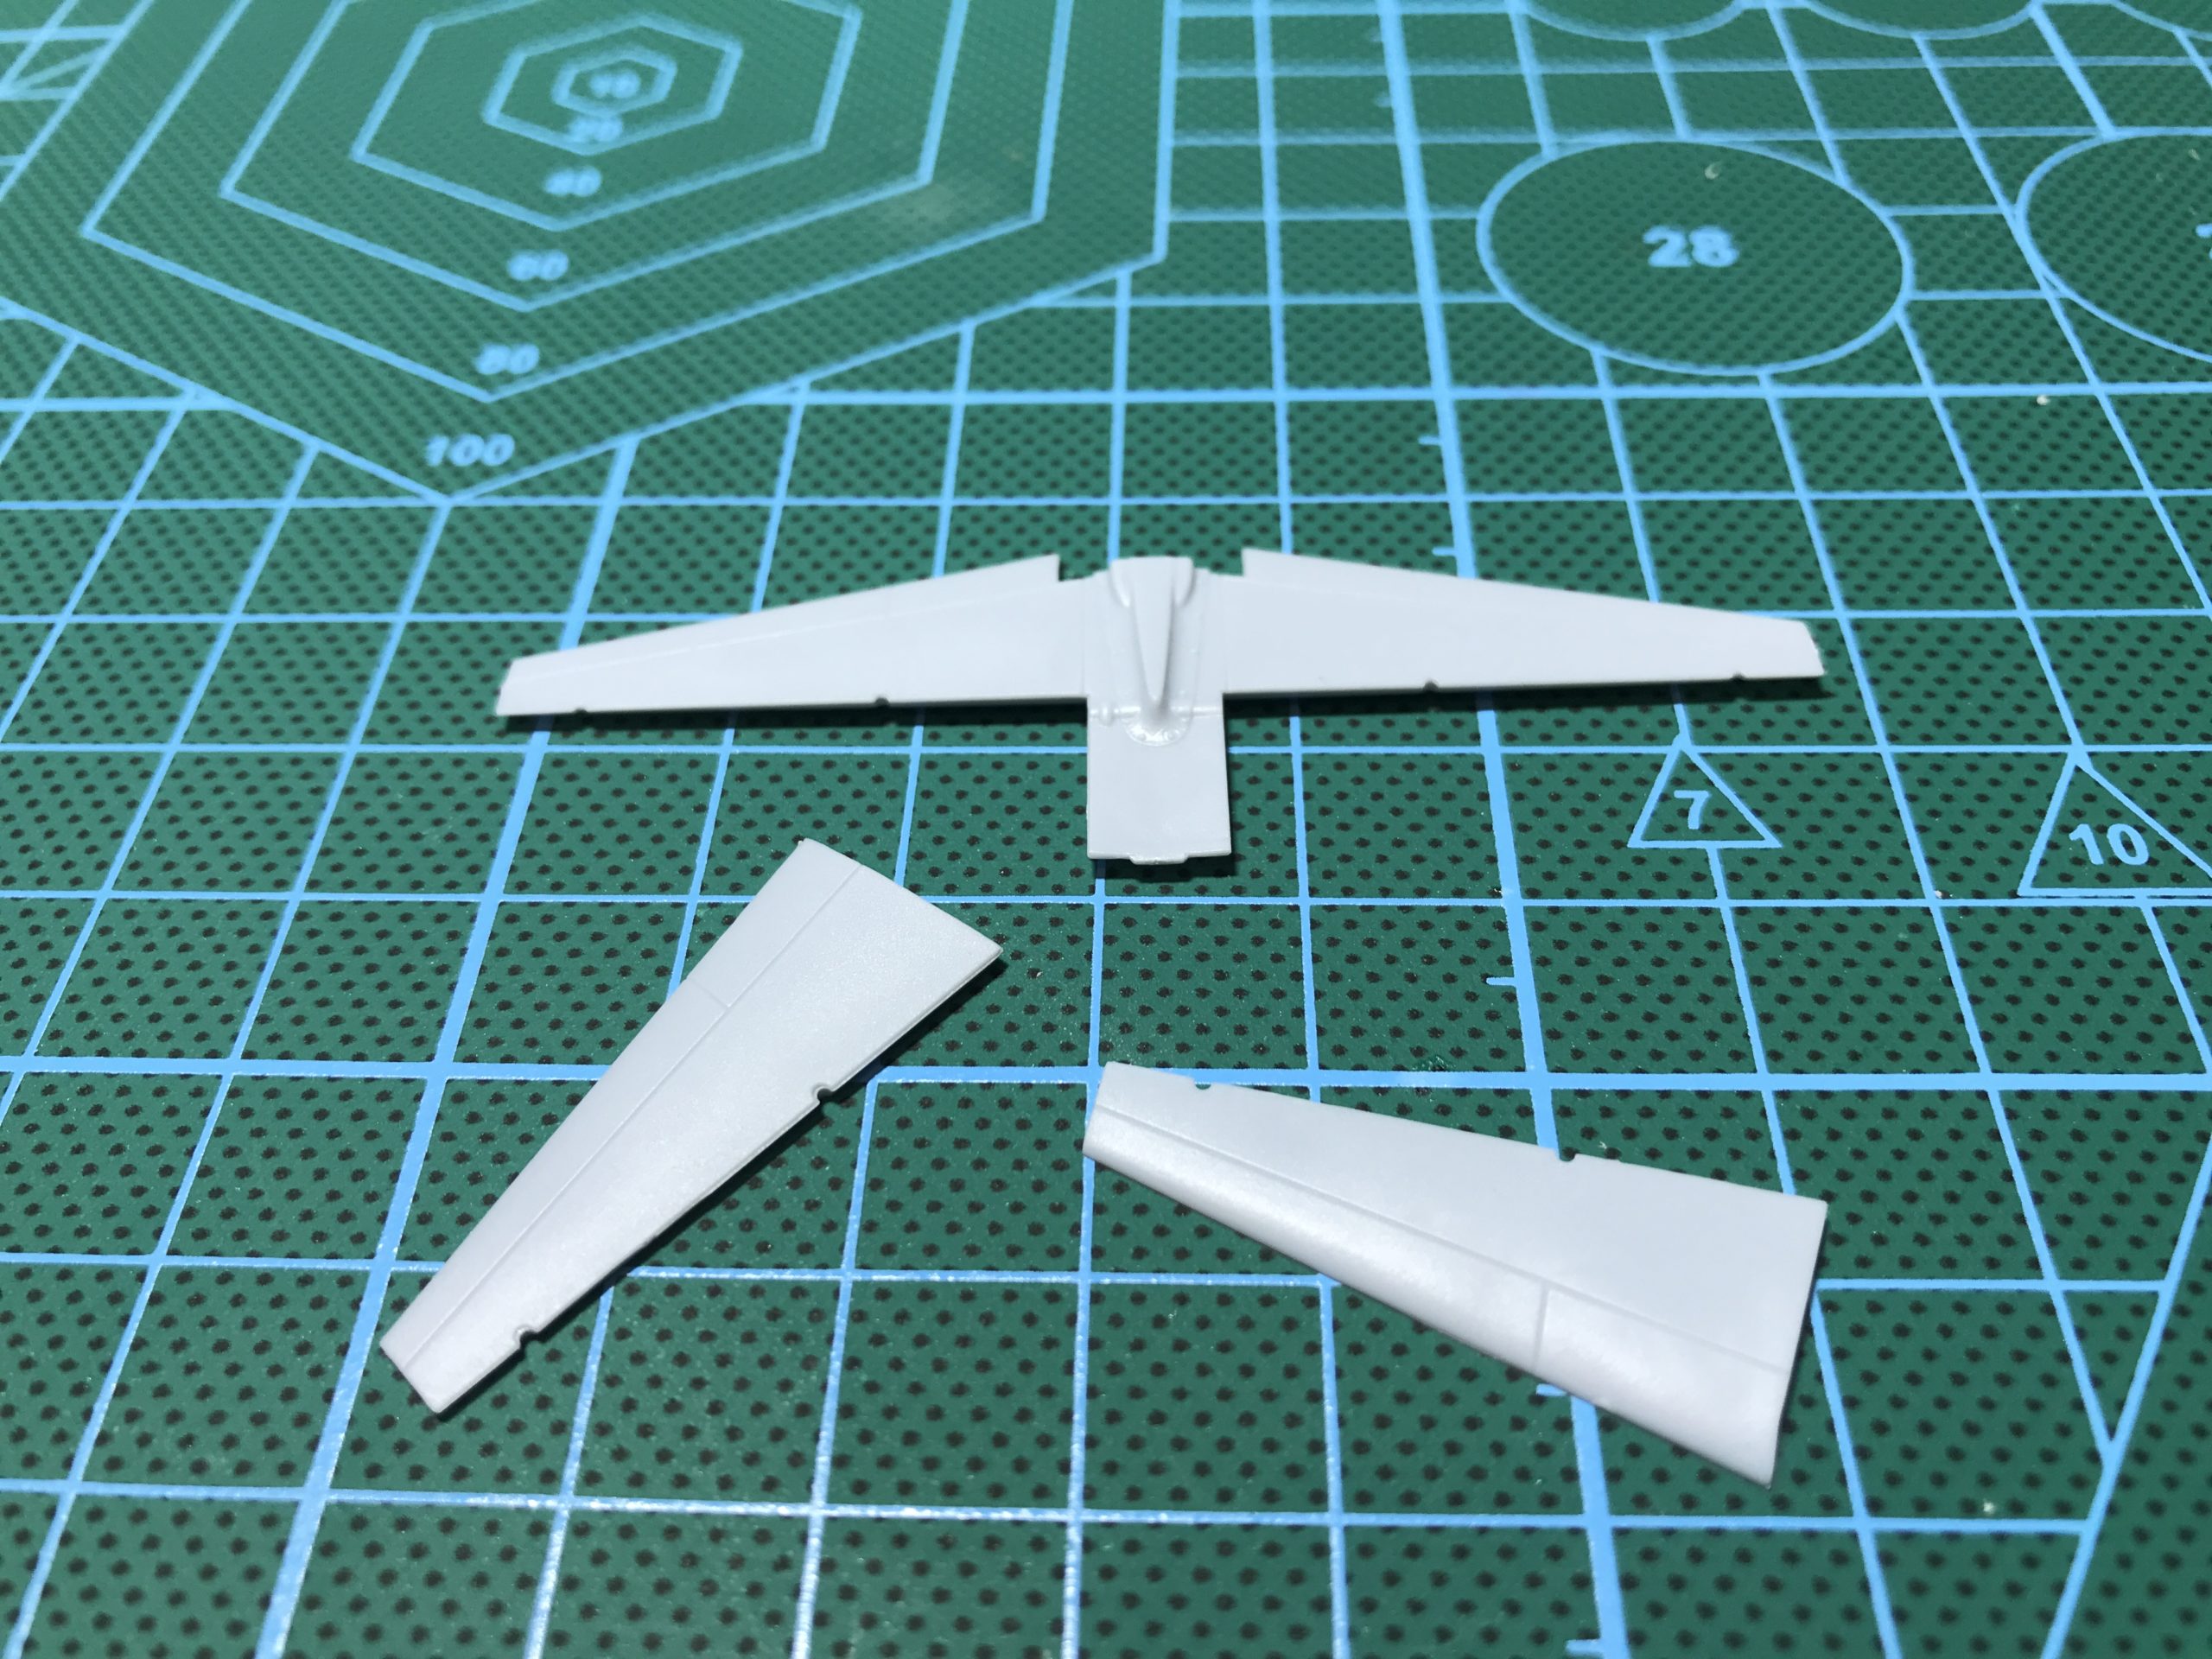
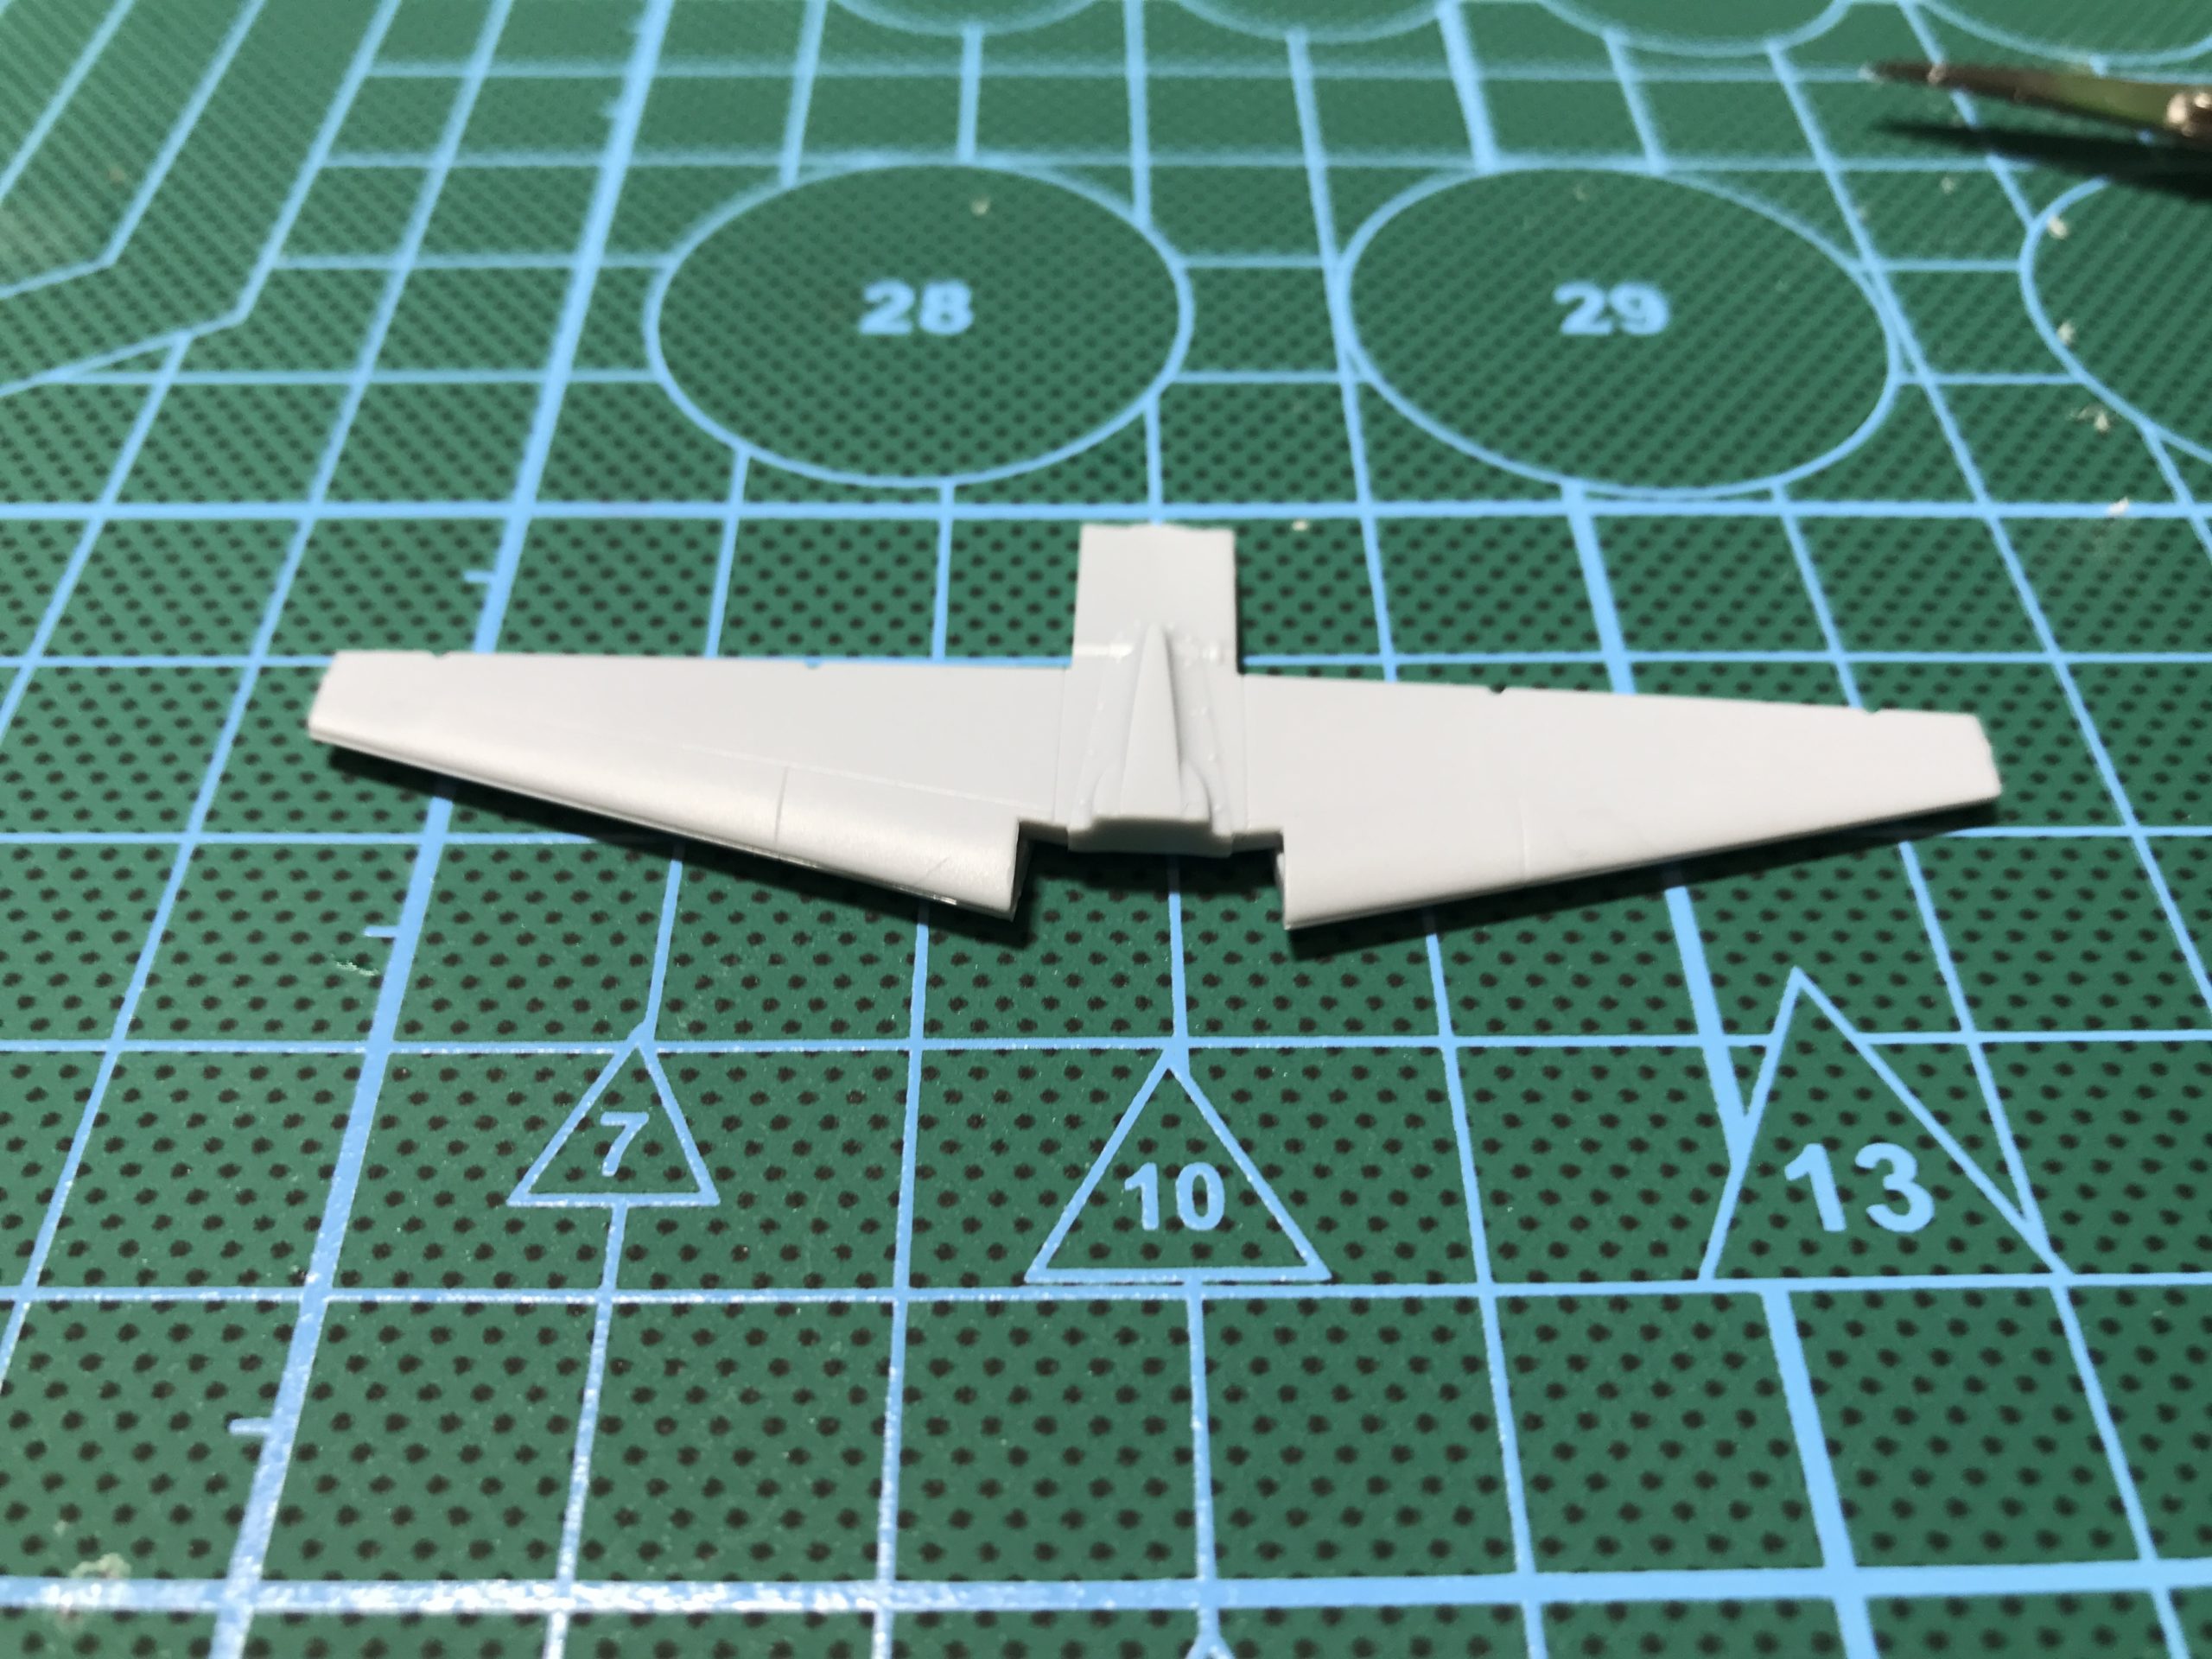
A similar approach if employed on the tail section.
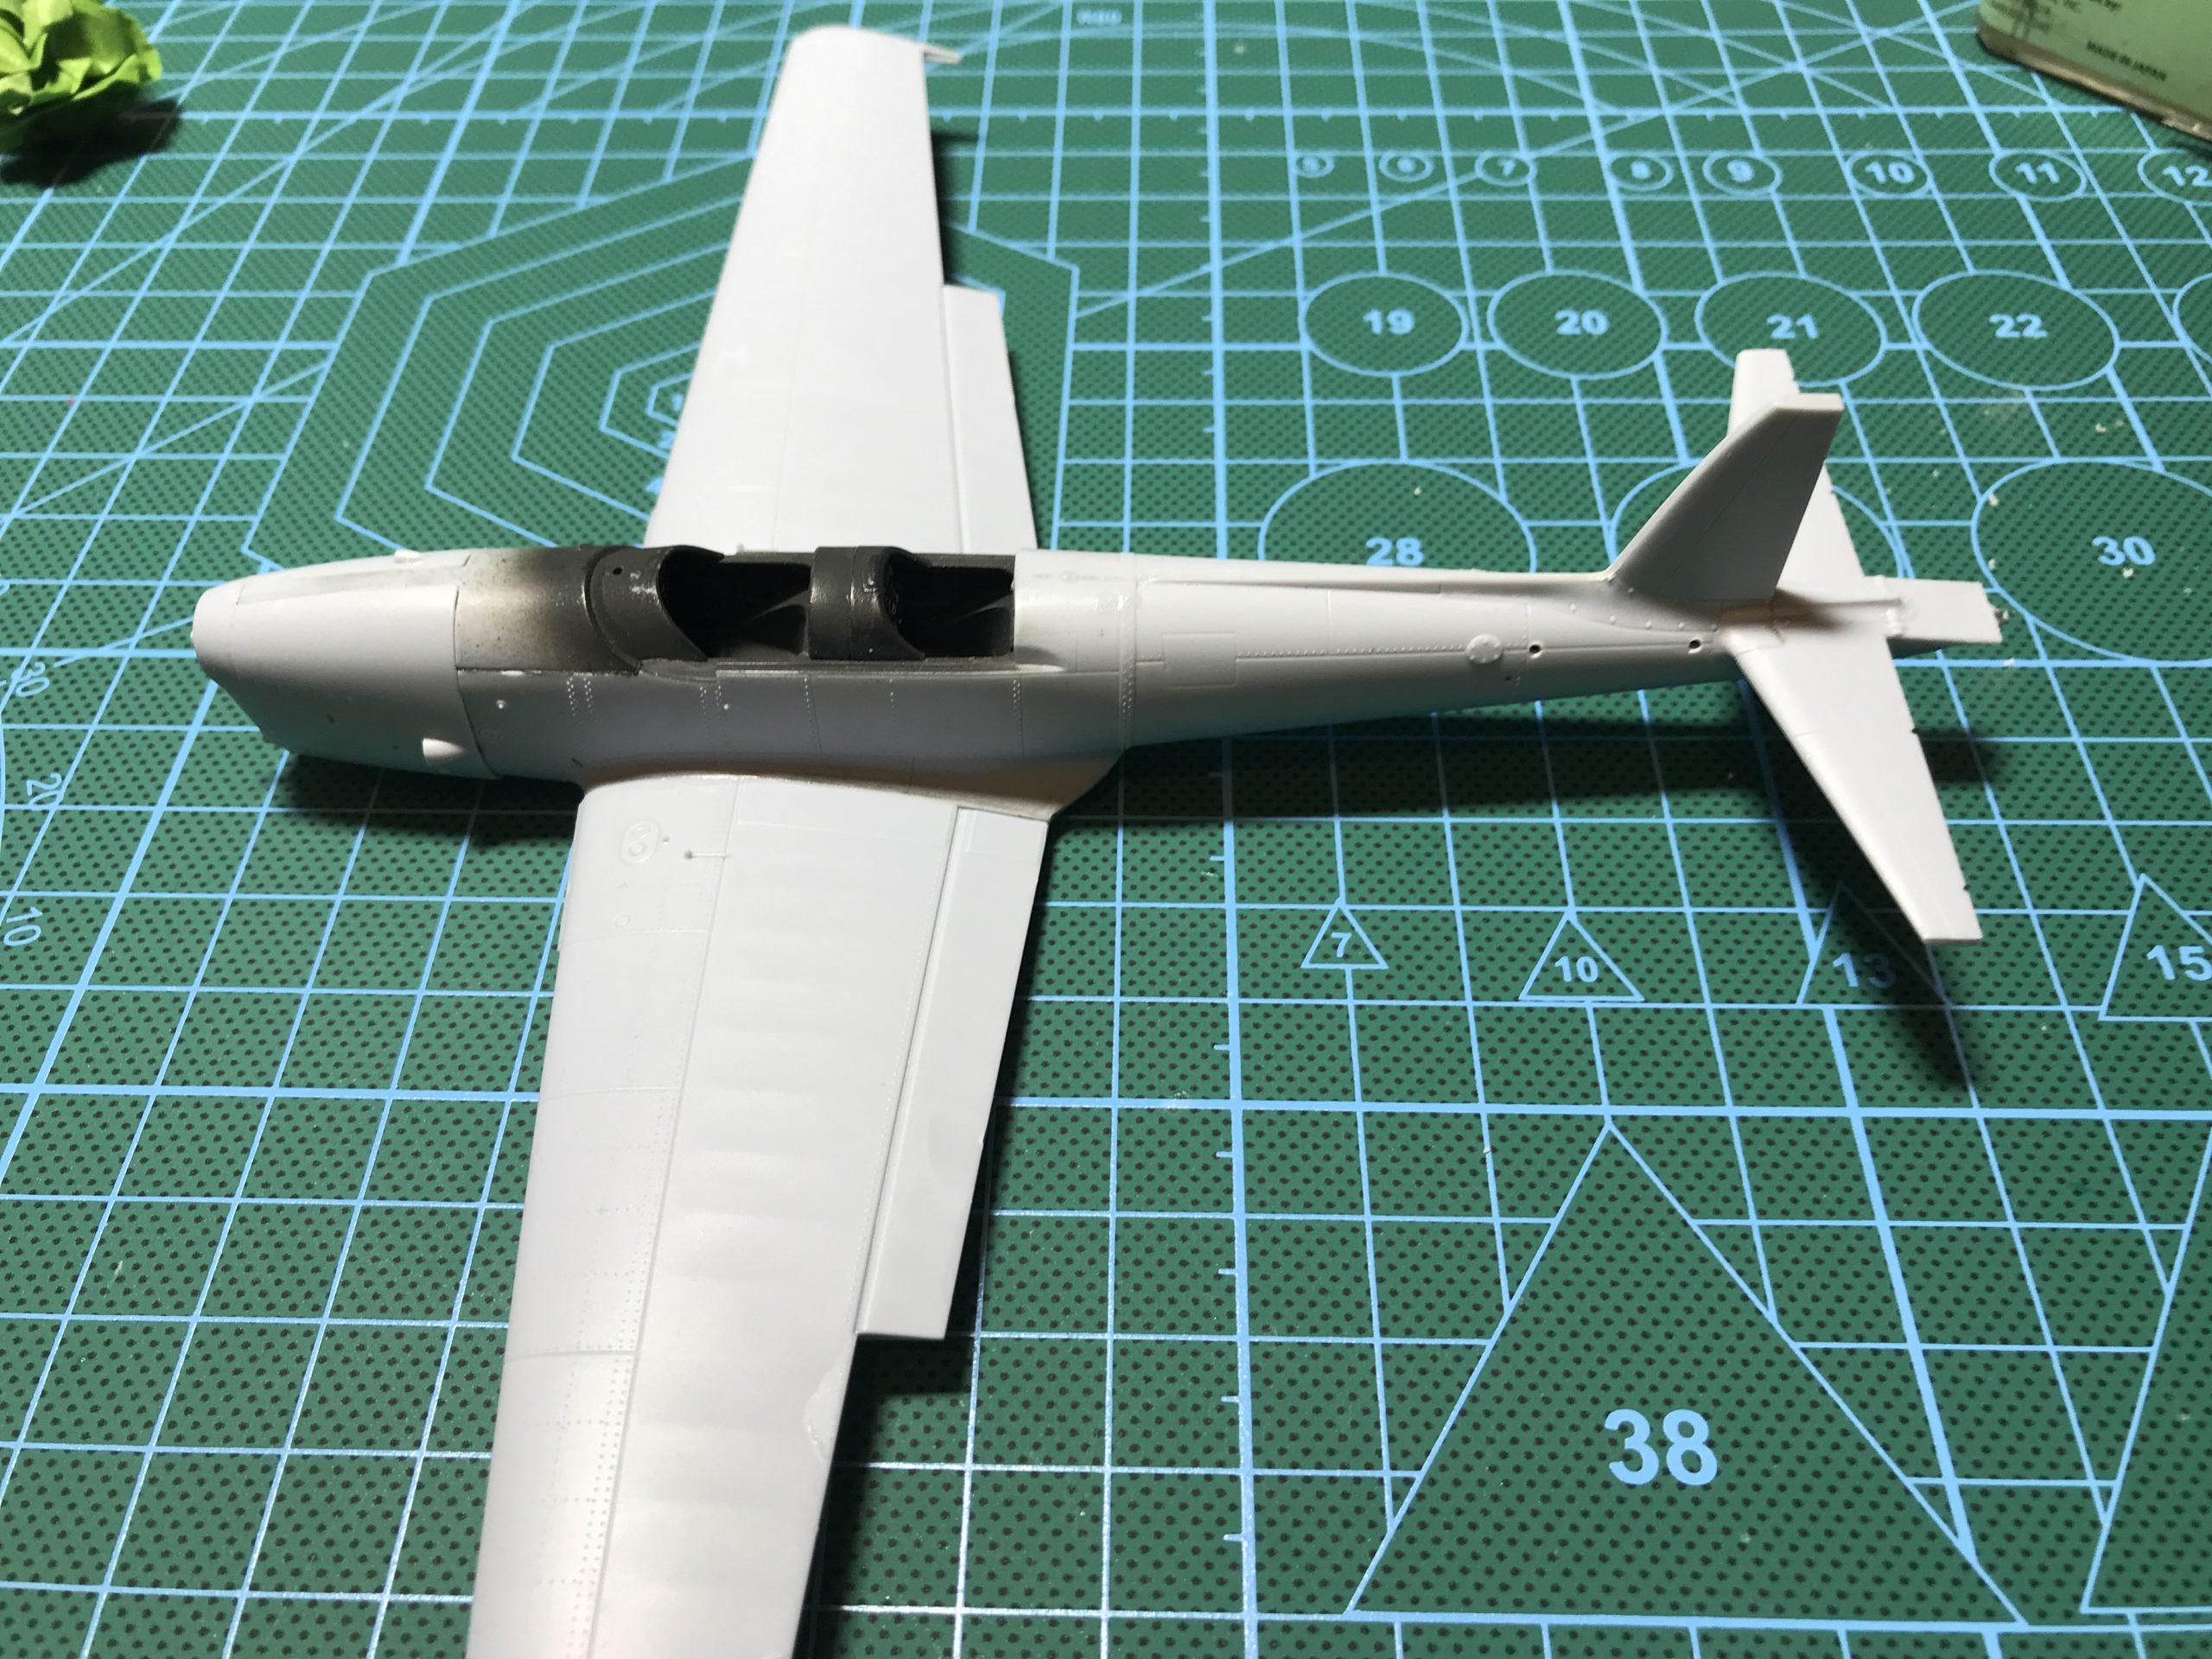


So far so good. At this point I was feeling pretty good about how things were progressing. What could possibly go wrong? Well funny you should ask…
The canopy
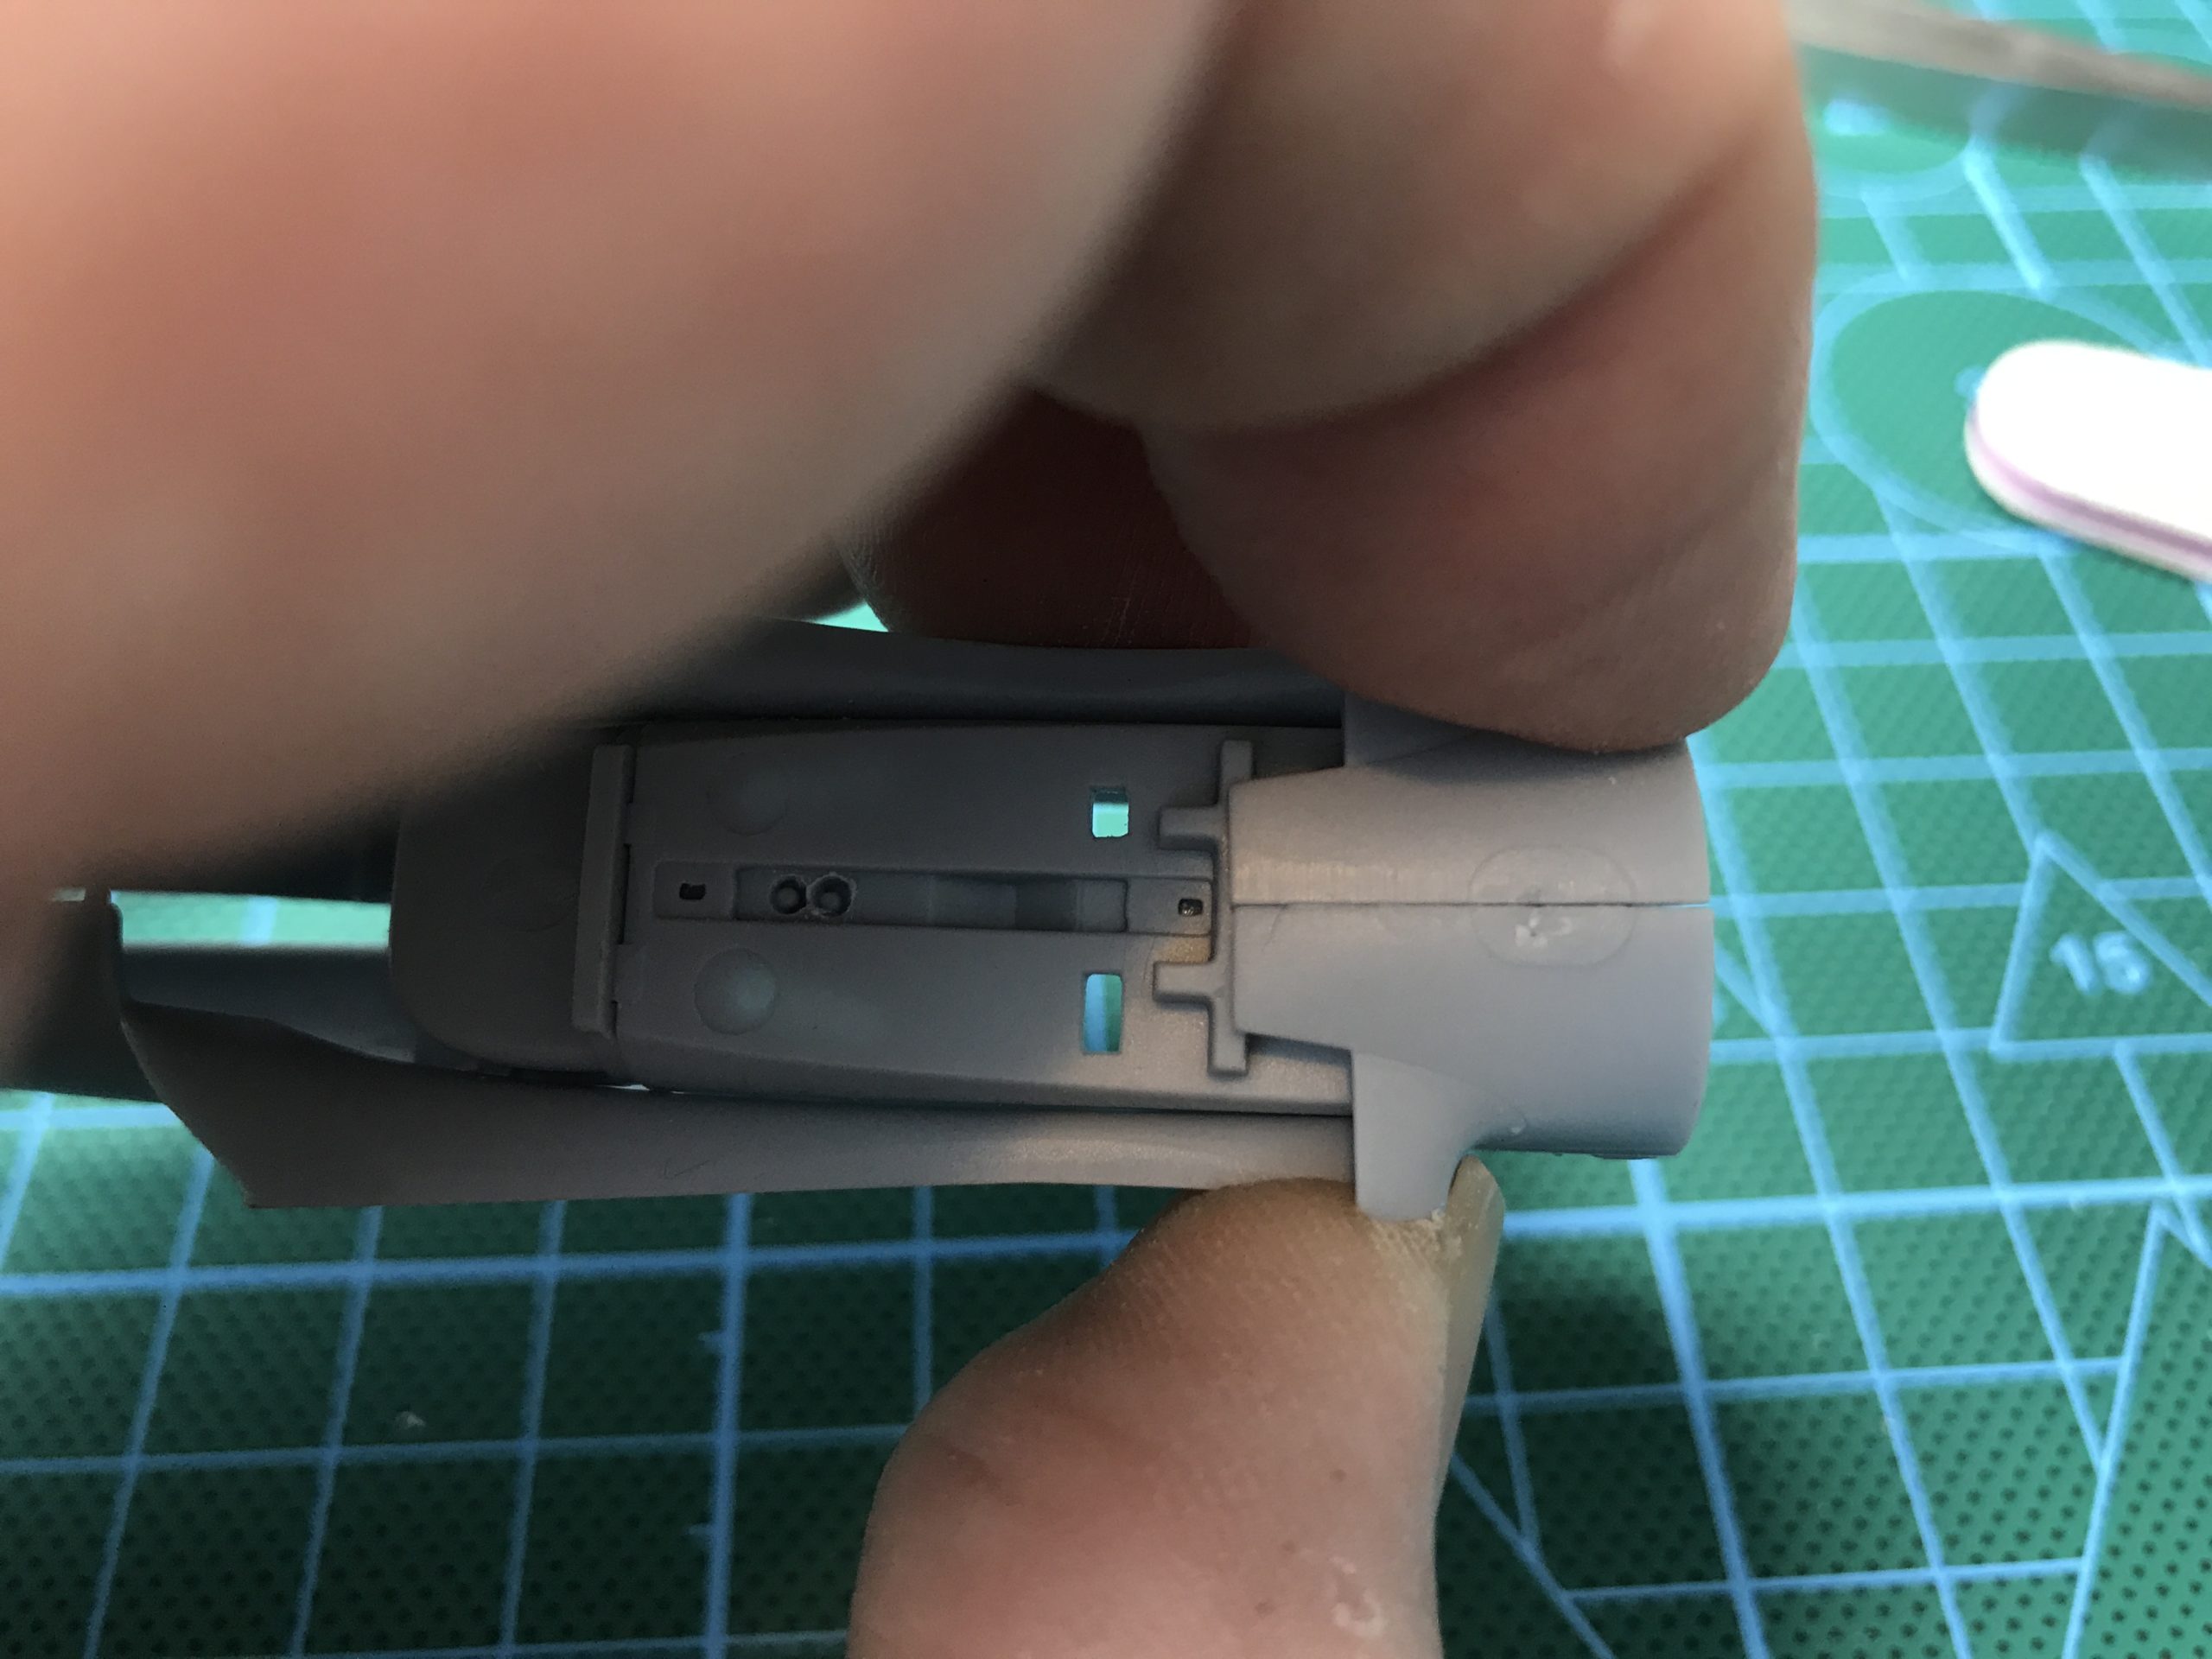
Remember when I said the kit didn’t have any short shots? Well as it turns out I was wrong.
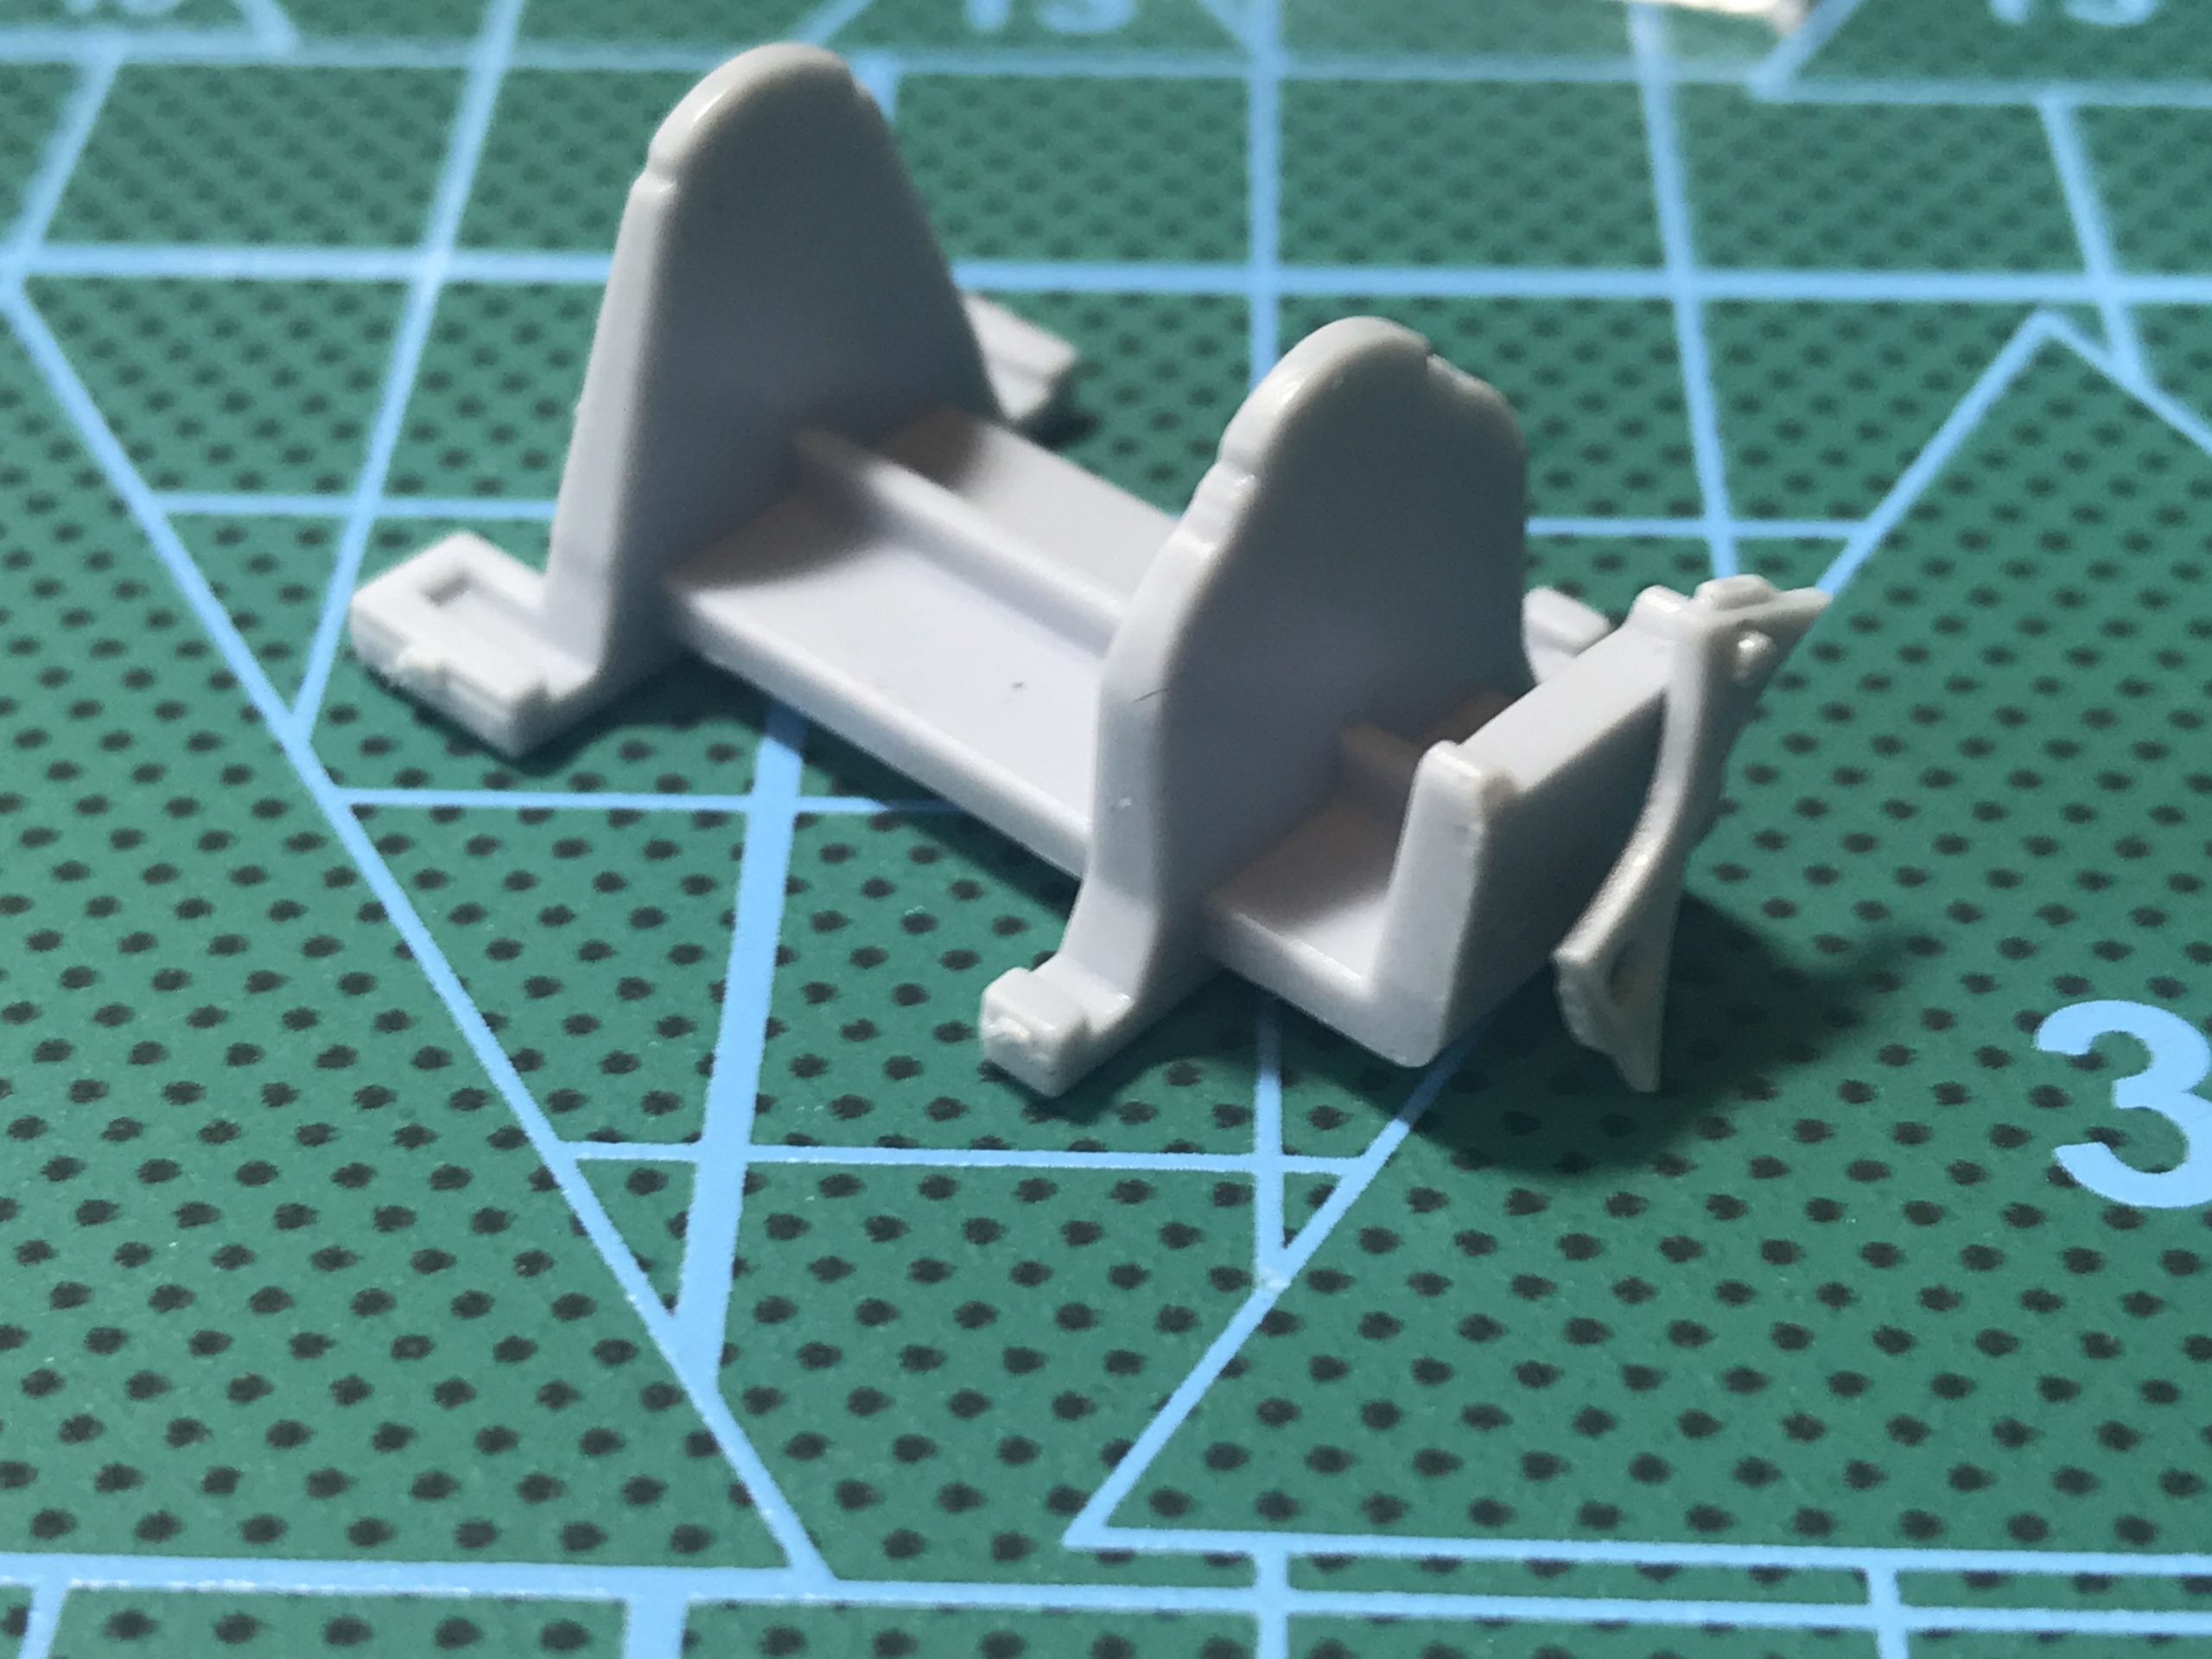
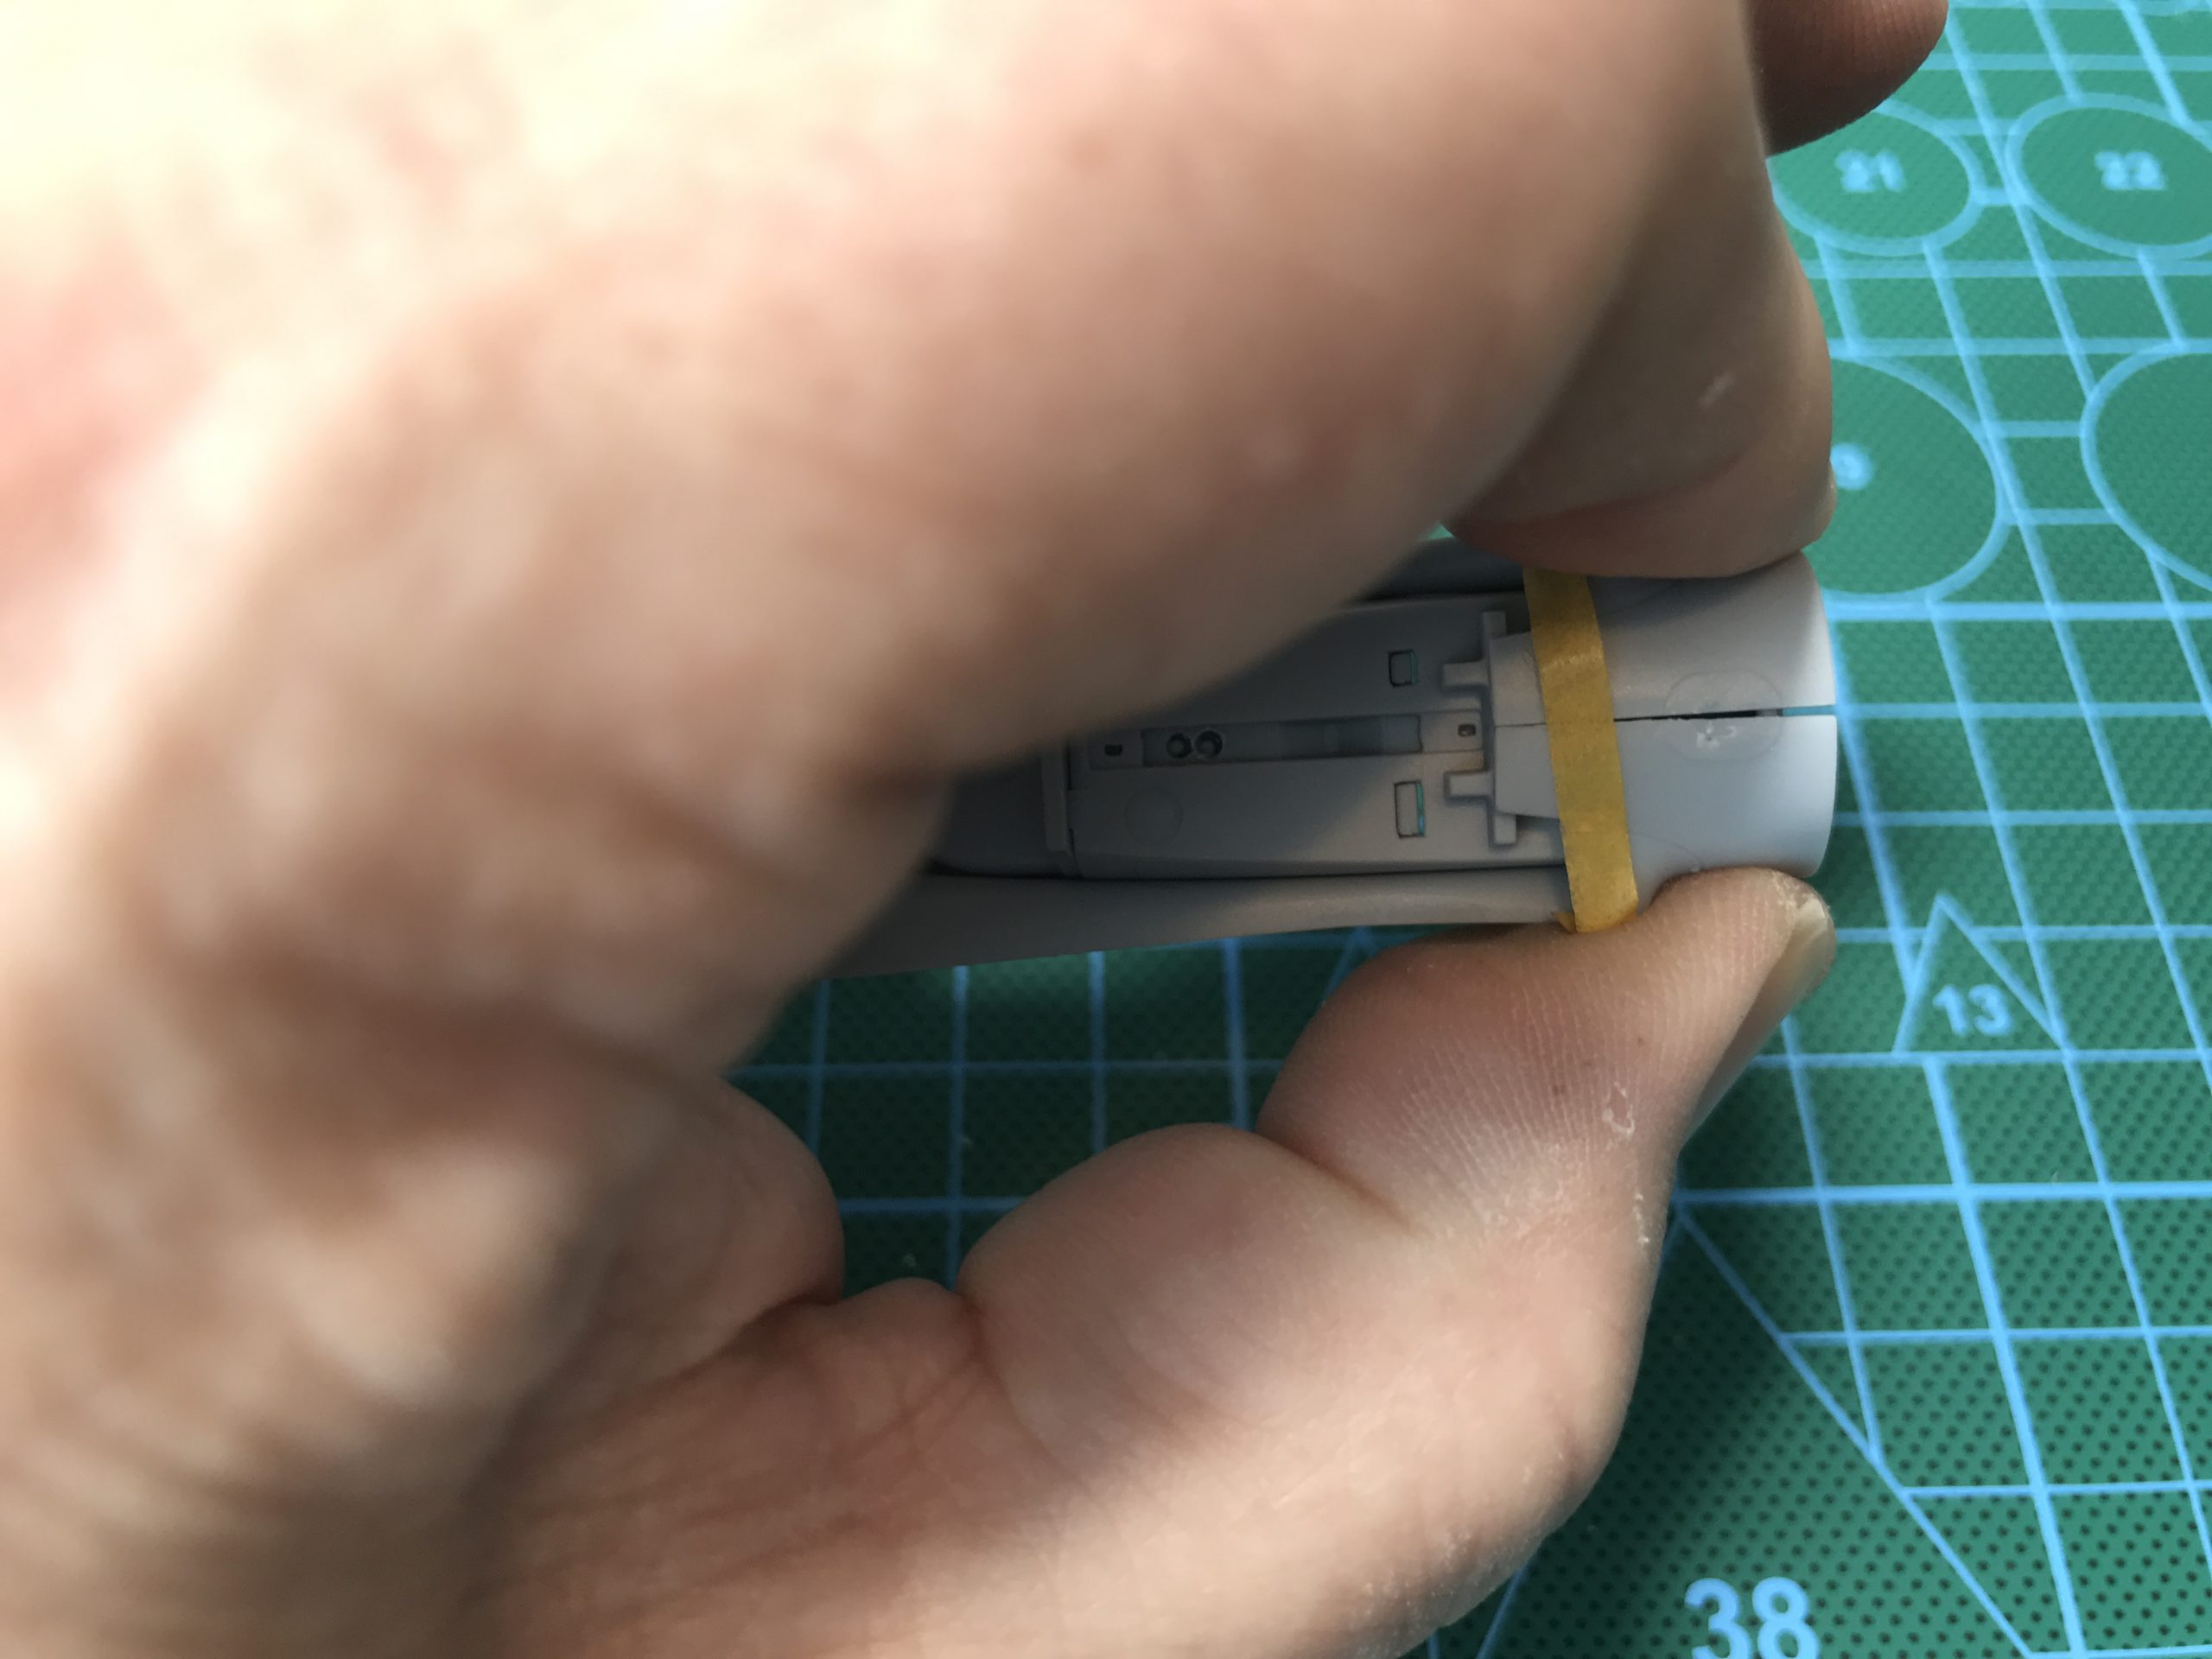
One of the tiny pegs on the assembly jig was missing. This pin supports the cross brace that in part hold the canopy assembly together. Now the sensible option would have been to contact Airfix’s excellent customer services department and requested a replacement sprue that would no doubt have been with me within a day or so. A slightly less sensible approach would have been to fabricate a new pin by stretching a piece of sprue and gluing it in place. The moronic option would be to try and wing it.
No prizes for guessing my chosen approach…. Lets just say wrong the other options would have served me better.
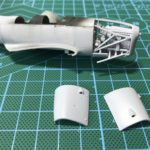
So what went wrong??
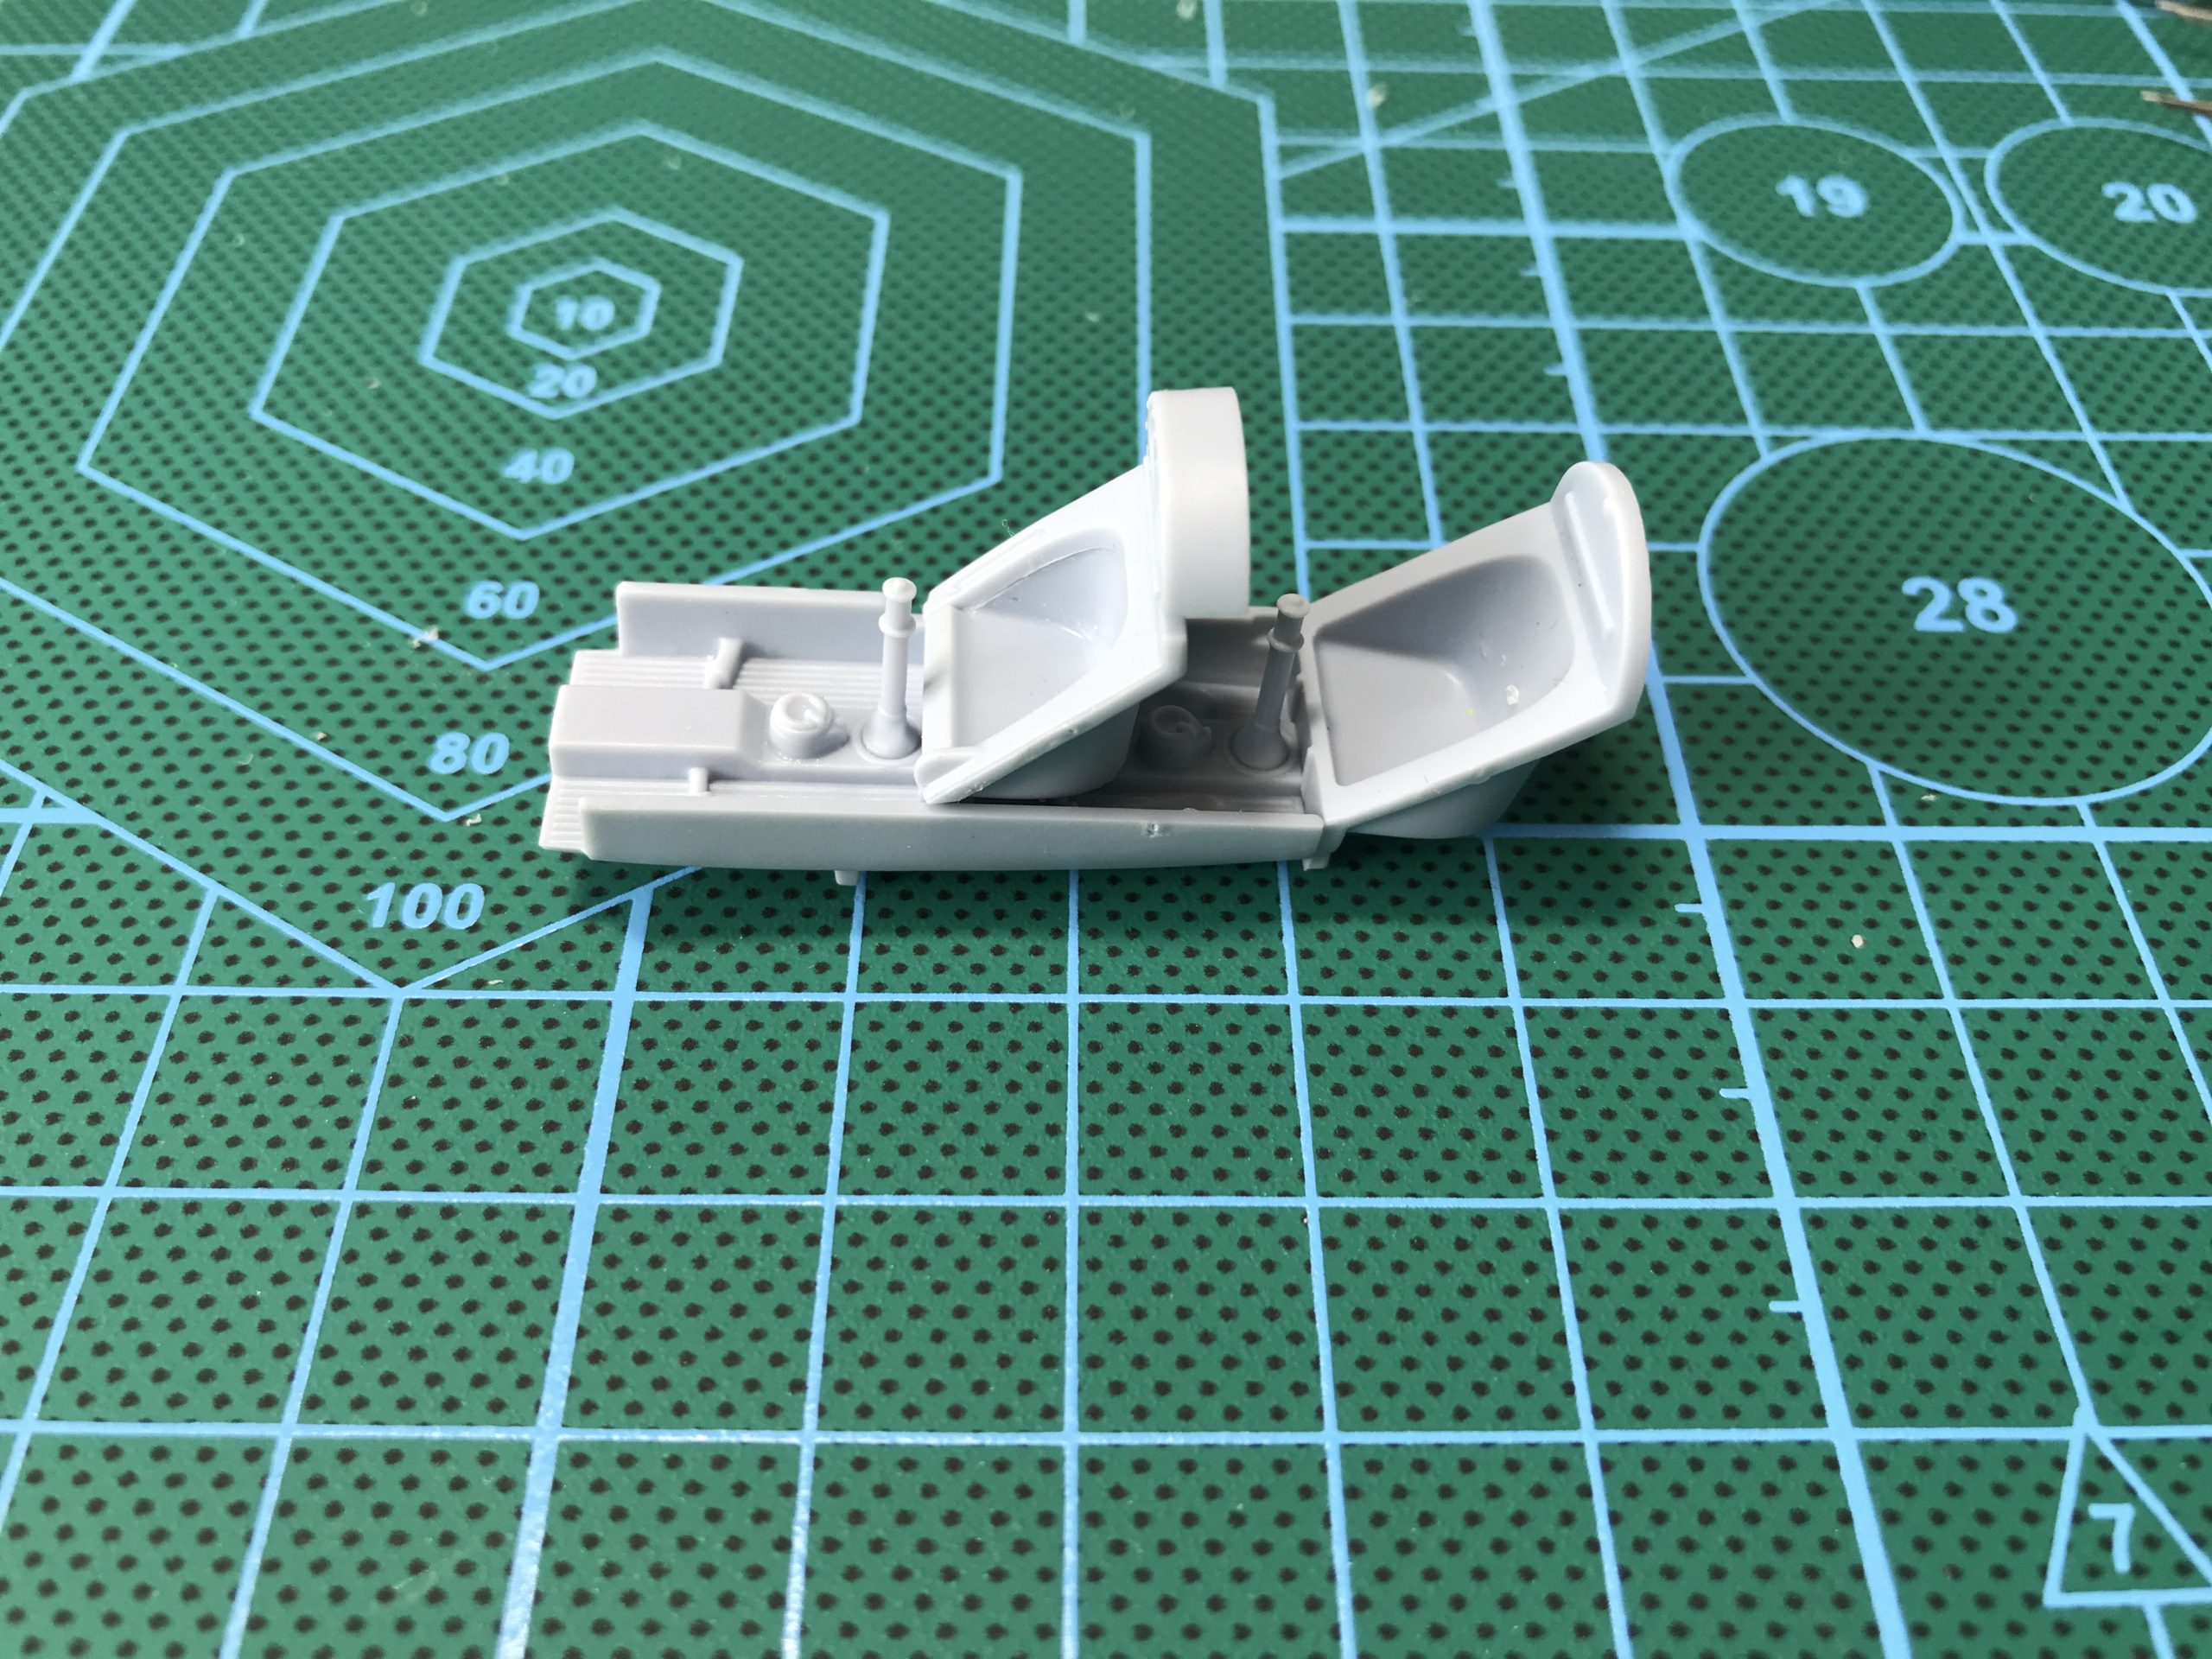
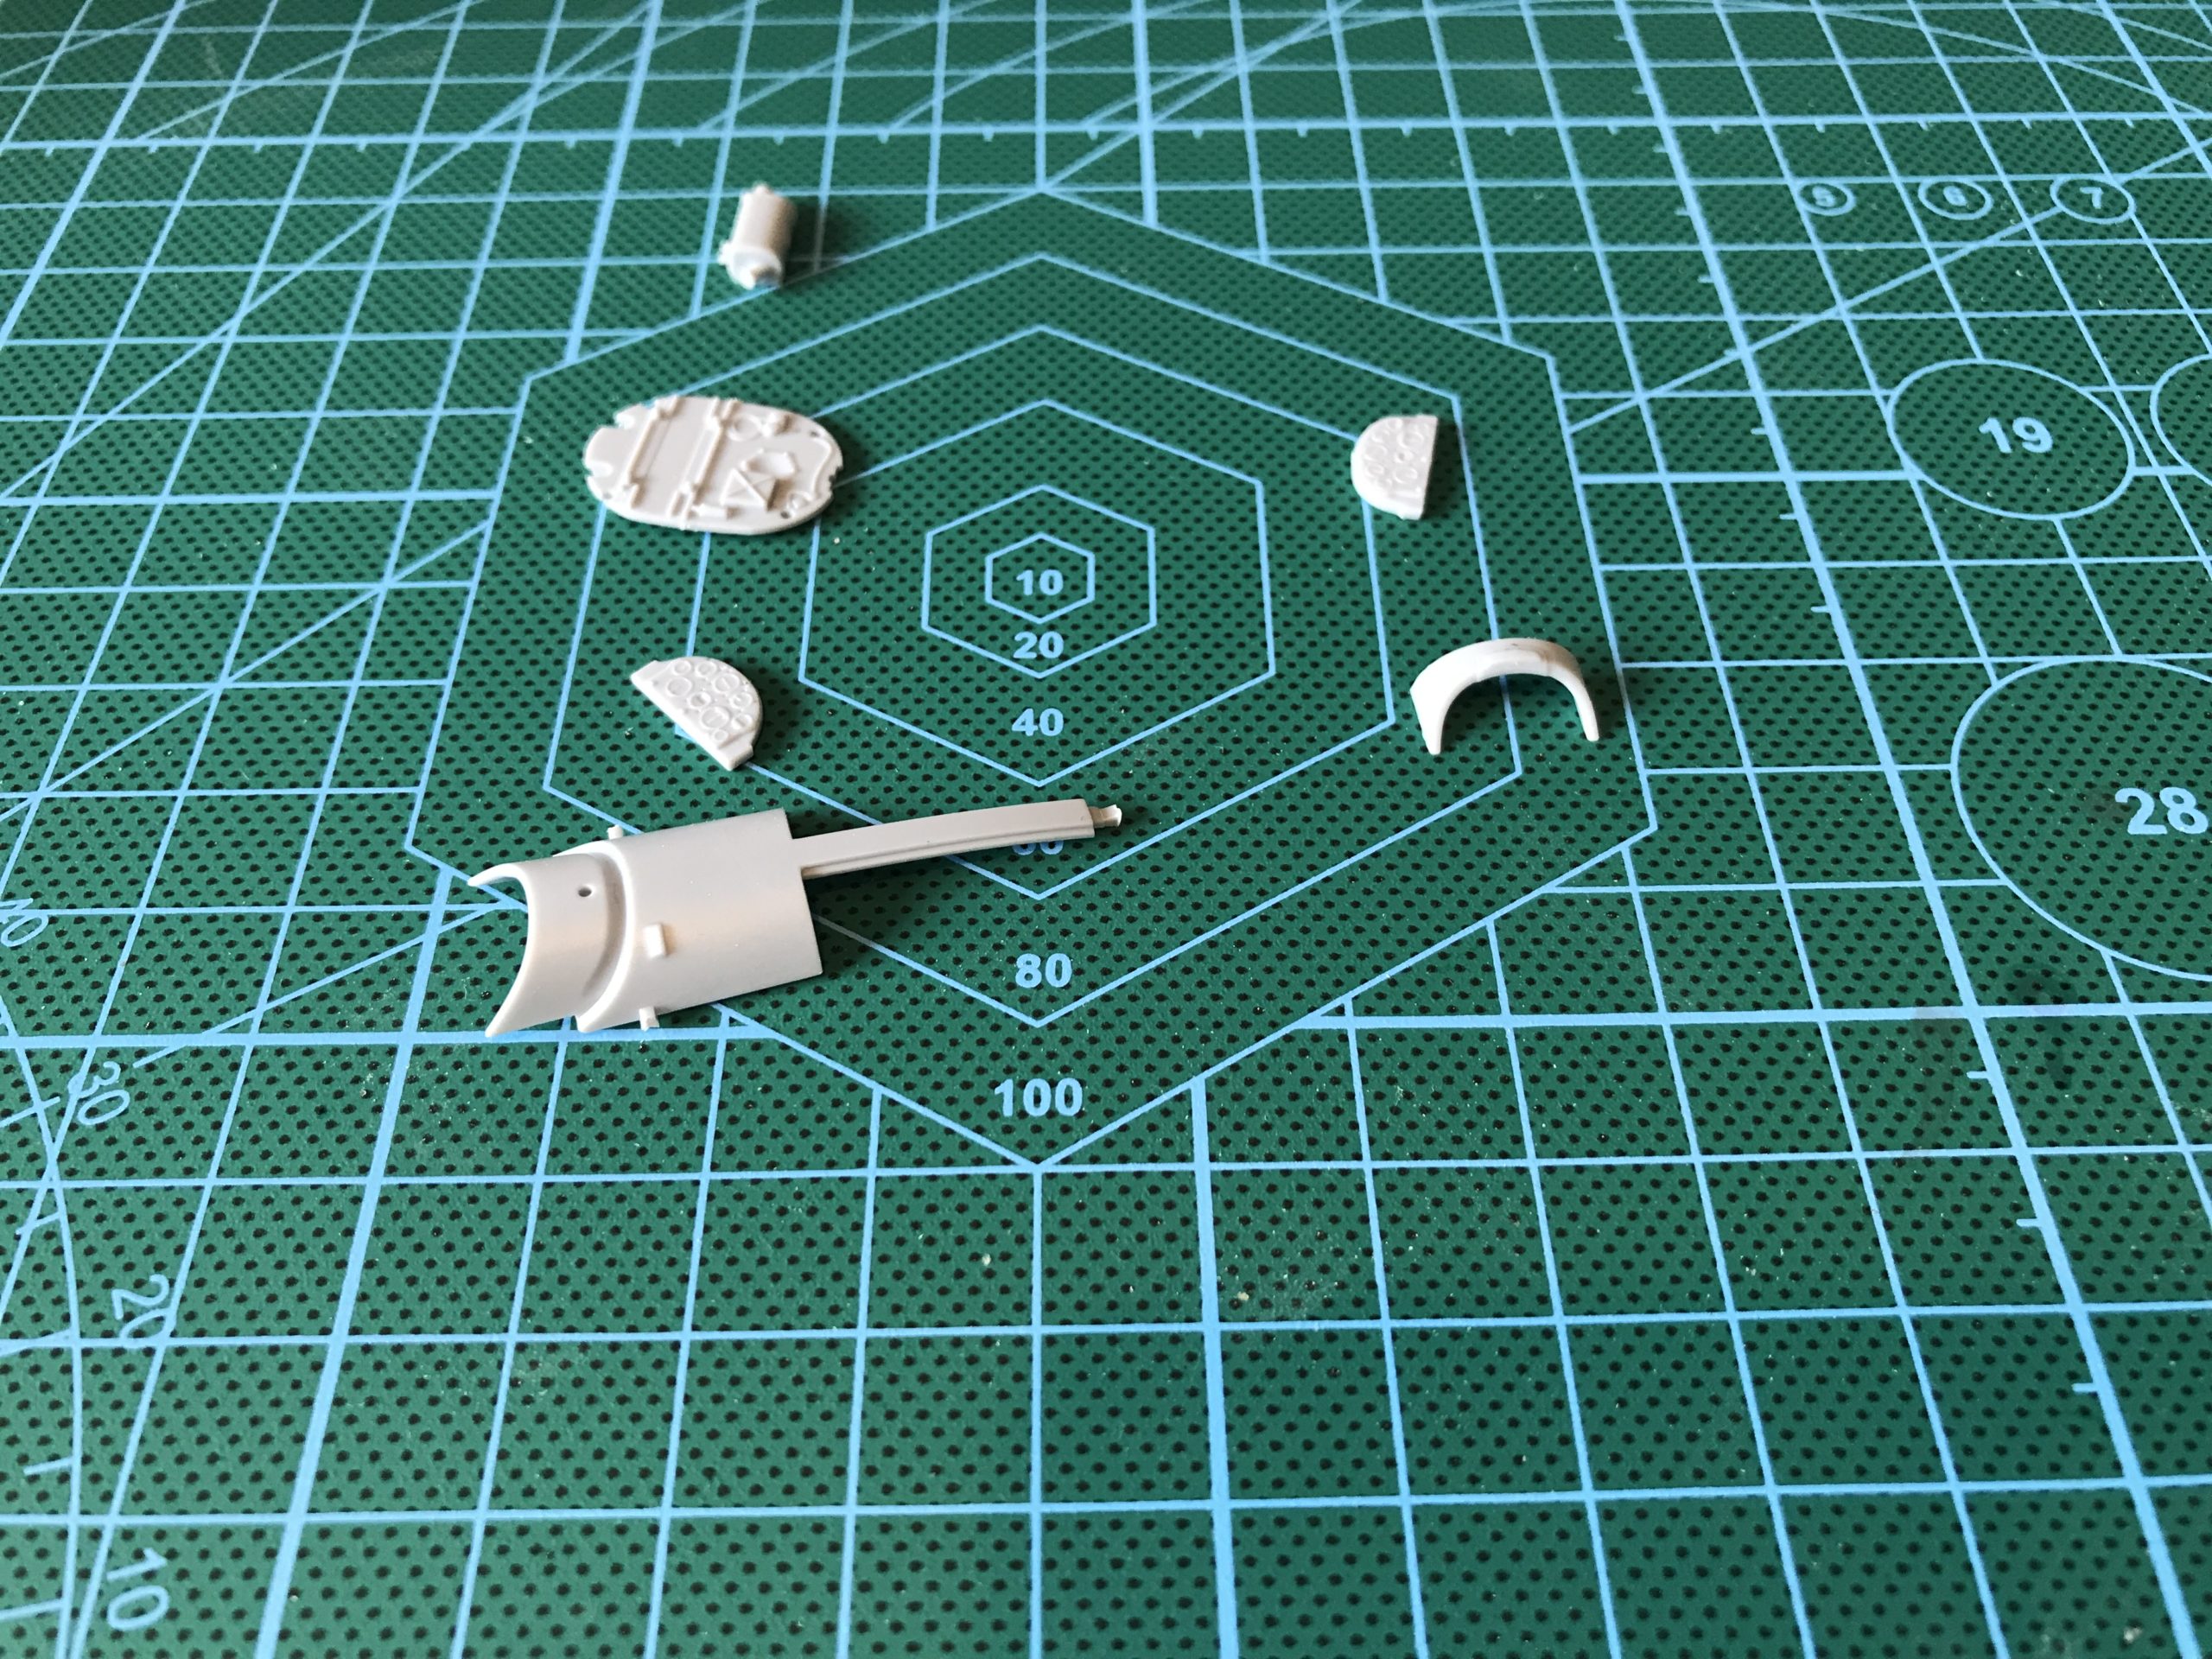
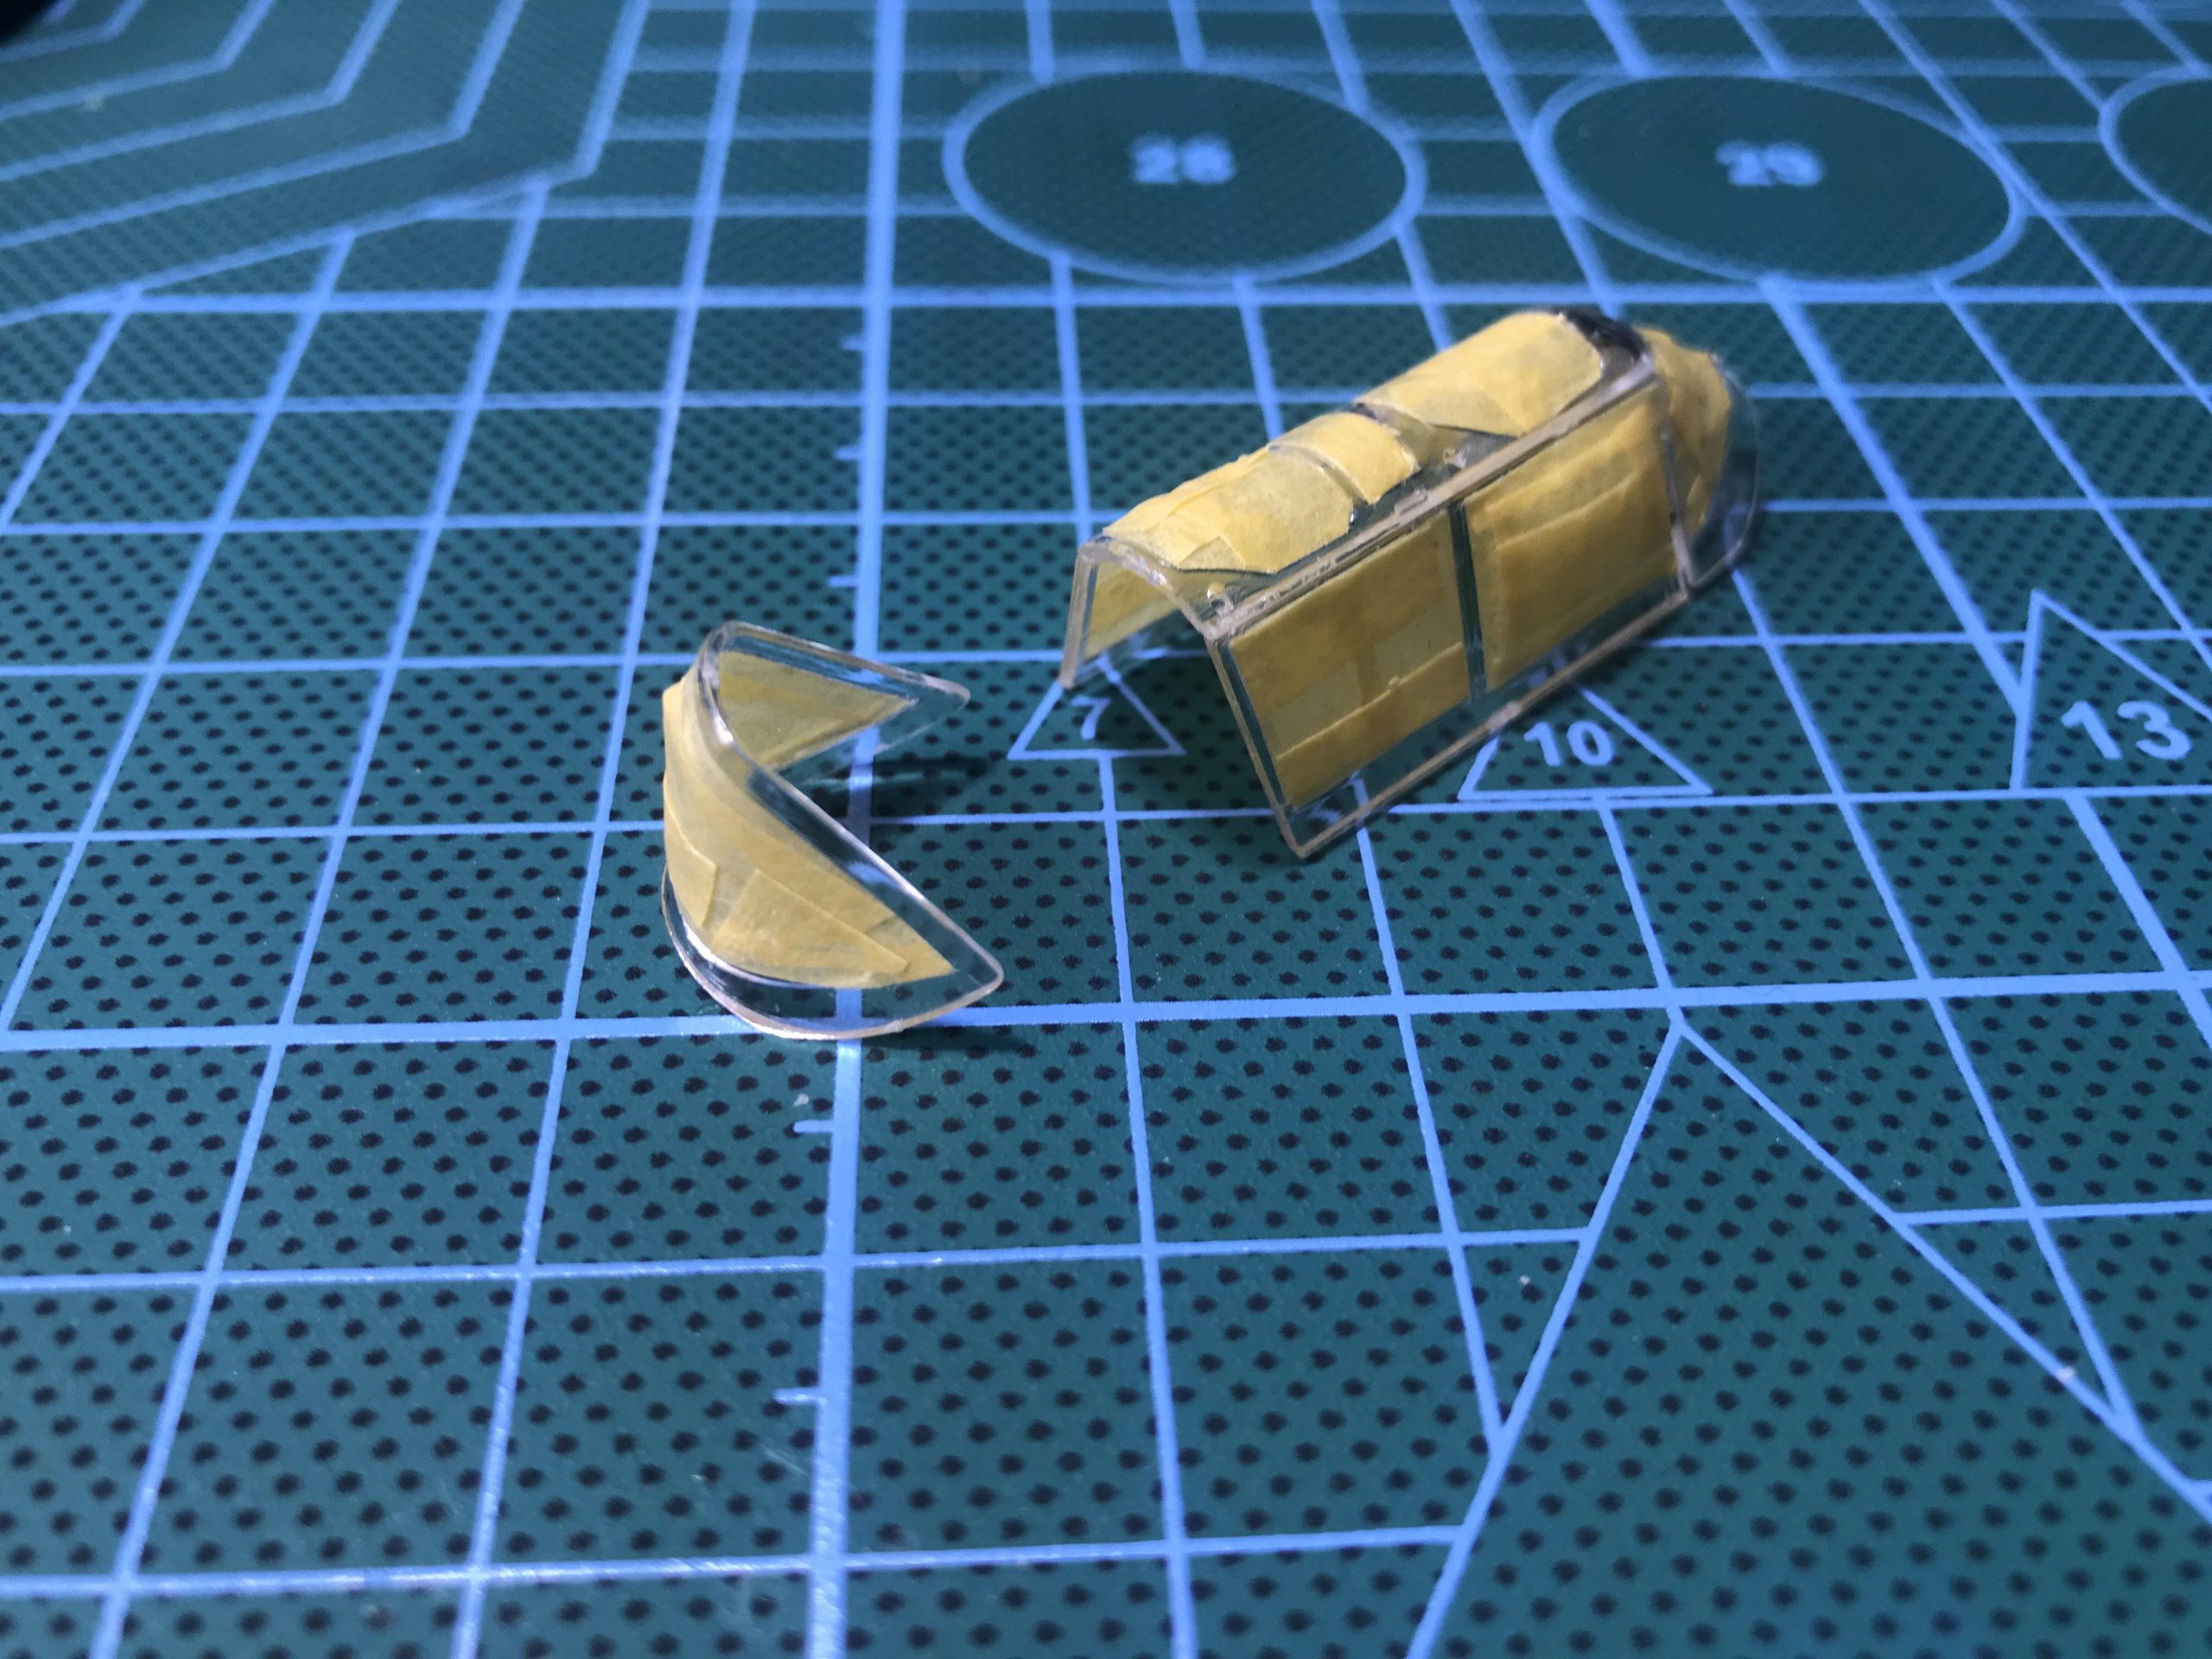
Here are the parts
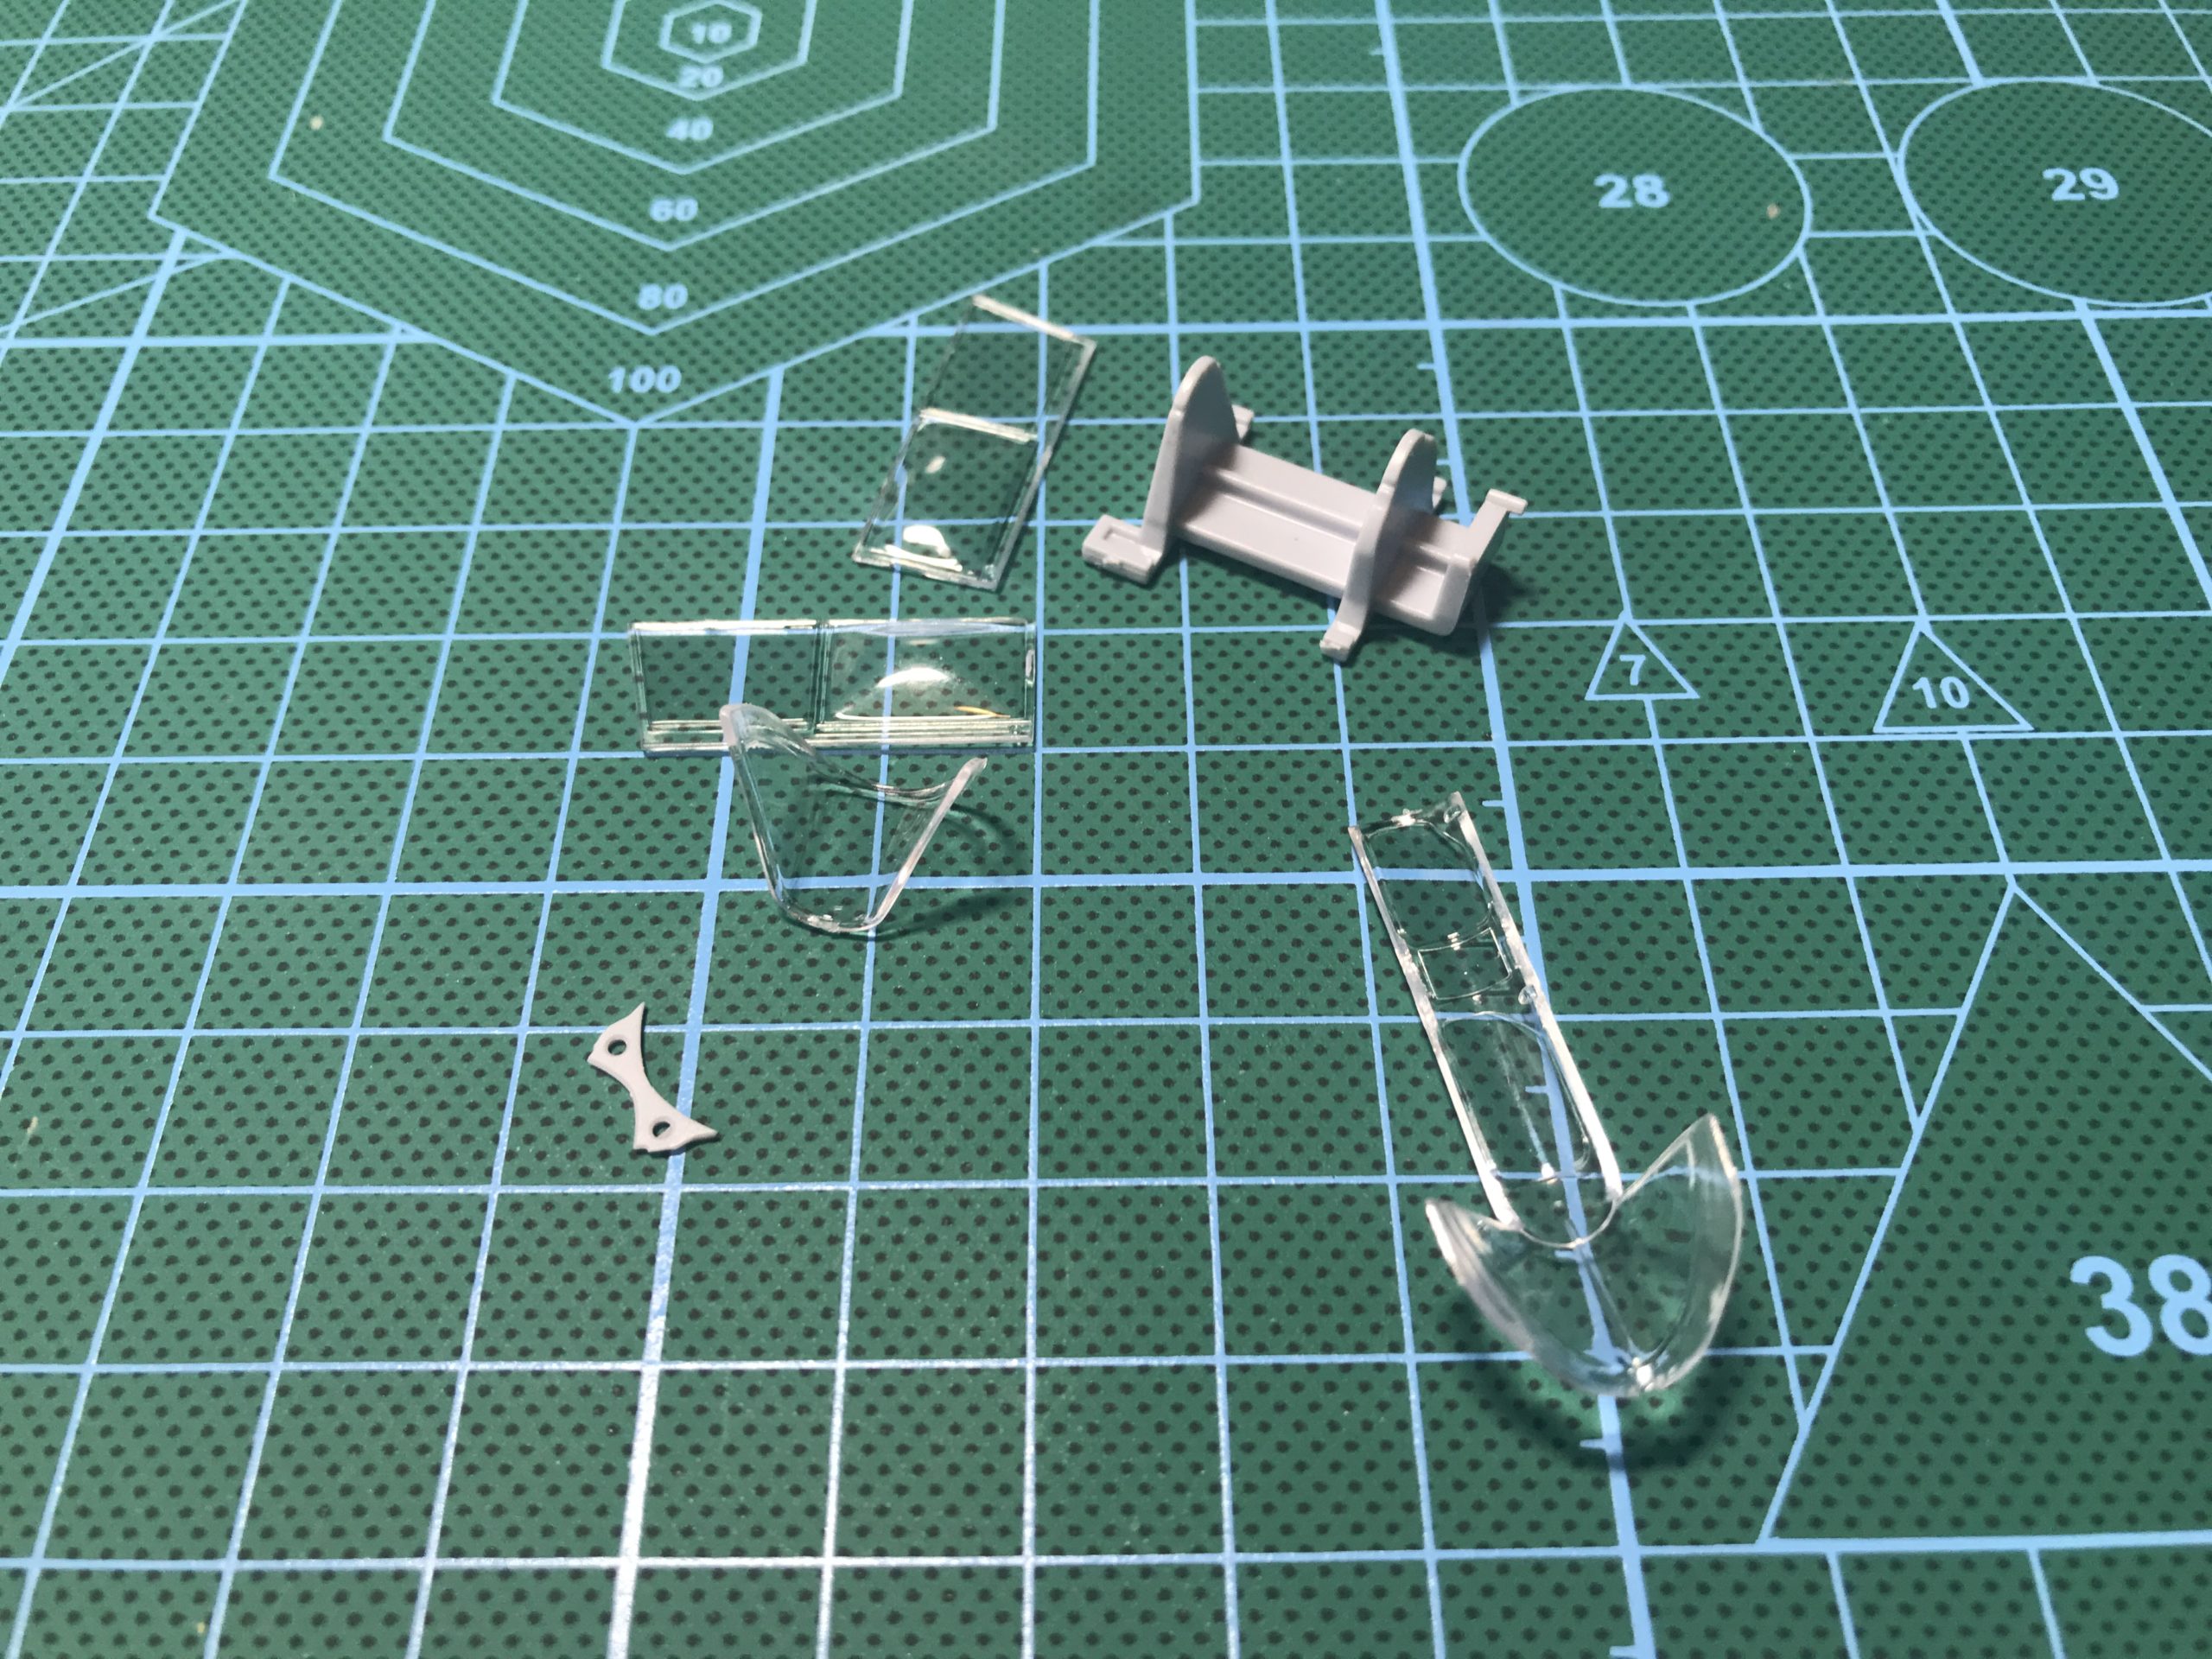
The first stage of the assembly is to attach the canopy sides to the previously mentioned cross brace. There is some nice positive location on the jig. Had mine been complete I am certain this stage would have been easier.
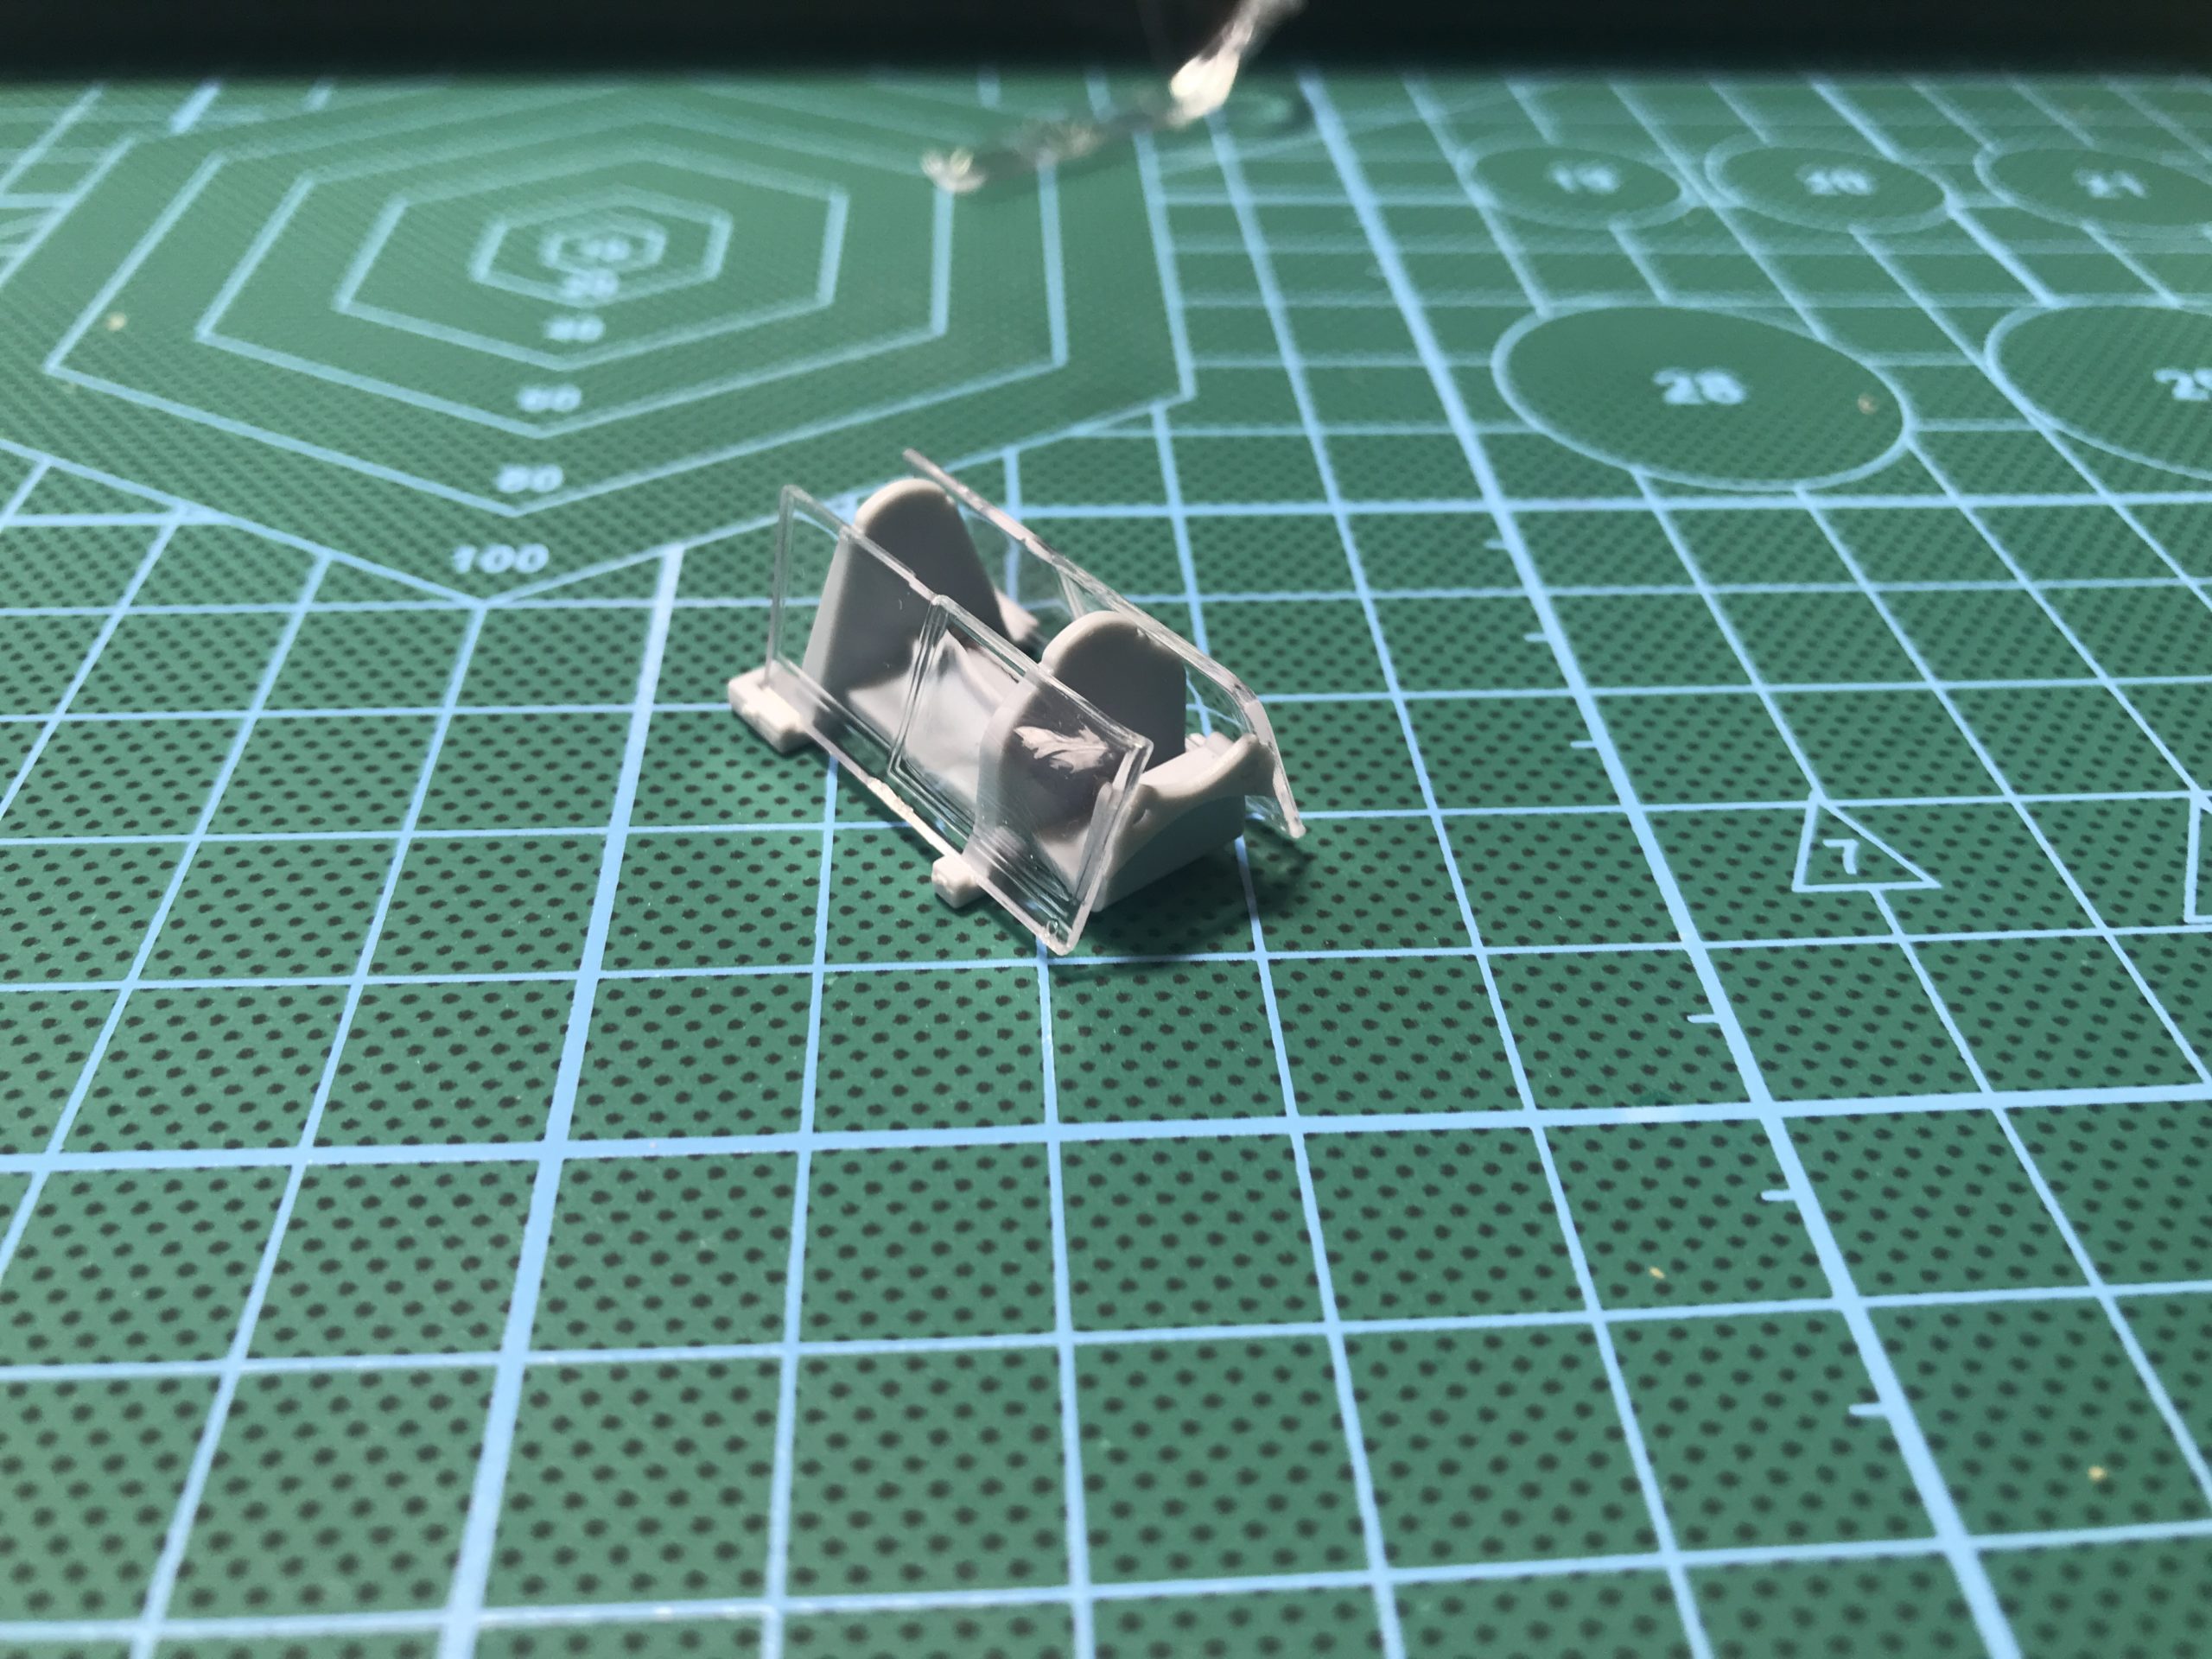
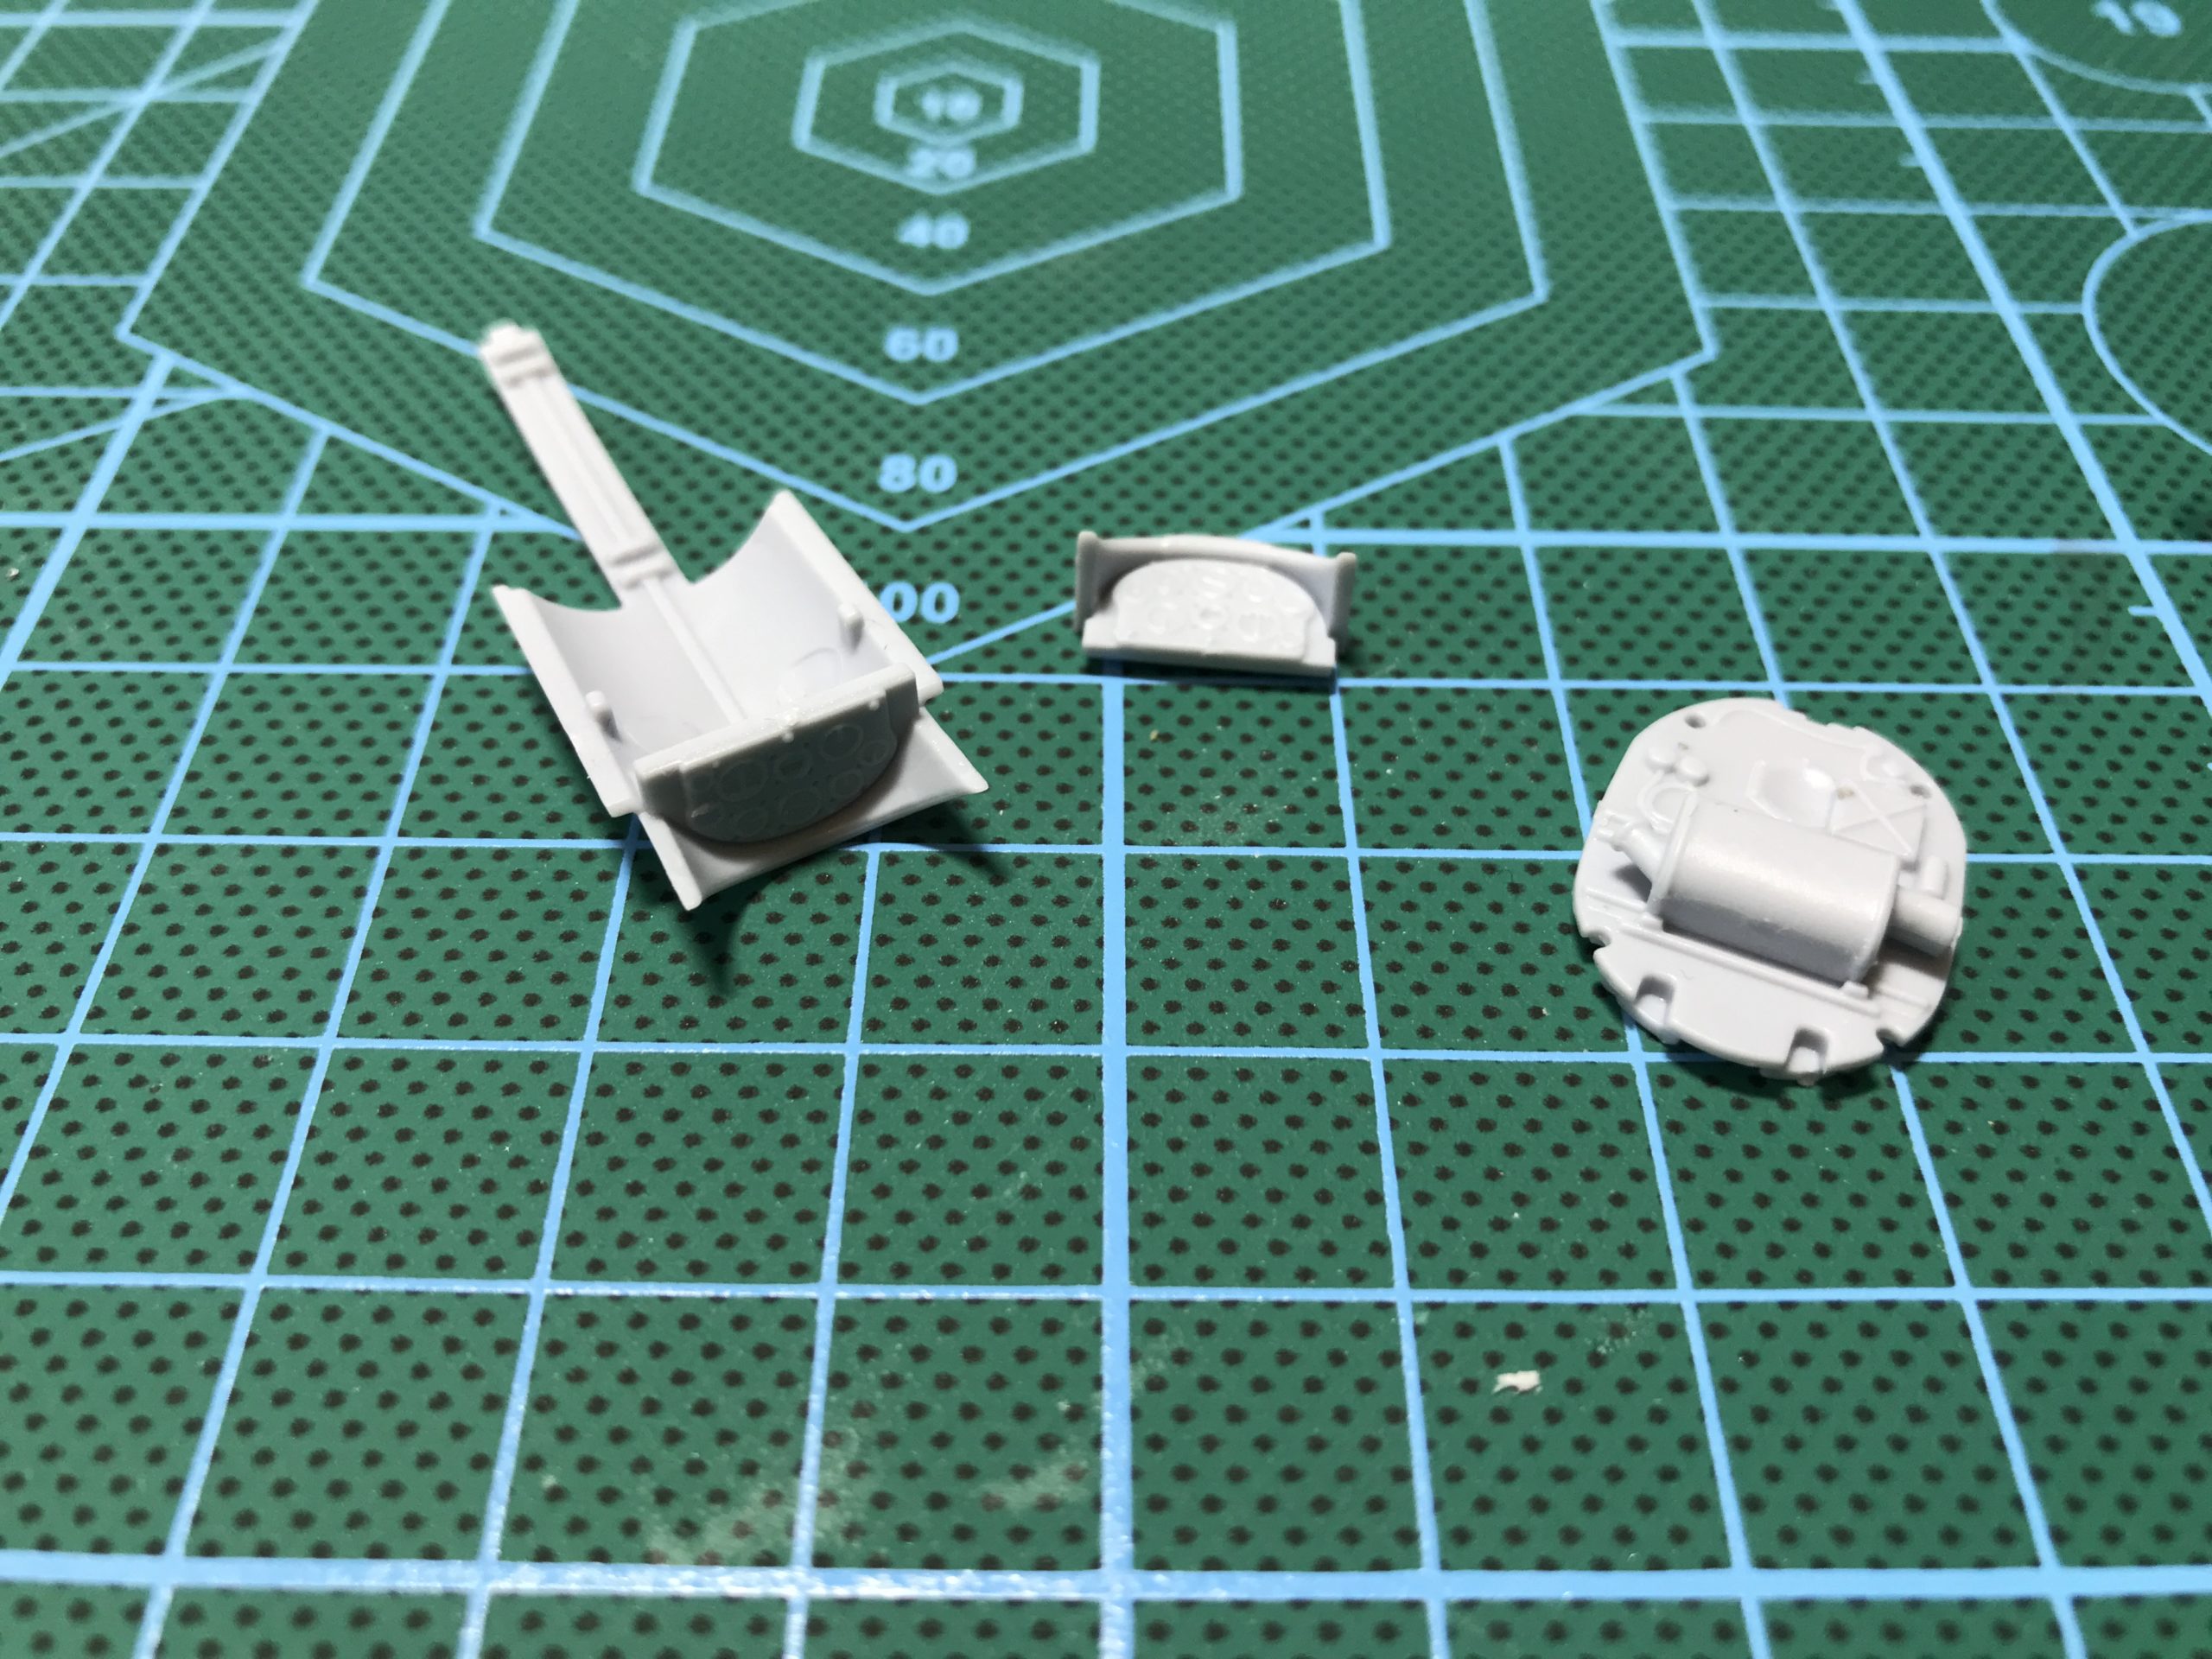
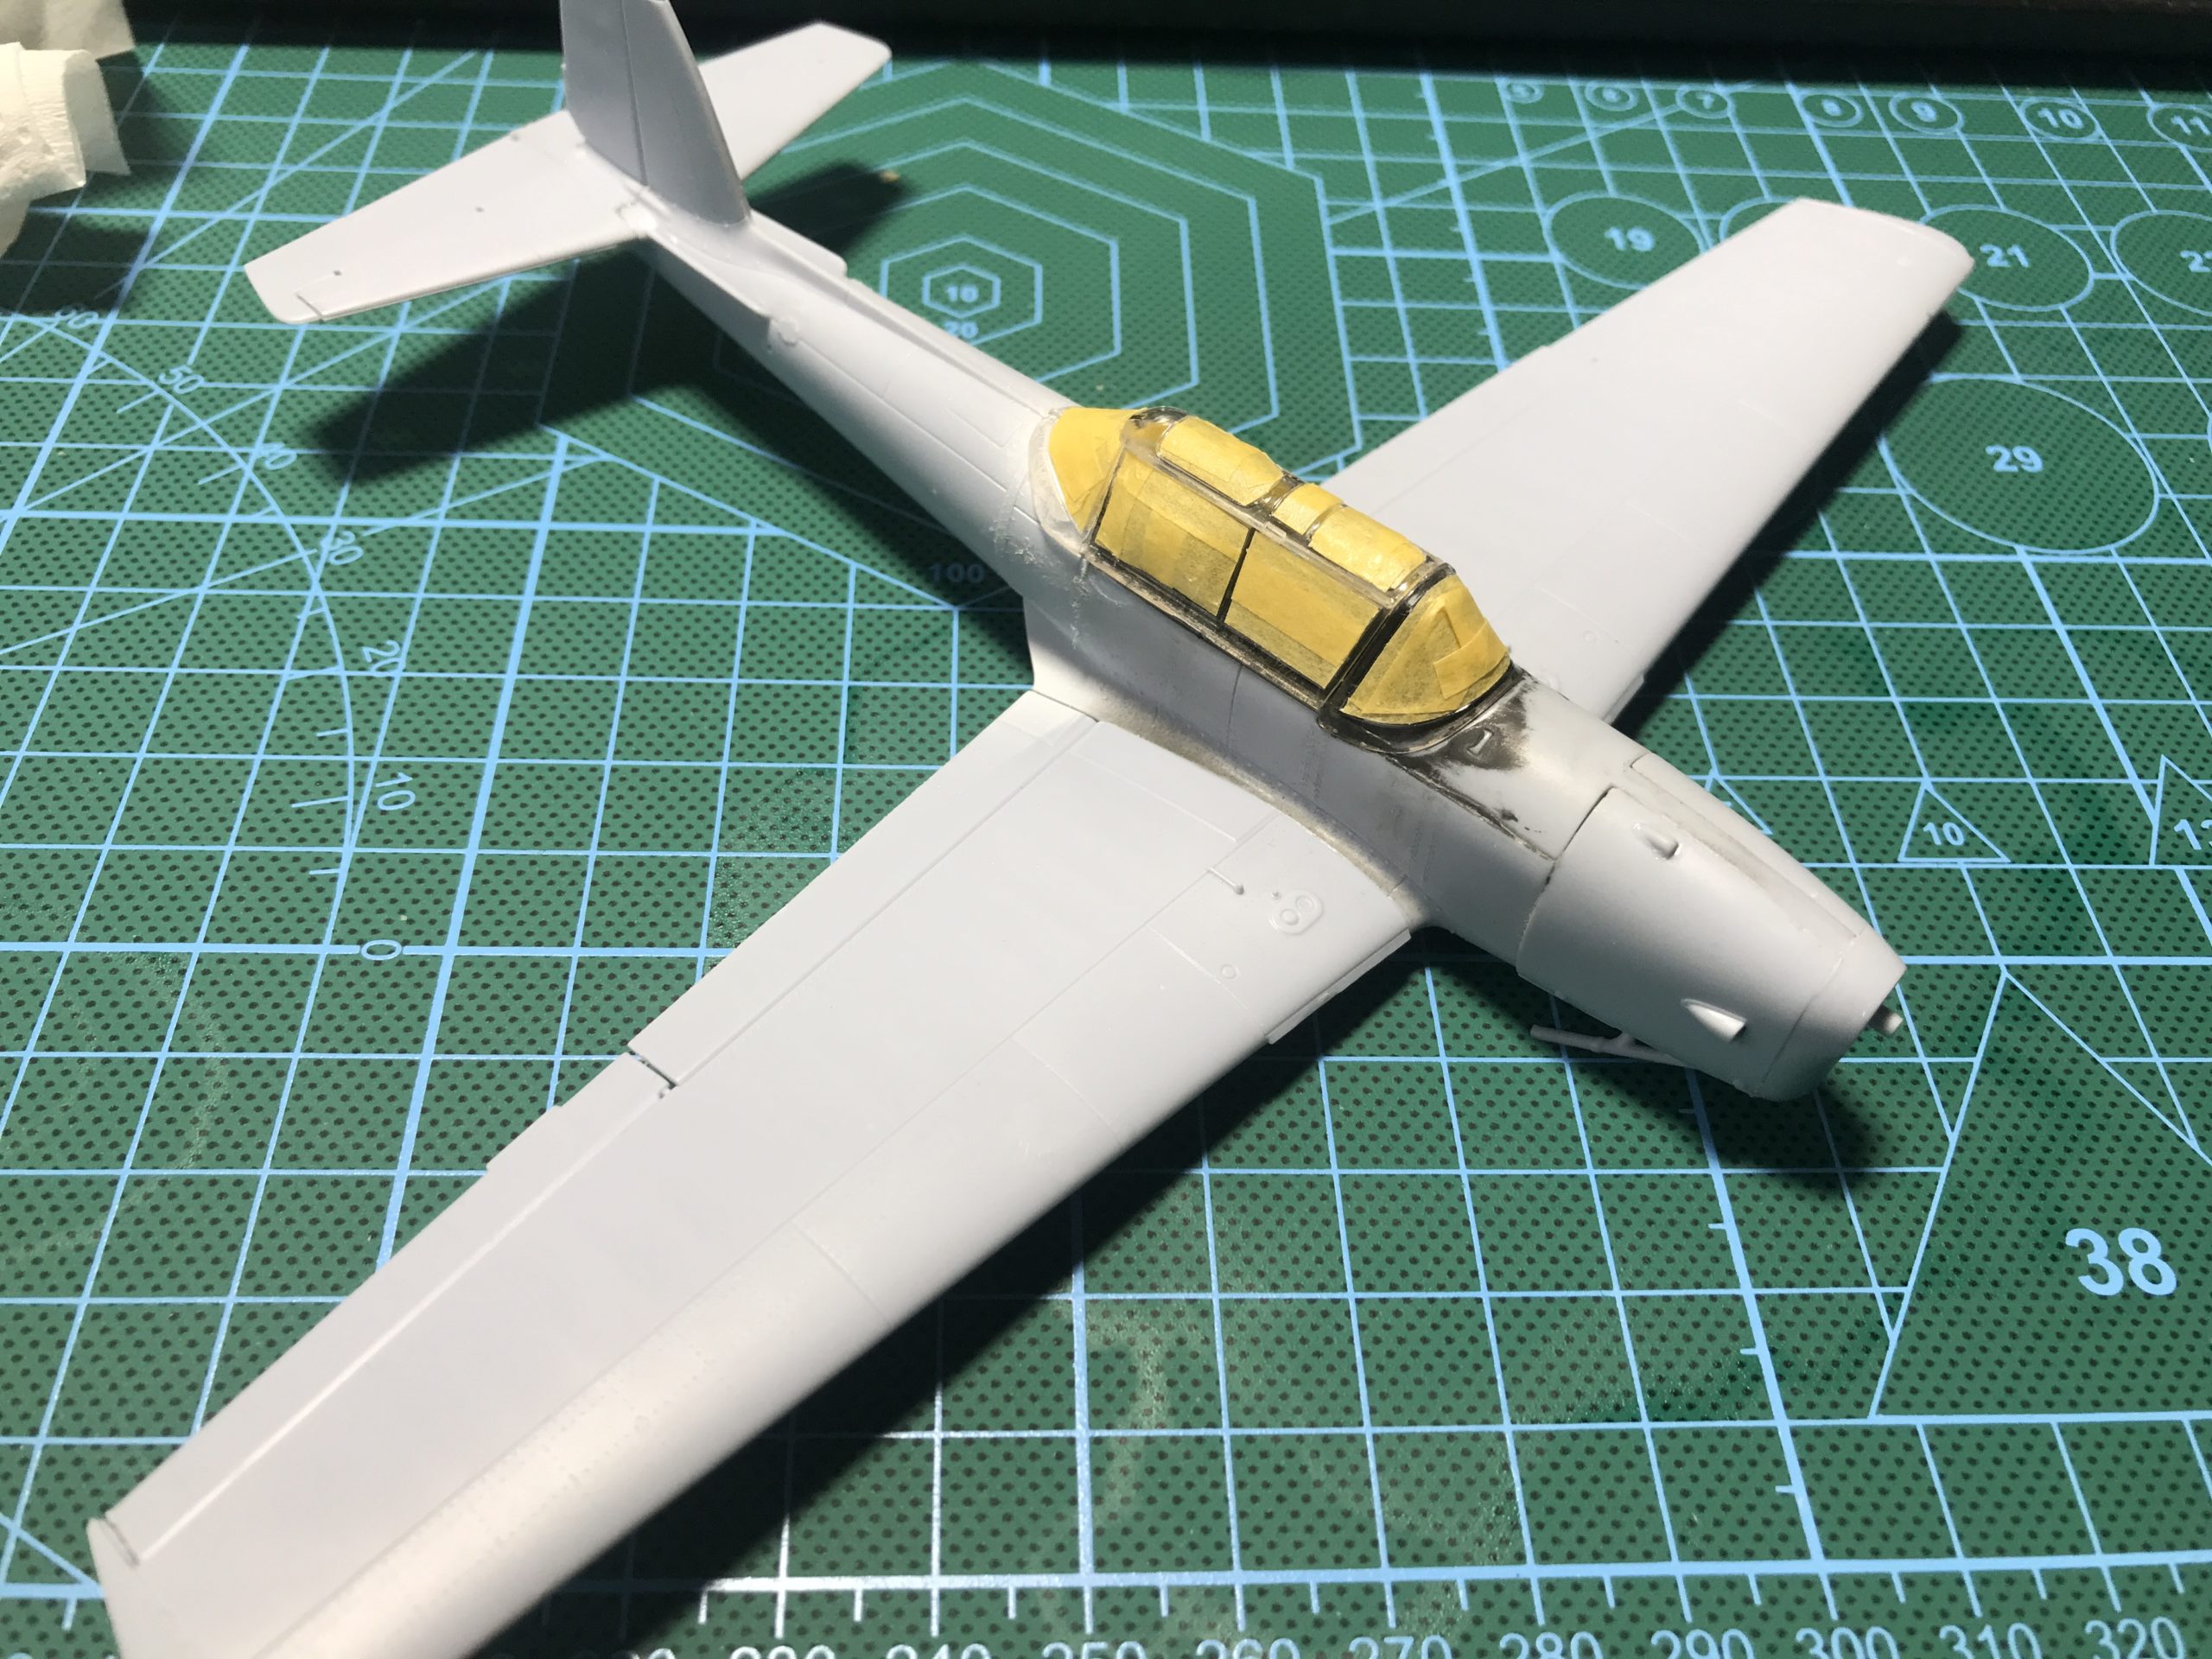
Next the top and rear of the canopy are cemented in place.
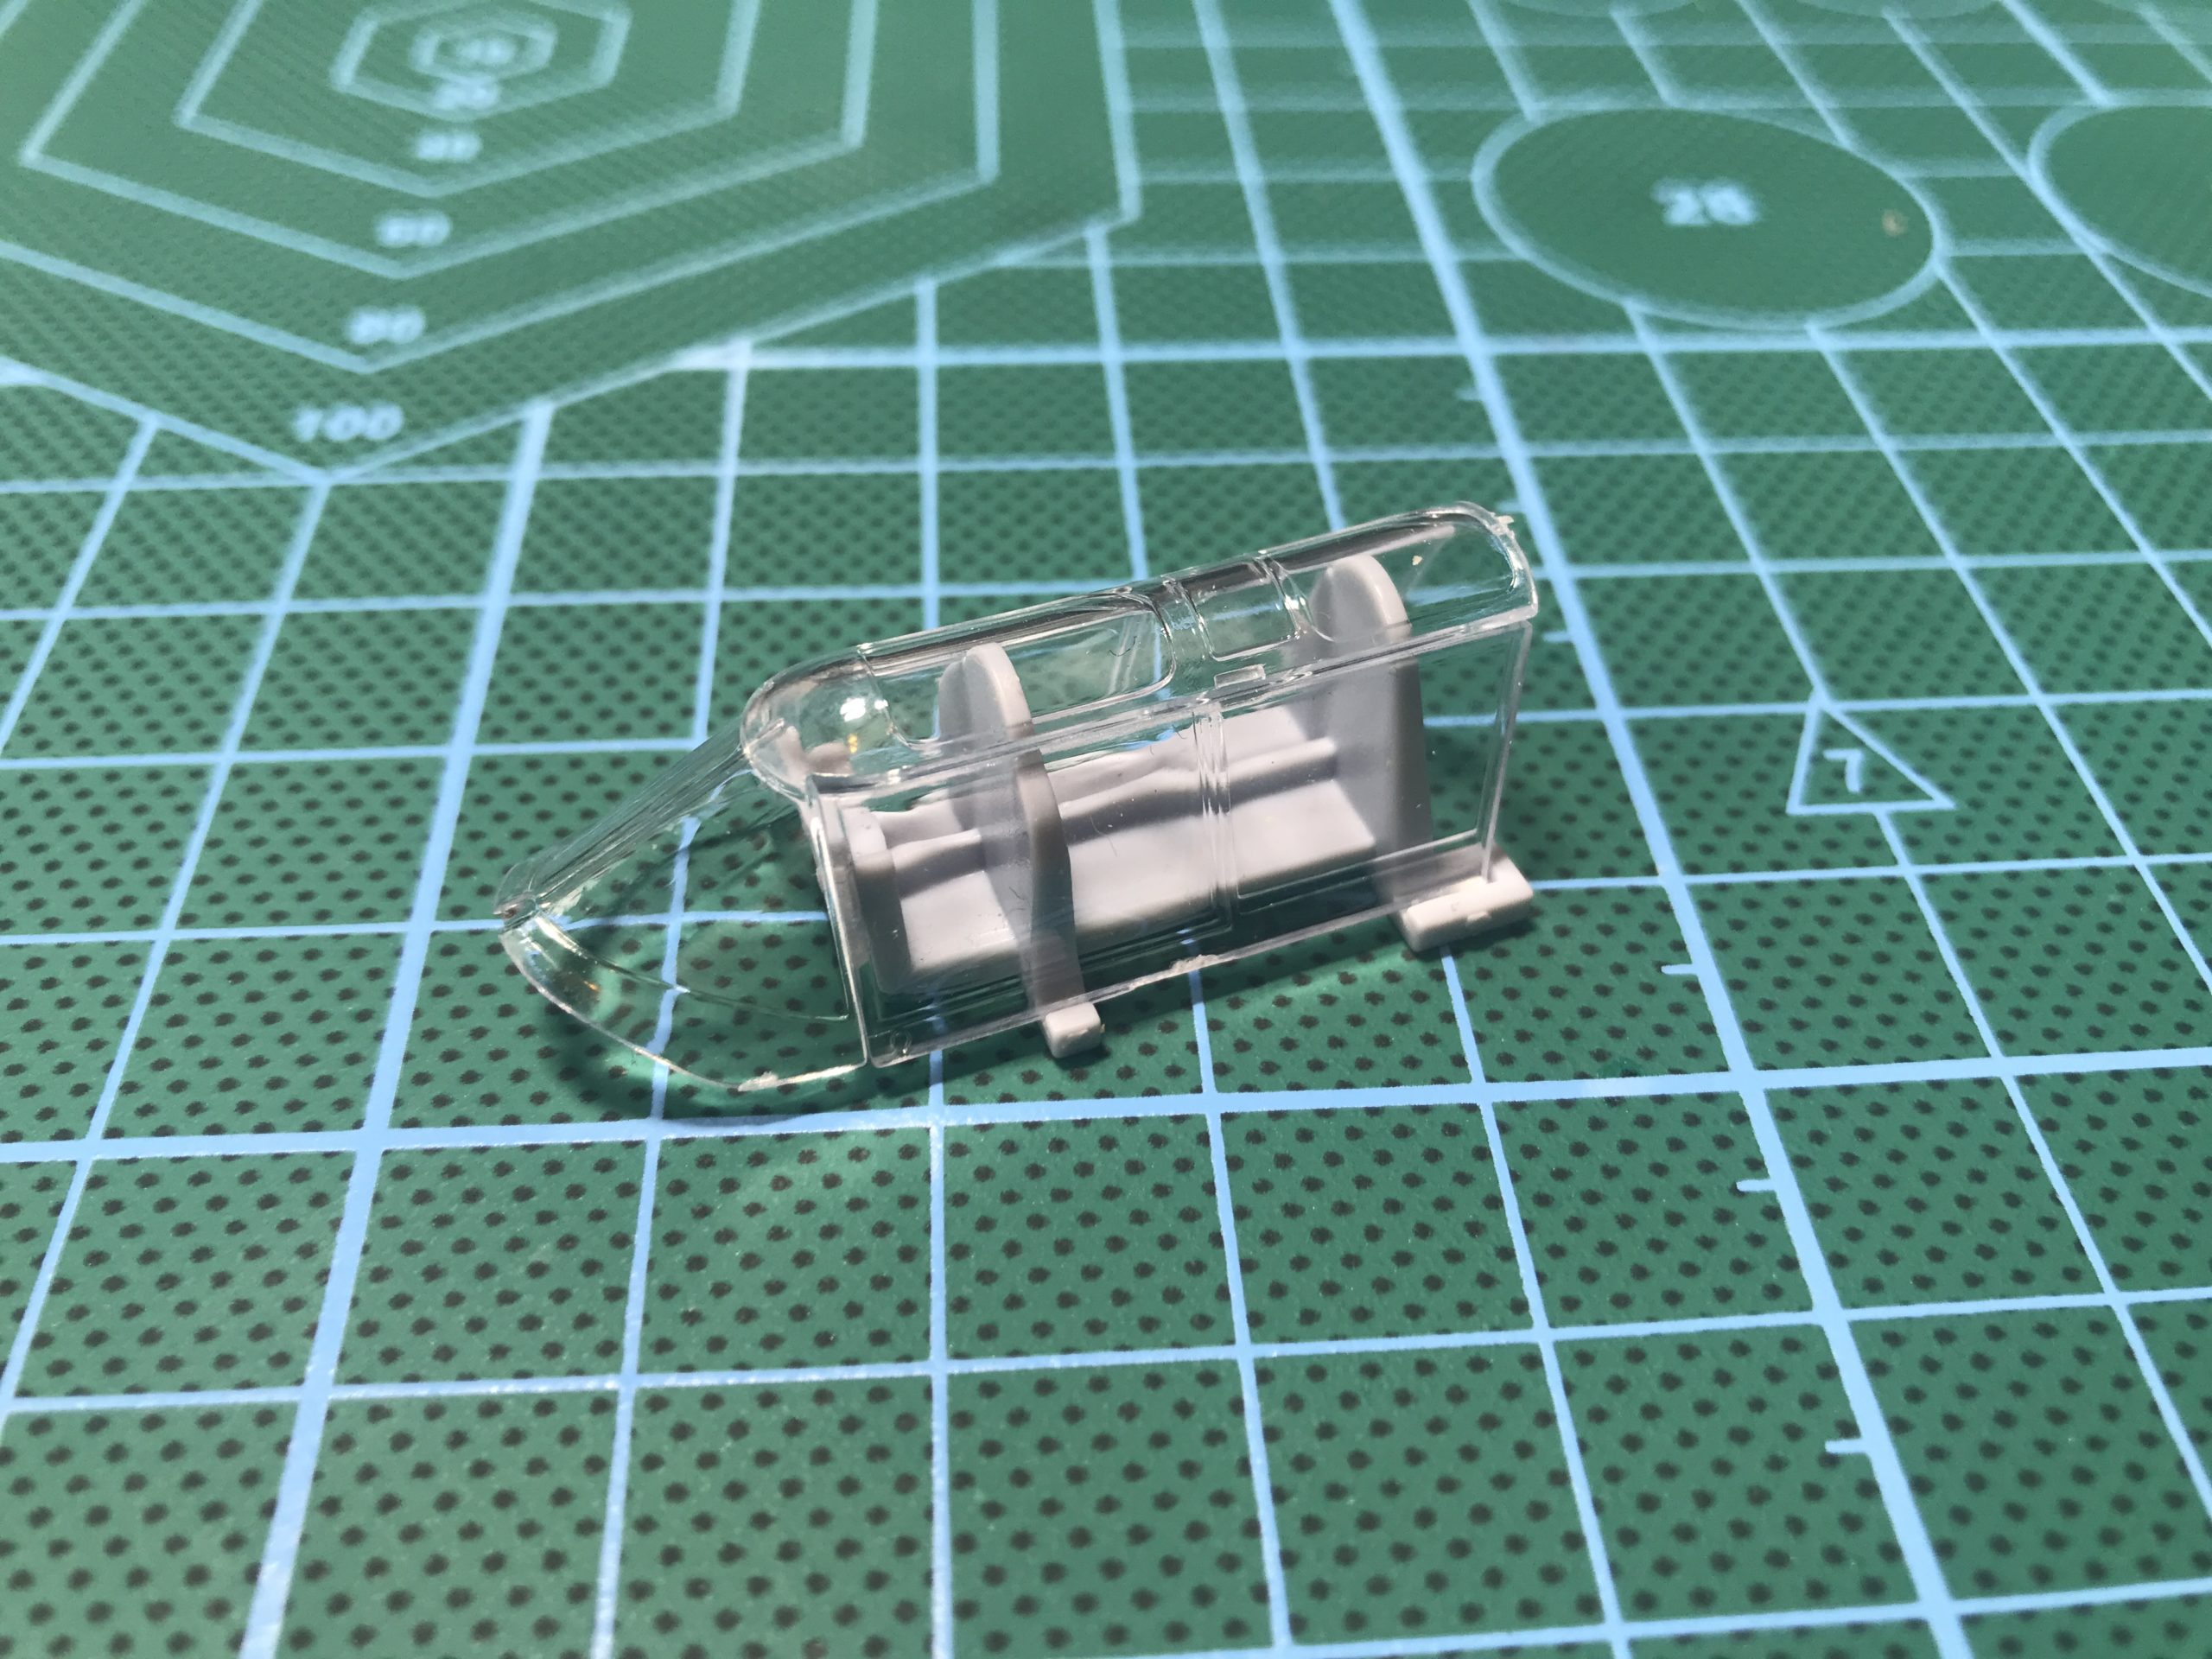
The fit looks pretty good, but the missing pin means the parts aren’t held in place quite as they should be.

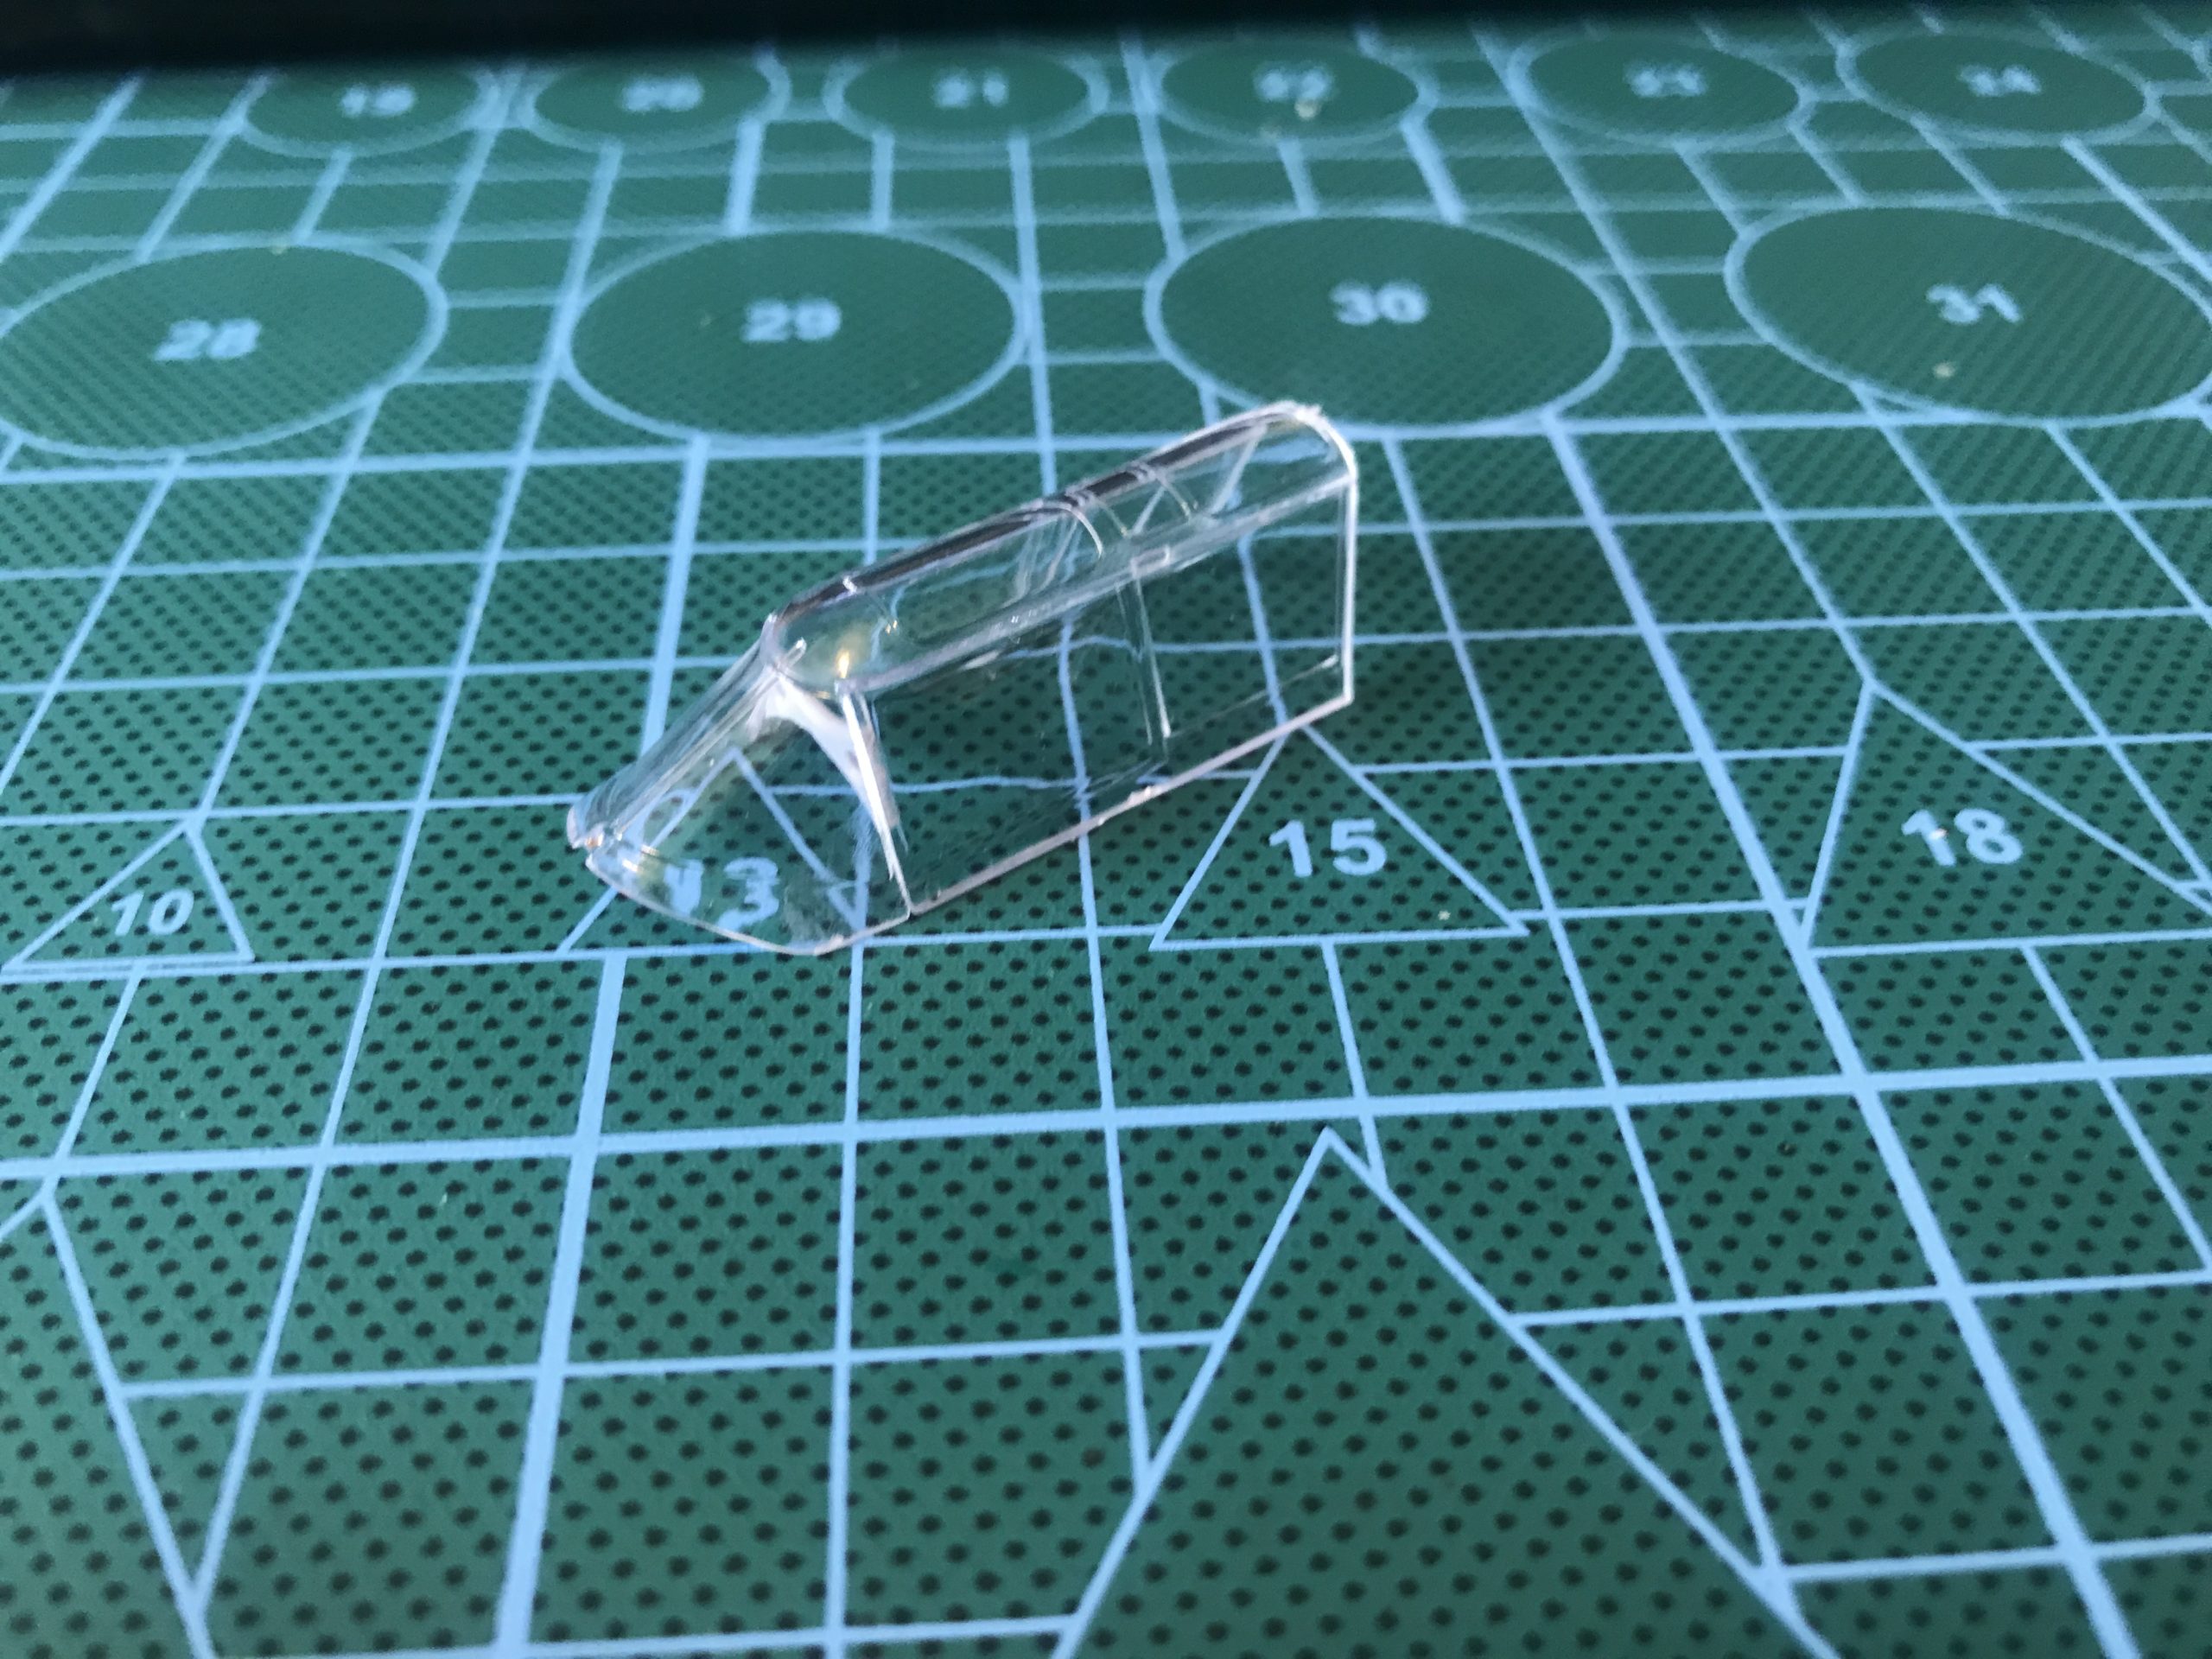
The front windscreen being one piece wasn’t and issue and just required masking.


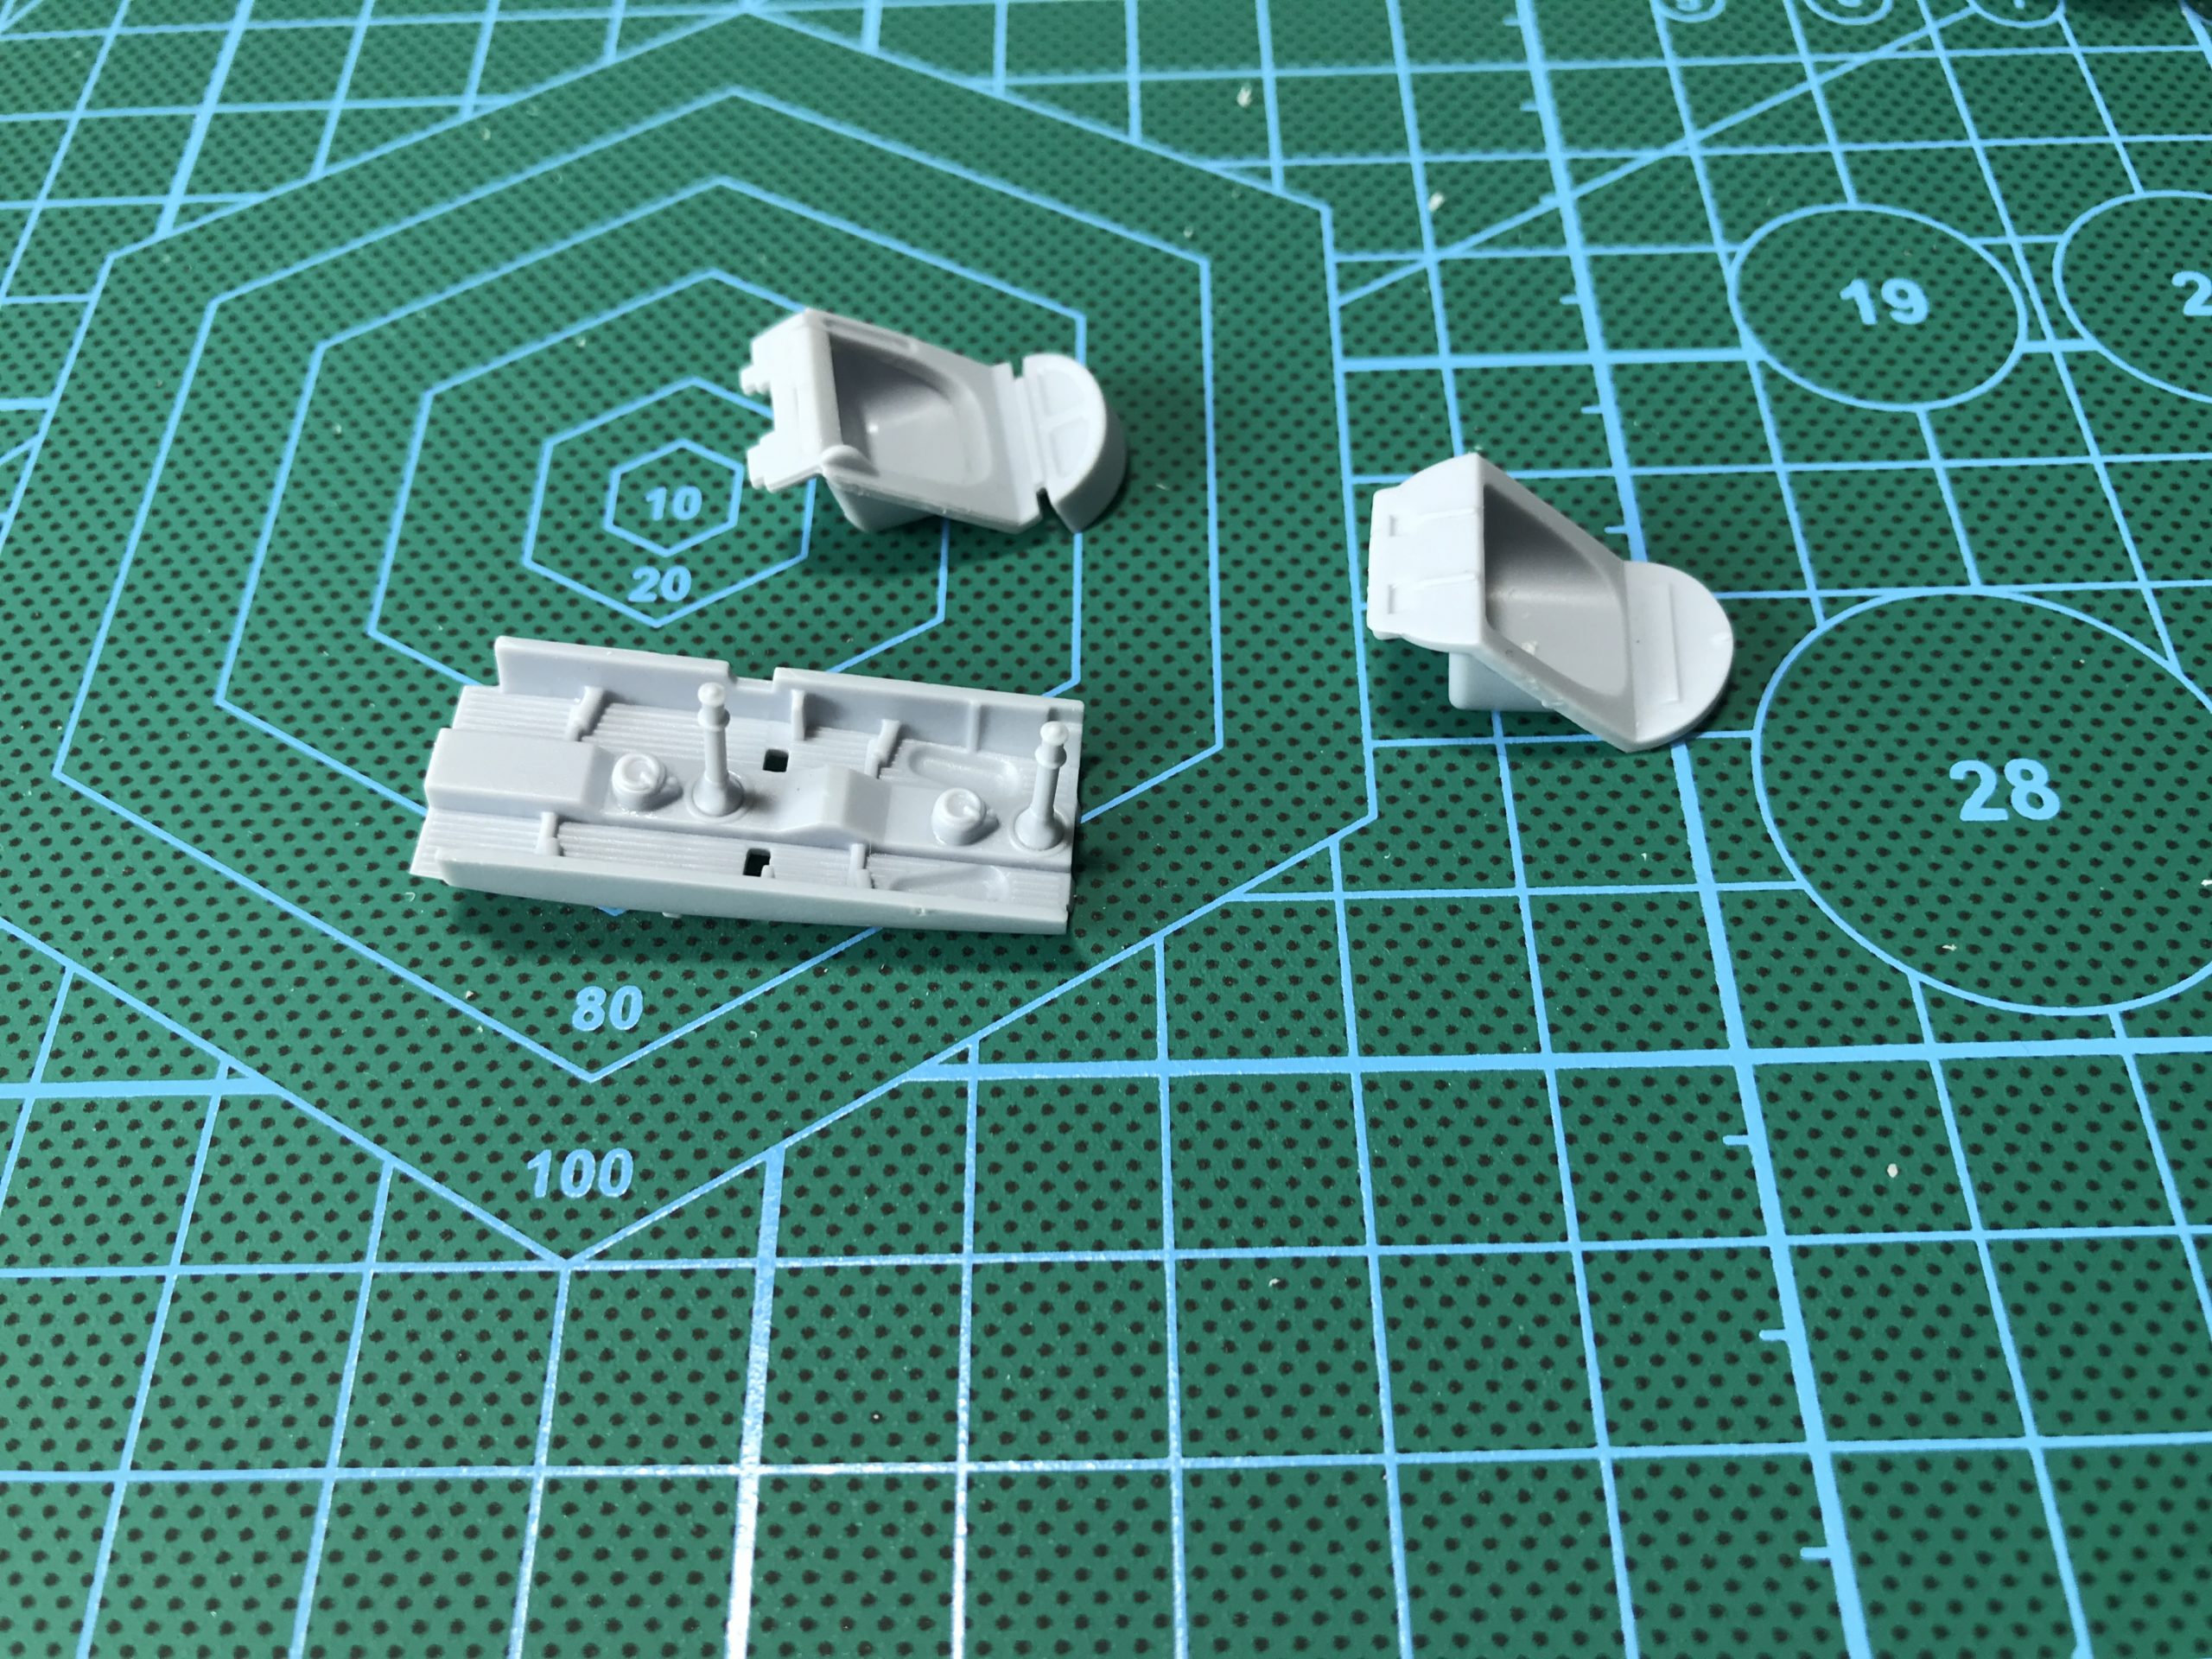
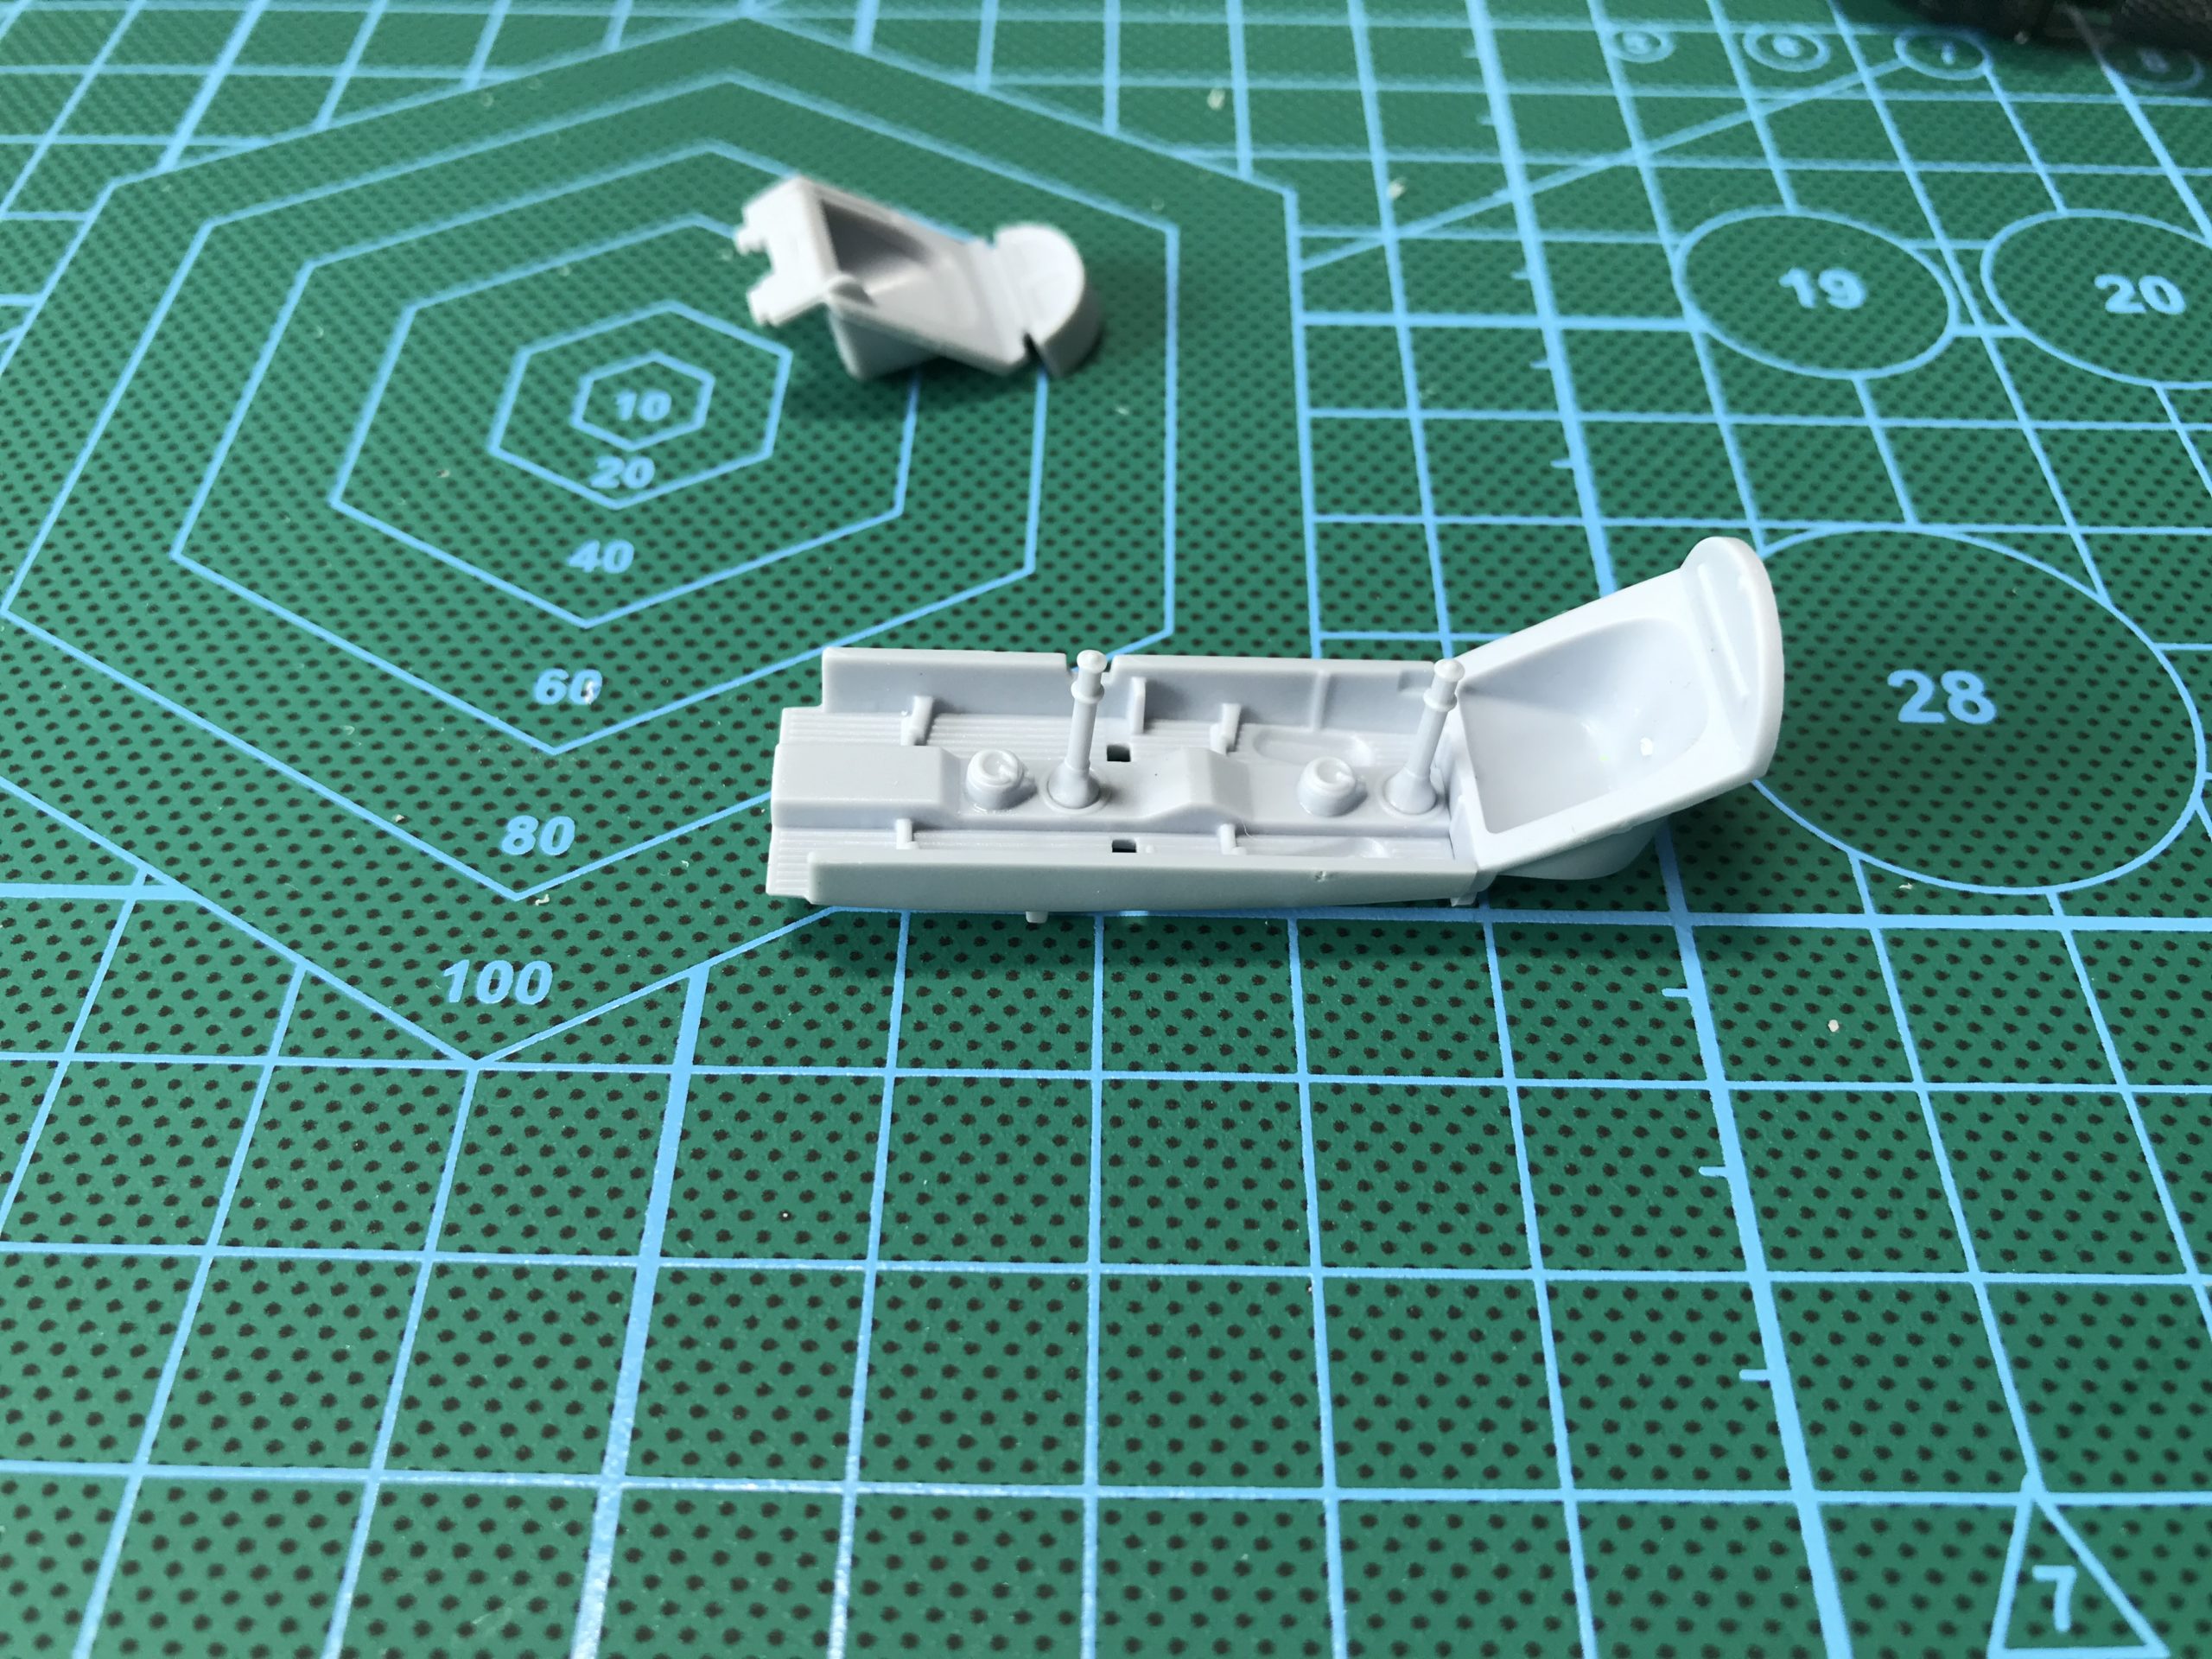
Before fitting the canopy a few small items needed to be fitted. A support bar inside the windscreen and the seat cushions for the version i was building. These were painted and fitted.

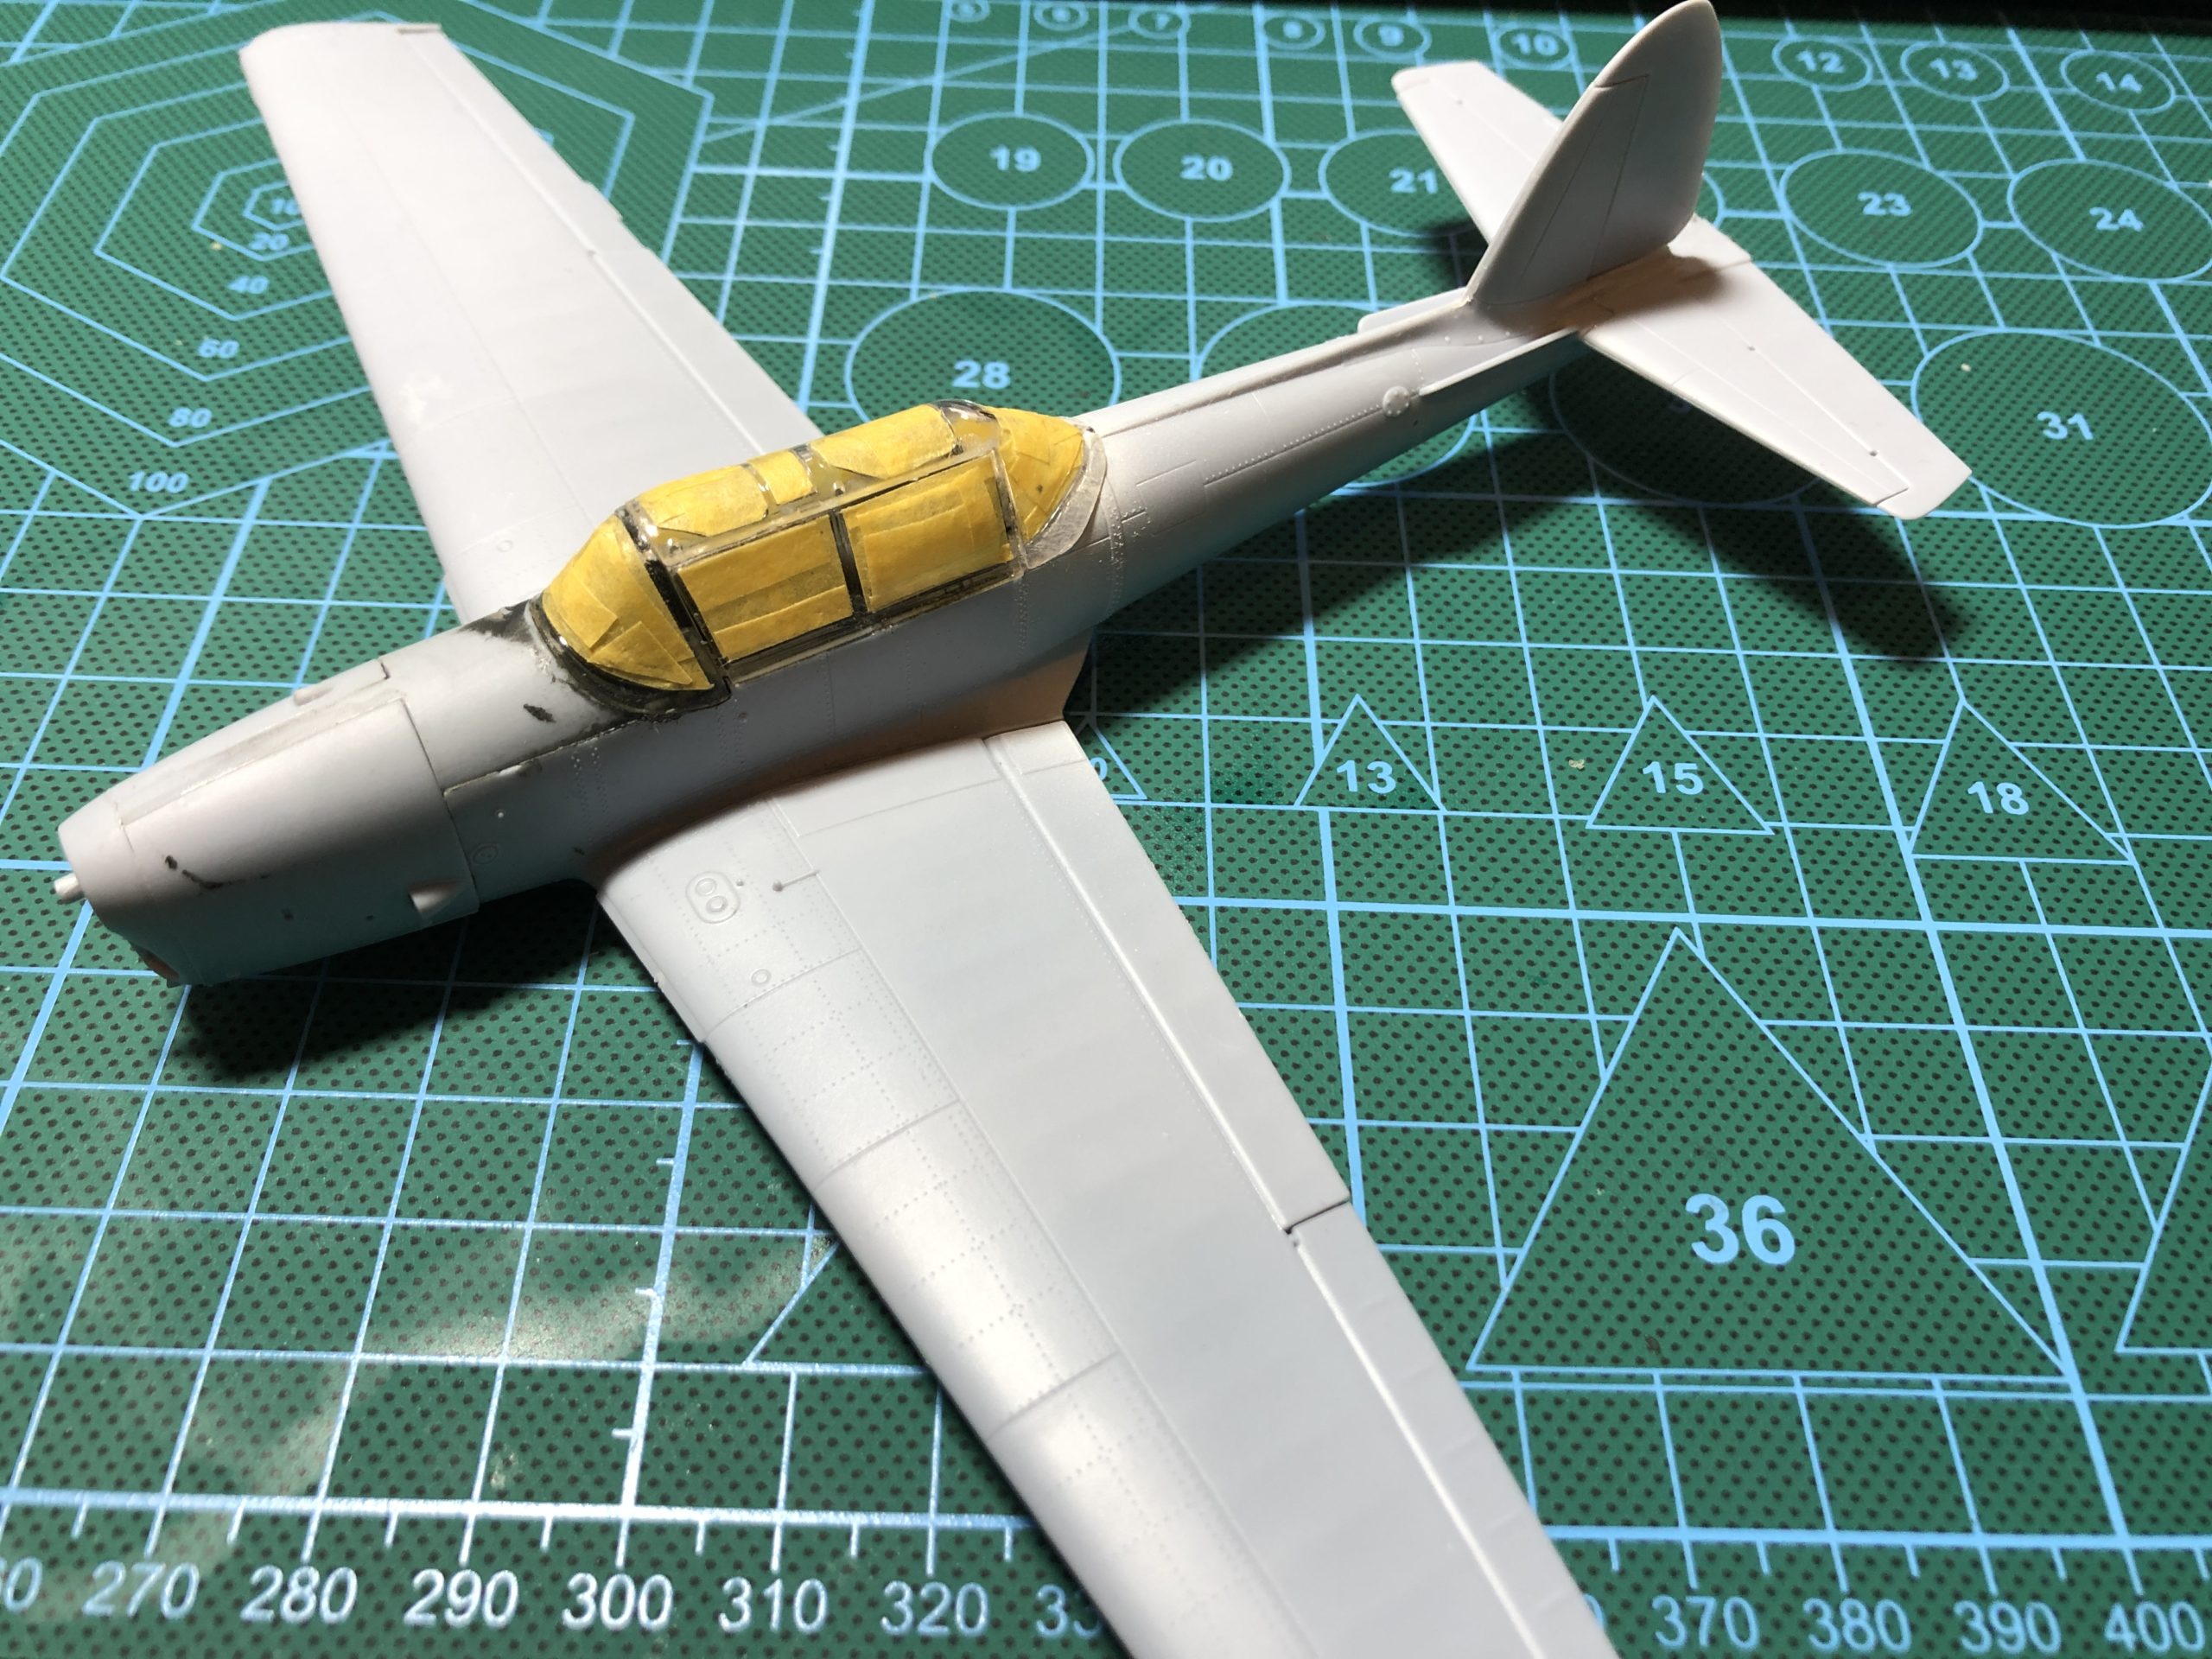
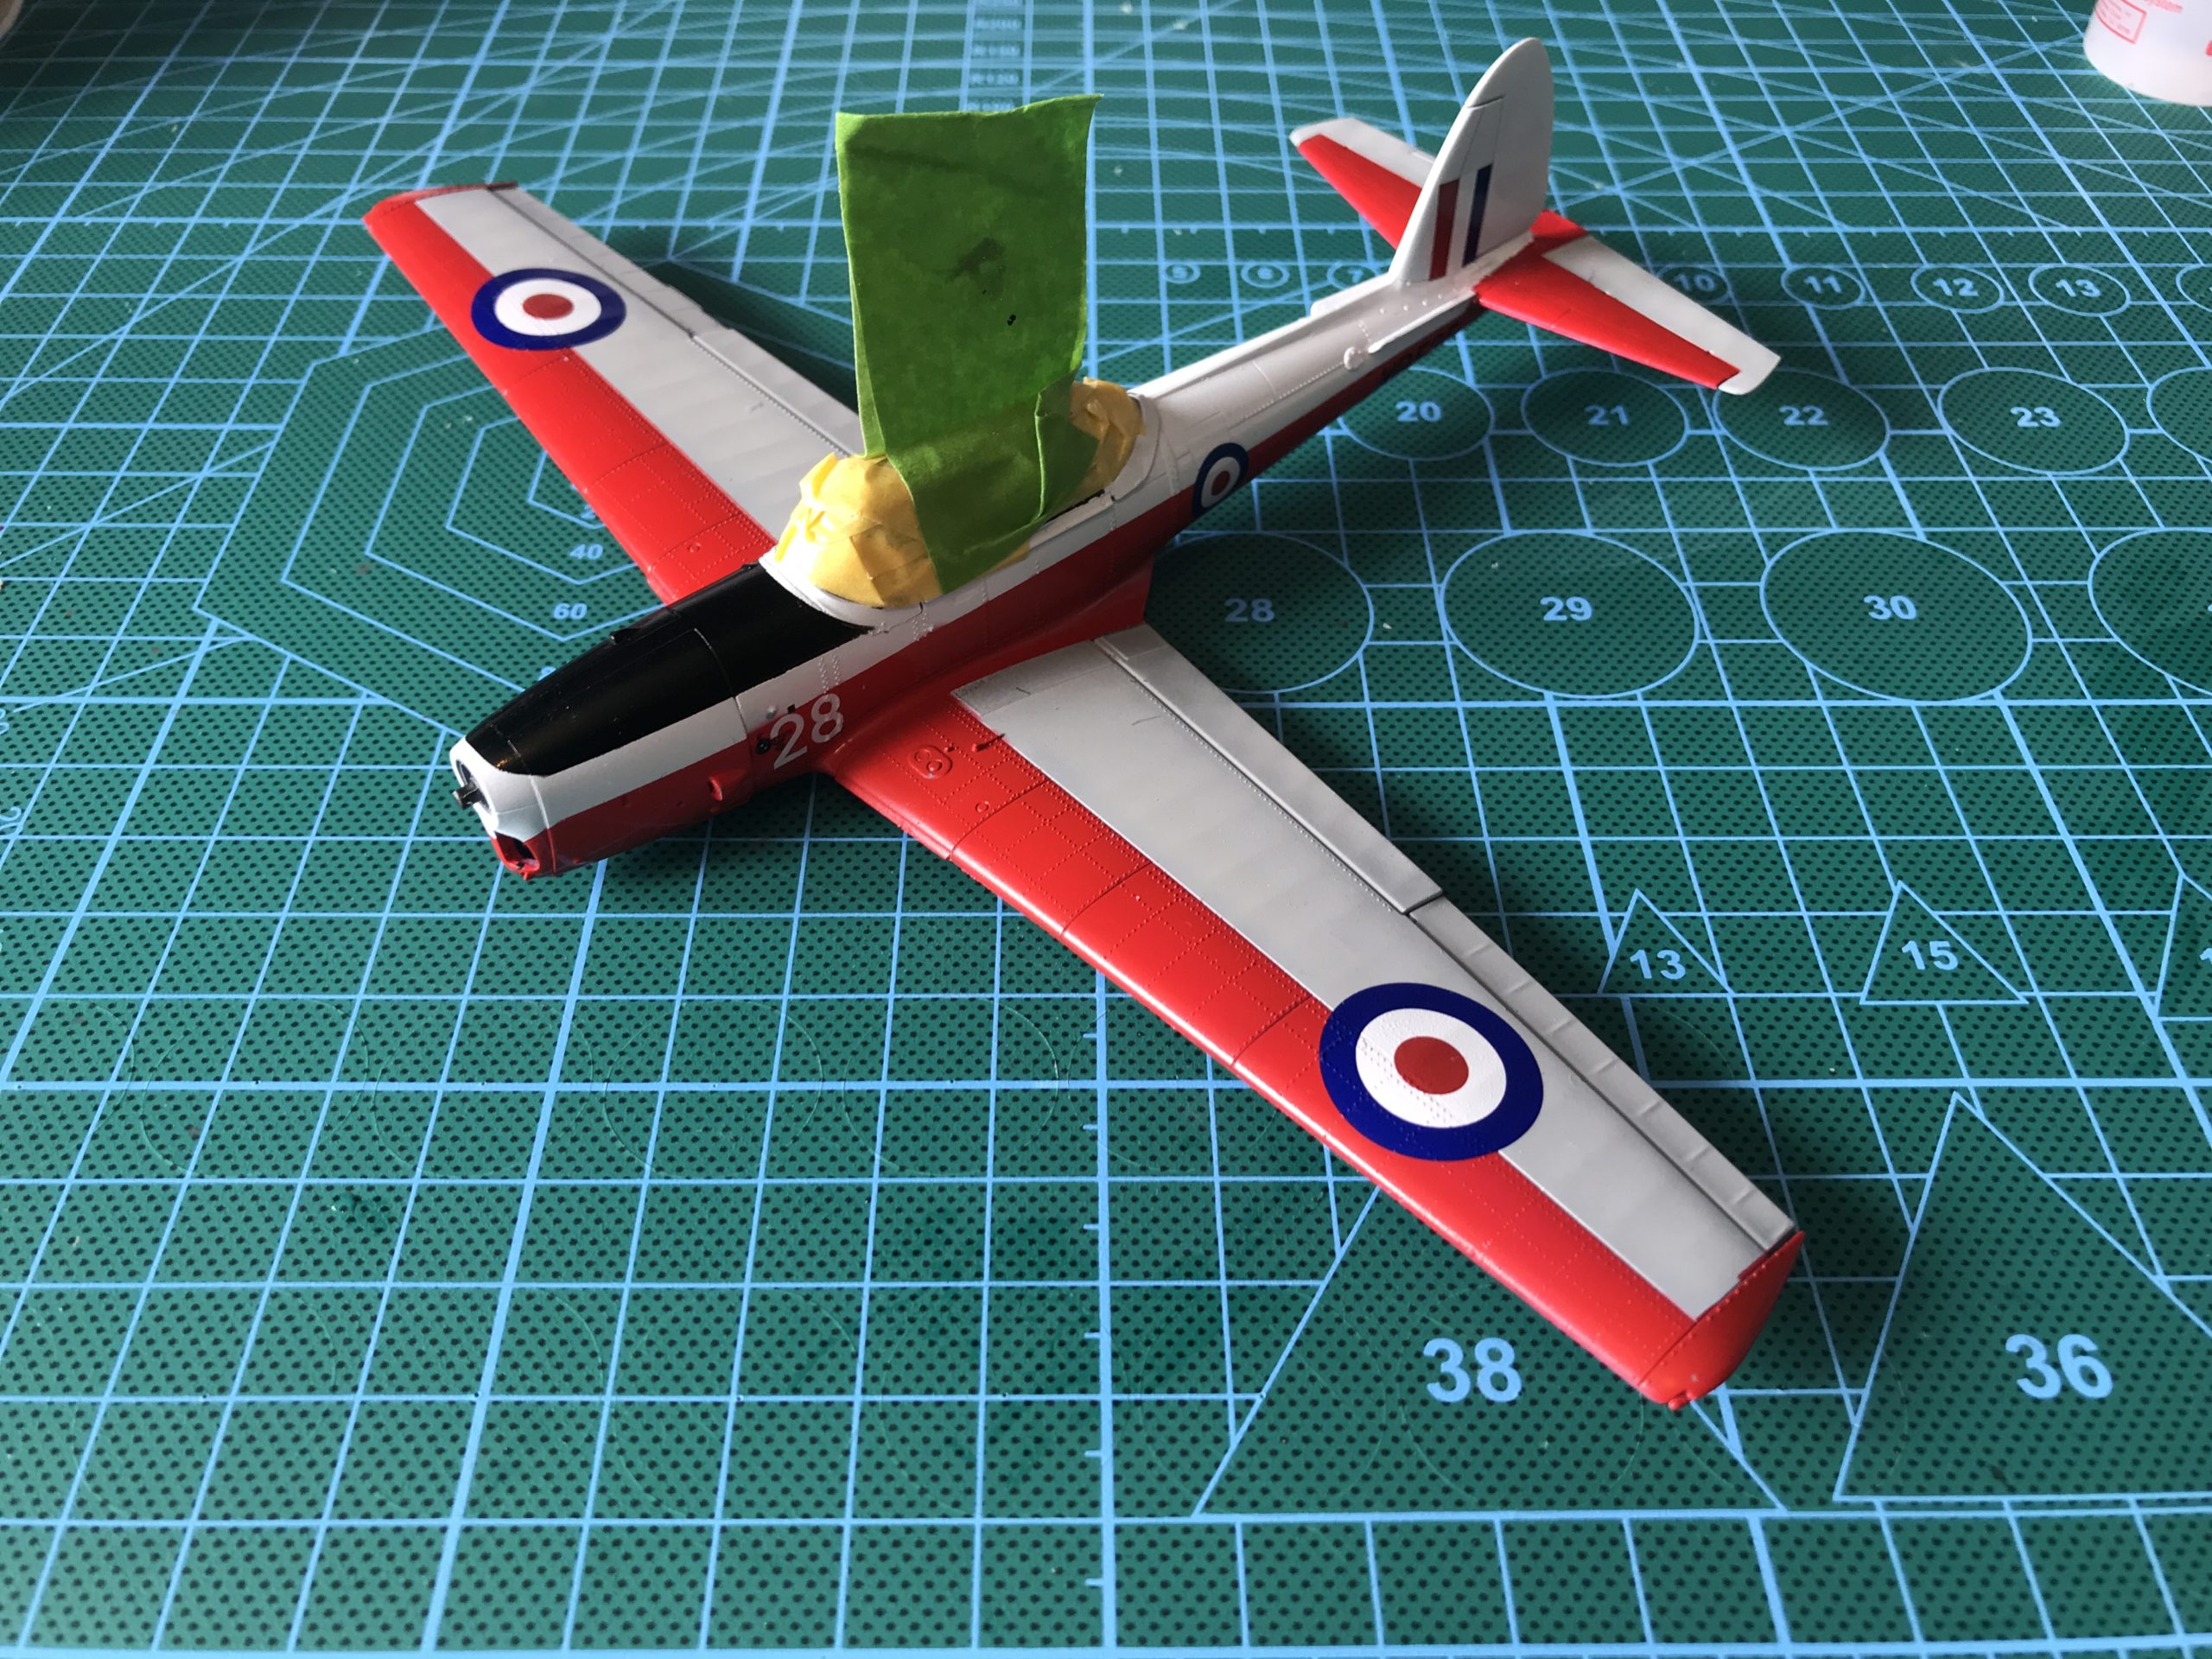
Now its time to mask up the rear of the canopy a long and laborious task, but strangely relaxing.
Upon fitting the canopy is where I ran into issues. I didn’t photograph anything because to be honest I almost scrapped the model. I decided to persevere though.
Basically the canopy collapsed when I was fitting it. The cement I was using ended up marking the clear parts, but I wouldn’t know the extent of the issue unless I unmasked the canopy, which I didn’t want to do.
Like a contestant on the great British bake off whose show stopper suffers a catastrophic collapse with seconds left on the clock I just stuck it all together, crossed my fingers and hoped Mary Berry wouldn’t notice.
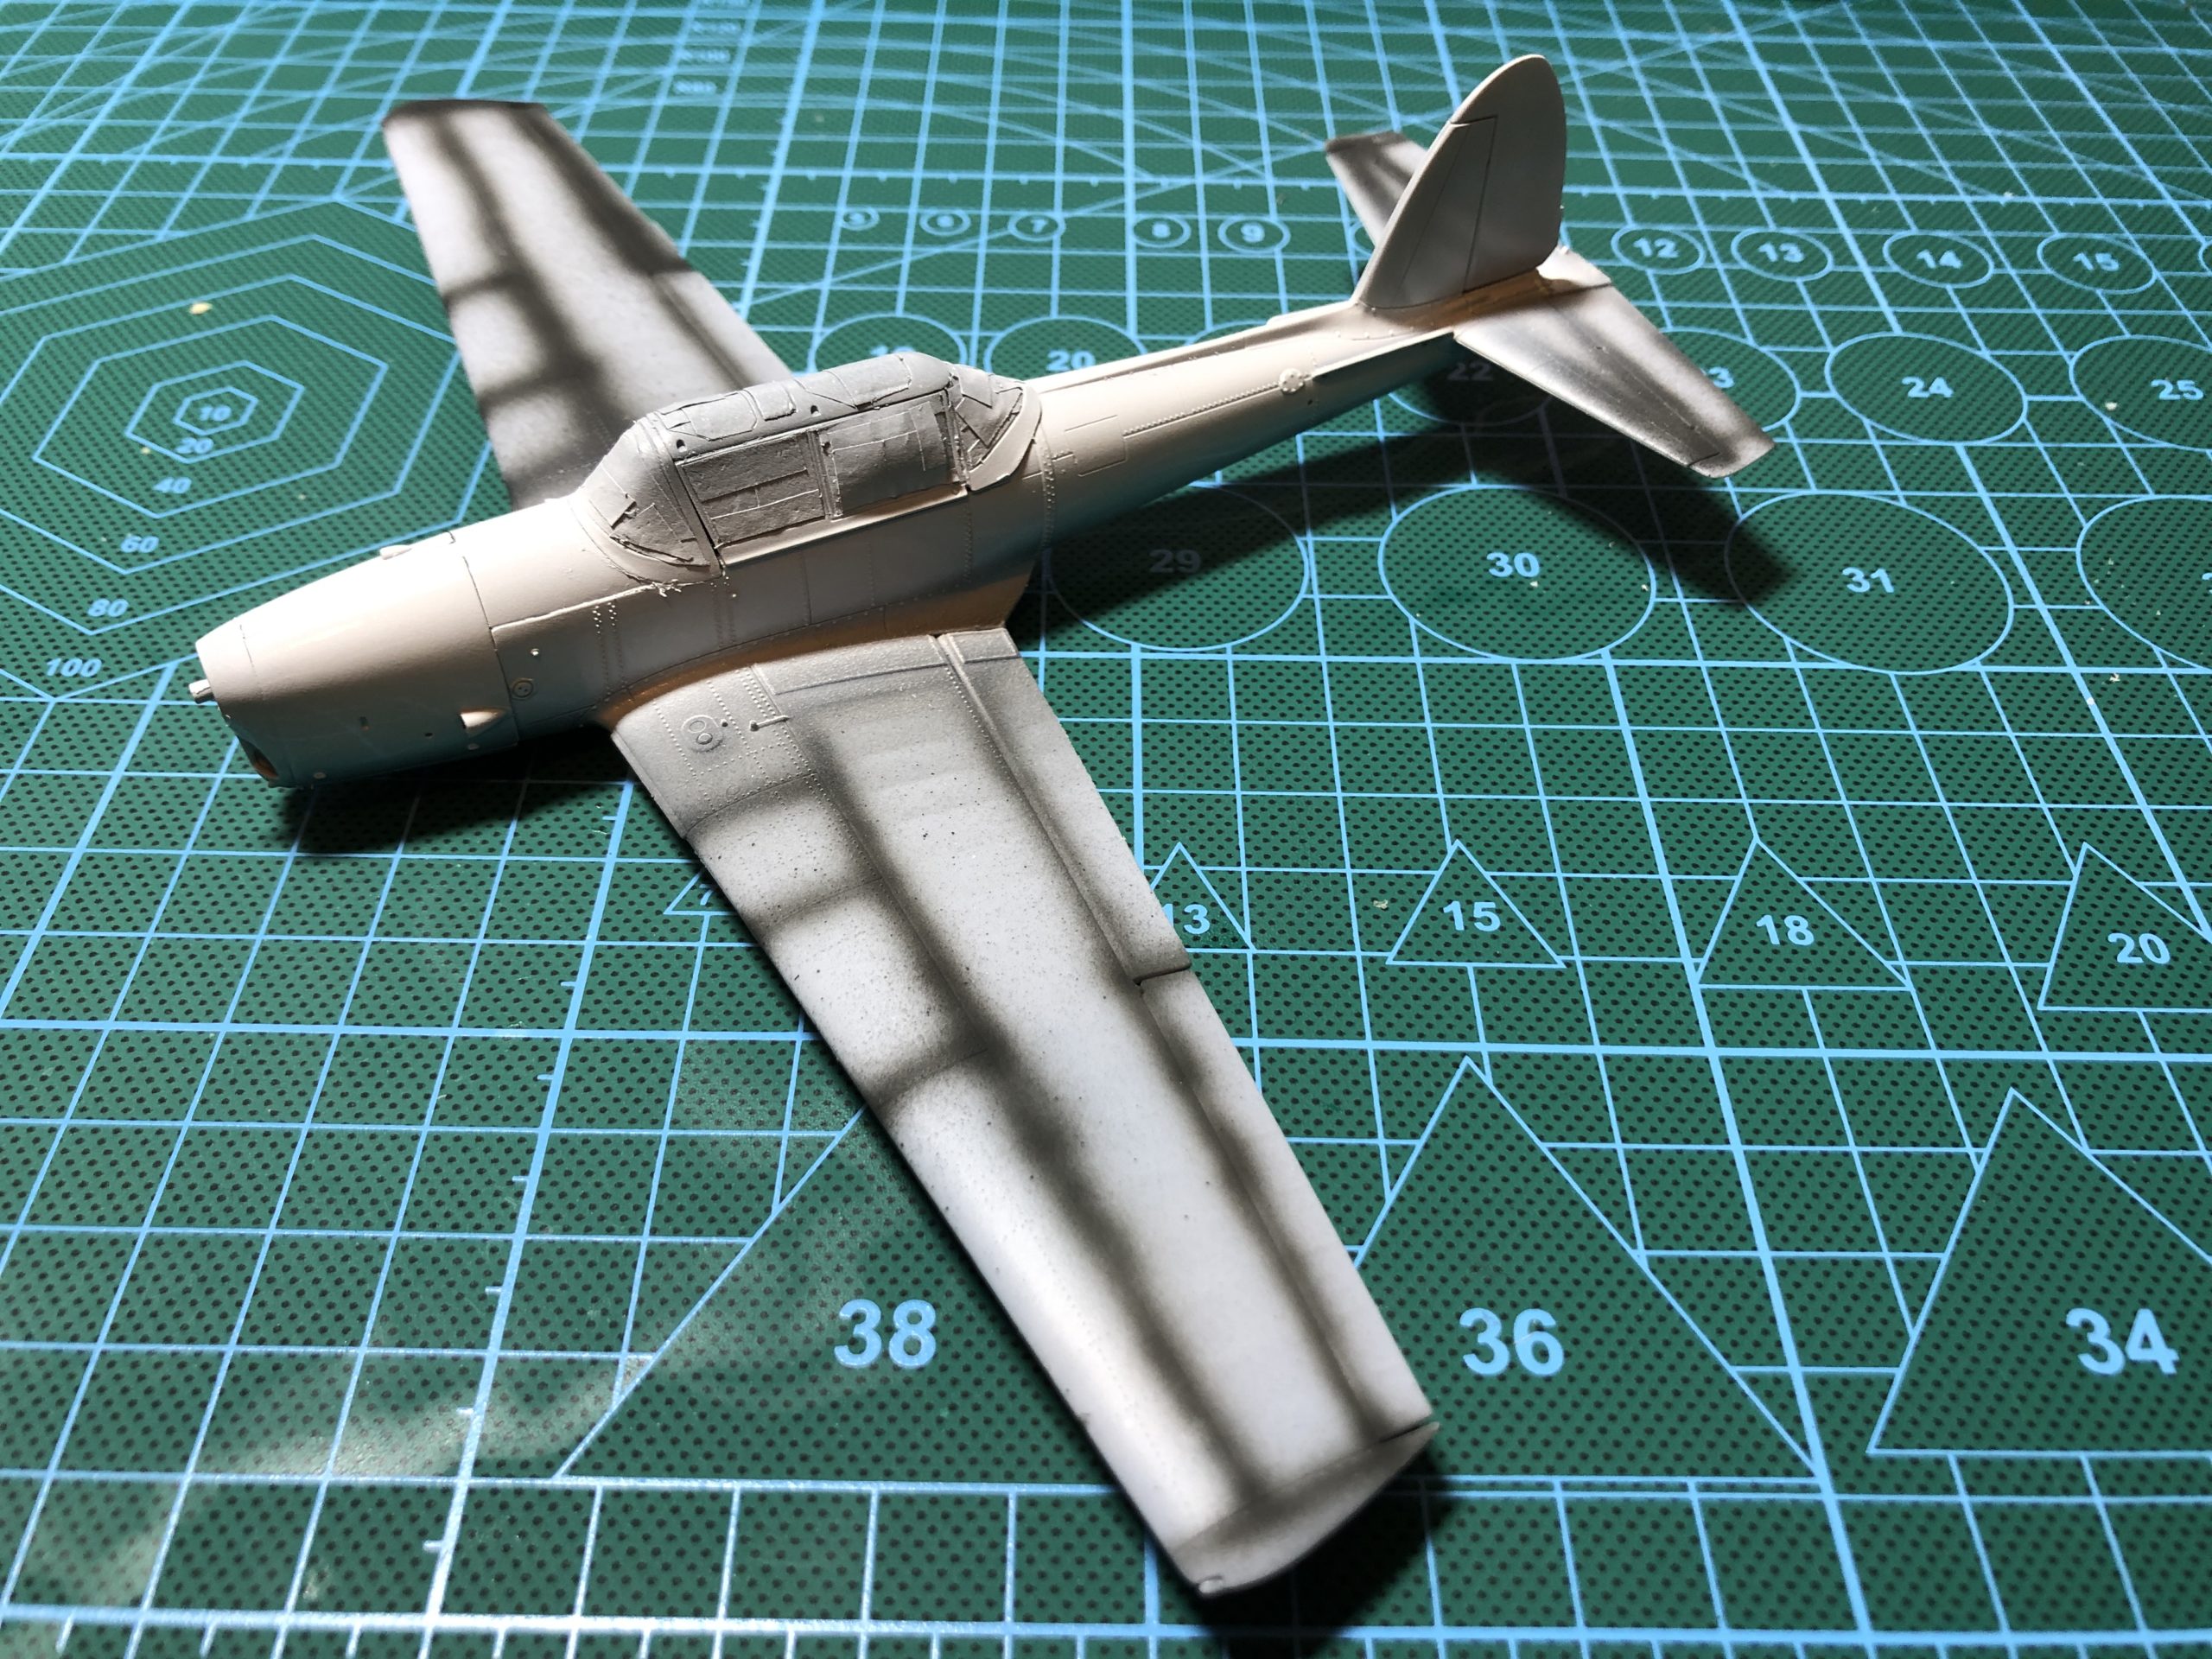
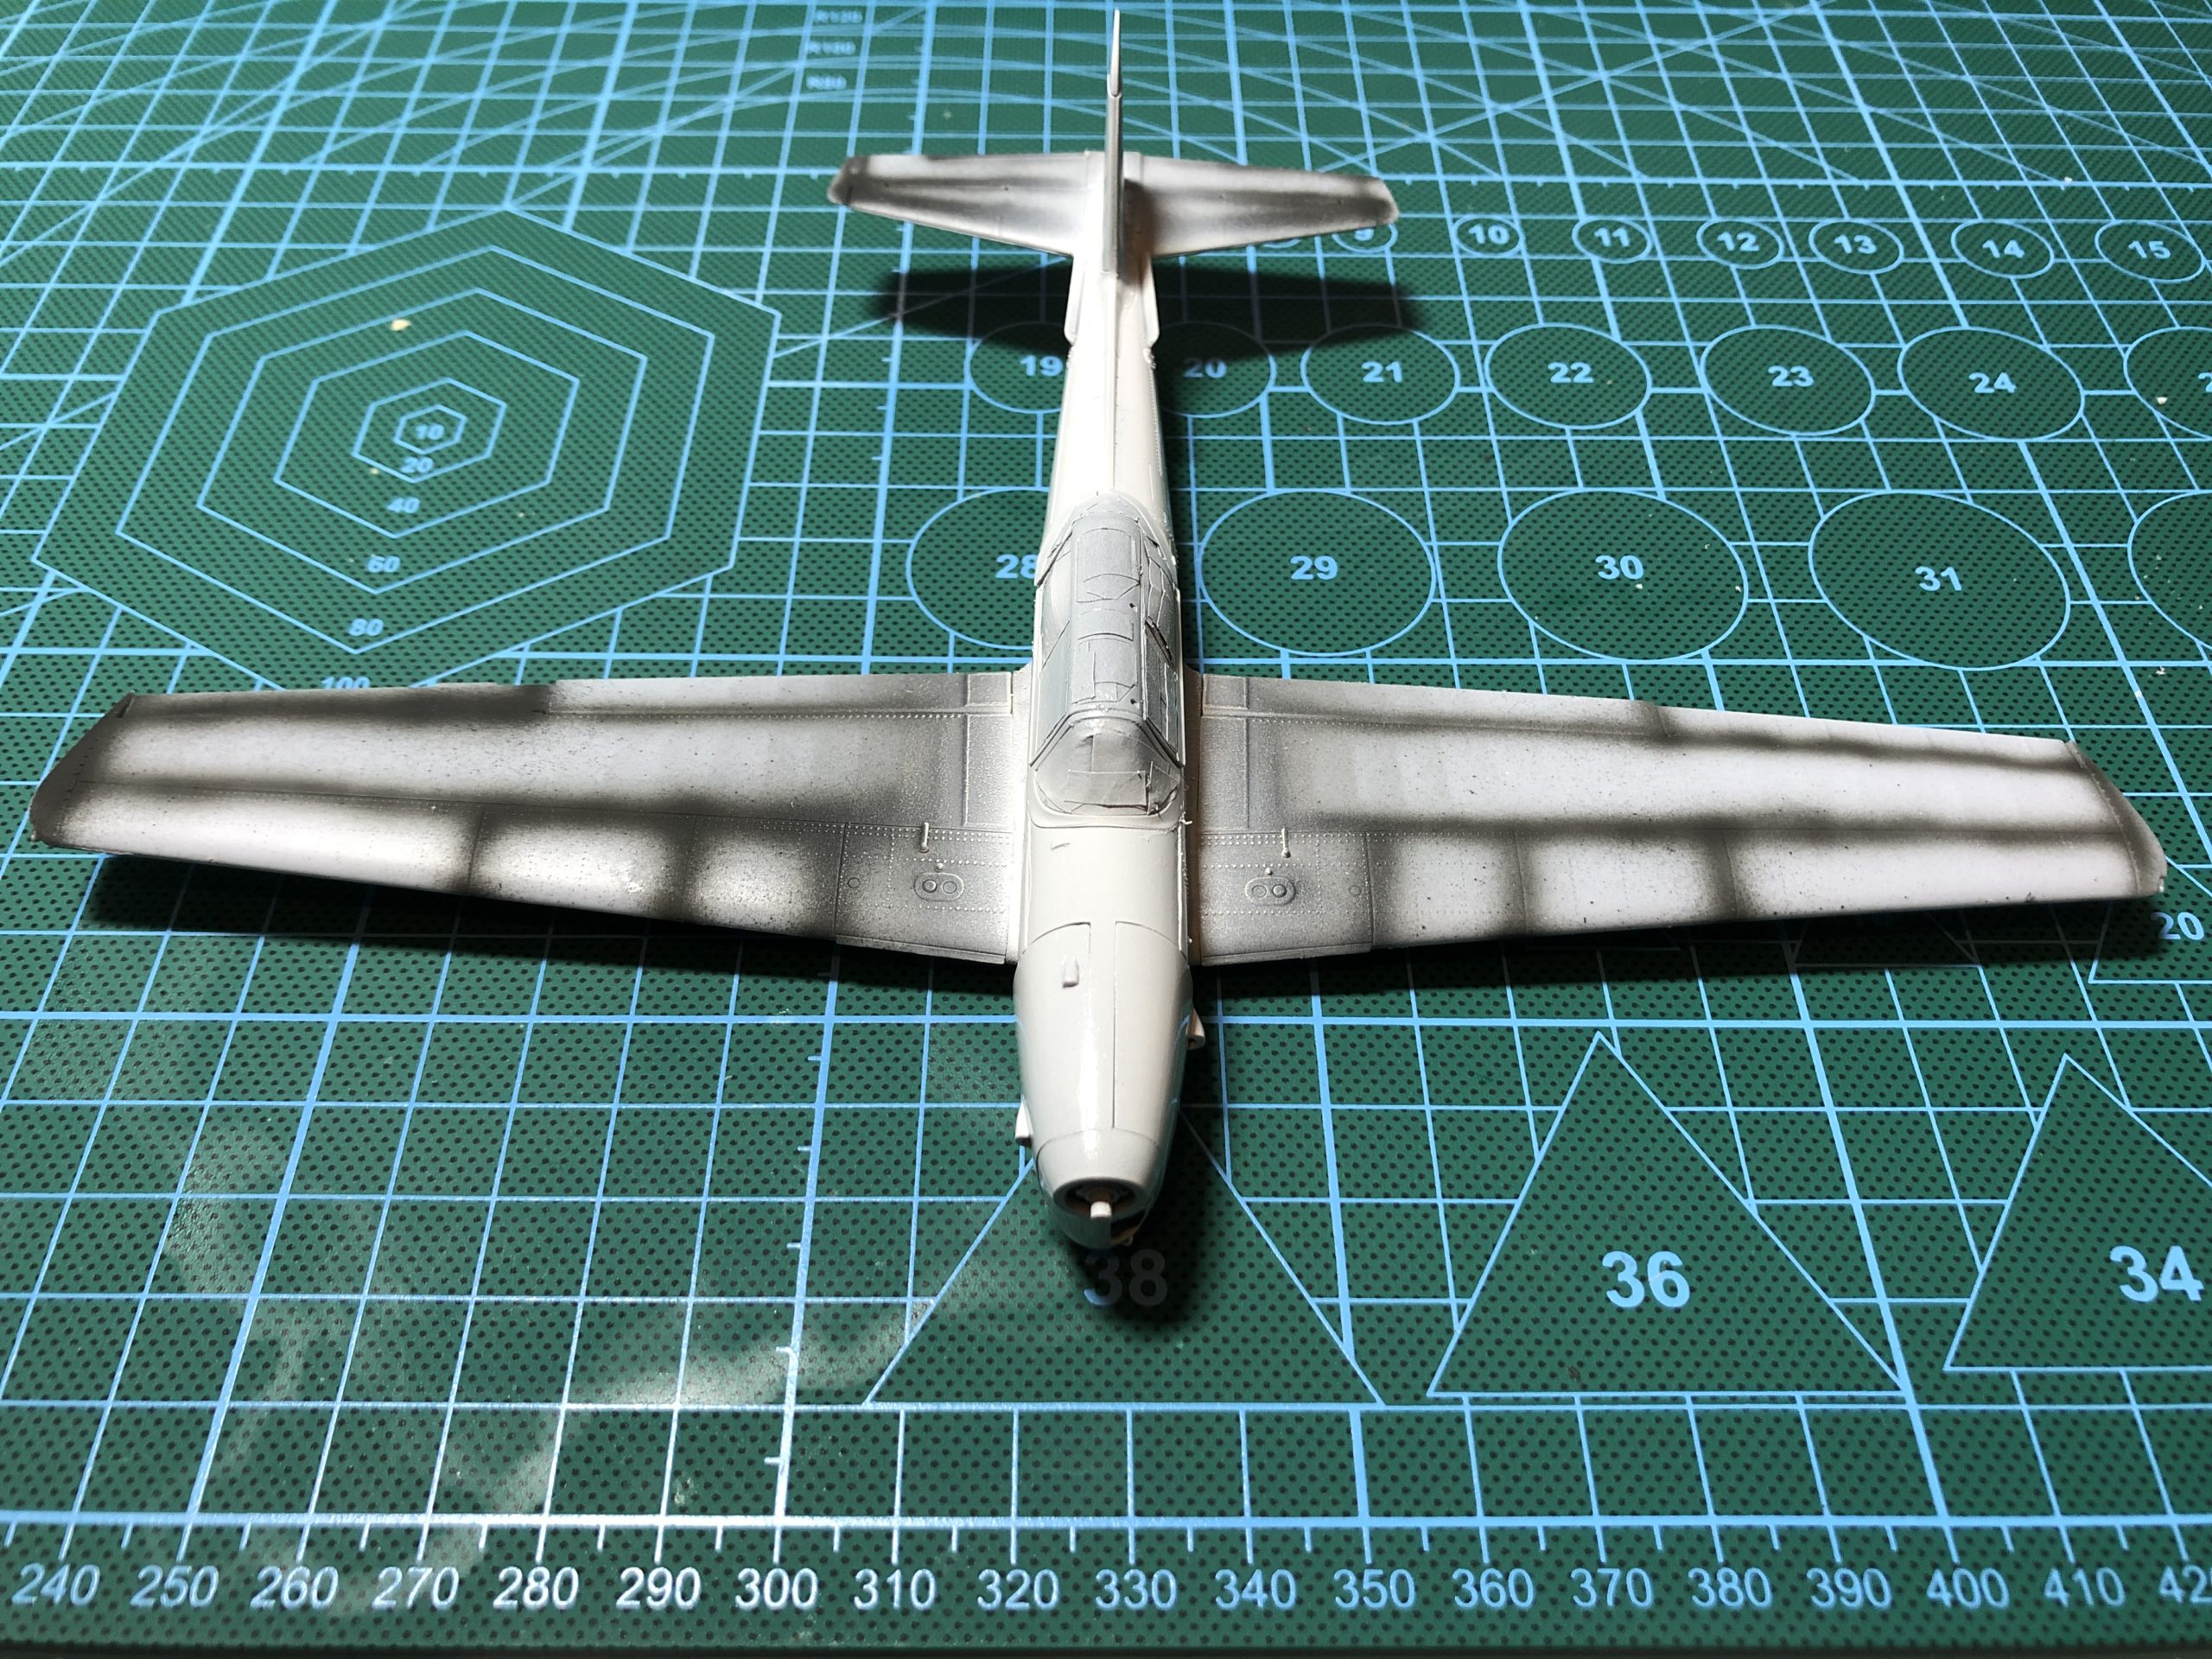
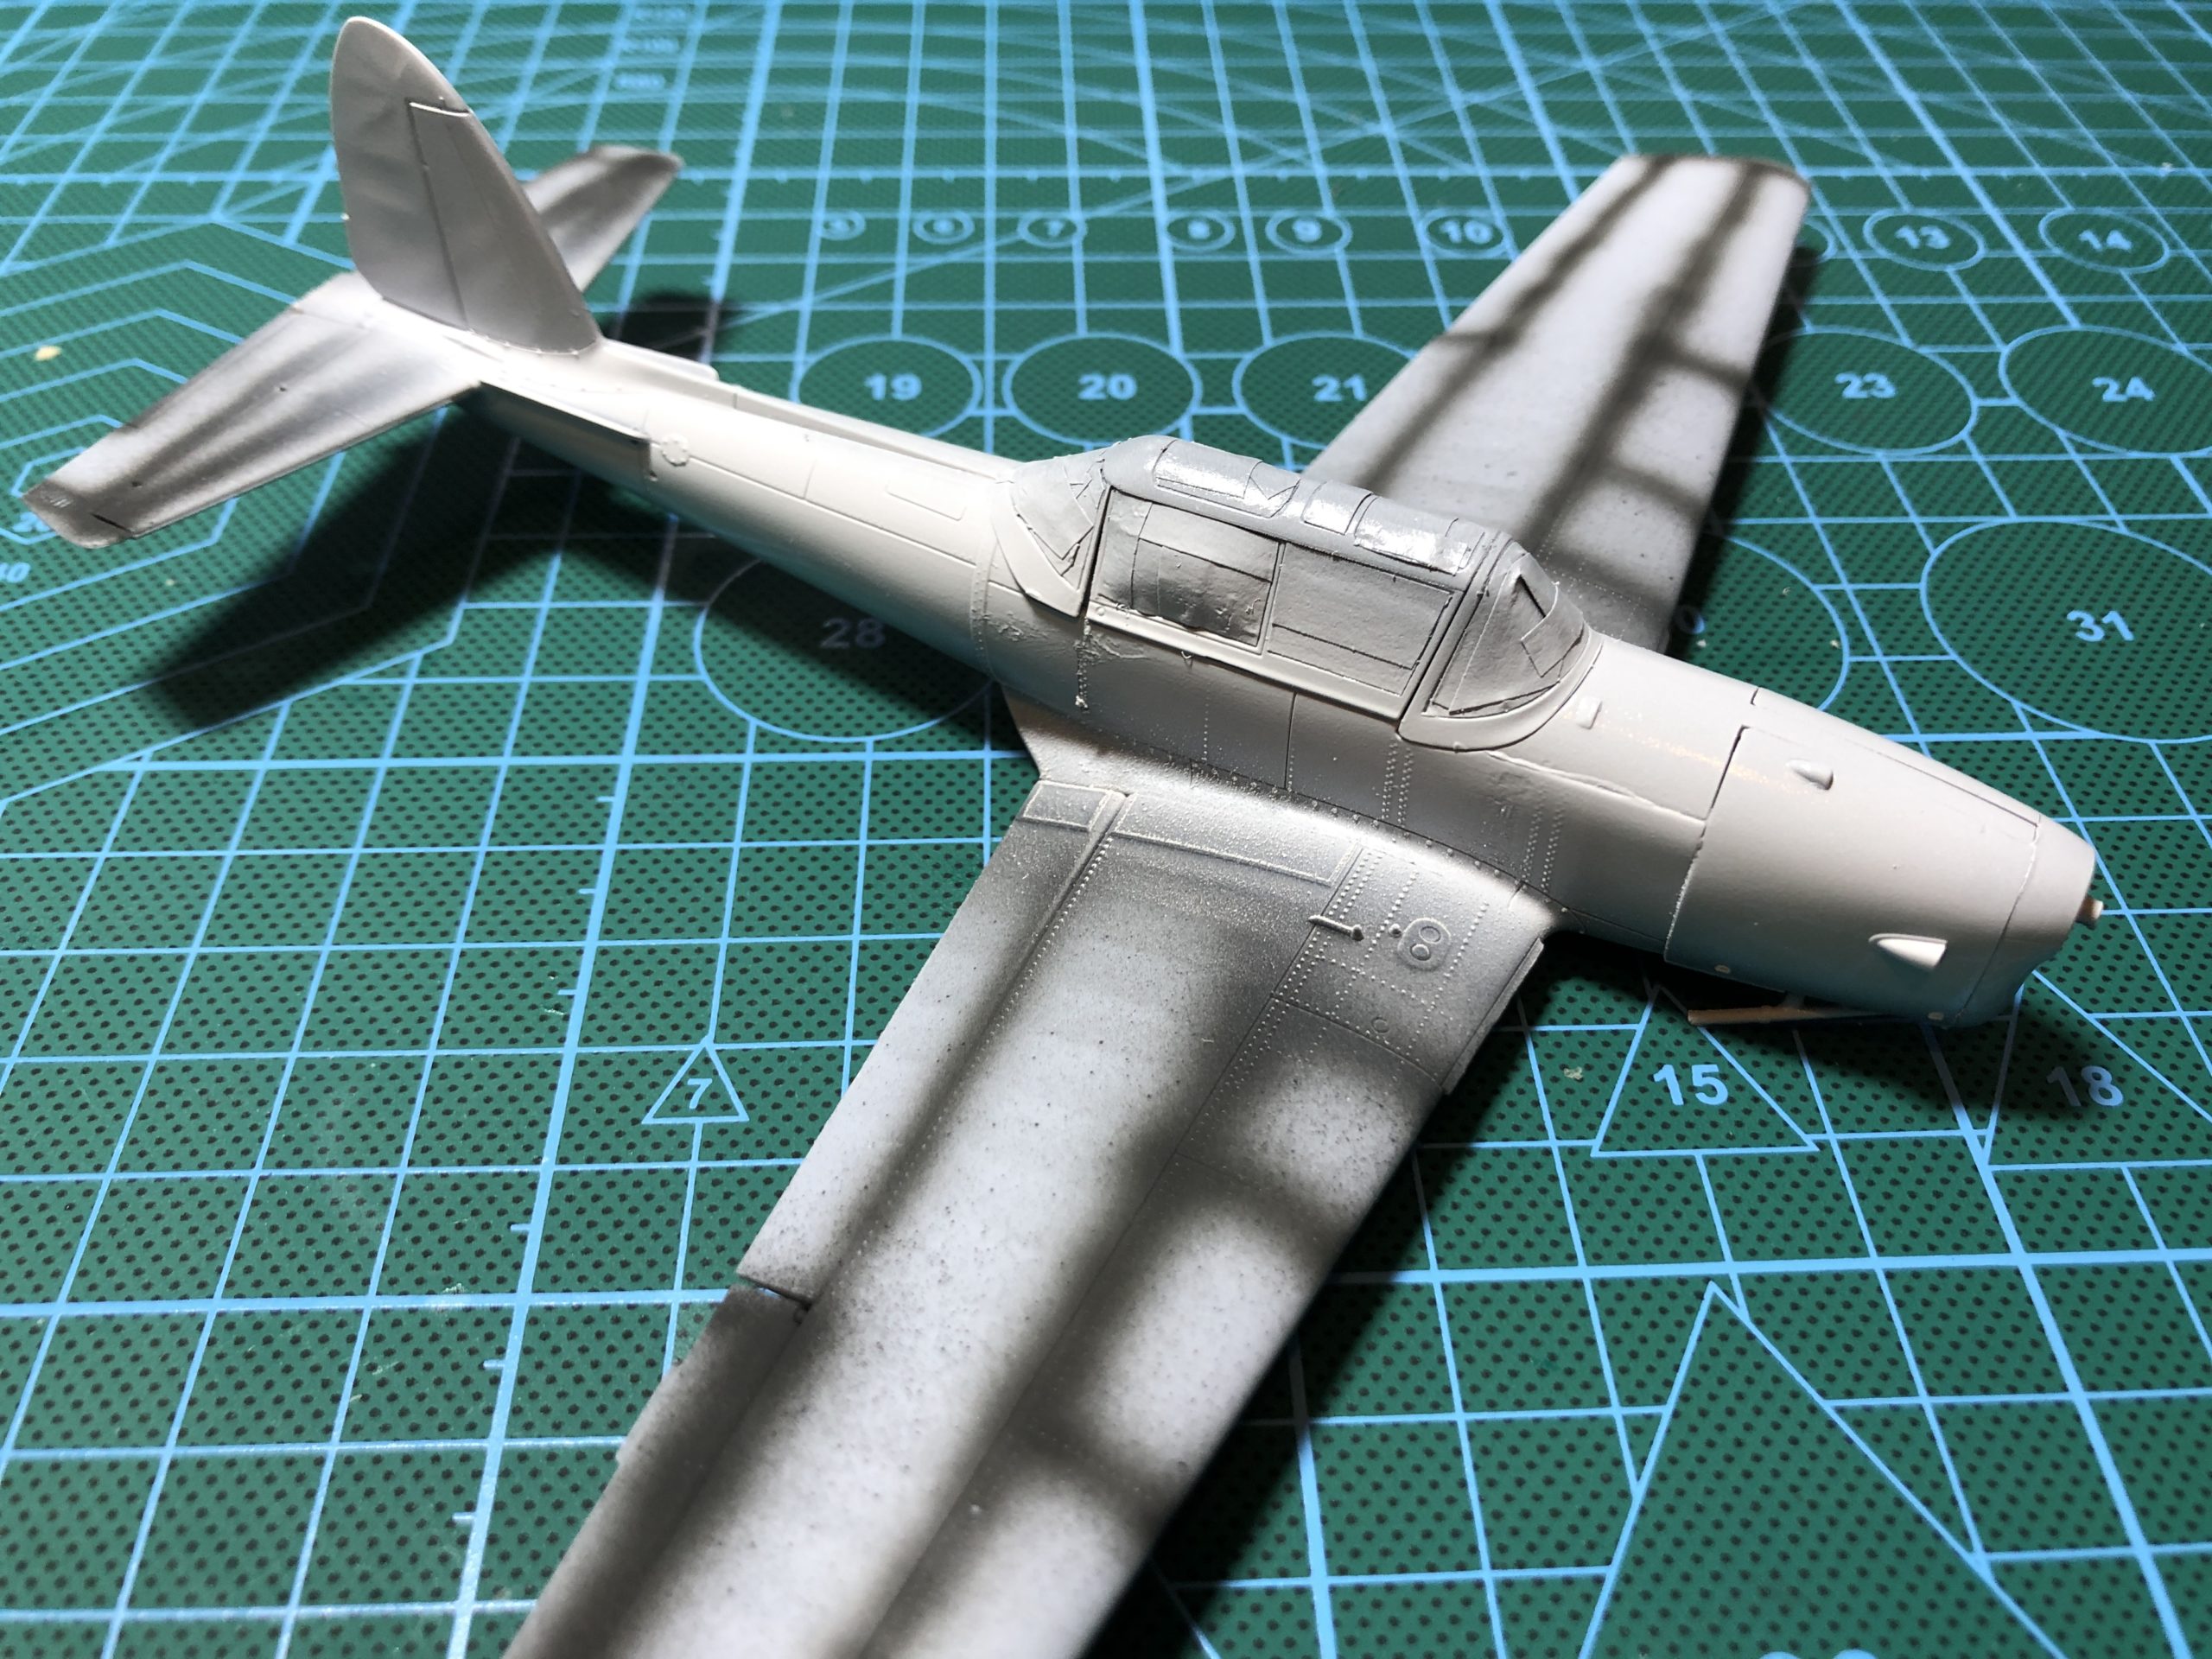
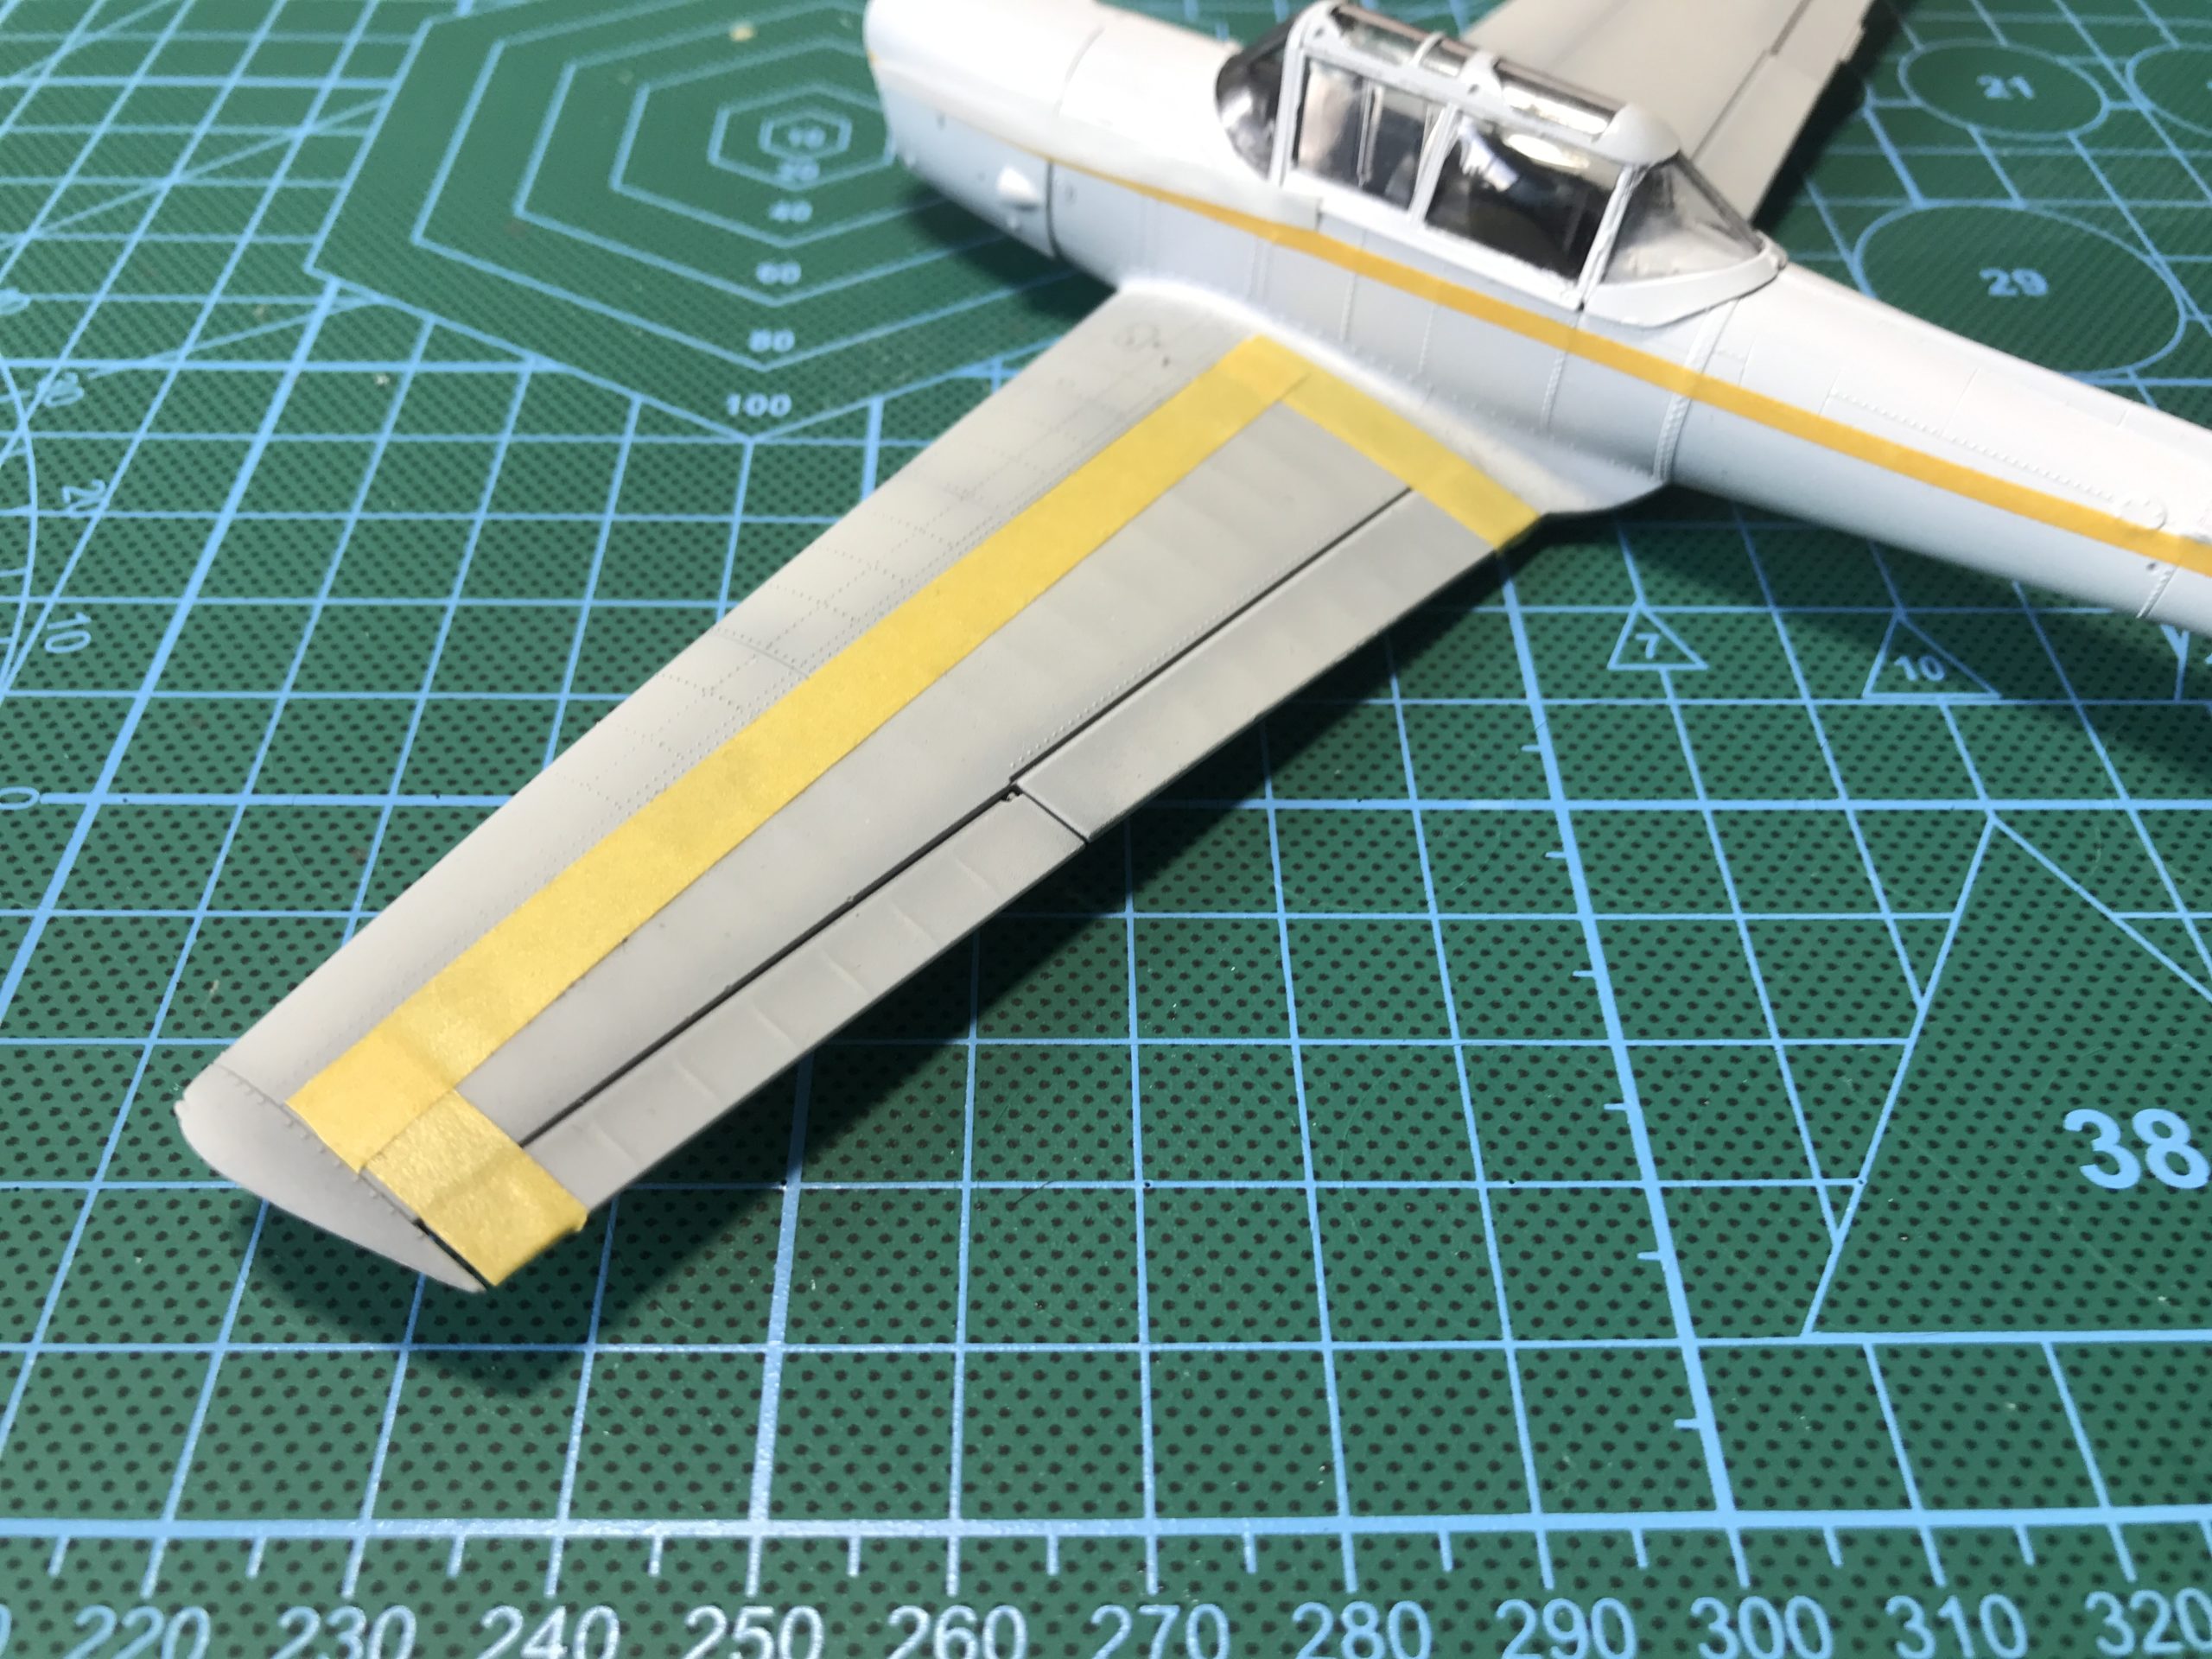
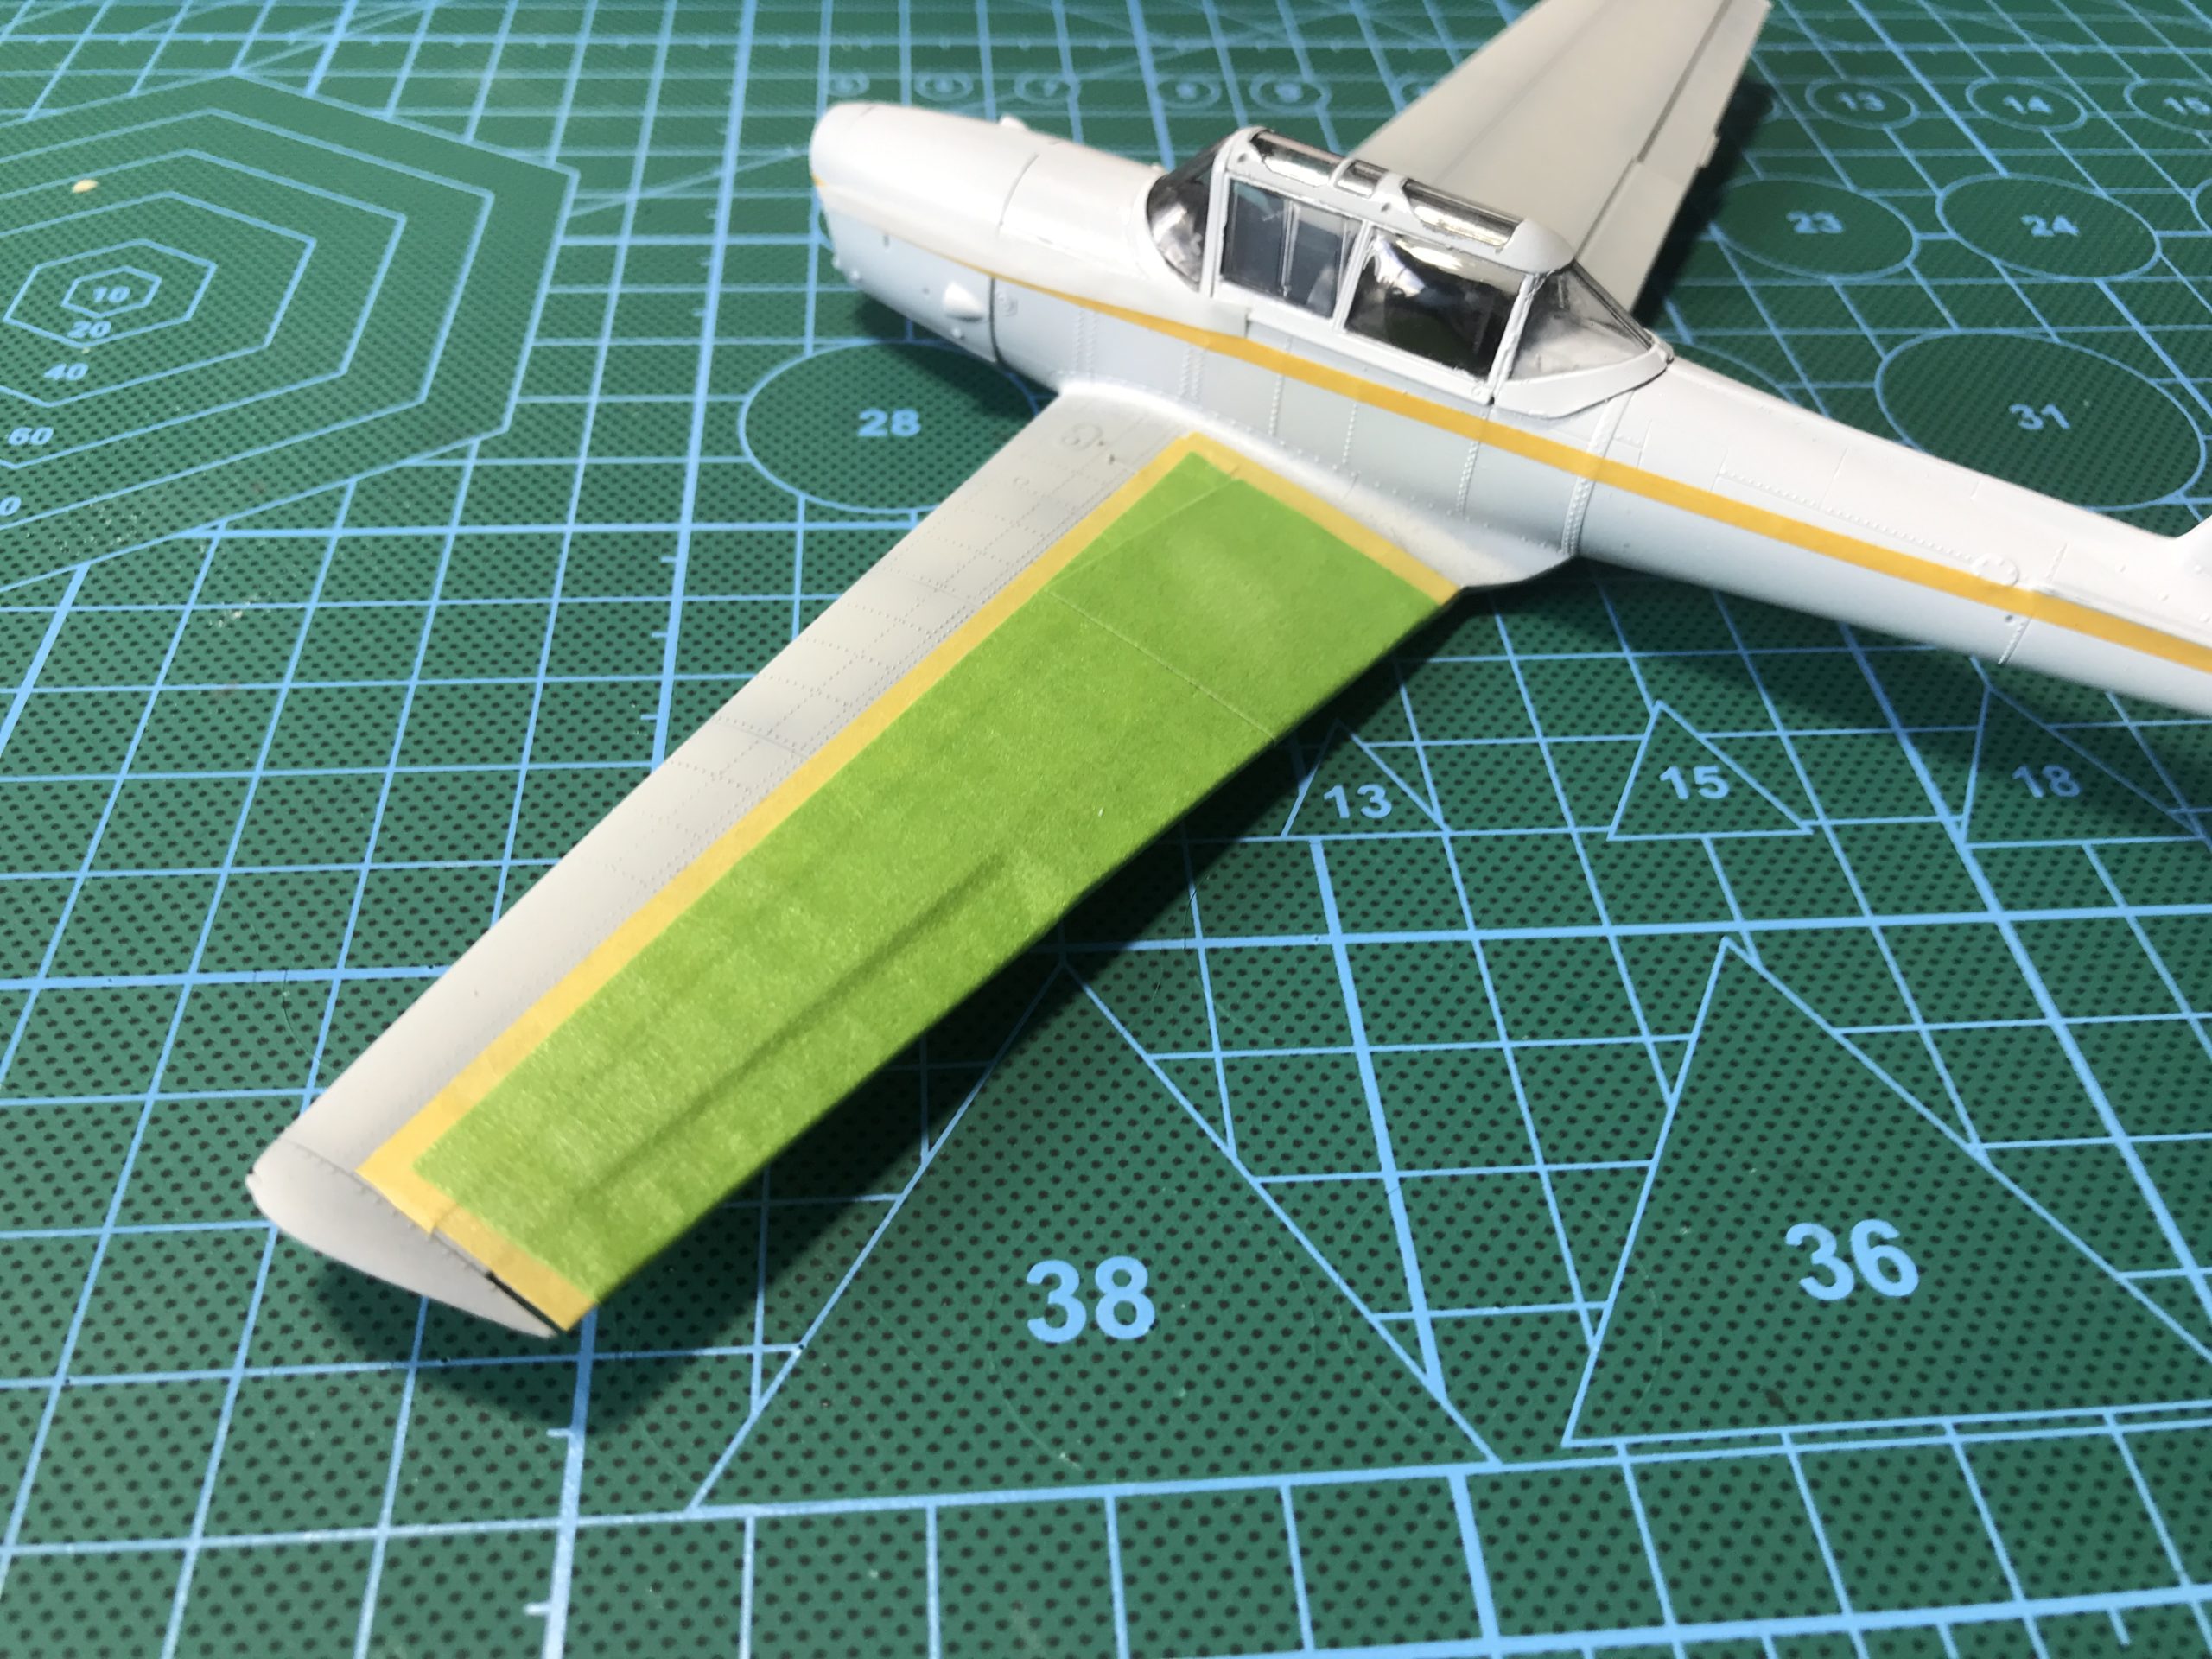
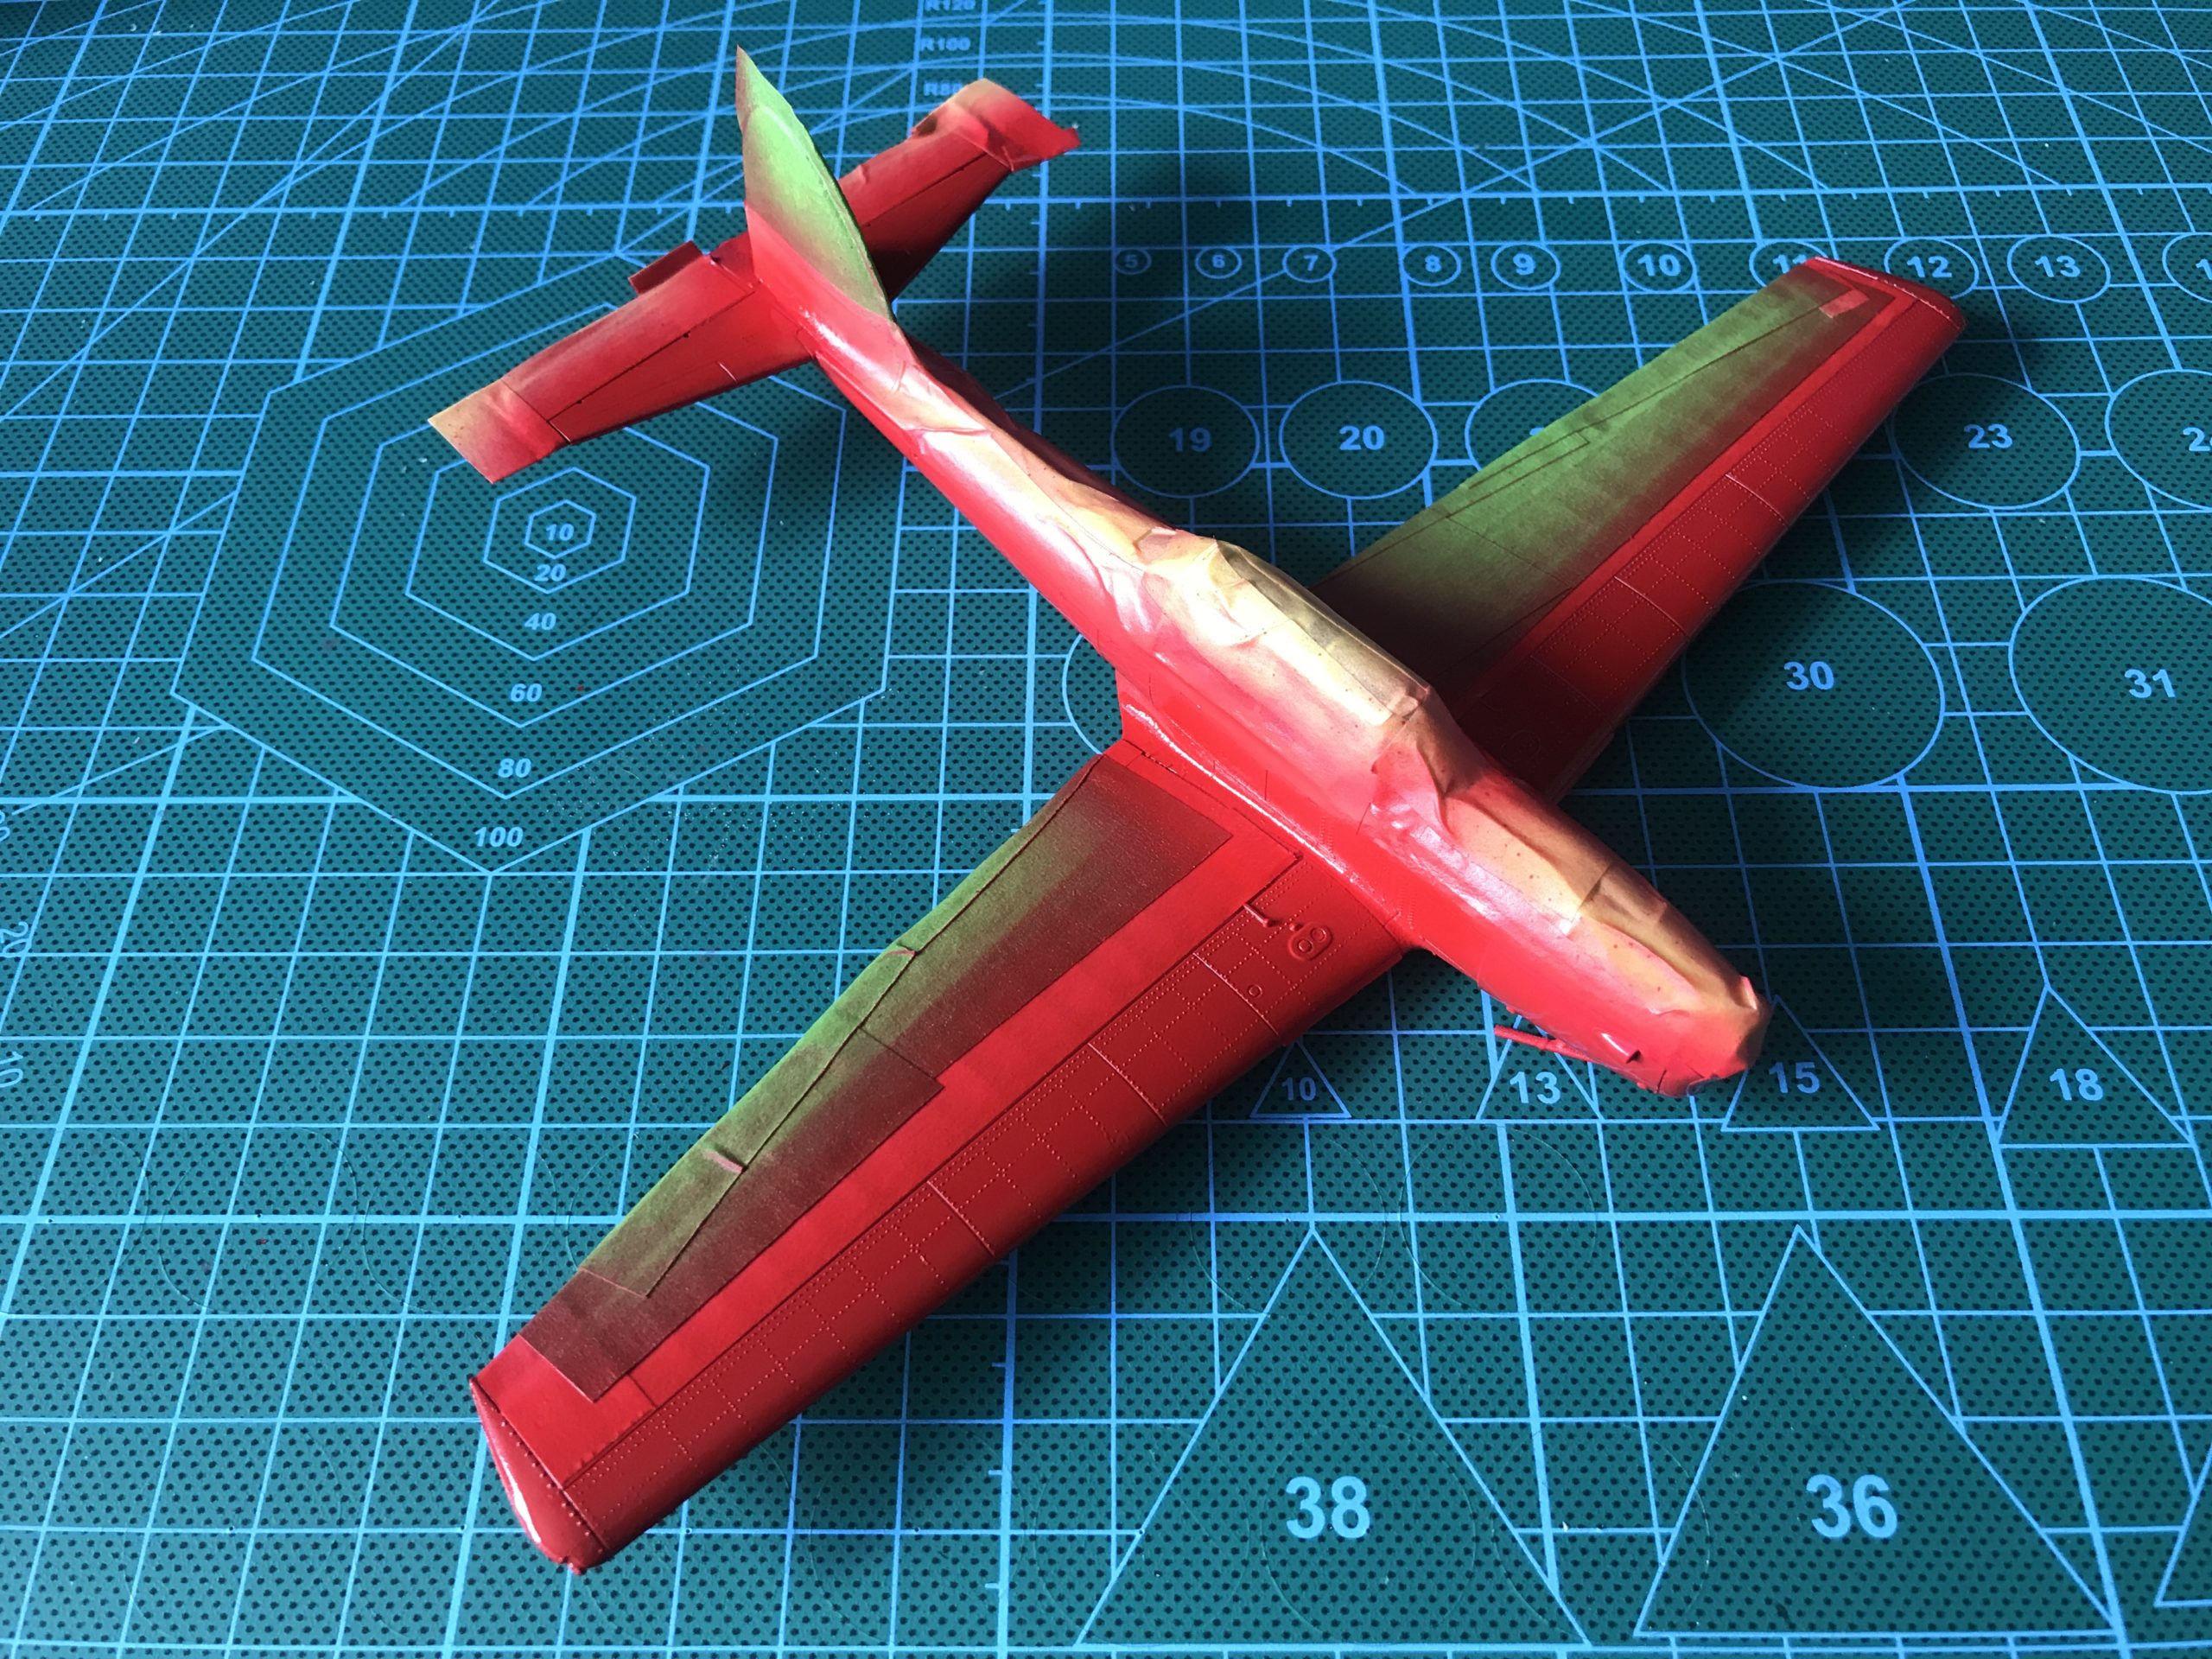
Painting
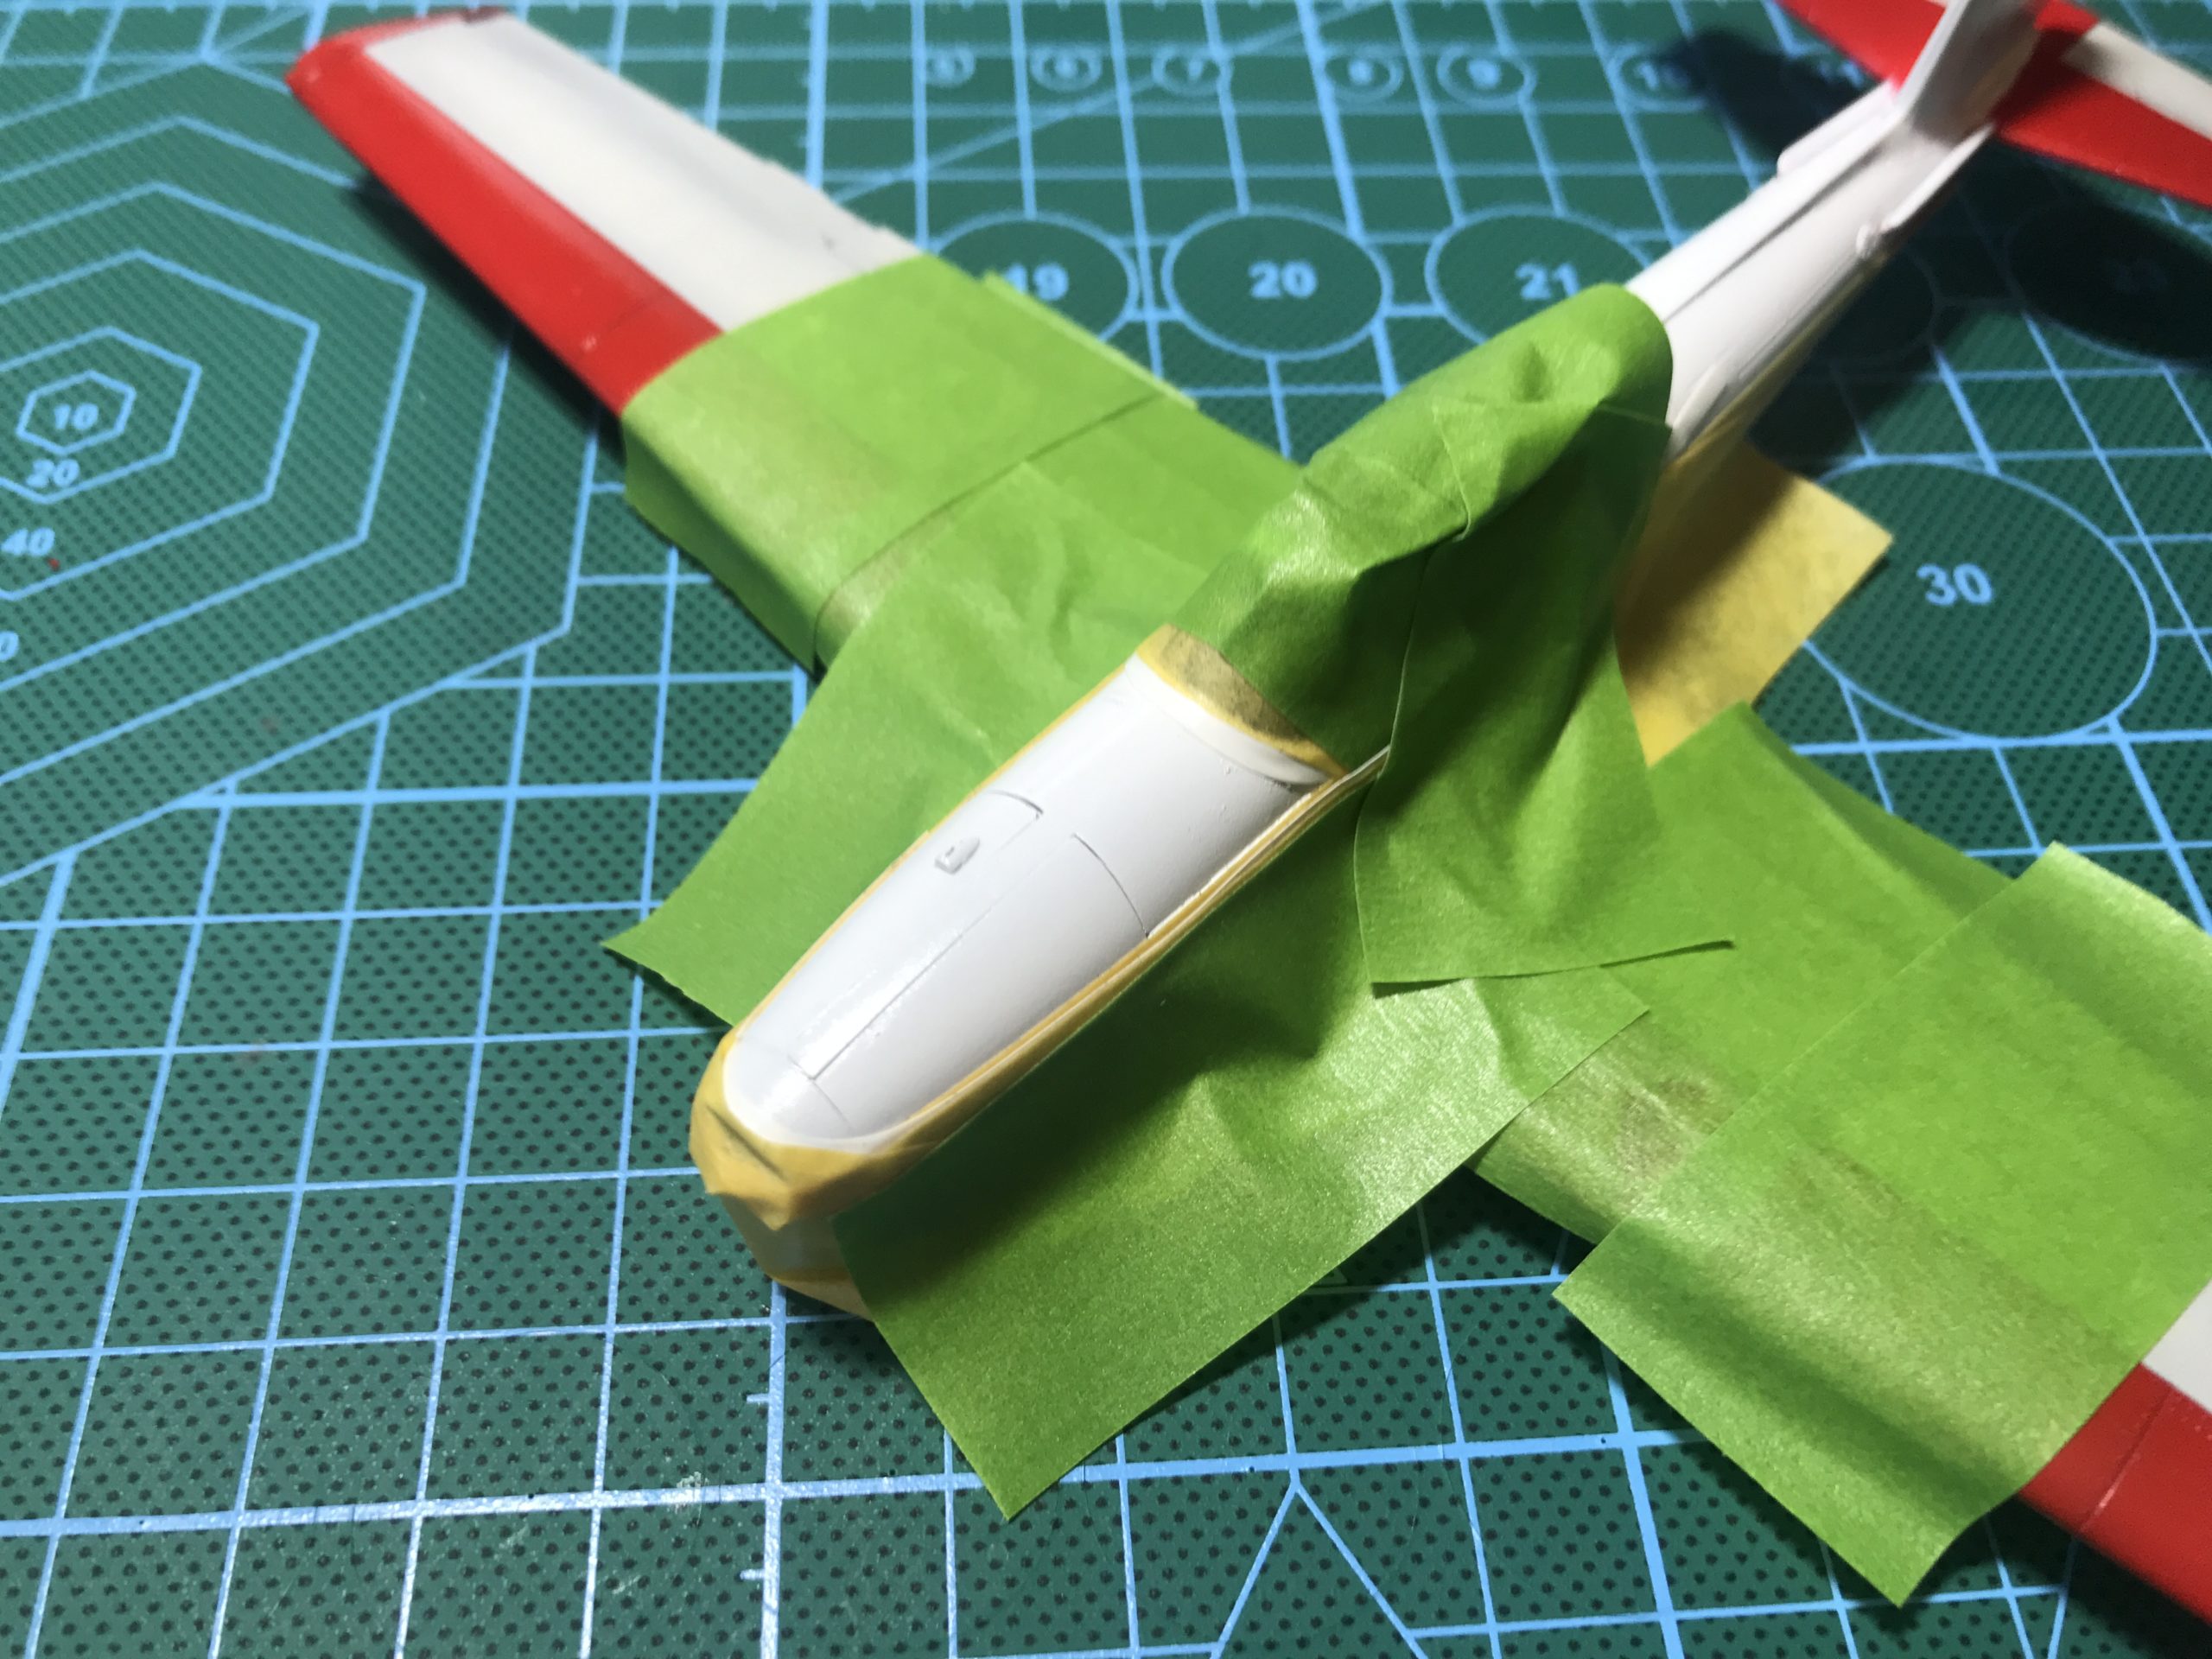
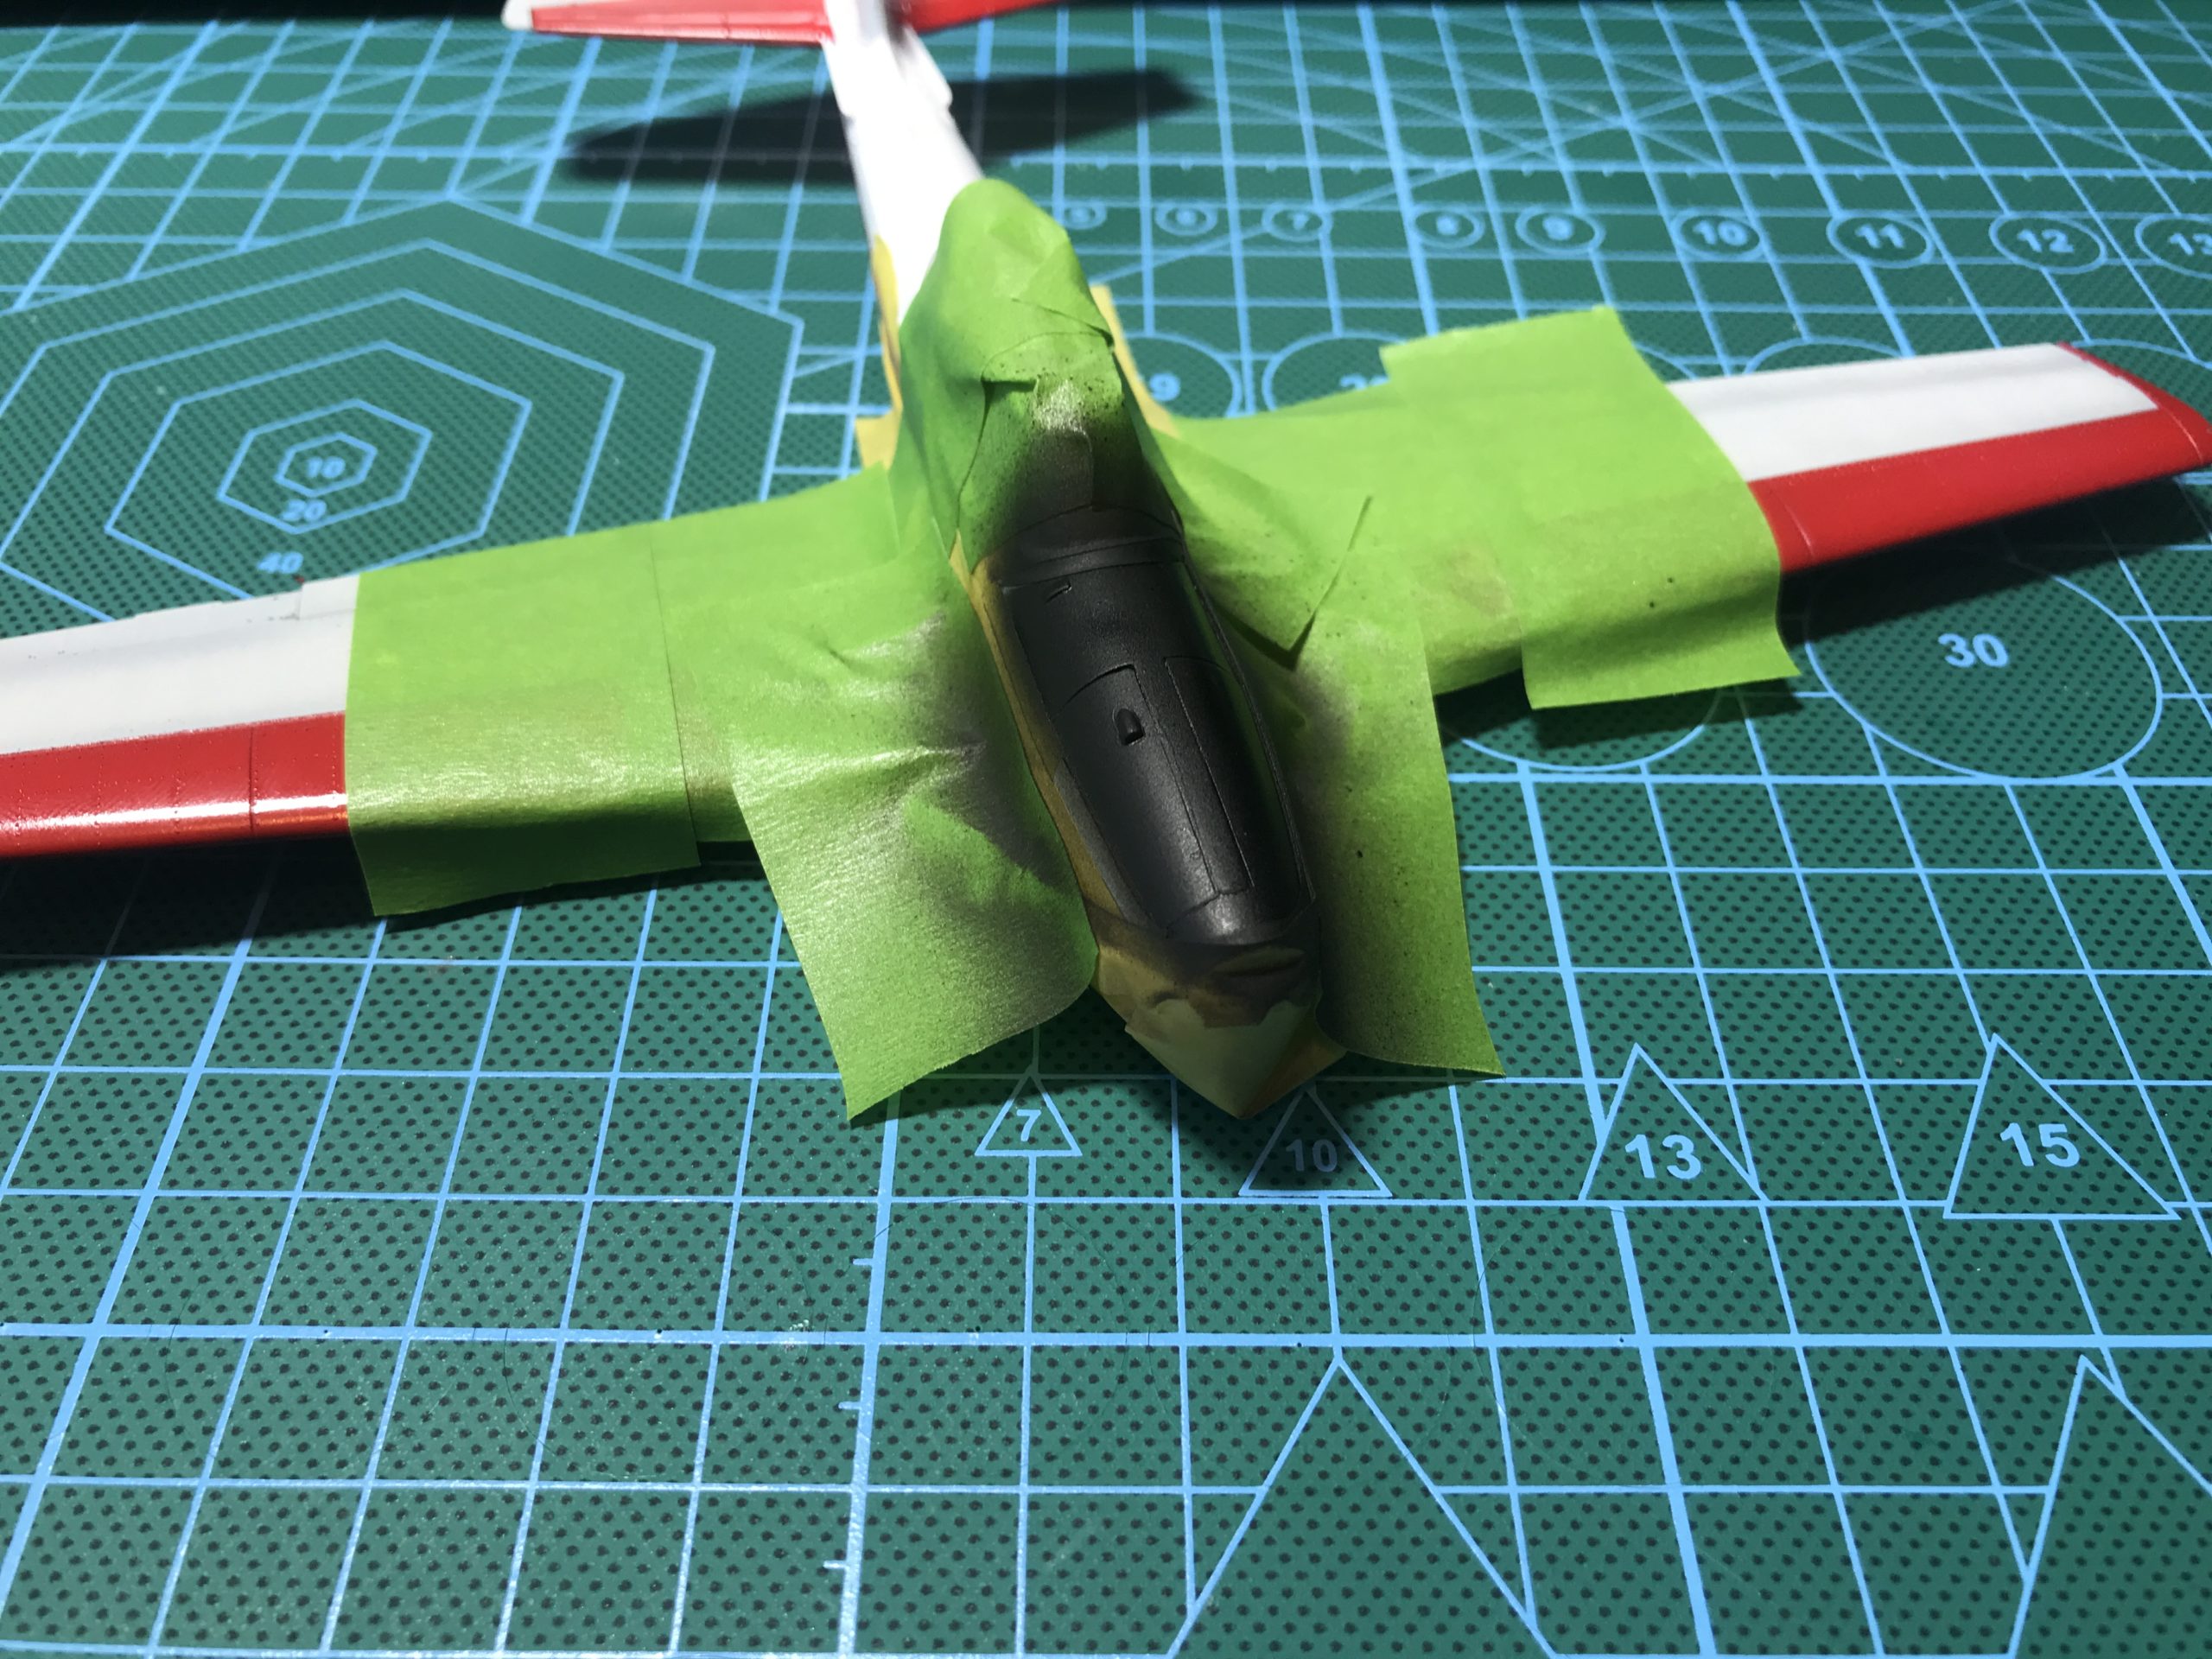
with the build behind me thoughts turn to the painting process. I will go through the process via the medium of pictures.


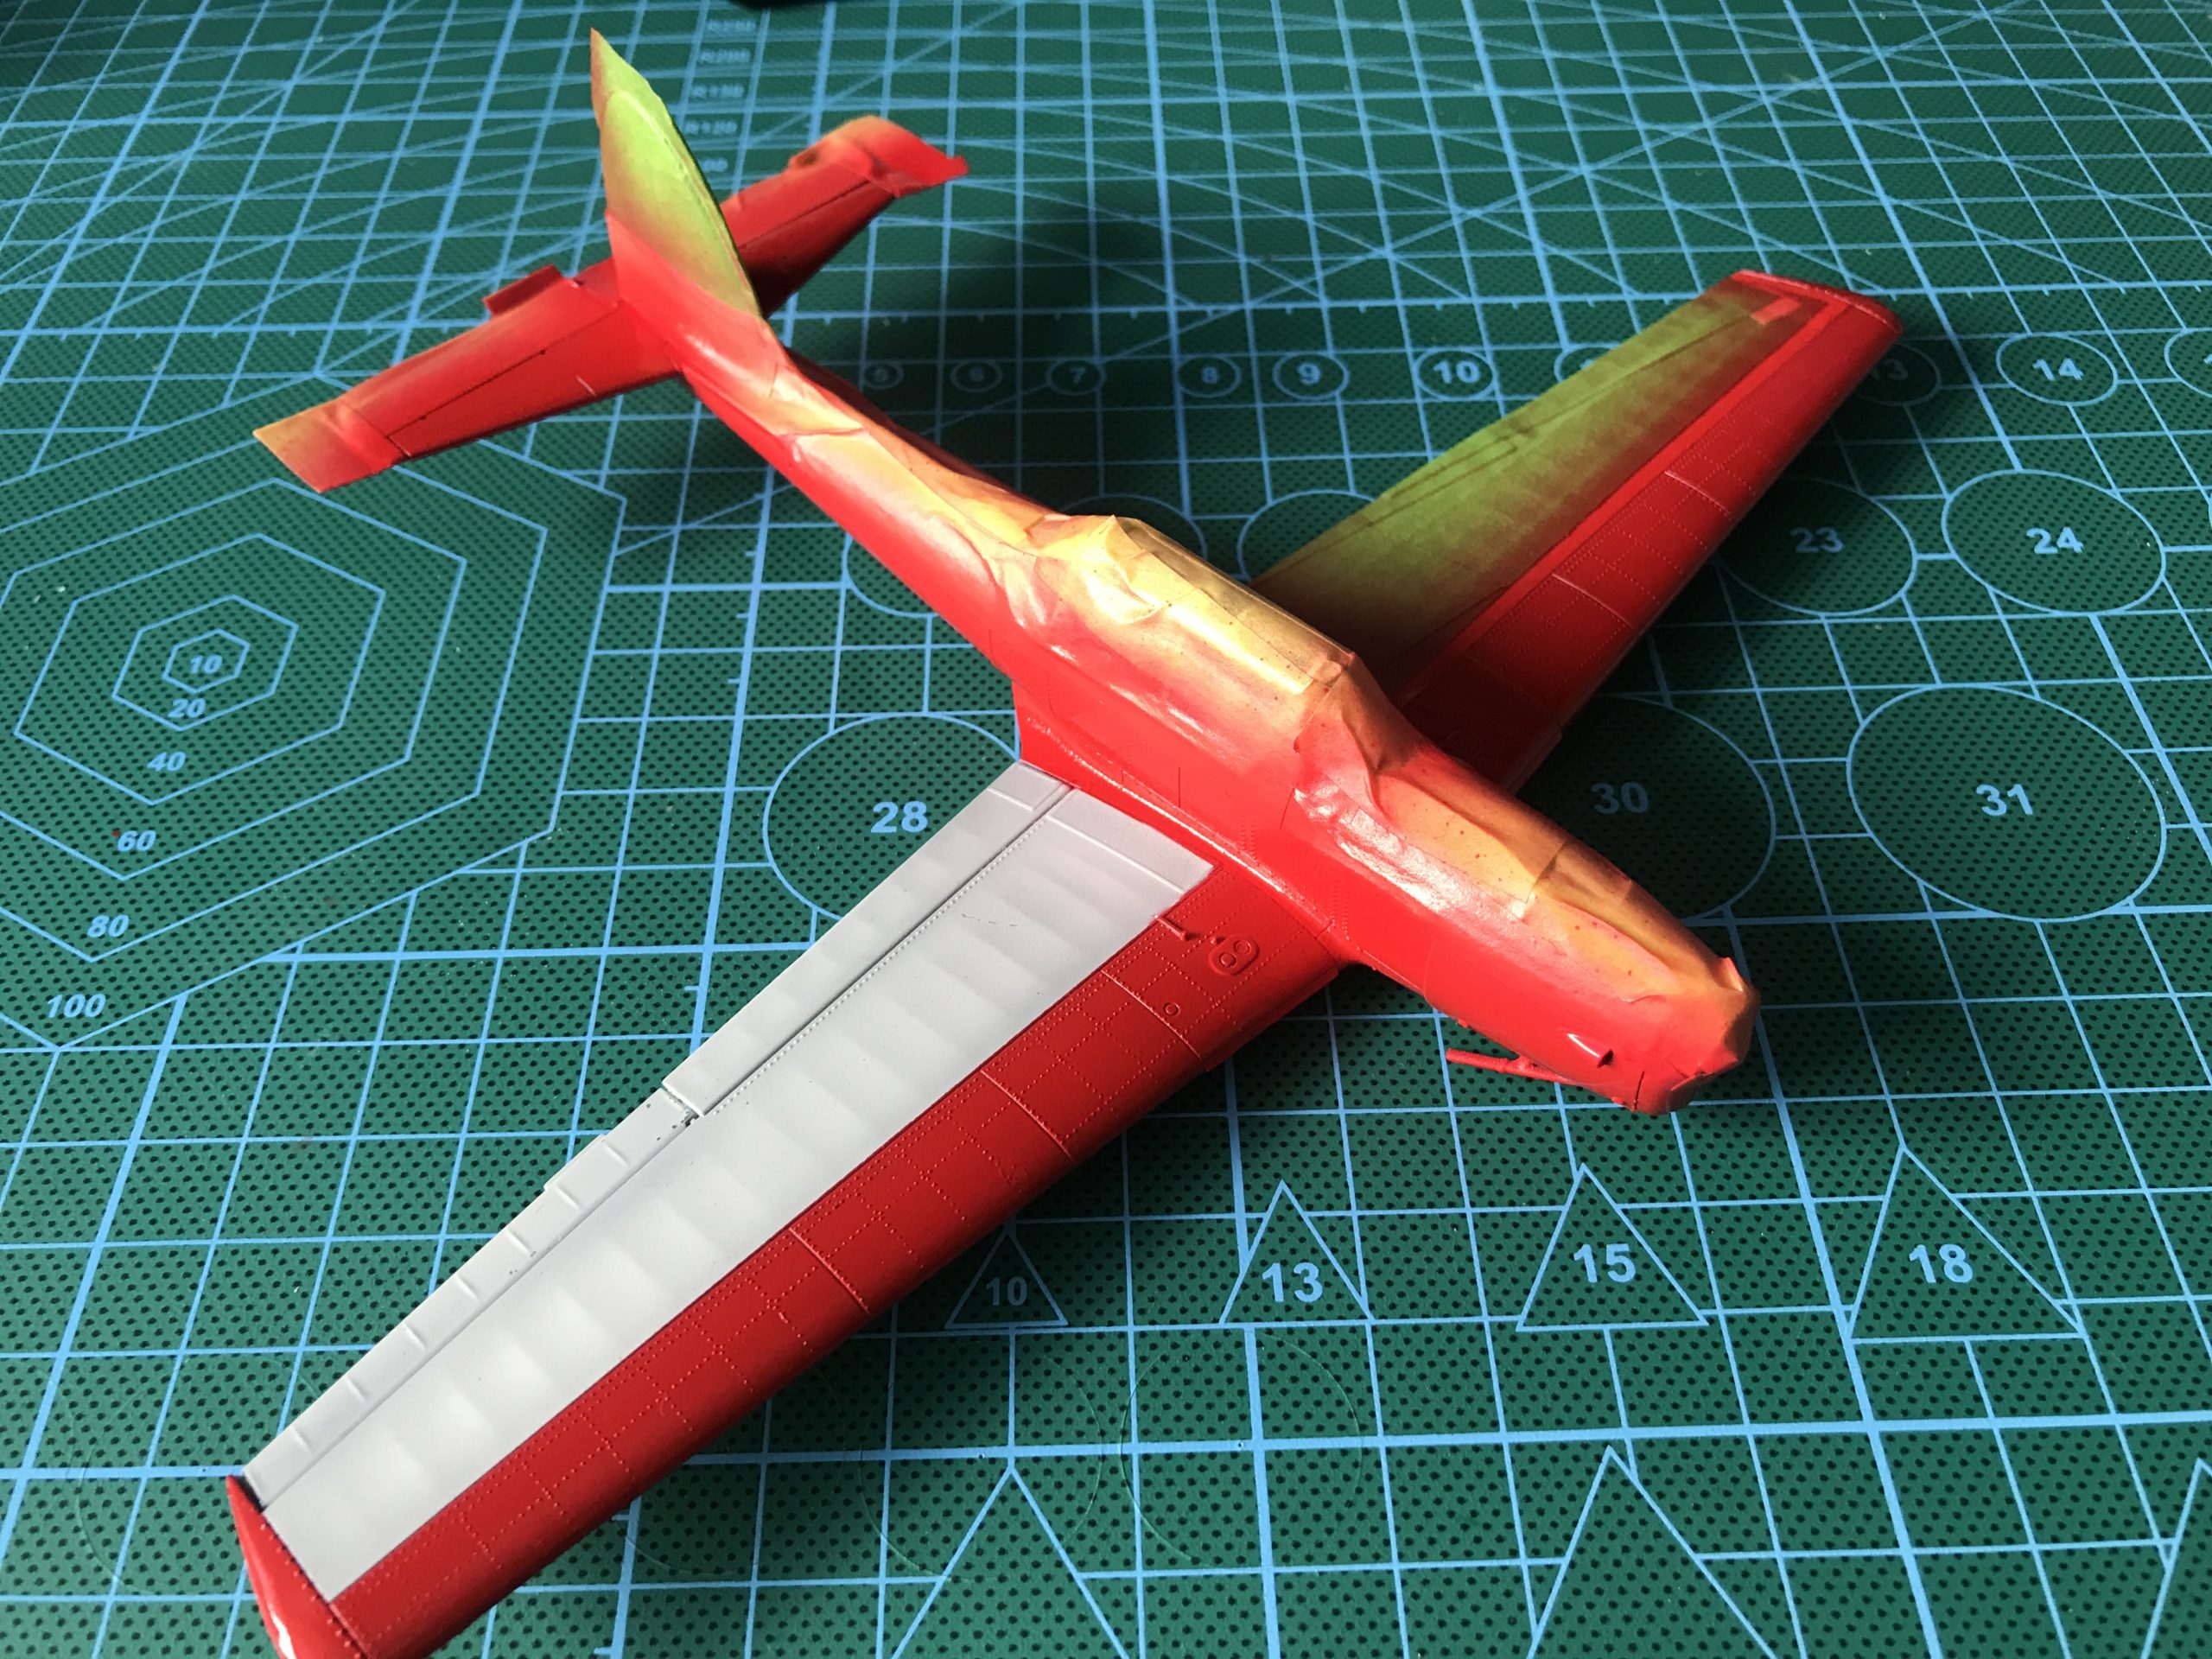
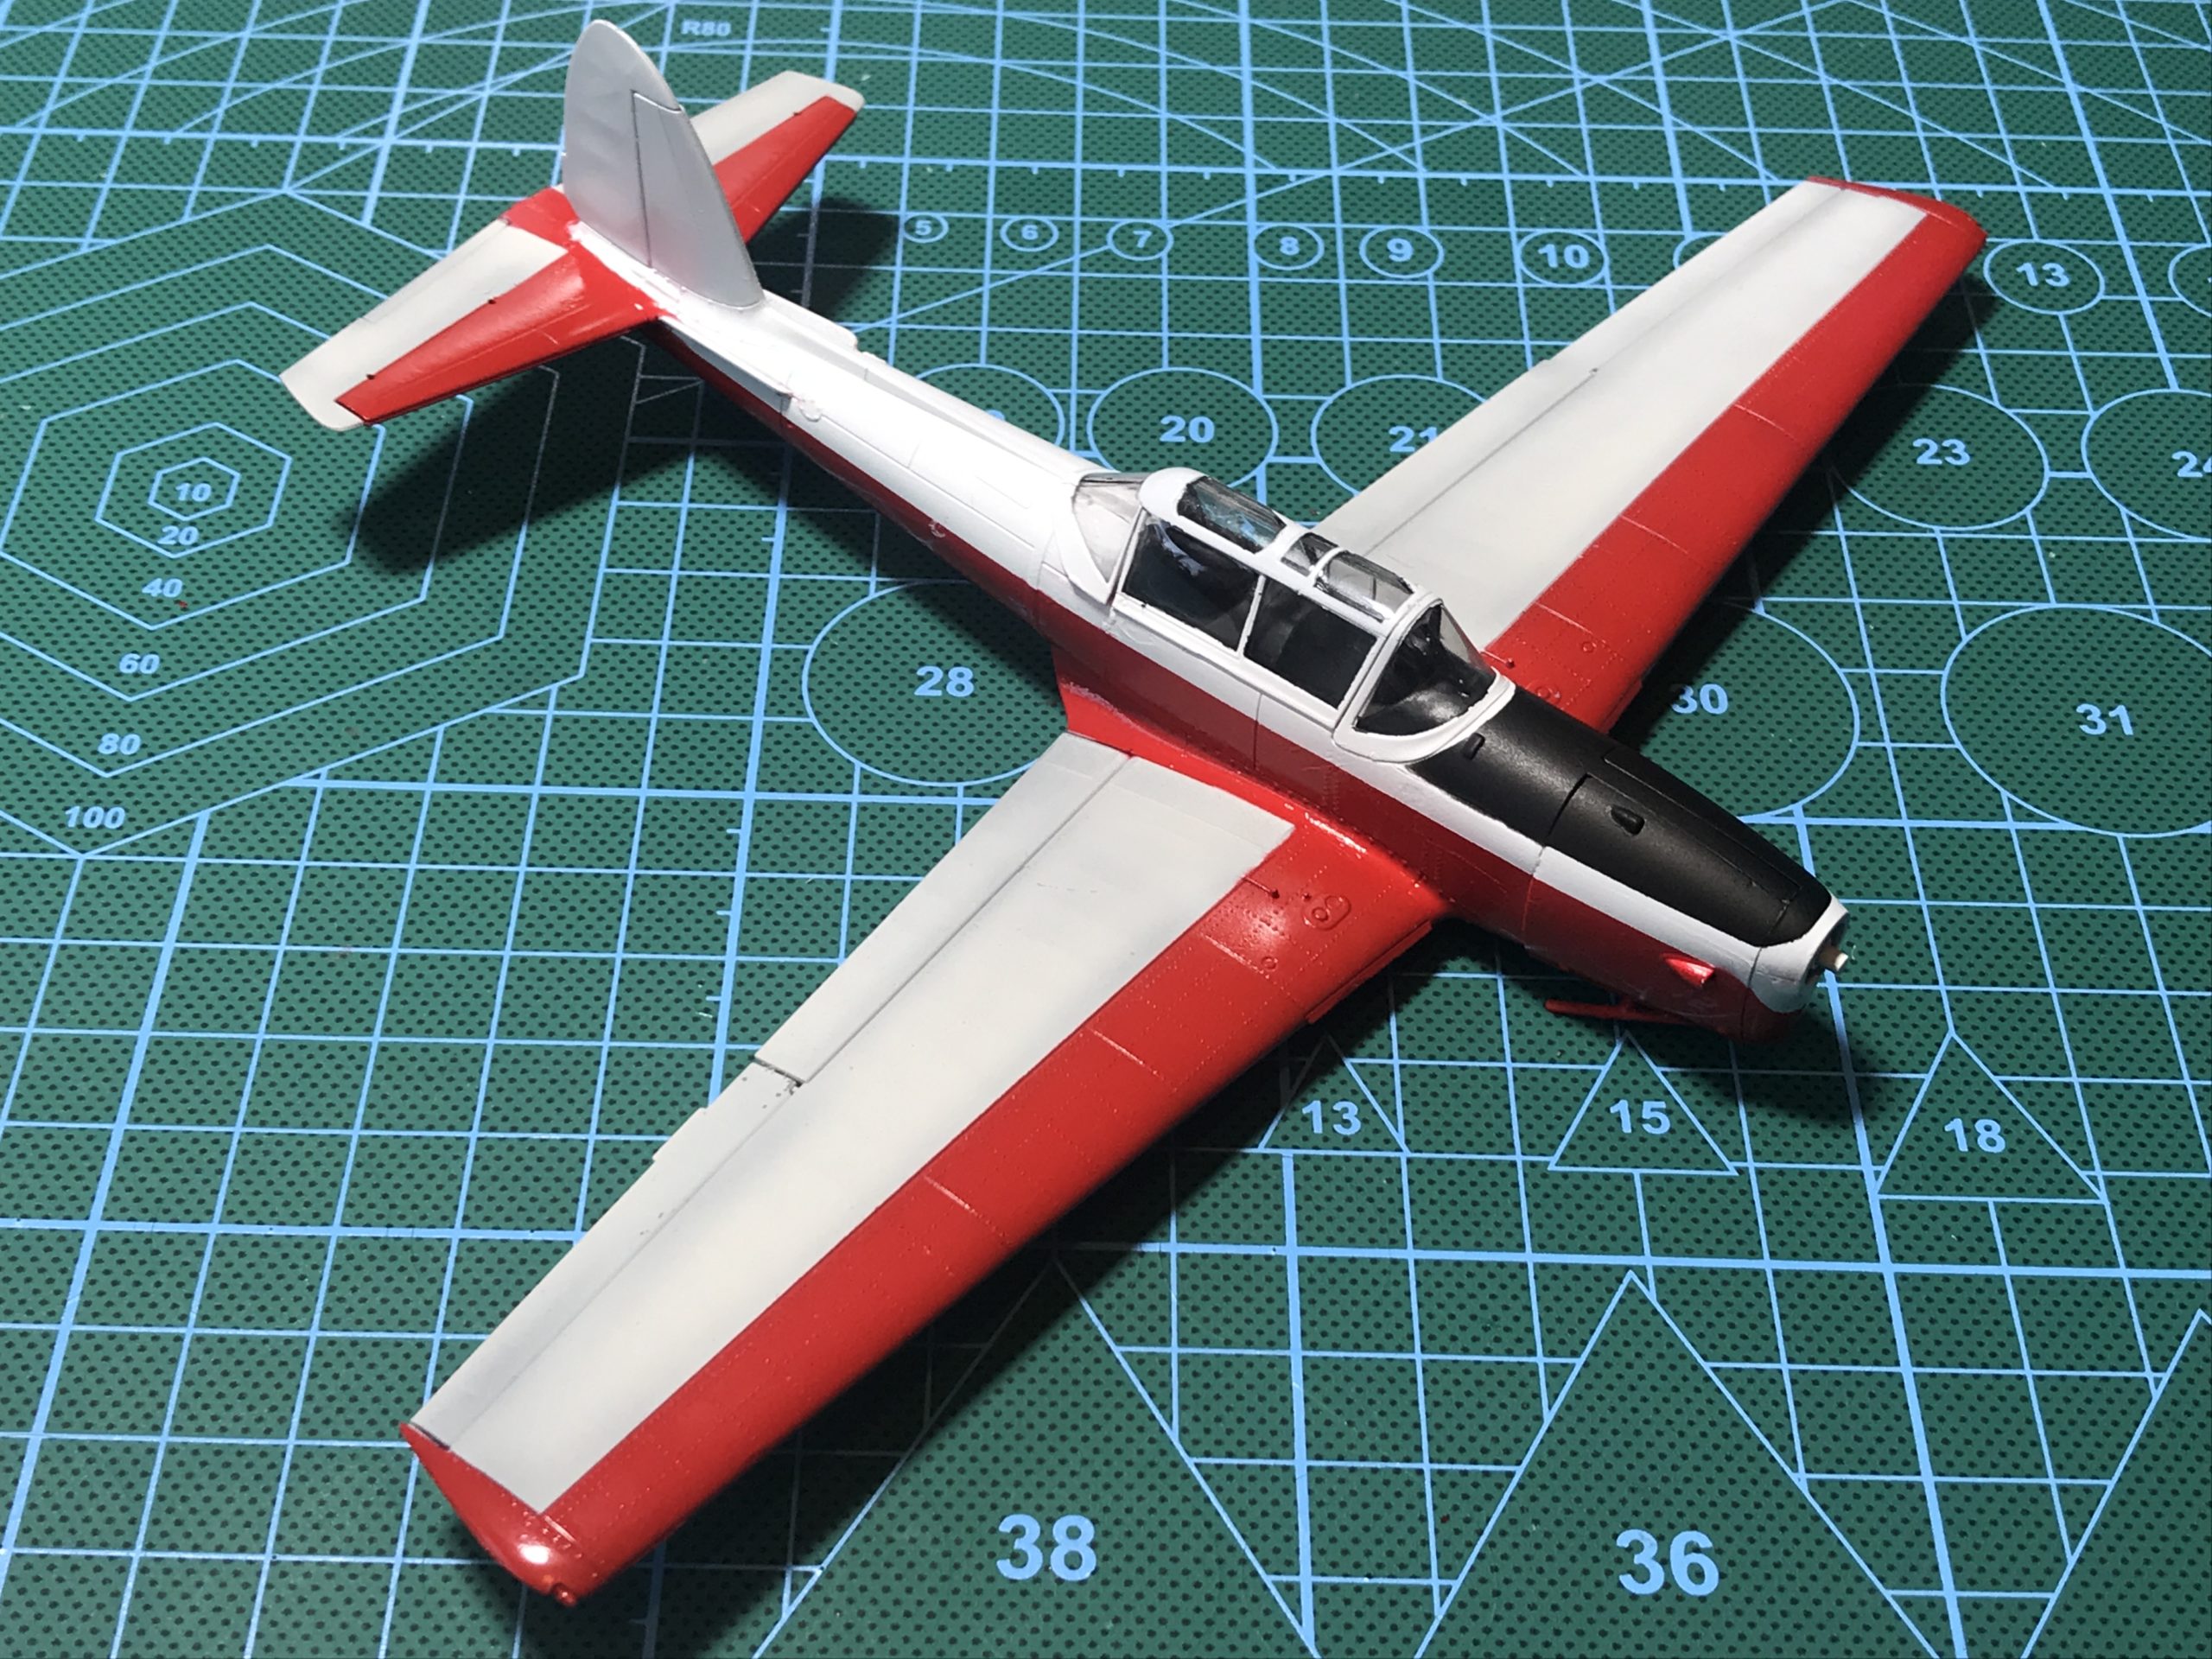

Decals could now be added.

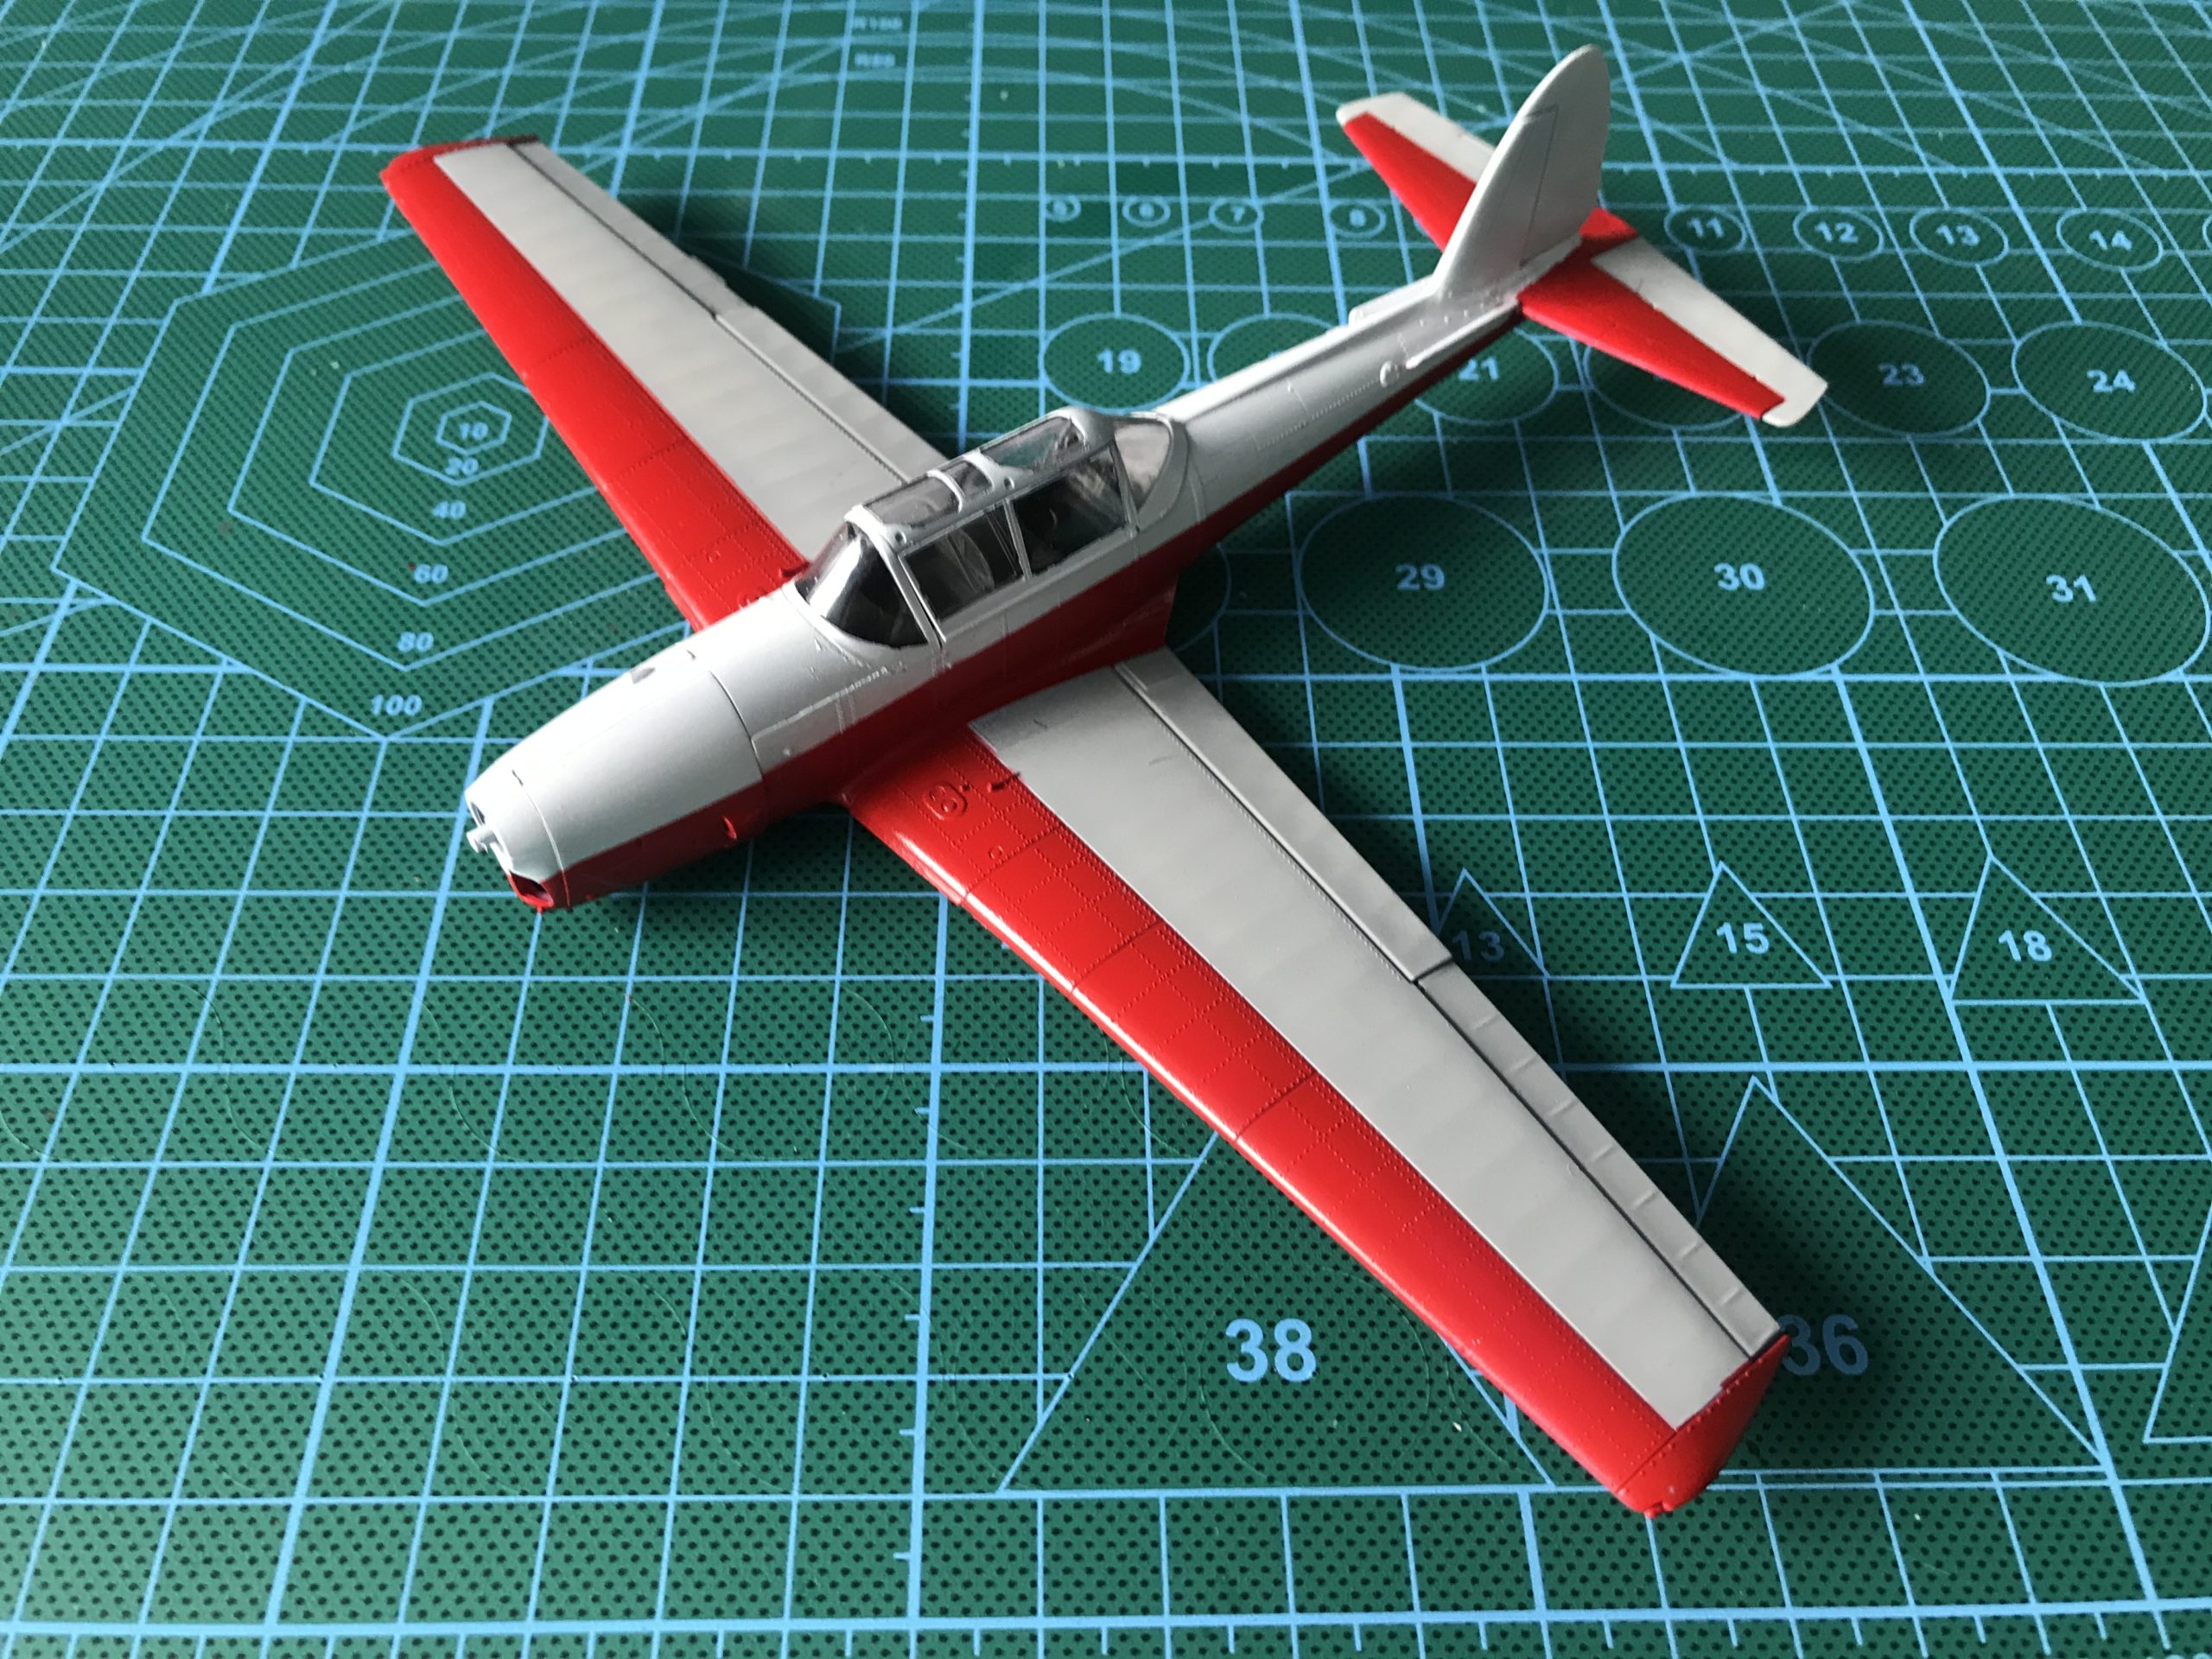
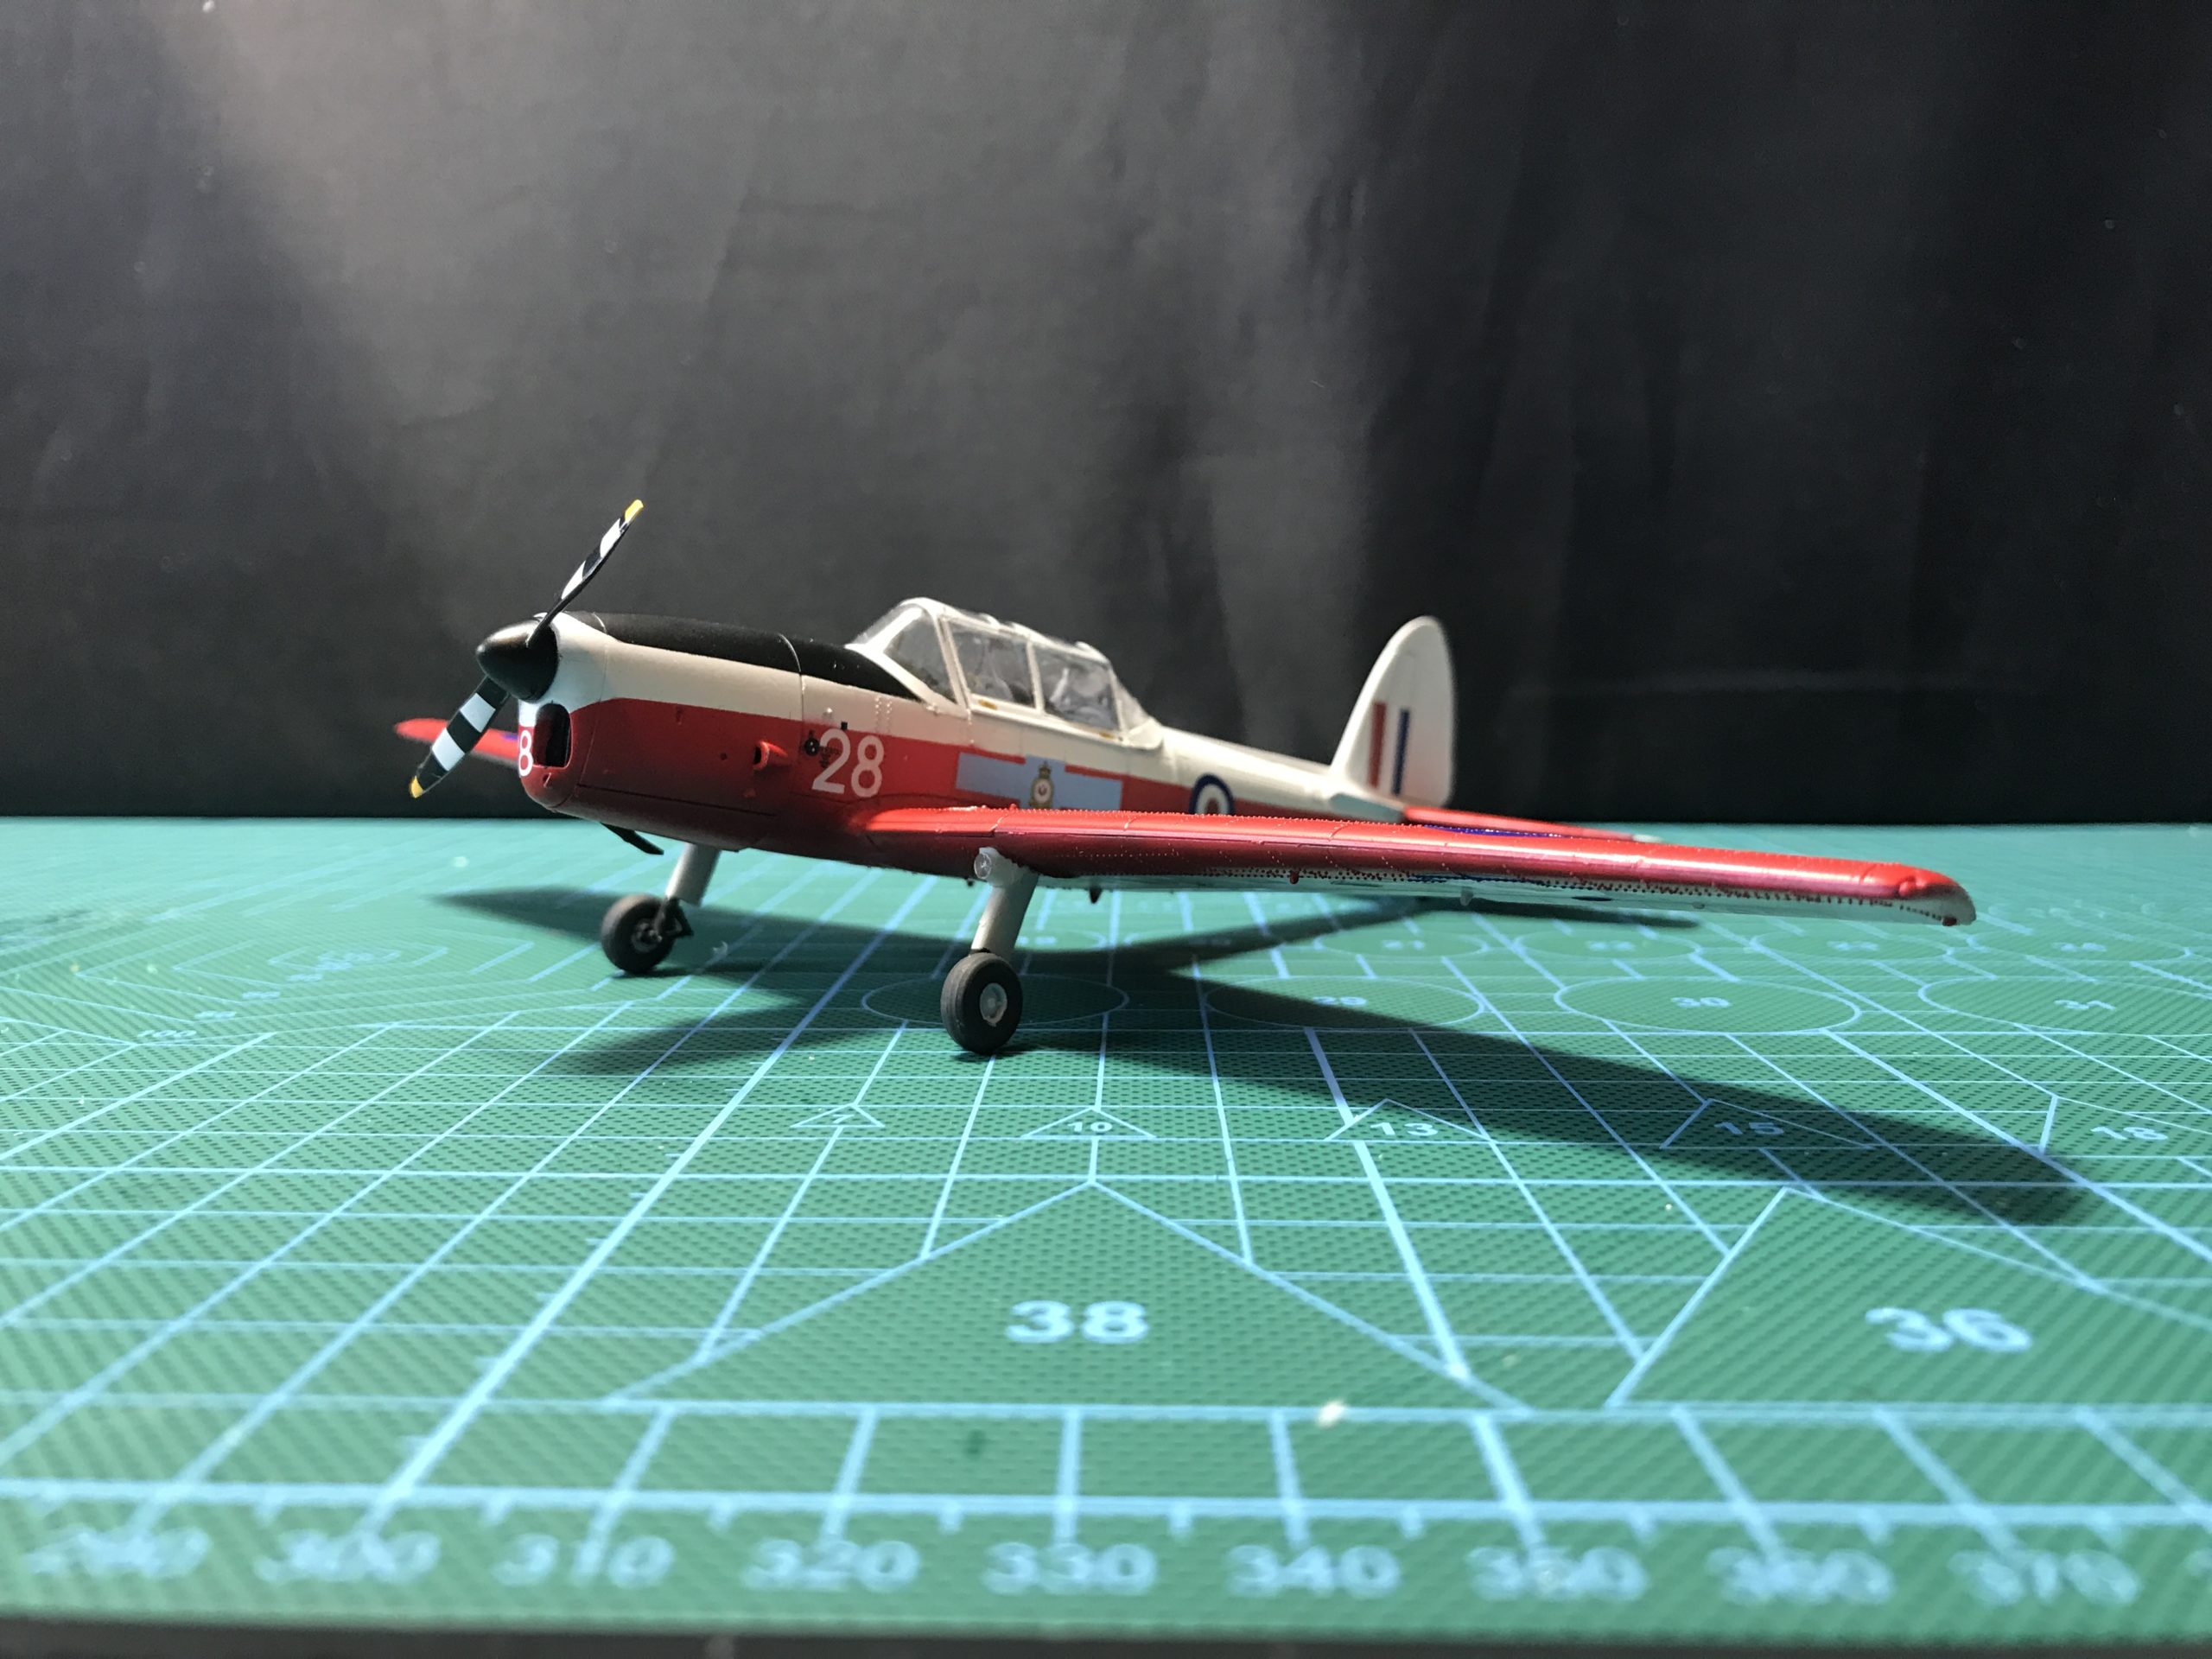
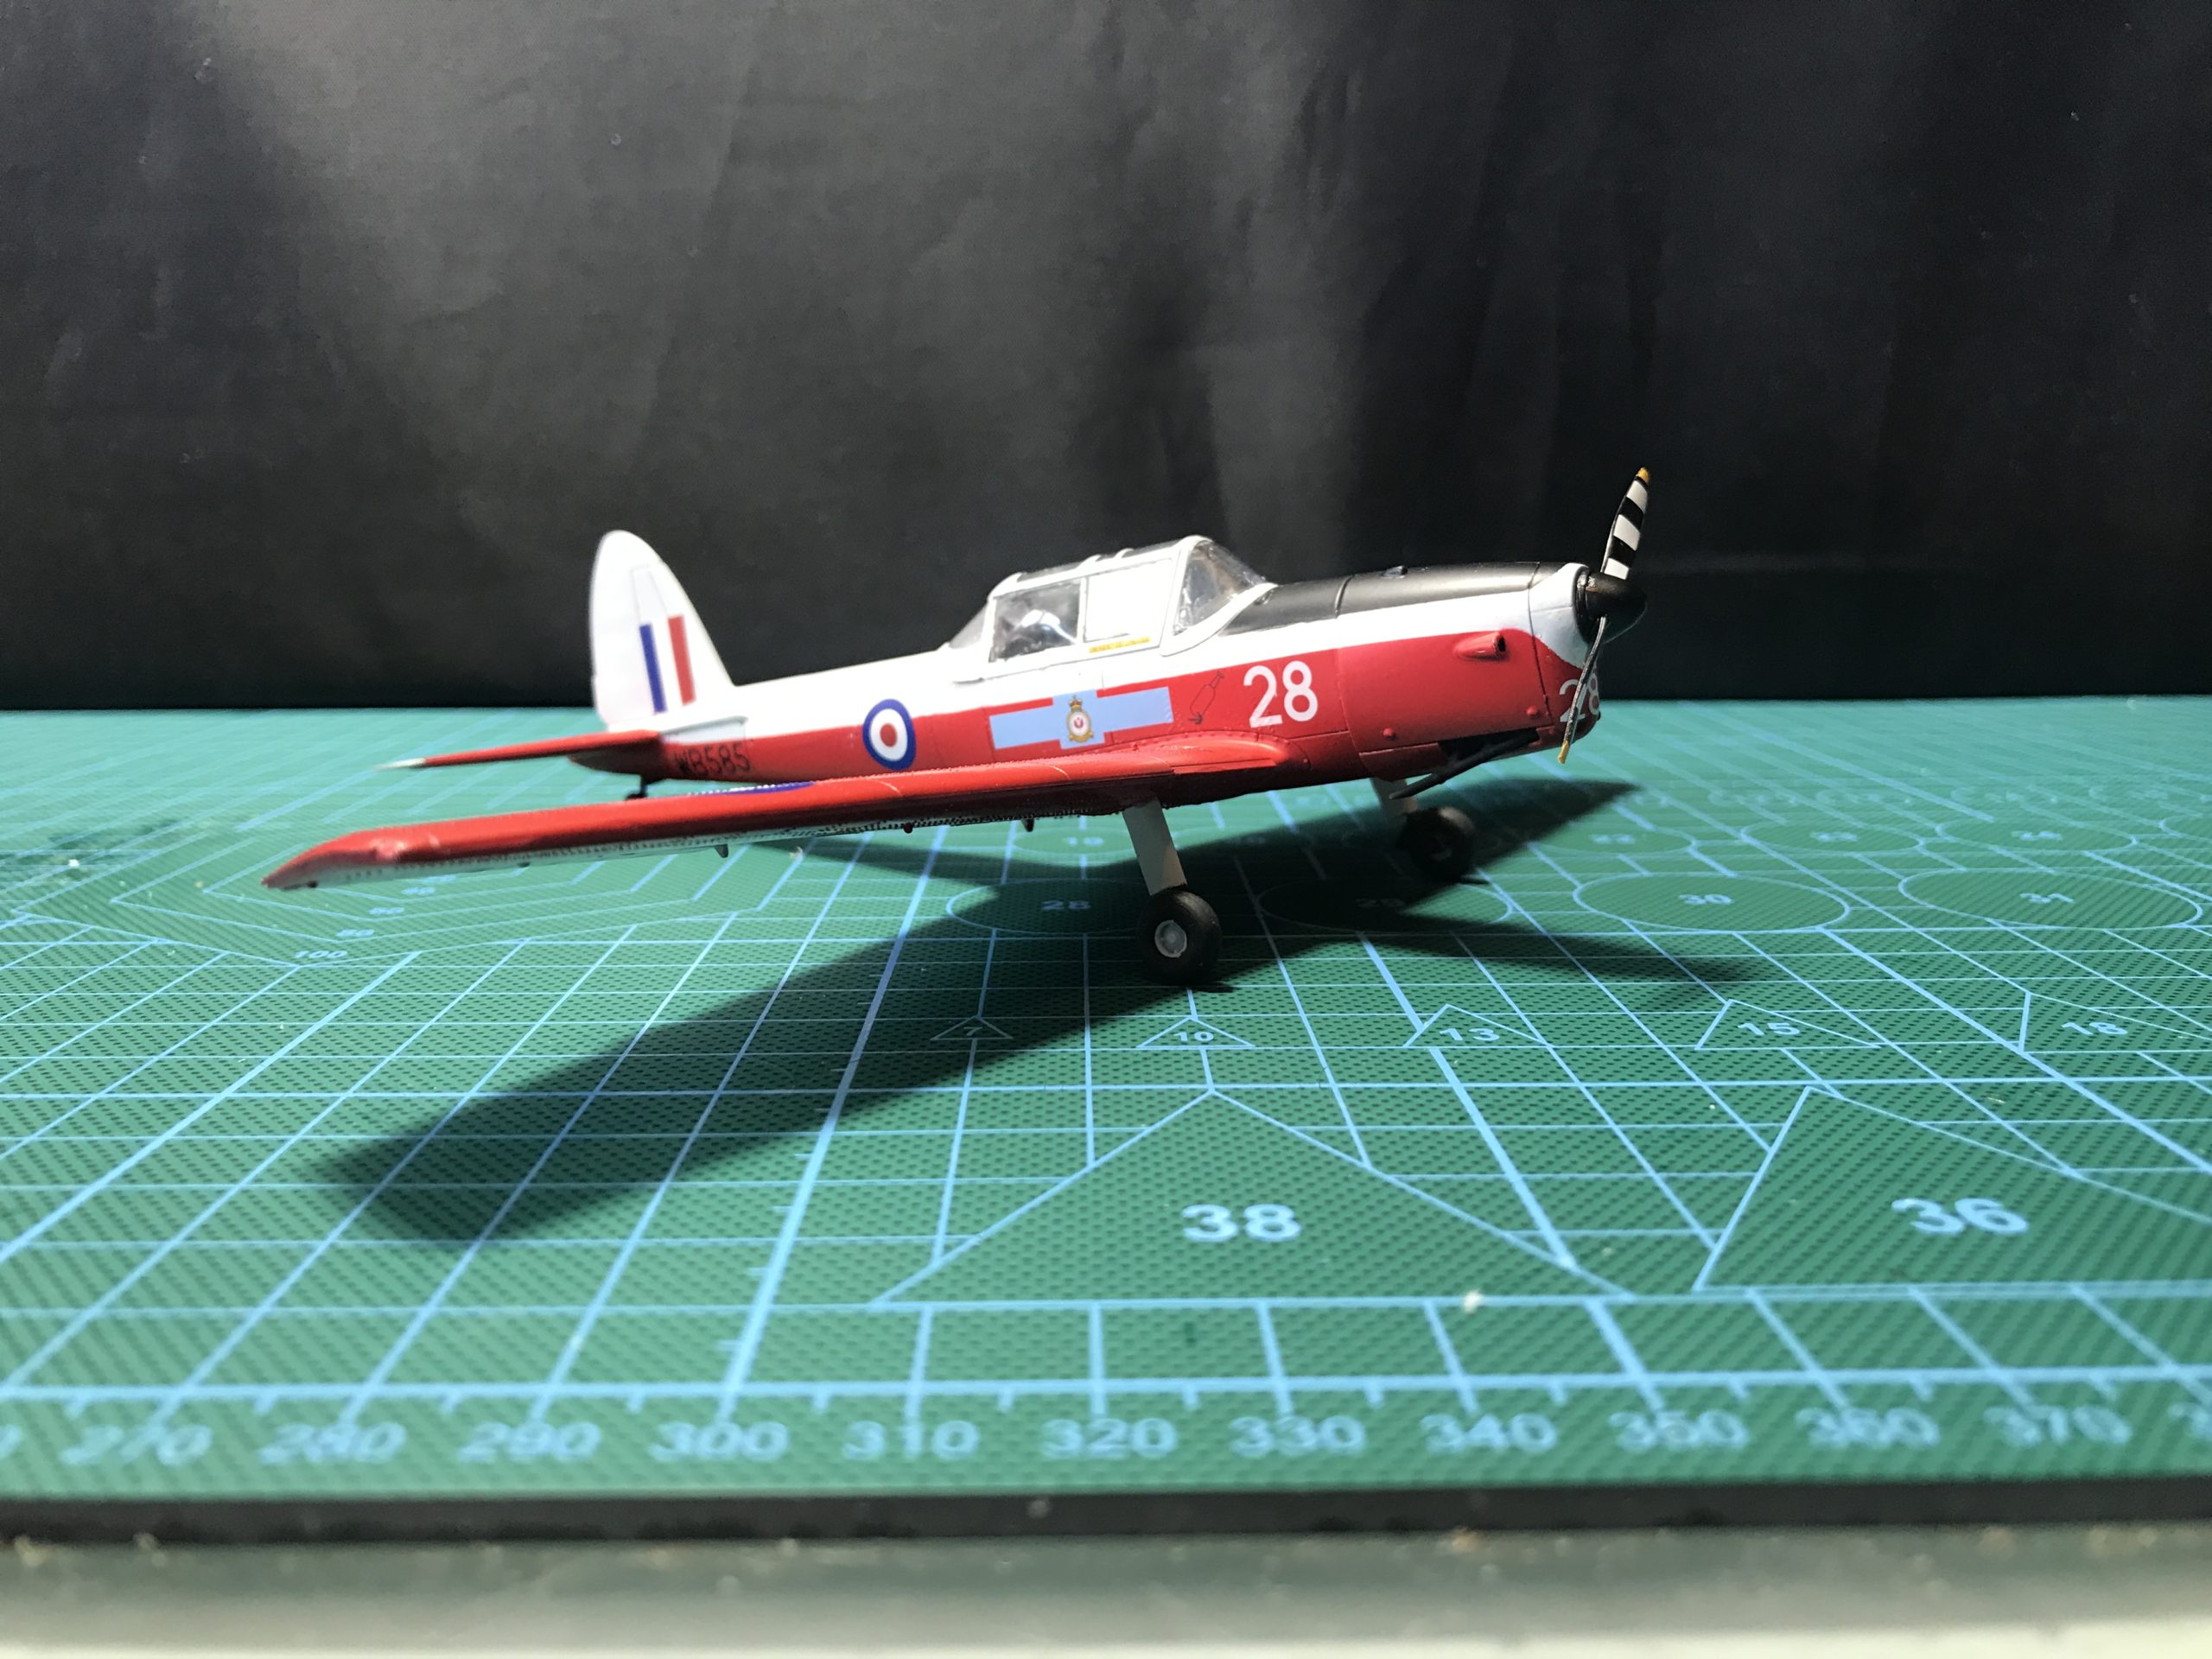
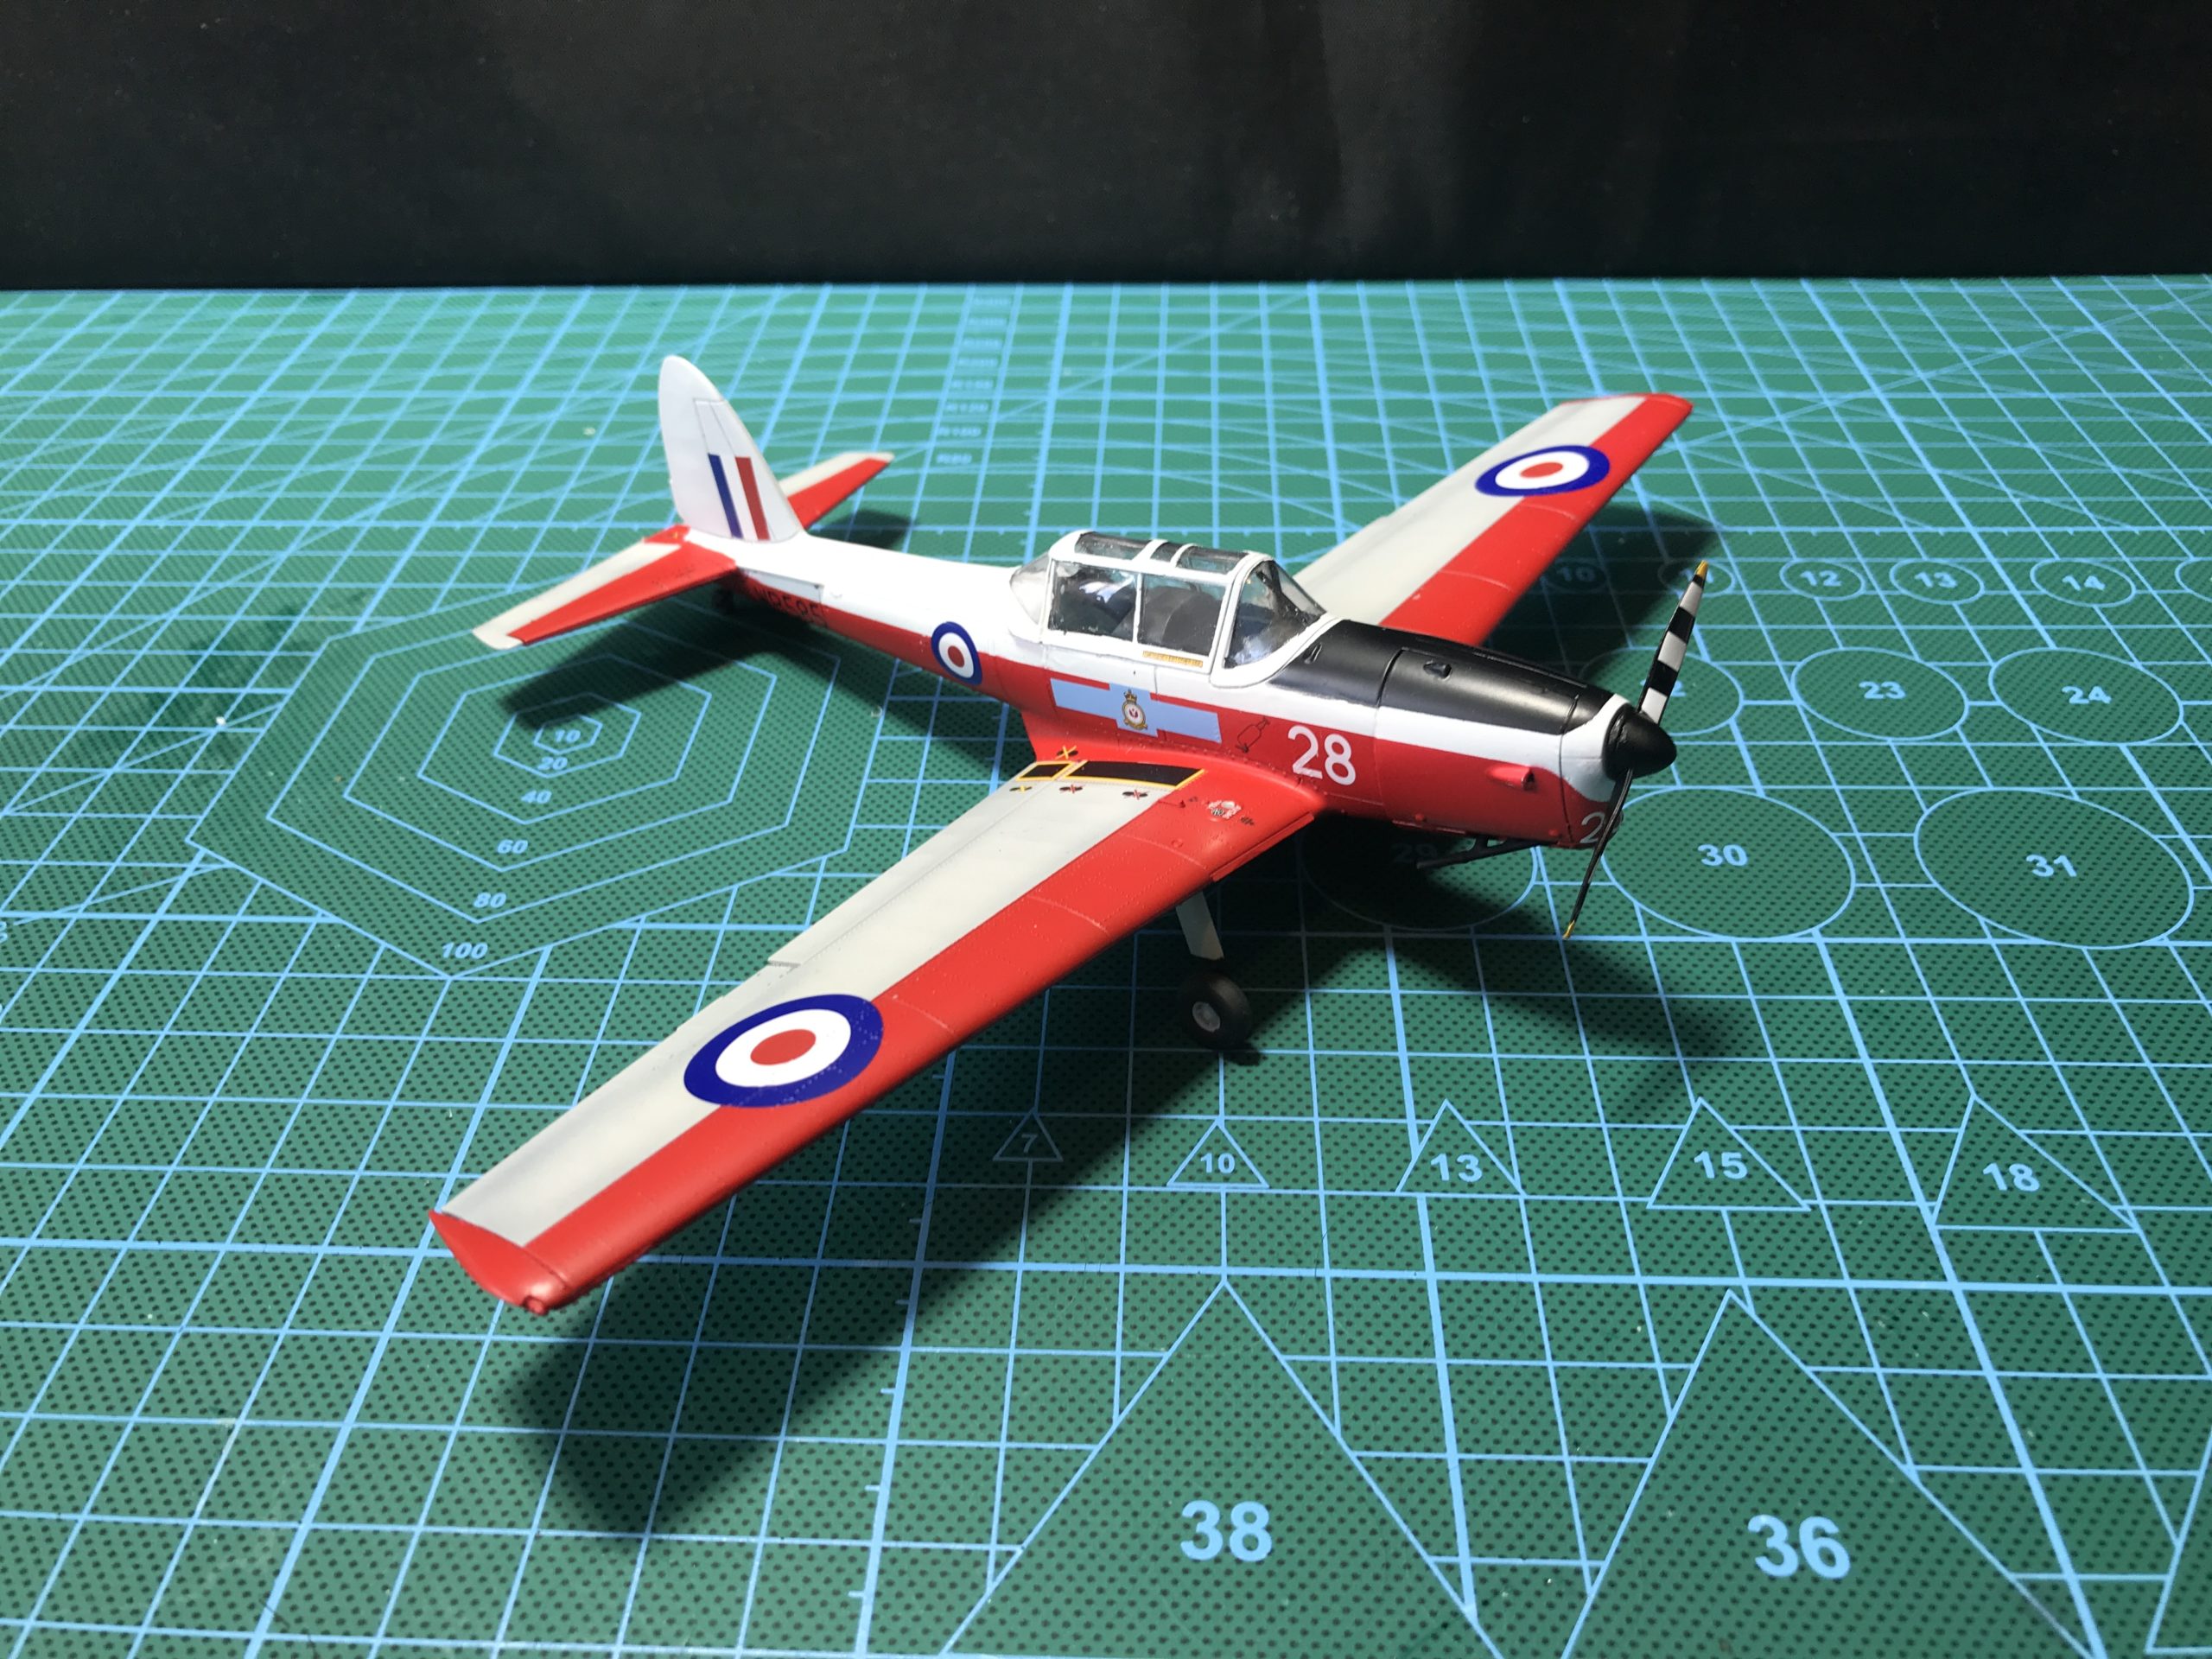
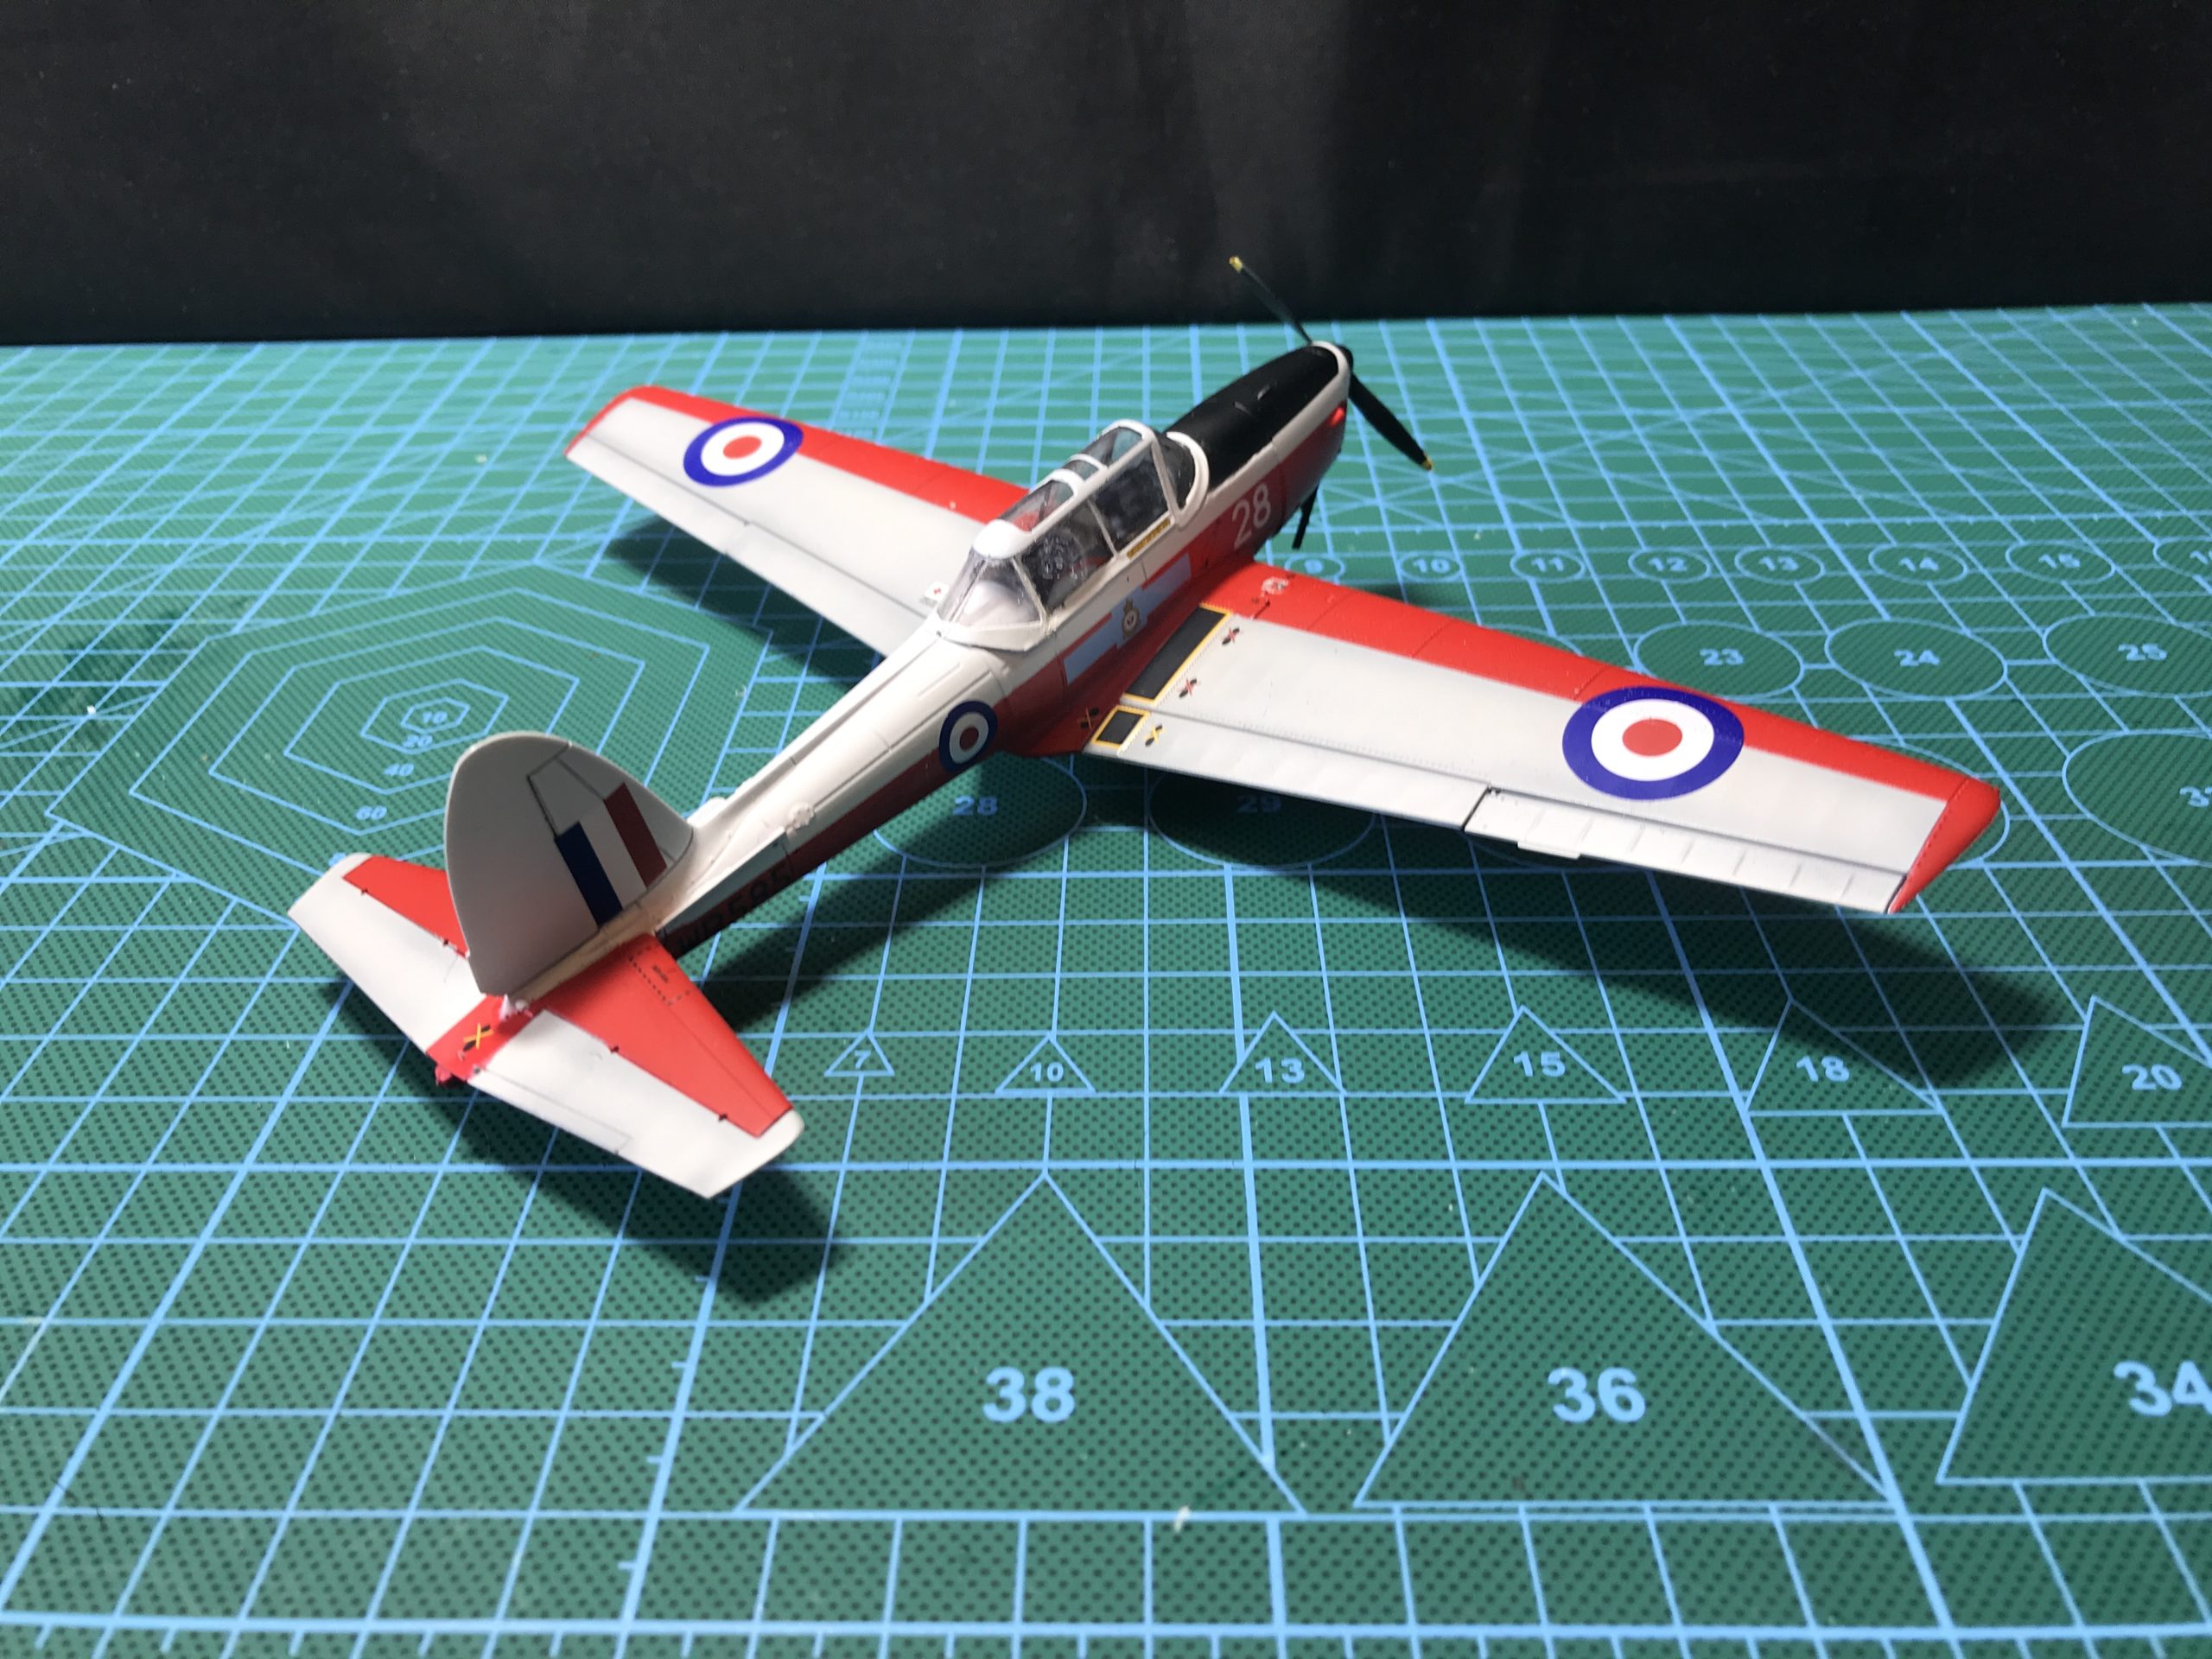
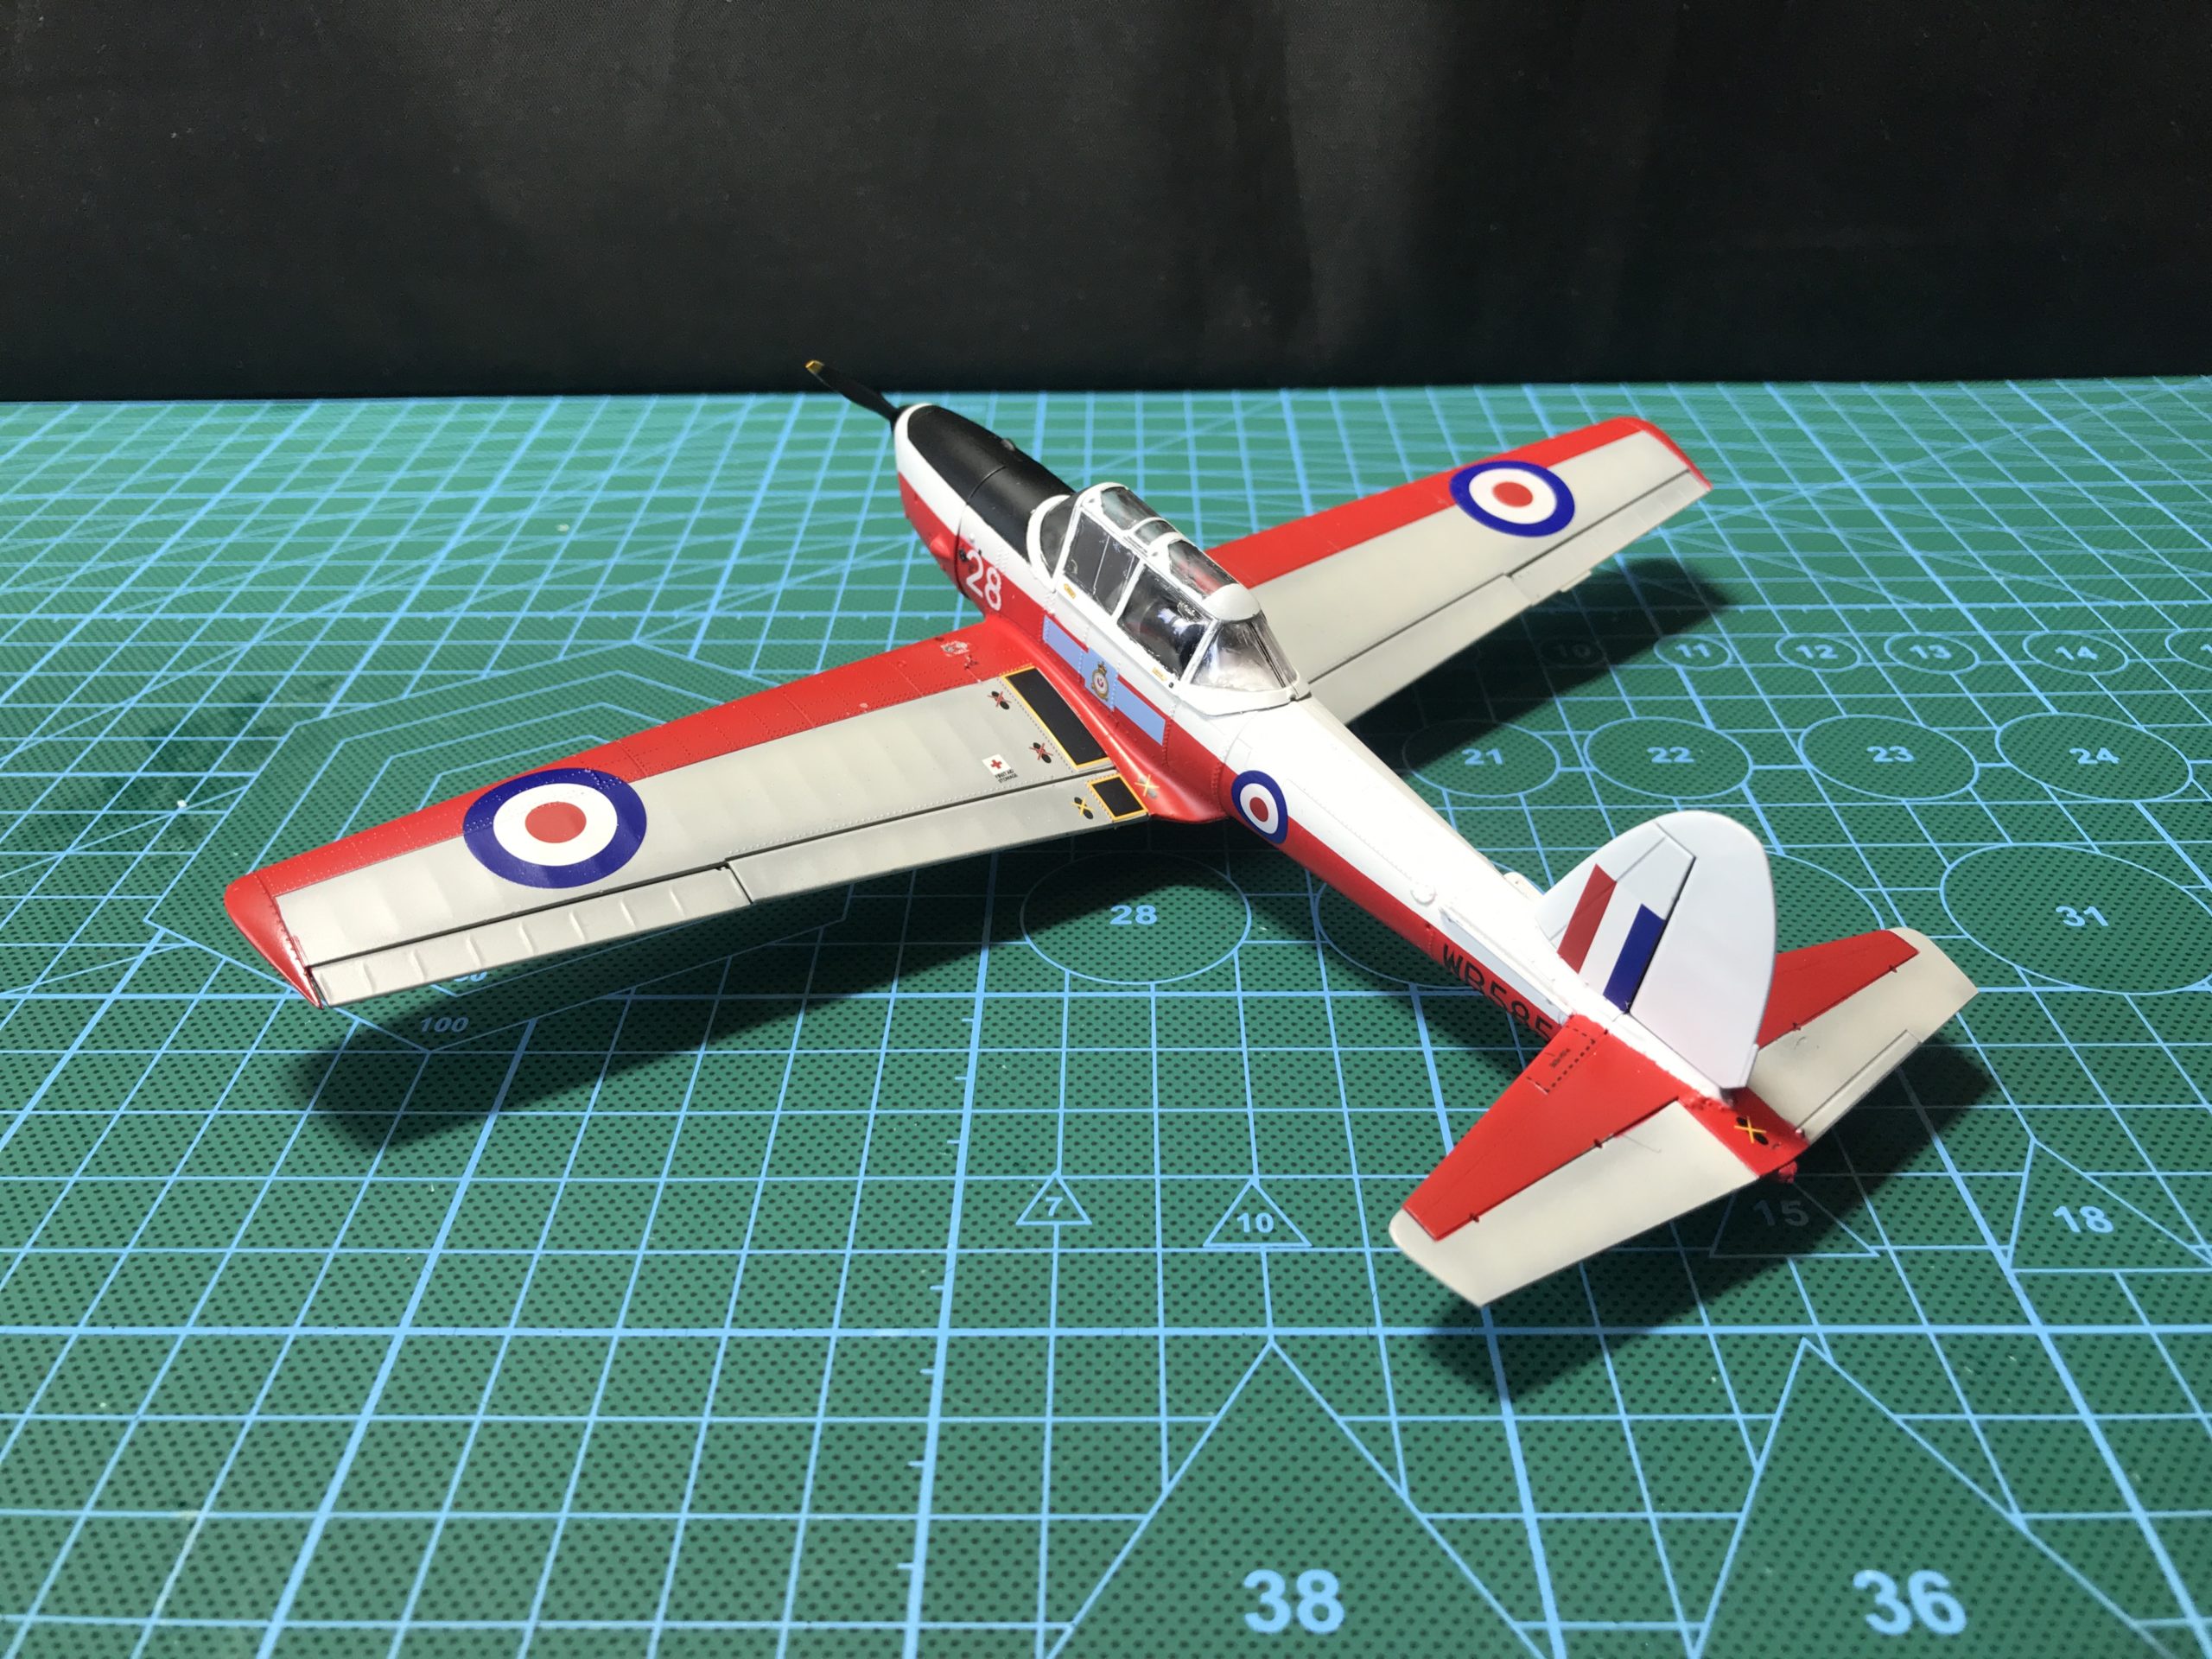
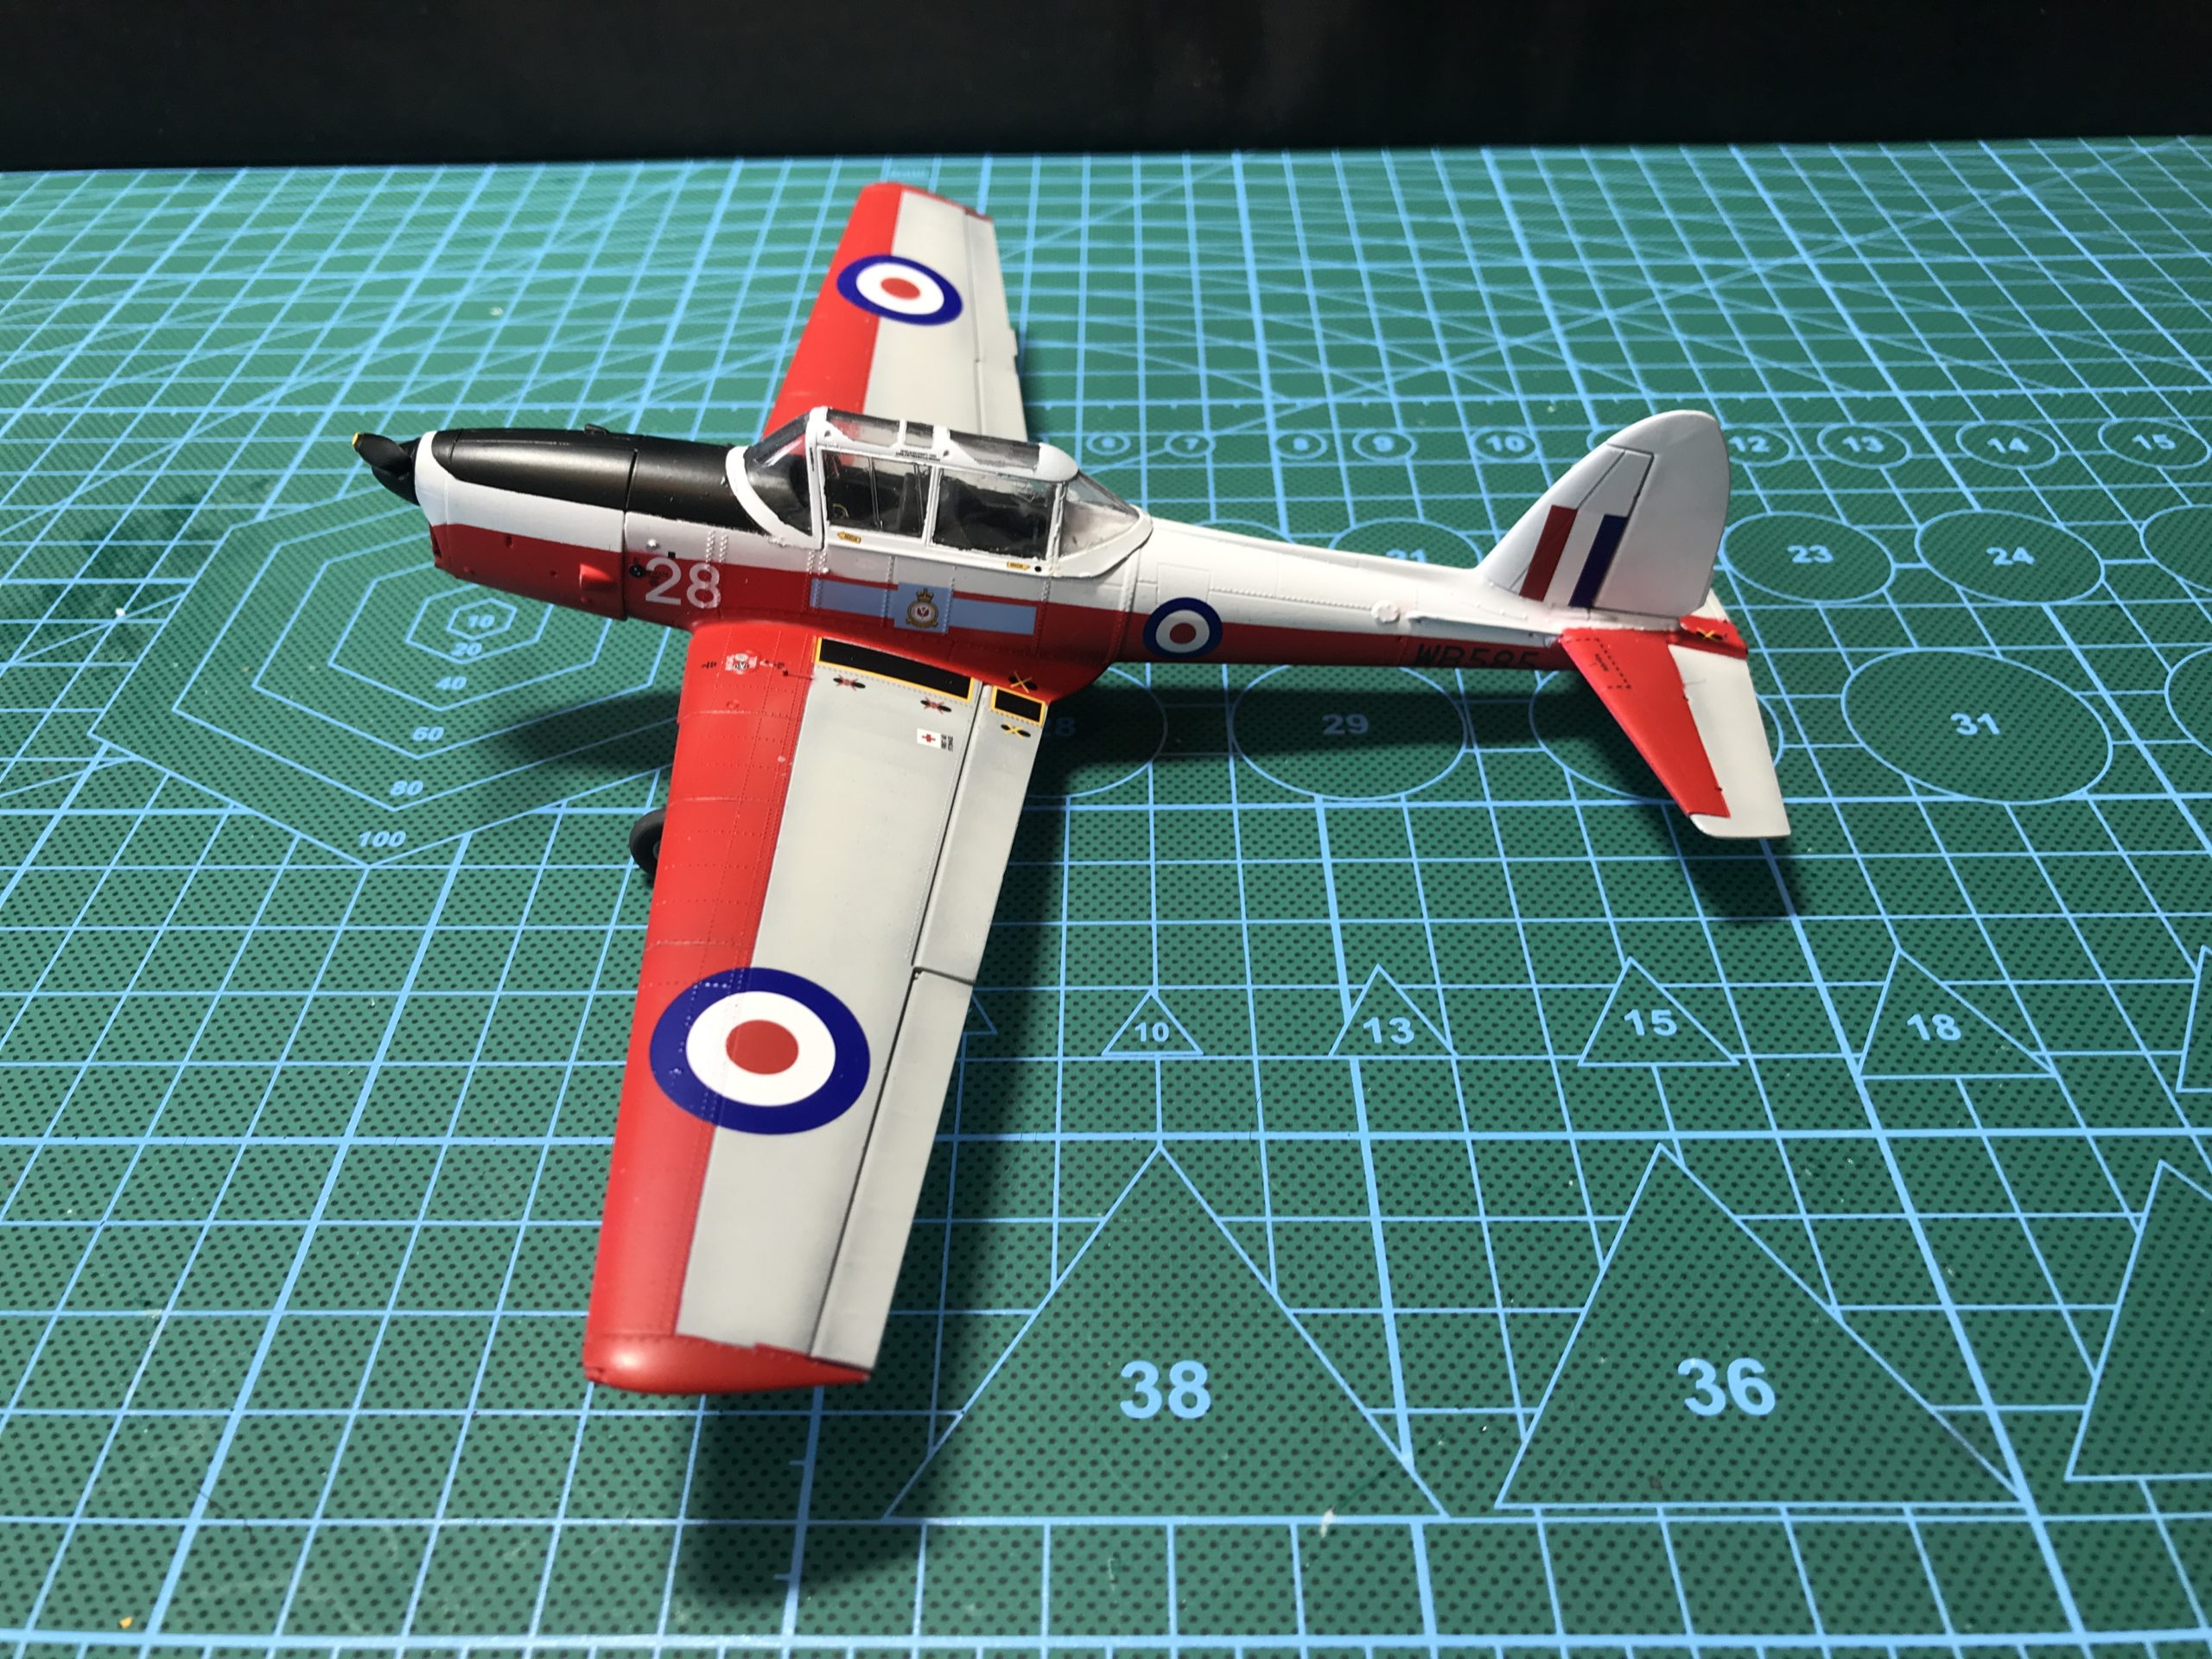
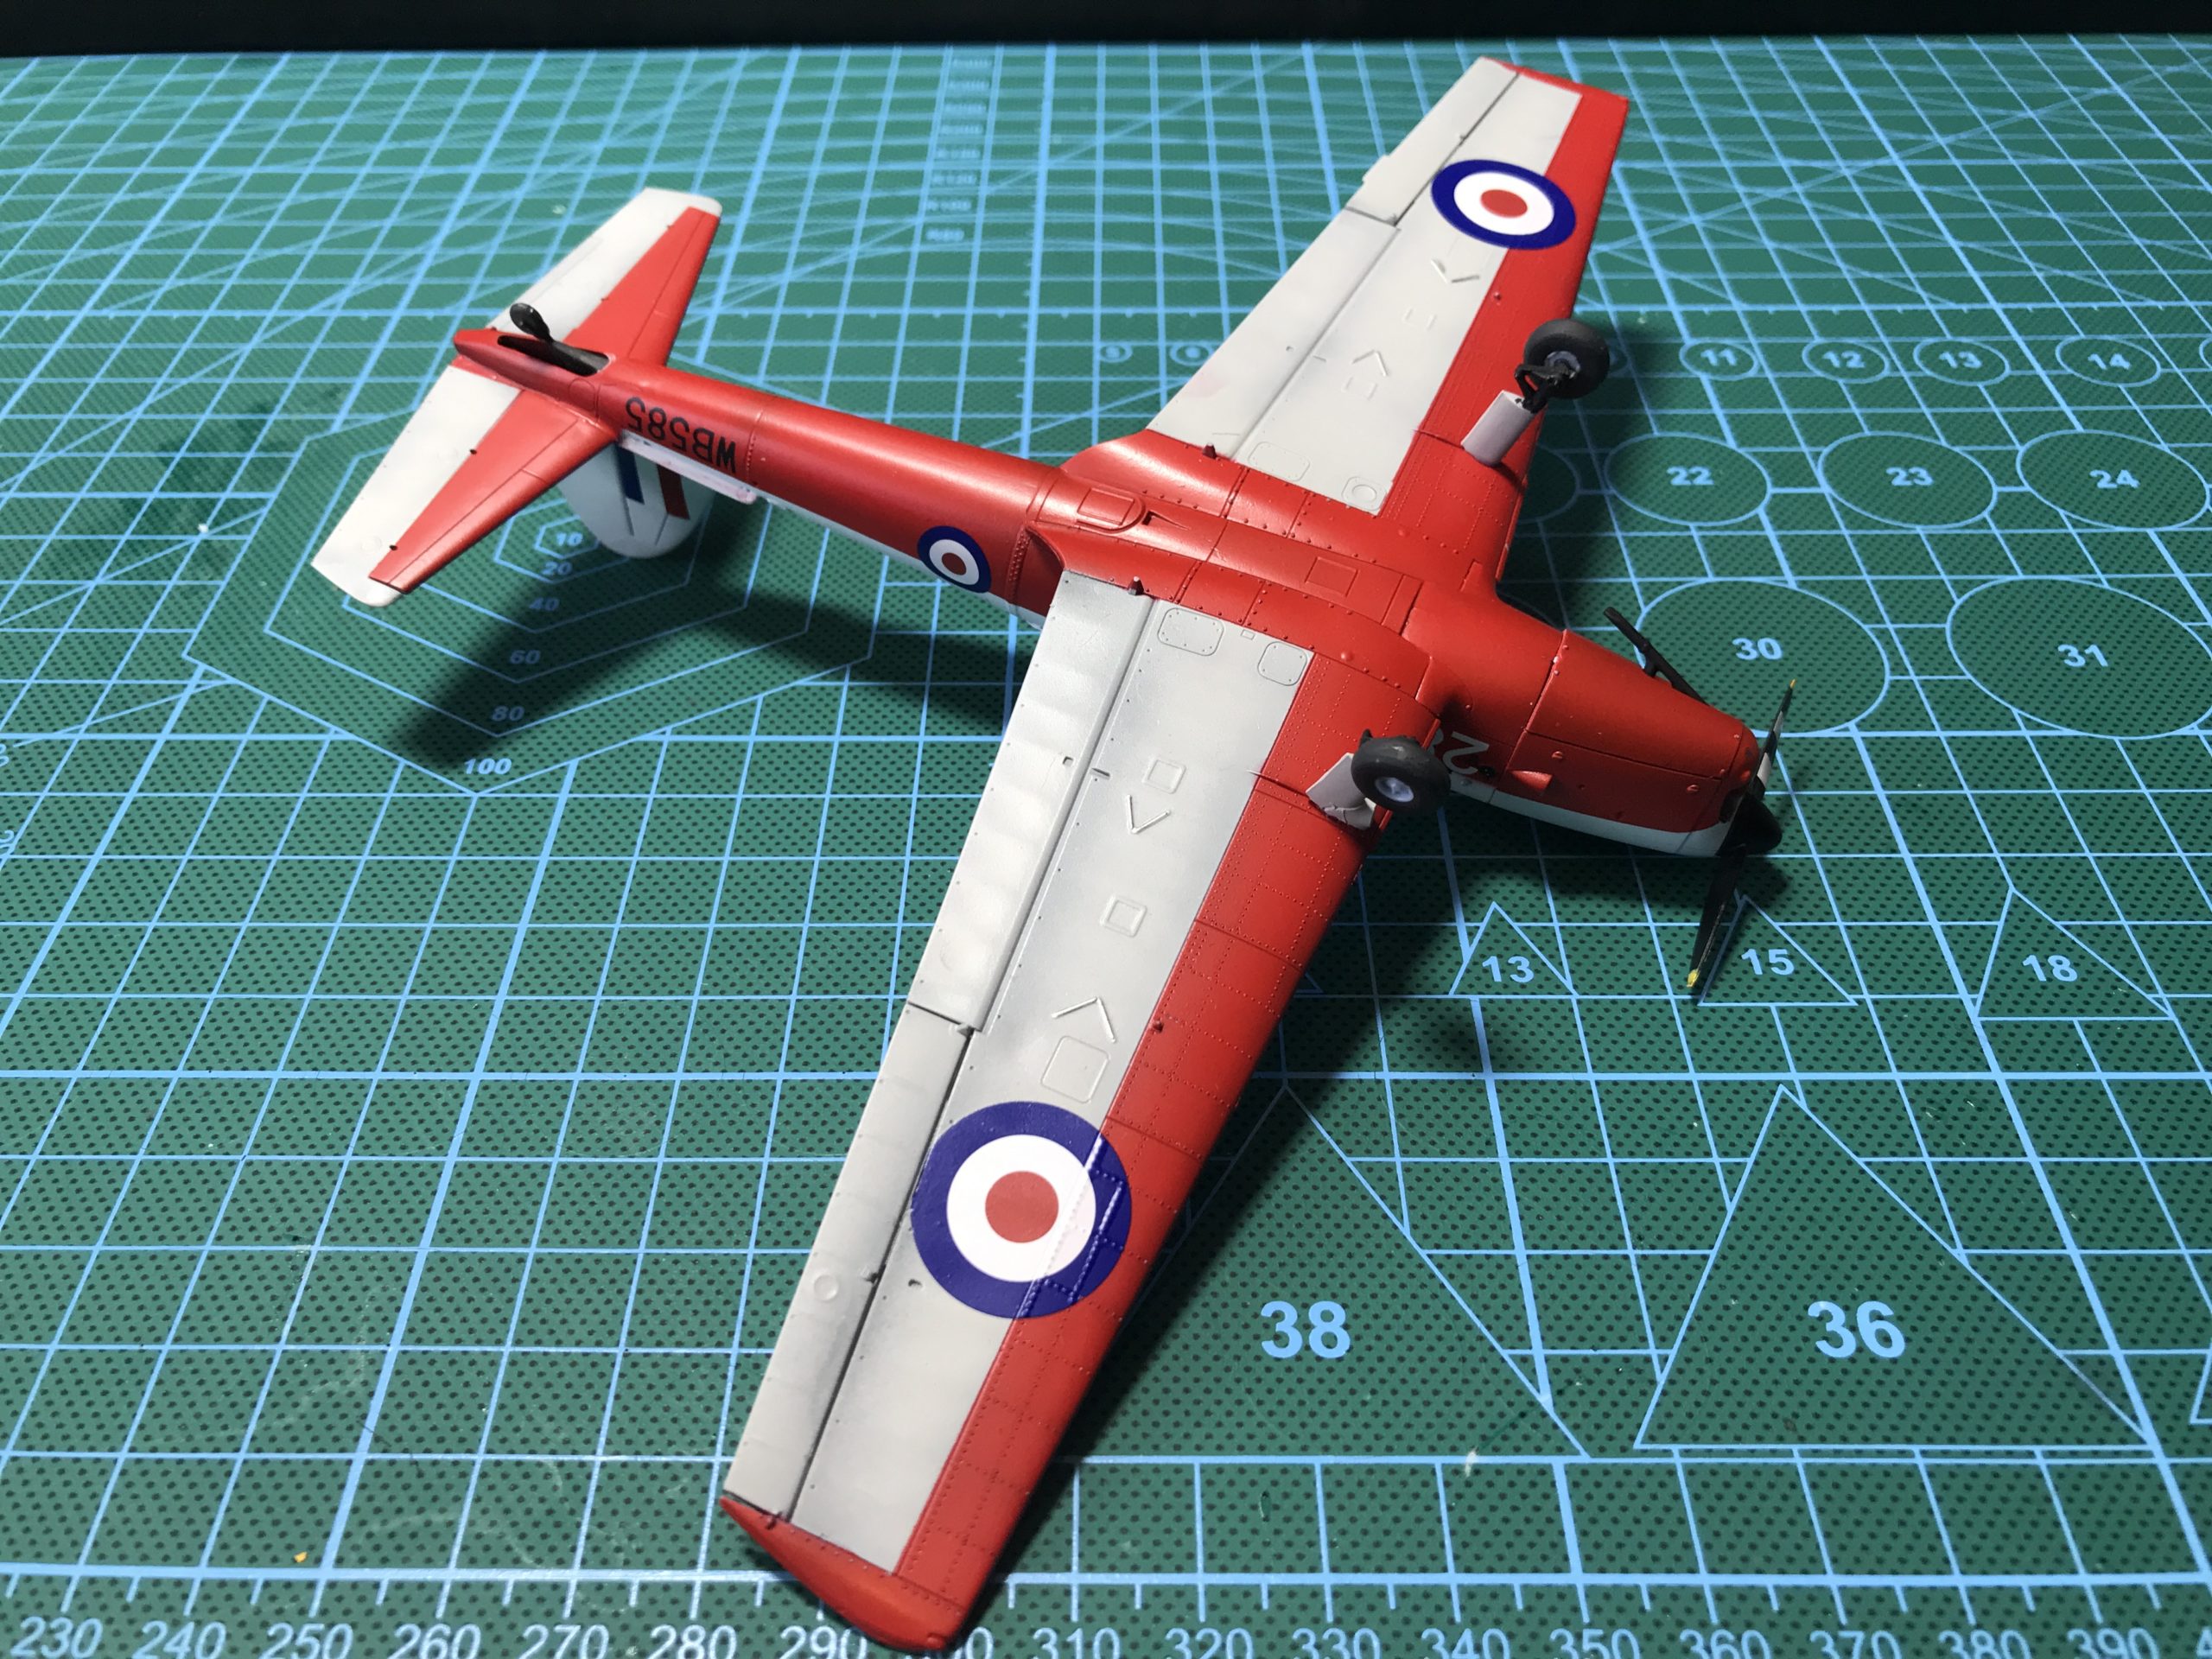
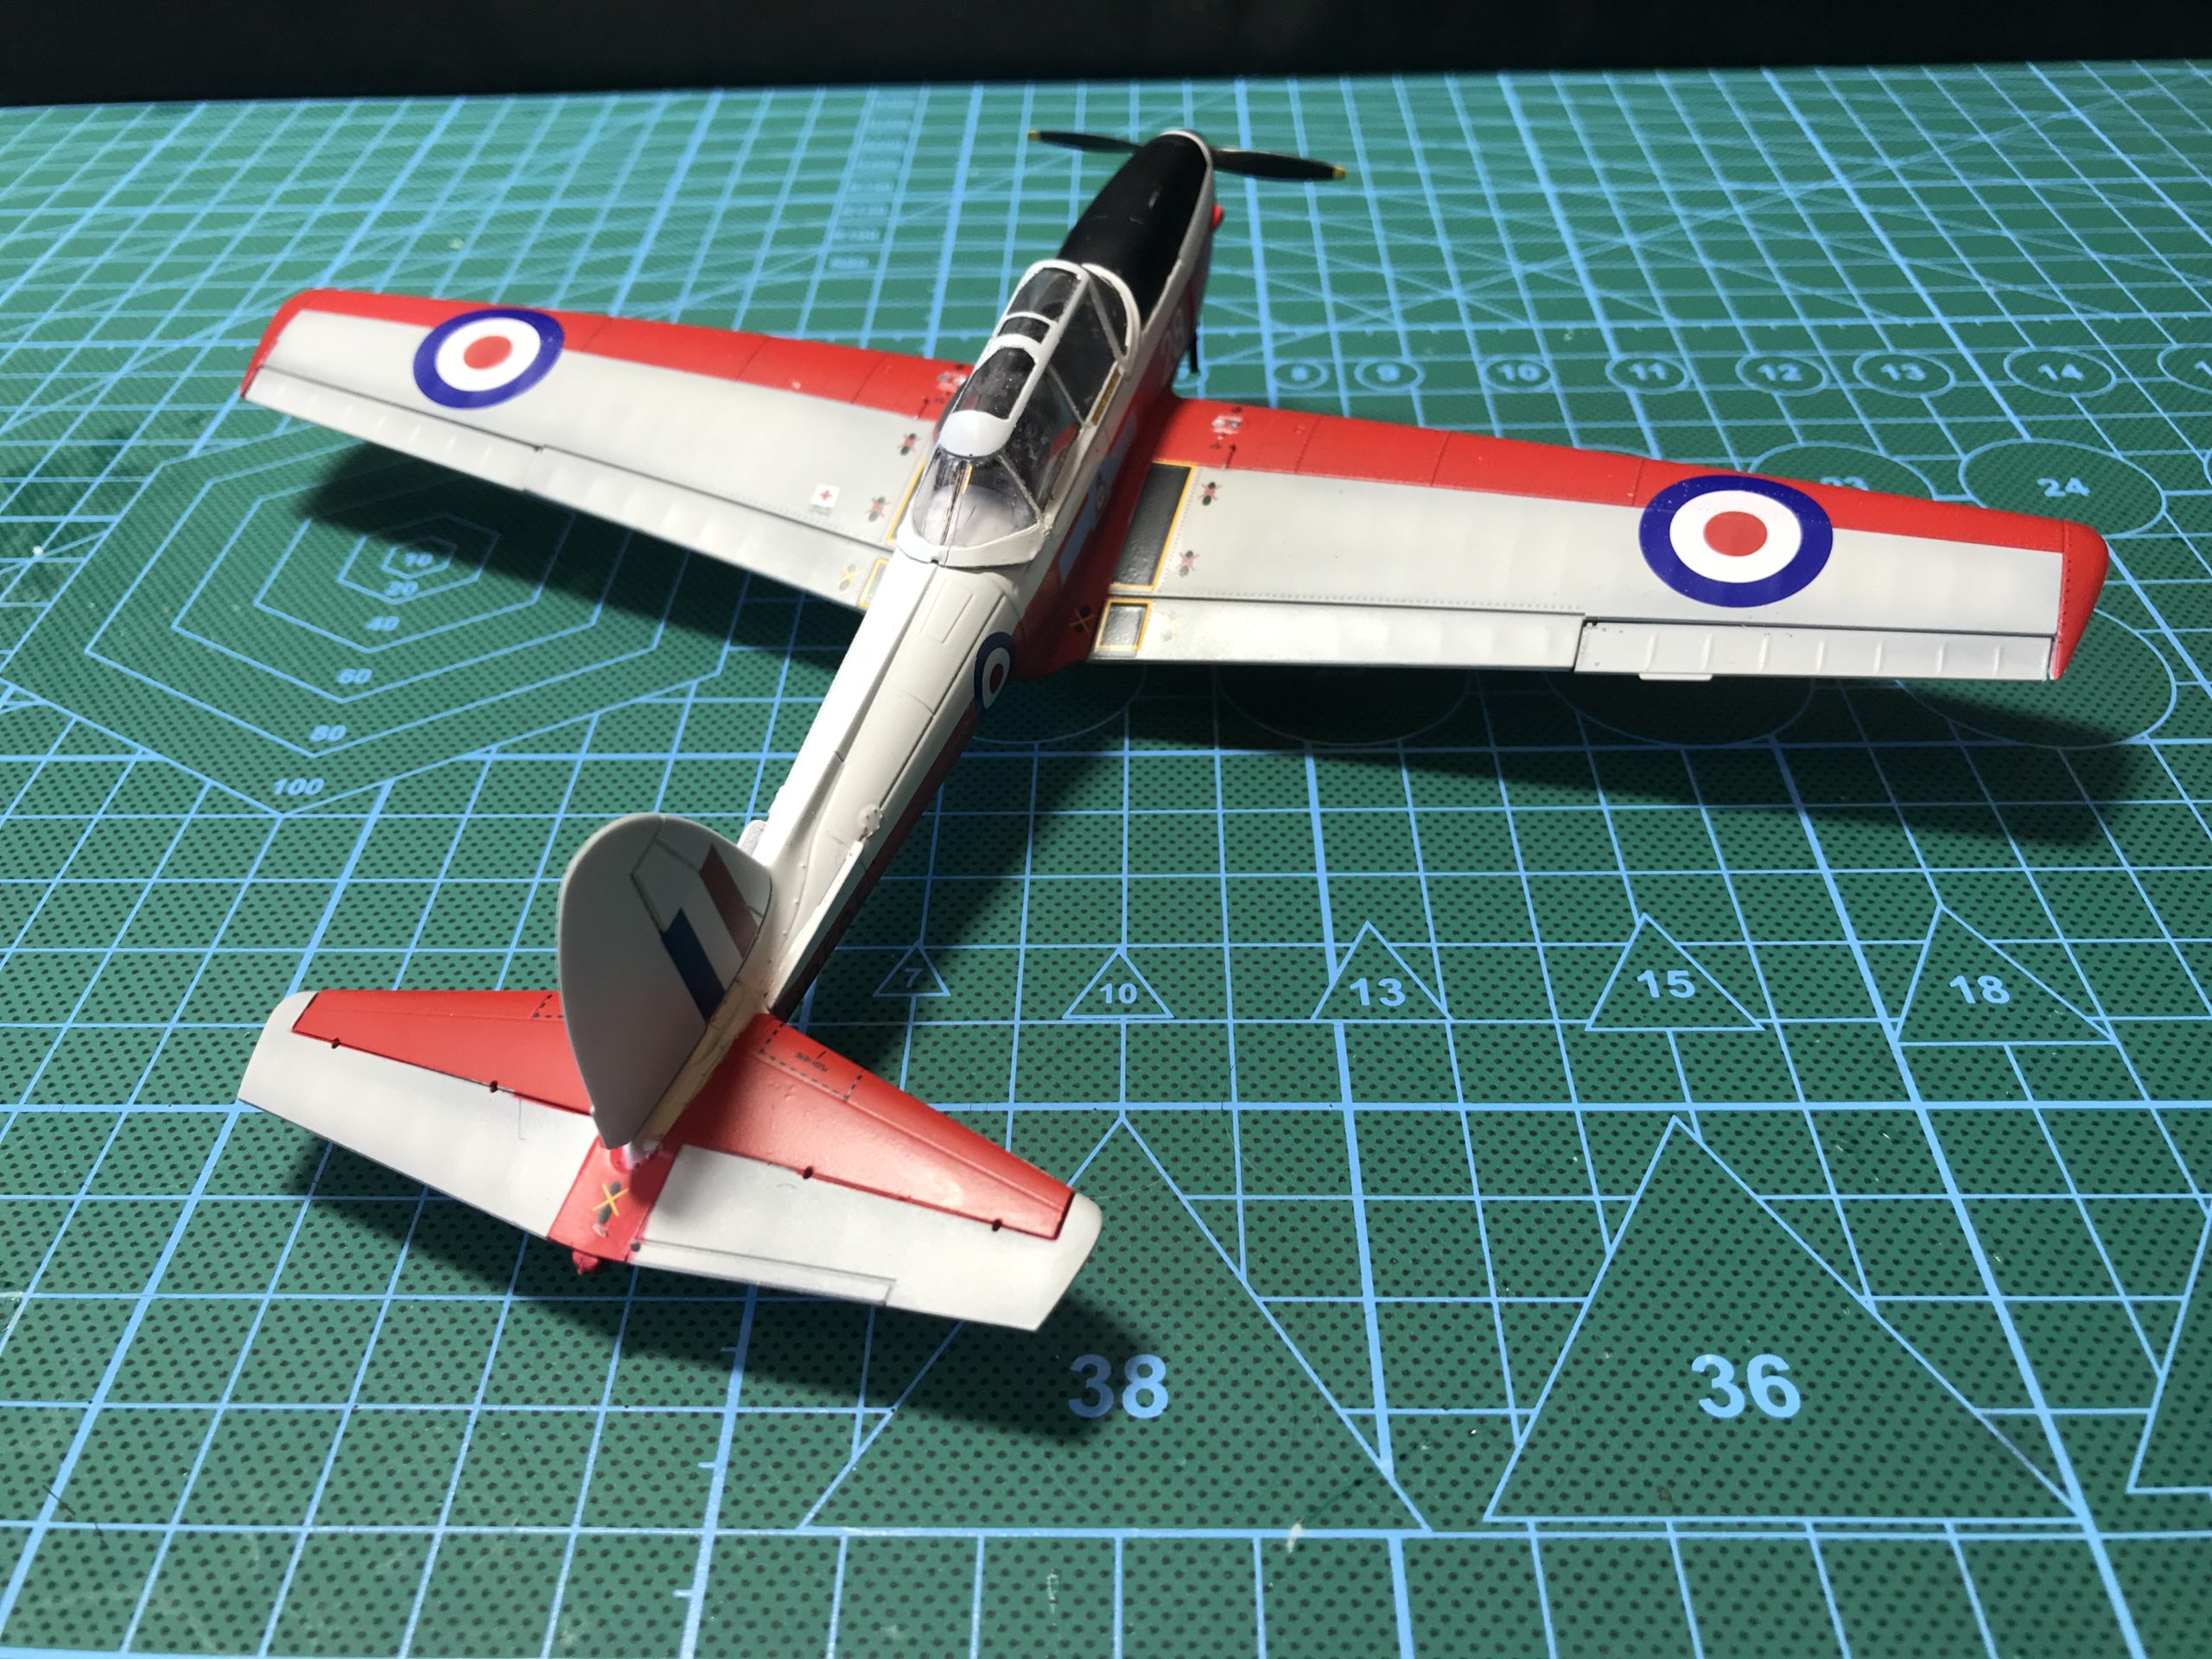
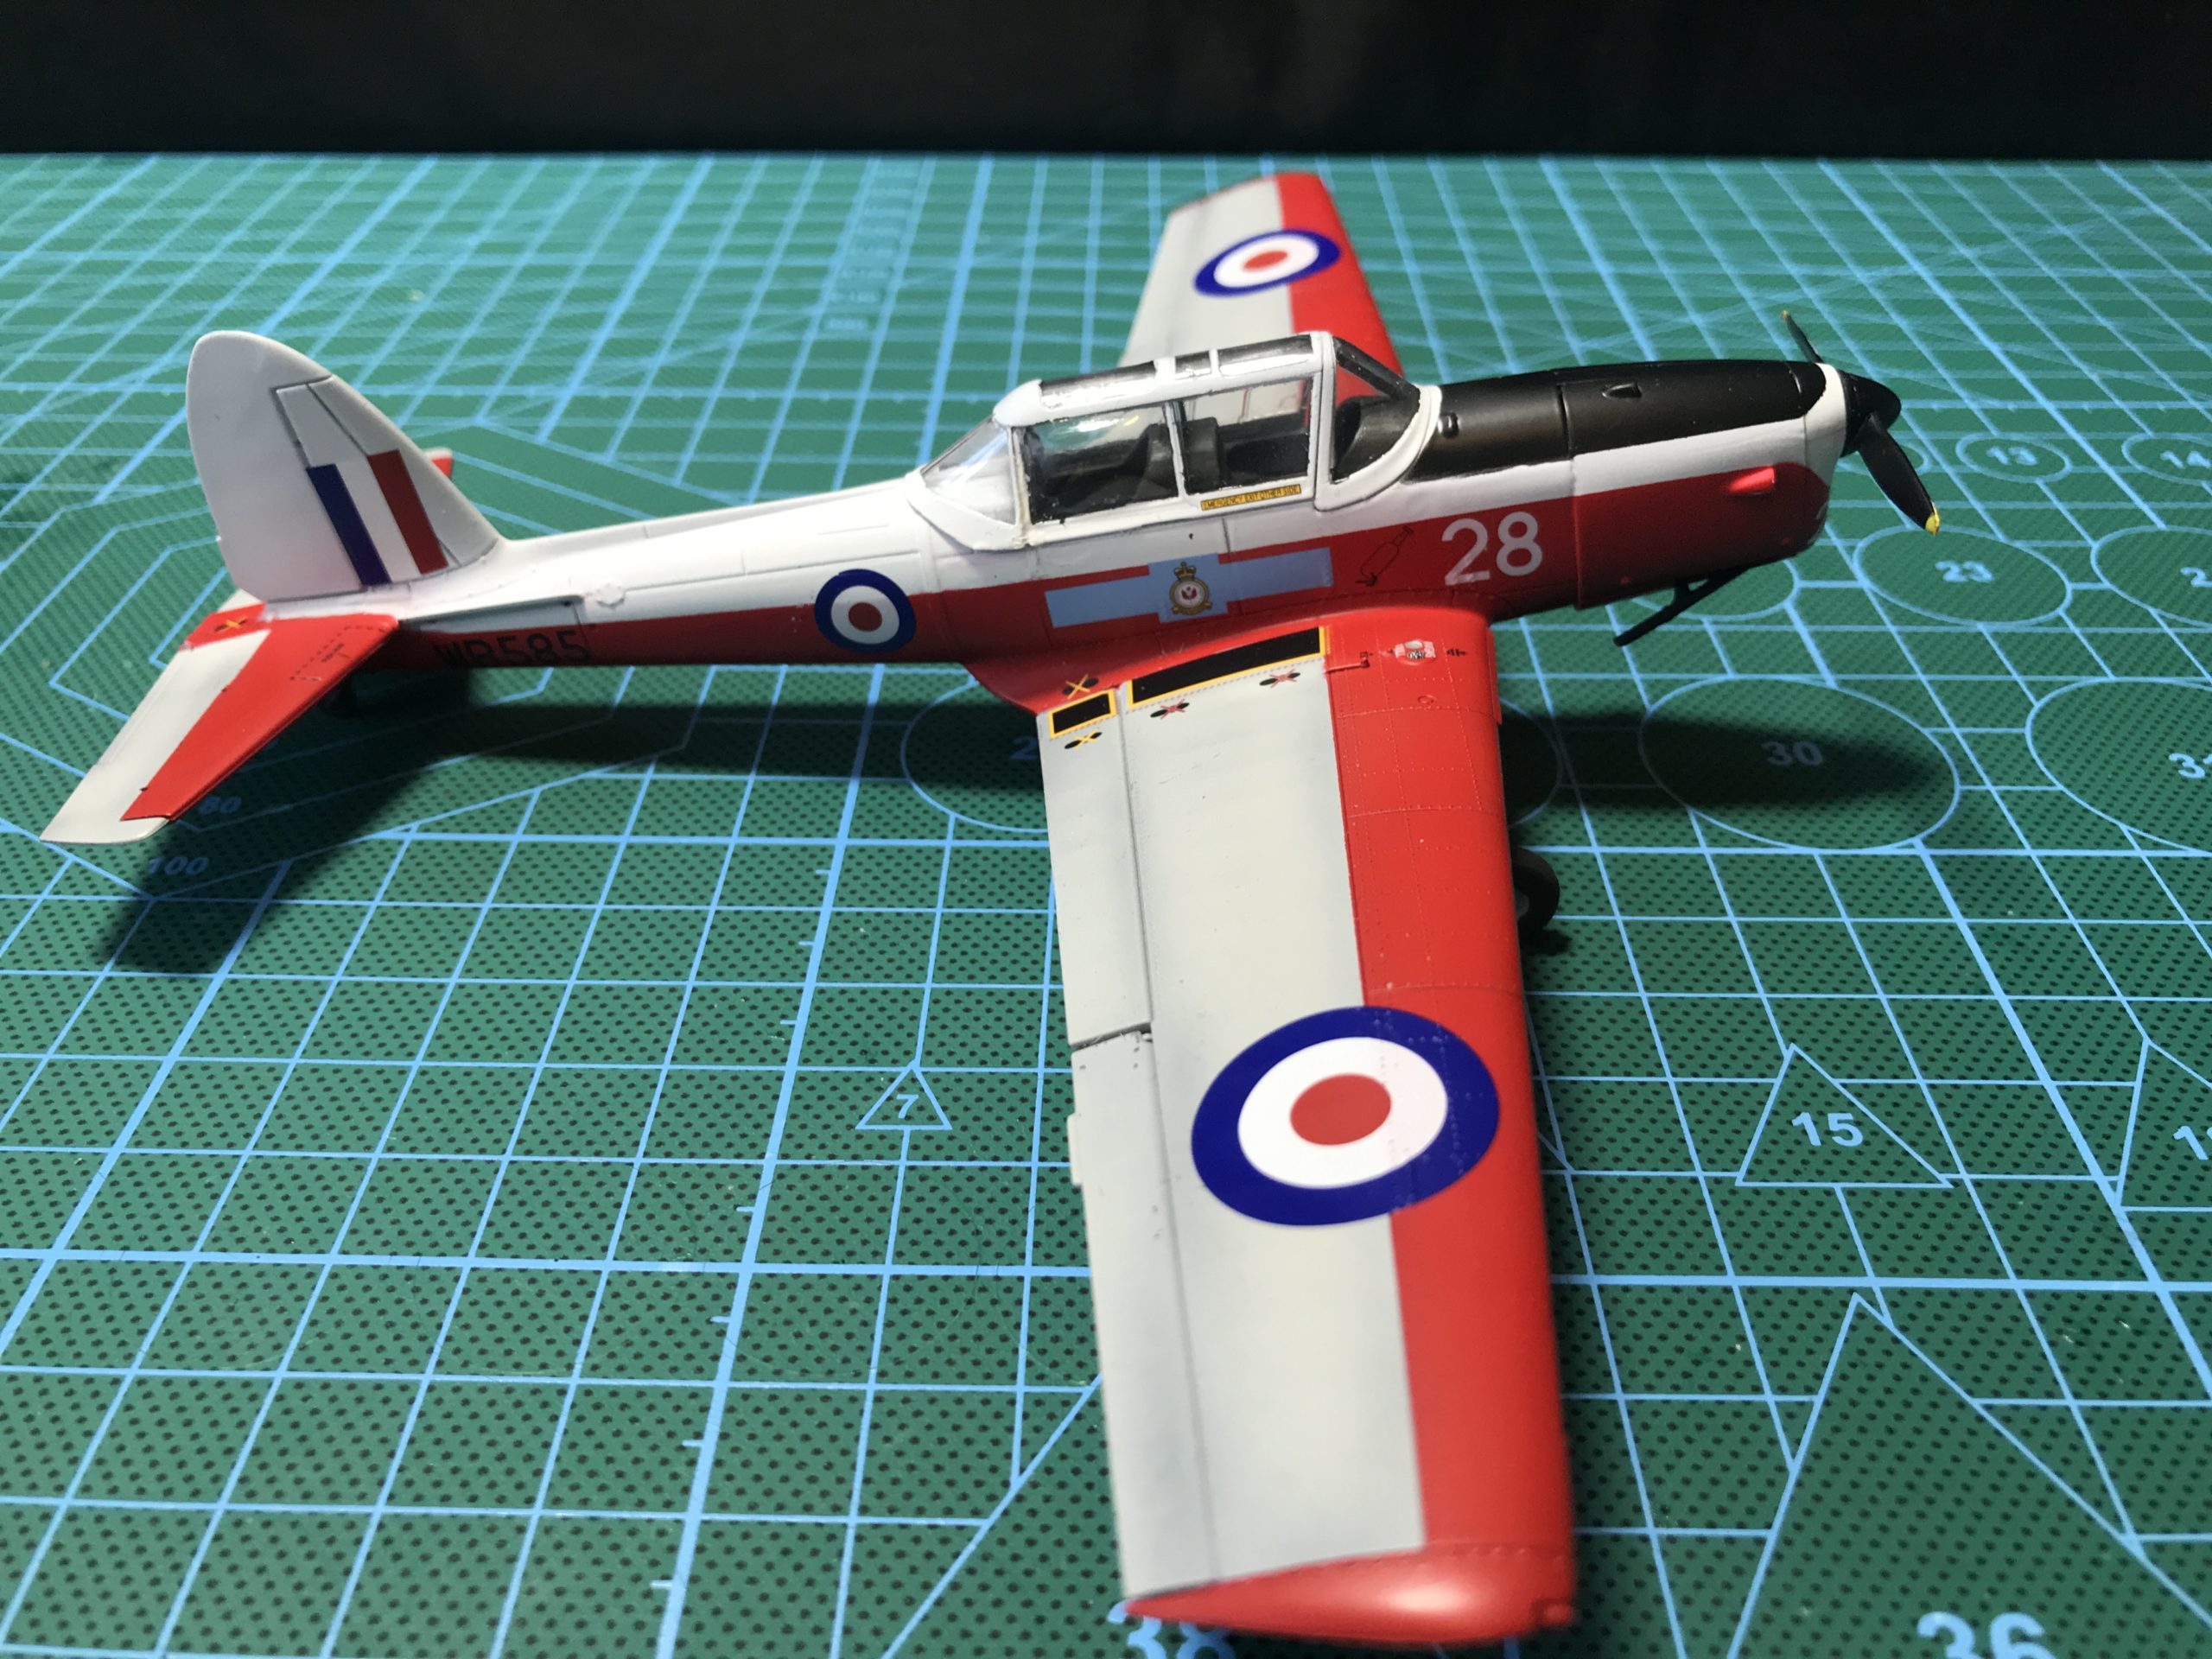
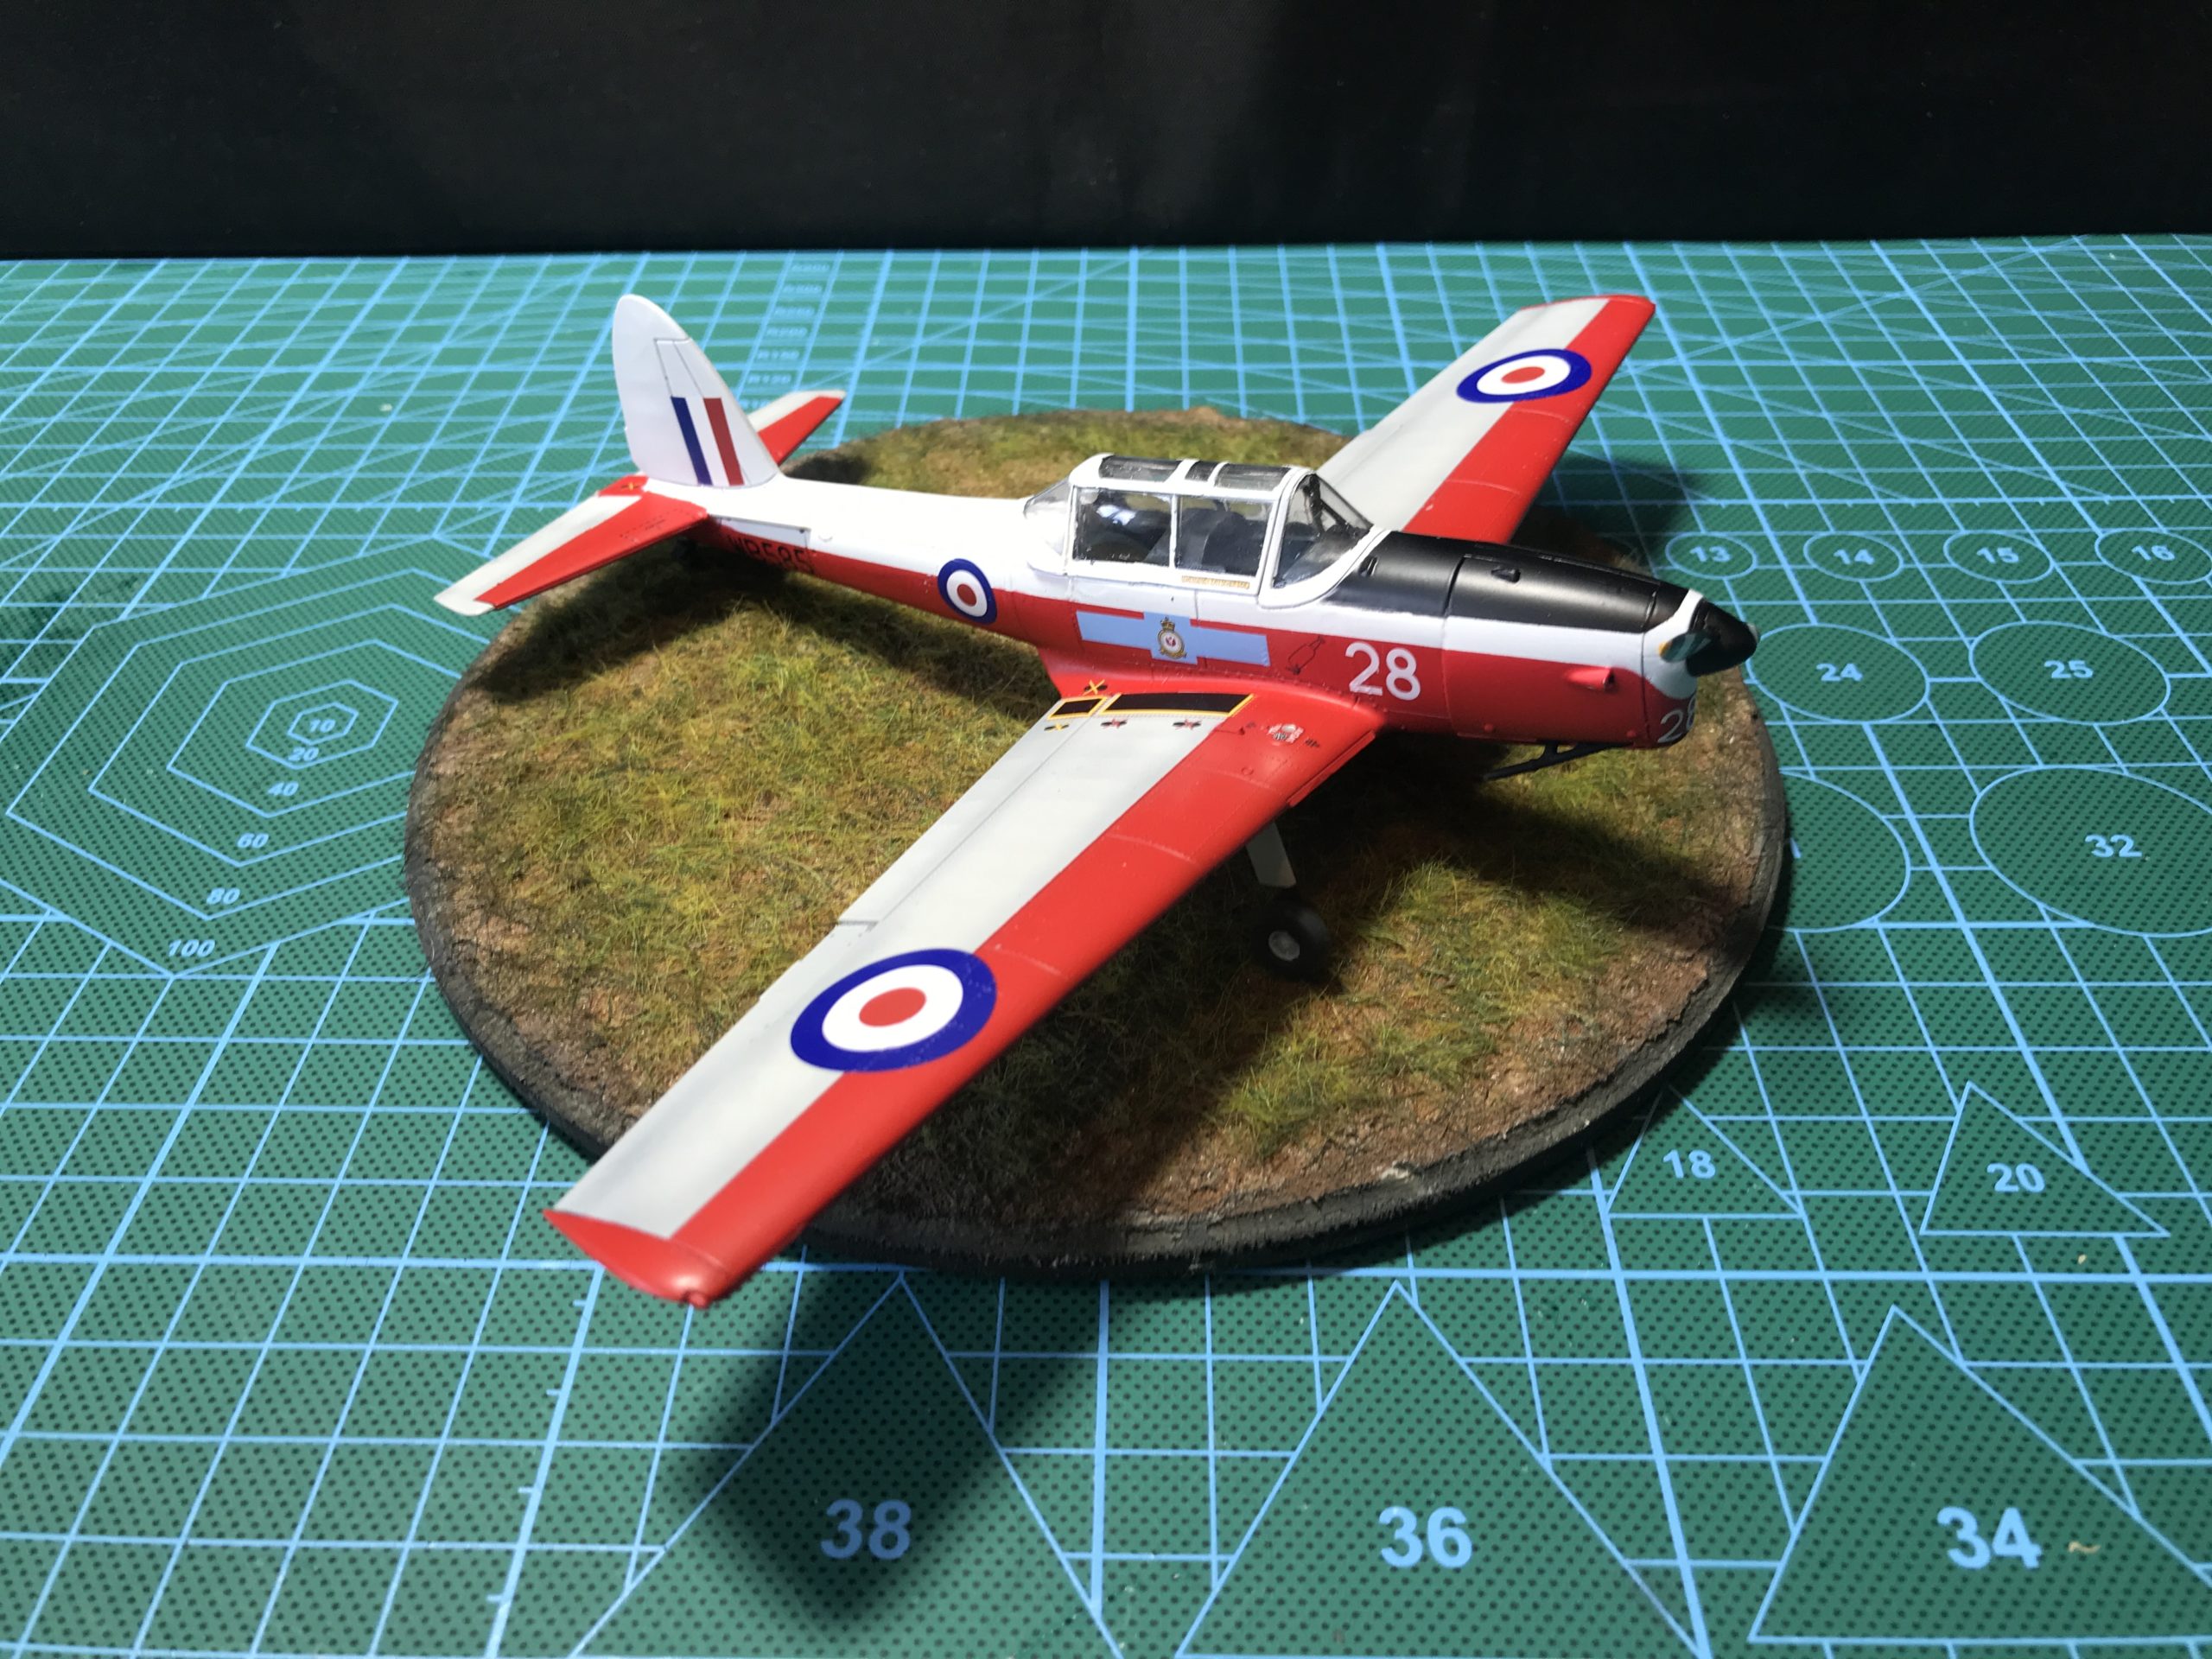
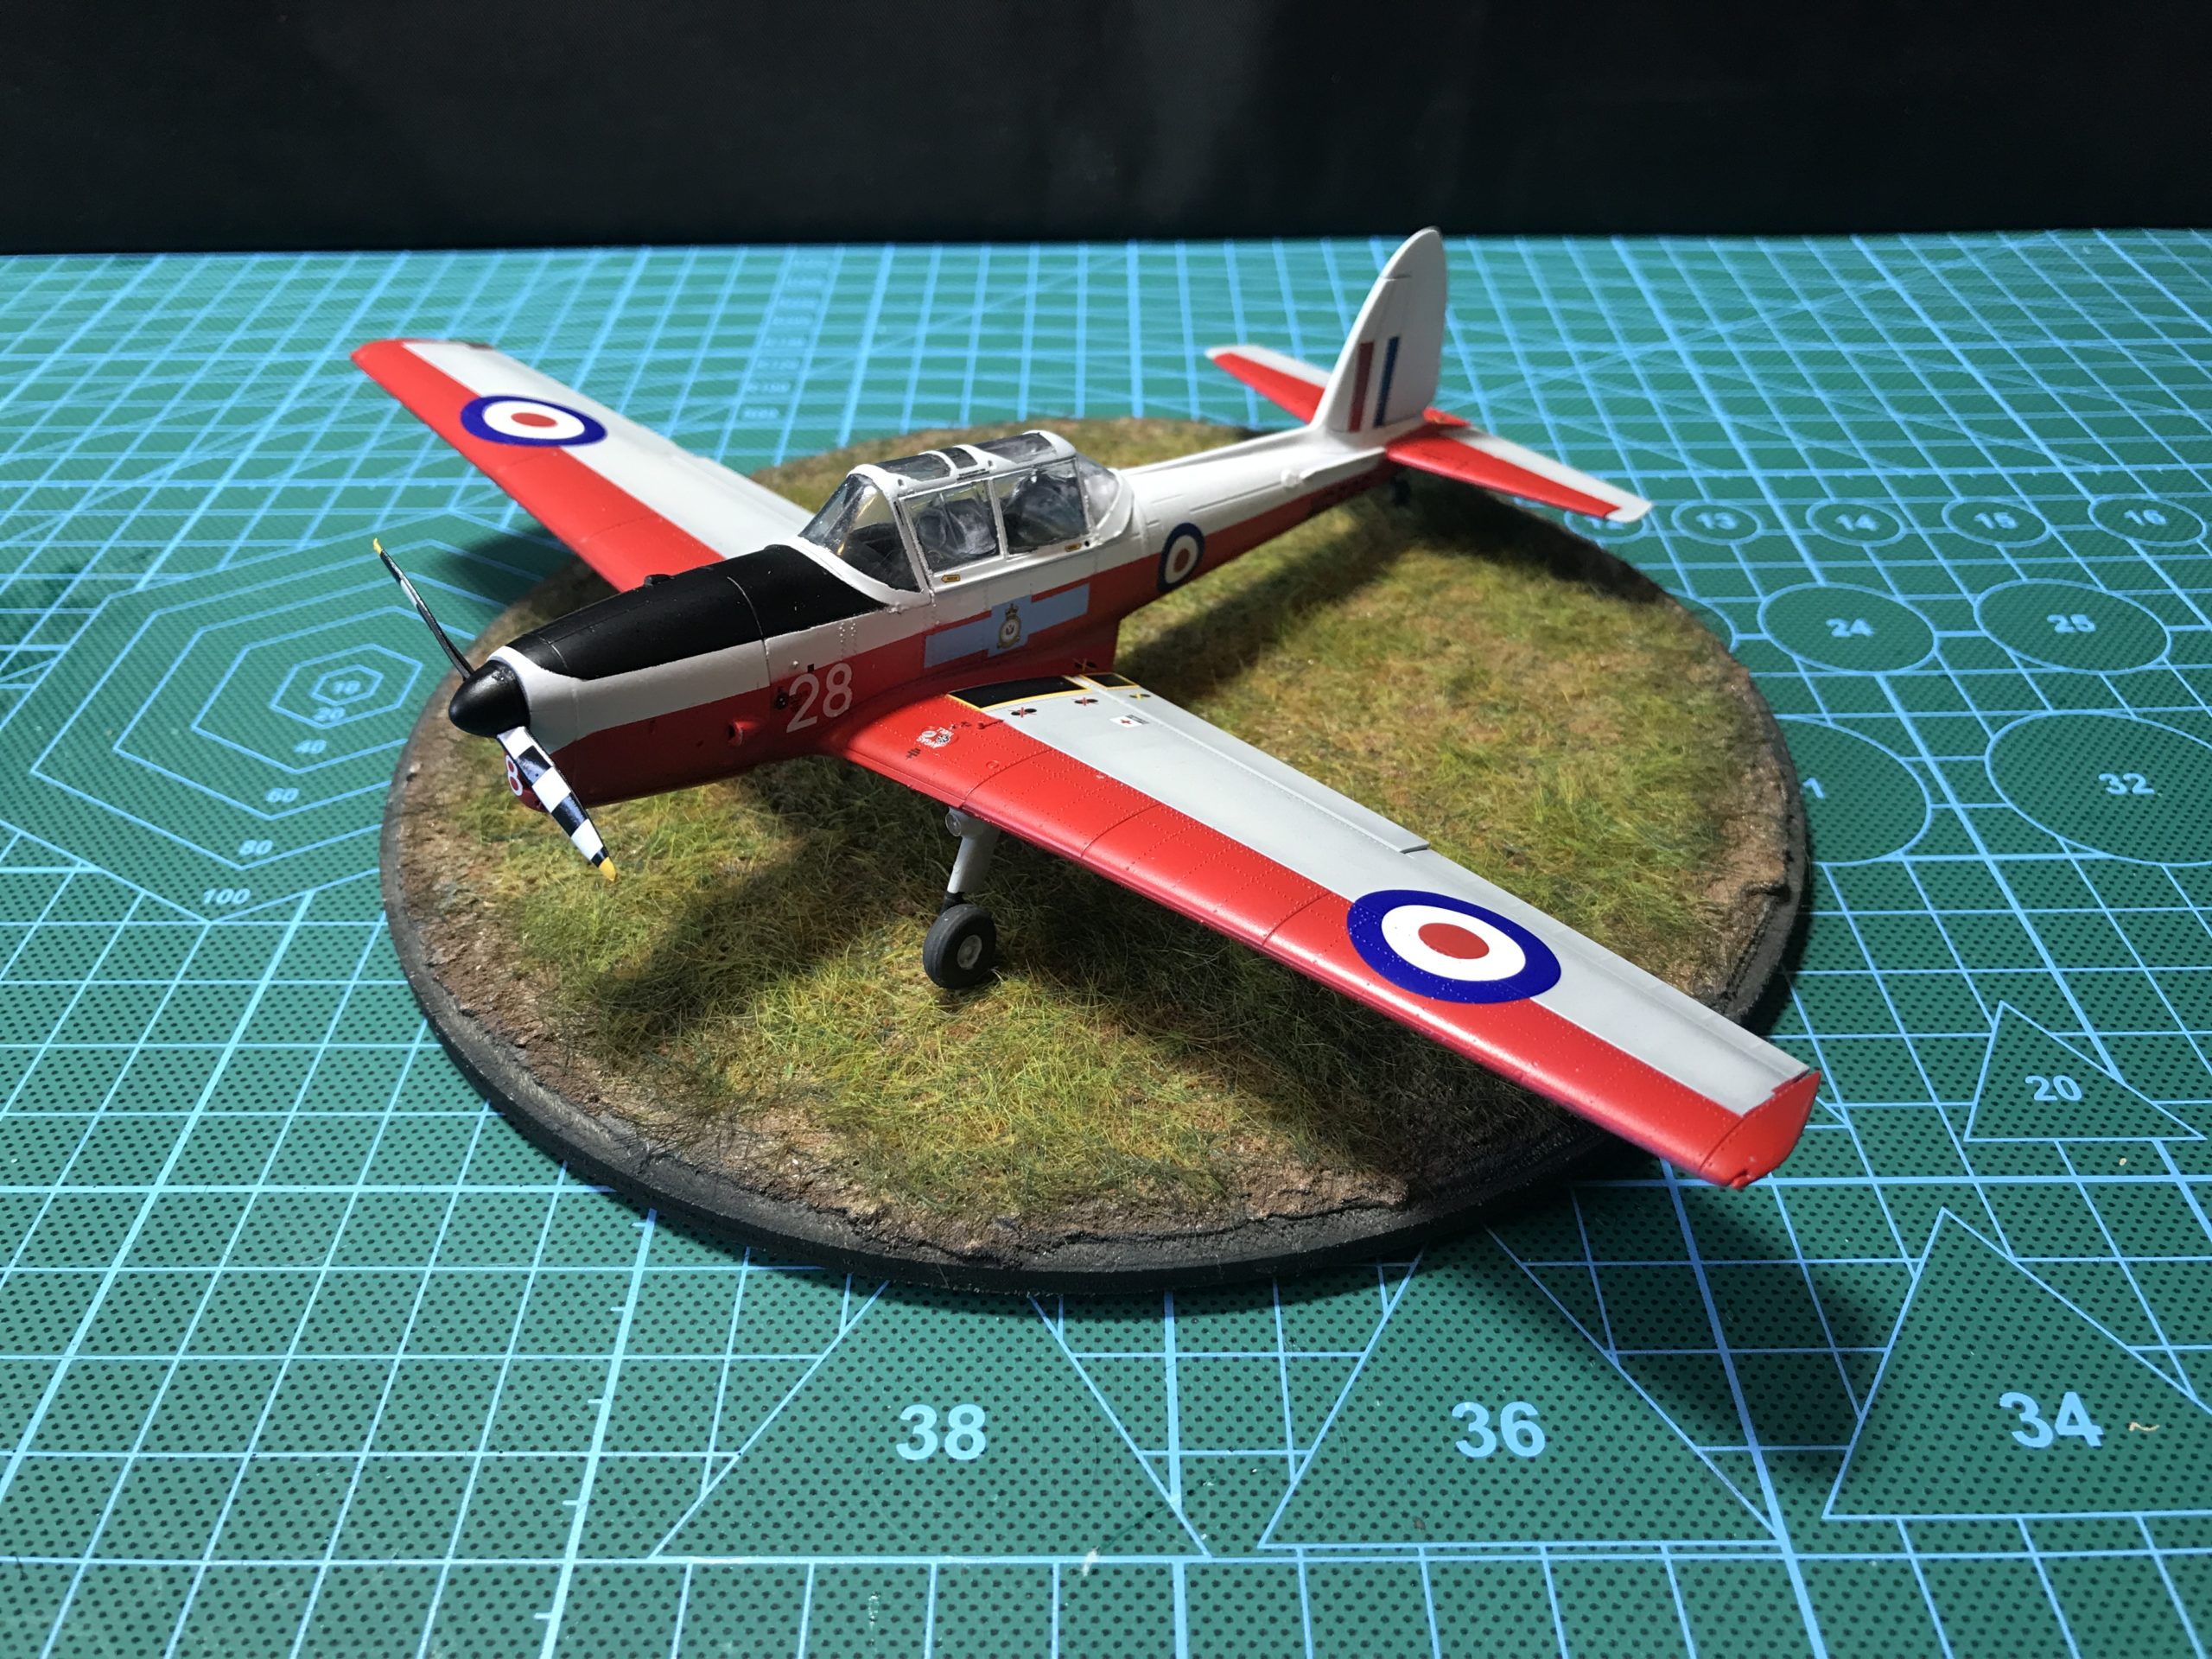
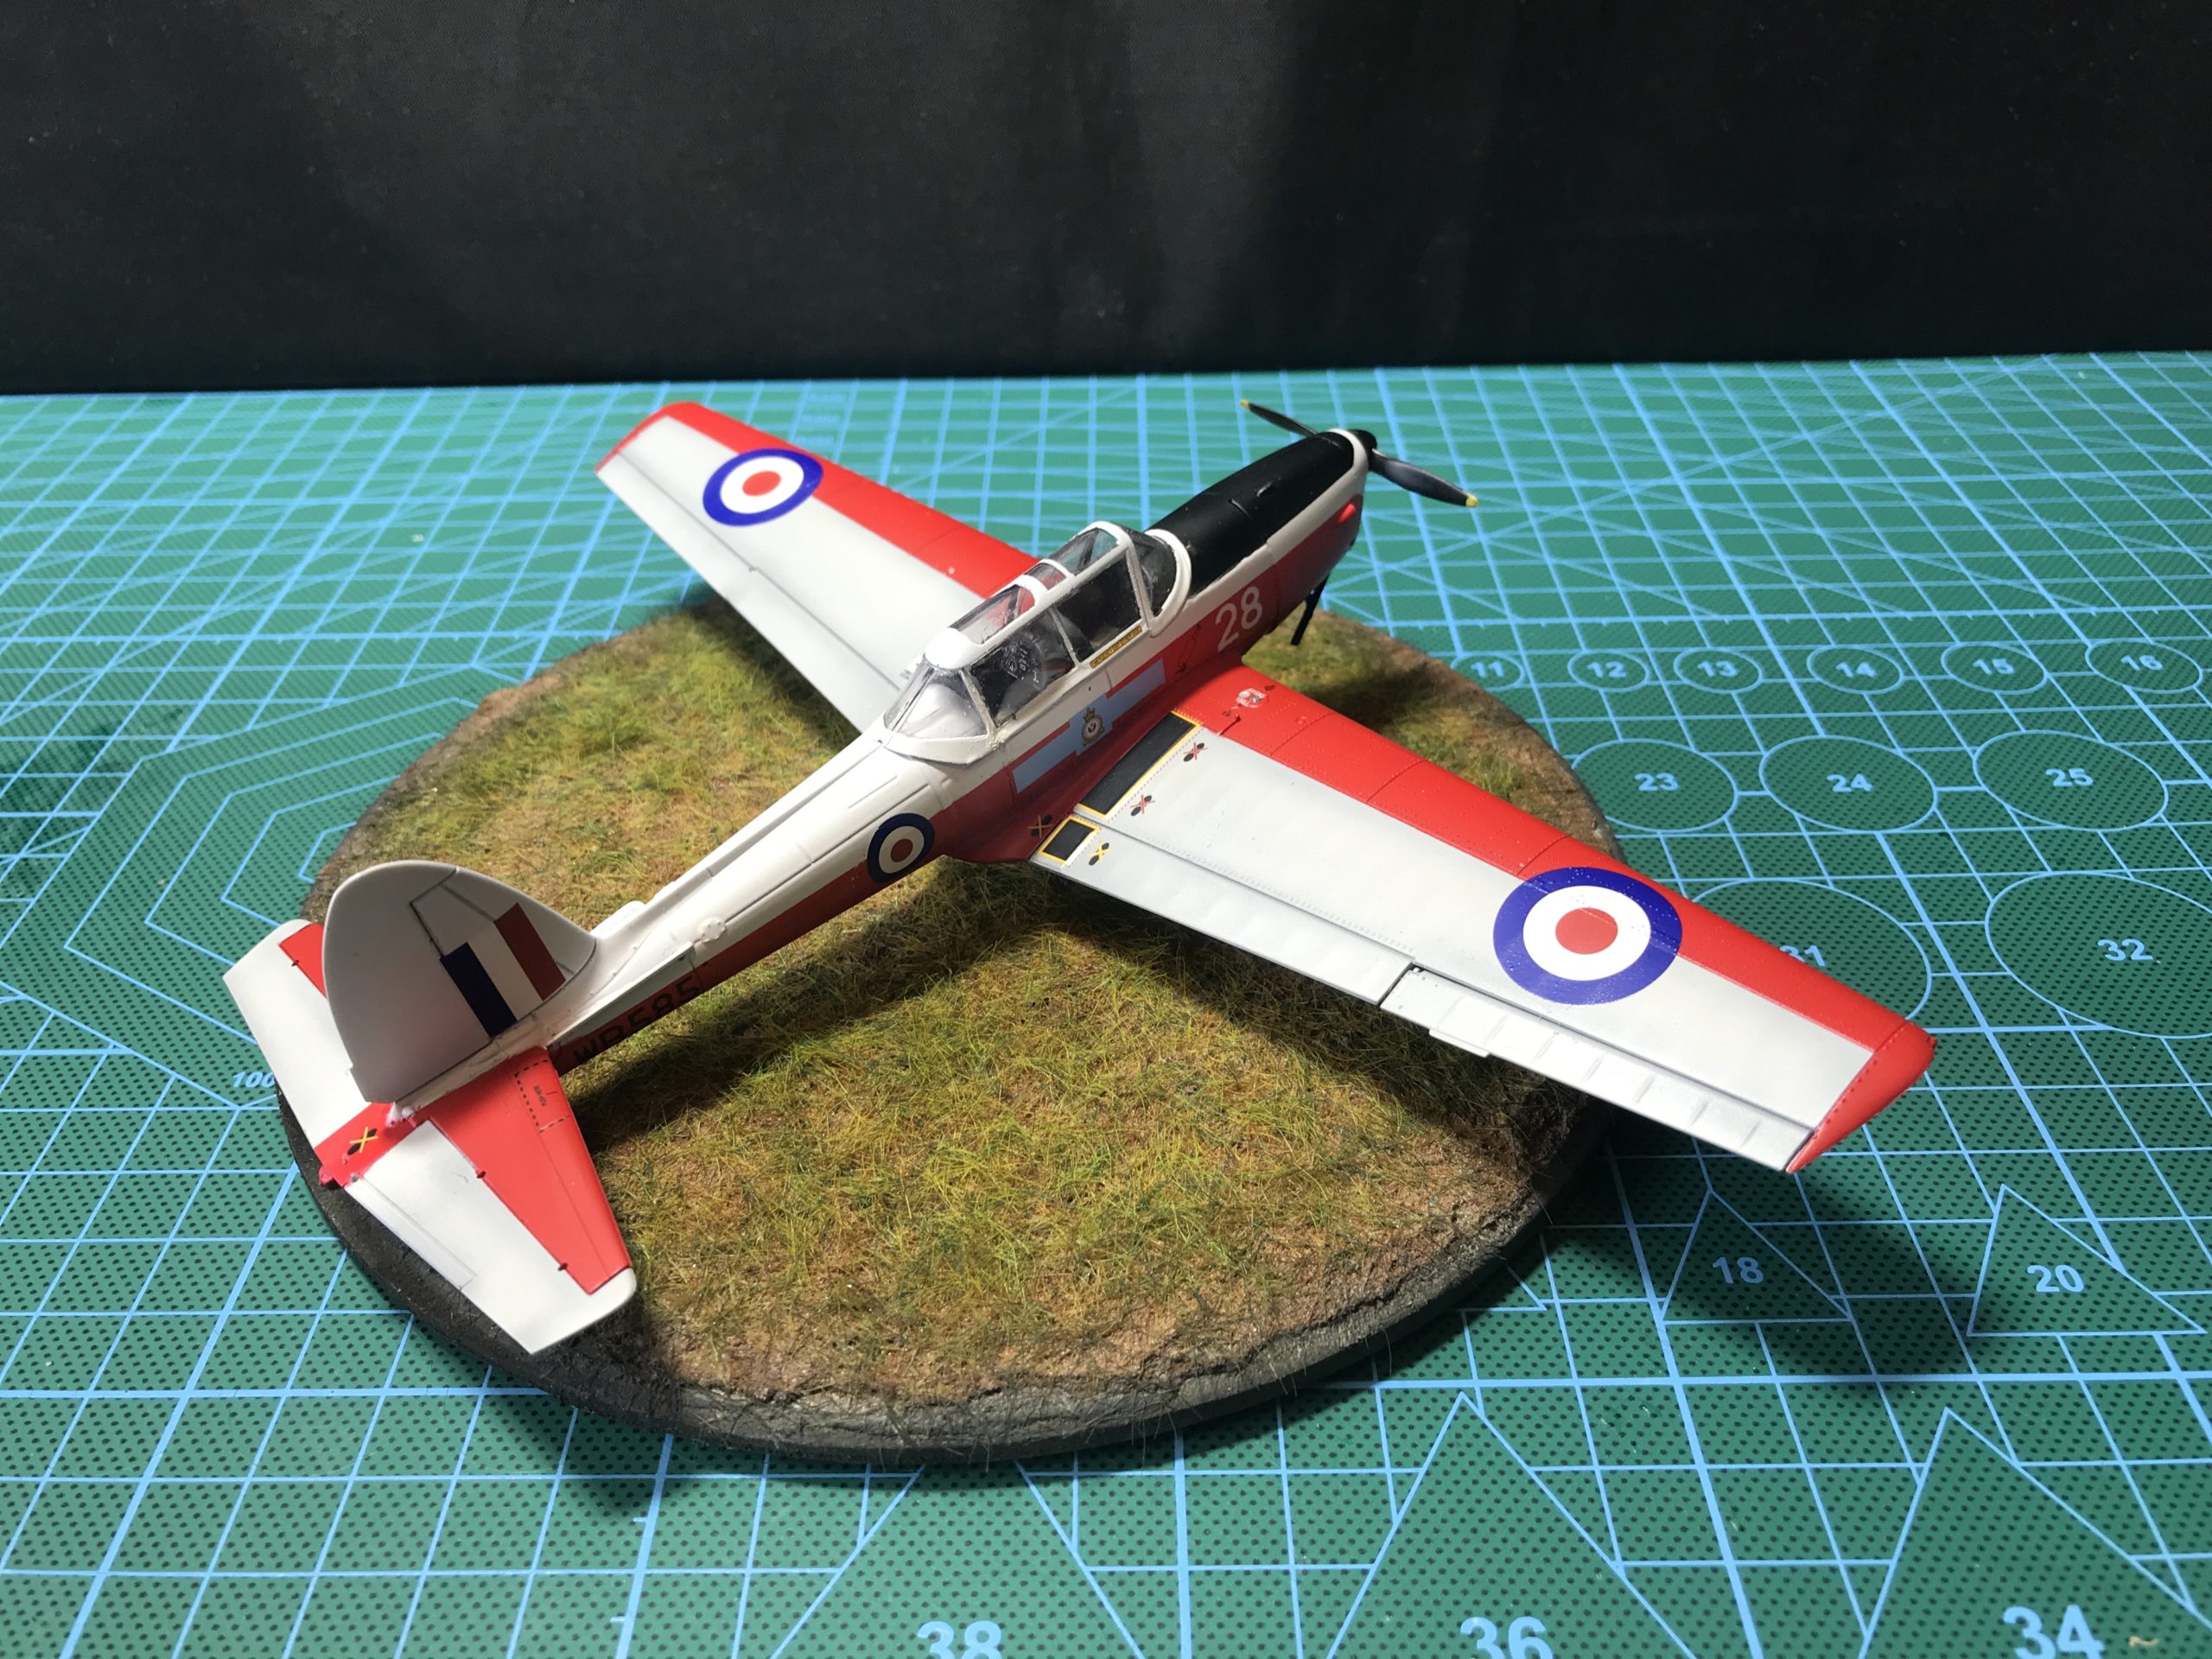
Final parts added (wheels etc..) and the model is complete.
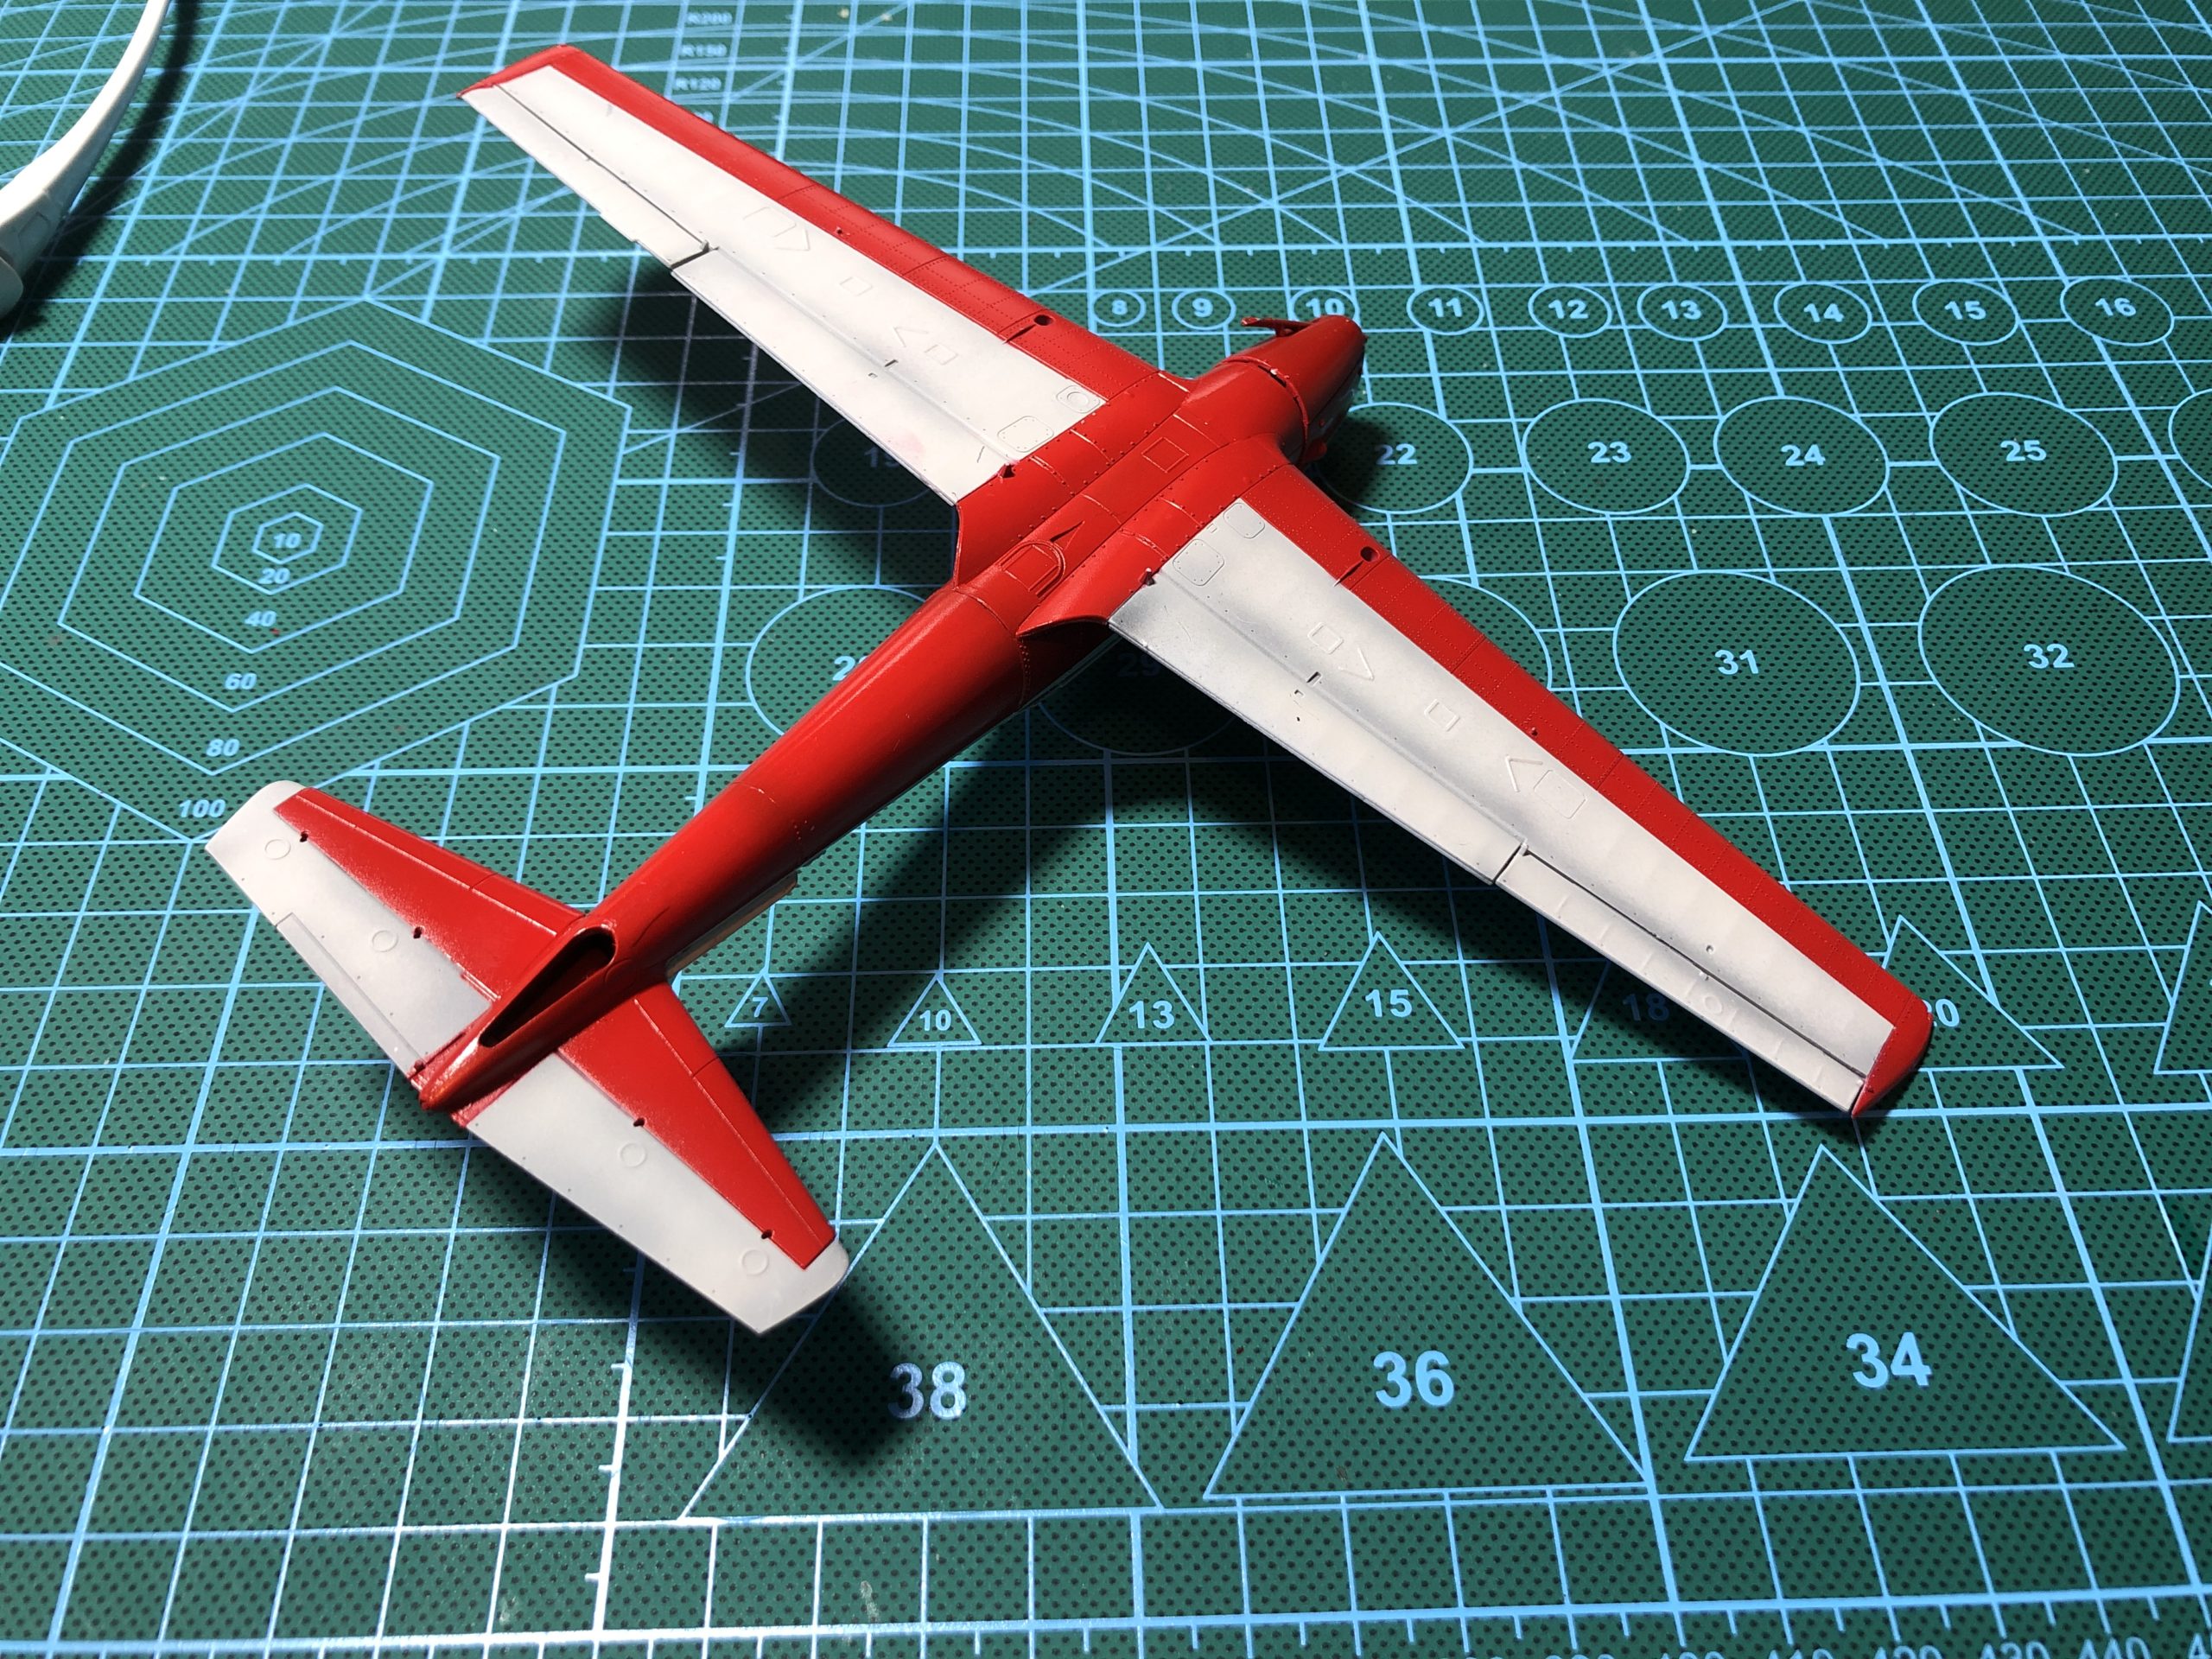
The finished model

Conclusion
Apart from the canopy, which I fully acknowledge I could have been done differently This was a relatively quick and easy build. It took around a week from start to finish and was for the most part enjoyable.
It’s one of those kits I will probably try again in the future. I think the army version would look pretty nice.
Canopy aside I think the finished kit looks very good and could possibly be improved with some light weathering.
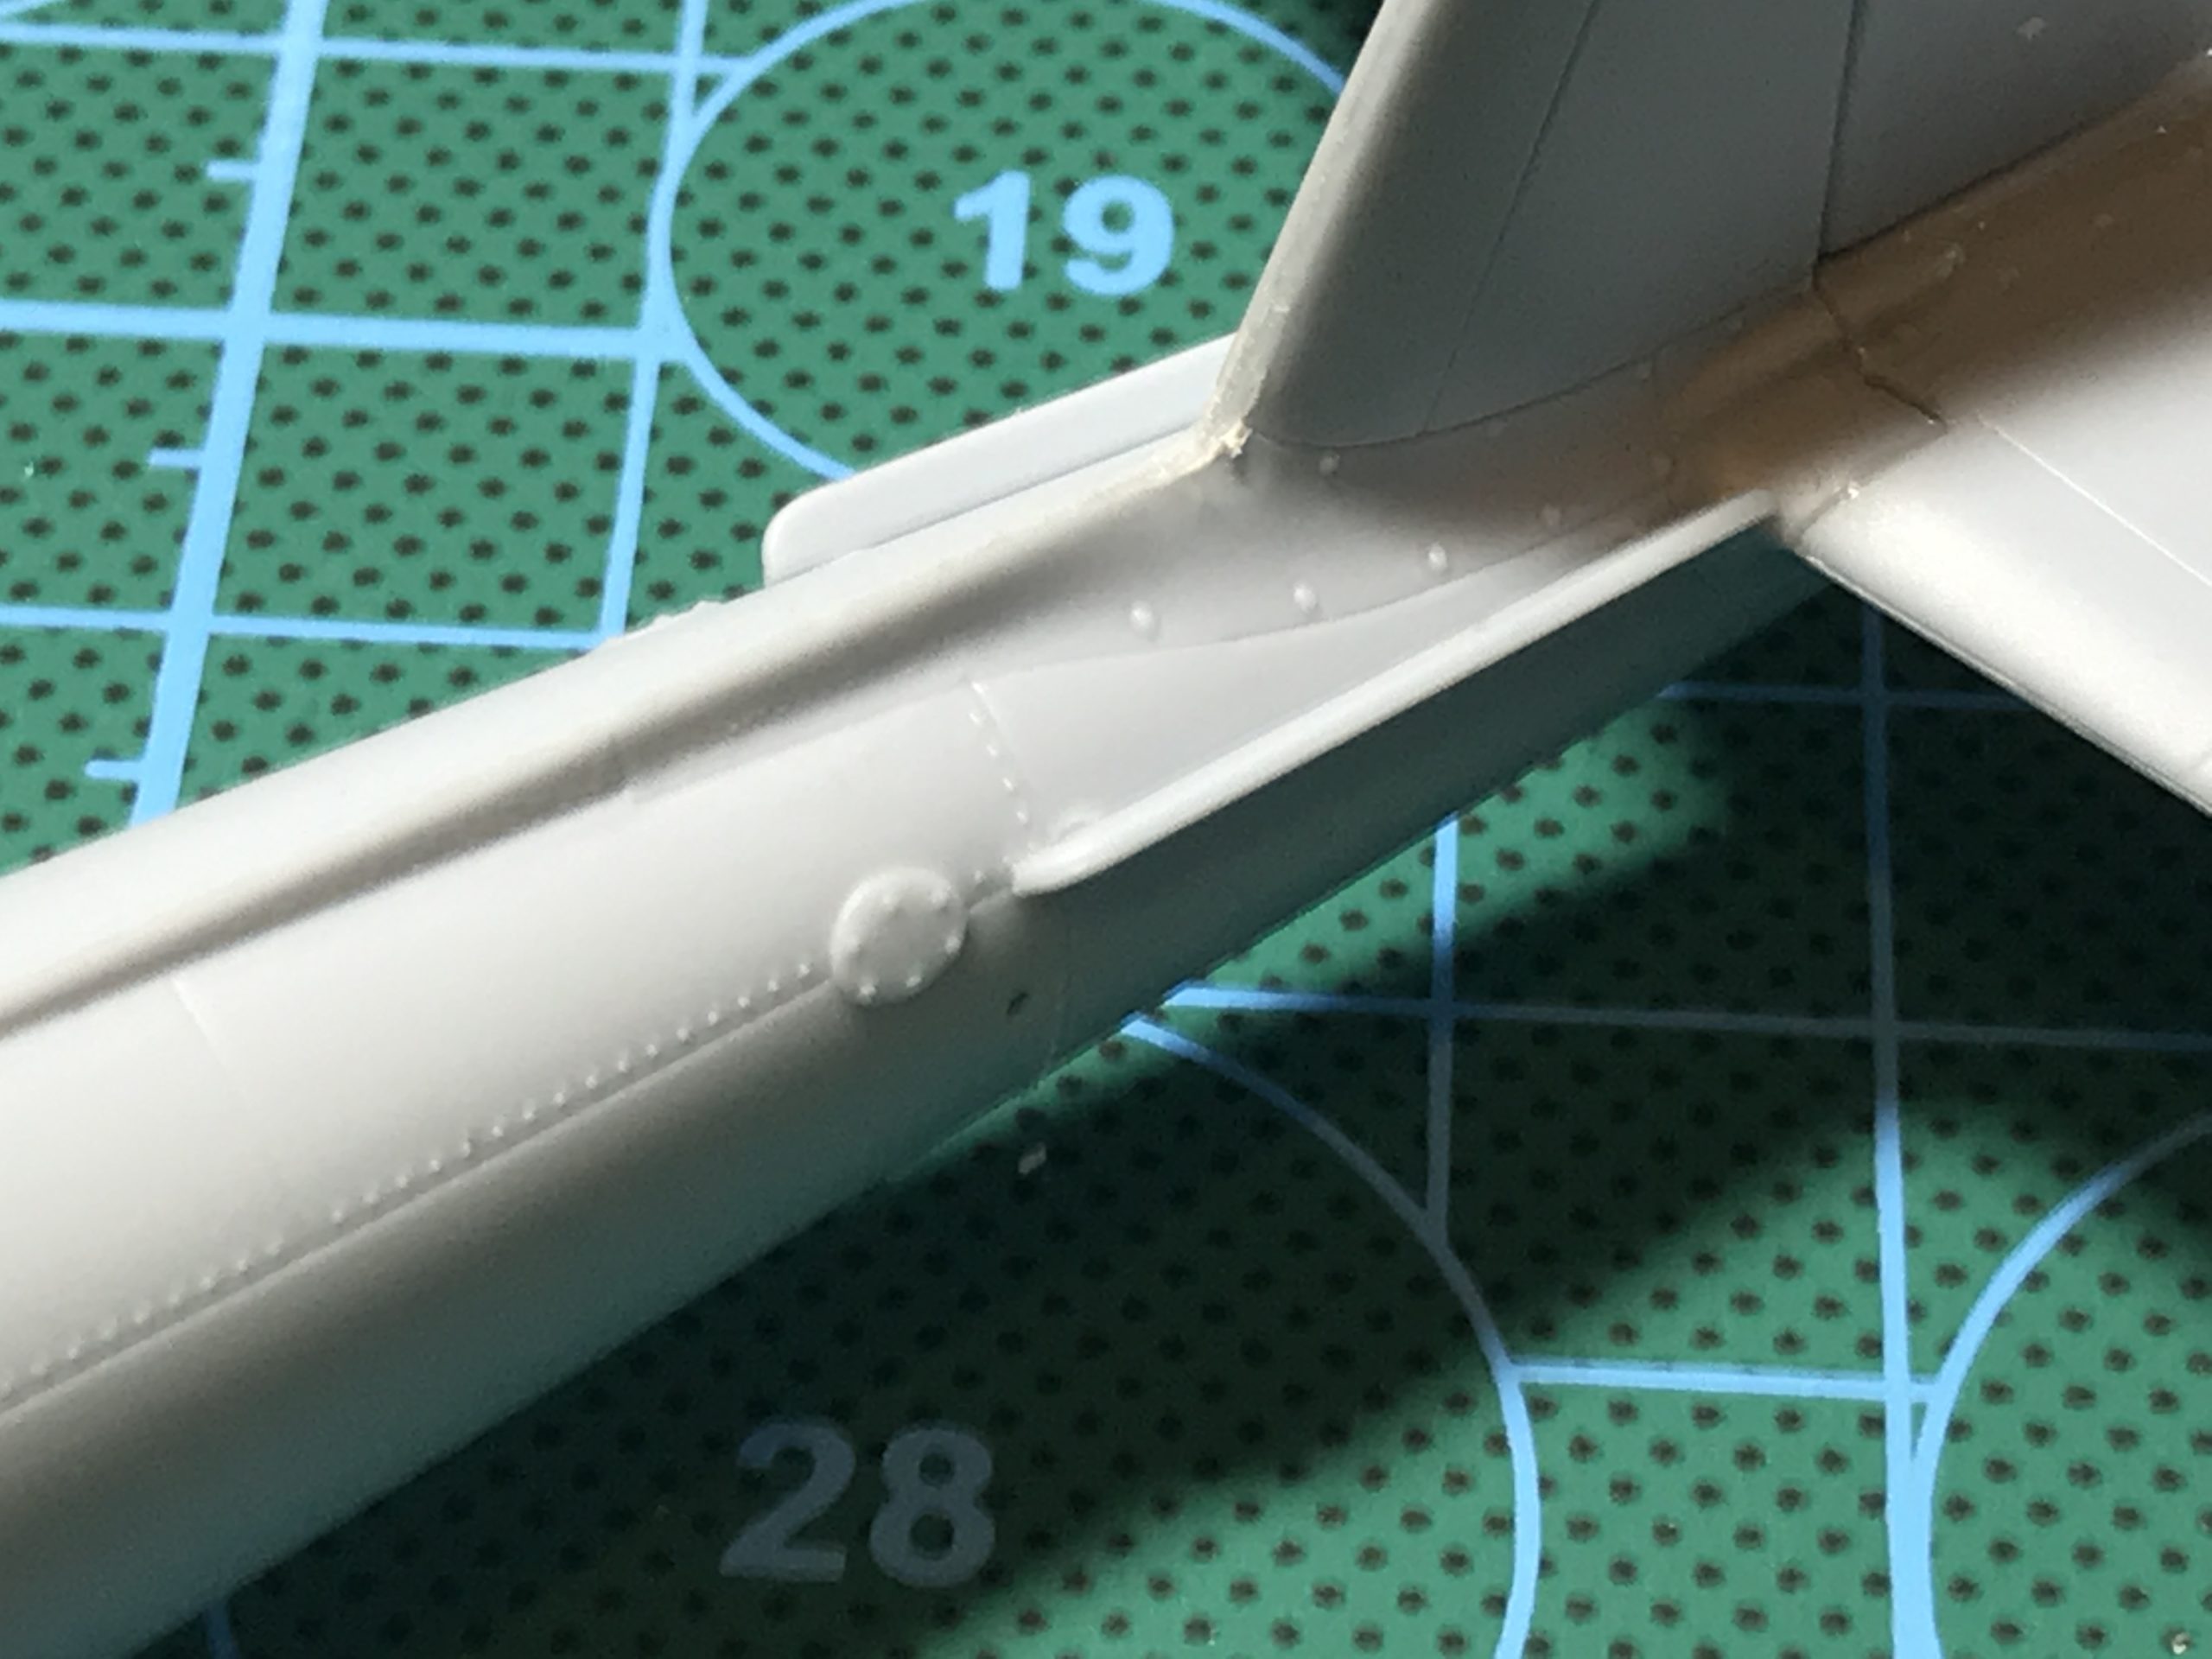
Thanks for that. The ‘strengthening ribs’ you refer to along the rear fuselage immediately in front of the tailplane are in fact anti-spin strakes. They are there to hold the tail up in a spin and prevent it going too flat, which would delay spin recovery. They should be mounted almost perpendicular to the fuselage (sticking out straight from it), not tilted up at an angle.
Vince Chadwick (Chippy pilot for 35 years!).