
A note from the author…
I’m Rob, a normal guy who enjoys making models! I’m by no means a ‘professional’ modeller, but I am passionate, try my best and kits generally turn out well! All my builds are done at home in my spare time with typical model tools and accessories – all views and opinions are my own and not that of Jadlam.
This is not so much a review, but more of a build log of my recent effort with one of Airfix’s latest kits – the the 1/48 Tiger Moth. Here are the details and of course a link to go buy your own, I recommend it!
Name – AIRFIX A04104 De Havilland DH82aTiger Moth 1:48 Aircraft Model Kit
Number – A04104
Scale – 1/48
Price – £19.99 RRP
Availability – In stock now at £19.75 Buy yours here!
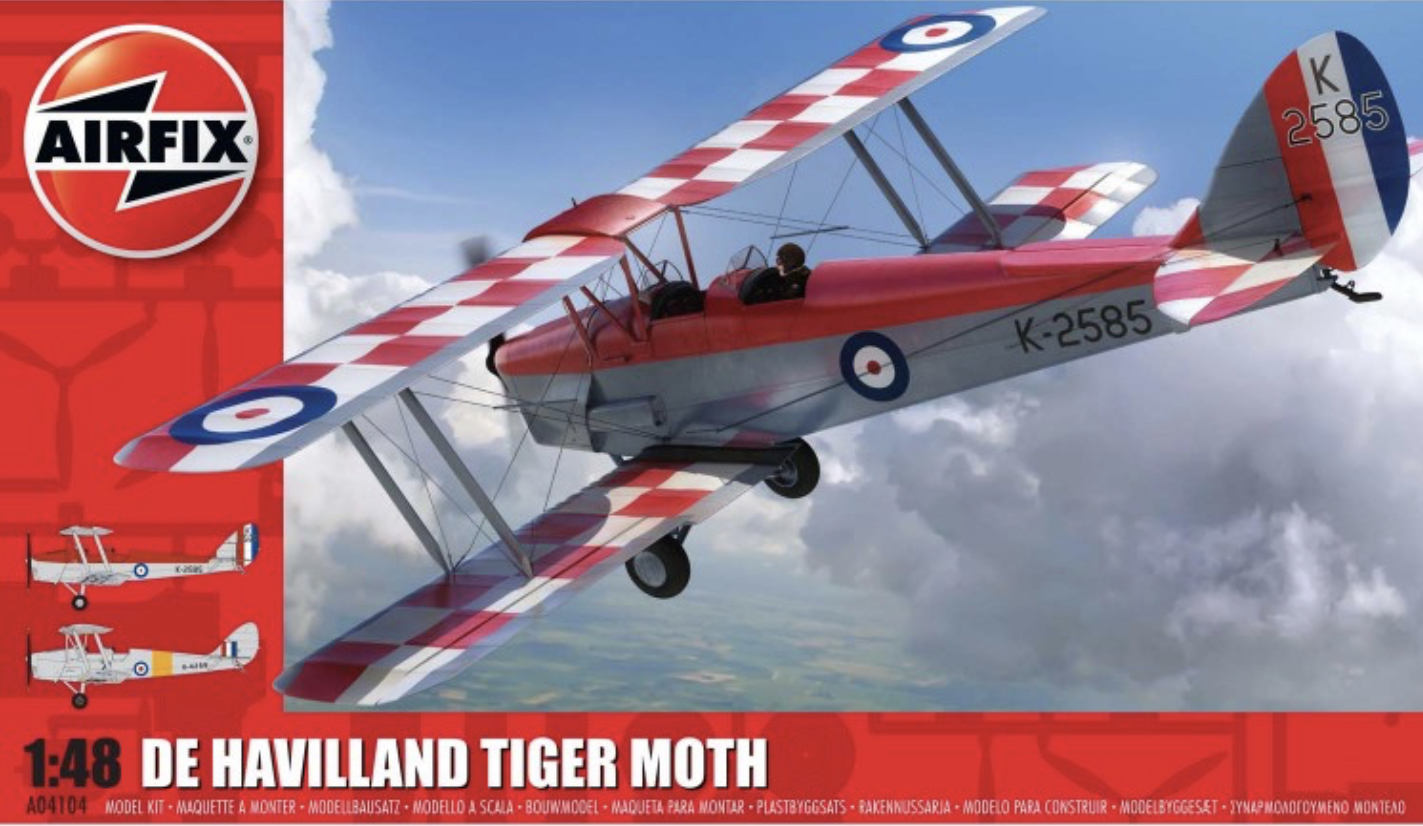
As is now the norm for Airfix kits the Box art is stunning.
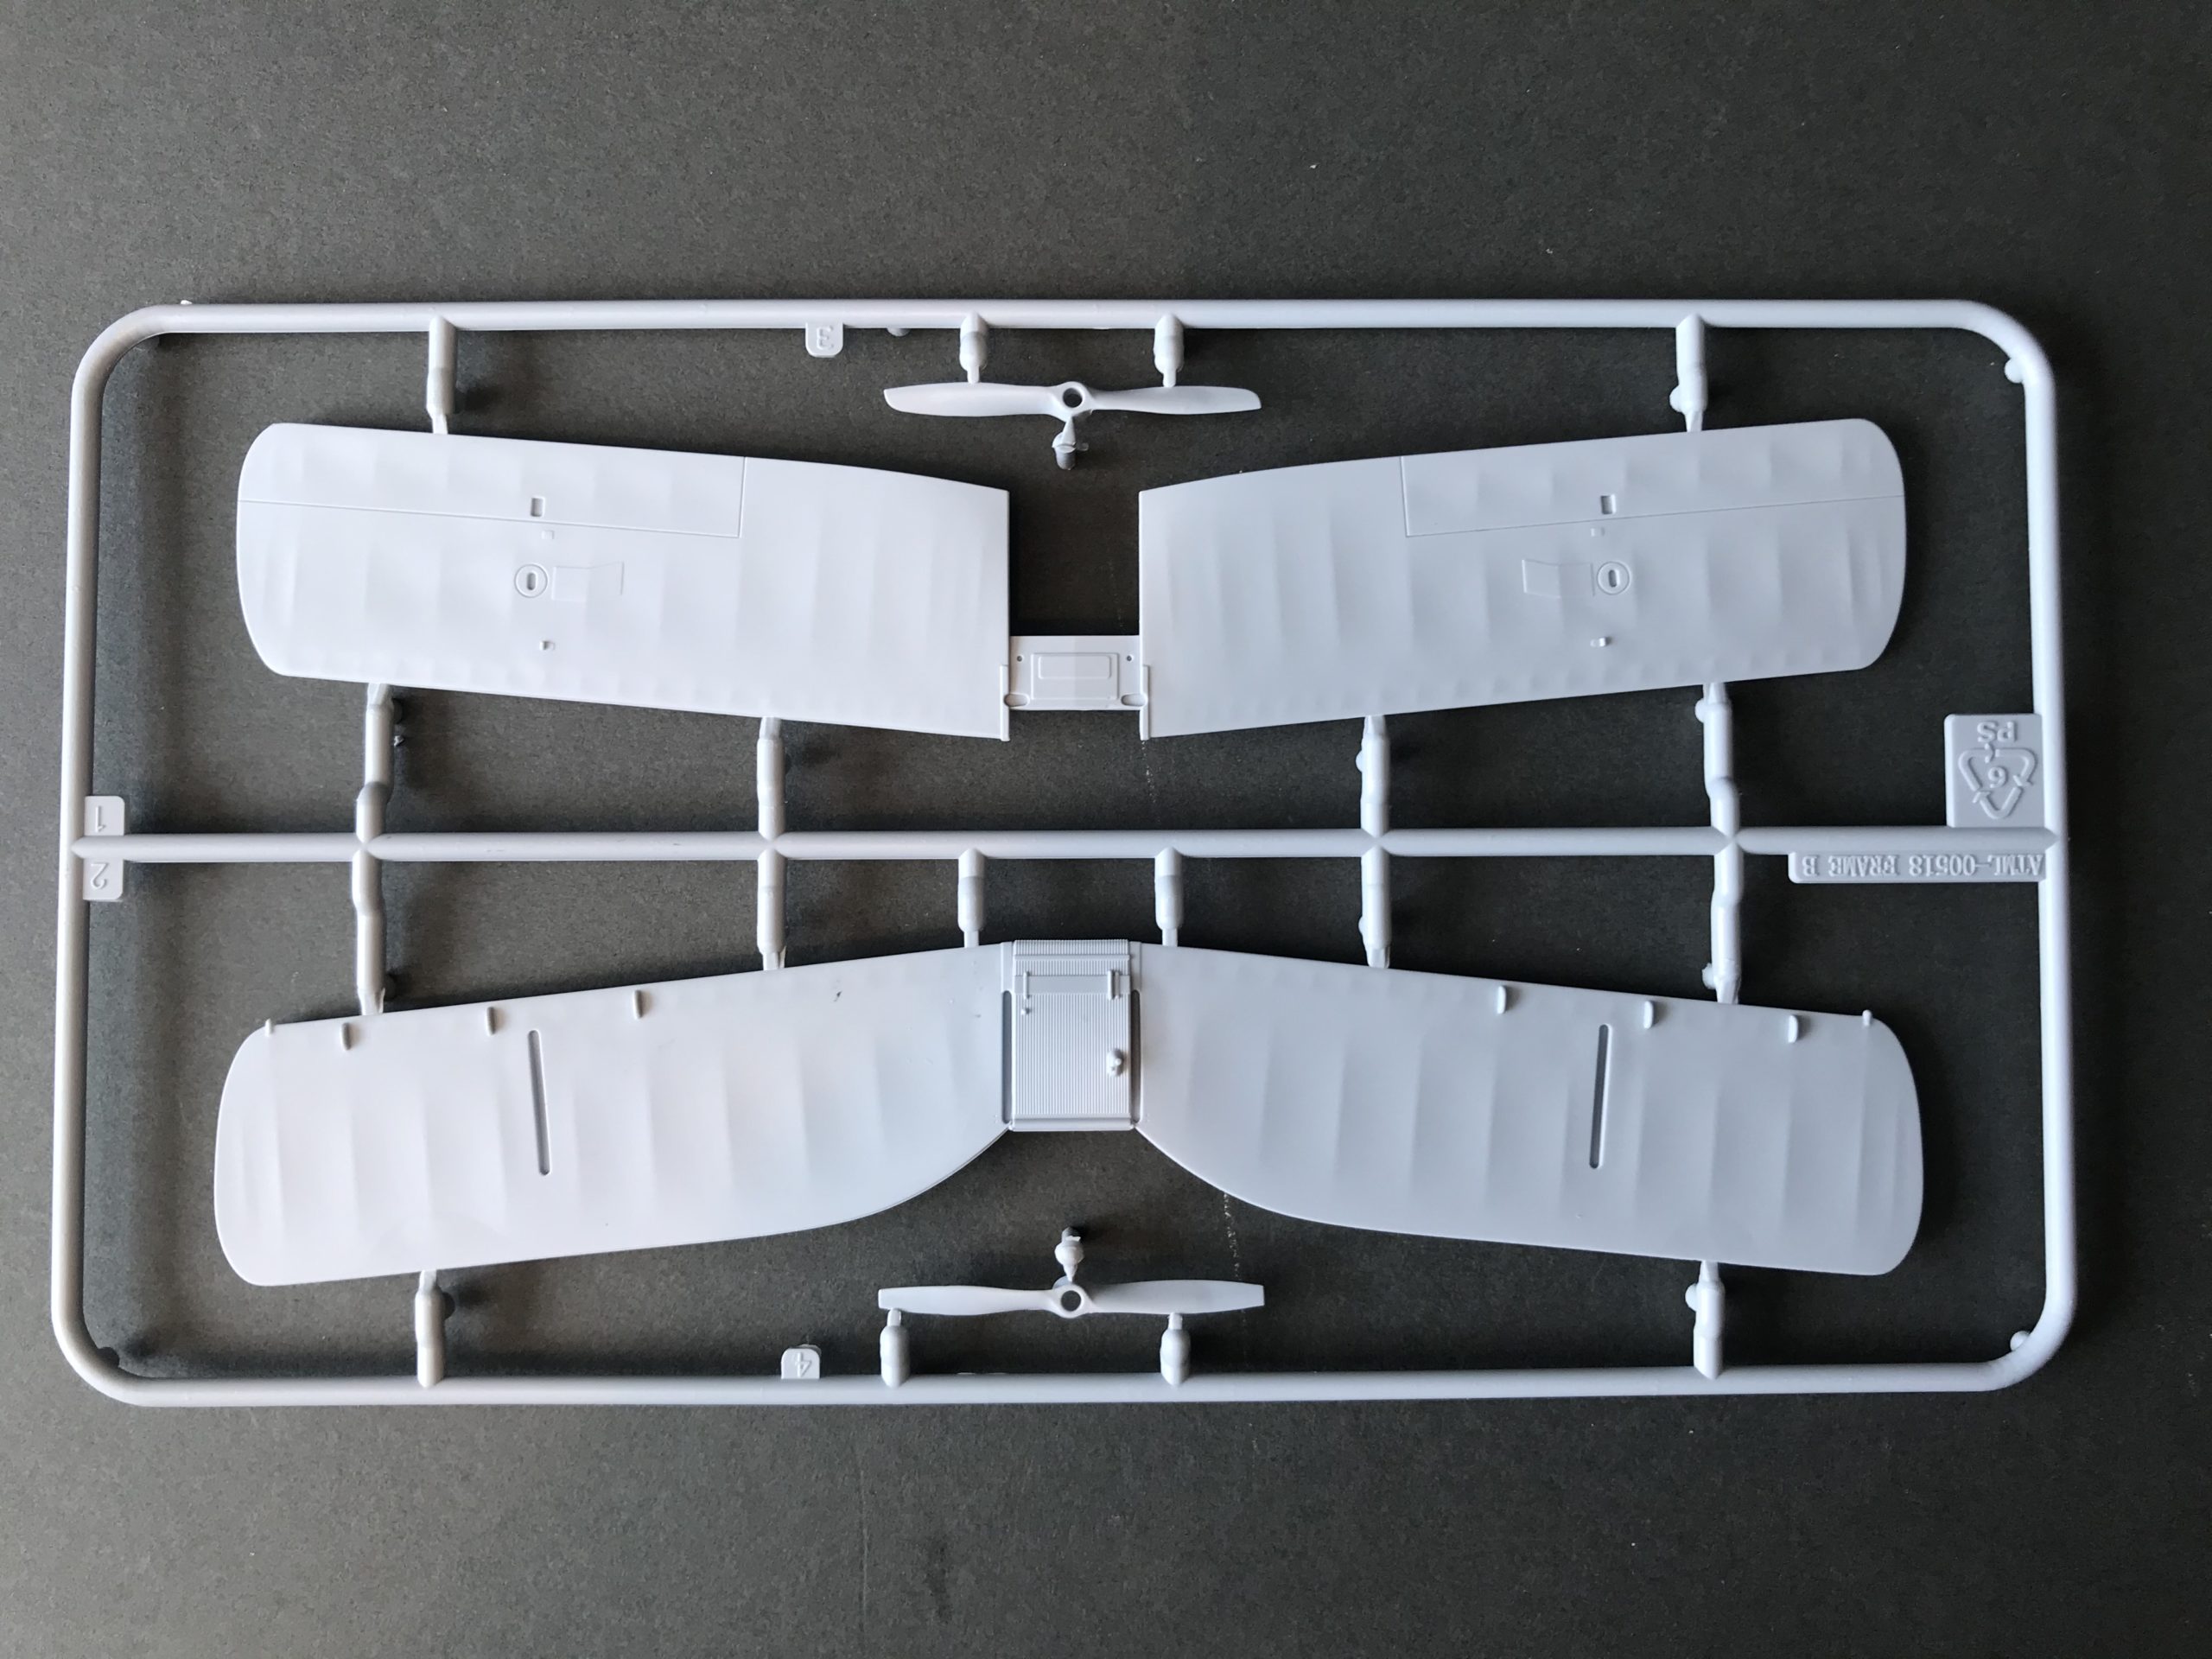
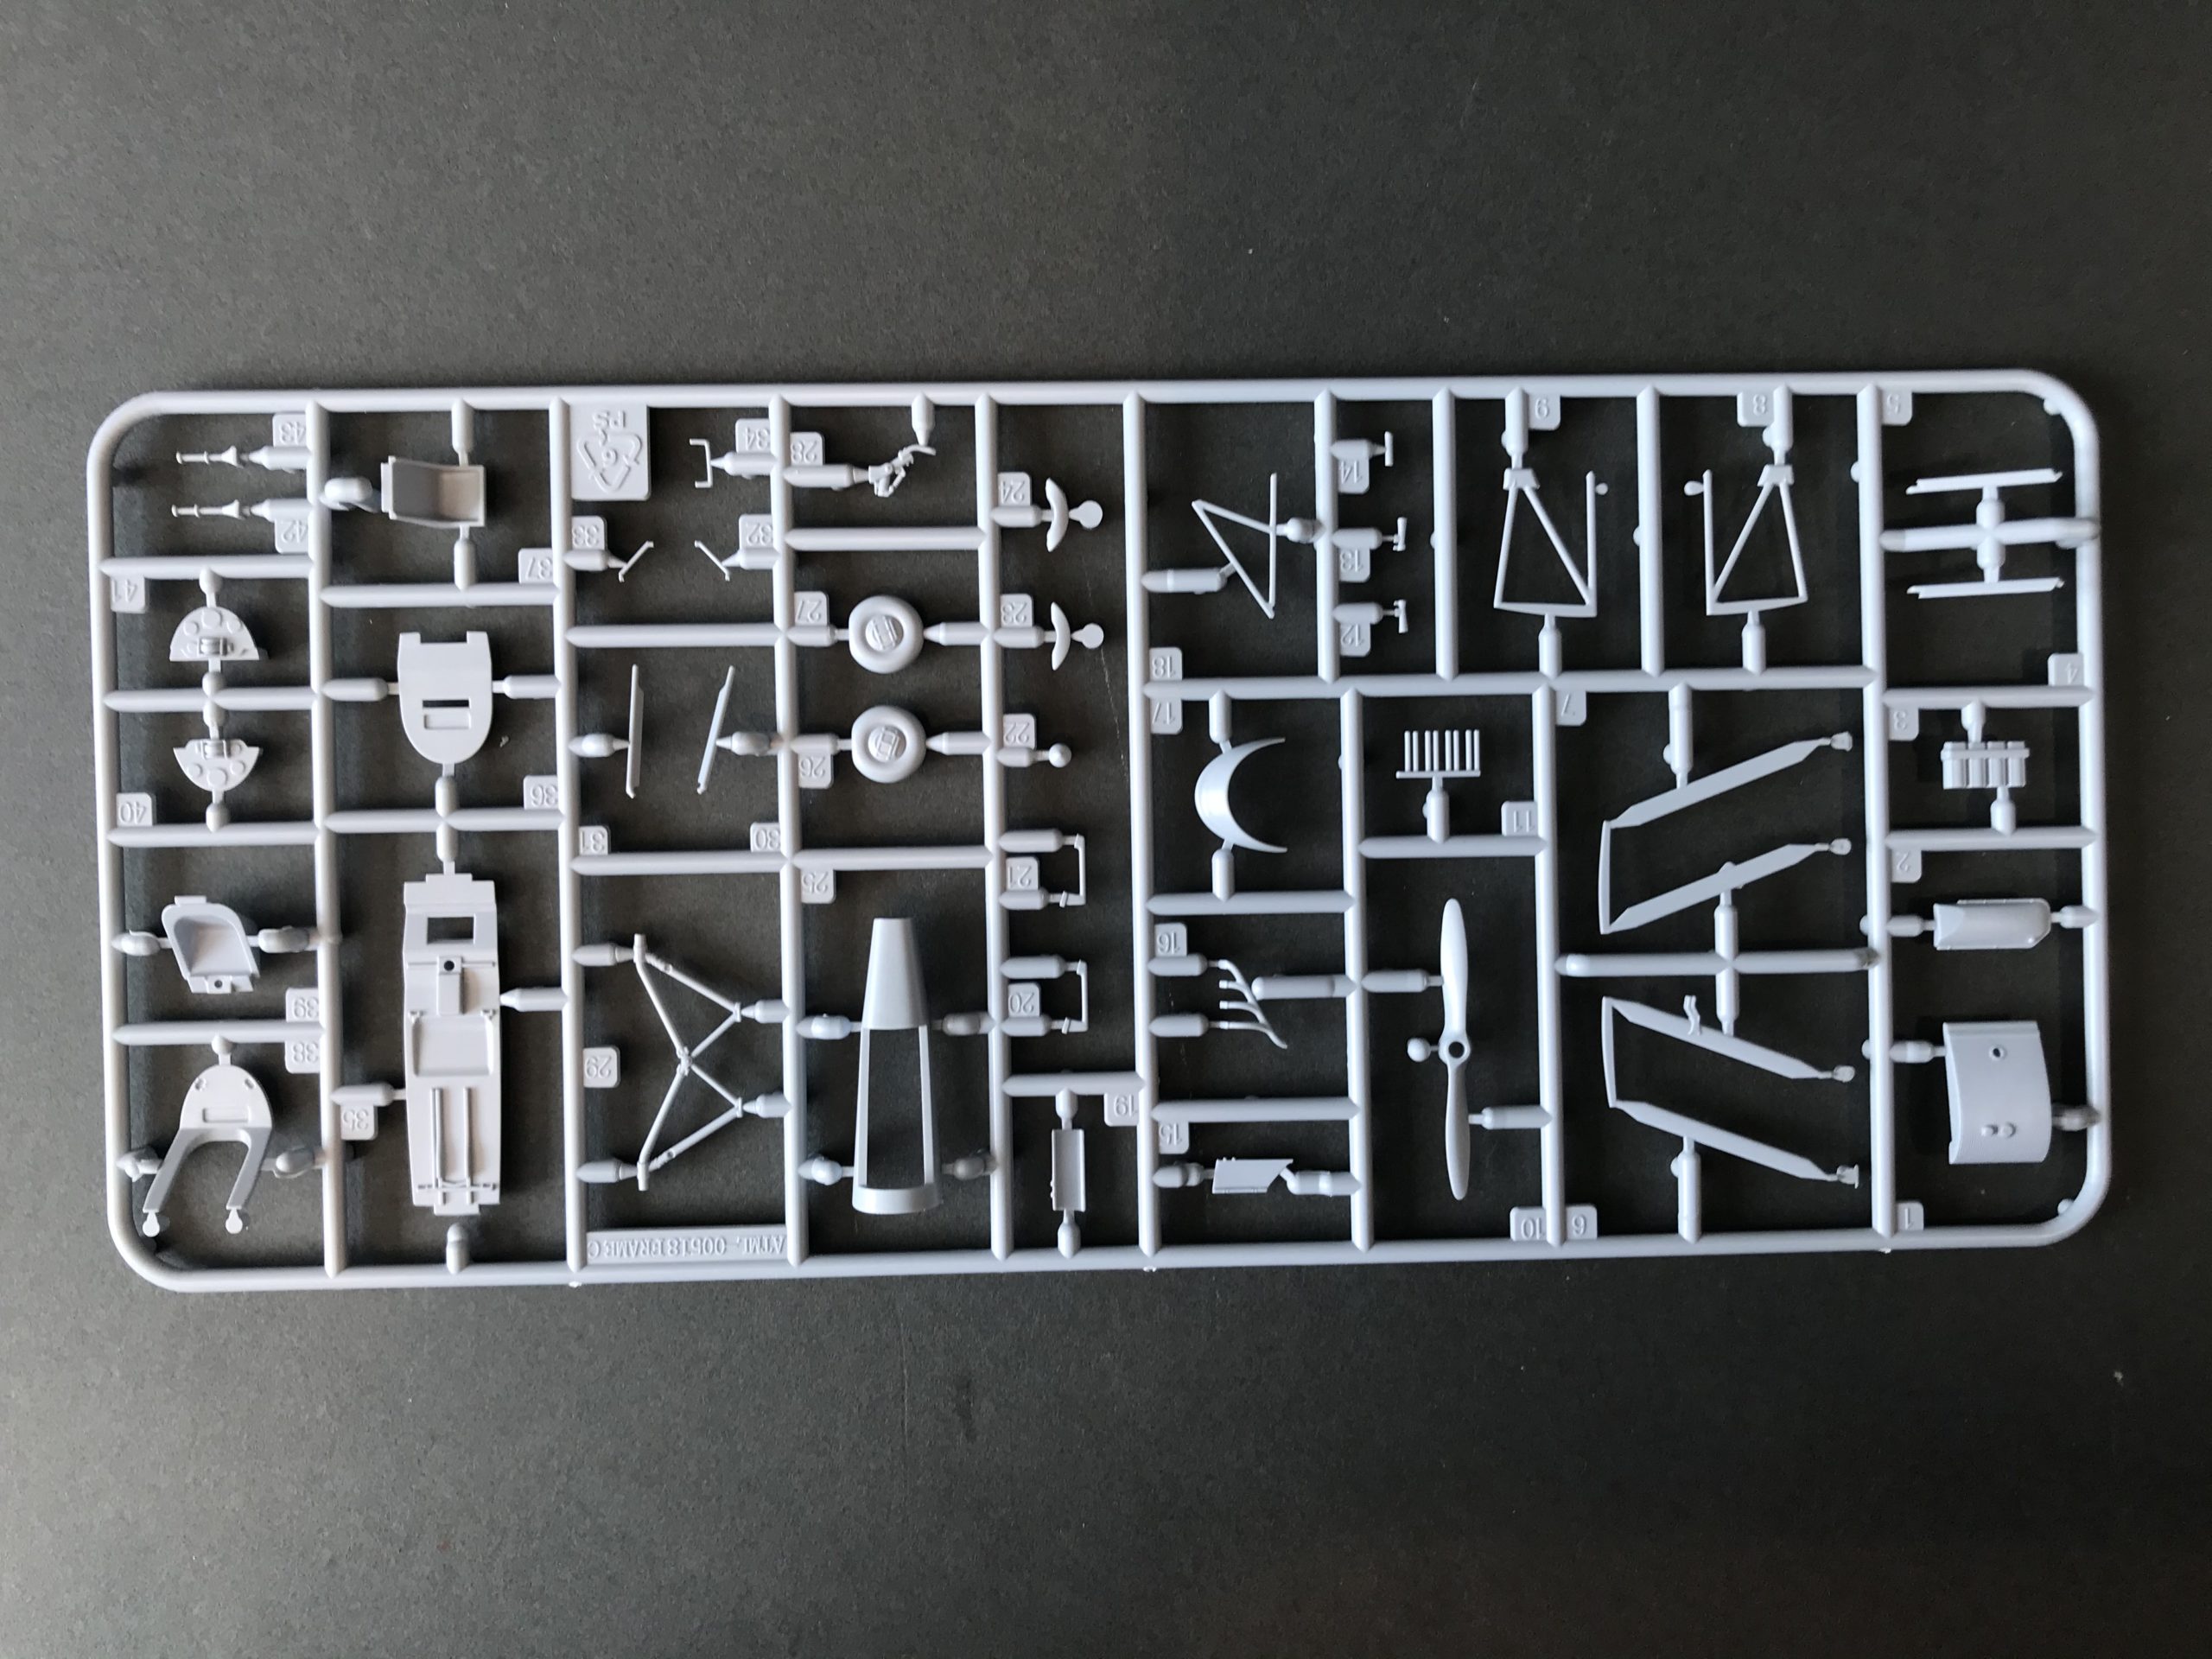
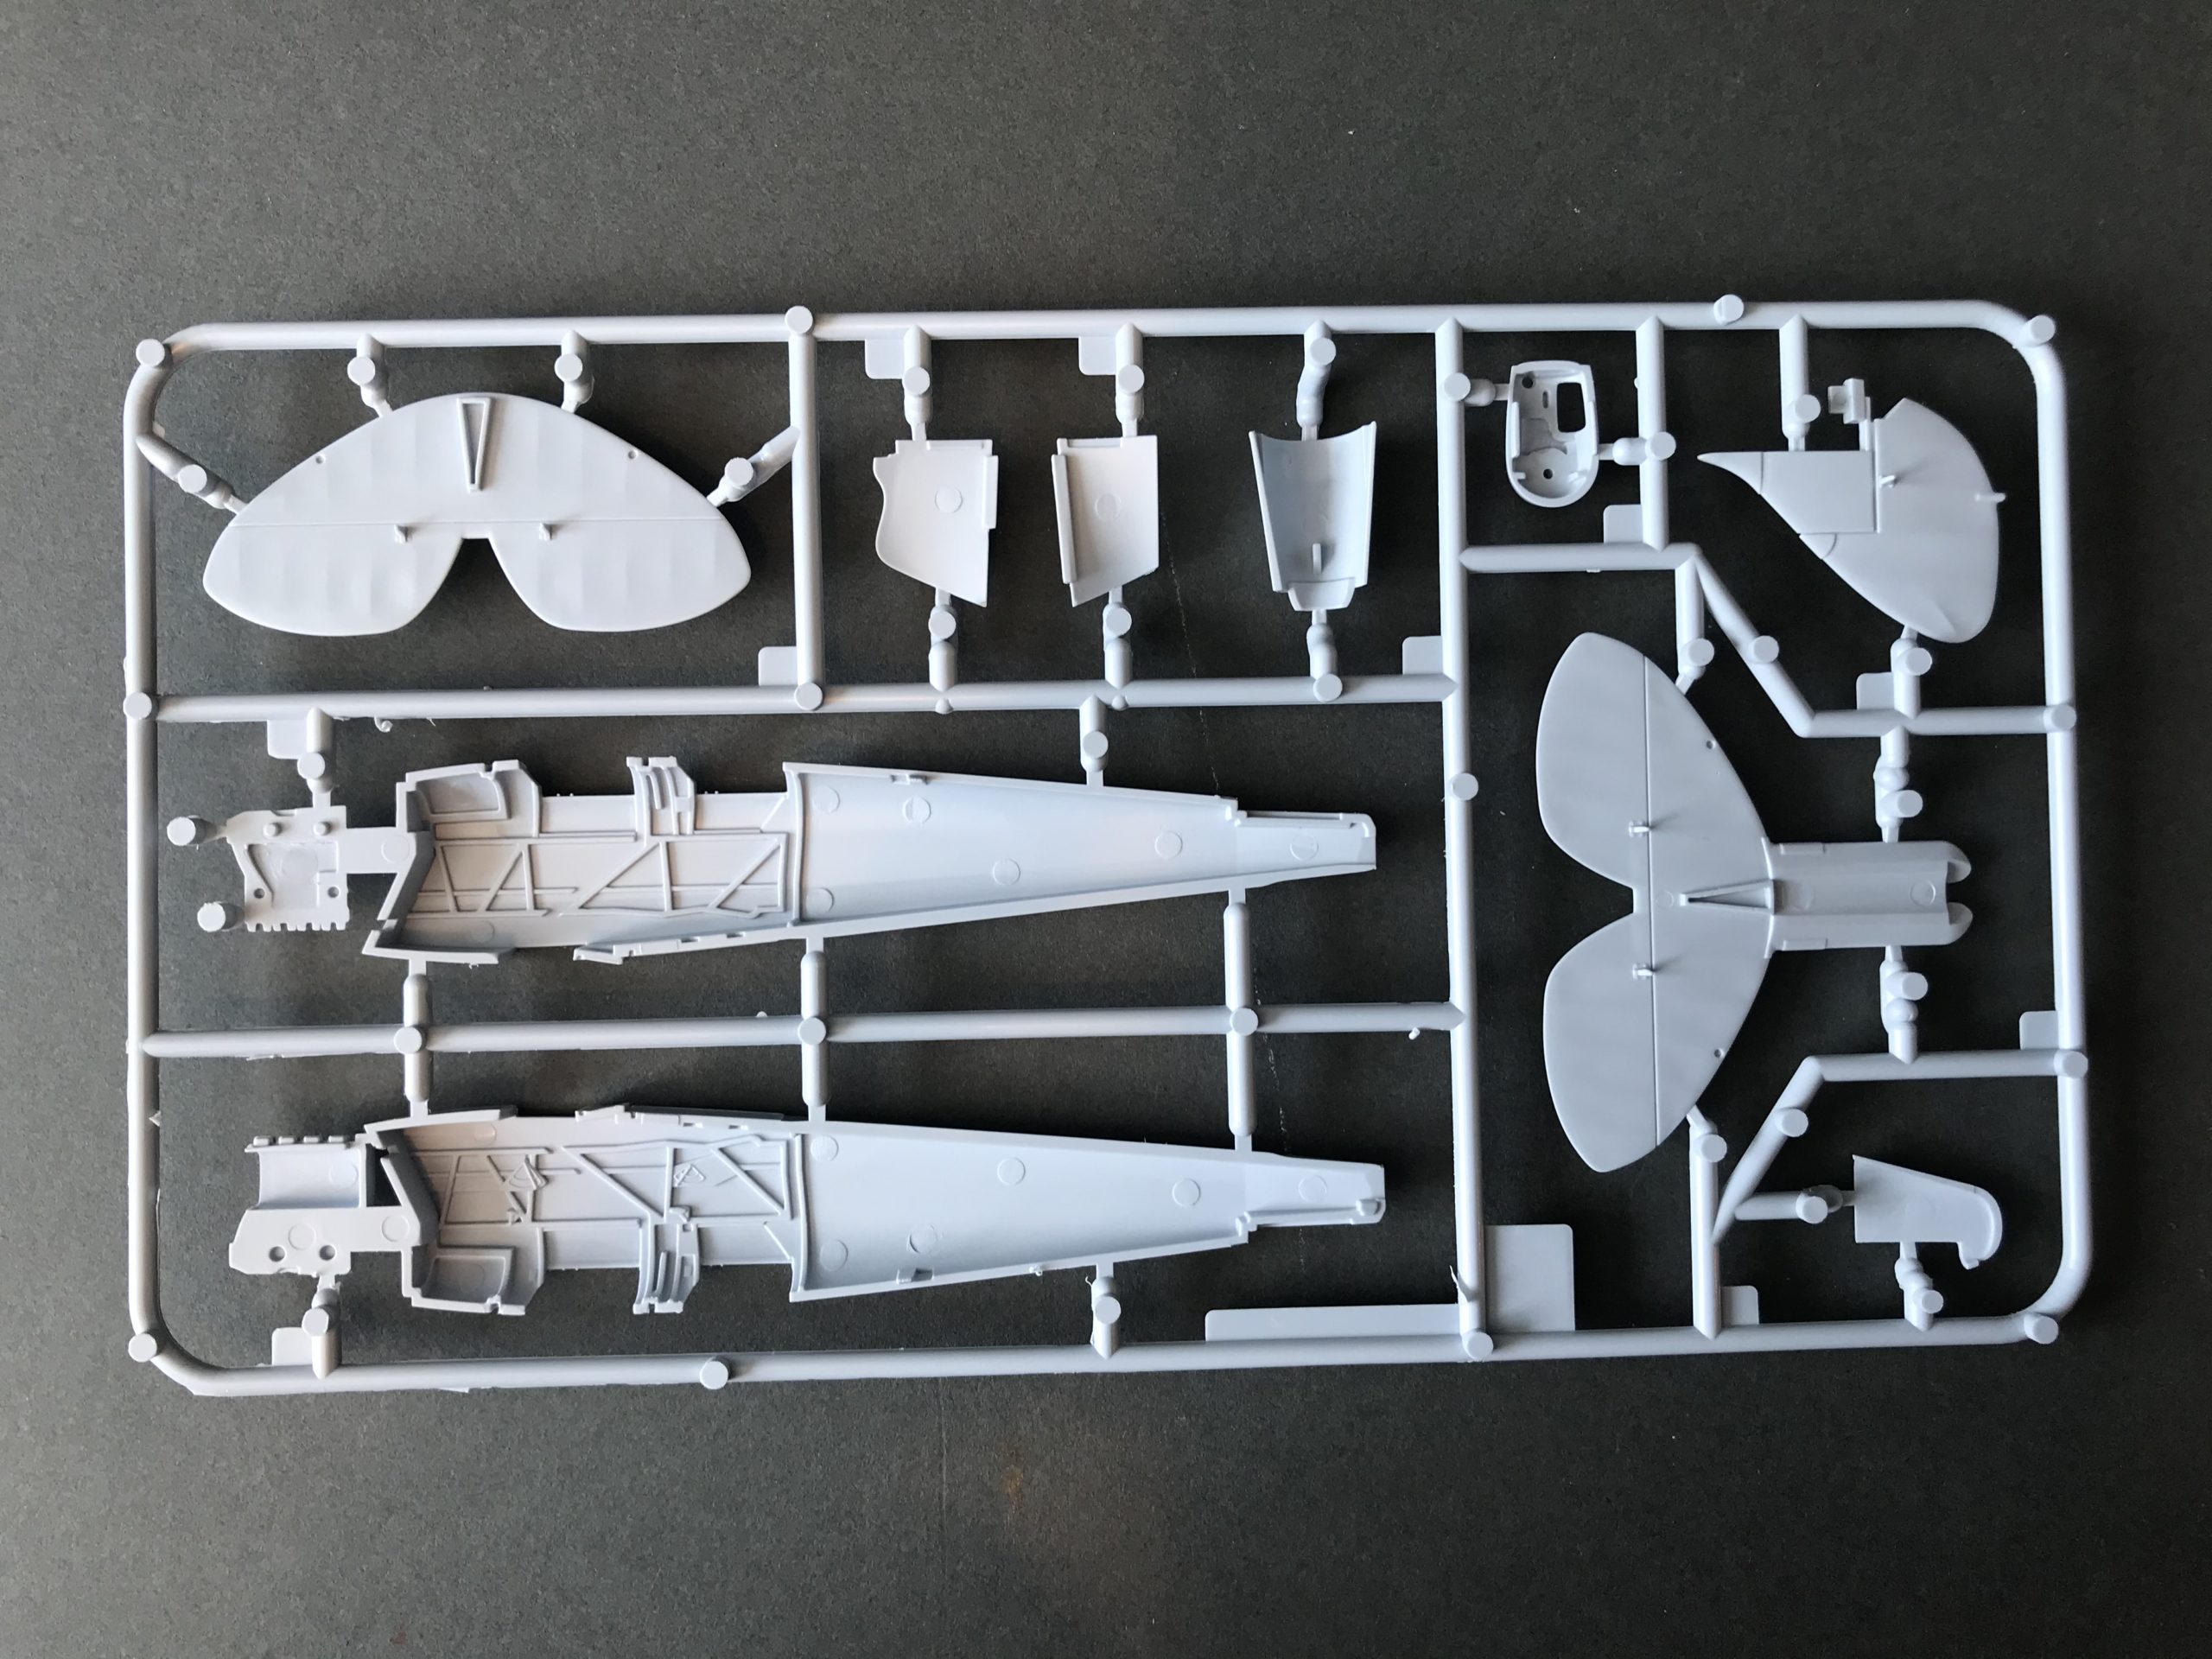
Simple sprues for a simple aircraft.
For me the highlight of the kit is the decals which are quite lovely.
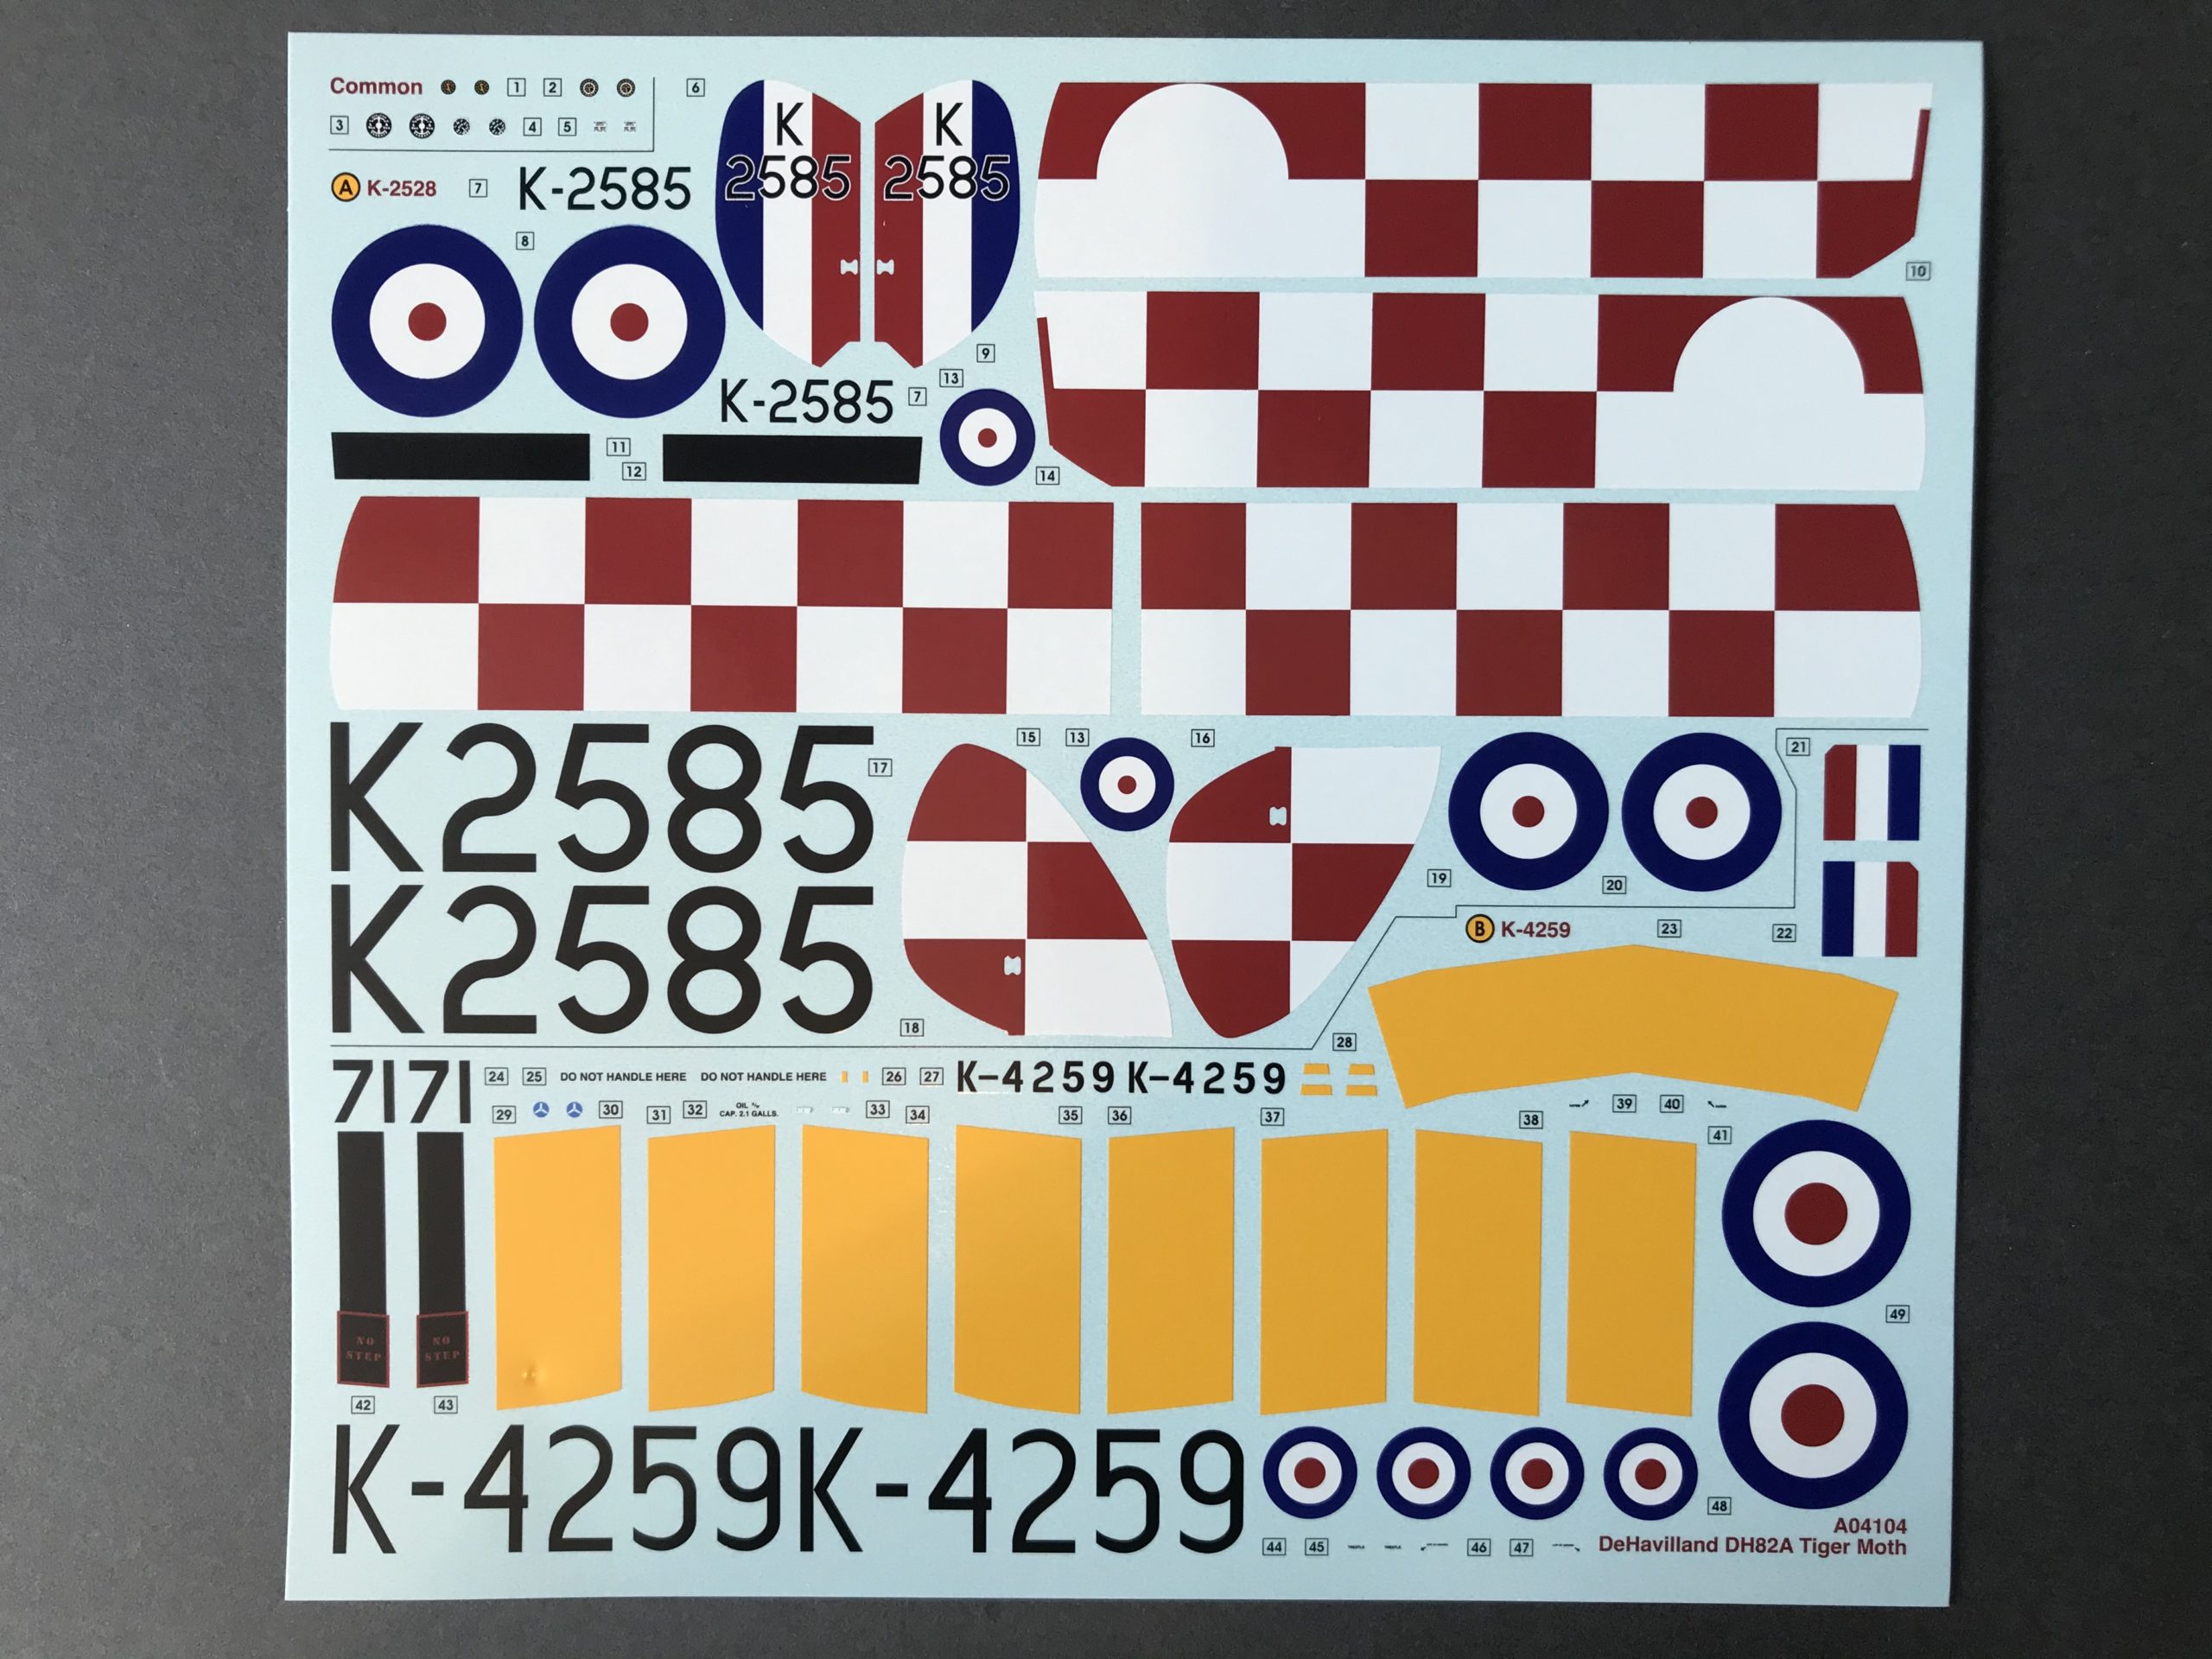
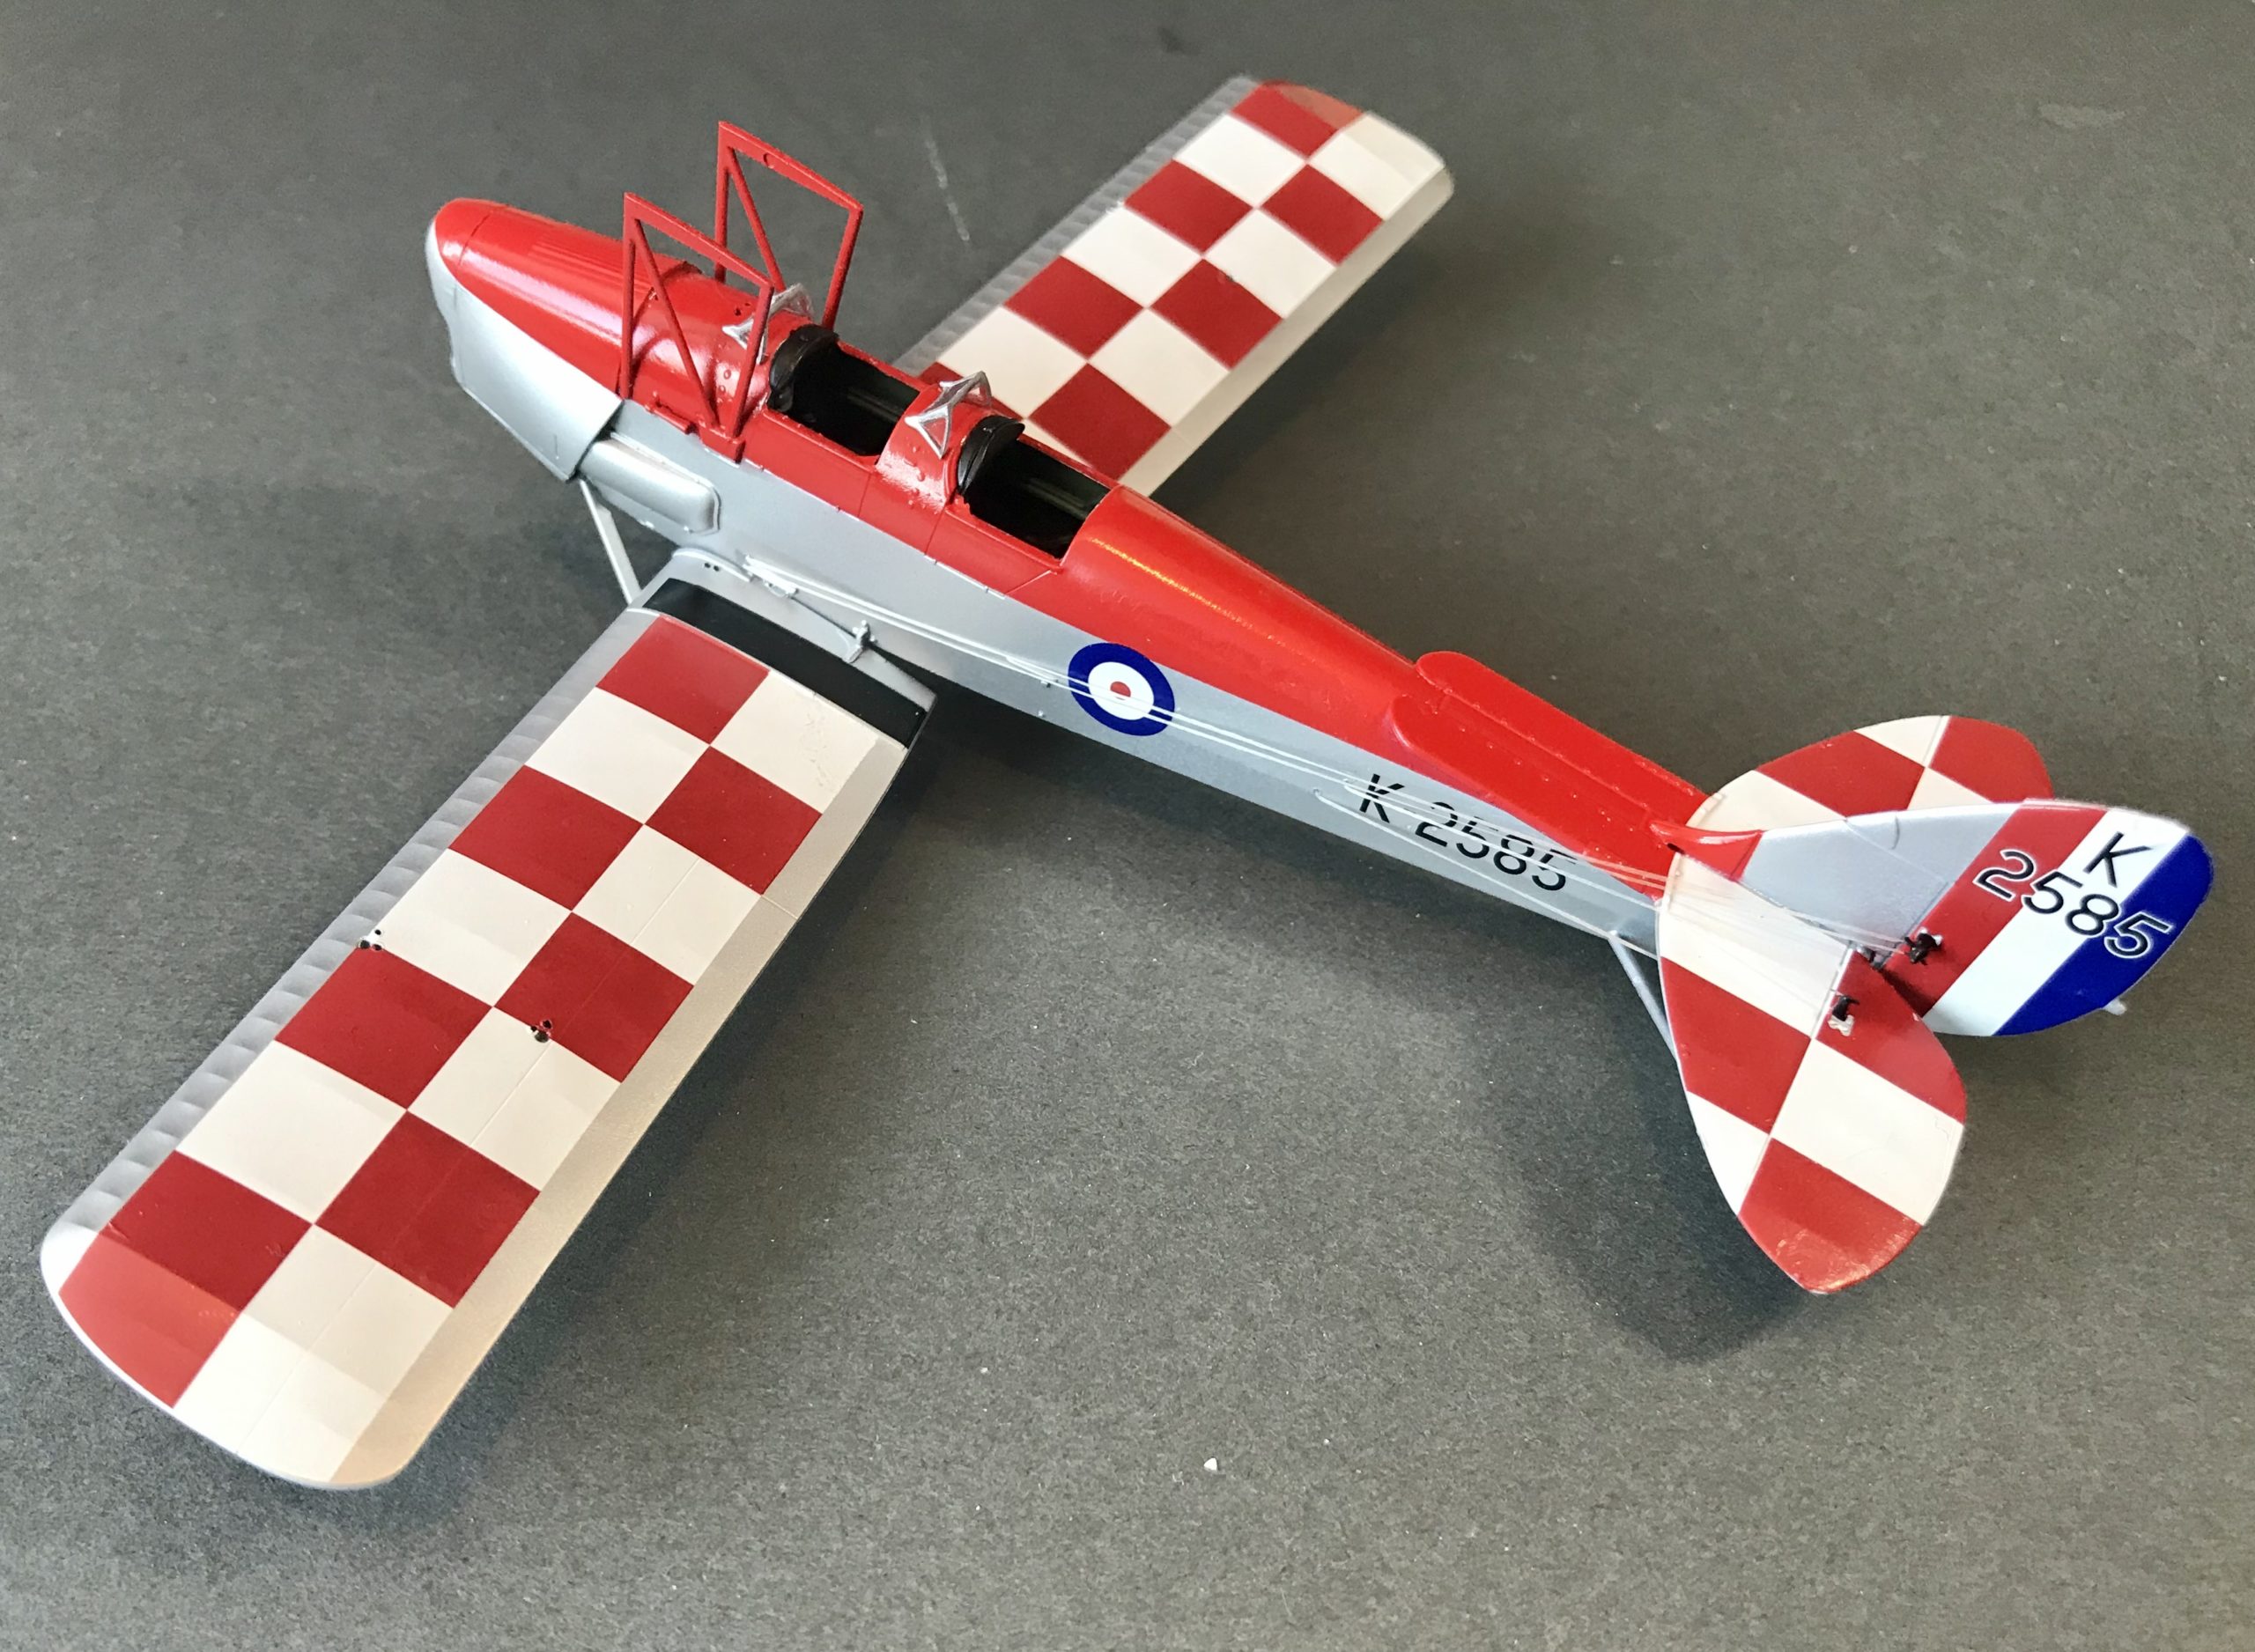
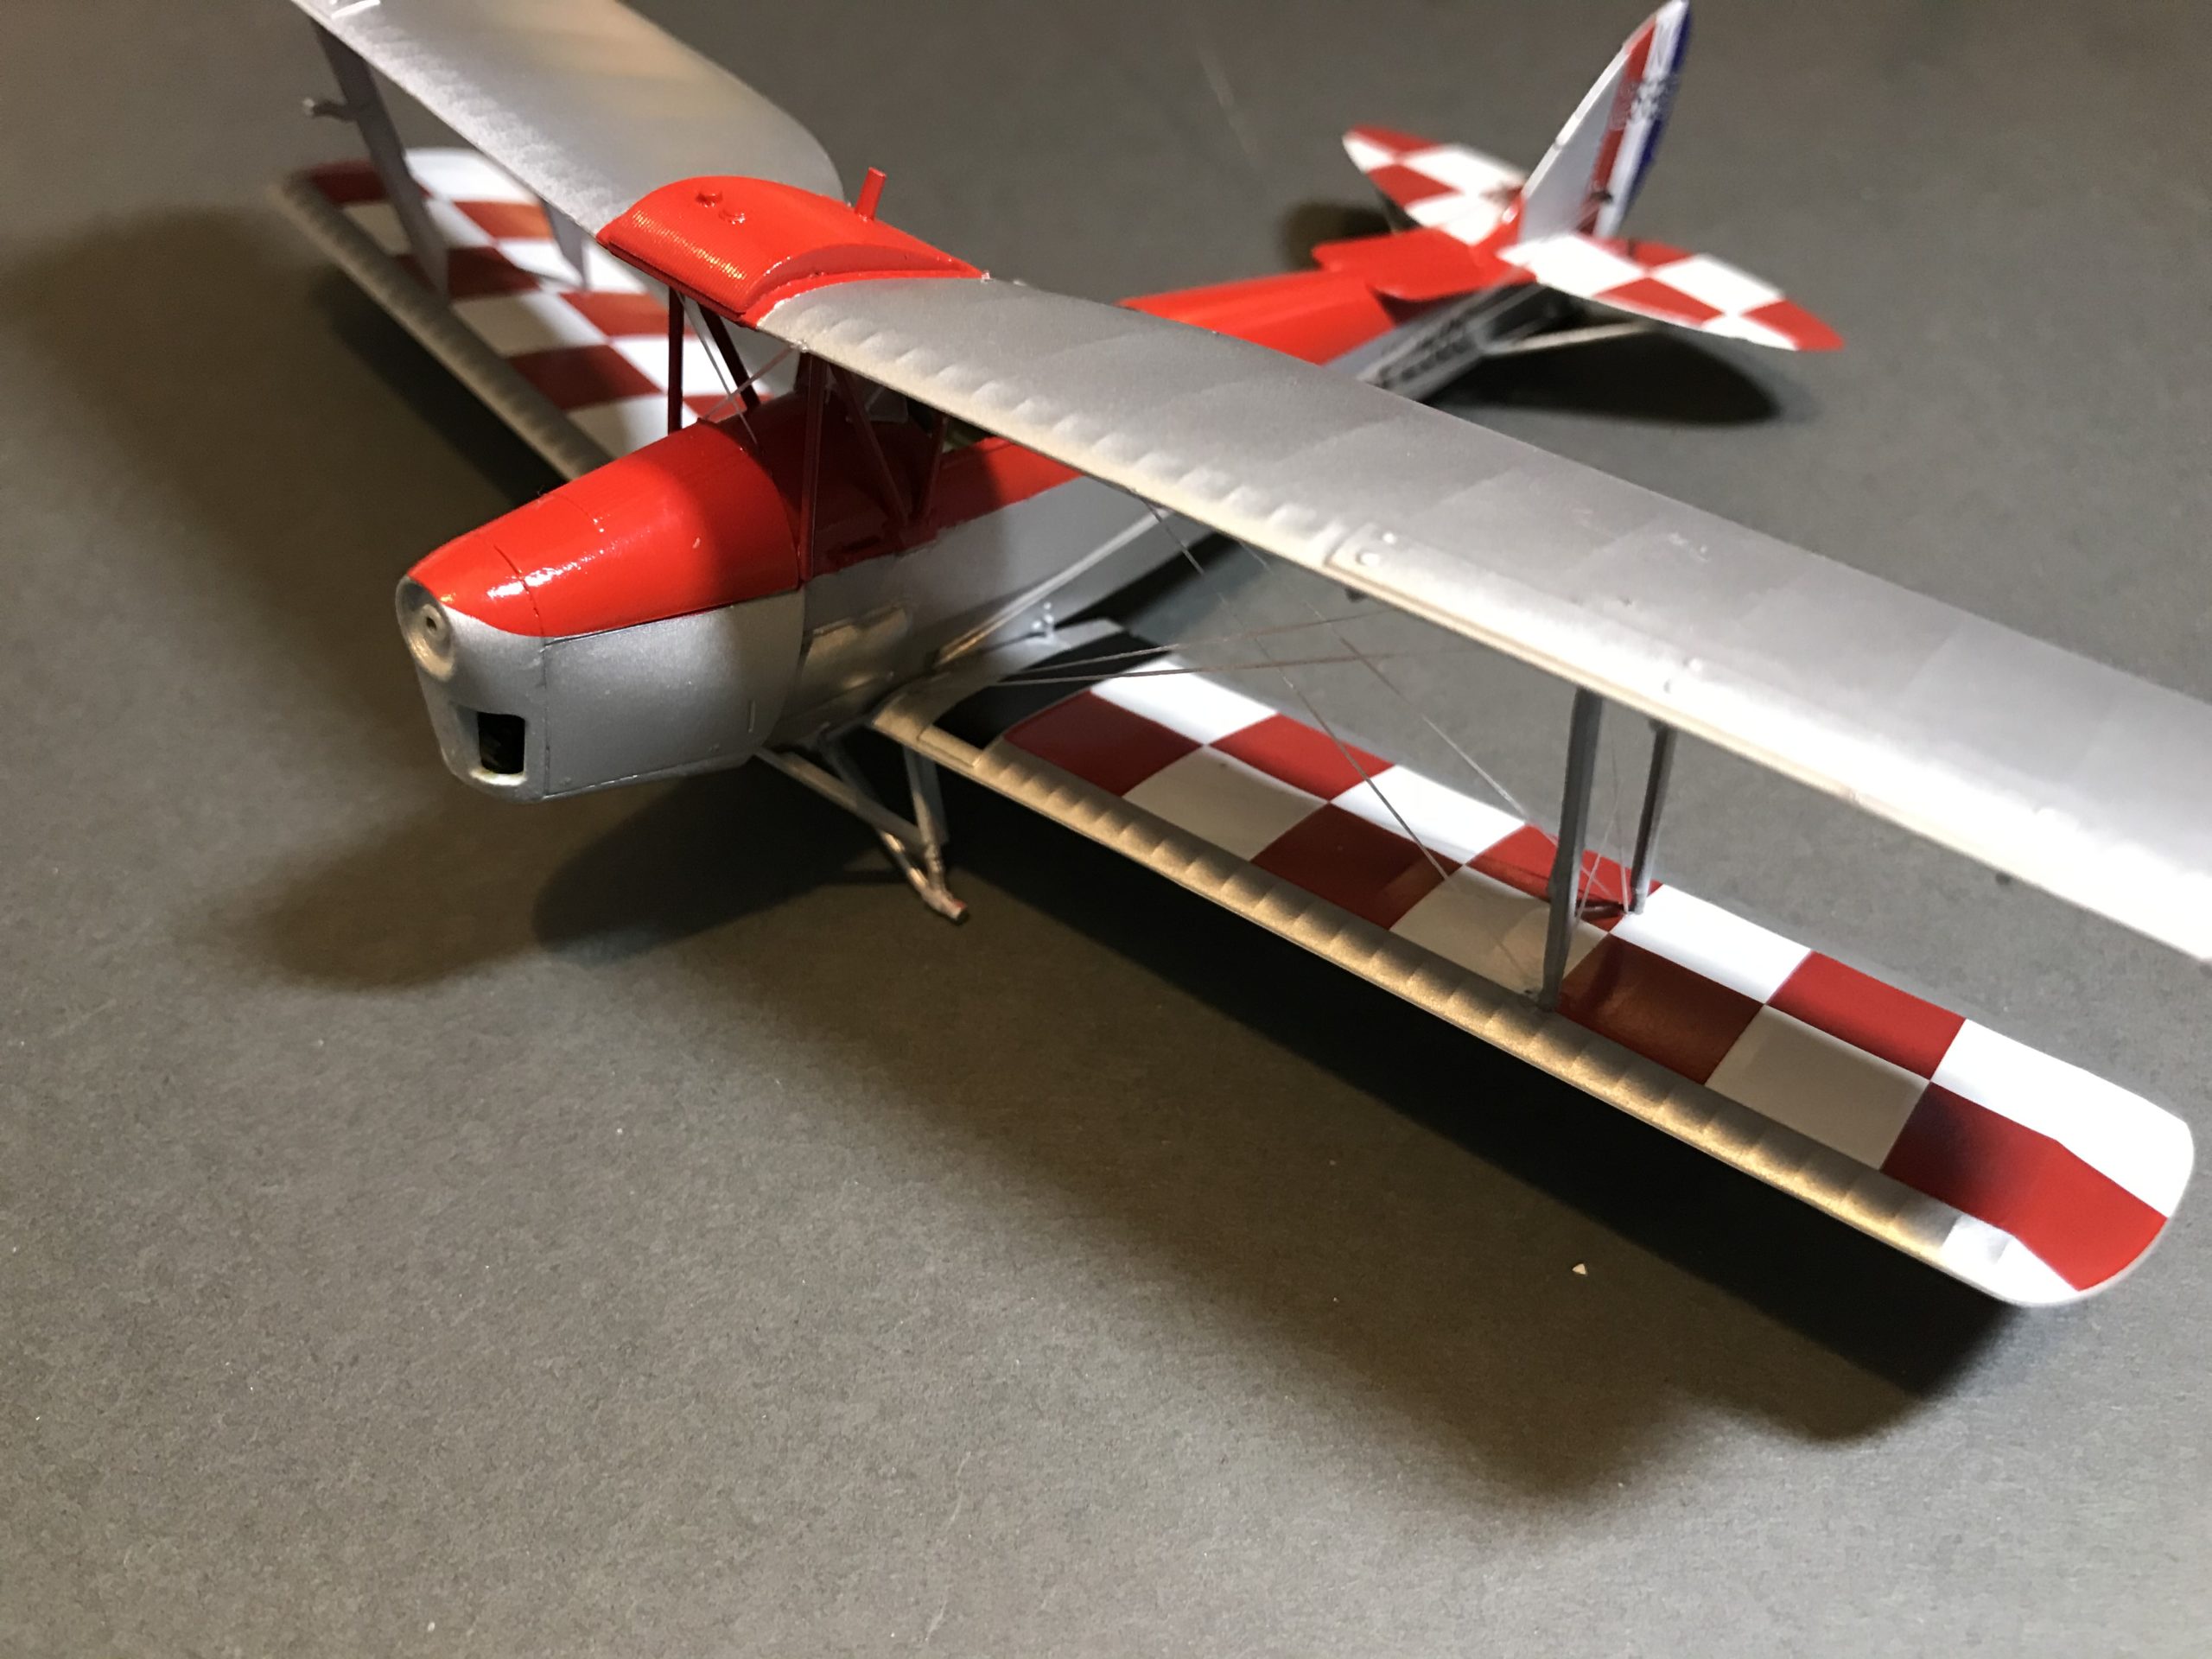
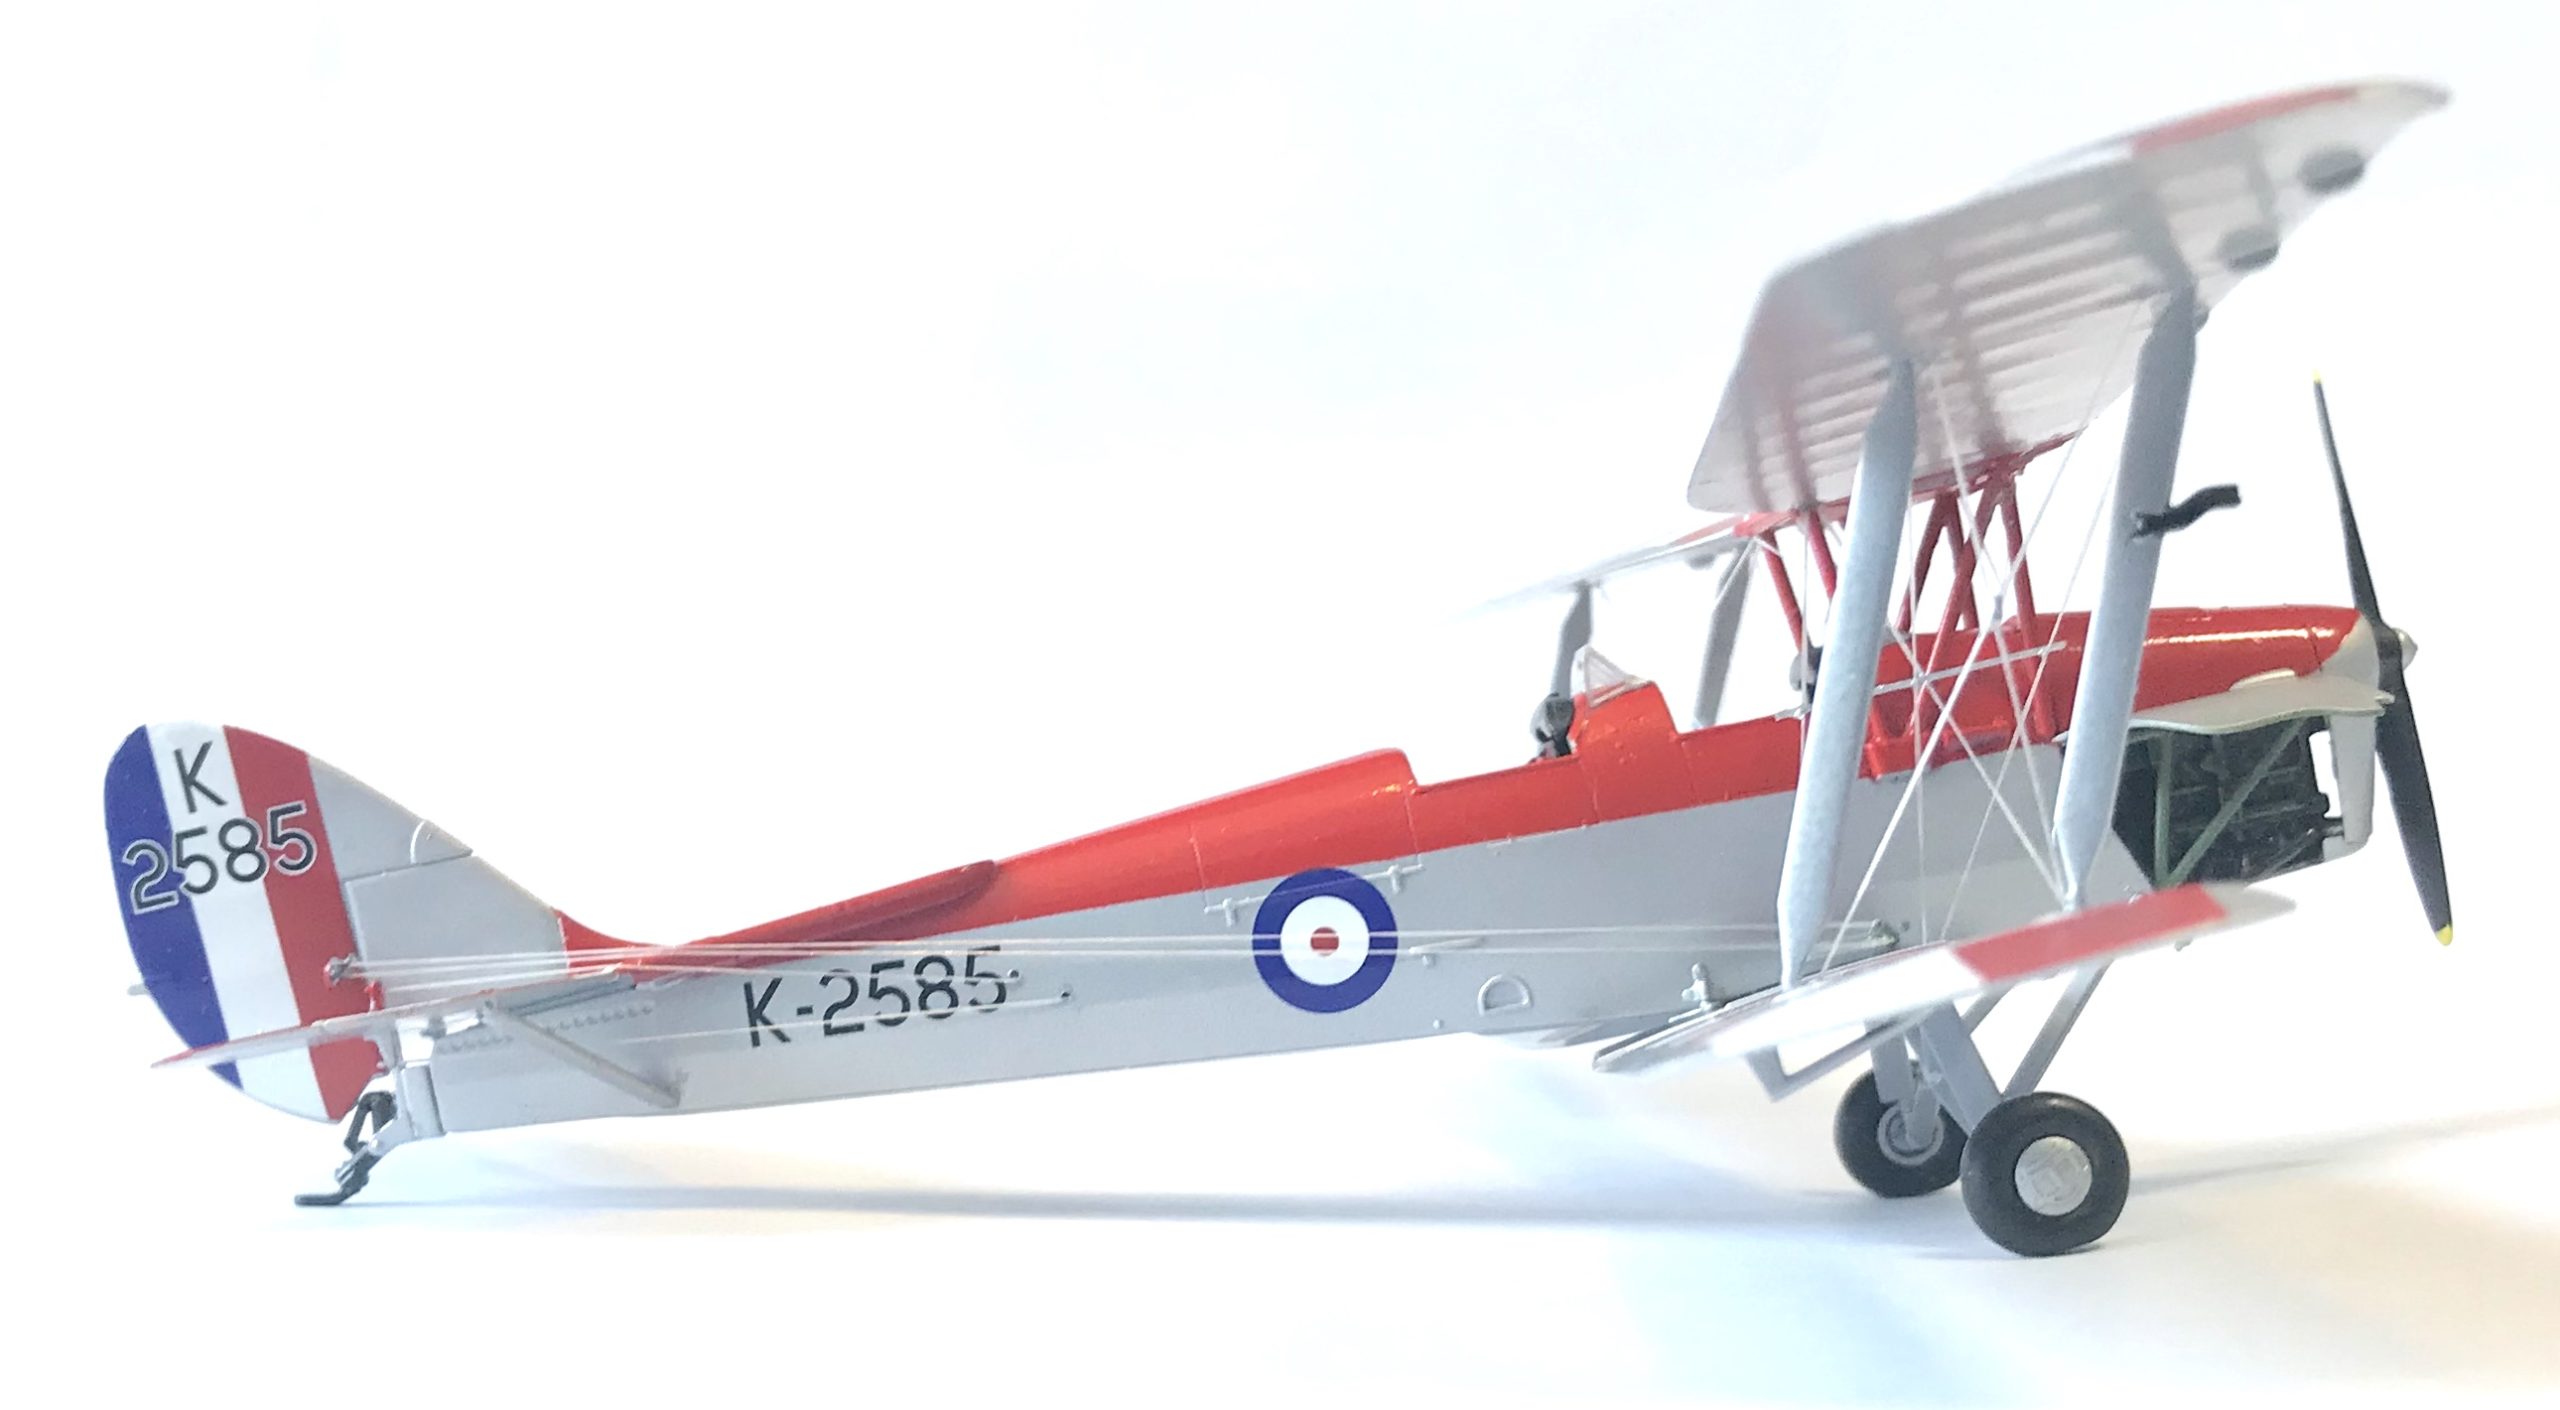
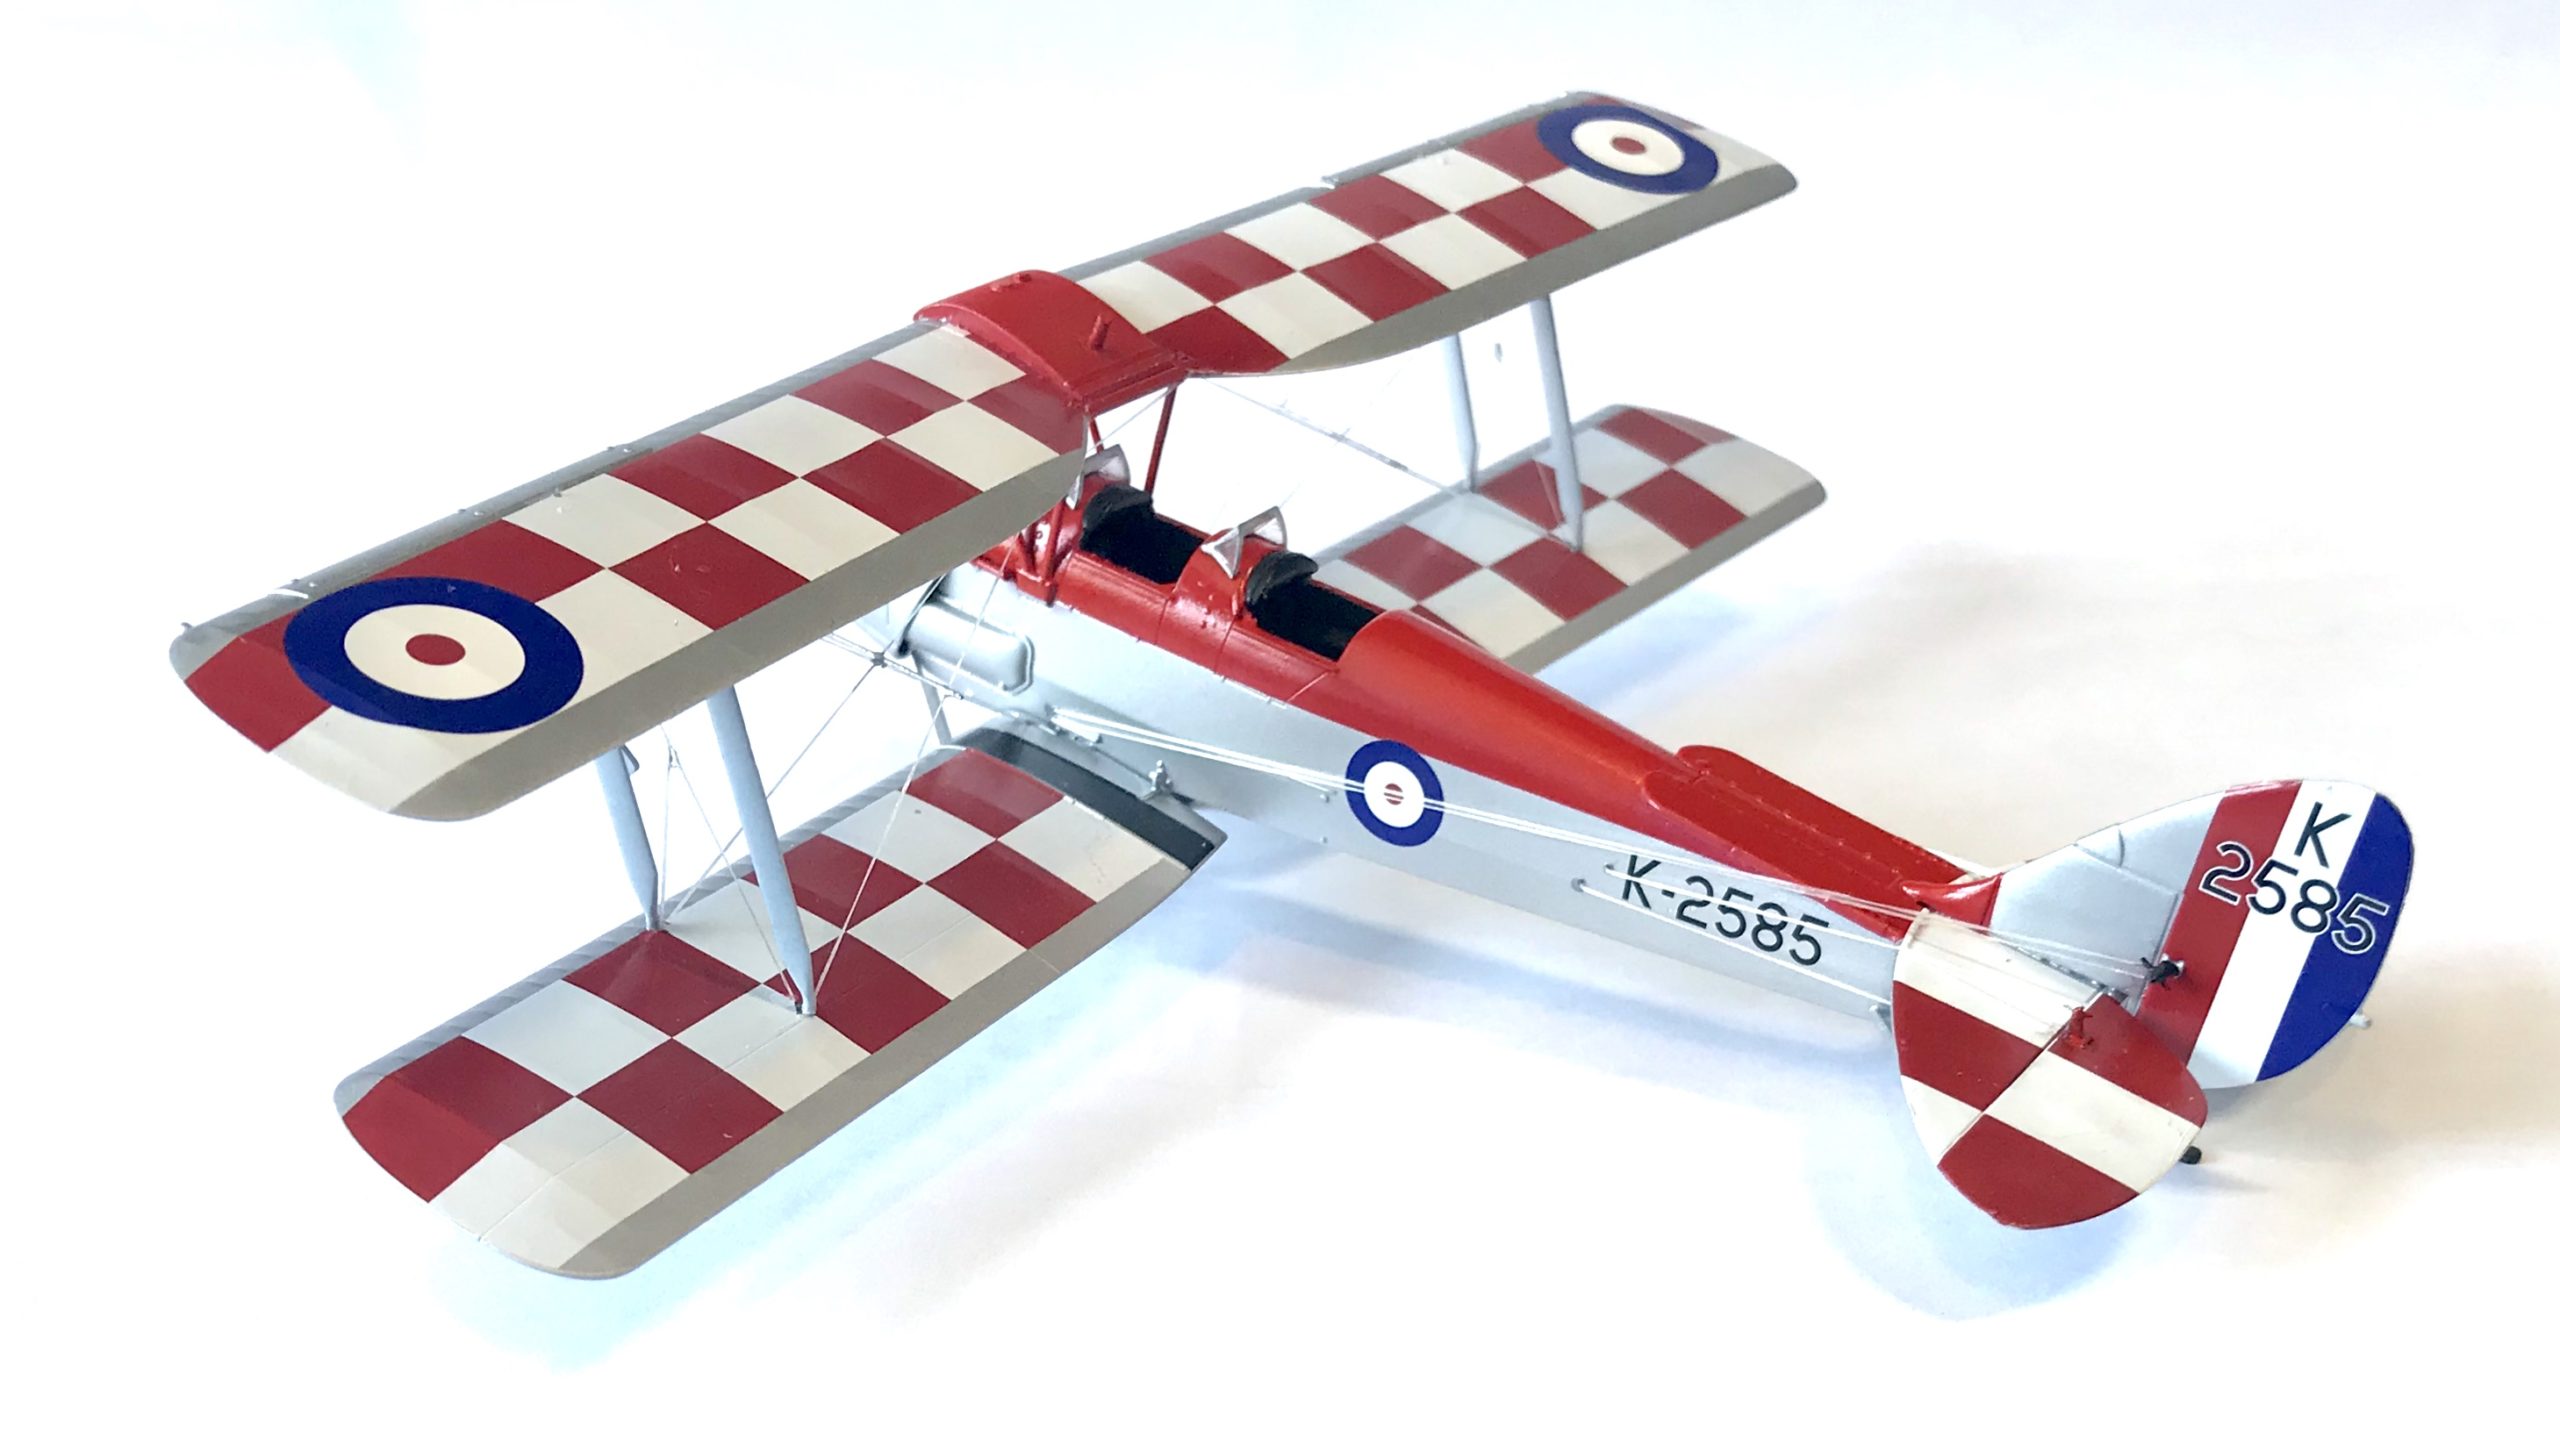
Based on how great the decals looked and the fact I live not too far from where the actual aircraft is kept I had to go for the red and white chequered scheme. Slightly harder work, but it will be worth it.
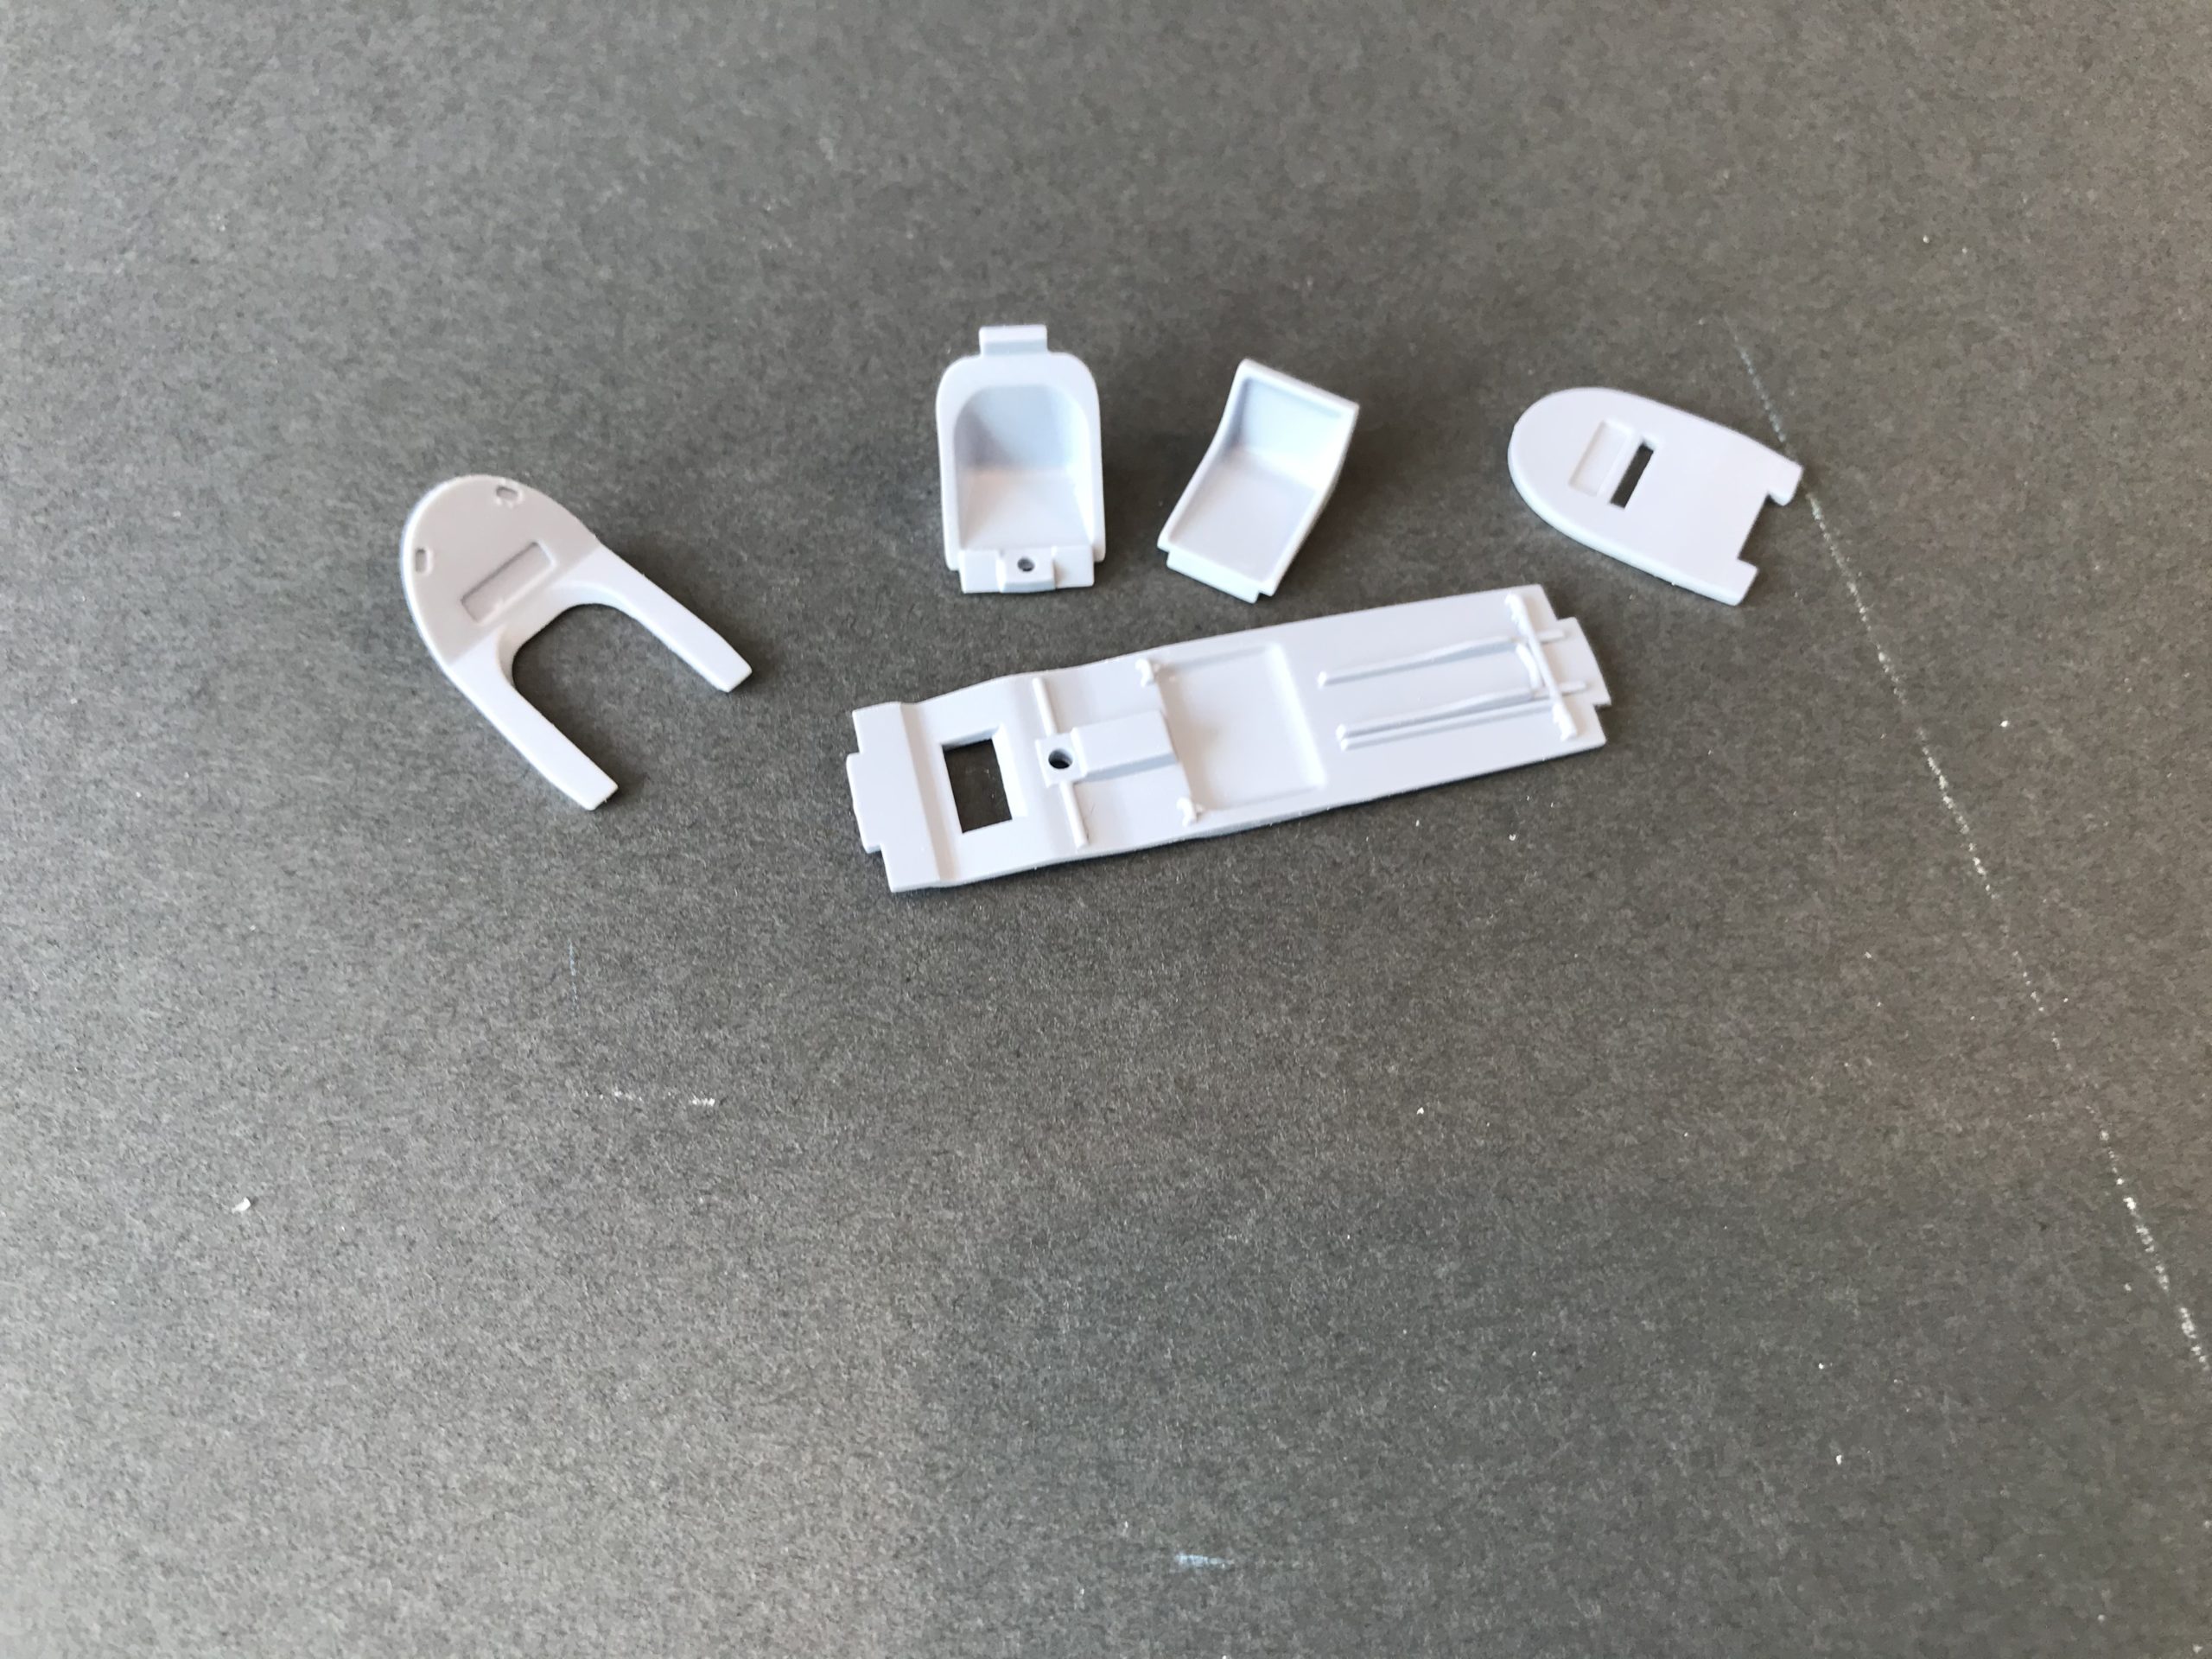
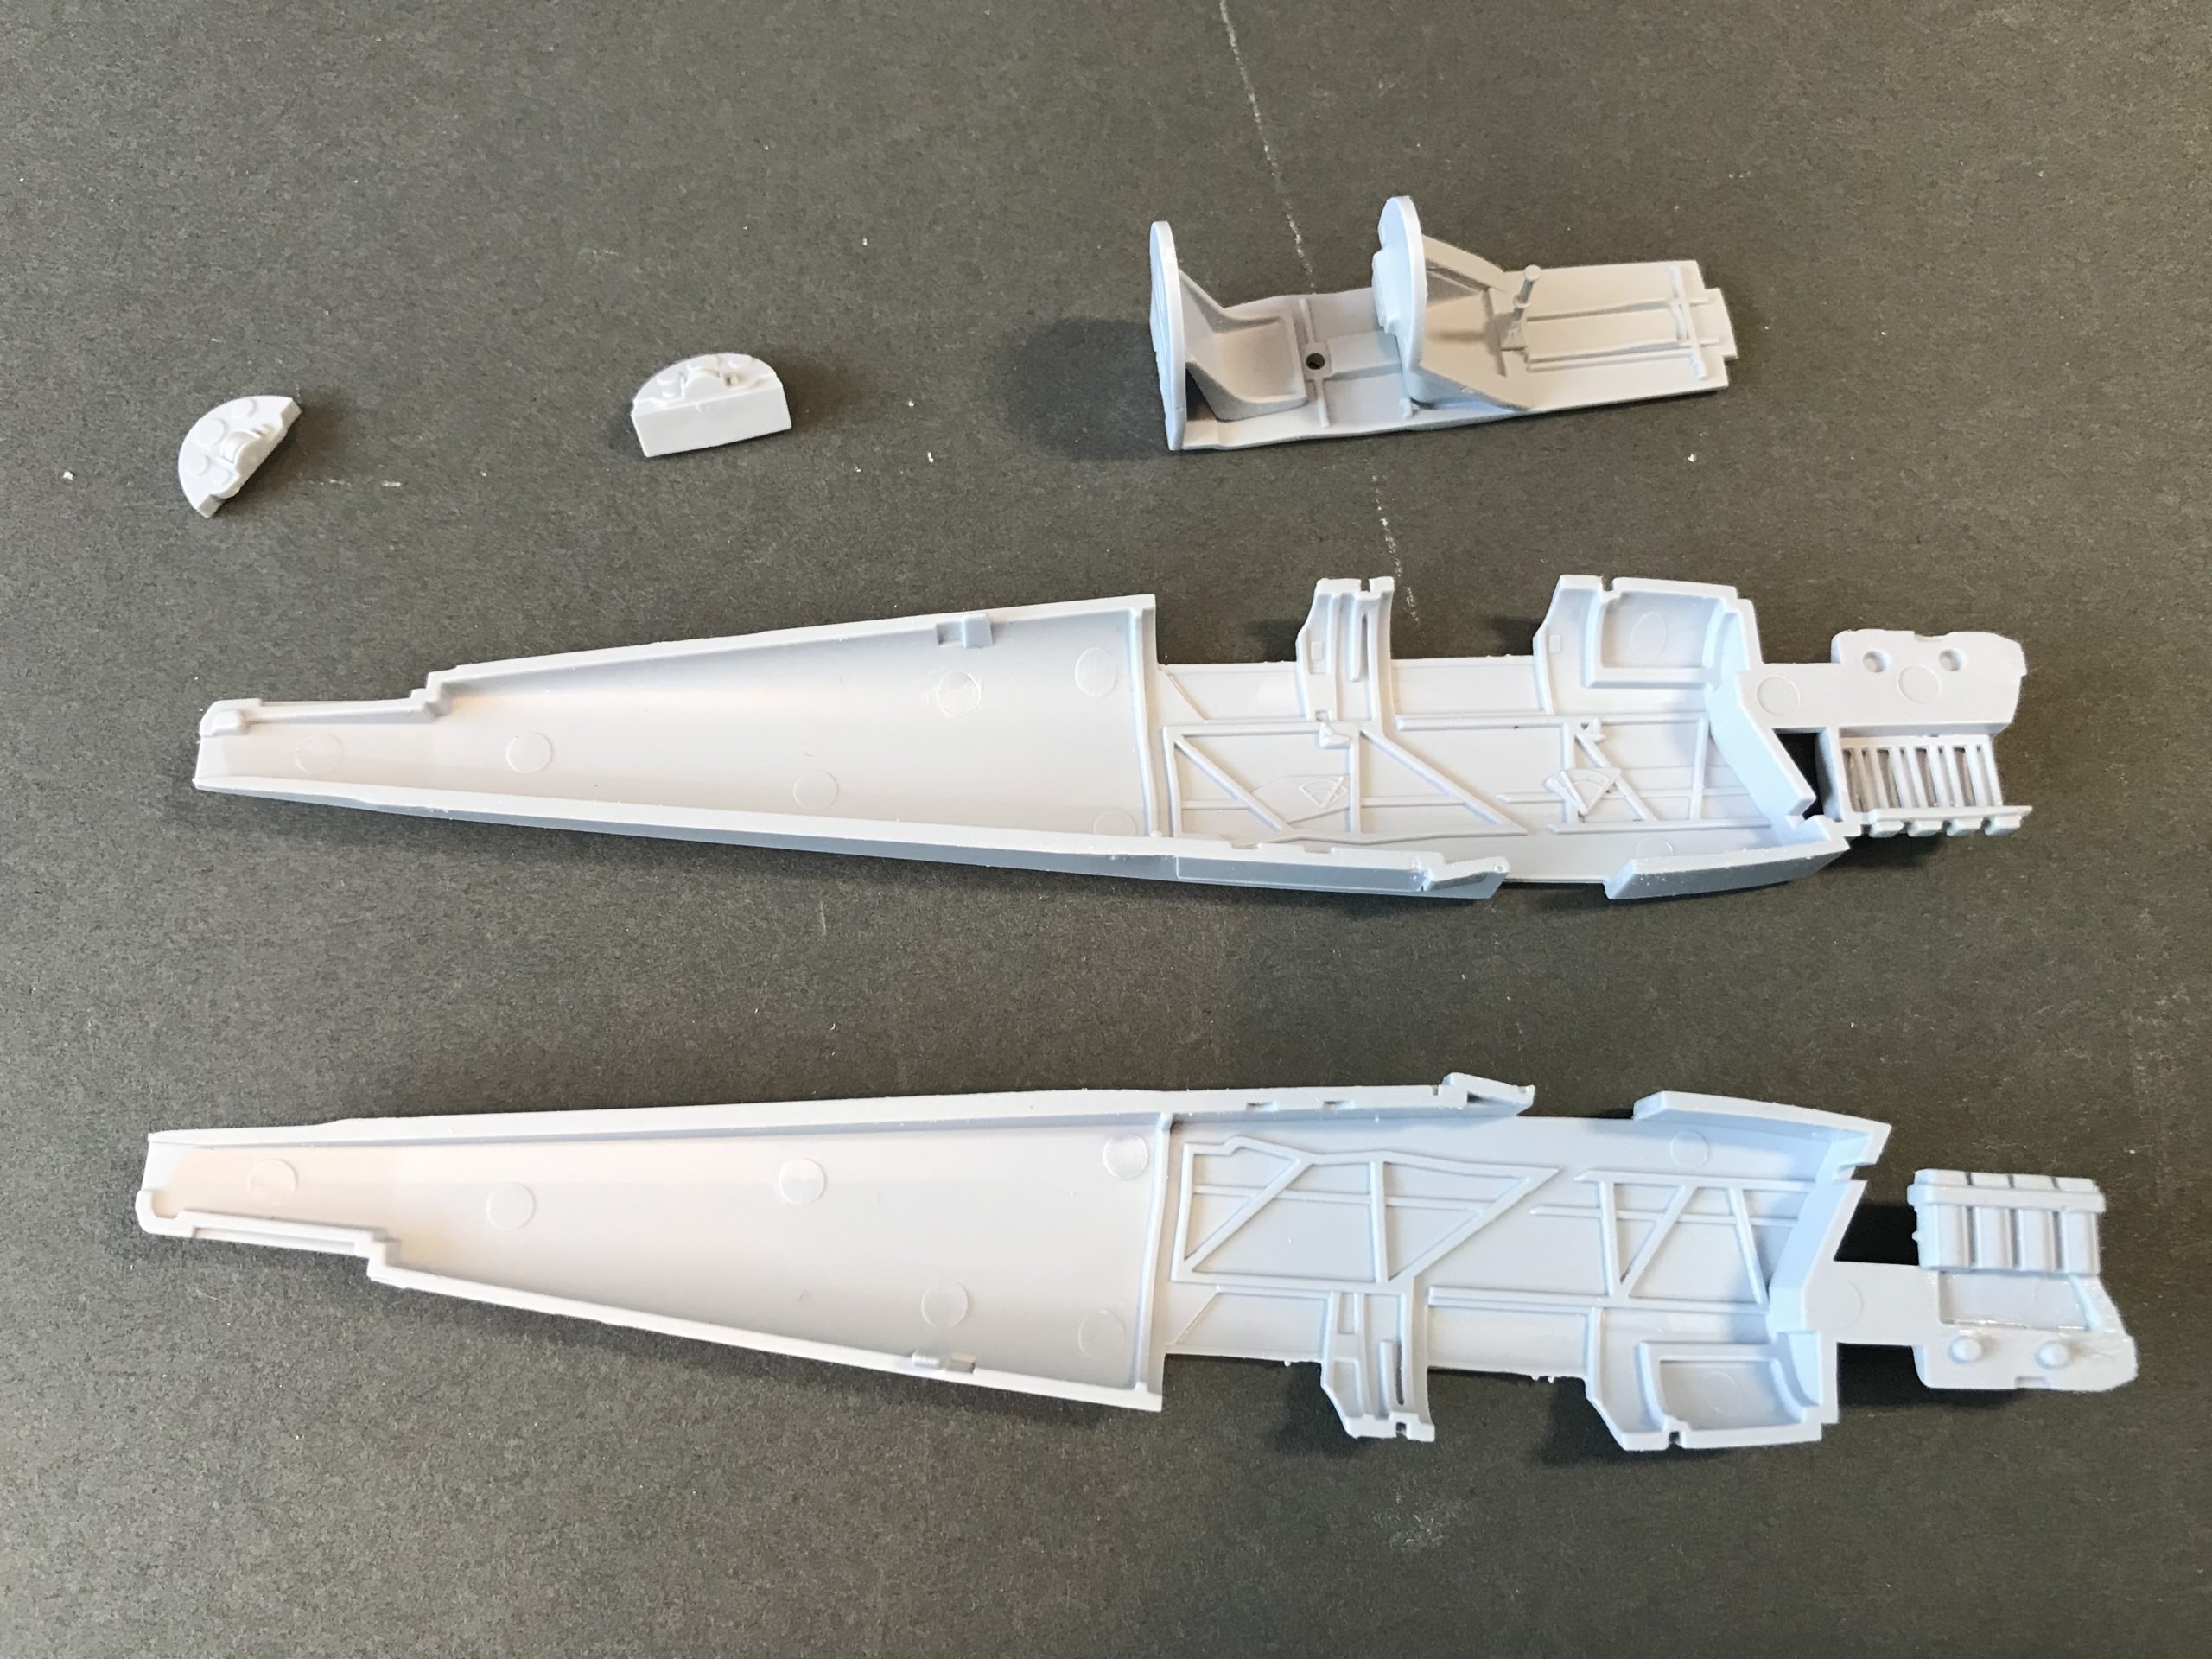
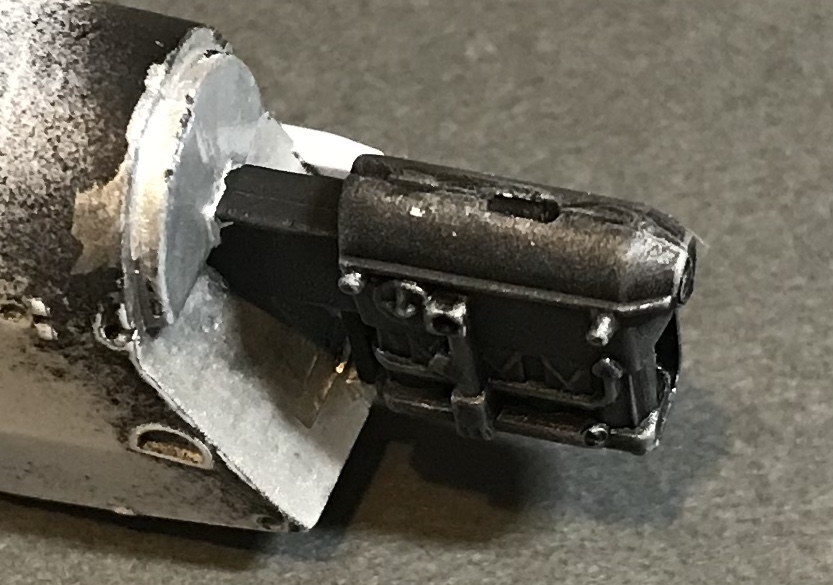
The first stage (as it is on most aircraft) is the cockpit. As you can imagine it’s not too complicated; Simple seats and instrument panels. It’s nicely moulded though as is the interior of the cockpit sides.
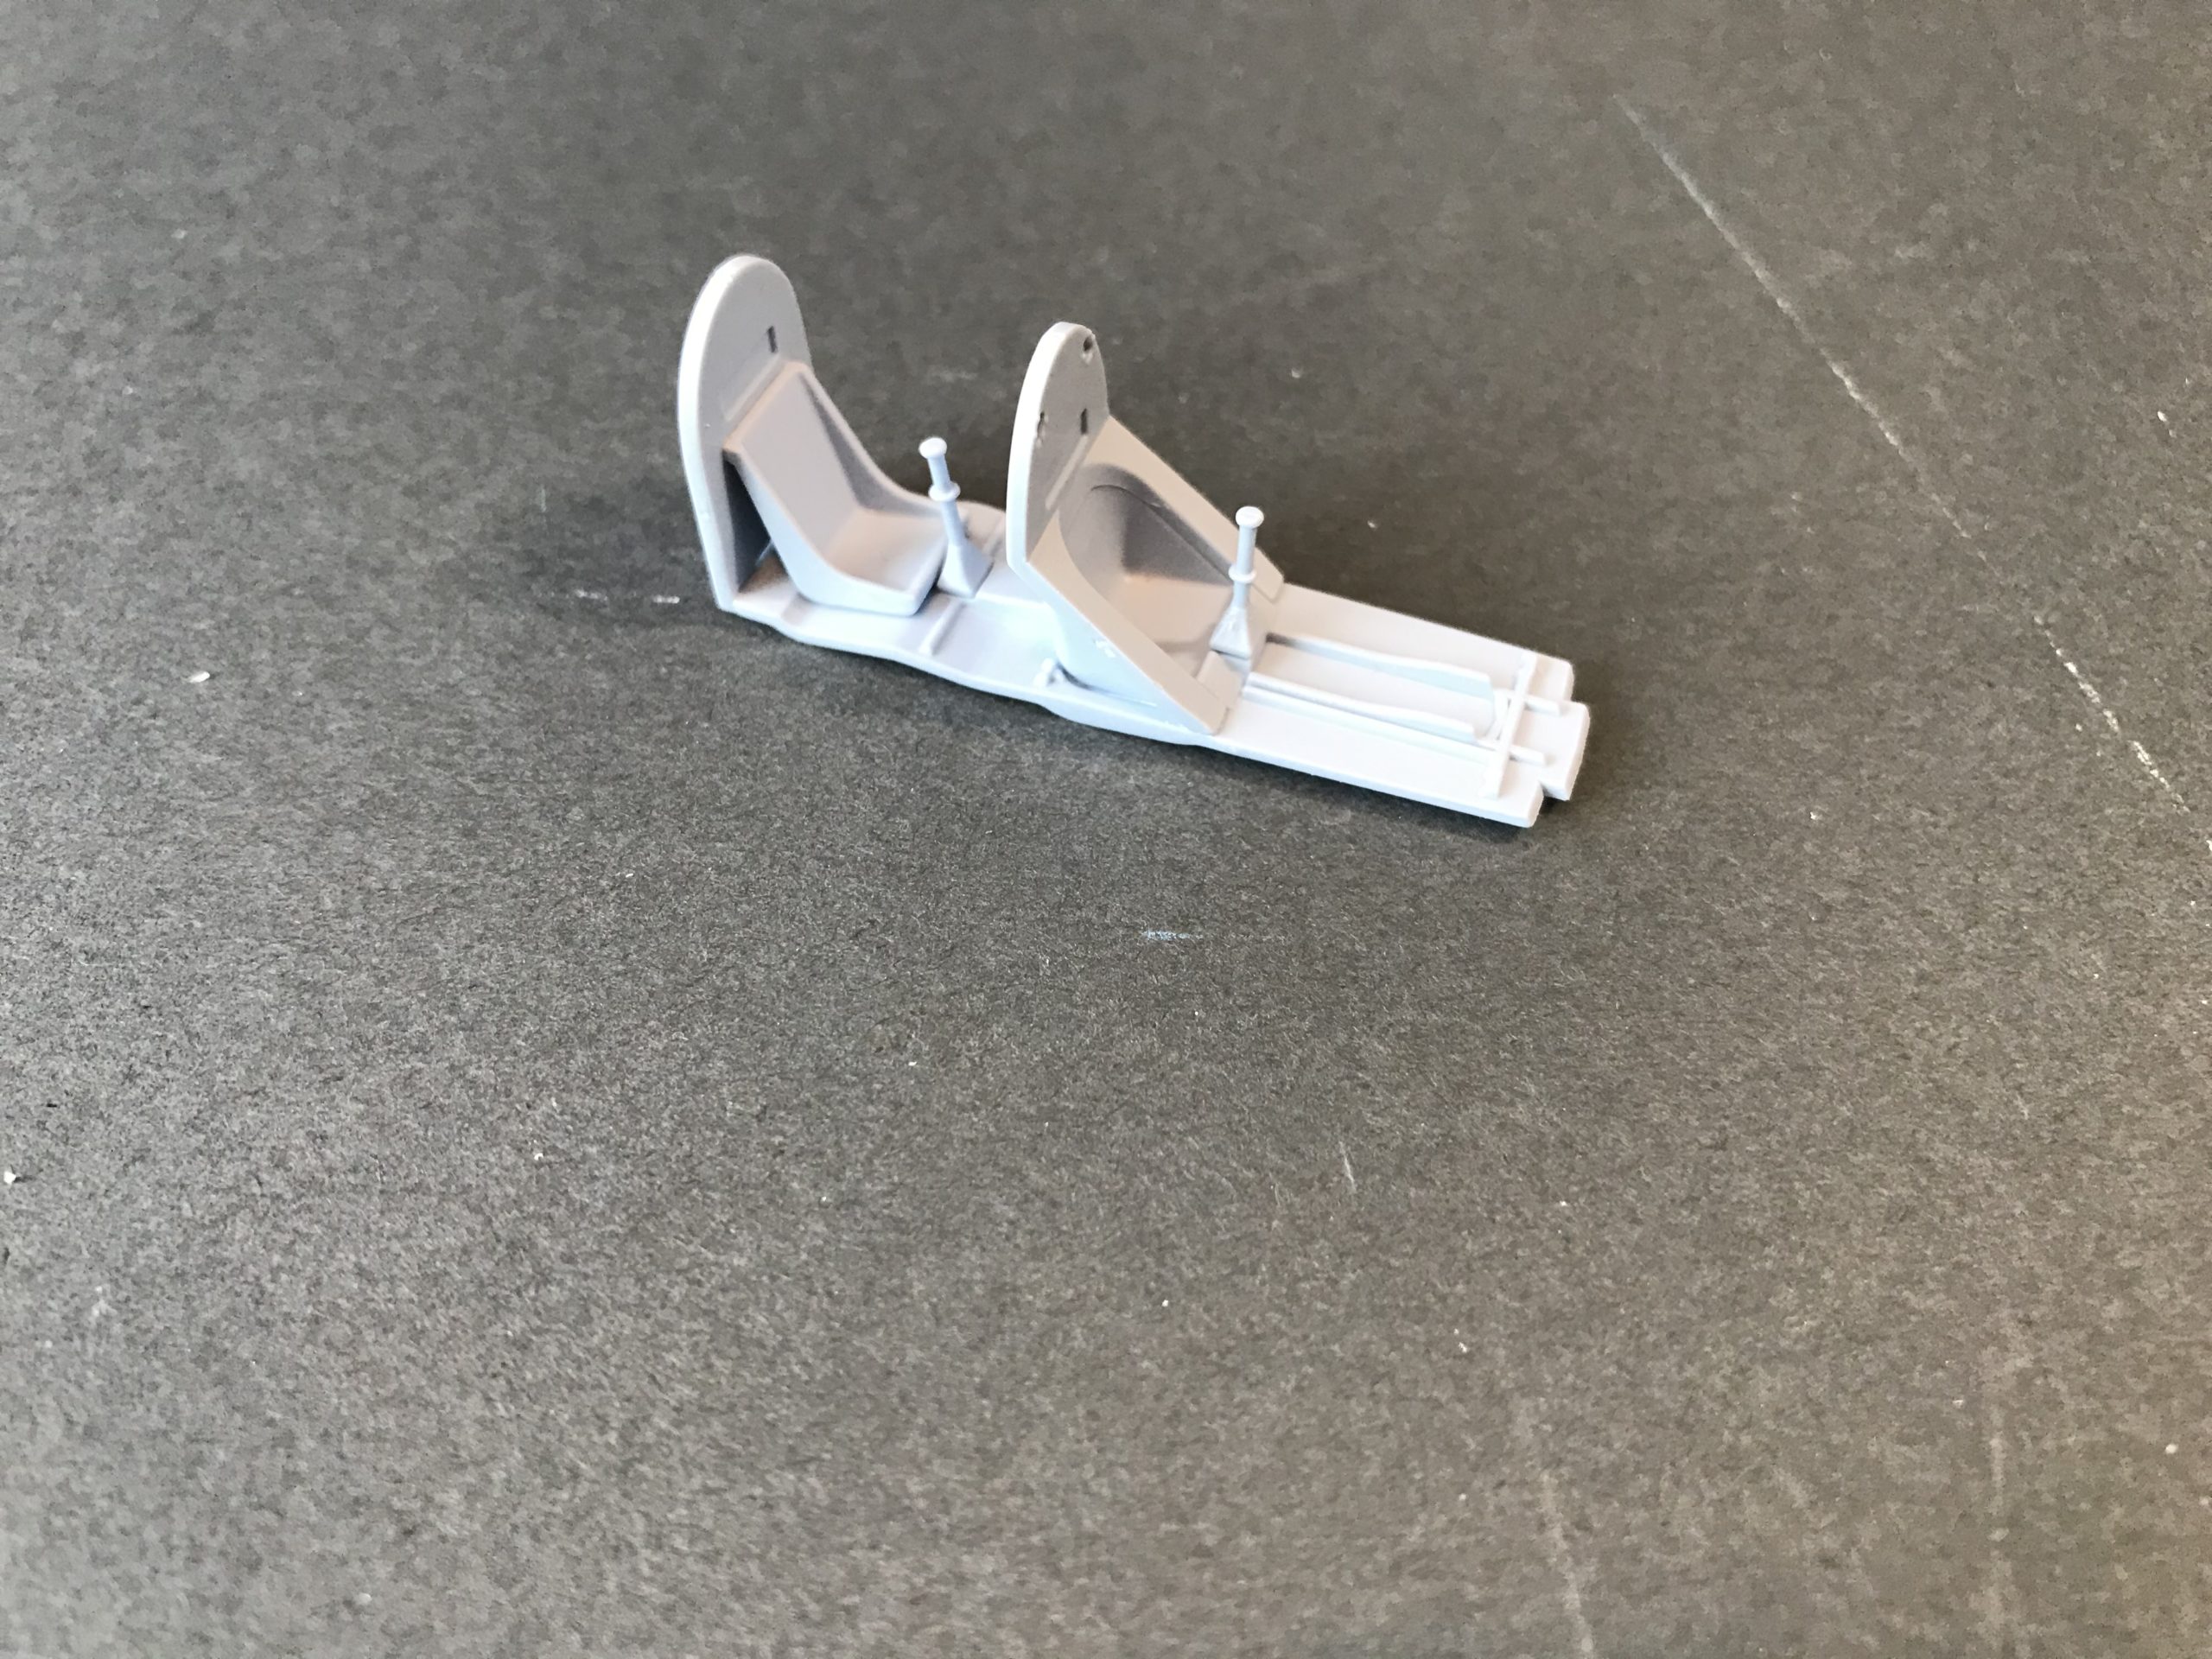
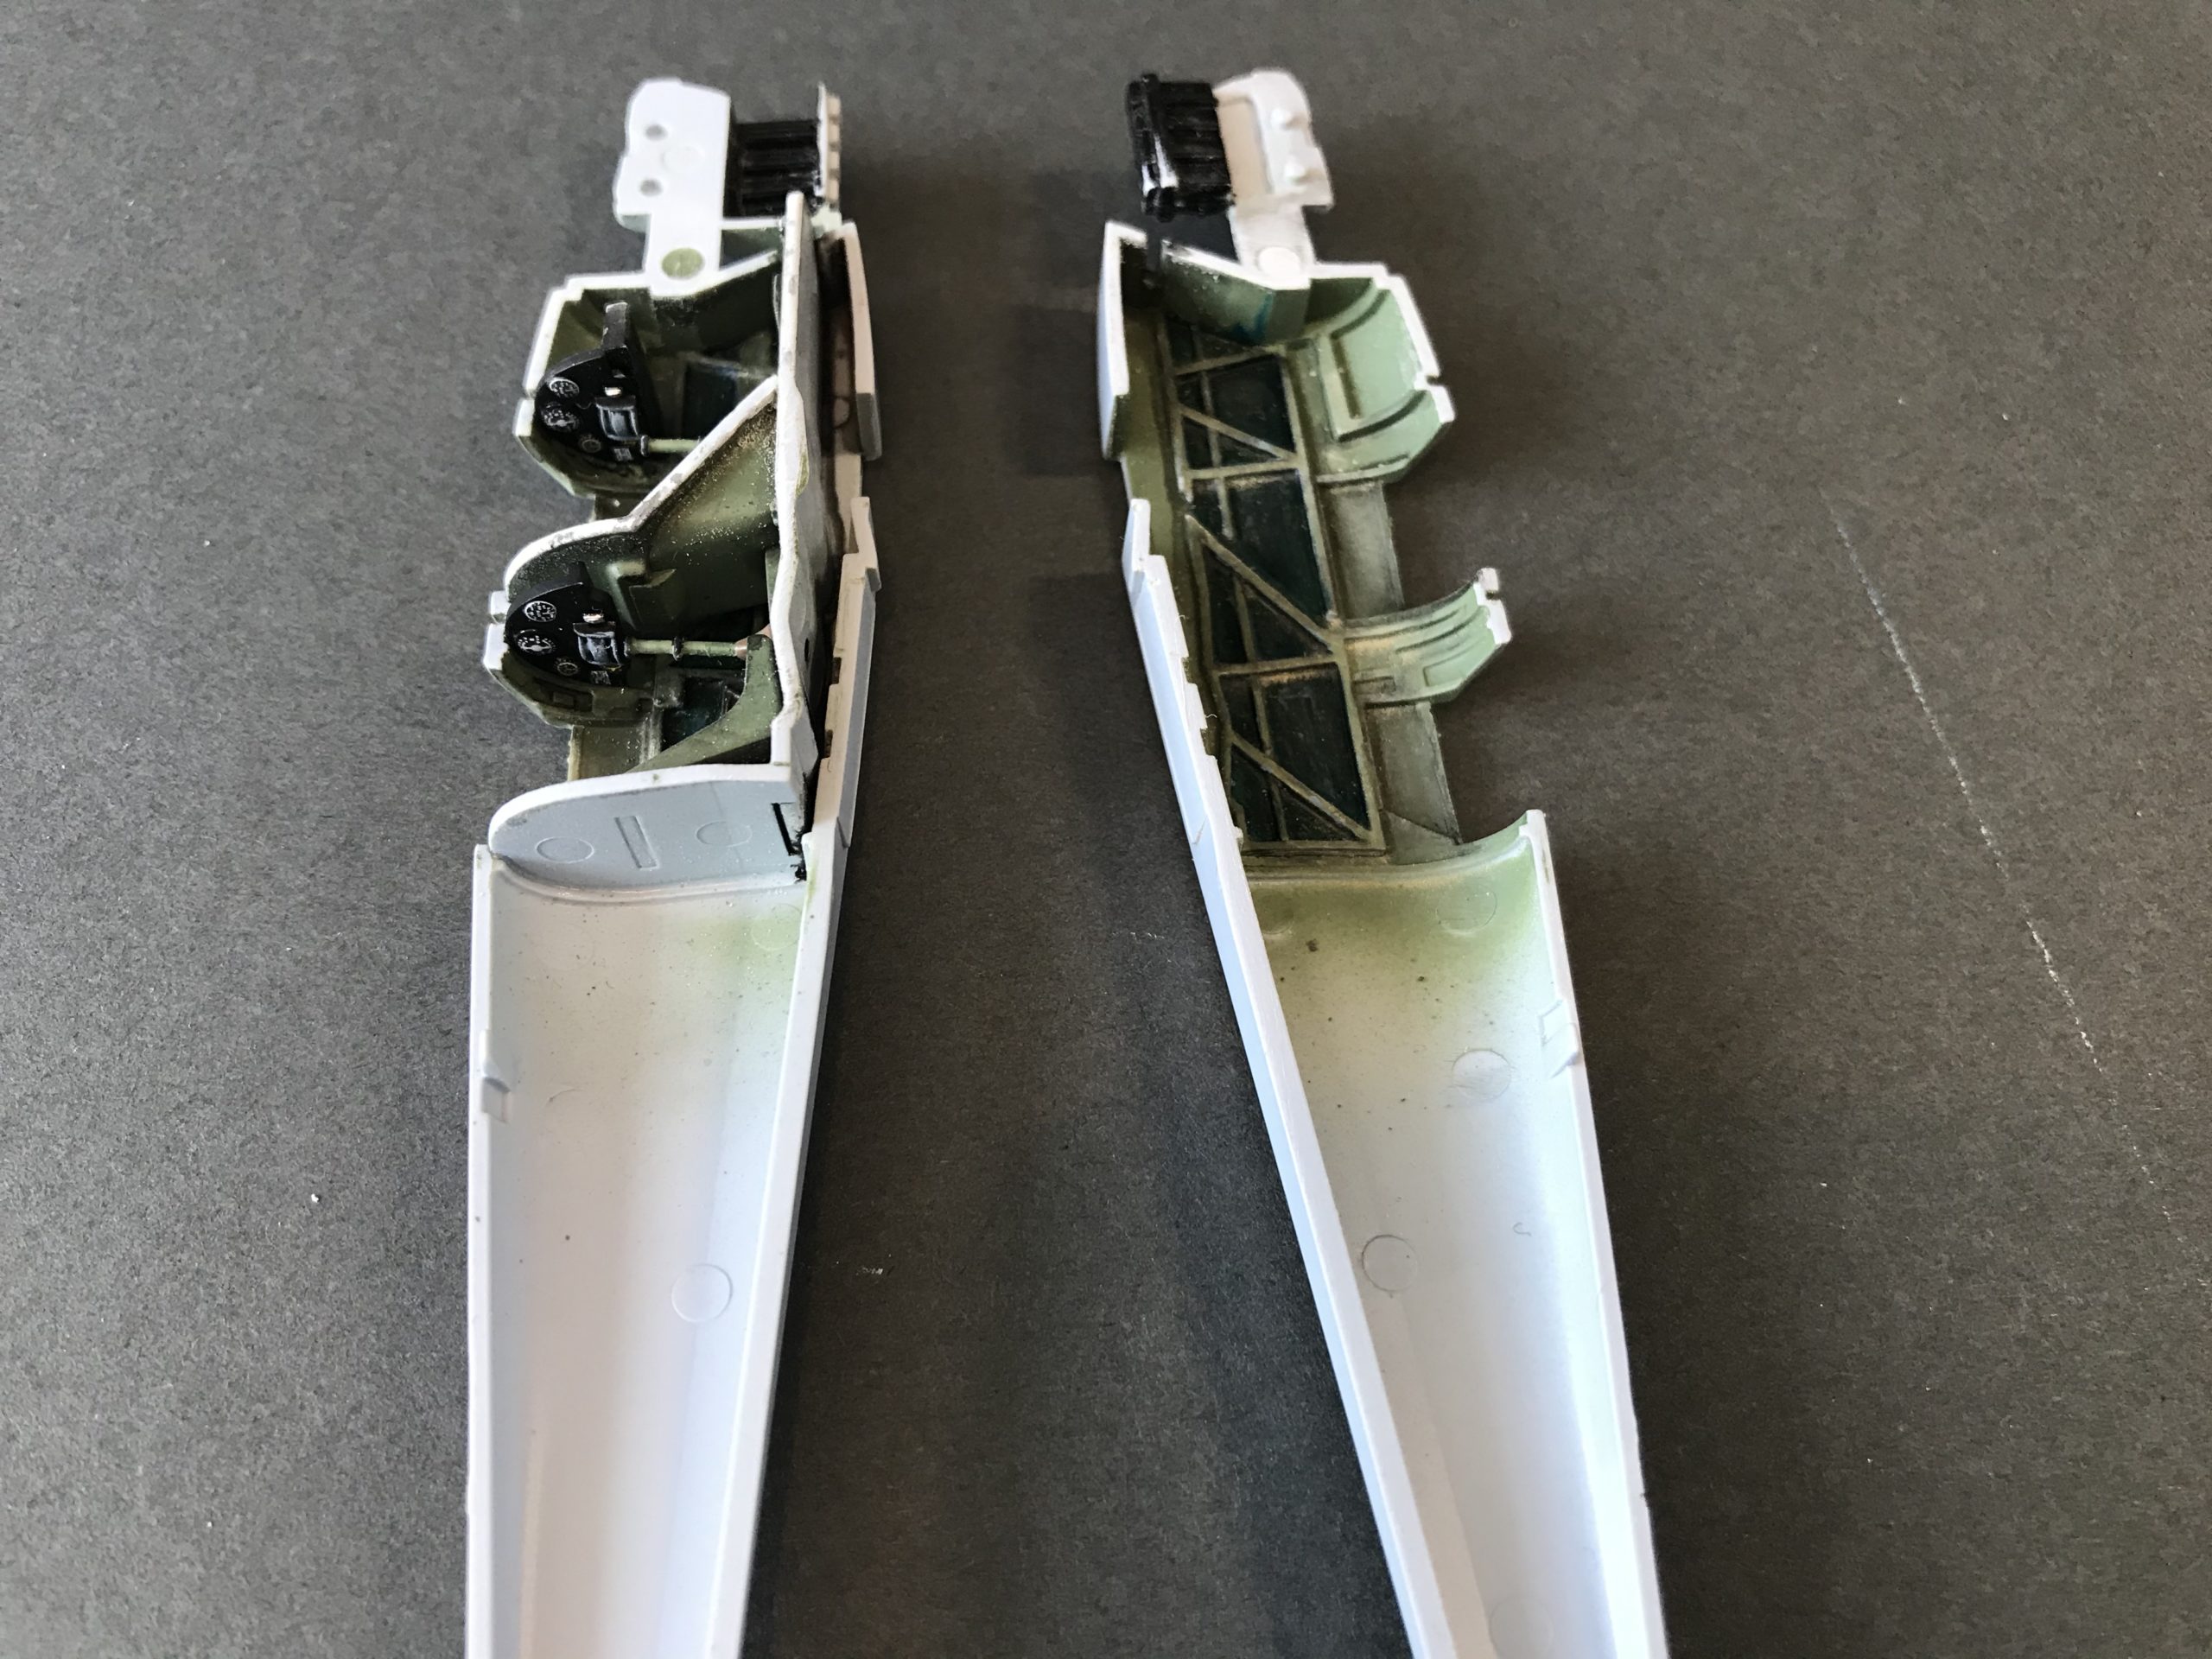
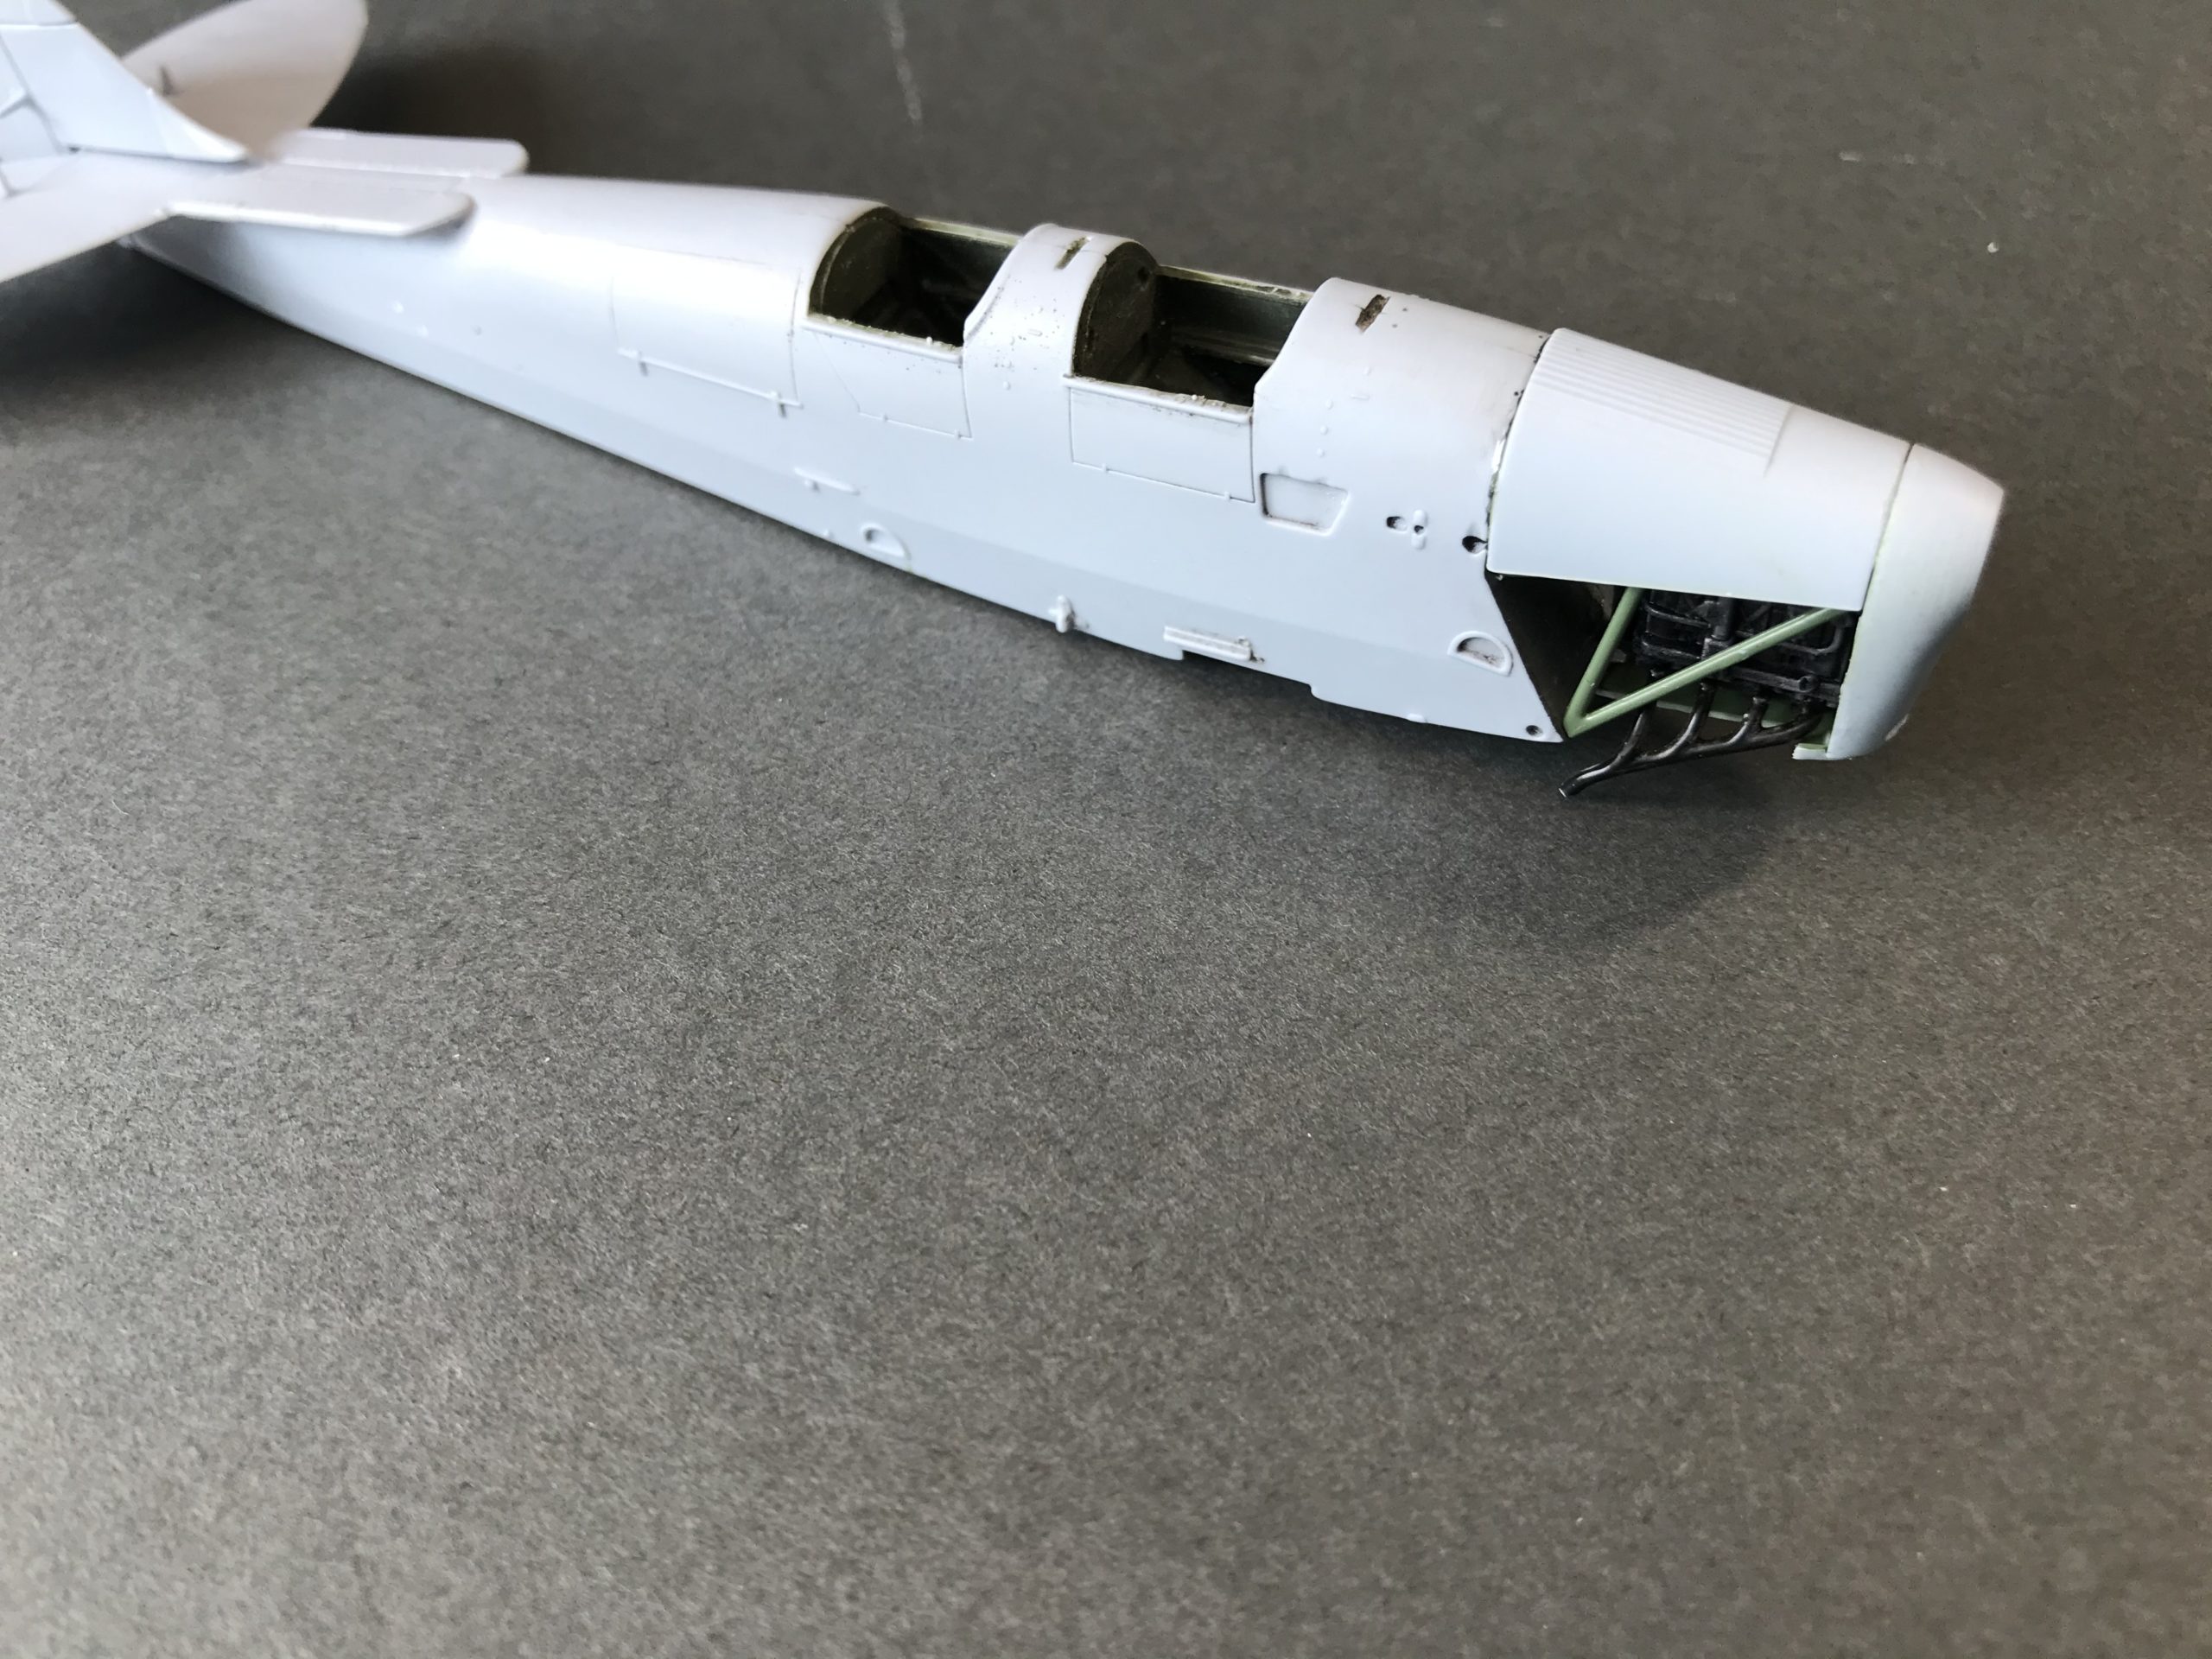
The parts are then painted as per the instructions – Clear coat and wash added to make the detail stand out. Finally the parts were dry-brushed to highlight the edges of the various parts. Once that was done the fuselage halves can be brought together. Note that I carefully removed any paint from the mating surfaces, this makes a better join between the two halves and keeps it tight!
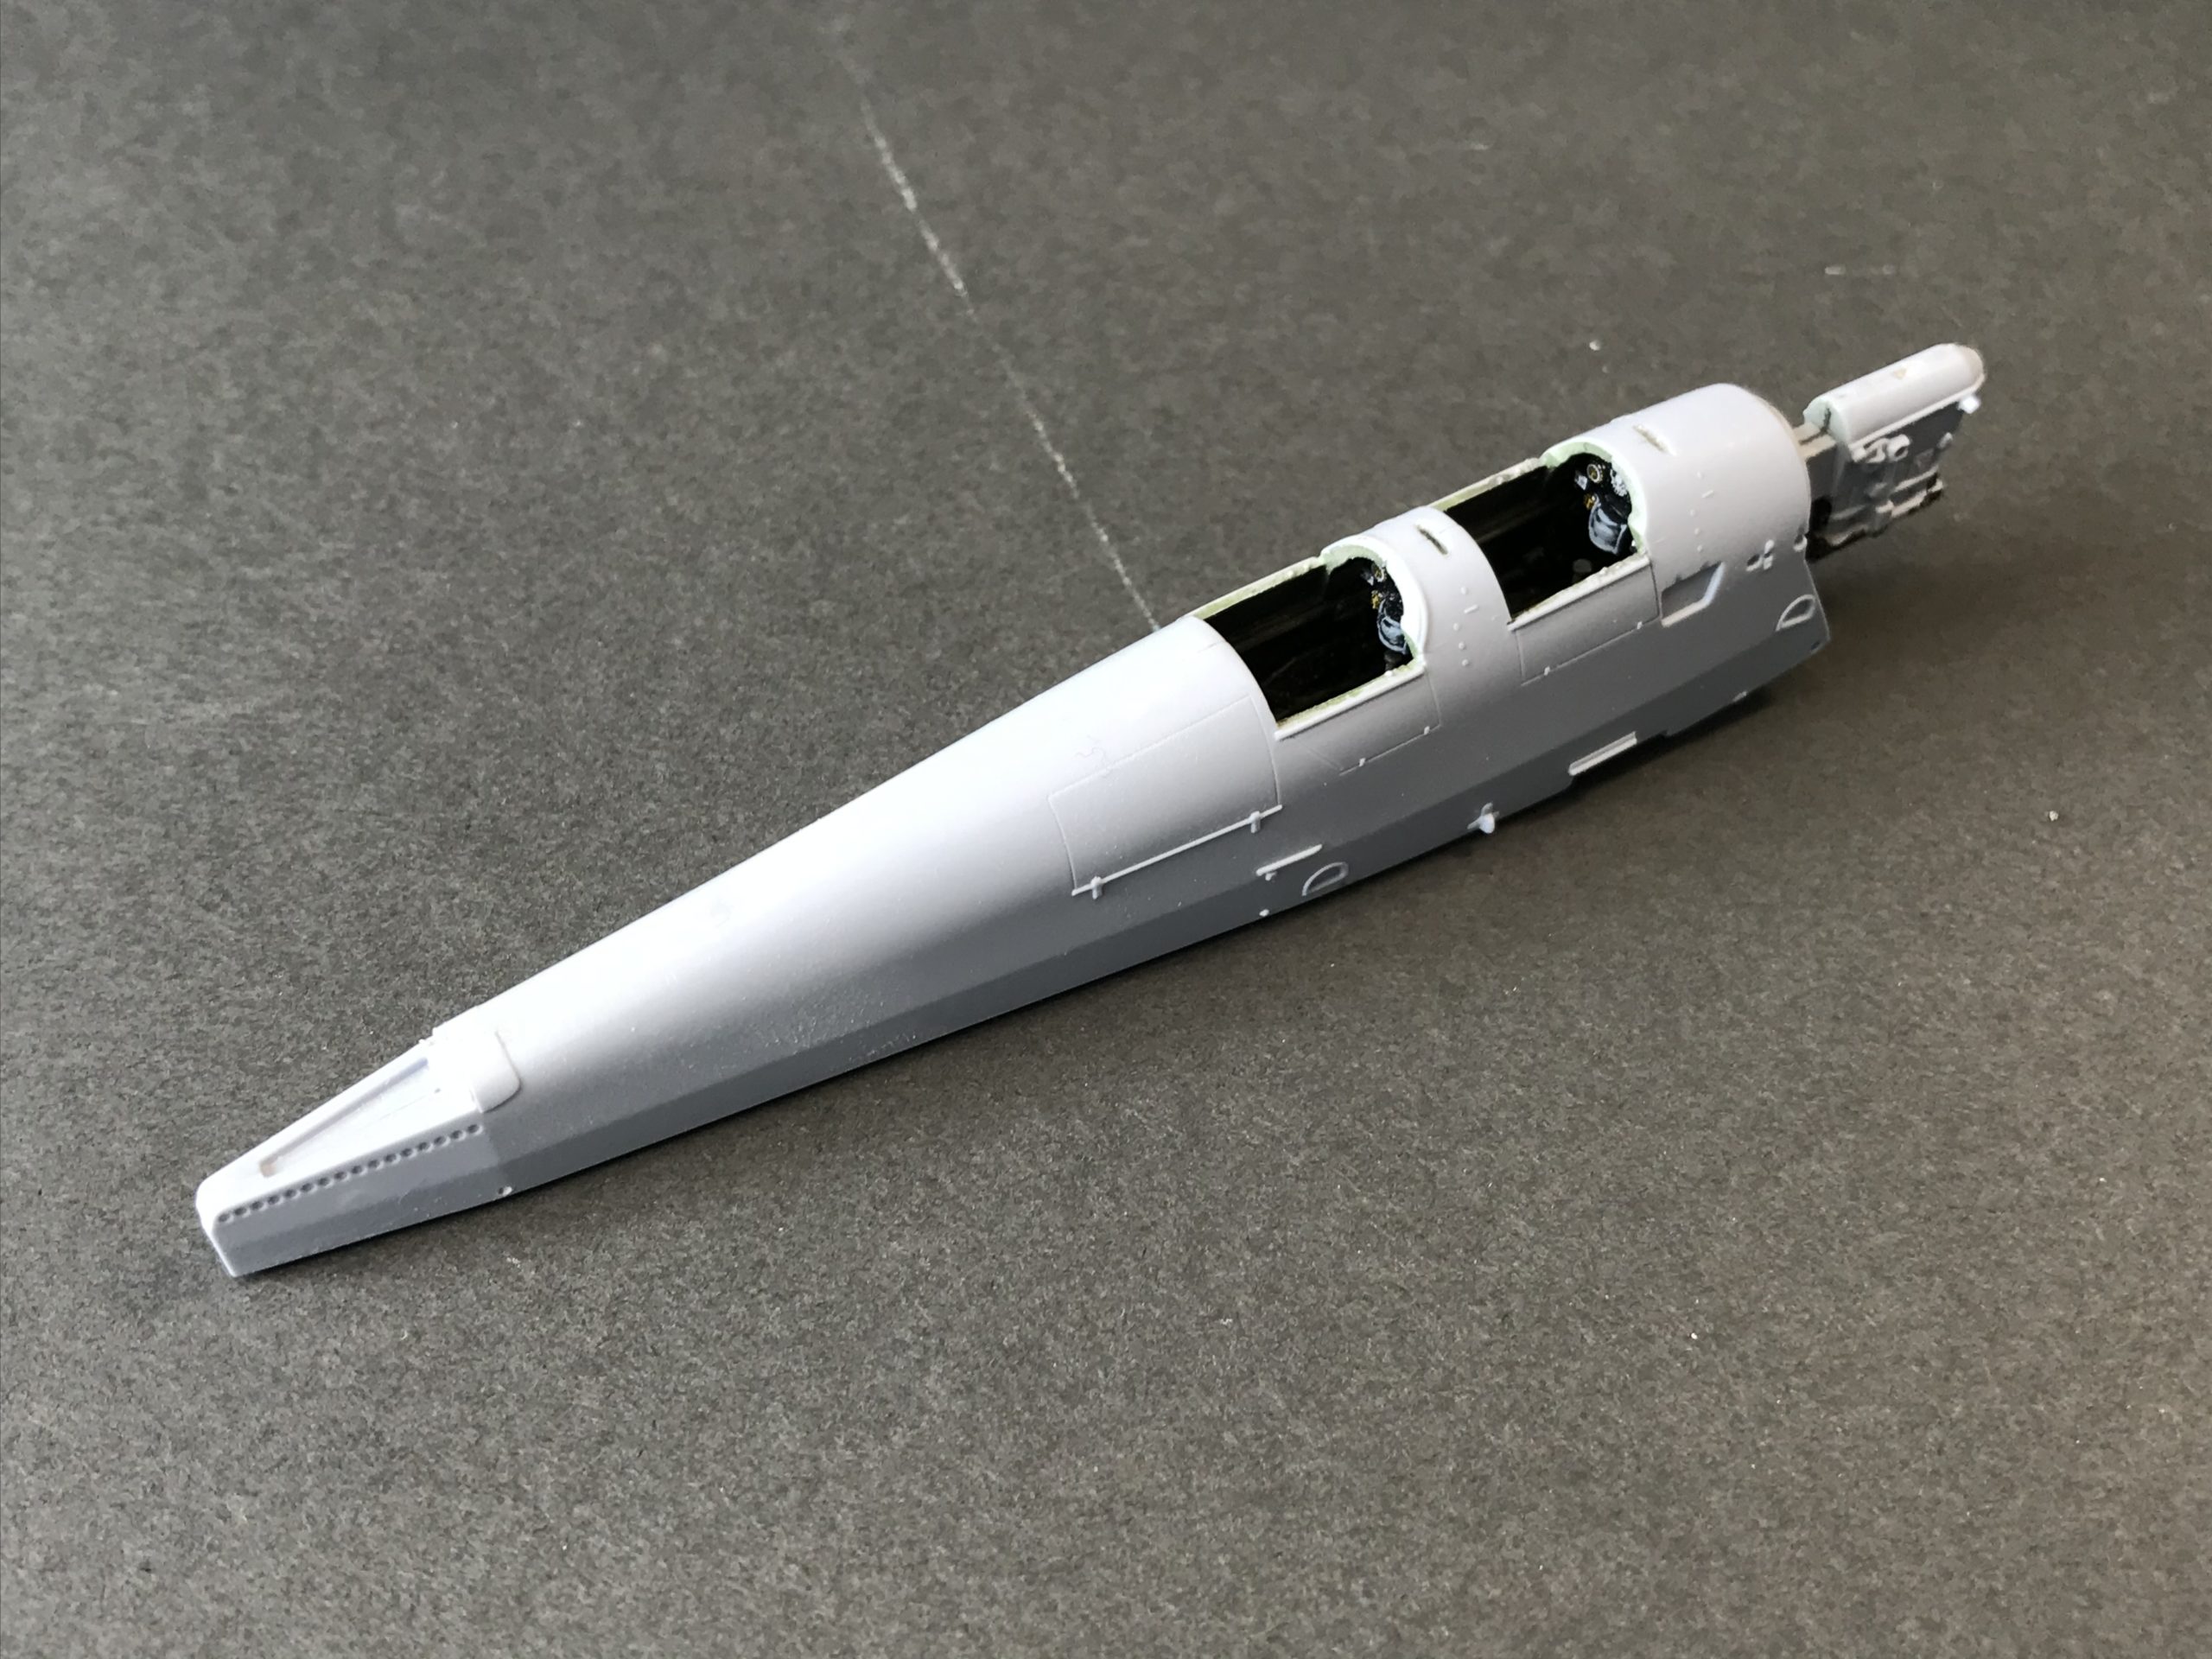
Once the glue is sets, I sand it to remove any trace of the joint. This is a really important stage – time and care at this stage will pay dividends on the finished model.
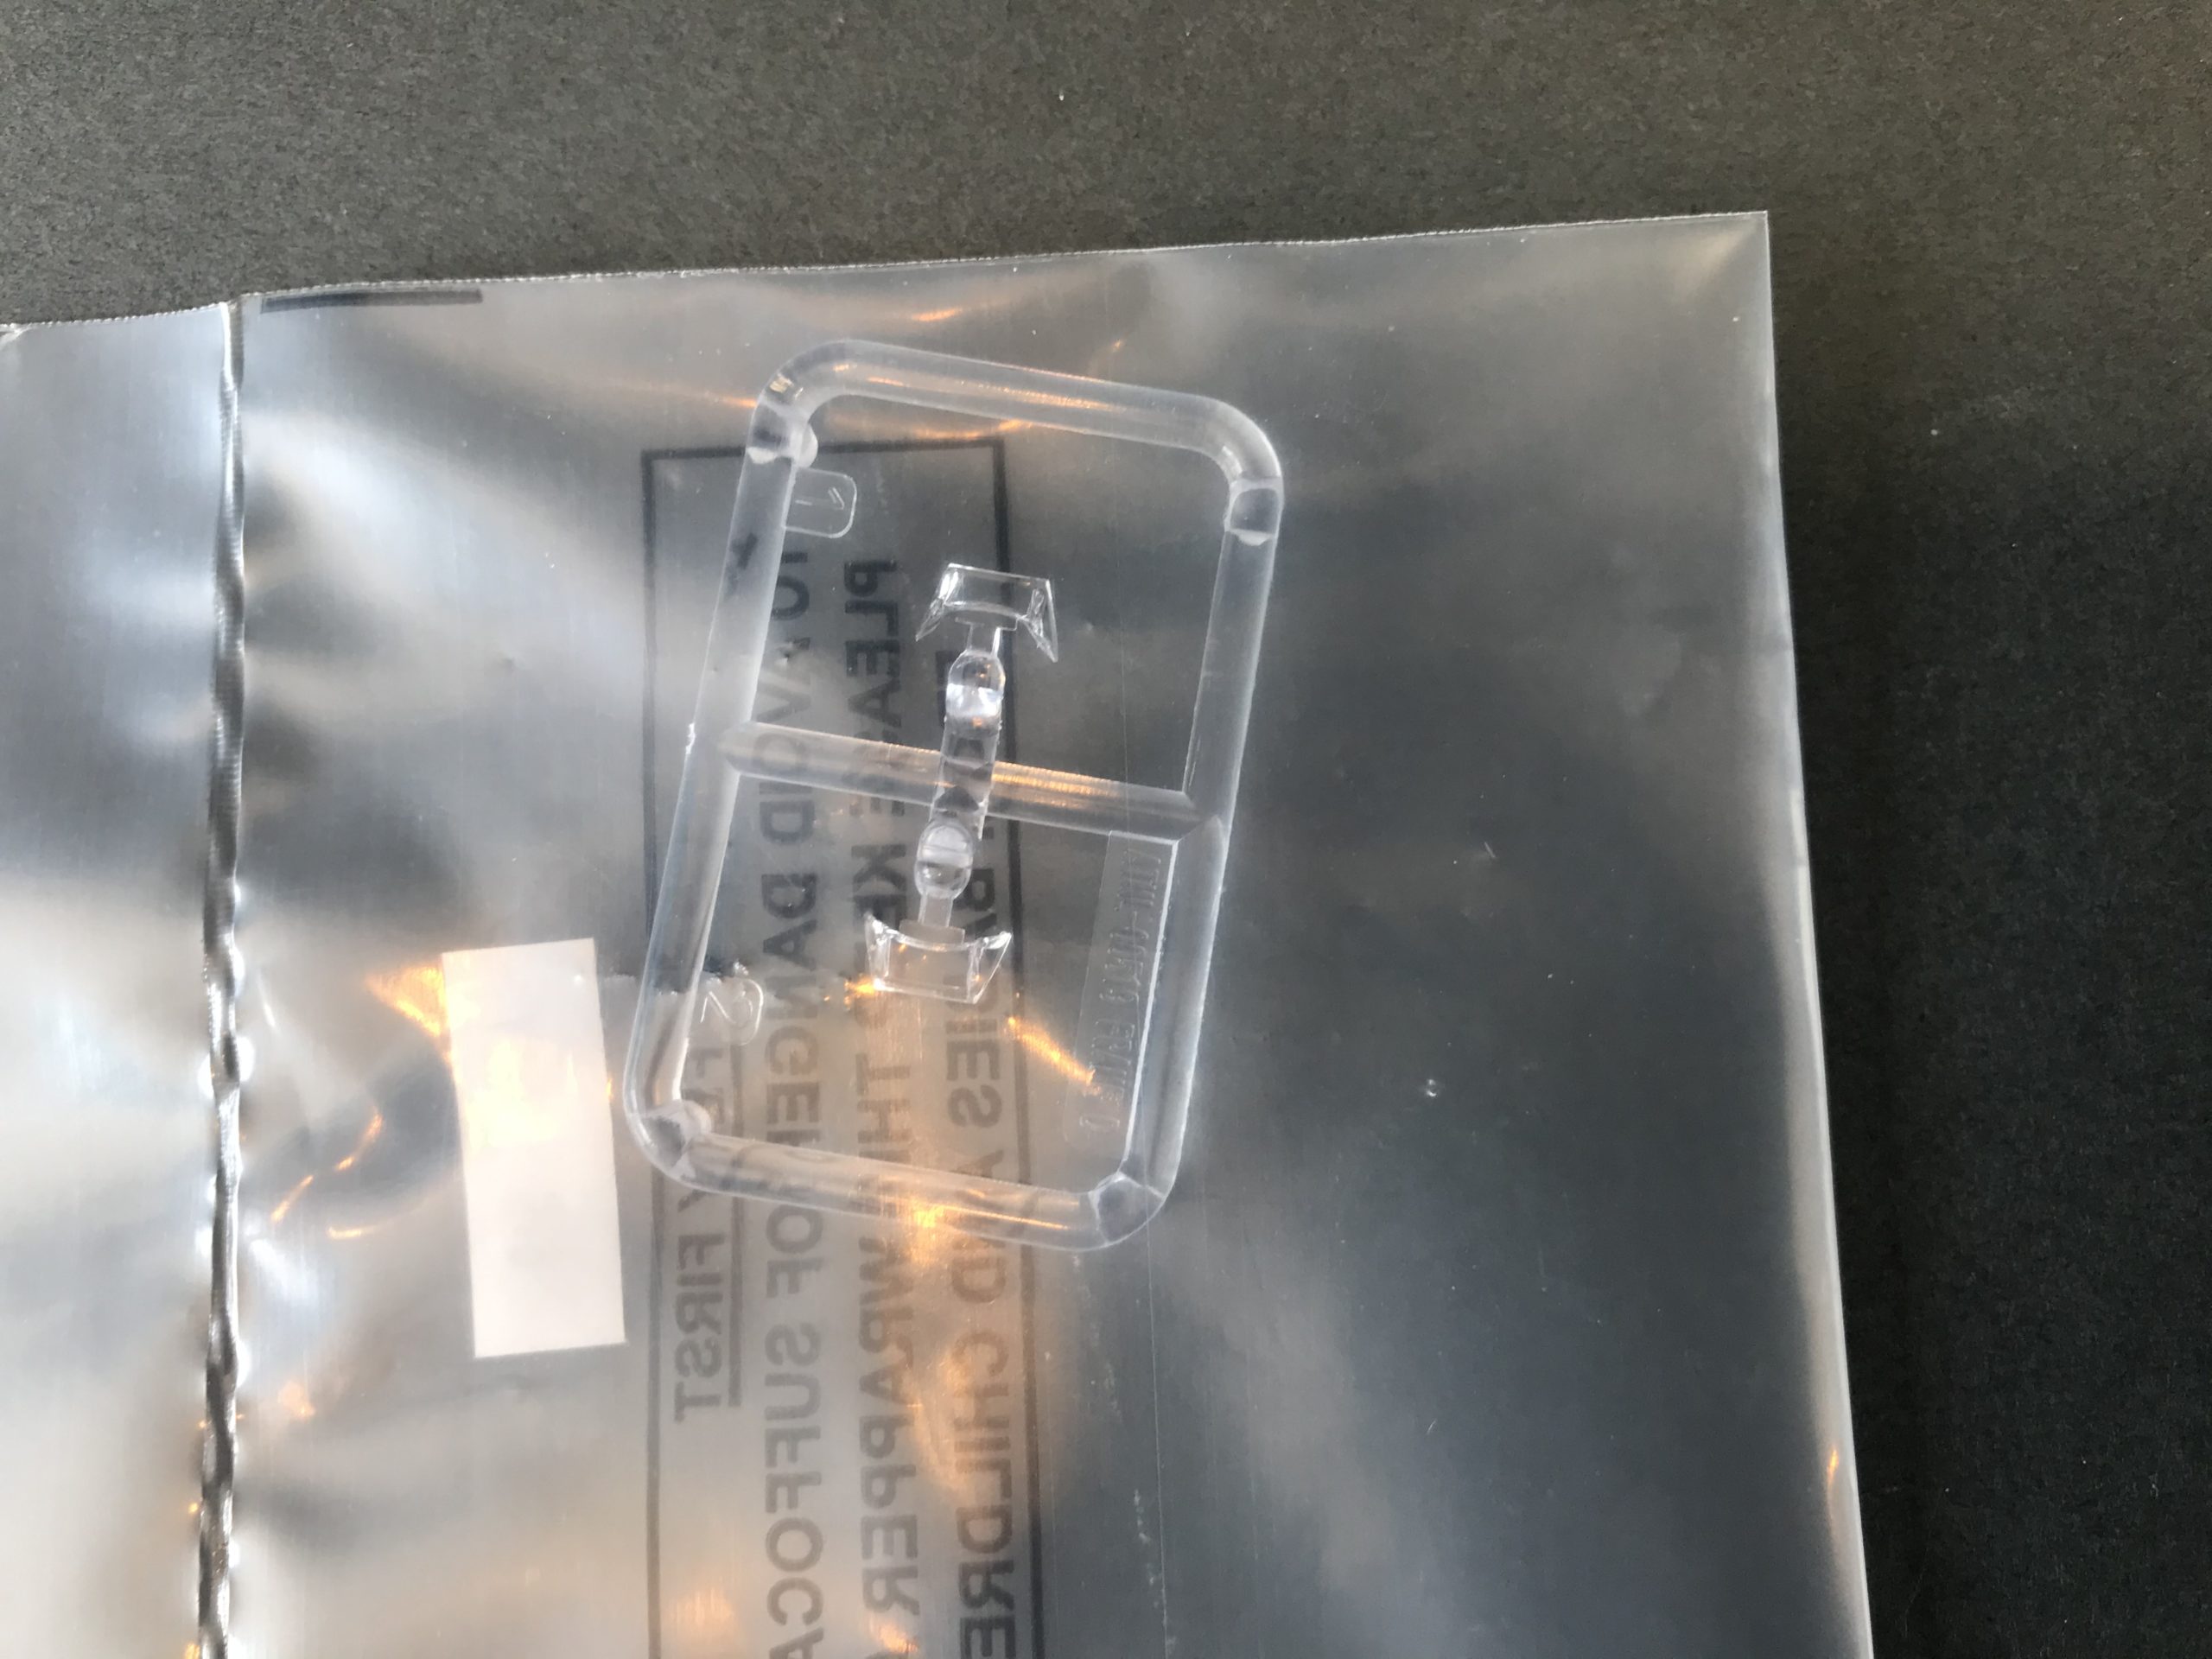
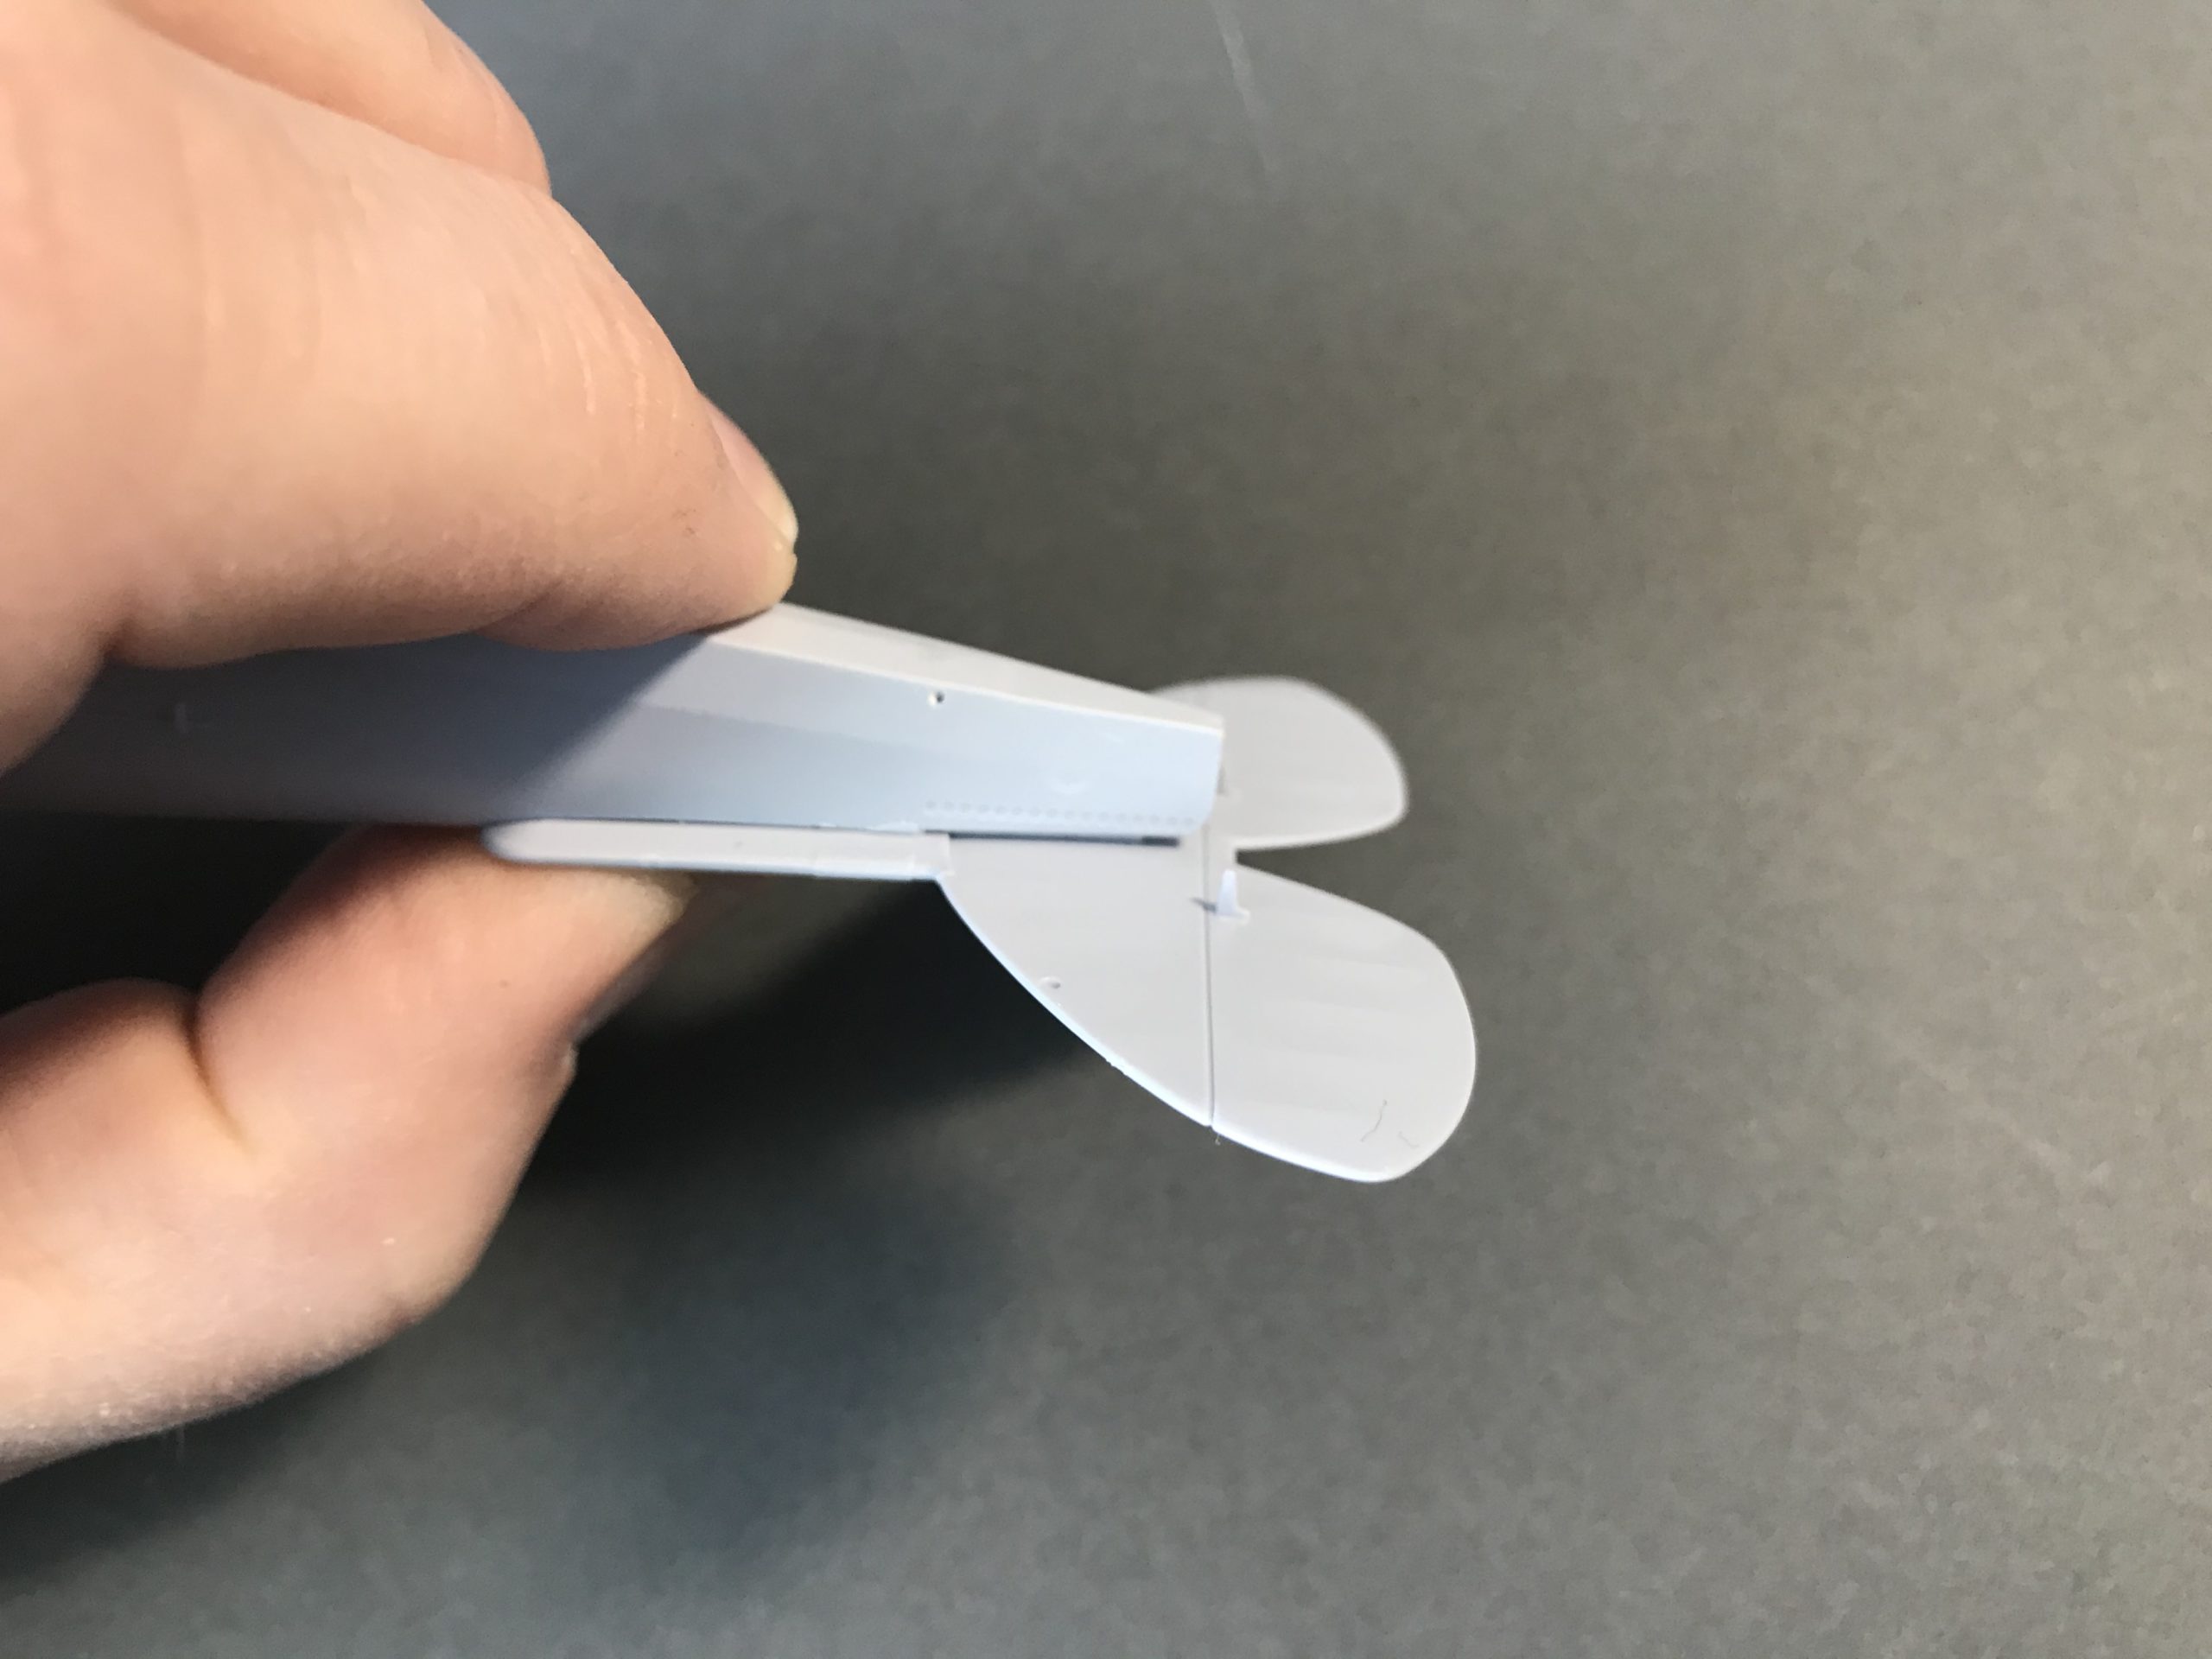
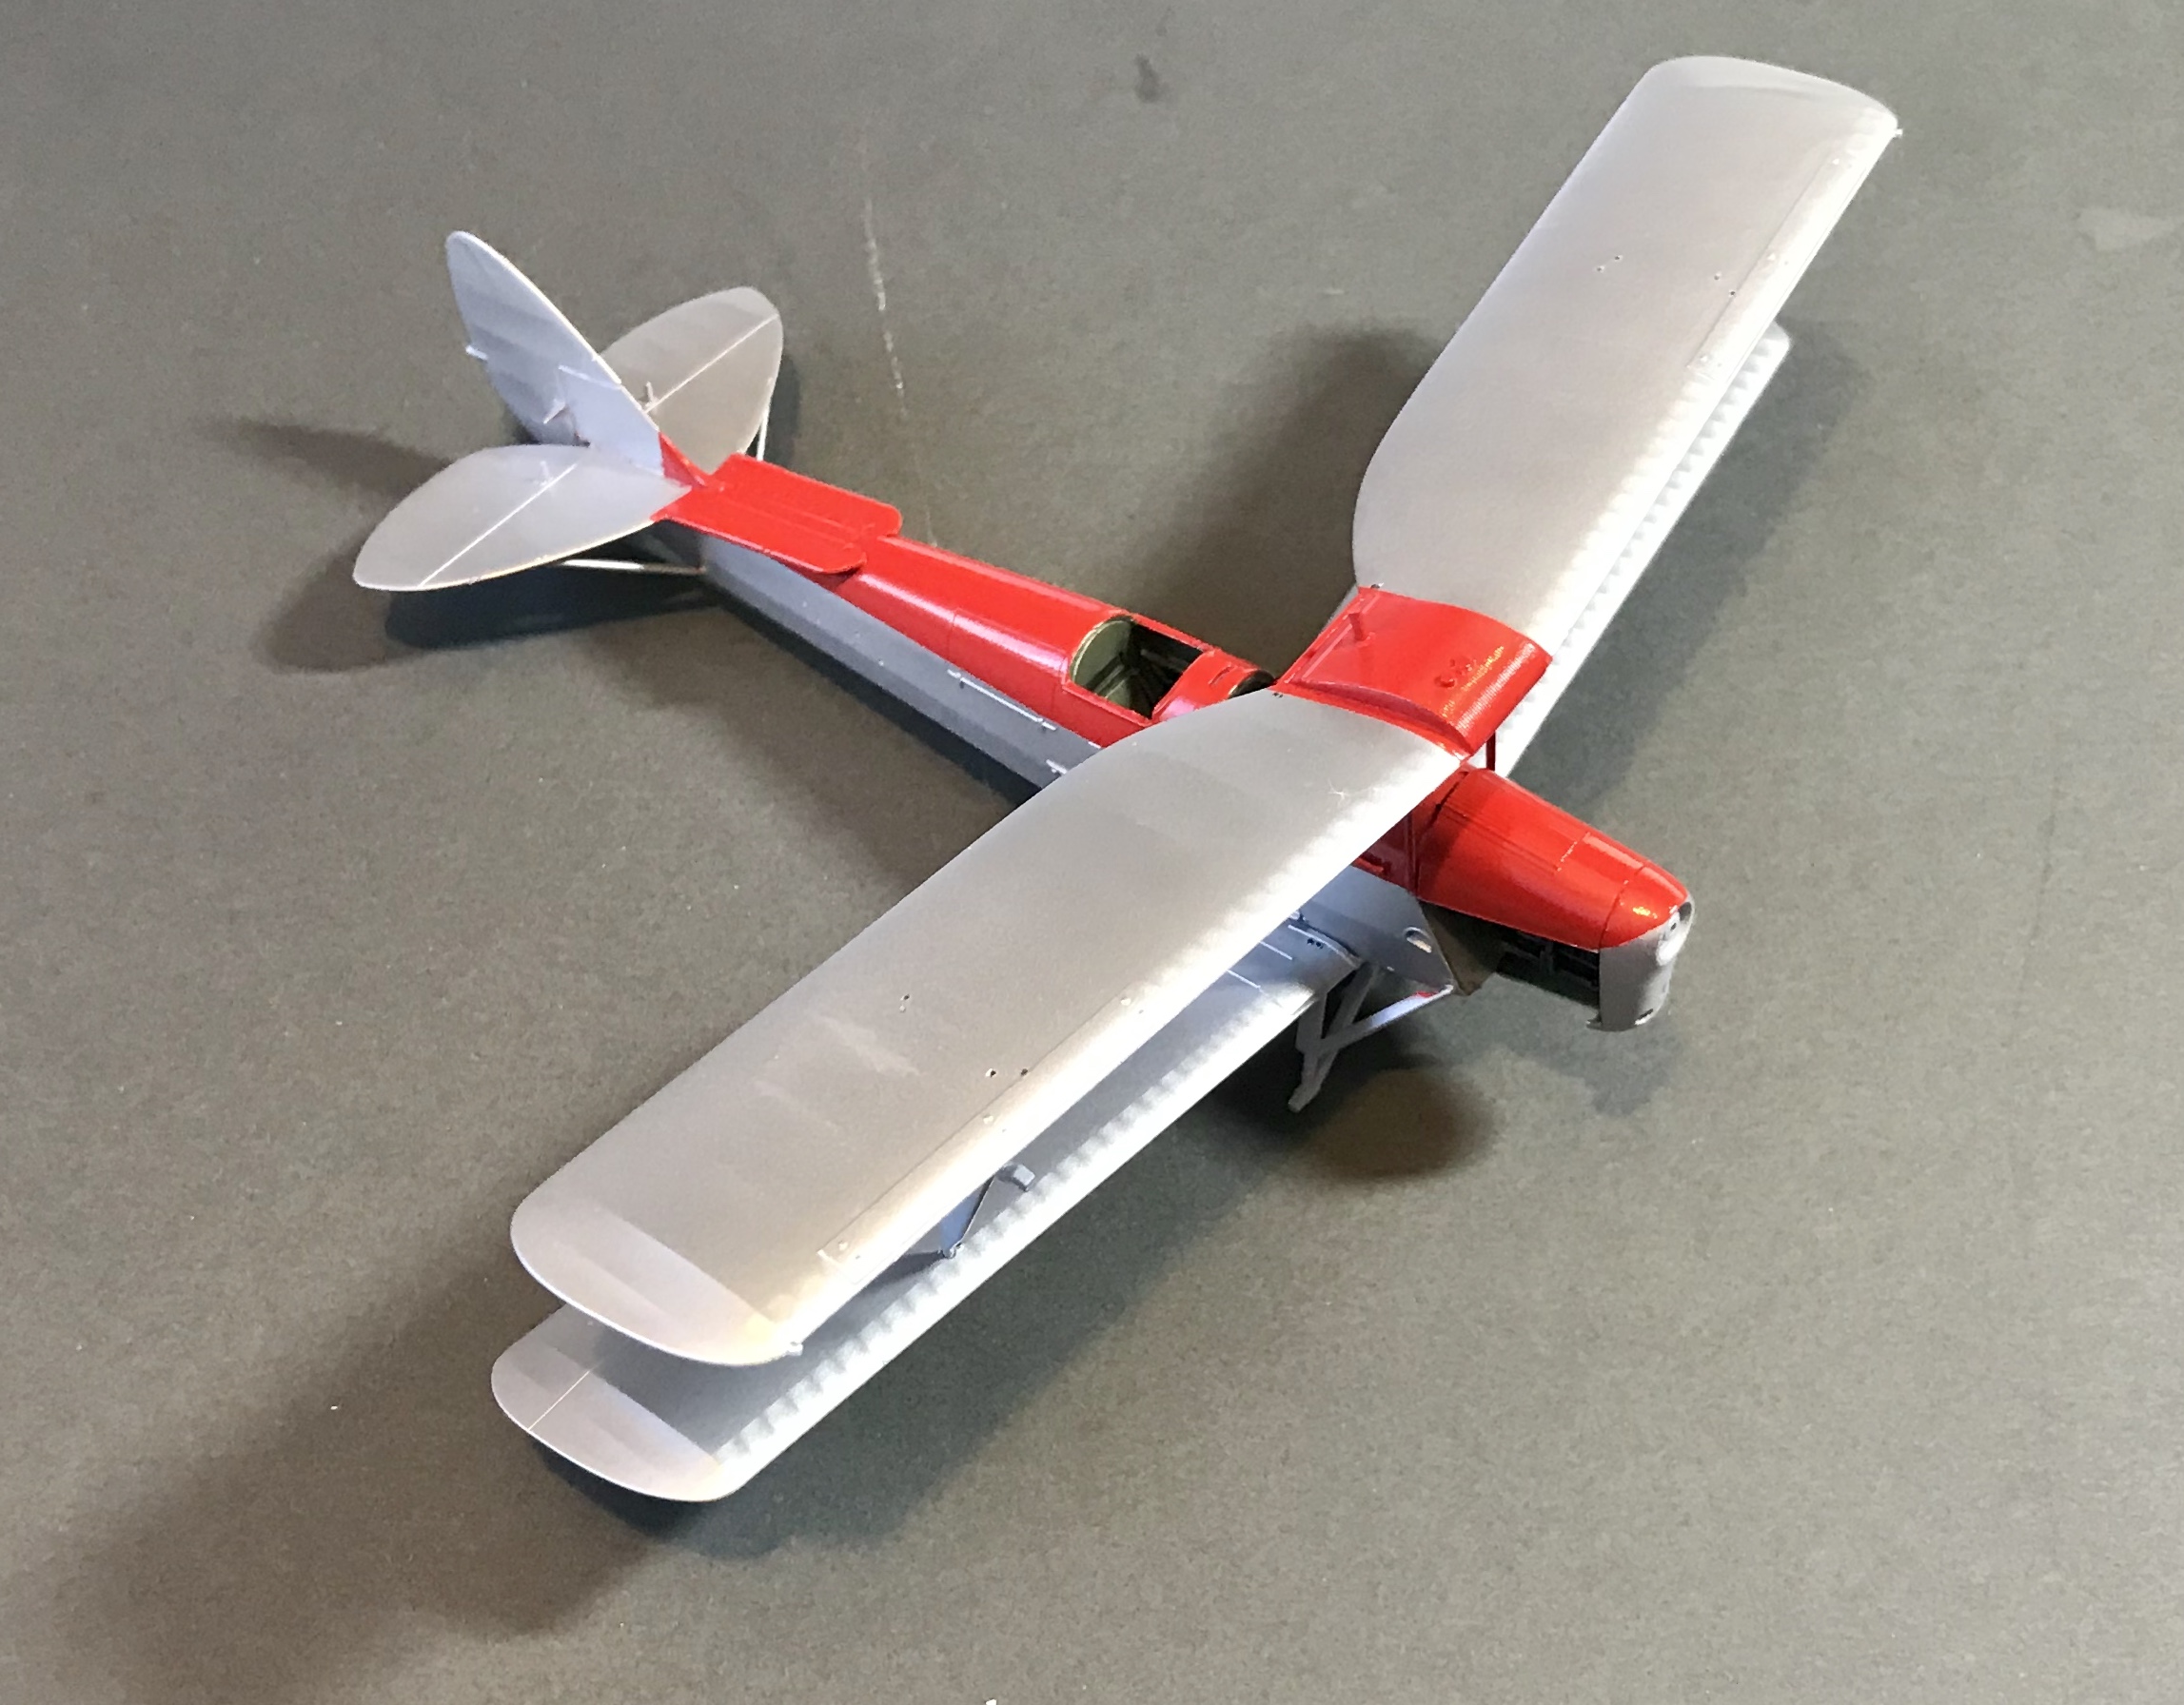
For my chosen build a modification to the tail section is required to accommodate a different tail wing. Normally this wouldn’t be something I would attempt, but Airfix have thoughtfully provided a little cutting jig in the kit which makes the cut out easy. I just used a small file and took my time.
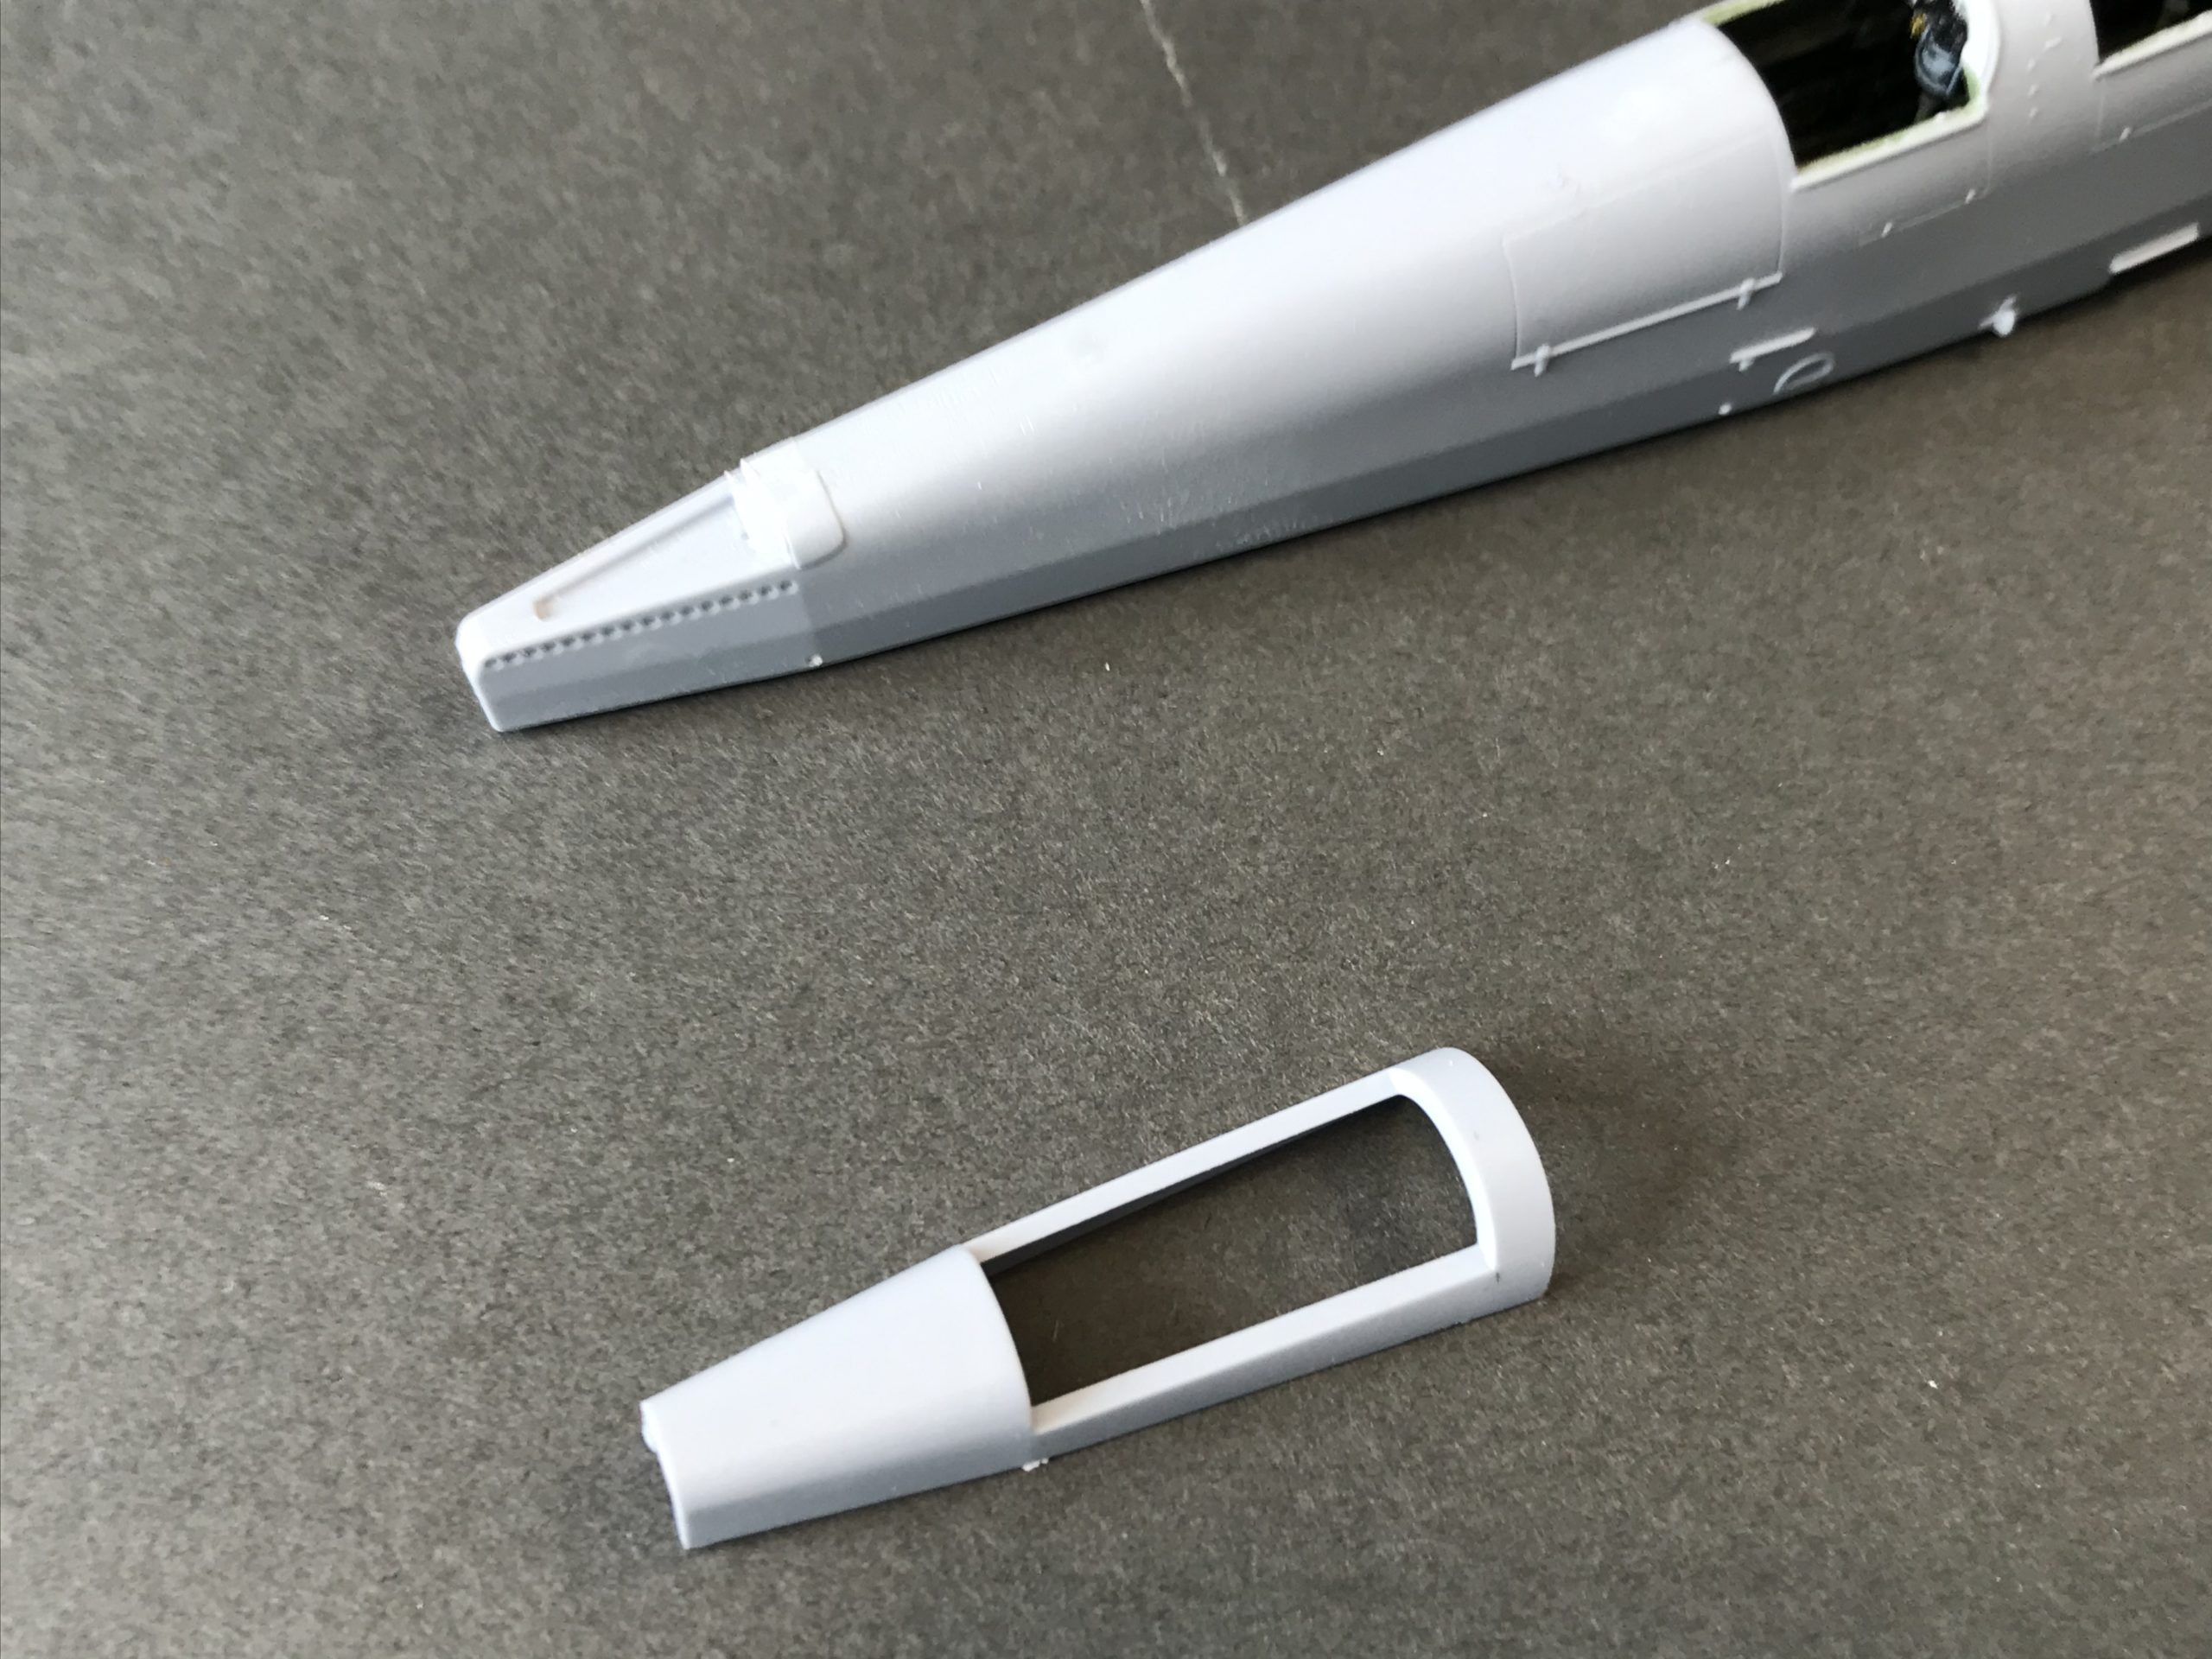
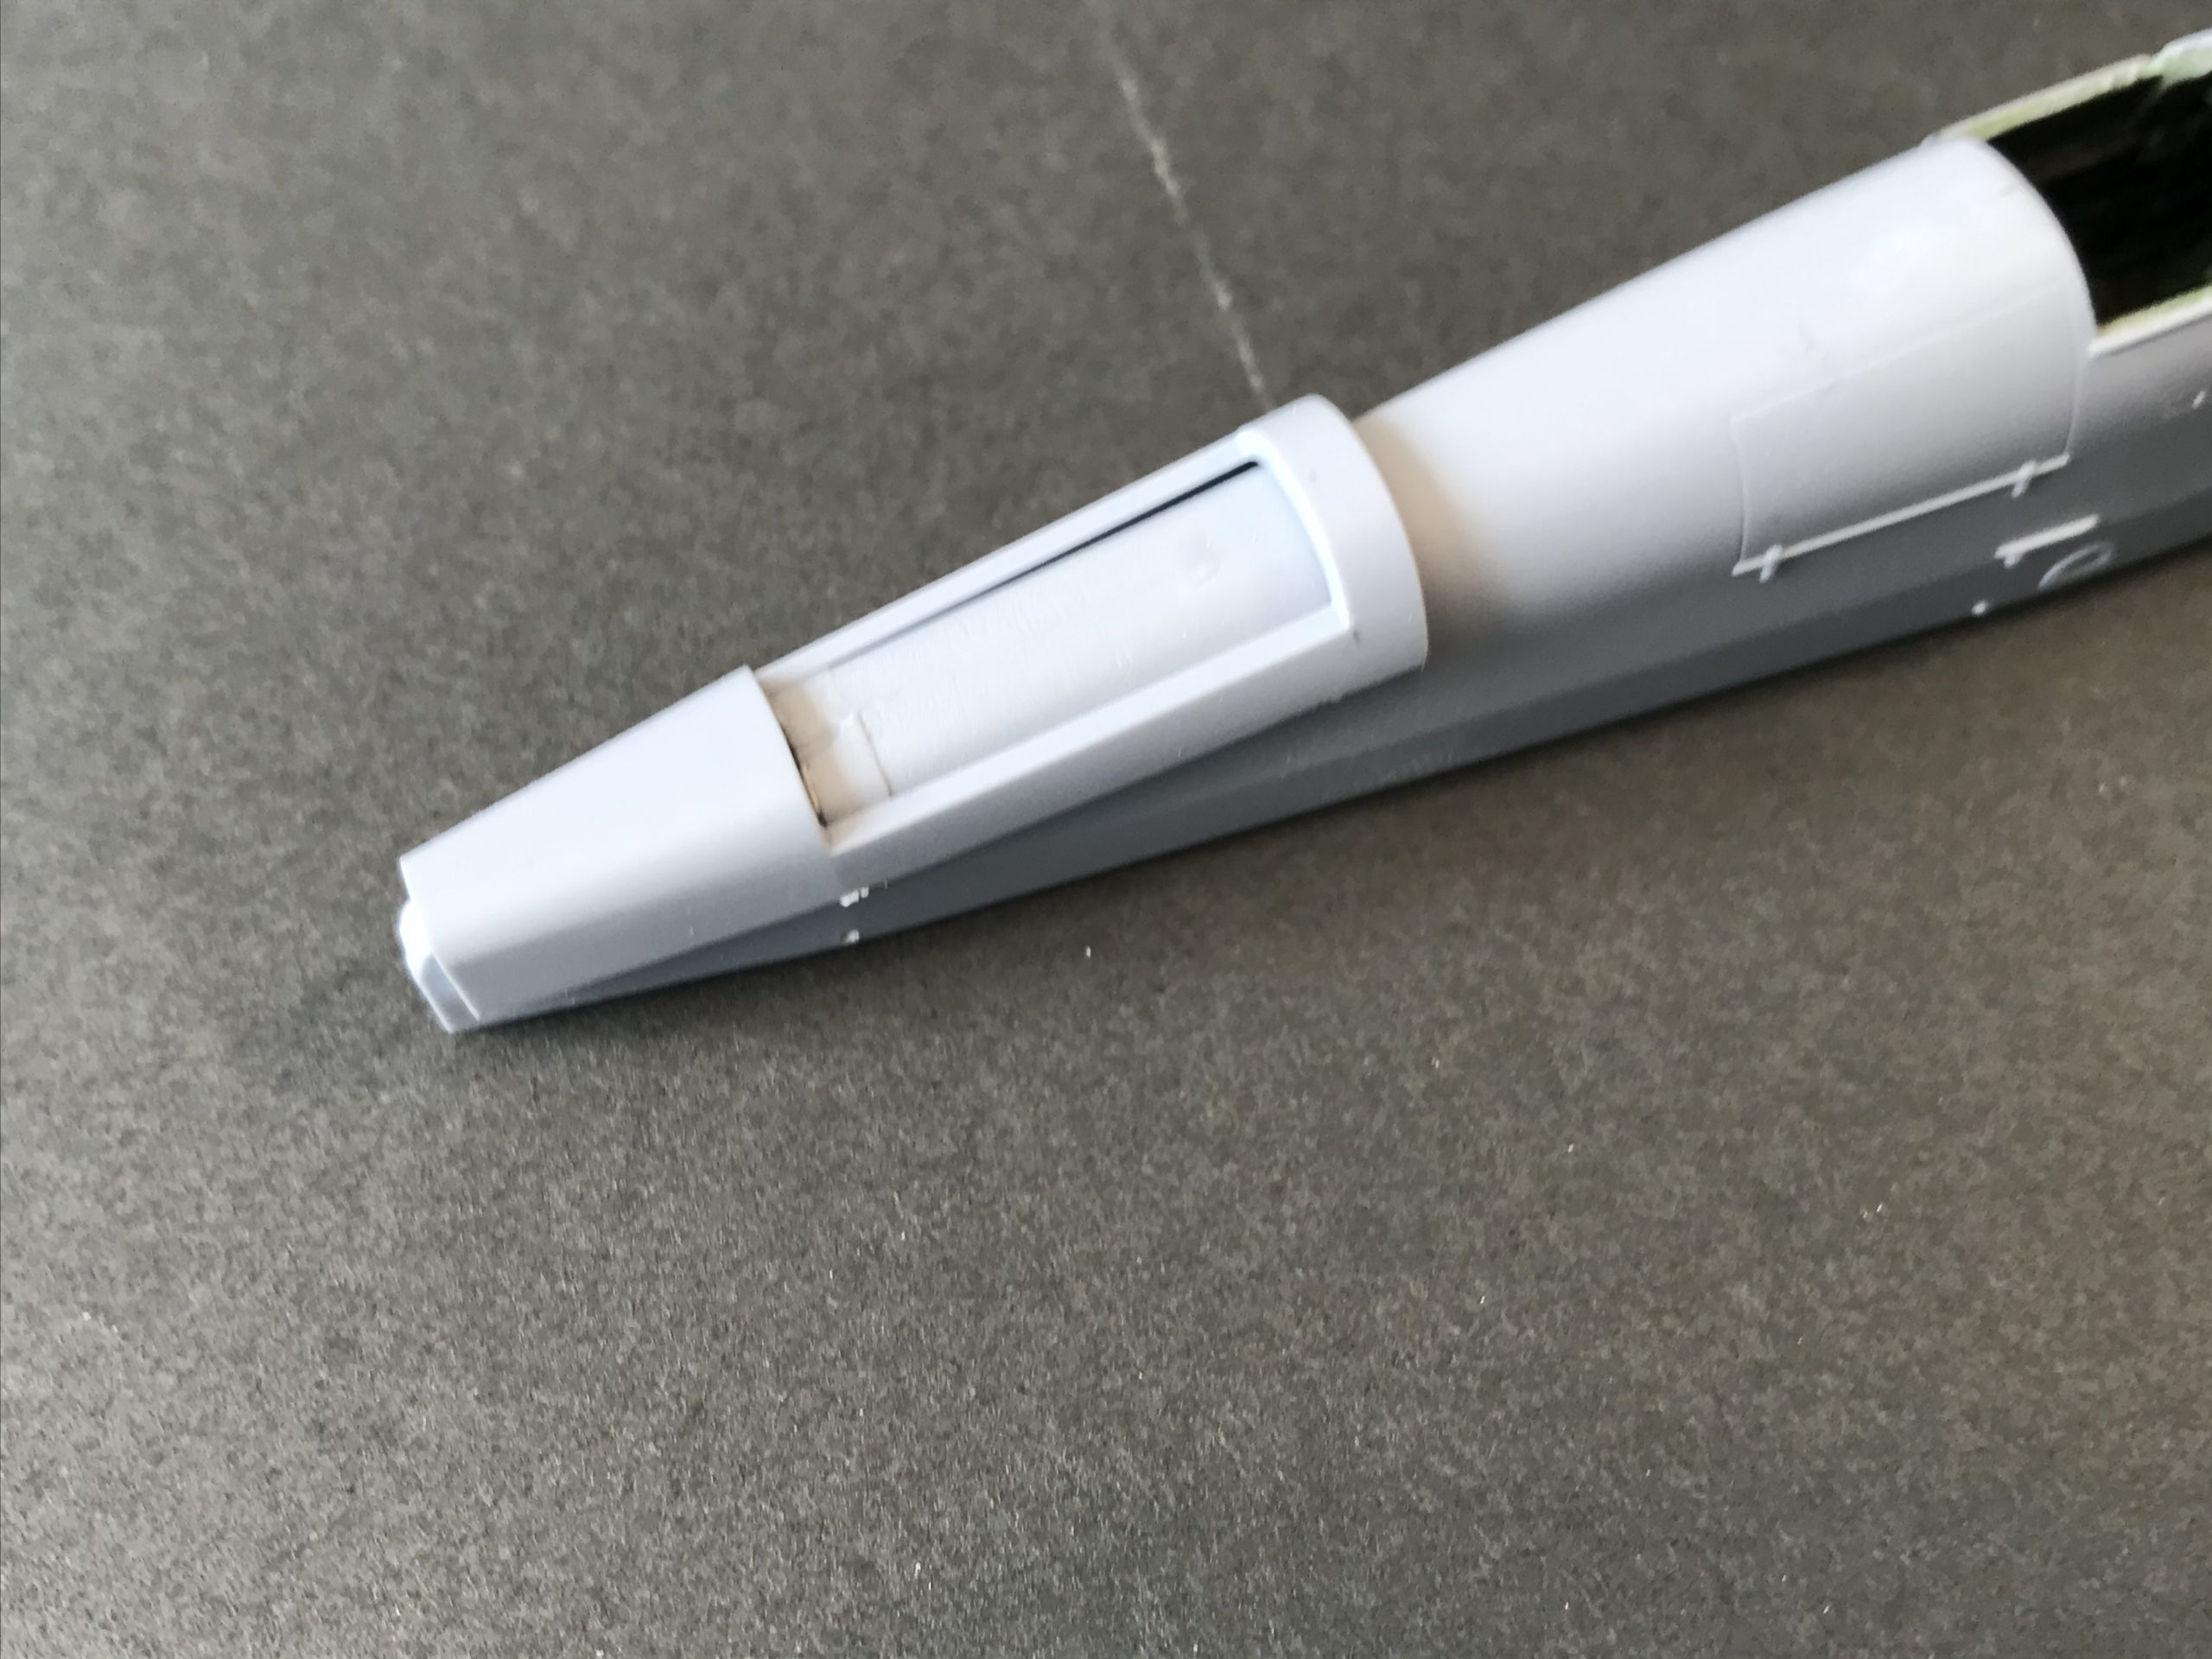
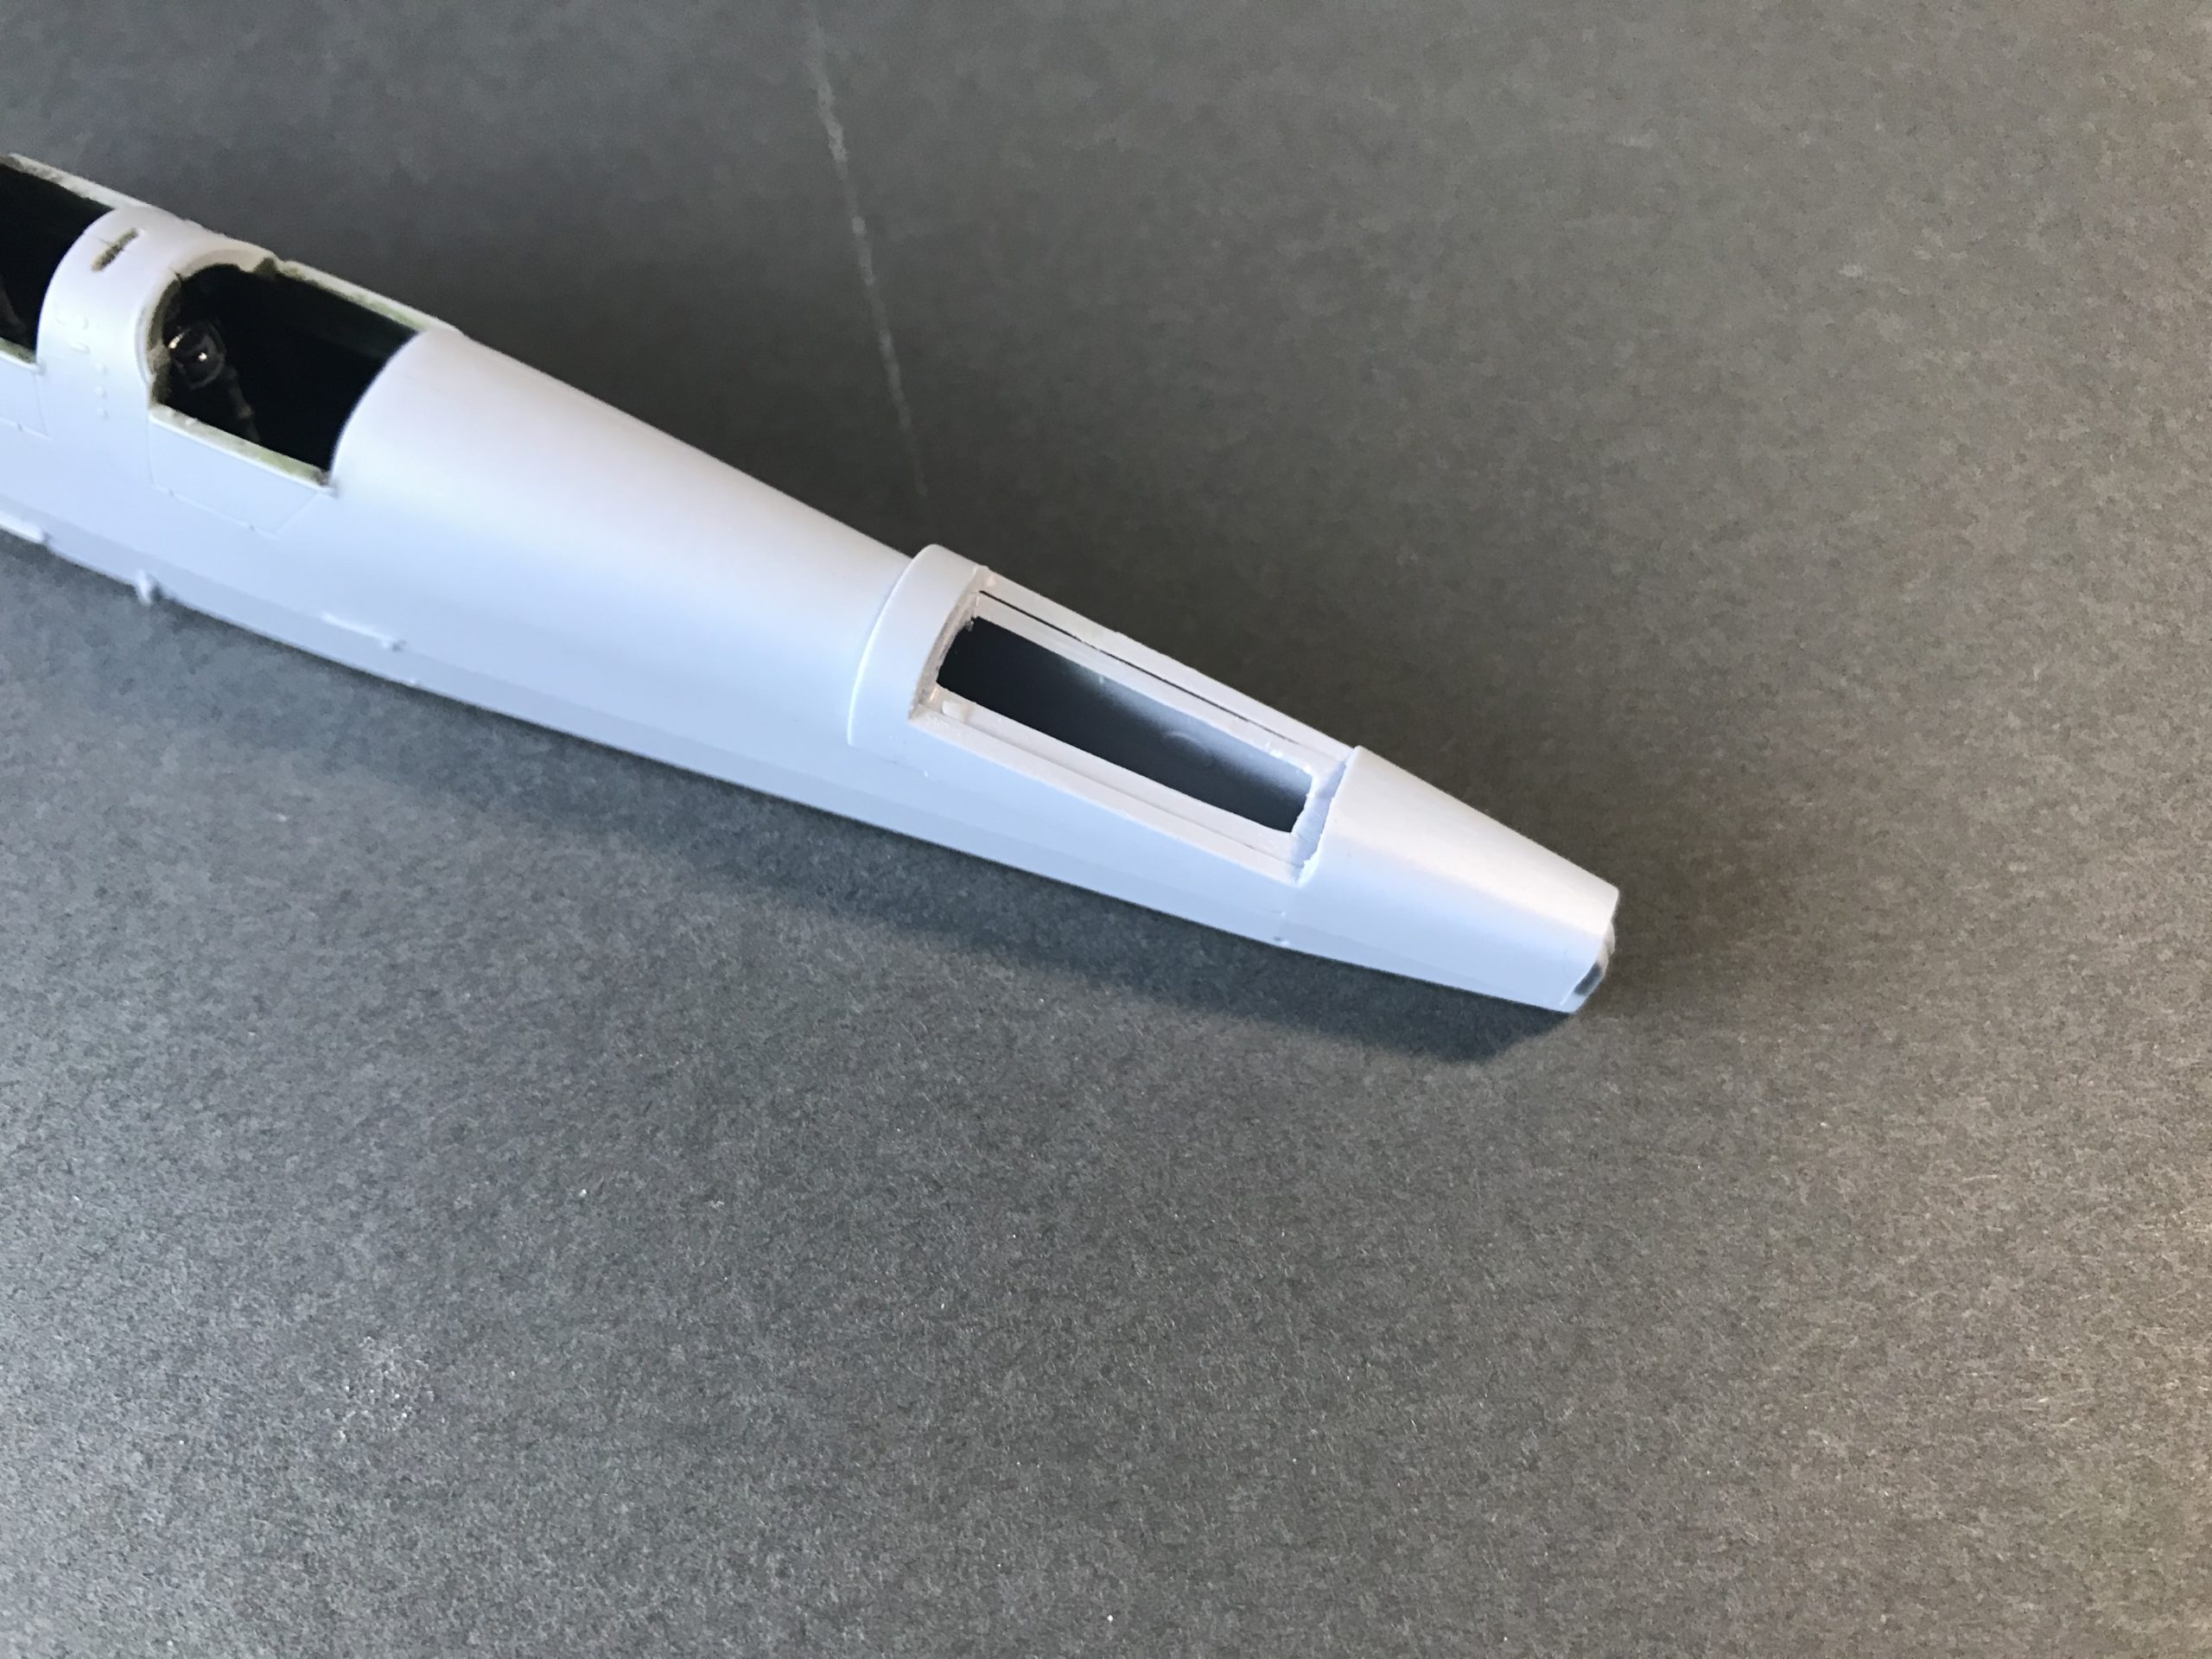
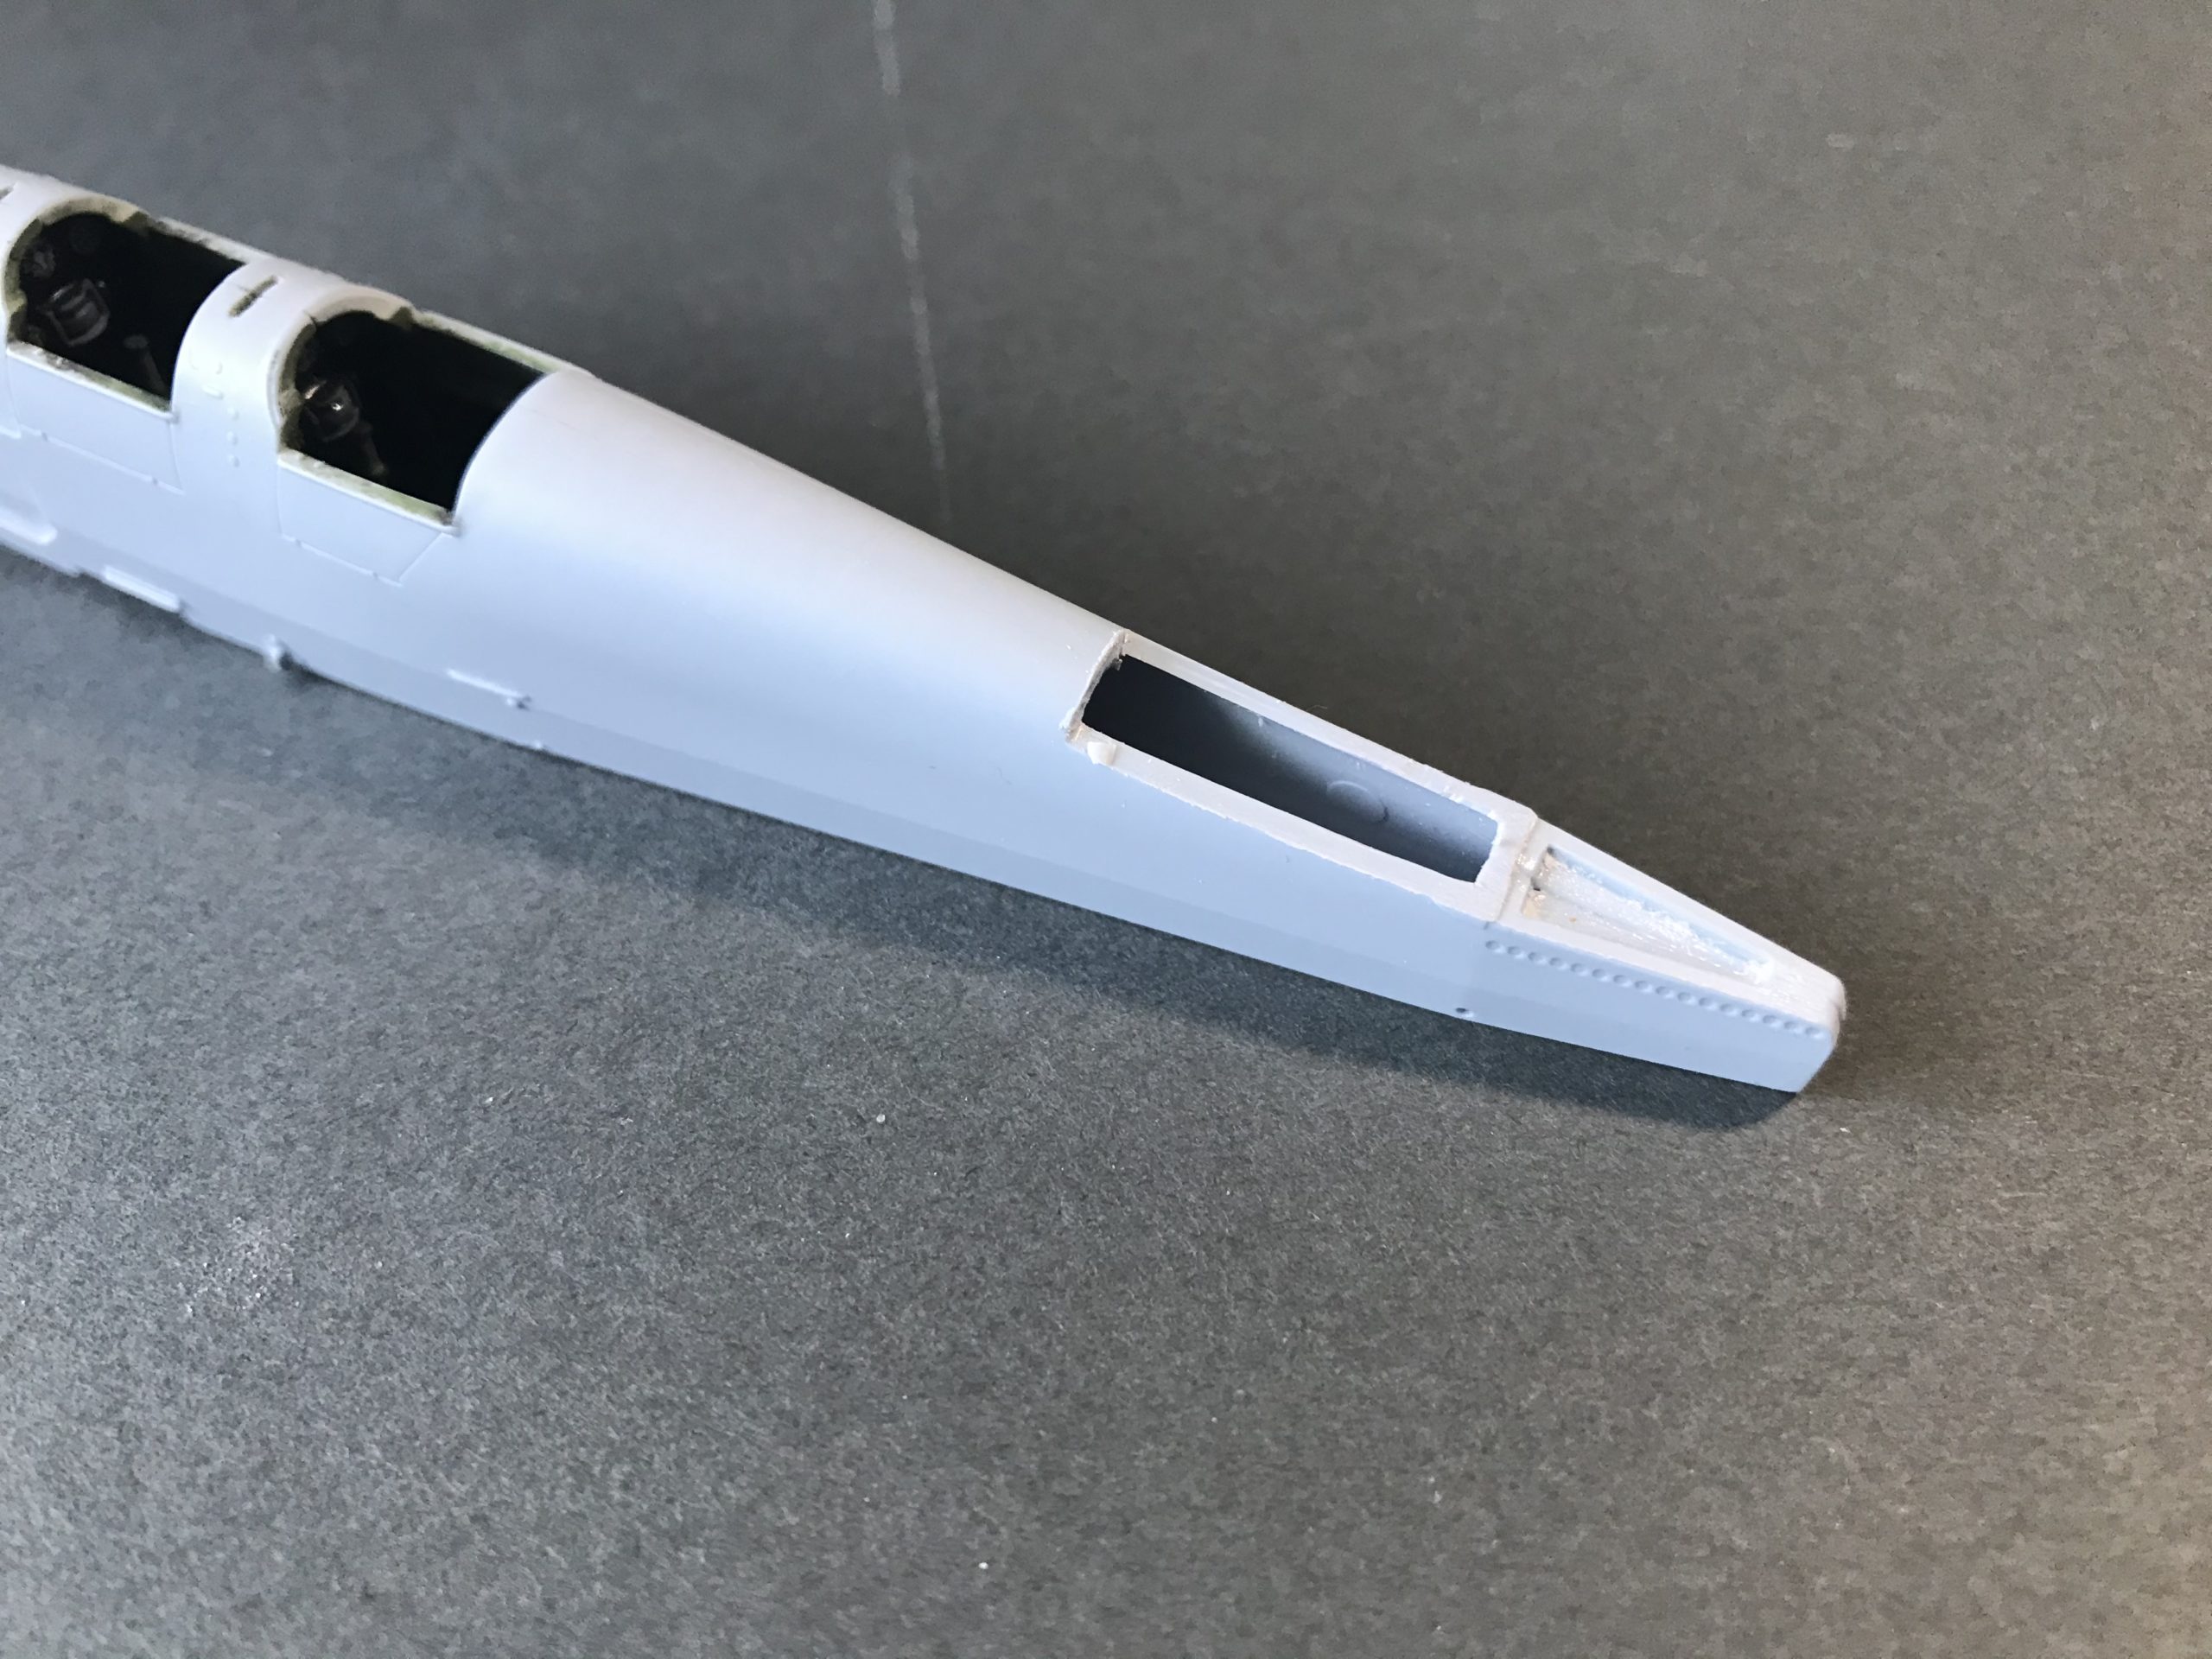
The new tail can now be fitted. A small amount of fettling was still required, but the jig made the job at least approachable.
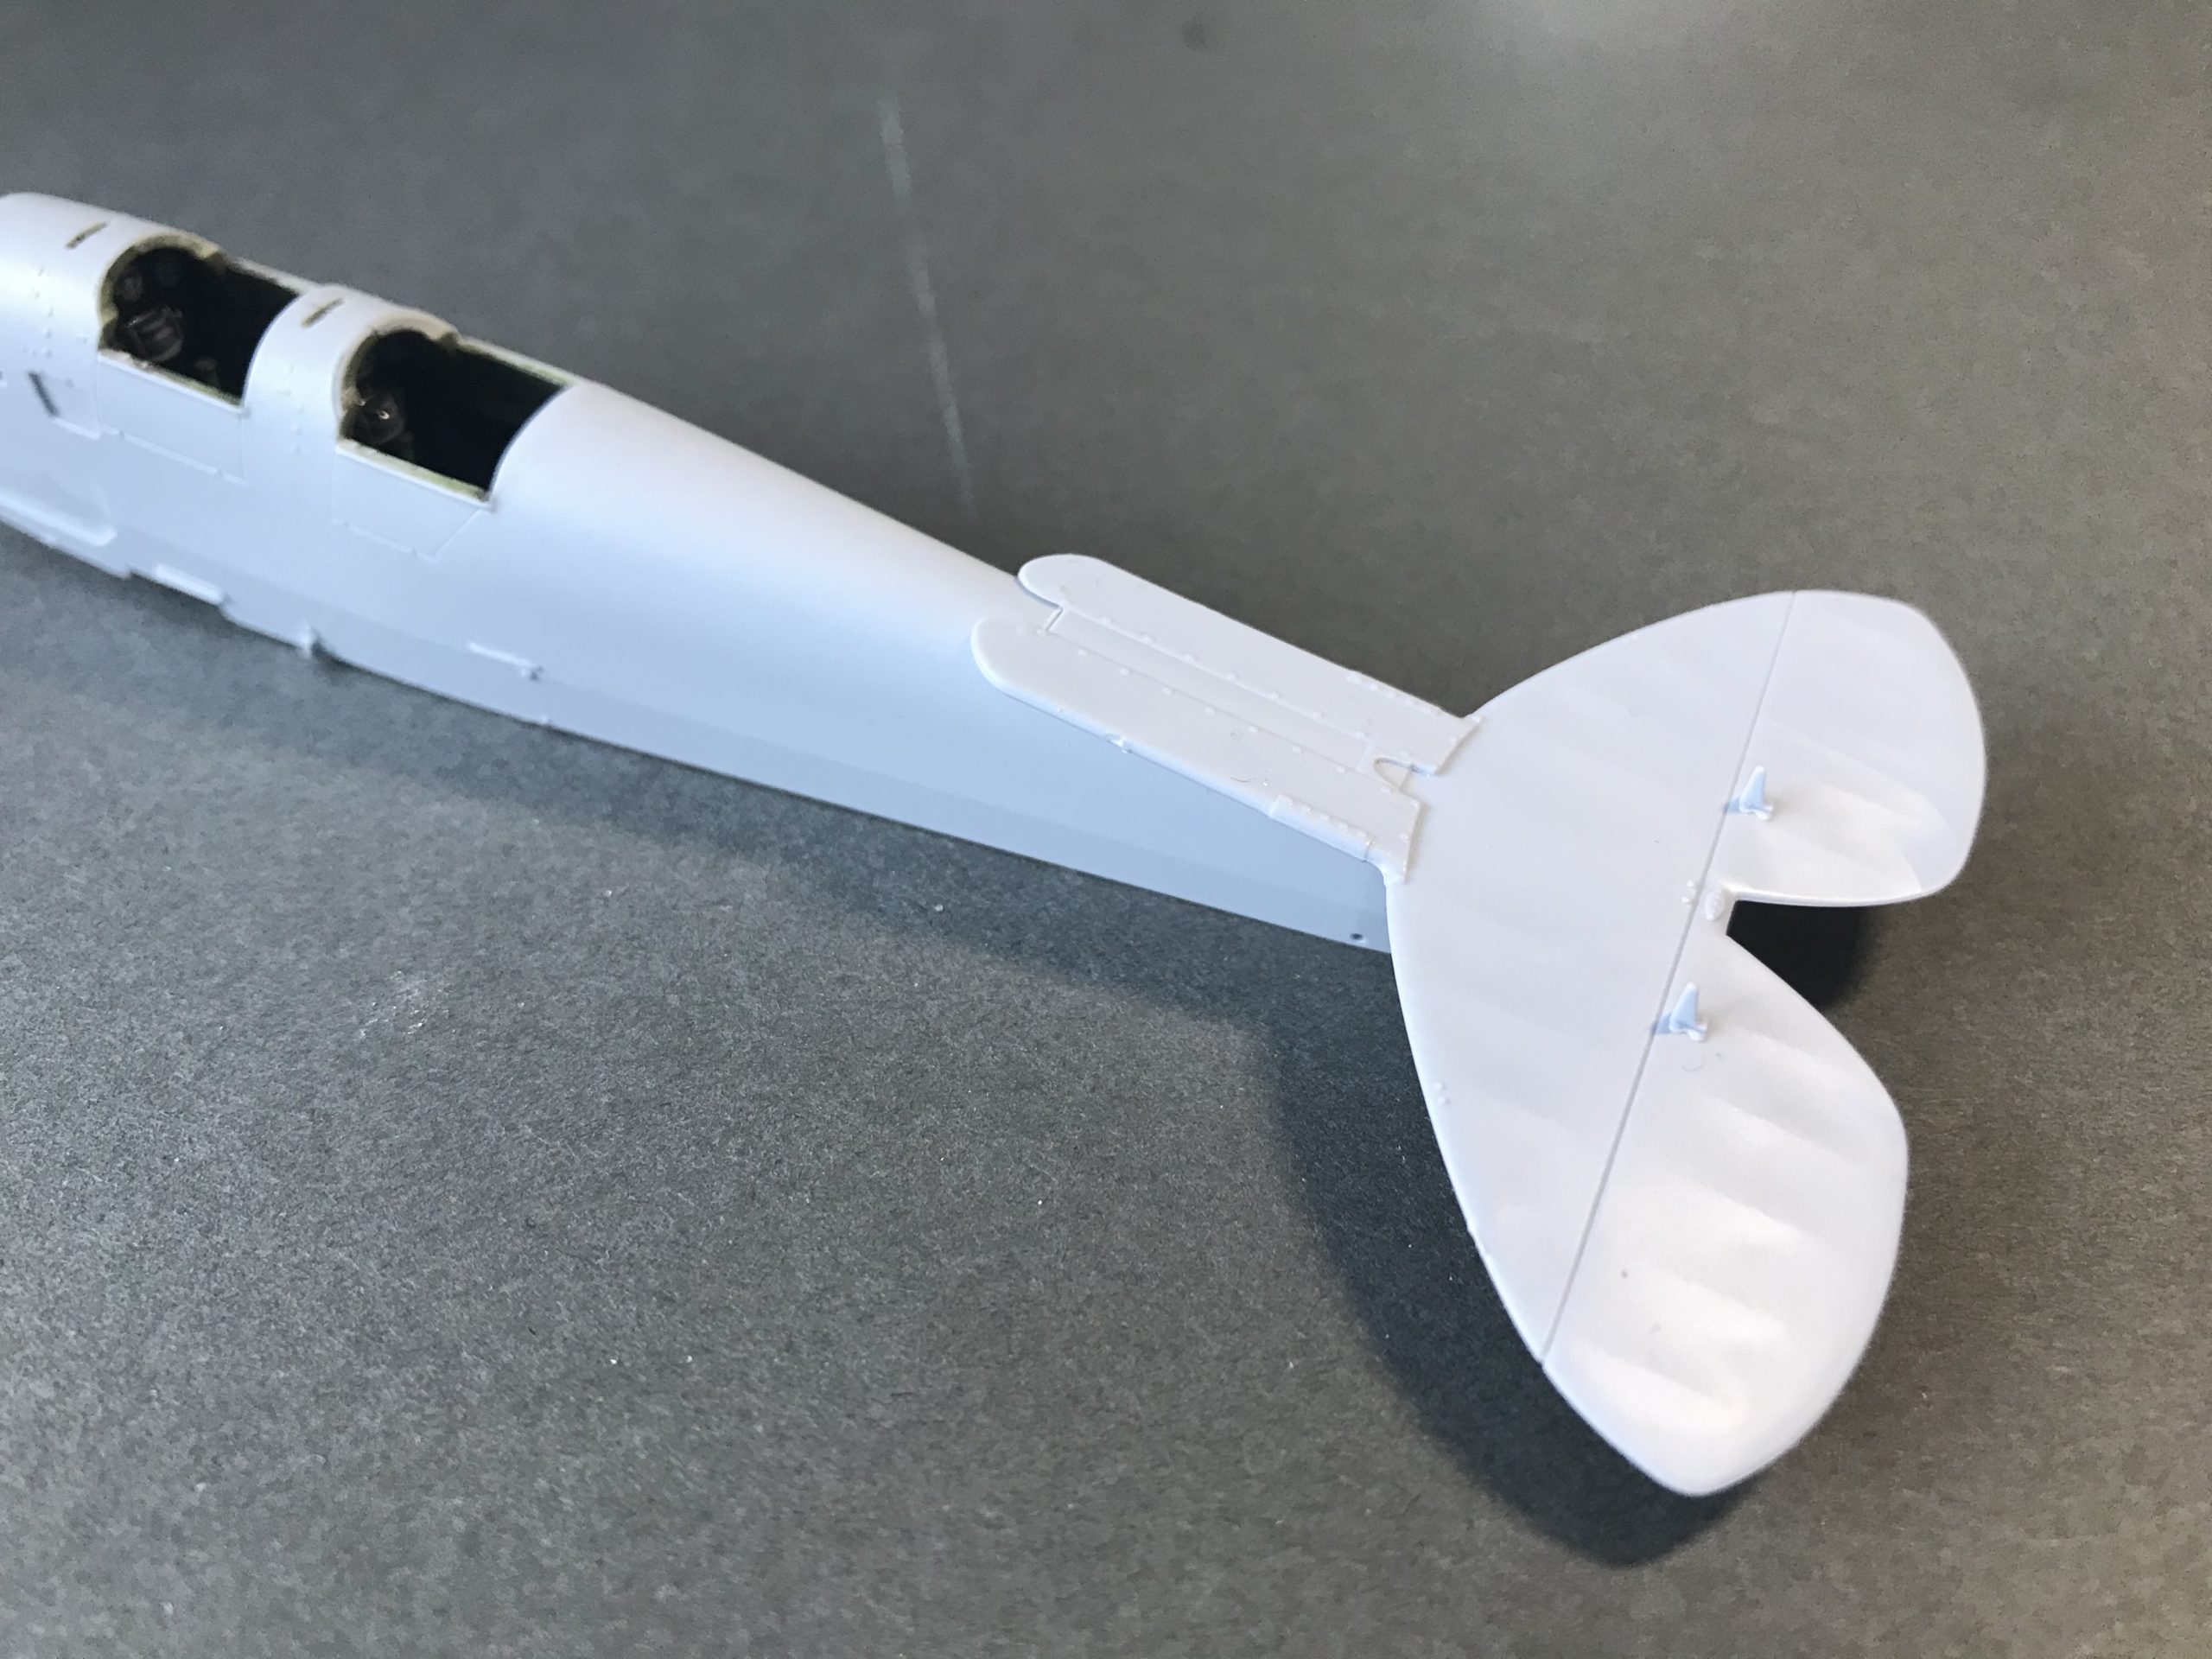

From then on it was just a case of adding and painting parts as per the instructions.

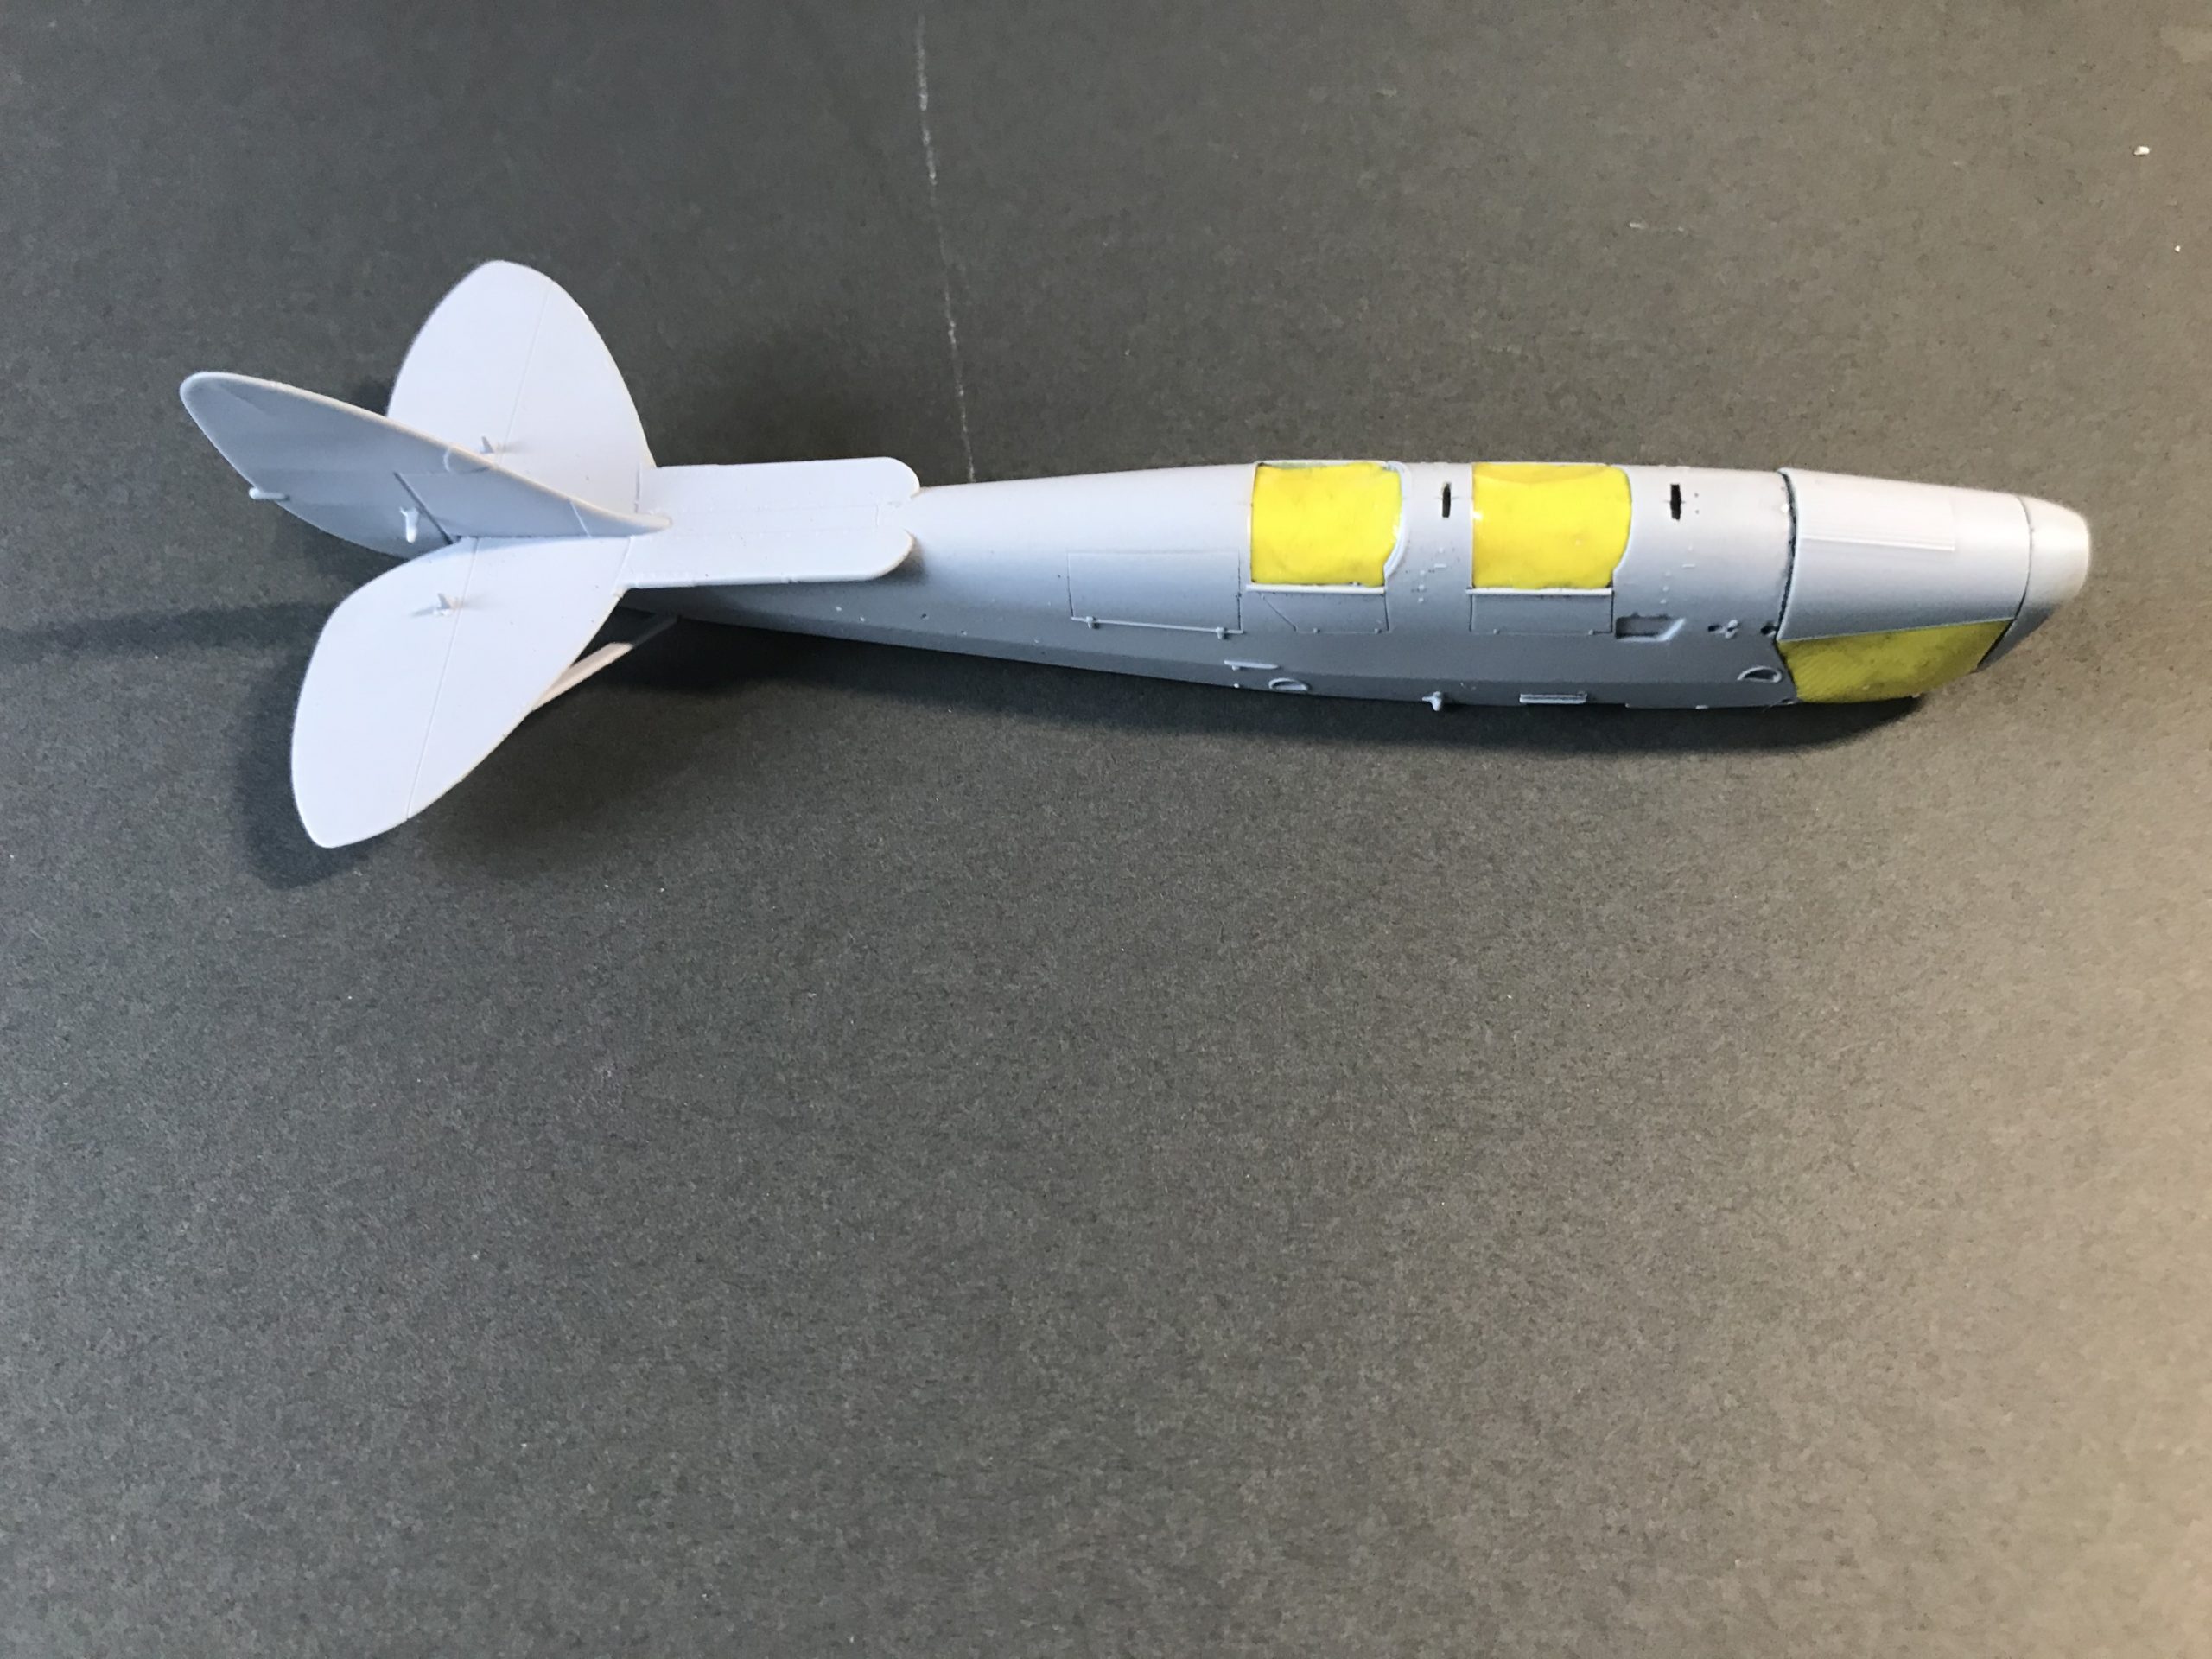
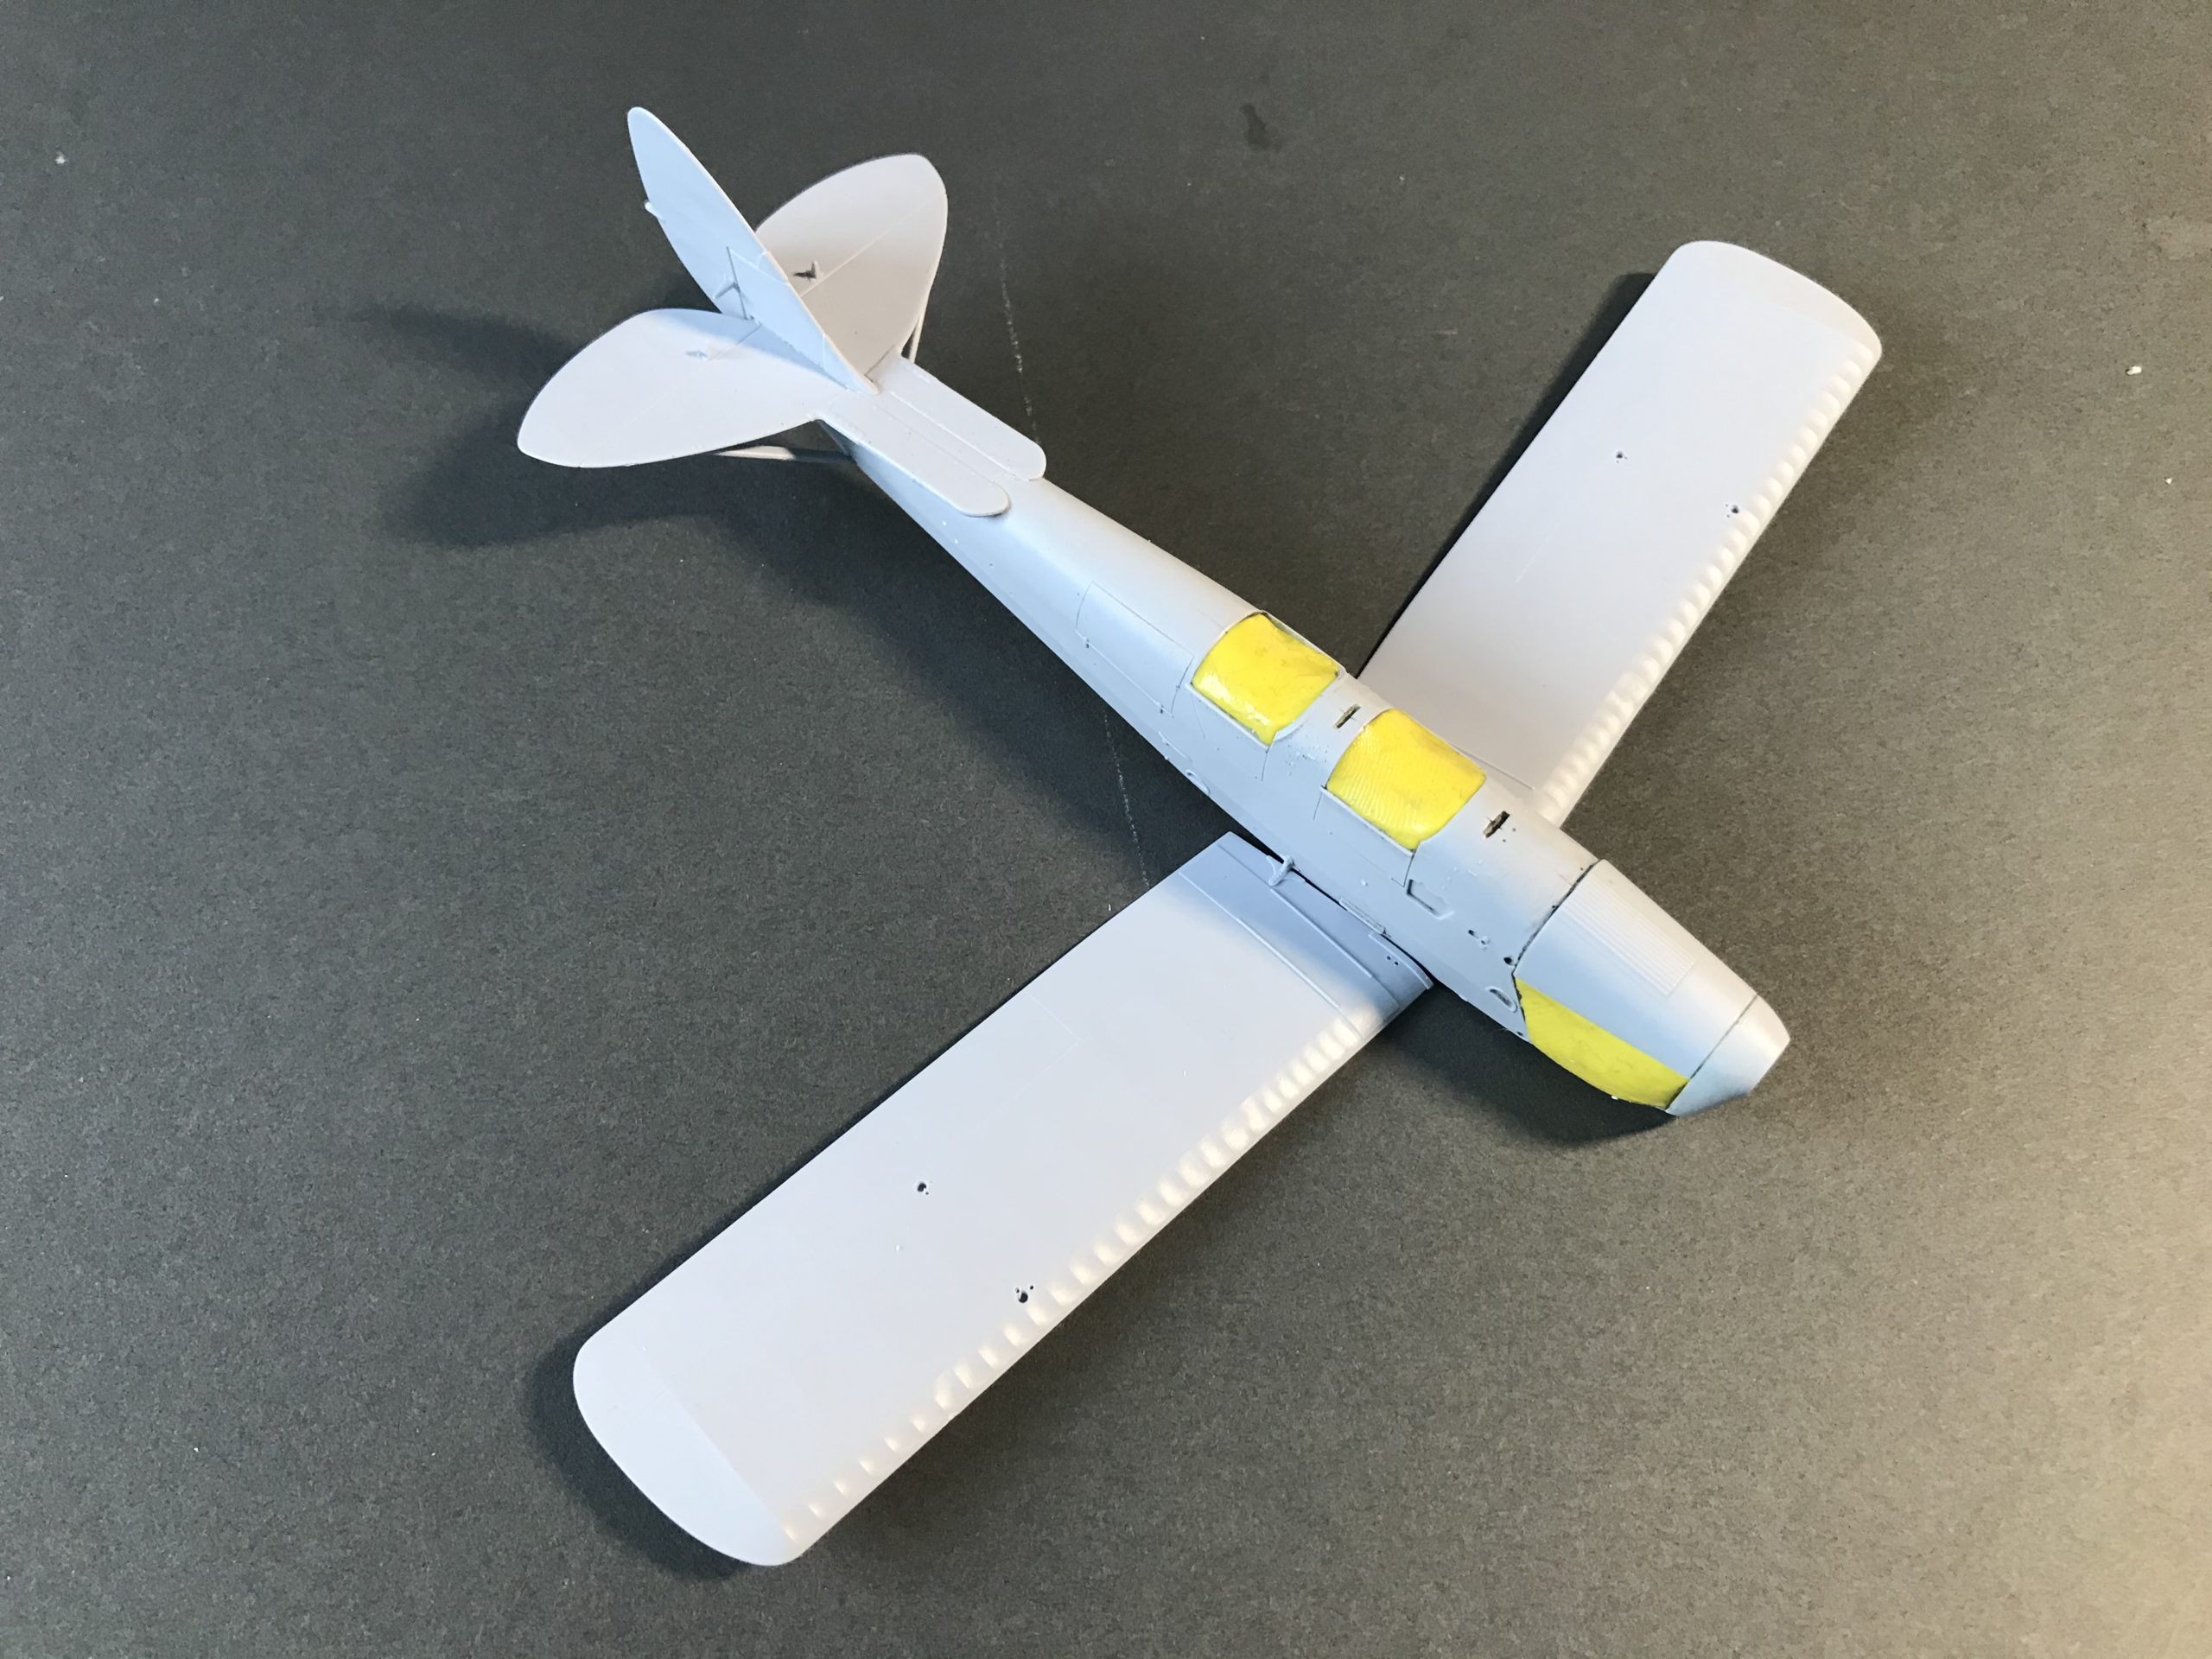
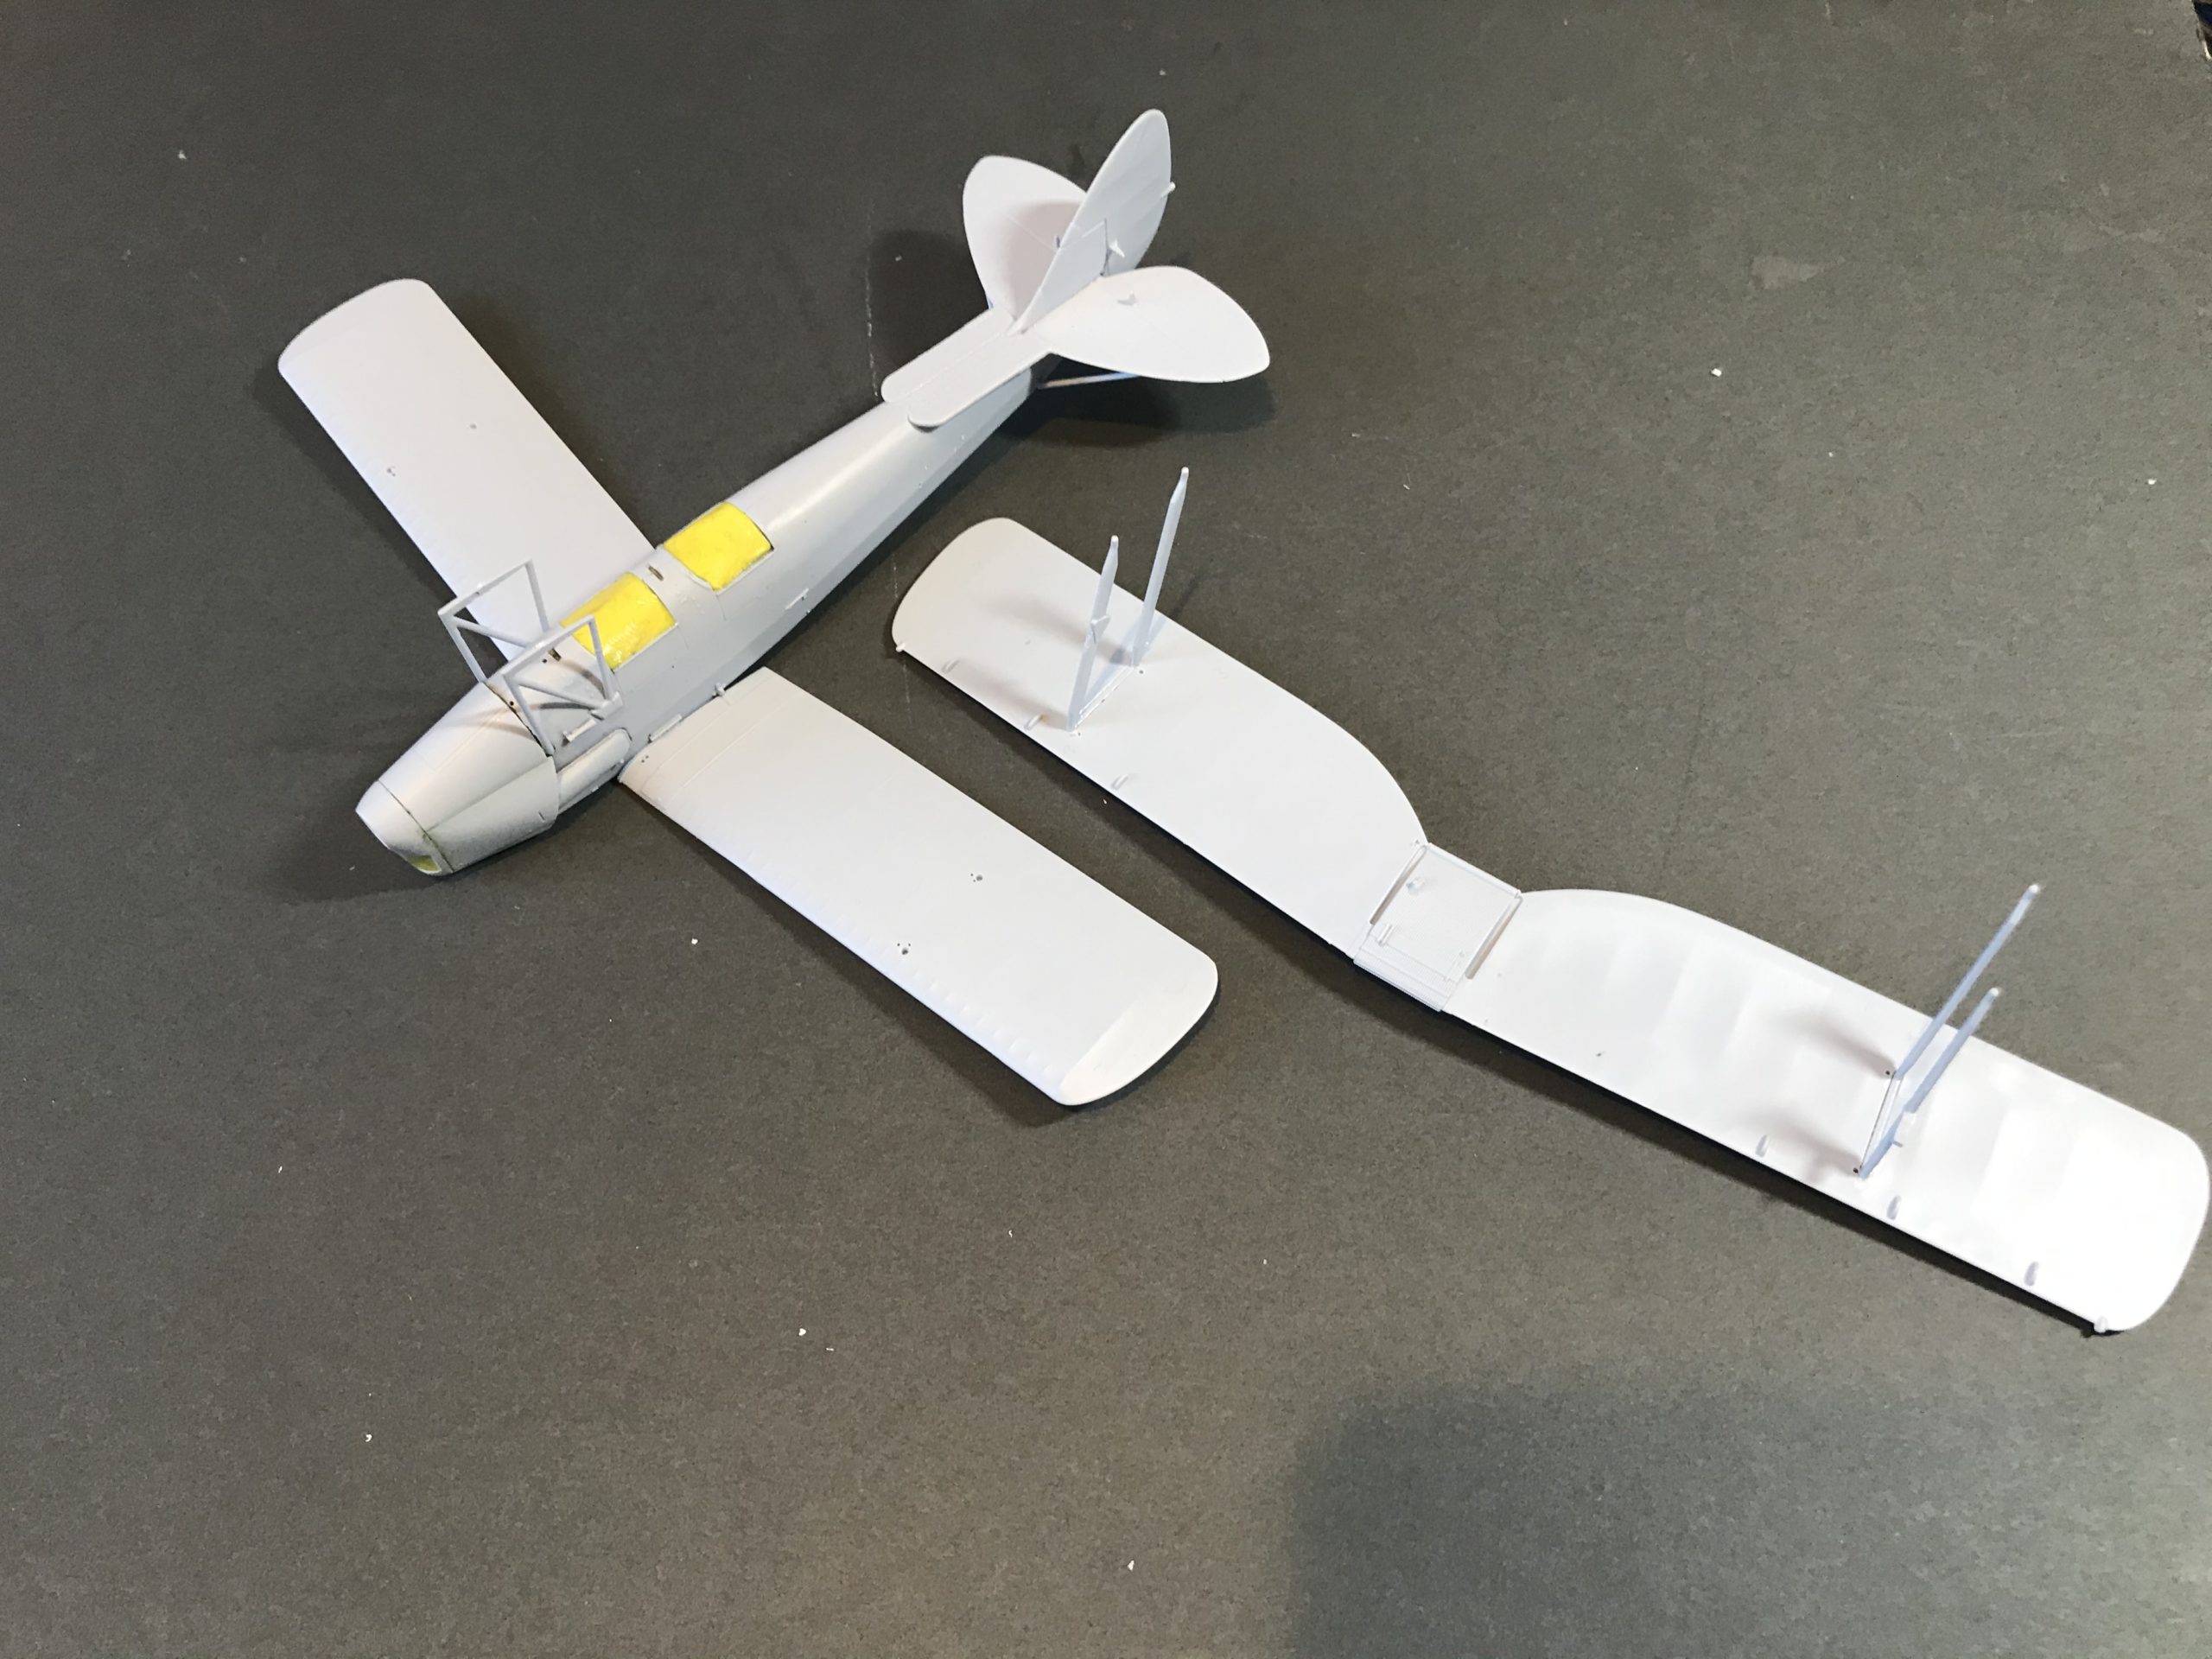
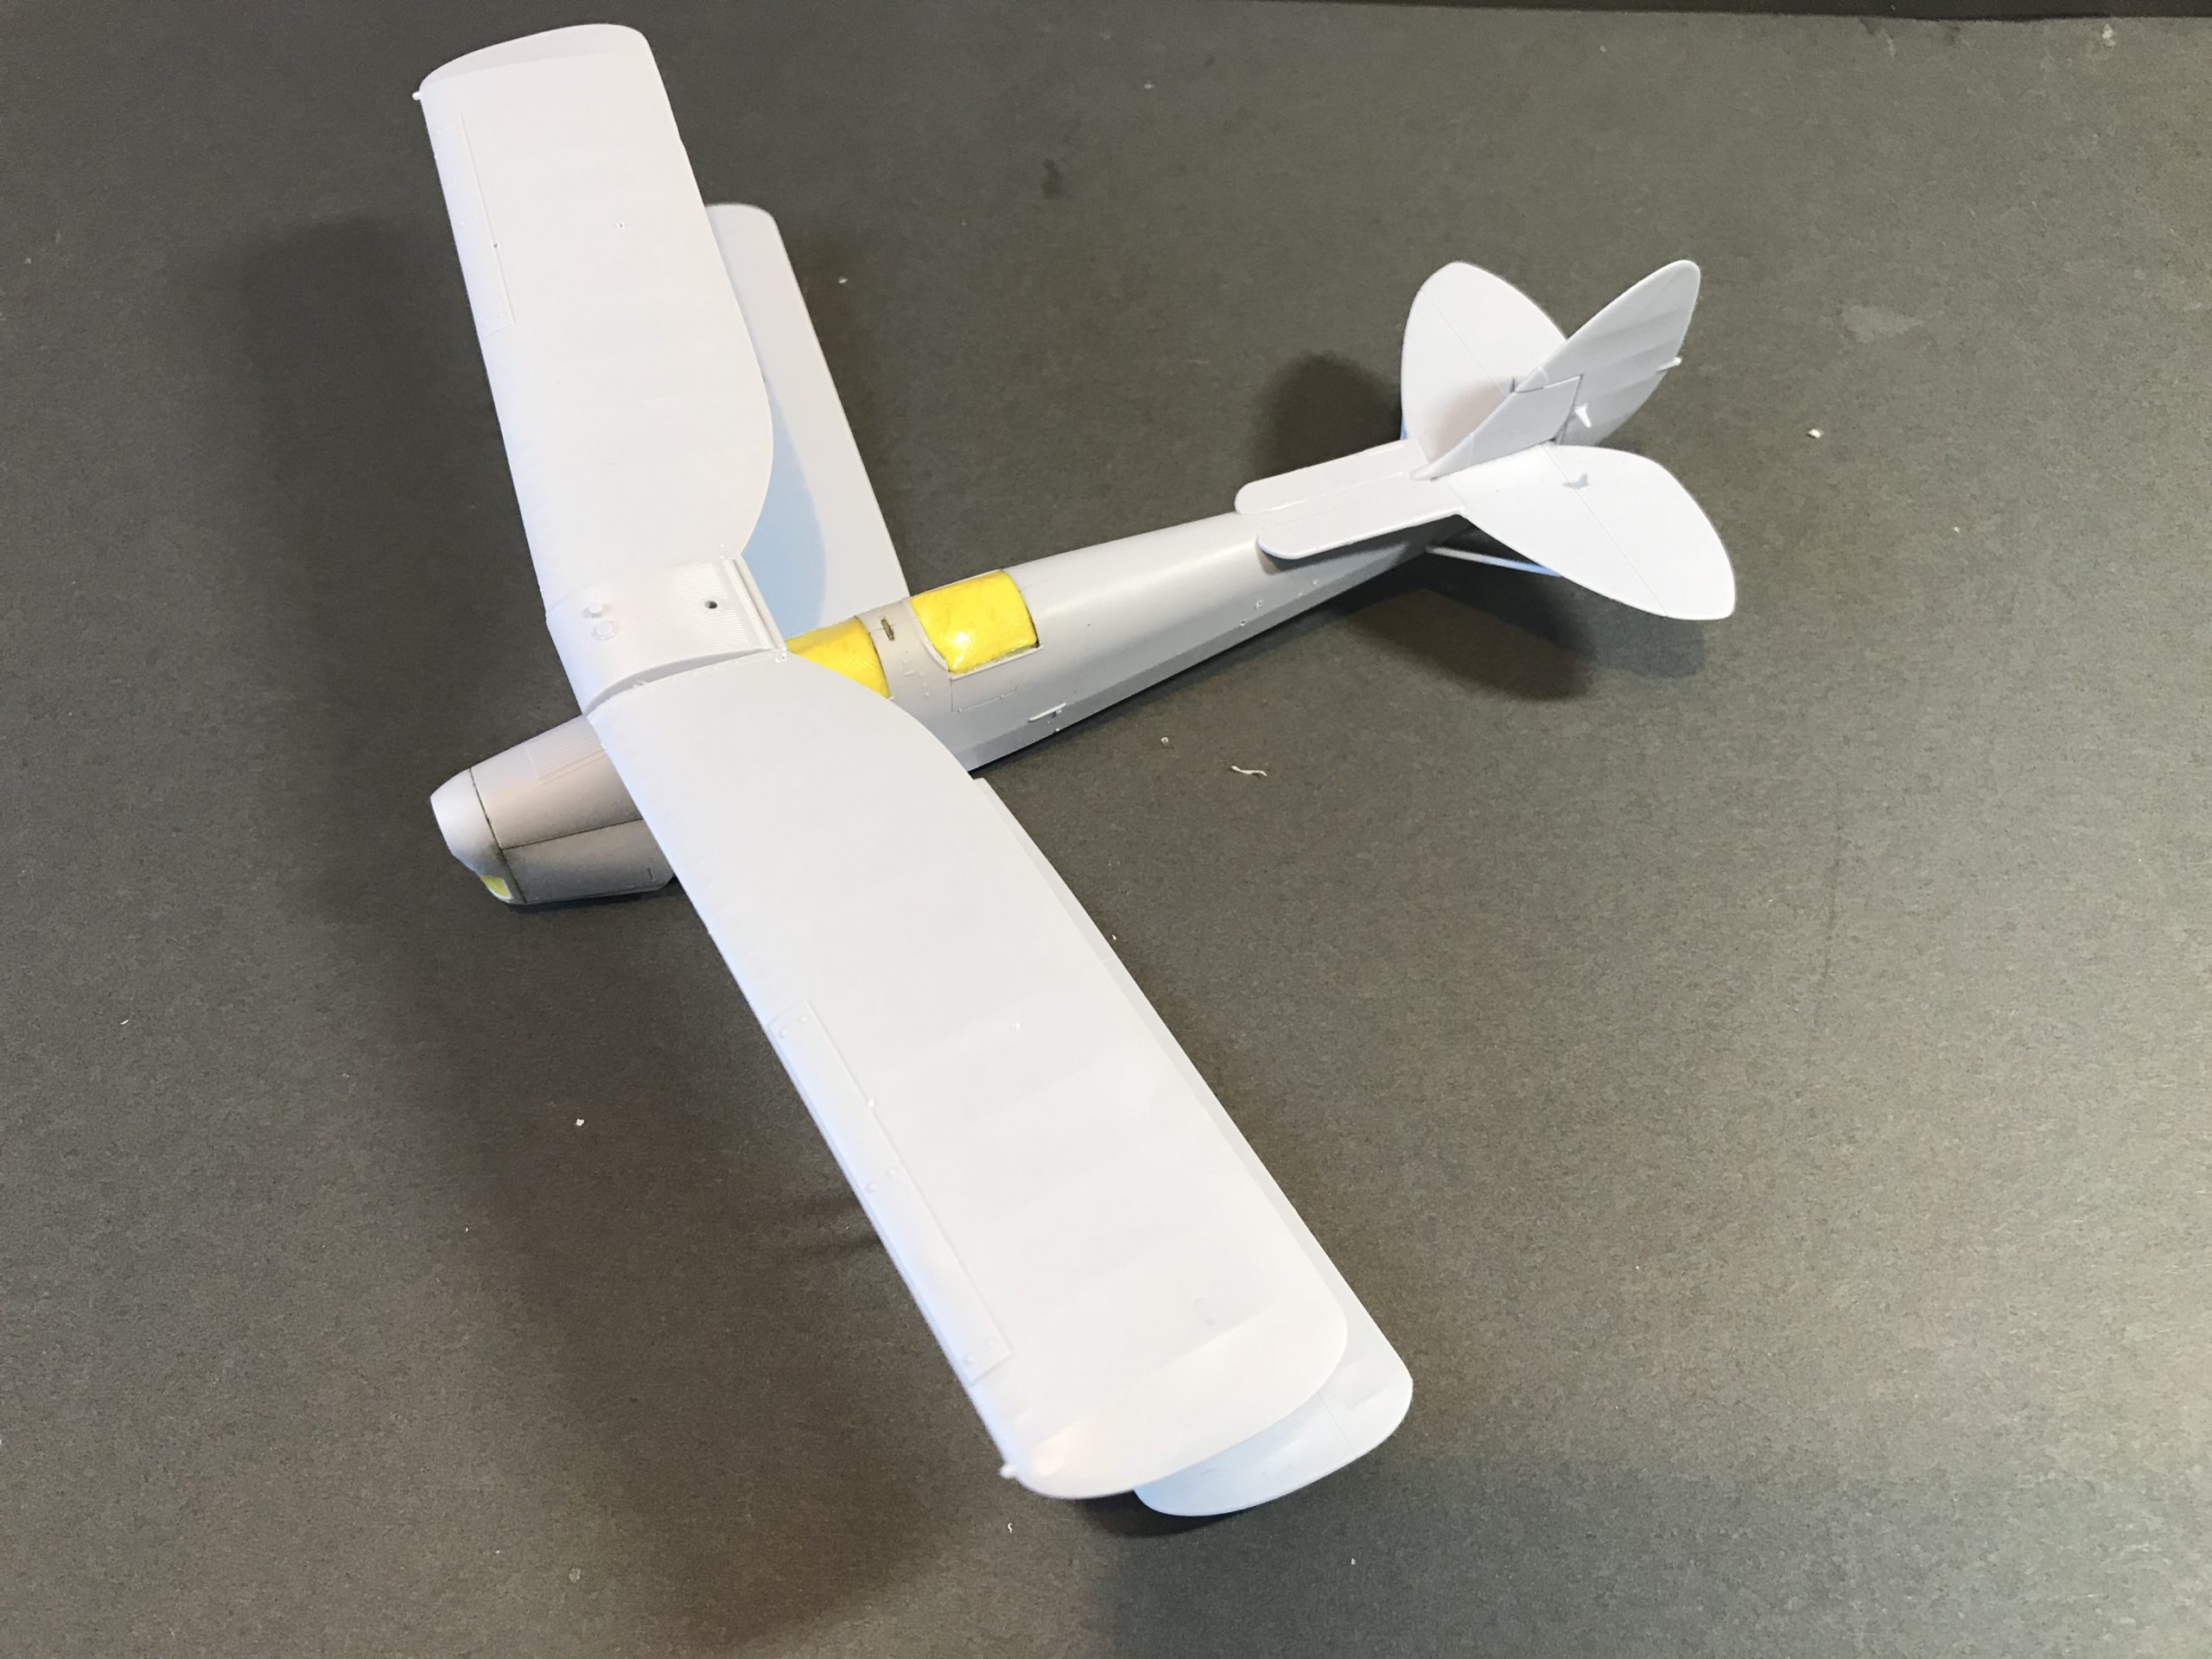
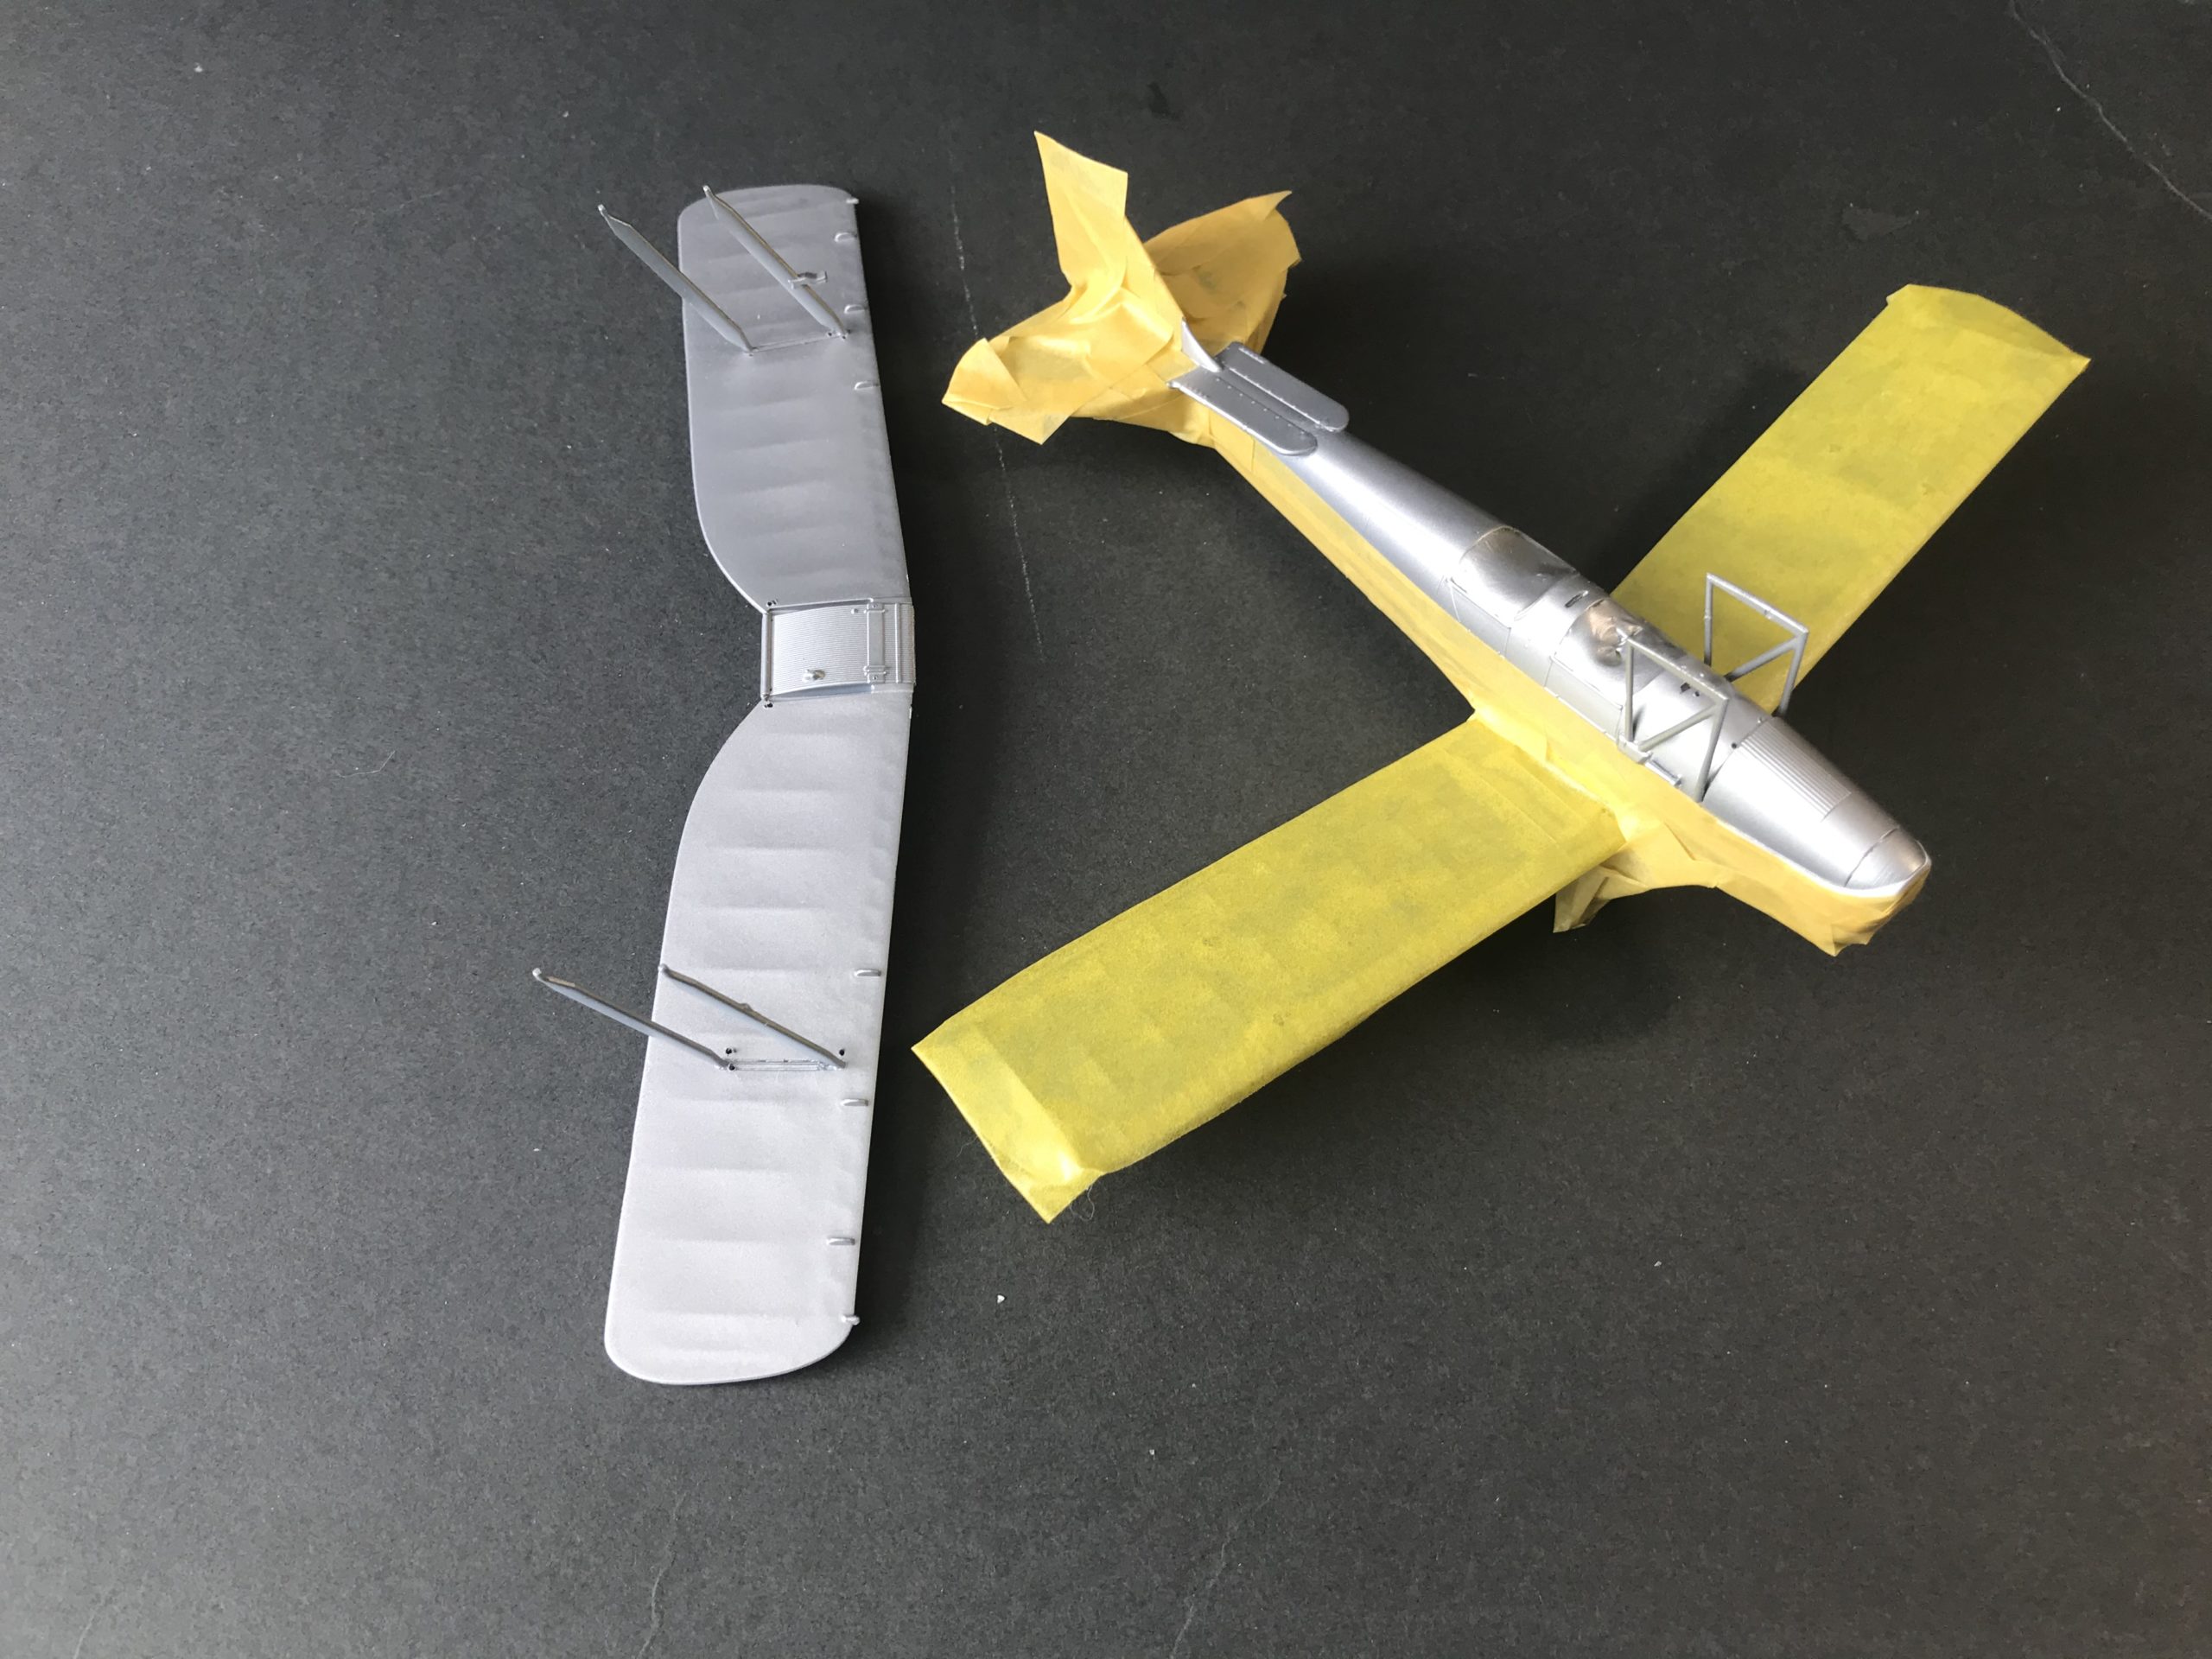
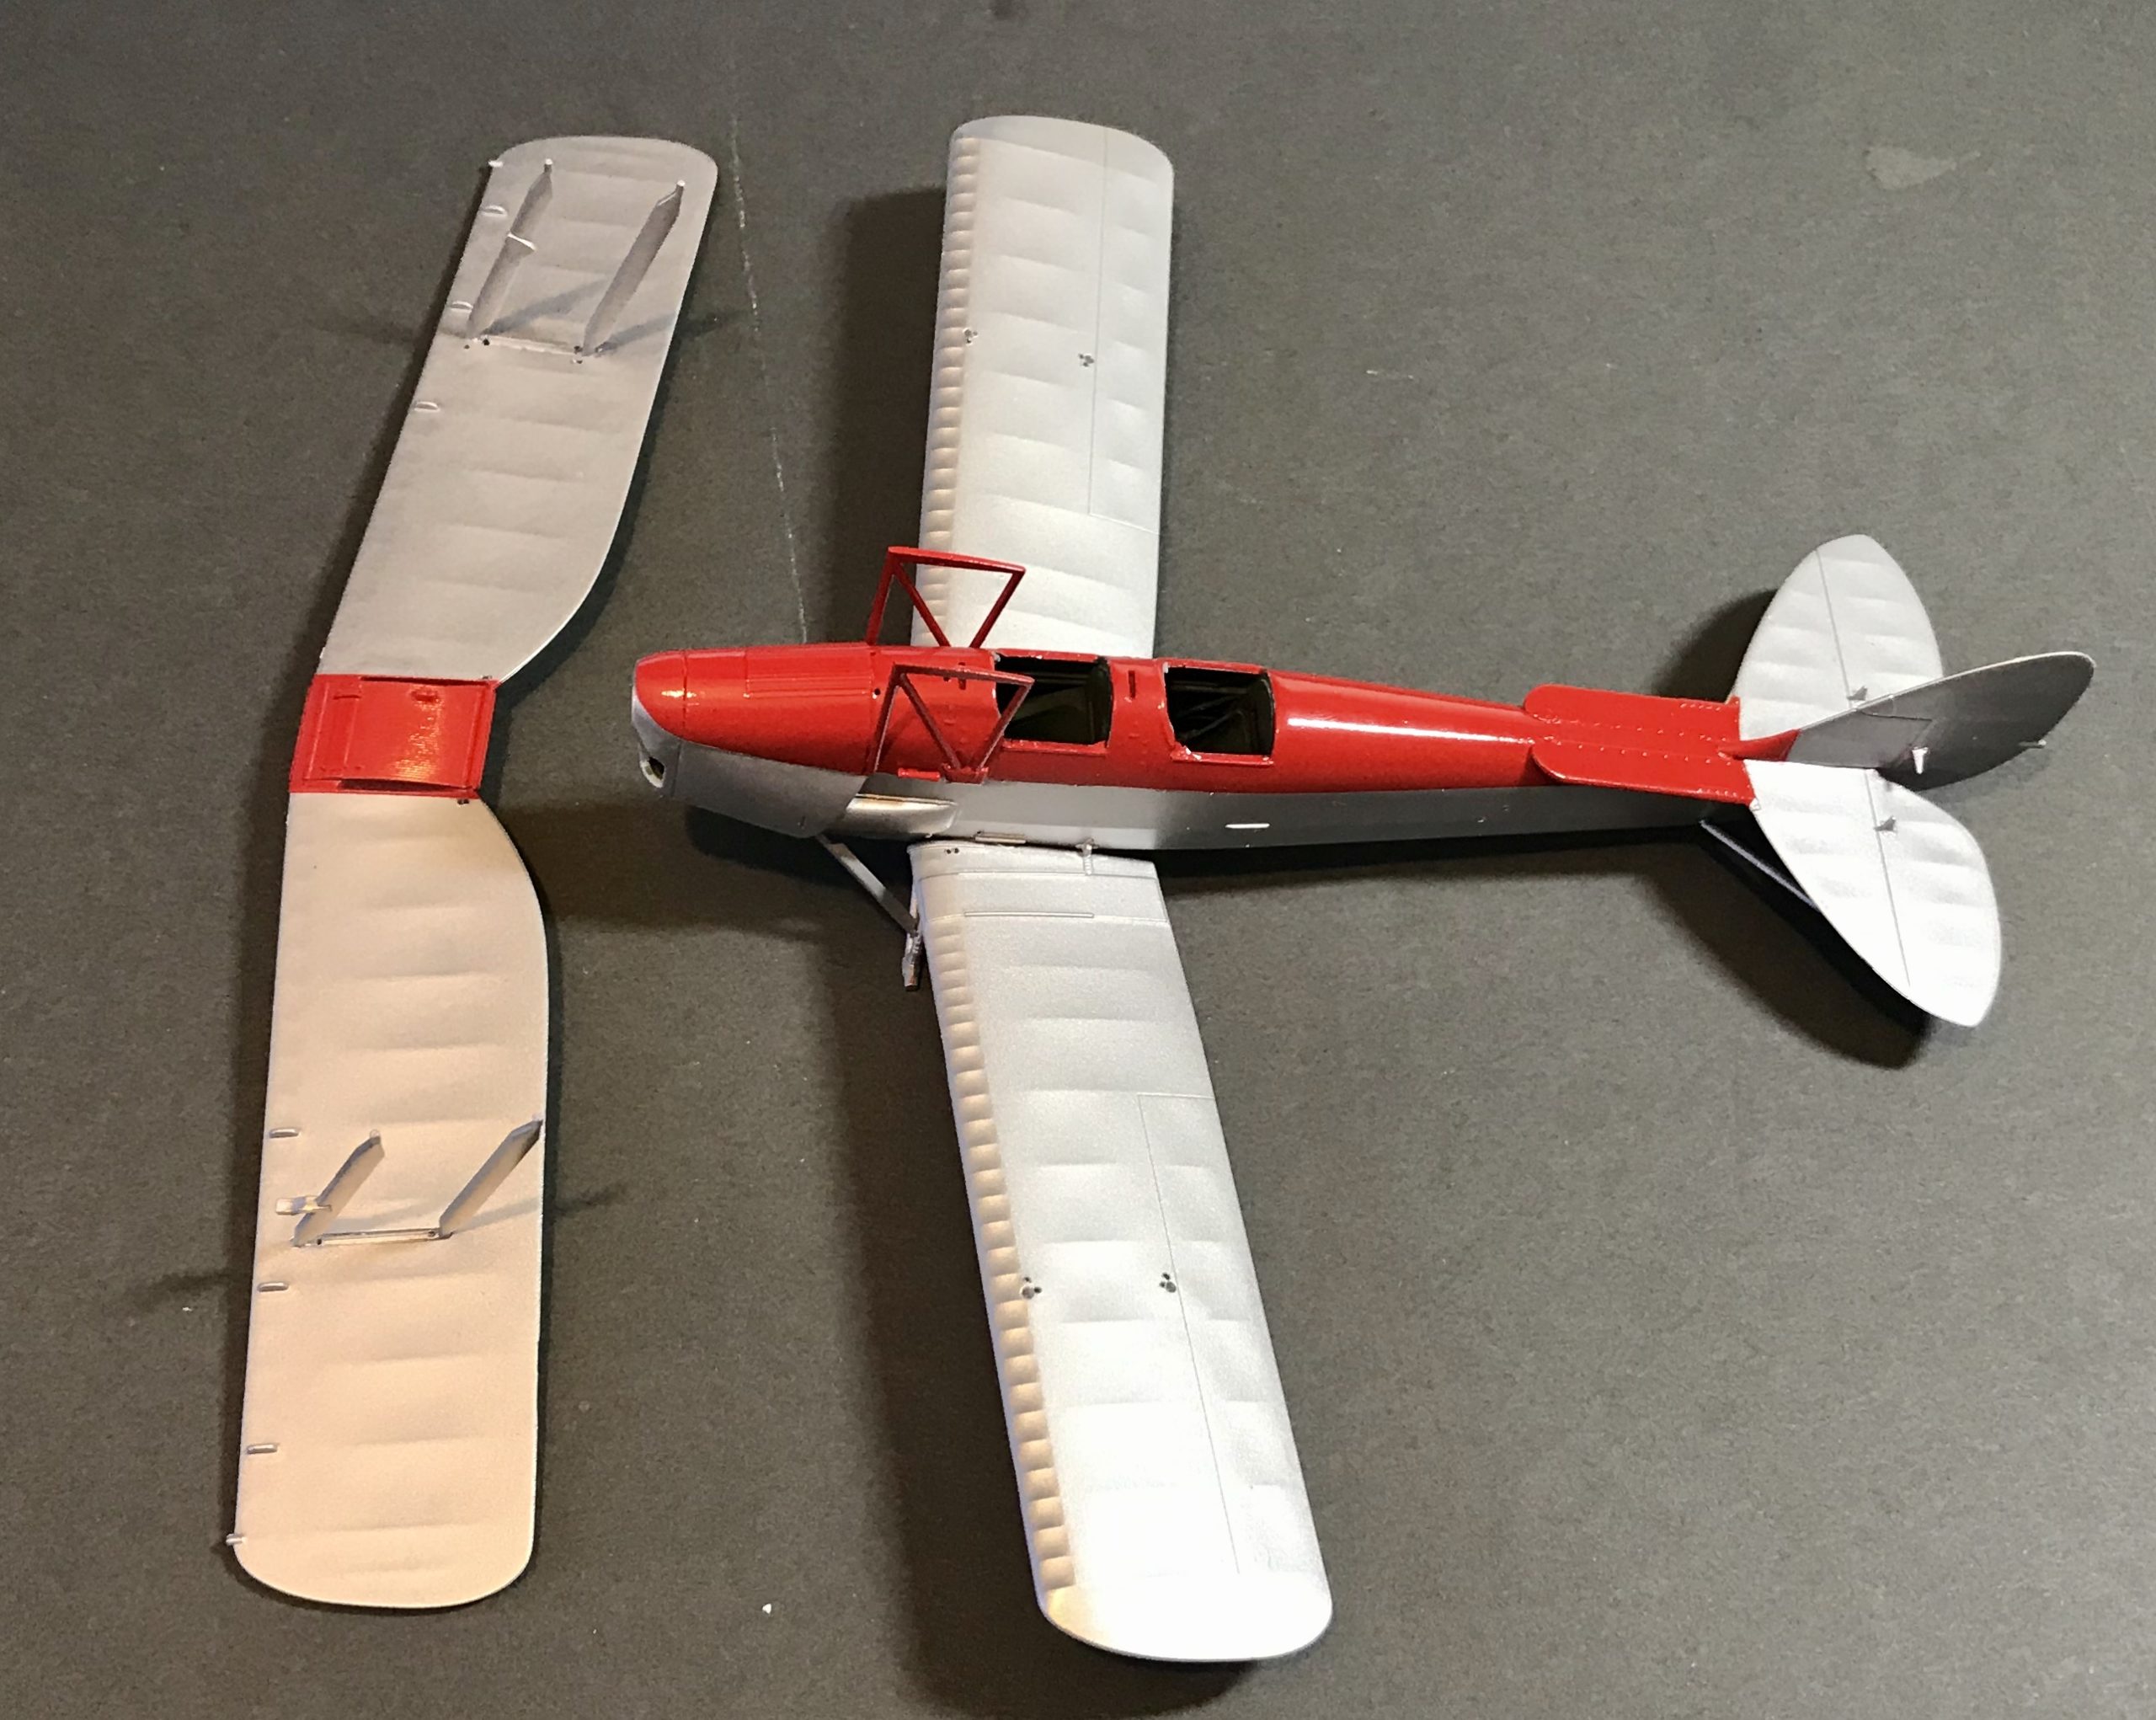
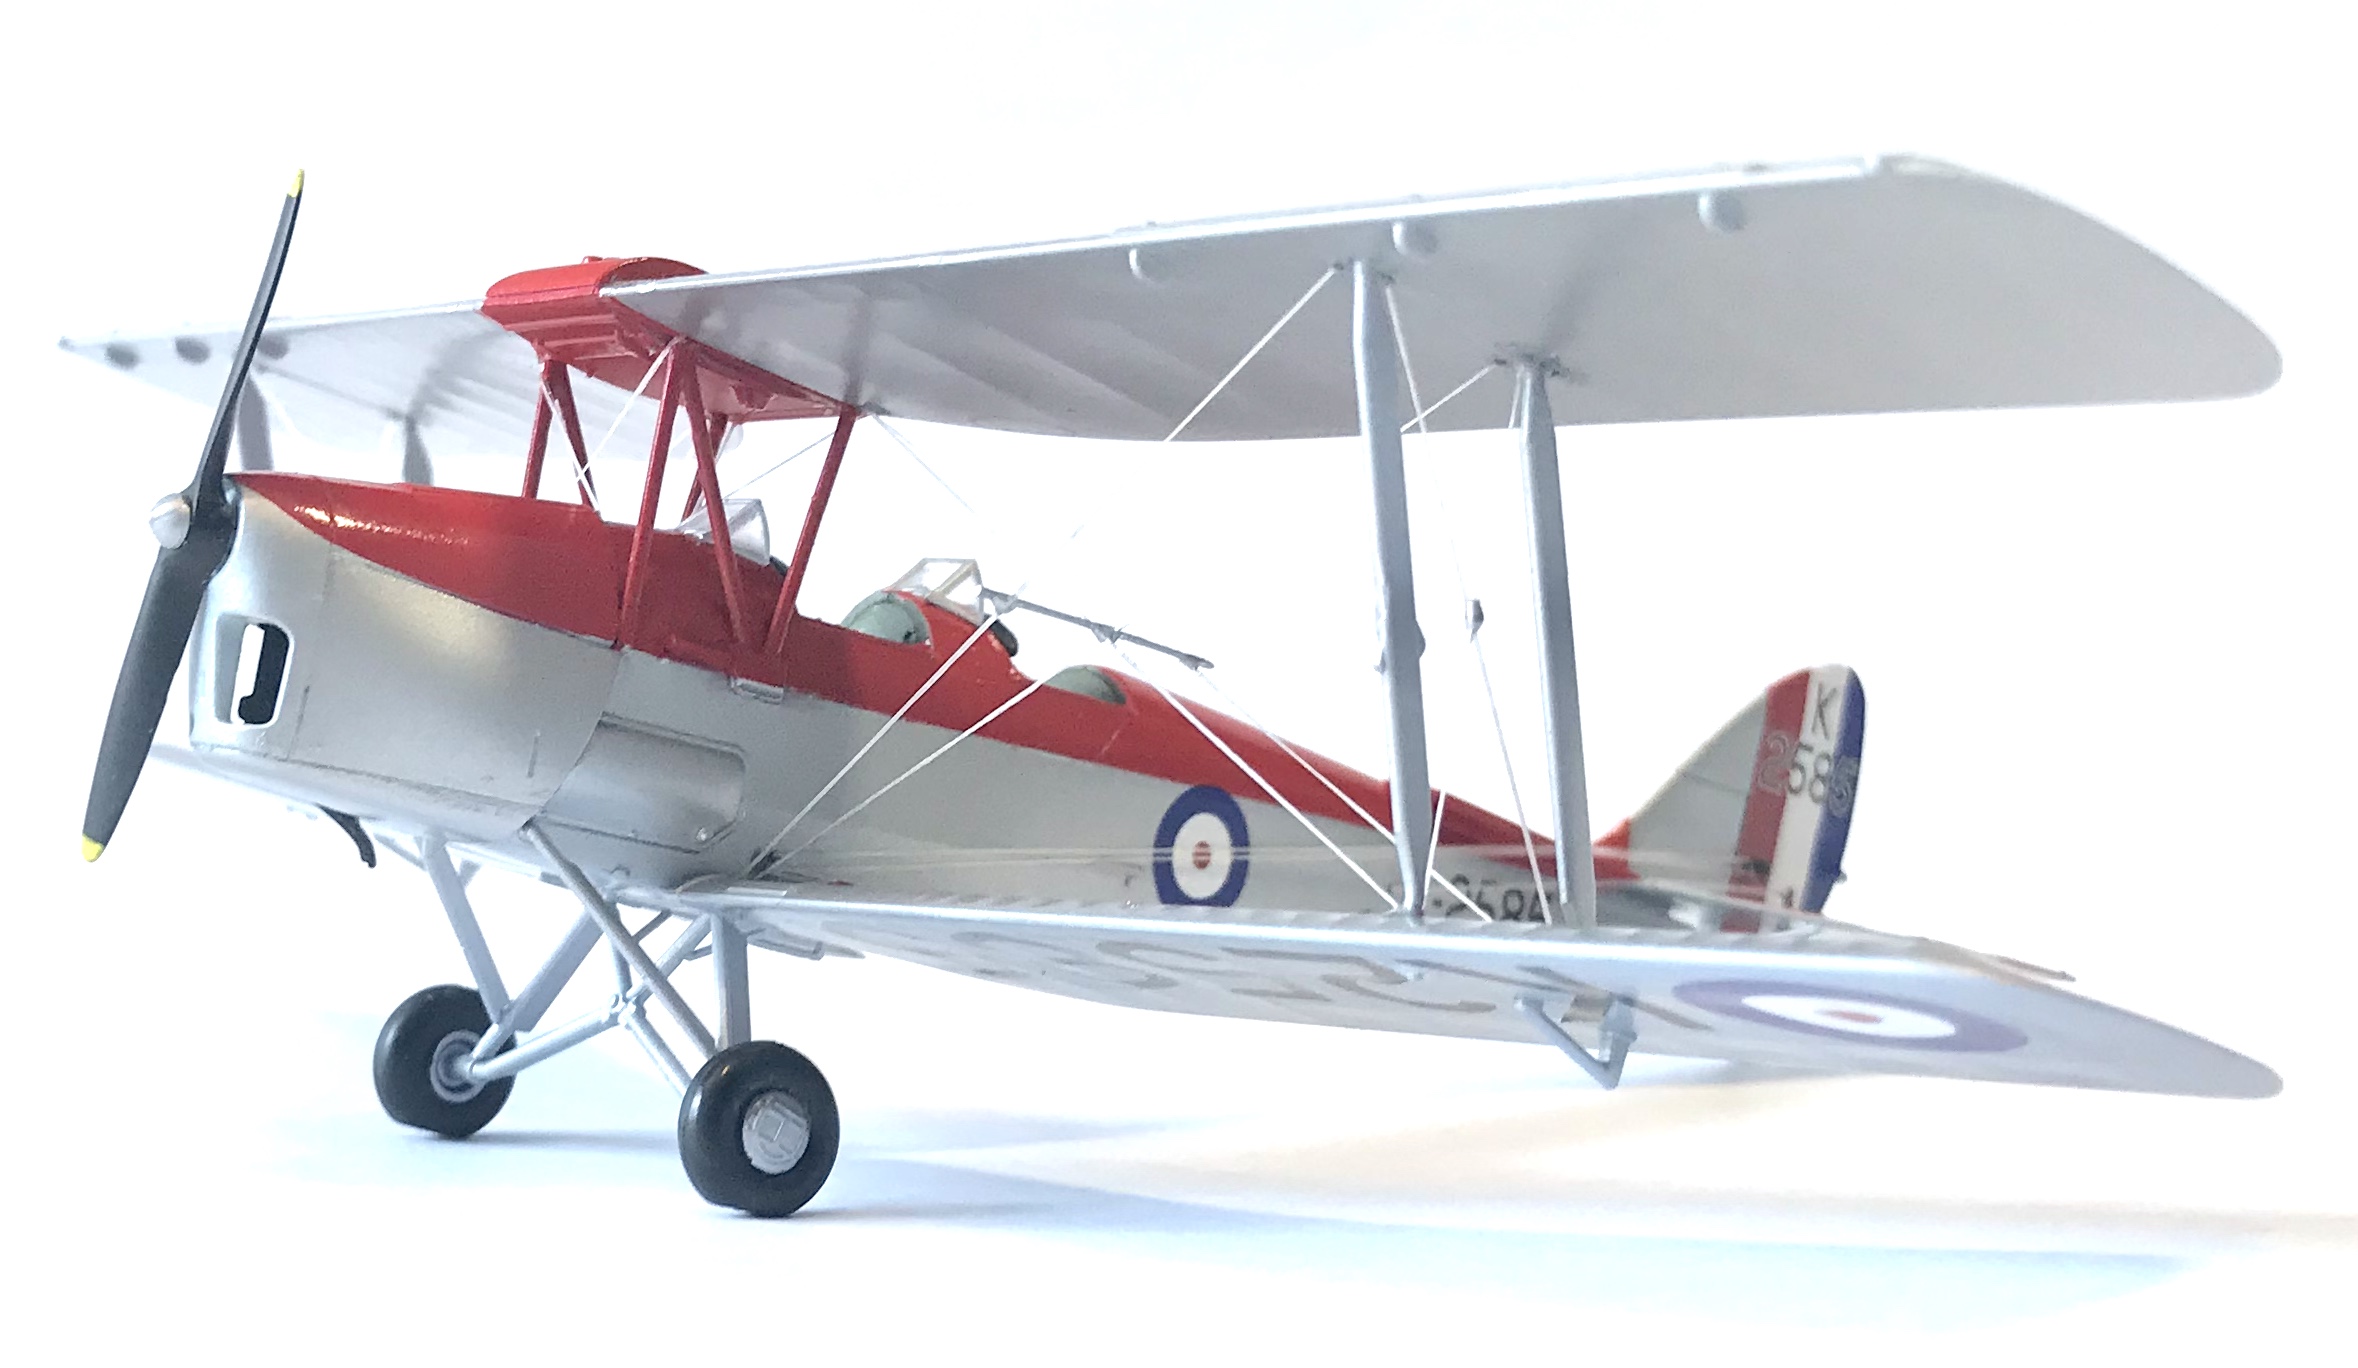
Once the assembly was complete I painted the whole model in Tamiya AS-12 airframe silver from the rattle can. Once the paint was dry (24 hours – I didn’t want to rush) I masked for painting the red sections with Tamiya masking tape. I sprayed the red areas with Tamiya LP-7 Pure red. On reflection LP-21 Italian Red would have been a closer match to the decal colours, but its a relatively minor mistake.
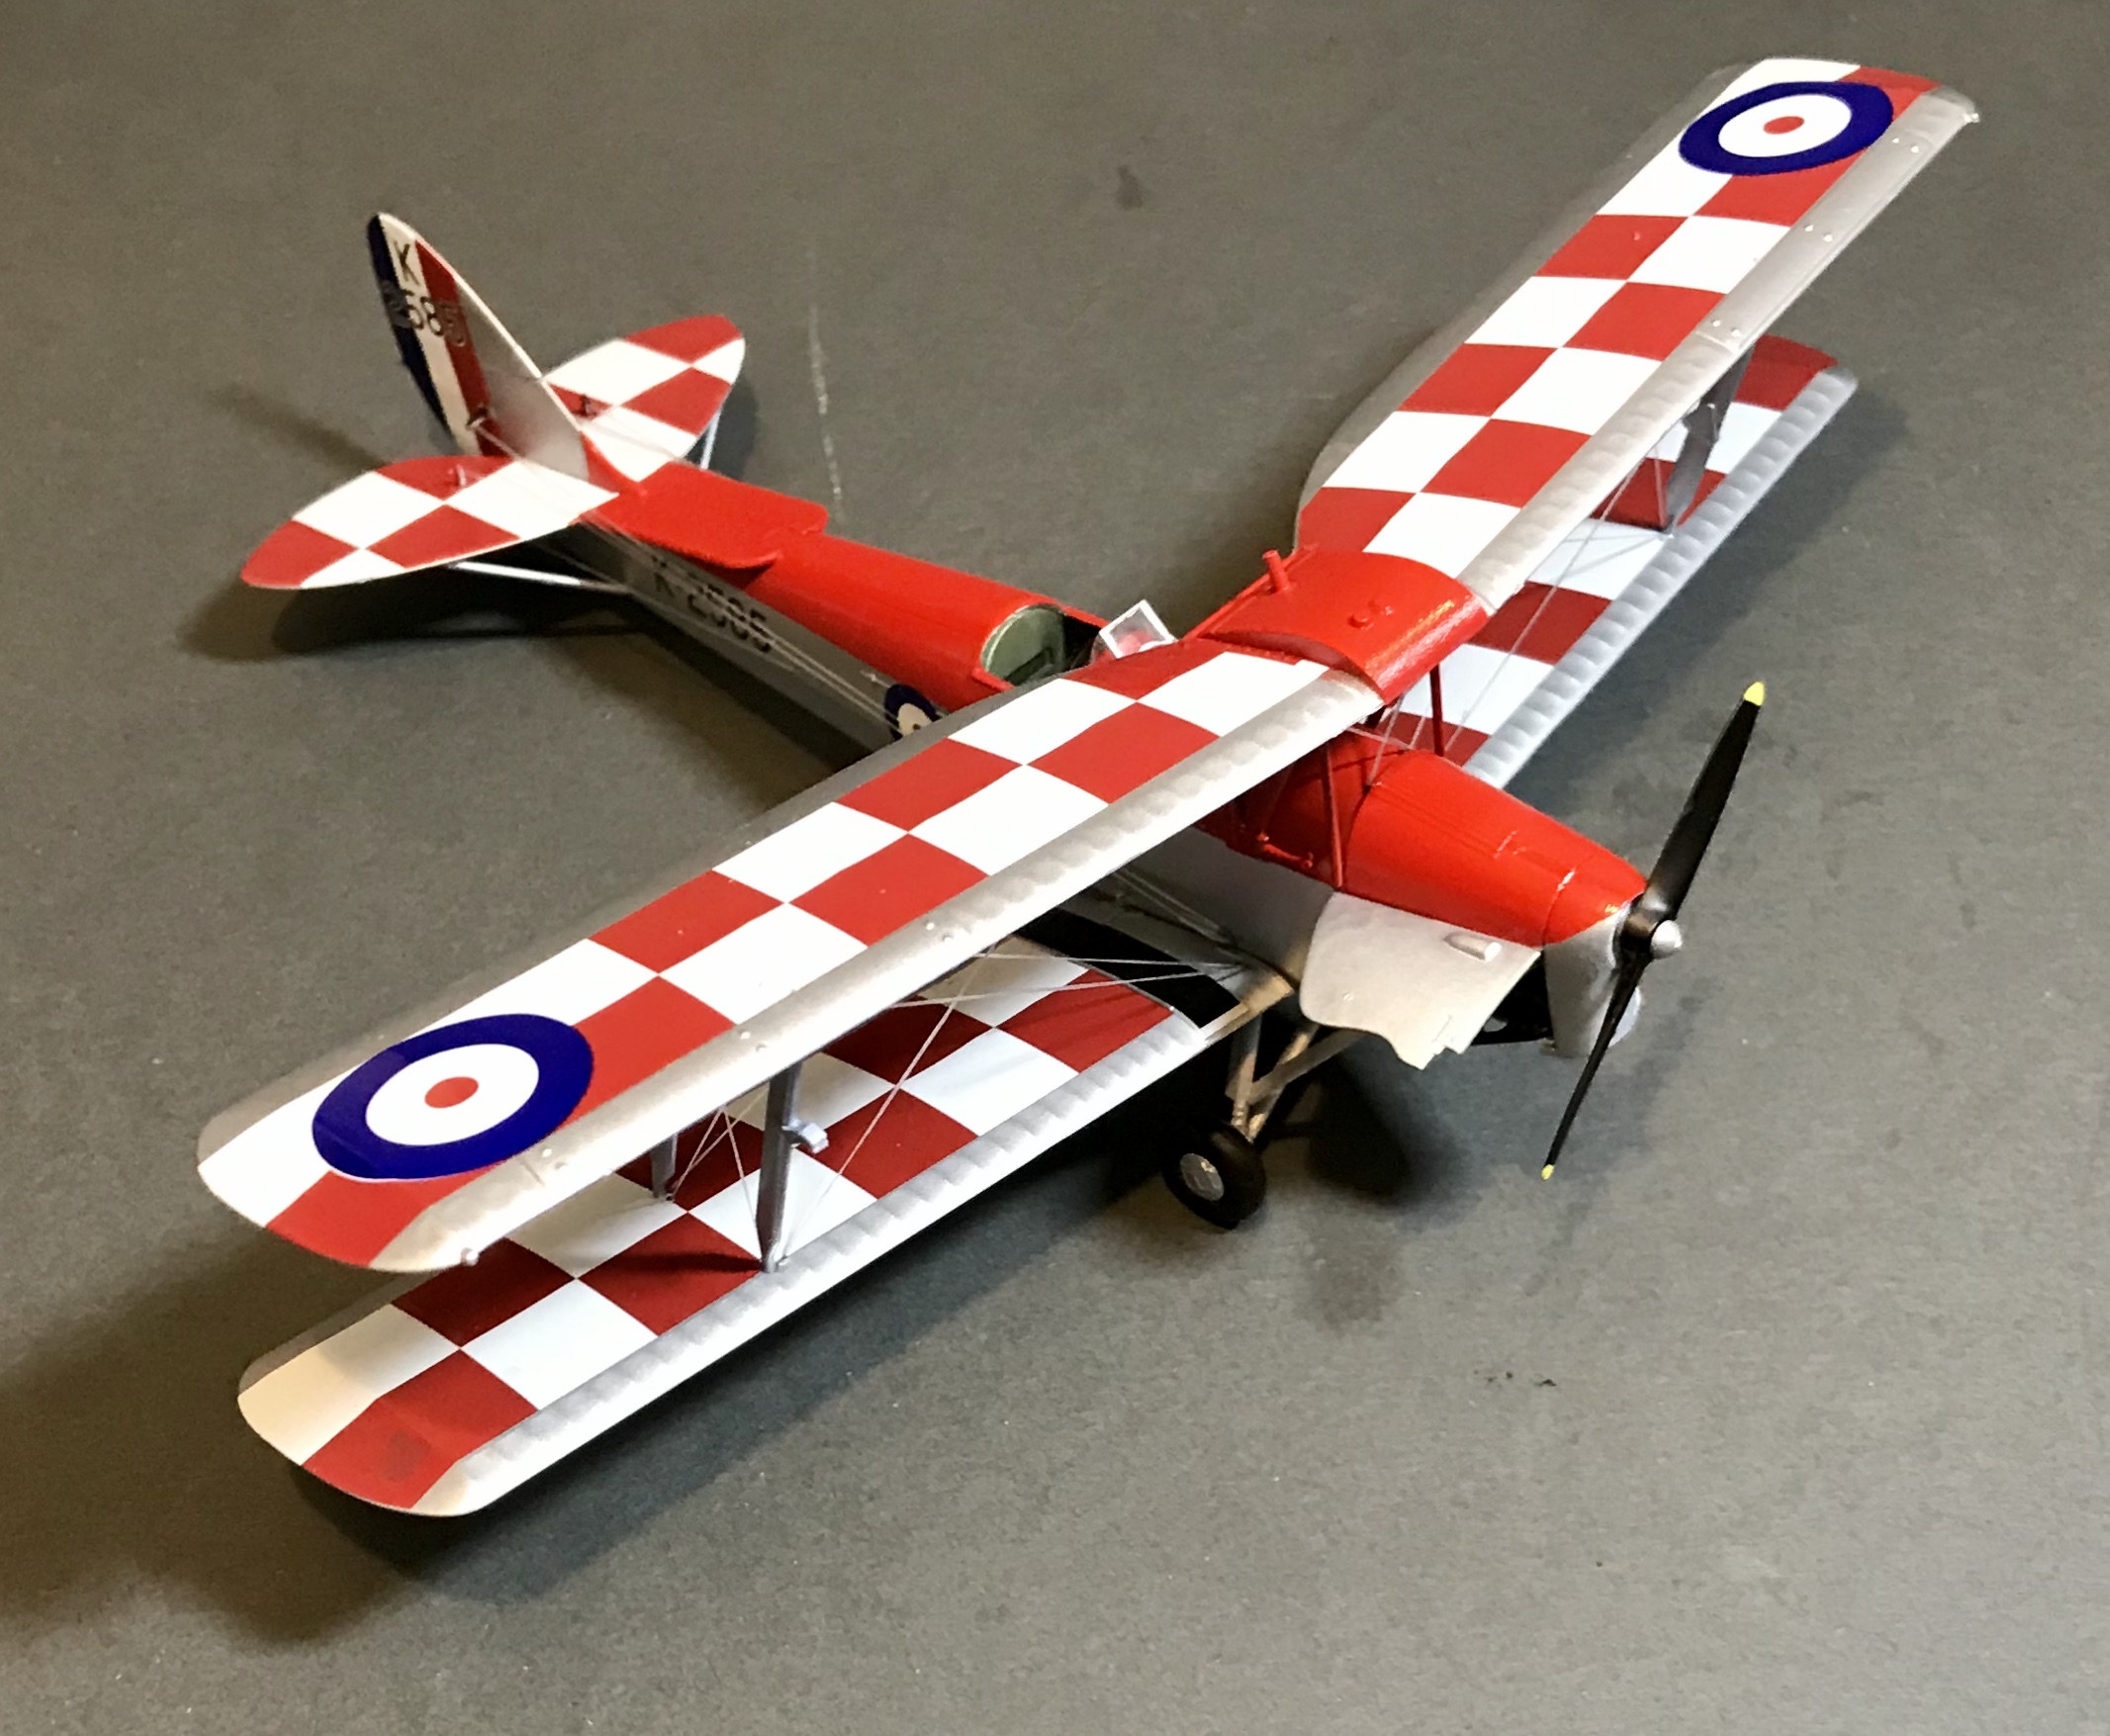
Once you start applying the decals the build really starts to come alive. As mentioned at the start of the build the decals are absolutely lovely.
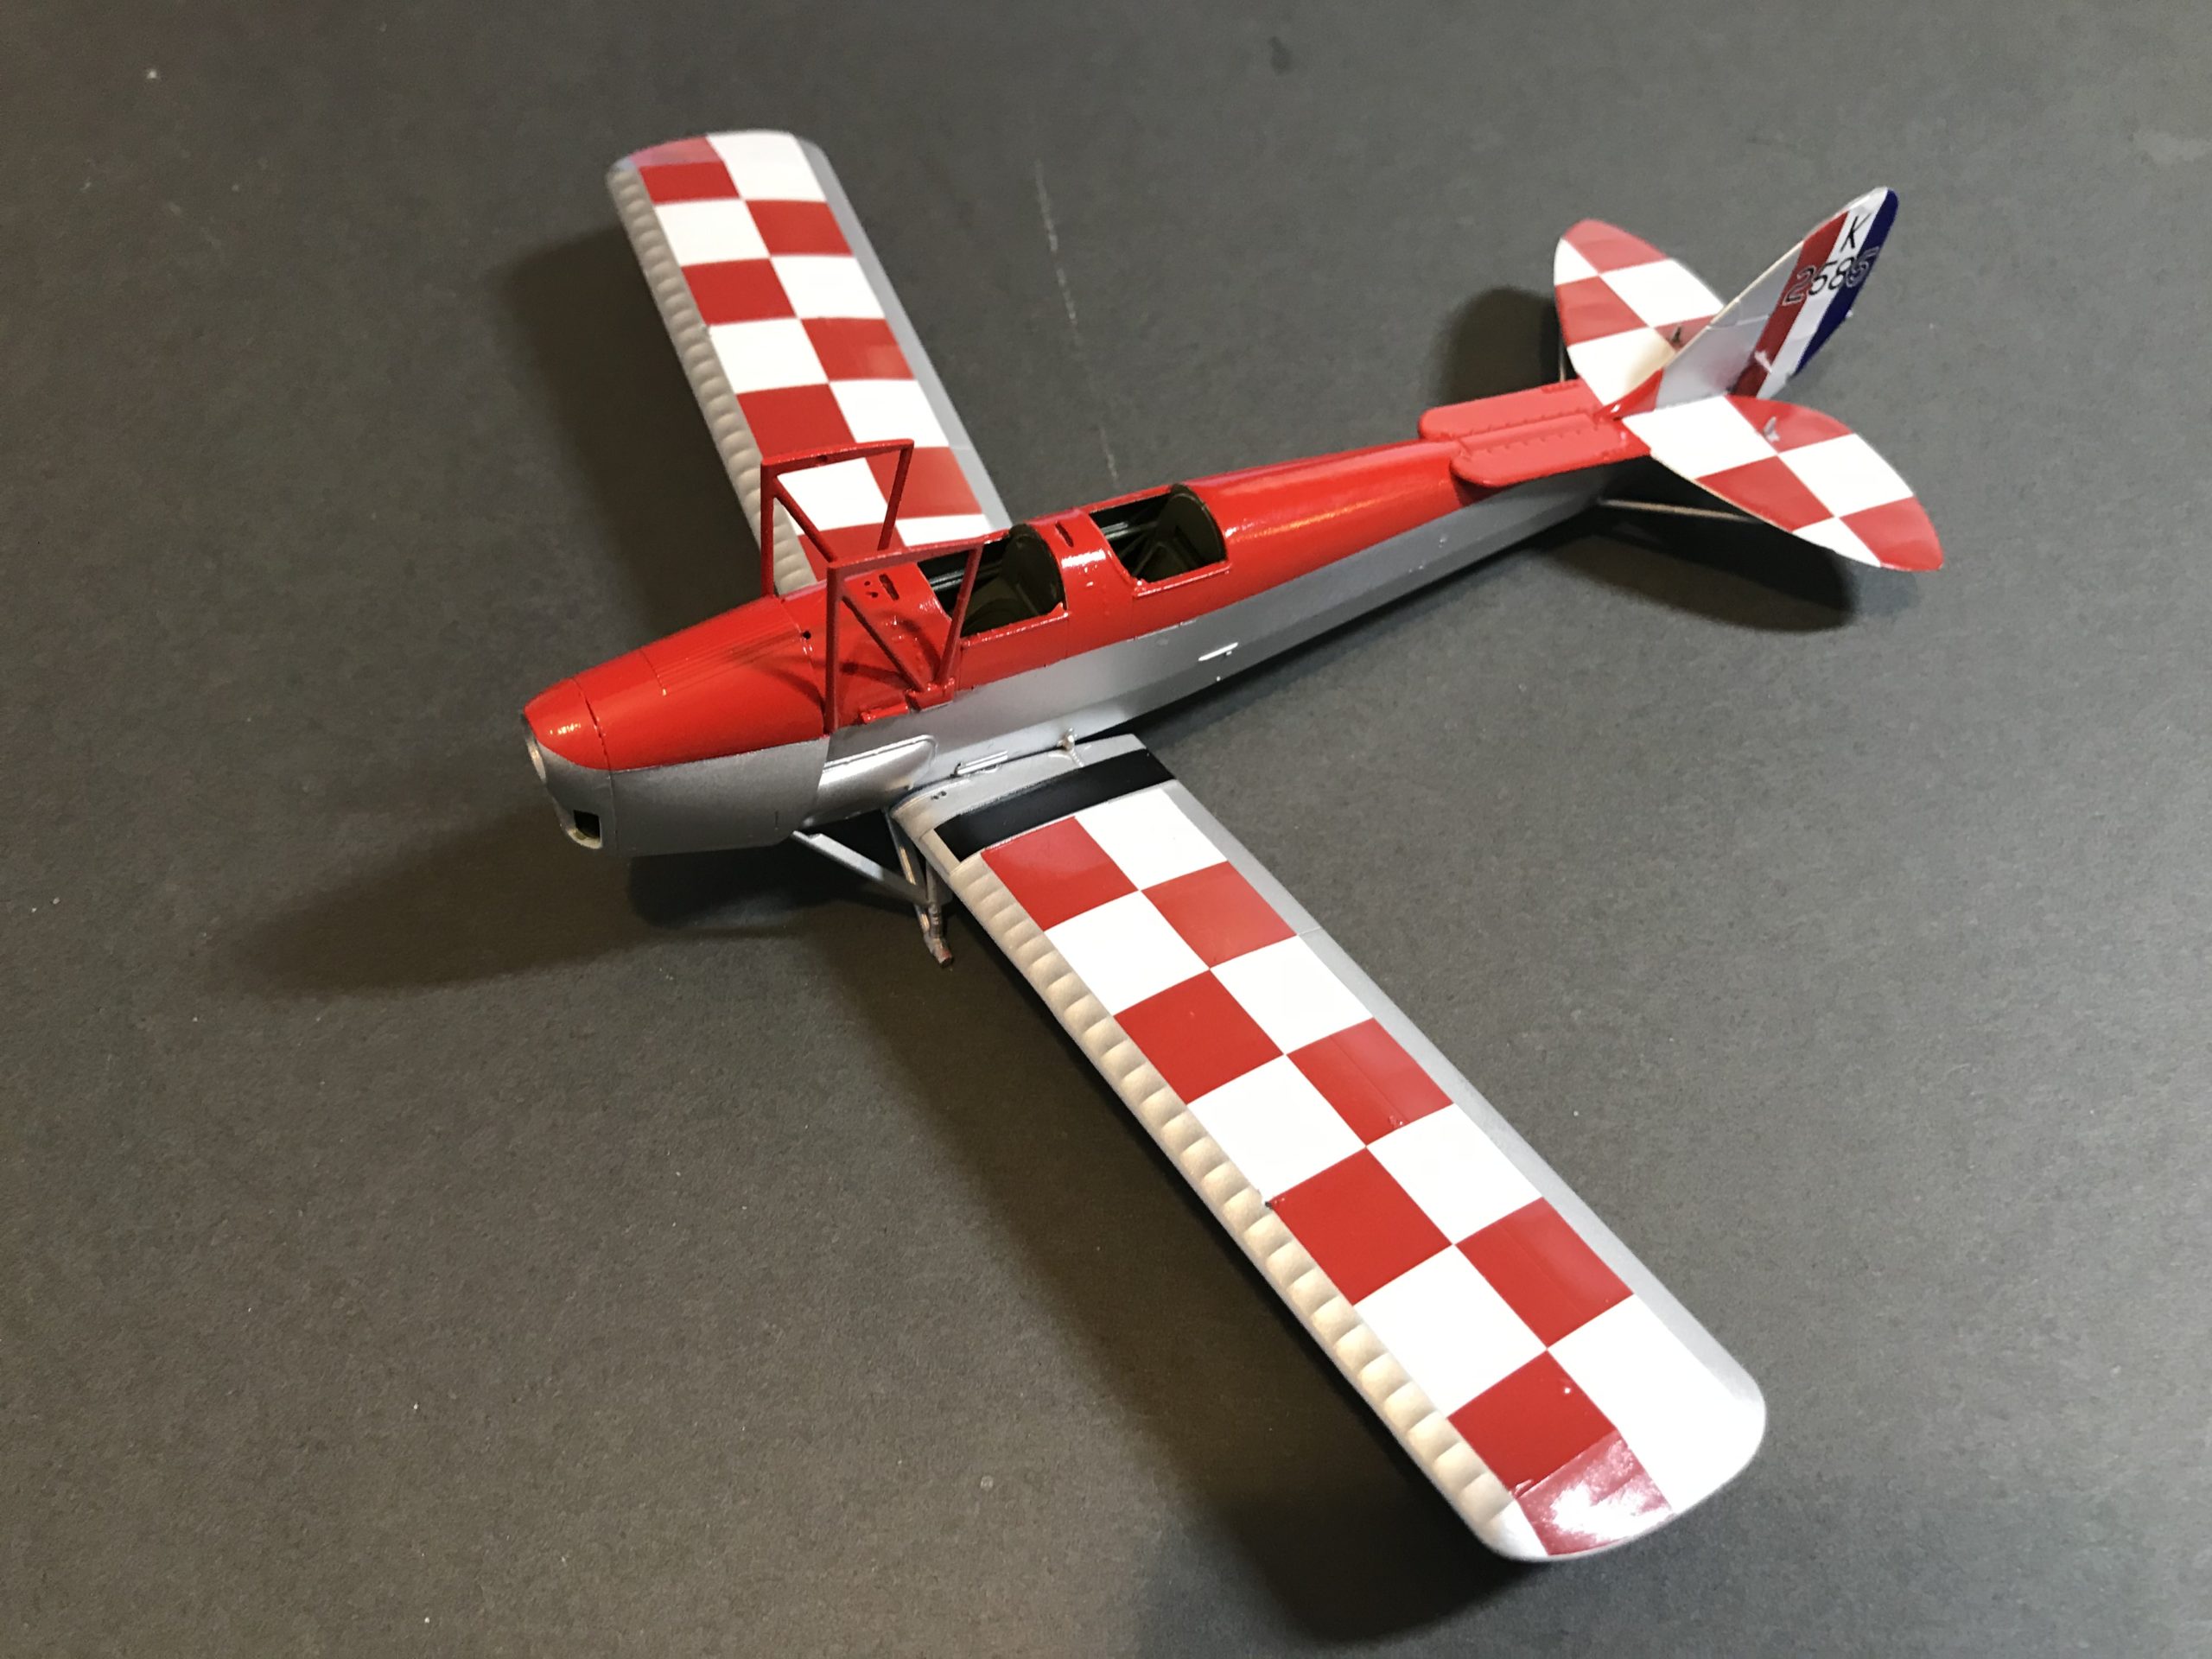
When the lower wing was done I drilled holes for the rigging using a micro drill bit. You can just about make them out in the pictures below. I use elastic thread for the rigging, thread the rigging through the hole, apply a tiny drop of super glue. That wicks into the hole and cures in a few seconds. I also drilled holes in the top wing and repeated the process. The excess on the top and bottom wings is trimmed, then sanded flat and finally repainted the silver coat.
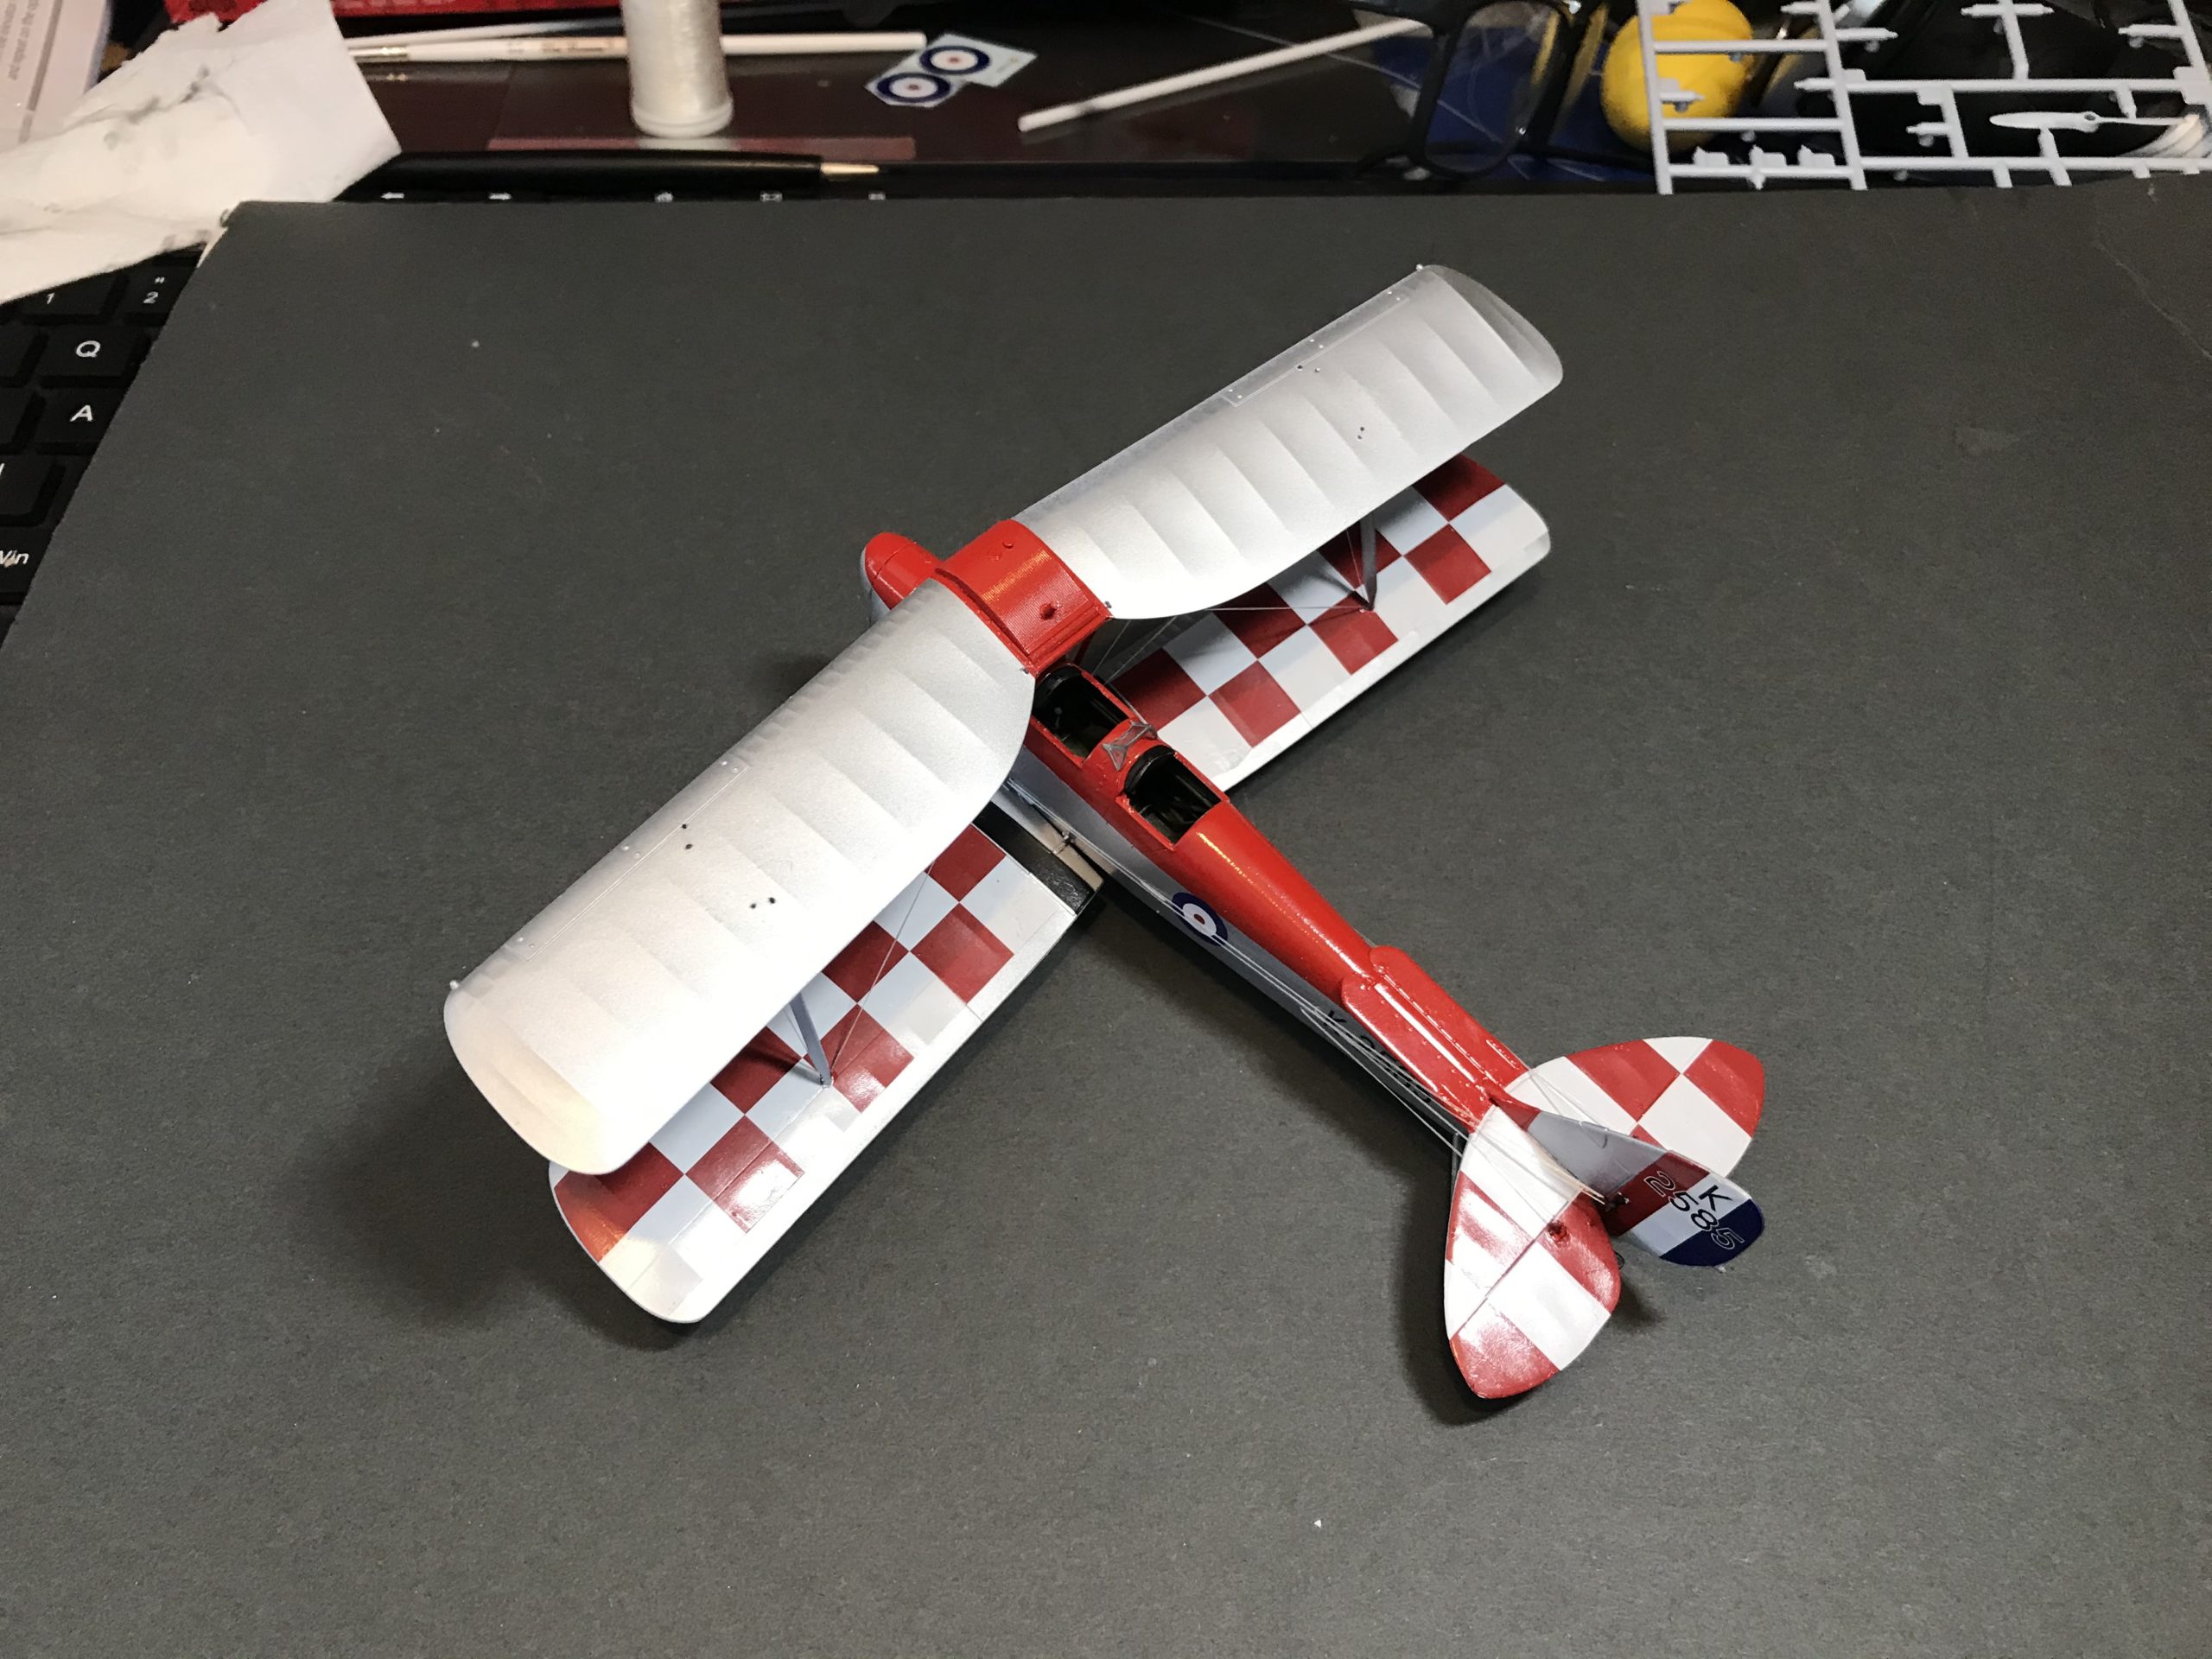
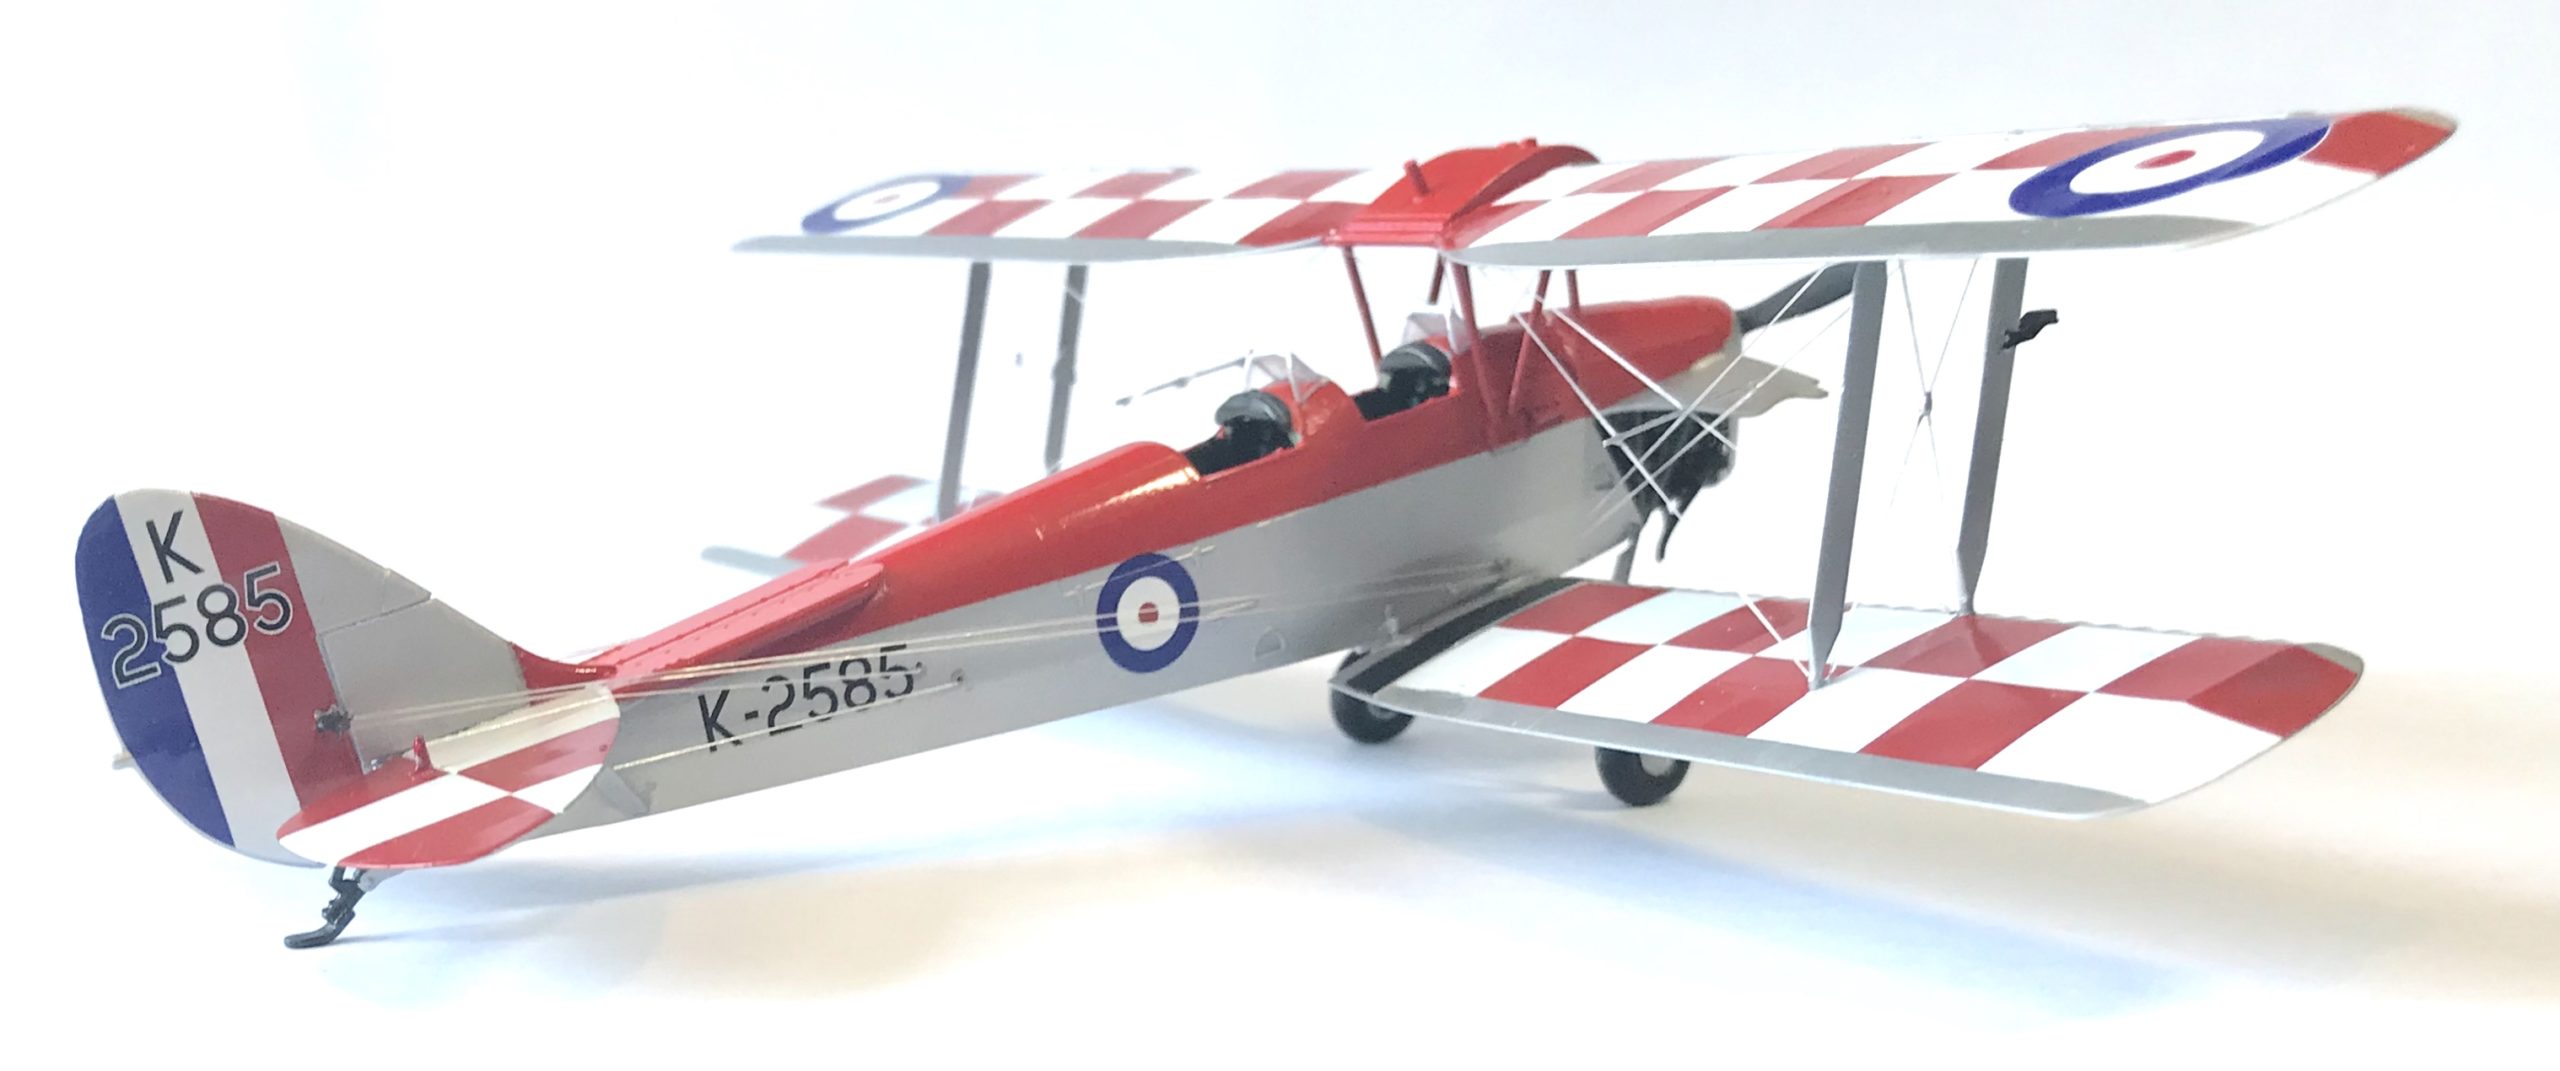
Once the top wing decals are on any sign of the rigging holes is completely removed and the model is complete.


The Verdict on this kit:
Suggested Tools:
I would suggest an Airbrush or Spray paint for the larger areas, with a decent amount of masking tape in order to create the clean finish between Silver/Red. The Decals are also pretty big, so decal solution would help. Otherwise standard modelling tools – including a knife if you want to make the changes to the kit as per my build.
Kit Specific Advice:
Do not be afraid to use the alternative parts as per my build, if you take your time its easy to make the changes using the jig Airfix provide.
What we’ve taken away from this build:
All in all there is not a huge amount to say about this kit (take this as a positive!), it went together very well and is a relatively simple build. Id say it’s suitable for any level of modeller, a beginner will not be put off as the assembly is easy and no filling is required to create a good fit and finish. Yet an experienced modeller will be happy as they can focus on creating the perfect finish with their own painting and weather techniques!
It was a fun and straight forward build, which I thoroughly enjoyed. If you have been considering it for a while, then what are you waiting for!
I recently flew in a Tiger Moth at Ducford. Bought this kit to add to my collection as a reminder of my flight. Your build is stunning and I hope mine turns out as good. I won’t be going for the chequer theme though, all silver and yellow is my theme as it is as close to the one I flew.