
A note from the author…
I’m Rob, a normal guy who enjoys making models! I’m by no means a ‘professional’ modeller, but I am passionate, try my best and kits generally turn out well! All my builds are done at home in my spare time with typical model tools and accessories – all views and opinions are my own and not that of Jadlam.
Name – Airfix A00501 Top Gun Jester’s A-4 Skyhawk 1:72 Plastic Model Kit
Number – A00501
Scale – 1/72
Price – £14.99 RRP
Availability – November 2020 – available for Pre-Order Now! Buy yours here! at jadlamracingmodels.com
Another “New” top gun kit from Airfix. This is a re-box of the A-4 kit released in 2012 according to the good people at scalemates.
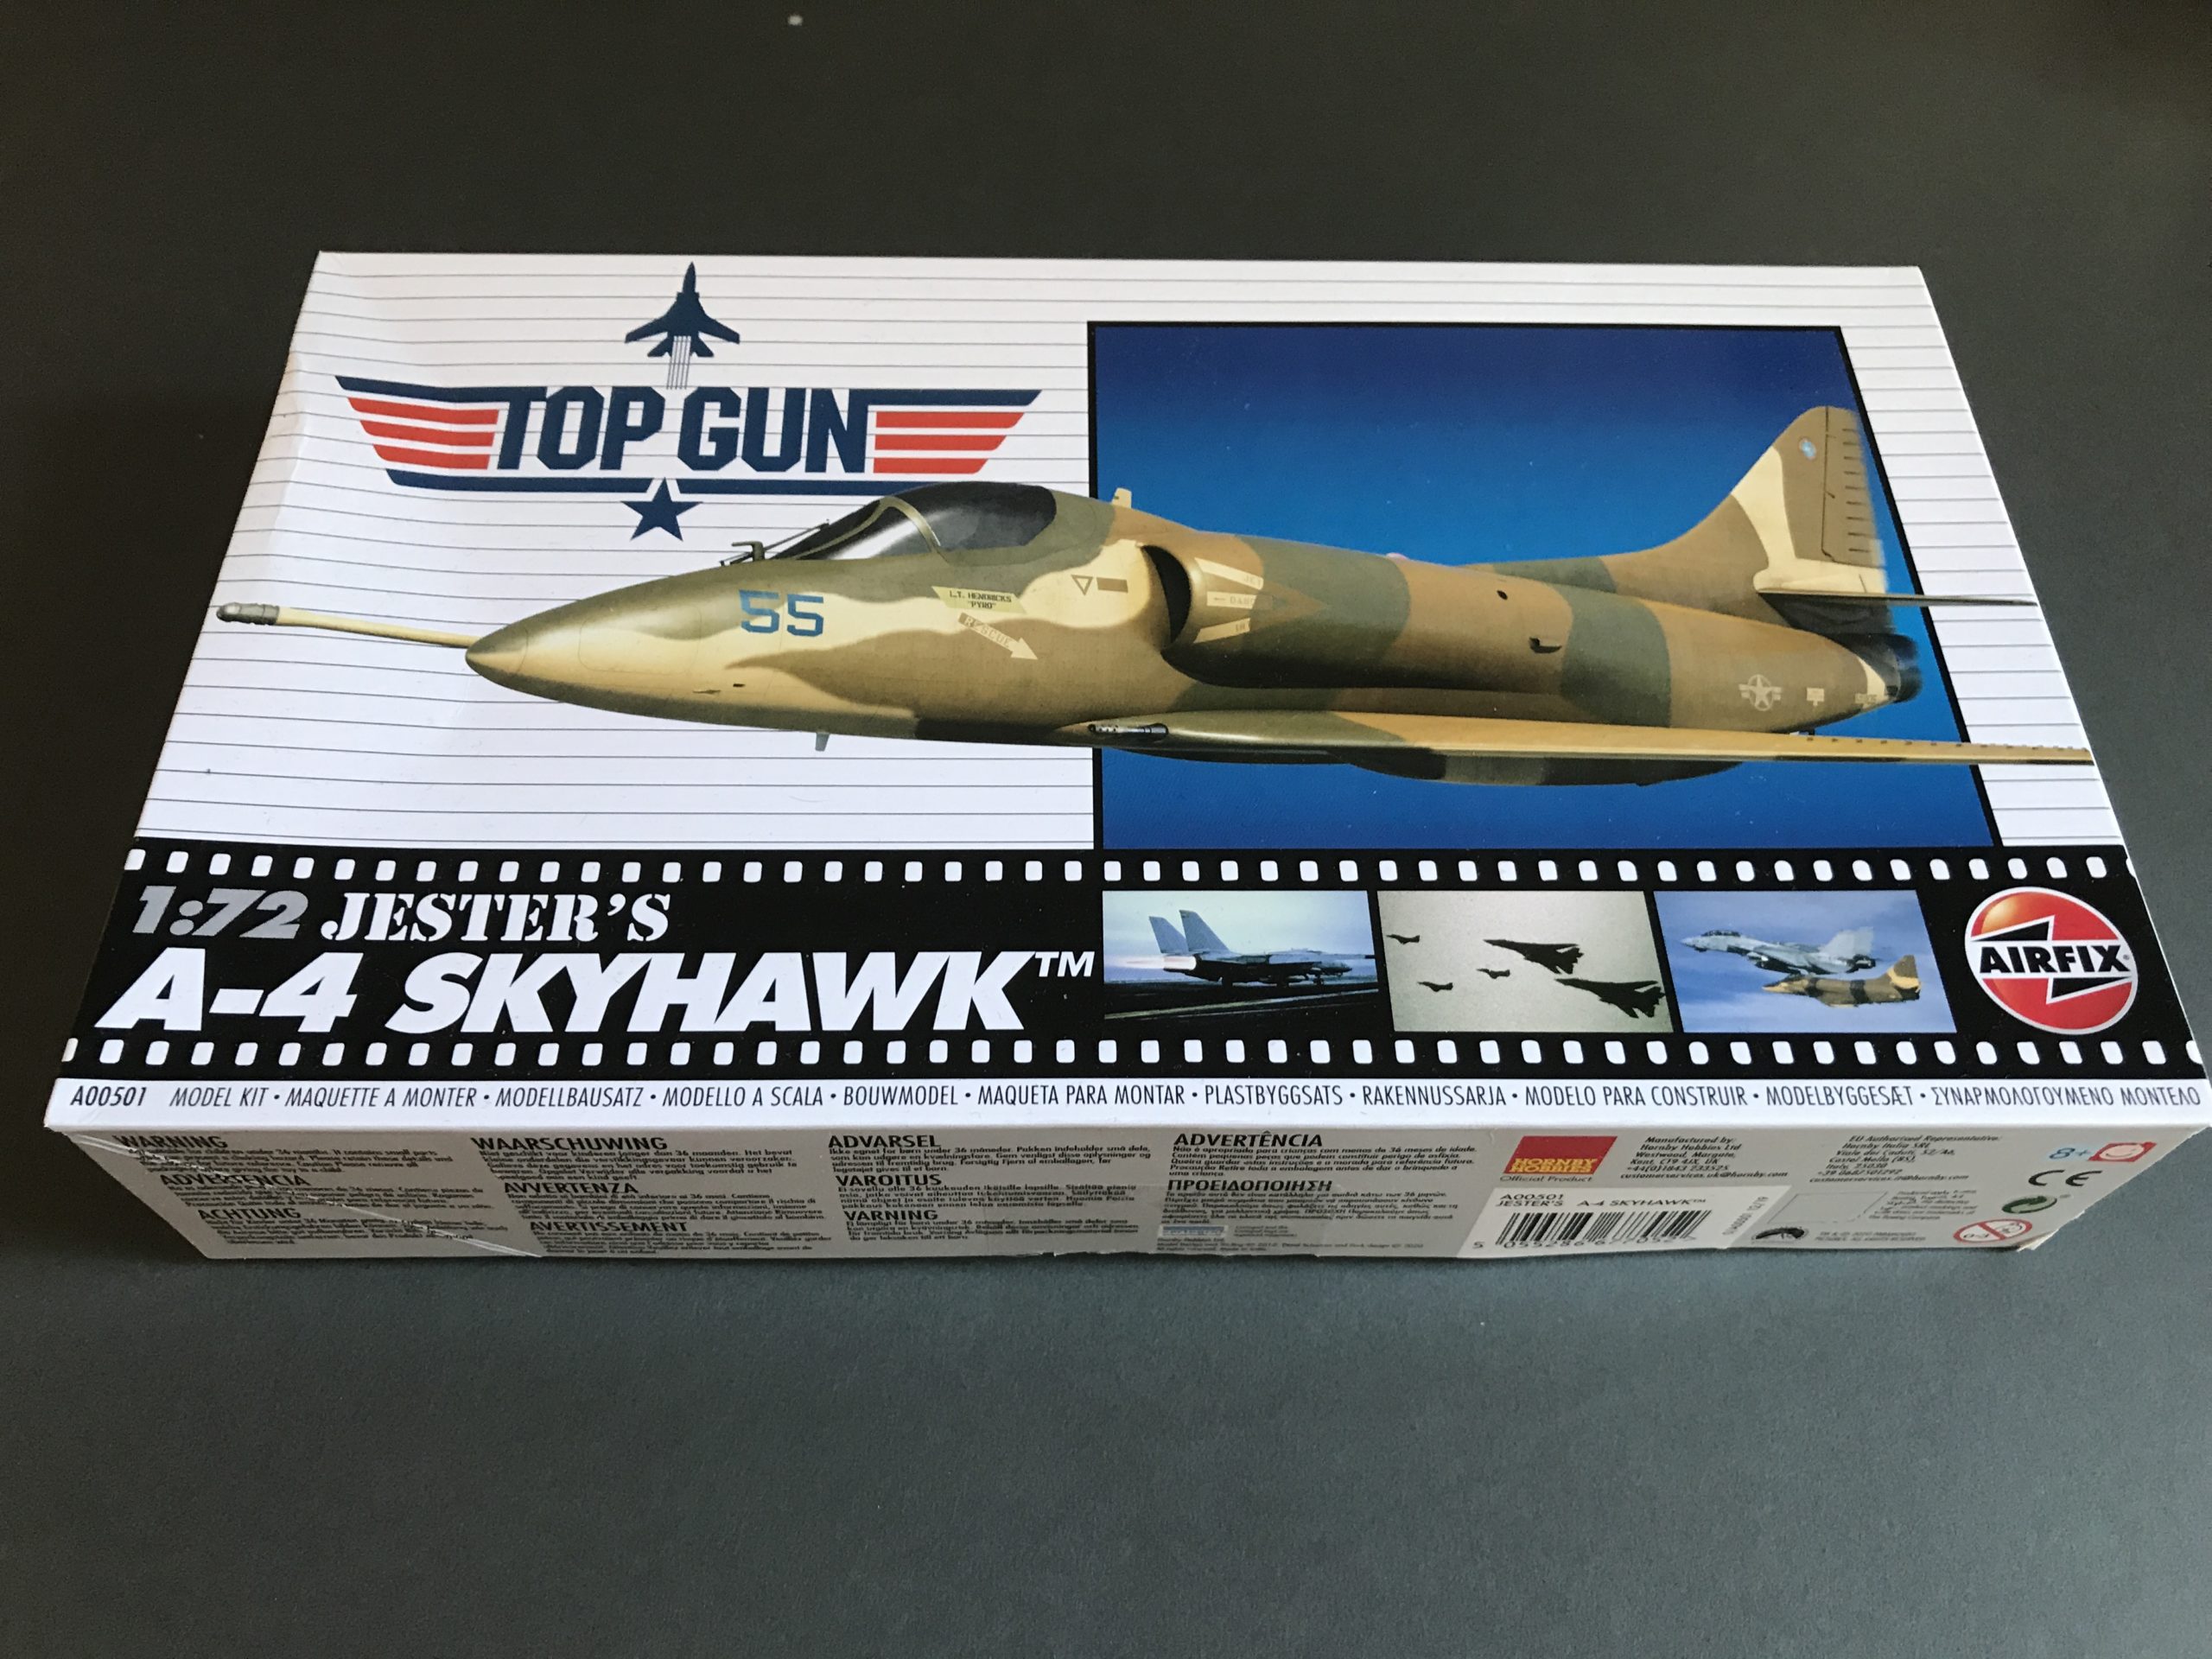
This is a slight oddity in as much as the last version of the Airfix A-4 was released in this exact same box back in 1987. So potentially you could have two completely different kits in the same boxing.
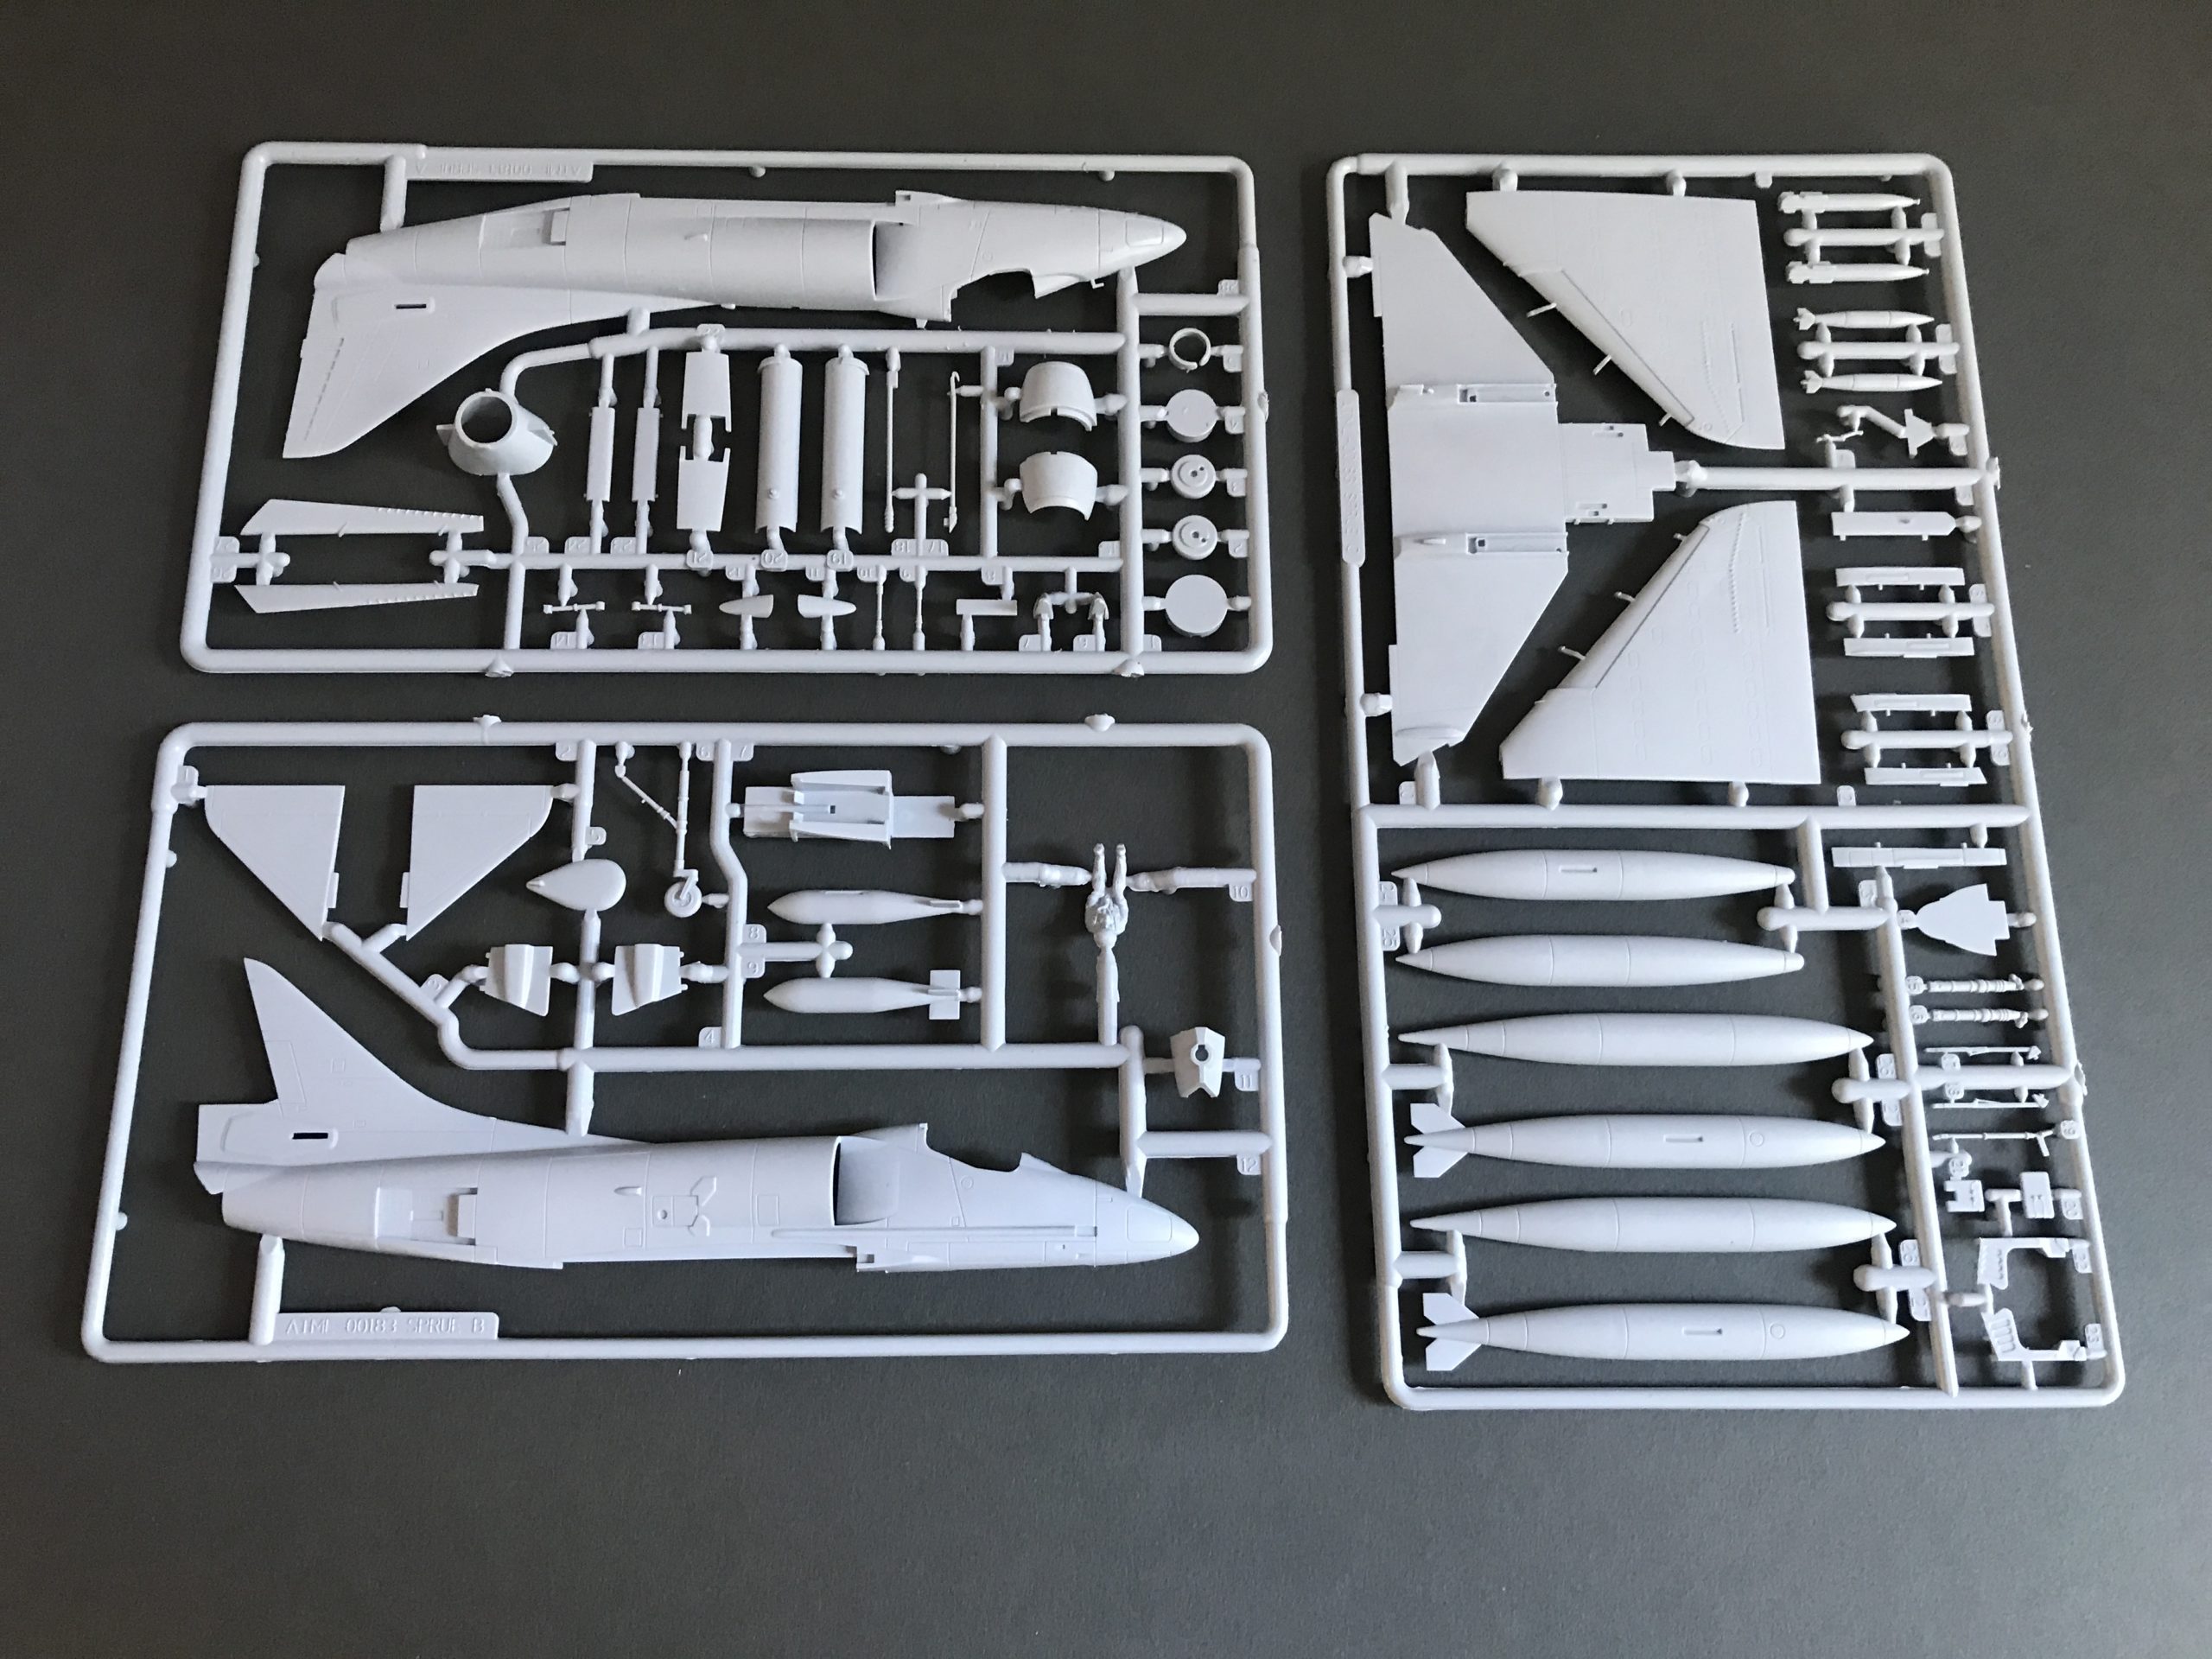
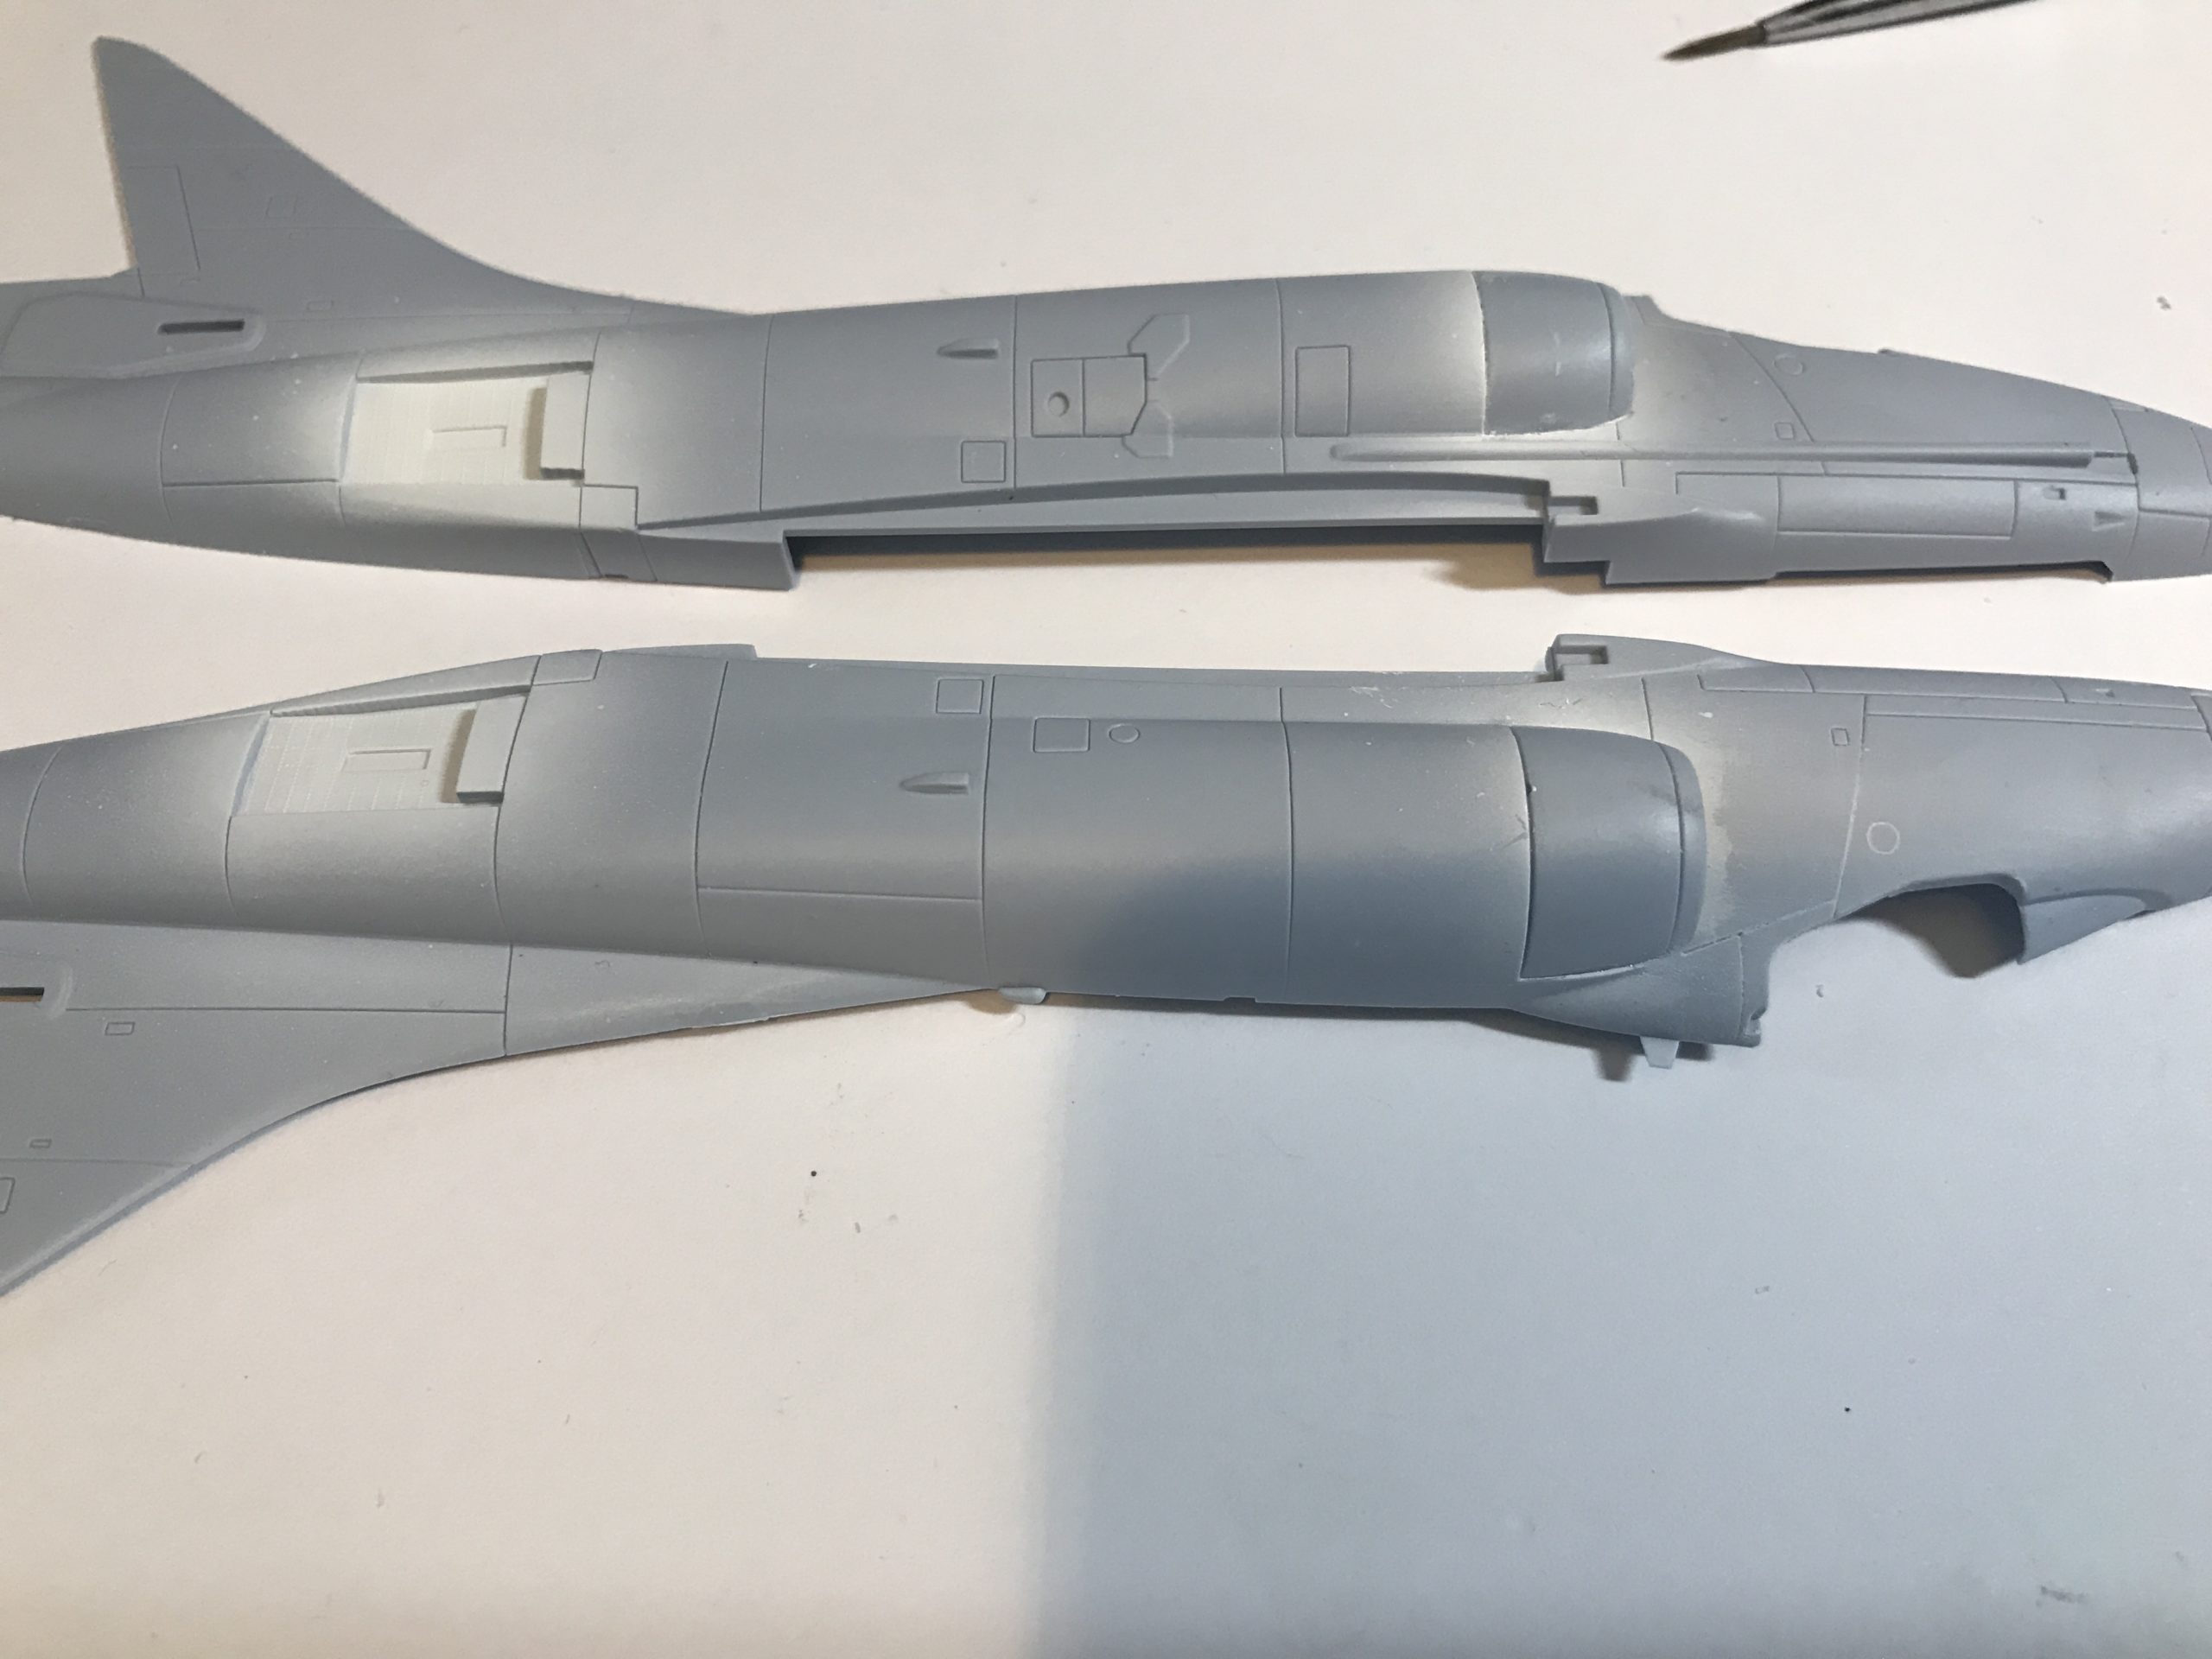
A quick look in the box confirms this is definitely one of Airfix’s more recent offerings. Easily identified by the usual softish grey styrene and great level of detail including raised and recessed panel lines.
Having never built a Skyhawk before (at least since I was 10) I think I will give this one a go.
What’s in the box?
As mentioned and as expected from a modern Airfix kit the detail is strong. The normal Airfix plastic (which works very well with Tamiya extra thin cement)
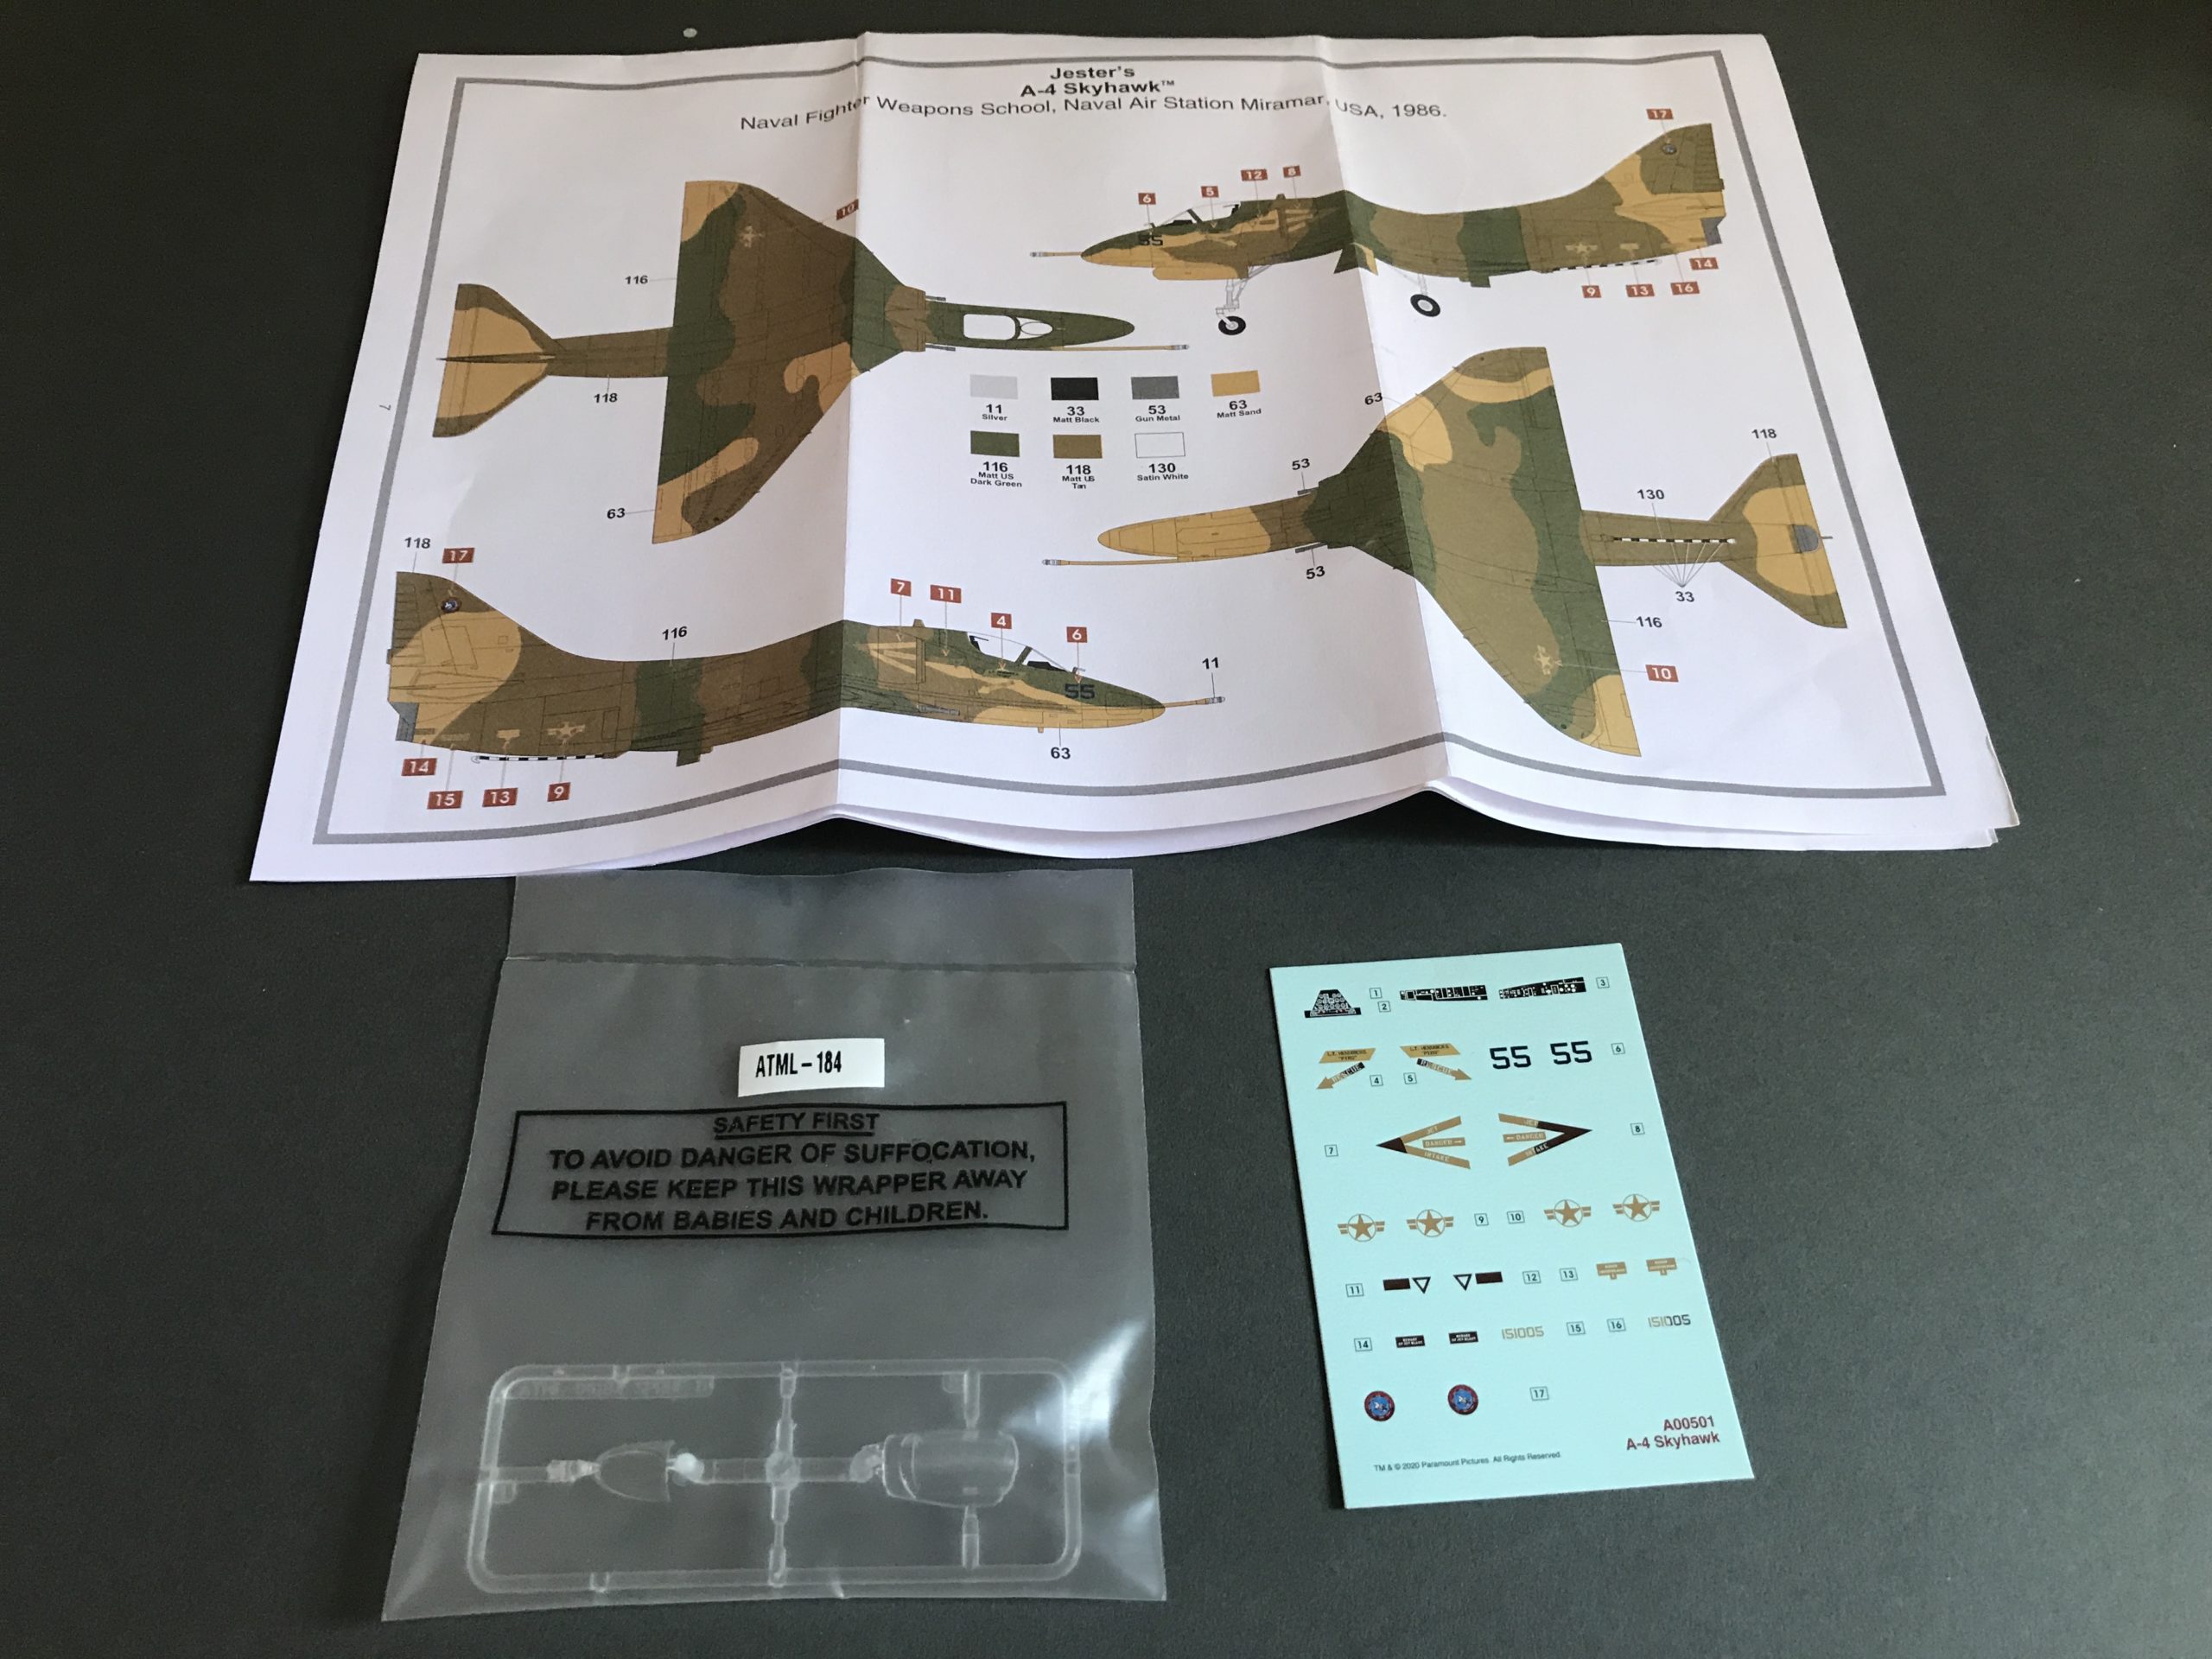
It’s a relatively simple kit with just three grey sprue’s and a simple clear one. Panel lines will be considered too deep and out of scale by some, but I really like this approach from Airfix. Decals are once again very simple (Although not quite as simple as the MIG) you also get a colour (almost) full size painting guide on the back of the instructions which is a great help.
Overall this promises to be a very nice easy to build kit – let’s see if I am right.
The Build!
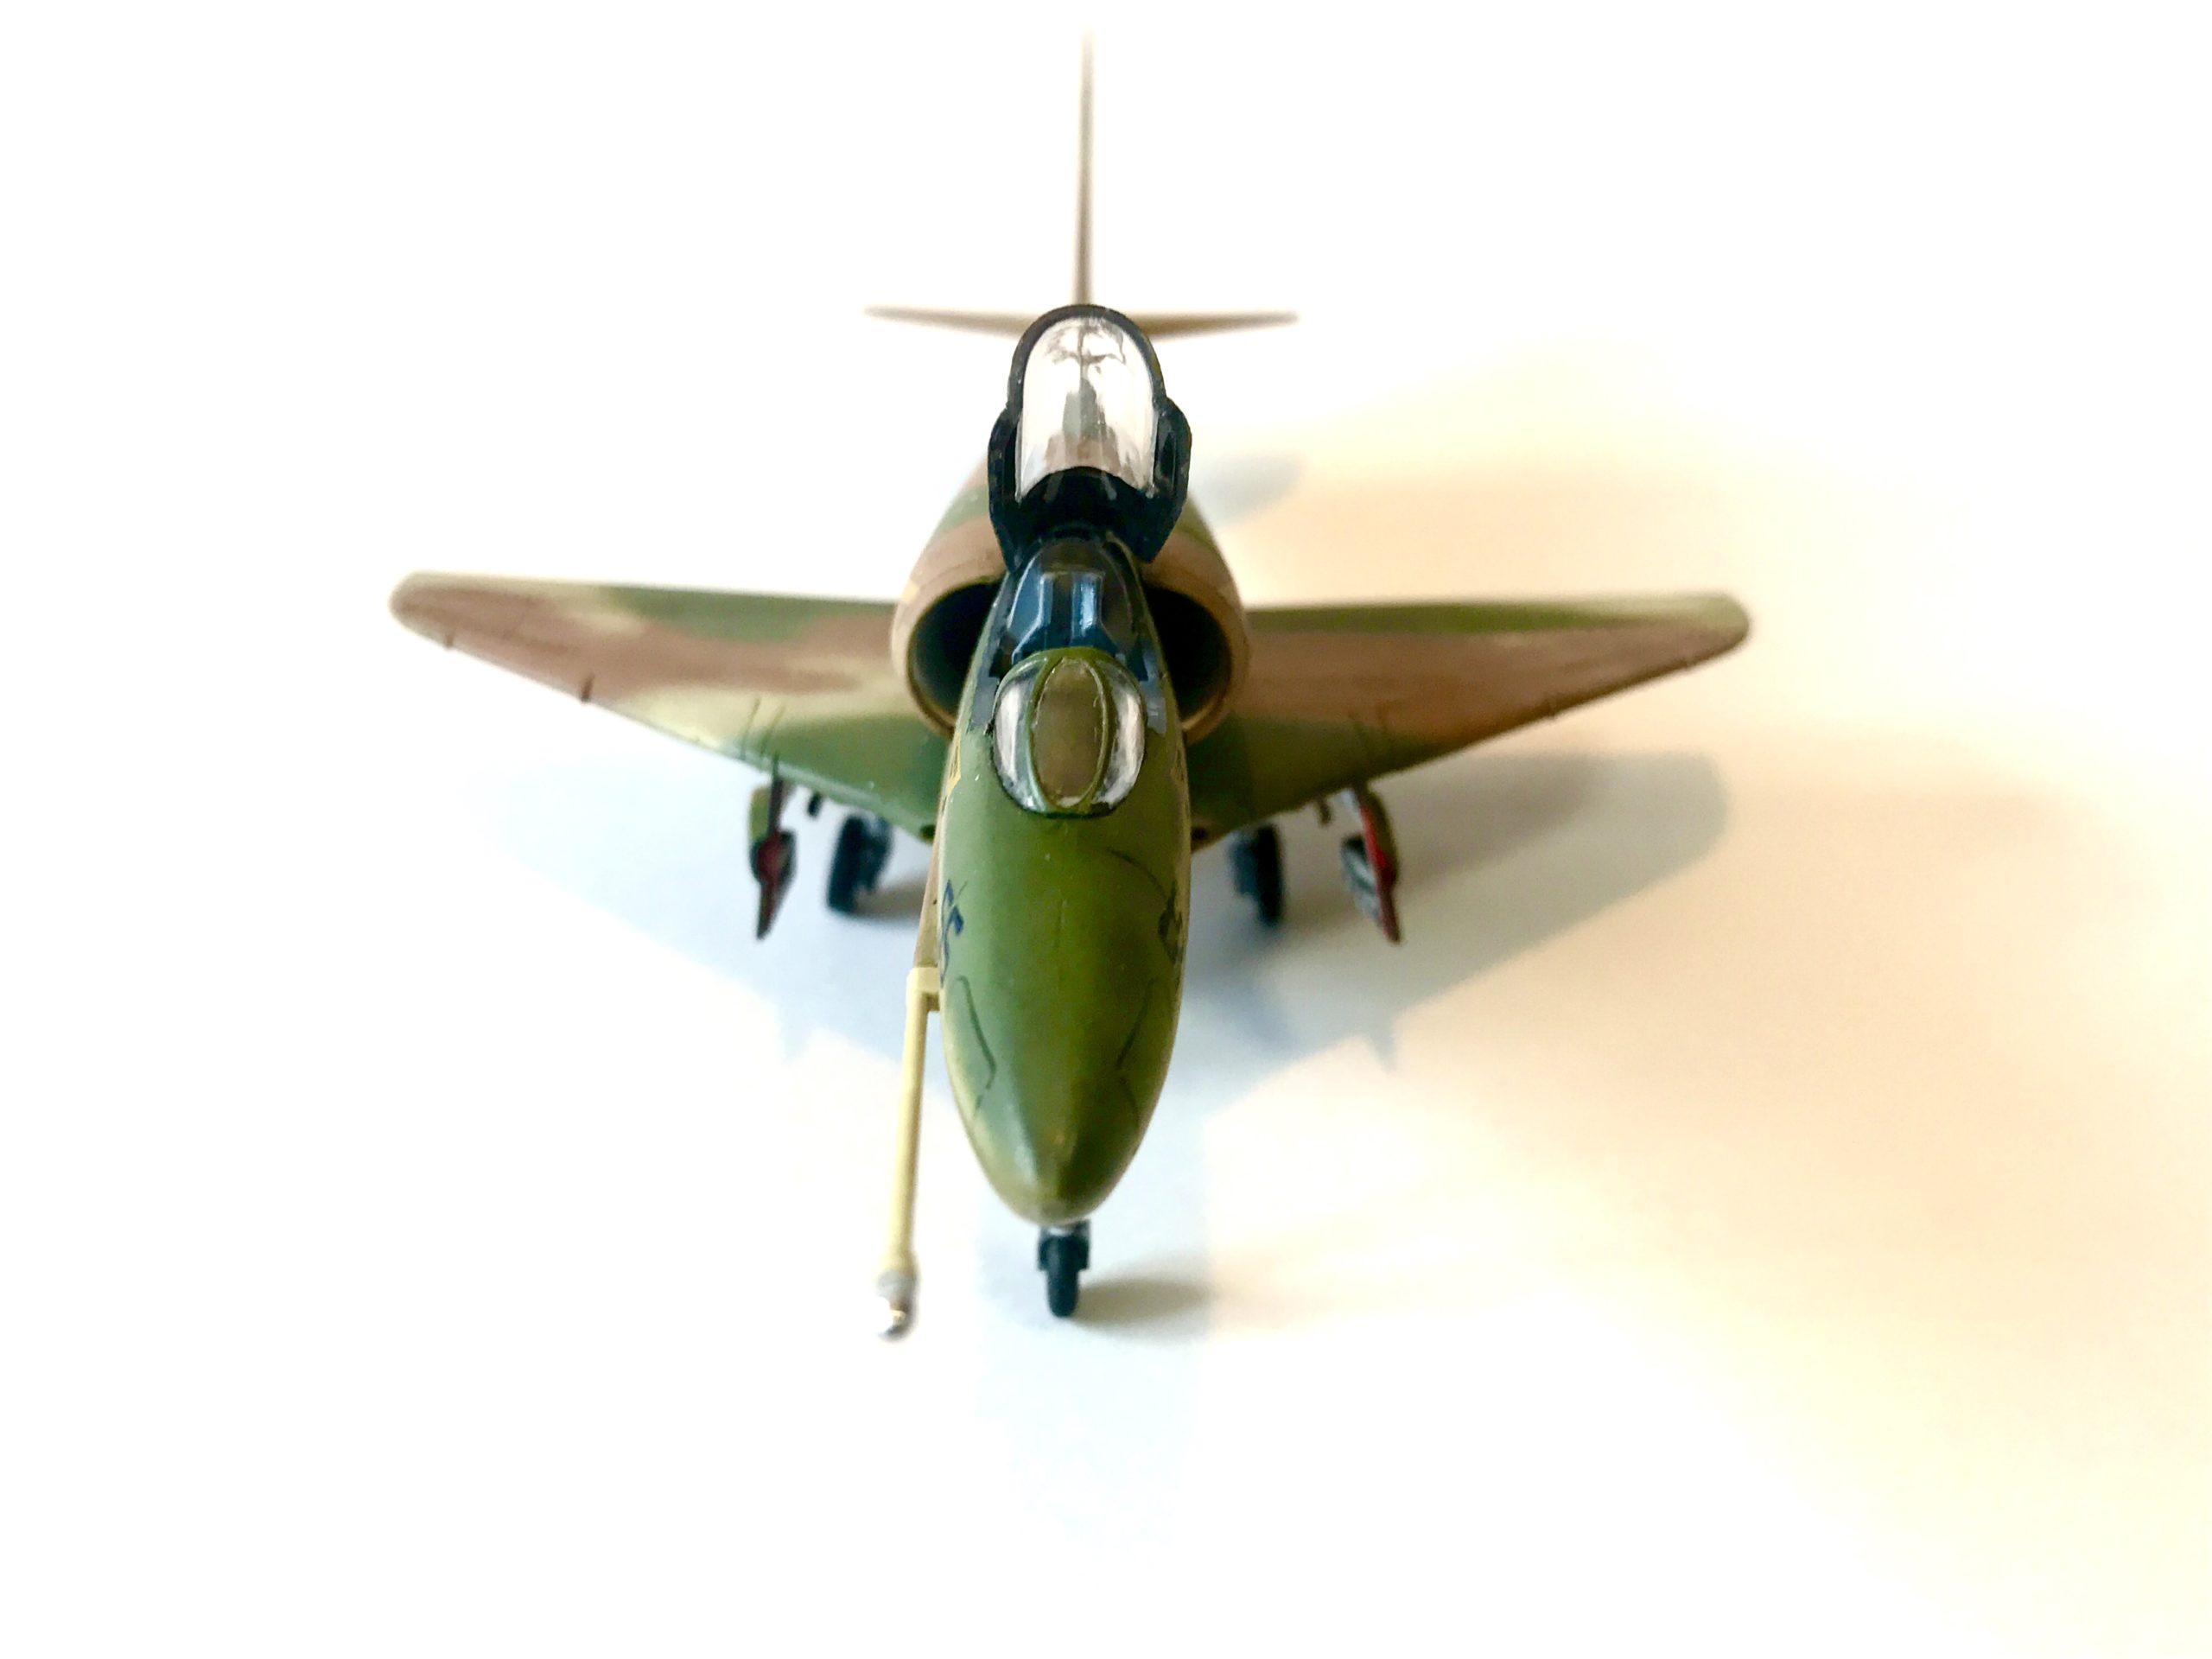
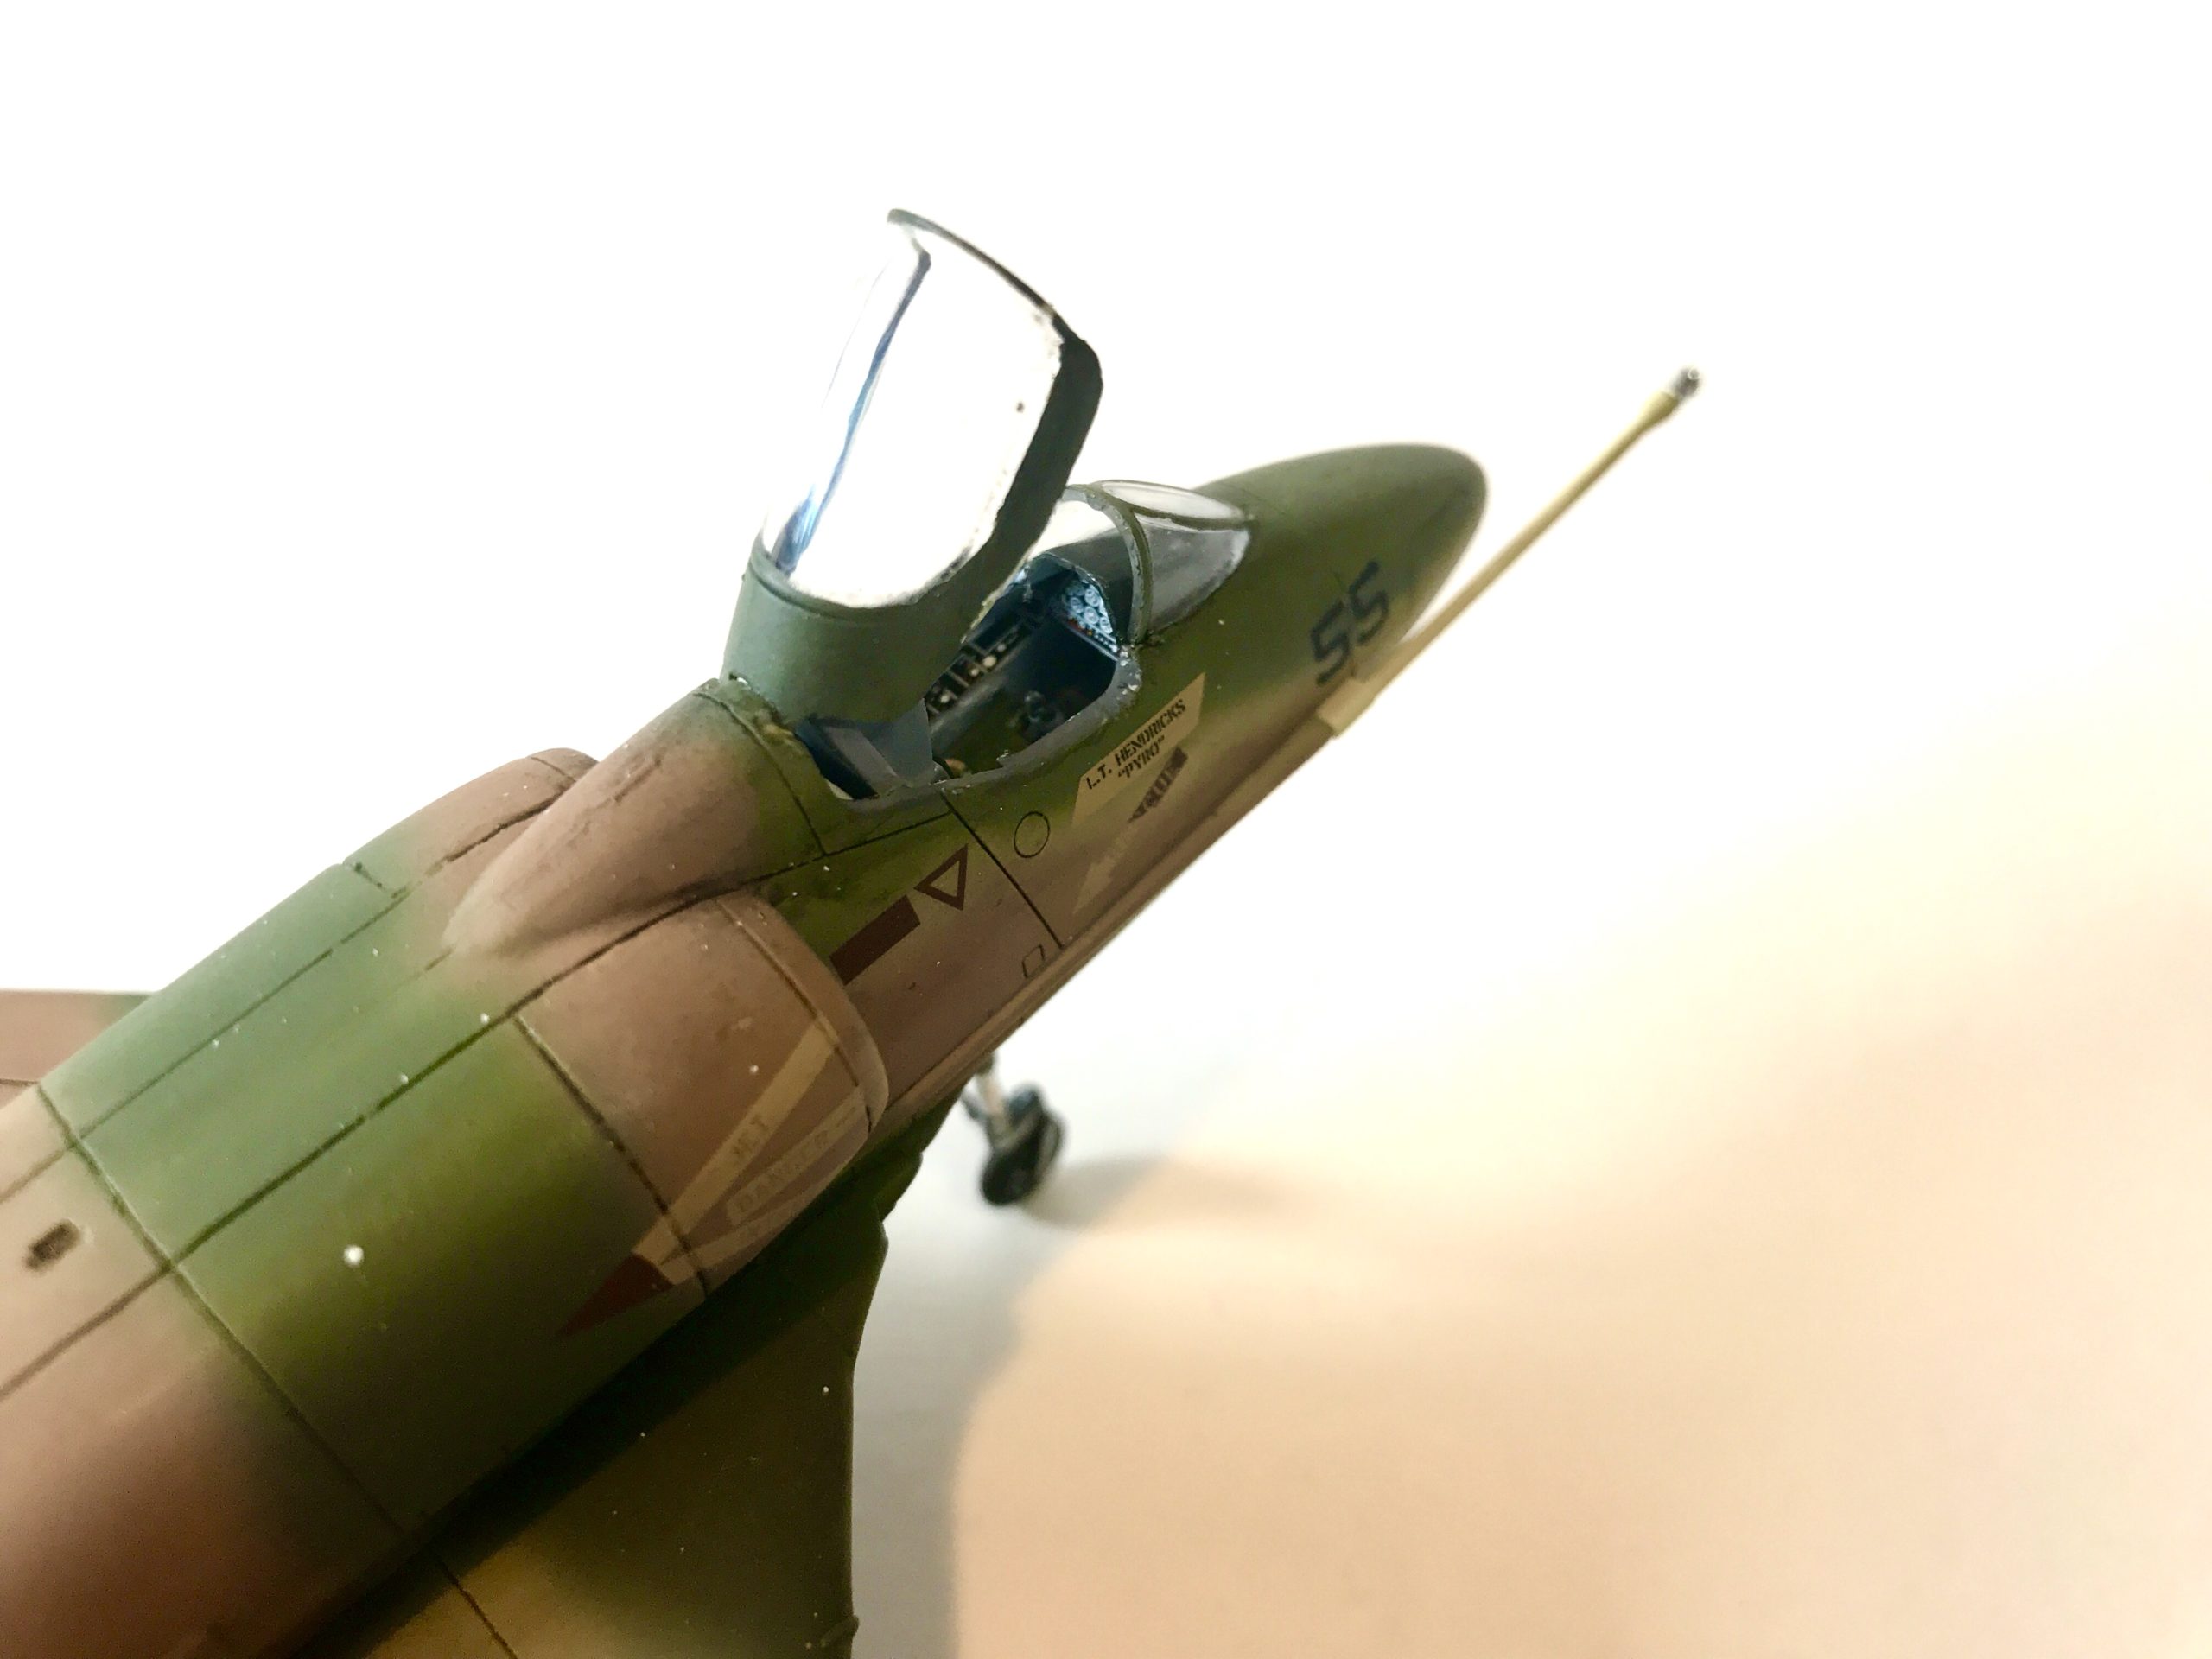
With a grim inevitability the build begins with the pilot and cockpit. In an attempt to “mix things up a bit” my plan is not to put Jester in the cockpit and have the canopy open. I appreciate you will probably need a little time to recover from the shock of this outlandish proposal, so please feel free to have a sit down for a minute or two.
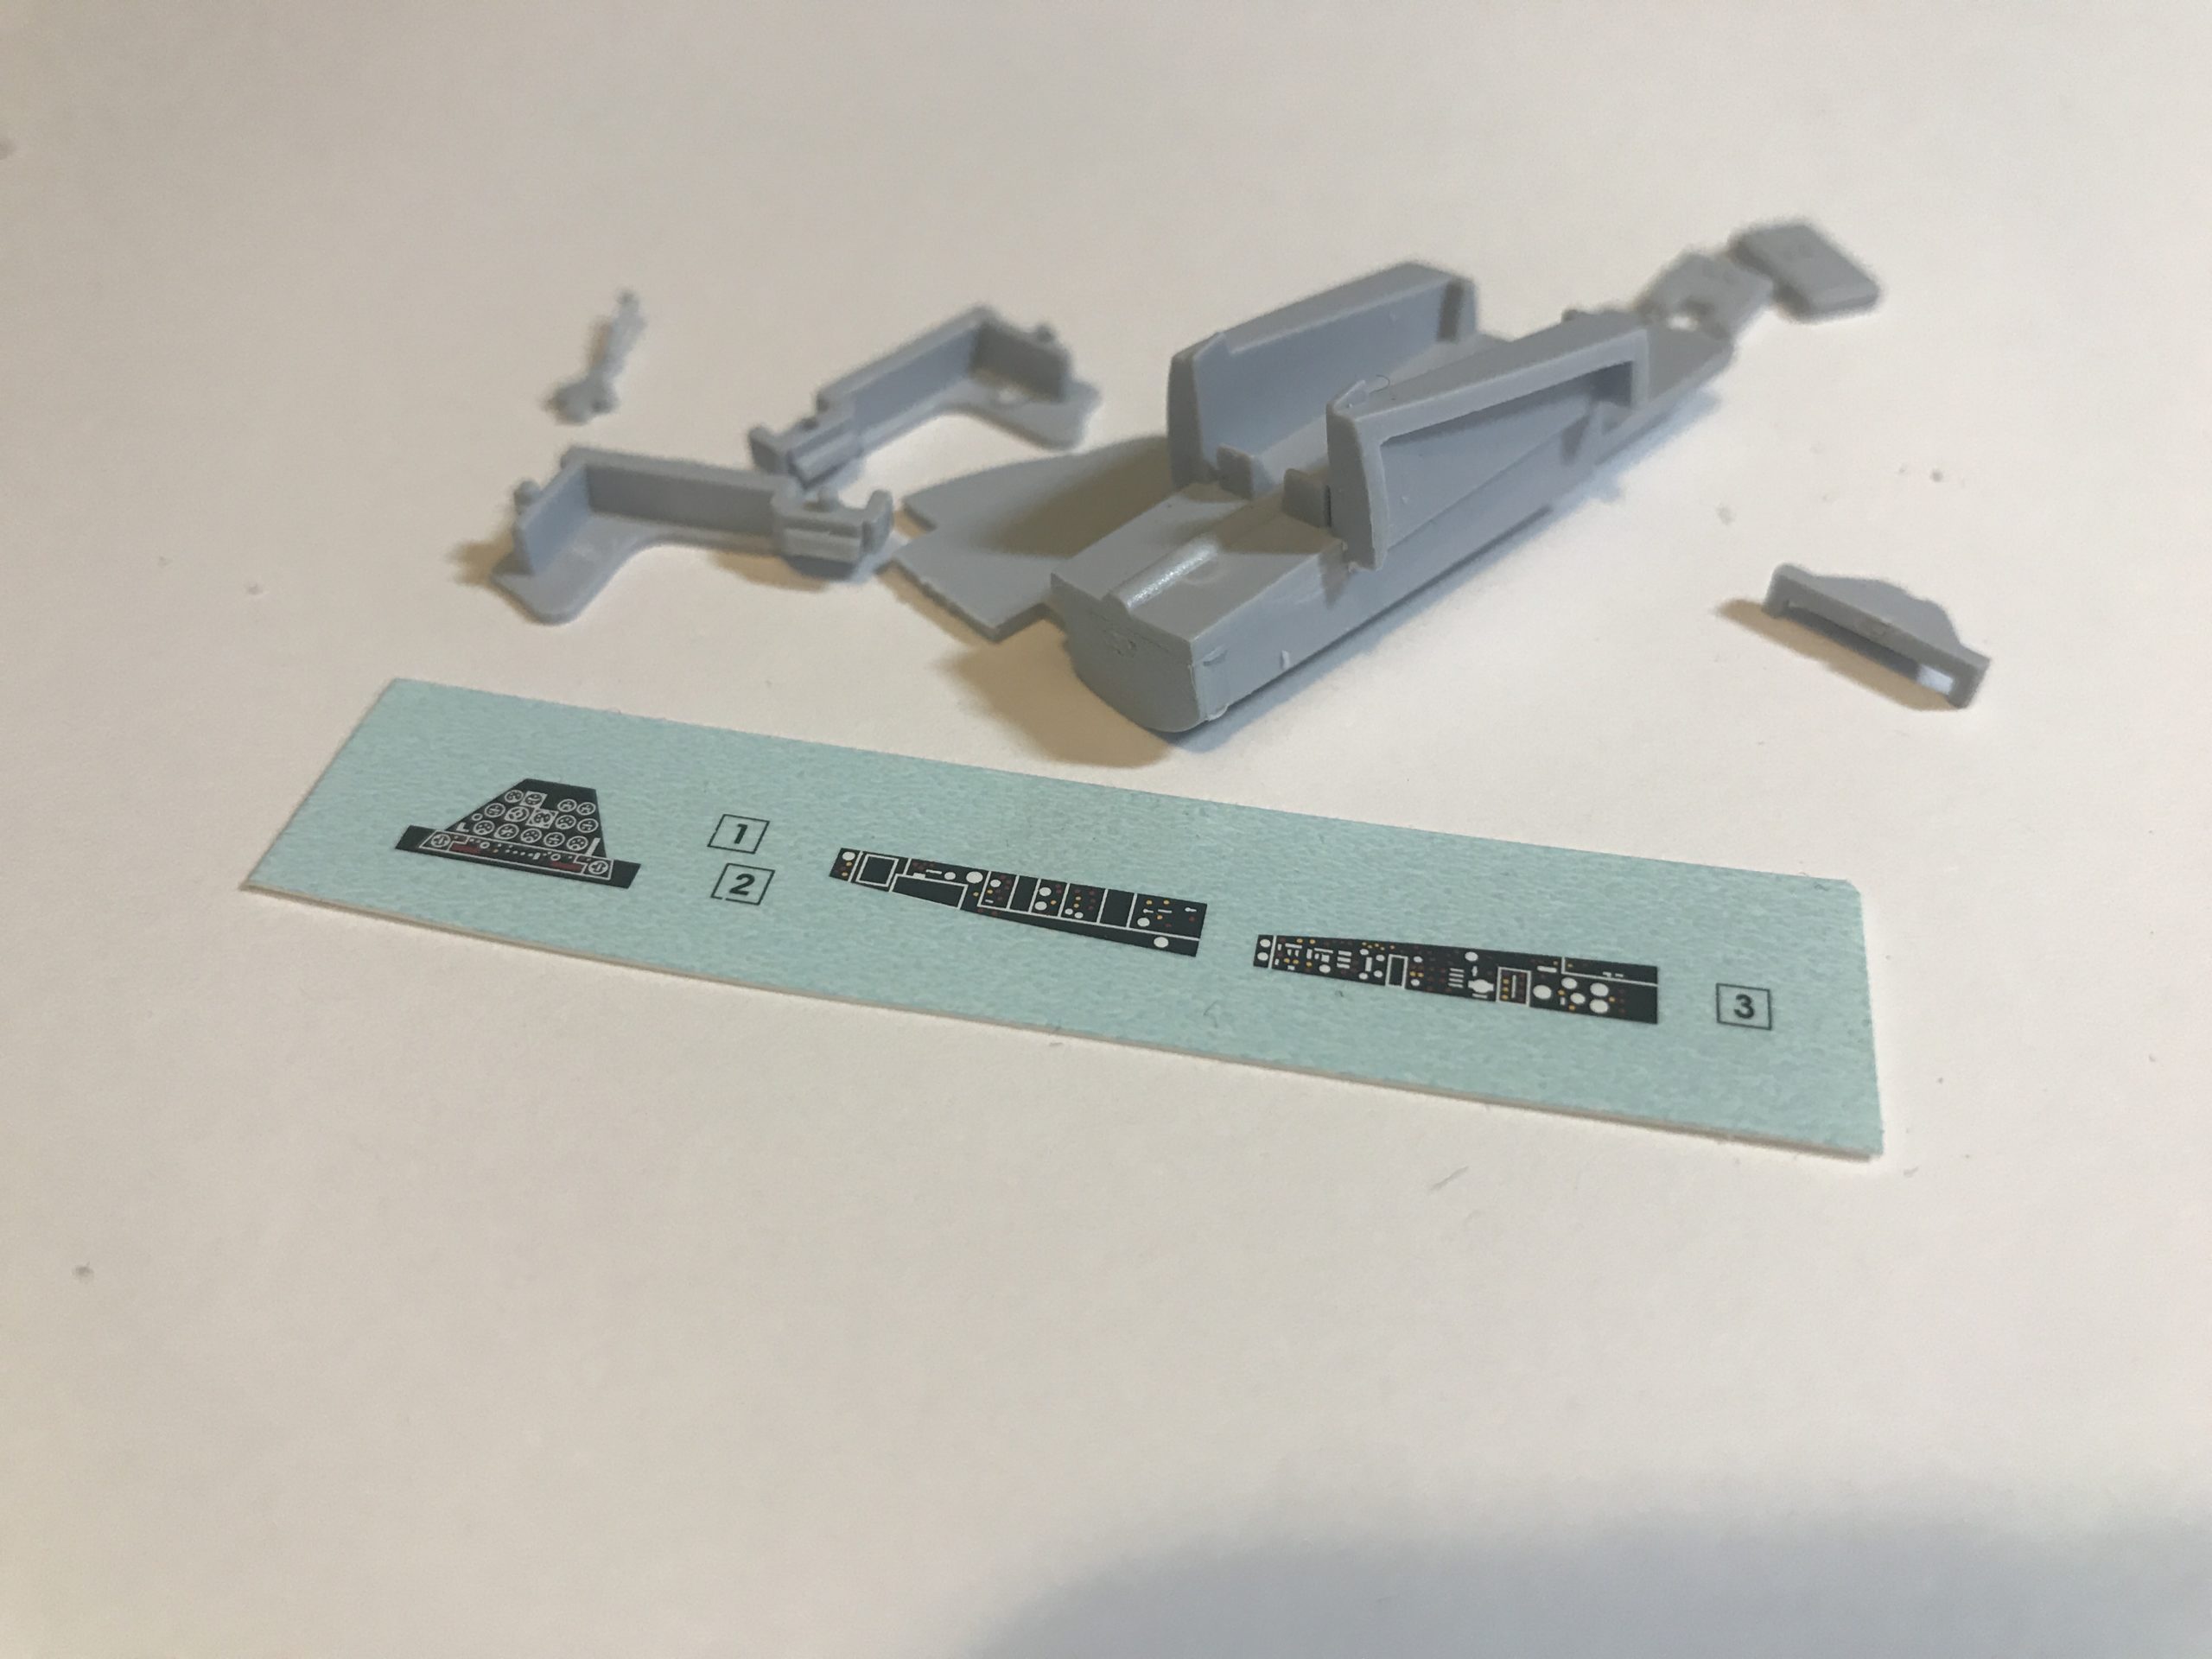
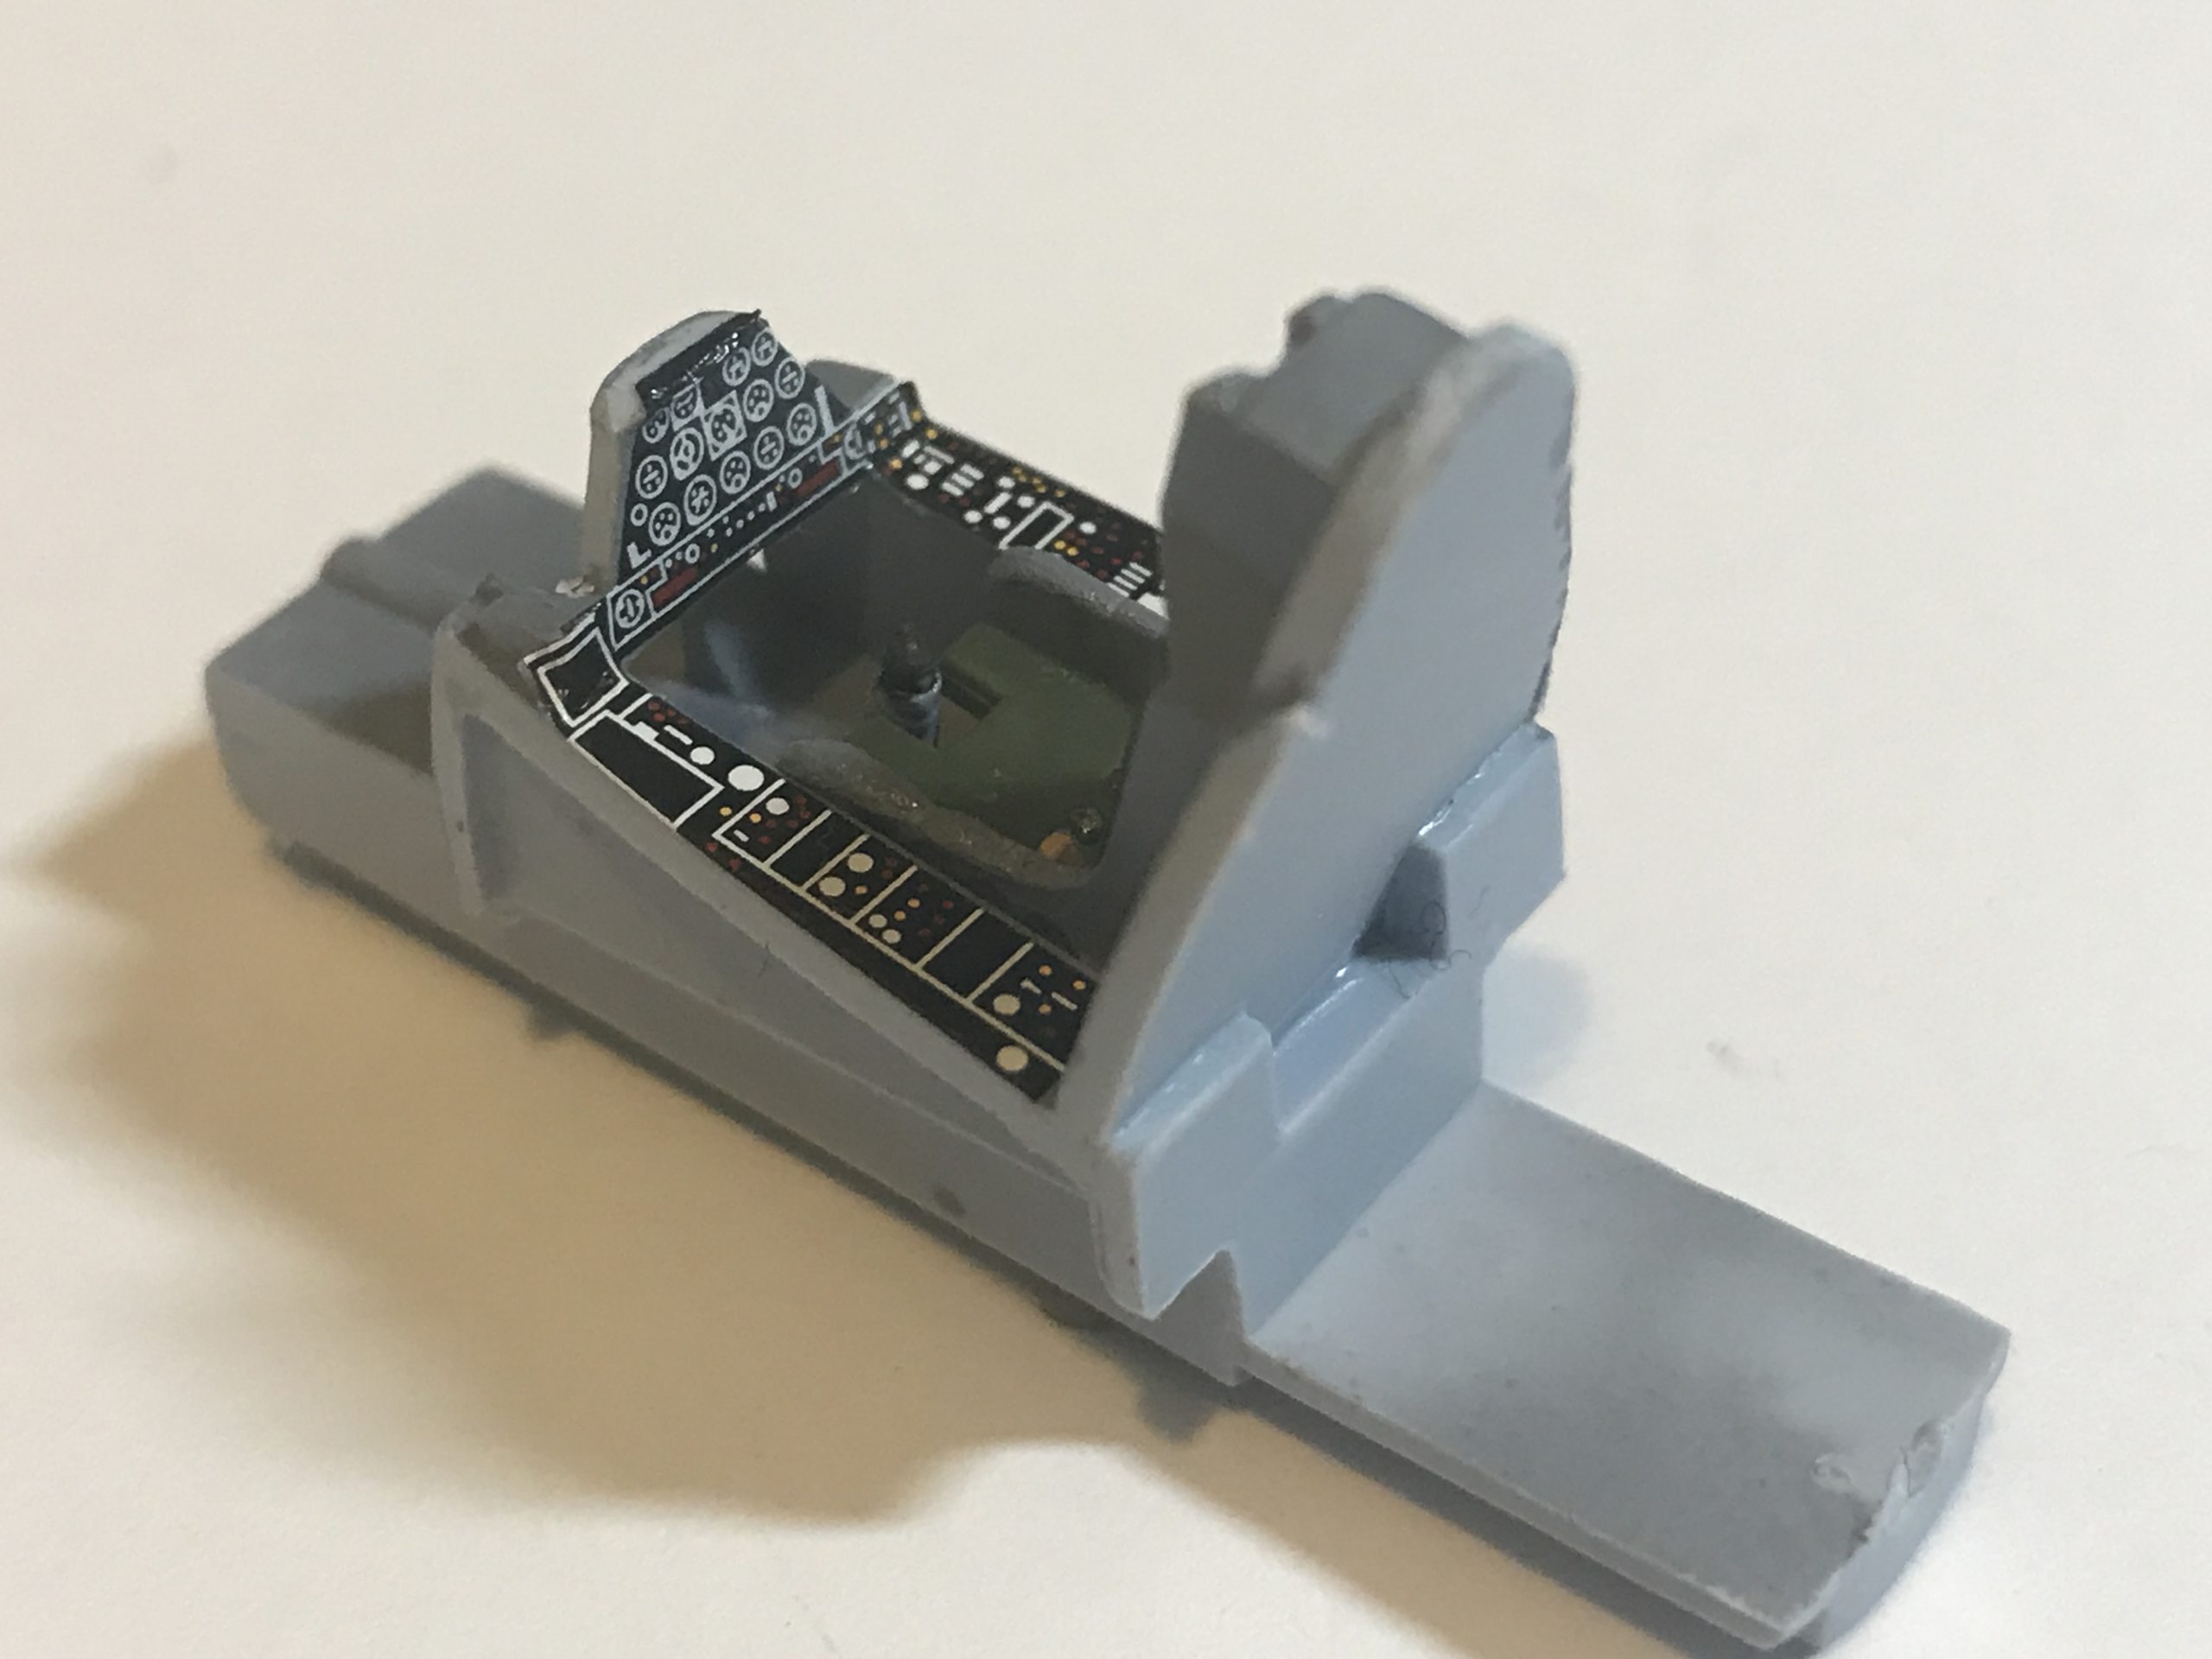
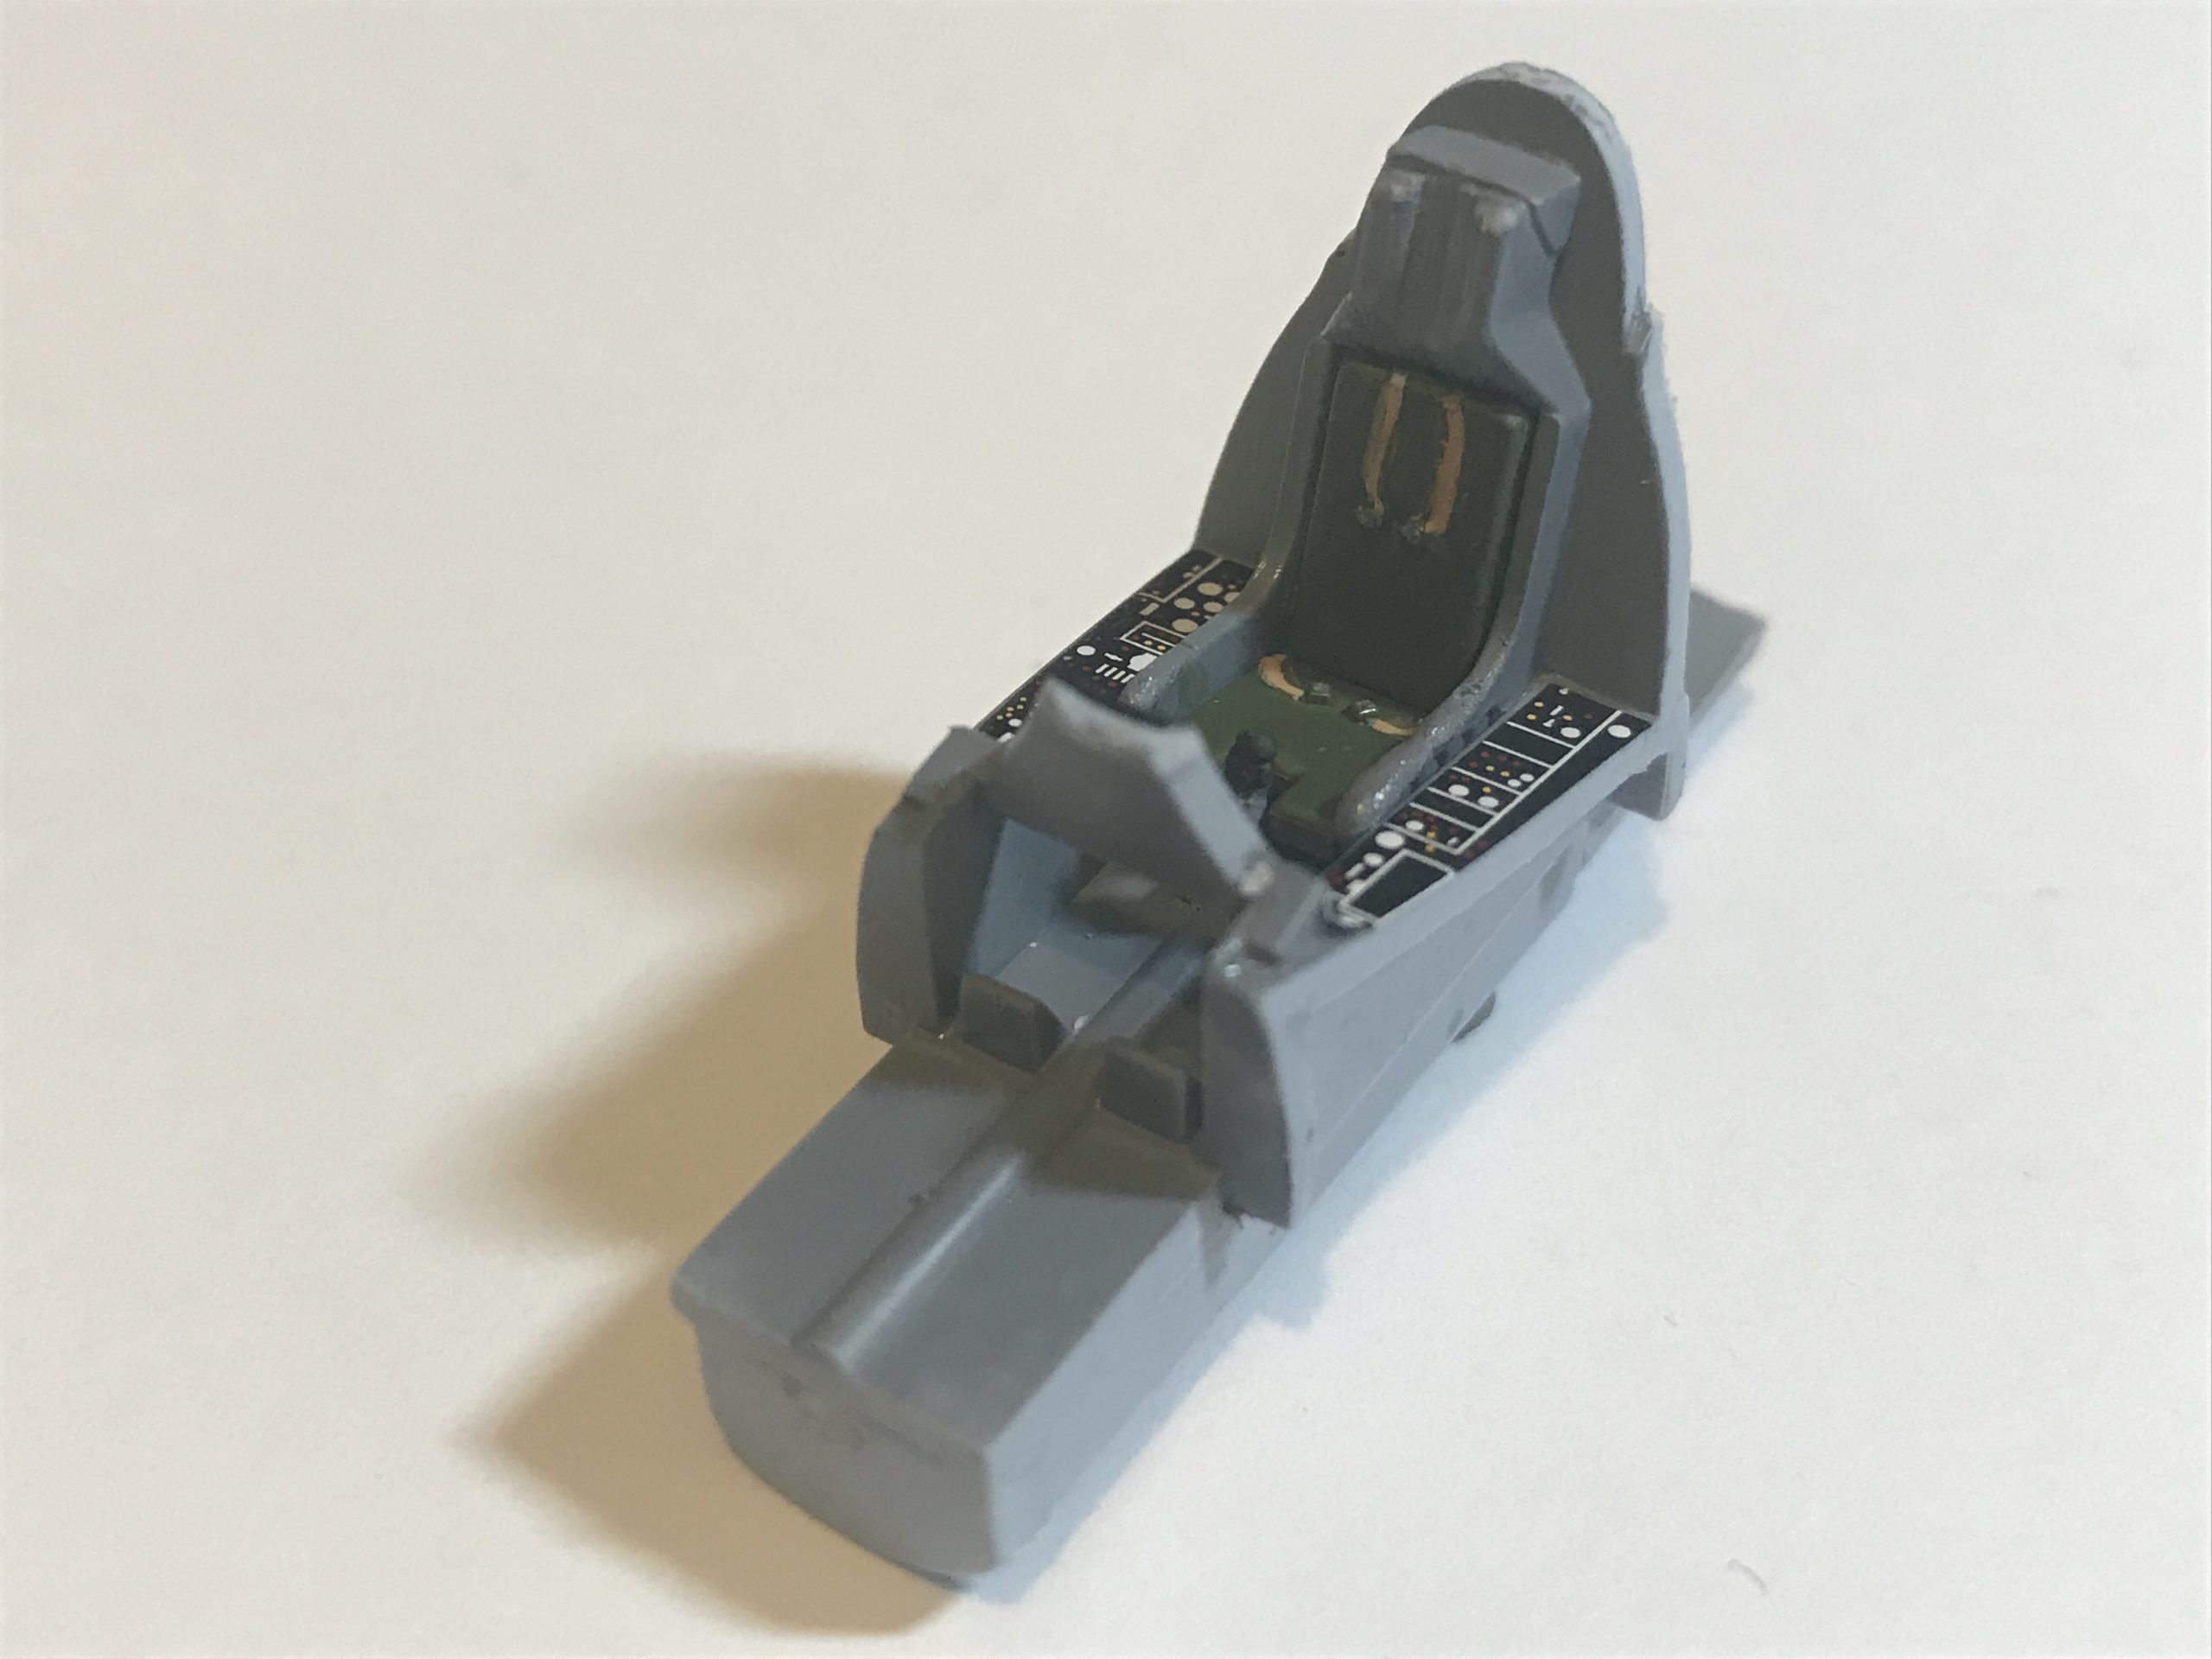
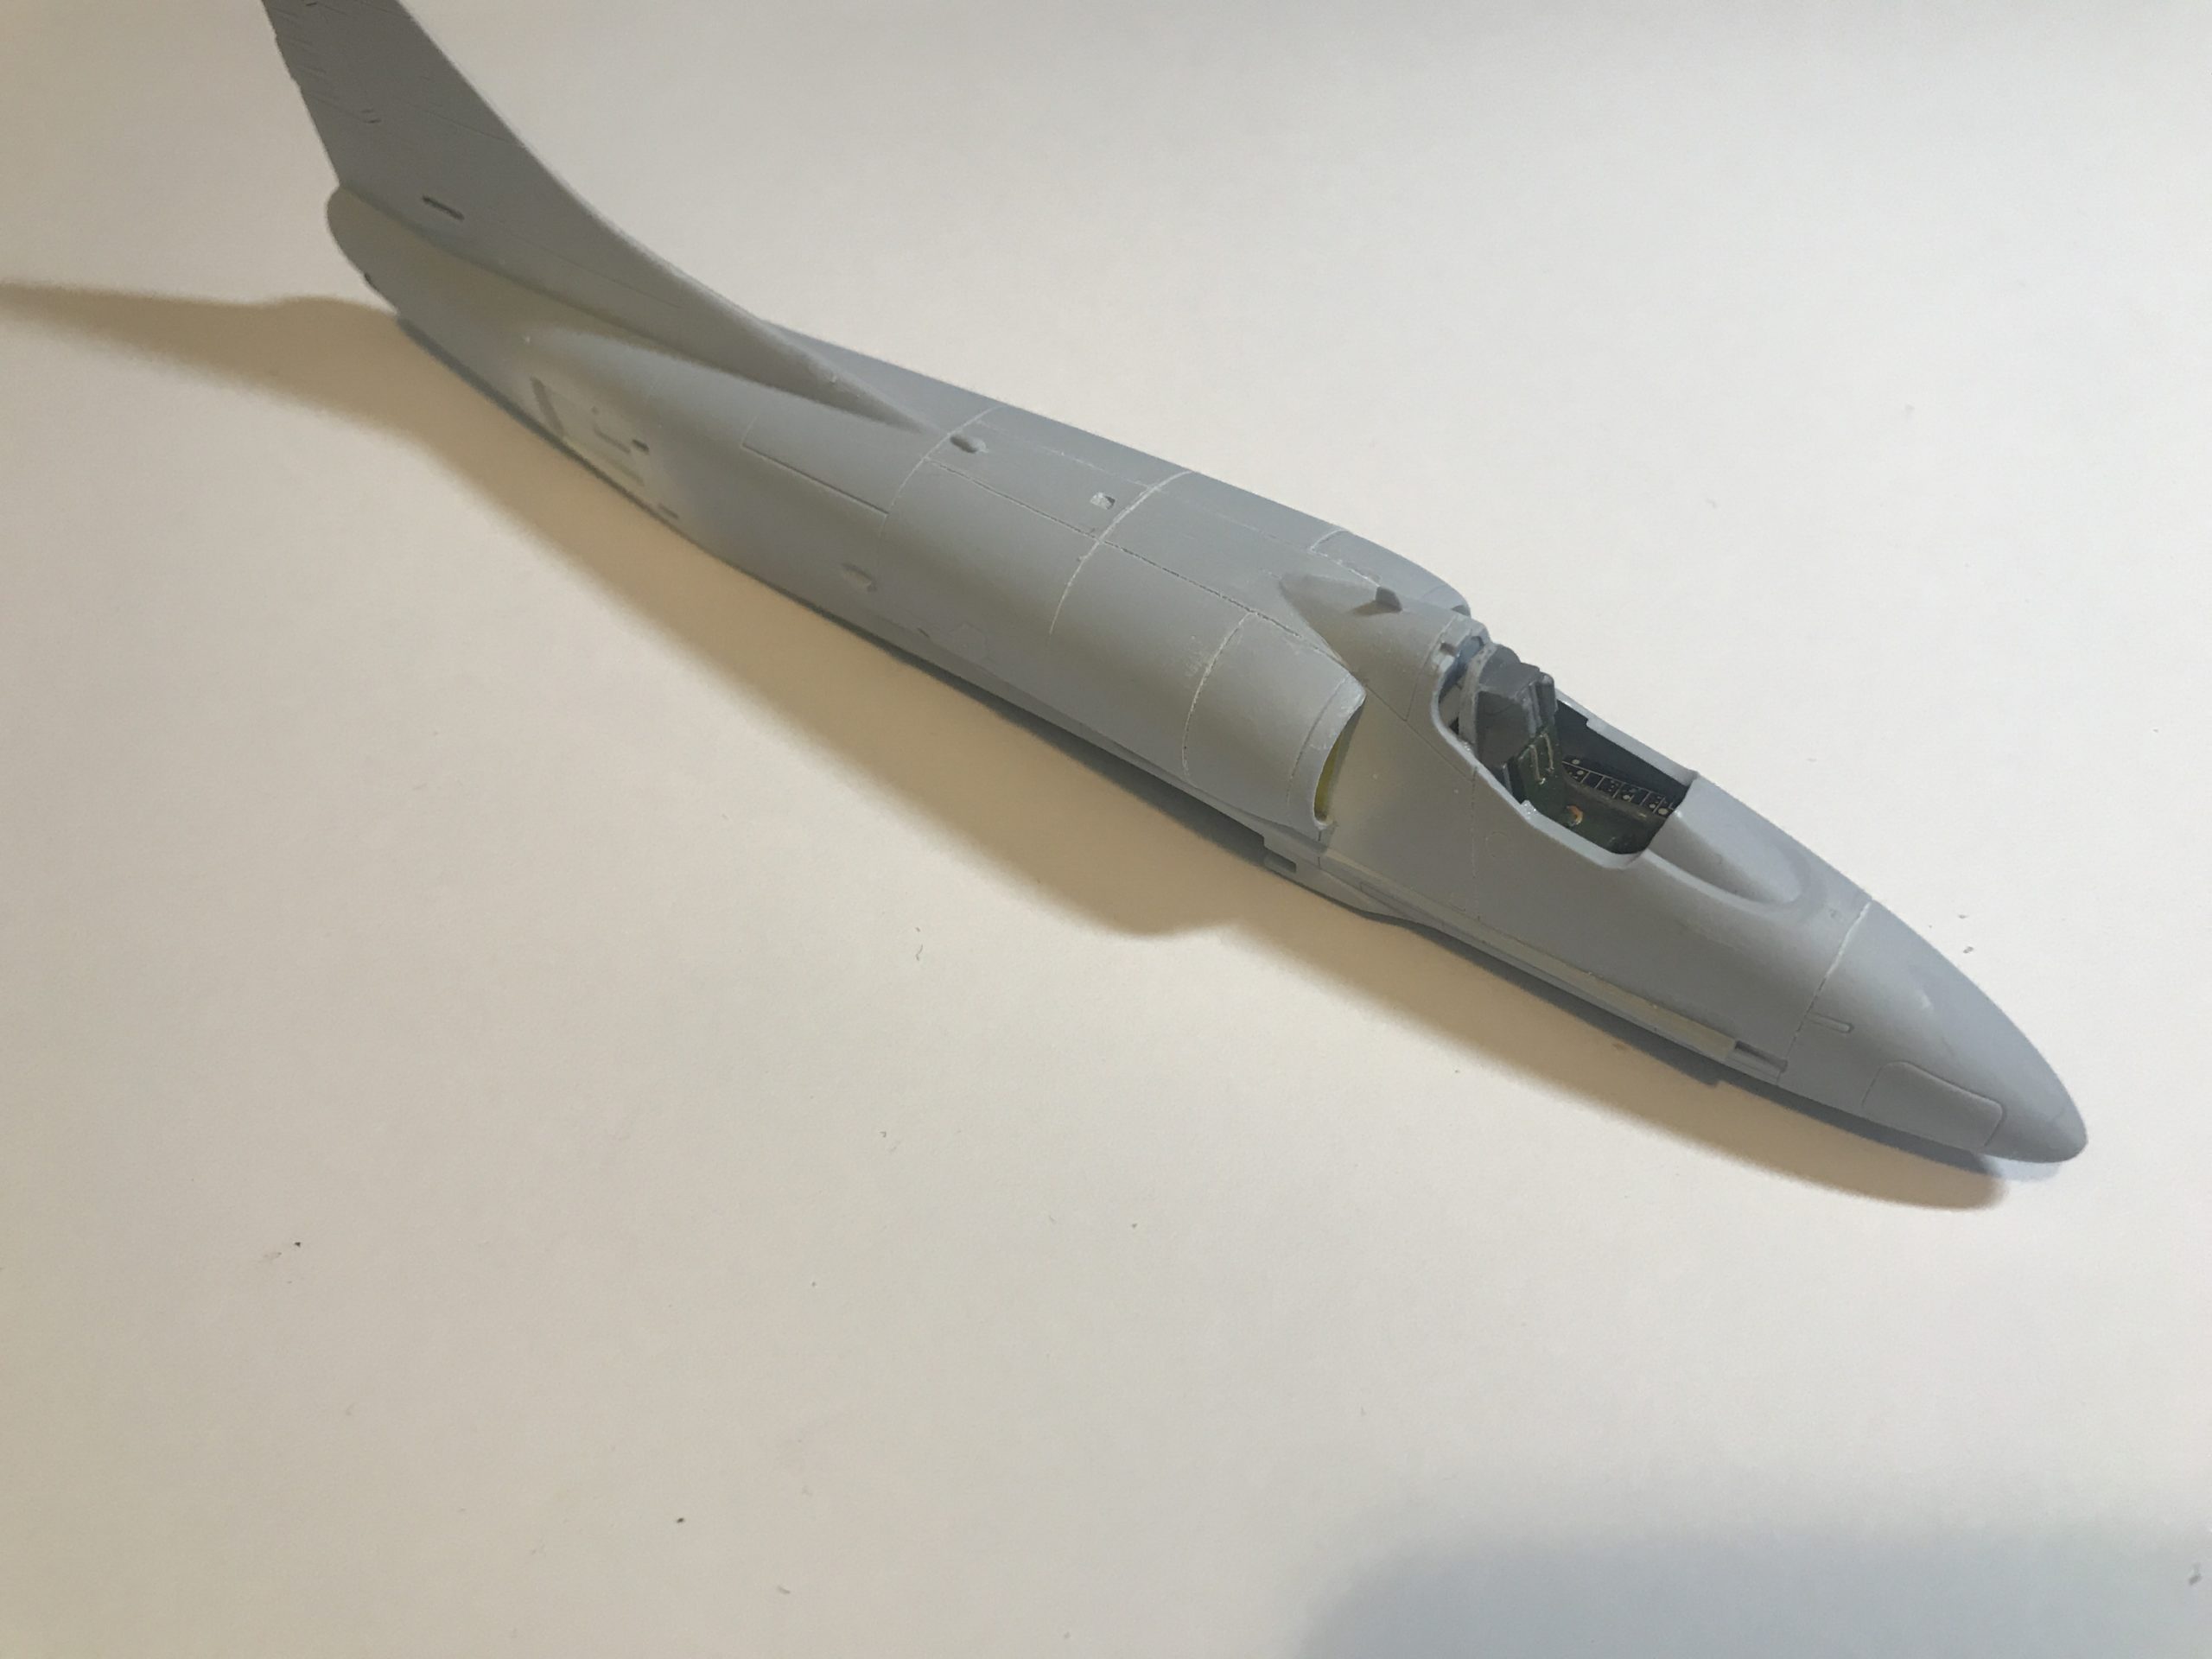
It will come as little surprise to learn that the construction begins with “the office” also know as the cockpit. Those familiar with 1/72 Airfix kits will also not be surprised by the revelation that the cockpit is relatively simple.
What is worthy of note is the moulded harness on the seat. Yes, it is quite simple, but in my opinion it’s miles better than a decal.
There is little point going into detail, but it’s a simple assemble and paint job. Pictures below for those of a curious disposition.


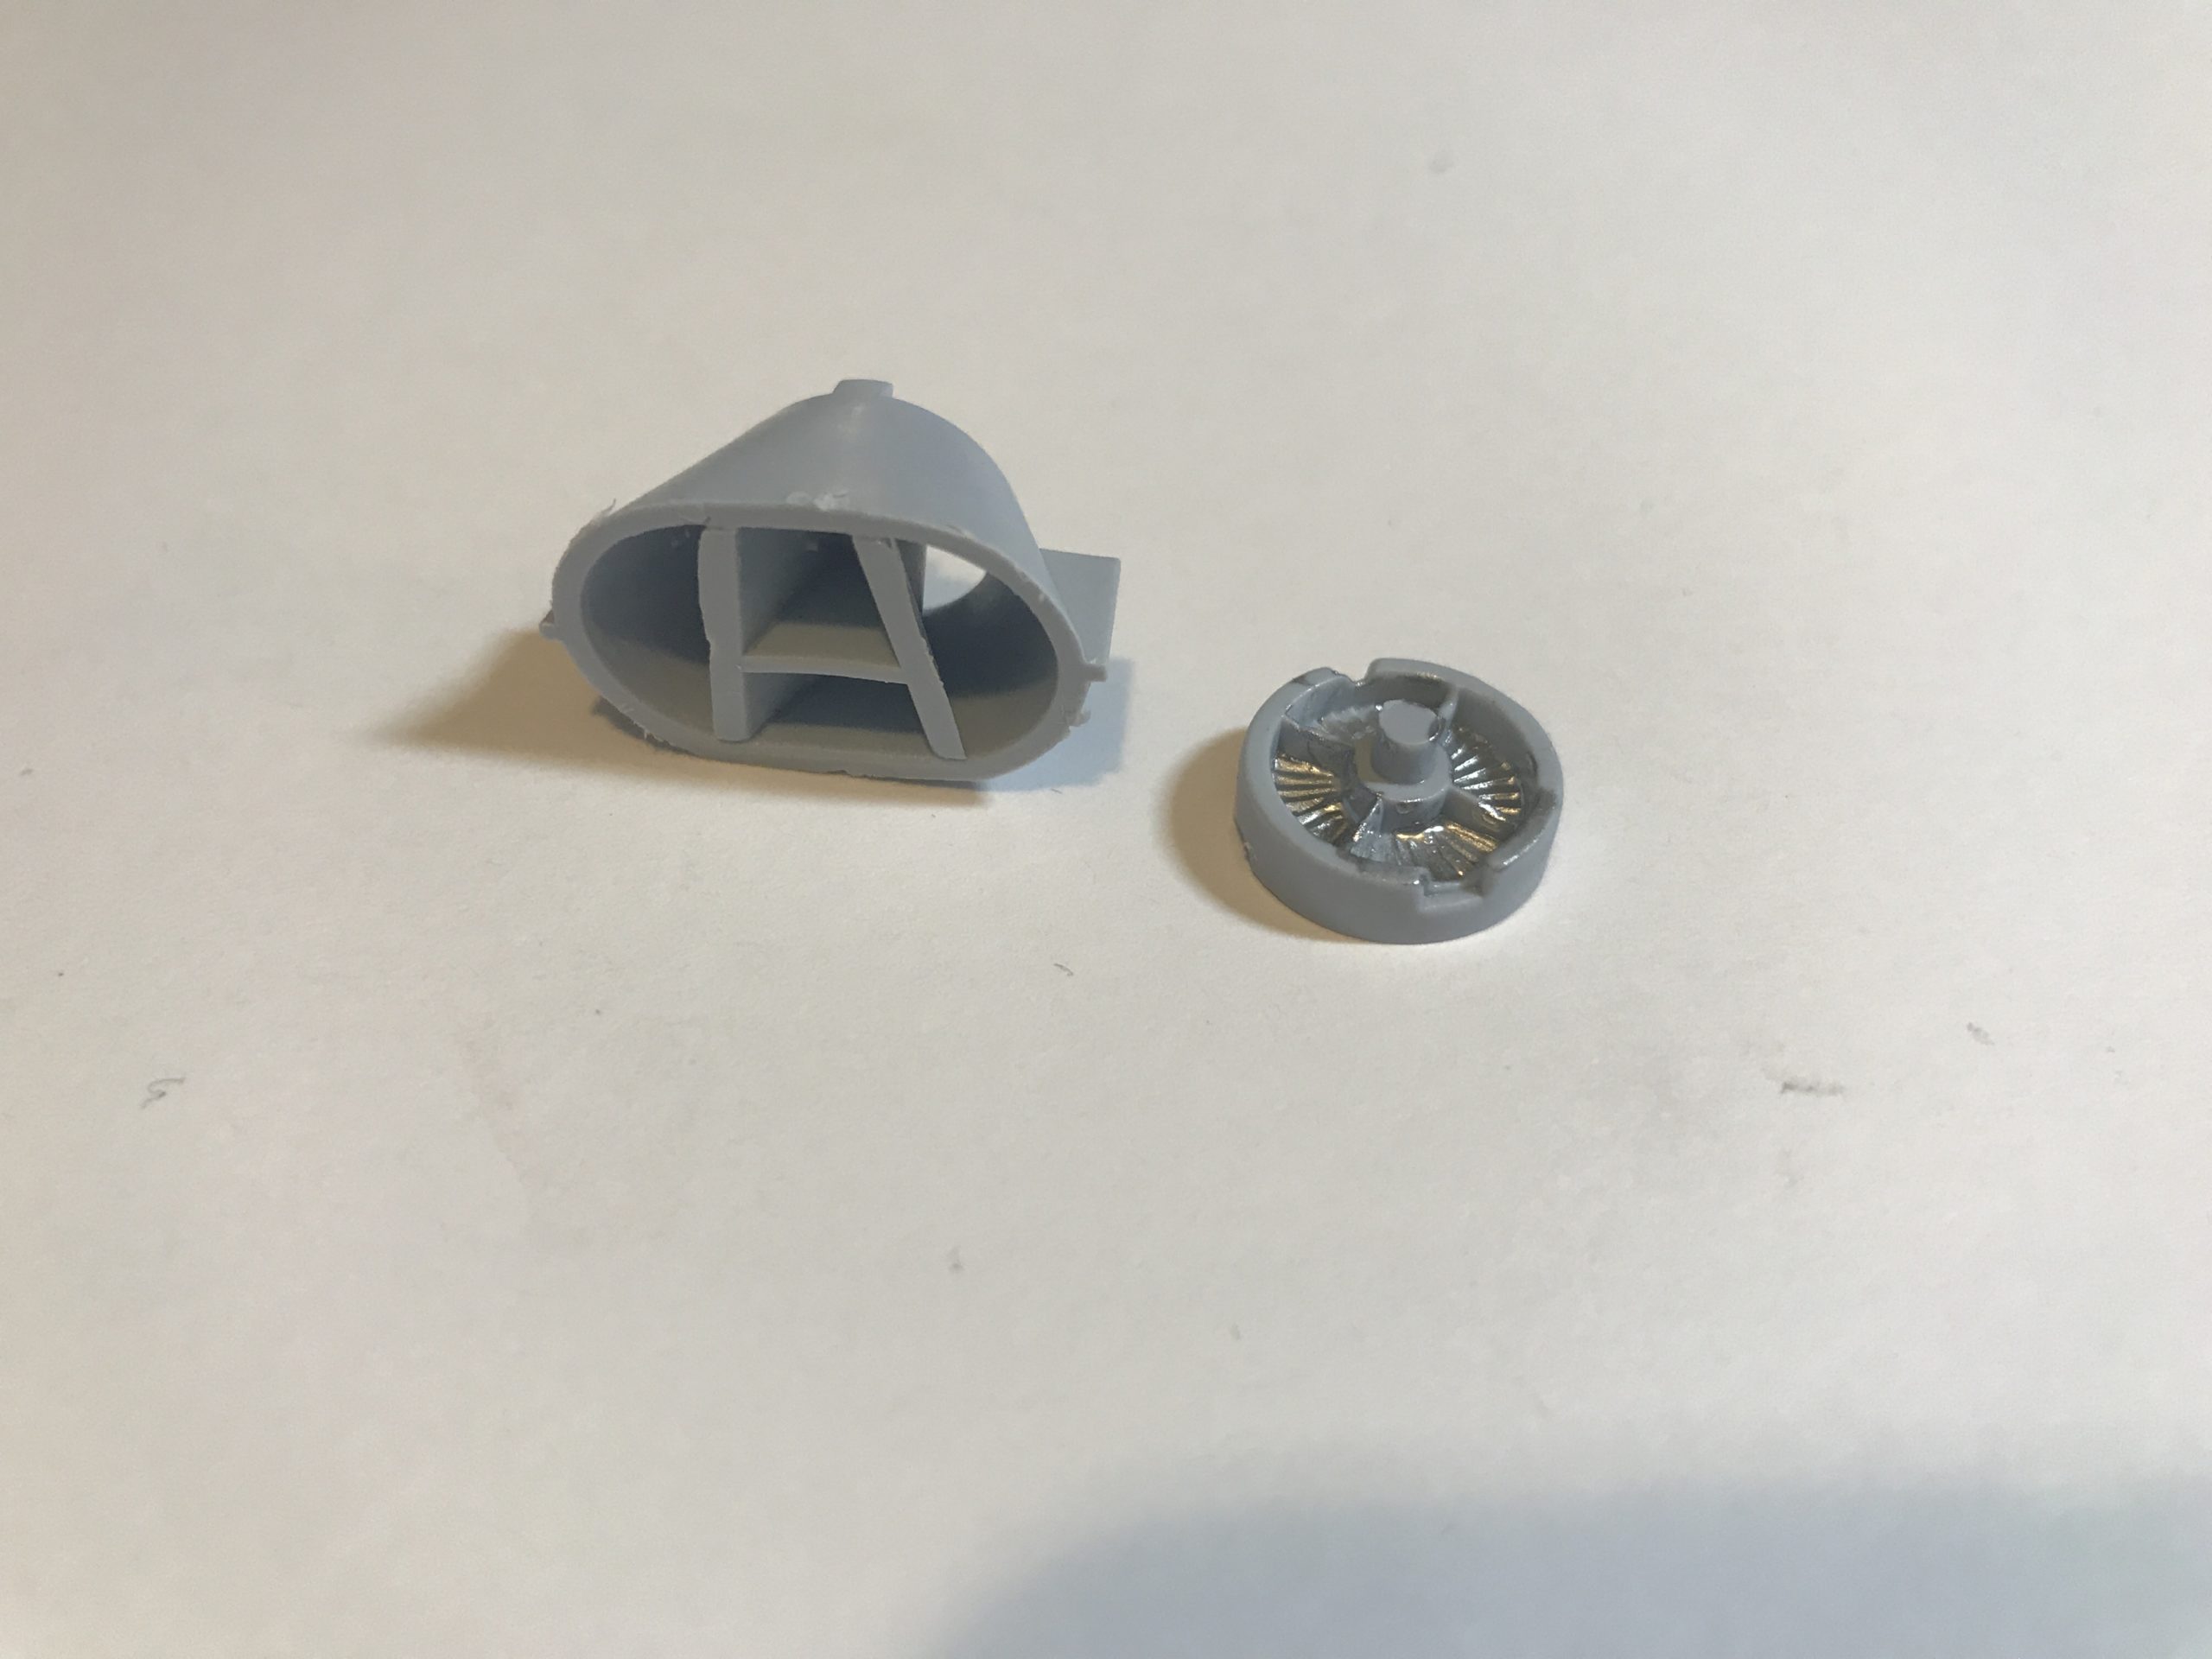
The next step is the engine detail, once again this is actually quite nice. You get a detailed intake and compressor blades and an exhaust too. The intake is painted in flat white and the compressor blades in dull aluminium. The whole exhaust is is in gun metal. I sprayed the parts separately, then cleaned up the mating surfaces before finally gluing the parts into sub-assemblies.

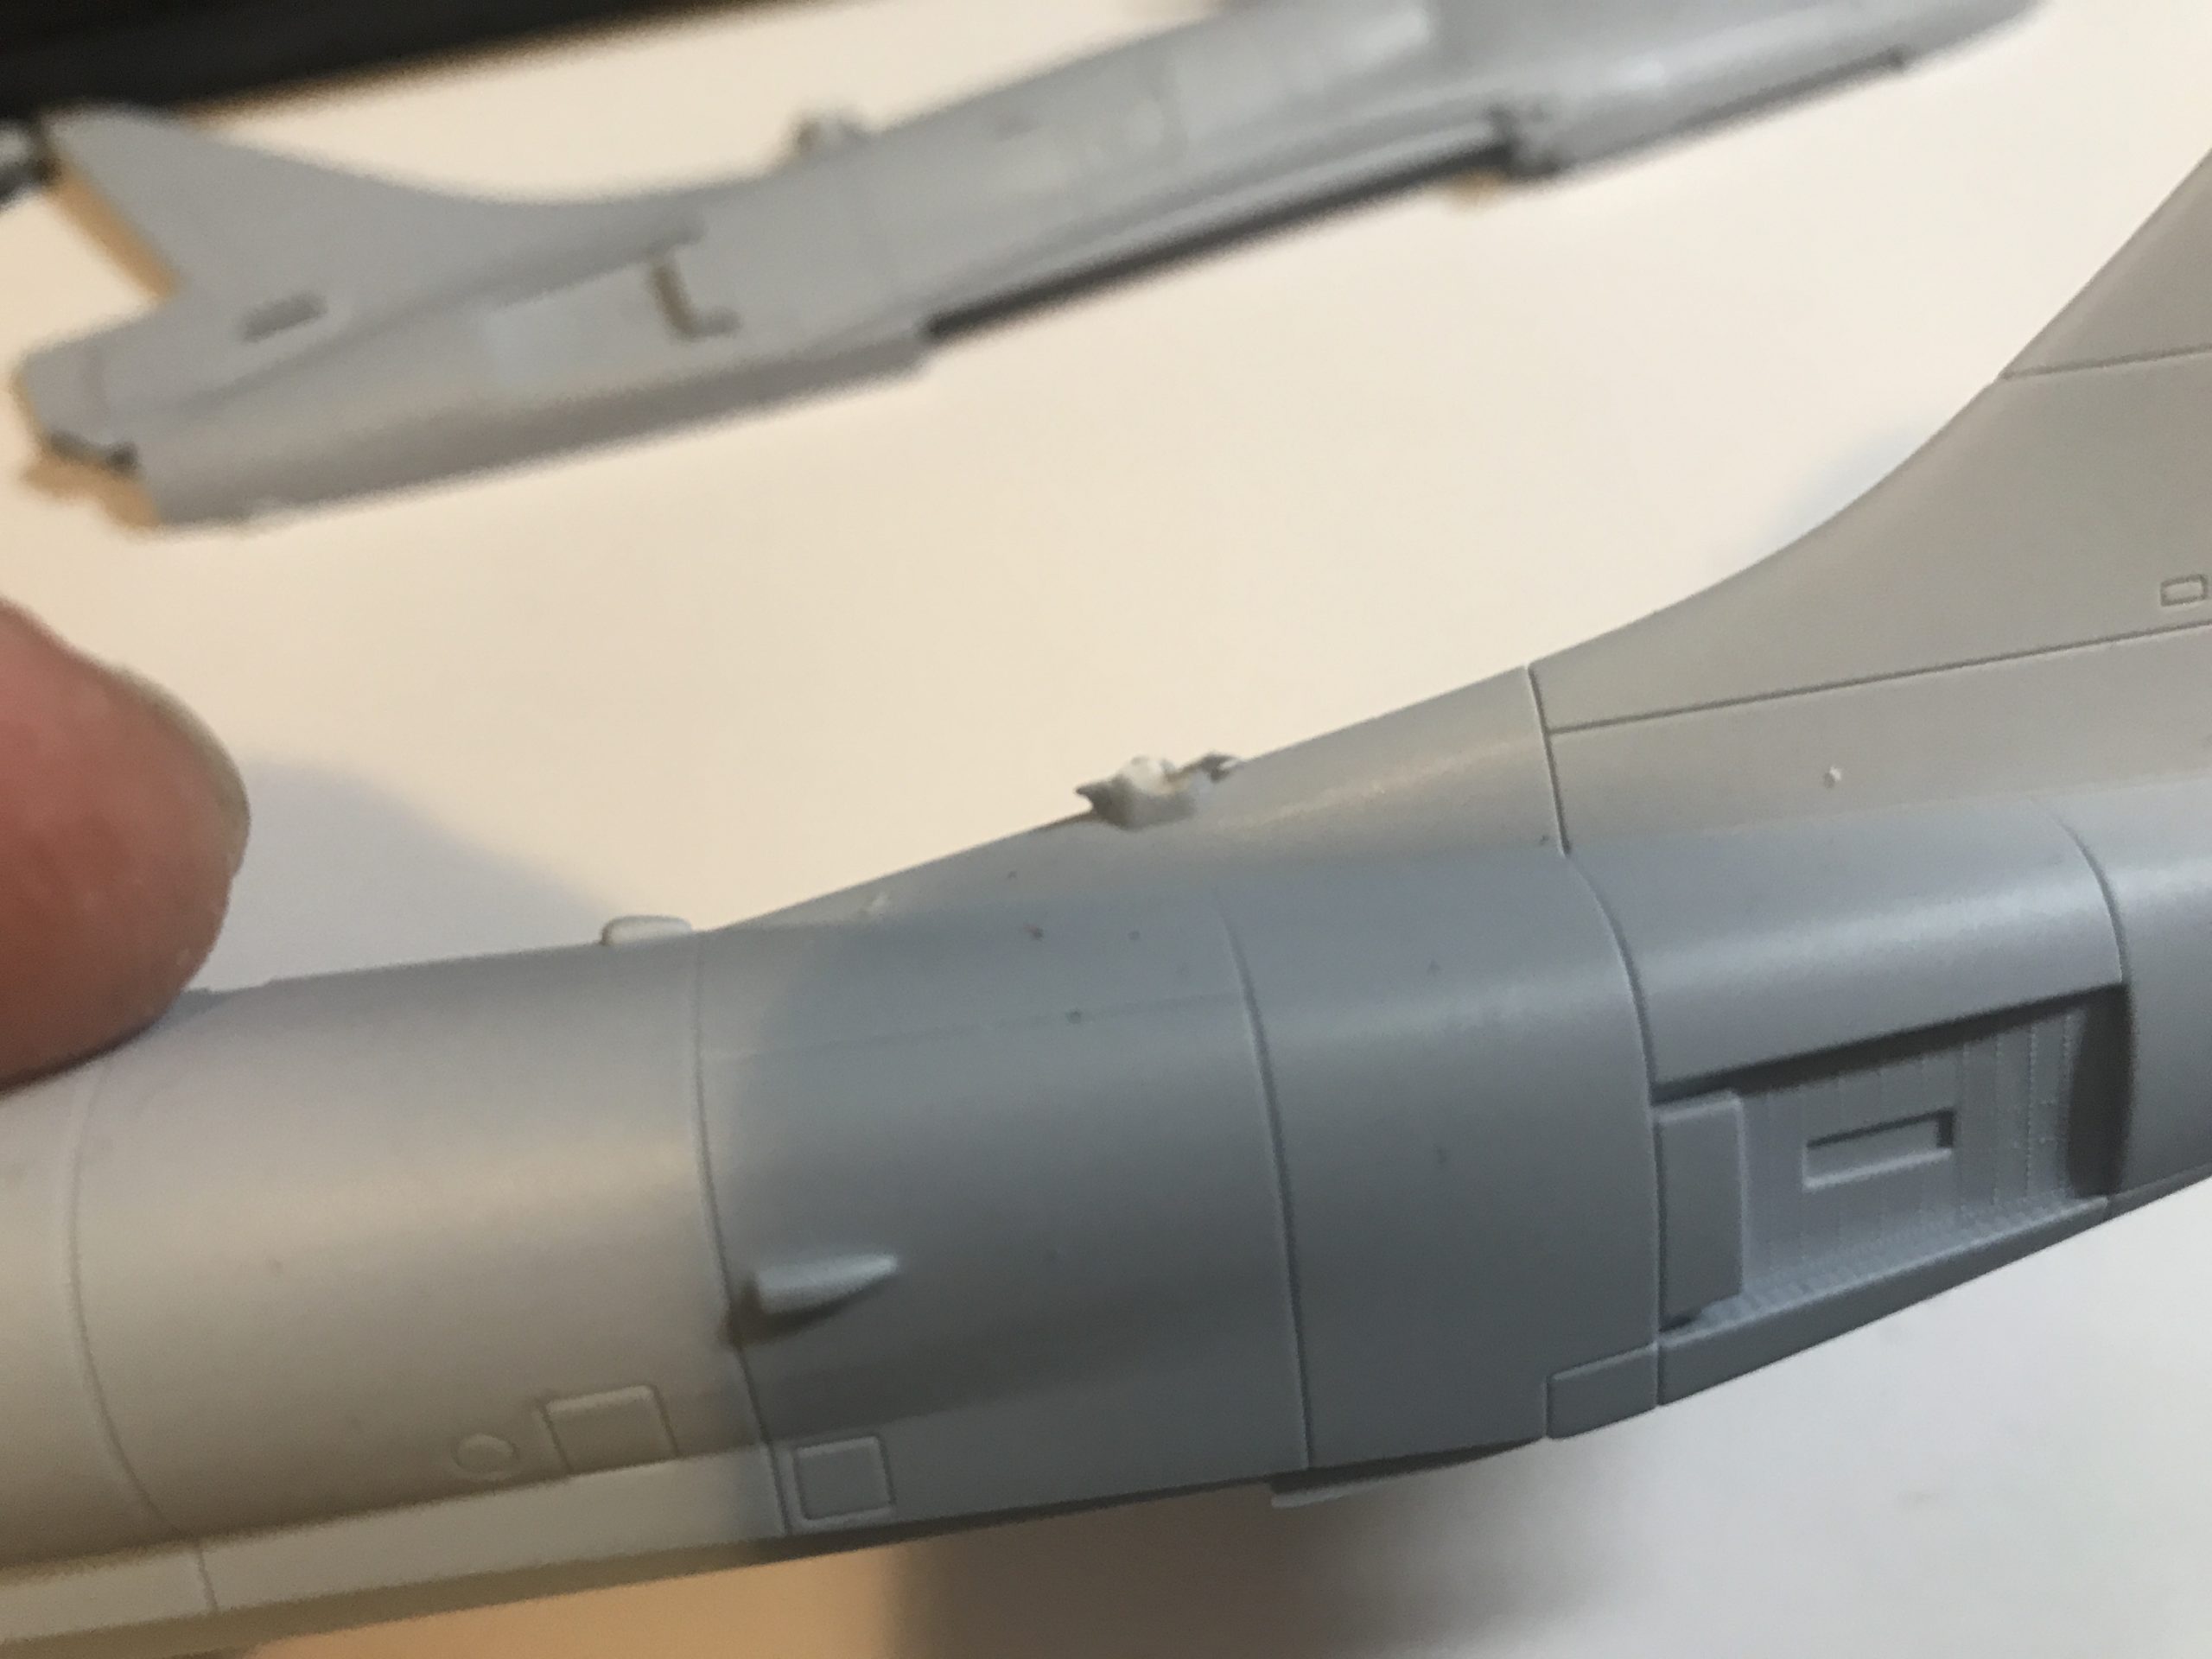
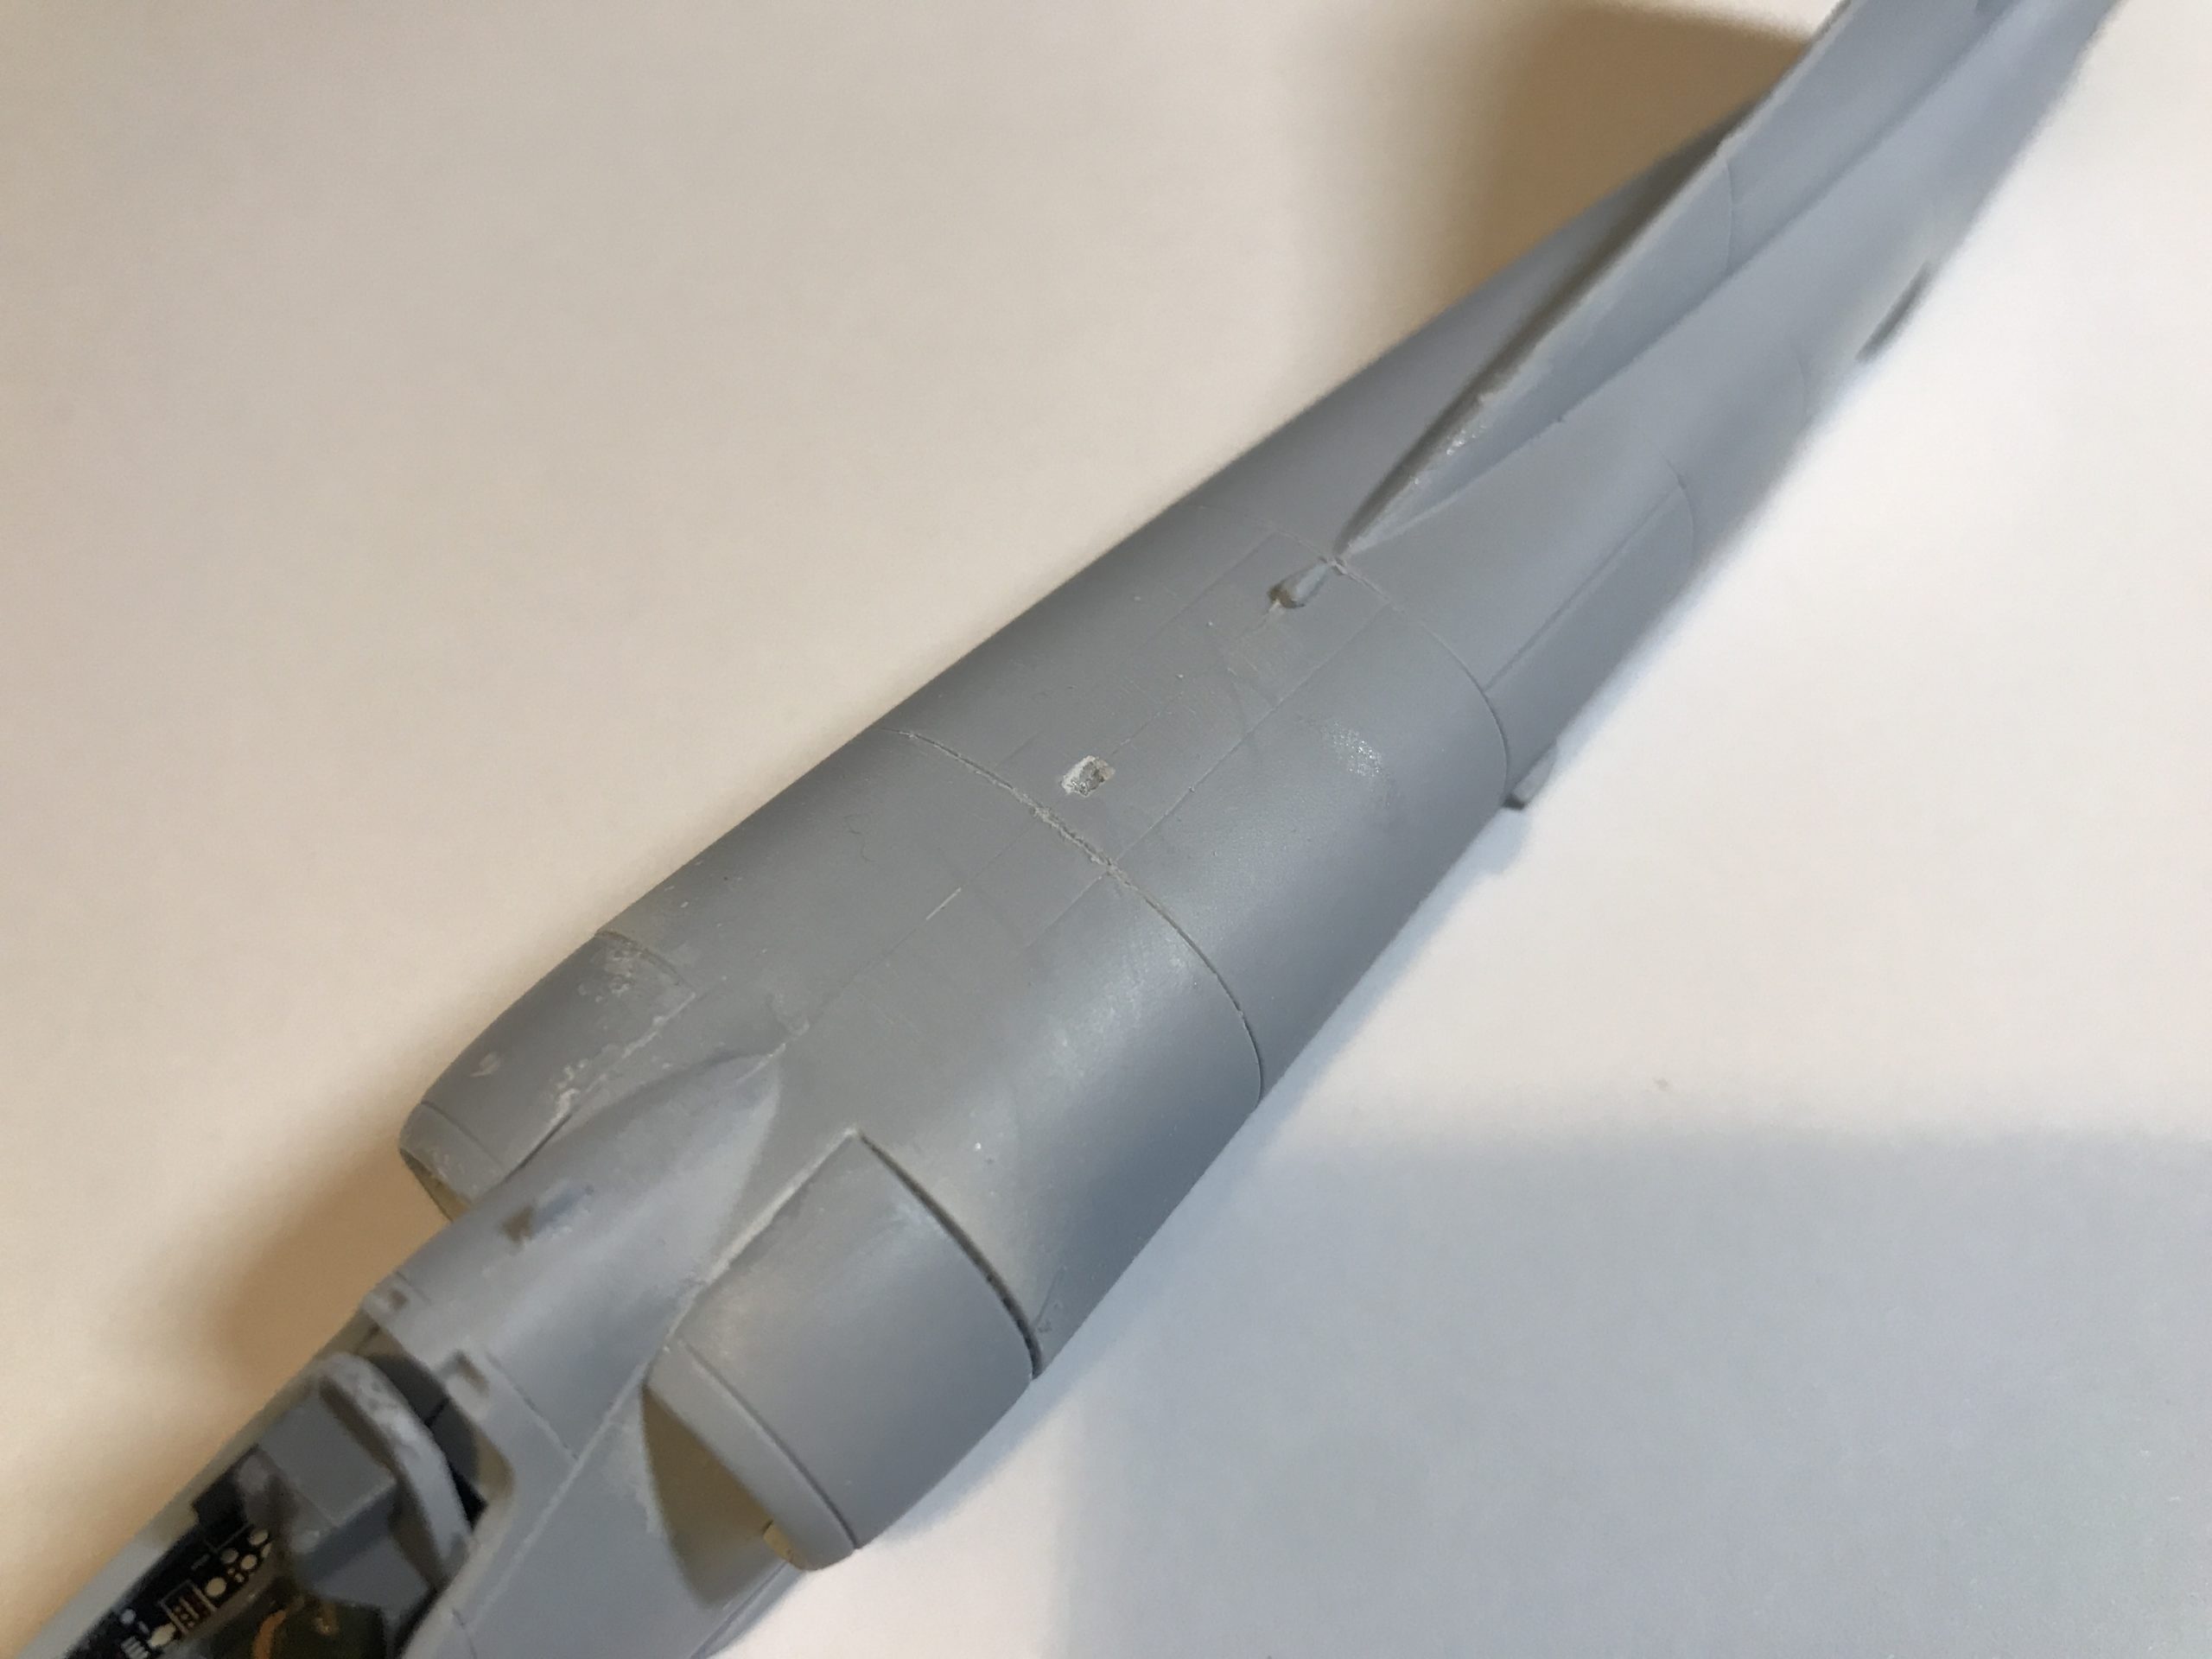
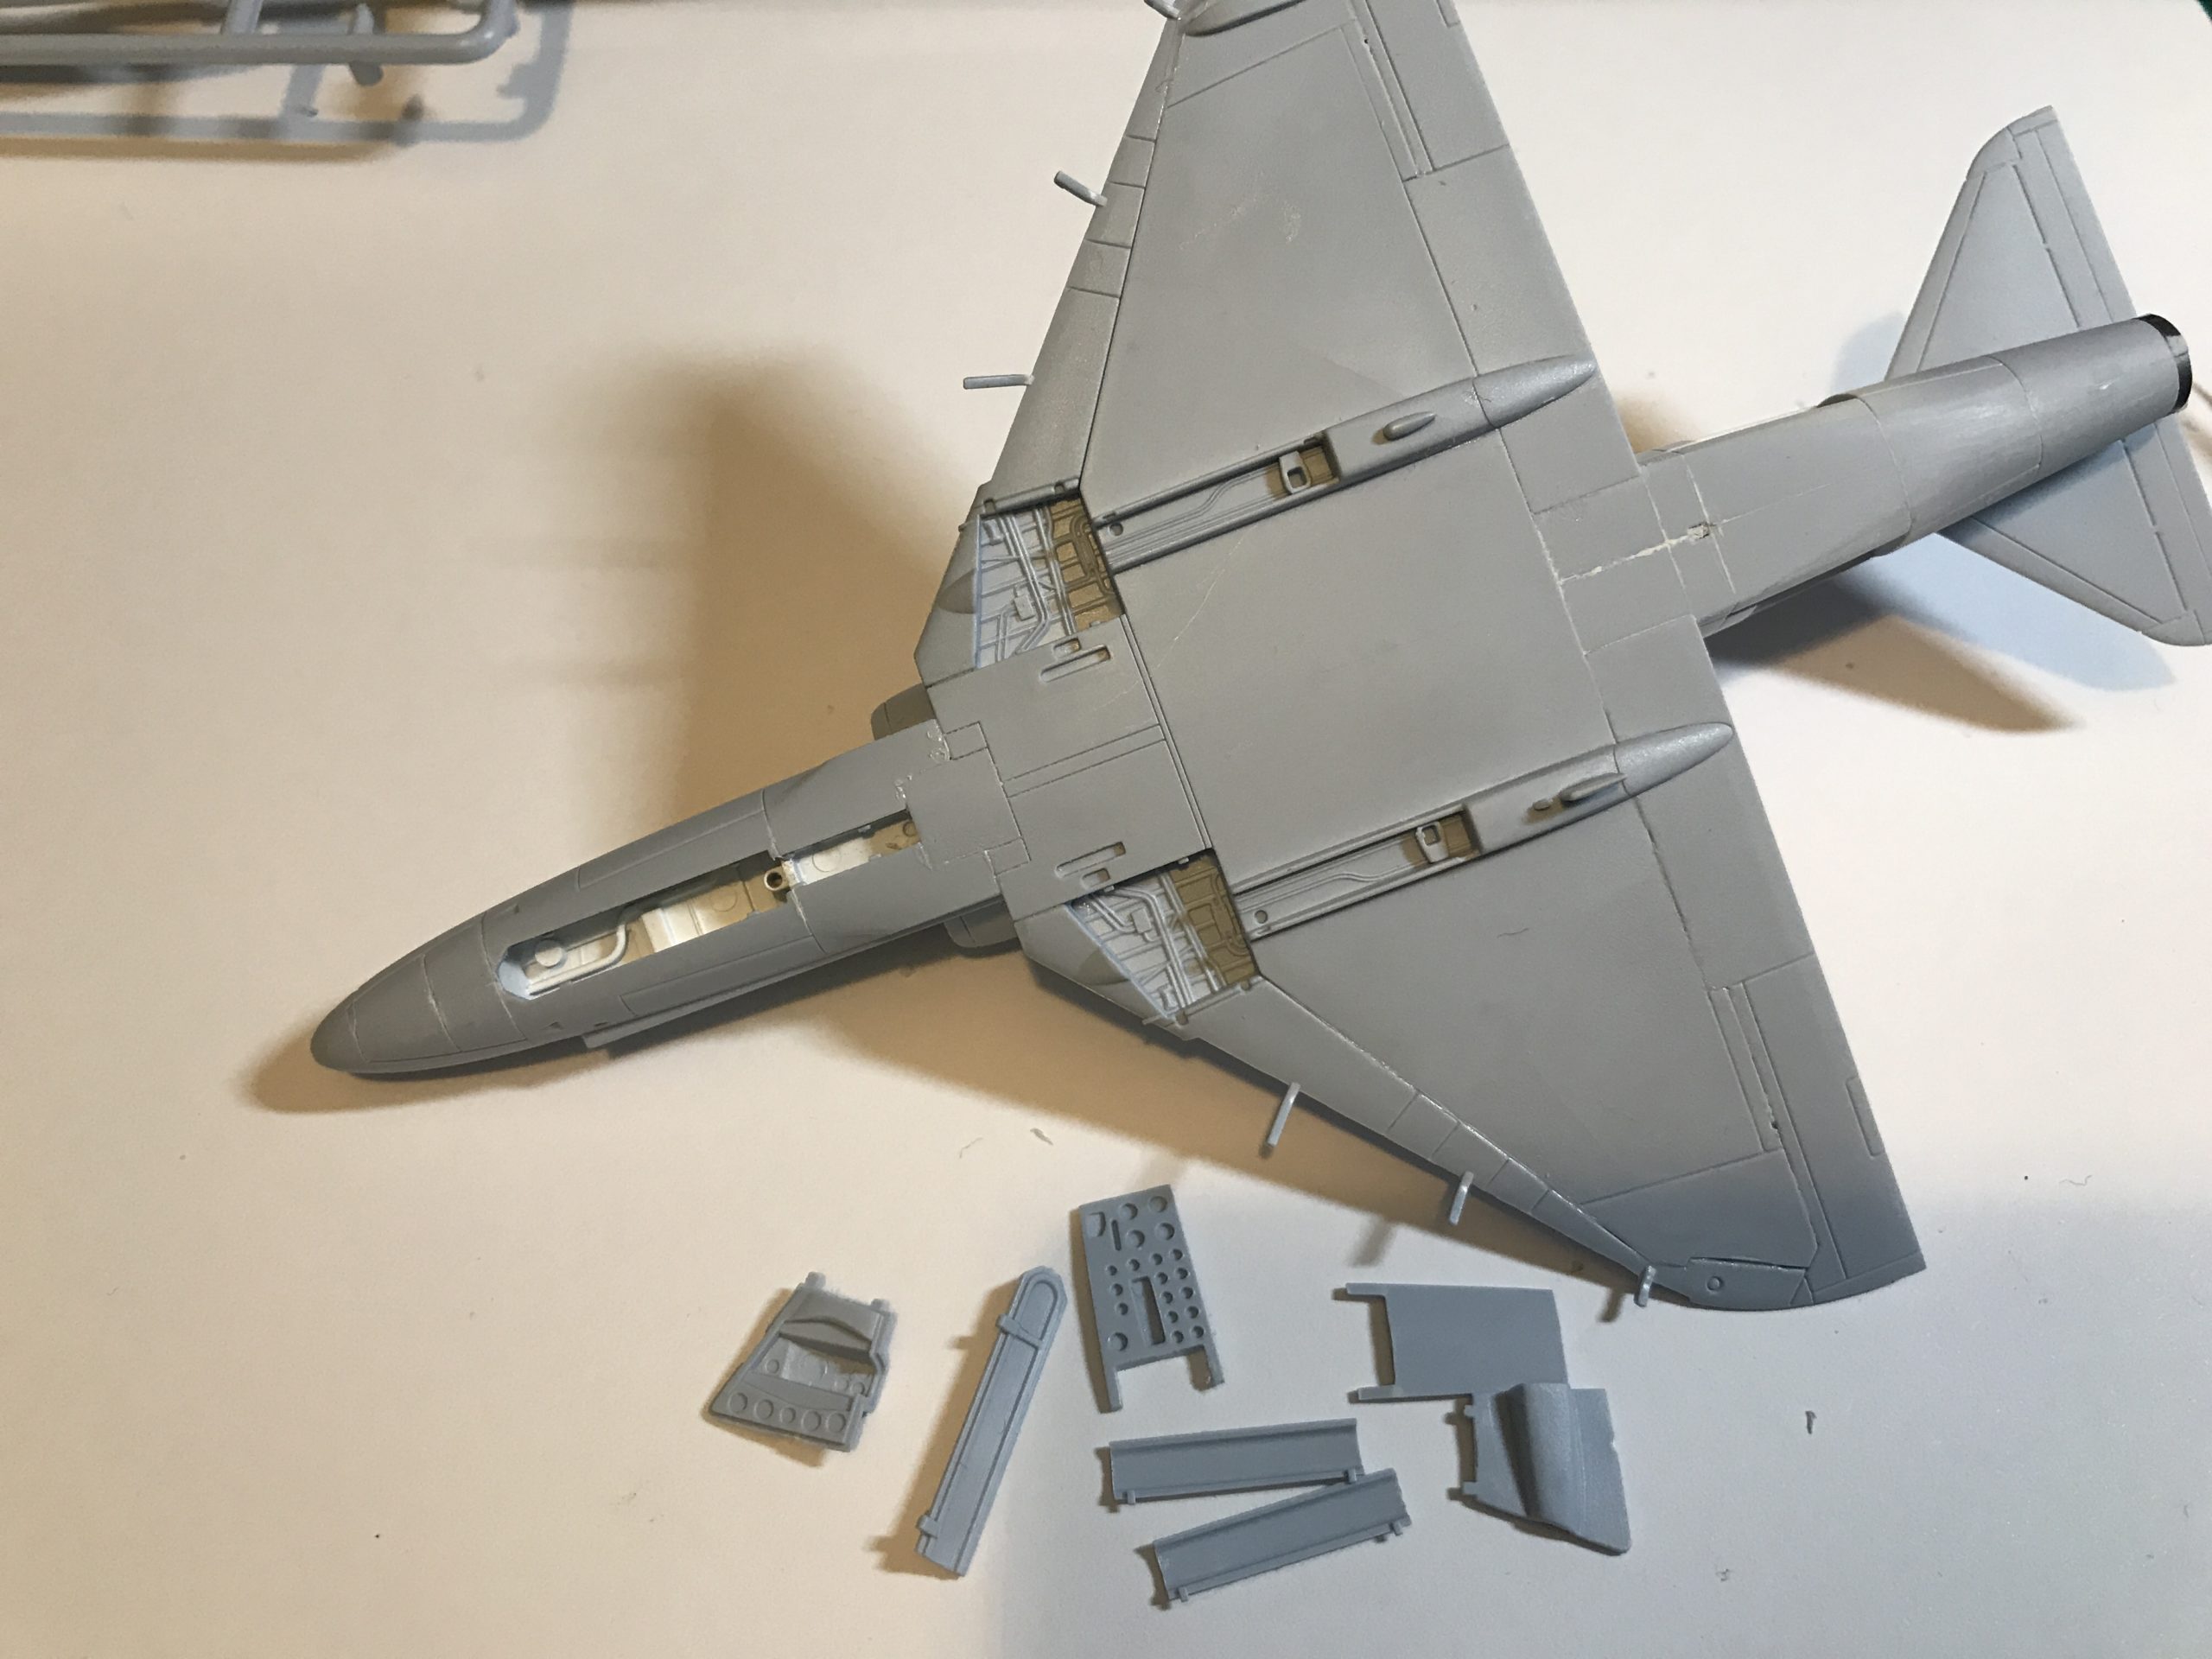
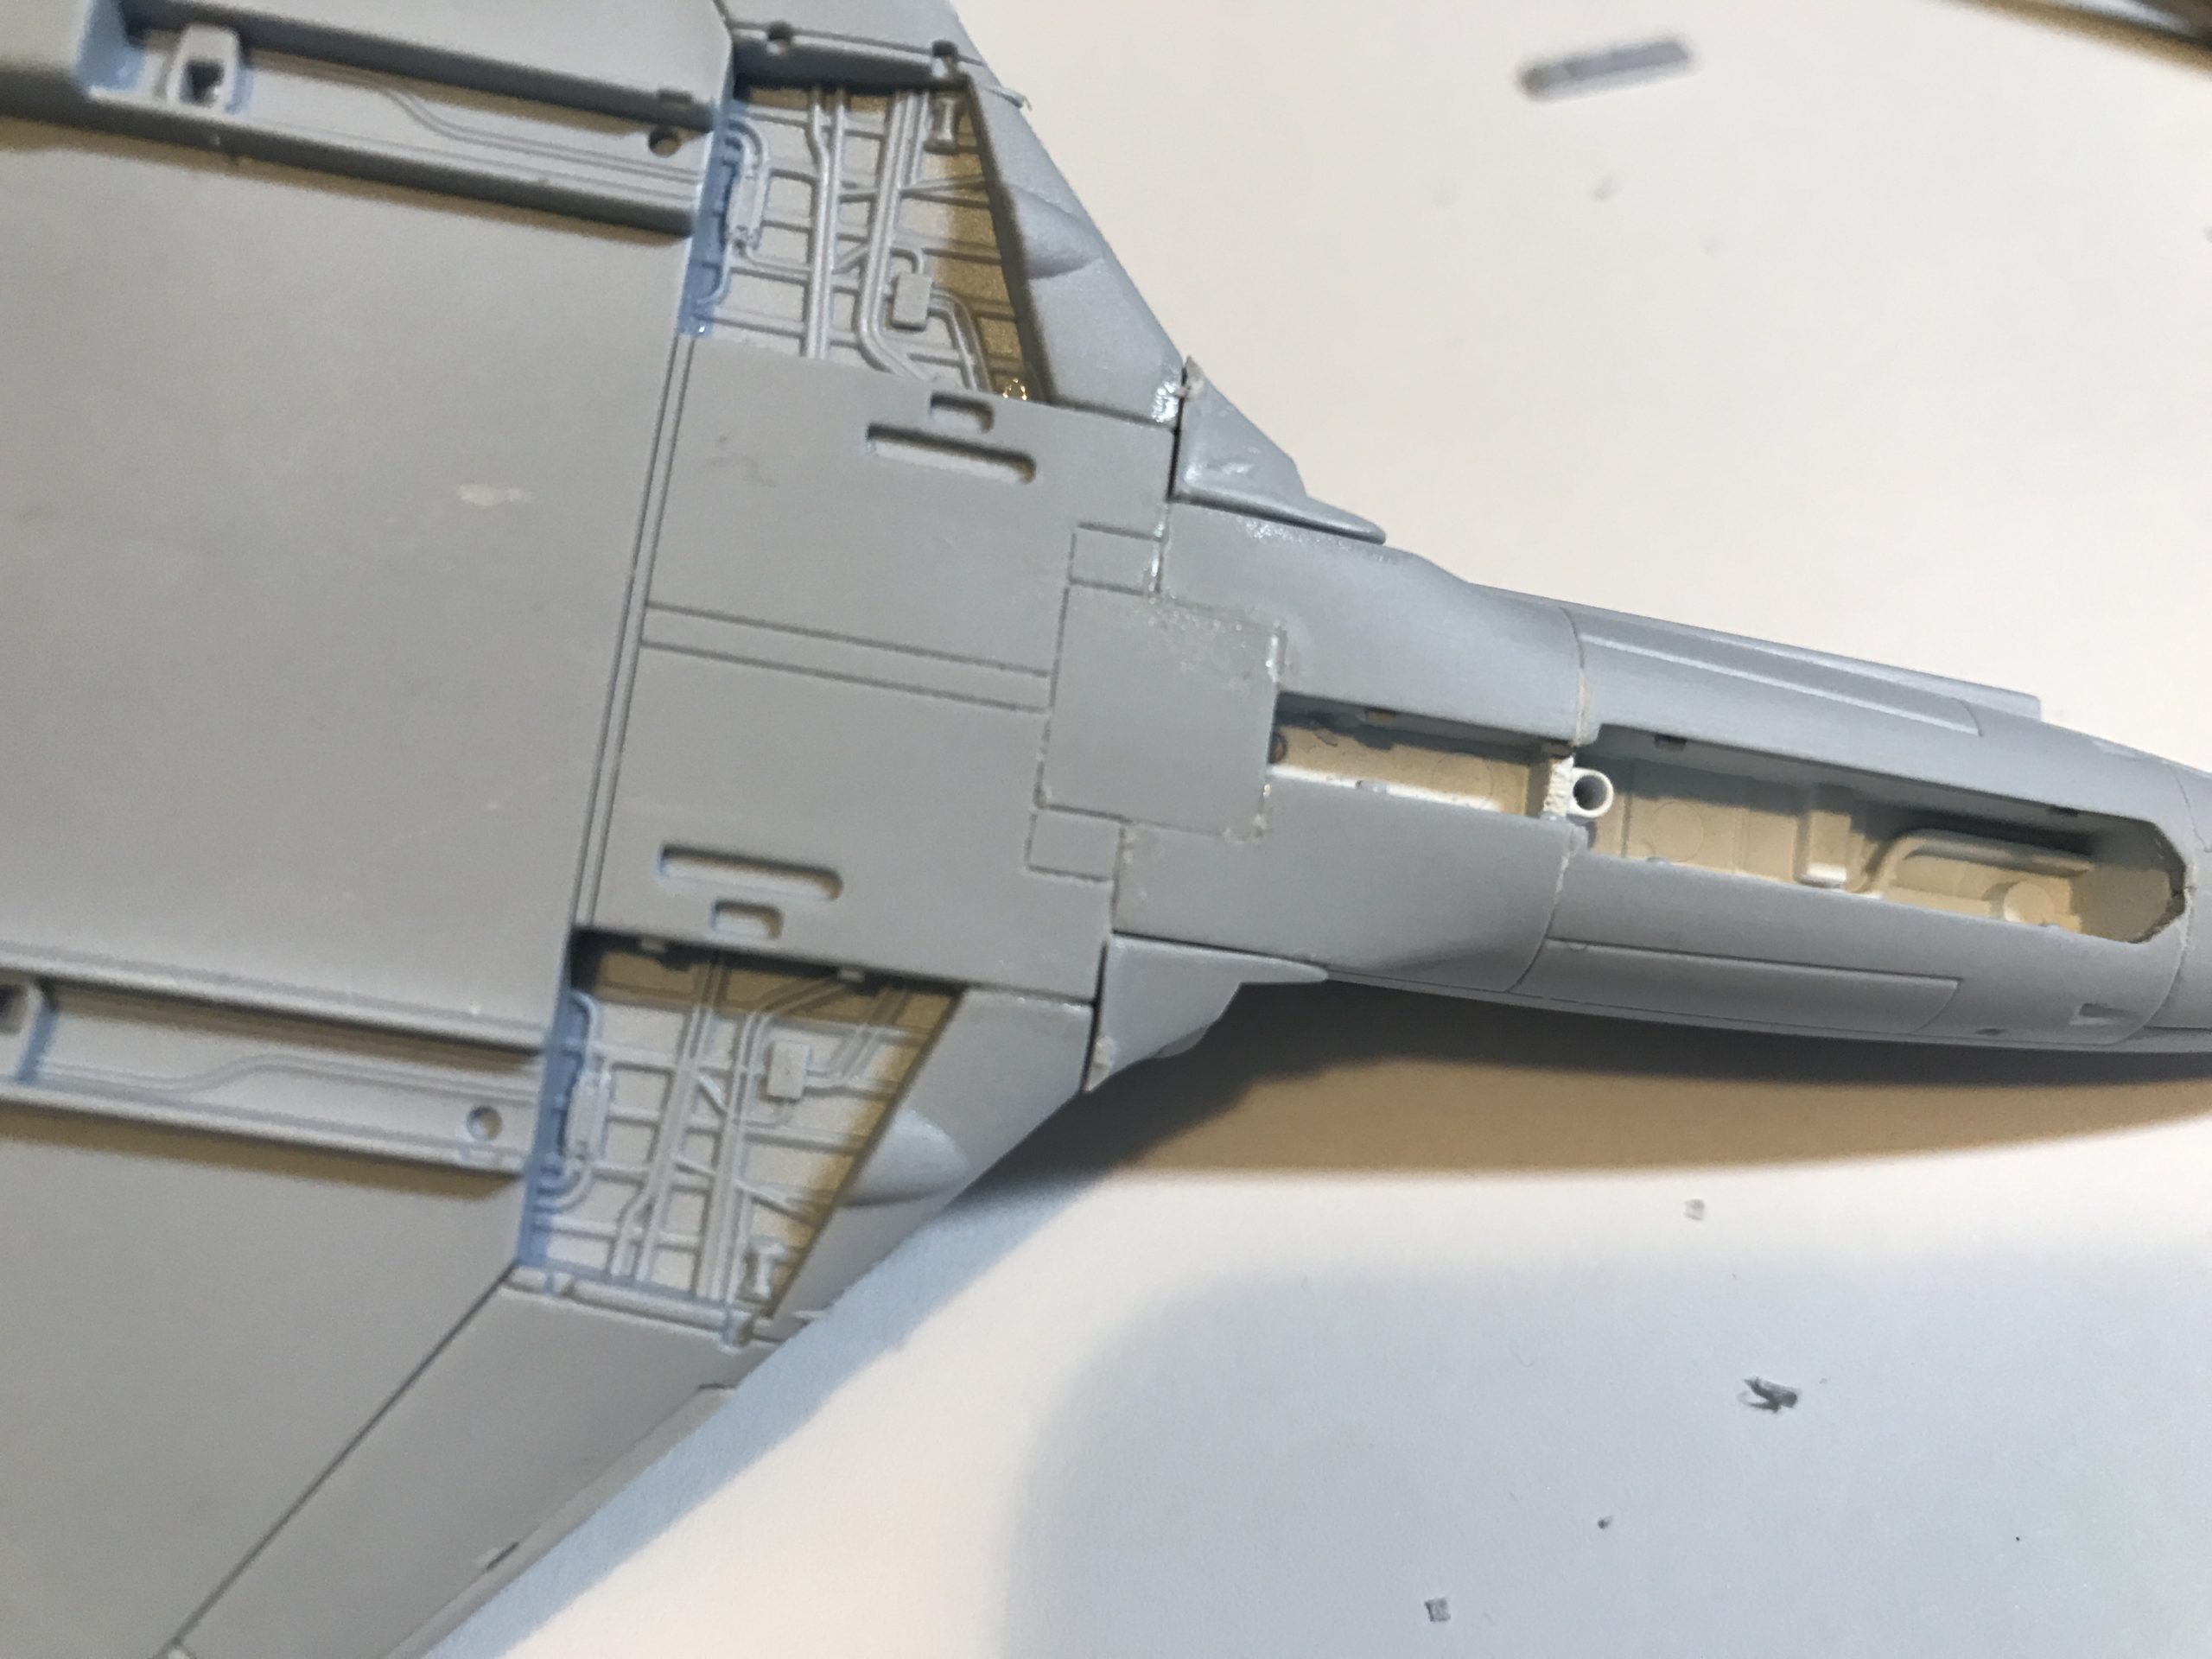
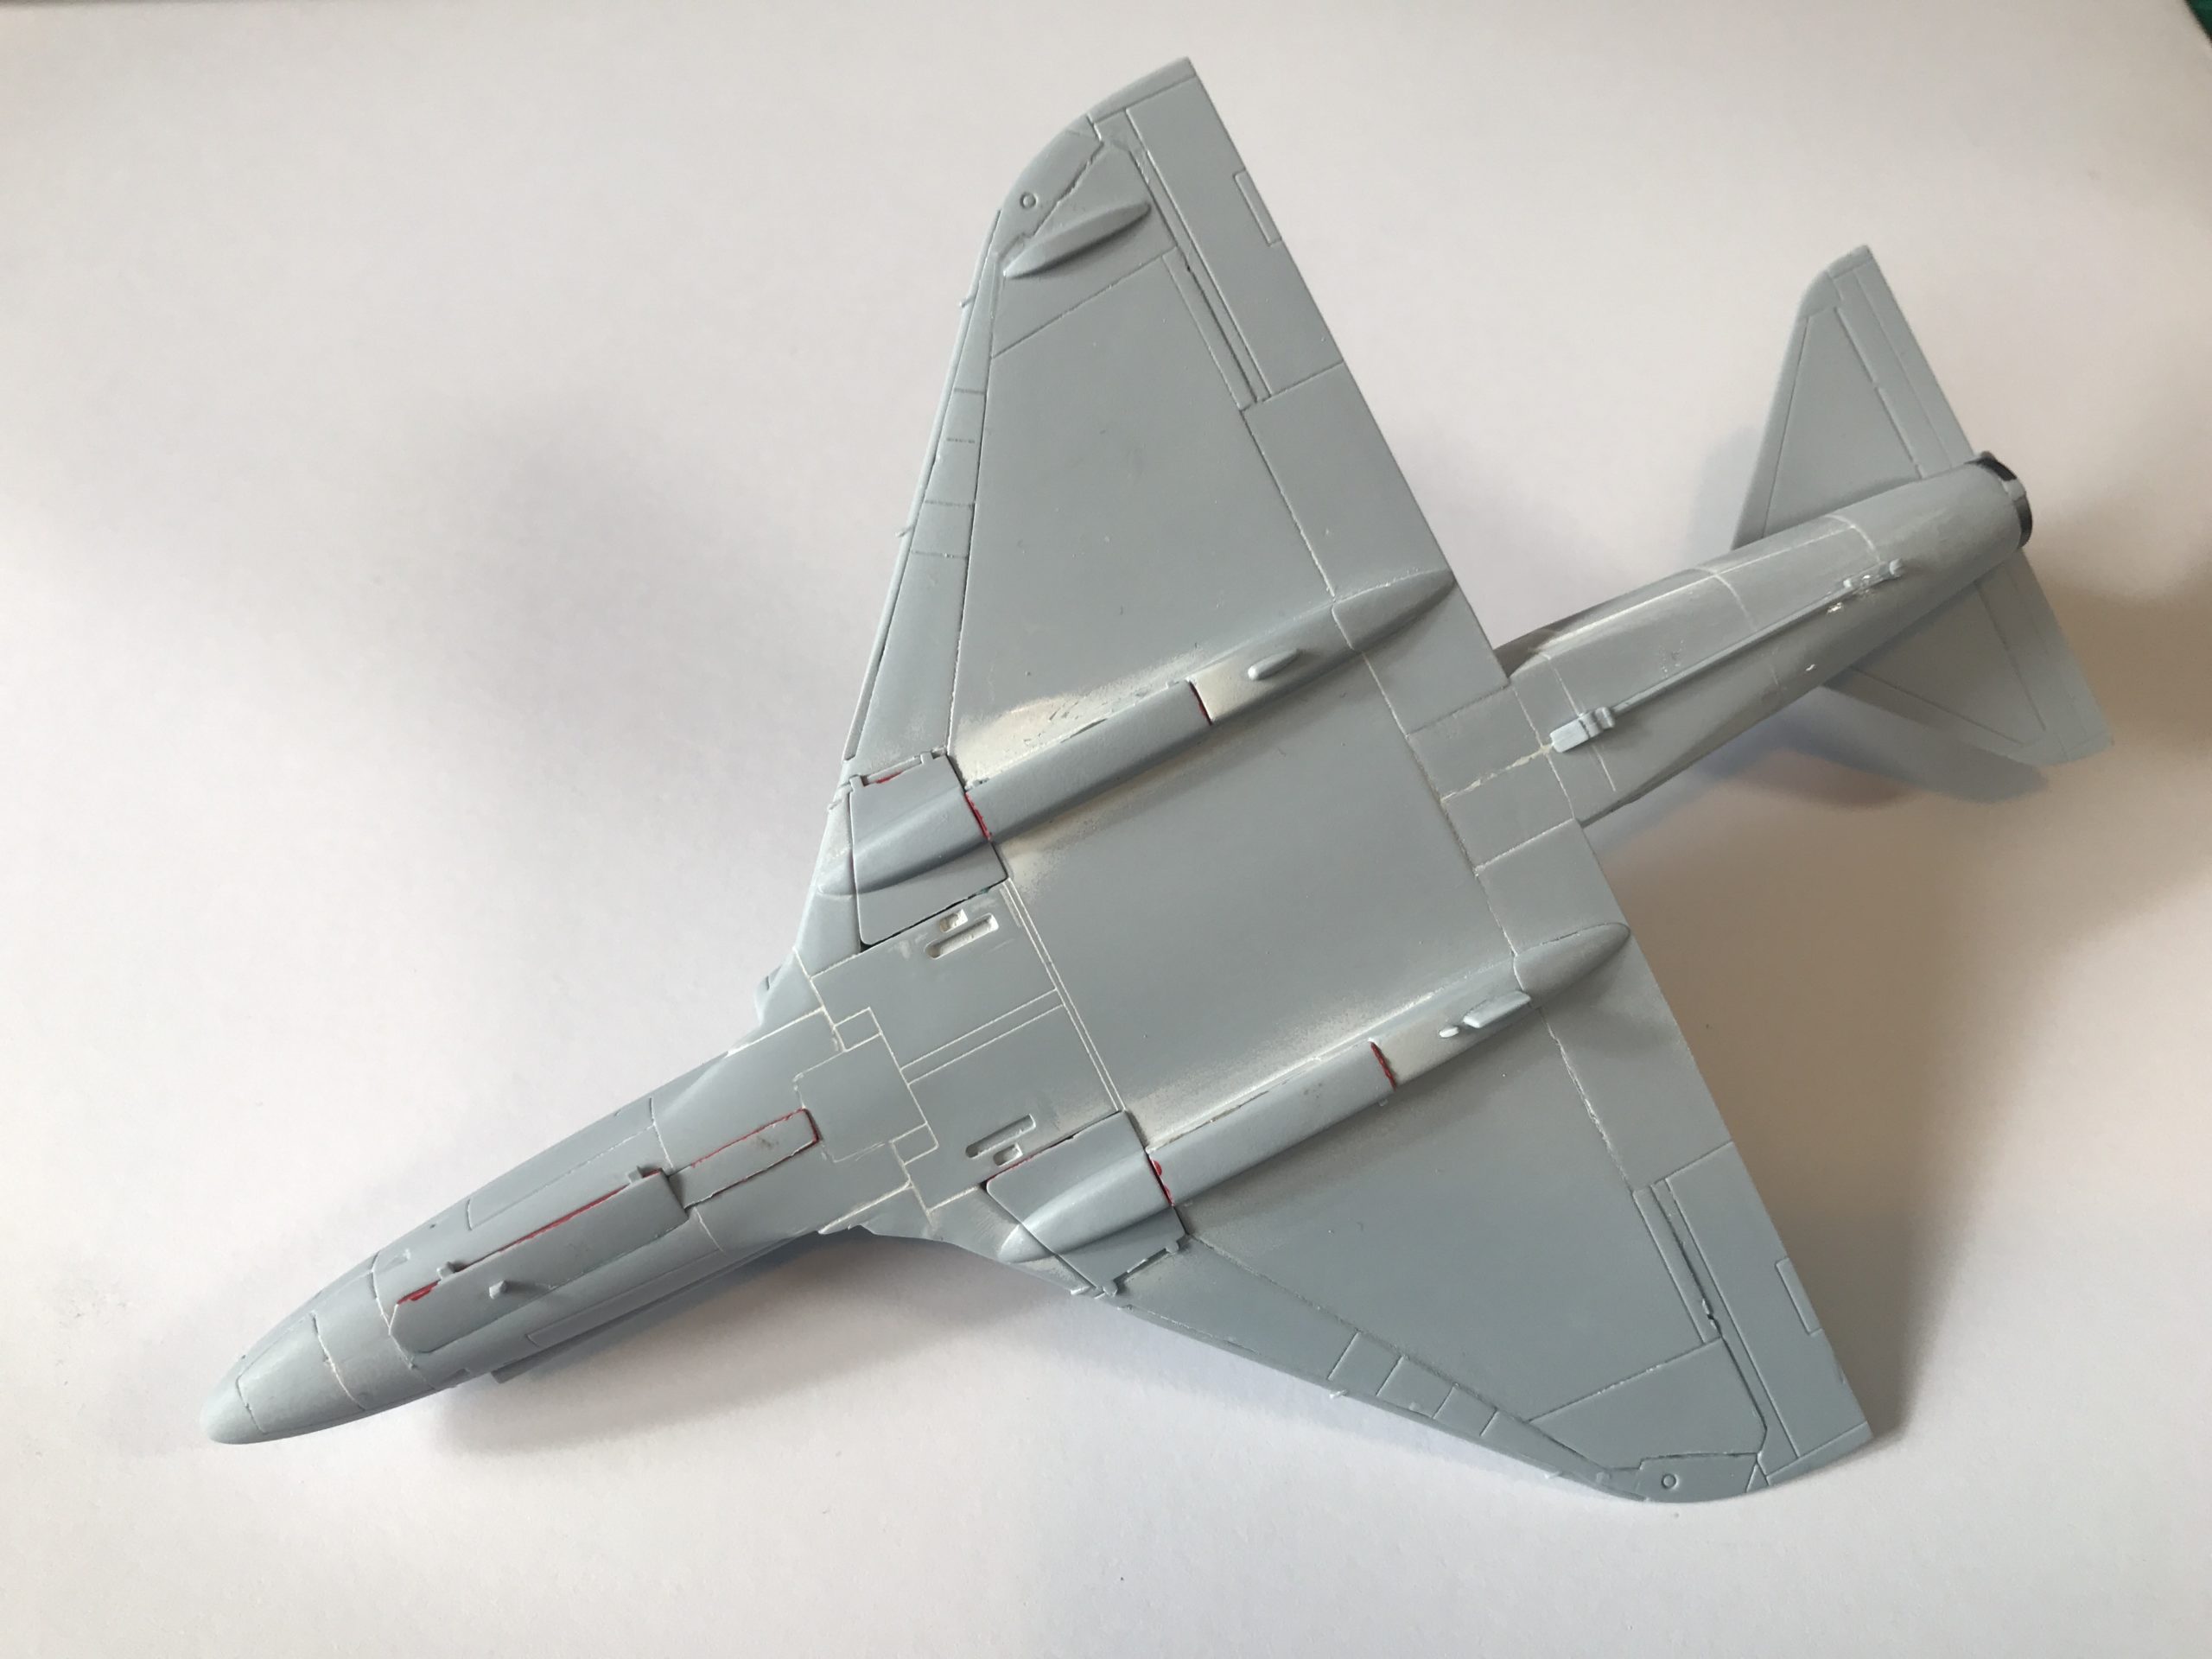
The fuselage can now be removed from the sprue. It’s worth taking care here as the connection points are massive. An example is shown below.
Make sure you don’t try and snip it off the sprue in one hit or you’re going to end up with a filler job. The best approach is to leave a good amount of the sprue attached and gradually remove it a little bit at a time until the part is clean.
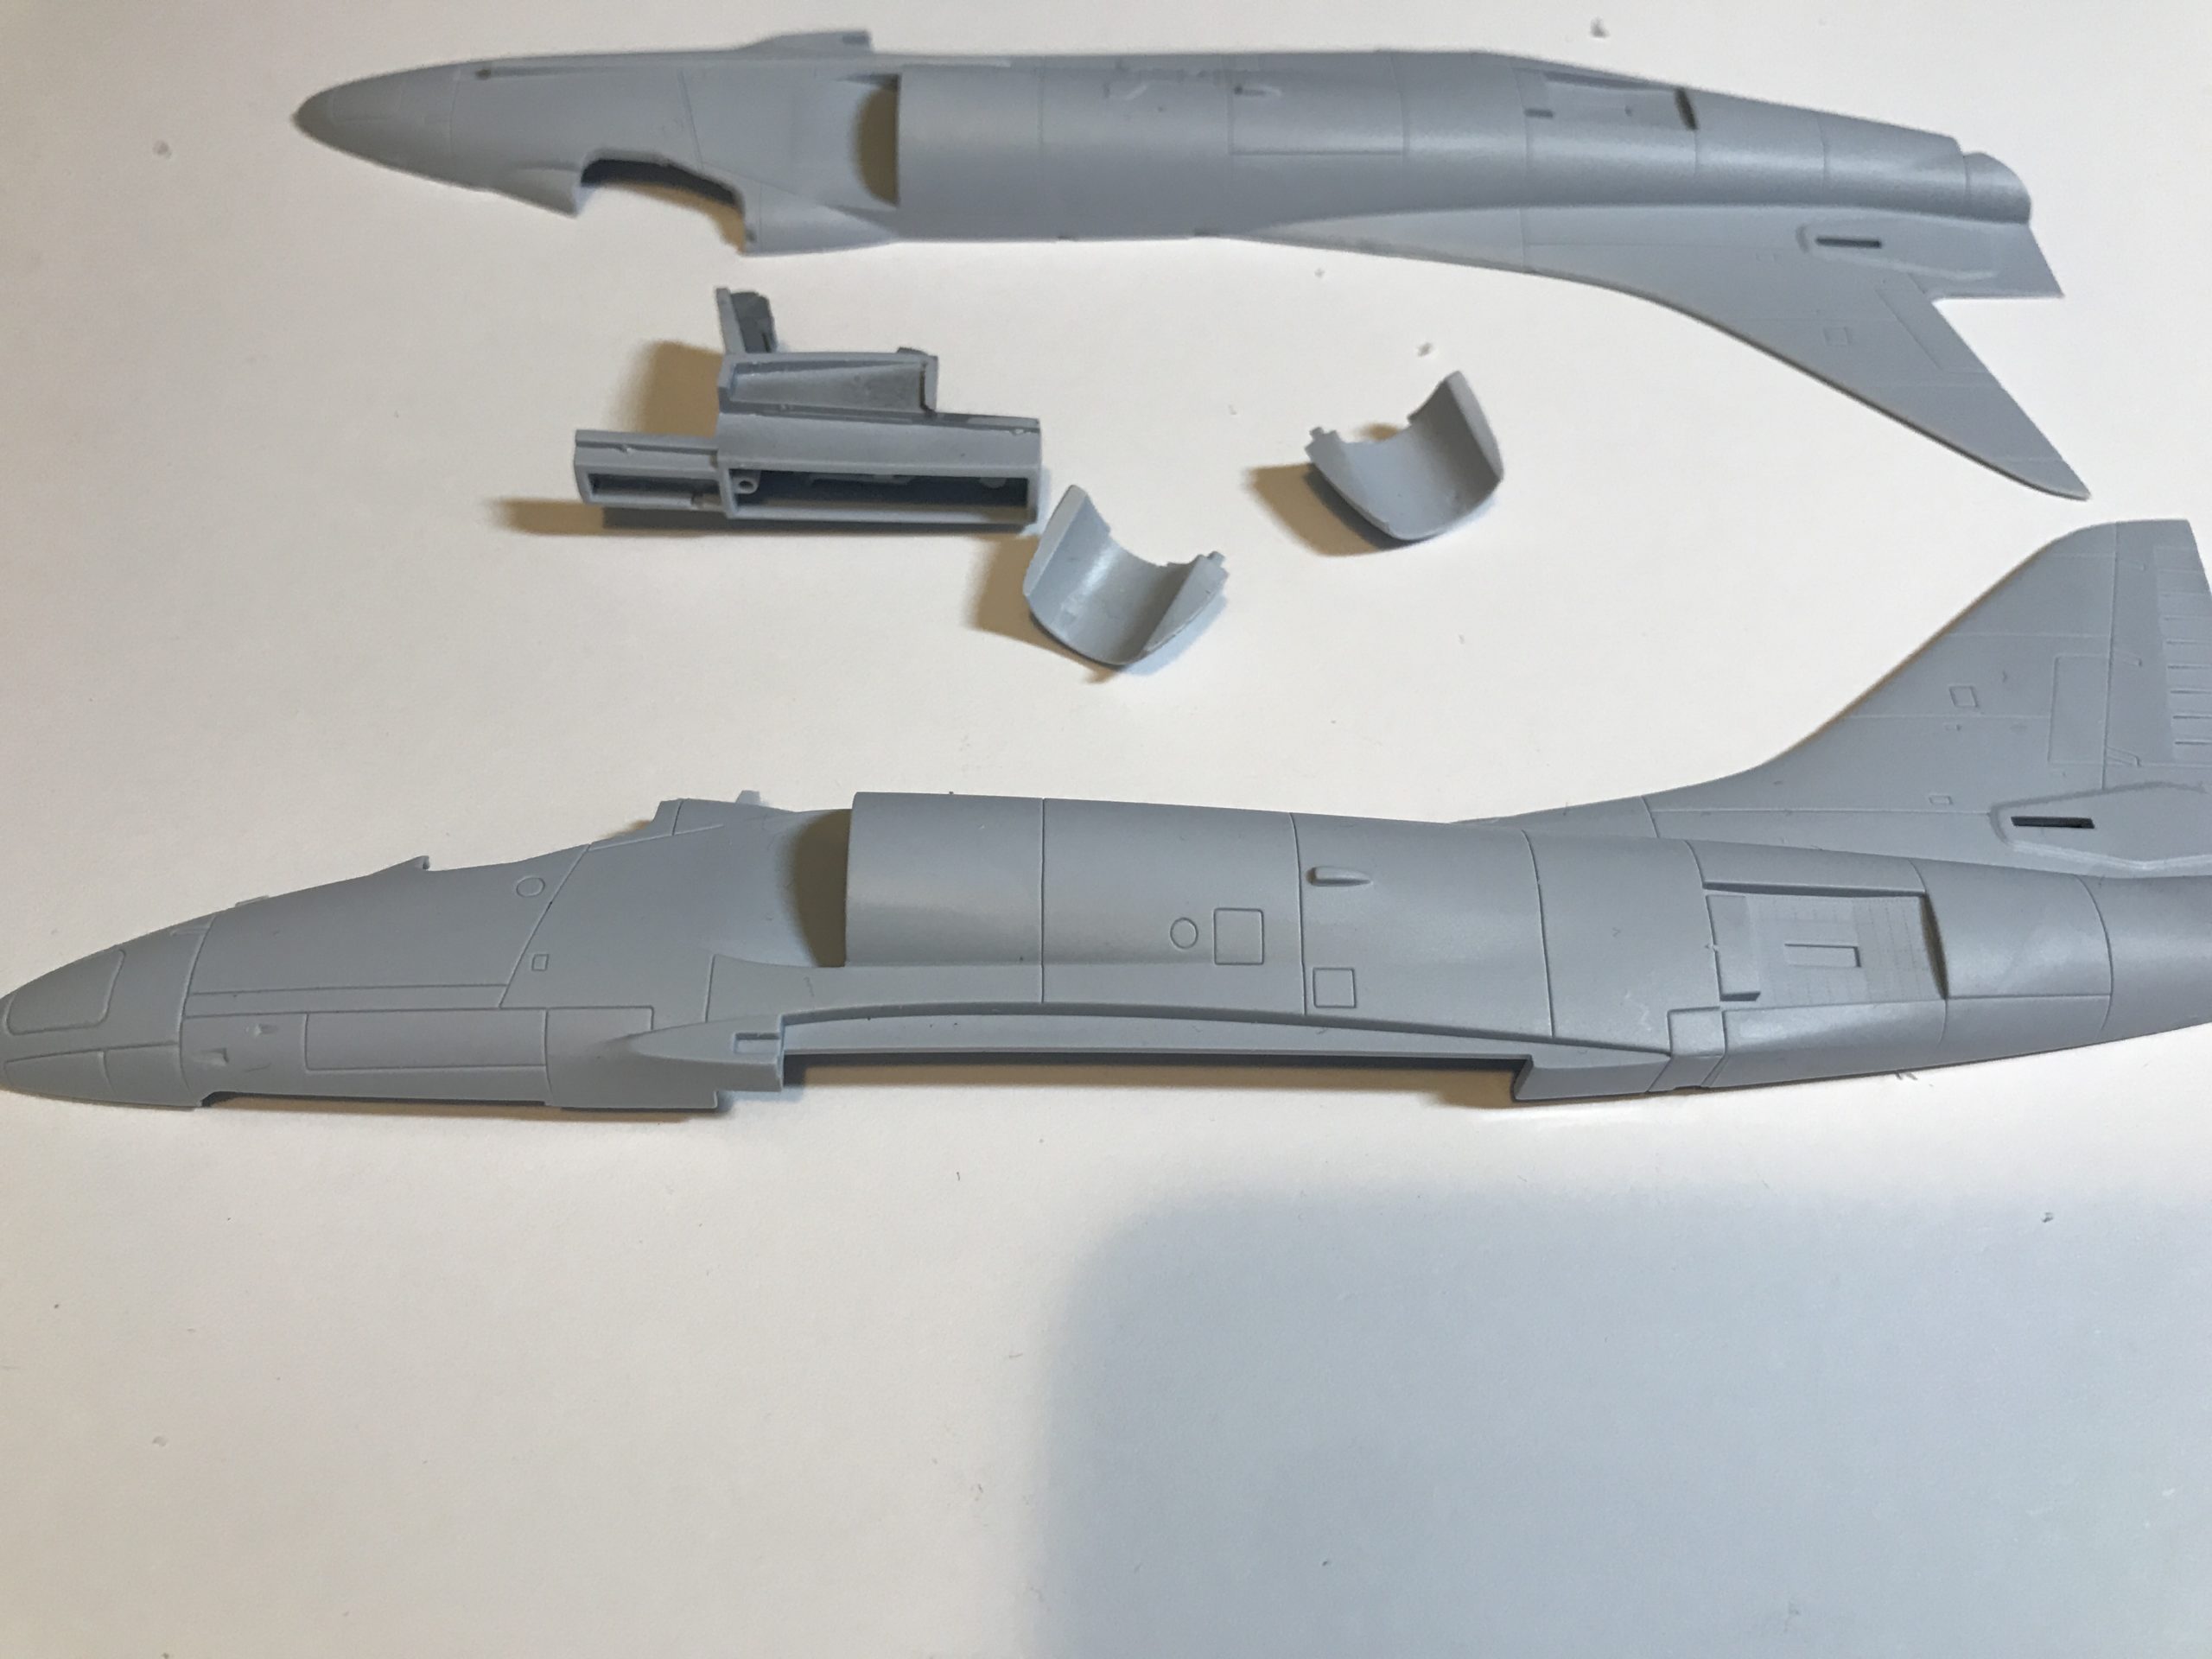
Eventually you will be left with the parts for assembling the fuselage.
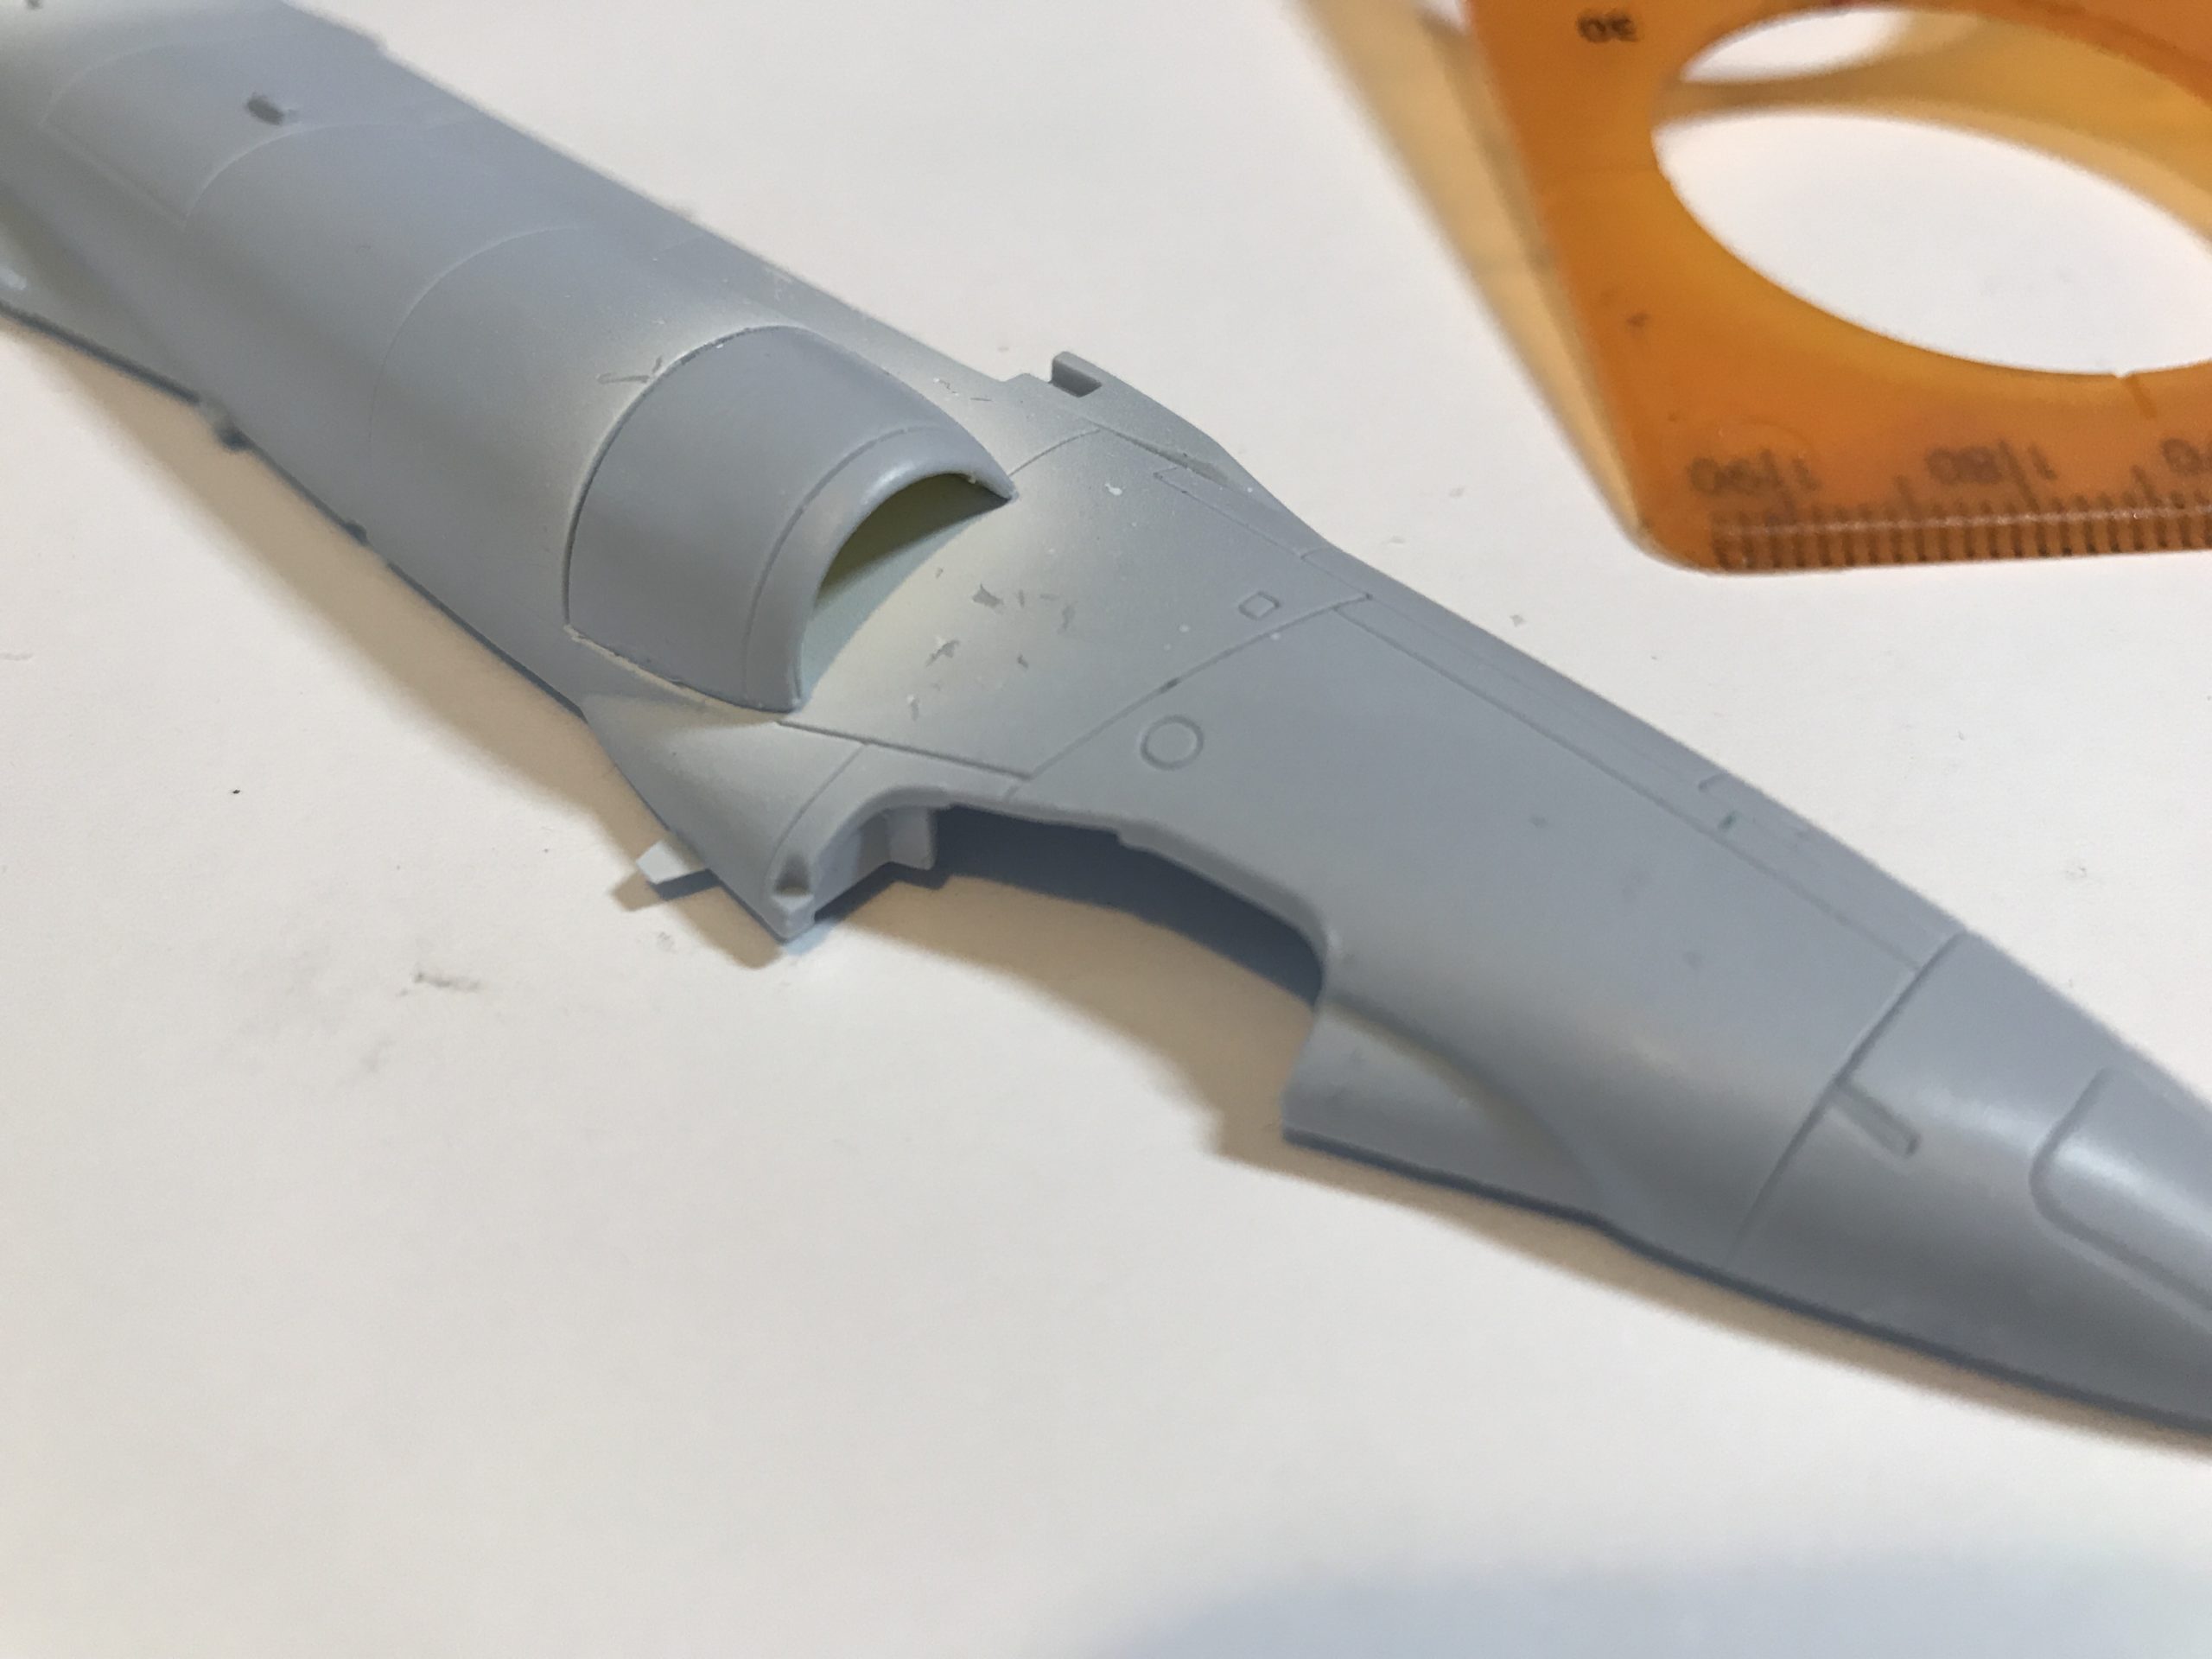
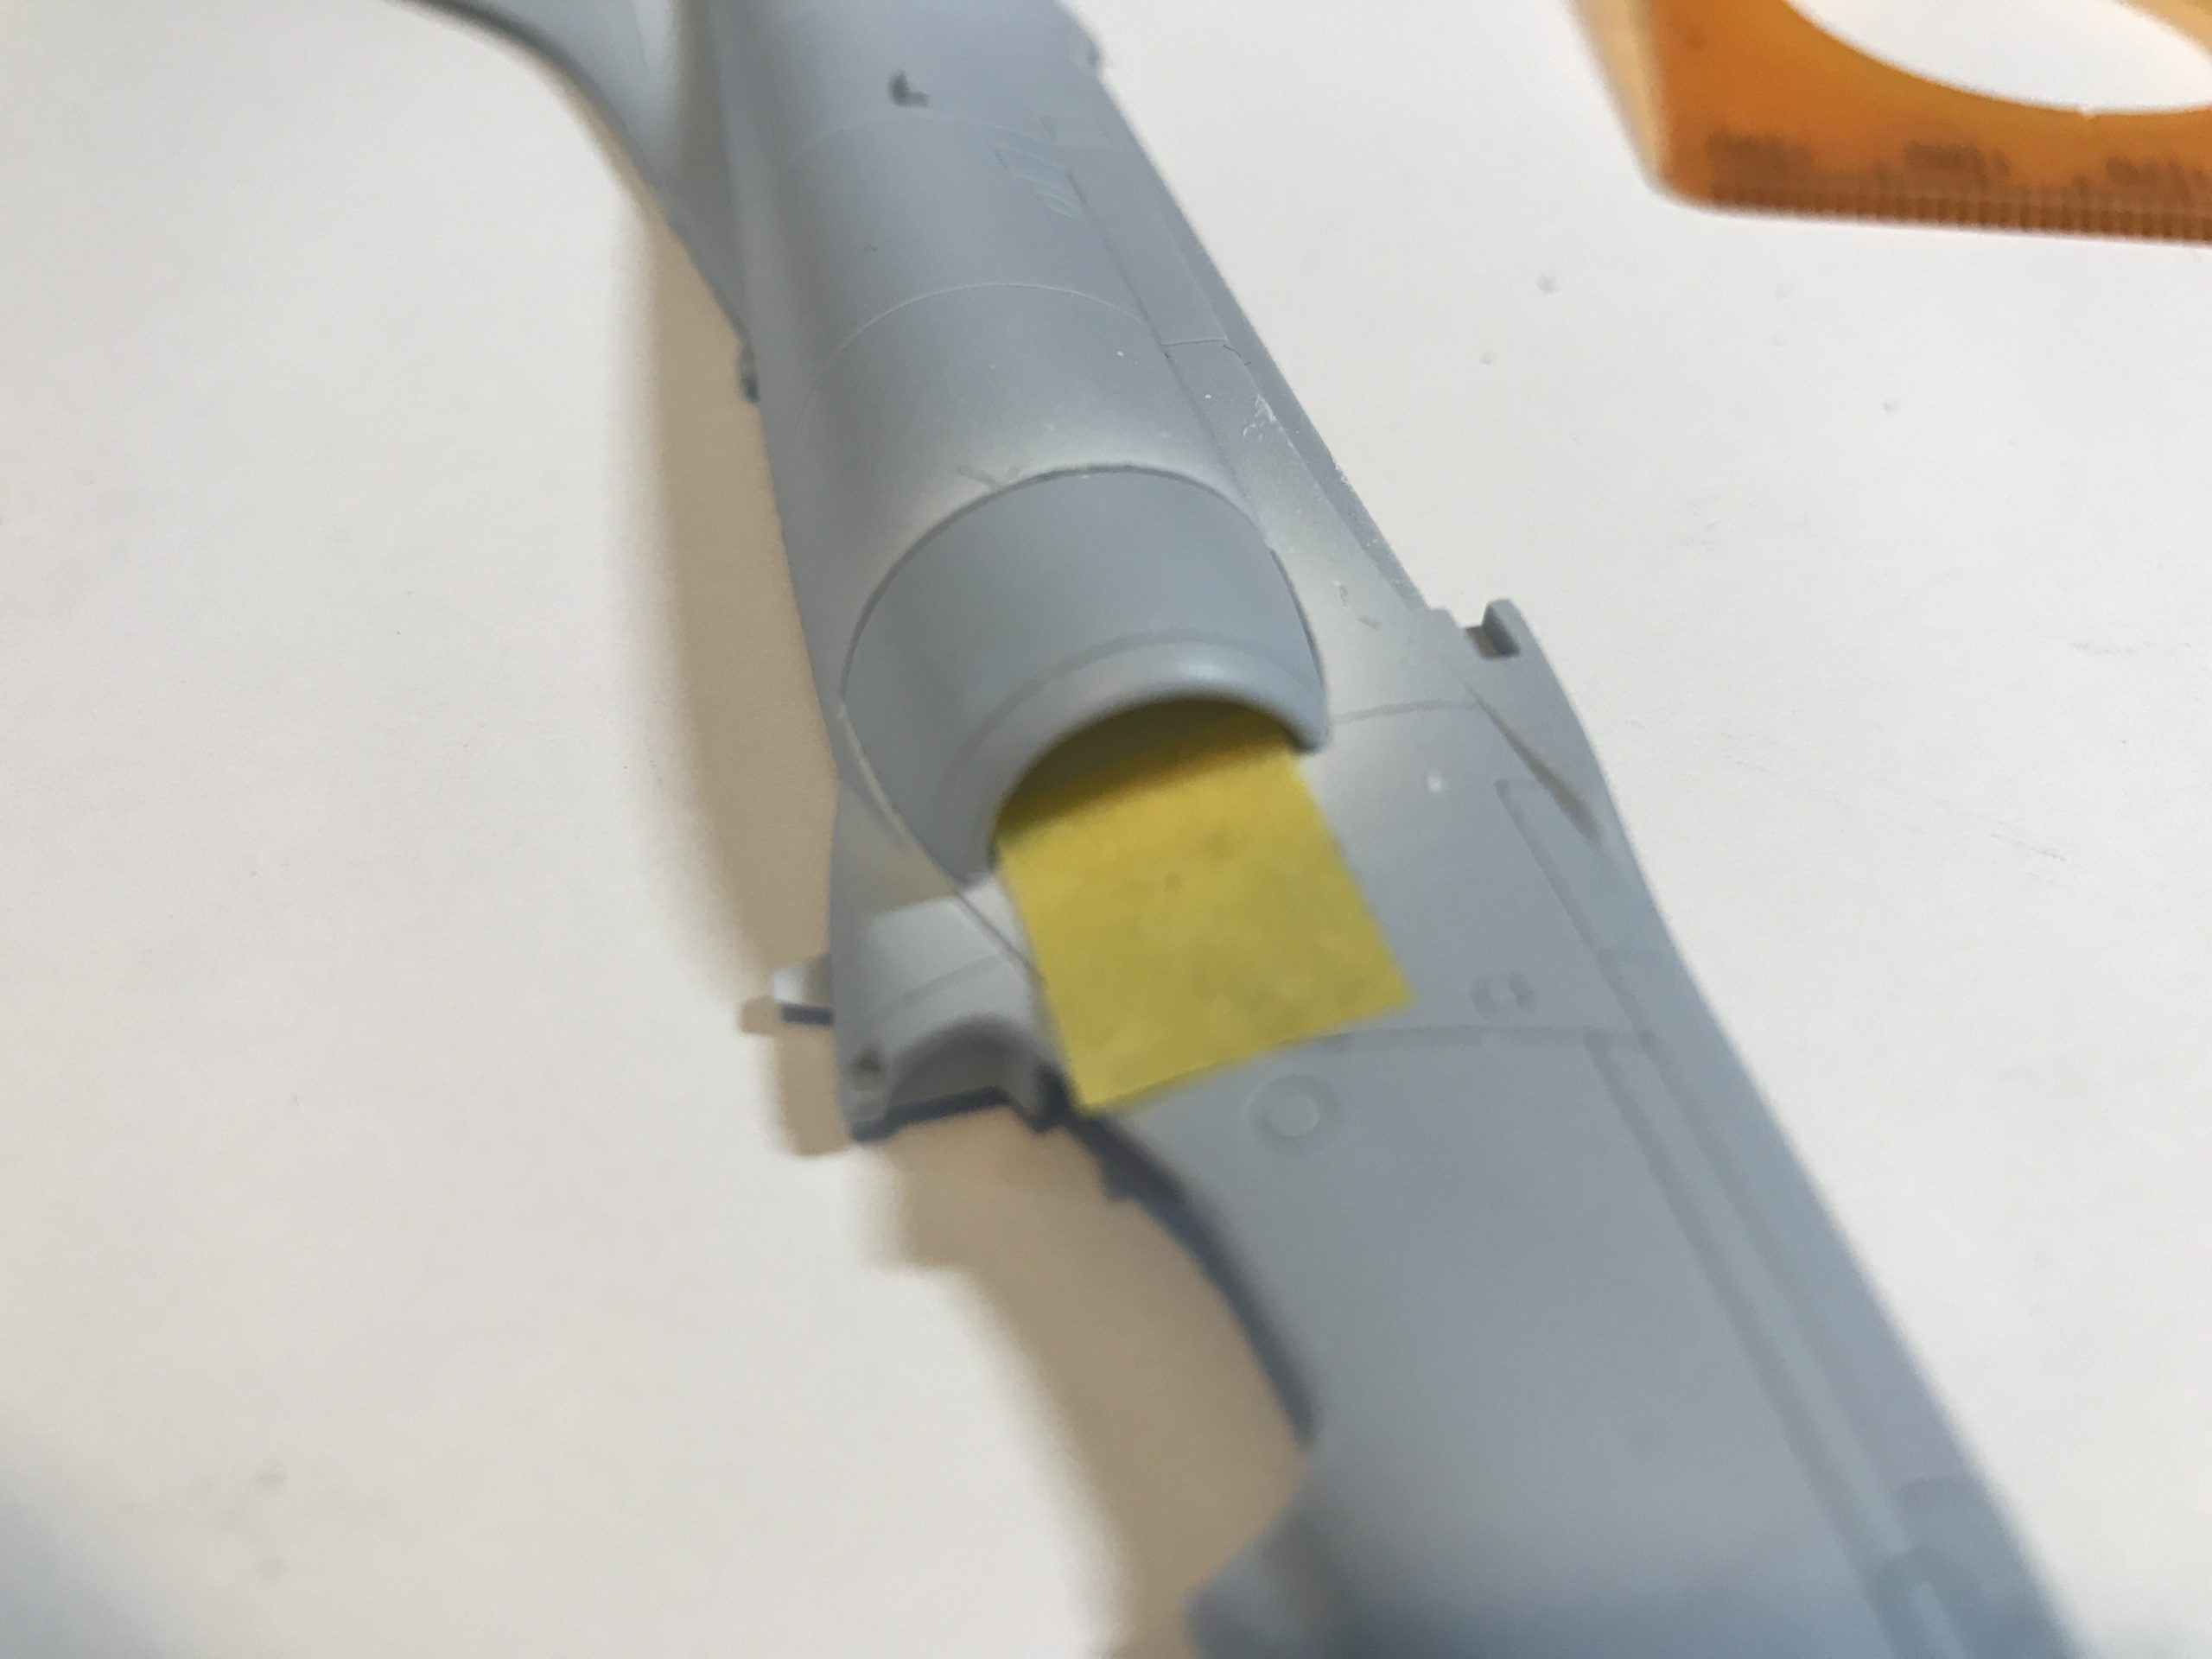
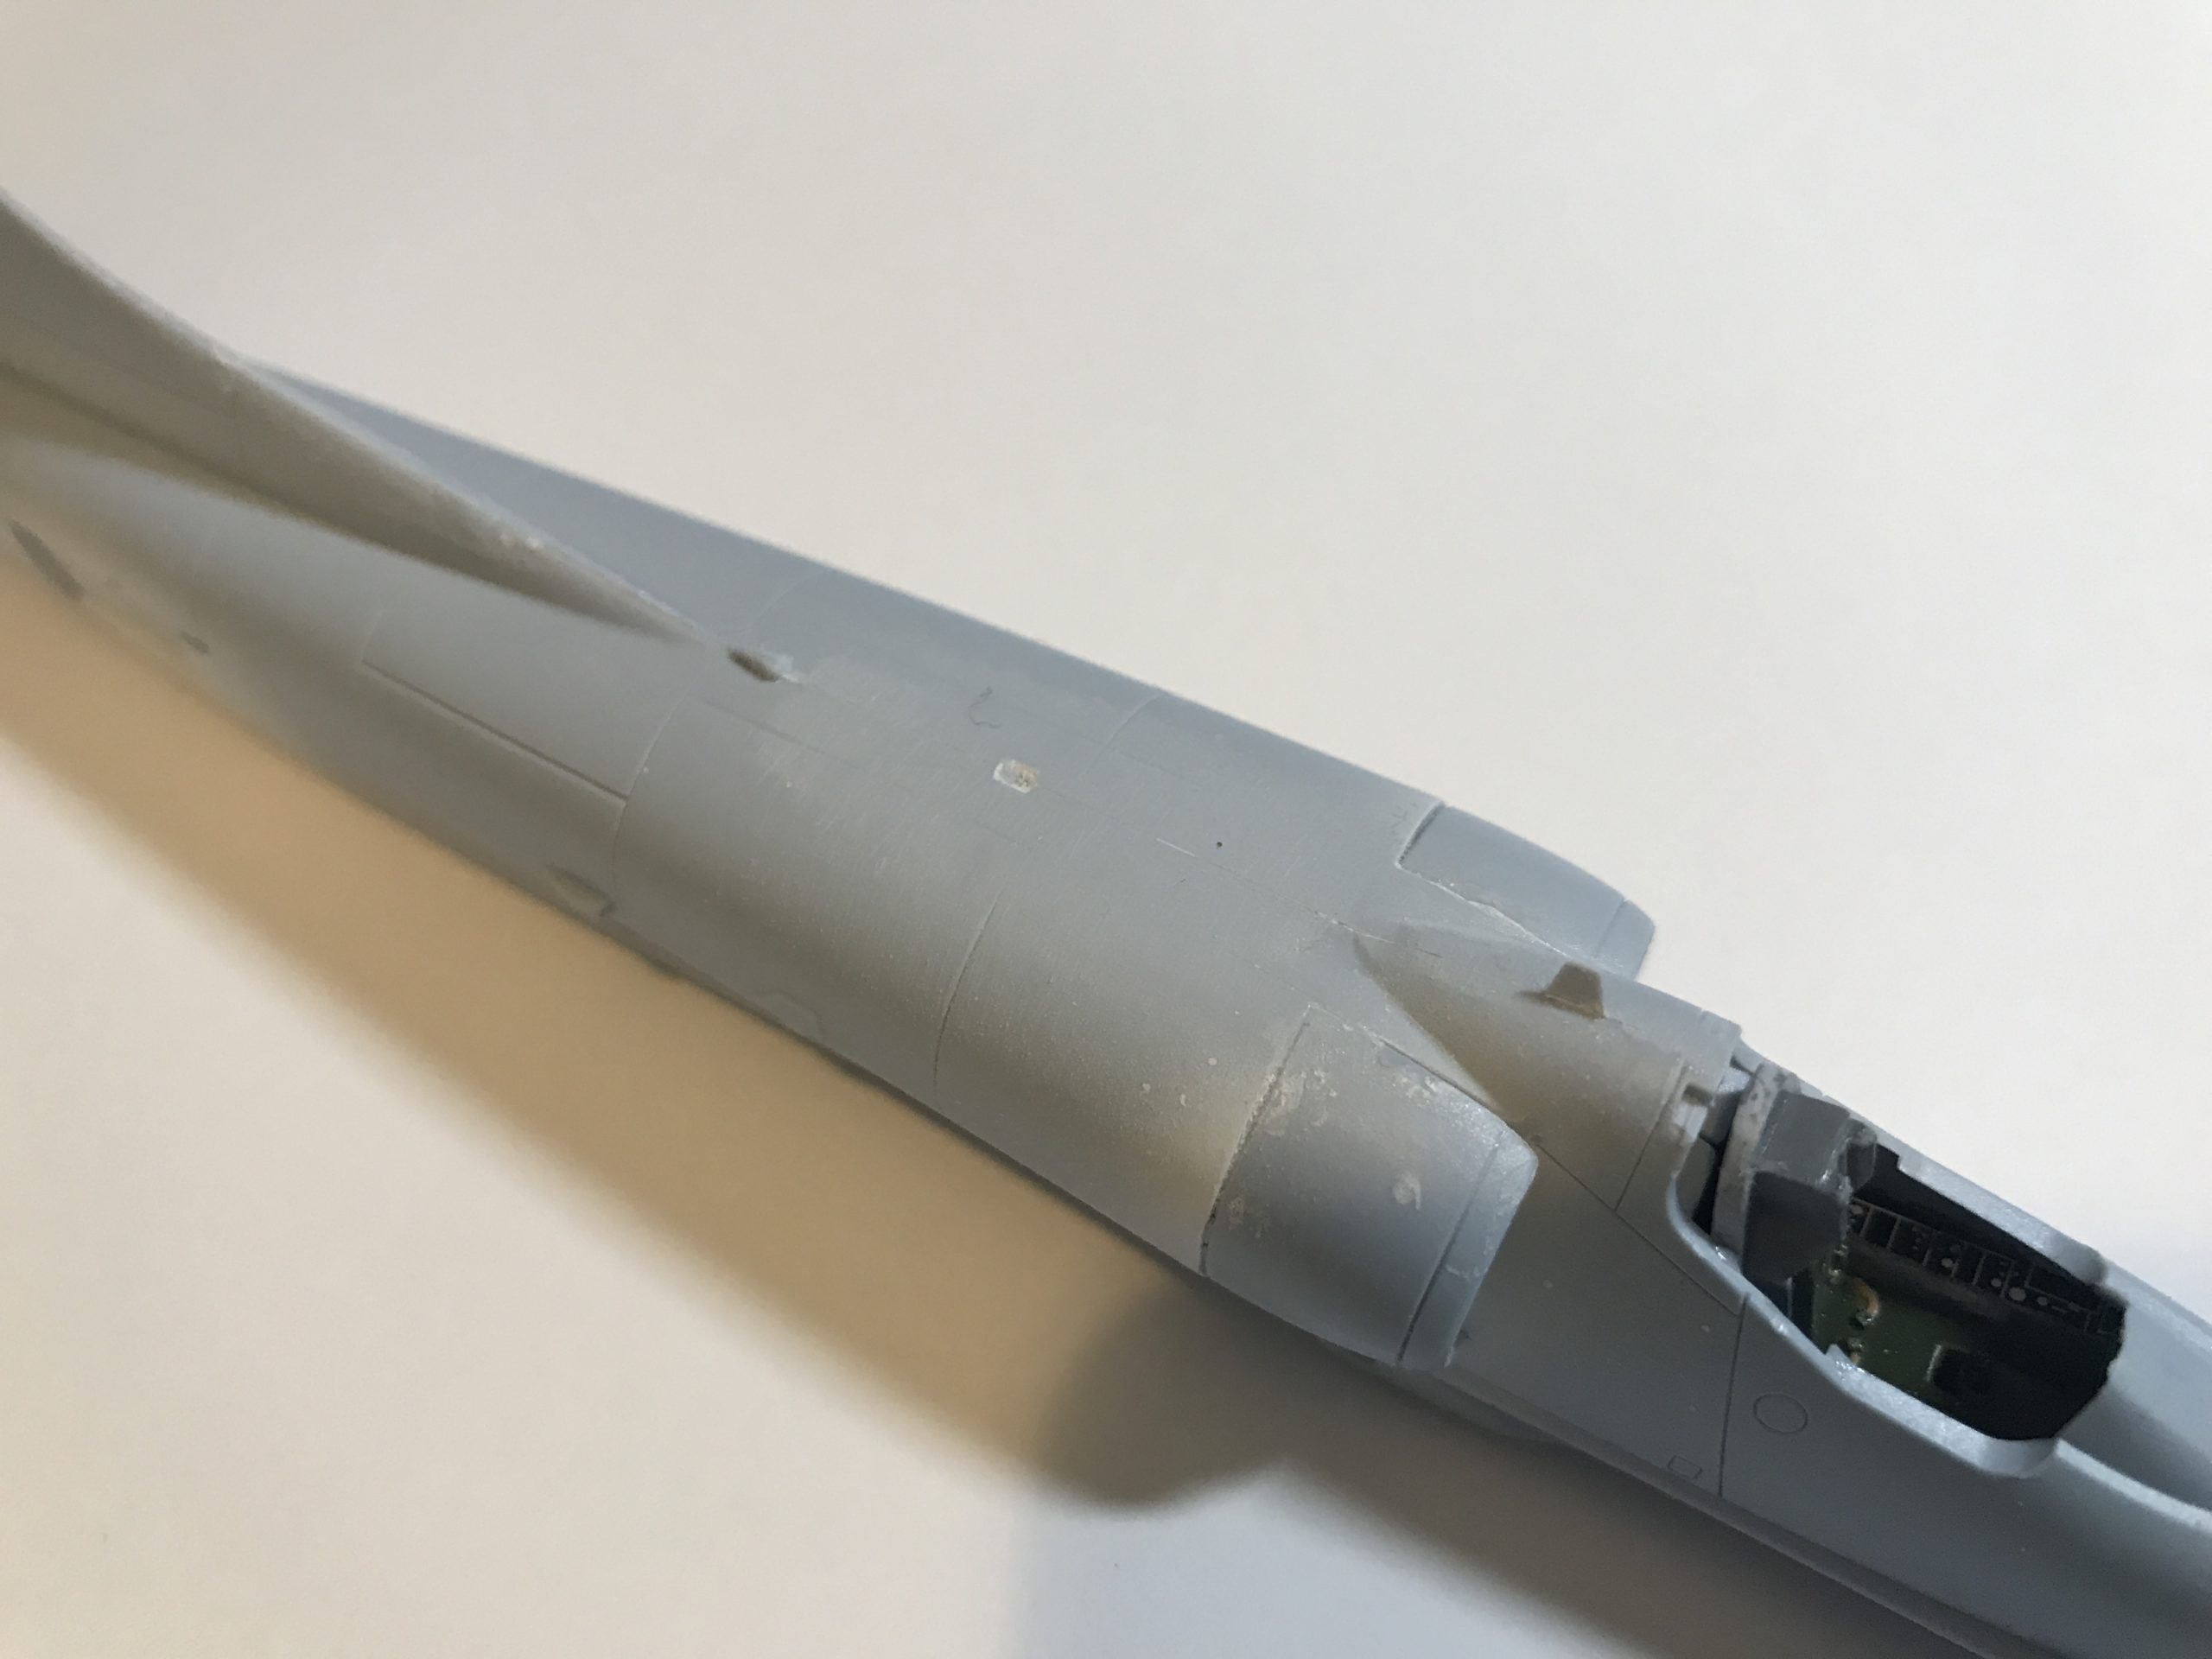
The inside of the intakes is flat white. I was keen to figure out a way of masking these, so had a bit of a think. I painted the parts white first. Then I measured the inside dimension of the intake. This was 9mm. I took some 10mm masking tape and cut a 1mm strip off it to create 9mm masking tape.
The white section doesn’t come to the front edge of the inlet. On the inside edge there is a line scribed that marks where the fuselage colour begins. I masked up to the line and cleaned up the mating surfaces.

Next I dry-fitted the intake.
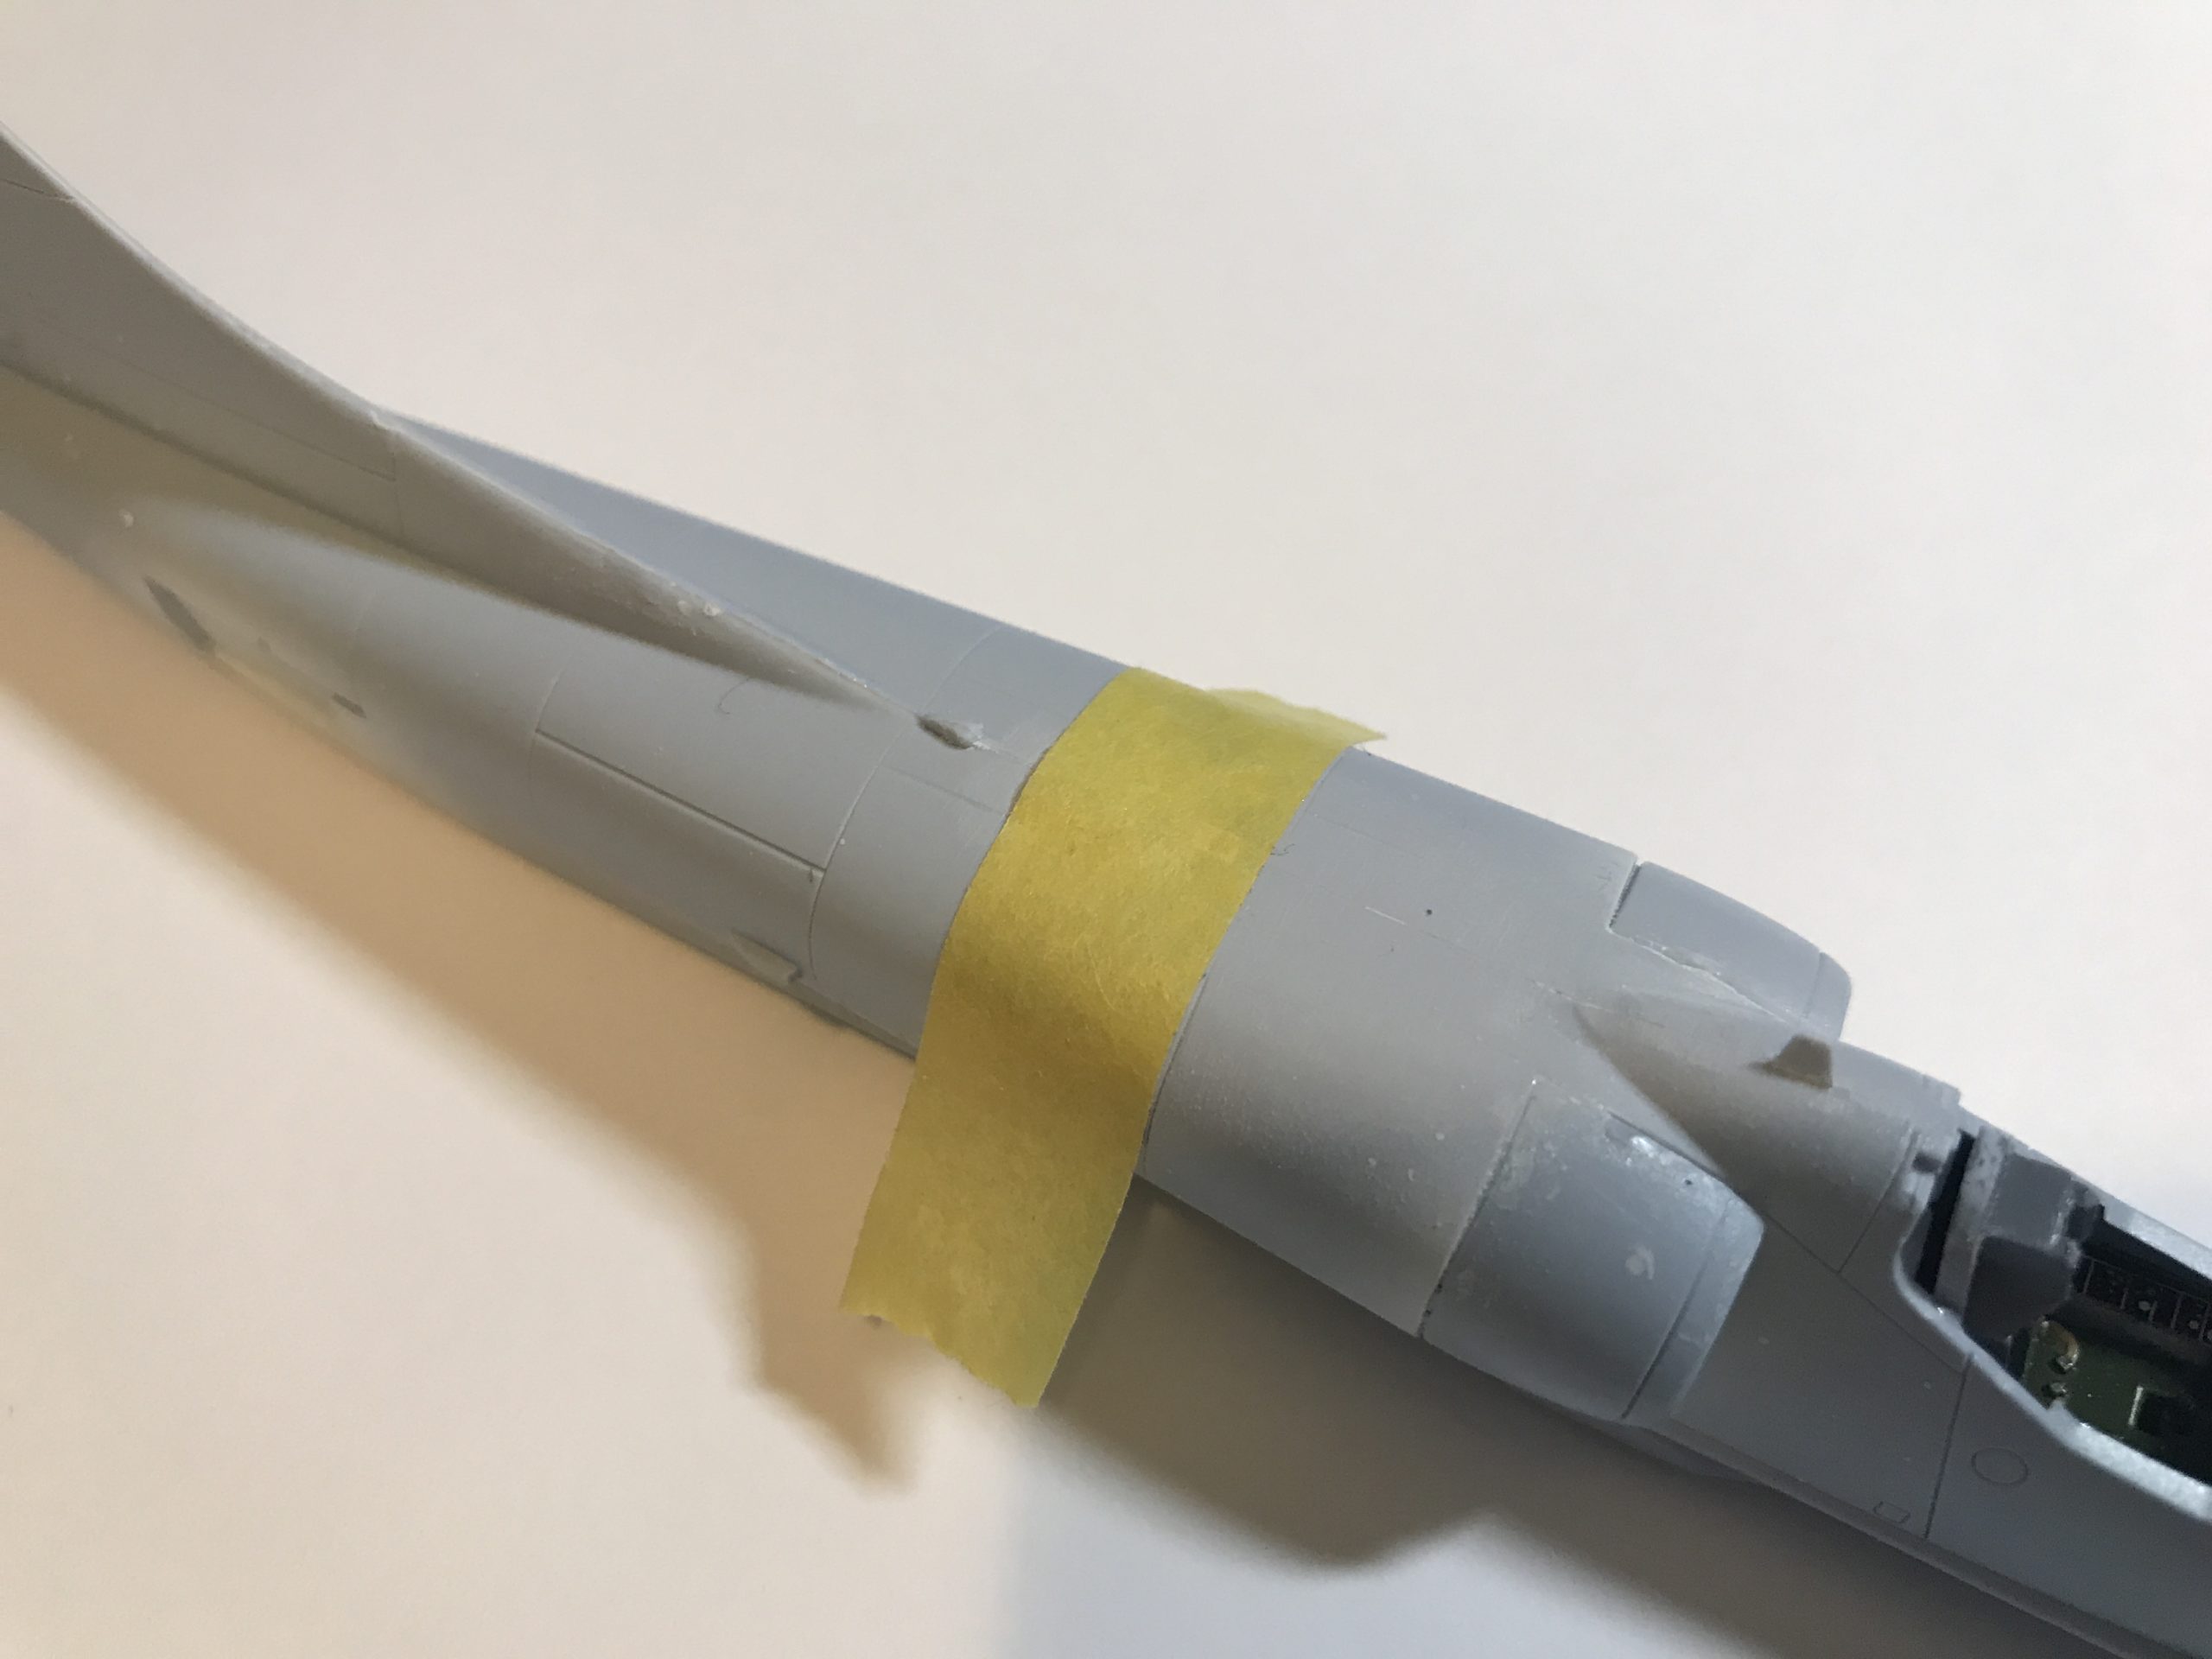
Next (I feel like I’m typing next and then a lot. I need more past tense adverbs) I lined up a piece of the masking tape with the opening. I’m going to call this my guide tape. I aligned the front edge of the guide tape to the masked line on the inside of the intake.
The intake was then removed and another piece of my 9mm tape placed next to the guide tape.
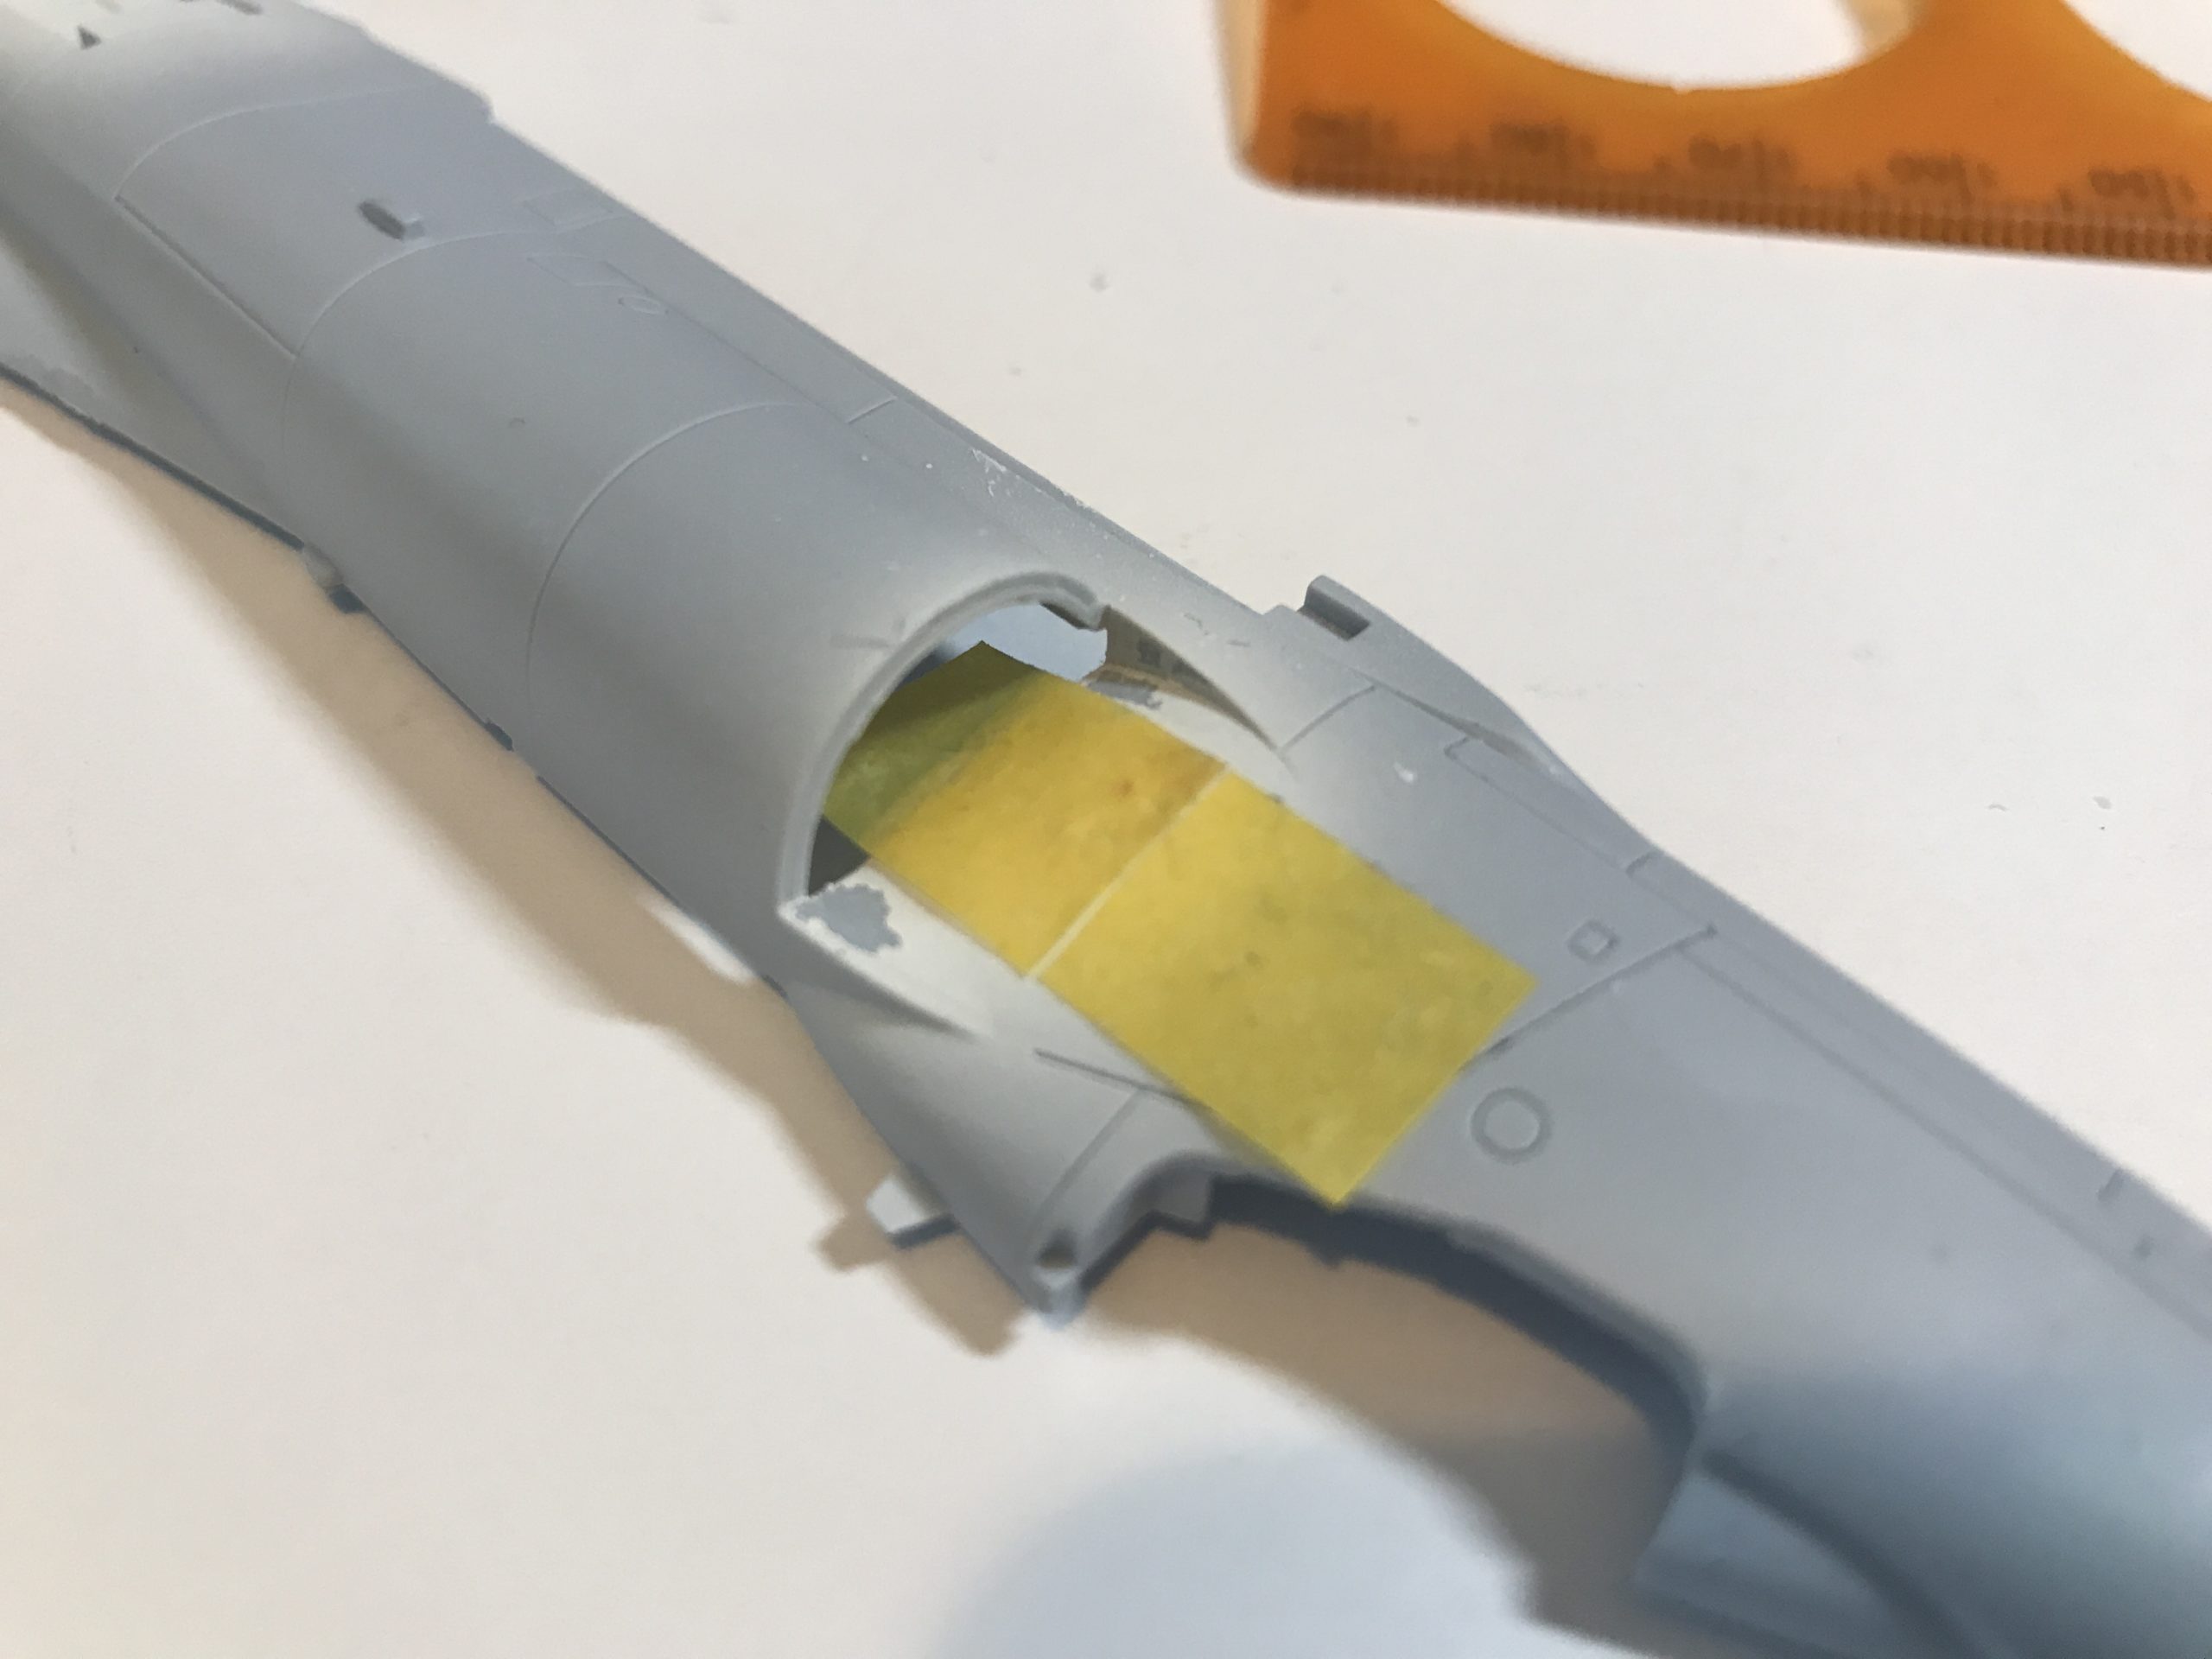
The guide tape was then removed.
The intake can now be re-fitted and a little Tamiya extra thin cement applied to the outside of the join. The thin glue will “wick” into the joint and bond the surfaces together. Be careful not to use too much though. If the cement gets under the tape you’ll just have a mess to clear up.
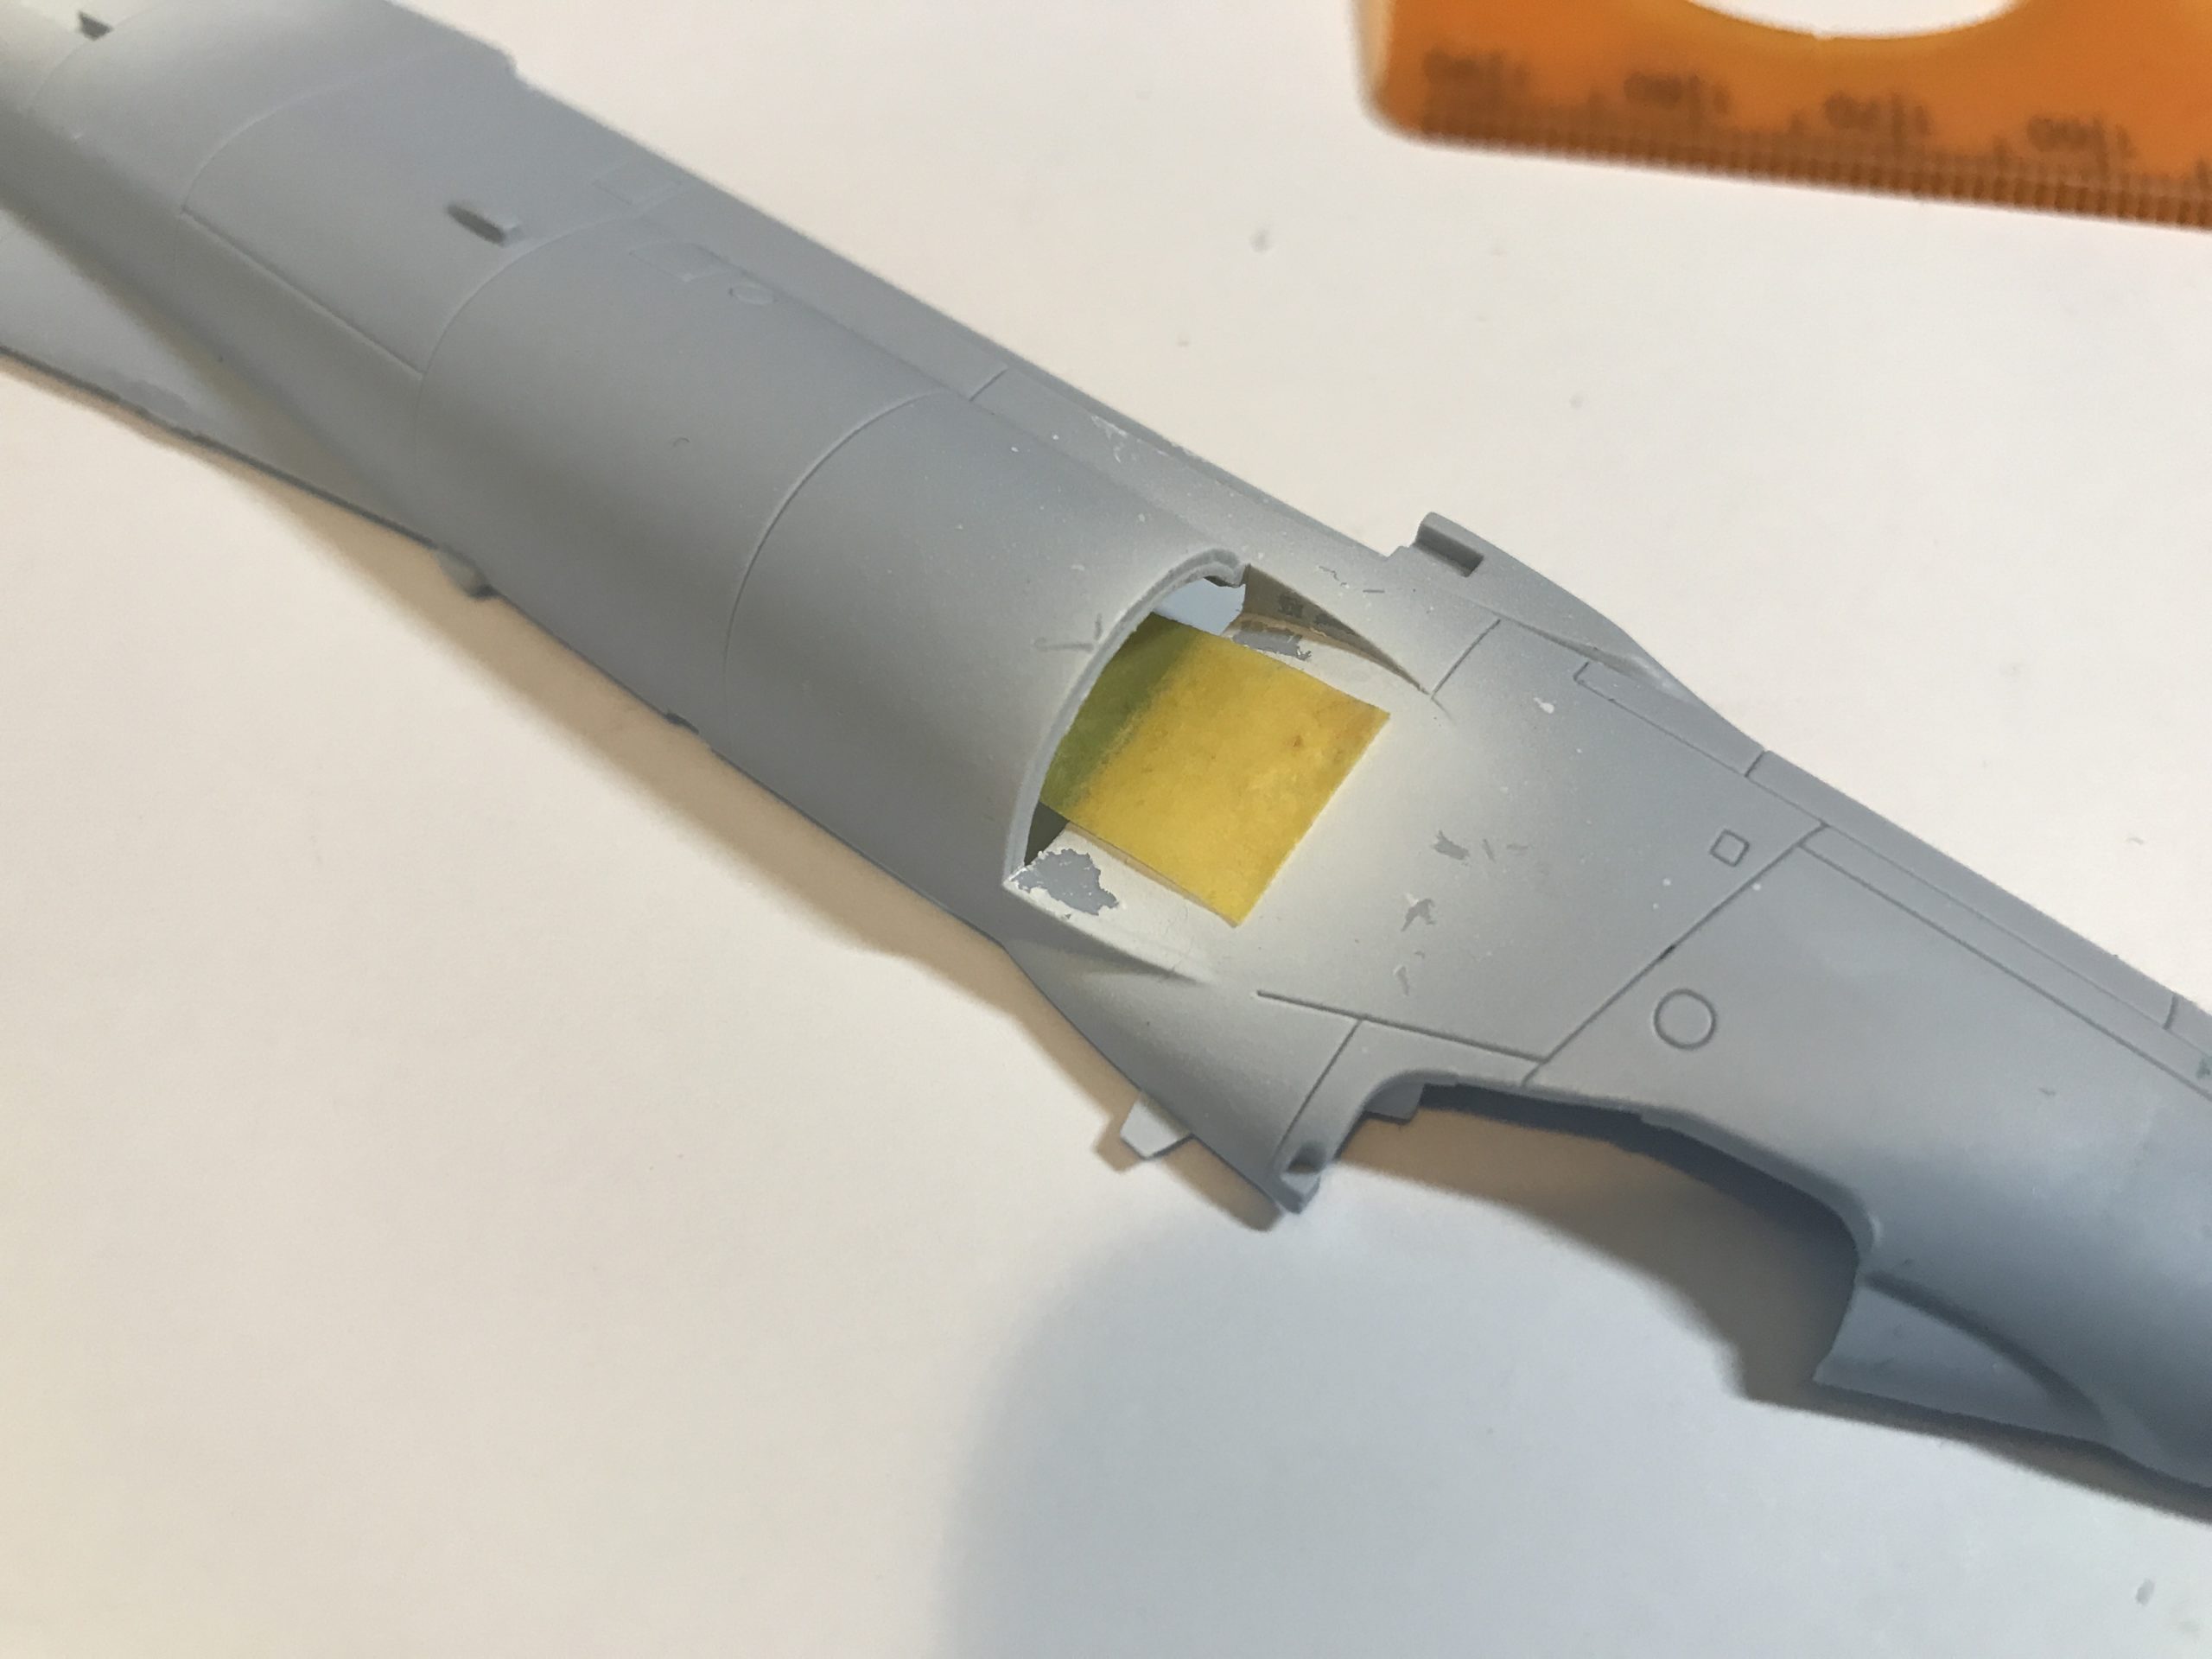
It’s going to need a drop of filler, but I should end up with a nice neat line.
The process was repeated on the other side too.
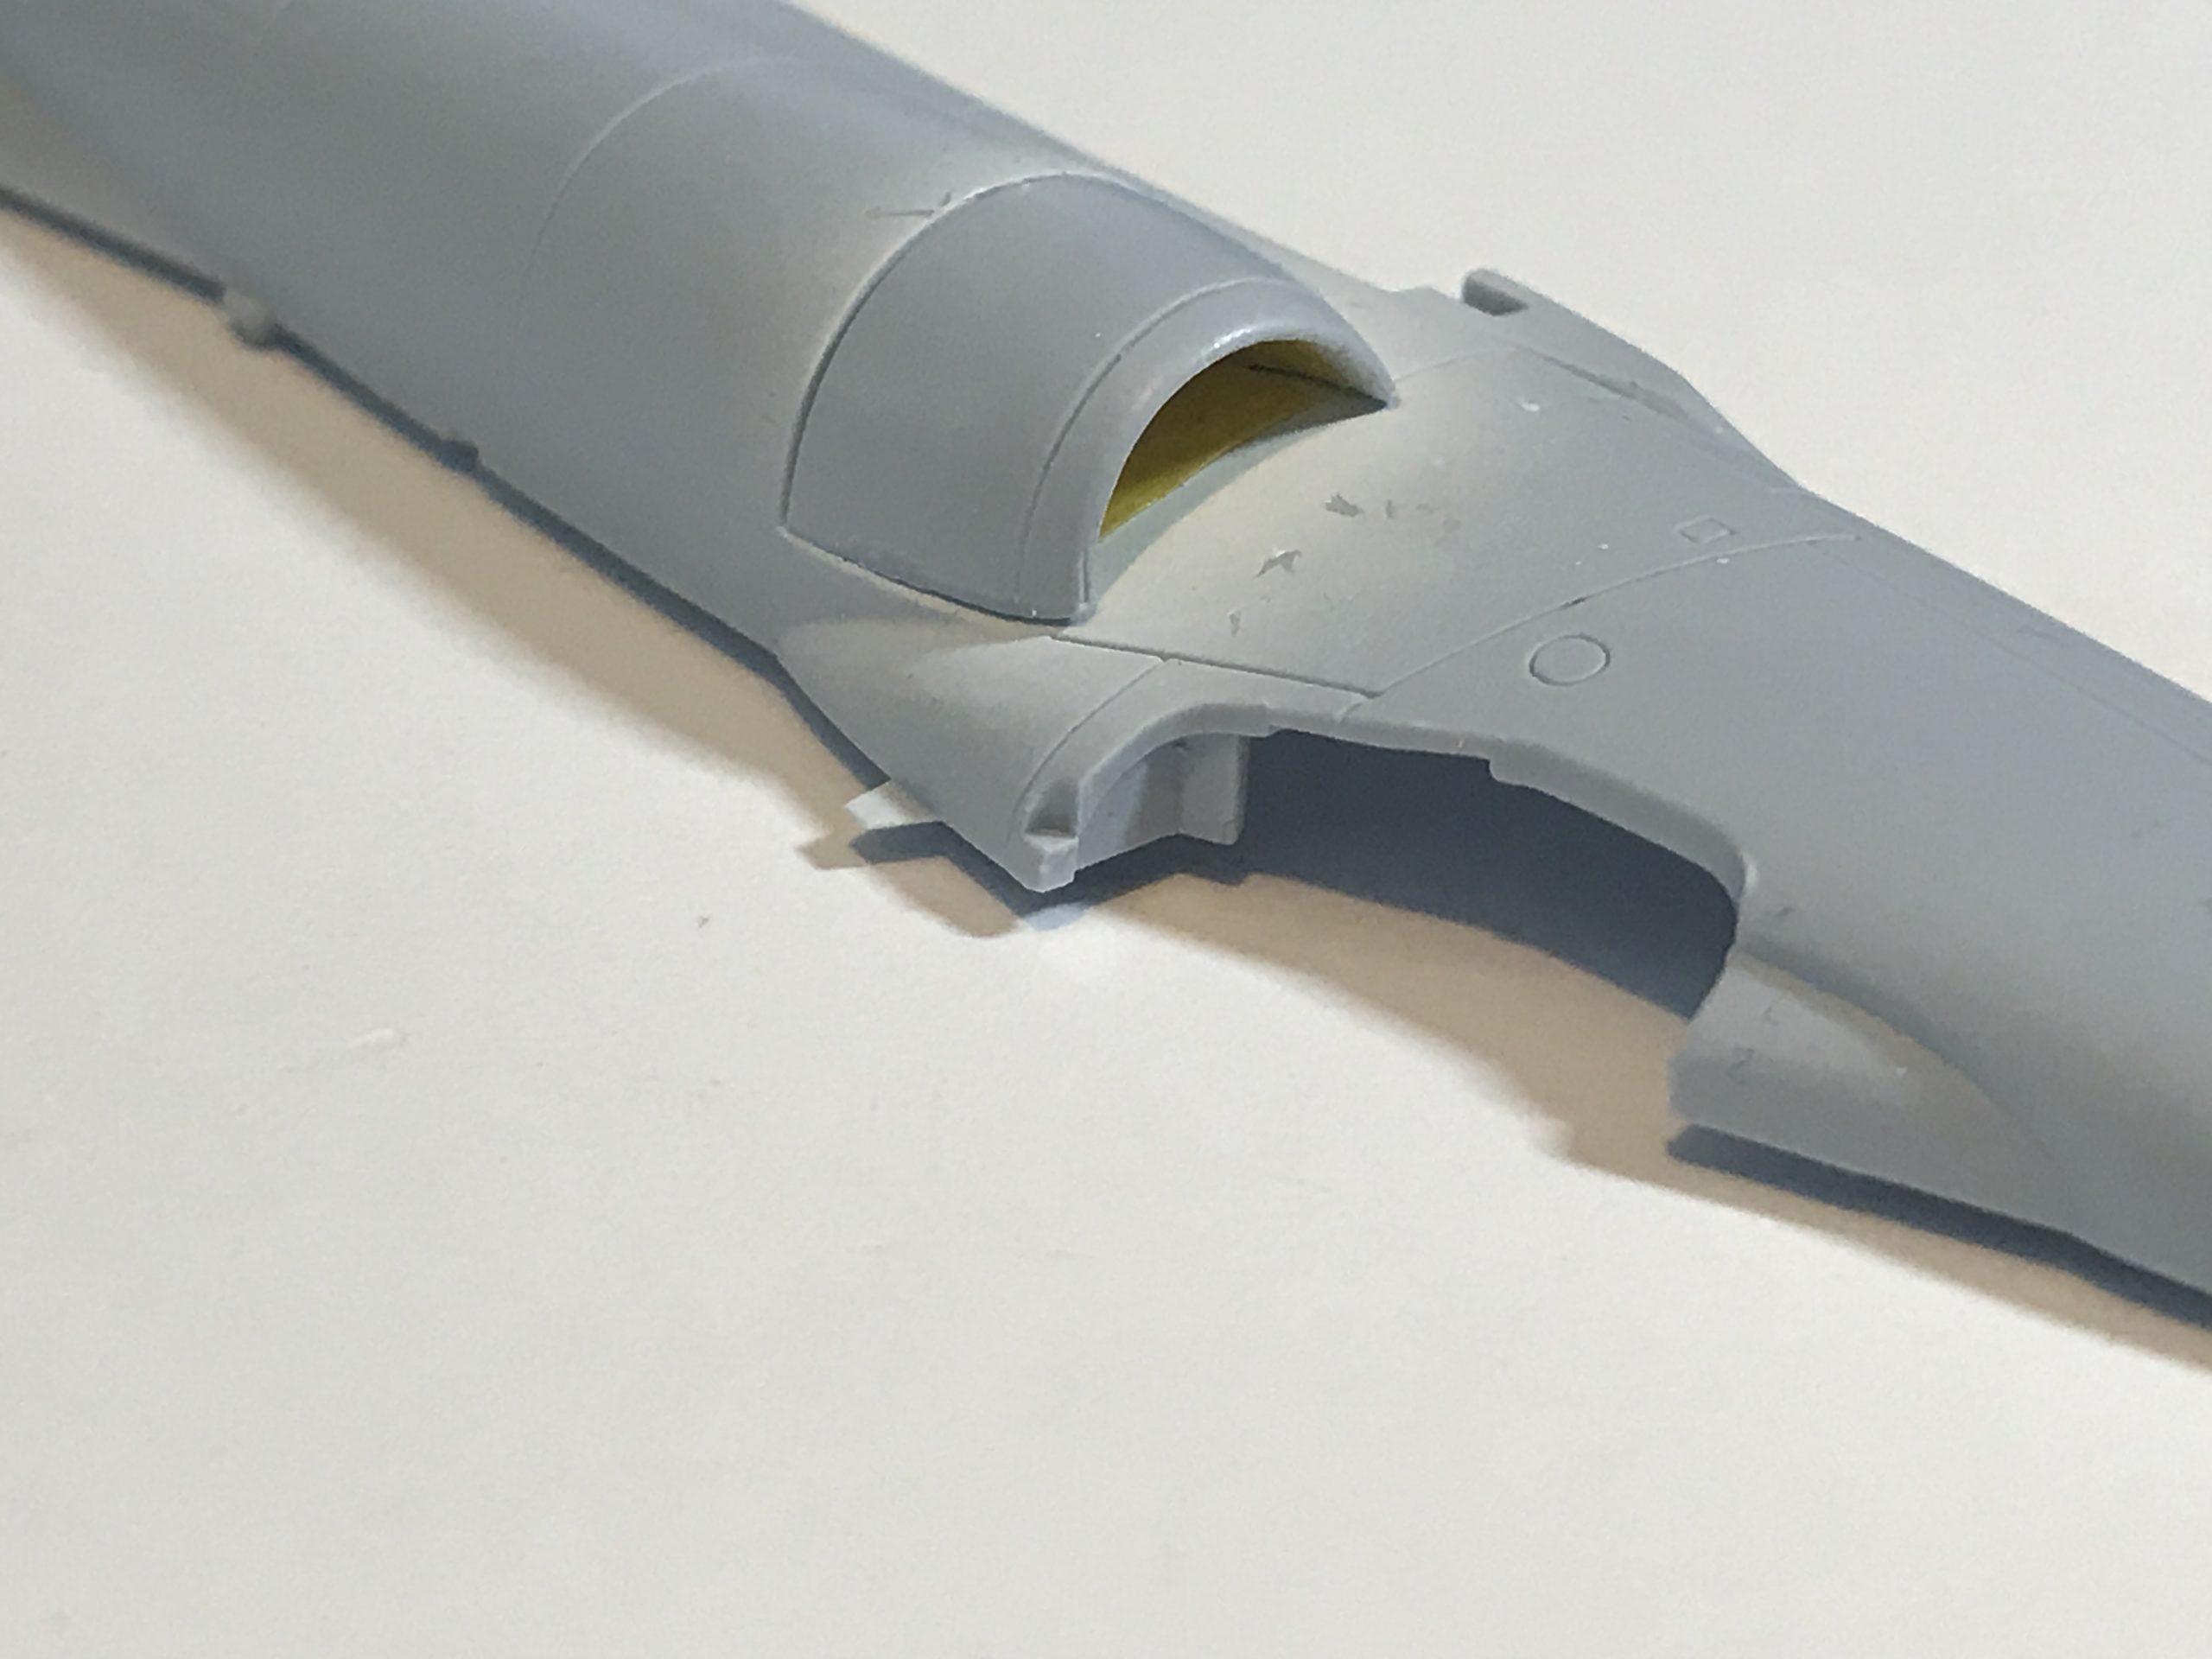
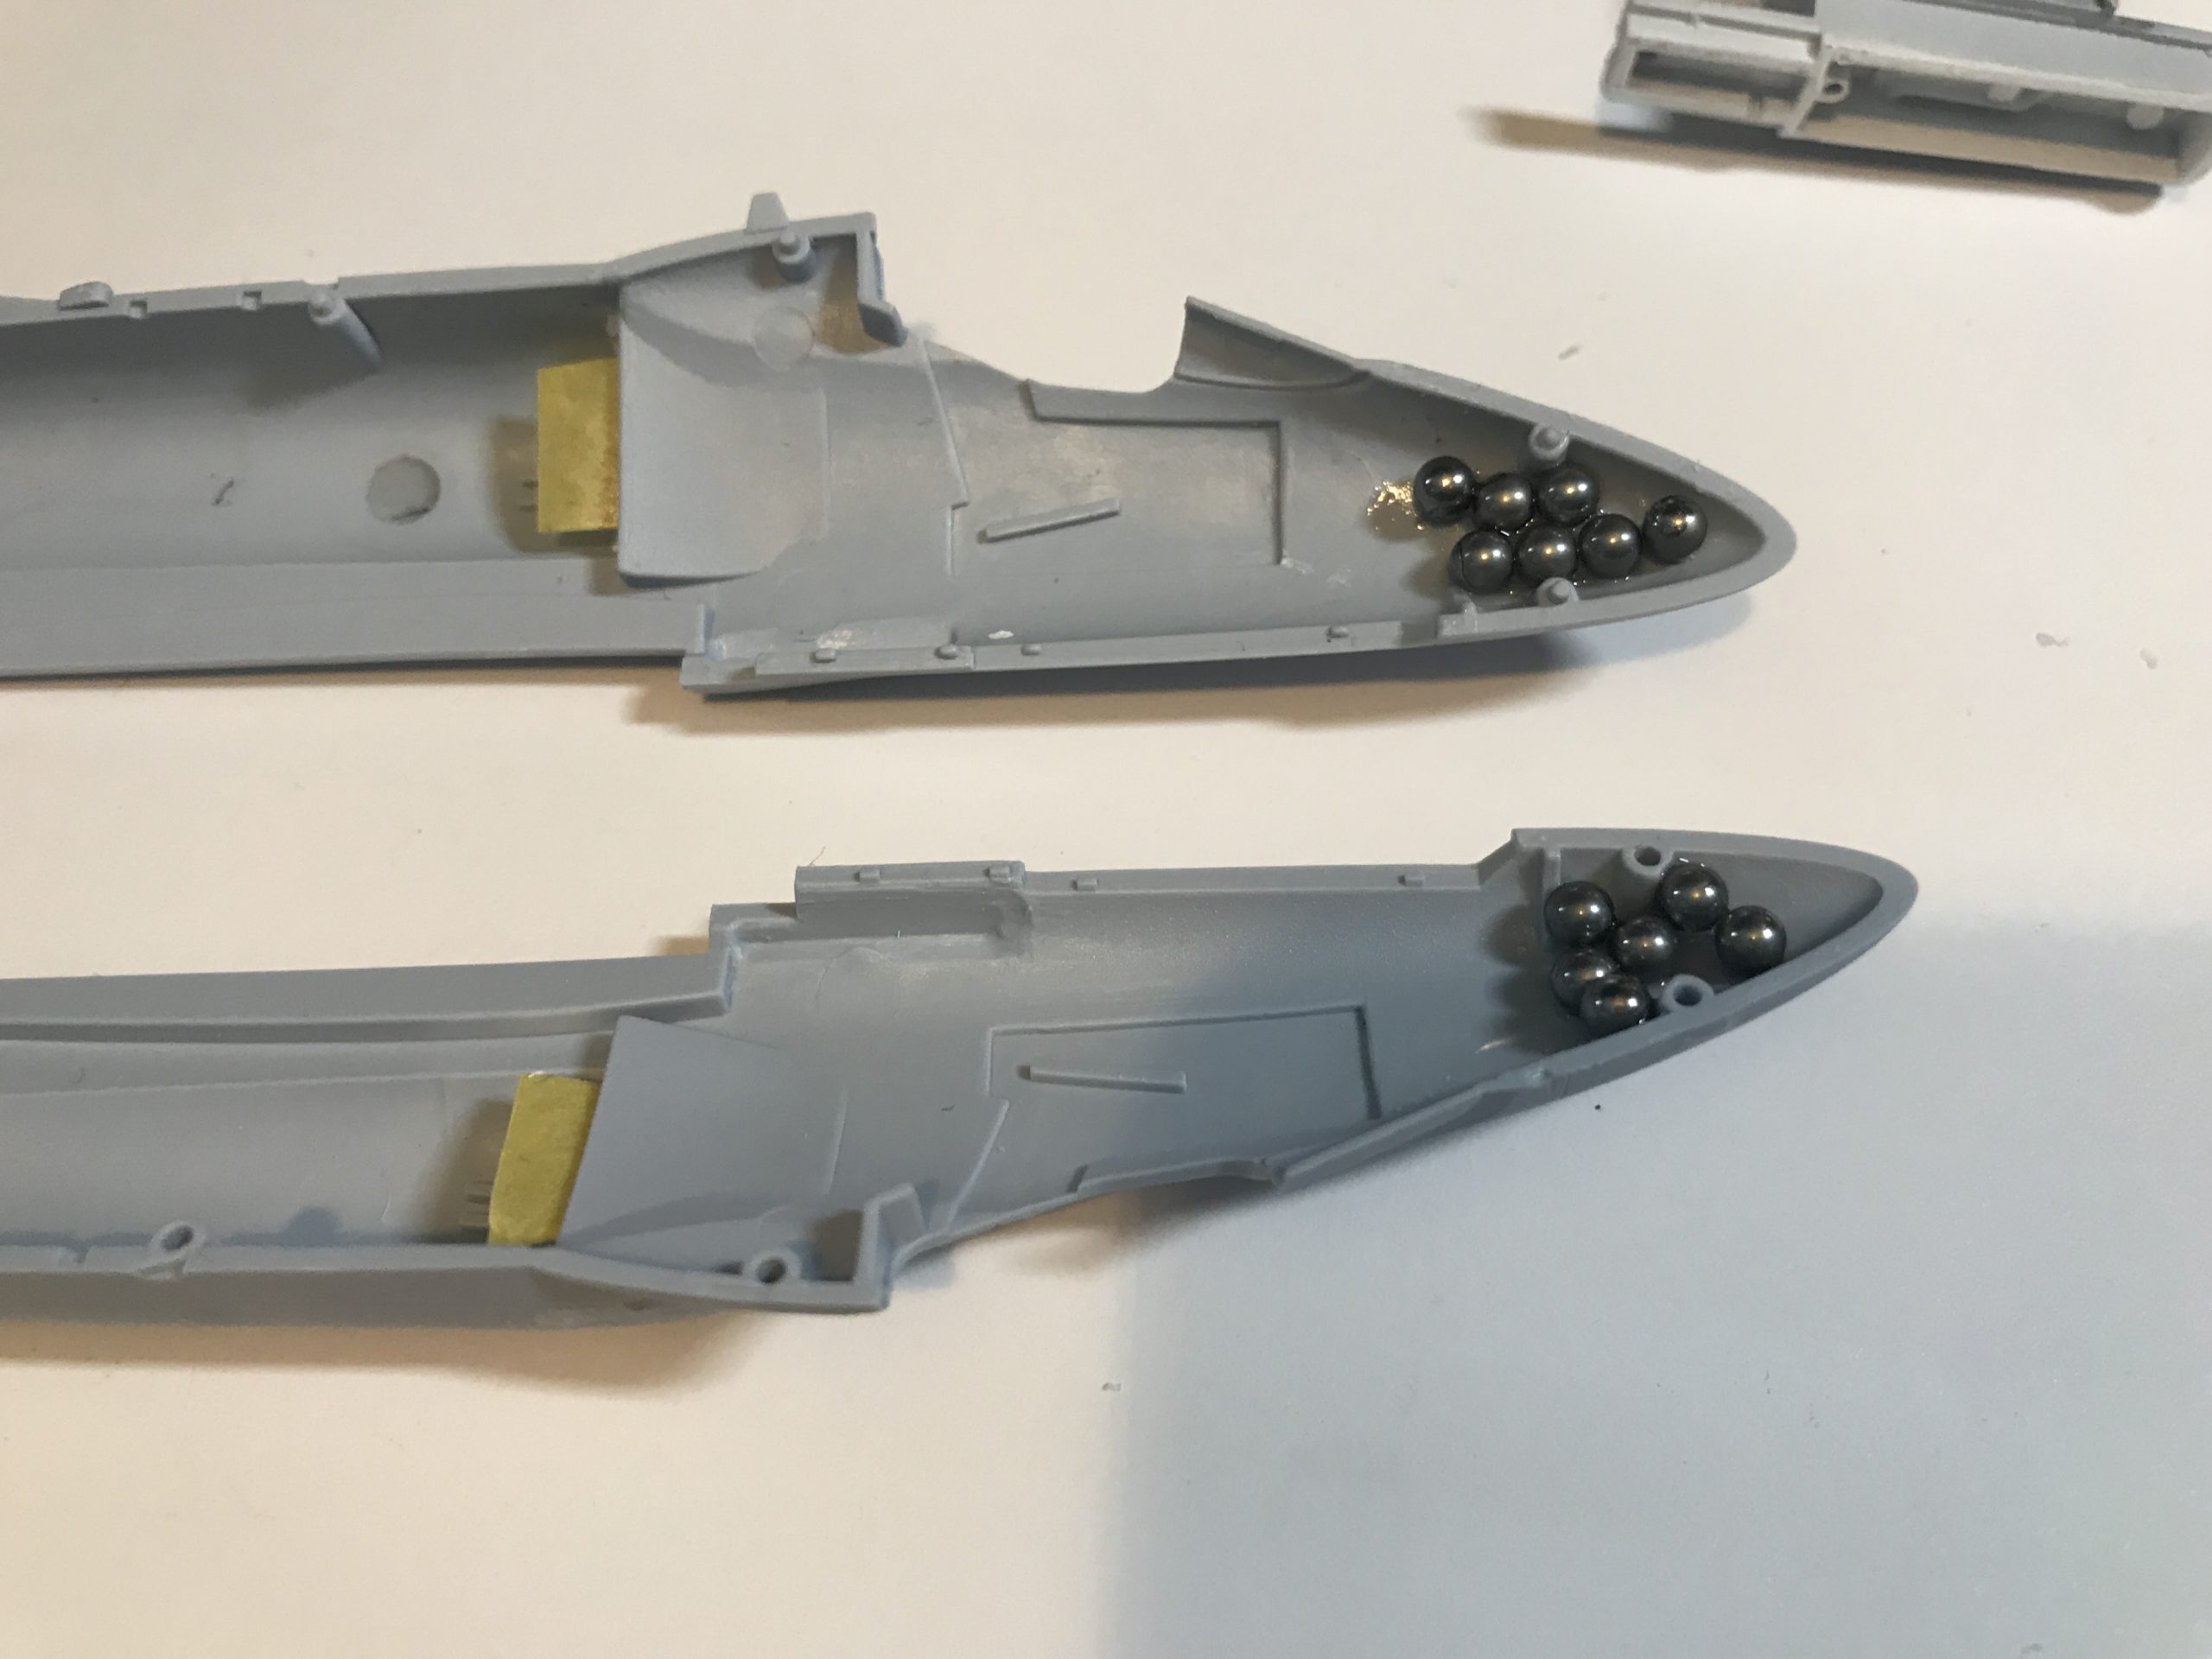
Next job was to dry fit the fuselage and interior parts together to make sure there were no fit issues. Once satisfied there were no issues I added some weight to both sides of the inside of the nose. I used a drizzle of CA (Super glue to me and you) to secure these in place being careful to leave a clear gap between the weight and the mating surfaces.
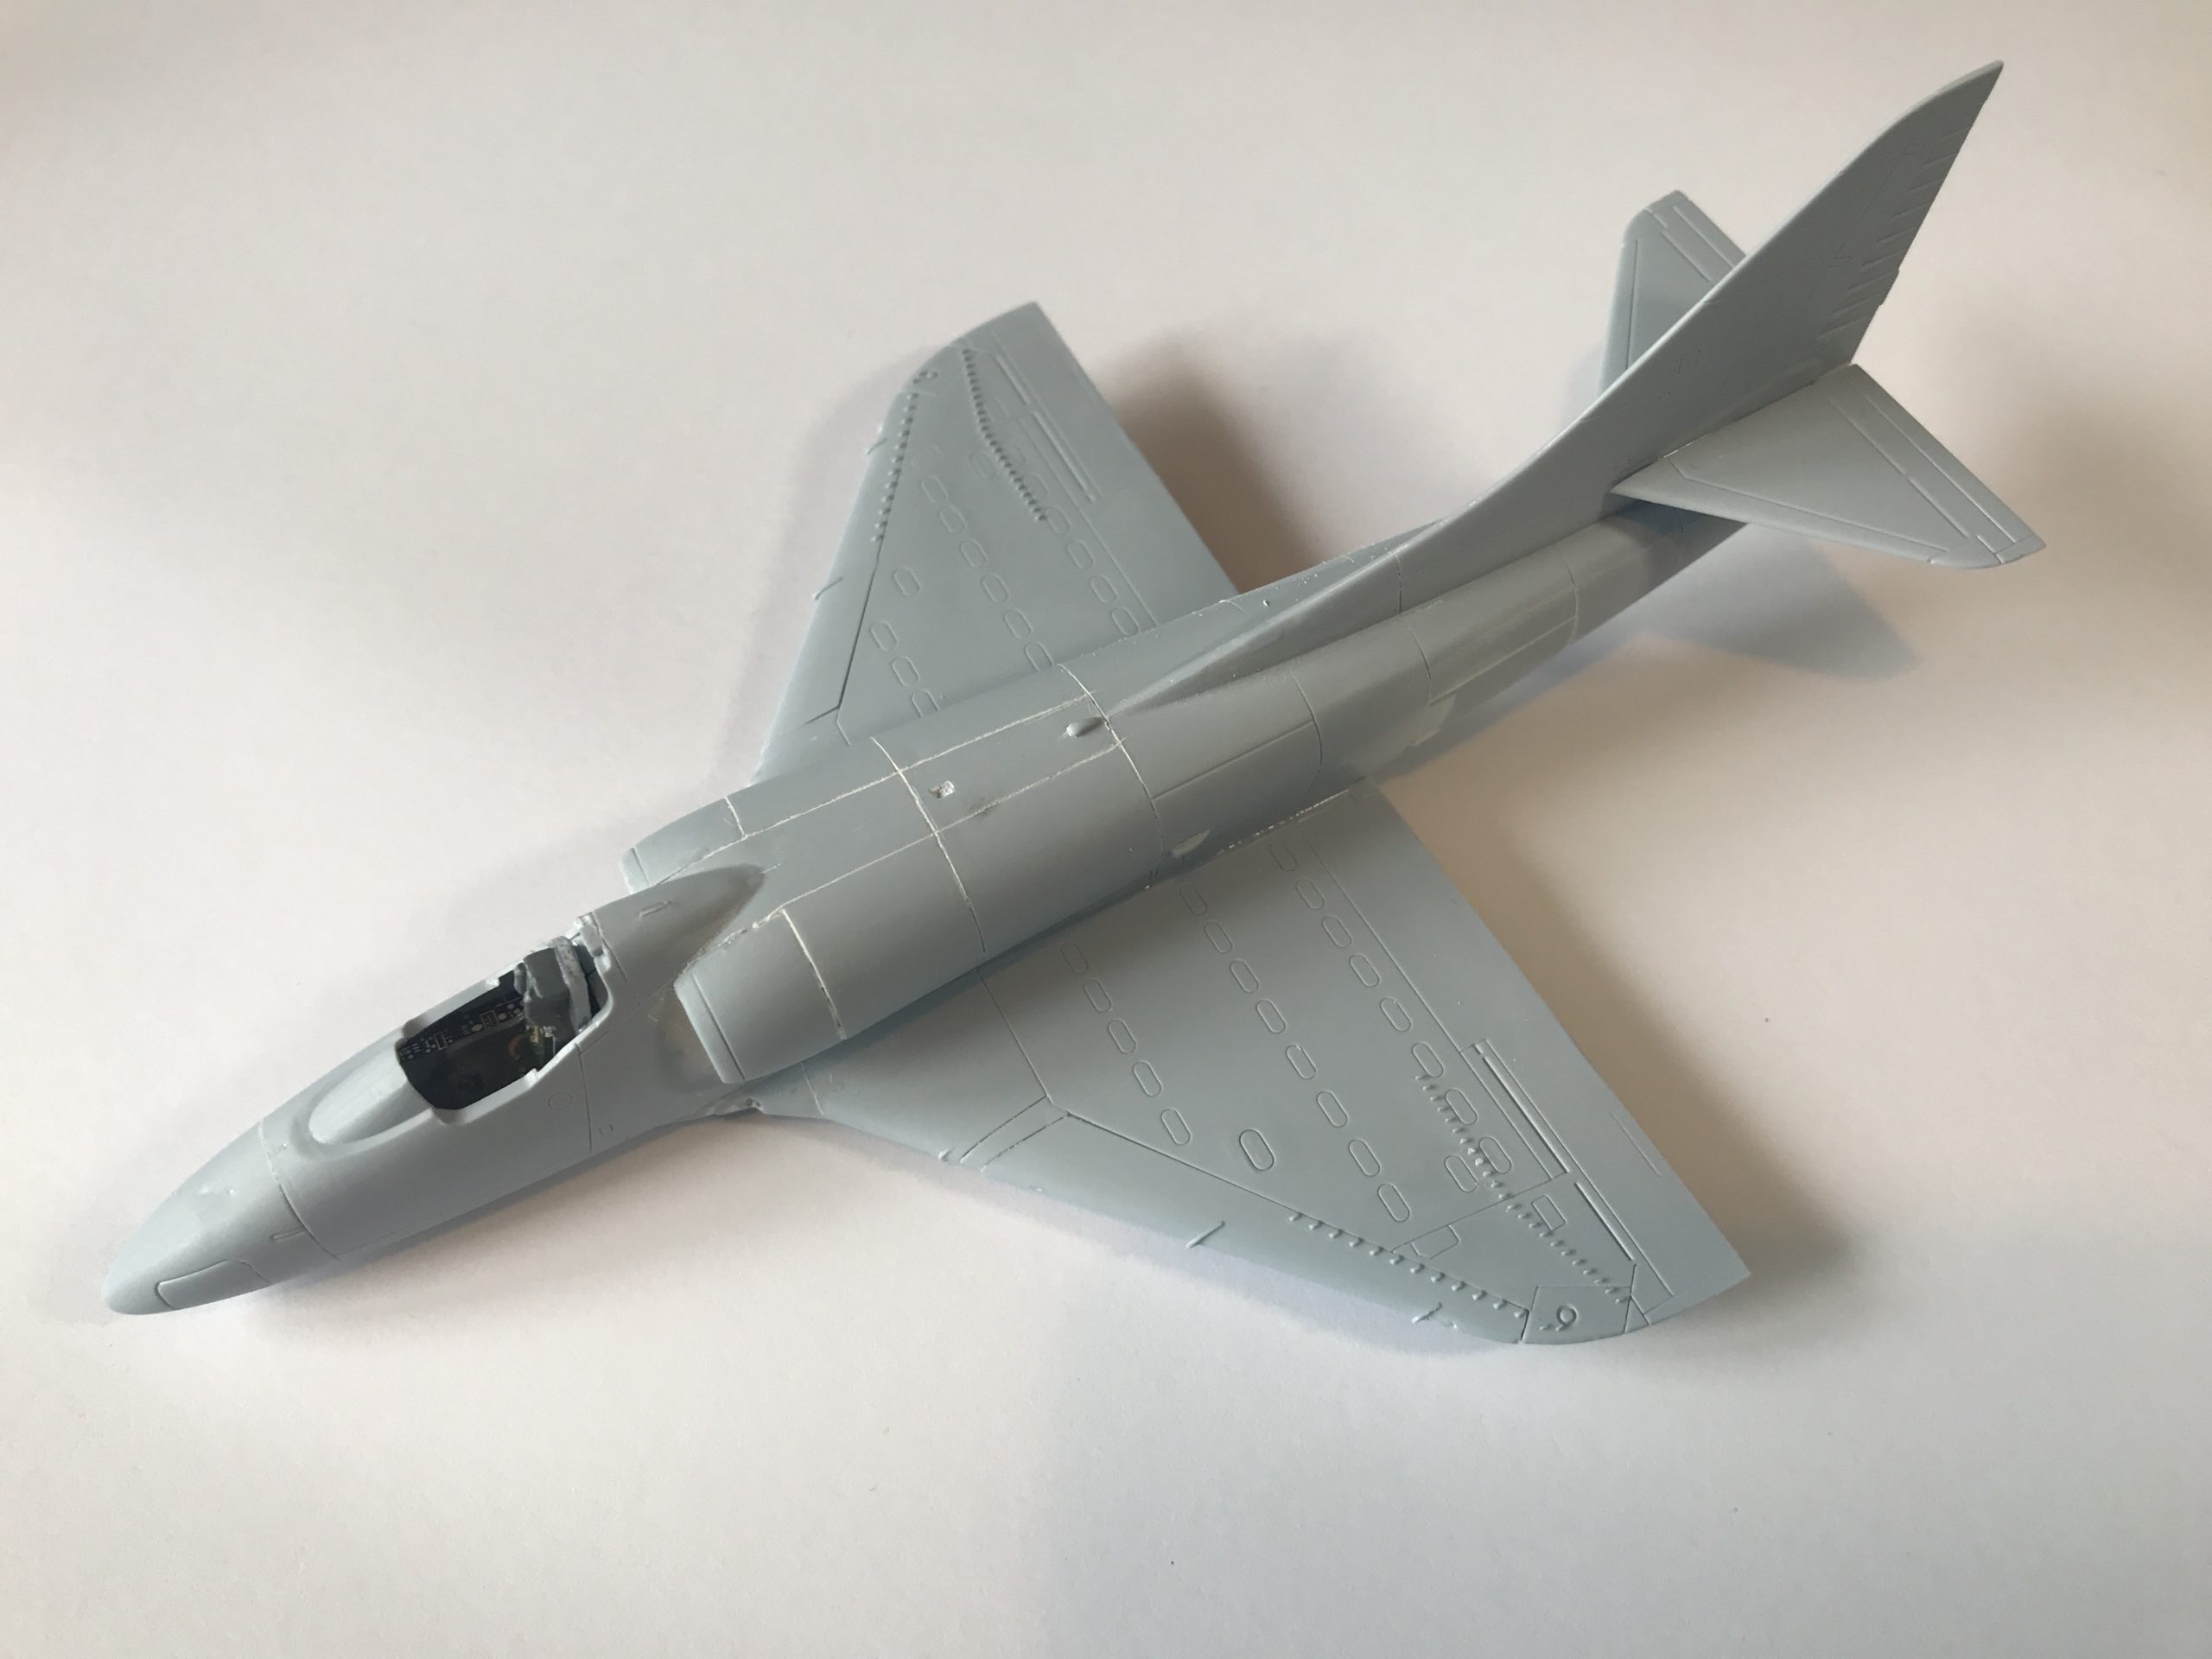
The fuselage halves could now be cemented together. I used some masking tape to secure the halves and left them to set overnight.
Once set it was the usual job of getting to work on removing the seam and re-scribing panel lines.
Some pictures below for your enjoyment.


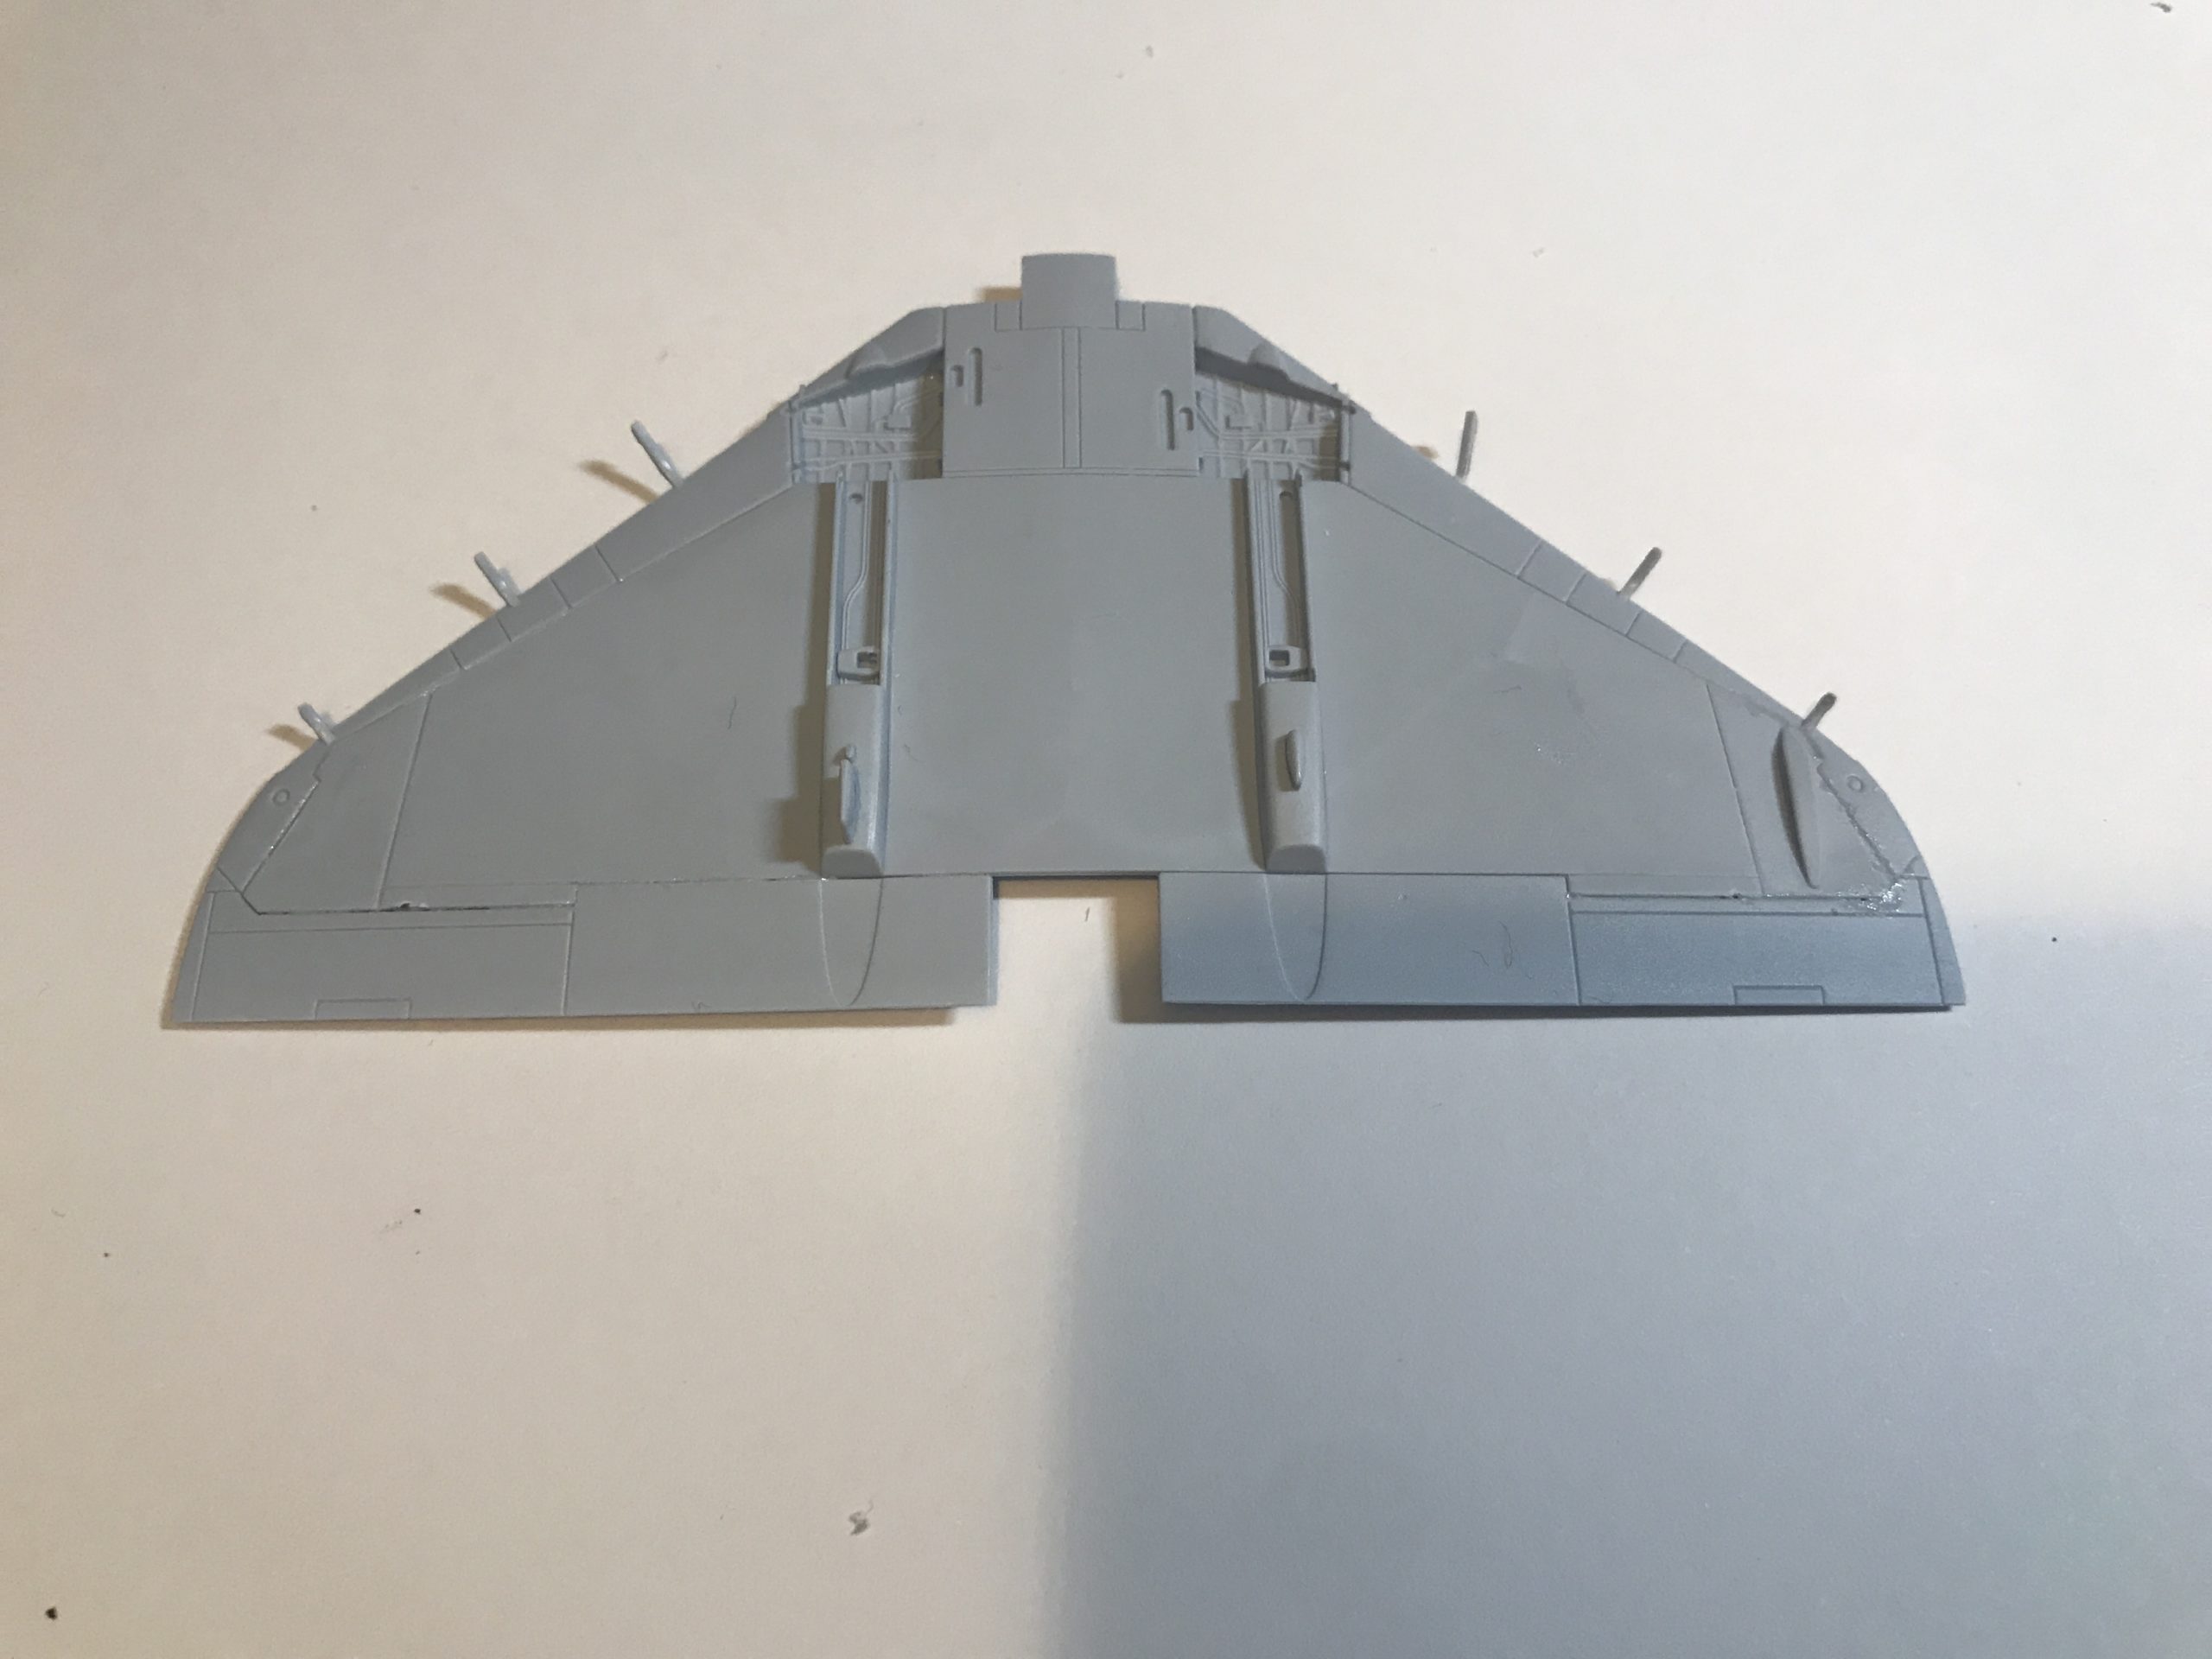
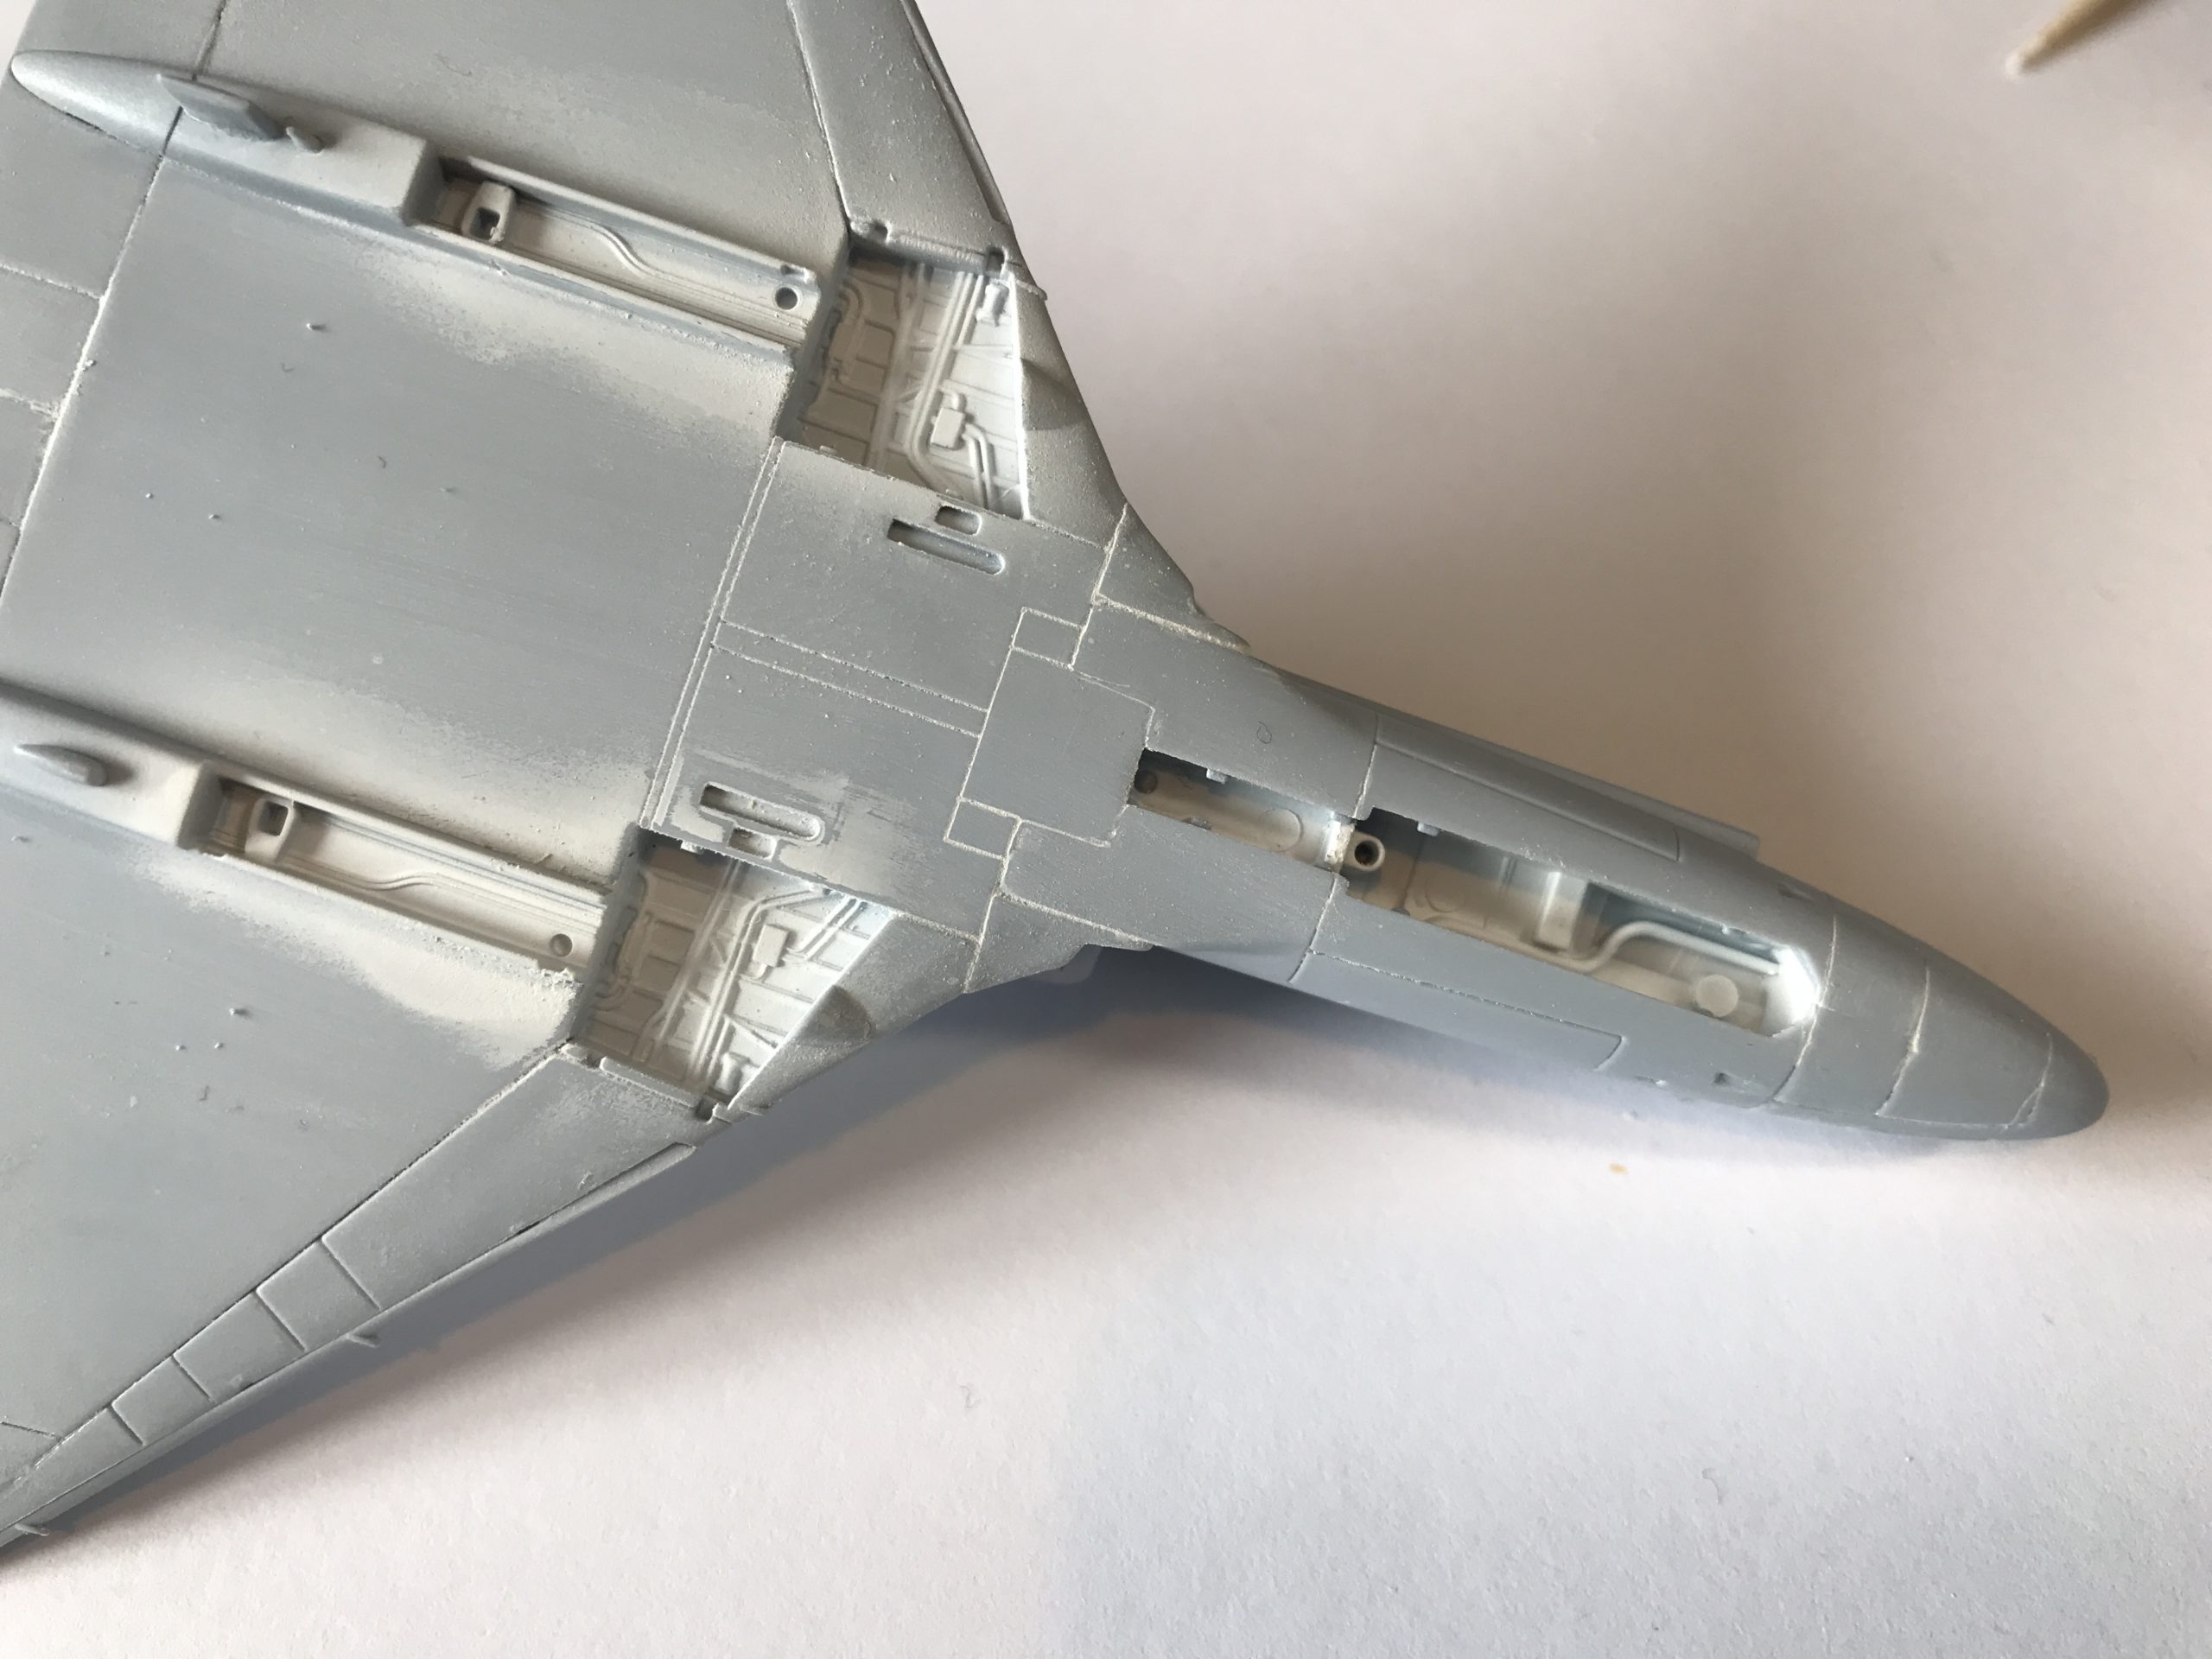
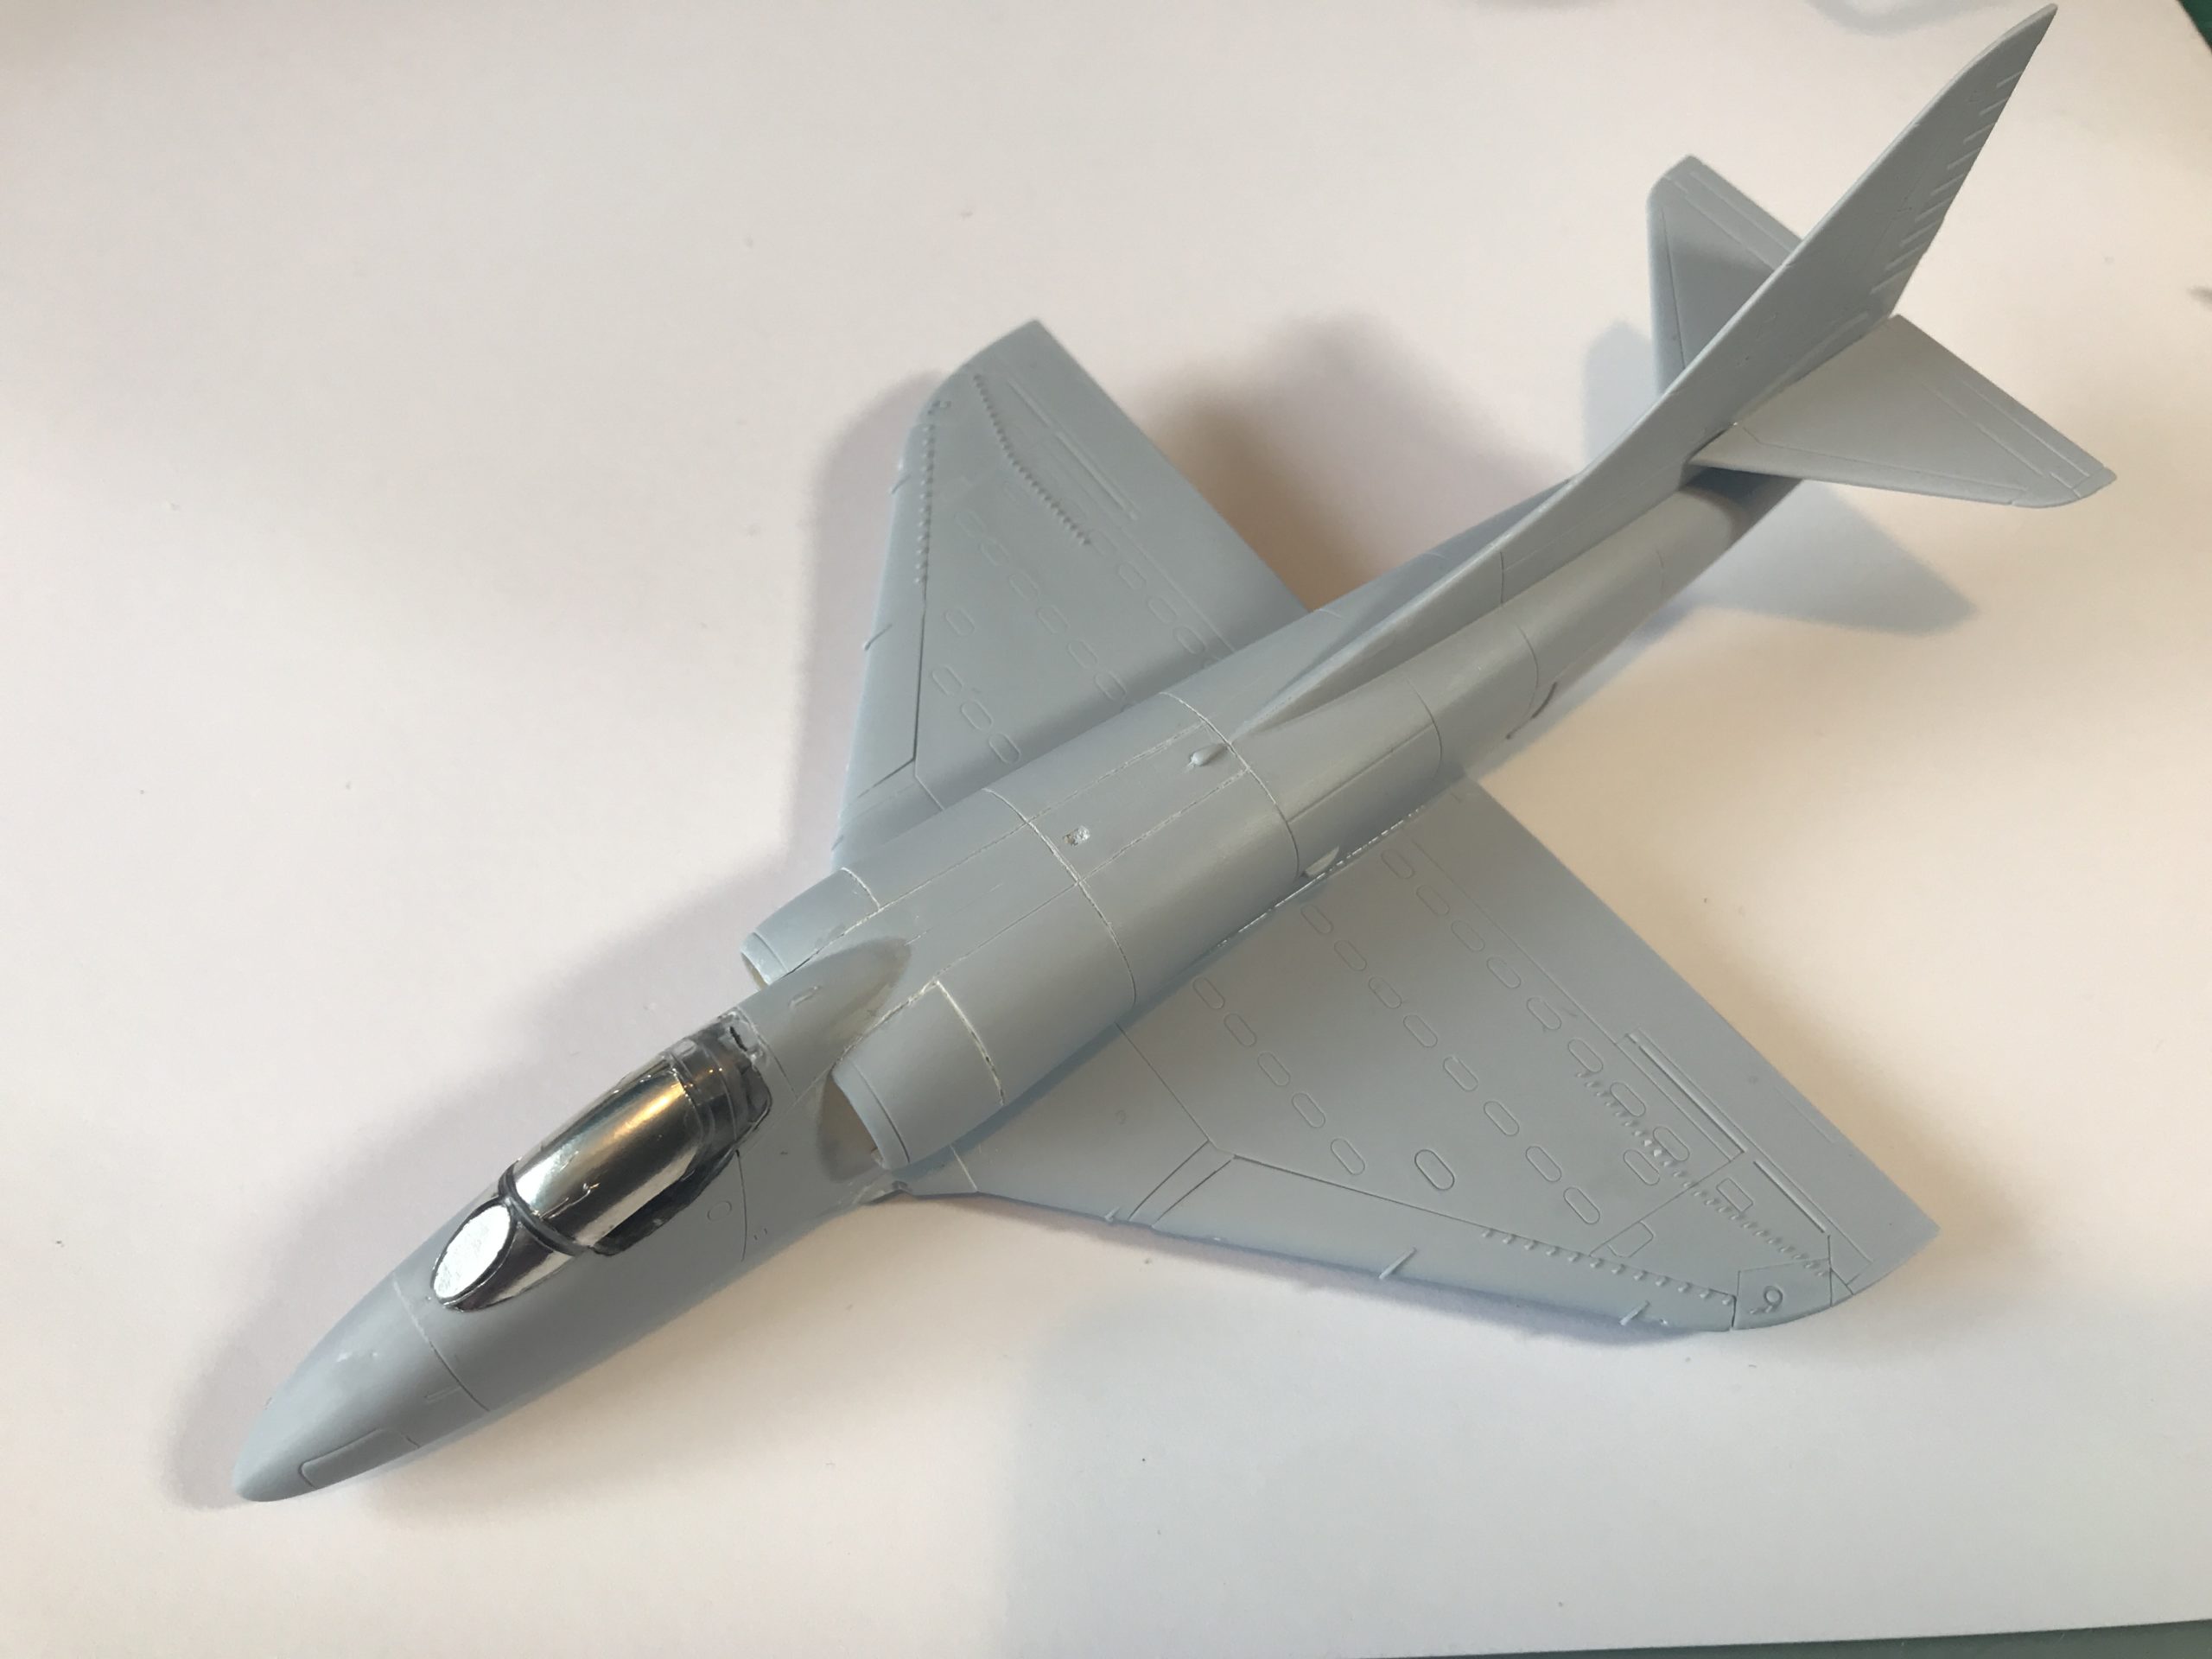
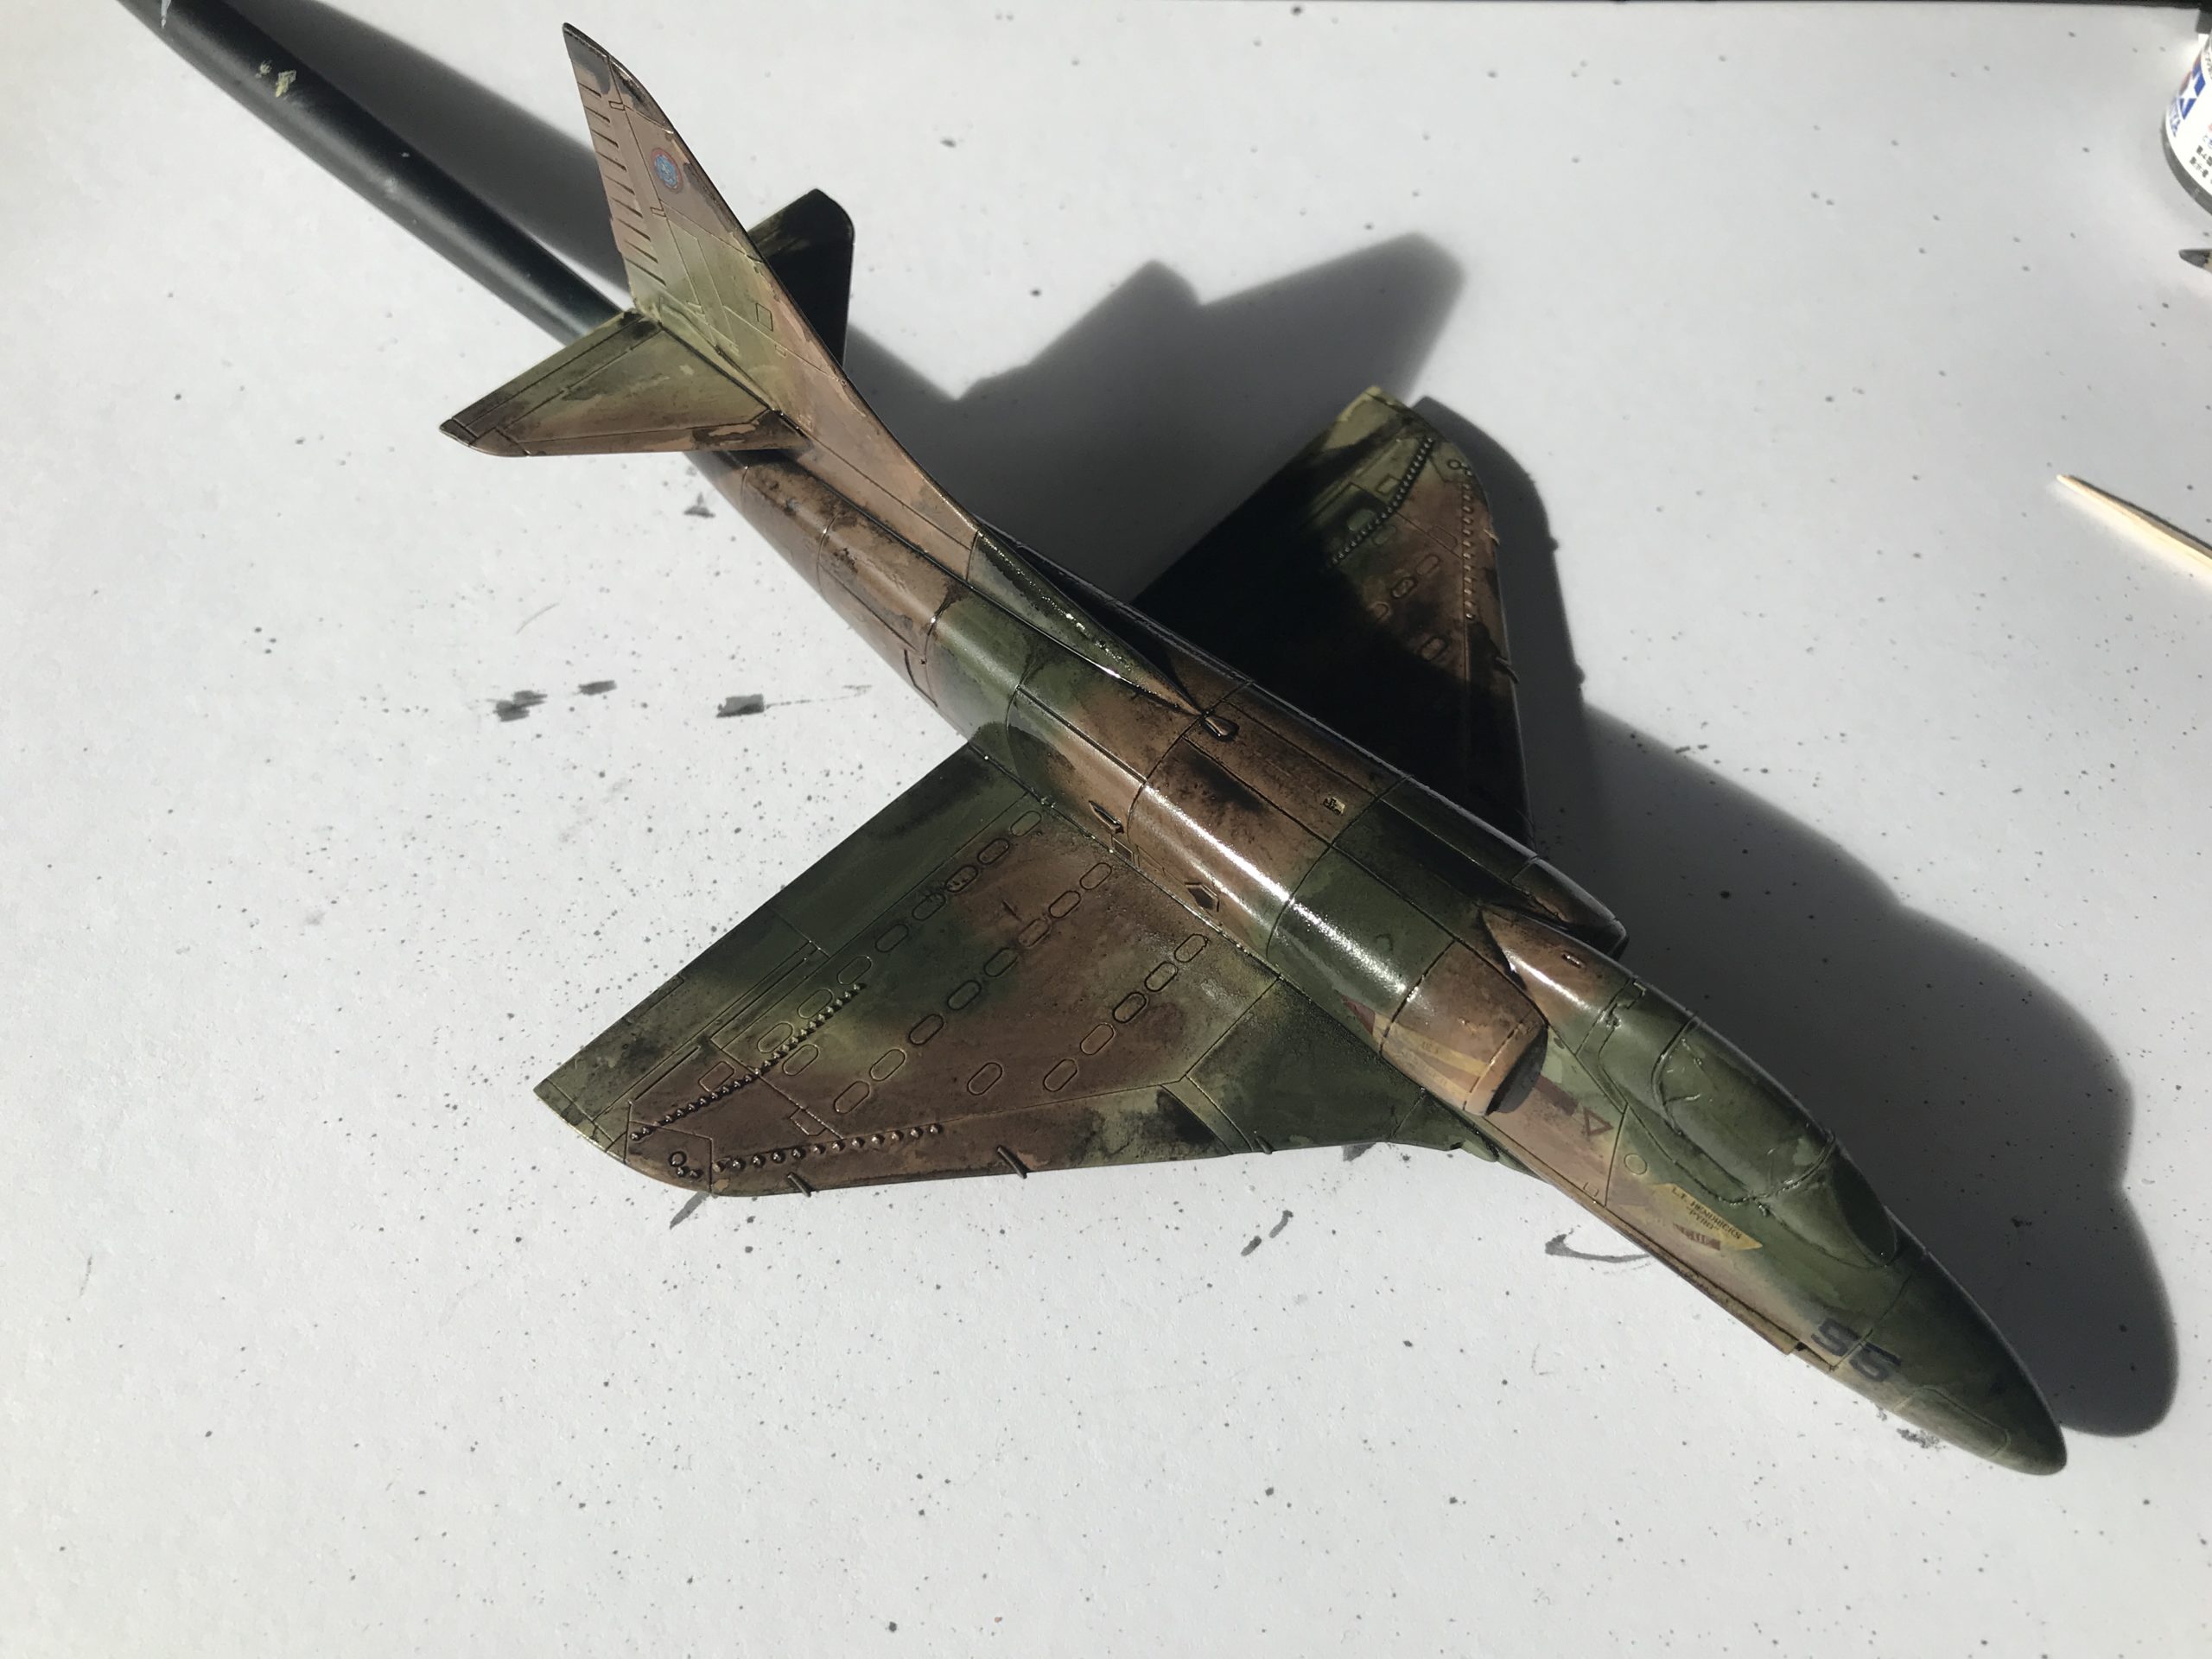
Wings were next on the to do list. I want to take a moment to congratulate Airfix on the quality of the detail on the wings. Lots of super fine detail and a mix recessed panel lines and raised details. Kudos to the designers on this. It should take a wash beautifully.
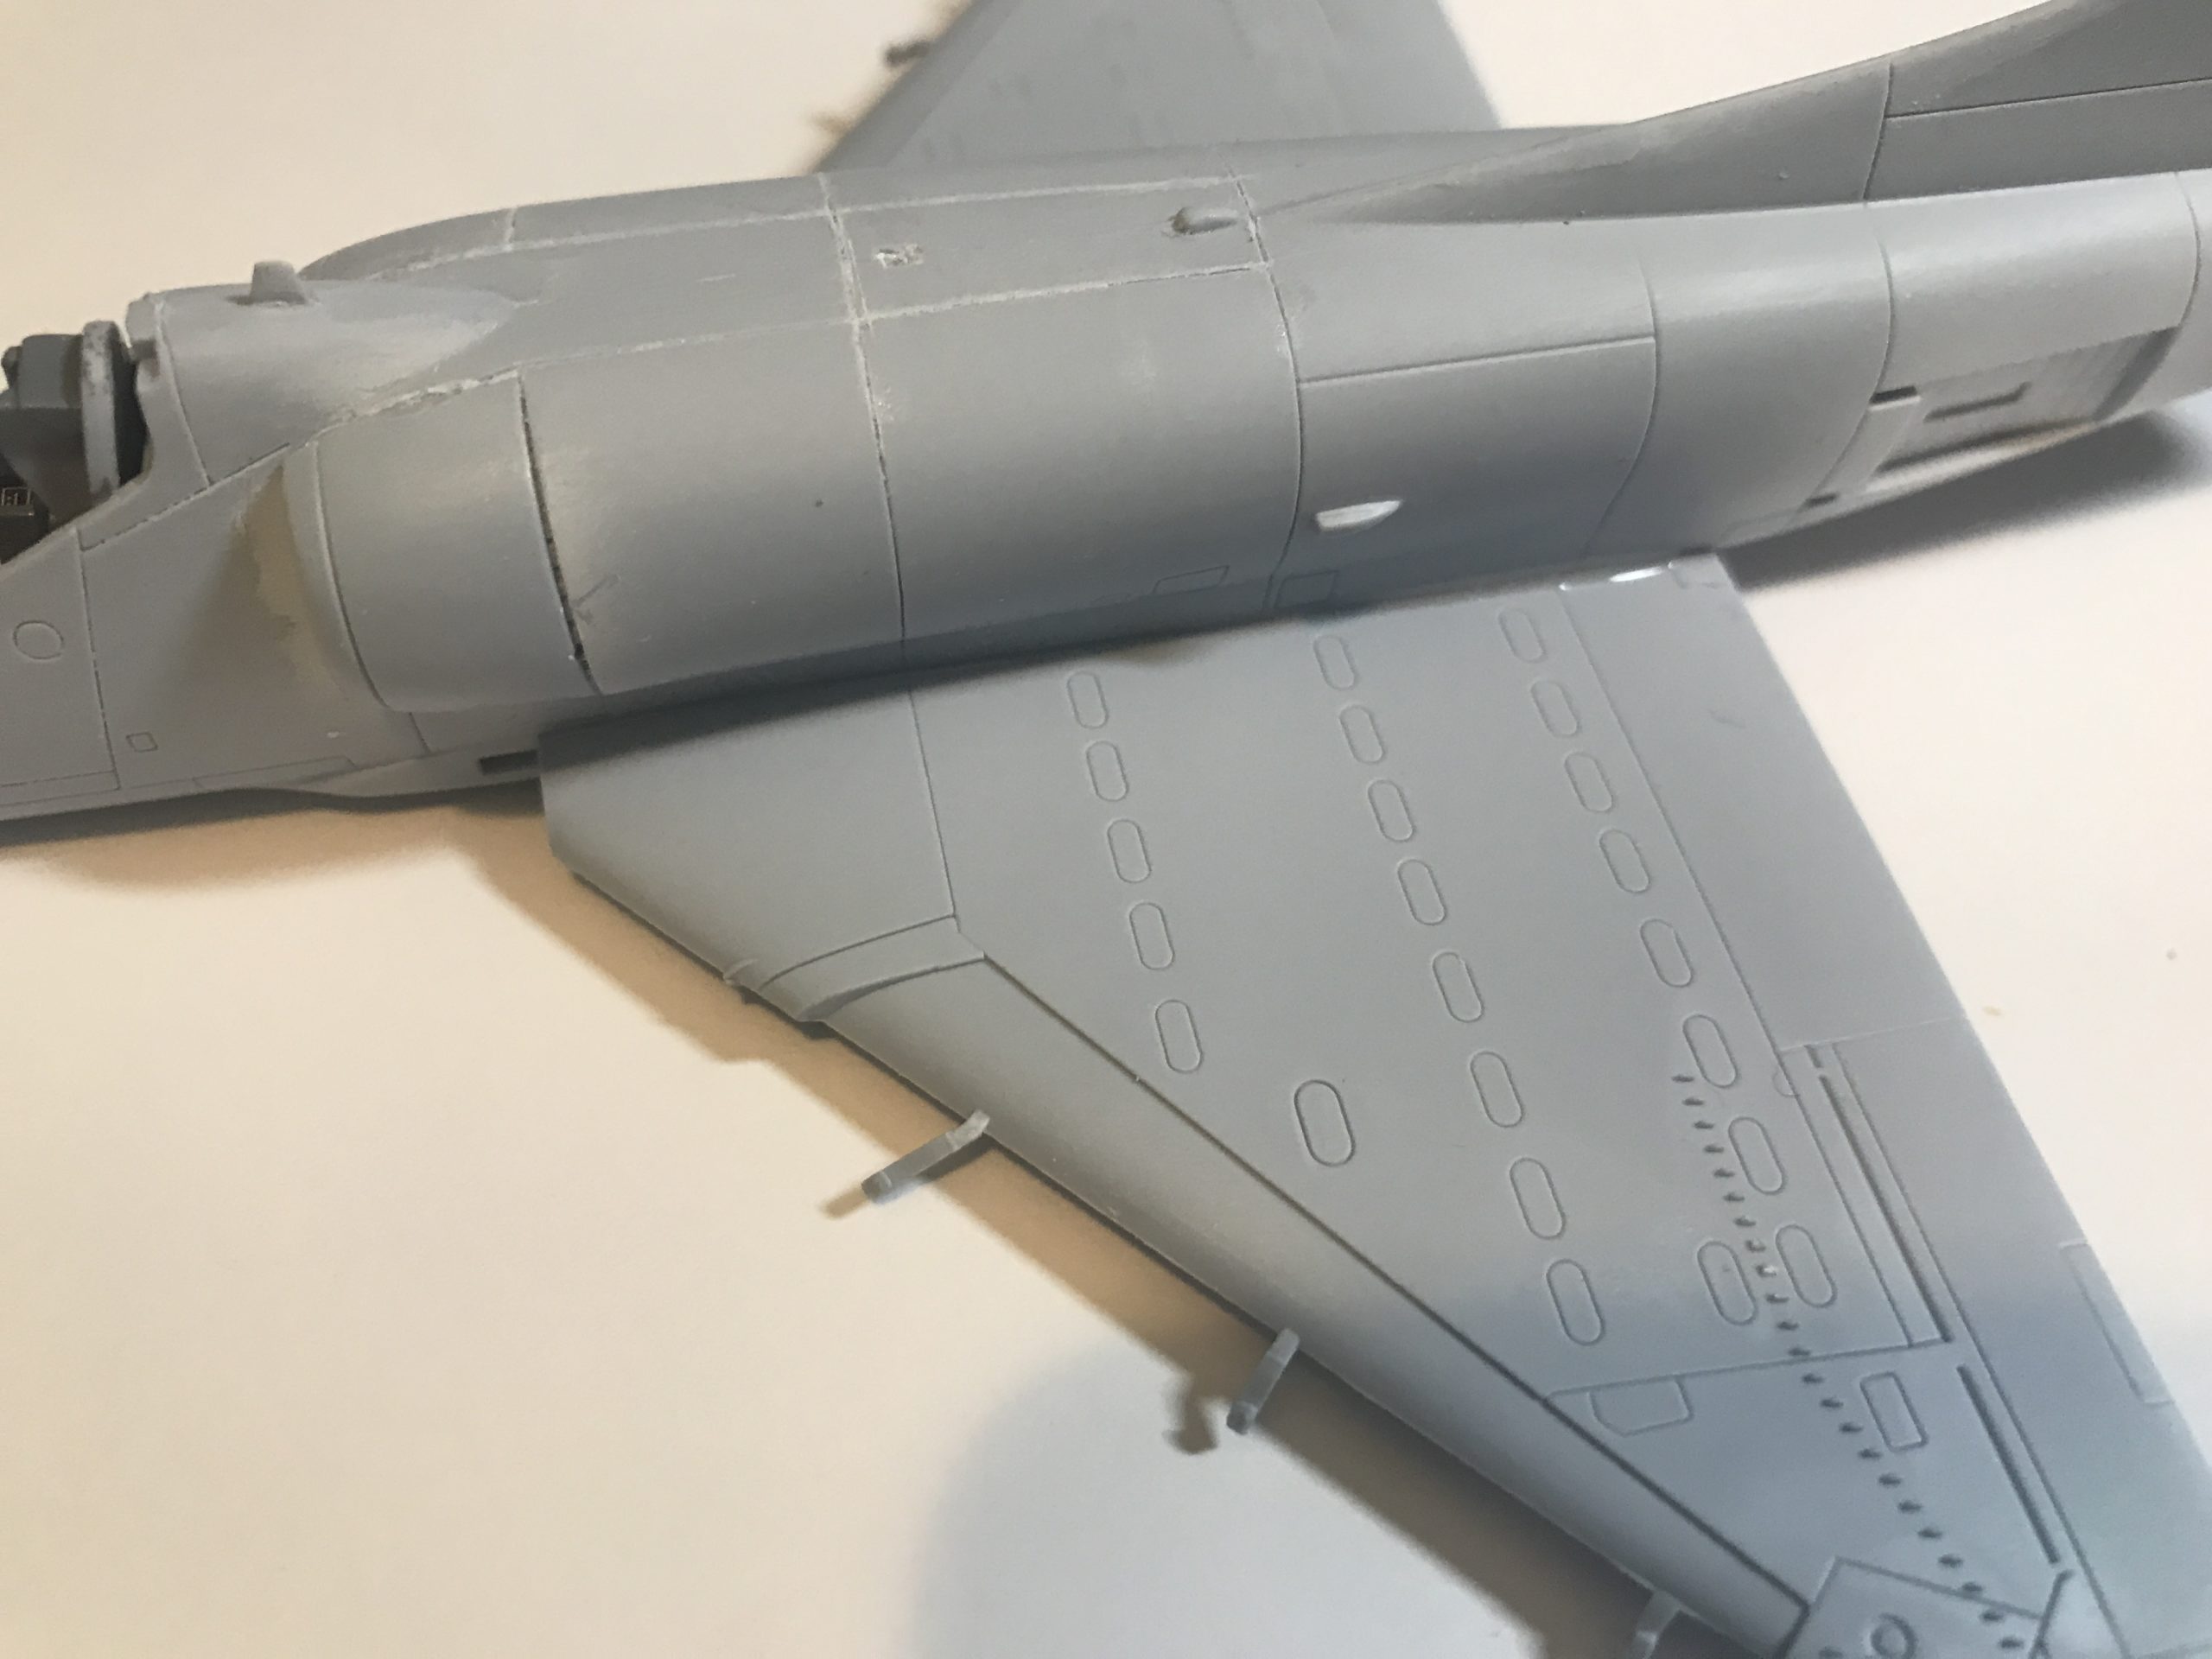
I won’t dwell on the assembly too much, but everything fitted together perfectly and no filler at all was required.


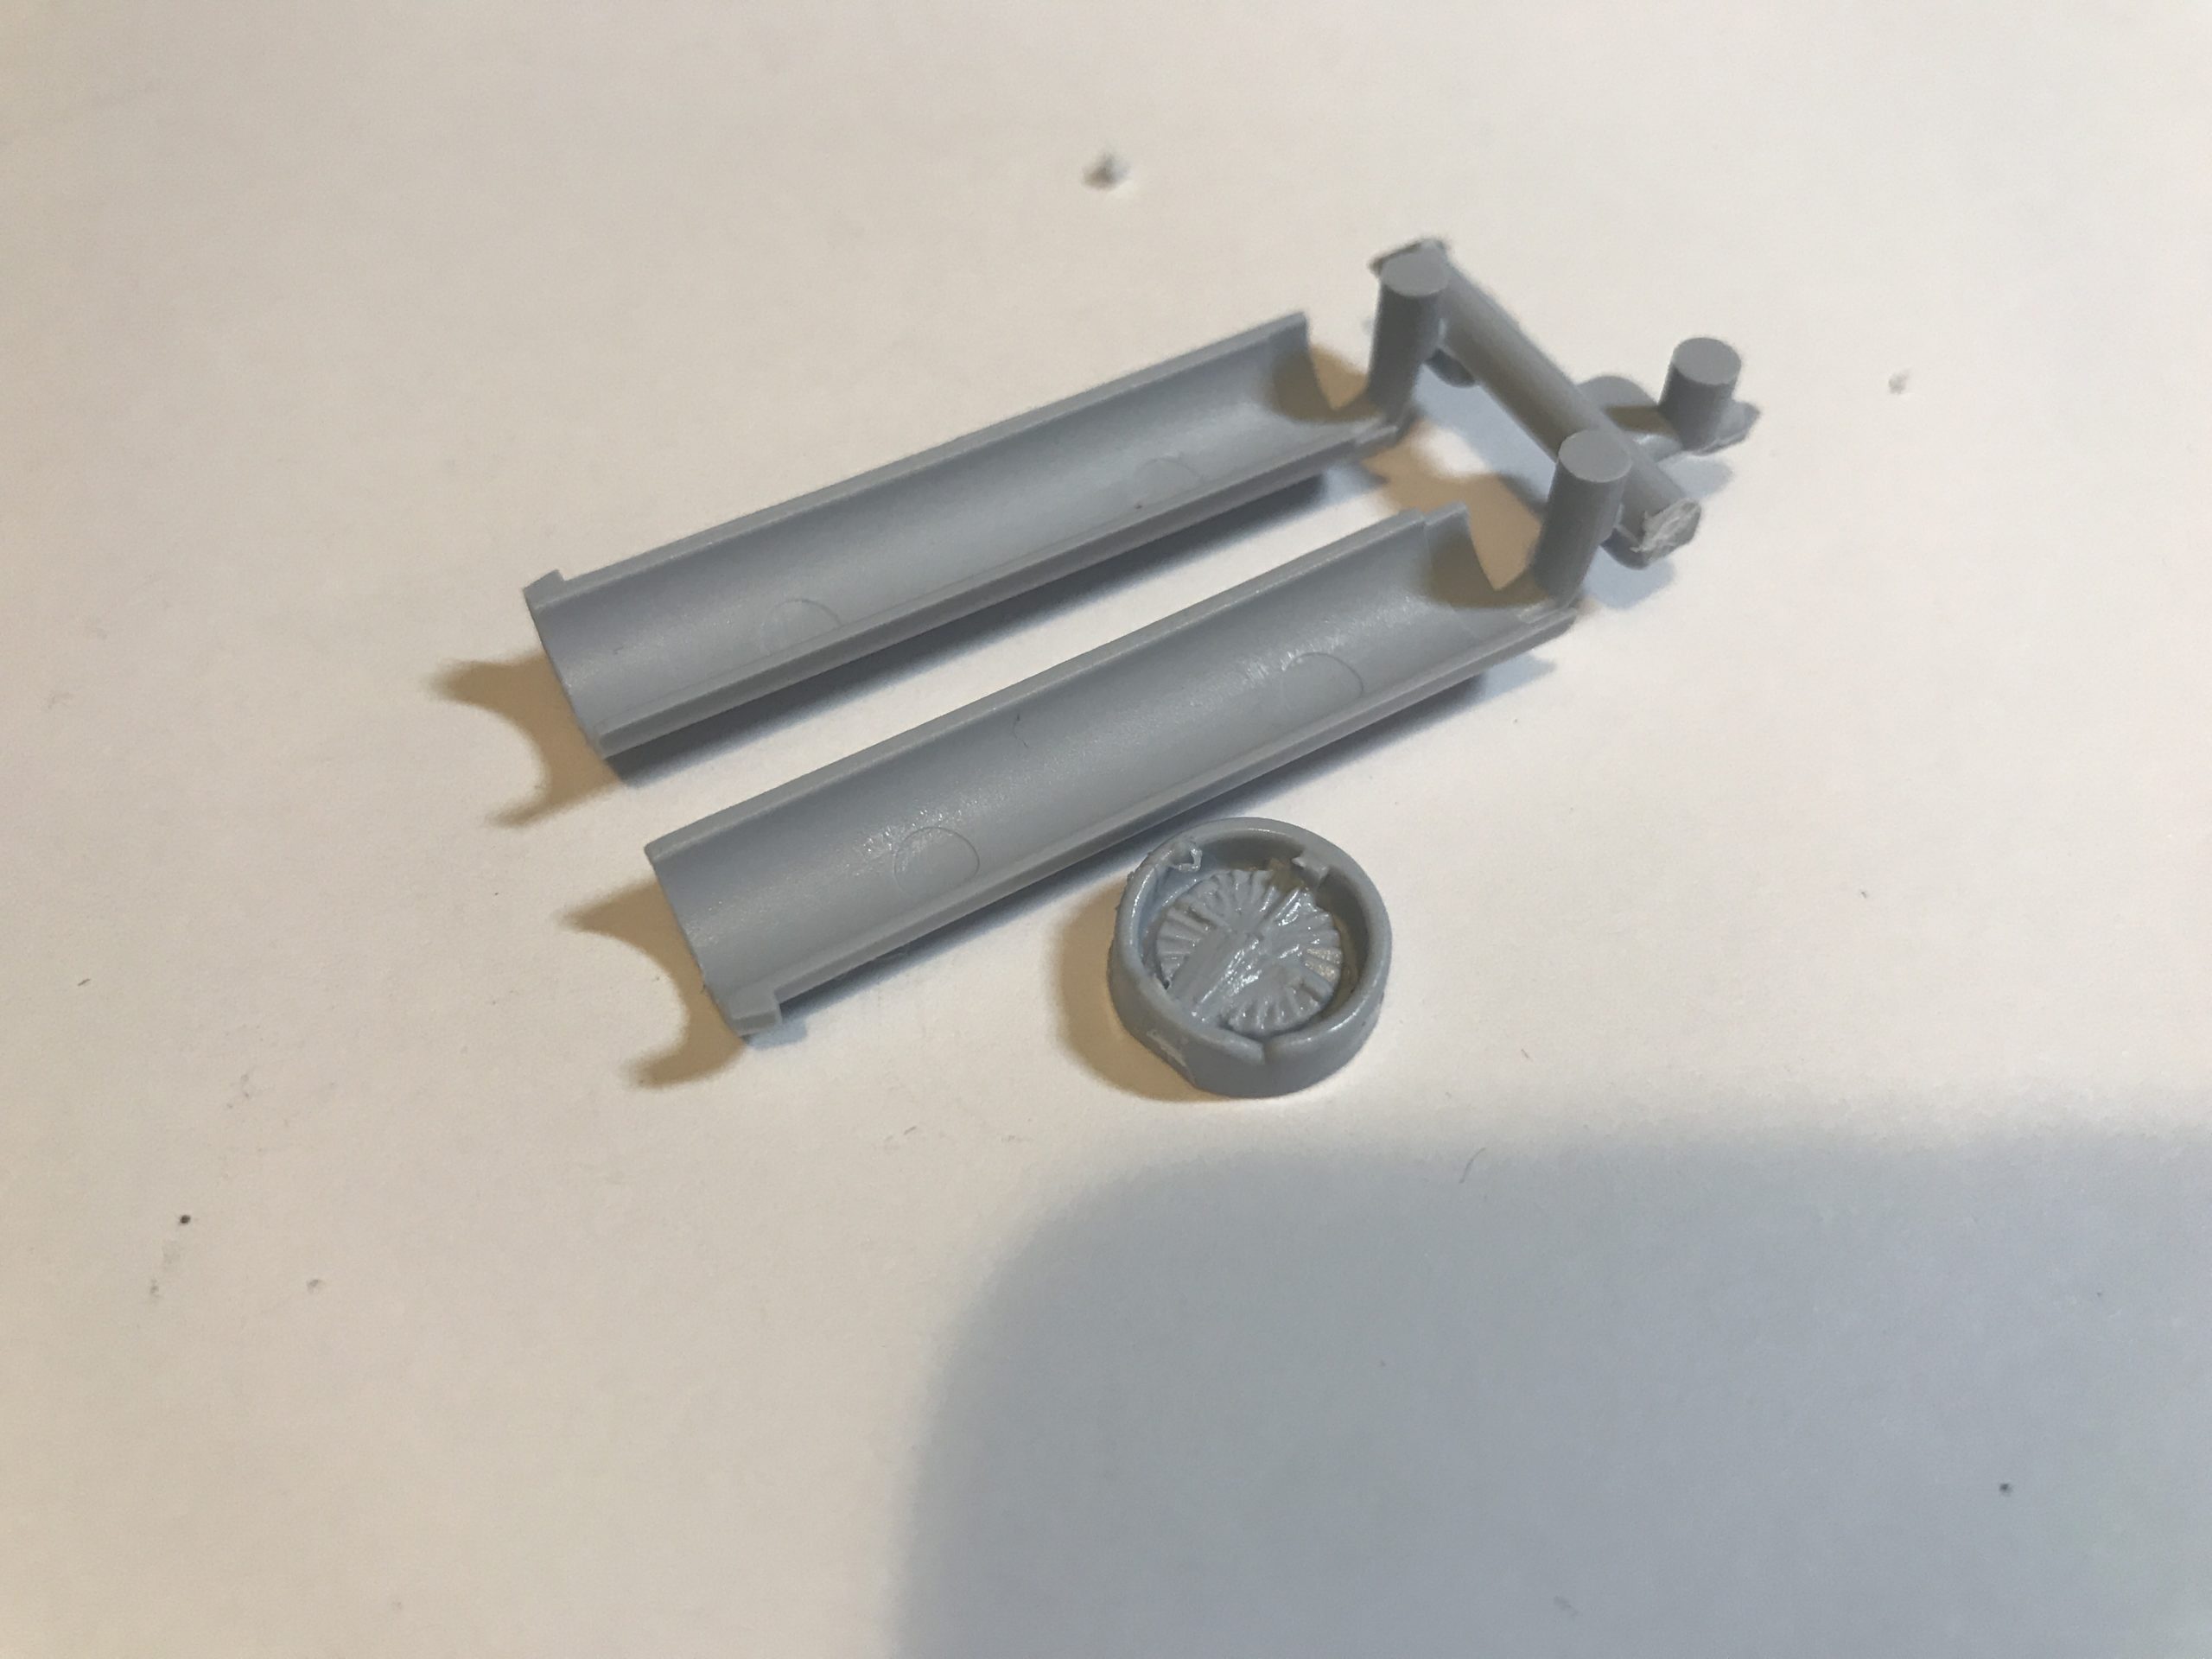
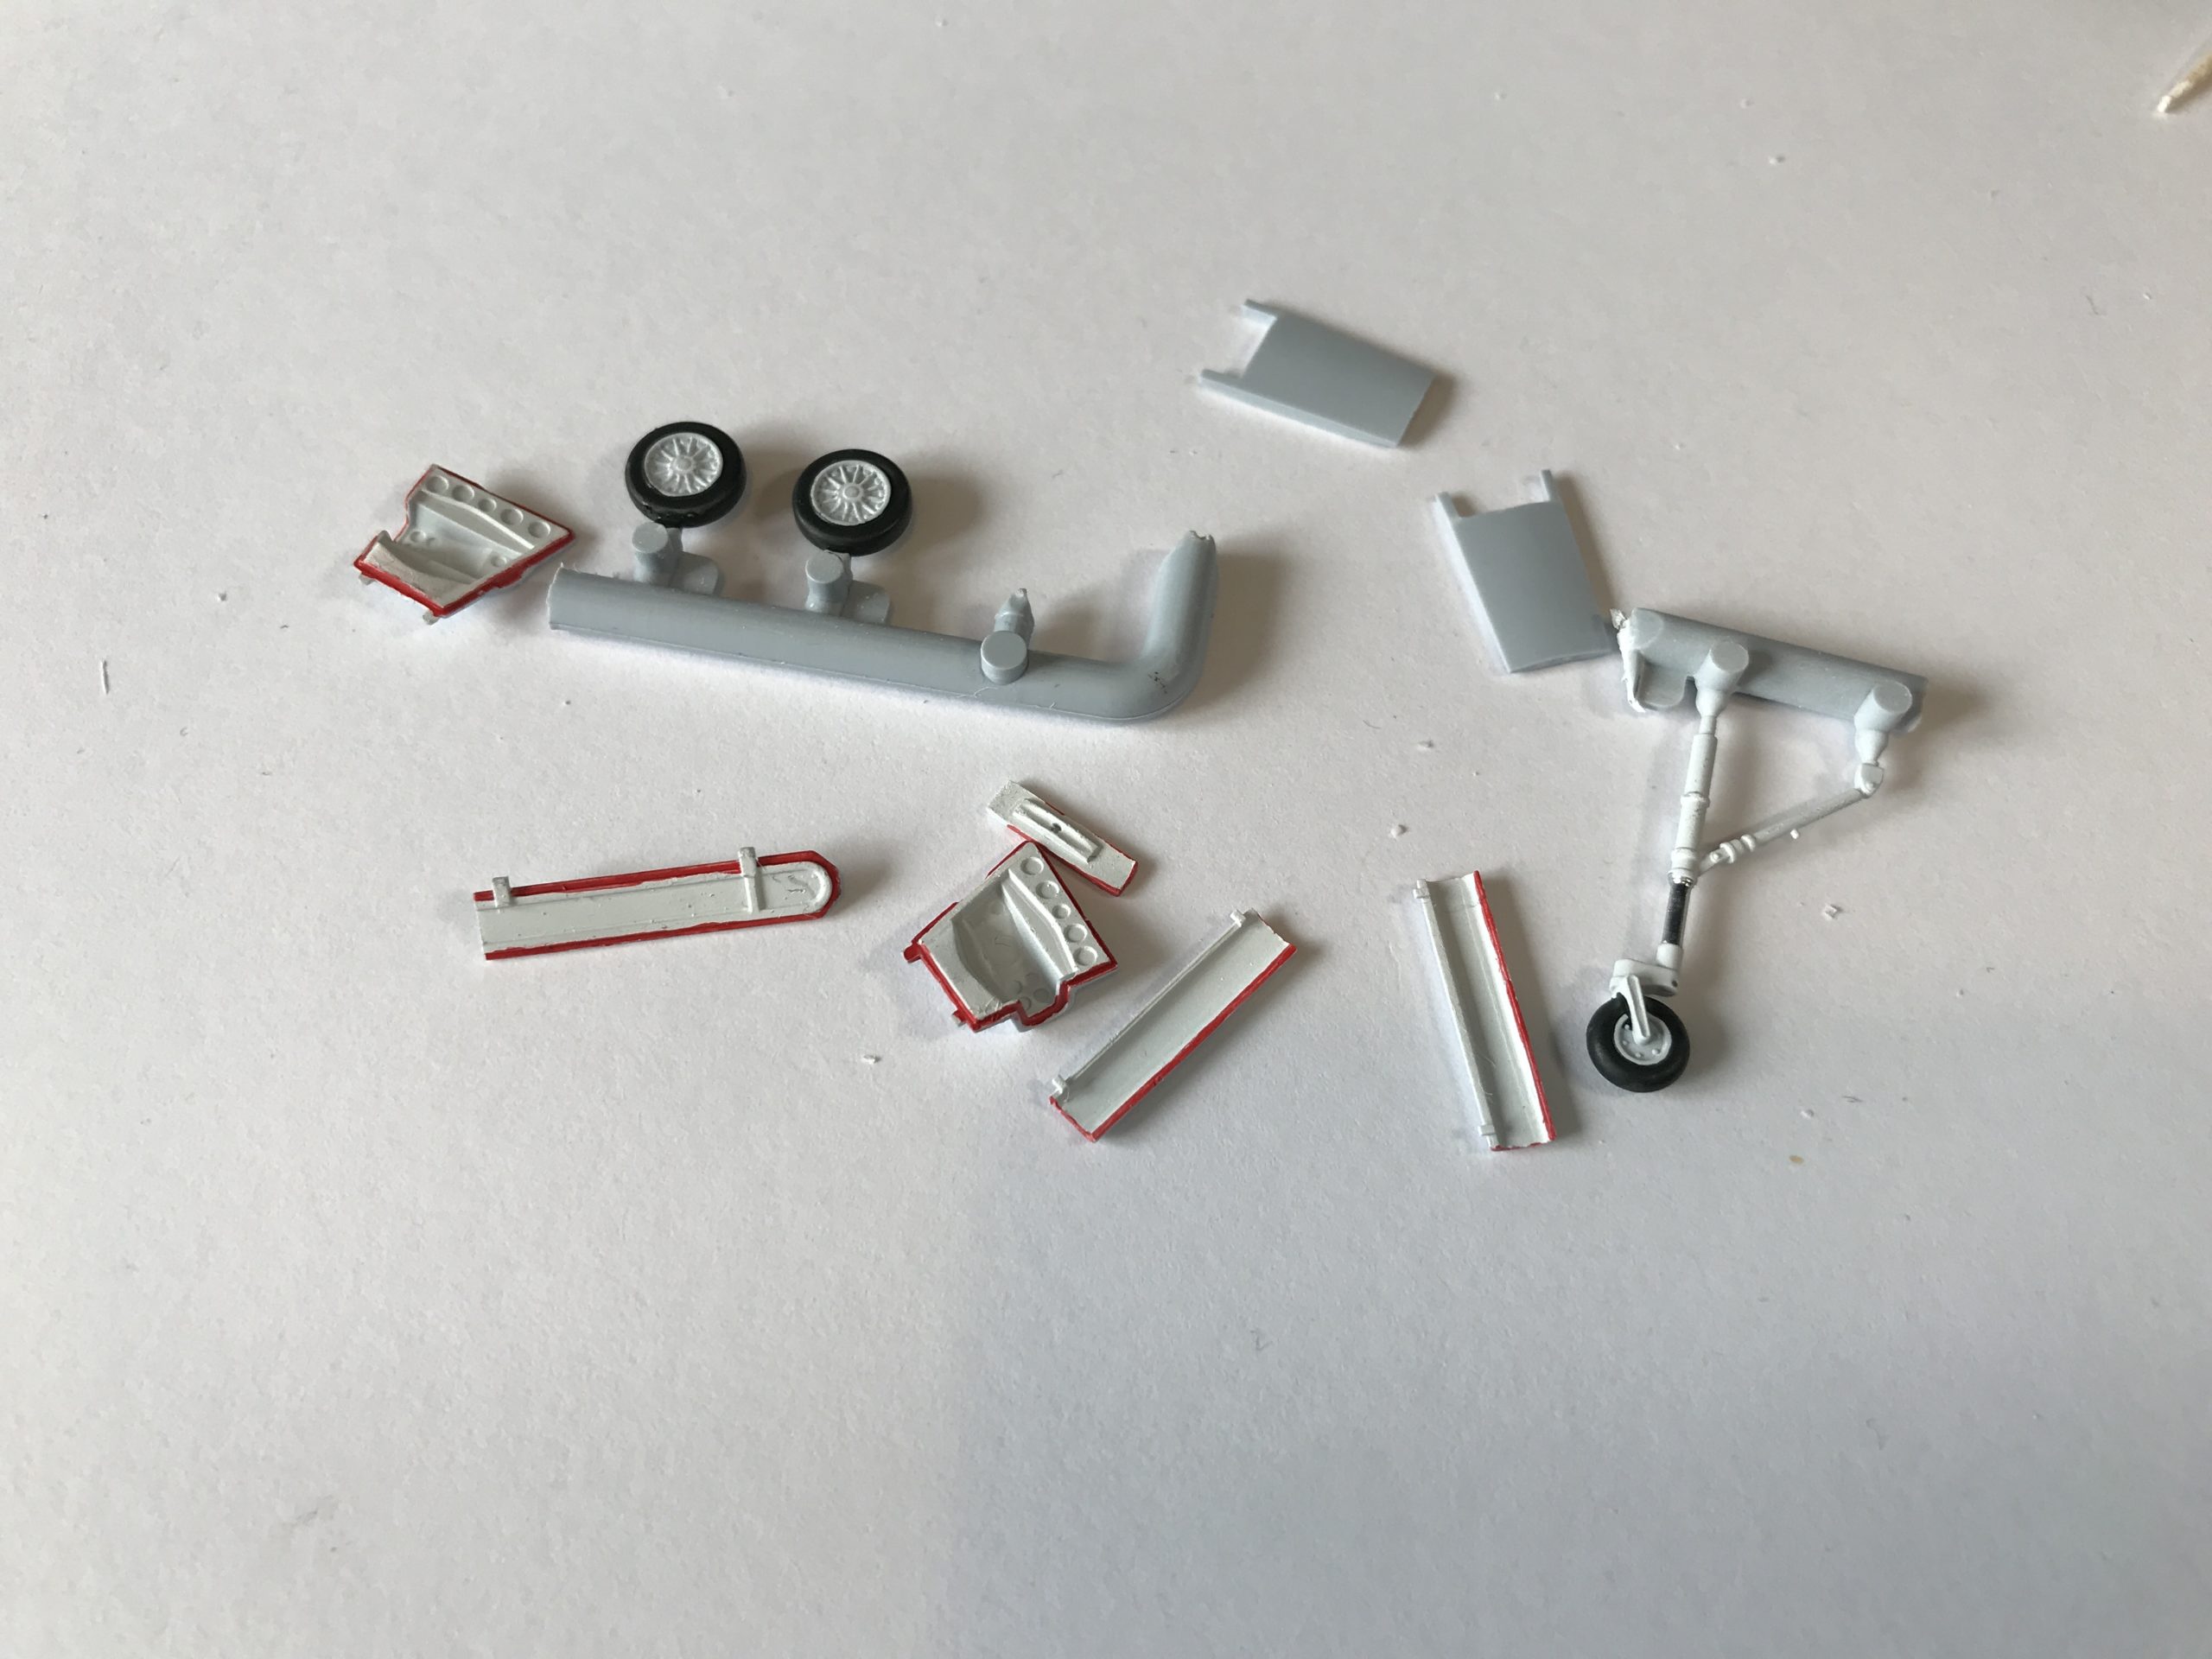
Next I thought I would sort out all the little odds and ends, parts of the landing gear and so on. I also painted the landing gear bays white too while I had the airbrush loaded. Once that was done I used some Blutack to temporarily hold the landing gear doors in place.
The model is now ready for paint……. well almost.
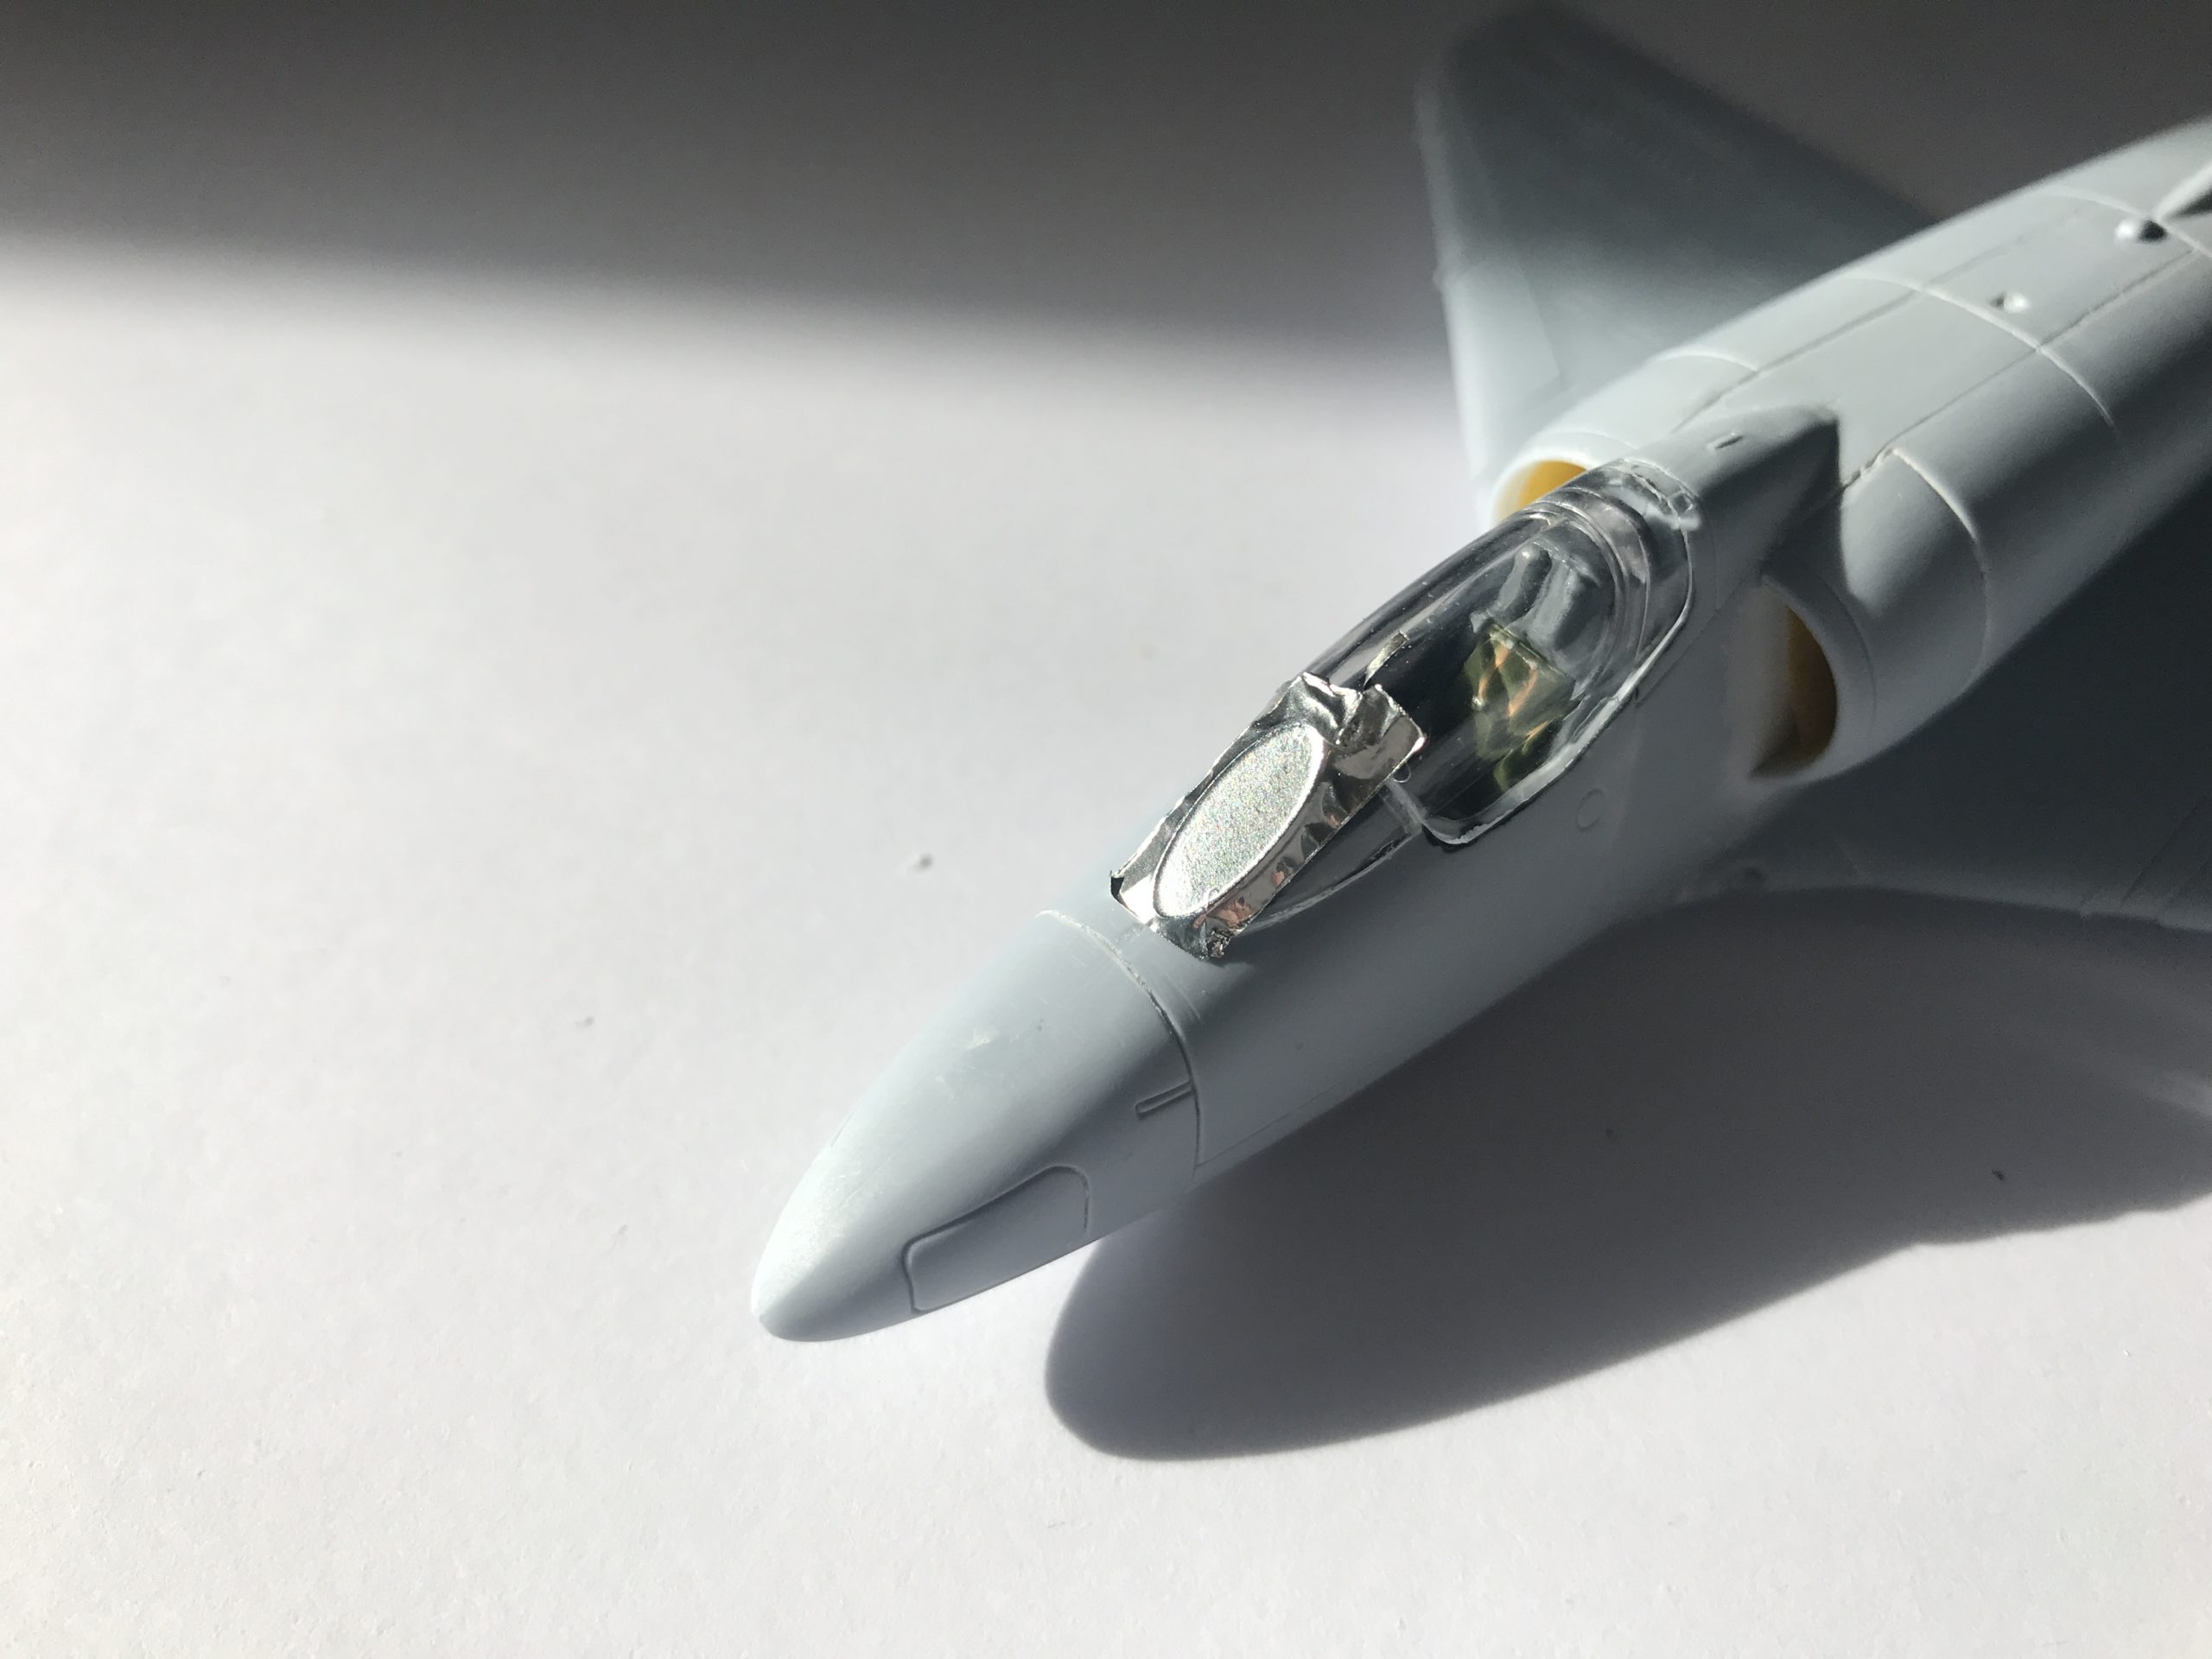
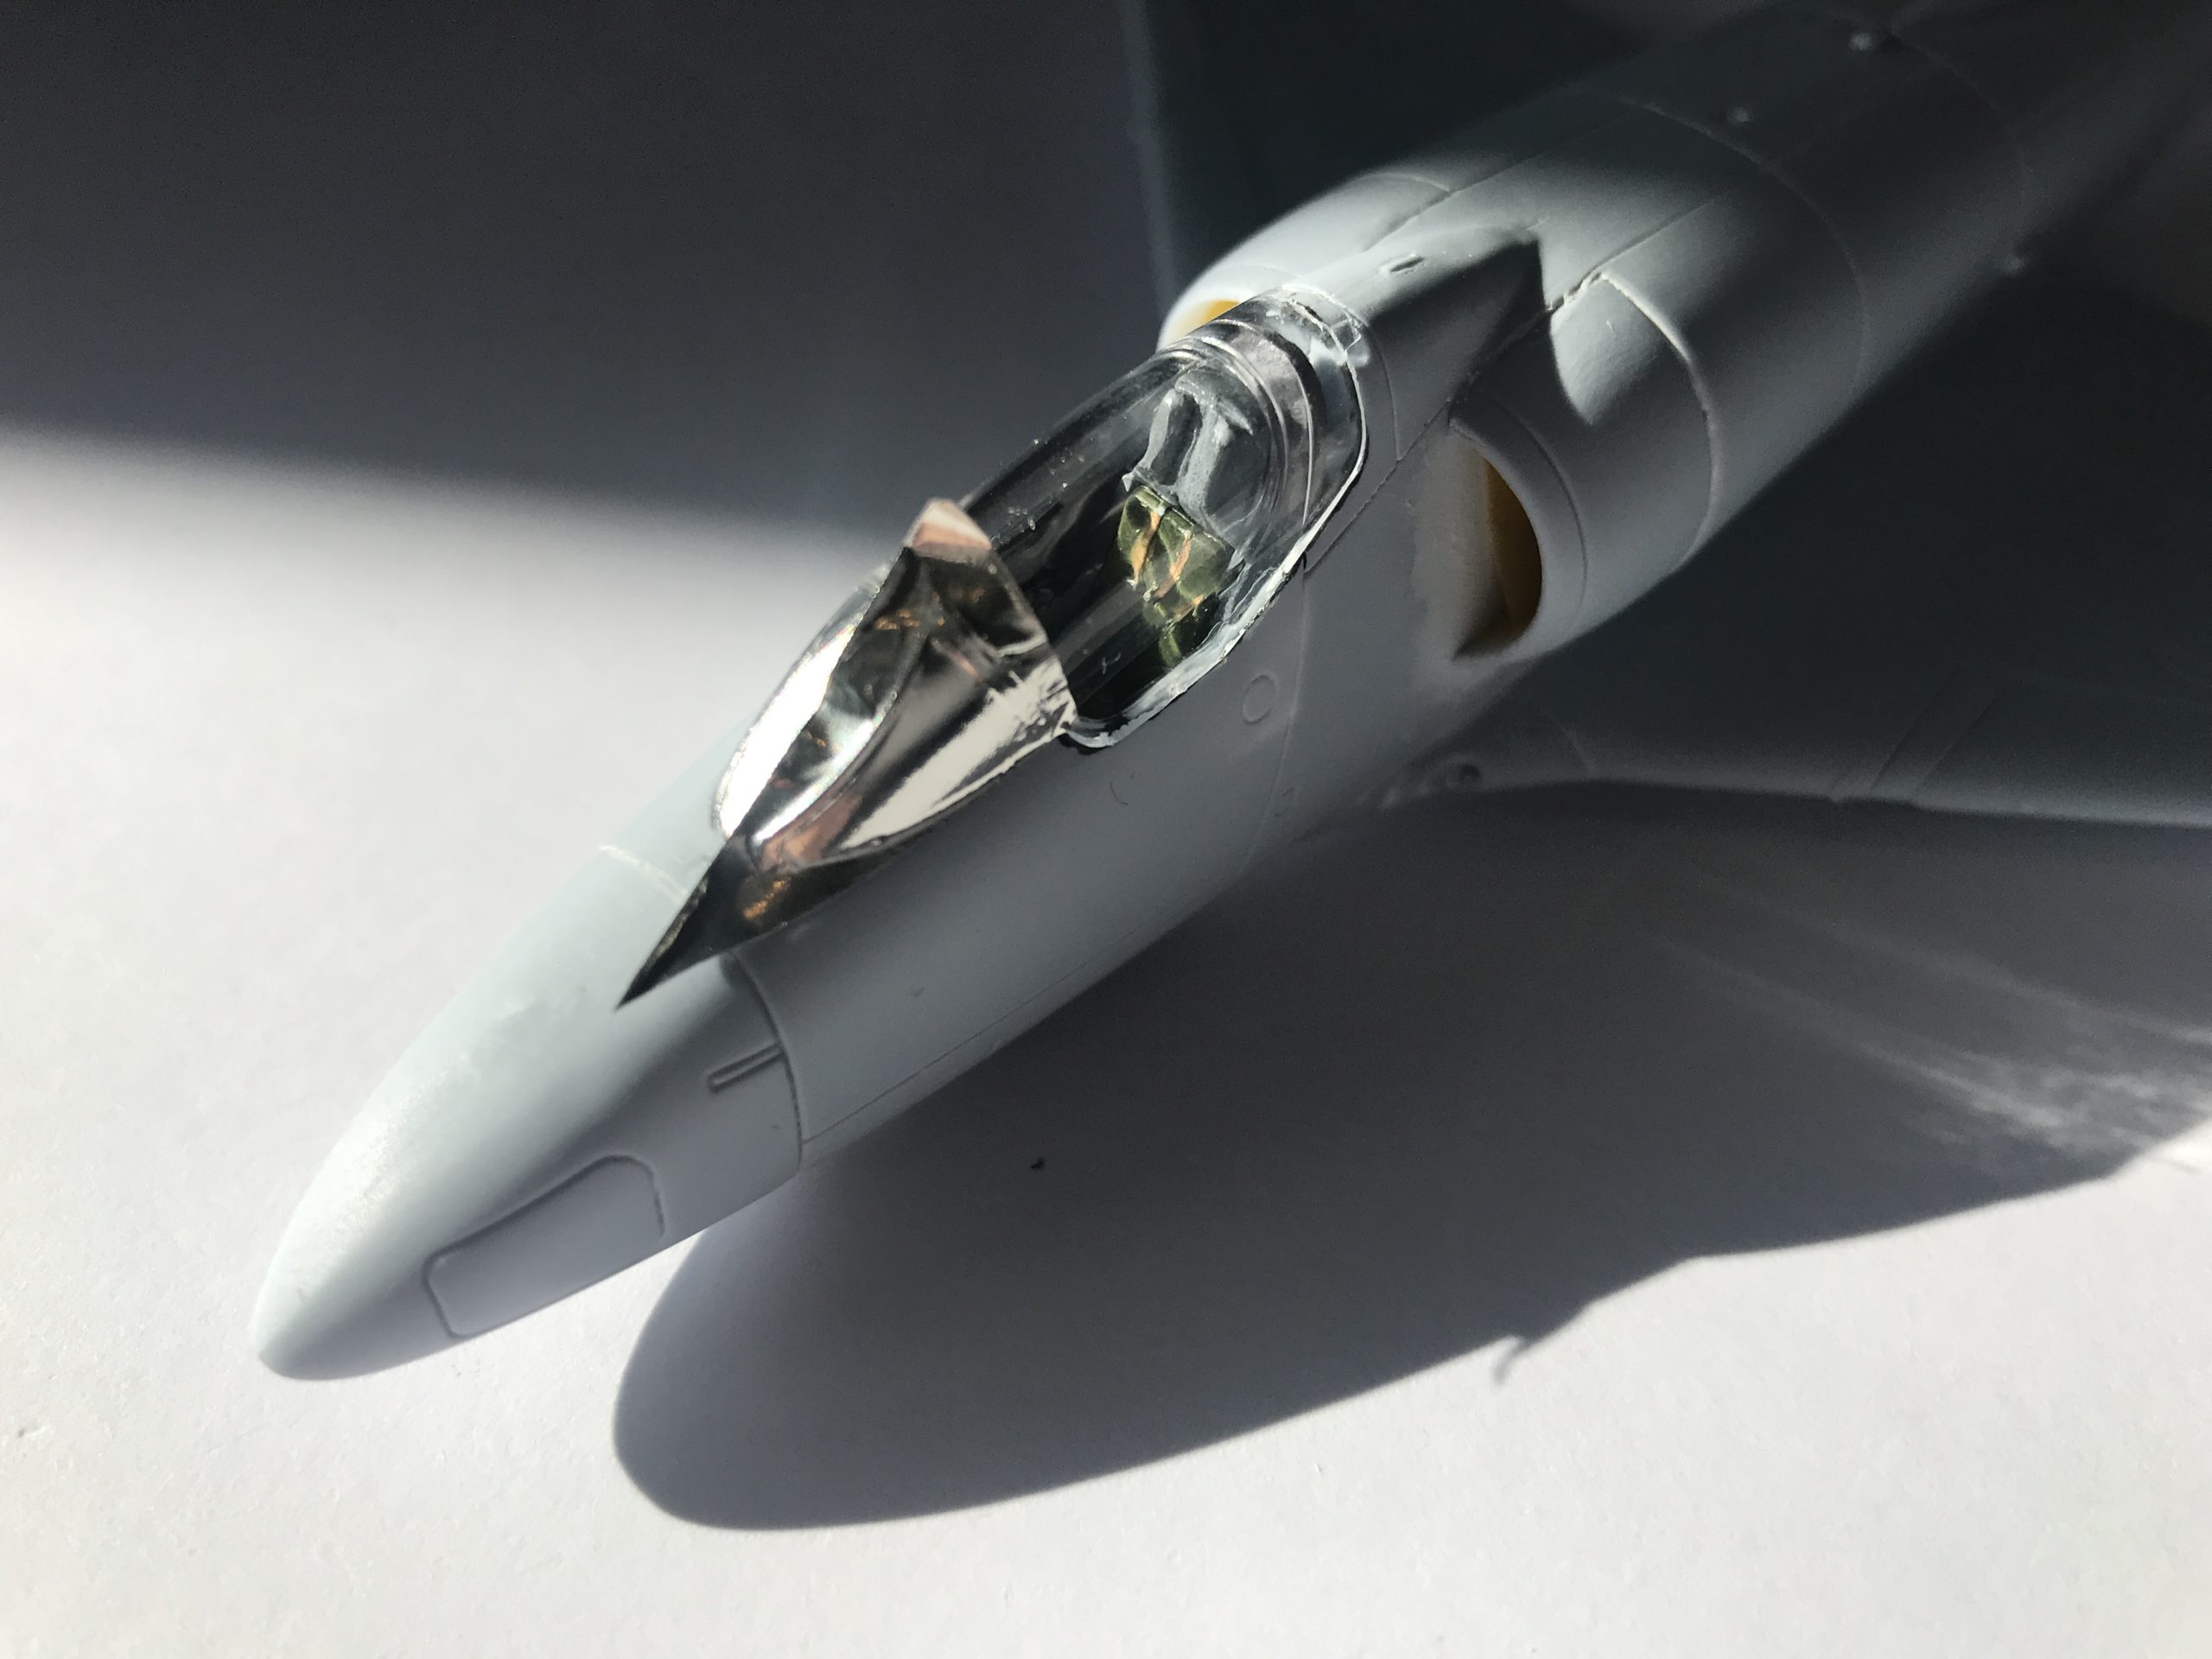
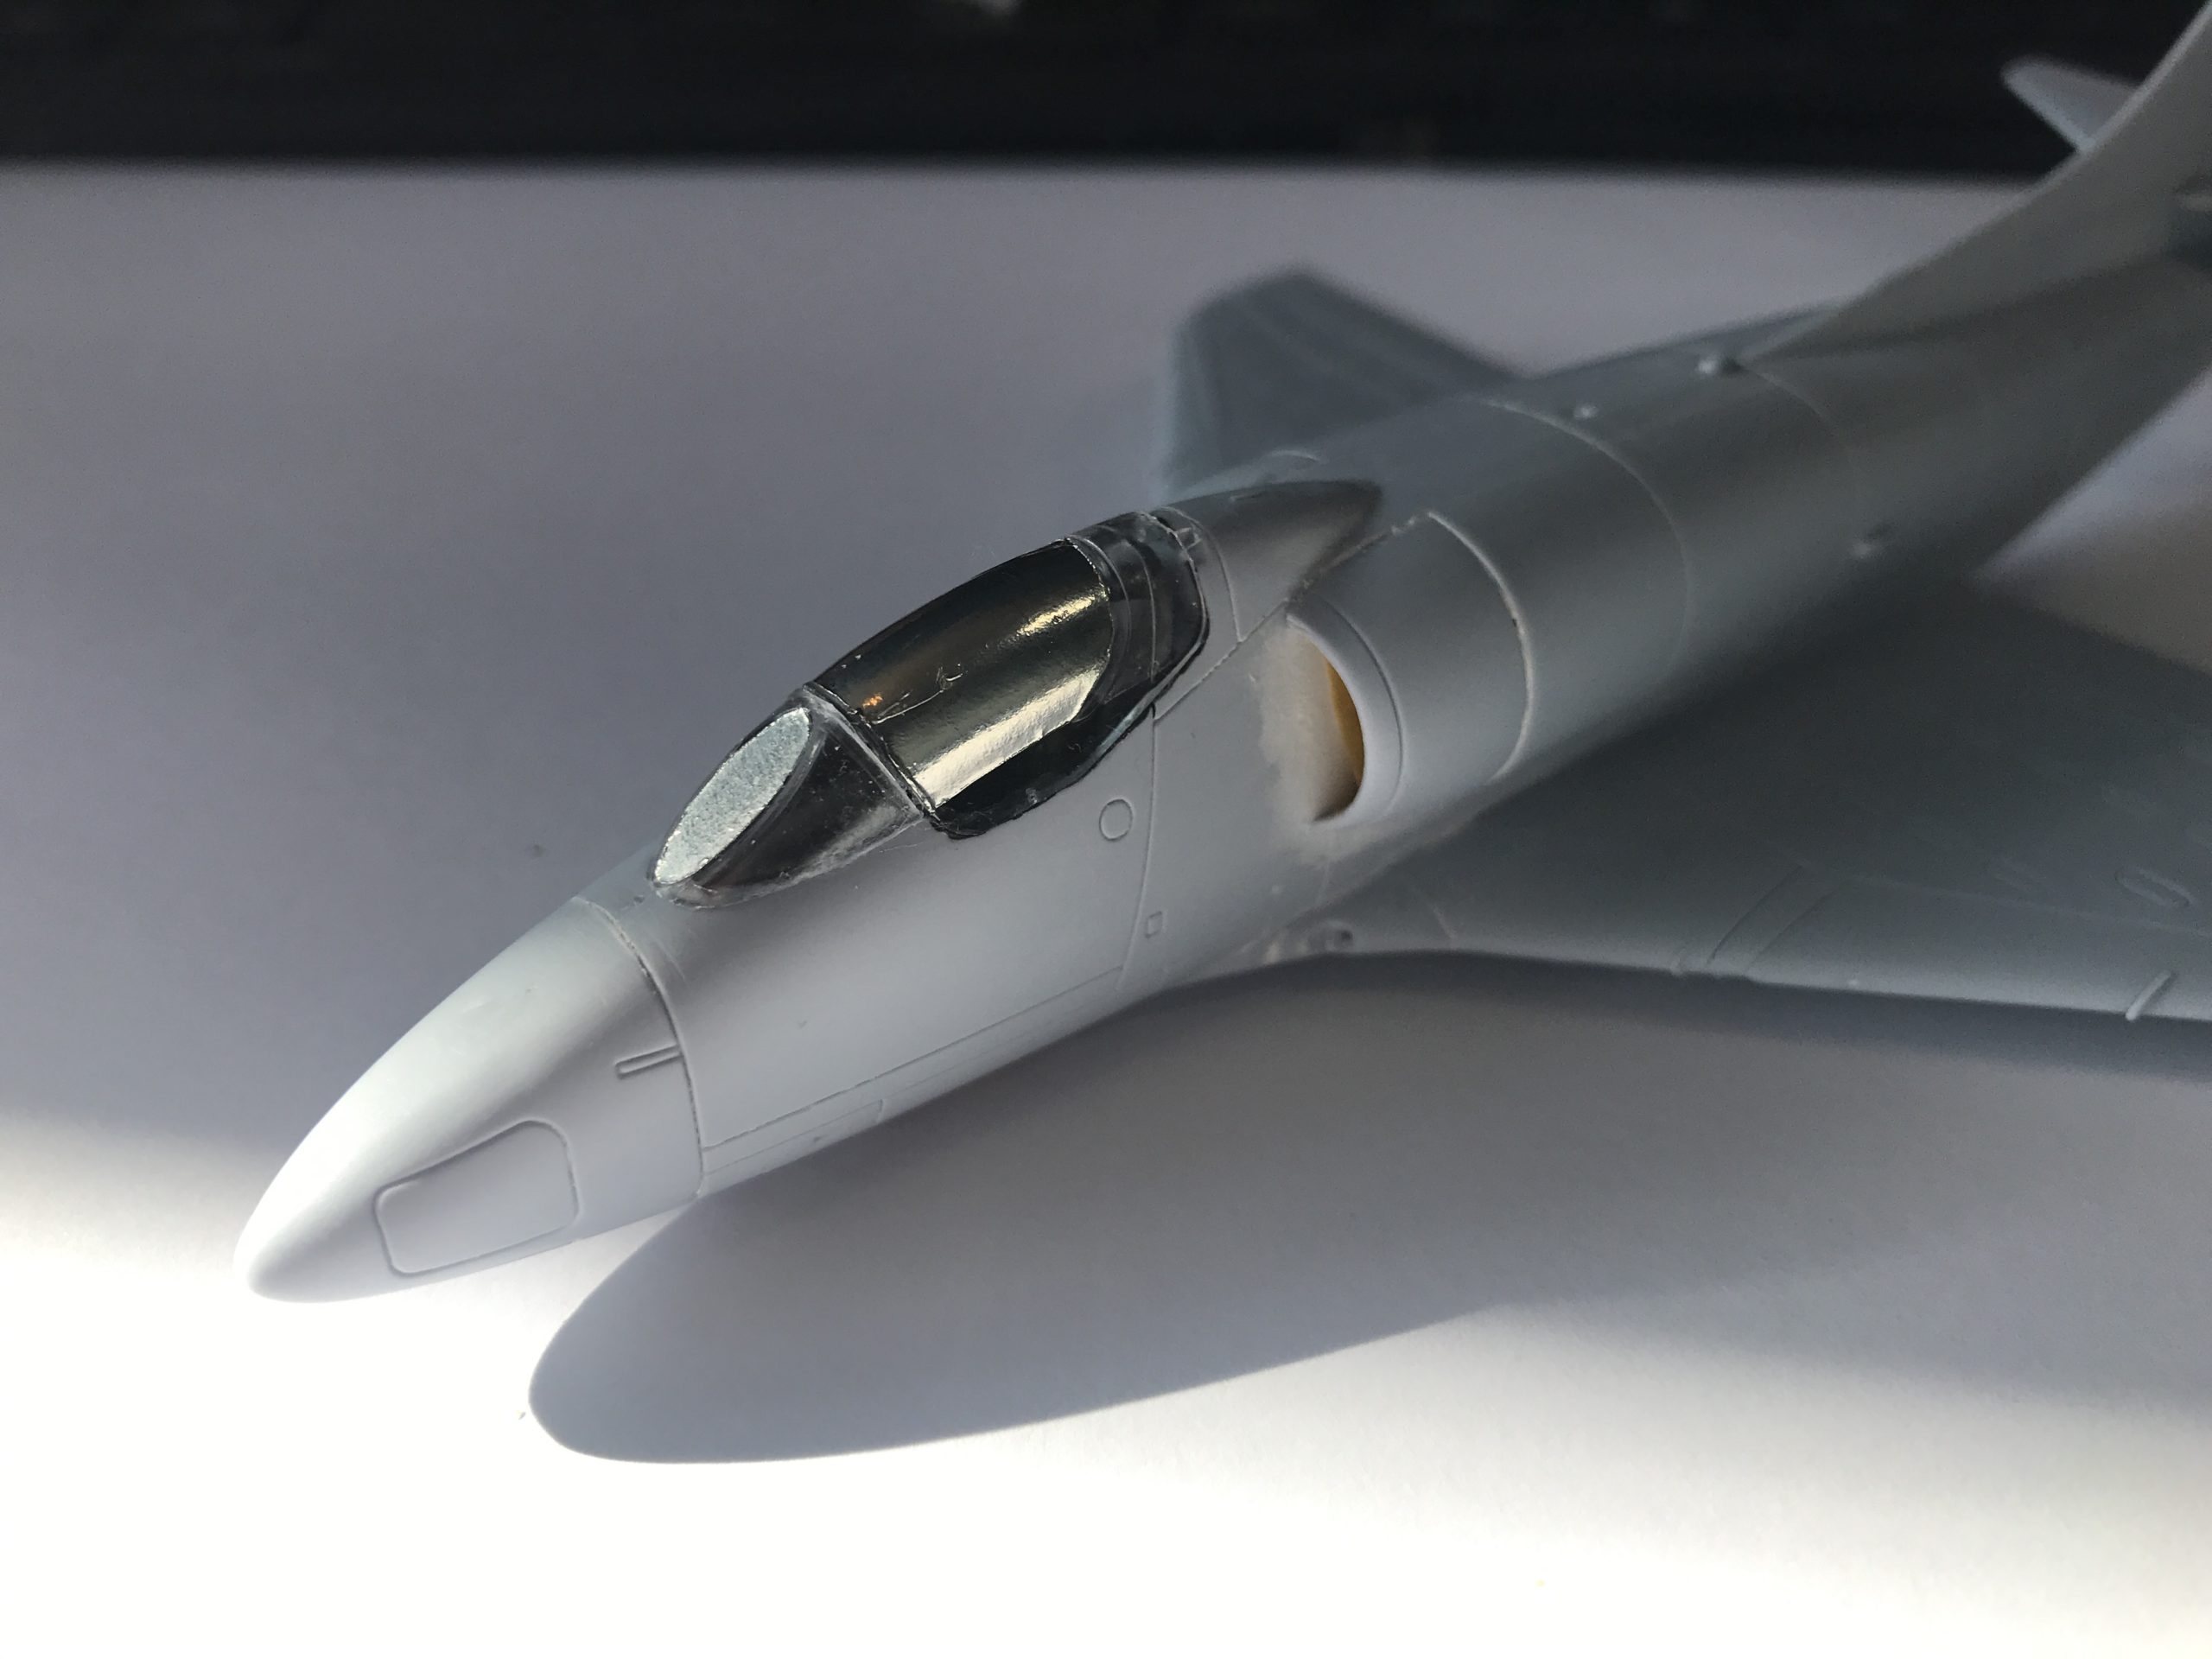
Before I could paint I needed to fit the and mask the canopy. I wanted to get the canopy masking right, so decided to use bare metal foil. It would mean more clean up, but would be worth the work especially because of the complex curves on the front windshield.


So I am really impressed with more or less everything about this kit. I wanted to do a nice paint job, so thought I’d try a bit of pre-shading.
If you don’t know pre-shading is a technique you use to make the panels darker at the edges and lighter in the middle. There are a lot of arguments for and against this technique. It does provide a level of contrast and visual interest to what could be a plain looking model, but you don’t really see it on most real life aircraft. It can look nice if done with subtlety though.
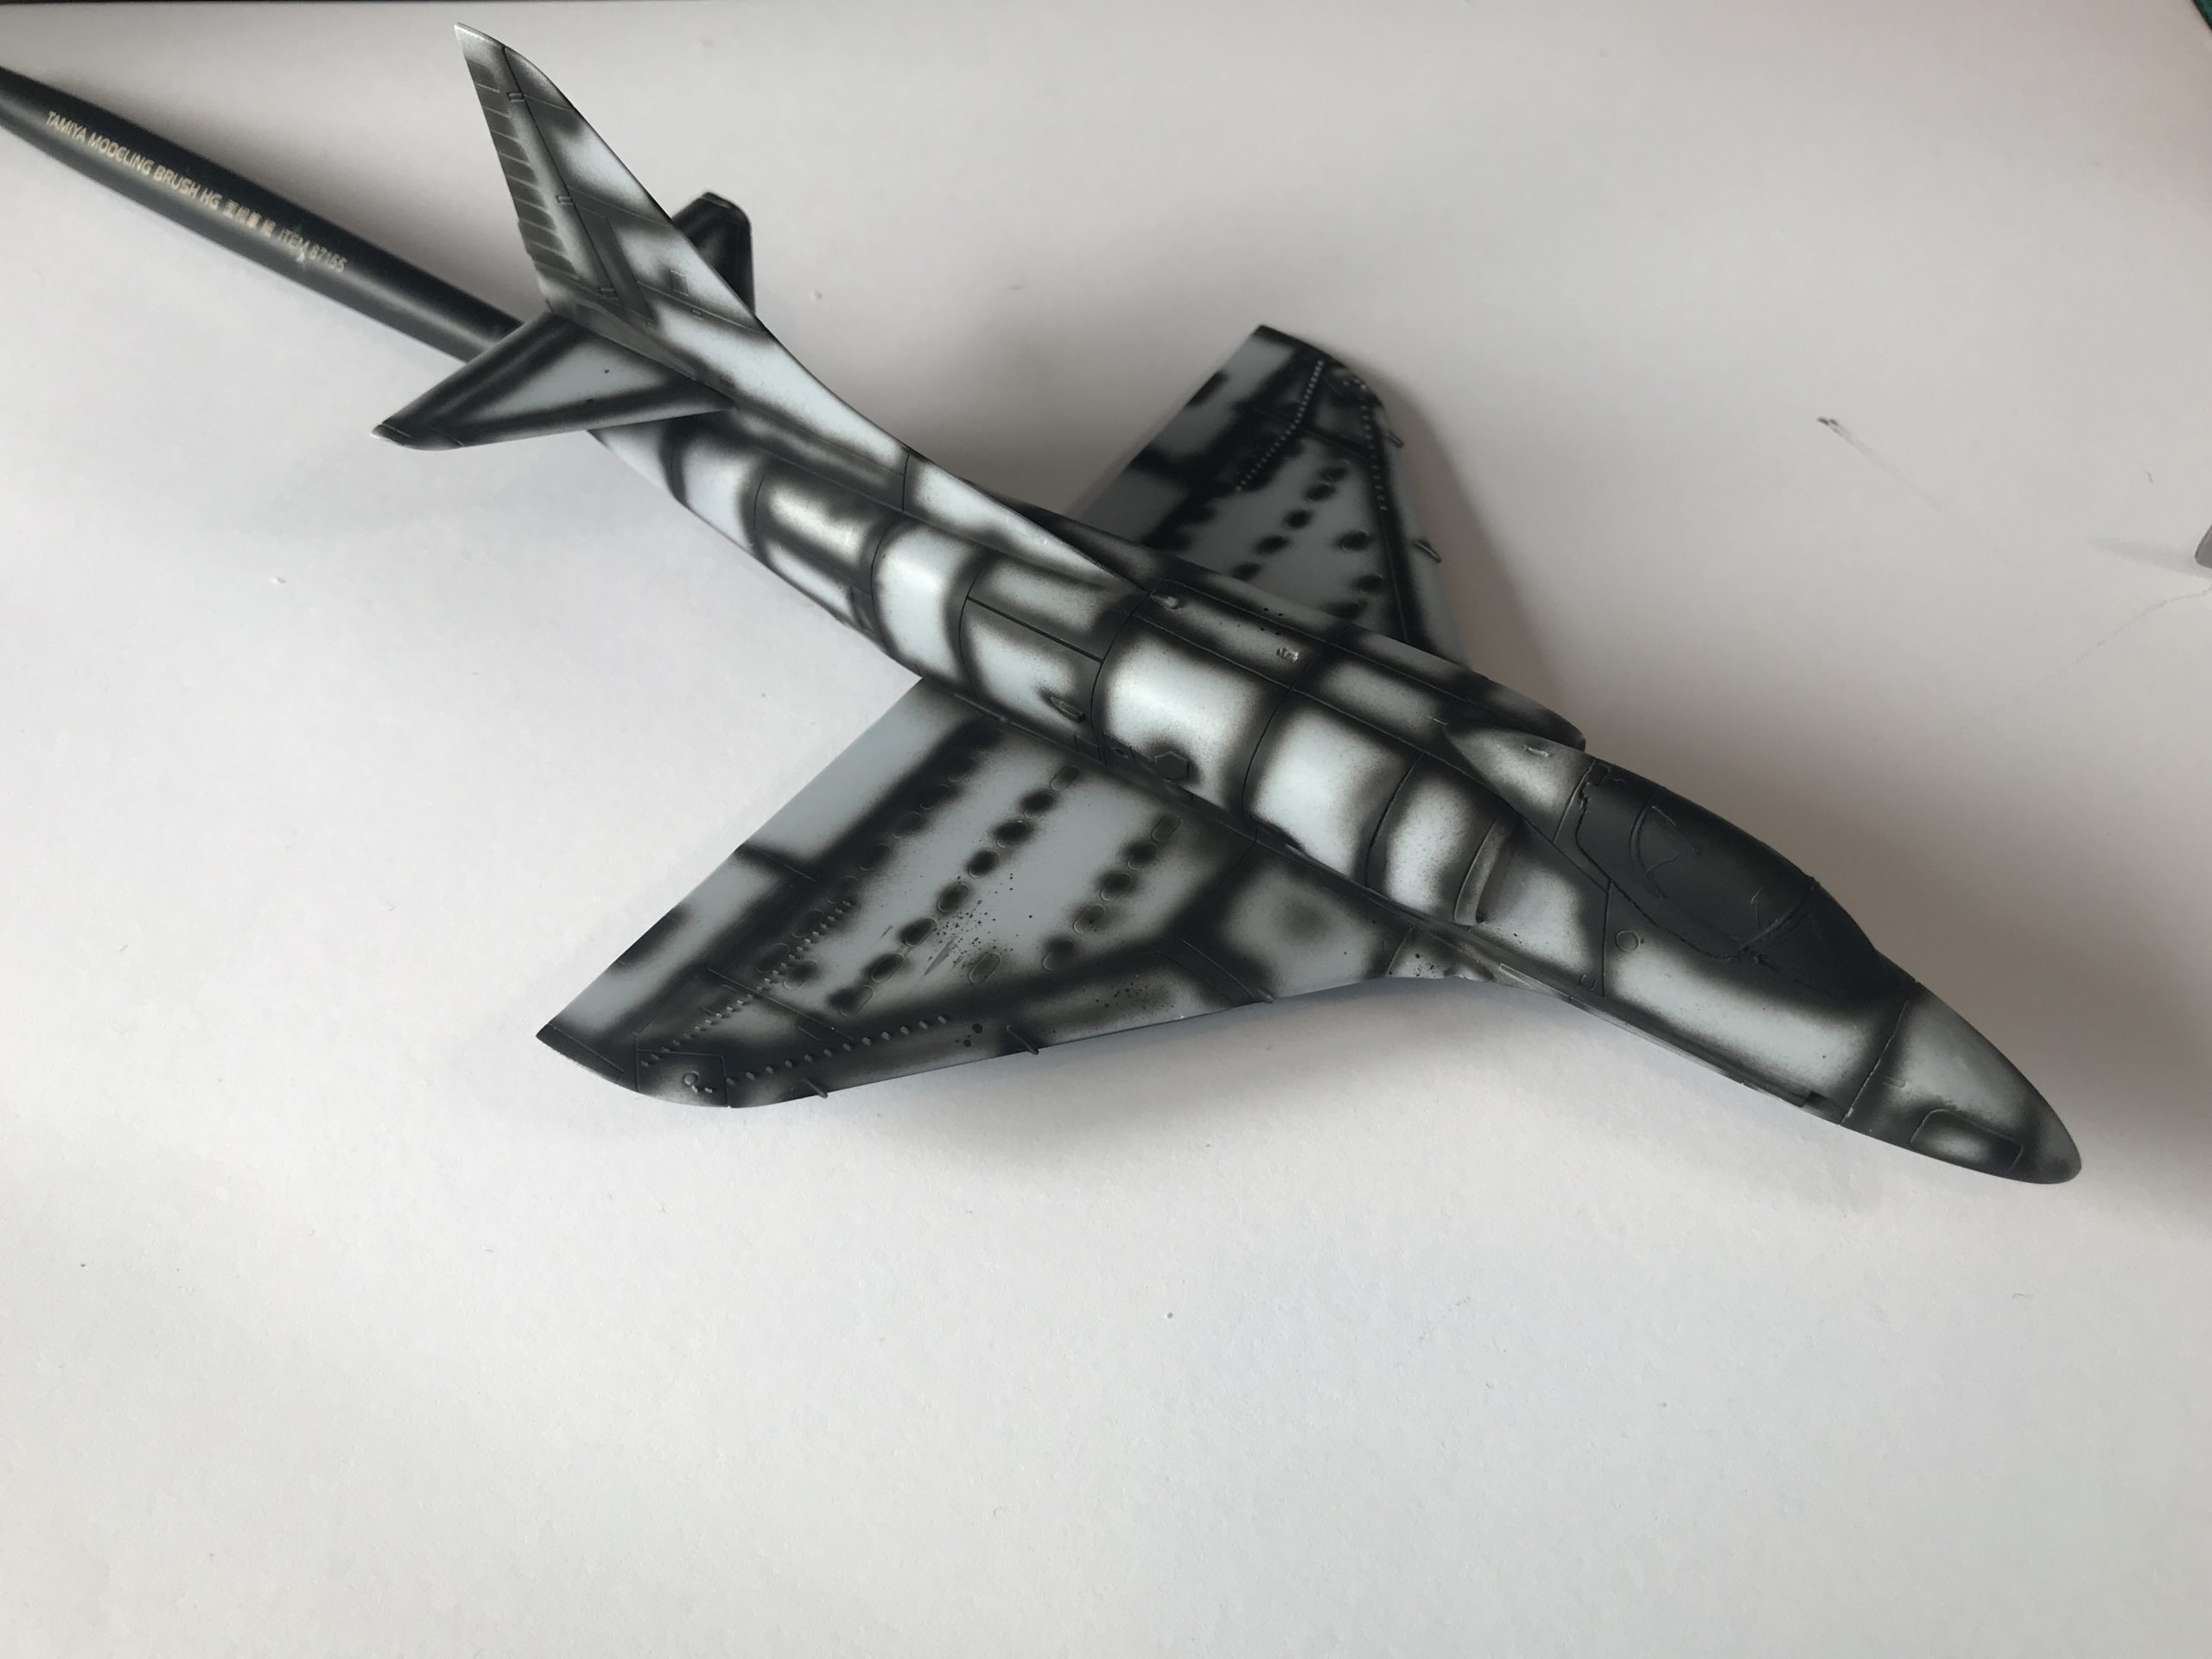


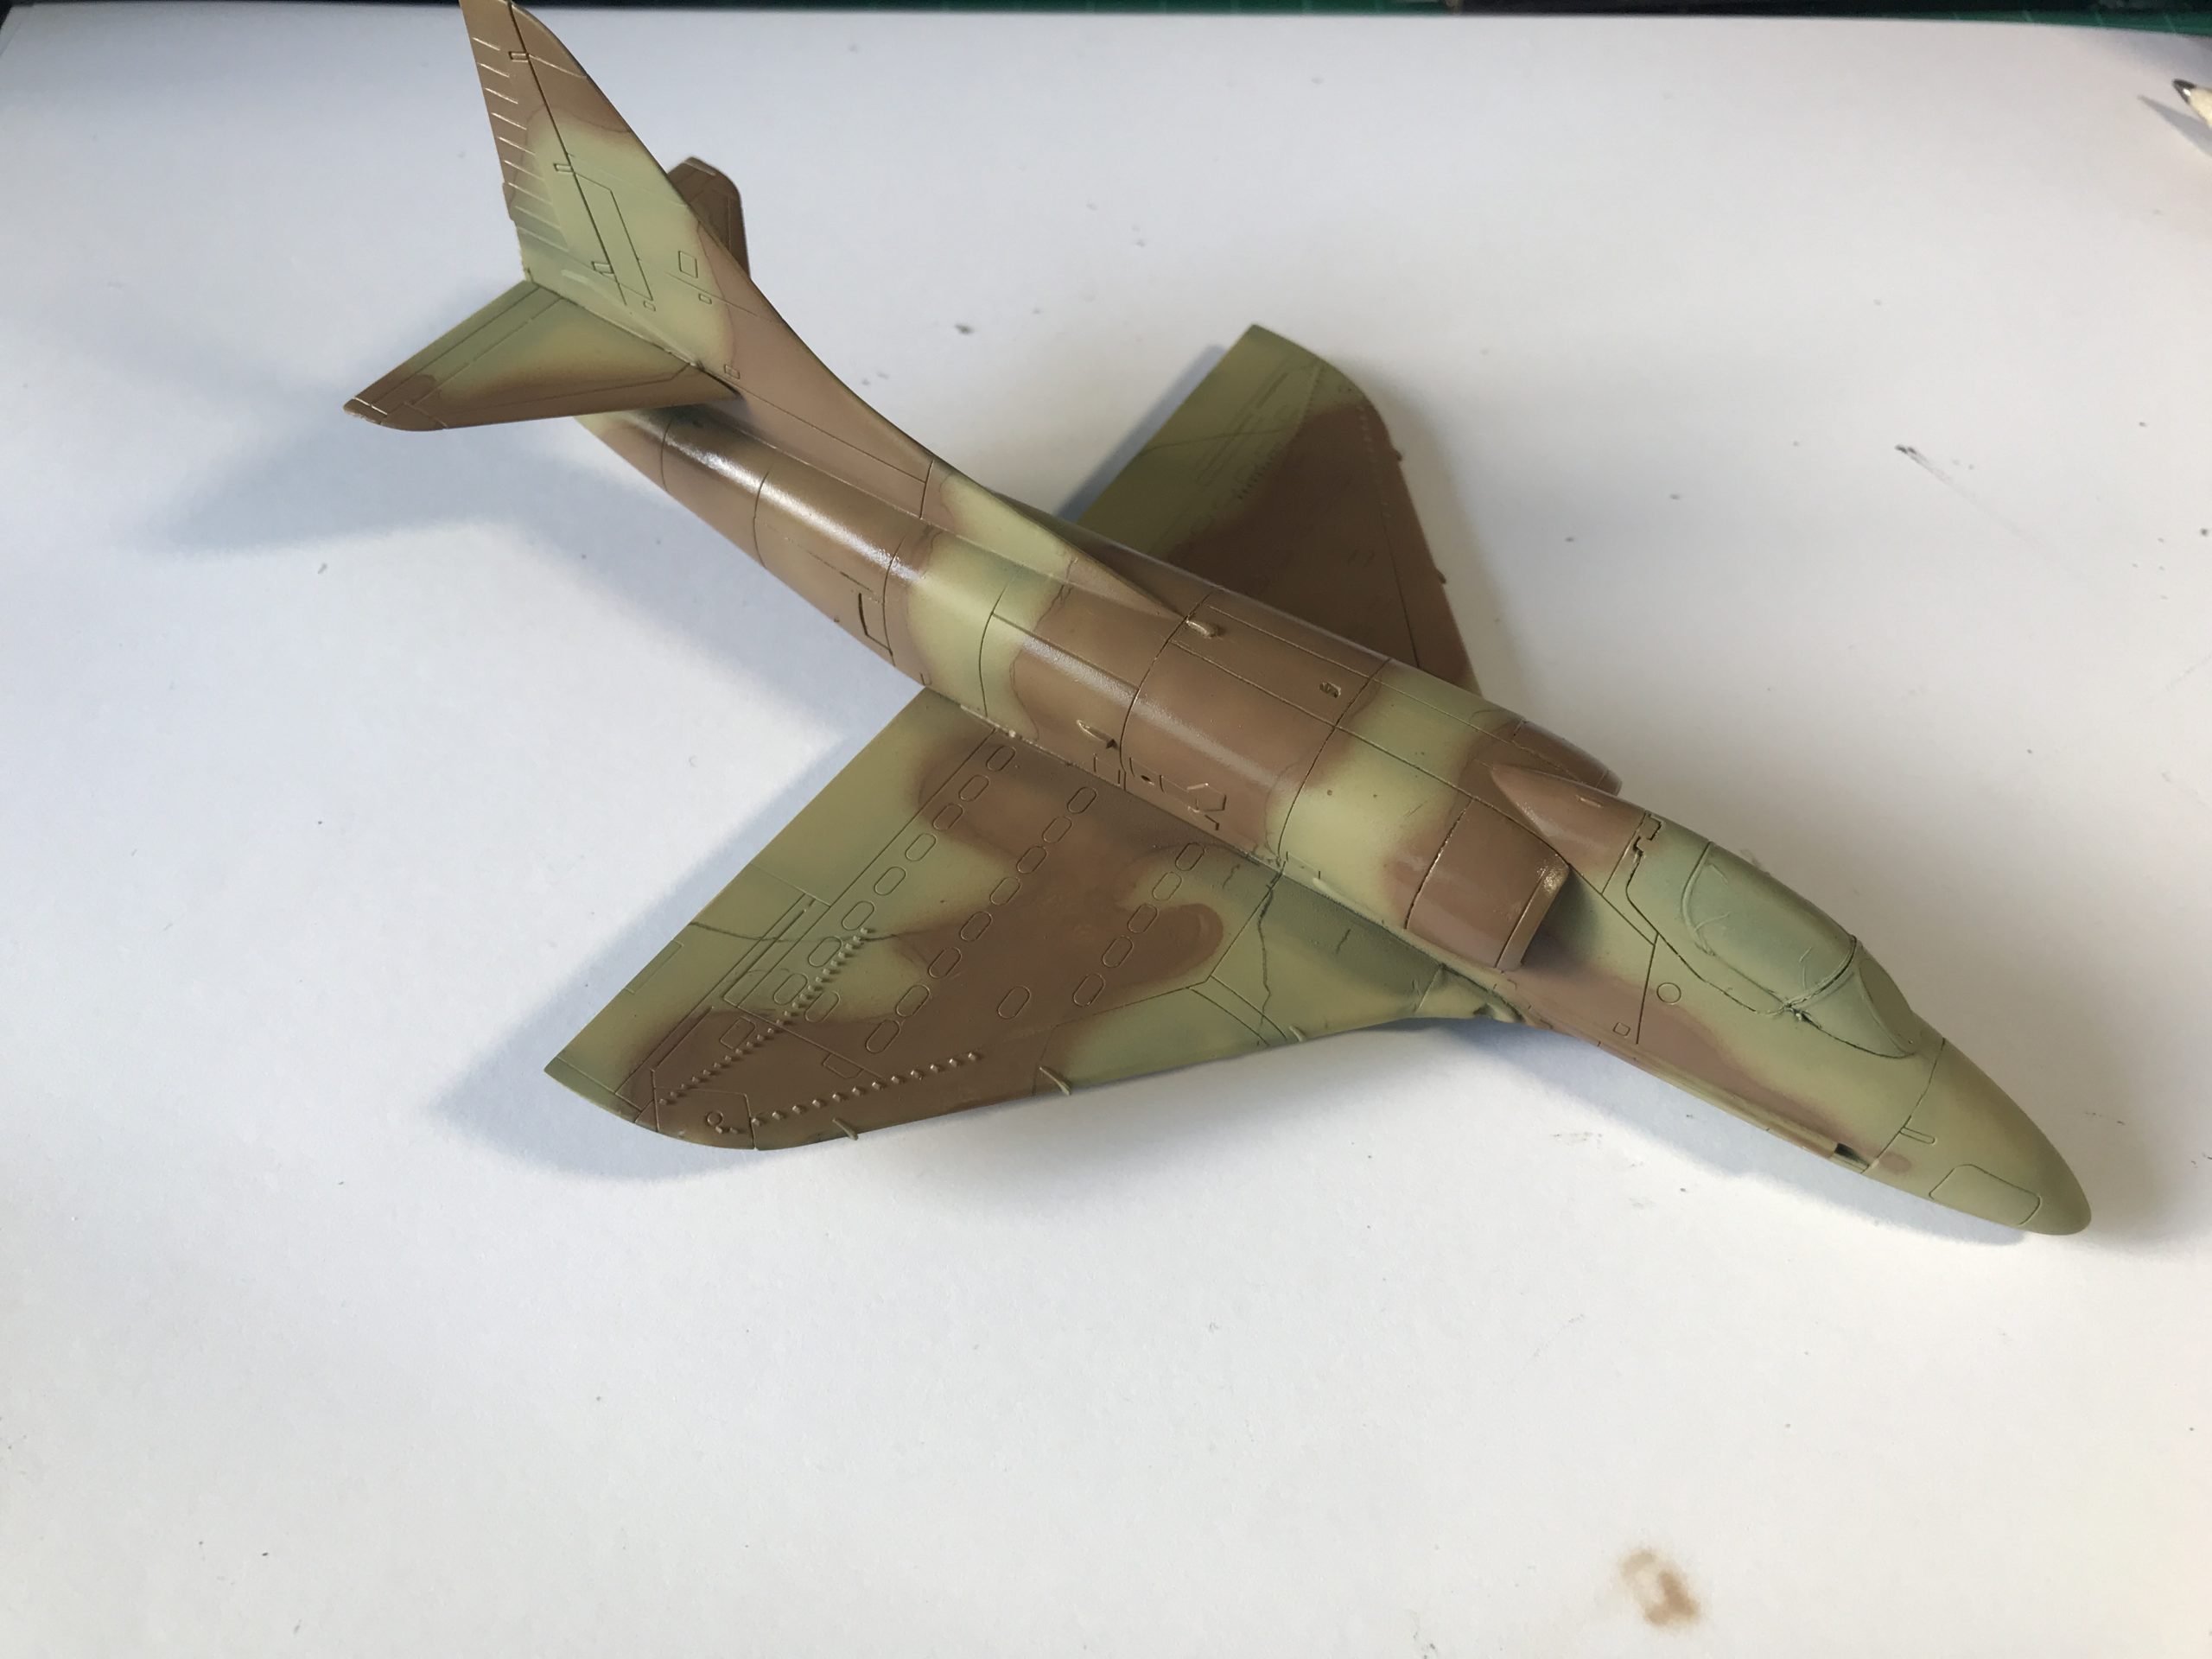
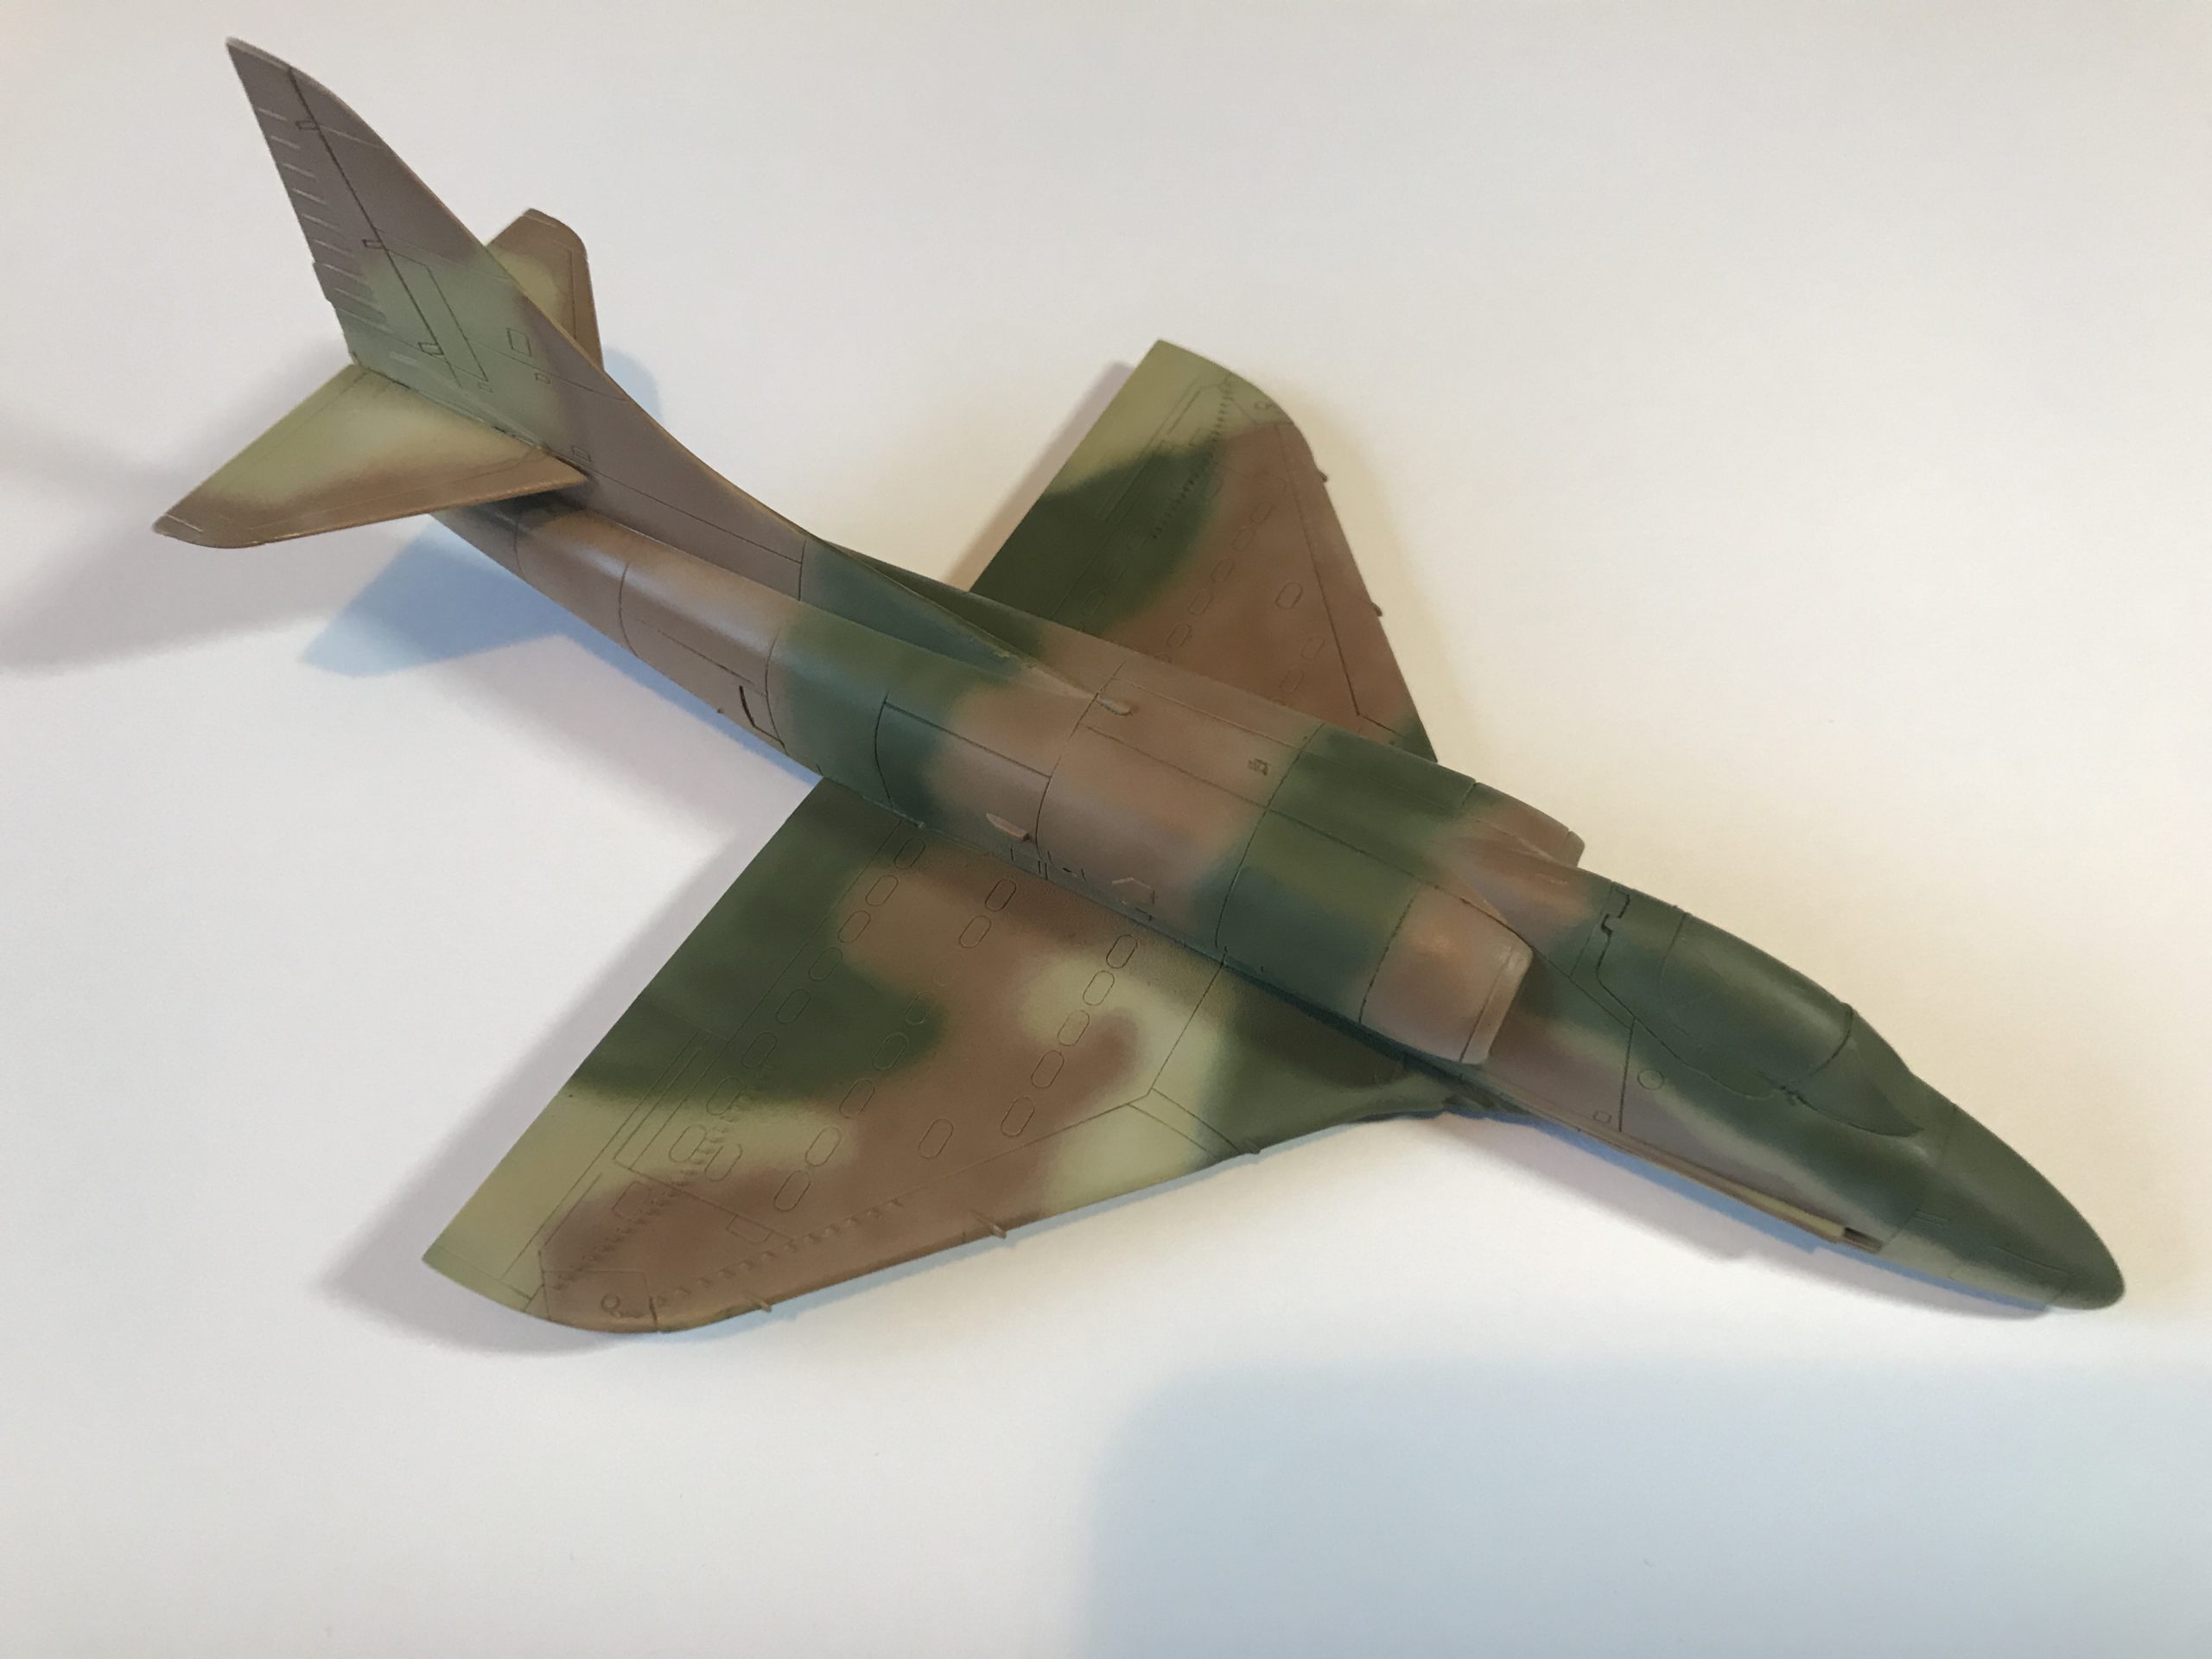
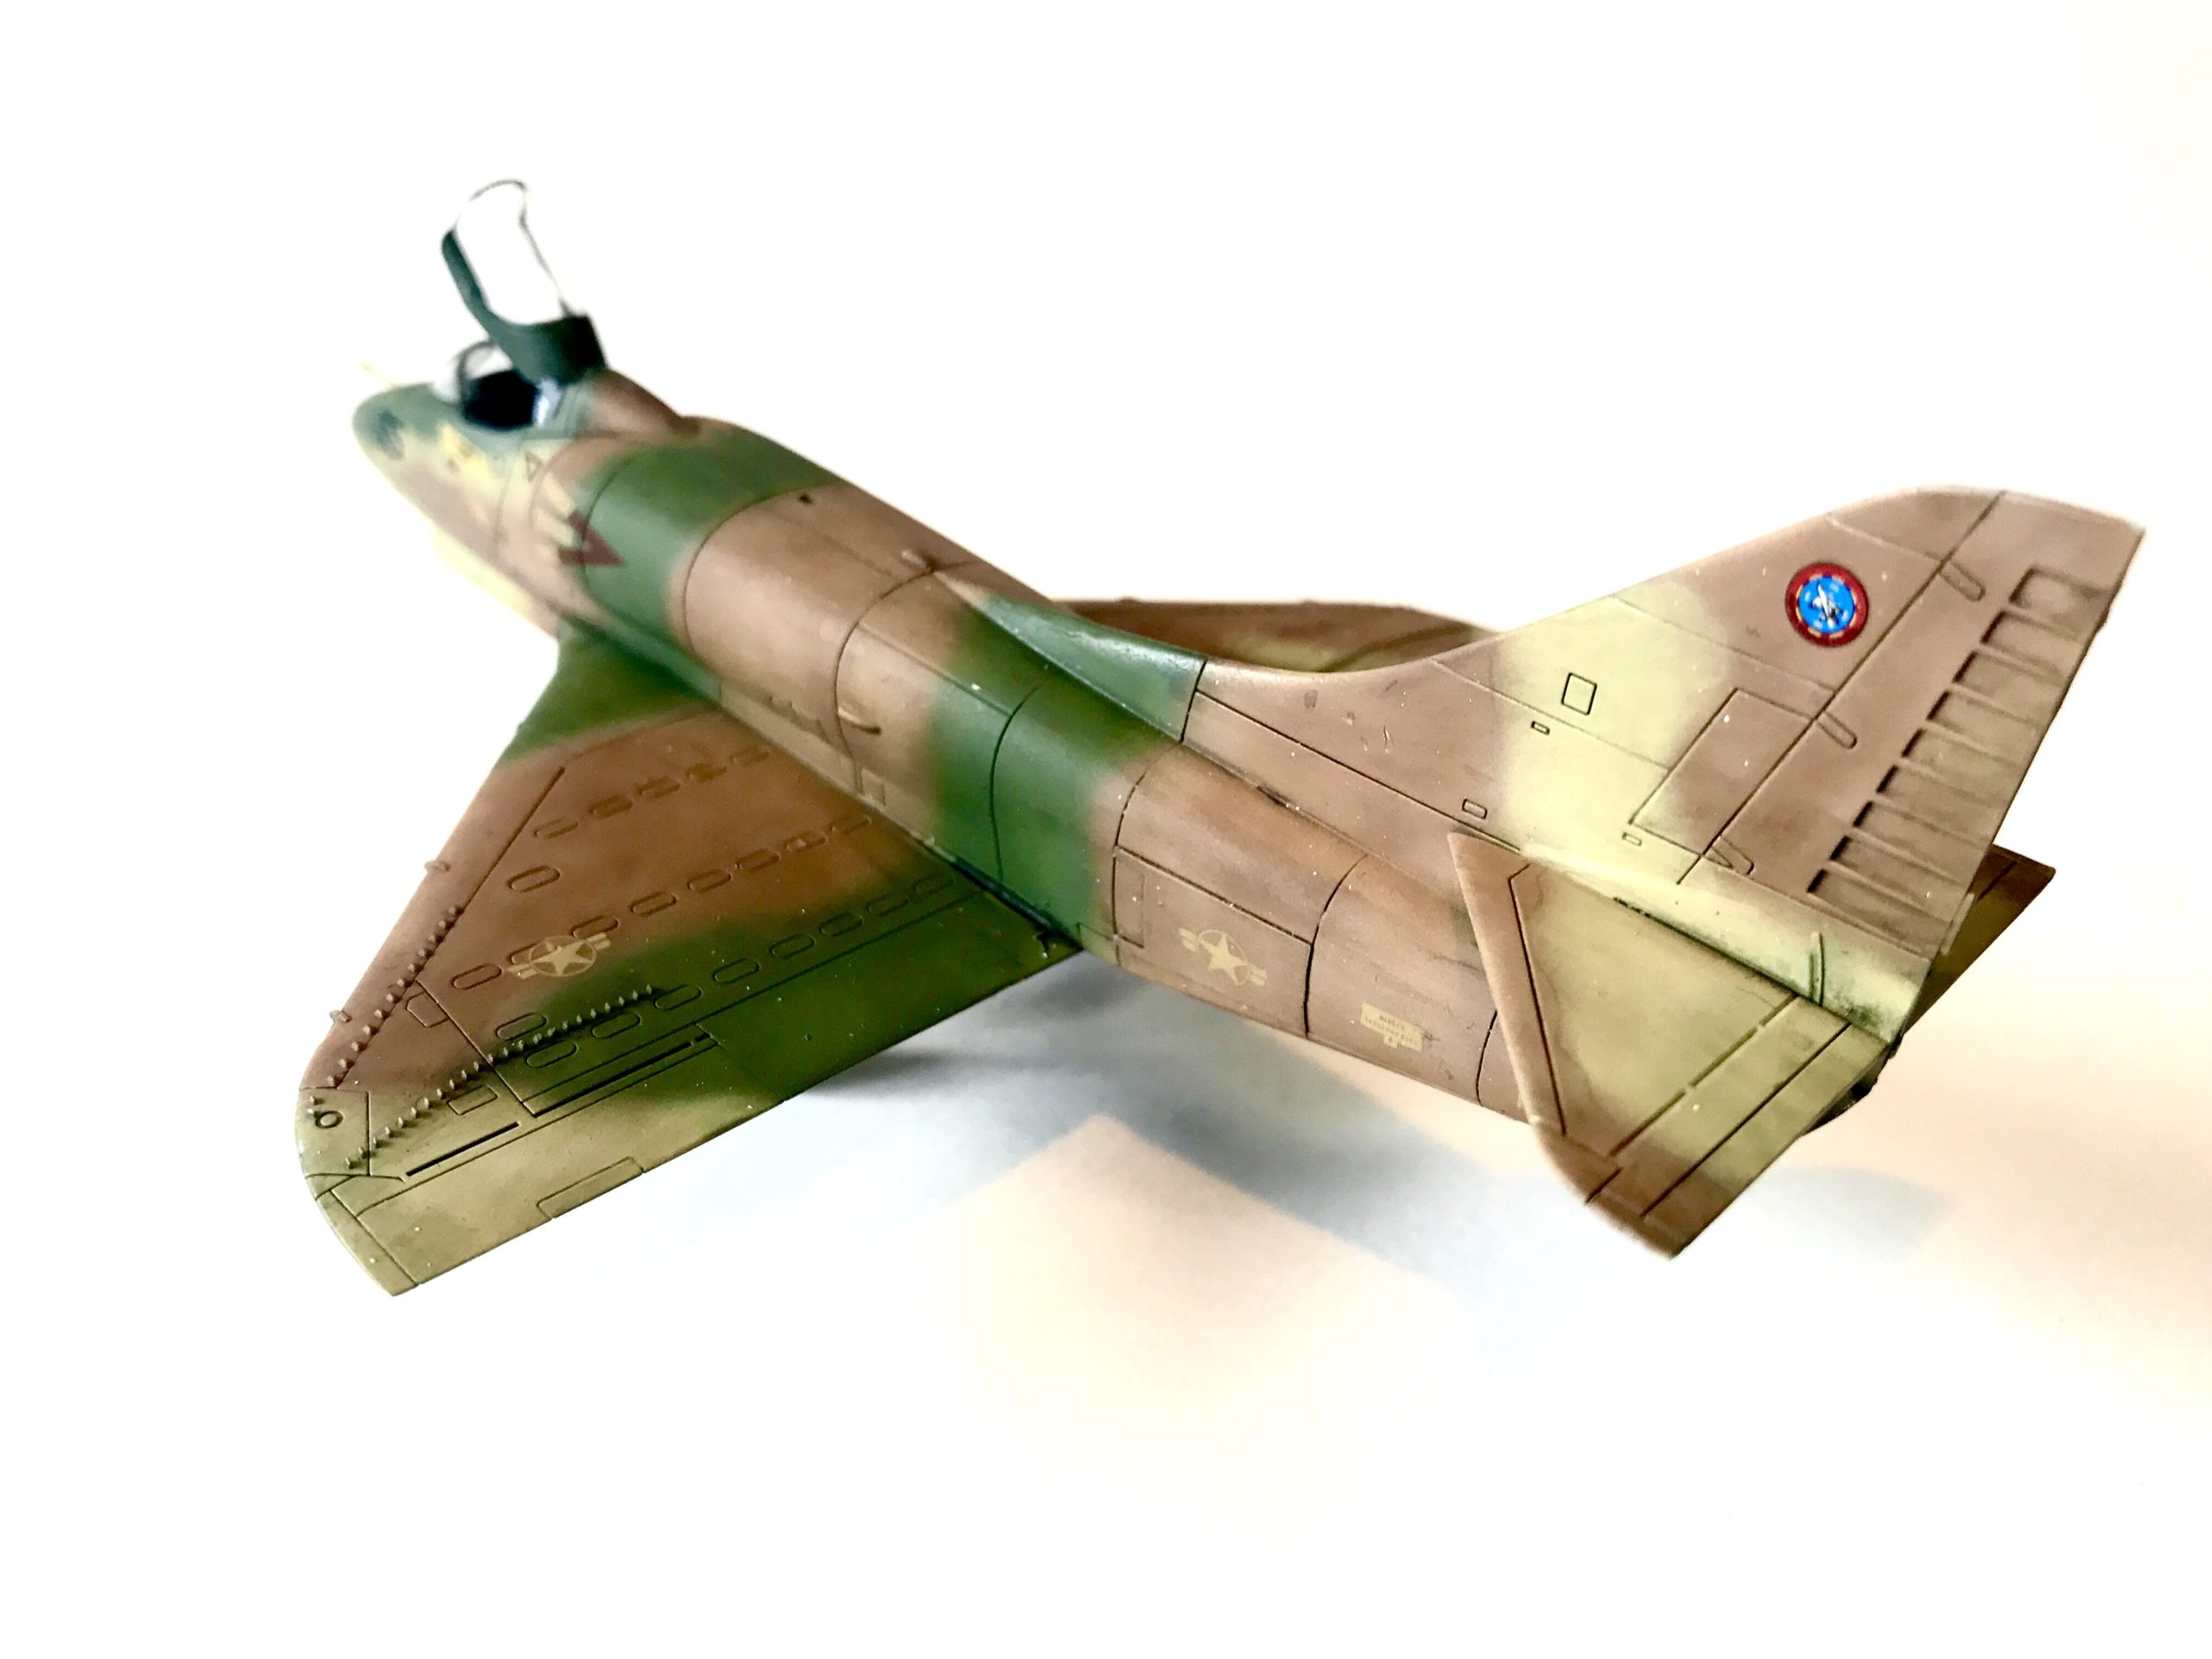
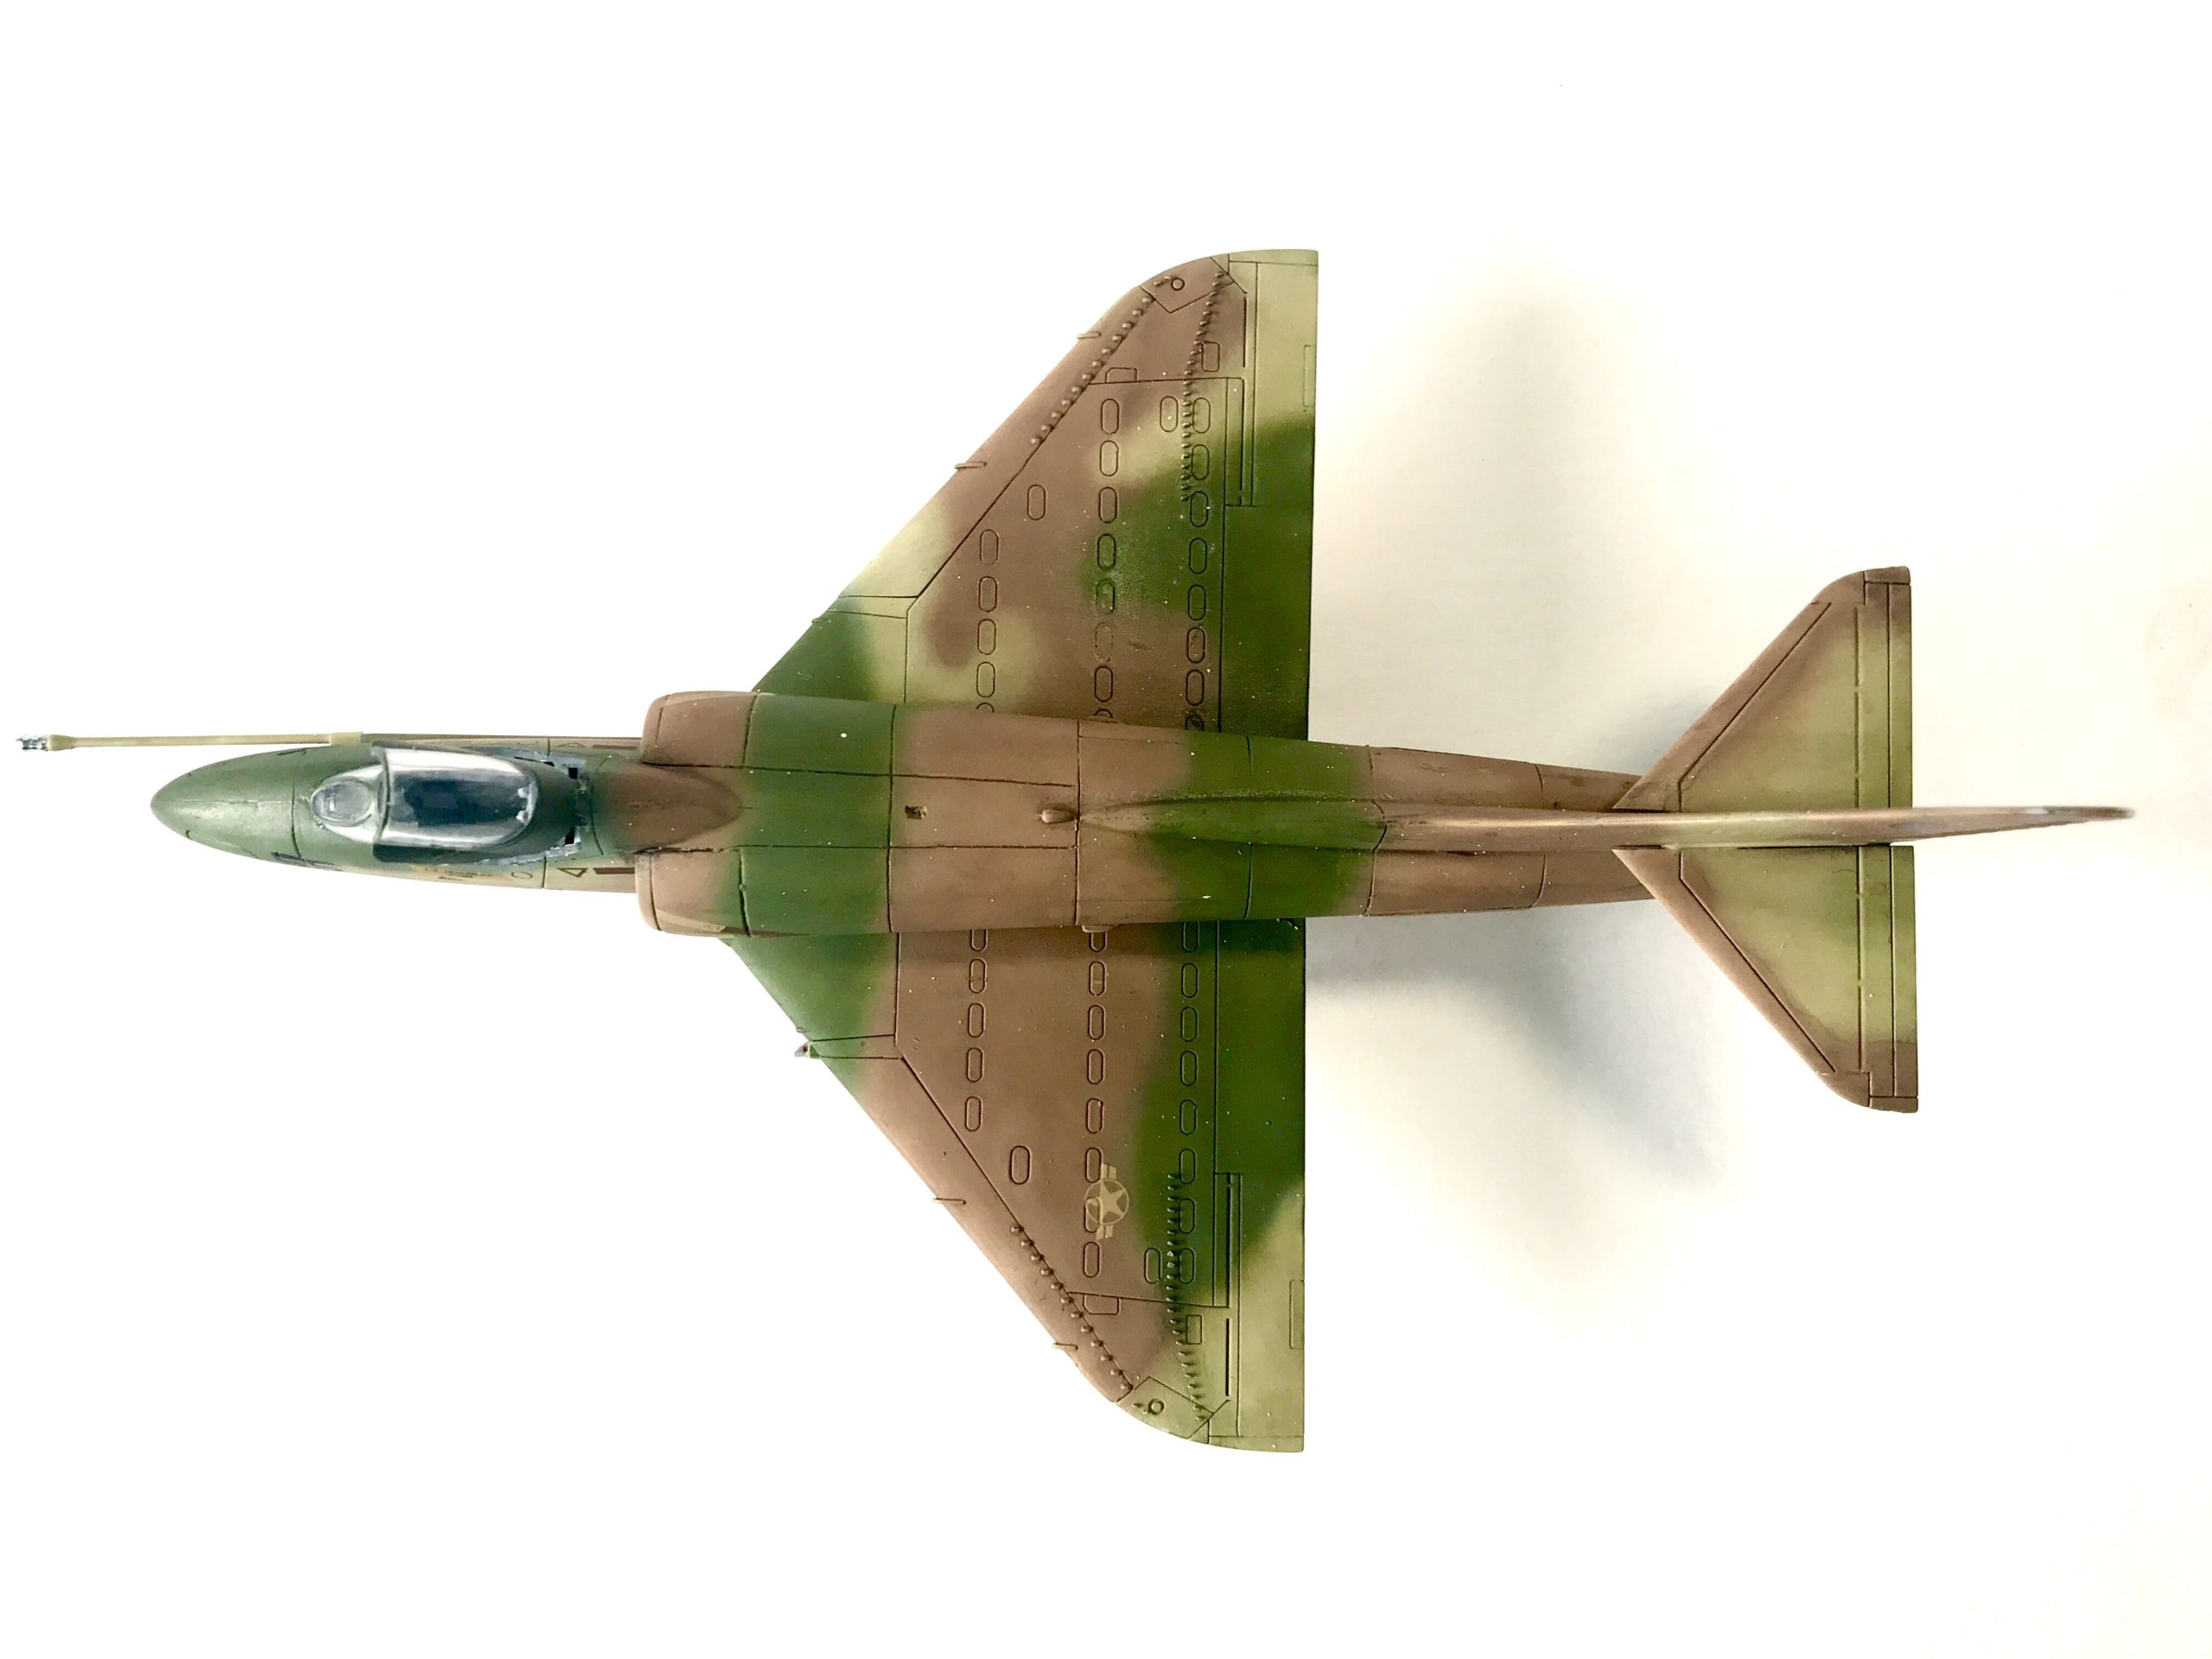
Onto the camouflage scheme. I roughed it out very lightly with a pencil and applied the brown first and then the green. I had planned to mask this to get a sharper edge, but upon discovering the painting guide wasn’t full size I didn’t want to go through the trouble of scanning it, resizing and printing (Mainly as my printer is out of toner). I will however do this on a future build (or maybe a how to guide). On reflection I probably should have braved the local cartridge shop as this little kit deserves the effort.
Oh well….
So remember the hour or so I spent on pre-shading? (probably not because I deleted the paragraph to save face) Well that was a waste of time. By the time the scheme was done the effect was all but lost.
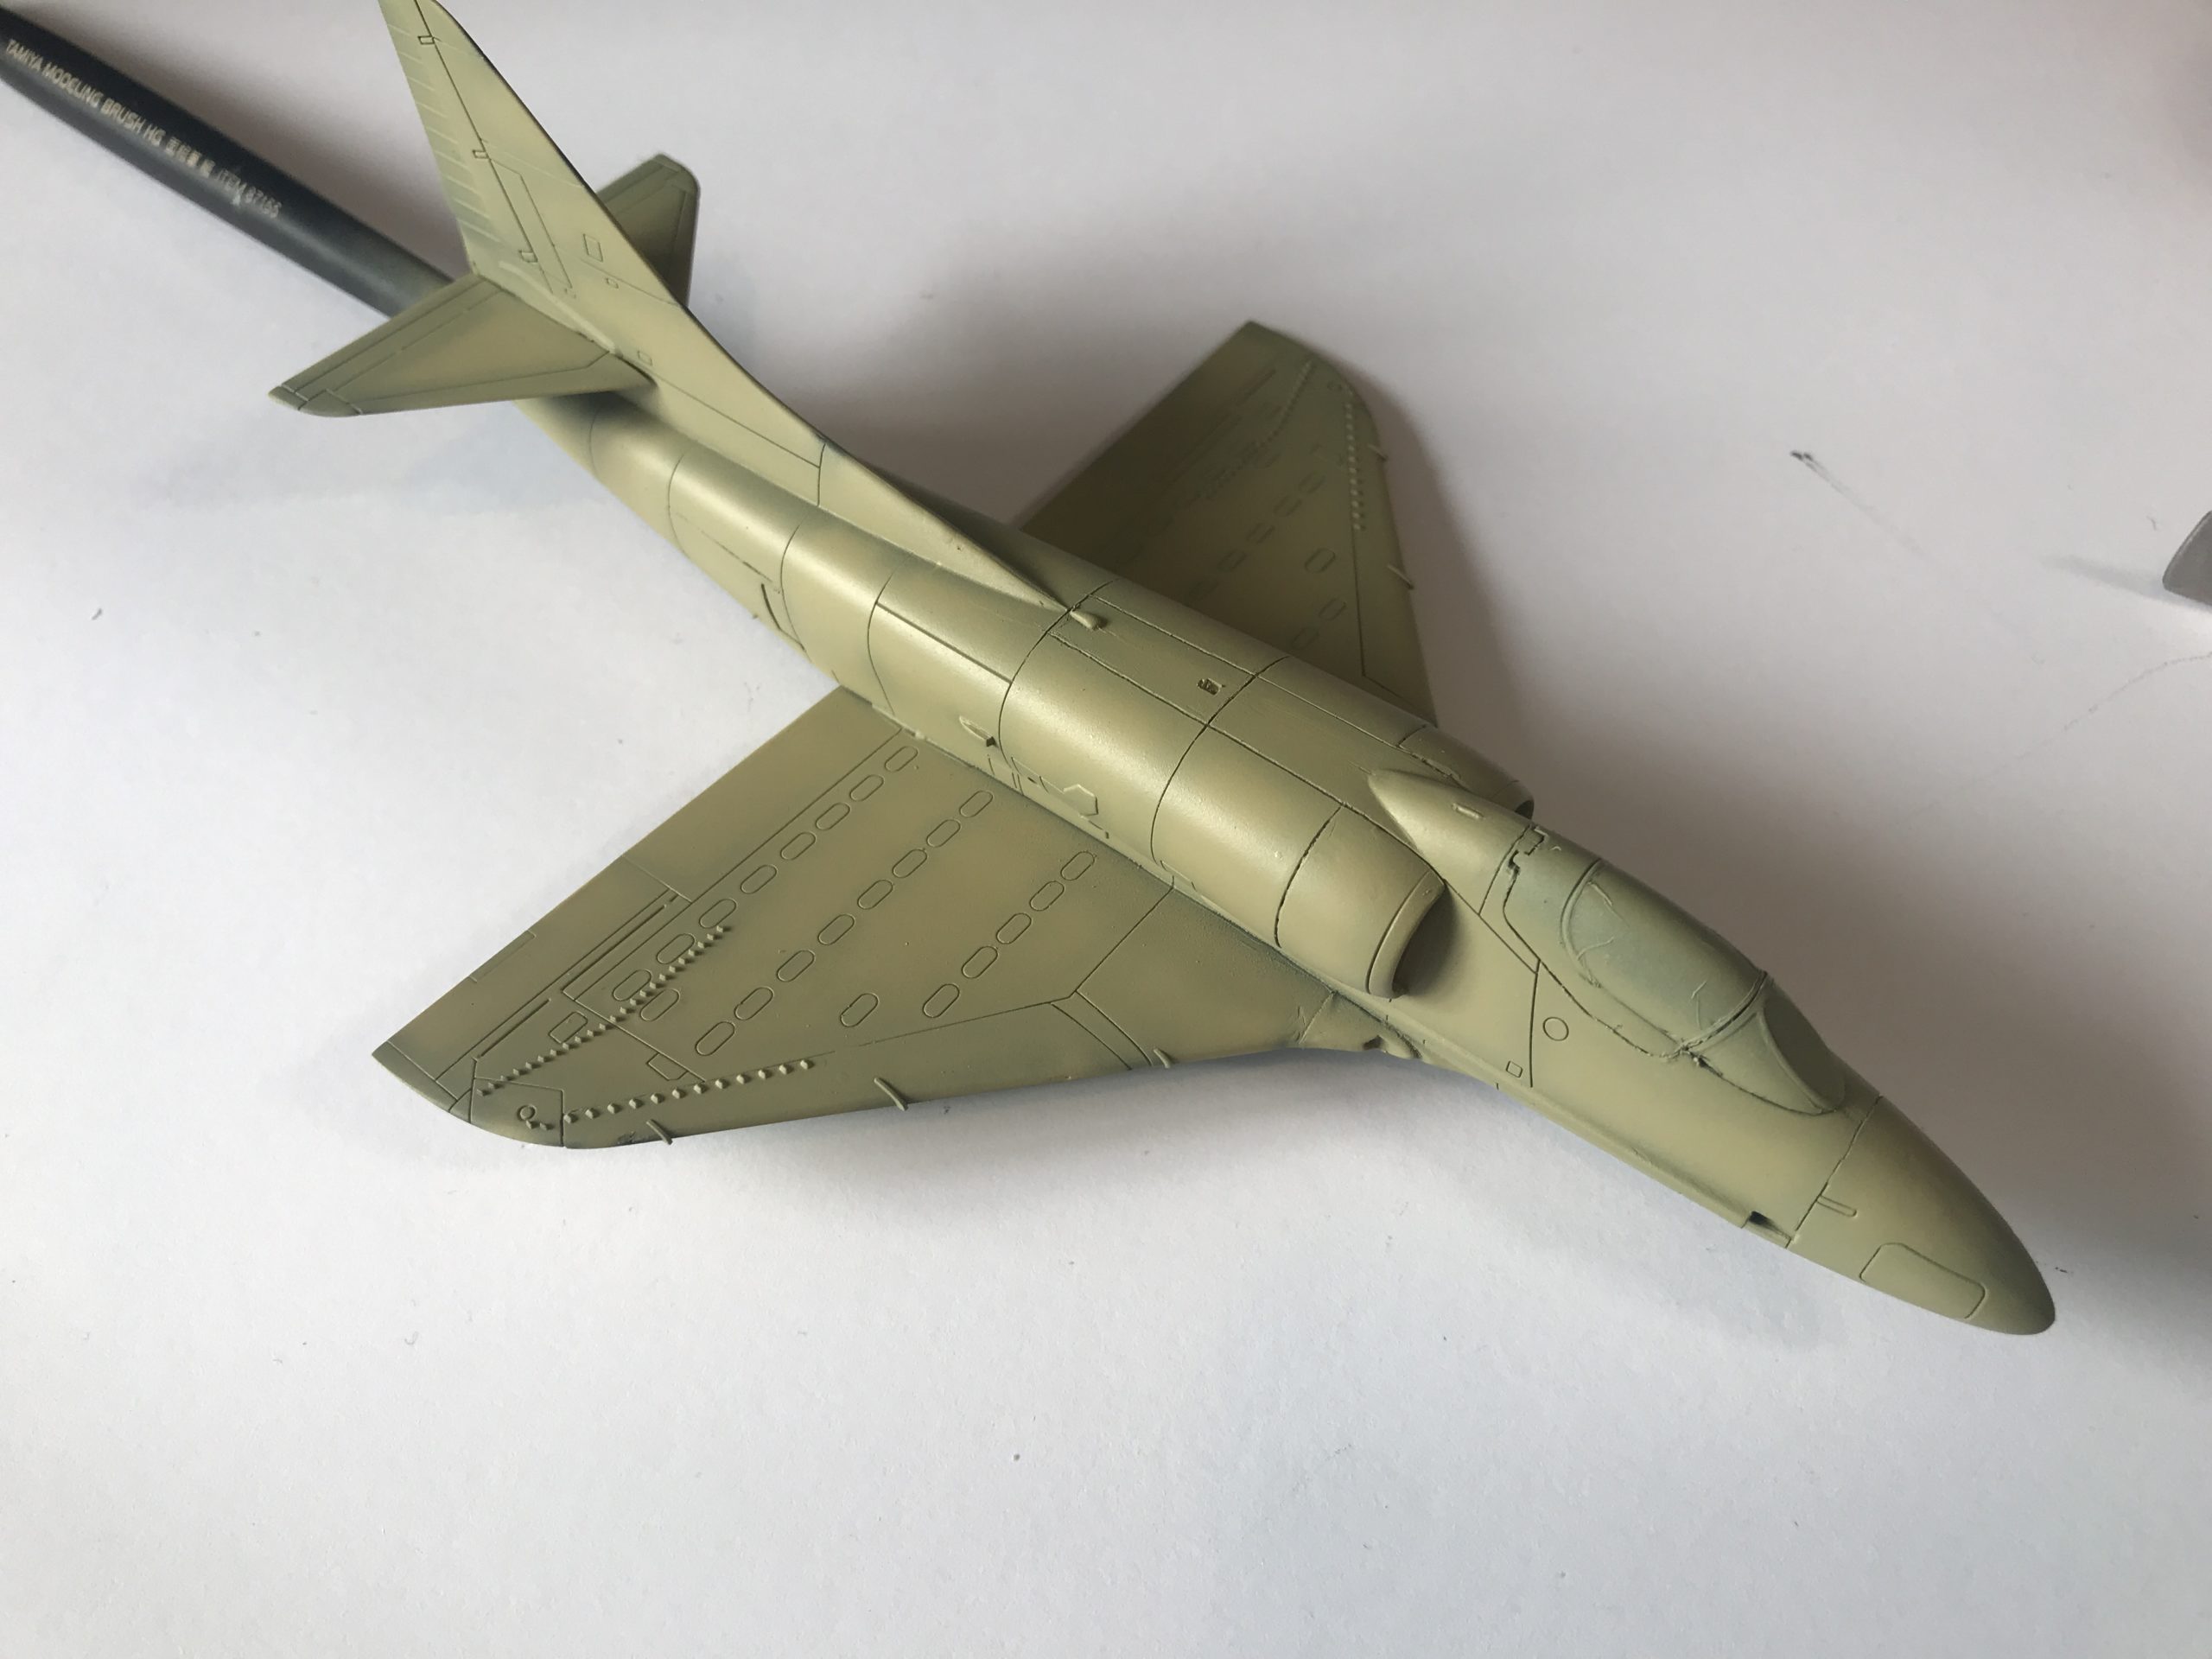
I still wanted some tonal variety though, so used a heavily thinned down white mixture and lightened up some areas off the top of the wings and fuselage to simulate the effects of sunlight bleaching.
I quite liked the effect, but it was a little too extreme and it needed to be scaled back a bit. So back out came the camo colours and thinned down coats were used to lessen the effect.
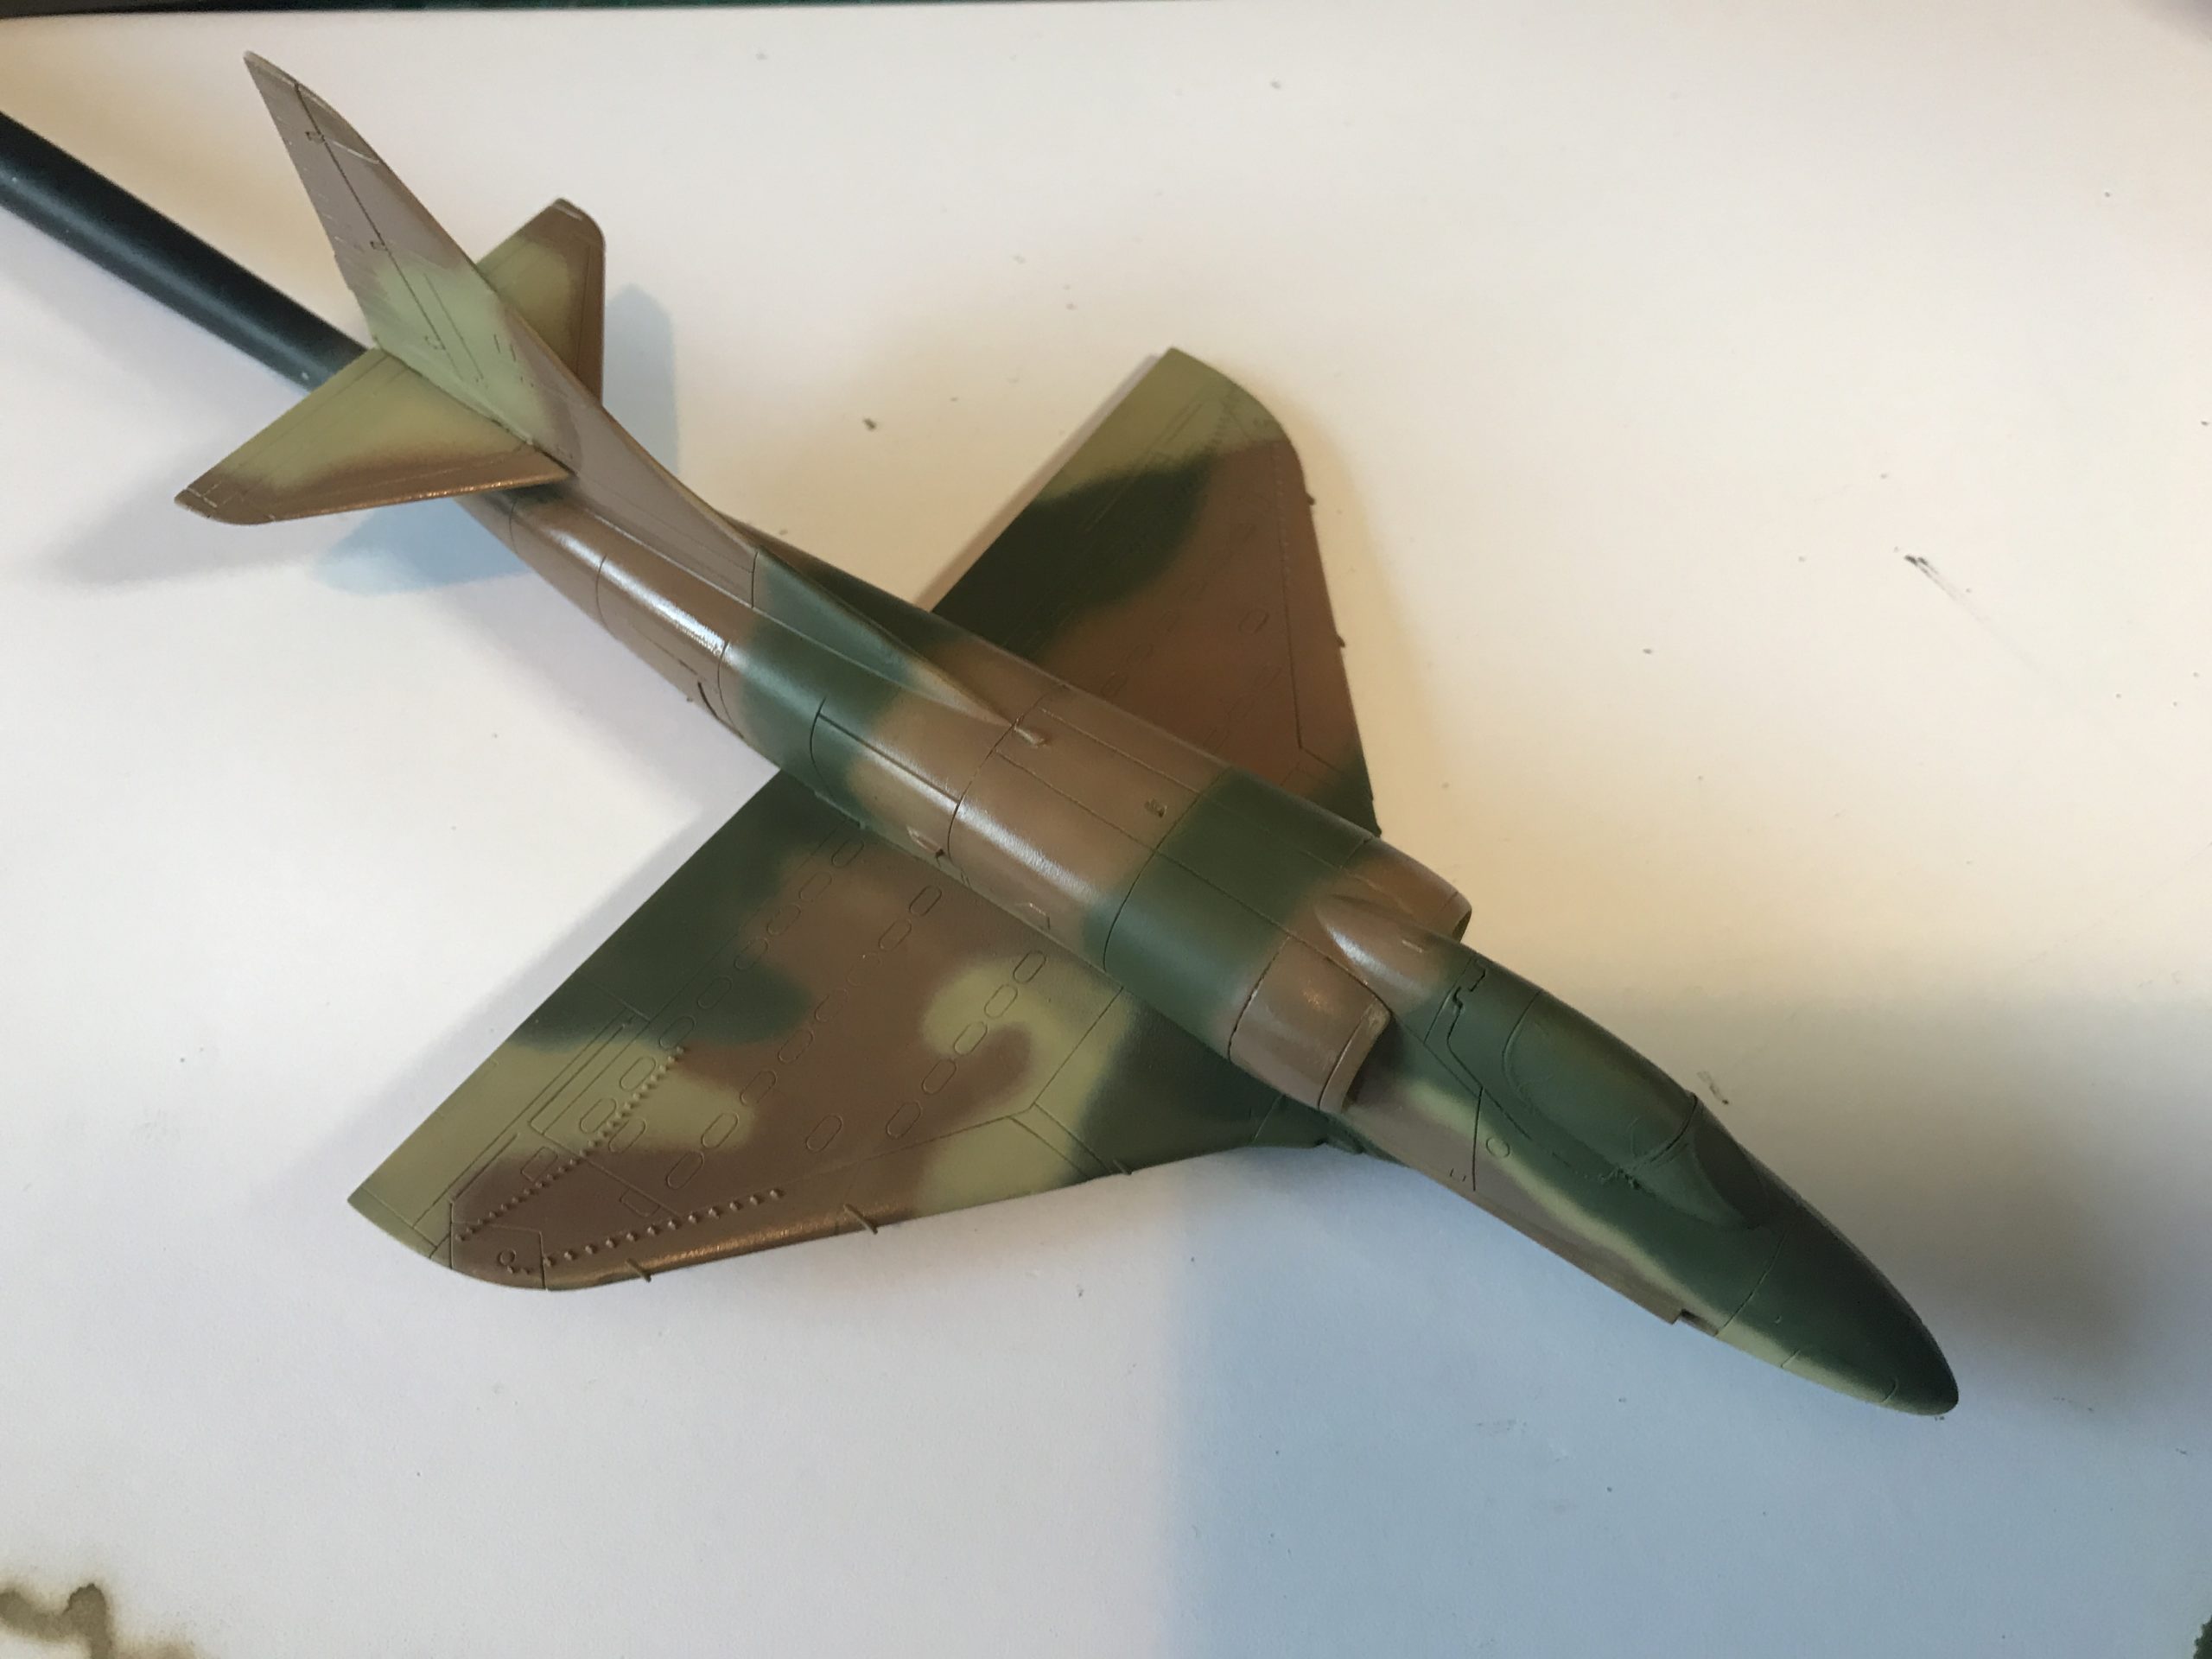
That seems a bit more subtle. Now it’s time for the clear coat.
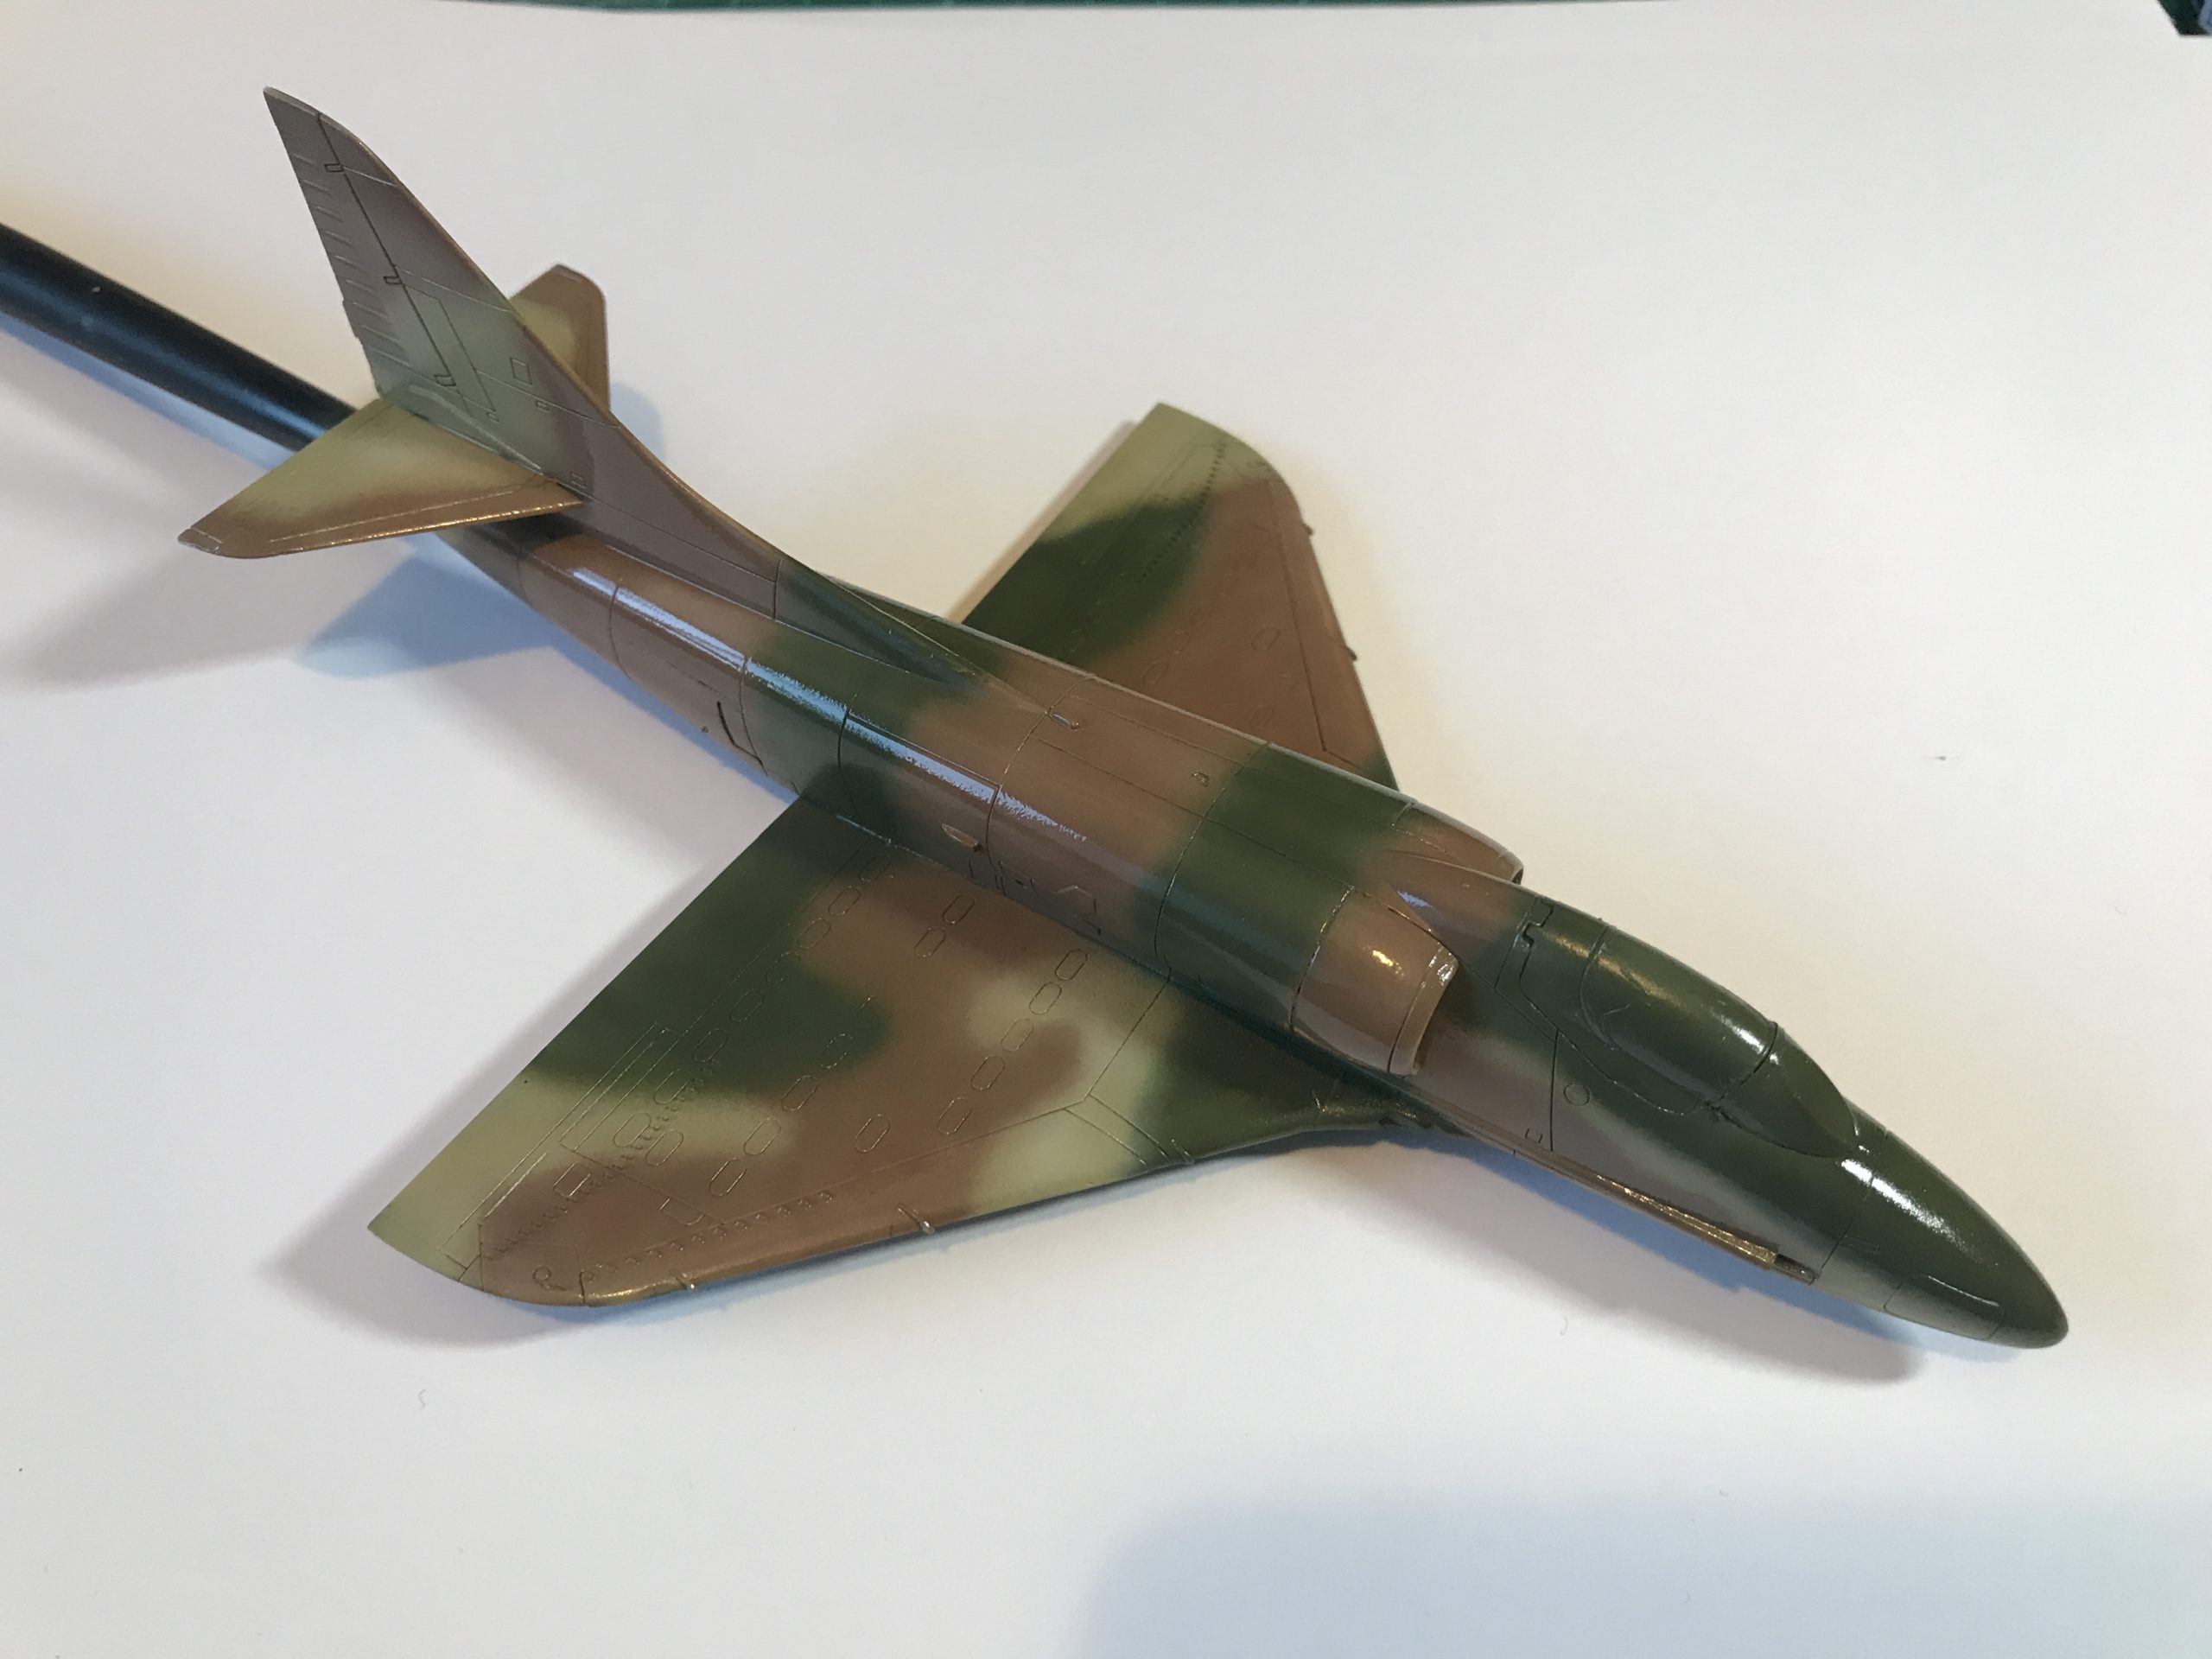
On with the decals next. There weren’t too many thankfully. I sealed the whole thing with another clear coat.
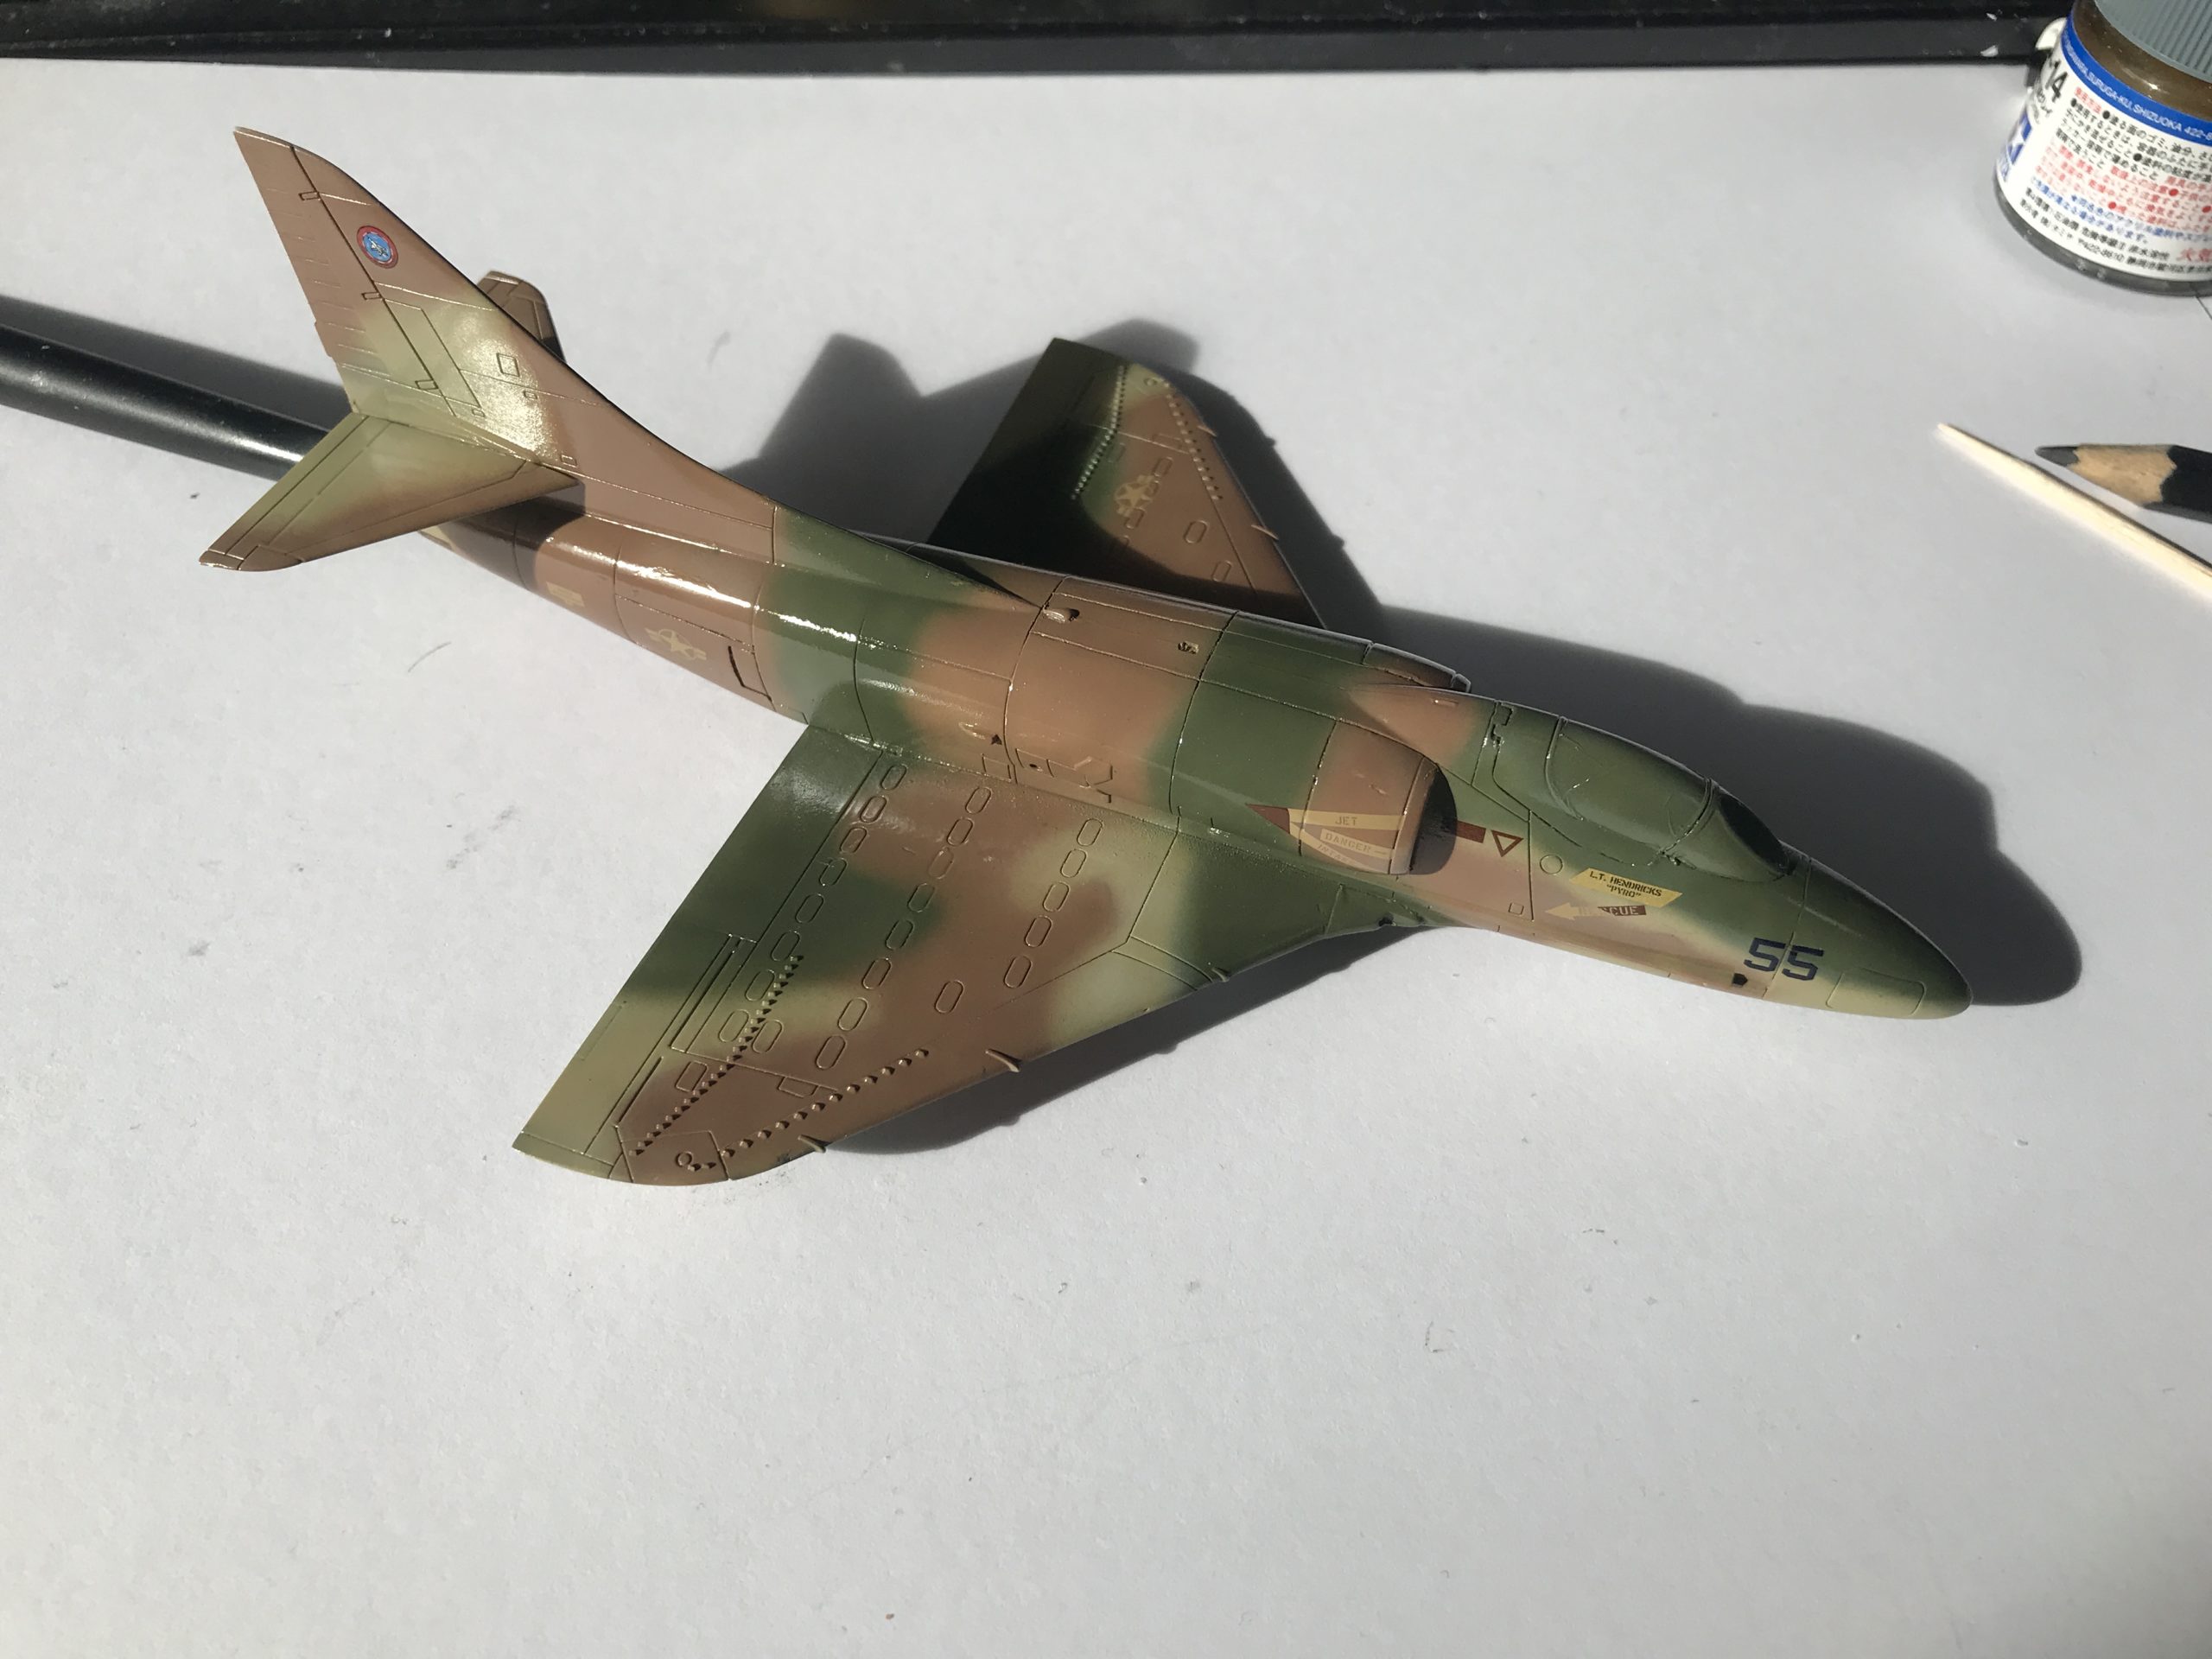
Time for a wash. No, not me. The model…
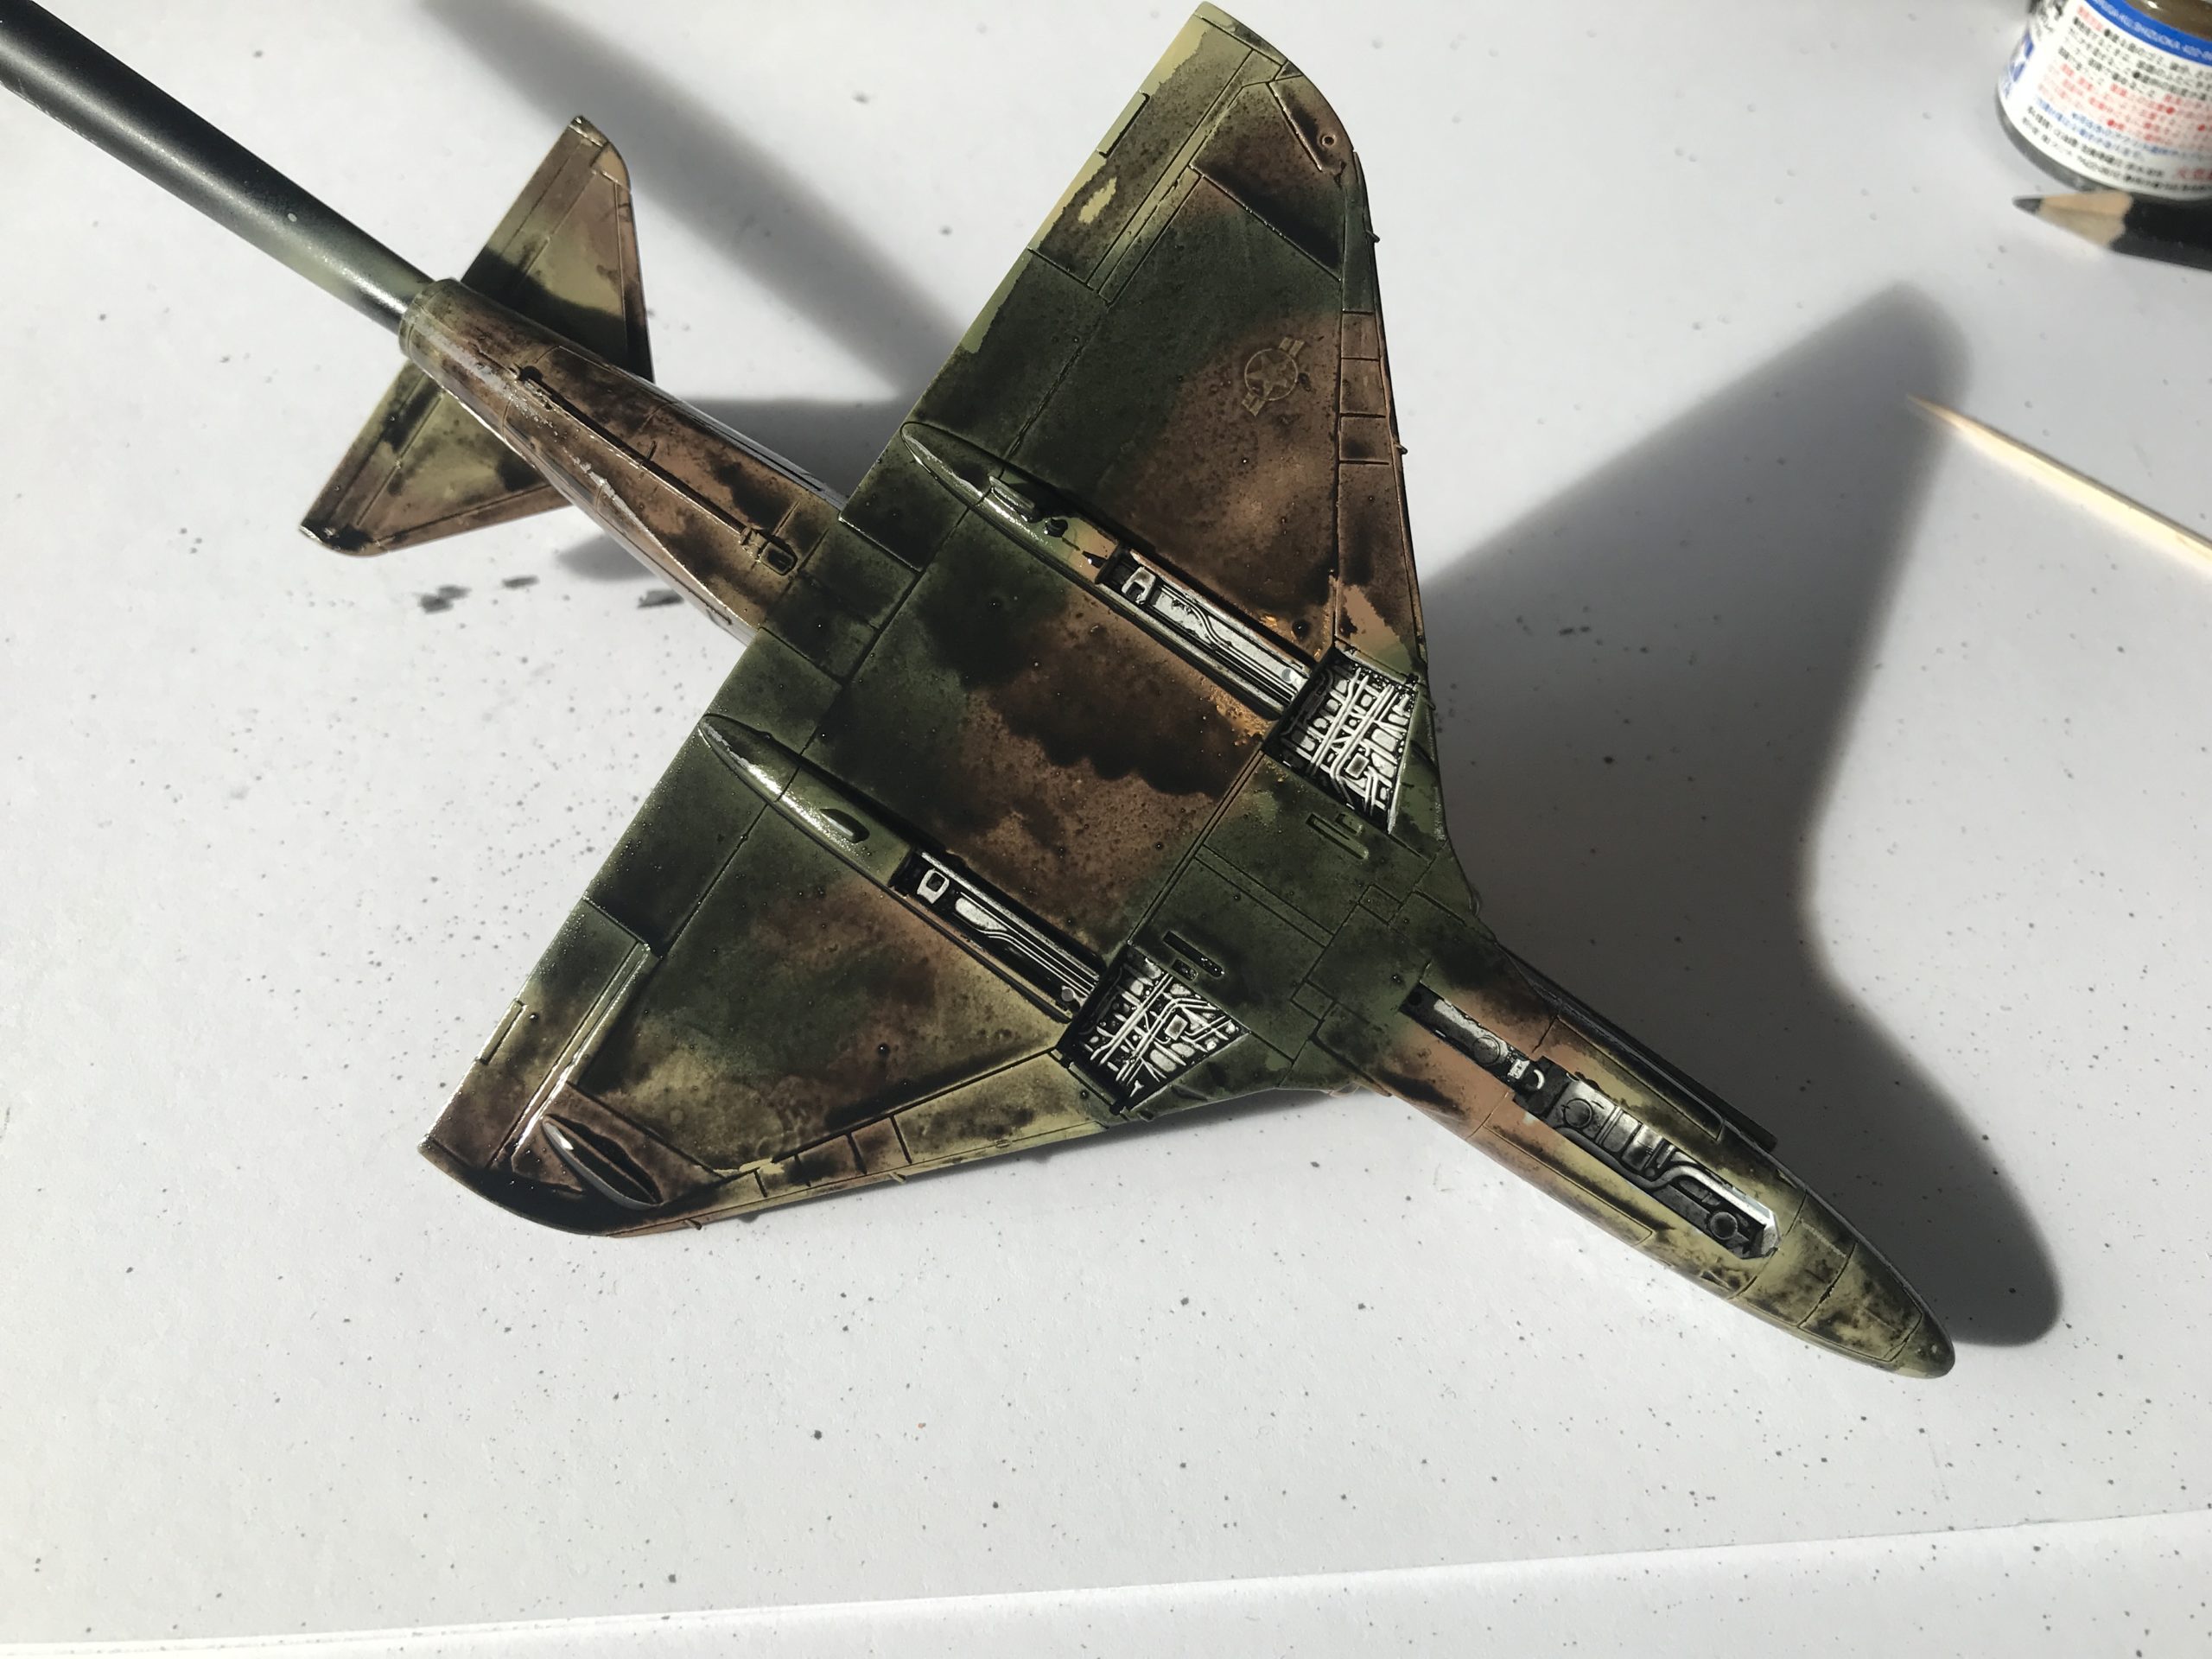

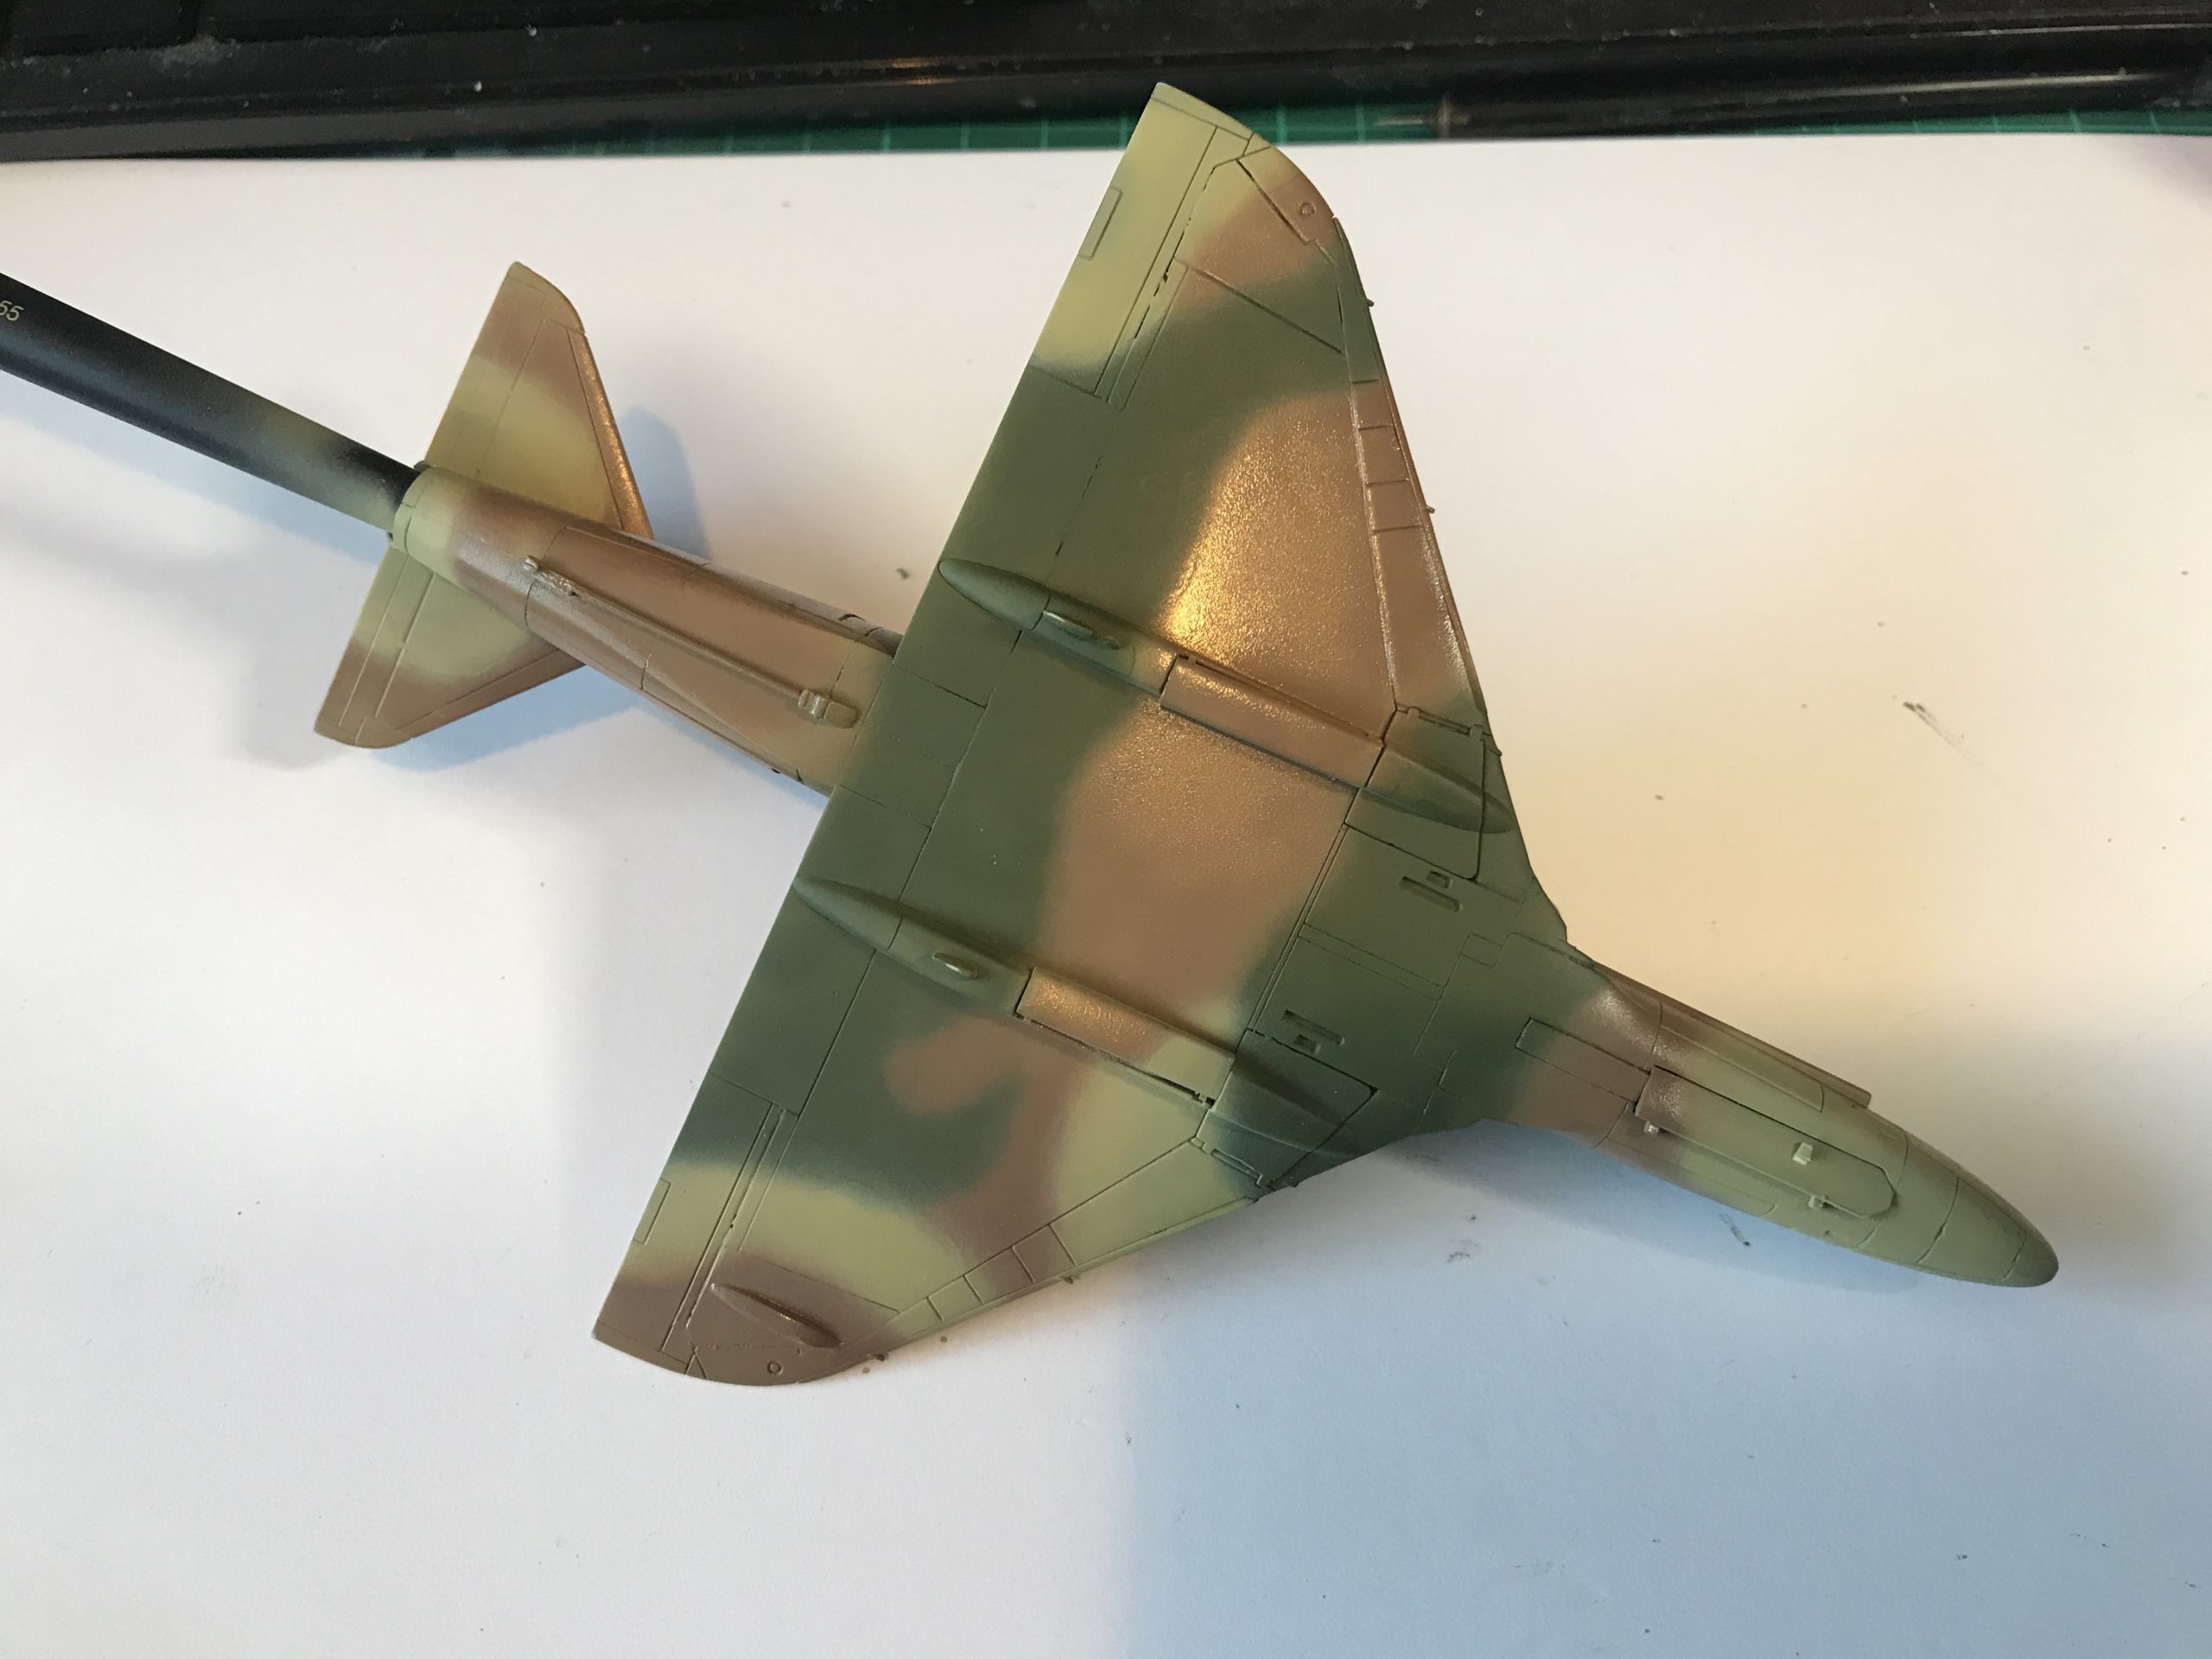
As we reach the end of the project. A flat clear coat is added and left to dry.
The masking is then removed and the undercarriage parts added.

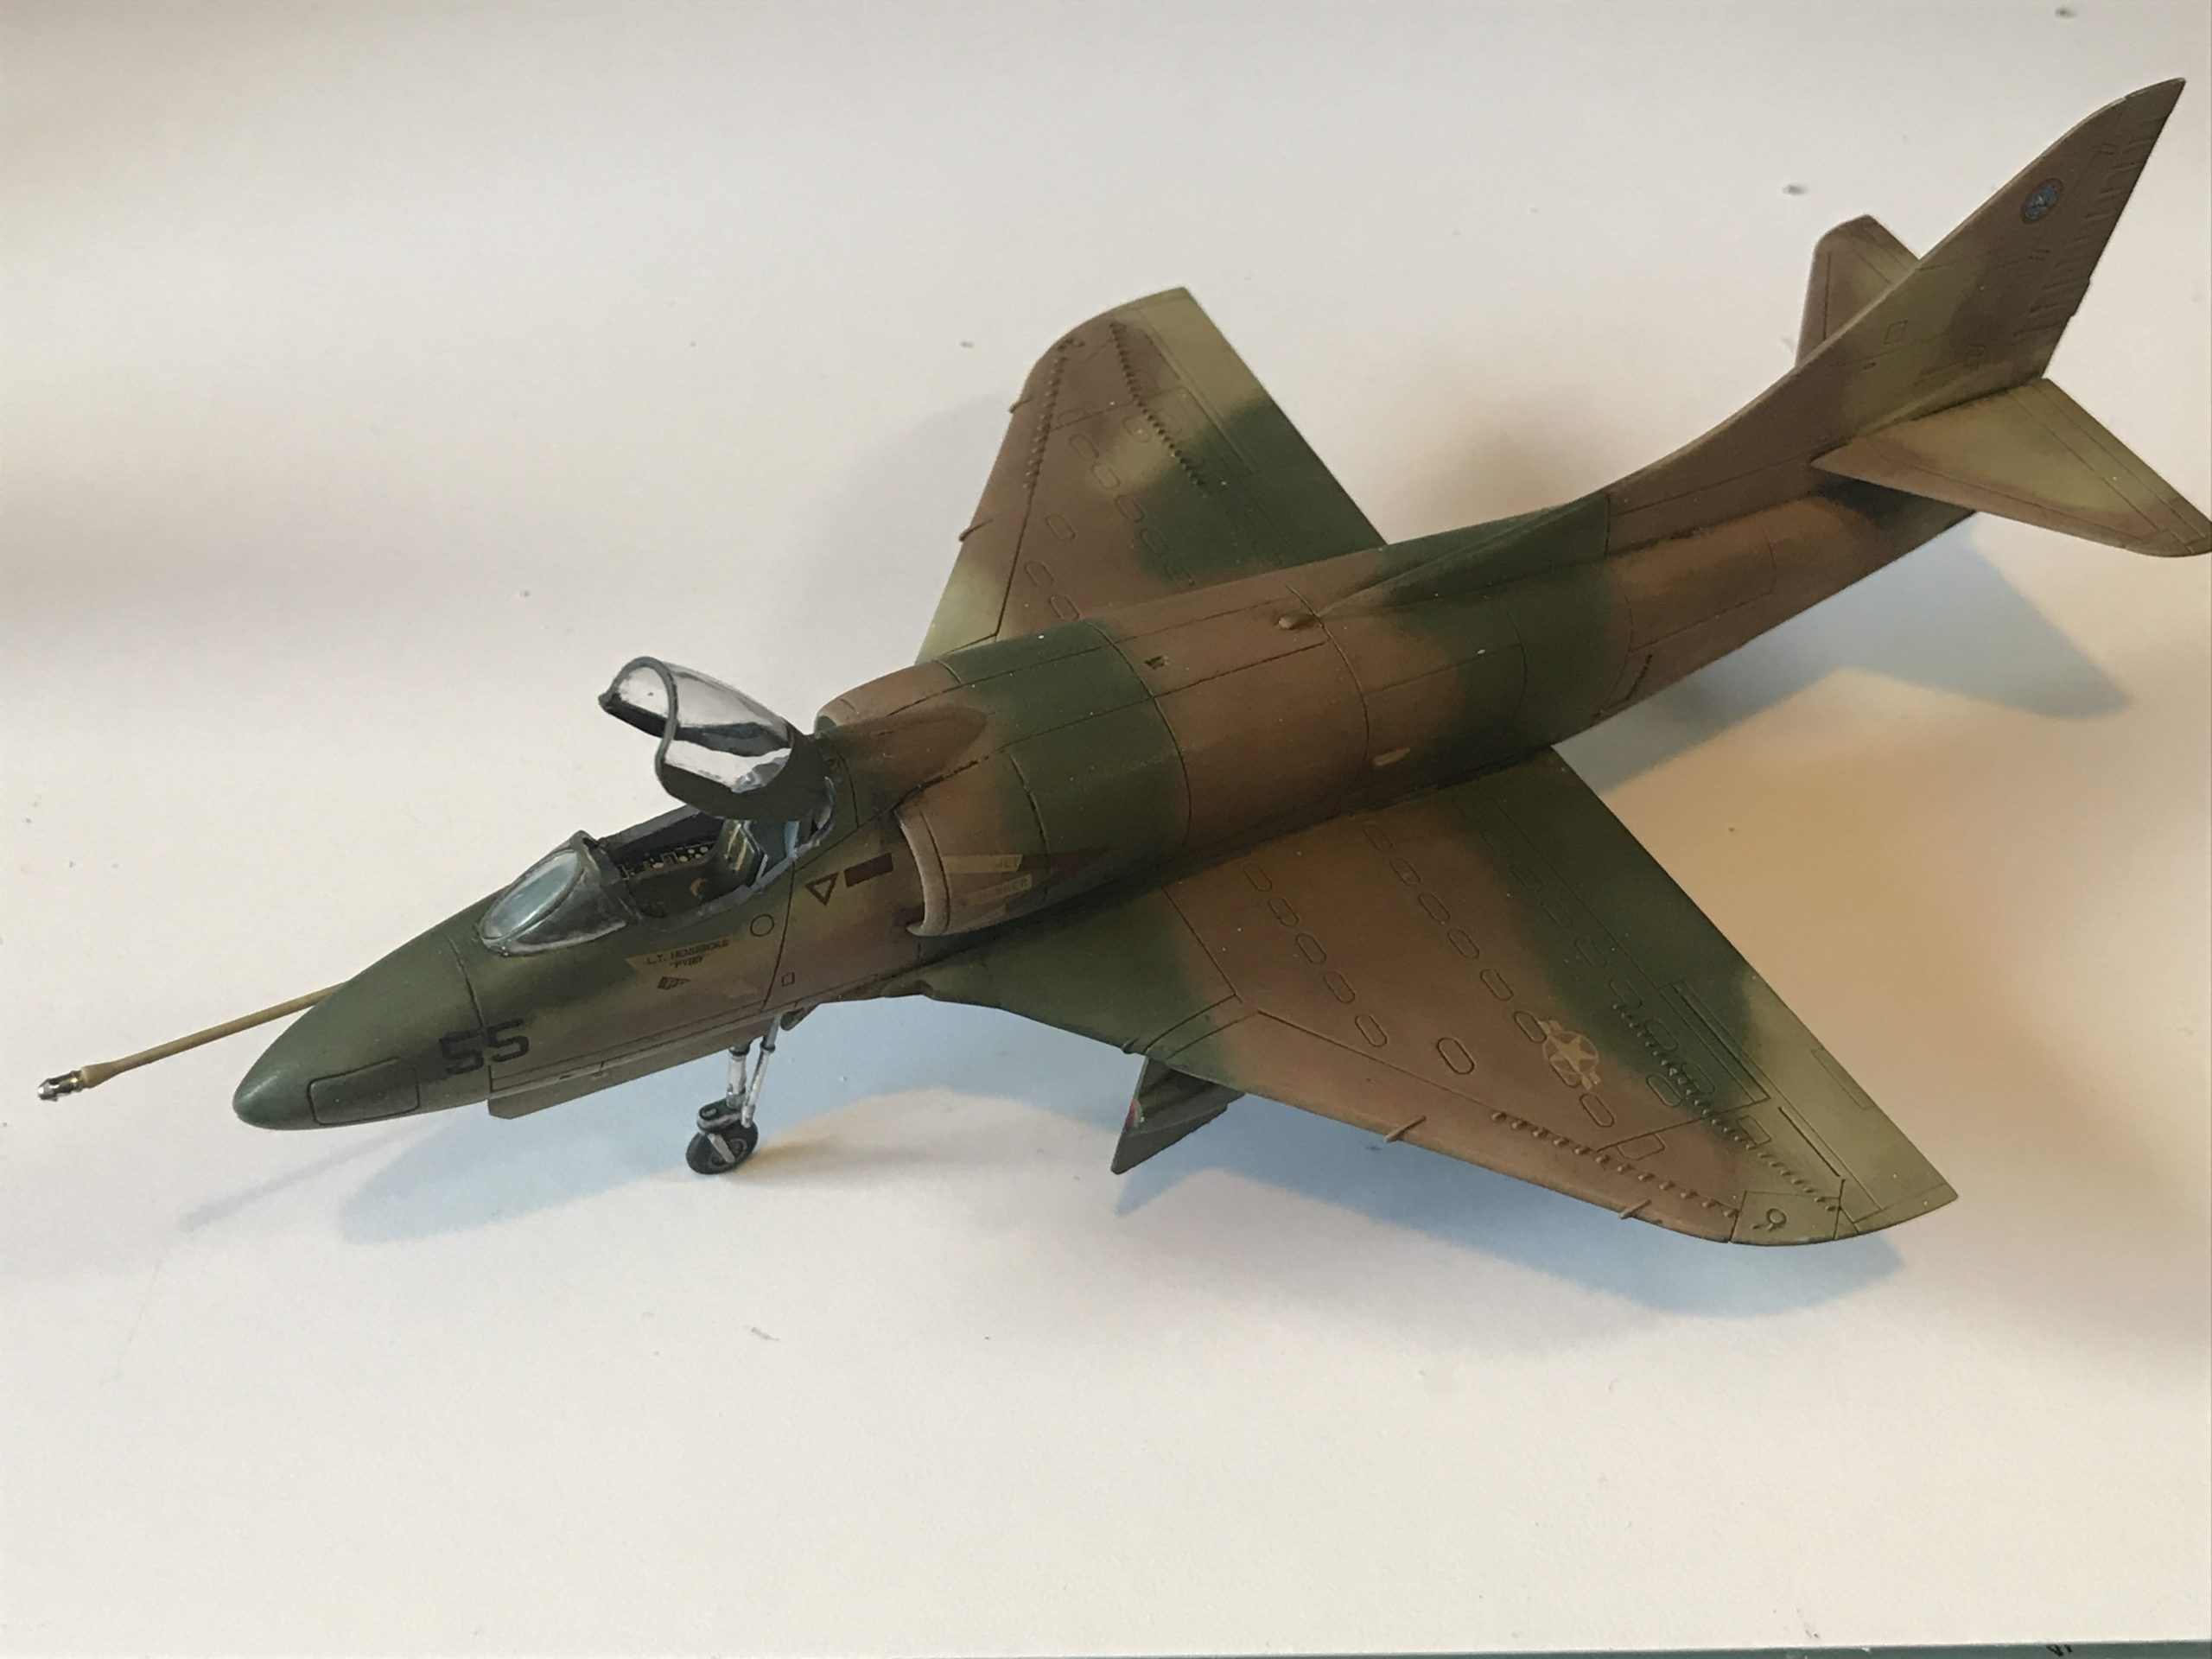
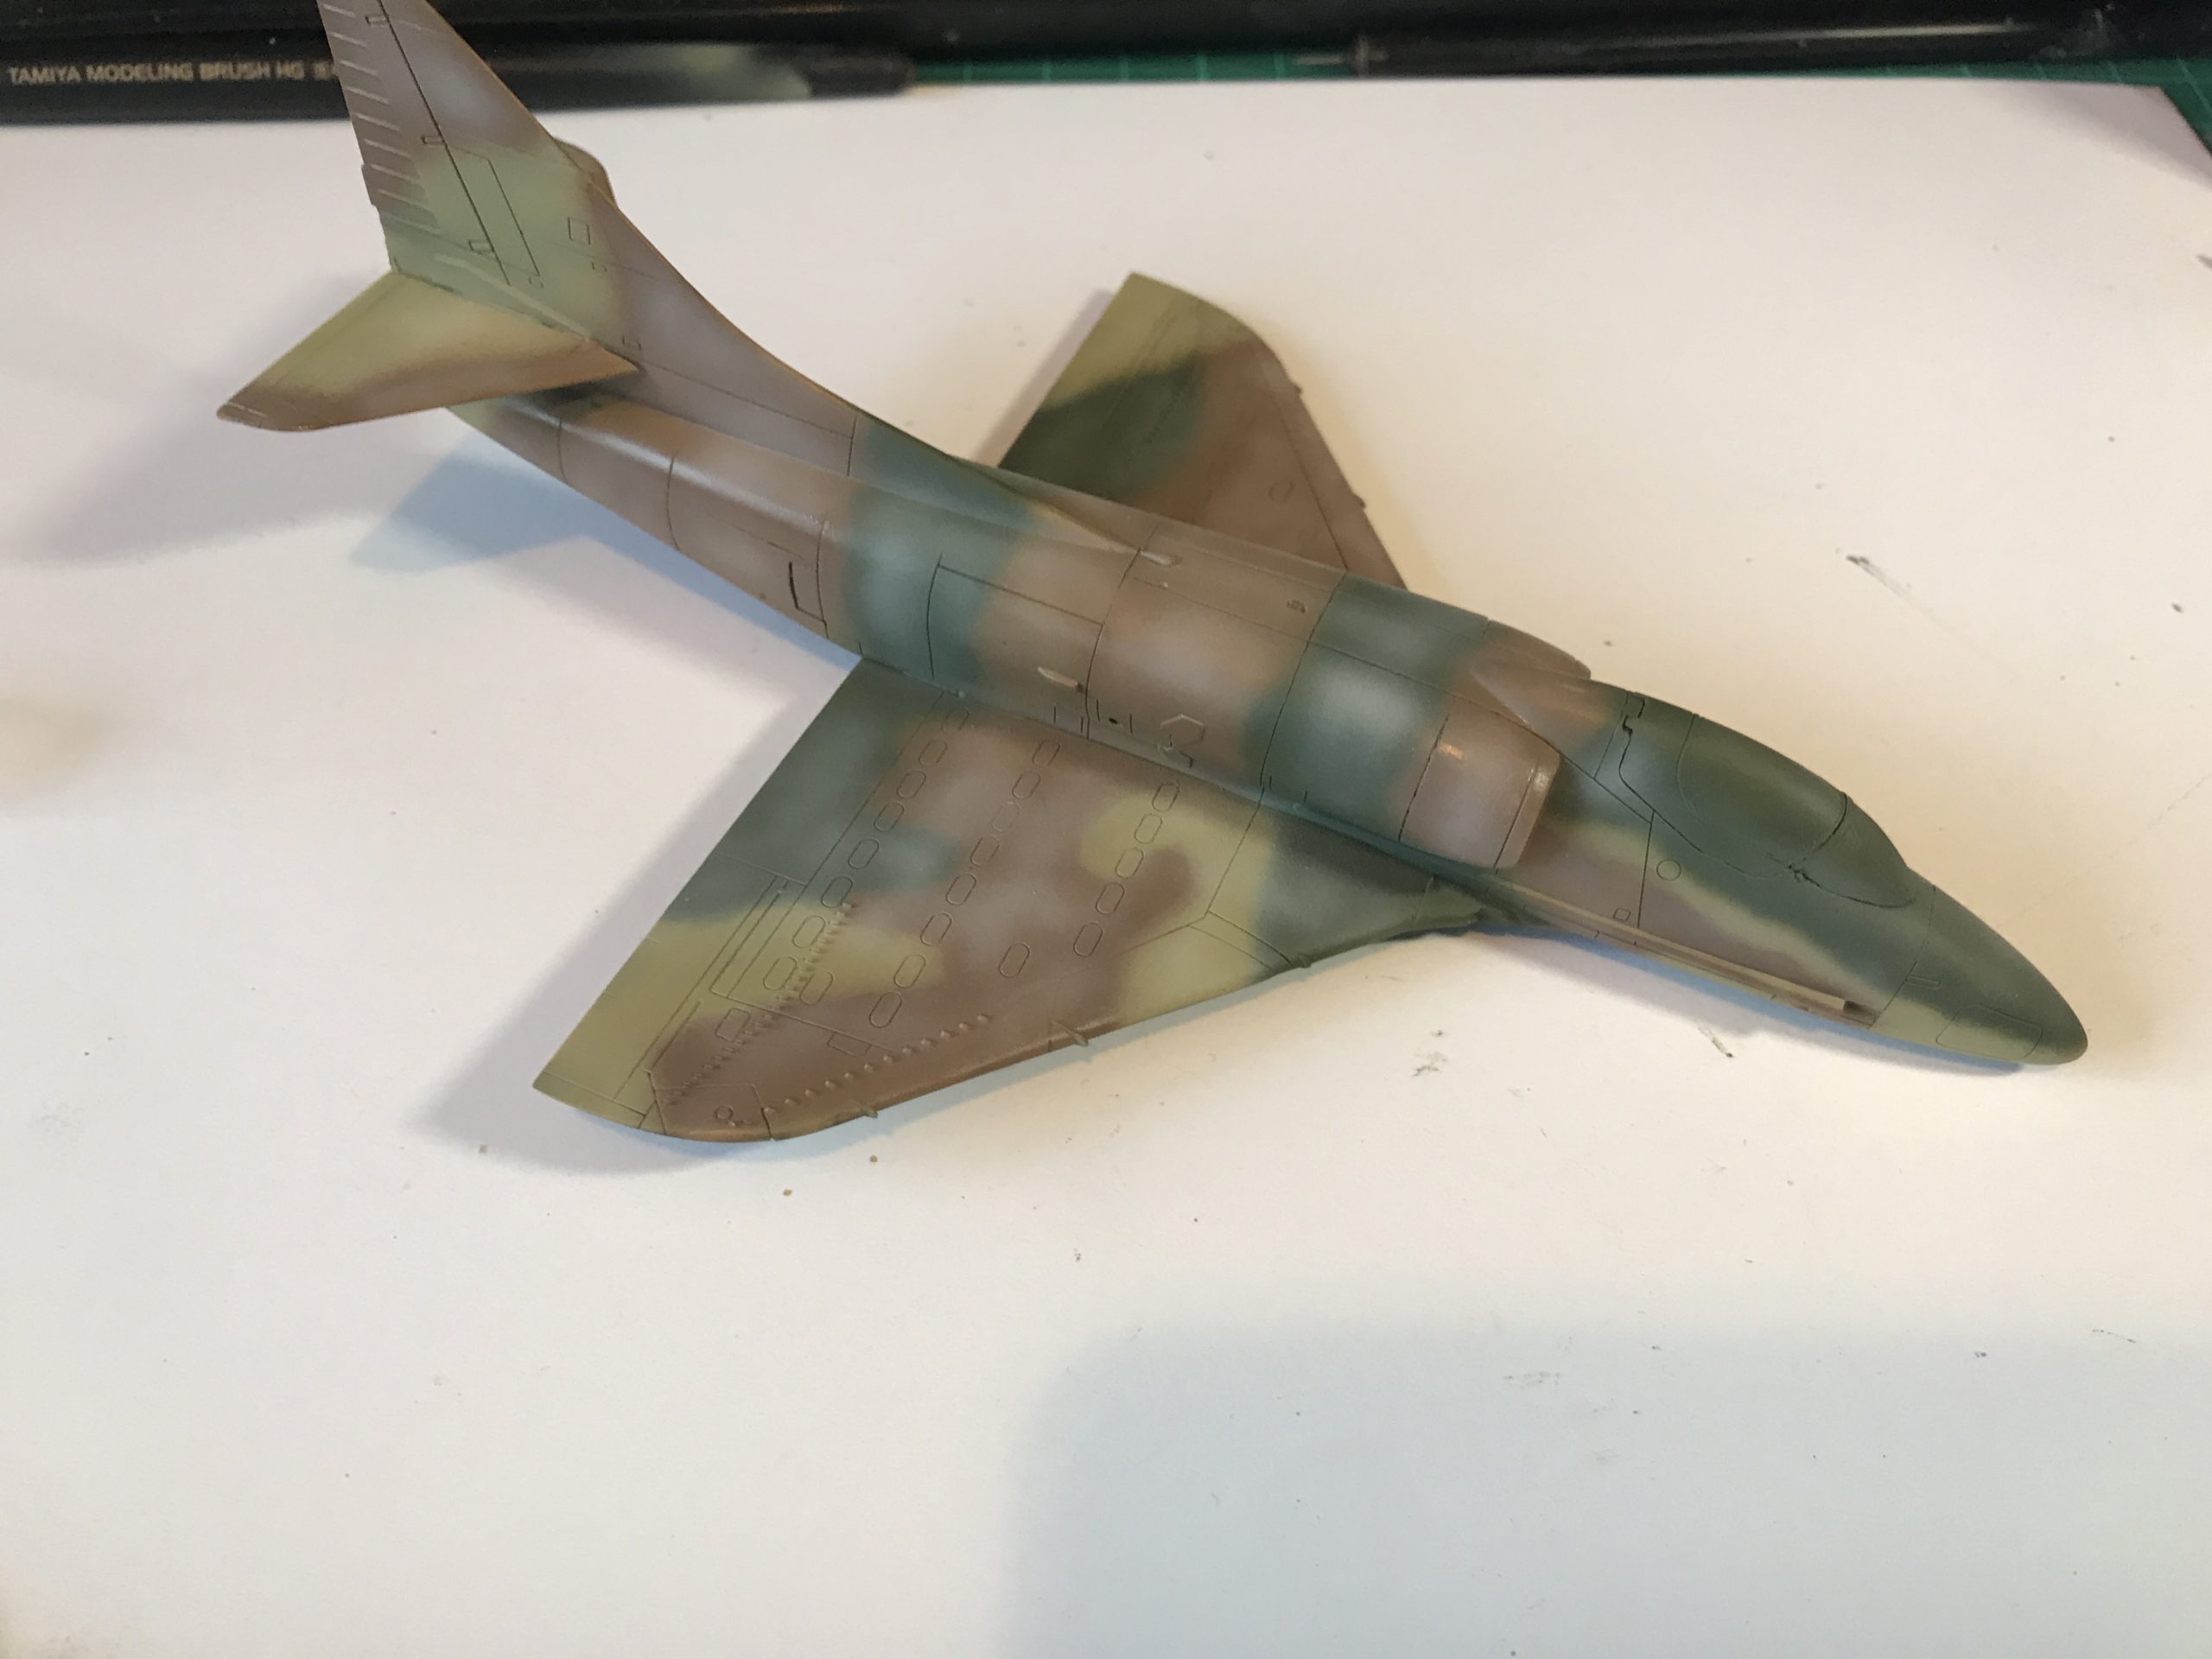
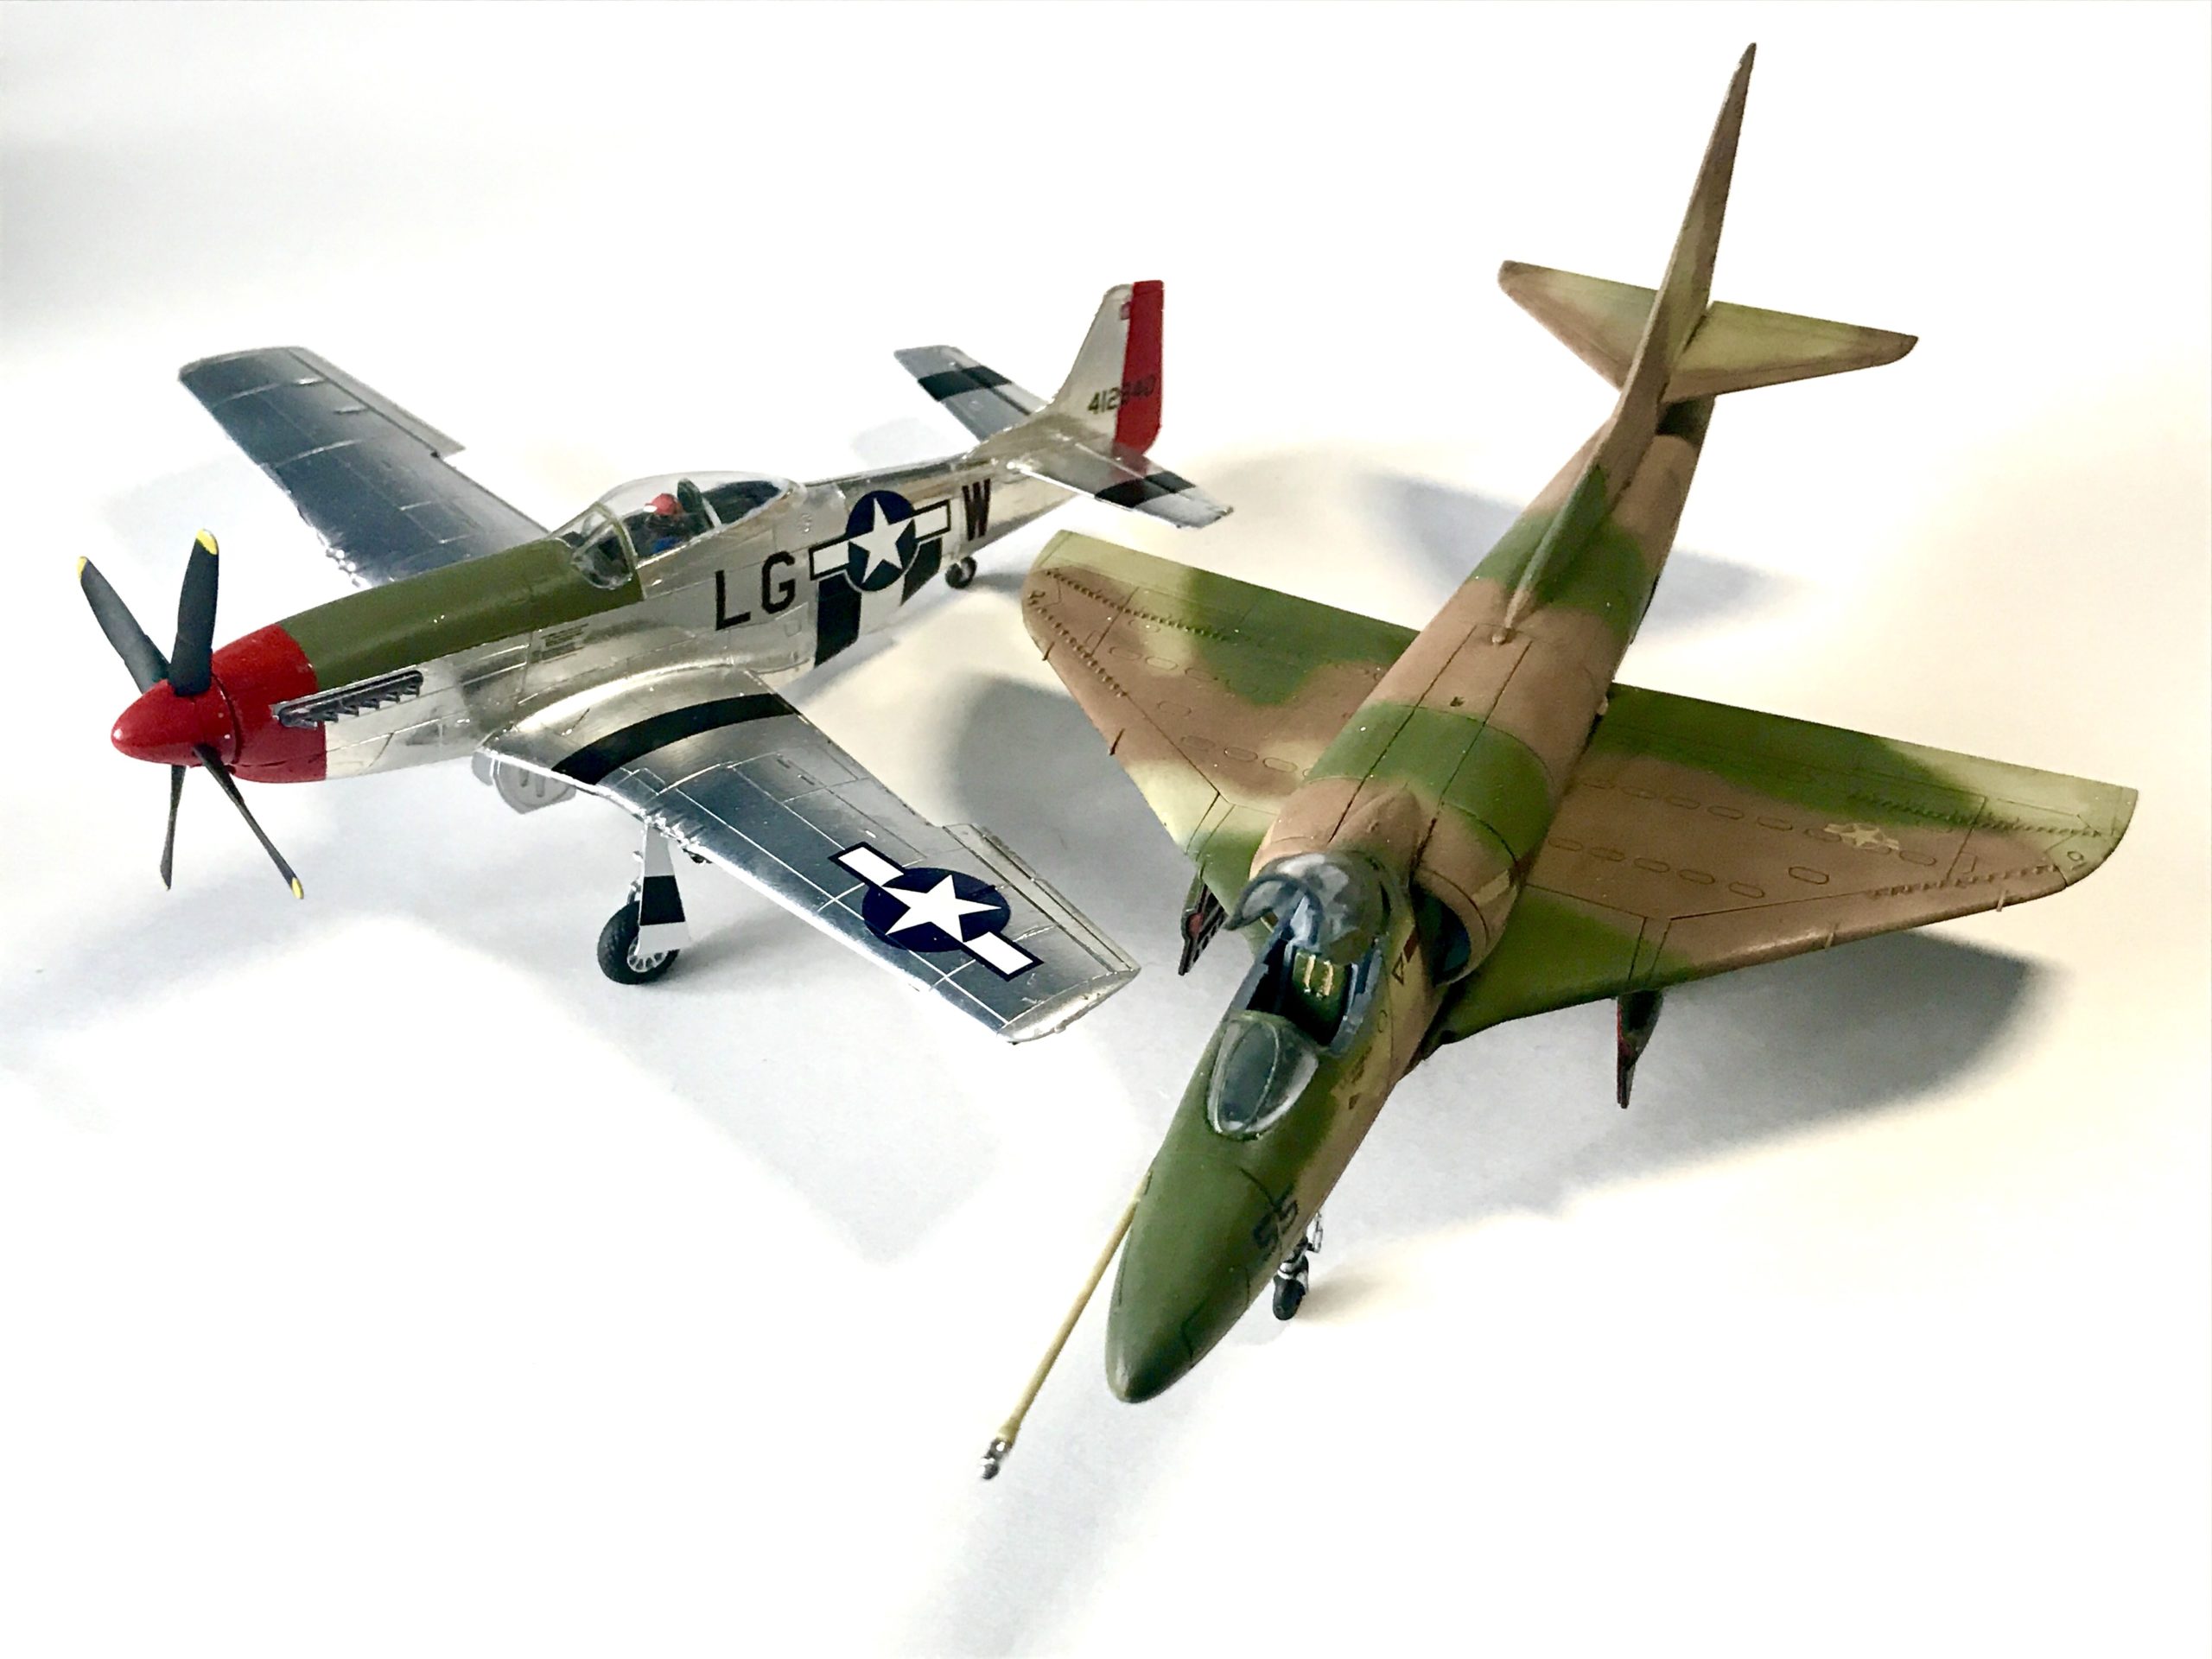
And that brings me to the end of a really nice build. I think this is probably the nicest Airfix 1/72 kit I have built. A bold statement? Perhaps, but it’s a lovely little thing. It didn’t take too long, just a couple of afternoons and everything went together perfectly.
The decals are really nice too. In fact this is pretty much the case for all Airfix stuff. I’m not sure how they do it, but really think their decals are first rate.
I would recommend this kit for pretty much any modeller. It may not be the most popular aircraft, but please don’t let that put you off.
Anyway please have a look at the finished model below. I know I should have taken the time to mask the camouflage, so sorry for that. Other than that I’m pleased with the result.
See you on the next build.


The Verdict on this kit:
Build Time:
A few afternoons, similar to most Airfix 1/72 Aircraft they go together well, but I spent quite a lot of time farting about with the paint job on this.
Suggested Tools:
Model filler – the kit is really very nice, but there are a couple parts that fit to the fuselage that benefit from a dab of filler.
What we’ve taken away from this build:
So, I know I might be going out on a limb saying this but for me at least – this is the best 1/72 Airfix Kit you can buy. At first I was concerned that this would be a typical re-box from an old kit – scalemates confirms this kit was originally released back in 1987 in the same box. However upon opening its clear it’s a recent offering from Airfix, with fantastic detail.
A couple areas I really liked was the detail on the wings and inclusion of a harness in the cockpit (all in more detail above.)
I decided to pre-shade the panel lines to add to the overall effect – but by the time I had finished the various camo colours these details were all but gone, so I dont know whether Id recommend this step in the build.
As per the other Top Gun kits I’d recommend purely for nostalgia – but I do have the suspicion this kit could be a weak link as its not the most common or popular subject. However this aside this is by far the best kit to build – ideal of any level of modeller.
Nice build, Rob (I especially like the paint job), and you’ve answered a question before I’d asked it! I’ve seen the Airfix A4 for sale, but wasn’t sure if it was a new tool kit or the old one I’d built as a lad back in Nineteen Mumble Mumble. Now I know it’s a good kit I can start thinking of an excuse to add one to the stash!