
A note from the author…
I’m Rob, a normal guy who enjoys making models! I’m by no means a ‘professional’ modeller, but I am passionate, try my best and kits generally turn out well! All my builds are done at home in my spare time with typical model tools and accessories.
I will endeavour to provide an honest view on the kits I build for this blog, good and bad*. I will point out things you may need to be careful about and some little tips and tricks to make the build a bit easier and more enjoyable. I might even throw in a bit of humour** along the way.
So get the kettle on, put your feet up and have a laugh at my mediocre modelling skills.
*Views and opinions are my own and not that of Jadlam.
**Humour and jokes may not actually be funny.
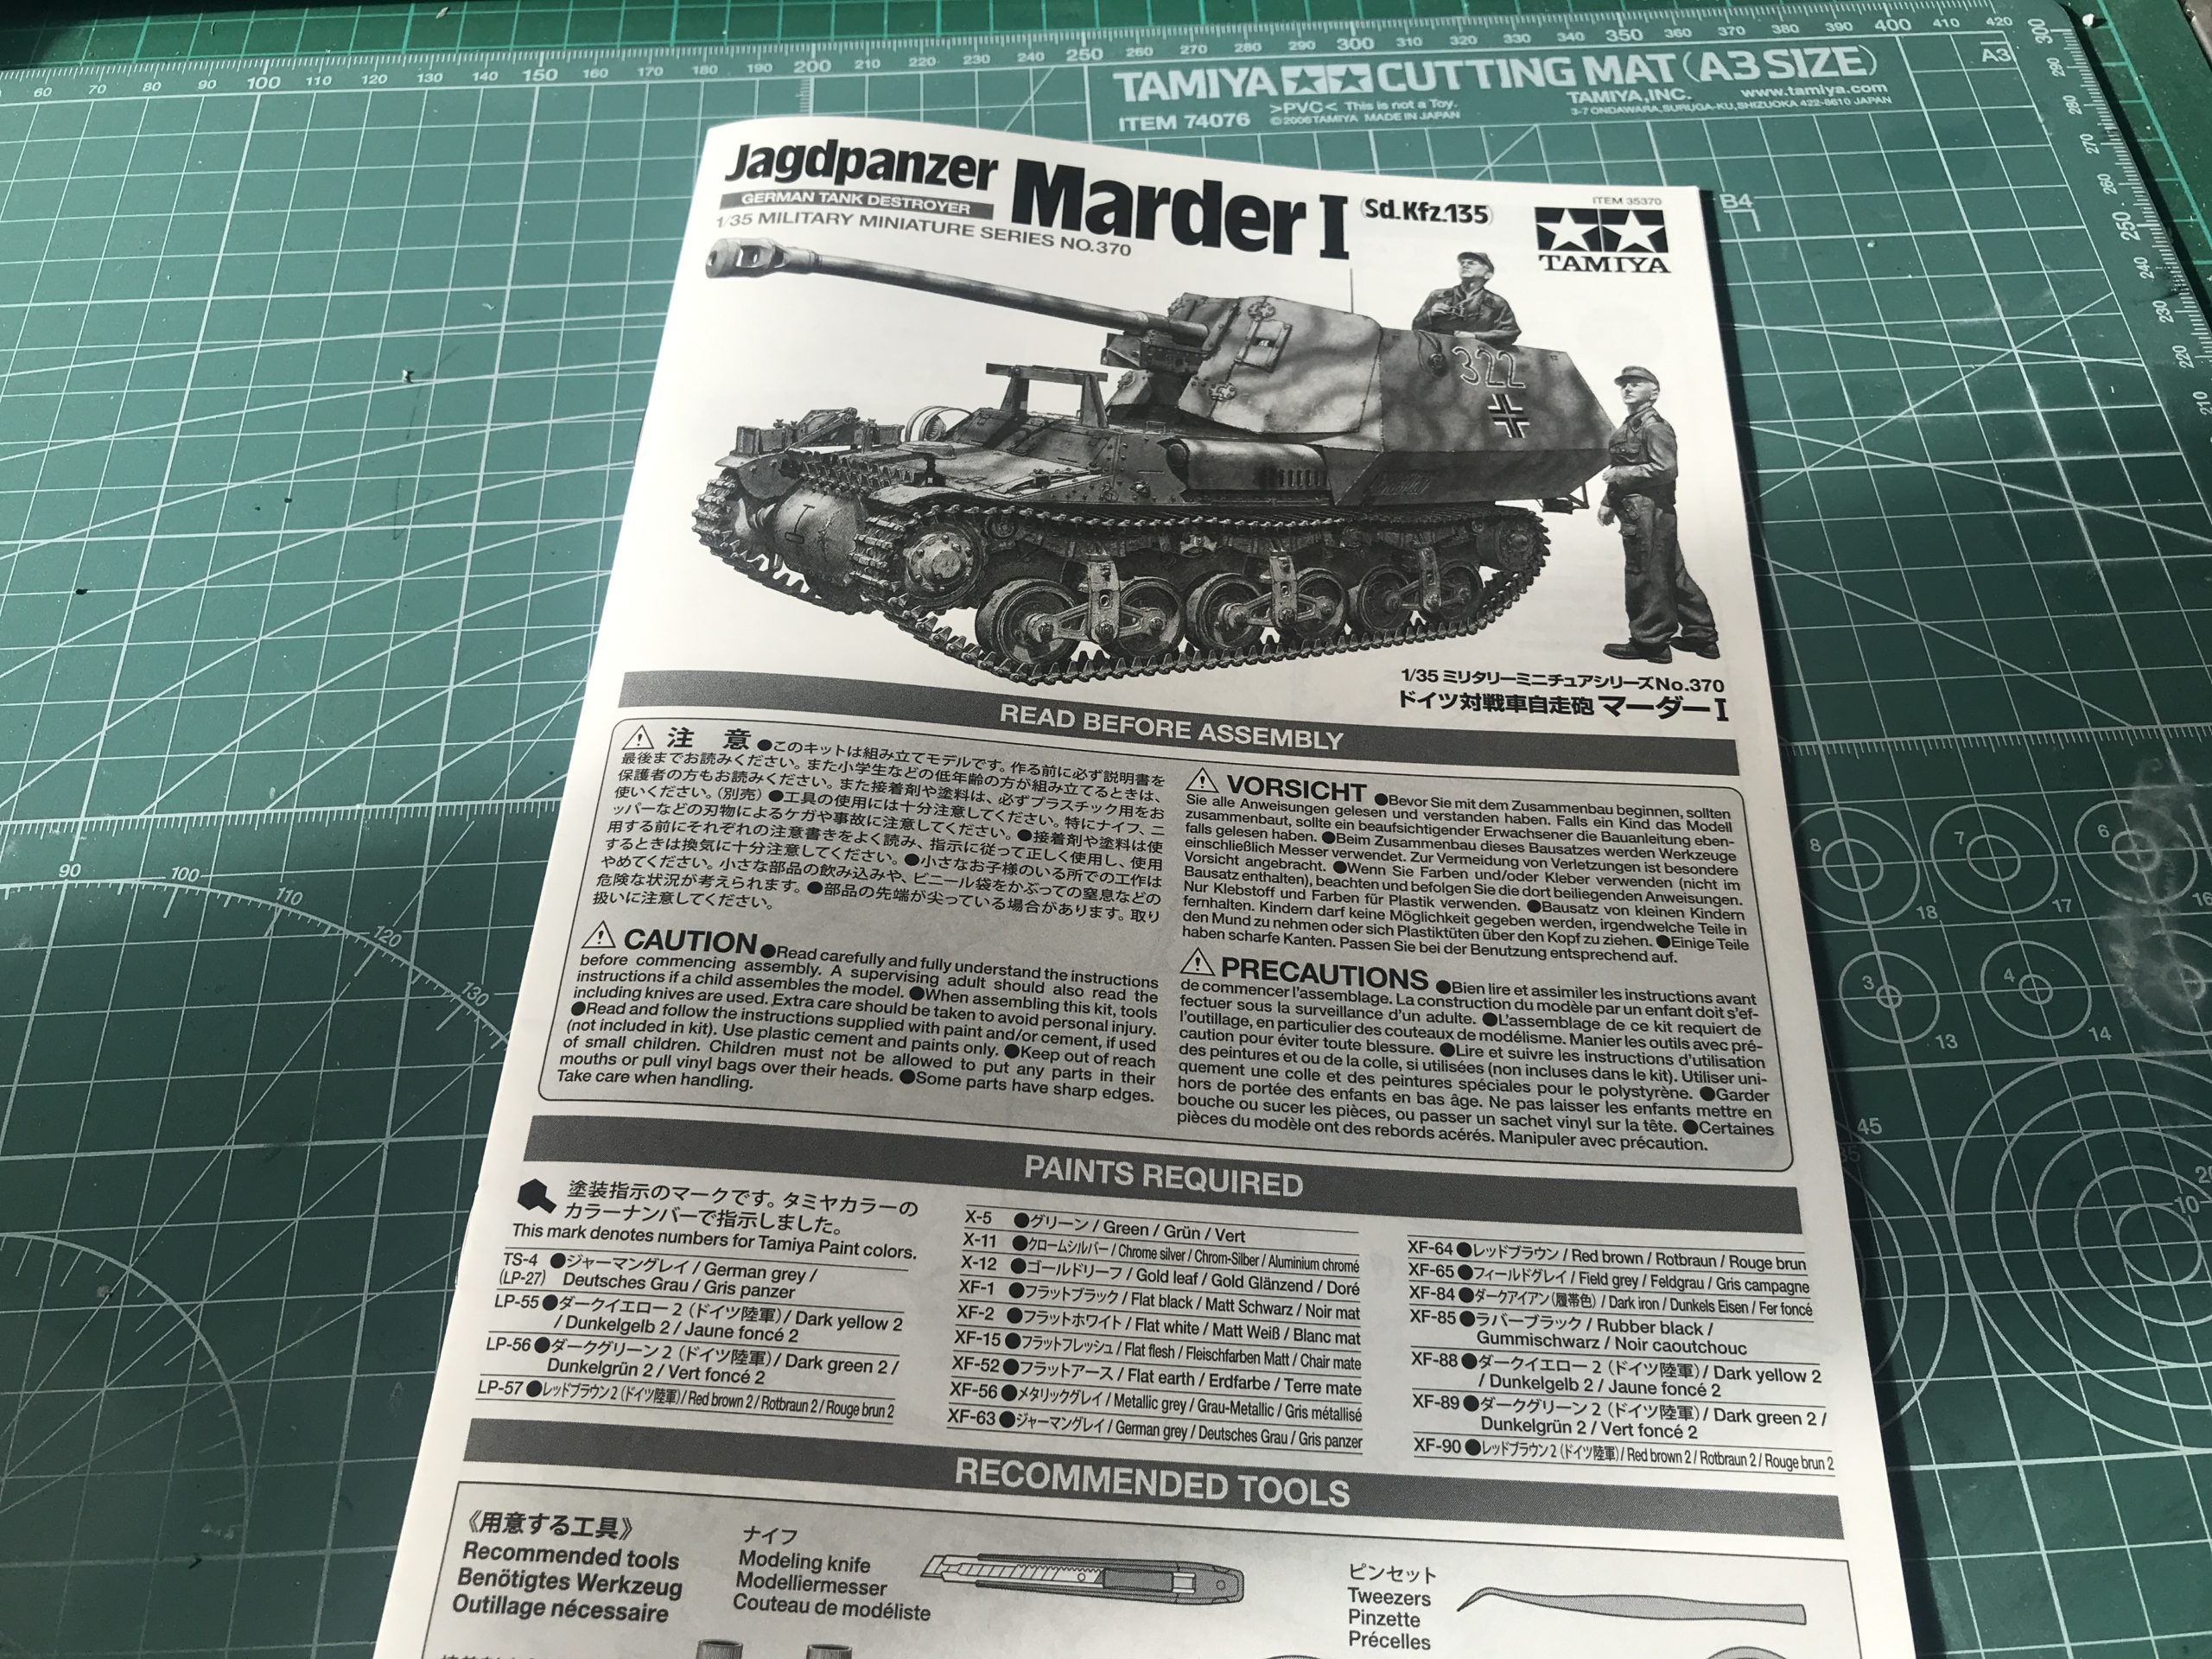
Name – Tamiya 1/35 Jagdpanzer Marder I (Sd.Kfz.135)
Number – 35370
Scale – 1/35
Price – £31.49
Availability – Now! (get it bought) Buy yours here! at jadlamracingmodels.com
Introduction
It’s nice to have a bit of a change. When I was given the opportunity to build a armour kit after a seemingly endless series of aircraft builds I let an audible sigh of relief. When I found out it was to be a Tamiya “new tool” then my mood improved considerably.
Lets get this straight Tamiya kits are great! The new ones are absolute masterpieces of model kit engineering. I’m not sure of what particular kind of witchcraft is at work here, but it’s a good kind.
Enough fawning. Let’s take a look at what you get in the box.

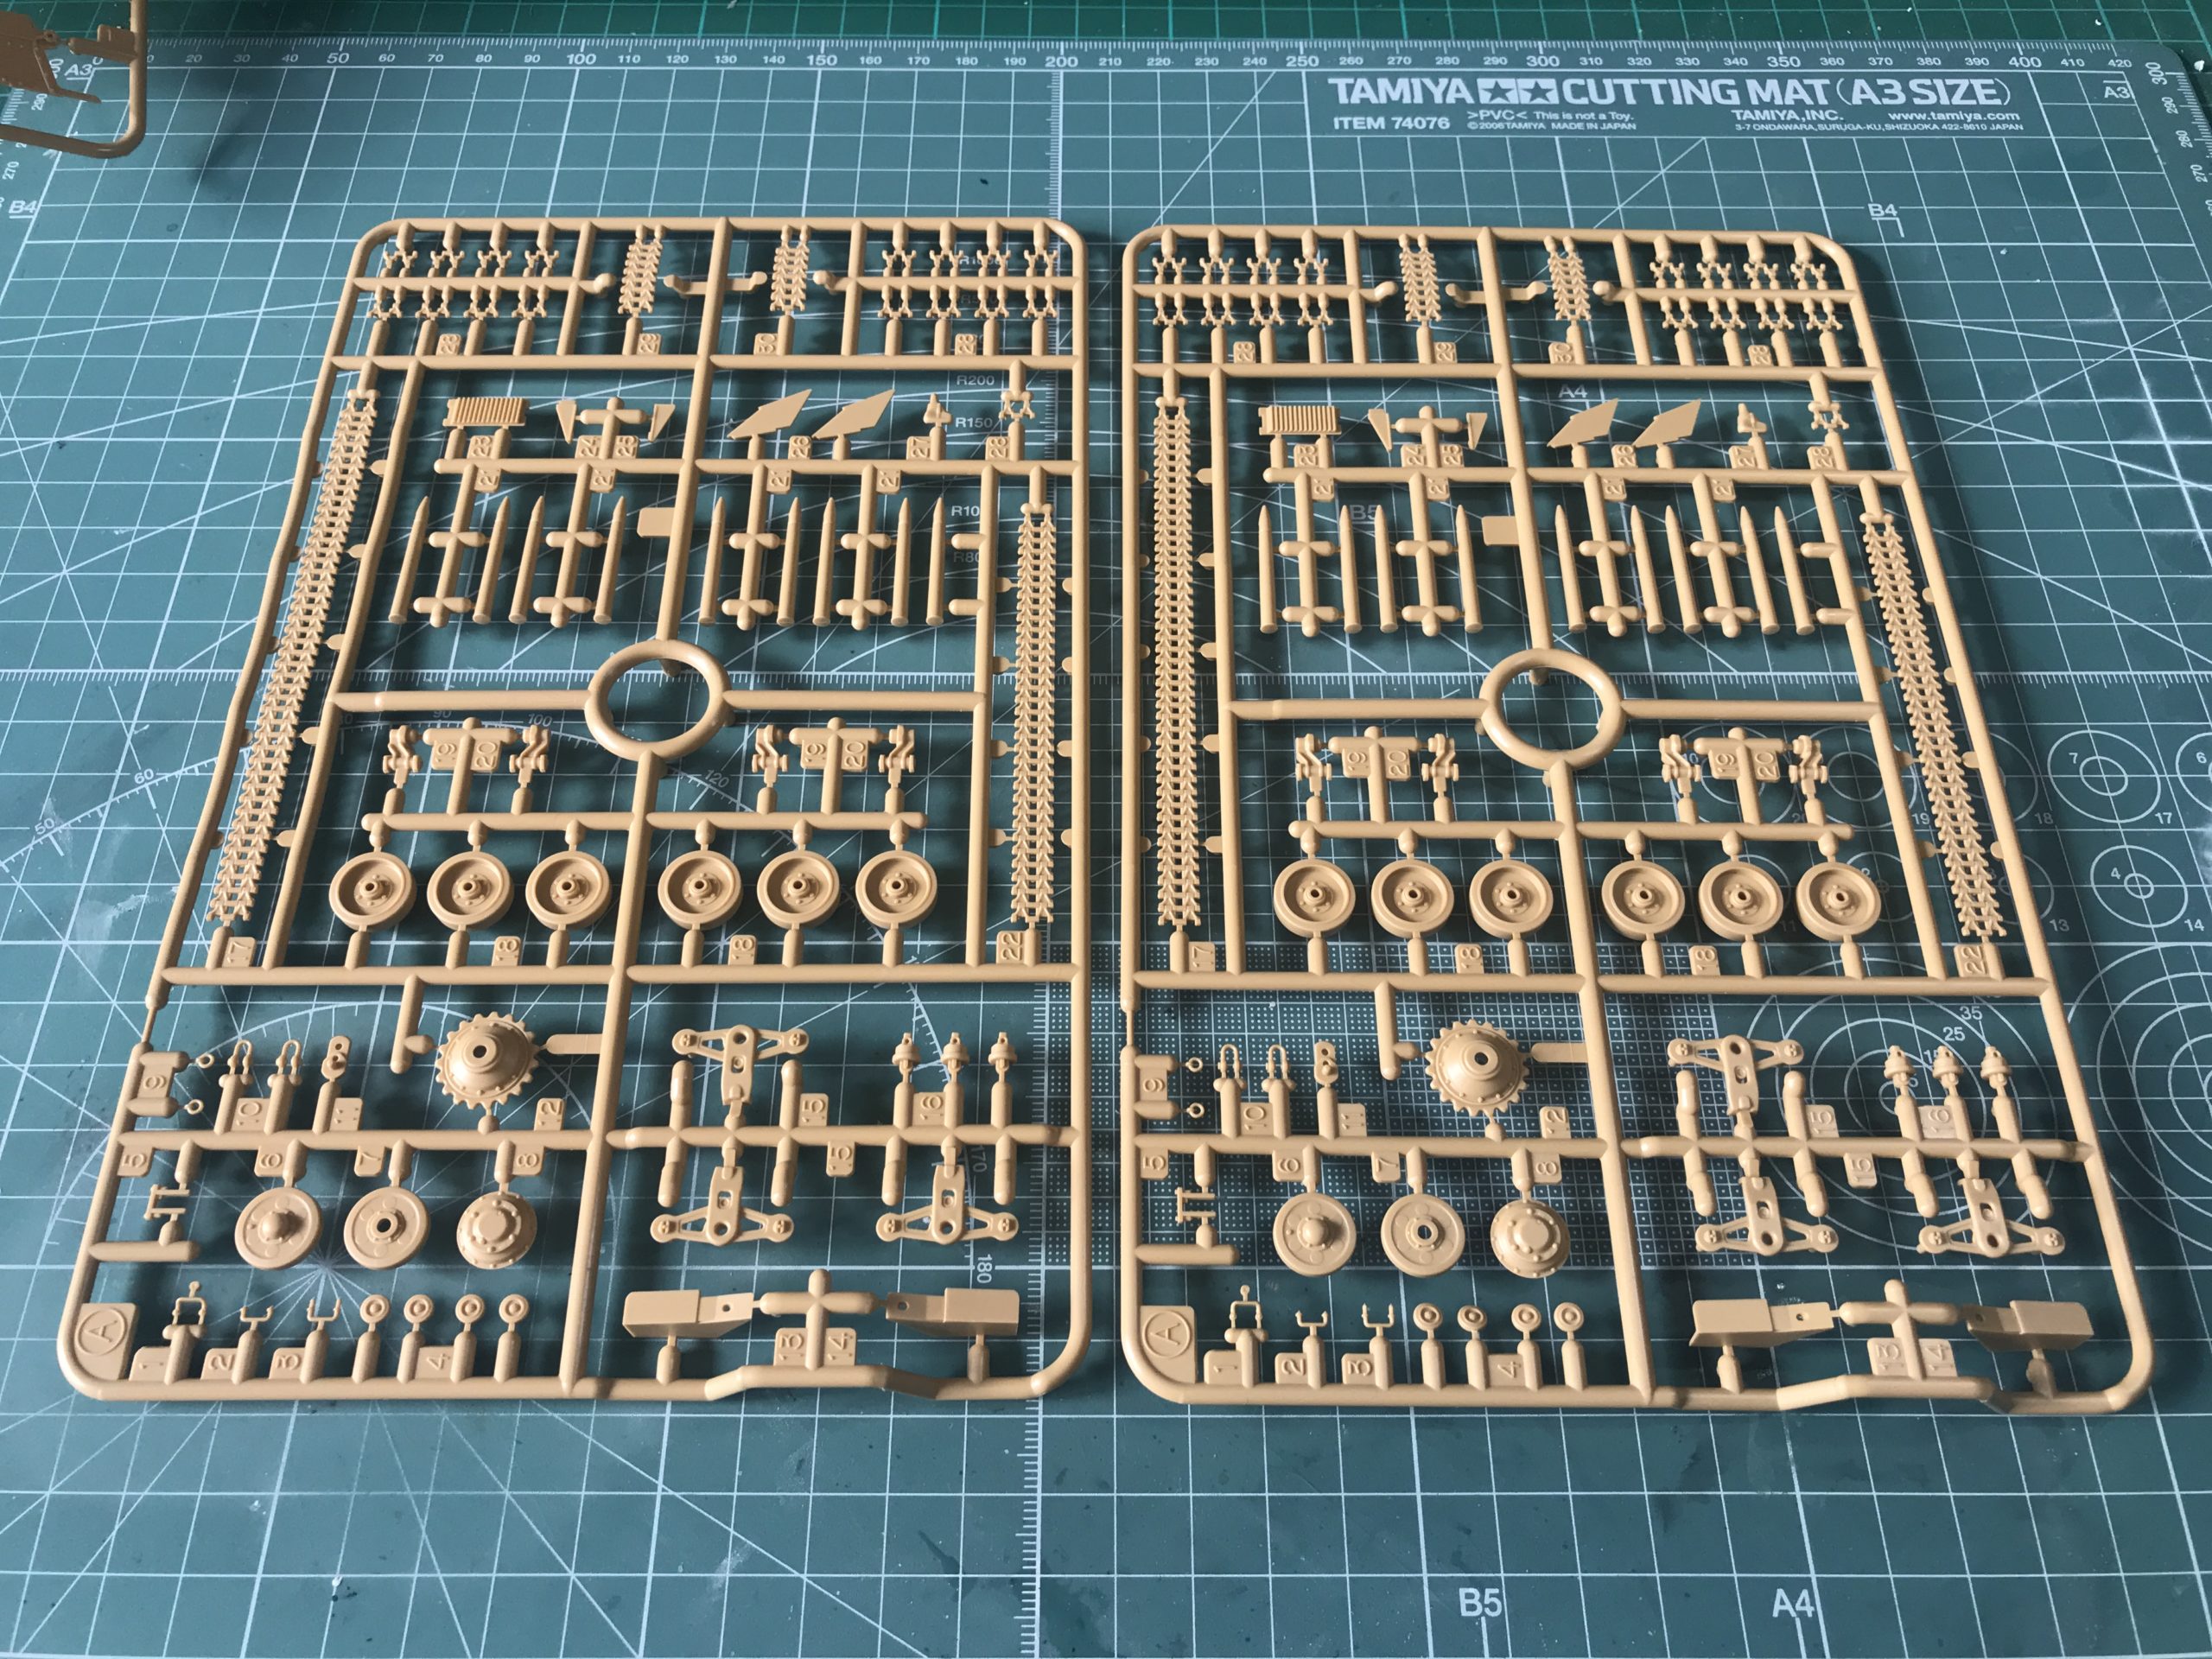
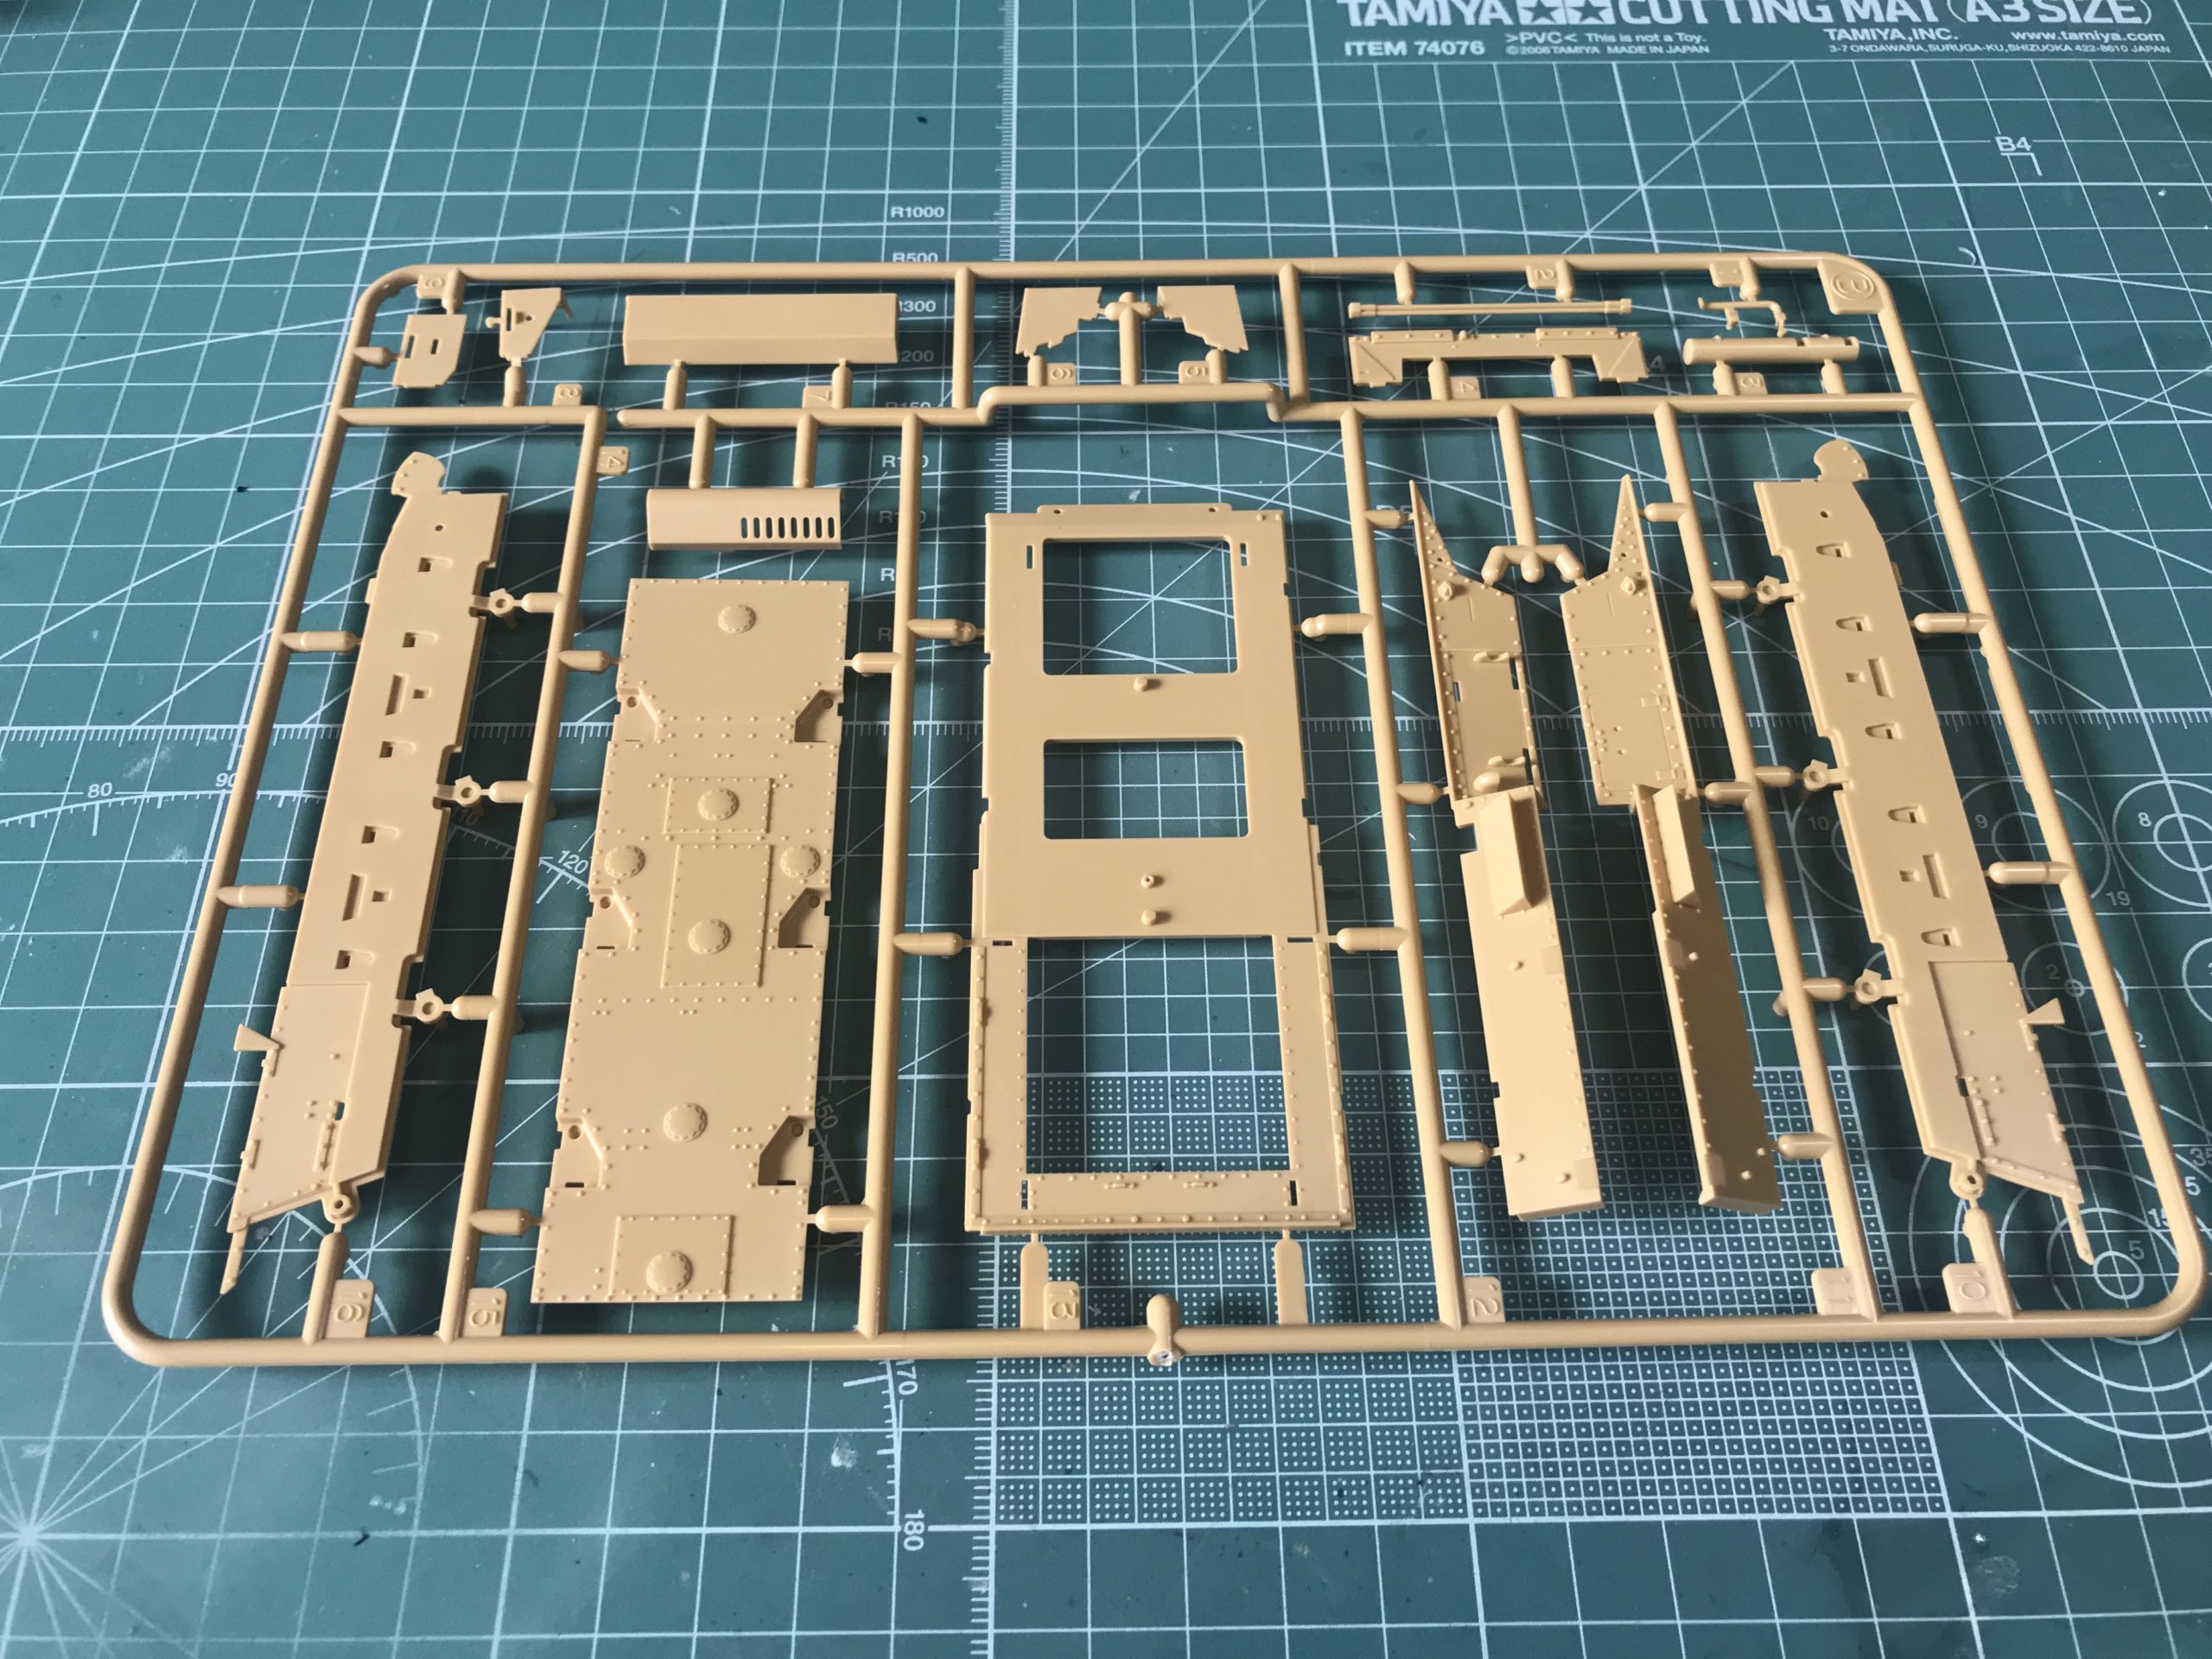
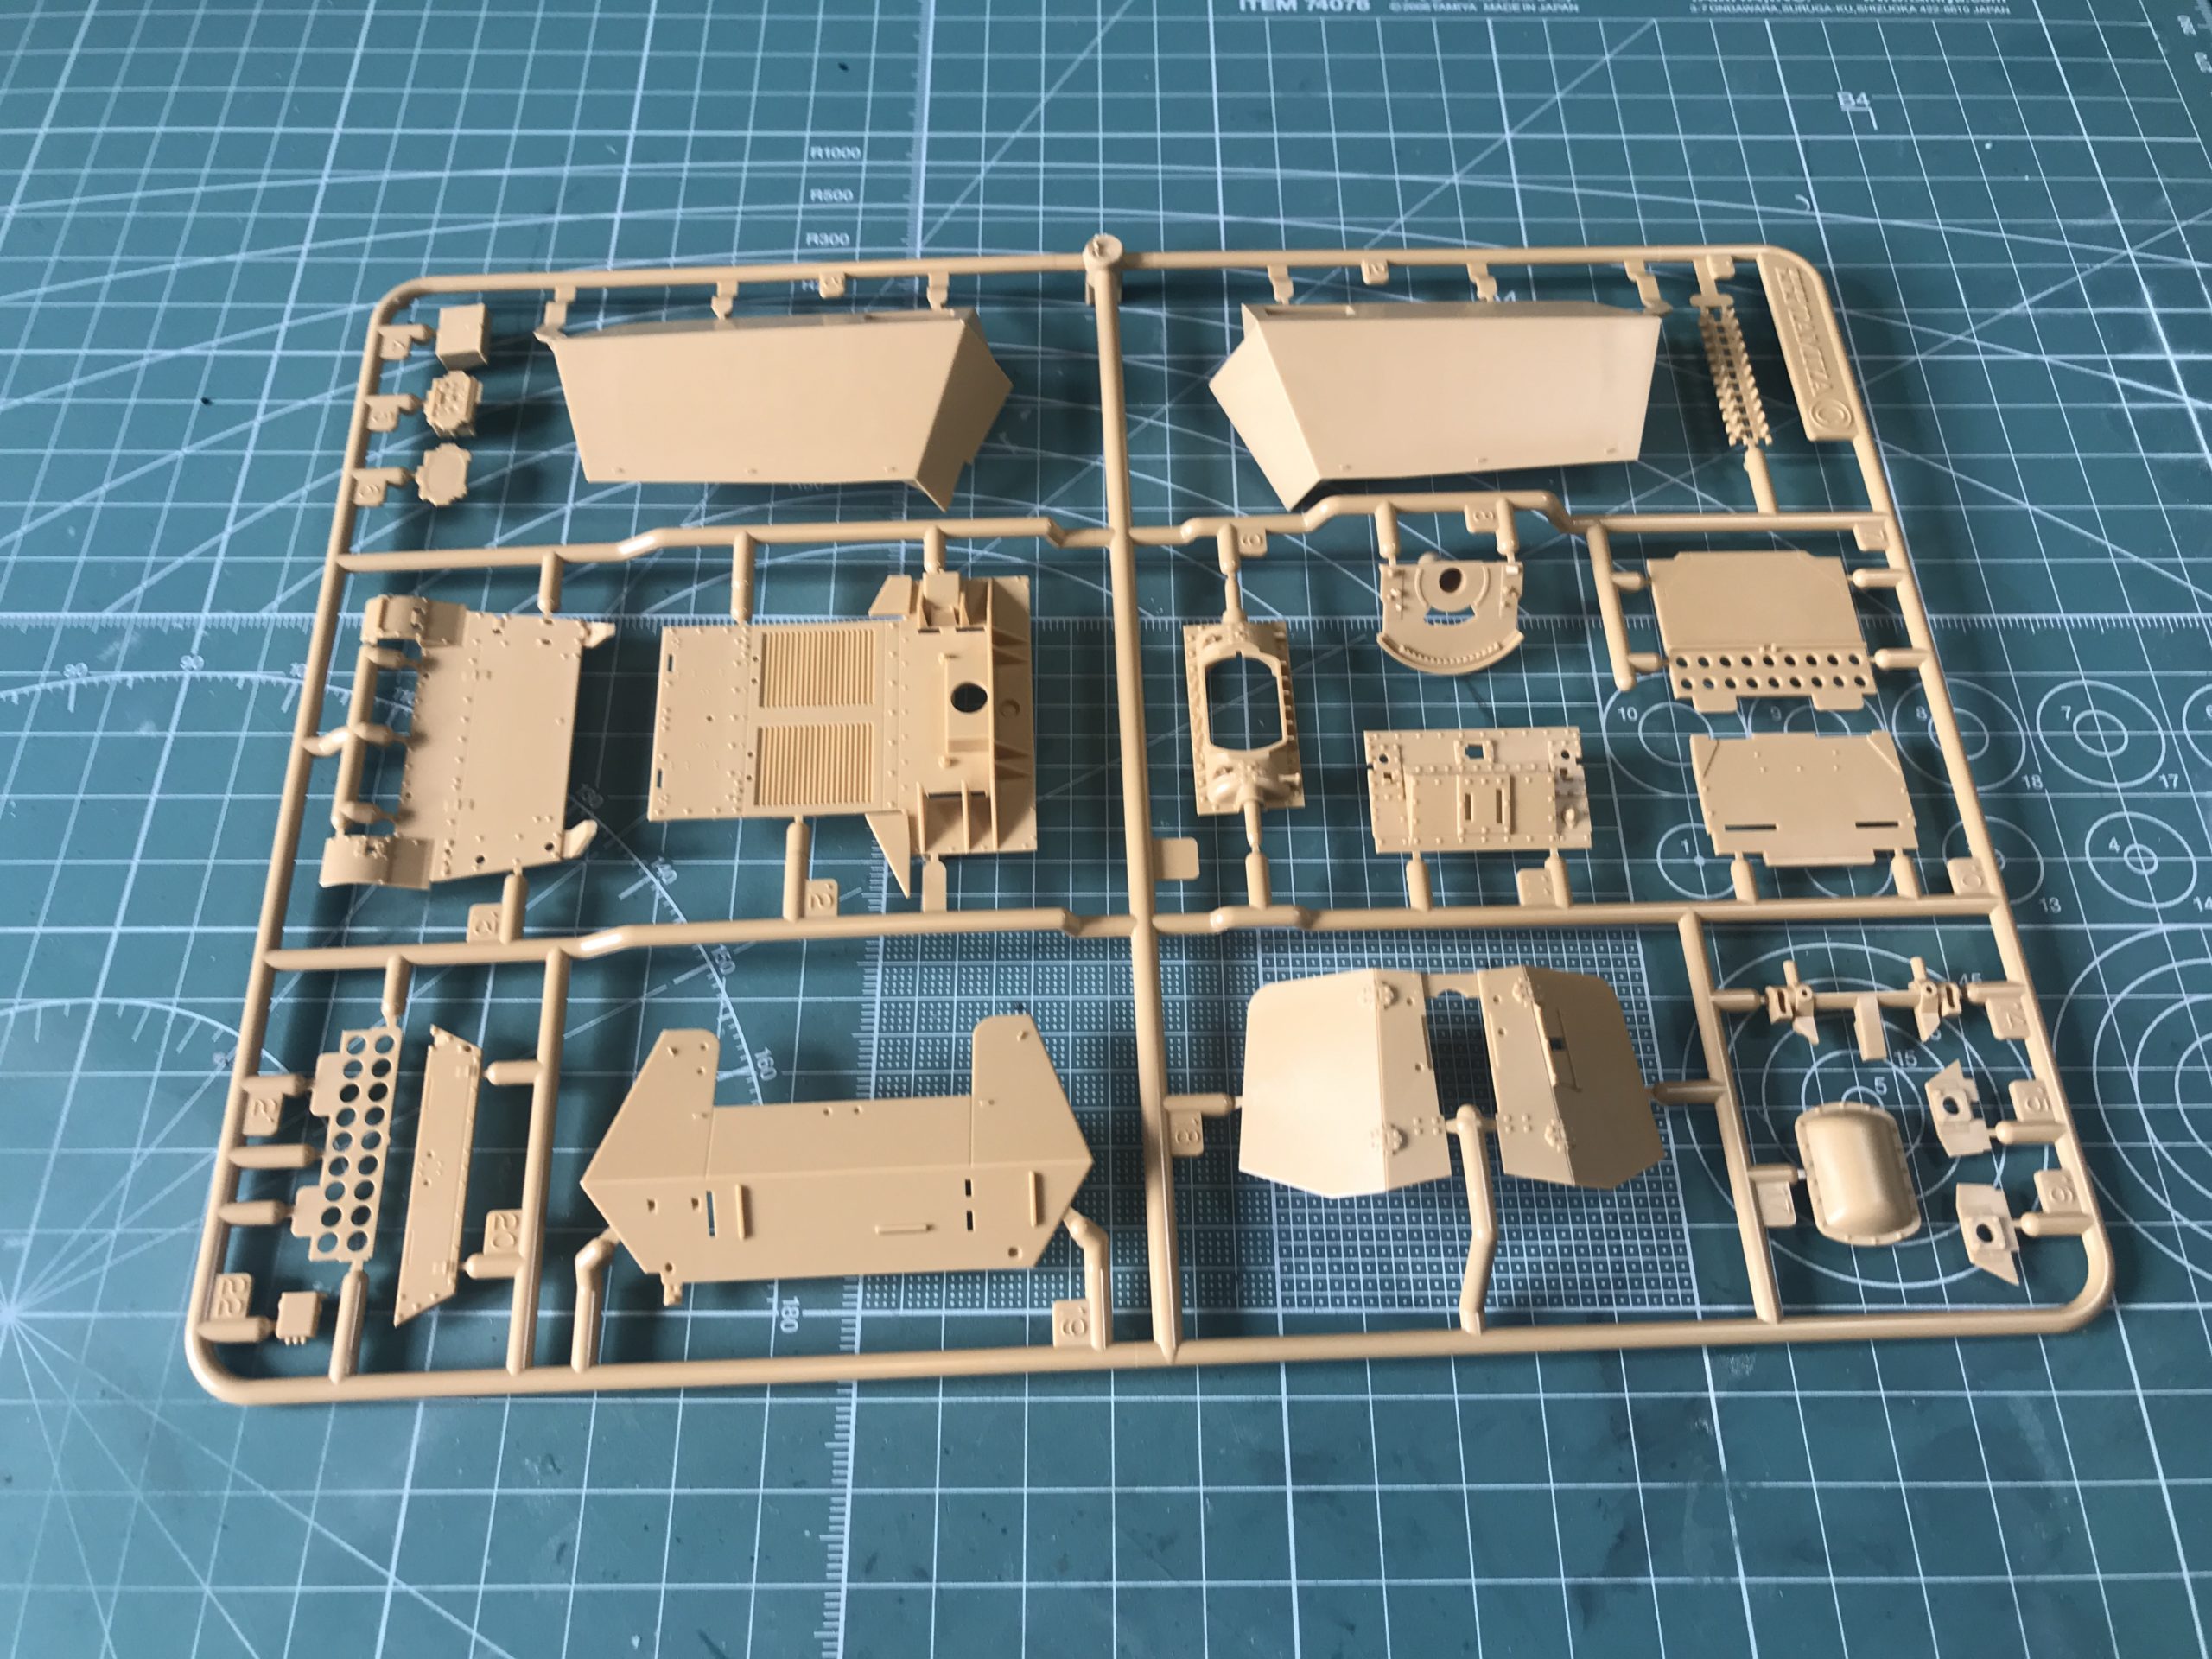
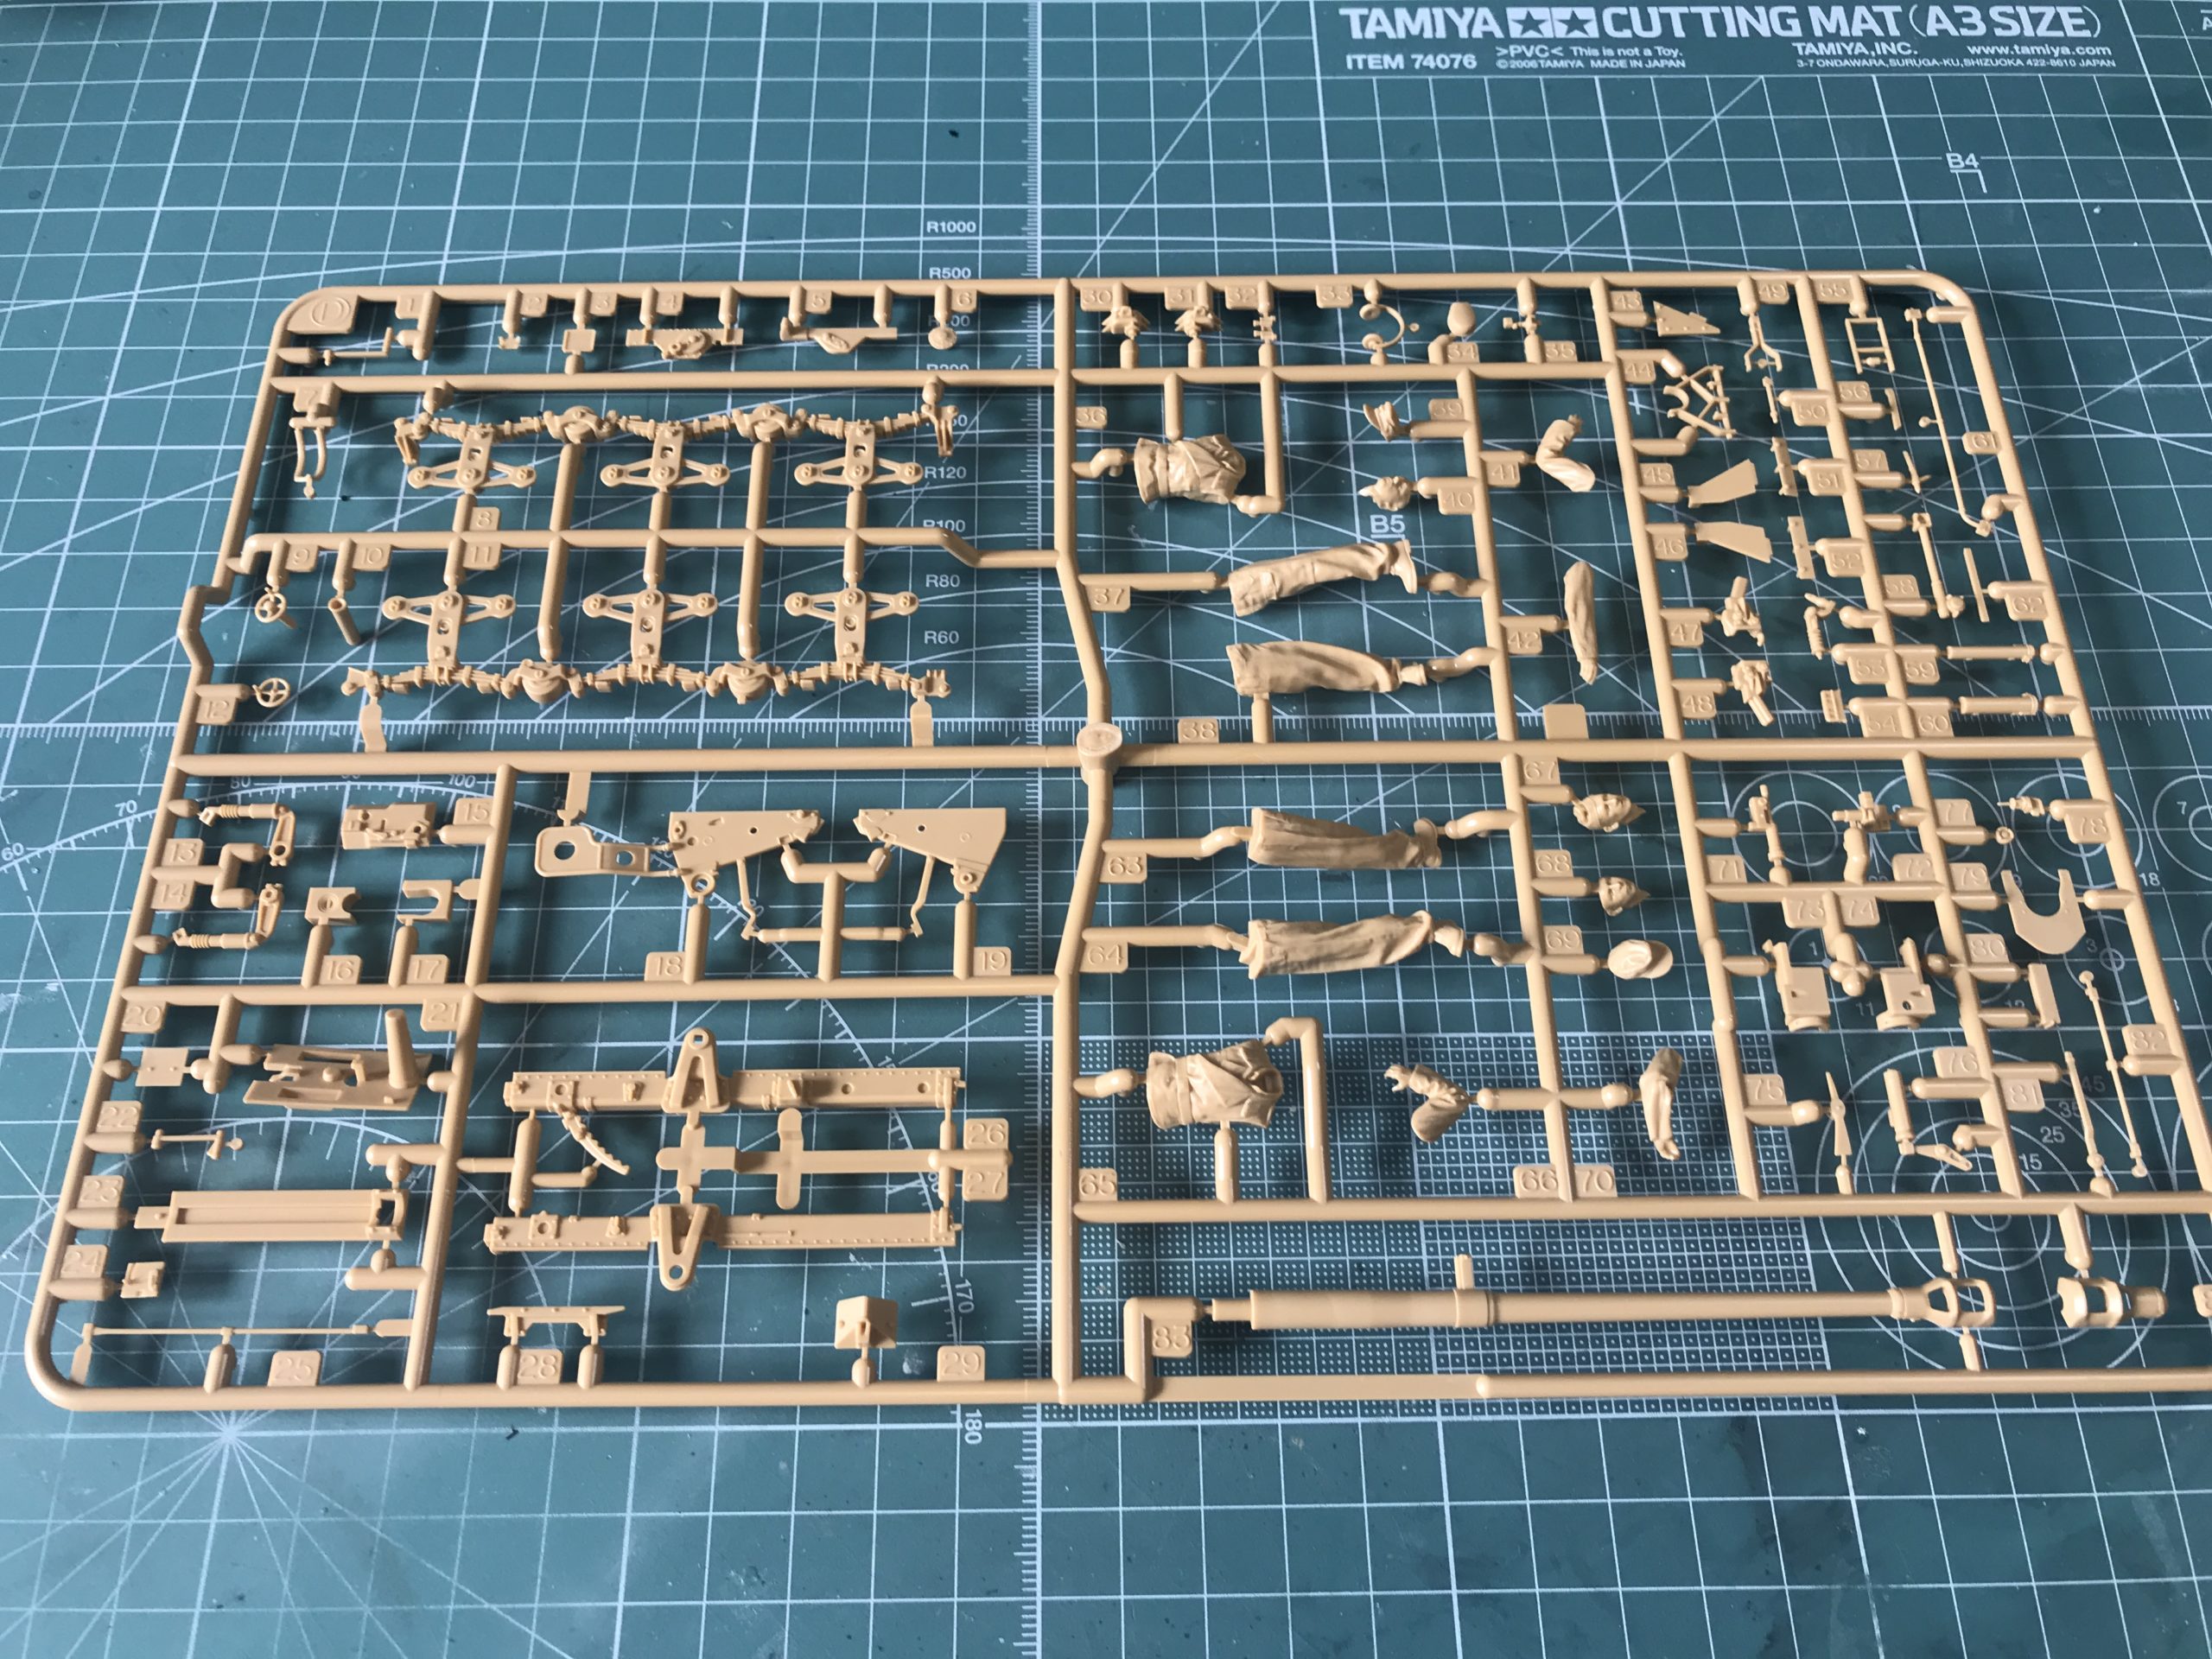
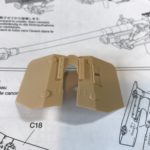
On to the sprues: You get five sprues of sandy brown styrene, exceptionally well moulded with crisp detail, sharp definition and absolutely not one trace of flash. Mould alignment is spot on, so clean up of parts will be minimal. You get two of sprue A as this is for the tracks and one of sprues B,C and D.
Here are some pictures…
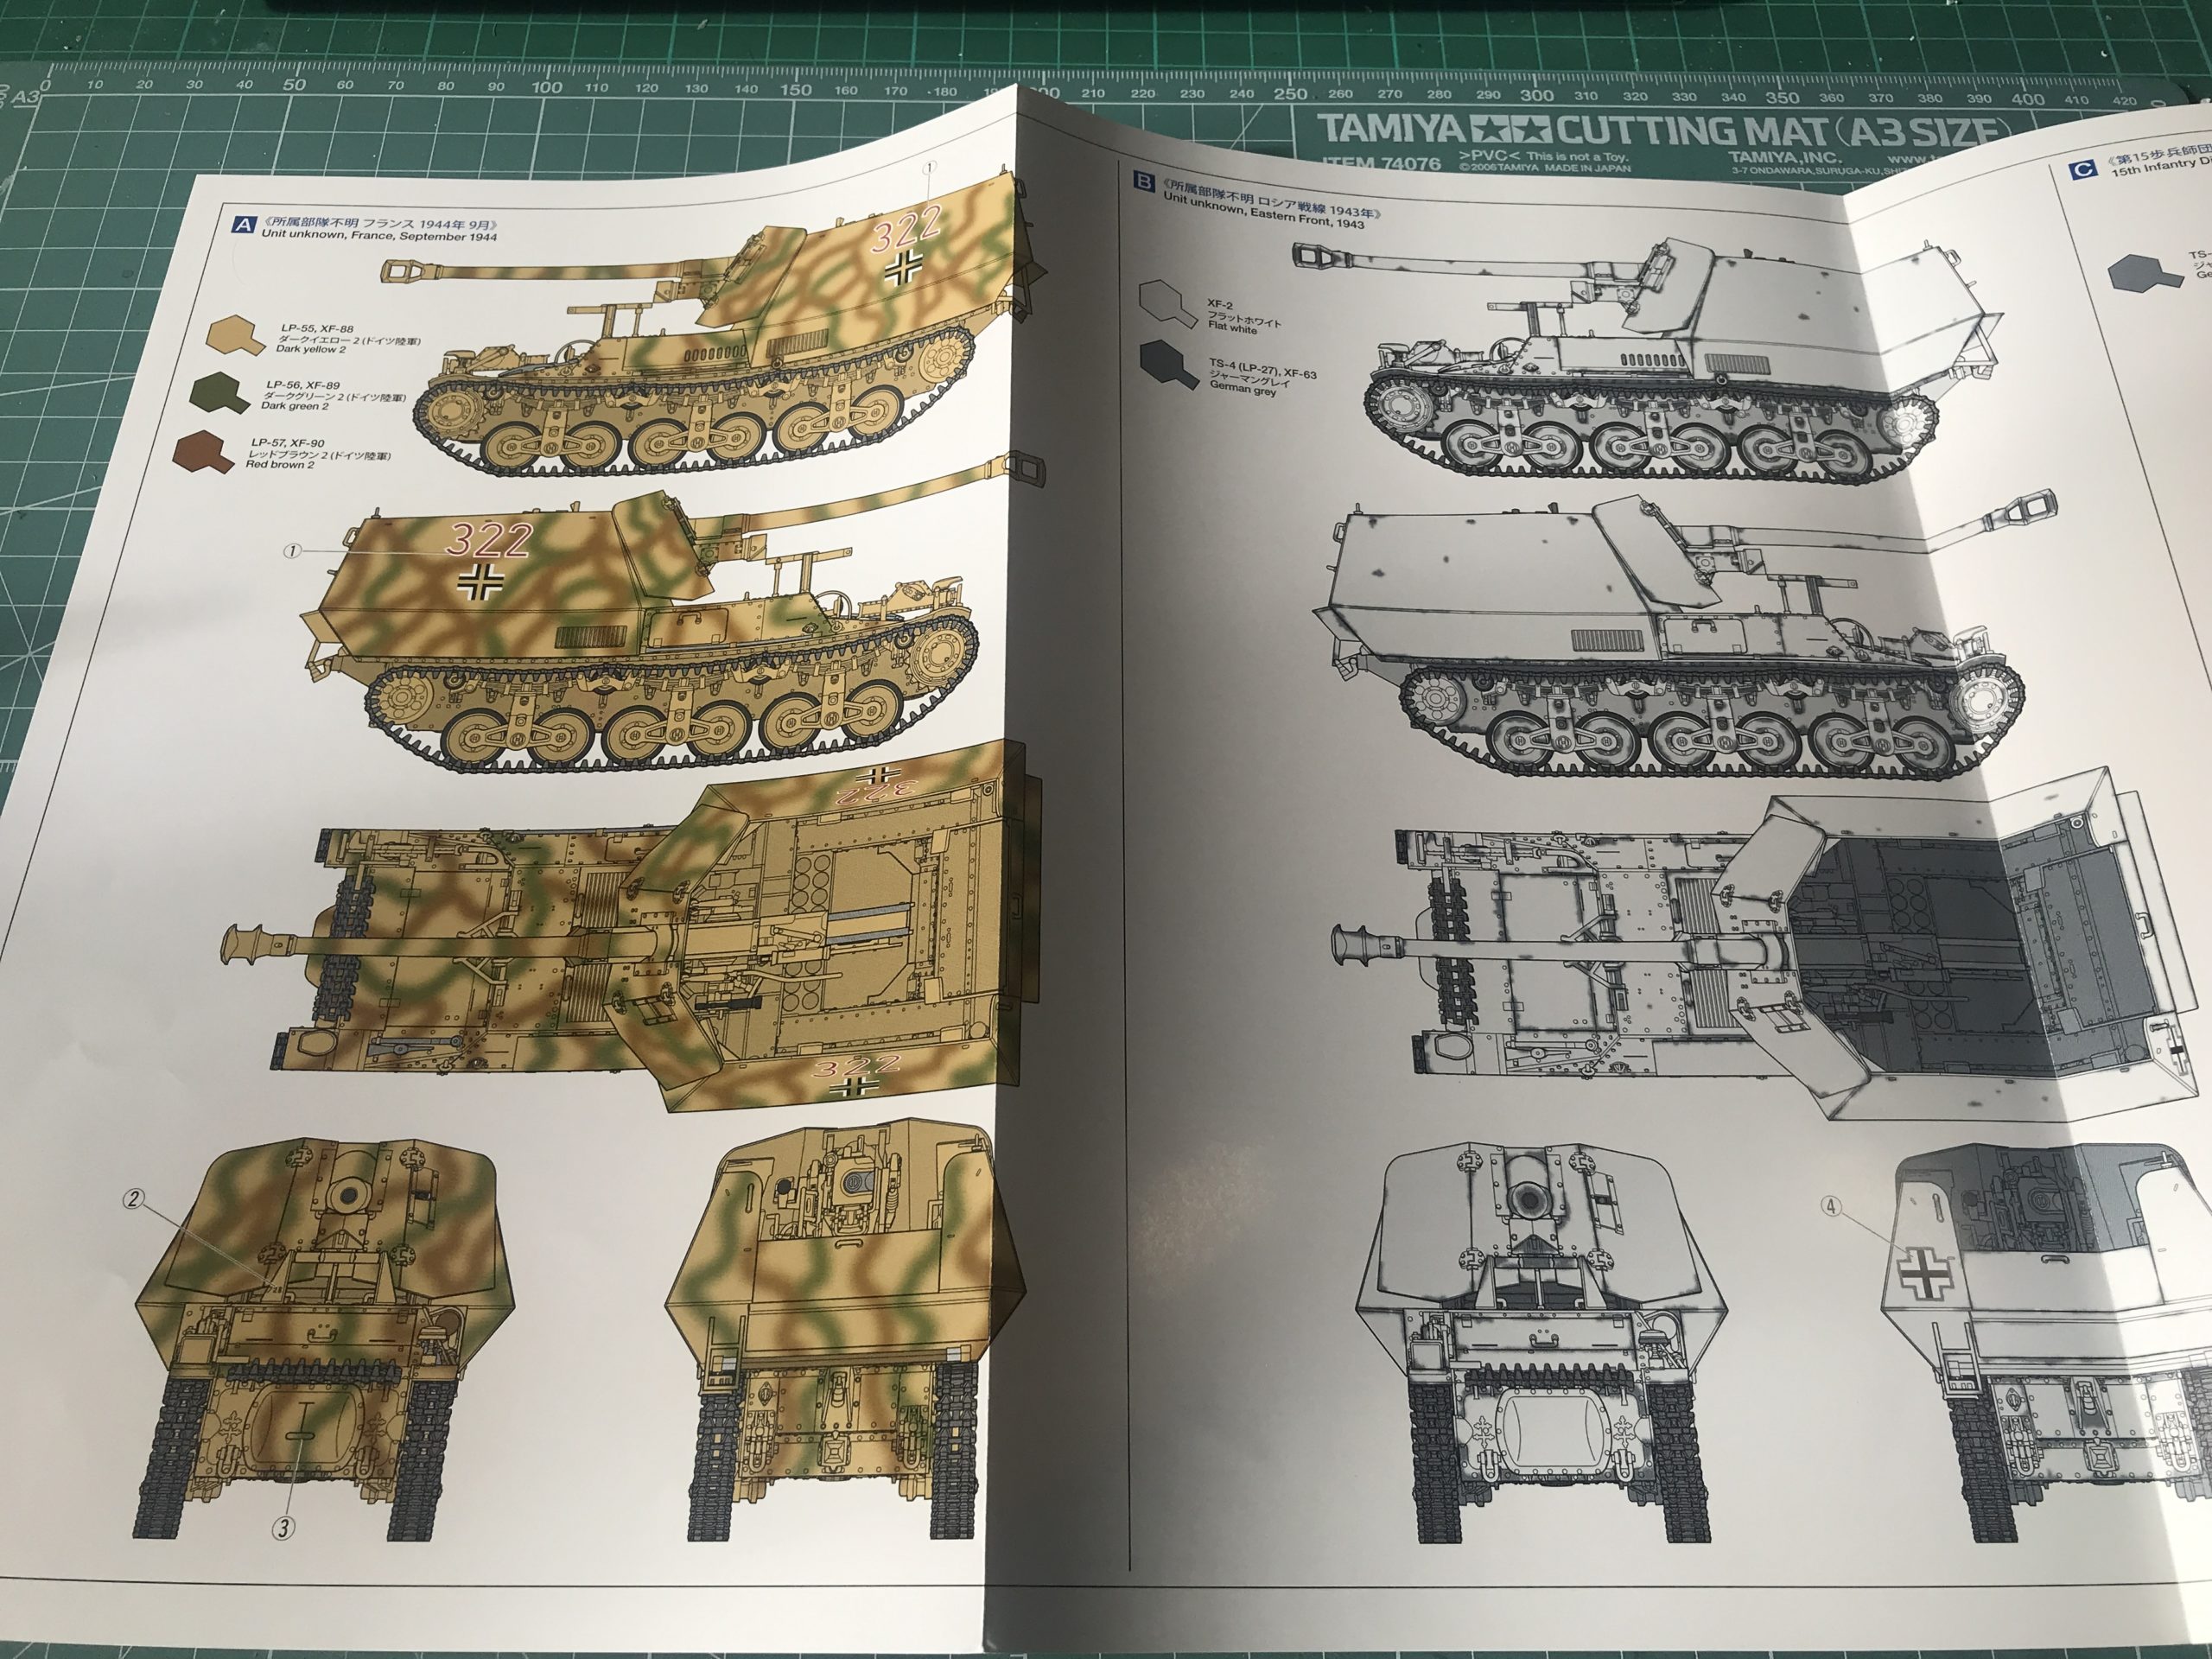
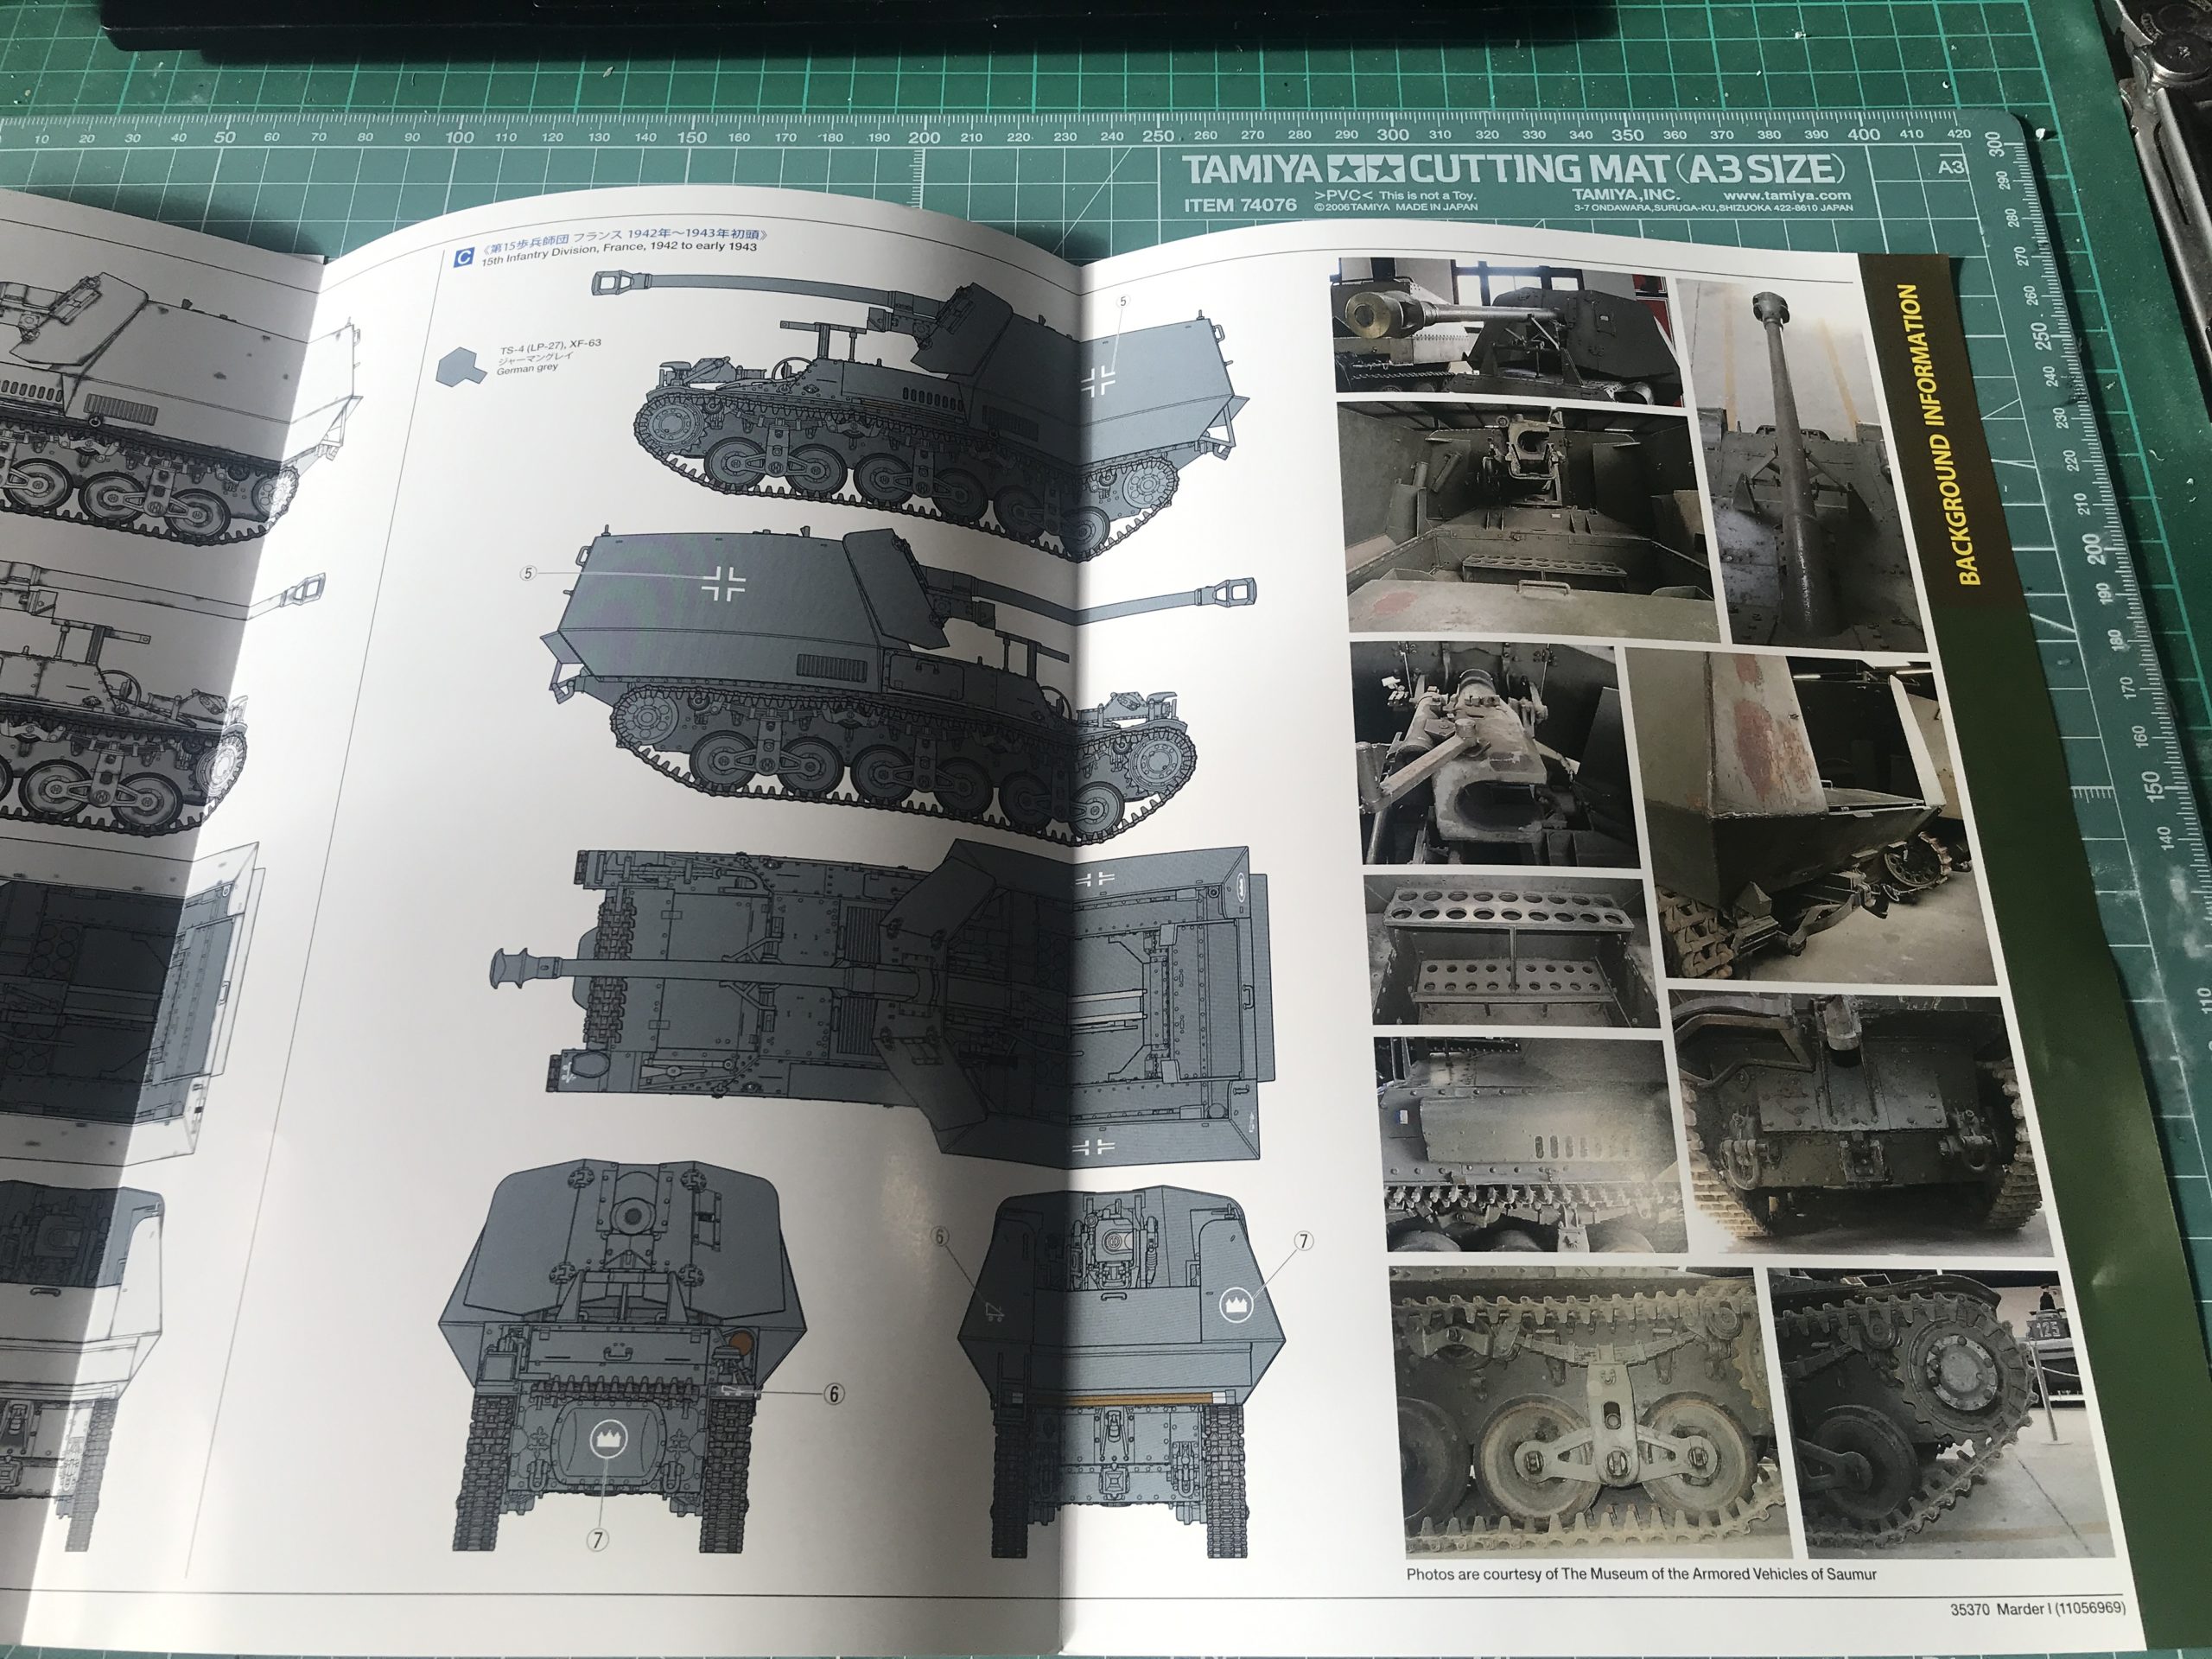
In addition to the flawless plastic you also get an instruction book, a nice fold out colour information sheet with painting details for three paint schemes:- The late war European scheme as per the box art an early war German grey scheme and a white washed winter one.
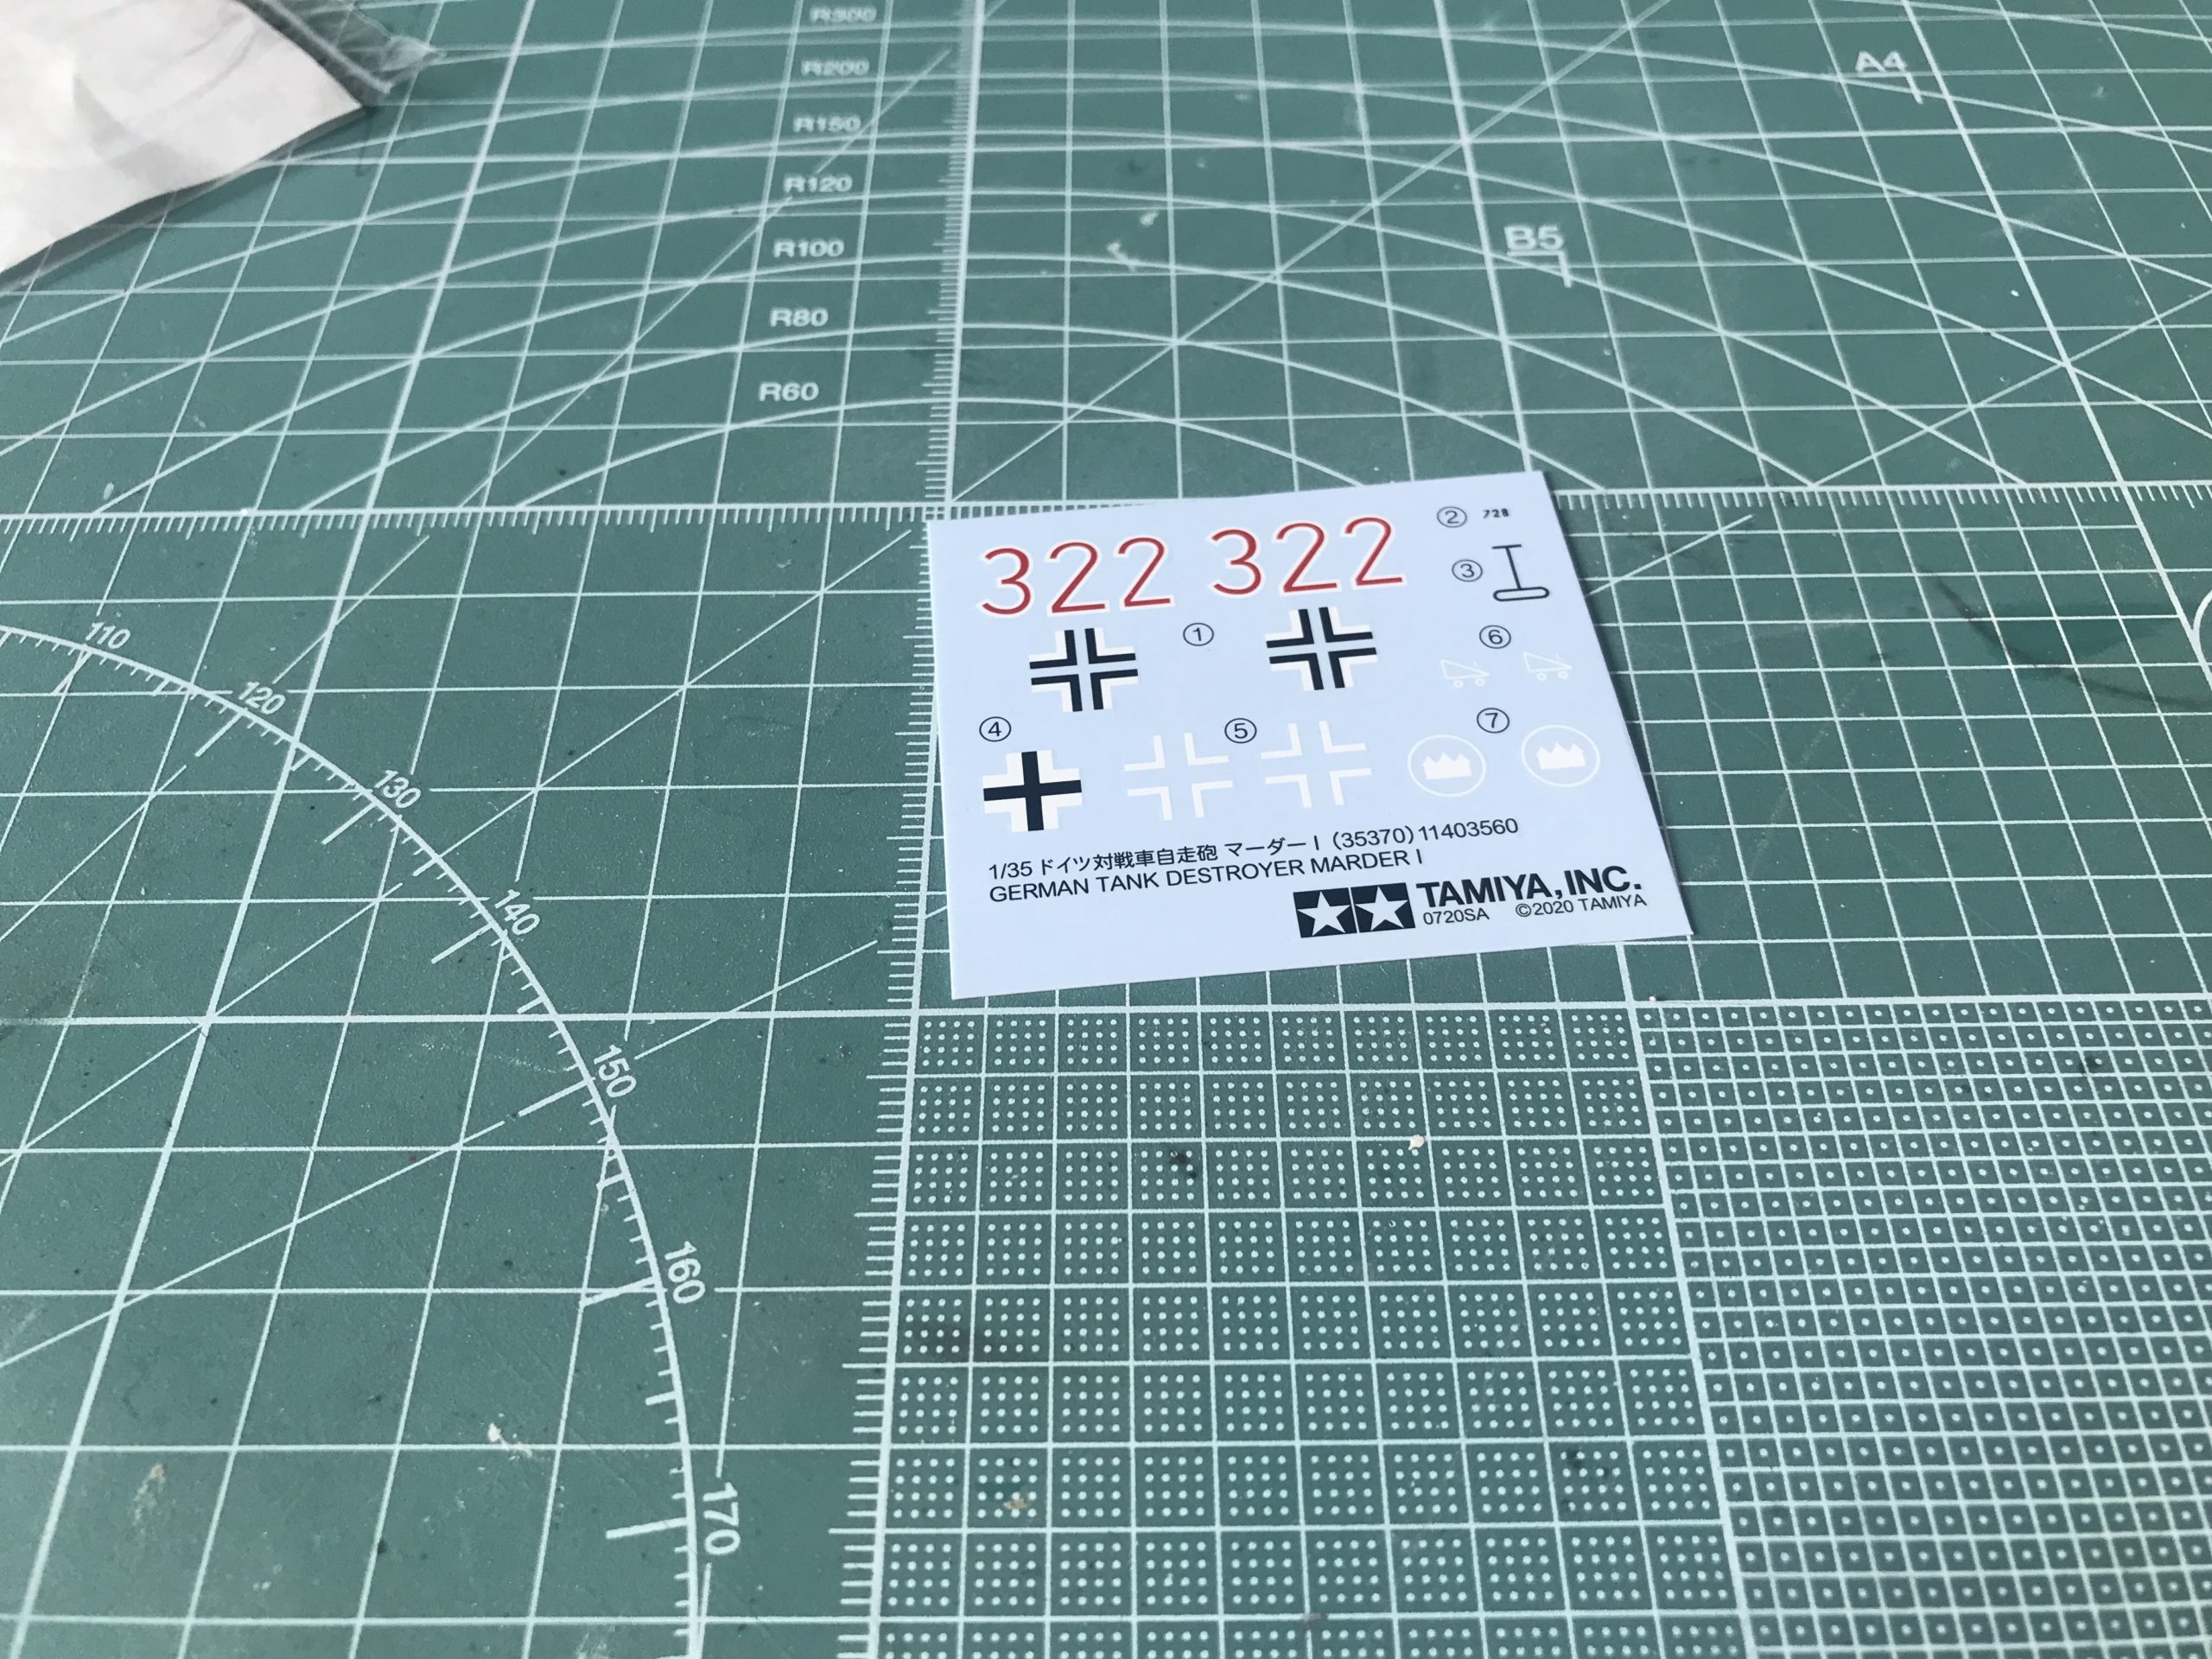
As you would imagine decals are relatively few and simple. They are well printed with strong colour and no register issues (no colours overlapping). I know some have an issue with Tamiya decals, but I think they are fine.
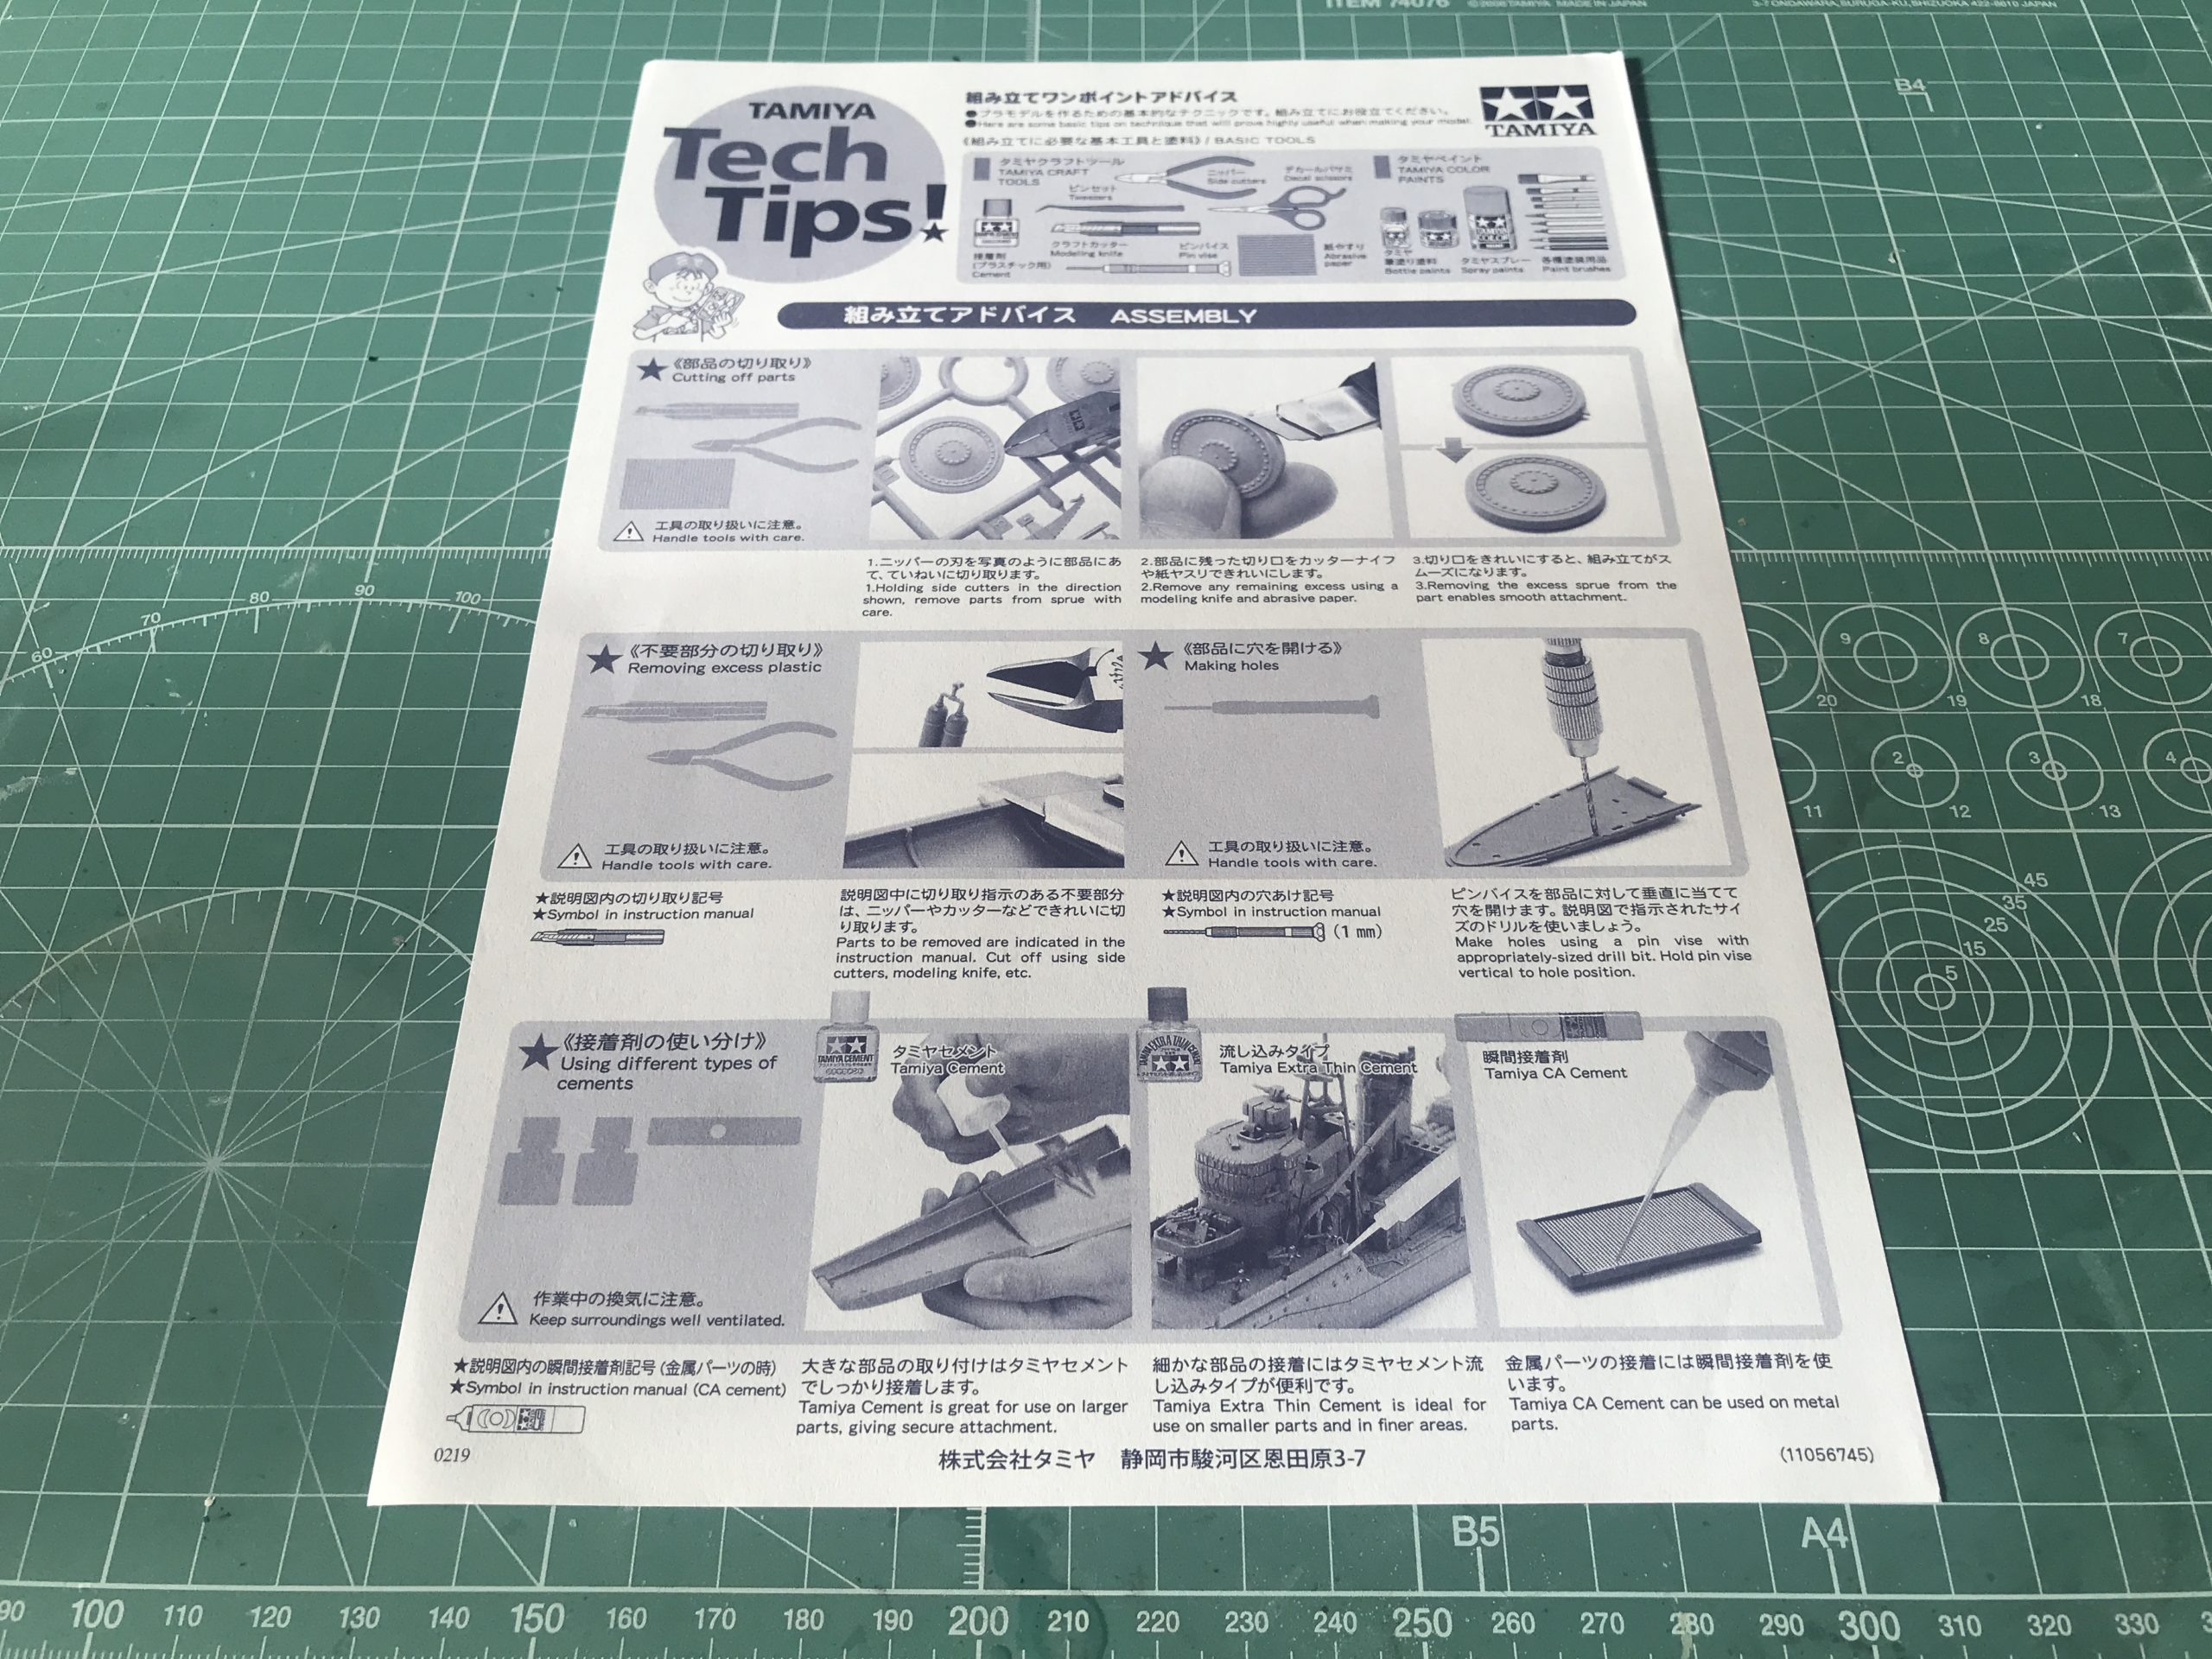
Finally you get a tech tips sheet a useful addition for a new builder.
The Build
Time to break out the tea and chocolate hob knobs* as I lead you through the build.
*other biscuits are also acceptable.
I’m going to start with a warning / disclaimer: If you find sycophantic eulogies nauseating, then a sick bag may be the order of the day. That said; if you like lots of pictures then I have got you covered on this one.
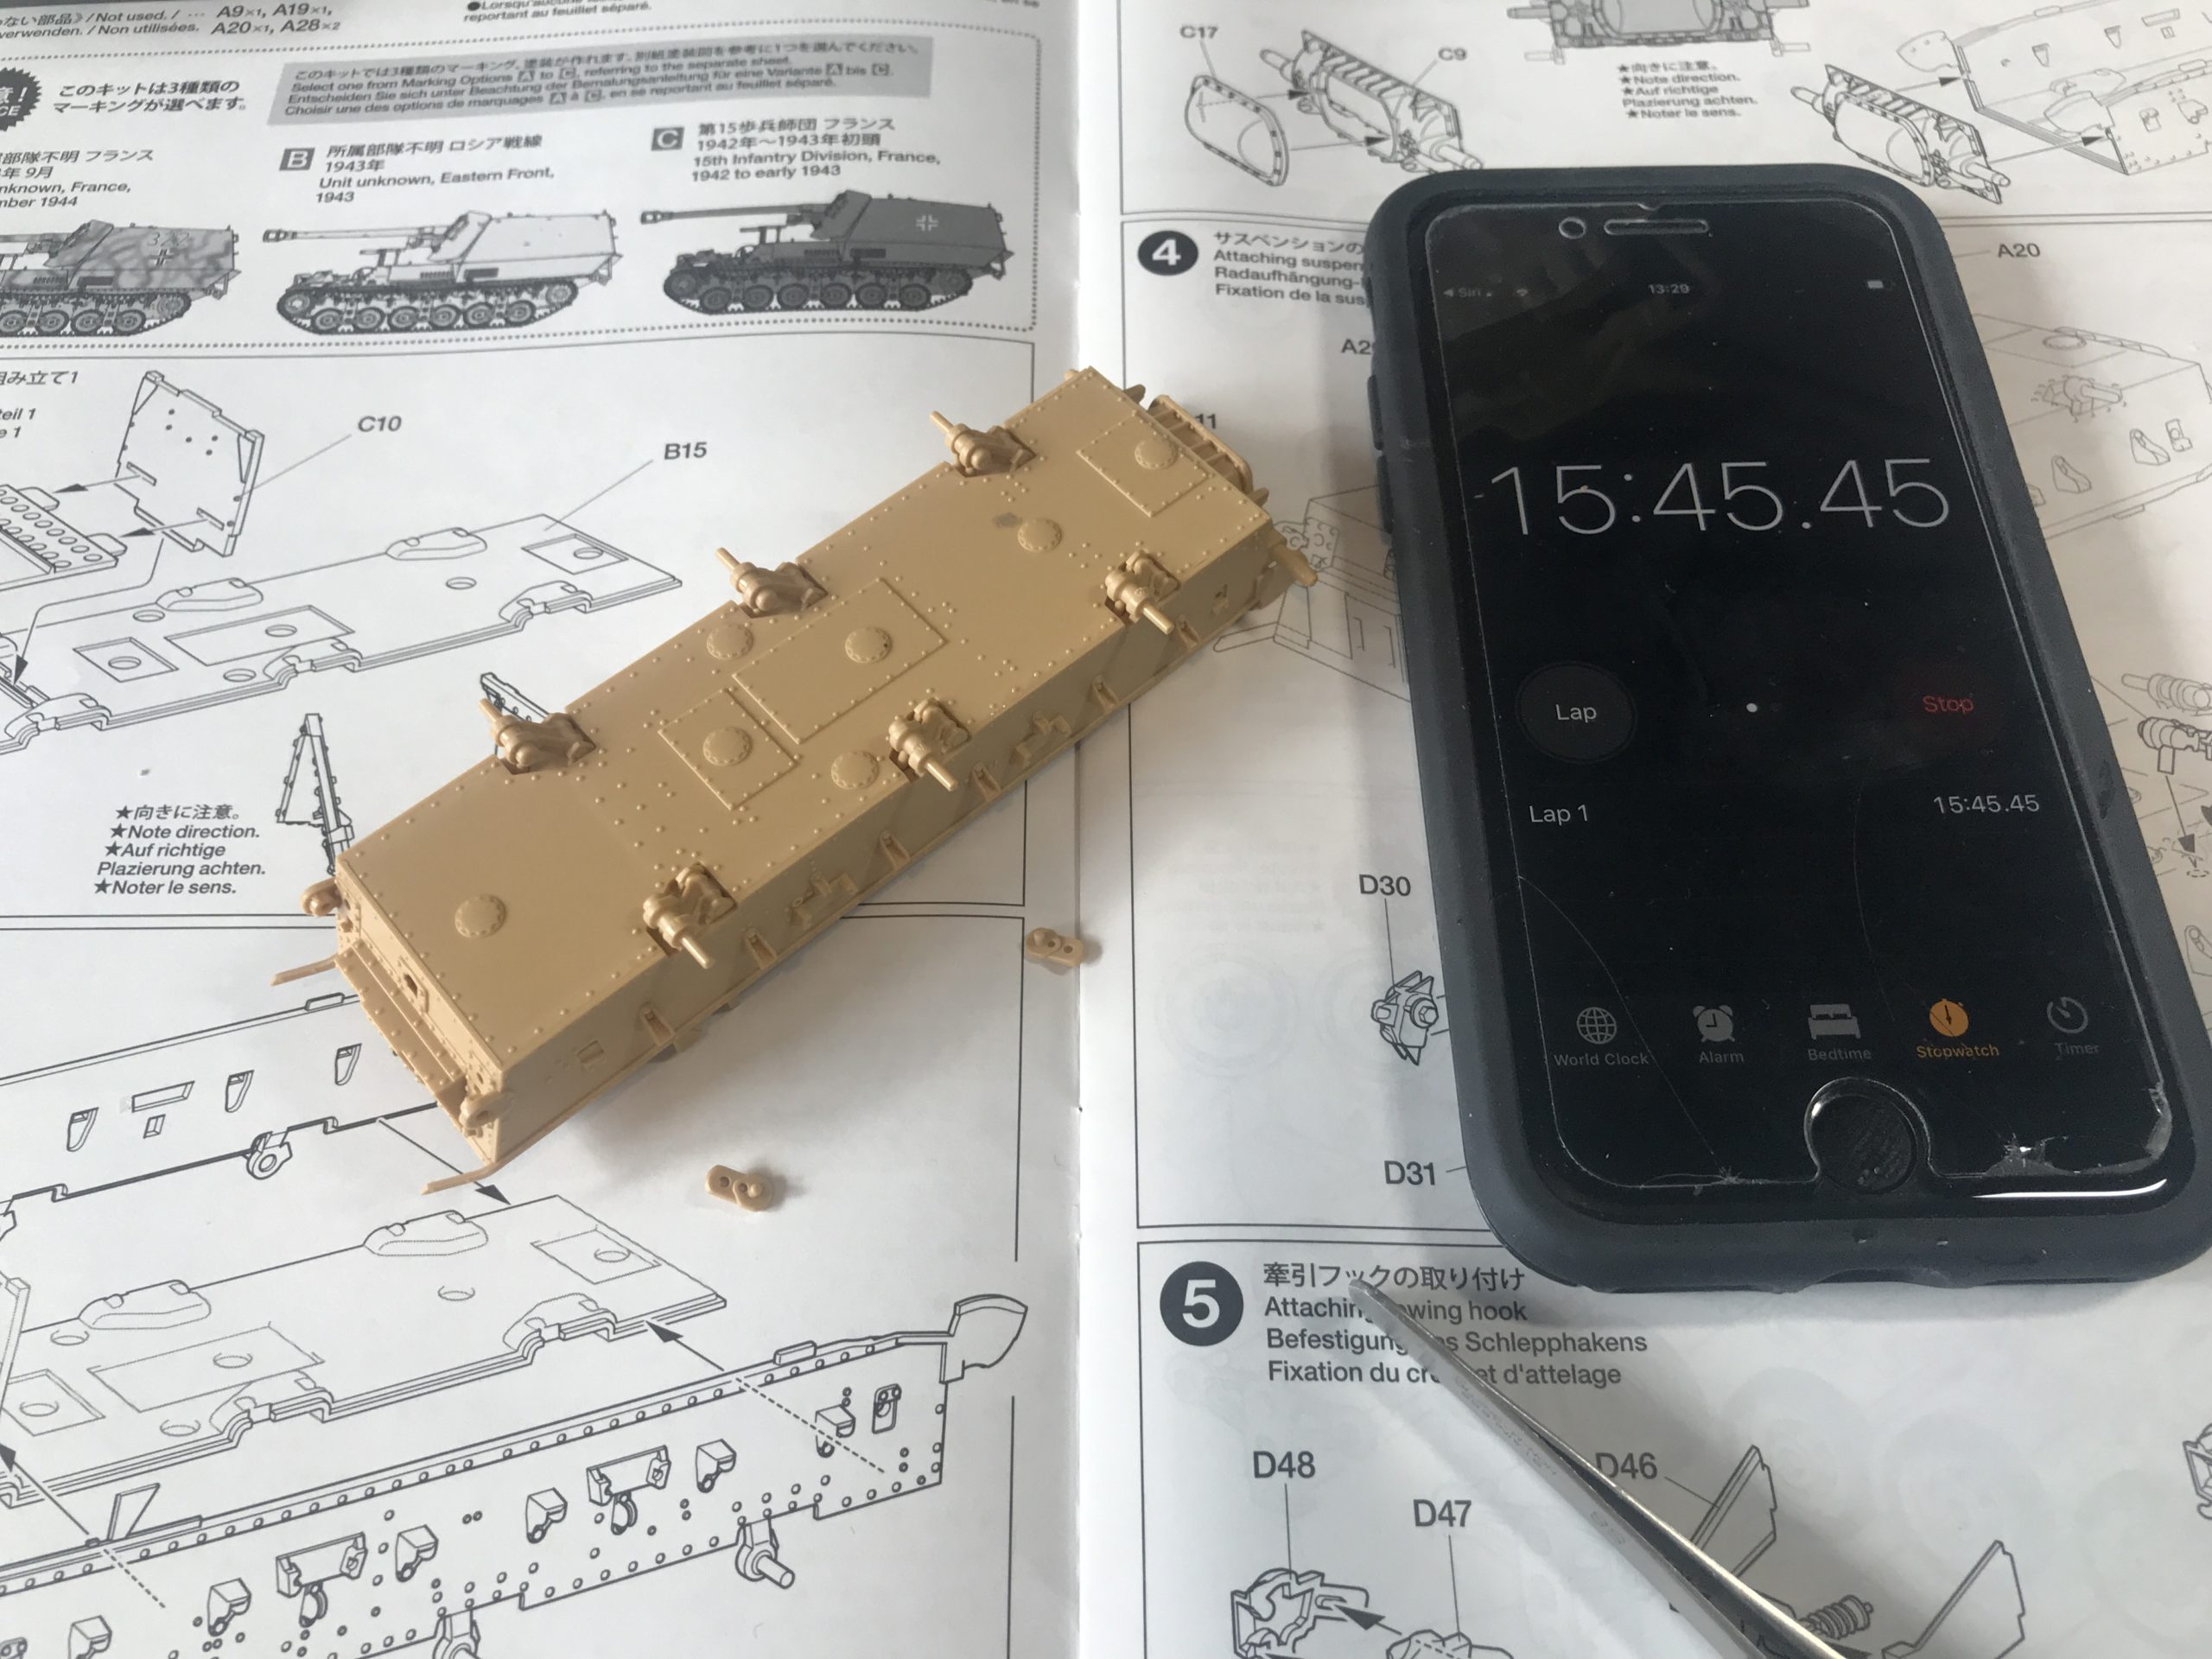
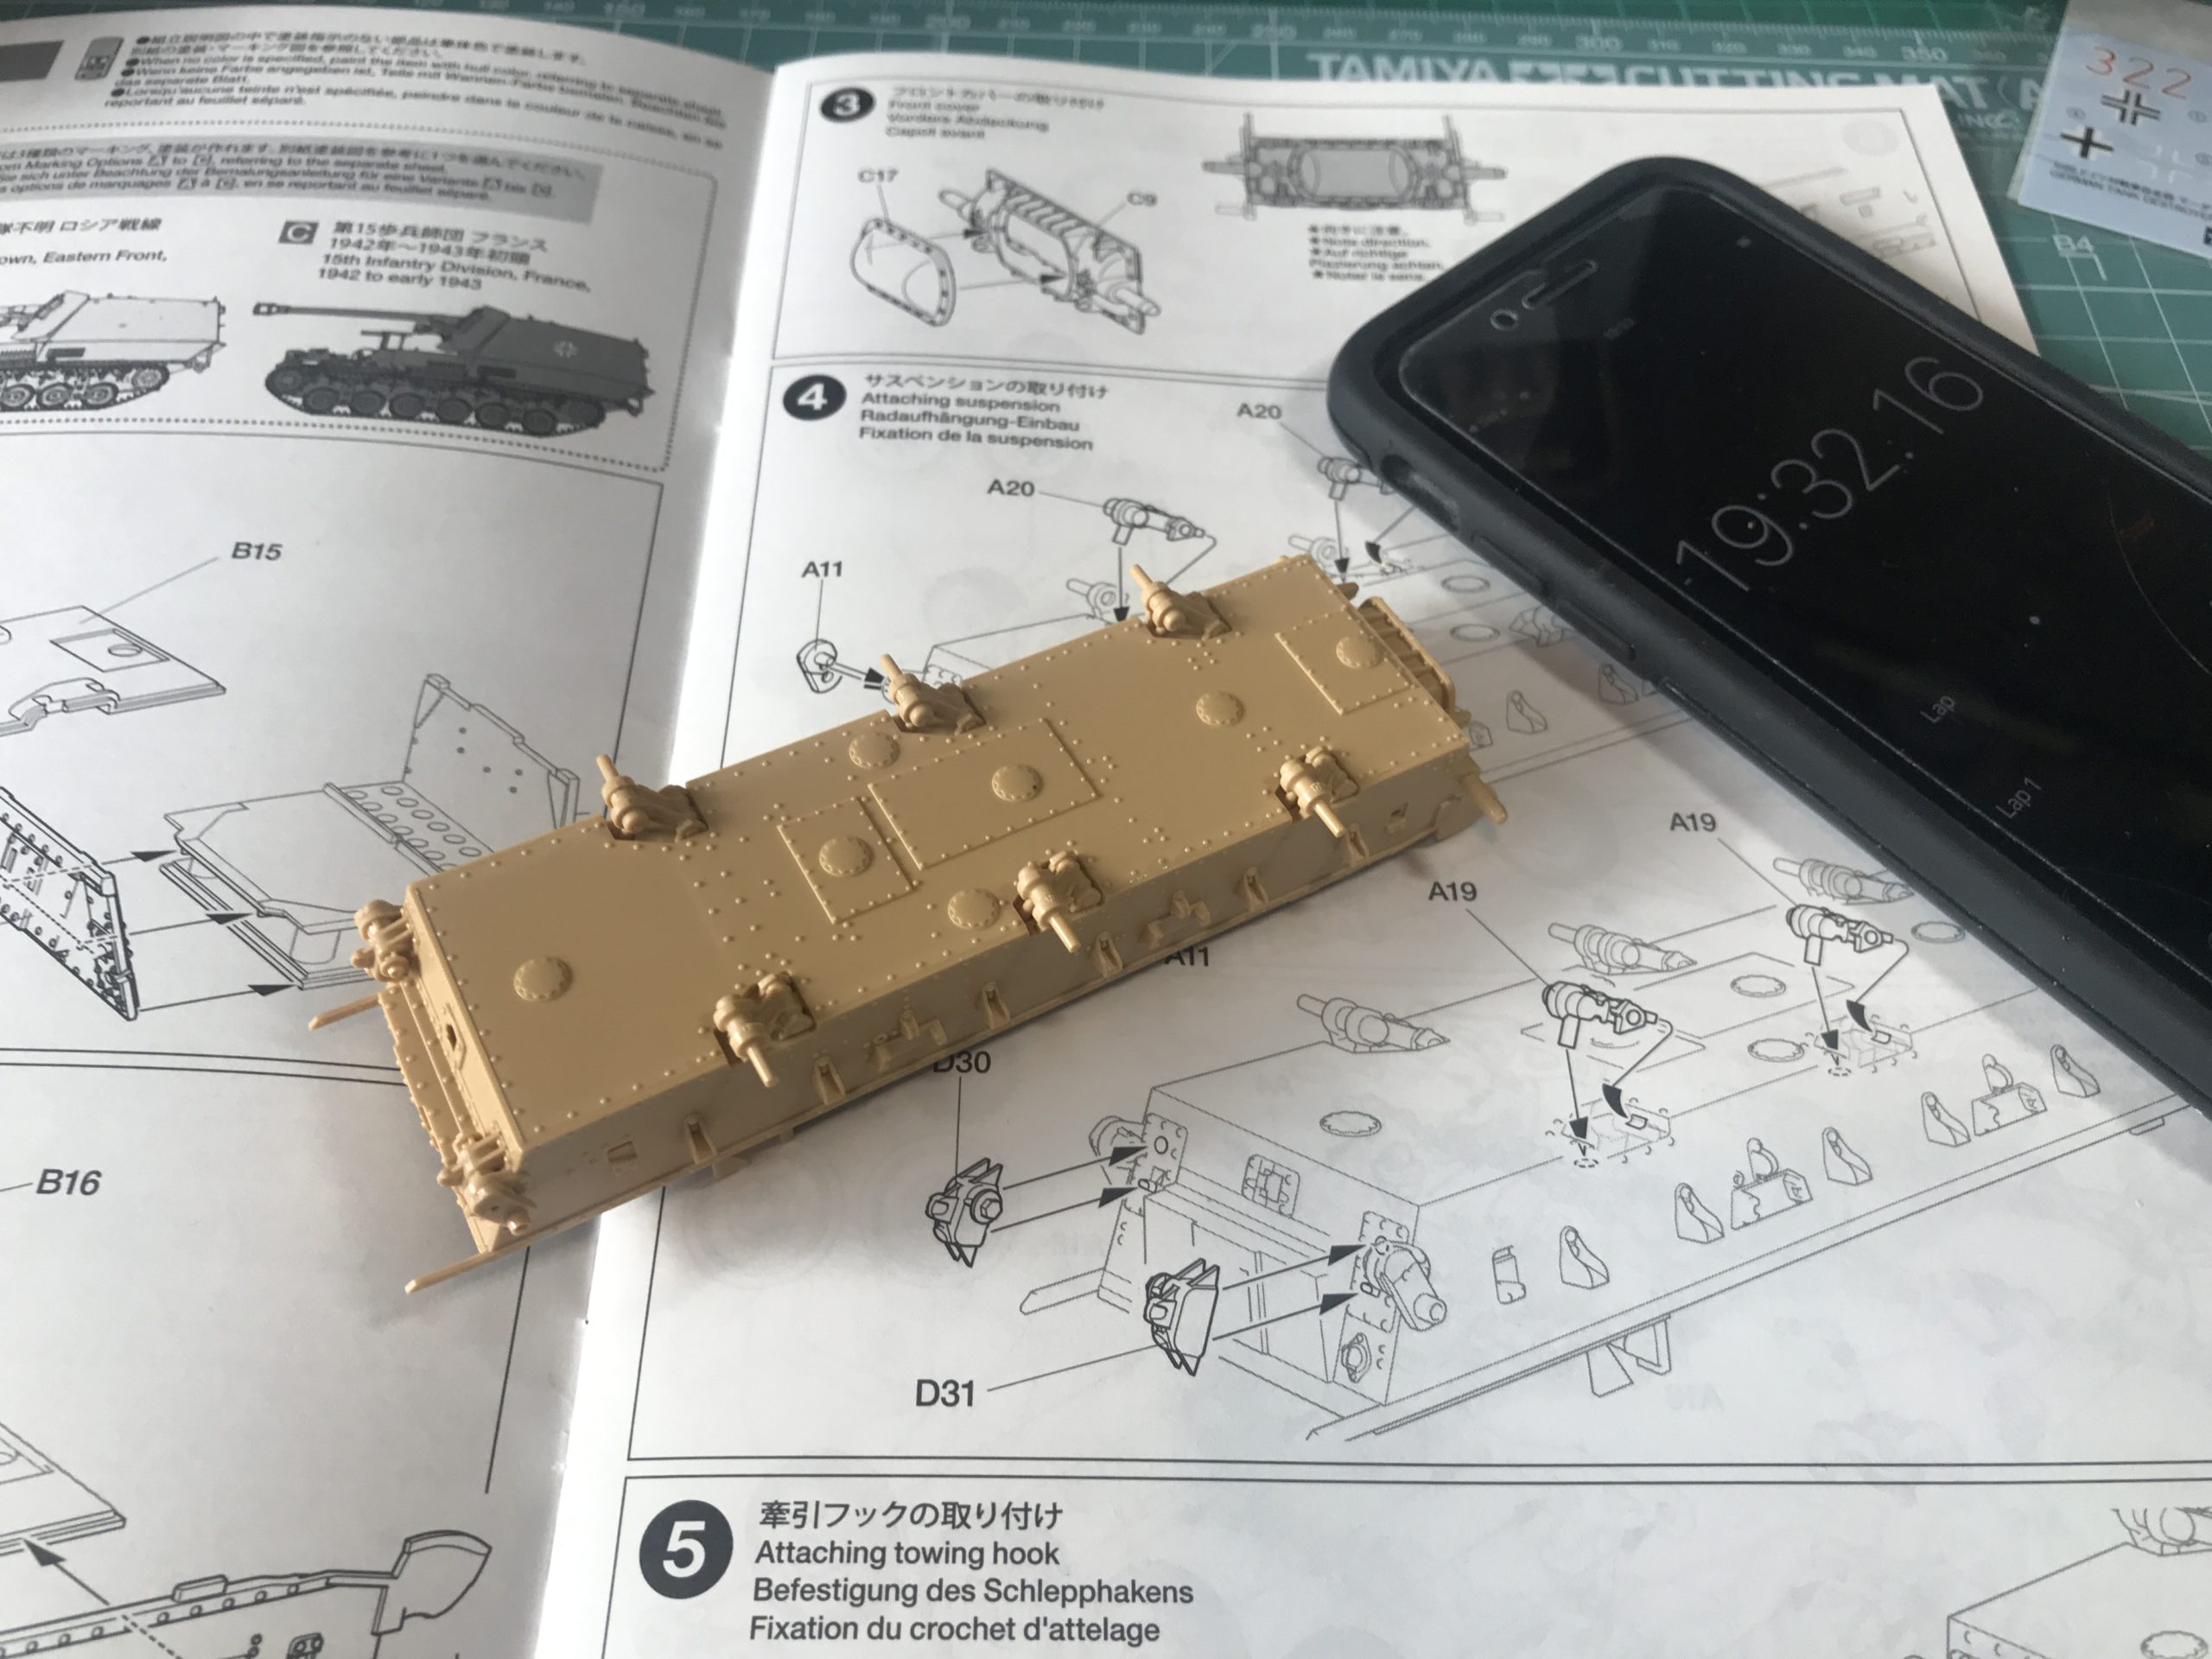
Now I did start off timing the build on my phone. This was an error of considerable magnitude; simultaneously smug, condescending and completely stupid. Fortunately I came to my senses and abandoned this appalling show of hubris after a short while. Please ignore any phone images at the start of the build.
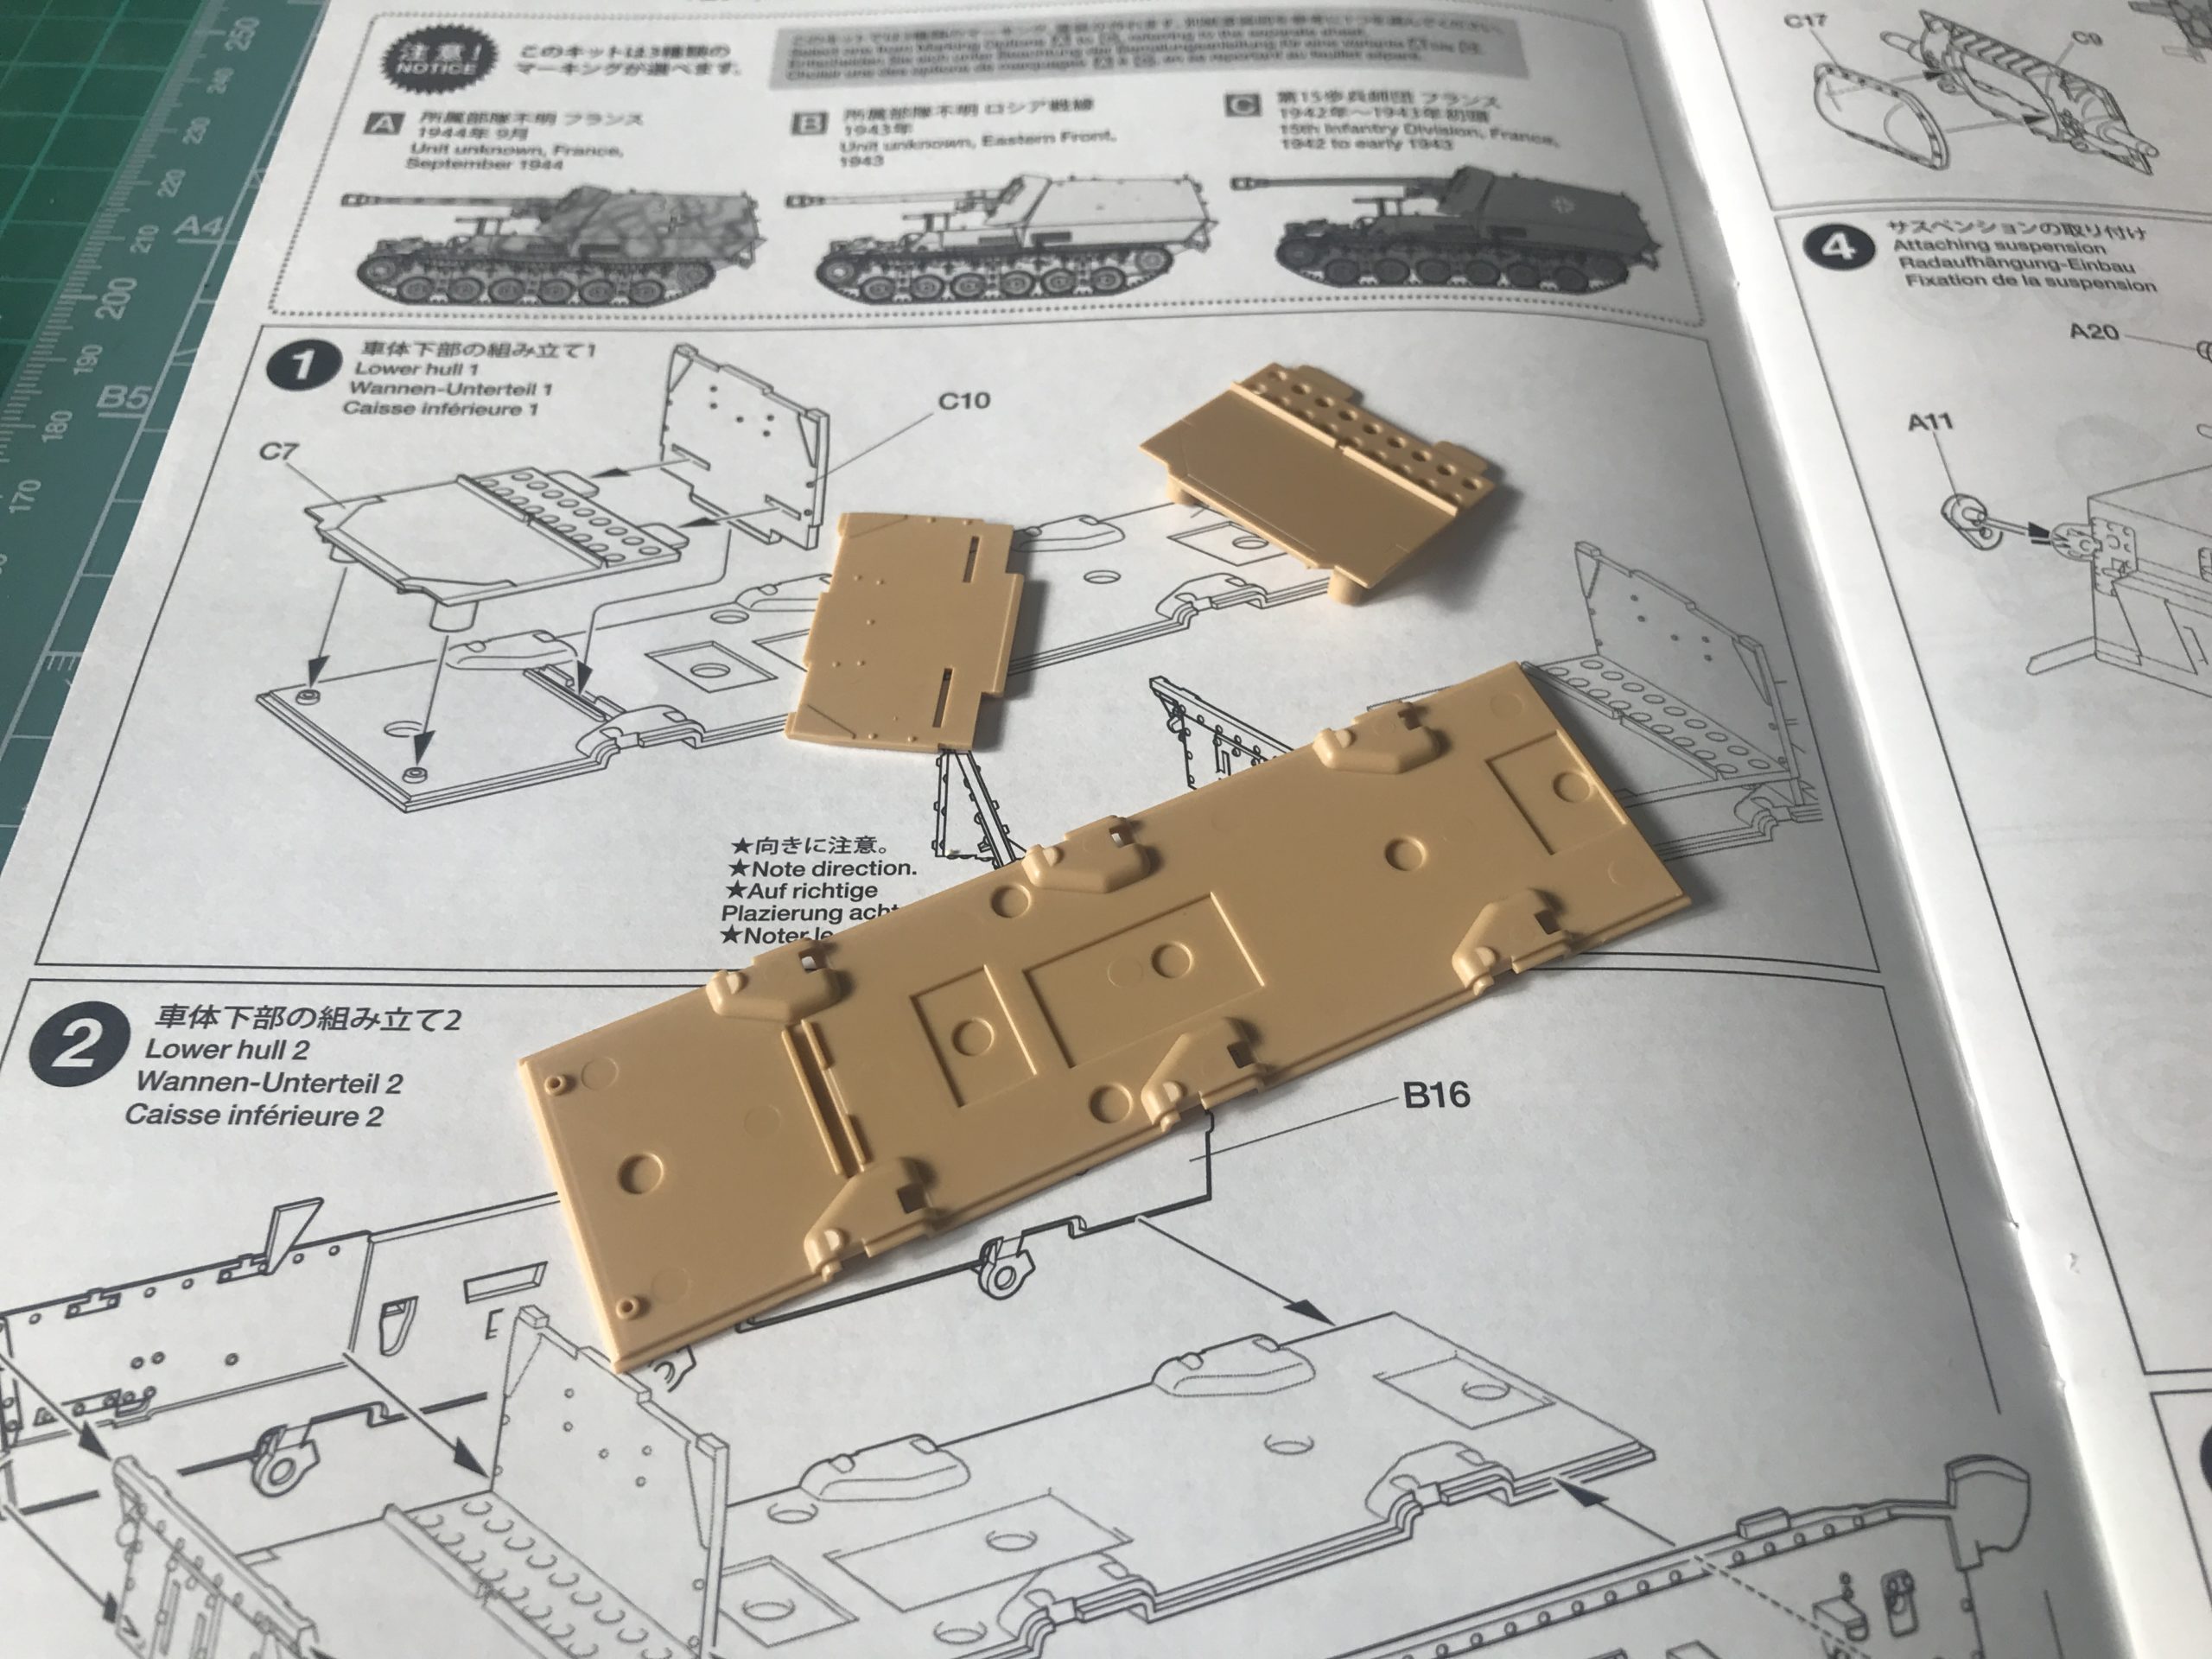
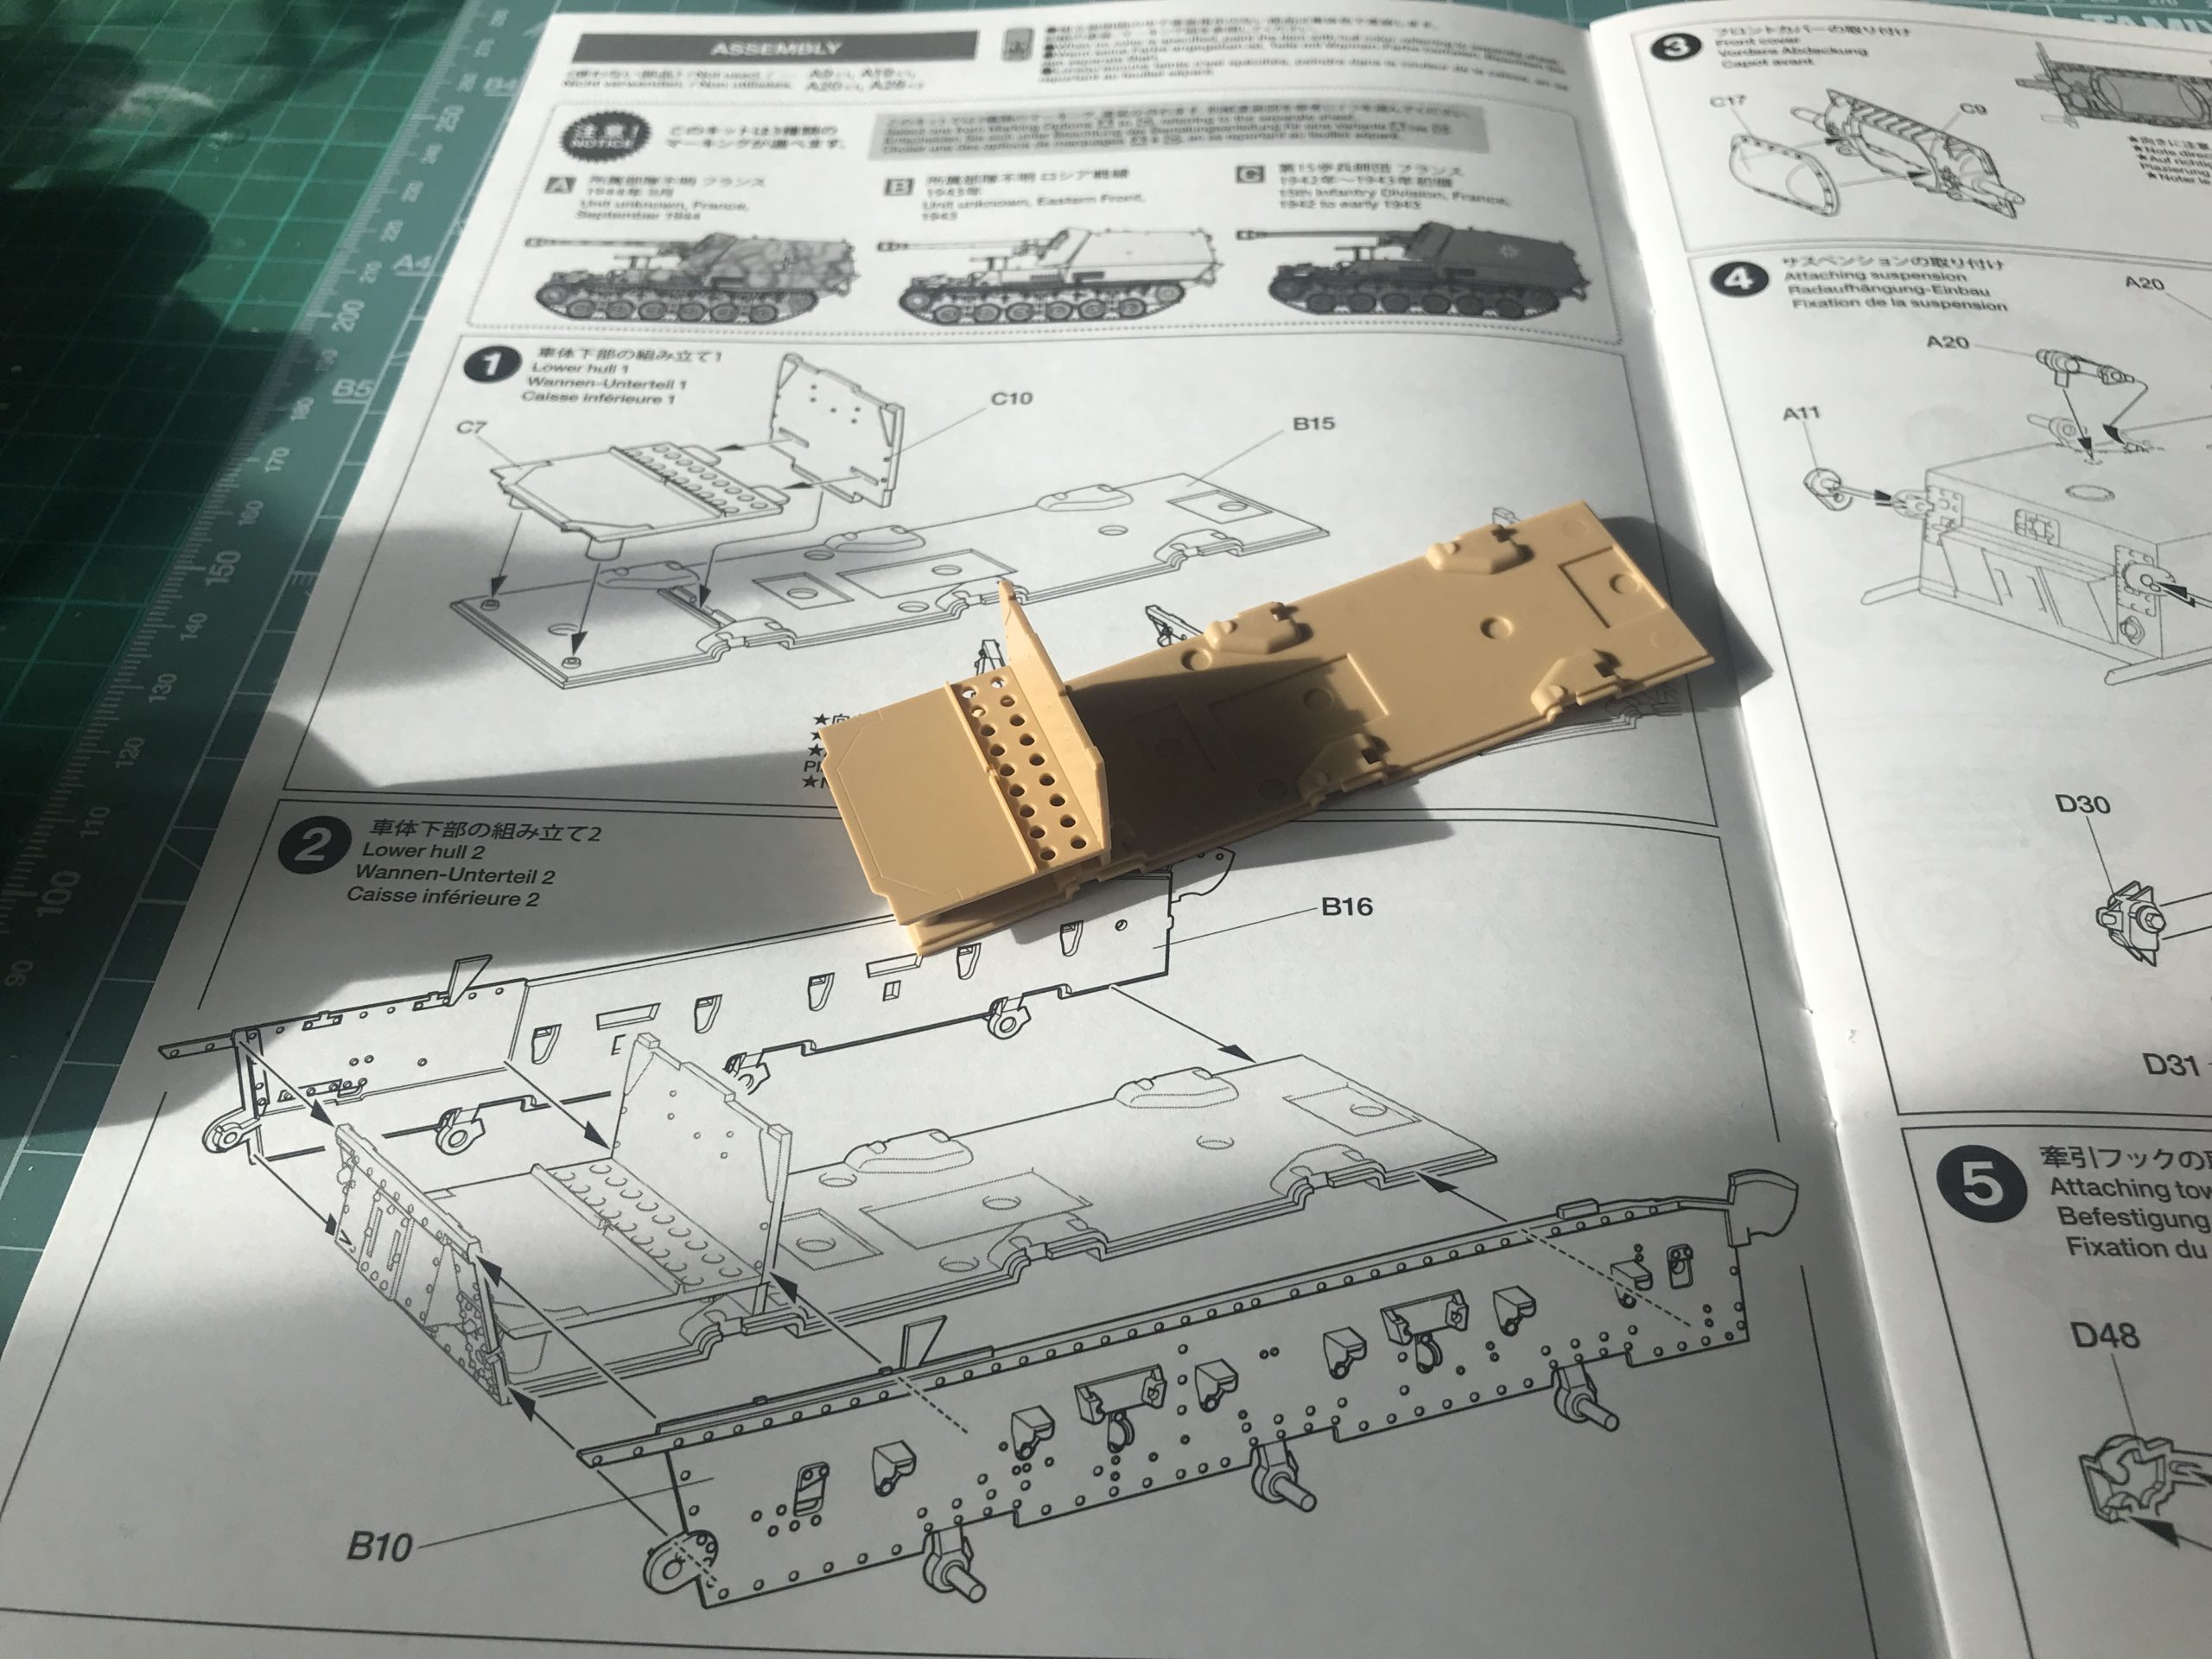
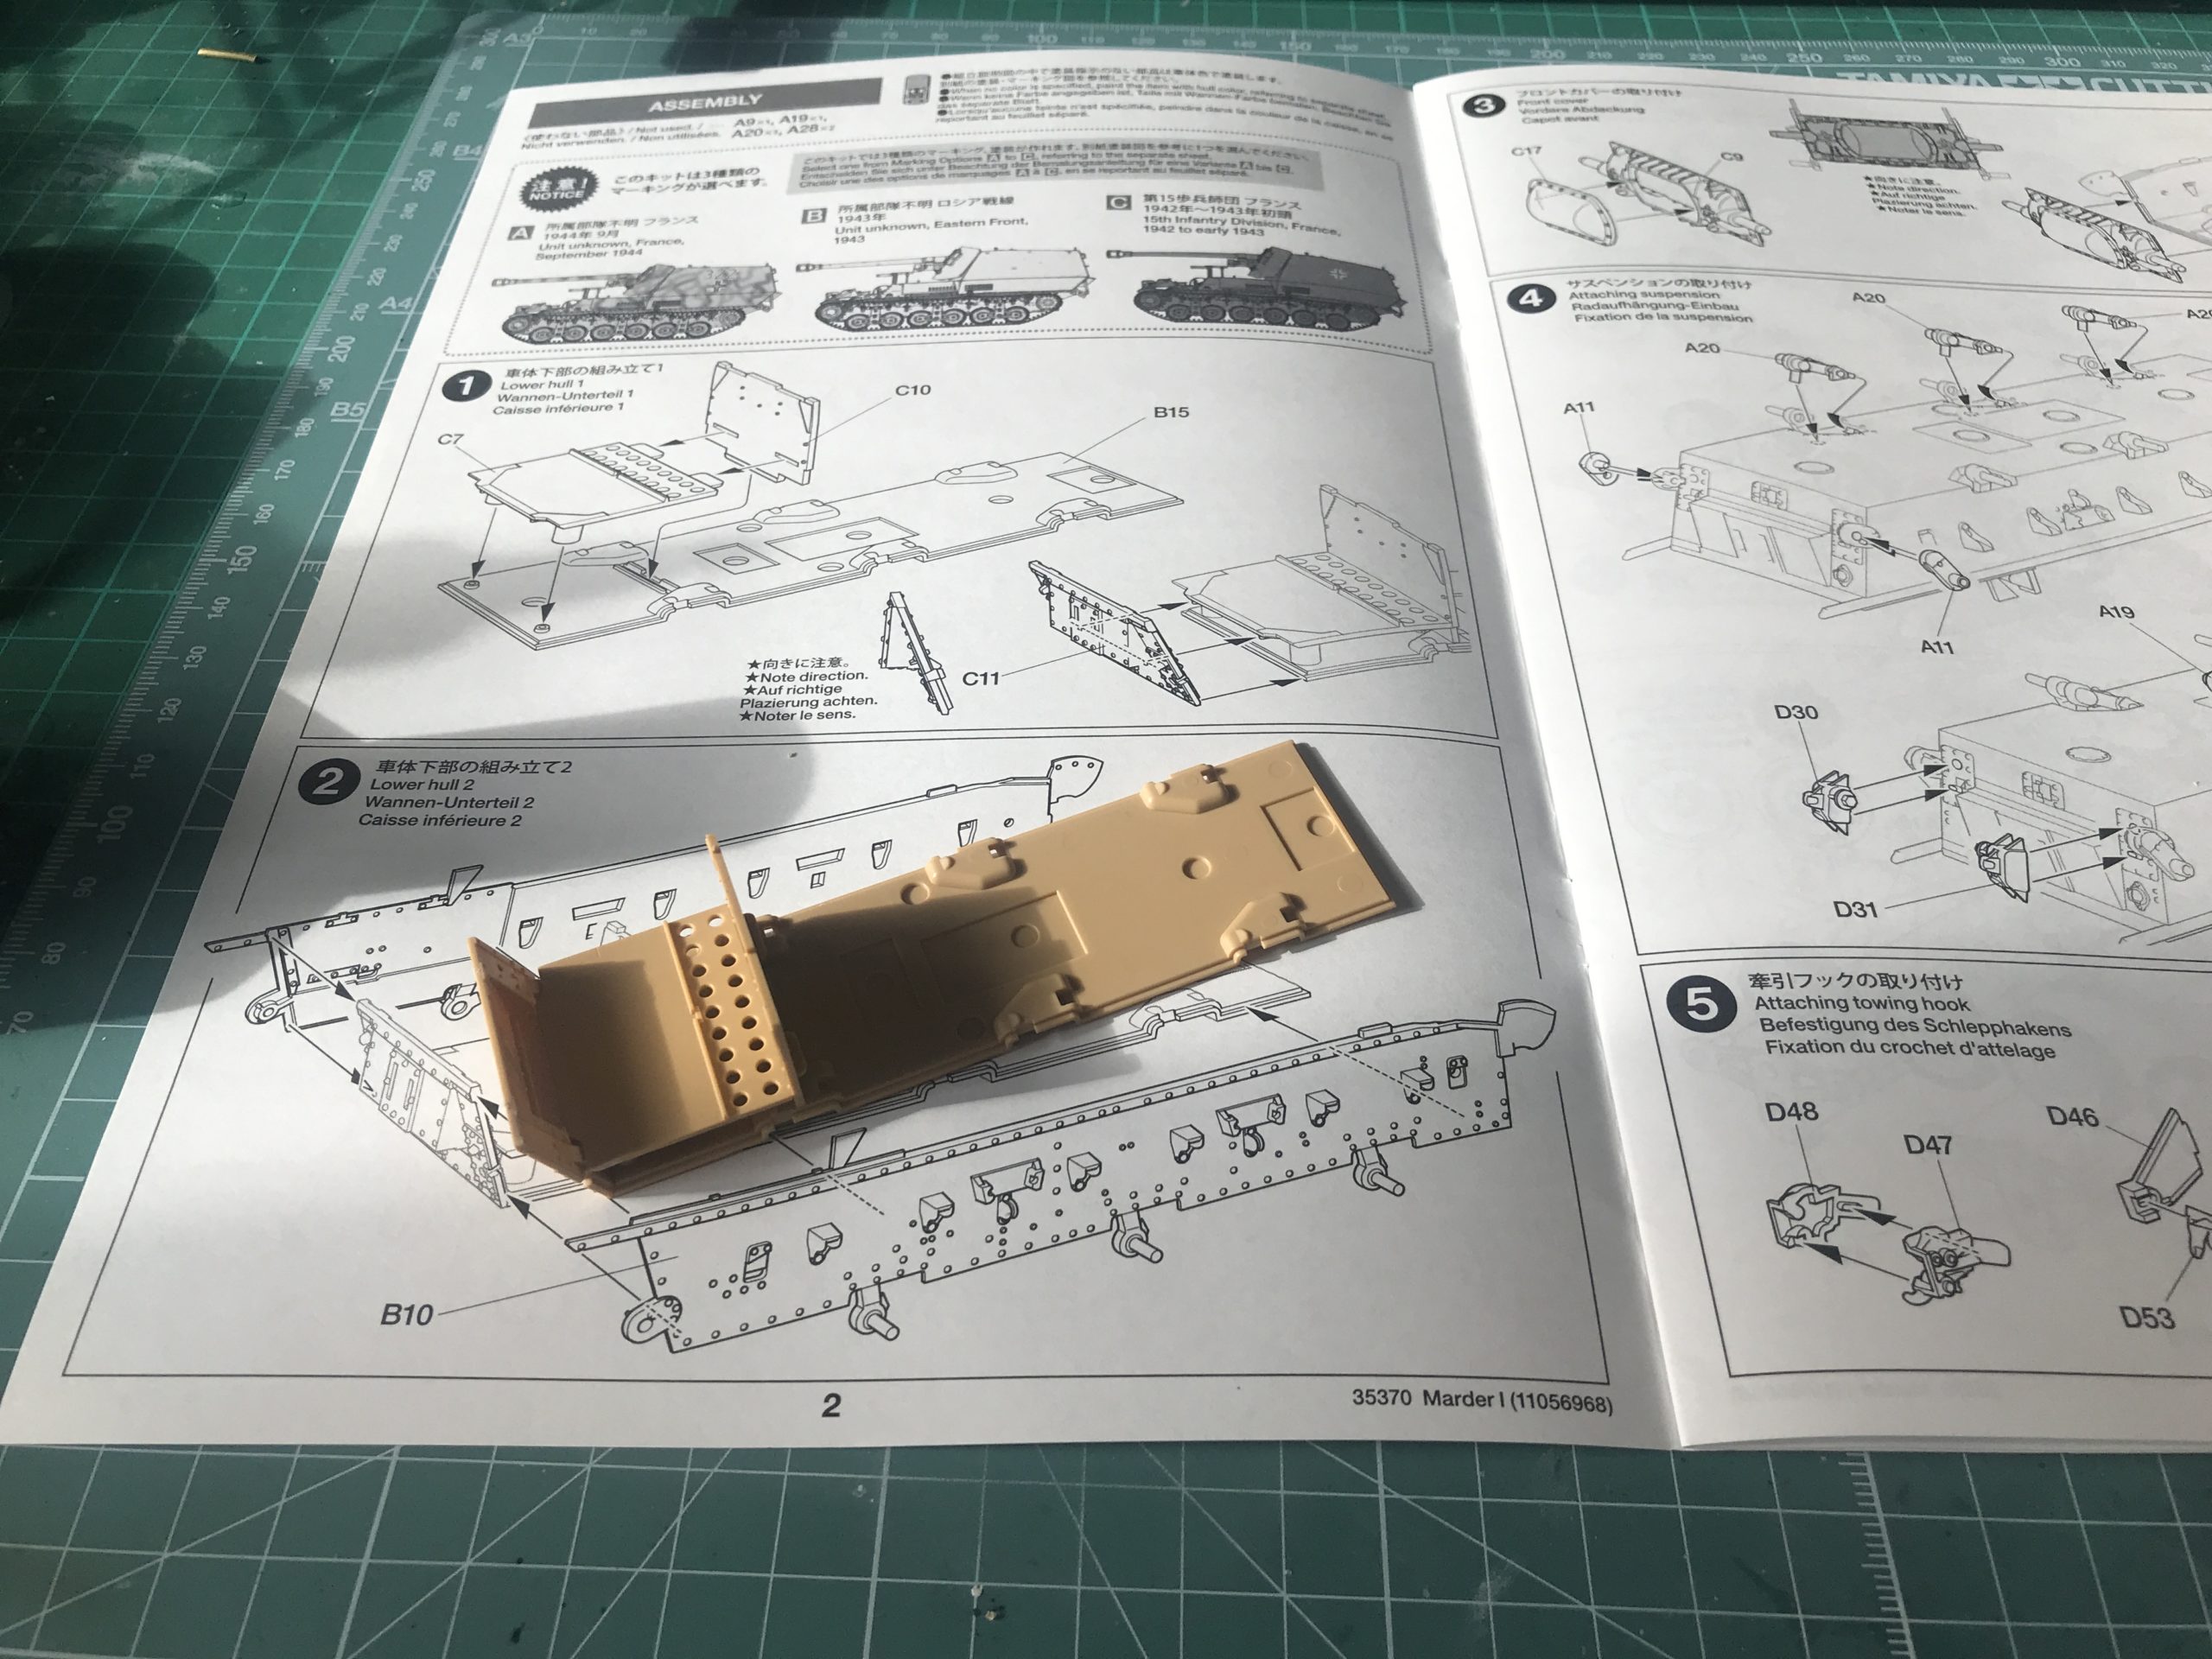
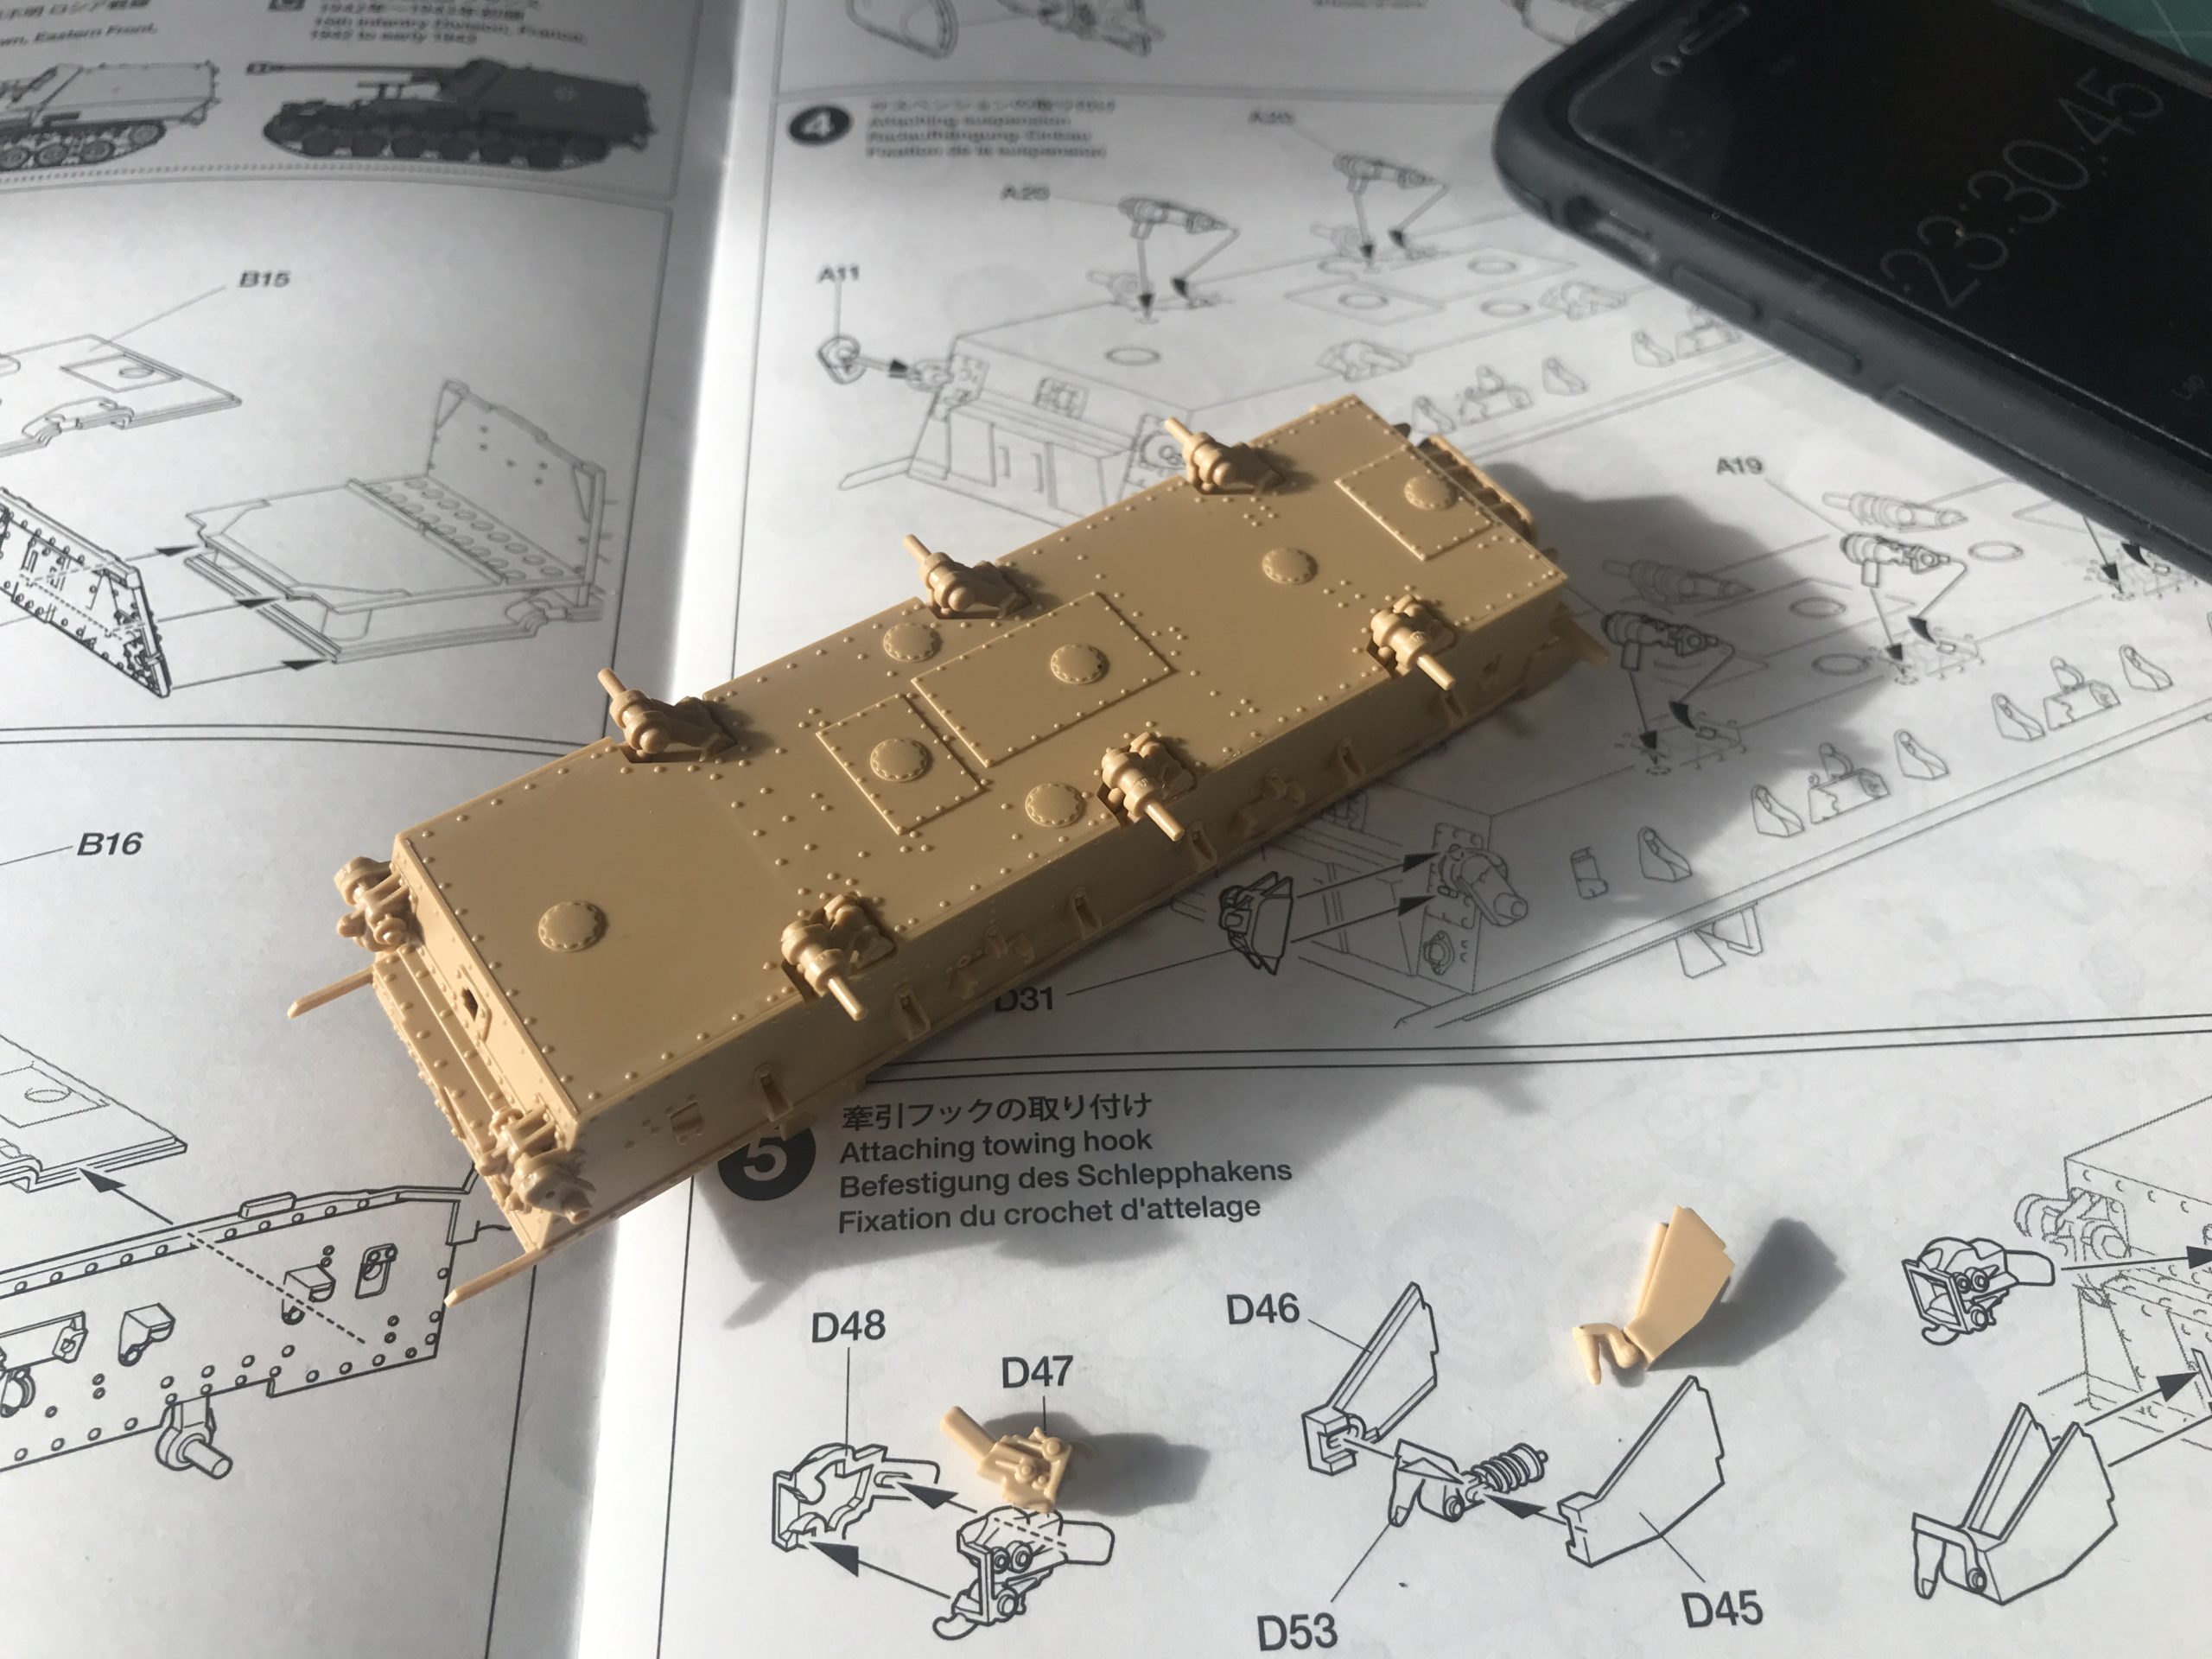
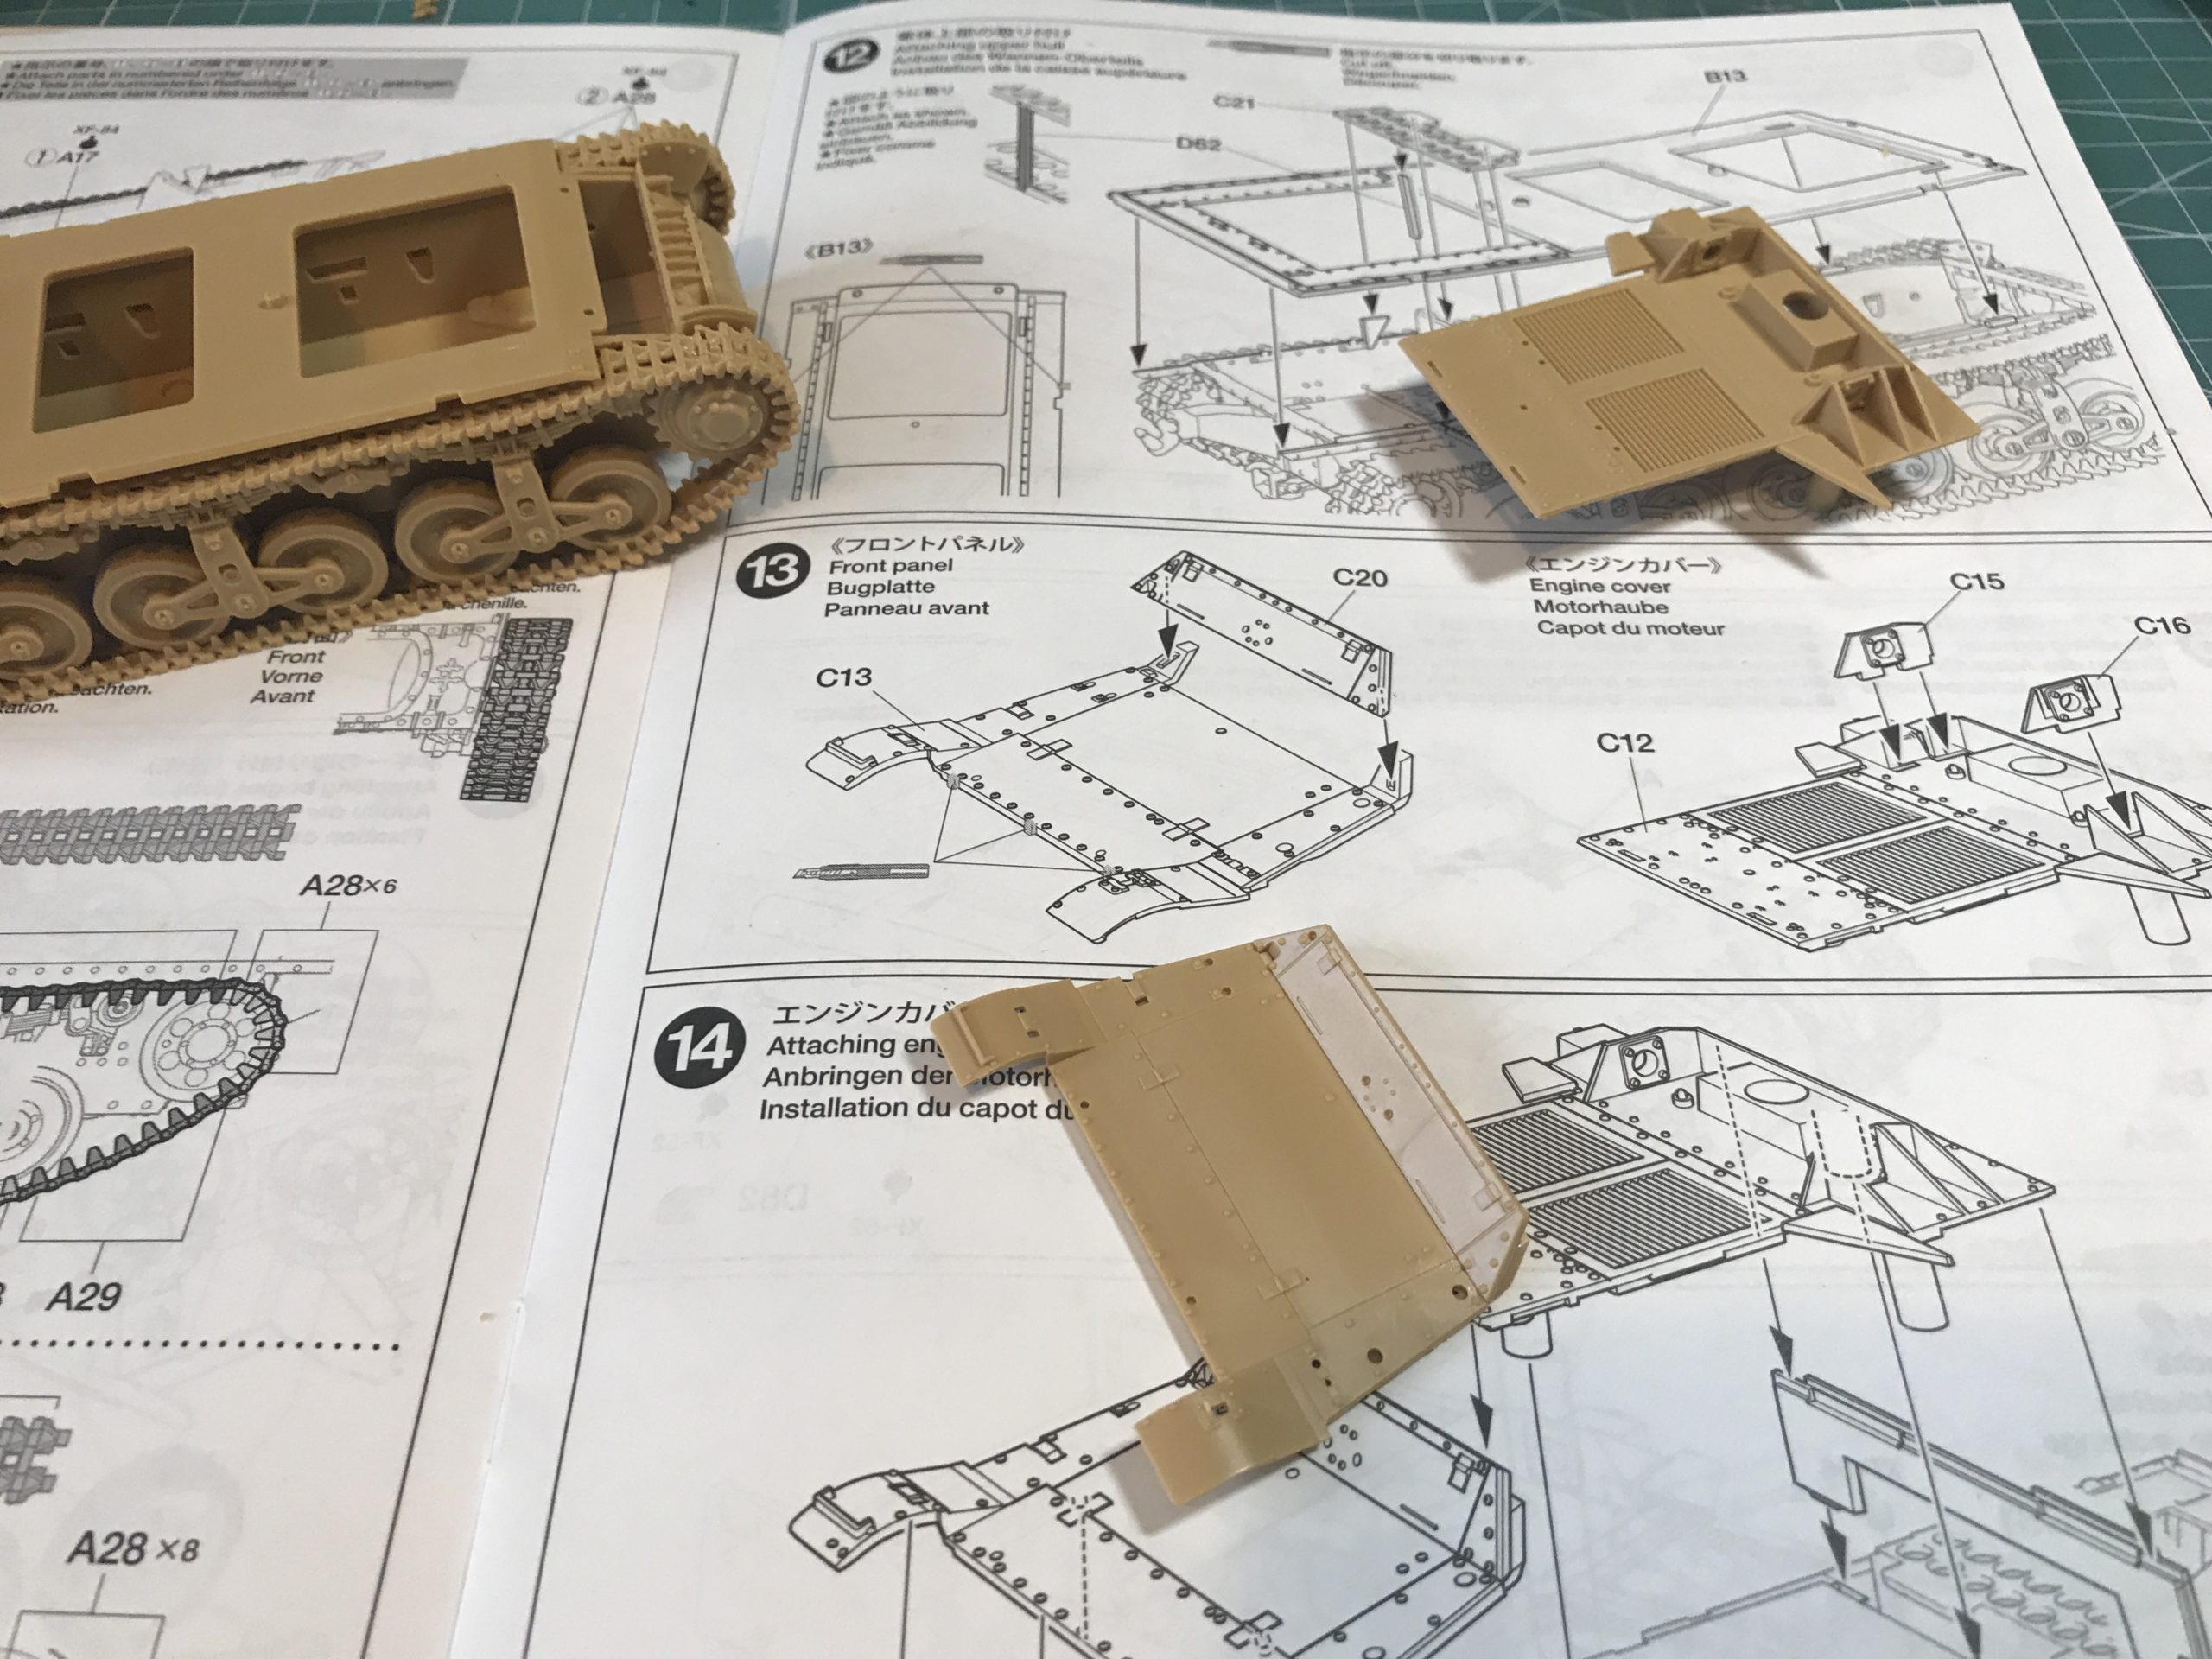
Assembly begins with the hull. If this were a movie then this would be the montage… I haven’t added any descriptions as it’s pretty obvious I am just making my way through the instructions.
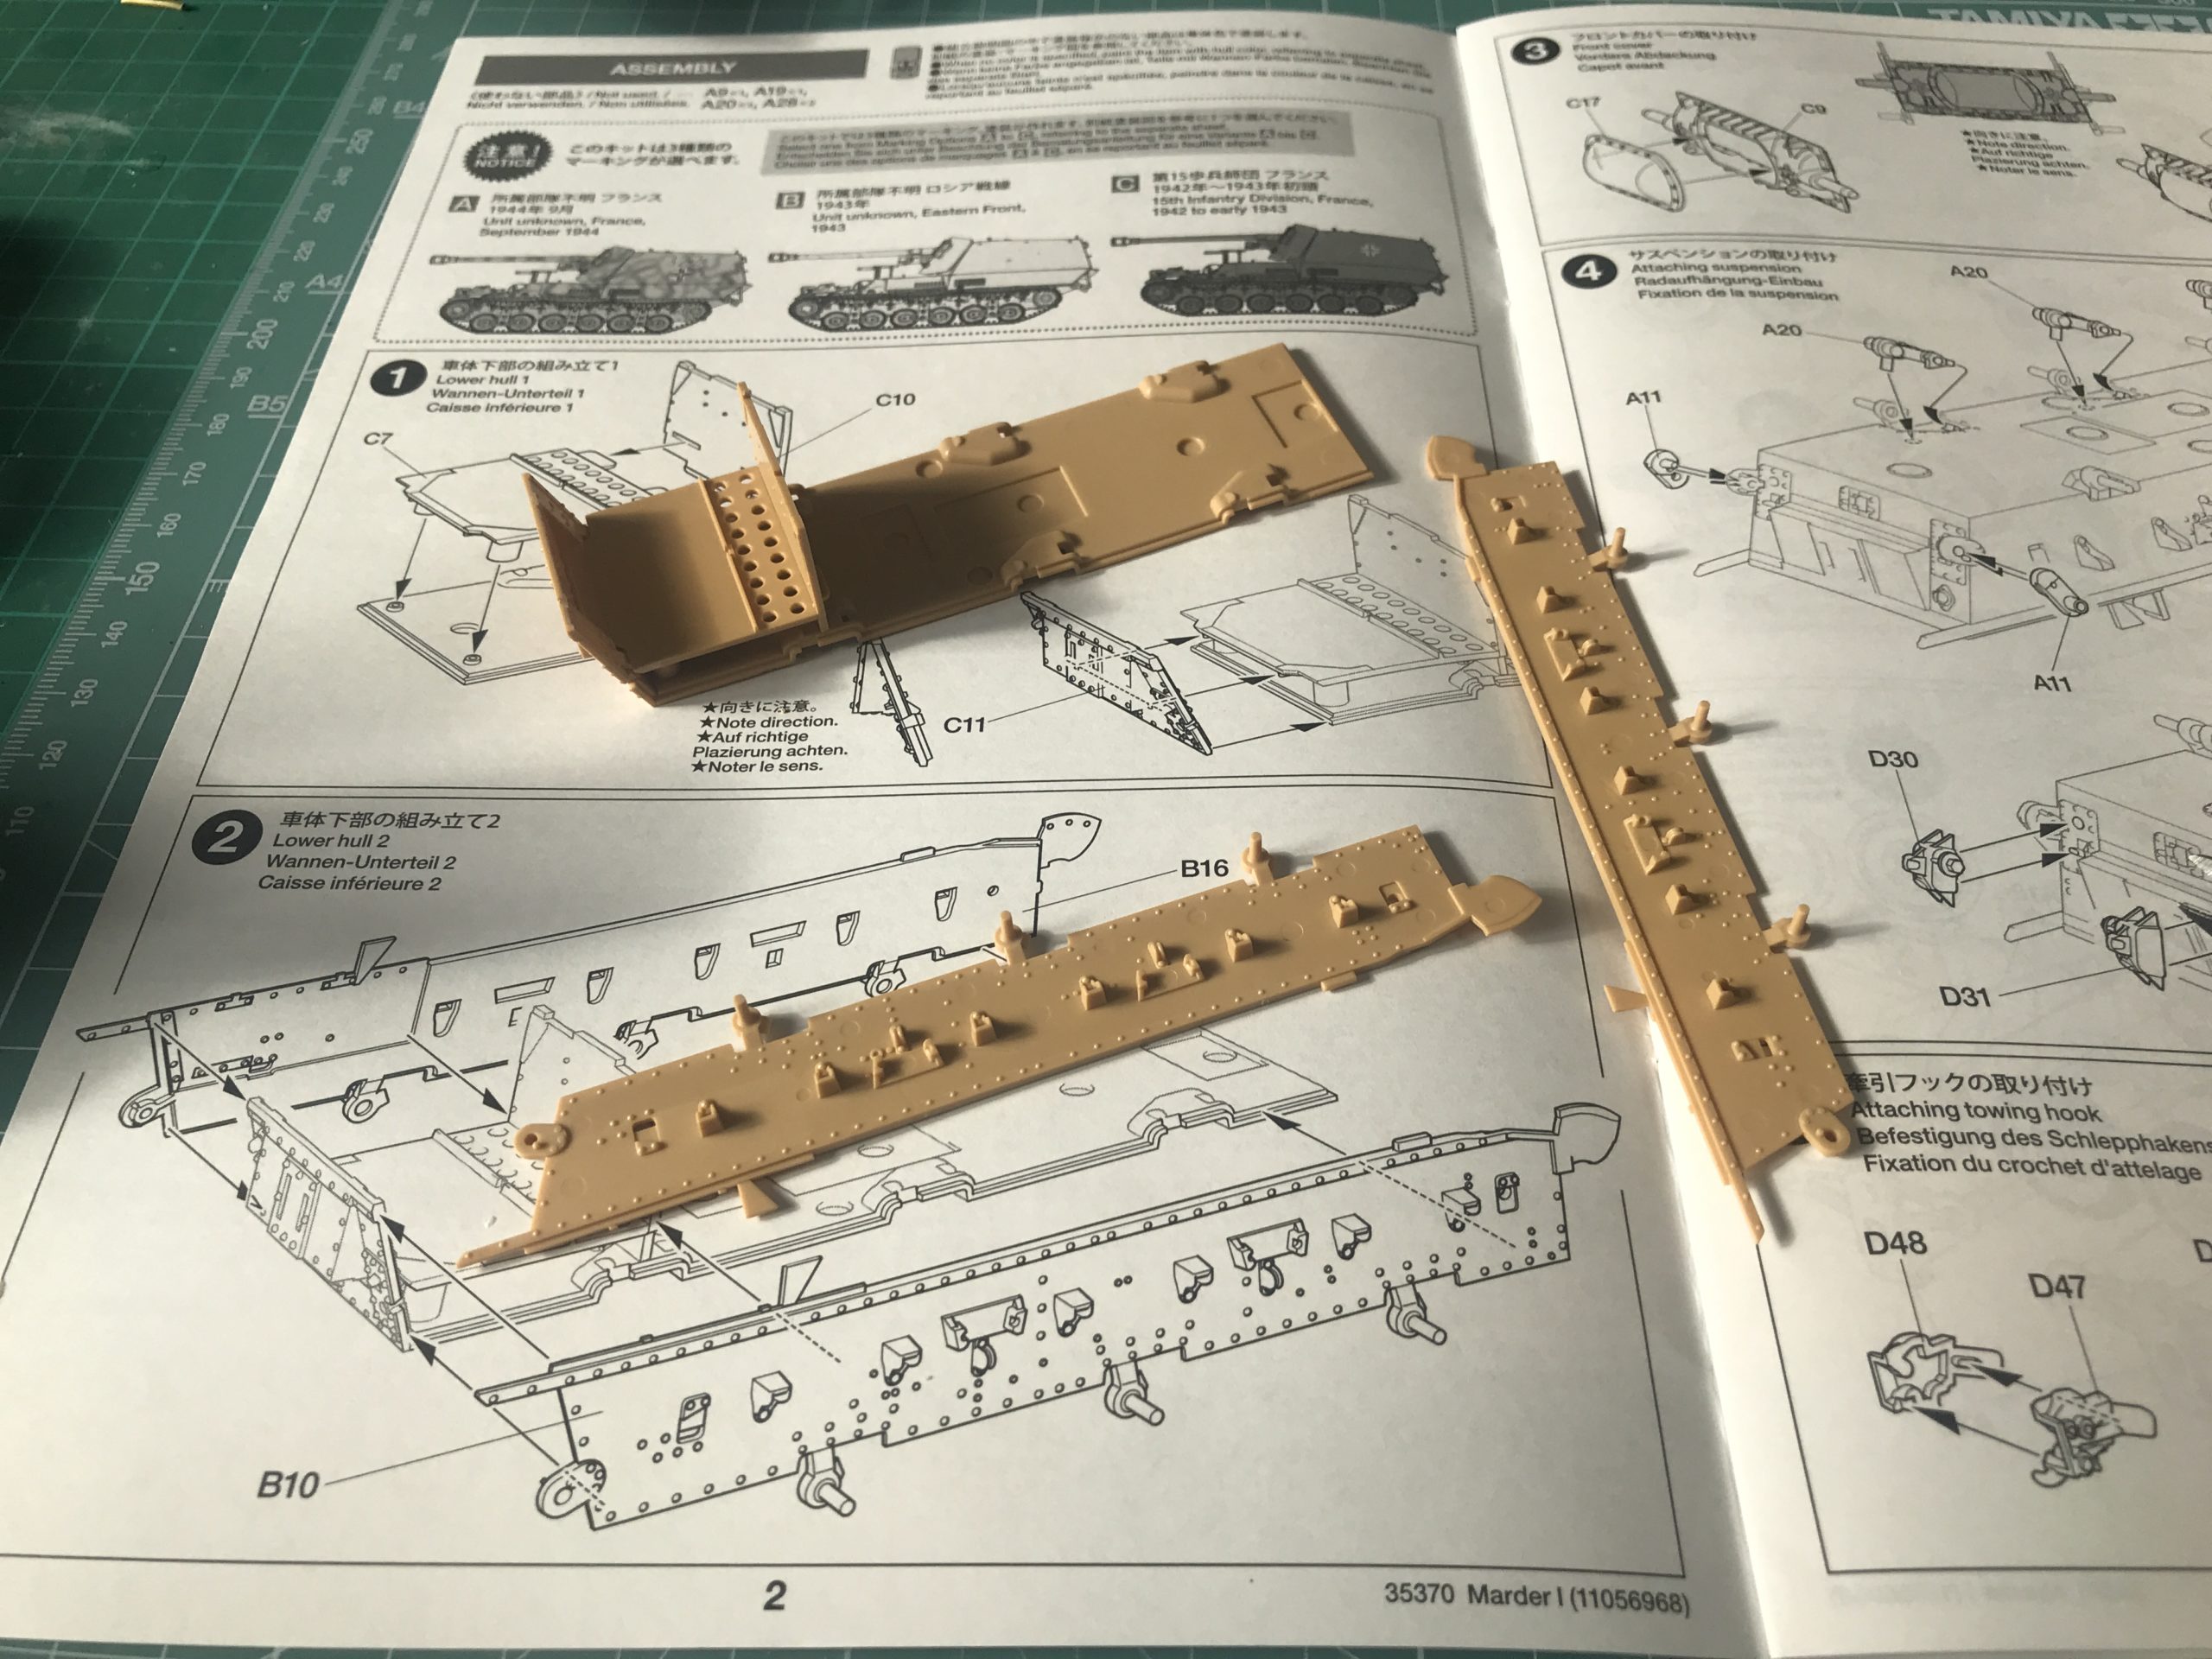
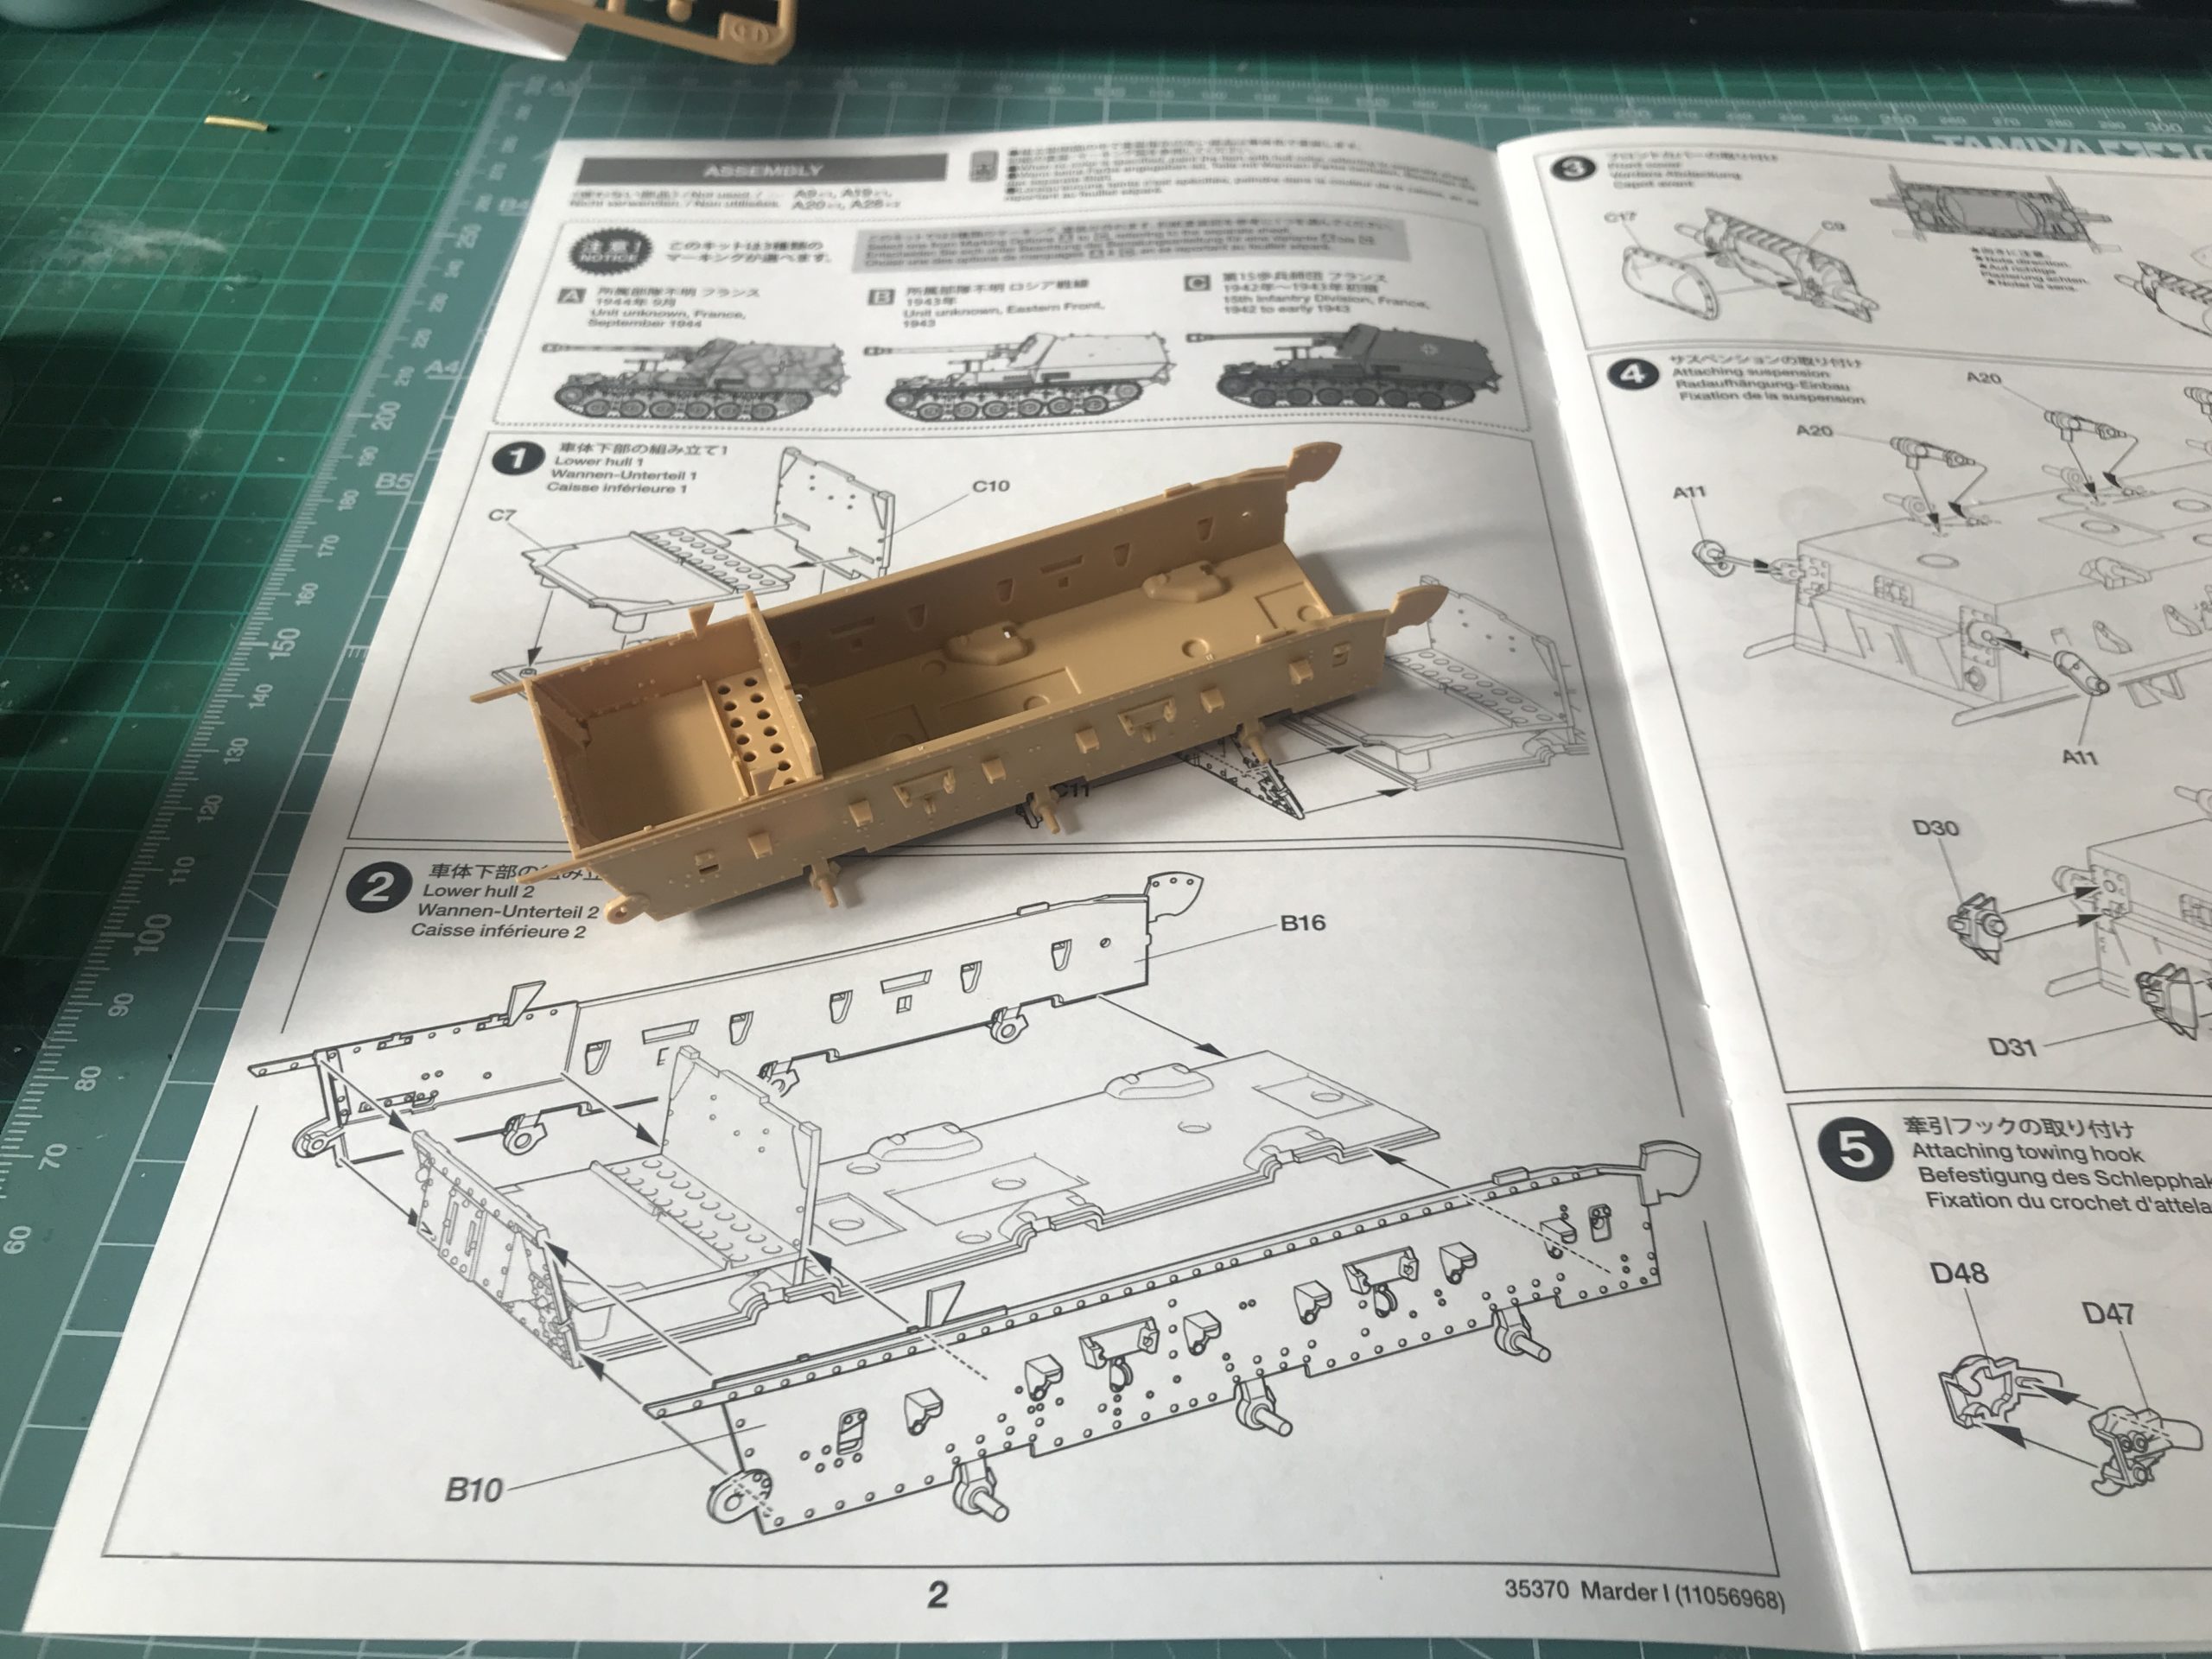
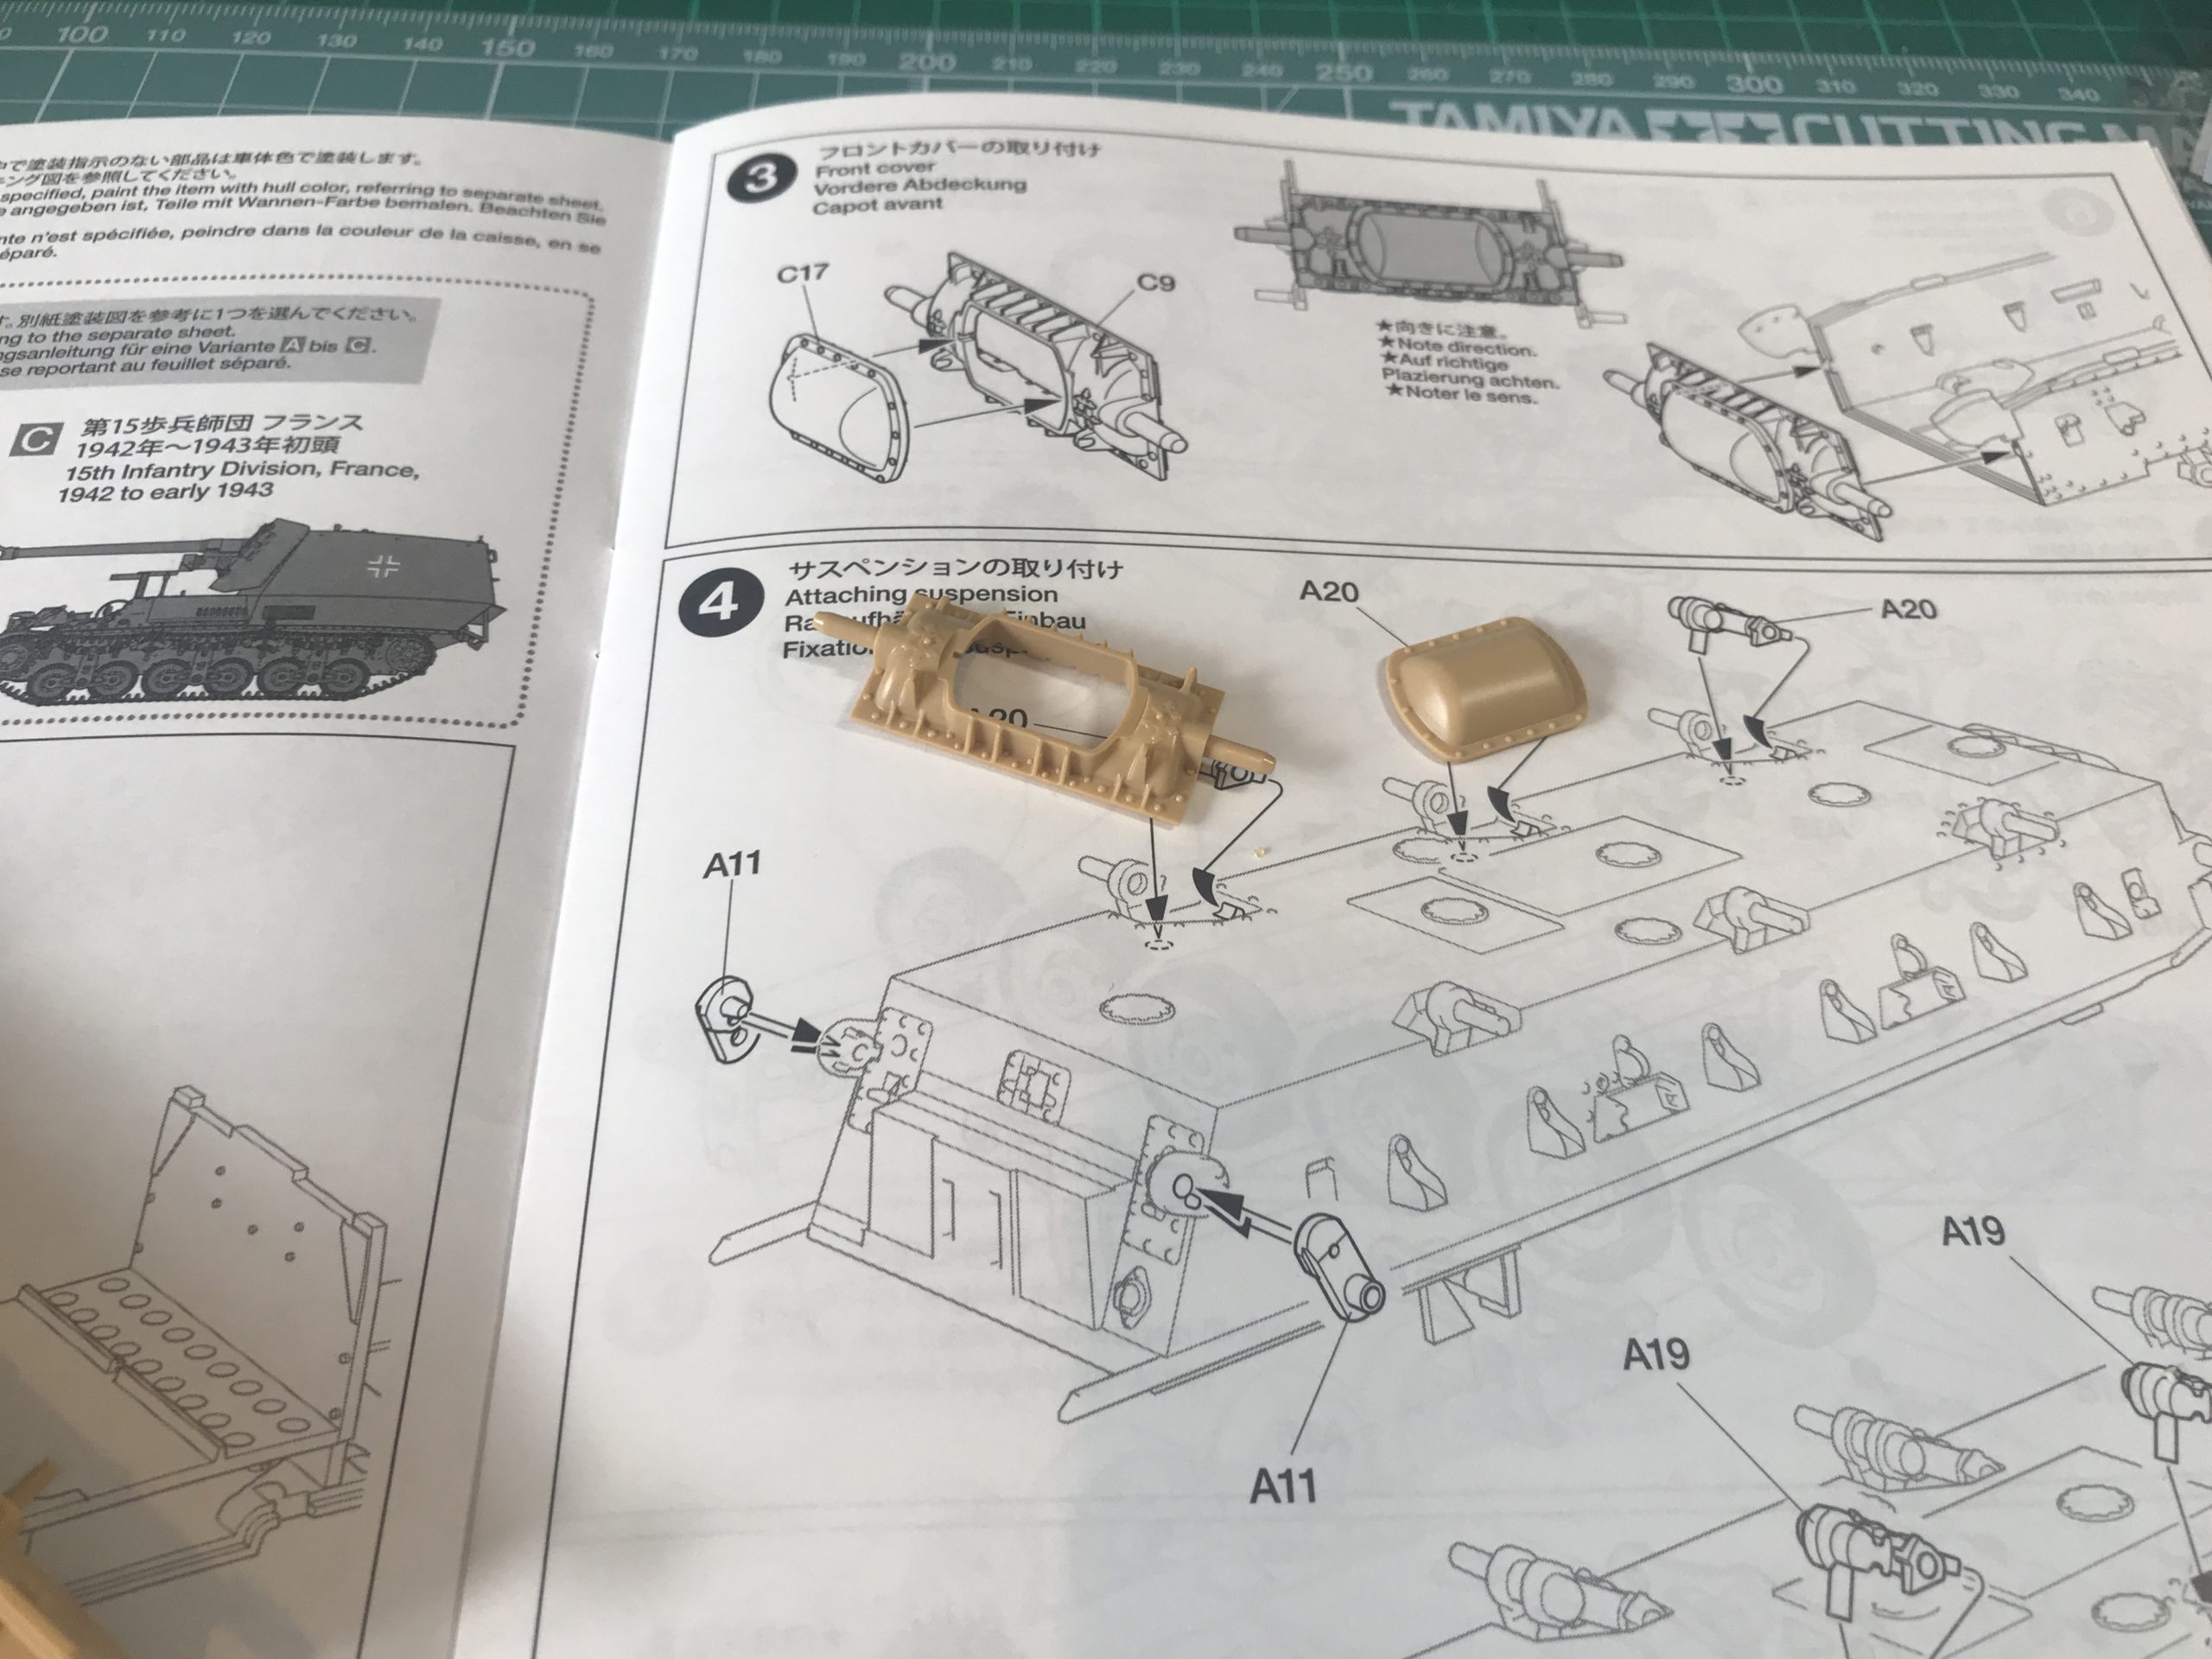
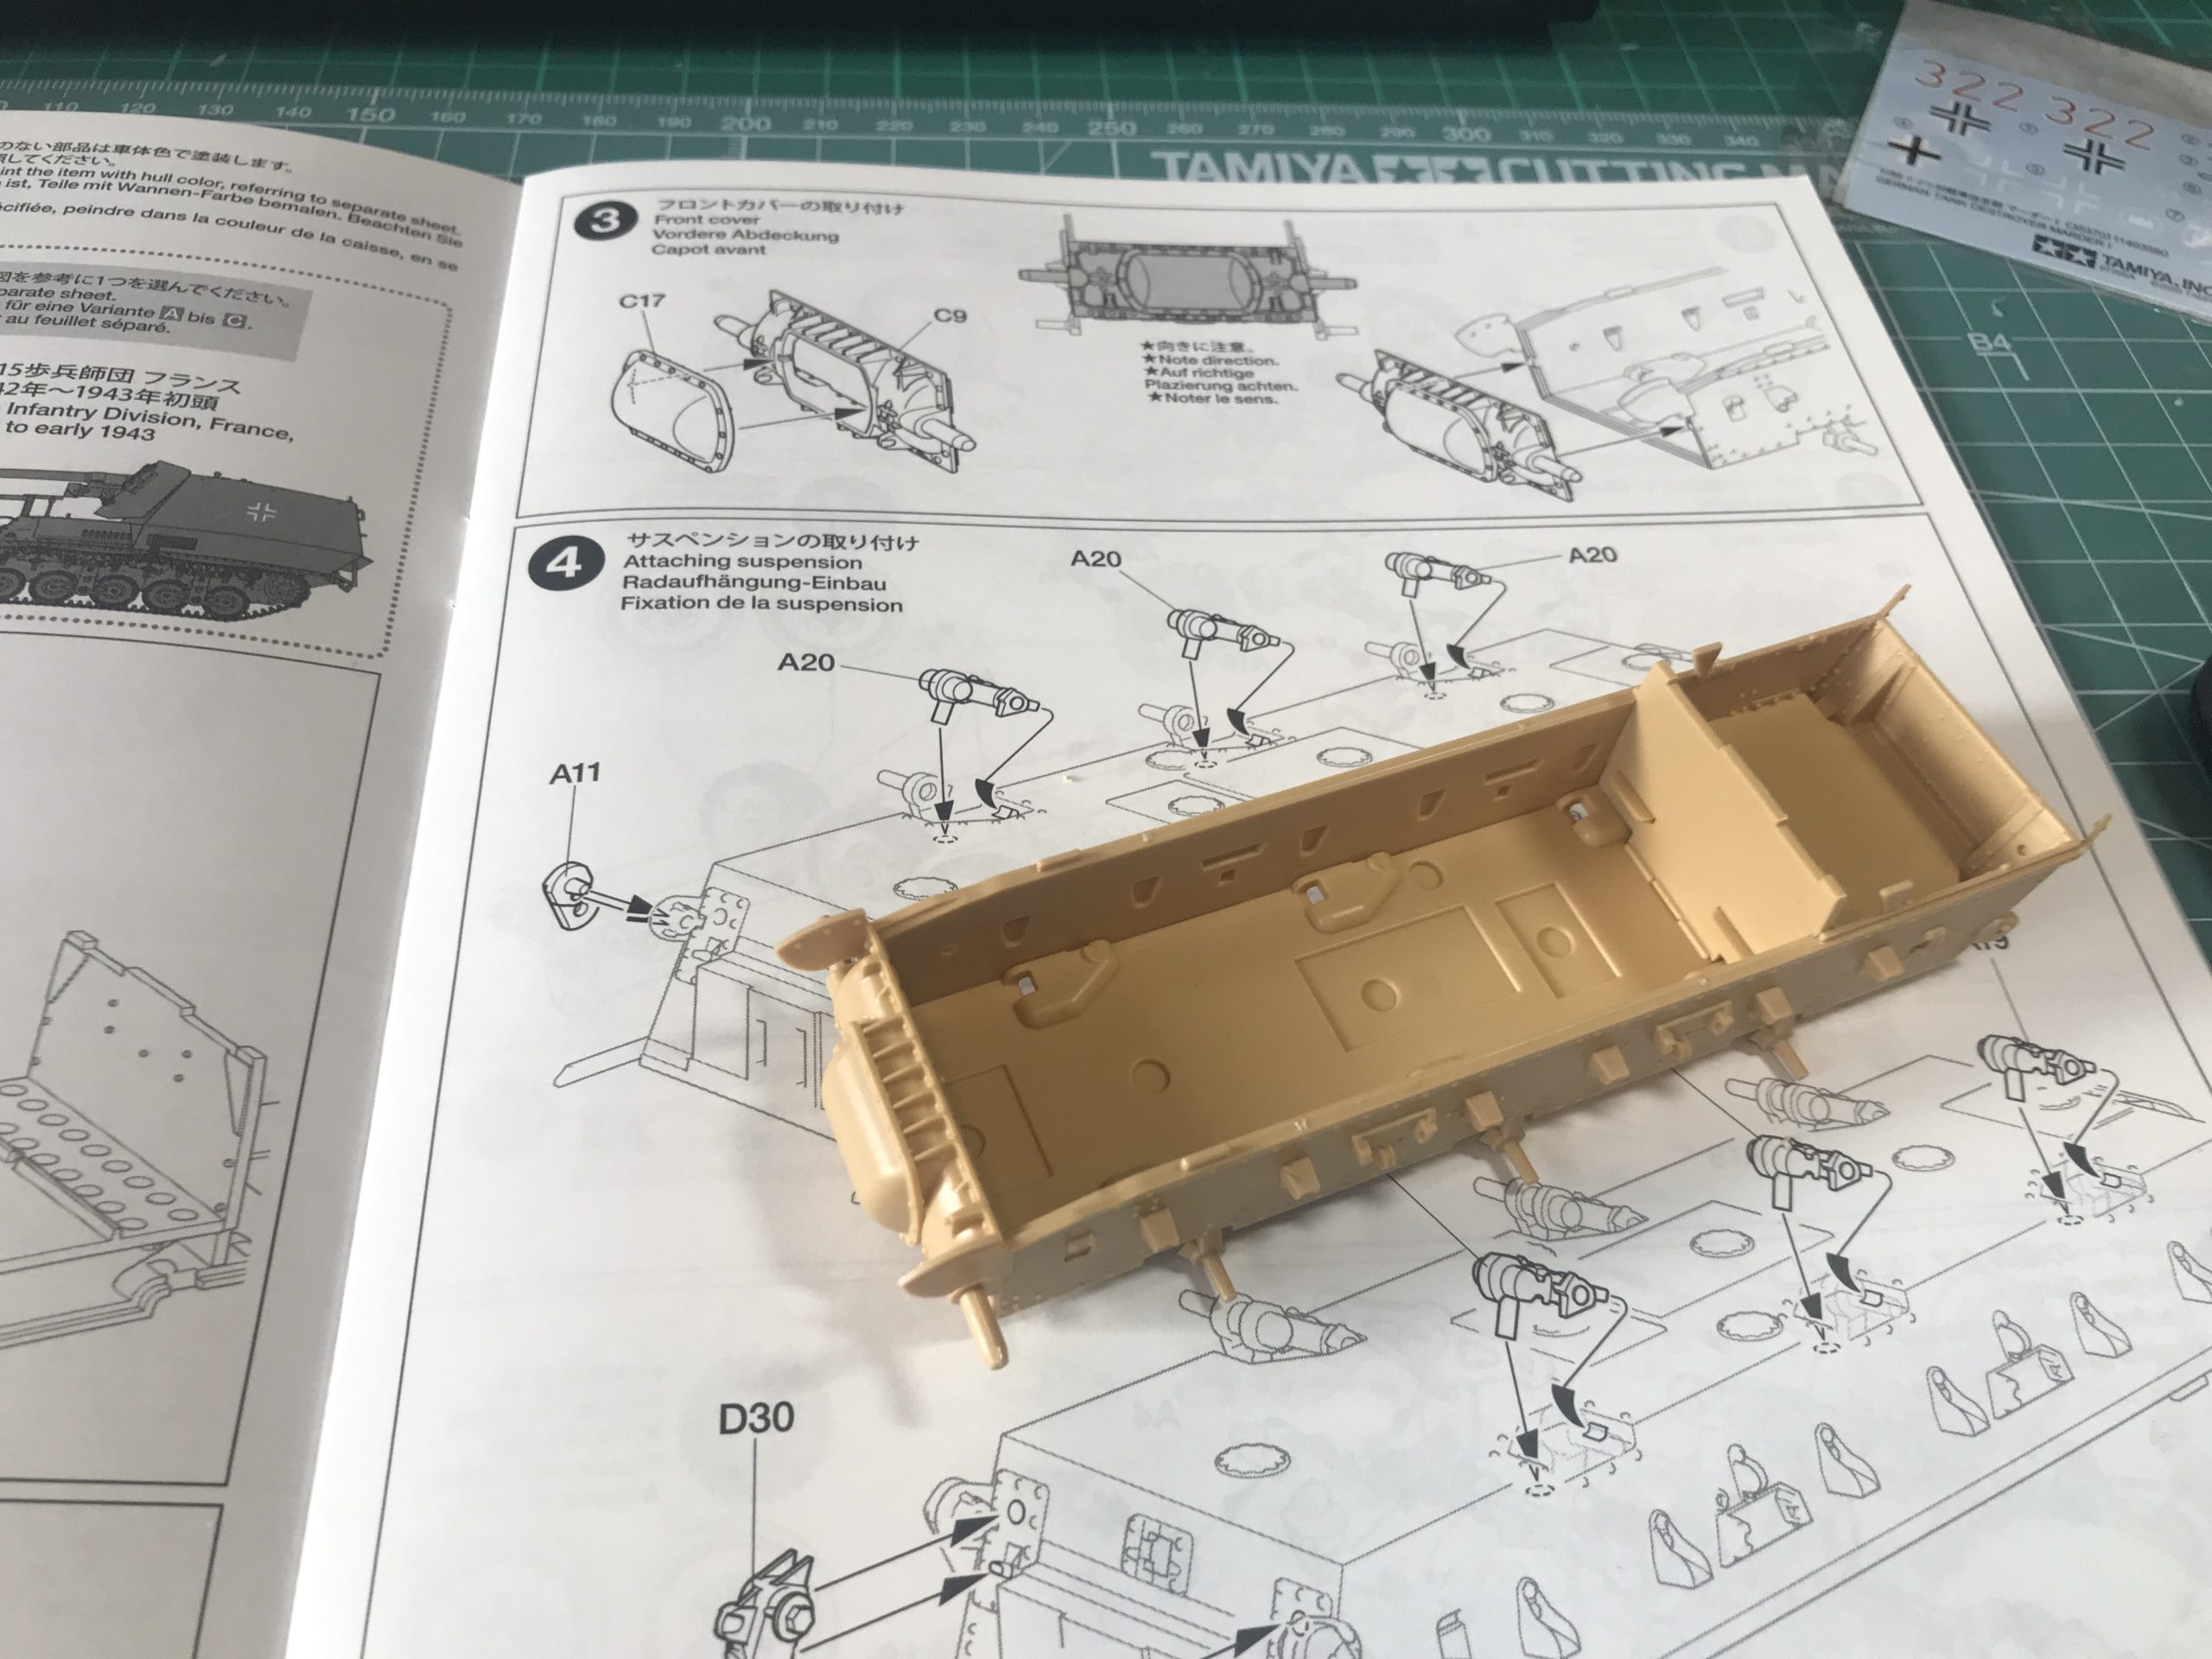
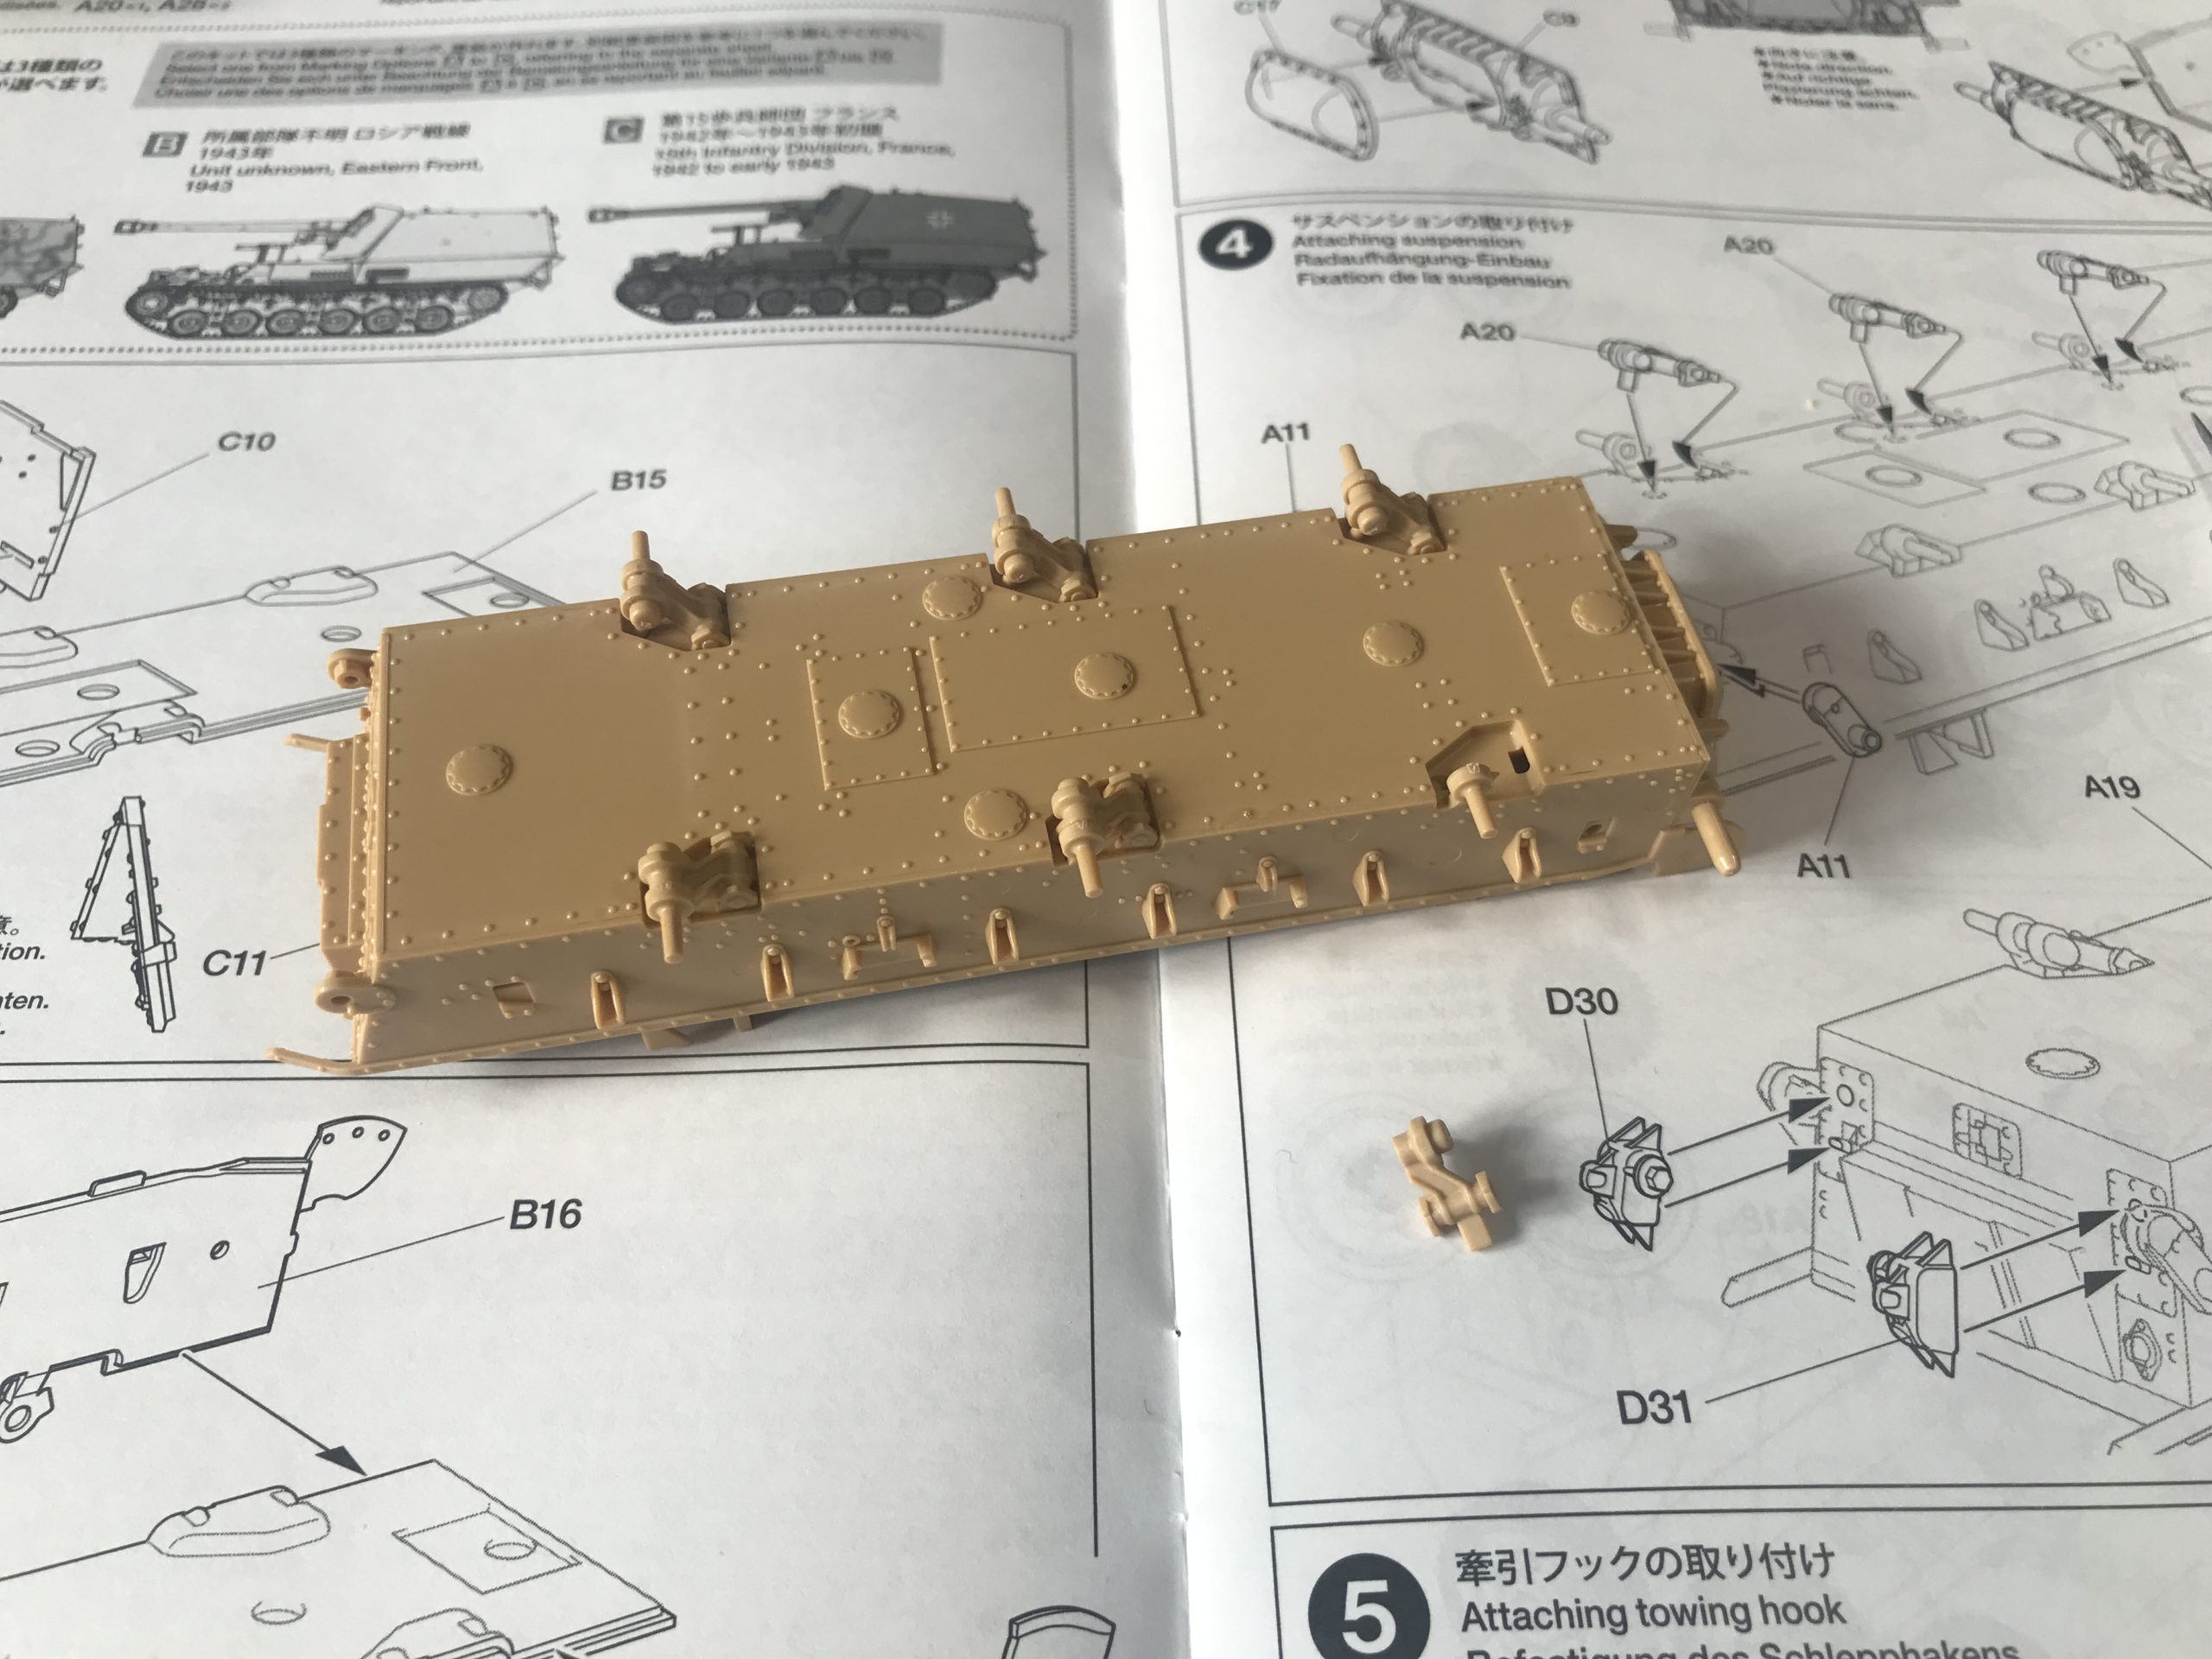
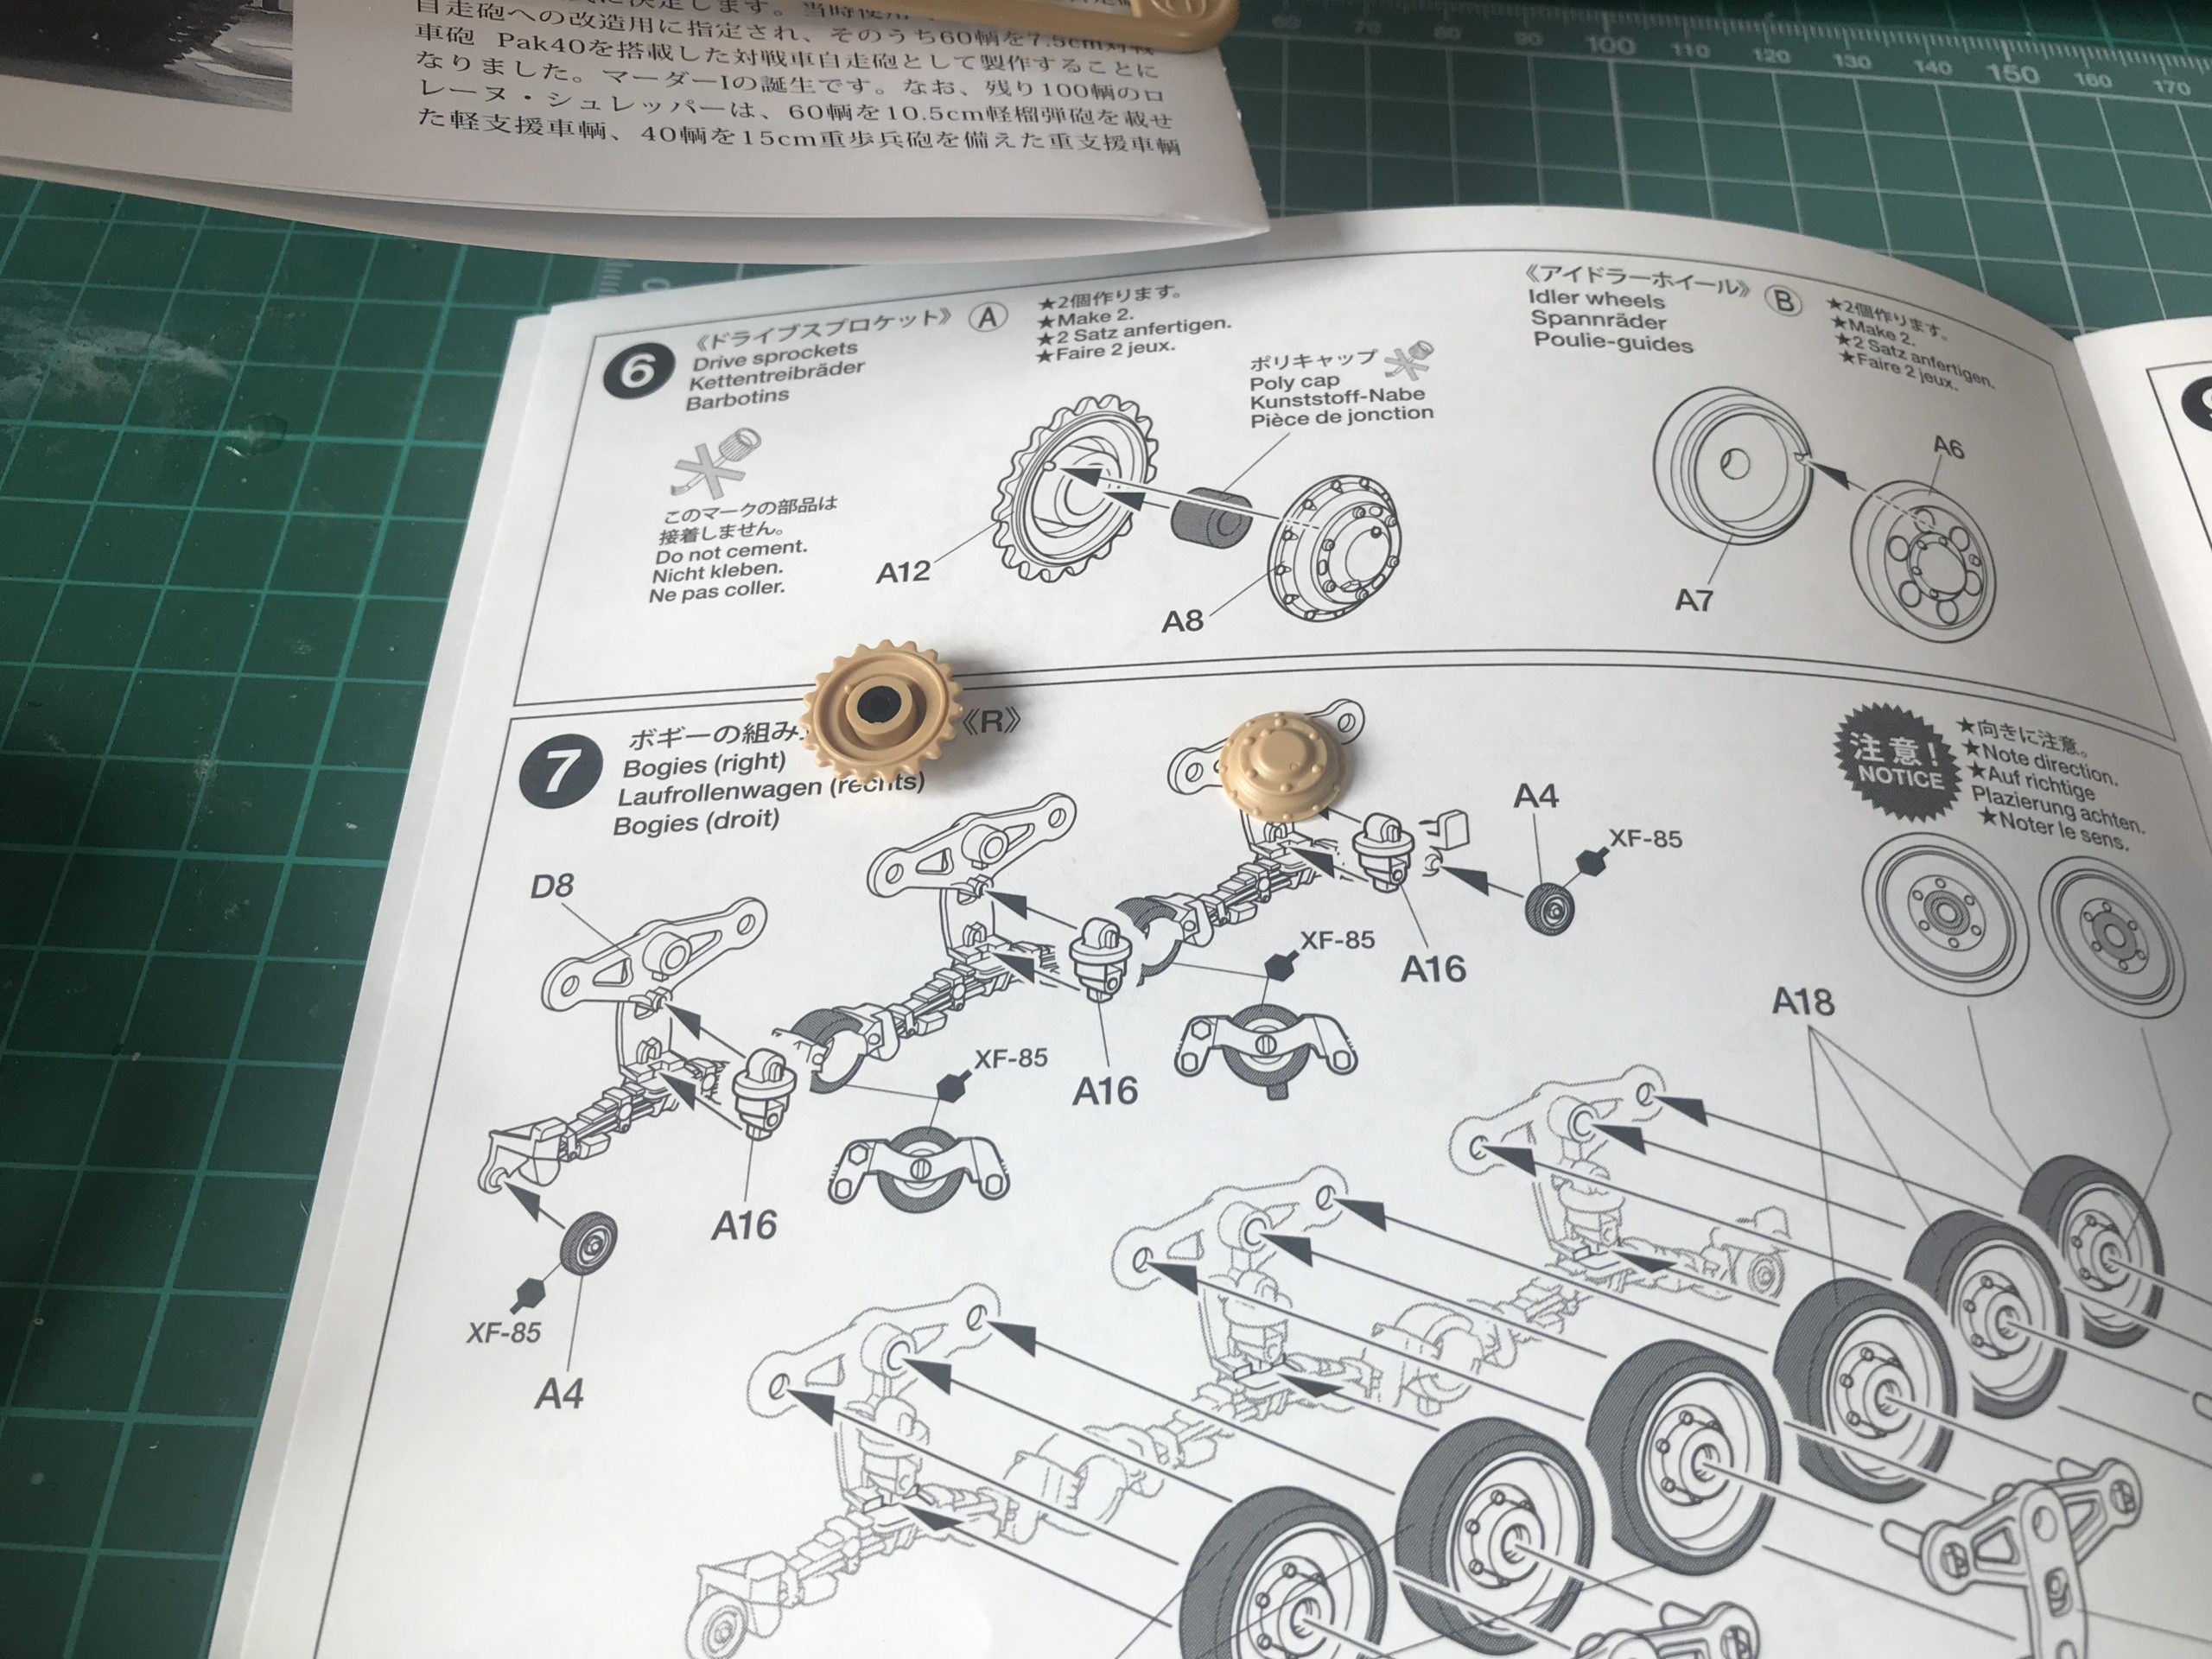
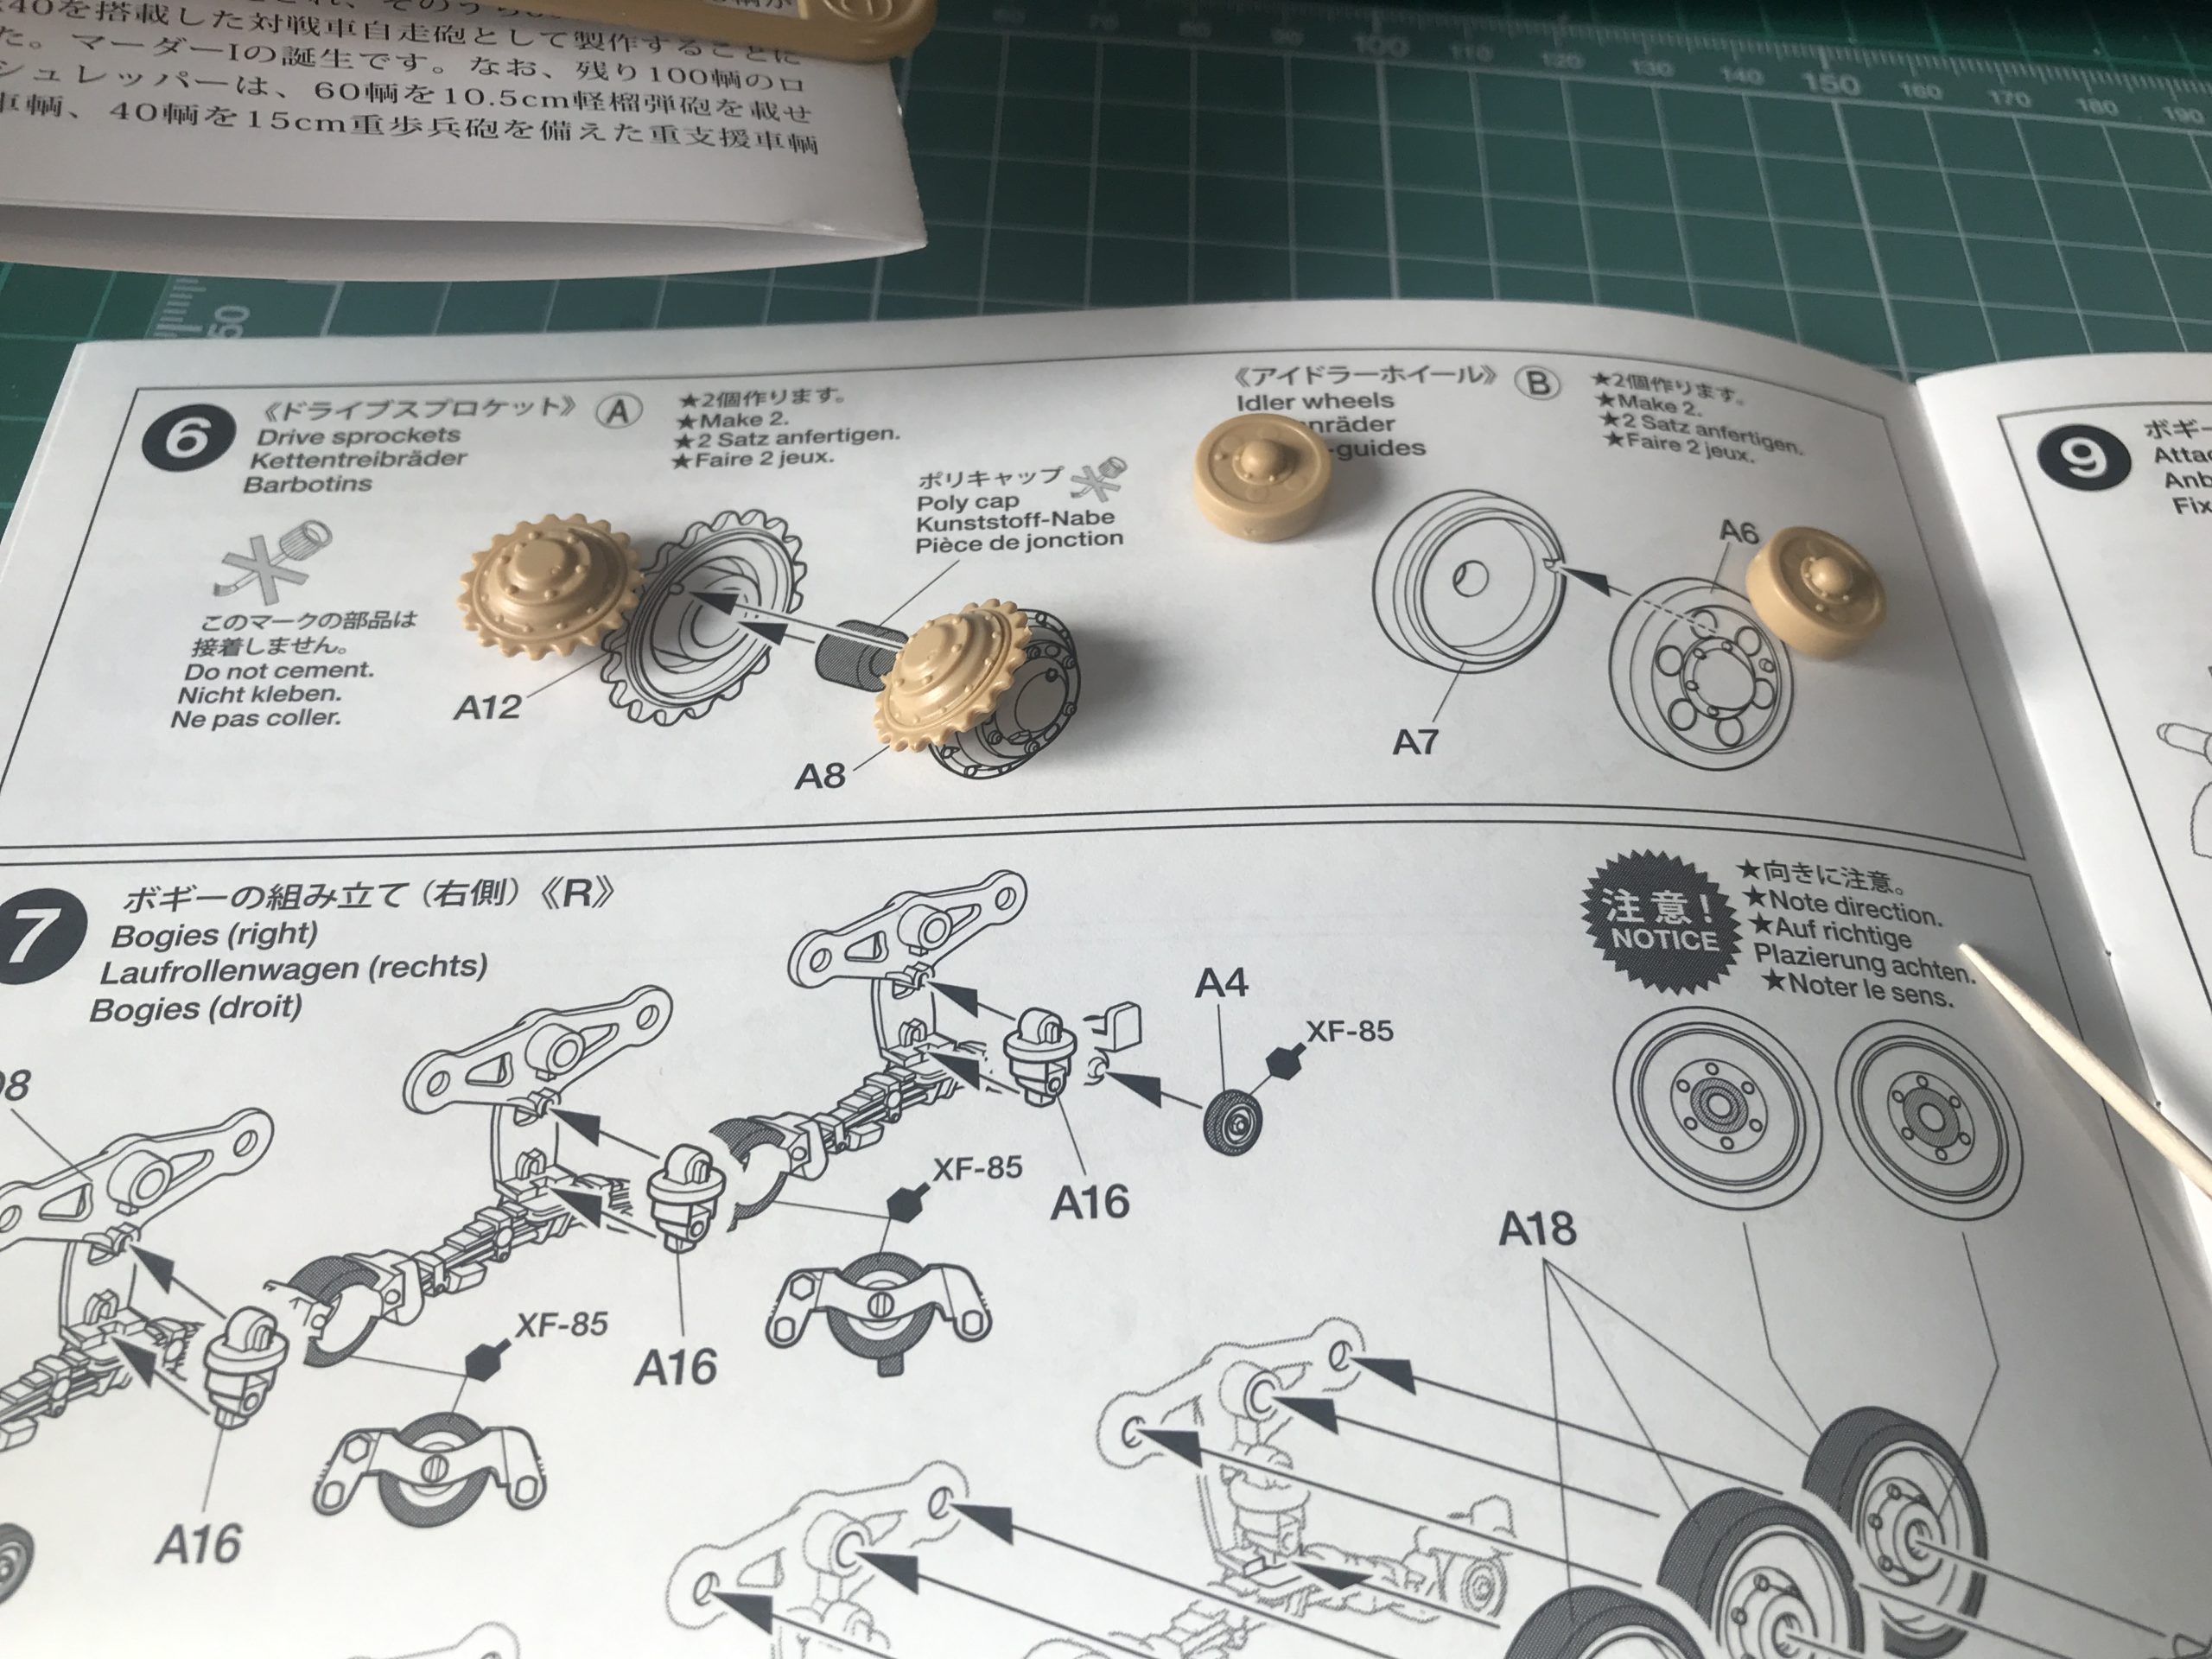
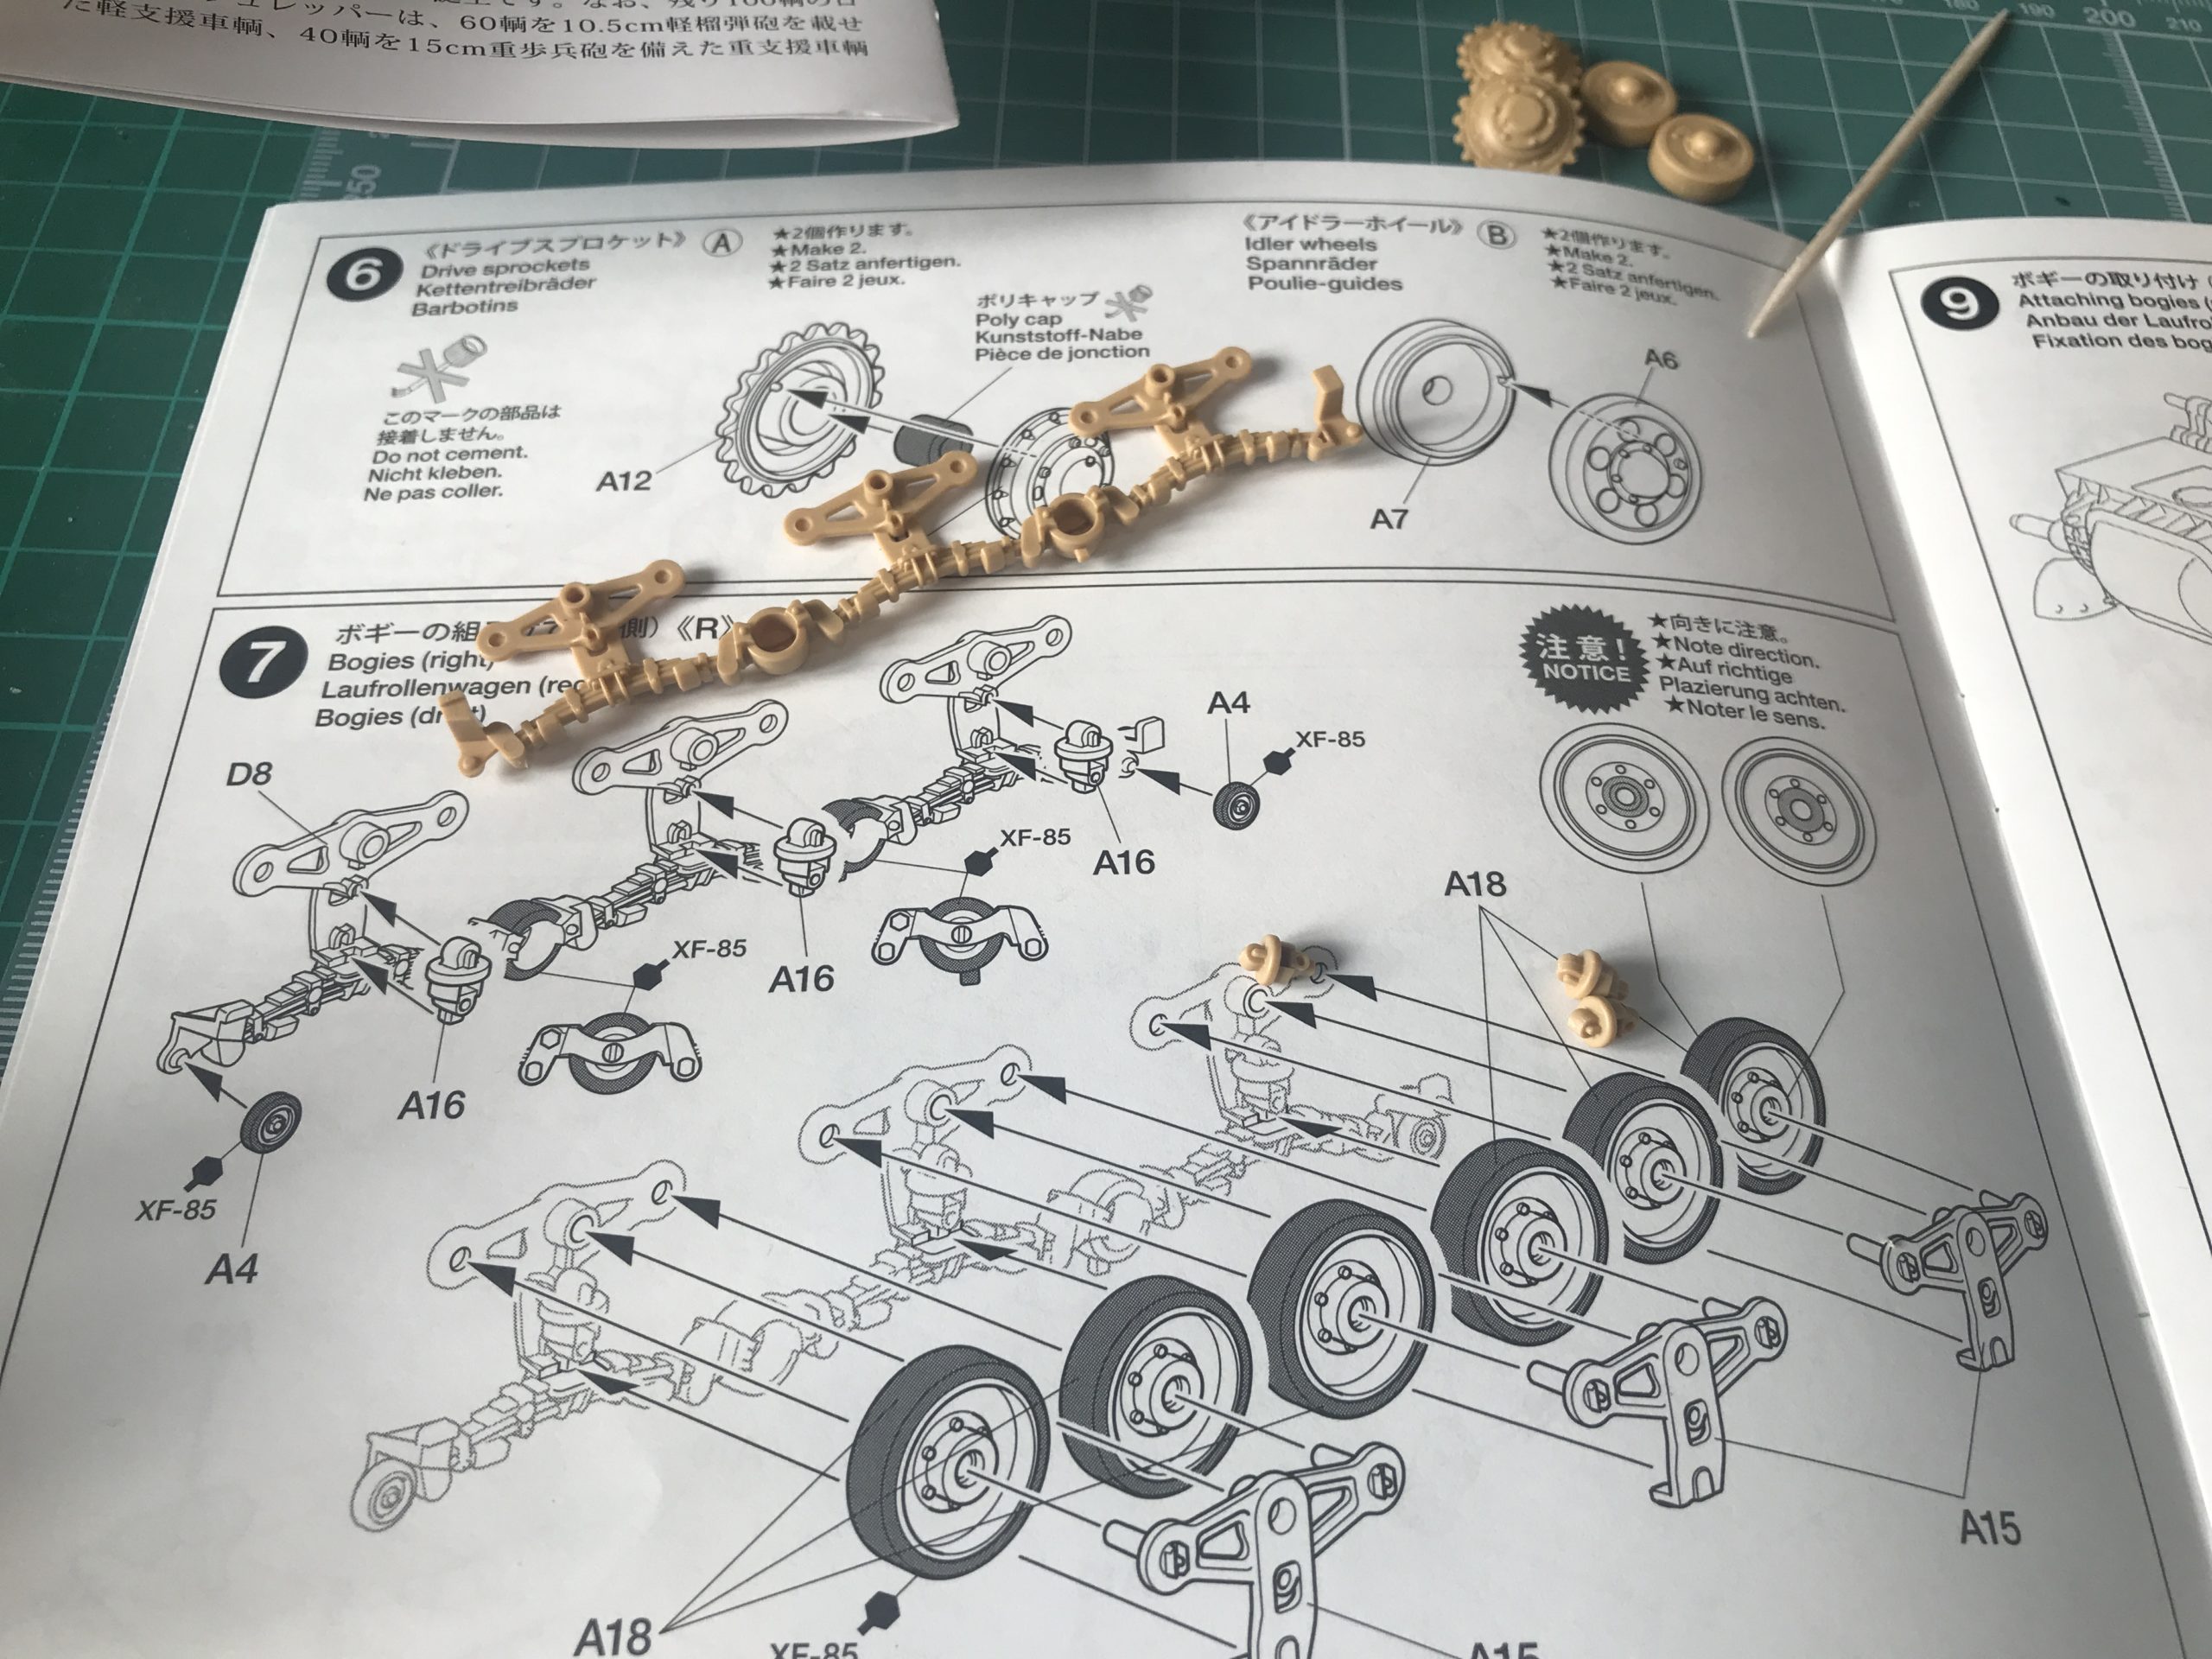
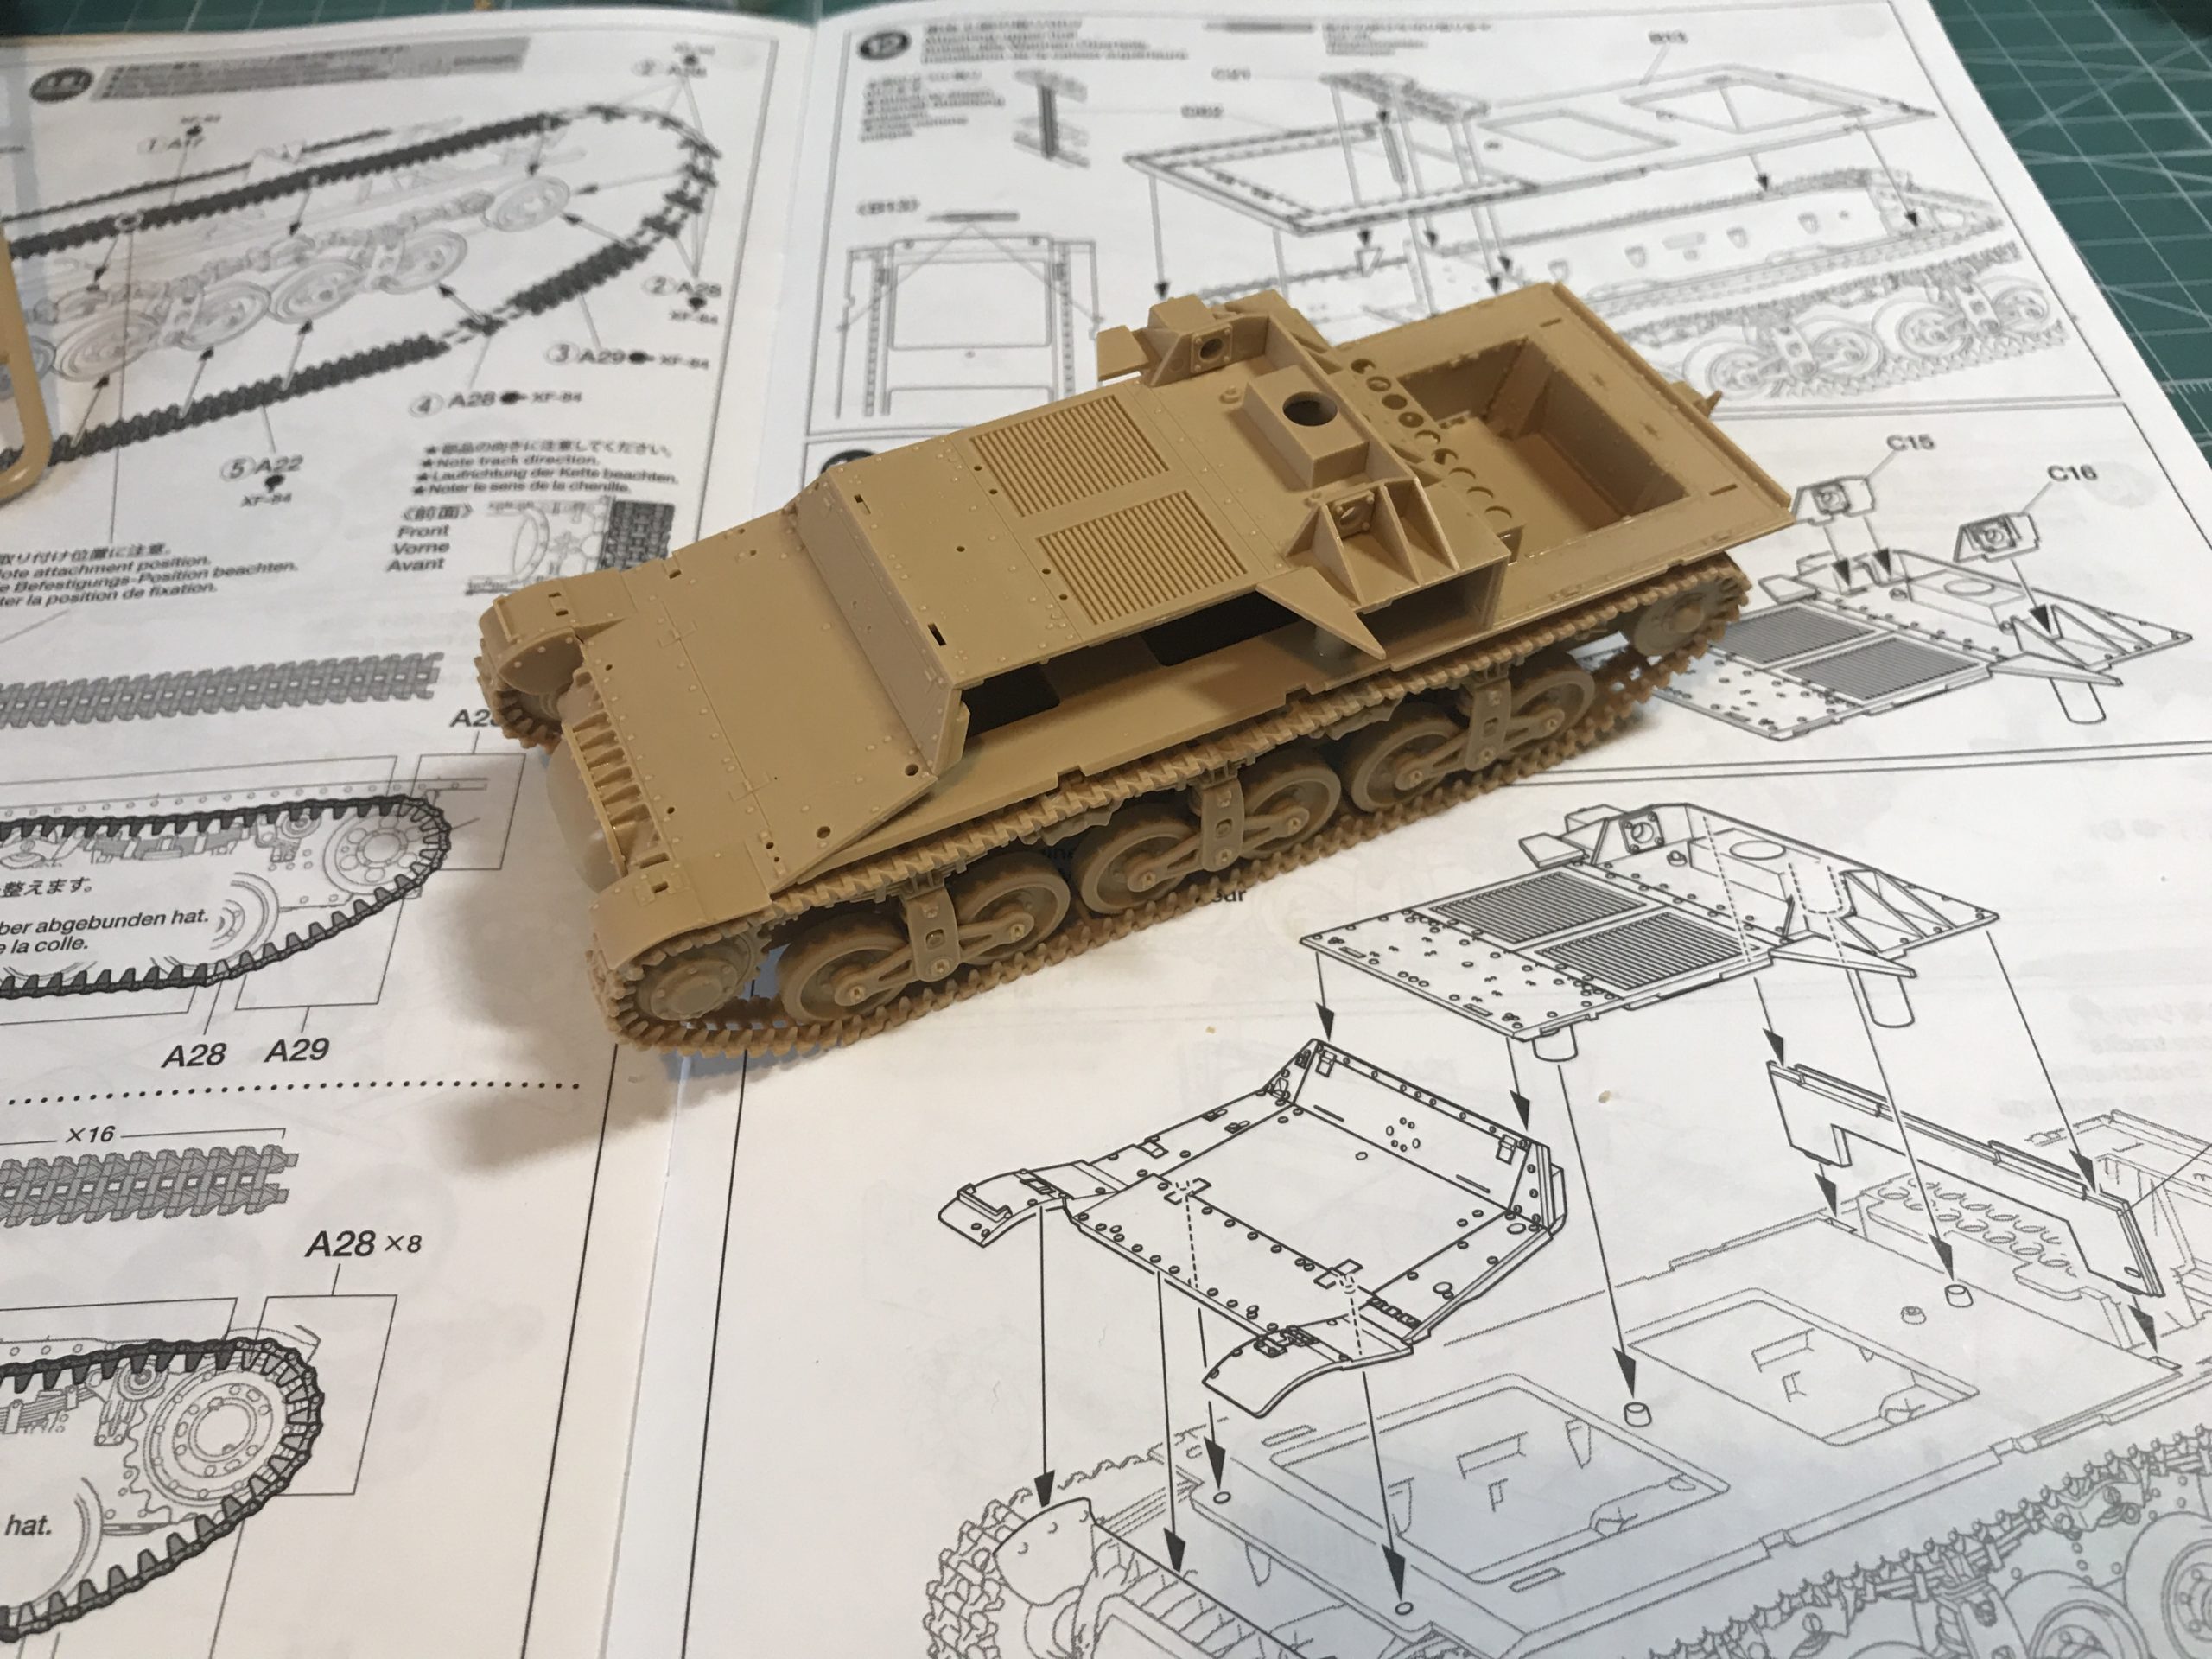
Once the hull is complete attention turns almost immediately to the wheels. which go together as you’d expect.
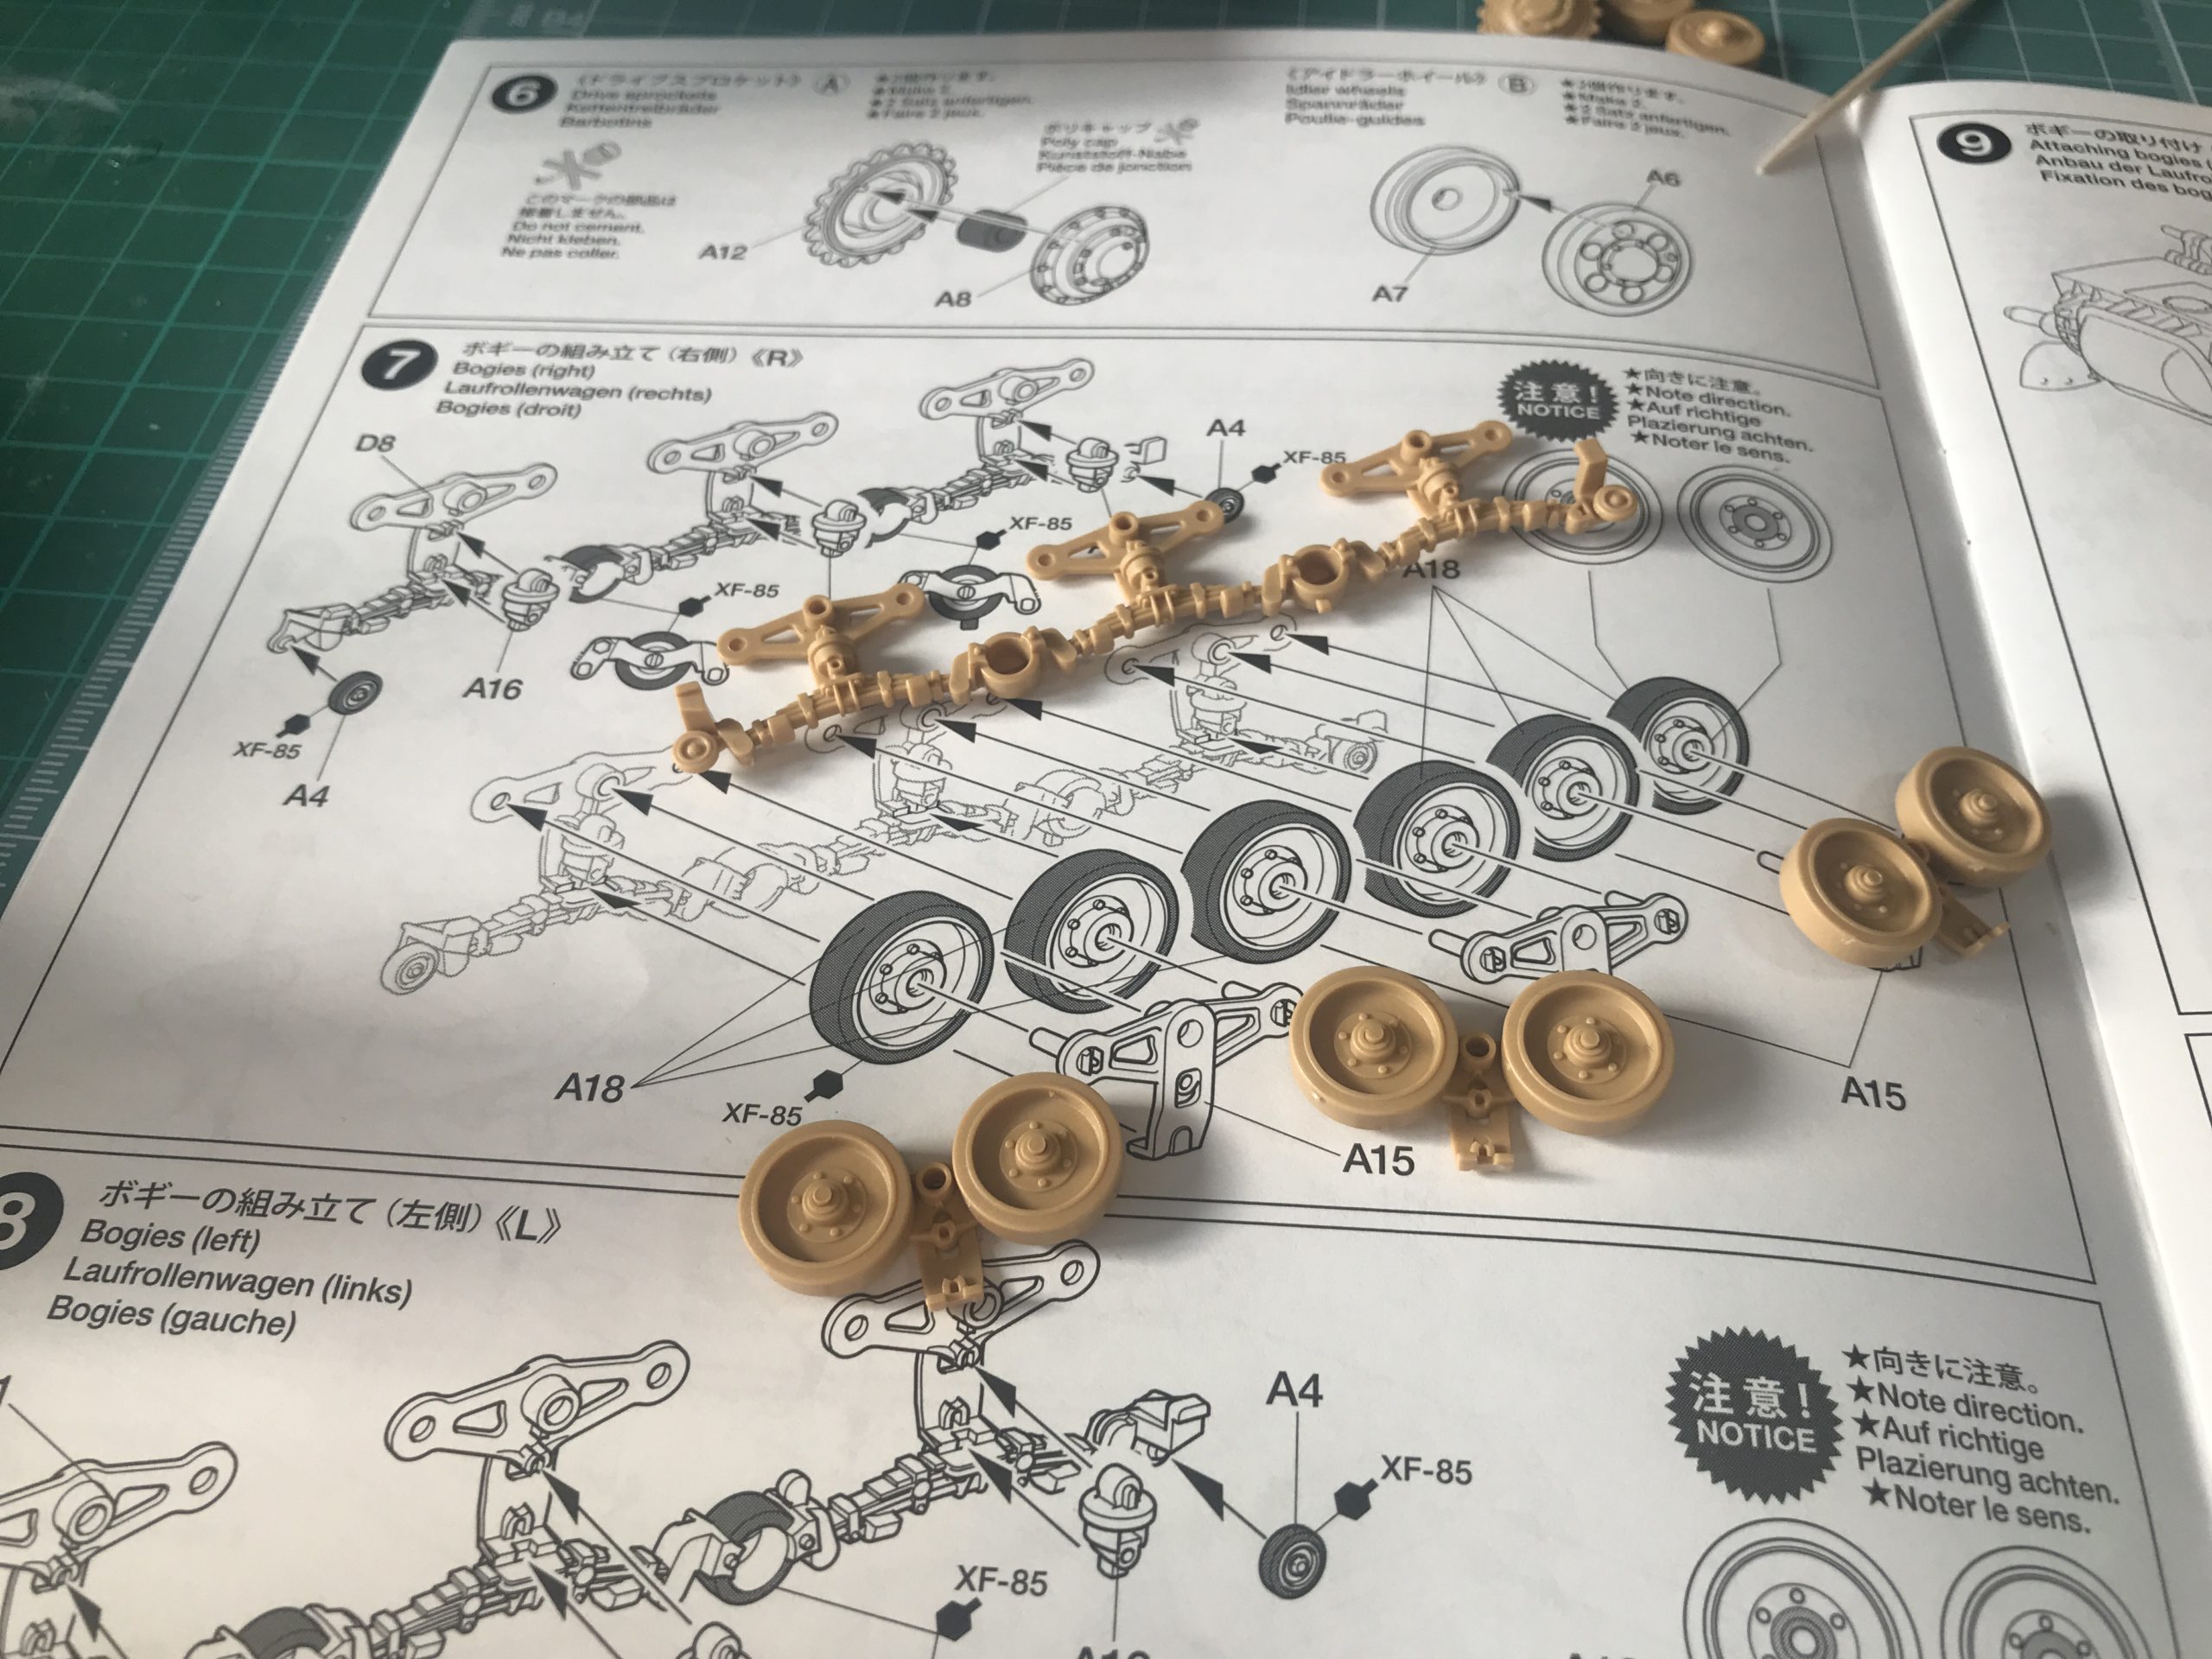

Time to fit the wheels and celebrate in the usual fashion. Unfortunately I celebrated pre picture, but I am guessing you may be familiar with the appearance of a full cup of tea.
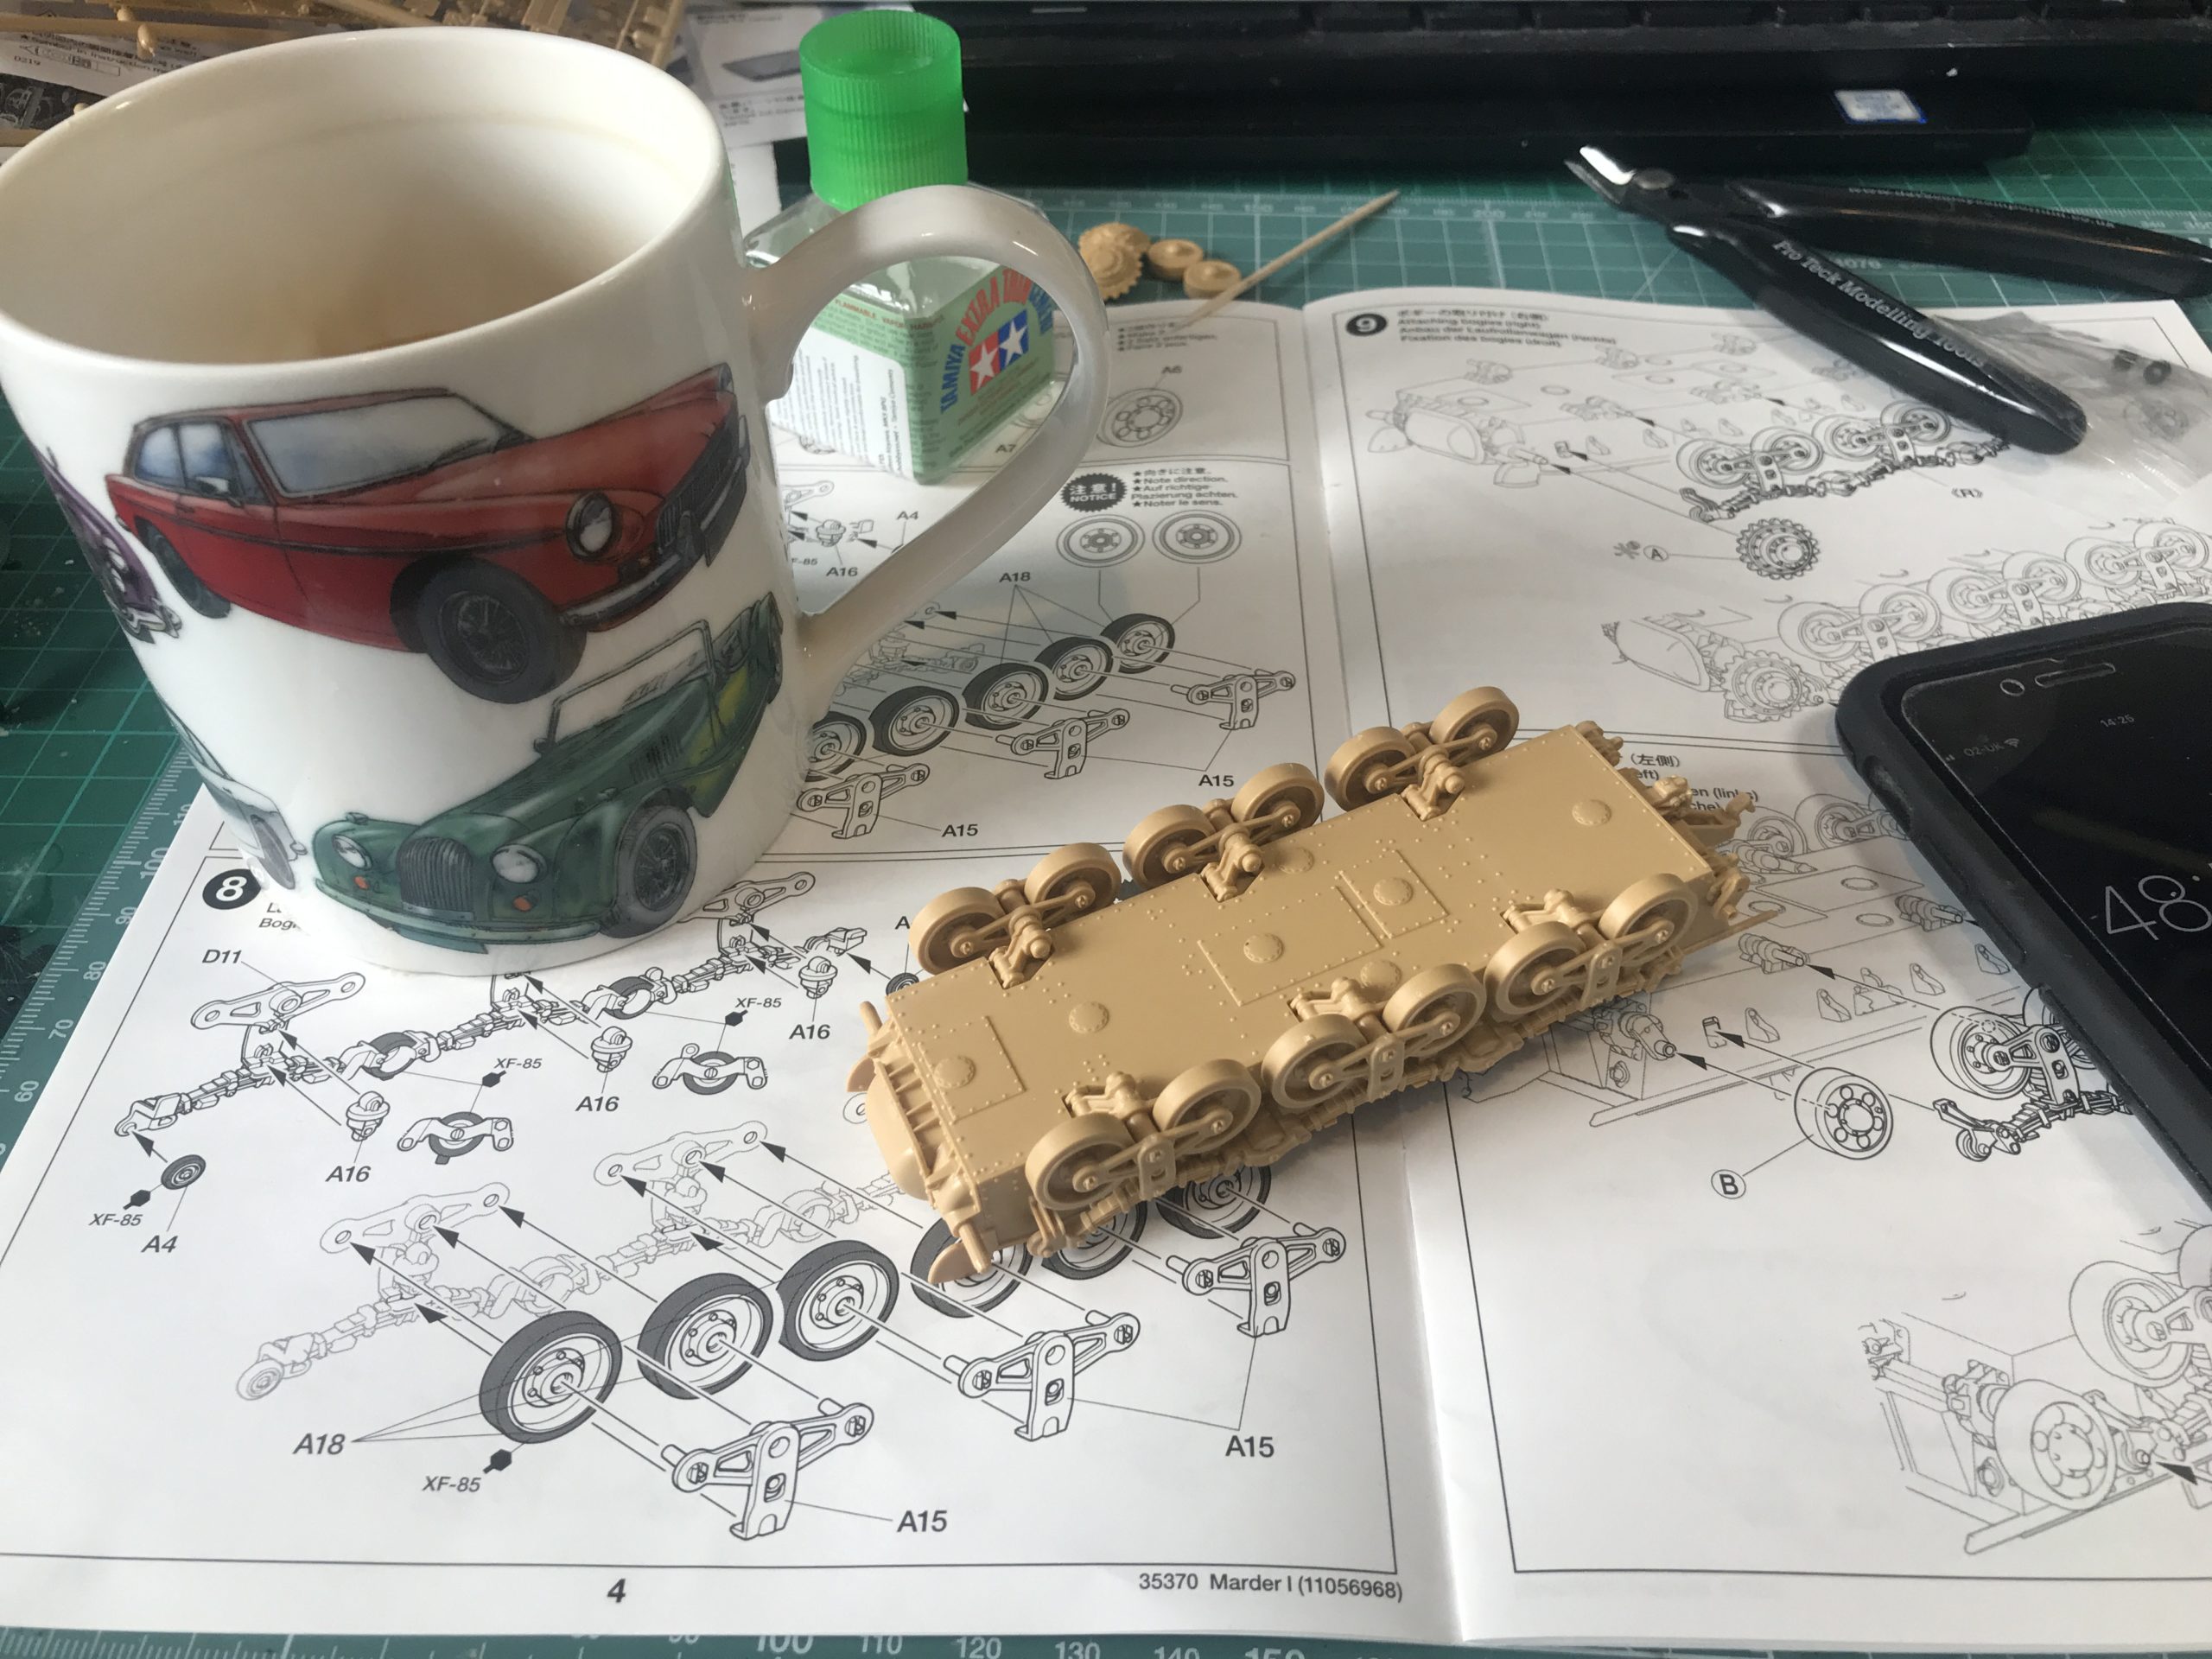
Once the tea was finished I realised that there were four more wheels to fit. The drive sprockets and Idler wheels. (If these are incorrectly named then I don’t care)
Okay. That’s better.
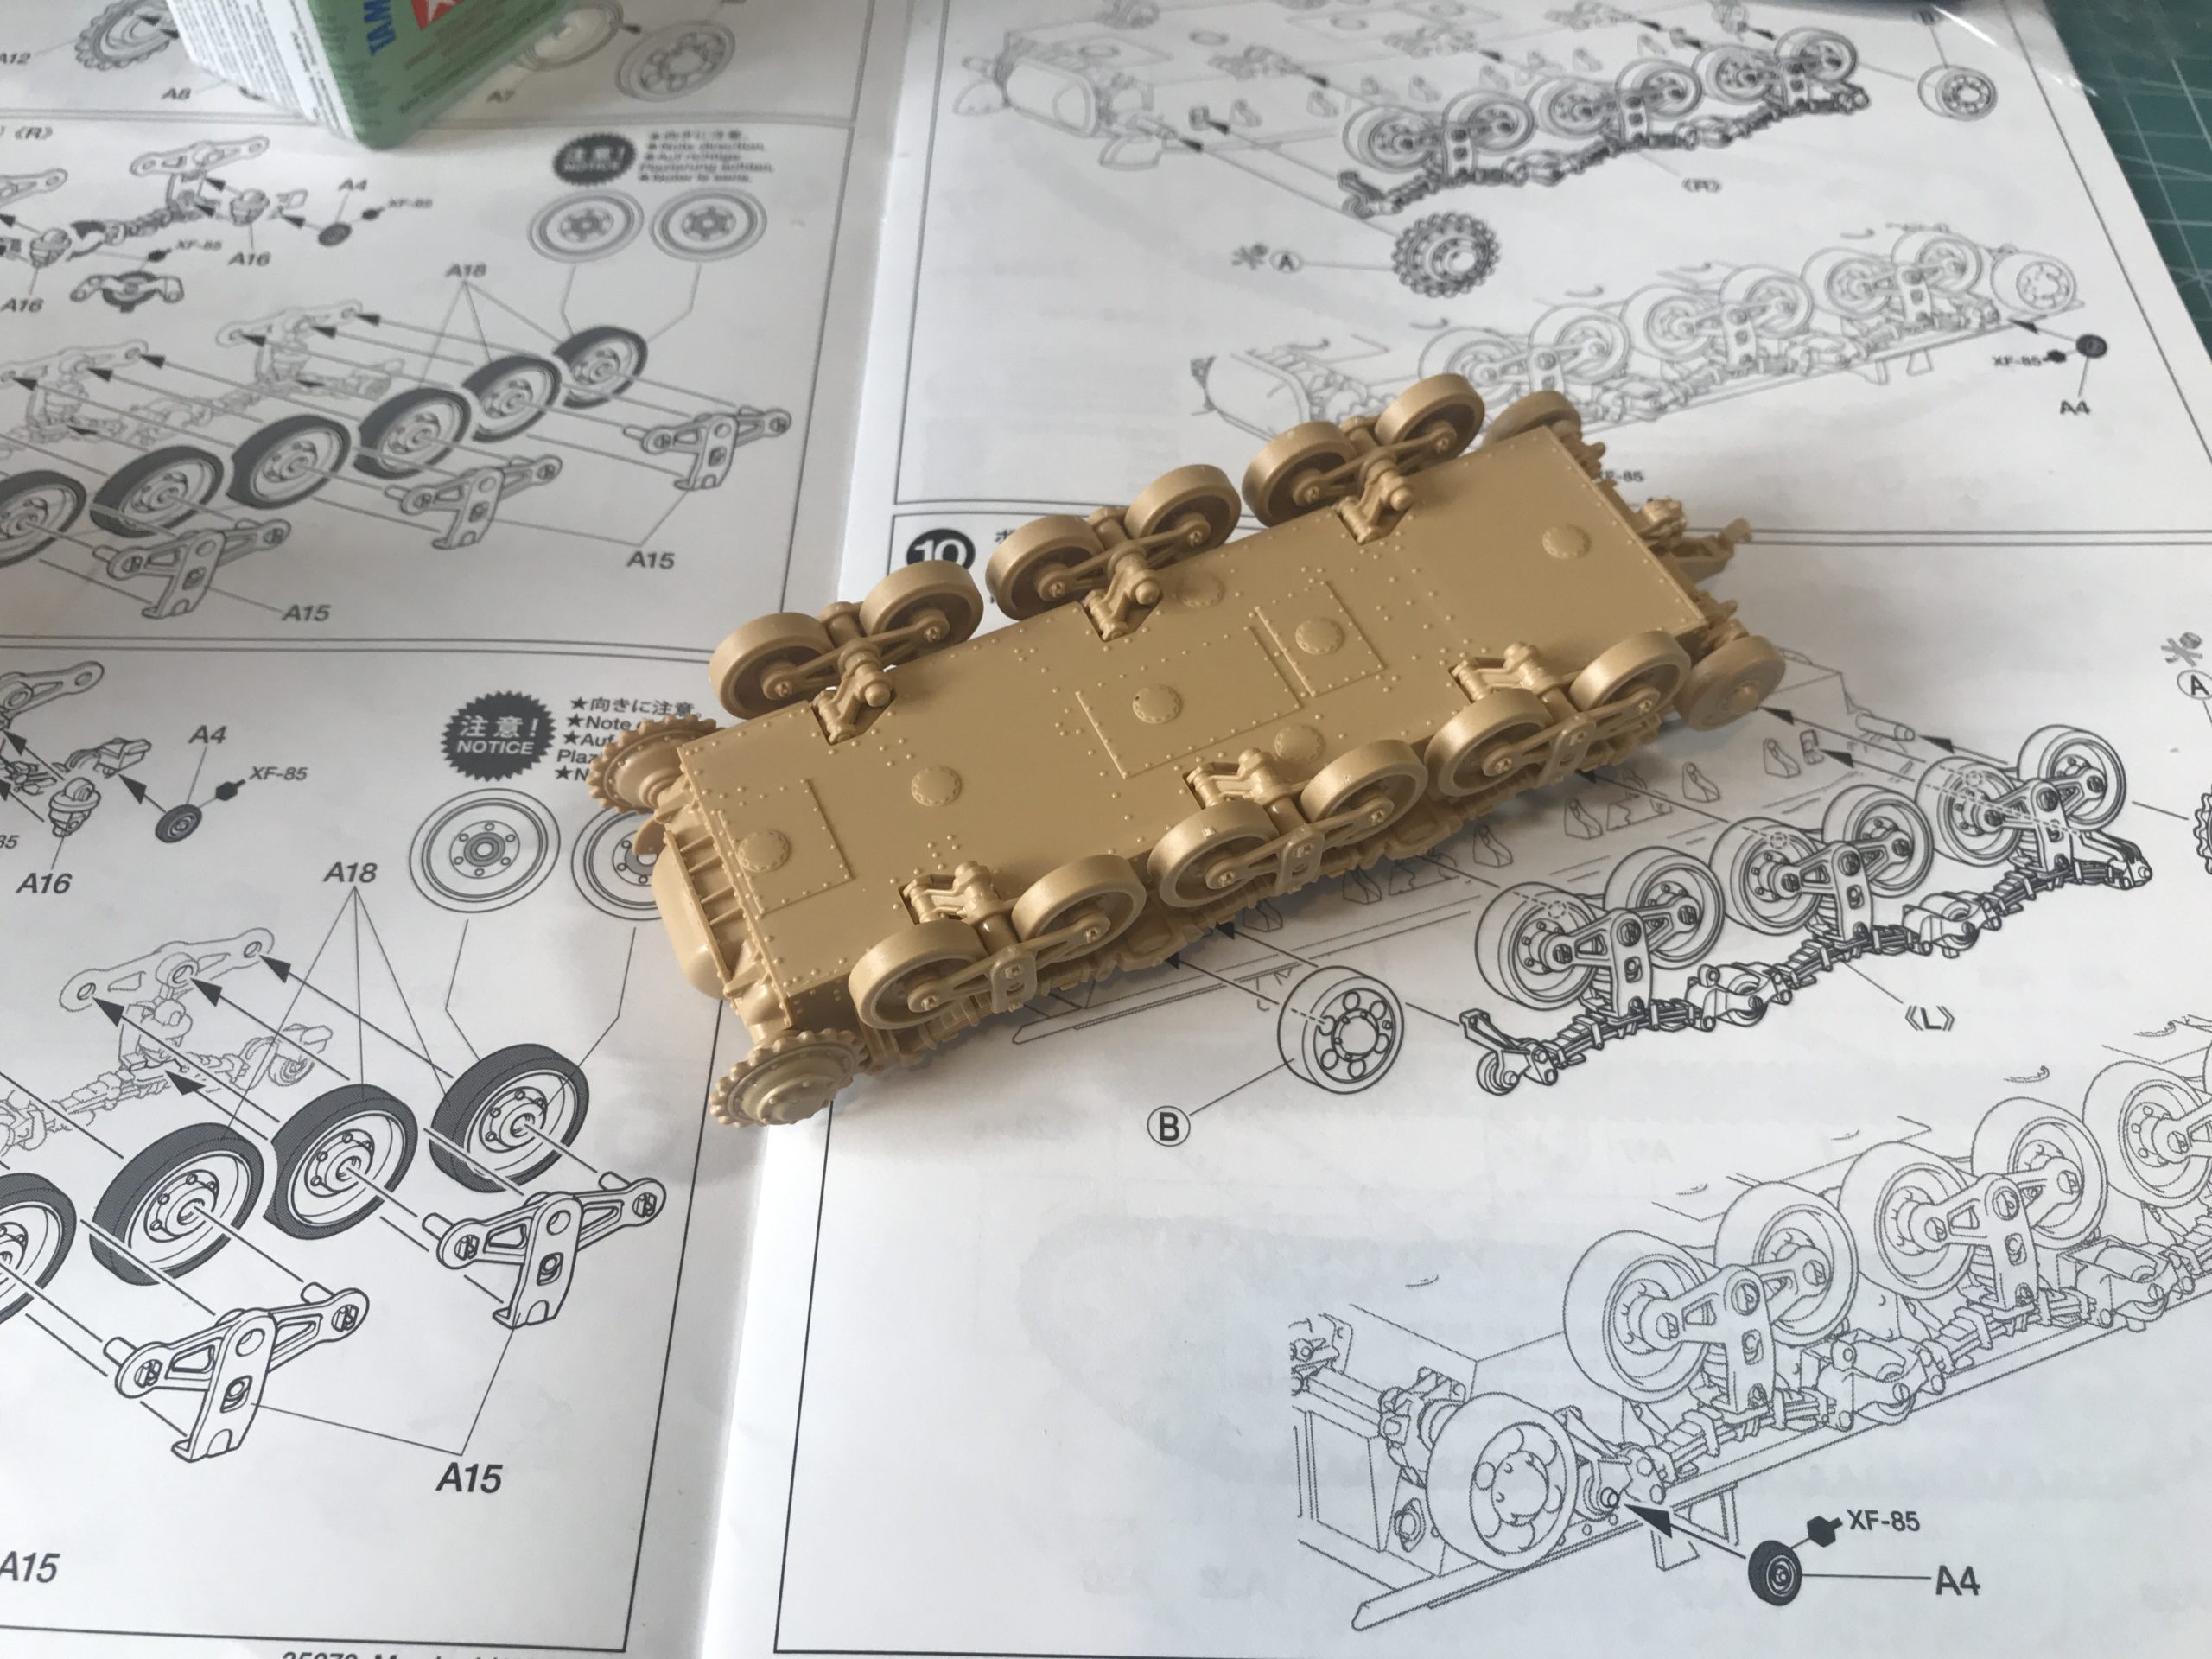
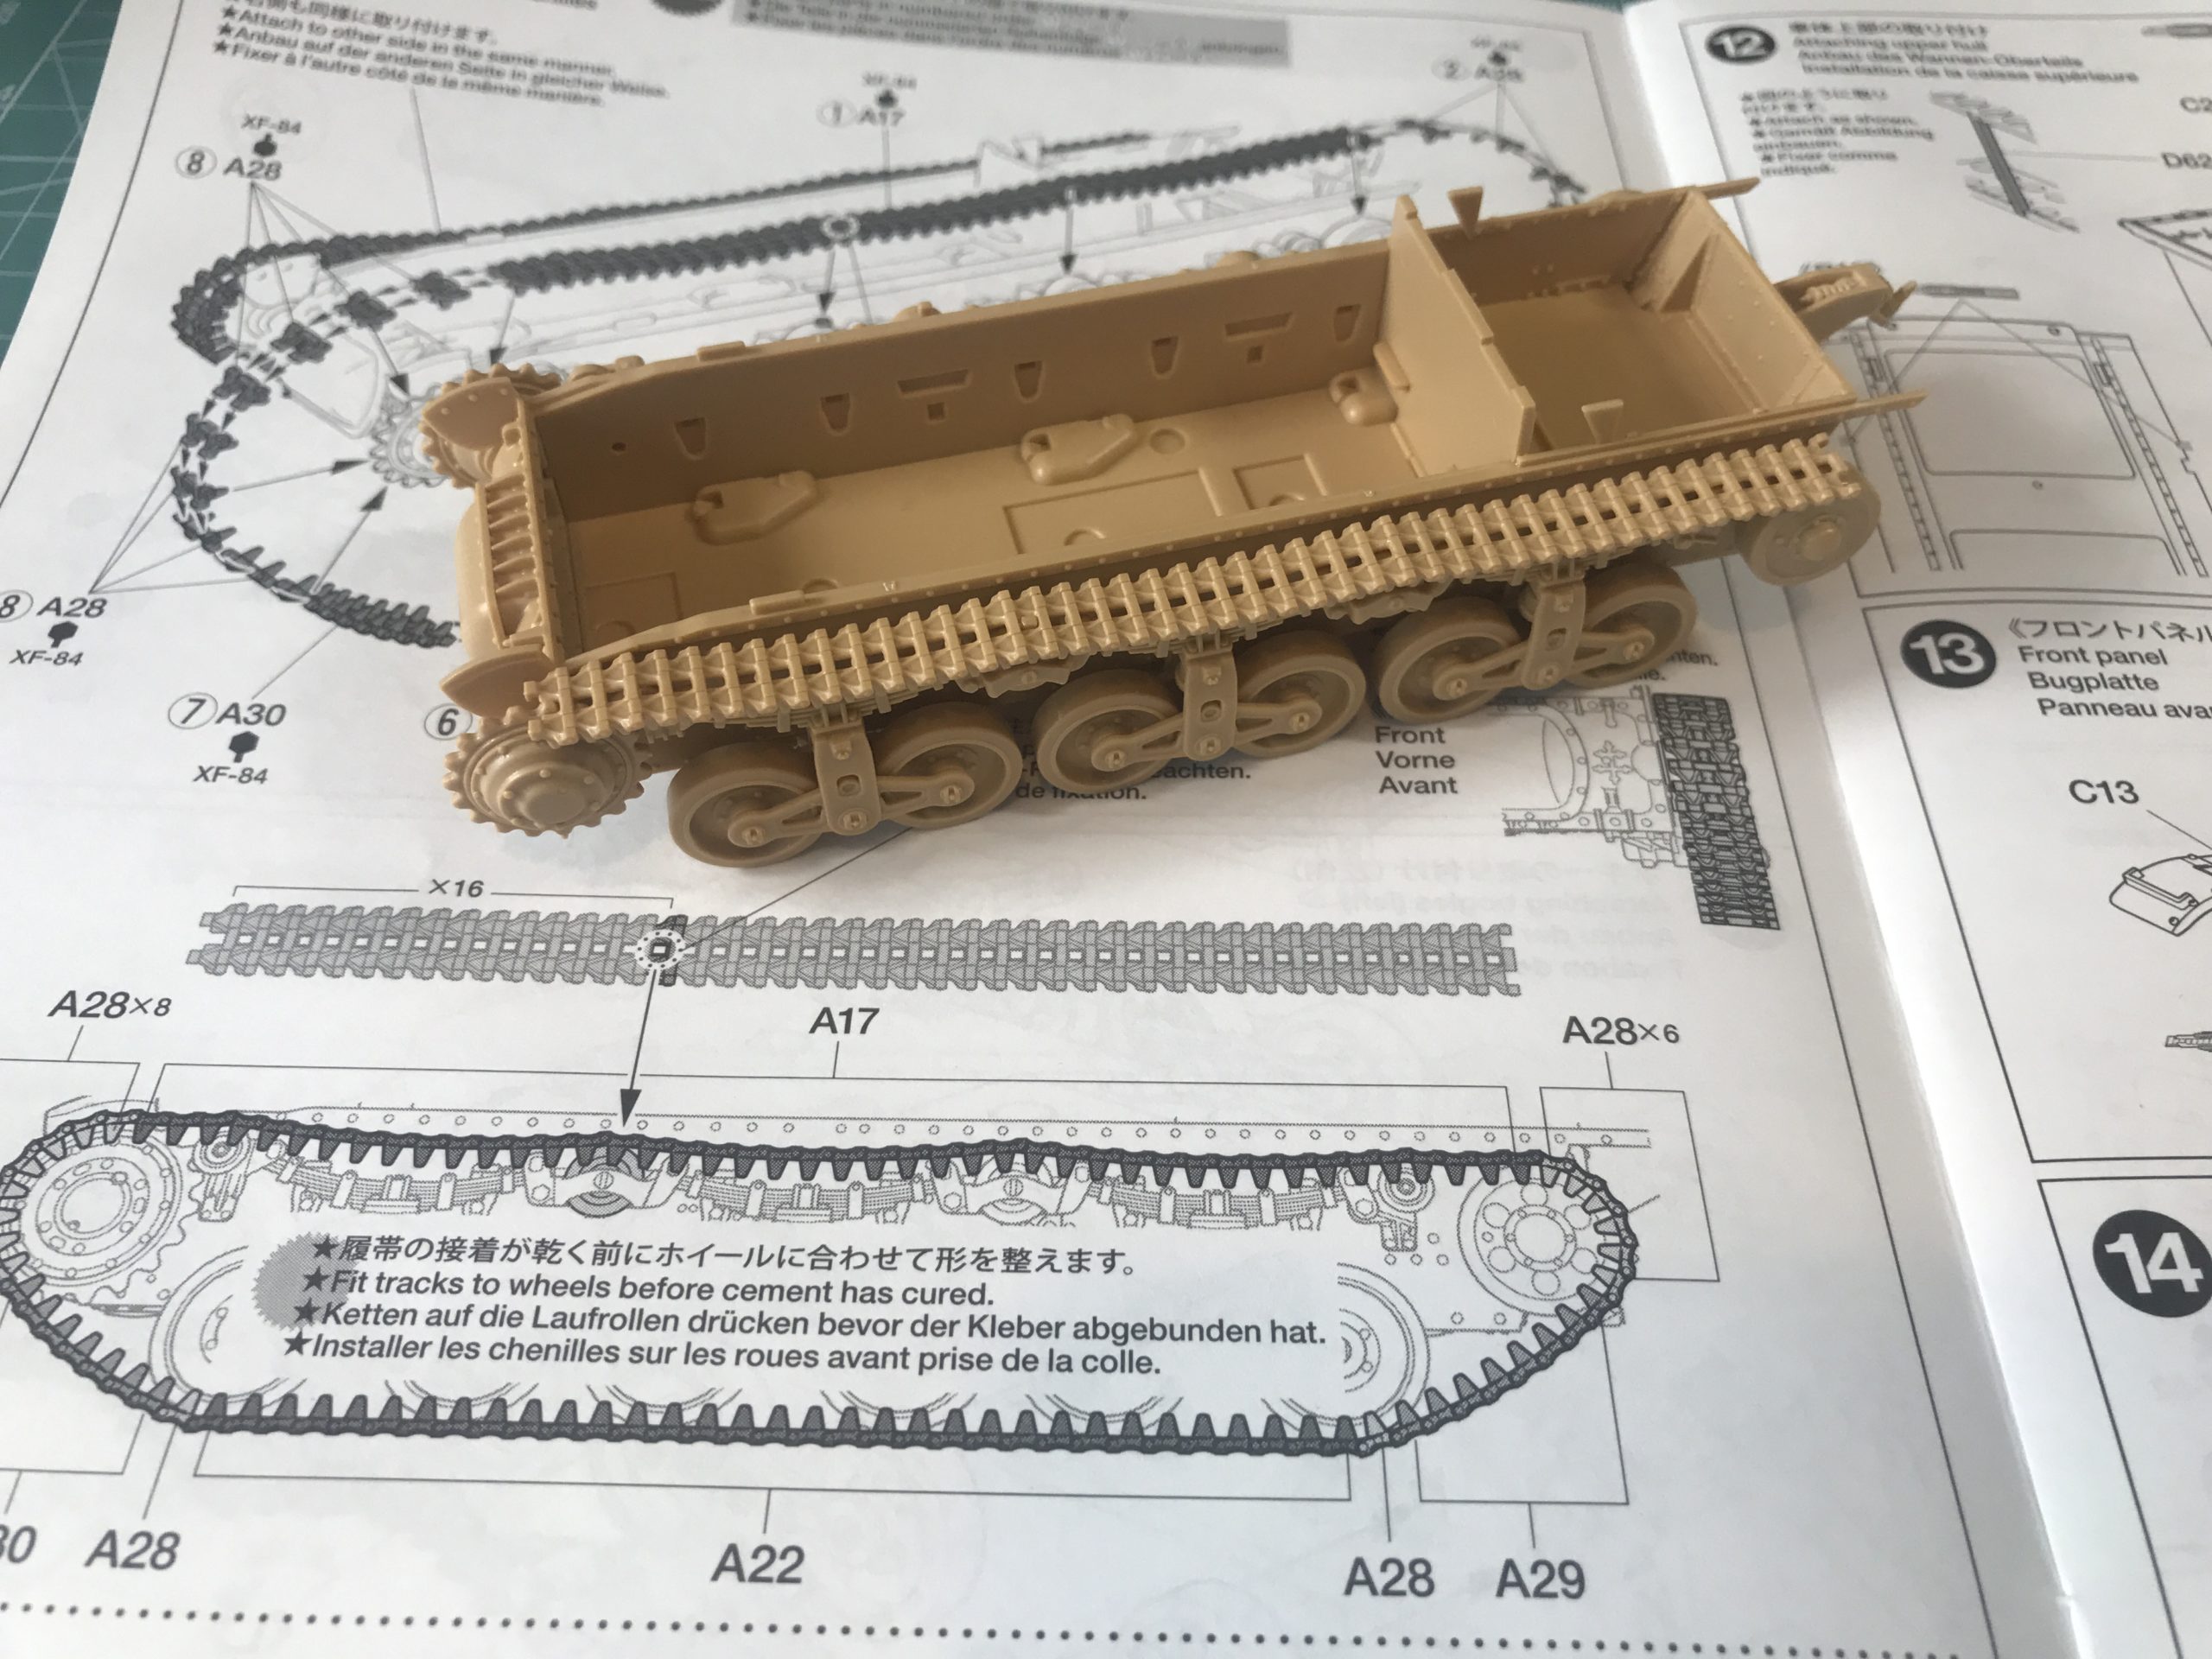
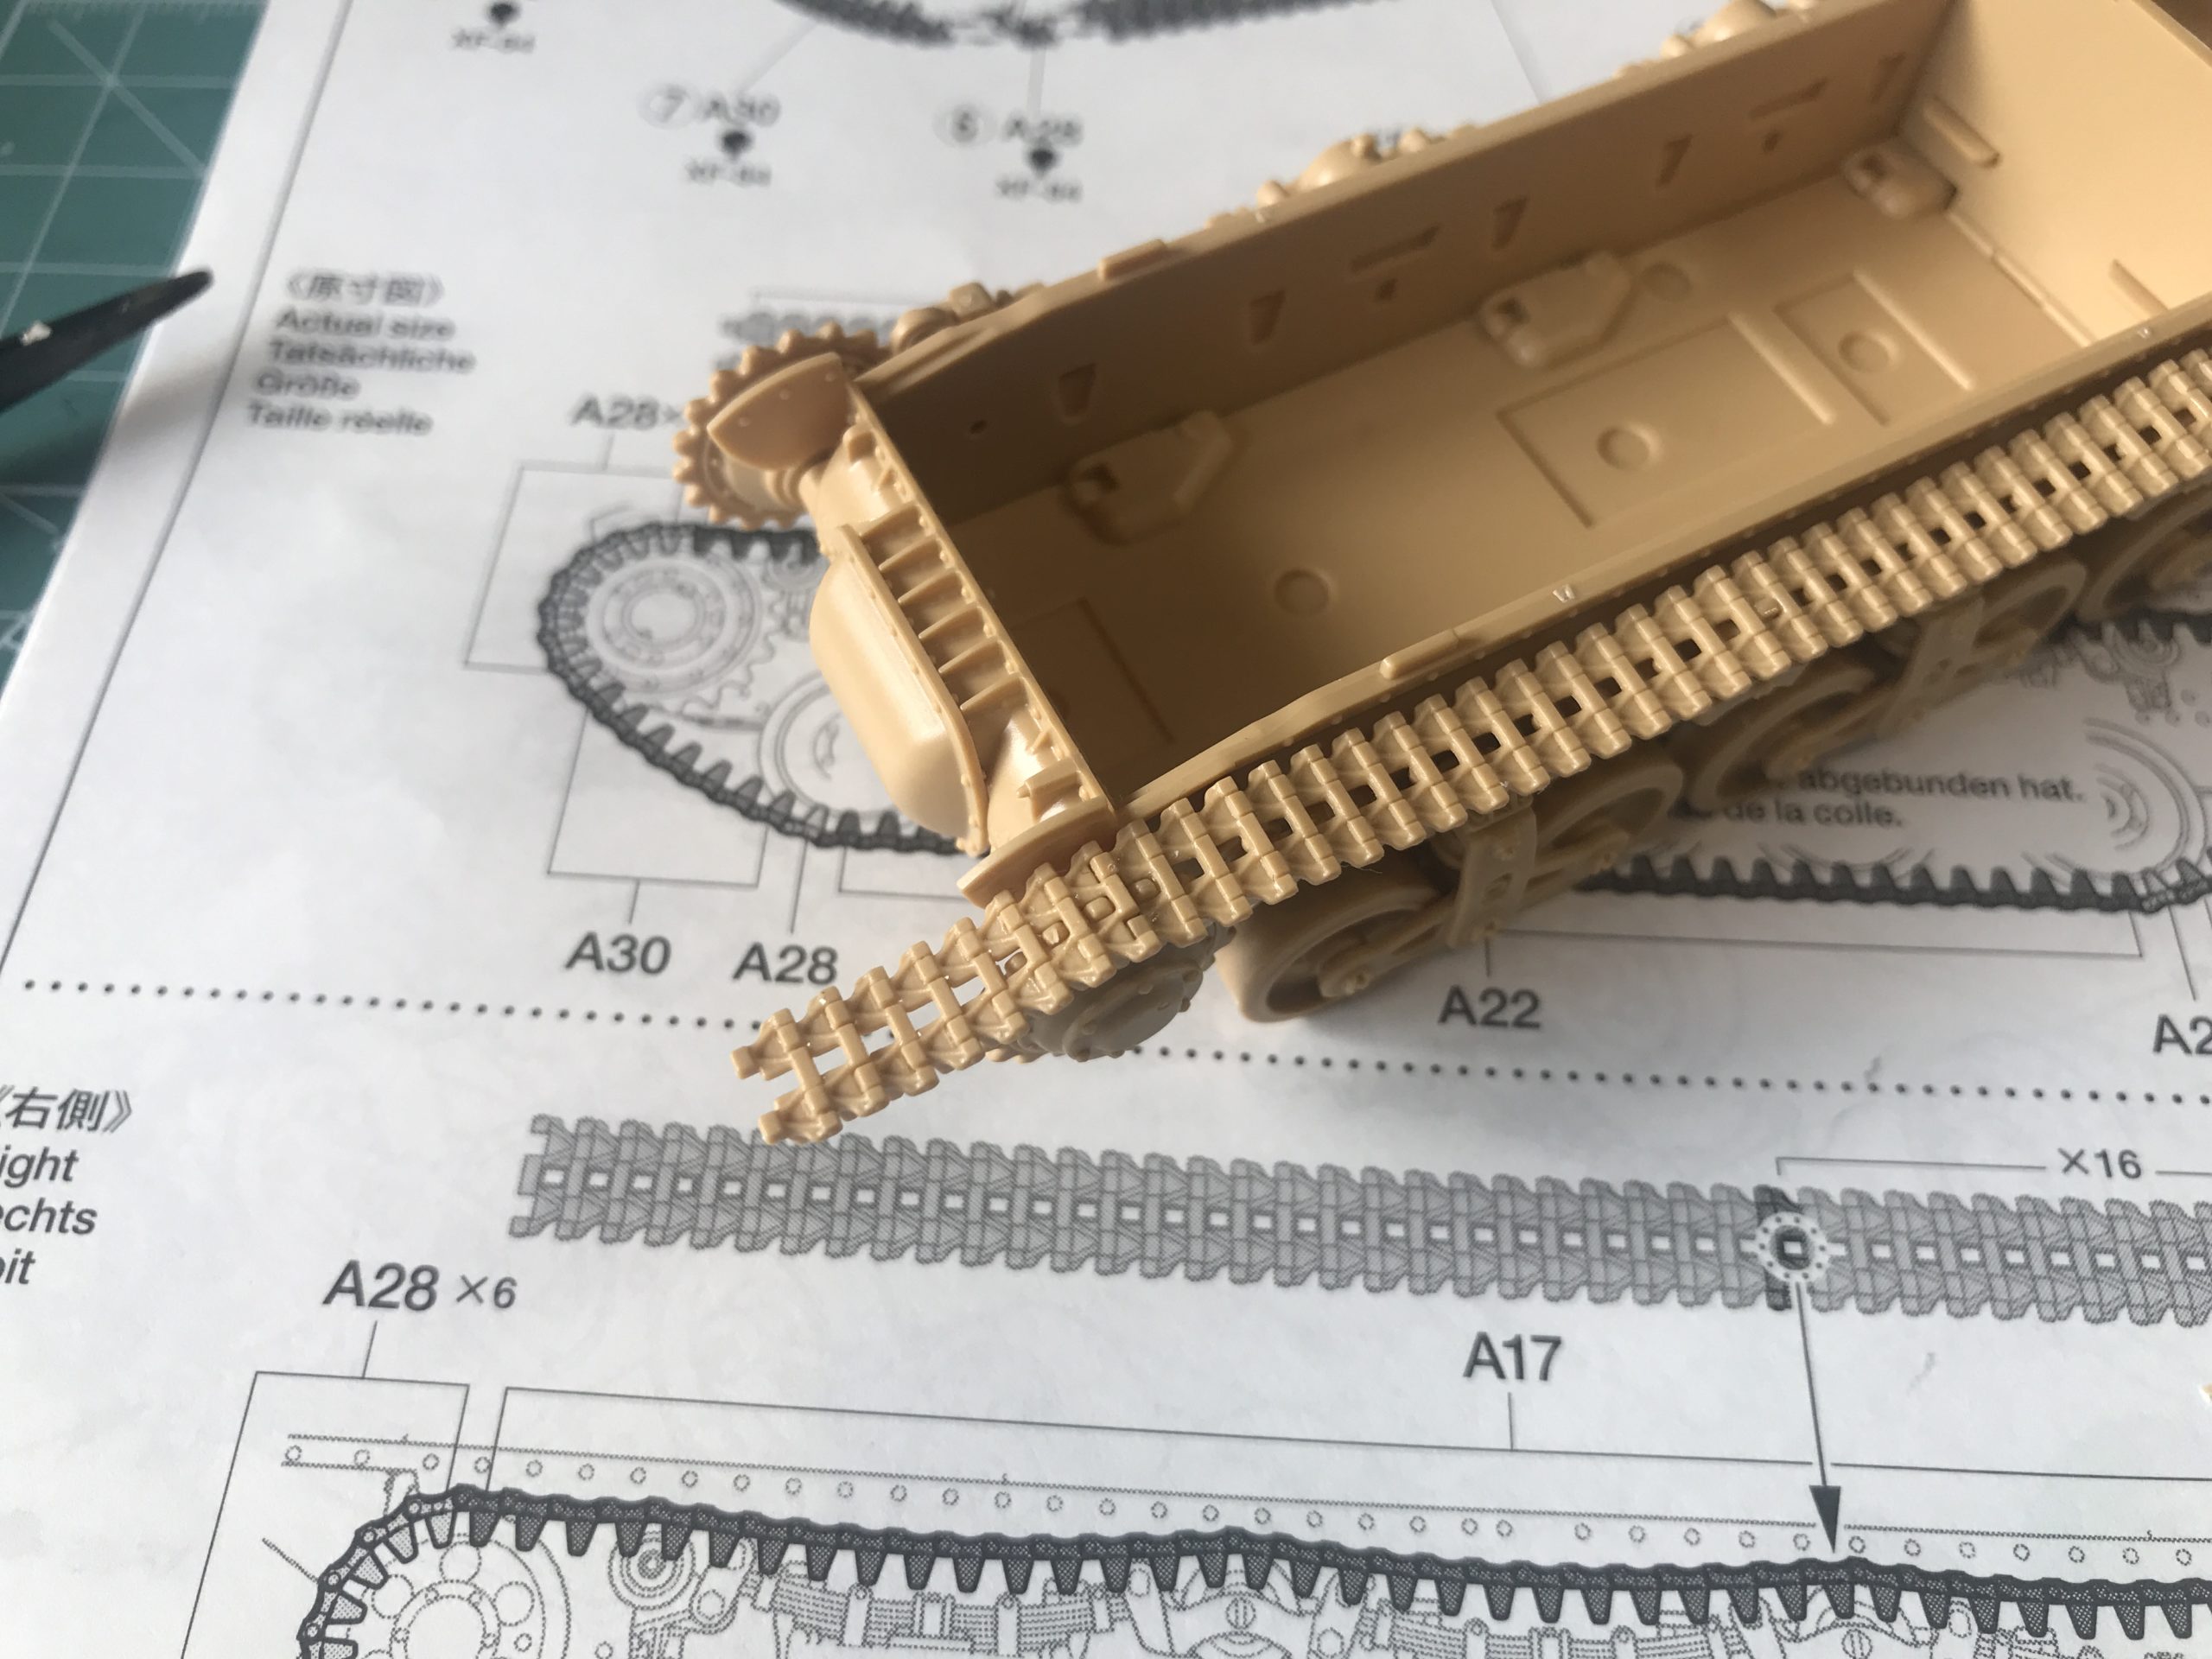
Now lets take a look at the tracks.
Different manufacturers have different approaches to tracks. The most simple being the “rubber band” tracks and the most complicated being the multi-part per link fully workable tracks offered by the likes of Ryefield etc.
Tamiyas latest version for the last few years is a hybrid of individual links and longer moulded parts. This gives a great balance between detail and ease of assembly. The fact that the “track sag” is pre-moulded makes sure they look spot on.
Here is a picture of how they go together.
This clearly shows the mix of individual links and larger sections. Tamiya being Tamiya has even included a locating tab on one of the wheels to allow absolutely positive location of the first track piece as you can see below.
Once the track is in place the drive sprocket (once again apologies if incorrectly named) can be rotated so that it fits in “snug” against the track.
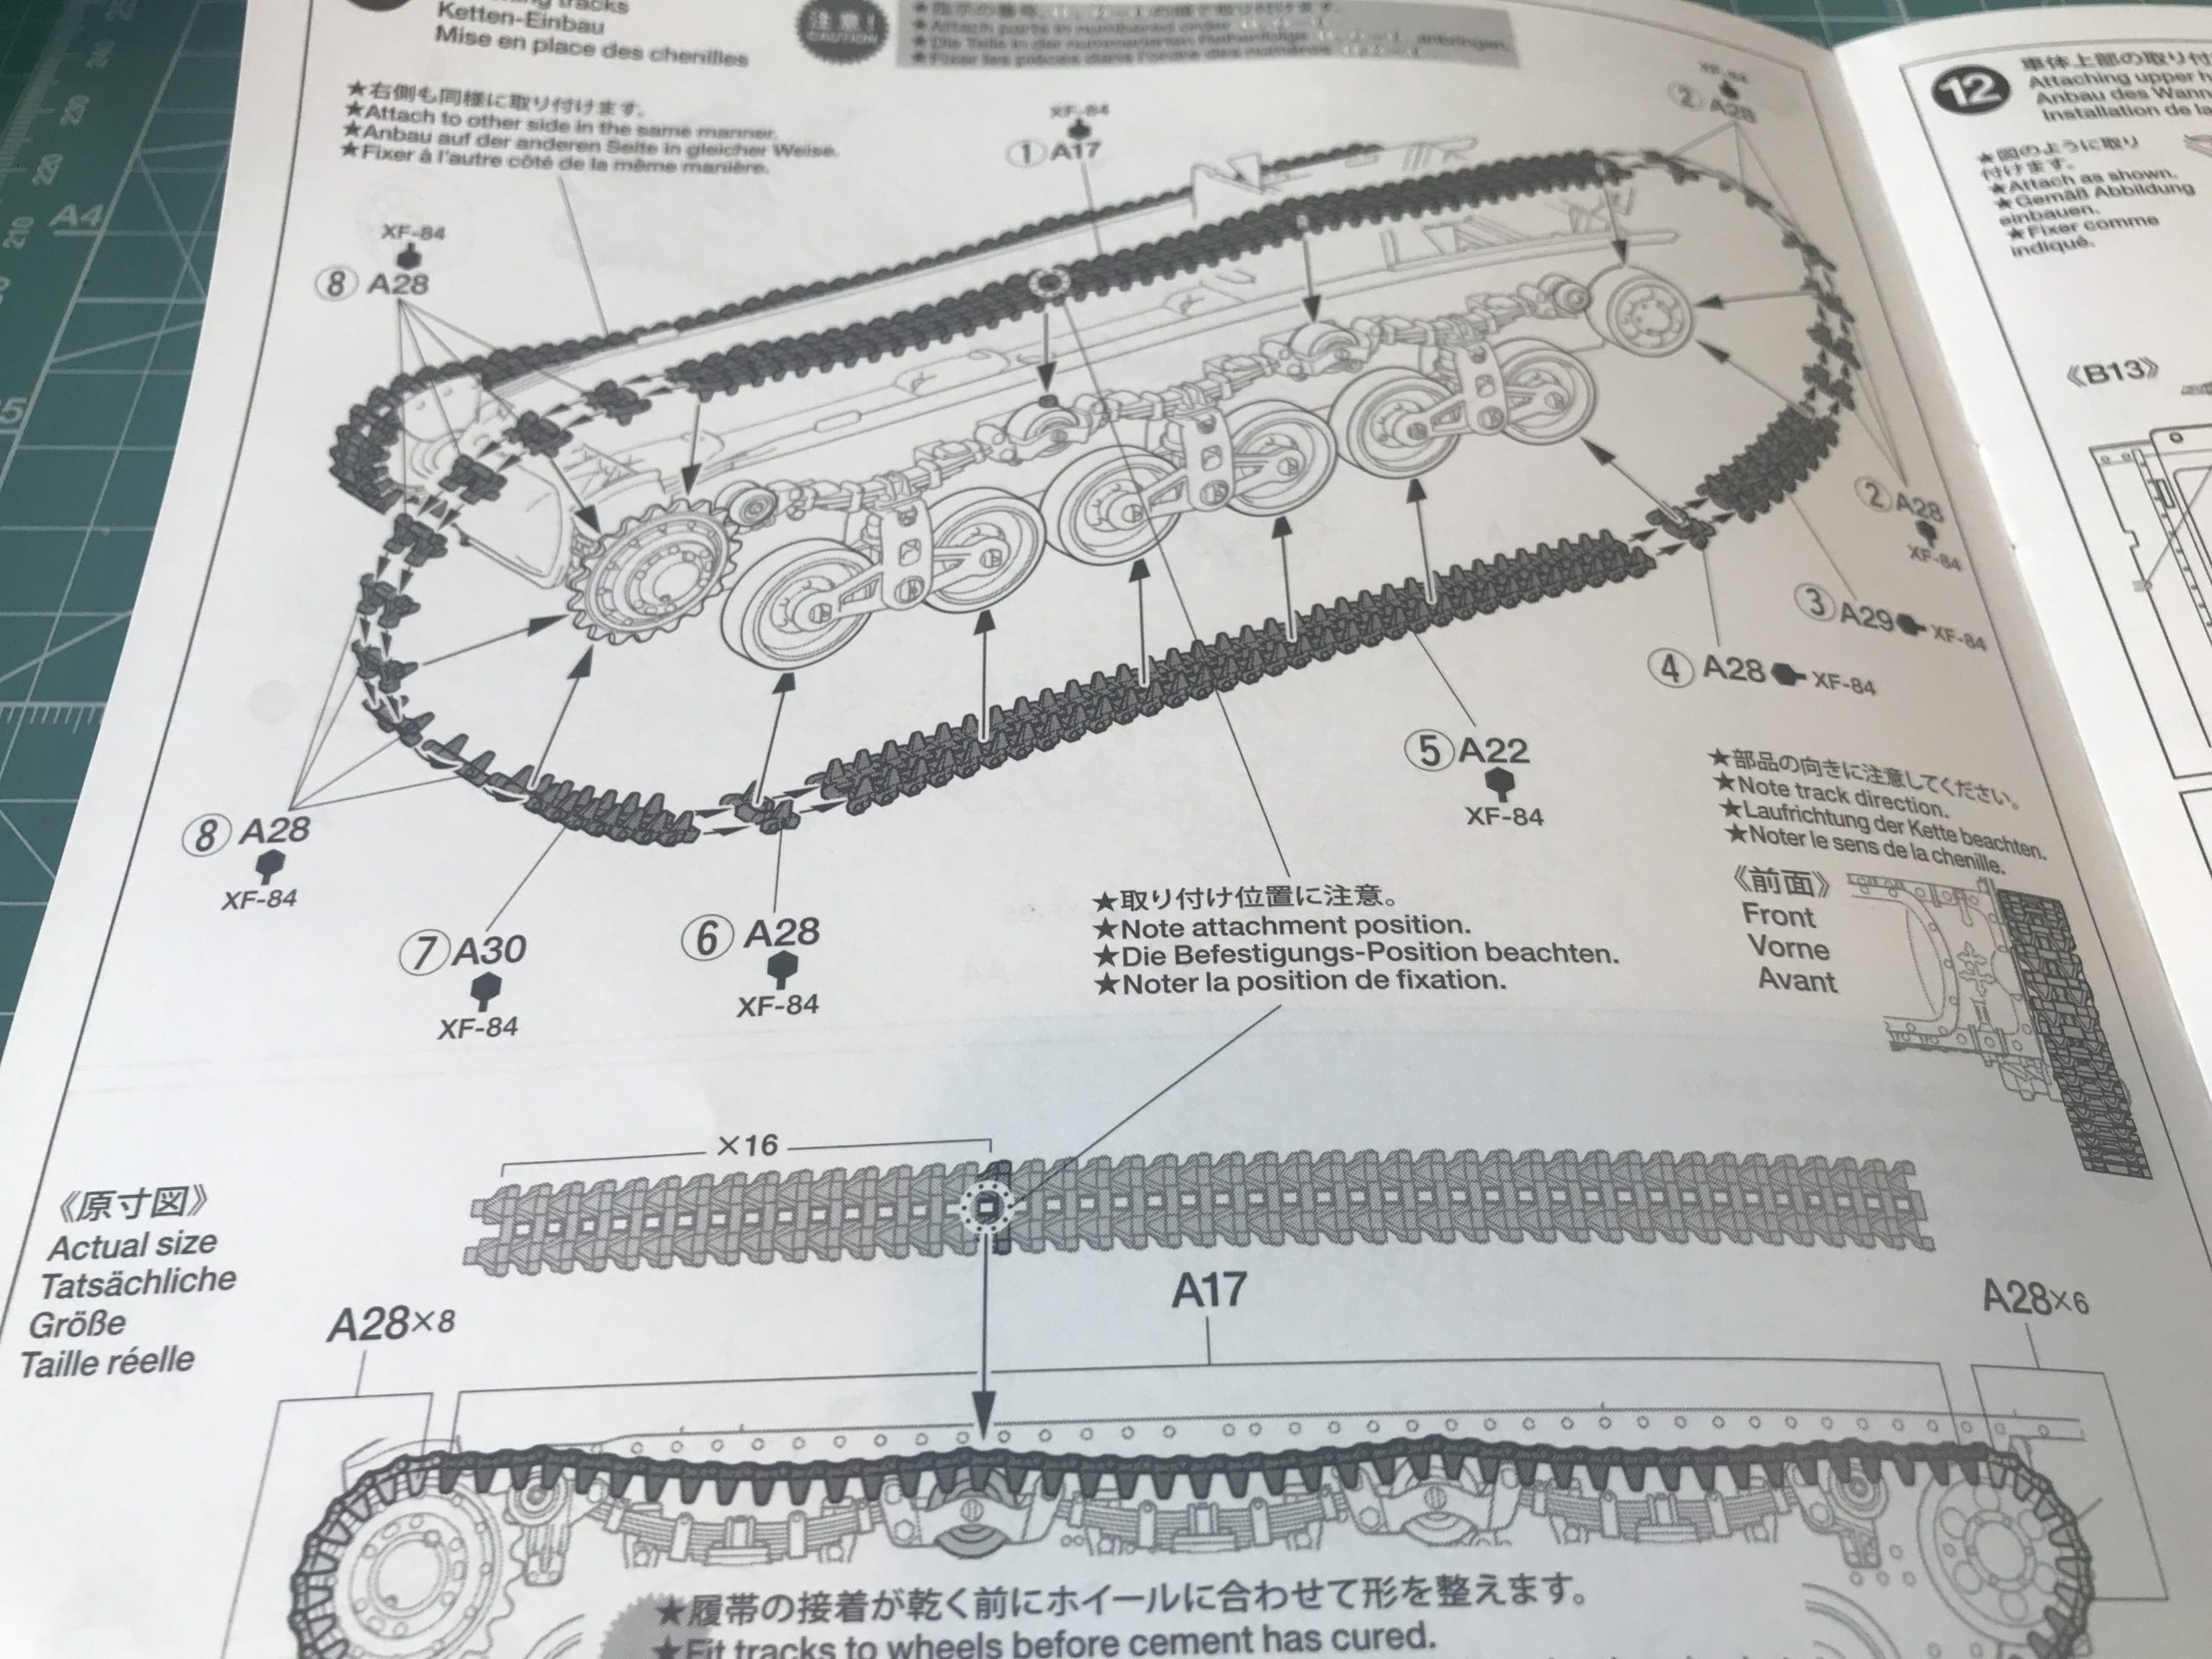
Next the individual track sections need to removed from the sprue.
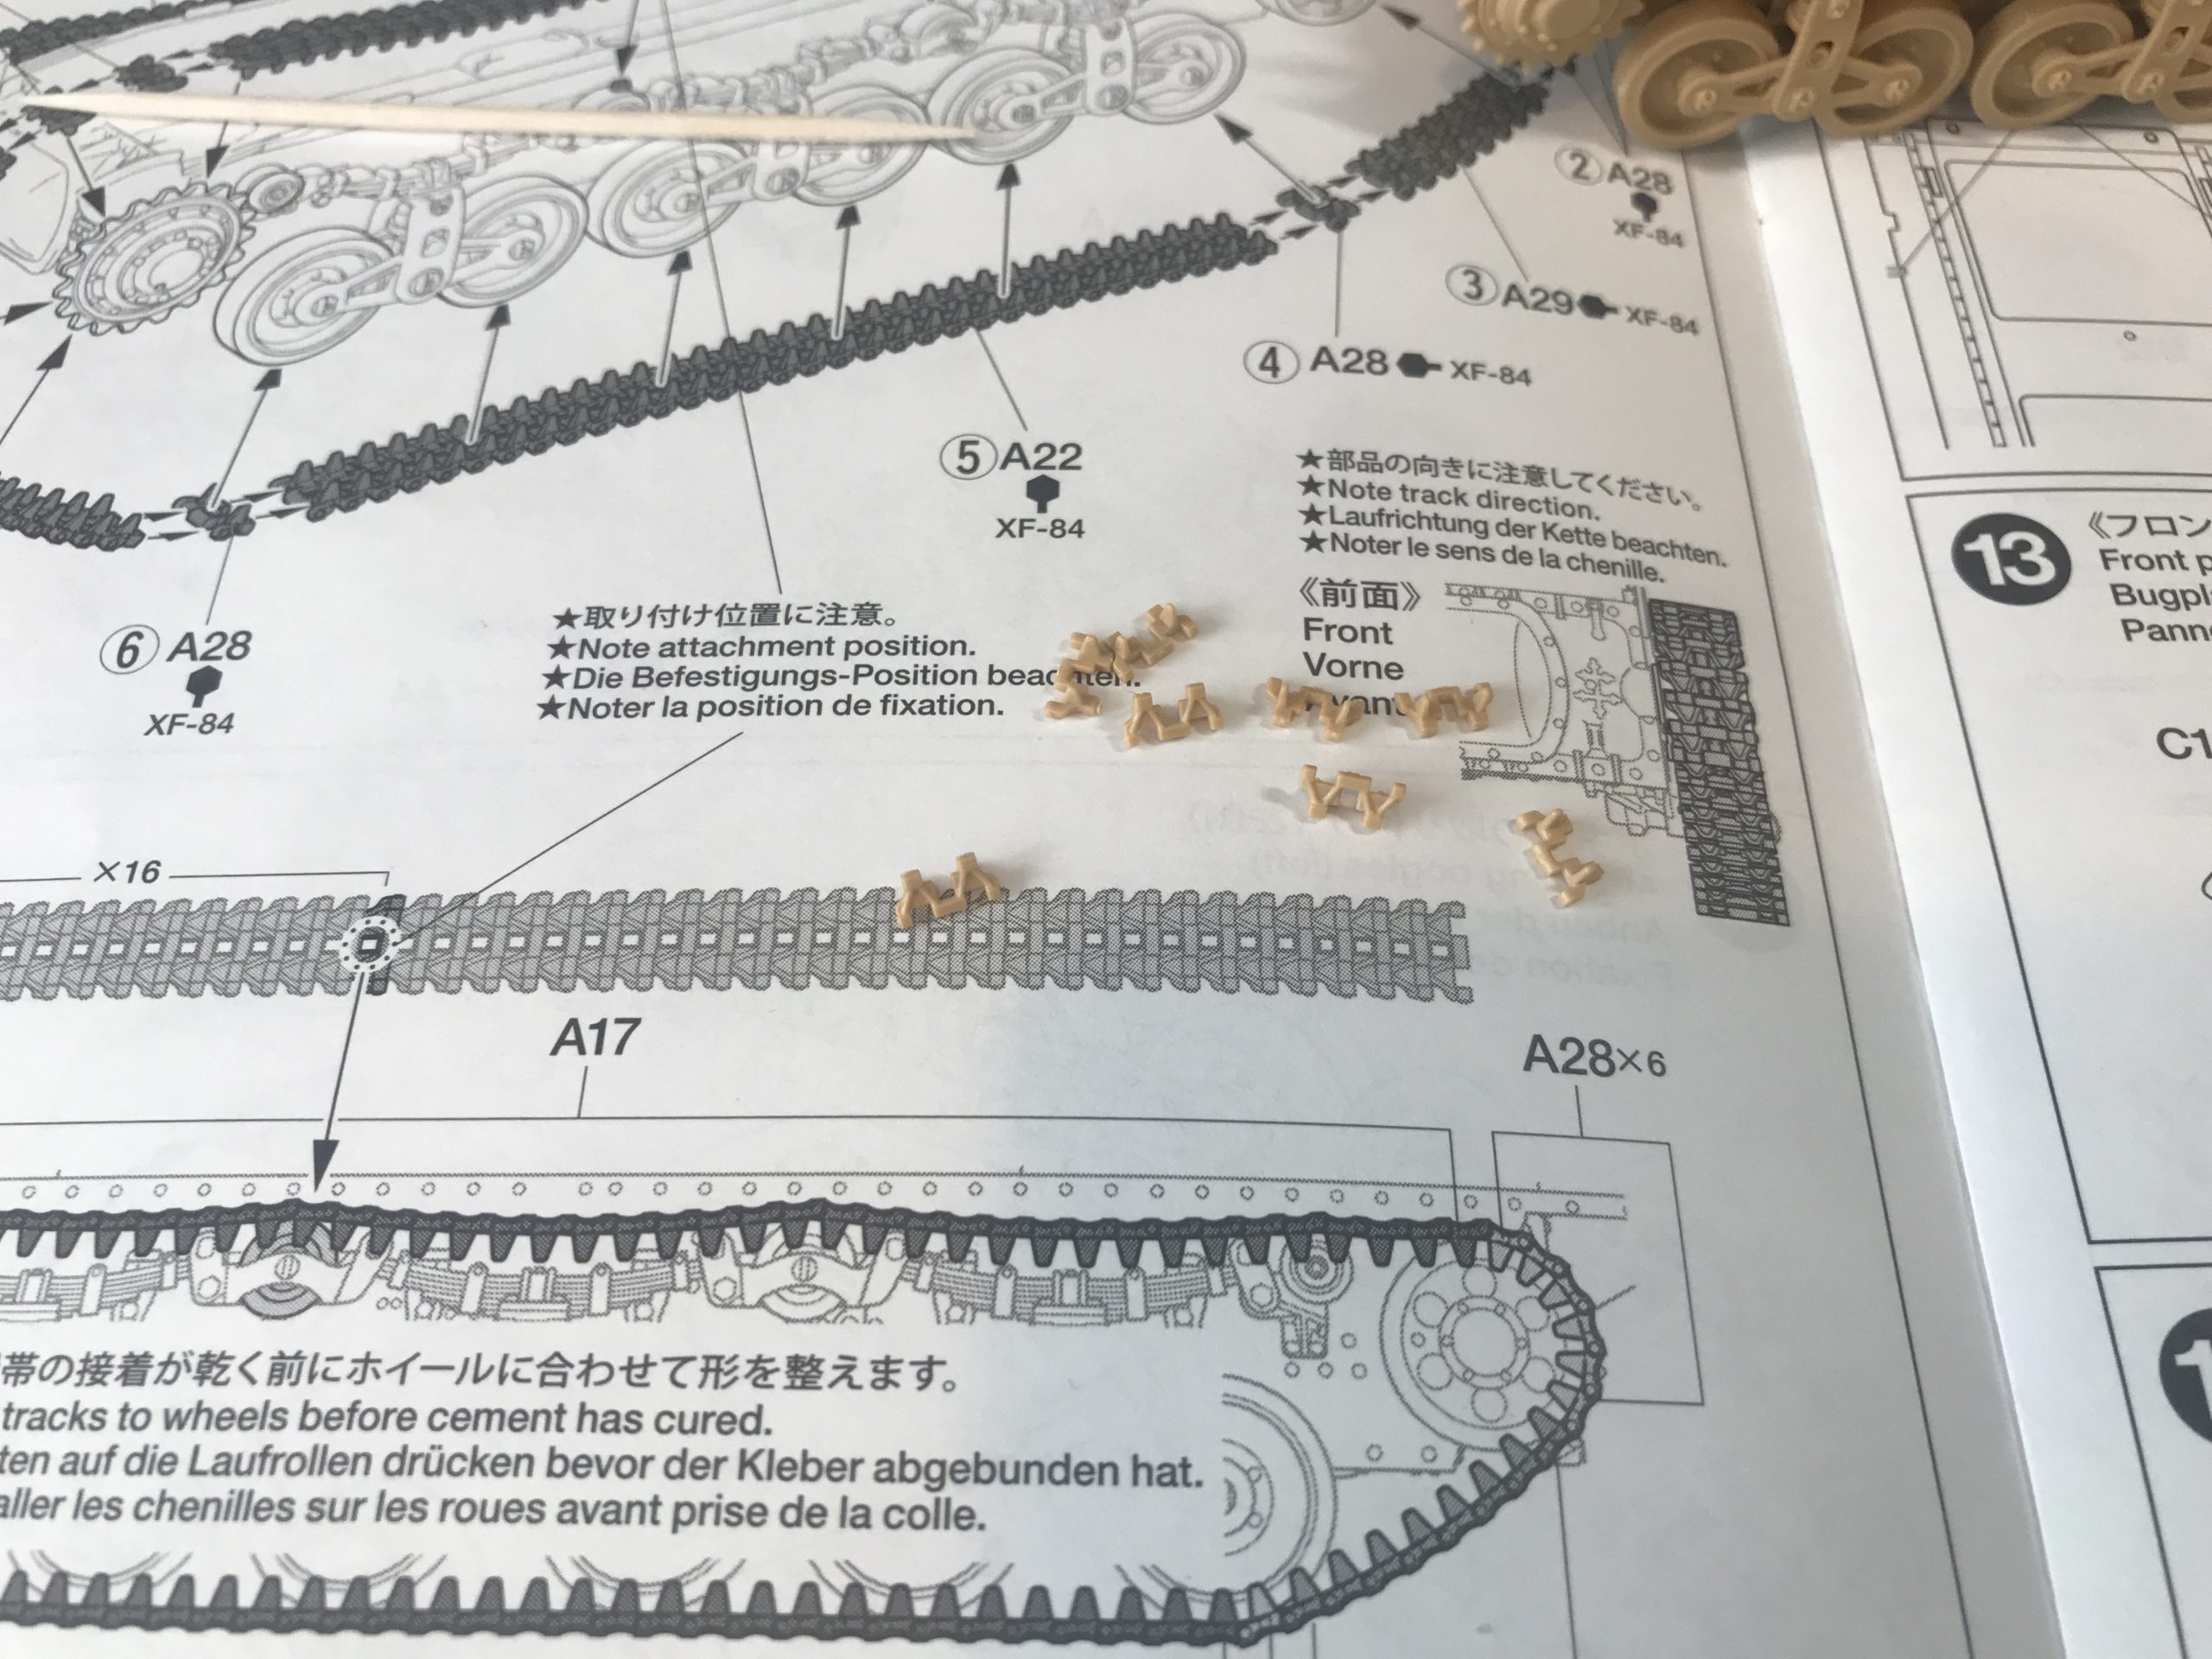
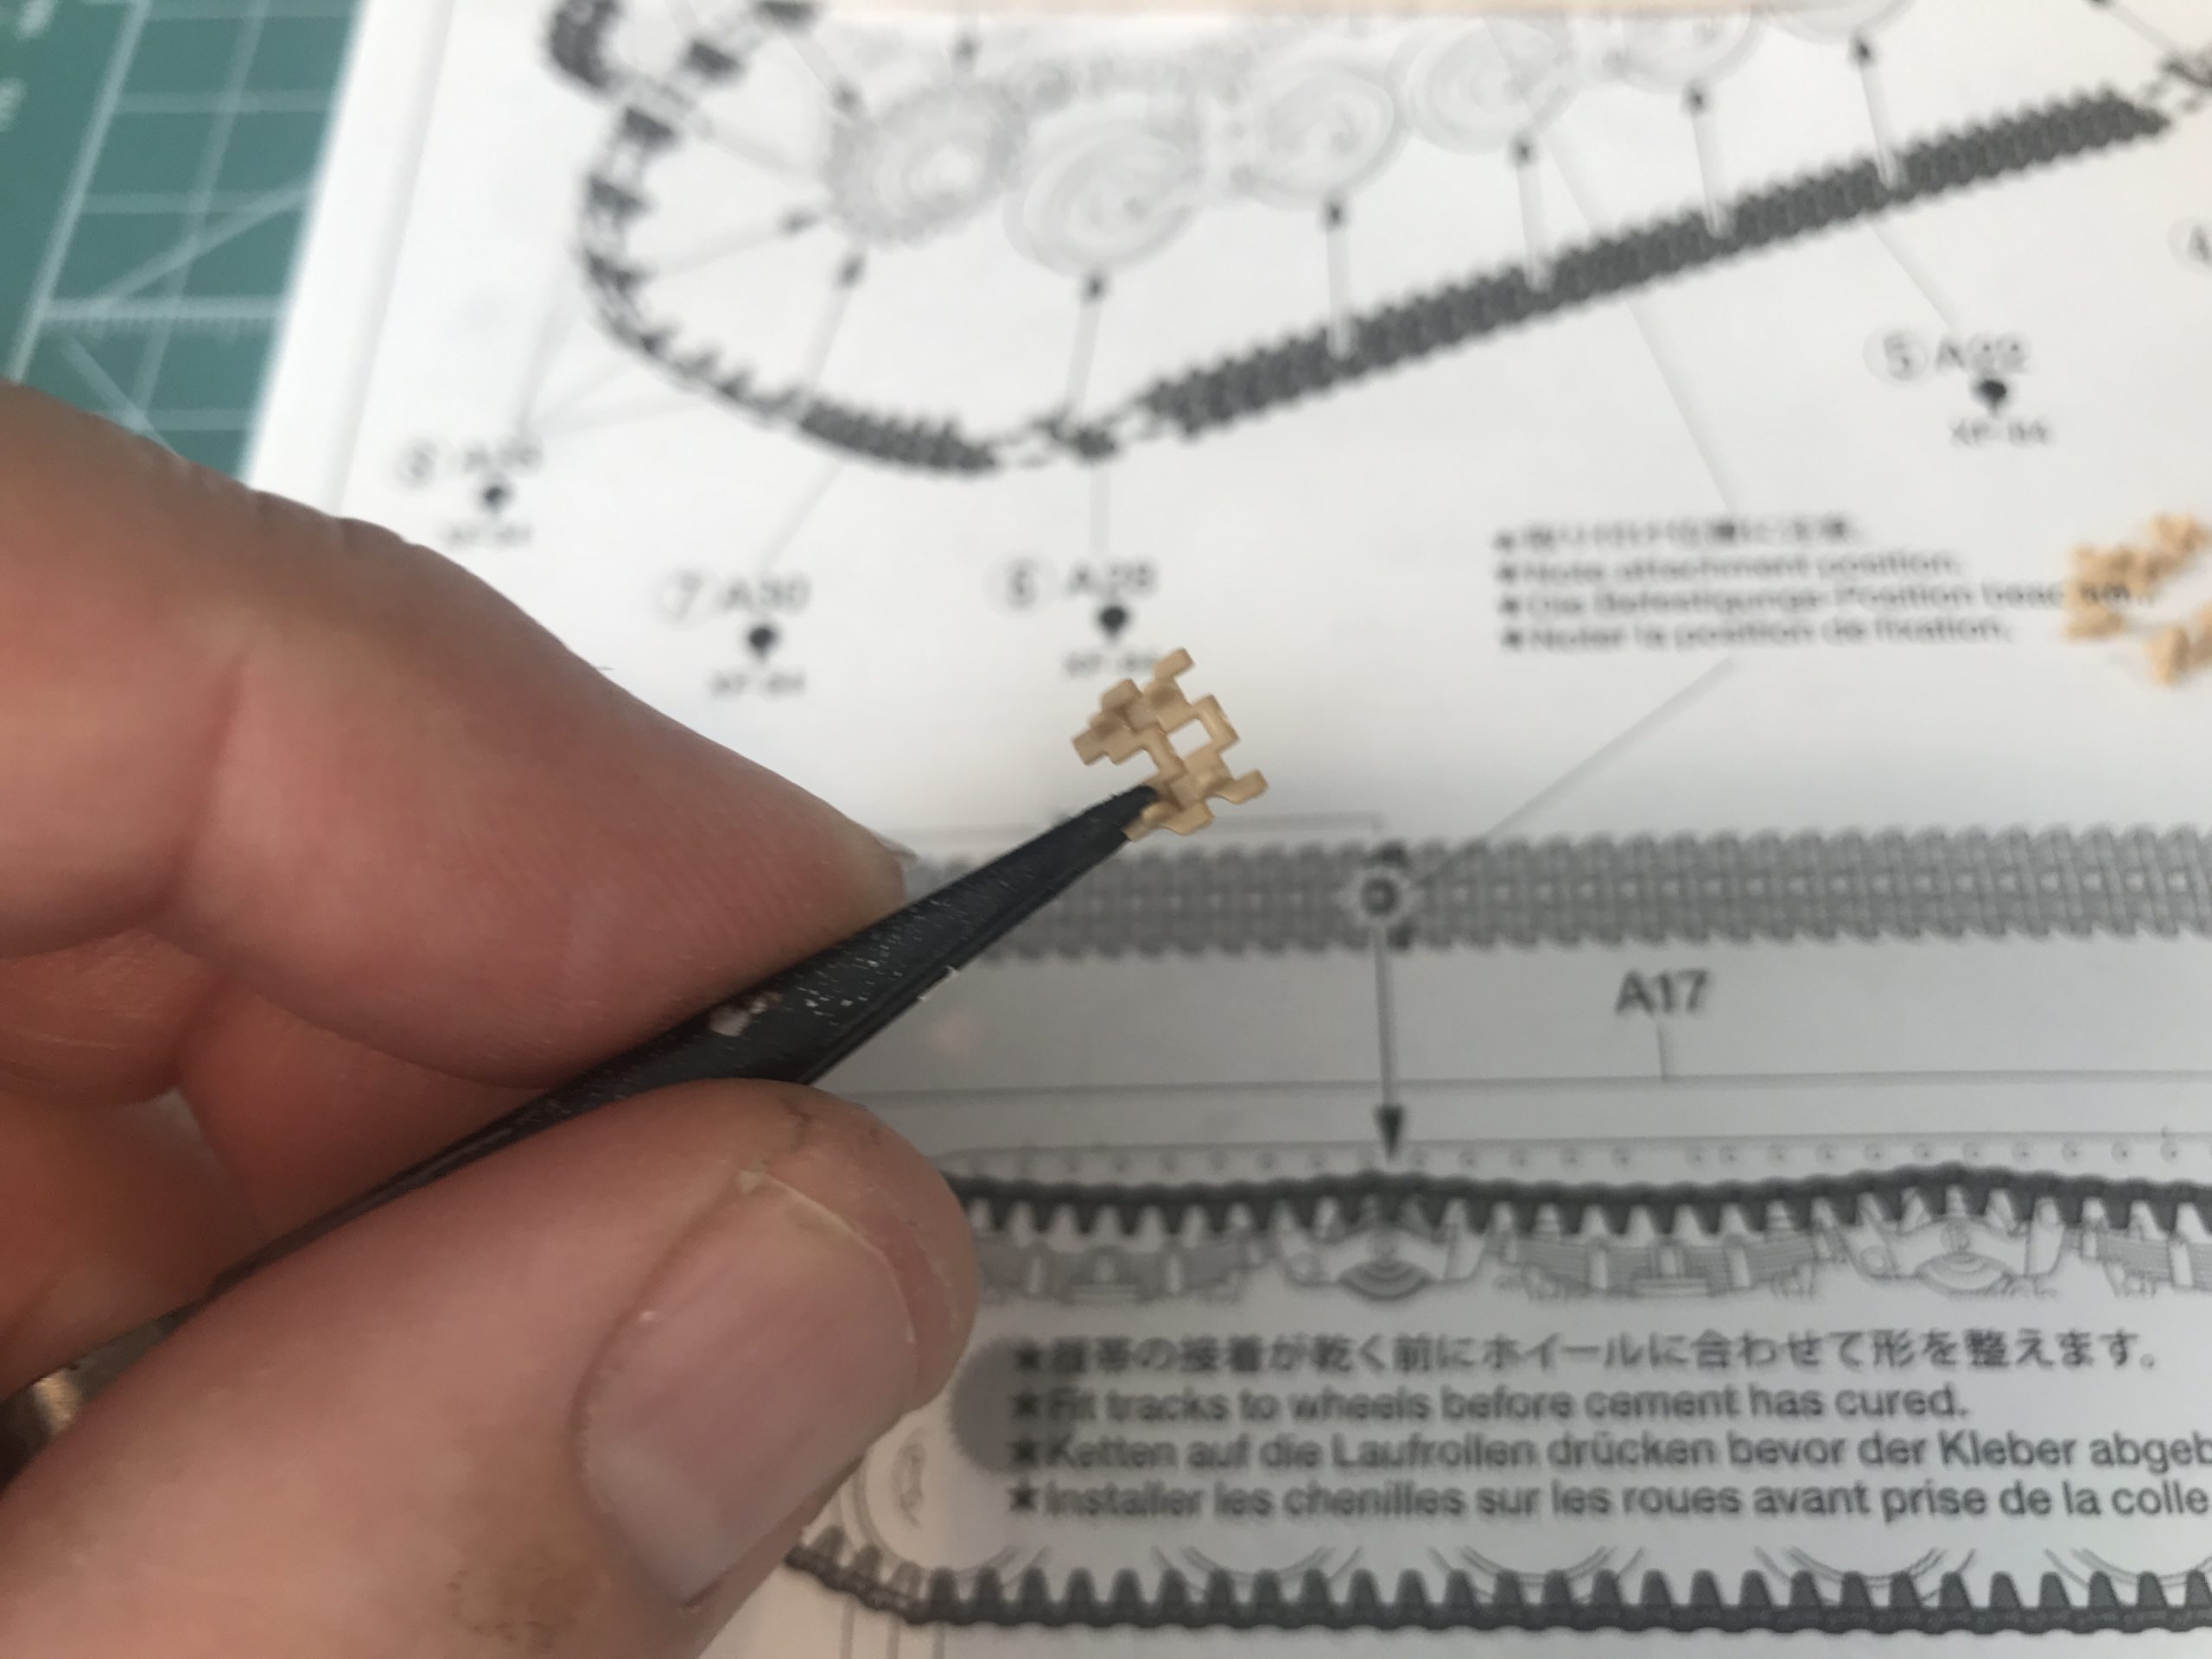
The tracks are assembled using Tamiya extra thin cement. Once you have a straight section complete then leave it for a few minutes, but crucially not long enough for the cement to fully dry.
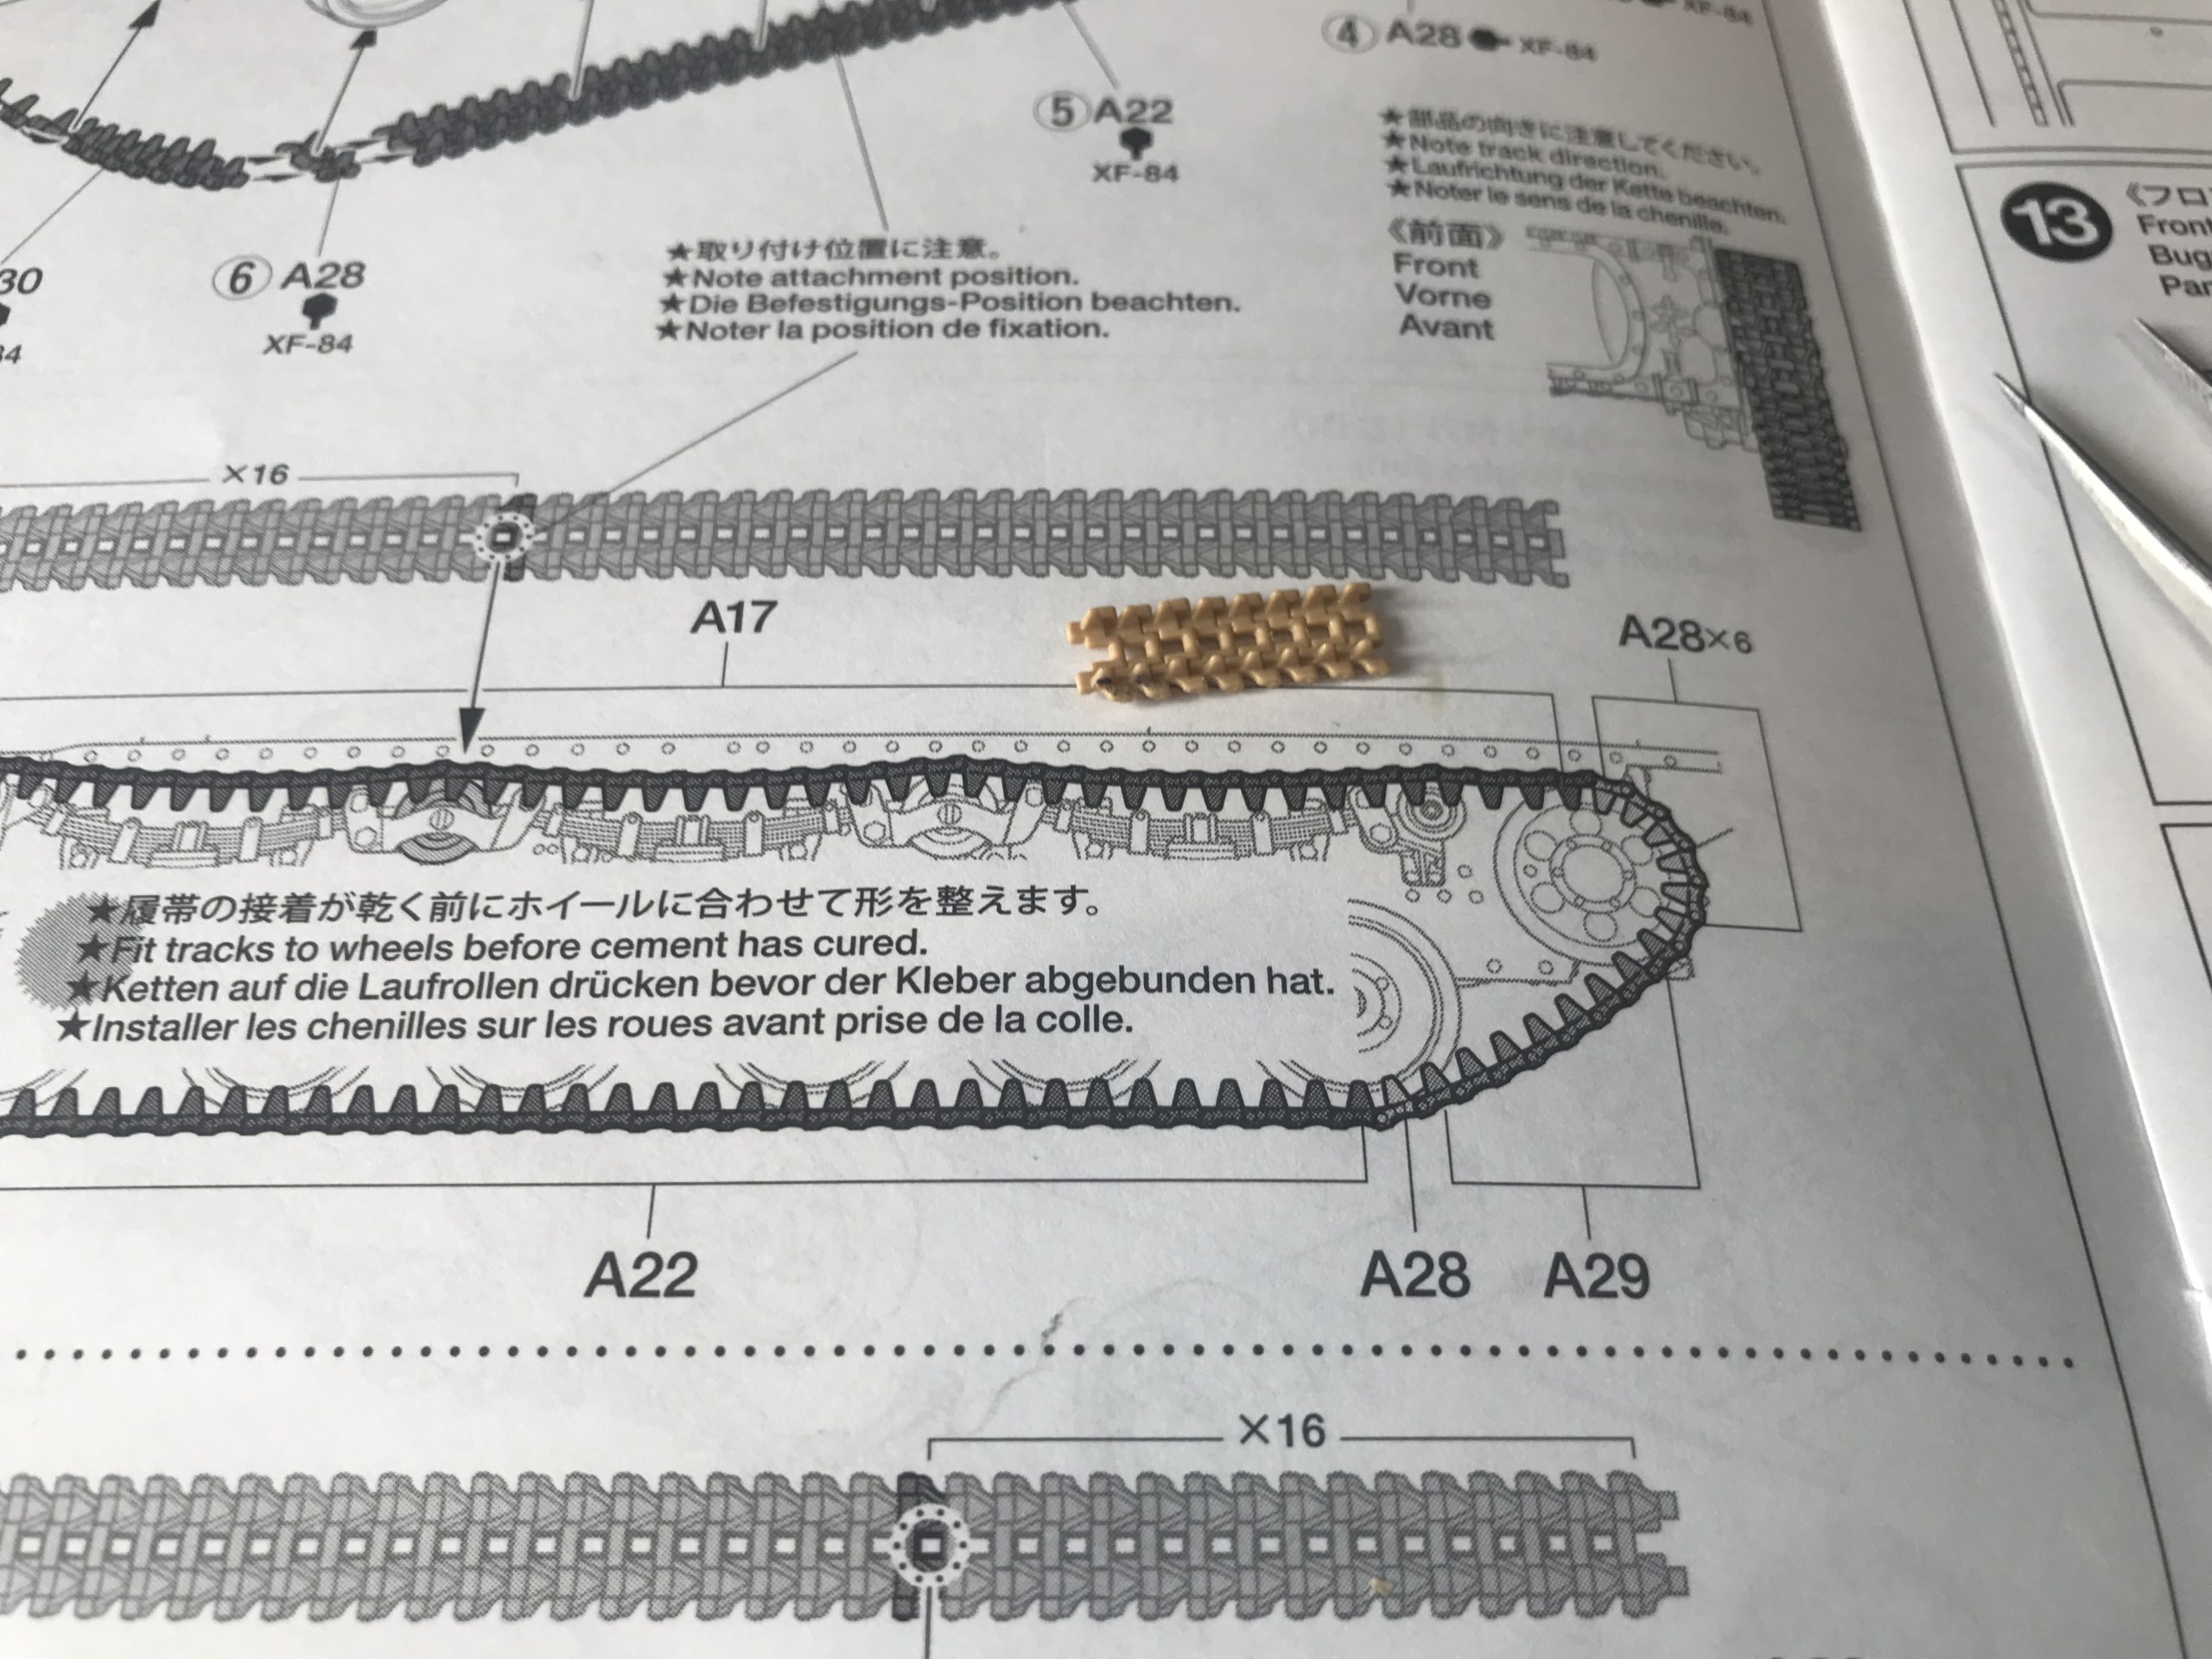
The section can then be cemented on to the track already on the vehicle and then carefully shaped around the drive sprocket (sorry again).
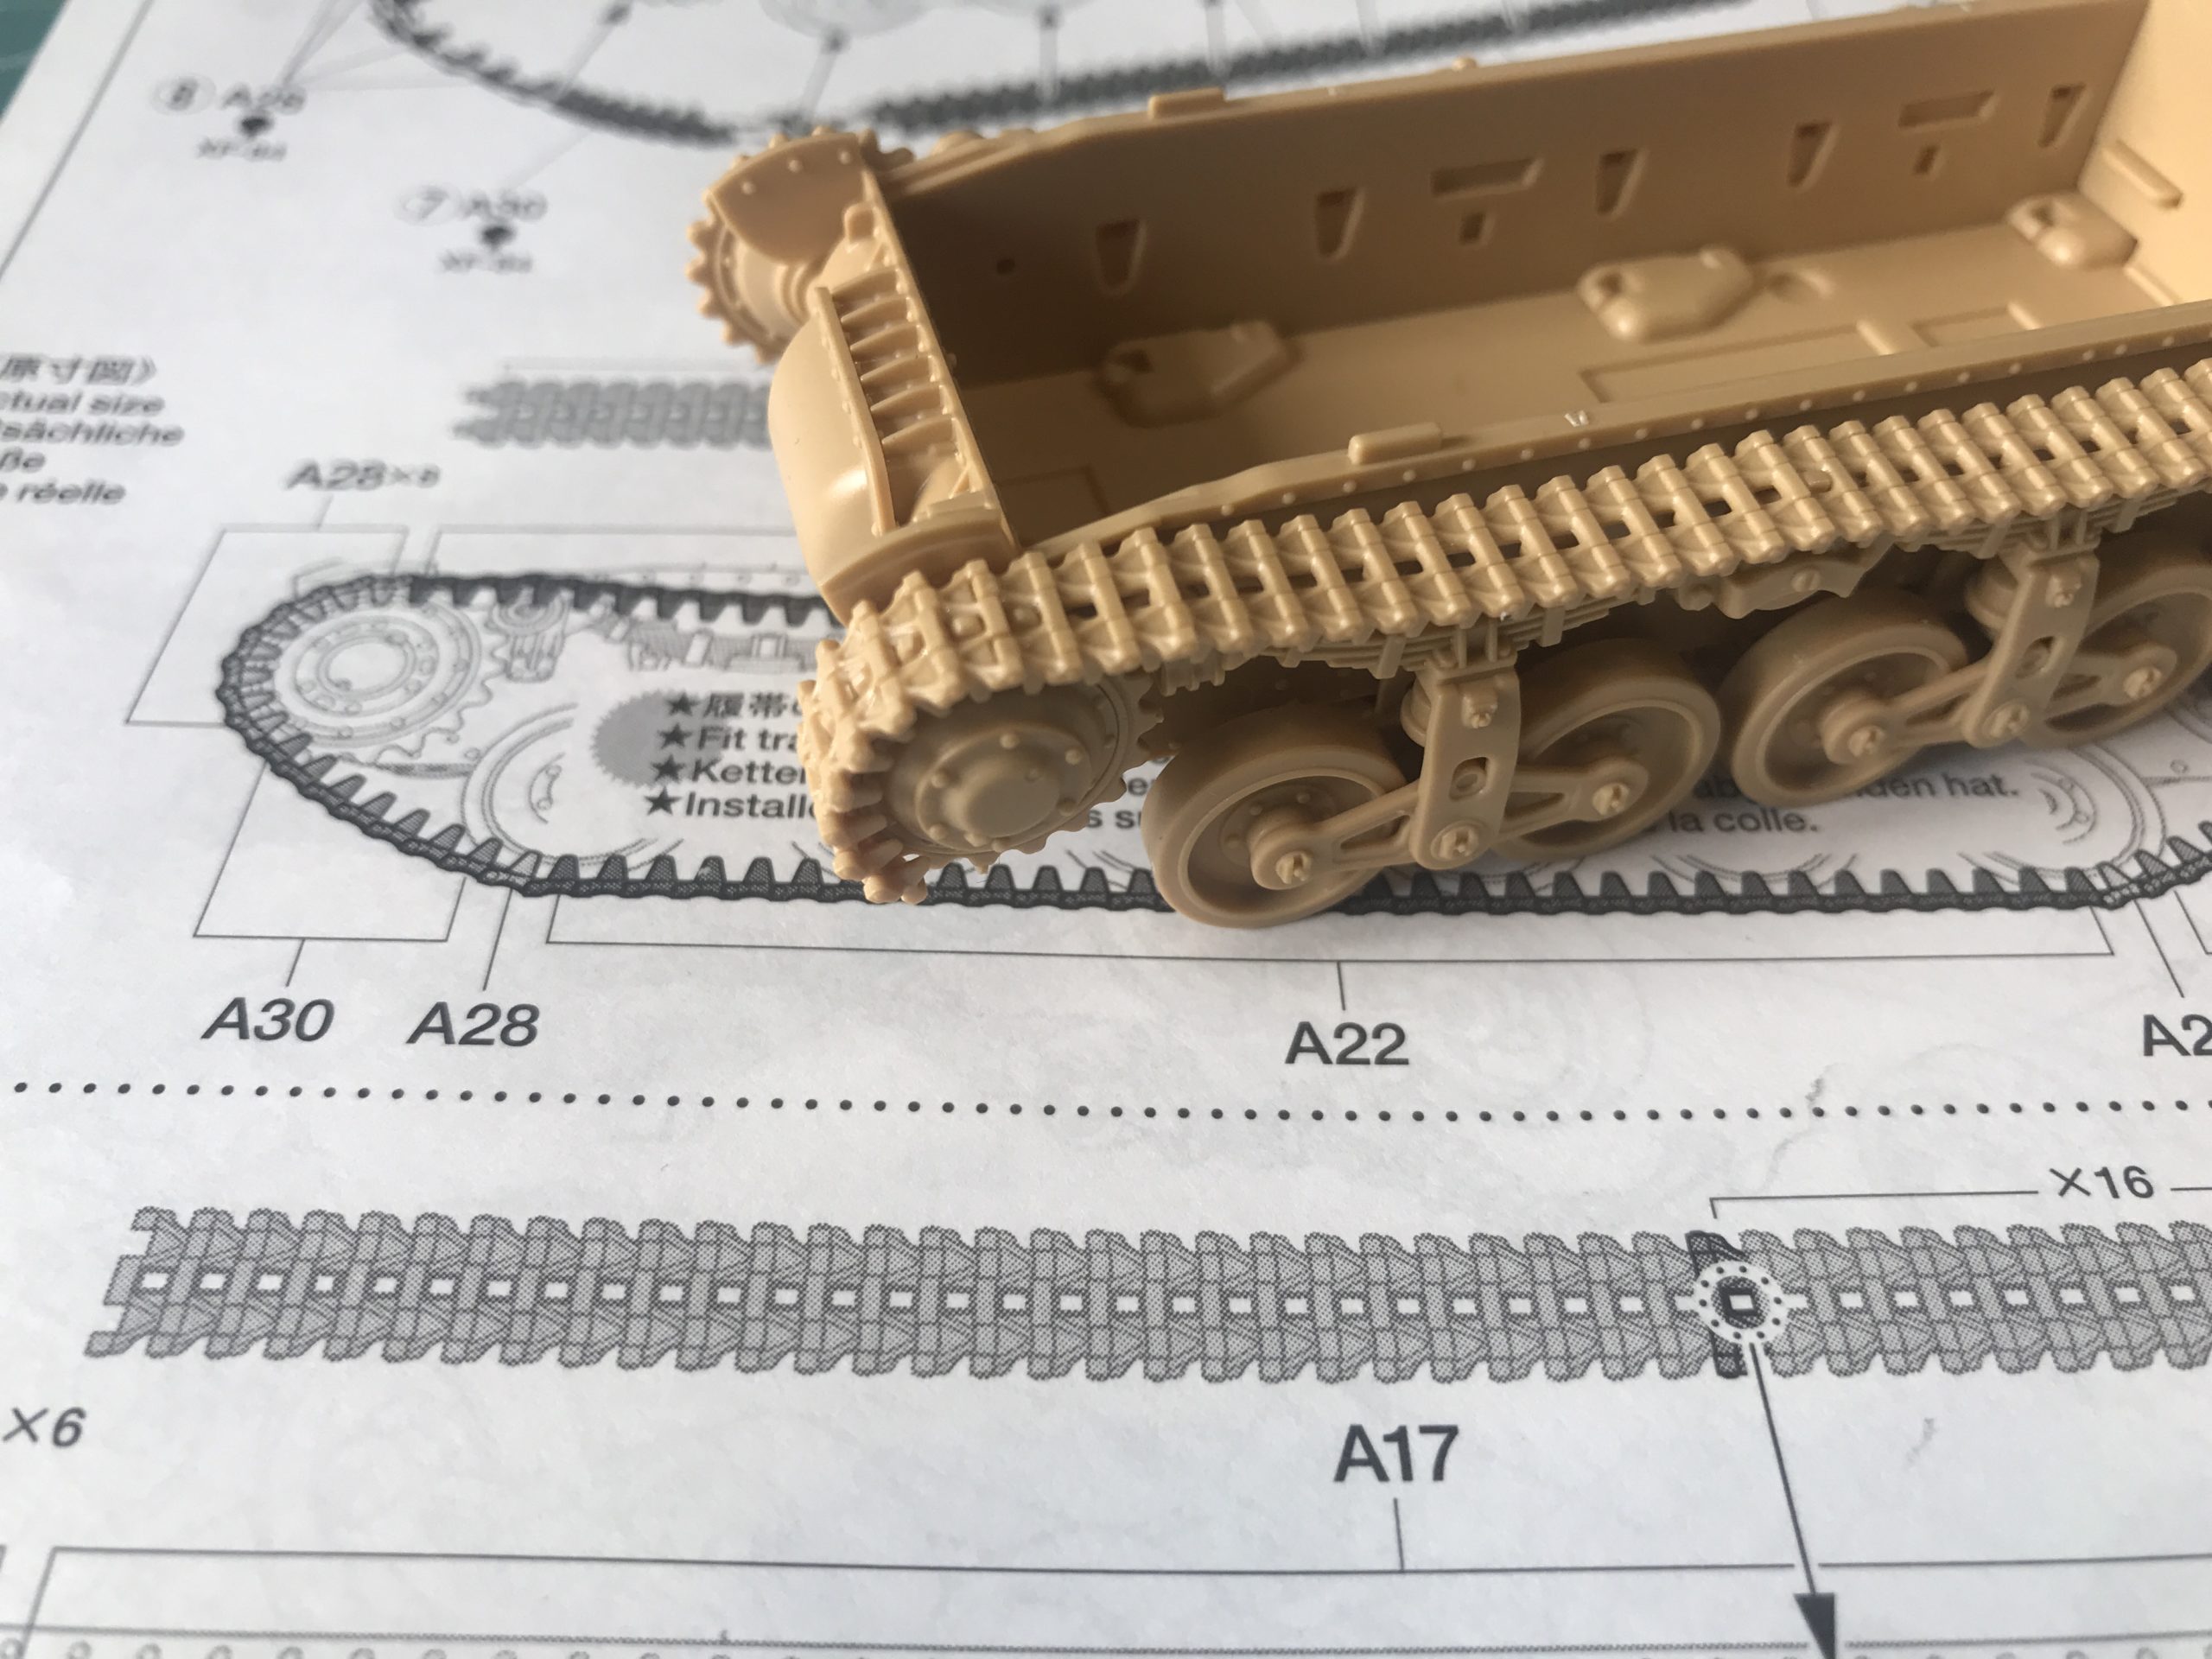
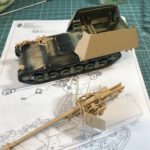
The process is repeated on the rest of the track parts on both sides and you end up with a very convincing set of tracks.
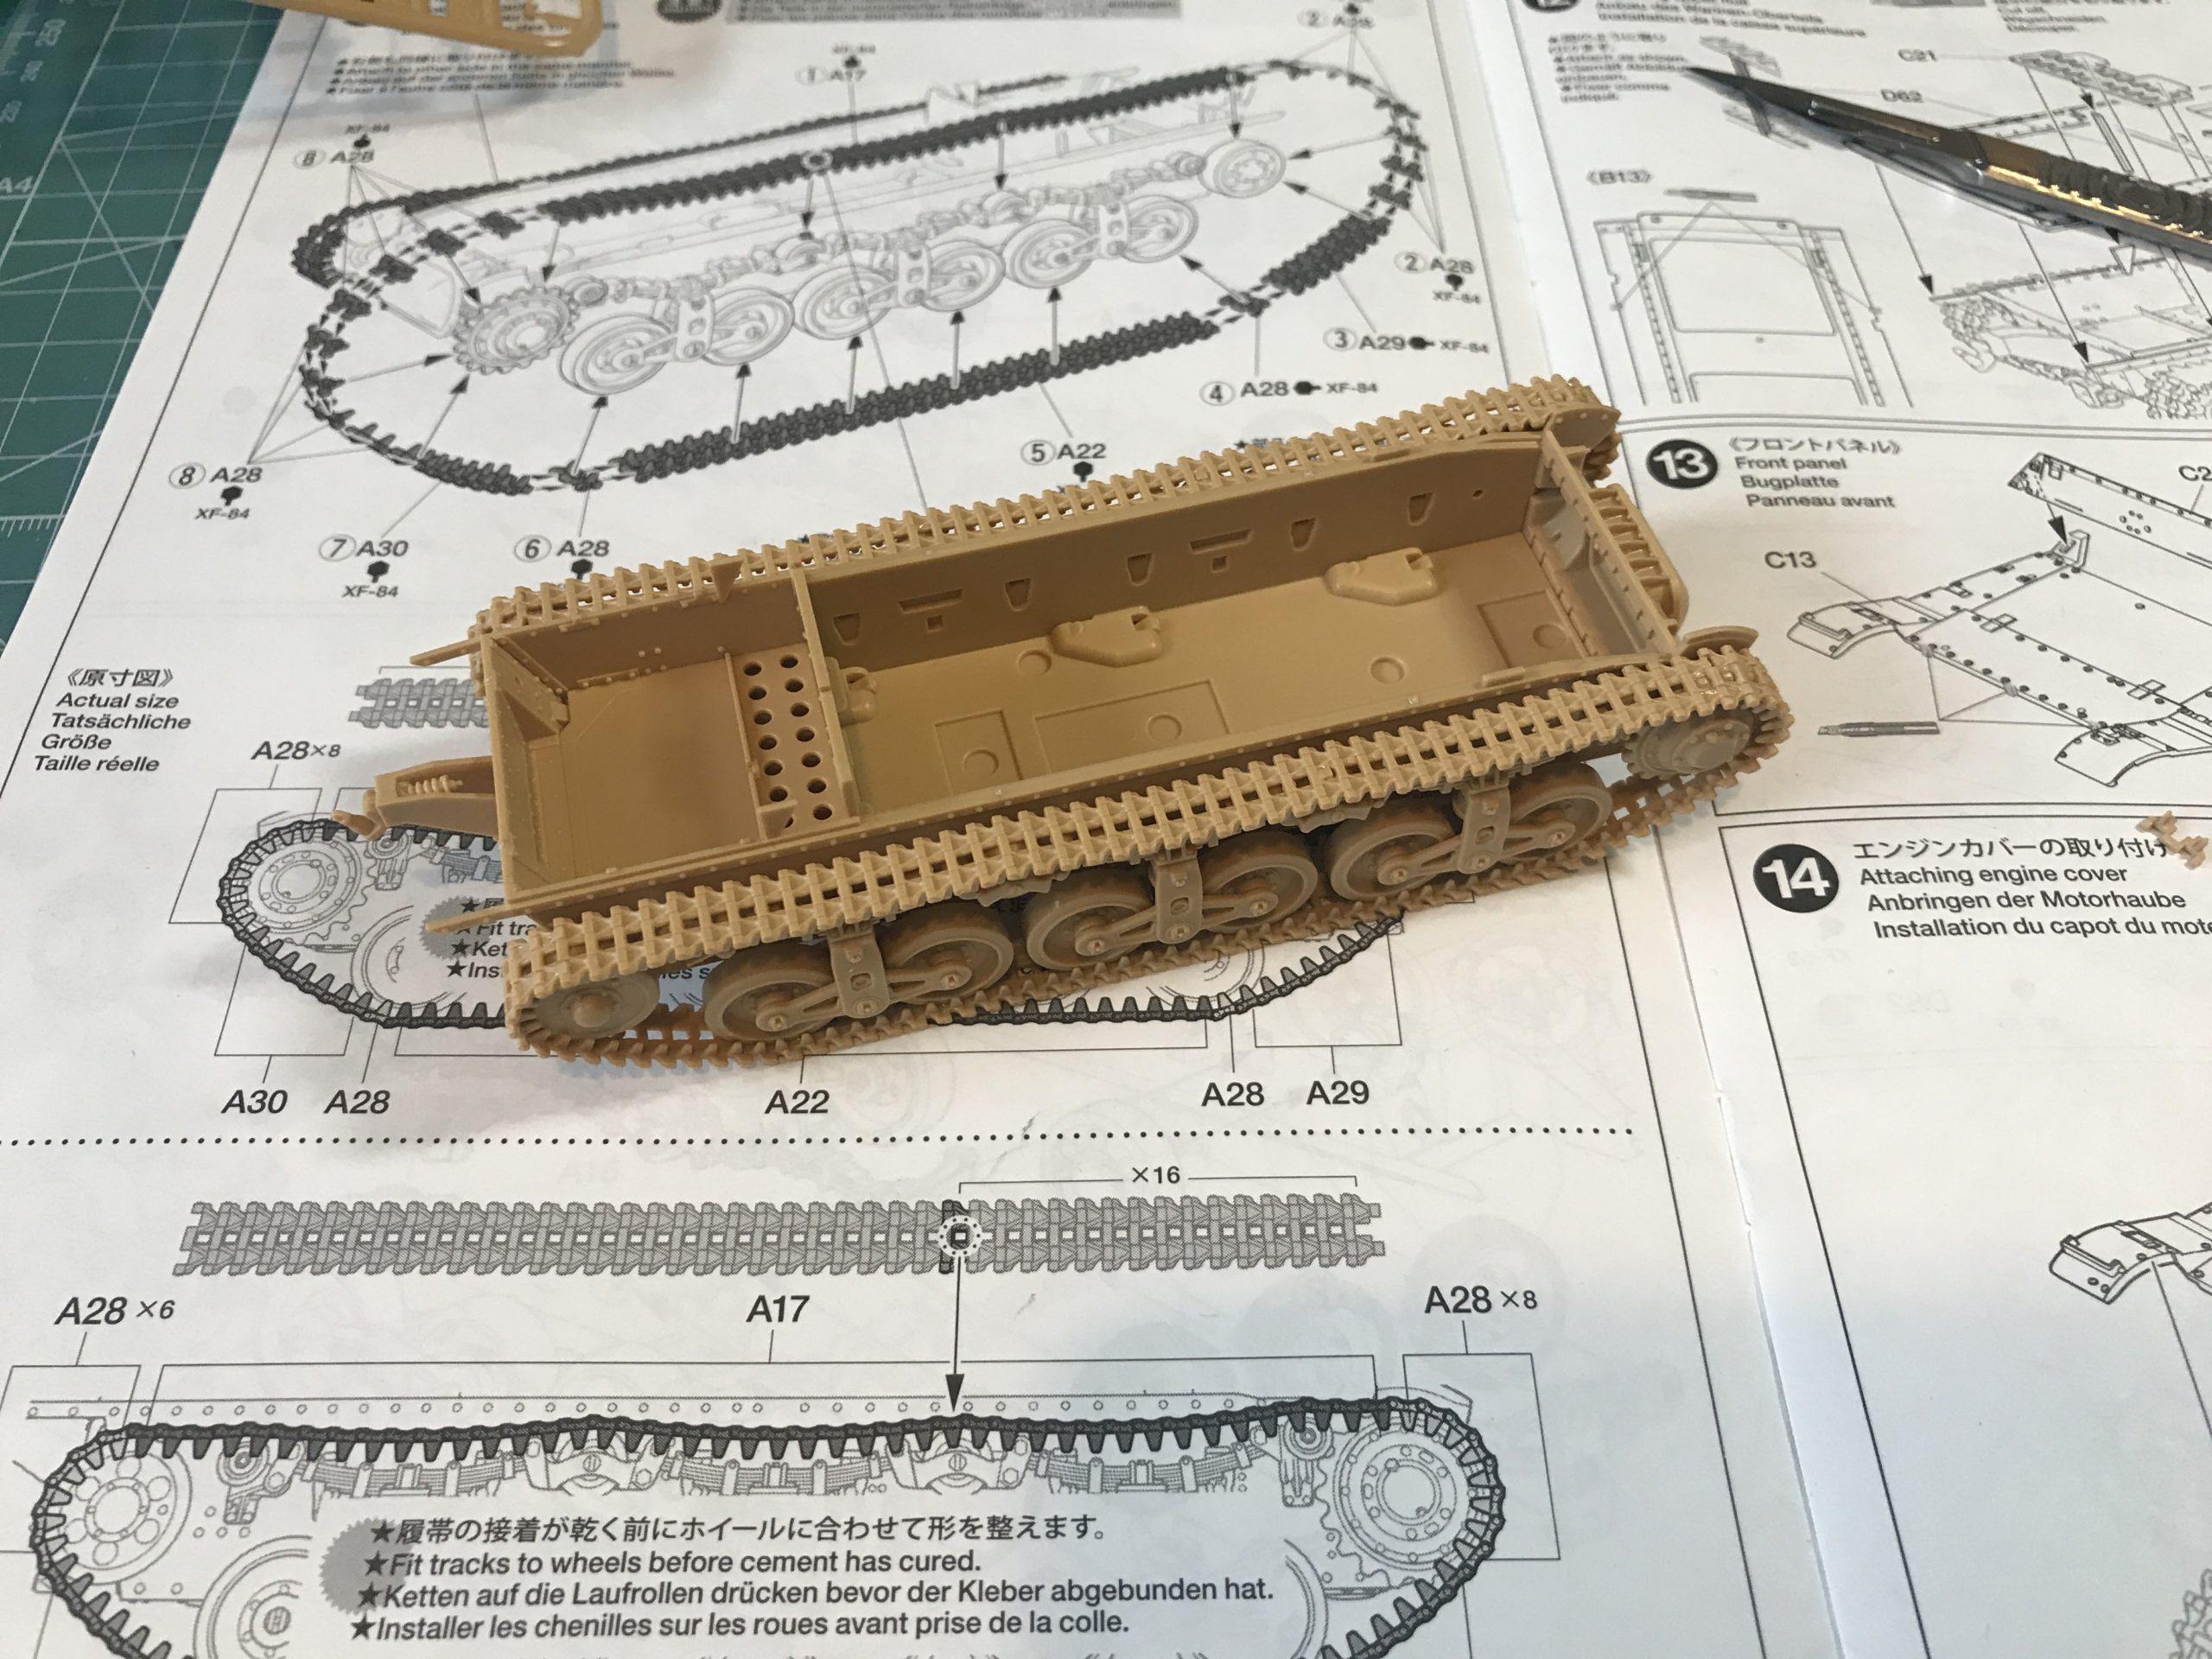
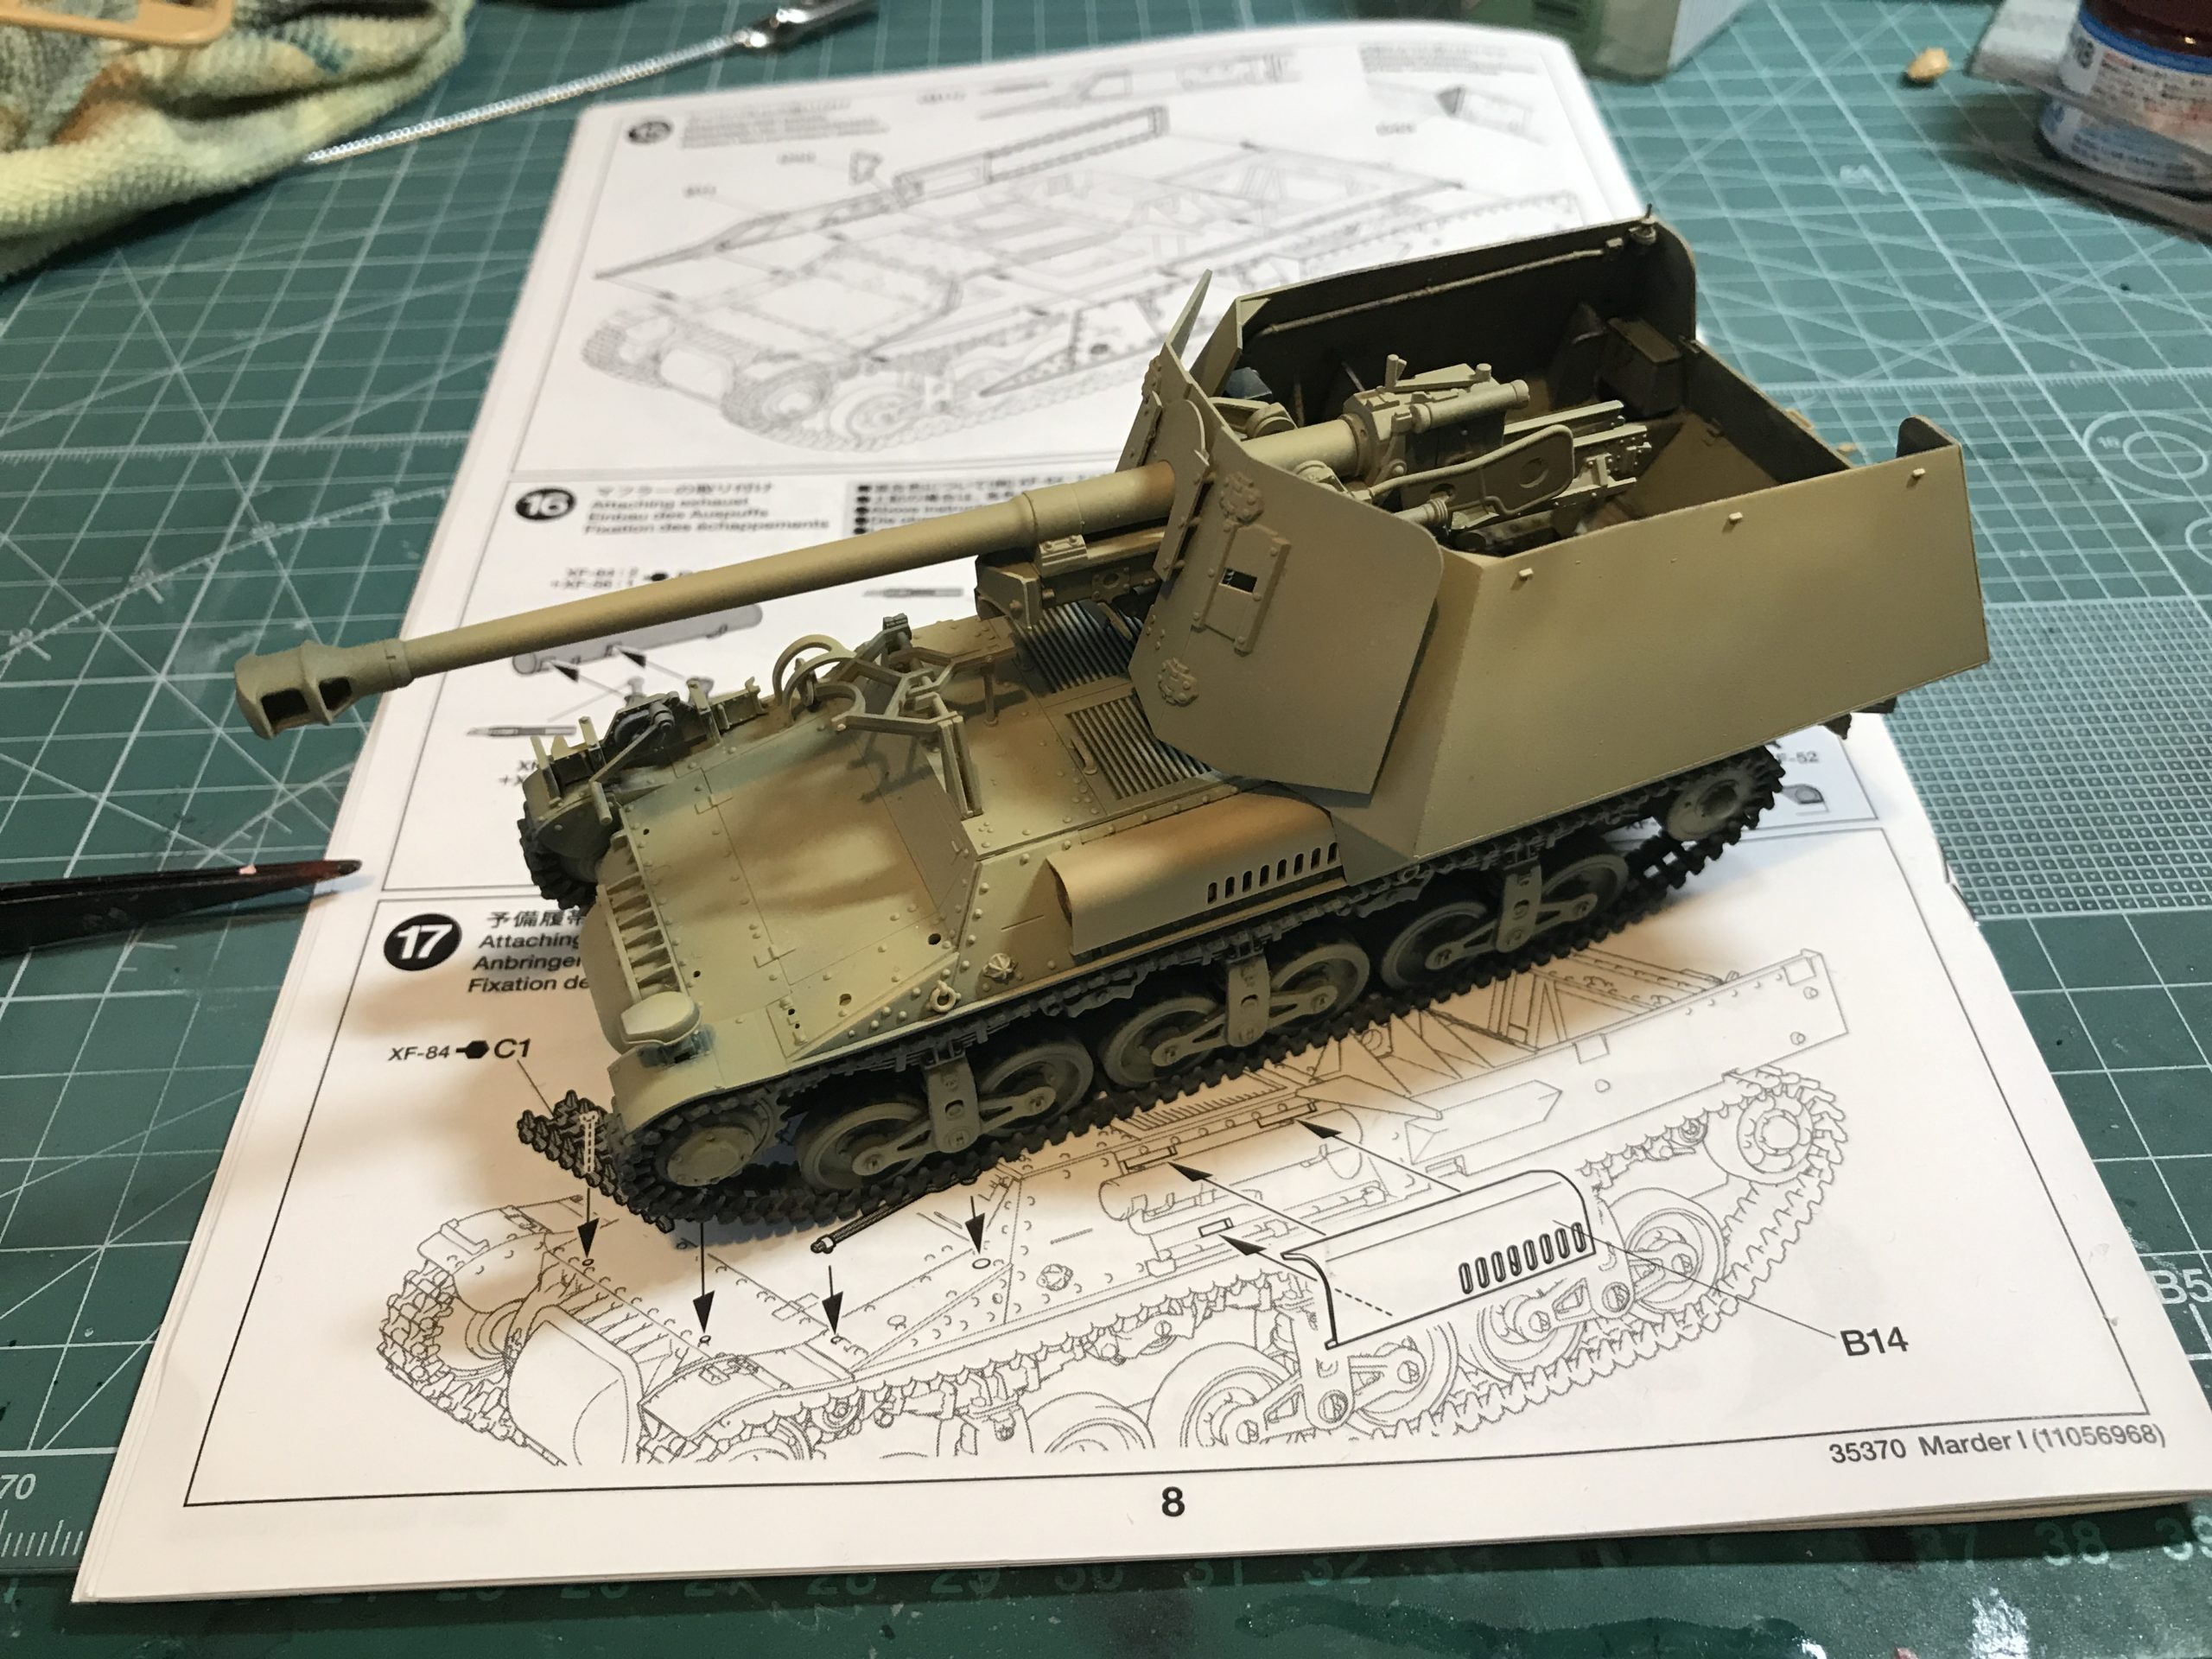
Thus ends the construction of the lower part of the hull…. and quickly commence on the upper half.
Montage time! (please feel free to play either the Rocky or A-Team theme whilst perusing the following couple of pictures)
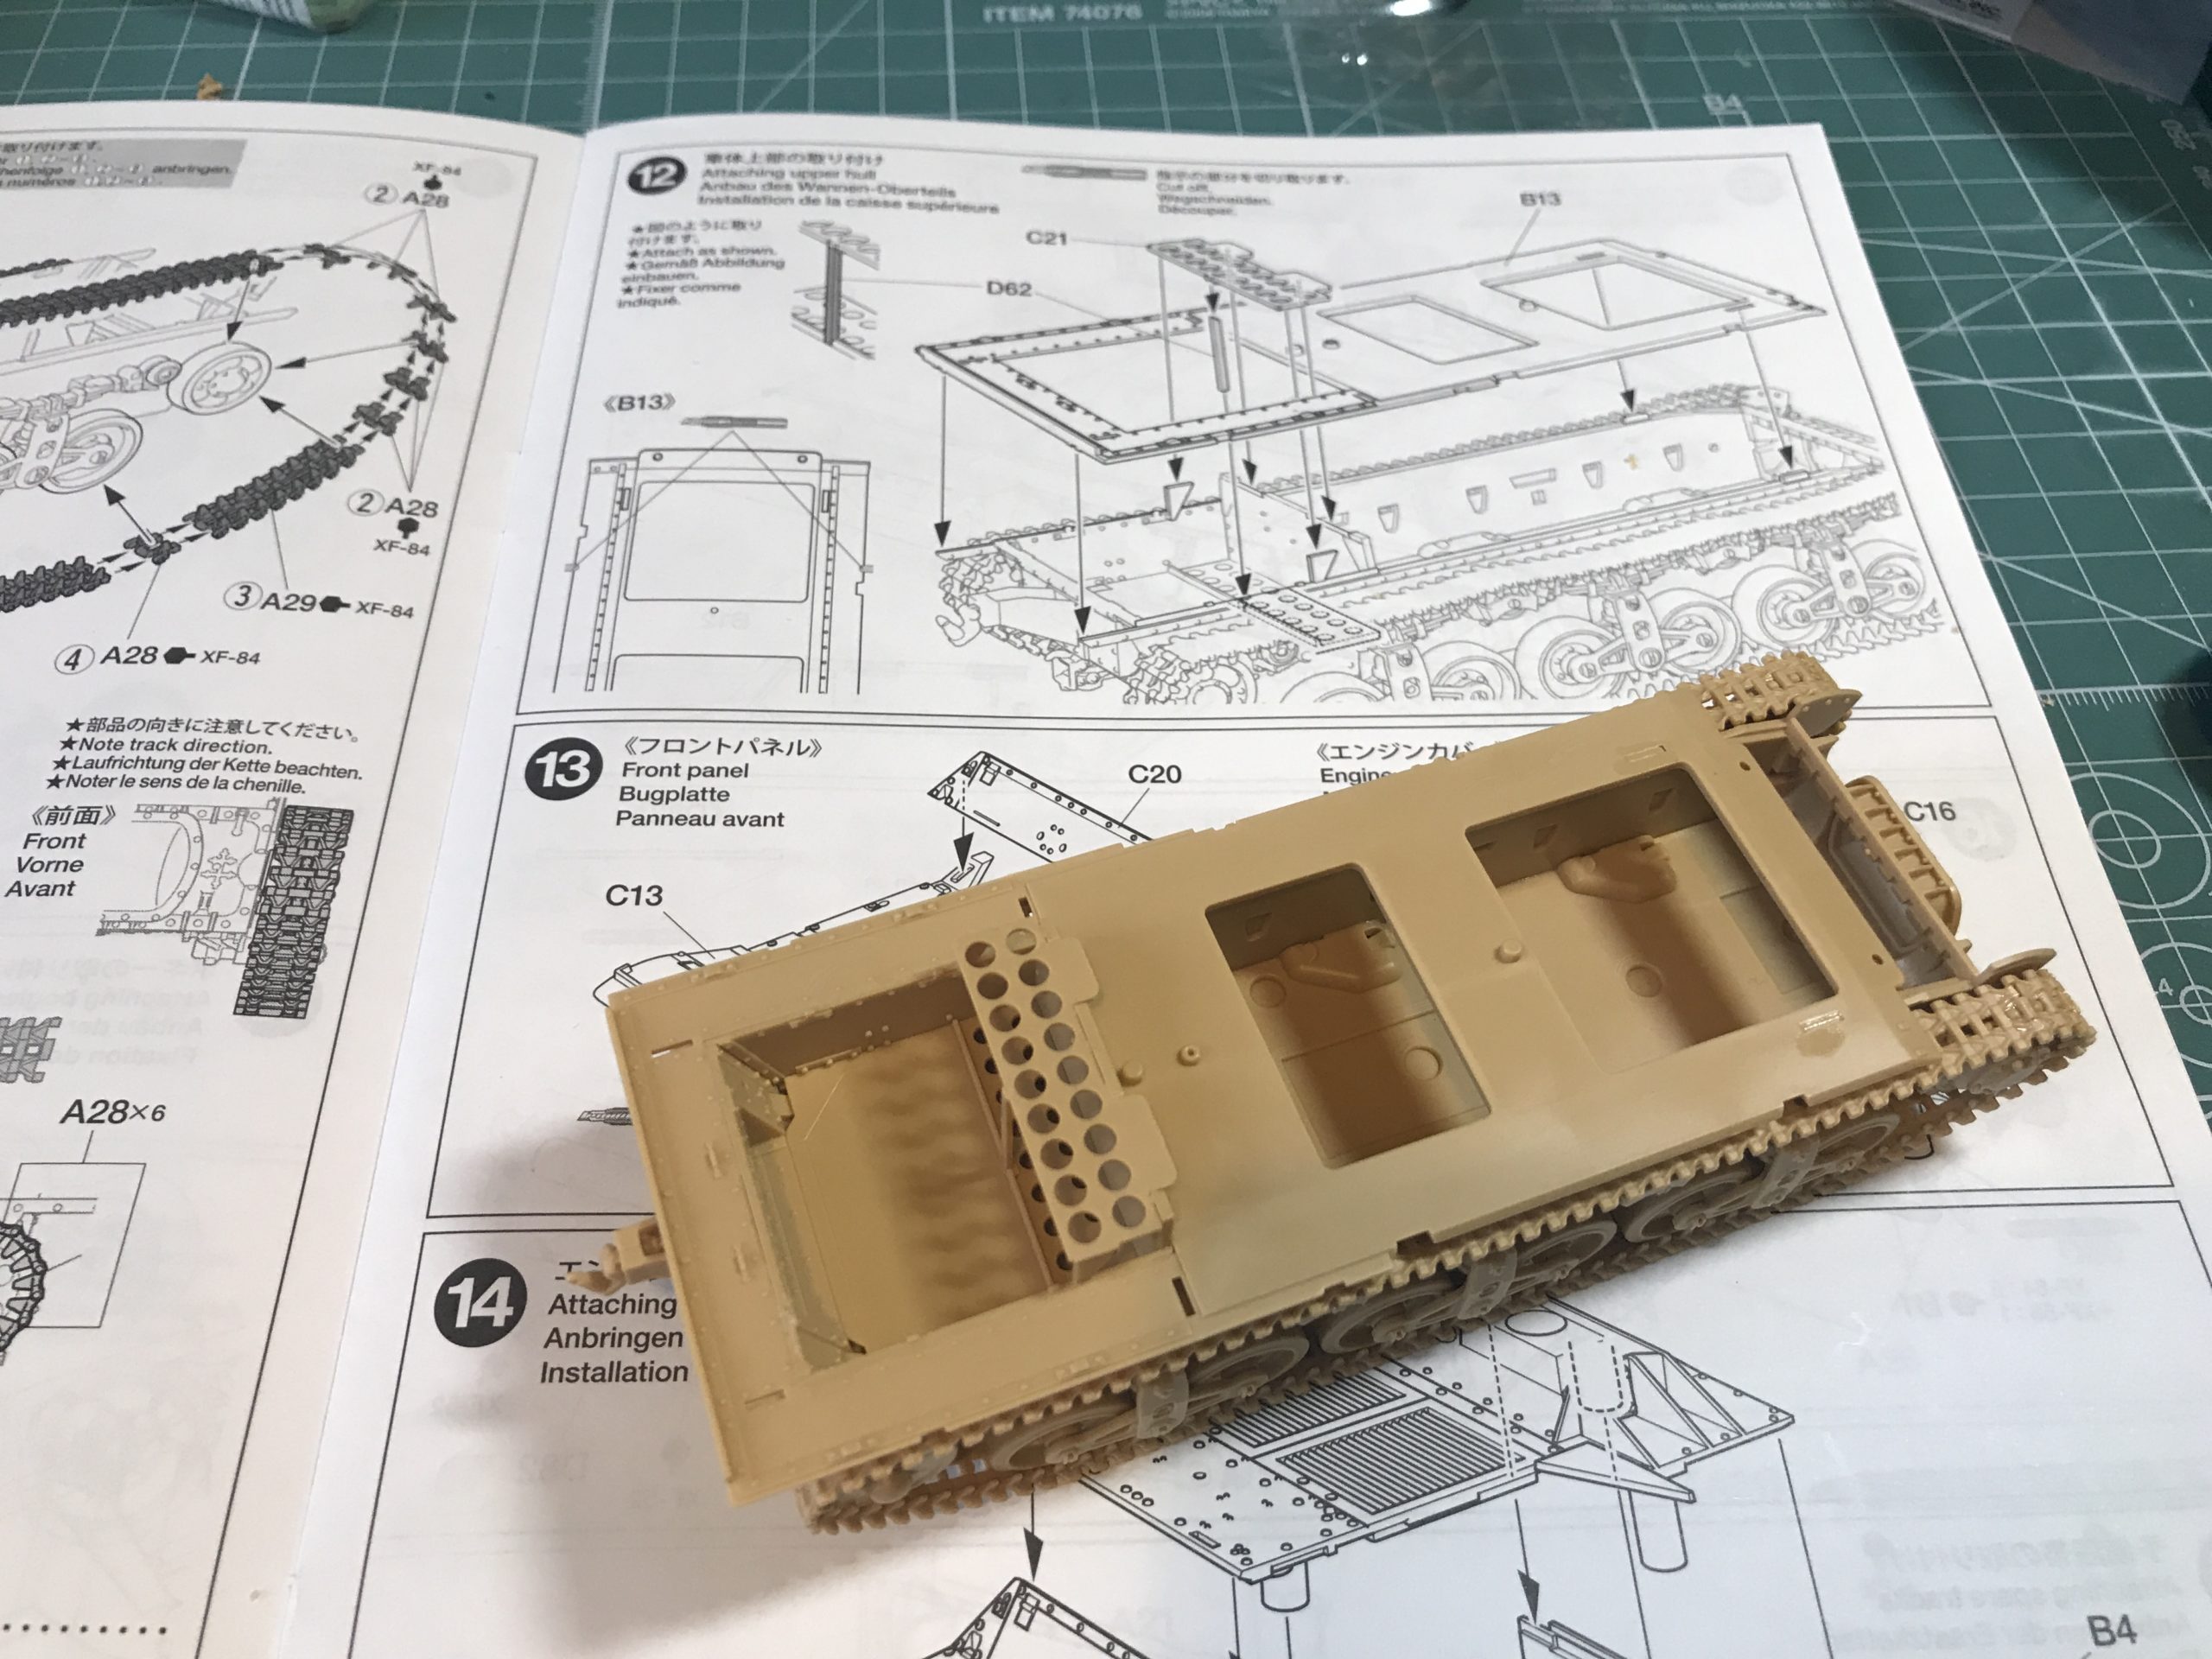
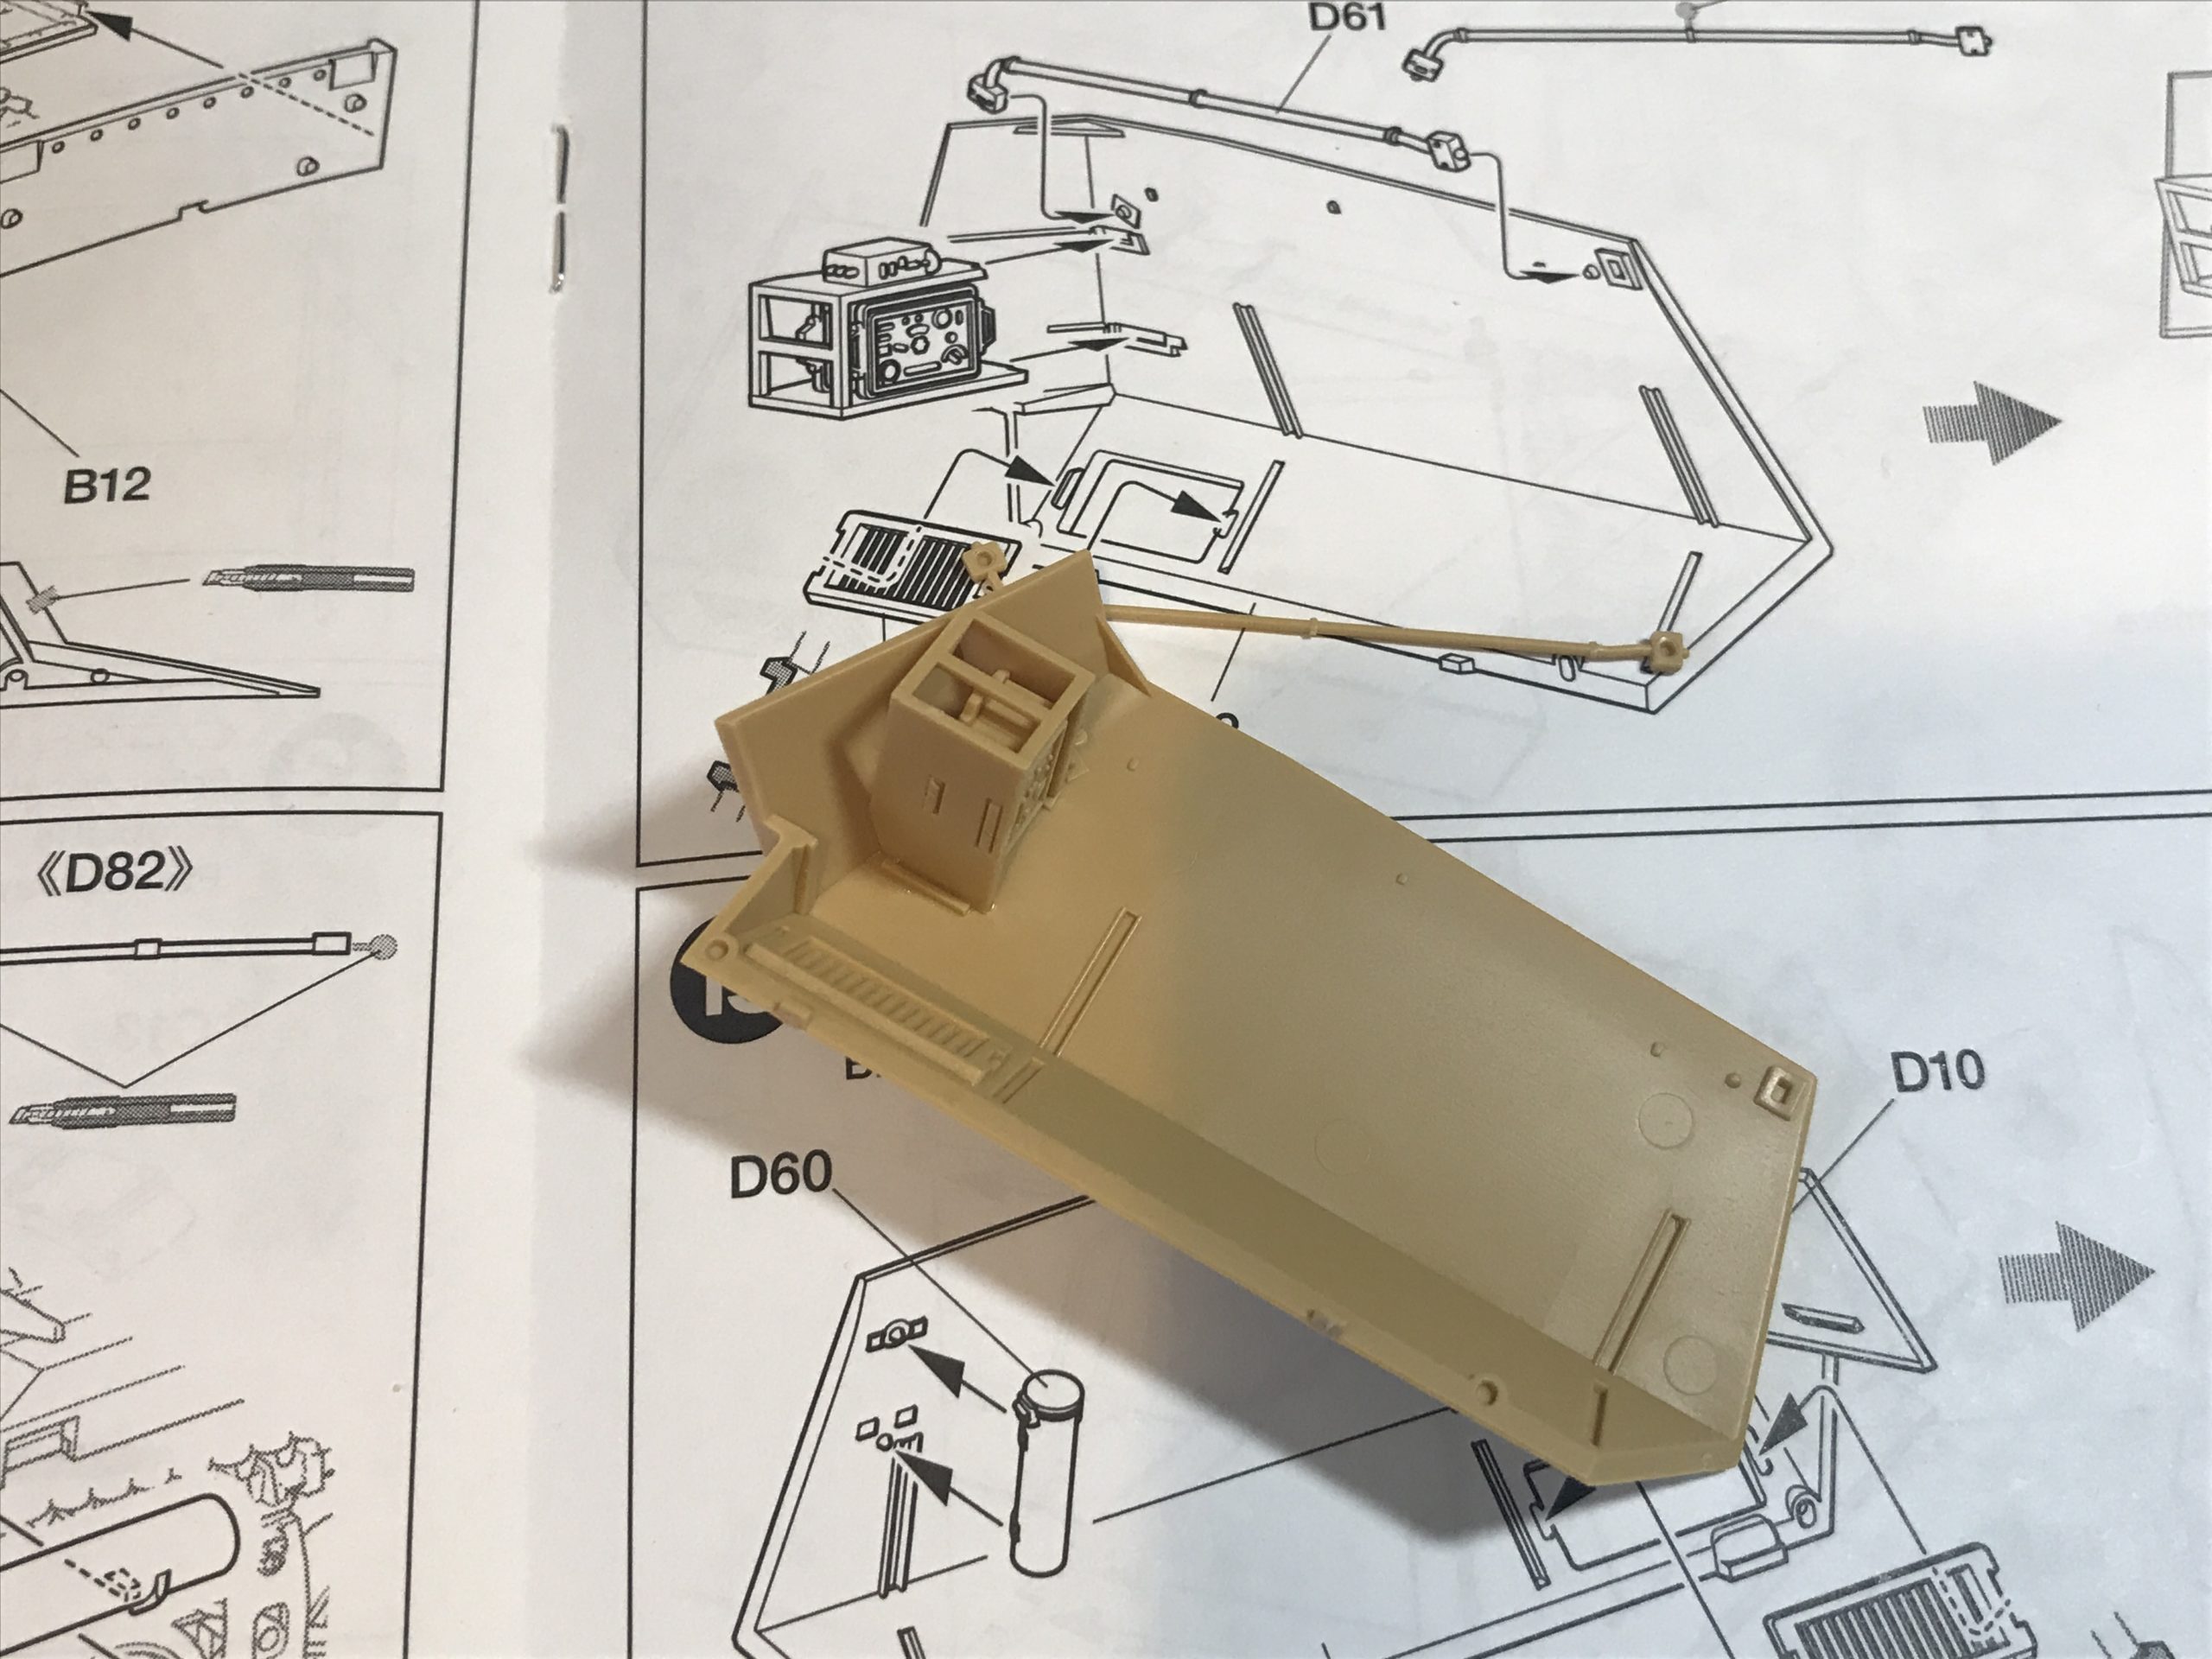
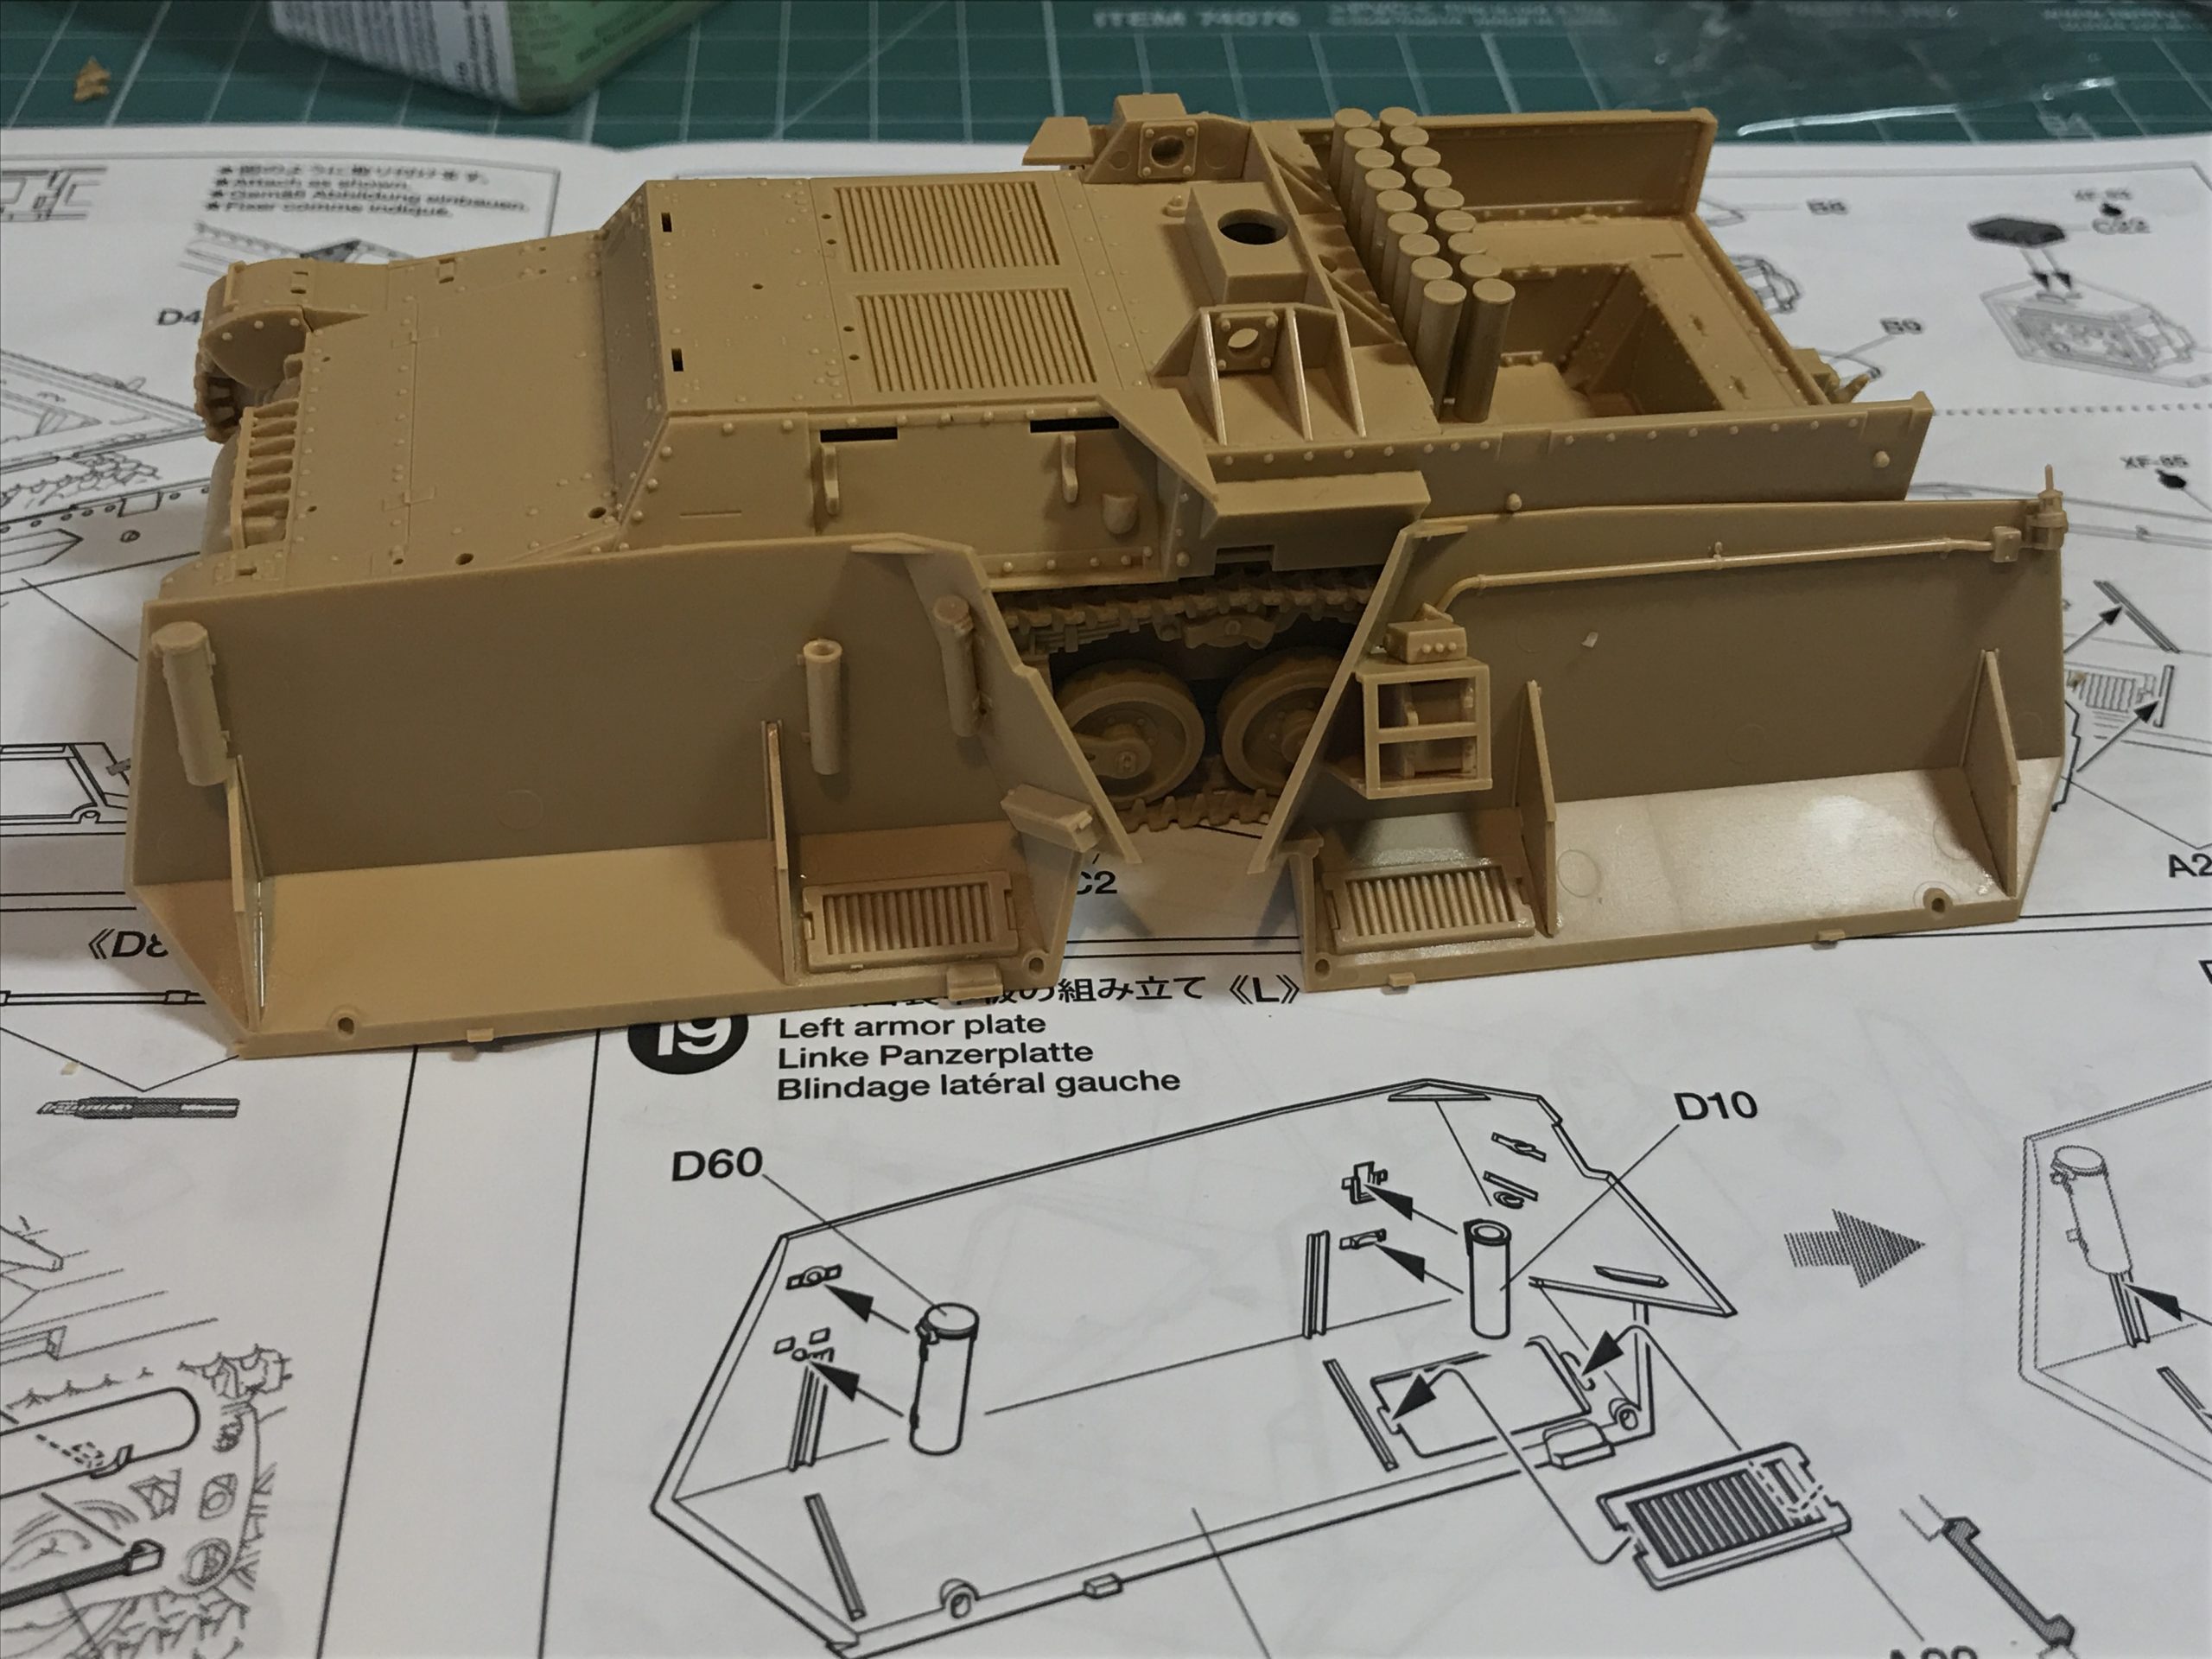
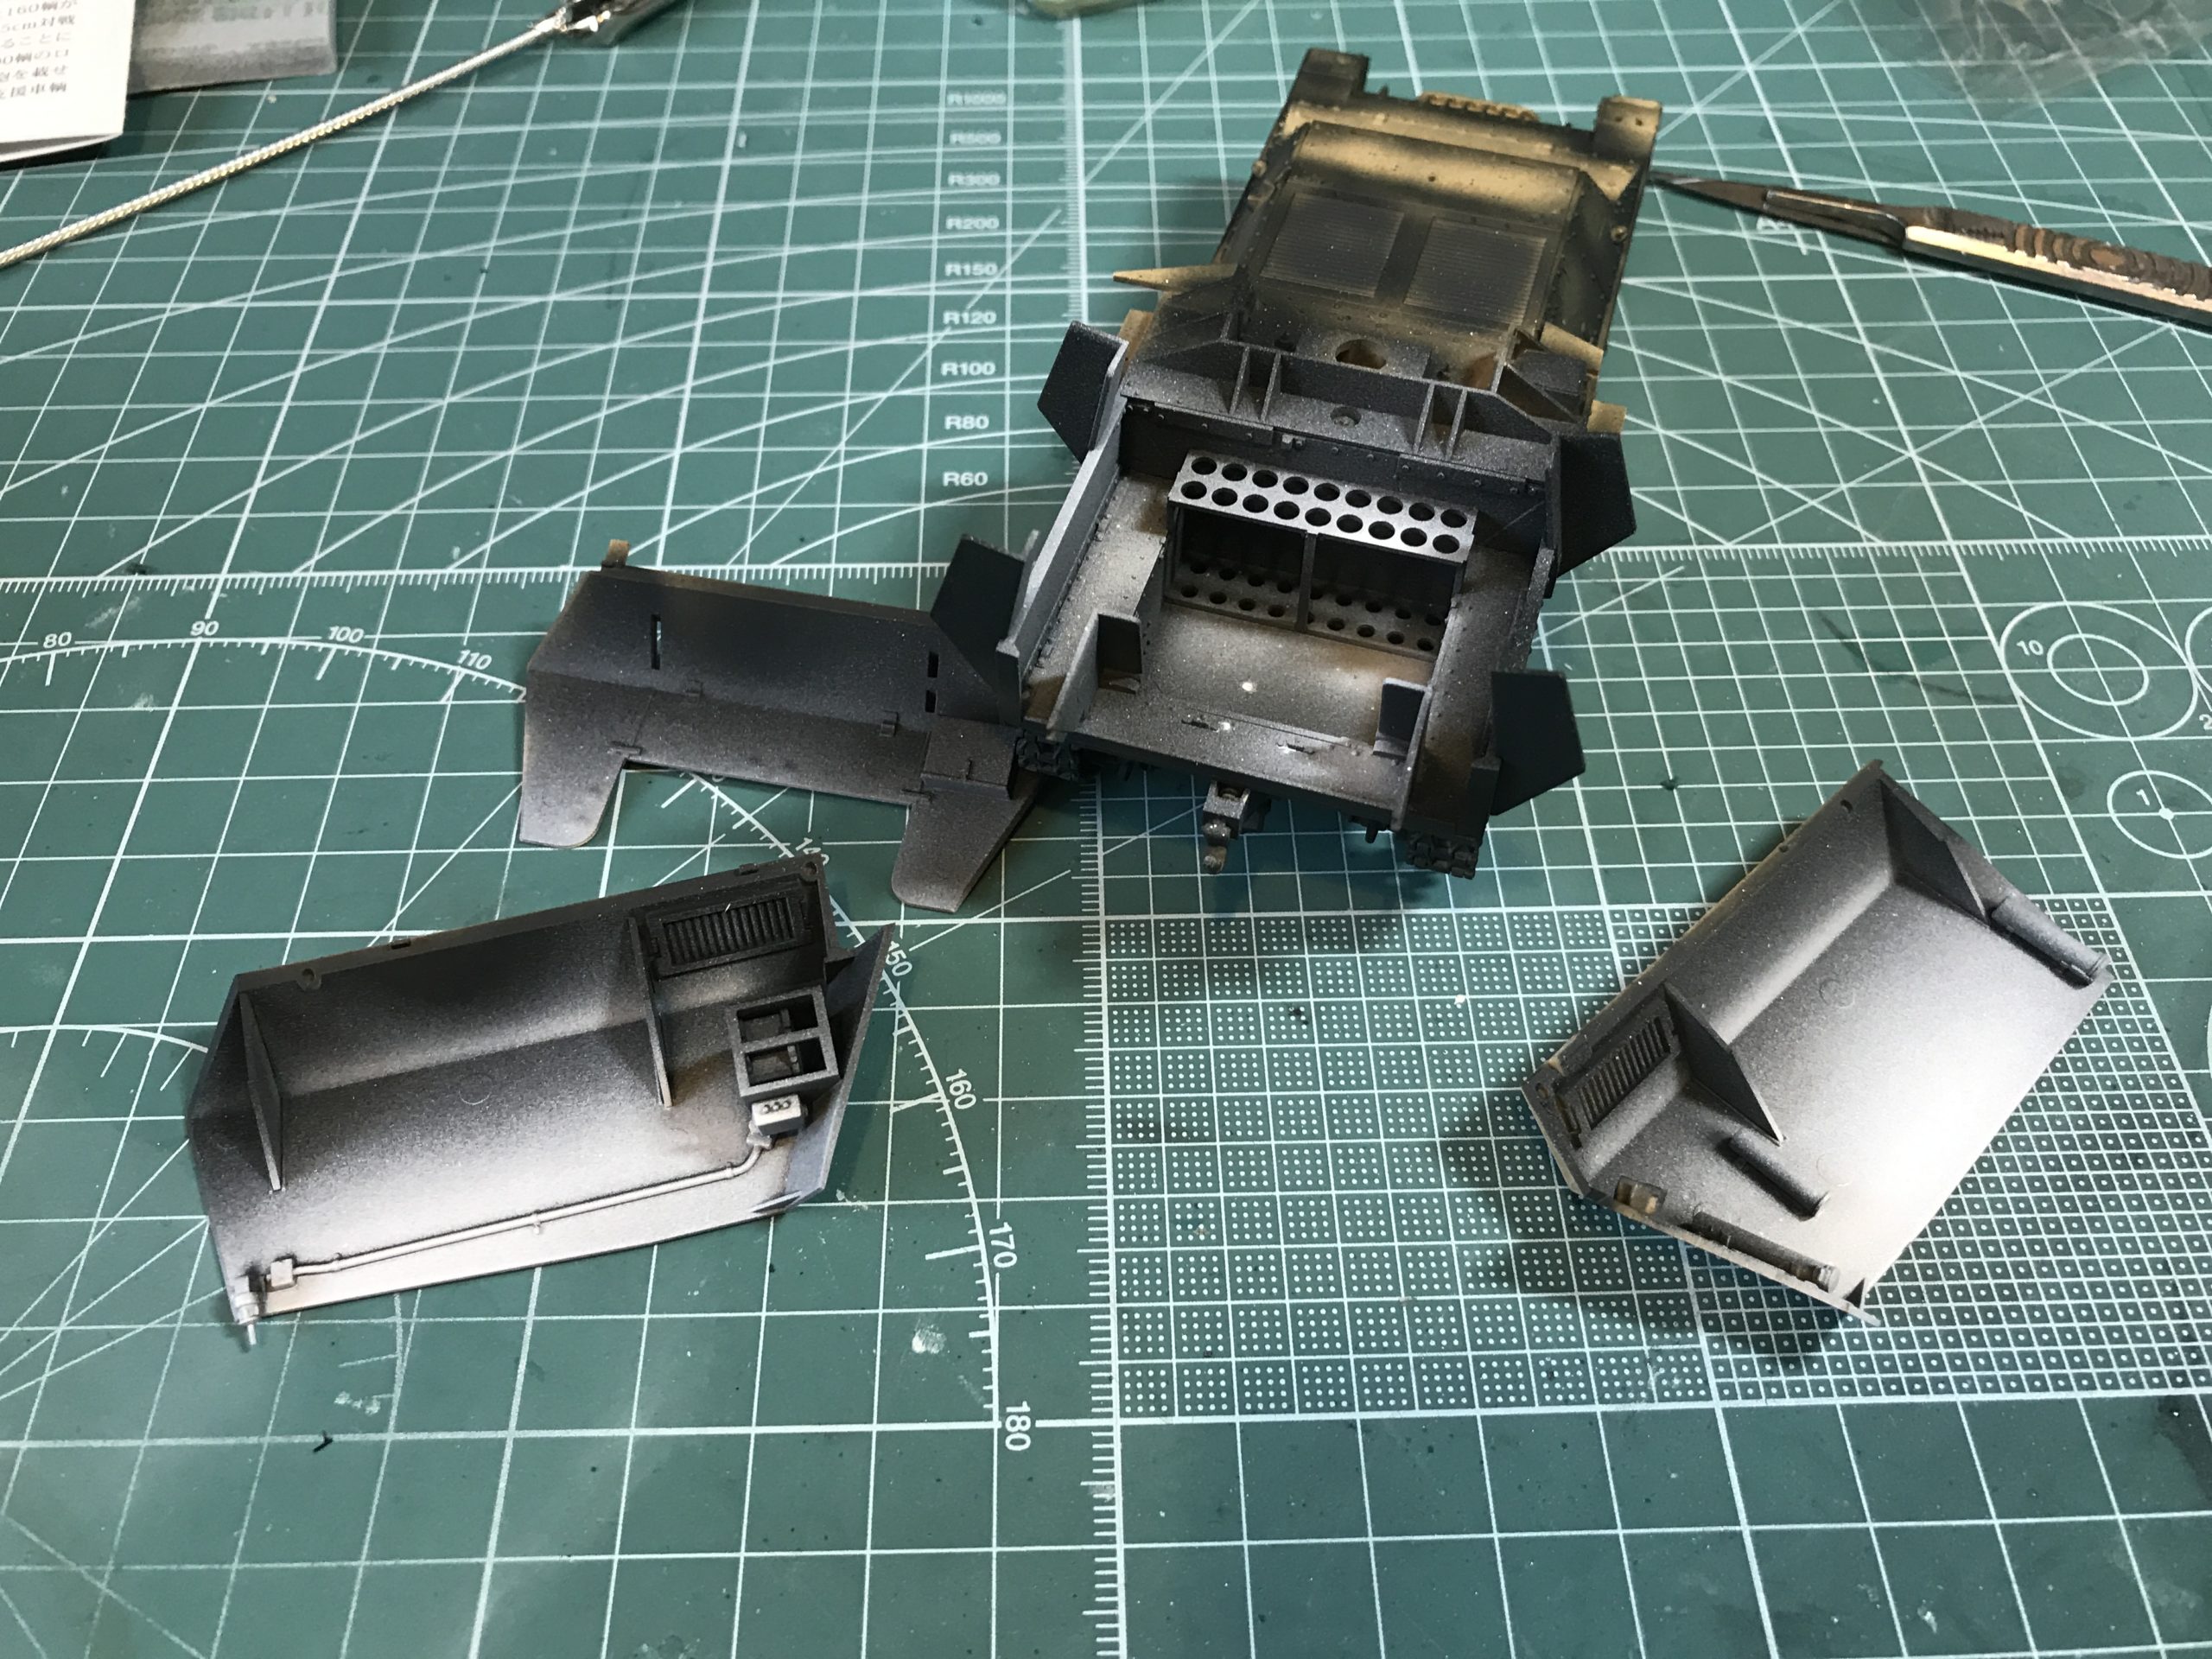
Phew.. quite a few parts in that little lot. Now I have to figure out how to paint the thing….
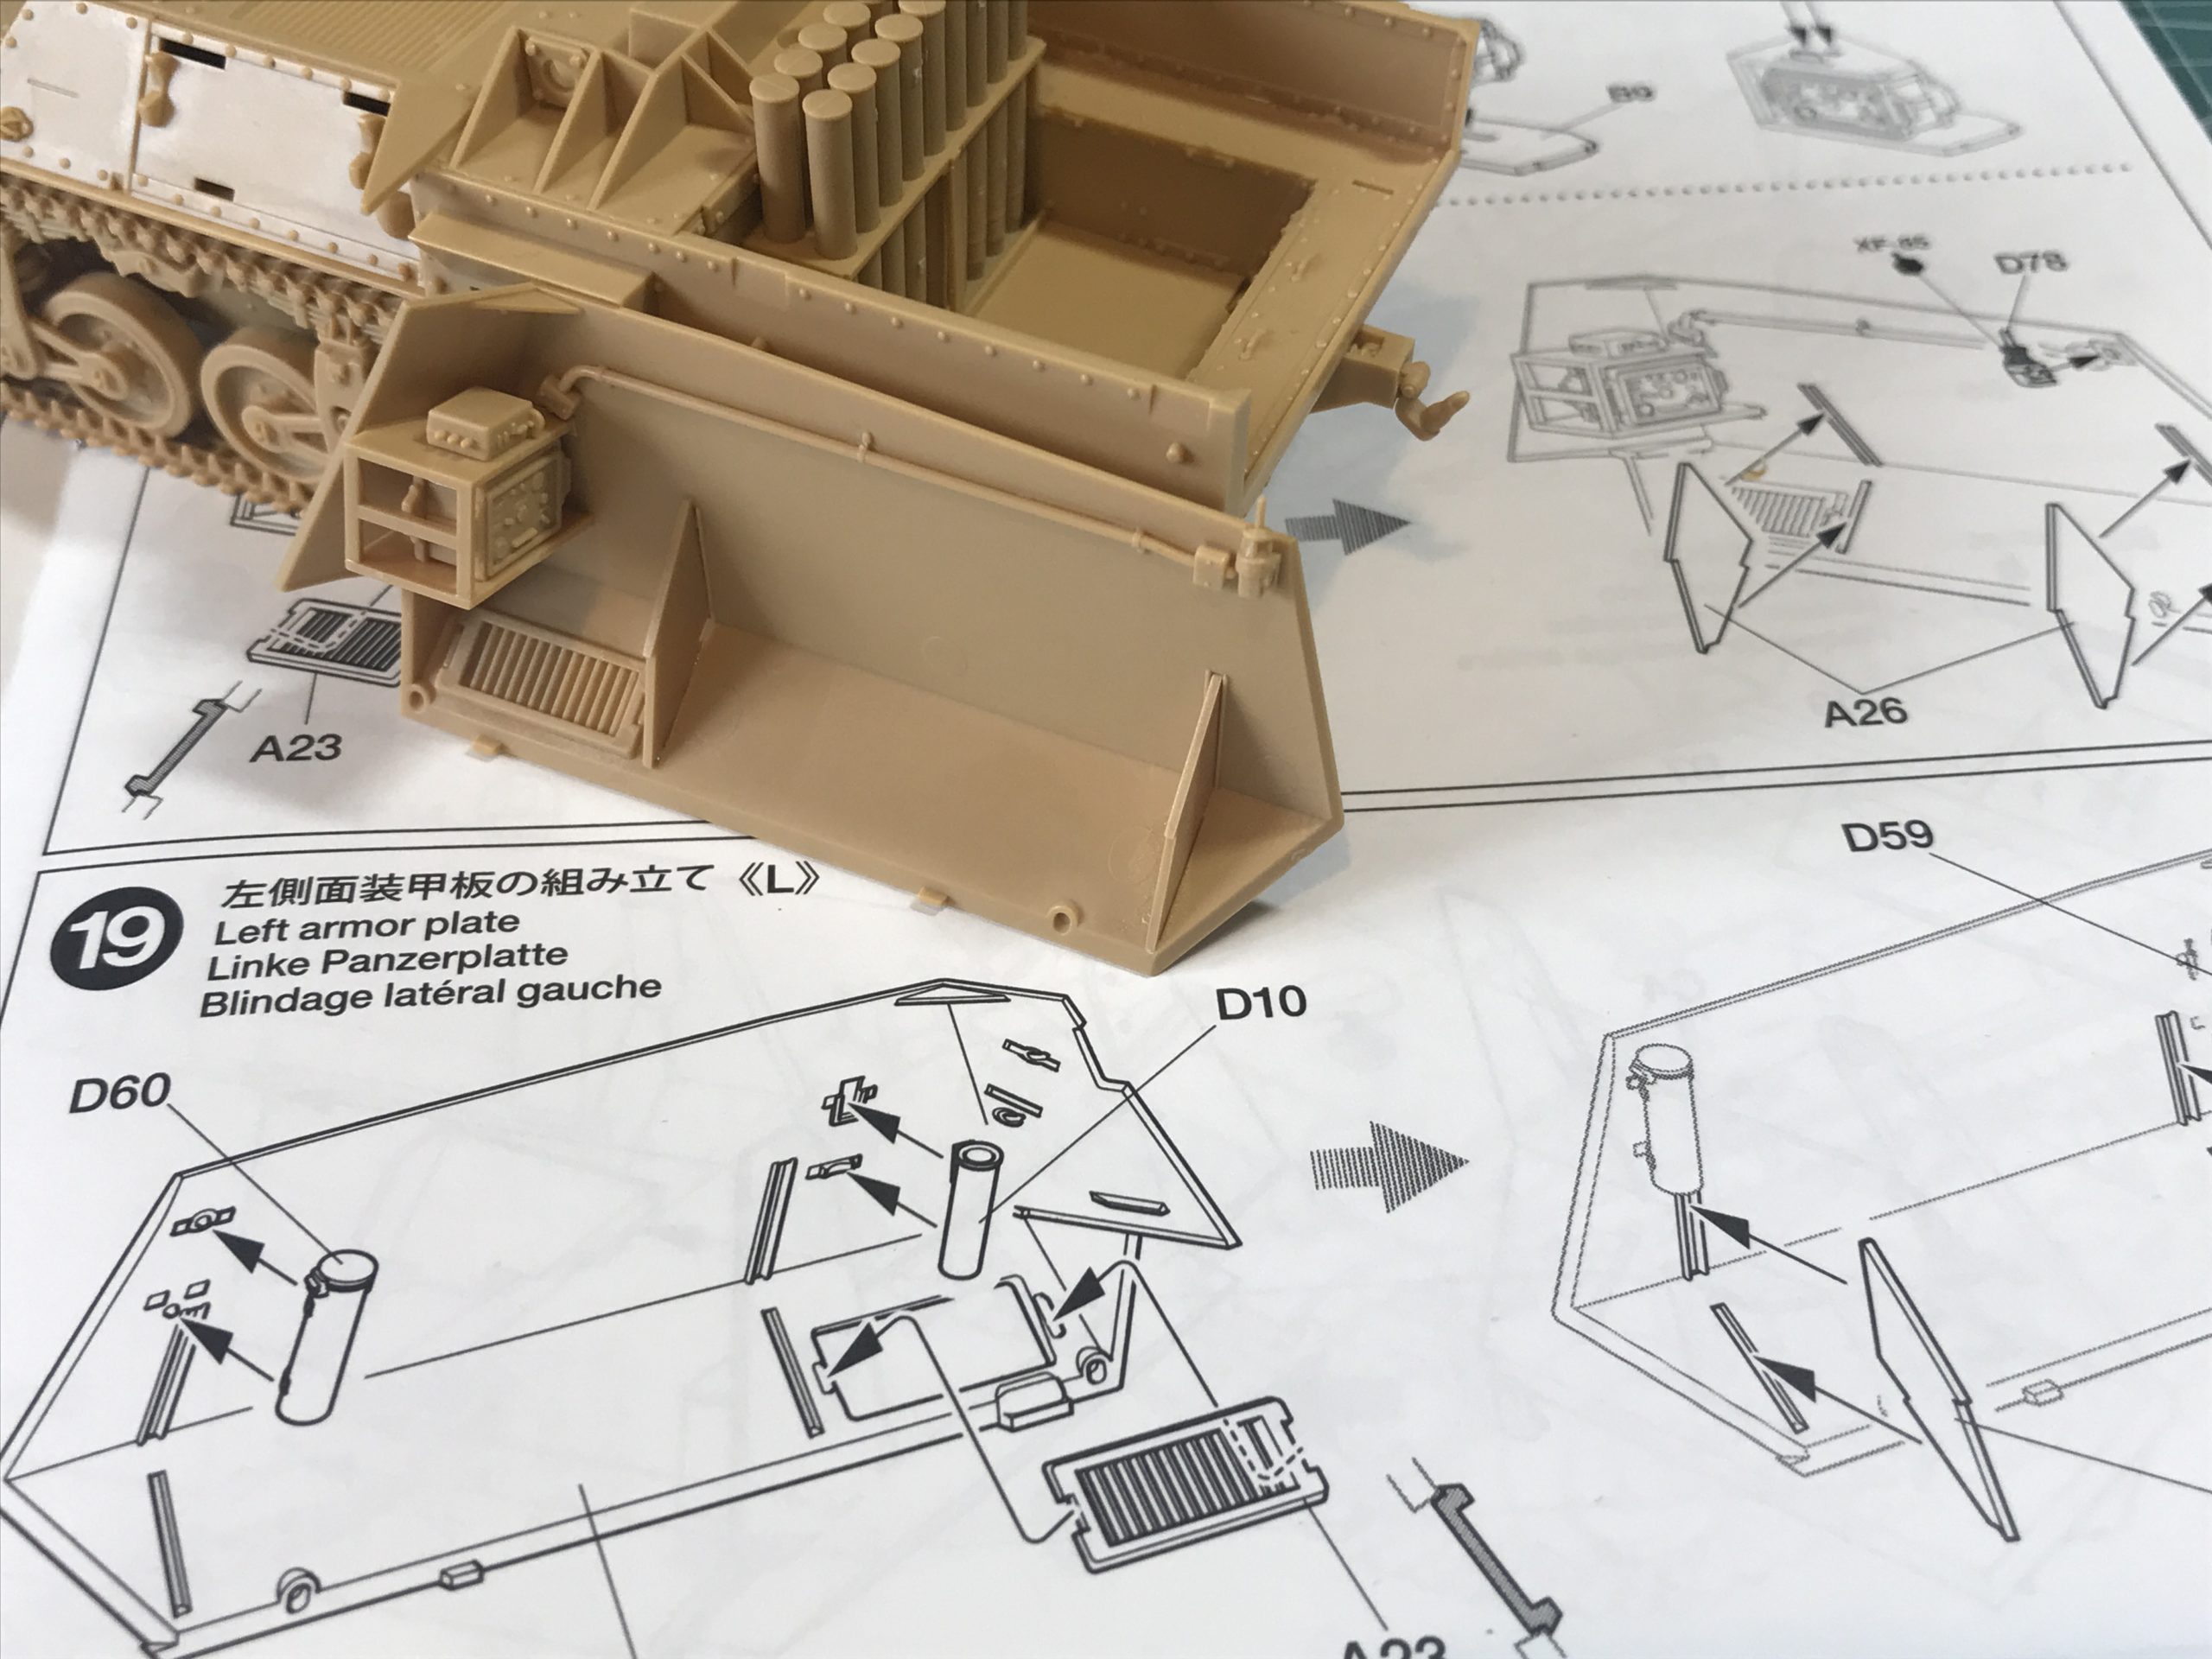
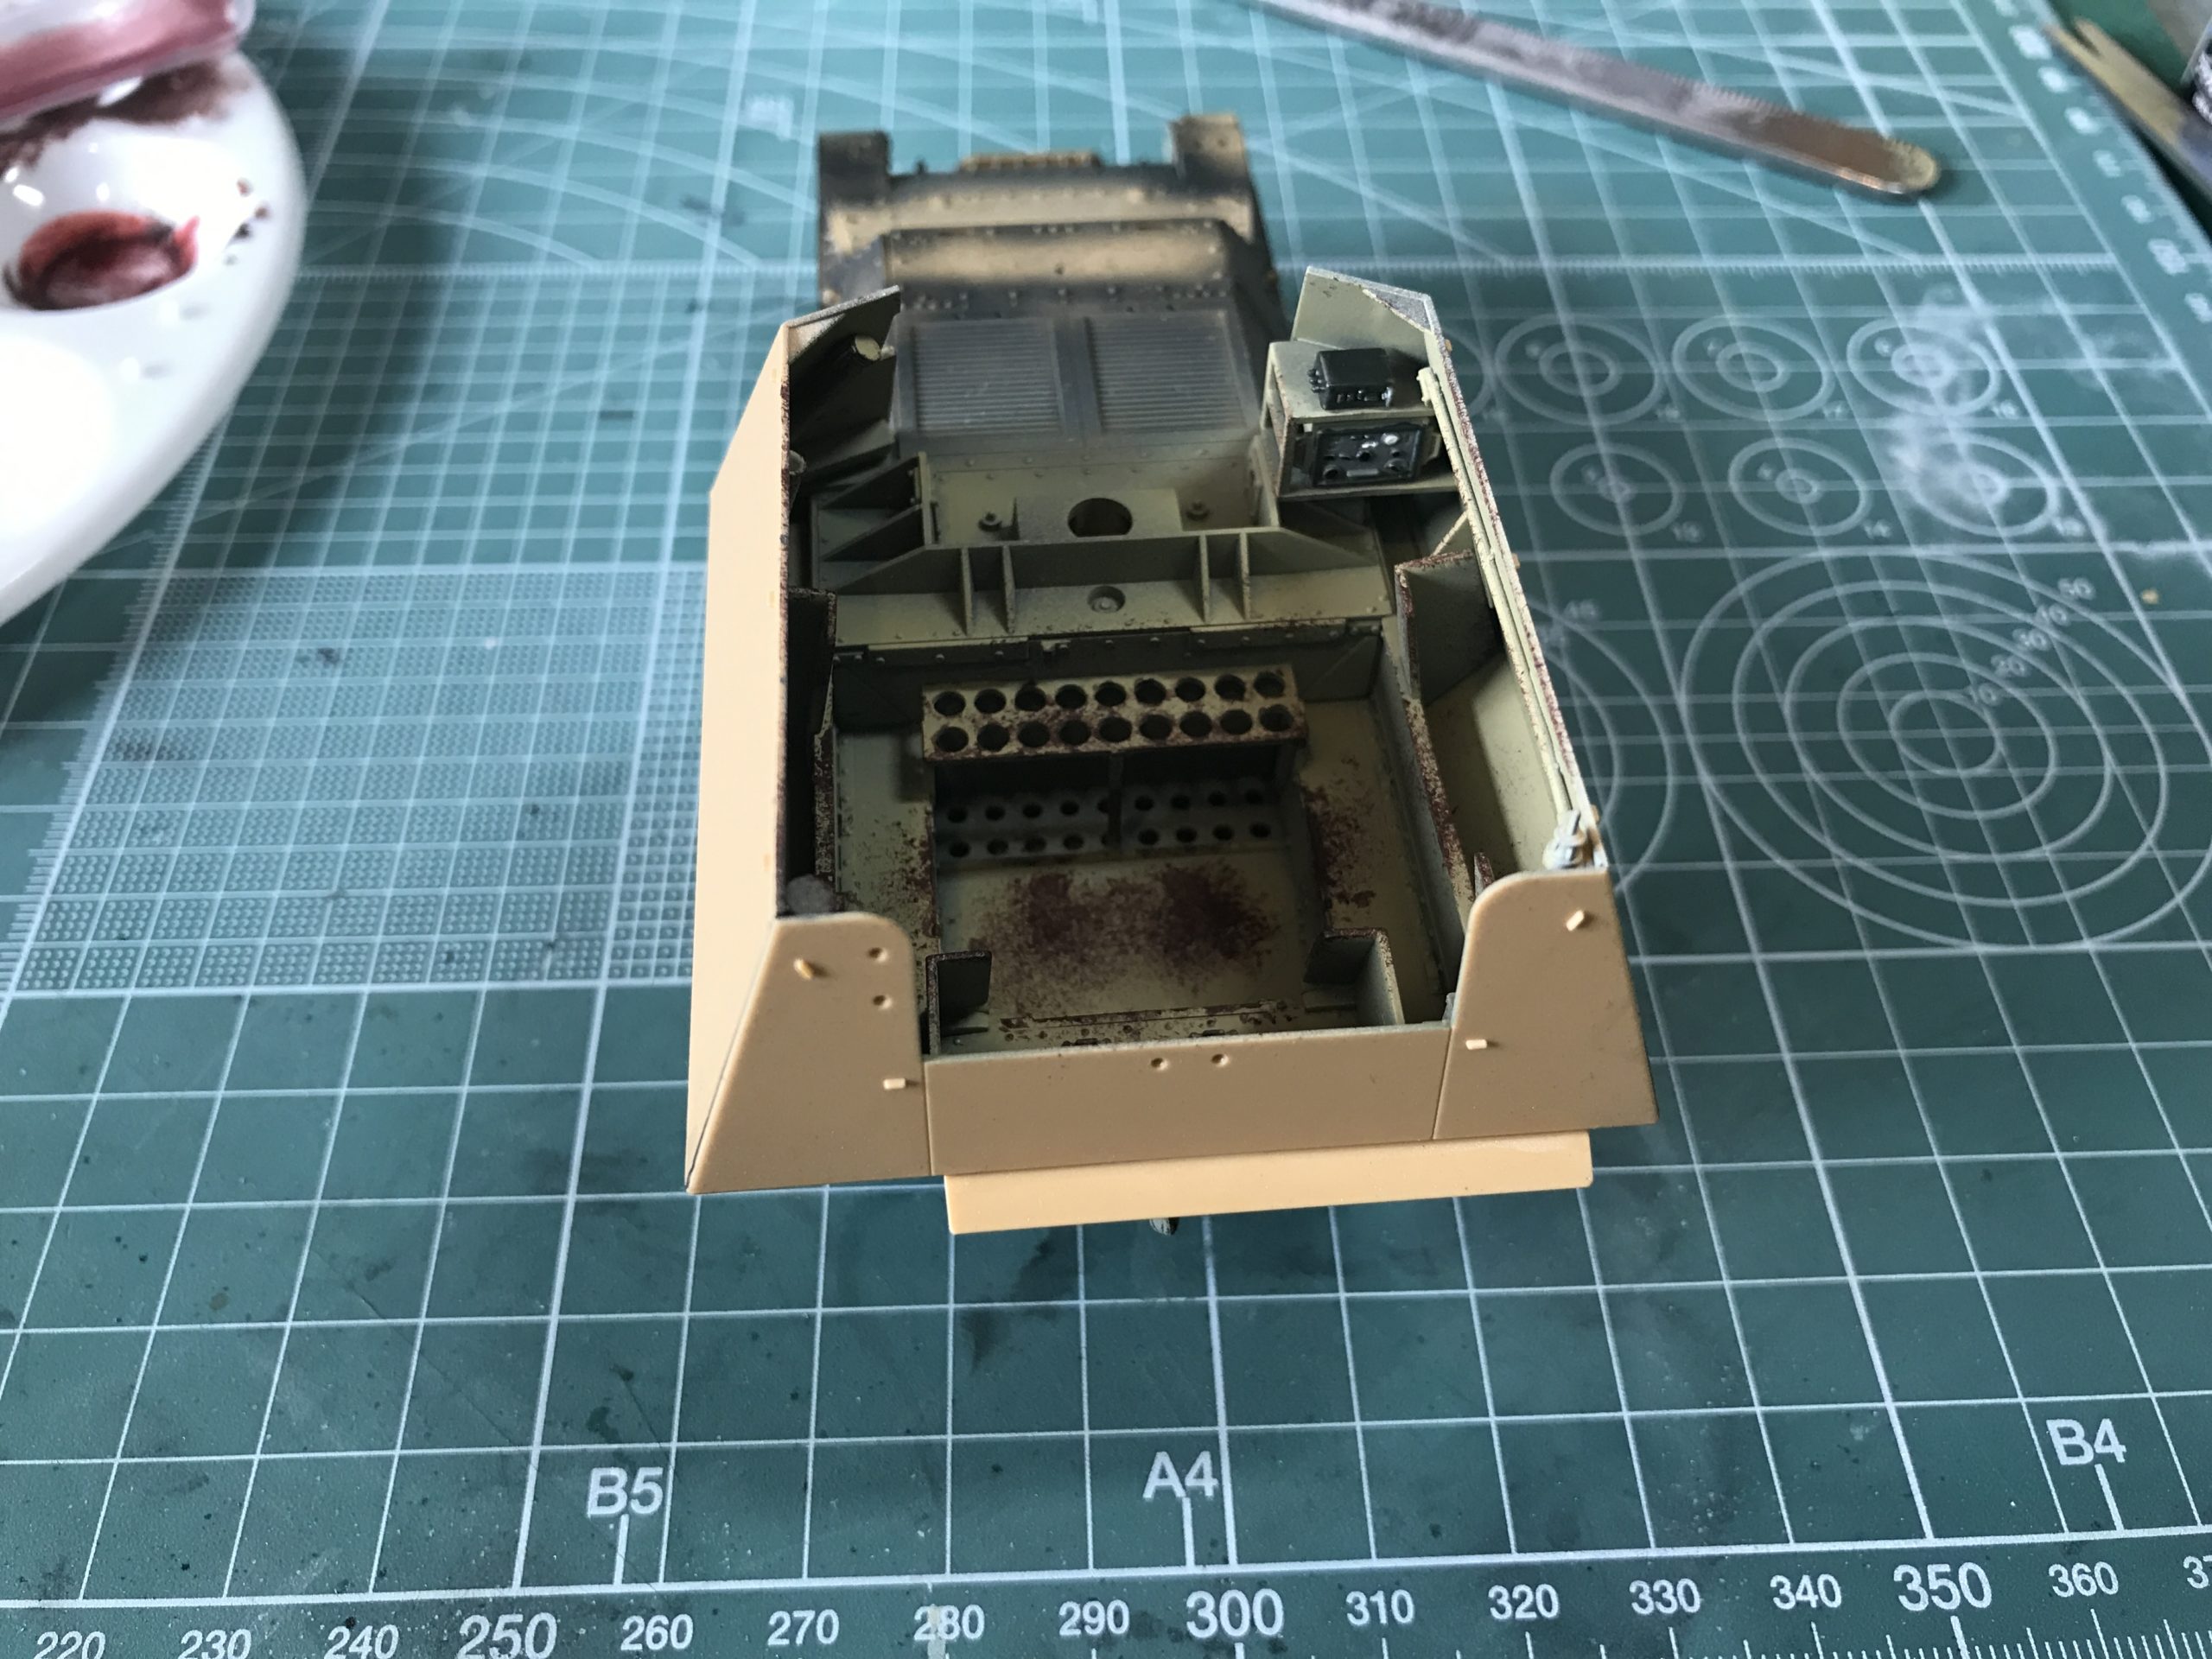
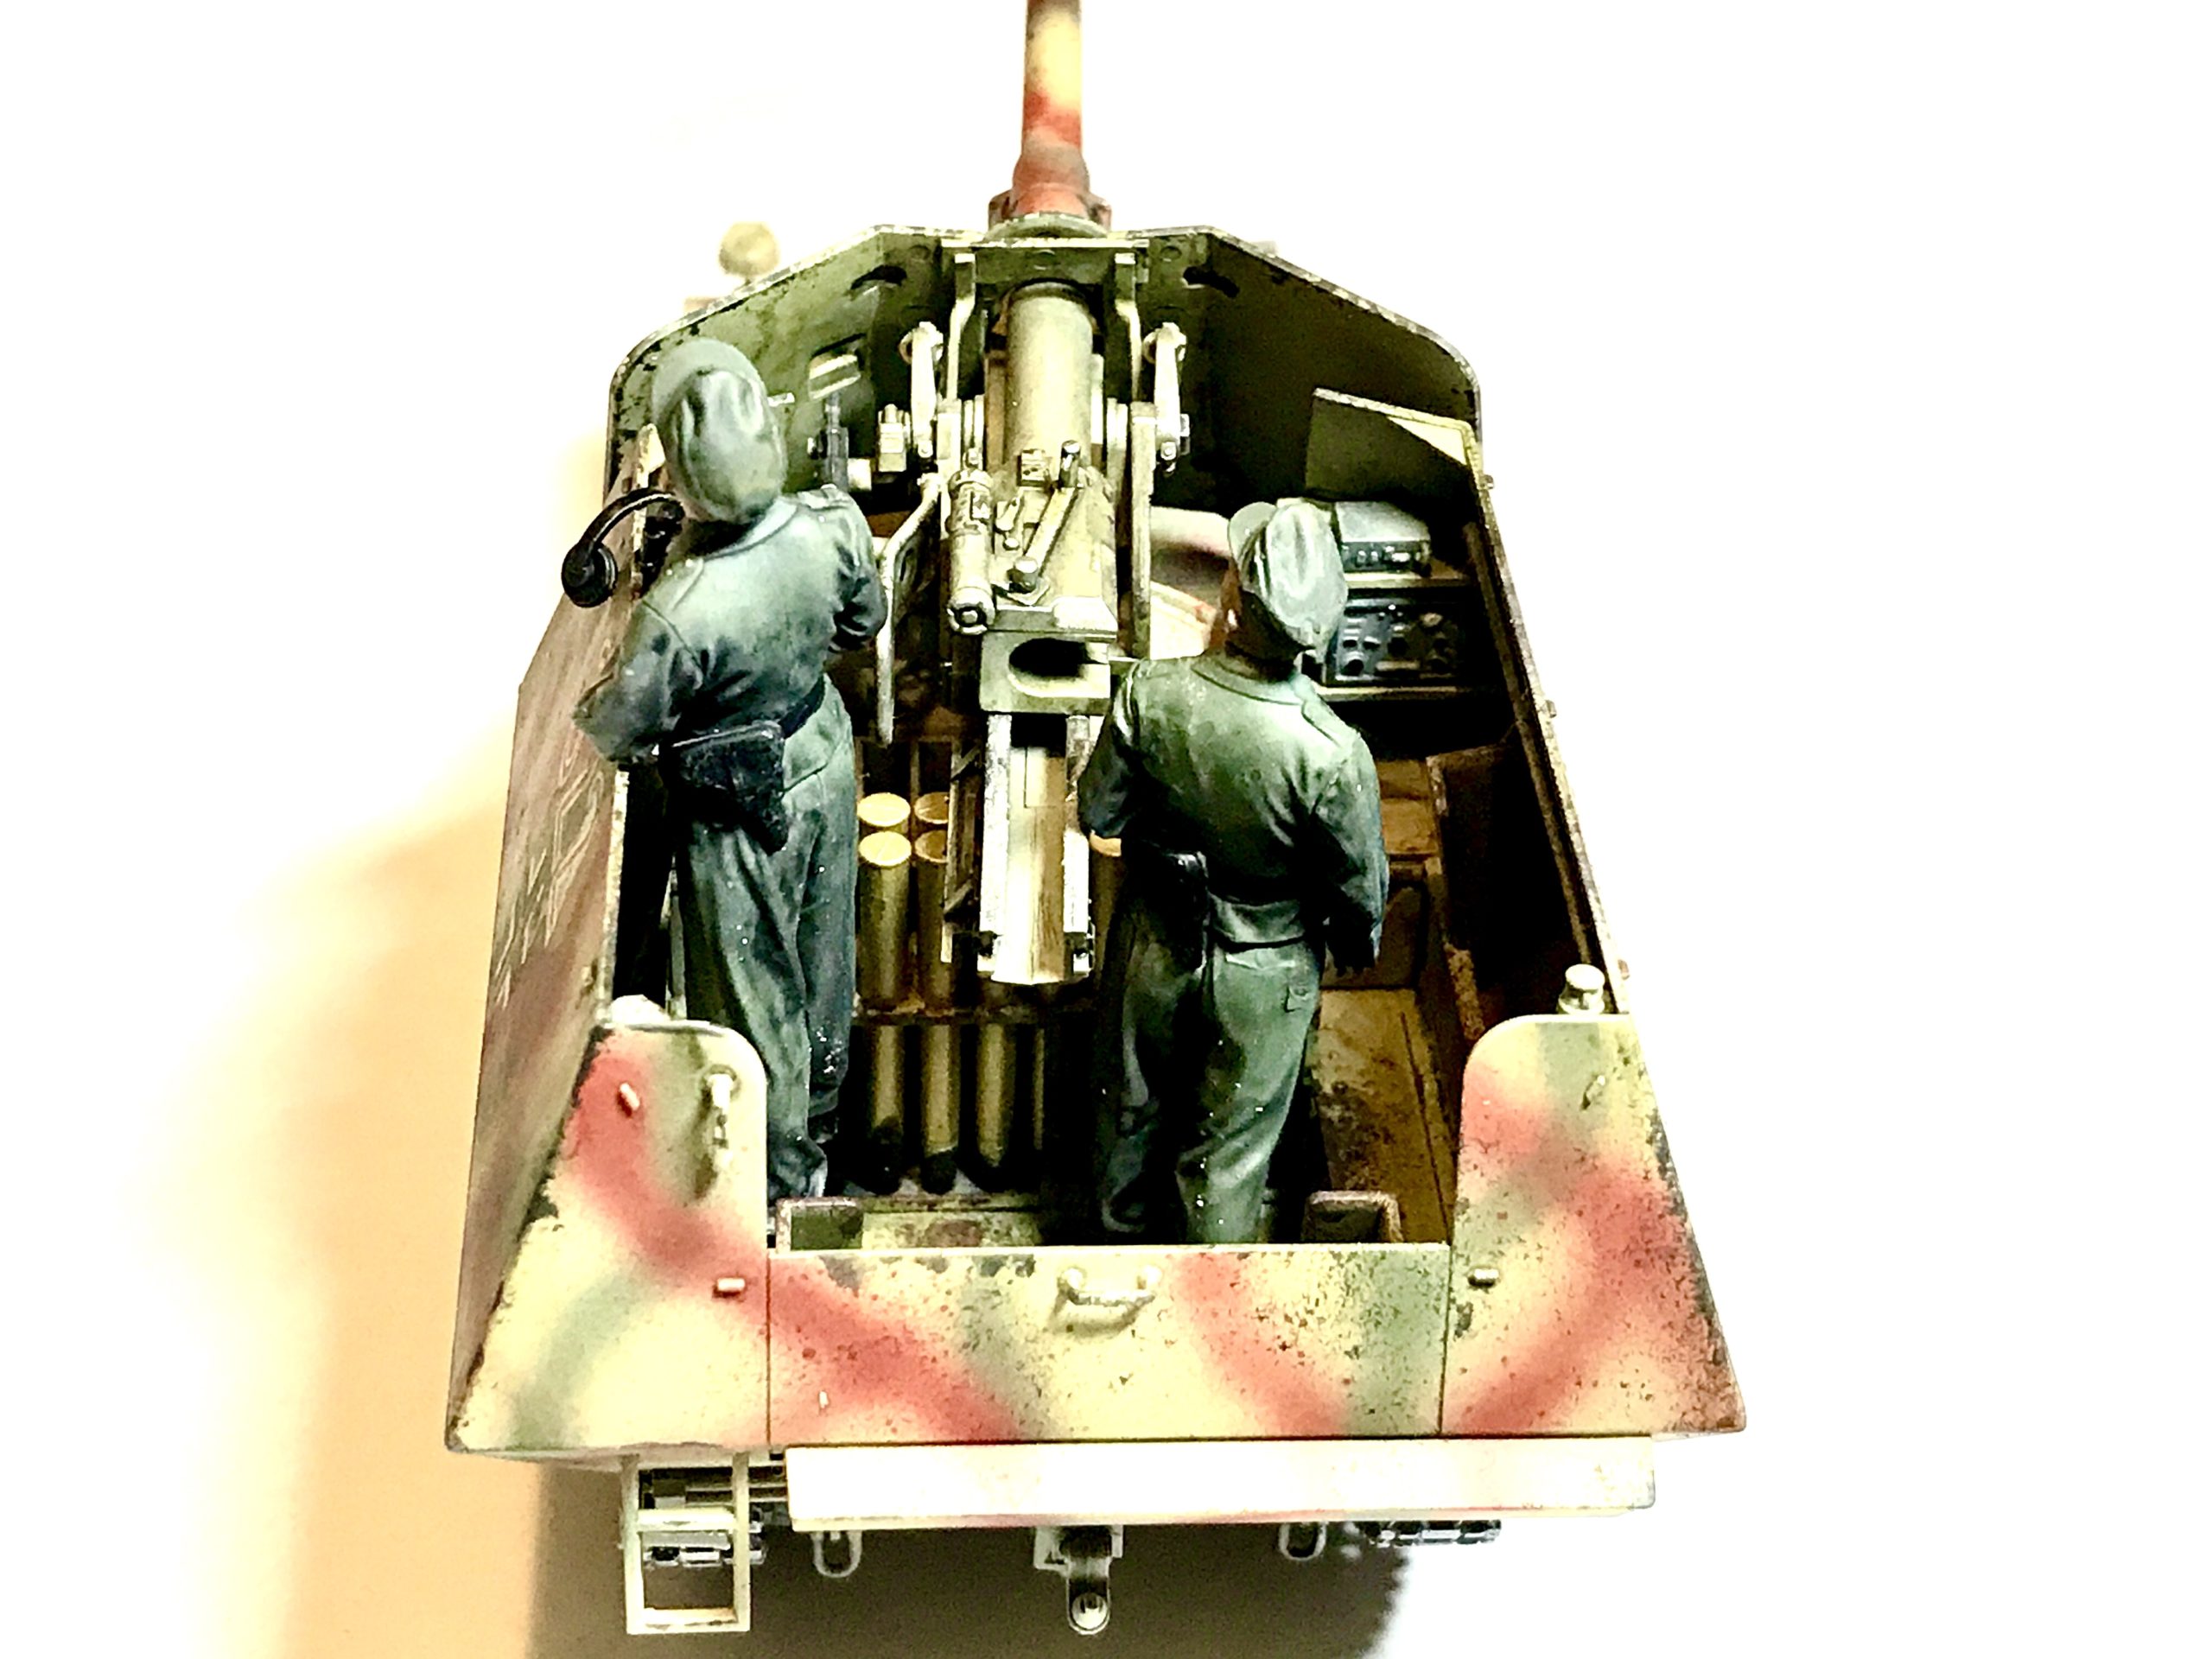
If I assemble it all prior to paint I won’t be able to get good enough access for detail painting. The problem is the fighting compartment on the vehicle is open and you can see everything going on. (unlike many tanks)
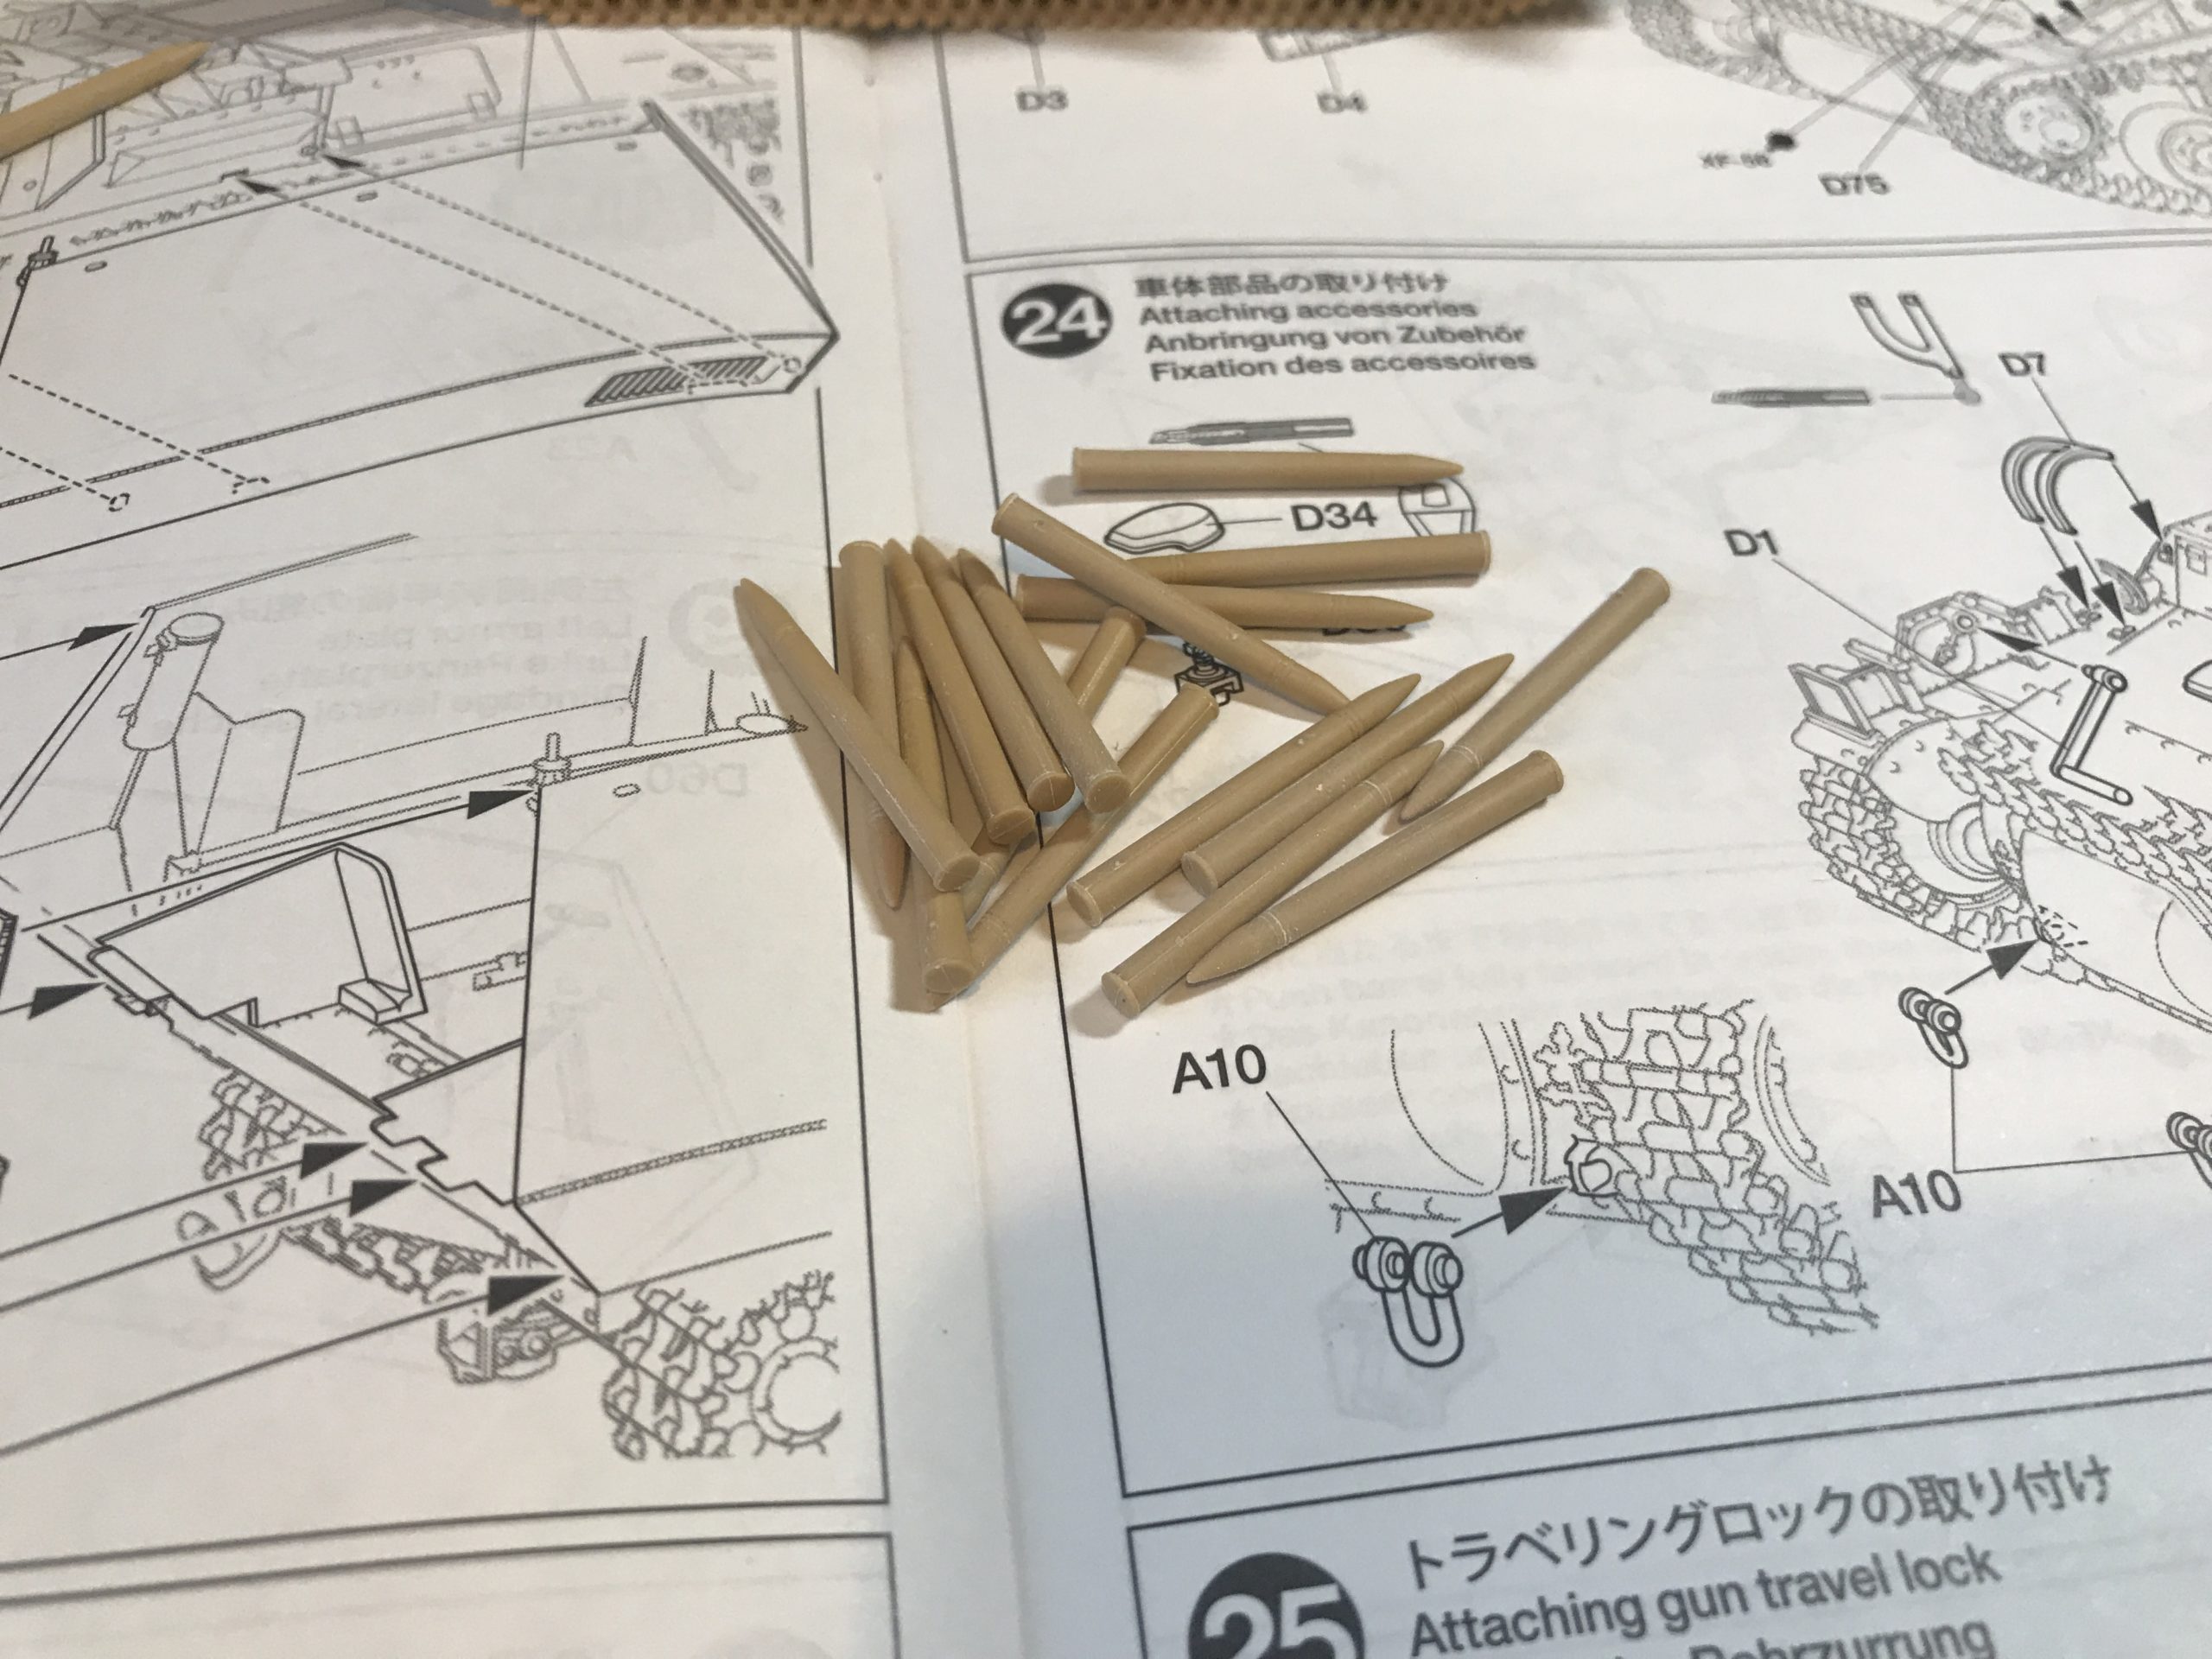
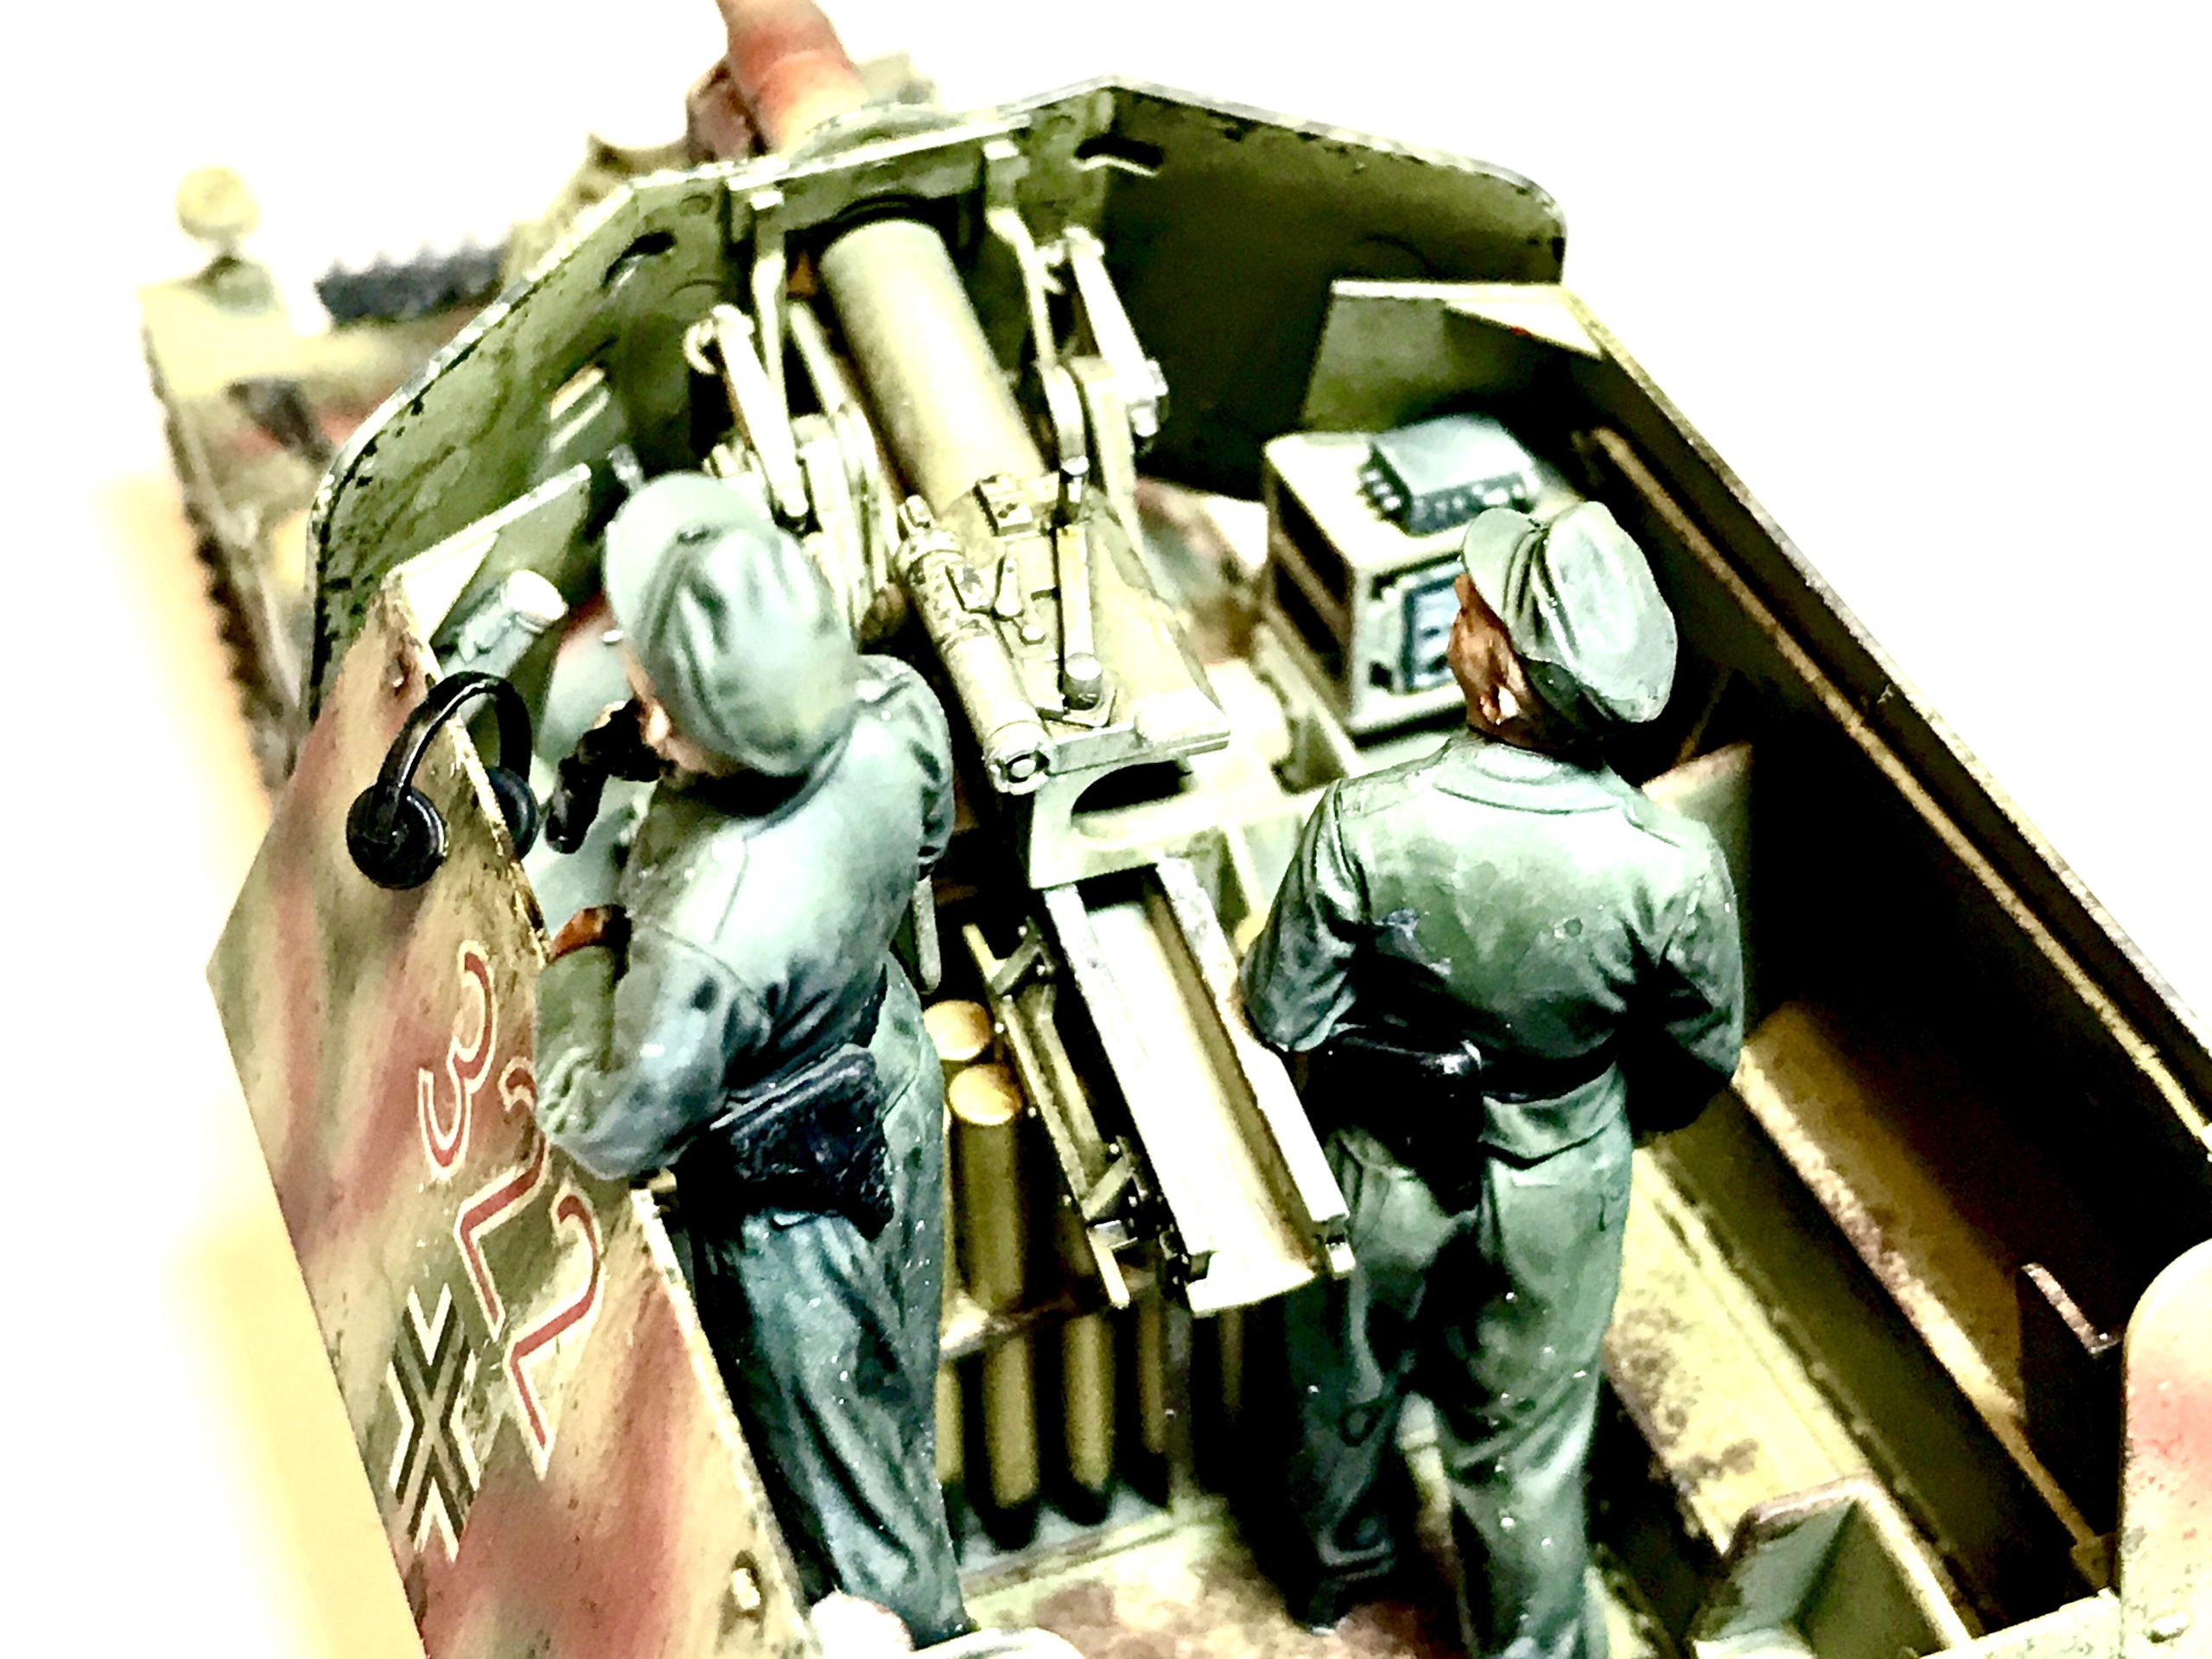
While I have a bit of a think I will paint the shells.
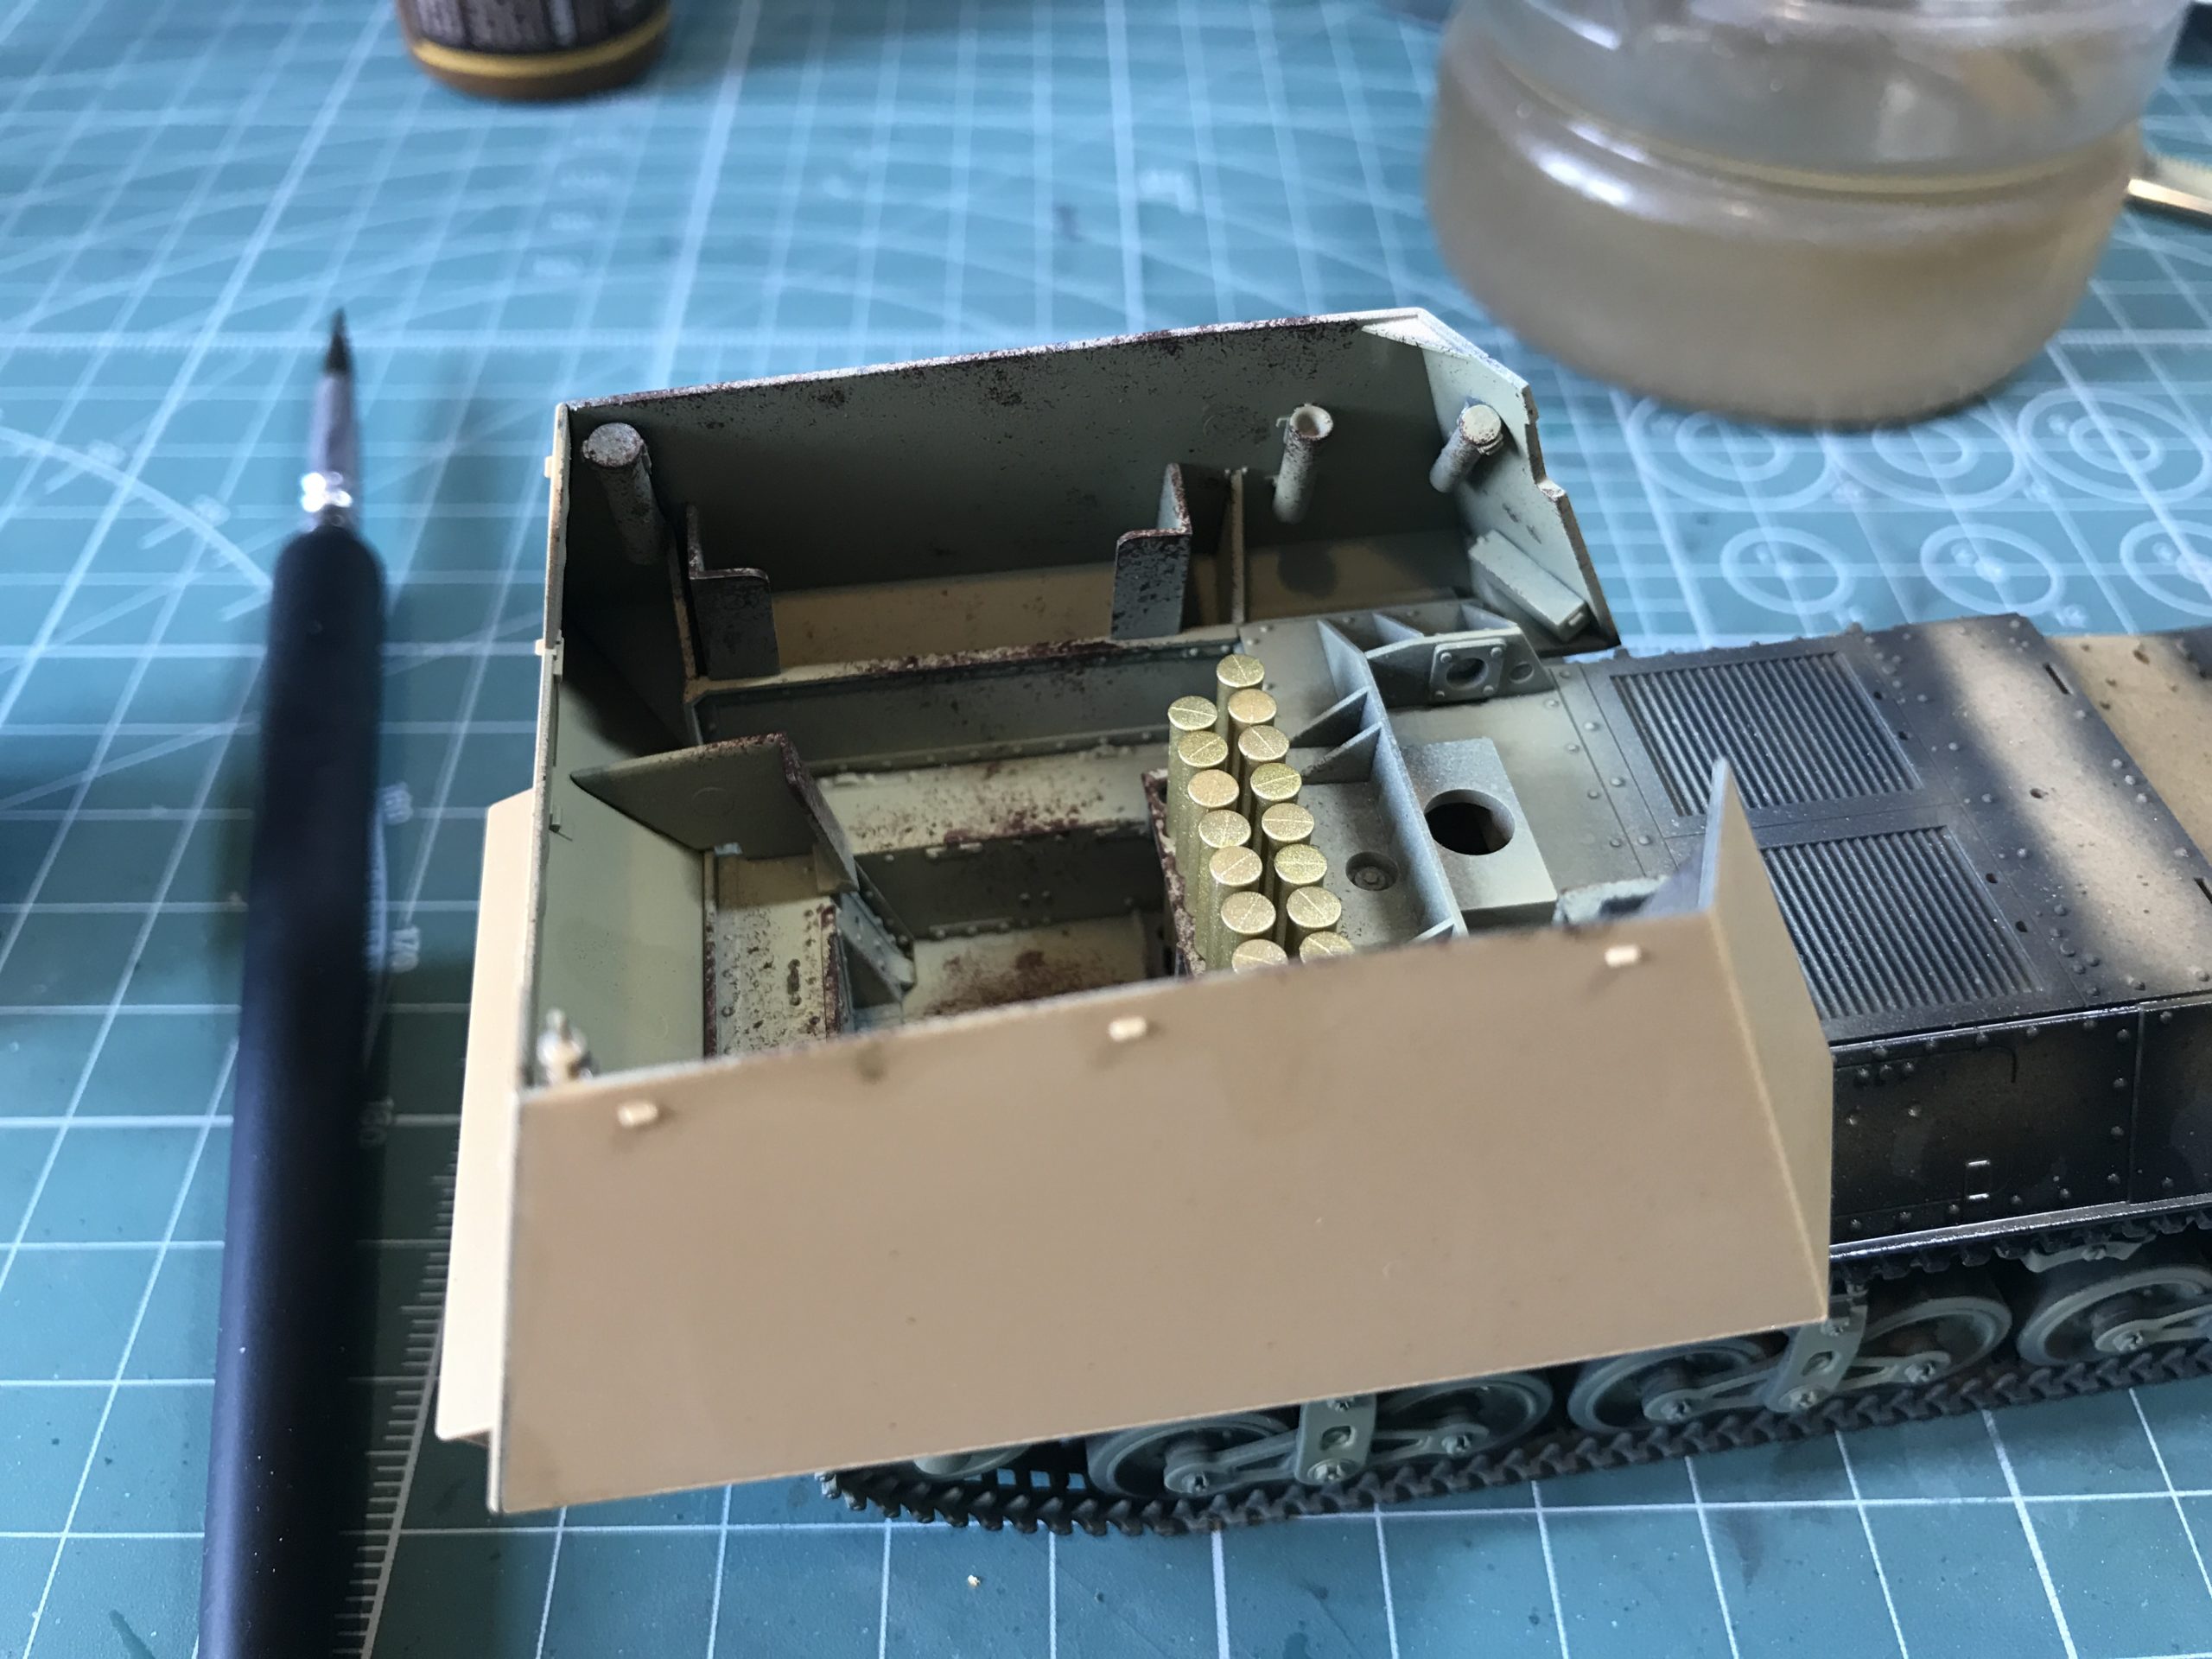
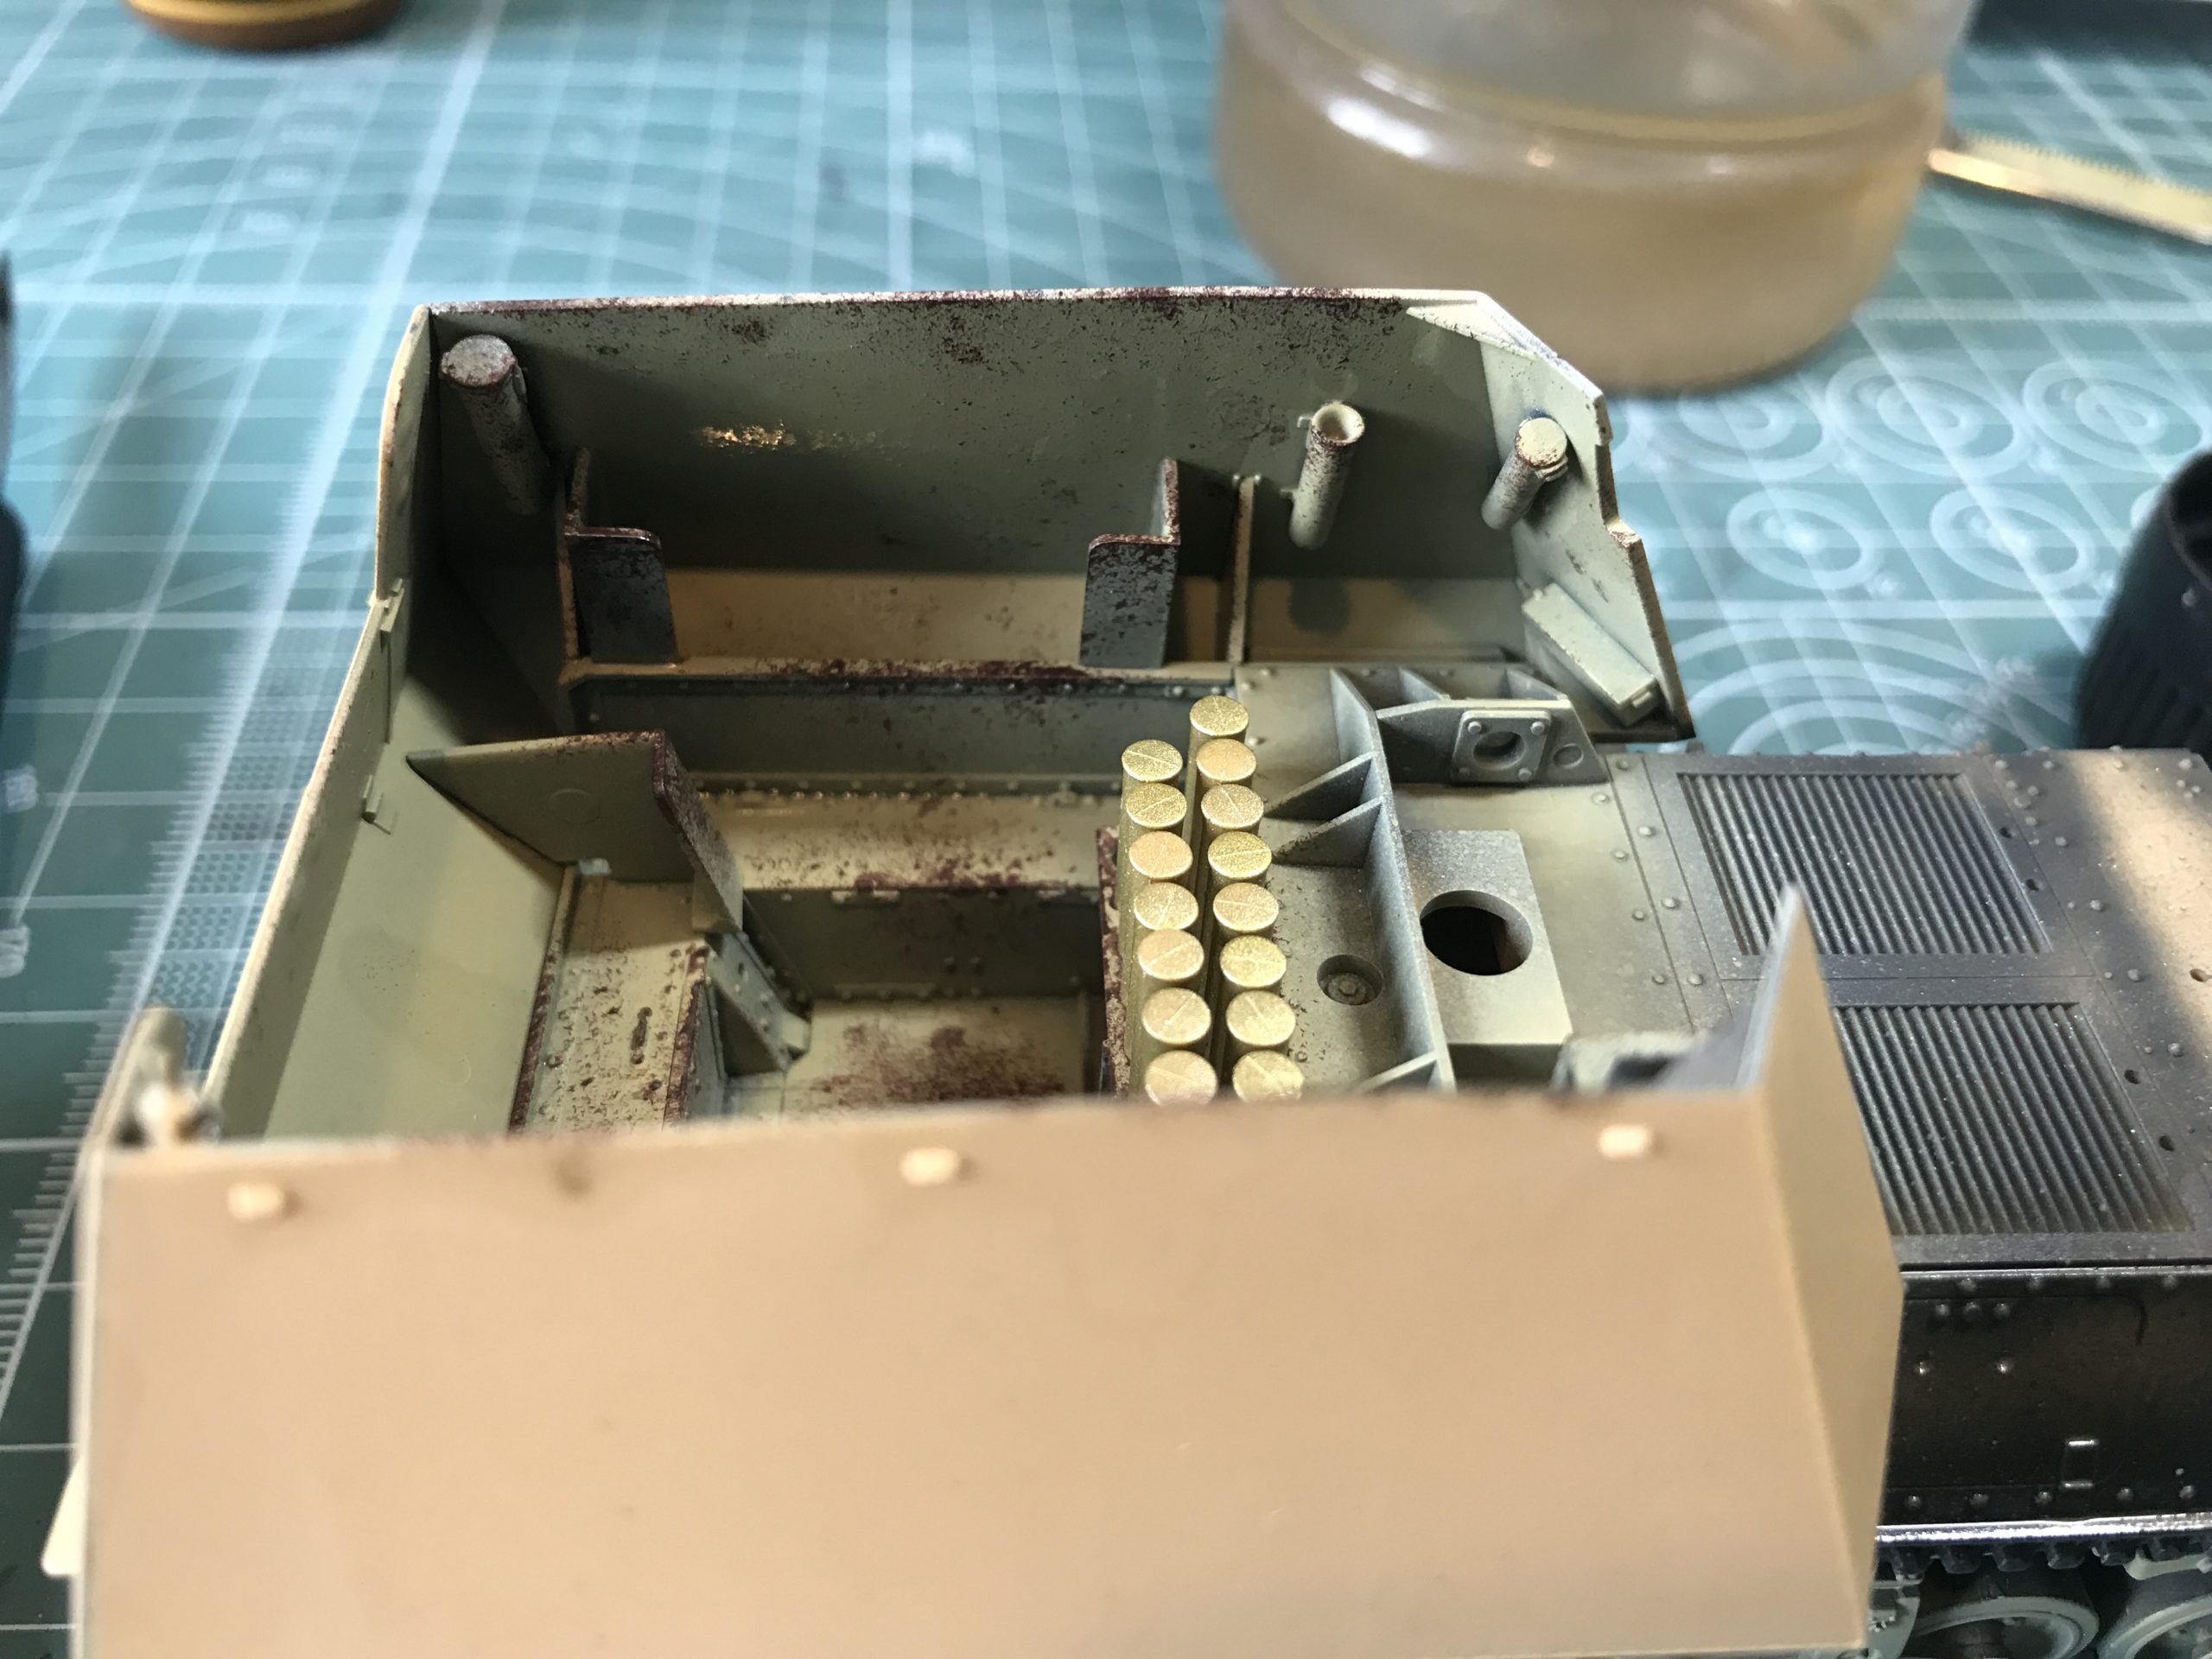
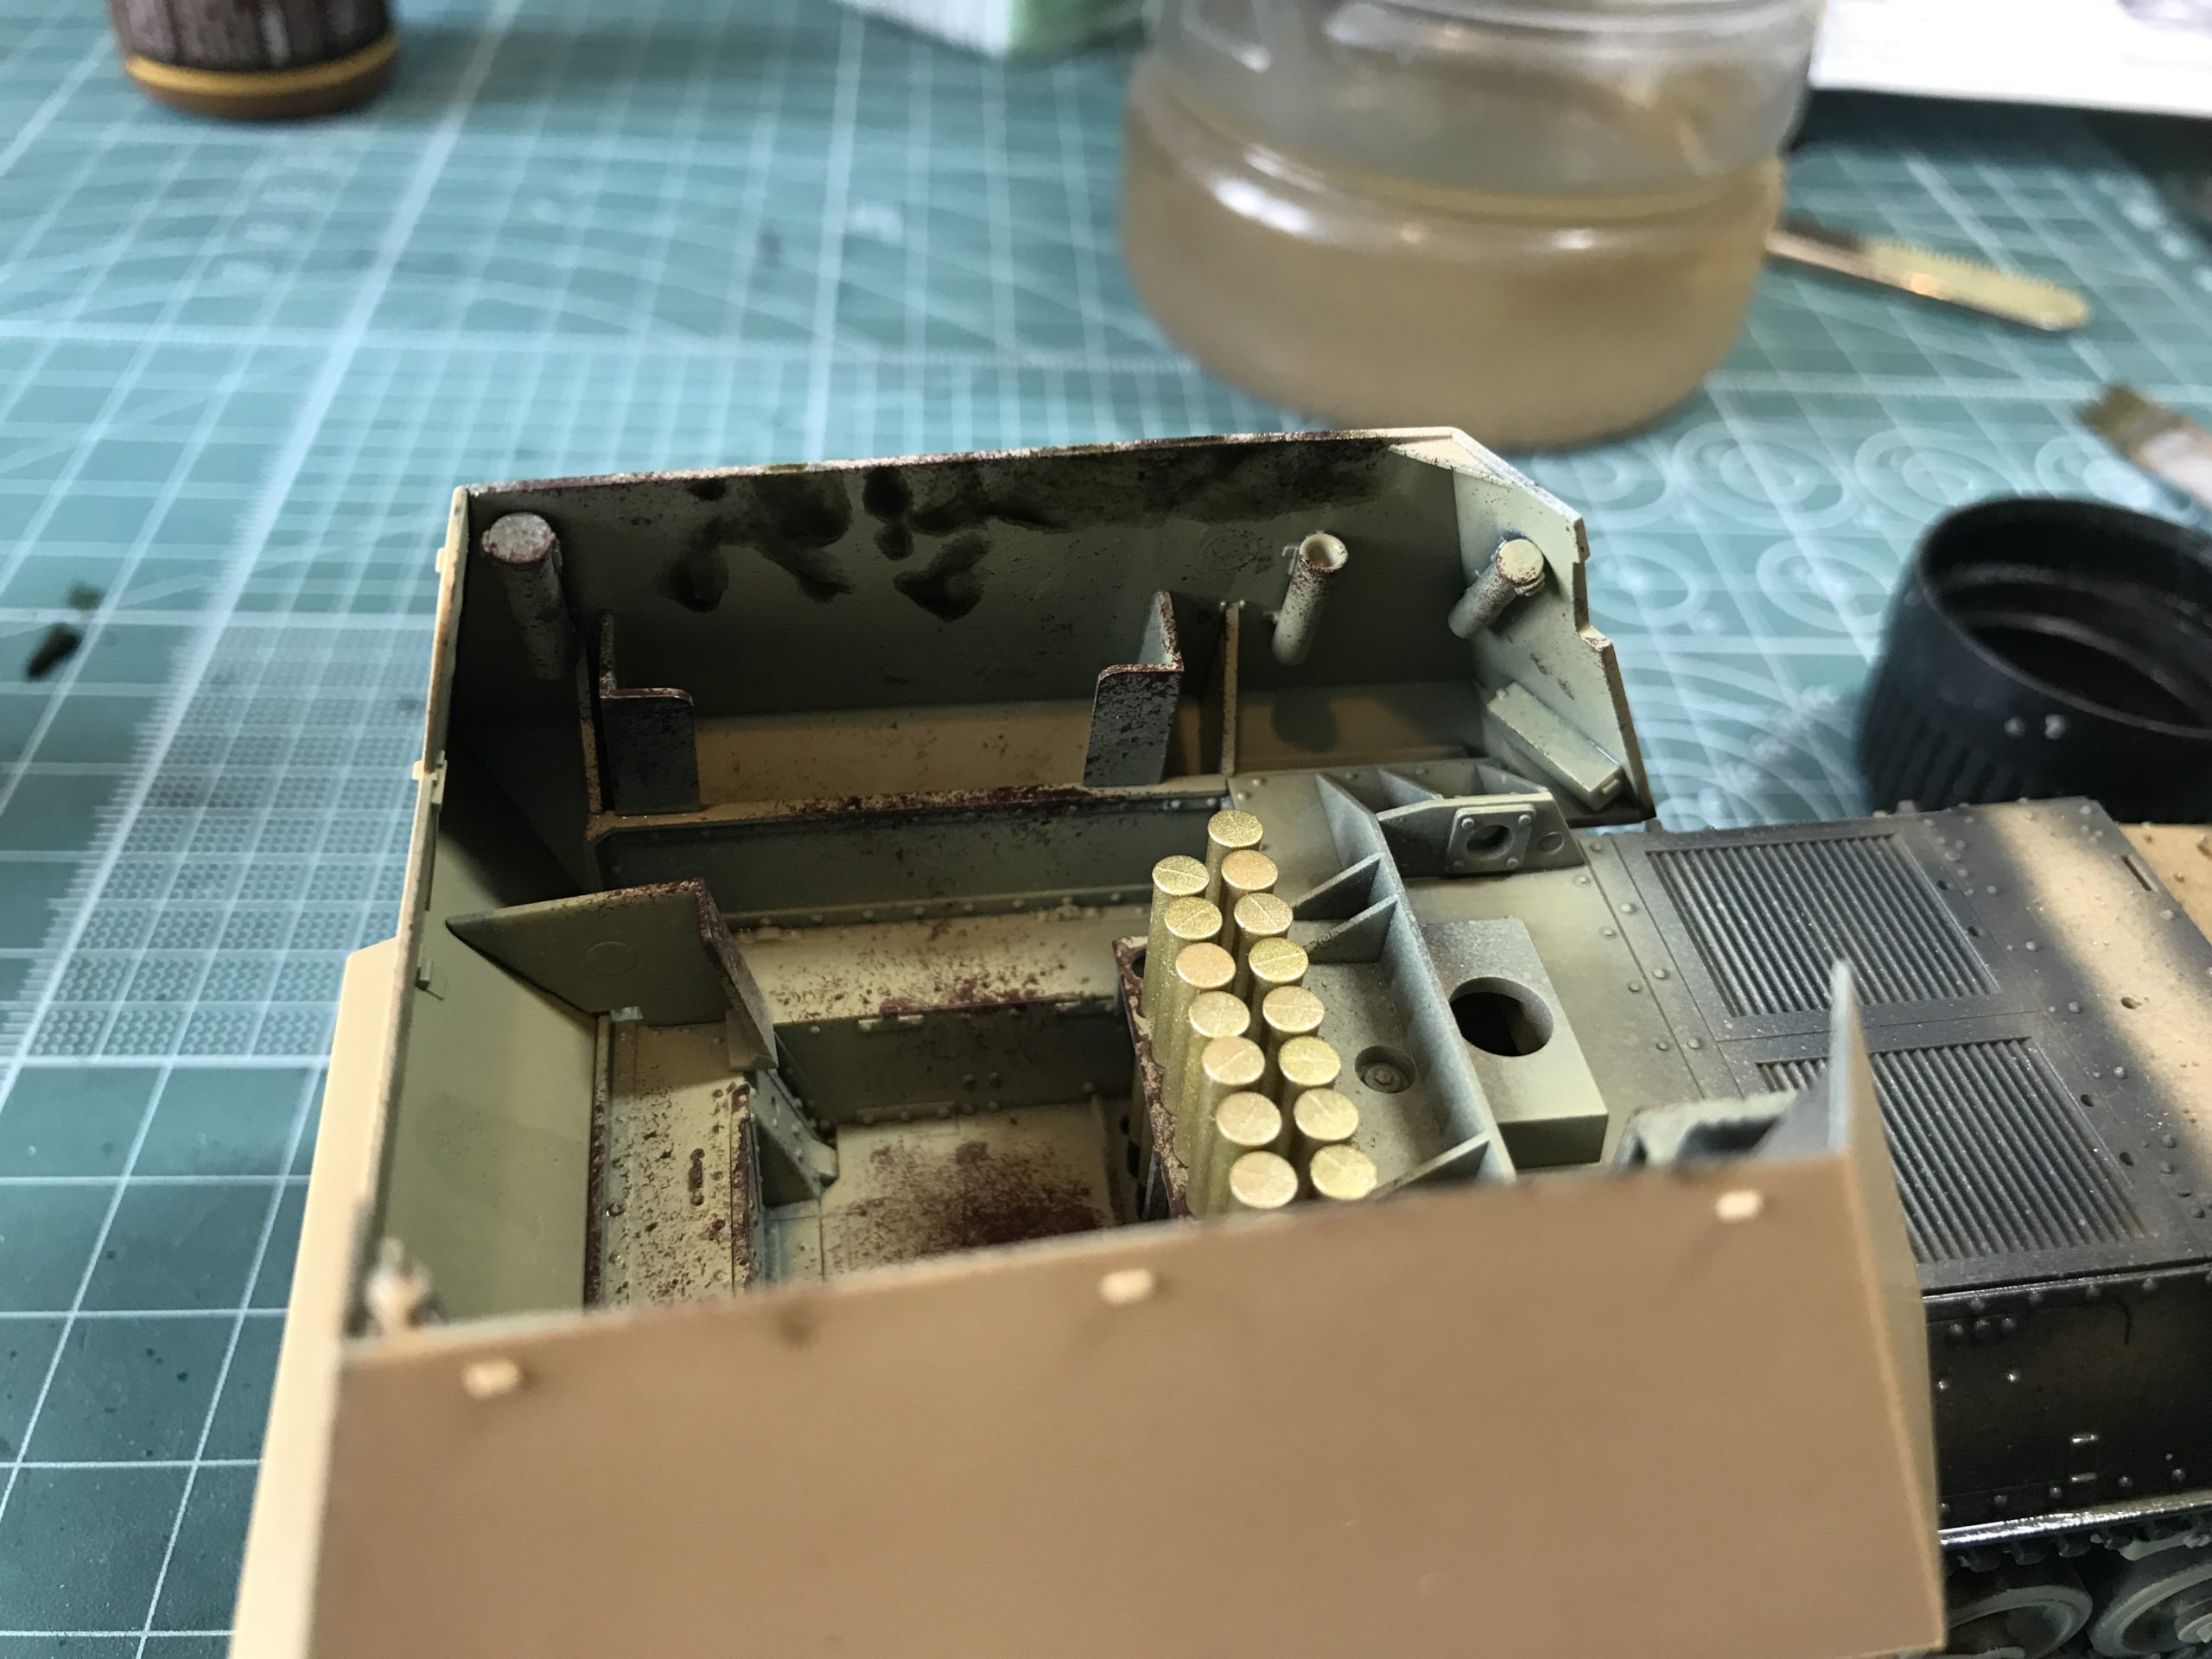
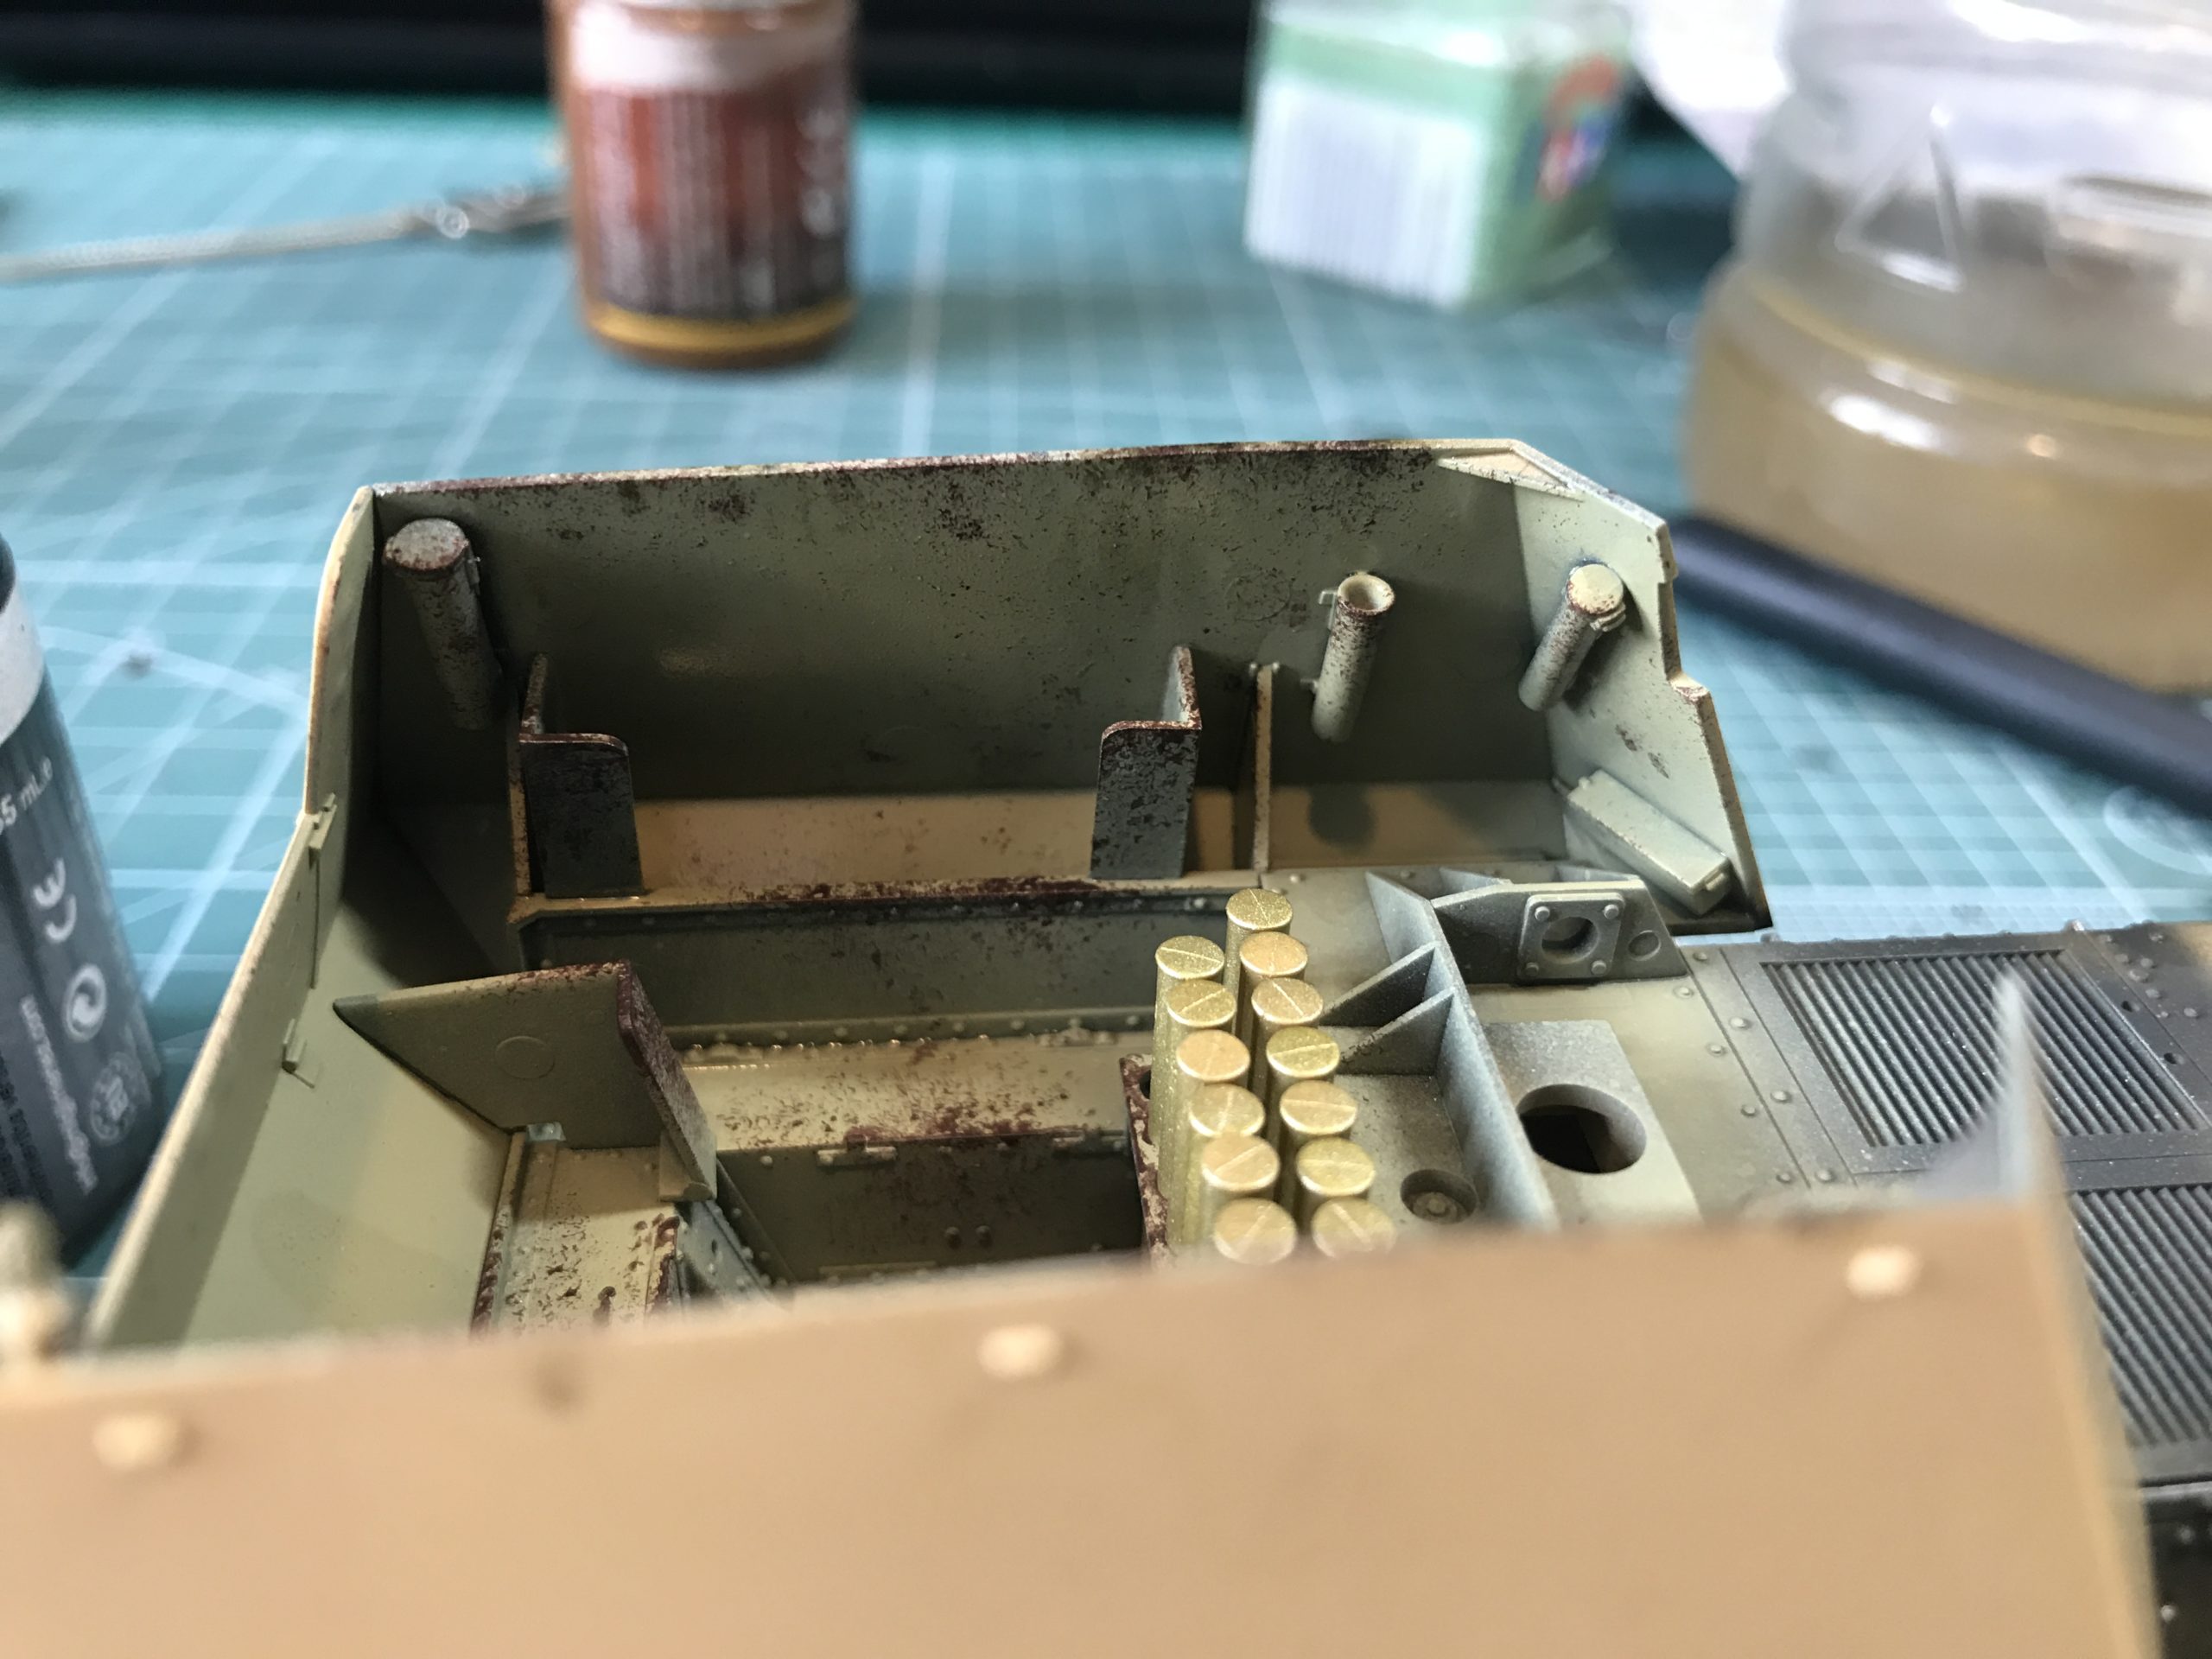
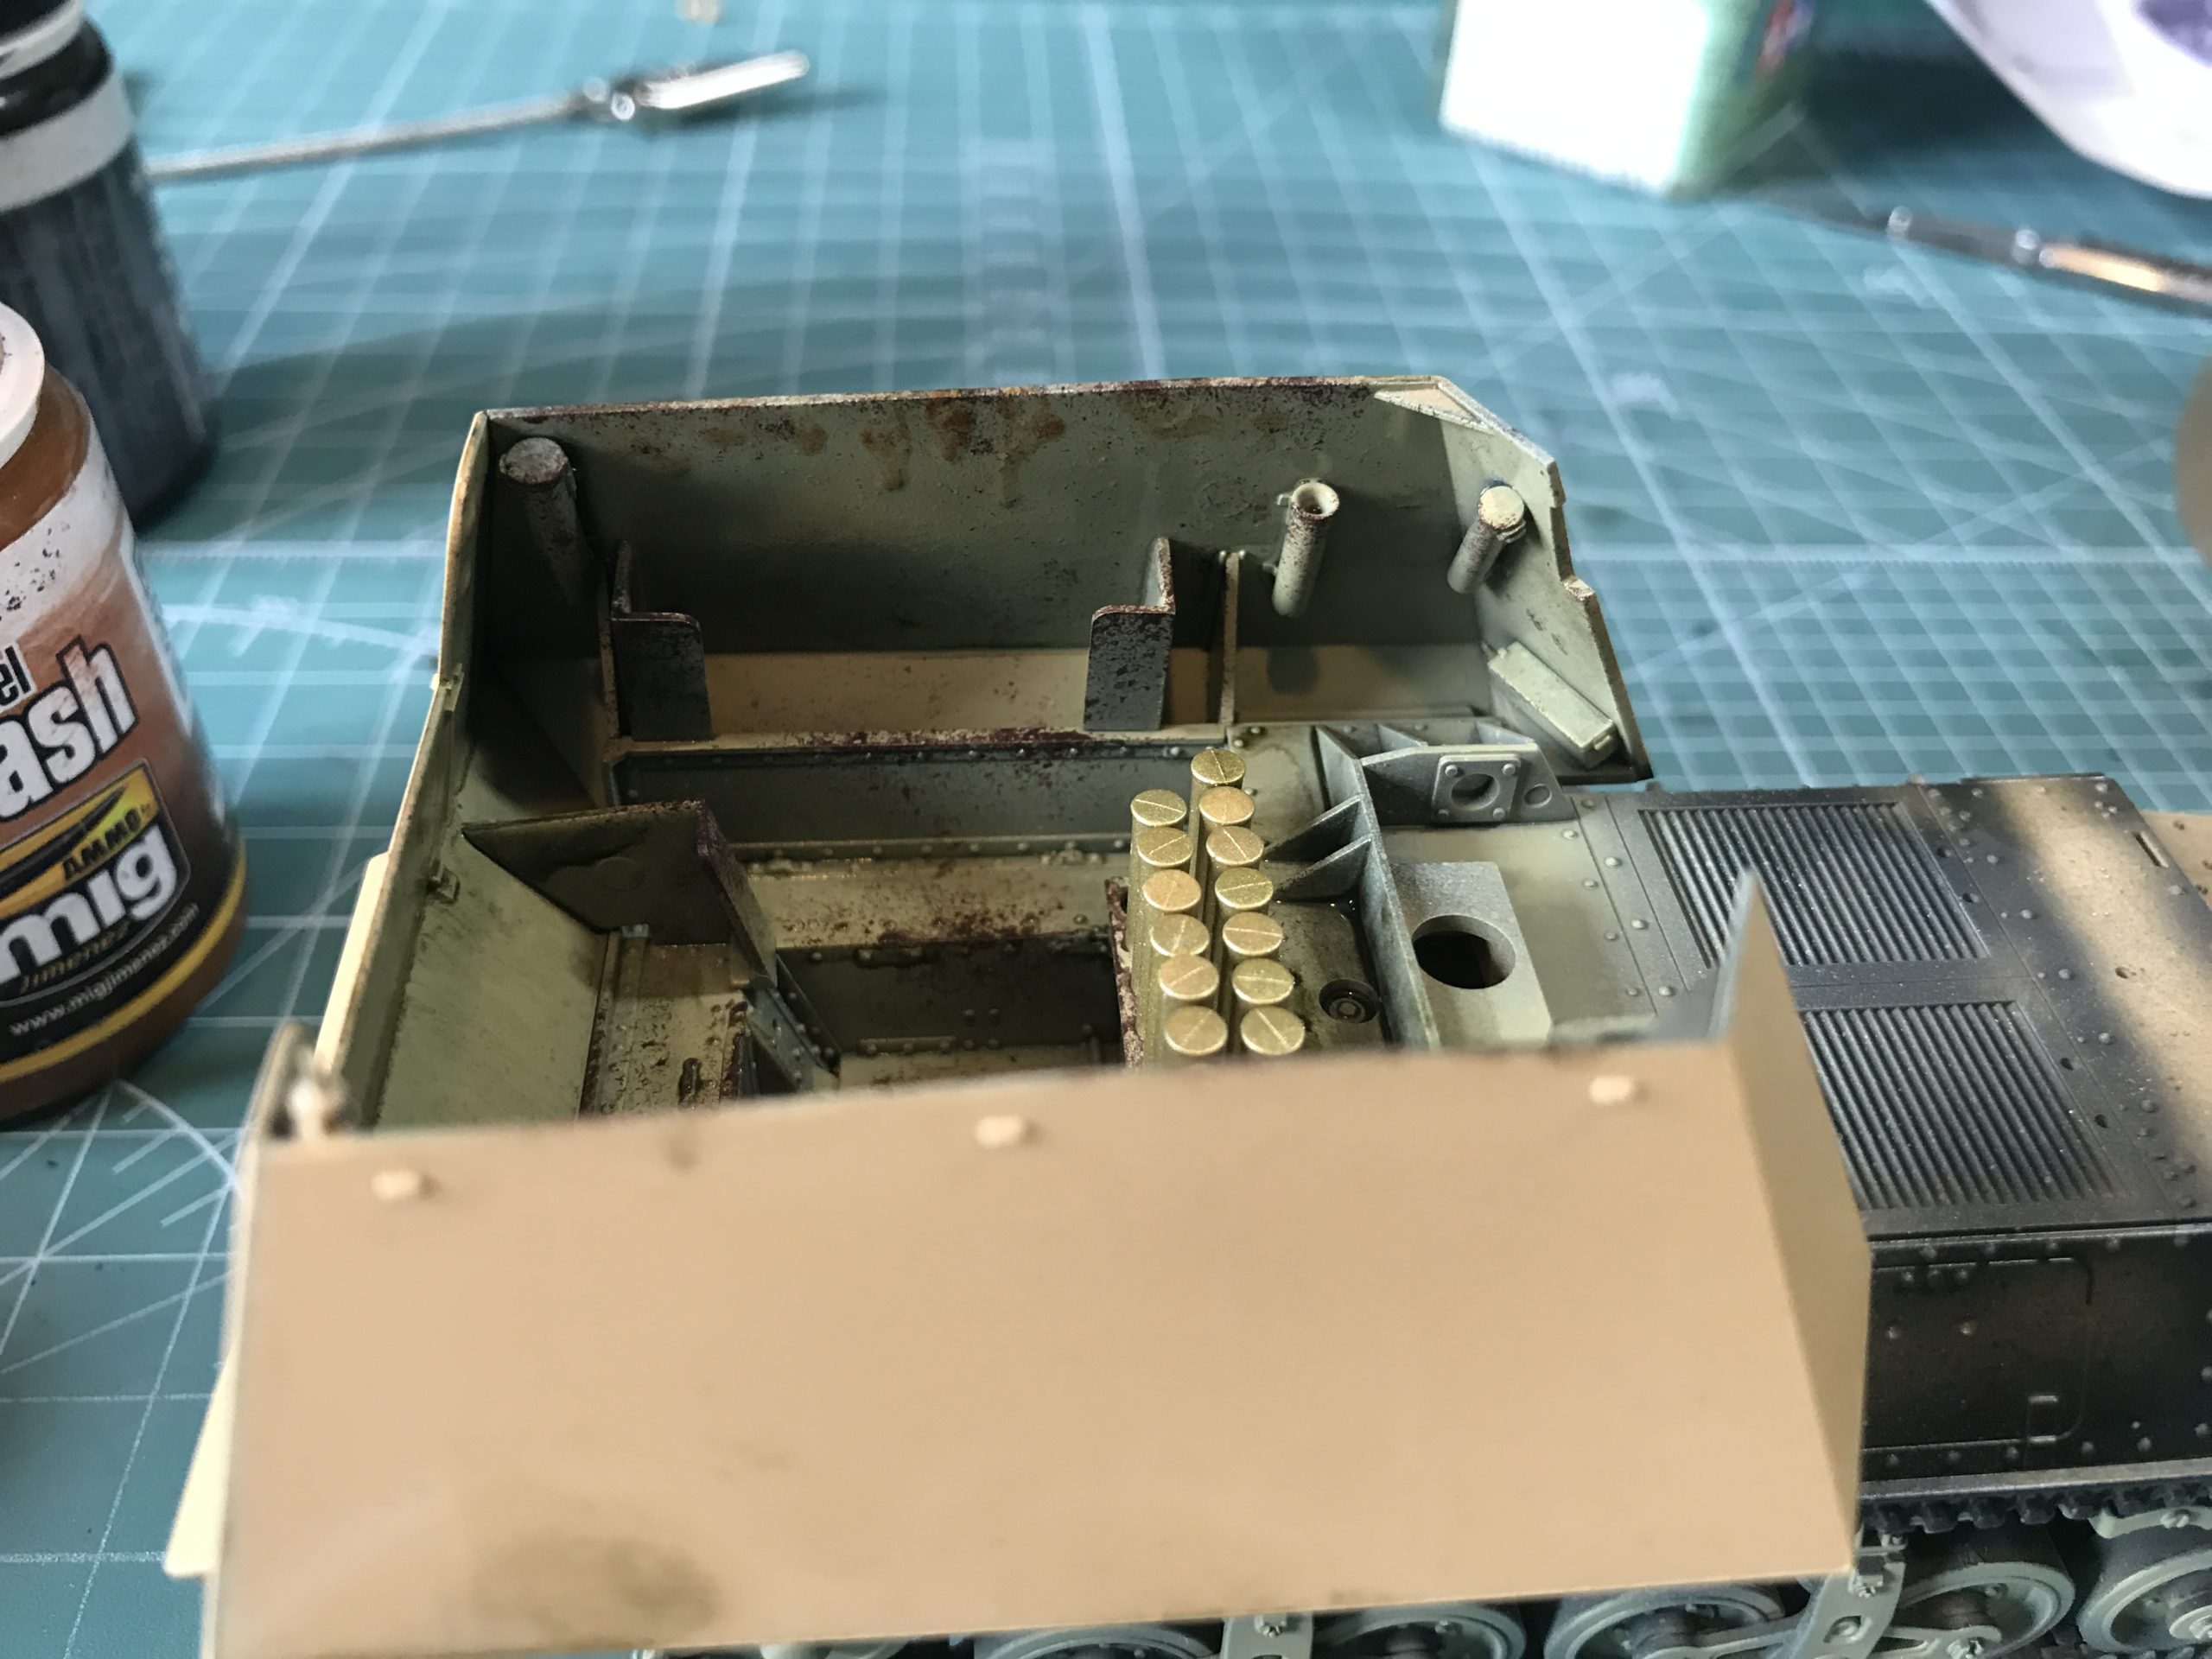
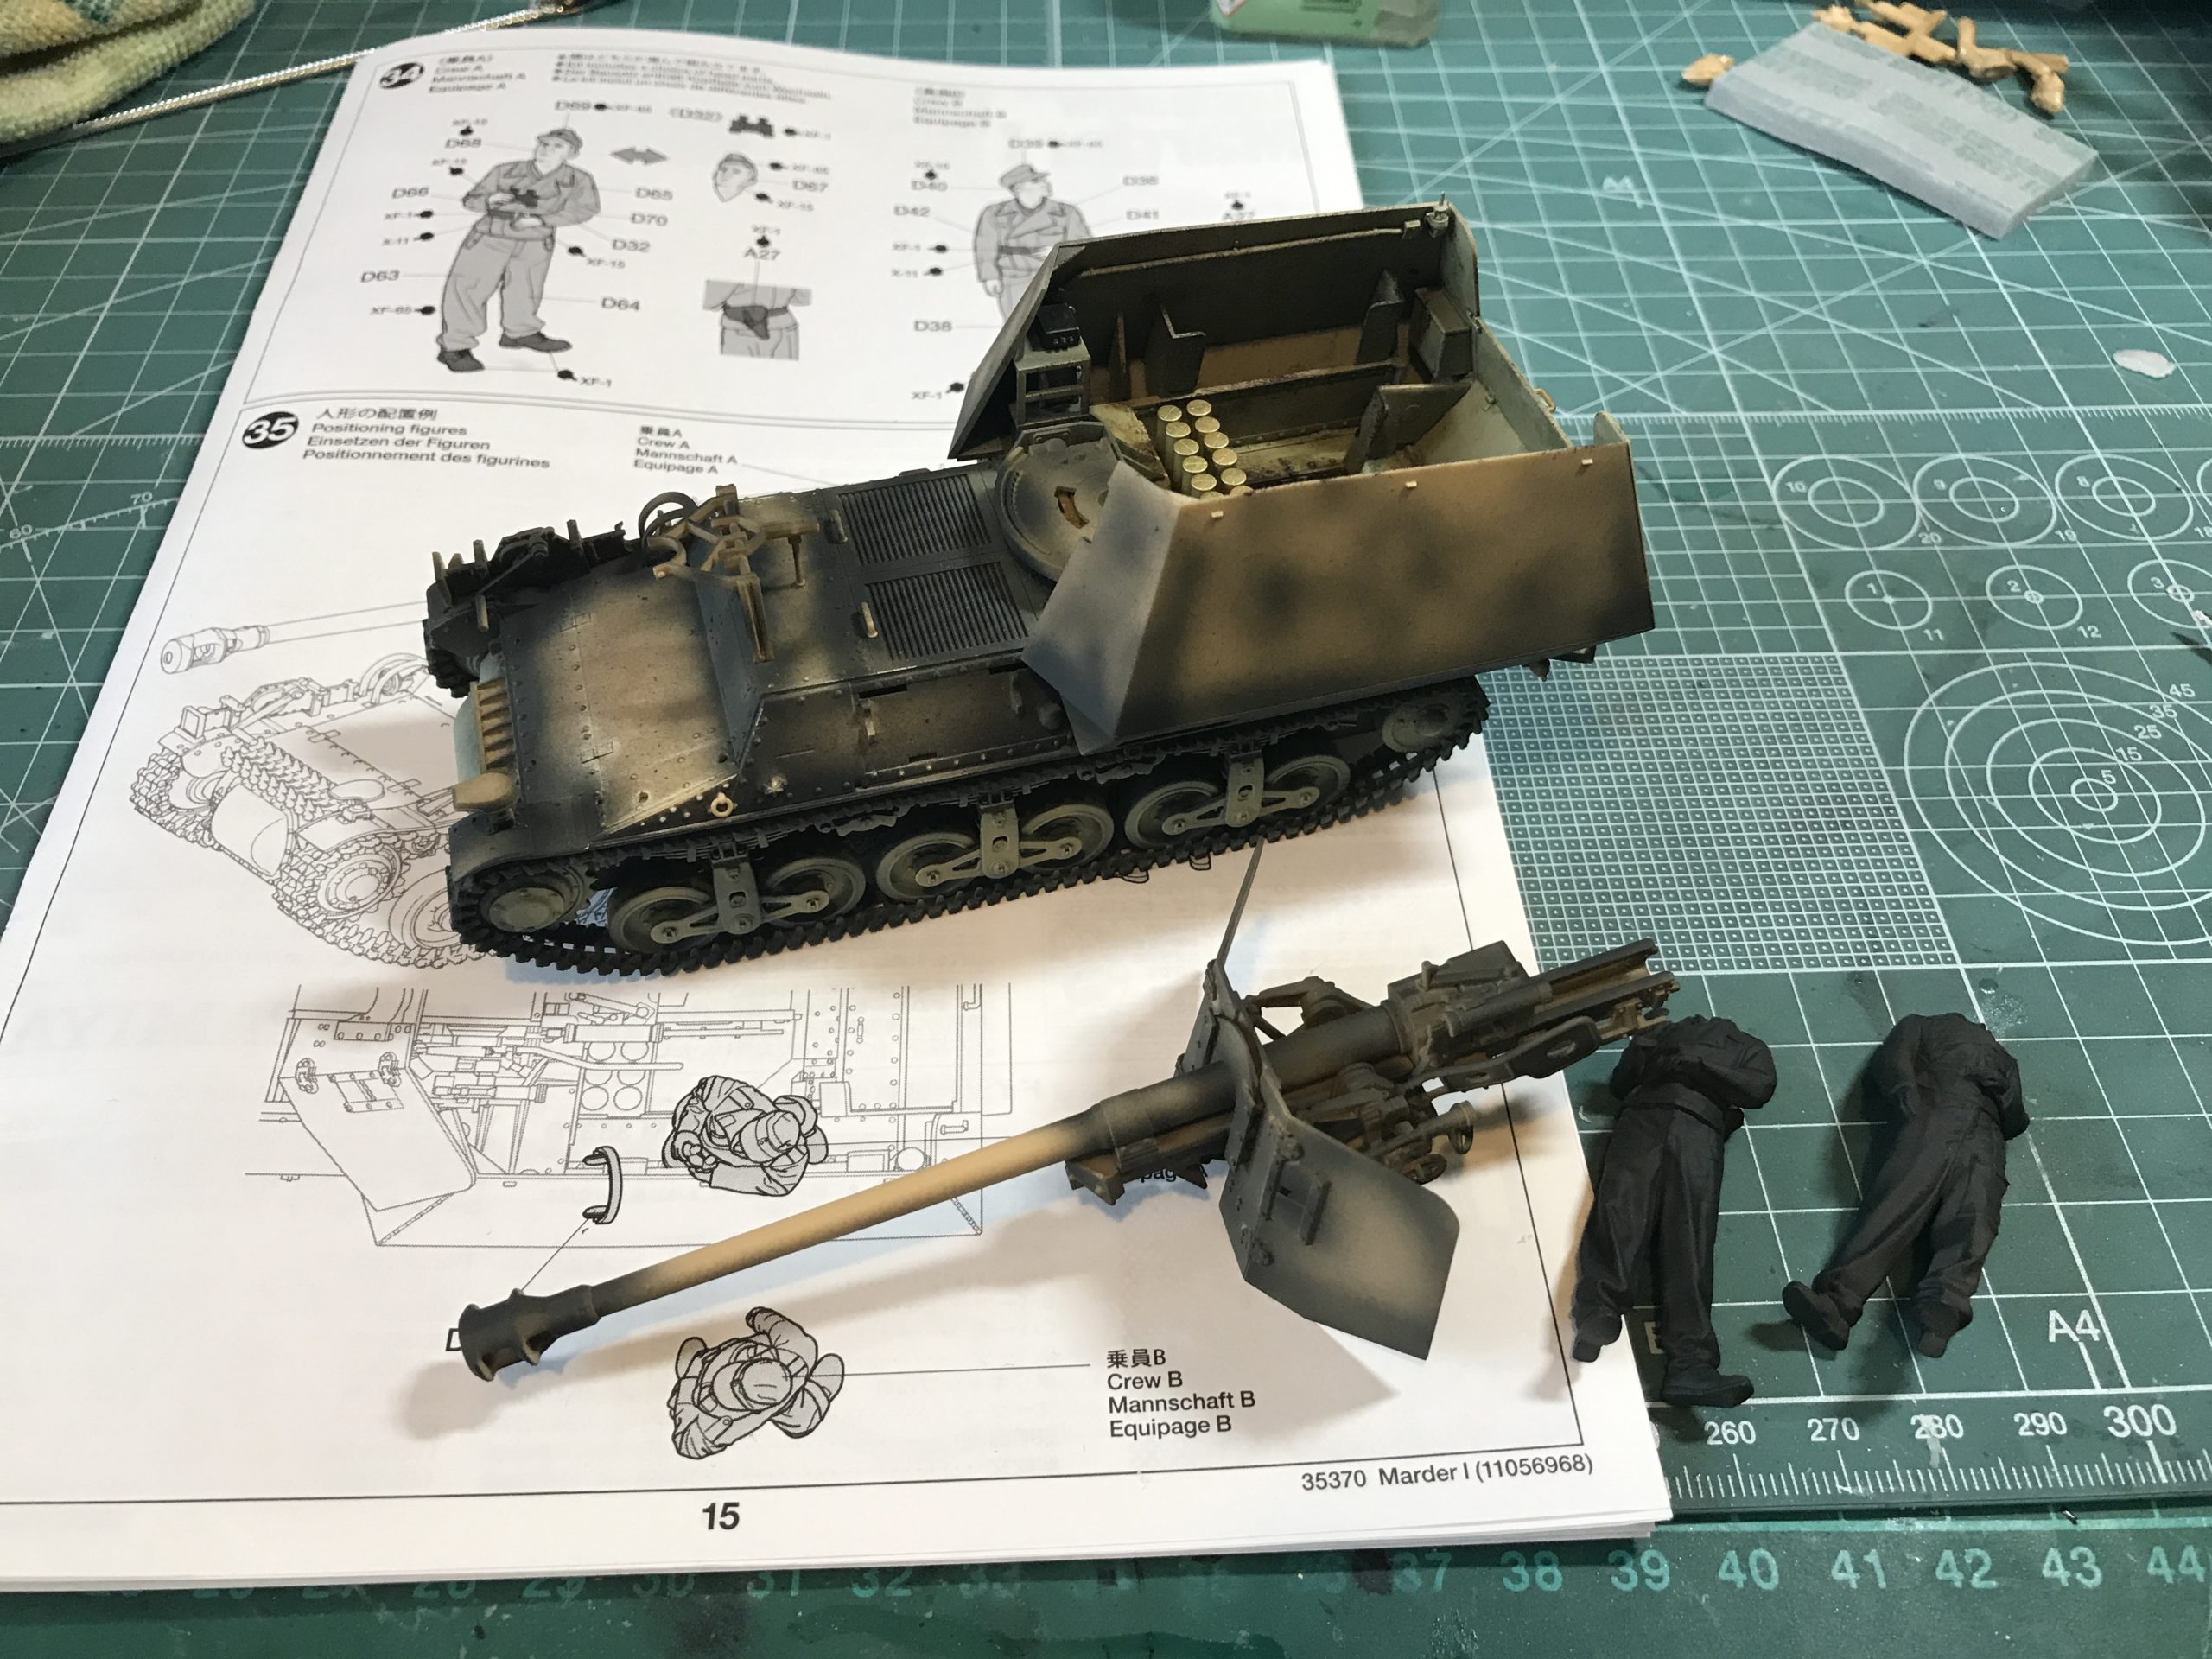
I made the decision to paint the inside of the fighting compartment prior to assembly.
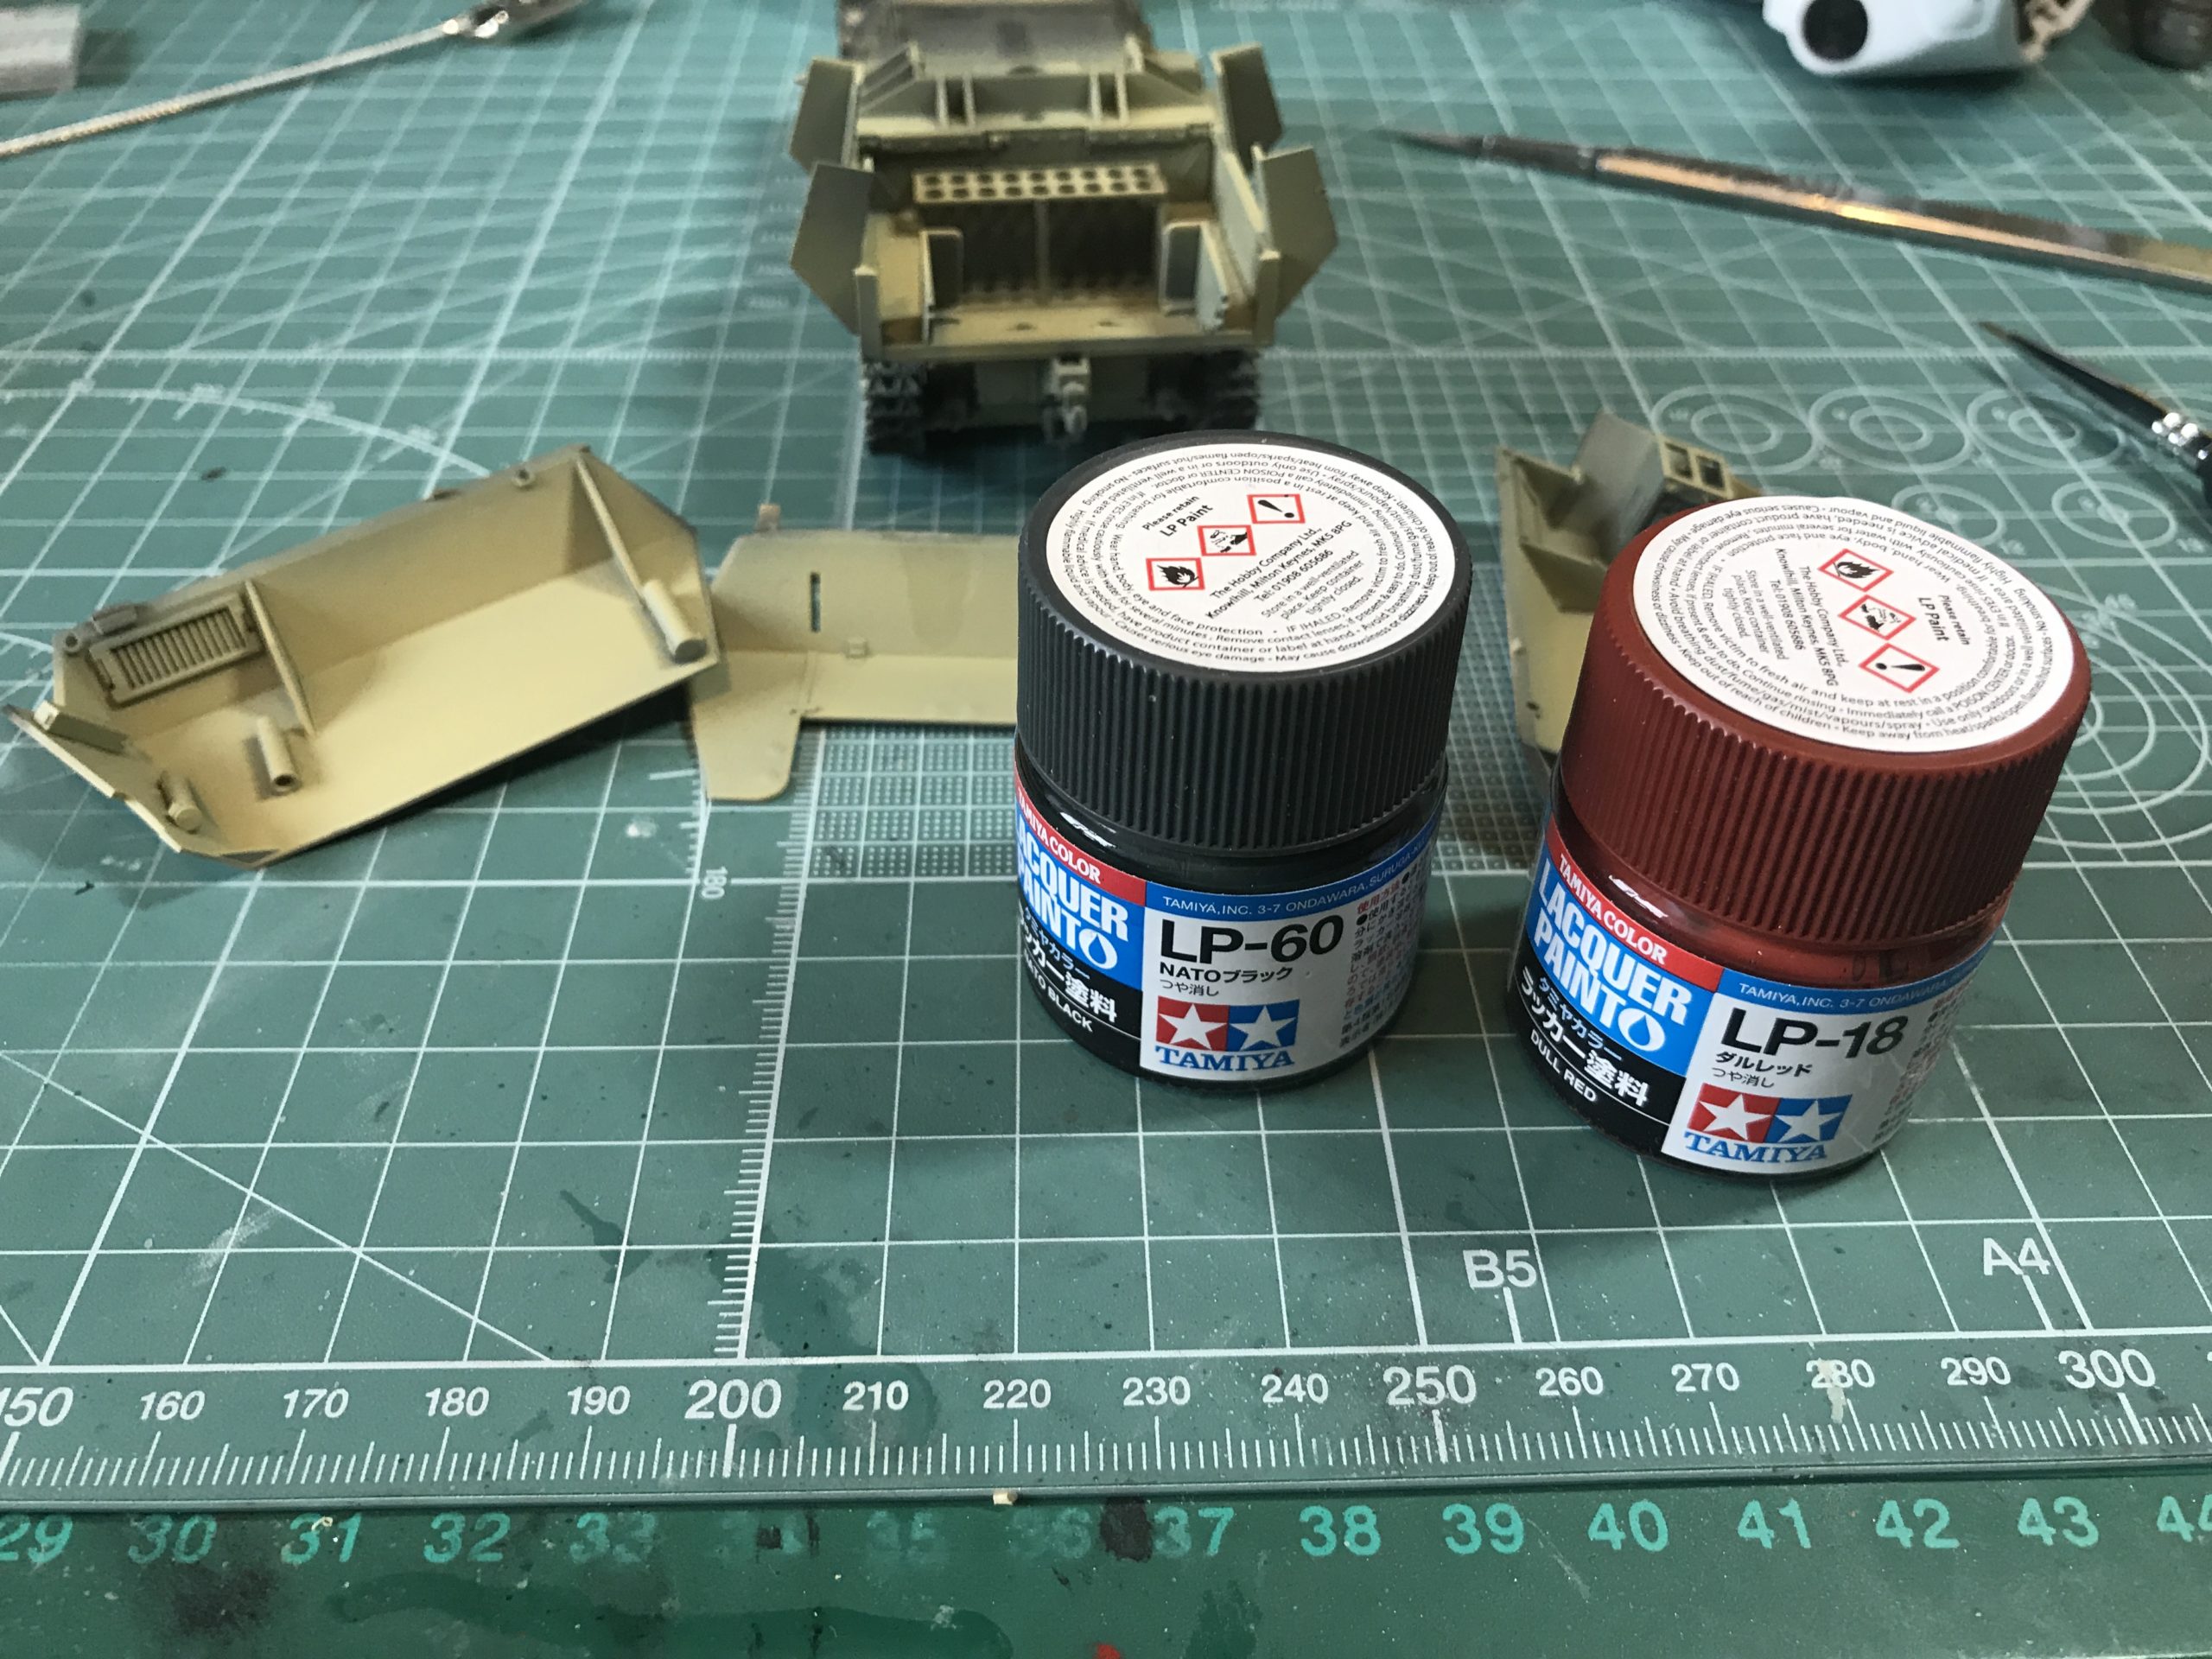
I started by applying a “shadow” coat of NATO black, then highlights in flat white and finally built up thin coats of the main colour LP-55 Dark Yellow 2.
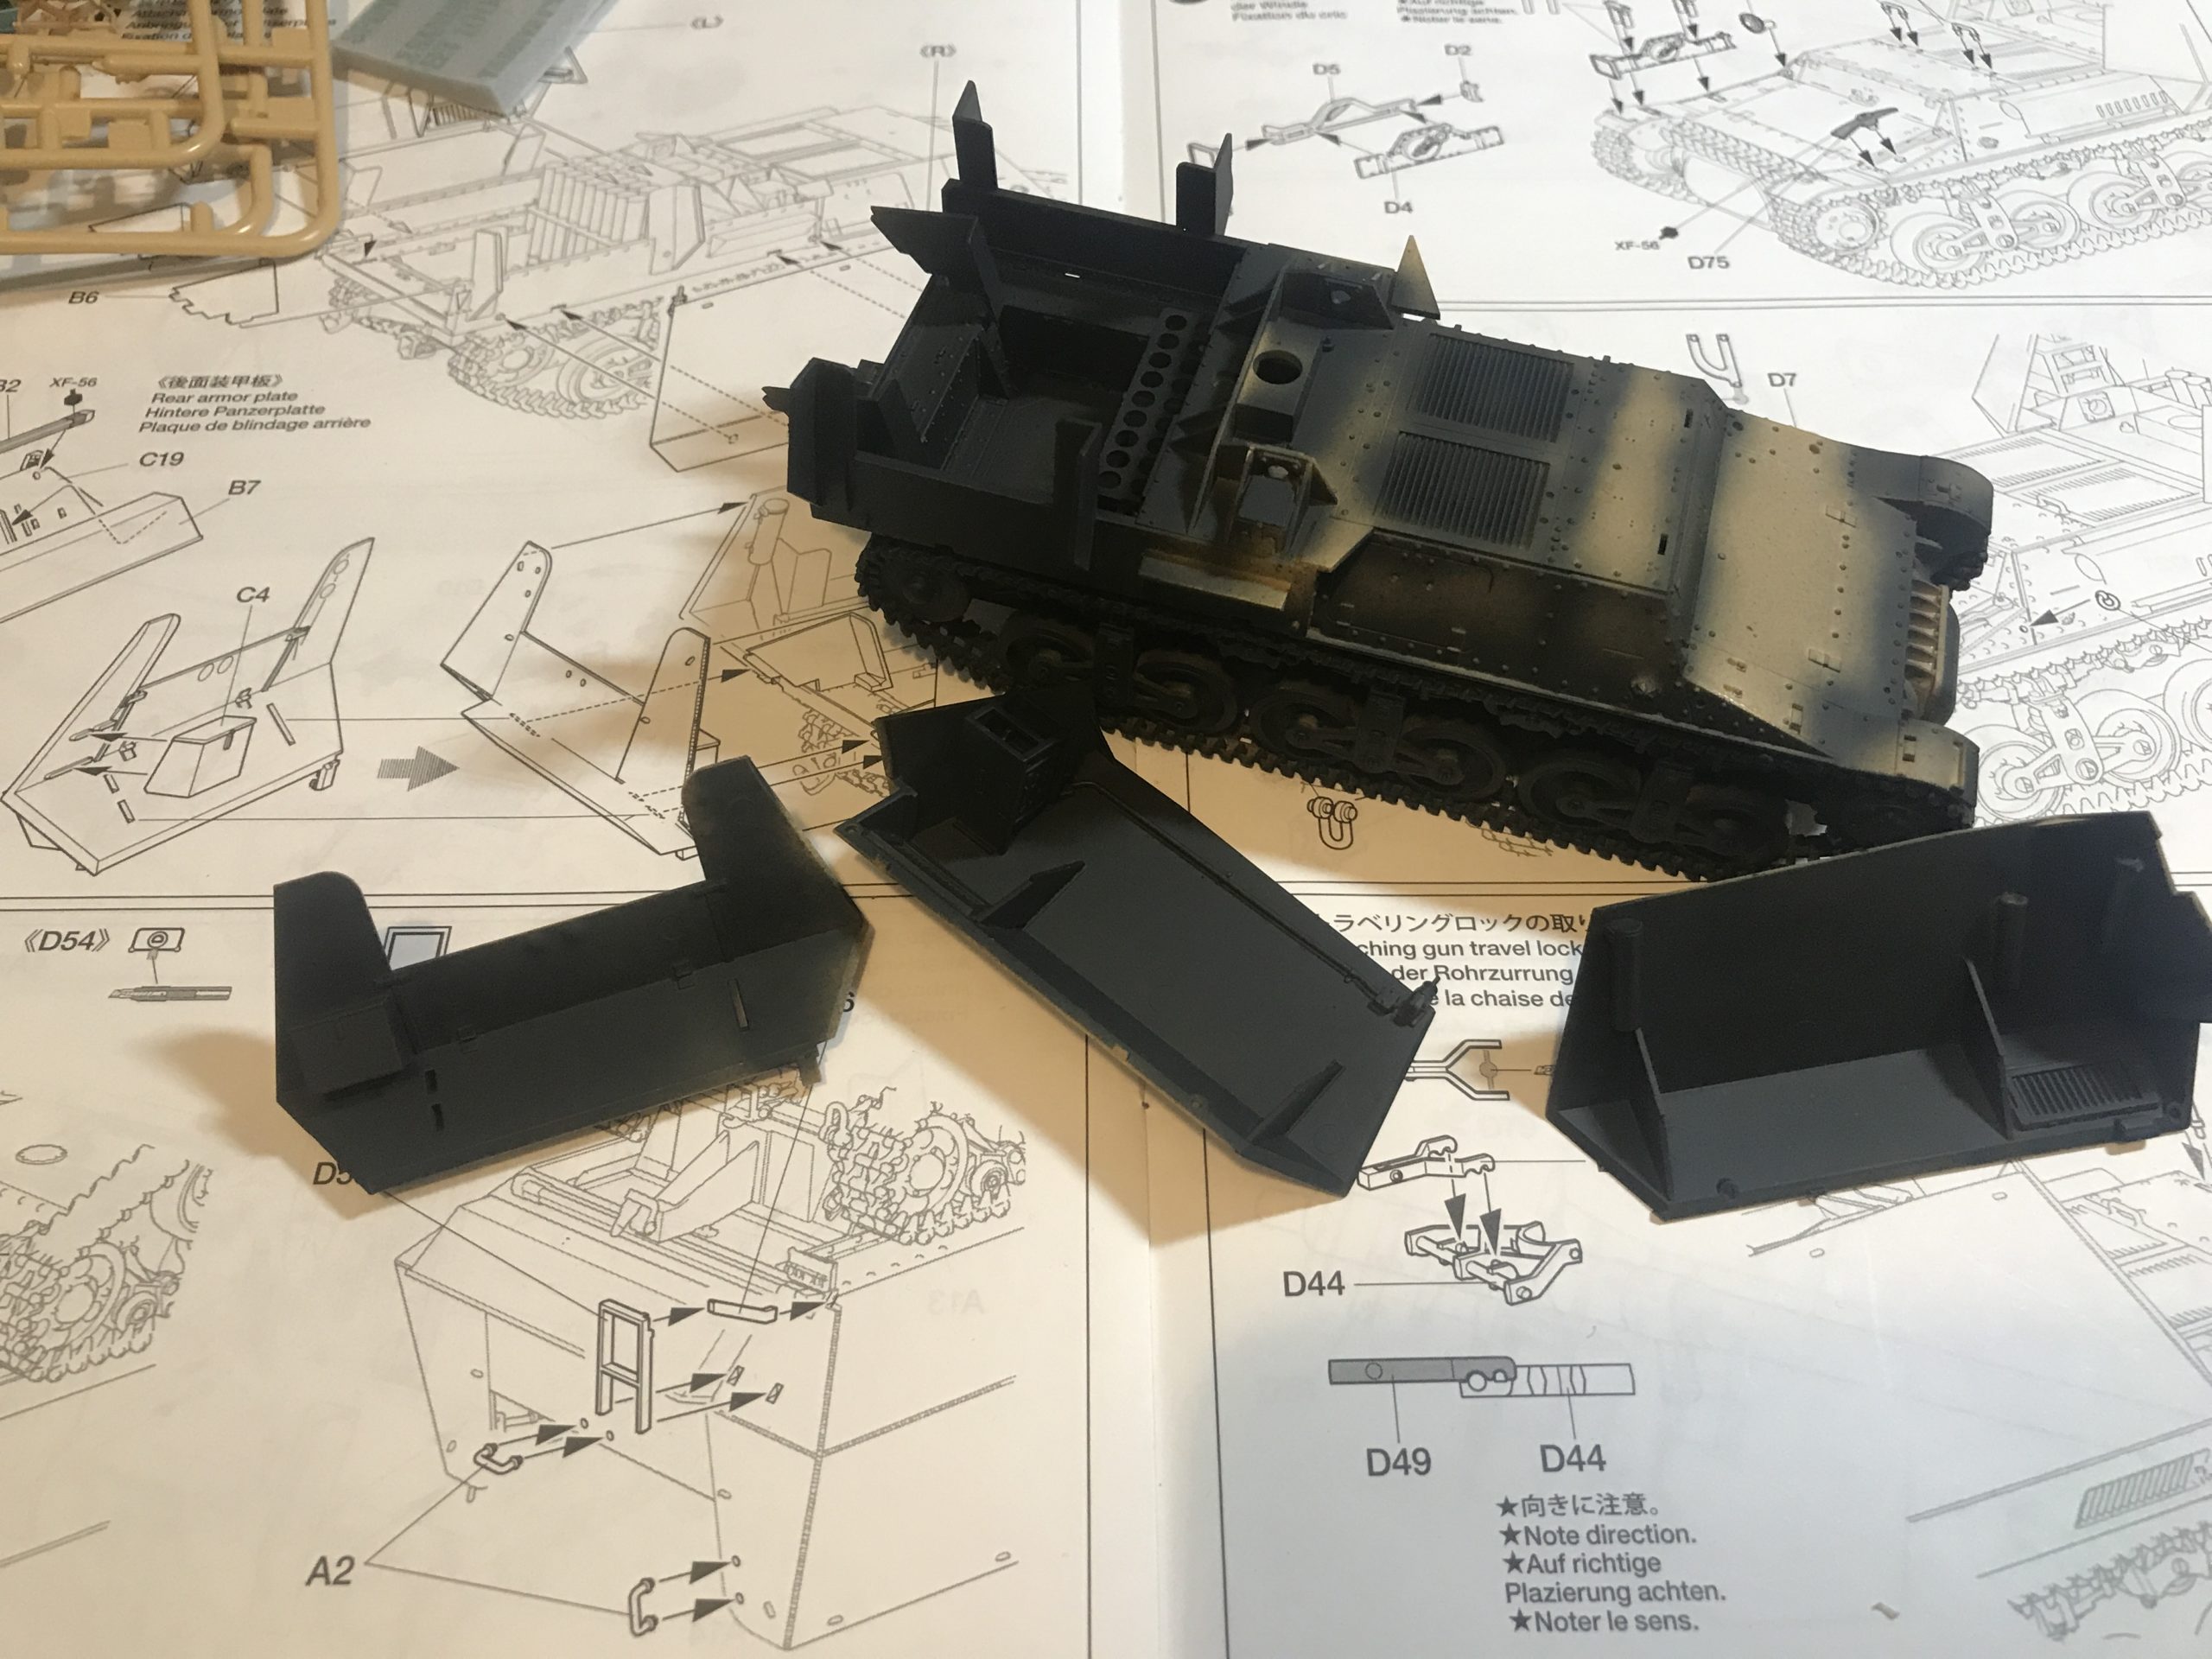
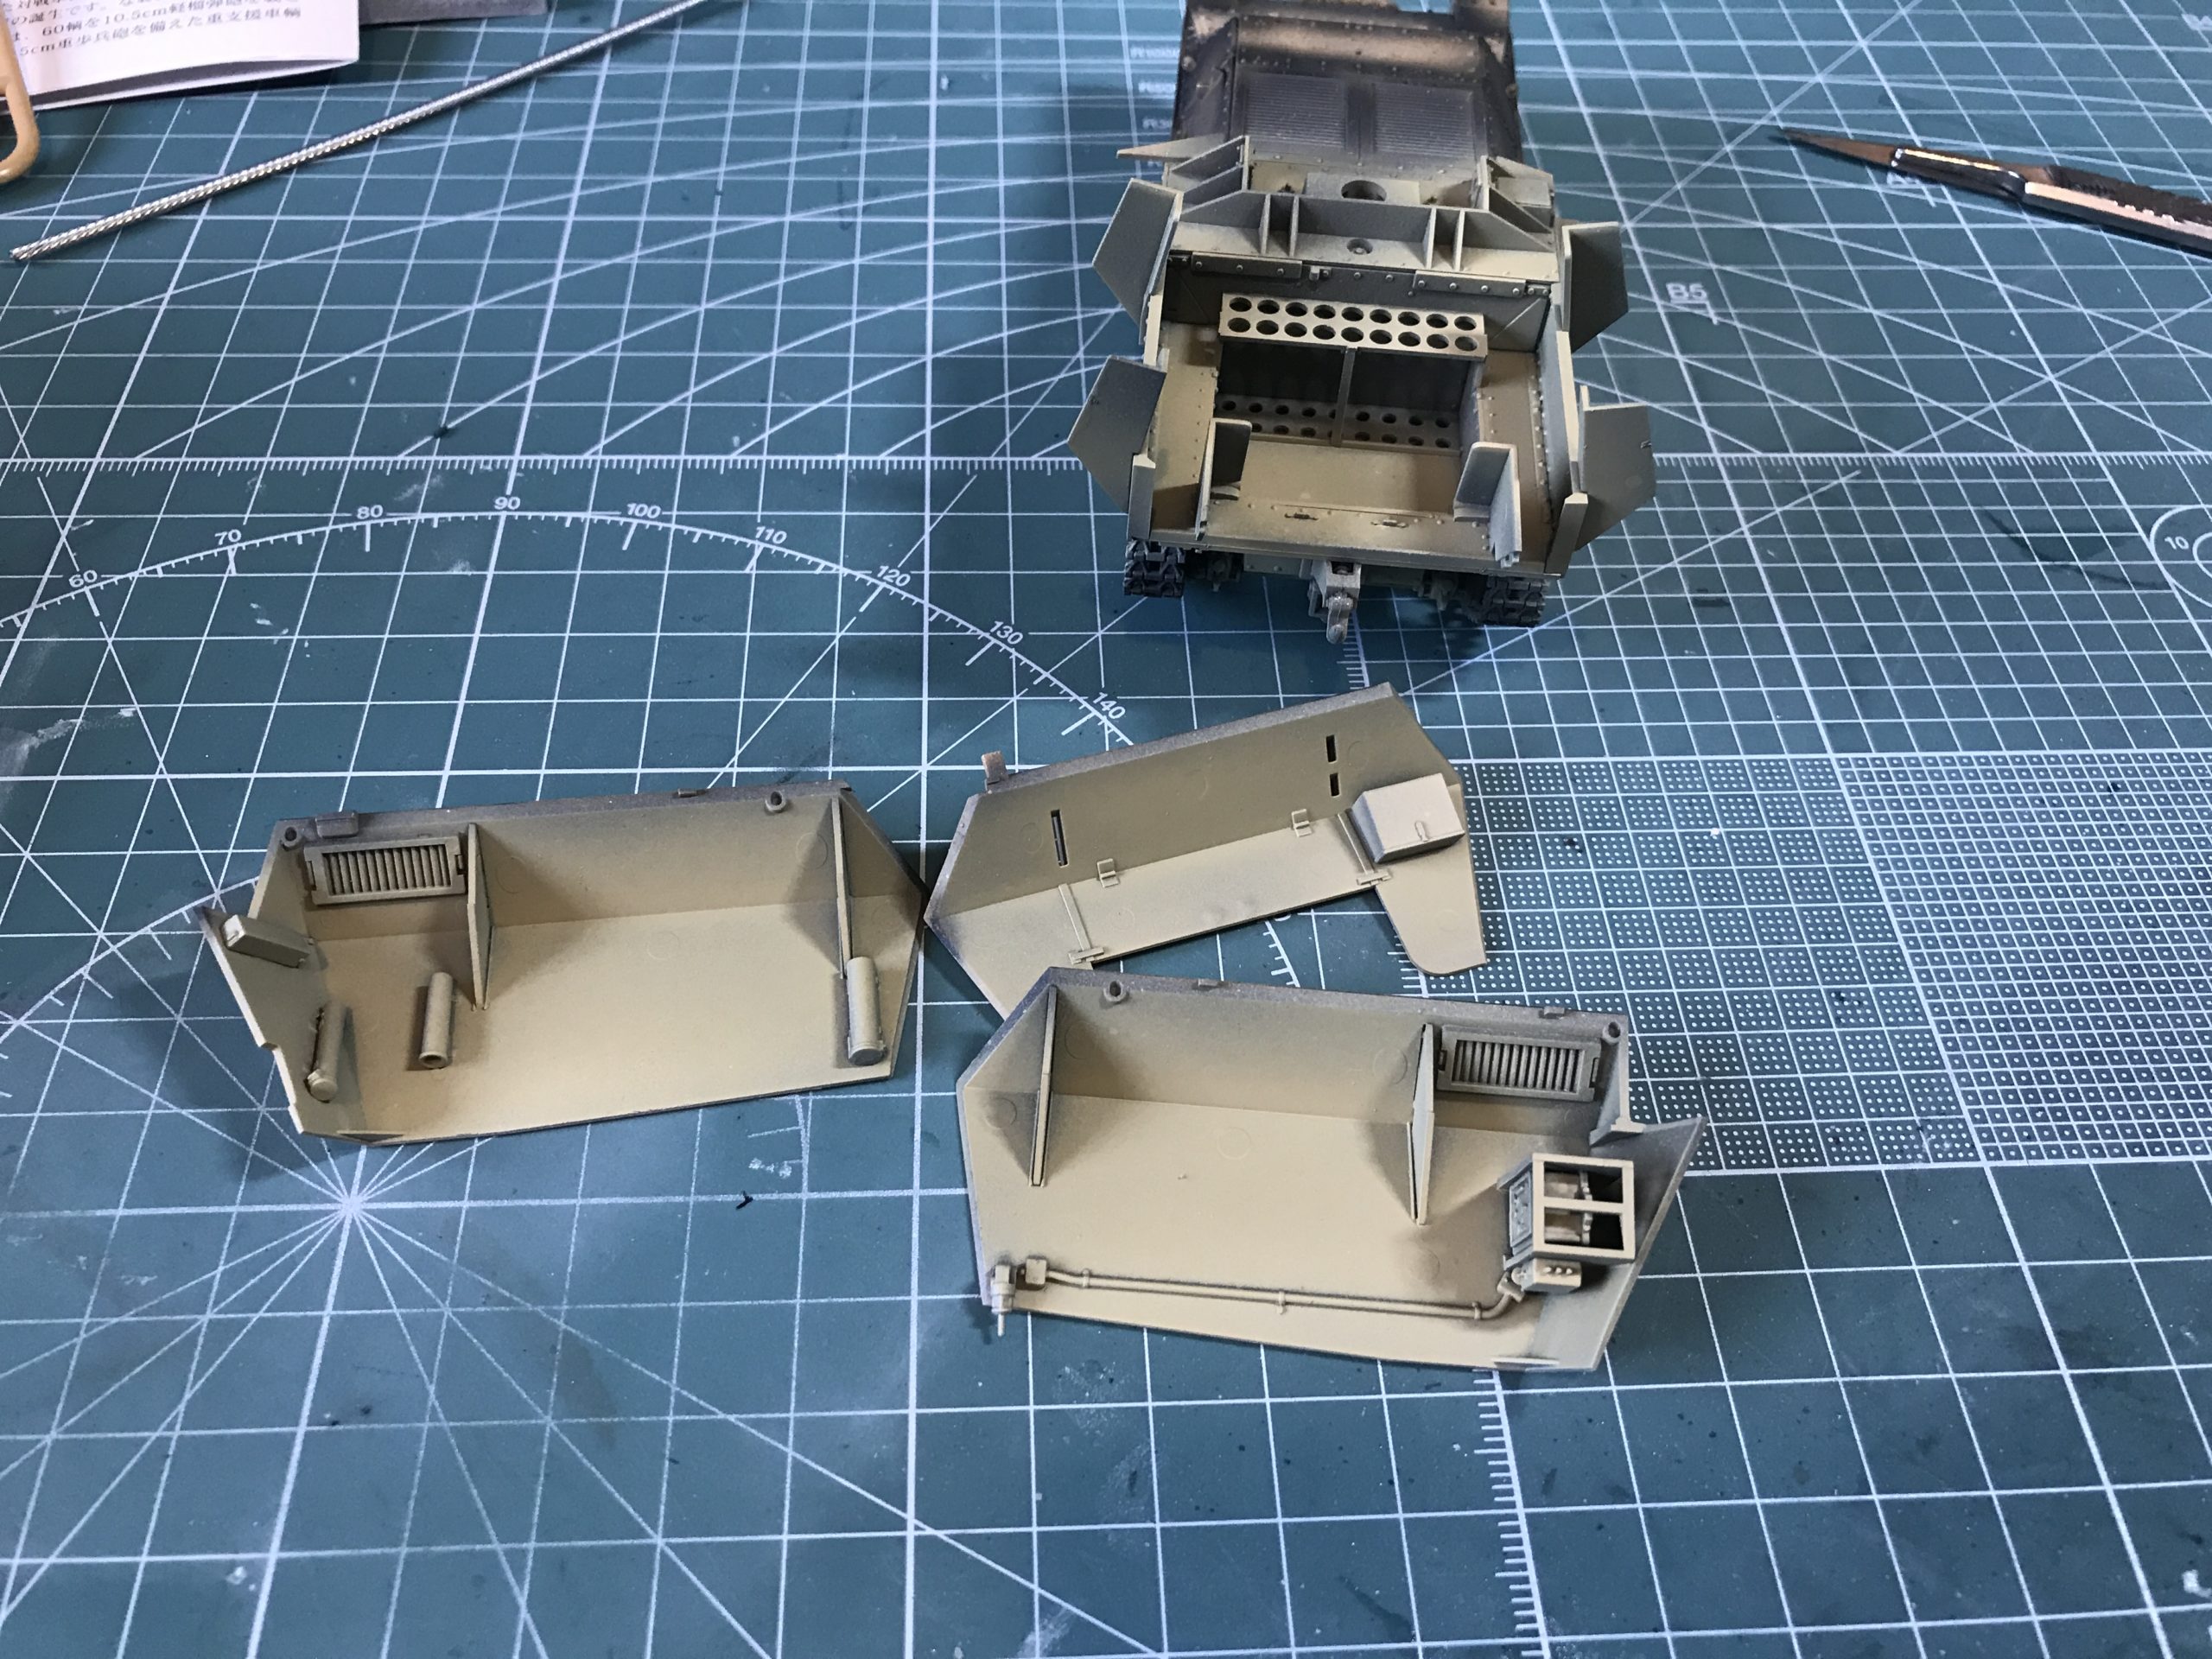
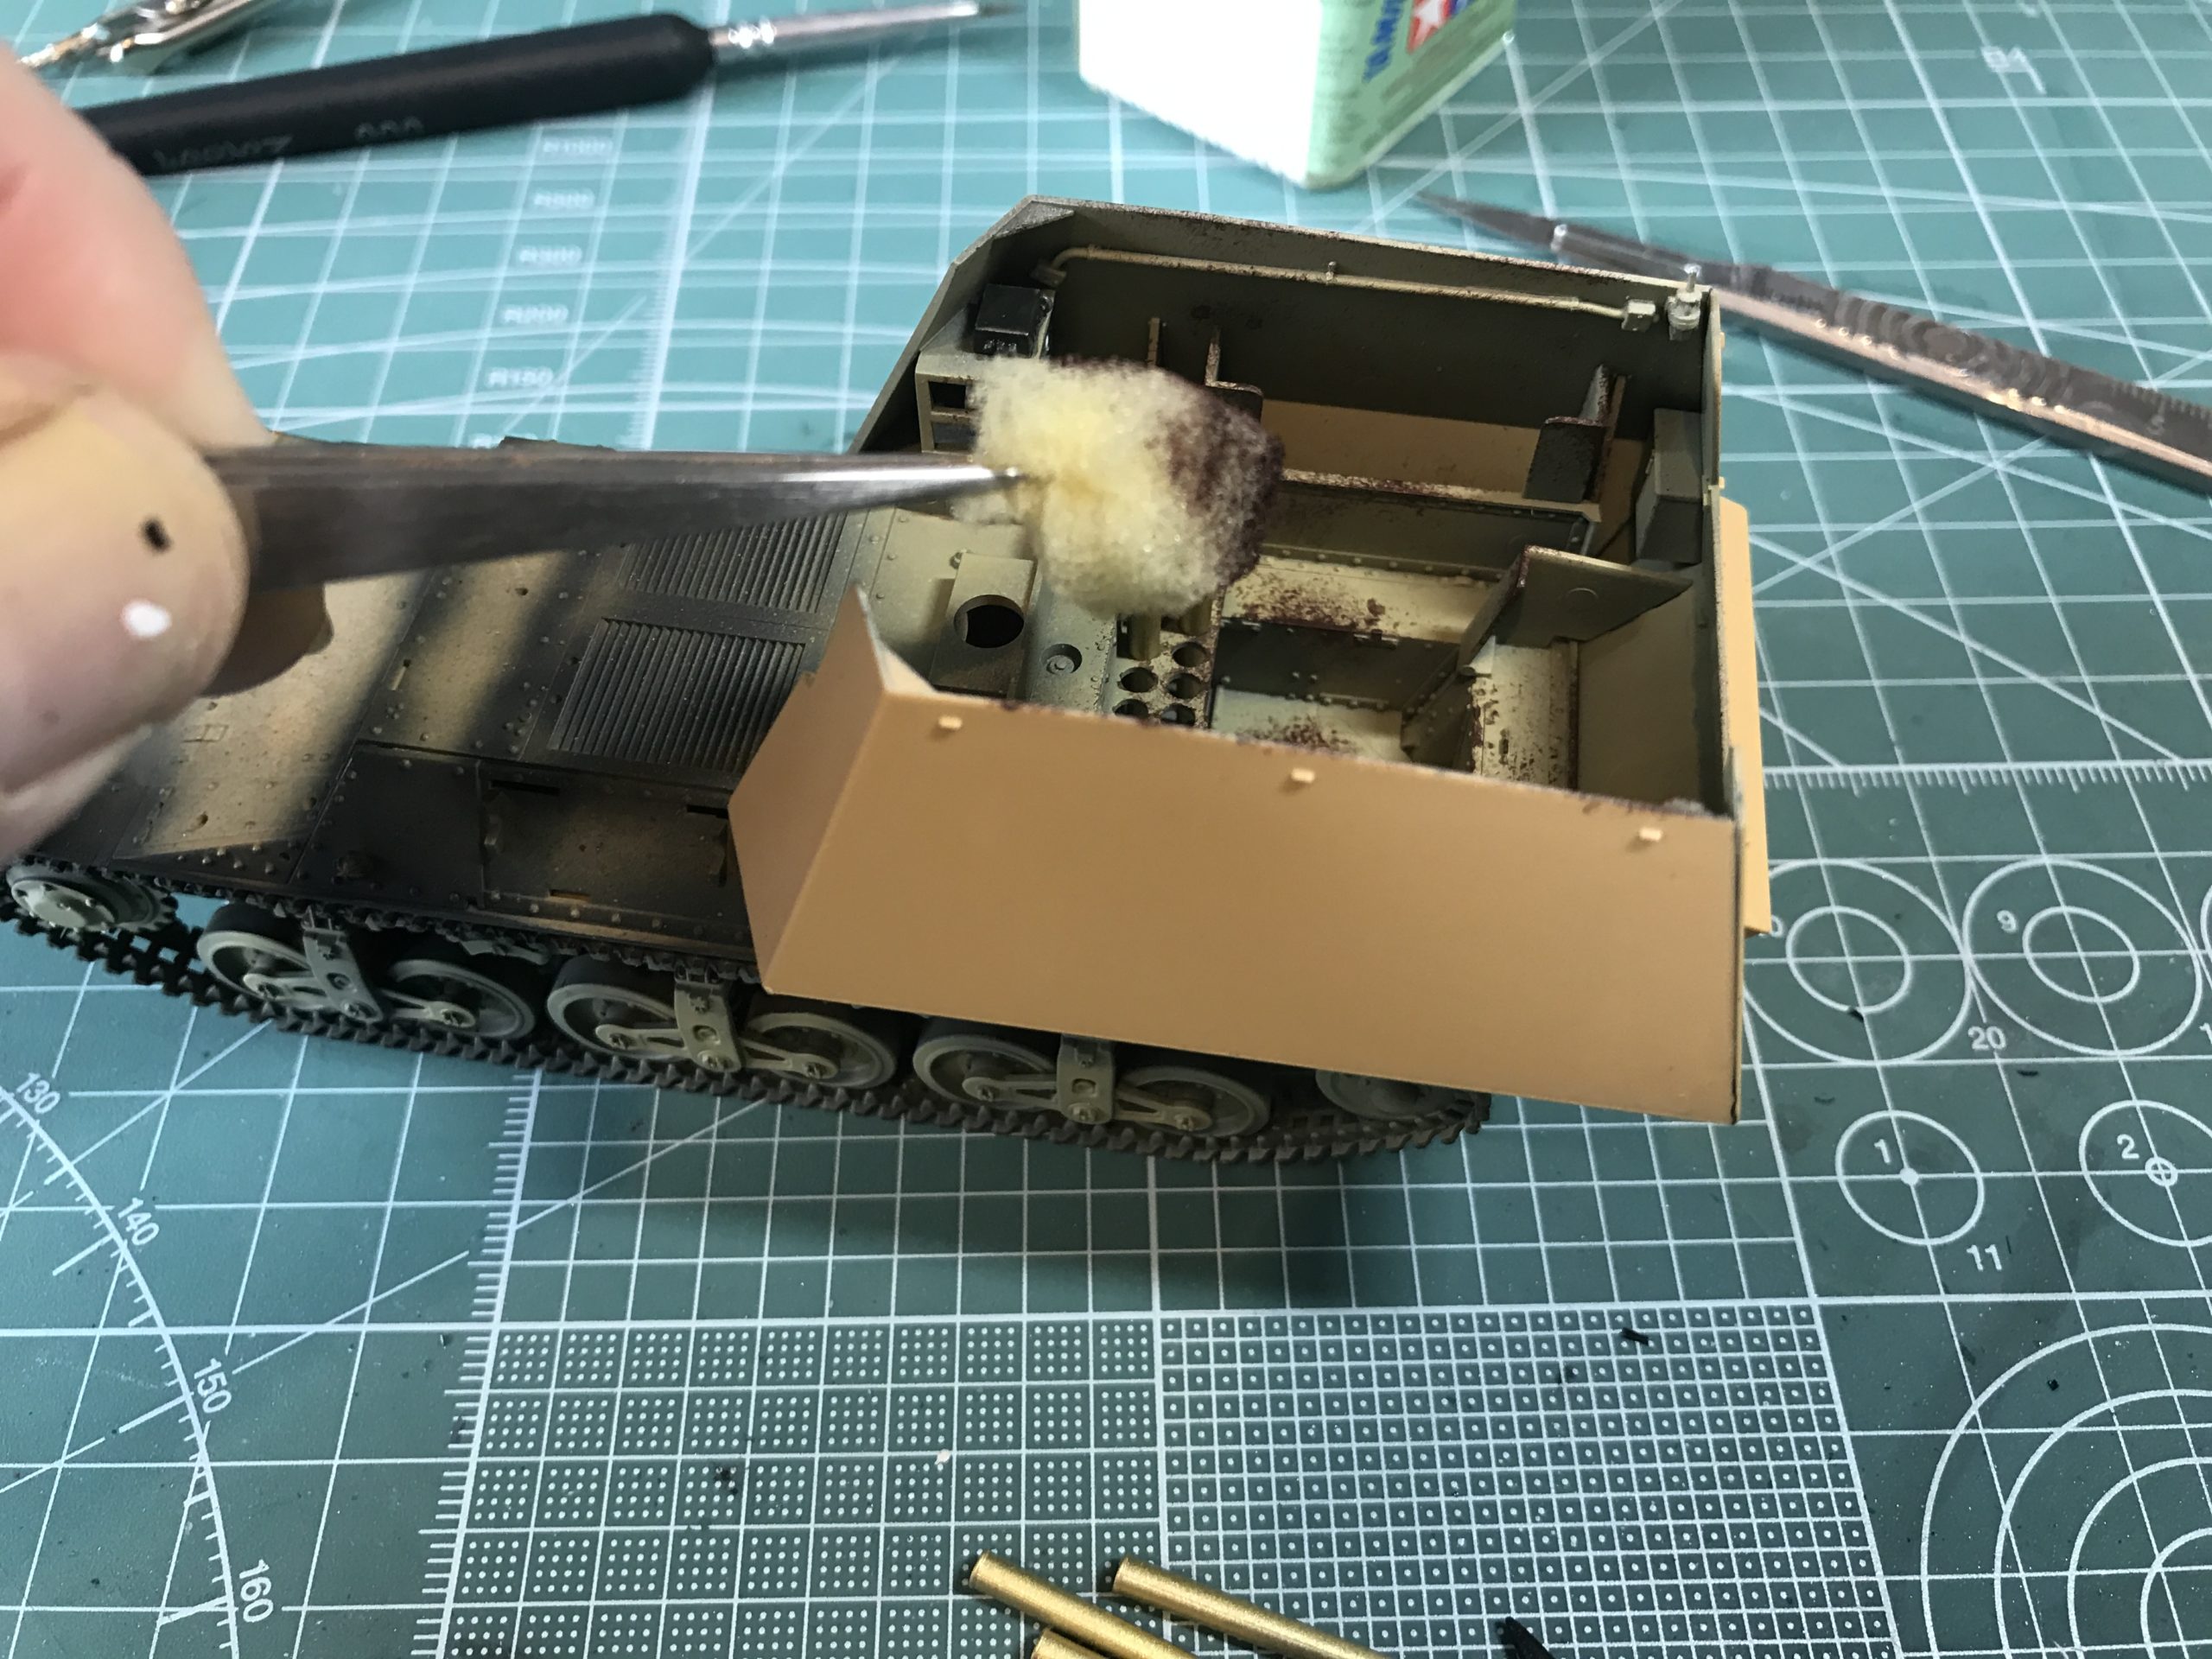
I wanted to show the vehicle had seen a bit of action and wanted to simulate a lot of wear and tear. I made up a chipping mix of NATO black and Dull Red.
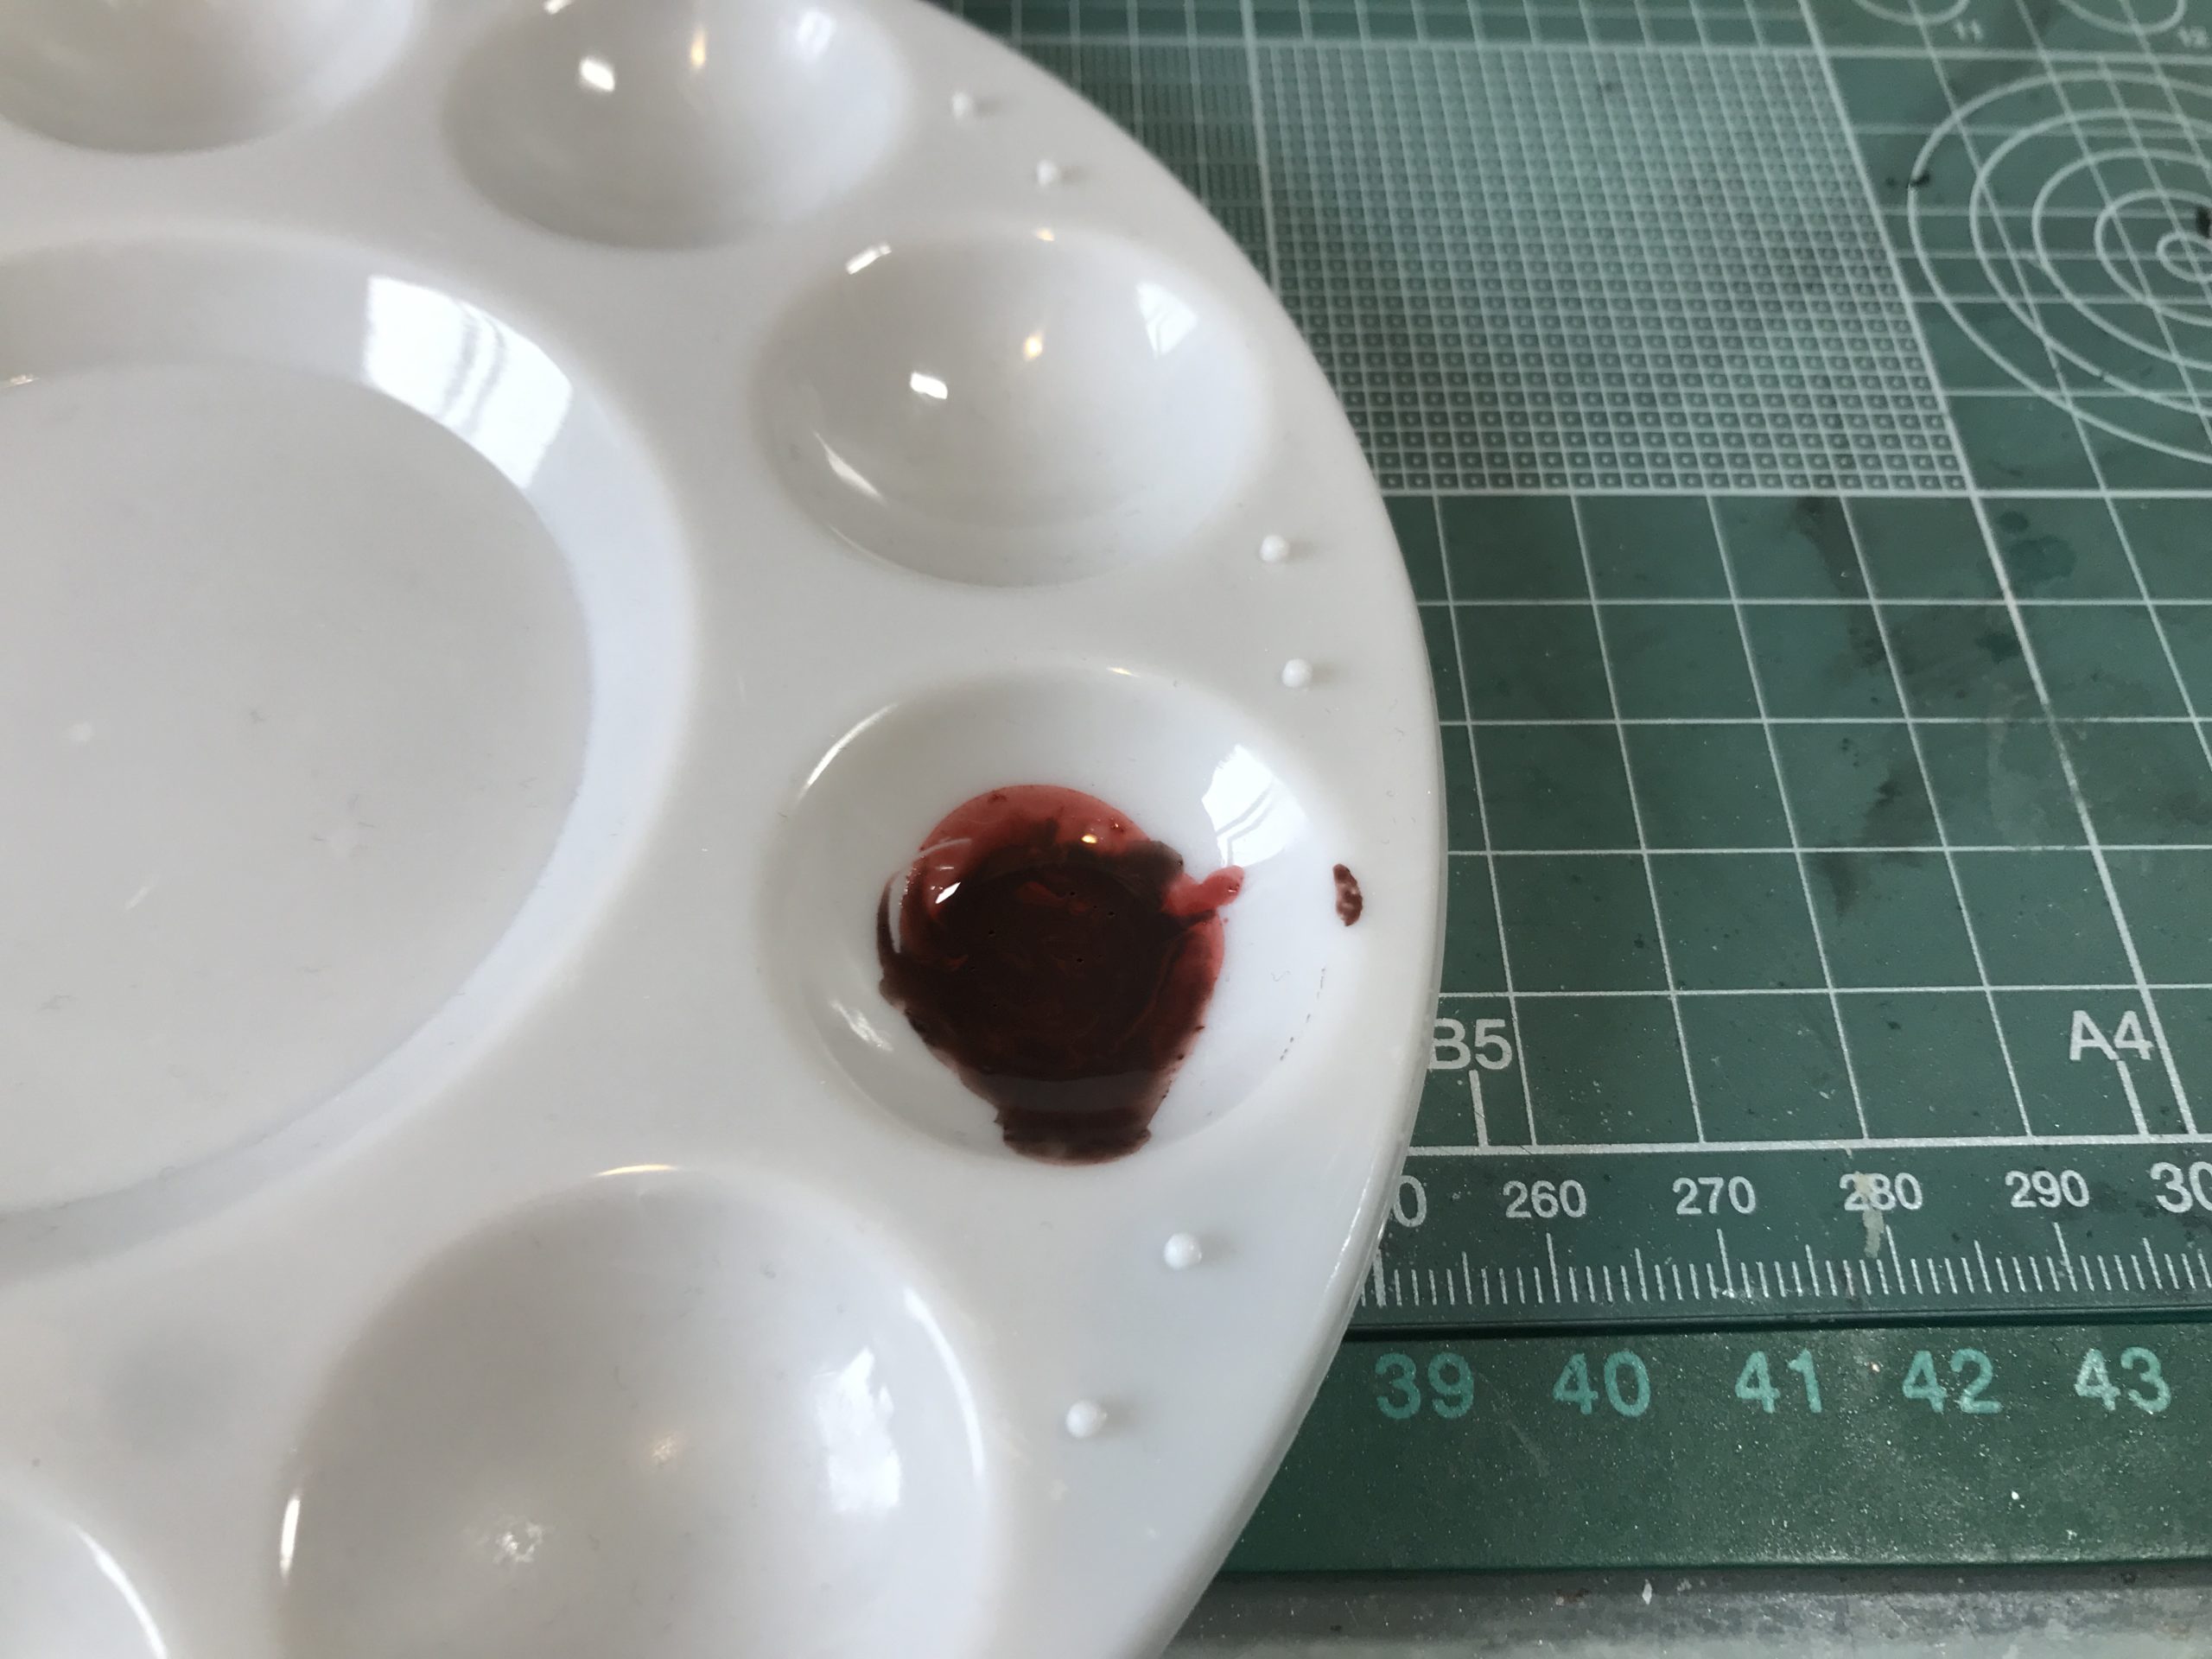
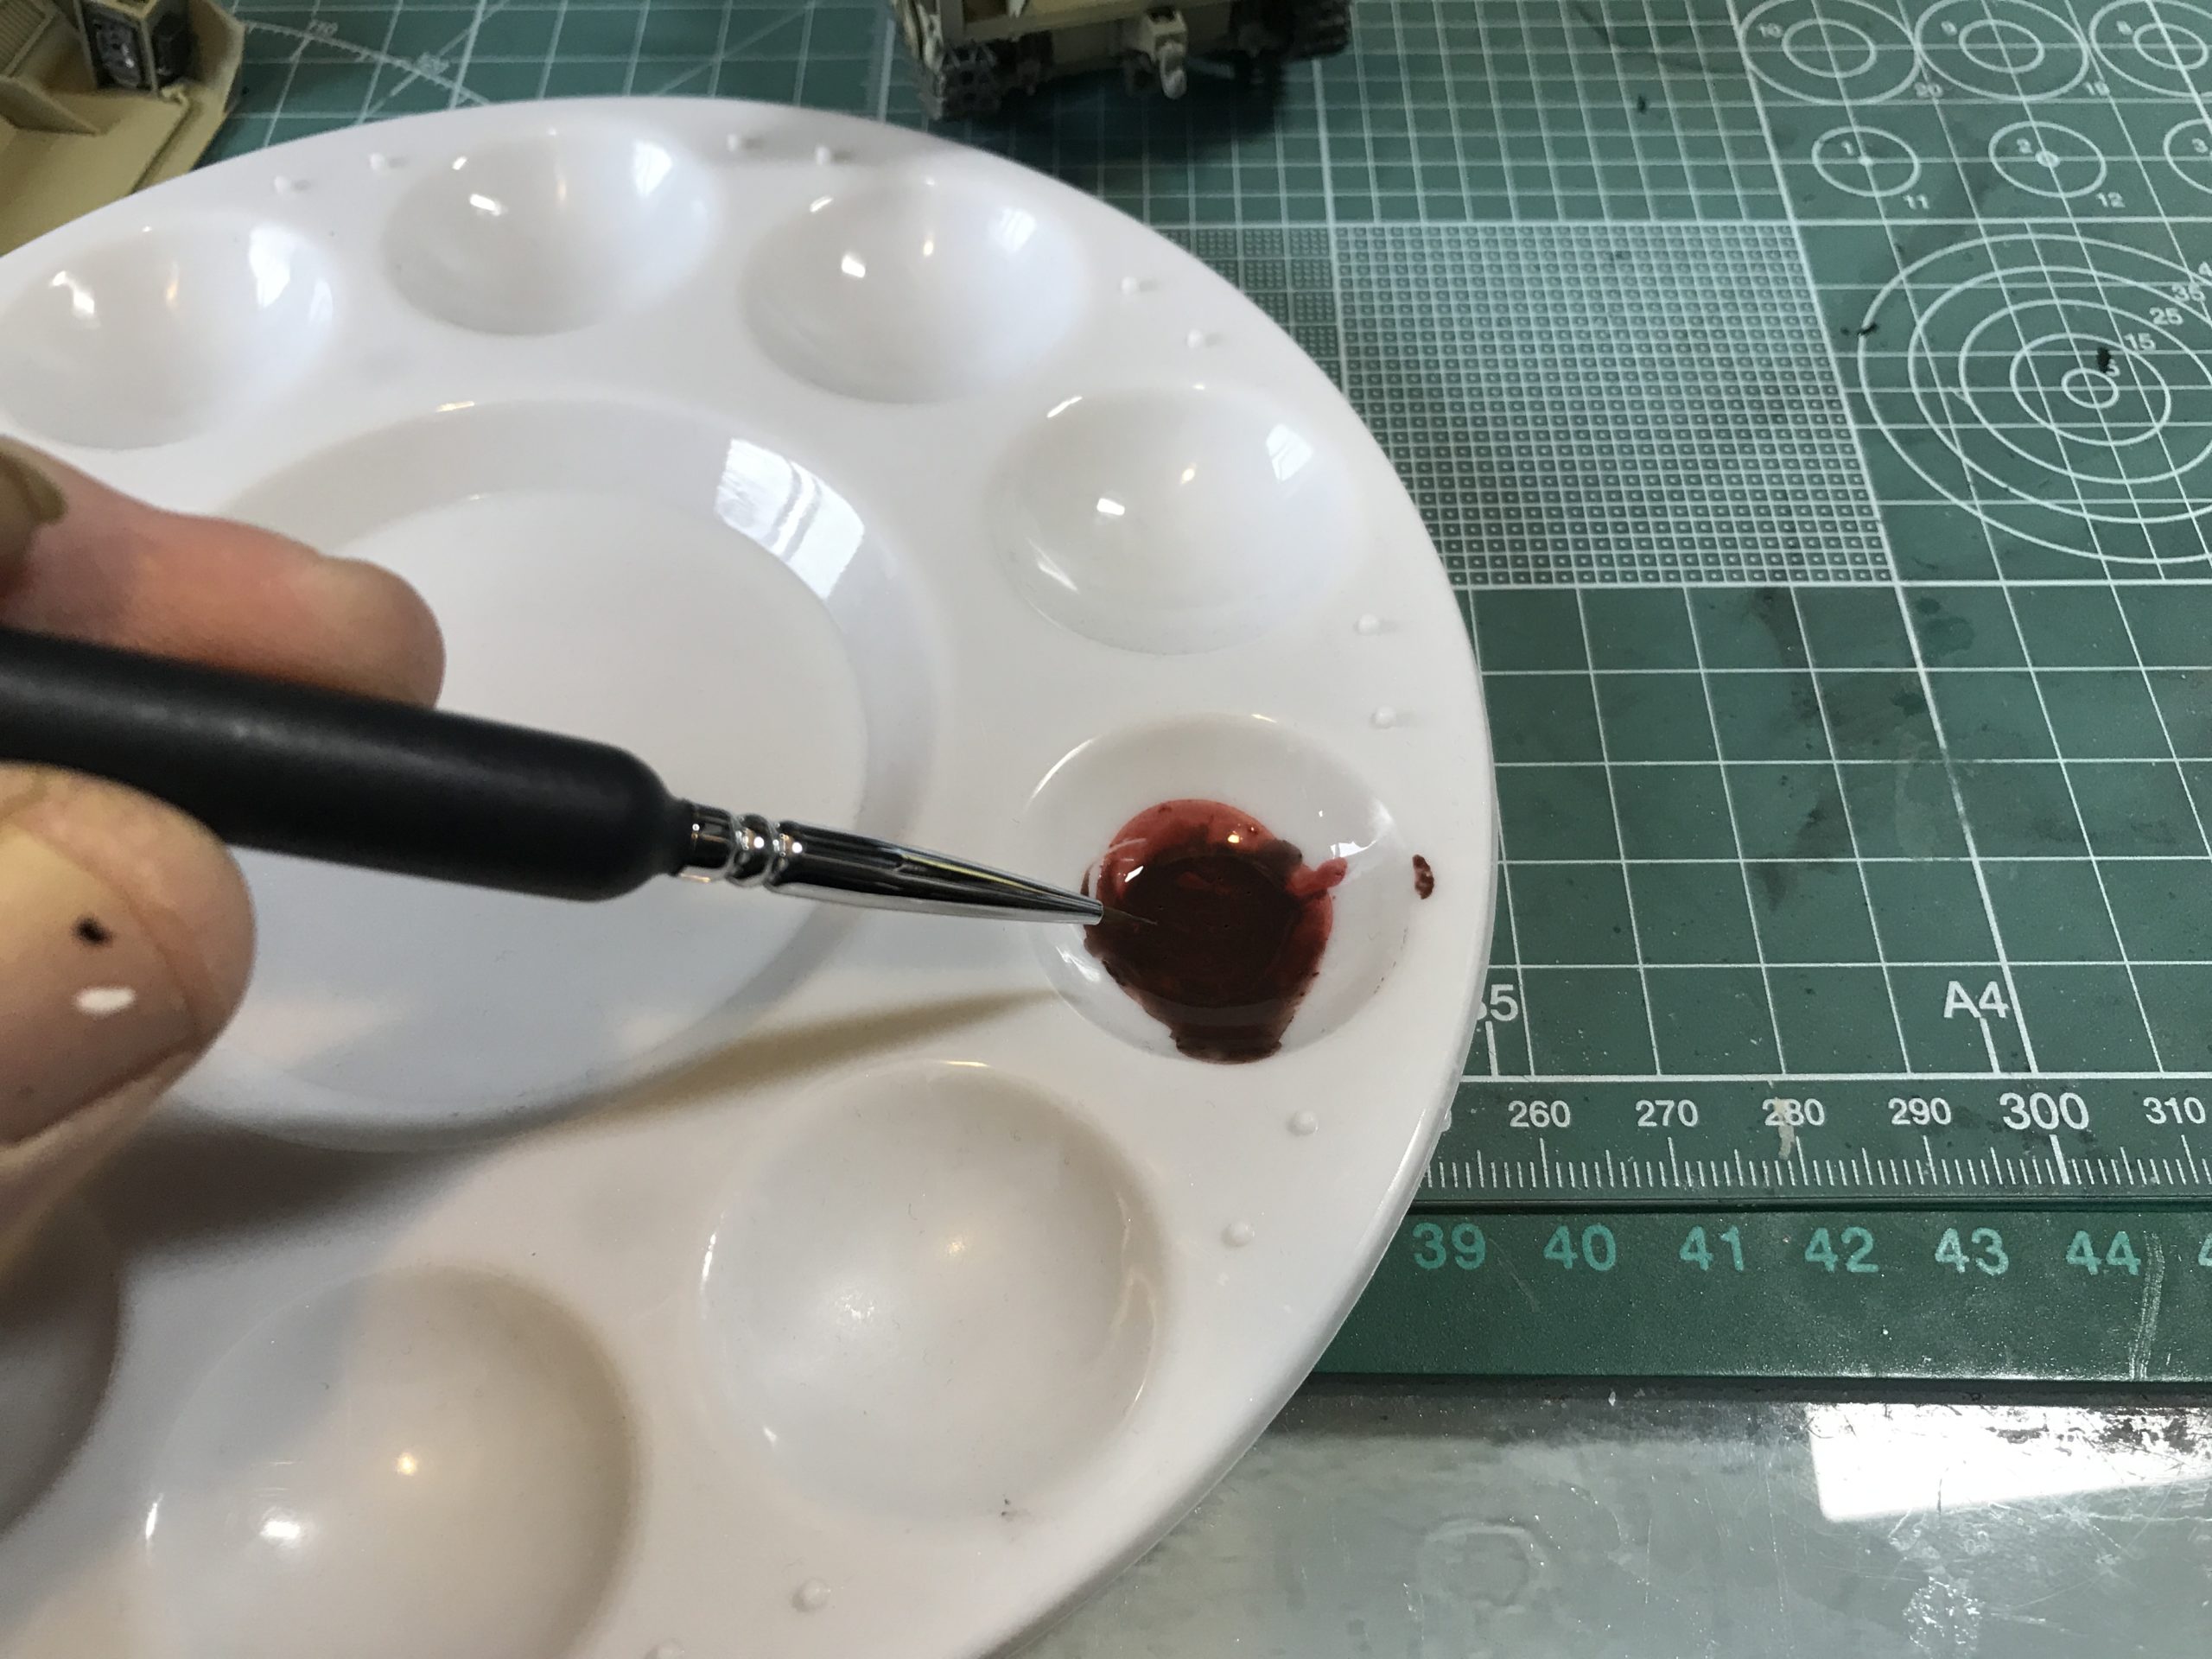
Next a fine brush is used to apply the colour to edges that may have been chipped.
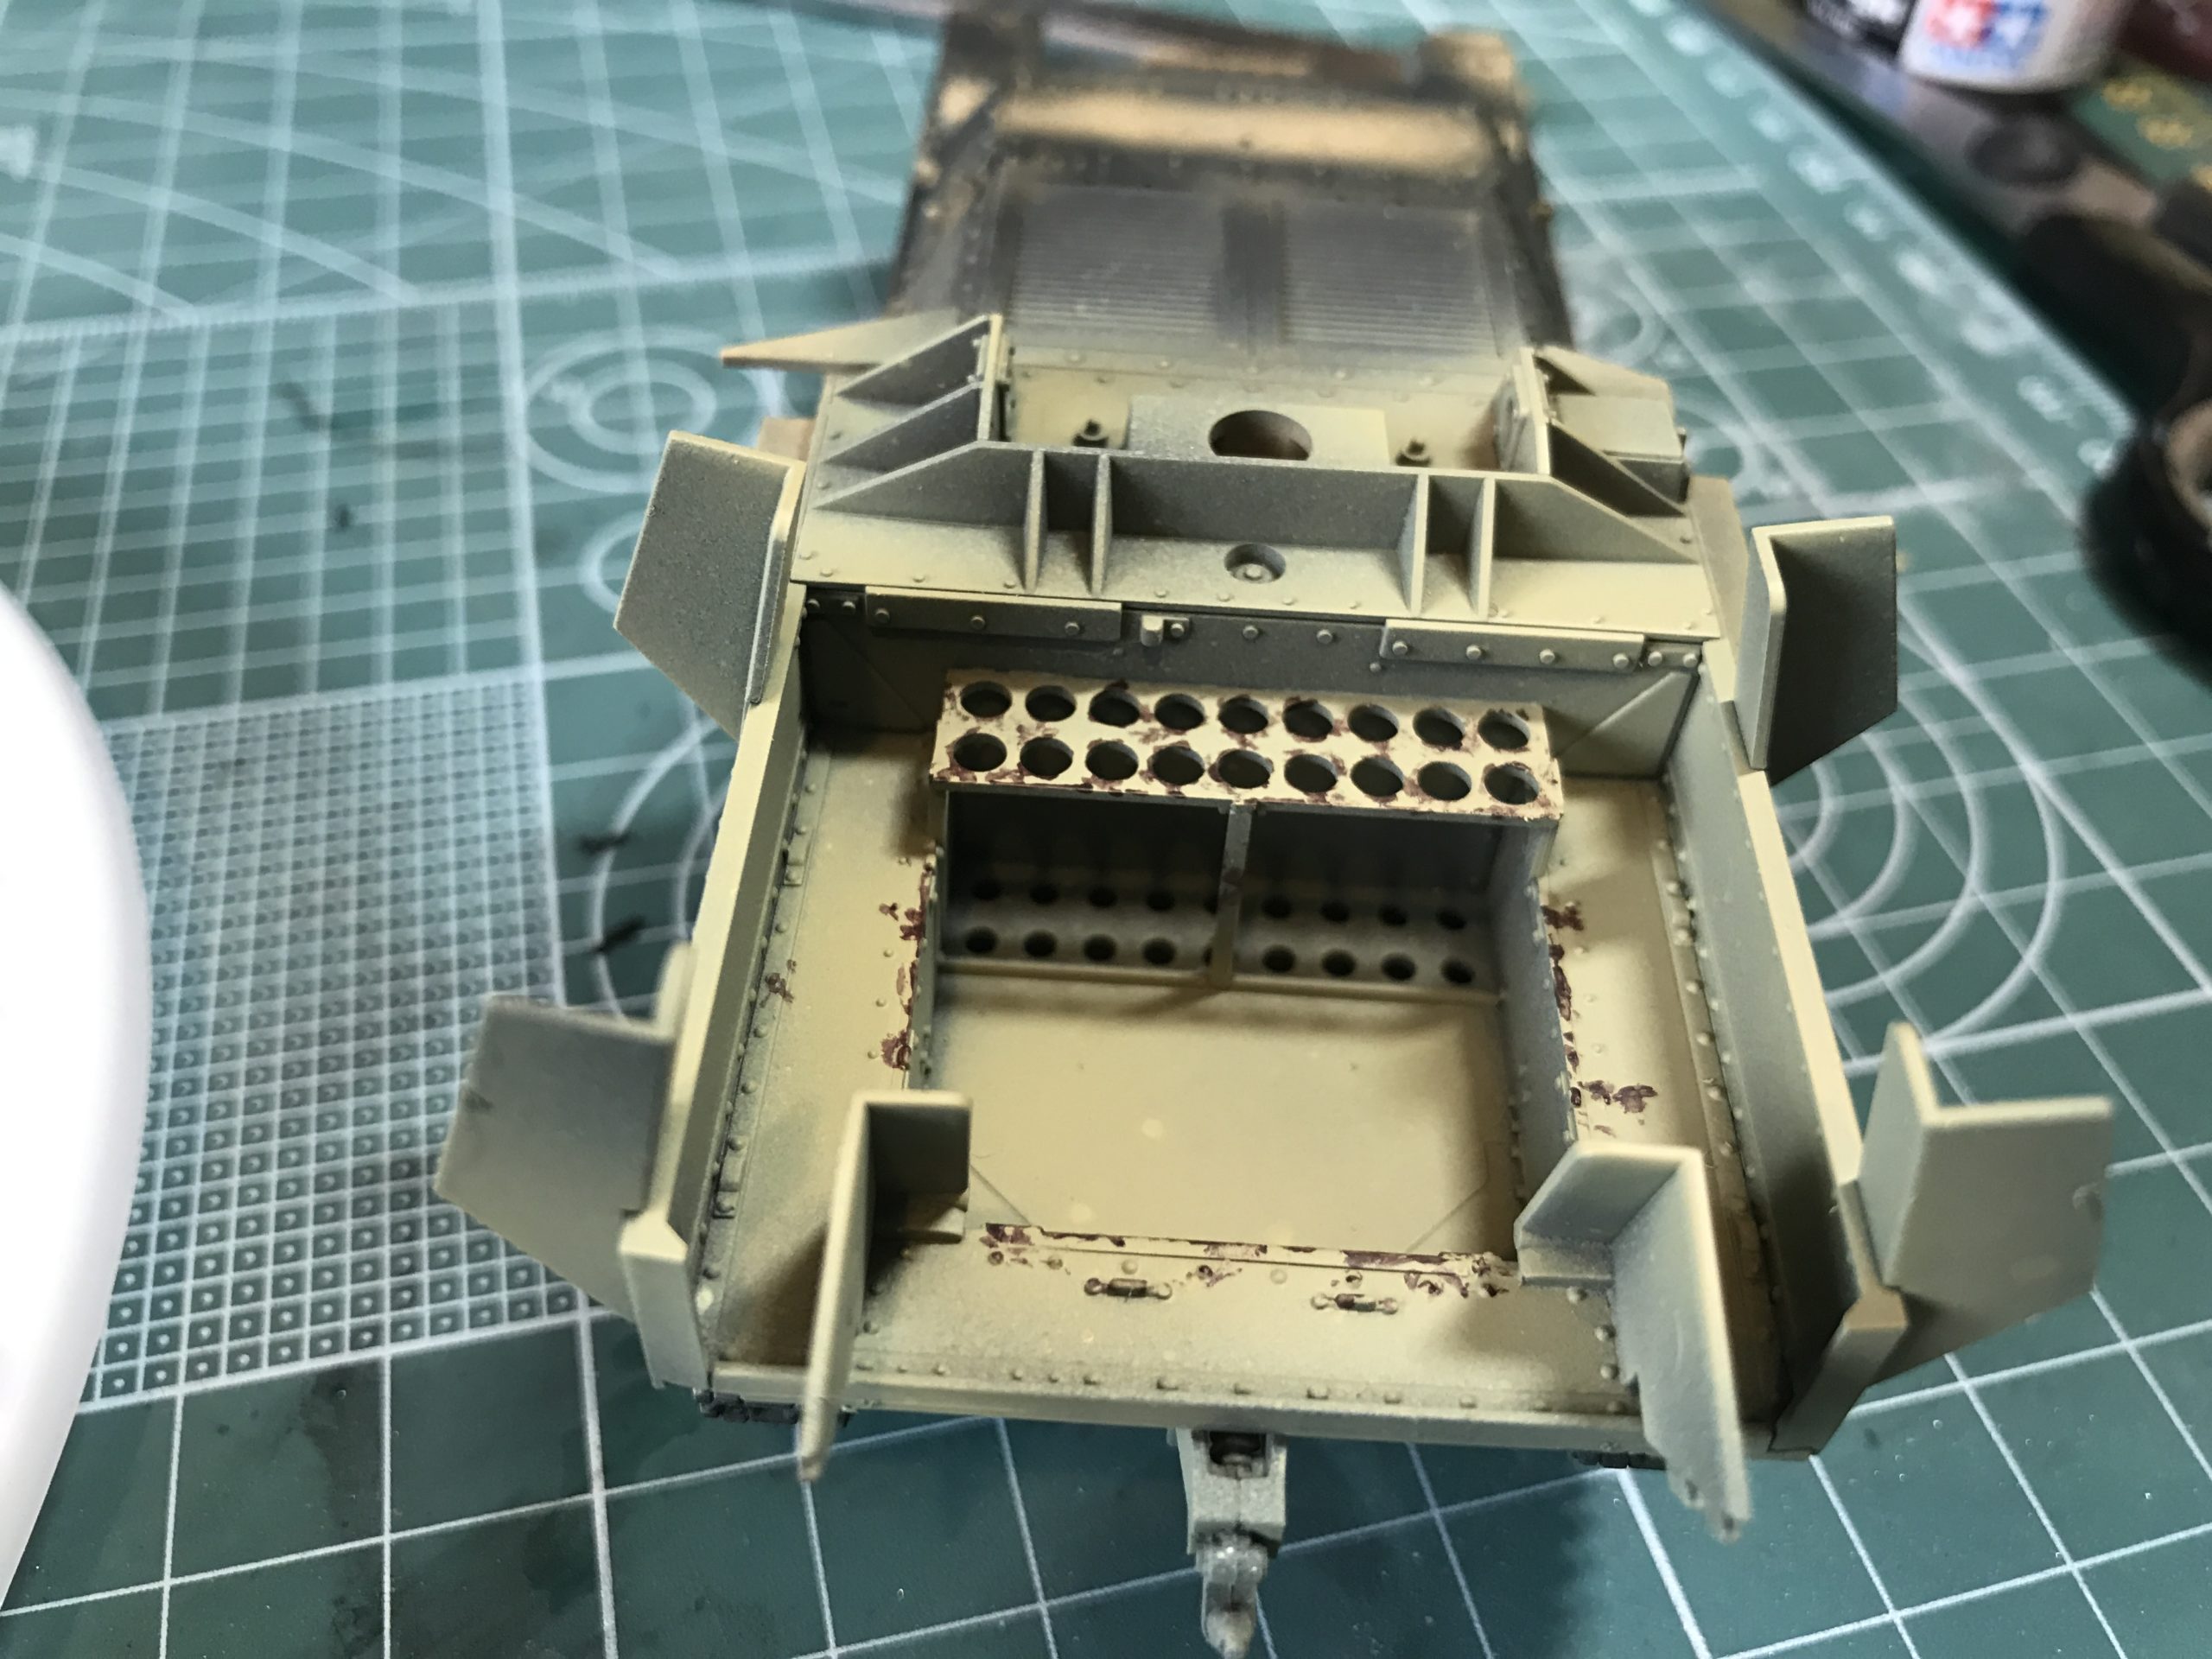
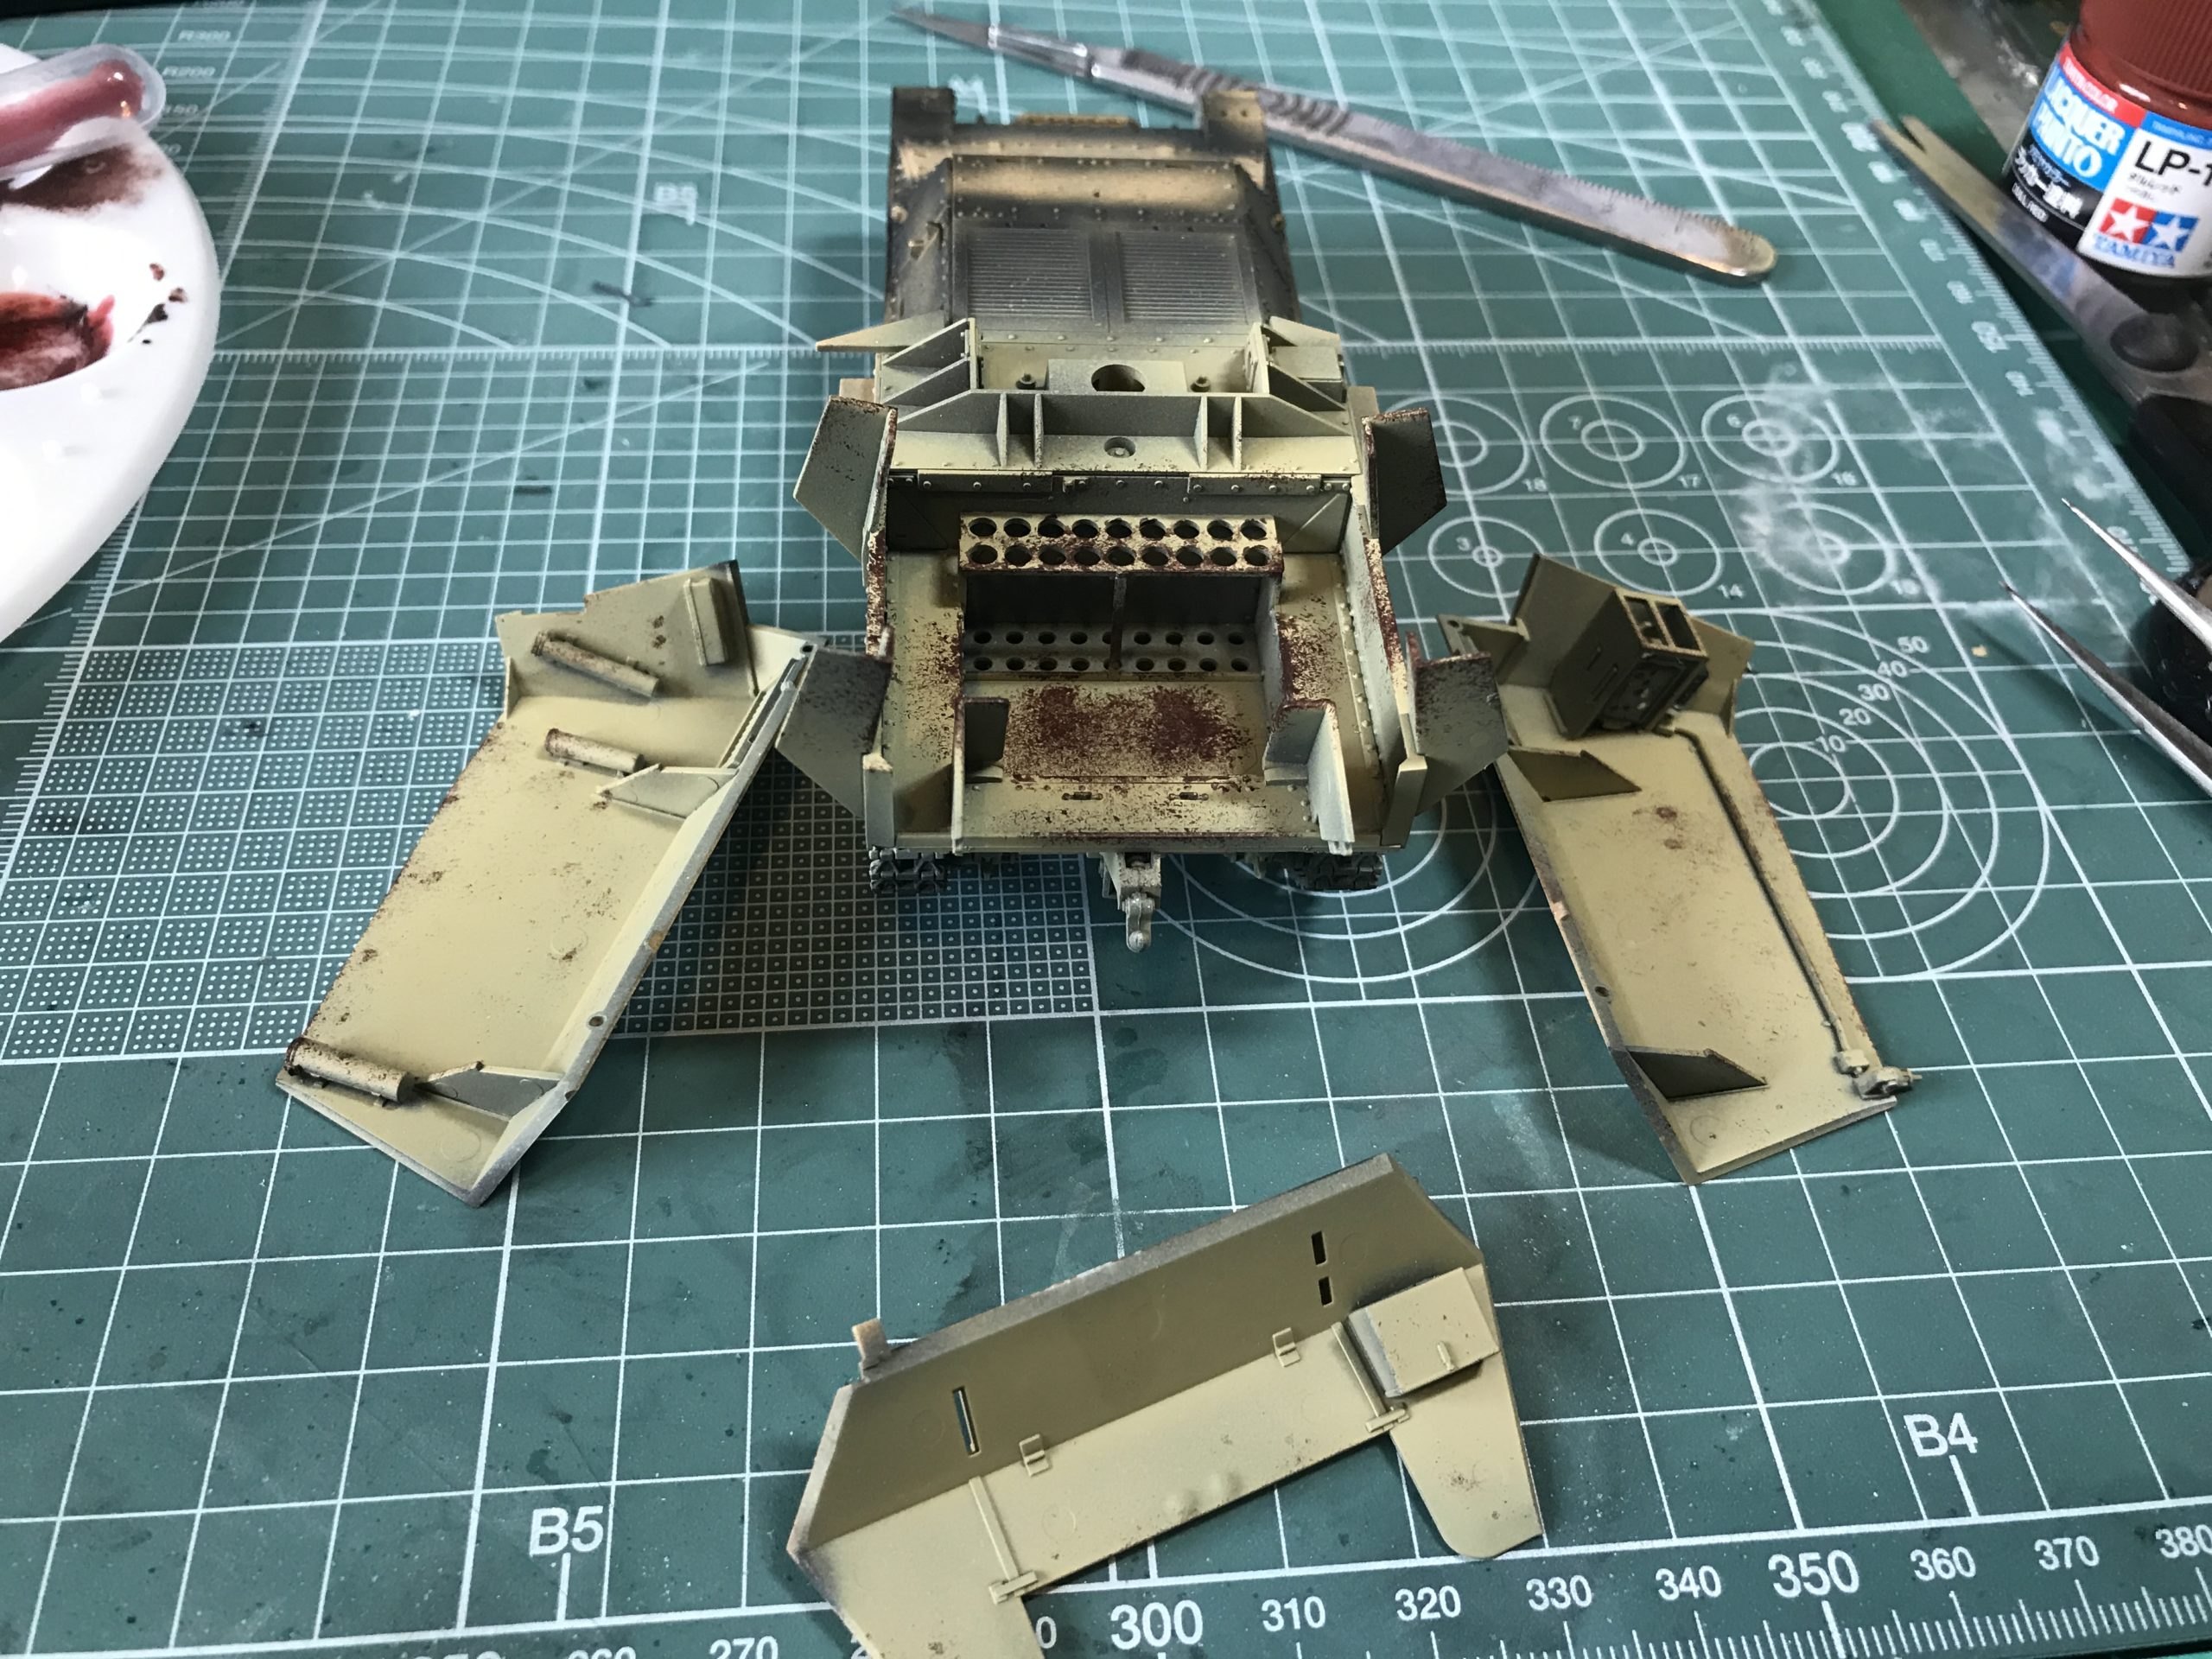
A small piece of sponge was used to add random chipping to the floor and inside of the compartment.
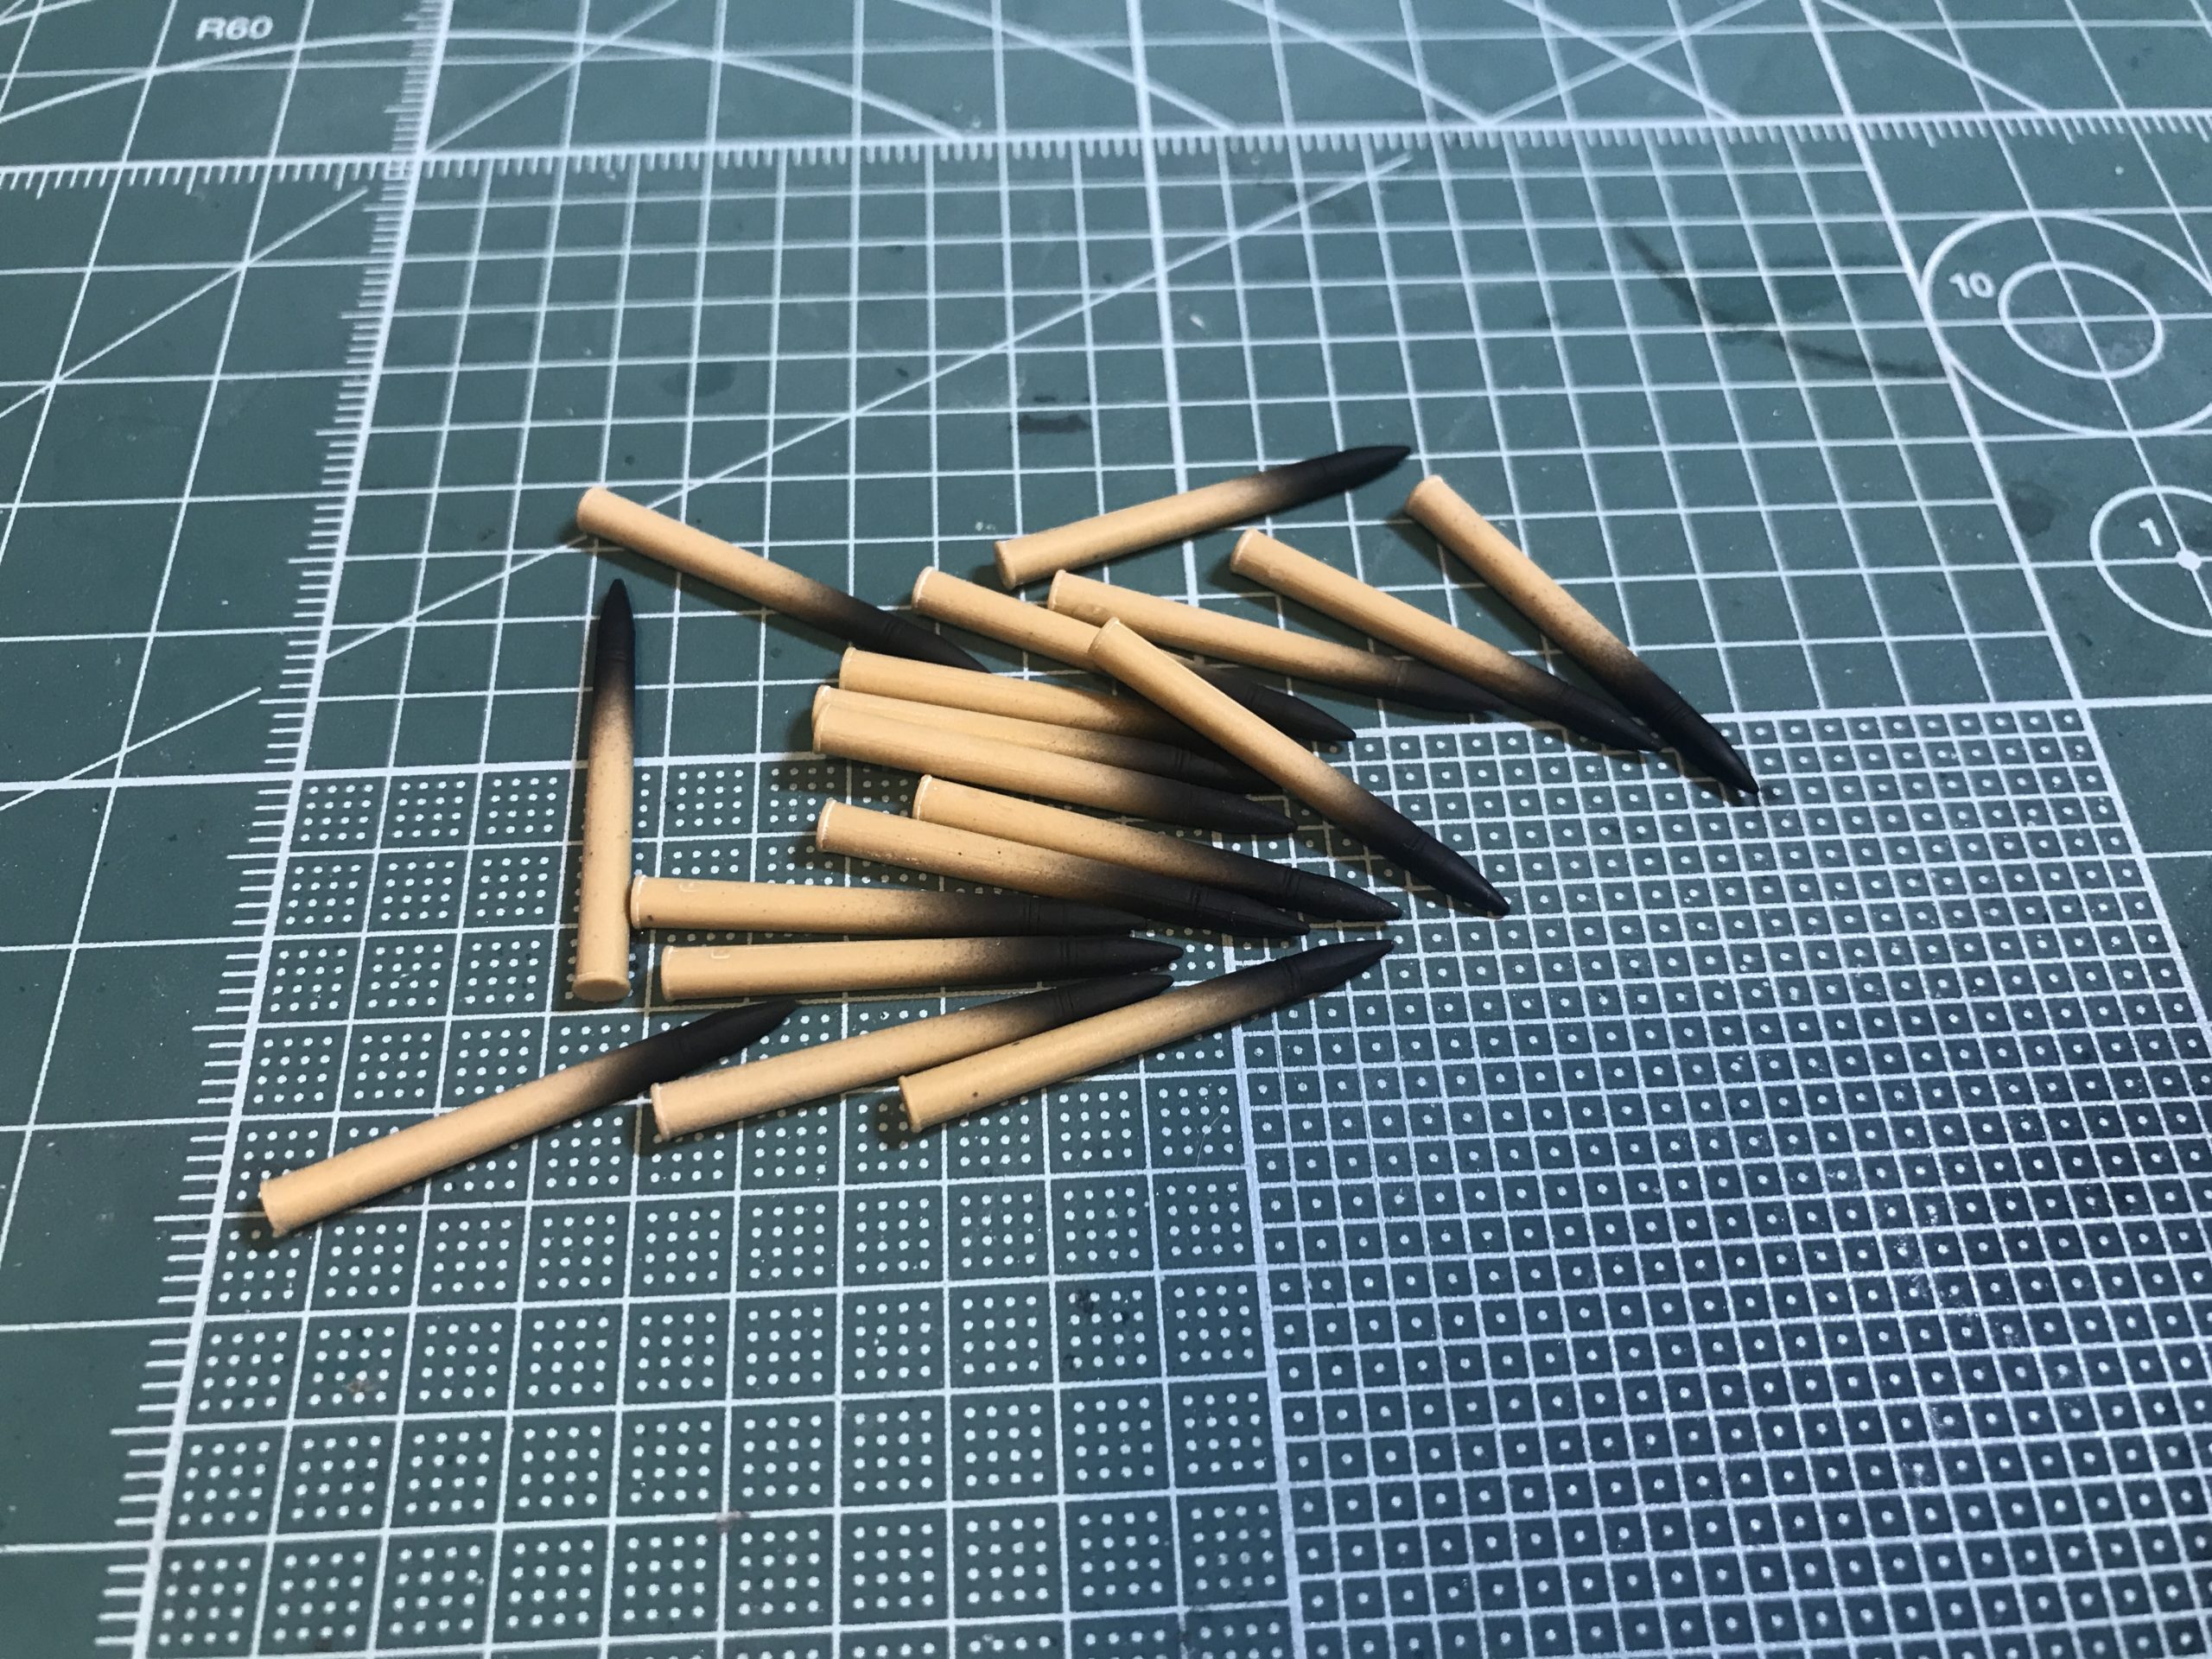
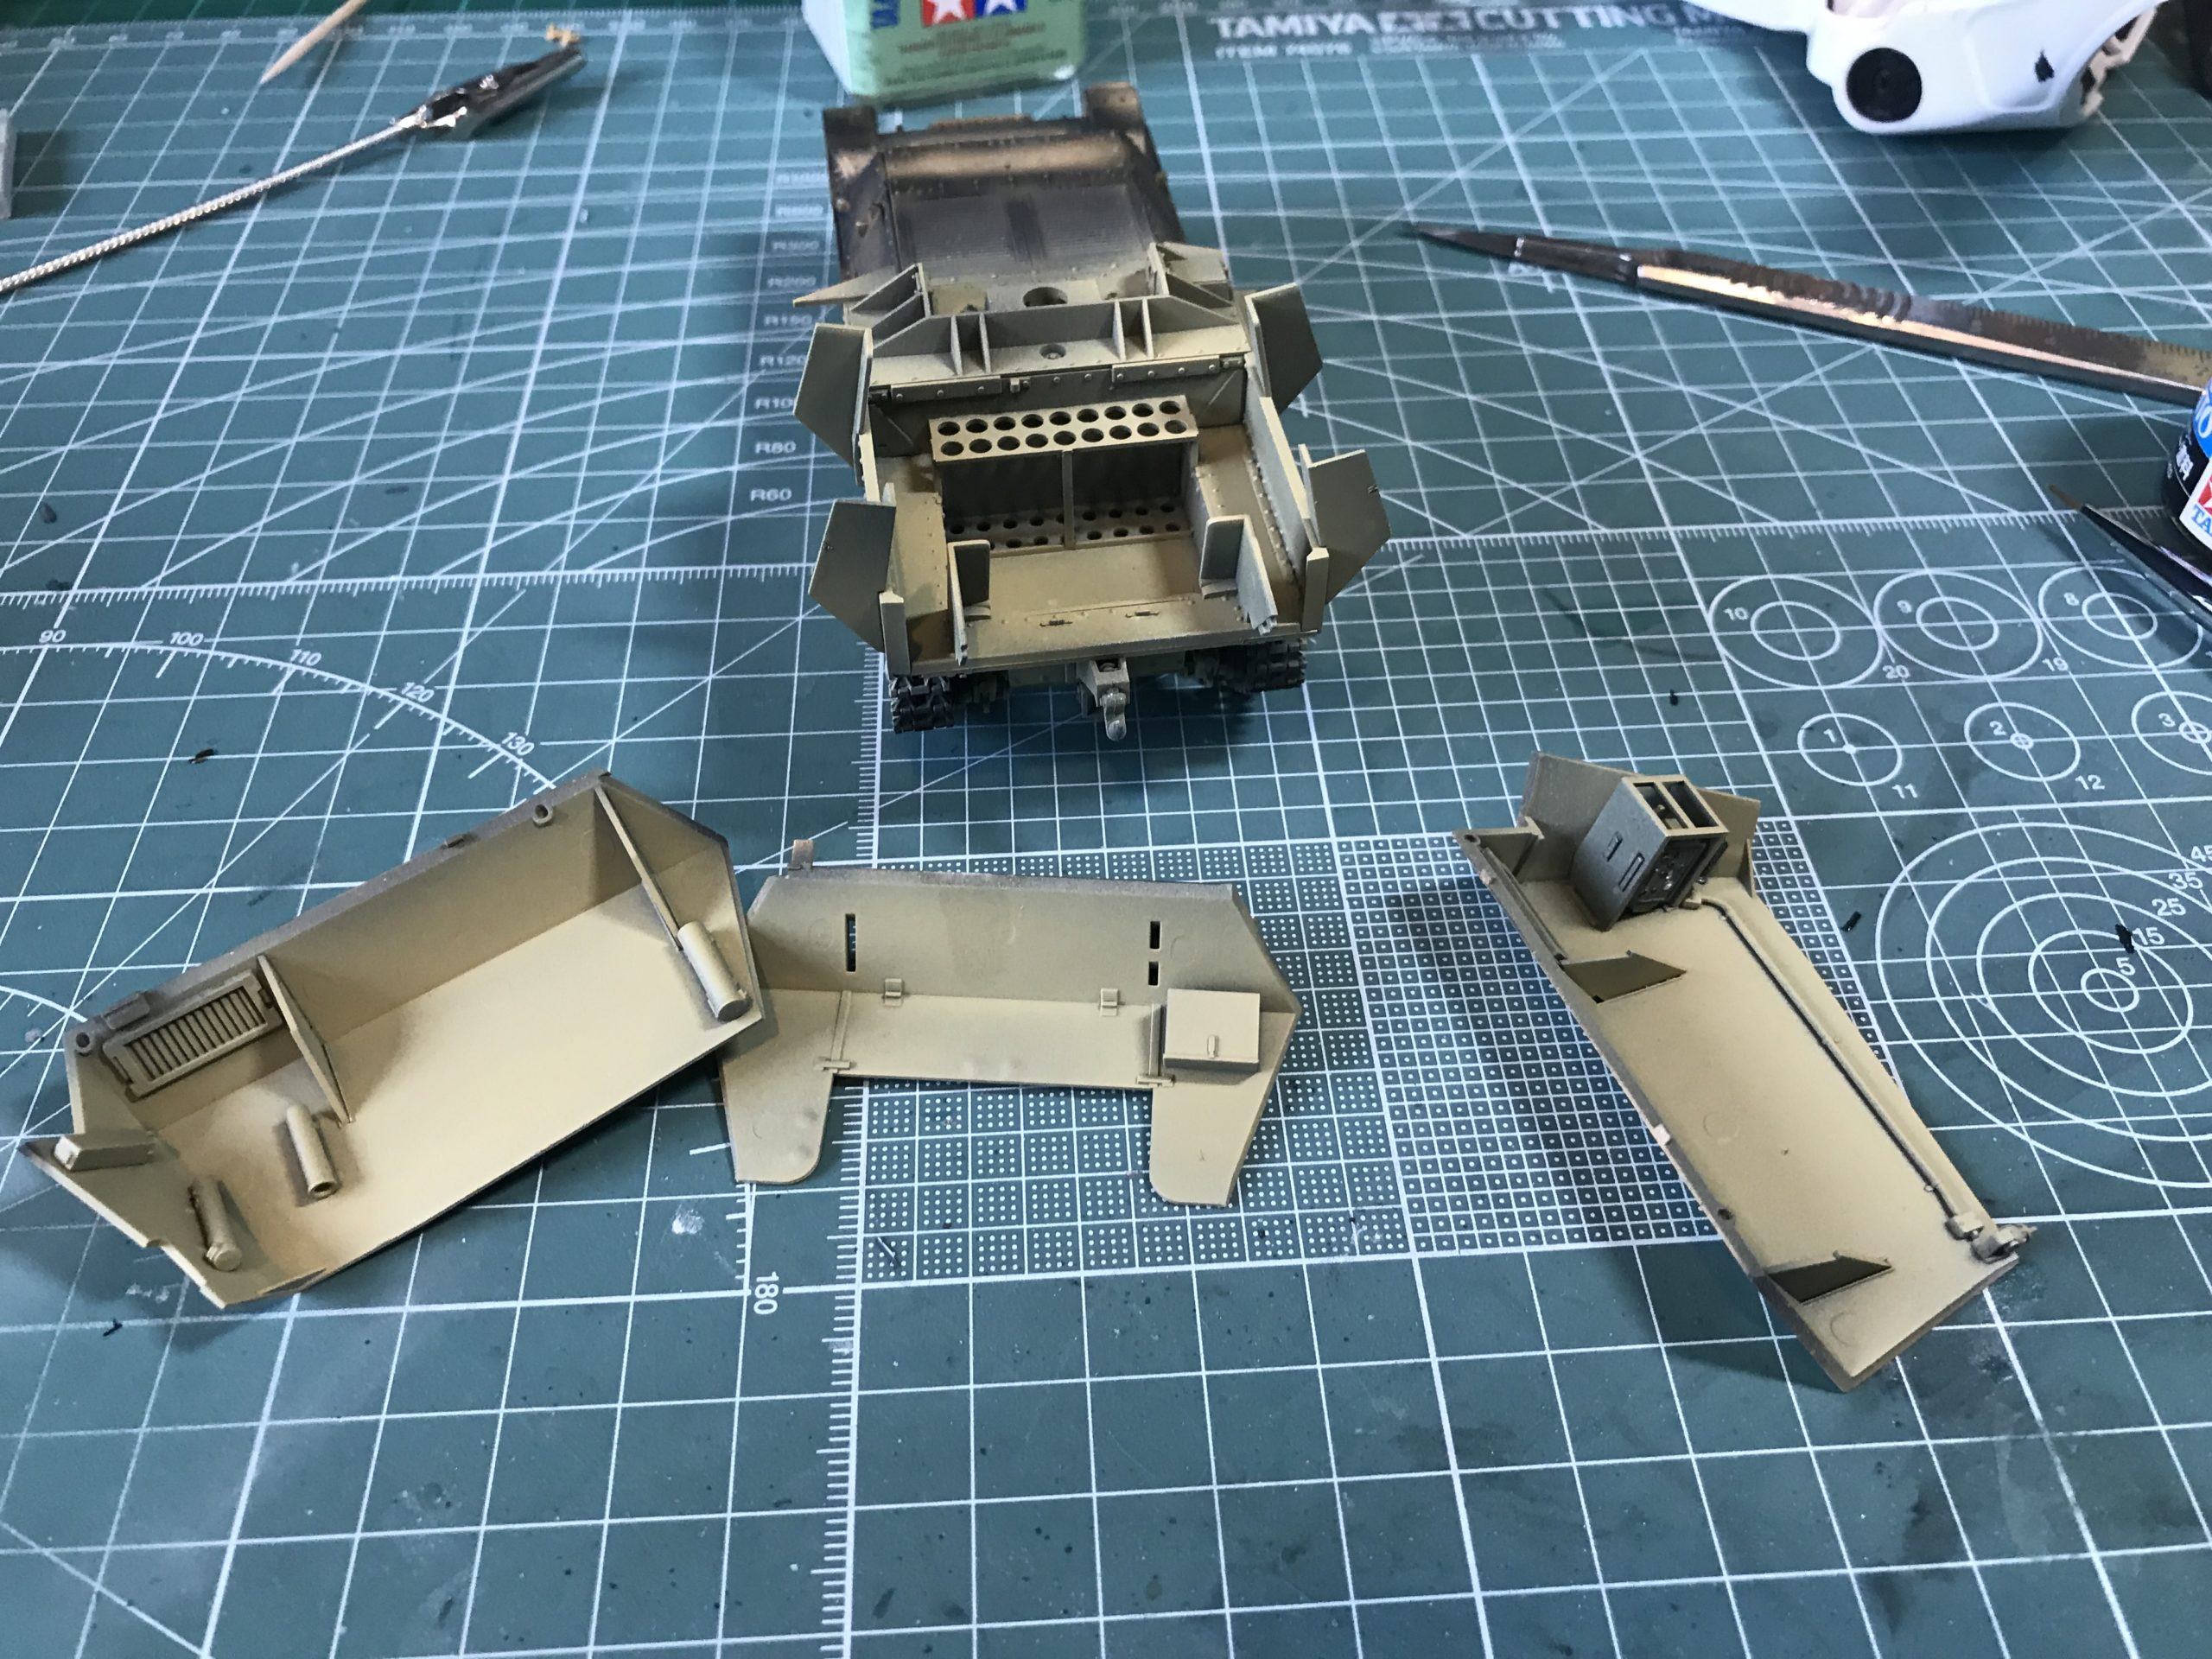
The shells were then masked and the casing sprayed gold.
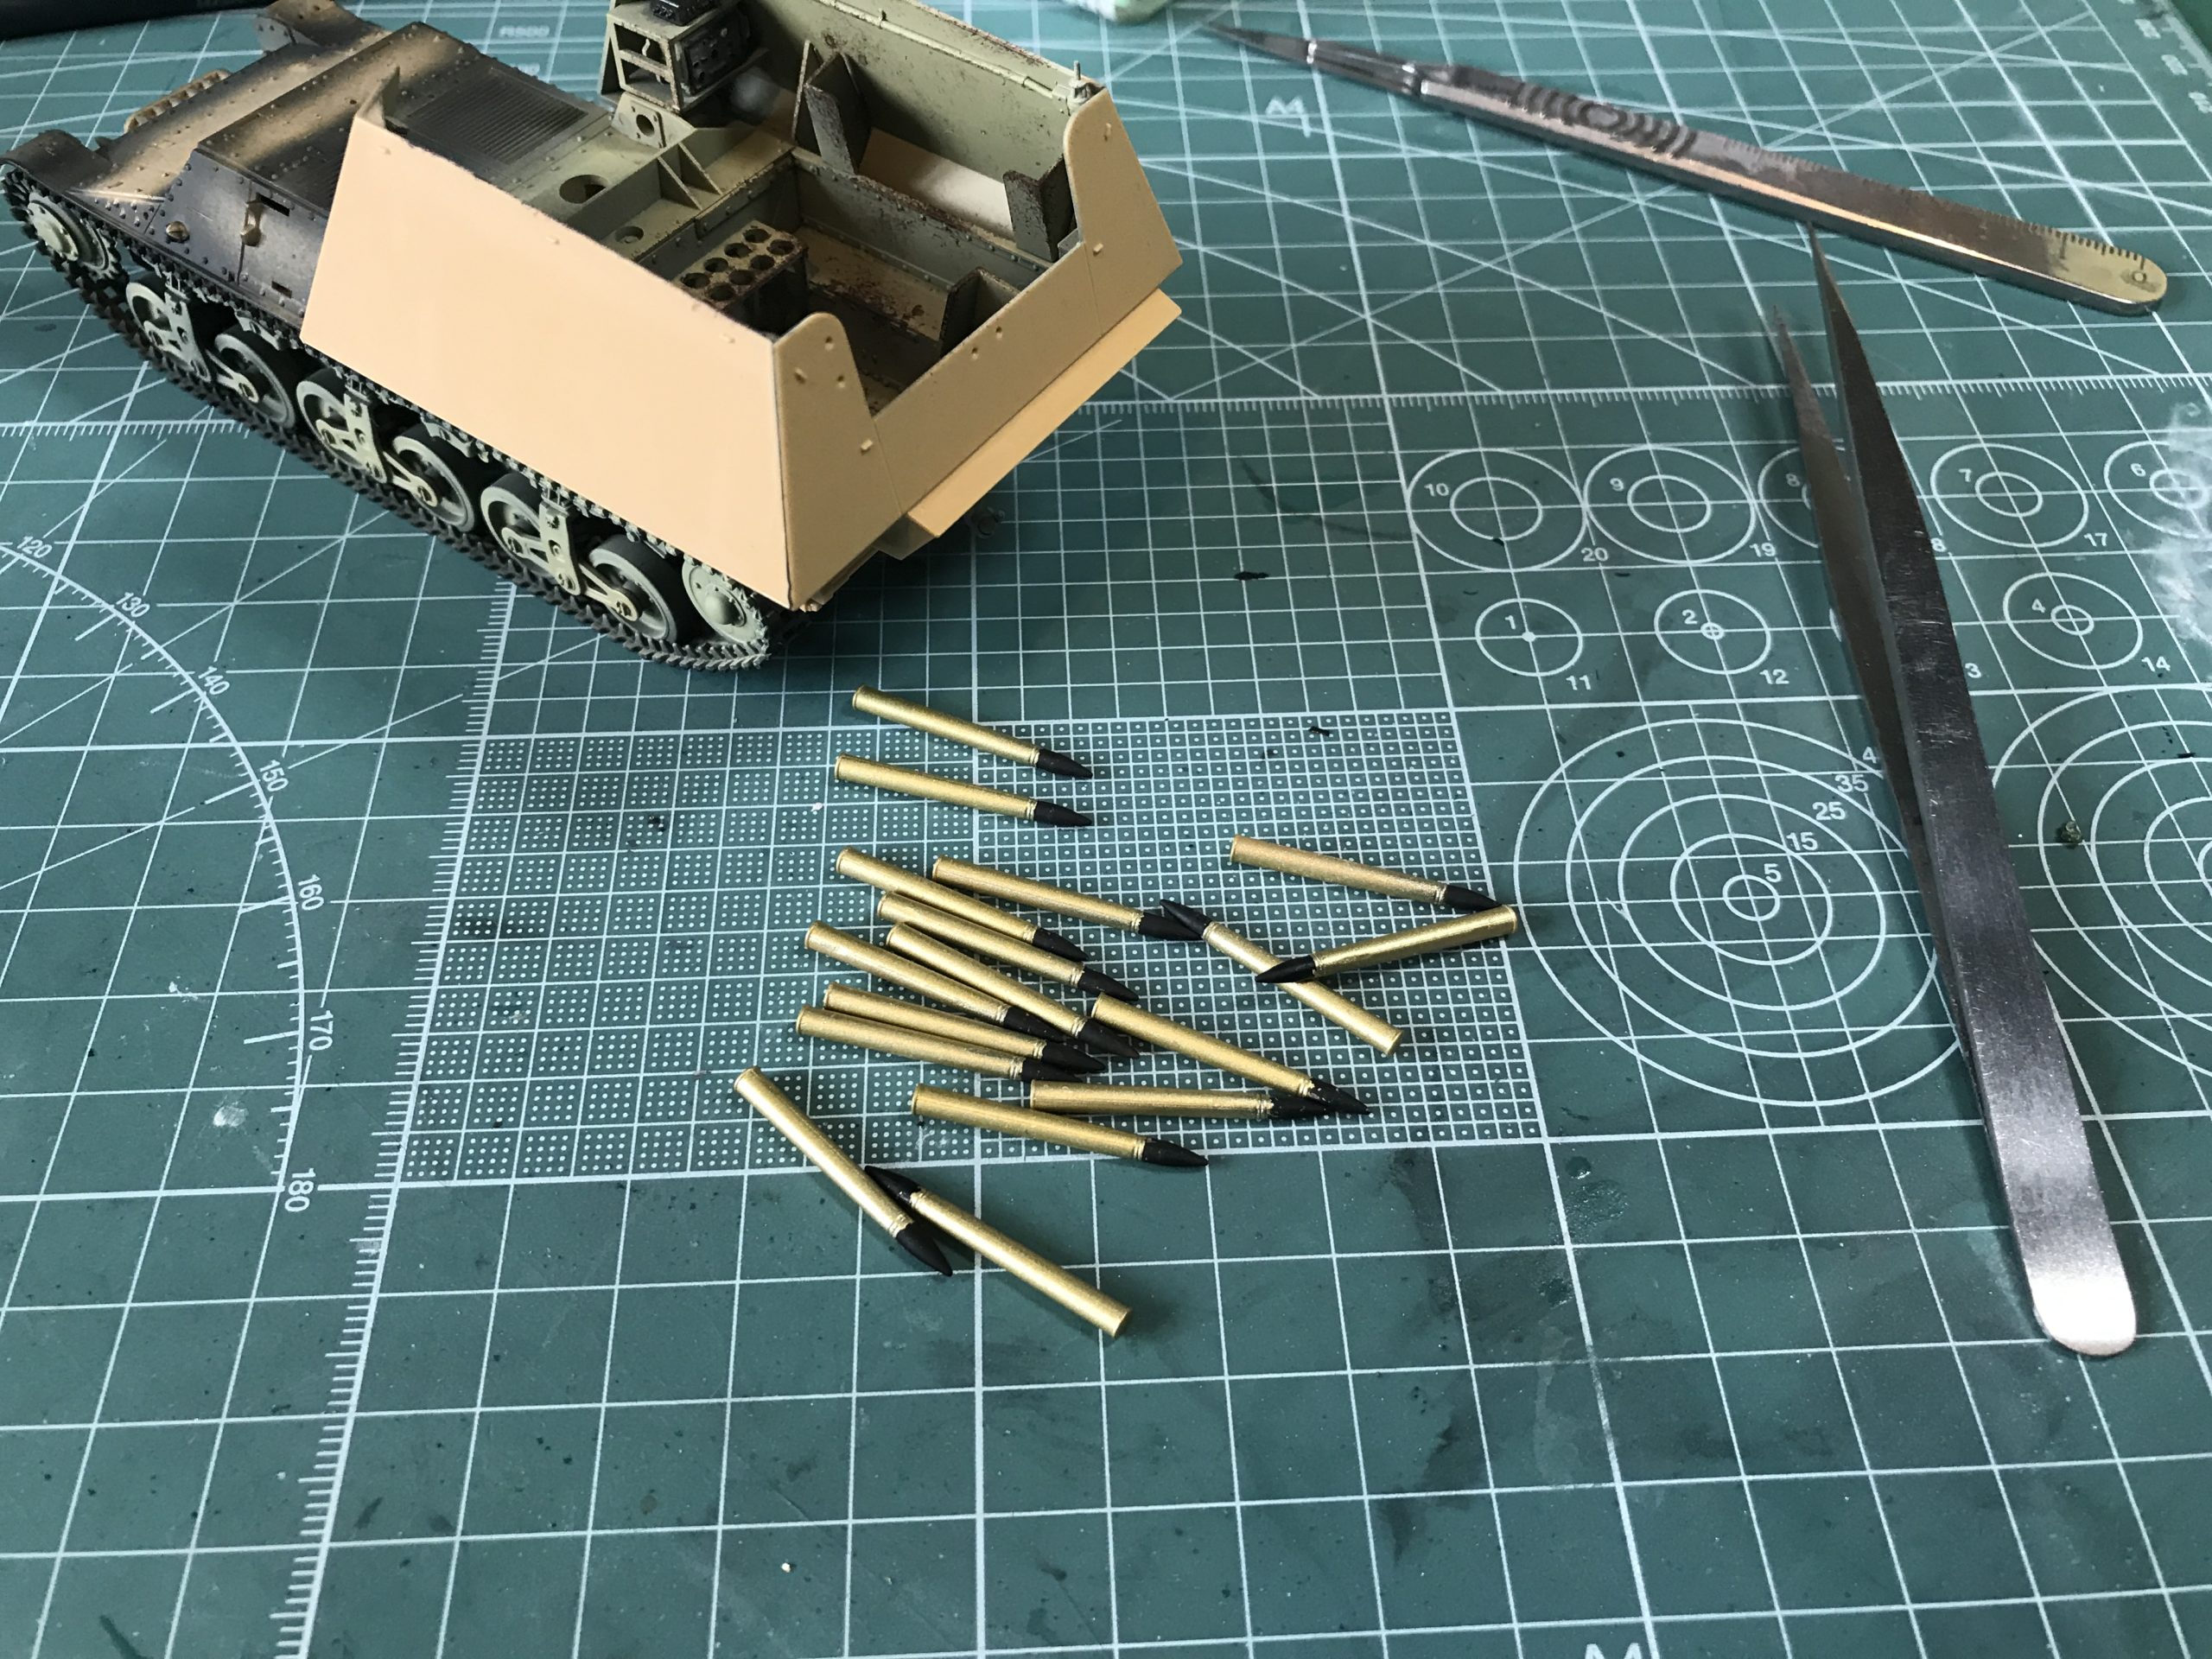
These were then installed into the rack
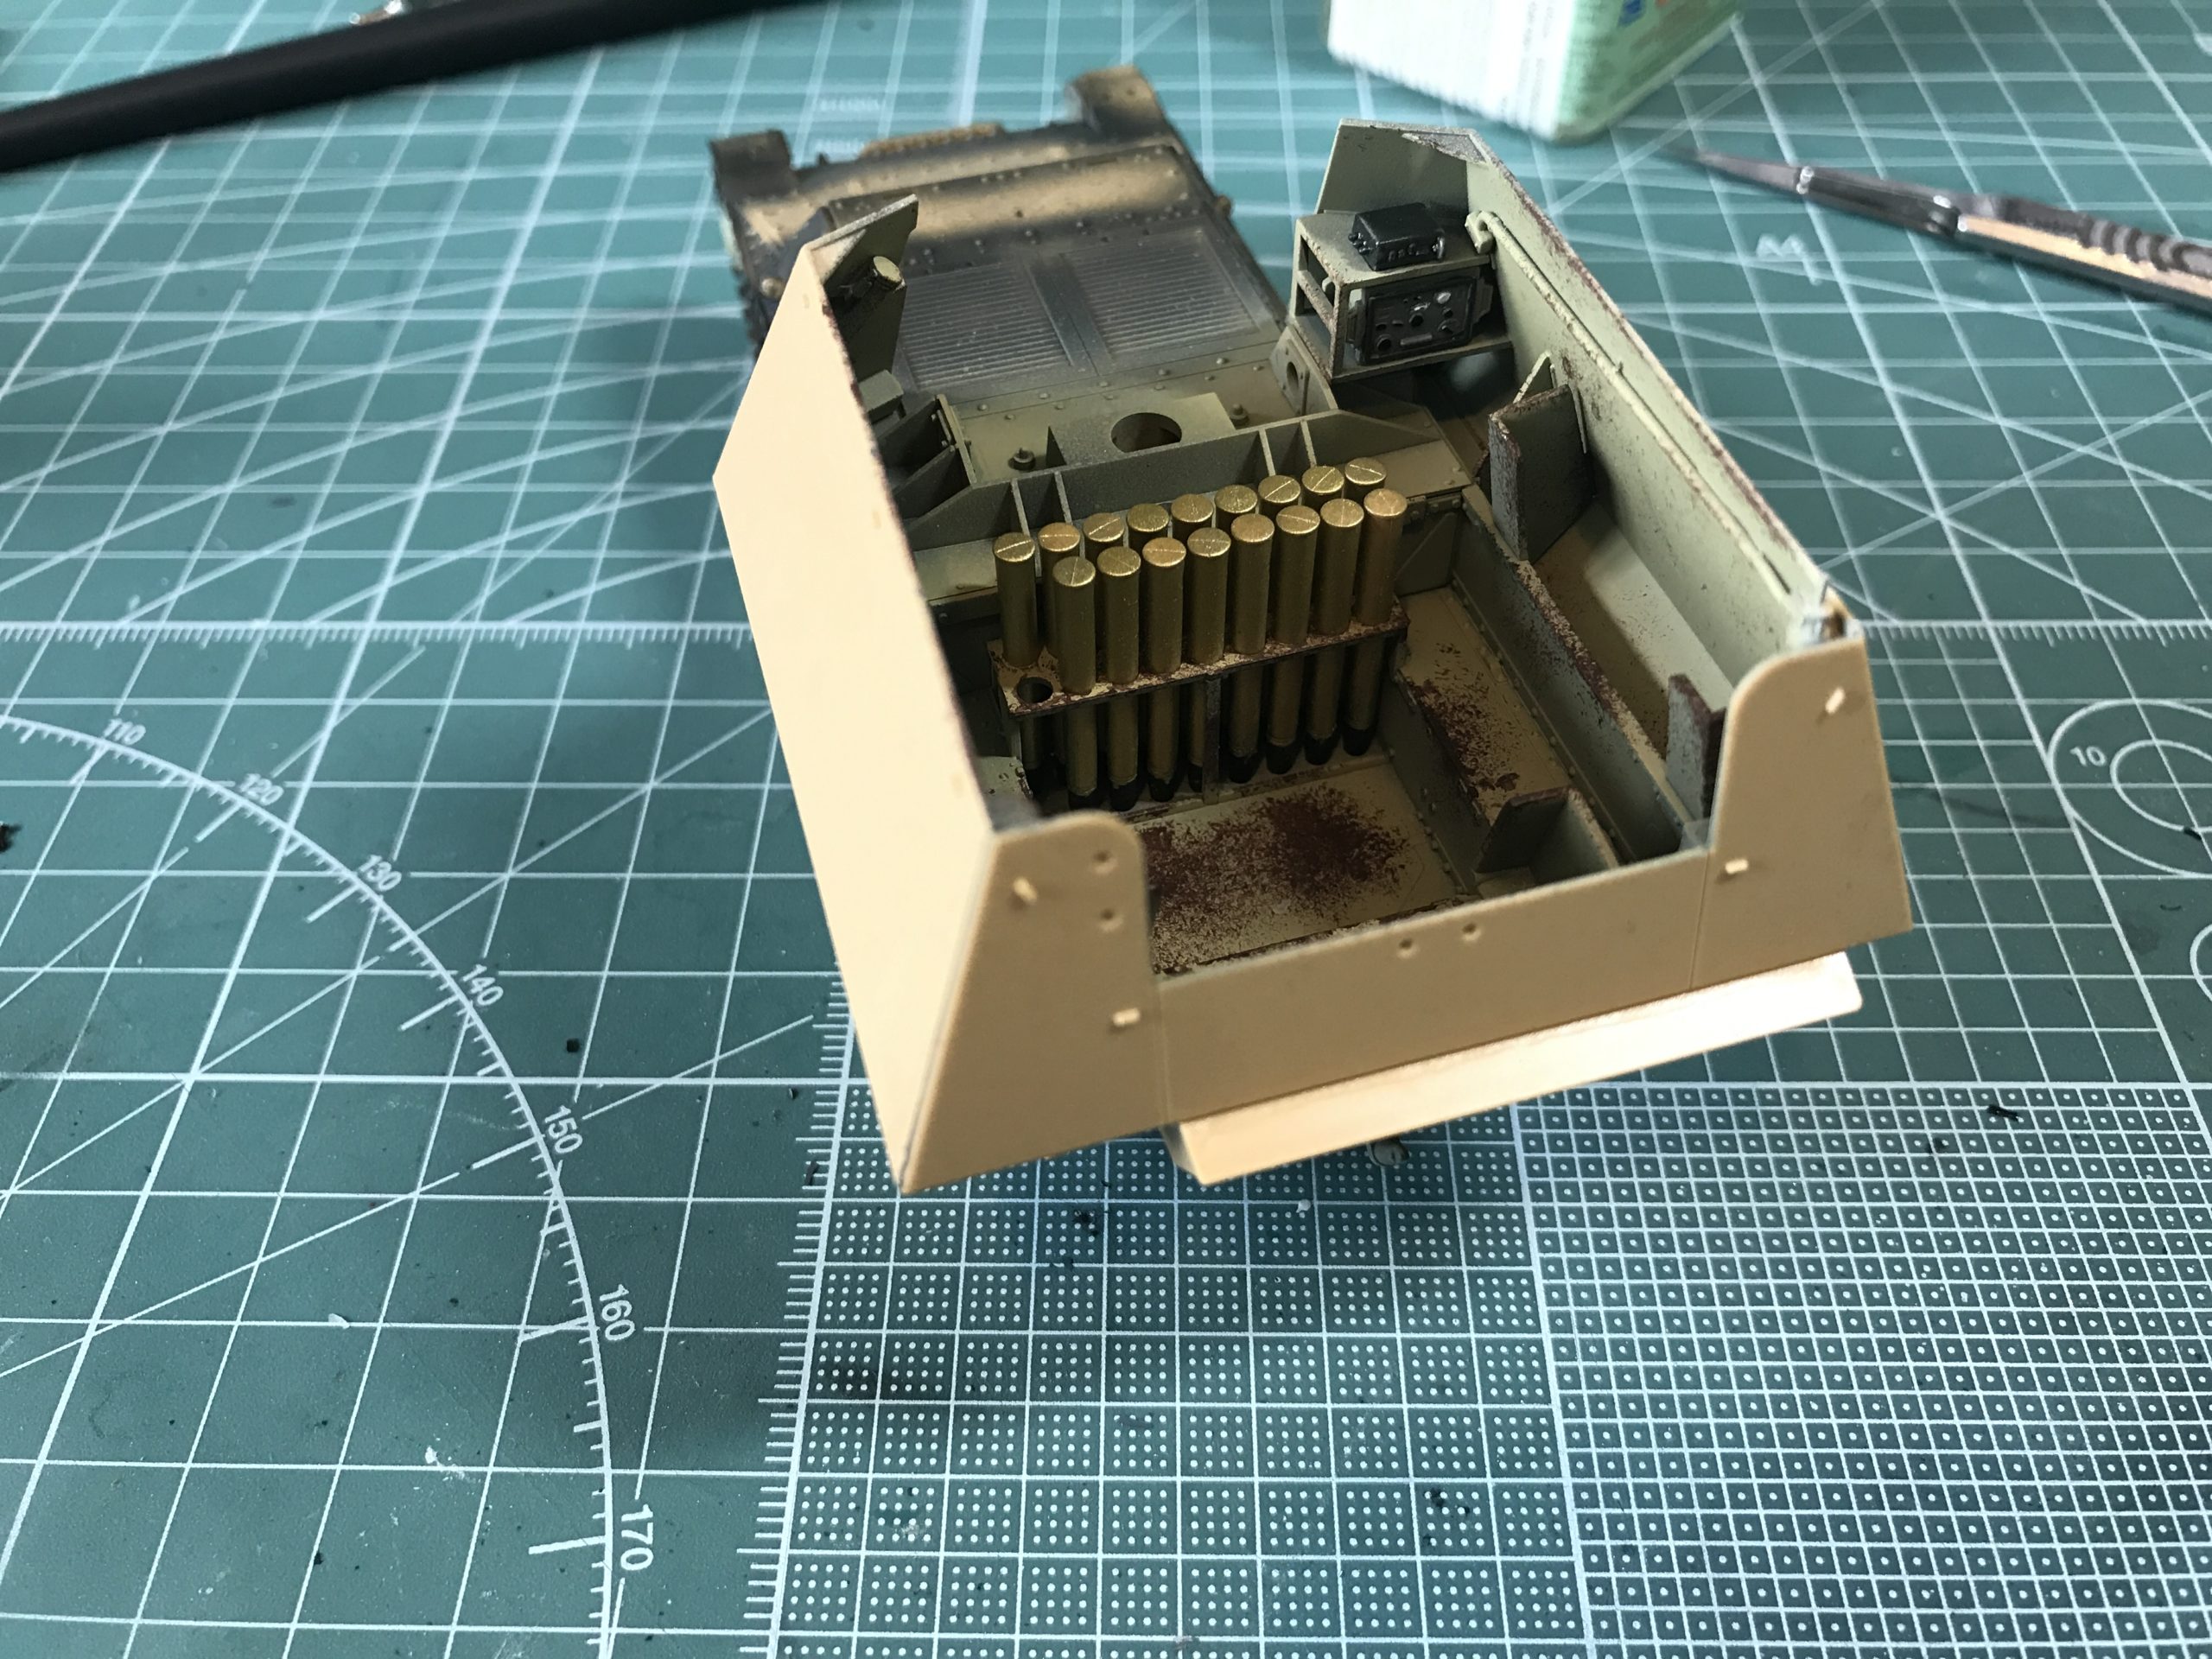
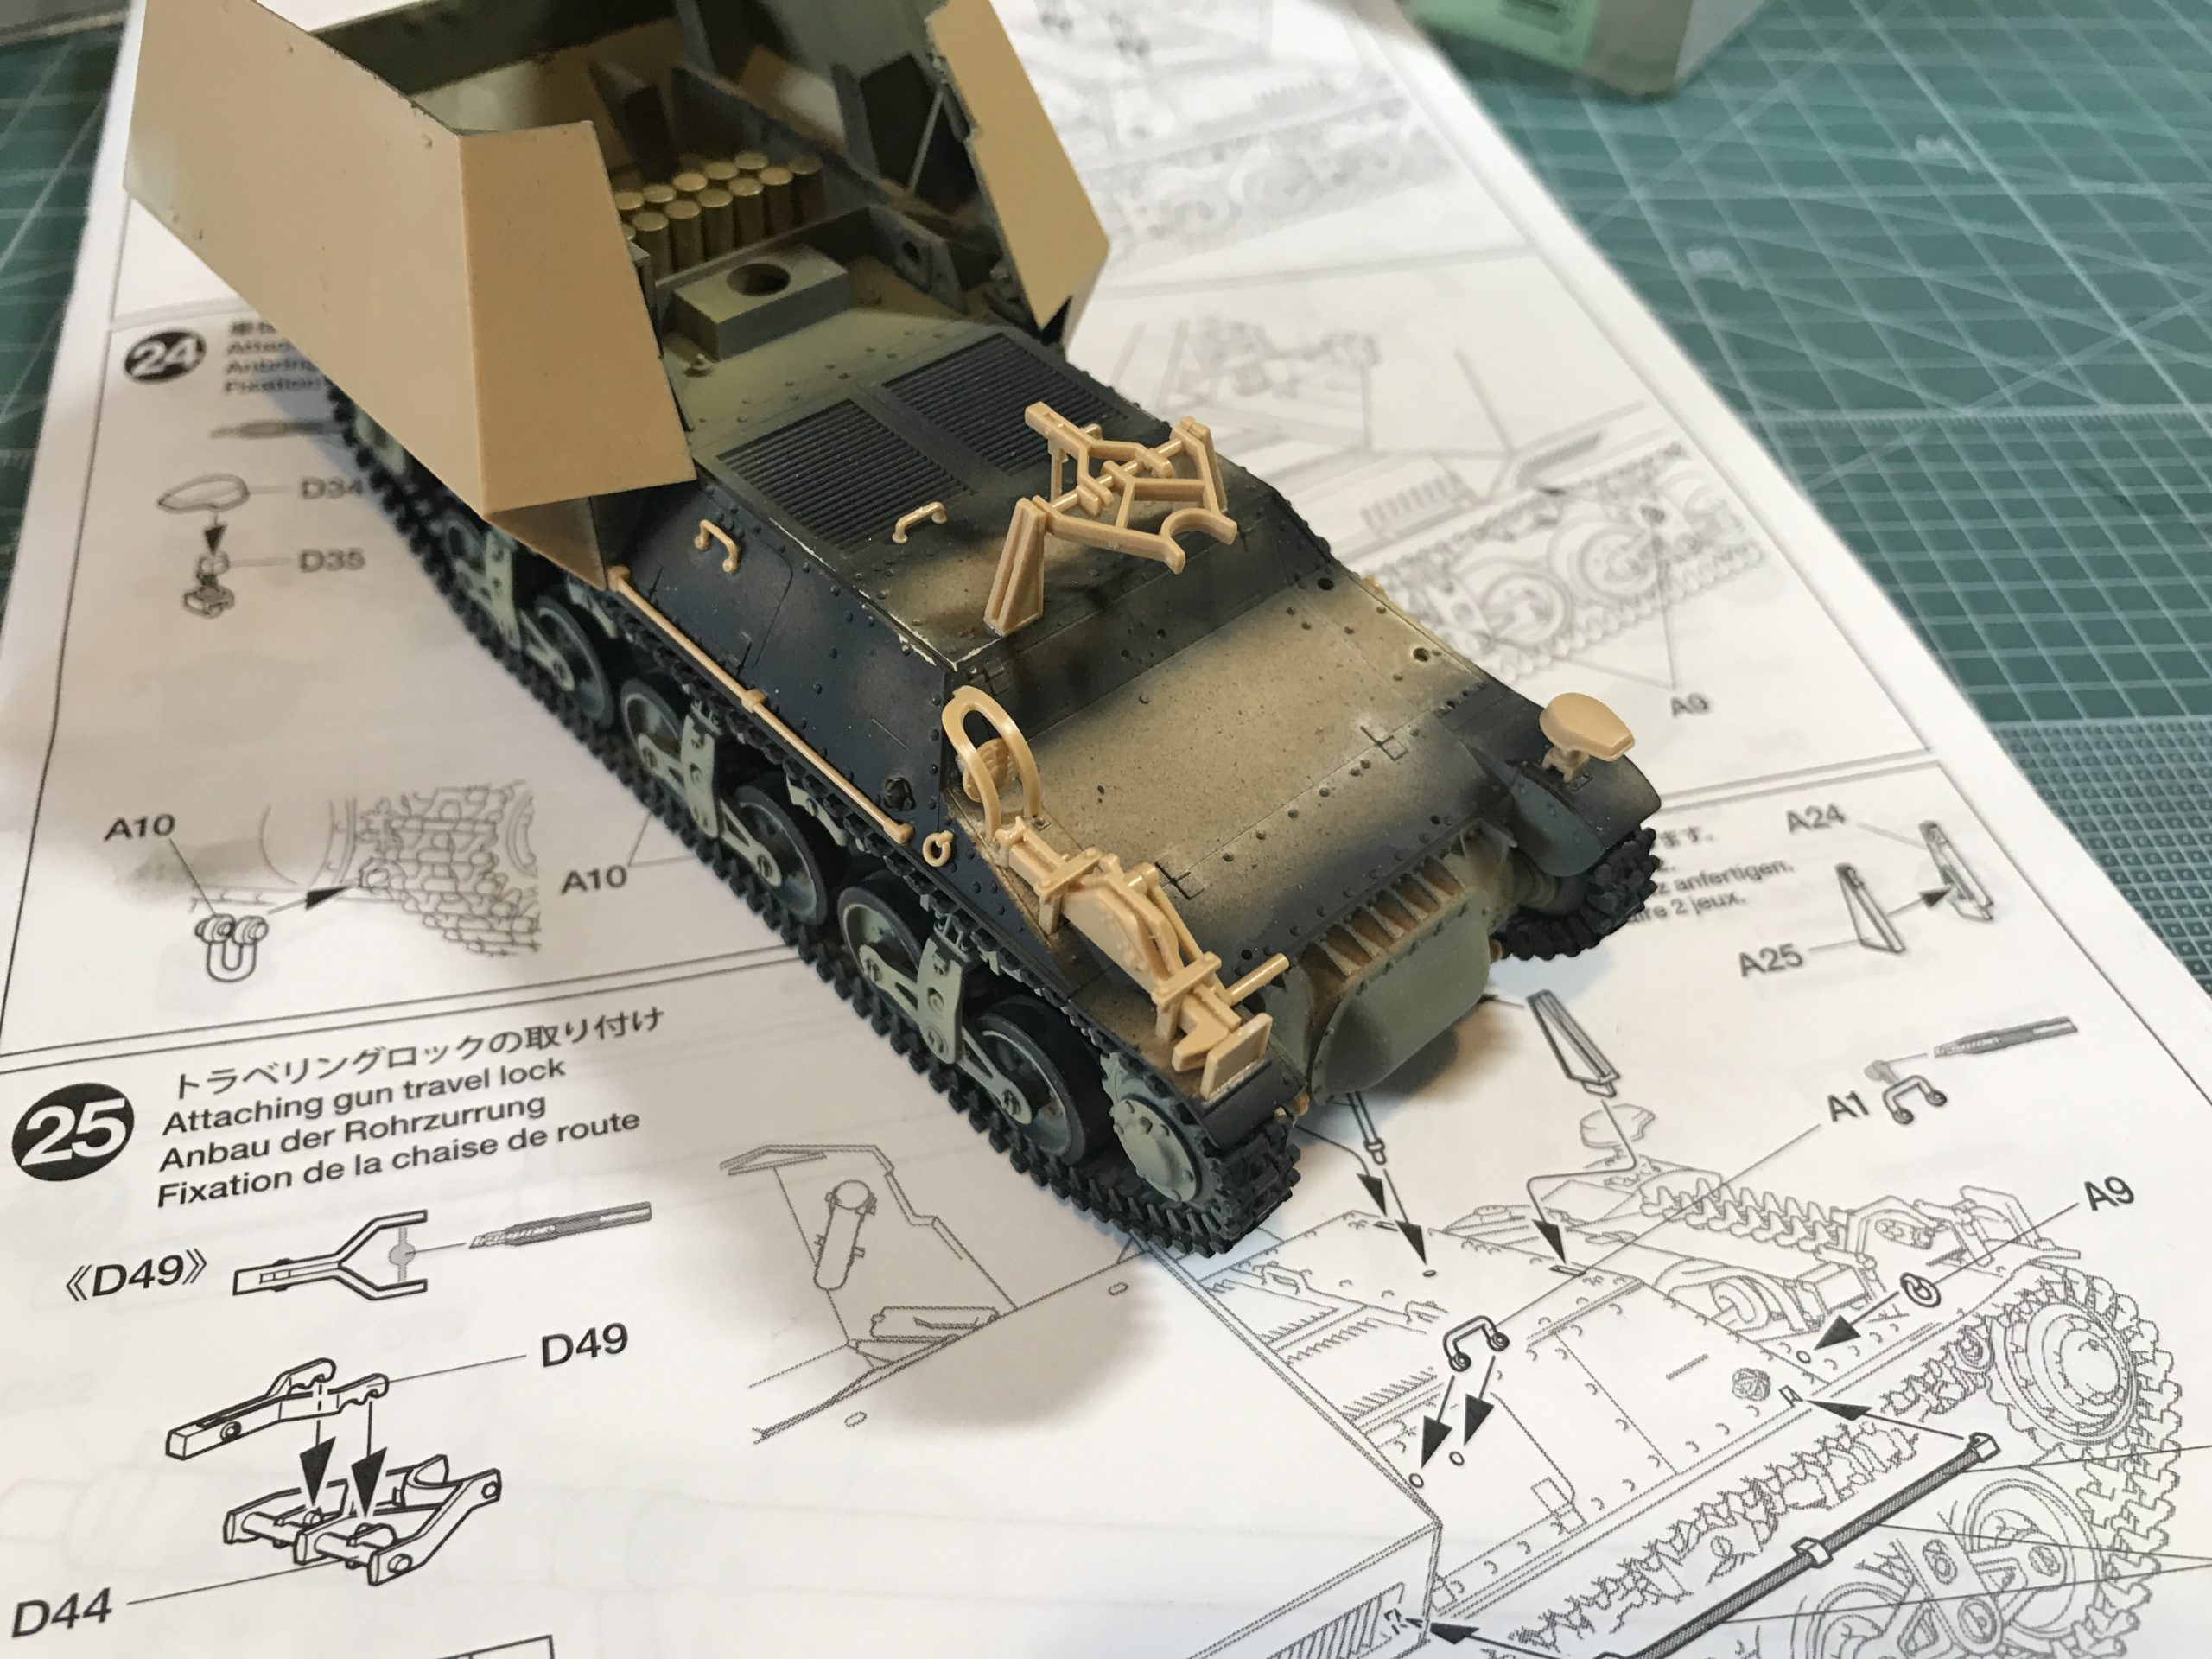
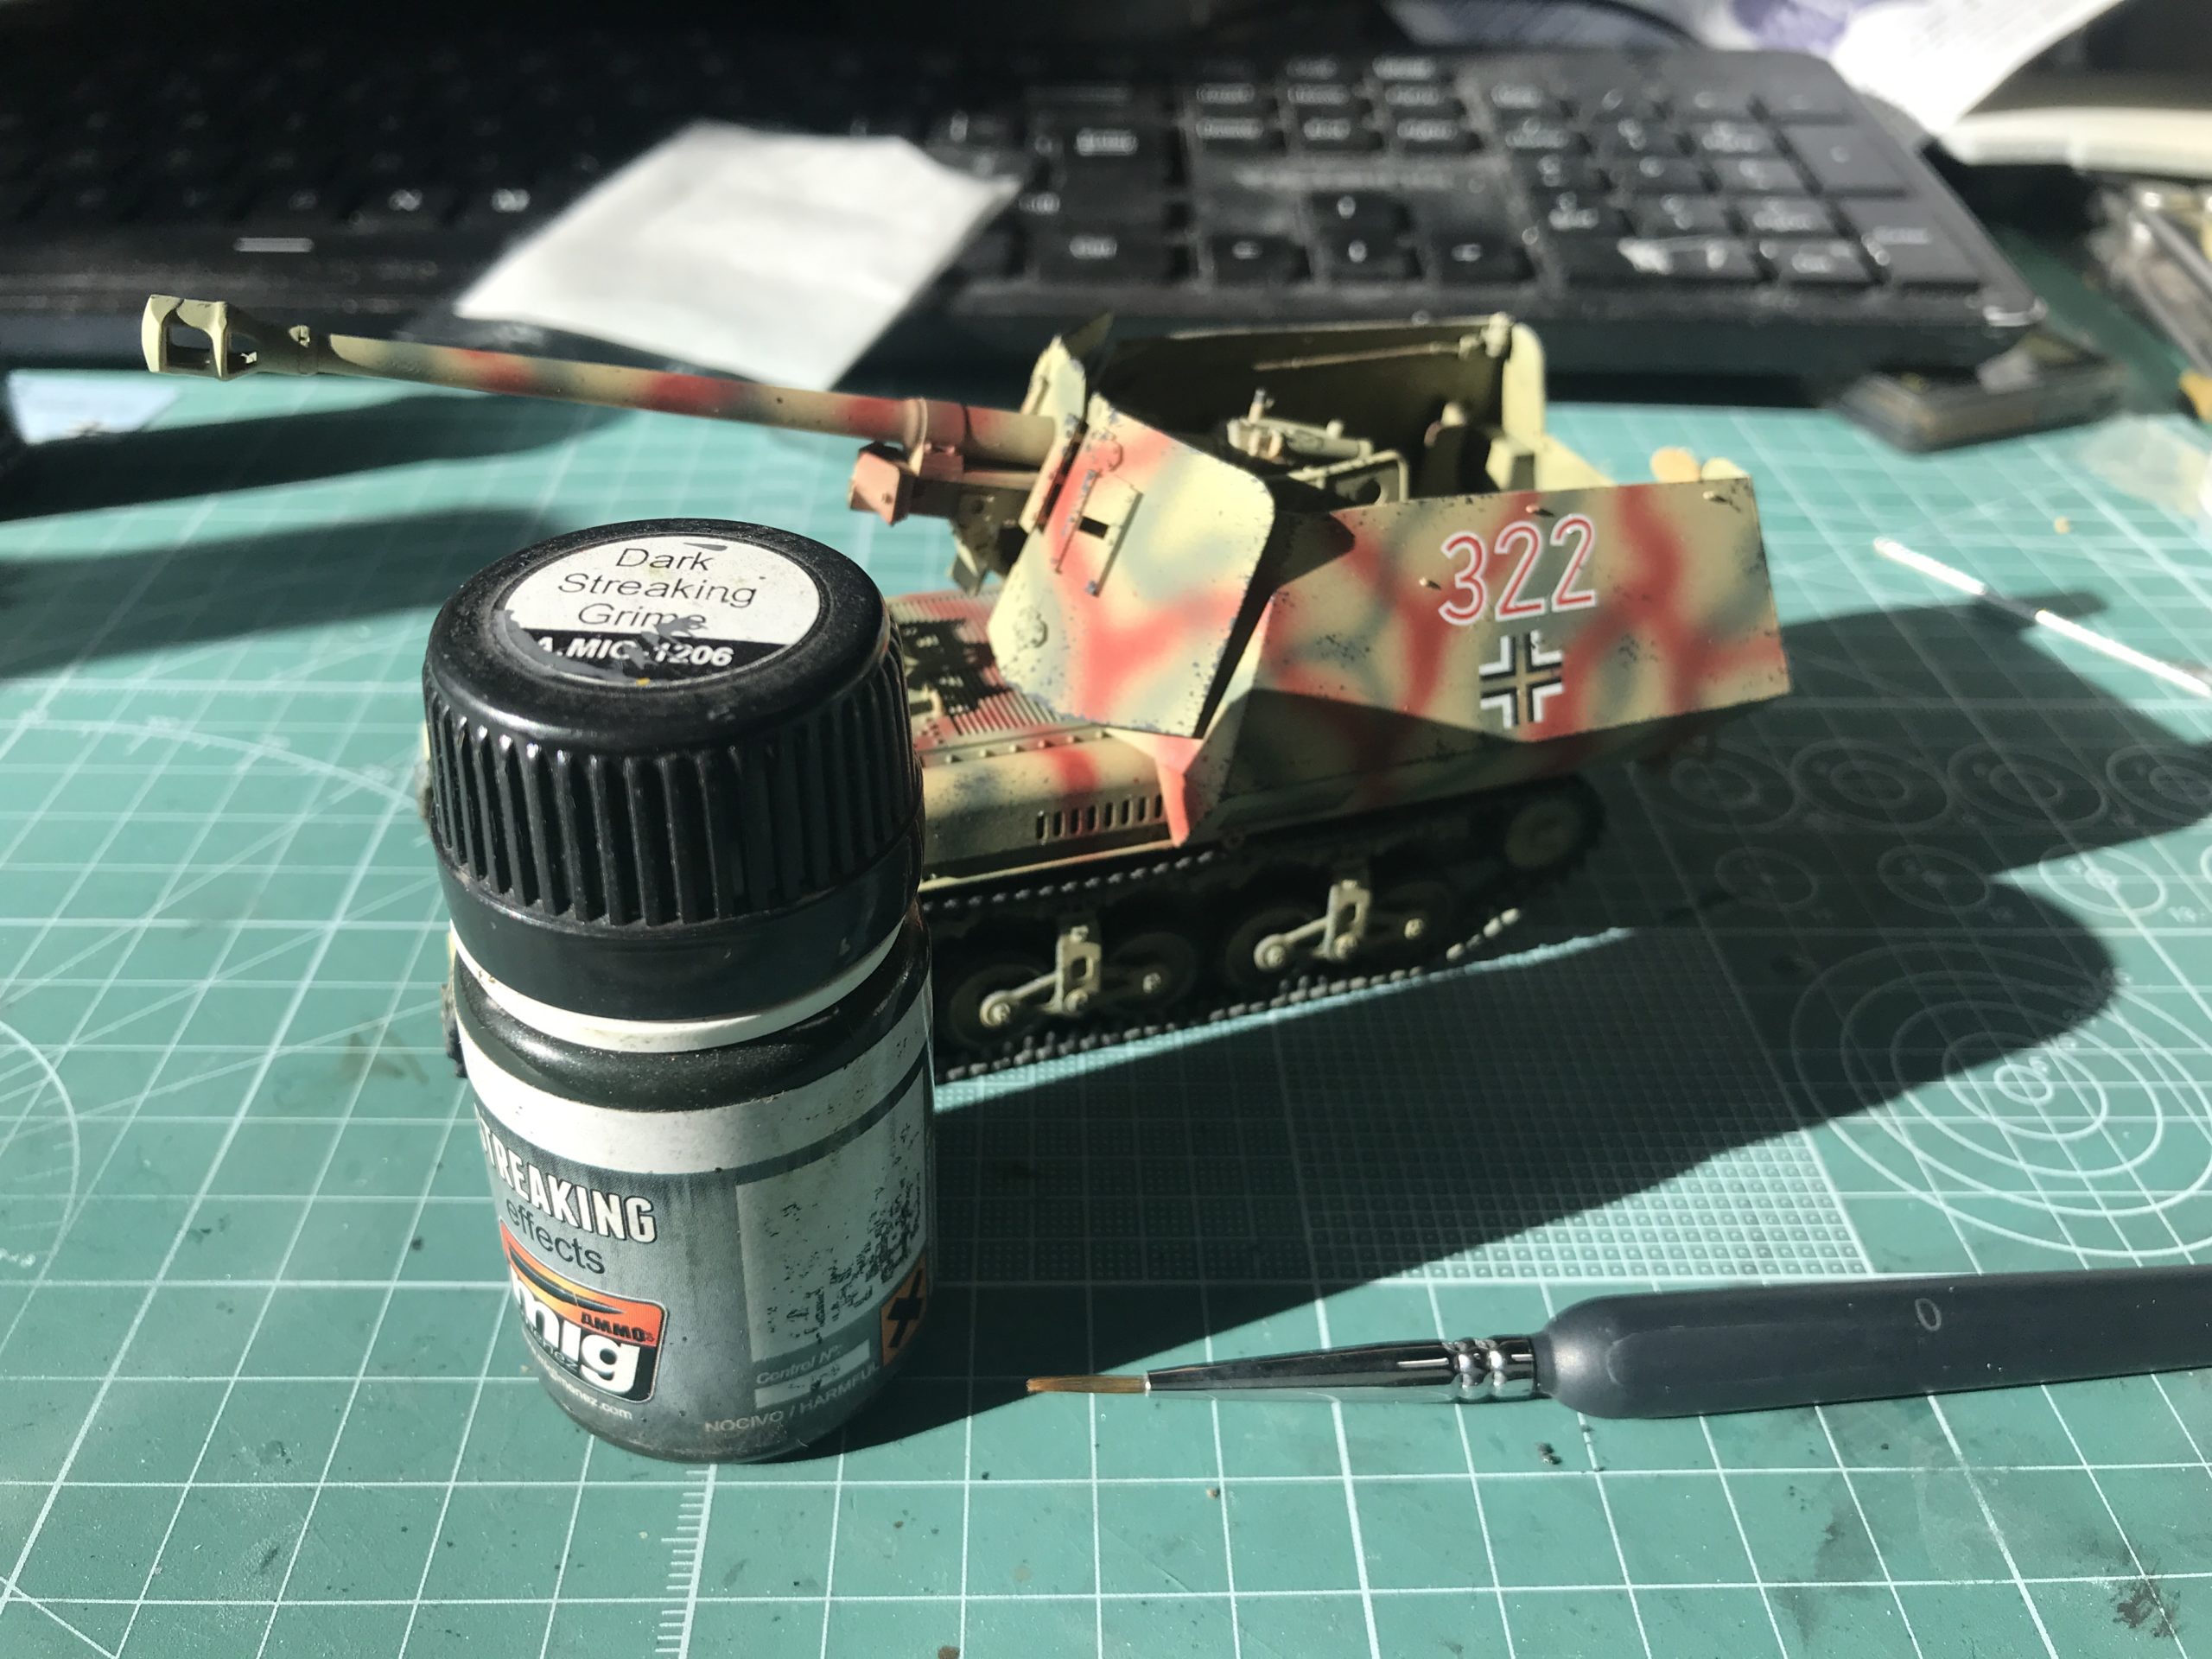
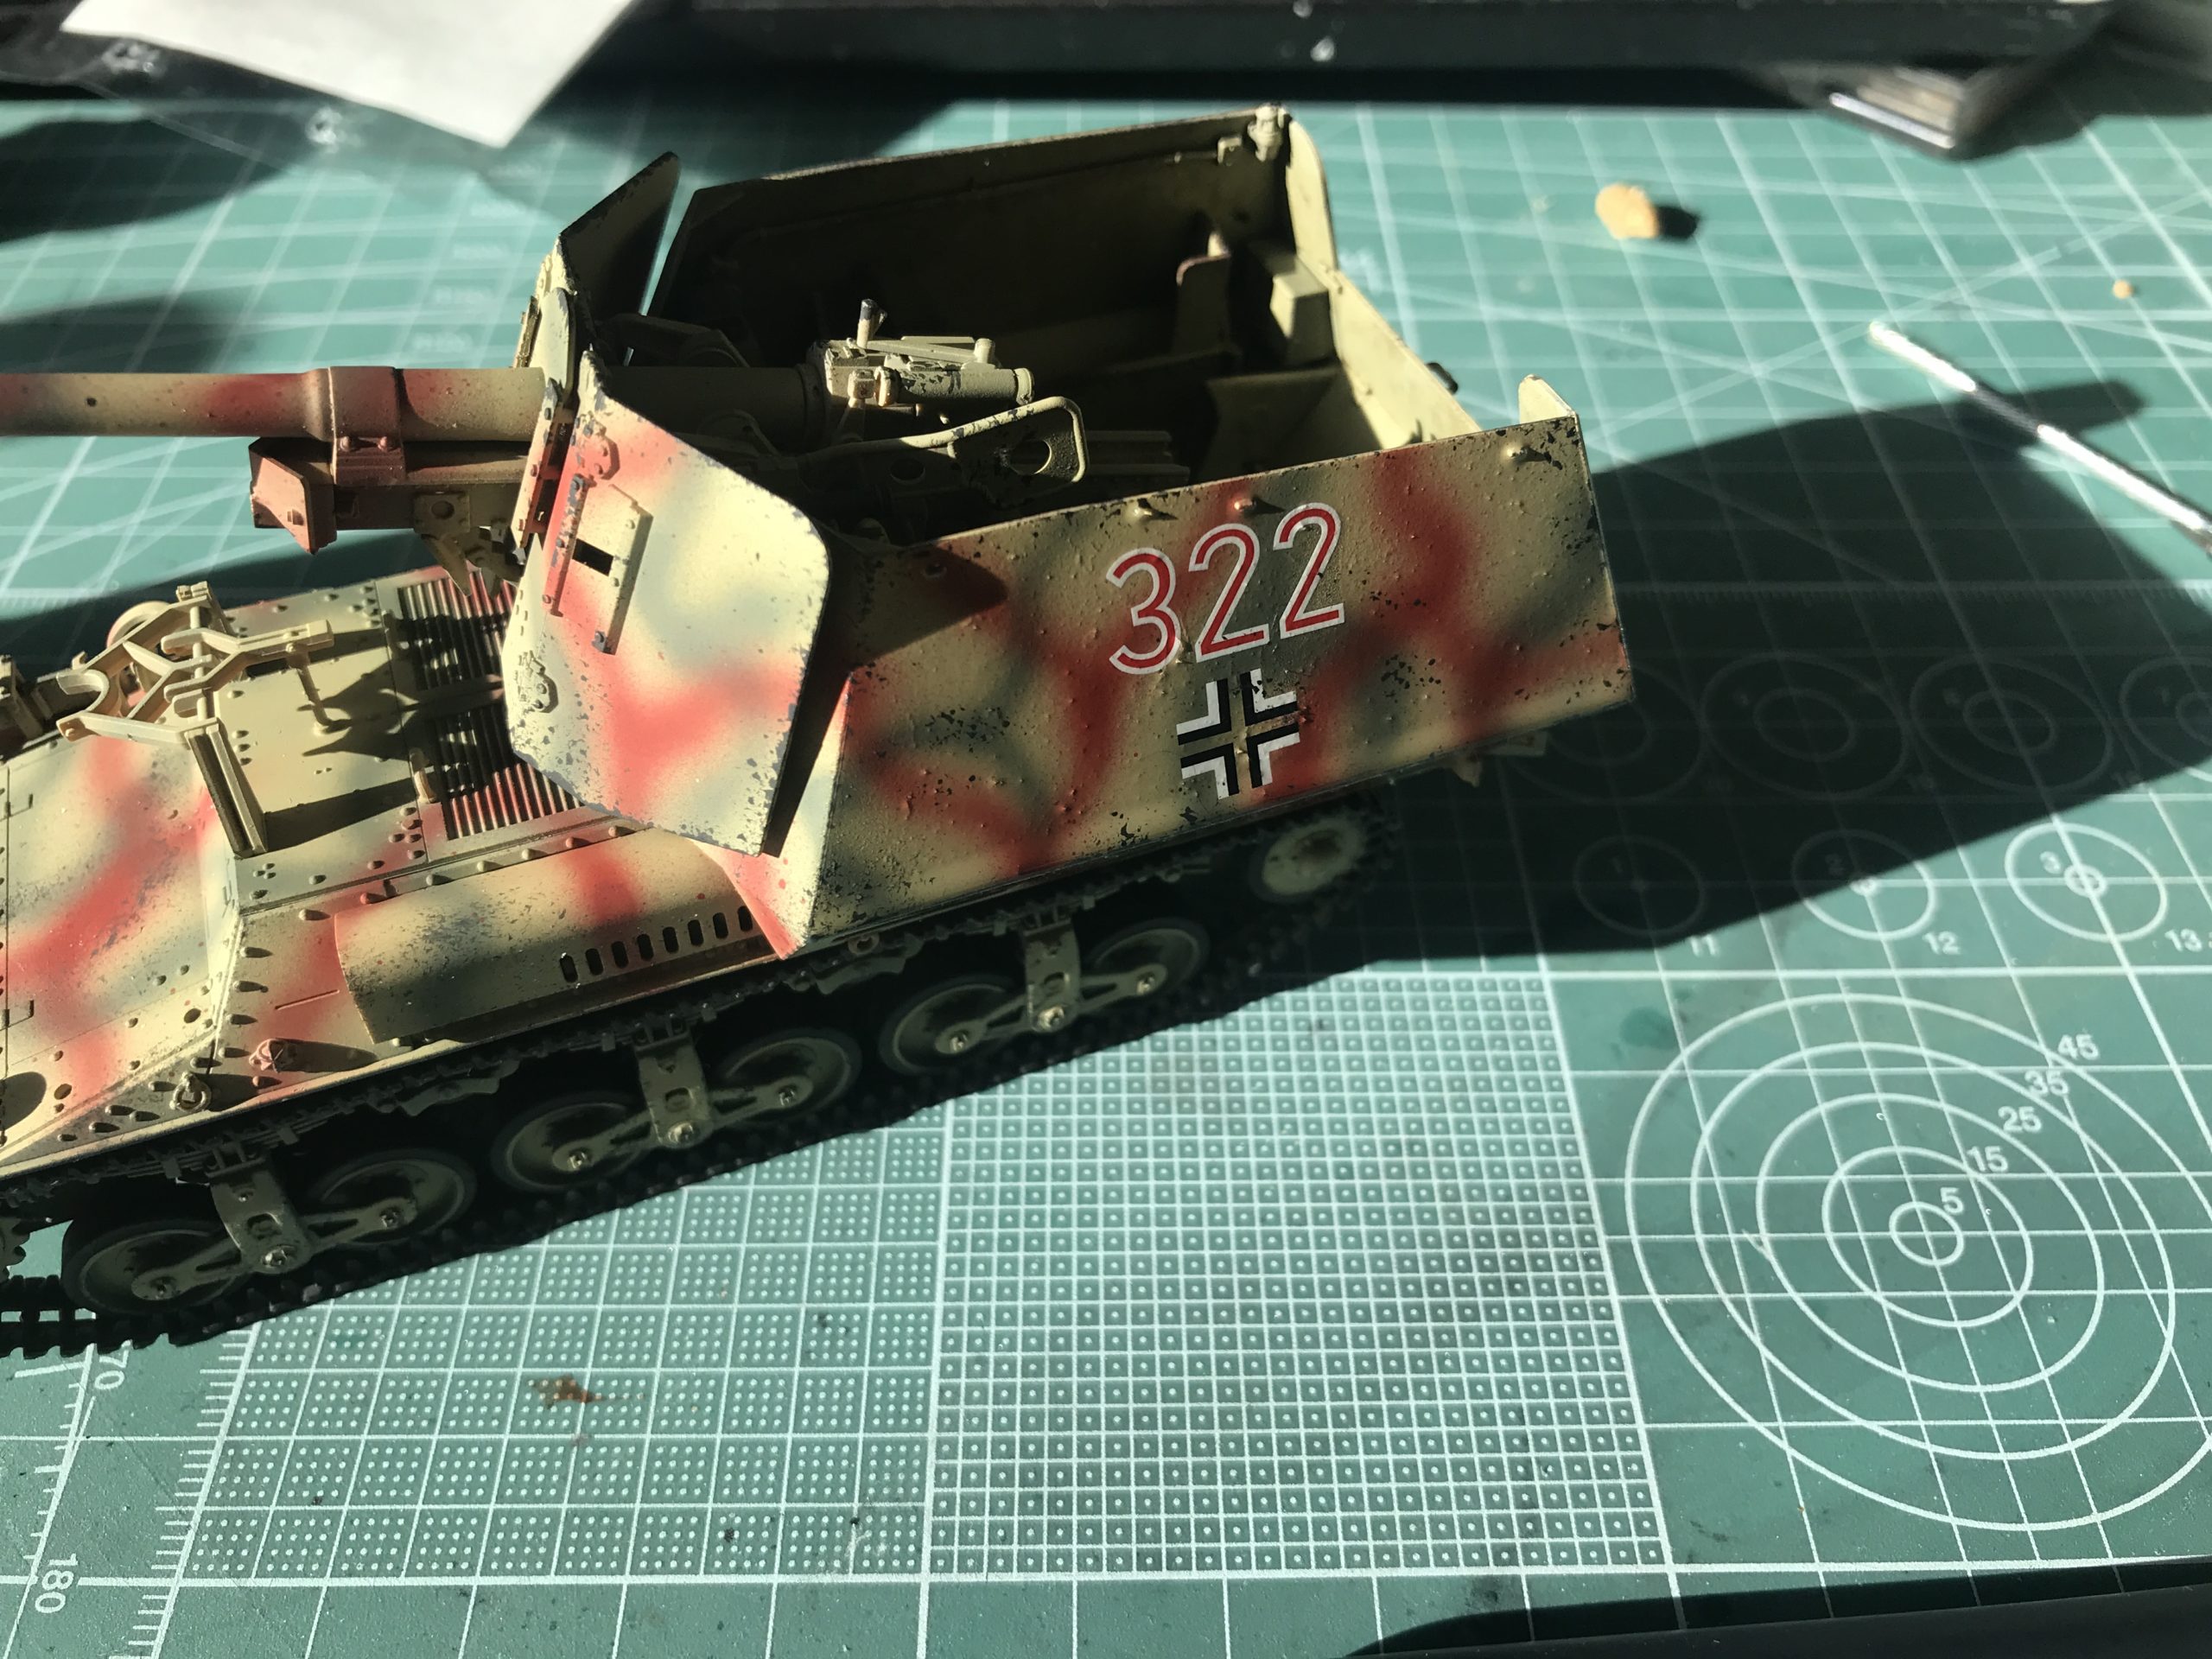
Time for a little weathering. I used MIG streaking grime. Firstly I applied some white spirit to the surface being weathered. dots of the streaking grime were then added. and a flat brush damp with spirit used to blend everything together. Here are some progress shots with an almost imperceptible difference between them.
Additional bits and bobs added.

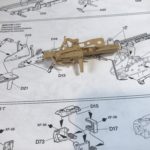
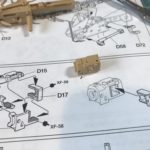
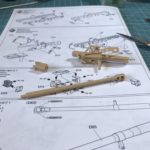
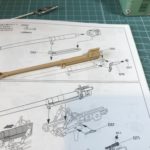
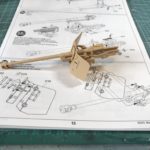
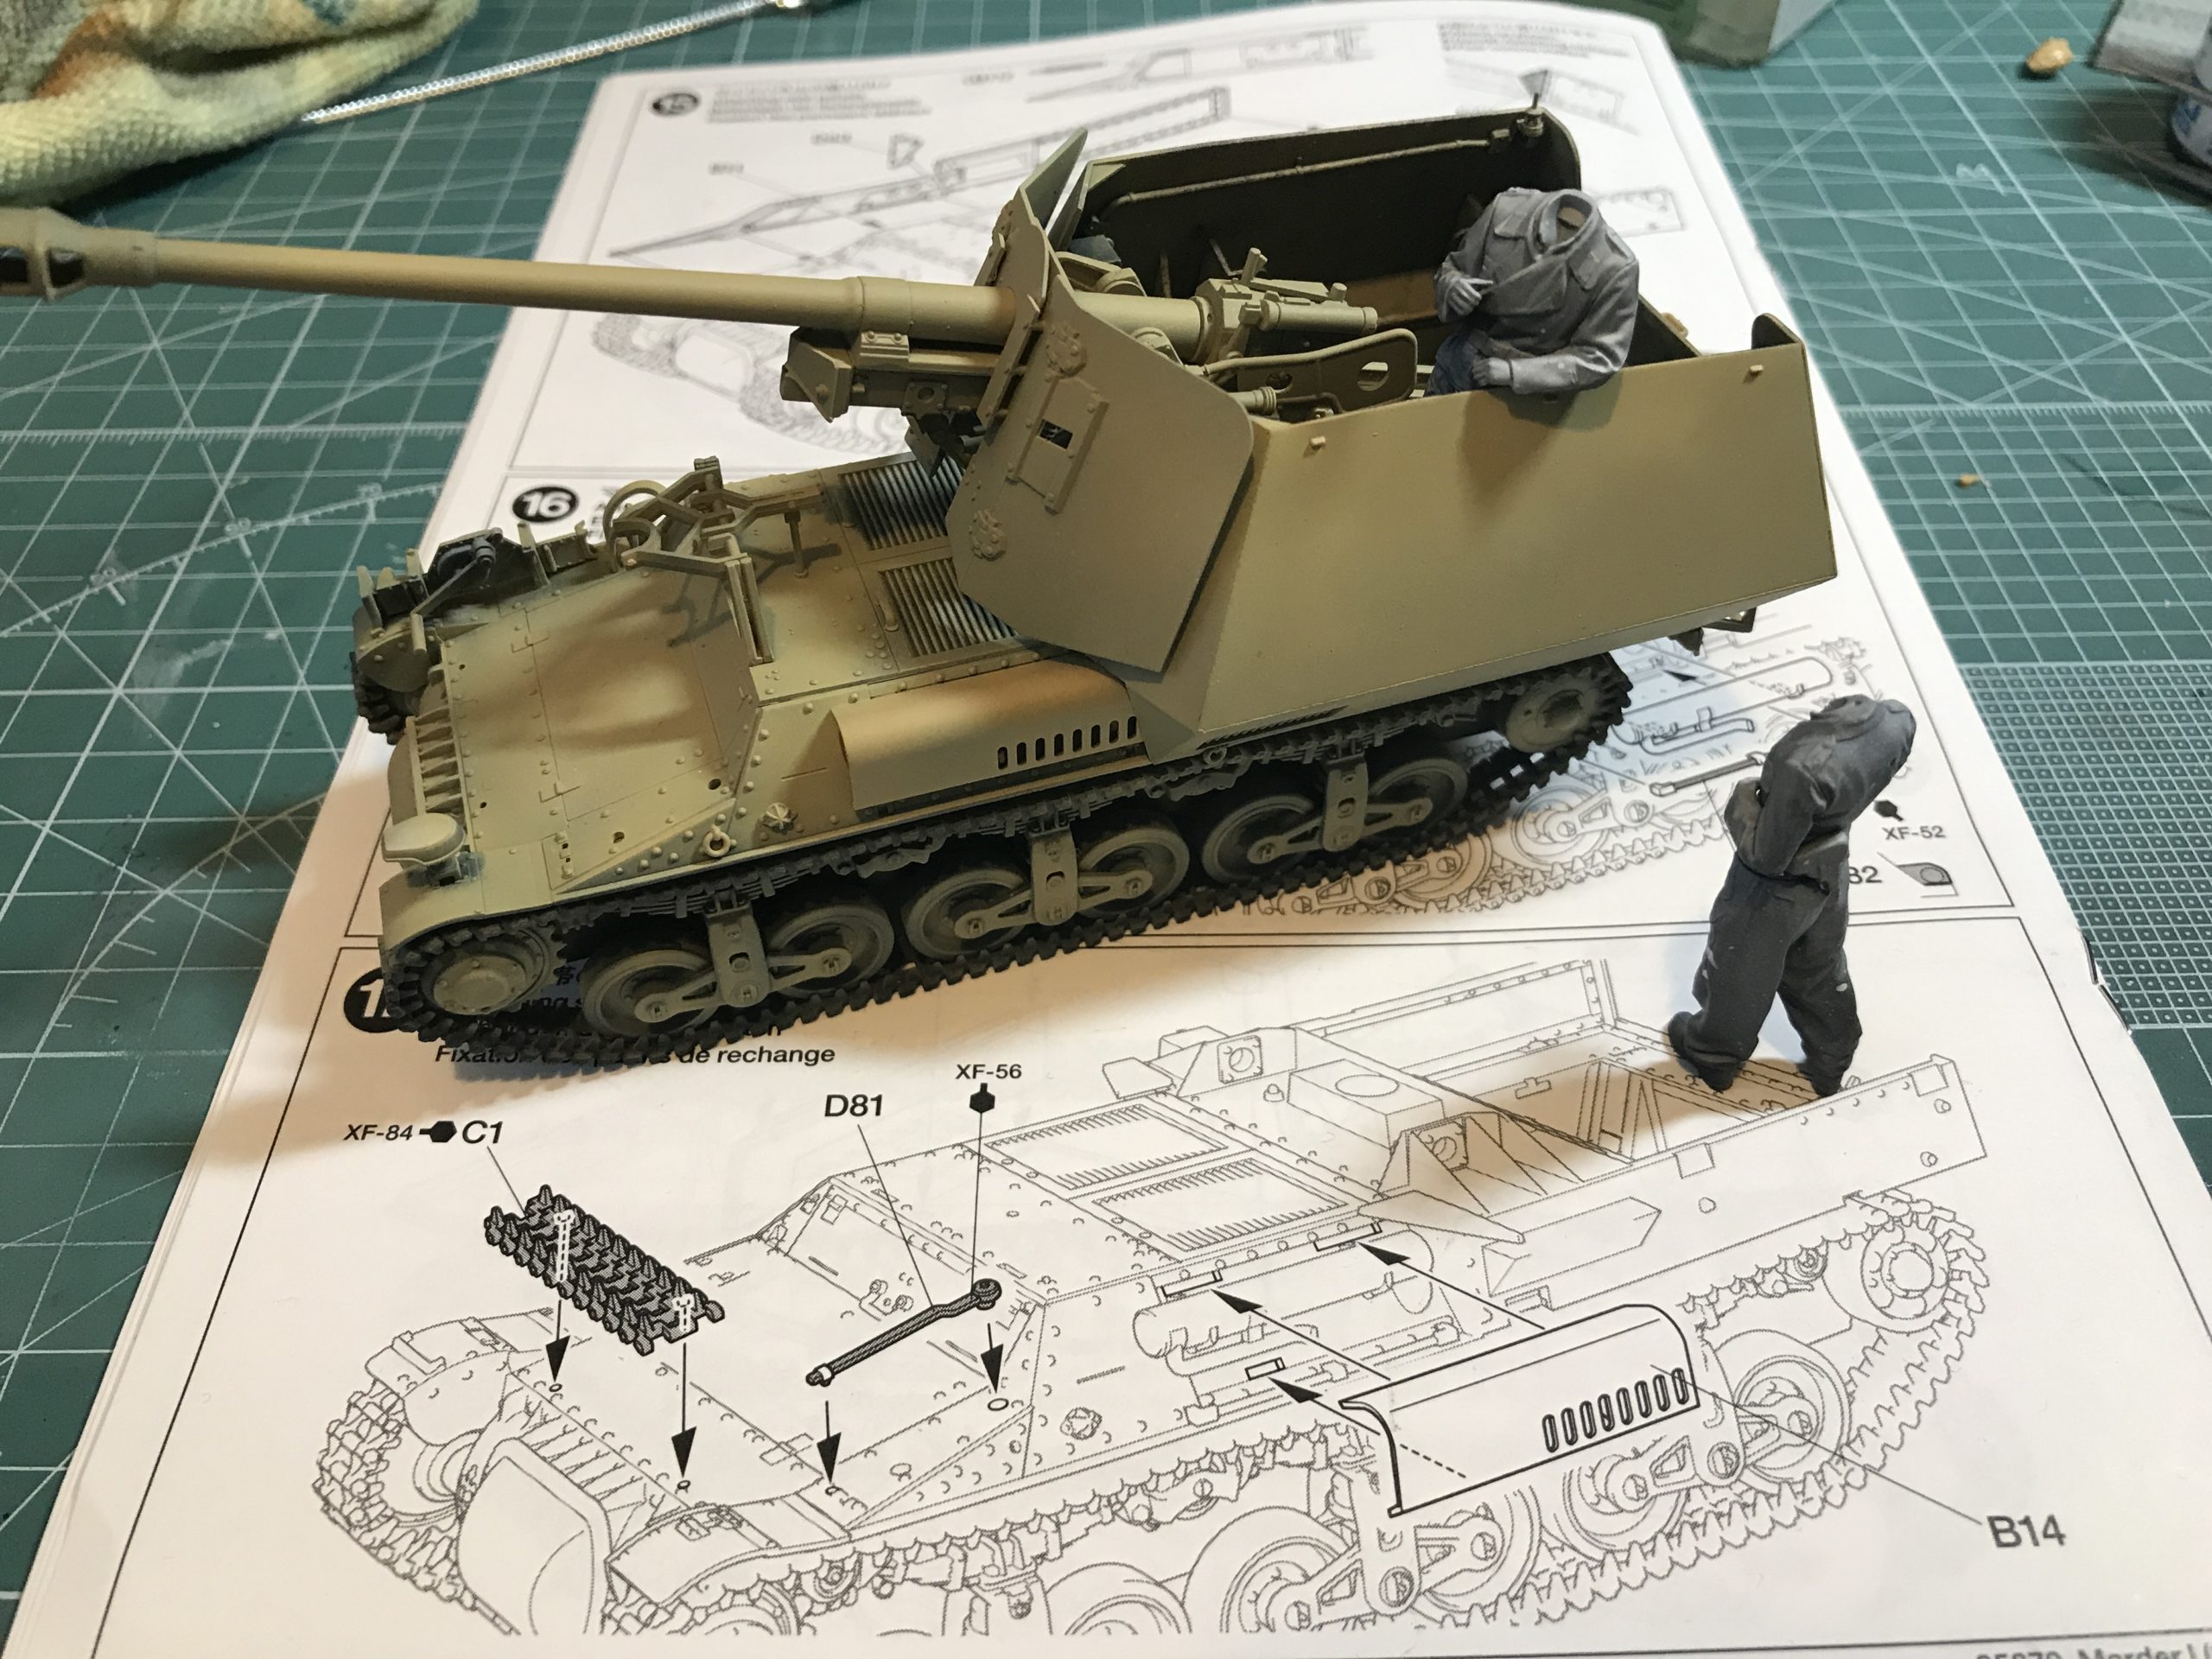
Work can now begin on the main gun. Basically another kit in it’s own right with many detailed parts. The only possible way to convey so many steps and parts is via another montage…
Cue the music. (this time Terry and June)
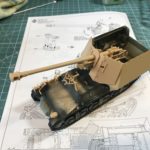
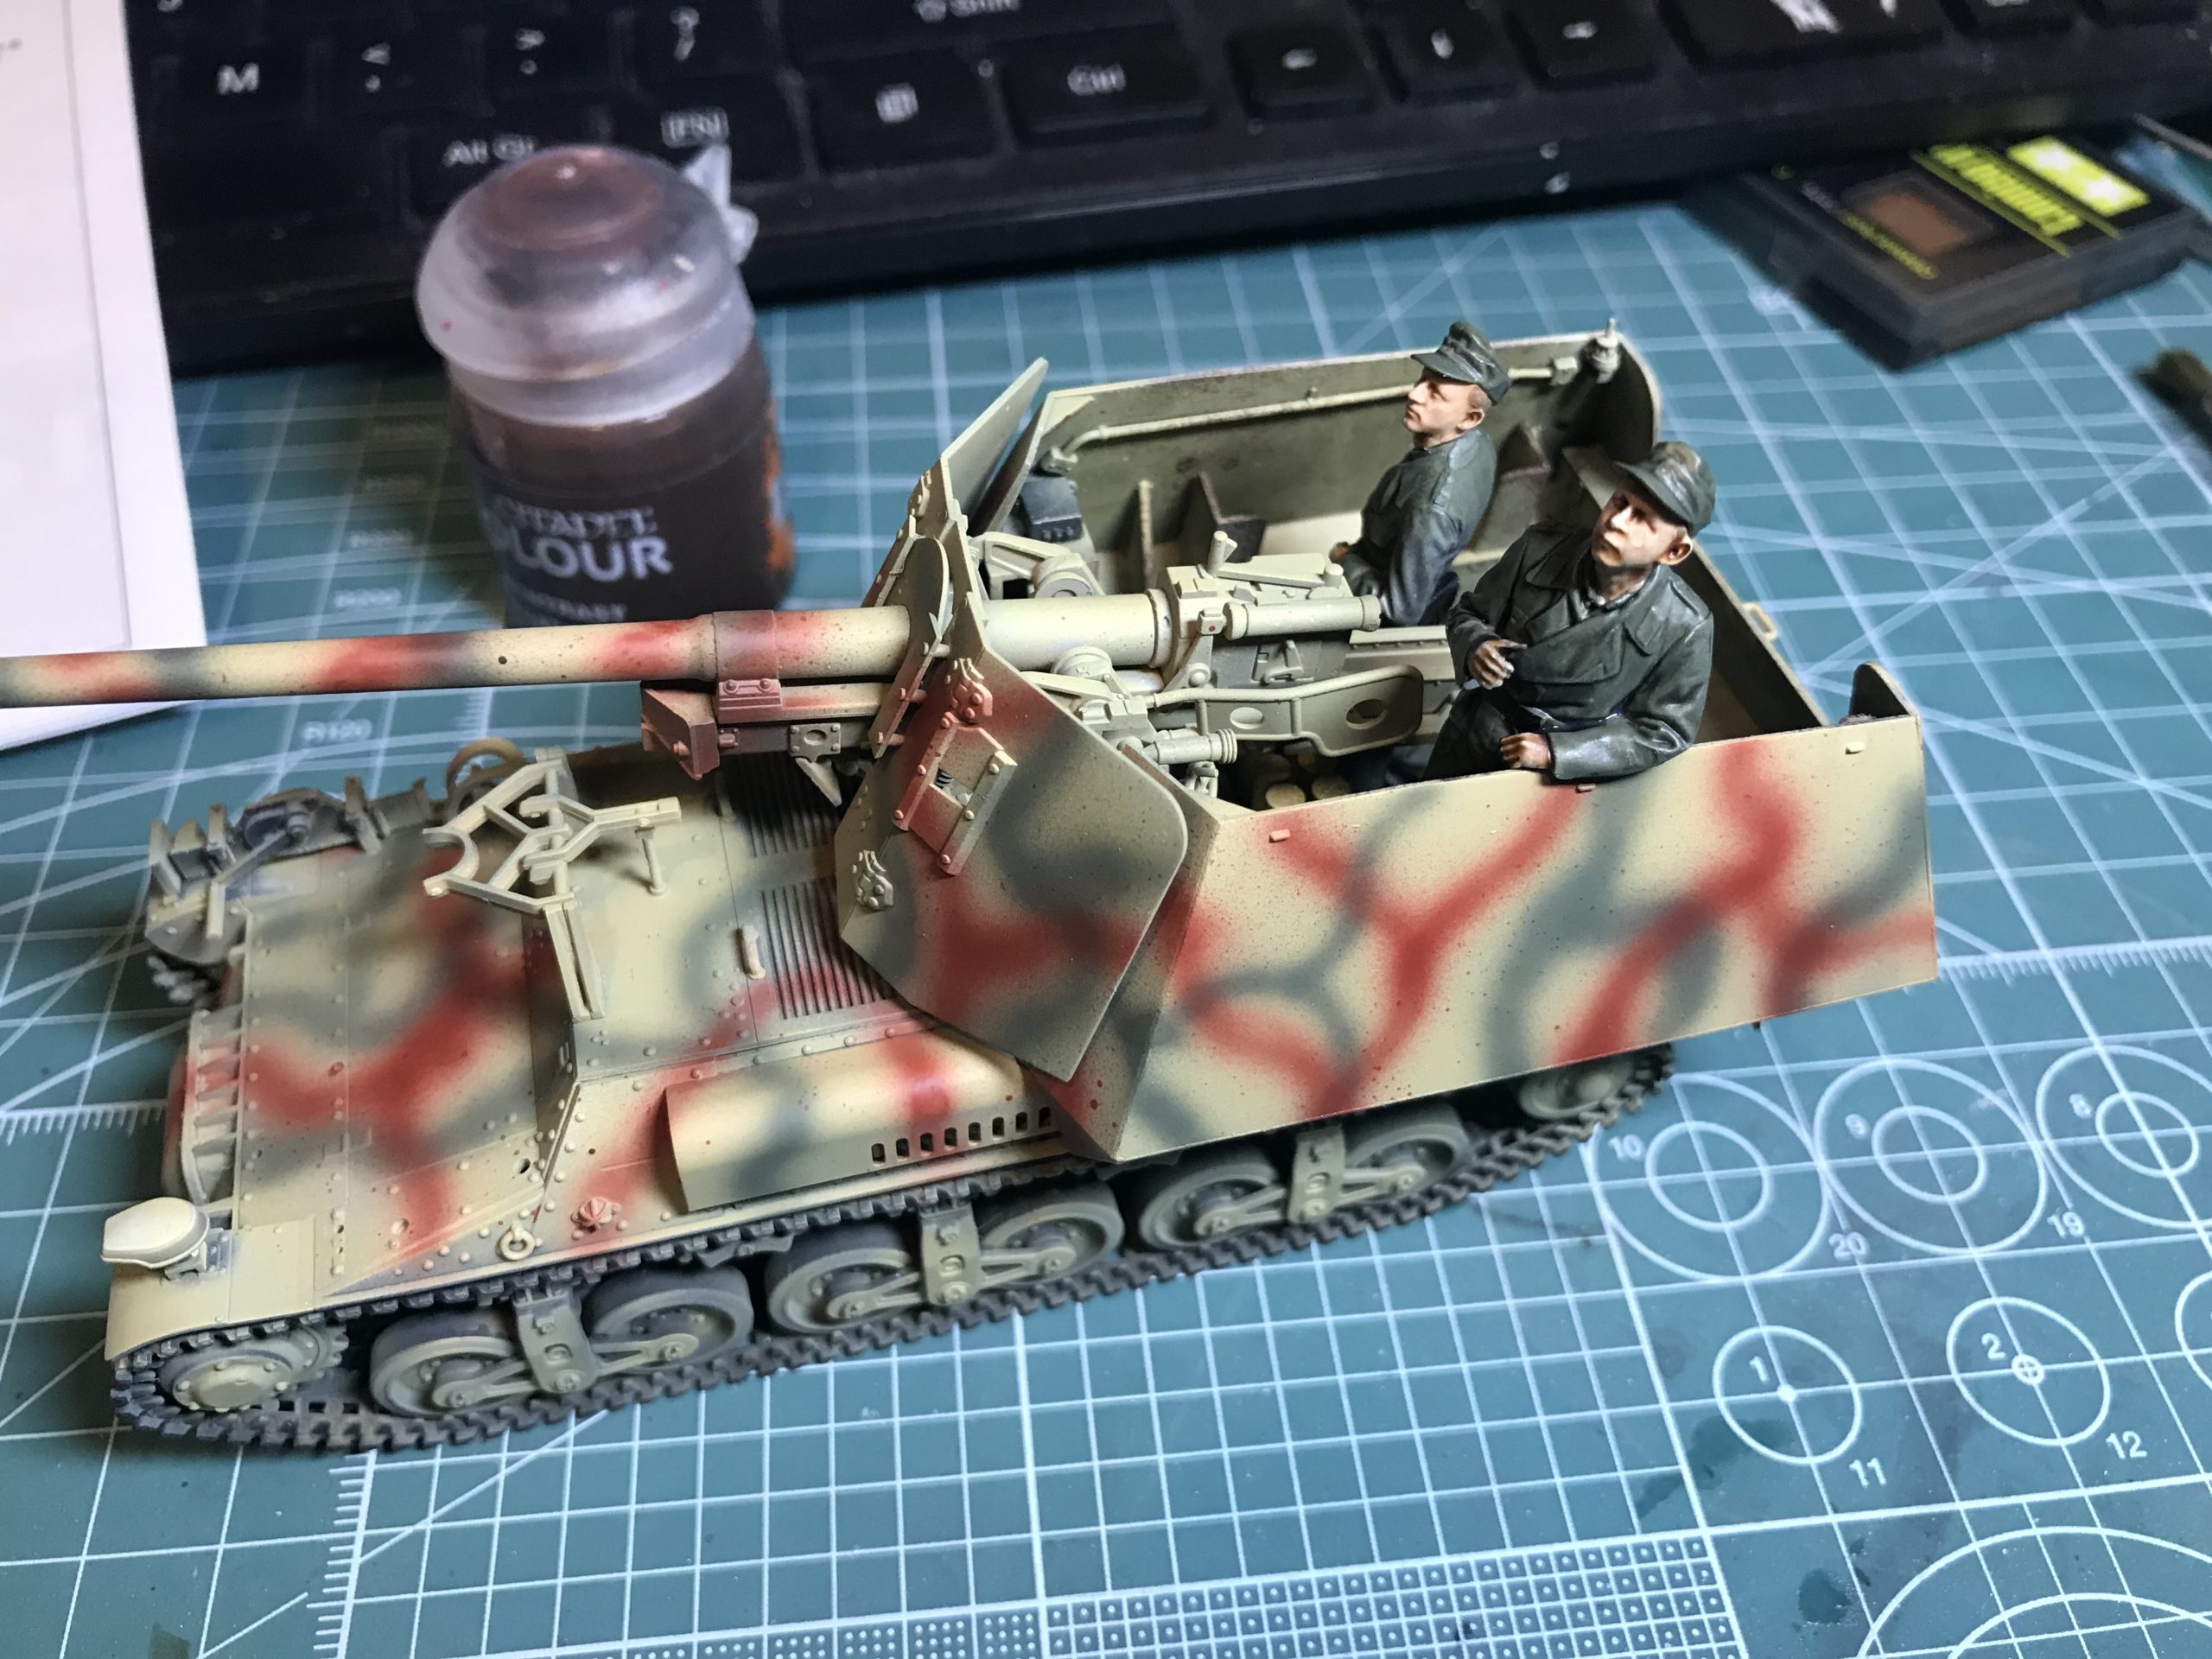
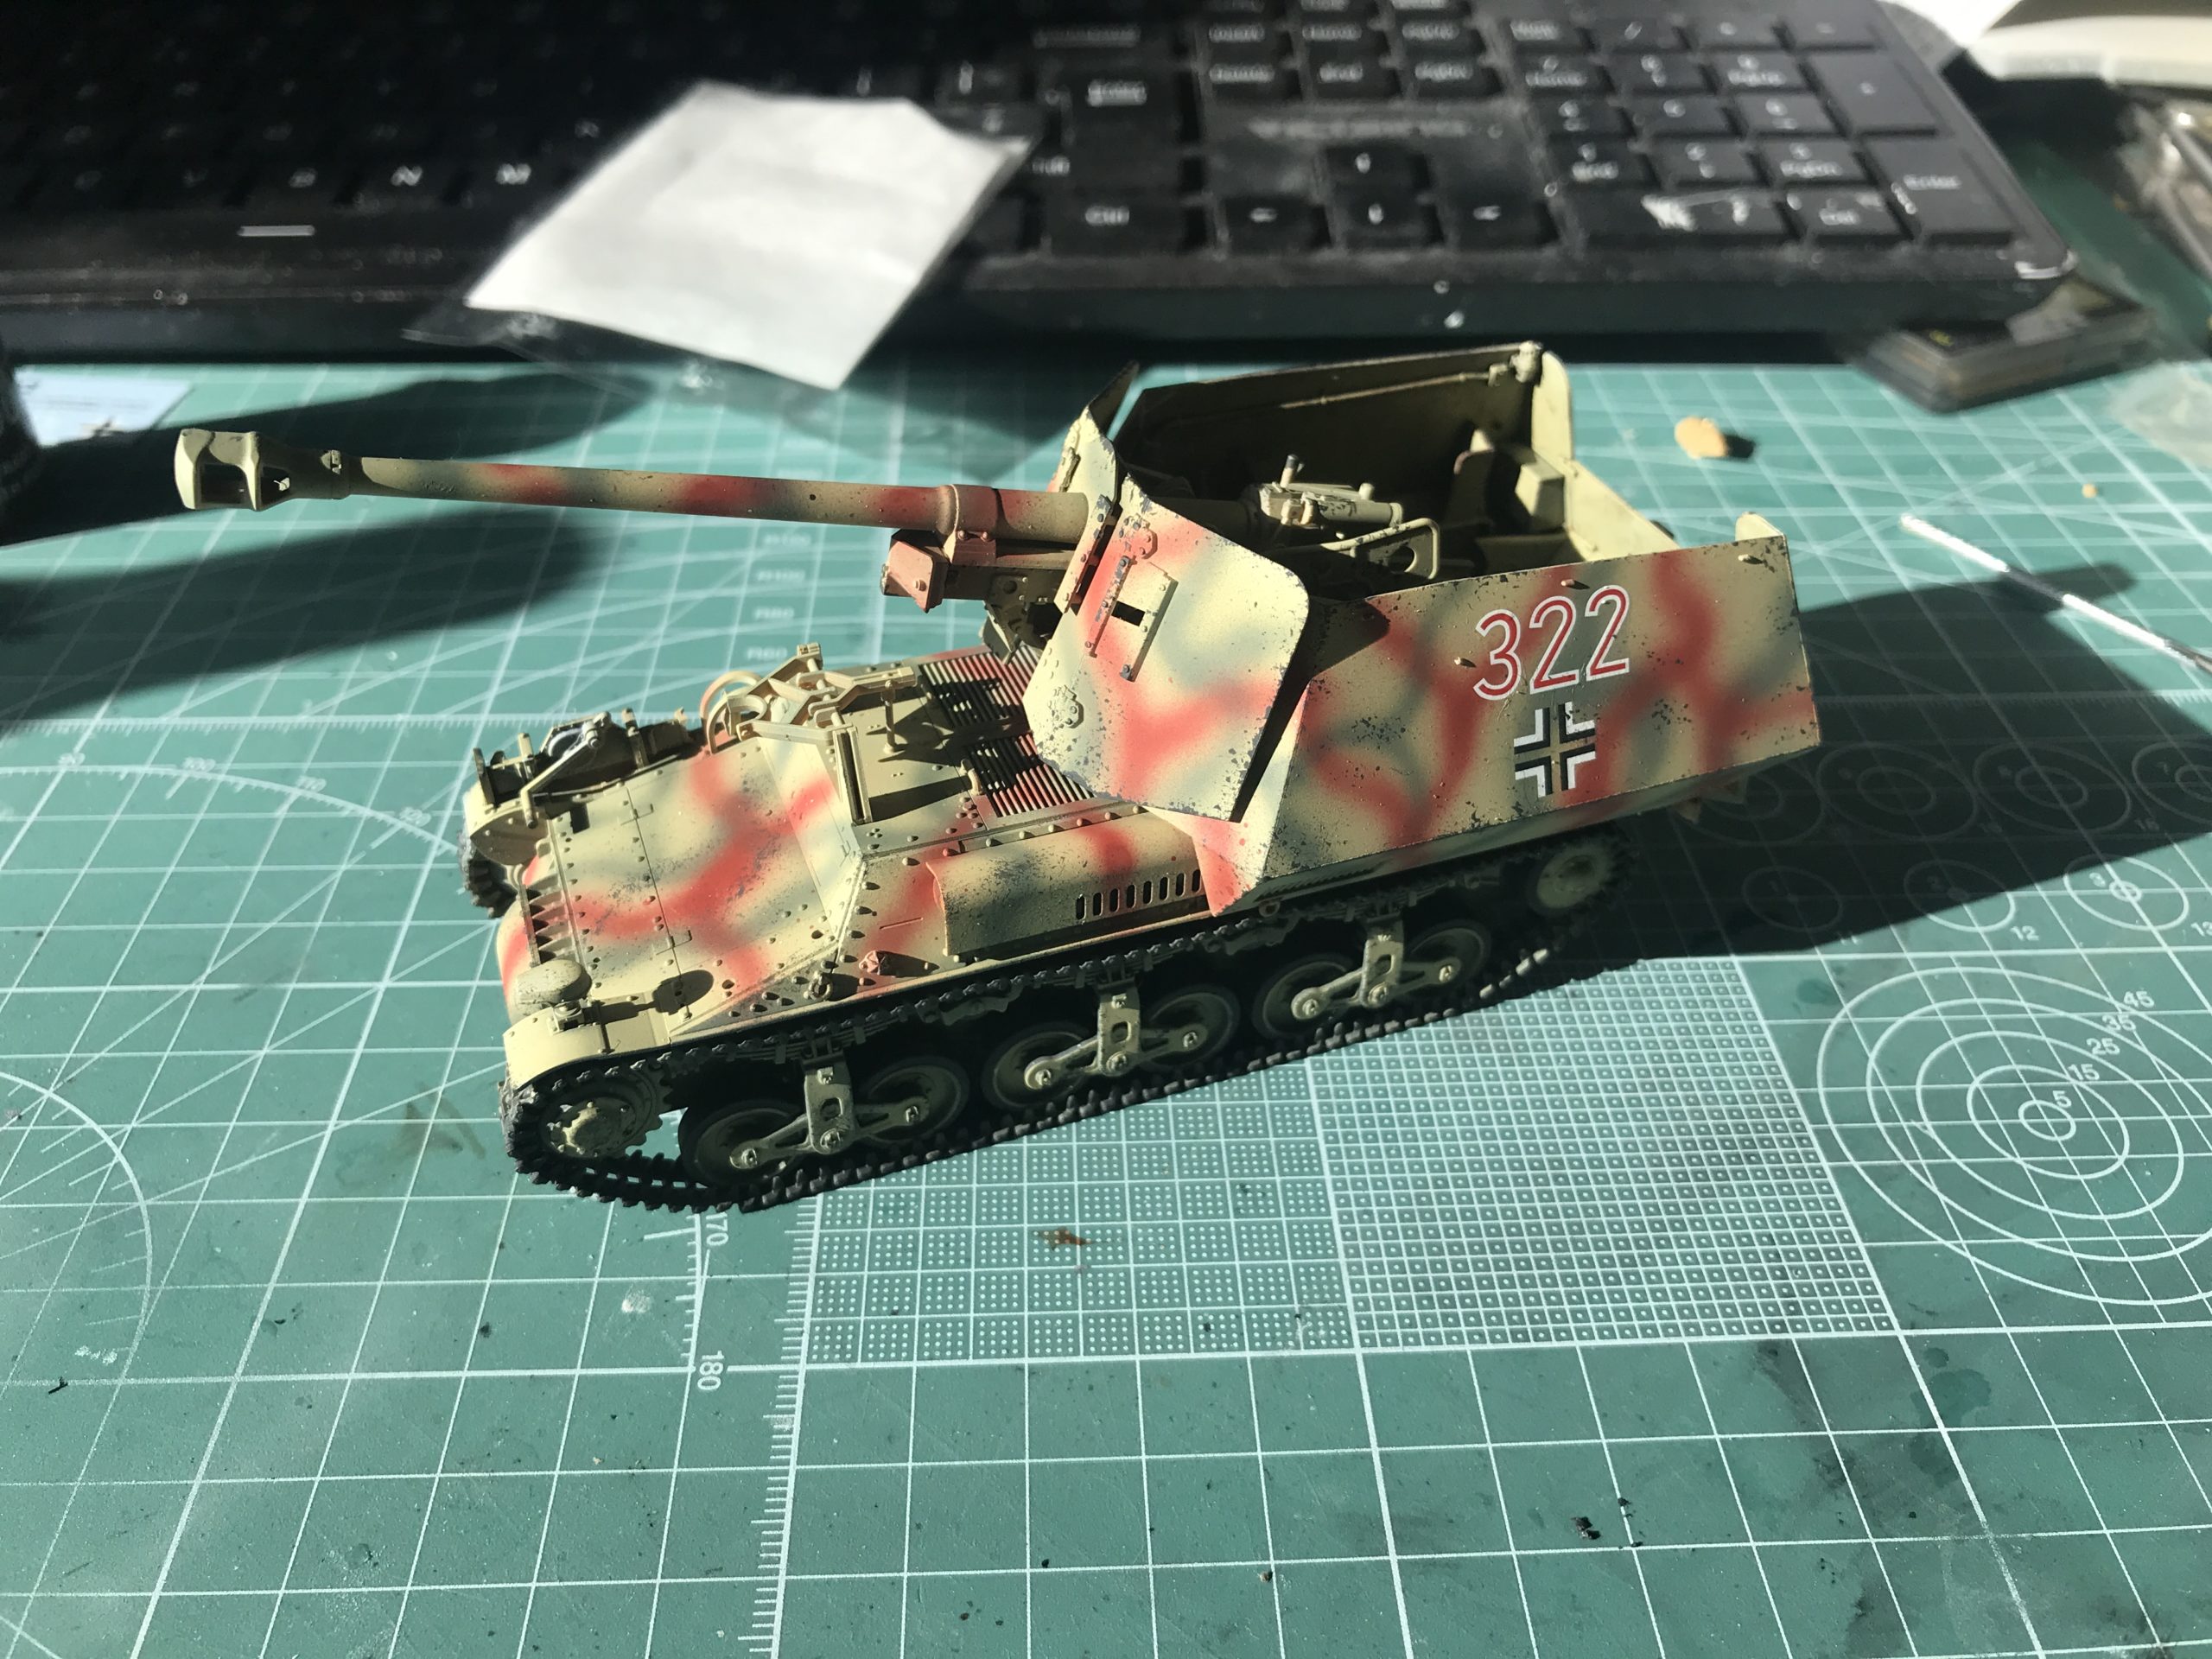
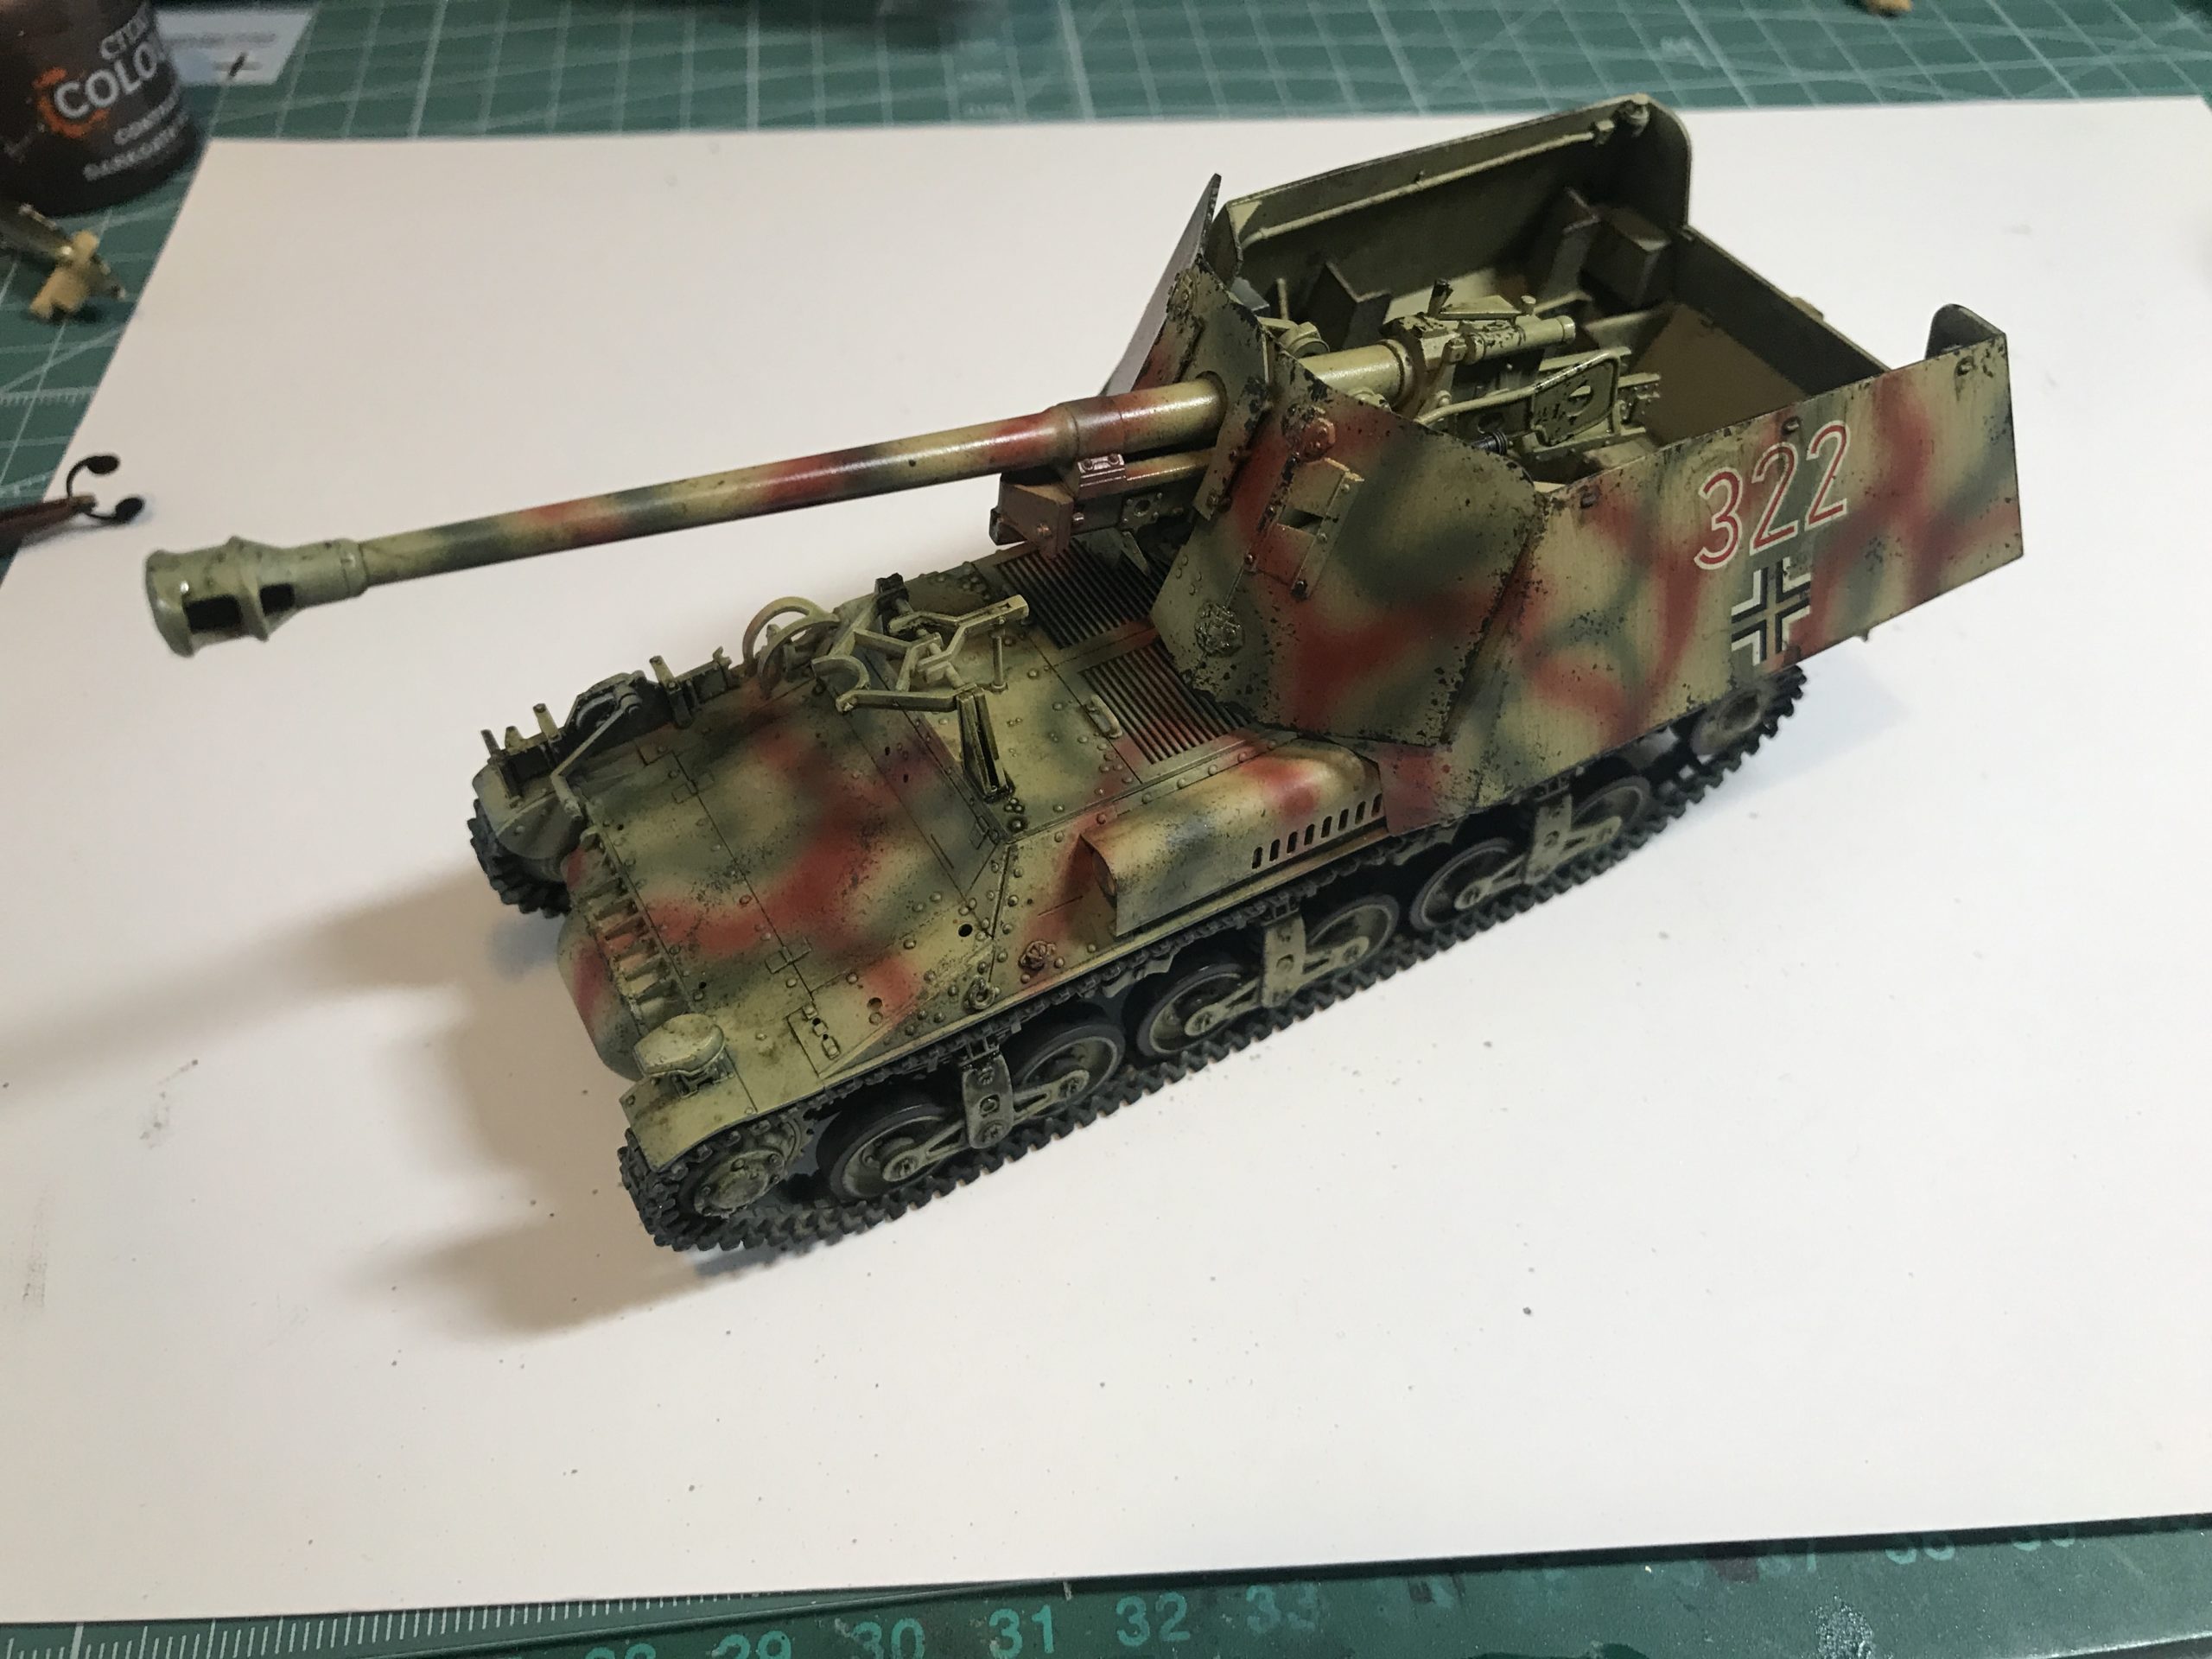
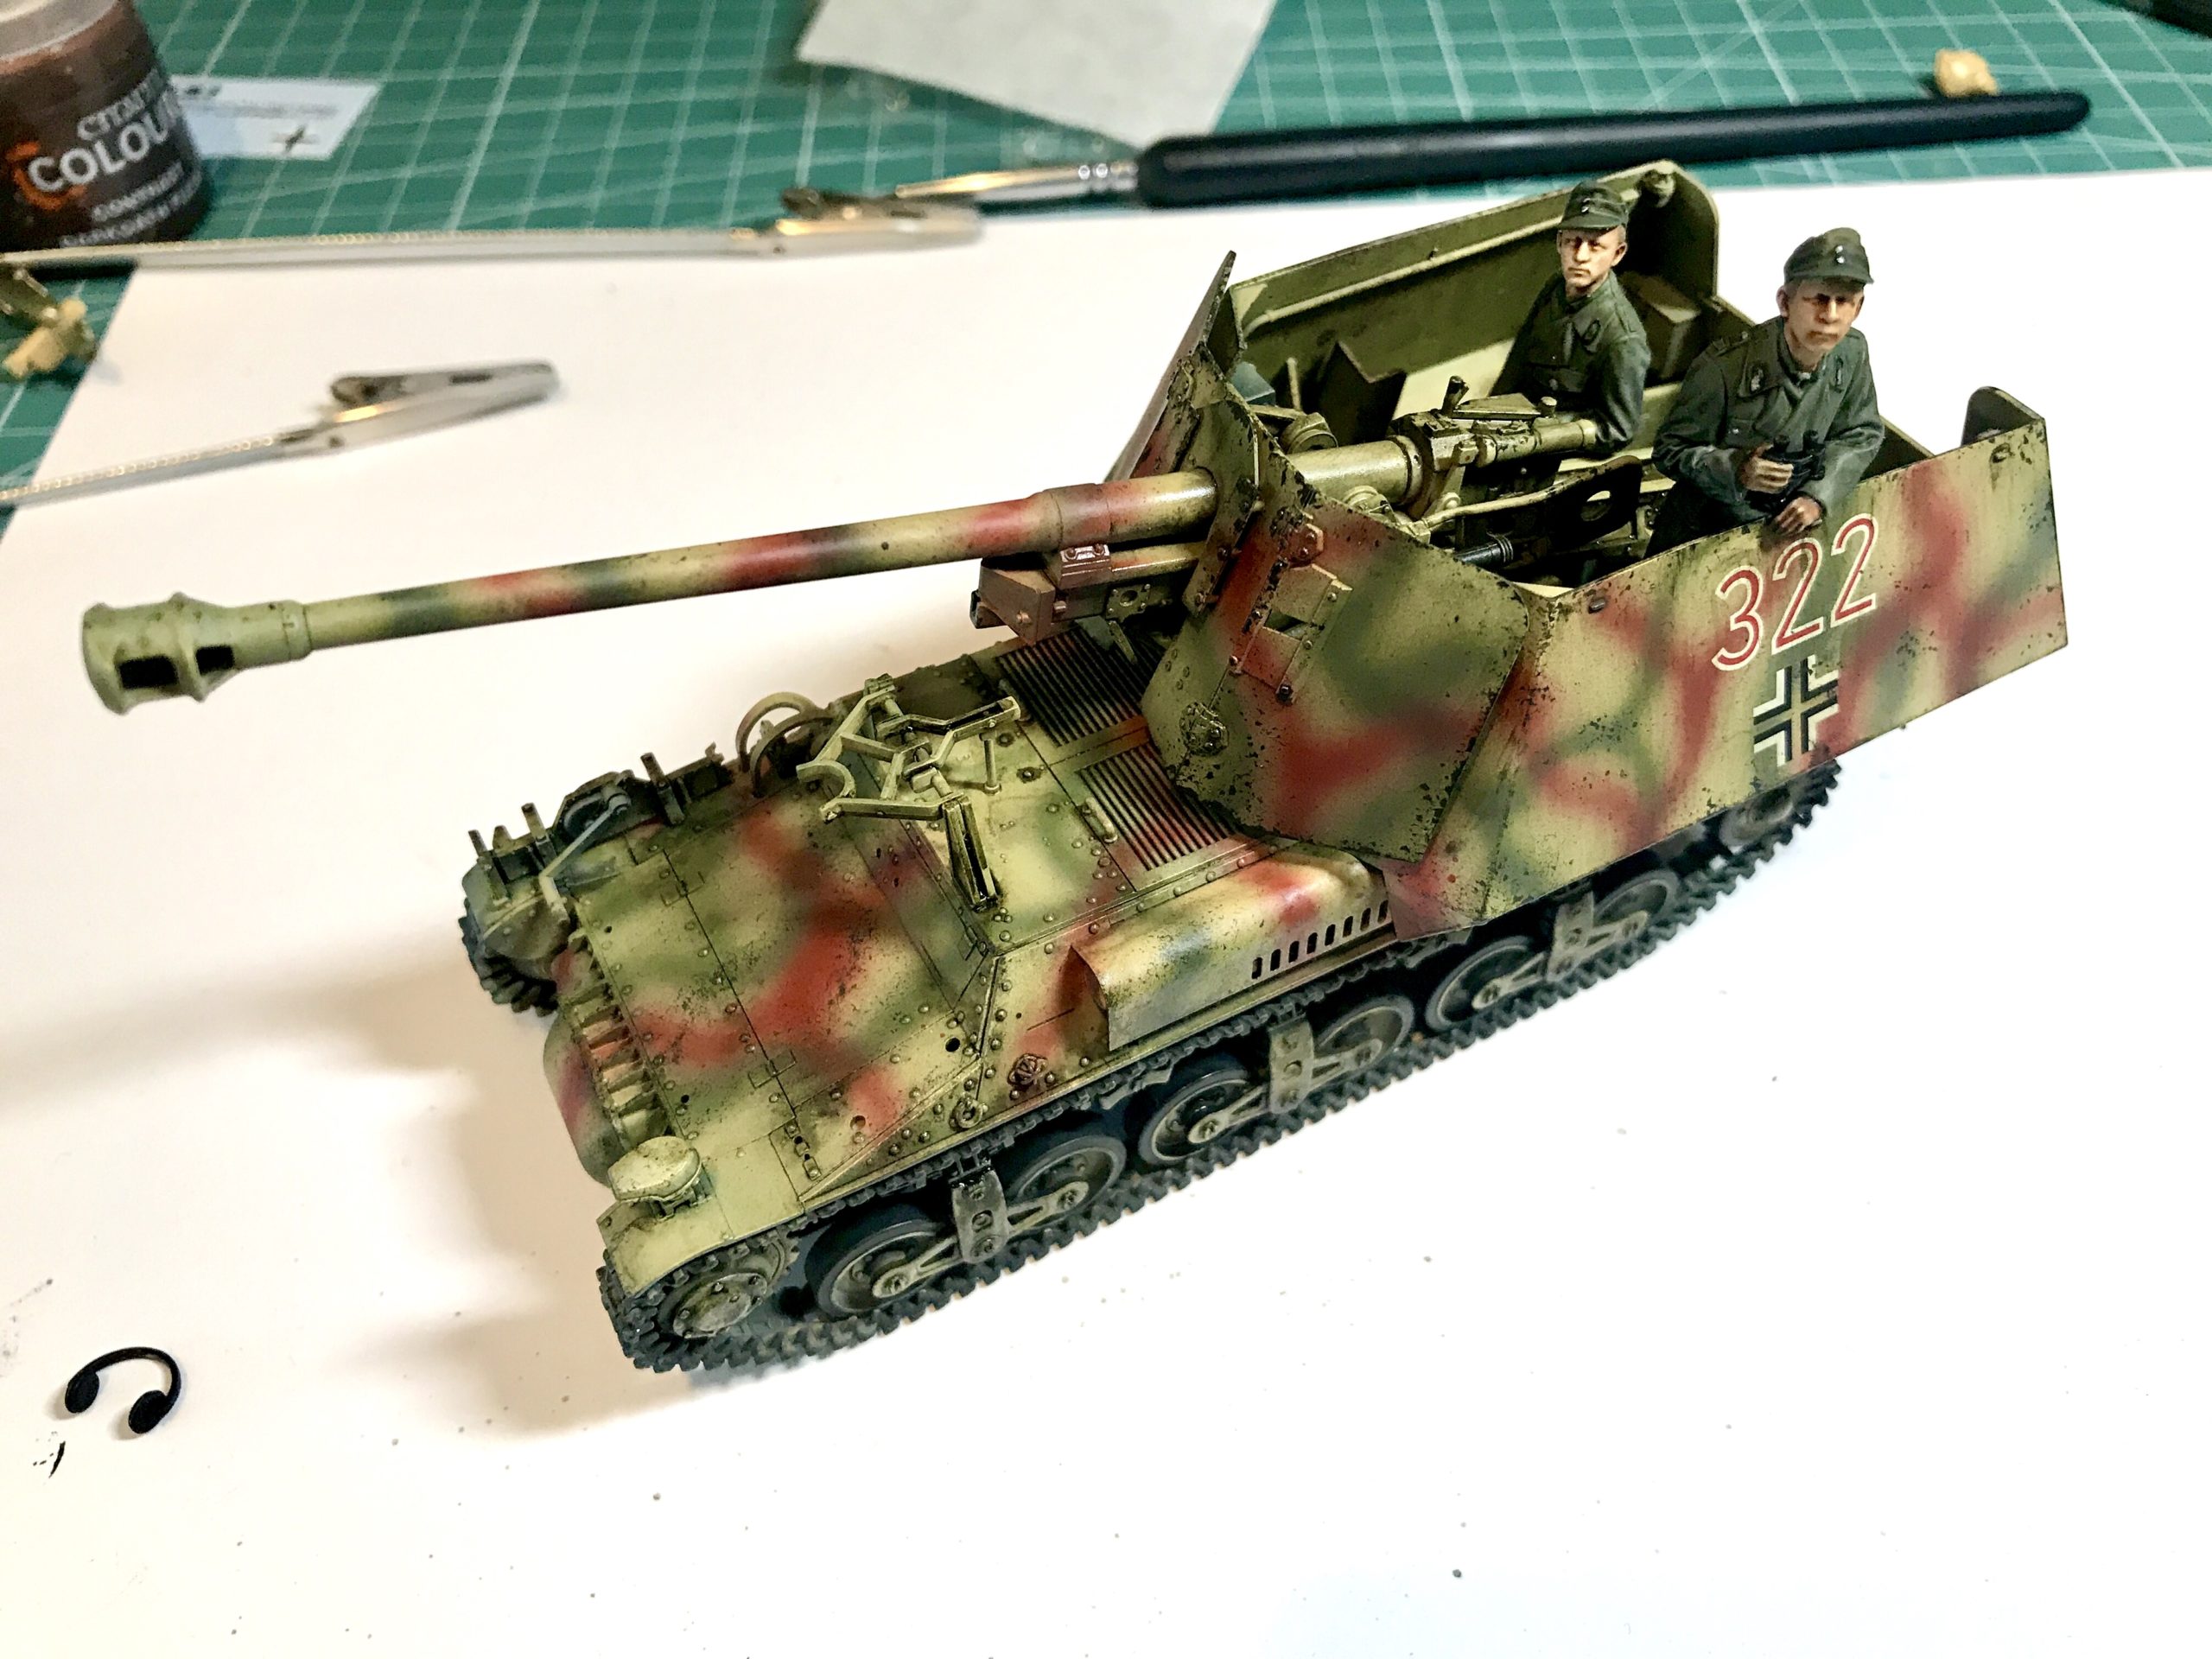
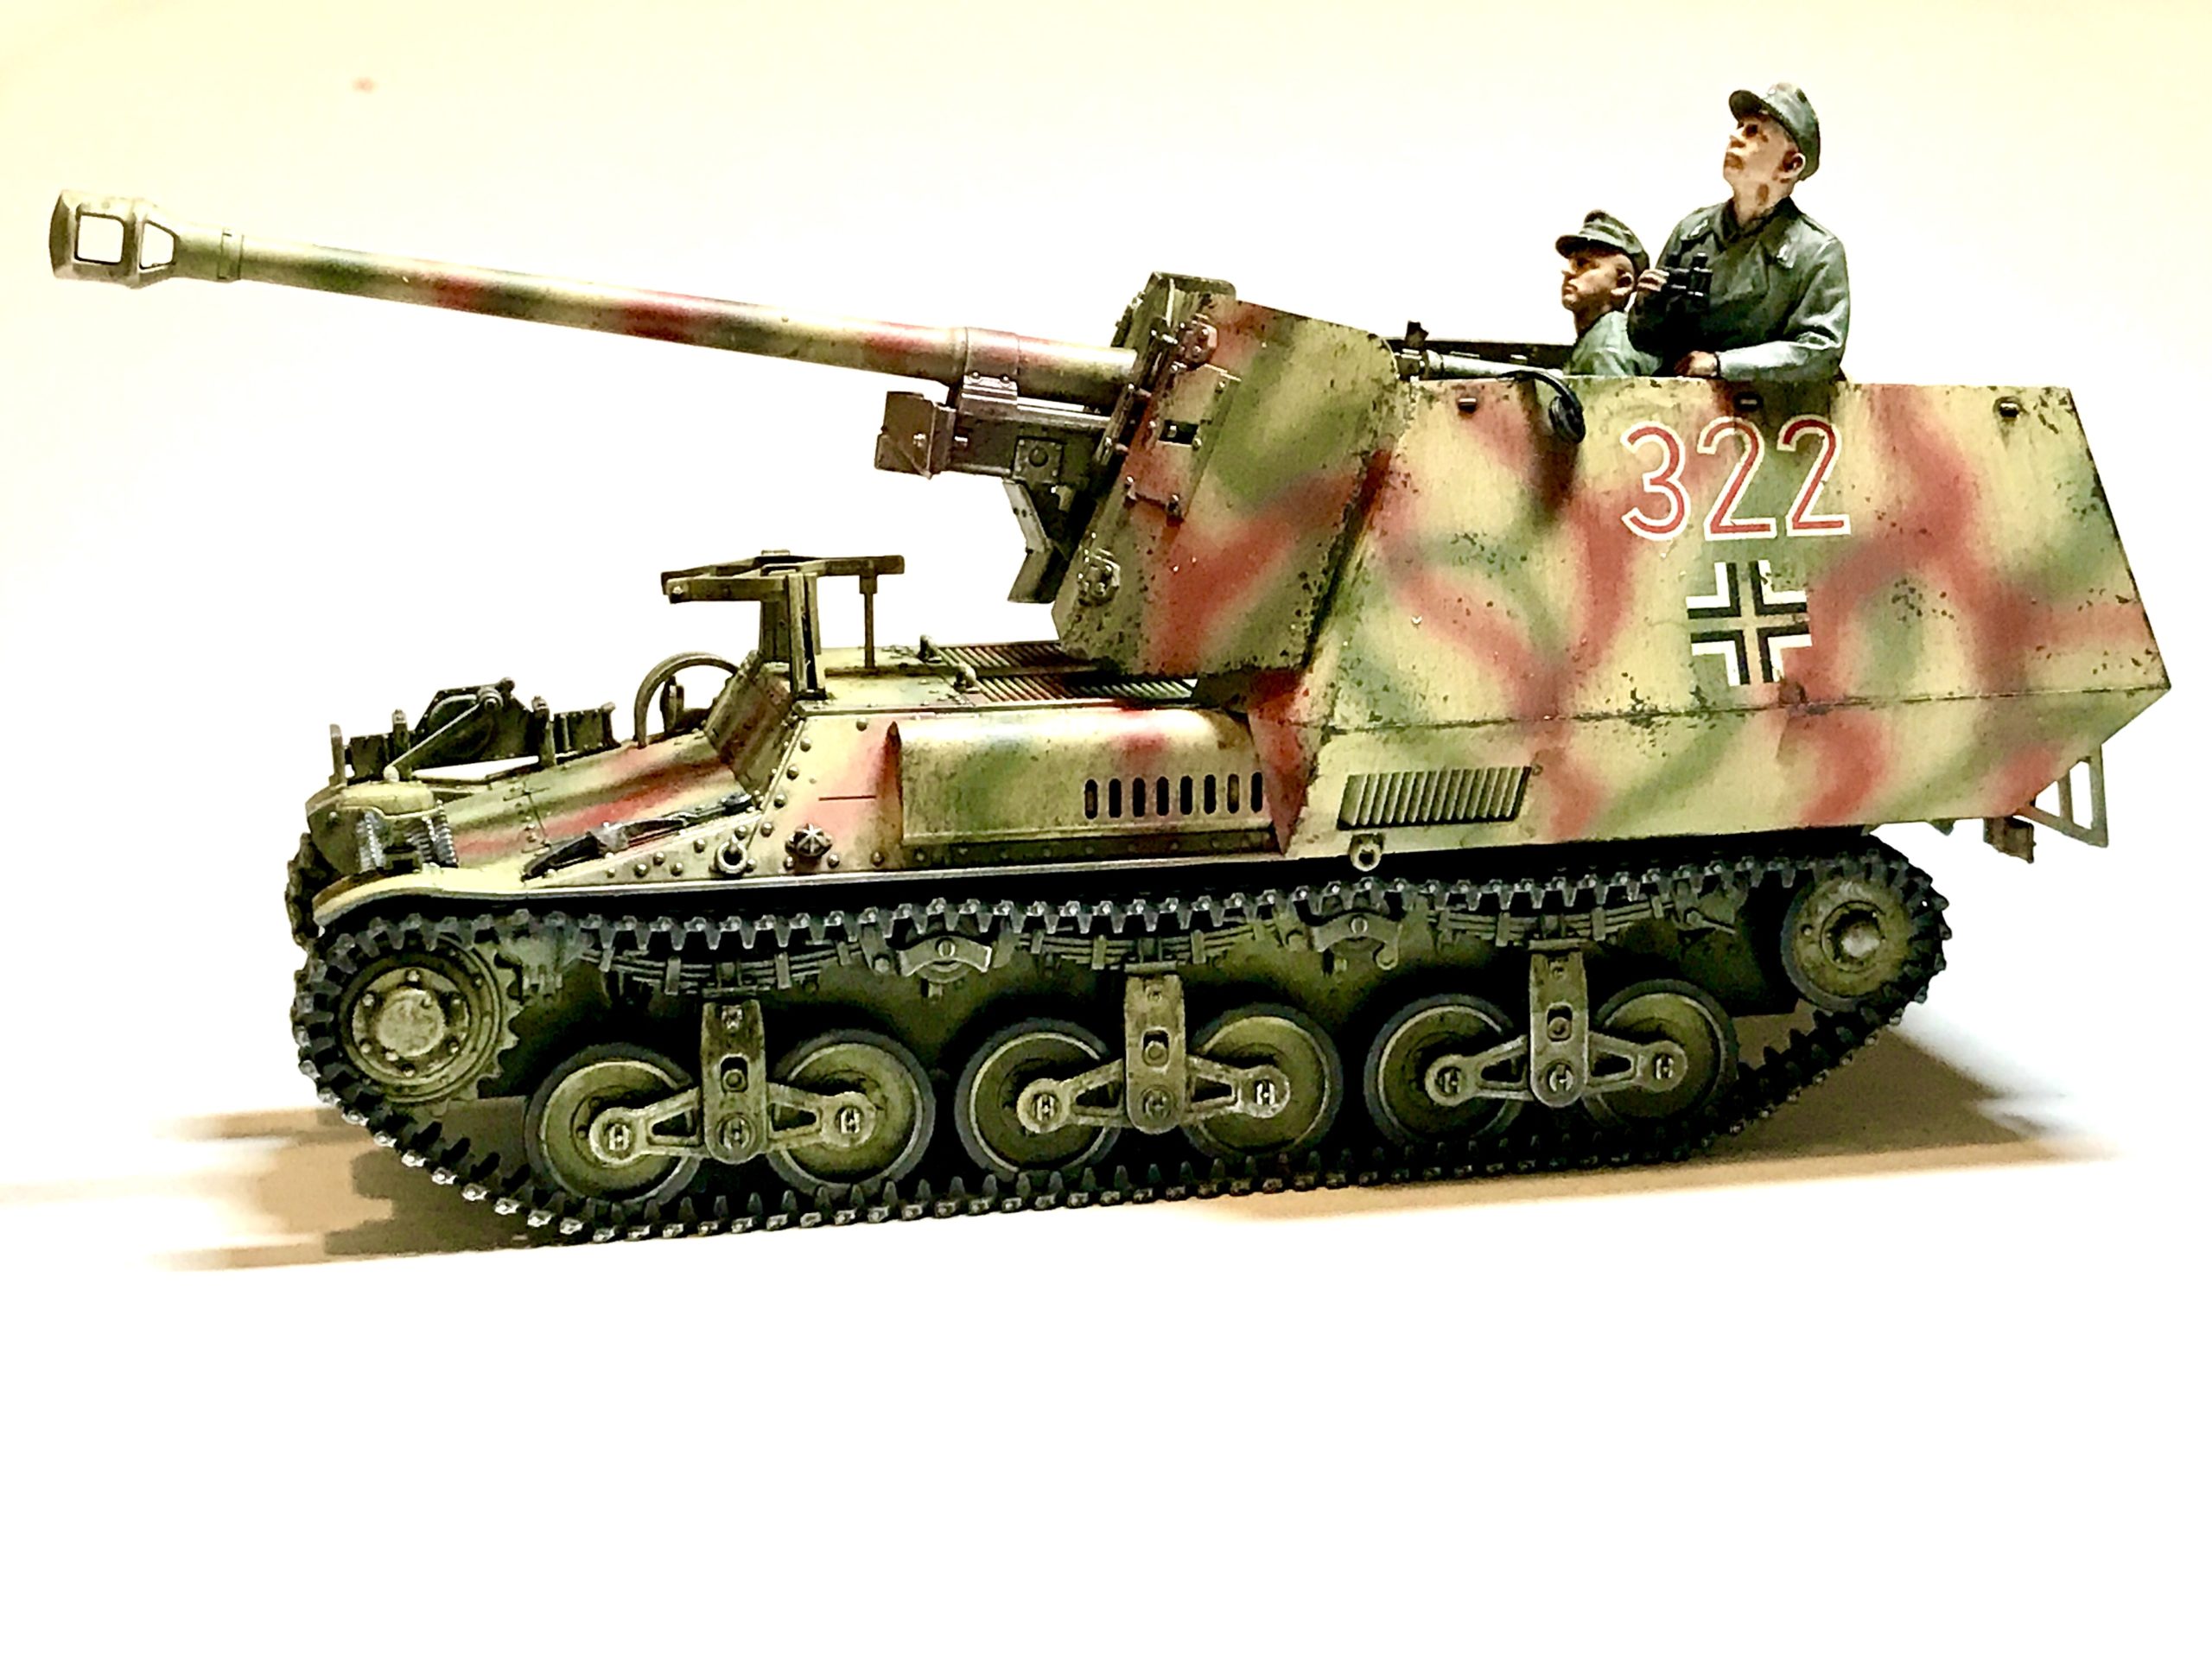
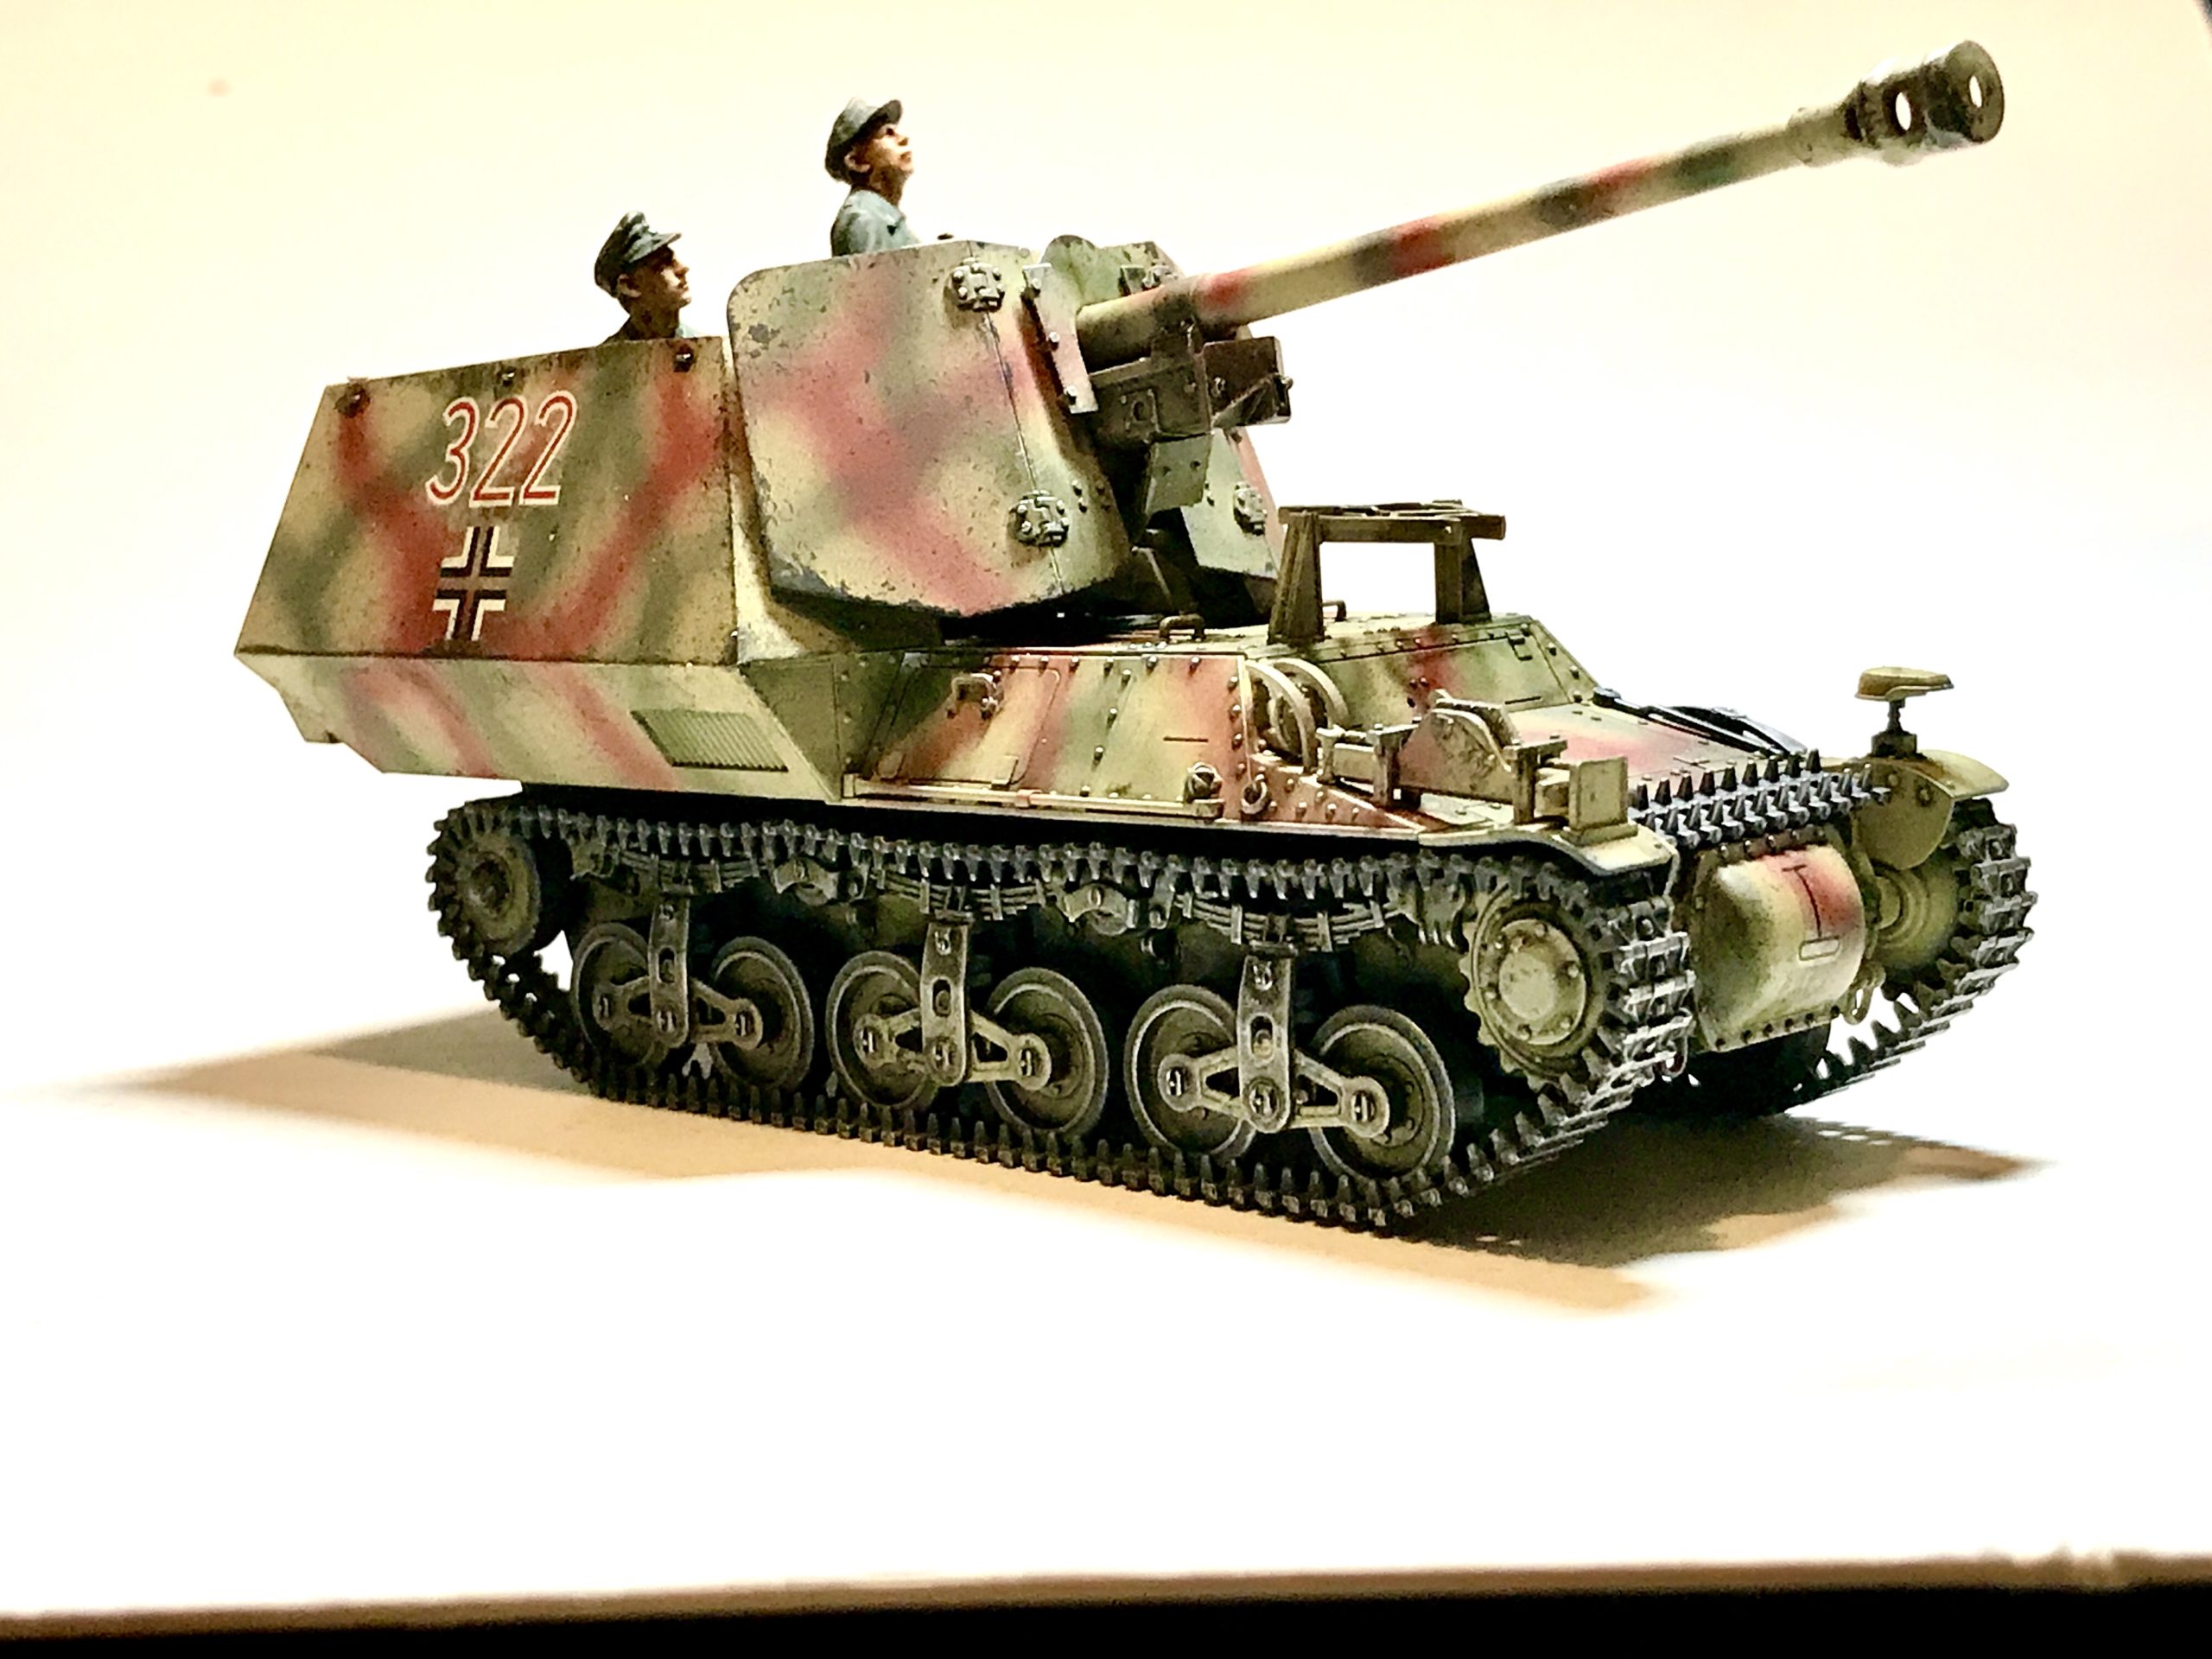
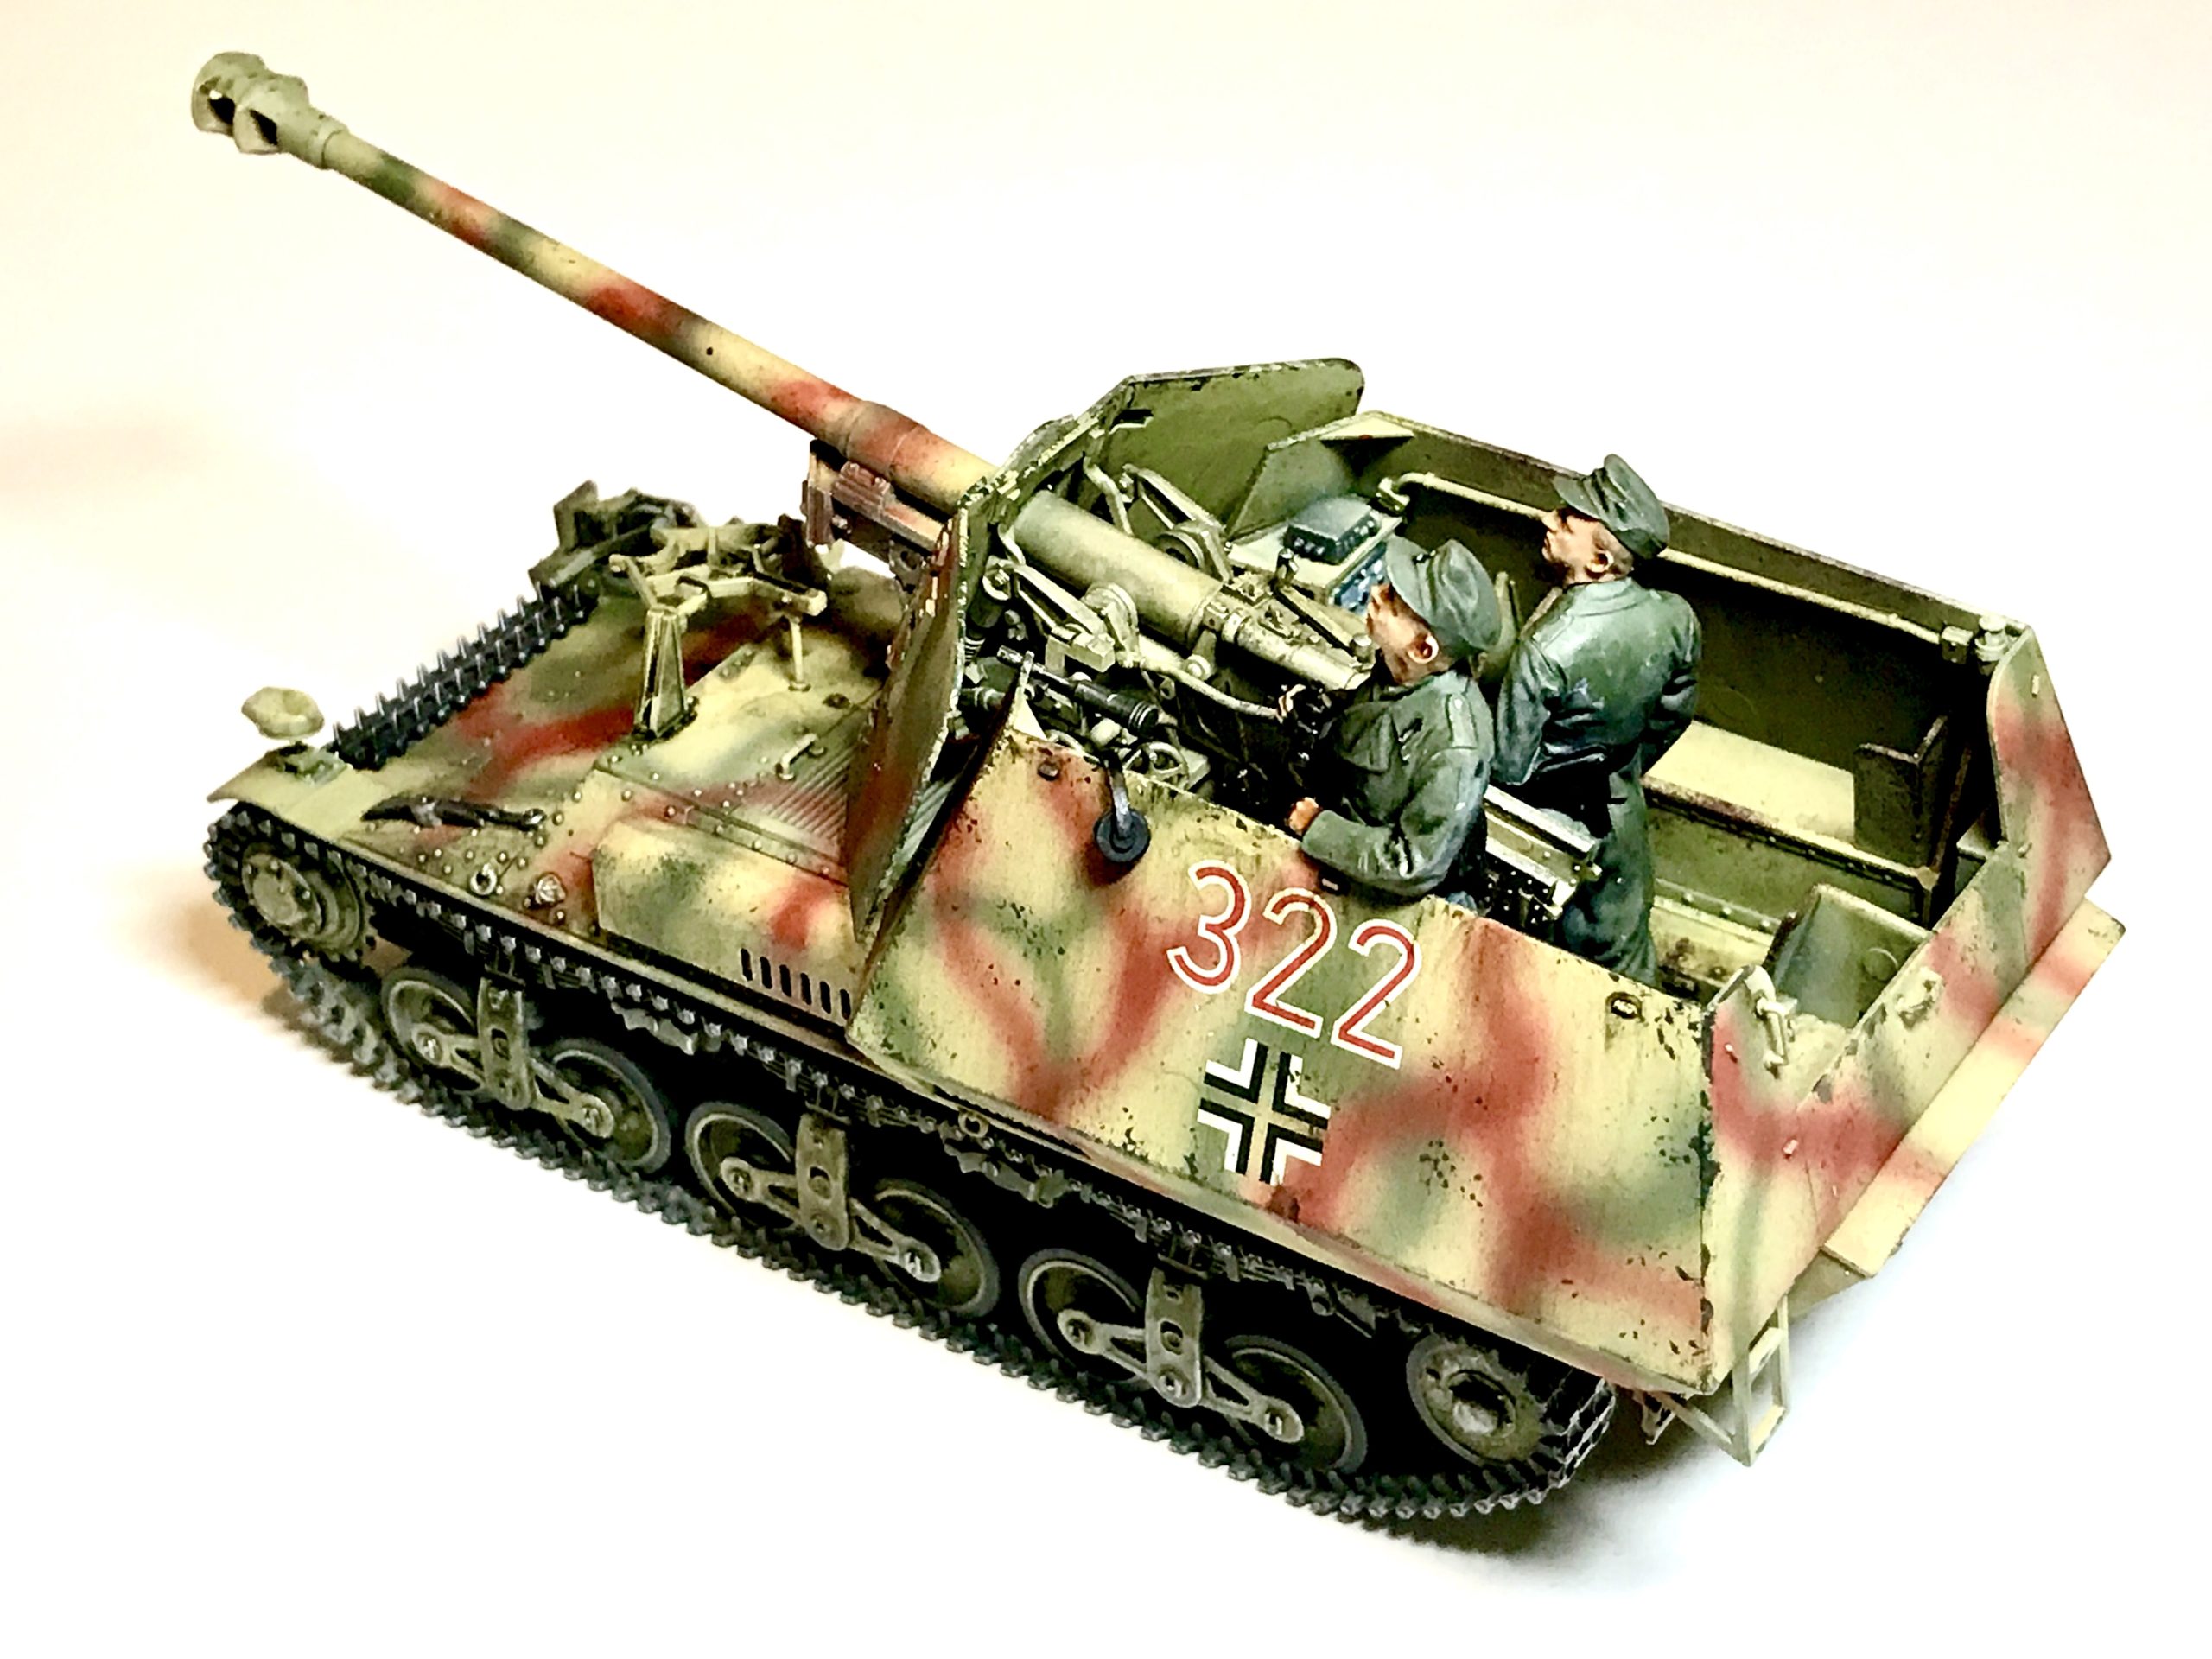
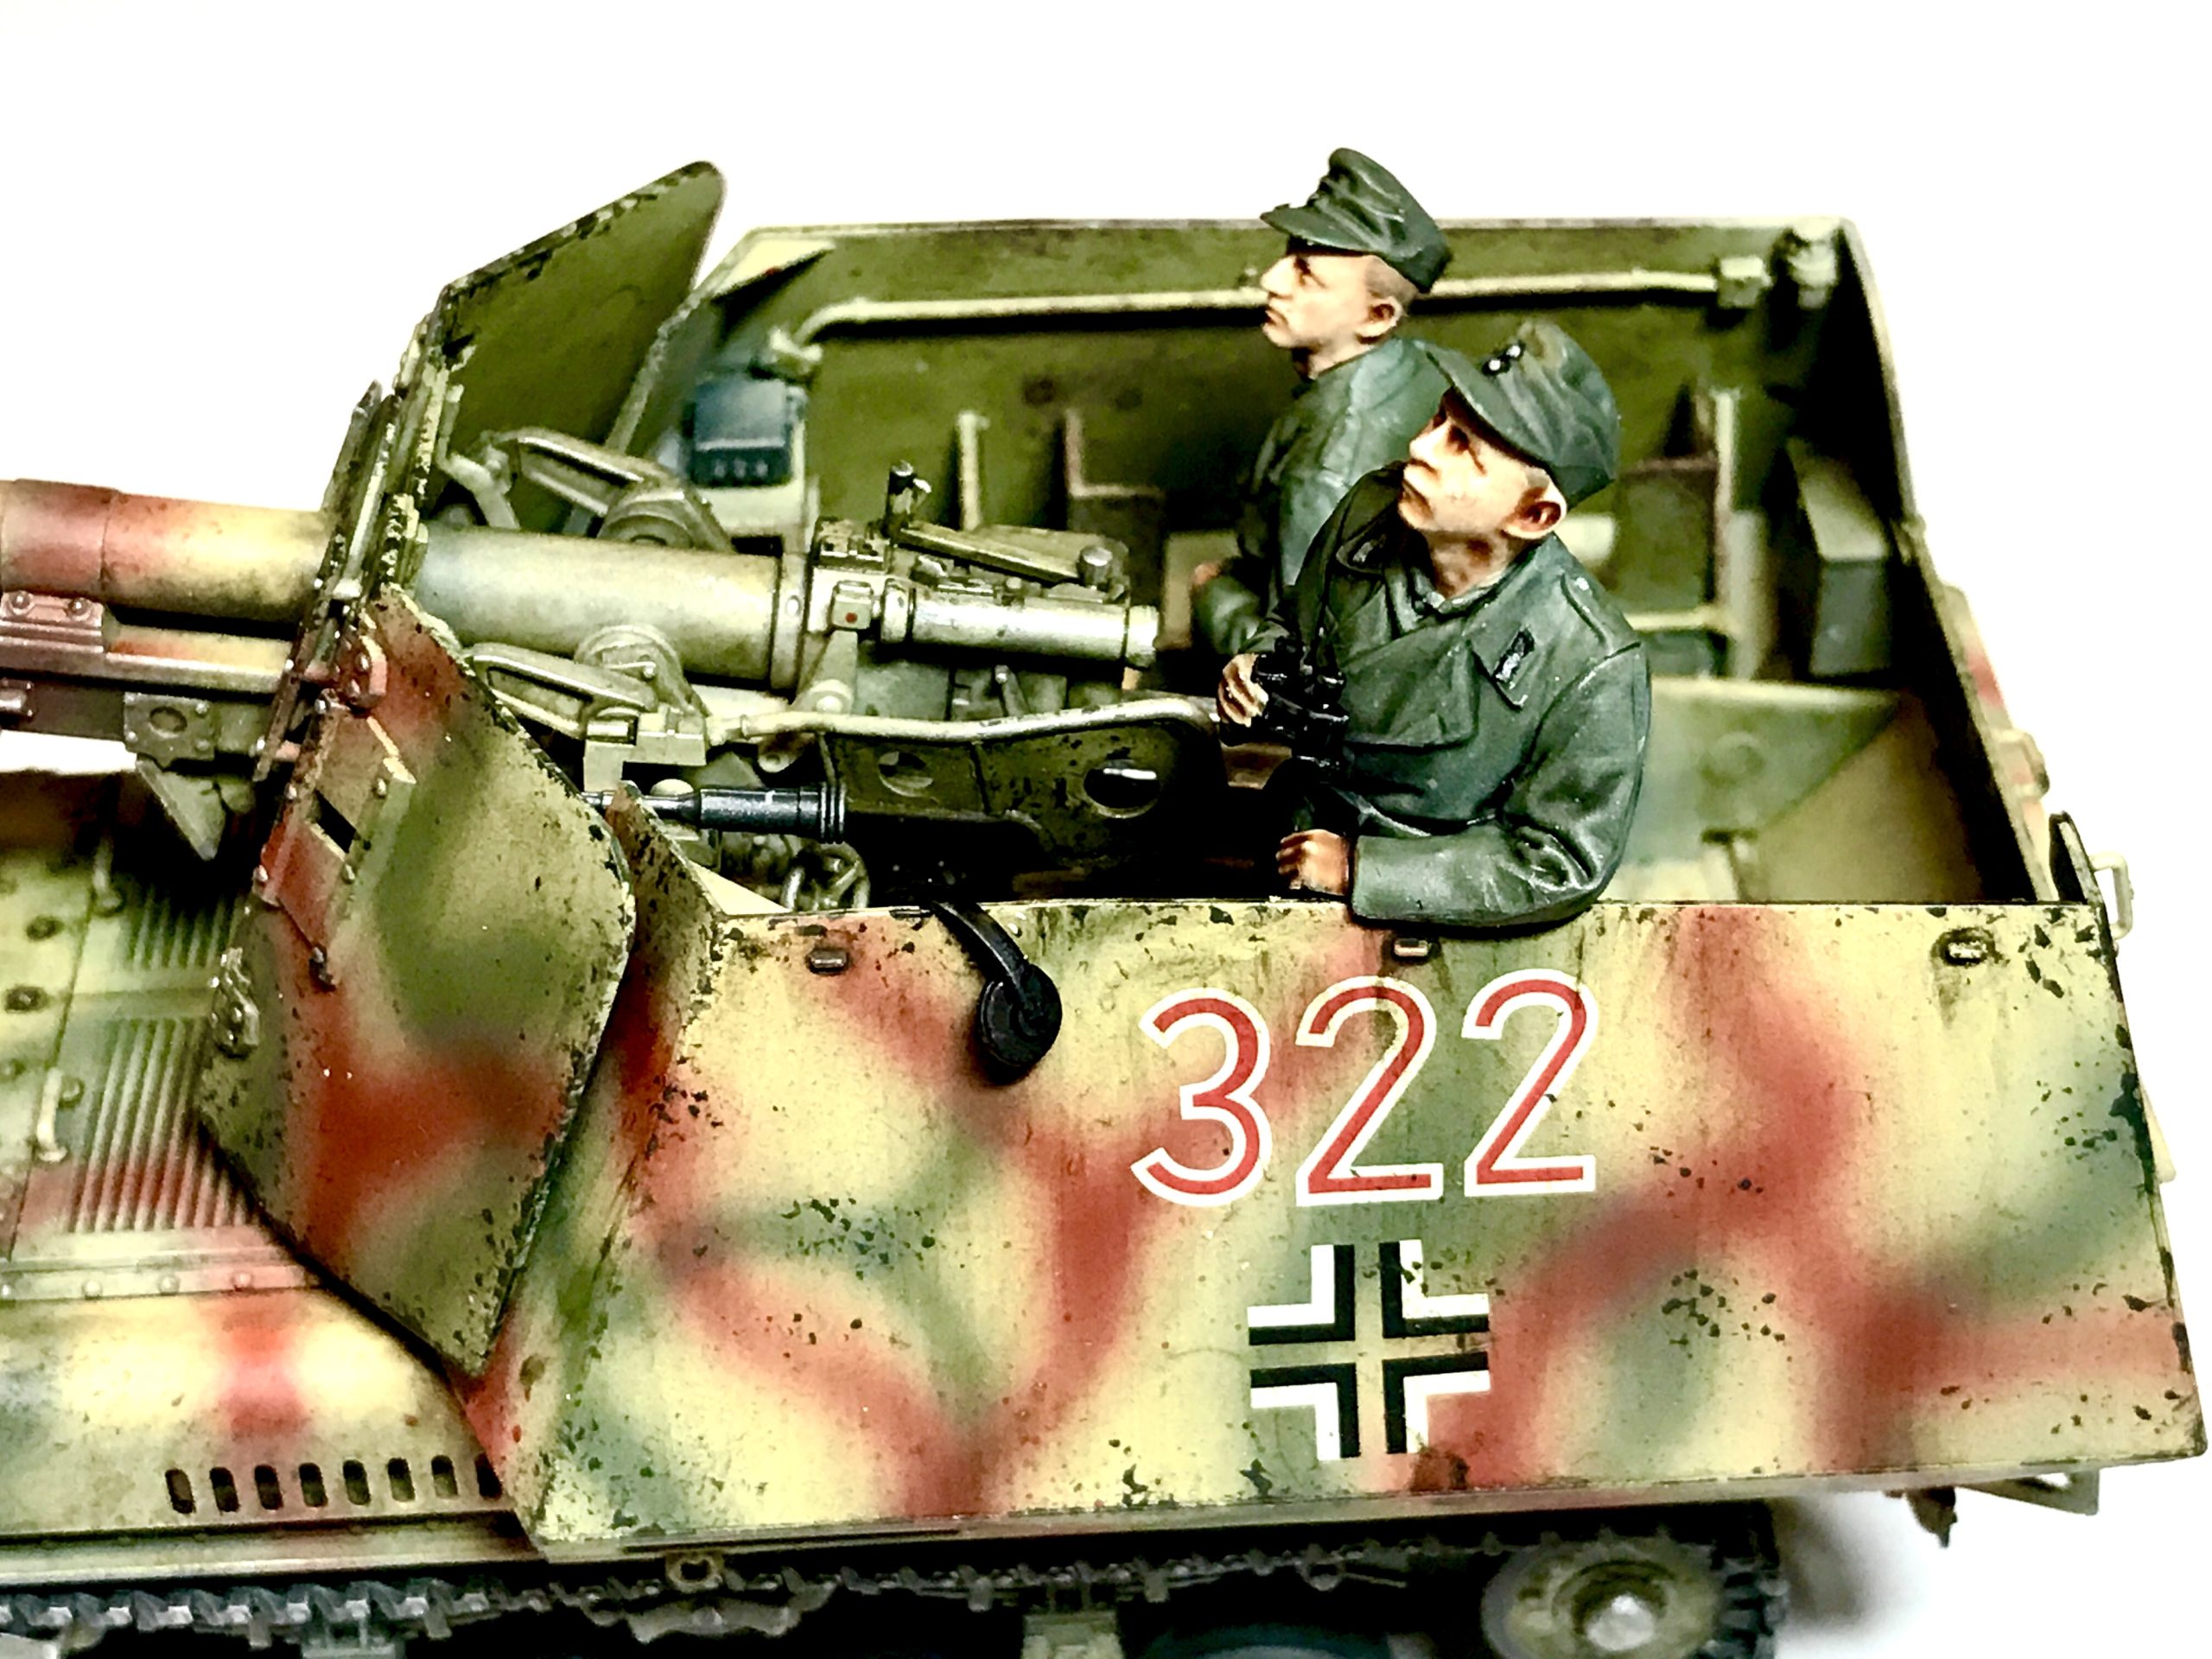
The Marder can now be painted with the same steps as before; NATO black shadow coat, Flat White highlights and thinned down coats of Dark Yellow 2. I also used the same technique on the figures too.
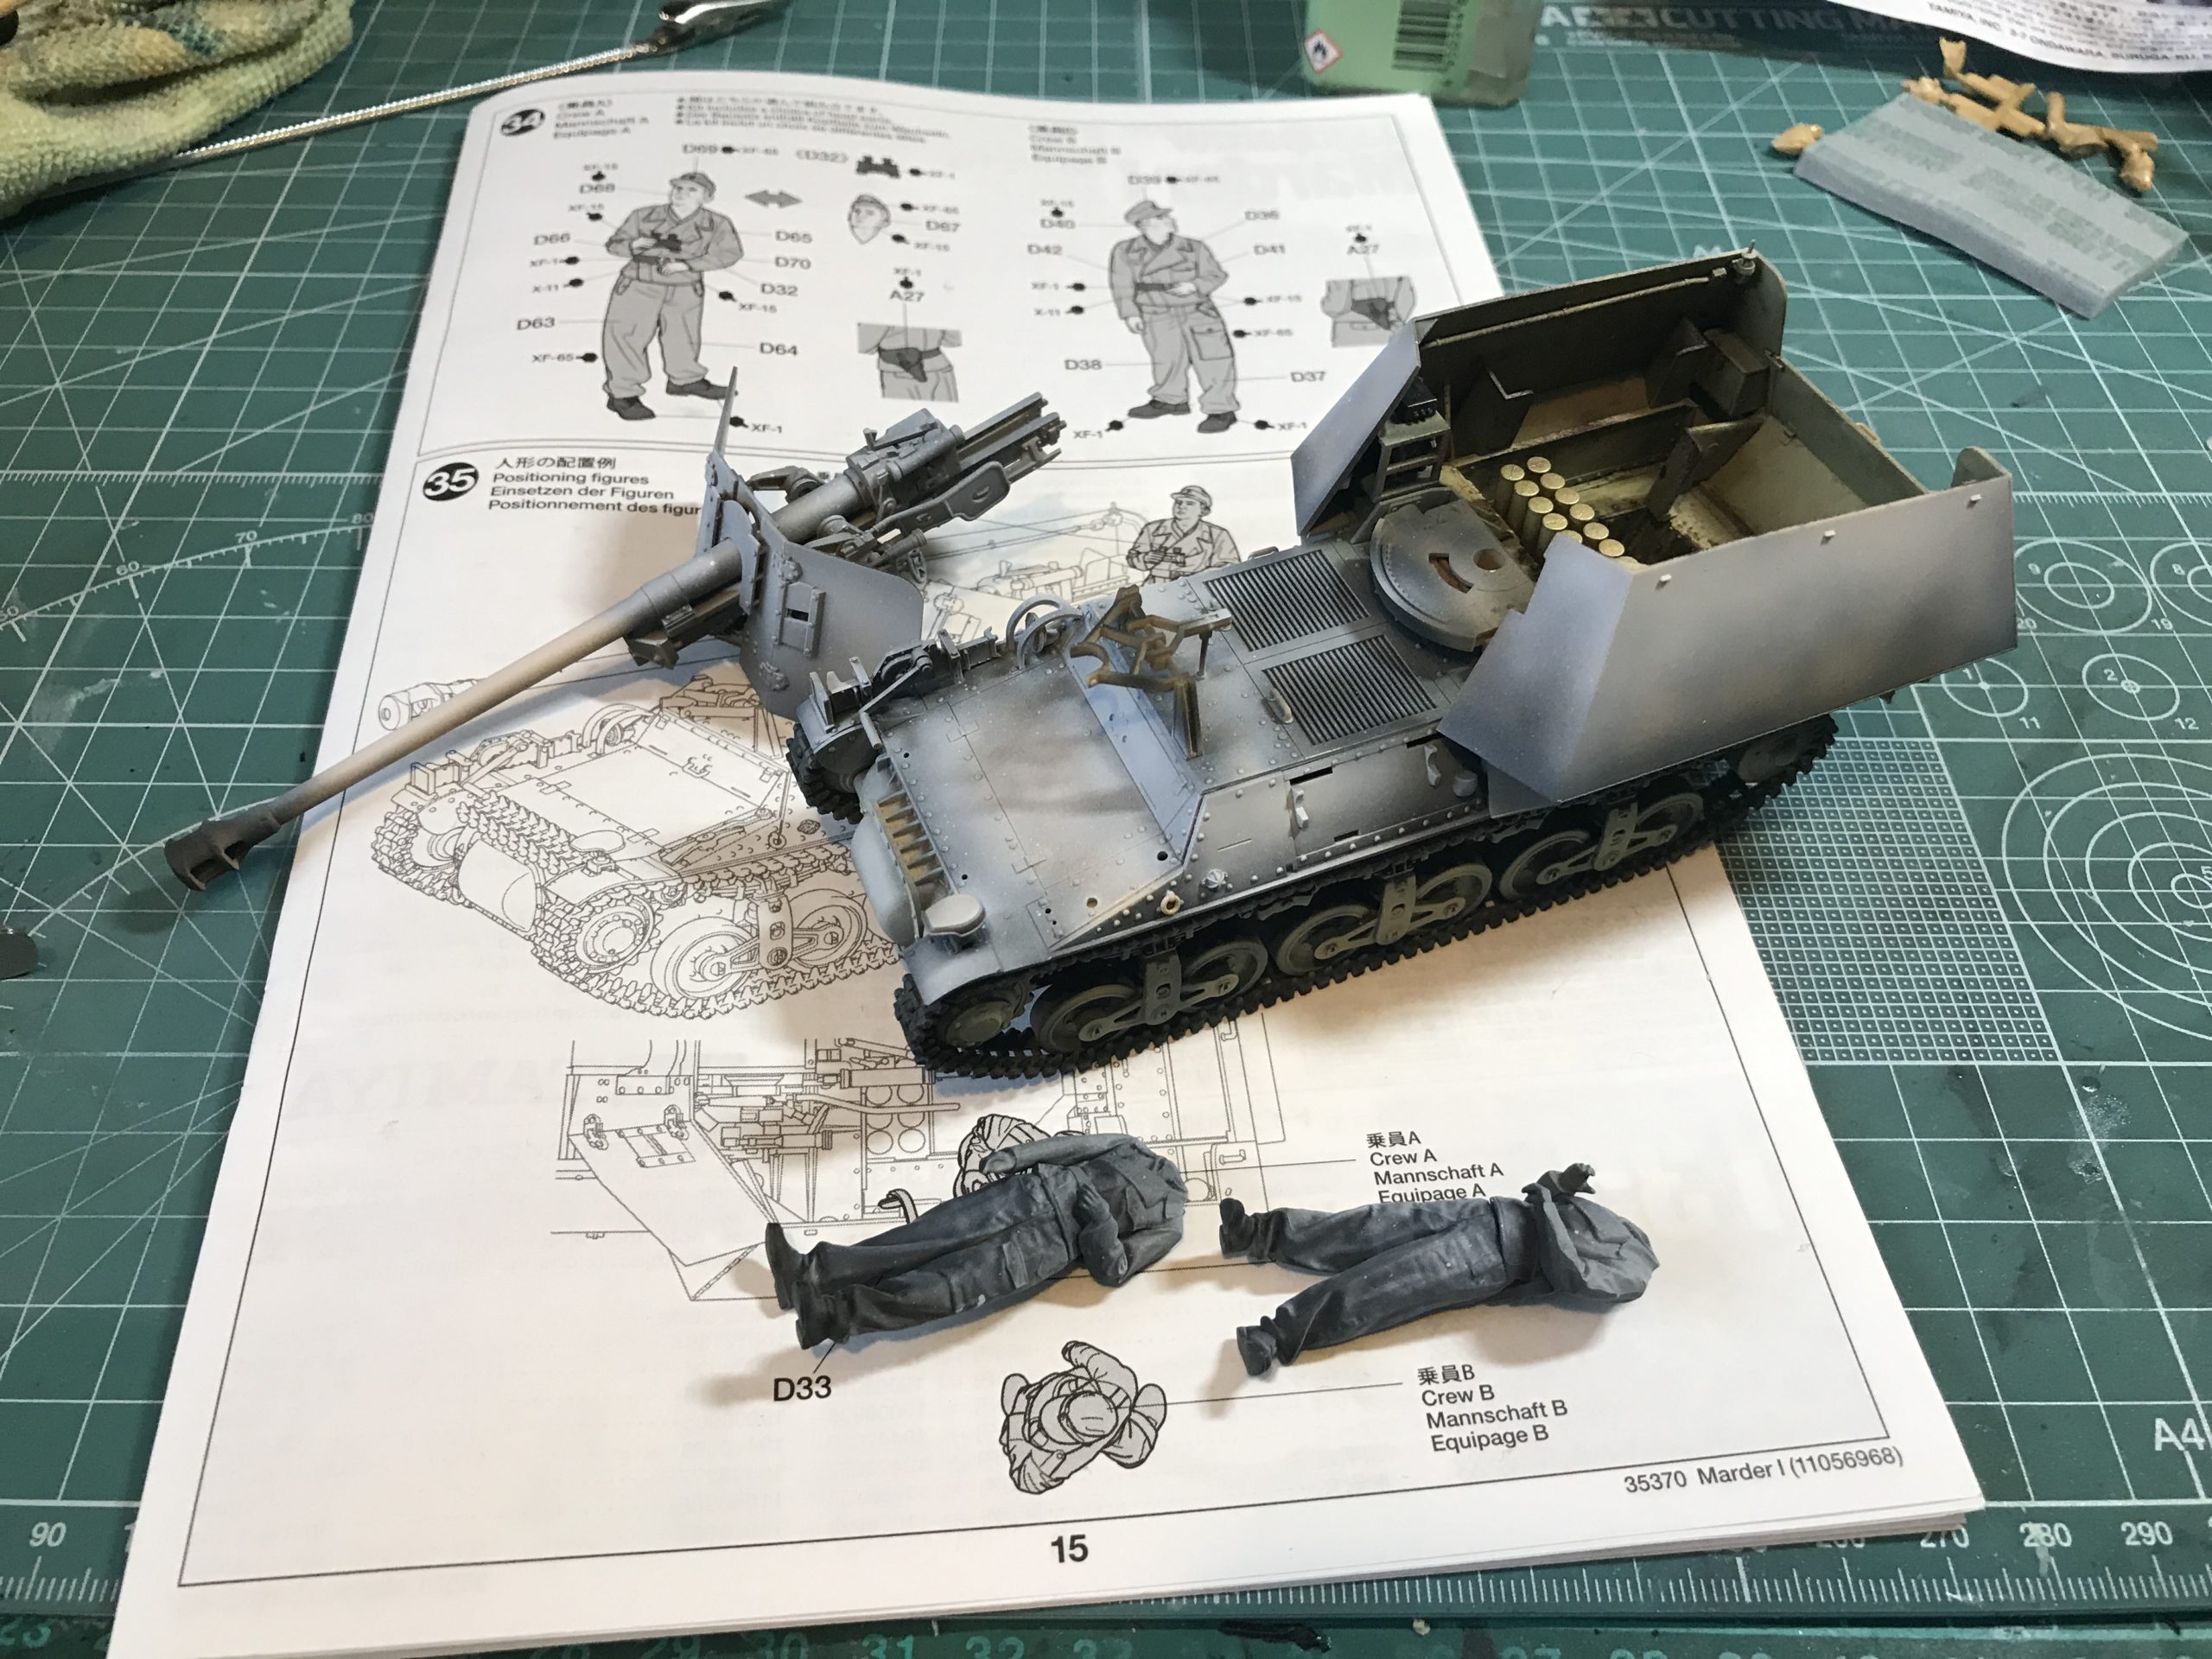
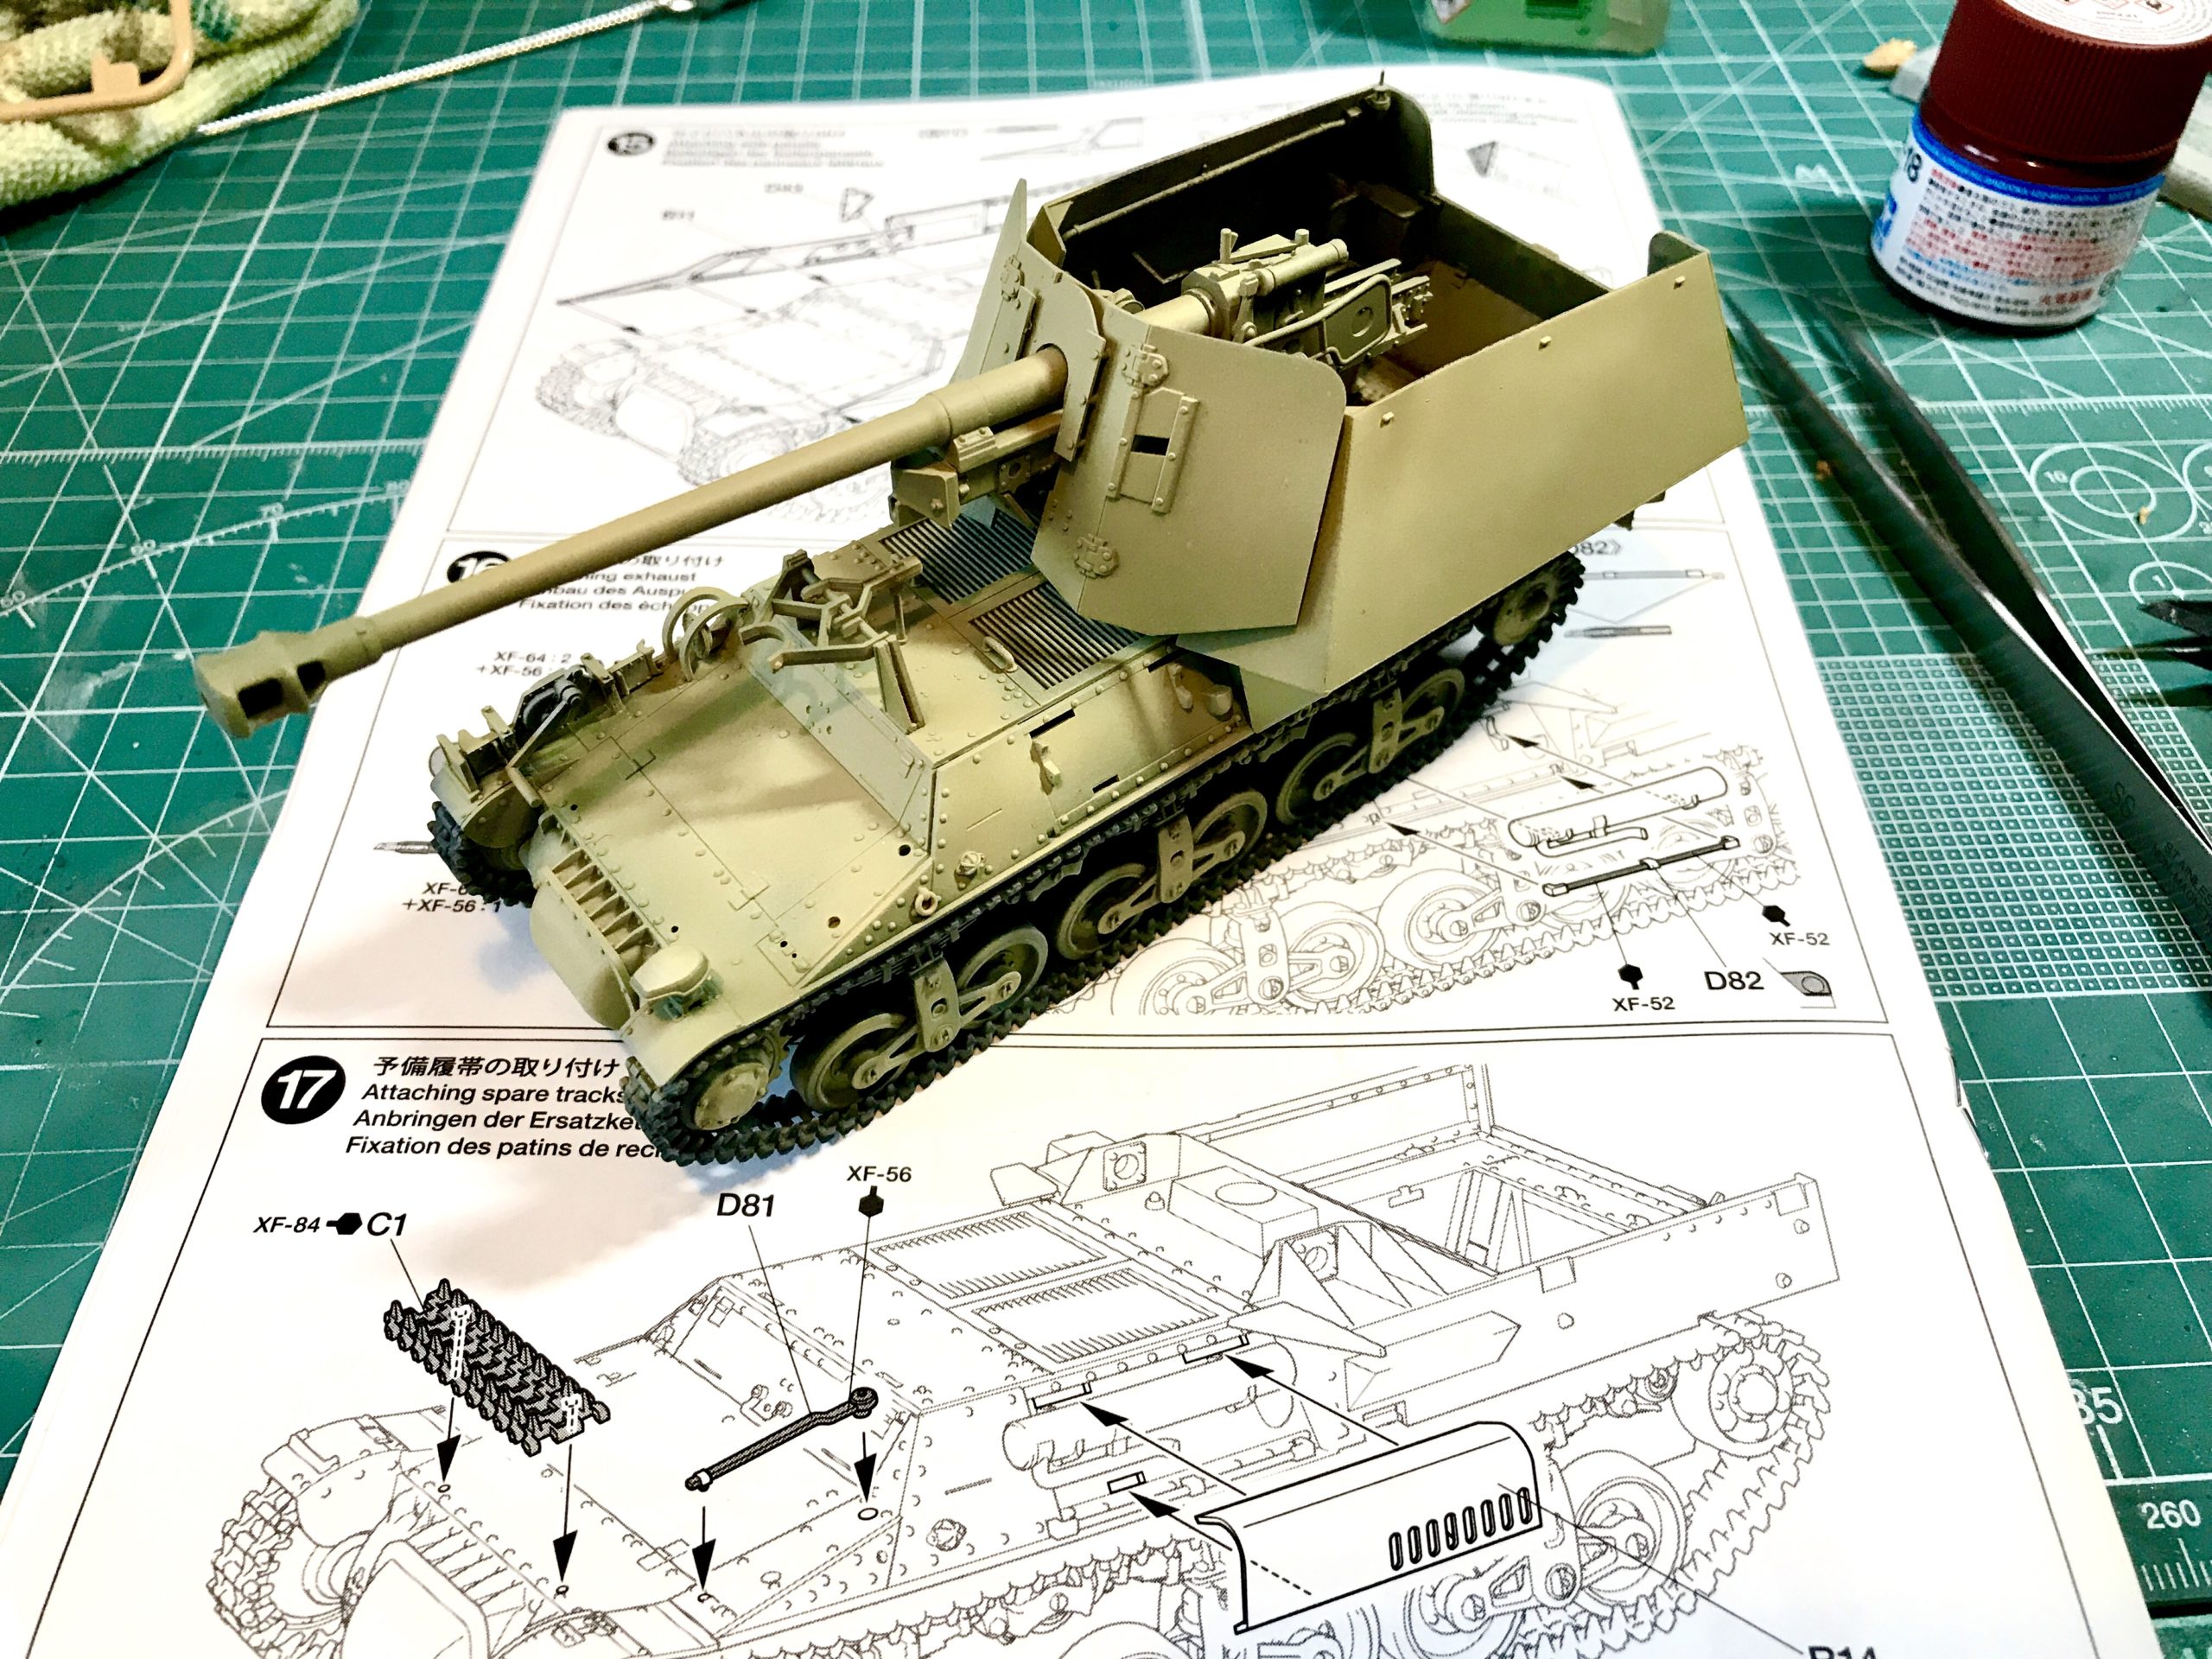
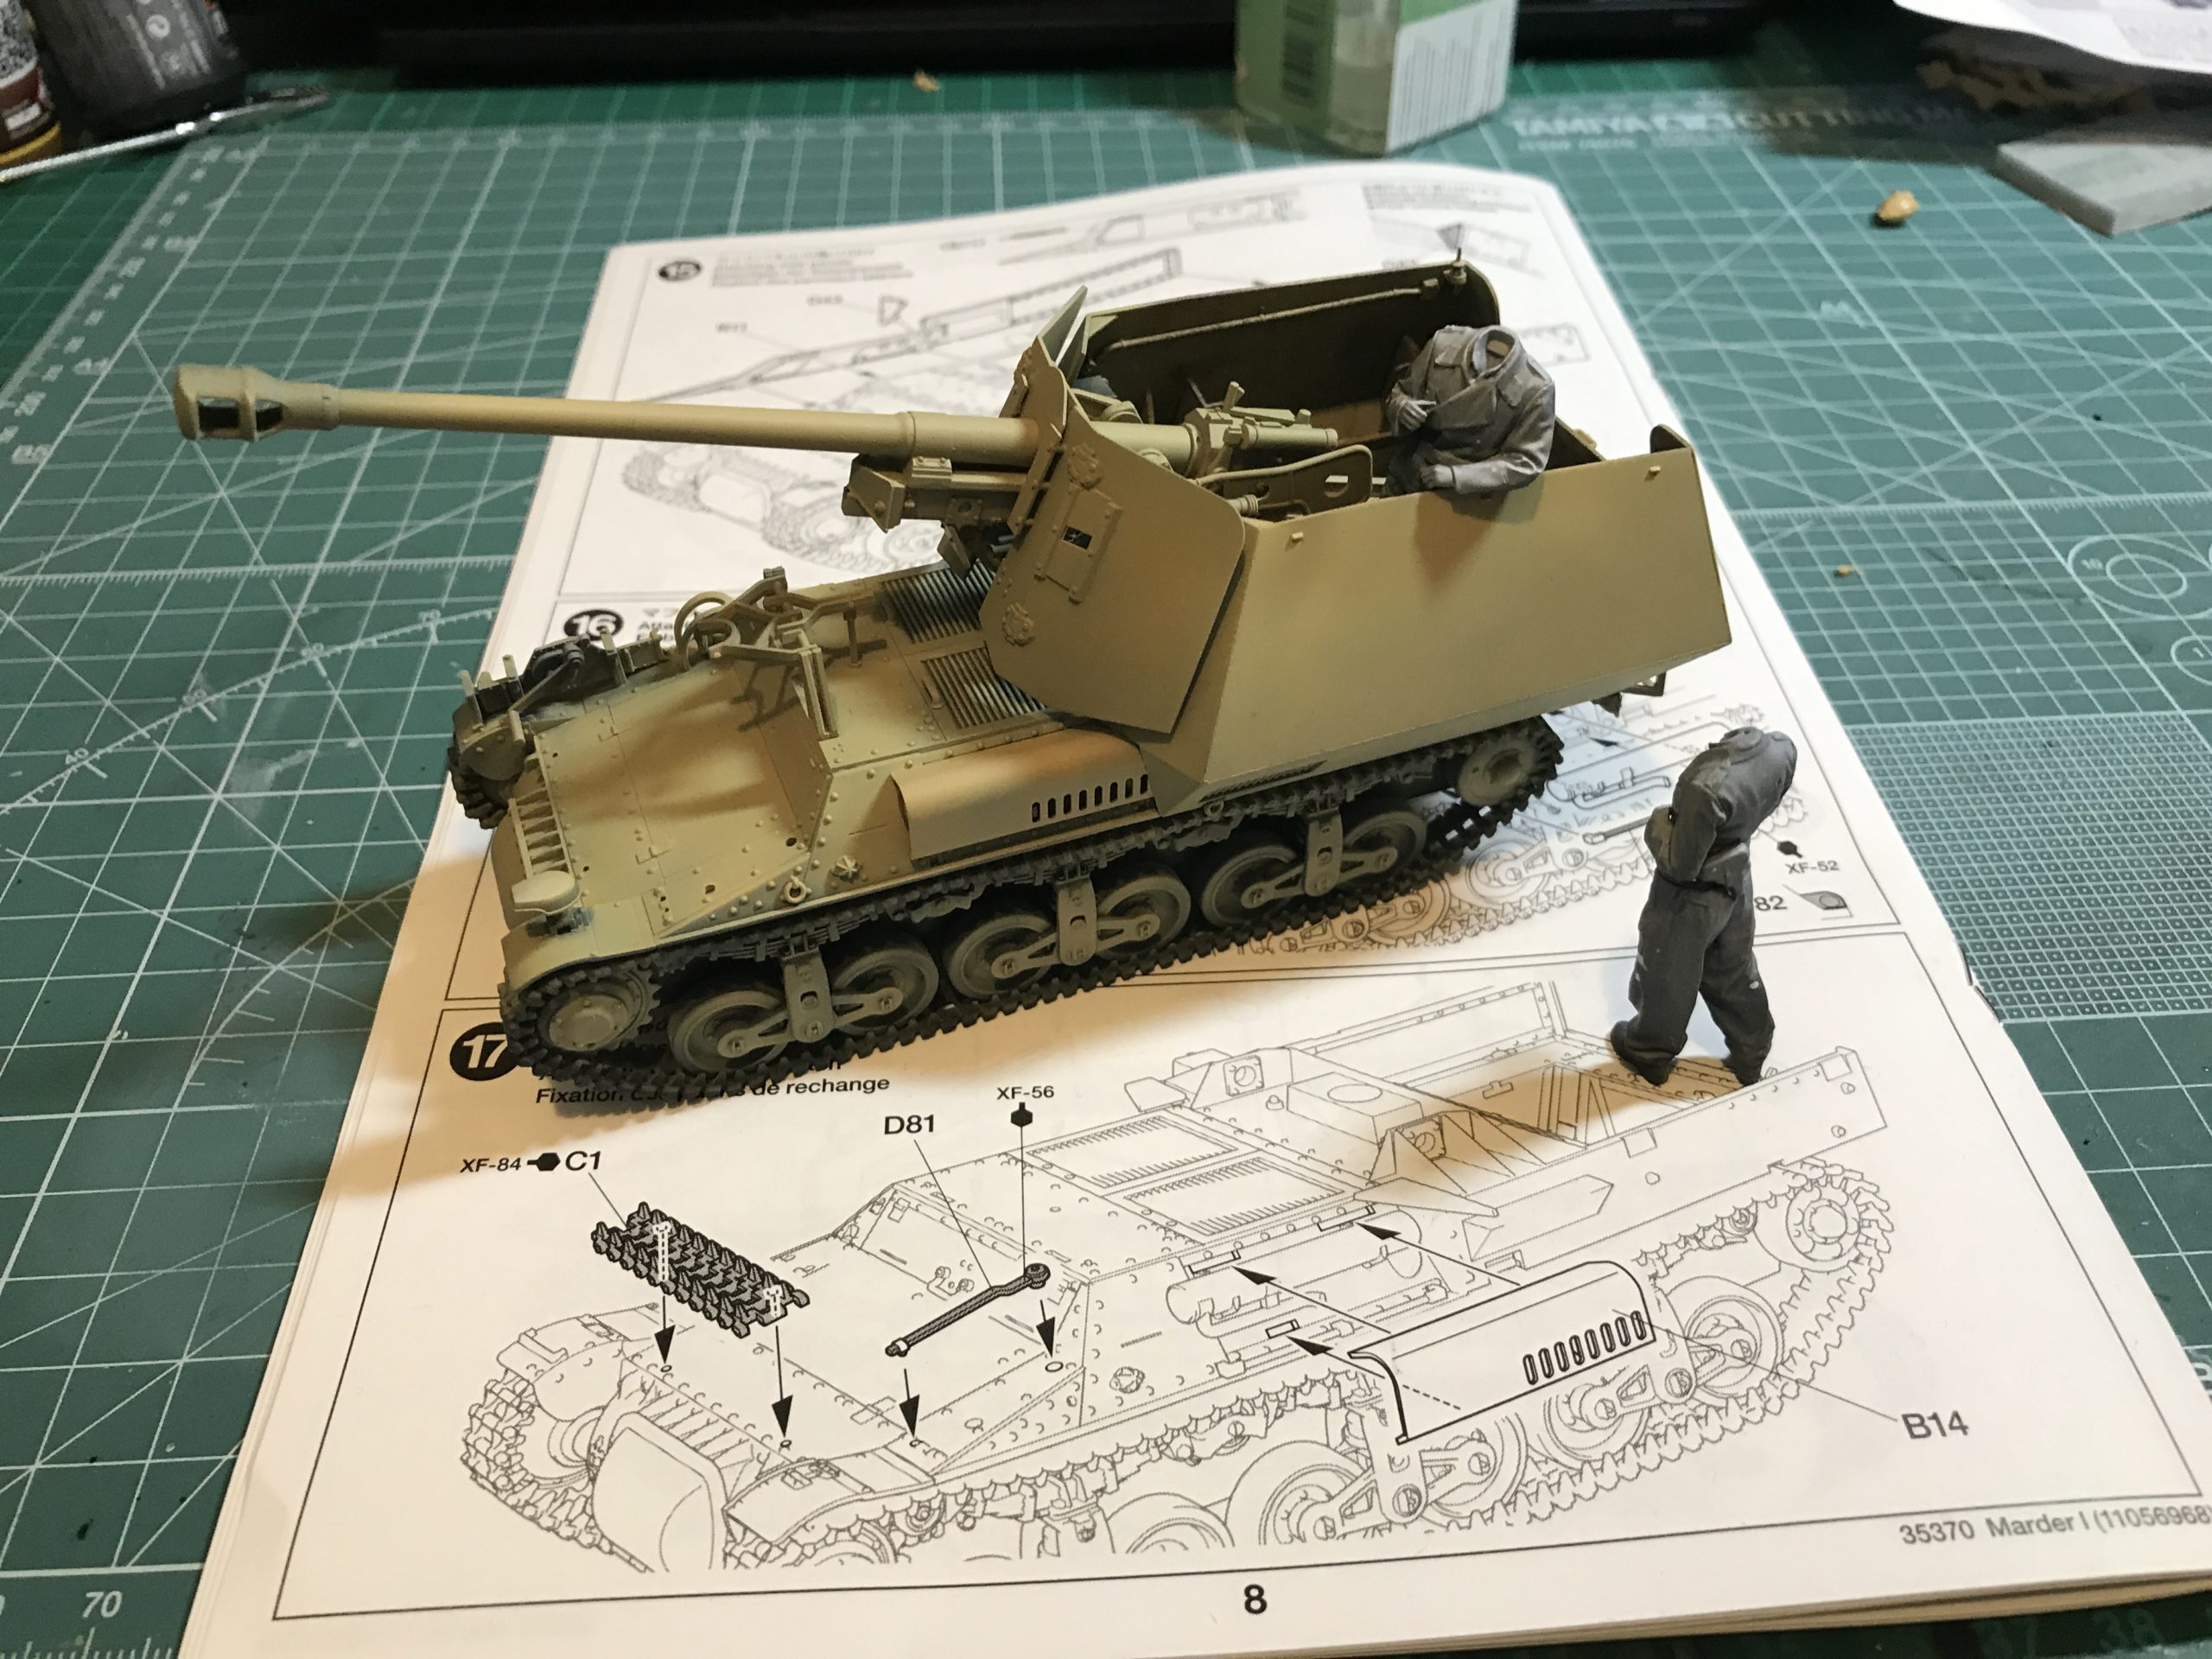
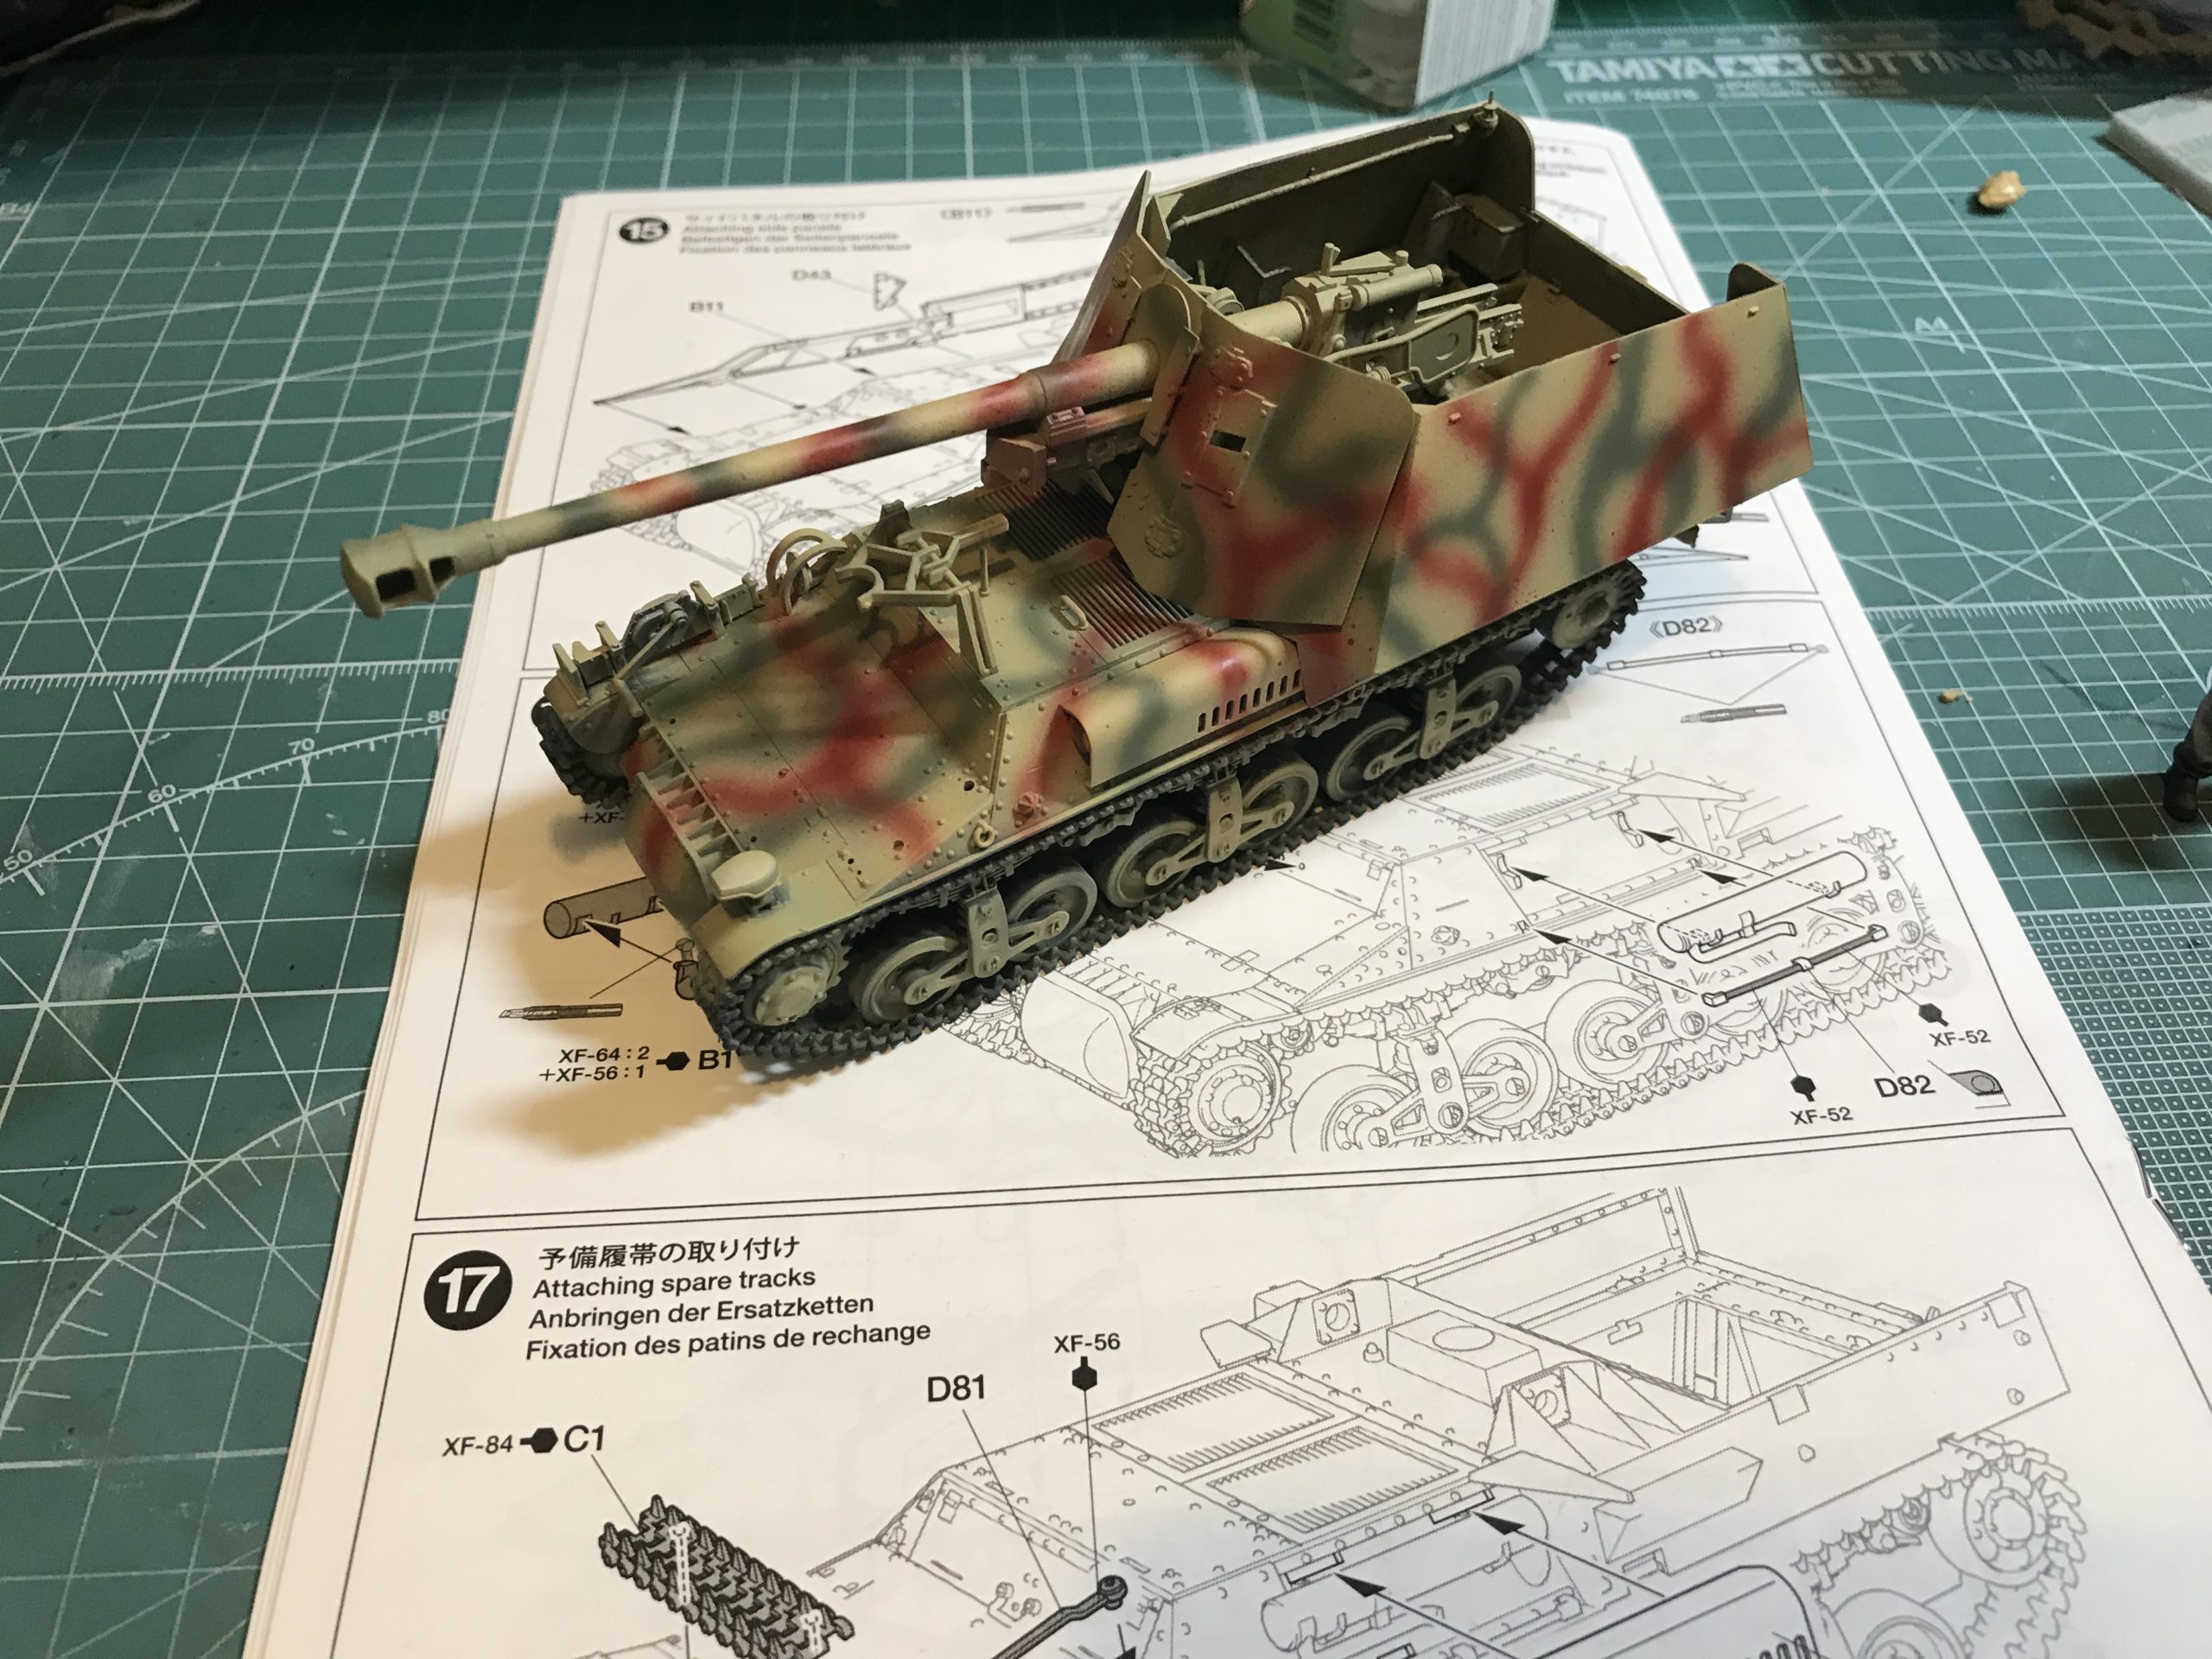
The camouflage pattern was airbrushed freehand on to the outside. It’s a bit of a shoddy job to be honest, but should look okay in the end.
Actually lets take a break from the Marder for a second and take a look at the figures.
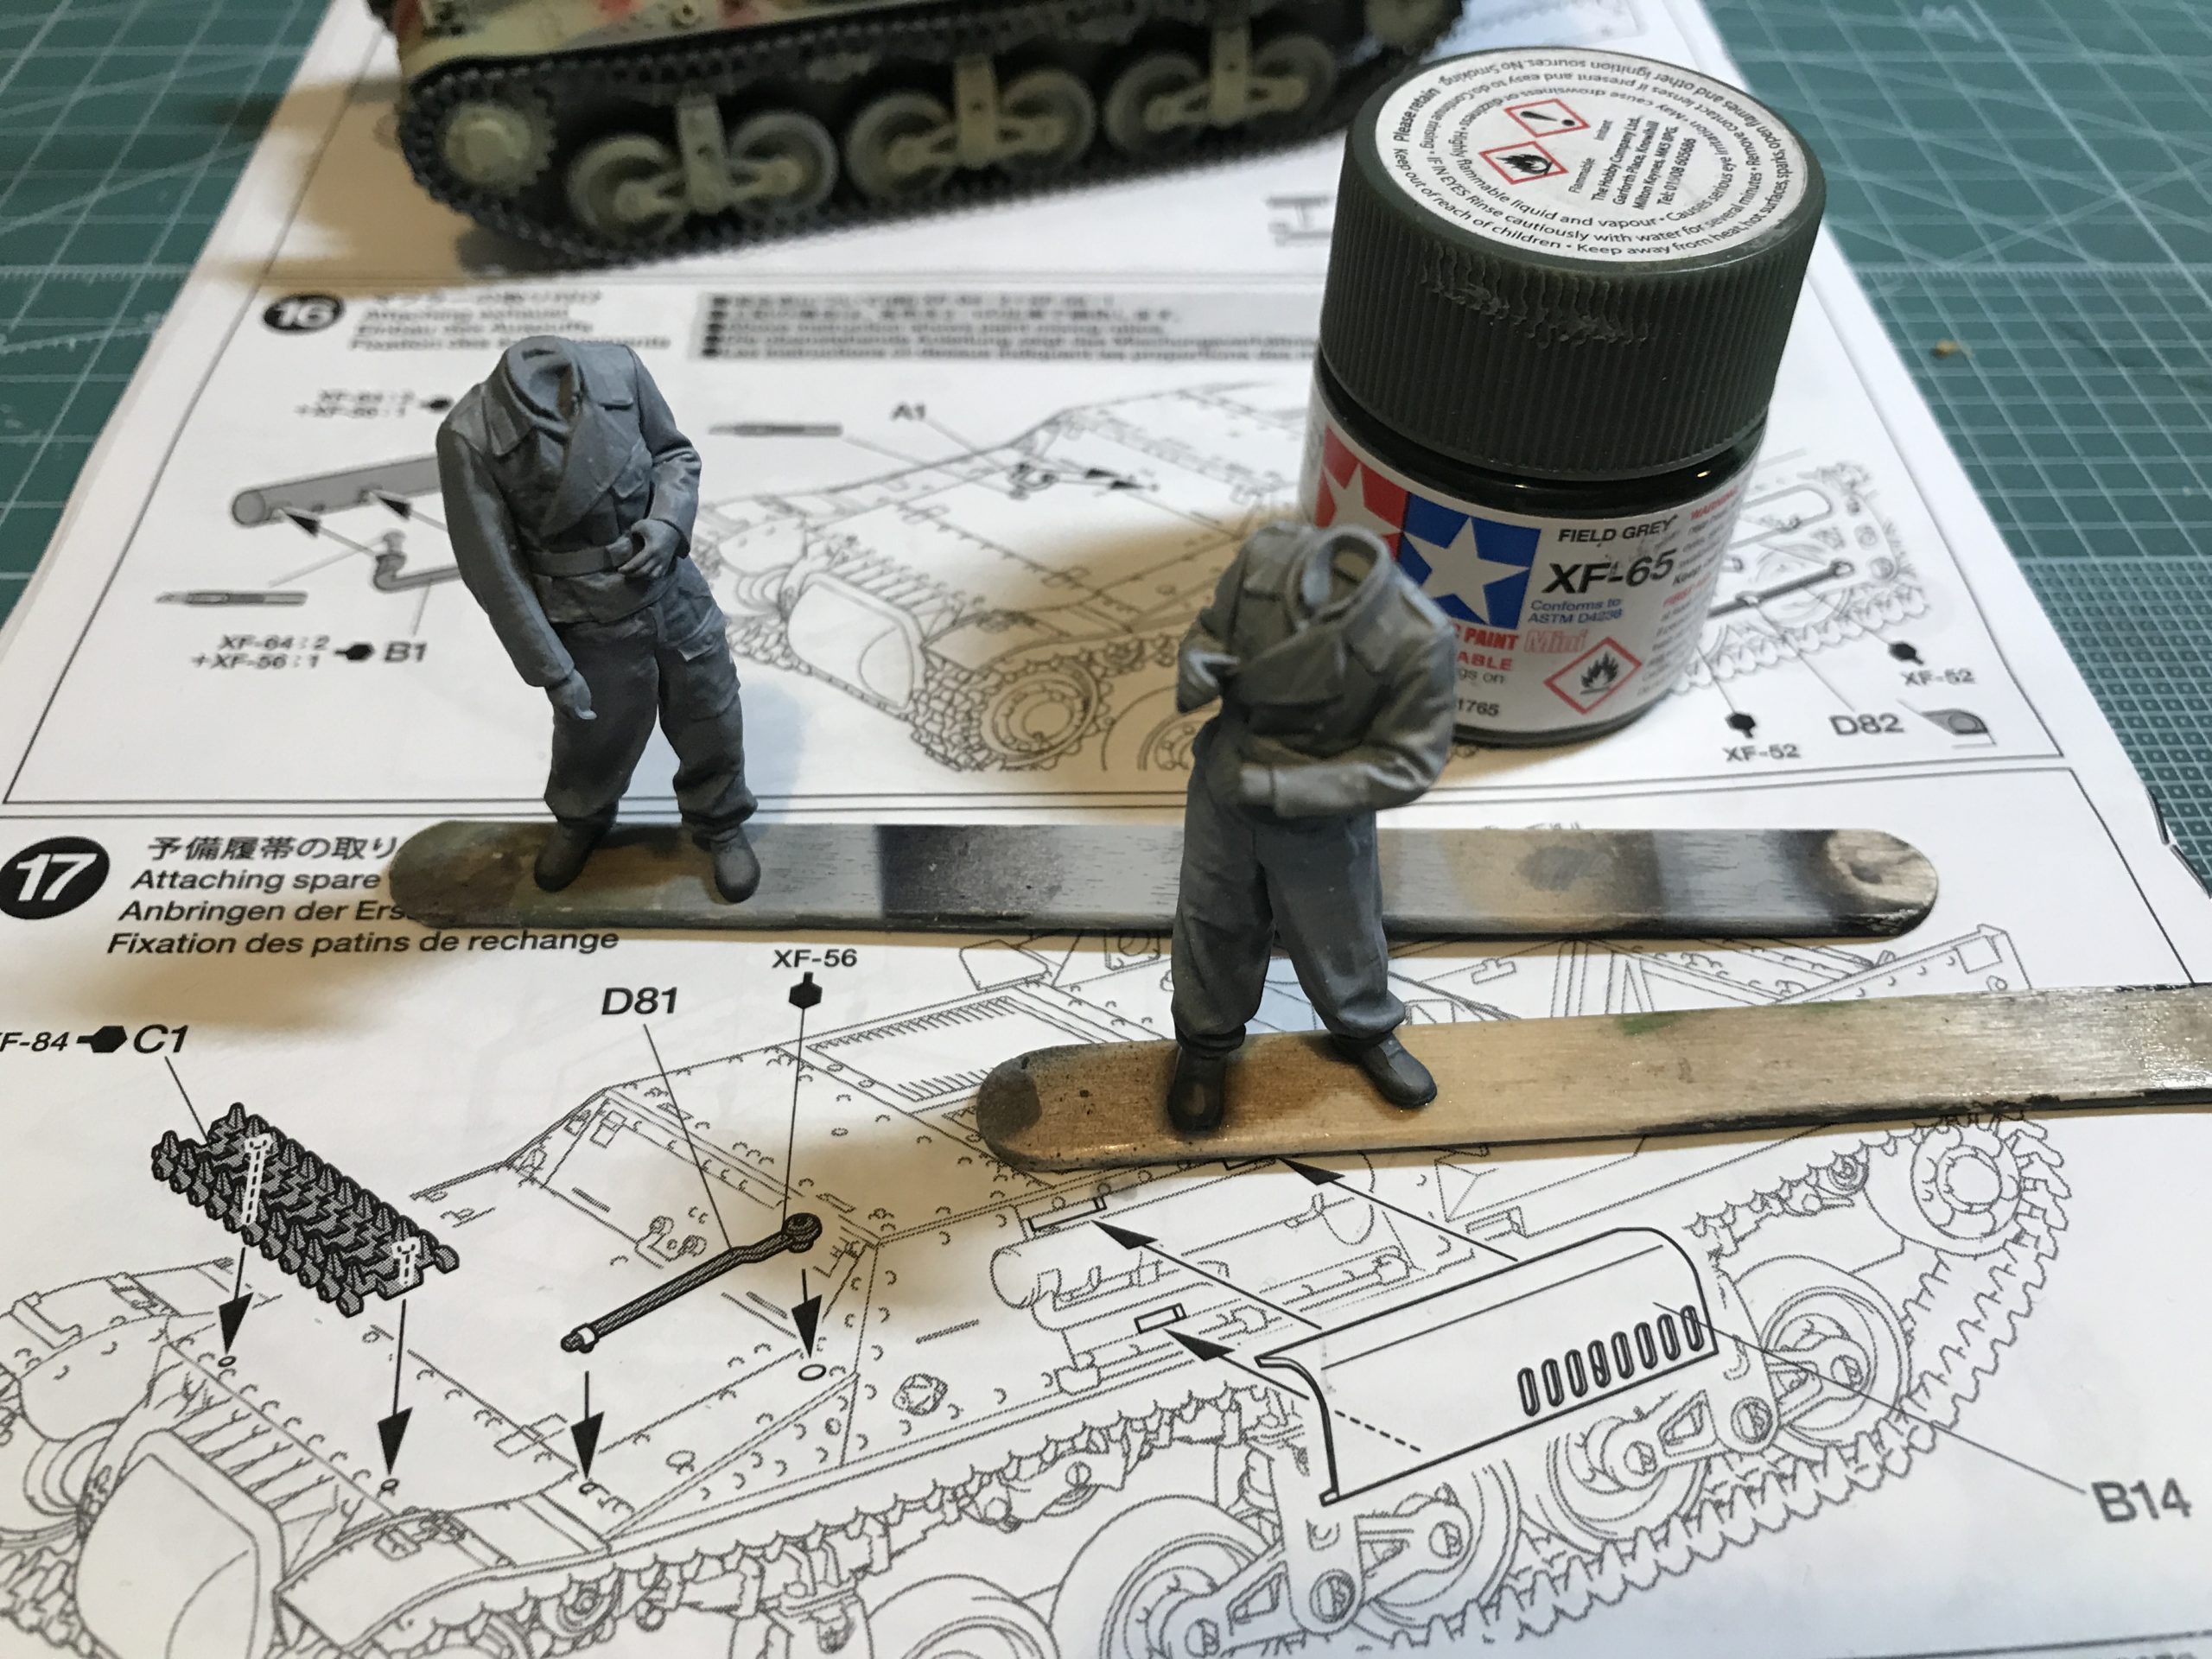
When I first started out I knew I like to have figures in my builds, but I was rubbish at painting them. Whilst I am still not great I do have a few tricks I can share.
The first is for the body / uniform. I always start with a coat of NATO black for shadows. I then pick an angle I want as a light source and start to lightly build up highlights; mainly from the light source. Thinned down coats of the uniform colour, in this case Field Grey are then applied. You need to be careful to allow the highlights and shadows to give you lighter and darker shades of the uniform colour and that is it.
What about the faces you ask? Well here goes.
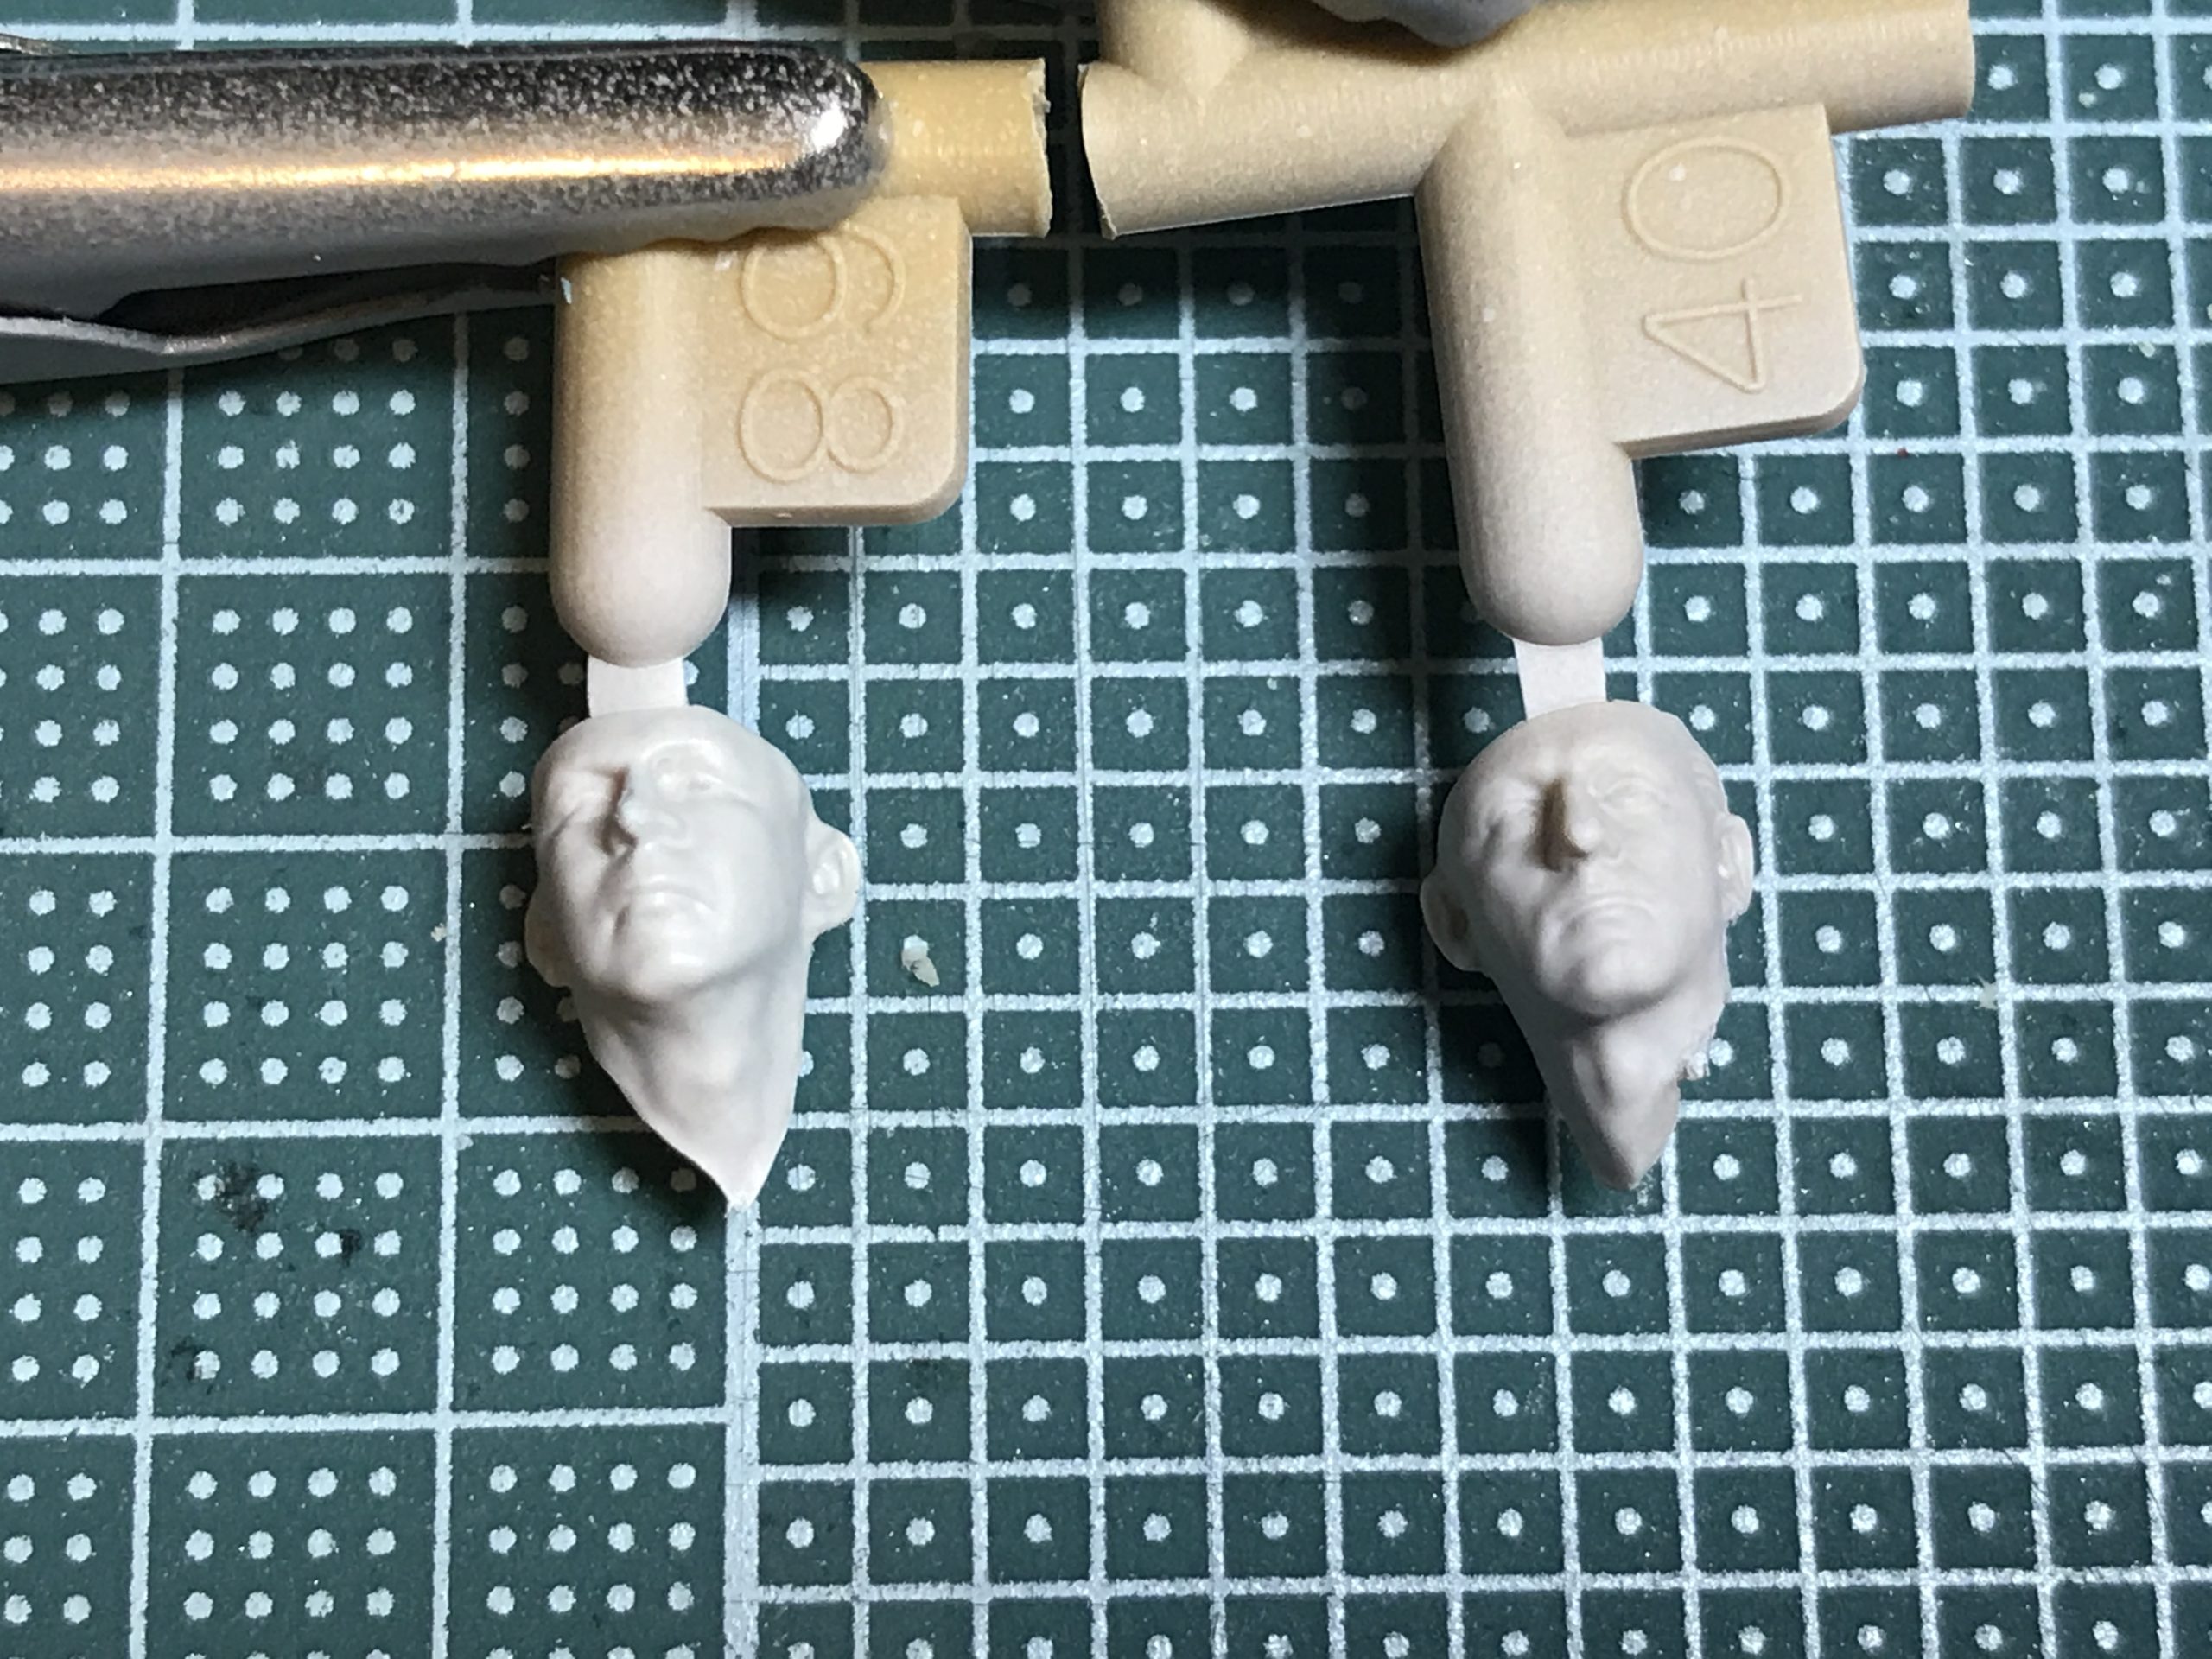
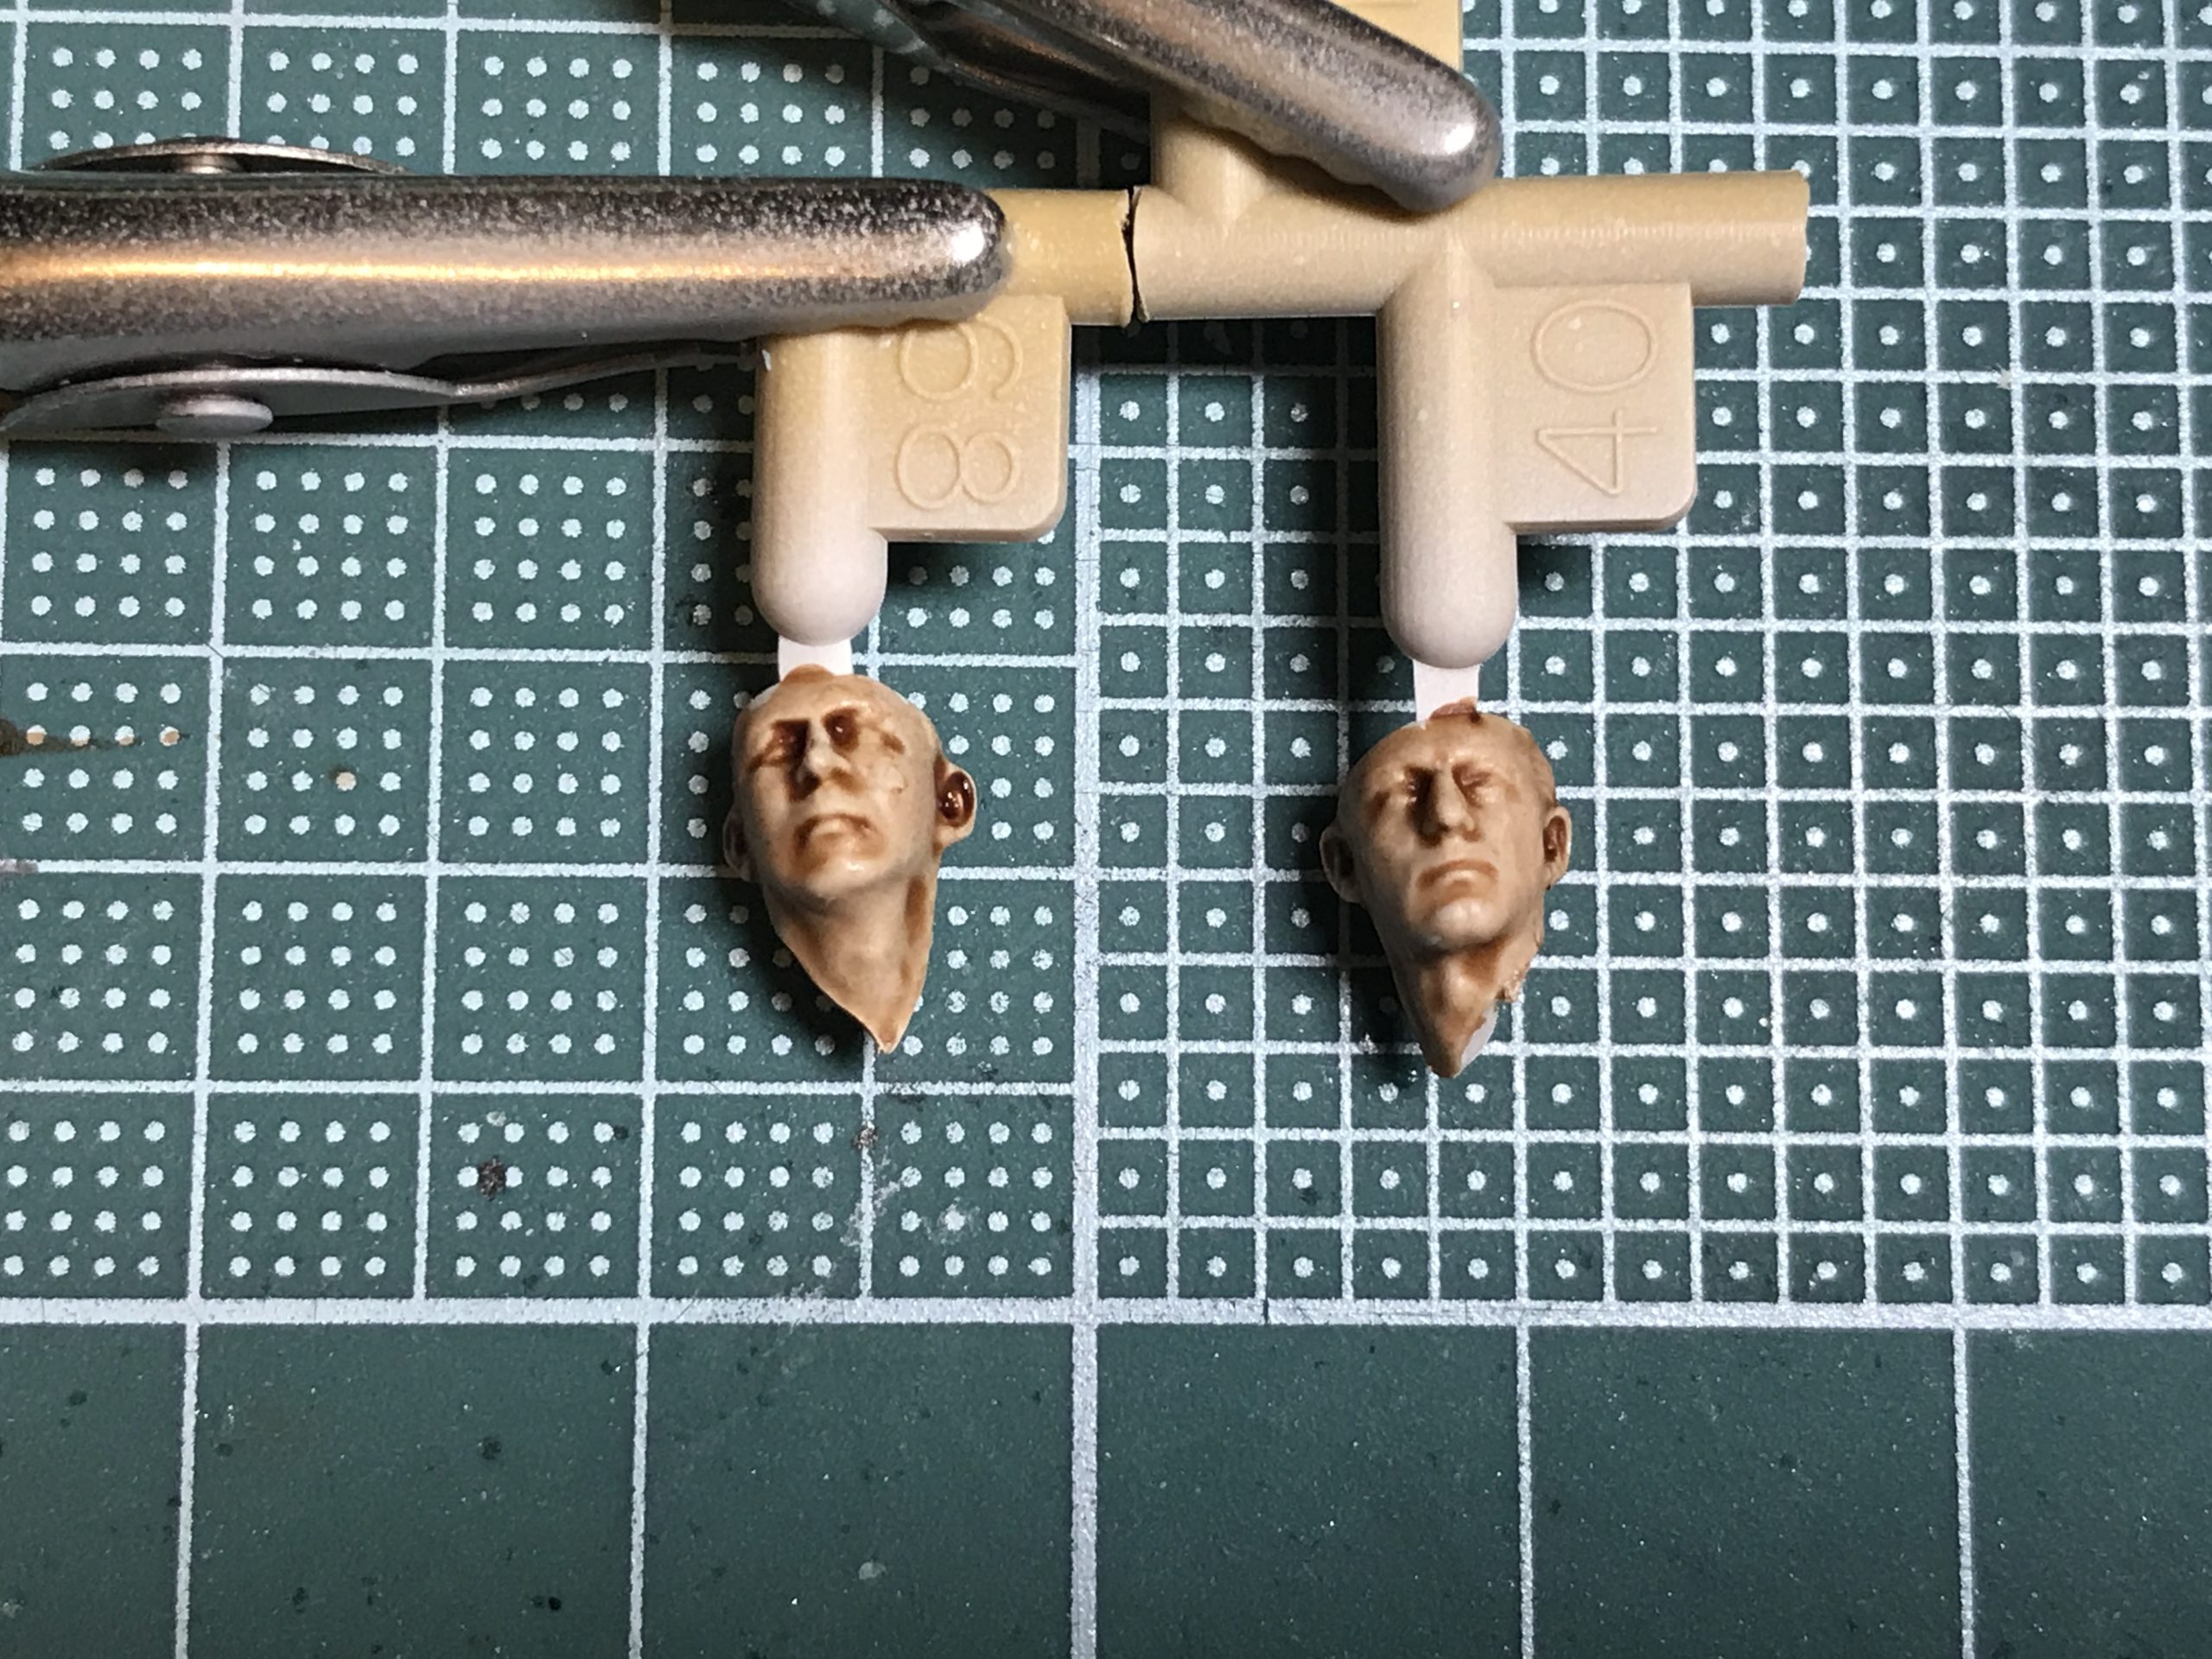
Tamiya have very thoughtfully made the heads a separate part. This makes everything simple.
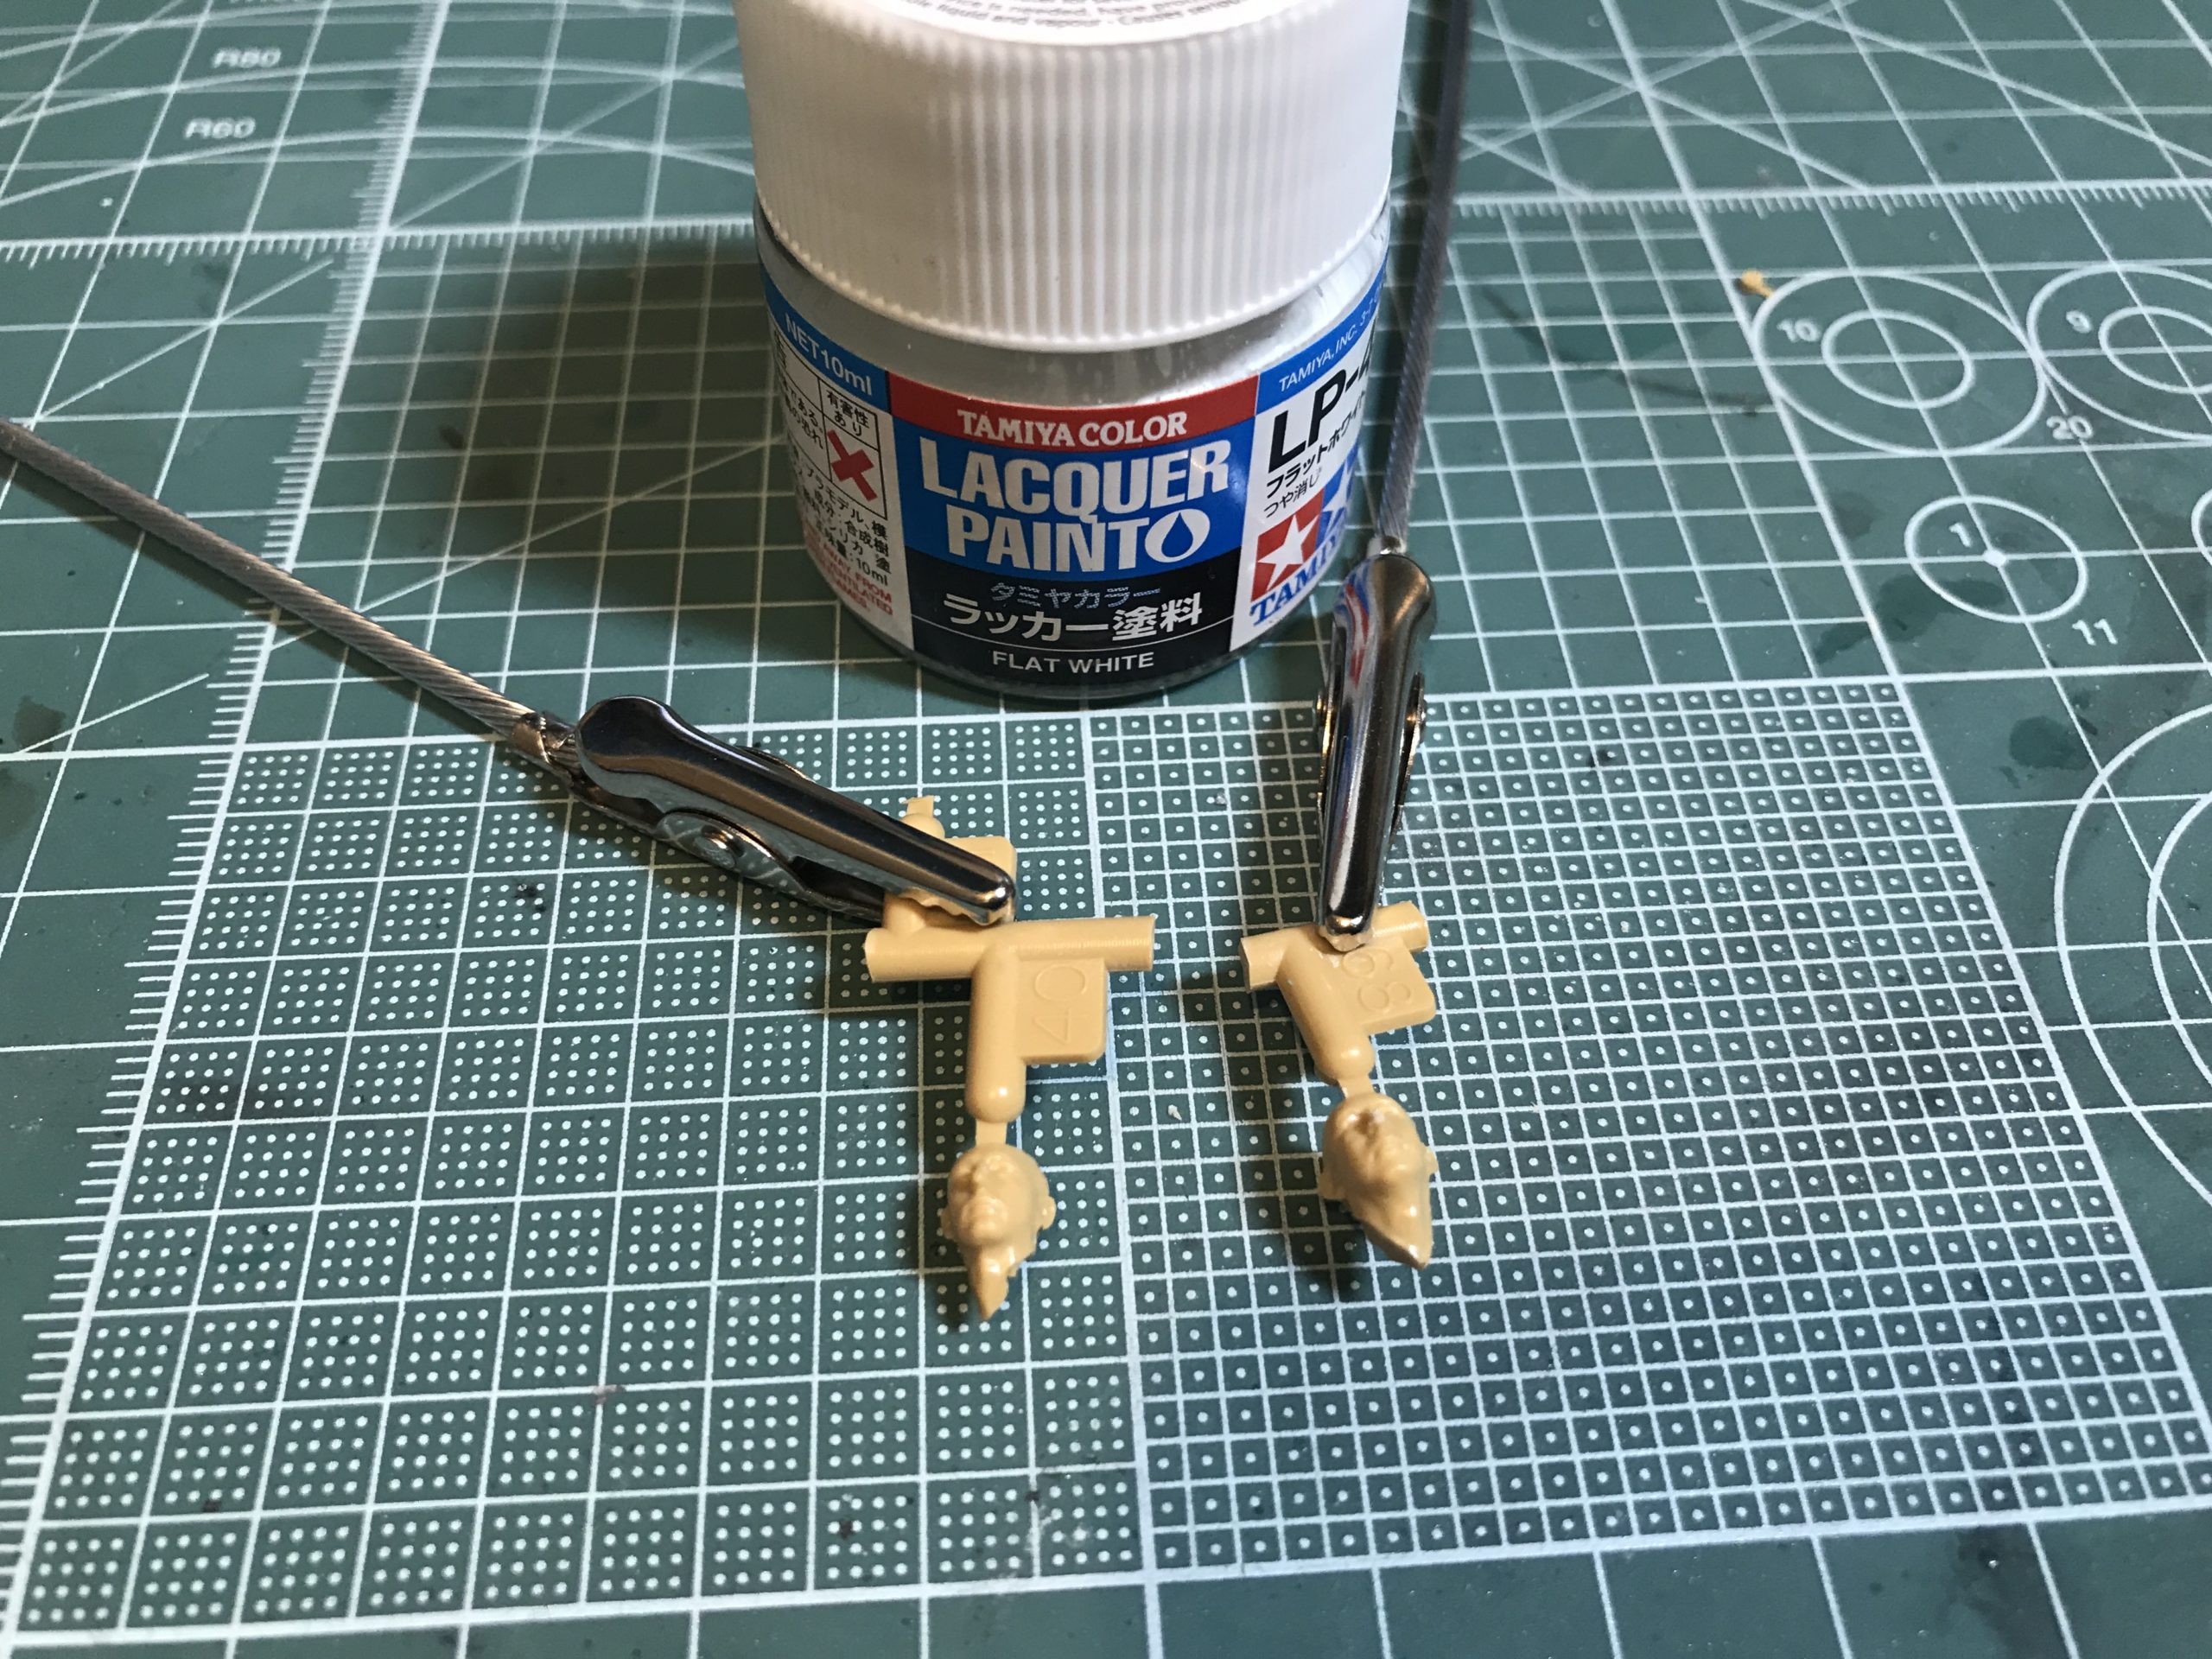 Firstly the heads are painted in white. The close up shows the nice detail of the sculpt.
Now the magic. I use a product from the good people at Games Workshop. Turns out they make quite a lot of figures and came up with a way to let idiots like me to paint them.
Its called contrast colour the one i use is called Dark Oath Flesh. 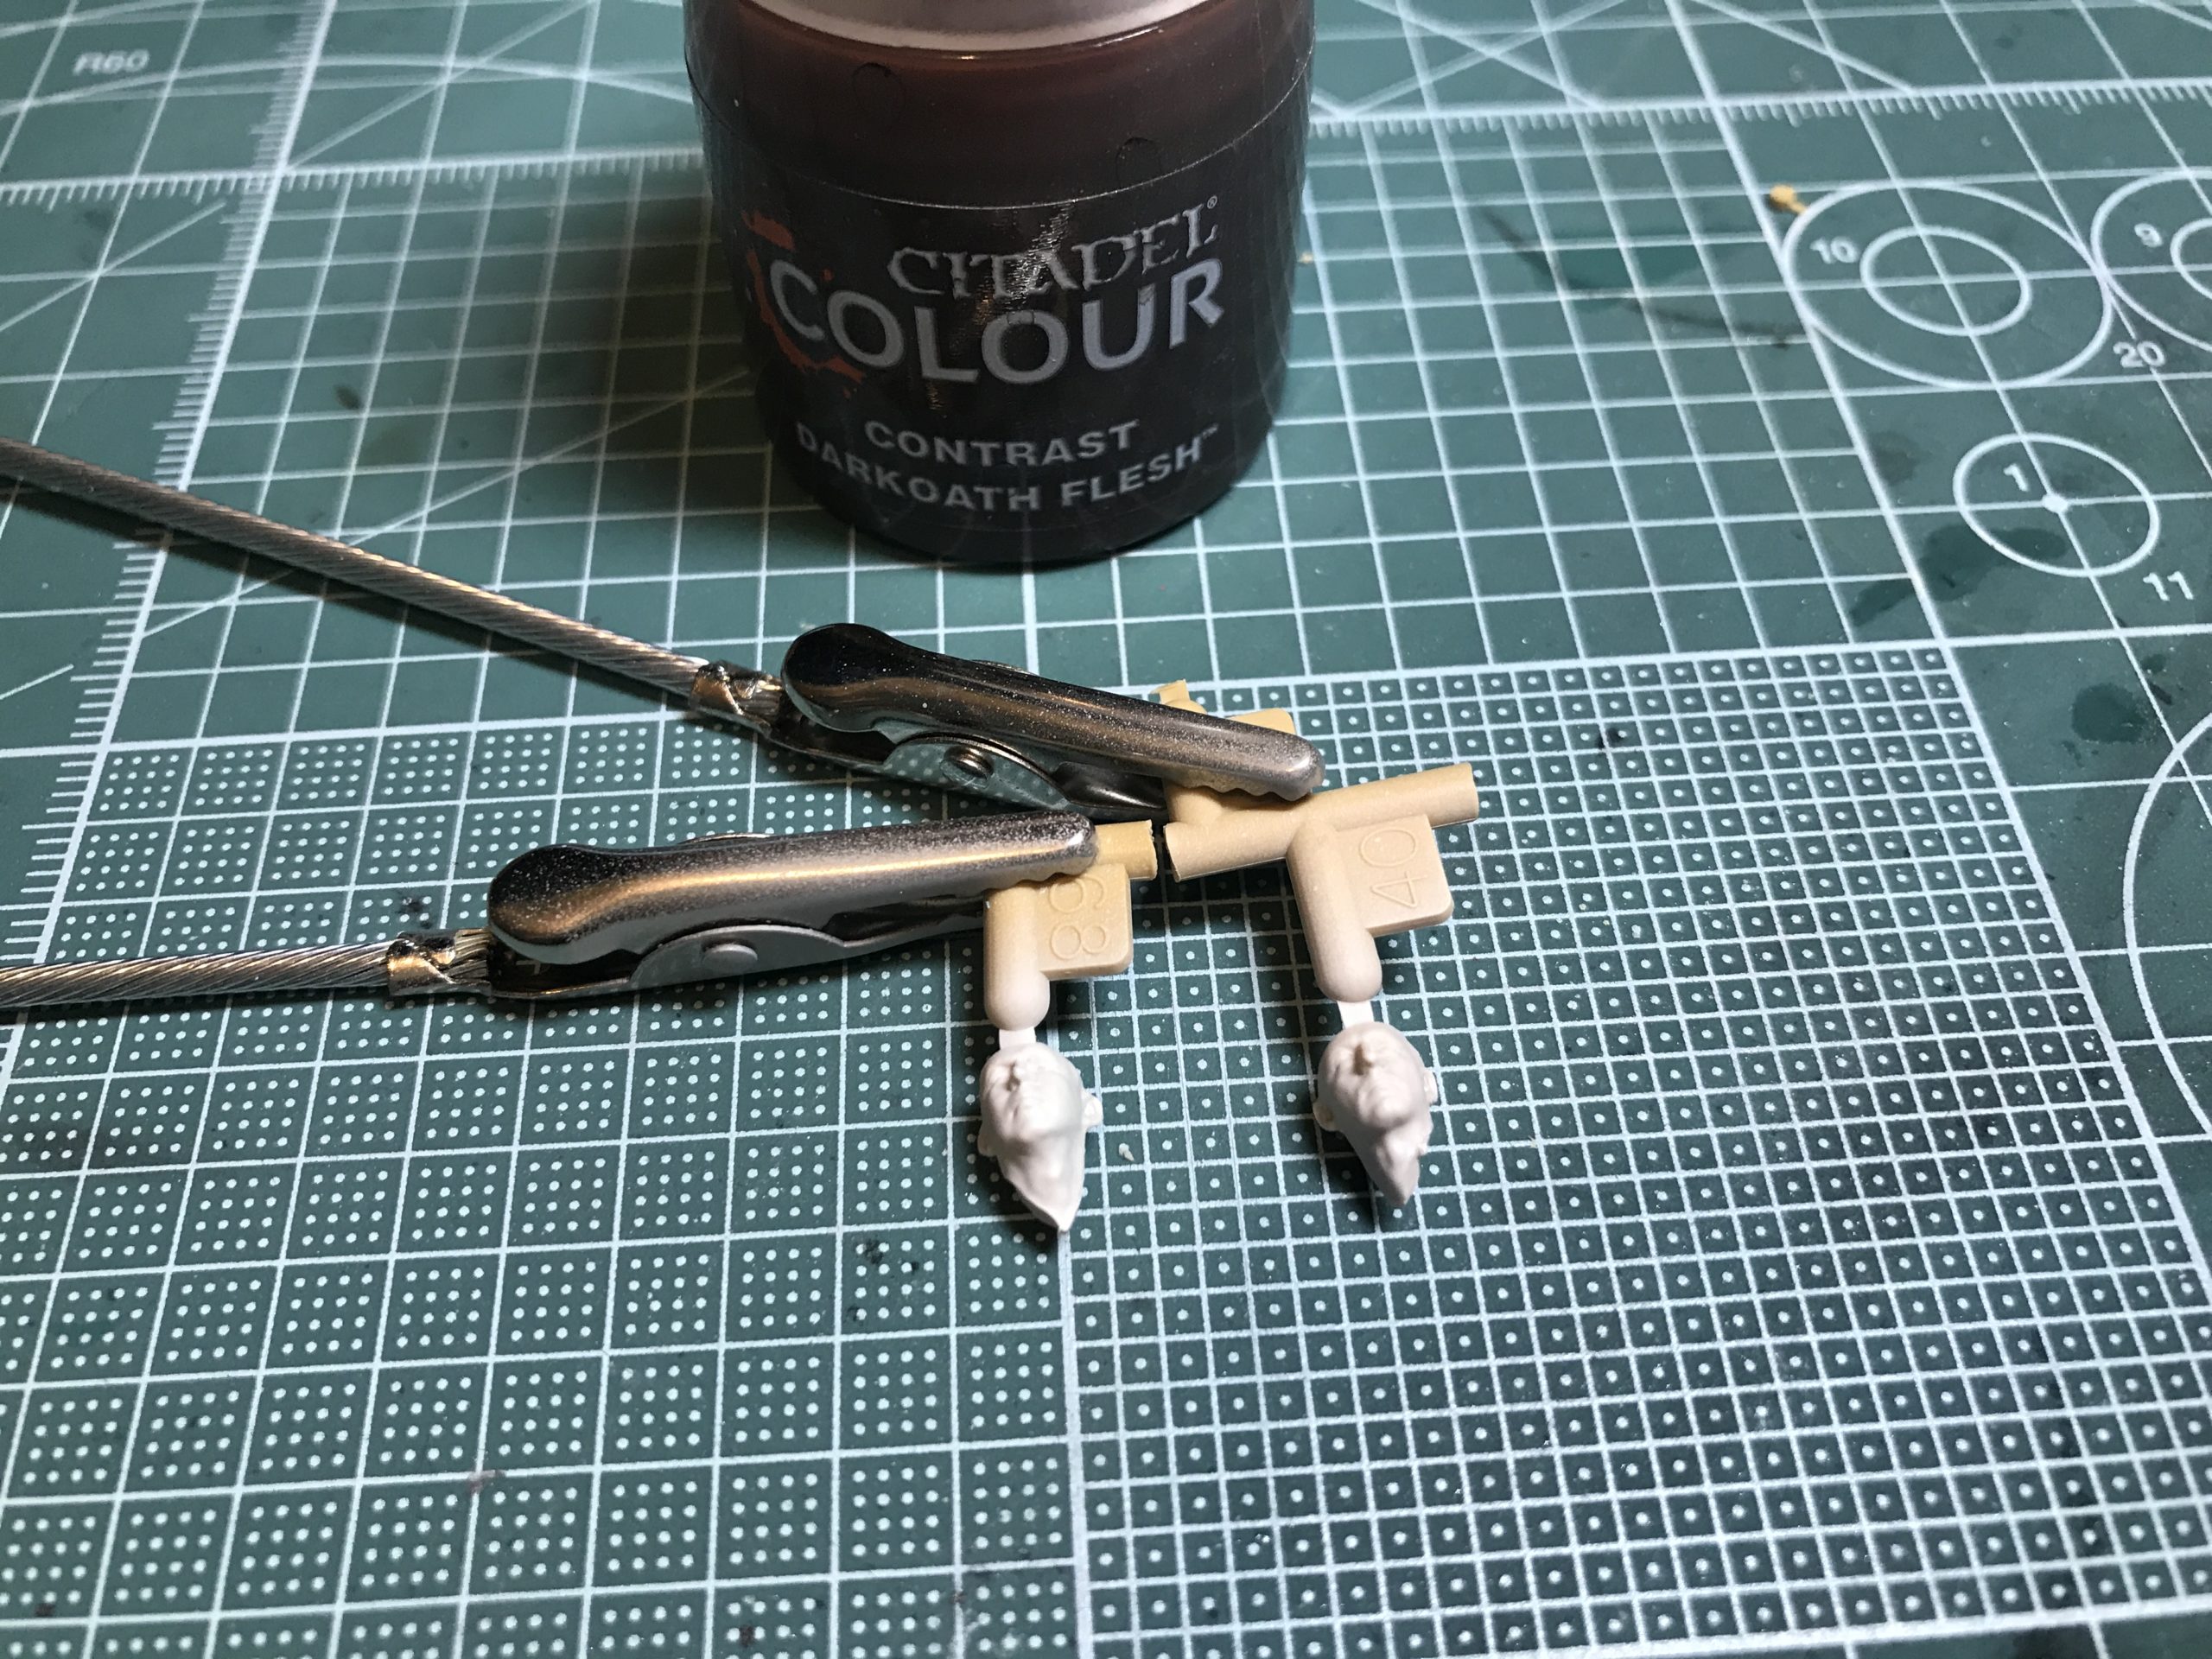 Get a decent sized brush. A number 1 should do it. Don’t be shy and get a decent amount on the brush and paint it over the flesh coloured areas.
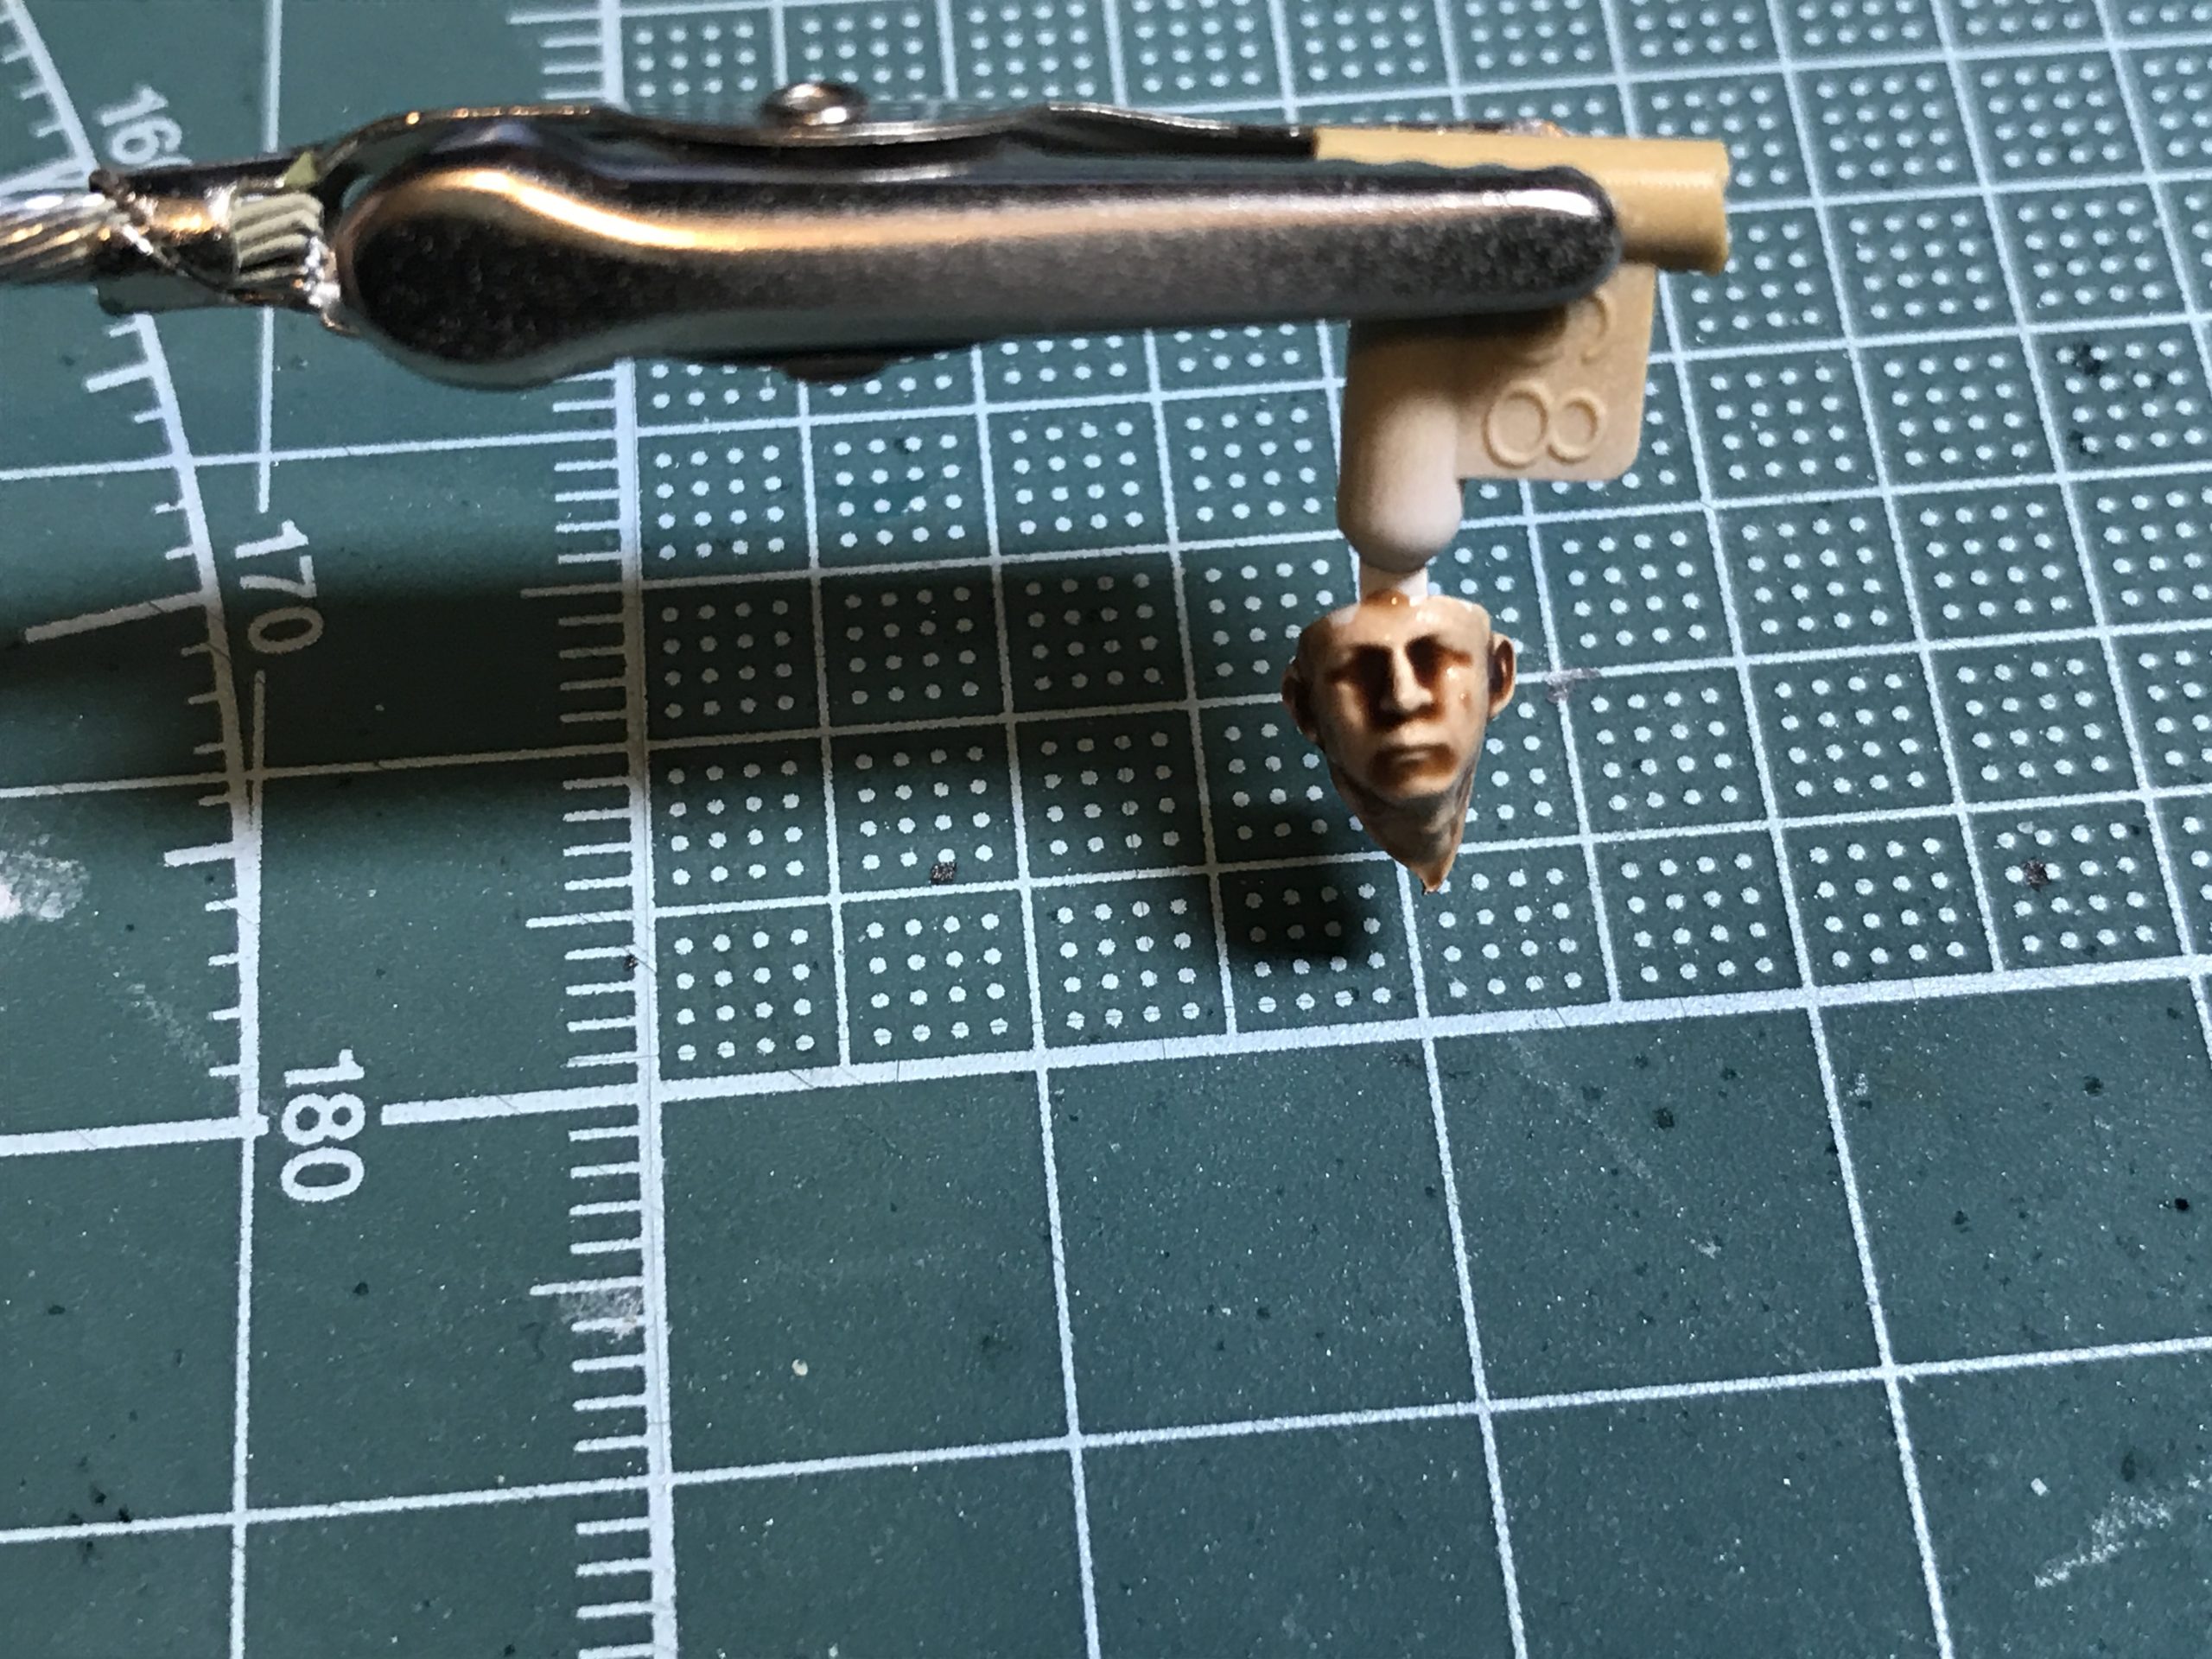
Now this is a little severe. So dry the brush on a clean piece of kitchen towel. By carefully dipping the dry brush in the area with too much paint on you can remove some and lessen the effect. Be quick though as the paint dries pretty quick.
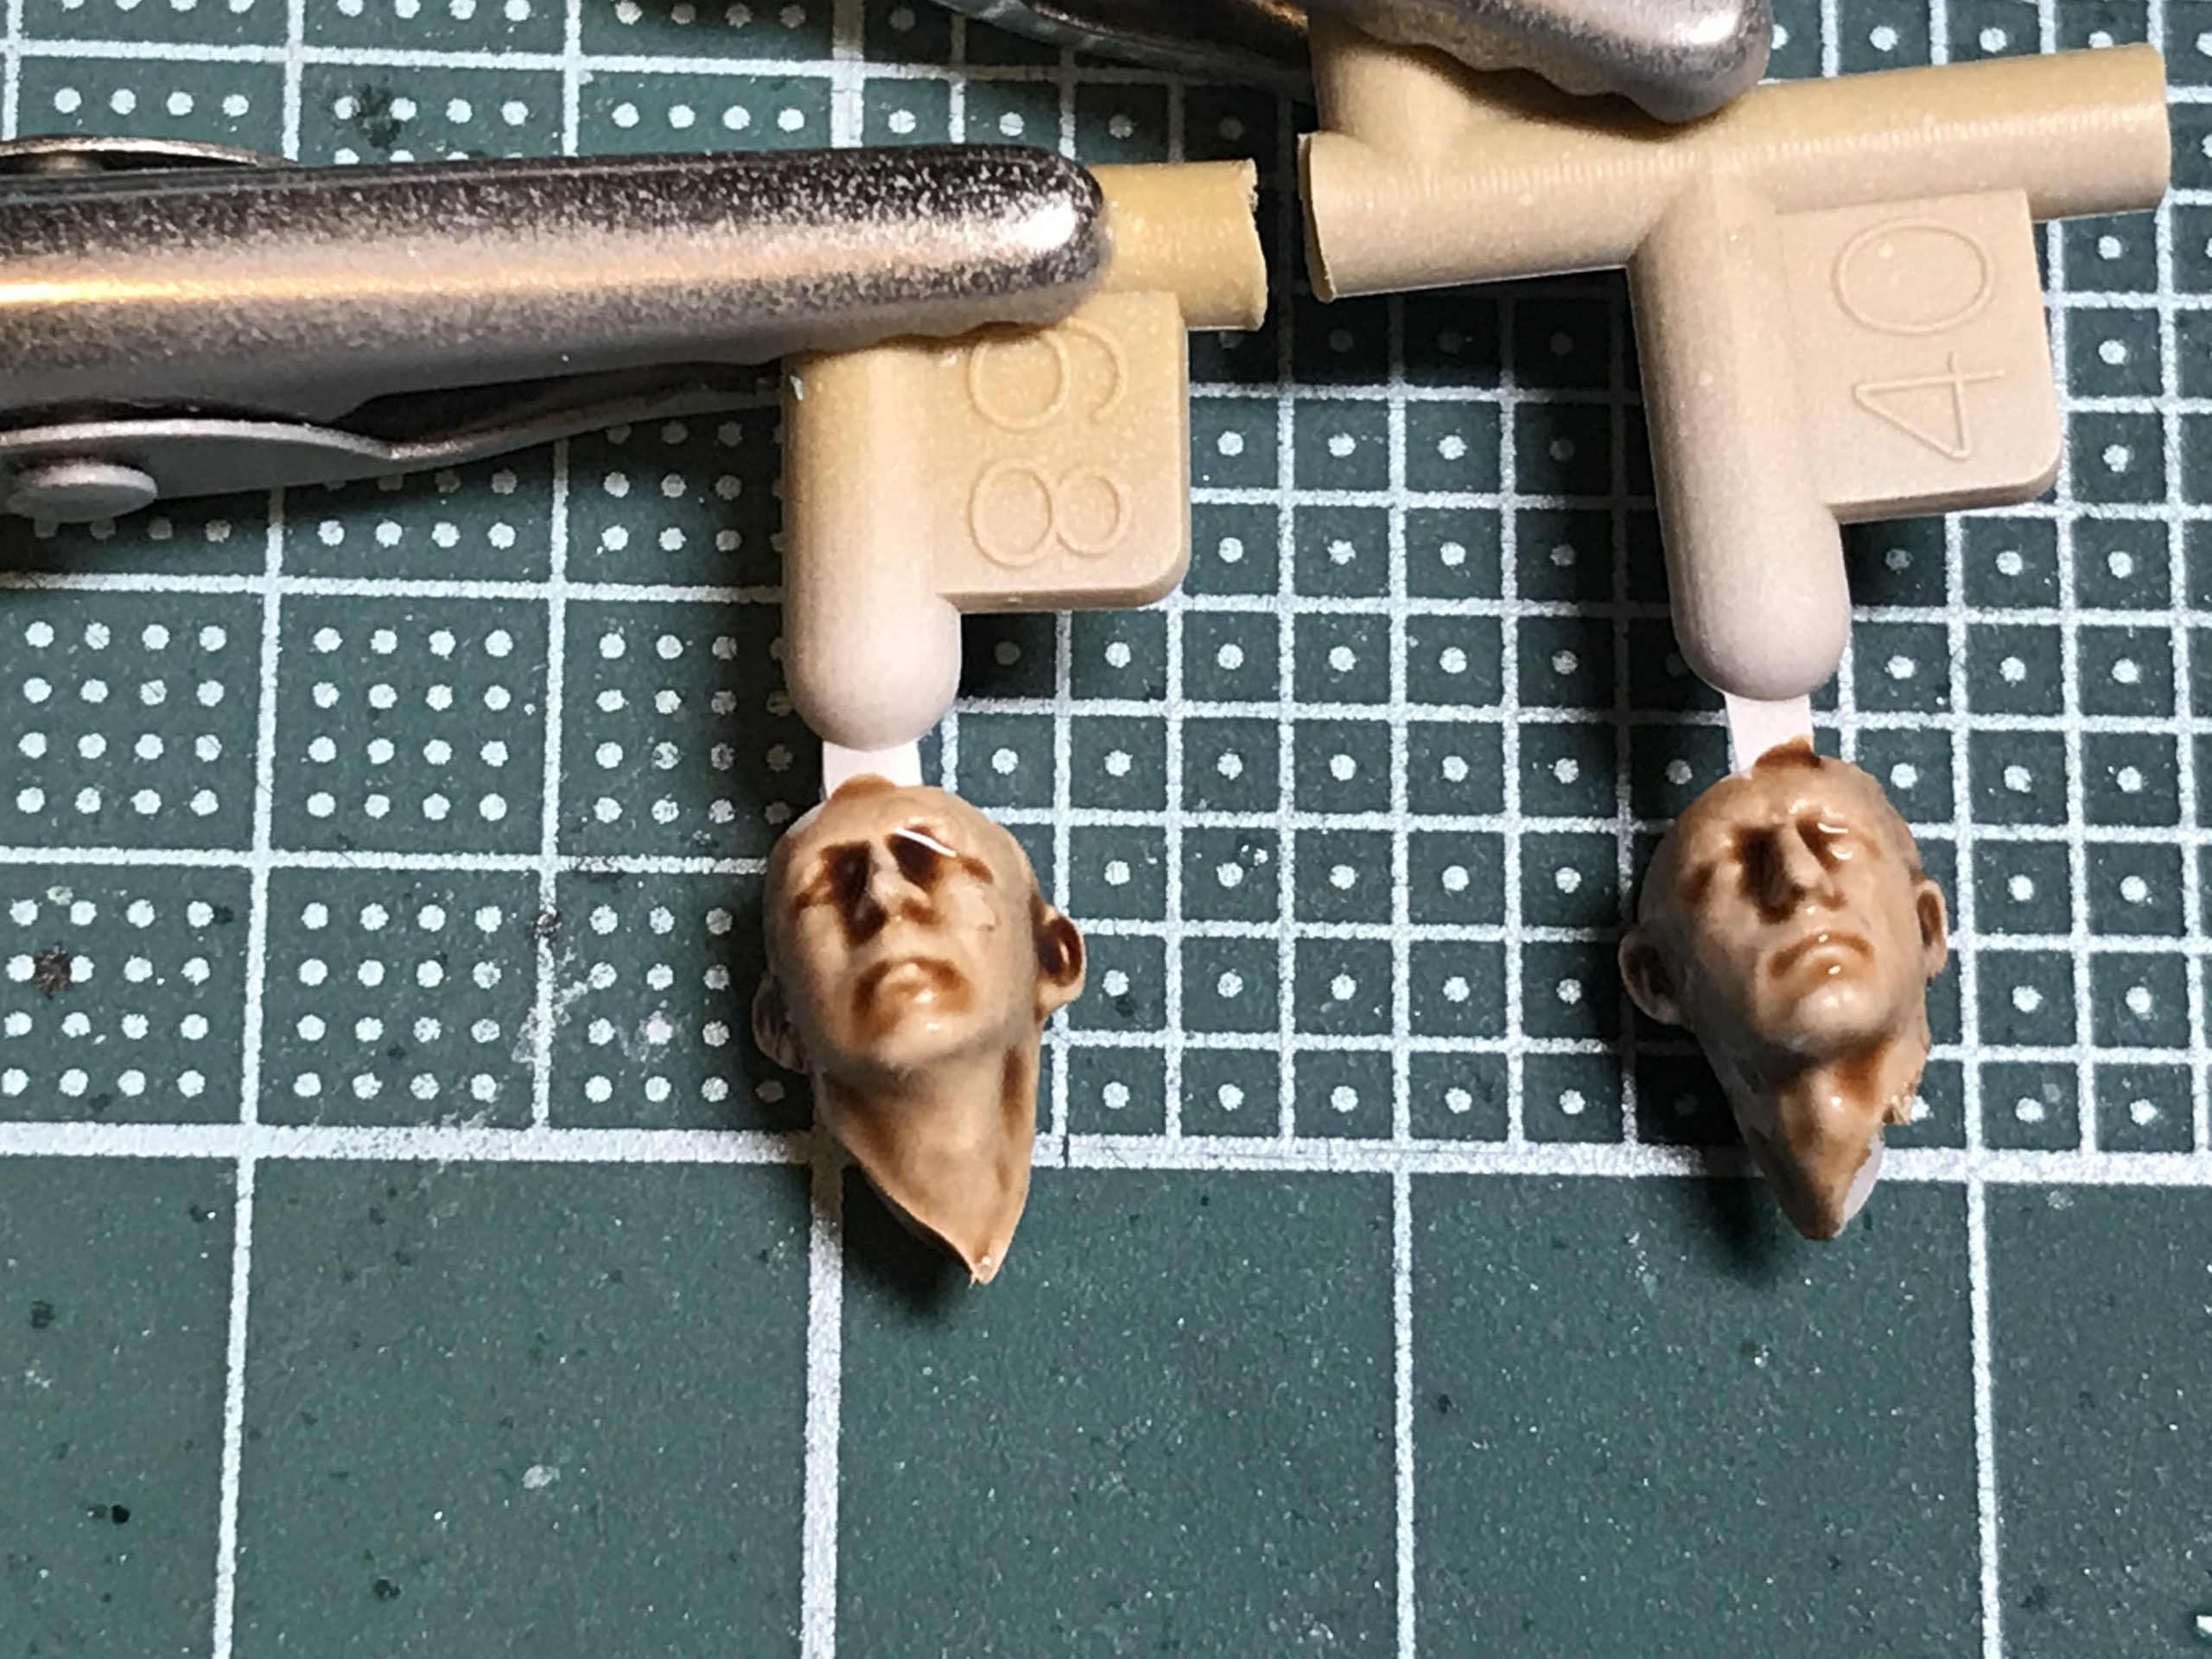
It’s then a case of letting the paint fully dry before touching the faces again.
Easy huh?
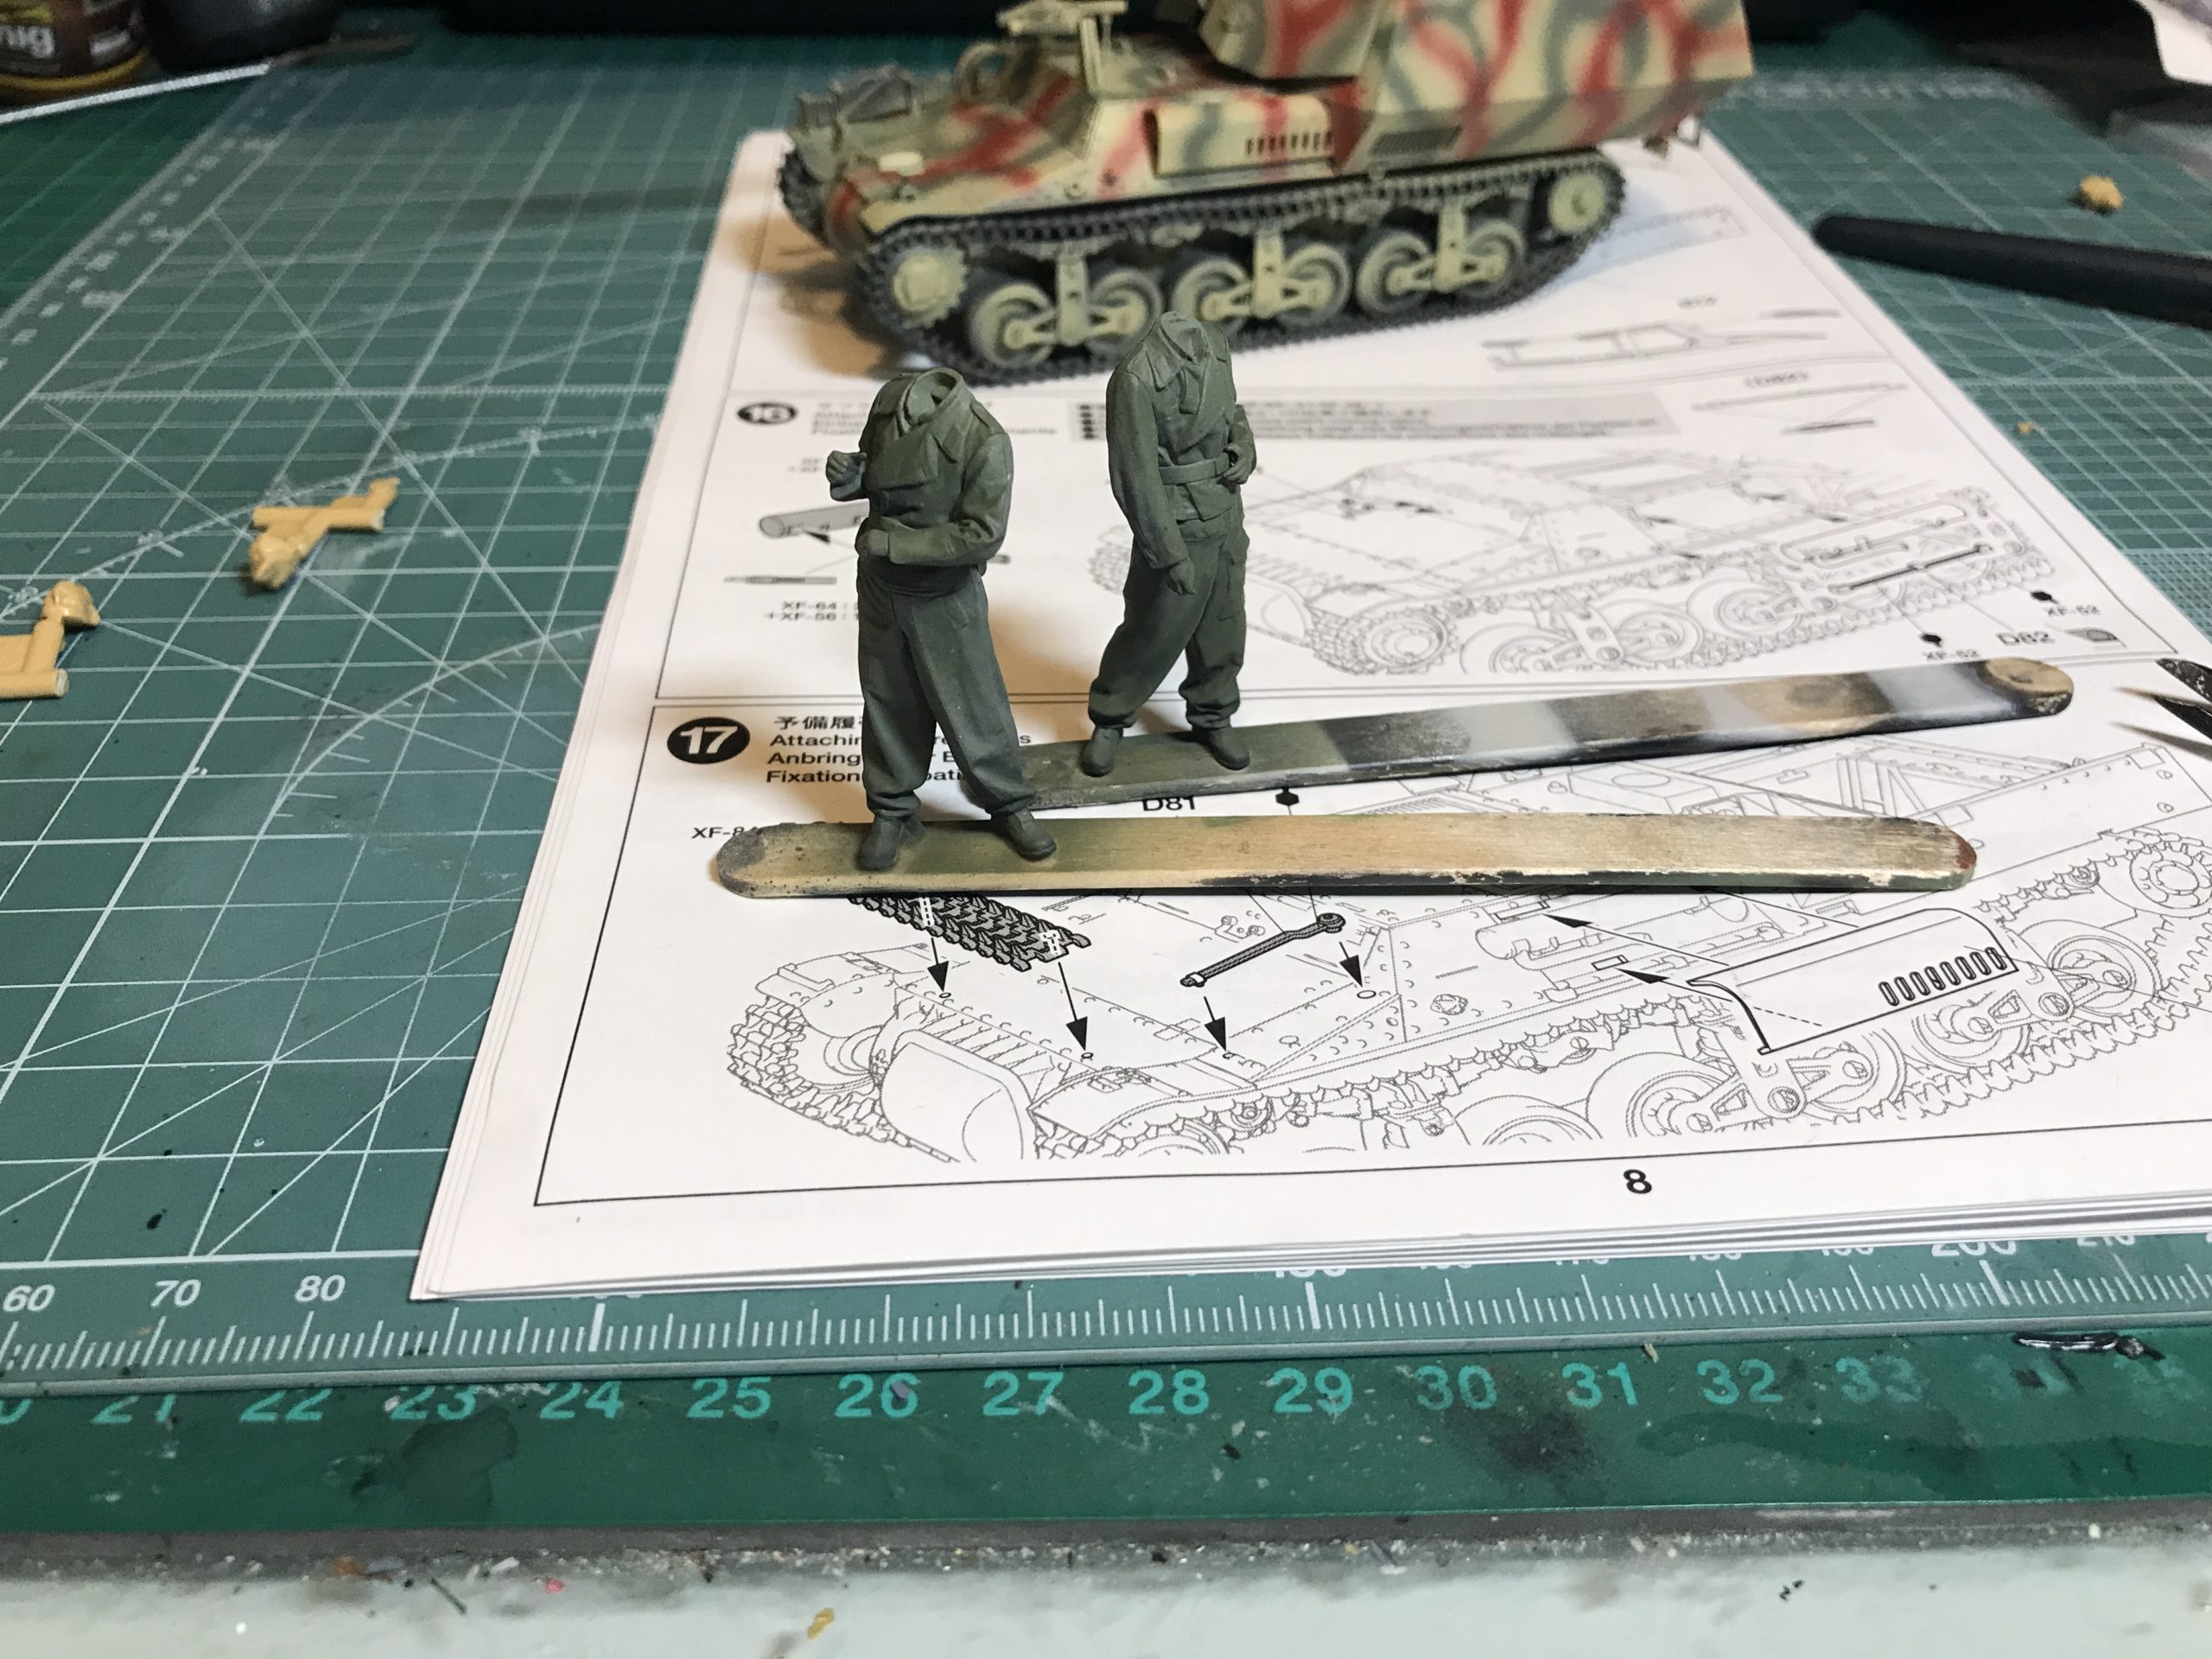
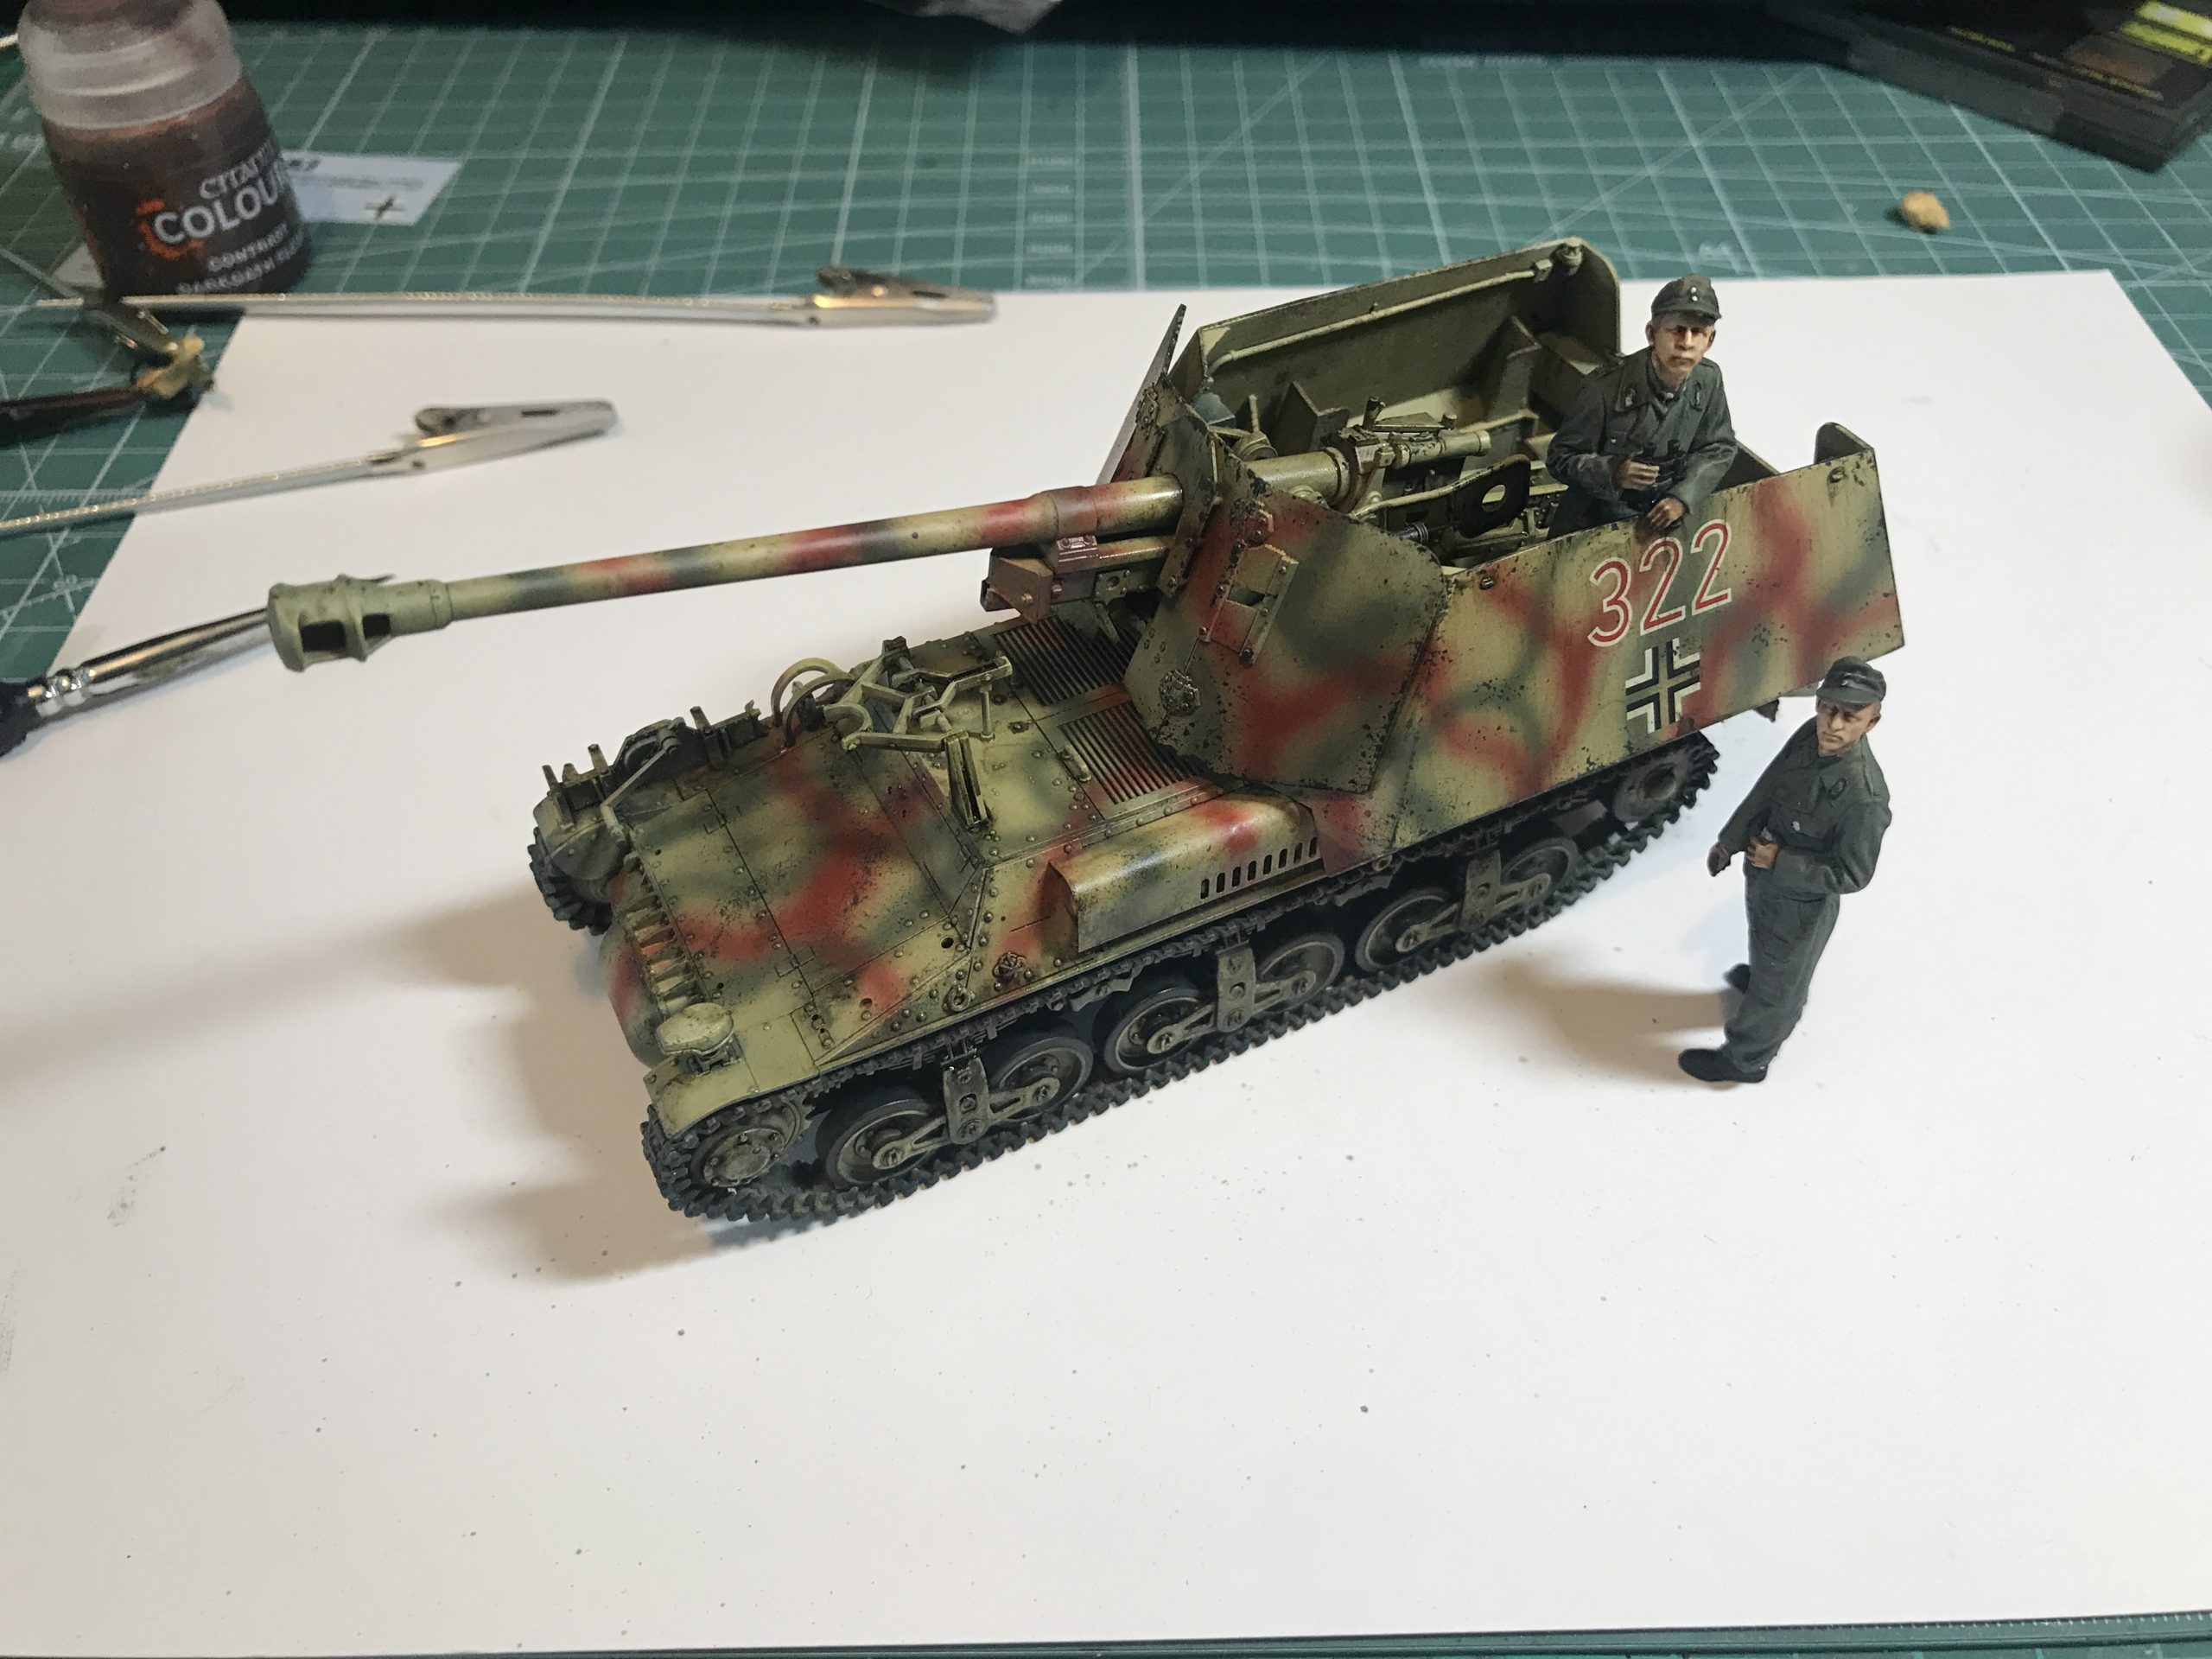
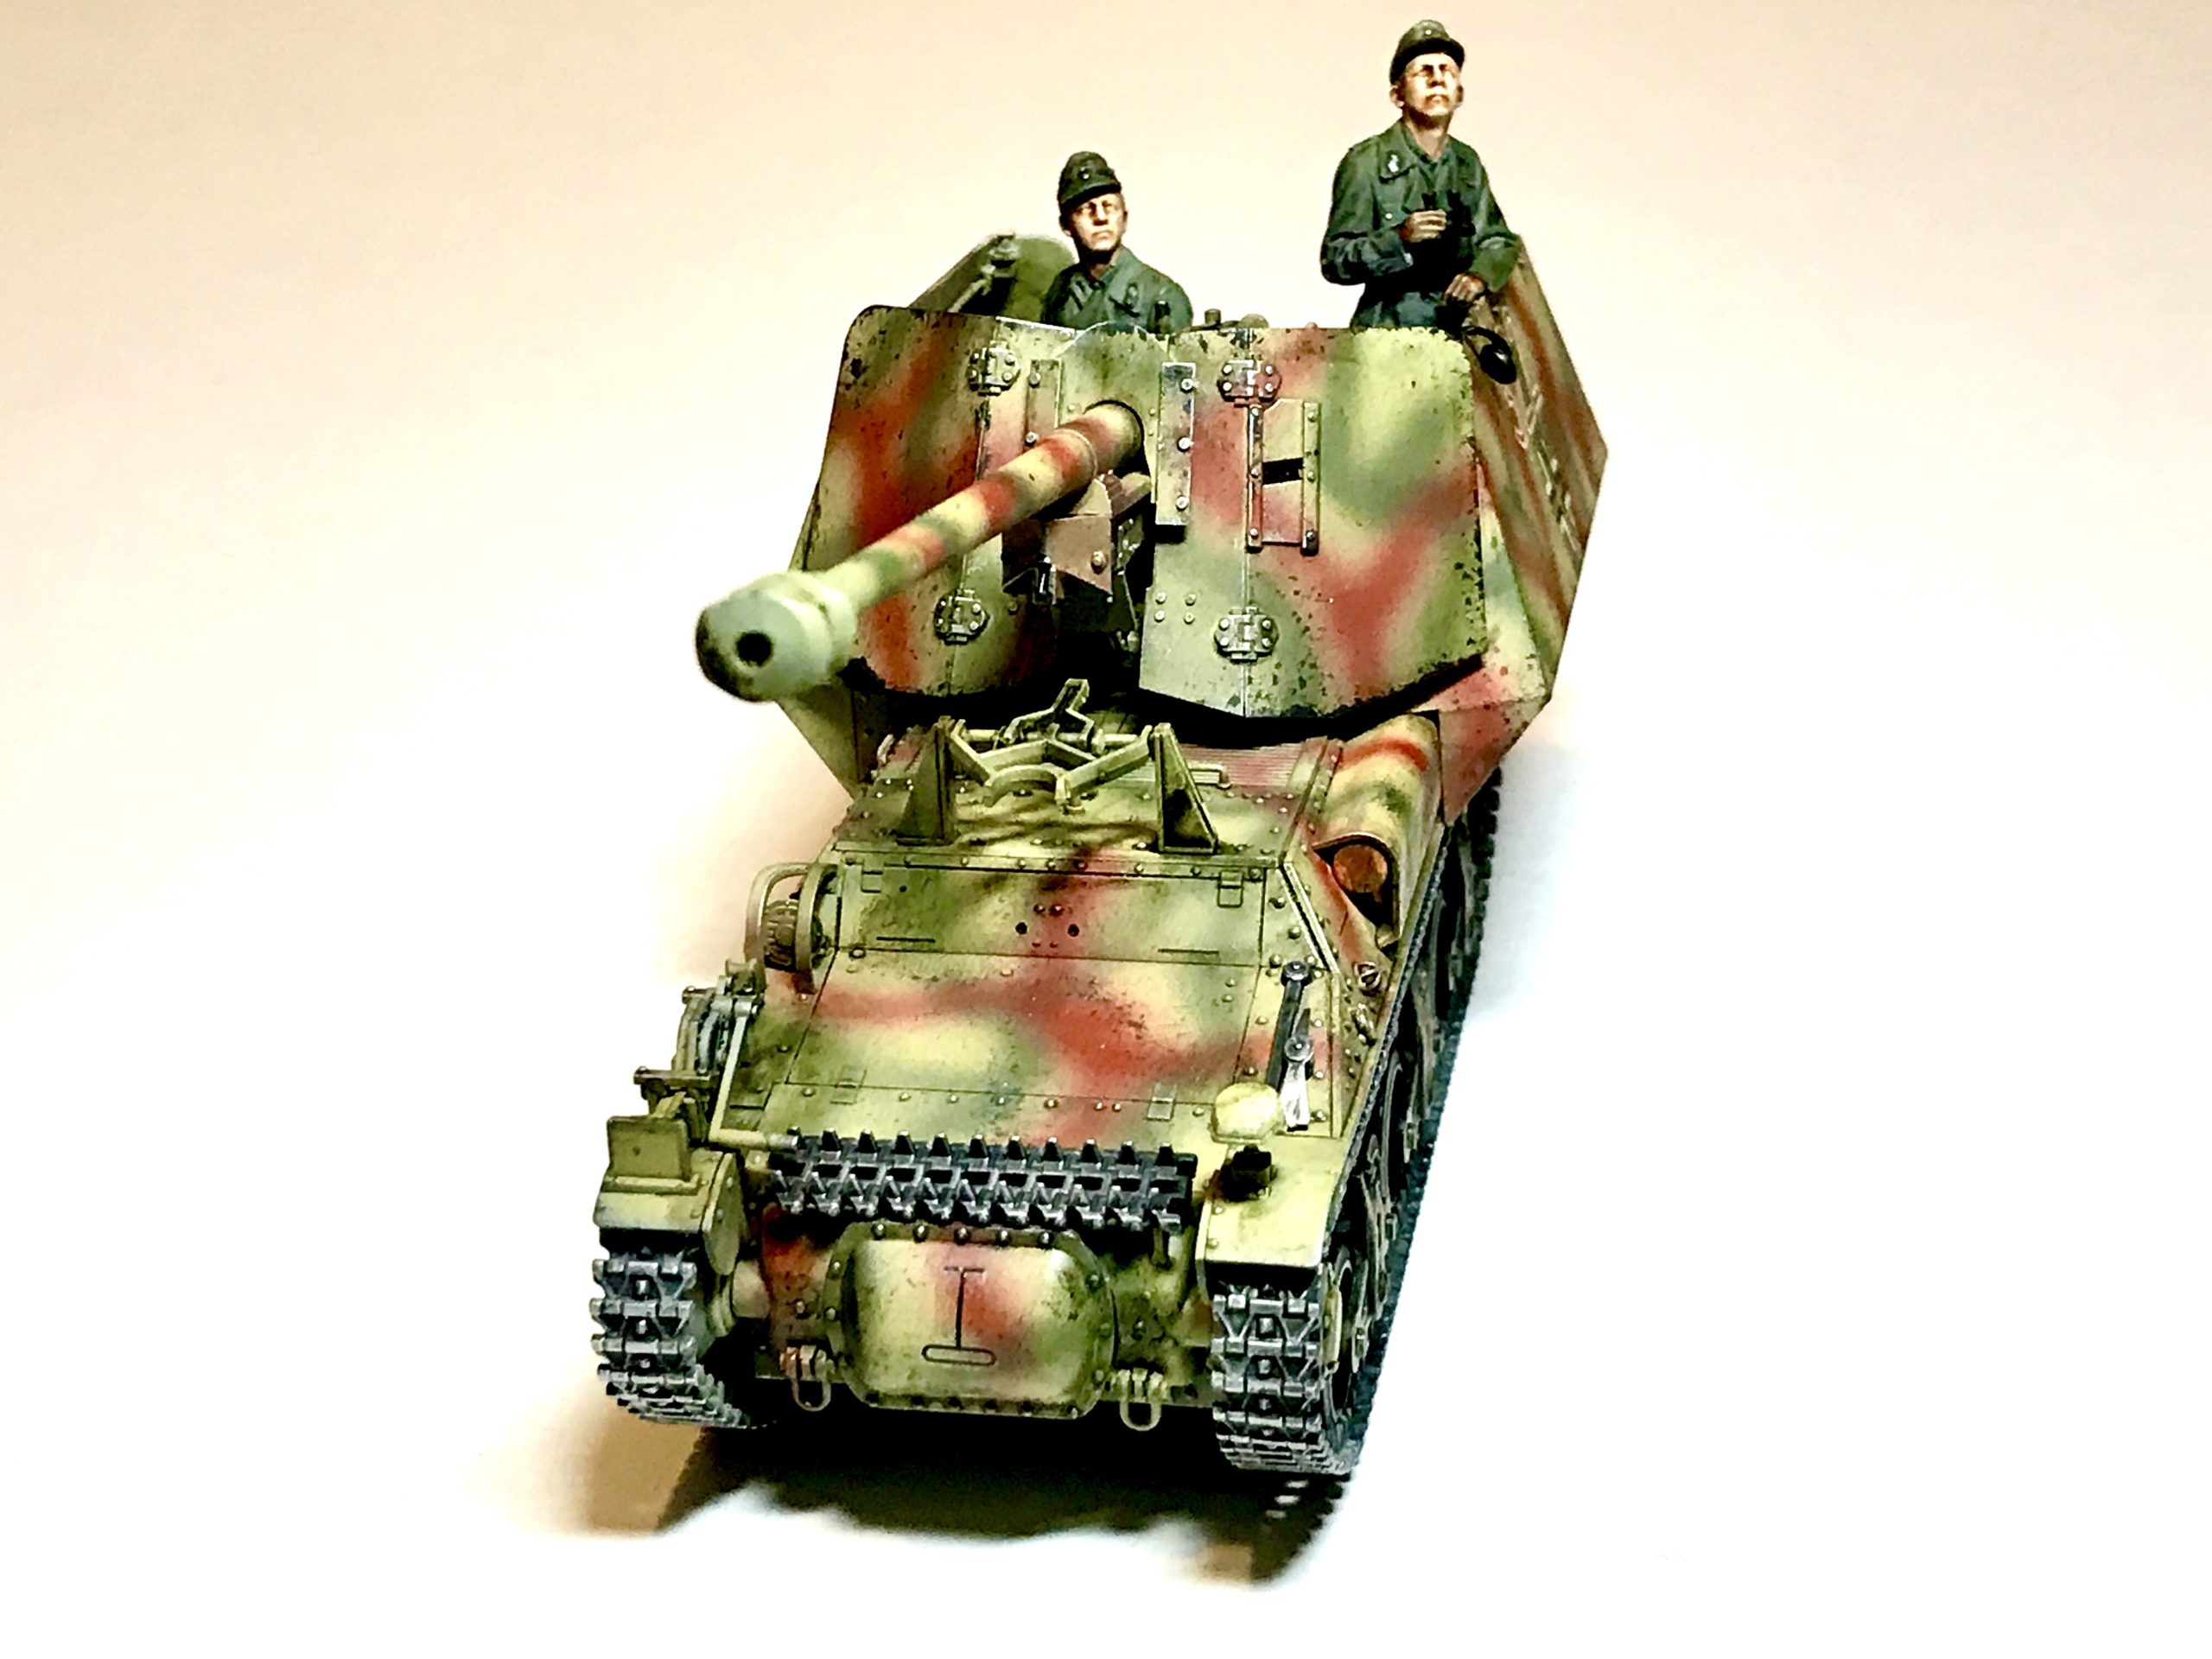
The figures can then be assembled and test fitted.
details can be picked out with a fine brush to finish the effect.
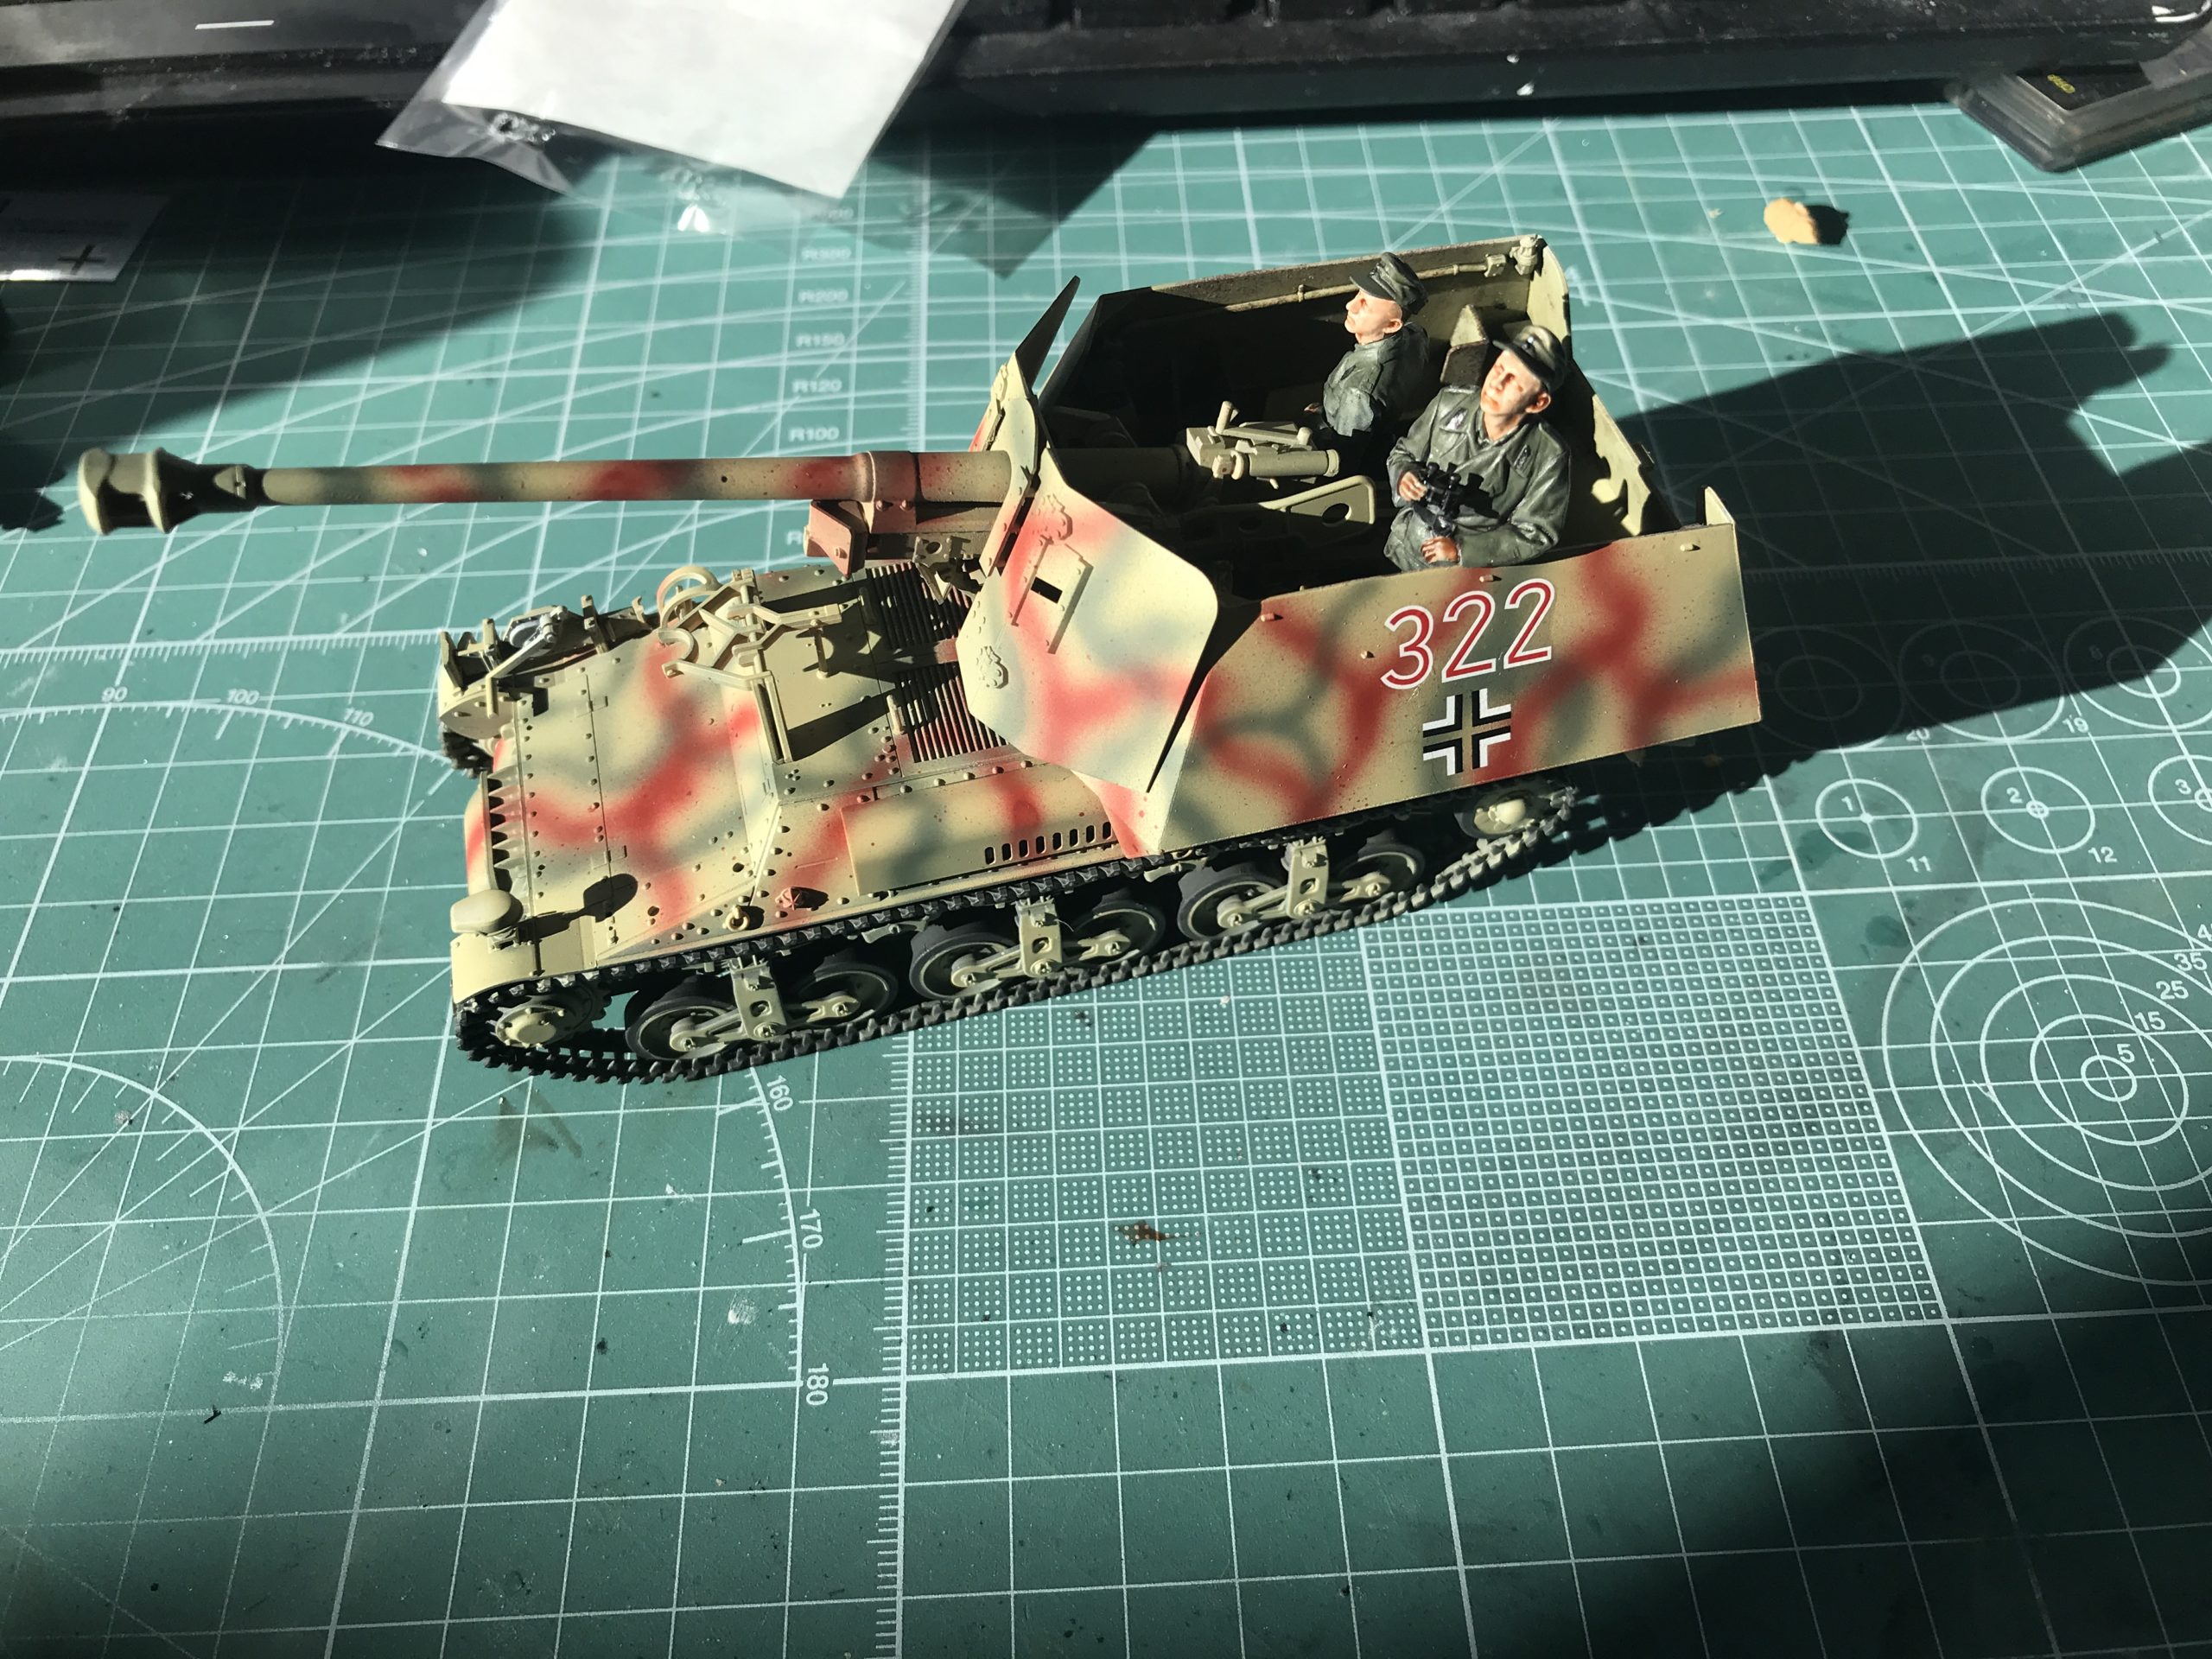
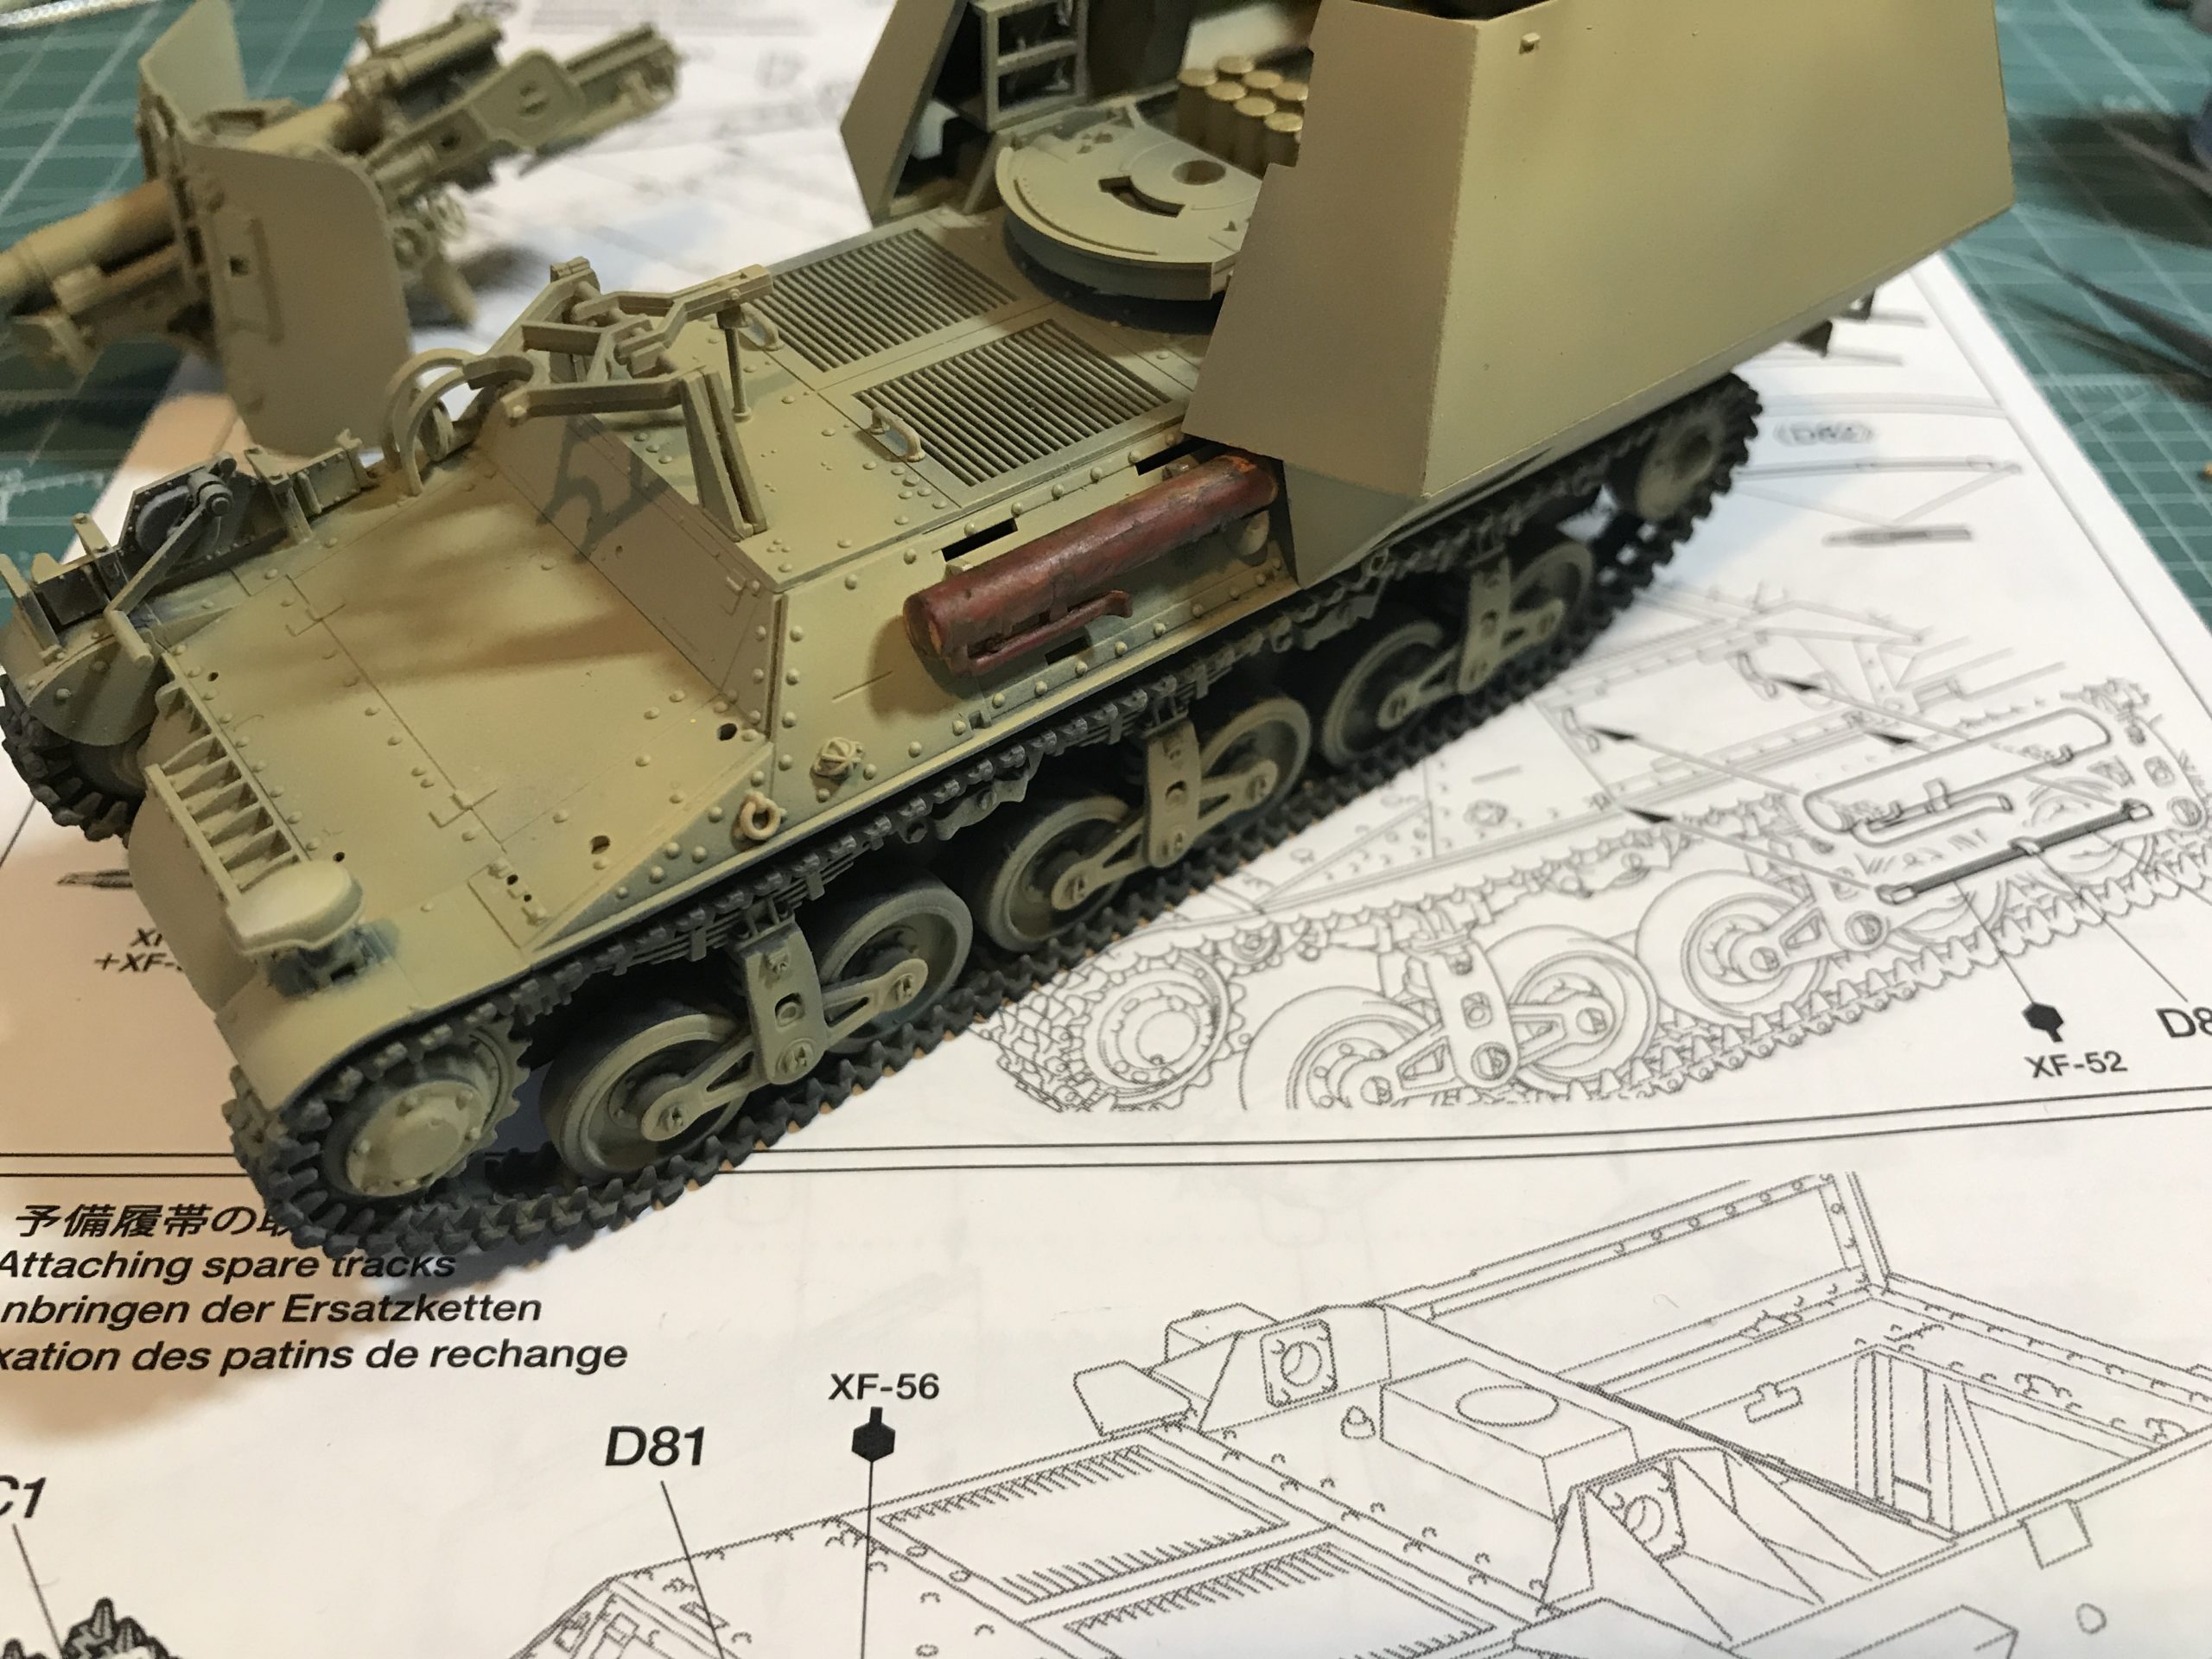
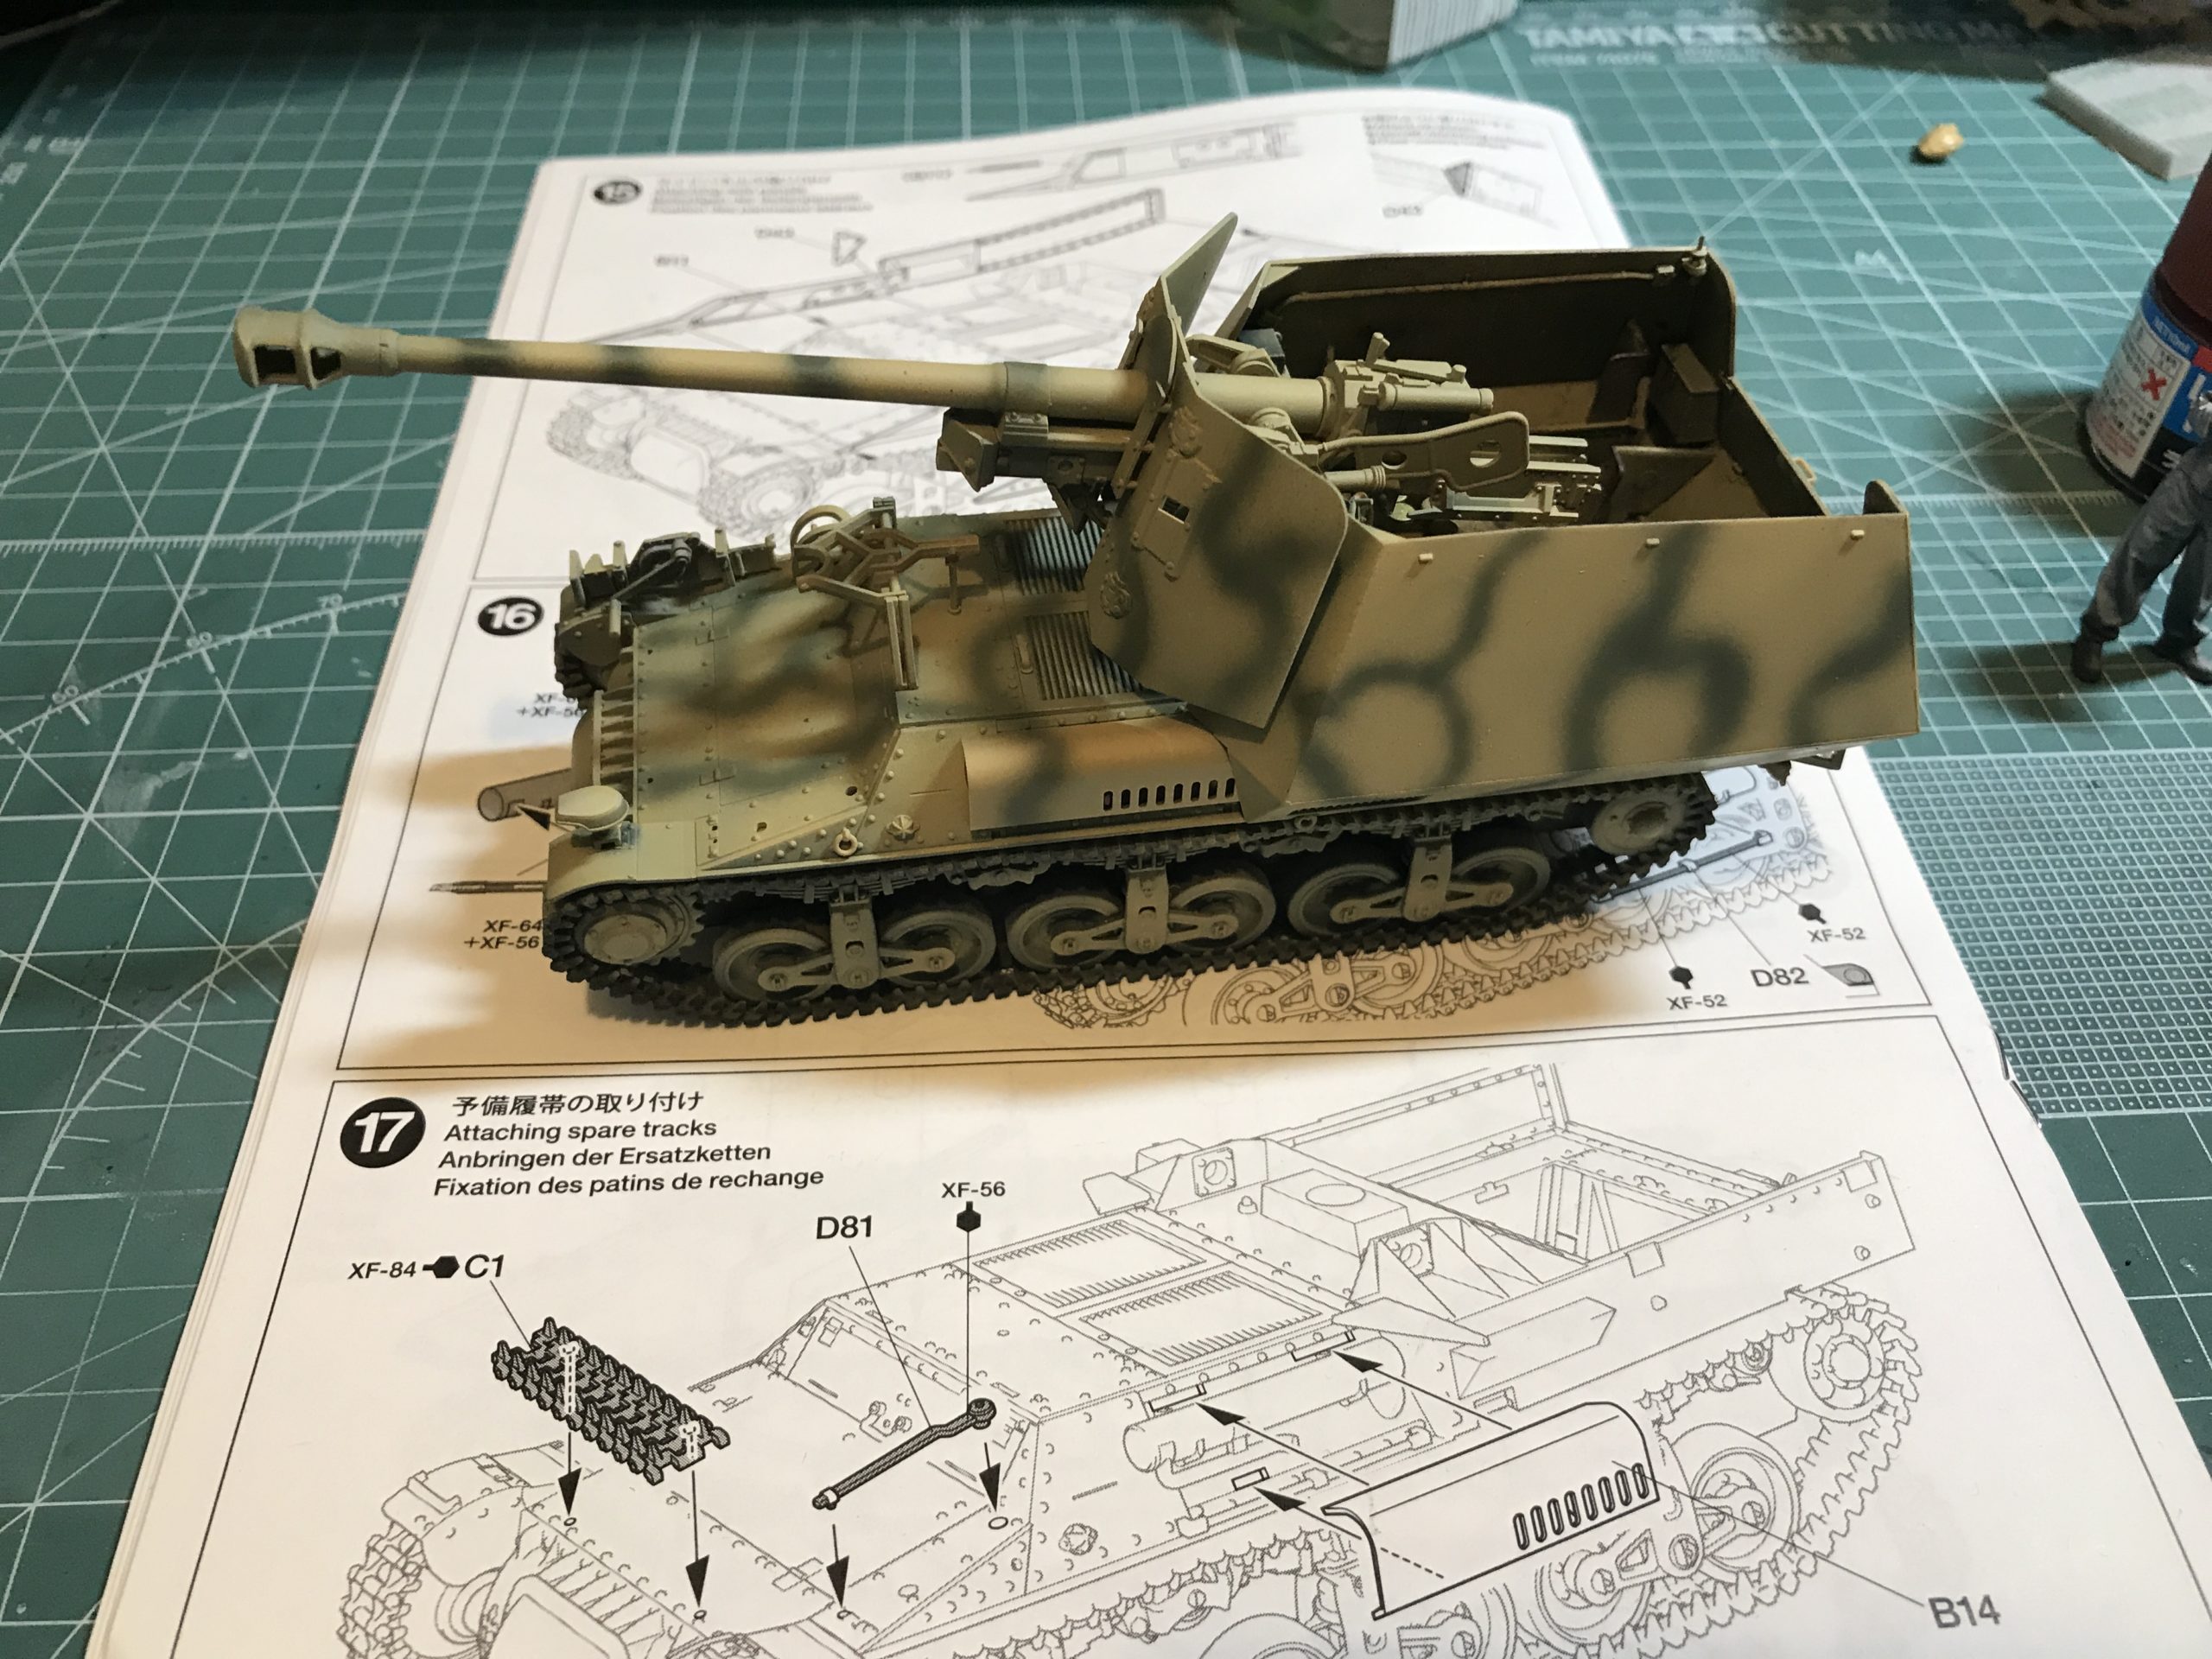
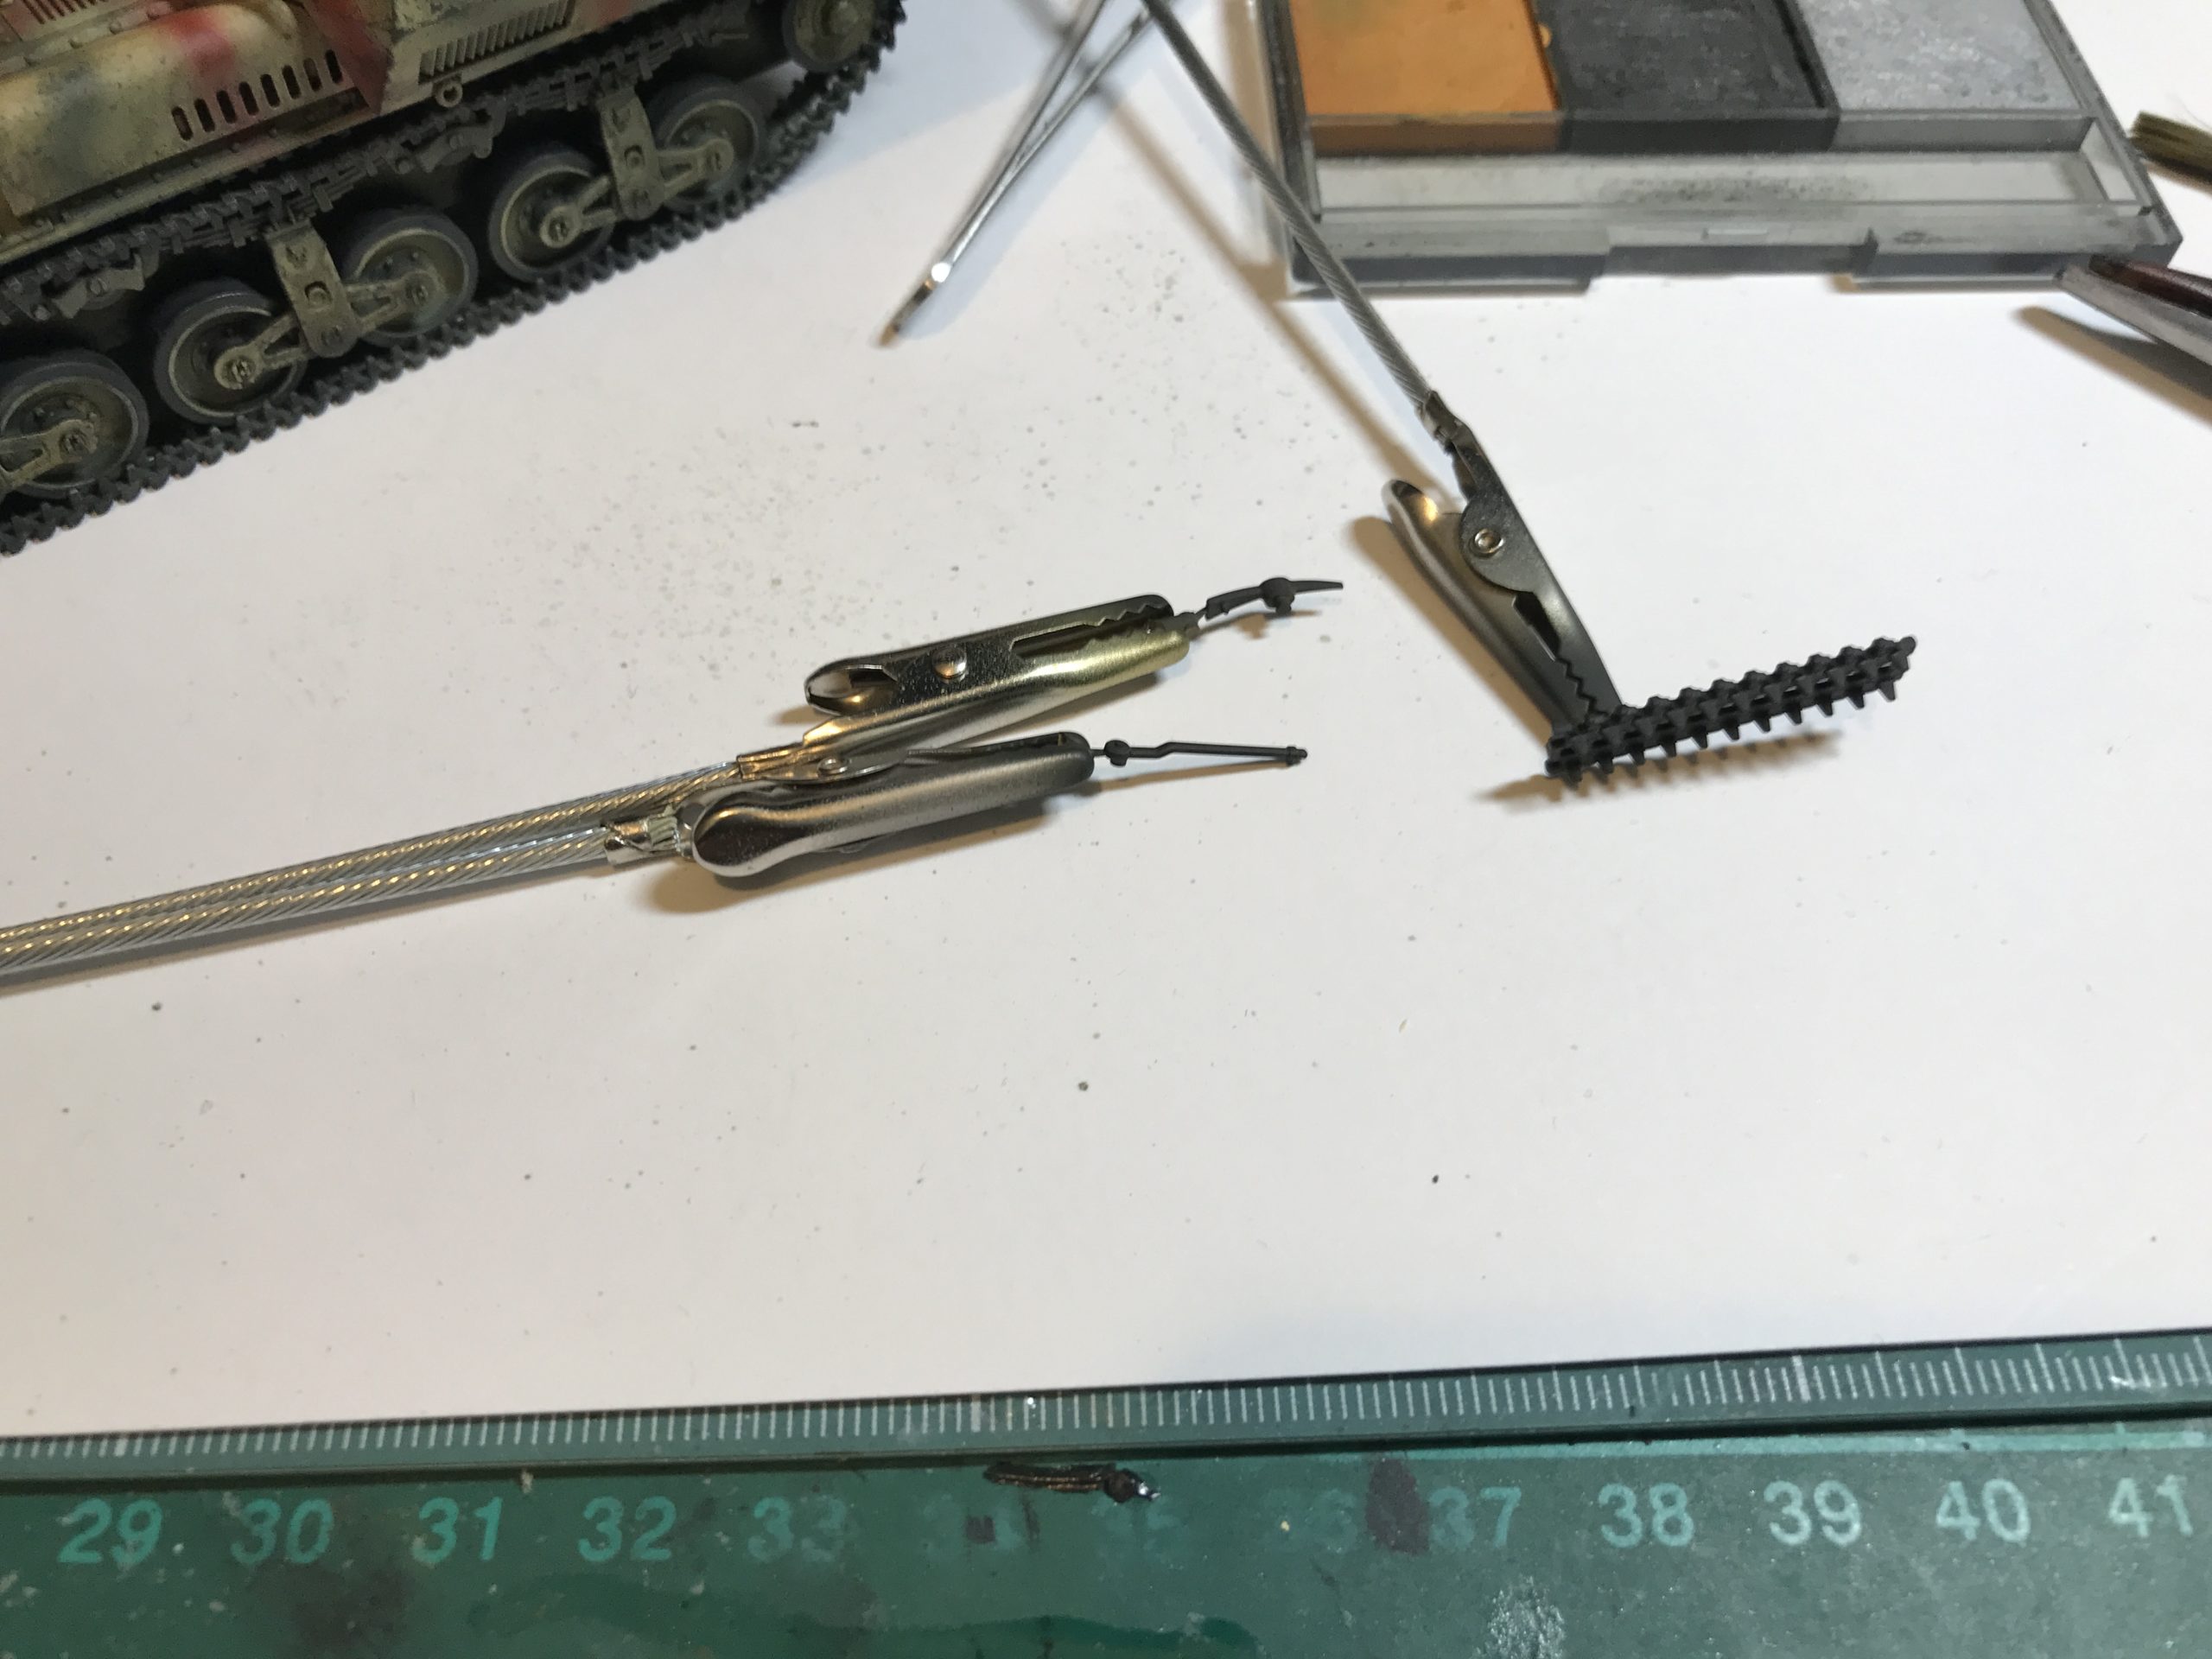
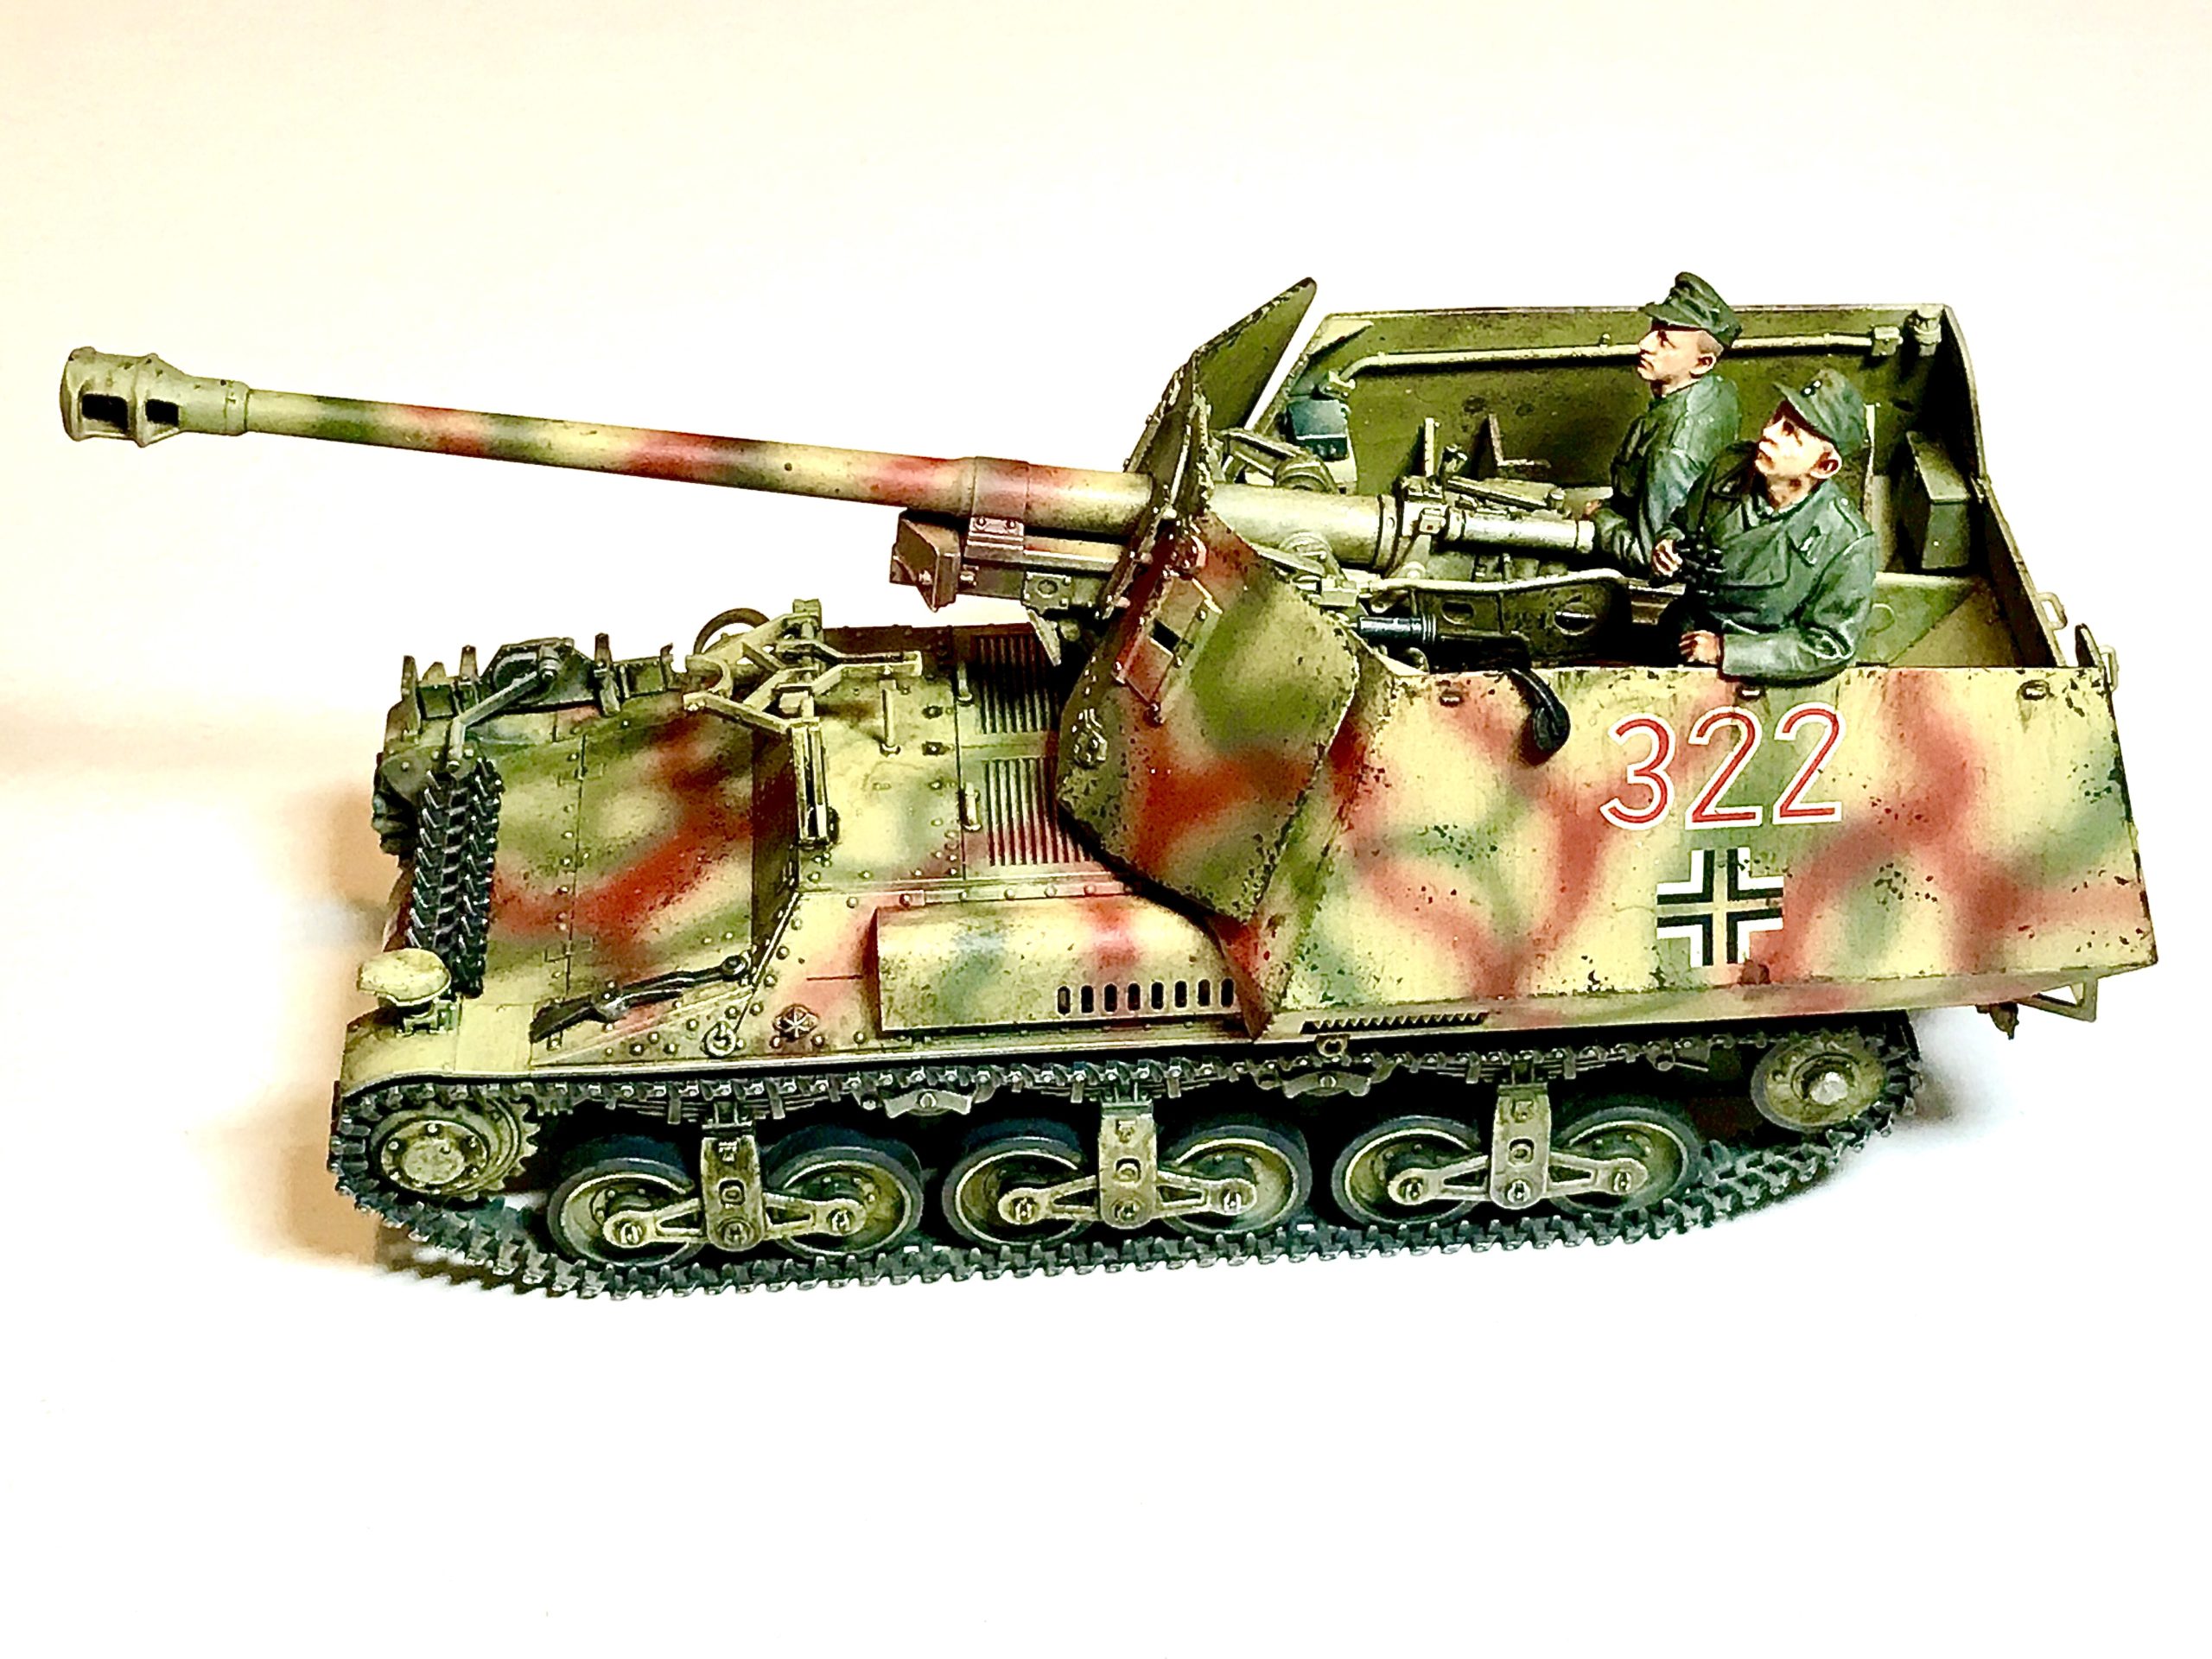
You can now go around the model and brush paint any small details like the tracks and rubber wheels.
Weathering is done in the exact same way as the interior. as shown below.
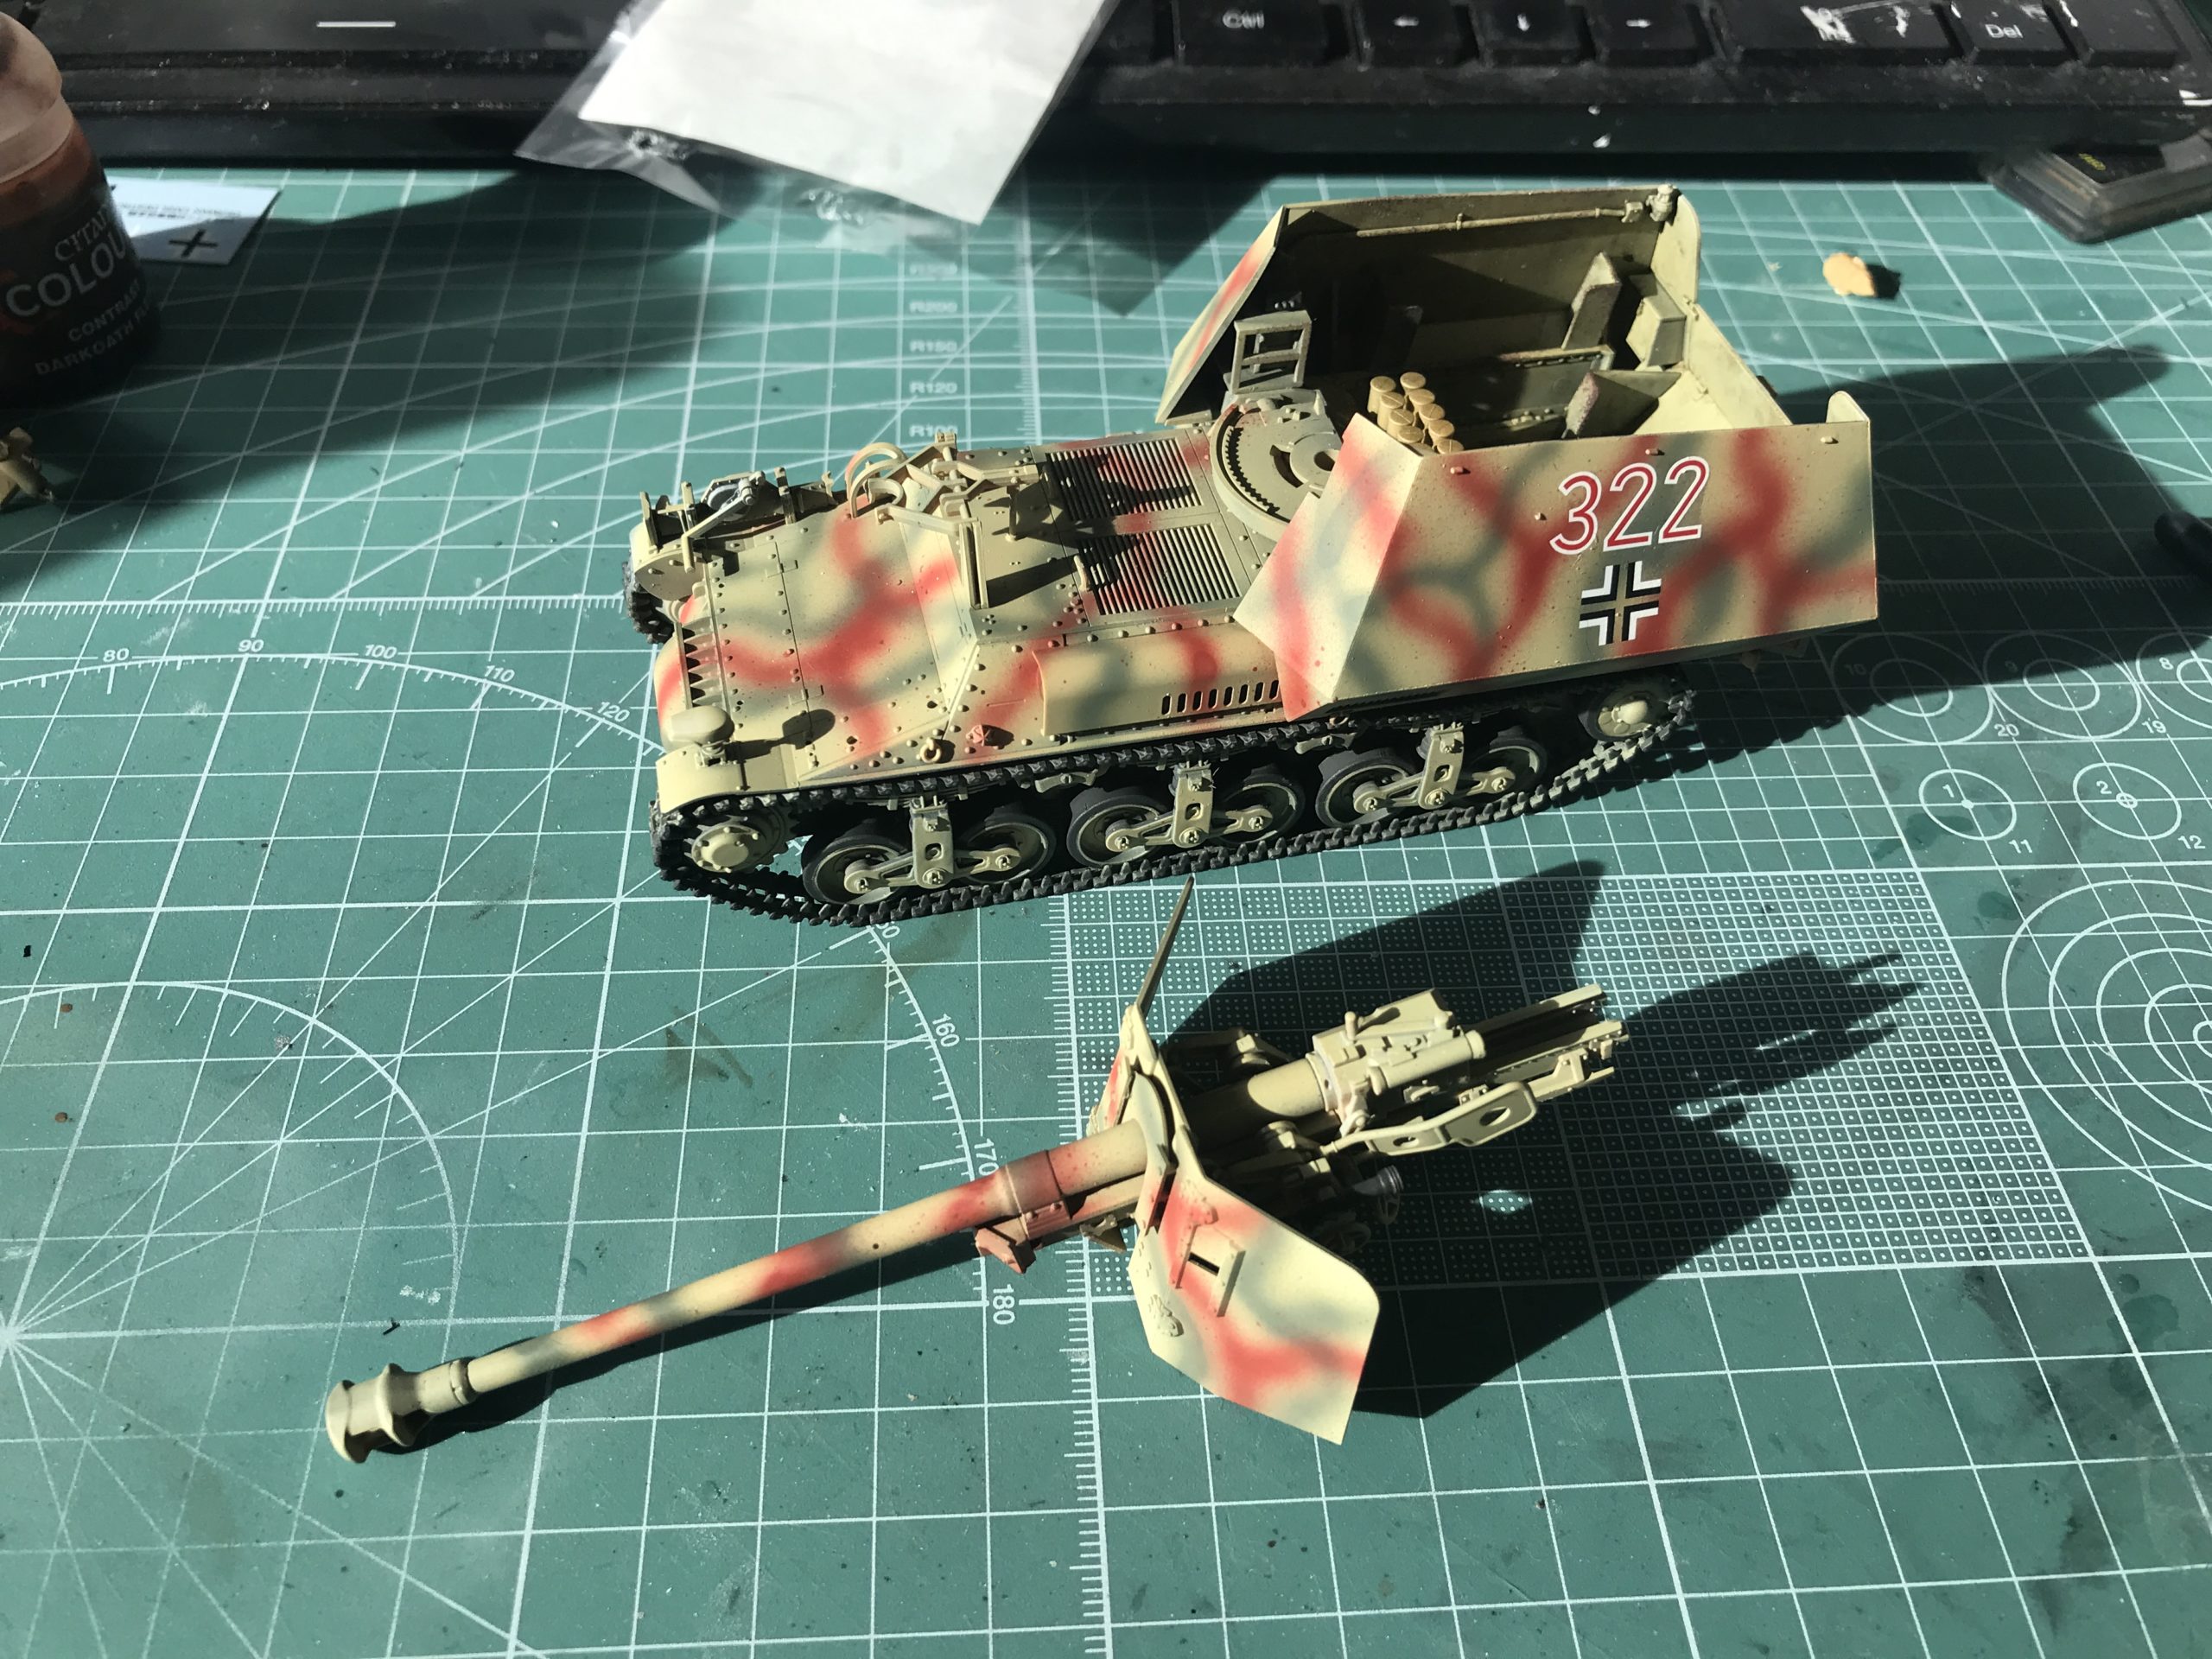
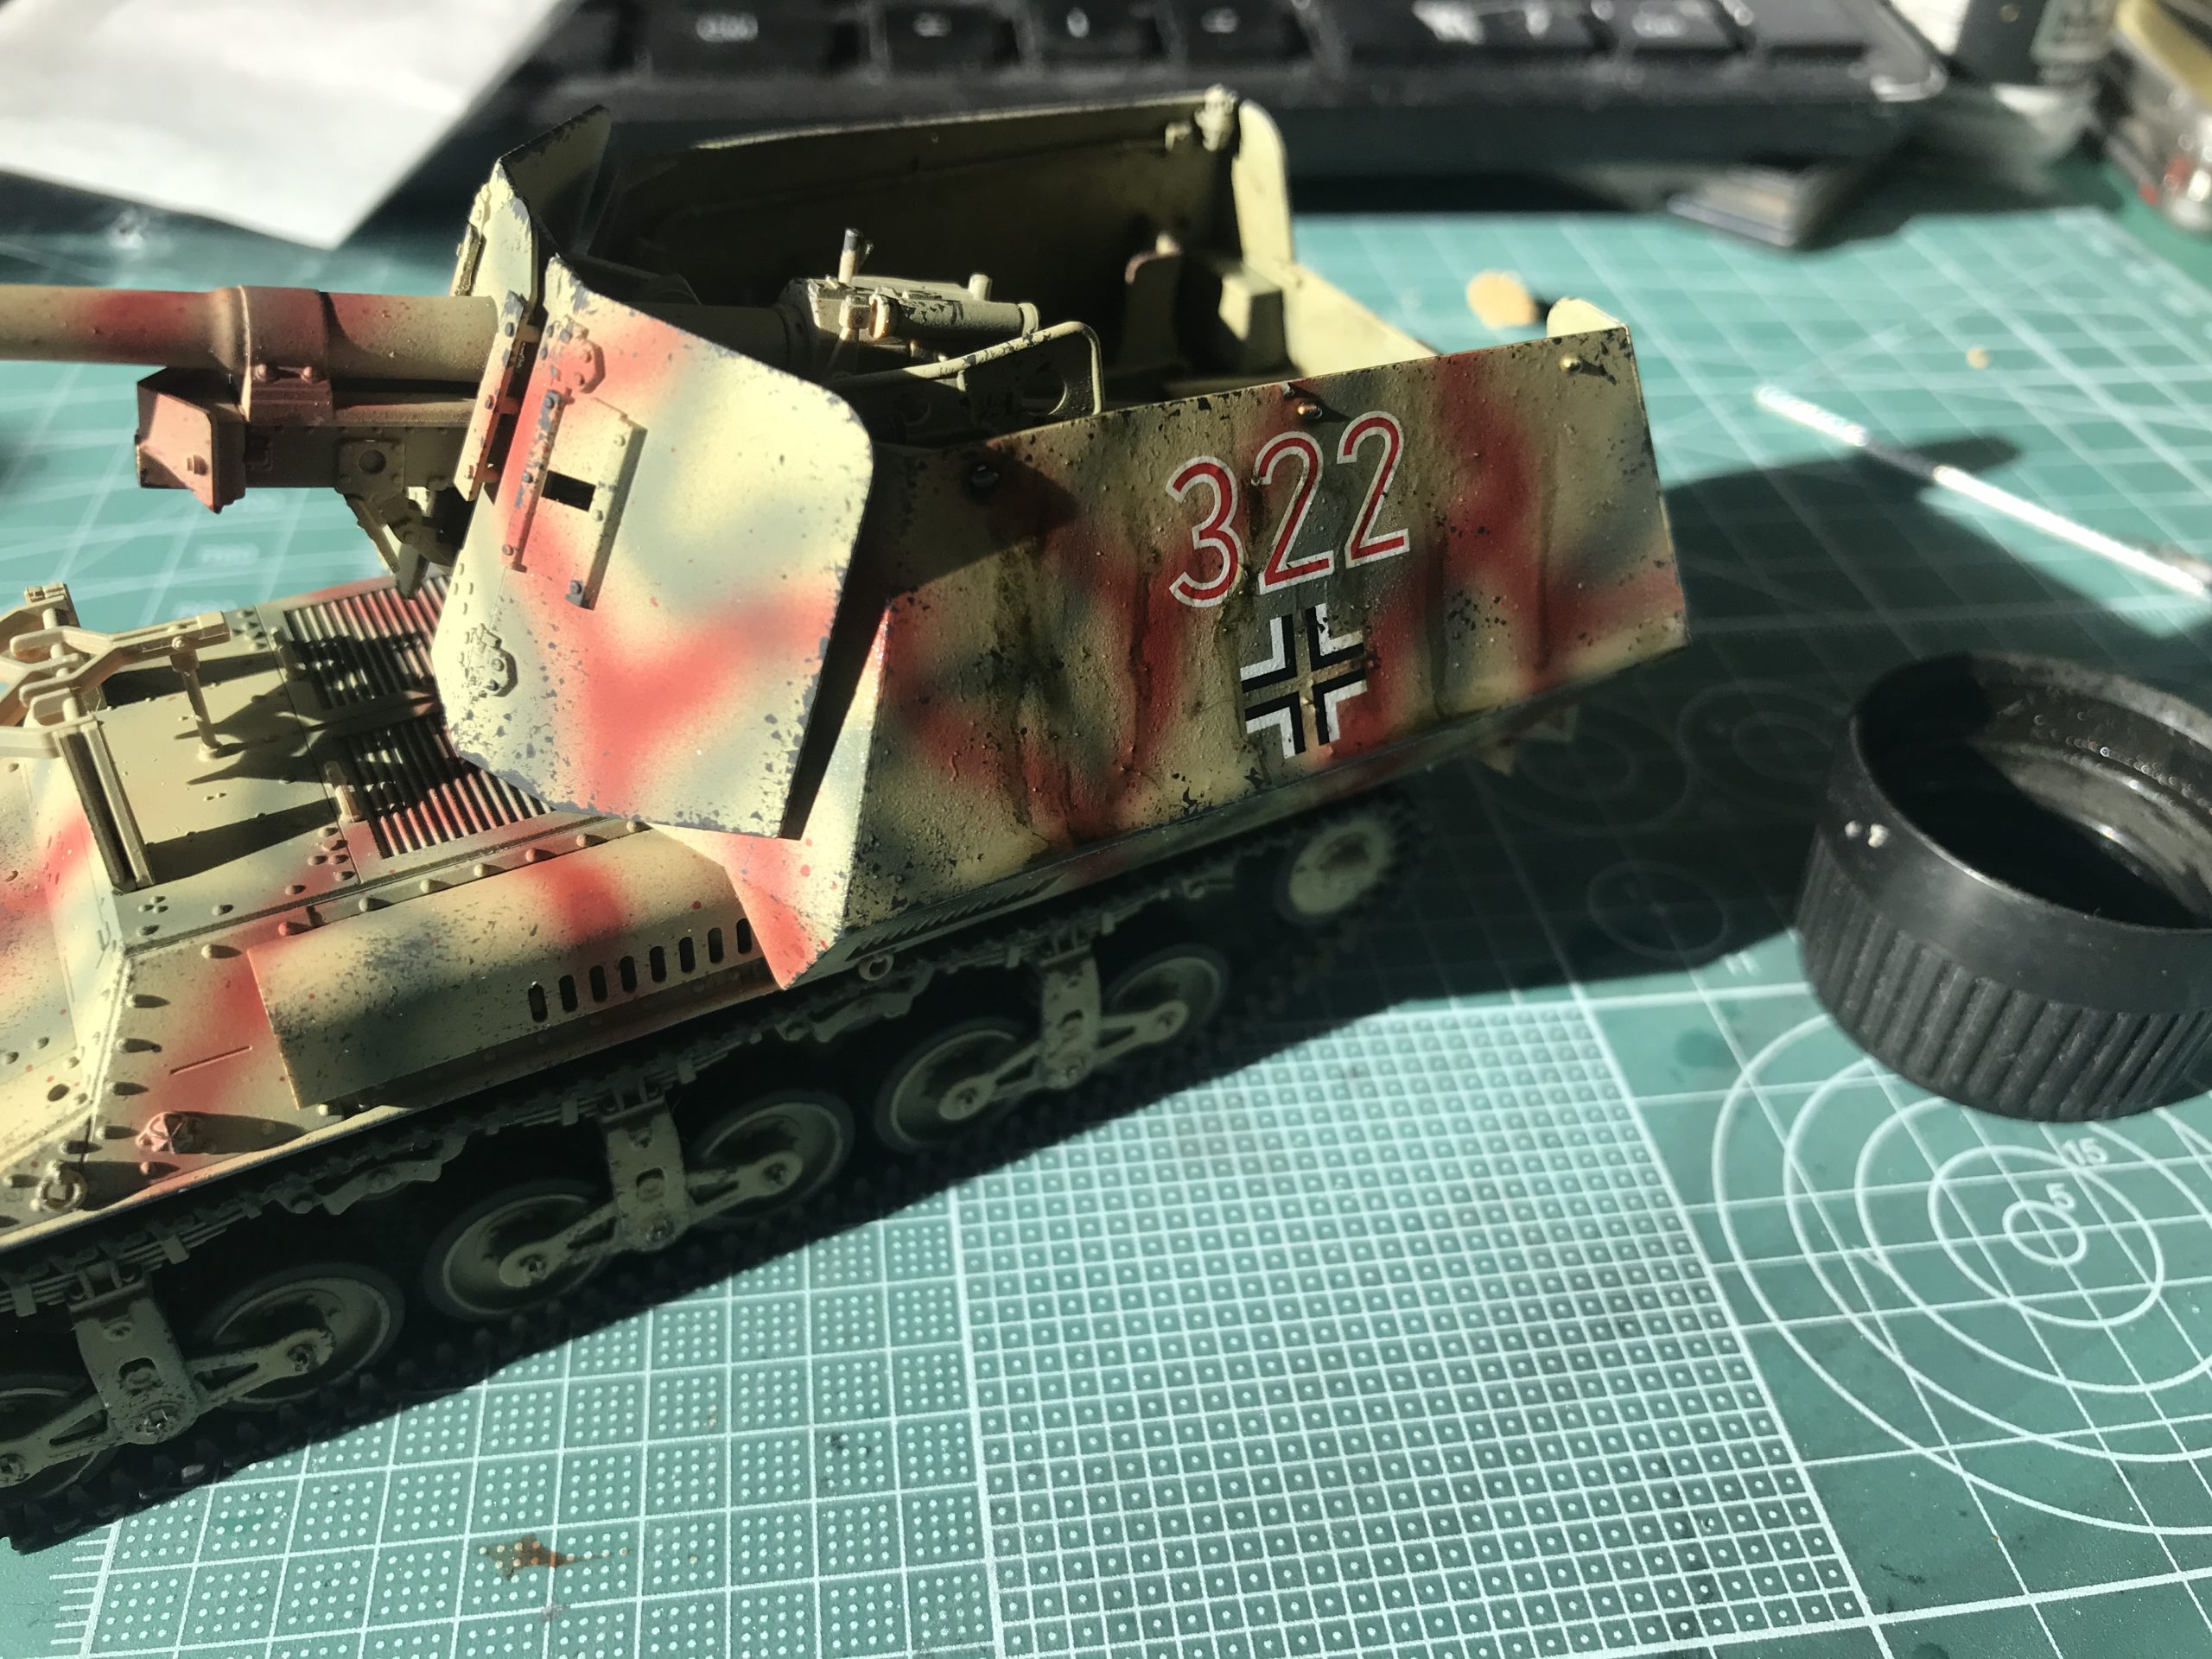
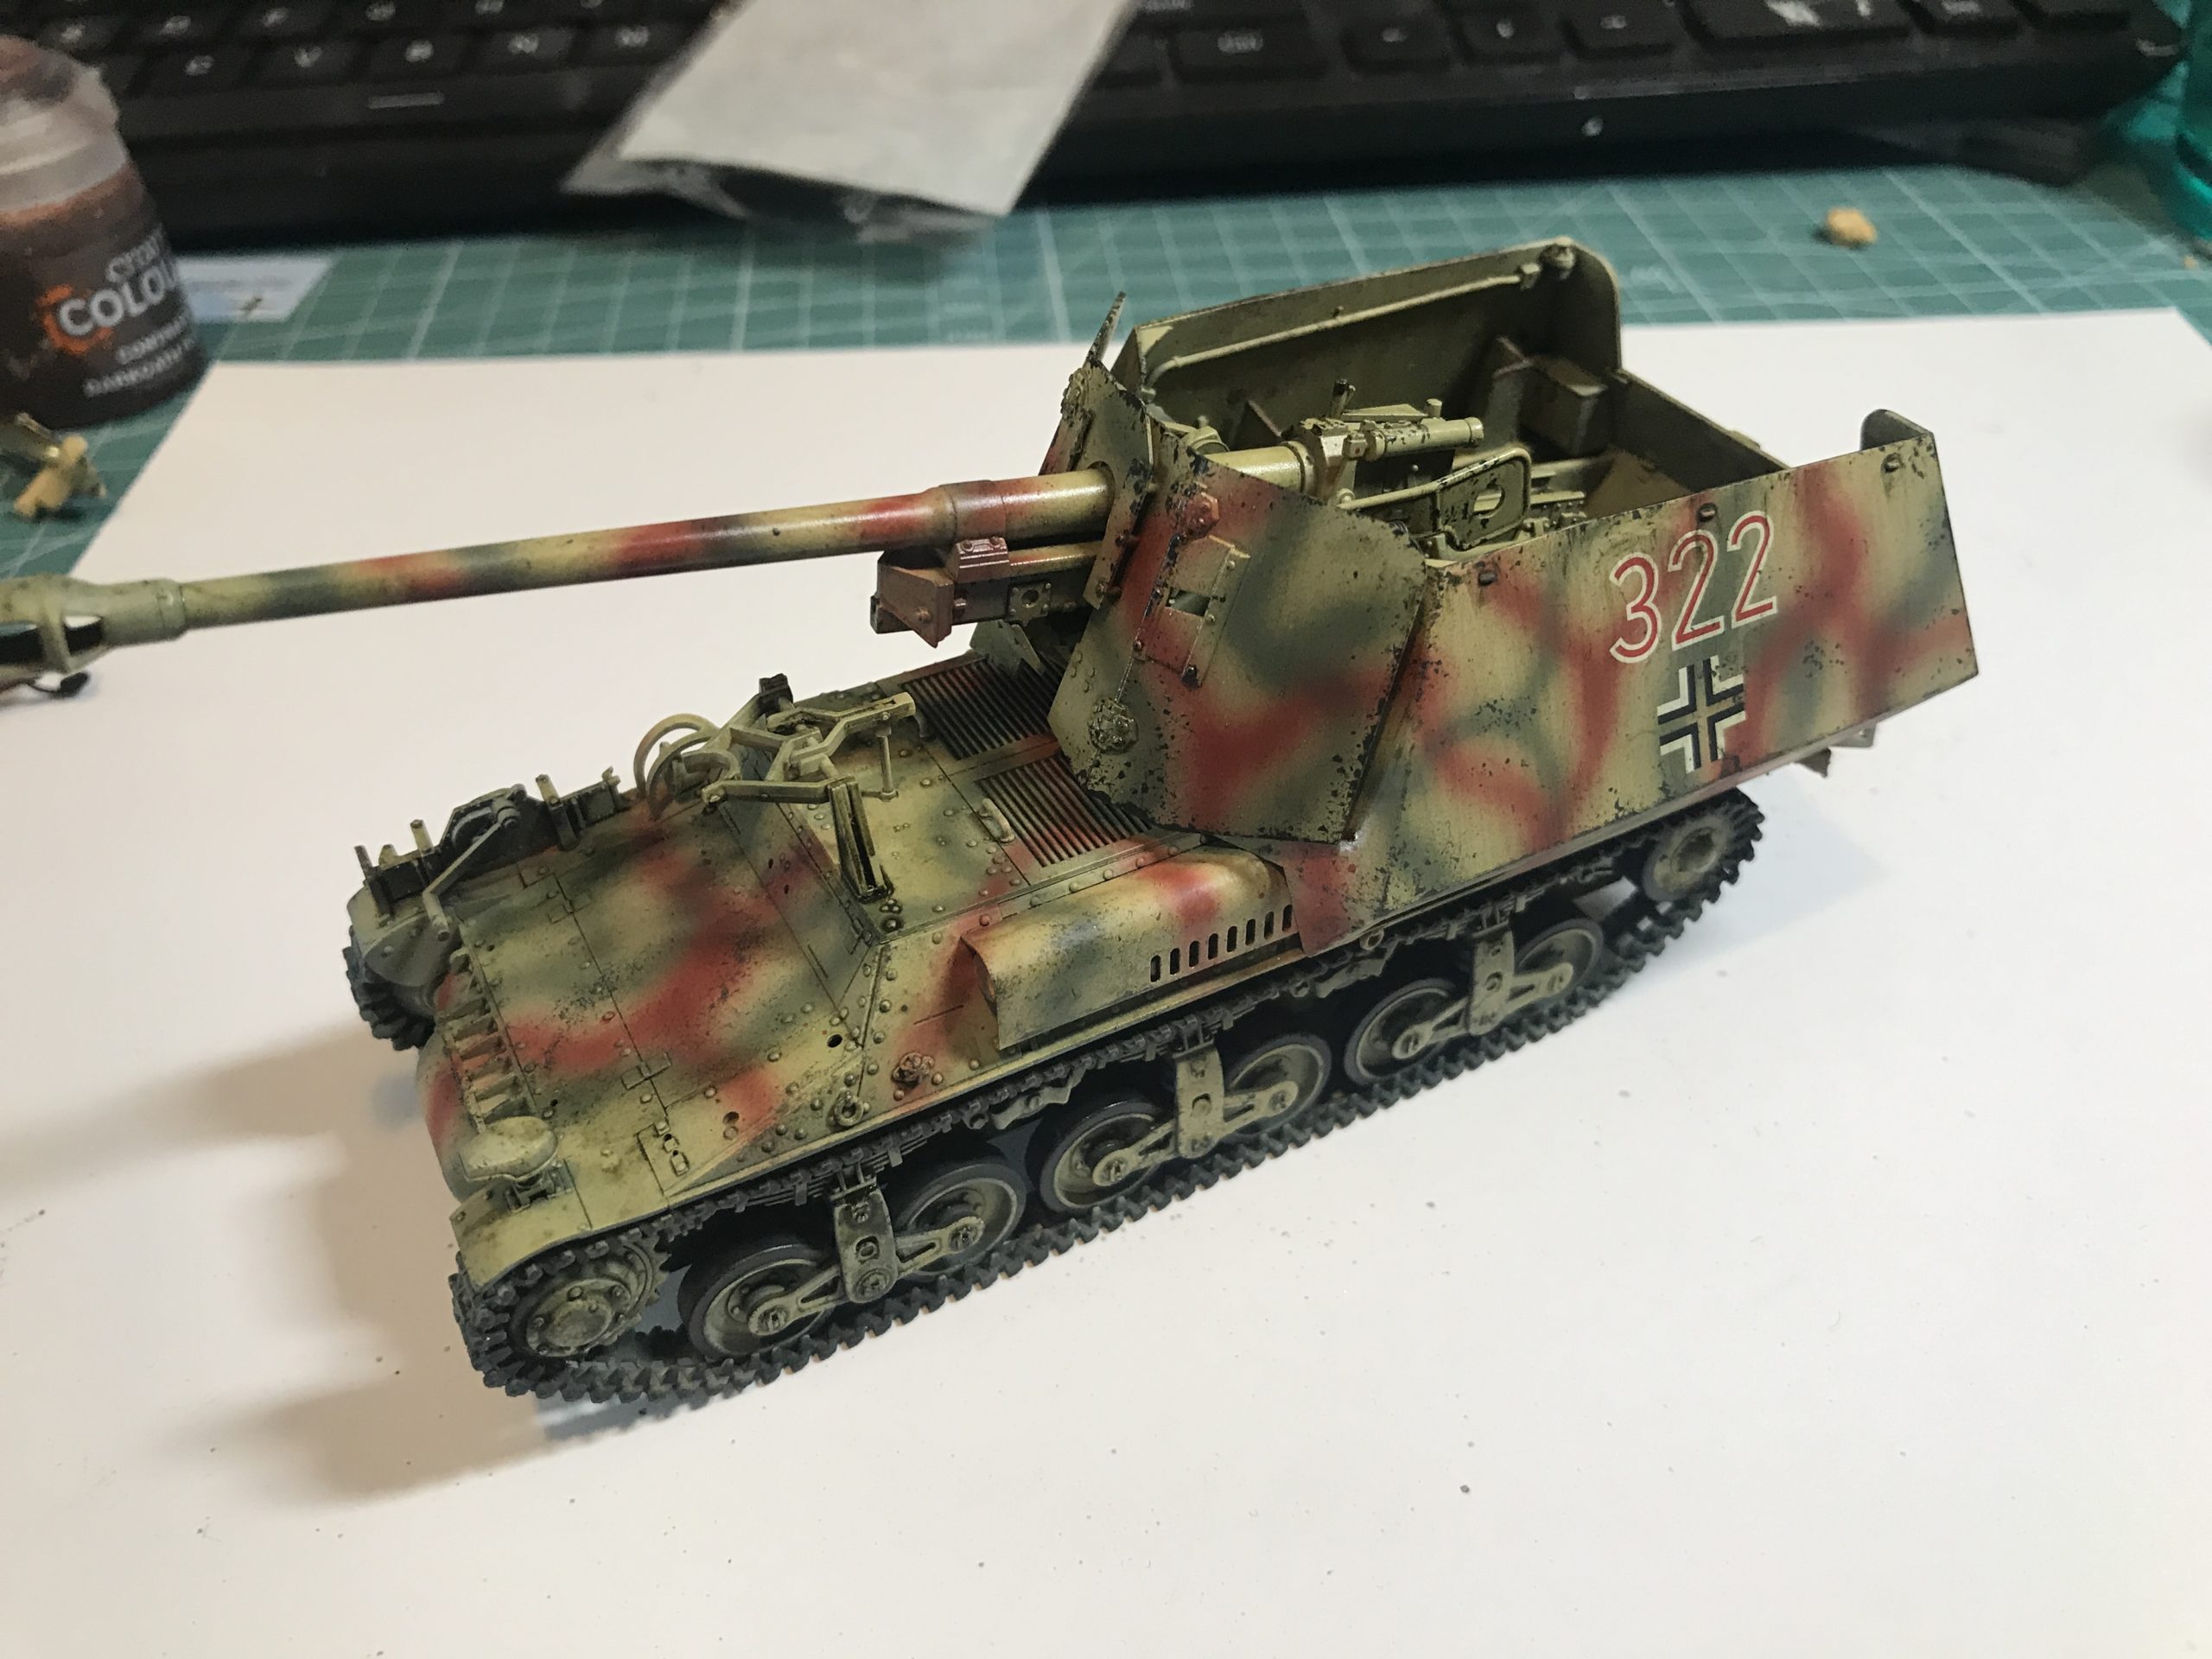
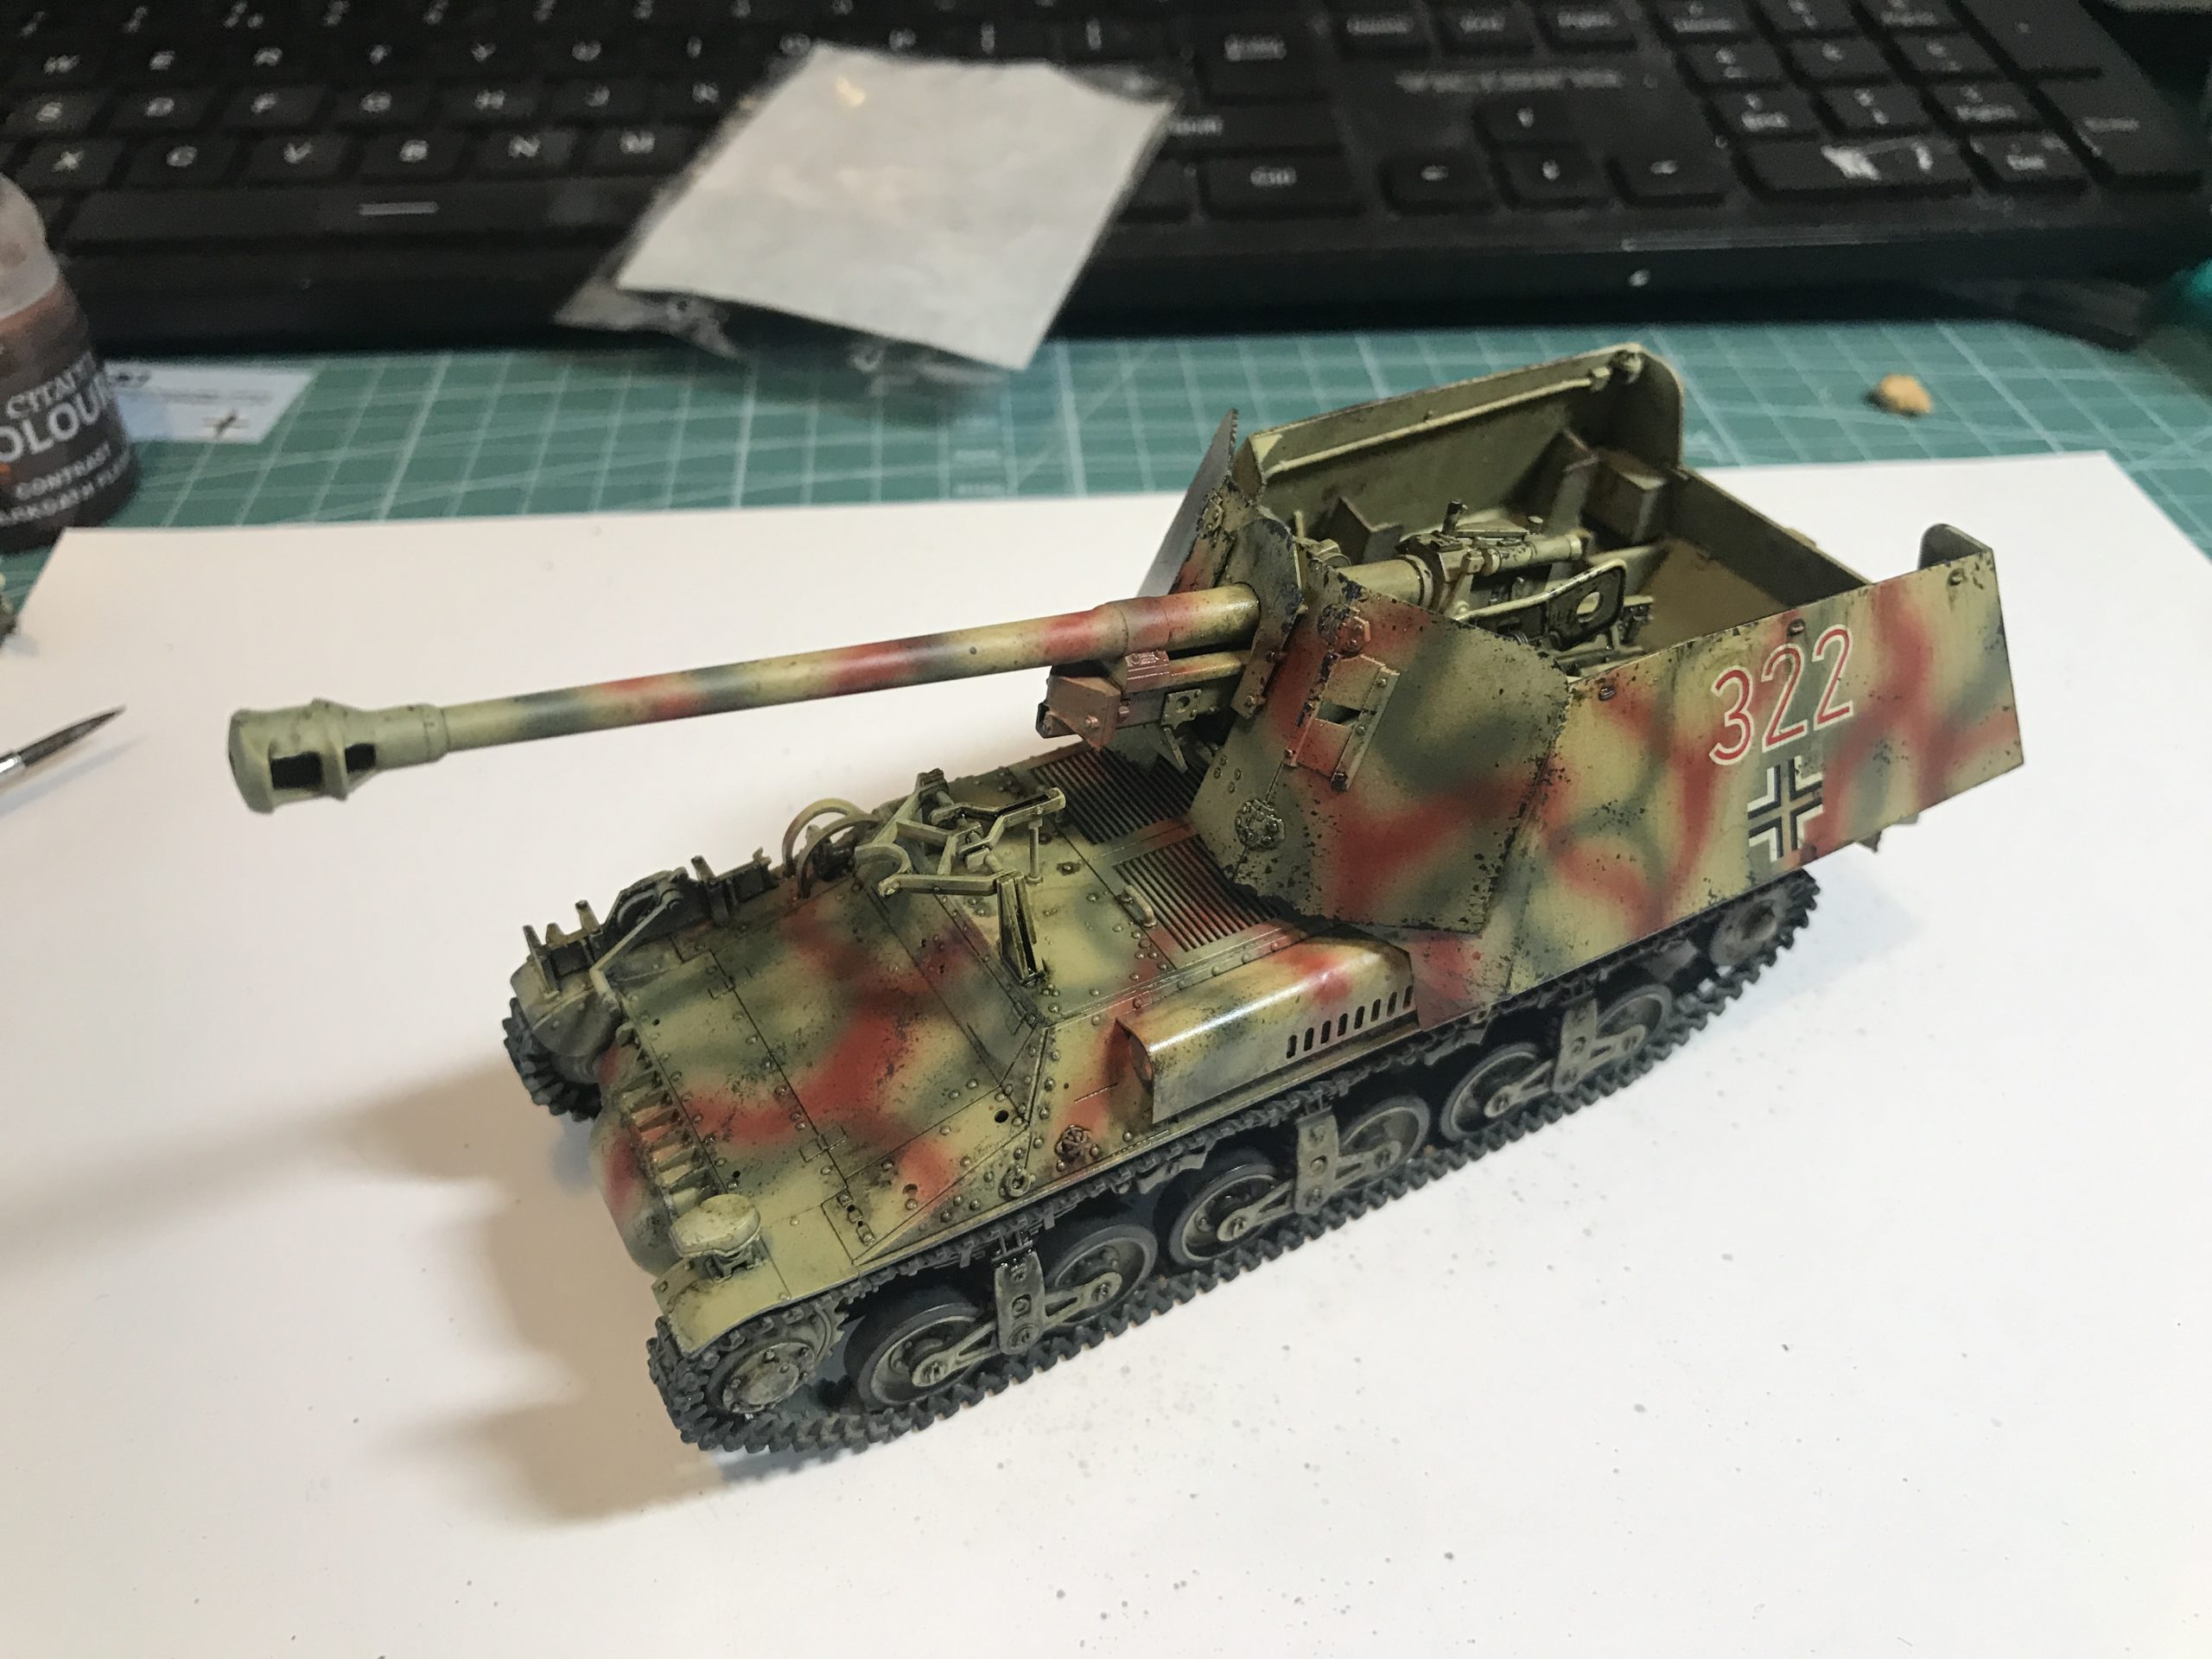
The final parts can now be painted and added to the model.
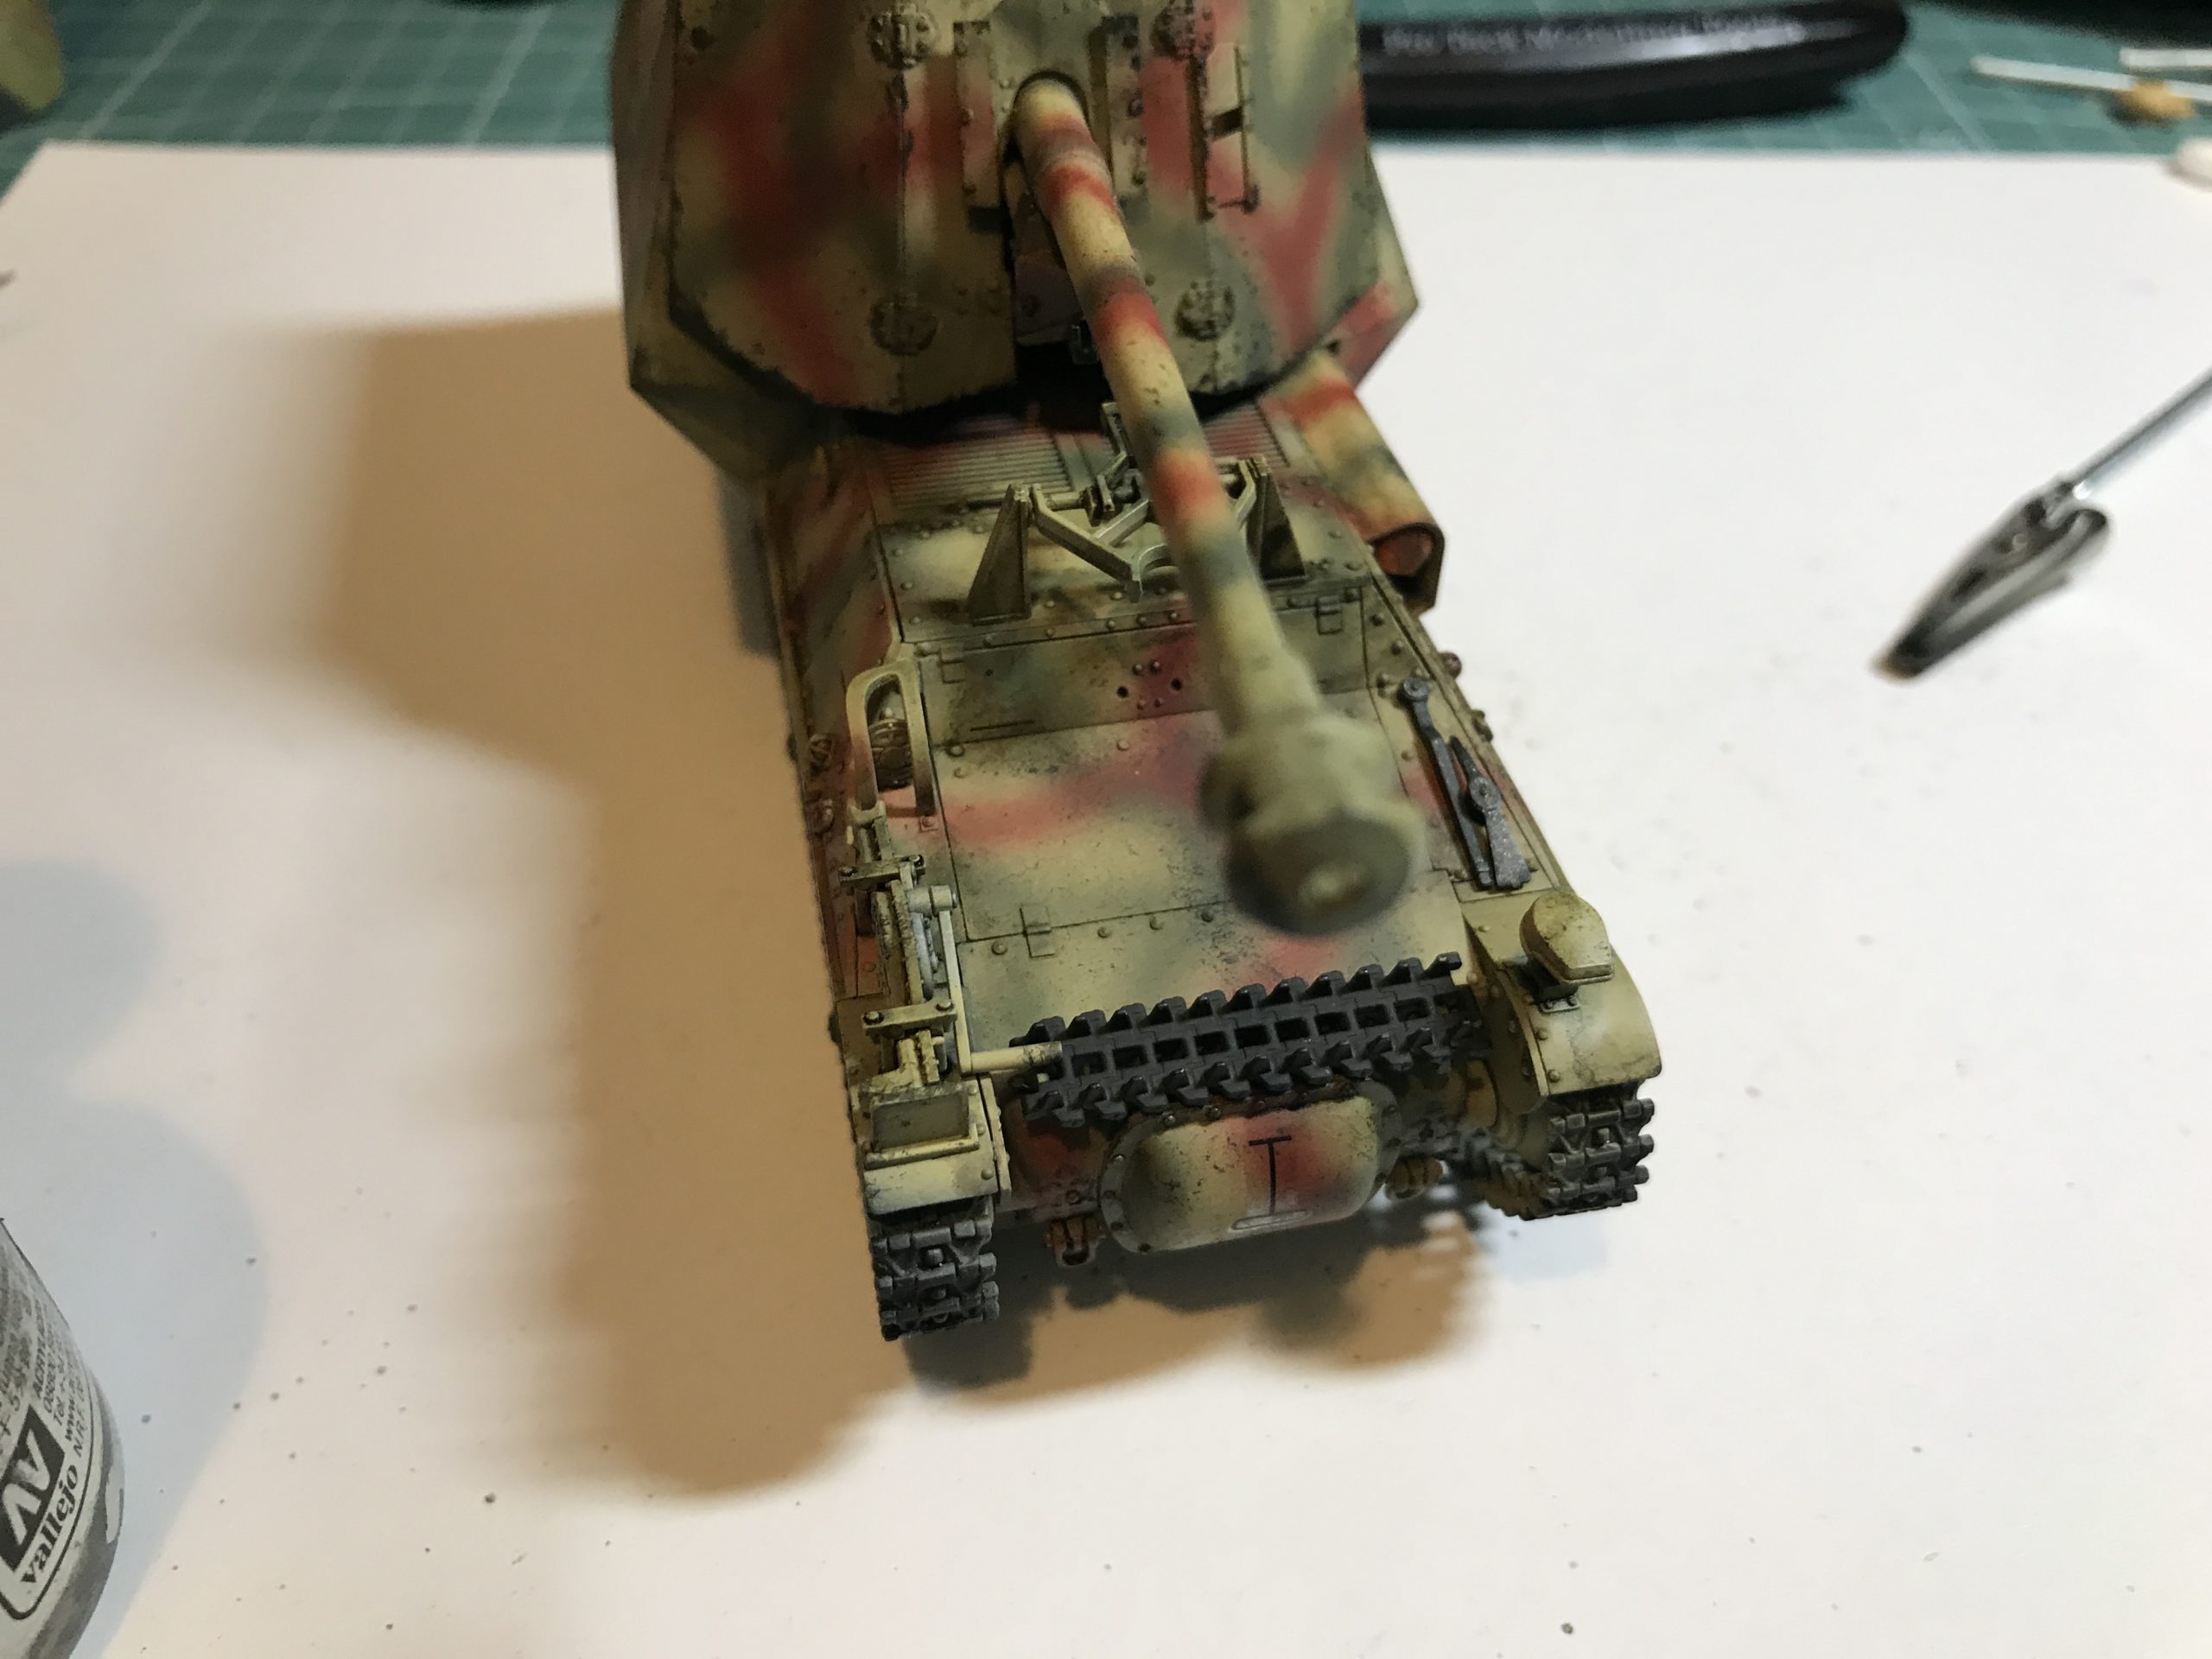
The newly added parts can be dry brushed with a metal colour and the model is complete.


I hope you enjoyed reading this as much as I enjoyed building it.
If you have any ideas for future builds please let us know.
The Verdict on this kit:
Build Time:
Around 10 hours. A perfect project for a wet weekend.
Suggested Tools:
A good pair of tweezers and sprue cutters will be essential on this one with so many little parts.
What we’ve taken away from this build:
A nice change from the aircraft I have built recently. This kit is what we call a Mojo booster, almost some sort of magic restorative tonic. It renews both your confidence and passion for the hobby.
It’s like a car that anyone can jump in and drive as fast as Lewis Hamilton. It’s a kit that goes together so well that it really does make you feel you’re a better modeller than you are.
If you are thinking about building your first WW2 armour kit, this is it, without a shadow of doubt. You will not be disappointed.
Tamiya have once again delivered an absolute stunner.
Just to be clear. I quite liked it.
Want to build this kit yourself? Order yours here at jadlamracingmodels.com. Looking for more model kits? Explore our massive range here!
looks great! You rather skipped over the external weathering. Sponge chipping again then ?
Neil,
Sorry if you felt I skipped the detail. It was just the same as described earlier in the piece and I cut the detail out in the edit thought it was too similar.
Next time I will leave everything in and people can skip what they want.
Cheers
Rob