
About the modeller
Hi. I am Rob. I returned to making making models a couple of years ago after a thirty year (or so) break. I am an average guy with average skills and am by no means what you might call “a professional”. I do more often than not manage to produce builds I am happy with and look pretty good (even if I do say so myself).
The aim of my build logs are to show you how to and sometimes how not to do things and help you produce something you can be proud of.
Name – Tamiya 24355 Mclaren Senna
Number – 24355
Scale – 1/24
Price – £49.95
Availability – Available now! Get yours here!
The kit
The modelling community was set alight with news of Tamiya’s Senna kit at the end of last year. It’s virtually unheard of for a manufacturer to “drop” a kit on the unexpecting public. Normally there is an announcement, followed by pictures of CAD models, followed by a press release, followed by some 3D printed parts followed by a trial assembly (usually finished in grey primer), This is usually carted around some model shows (remember them) with a highly speculative release date, inevitably the release date comes and goes, then the release year. Then another press release, another release date…. Eventually the kit will one day appear in a facebook post from the good people at Jadlam and you can buy your kit (if they have made enough of them that is..)
The Senna was different though. Tamiya said it was ready to go and would be released at the start of 2021. They weren’t kidding either here it is in all its glory!
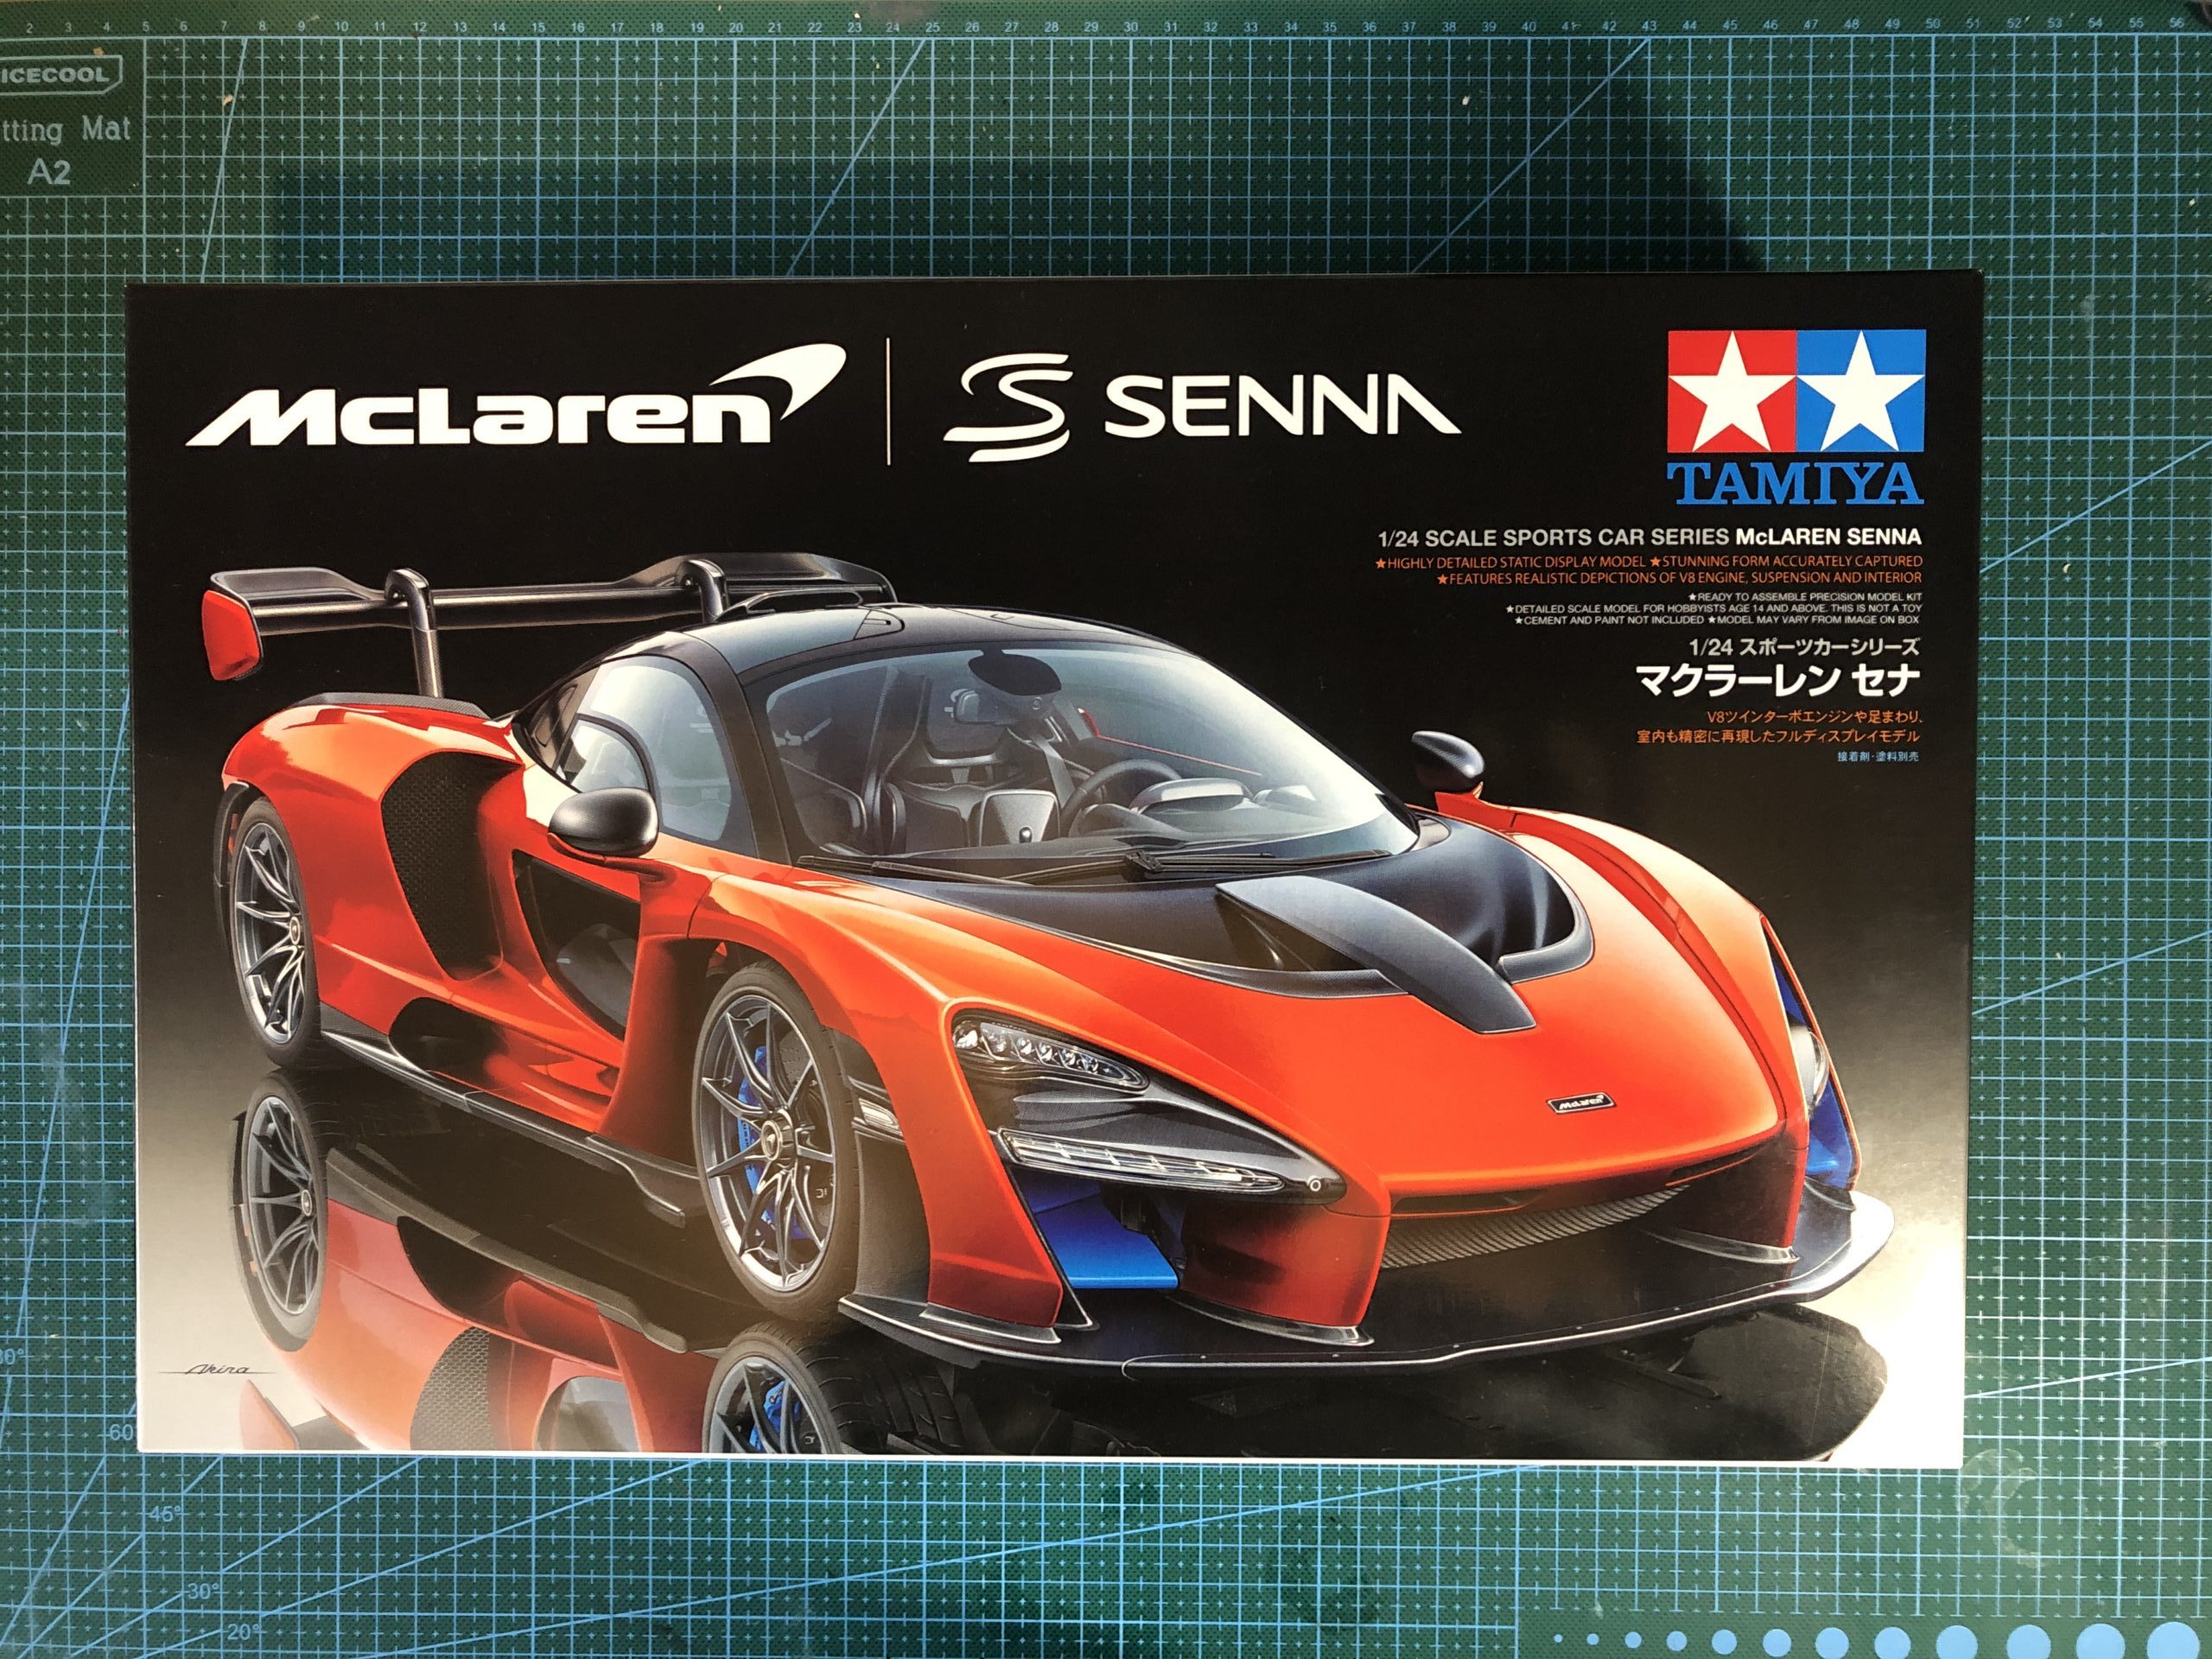
well the box anyway.
Lets take a look inside…….
What’s in the box
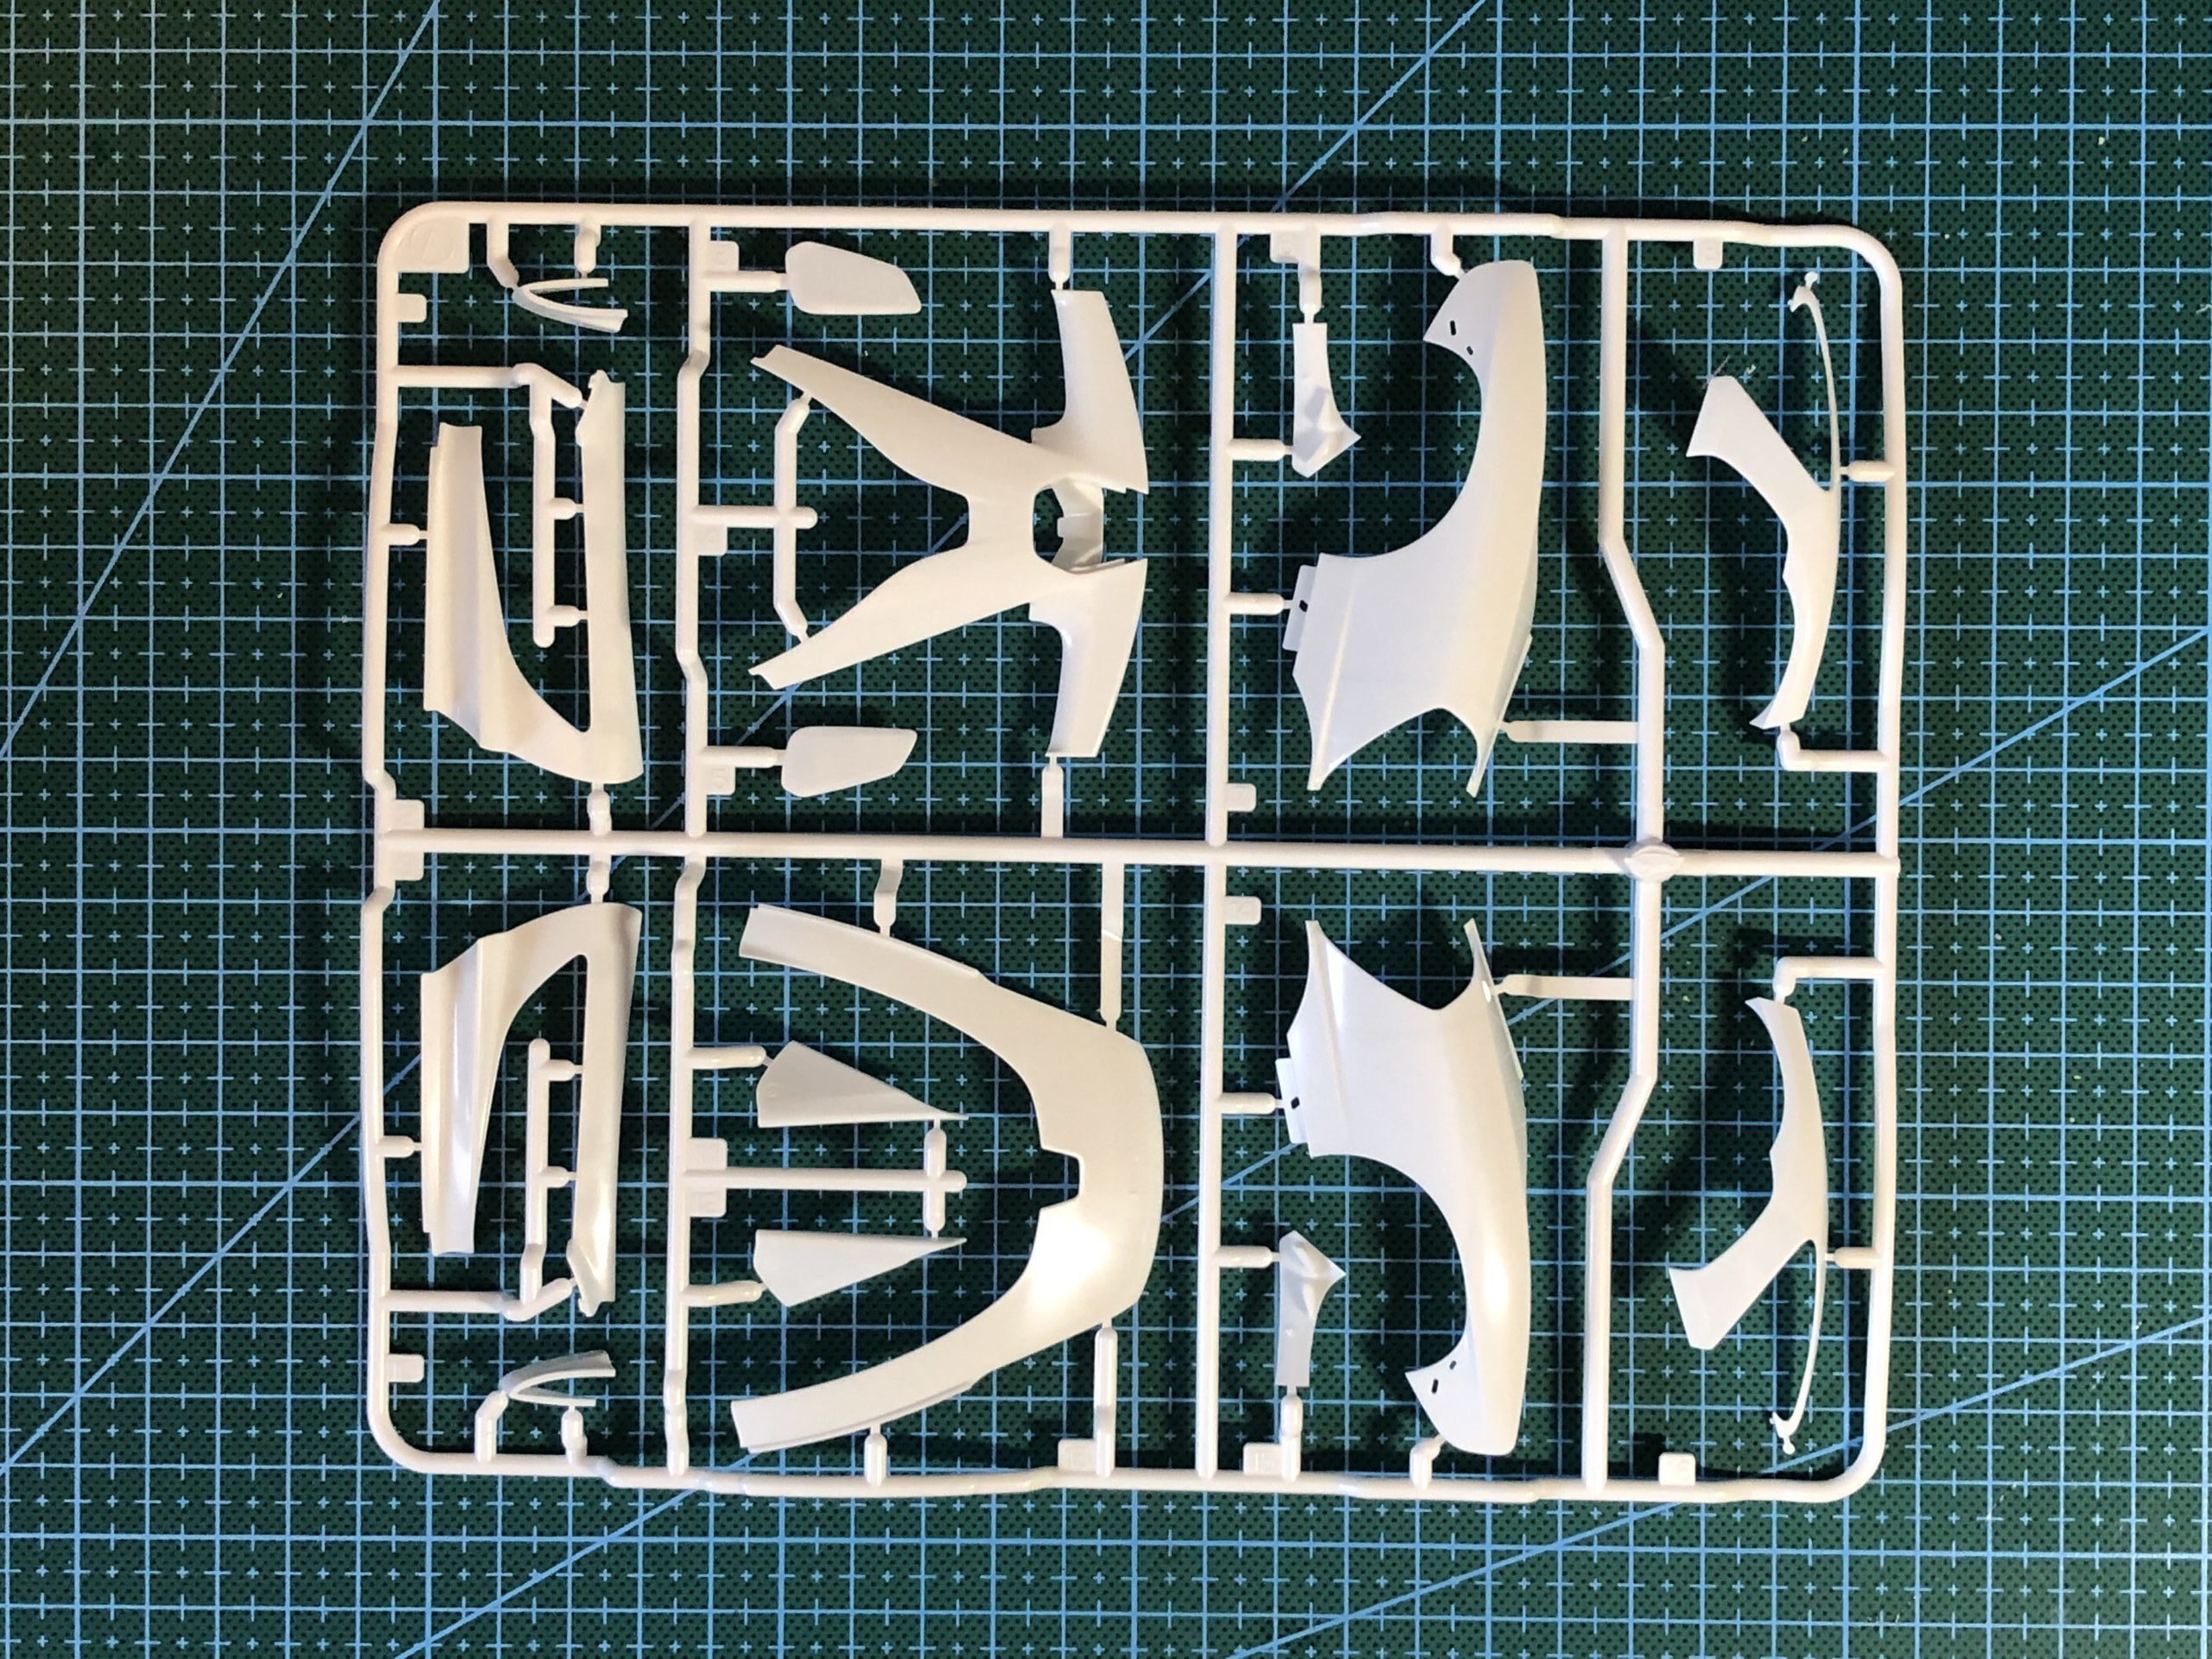
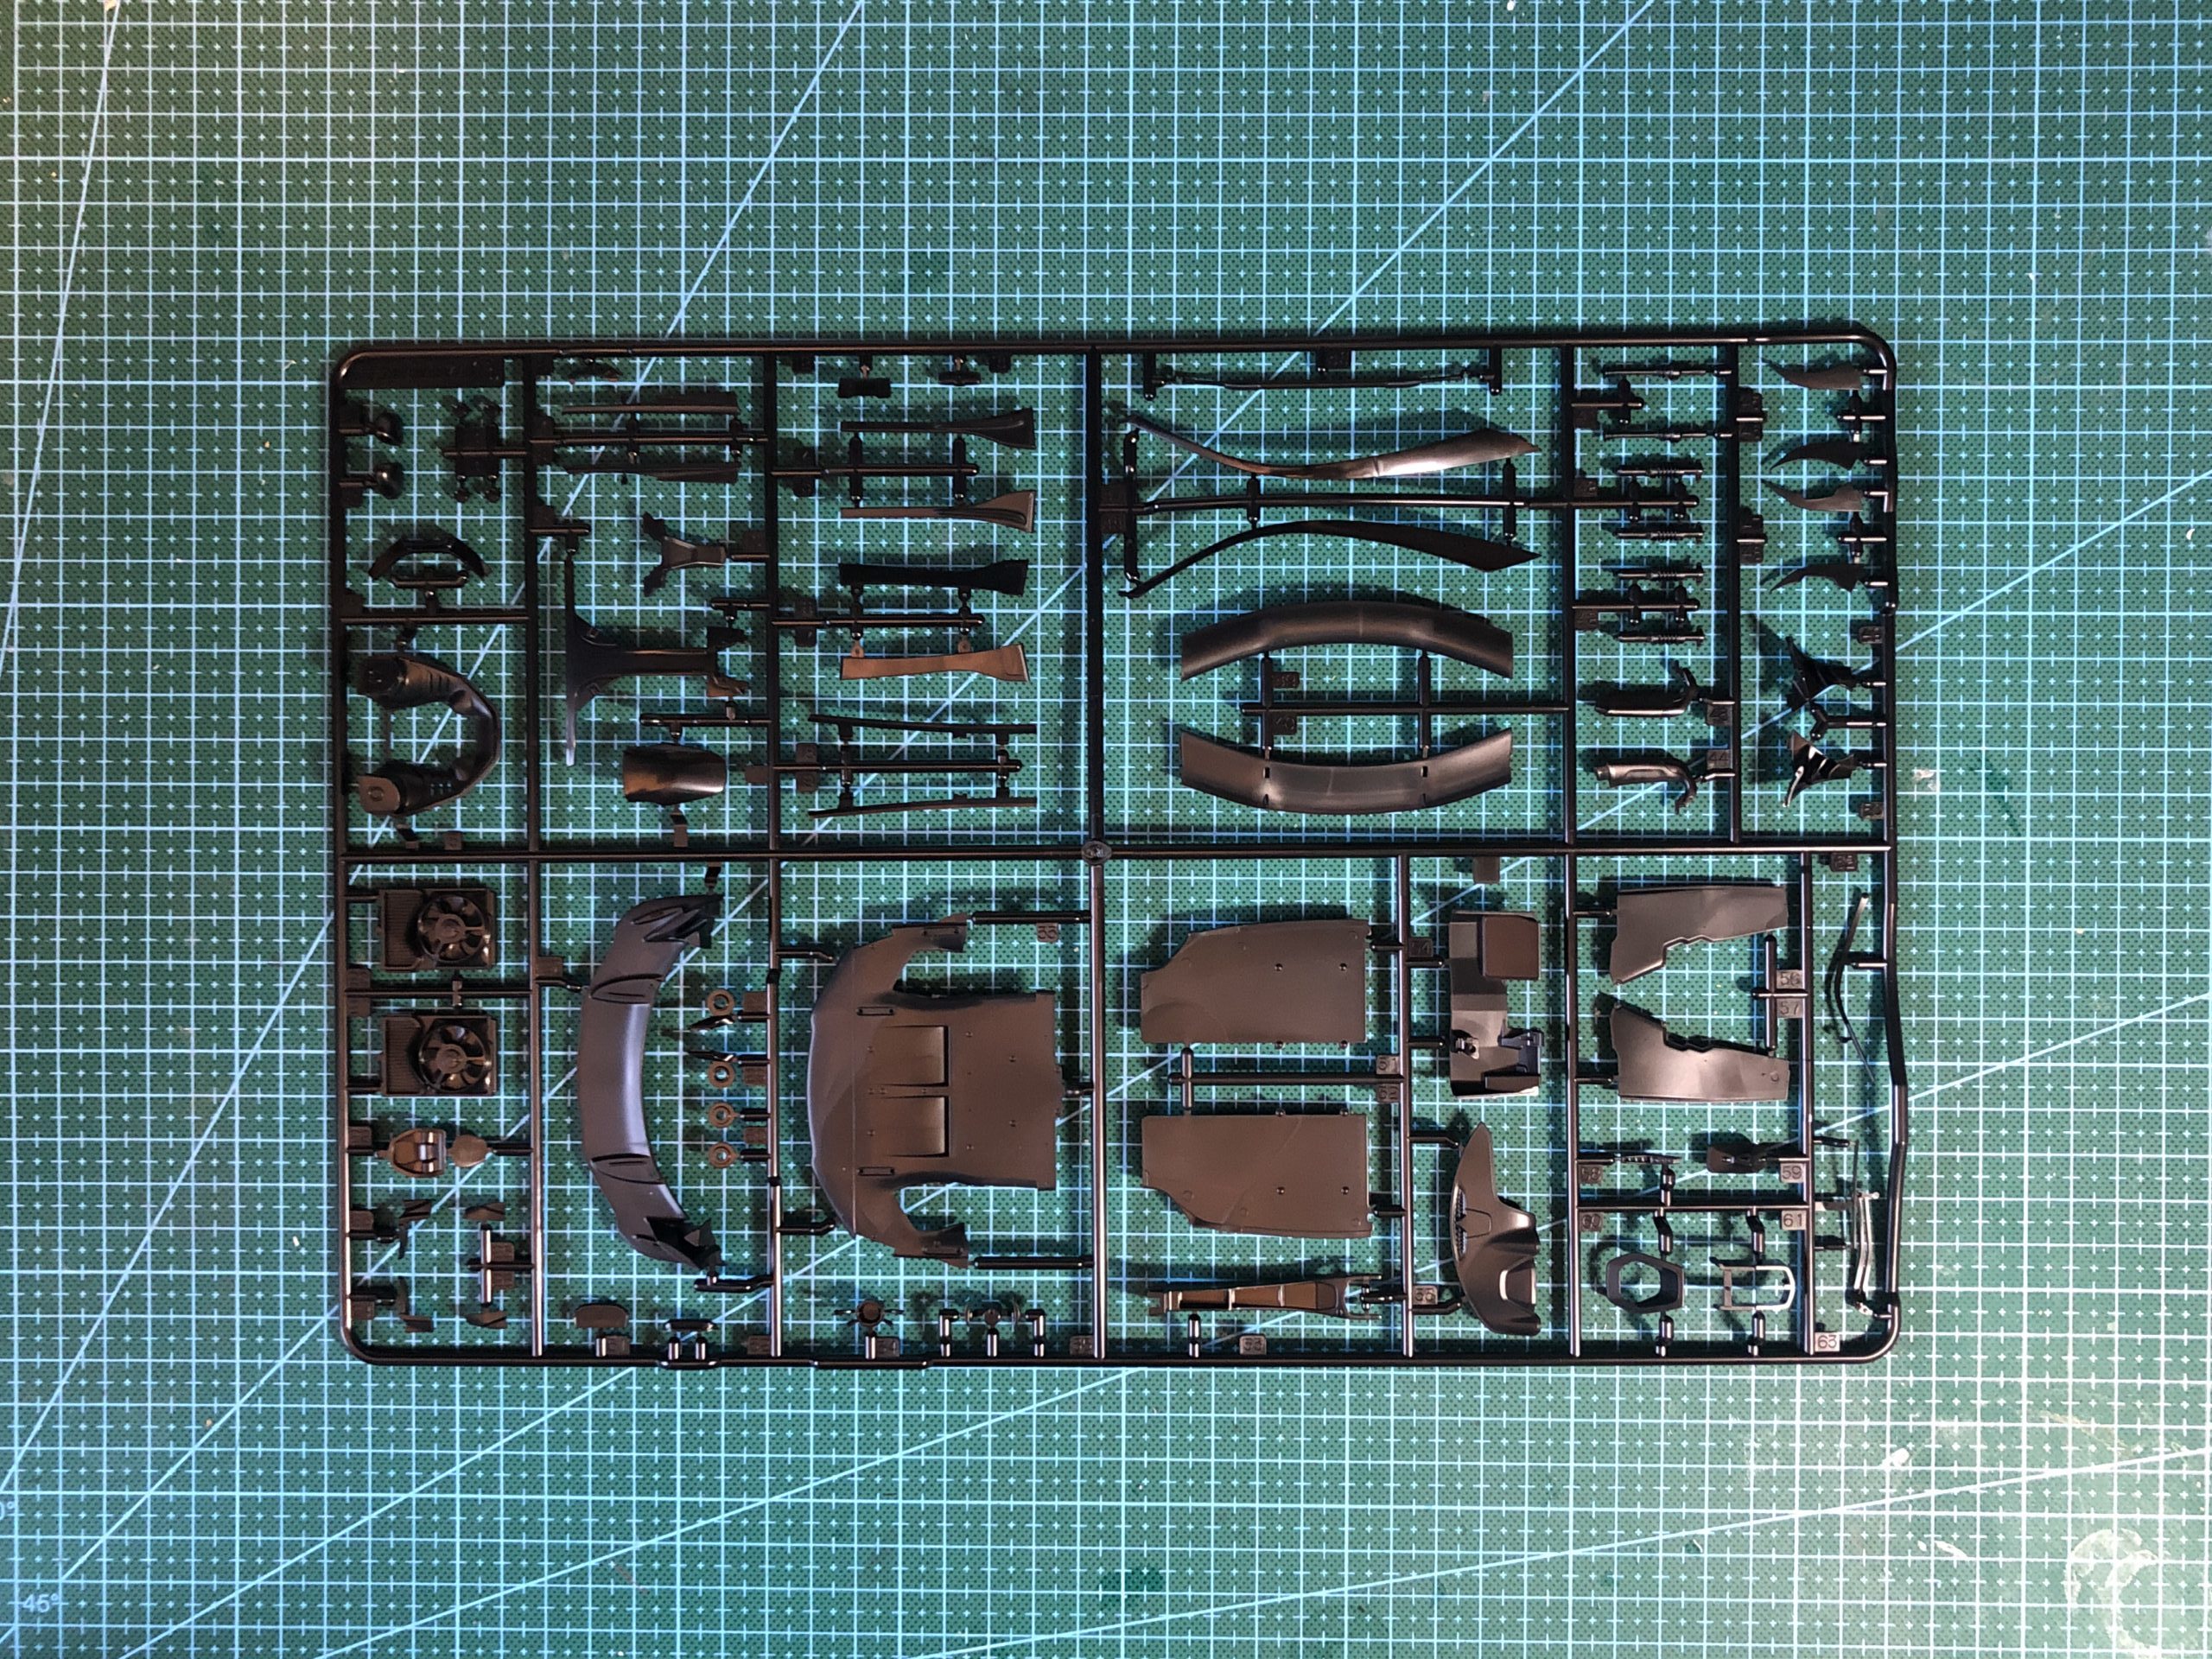
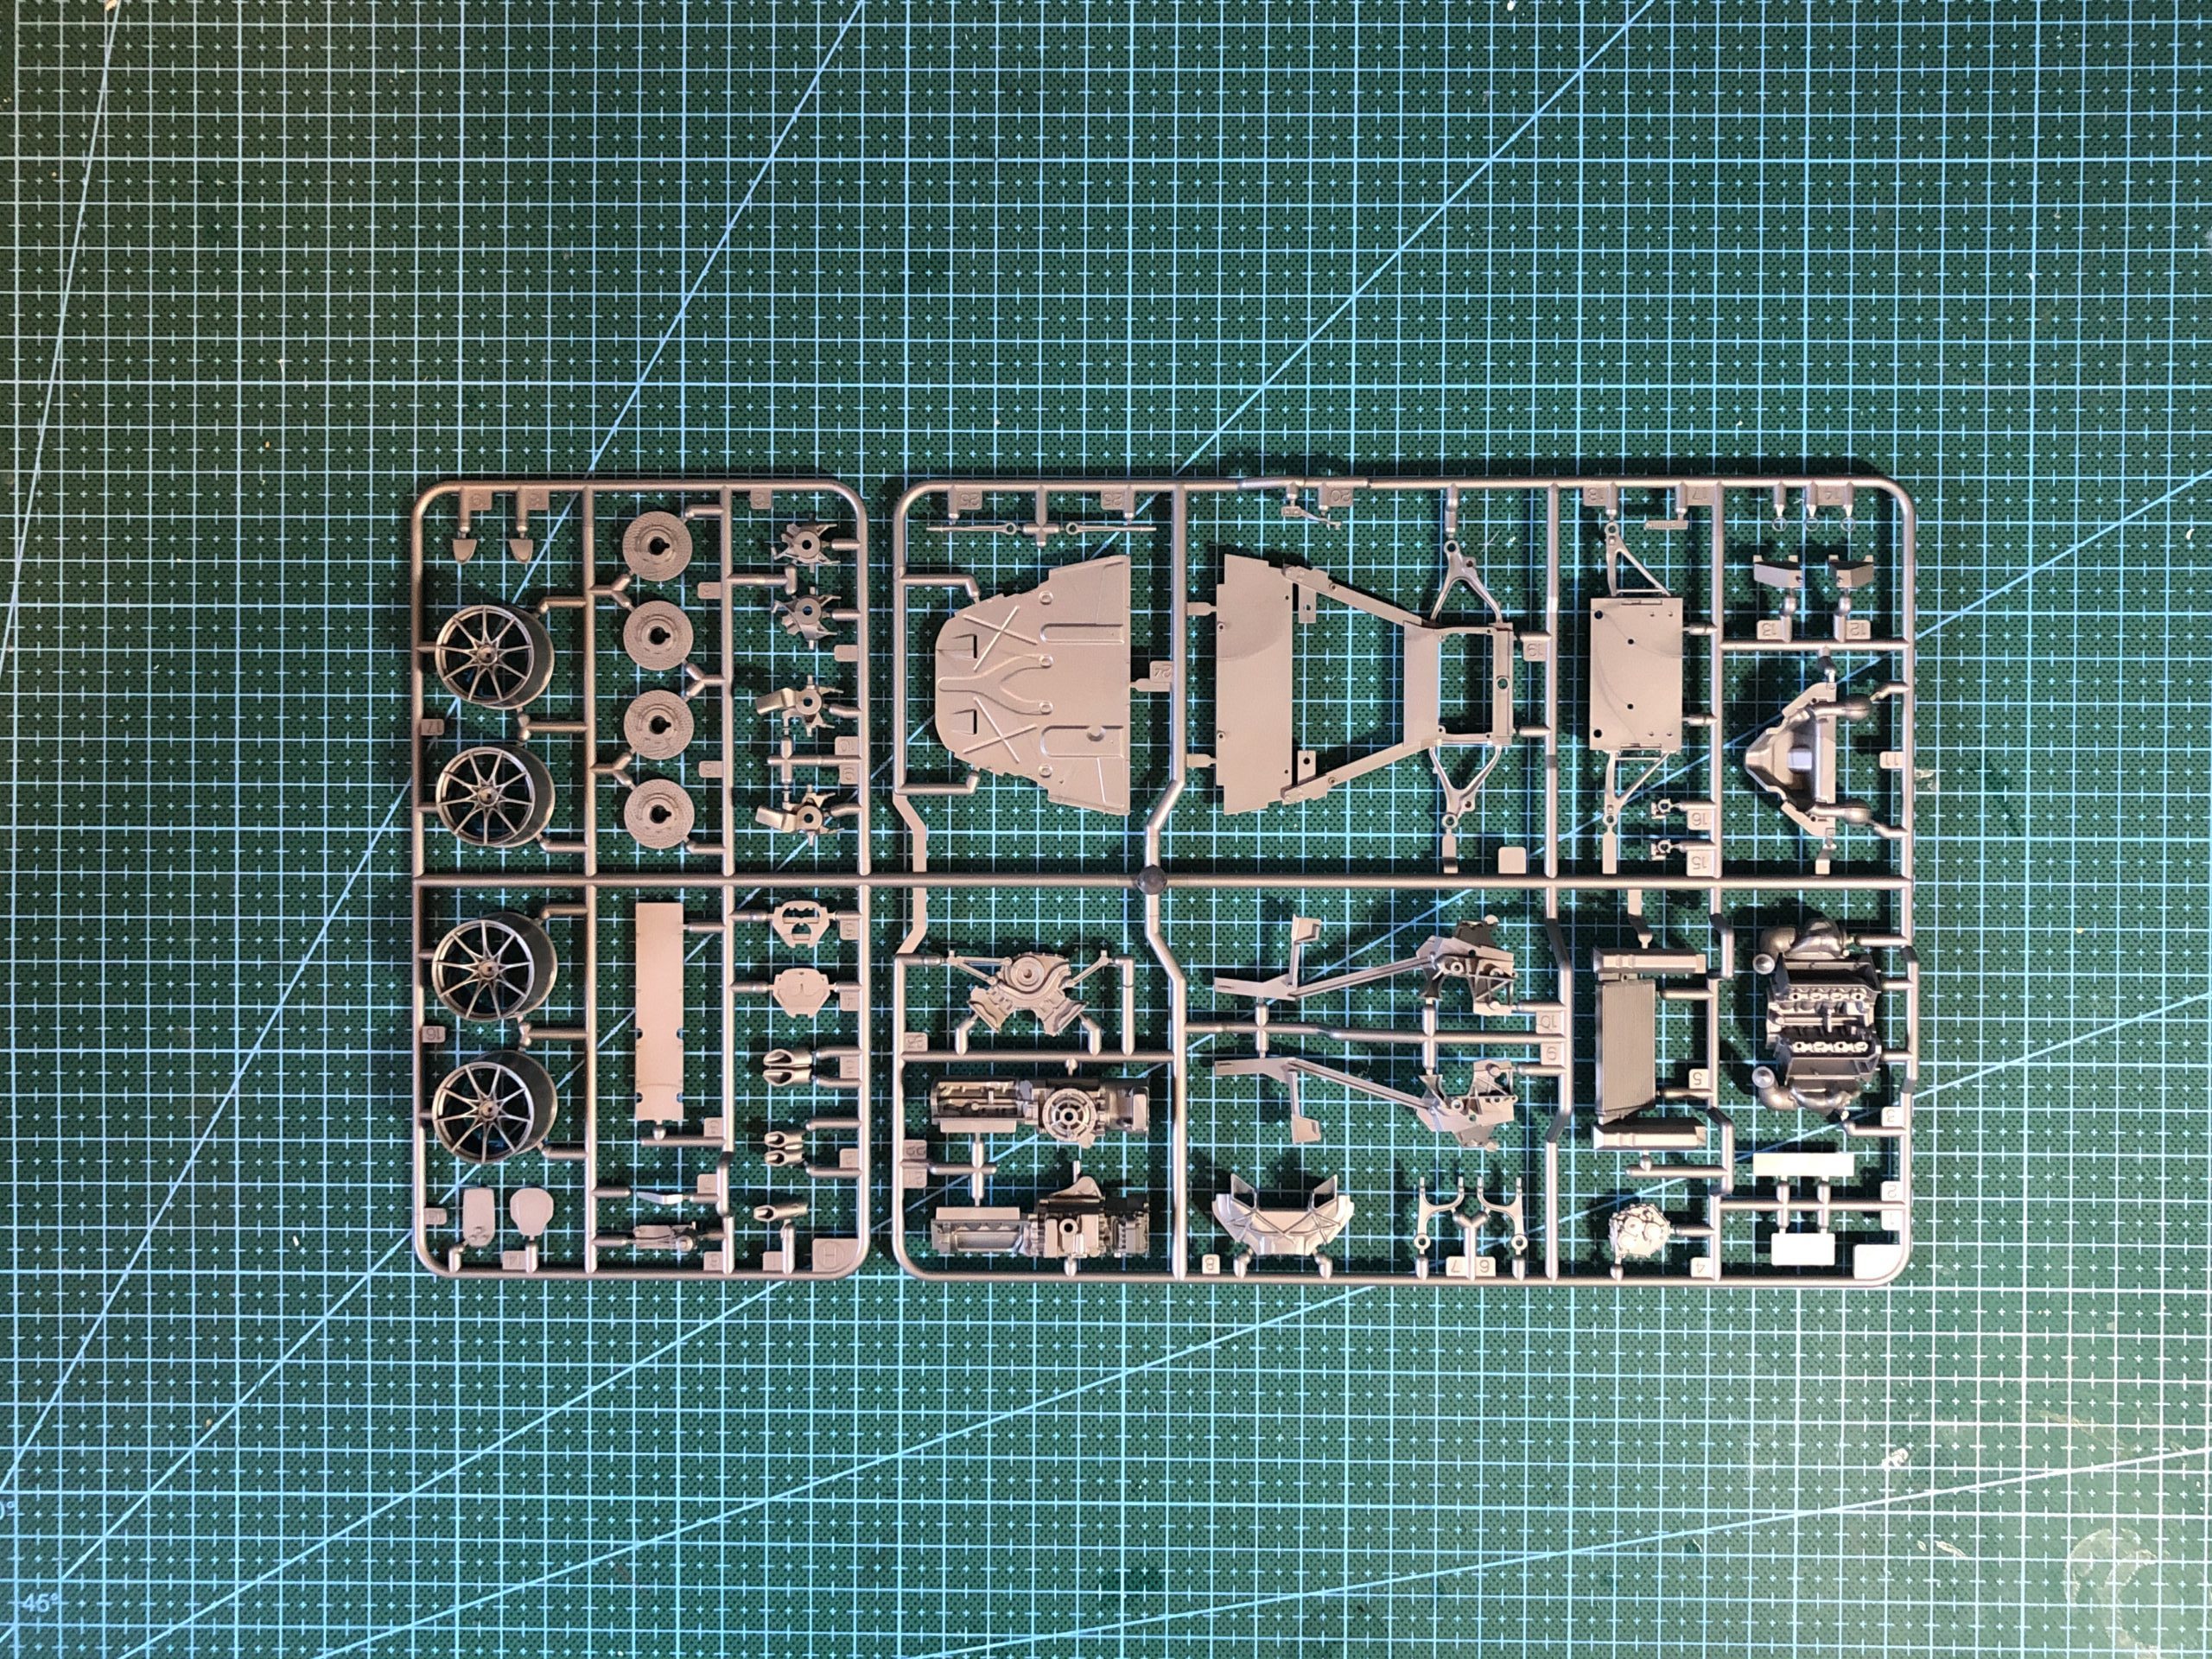
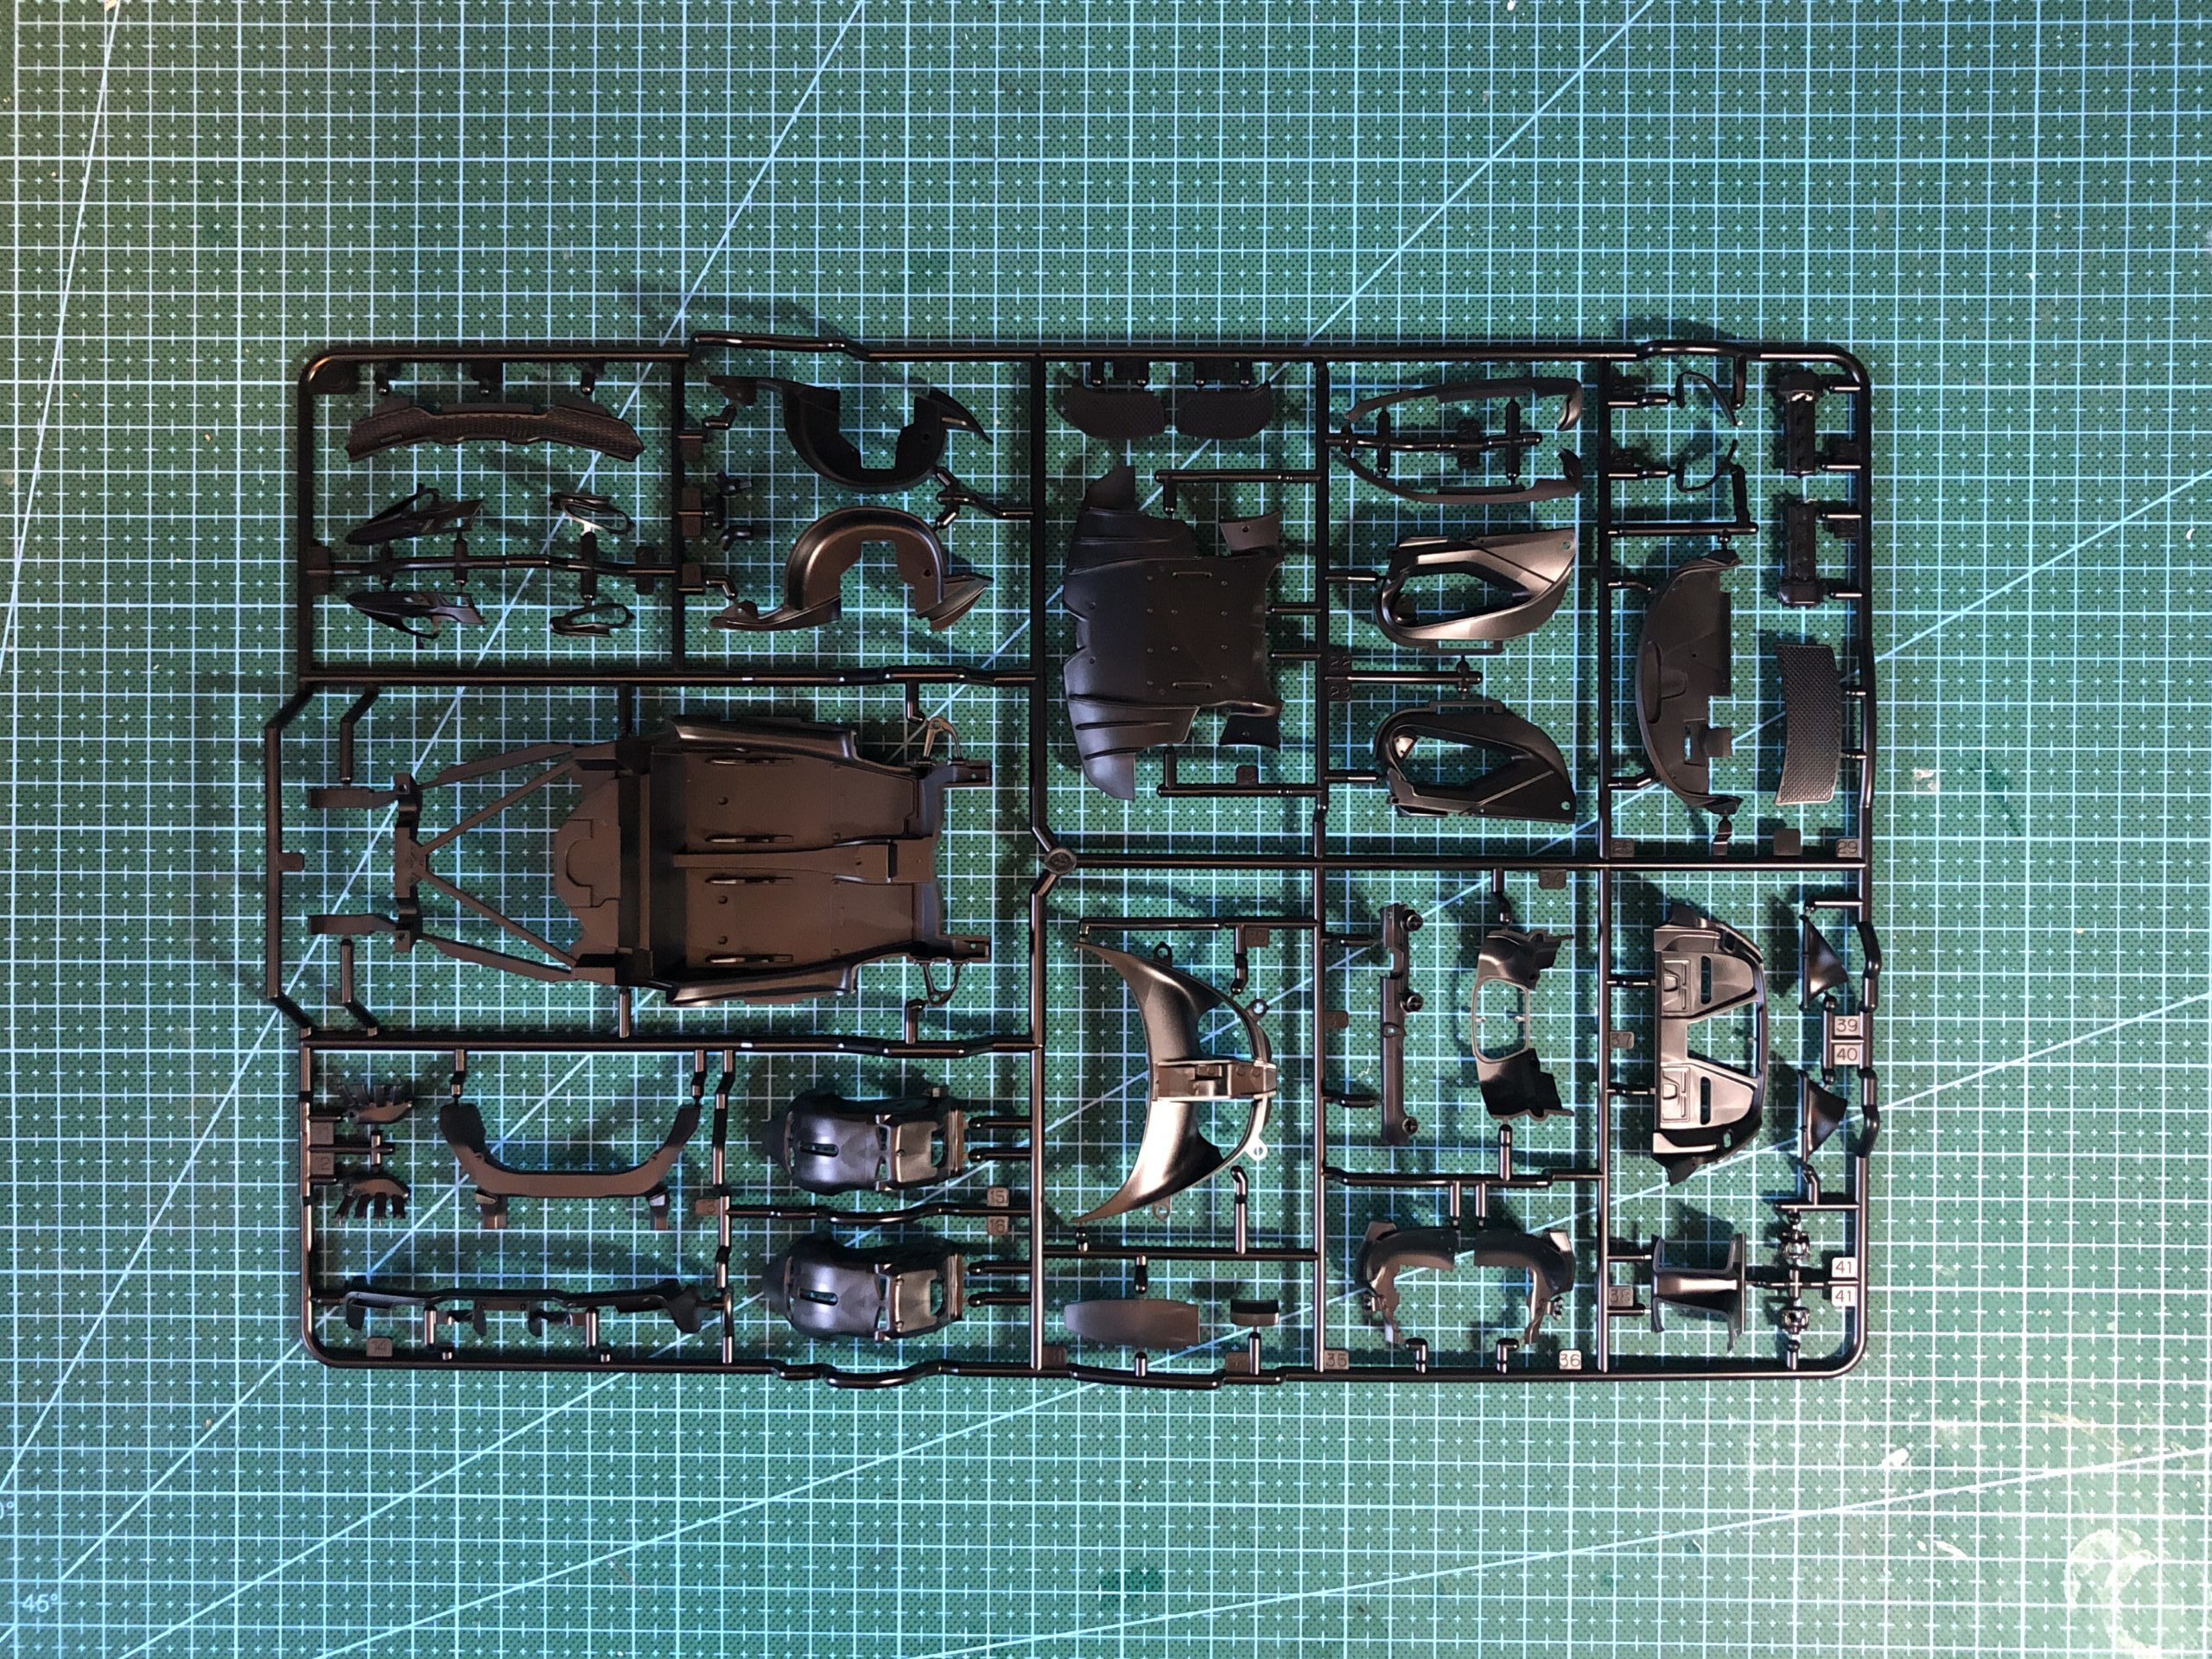
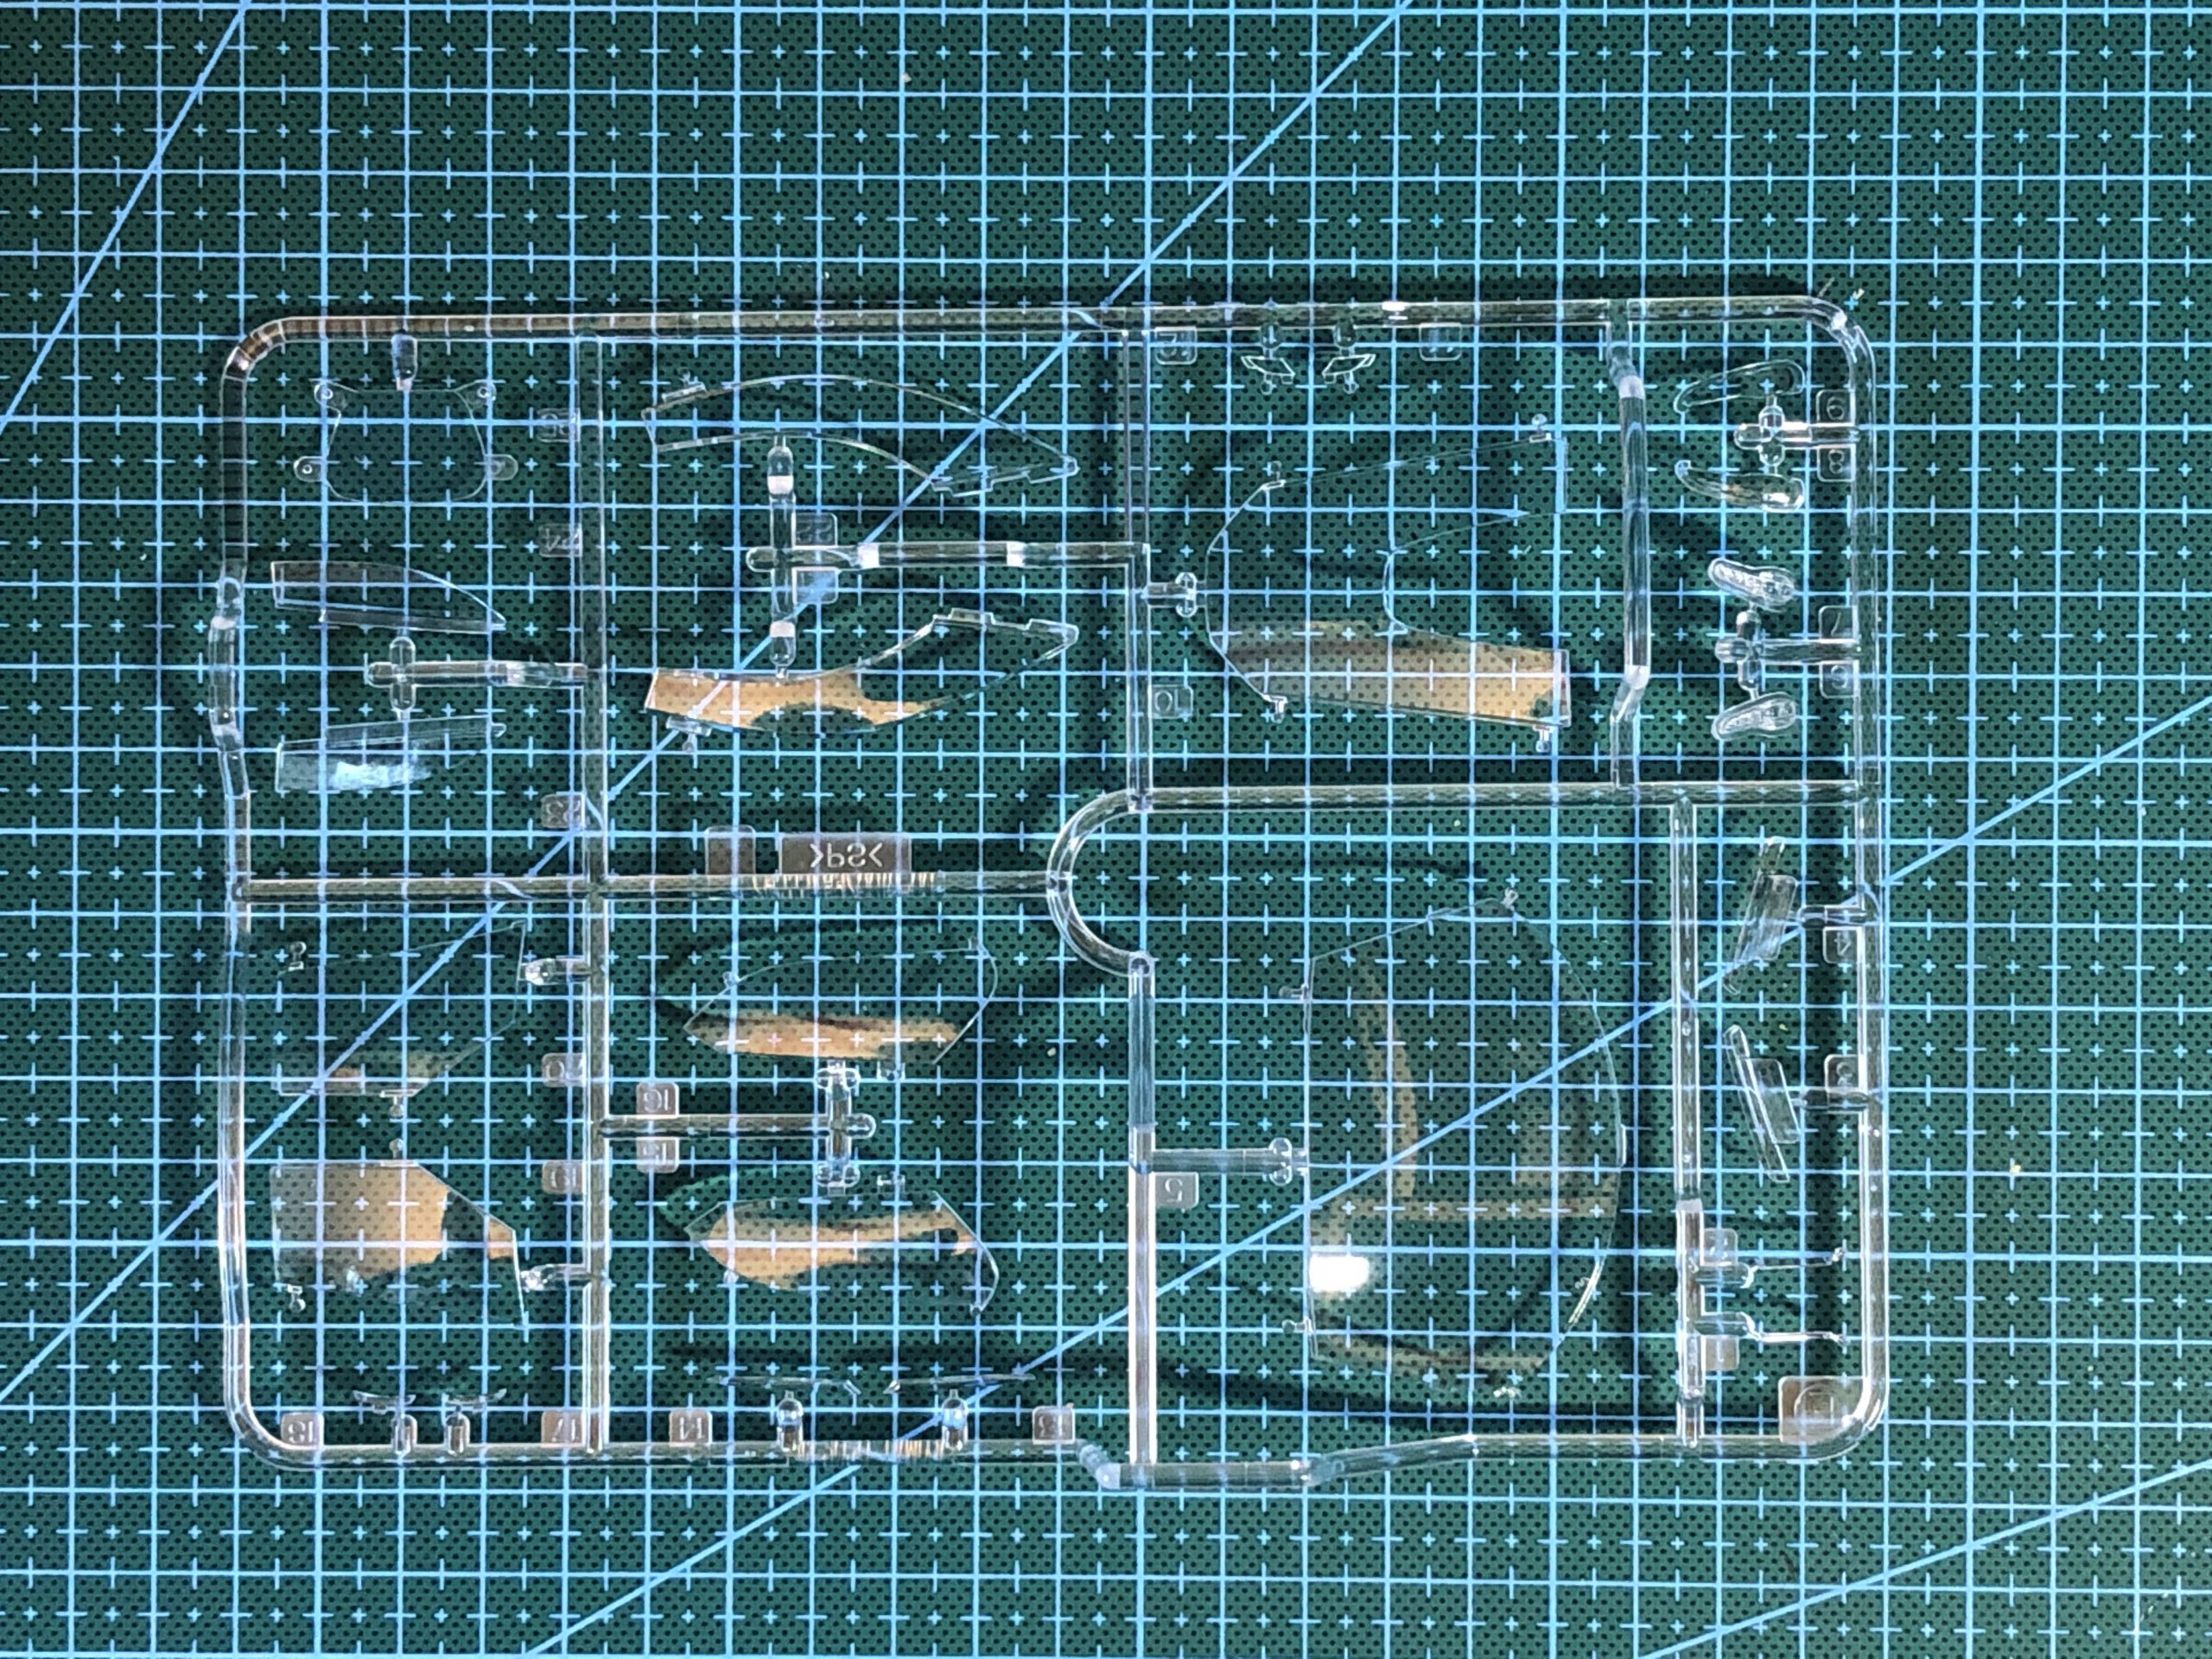
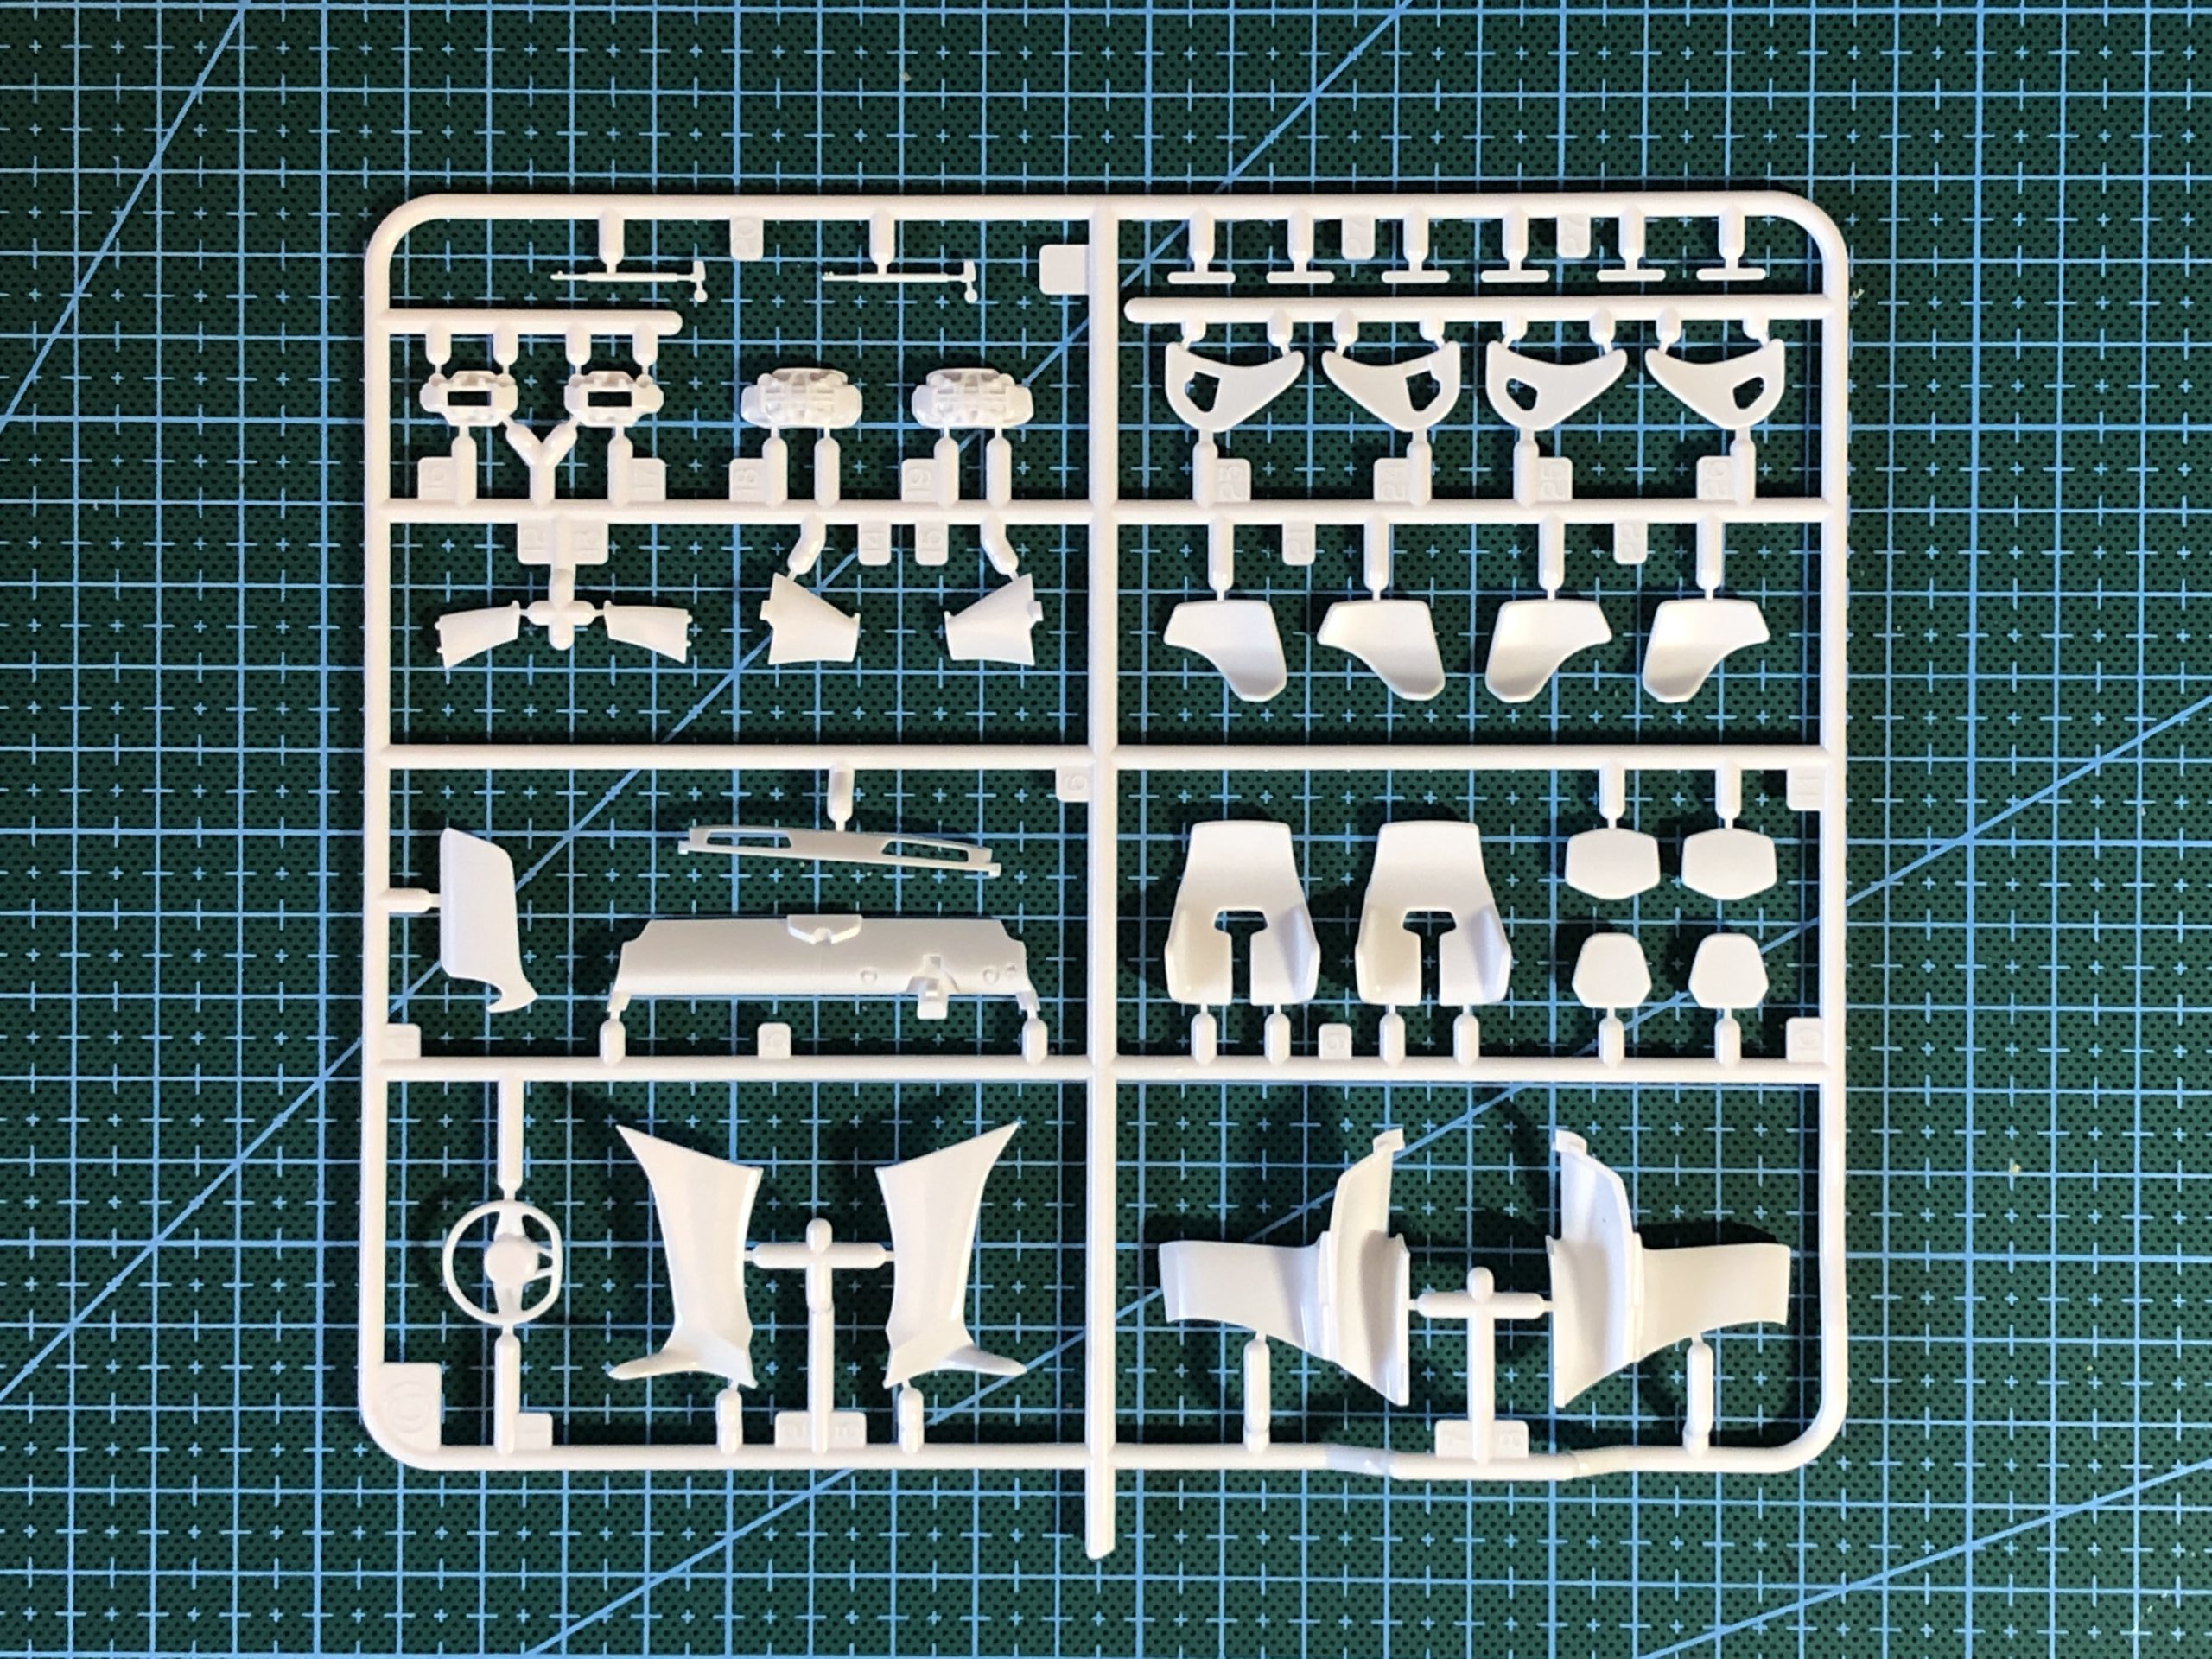
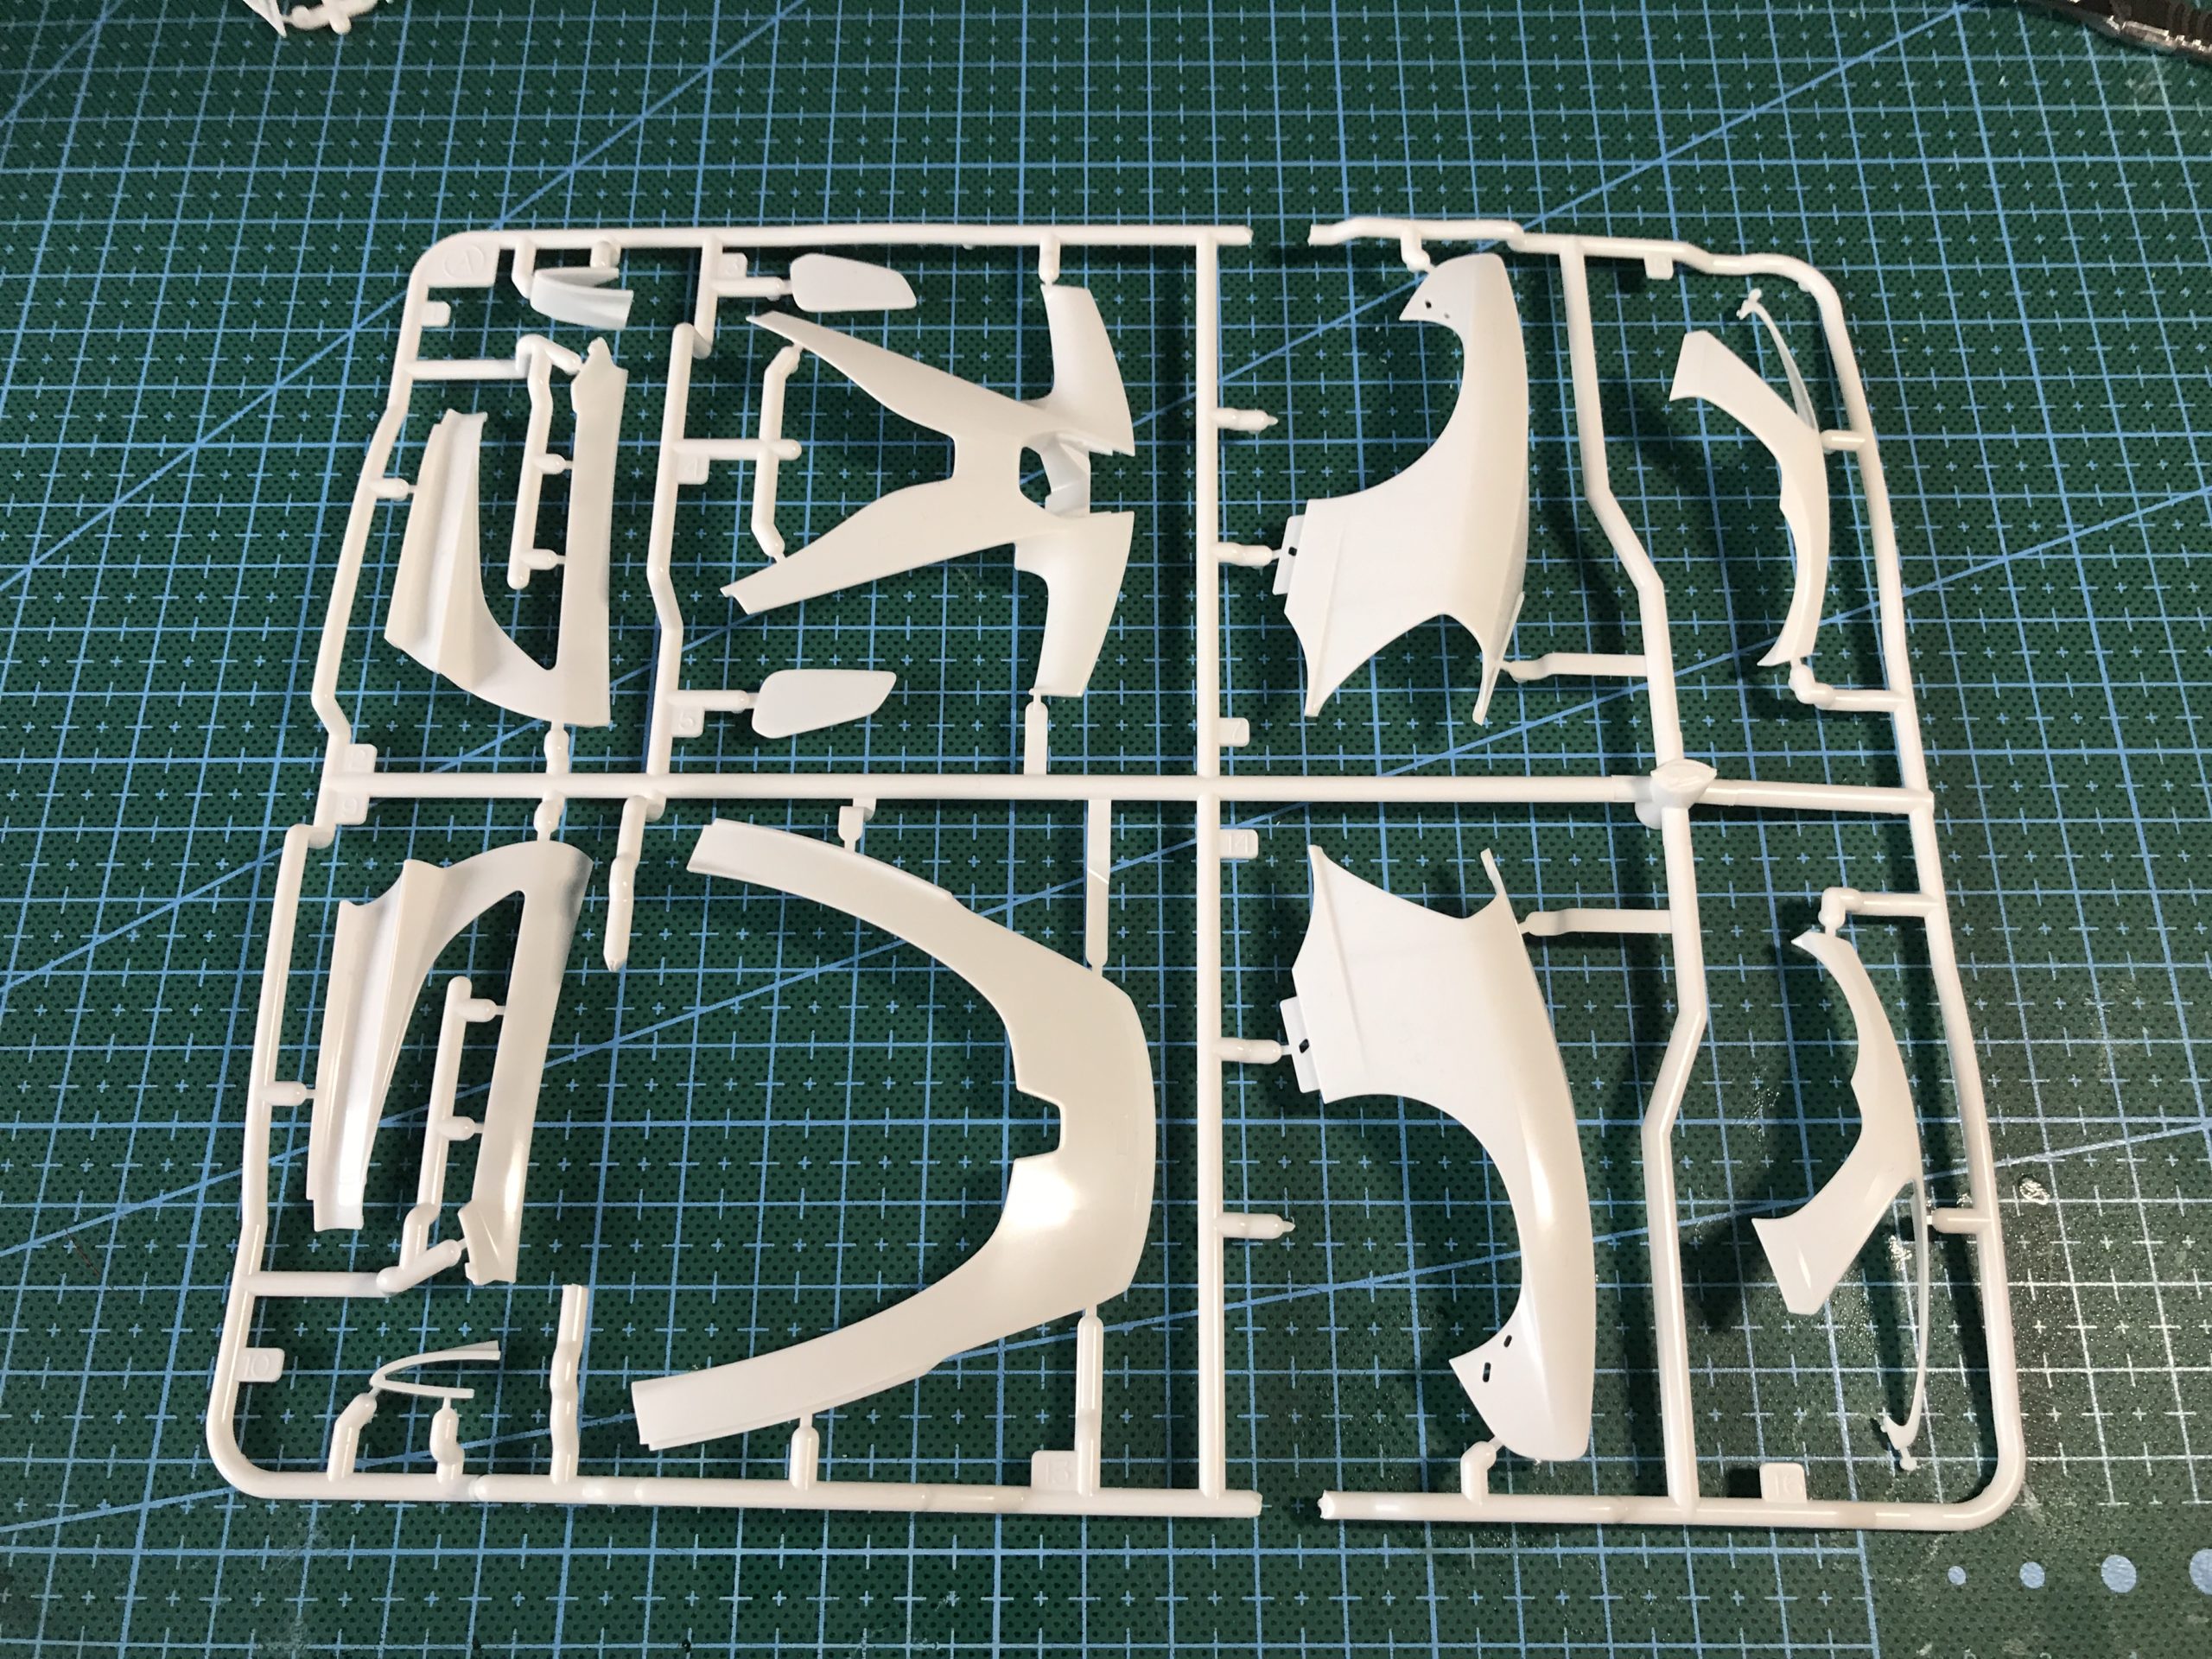
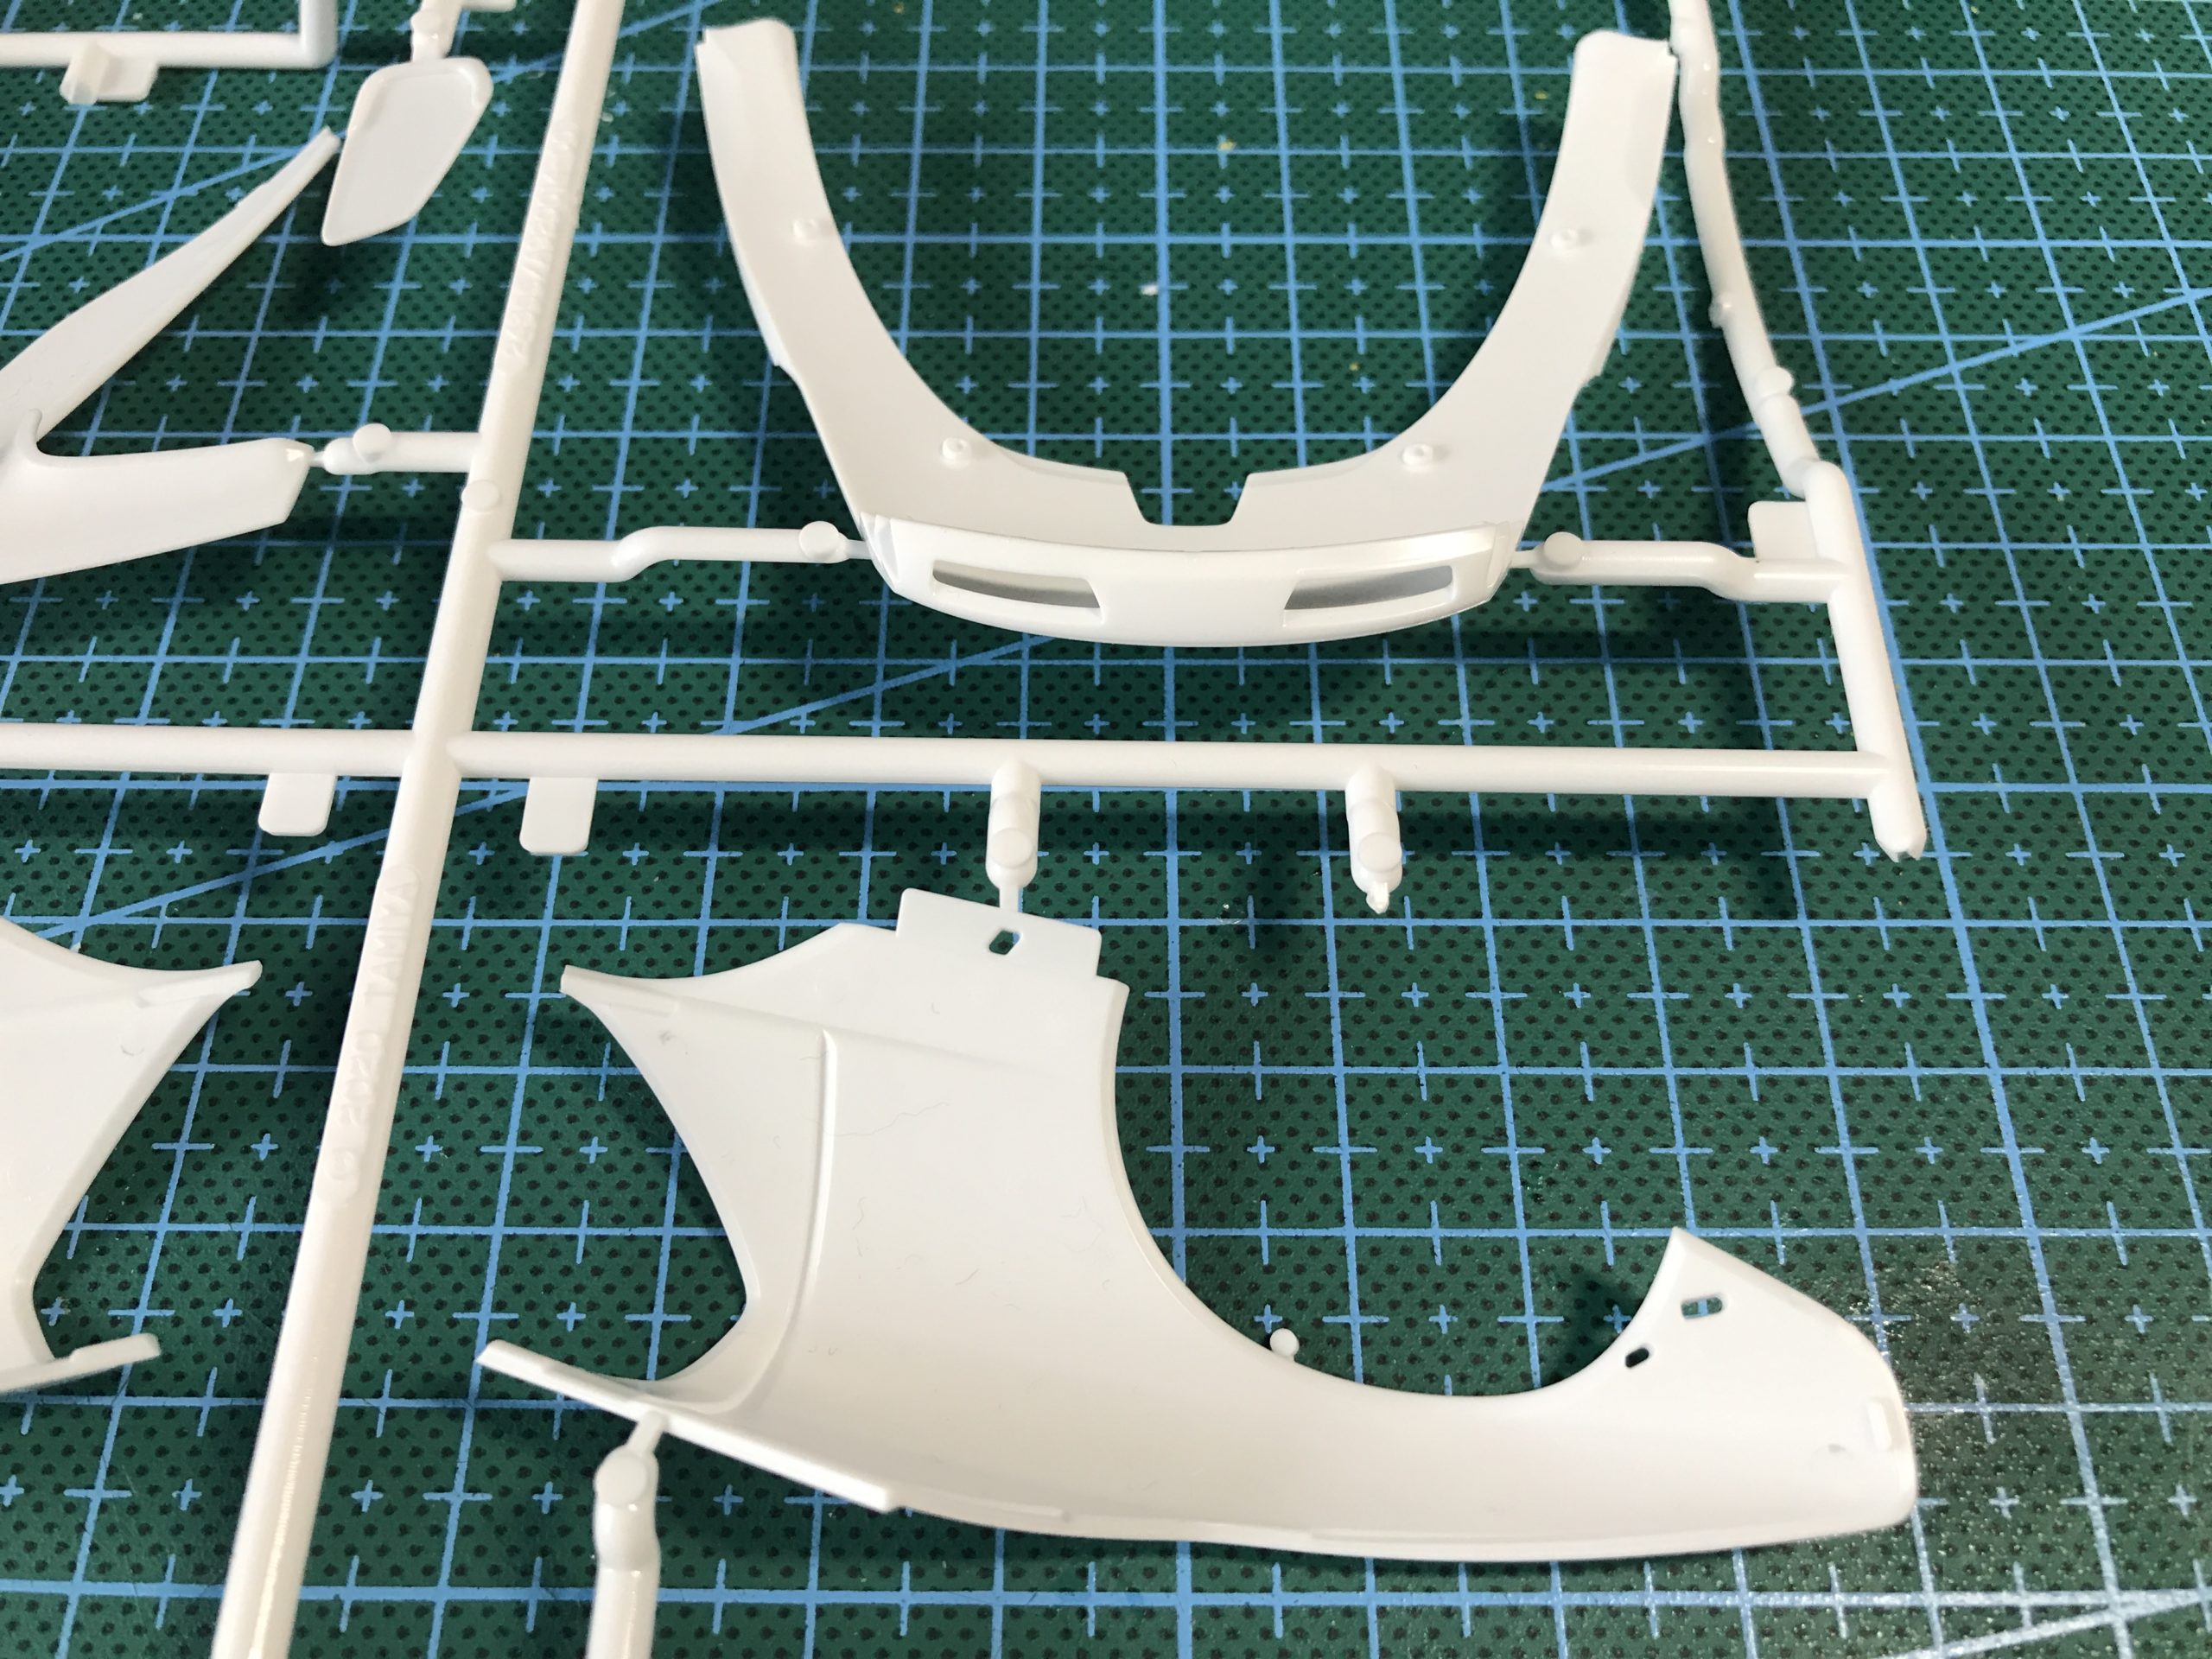
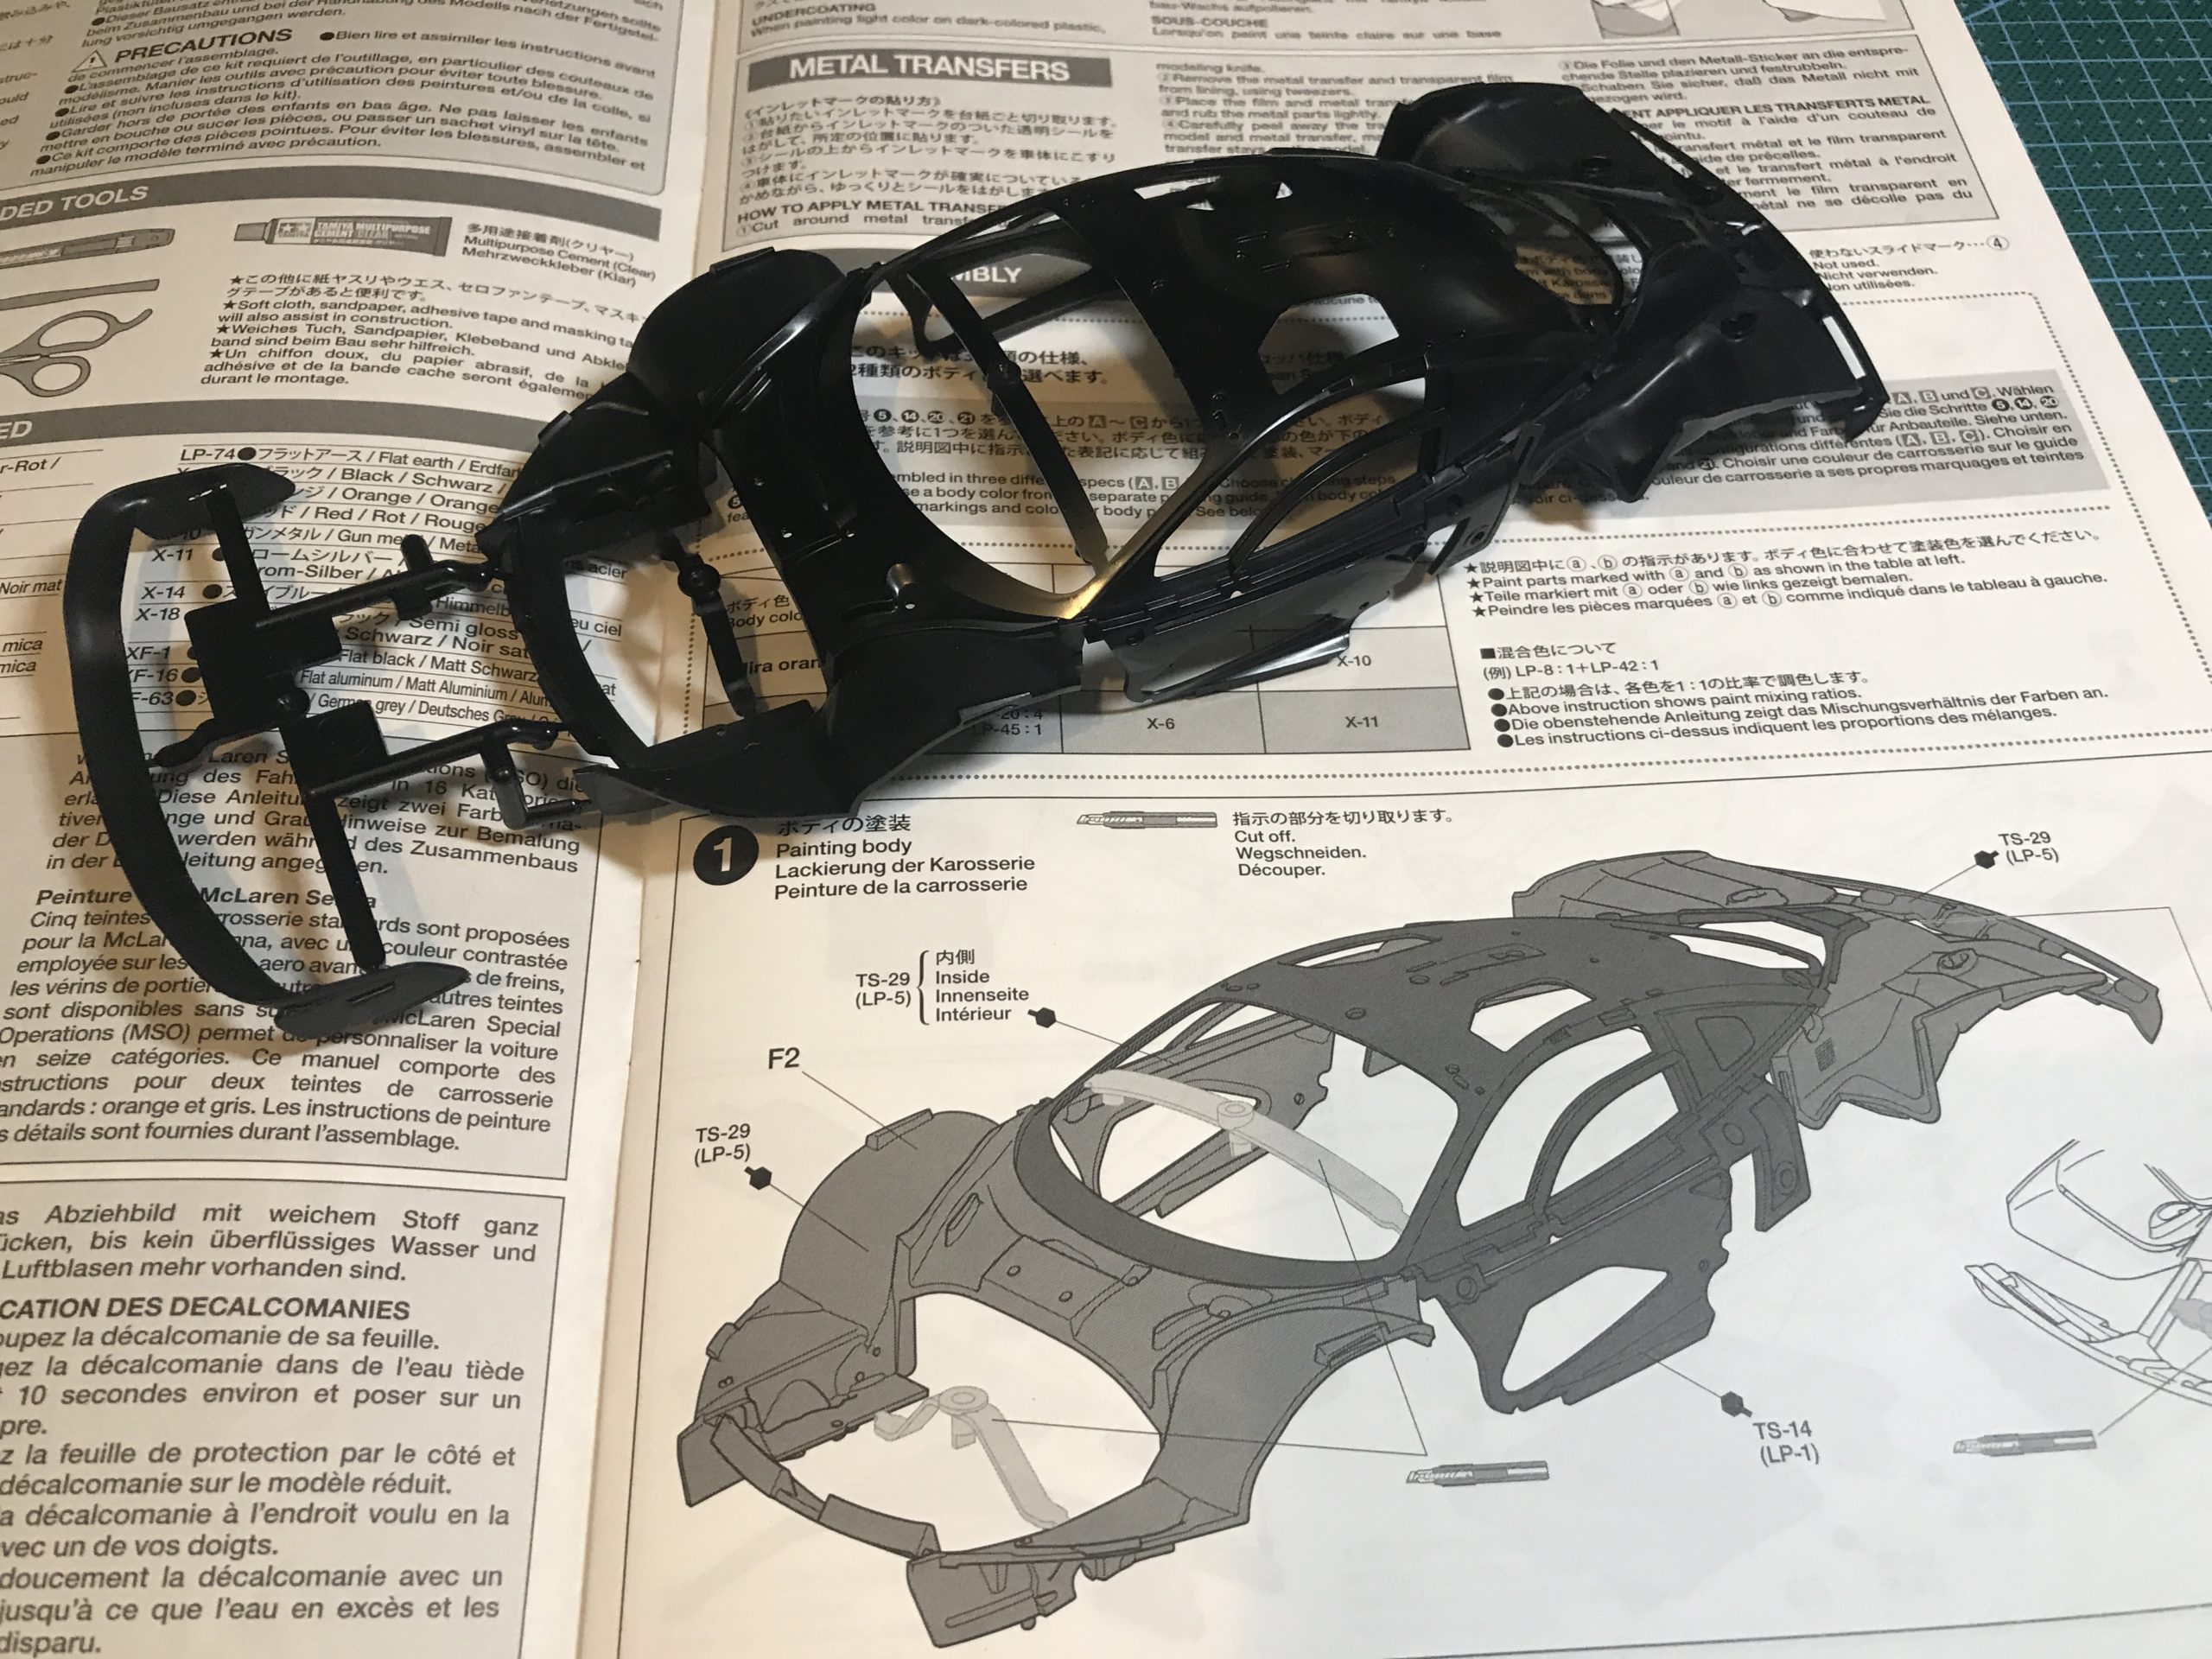
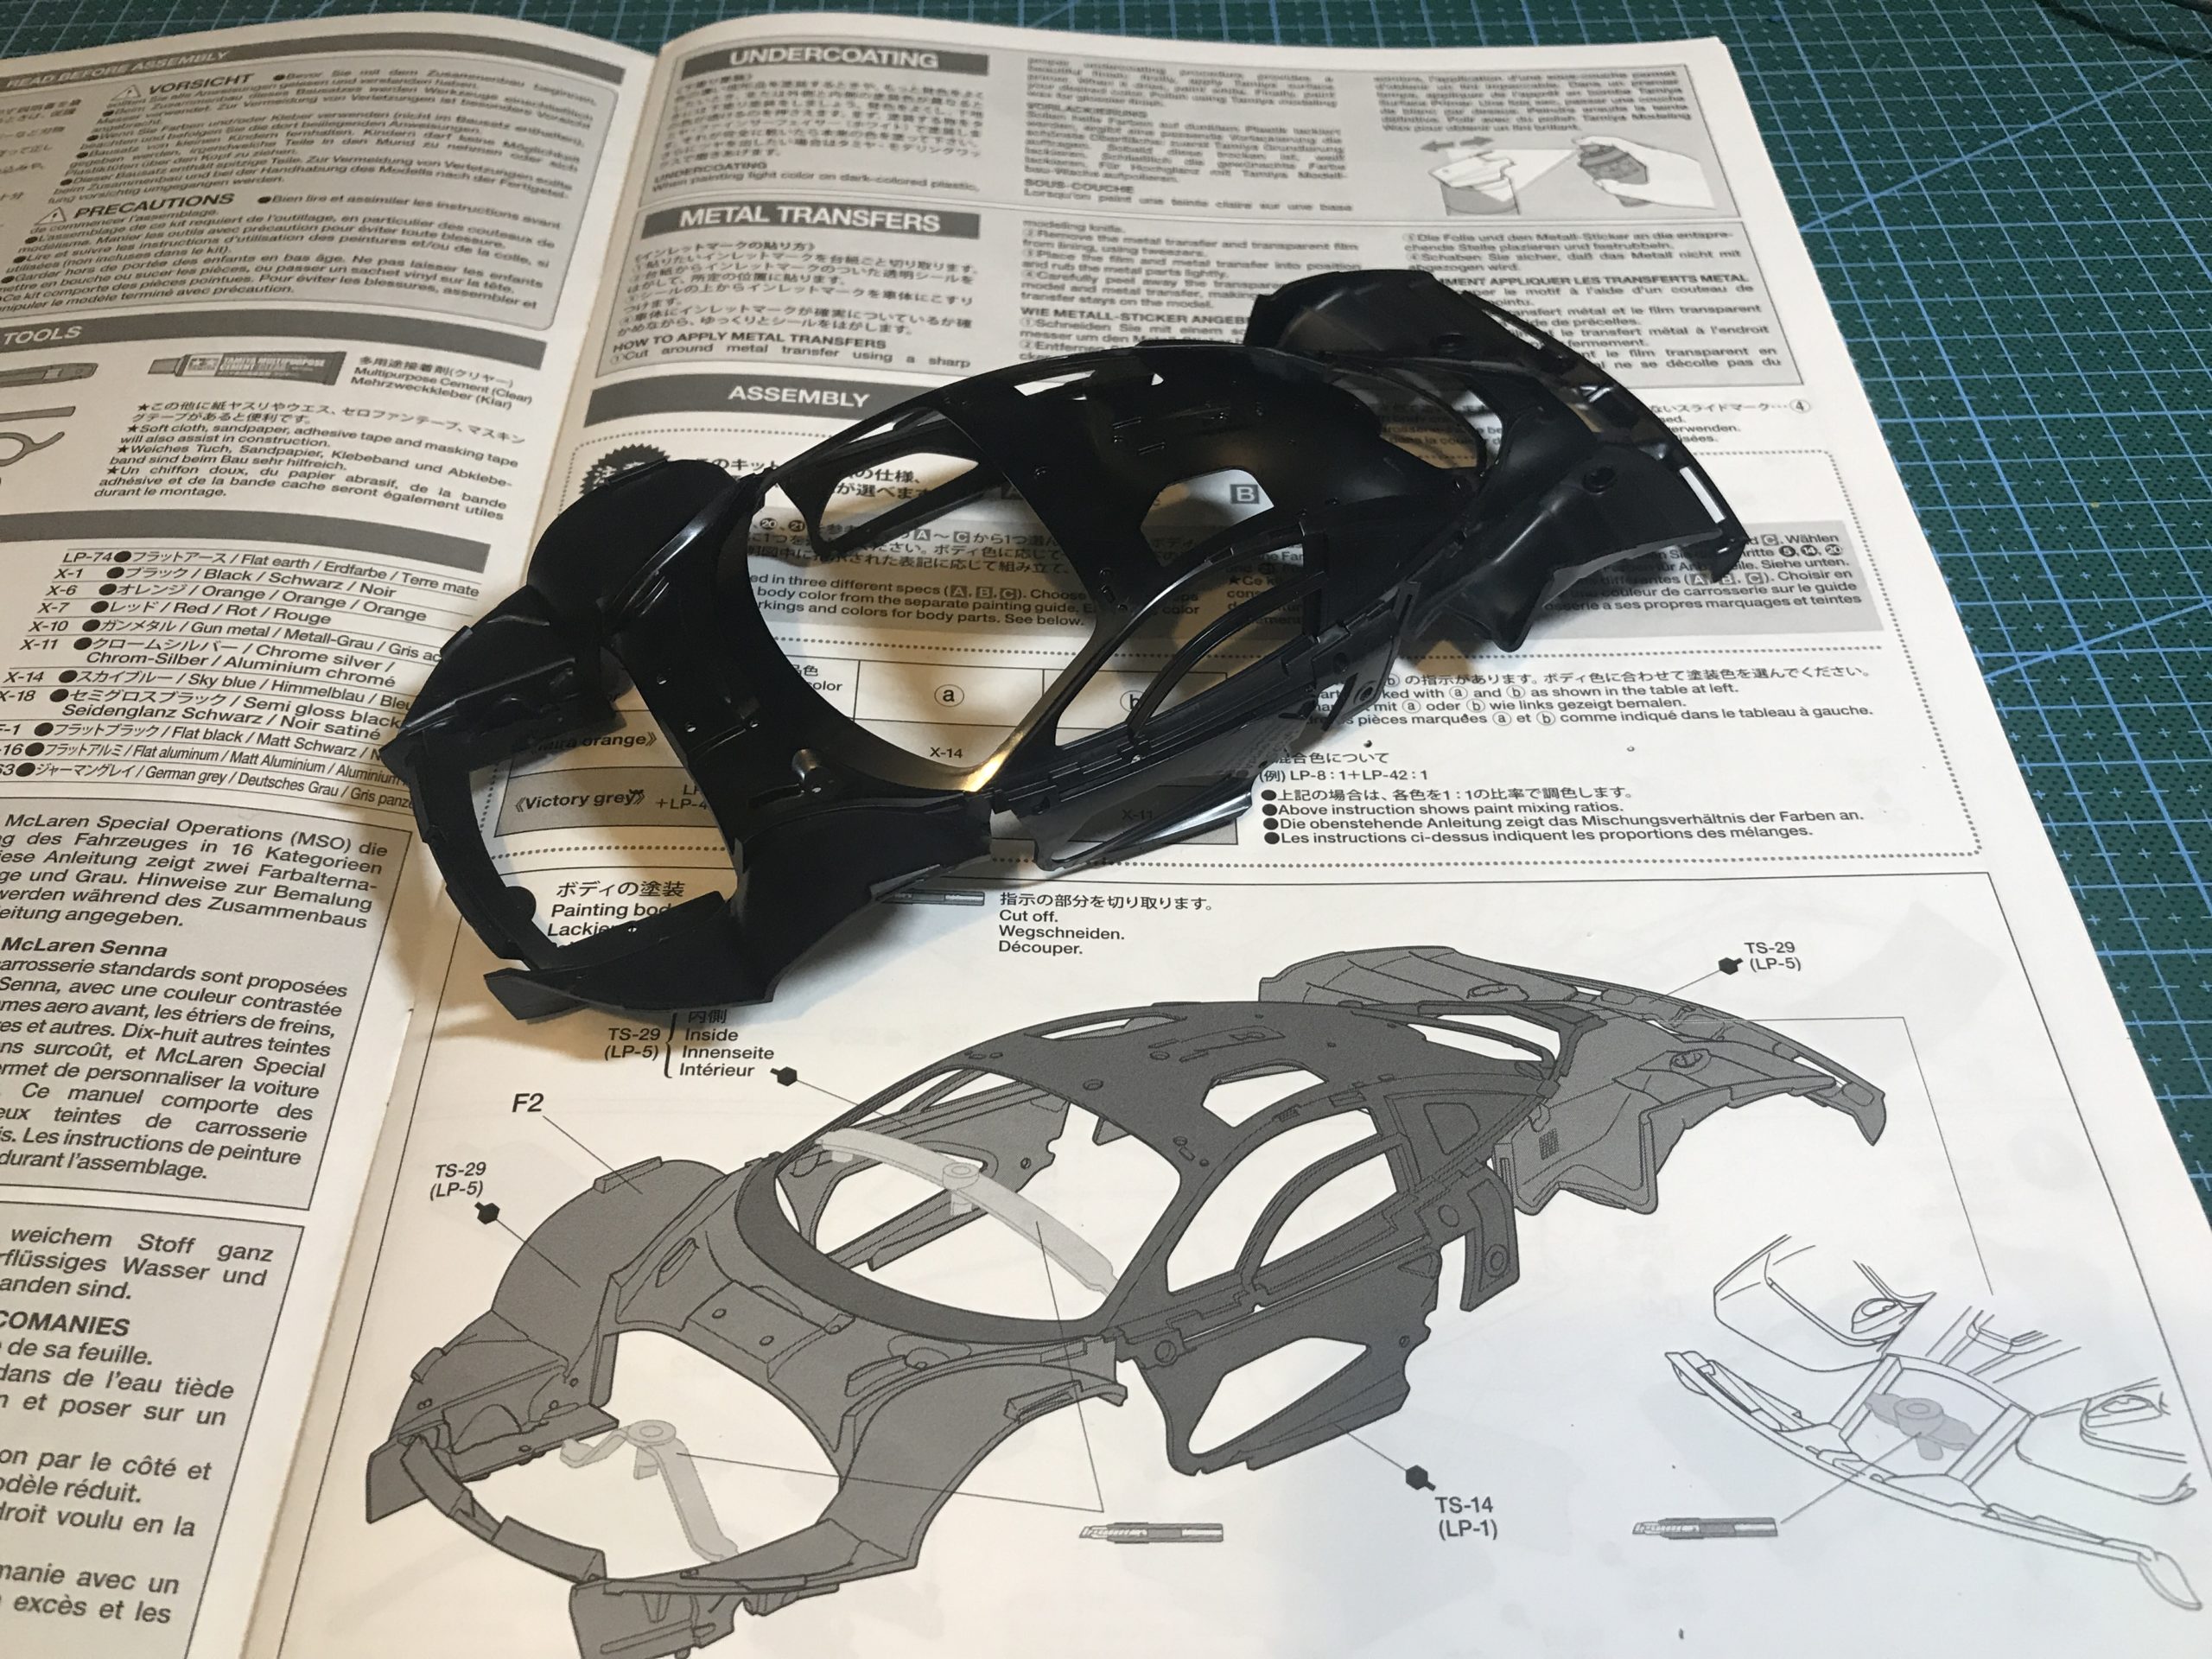
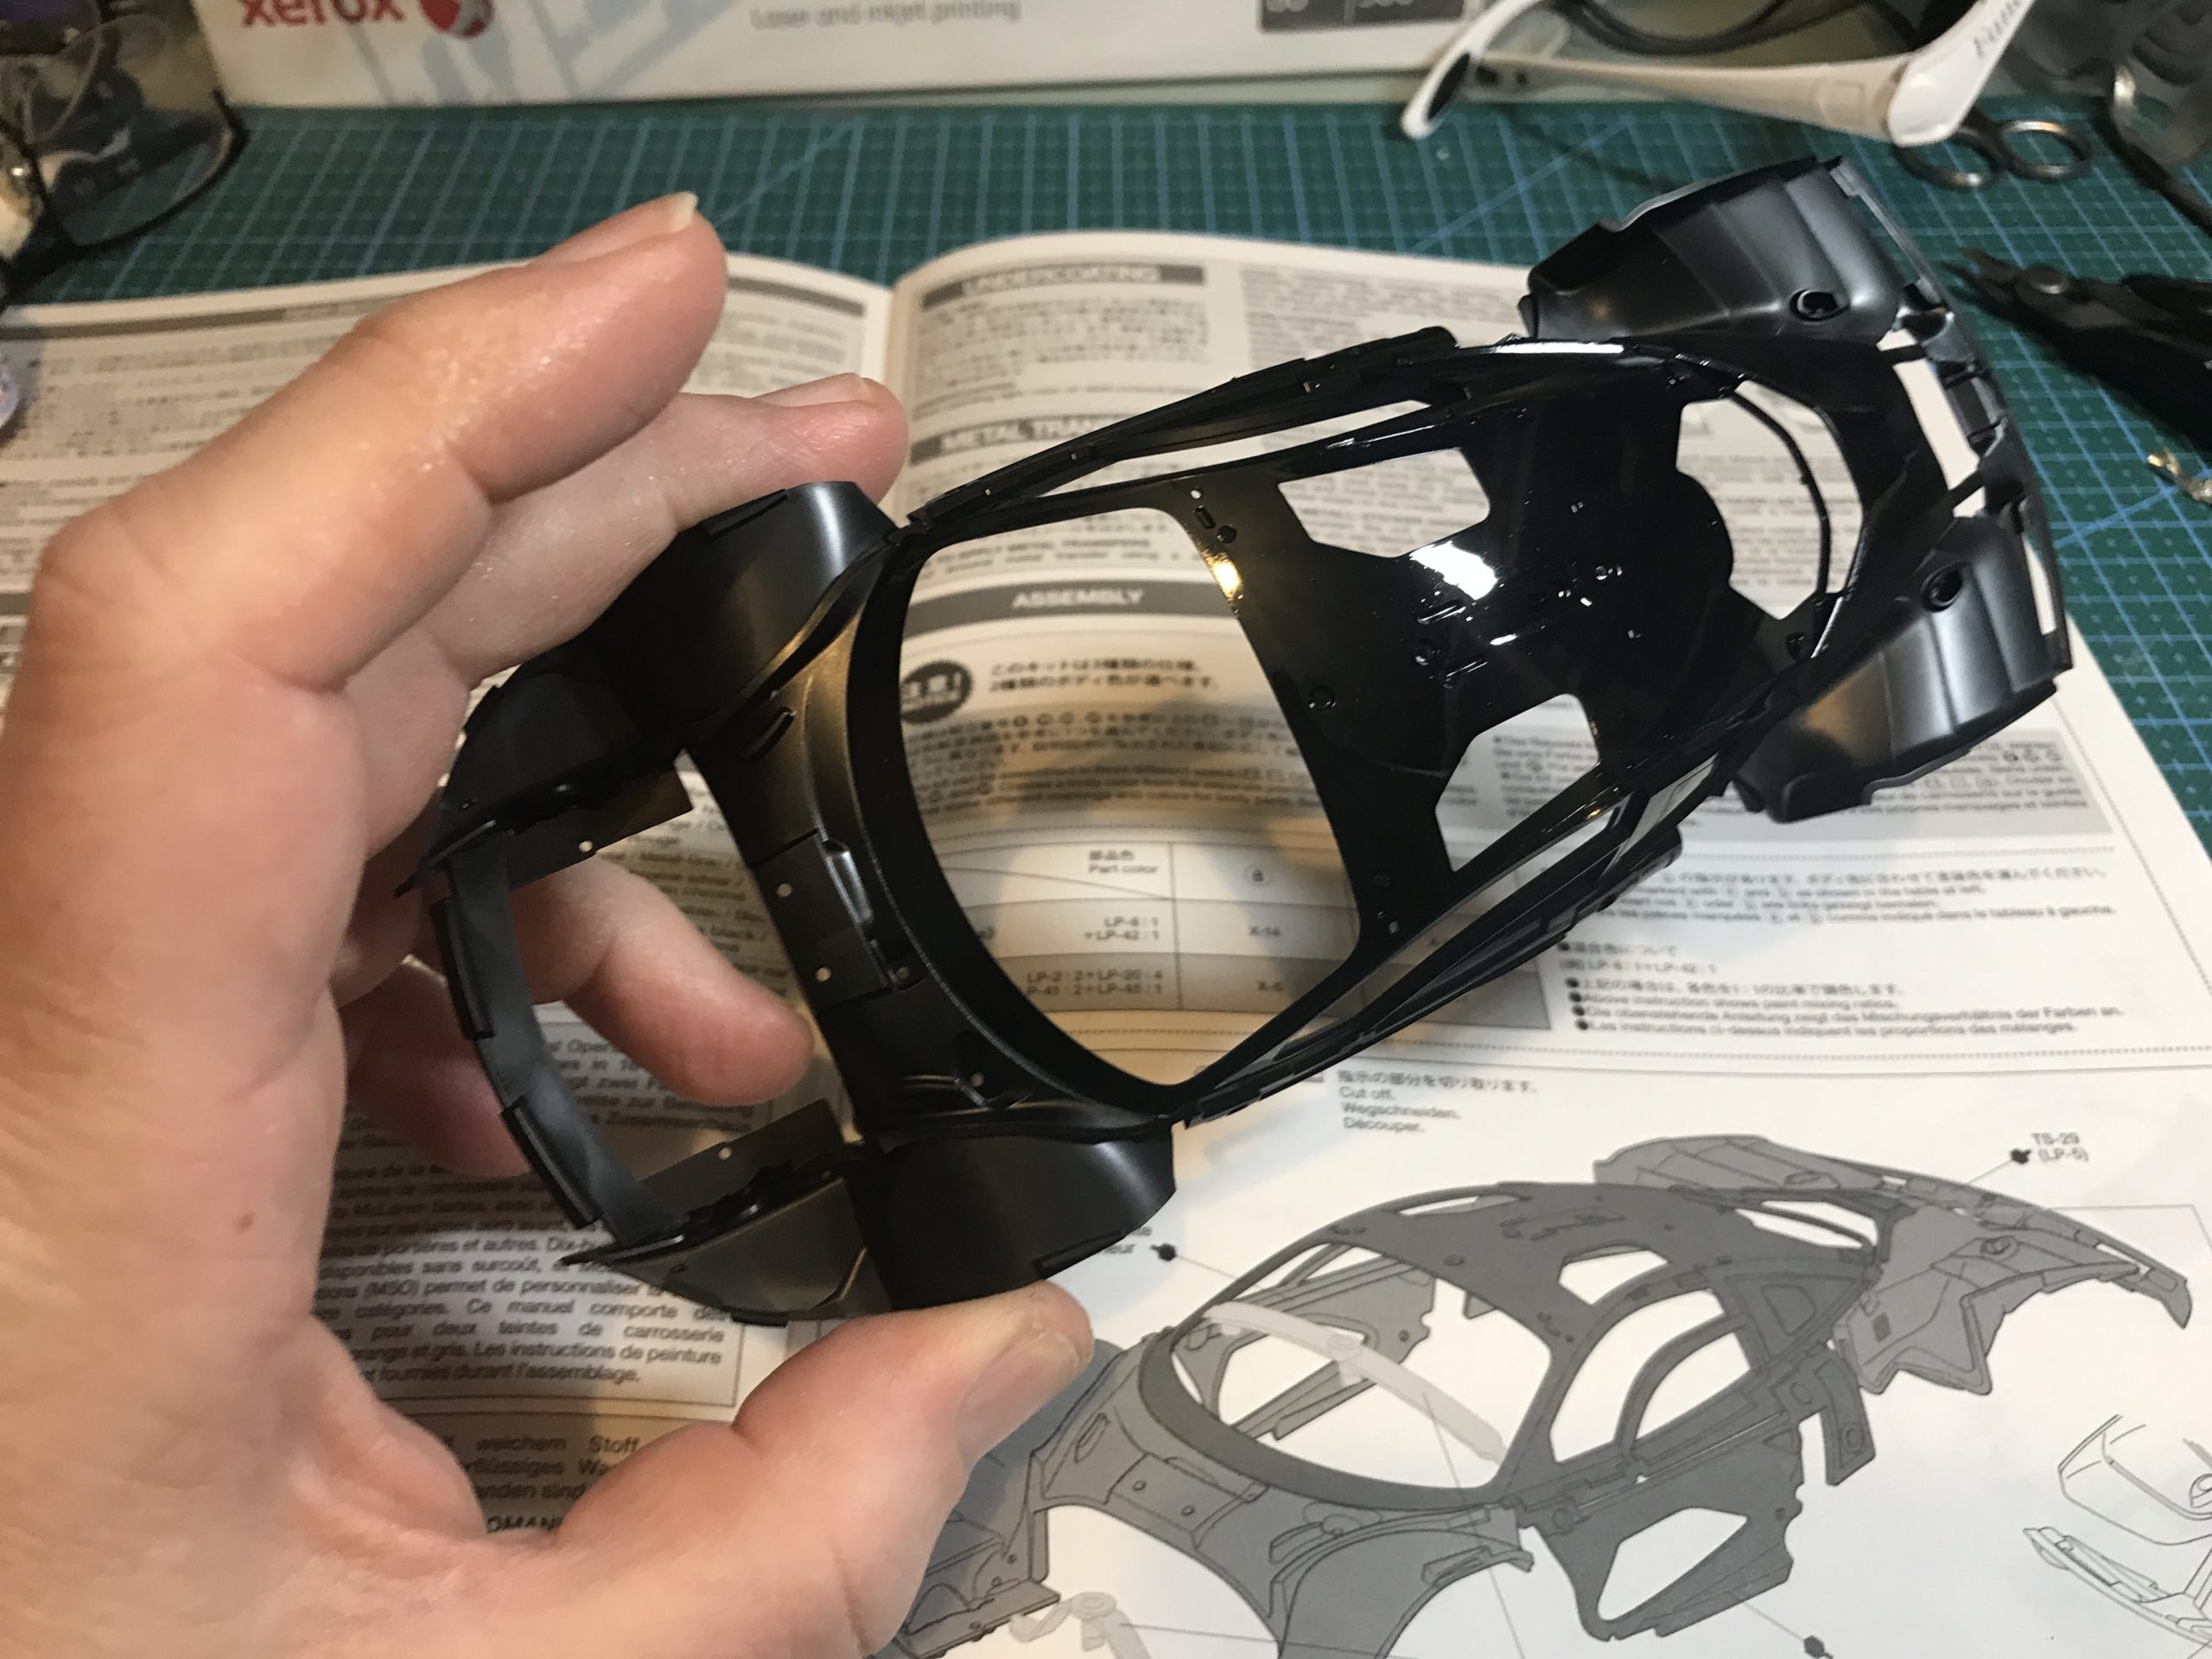
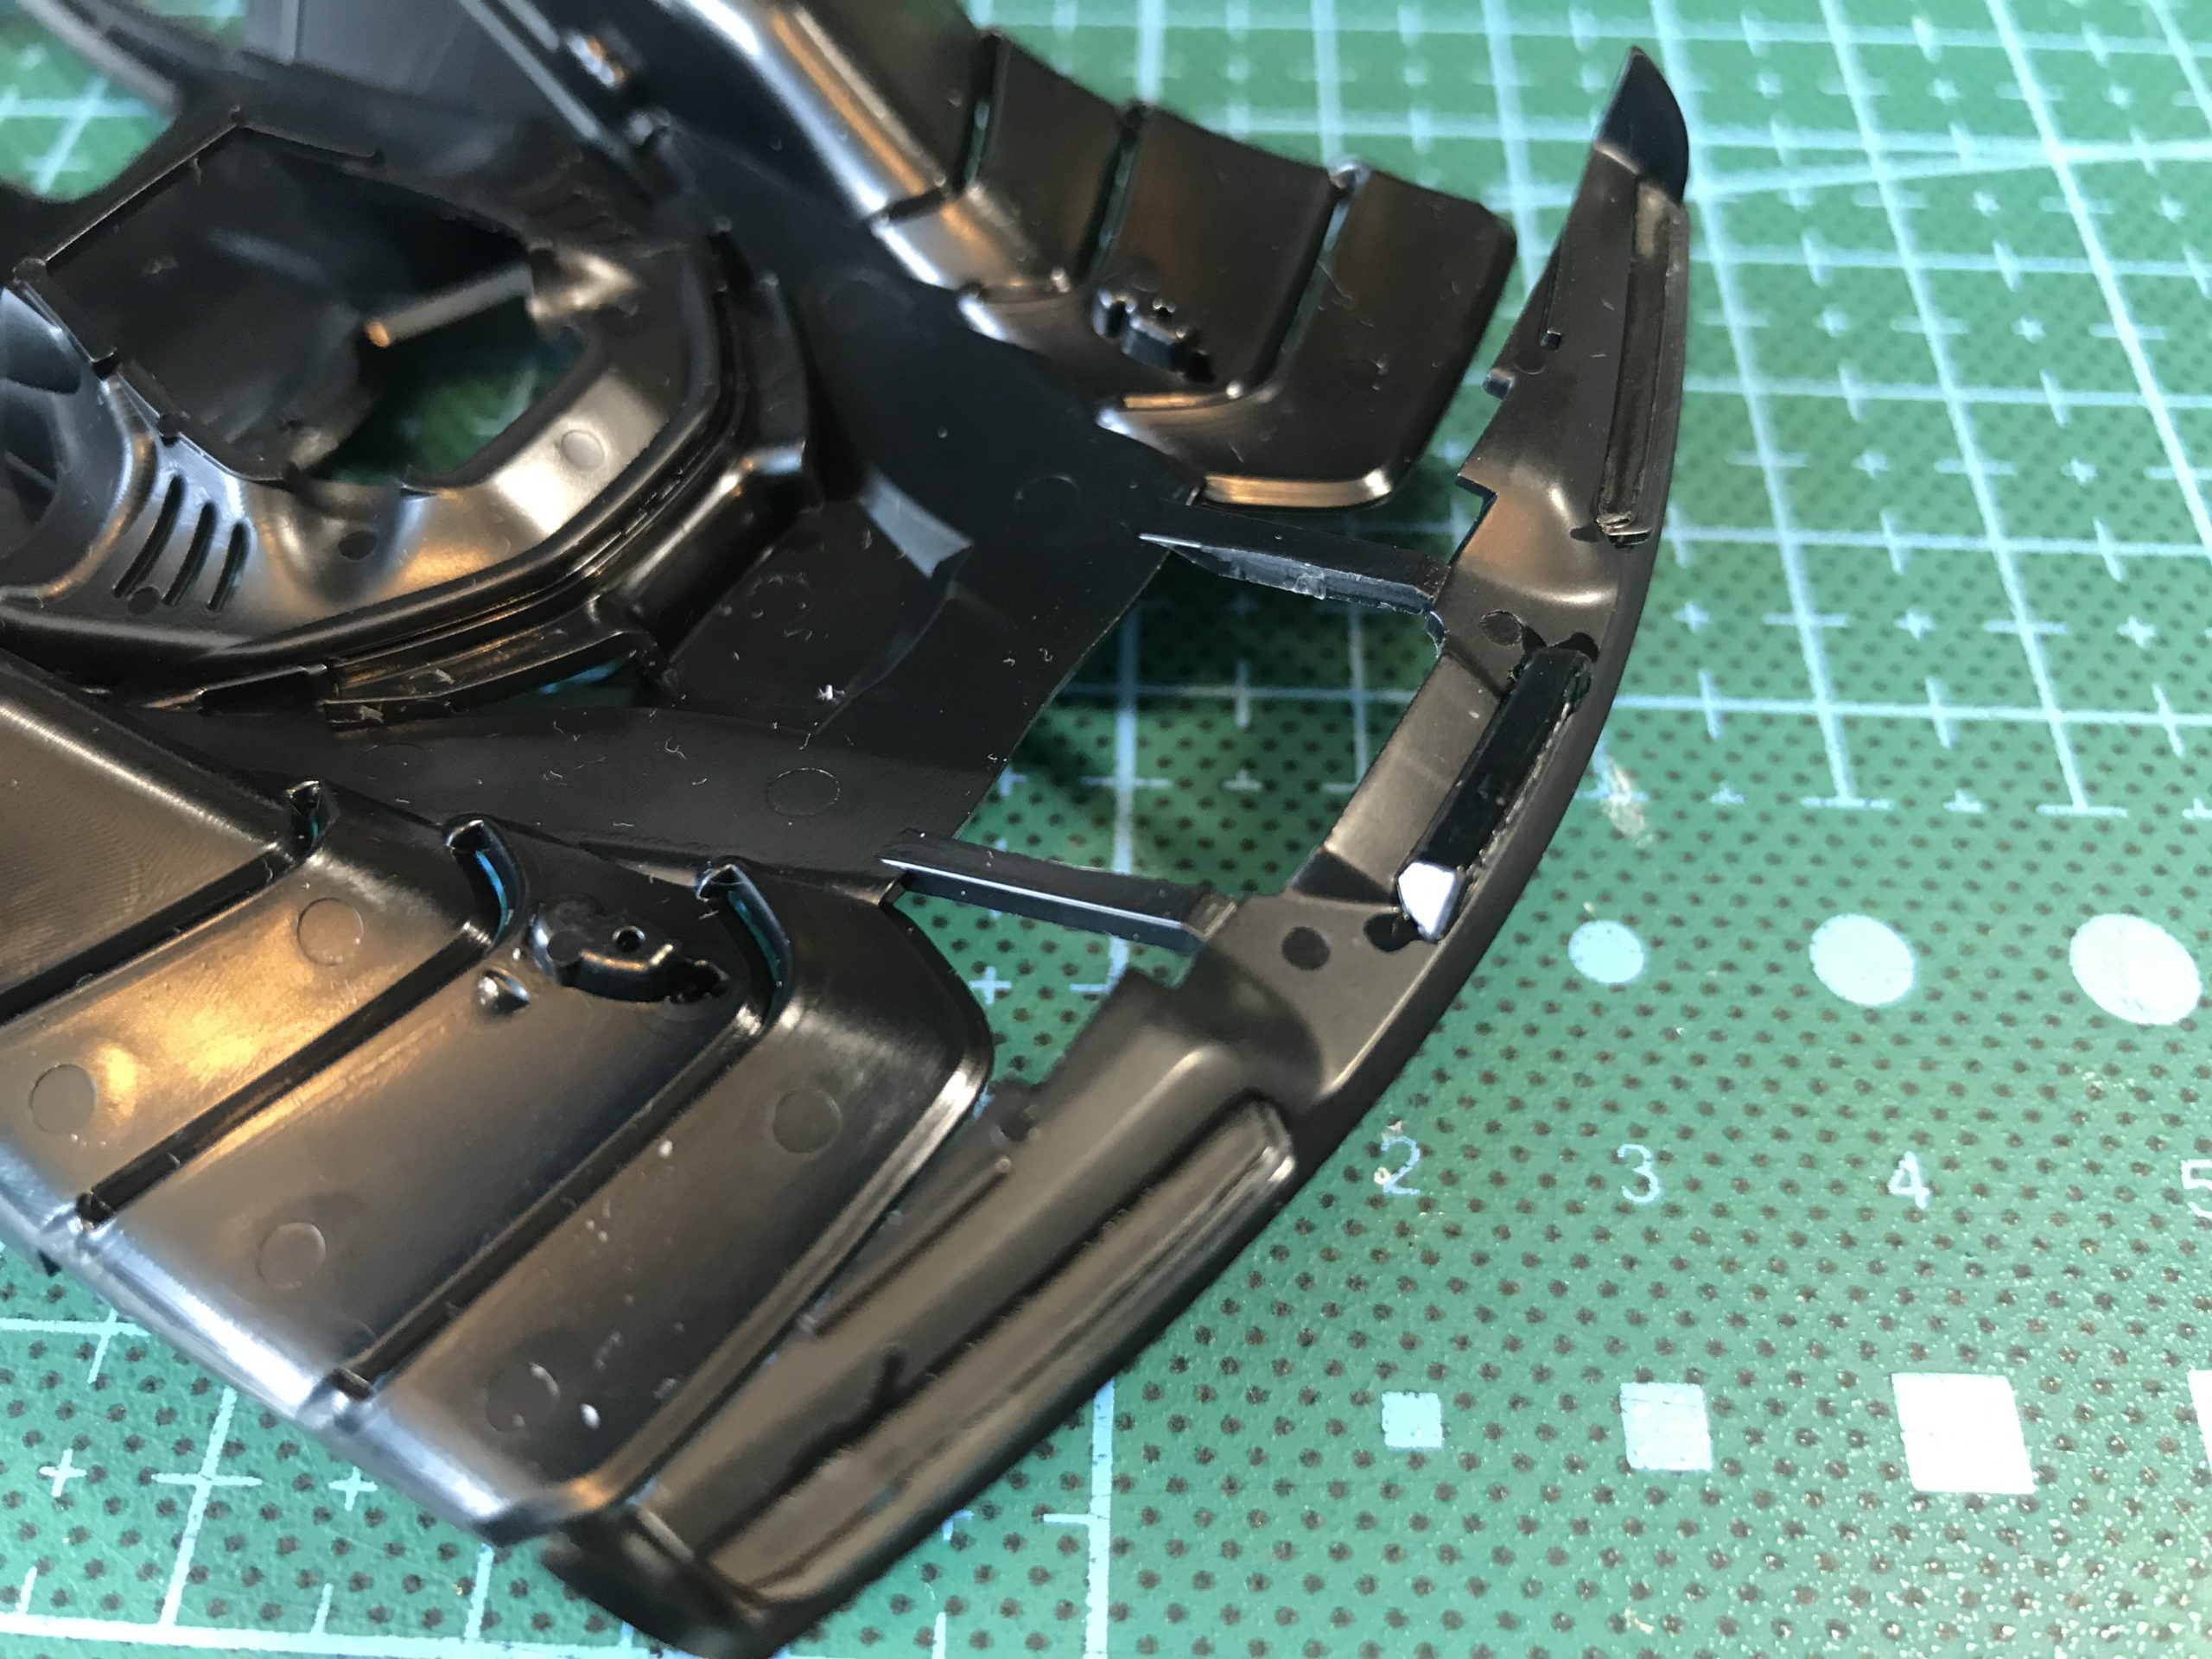
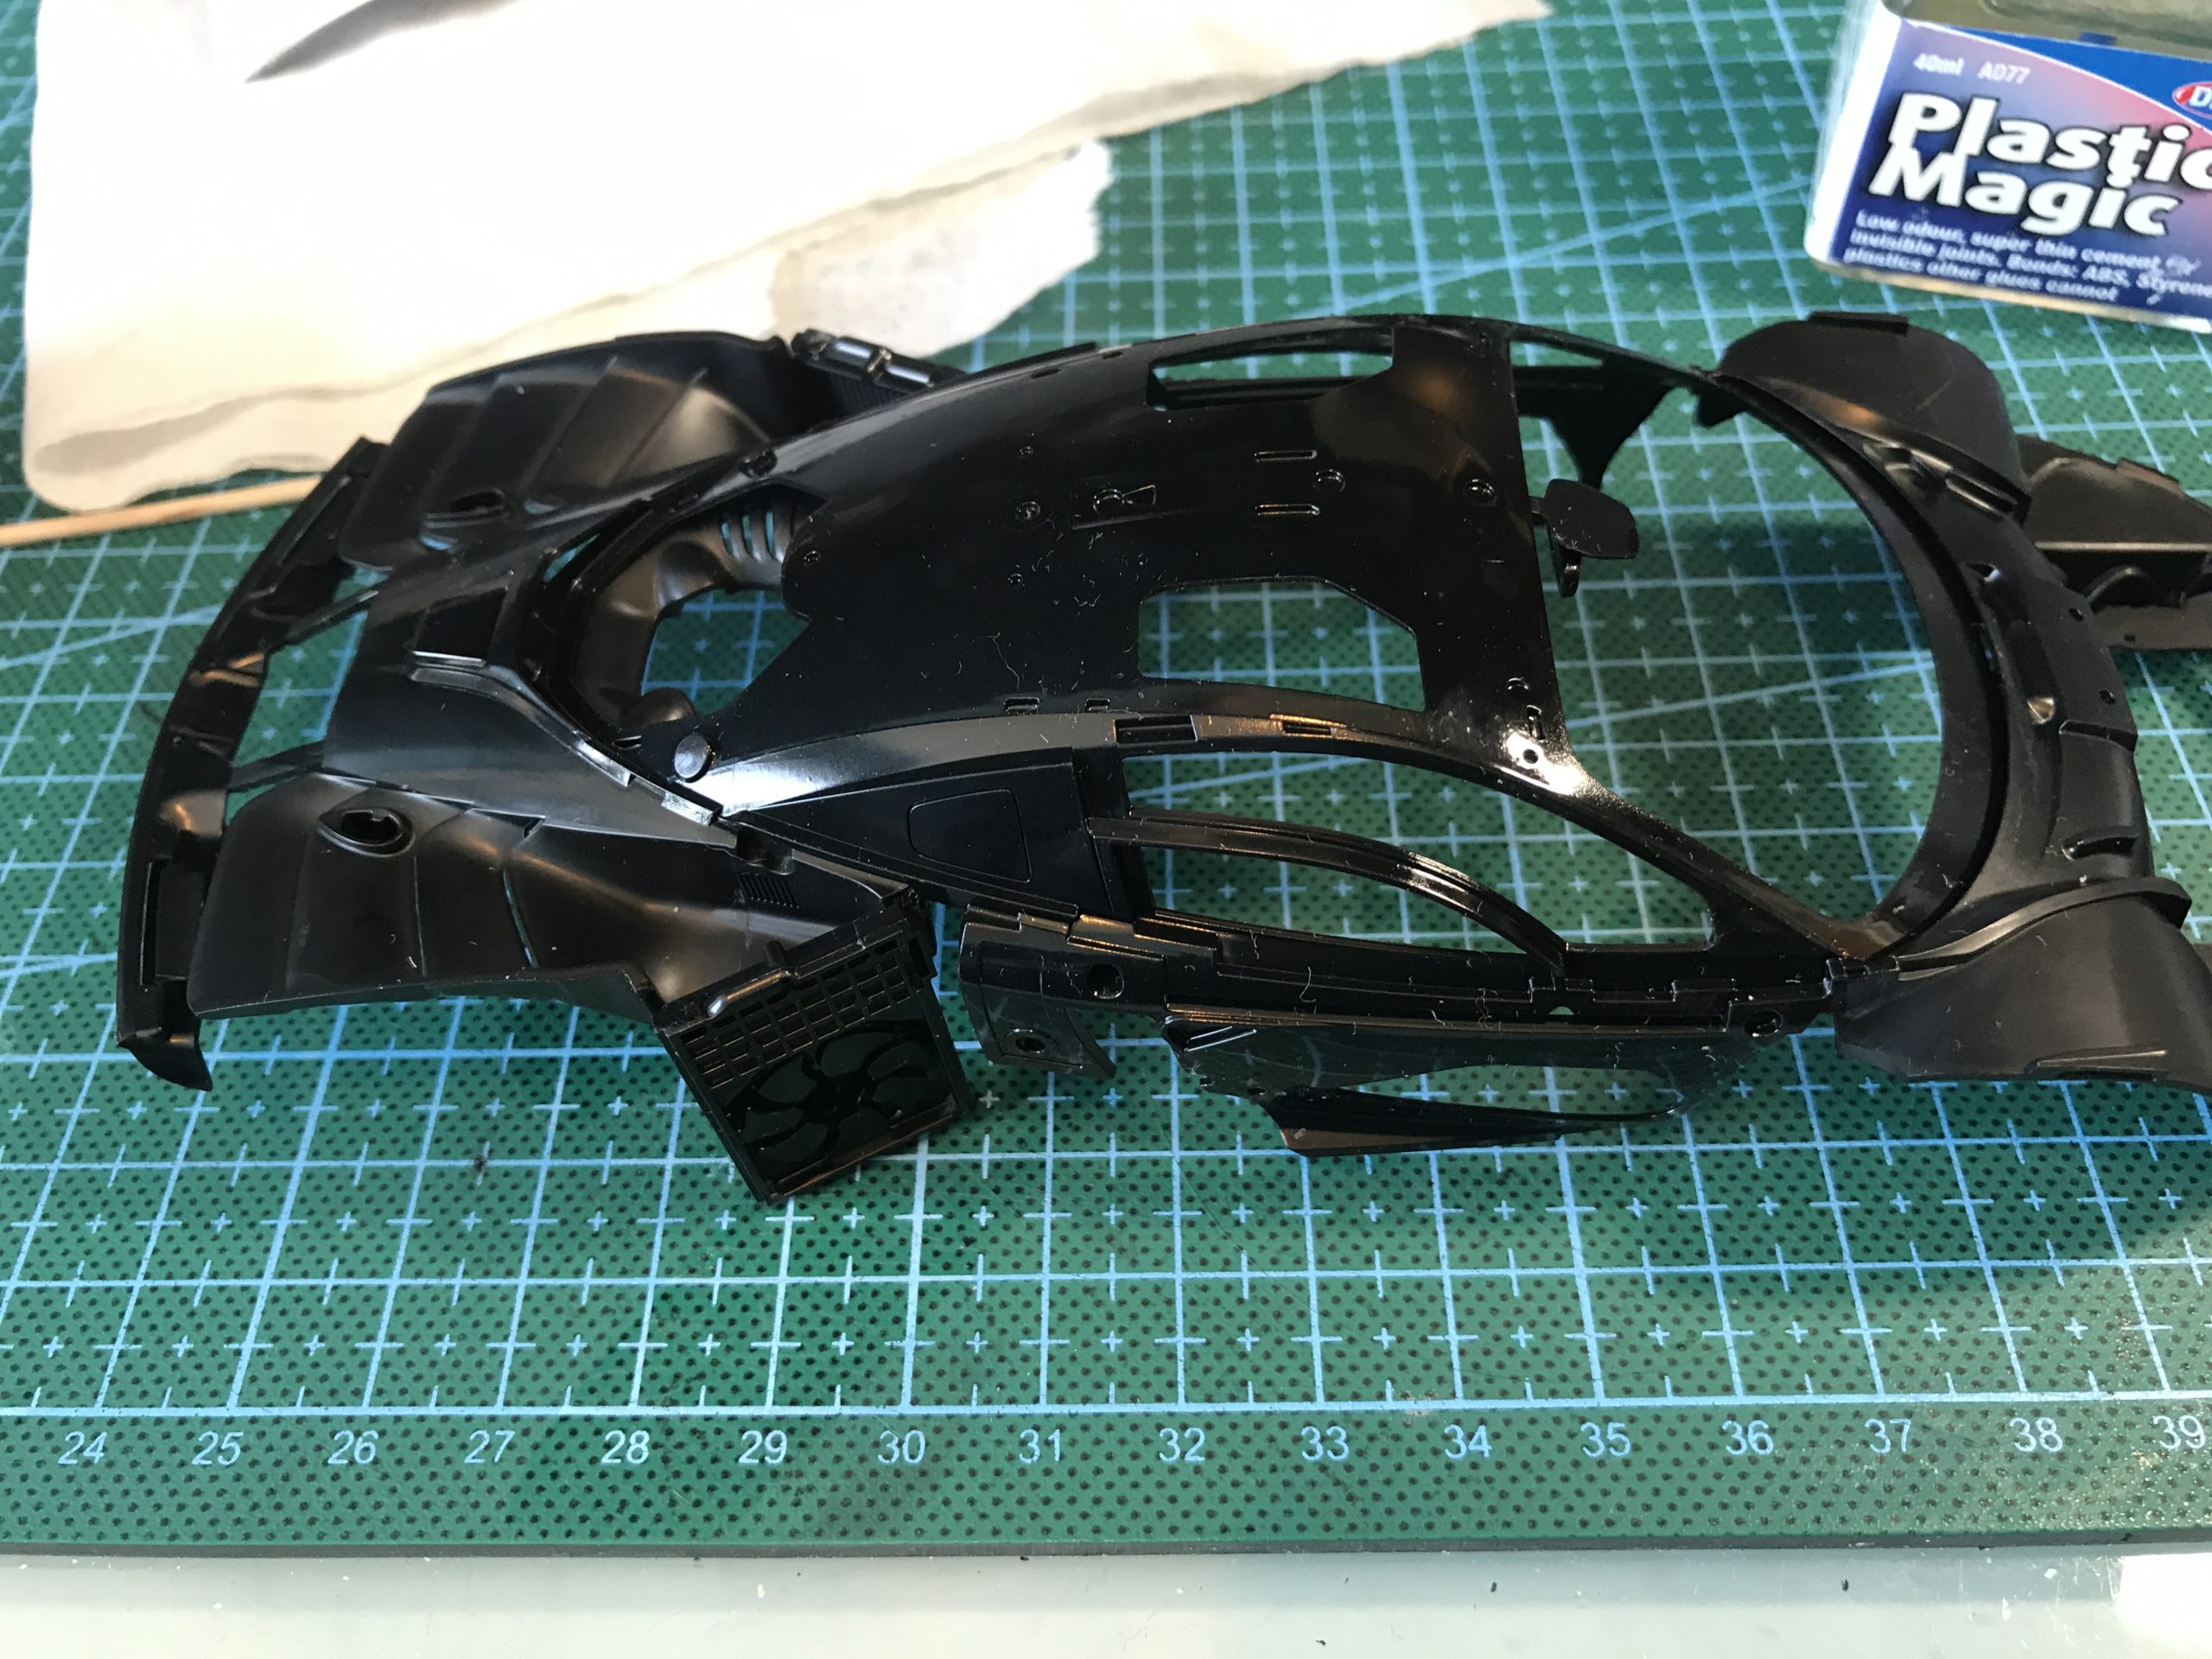
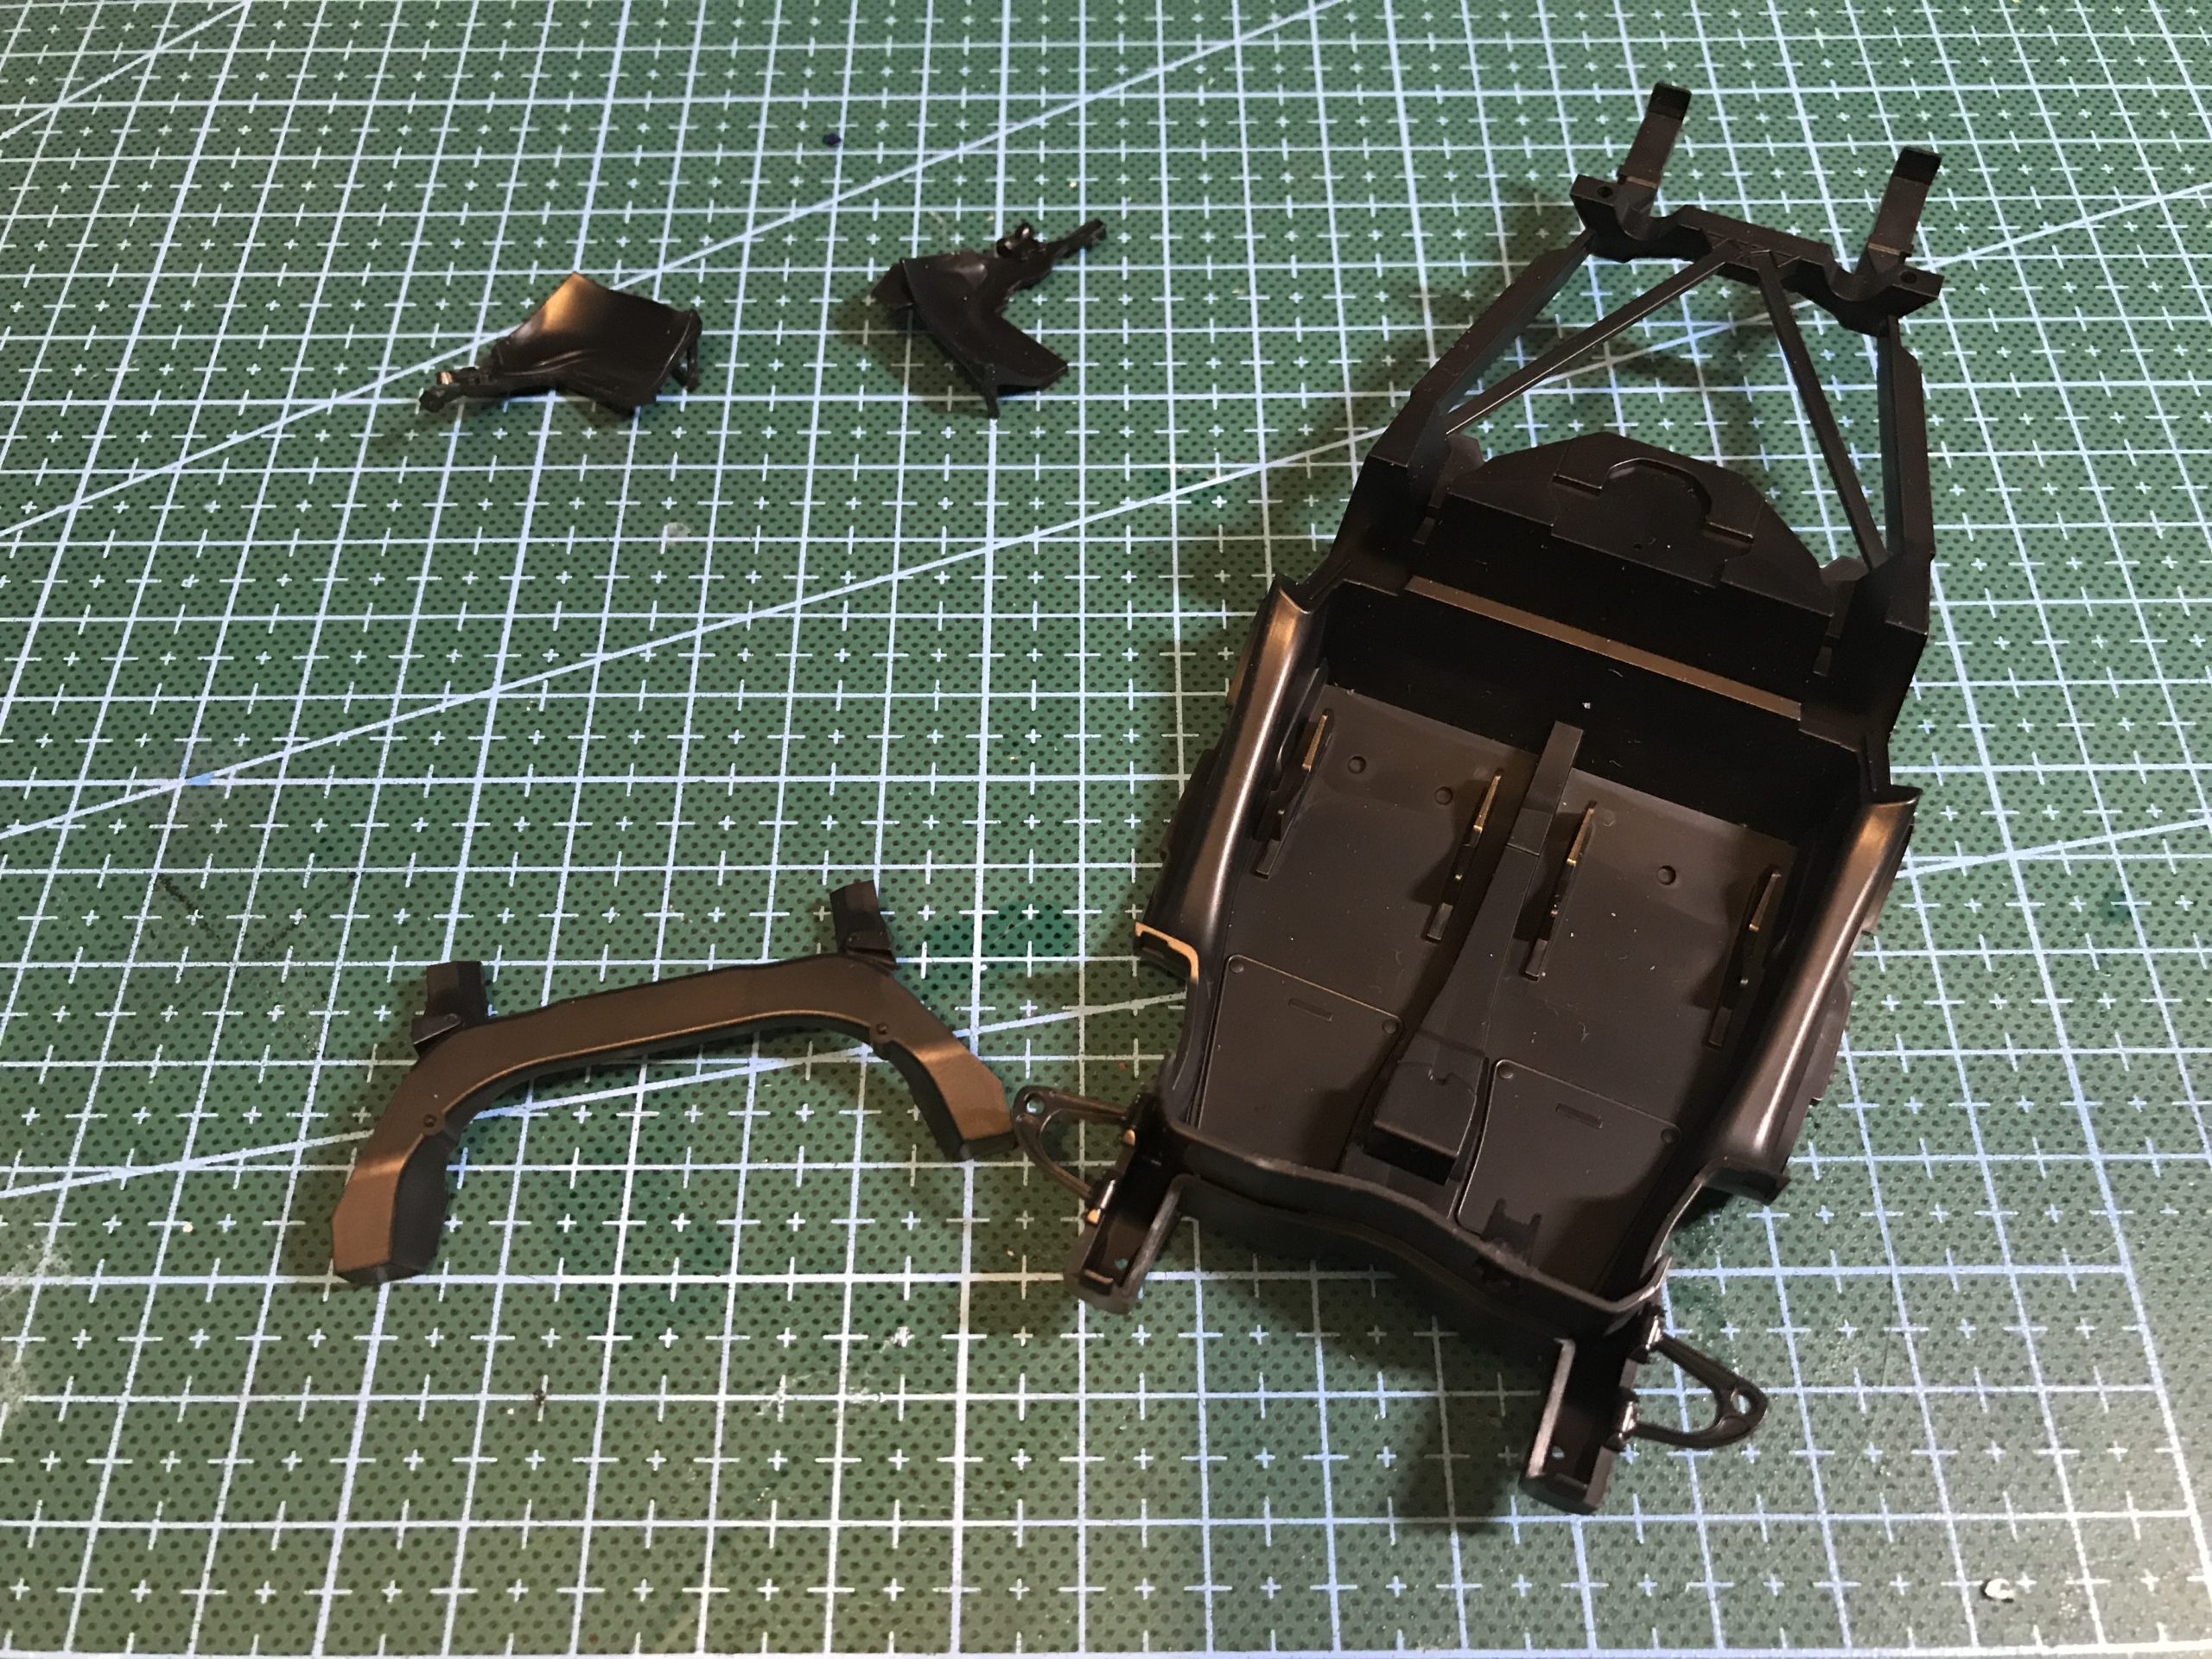
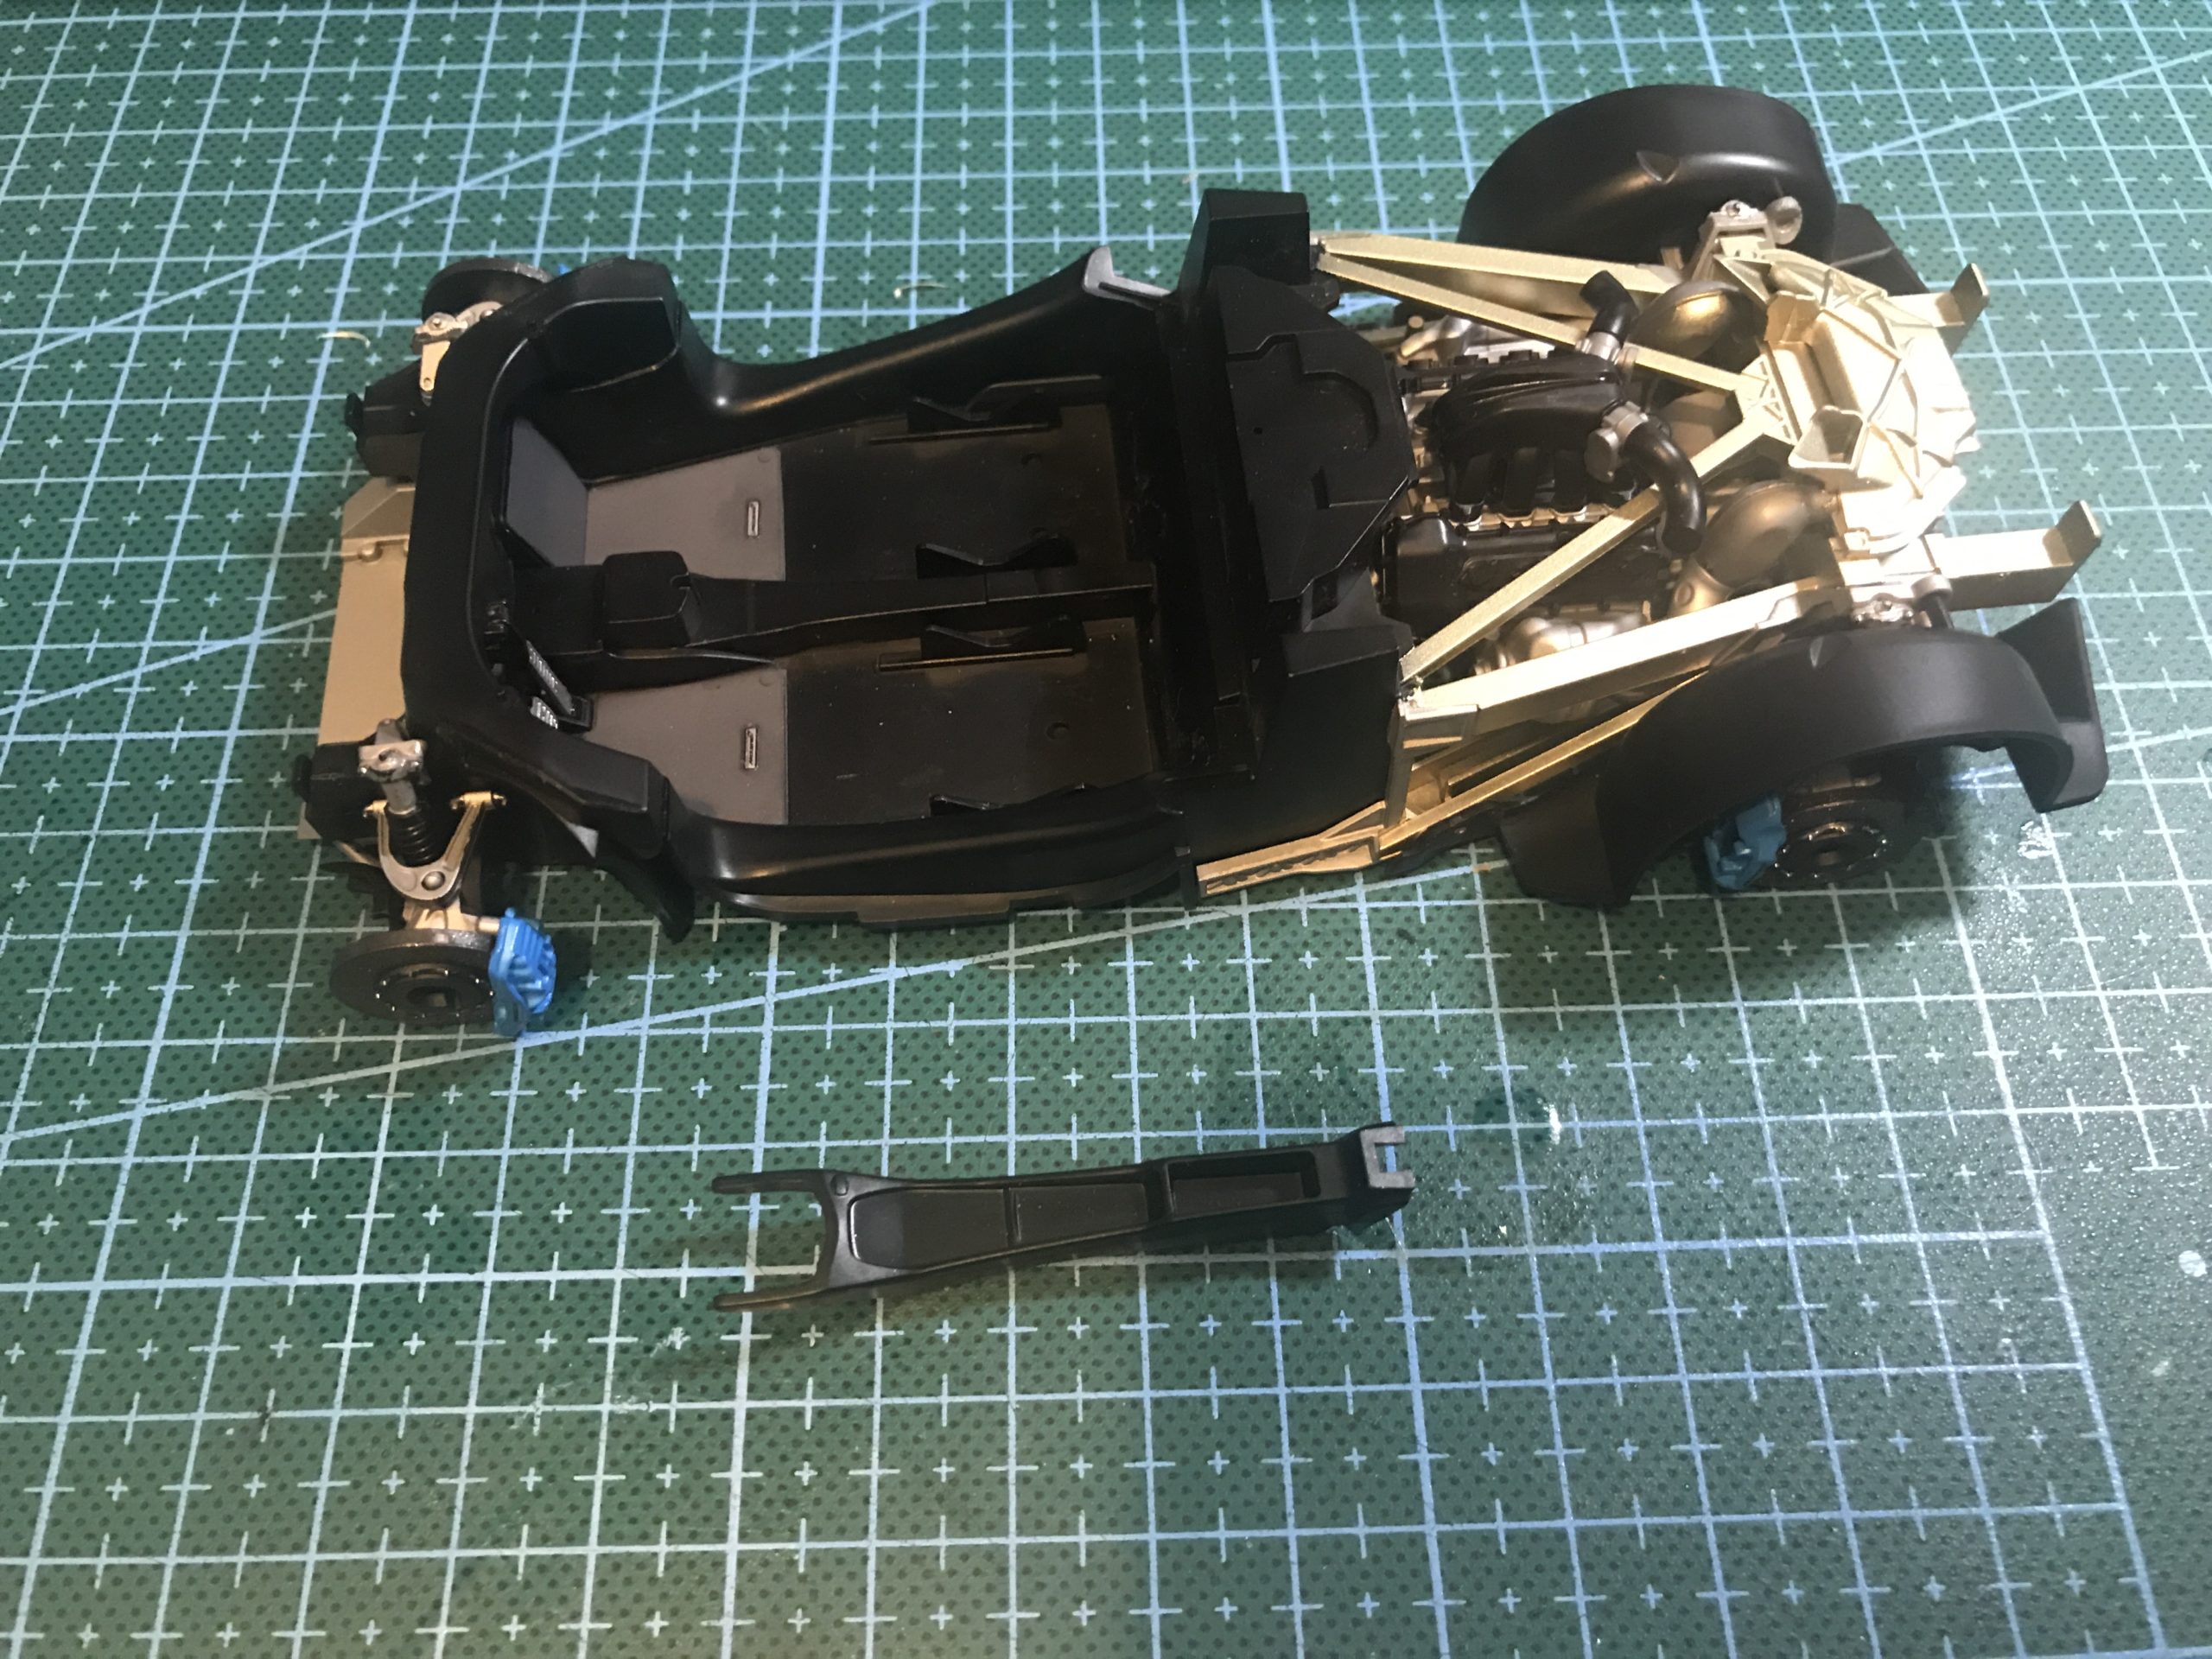
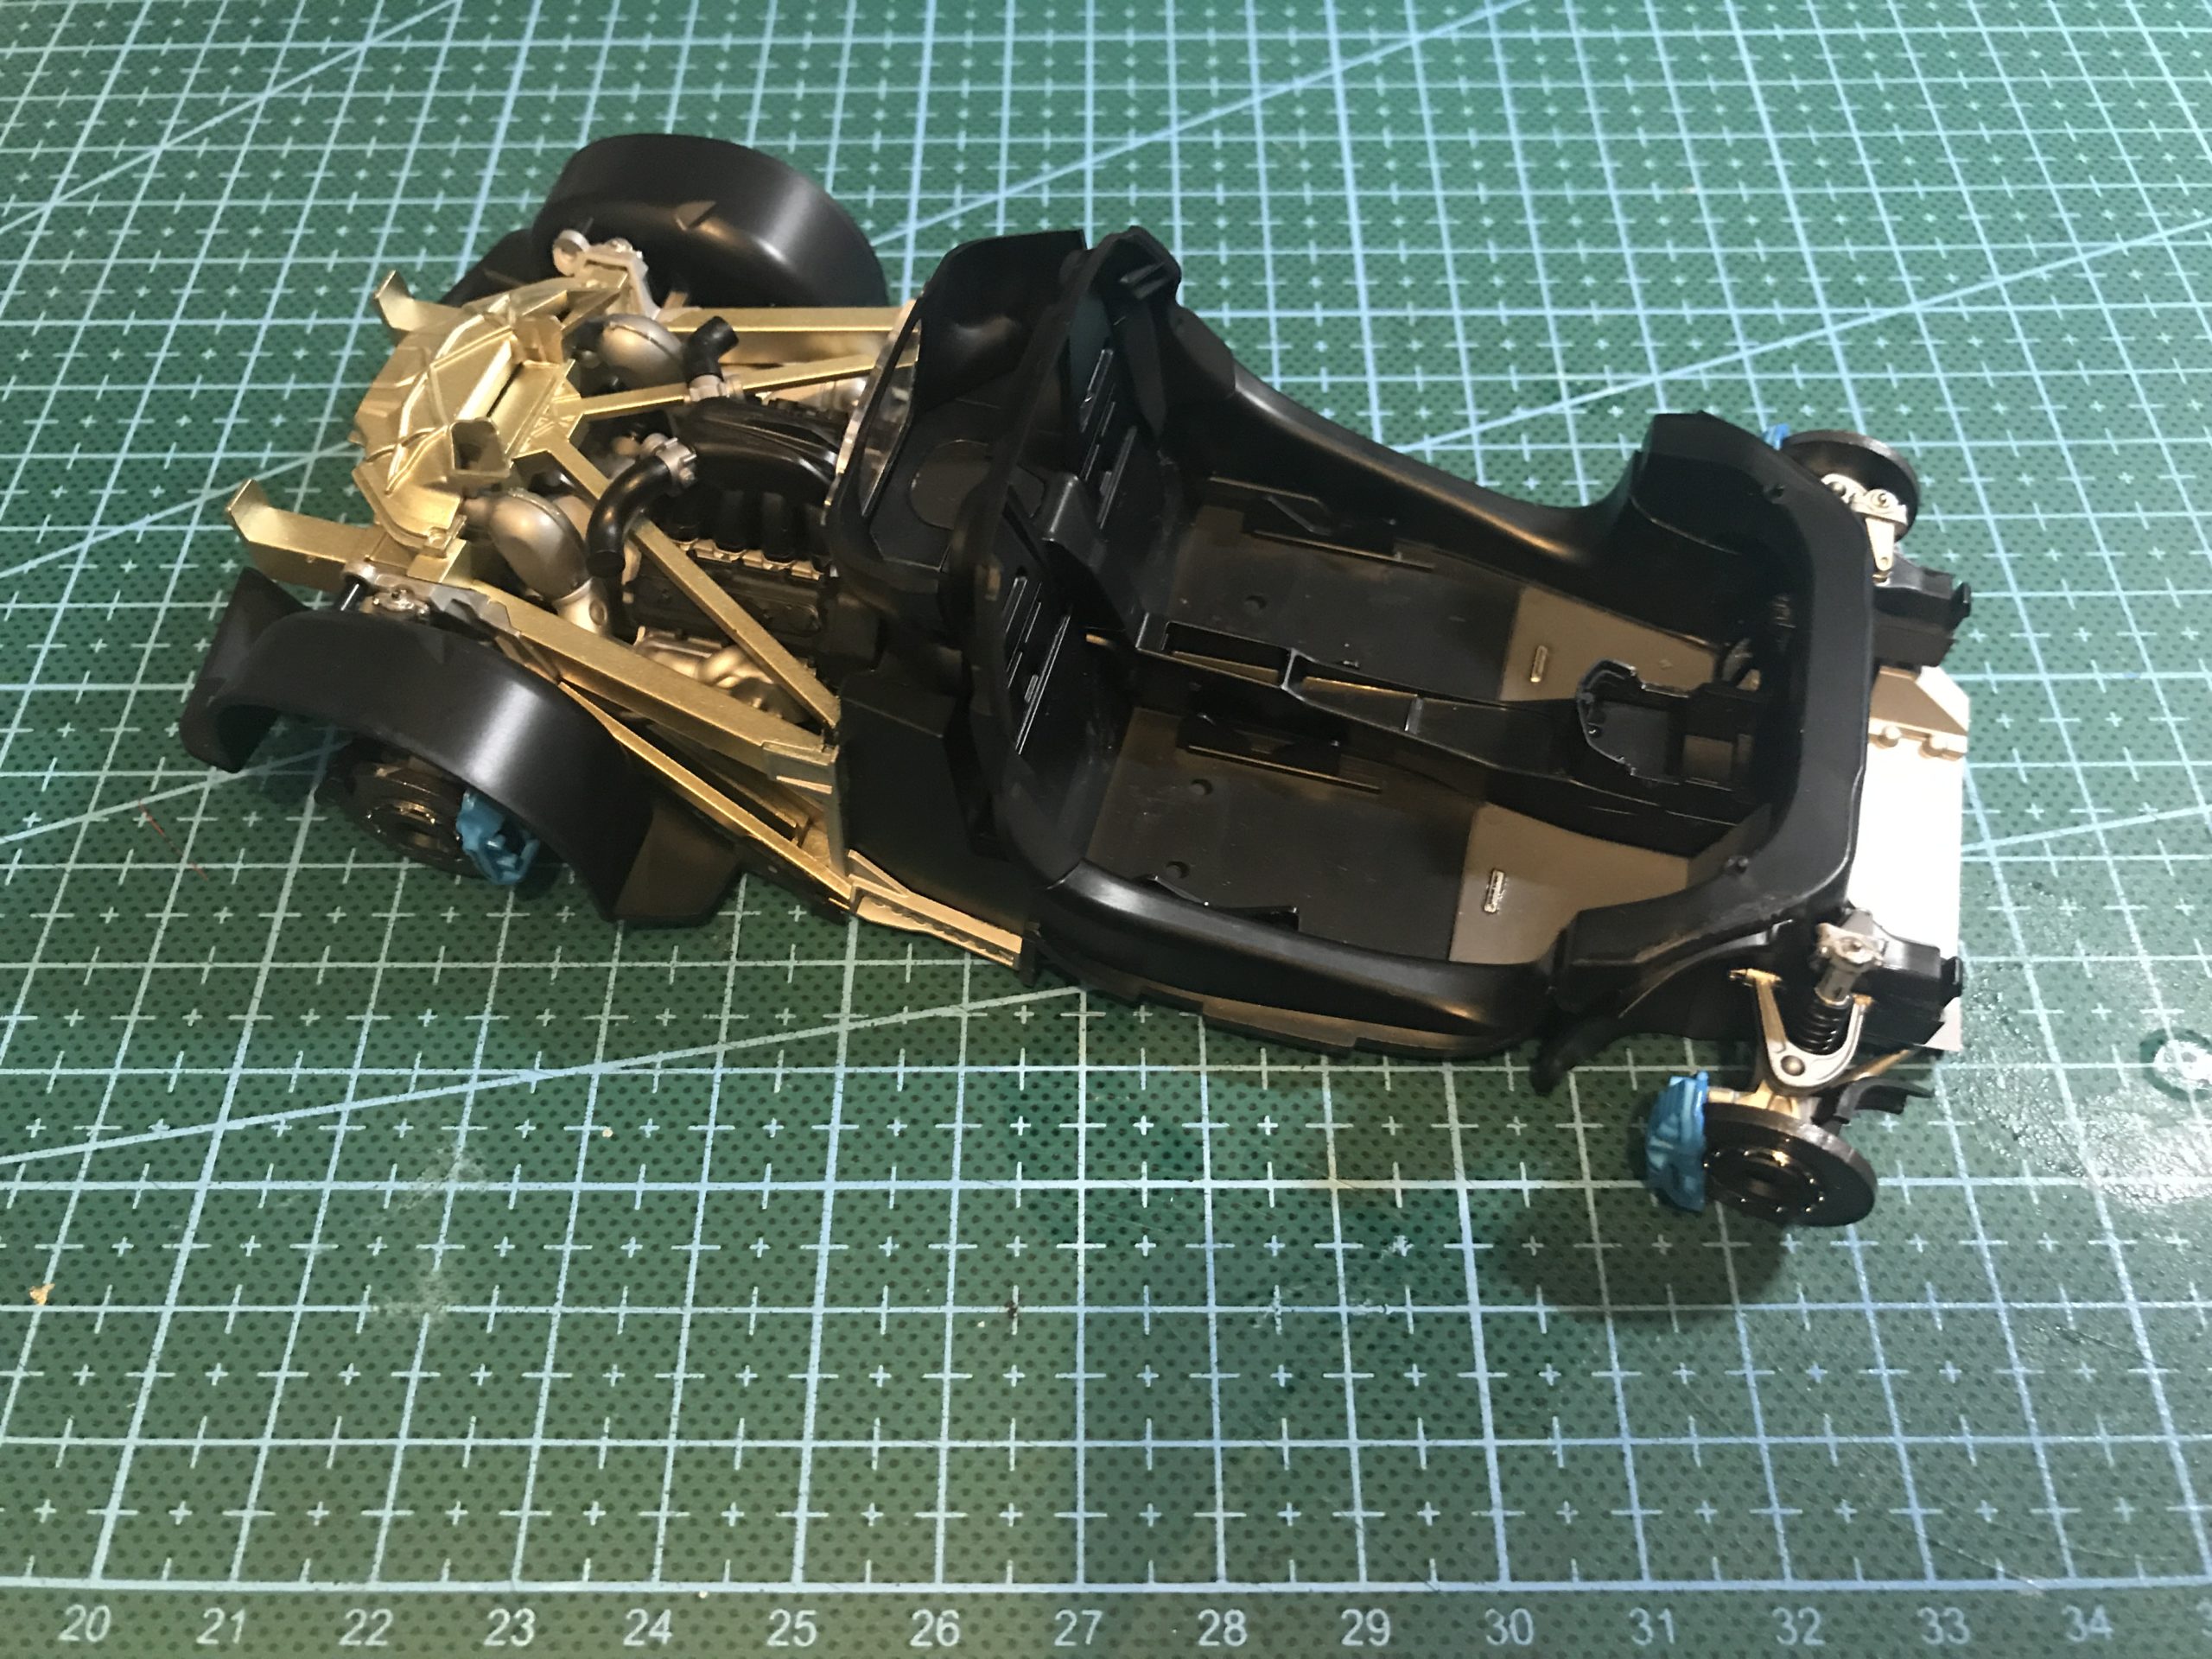
When you take a look inside the box the first thing that strikes you is that this is quite unlike any other model car kit I have ever built. There is no body as such, just a frame to which all the various parts are attached. I quickly went from delight at having access to this superb kit to concern about how to approach such a build. I quickly shut the box and did what every right minded person does when trying to figure out how to do something new. I went to youtube….
Many of you will know all about Andy’s hobby headquarters on youtube. To be honest it was watching his tutorials that got me back into the hobby a few years ago. The sub-title of his build video “The kit that kicked my modelling butt!” wasn’t the confidence boost I had been looking for.
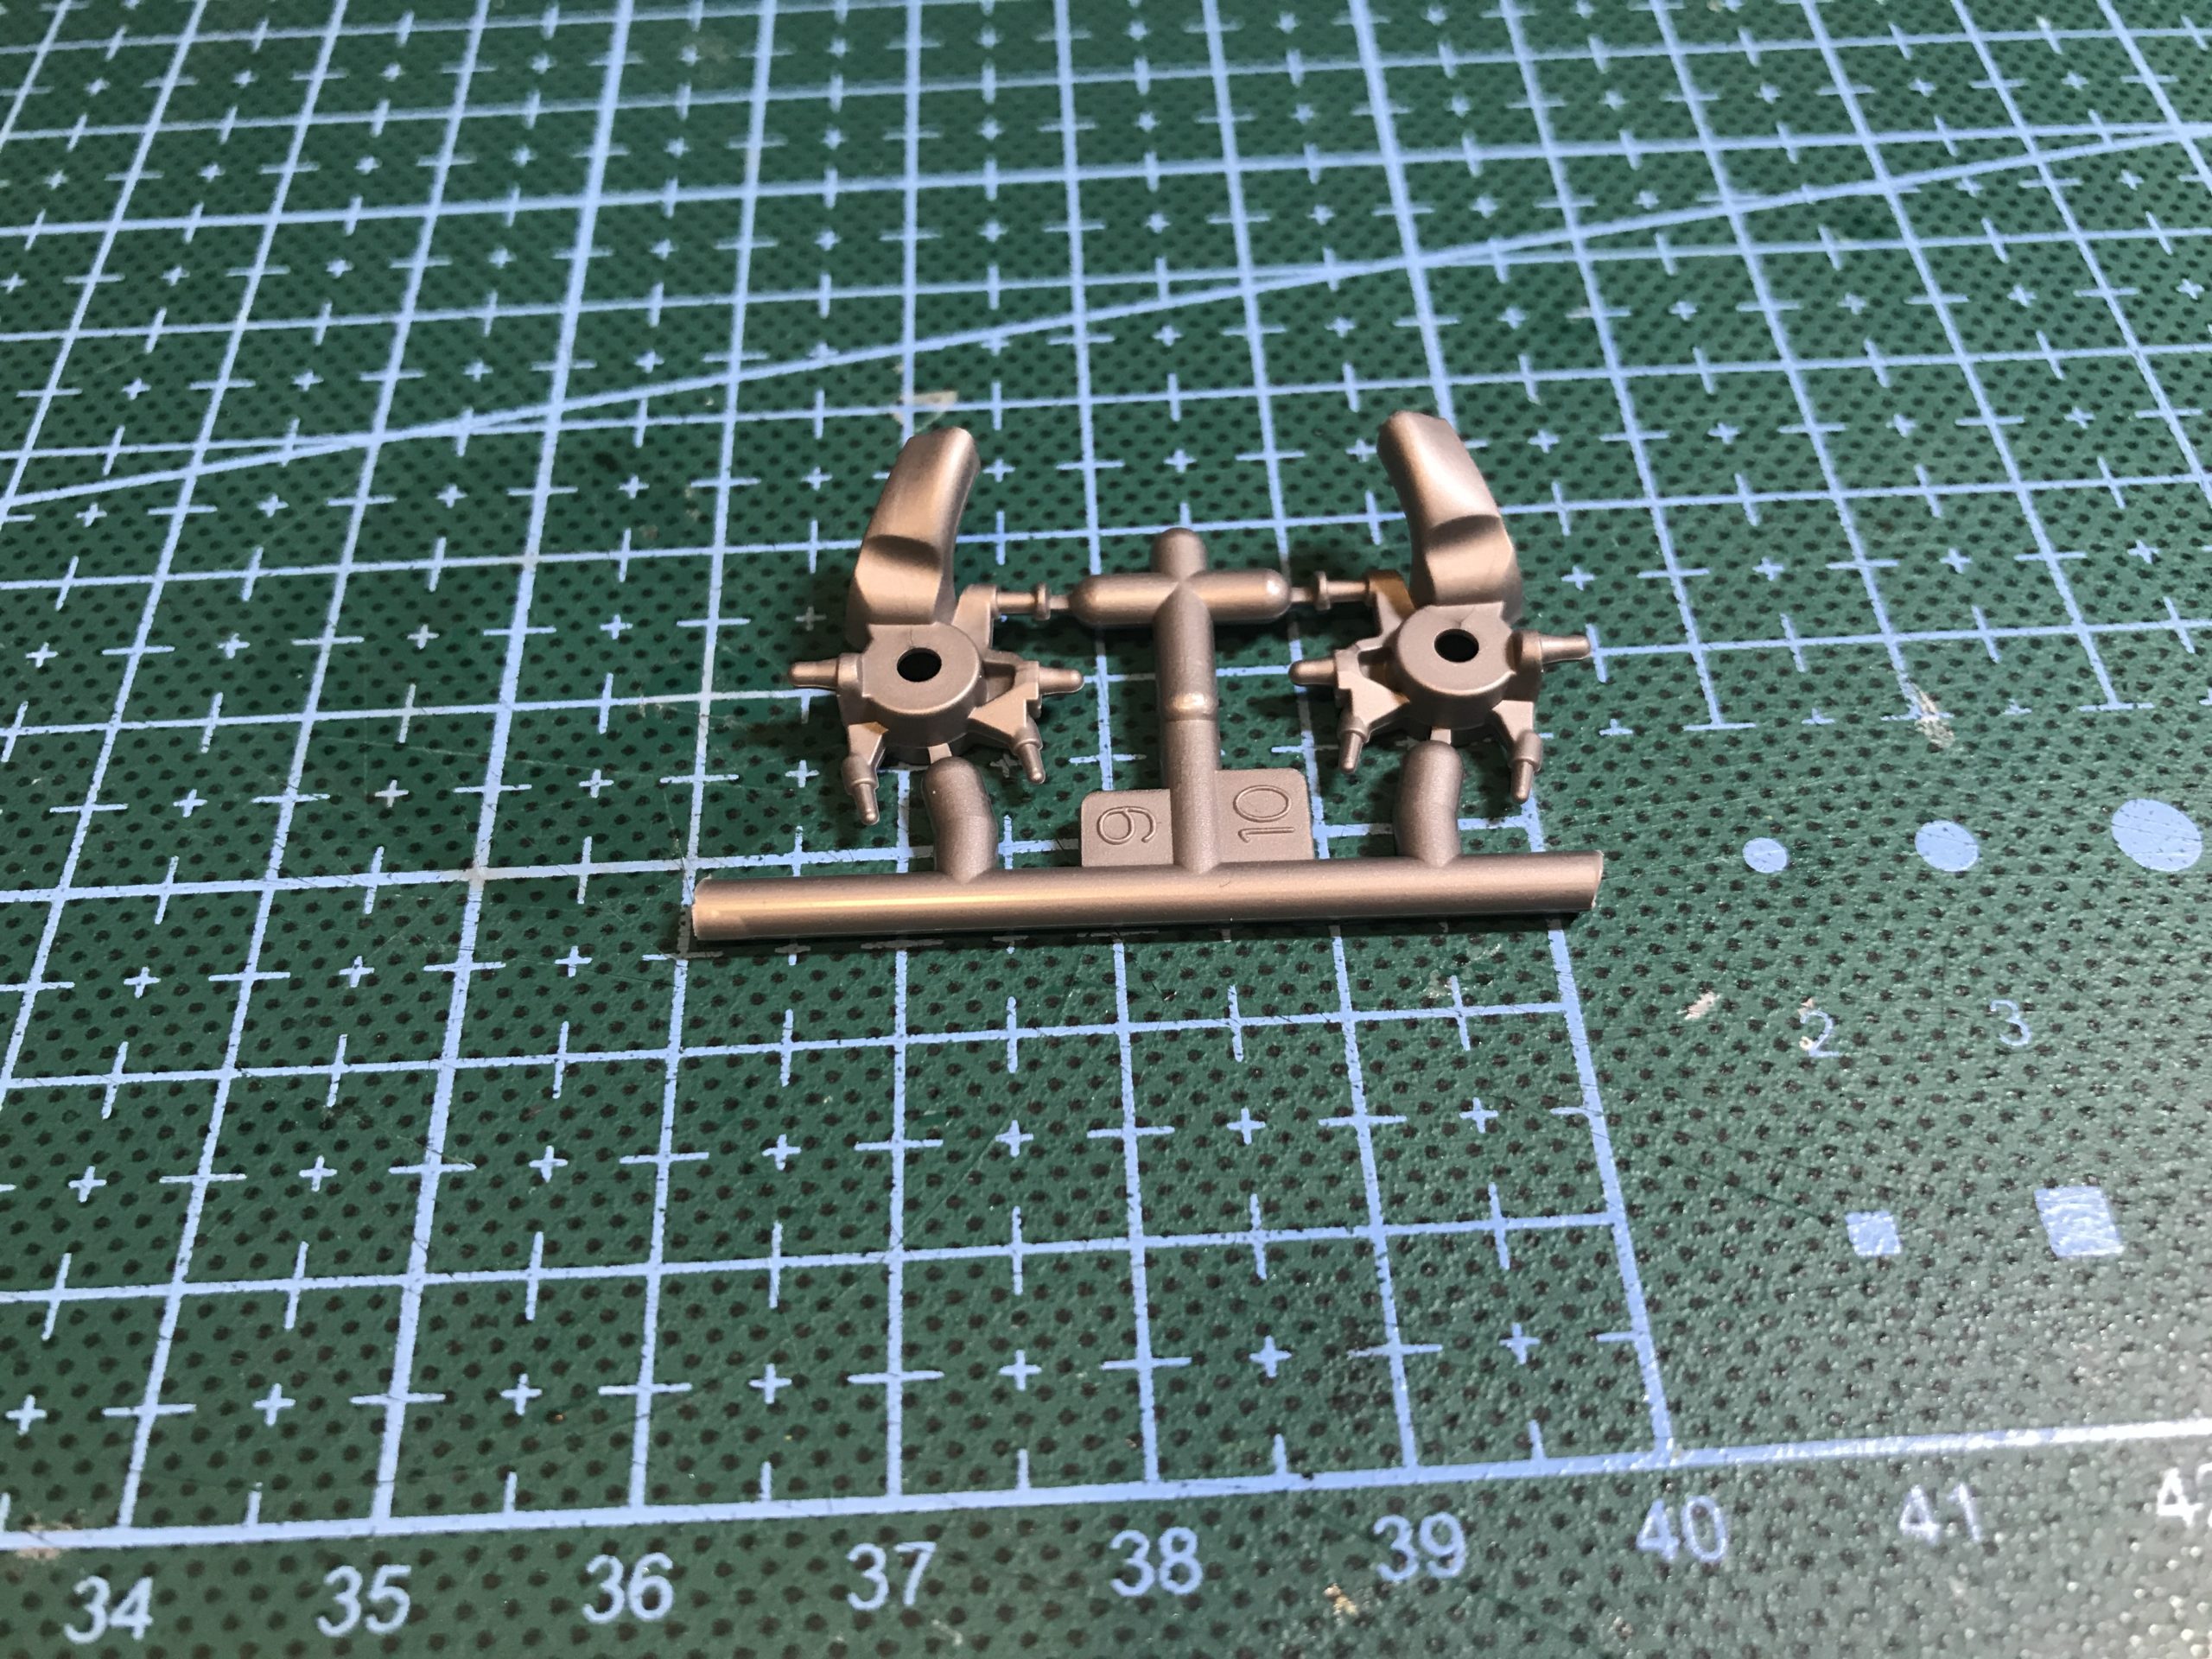
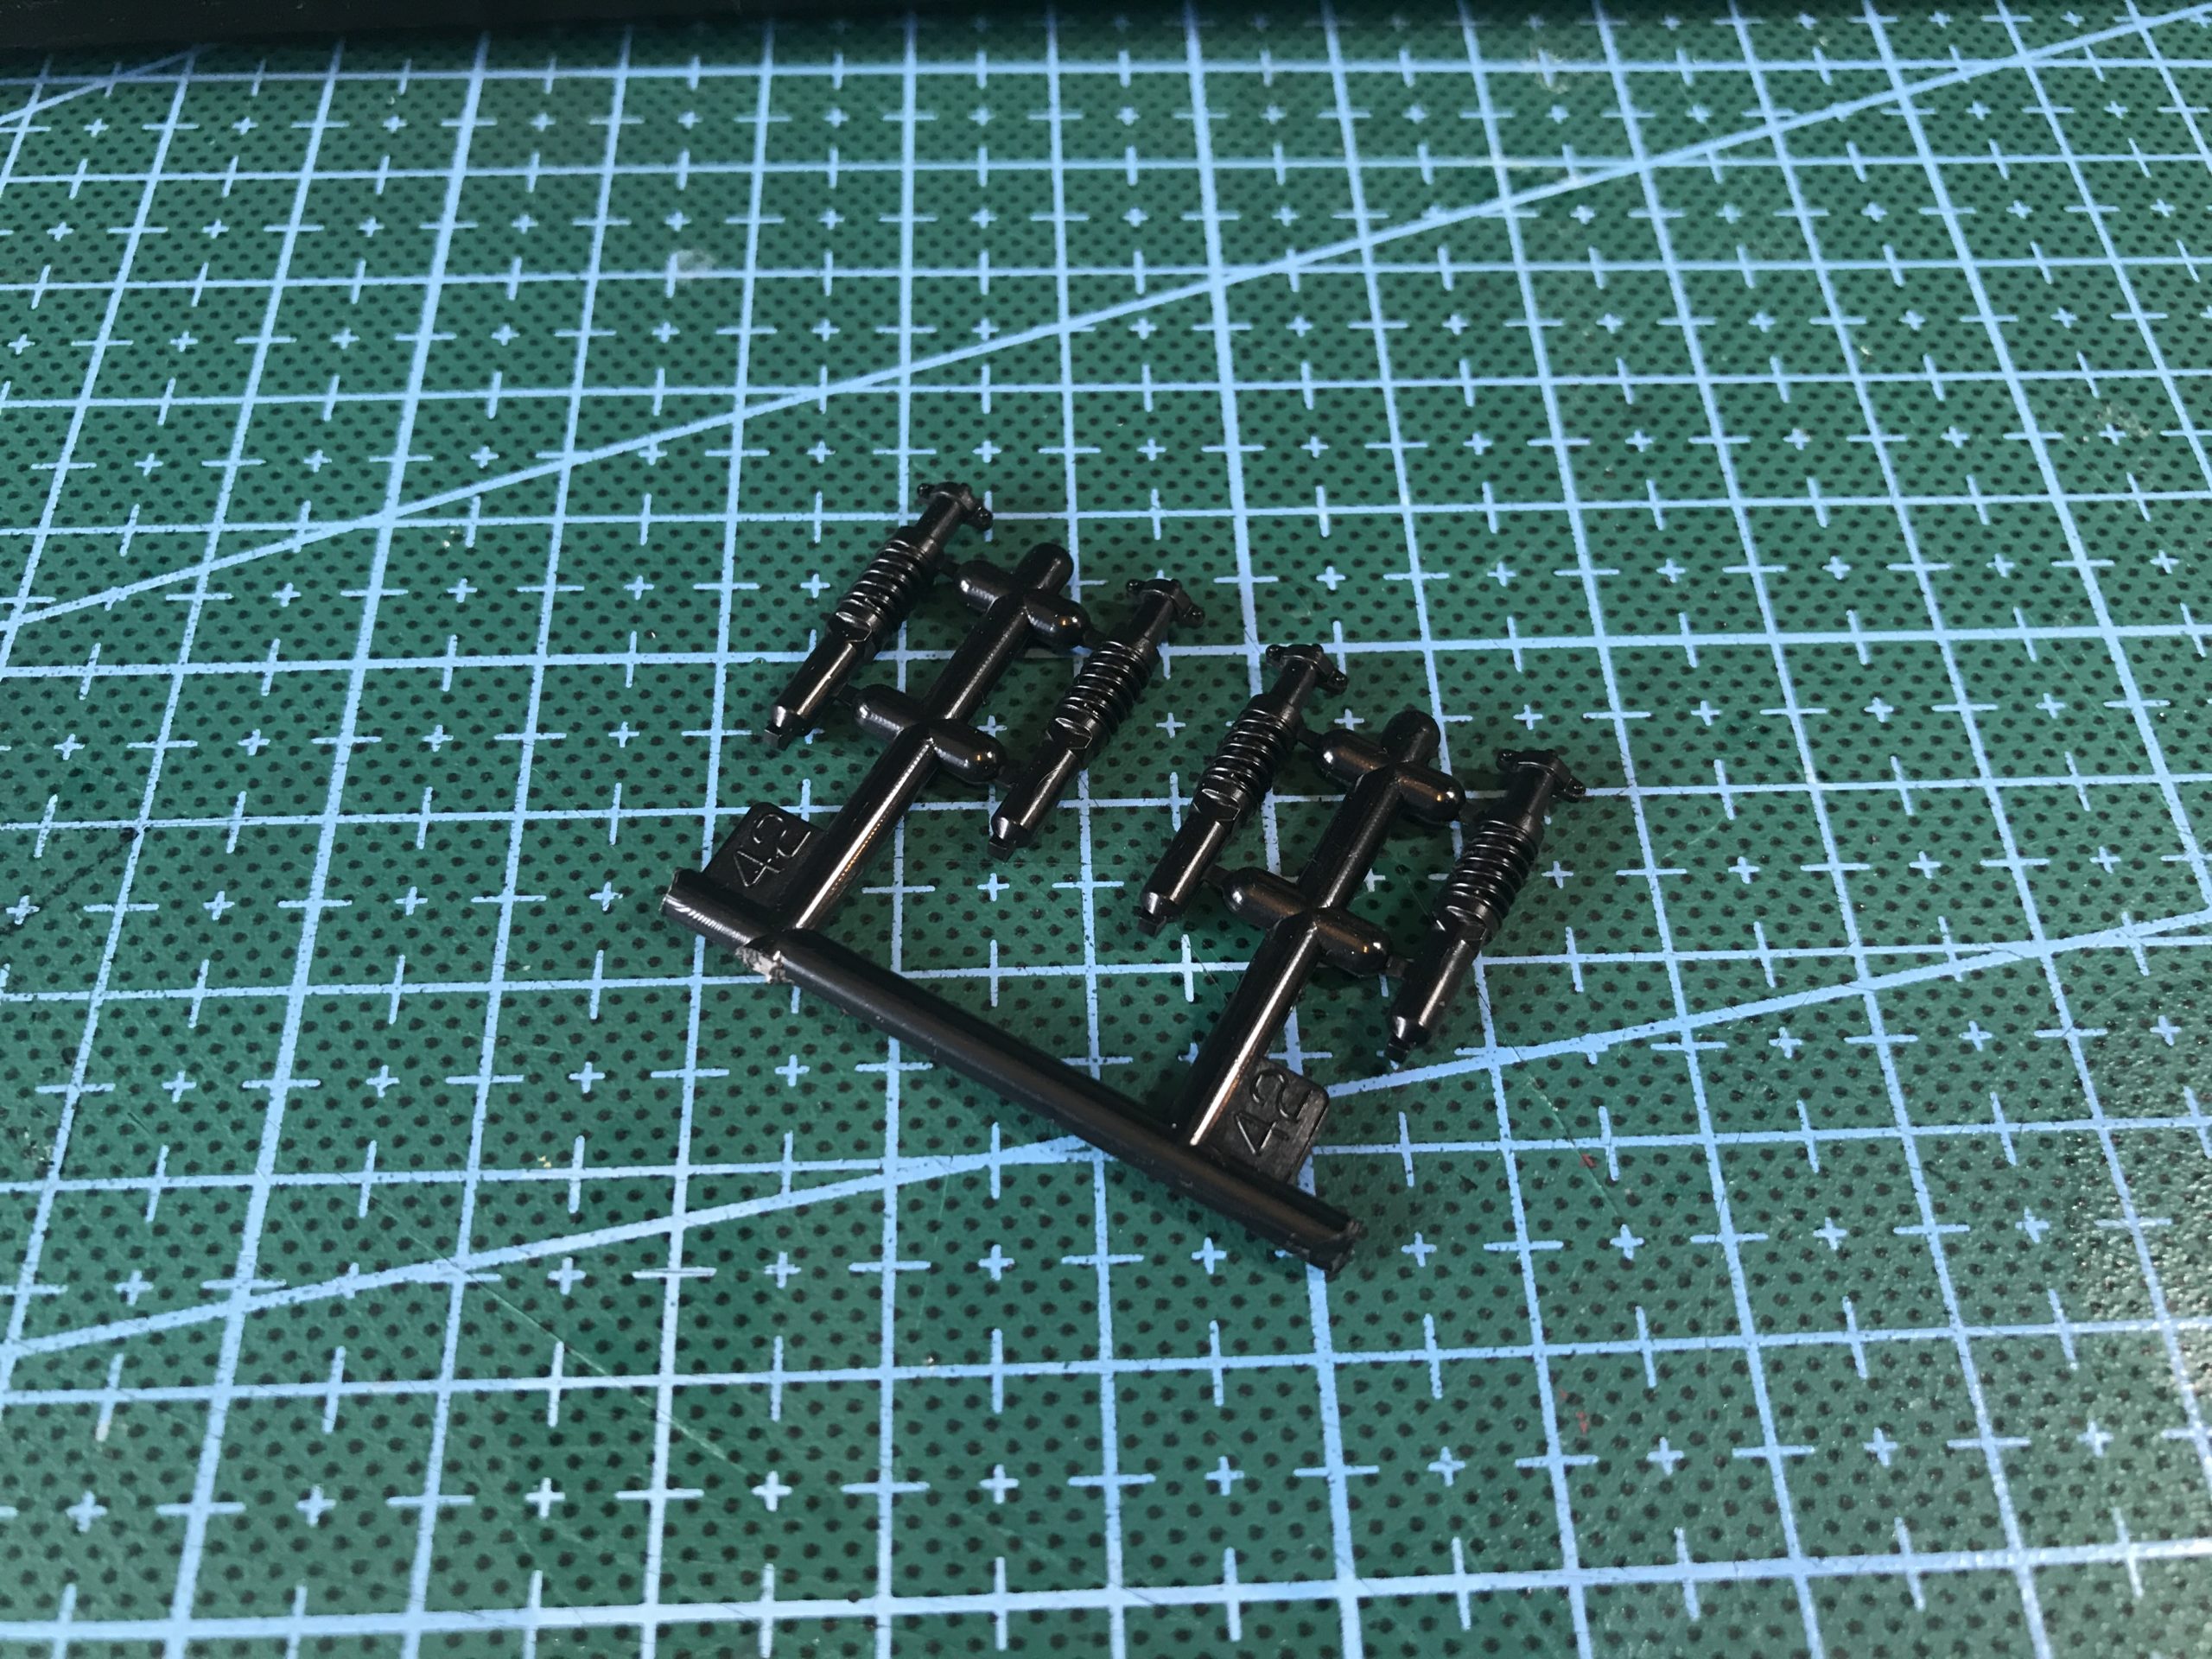
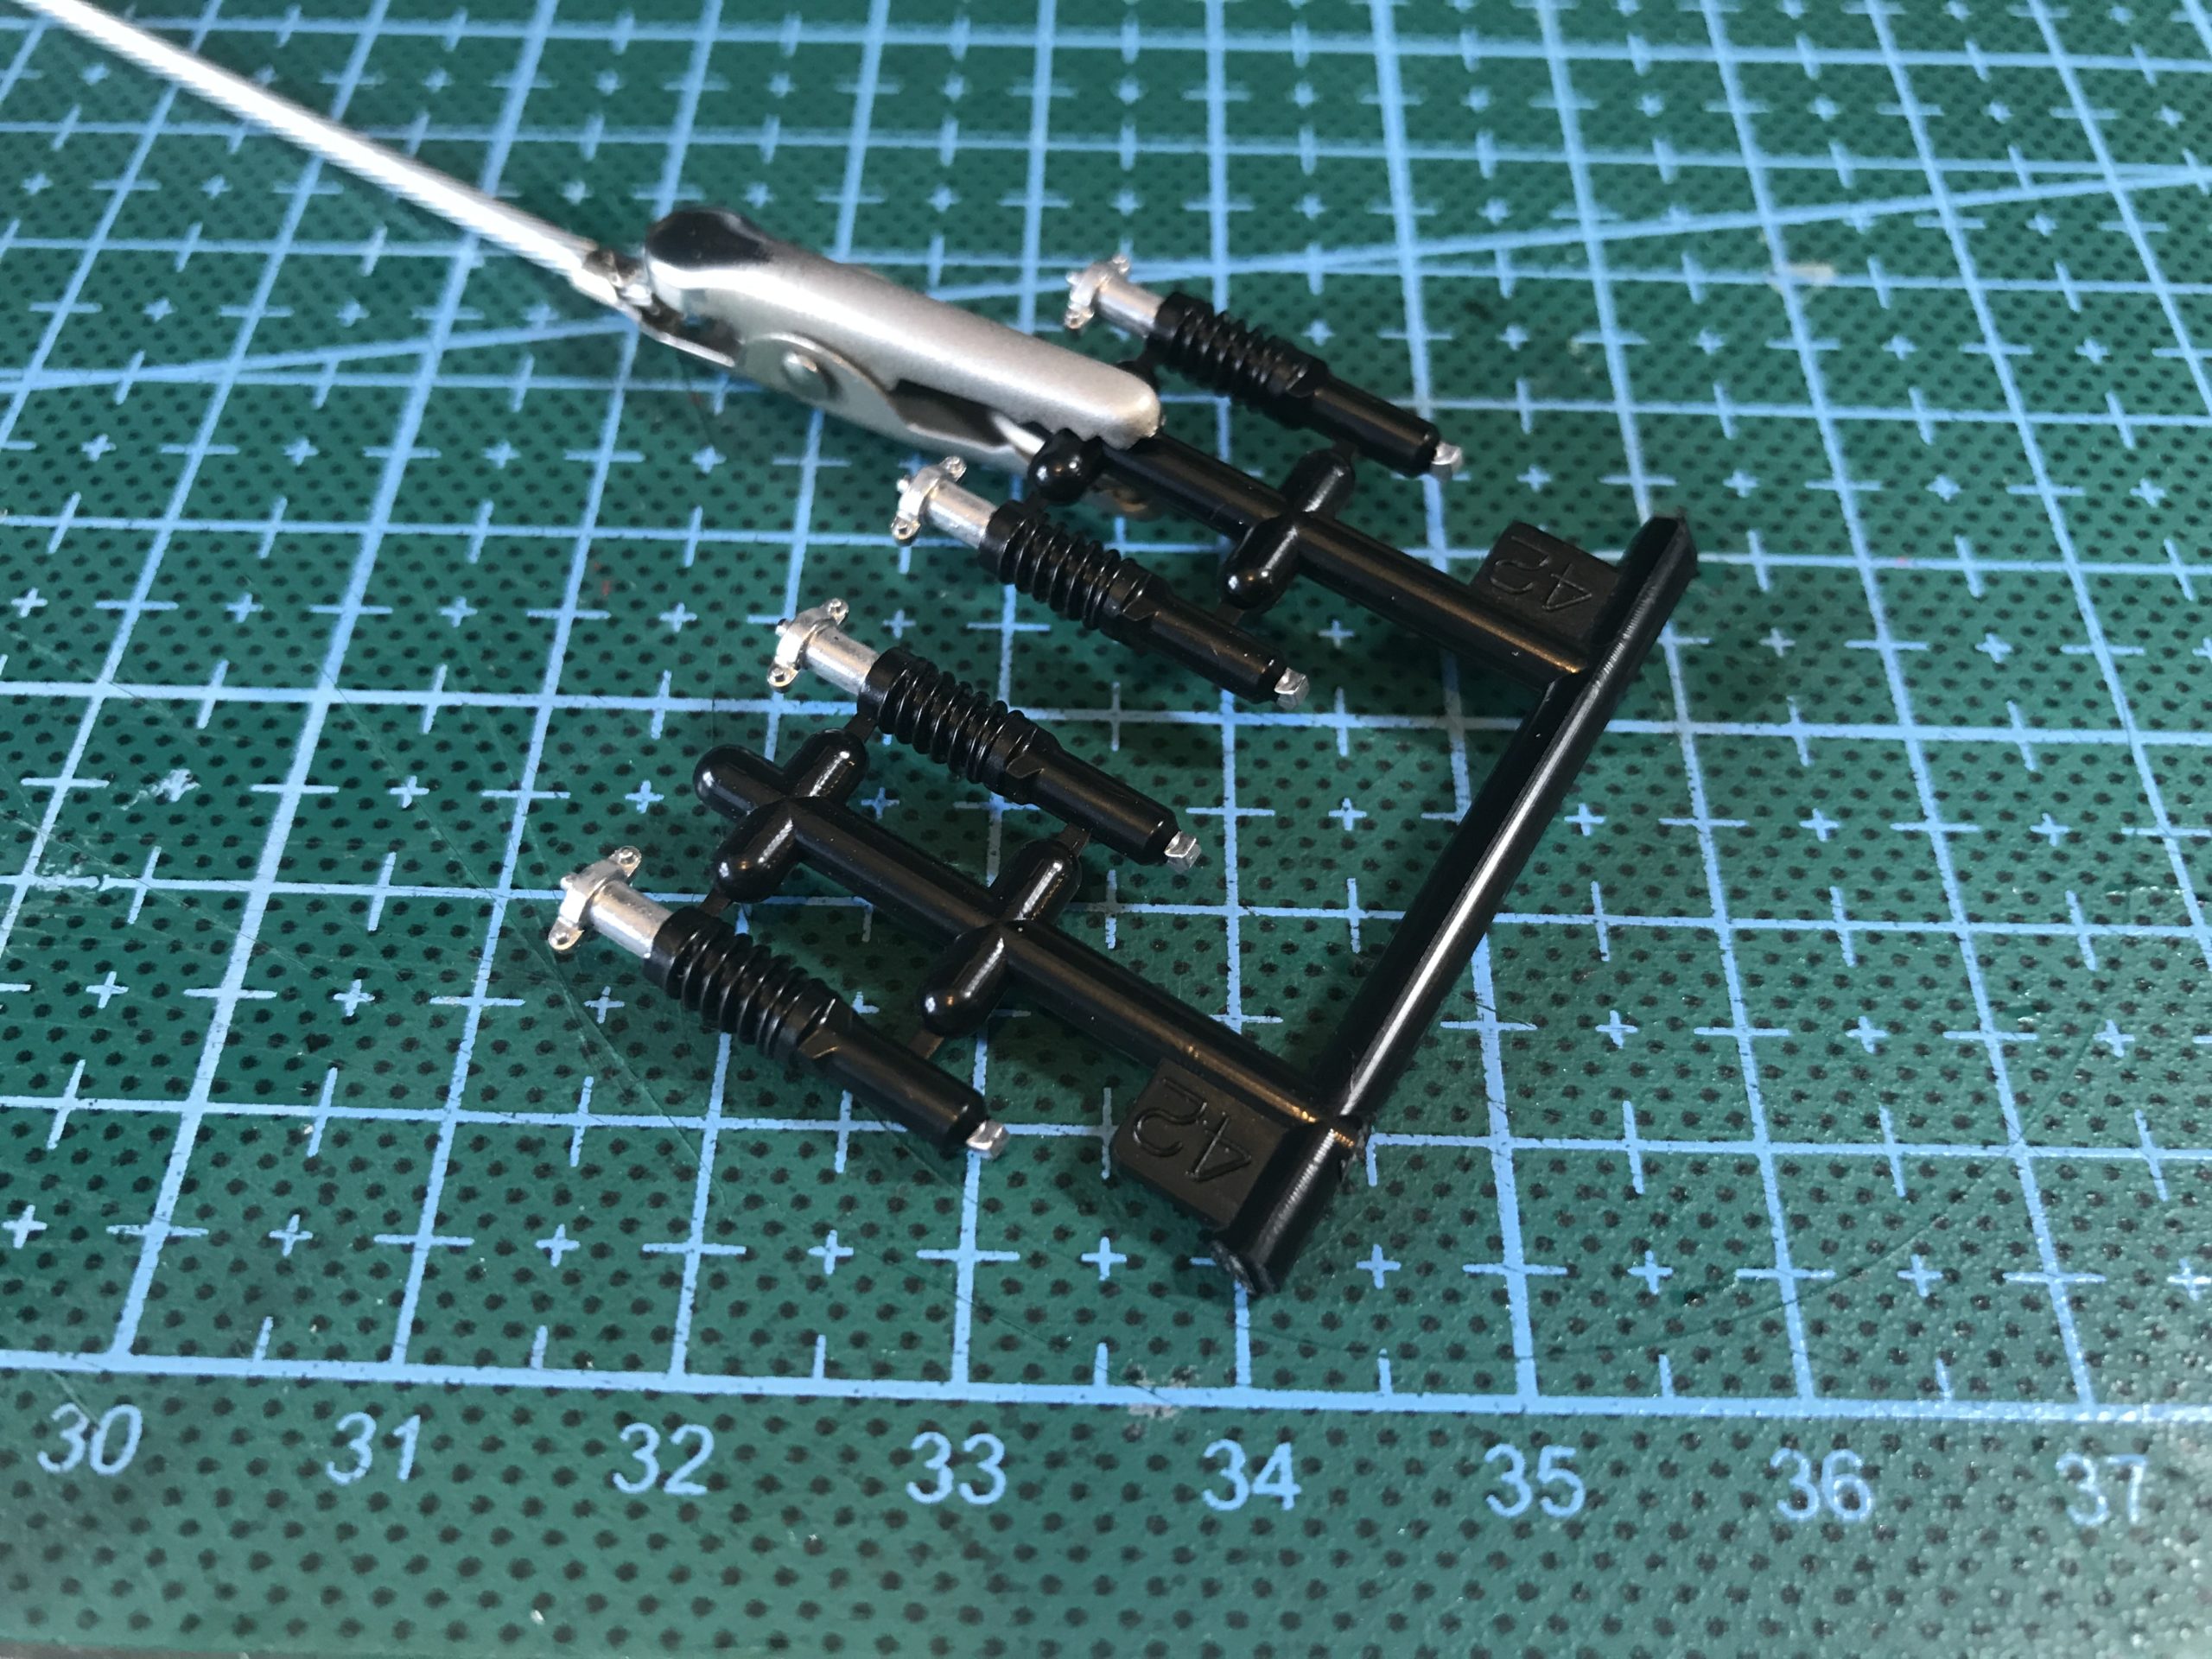
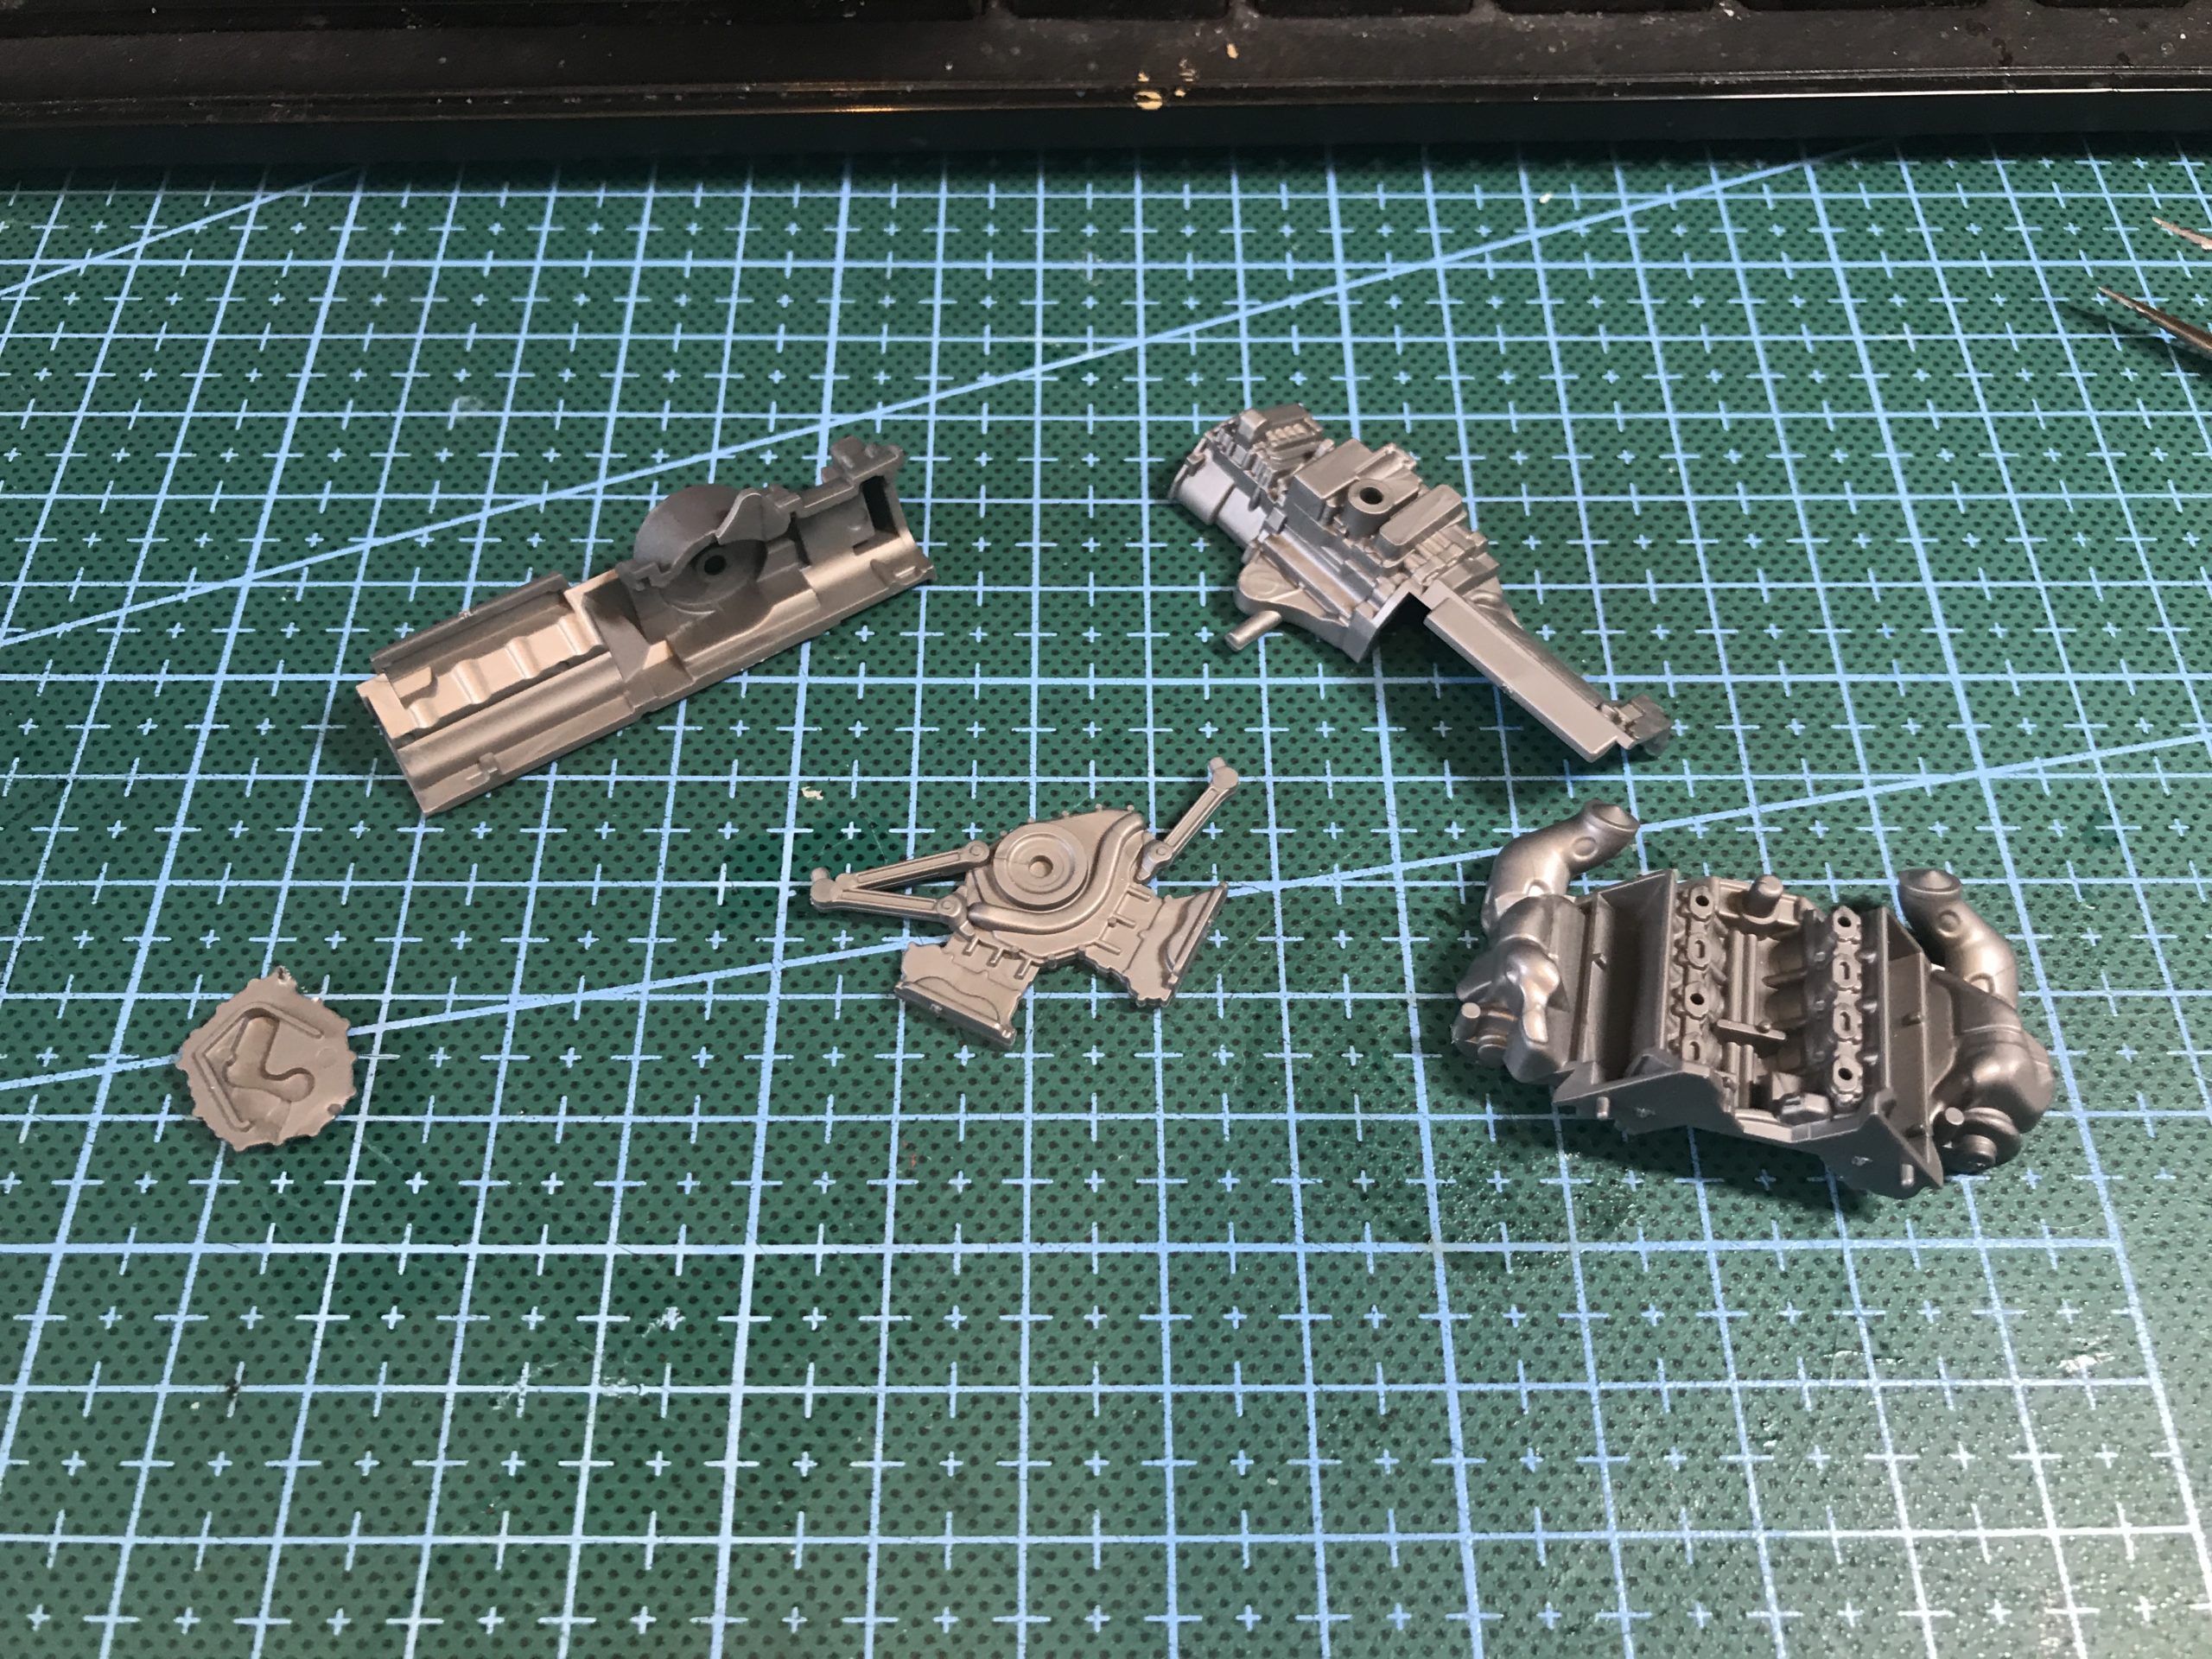
I decided to re-read the instructions and have a good think over a cup of tea as that usually the trick. I also thought you might like to see some pictures of the sprues.


As with most problems in life a cup of tea and a good think normally does the trick. I had an idea and made a plan. What was the plan? Well read on and see.
The build – Part 1 the bodywork.
“Come on Rob let us in on the secret” you may well be asking. Well here it is…..
Wait for it….
I am going to approach this kit not as I would a model car, but as I would a model motorbike.
Now you’re probably thinking that’s not much of a revelation and to be entirely honest you’re probably right, but if you think about it; a central frame you attach all the body and engine parts too it is actually more like one of Tamiya’s superb 1:12 bike kits than it is a traditional car.
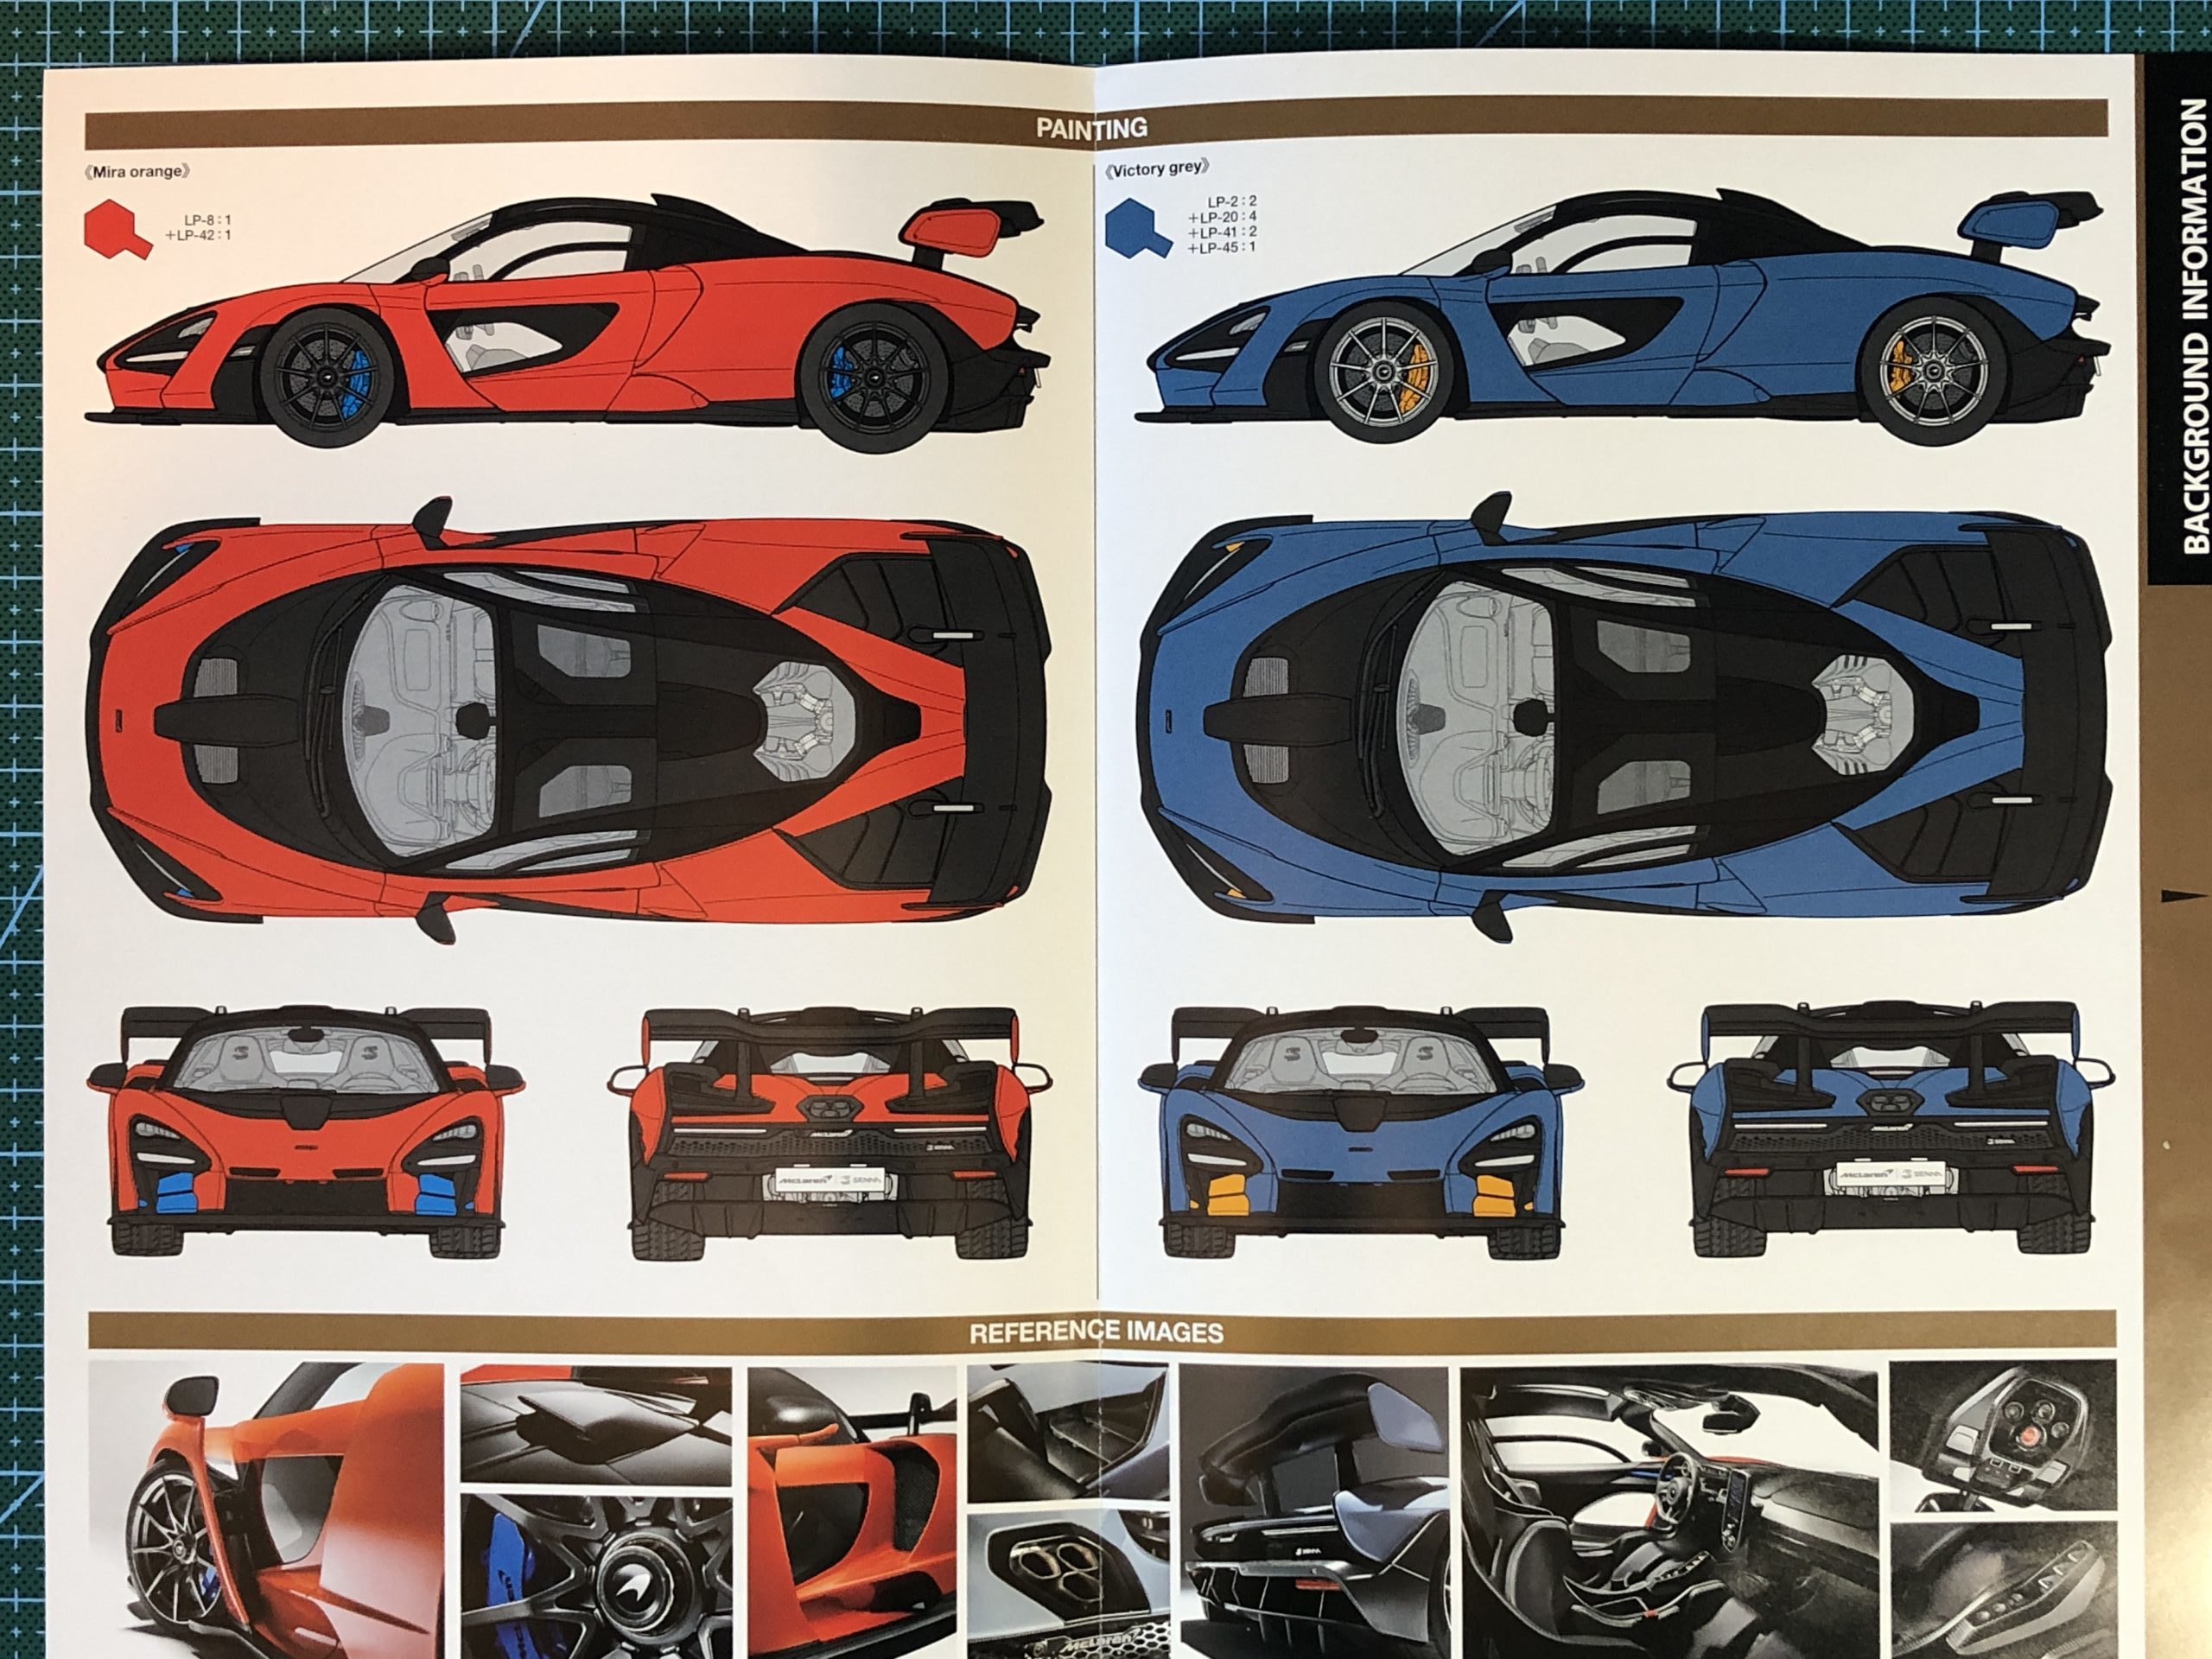
First things first I needed to decide on a colour scheme. The thing is with a car from McLaren especially a limited edition is that you can basically have whatever you like. So the two schemes on the painting guide are just a starting point.
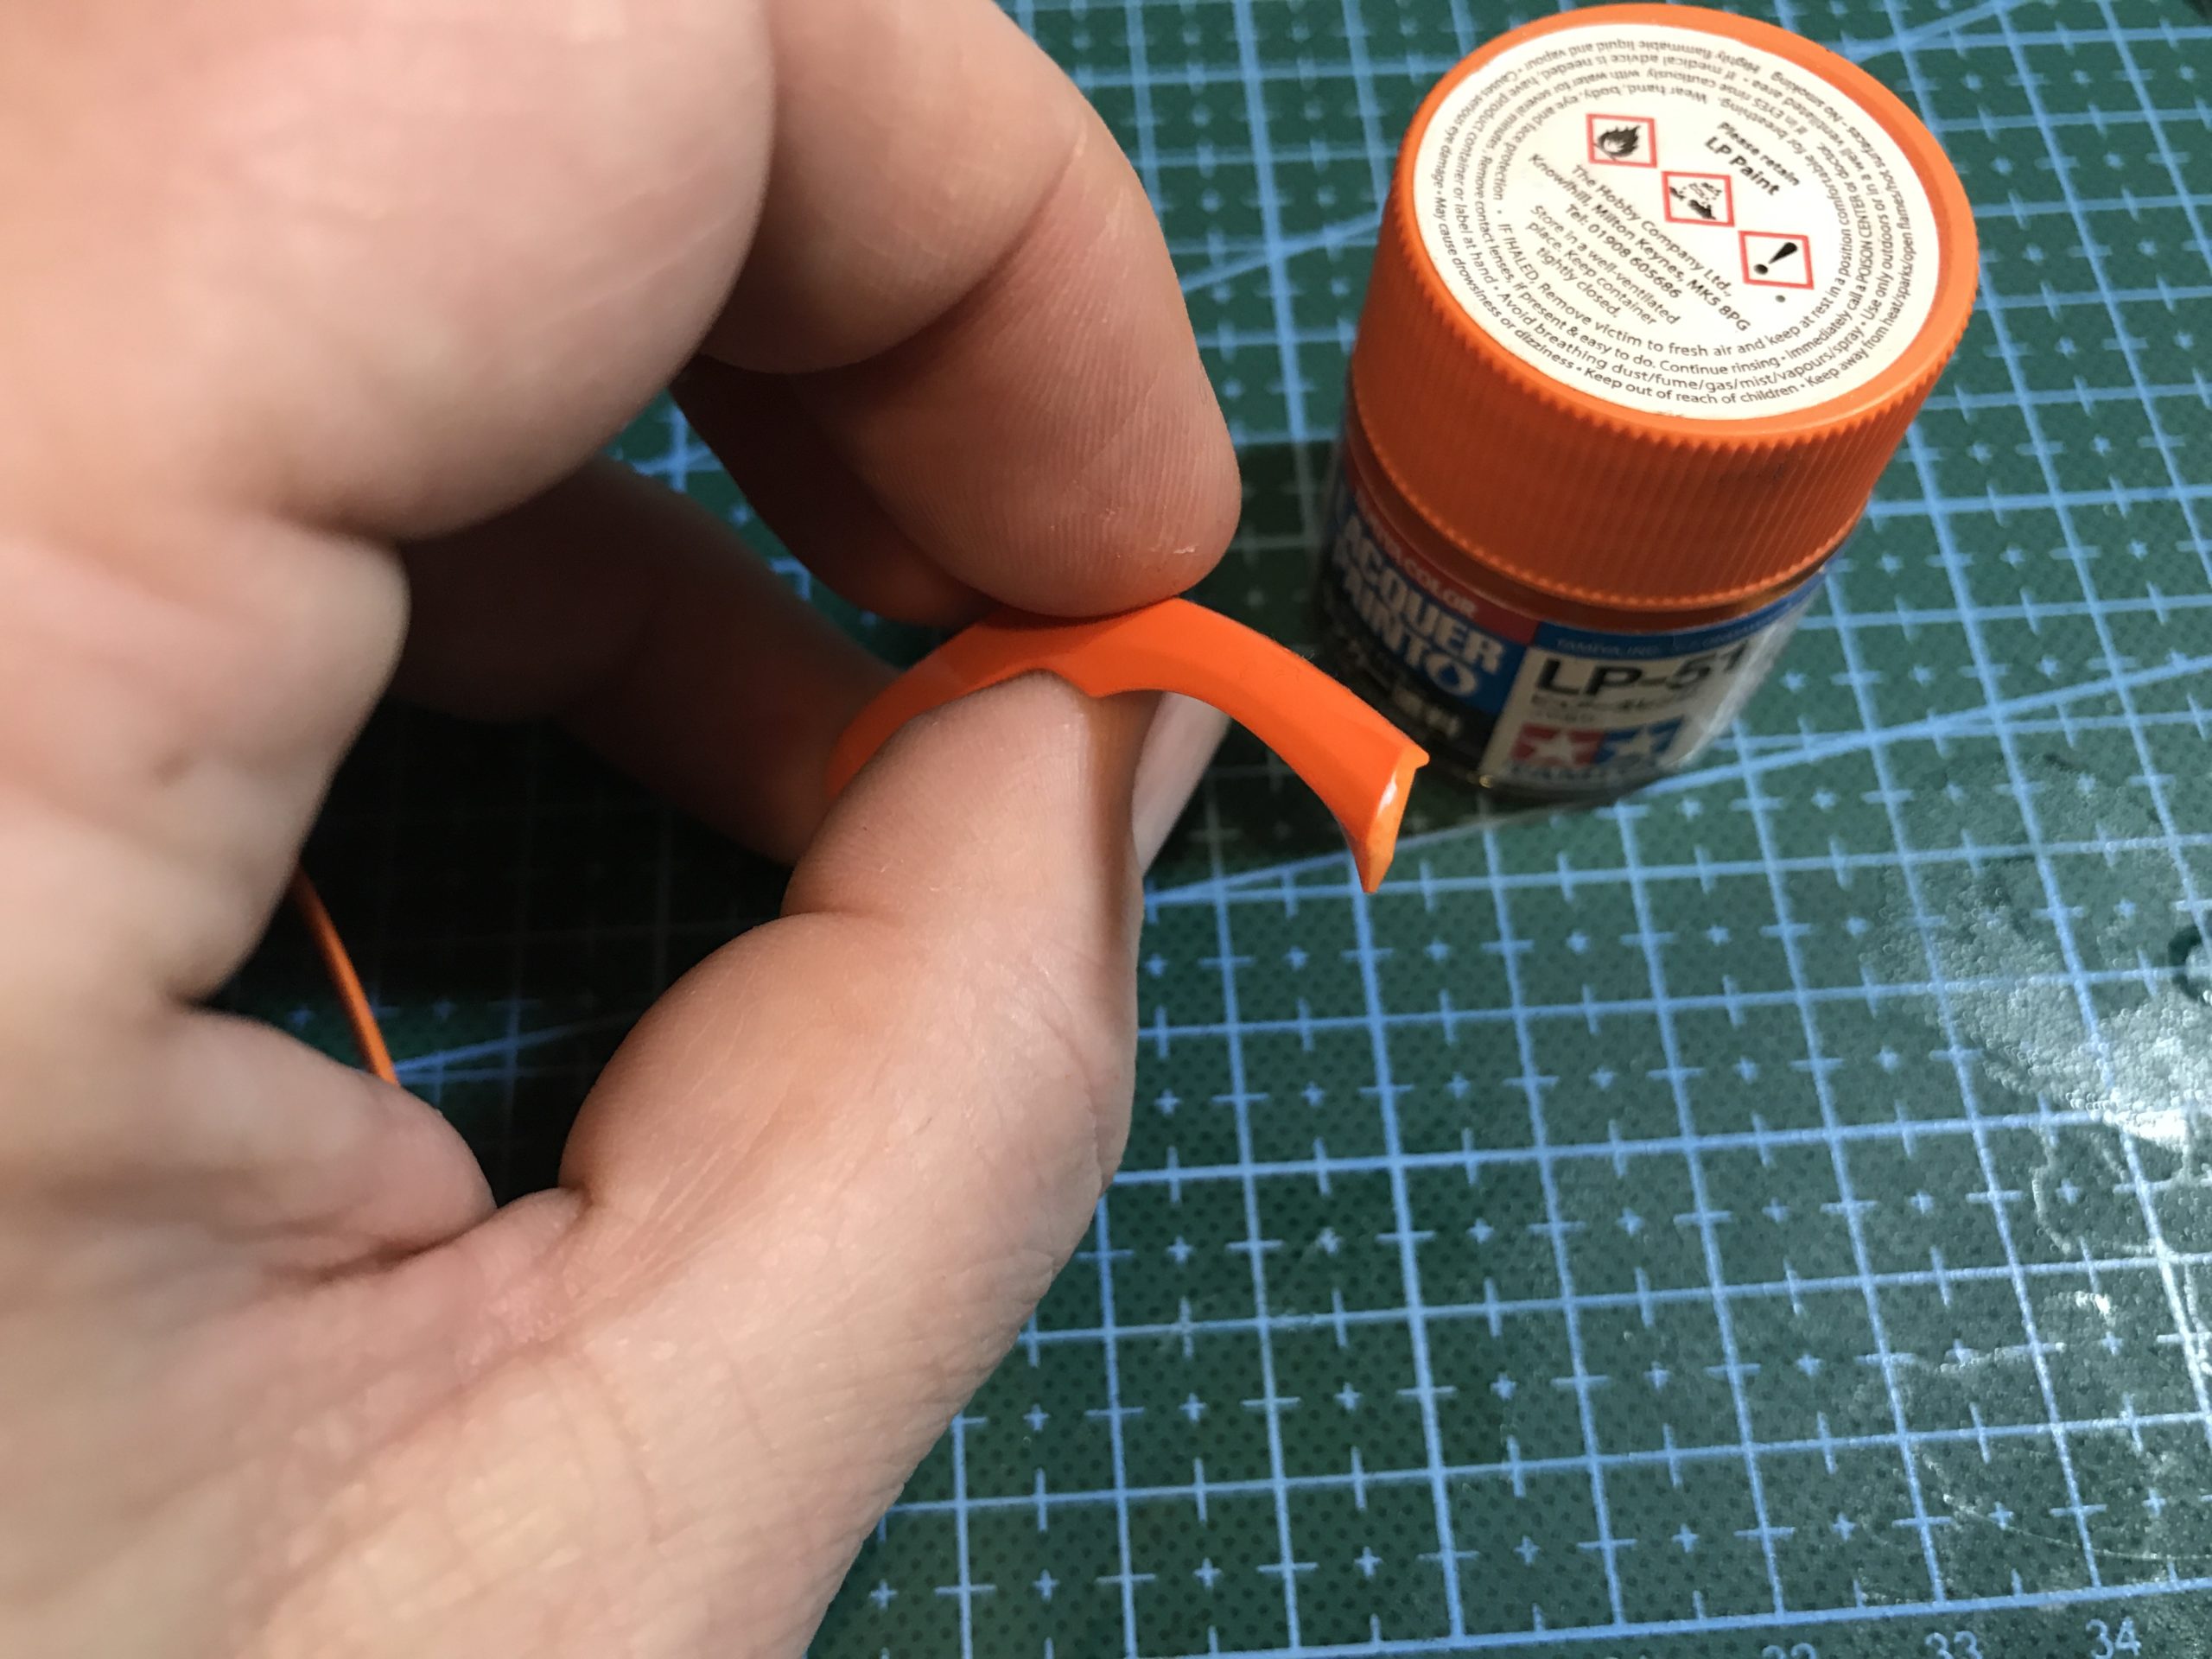
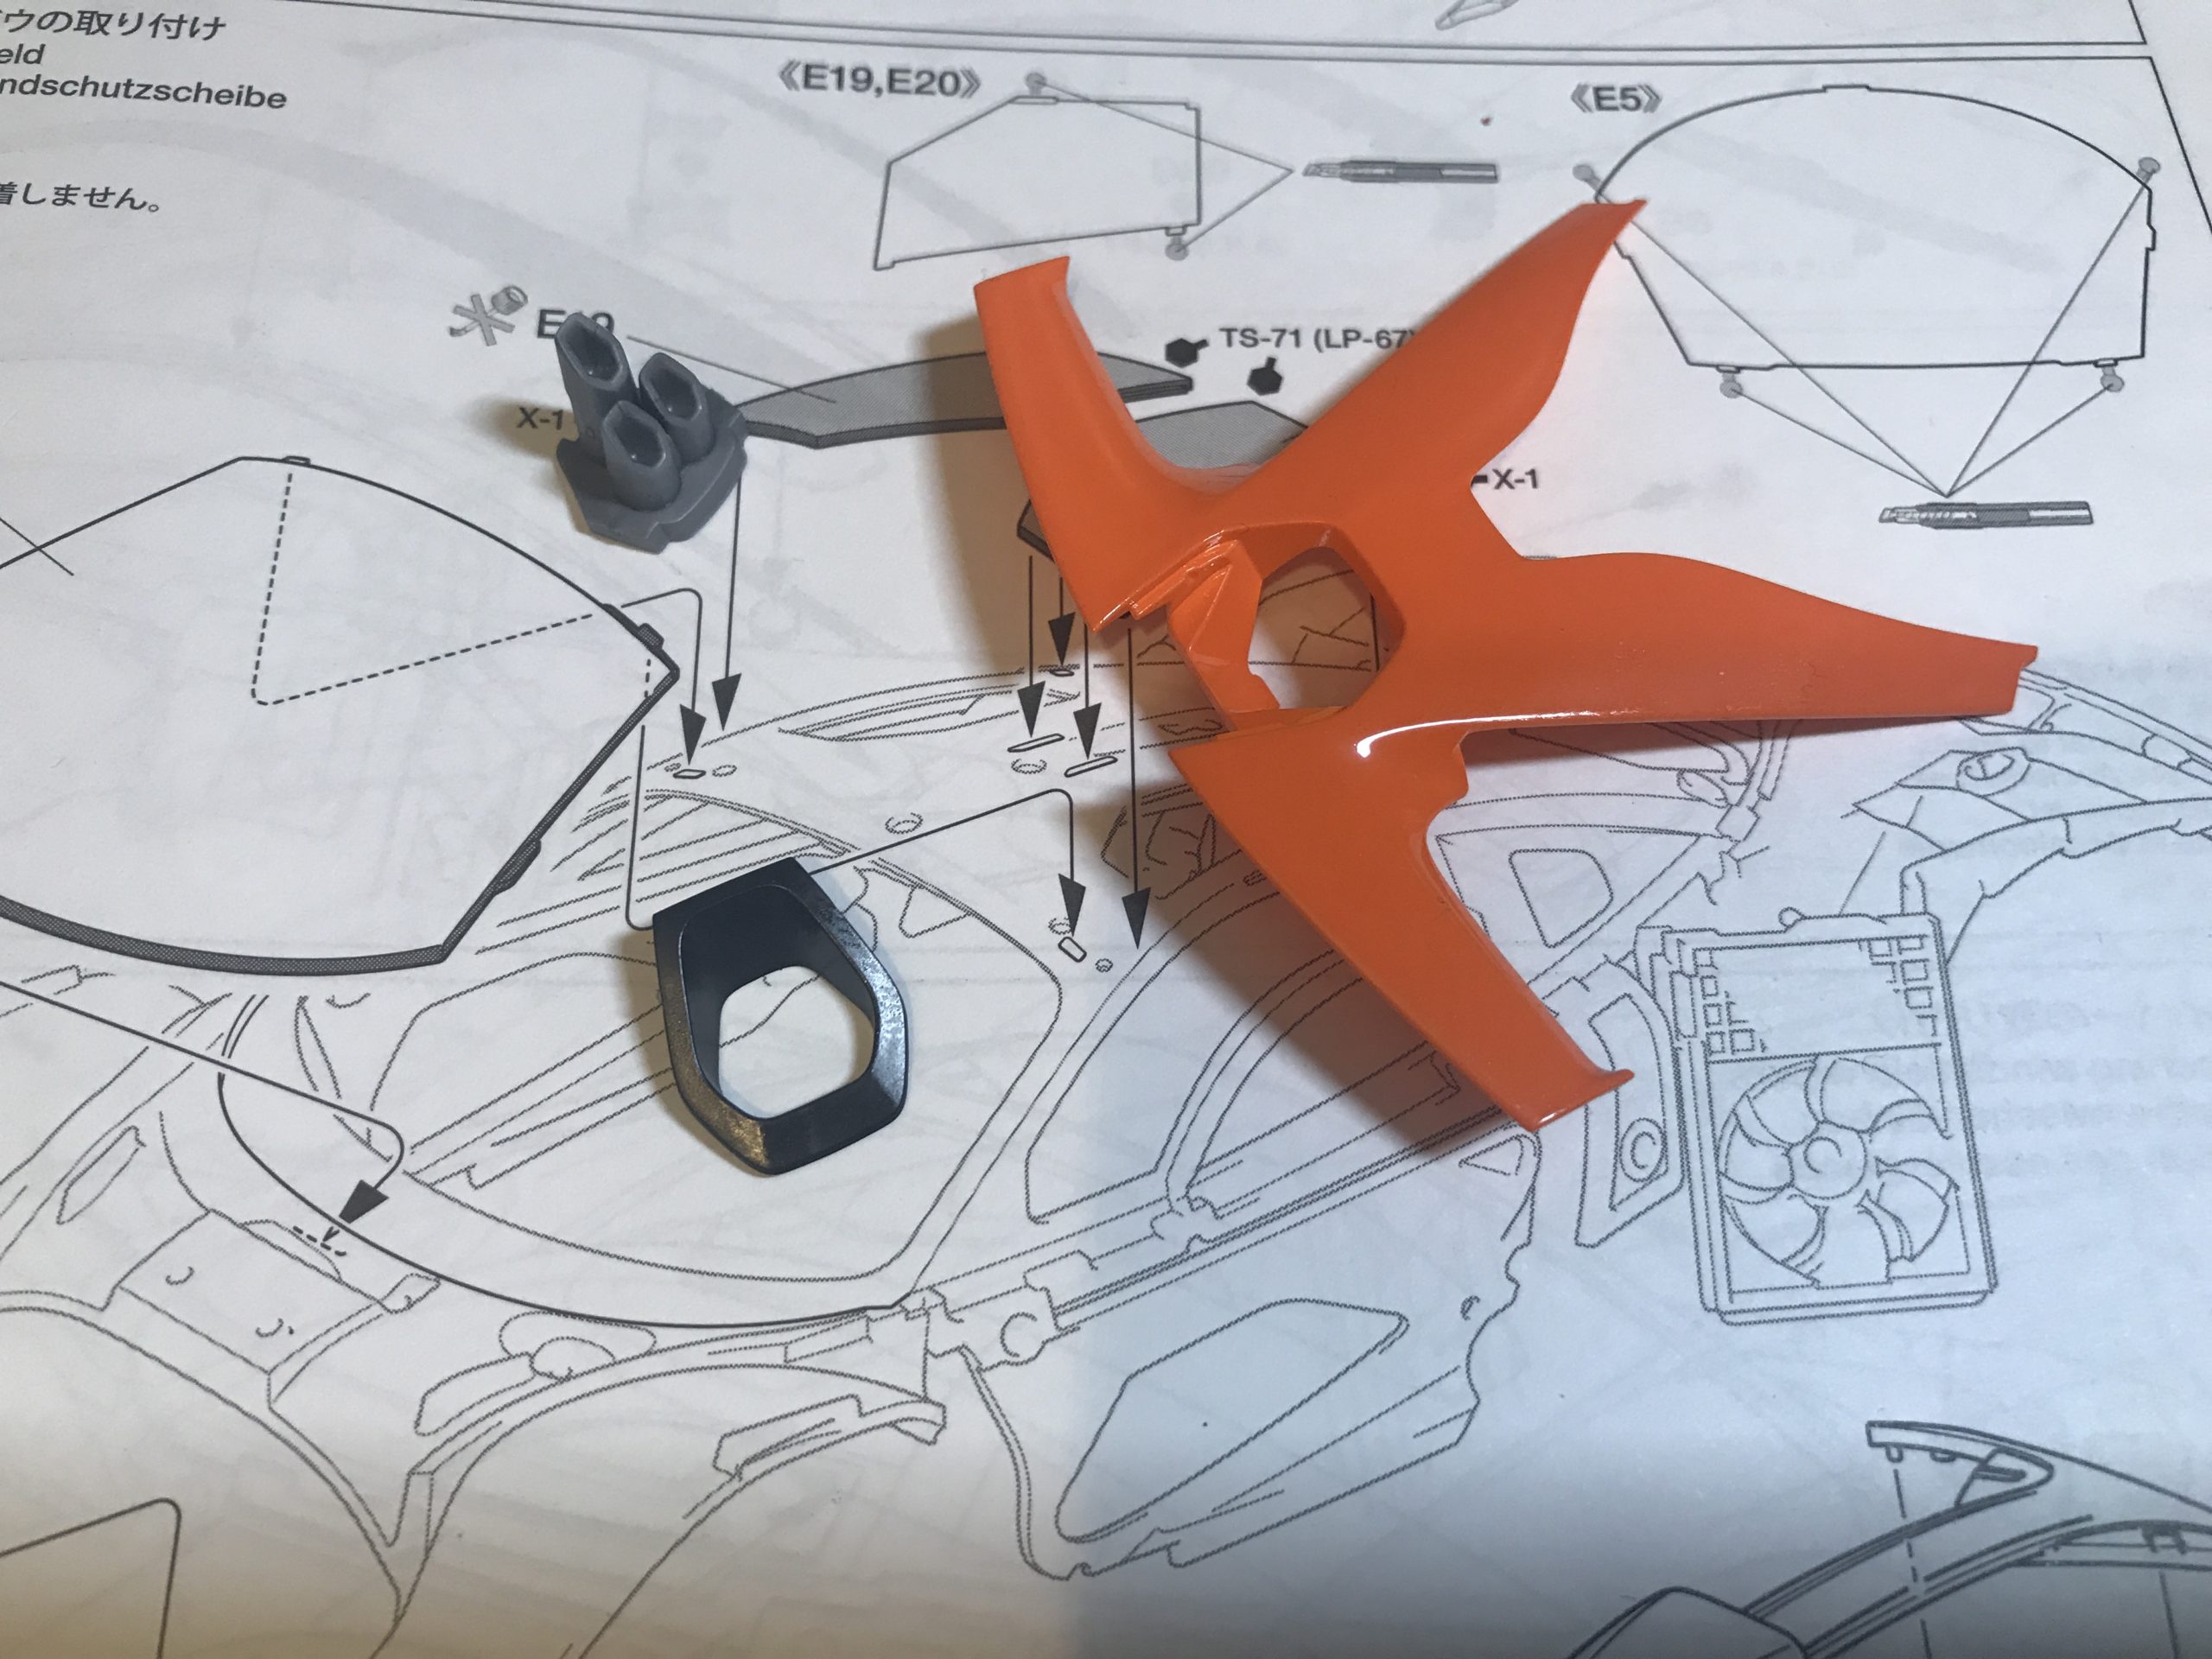
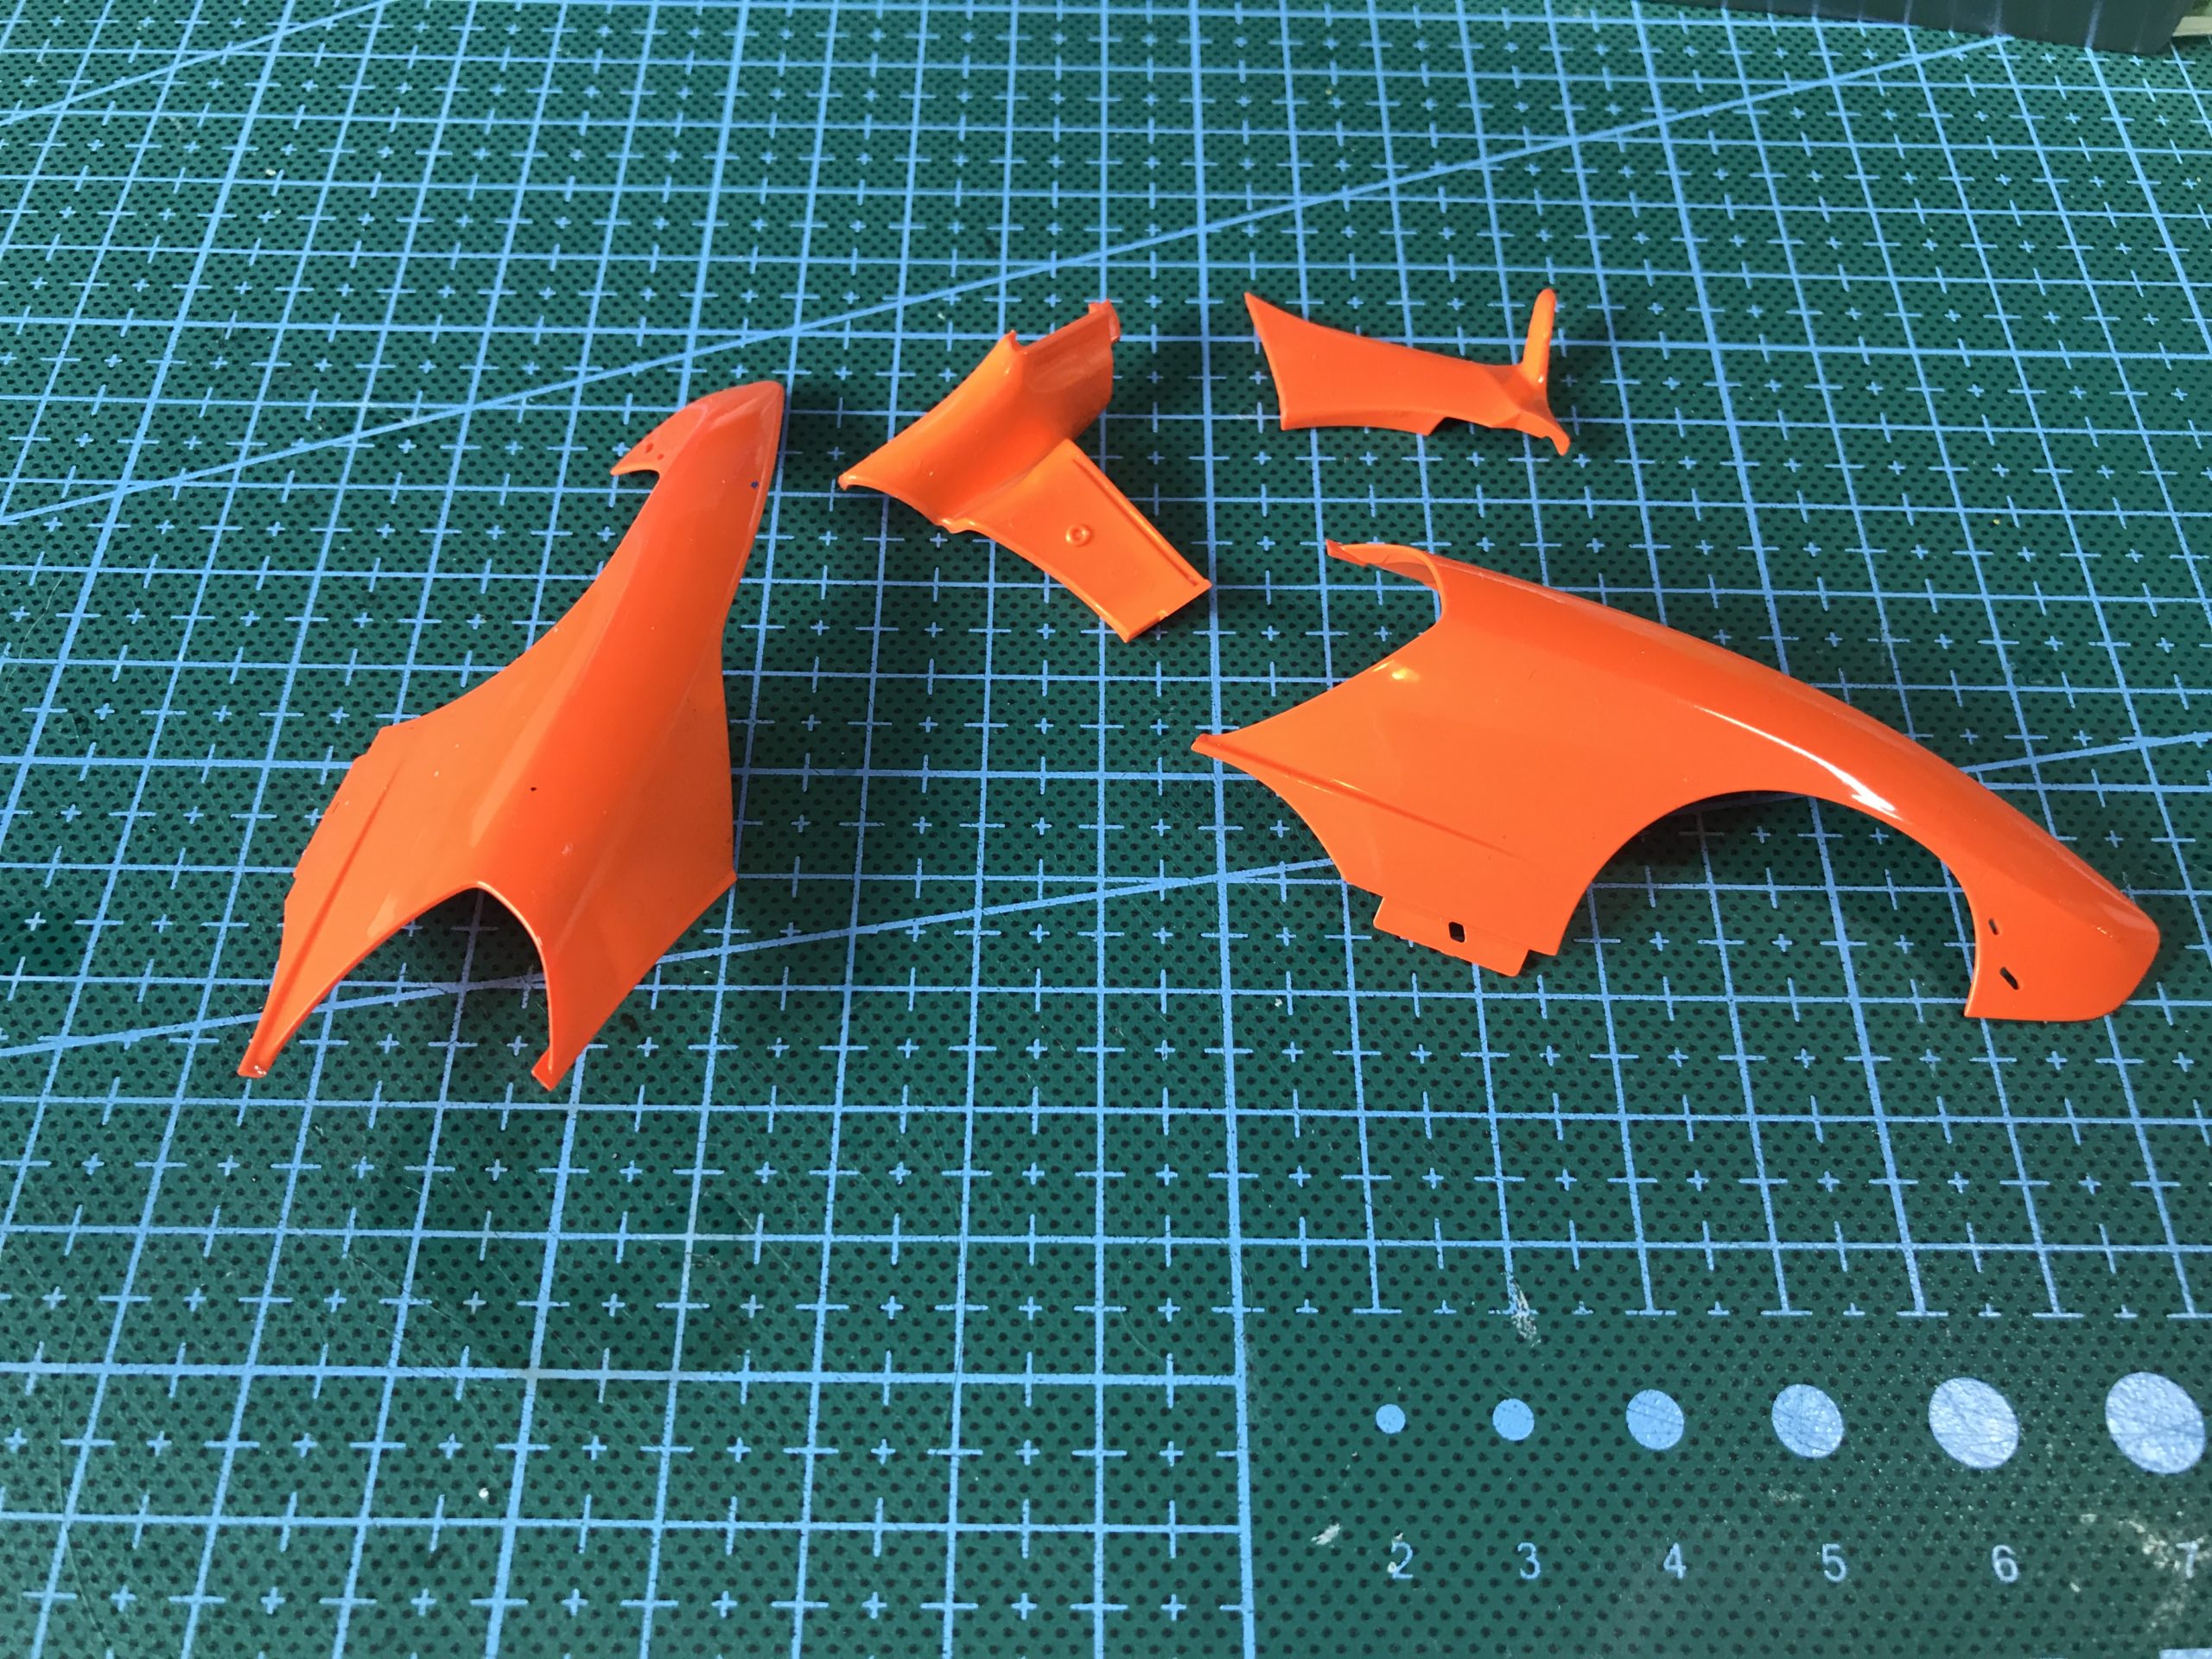
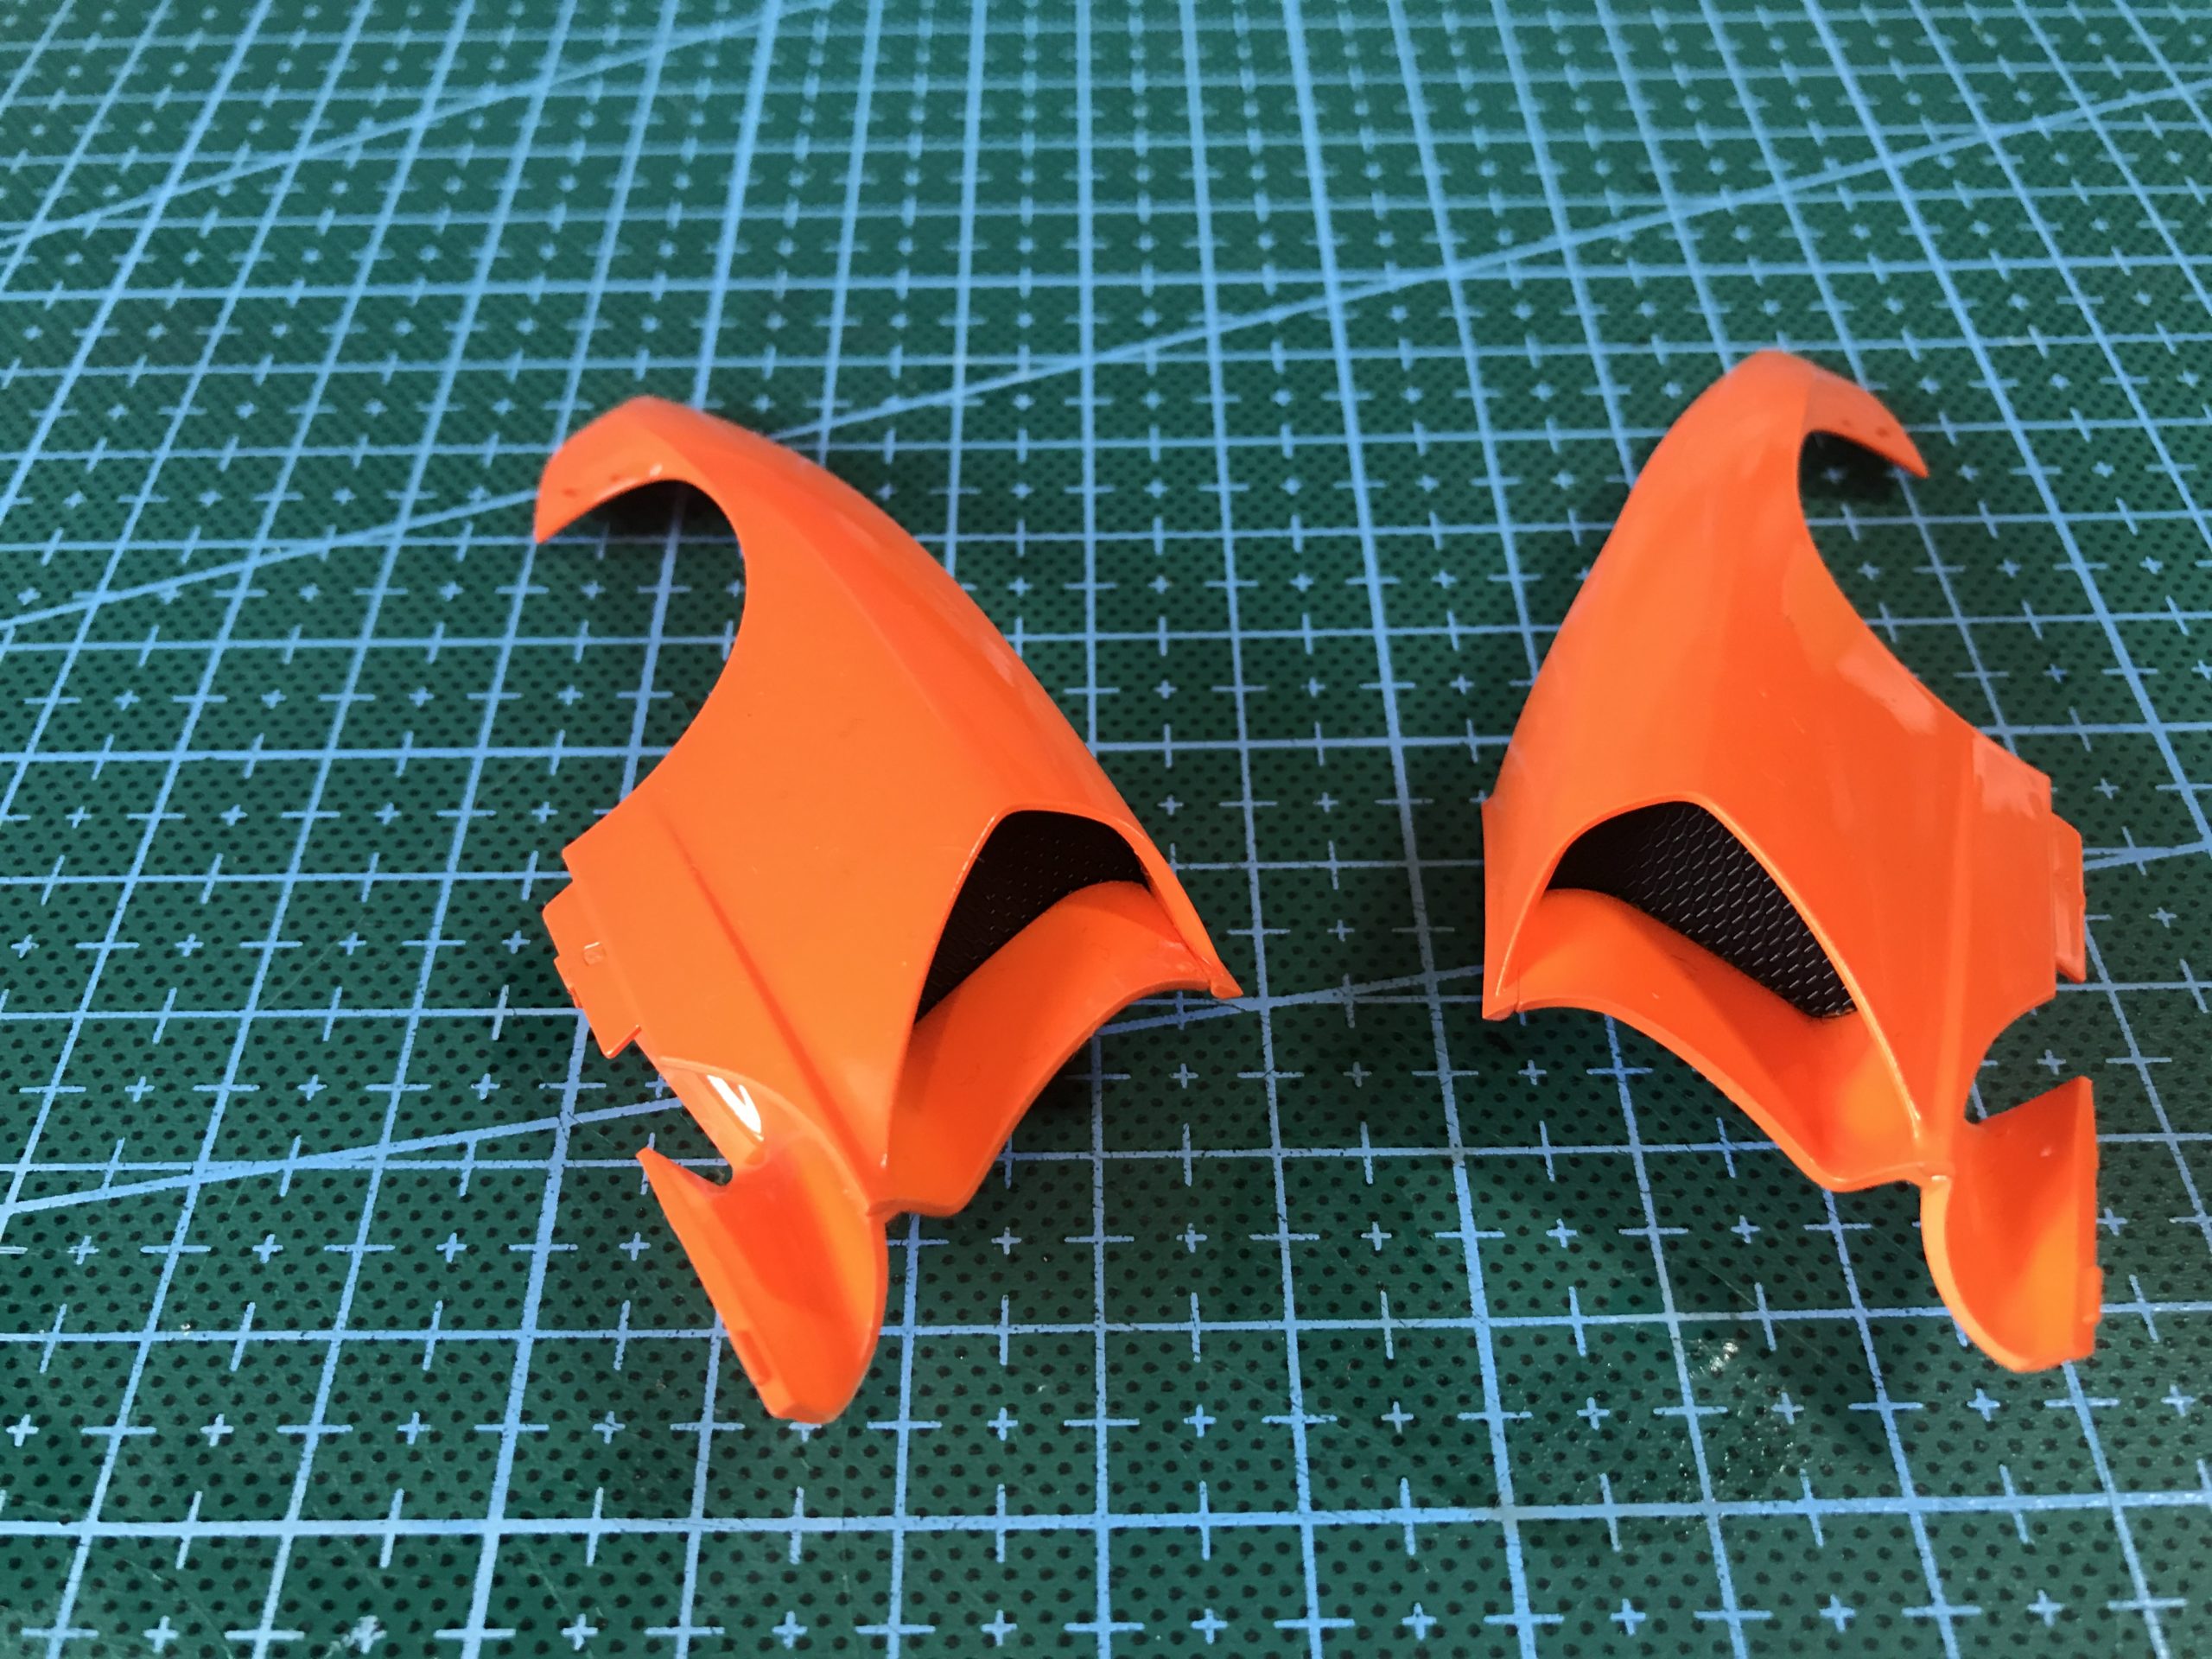
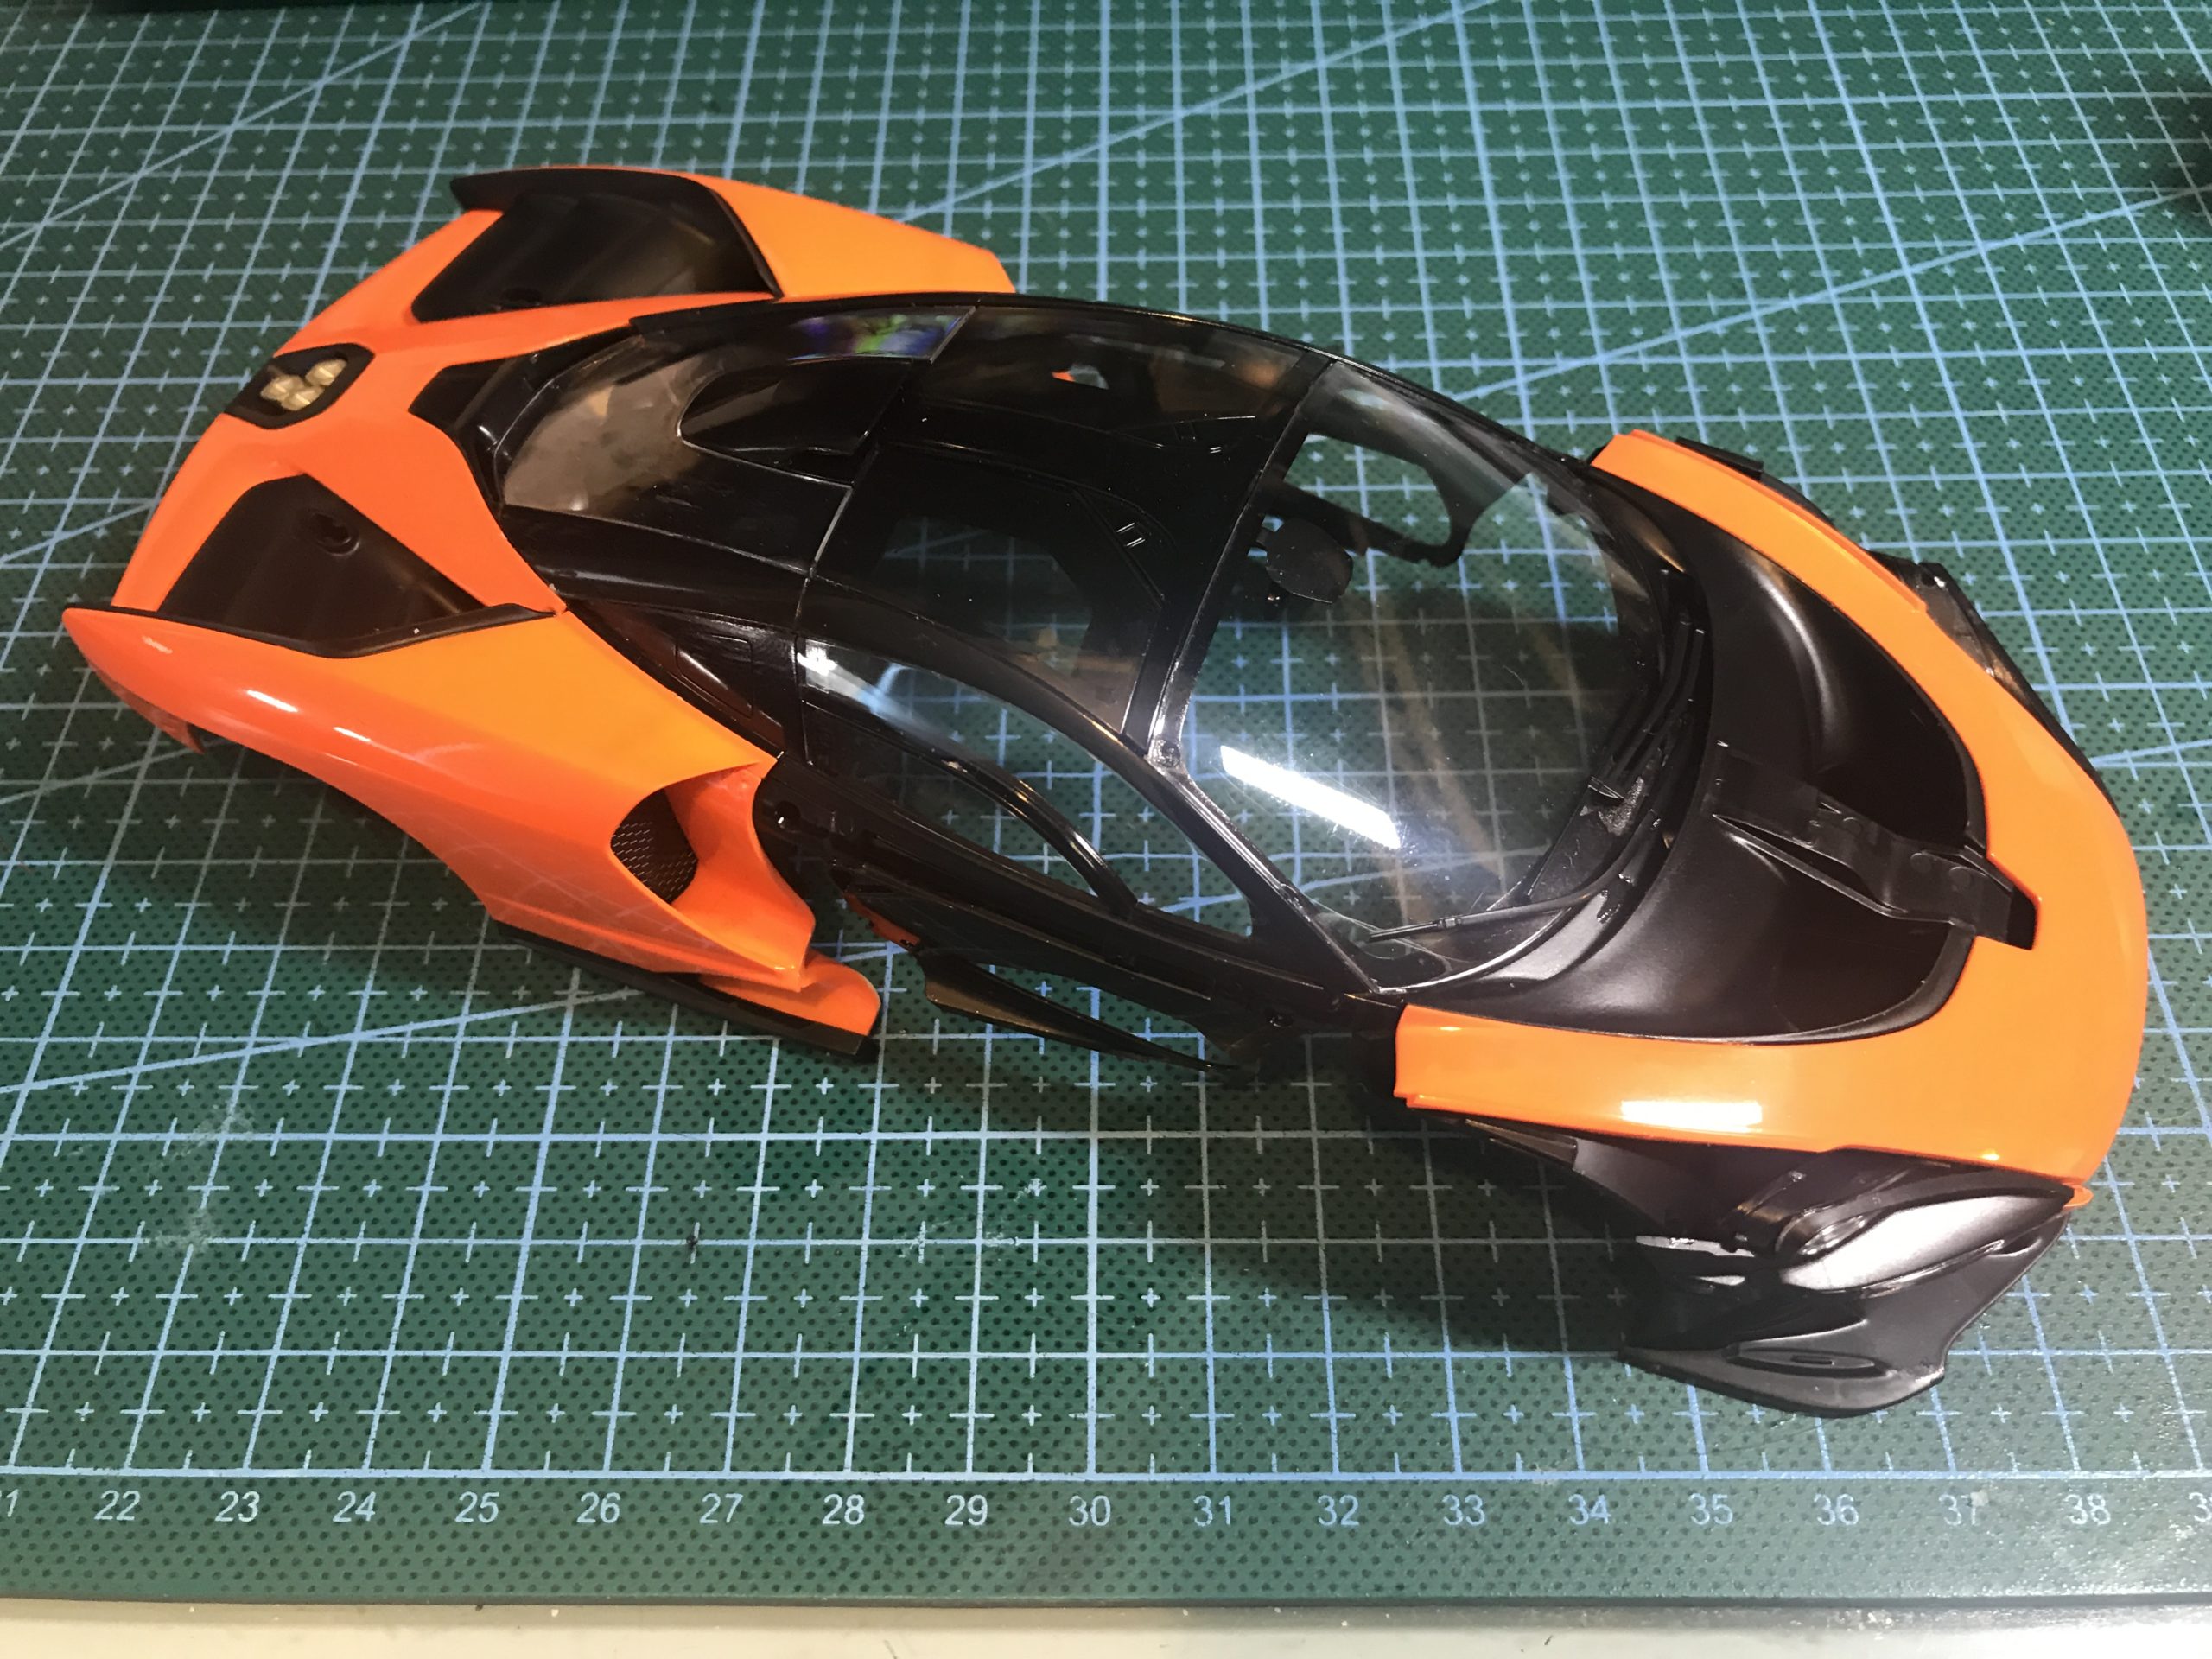
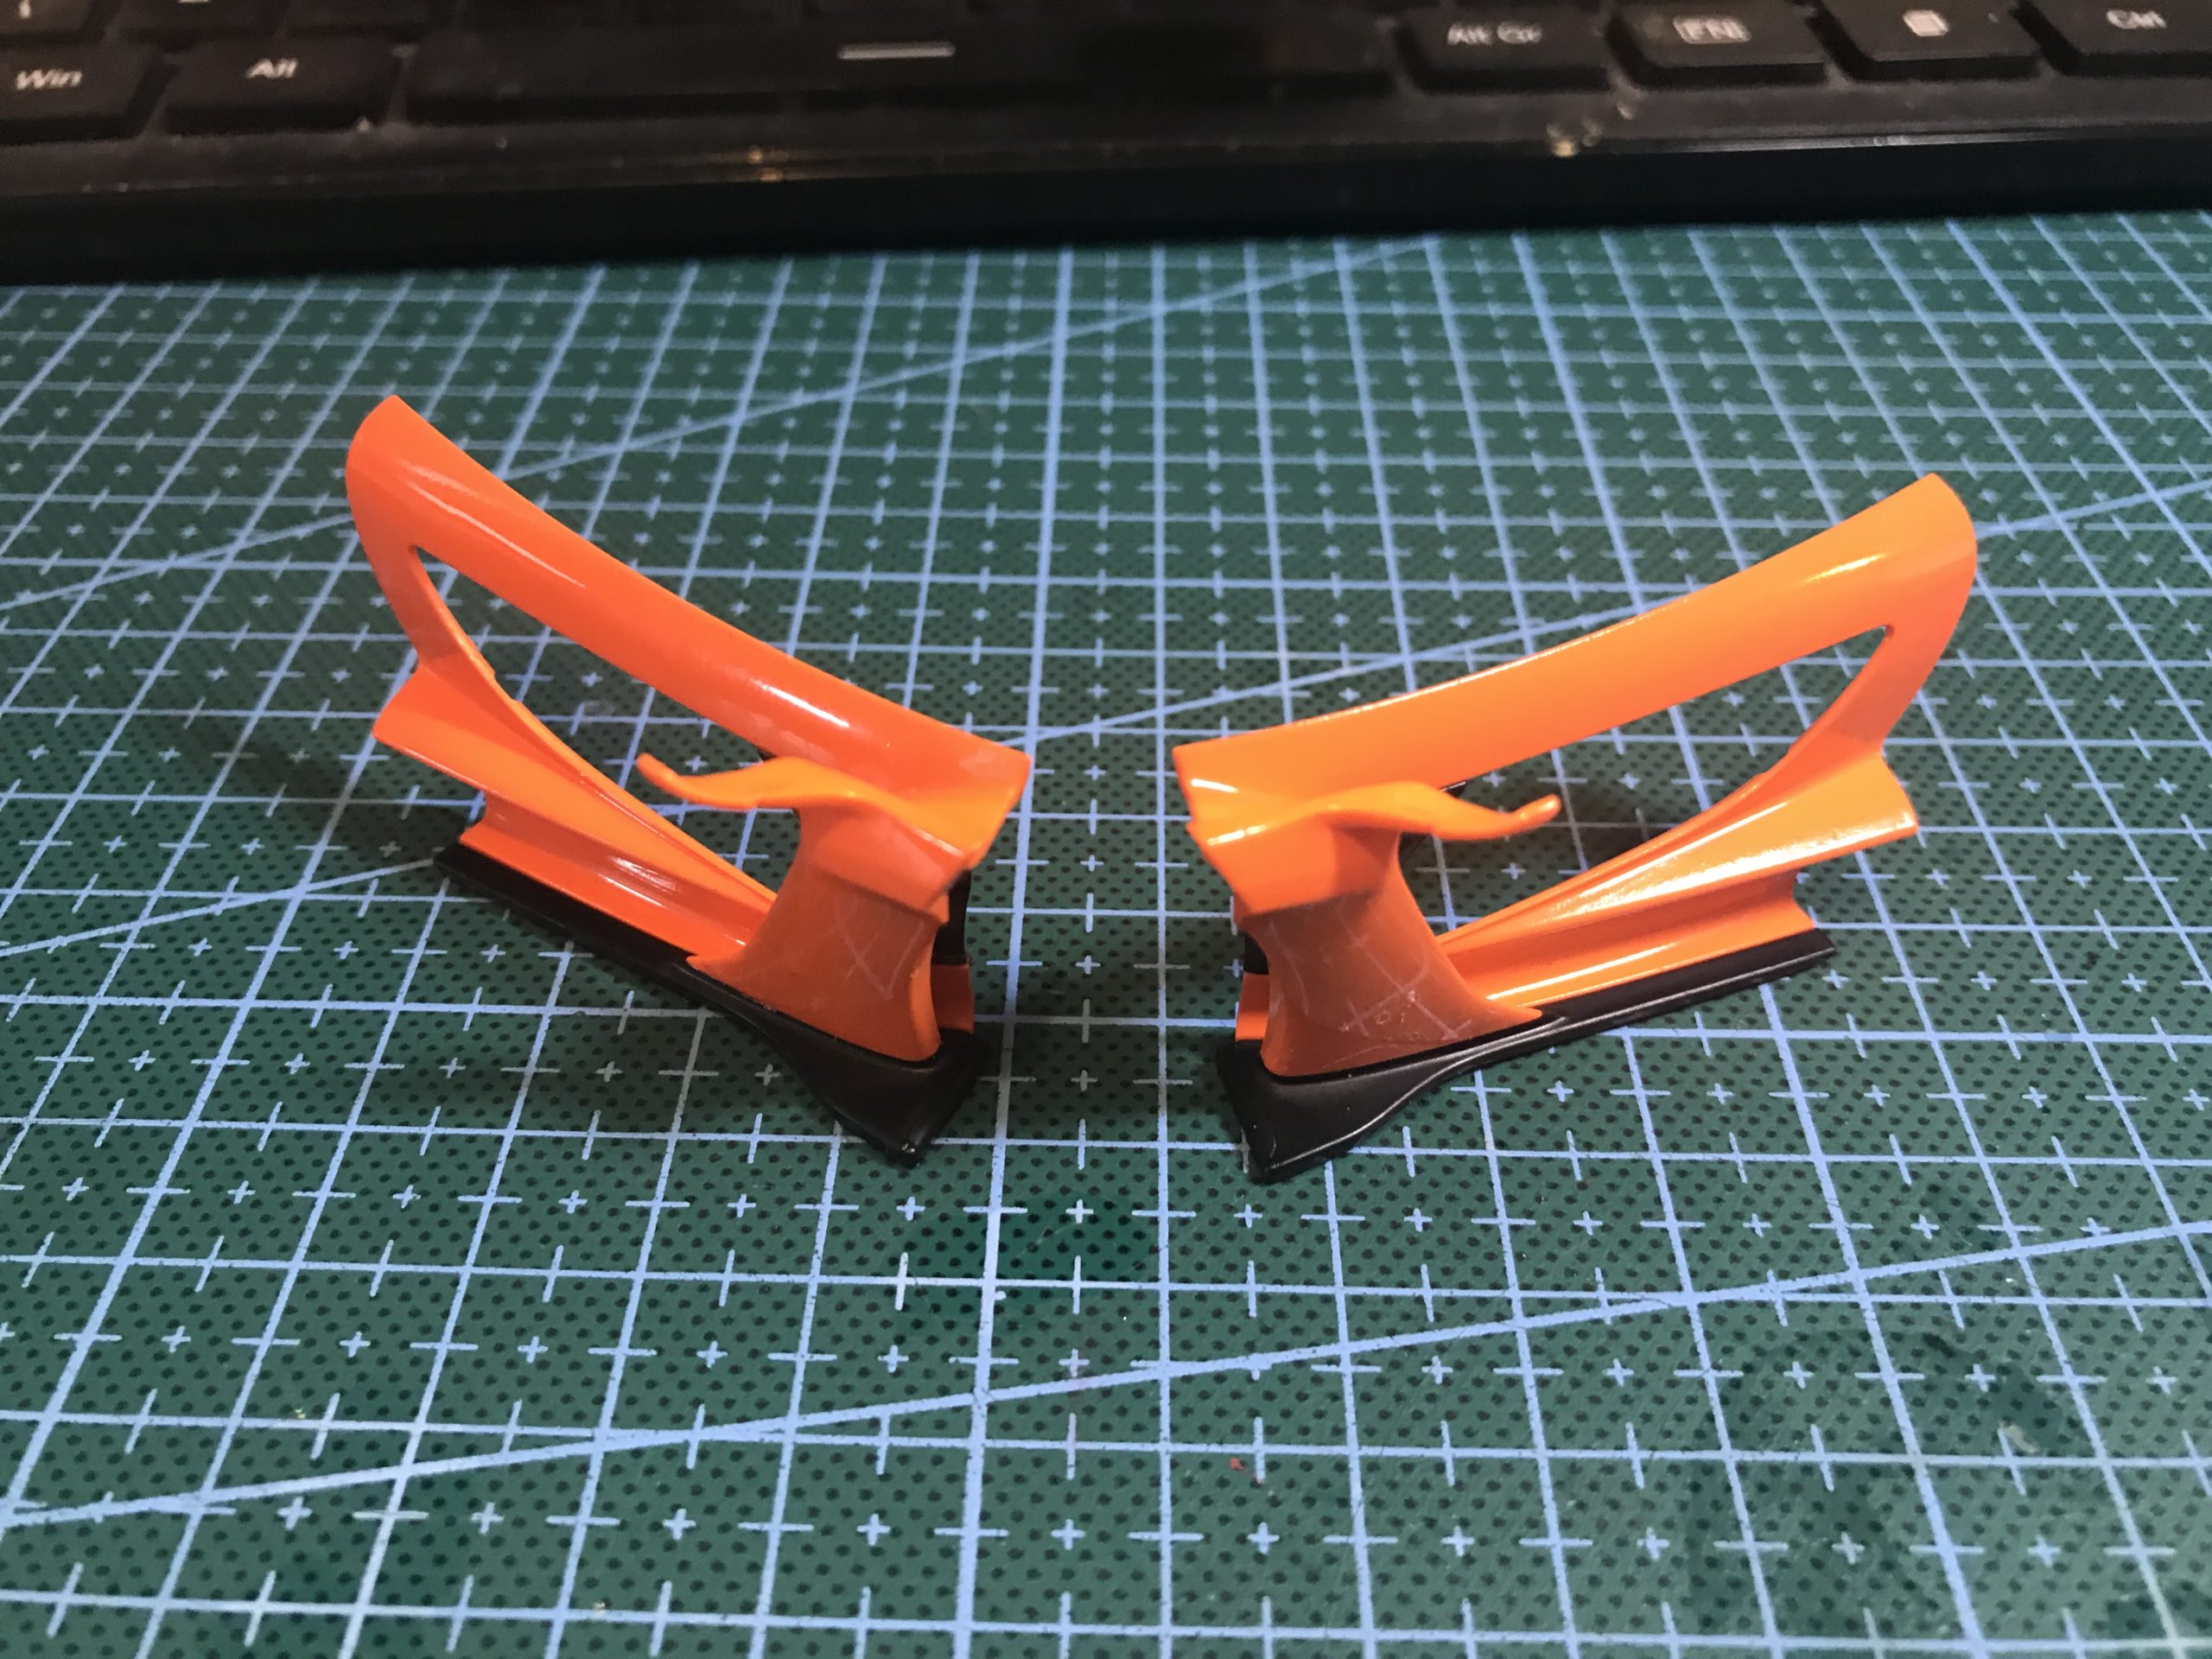
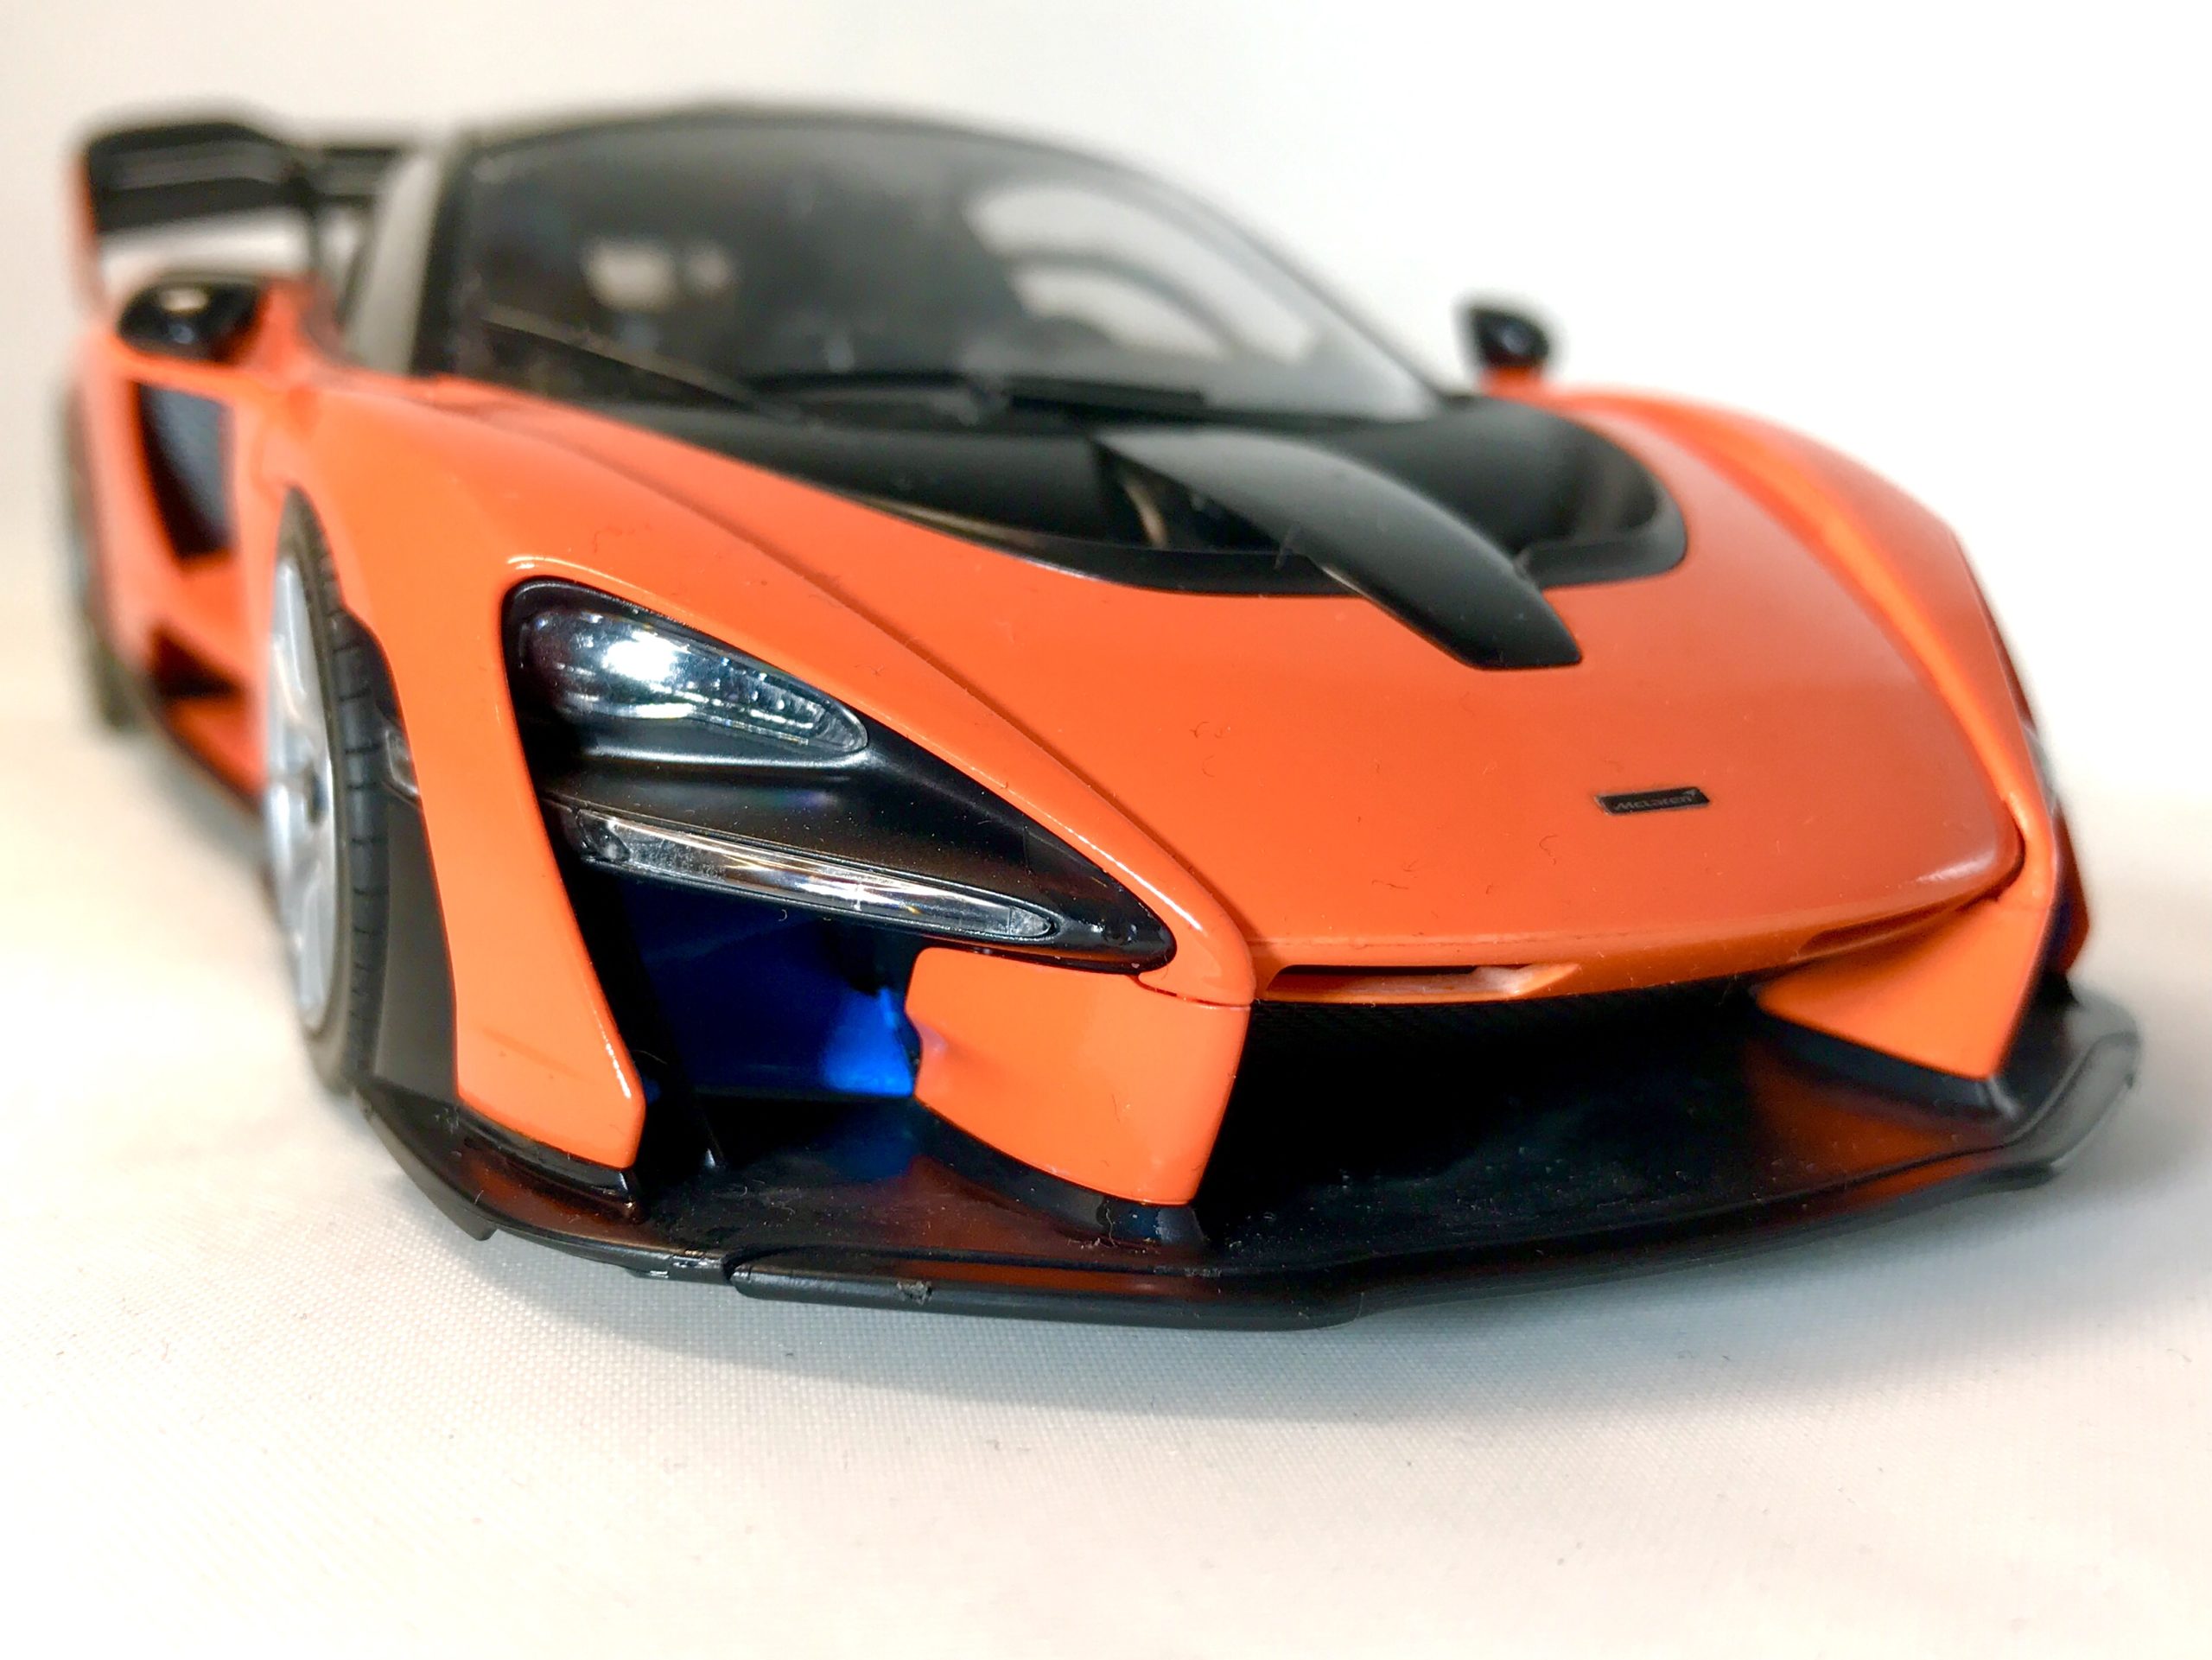
For me the natural colour for a McLaren in “McLaren orange” in the same way a Ferrari should be “Rosso Corsa” (or red to you and me) I used one of Tamiya’s rattle cans TS-98, Pure orange, as I also had the Matching Lacquer paint LP-51 if I needed to touch in any small details.
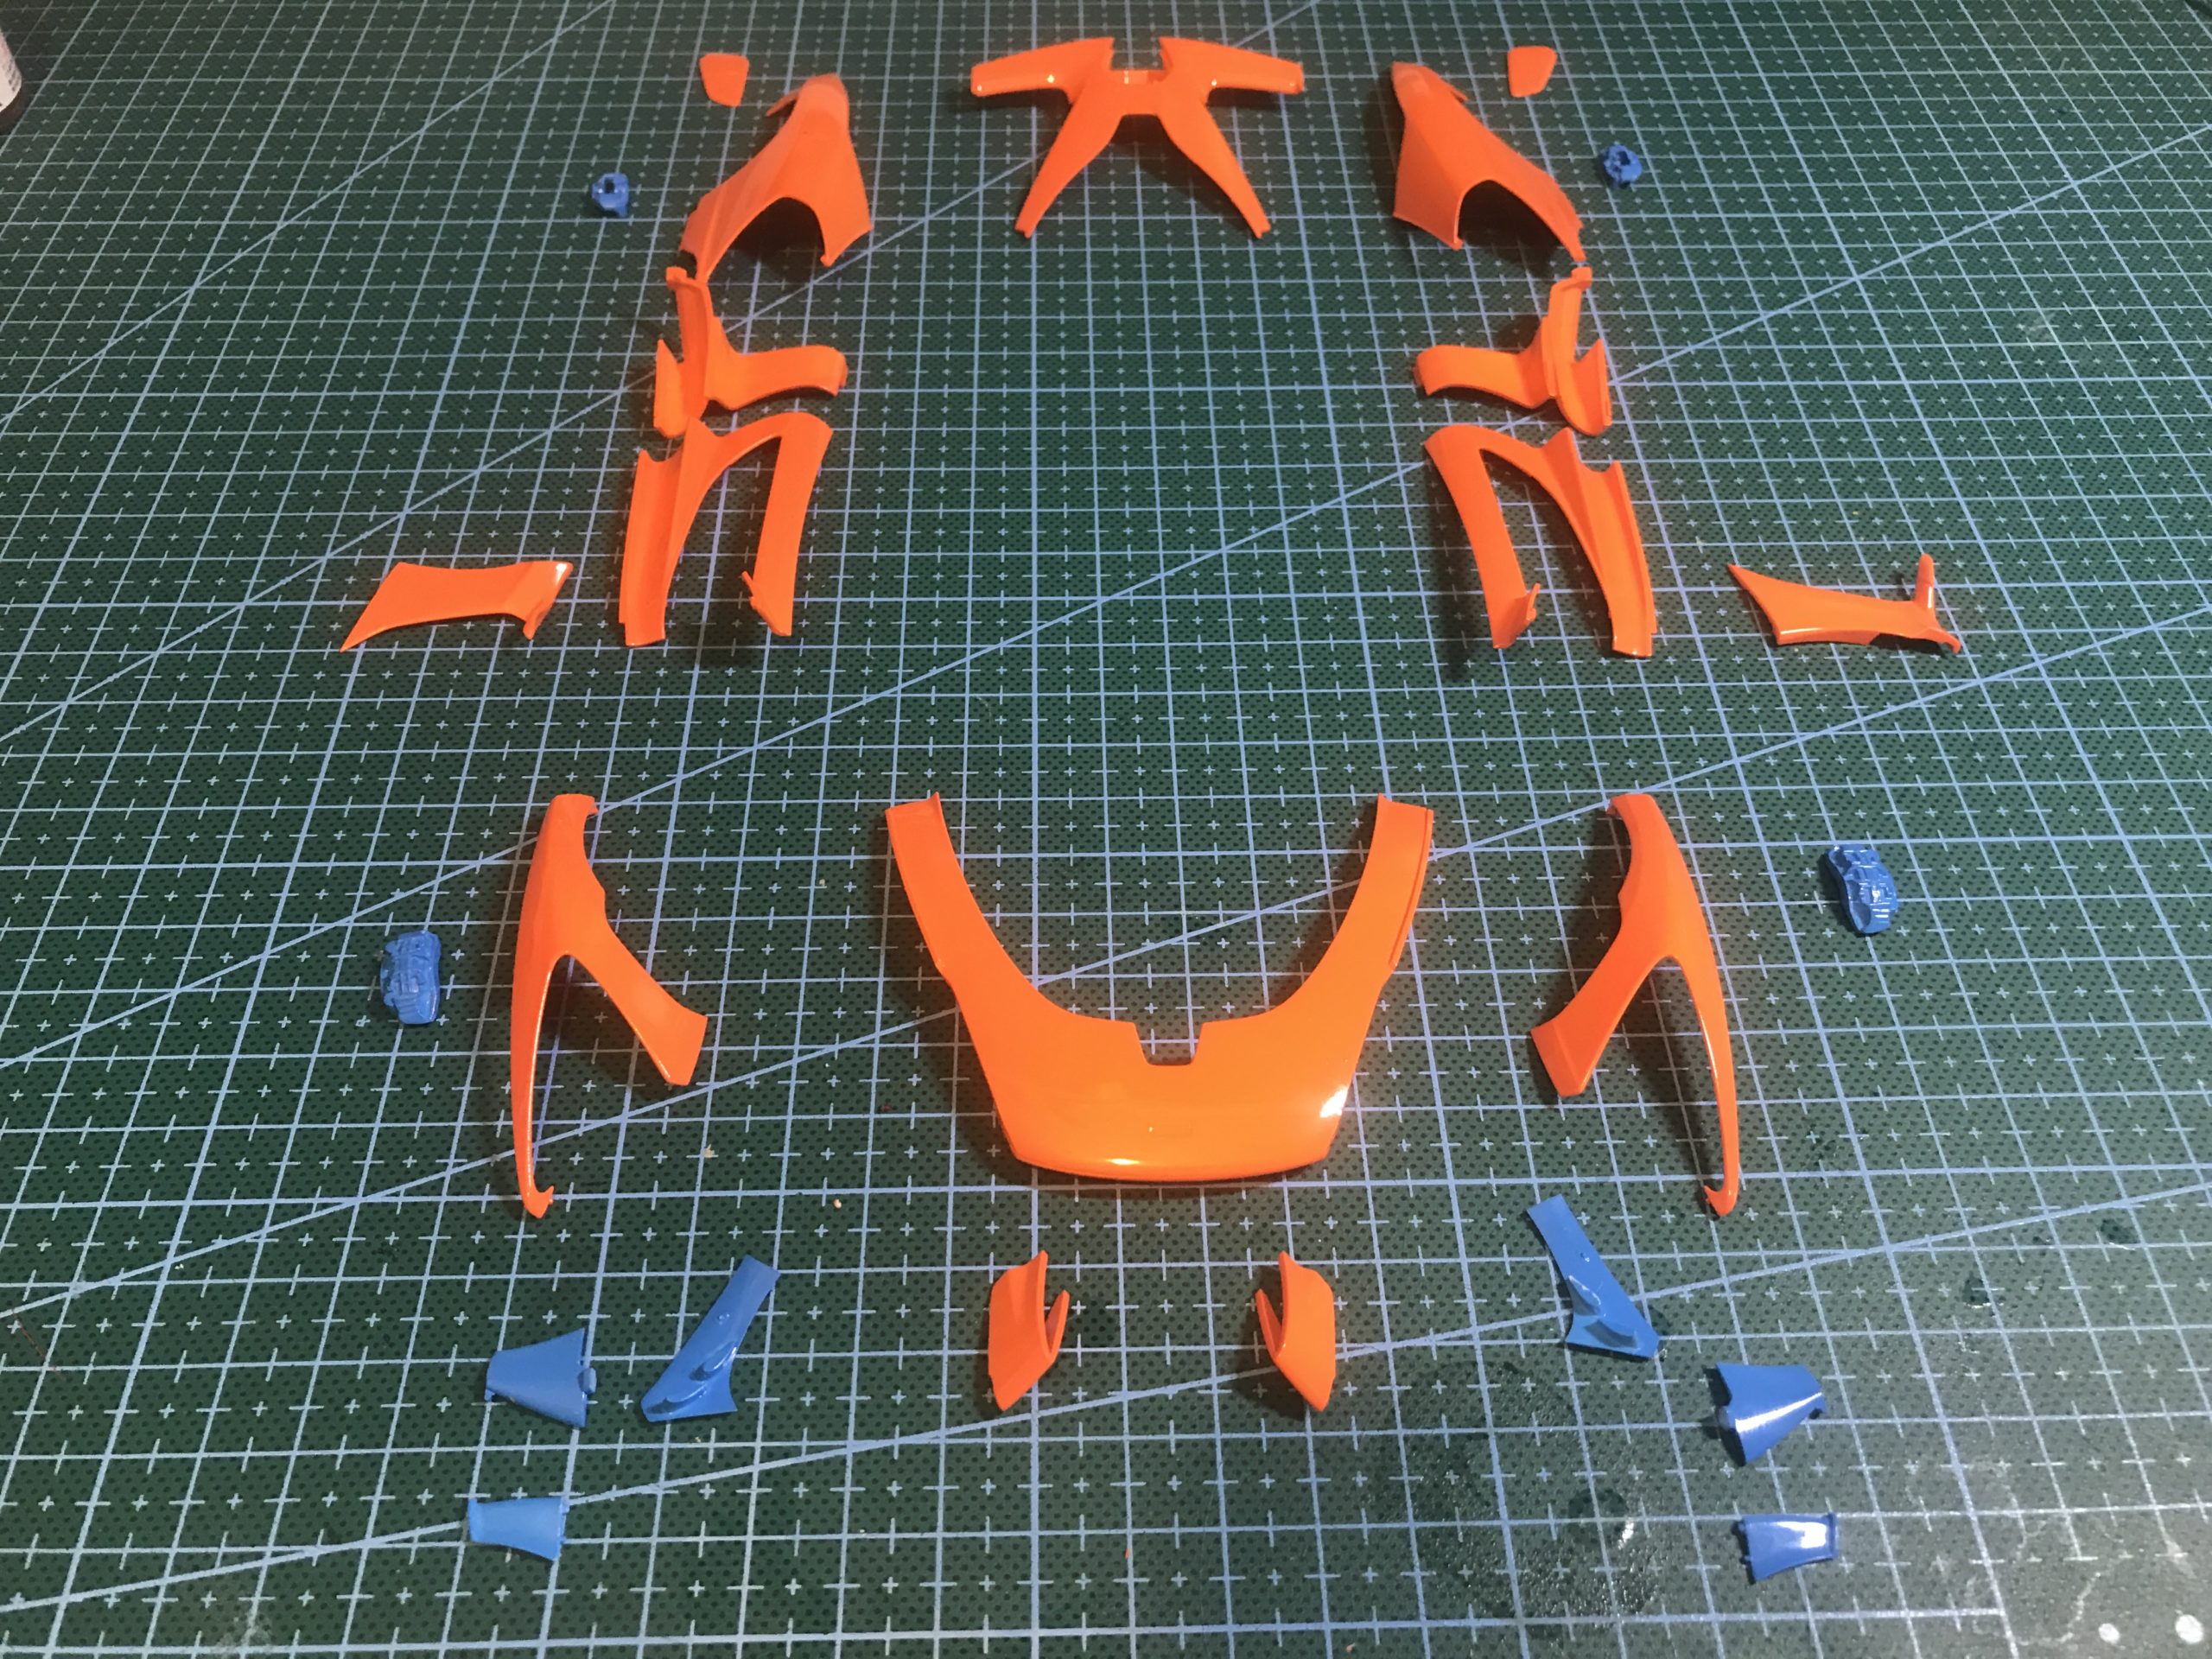
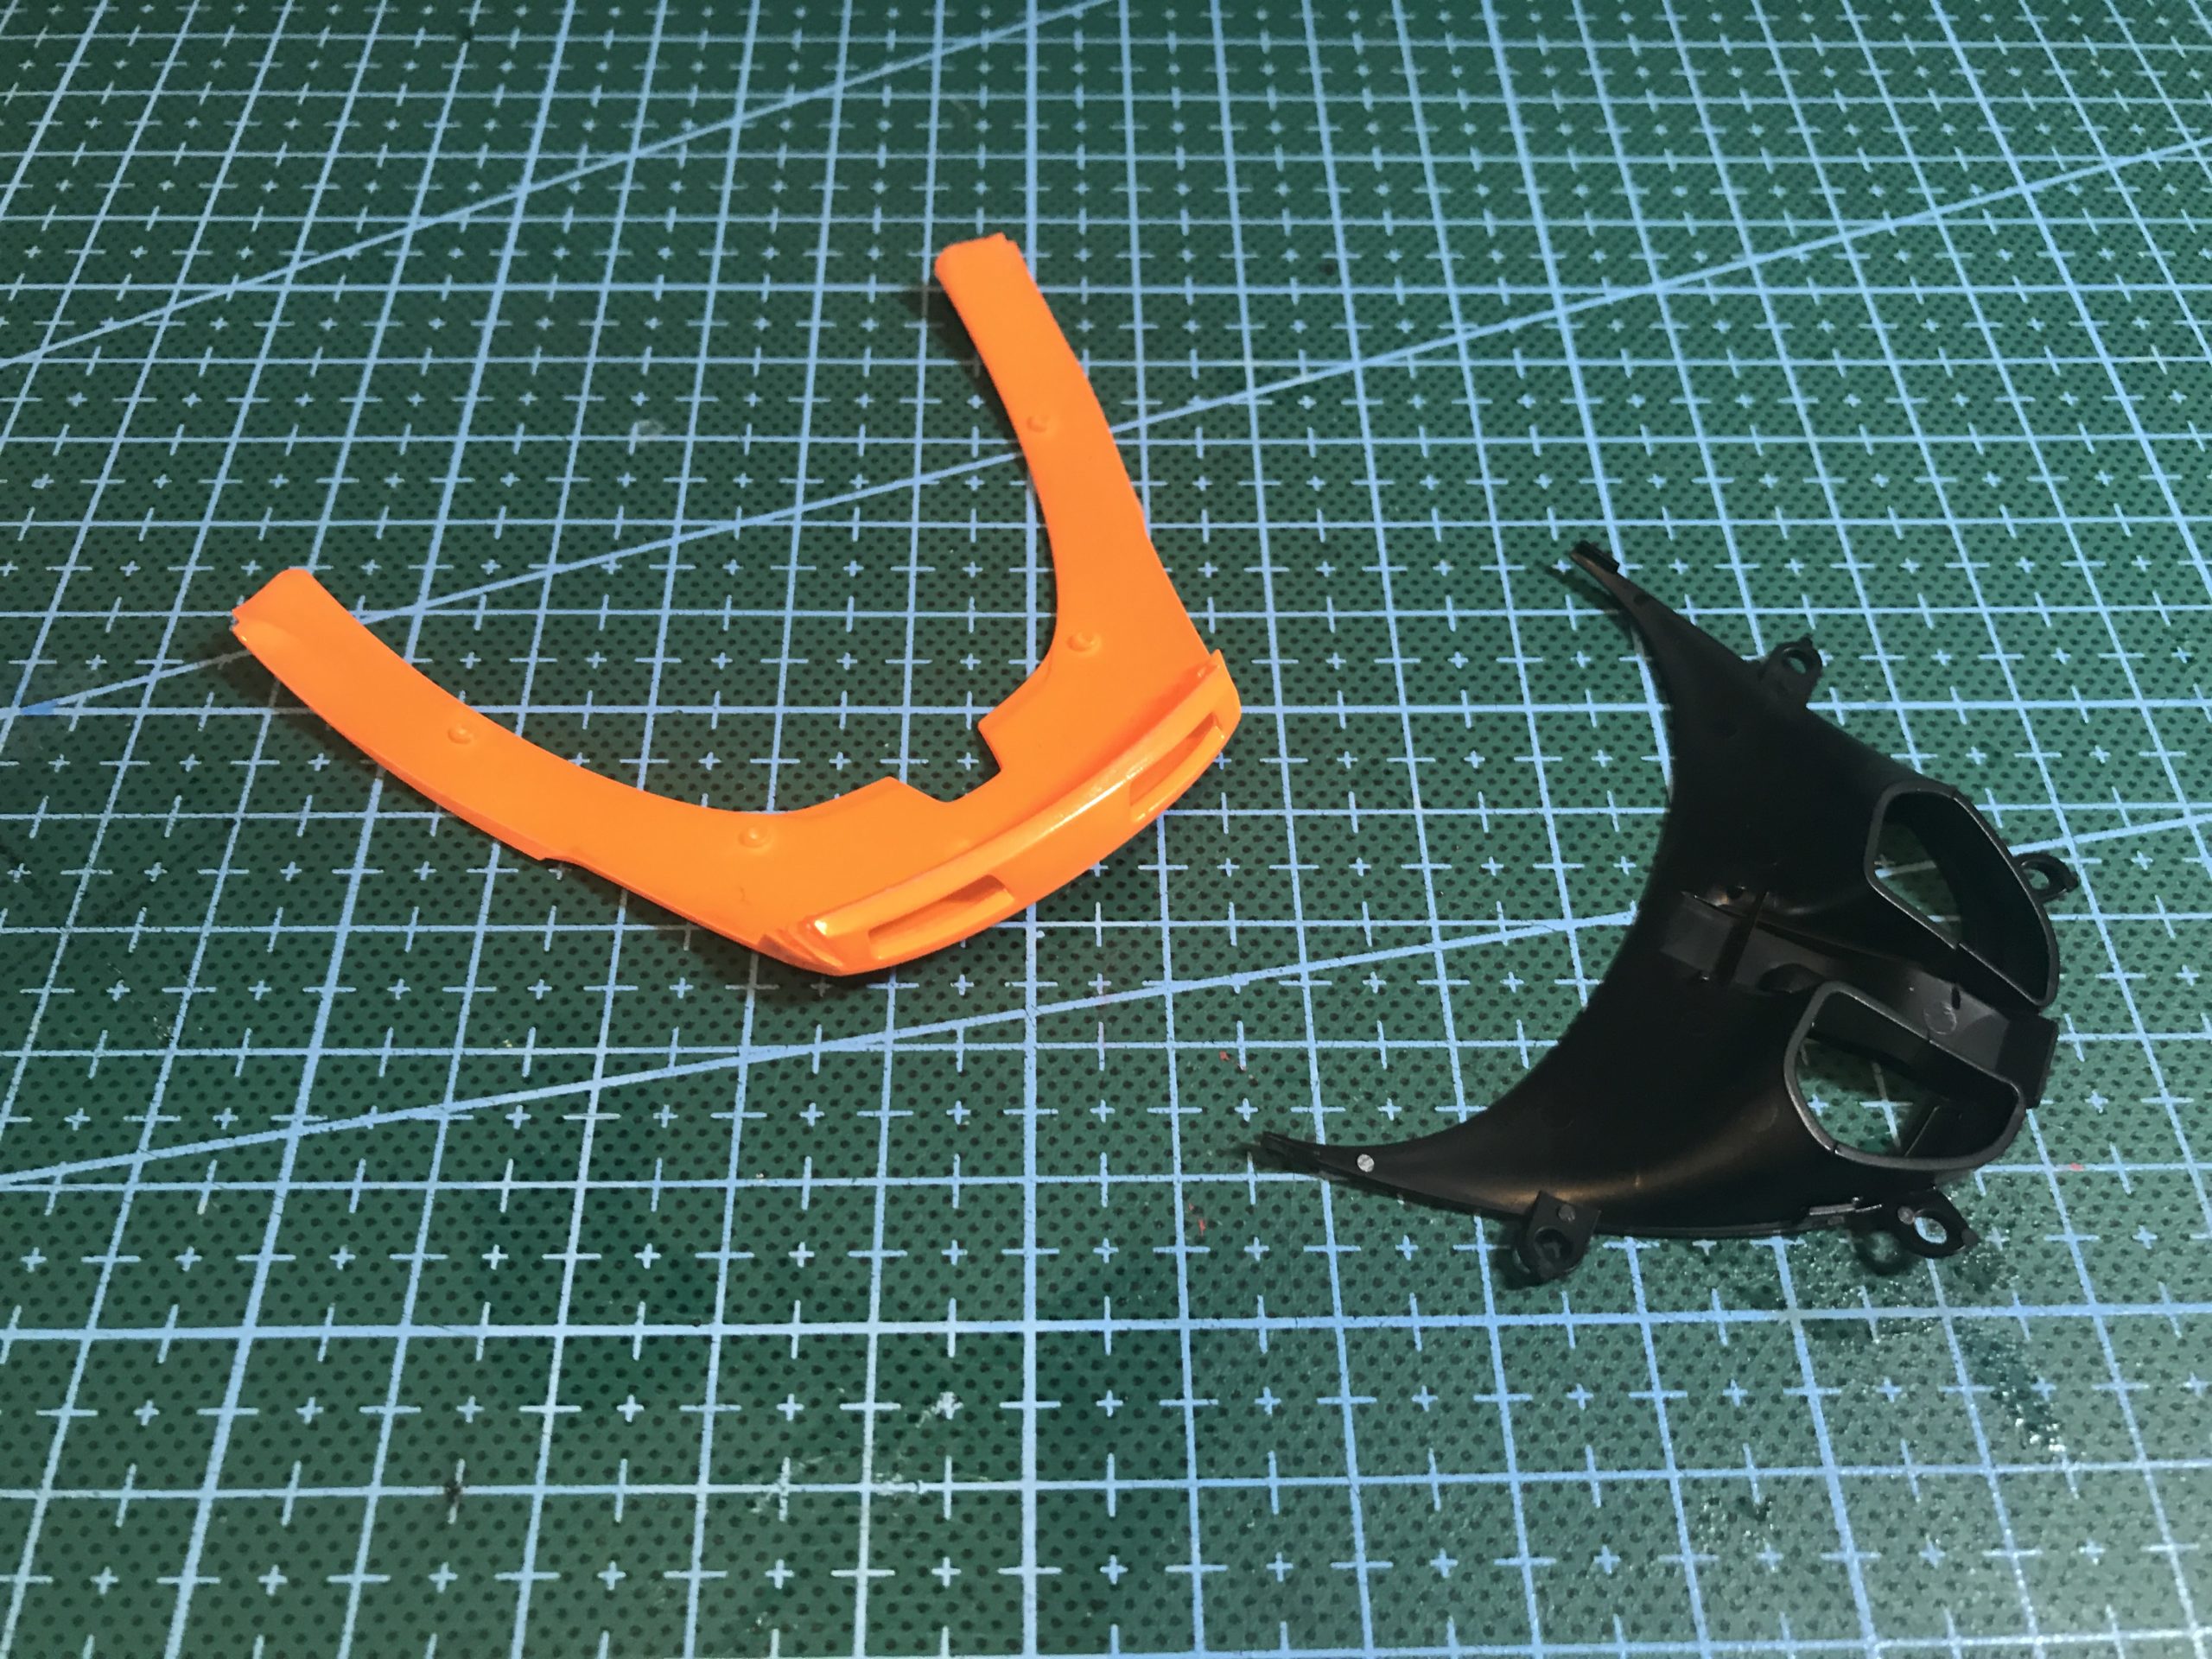
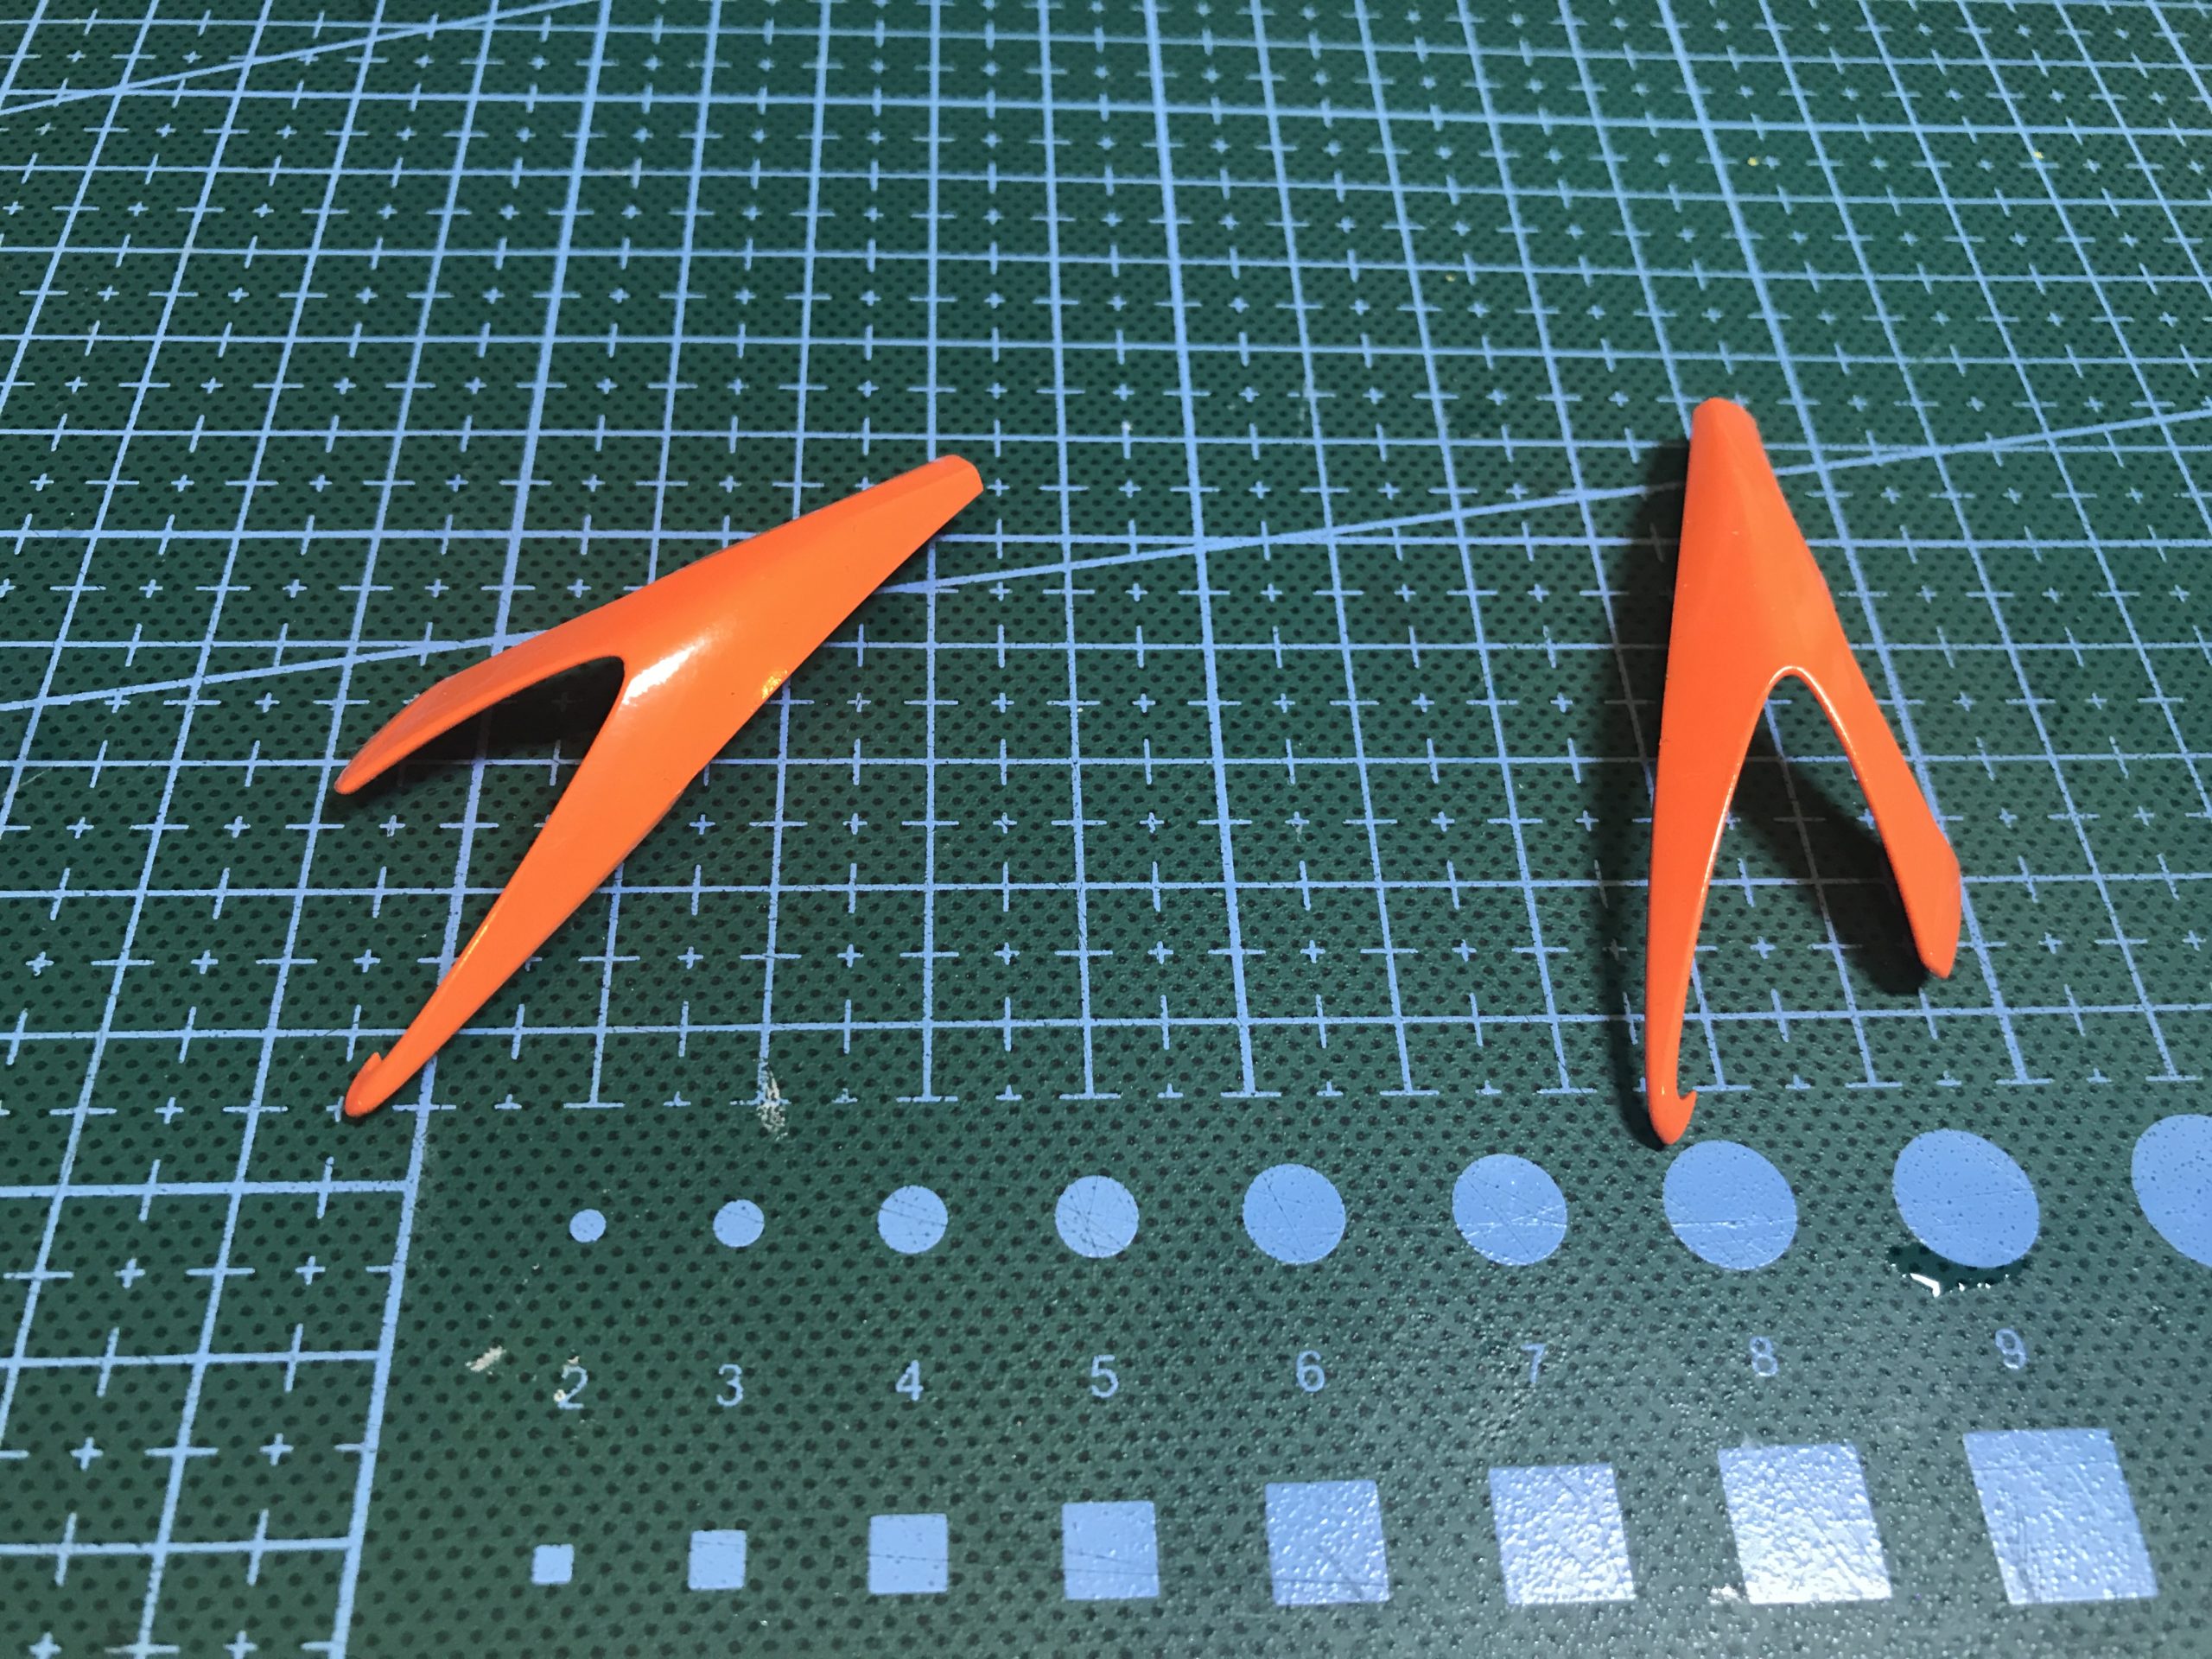
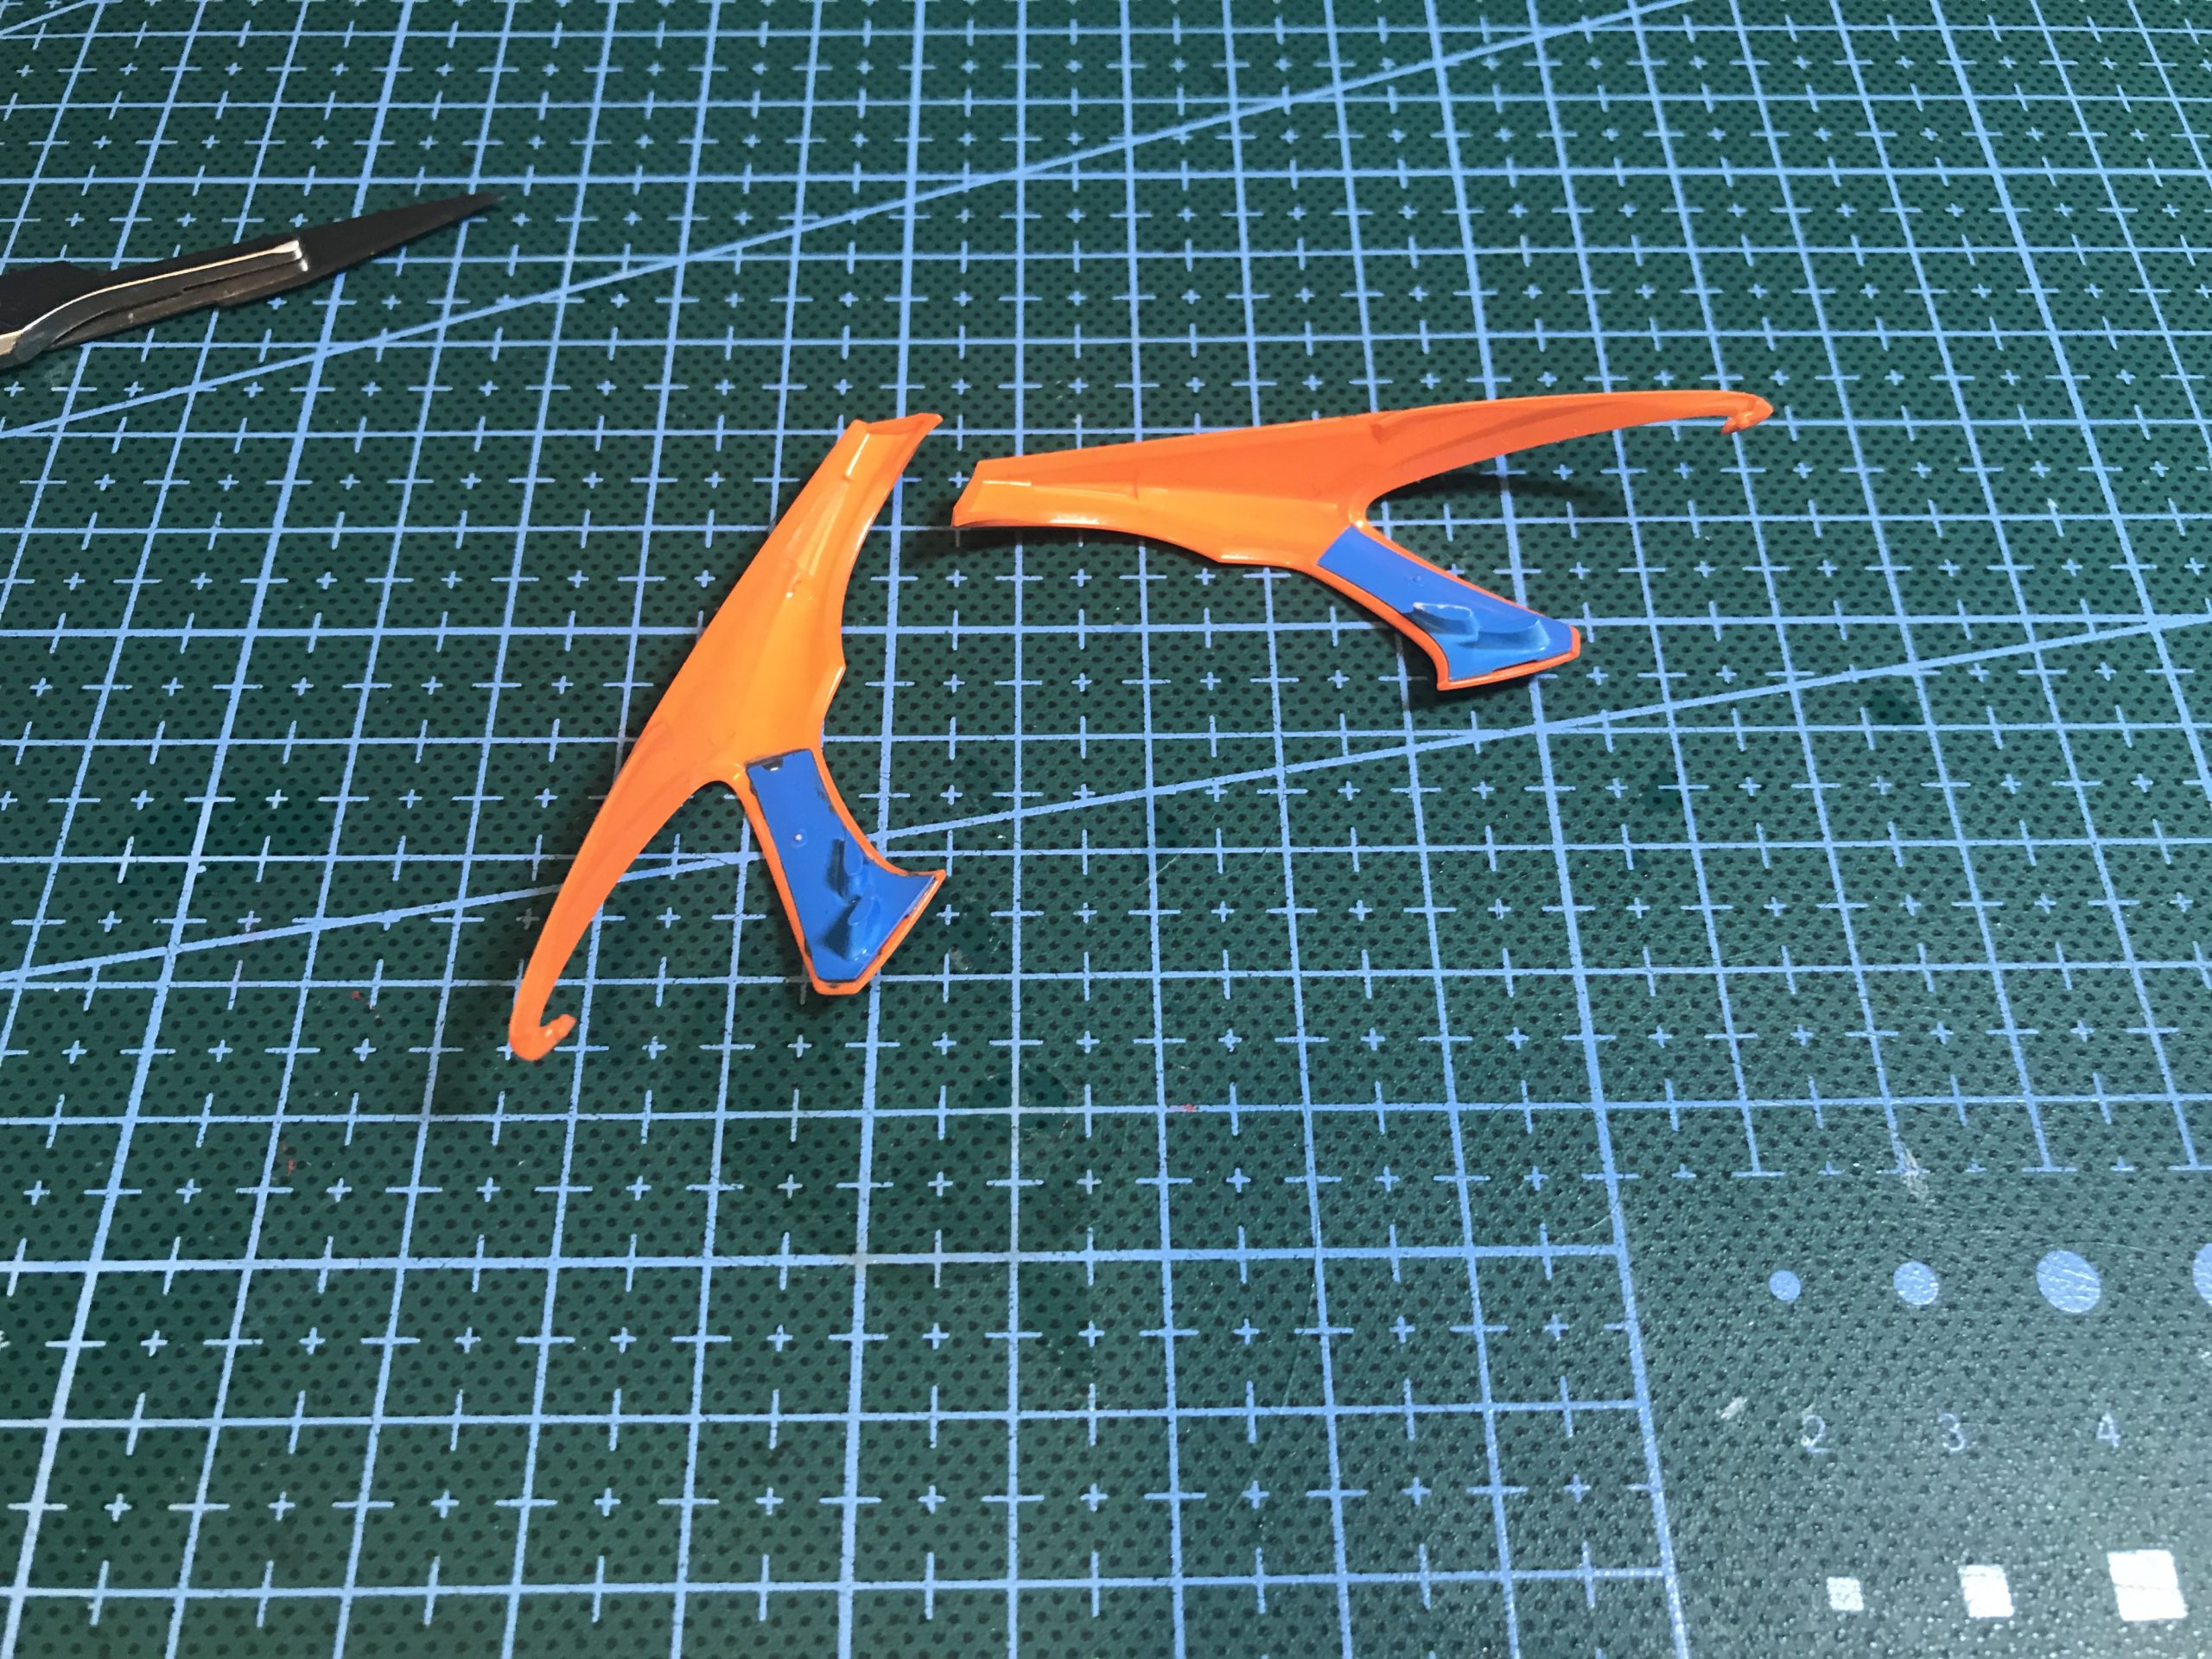
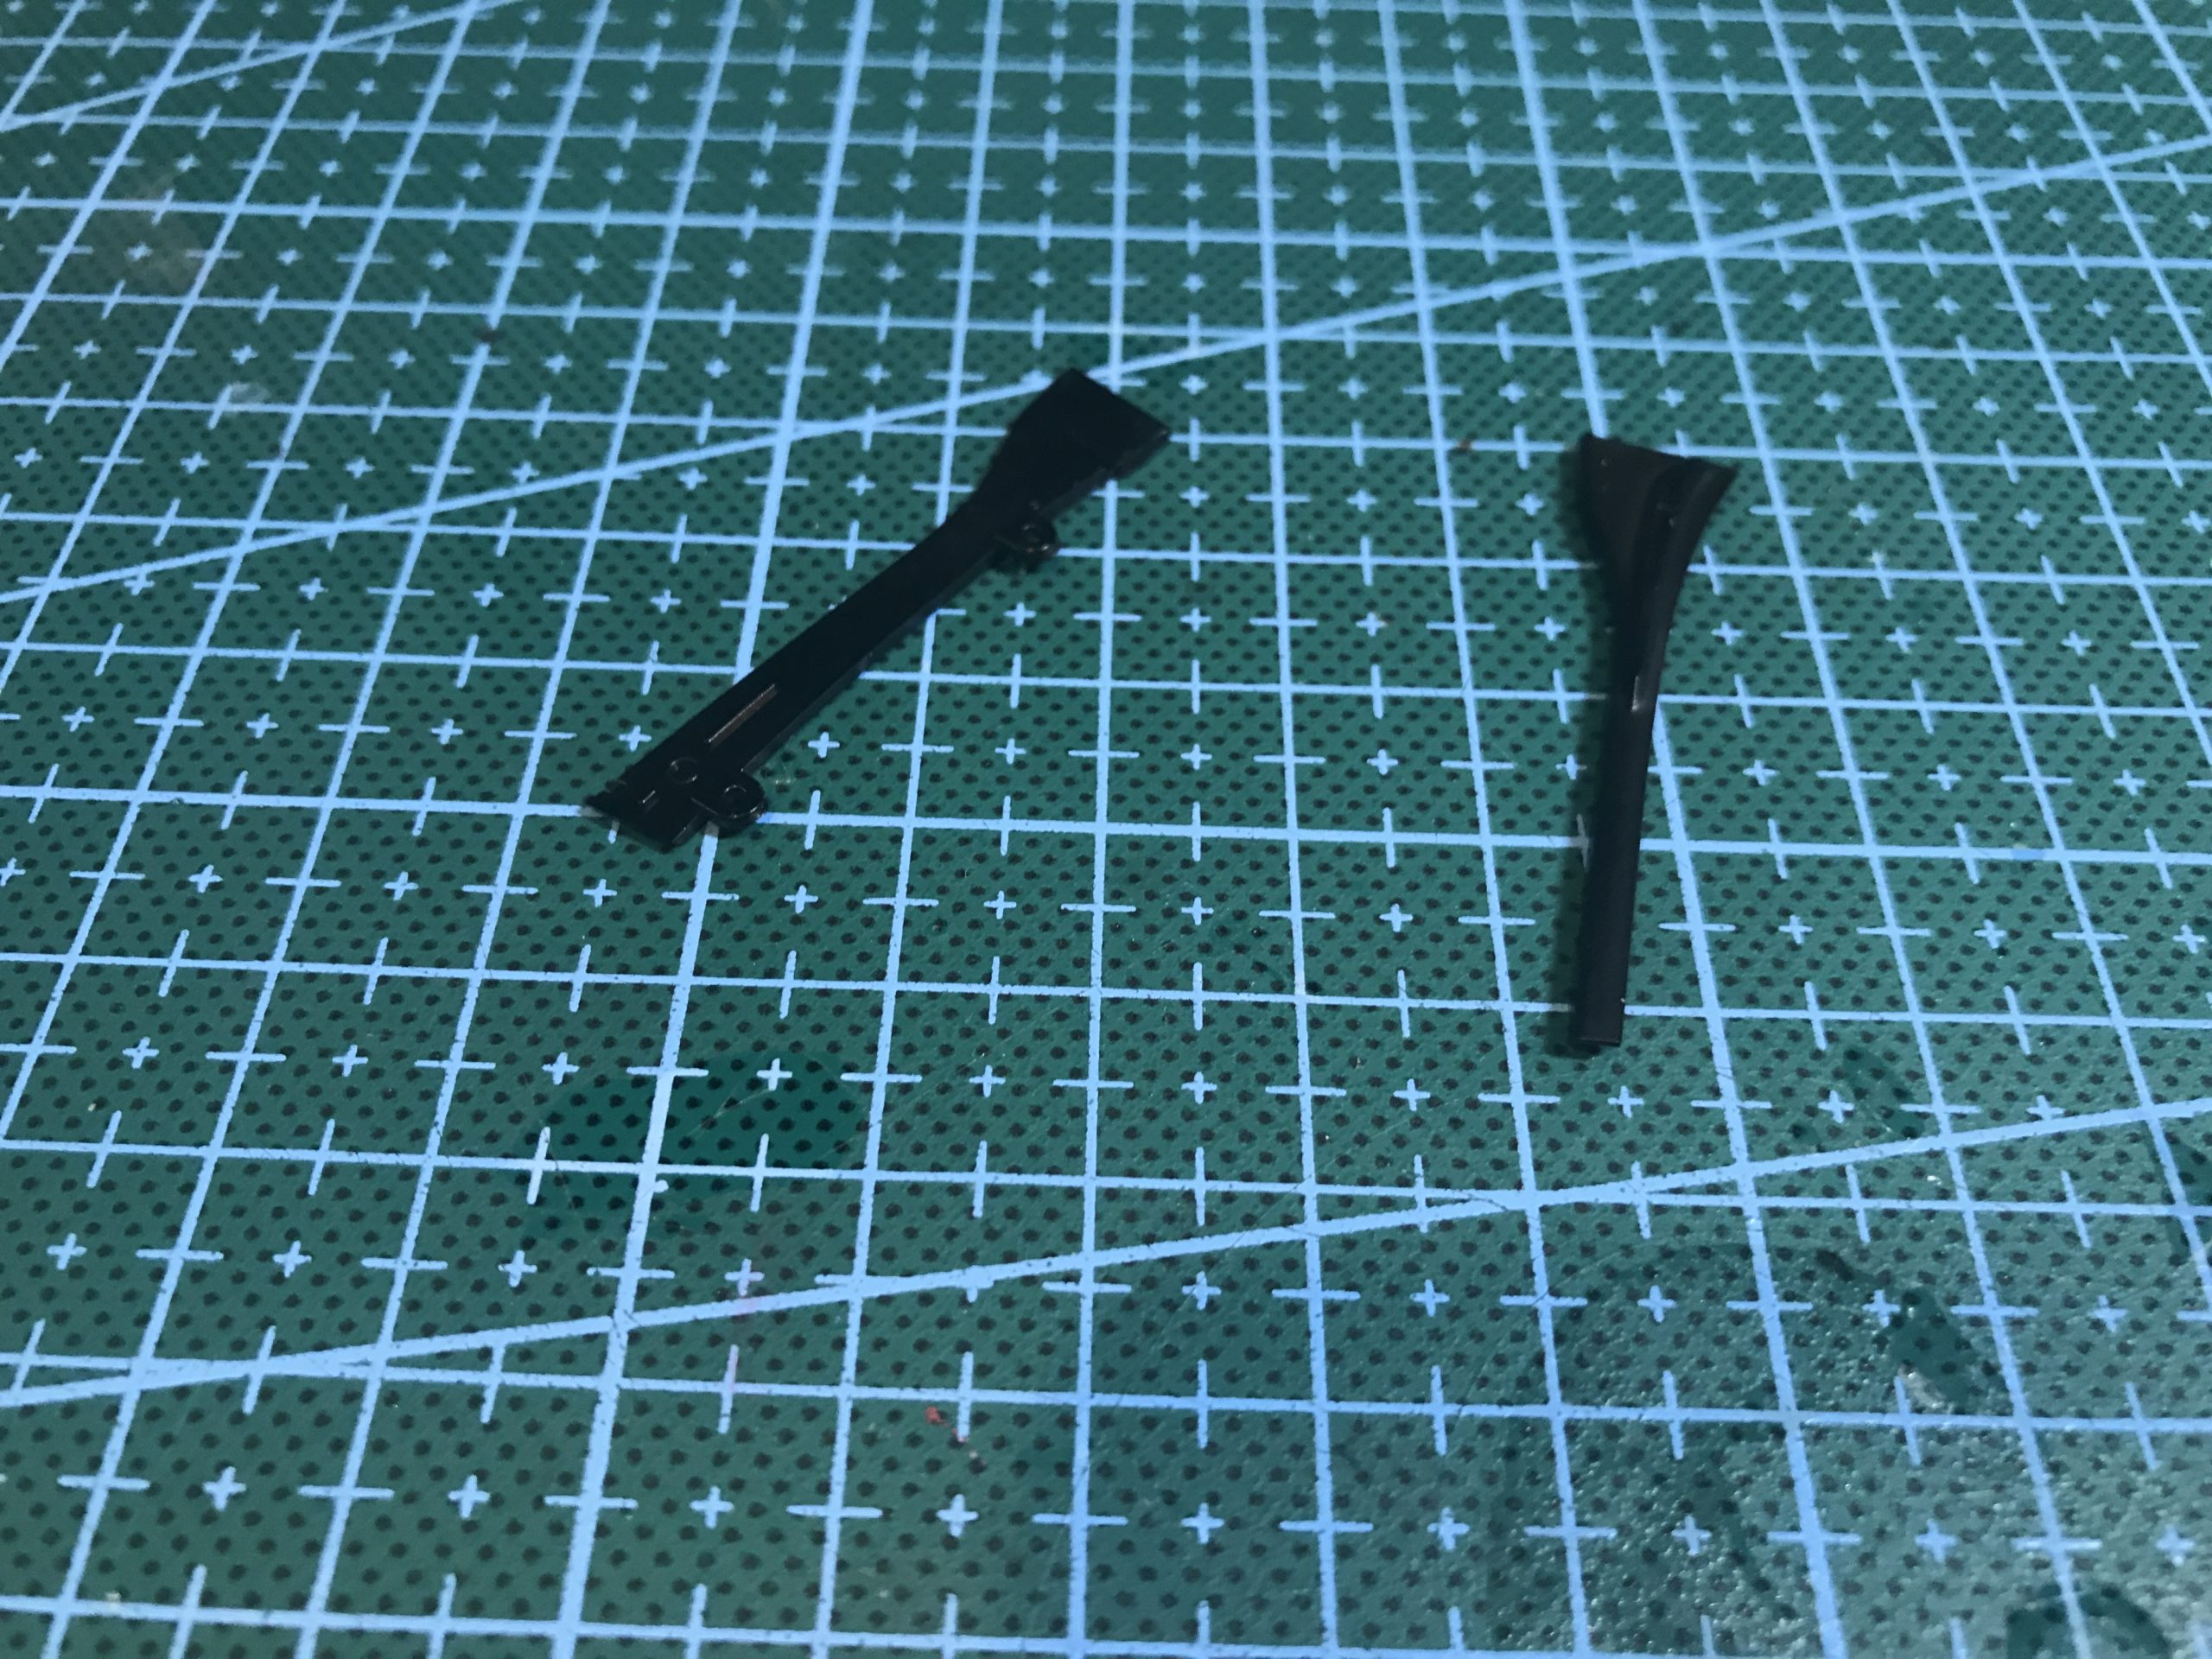
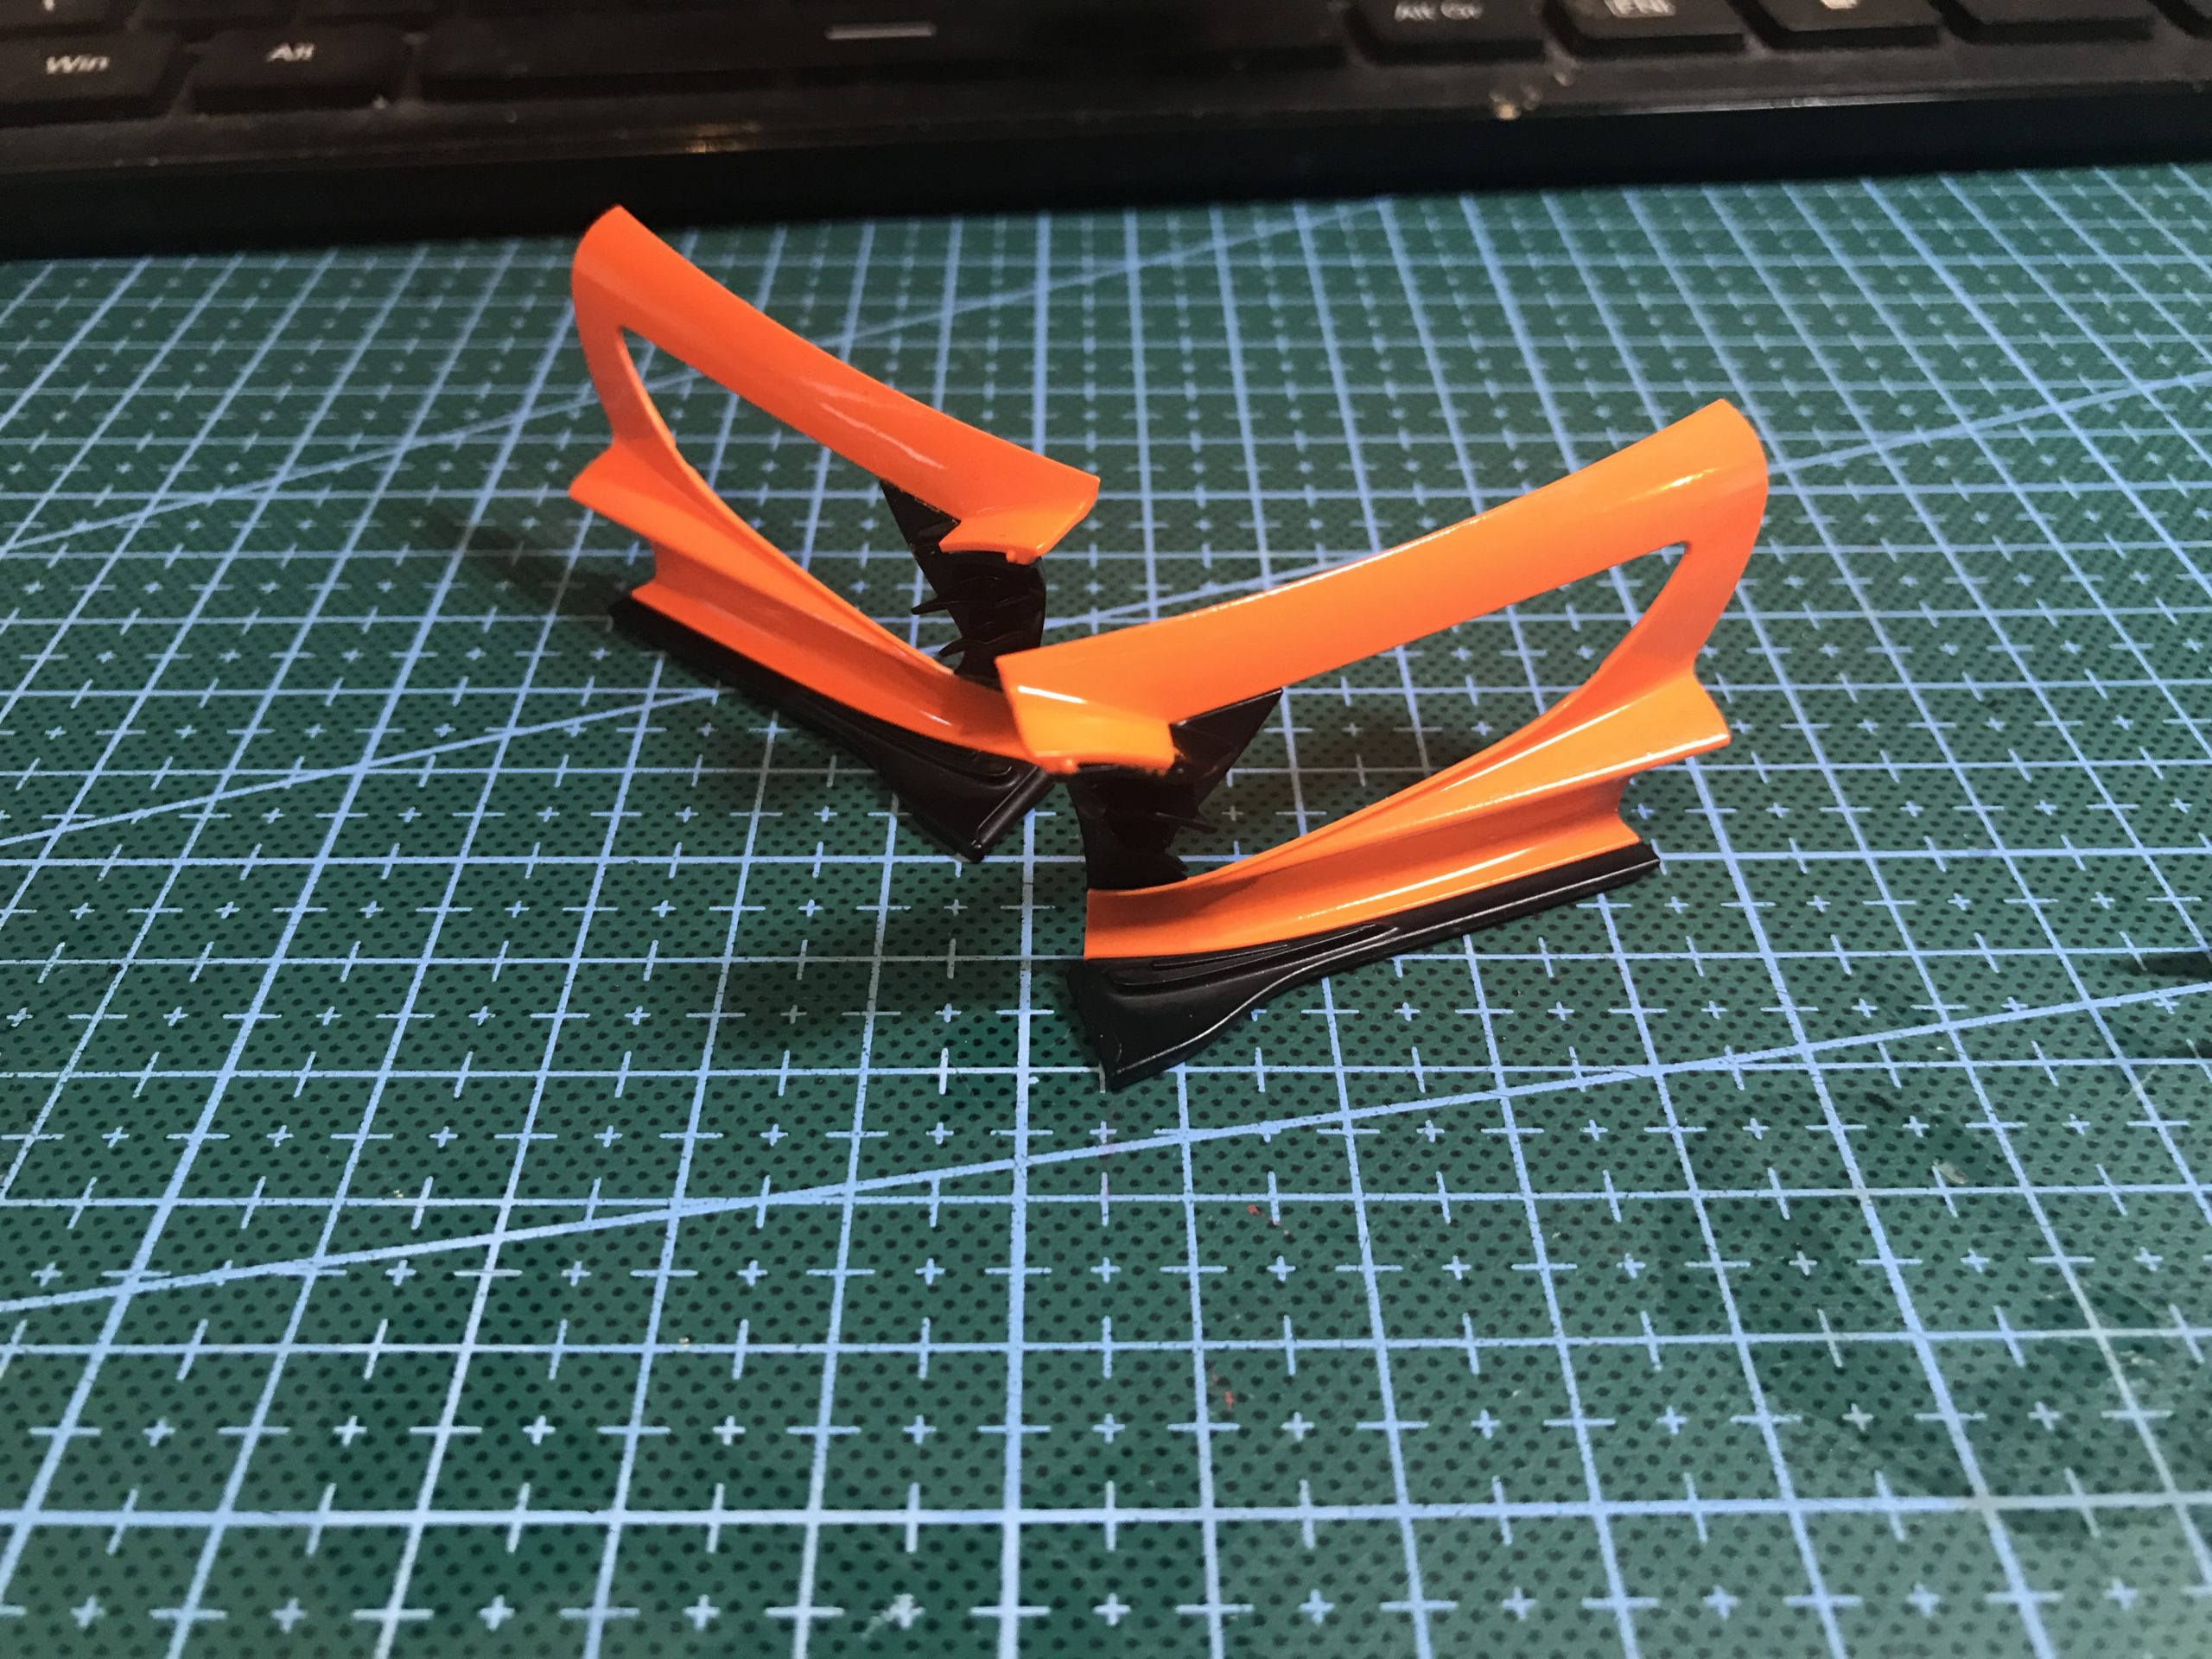
I started by breaking the parts down into two piles. the body parts orange and the contrast parts, which I decided to paint as per the instructions in Tamiya X-14 Sky Blue.
Once in their groups I cleaned the parts to make sure no chemicals from the moulding process were left on them and painted them.
I put the rattle can on a warm radiator to heat the paint up a bit (not too long though) and shook it for a good few minutes until I was happy it was thoroughly mixed.
I painted the sky-blue through the airbrush.
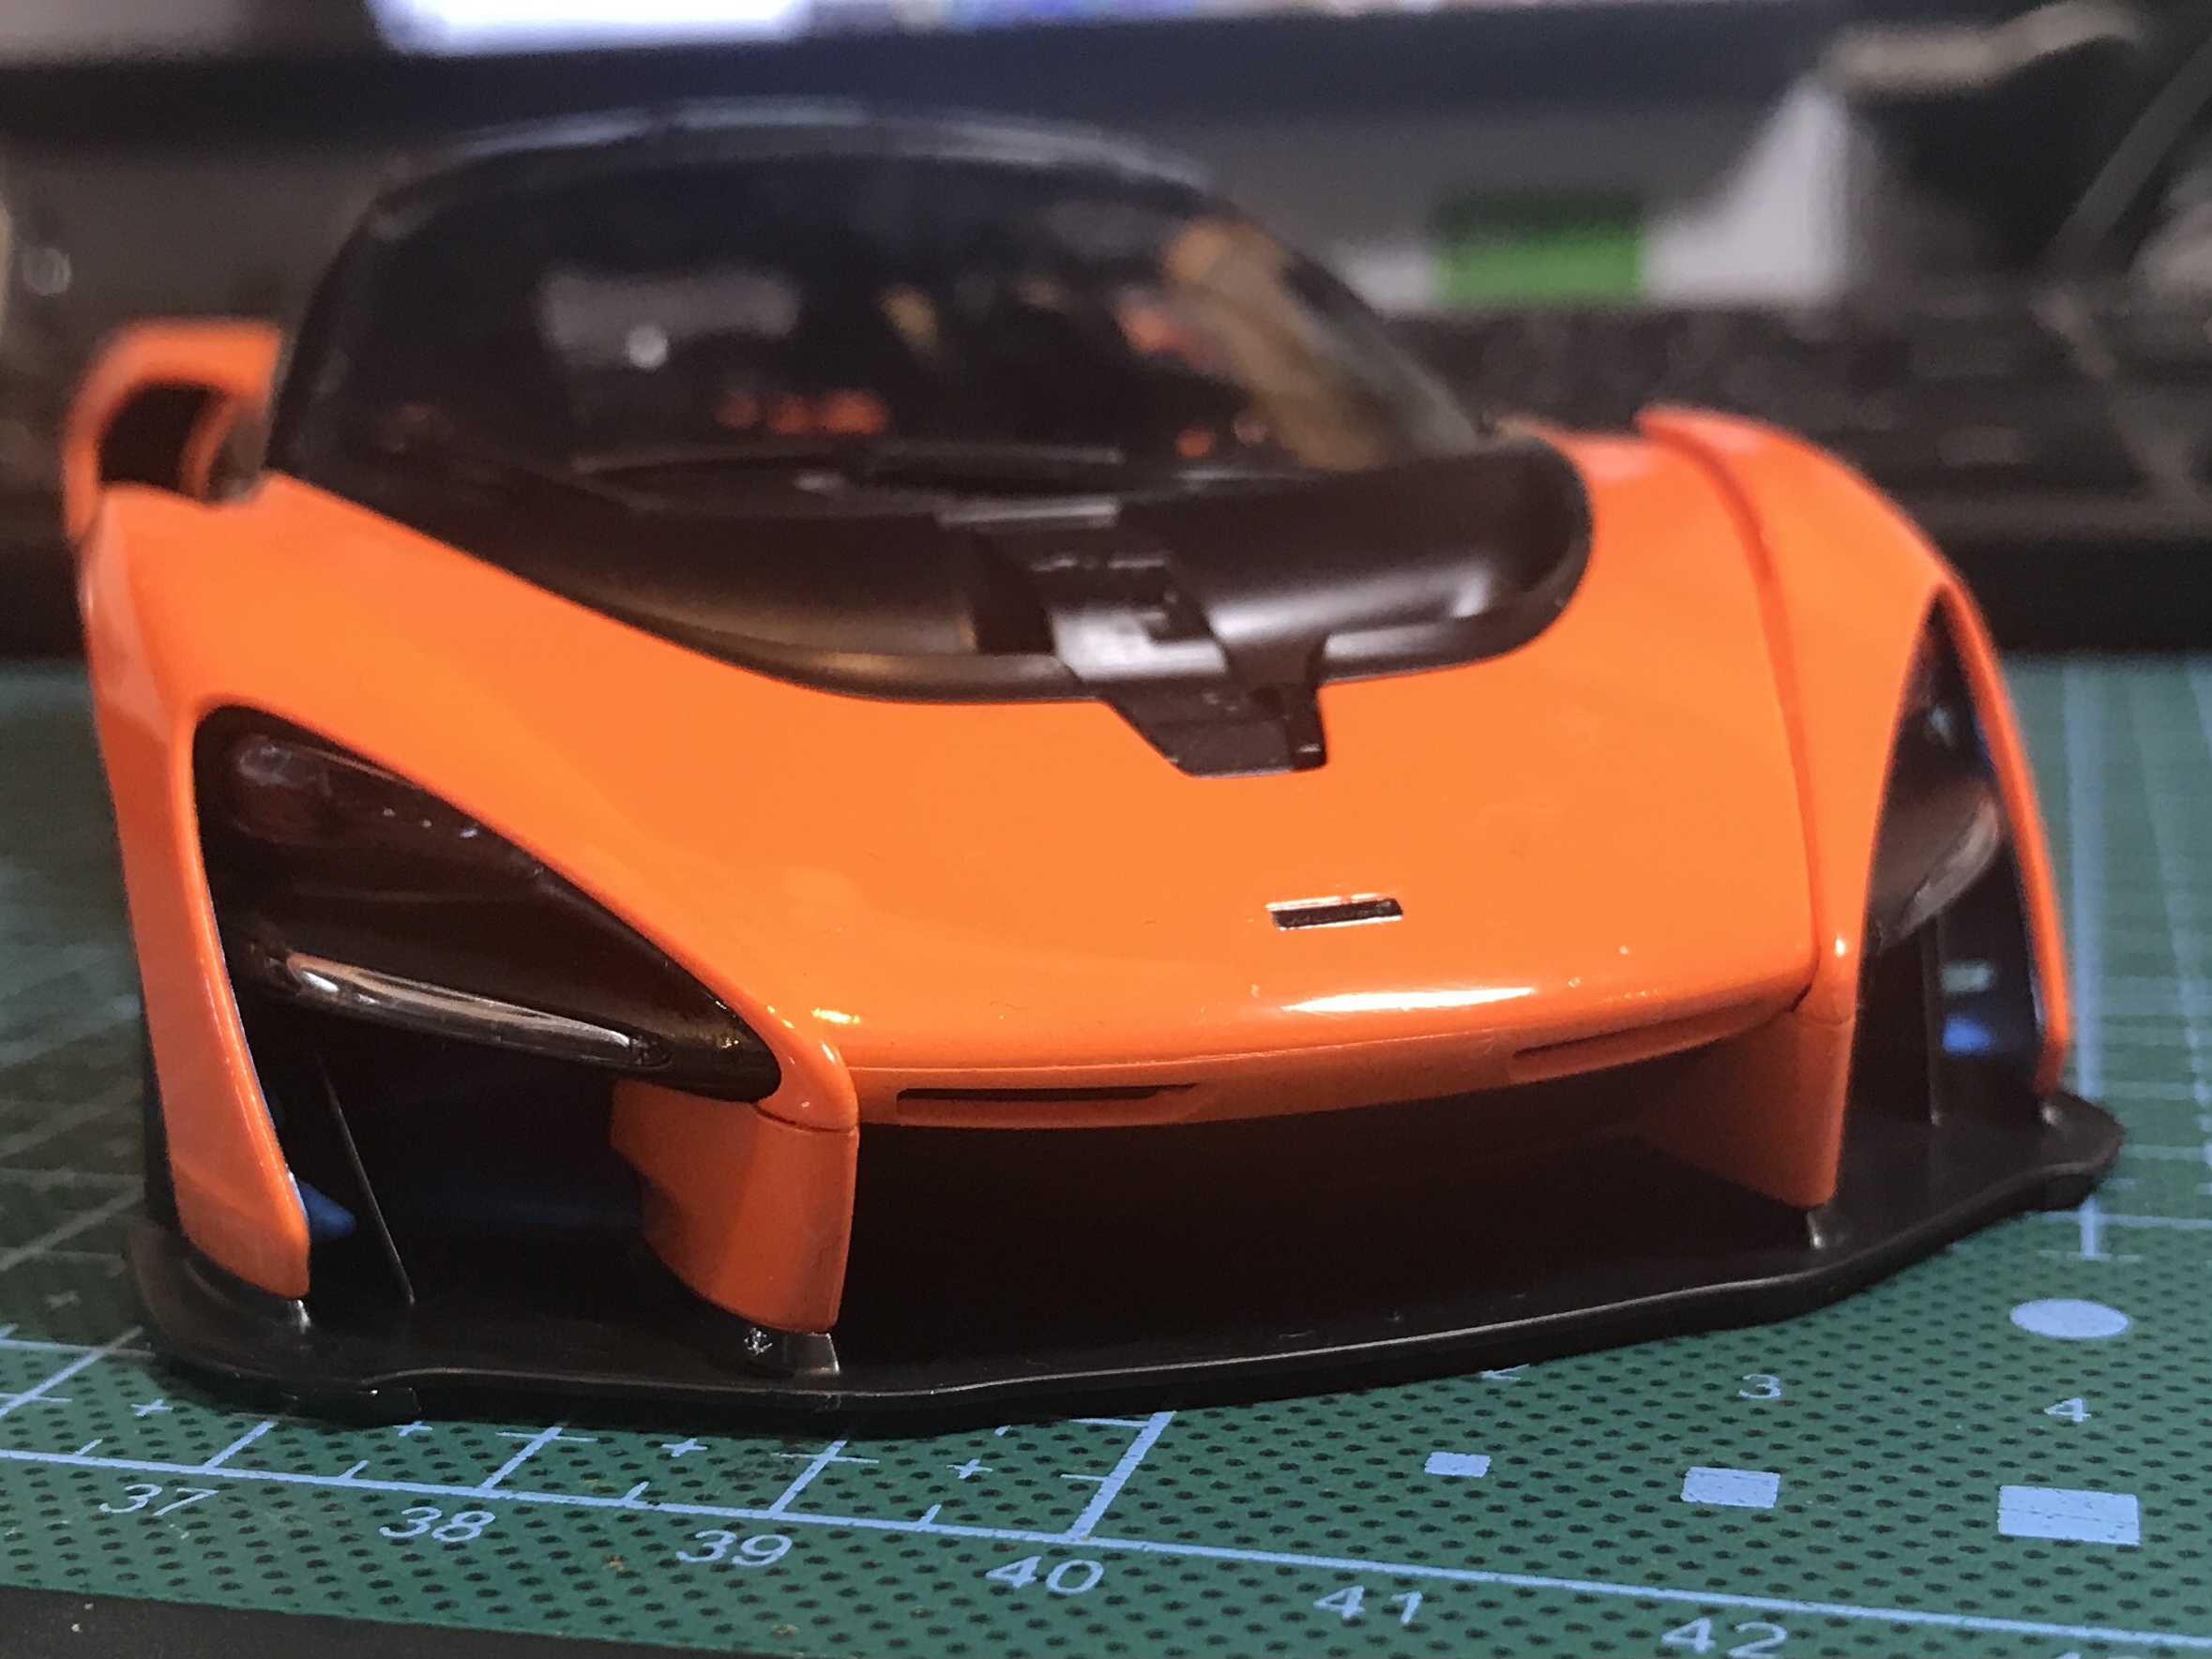
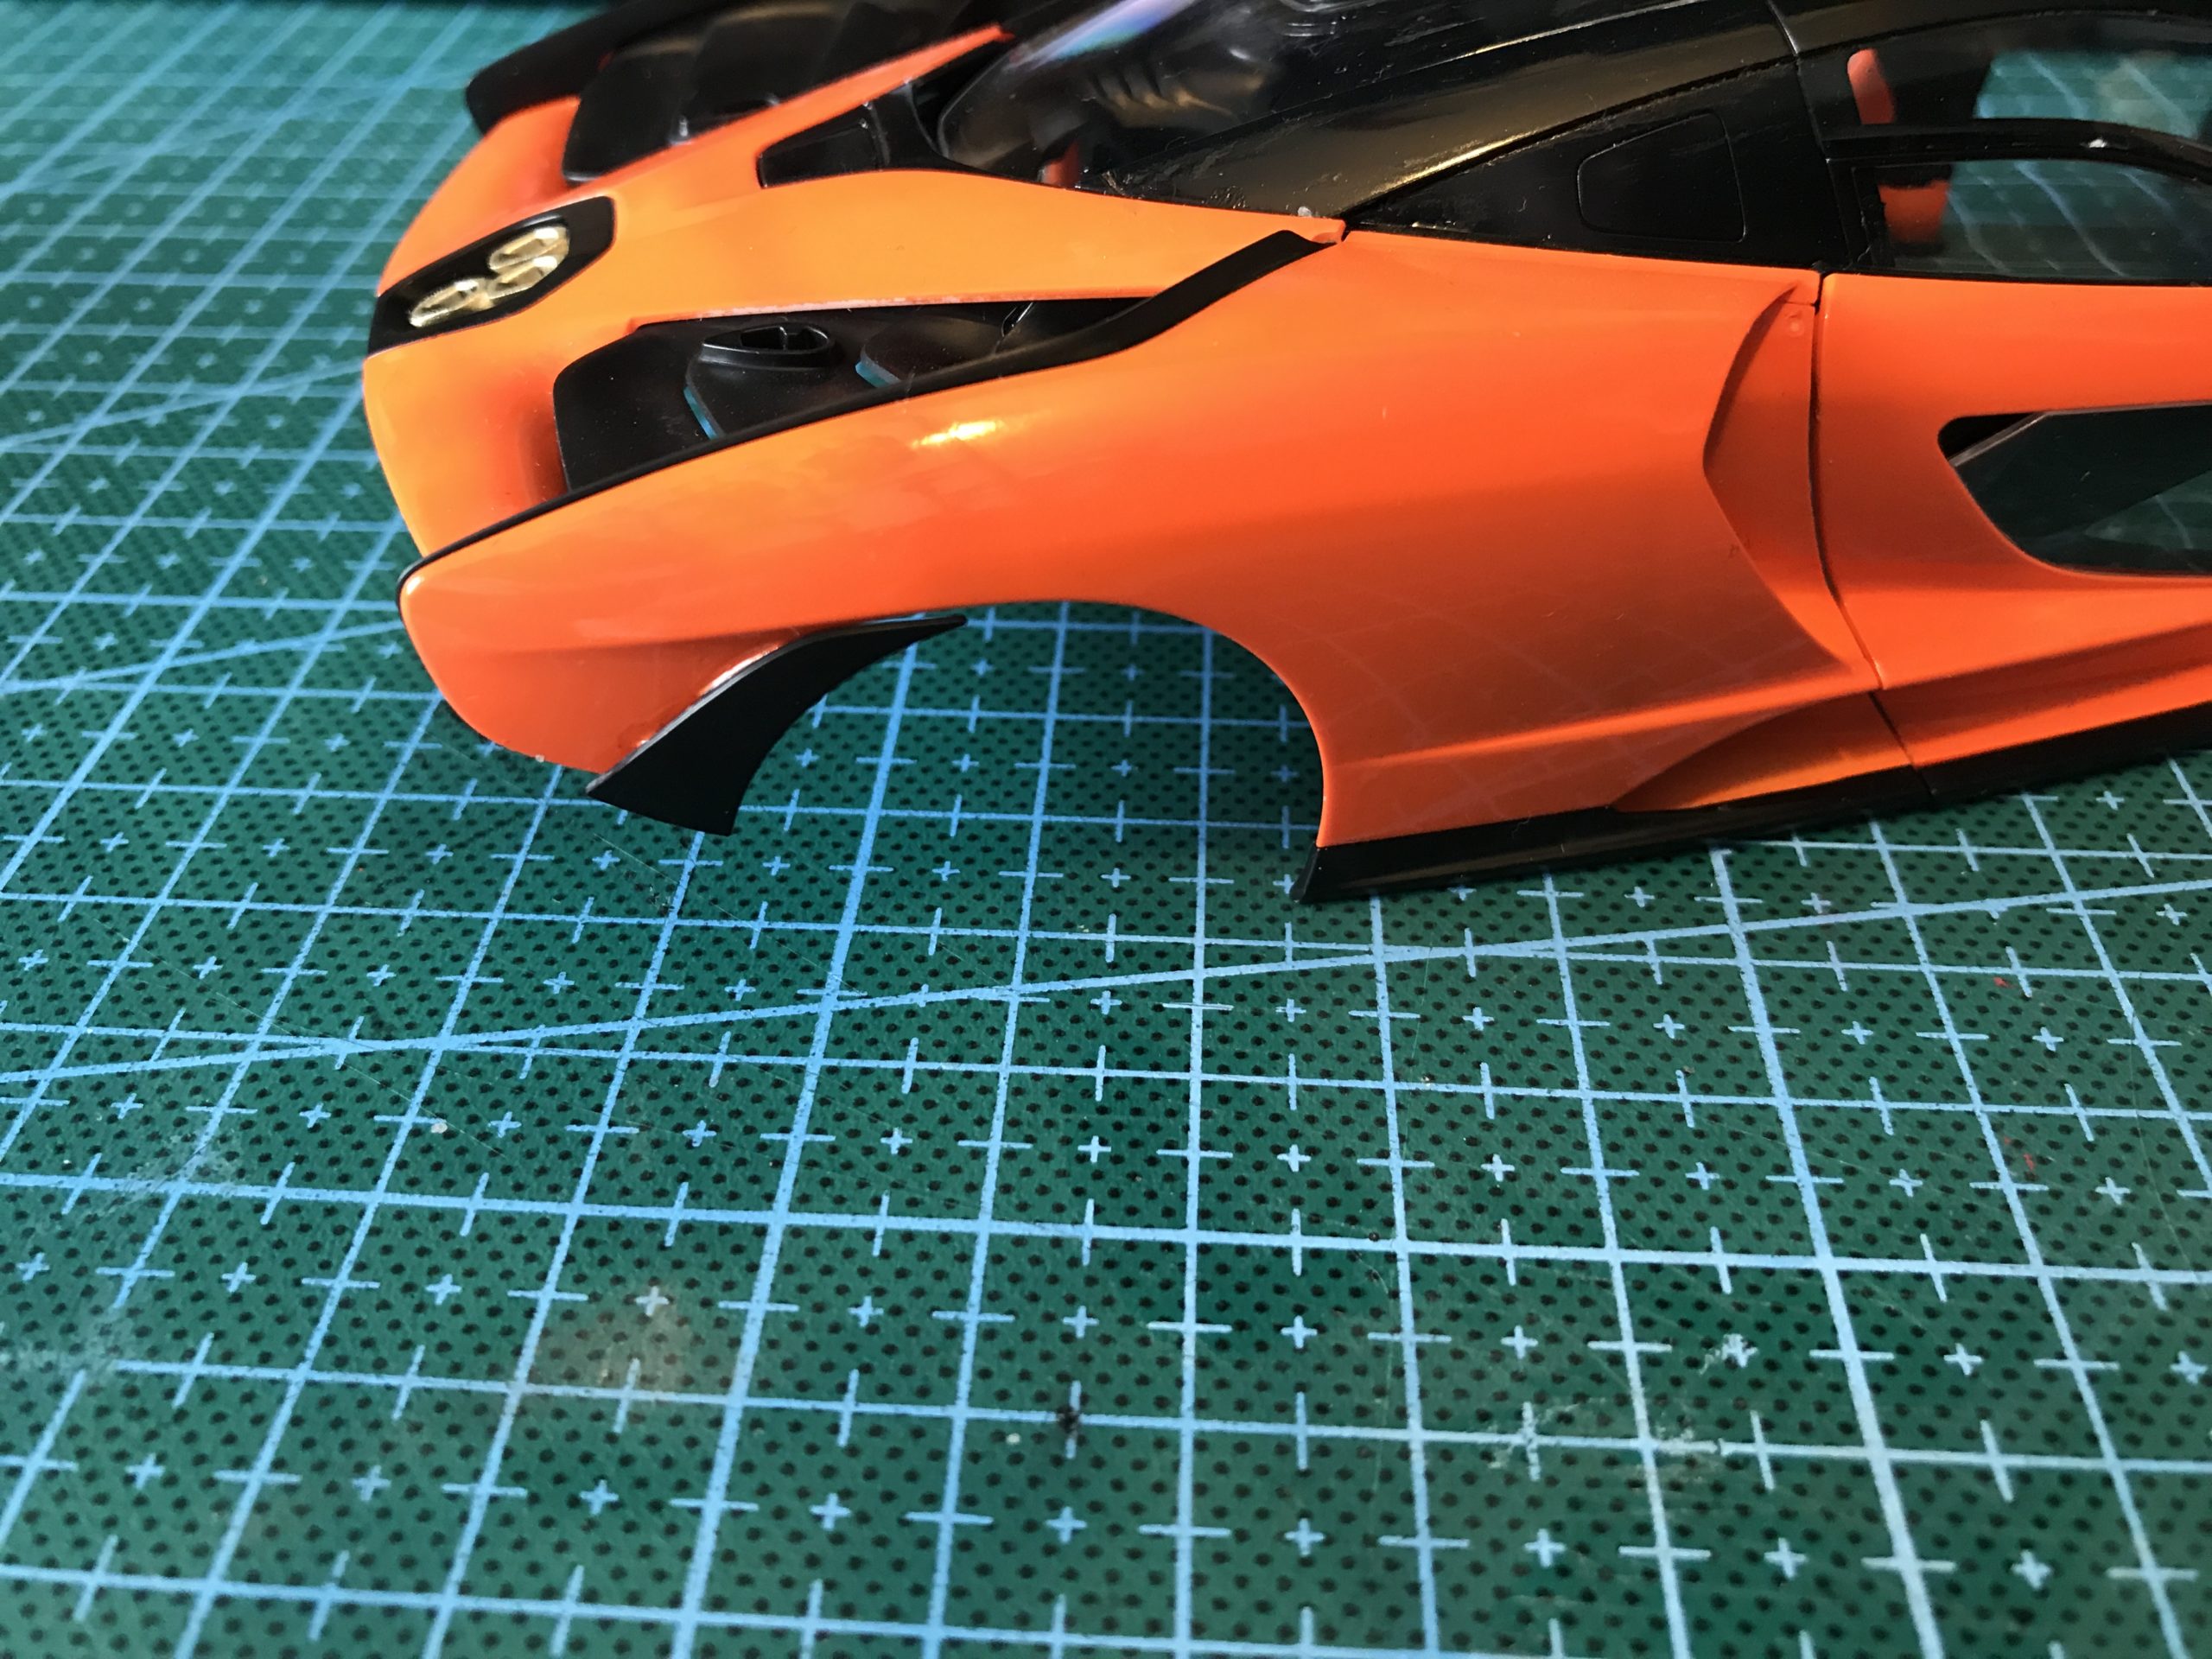
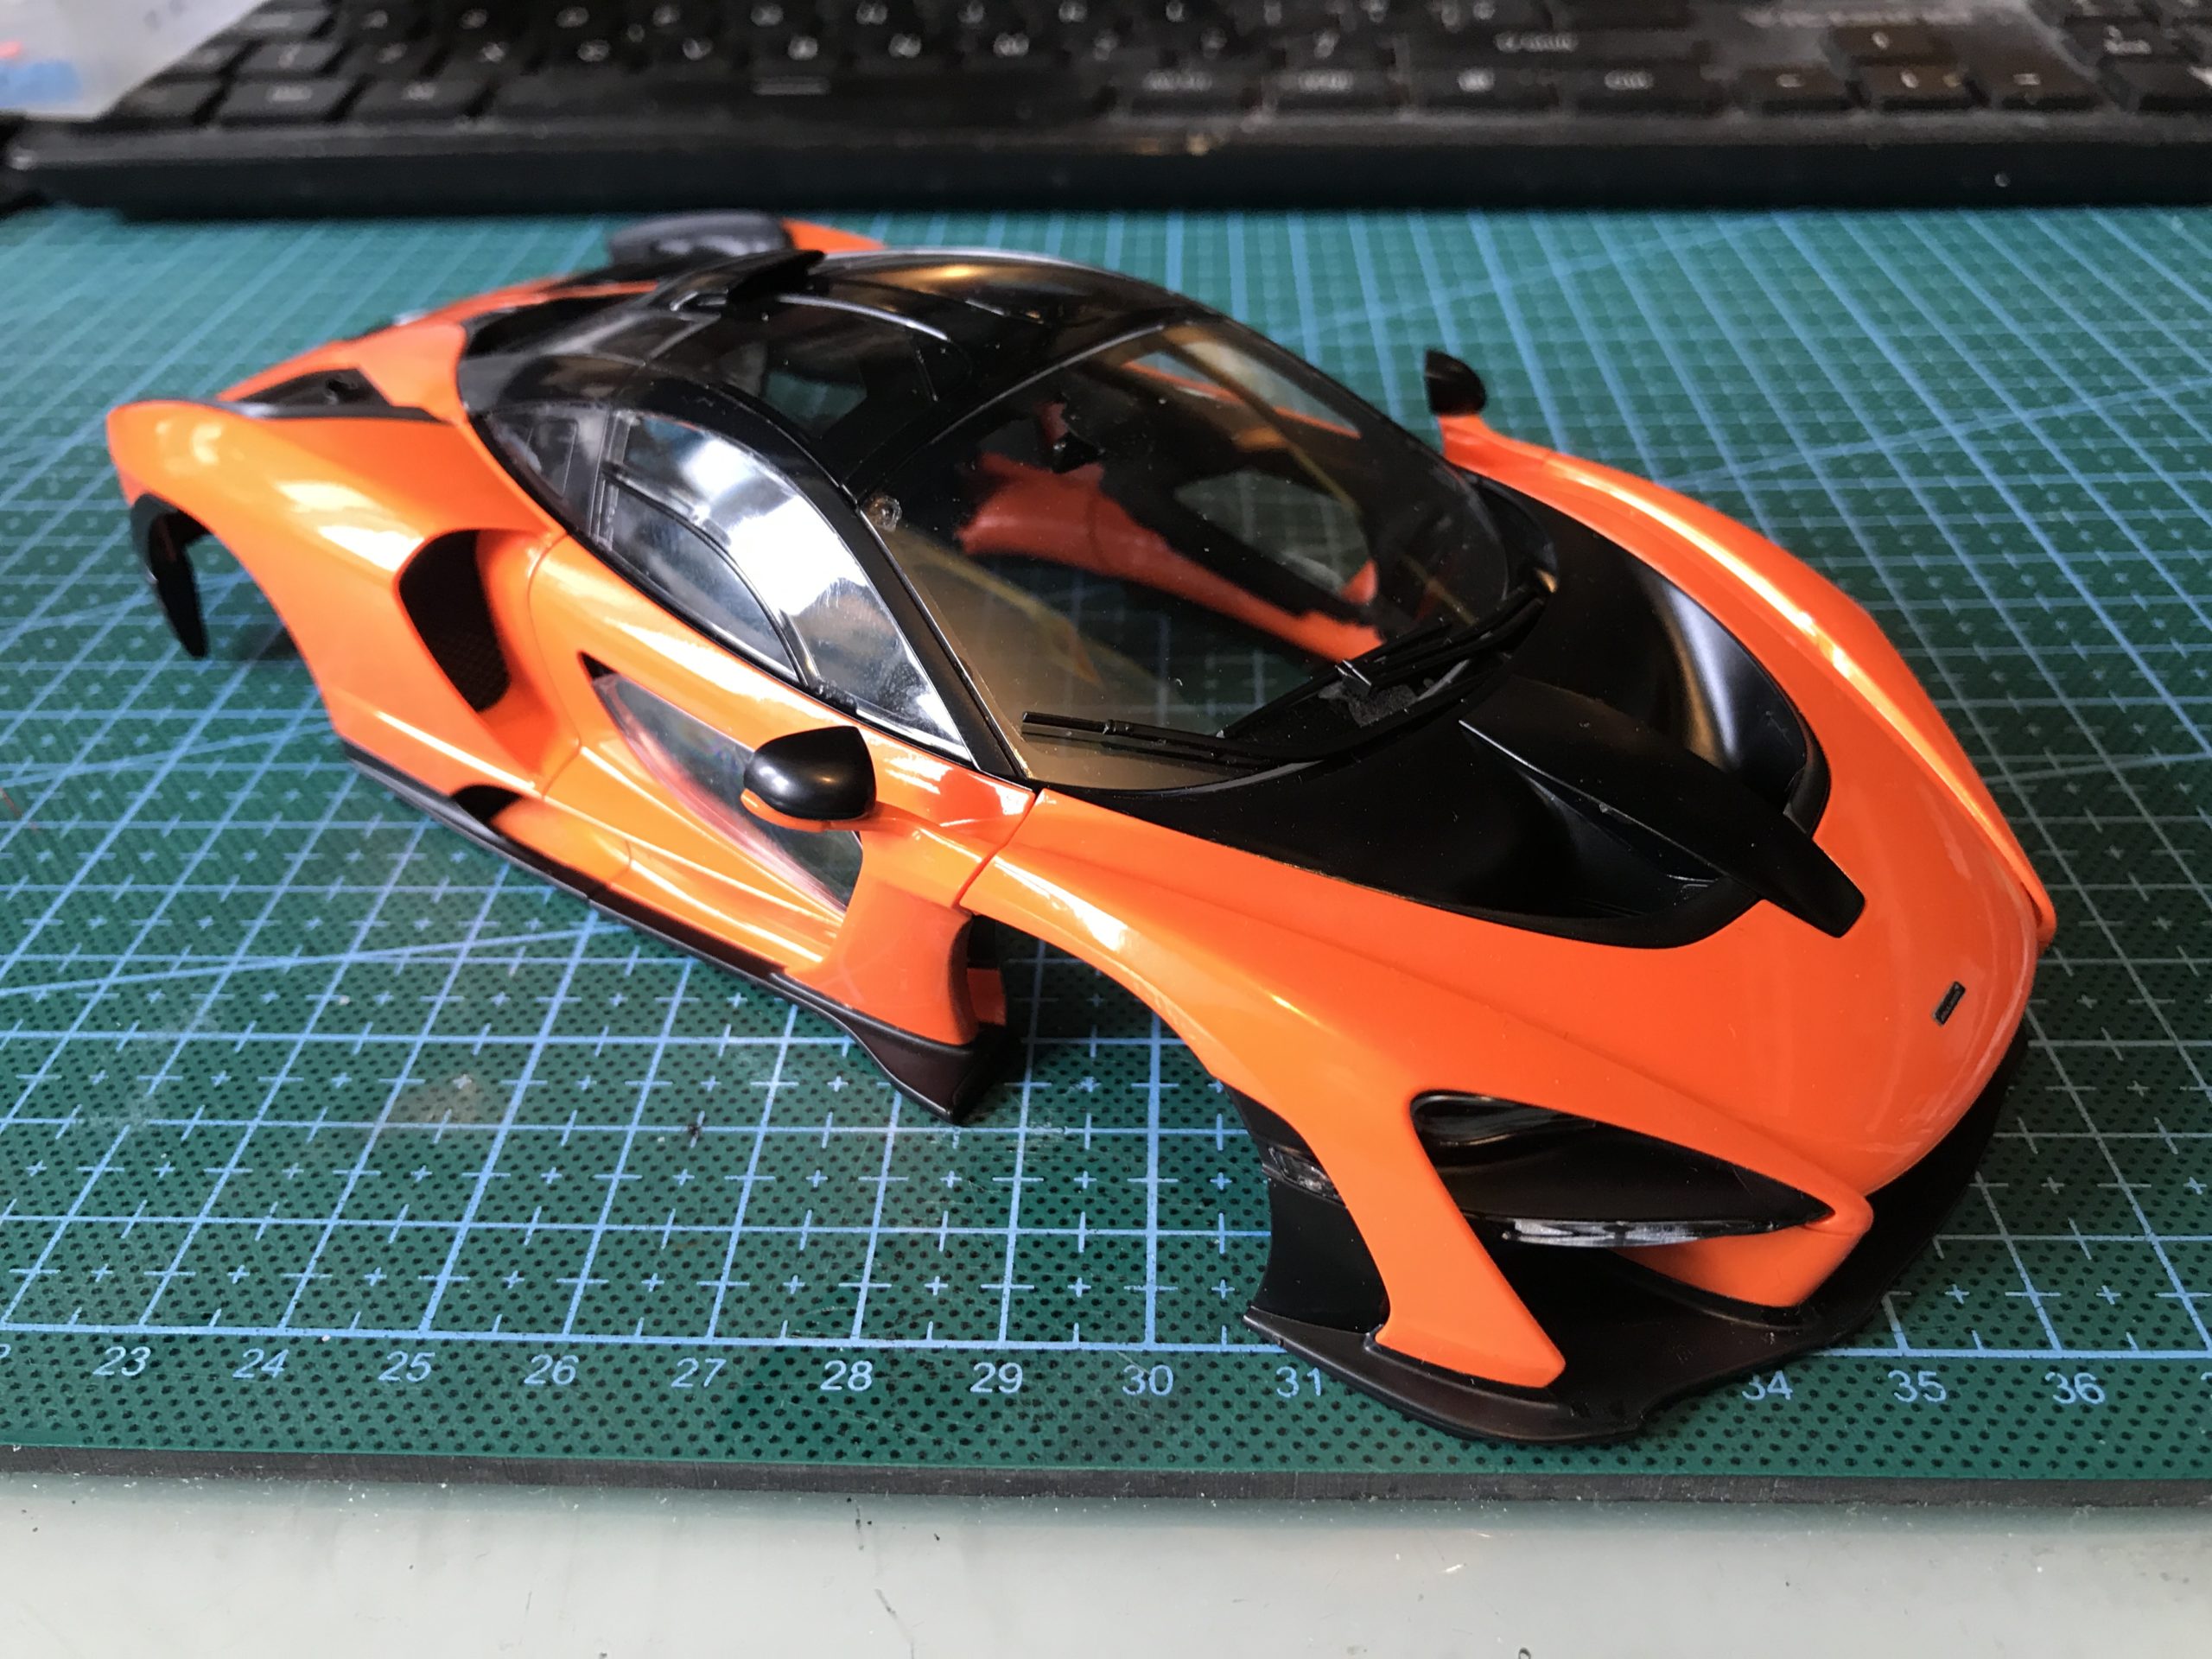
To say I was pleased with the result from the rattle can is an understatement. It turned out better than I could have dreamed. This is definitely my preferred option for cars from now on. Lets take a look at a few pics.


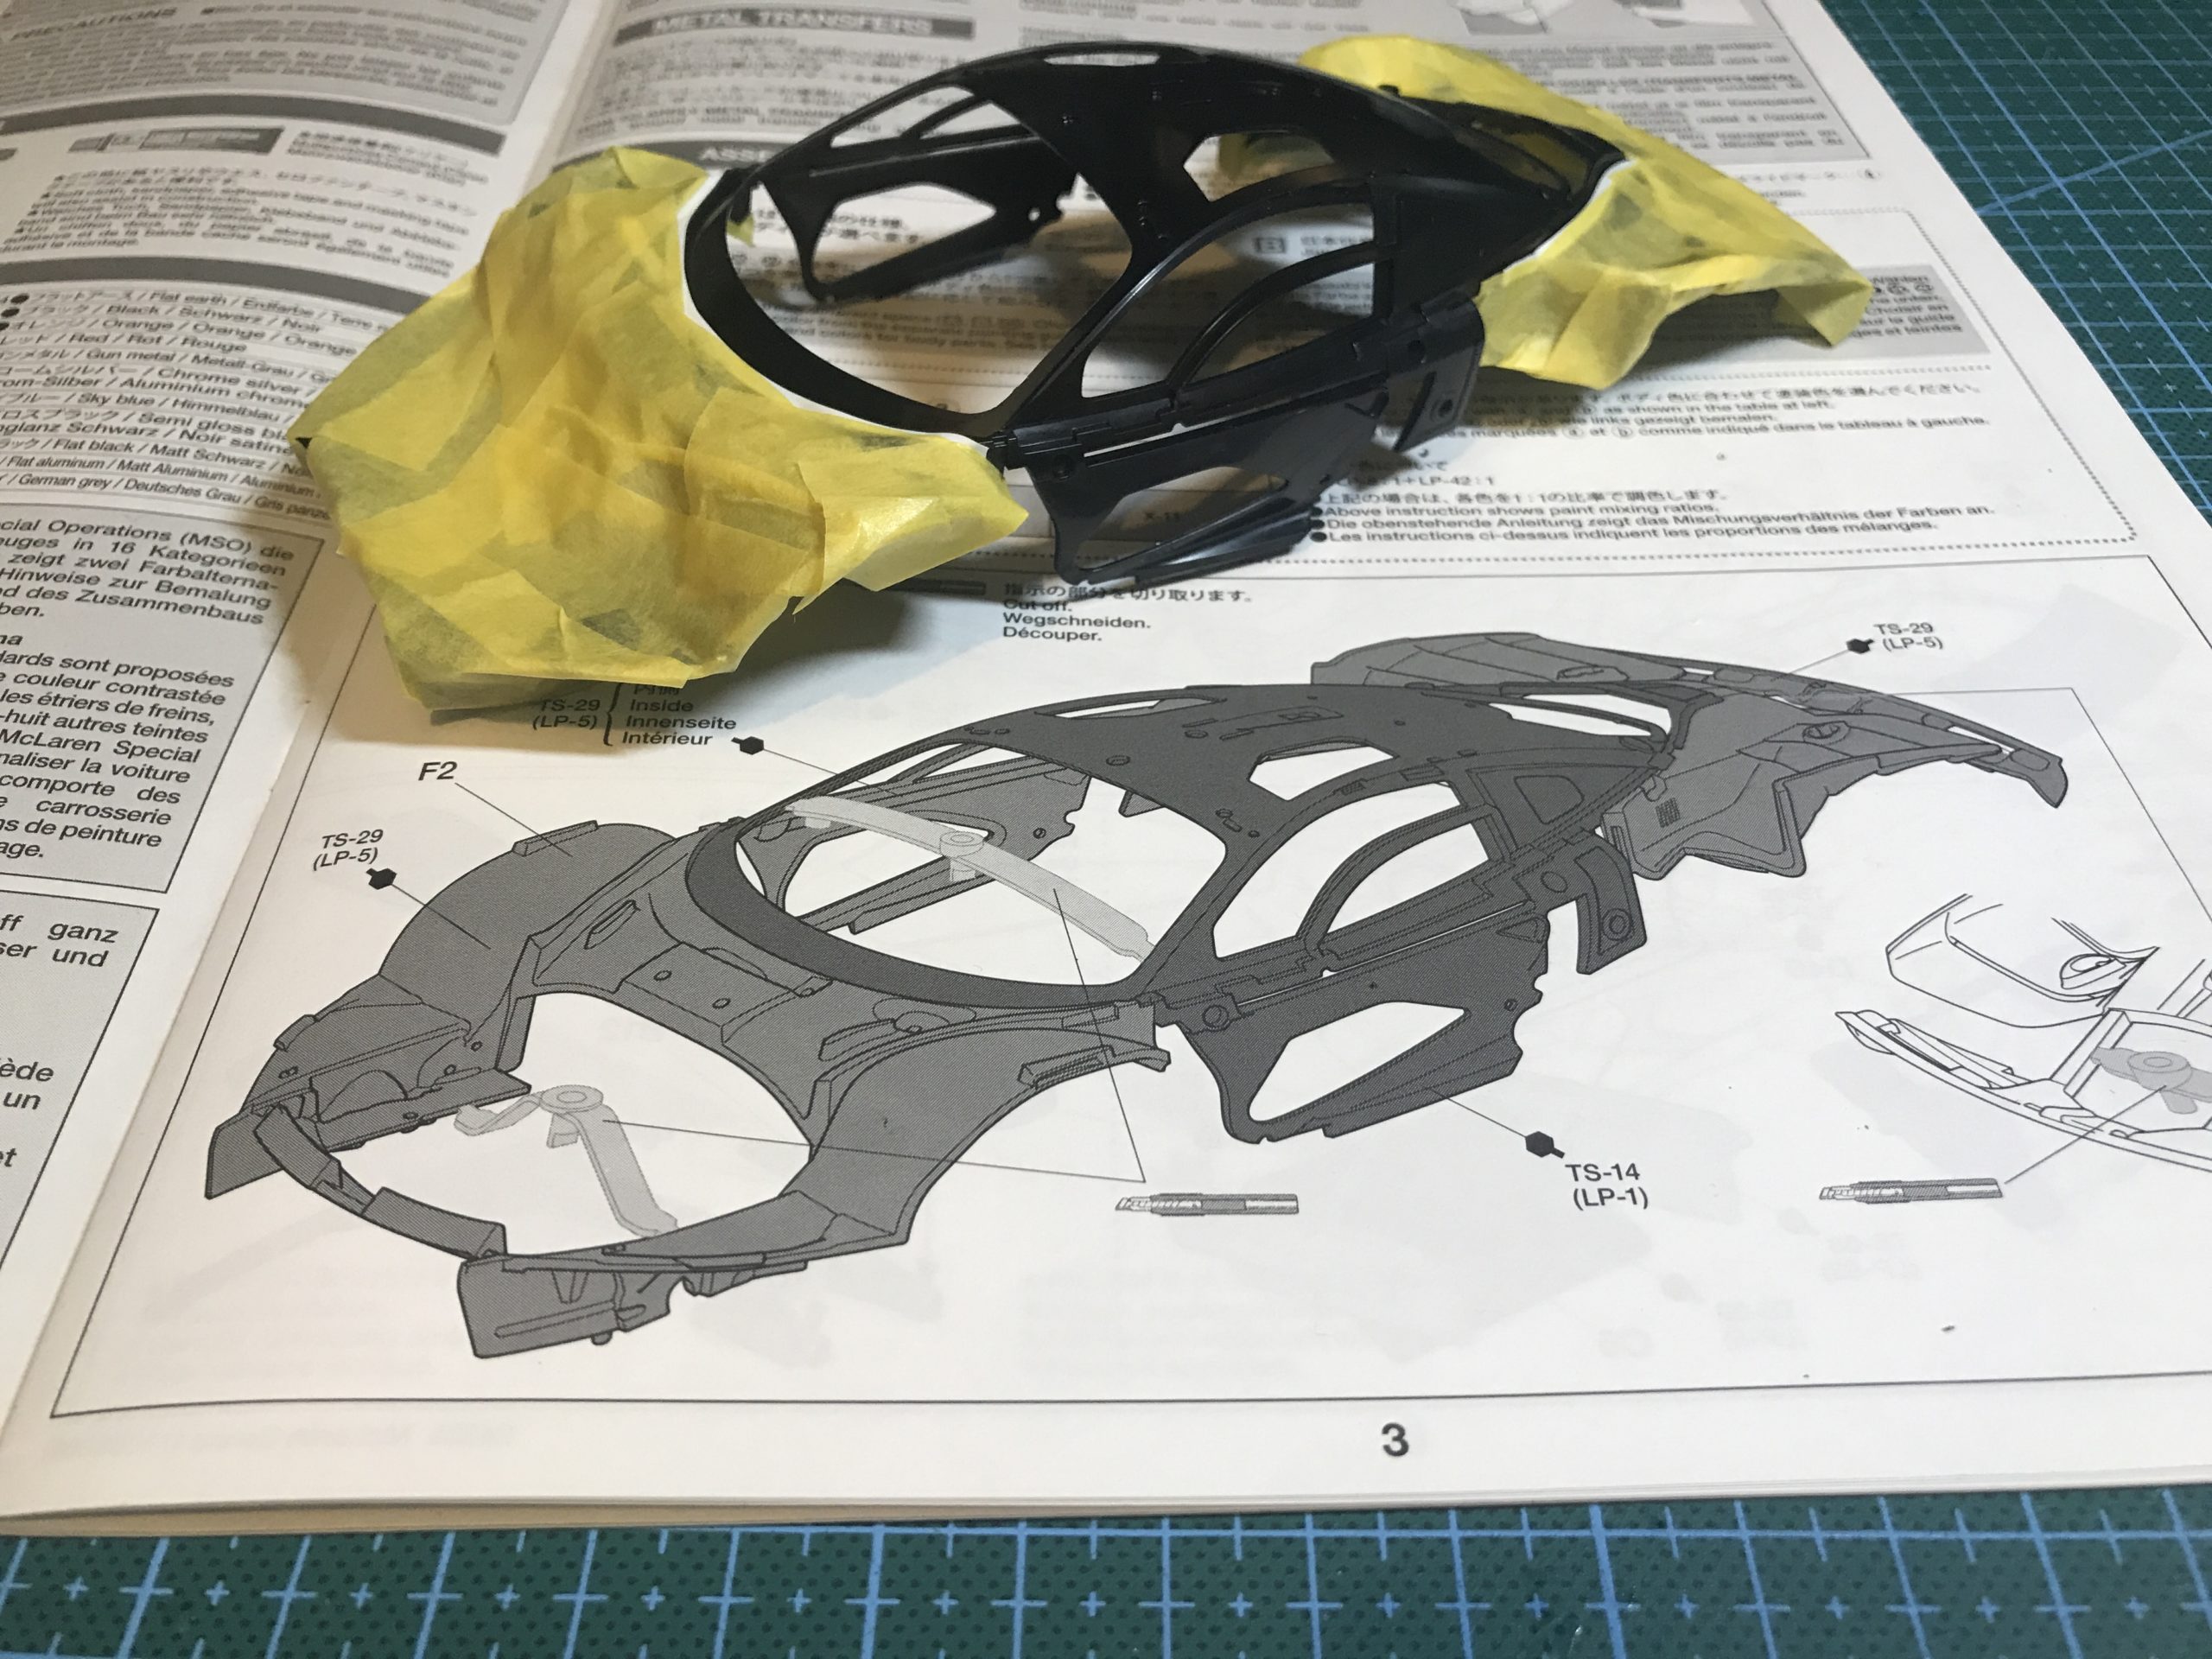
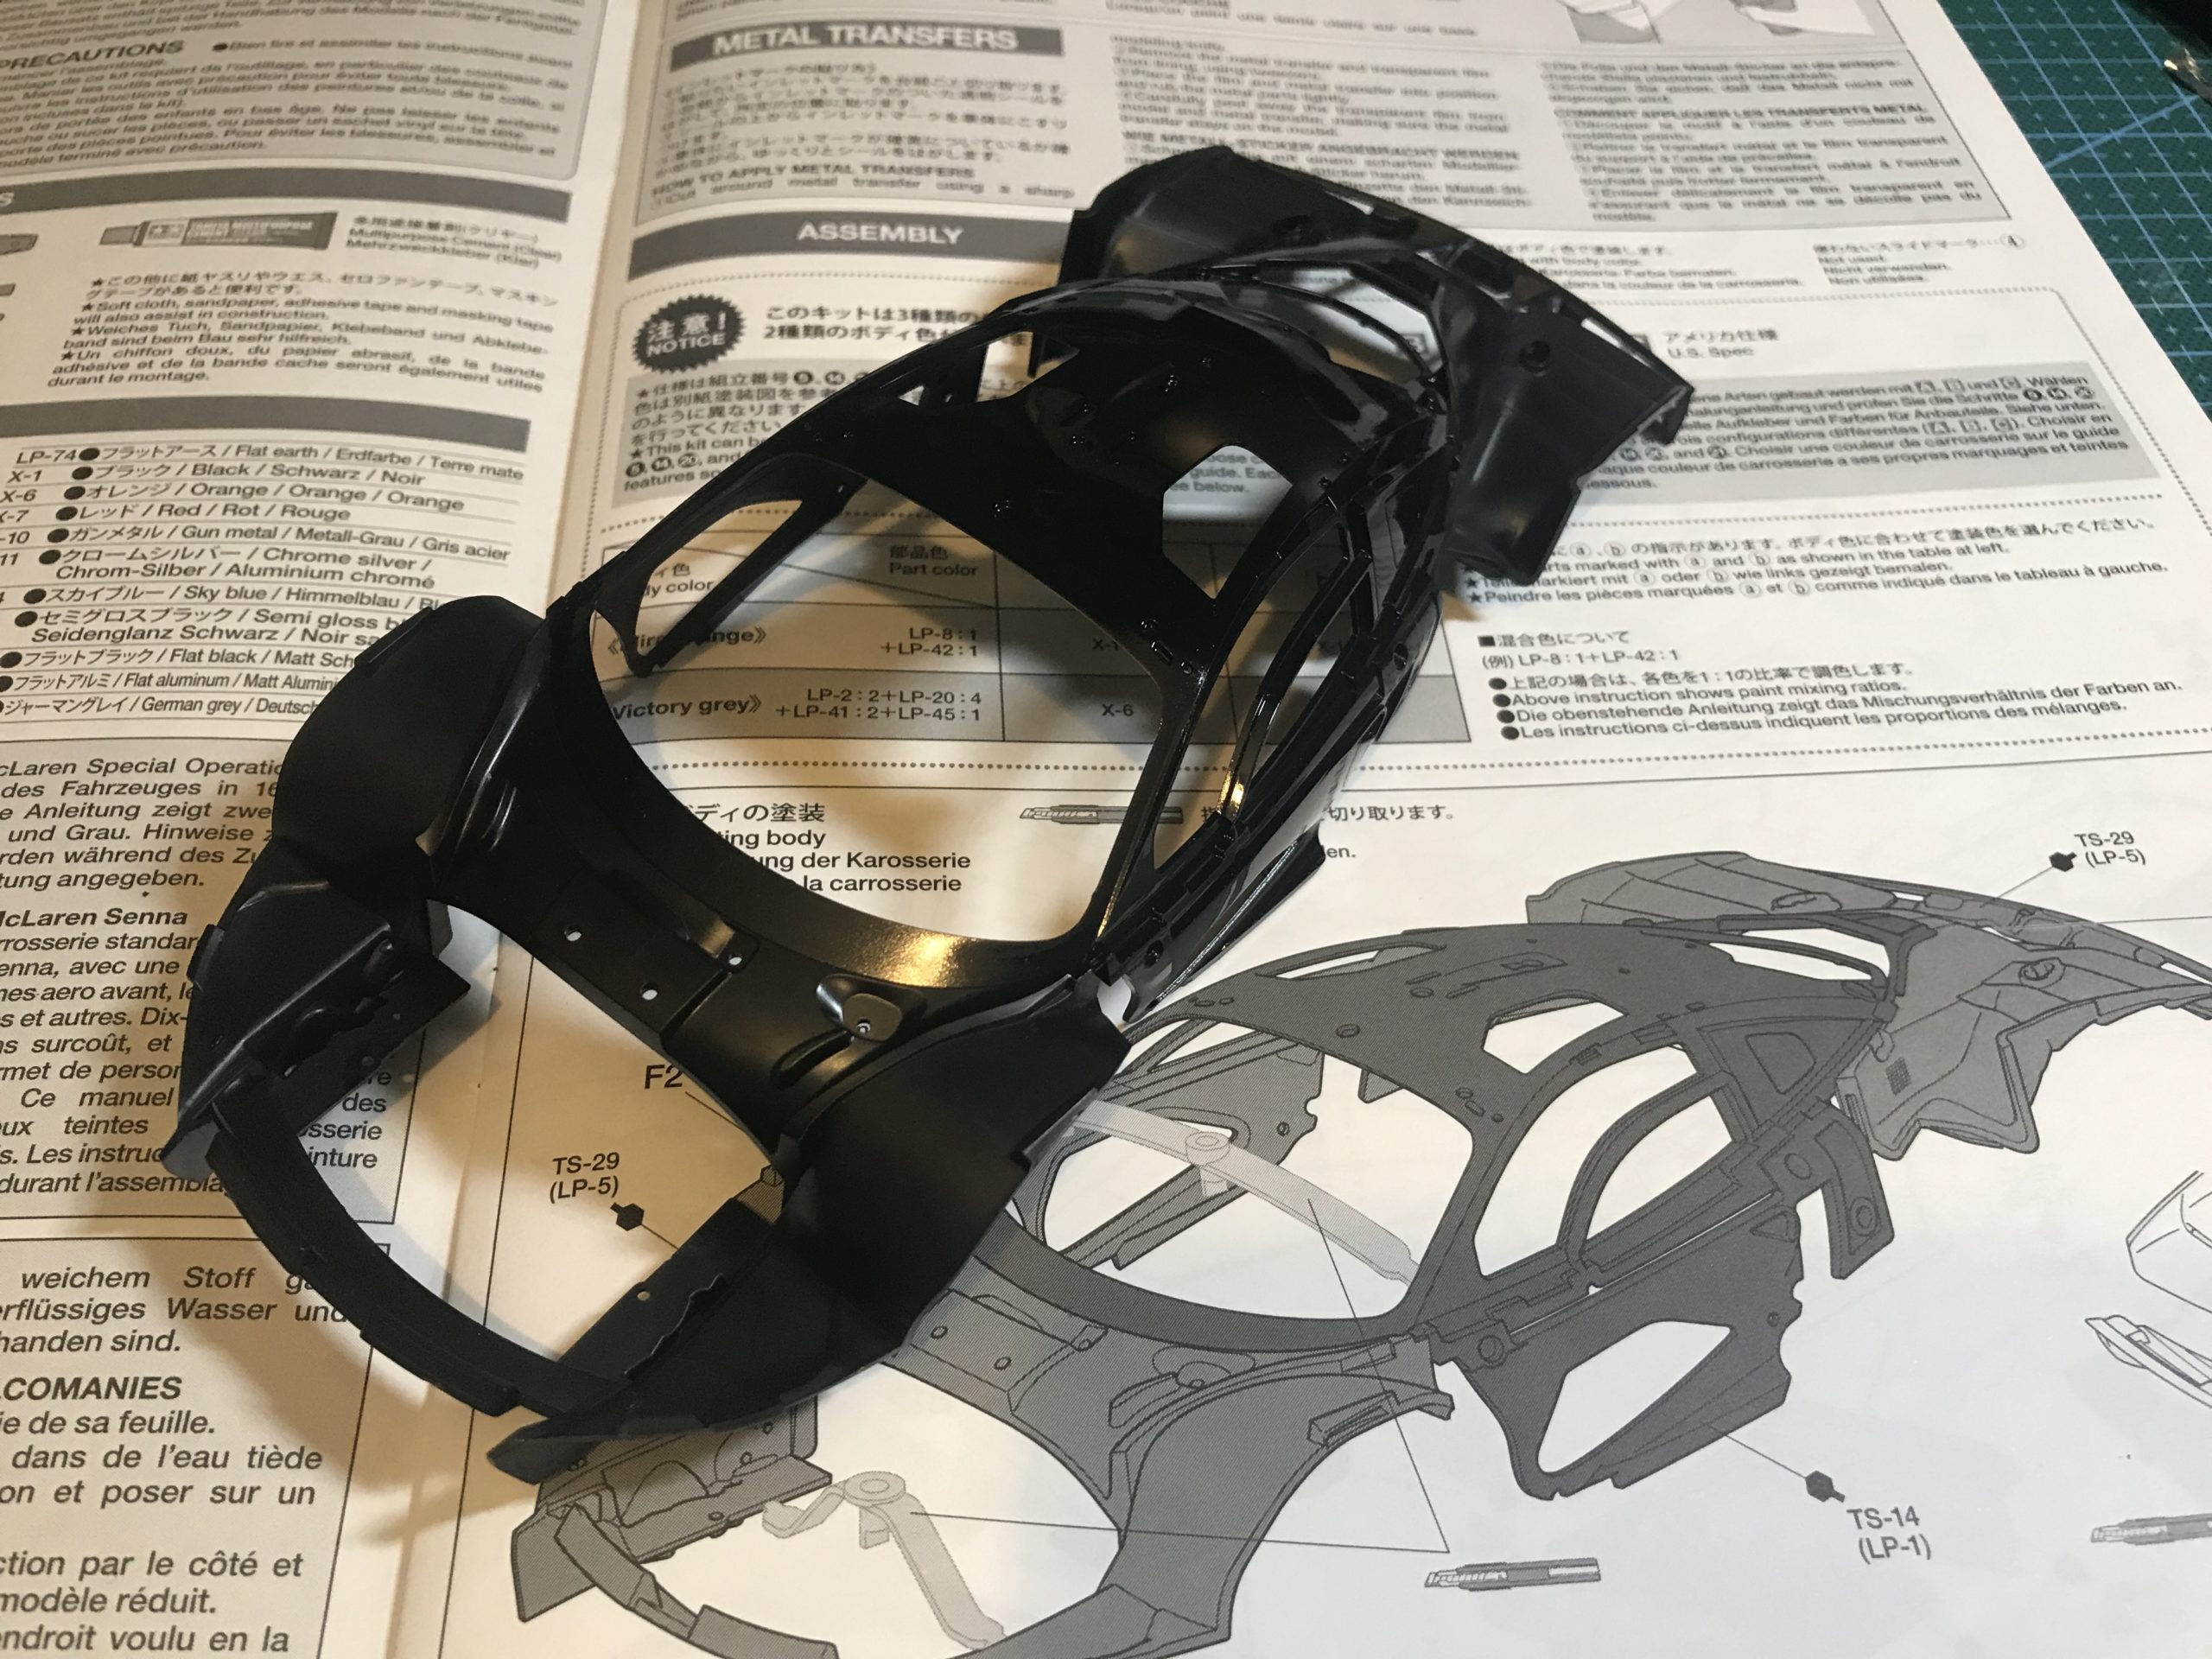
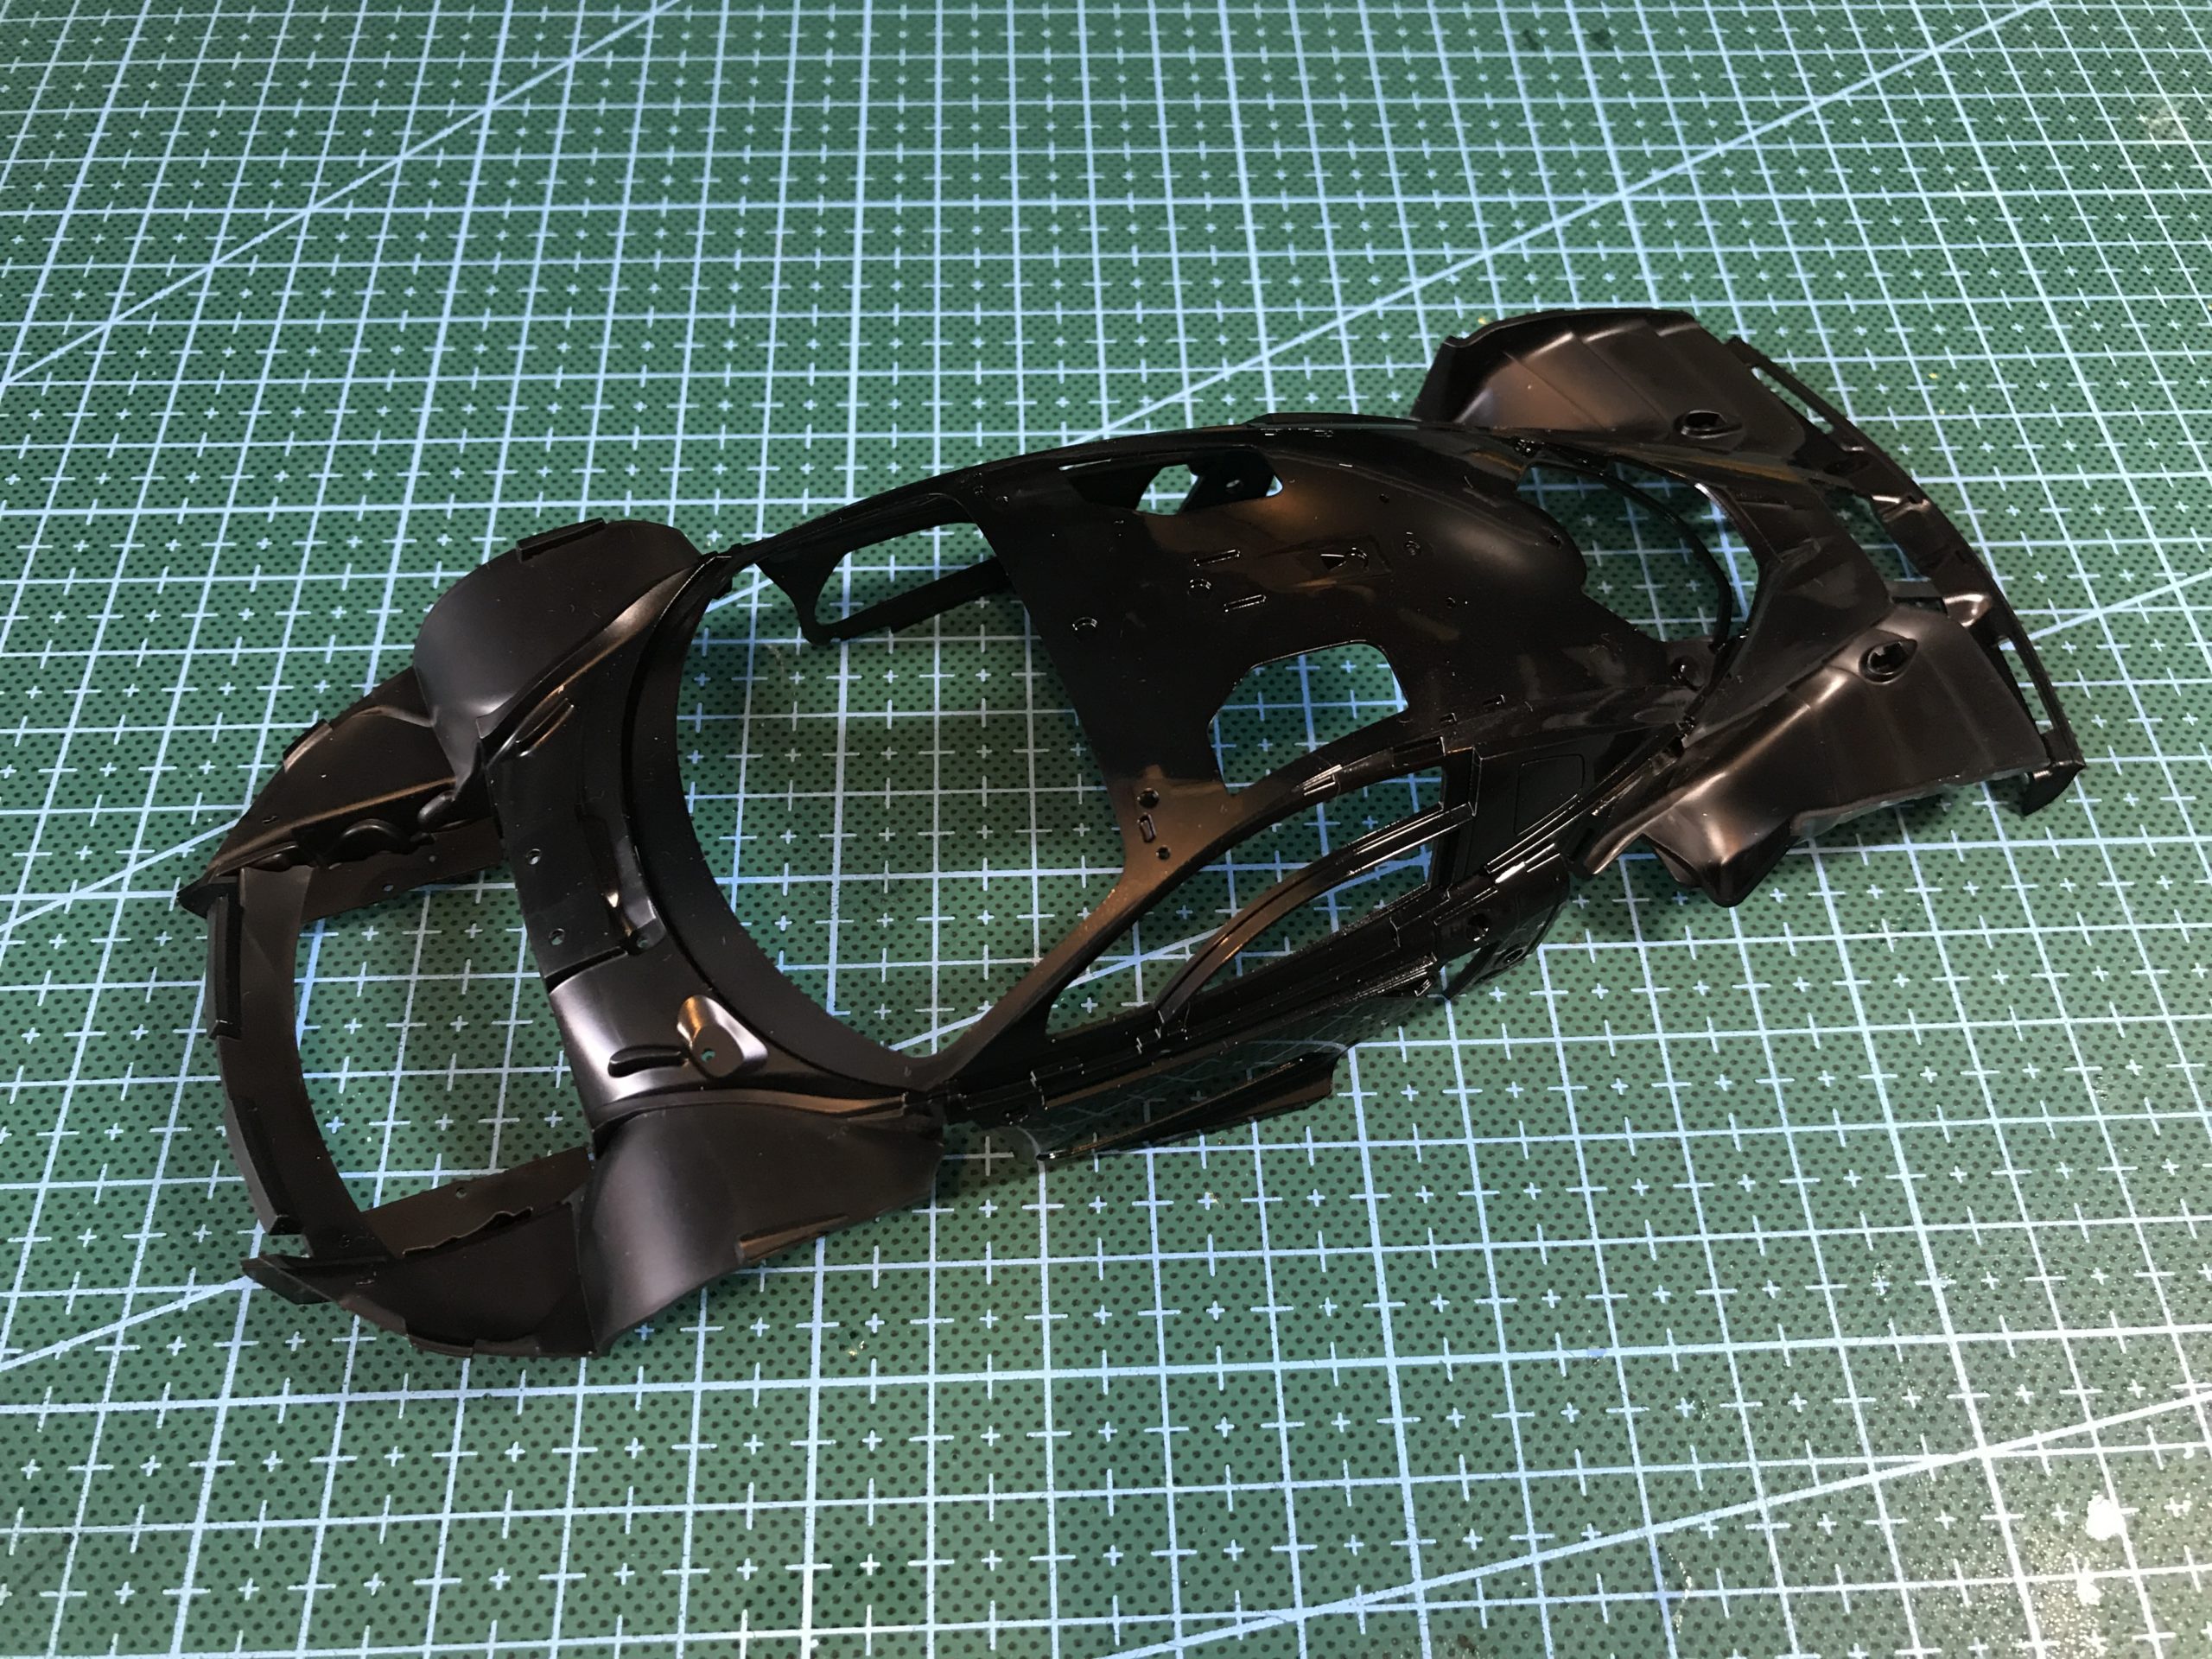
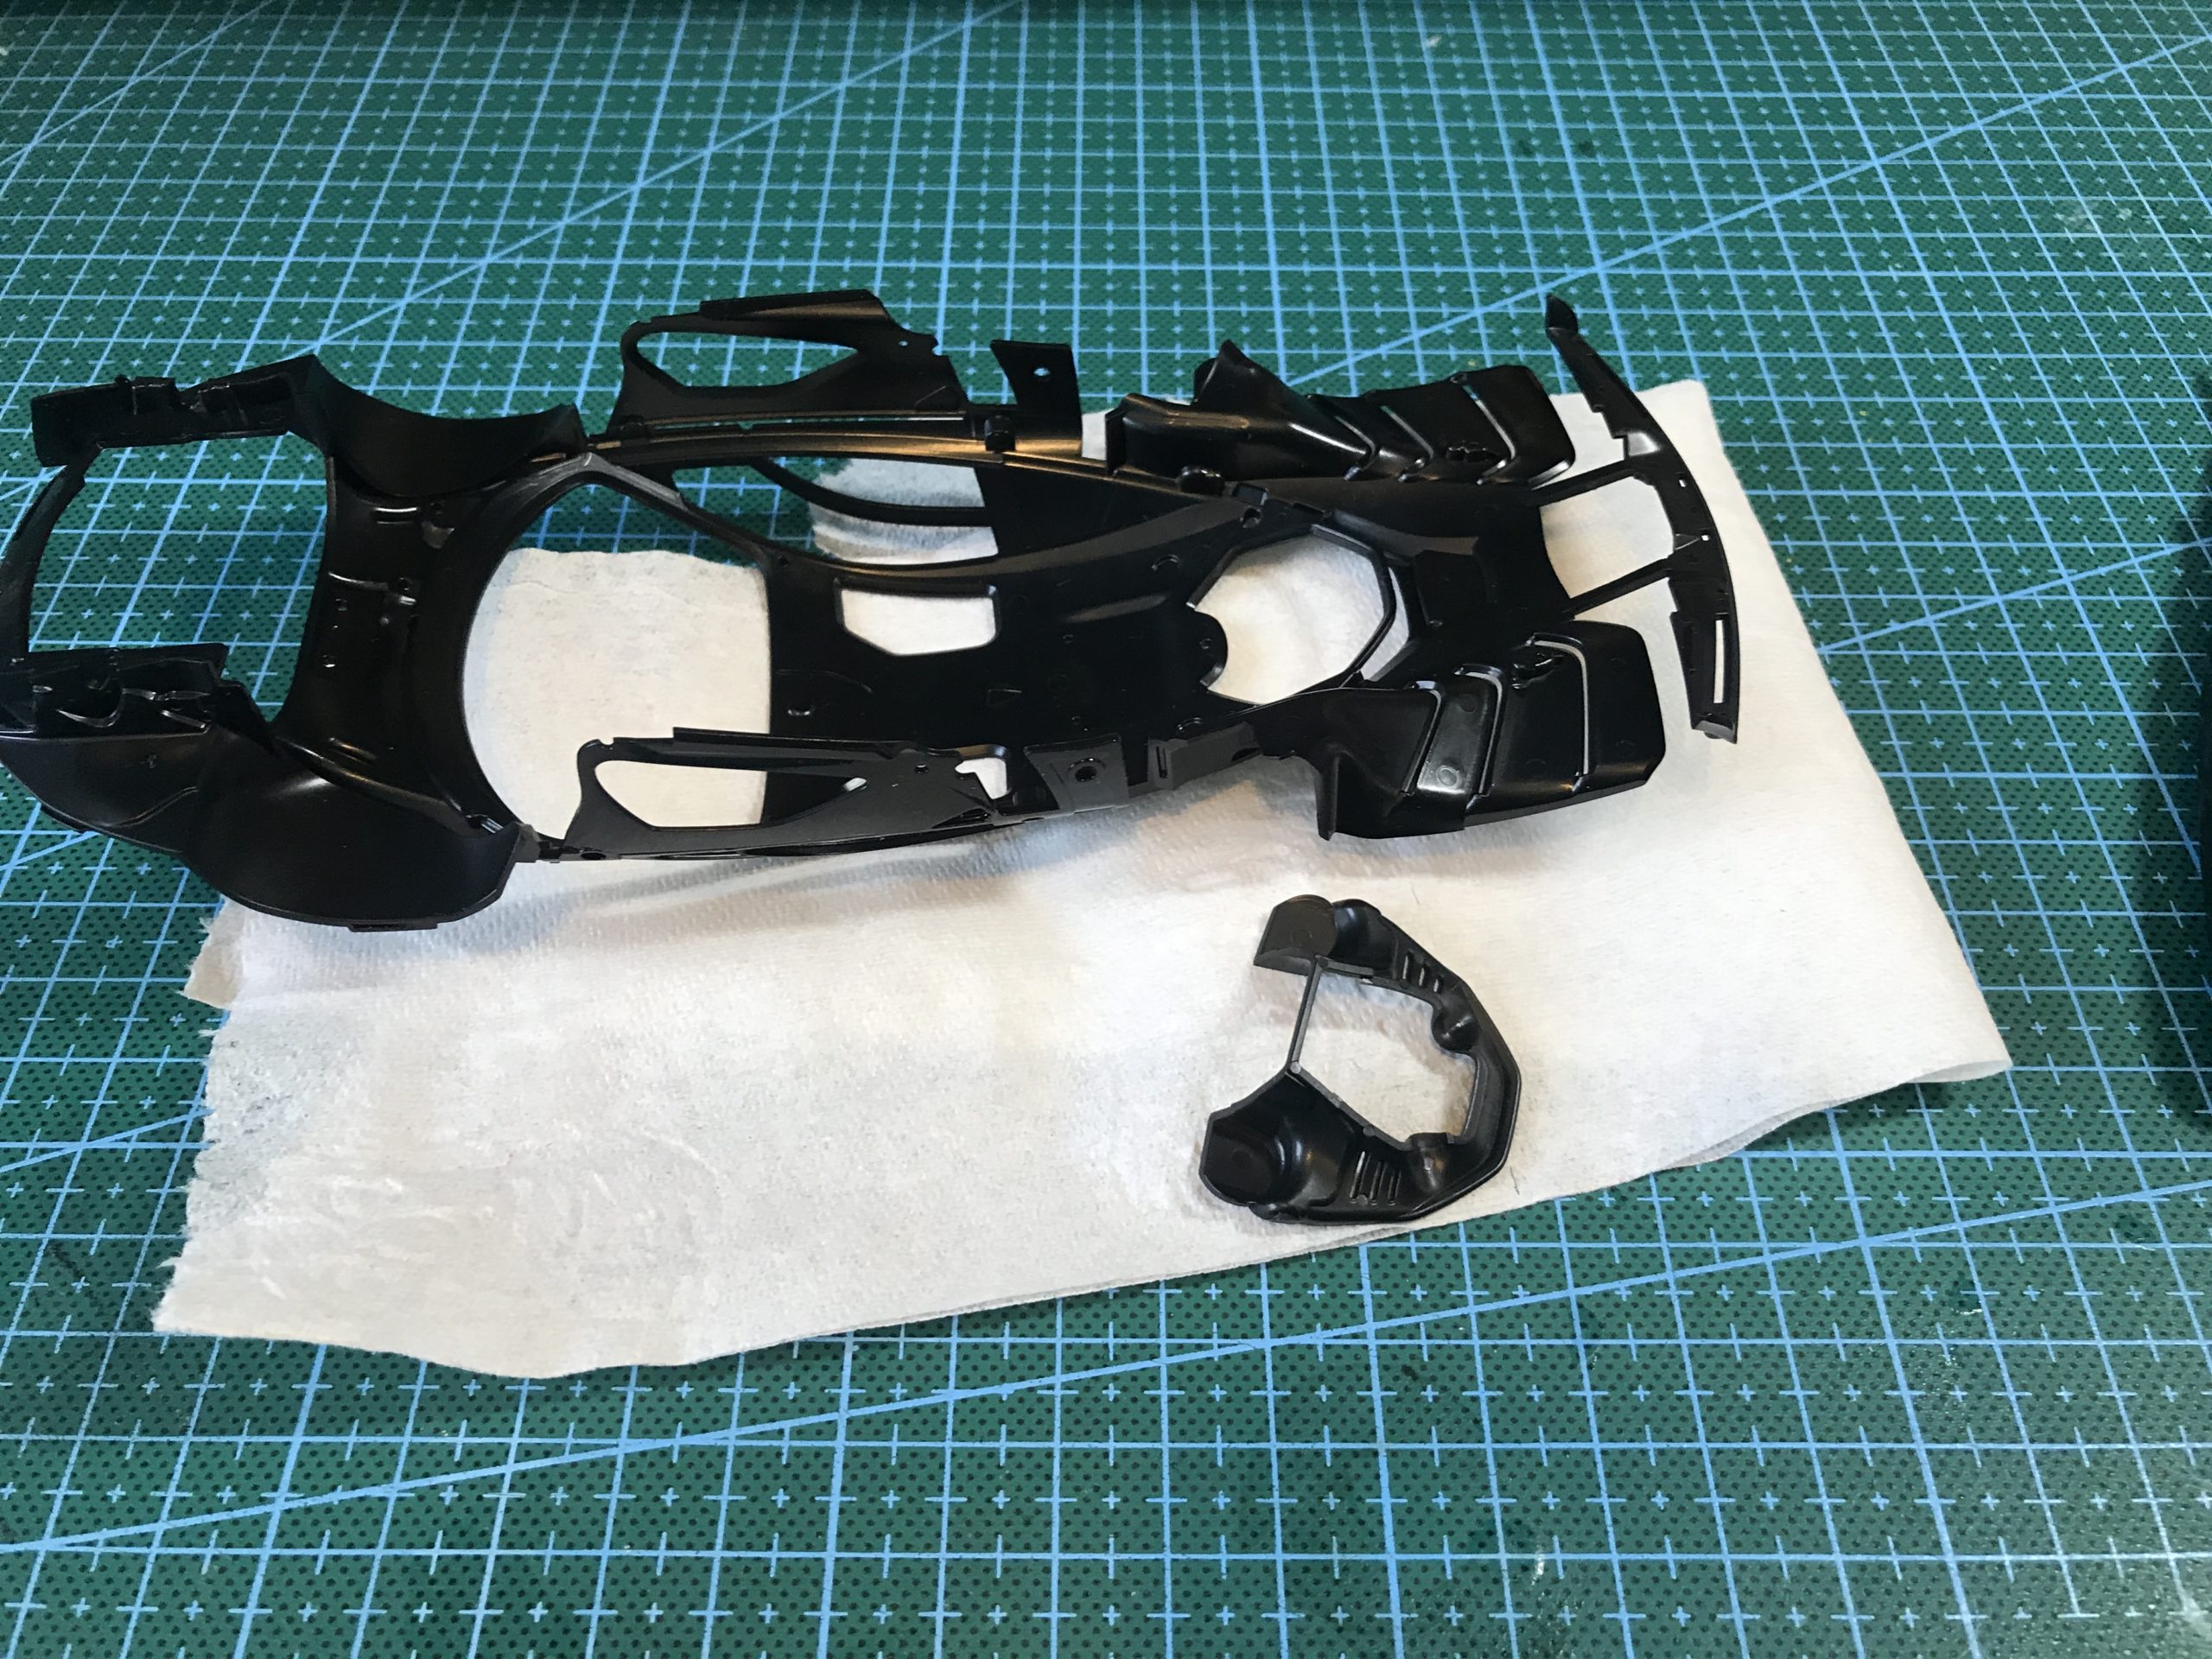
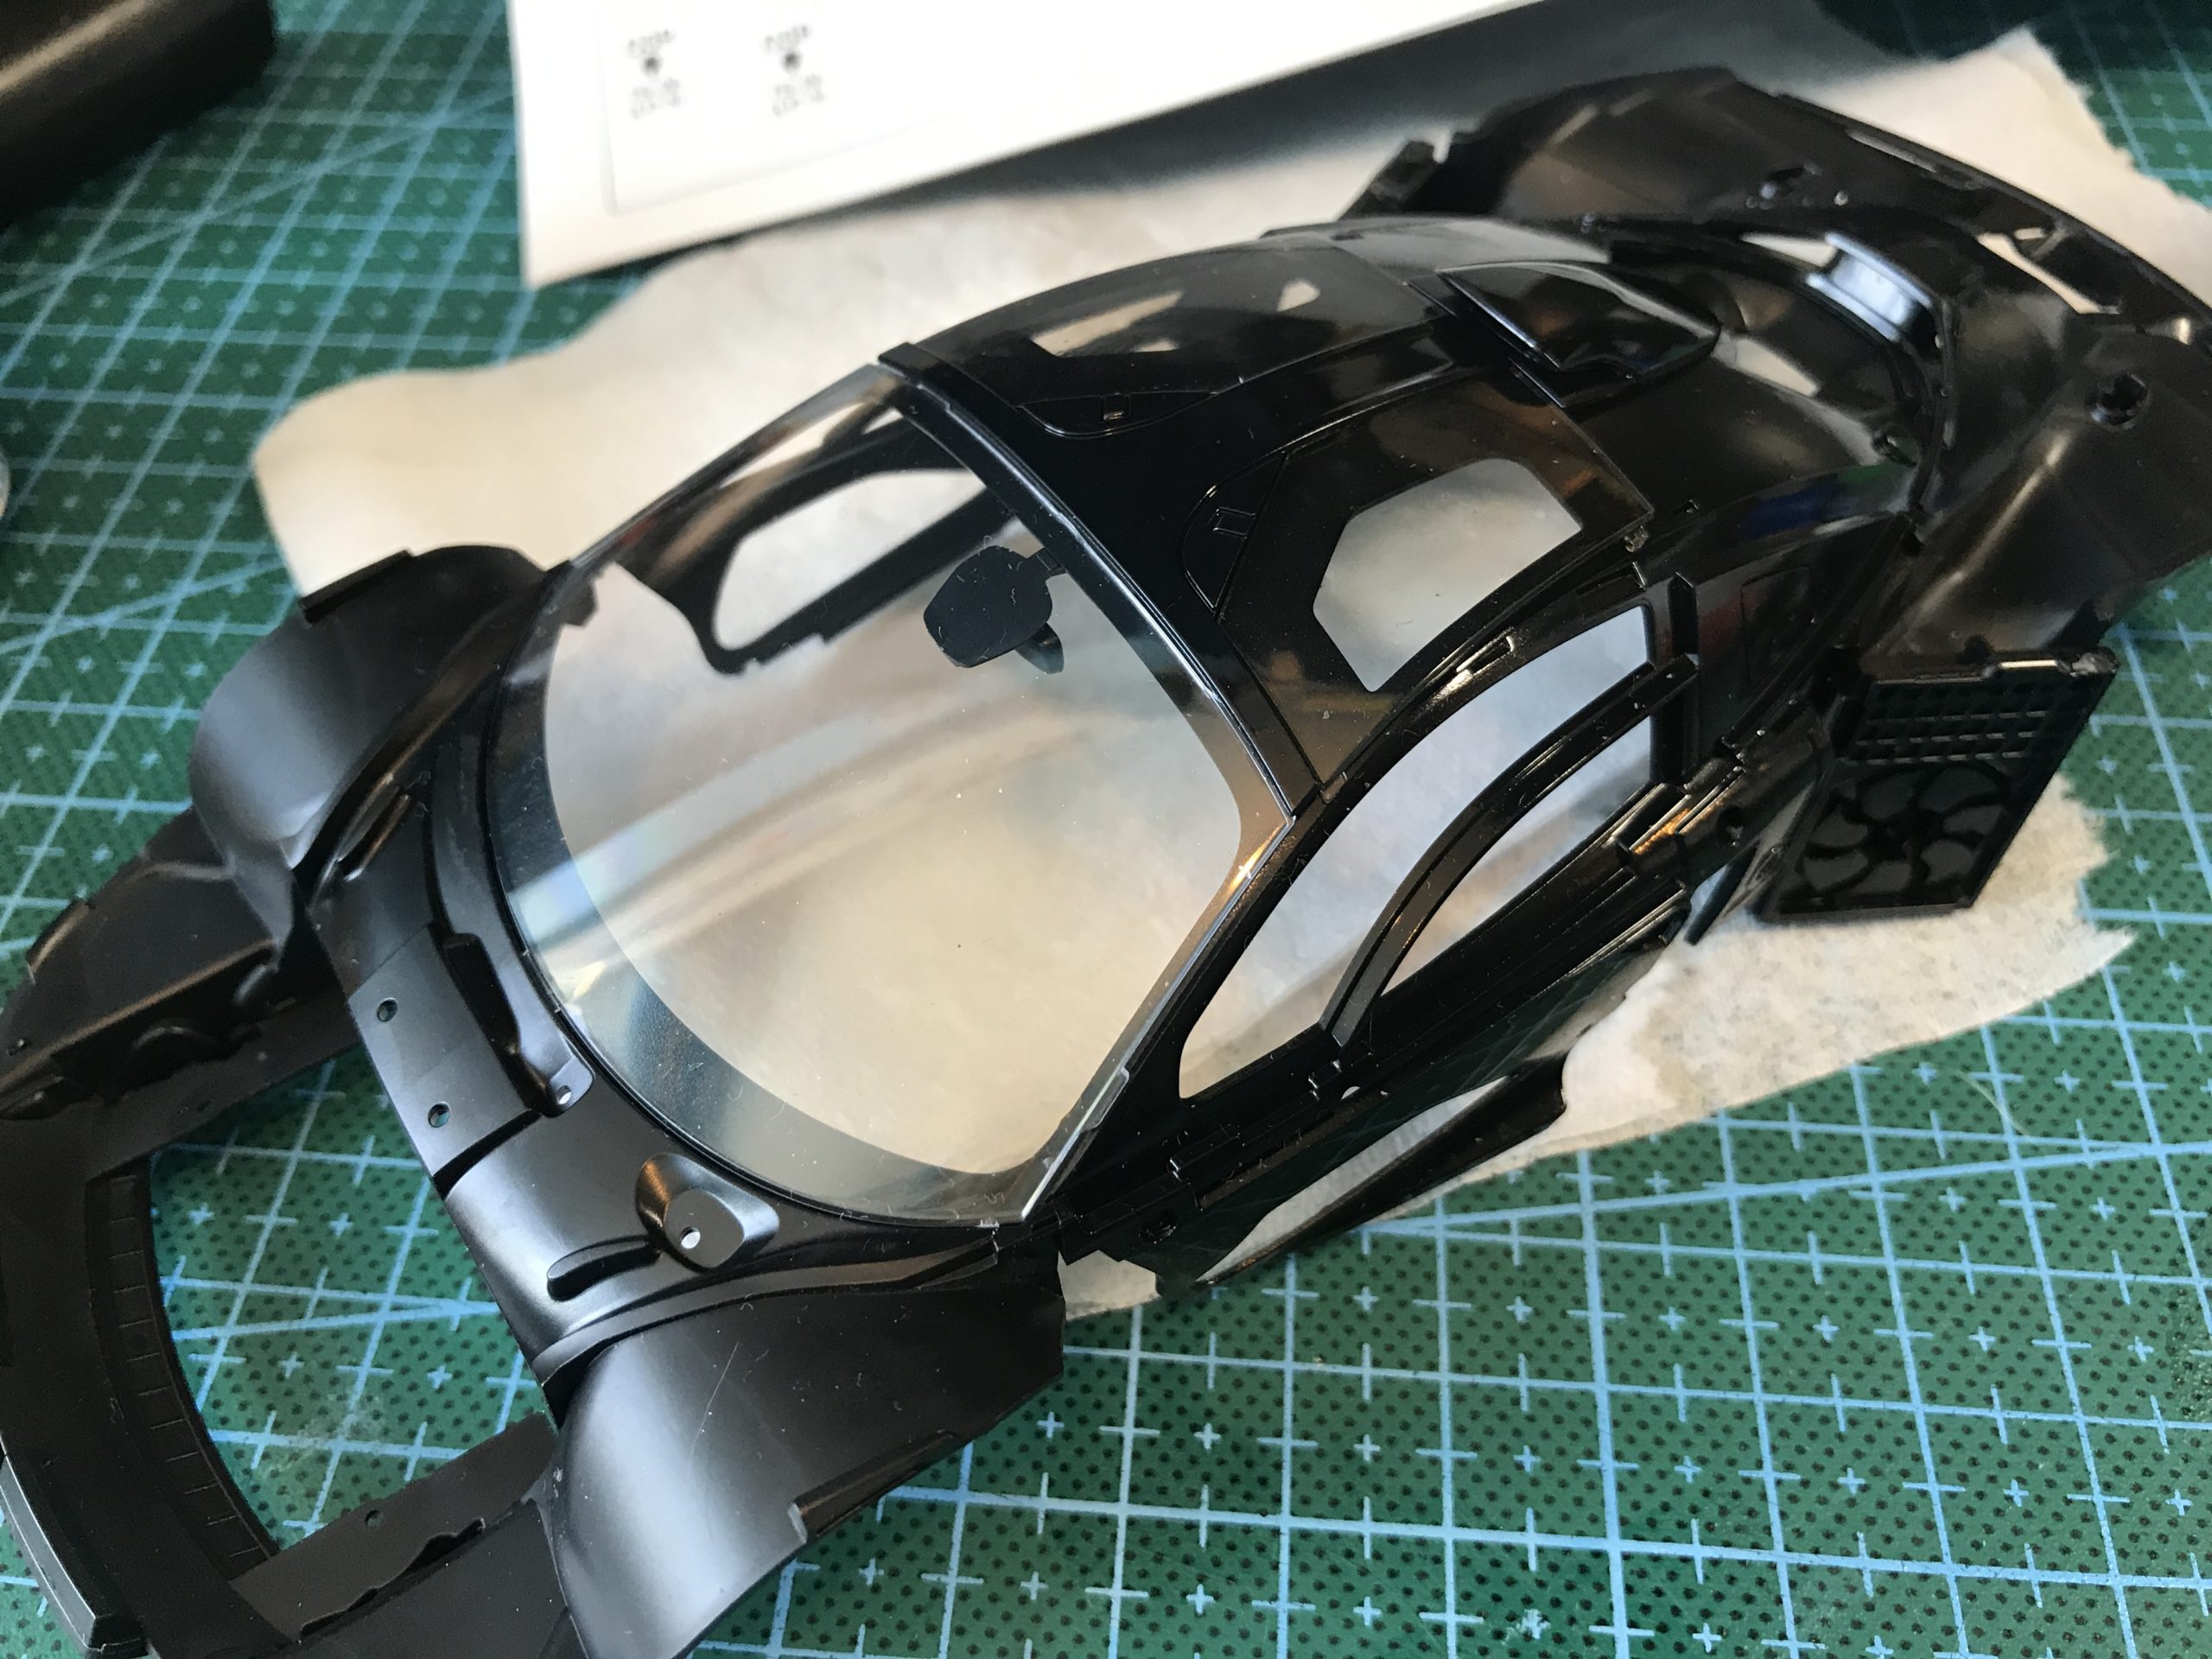
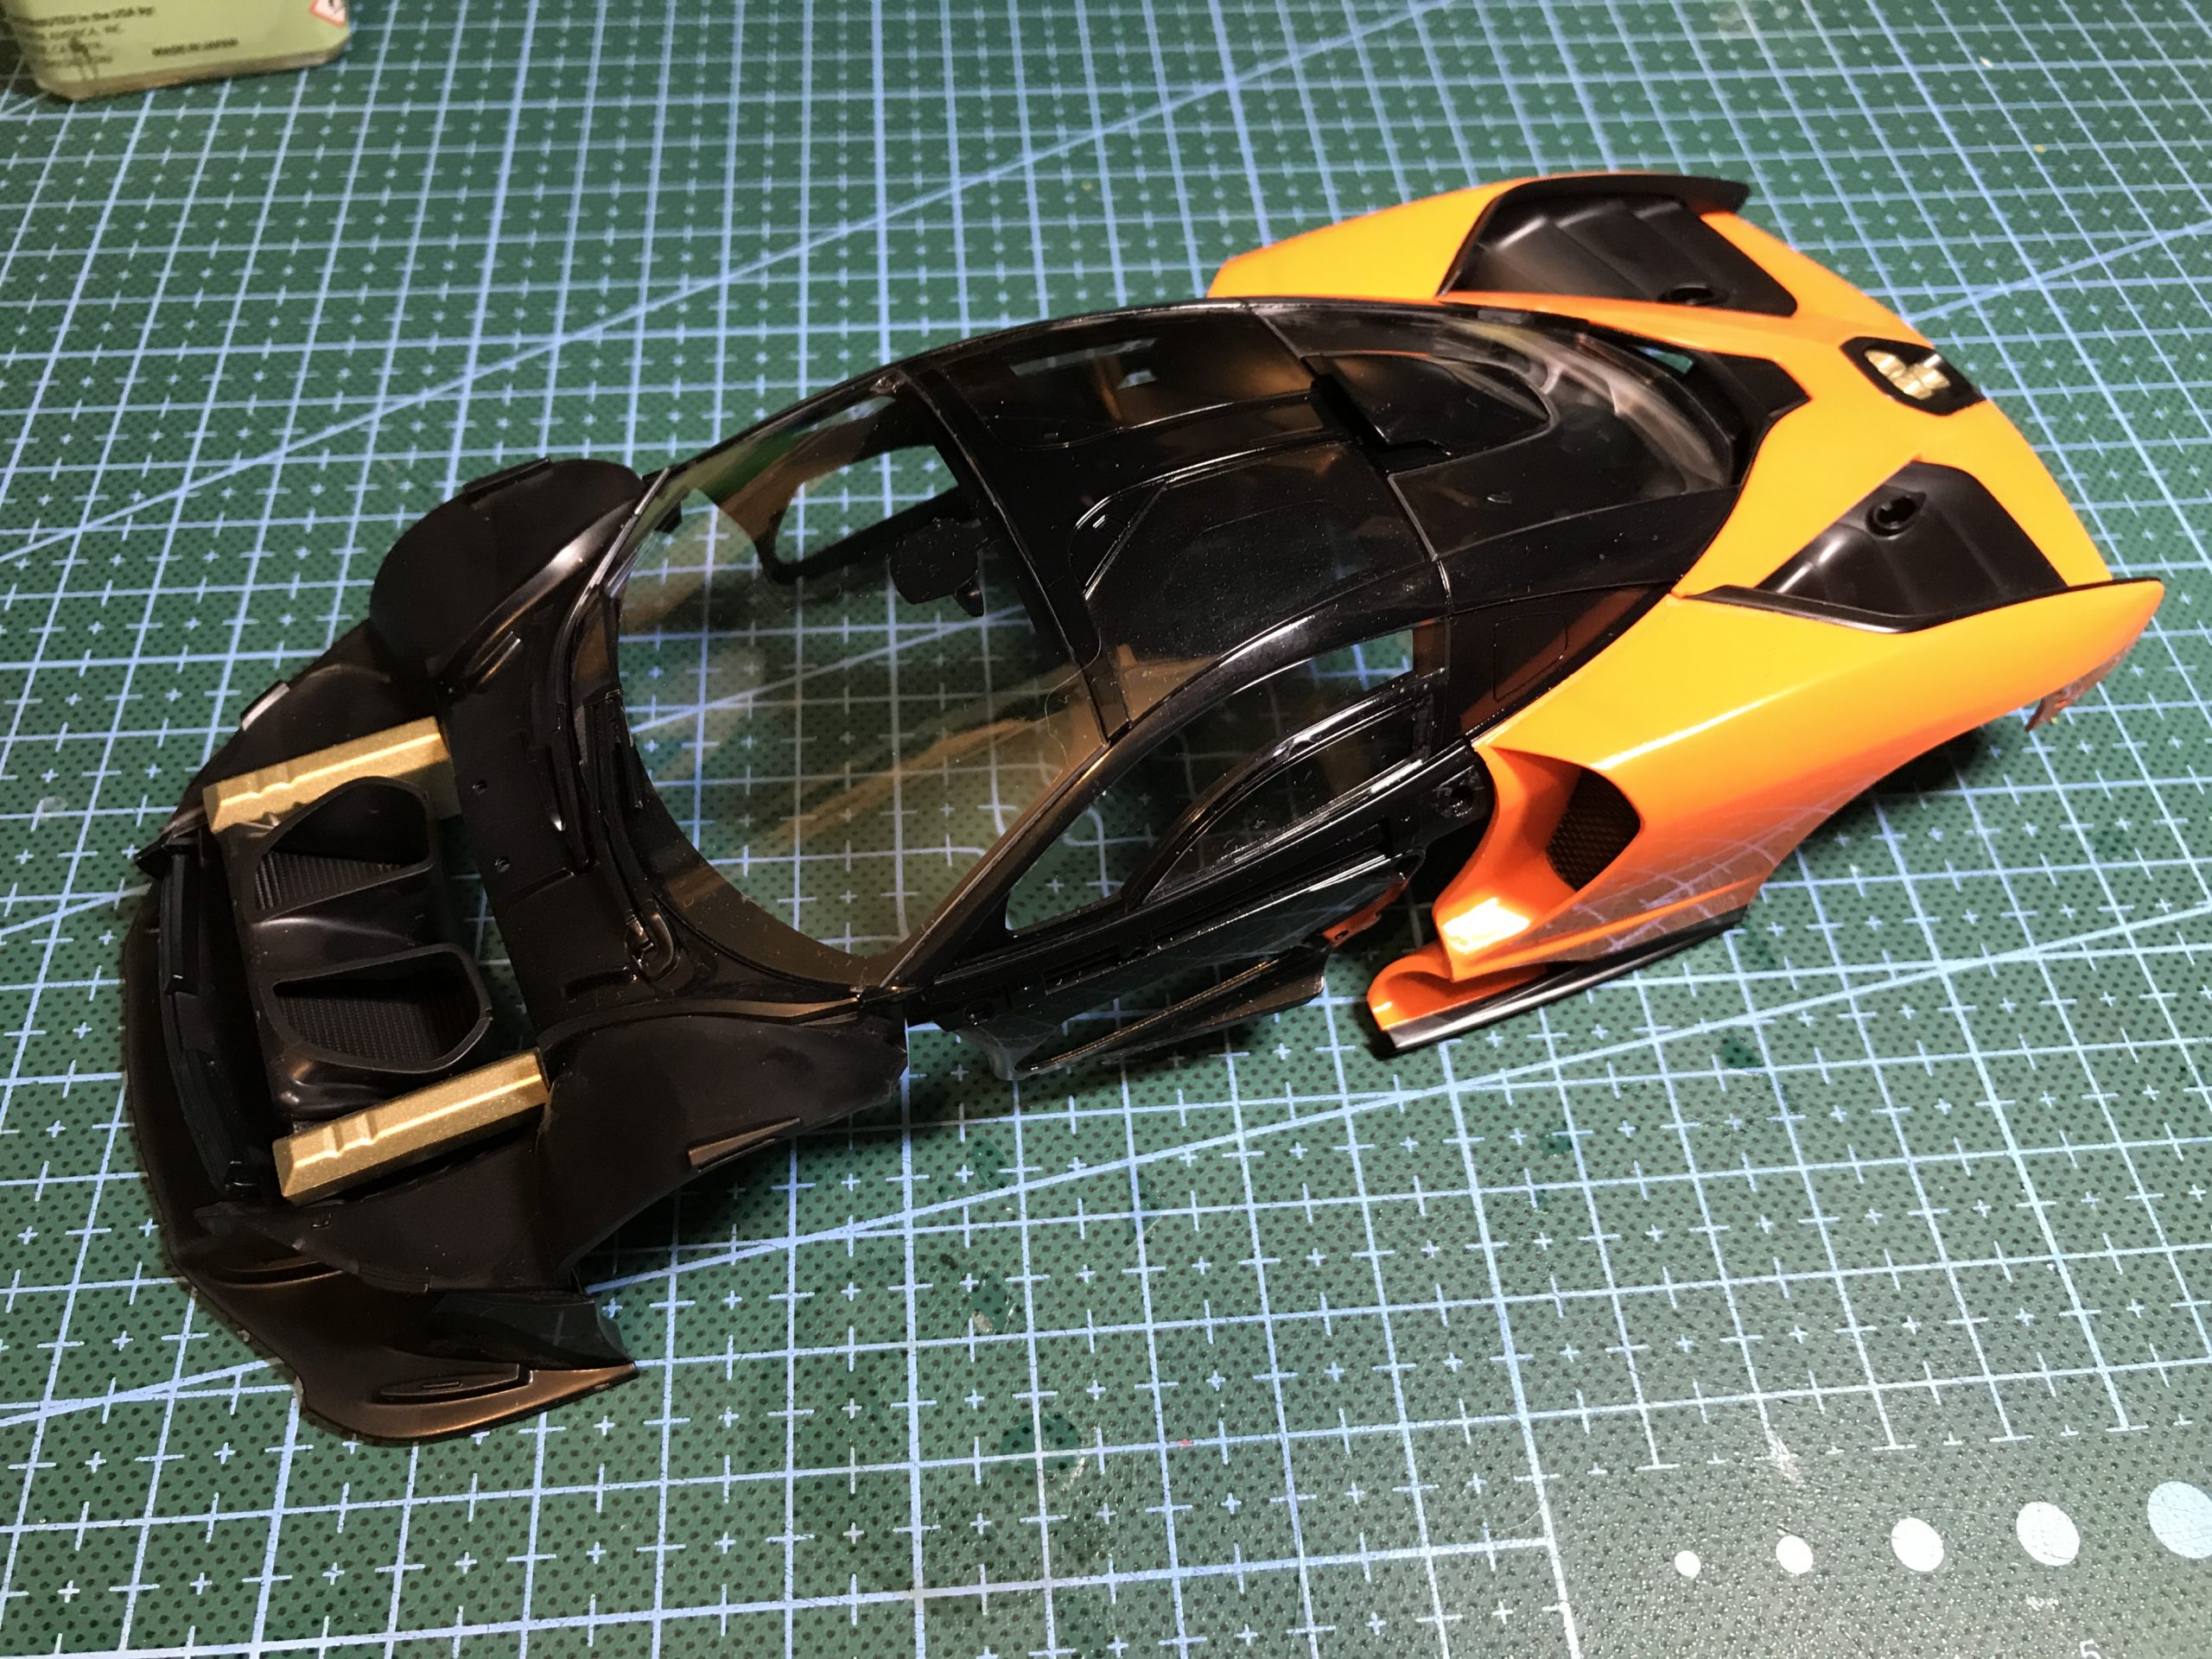
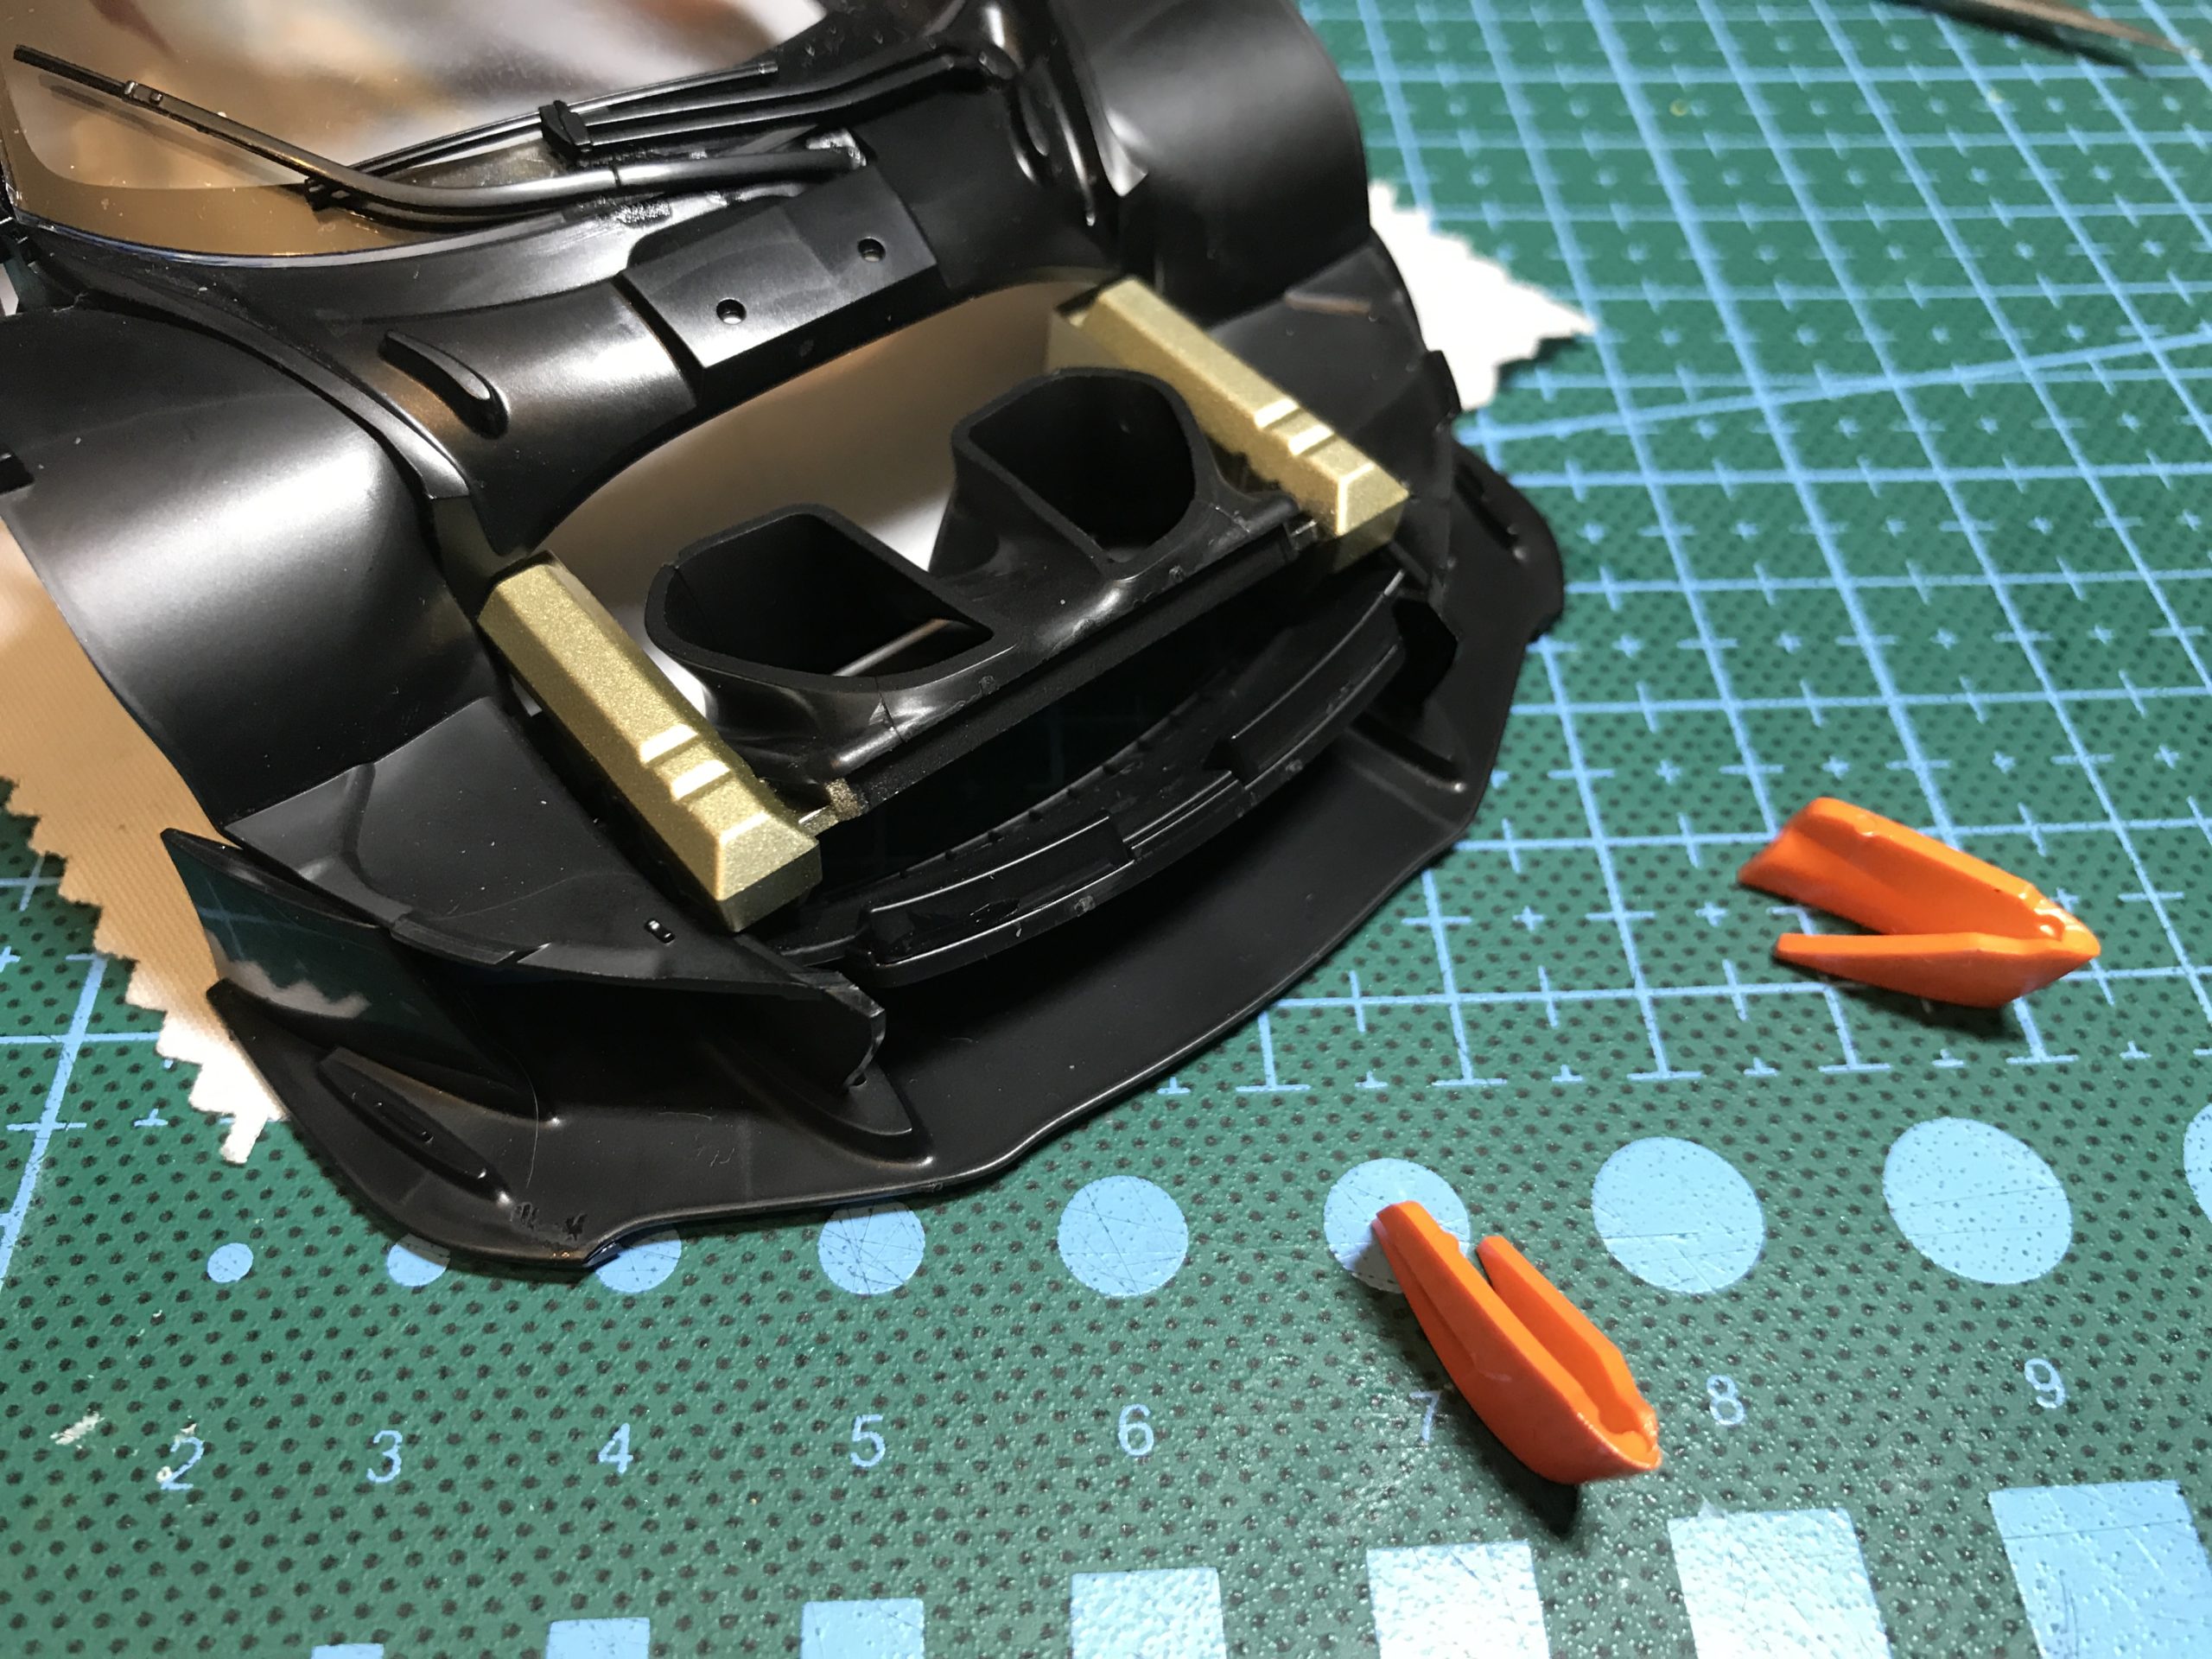
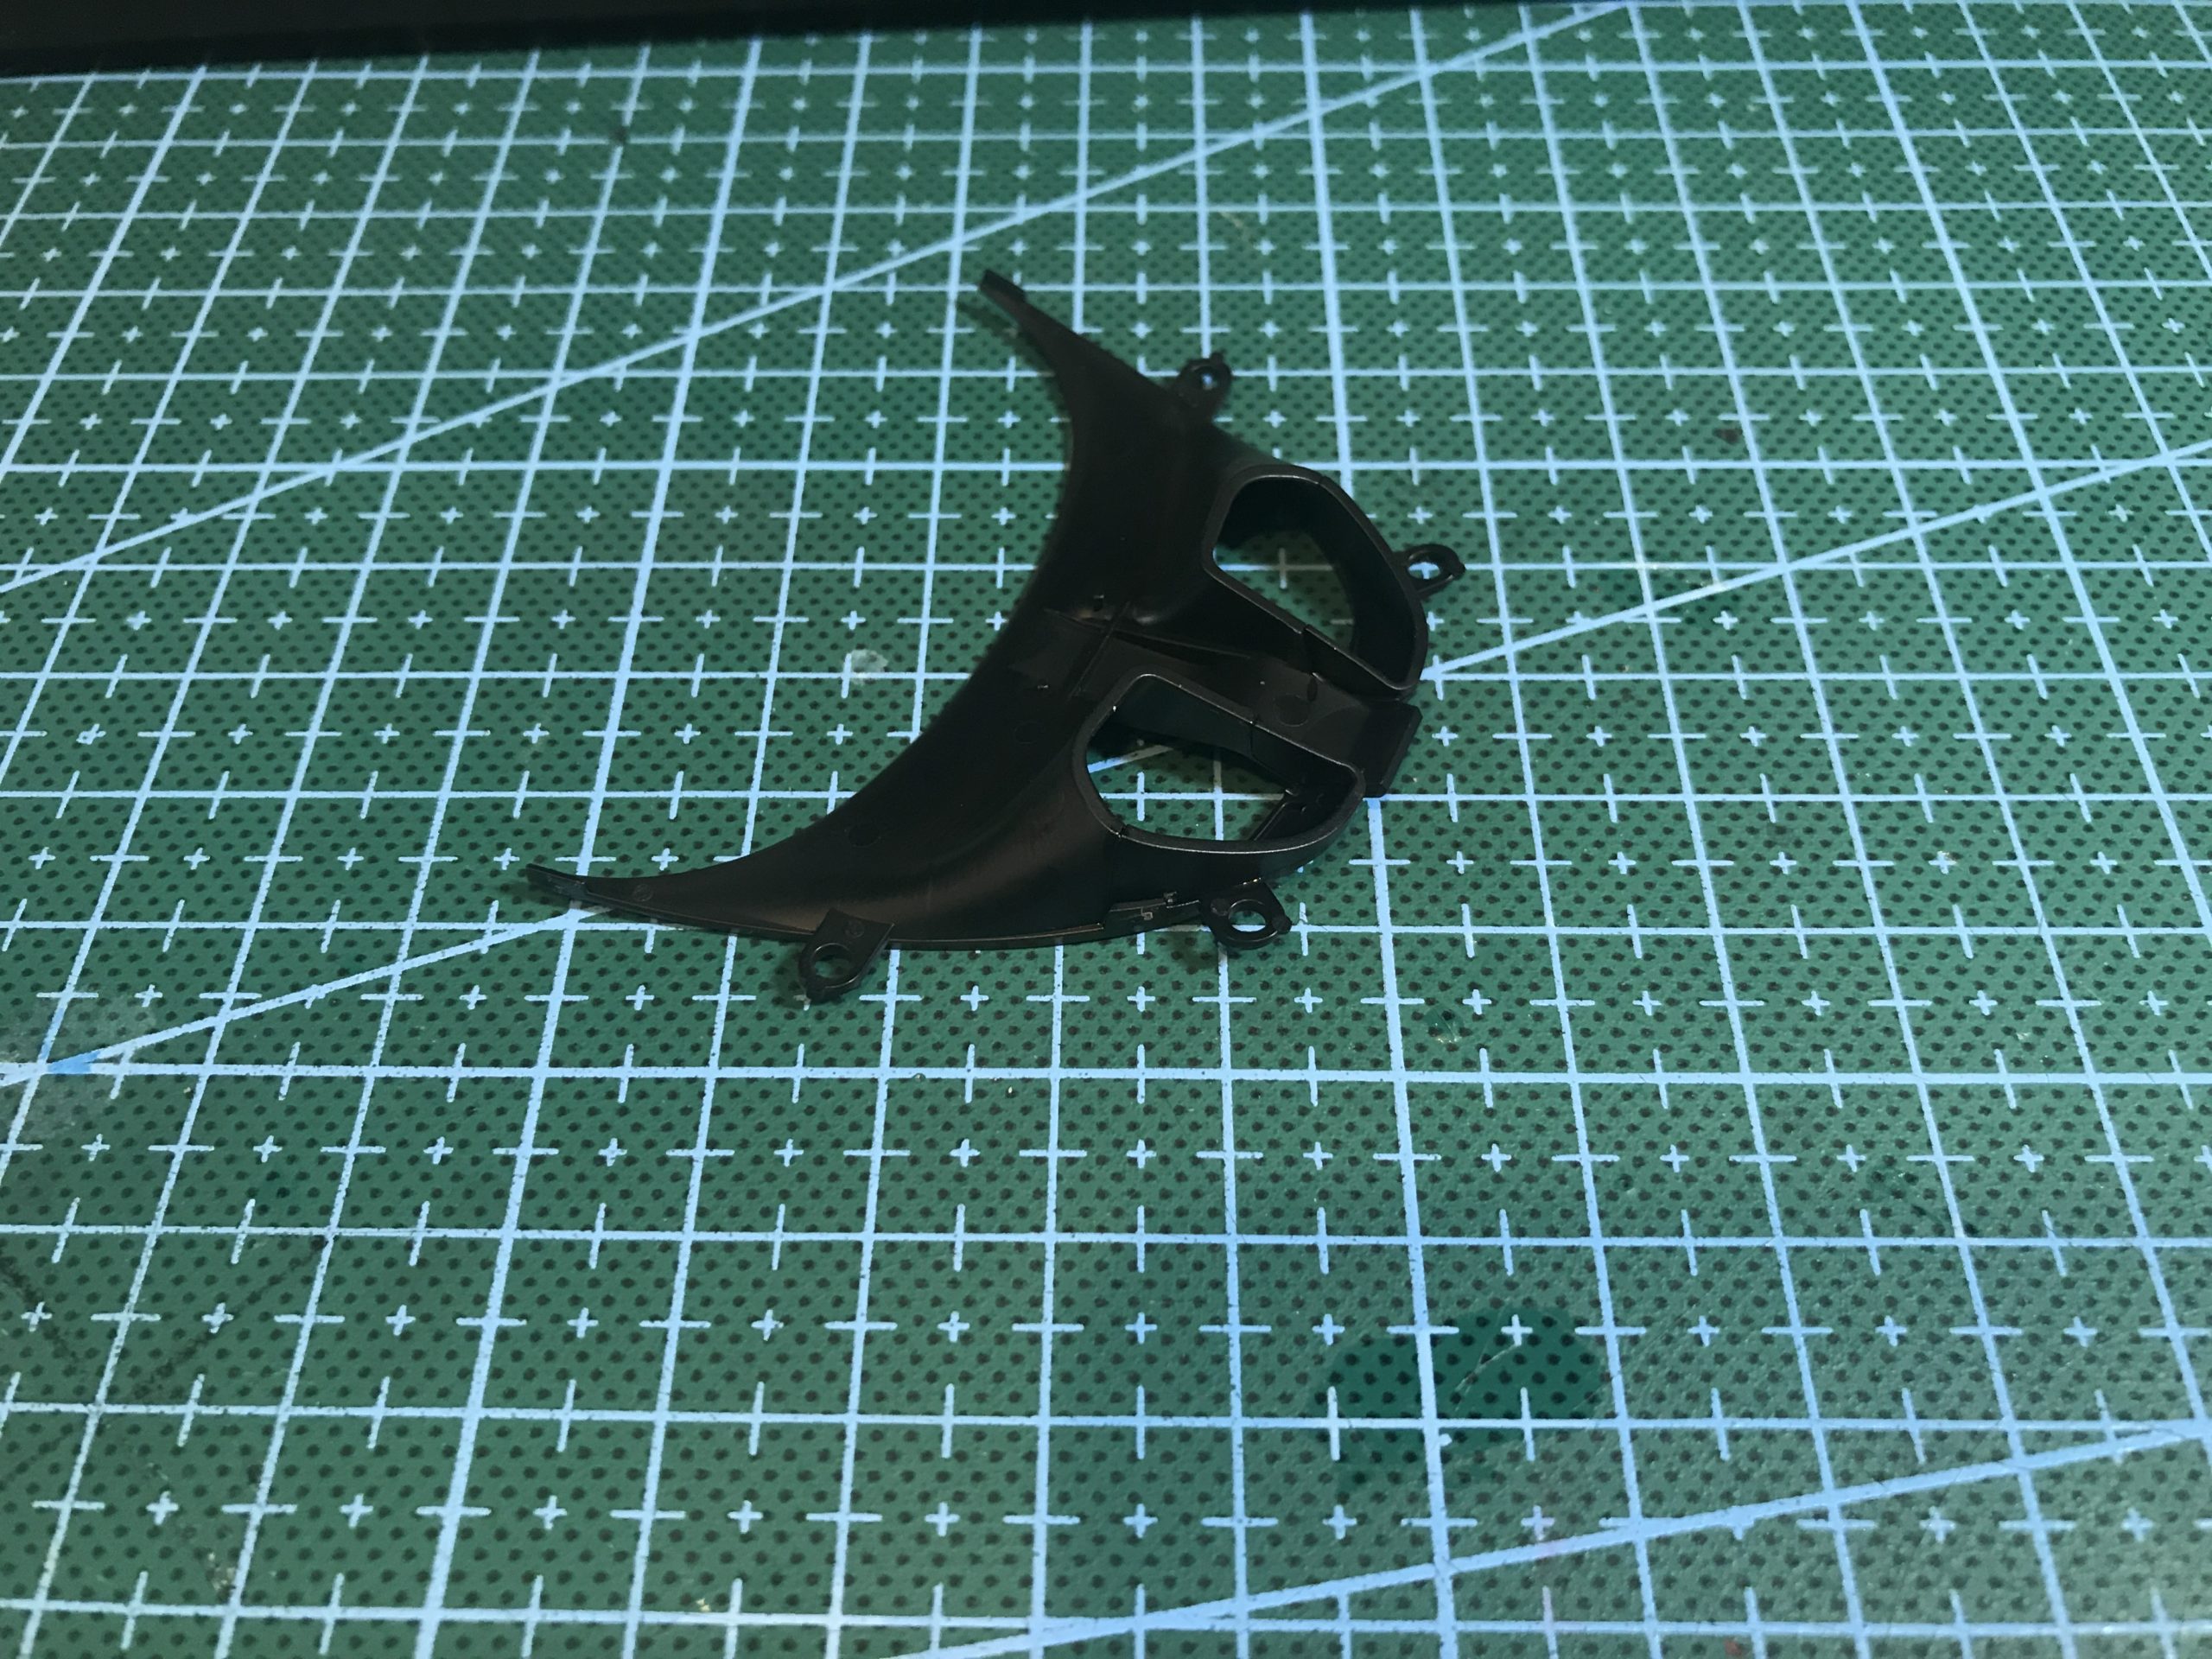
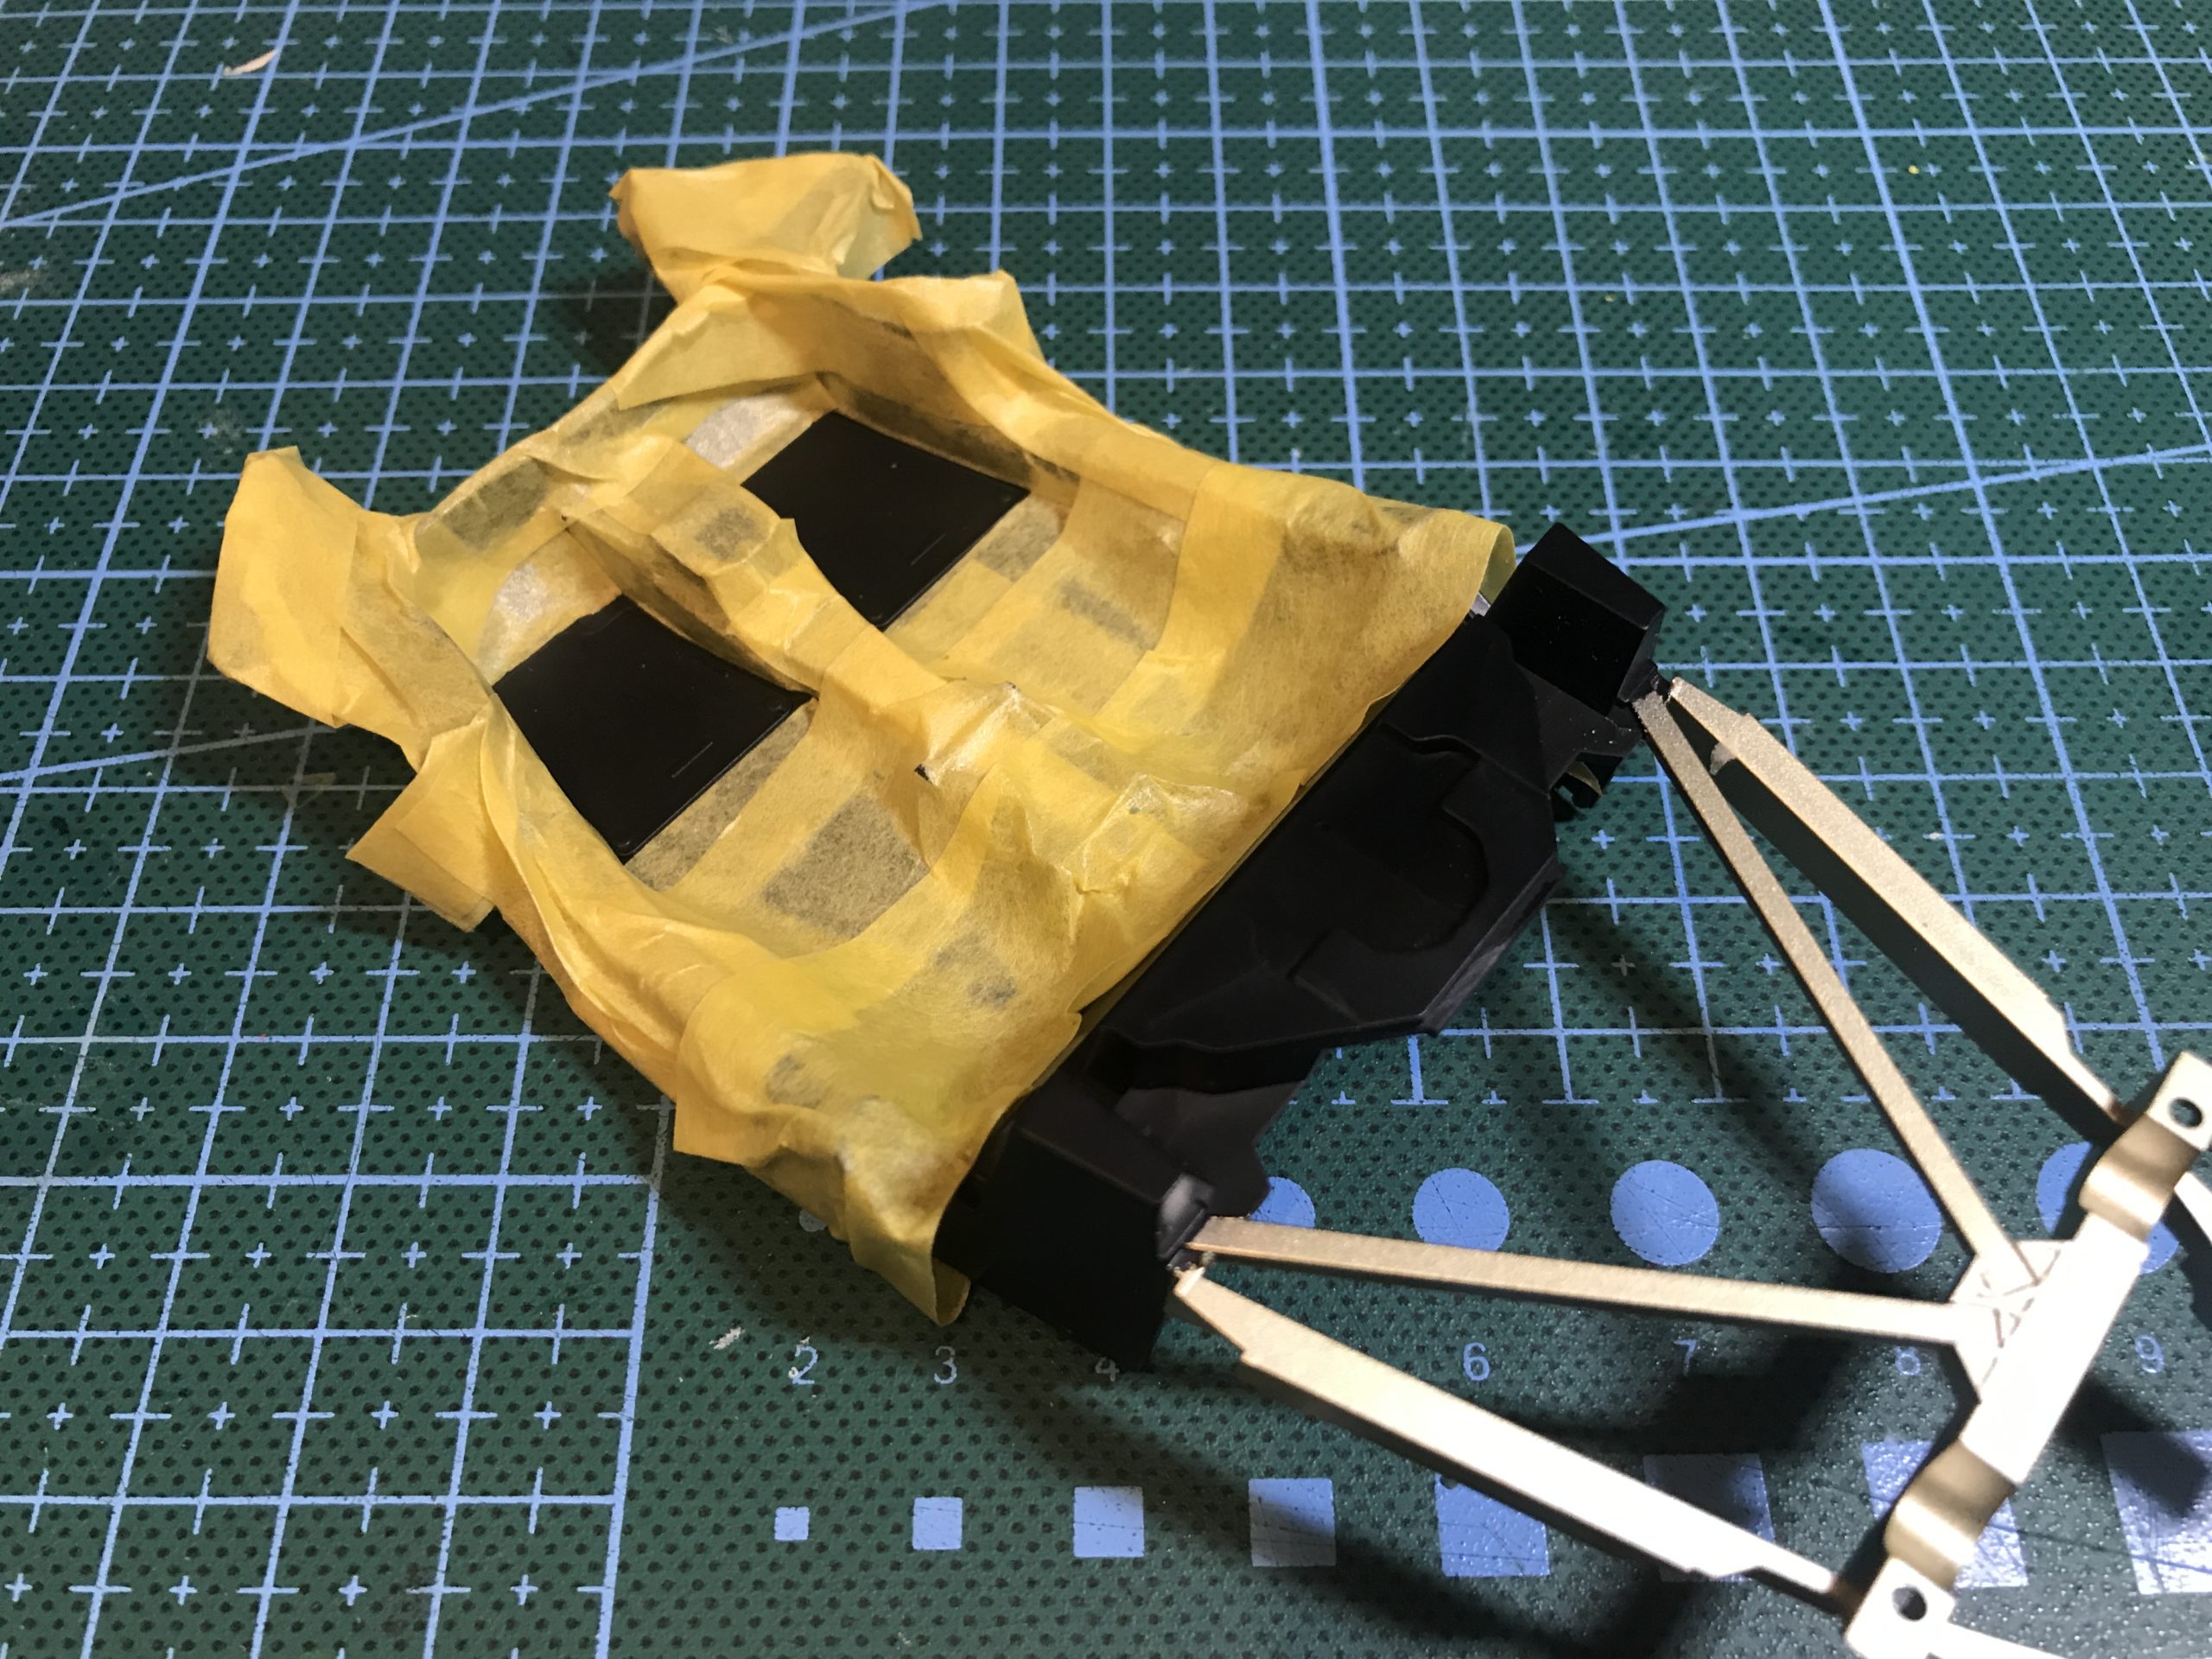
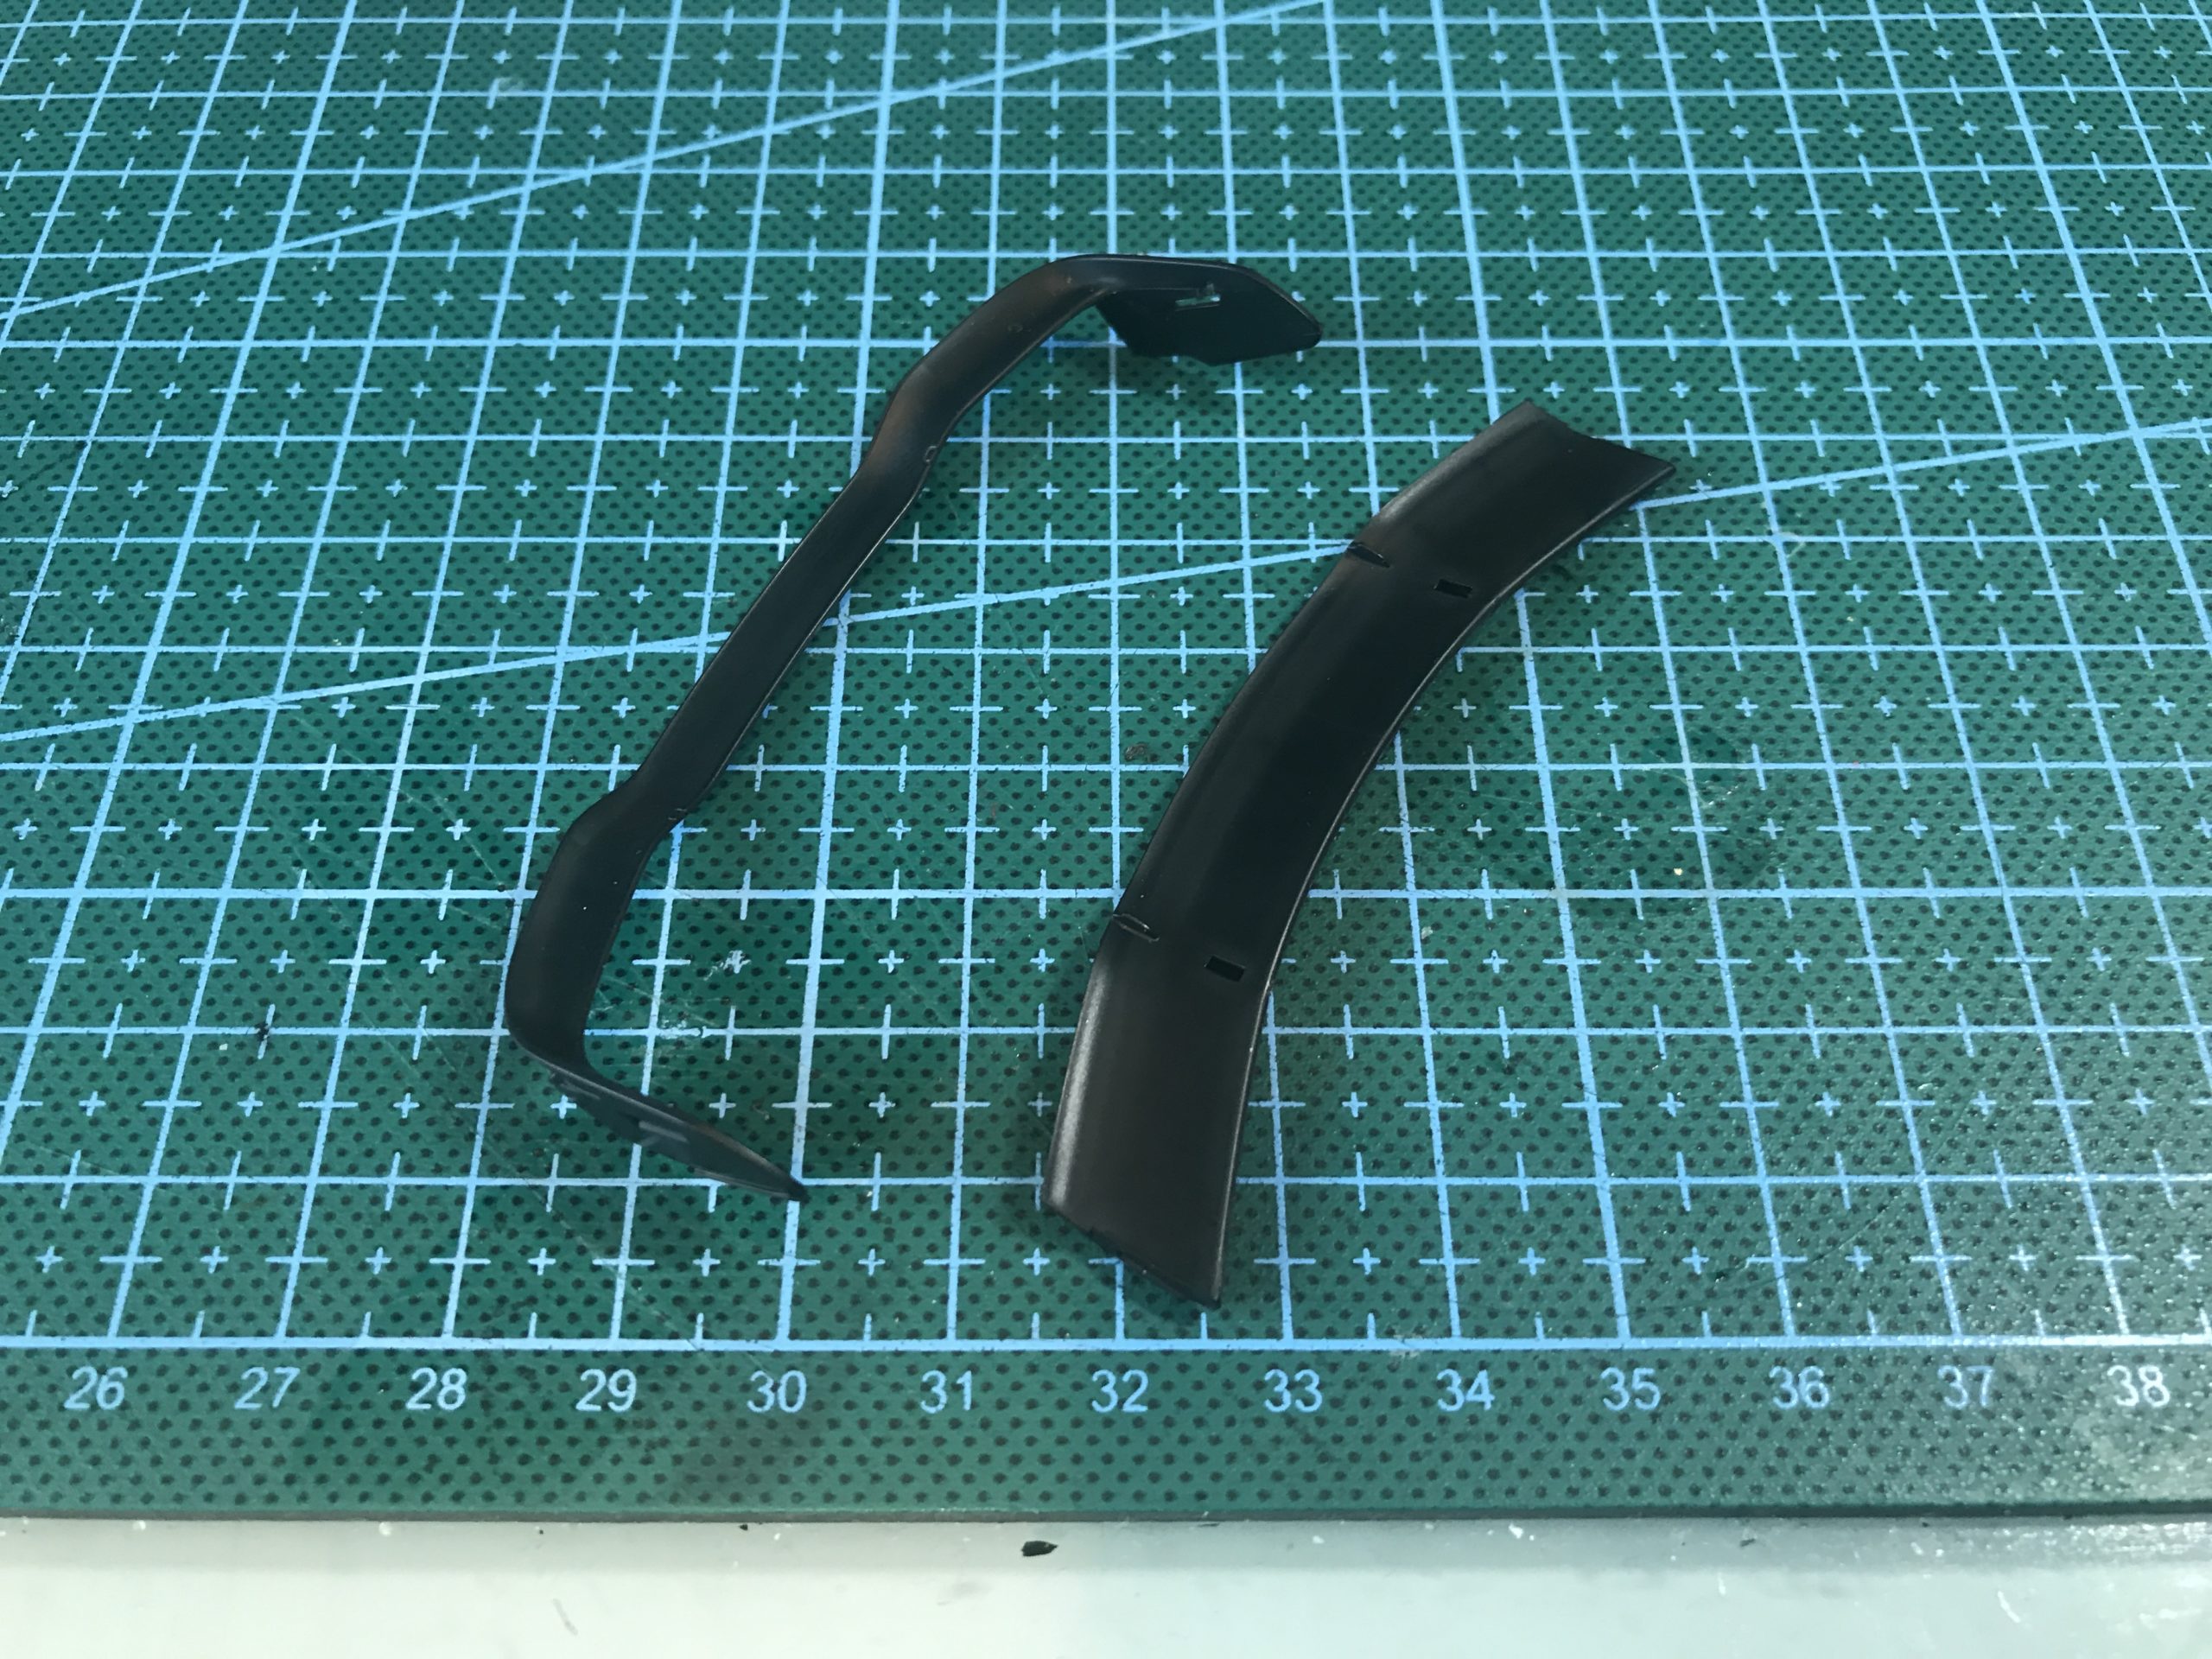
Attention could now turn to the frame. The excellent instructions specify that certain areas of the frame need to be semi gloss black and others gloss black. there was no way around it much masking was going to be needed. Here’s a montage…

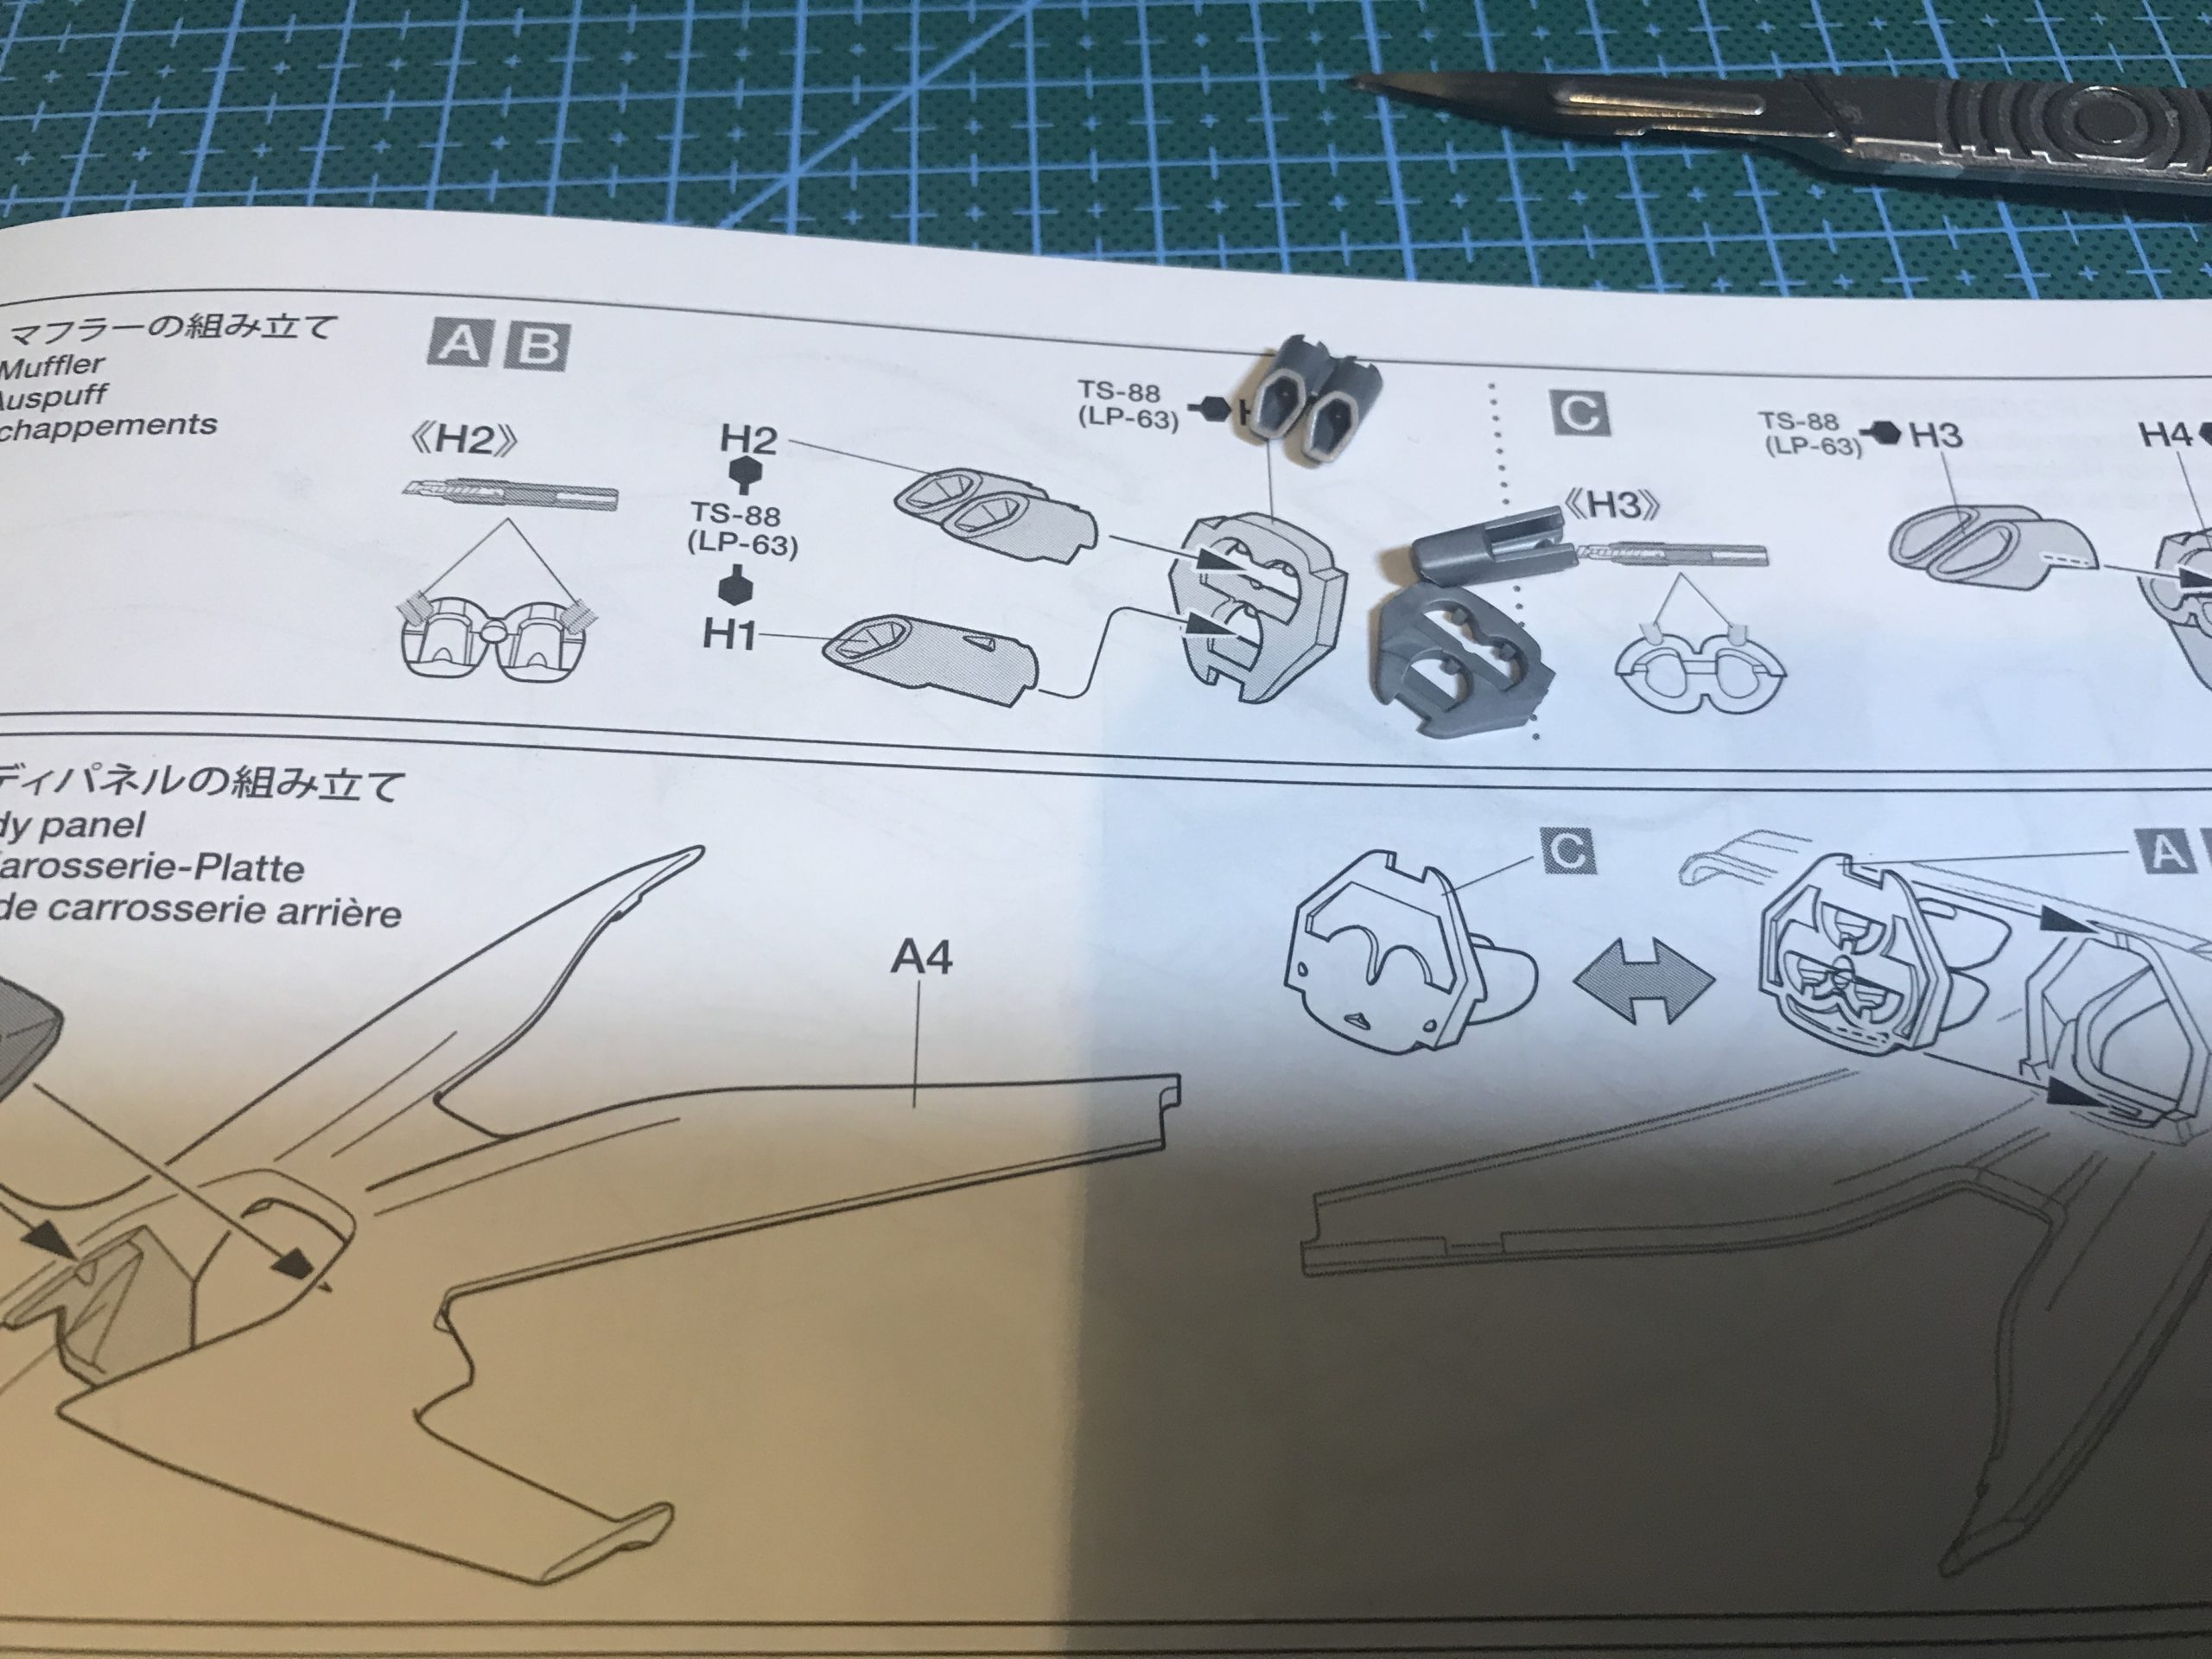
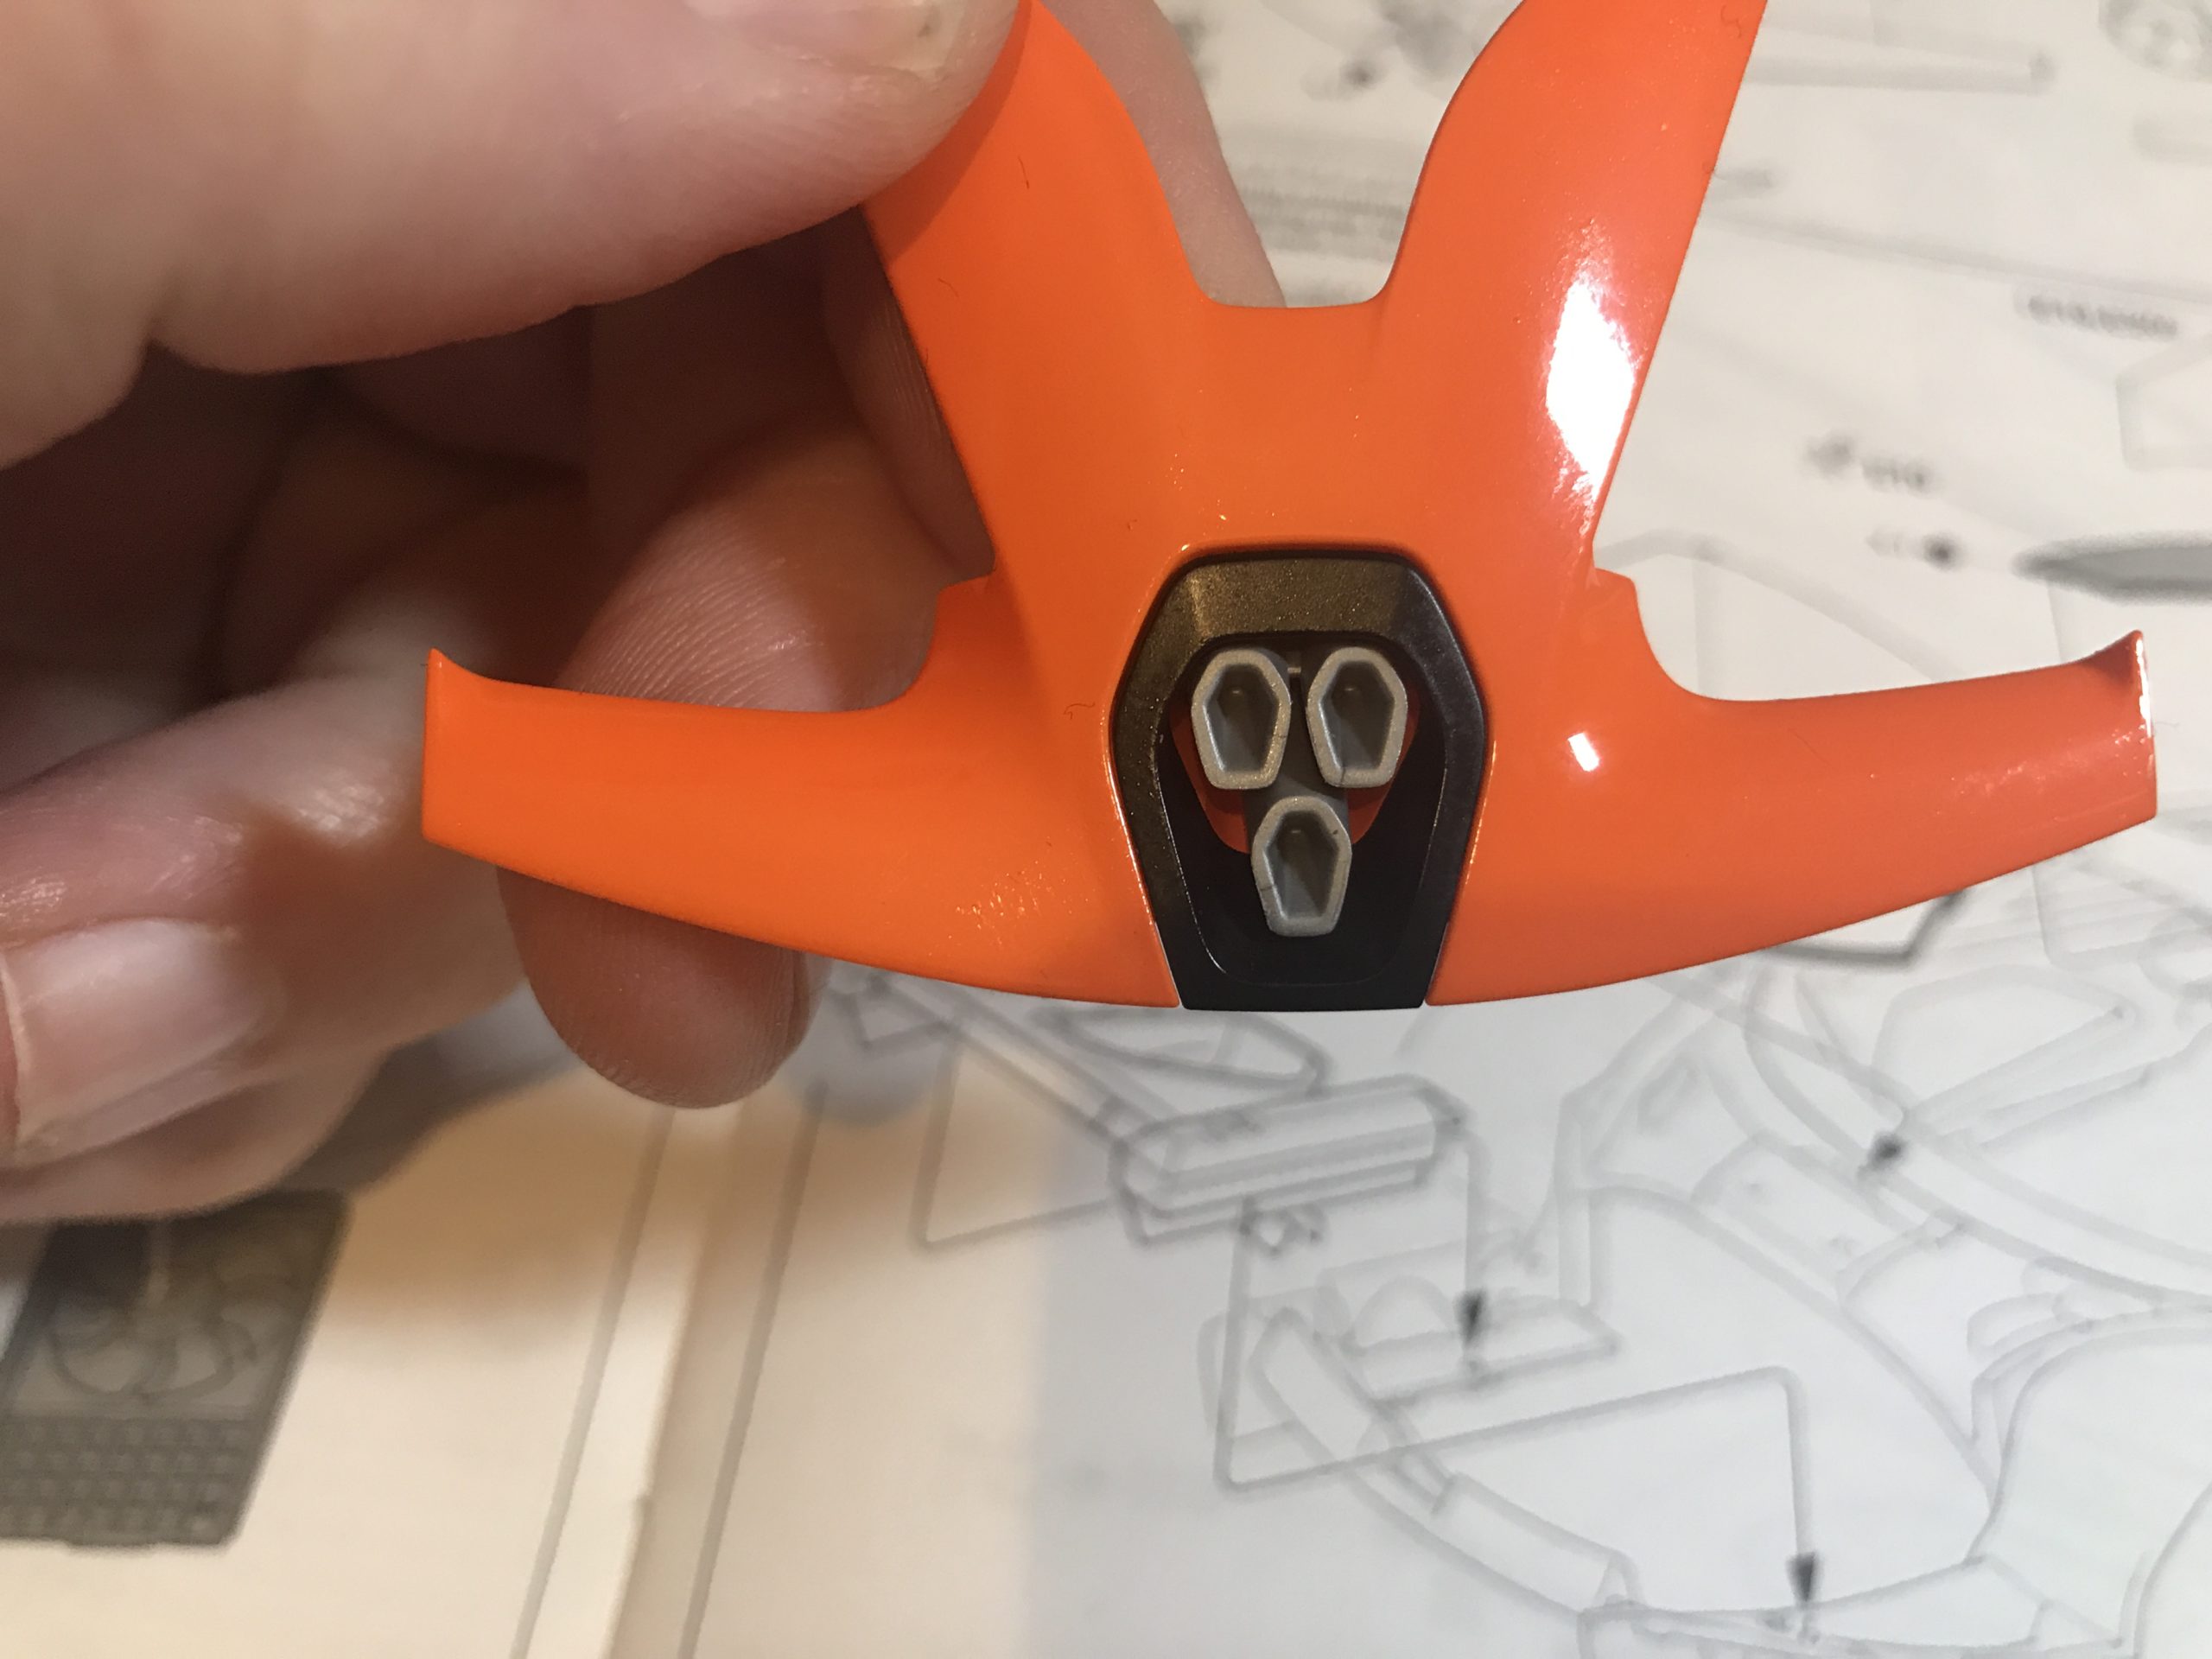
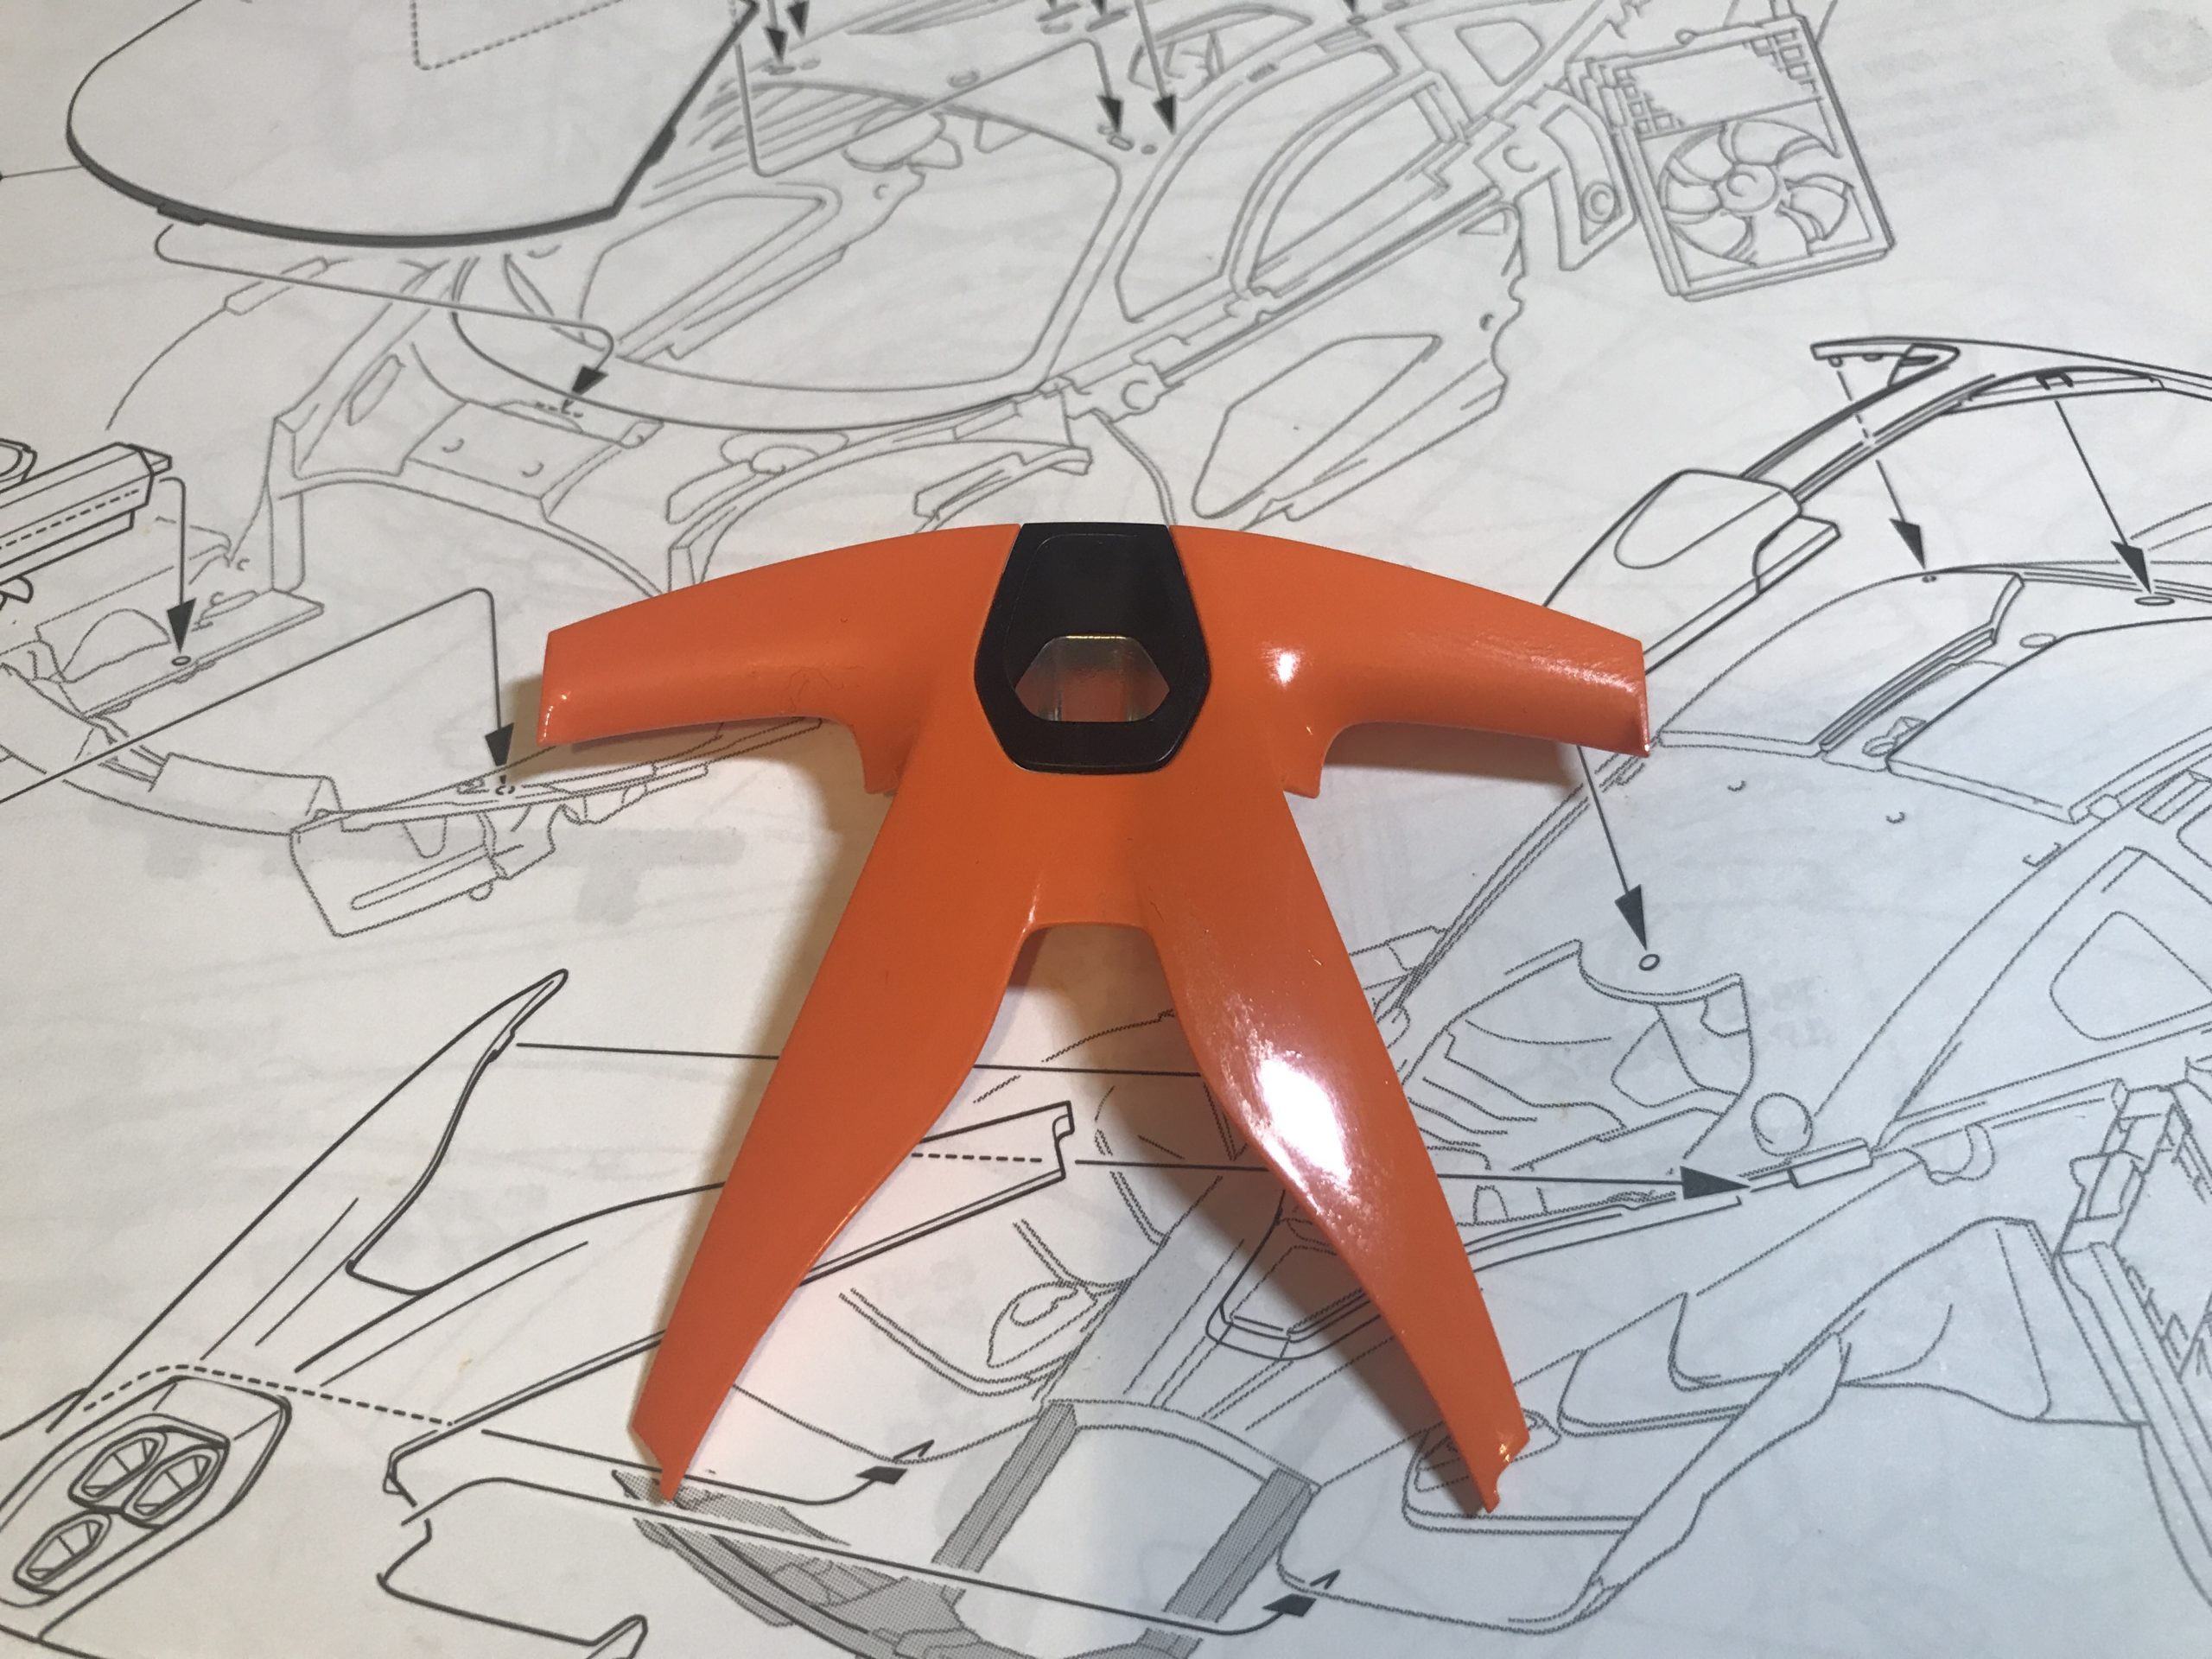
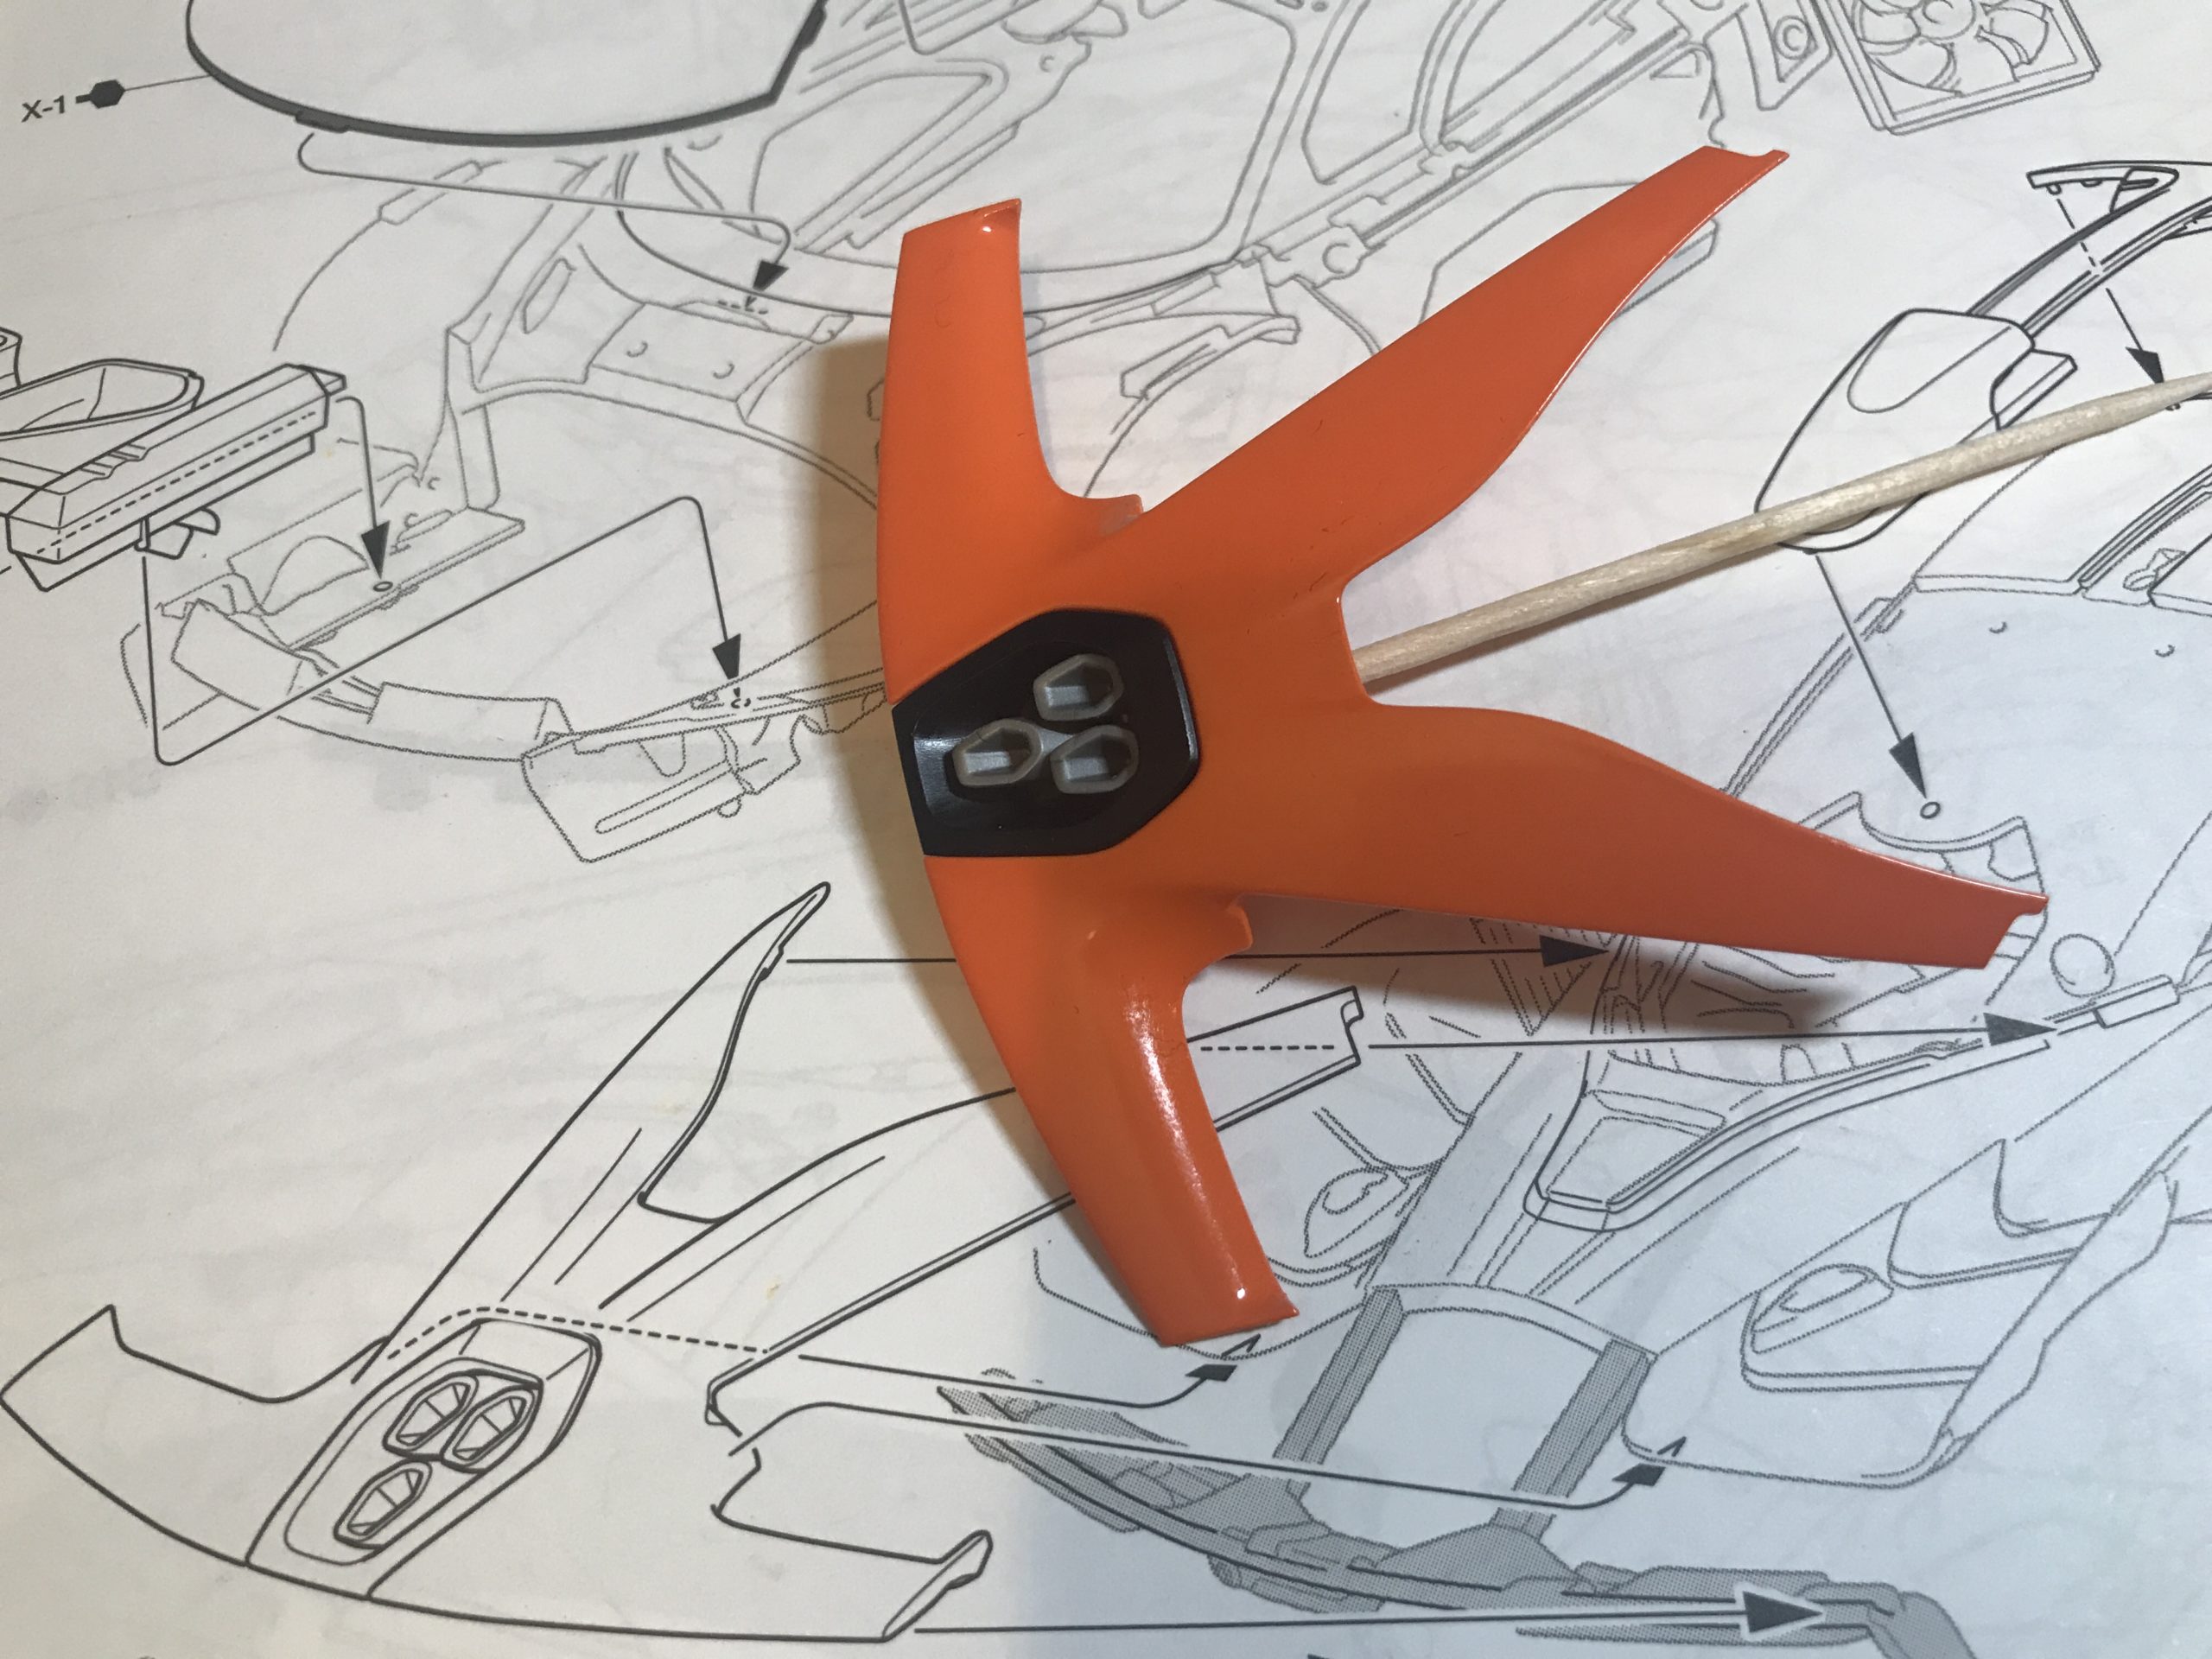
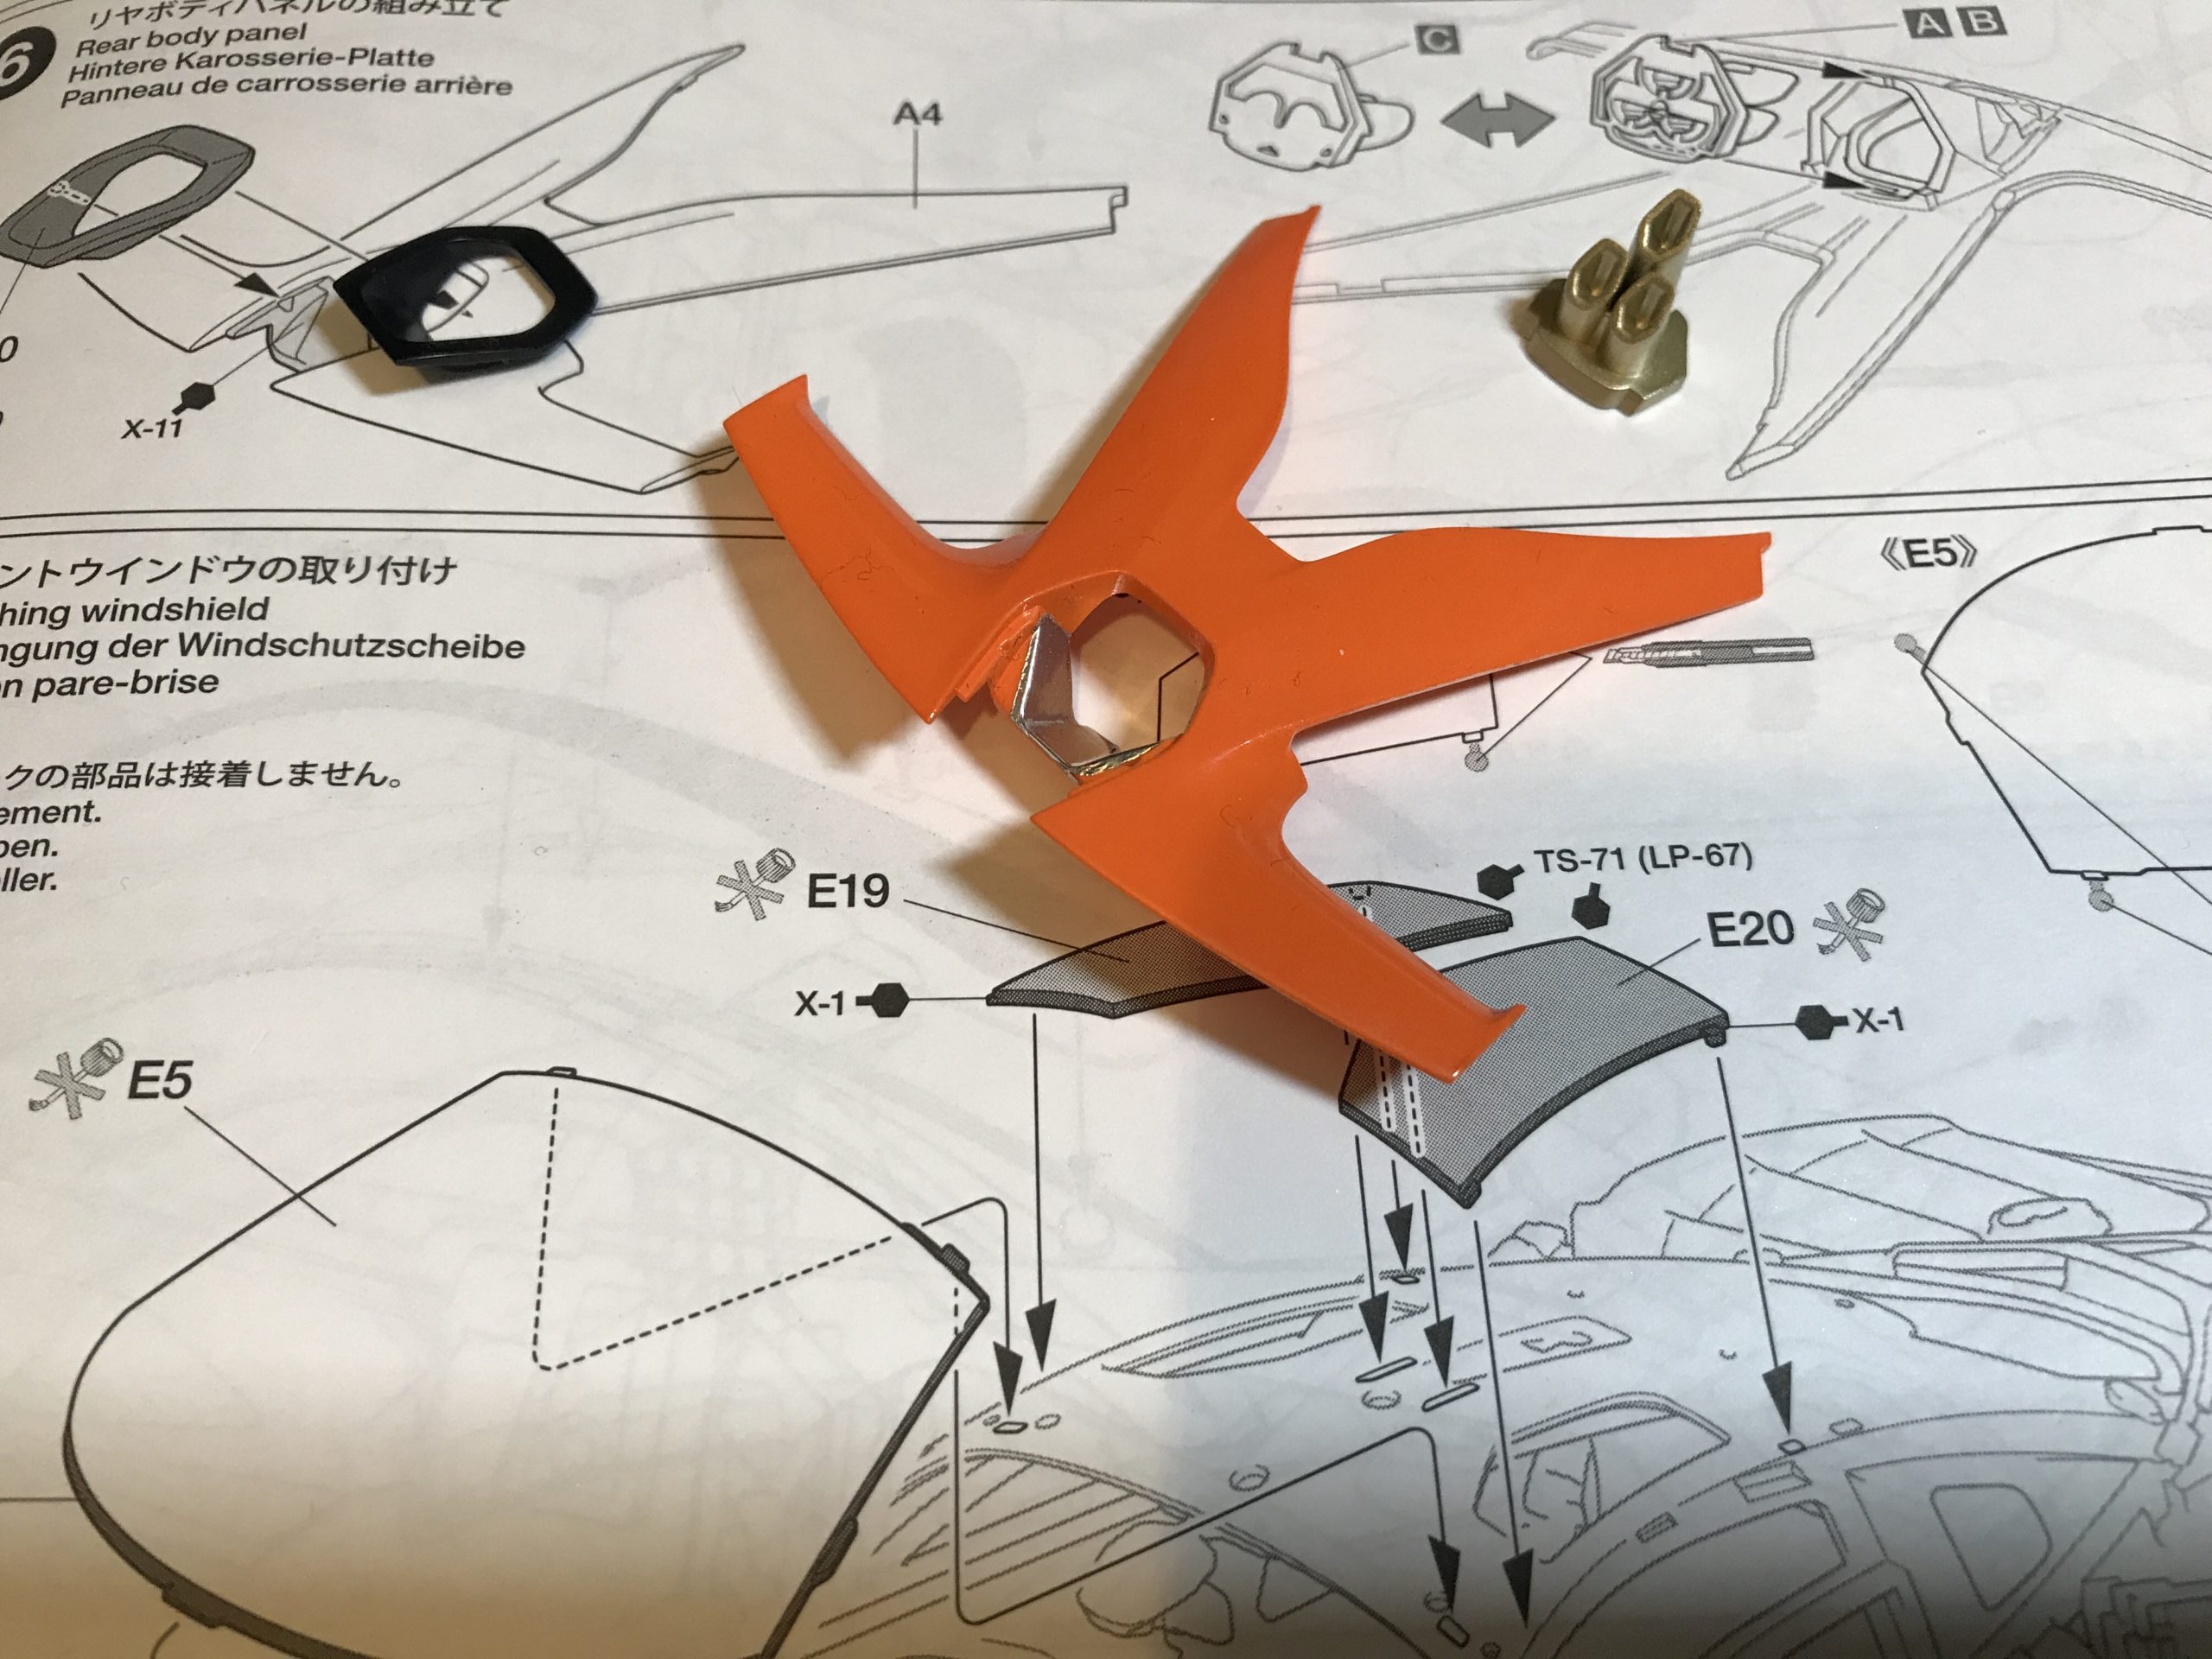
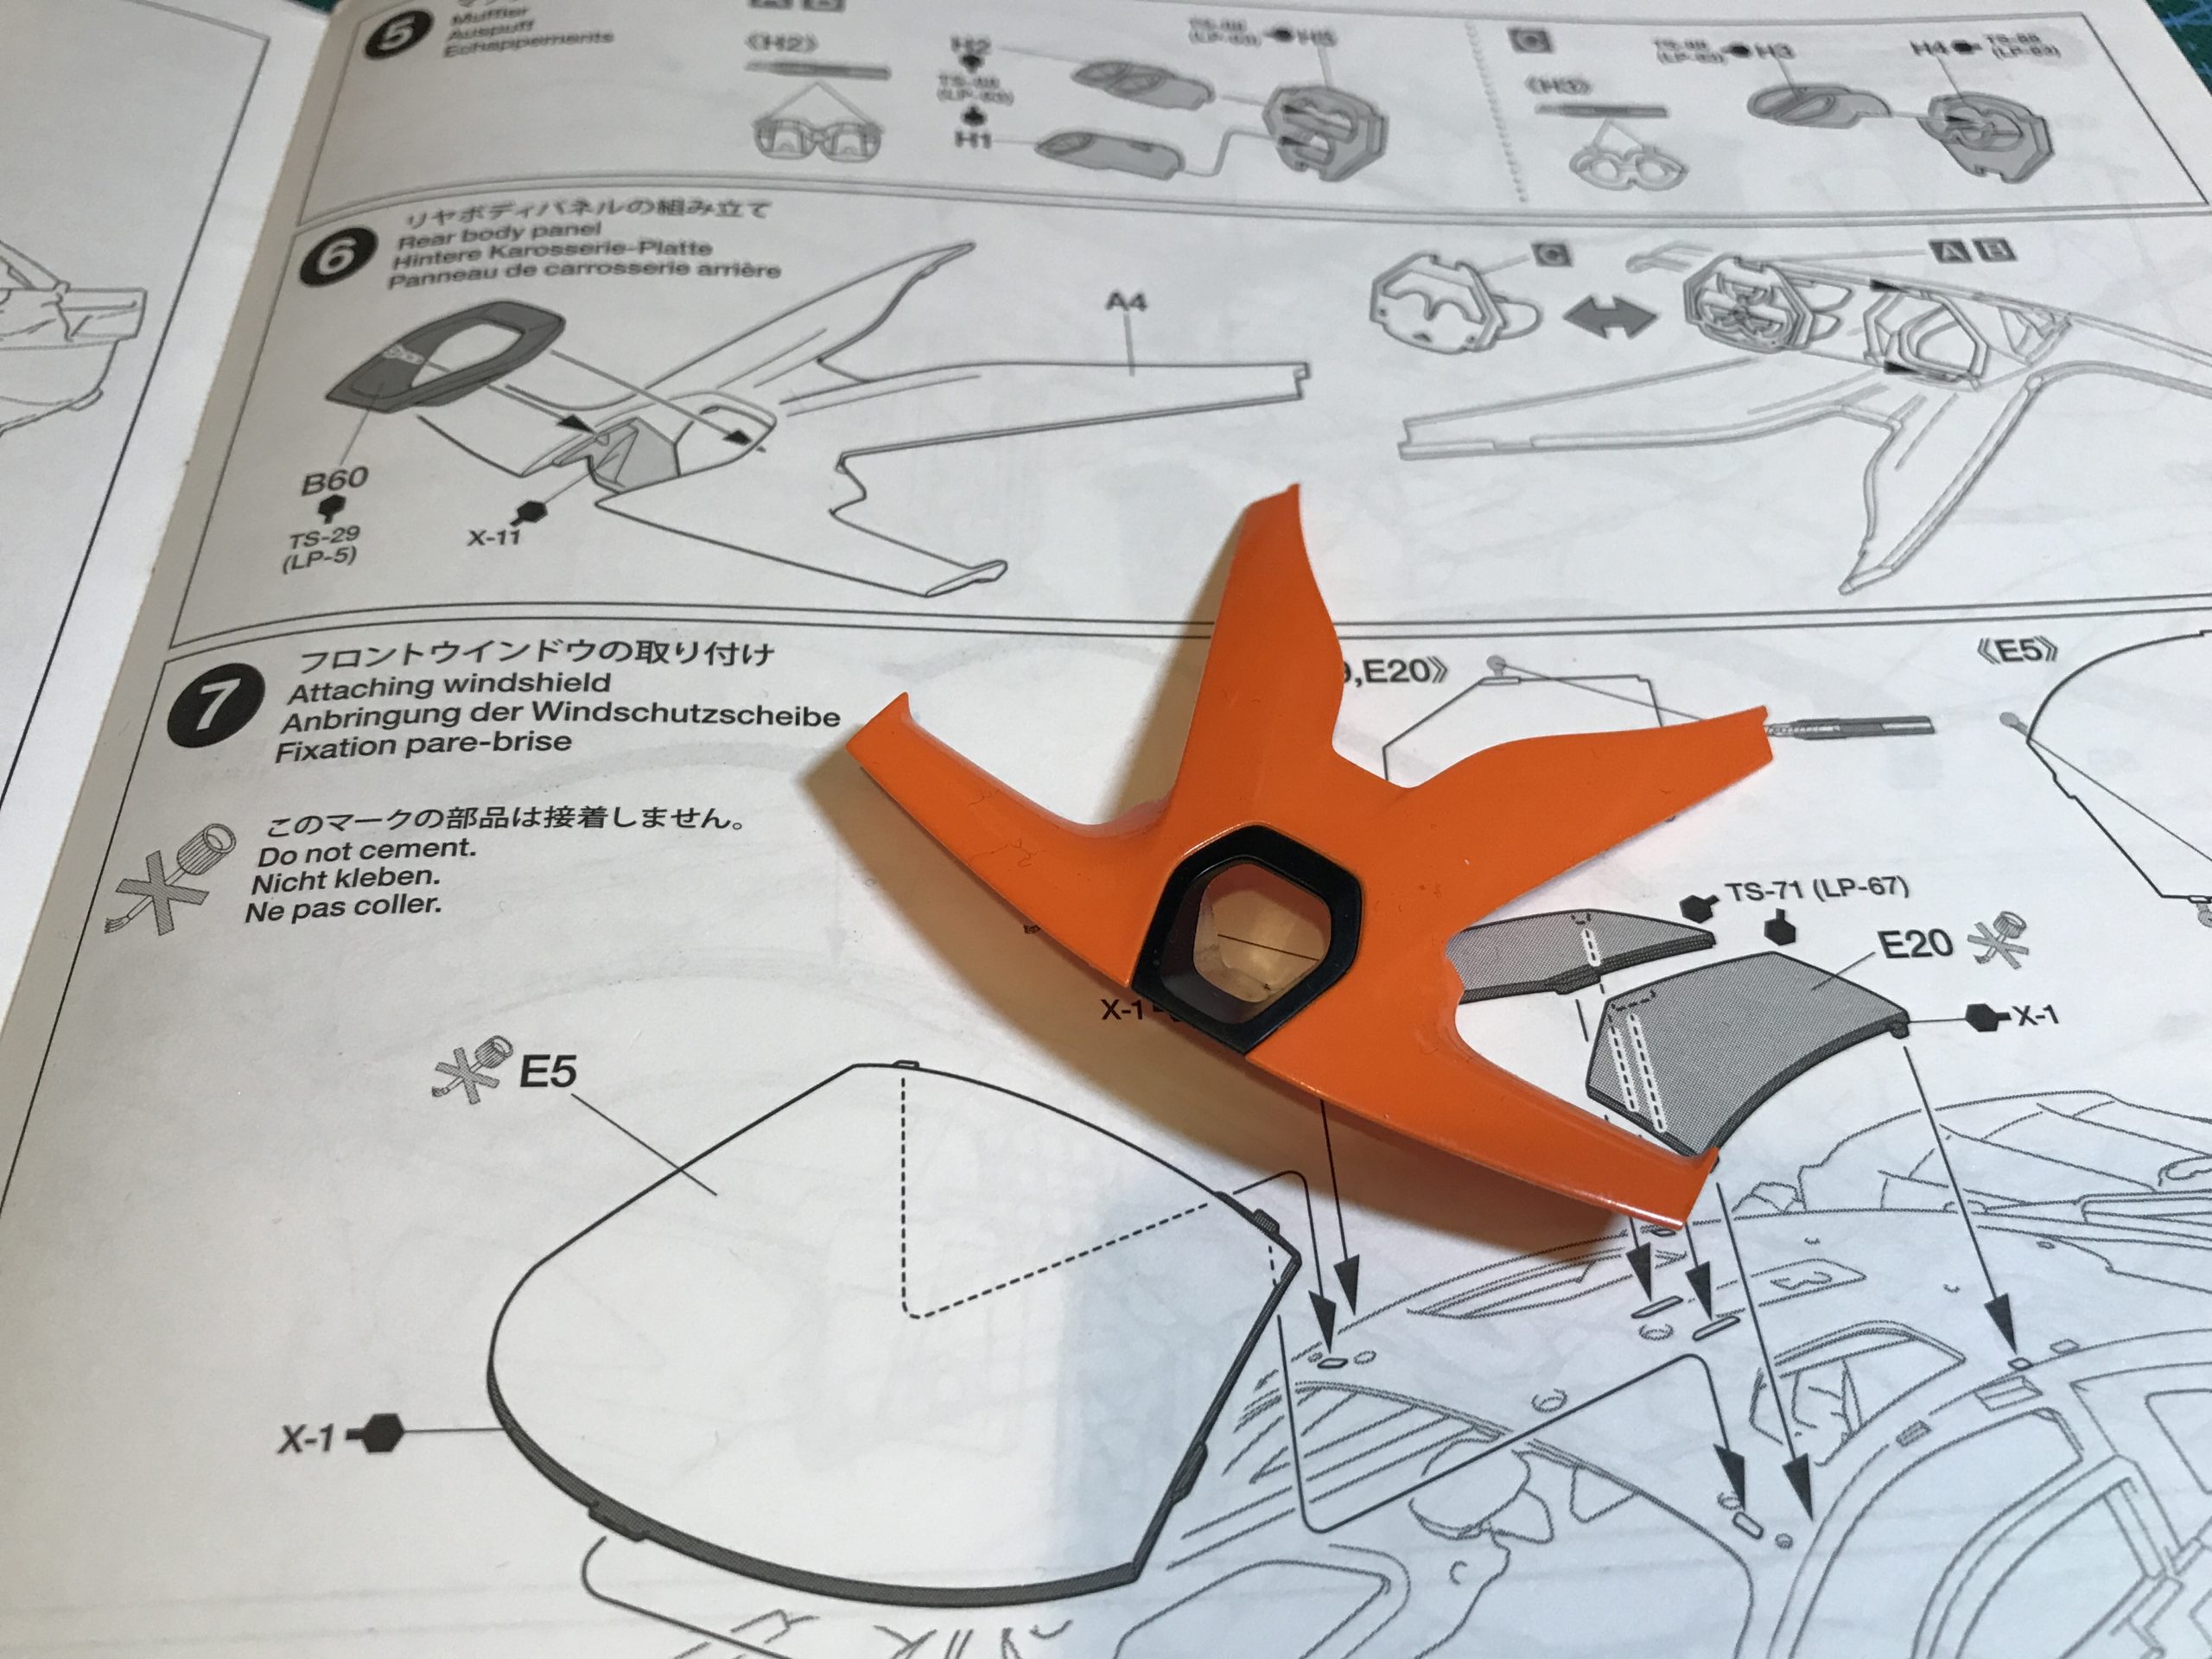
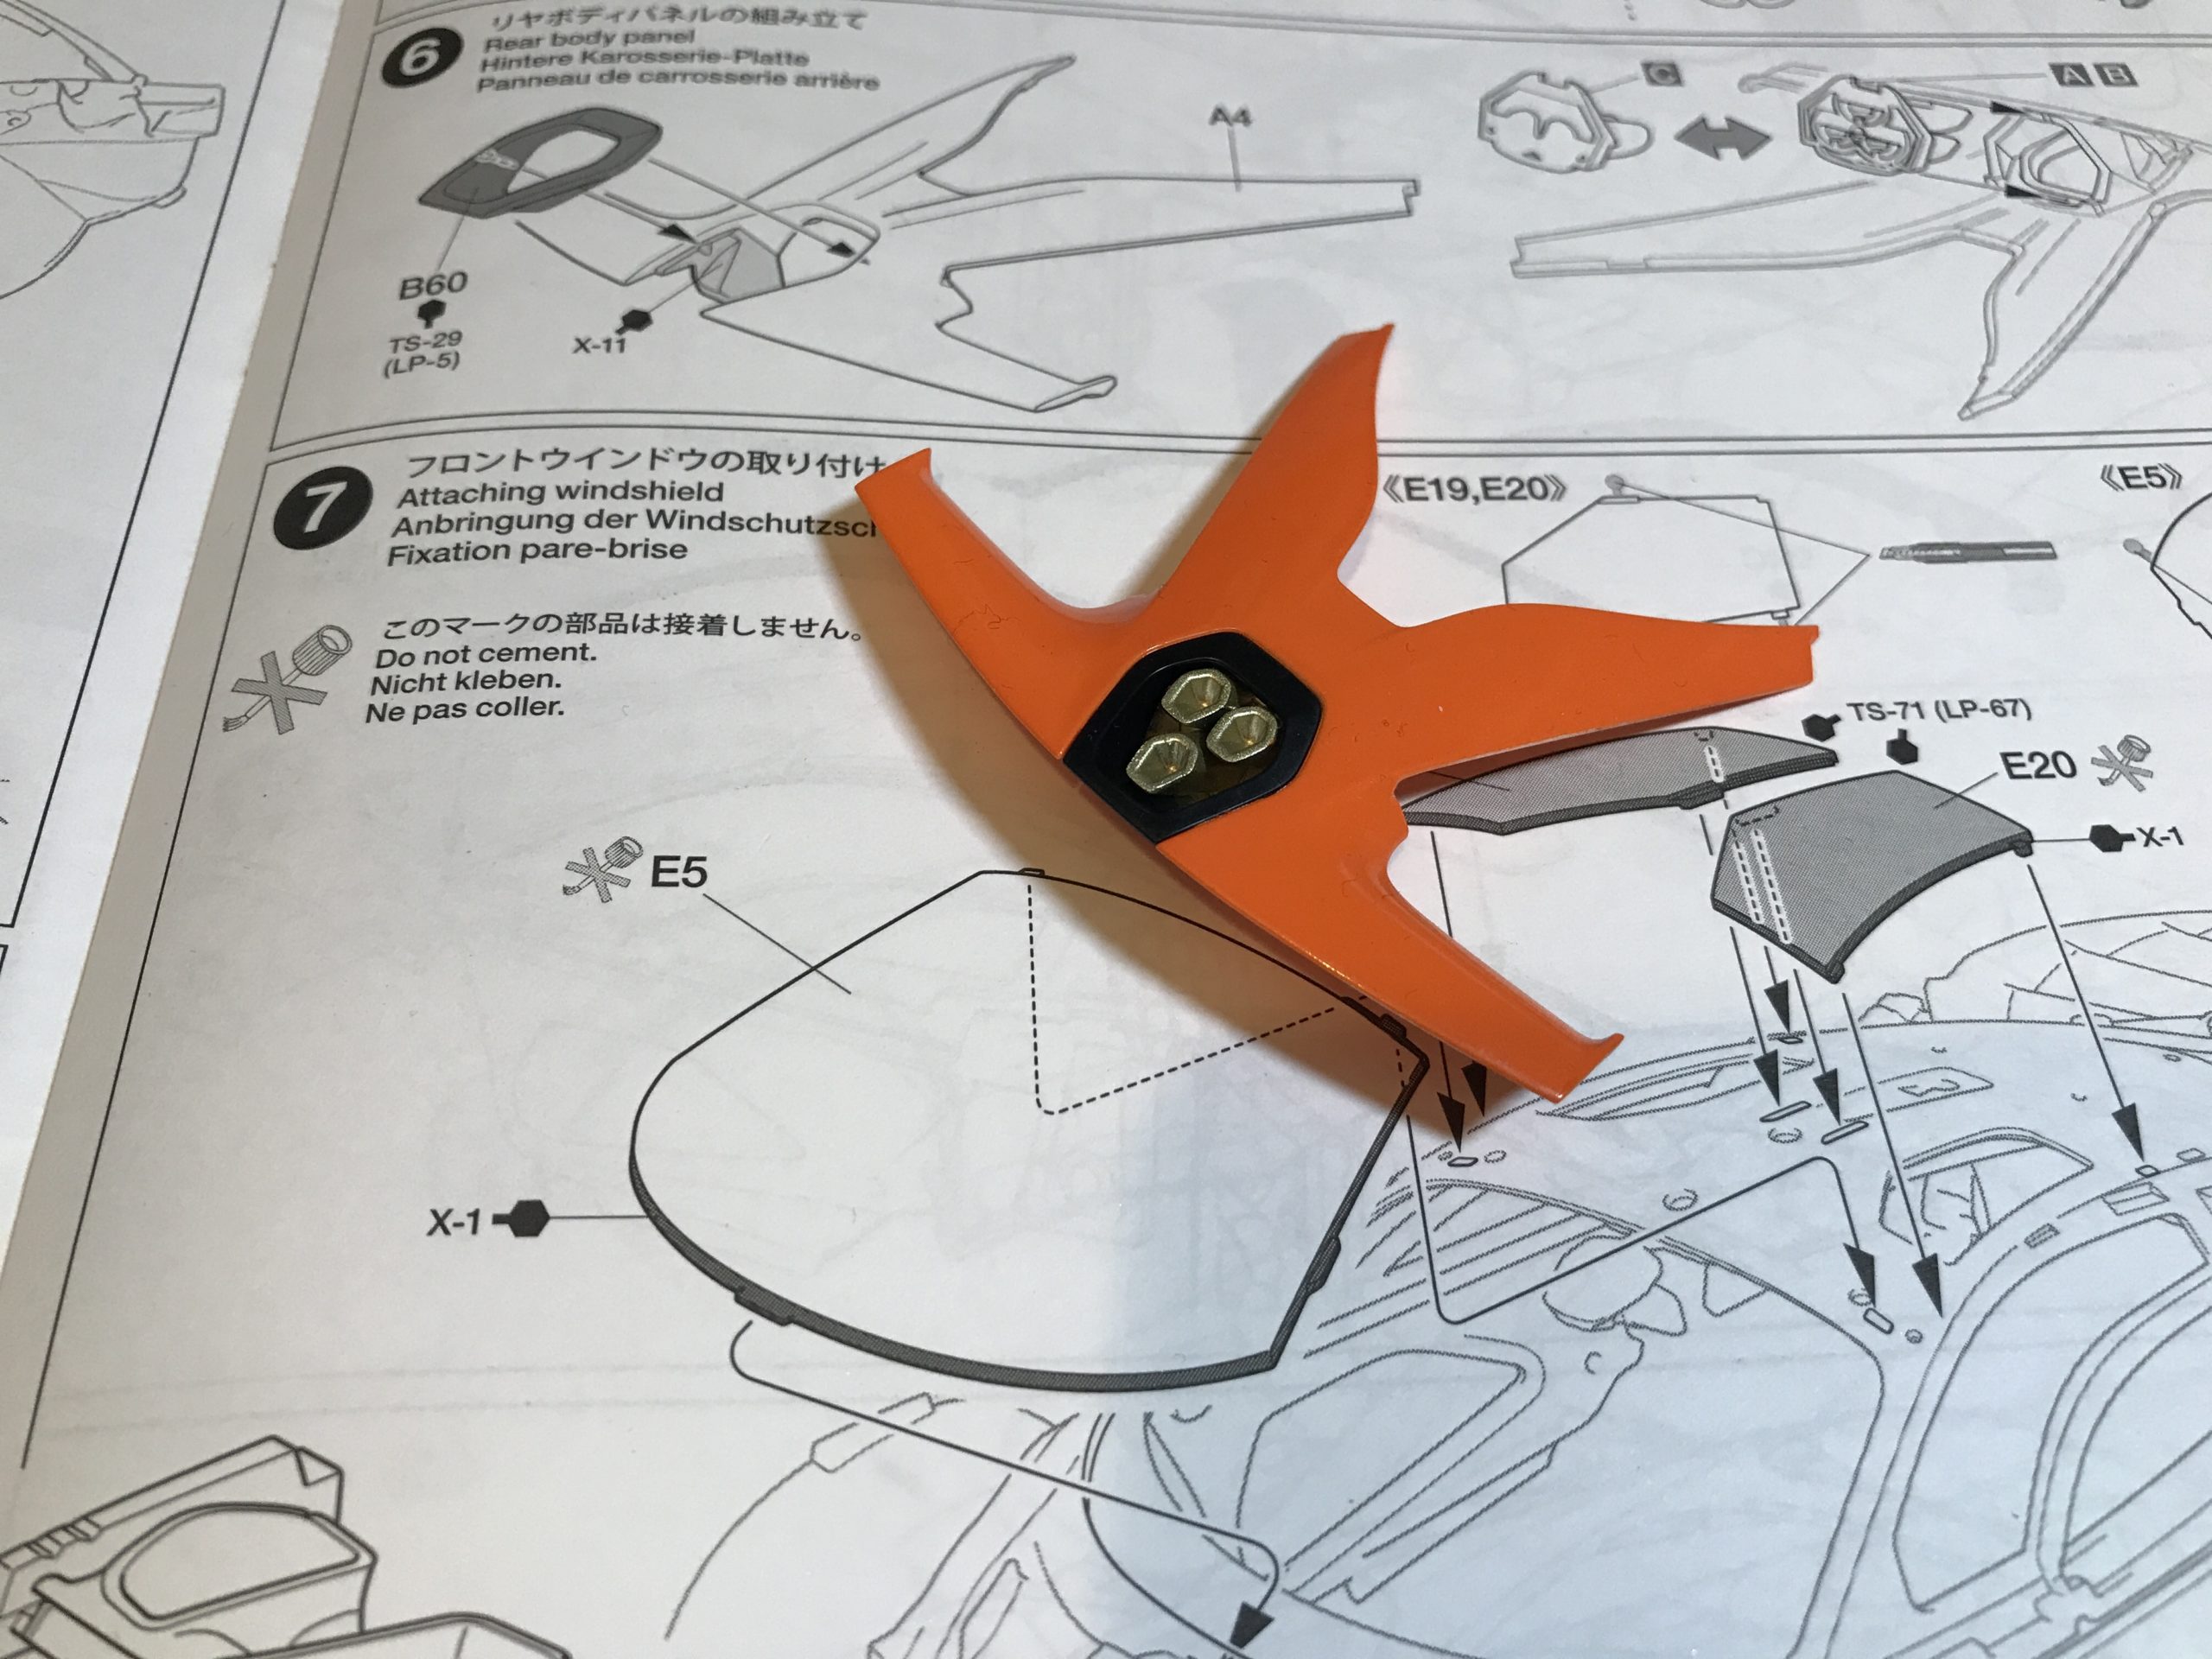
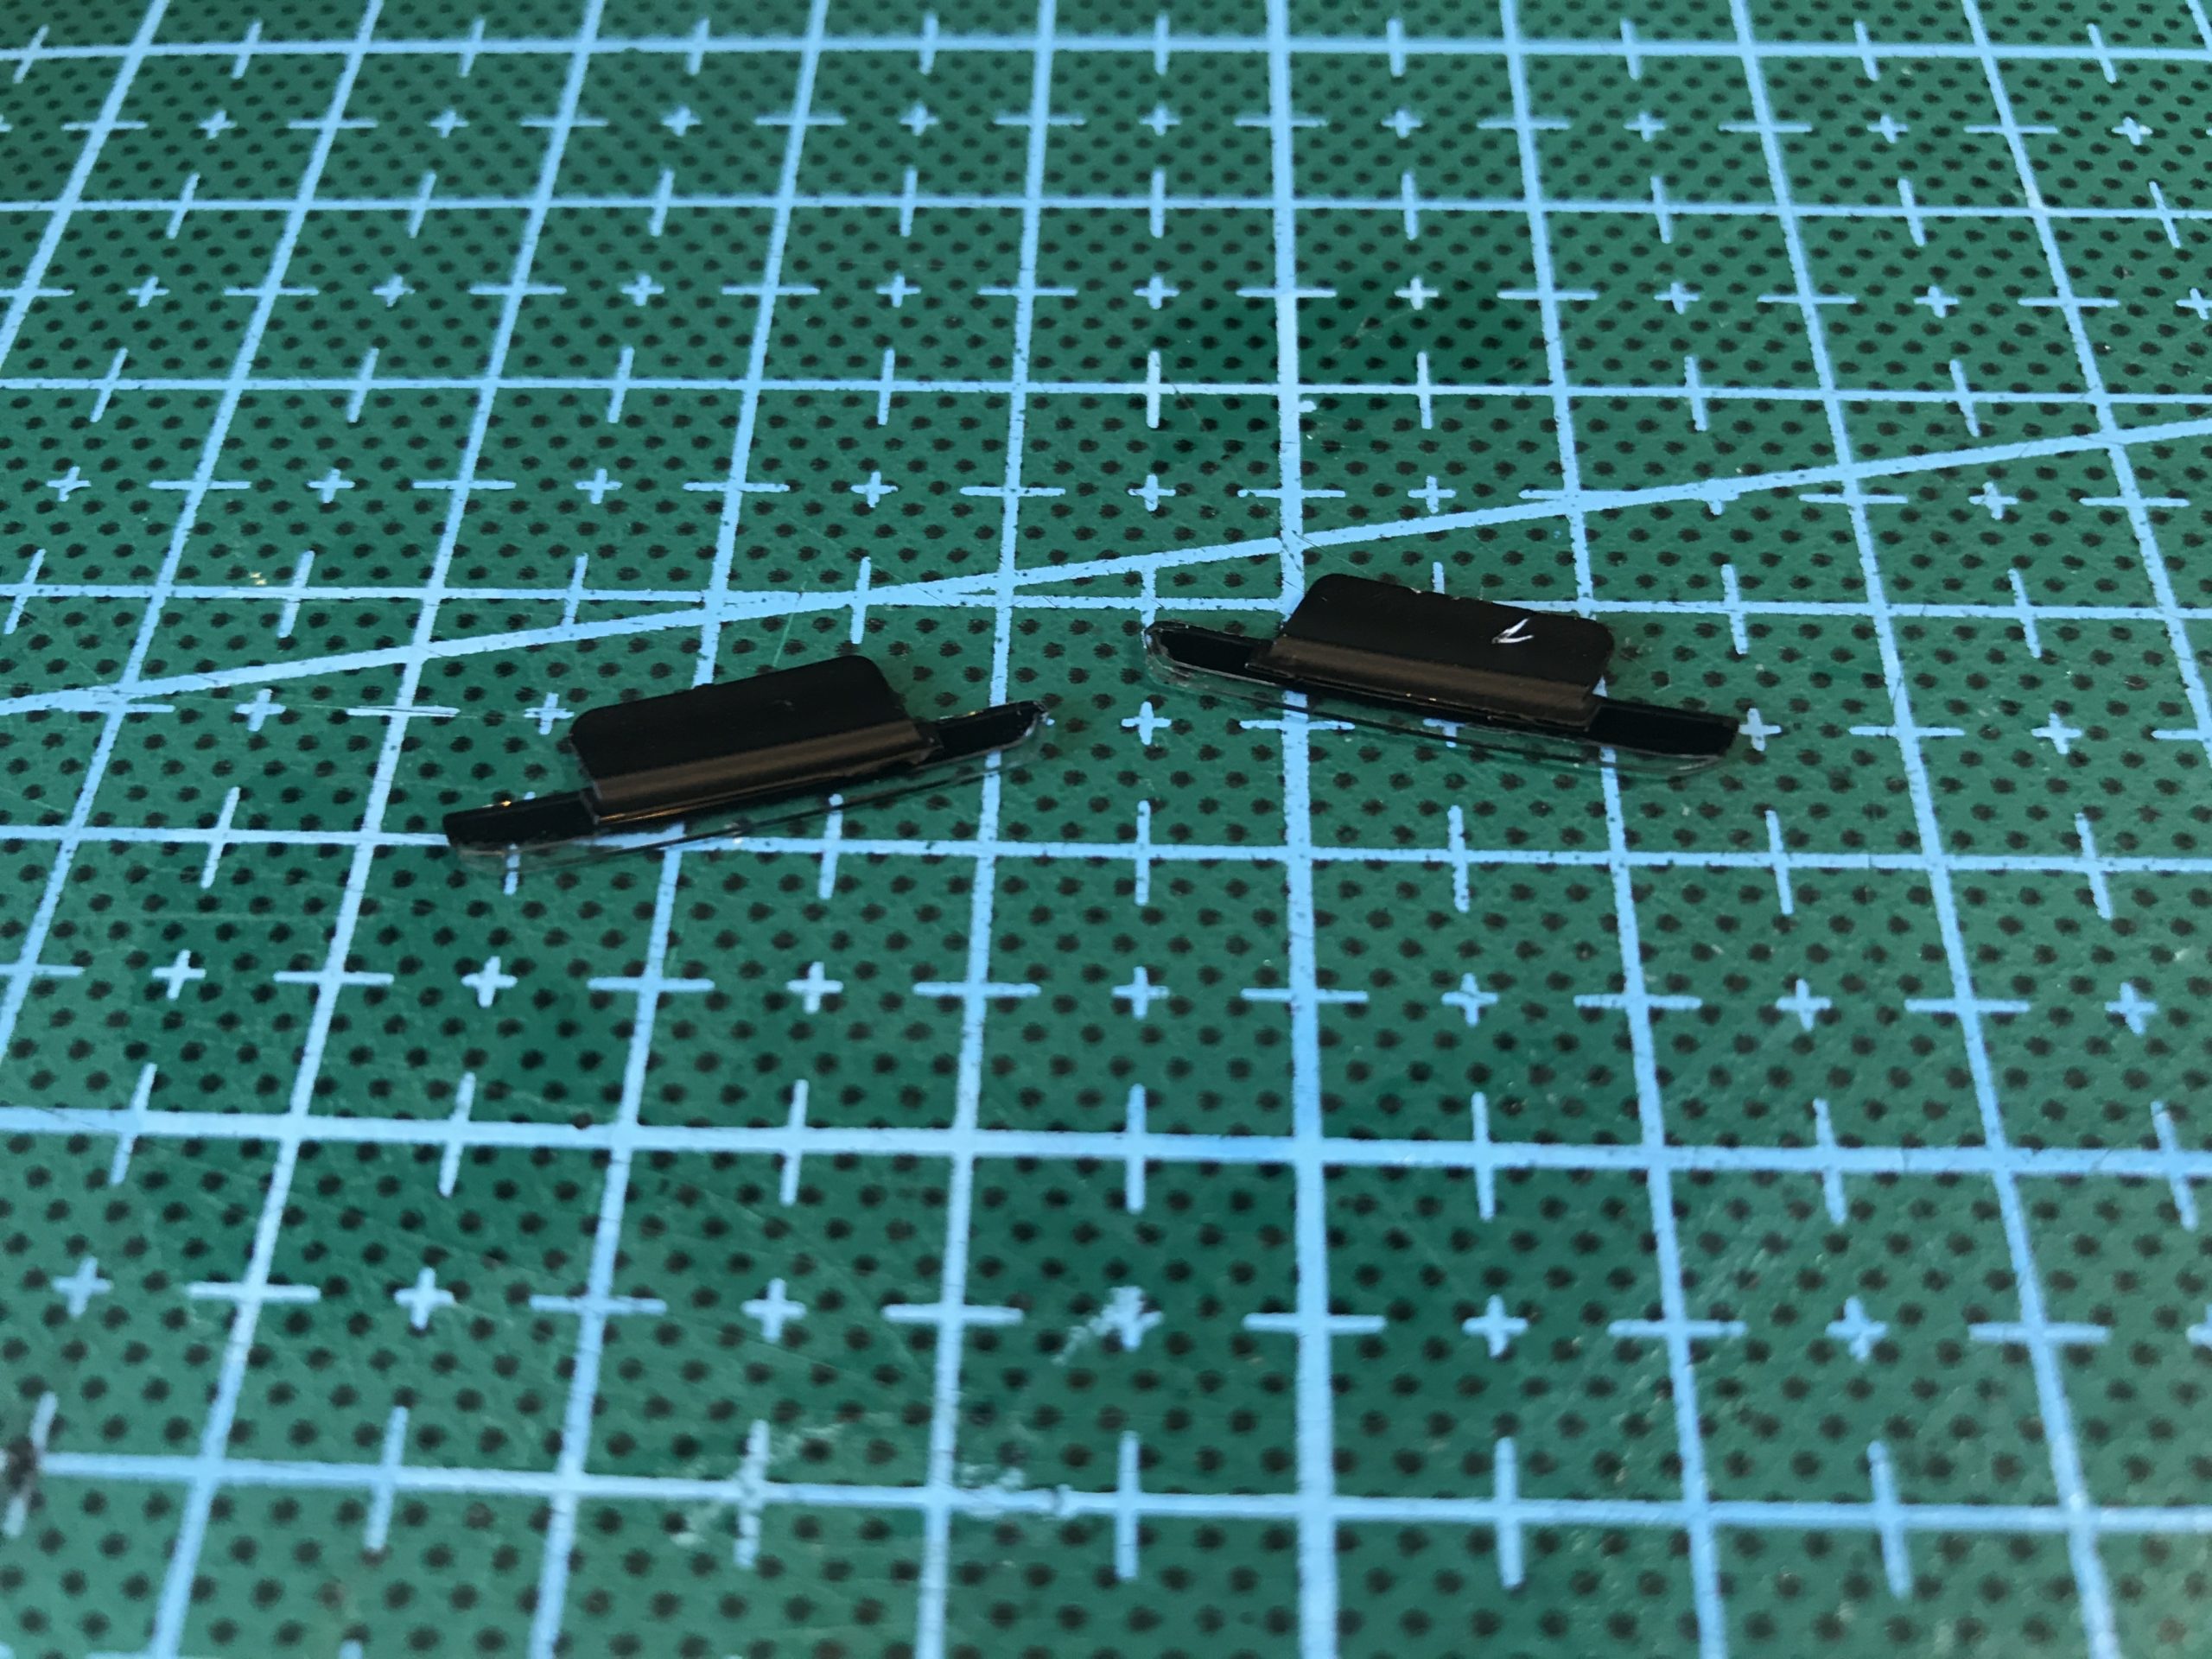
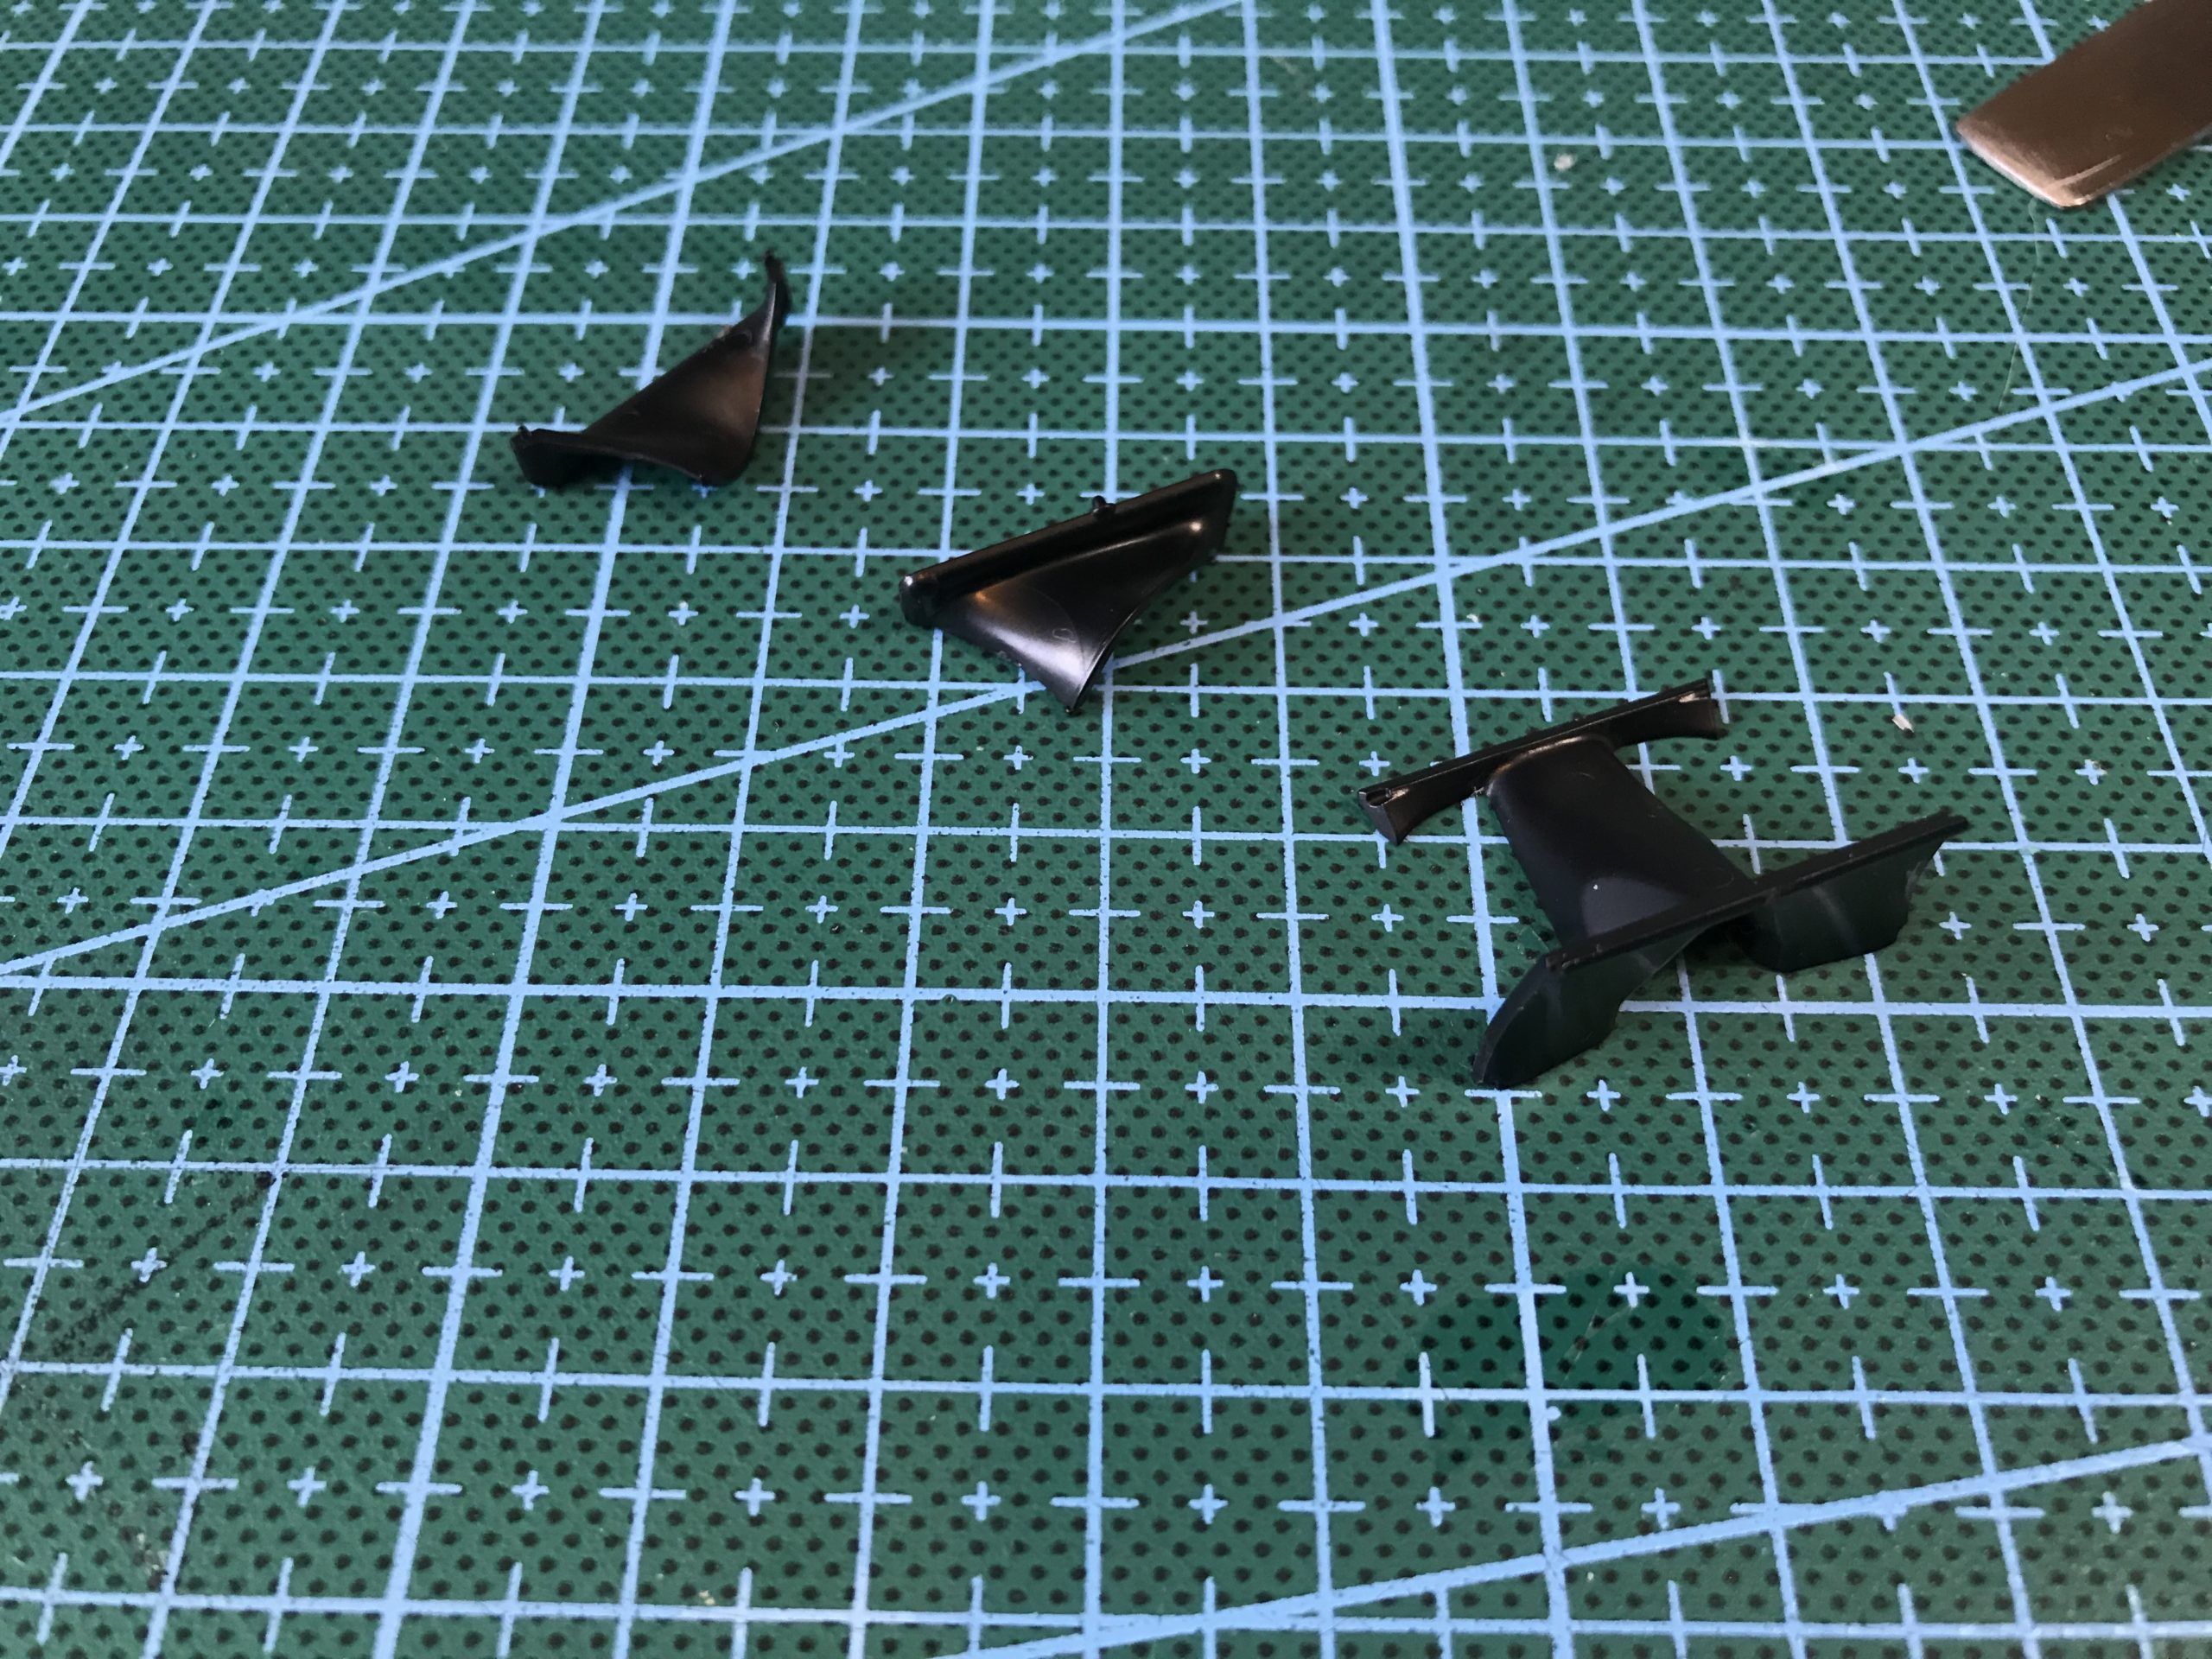
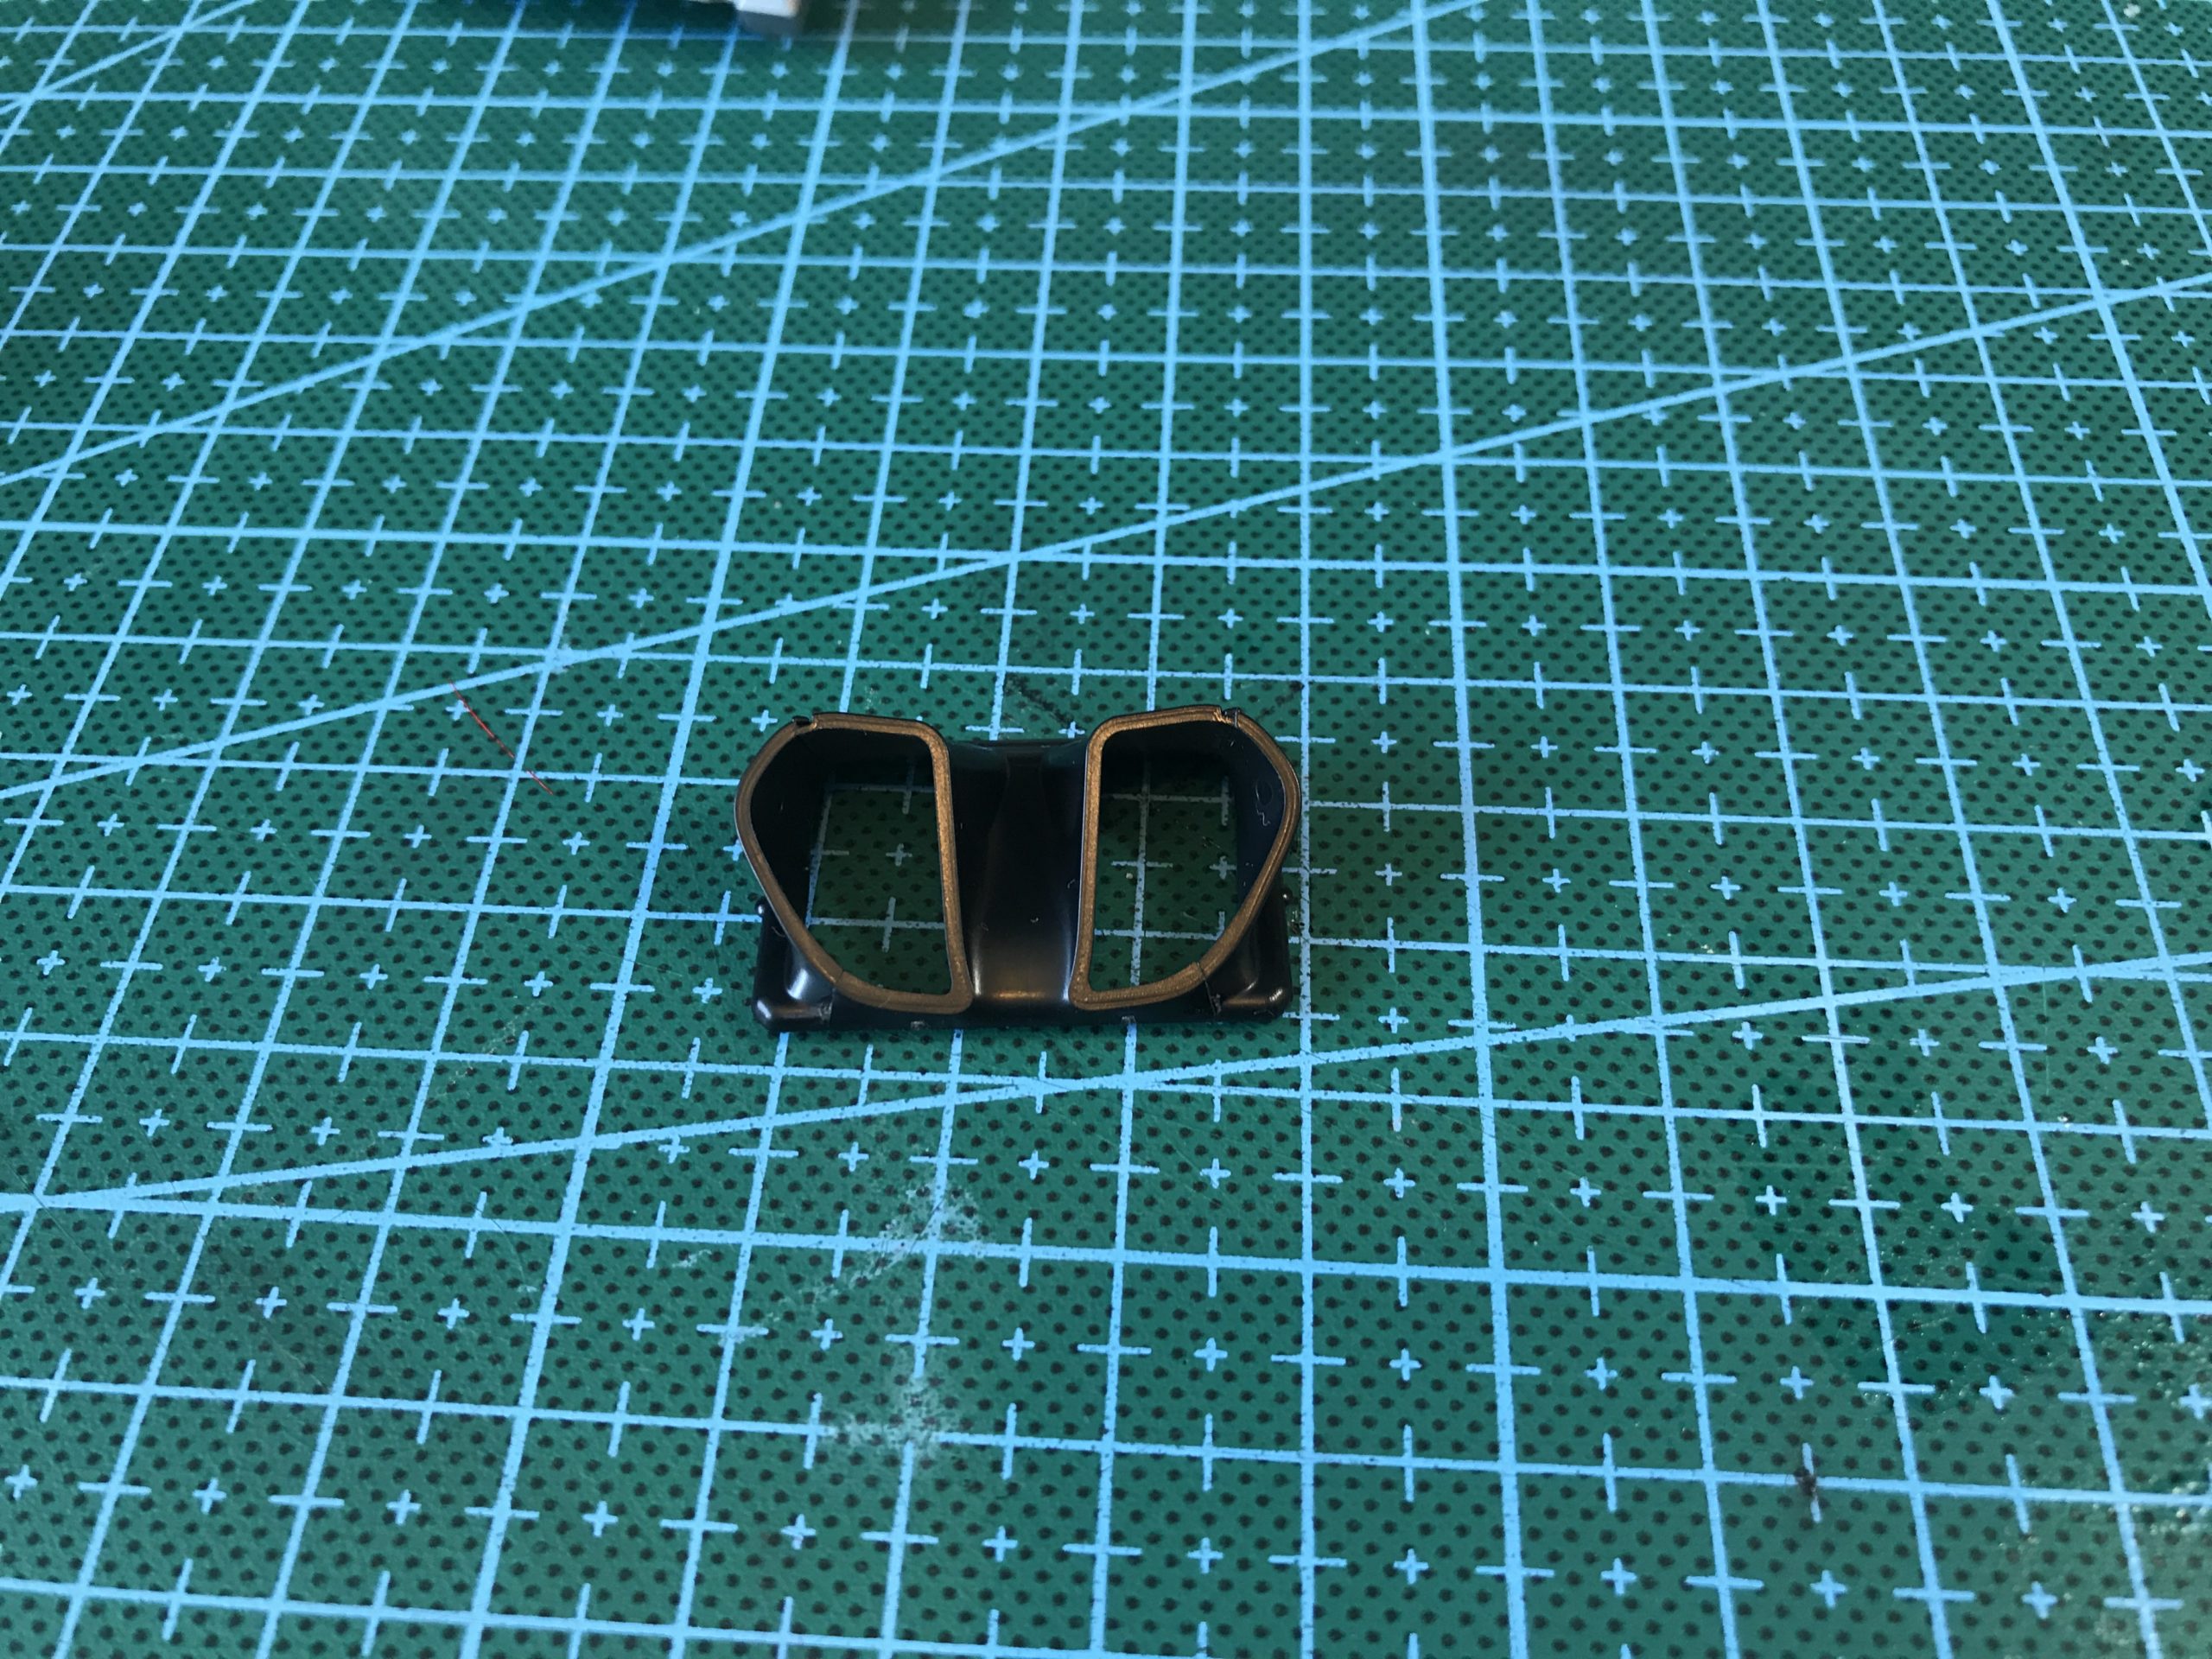
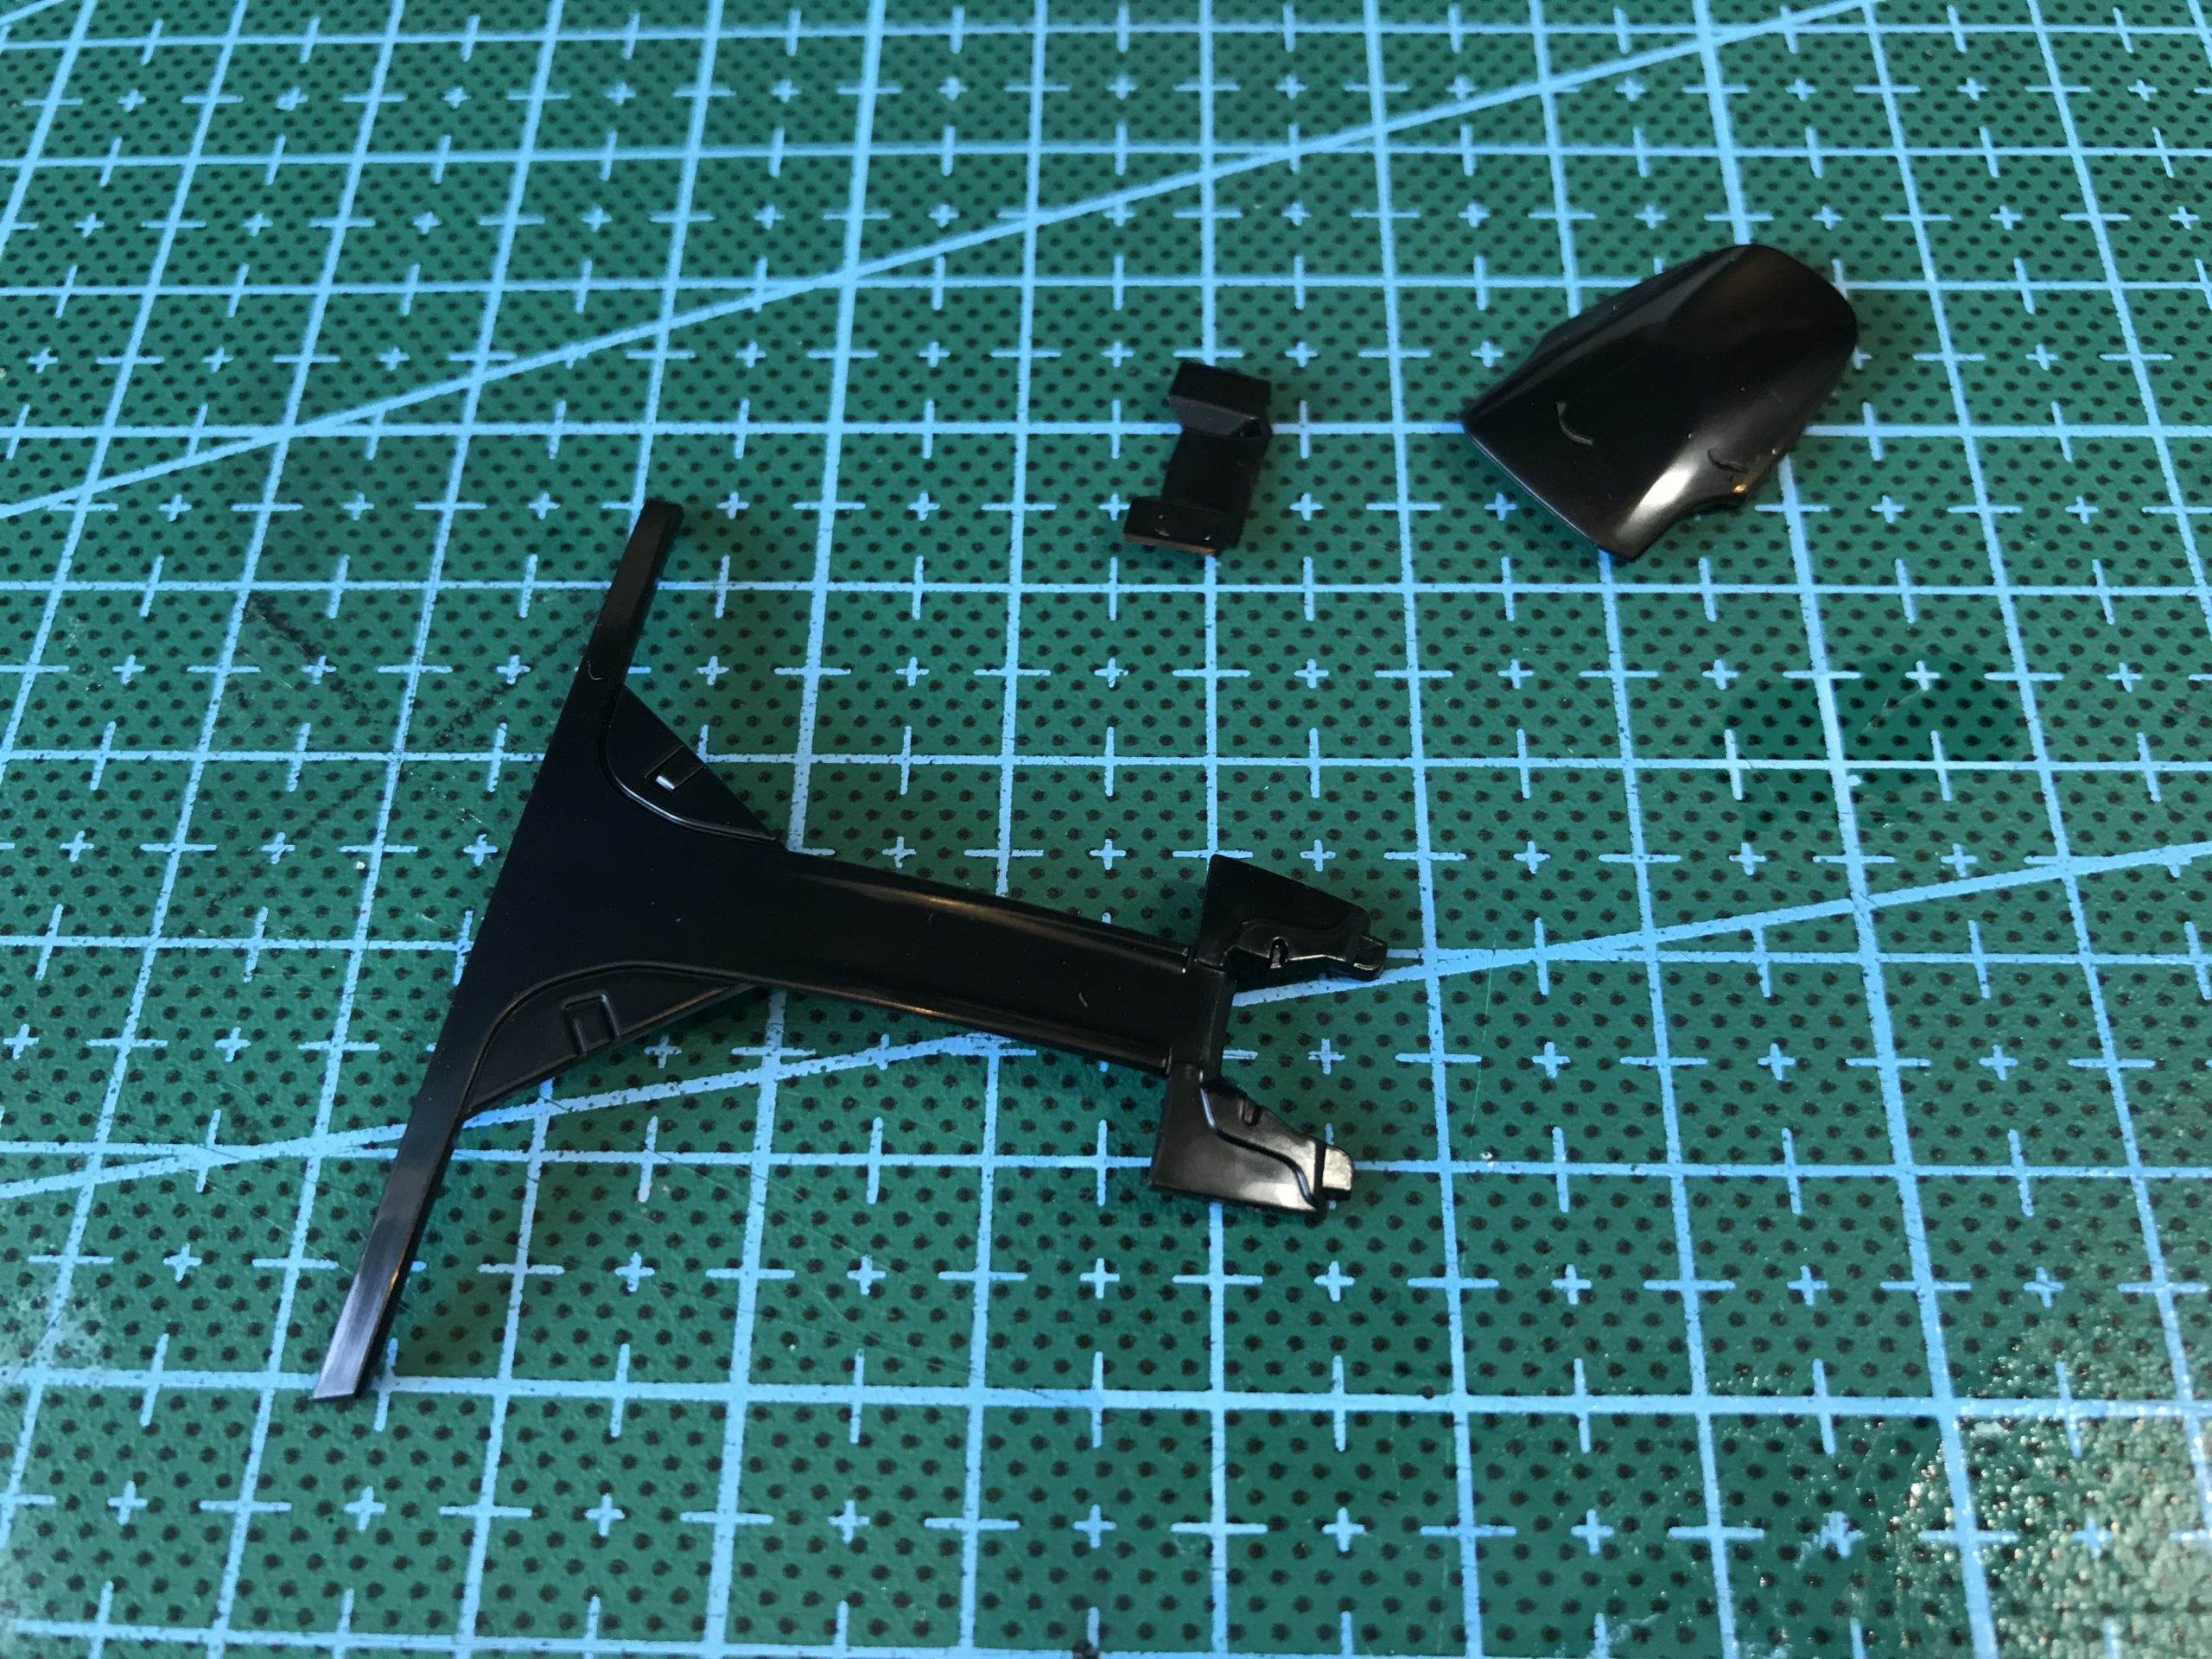
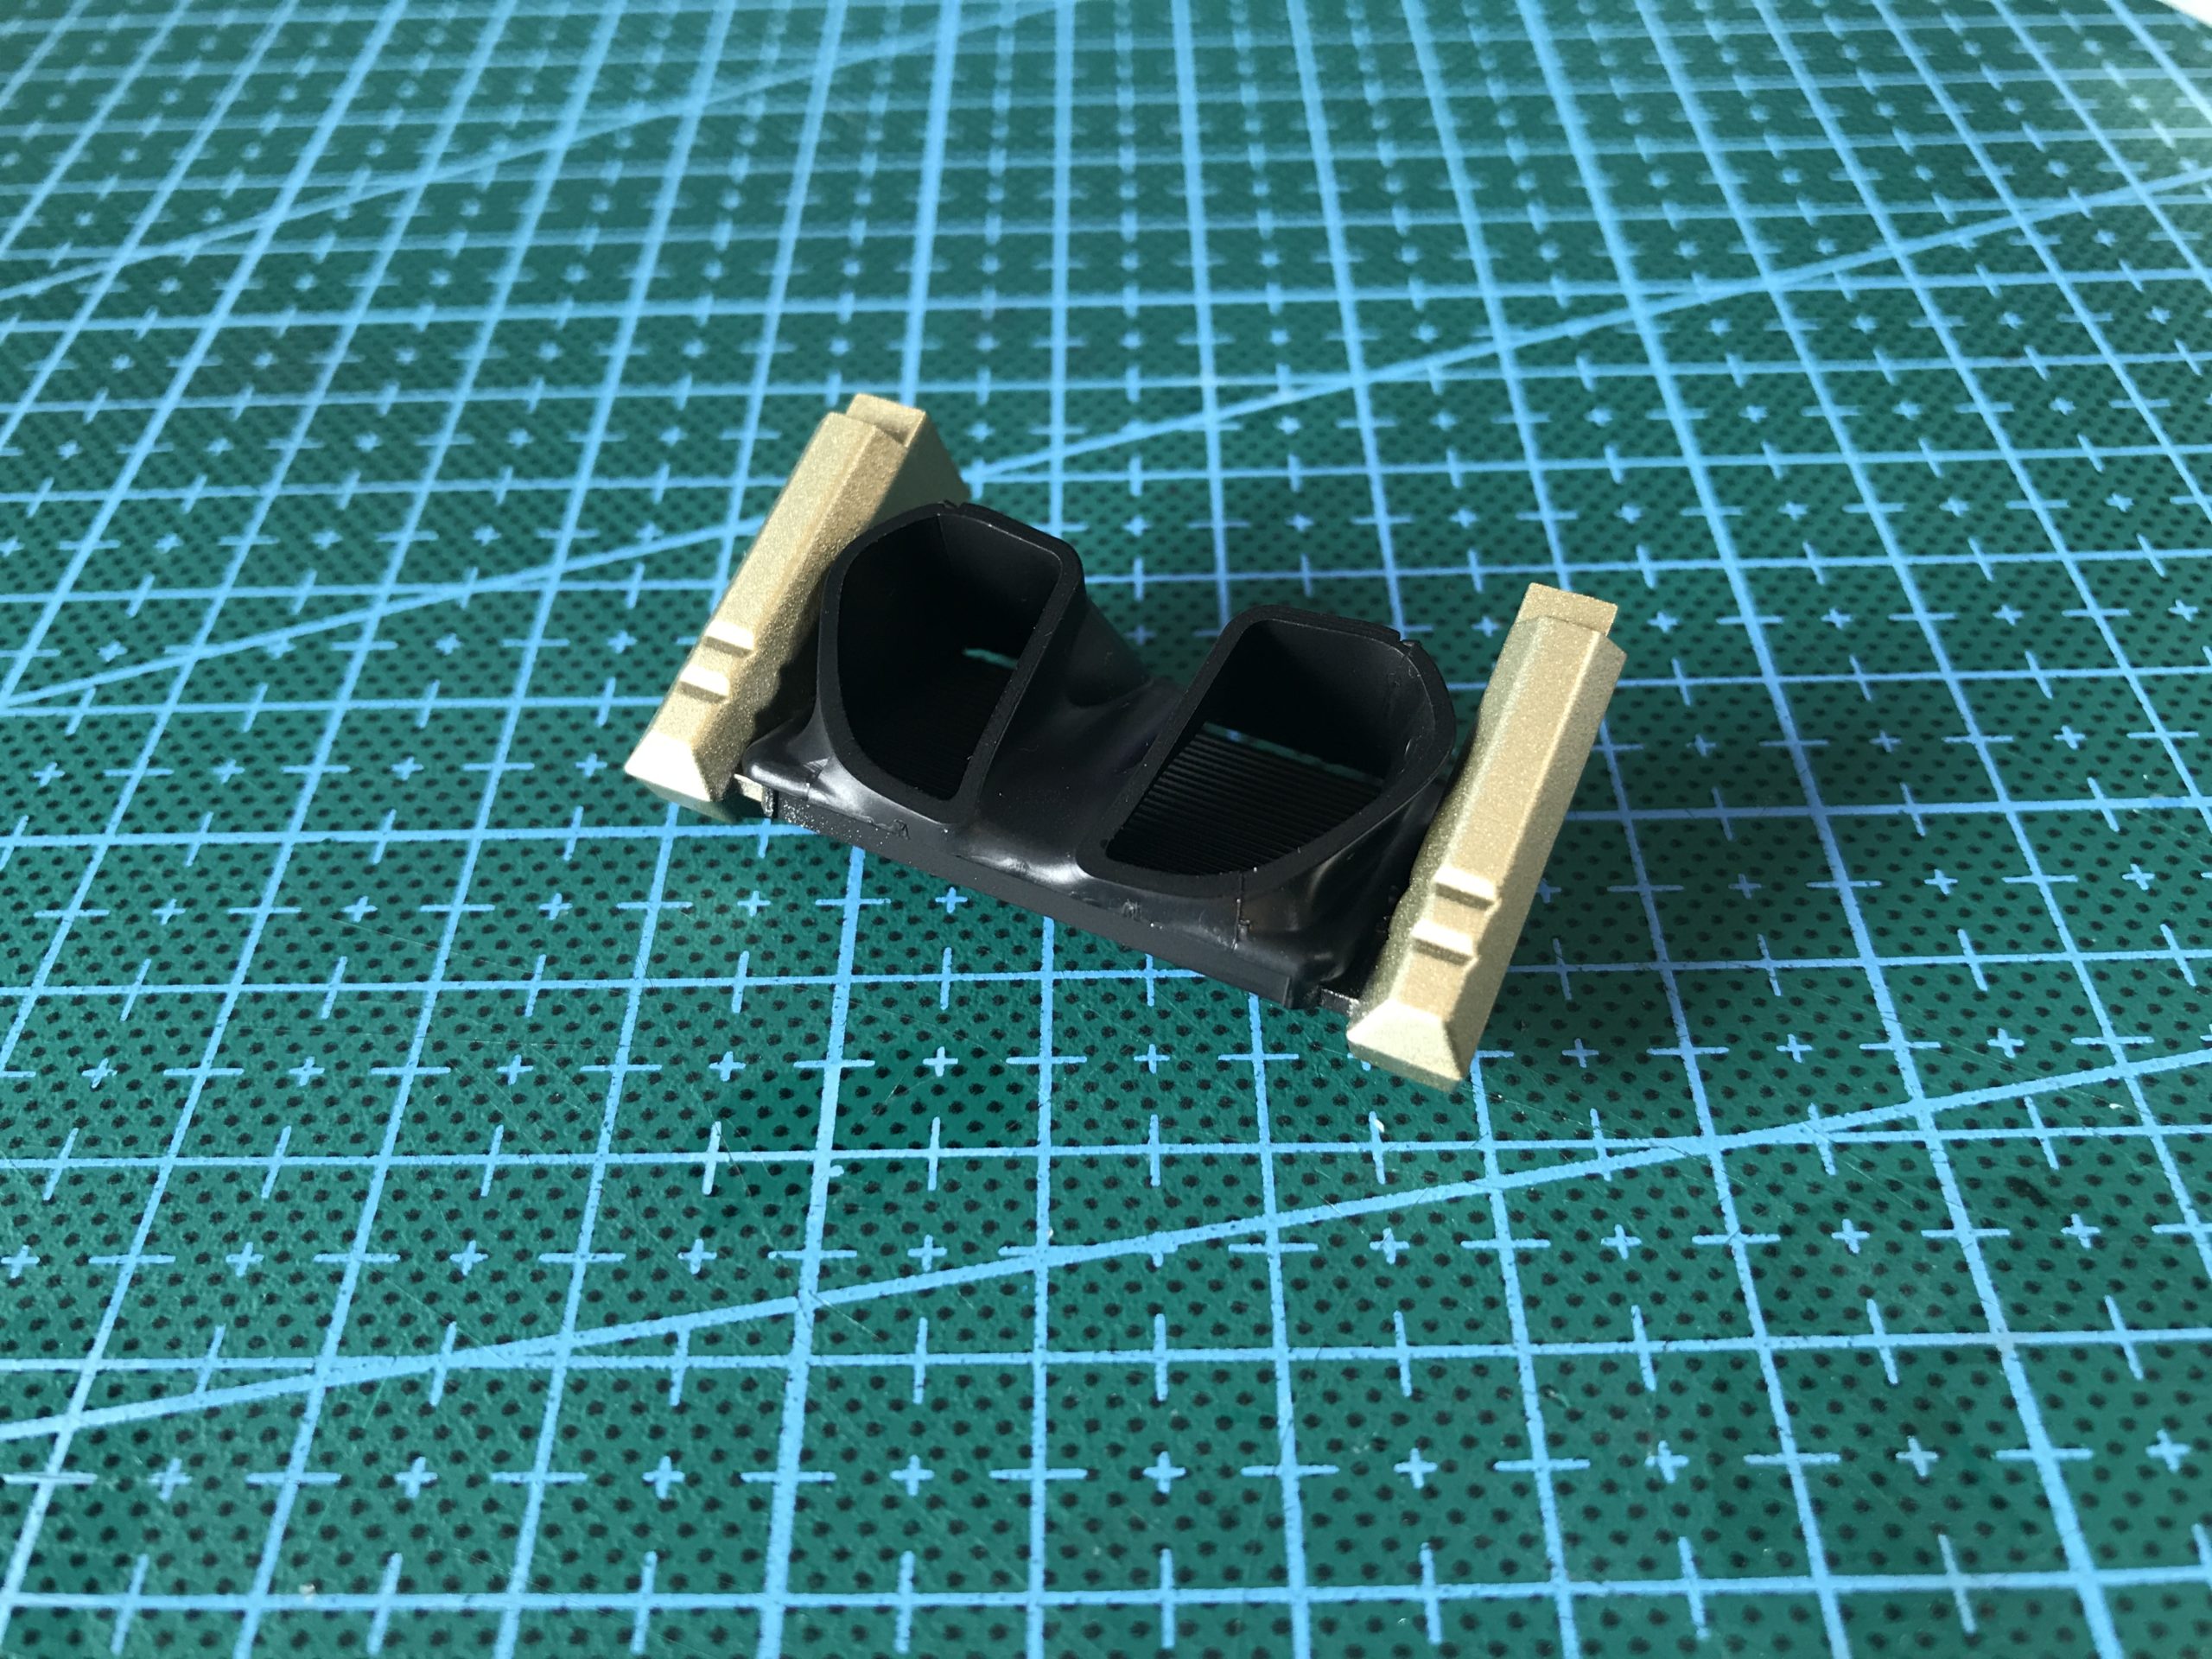
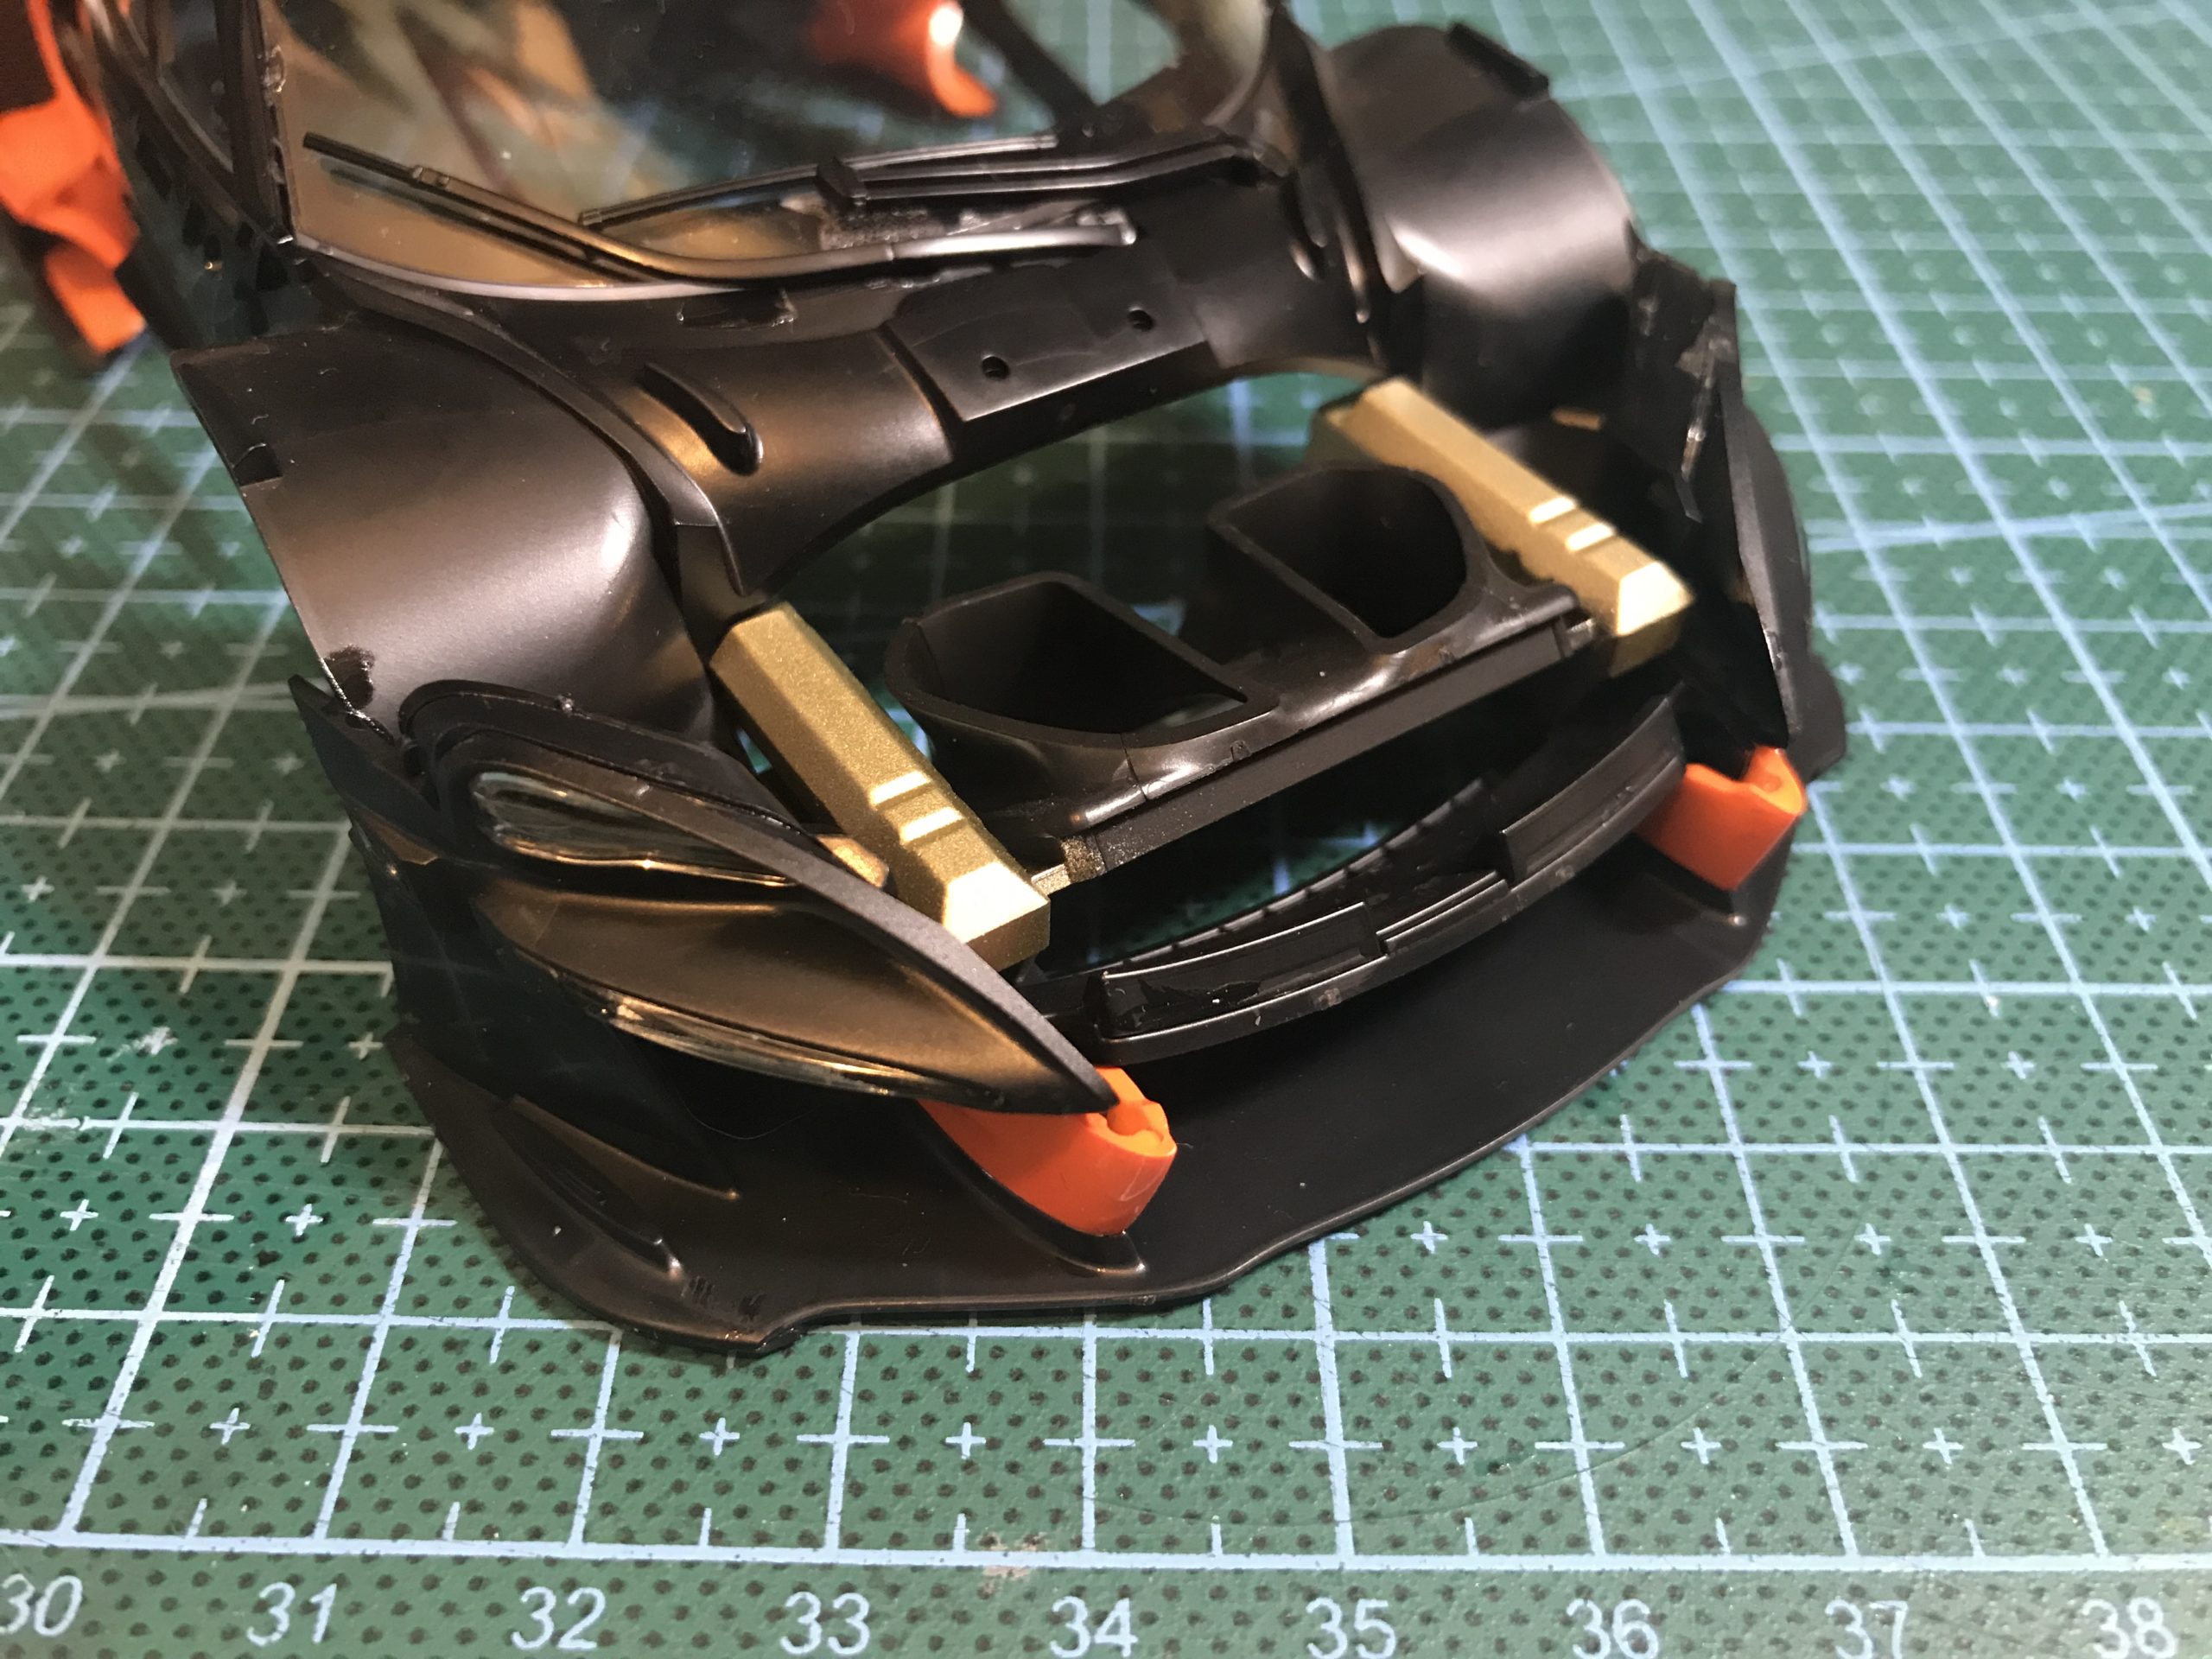
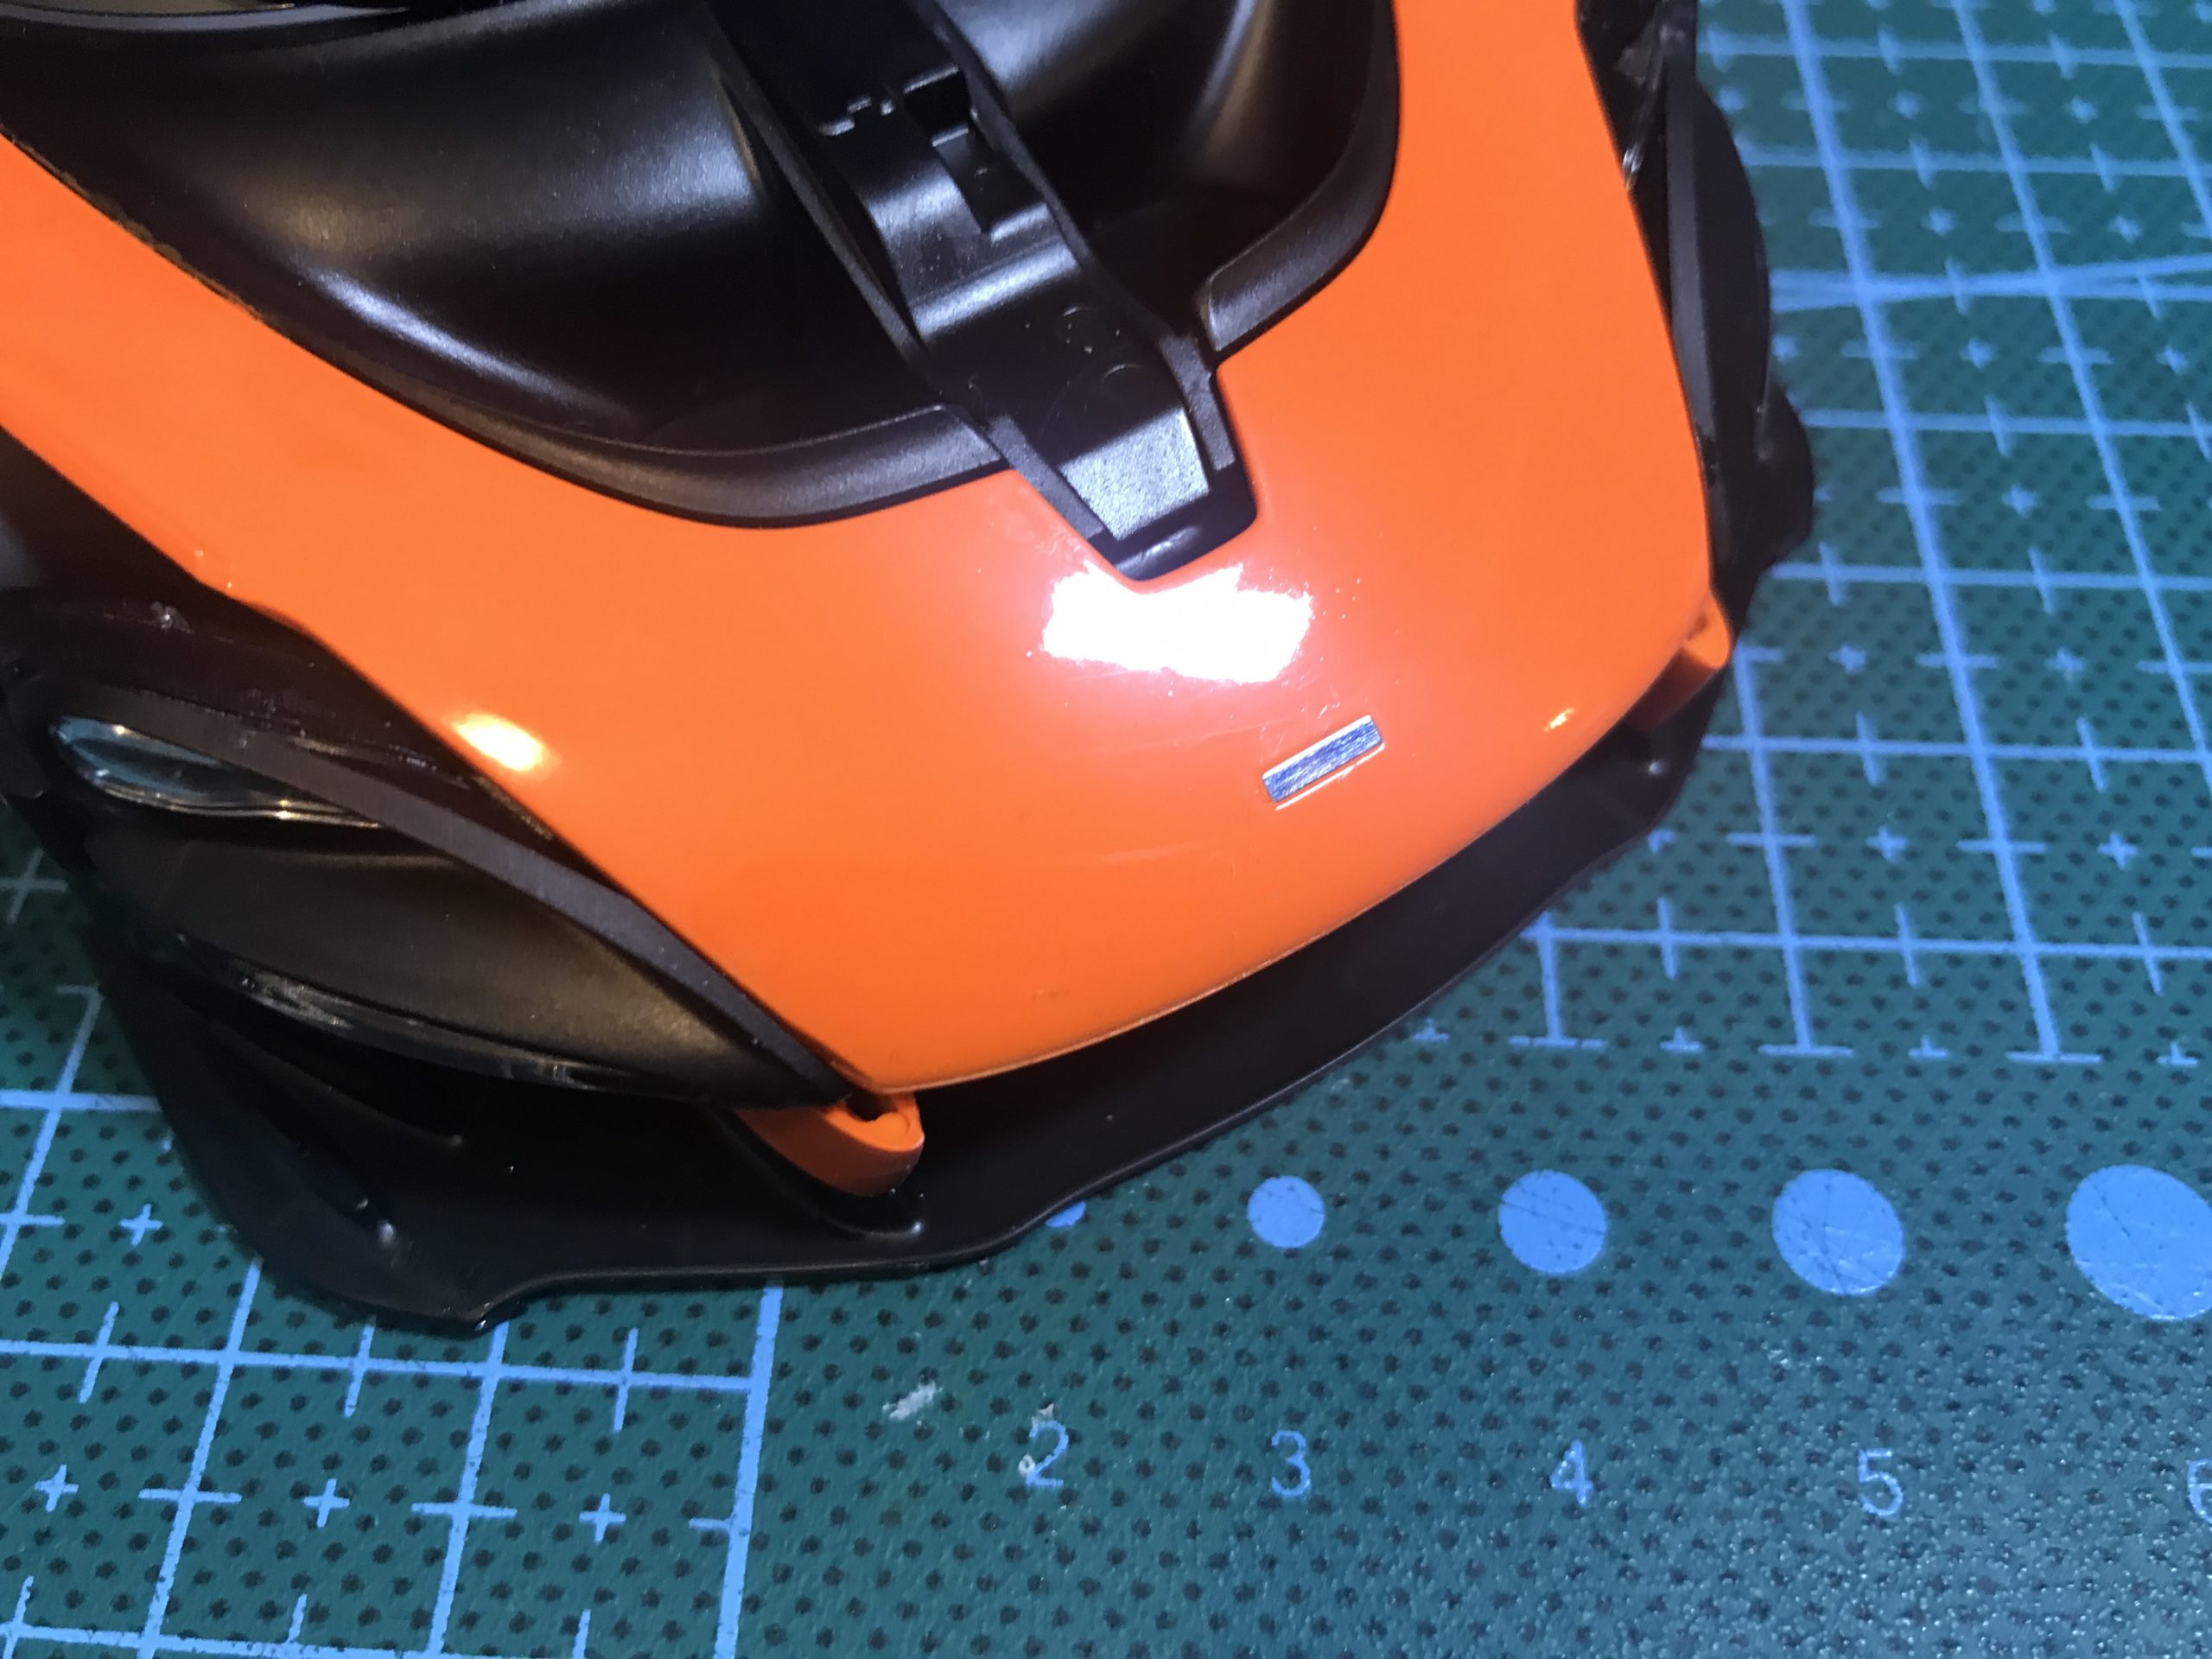
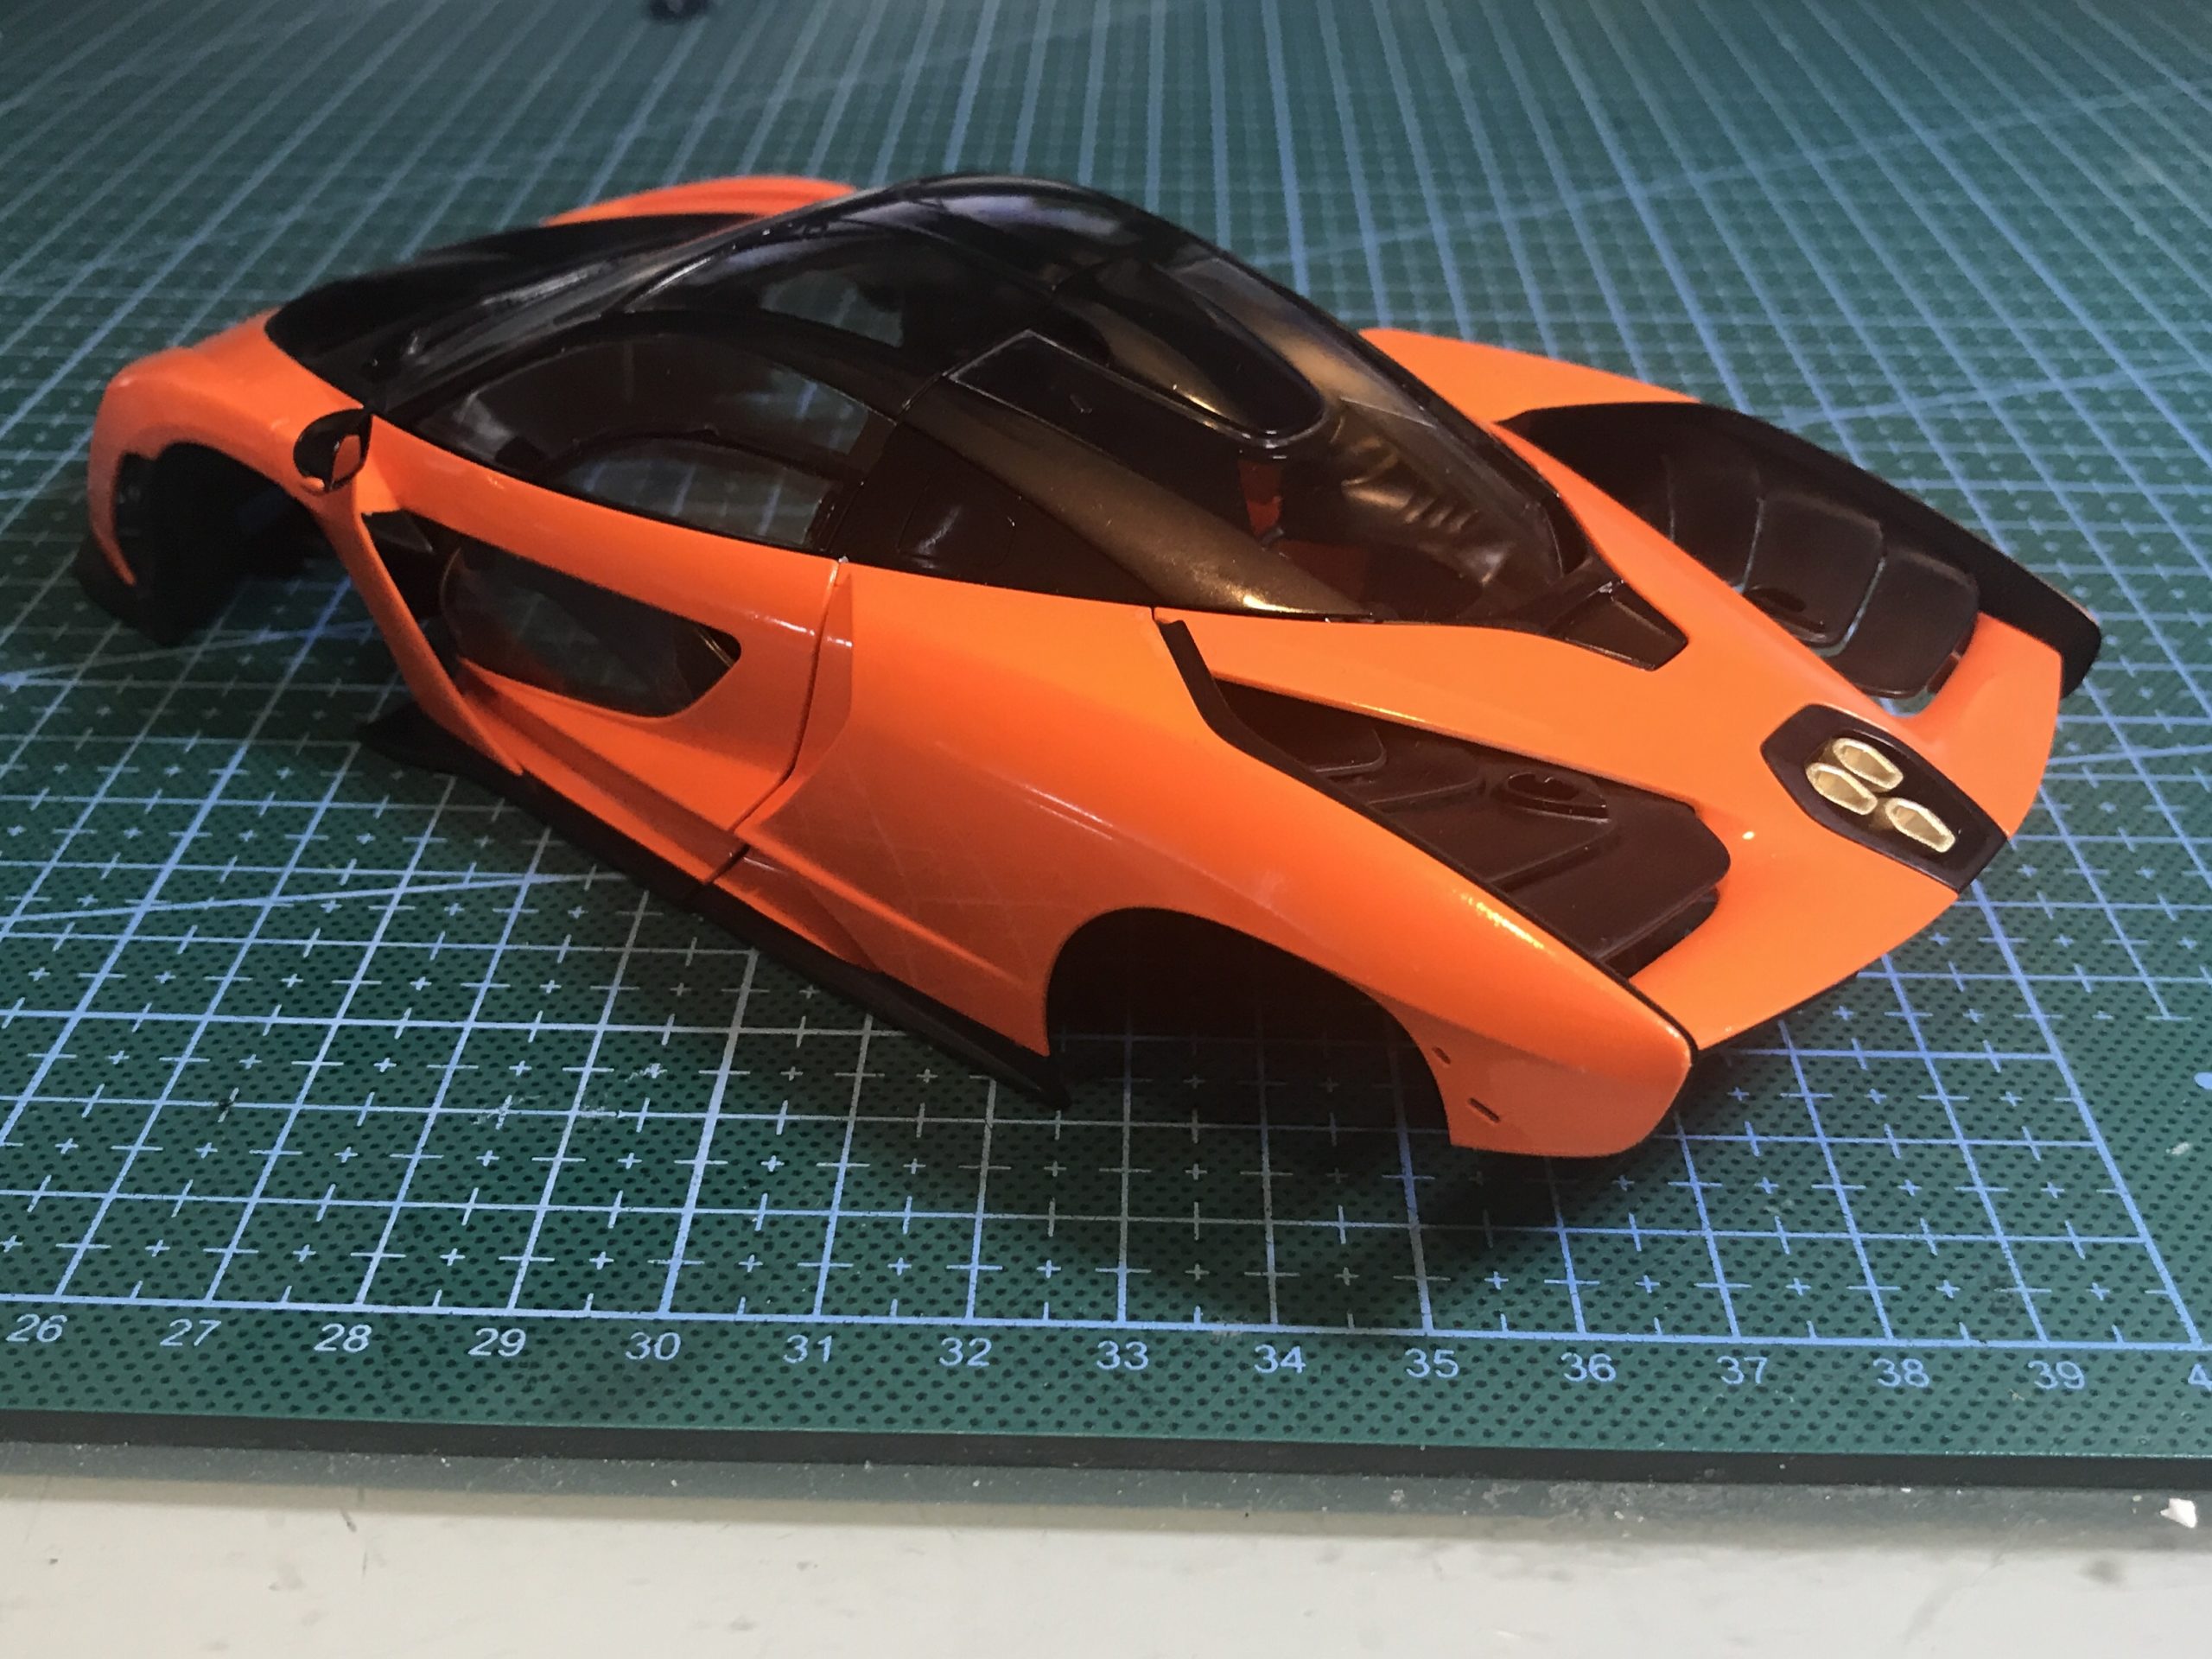
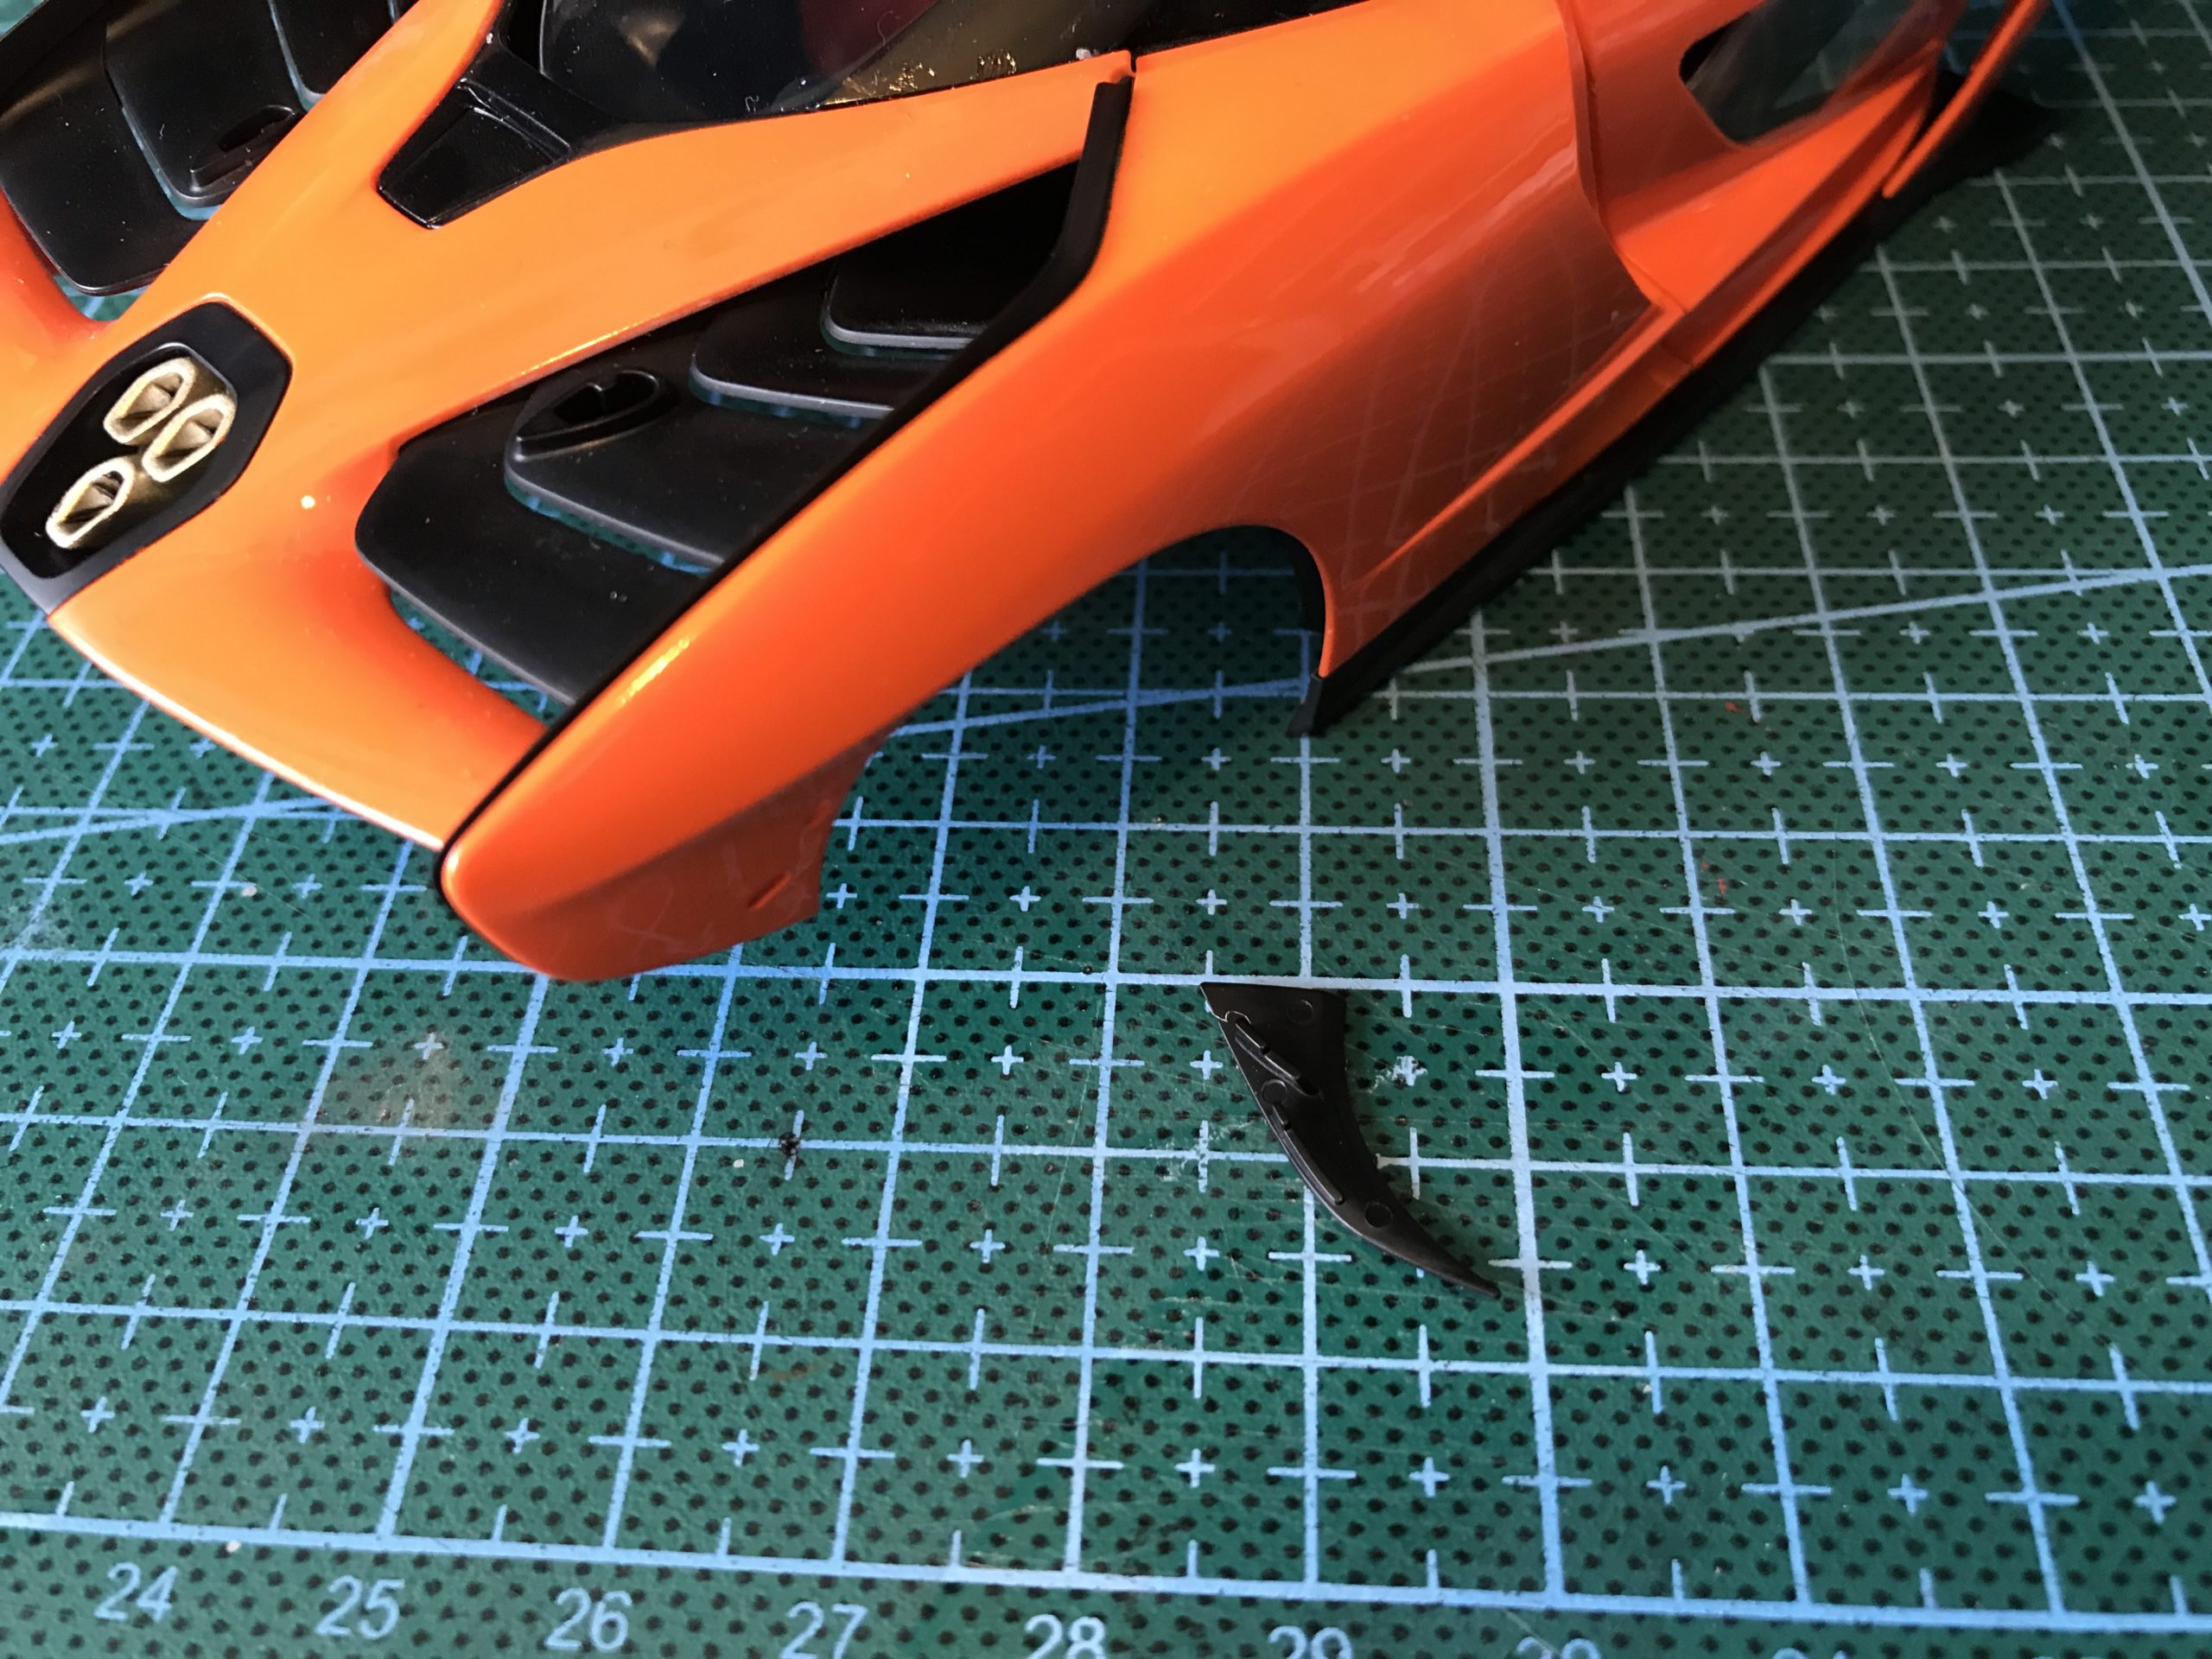
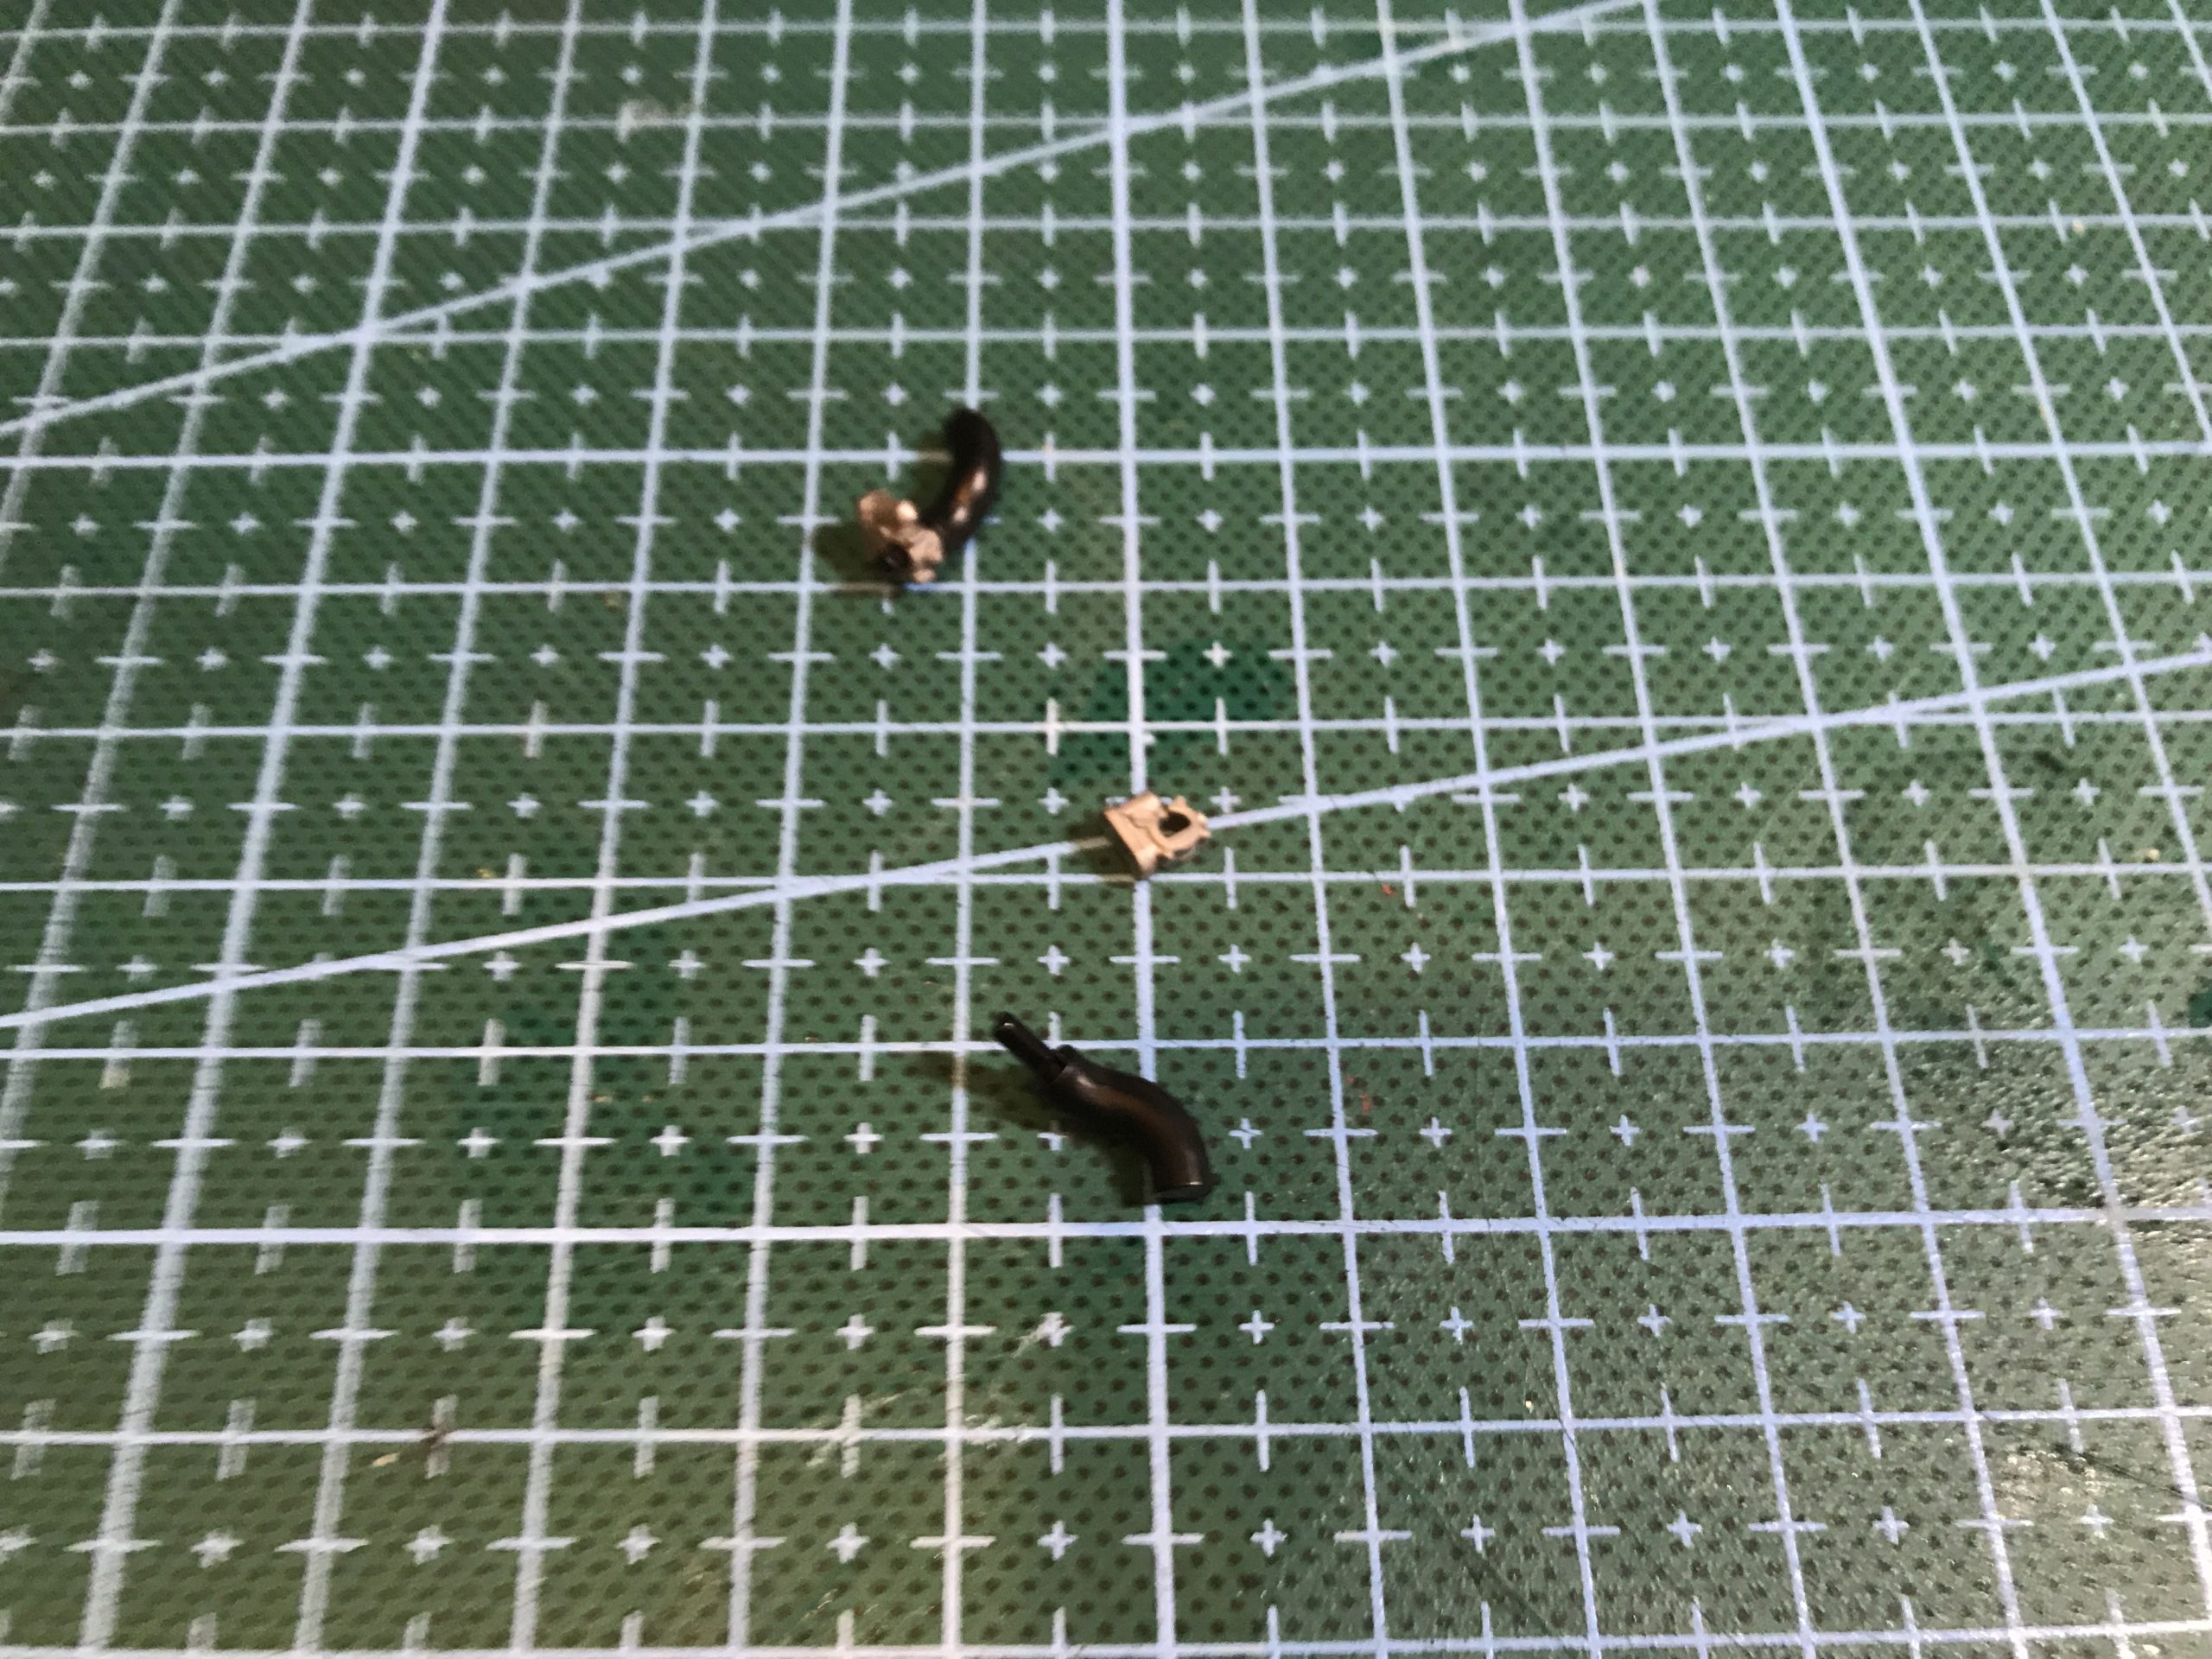
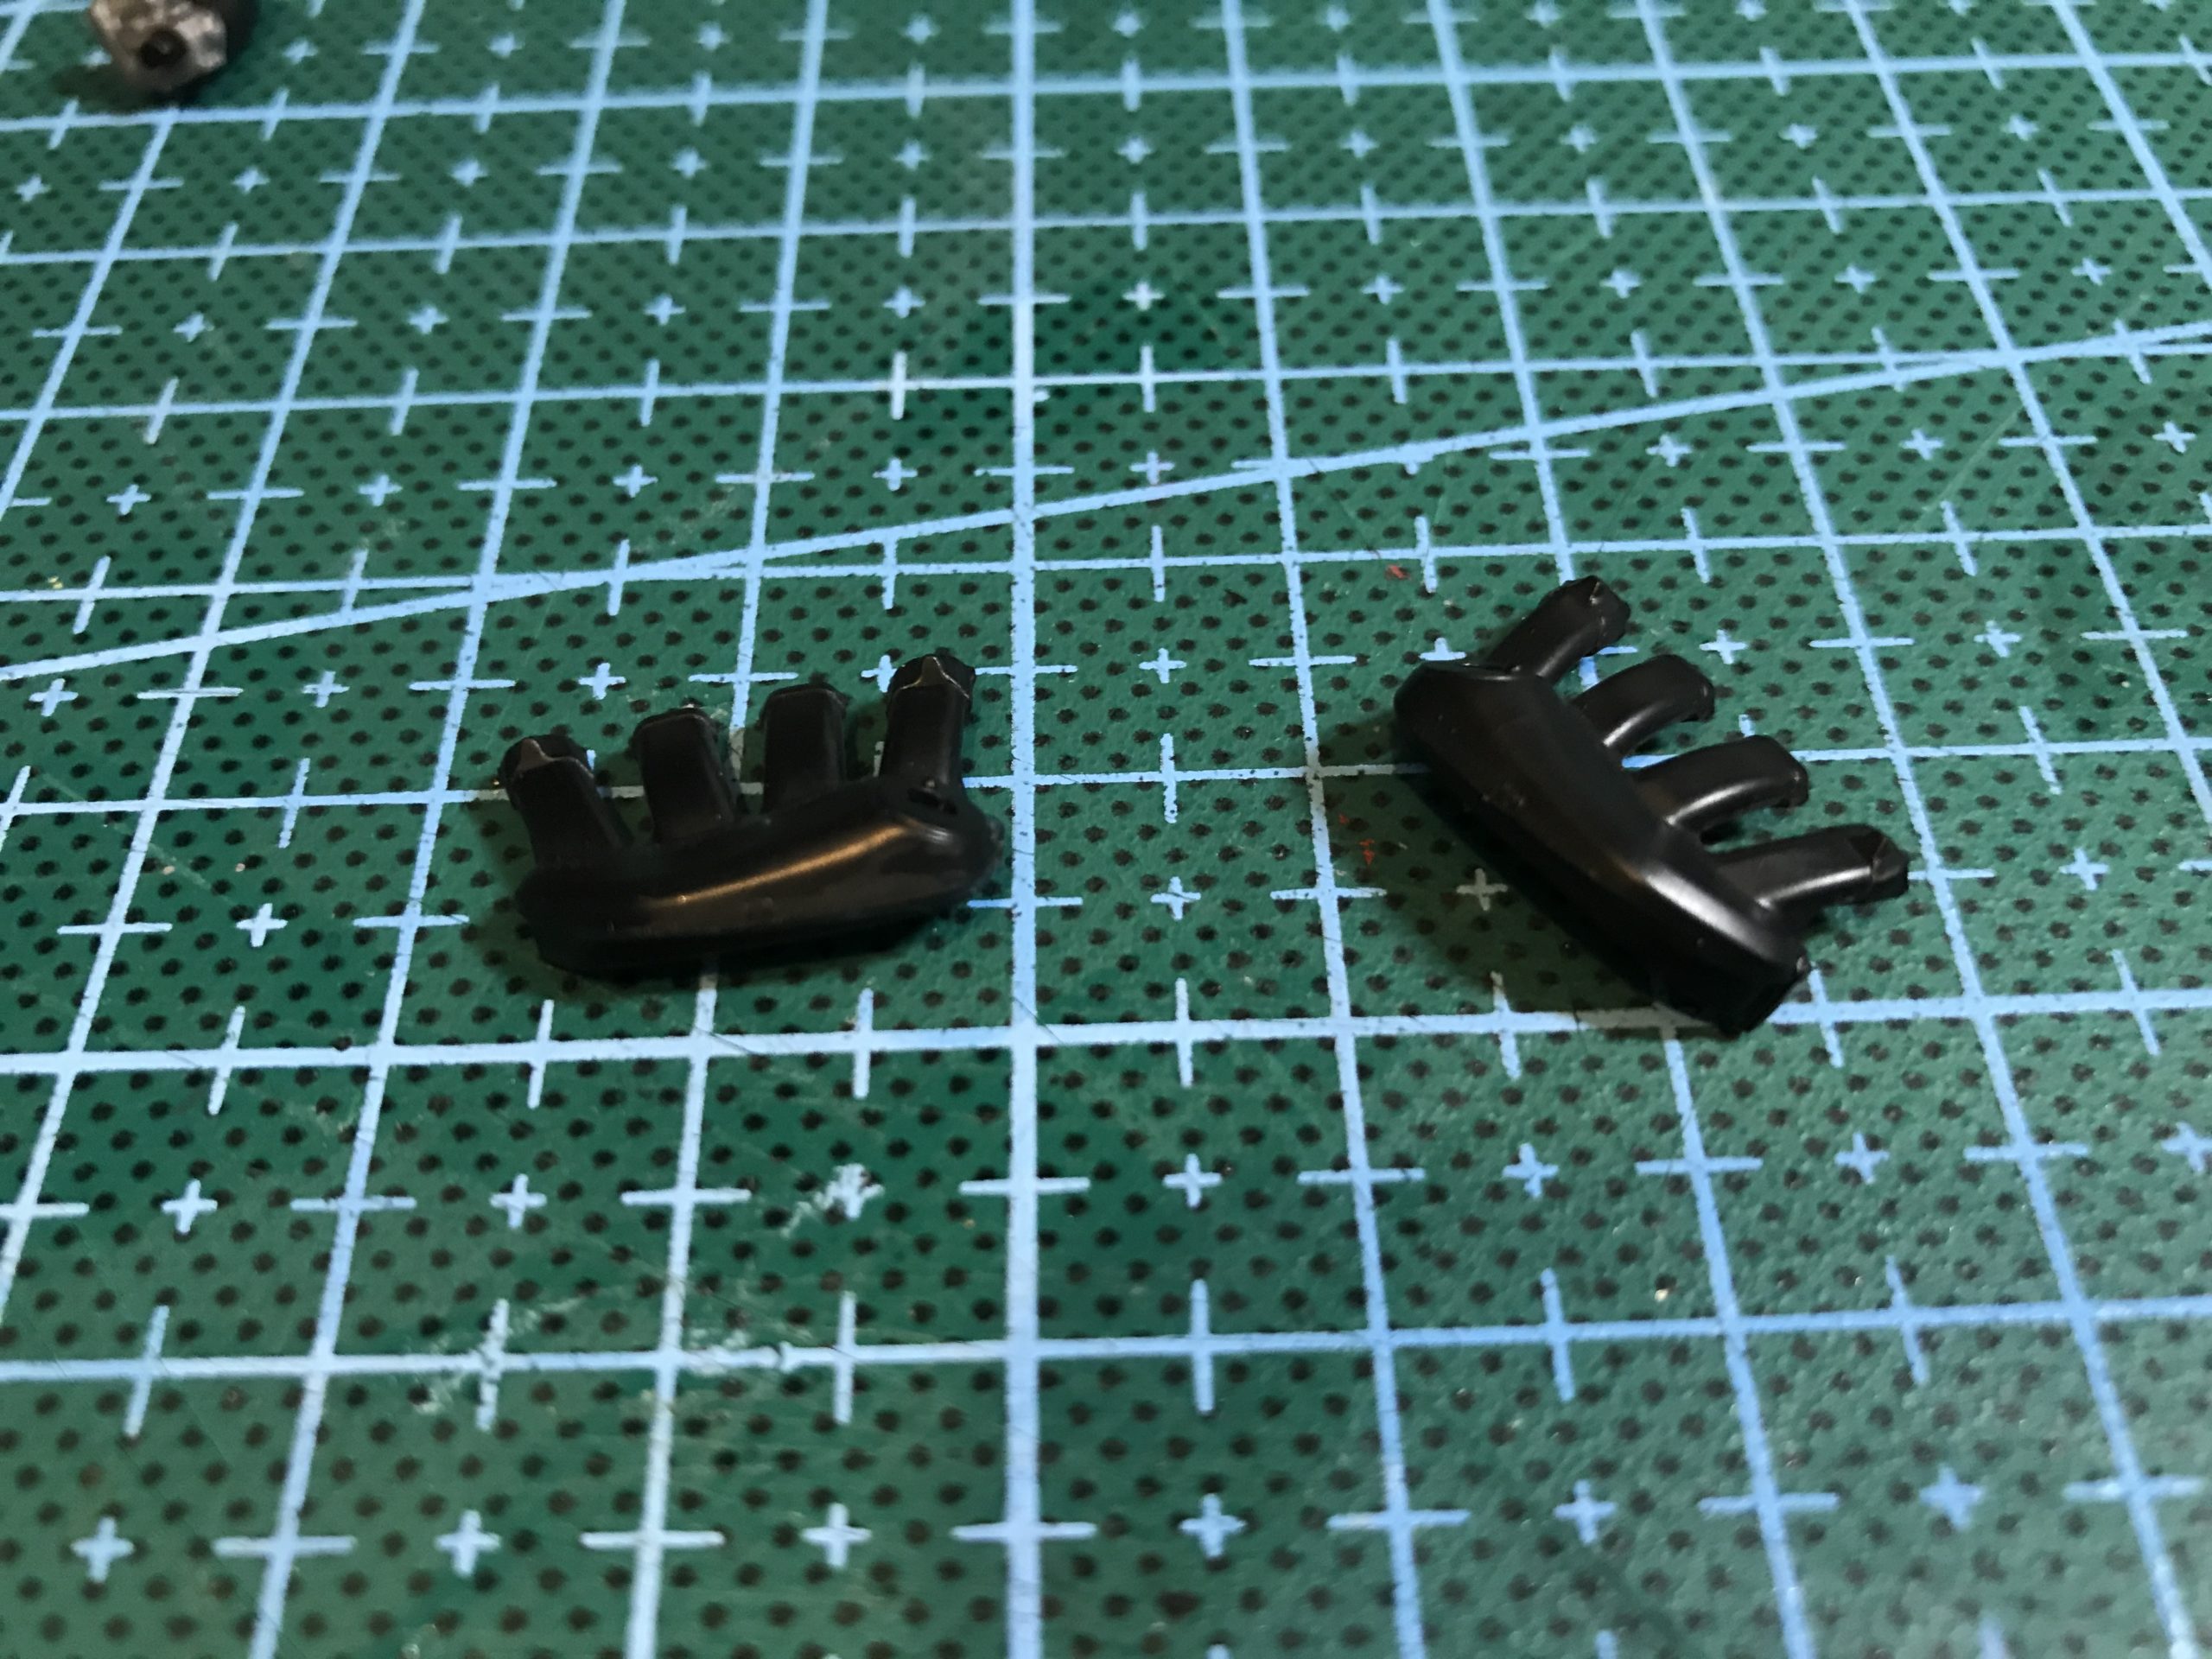
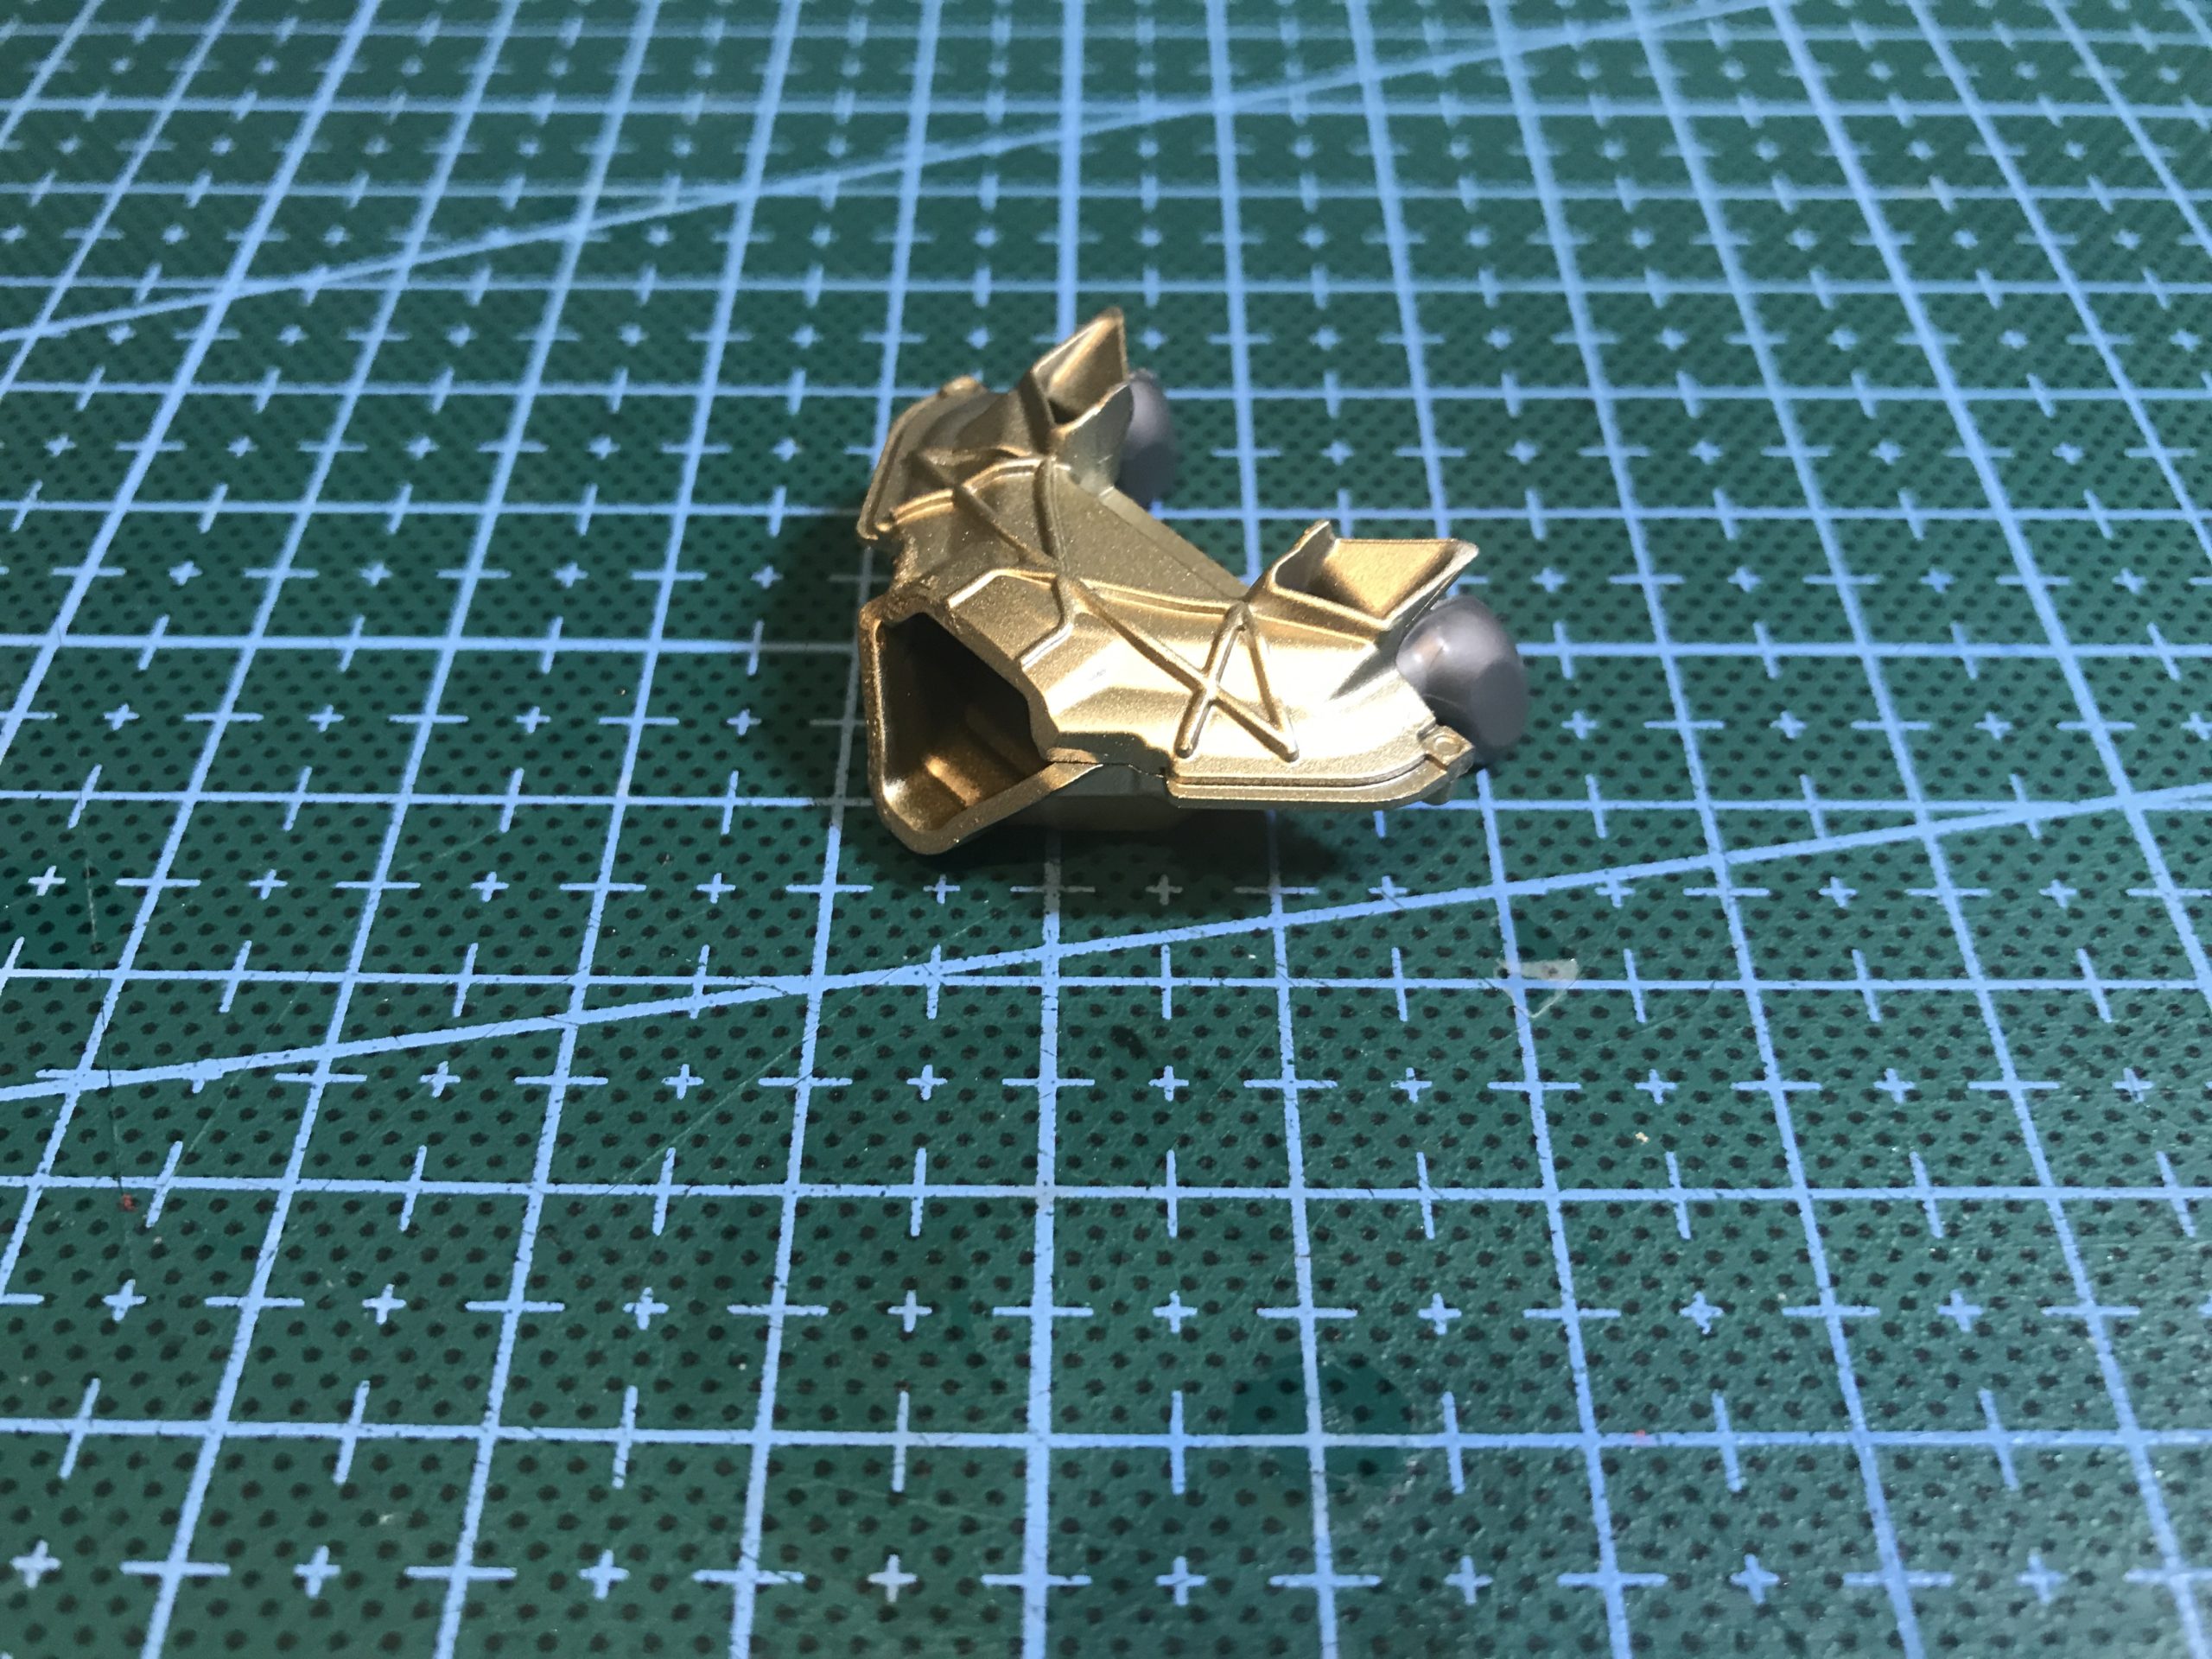
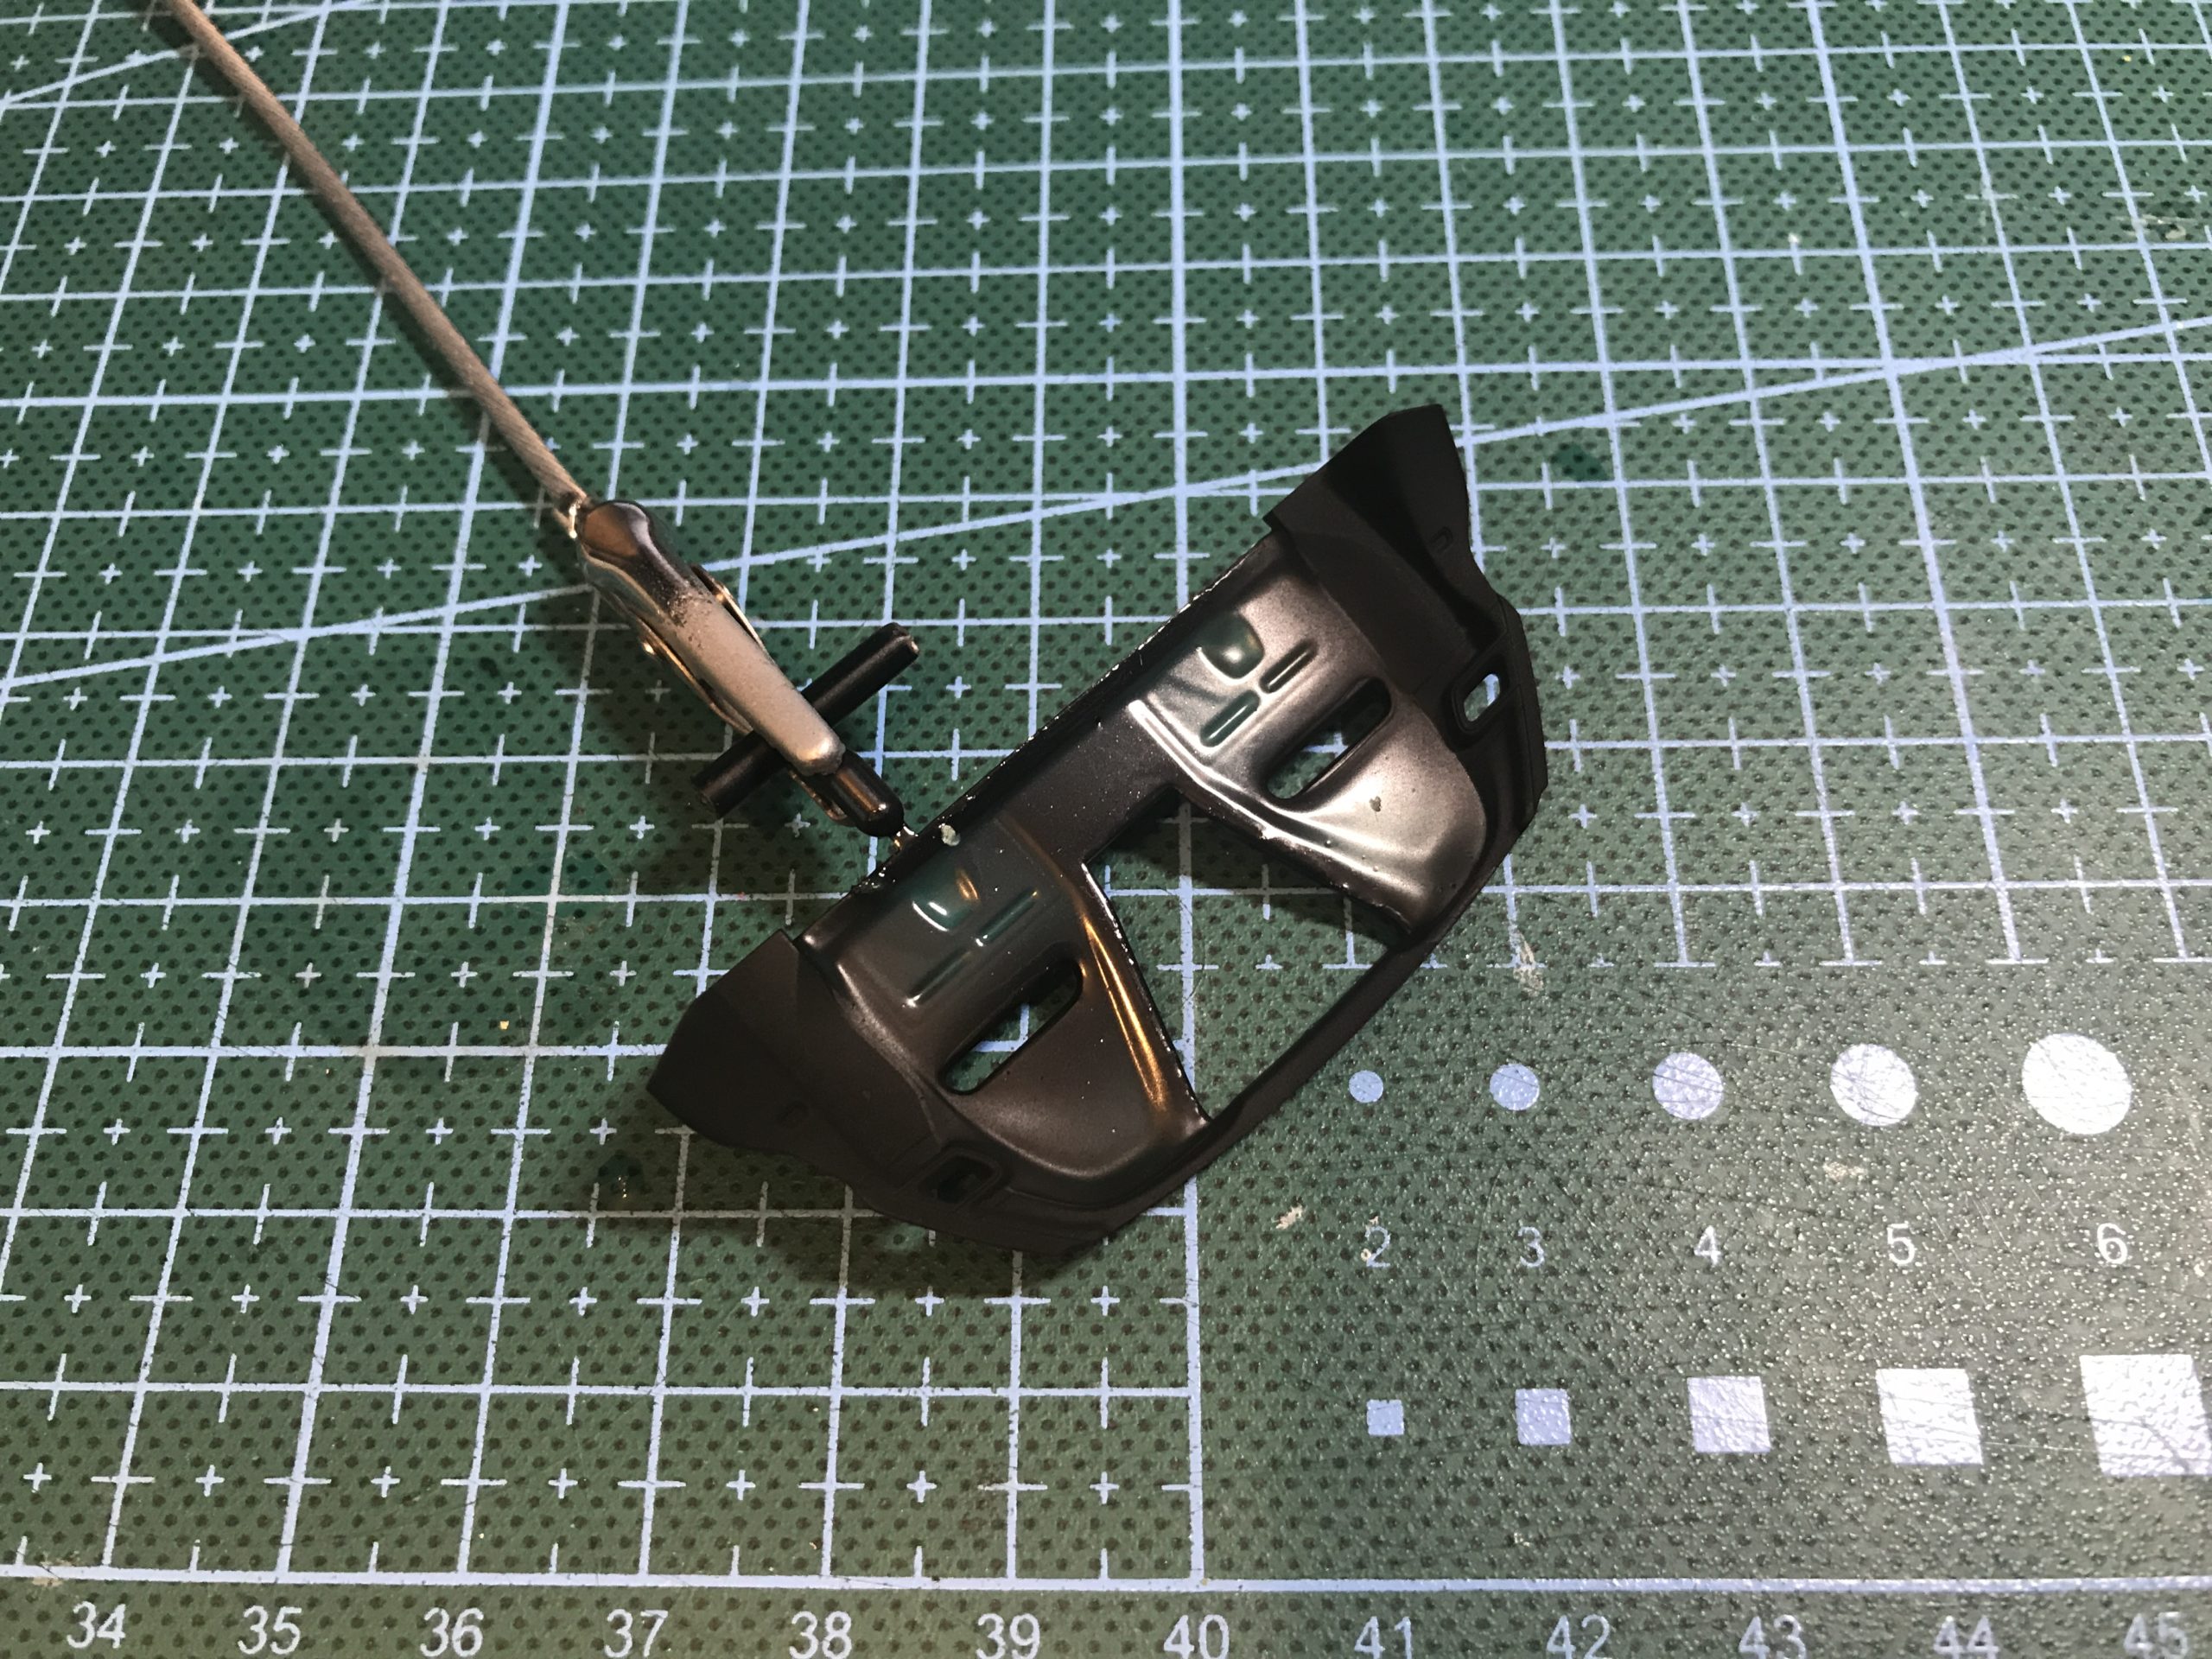
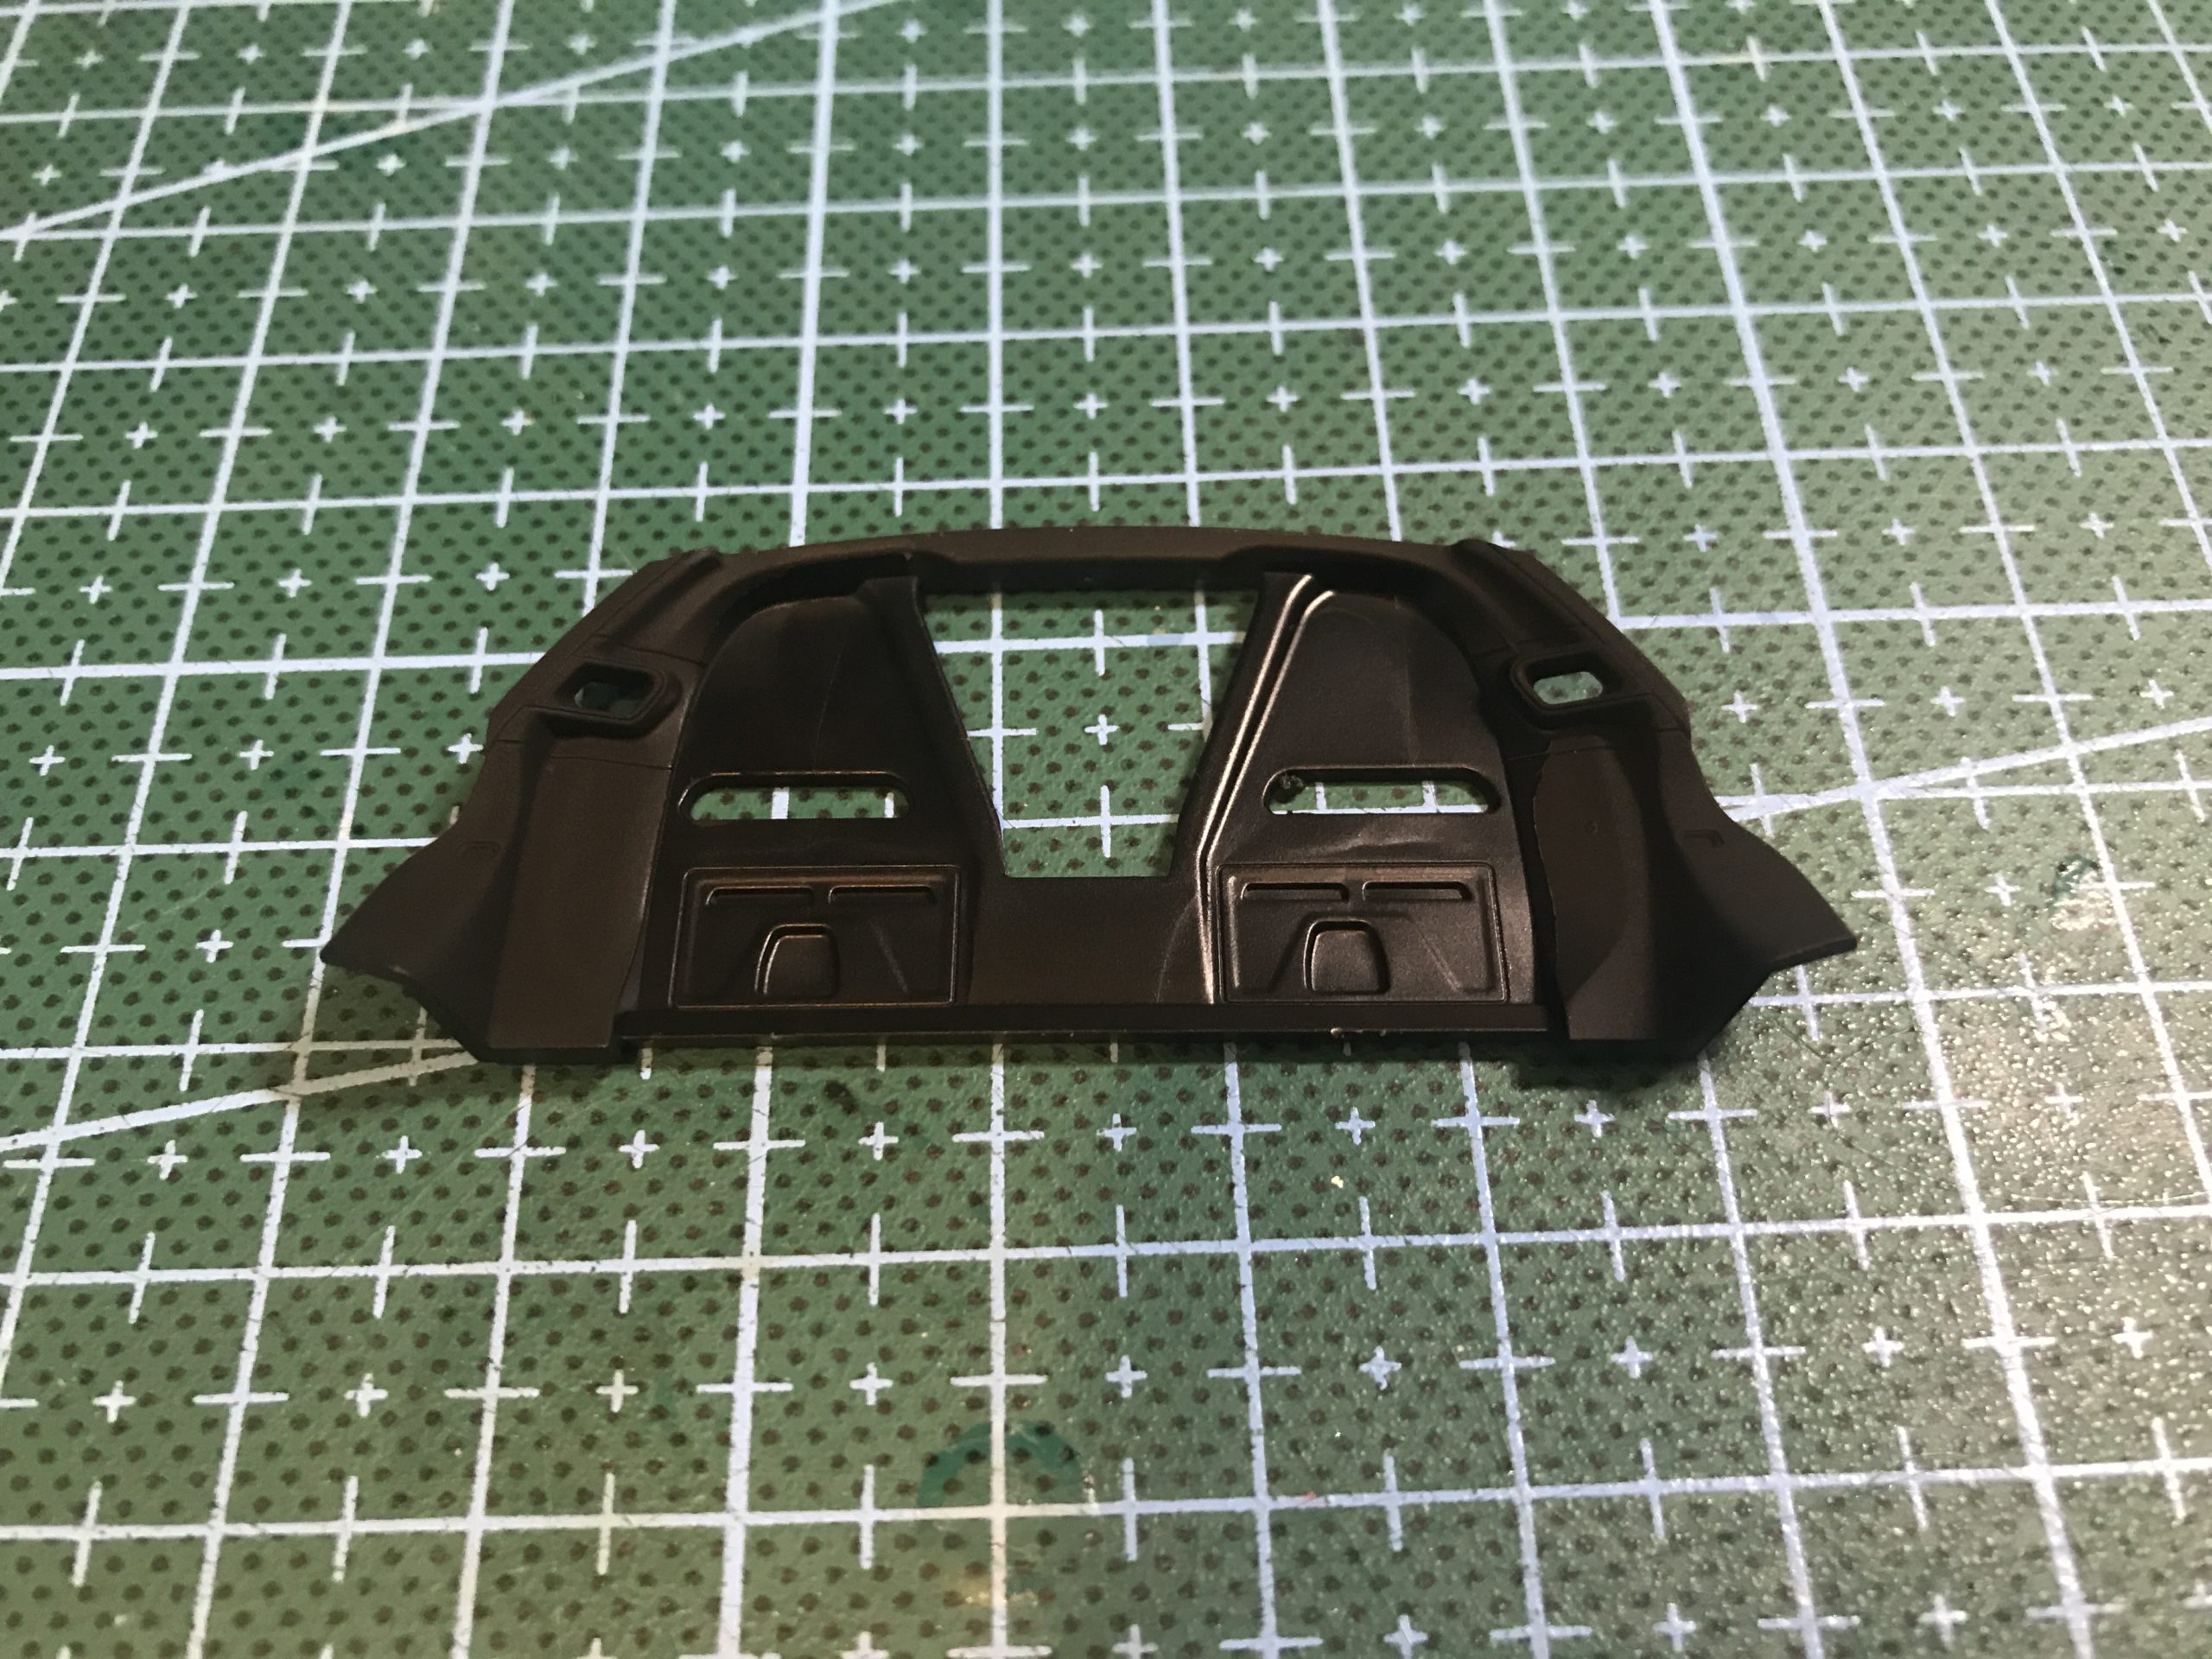
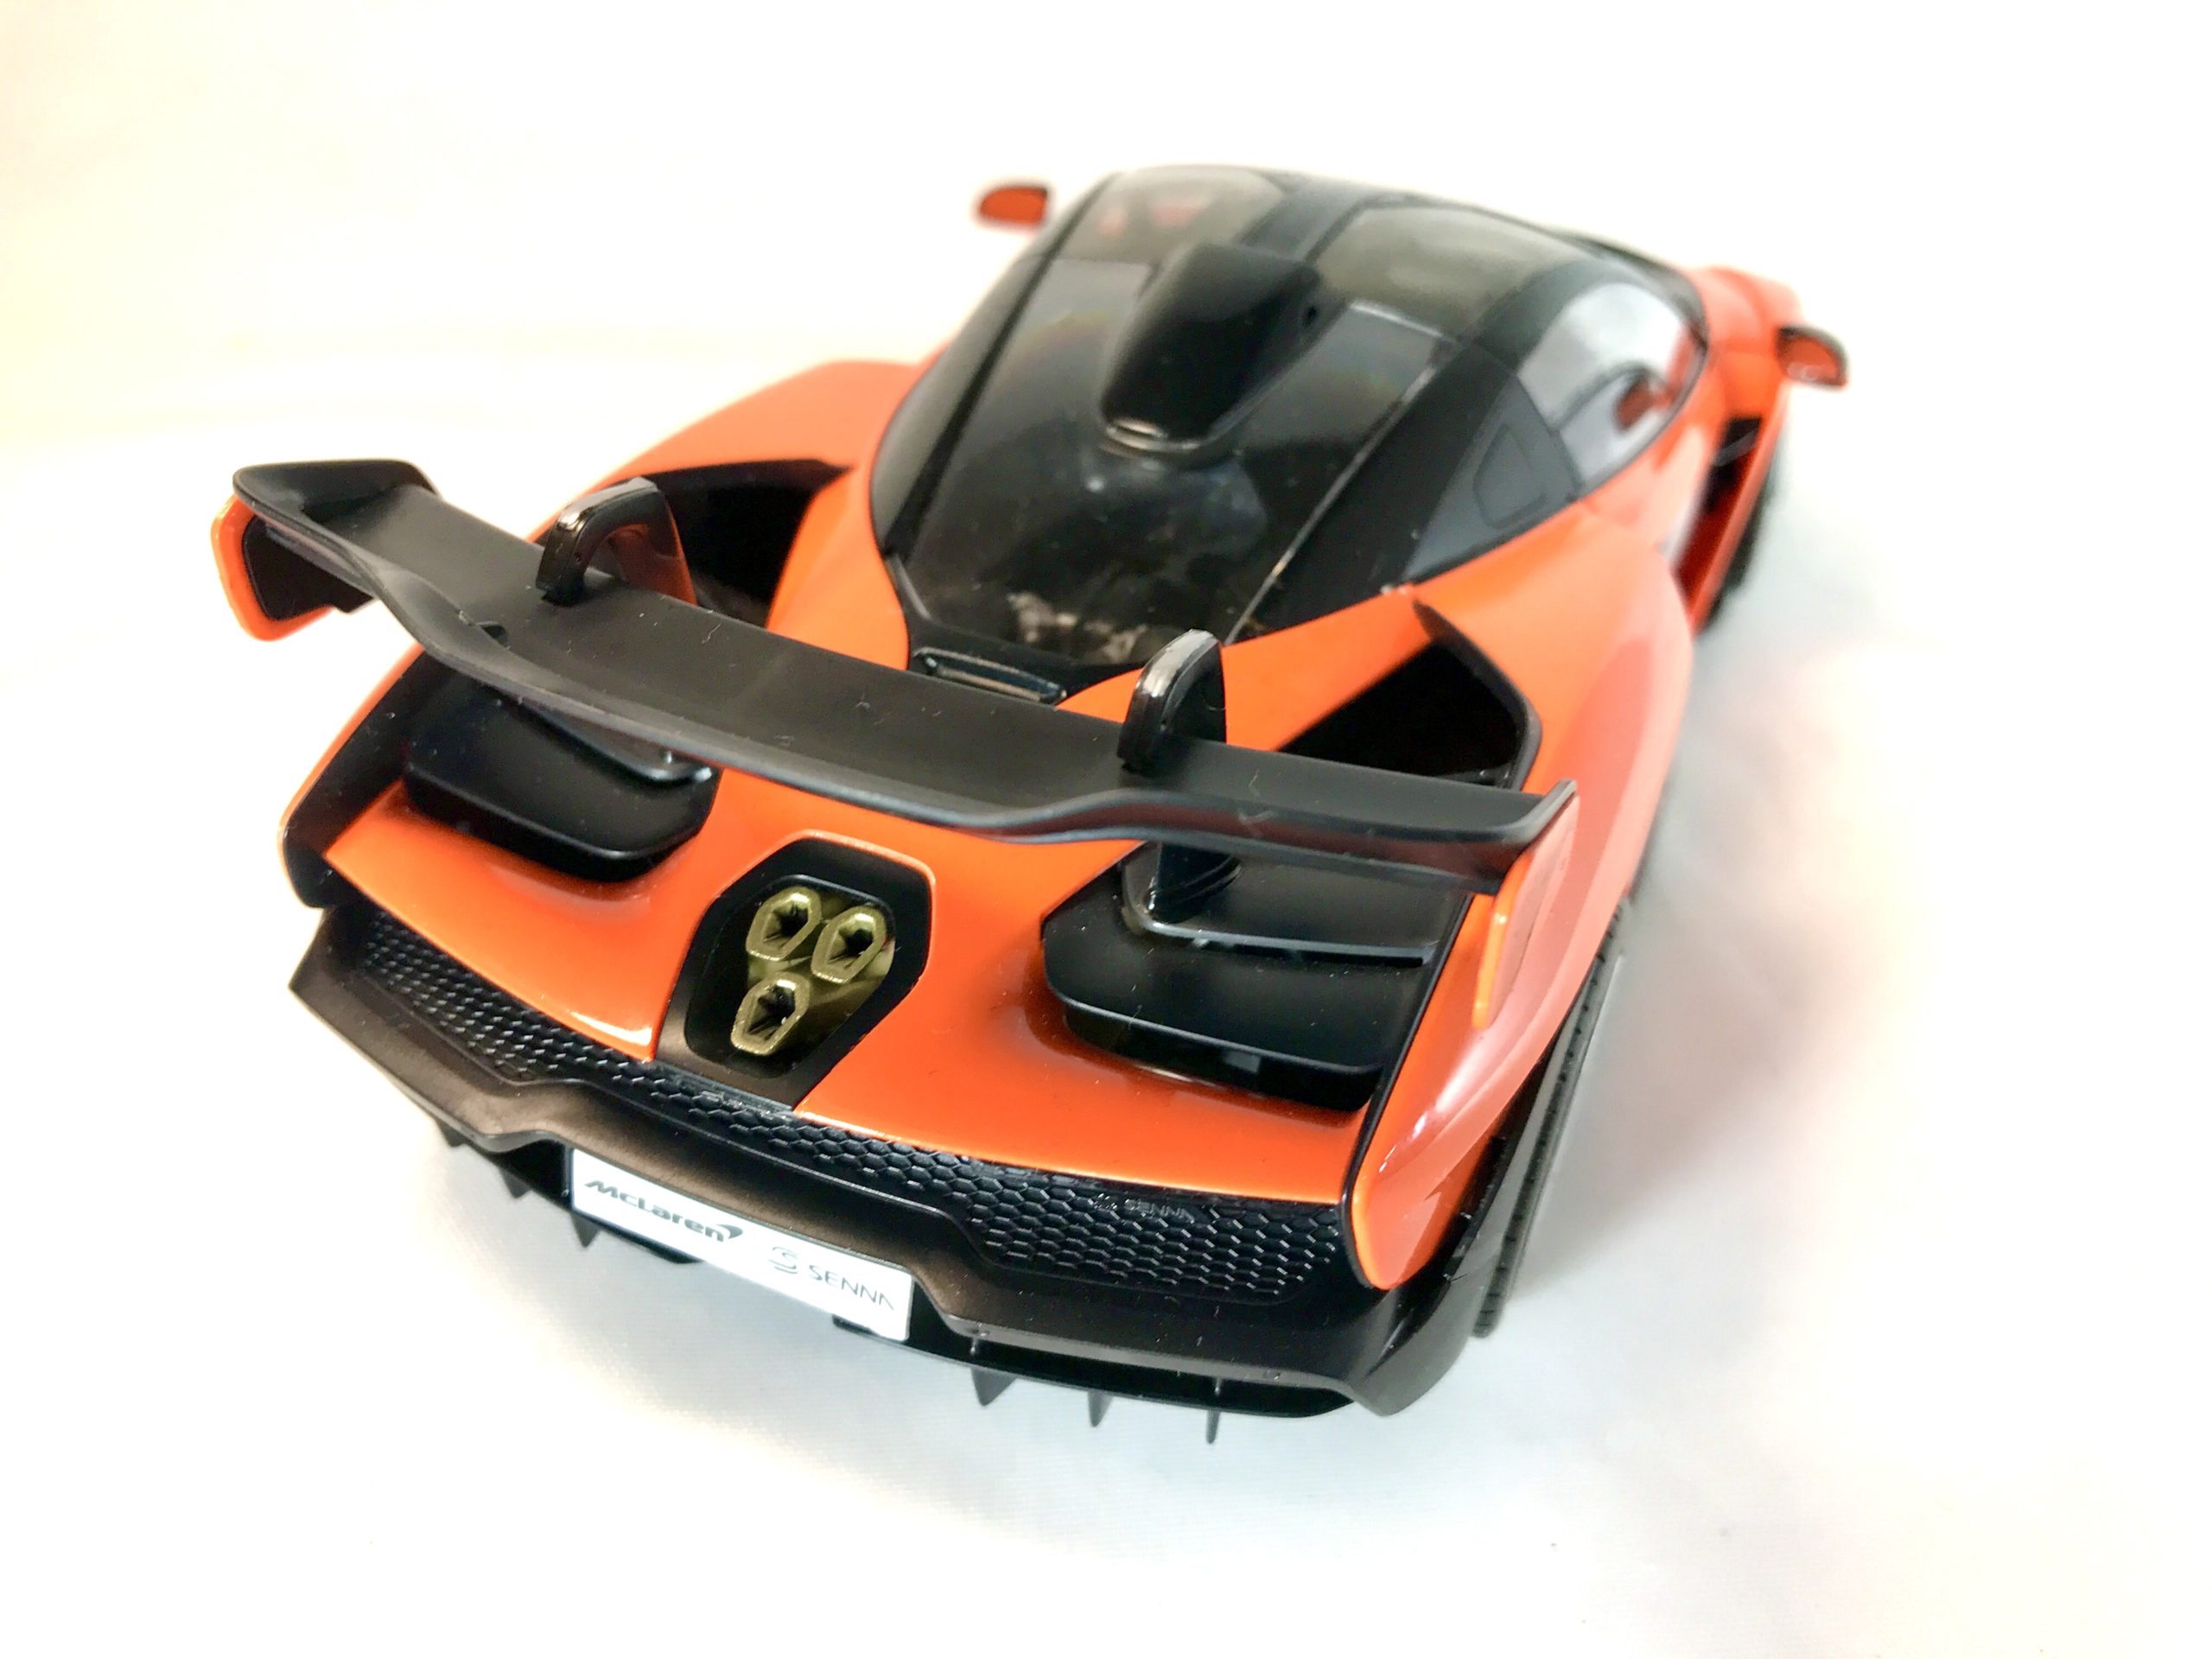
One of the first assemblies is the part of the body work the exhaust goes through. The exhaust itself is painted Titanium gold The surround is semi gloss black. The instructions call for a small area of the orange part to be painted in X-11 chrome. Firstly I did a trial assembly to see if you could actually see the chrome bit after it was all together and you could. It was a choice between a horrible masking job or just leaving it. I took the secret third option and used a small piece of chrome foil.. An easier solution, less work and better looking. I believe we call that a win, win.
It’s these little details that elevate the Tamiya kits over other manufacturer.

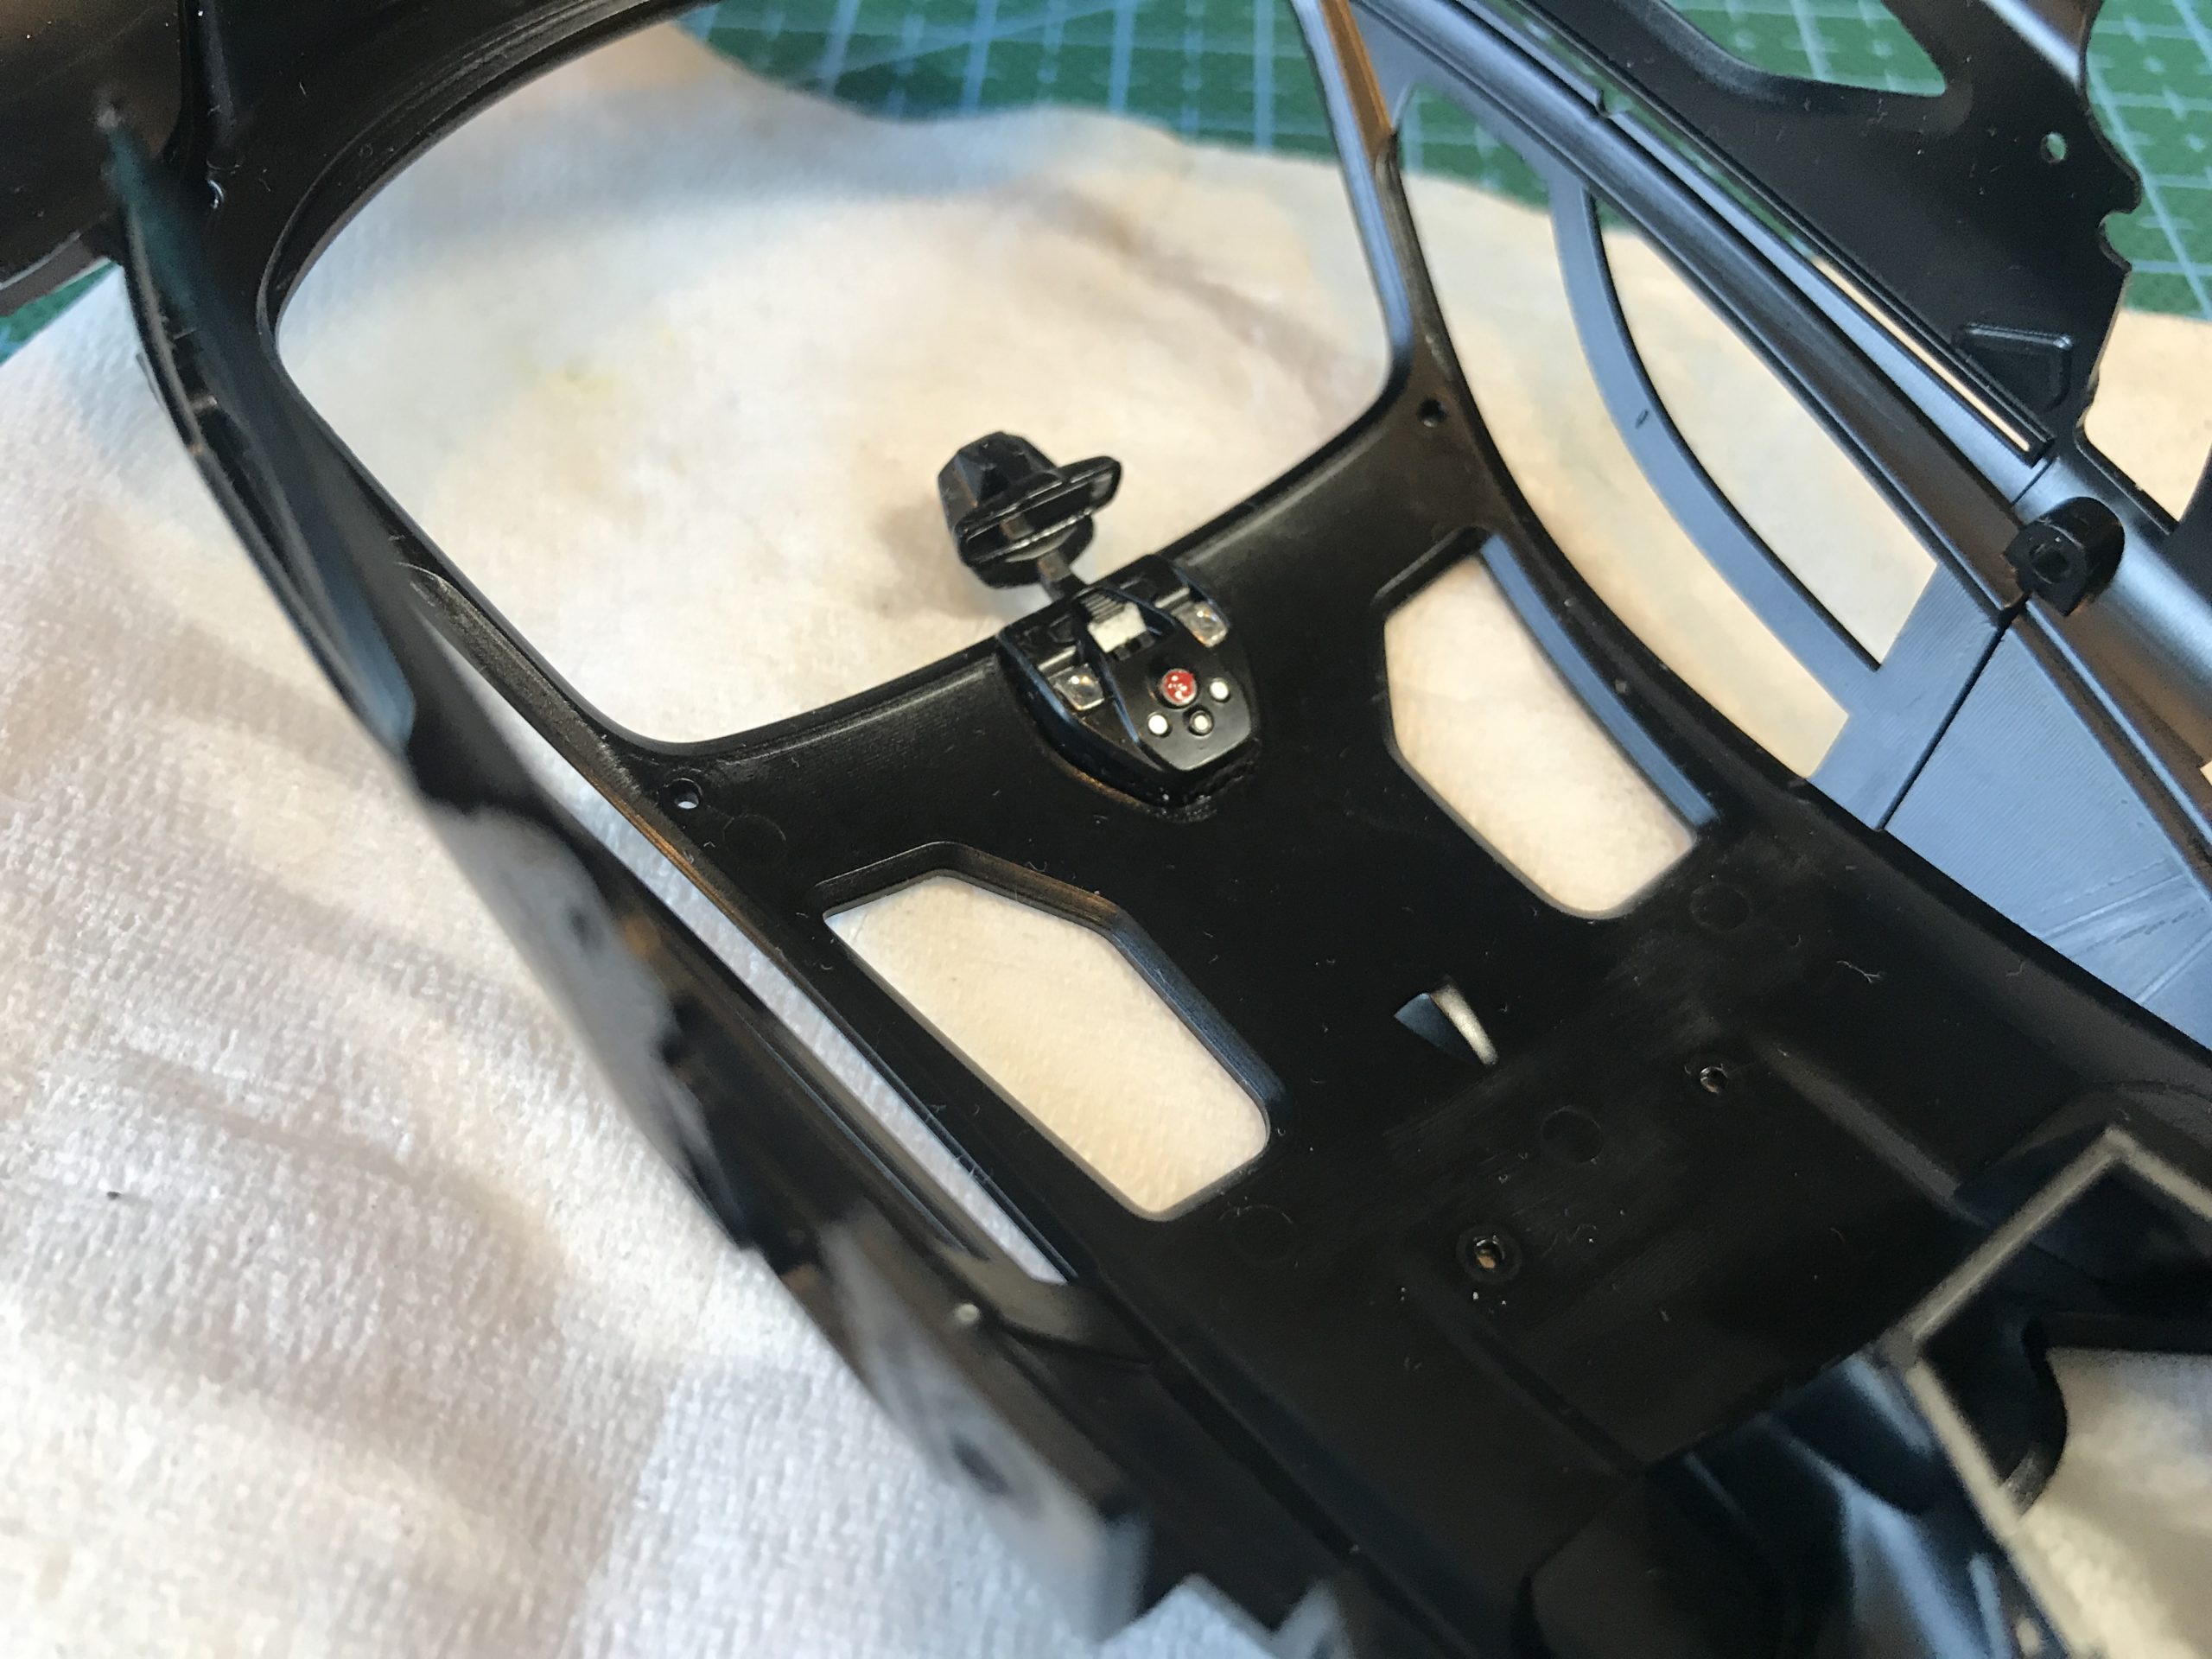
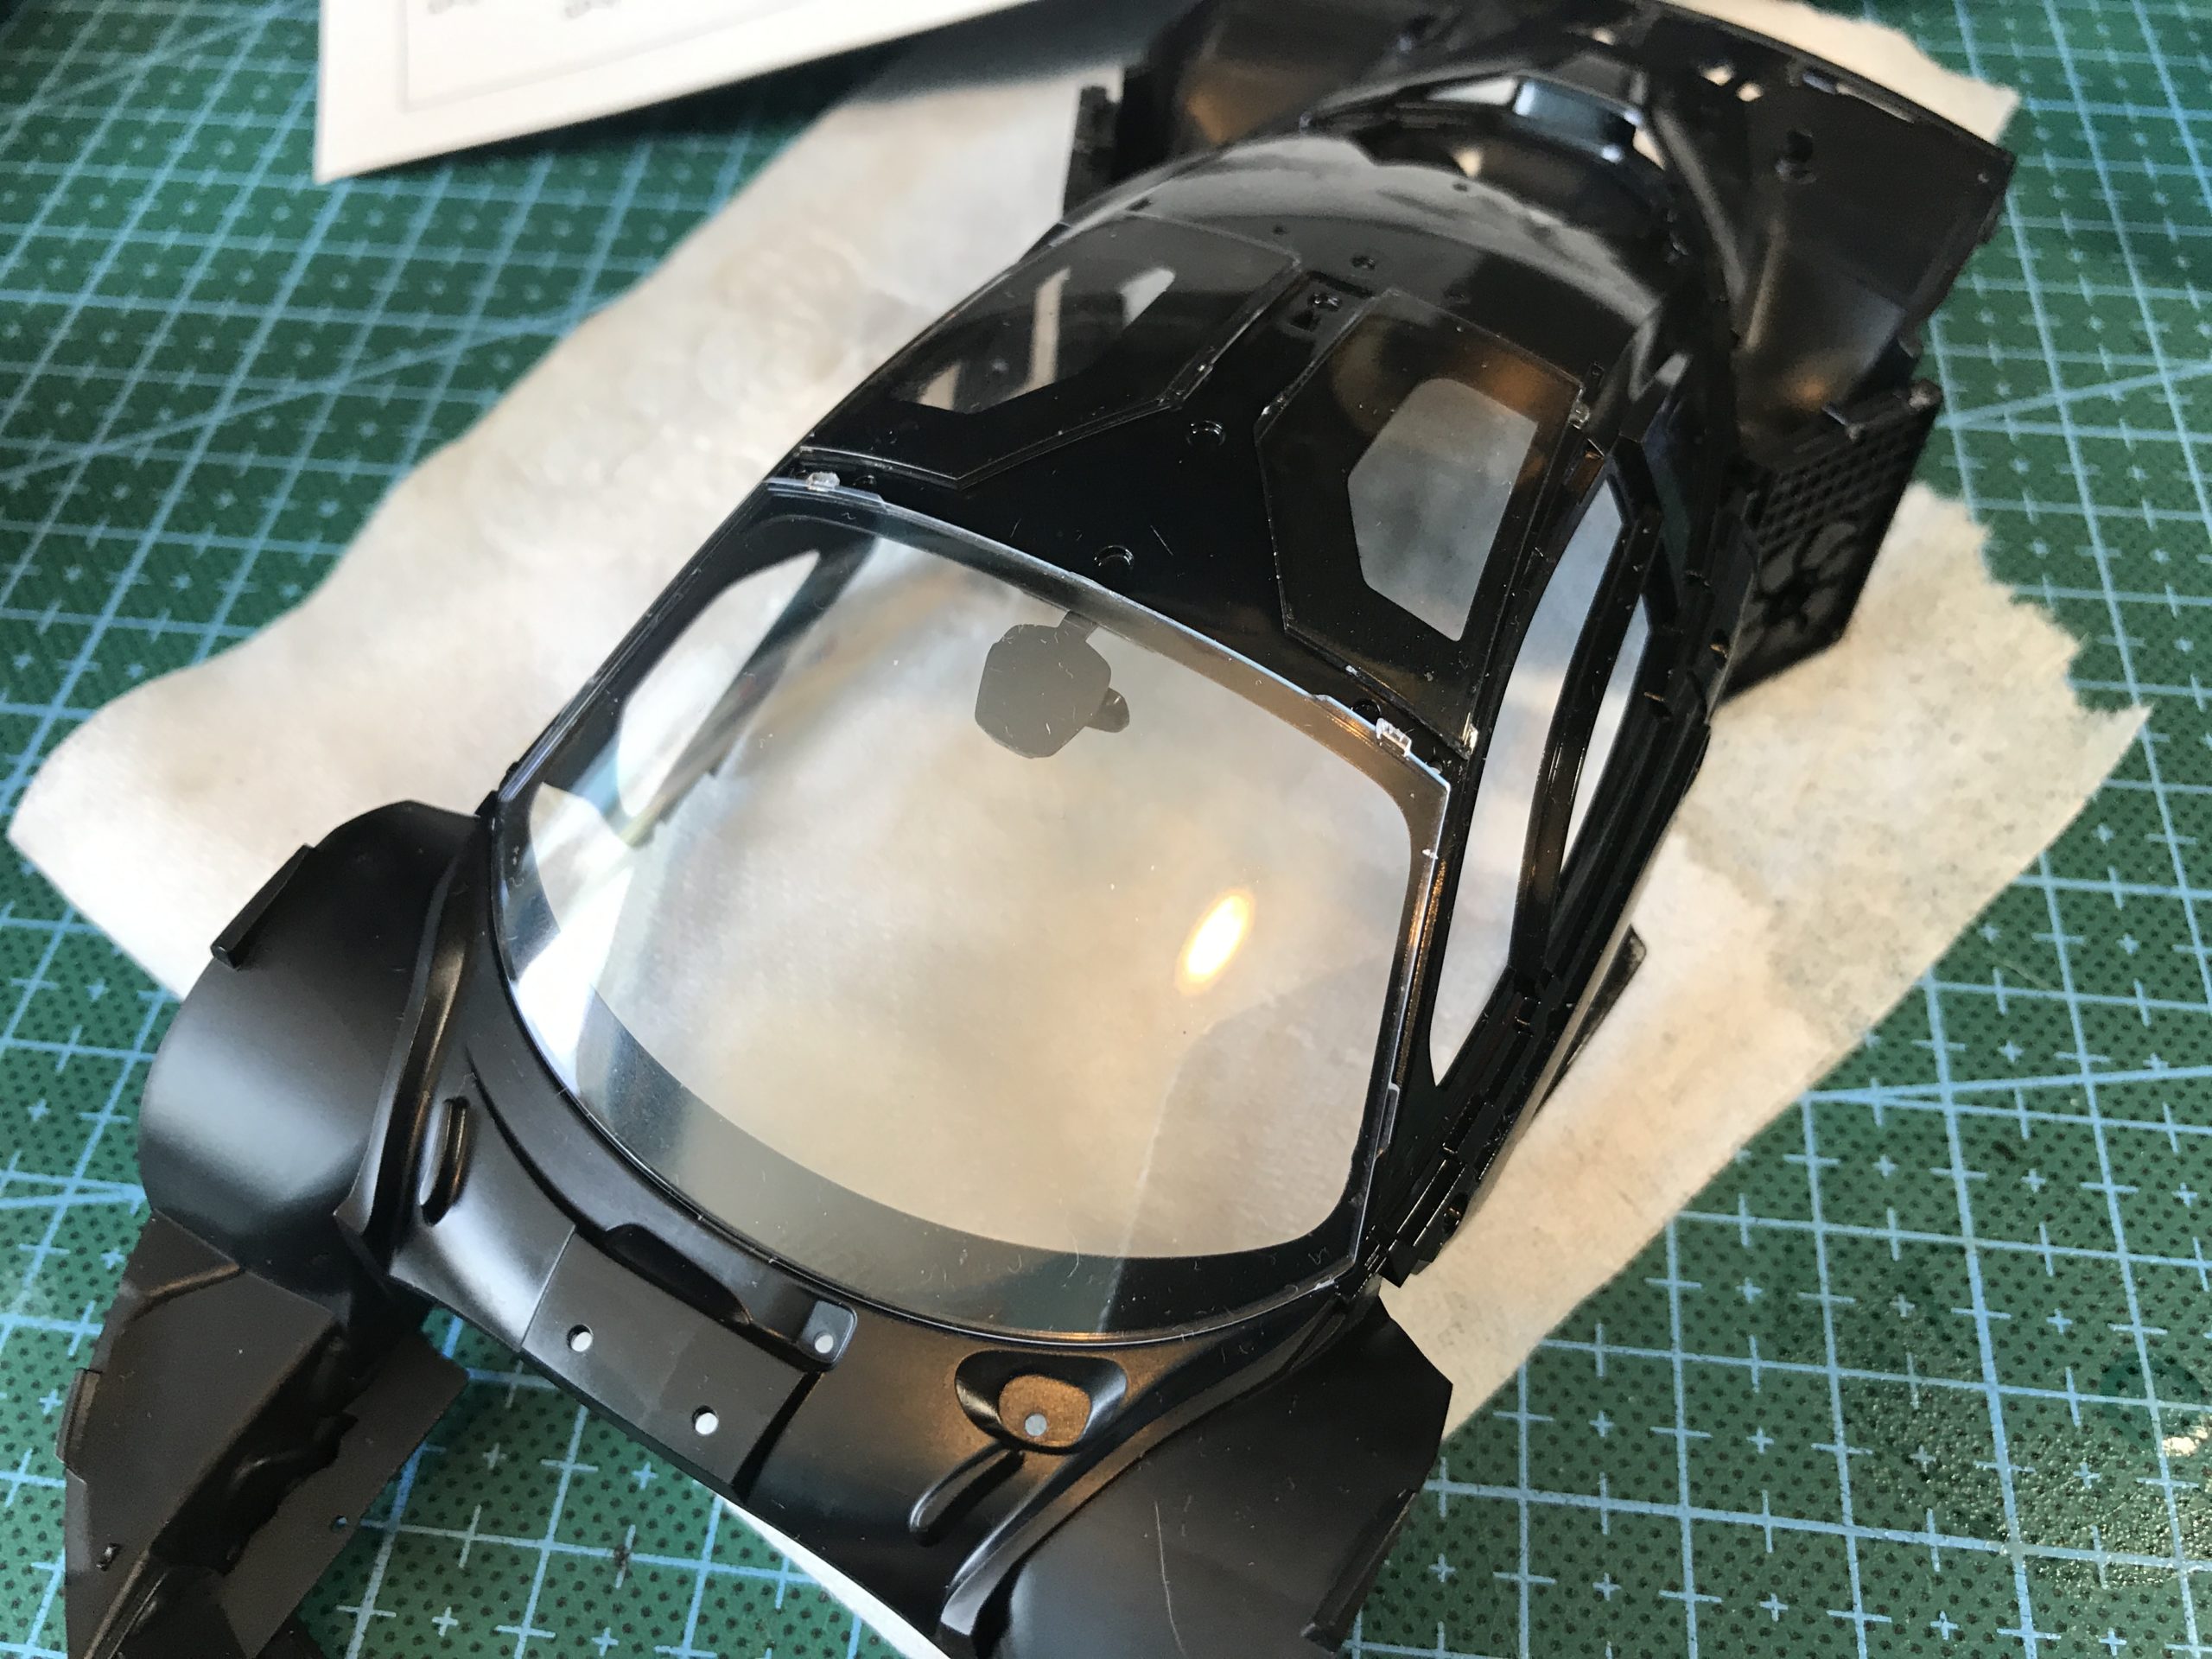
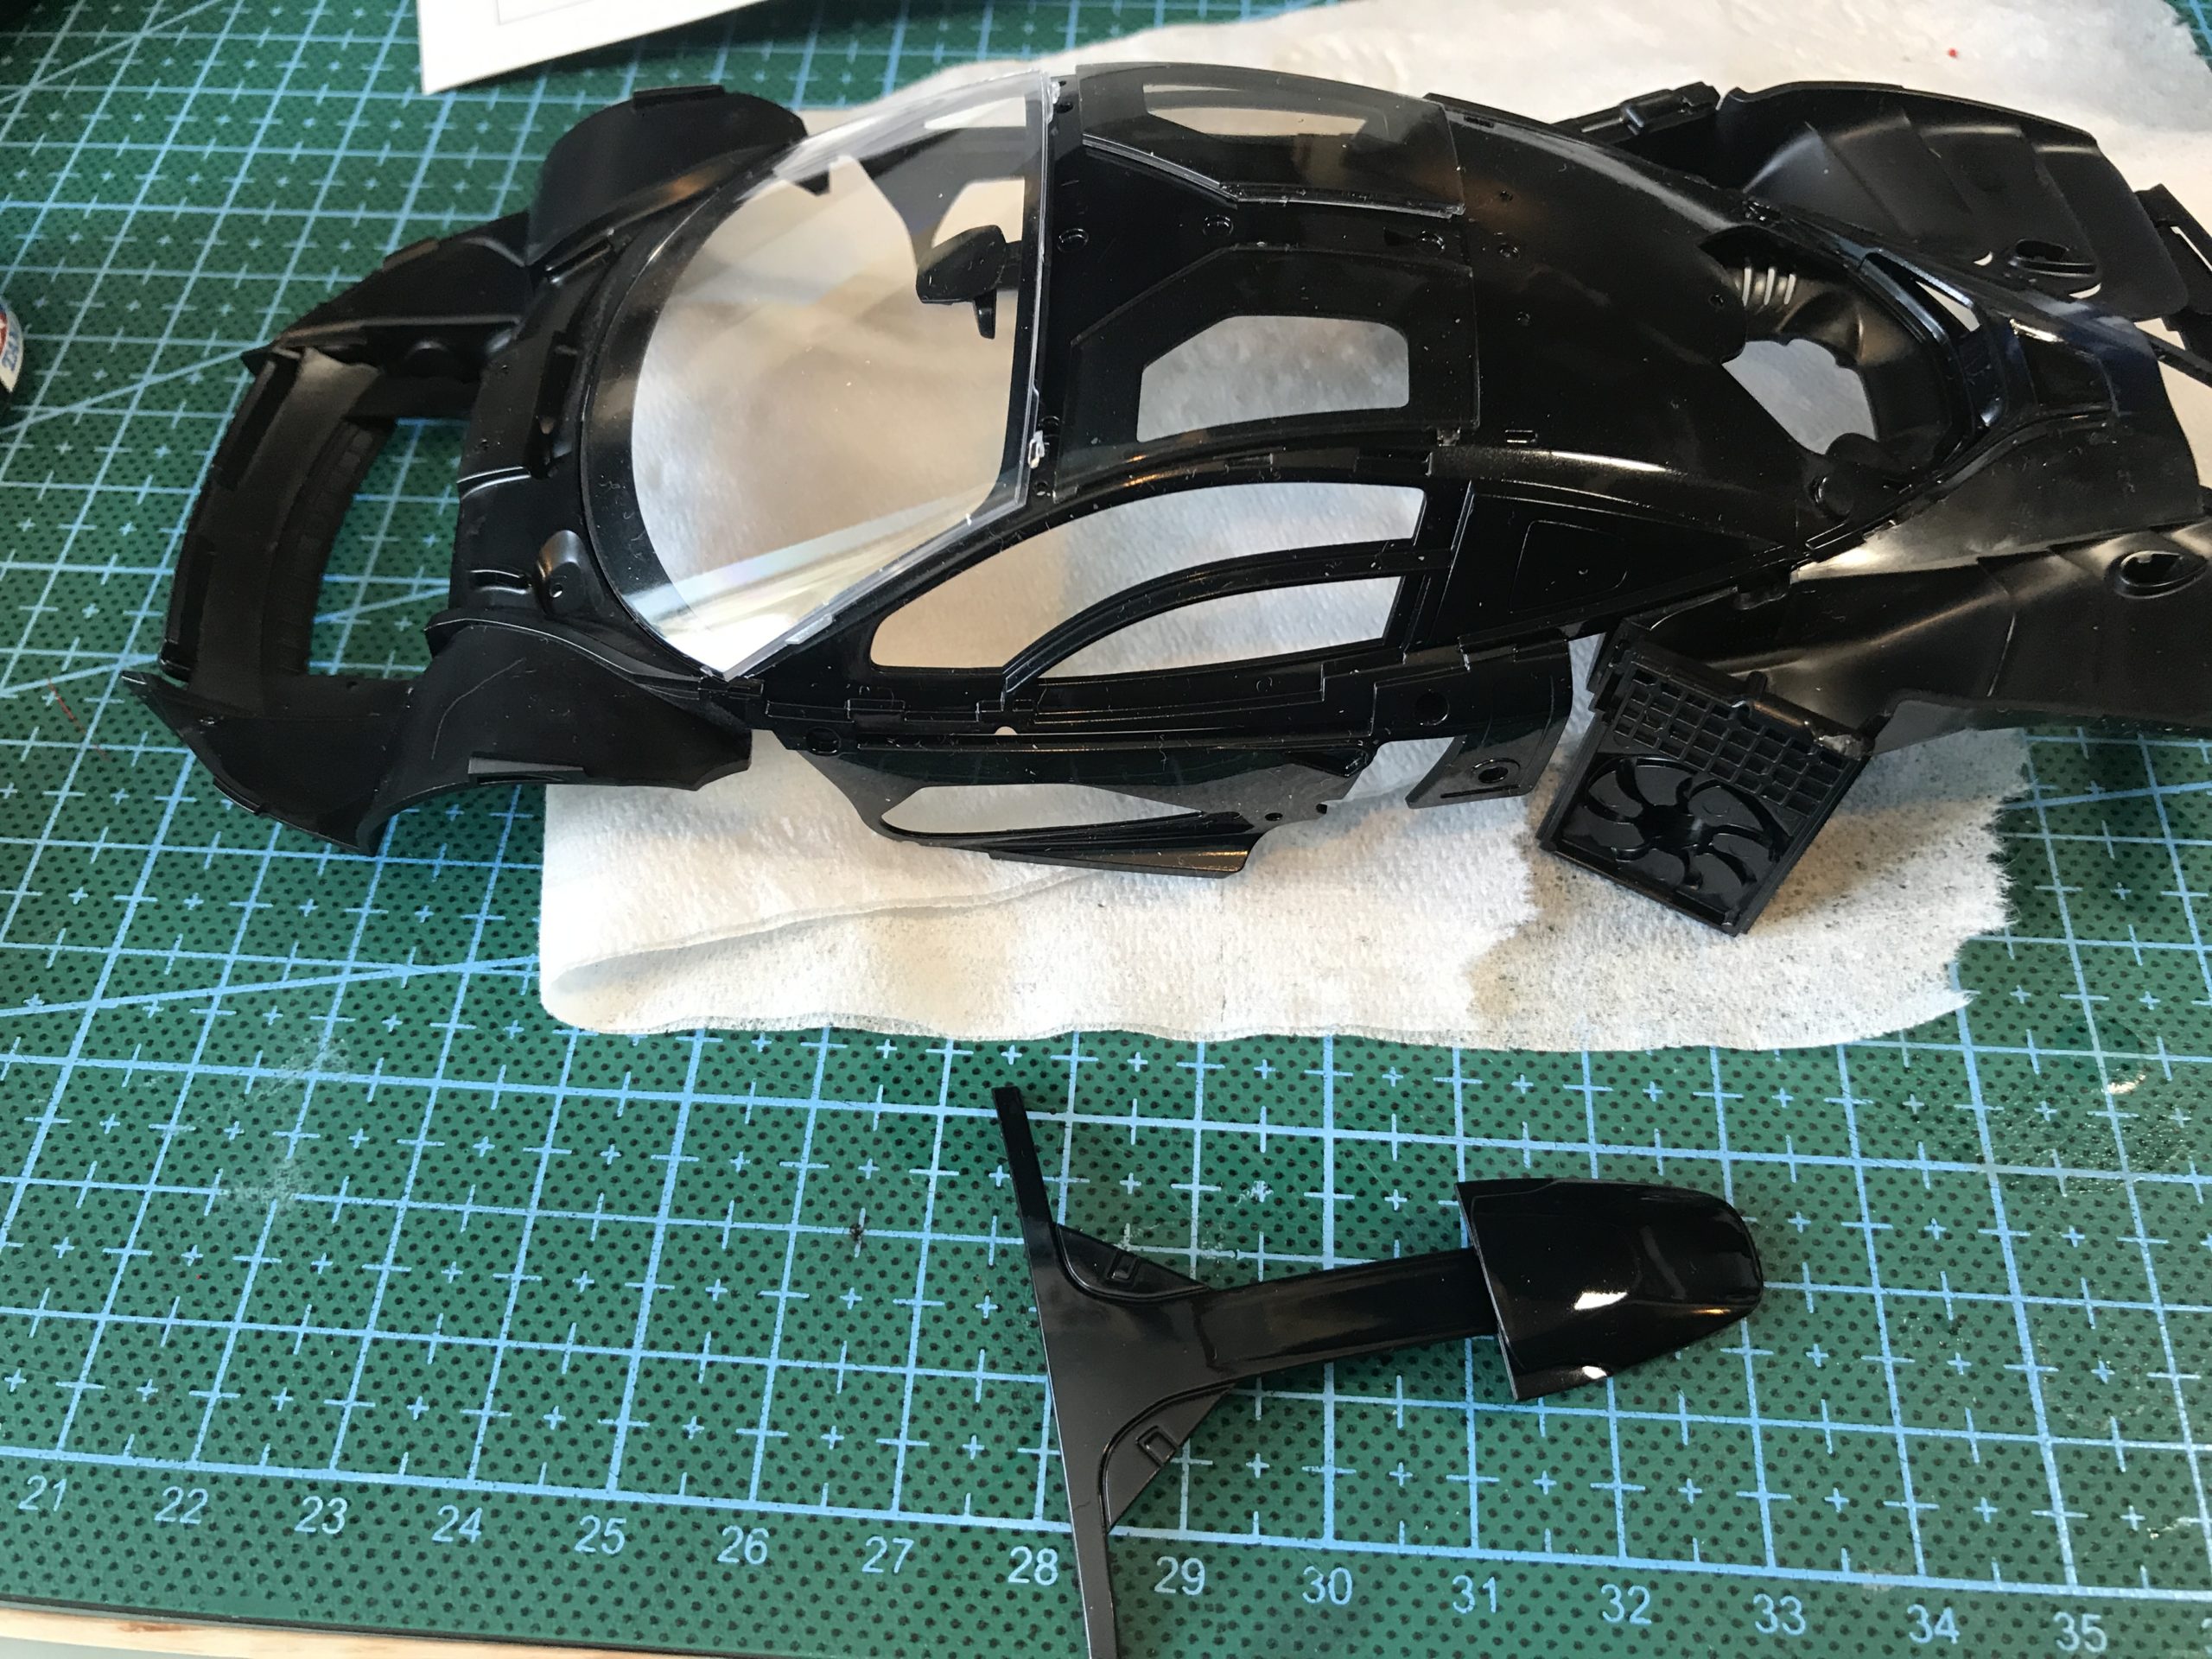
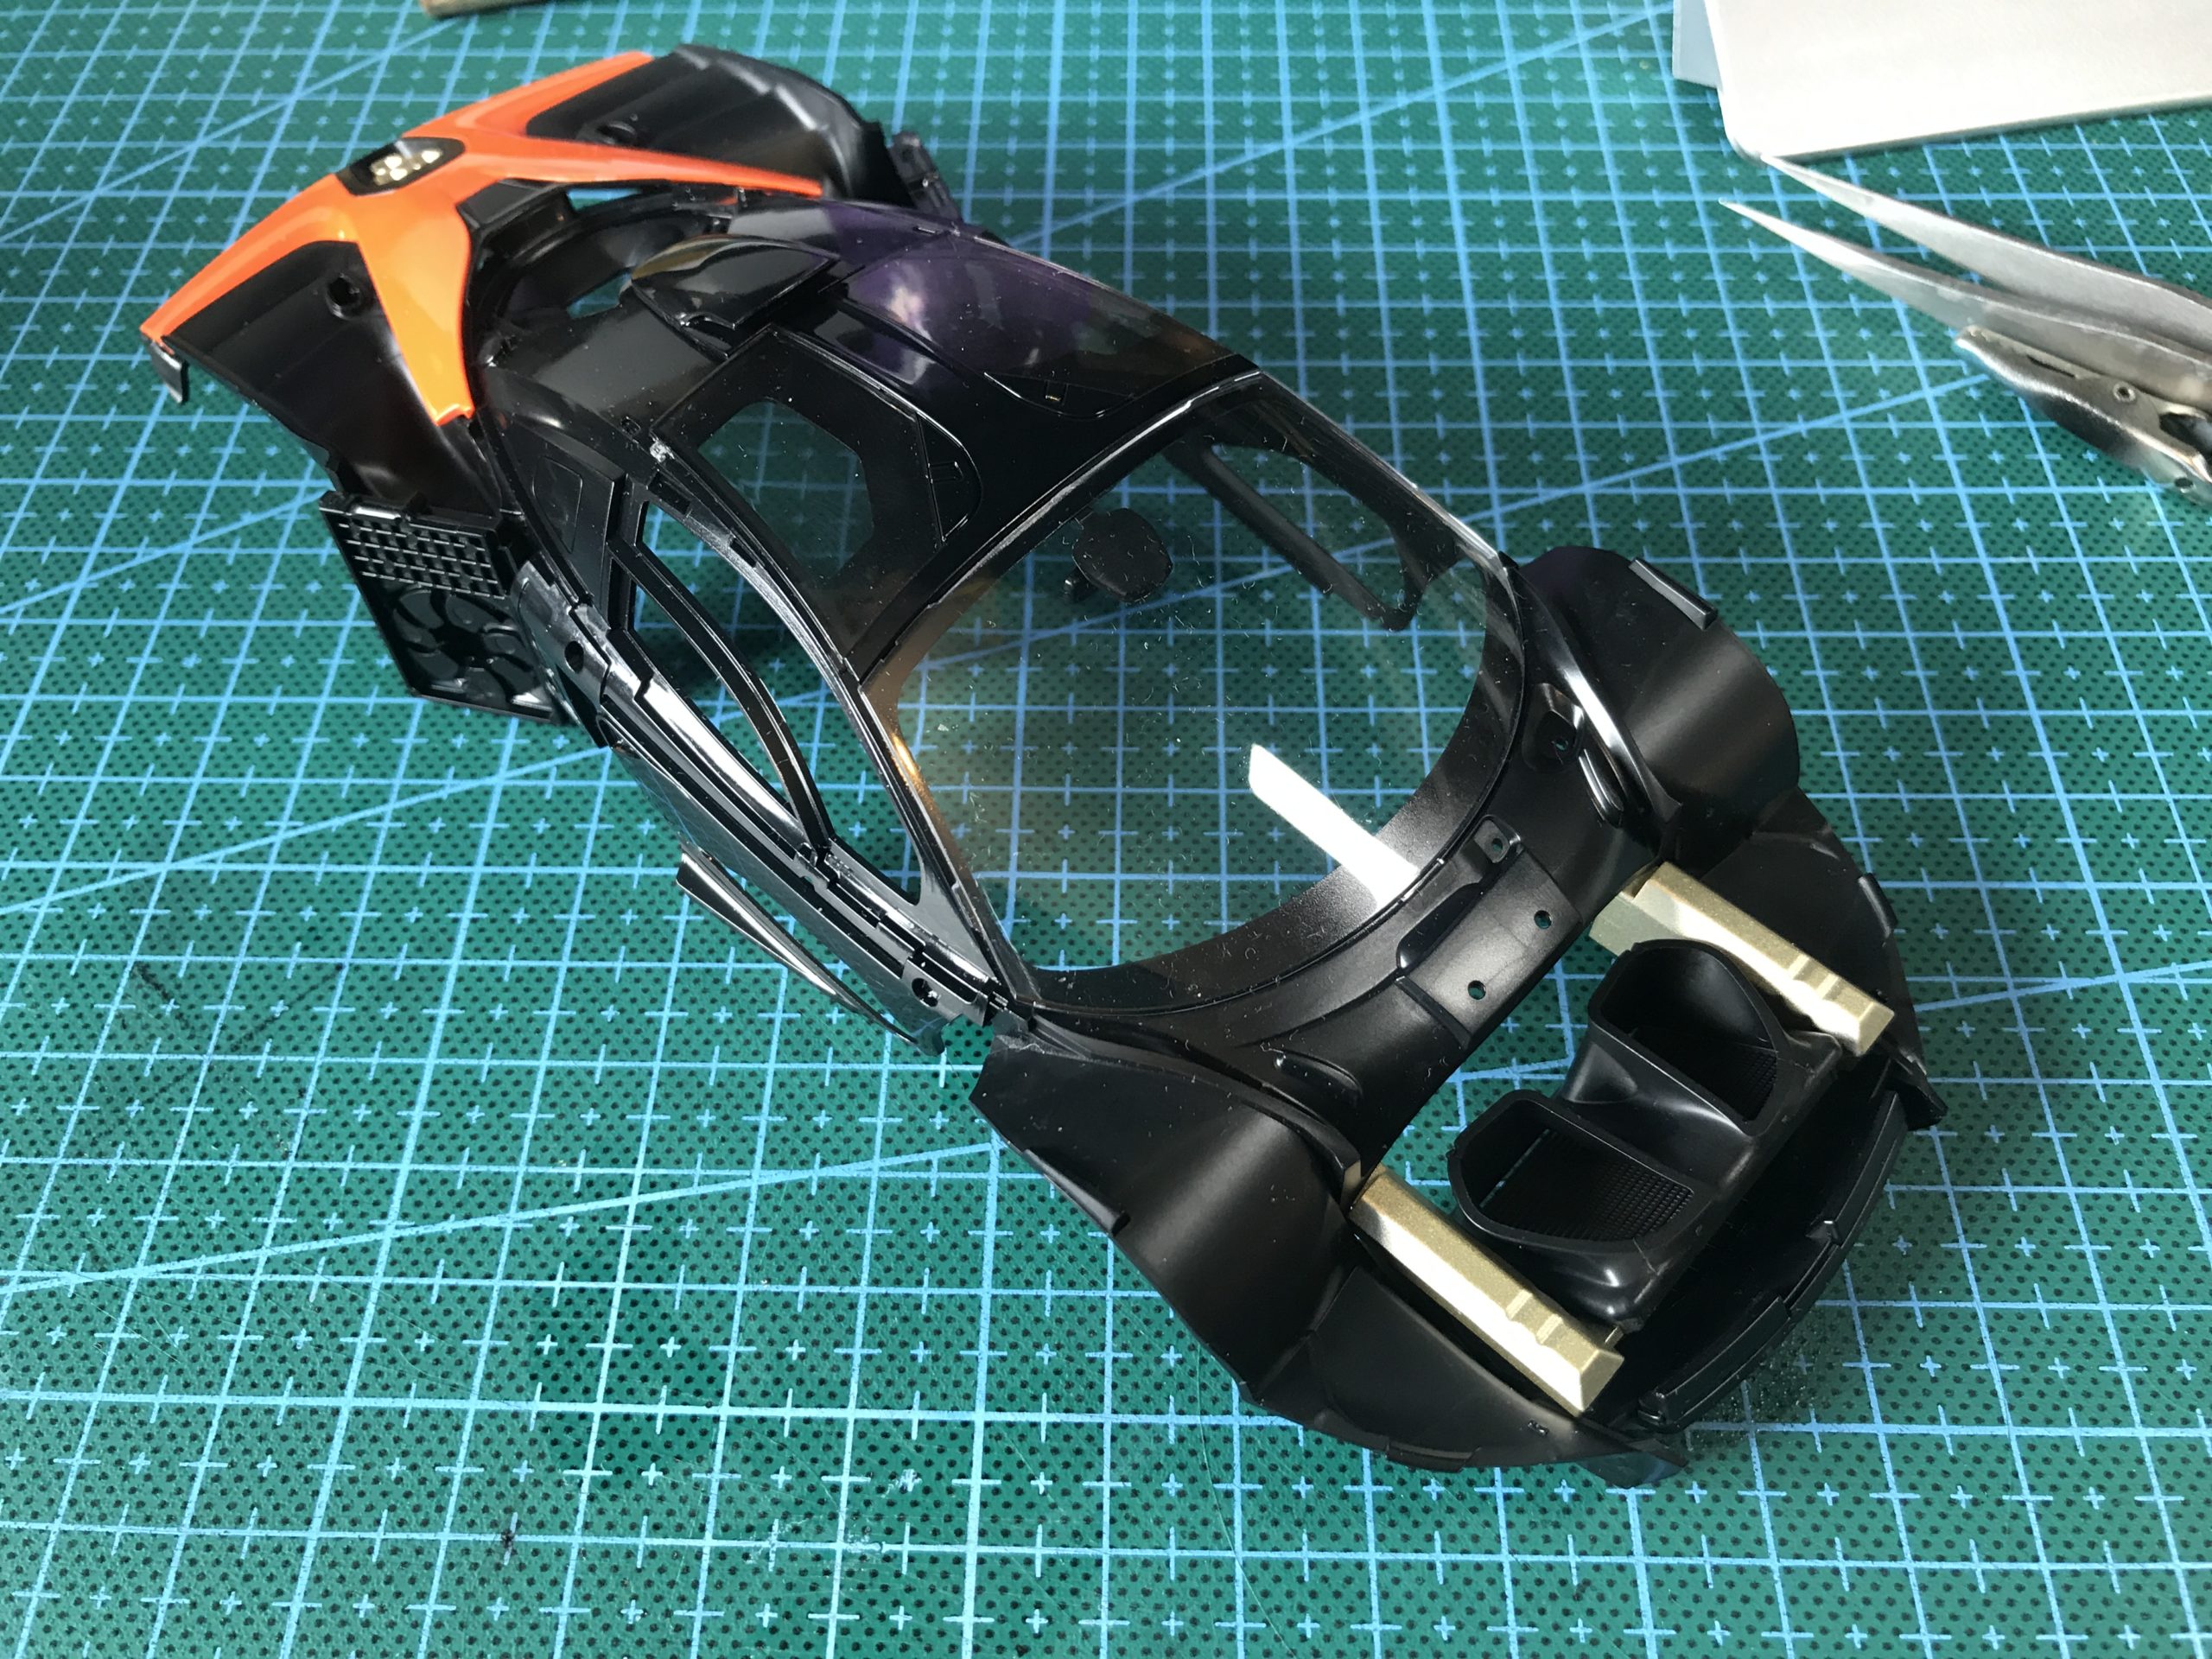
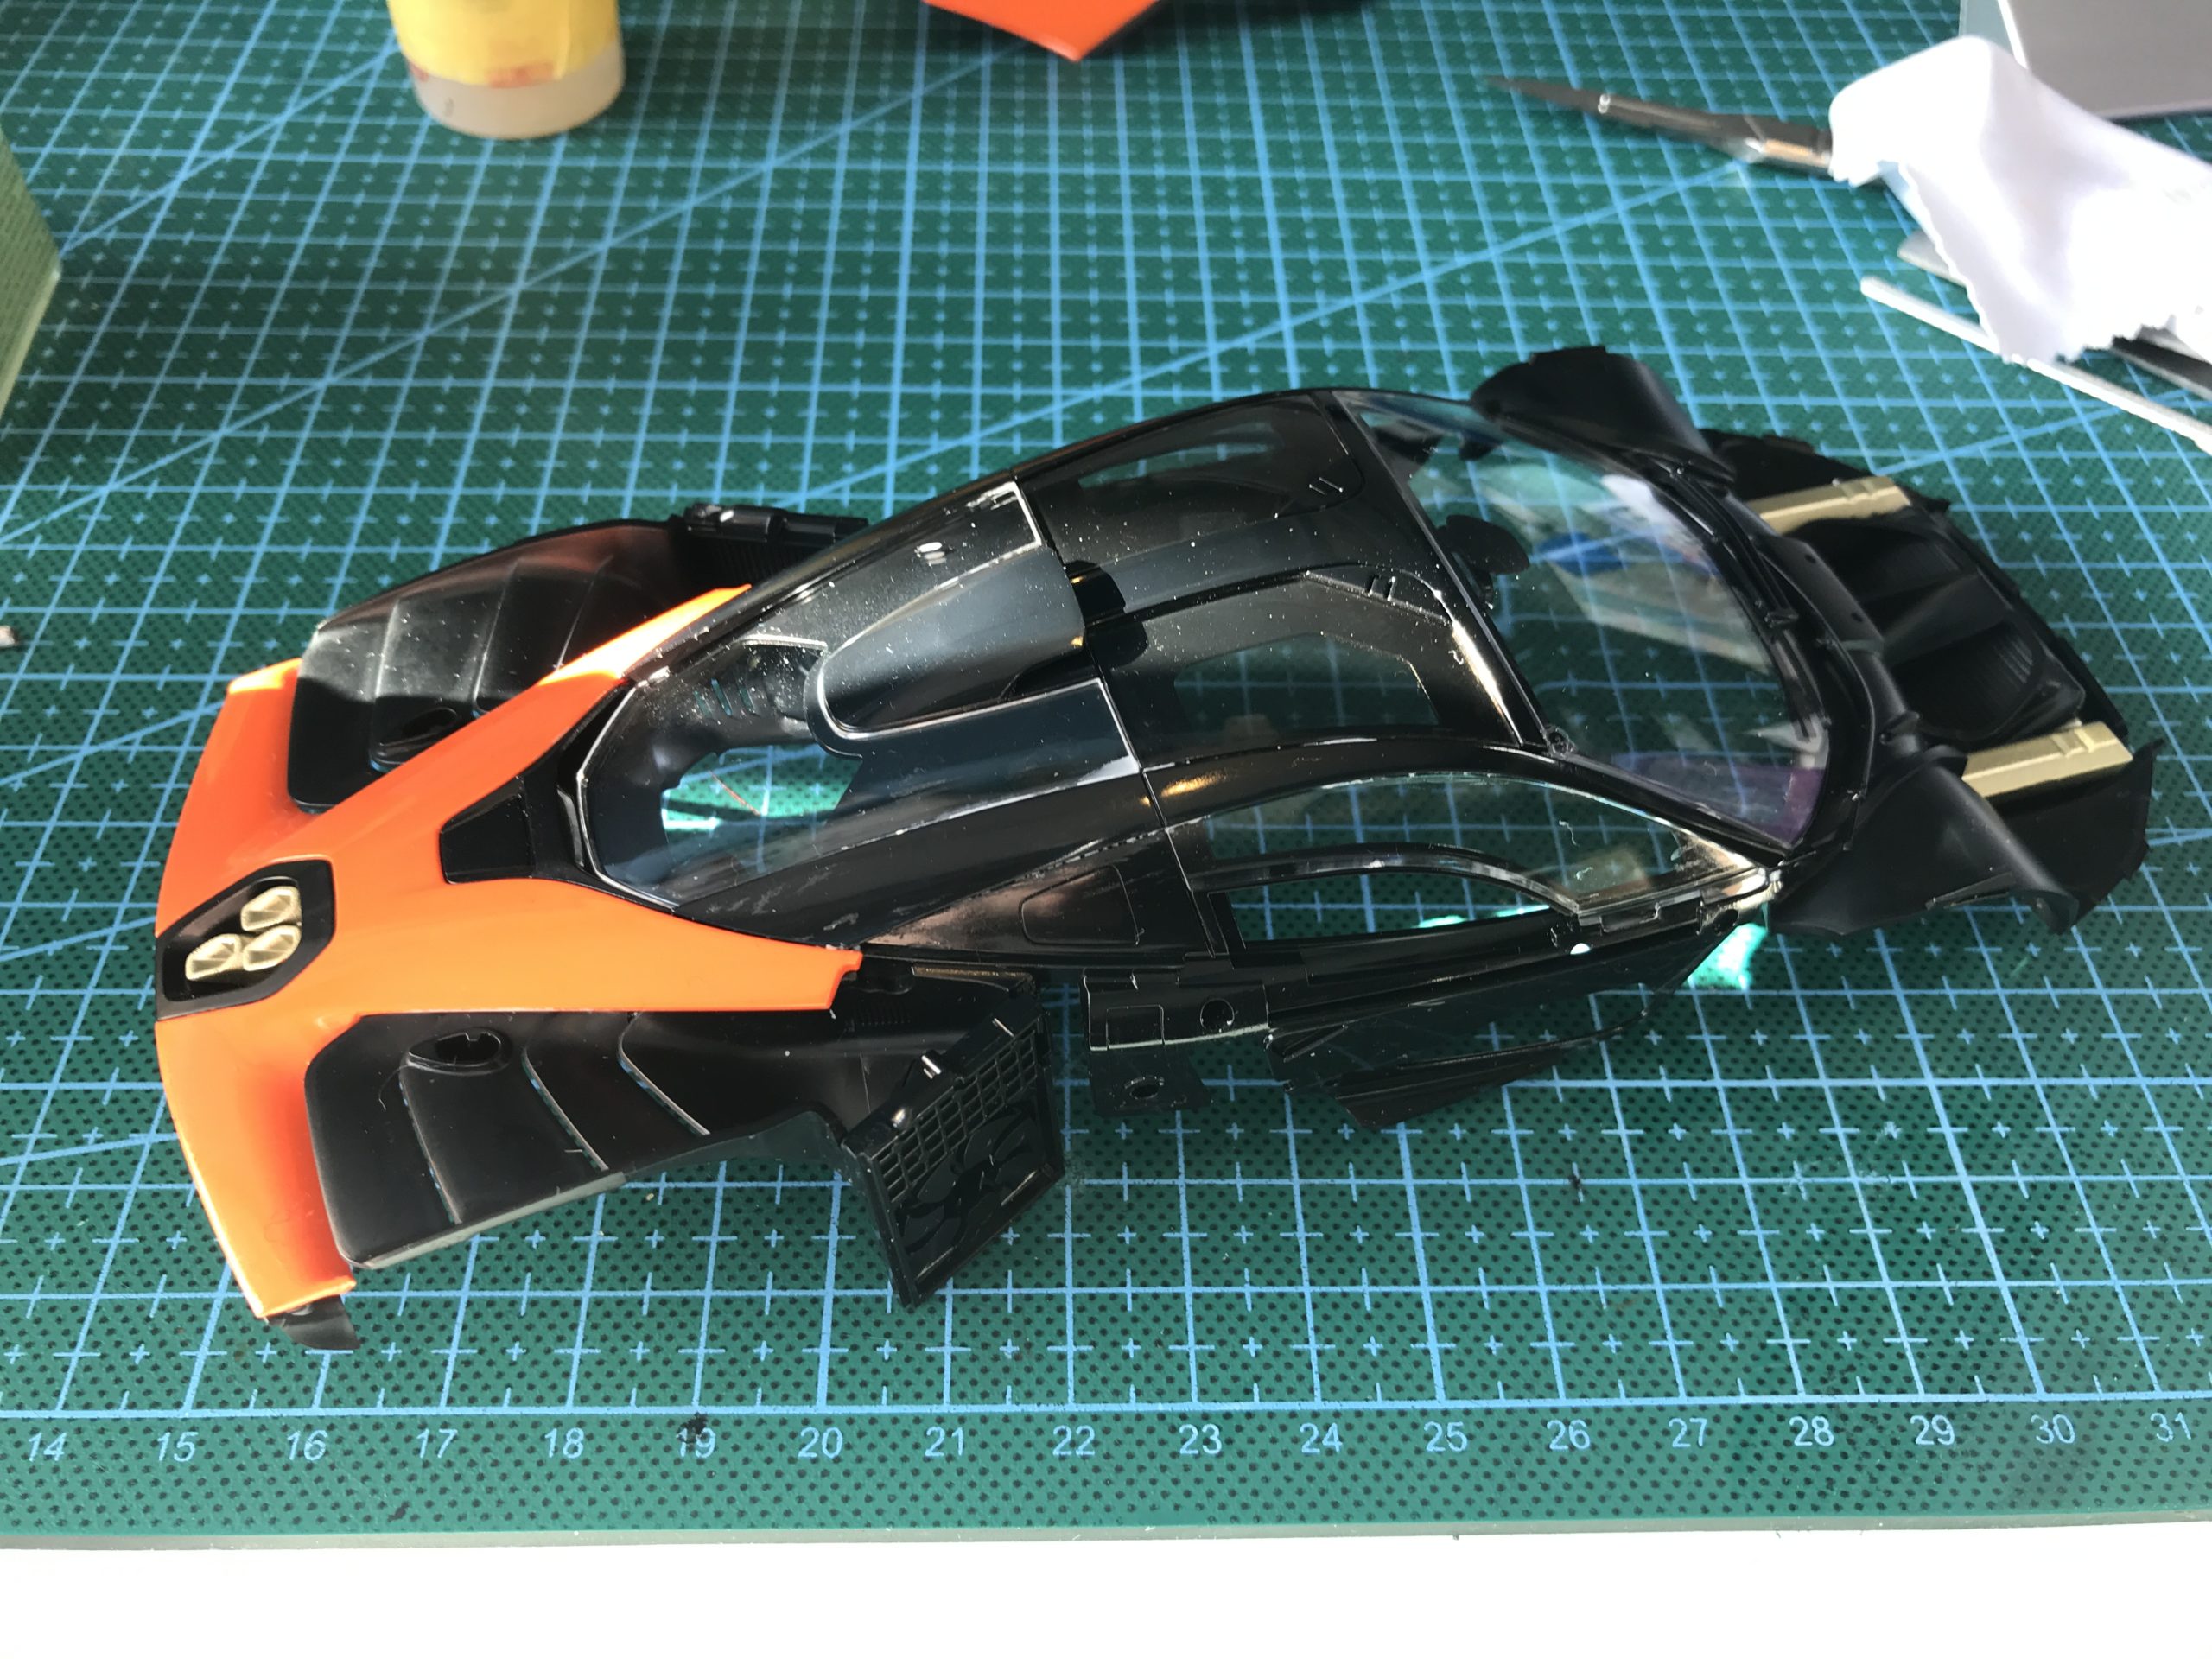
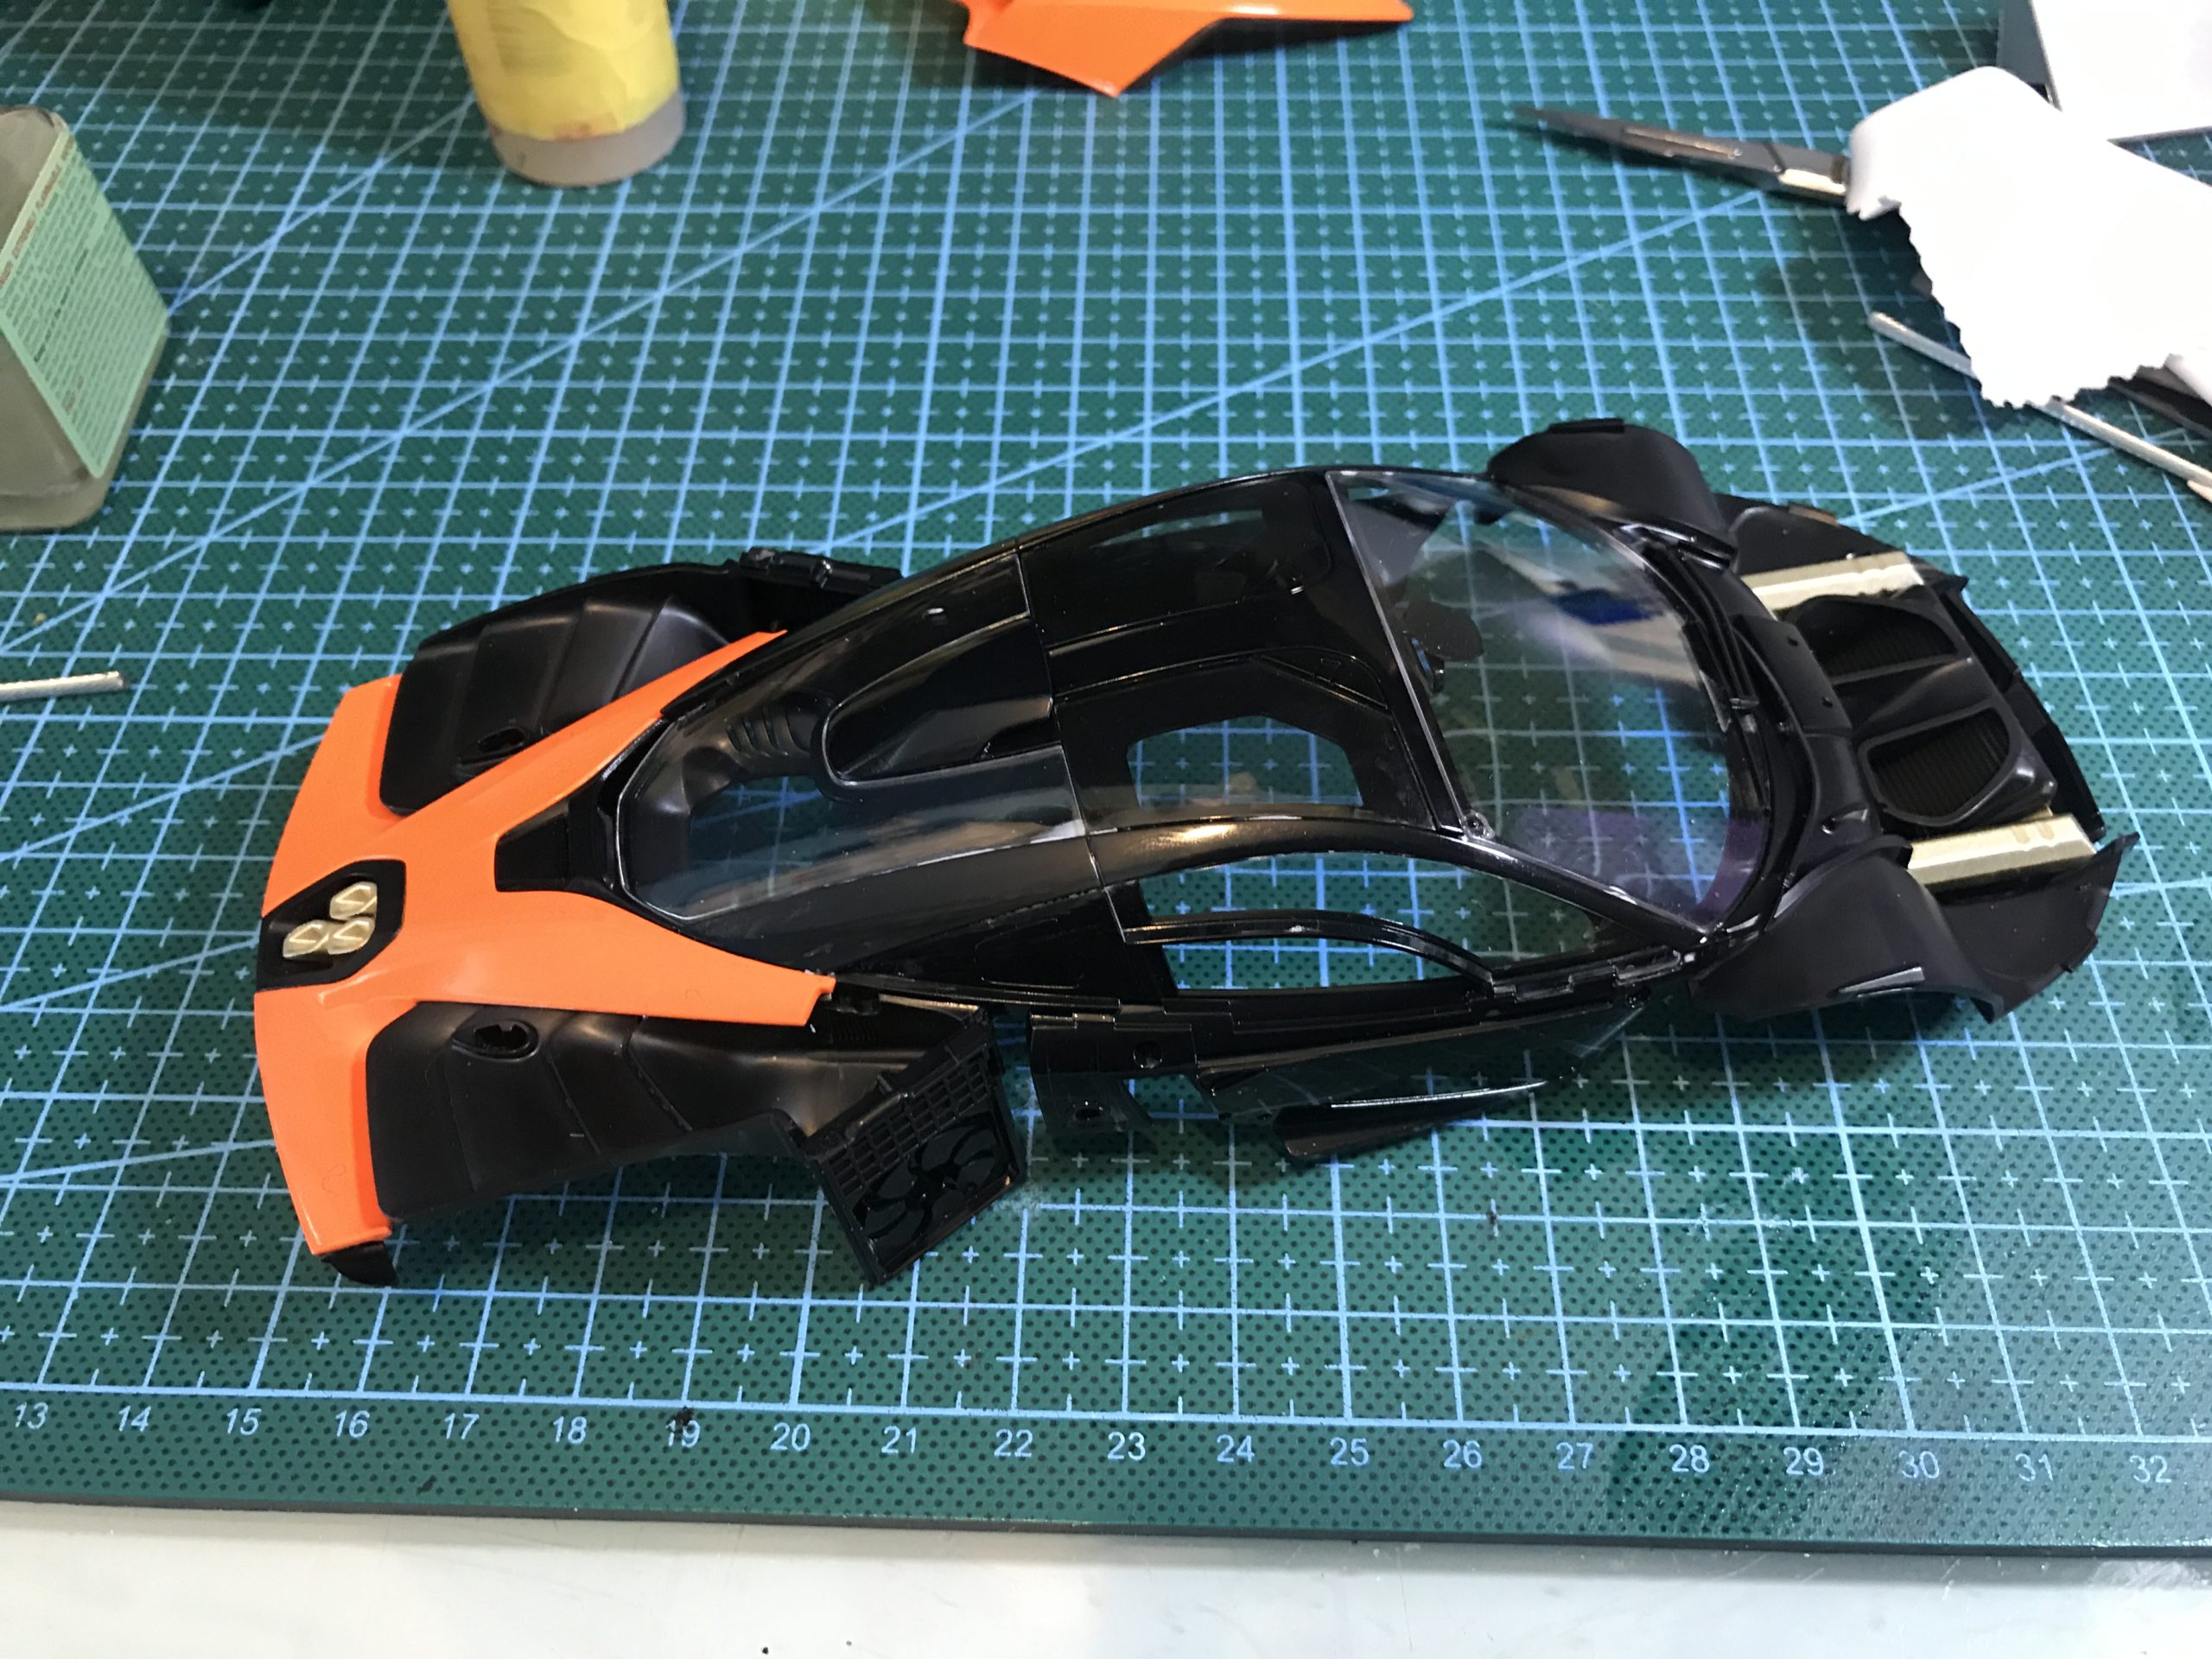
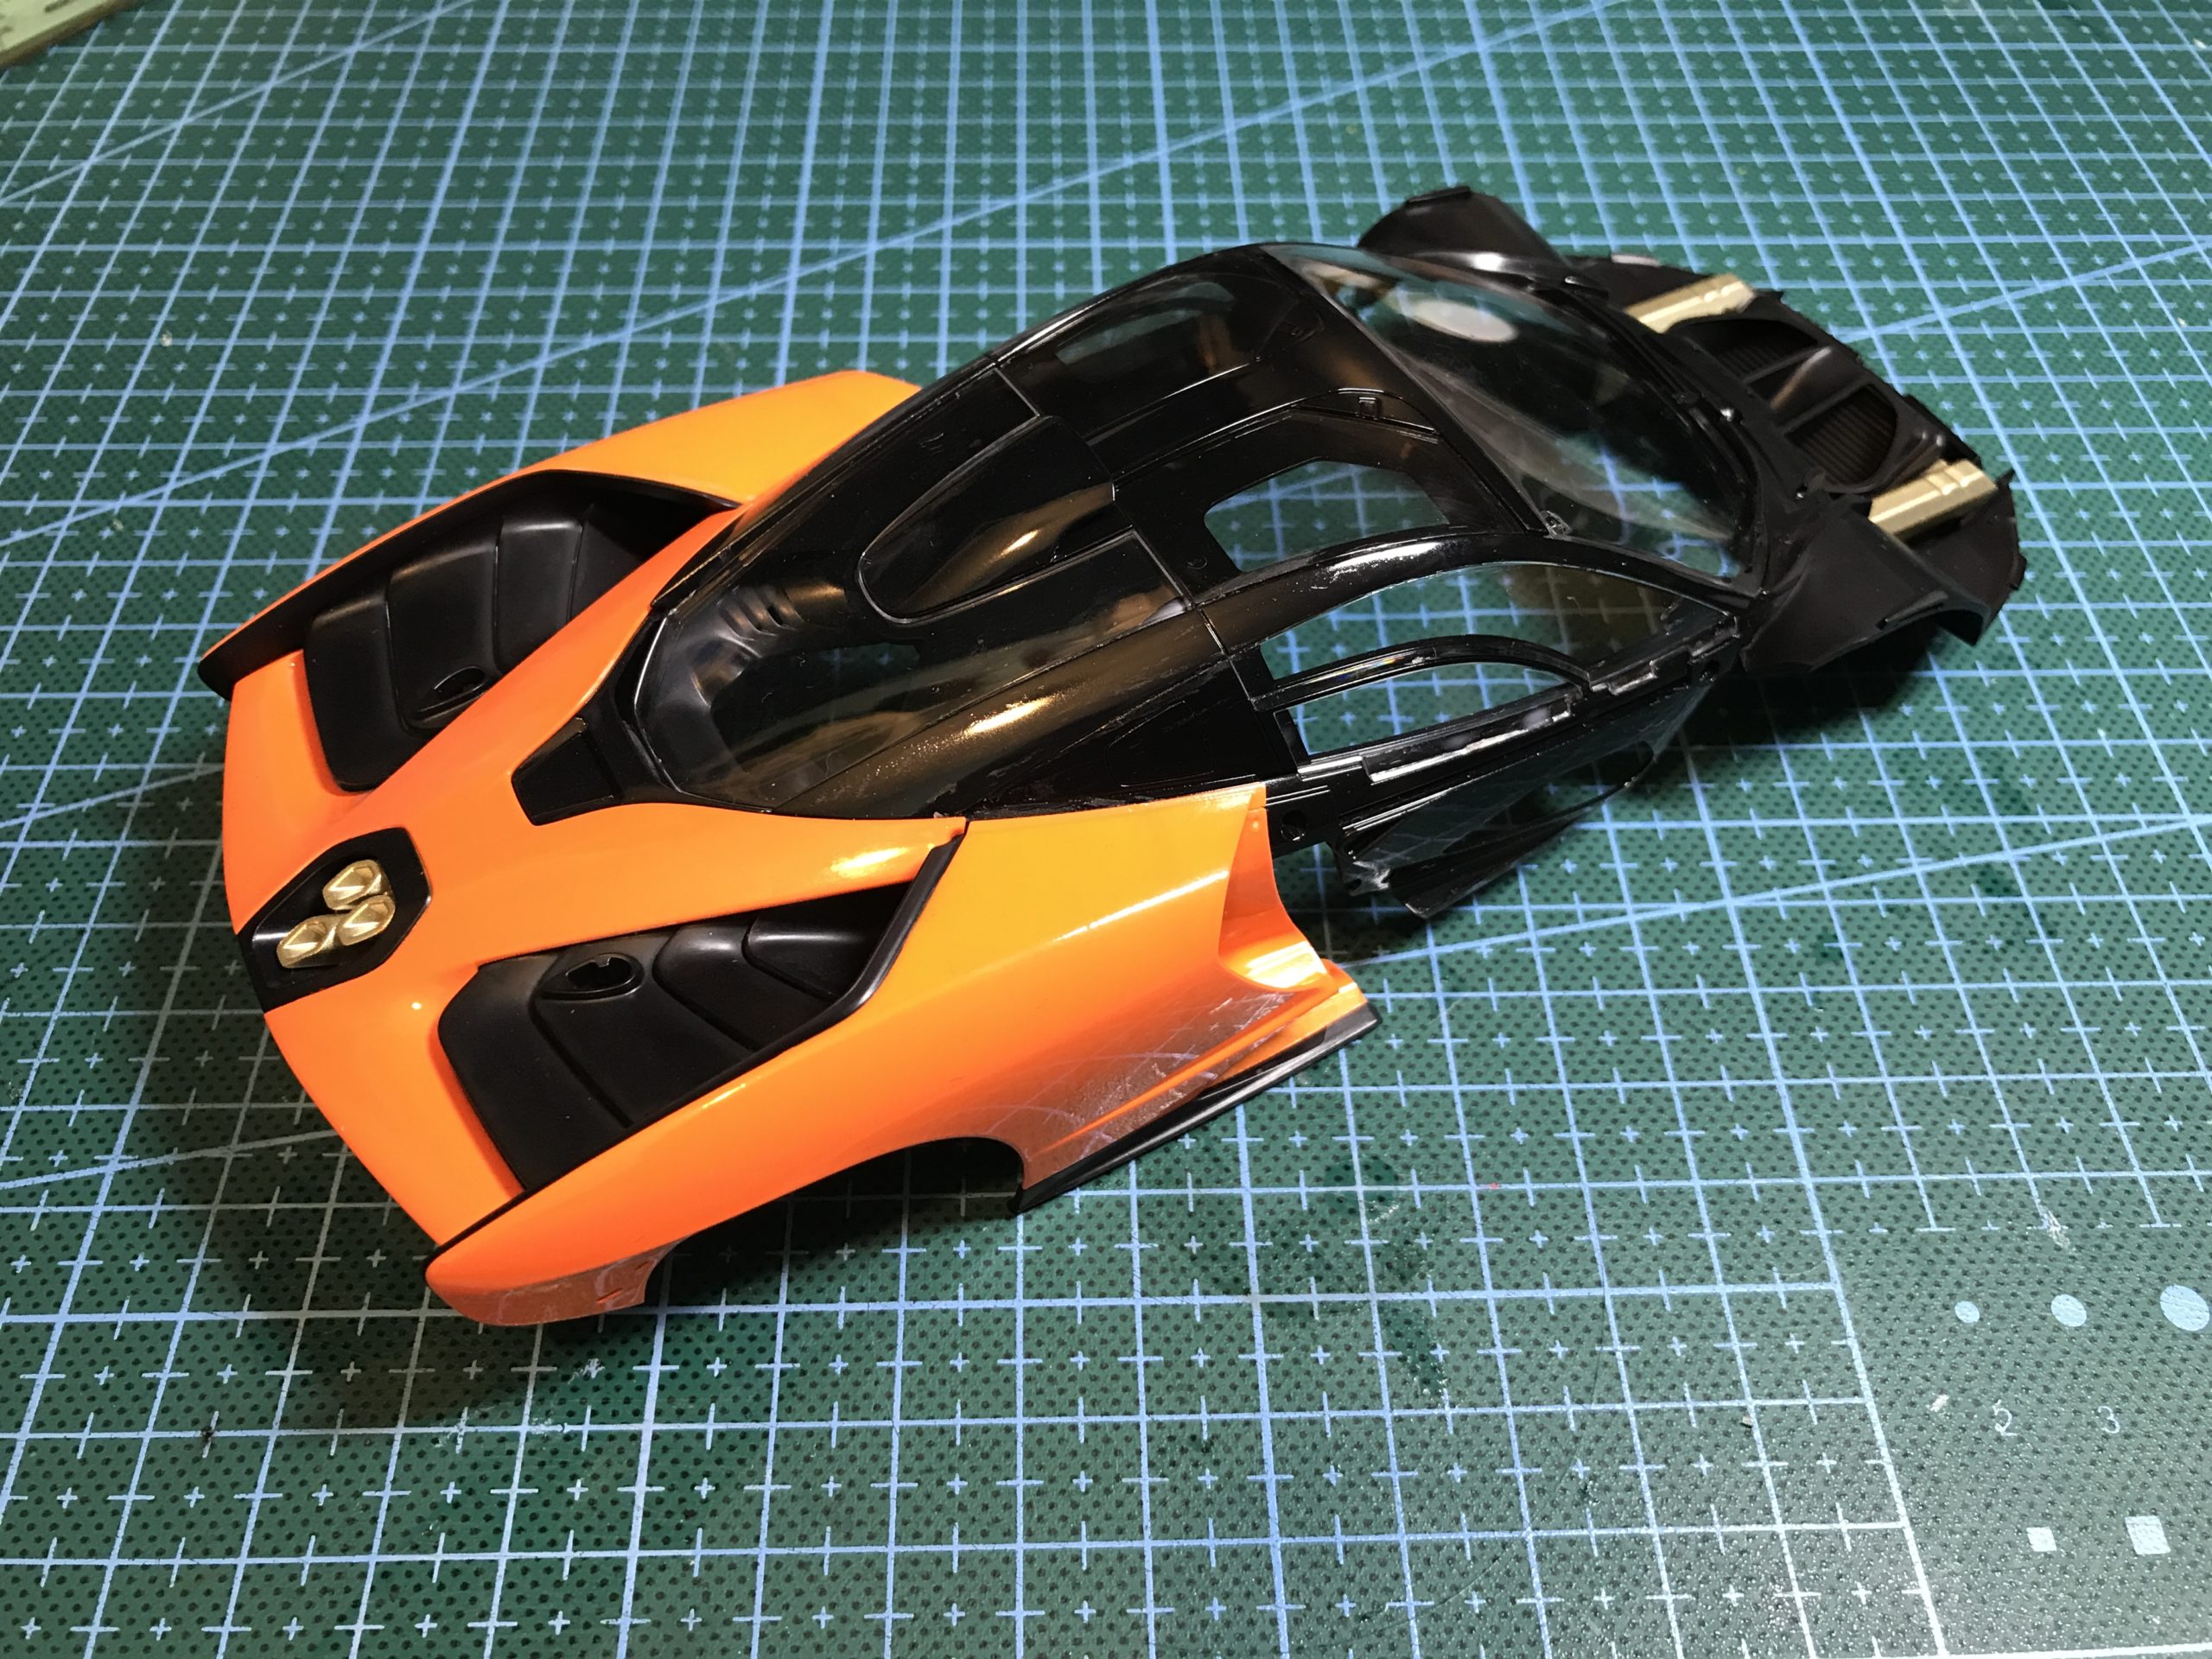
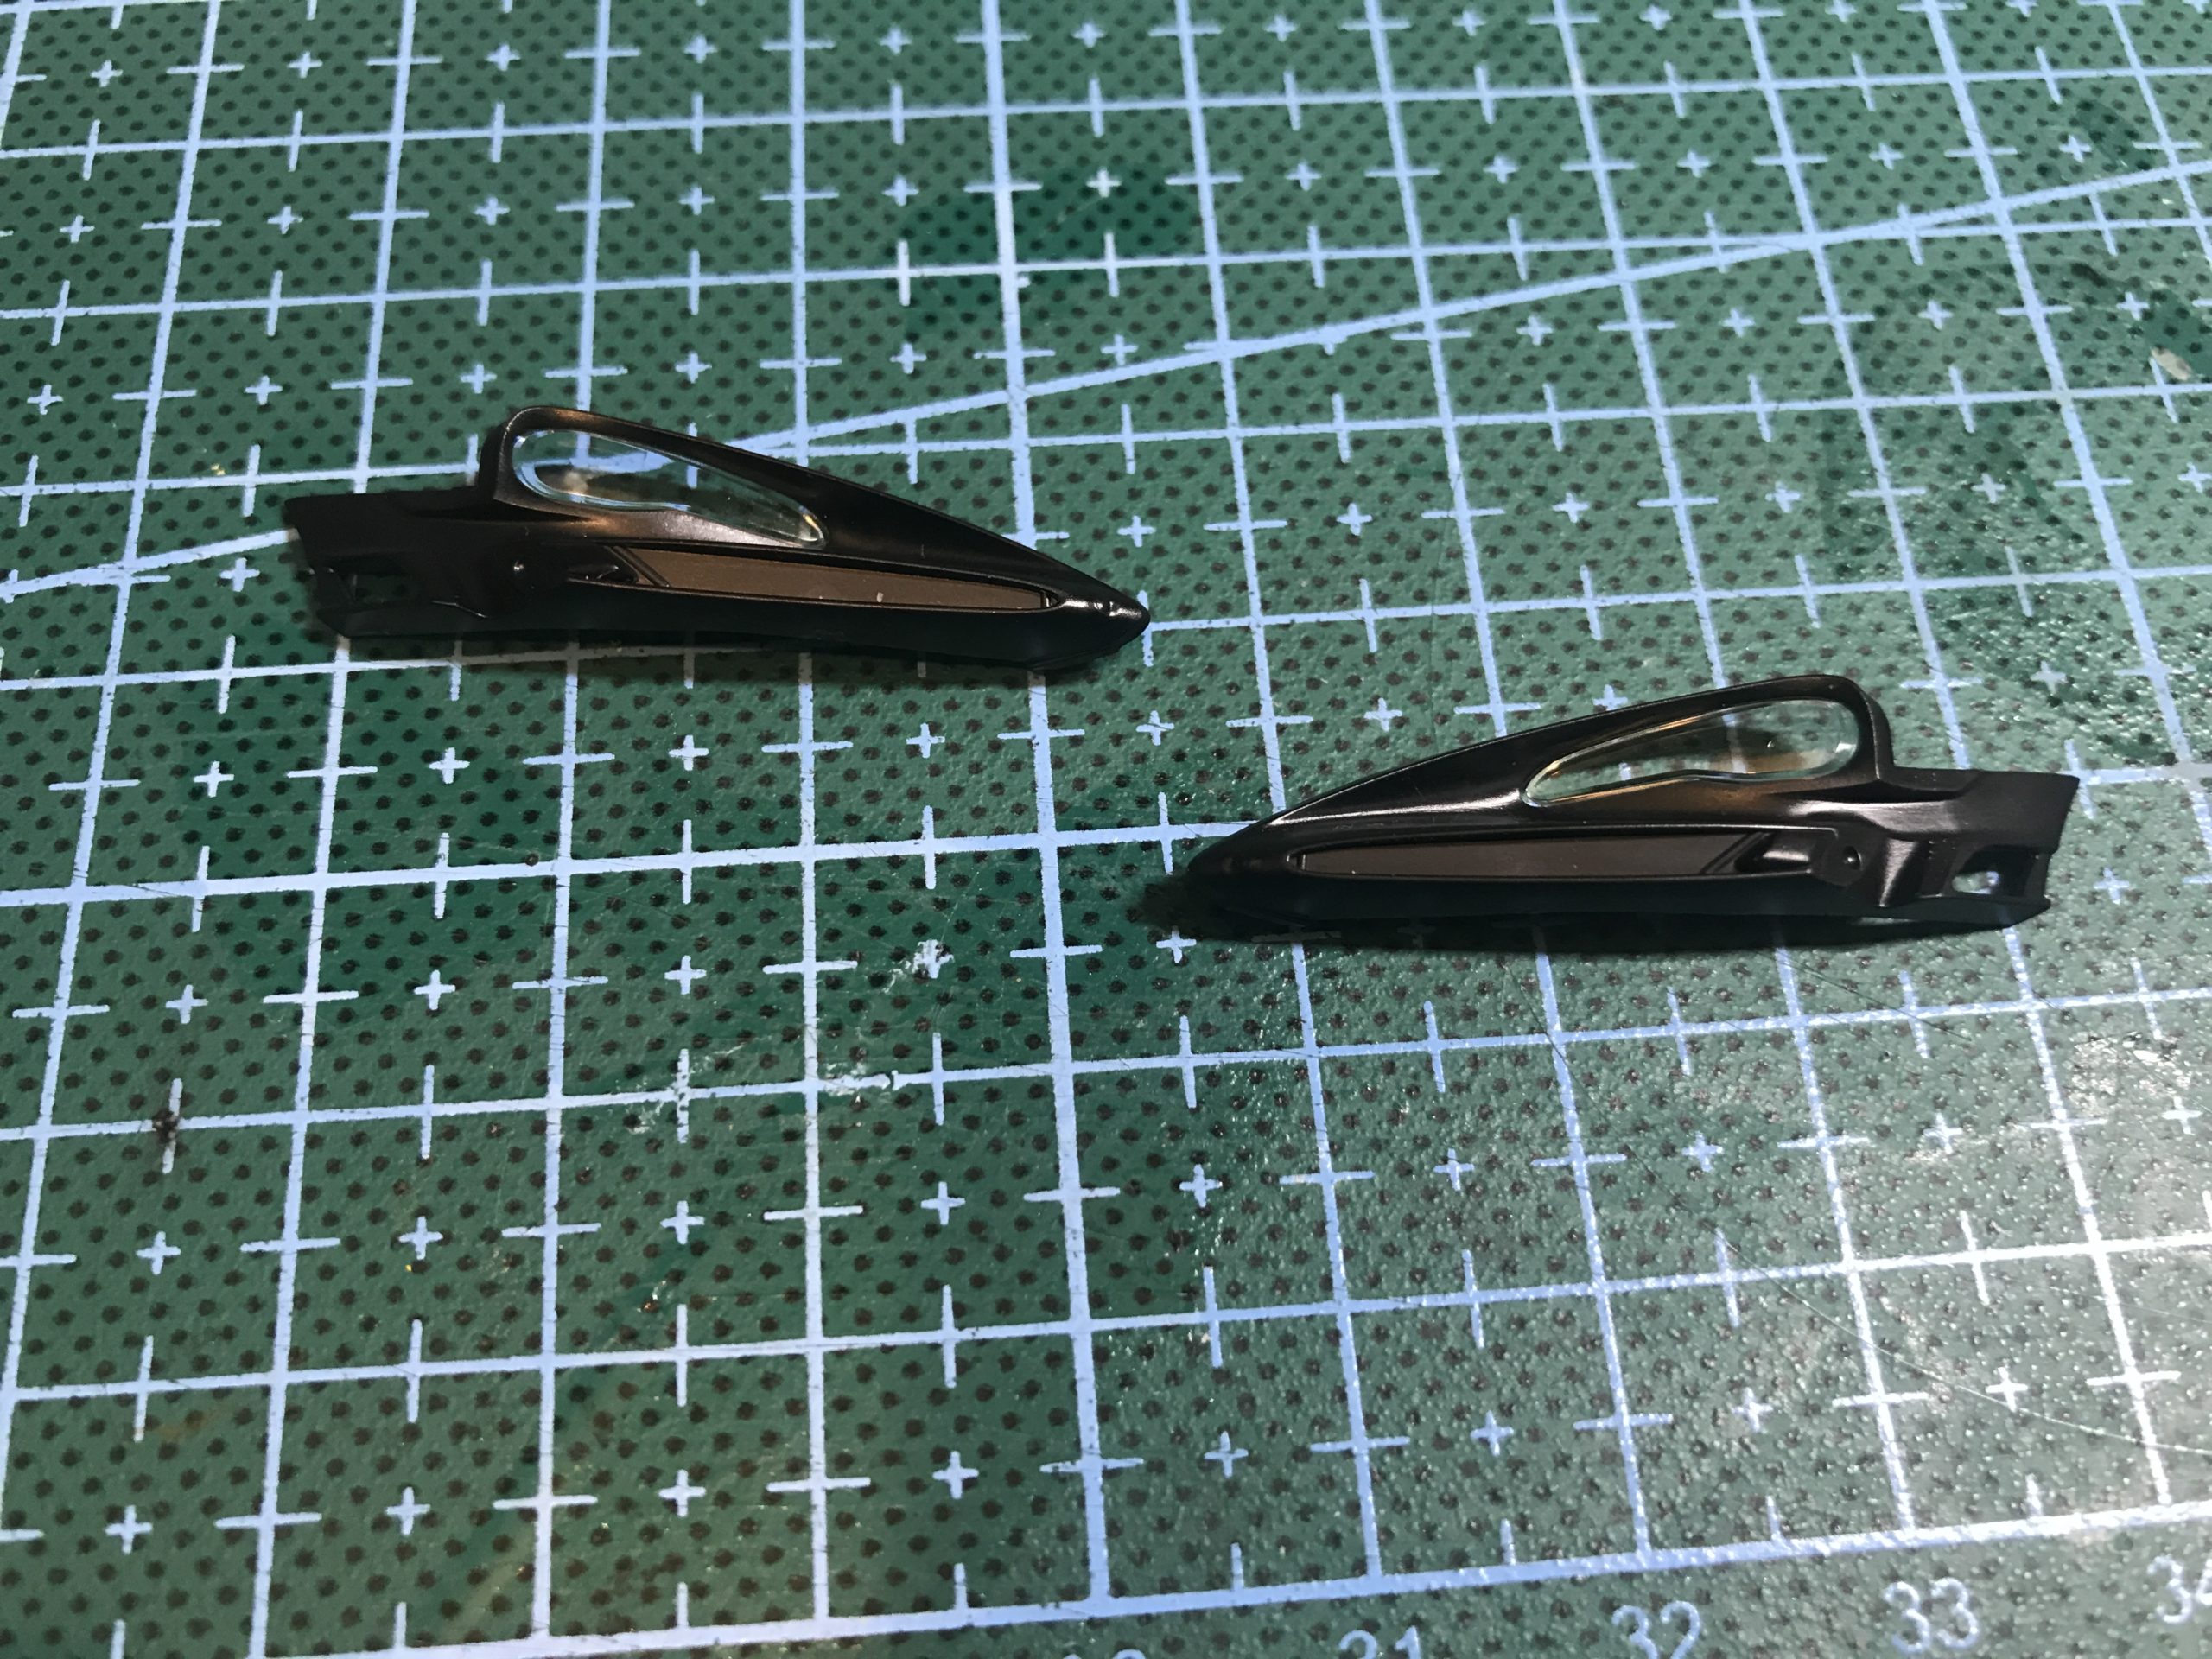
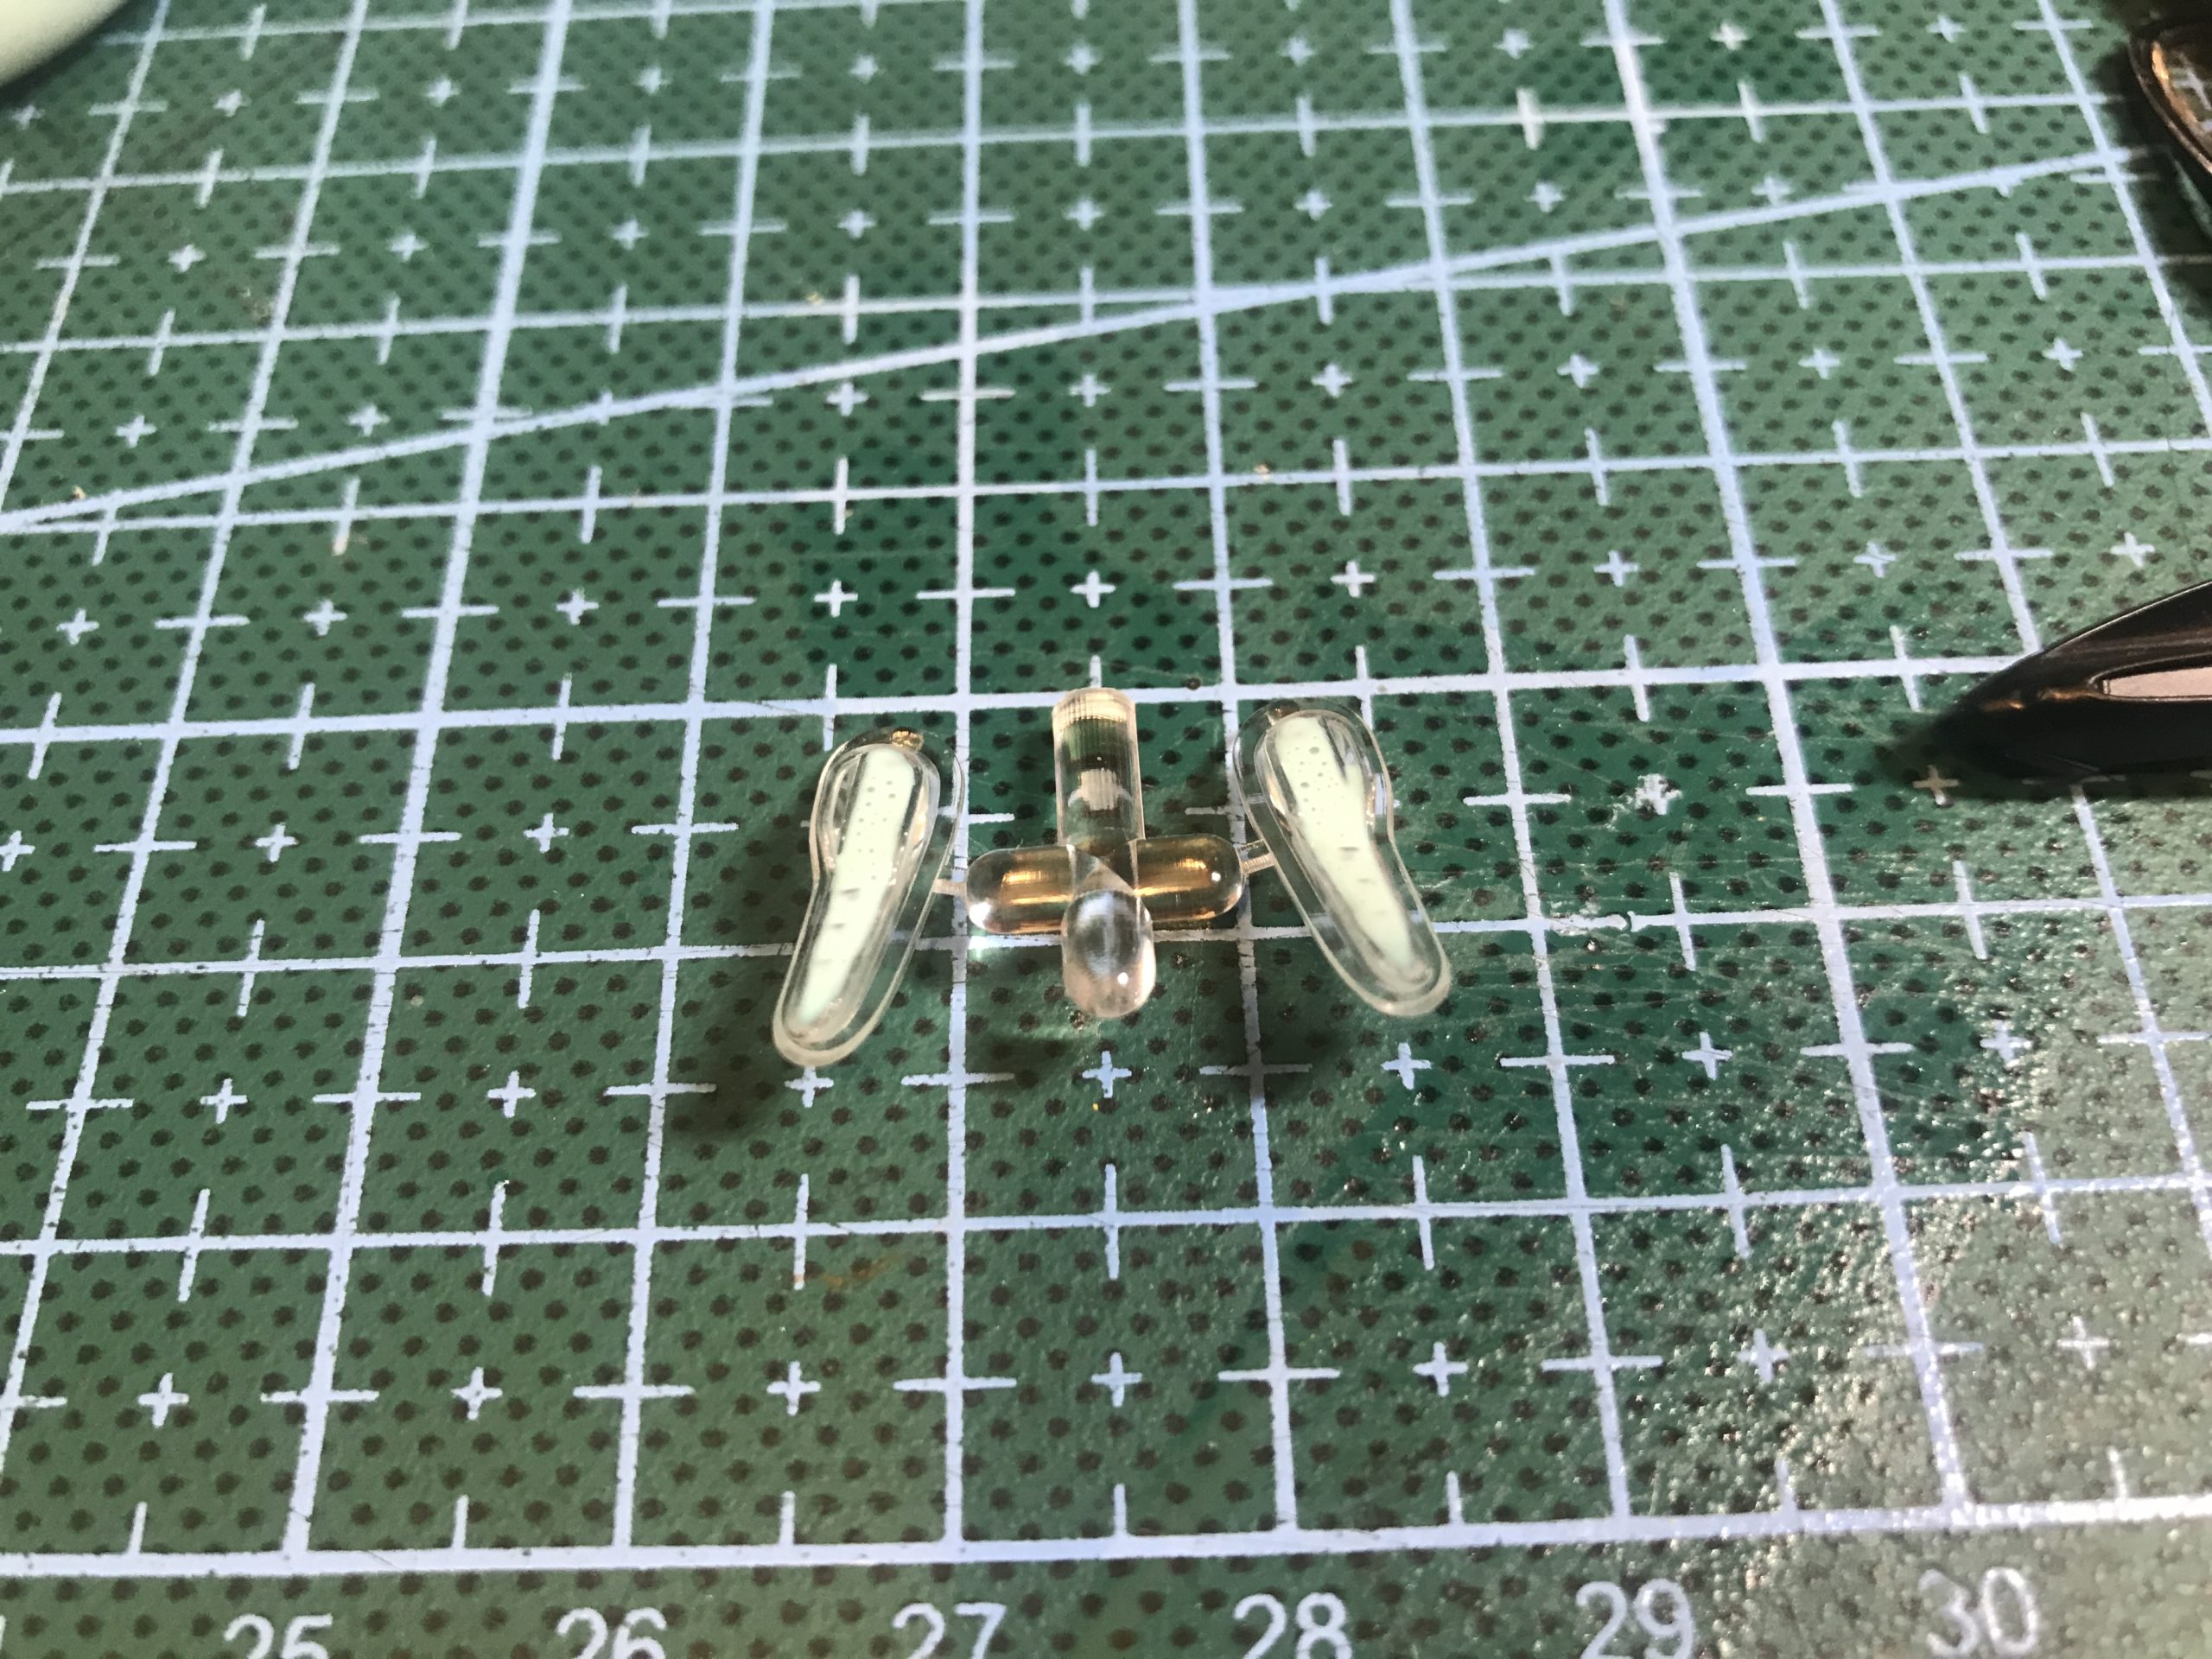
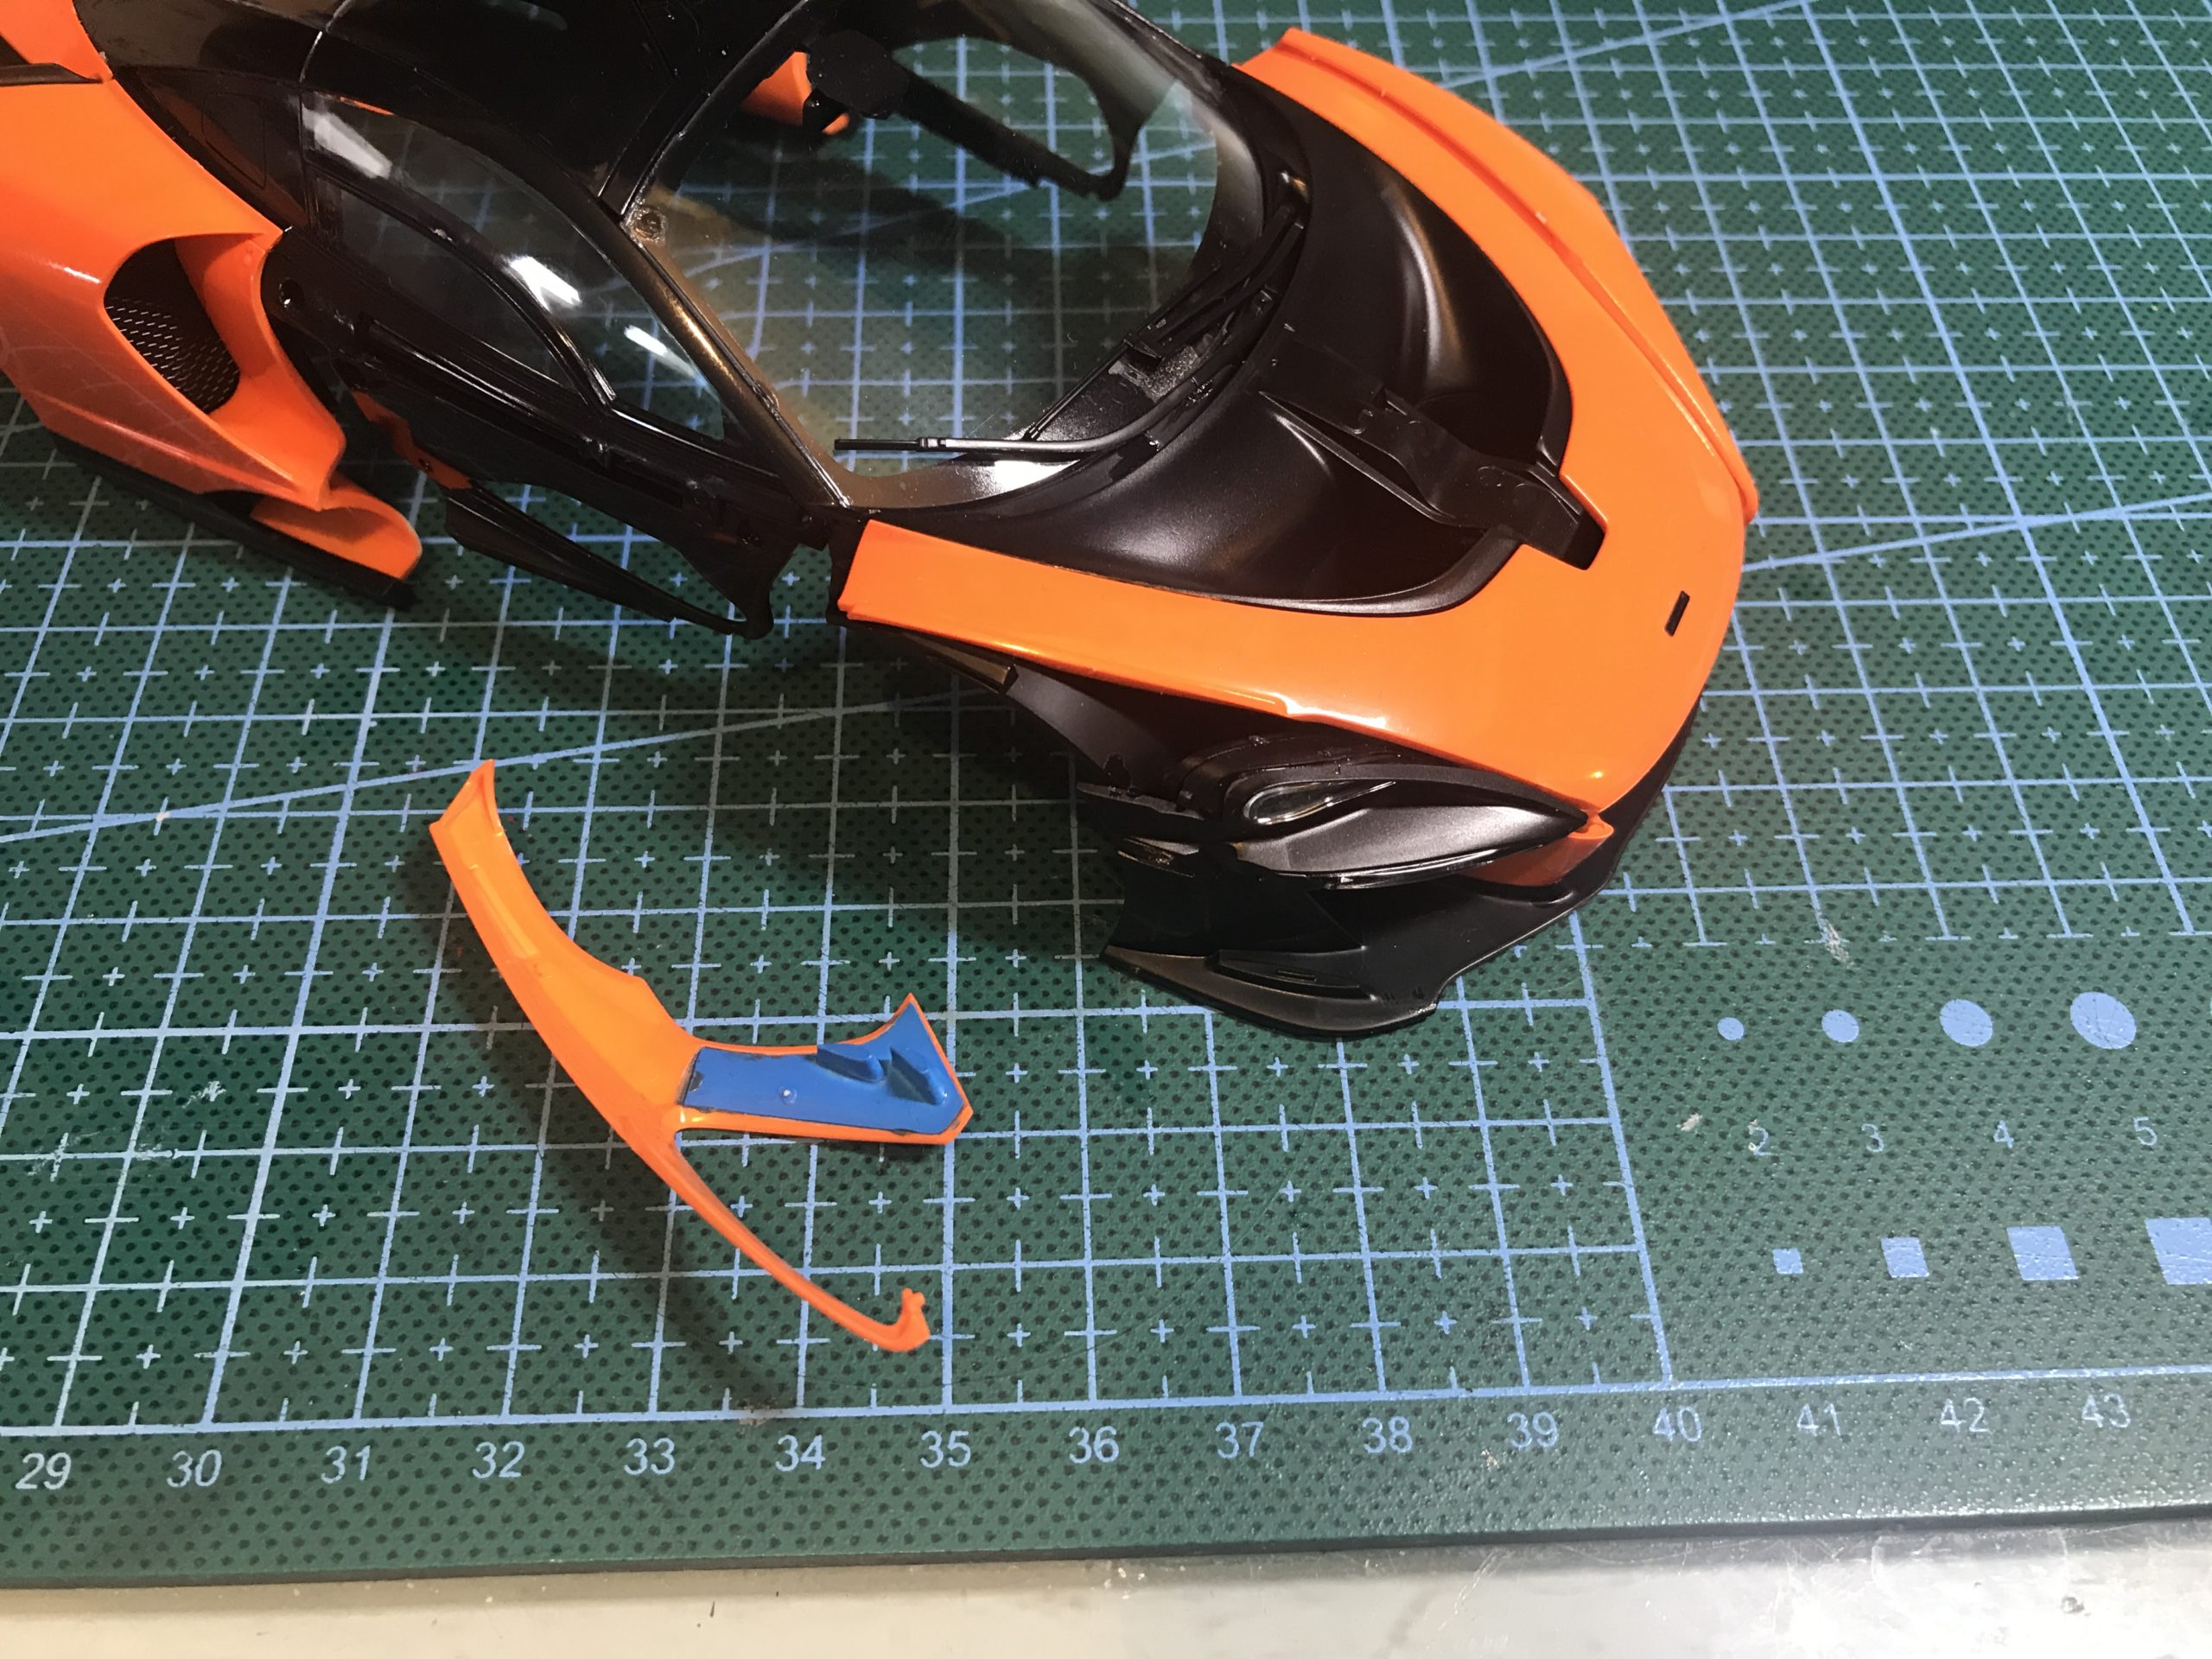
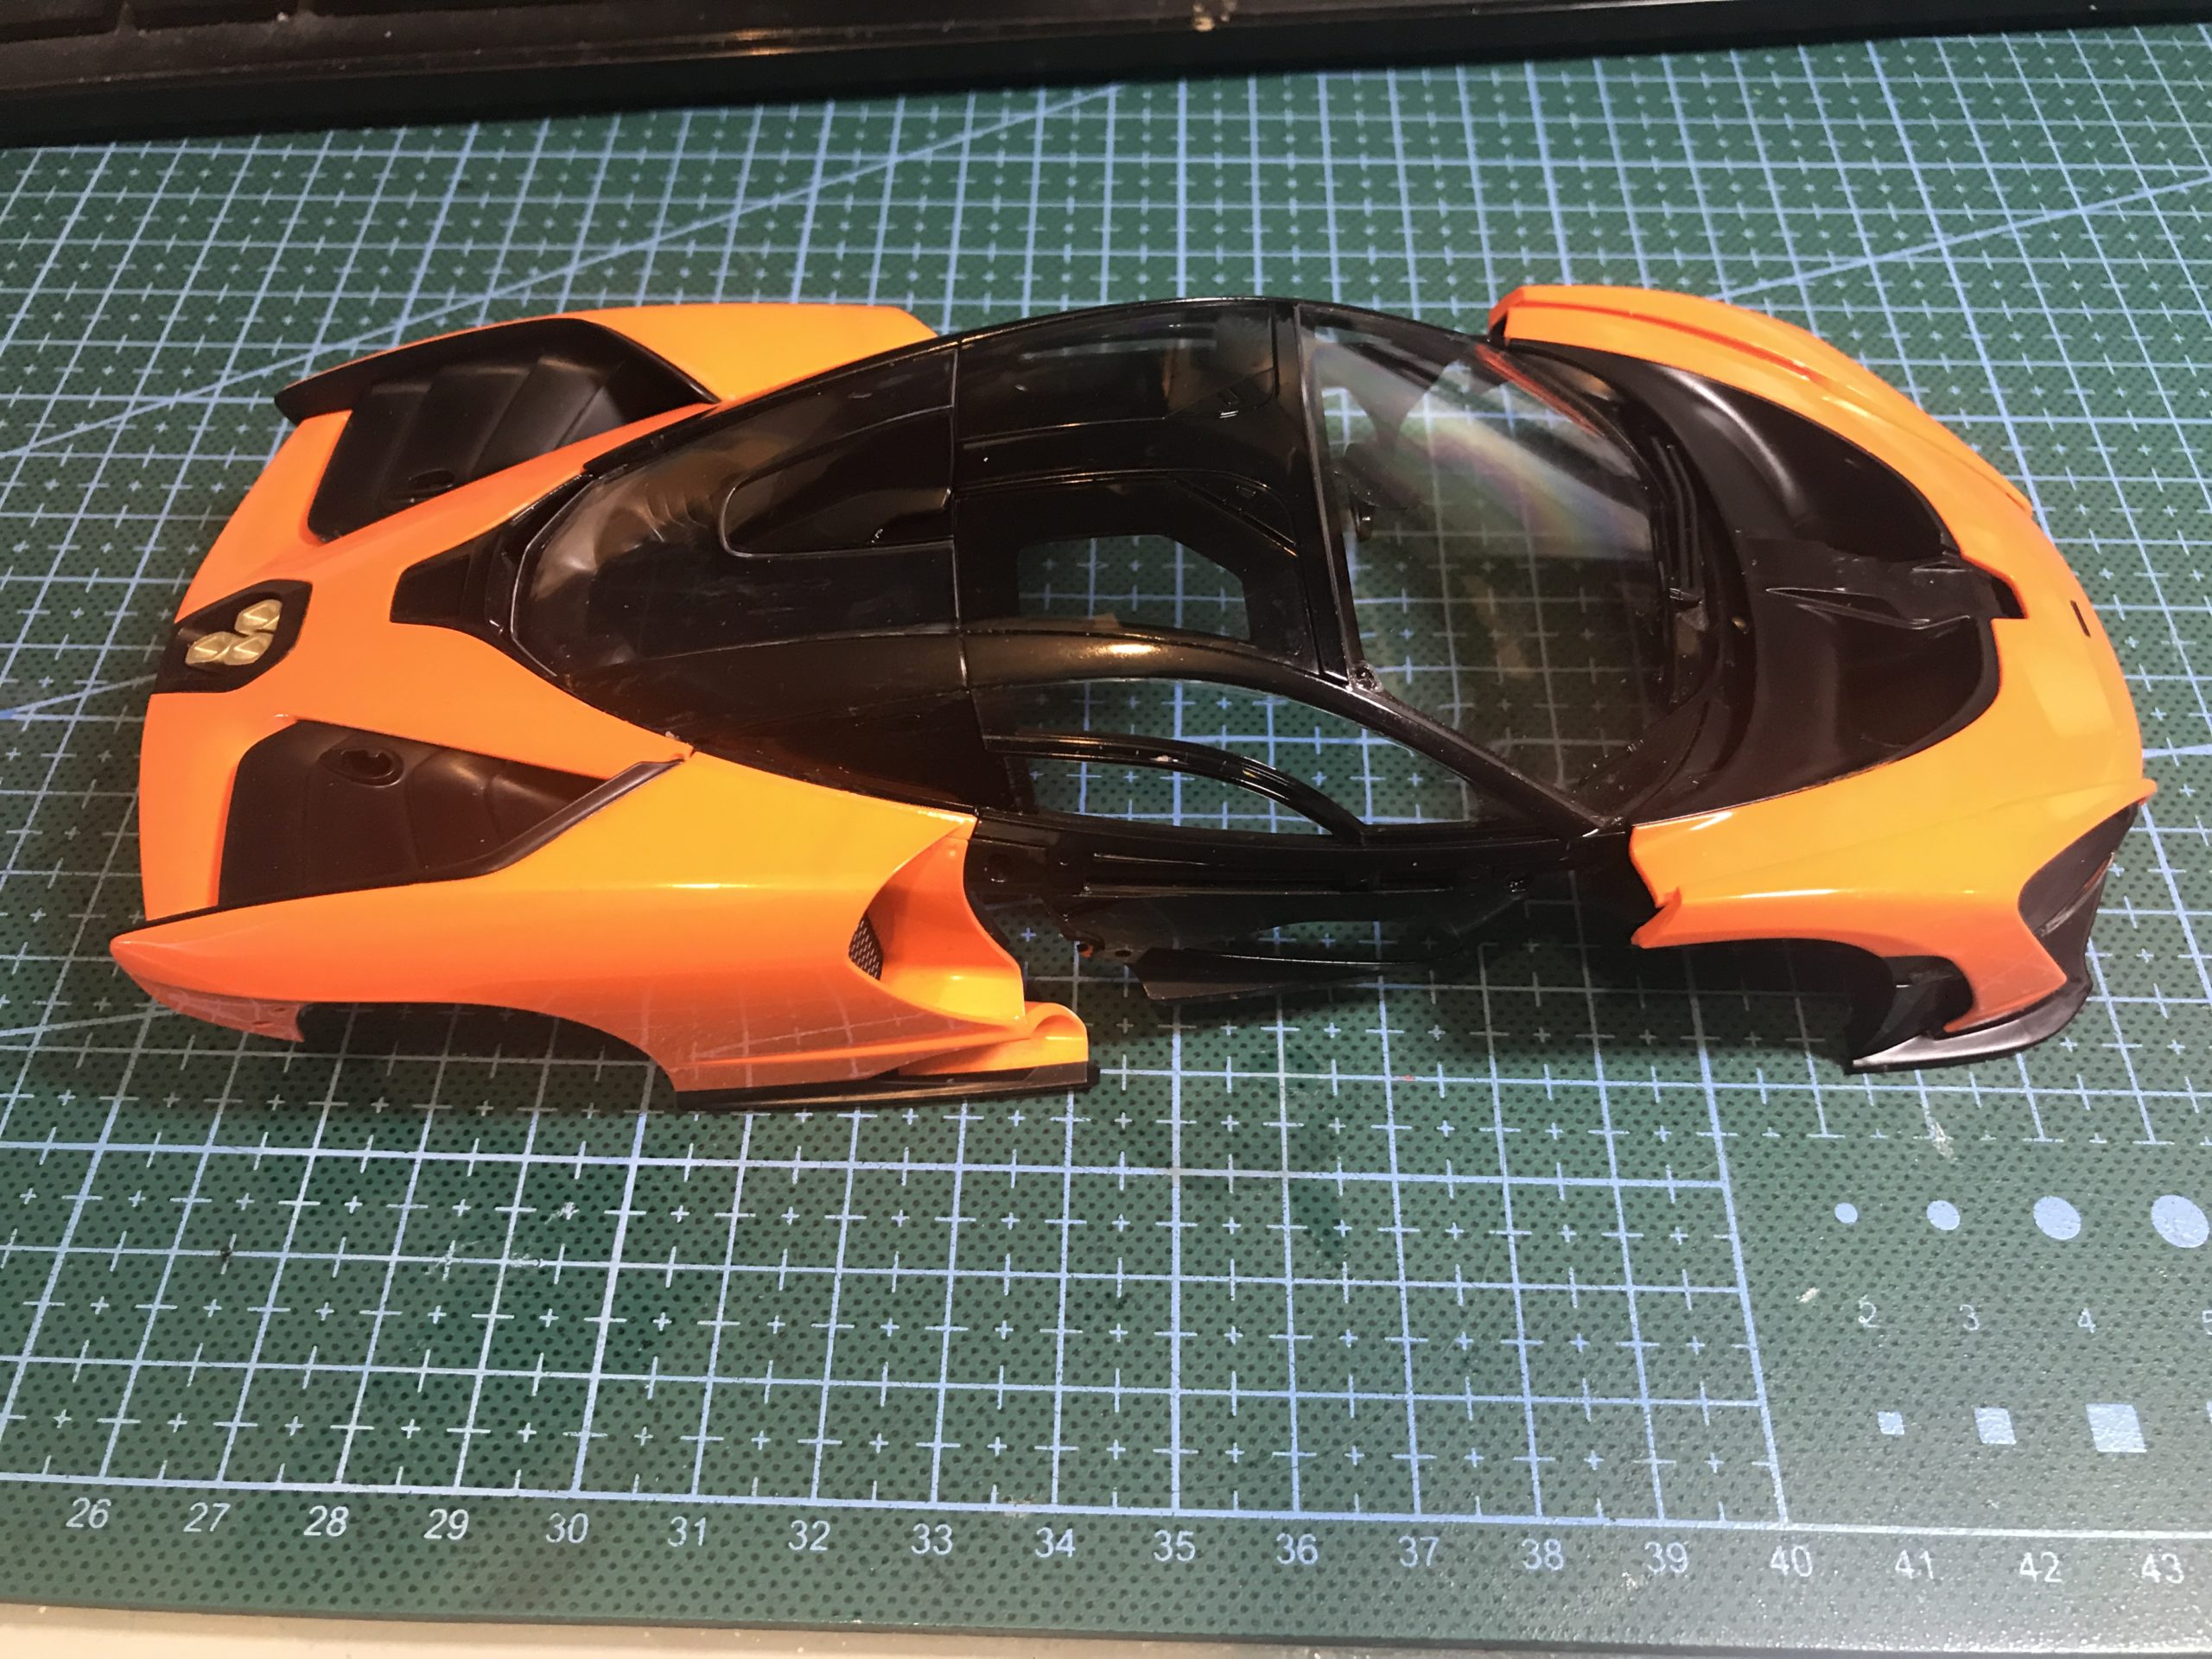
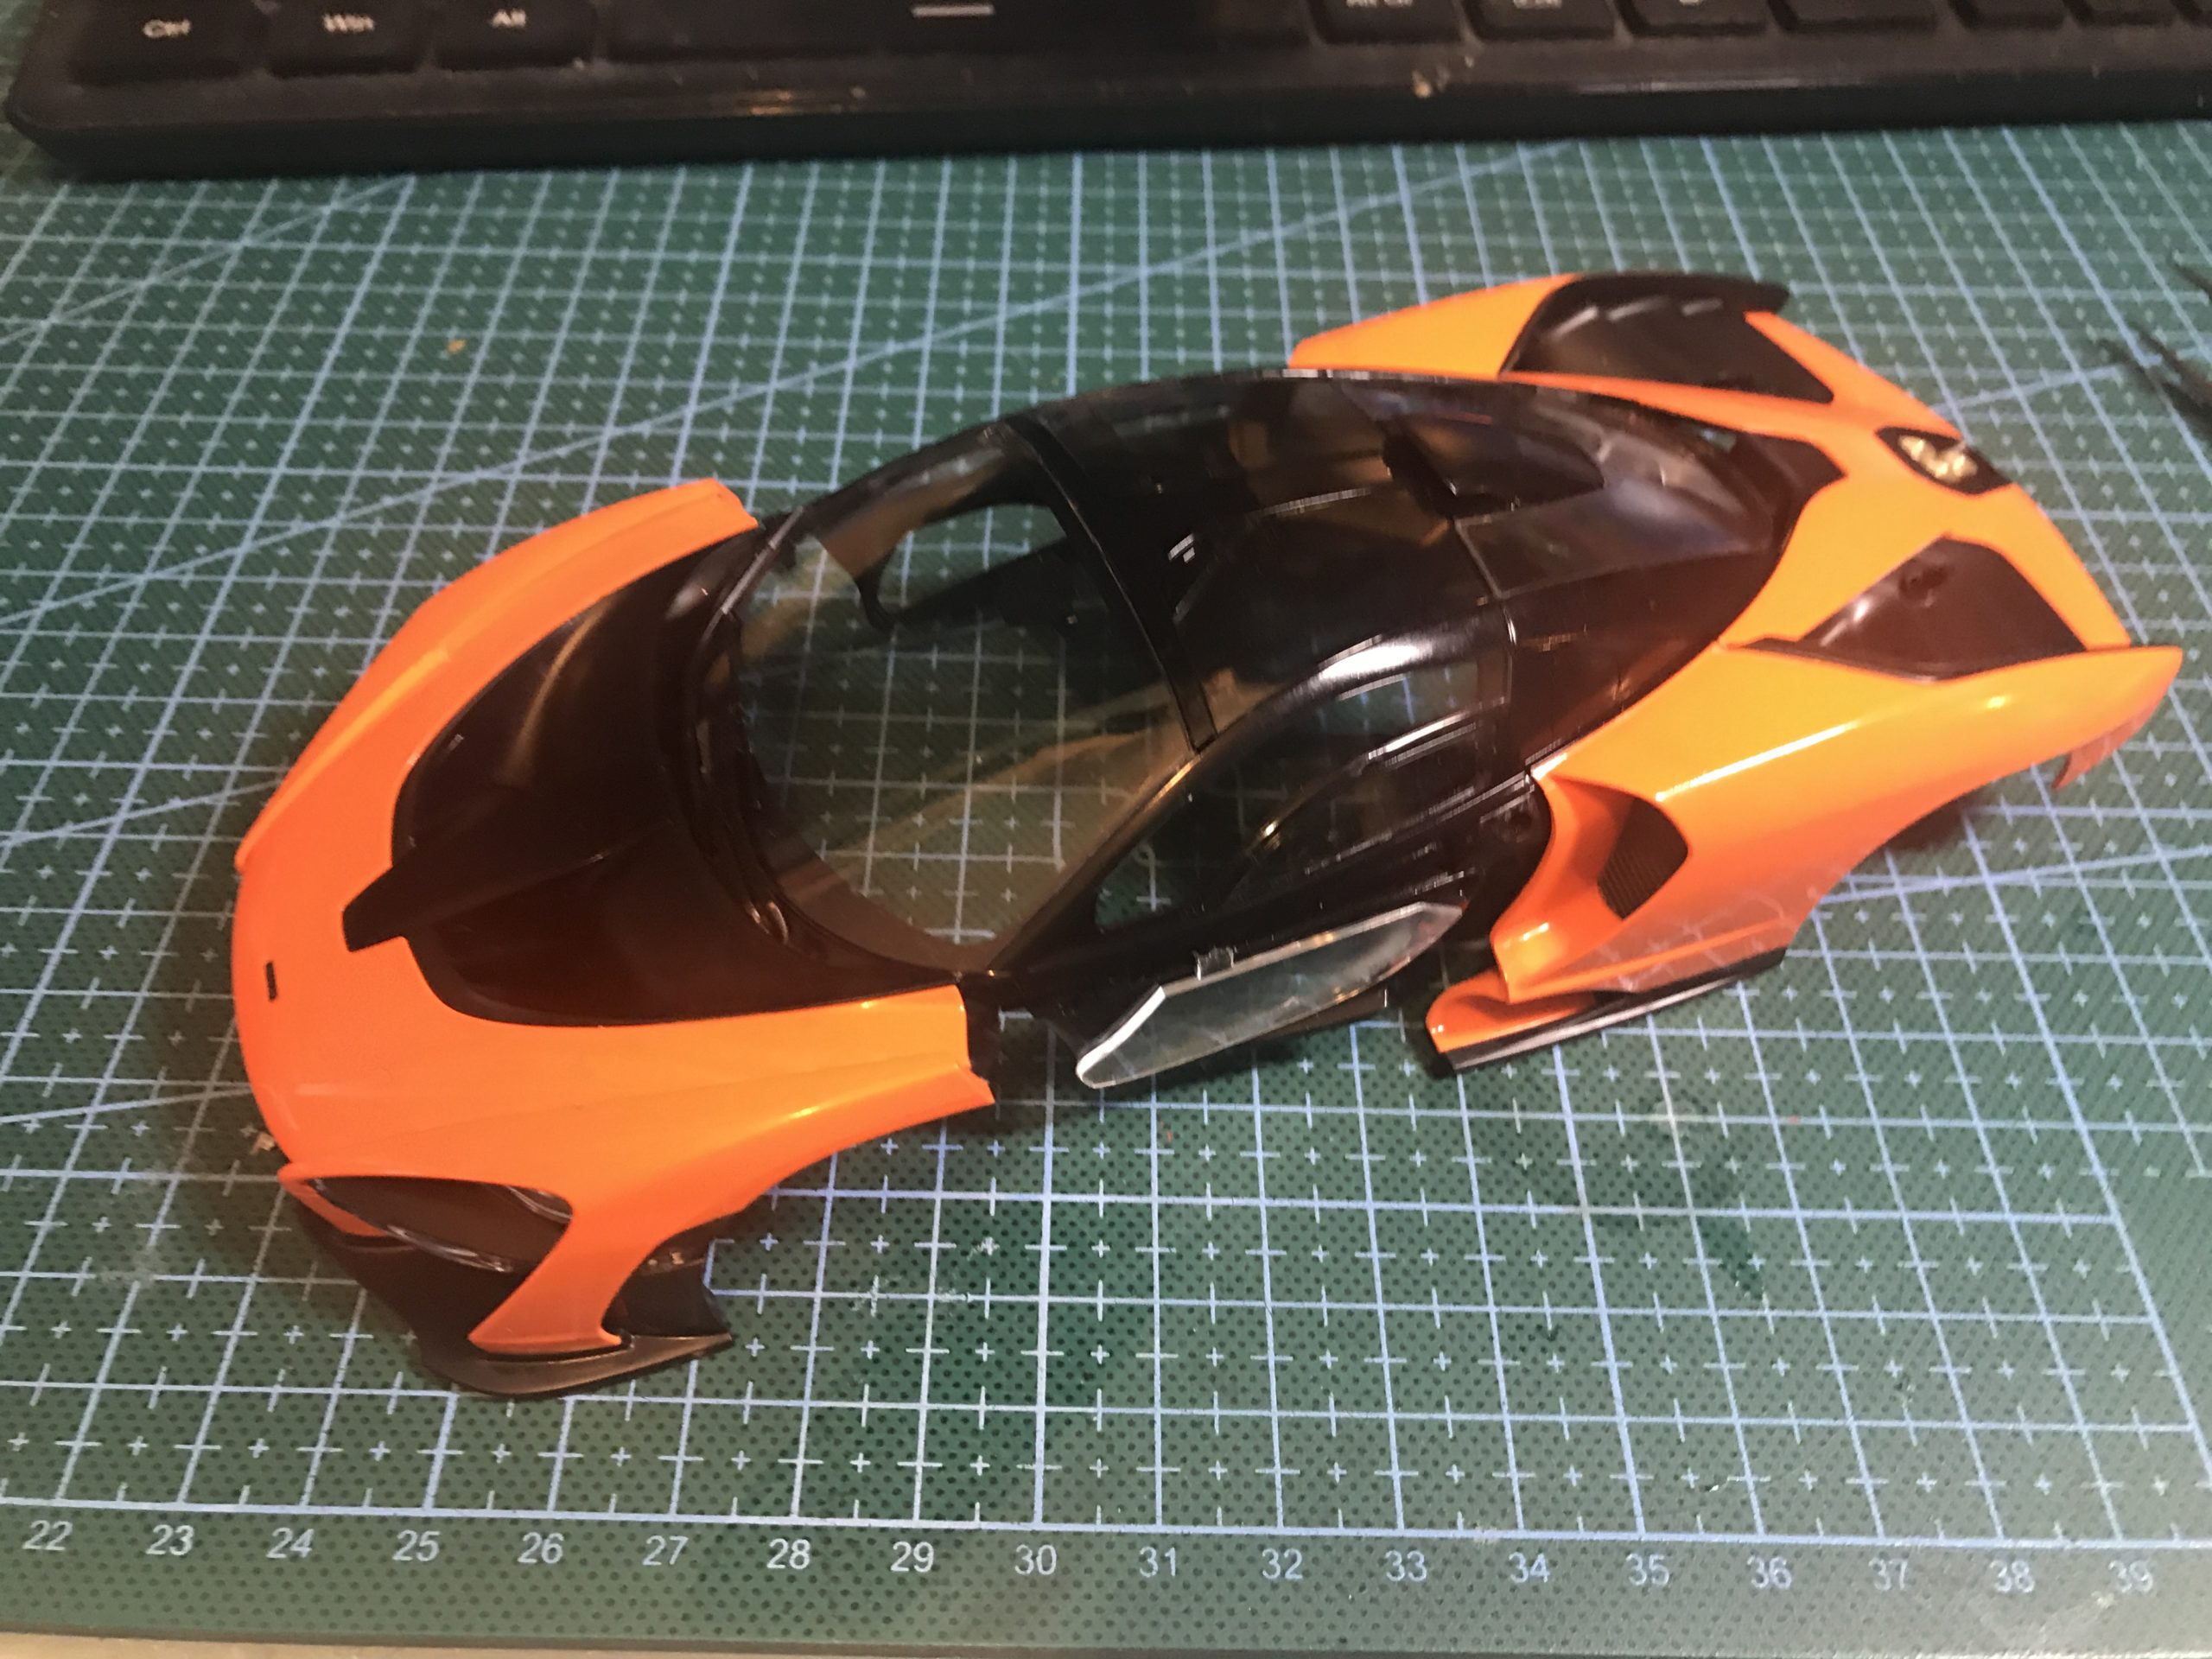
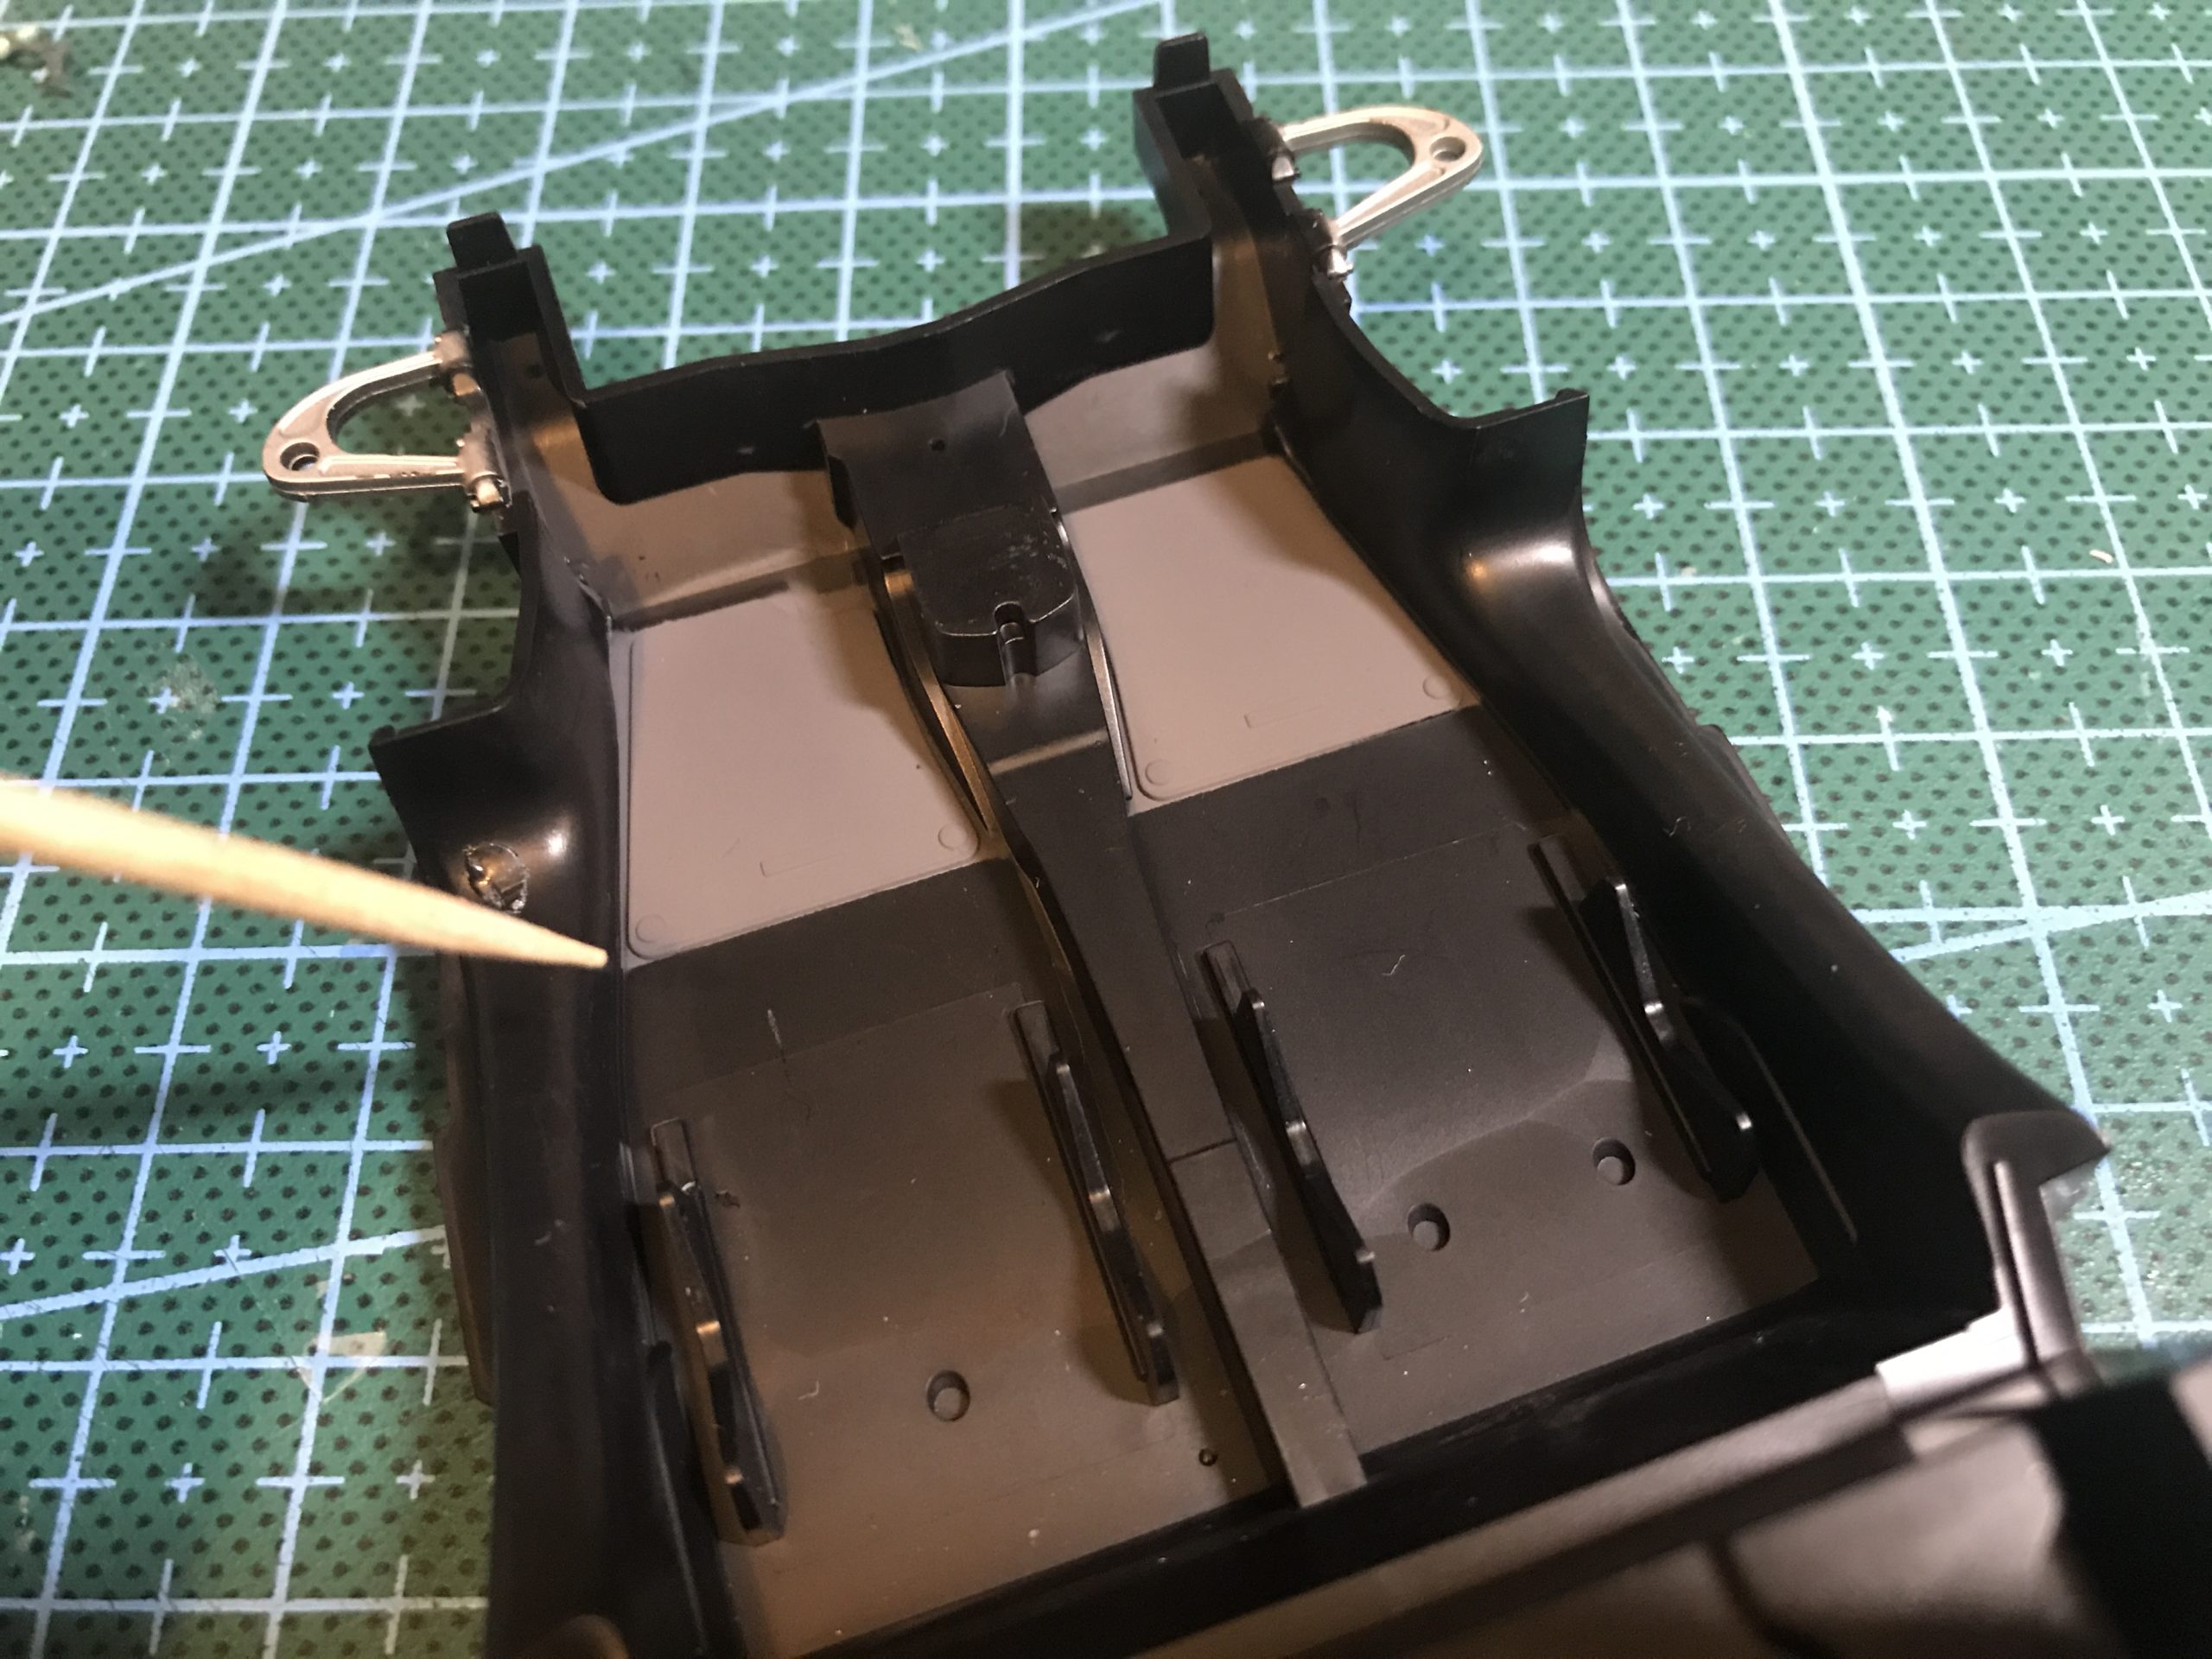
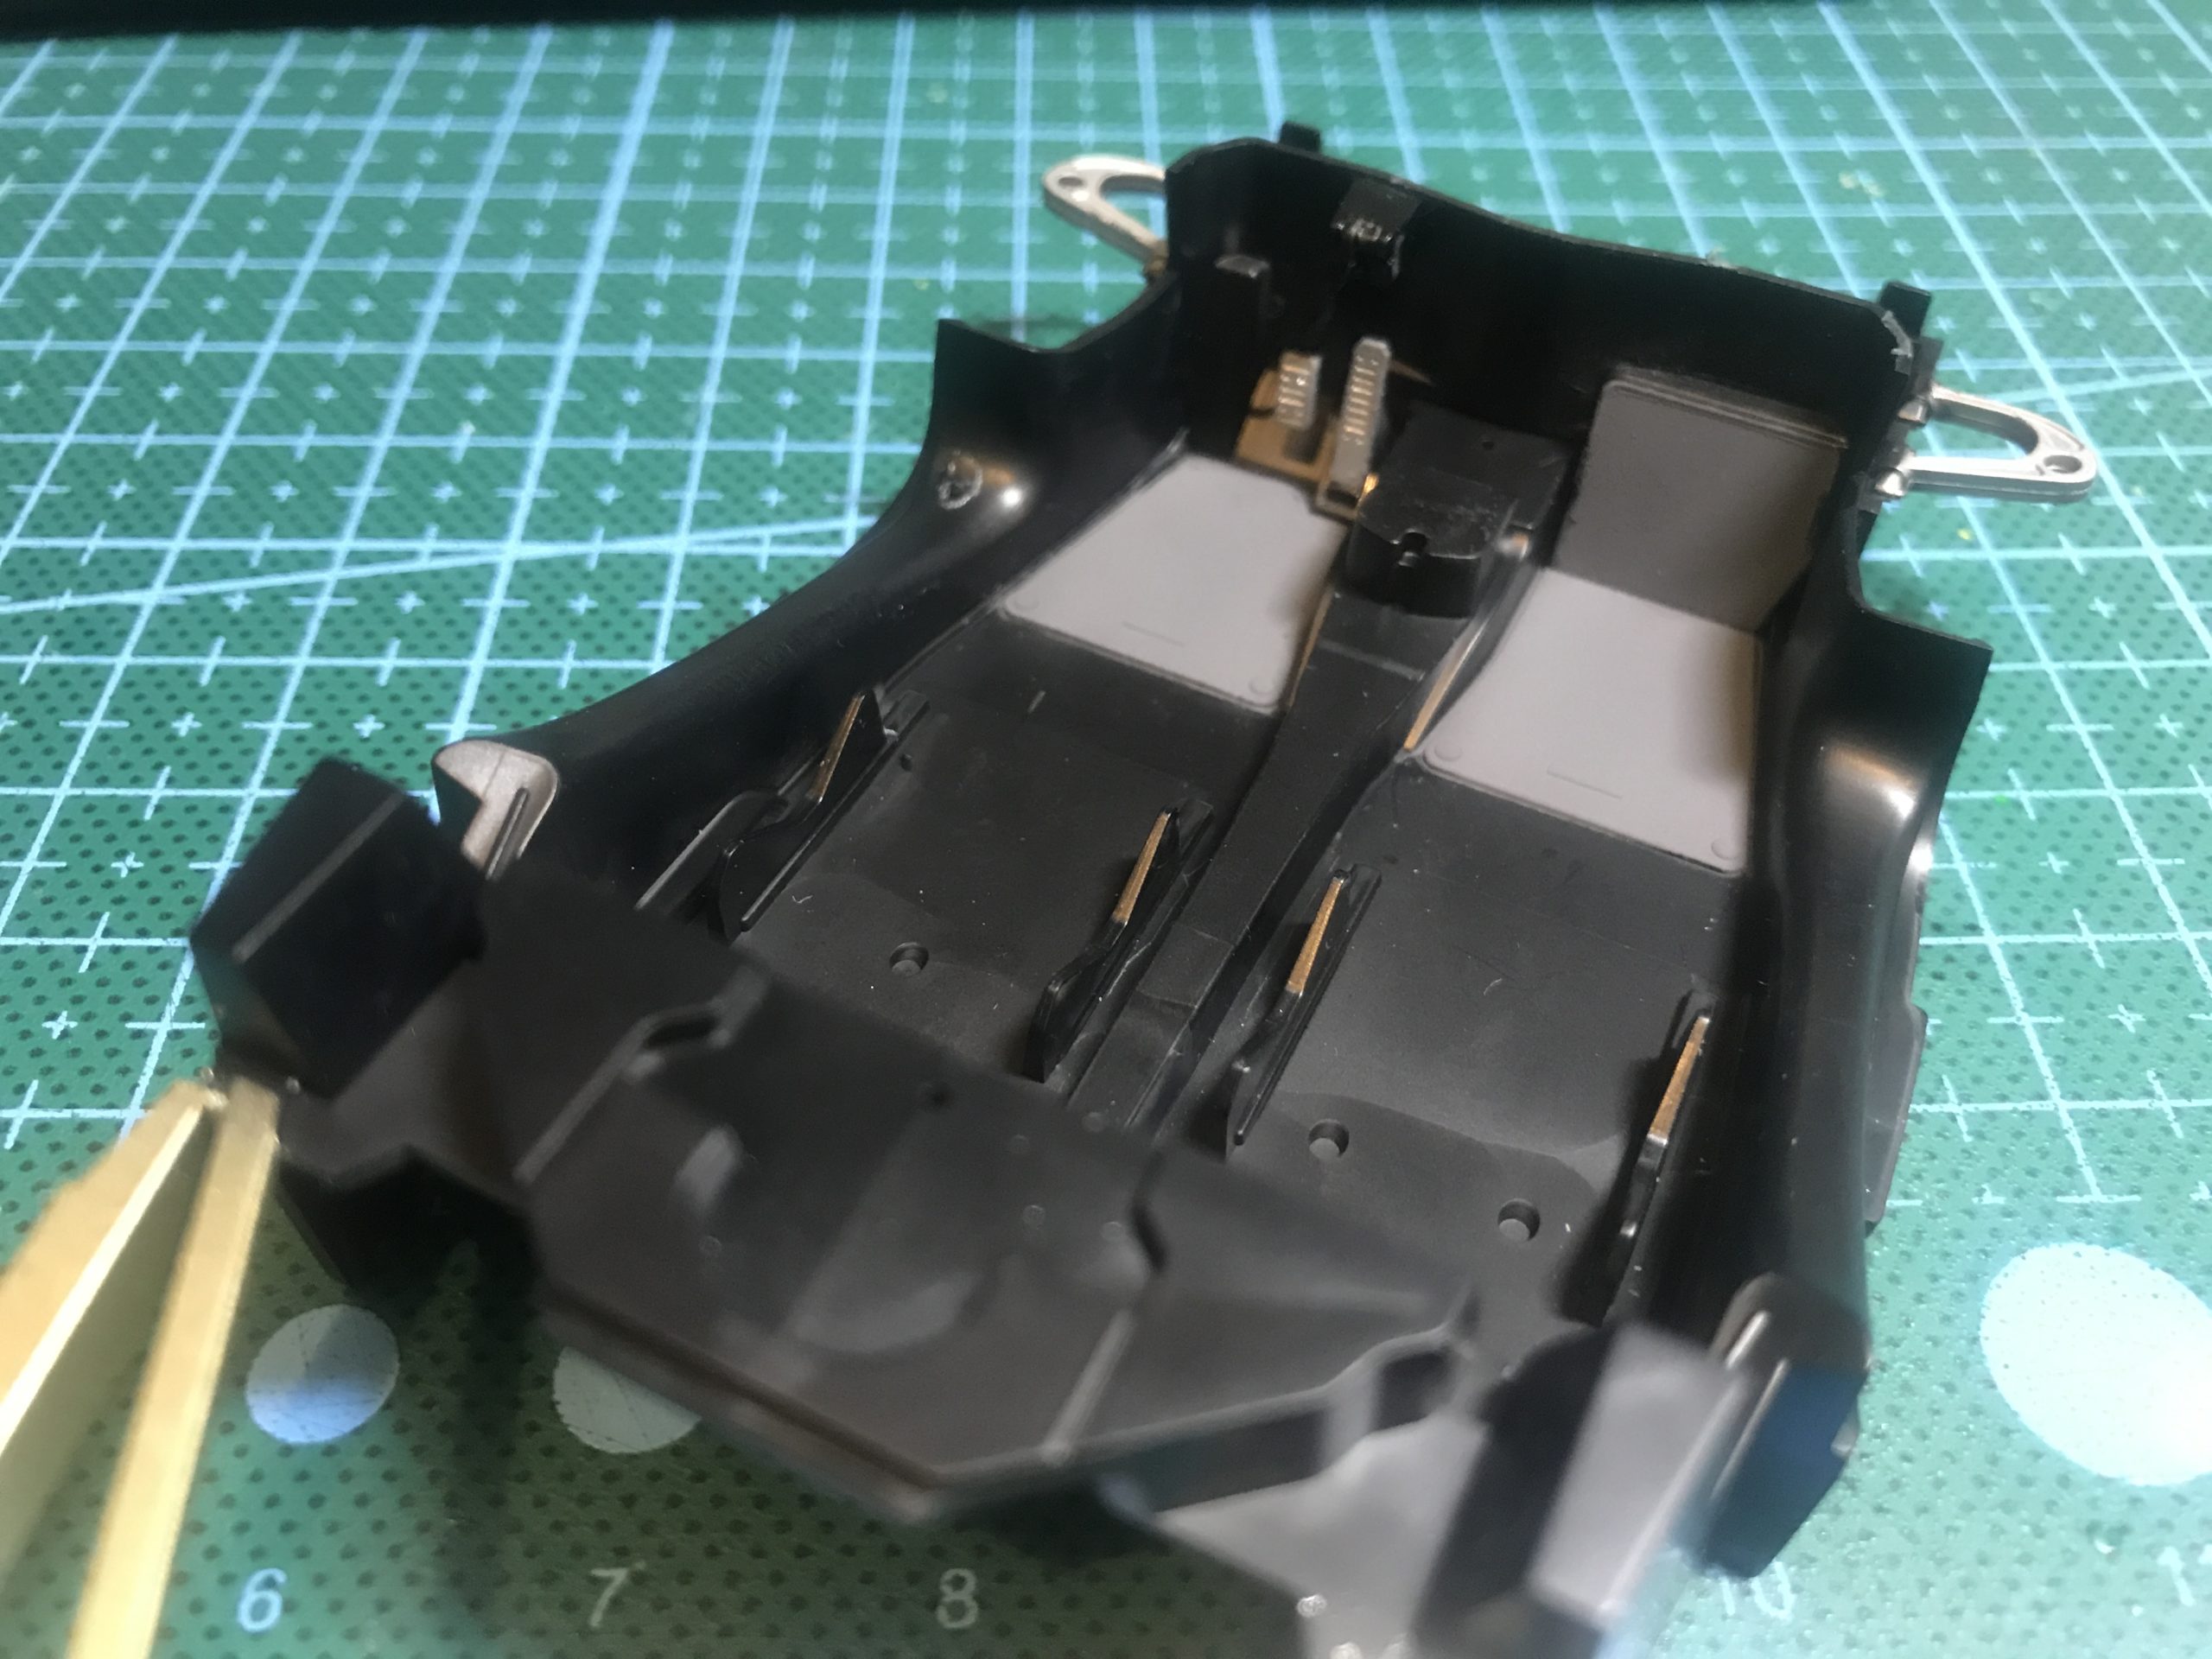
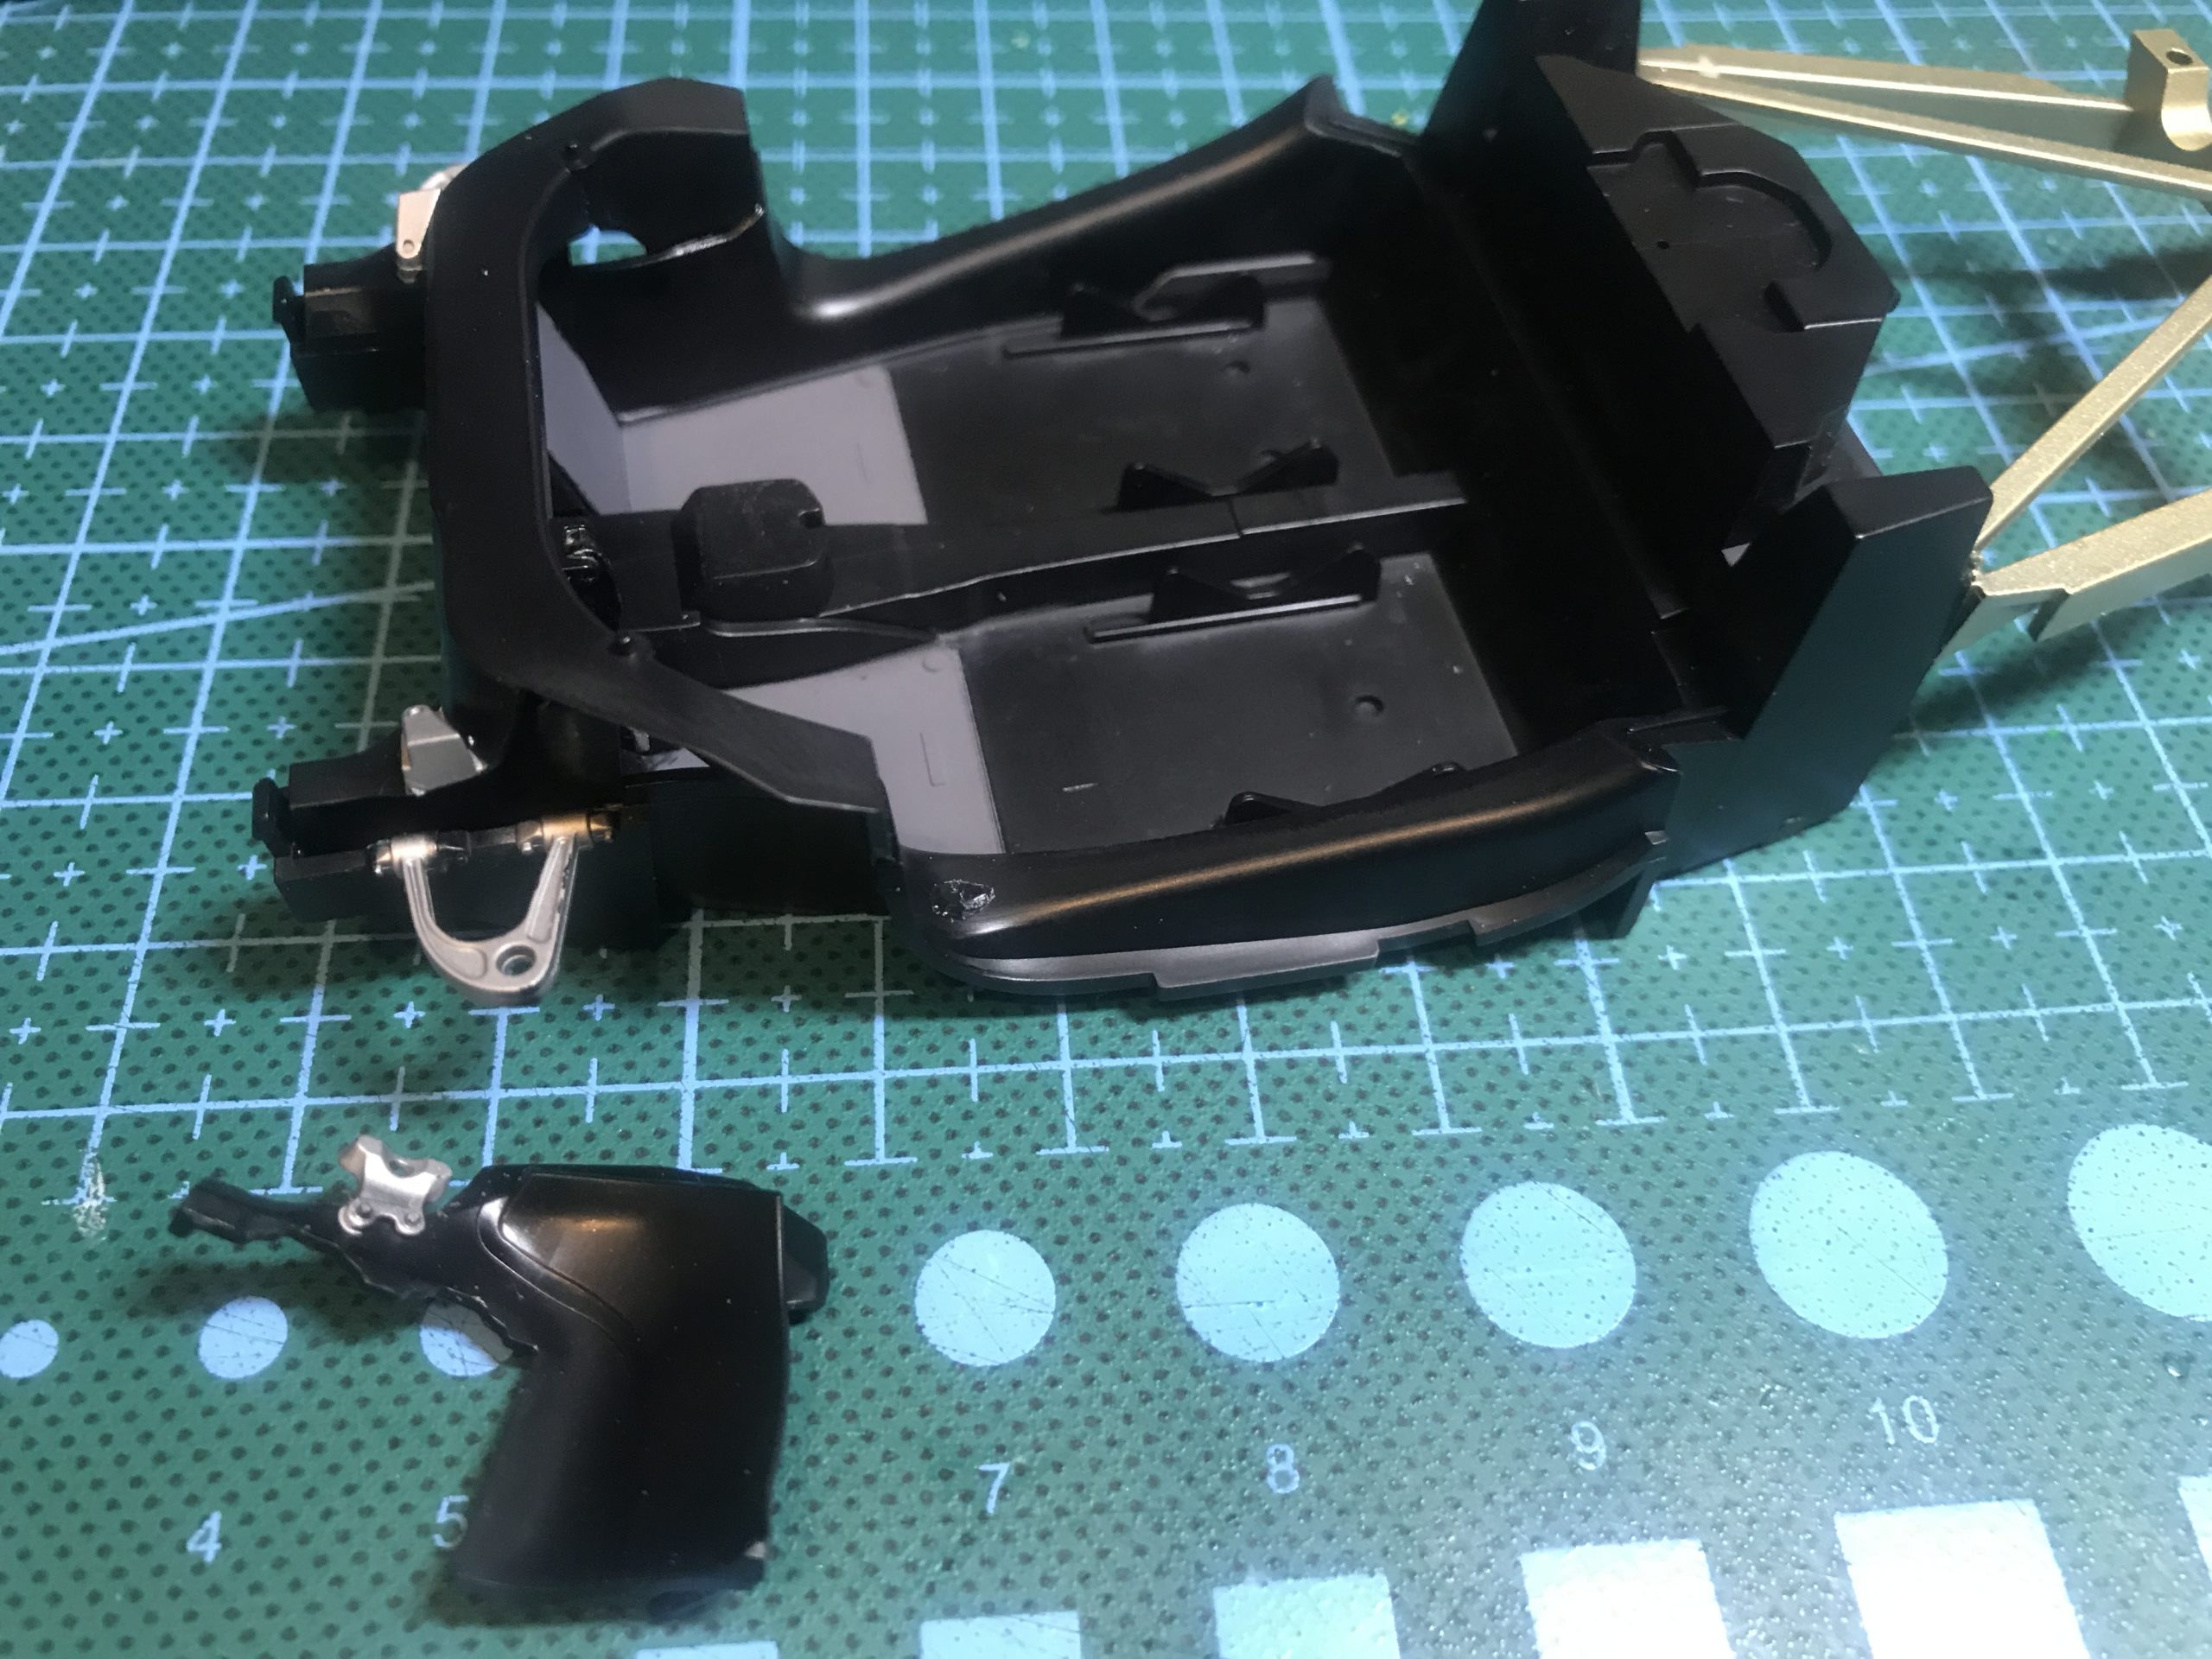
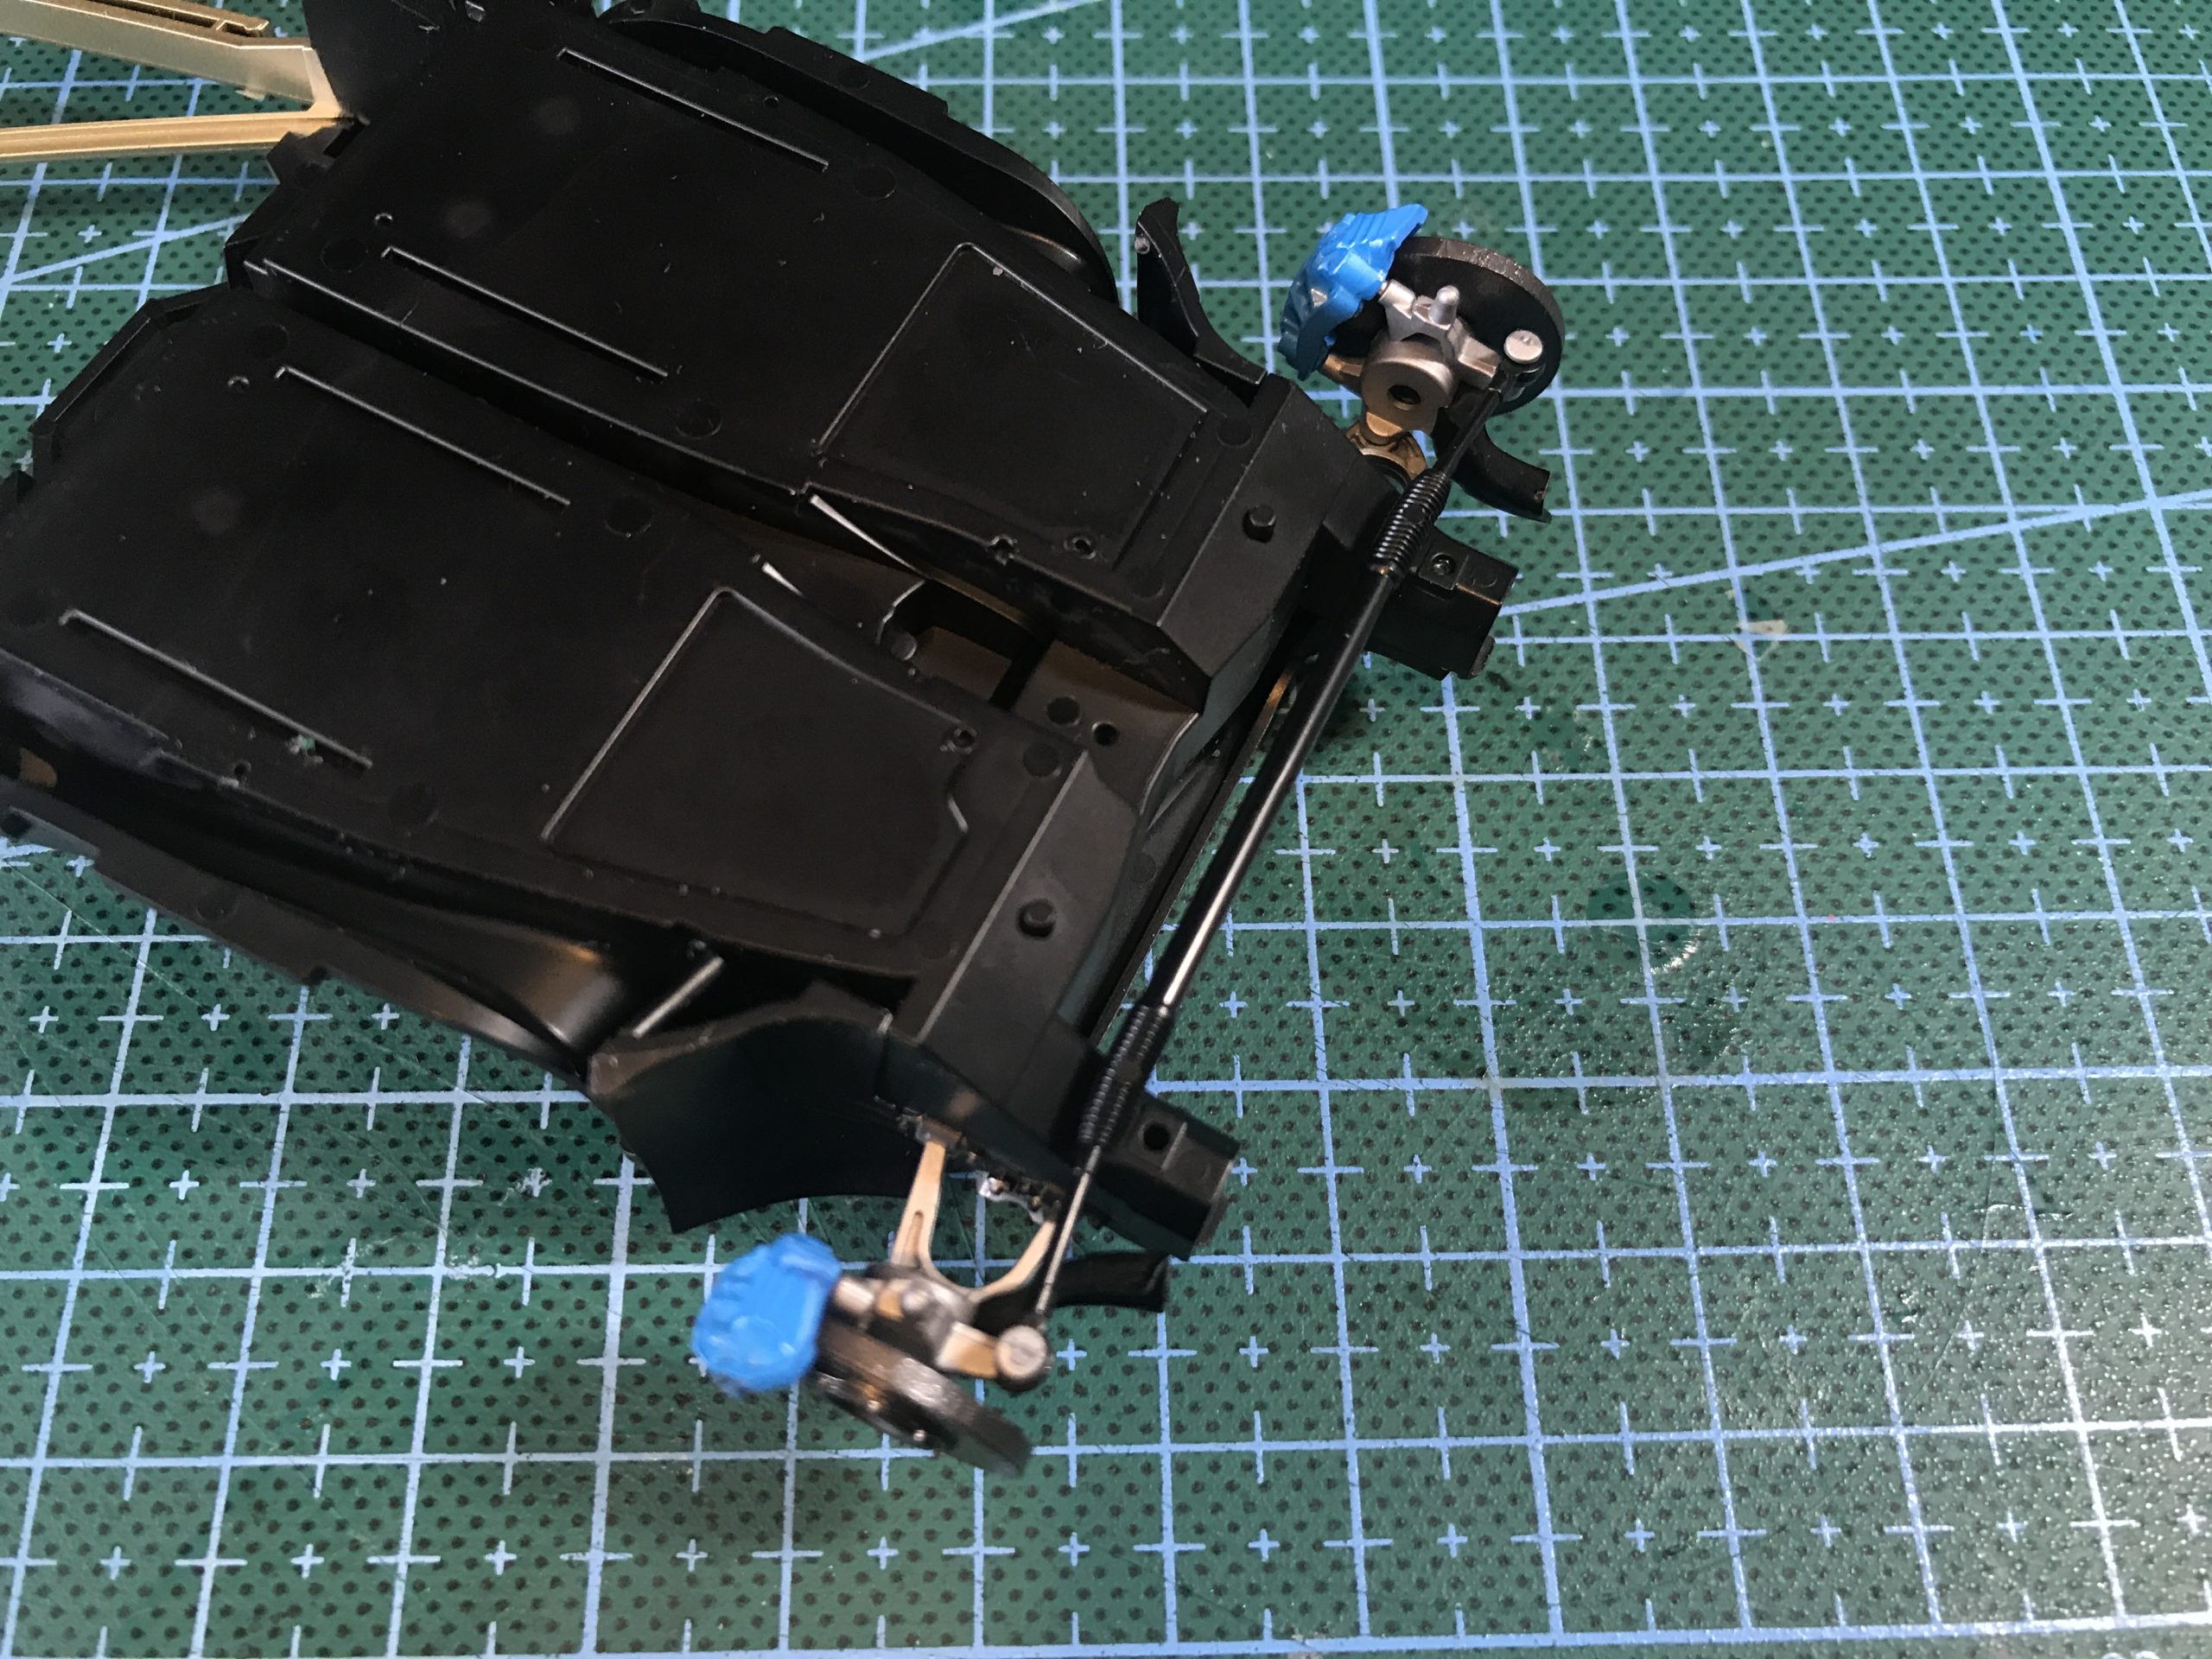
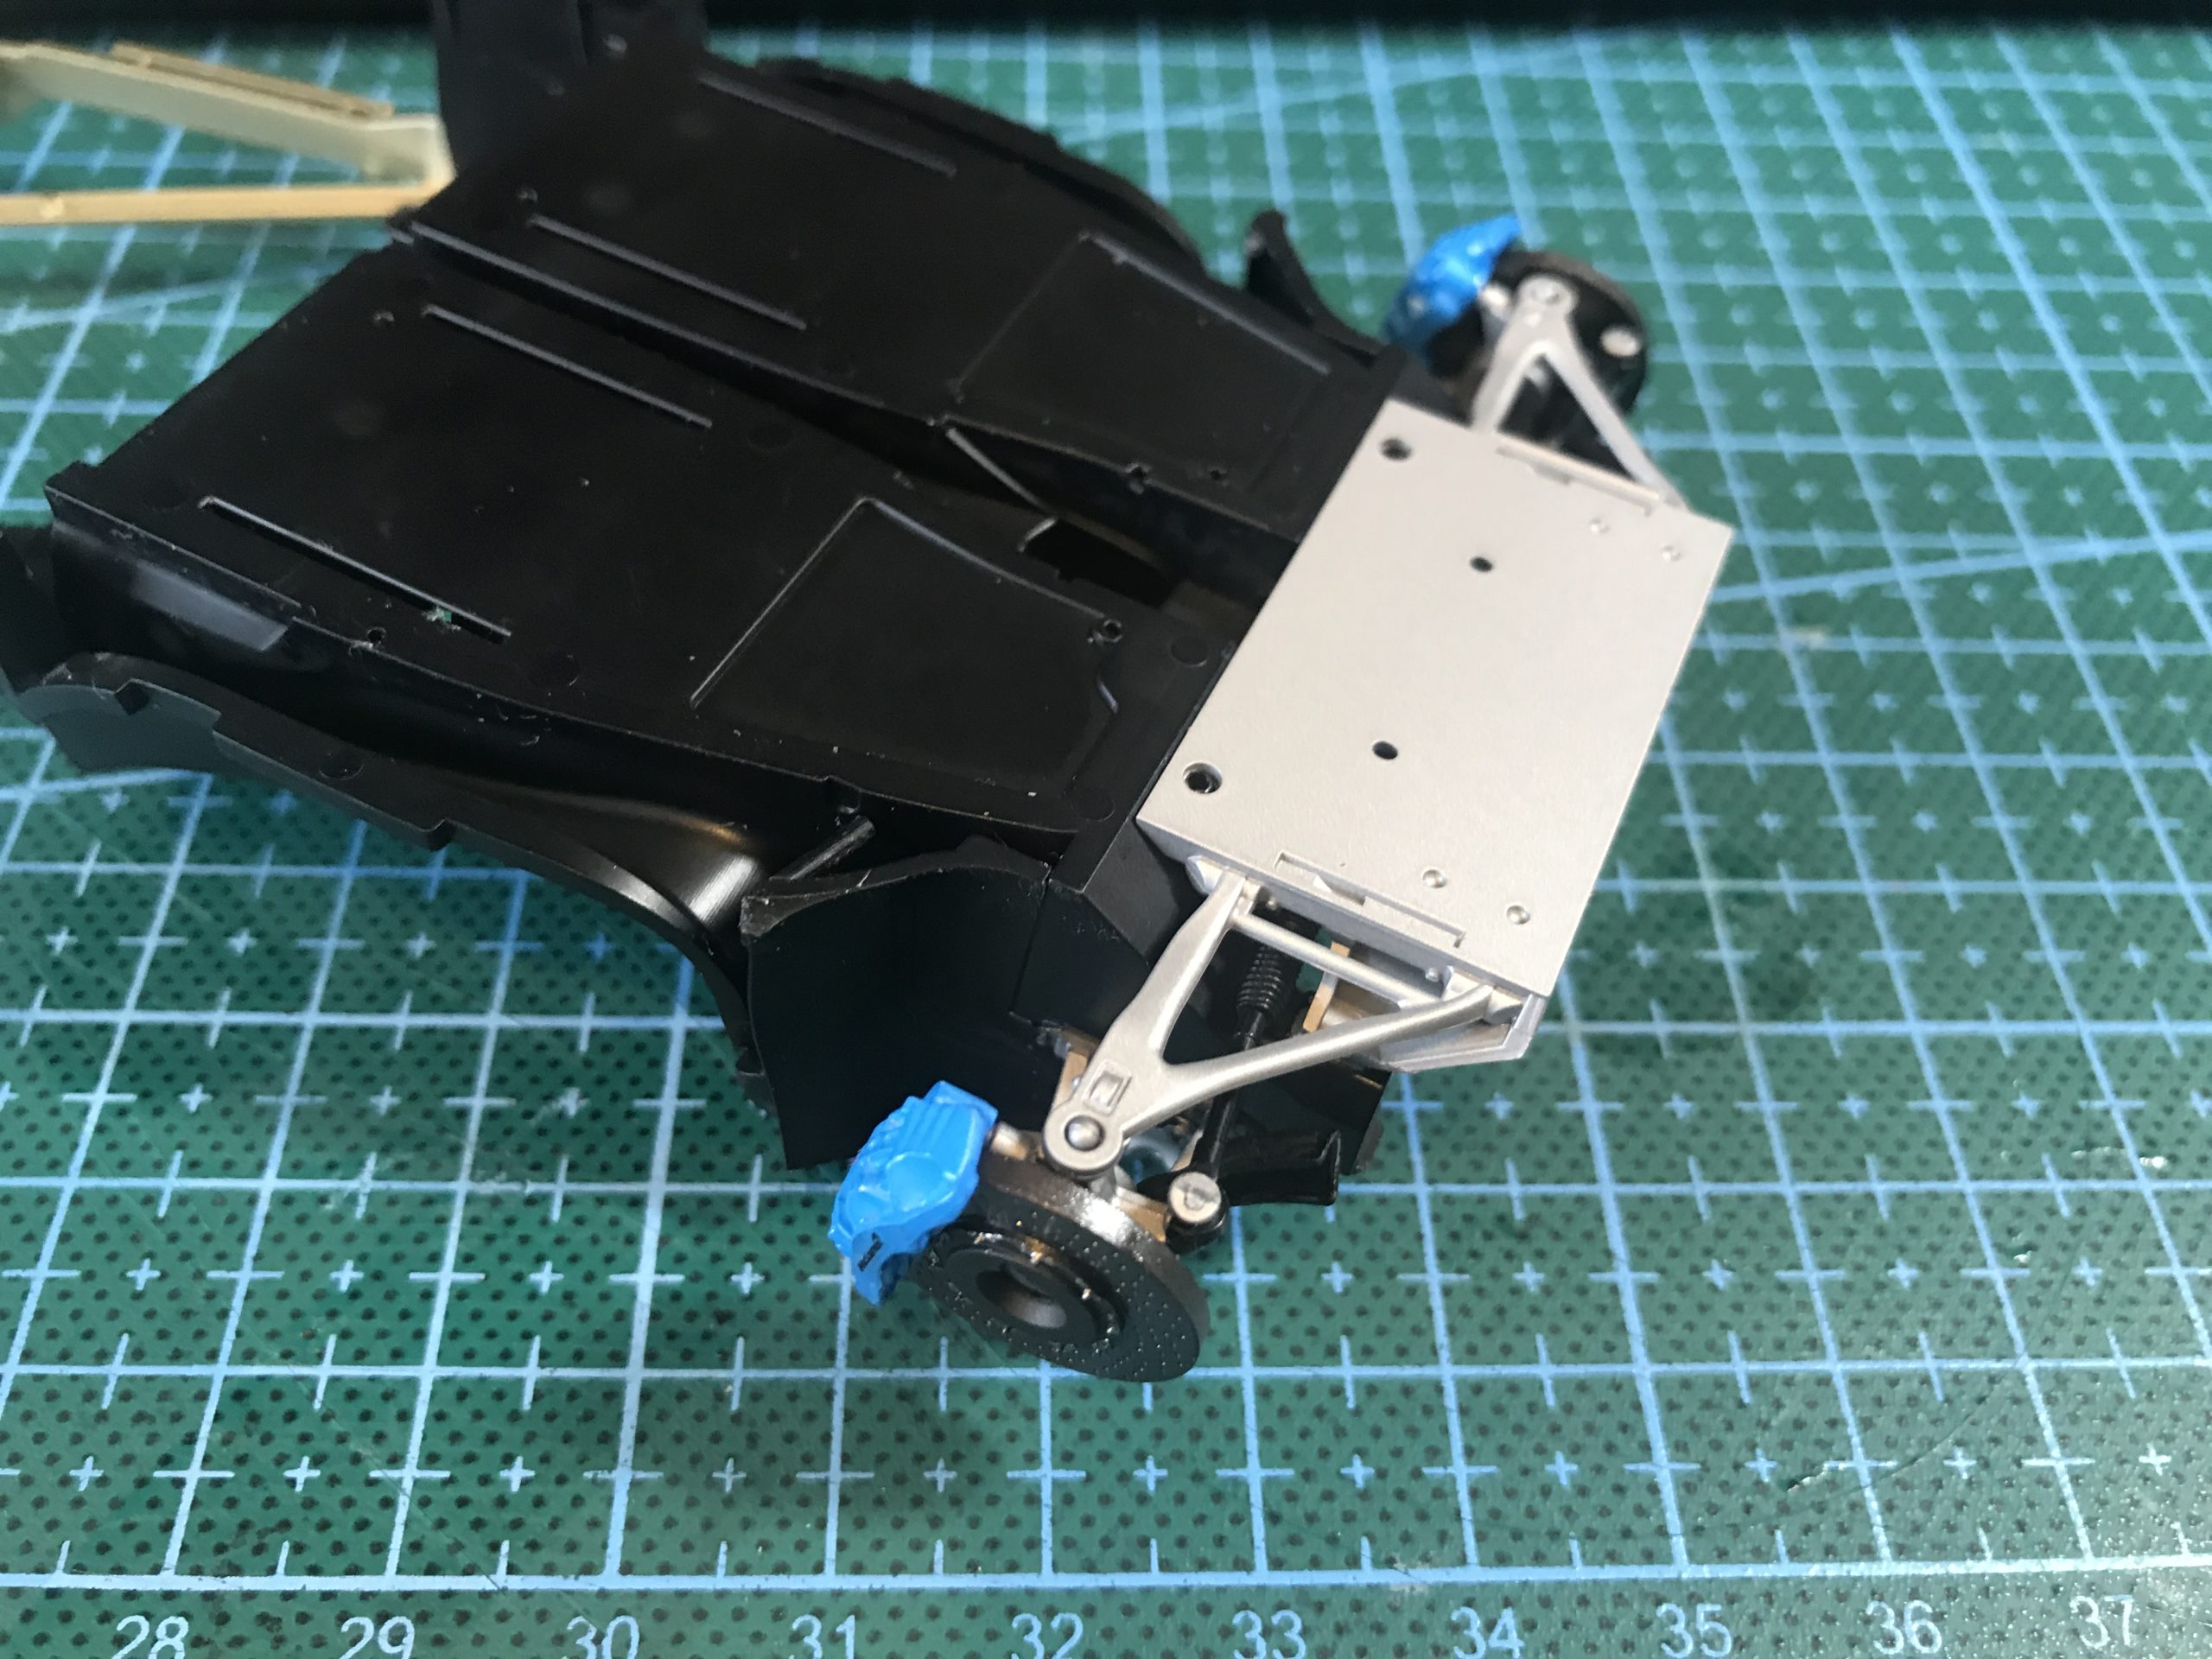
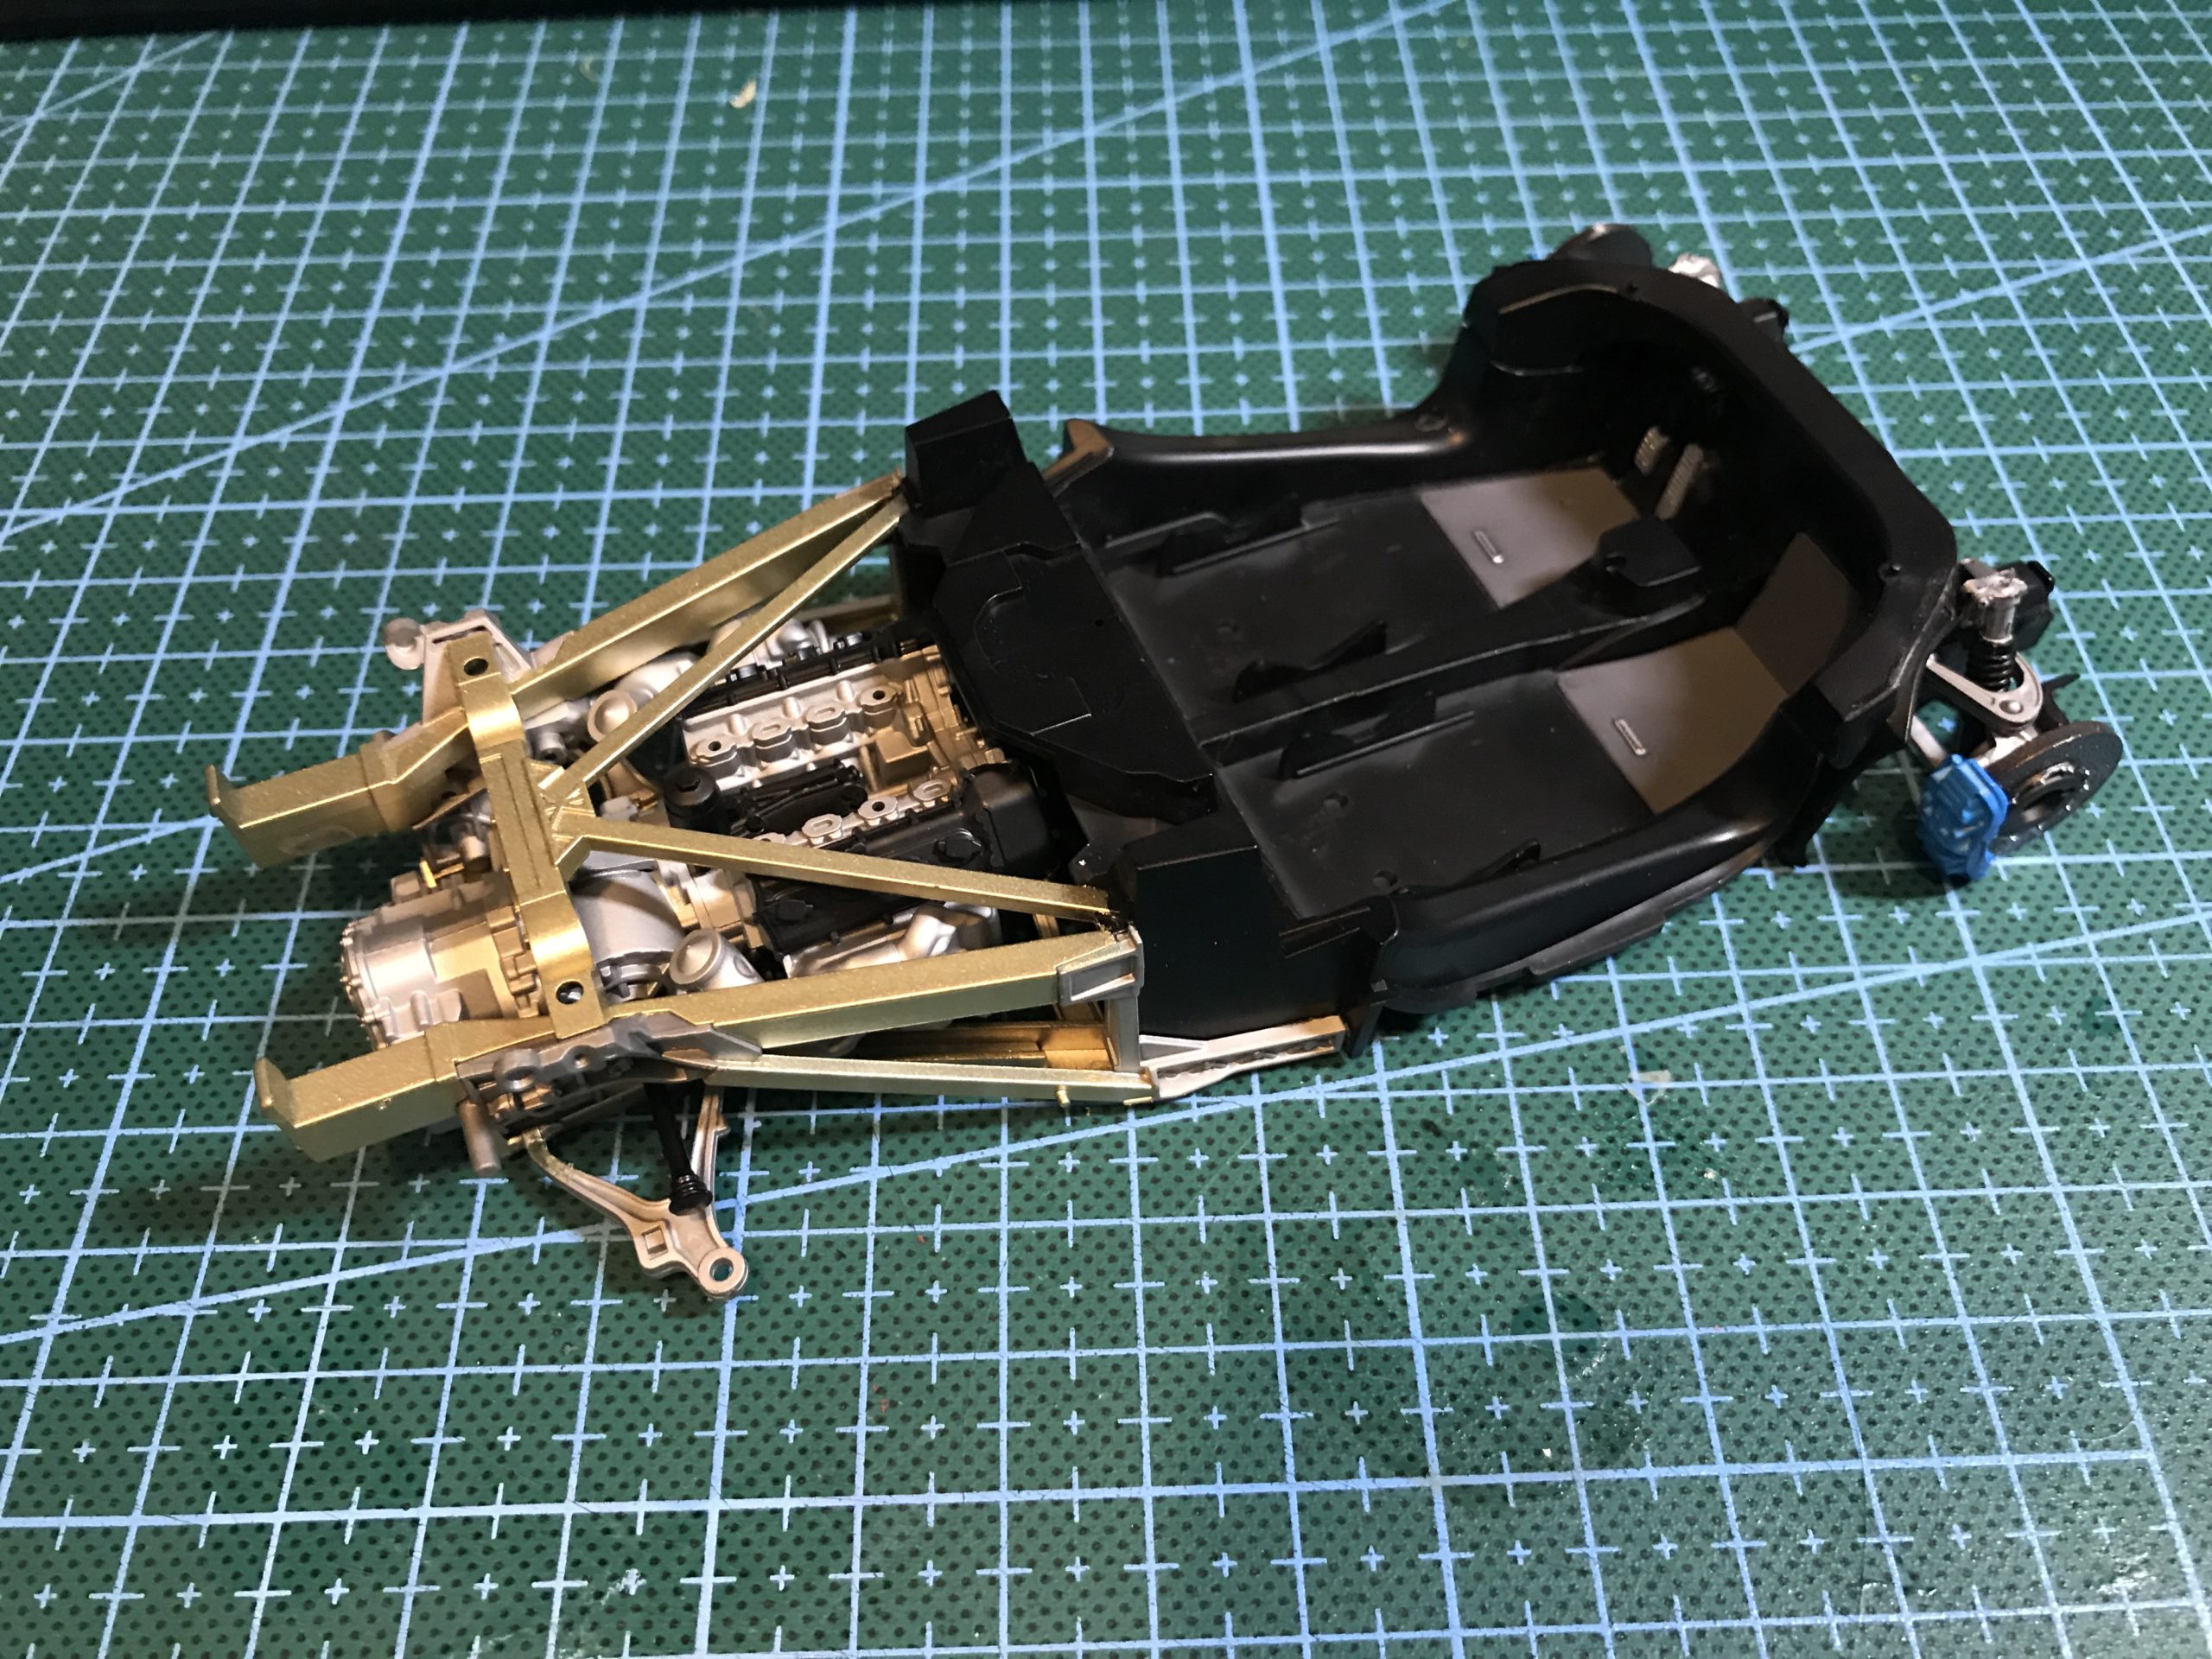
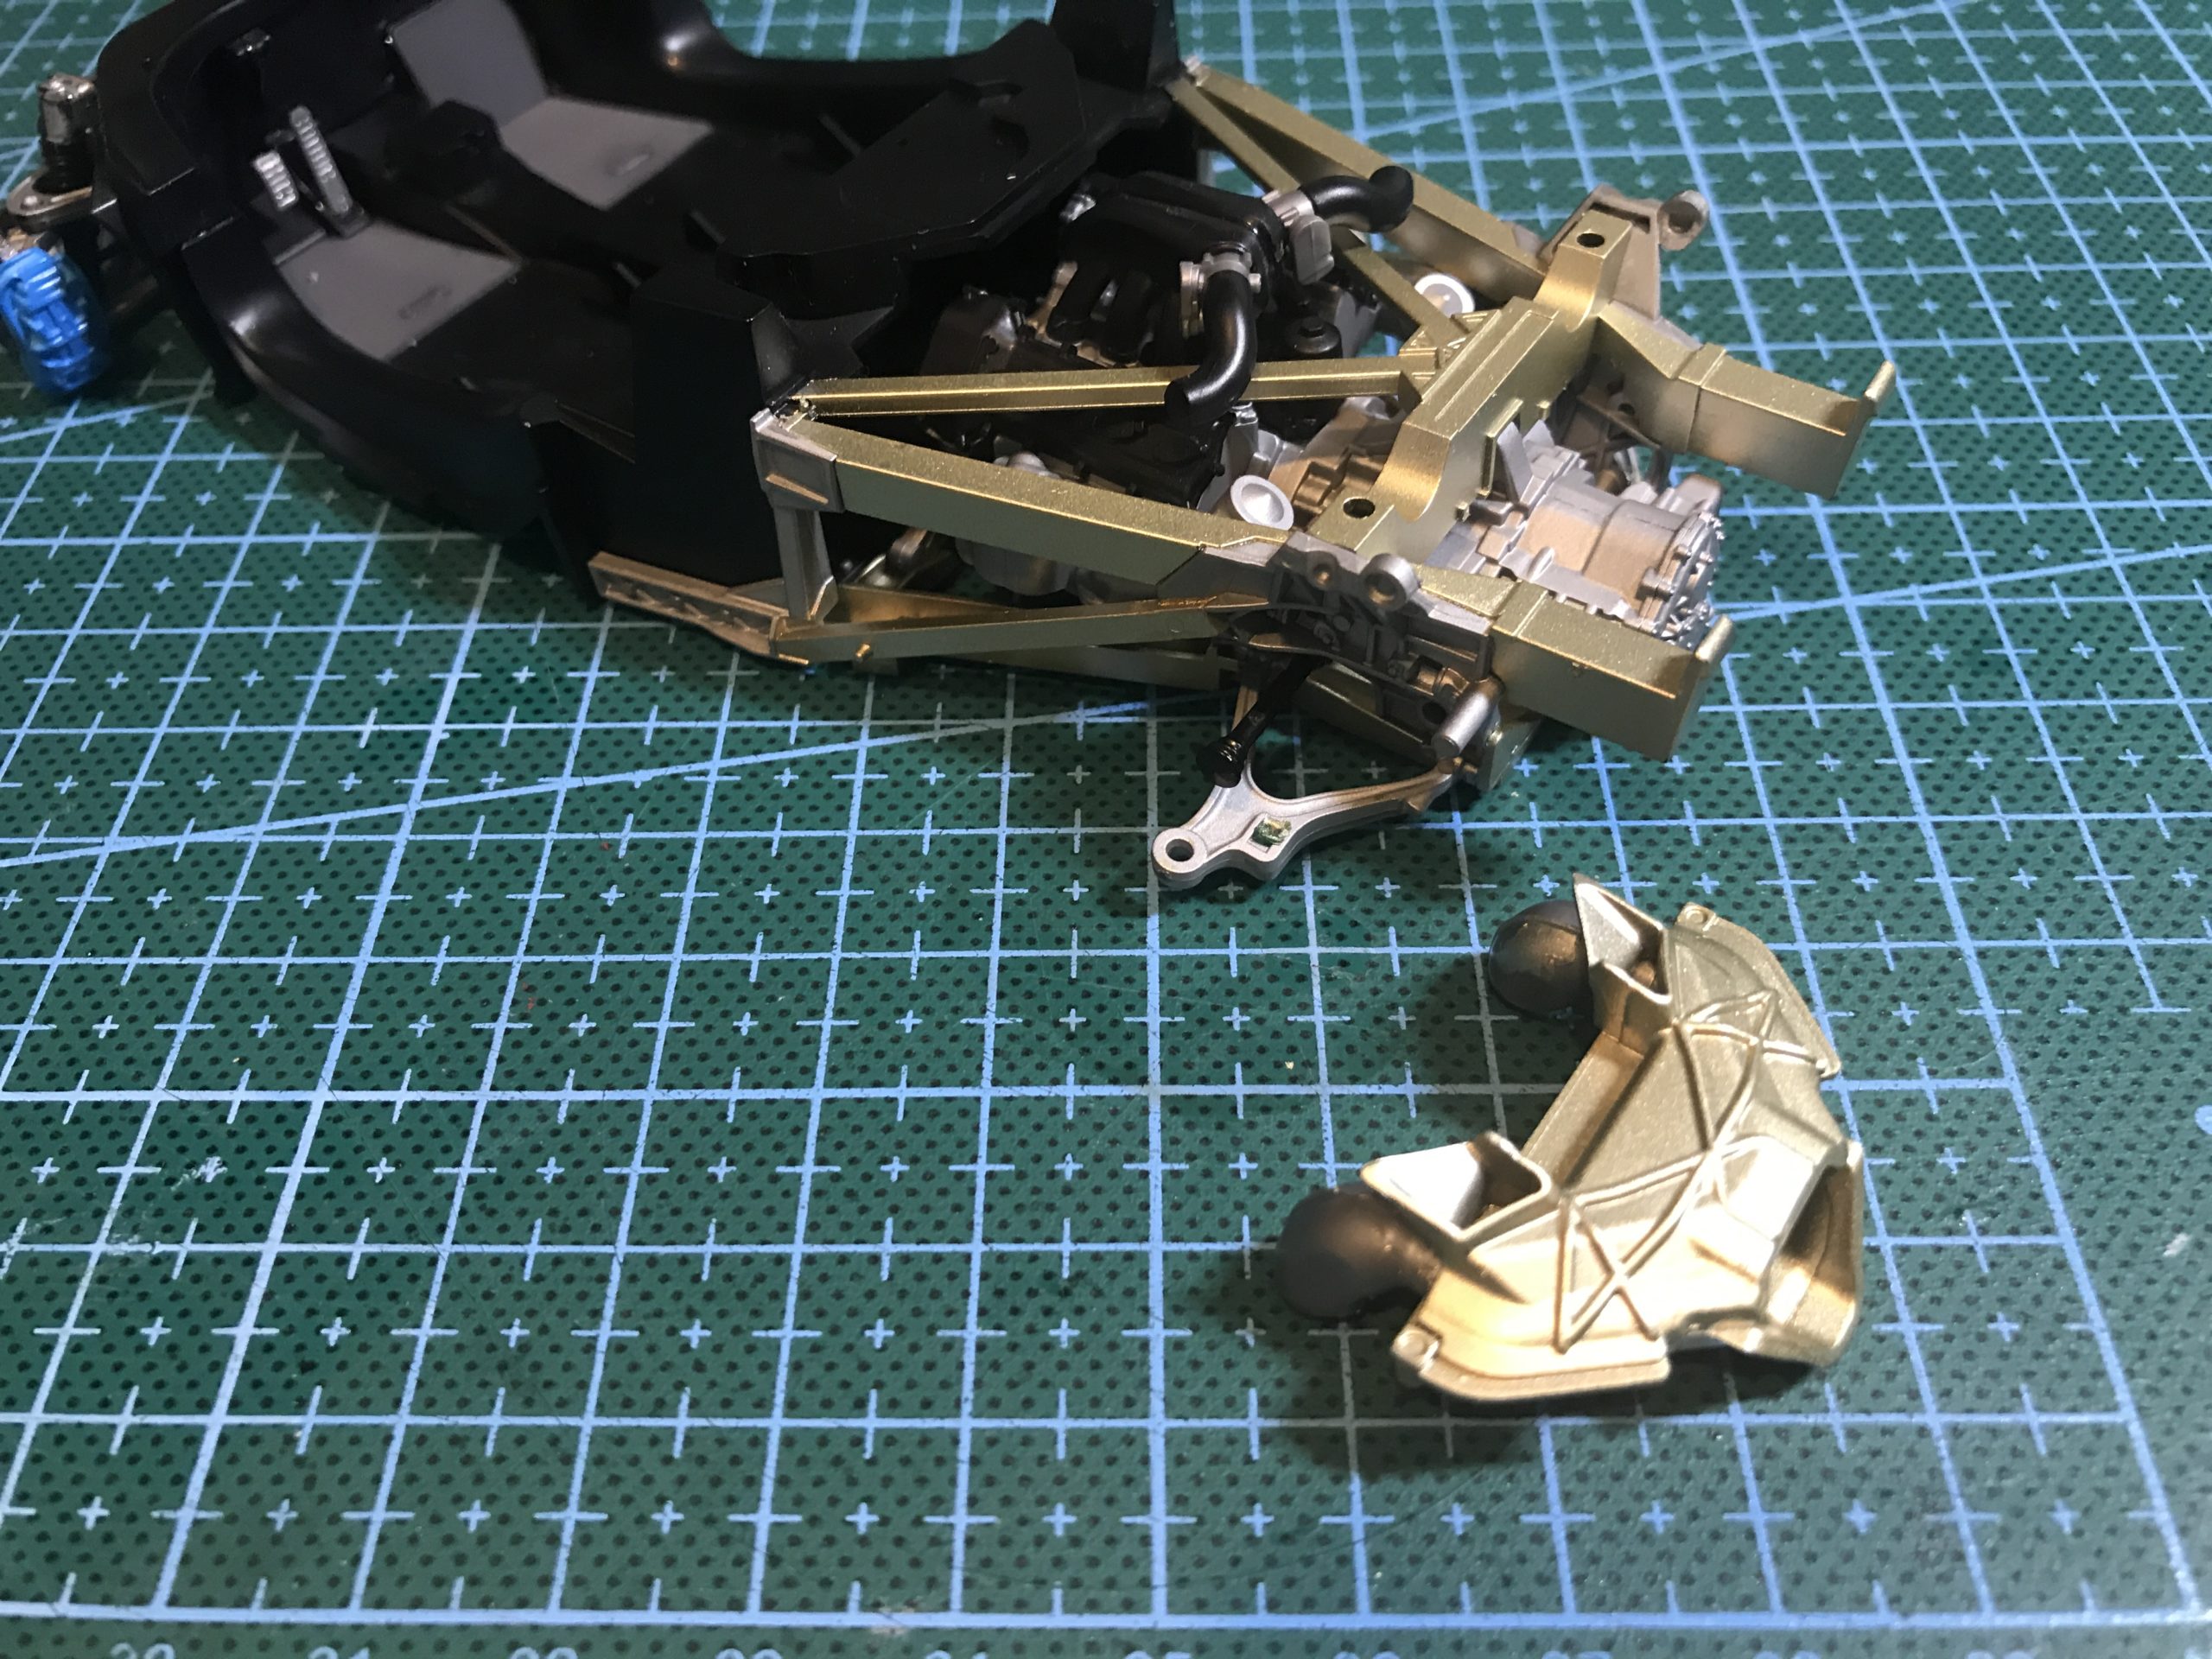
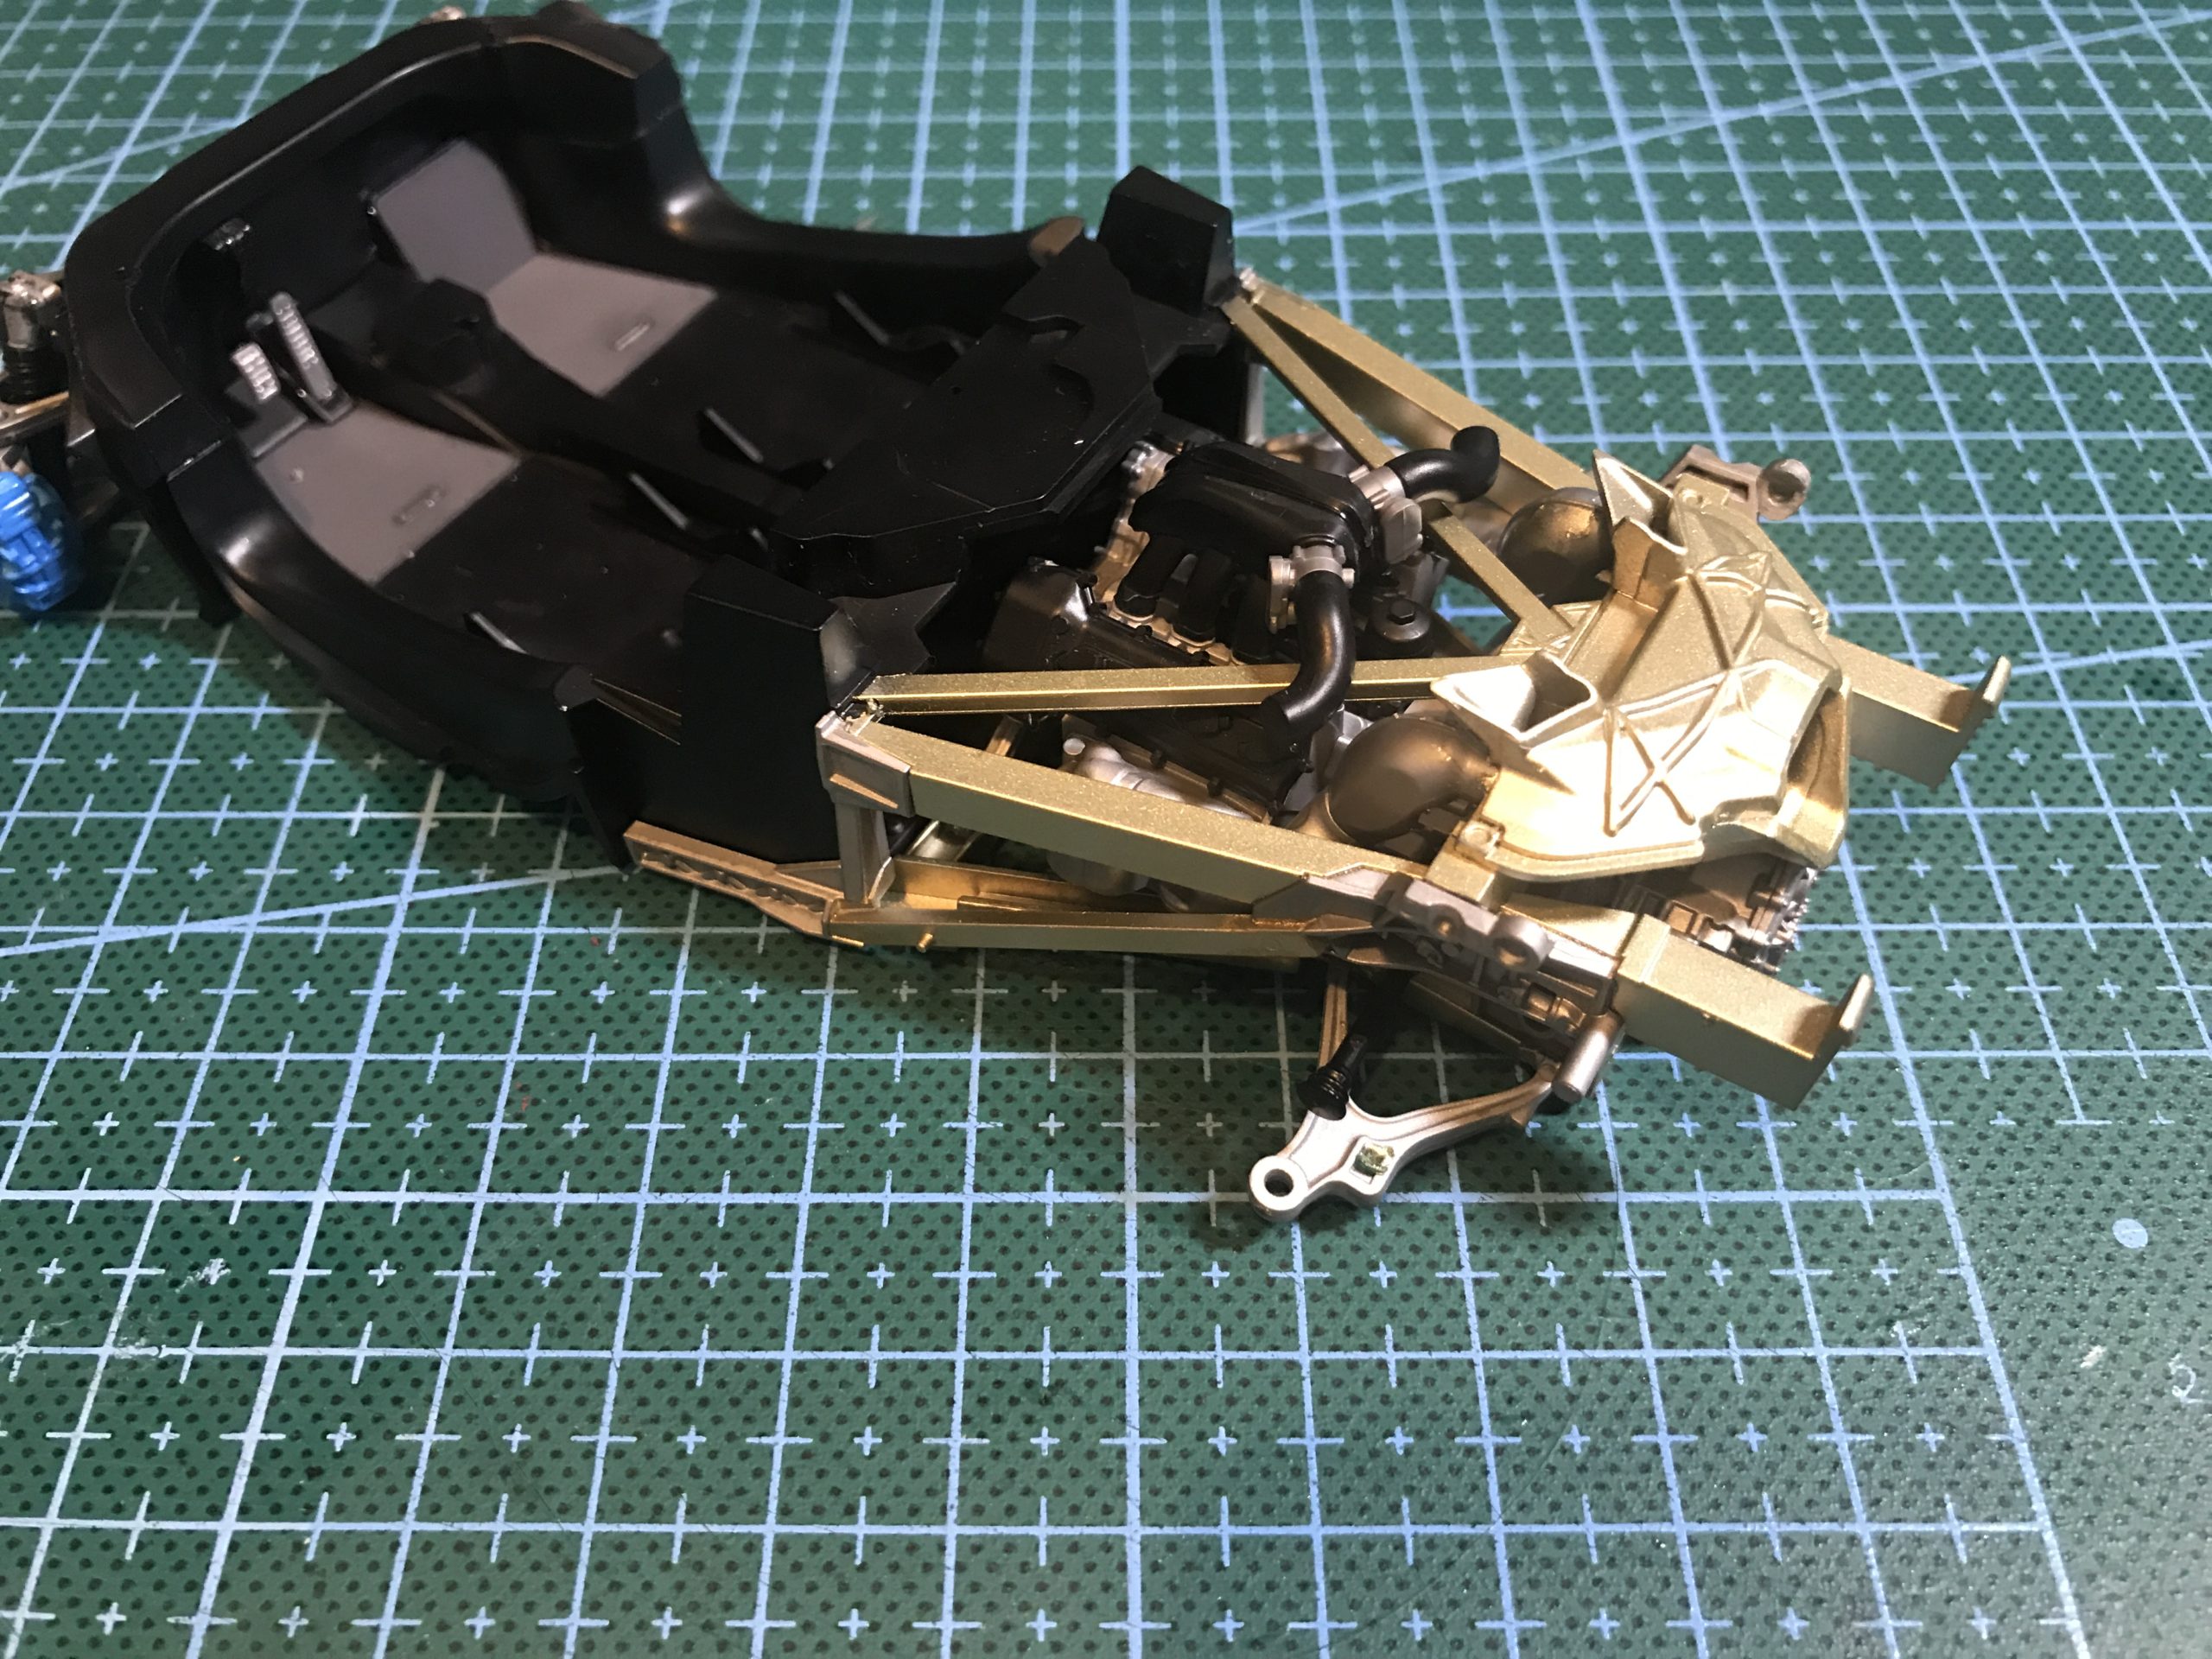
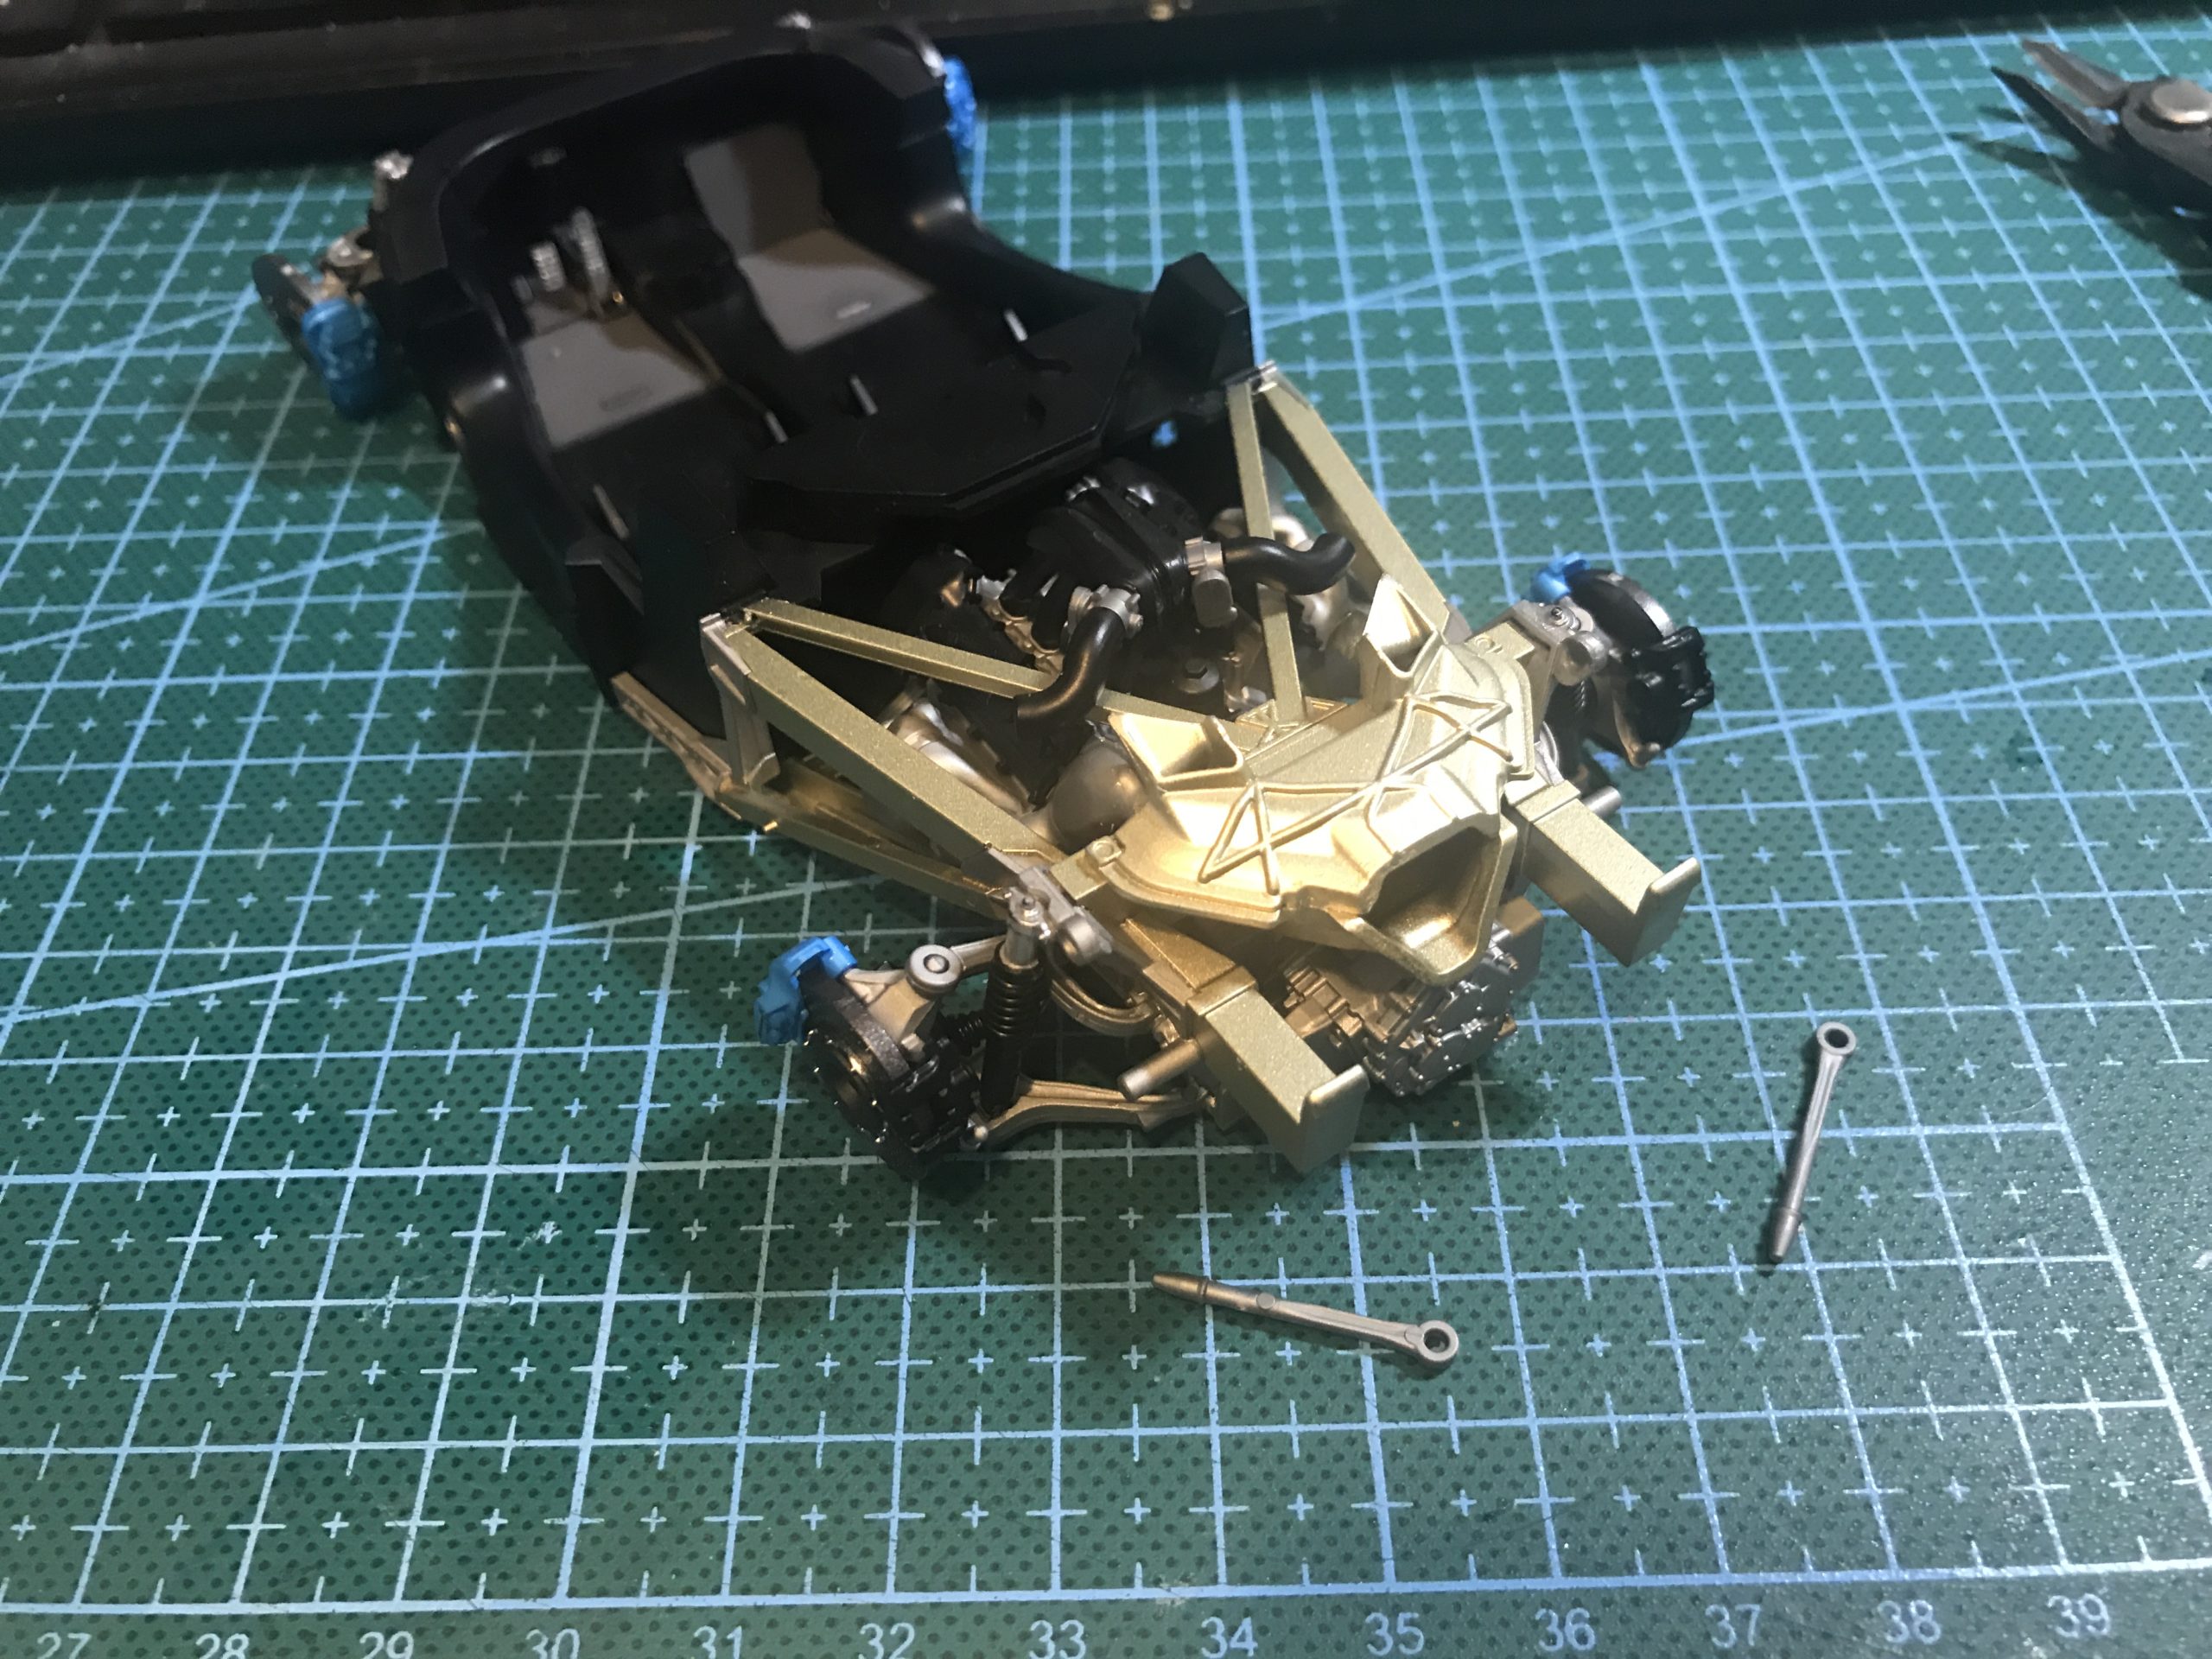
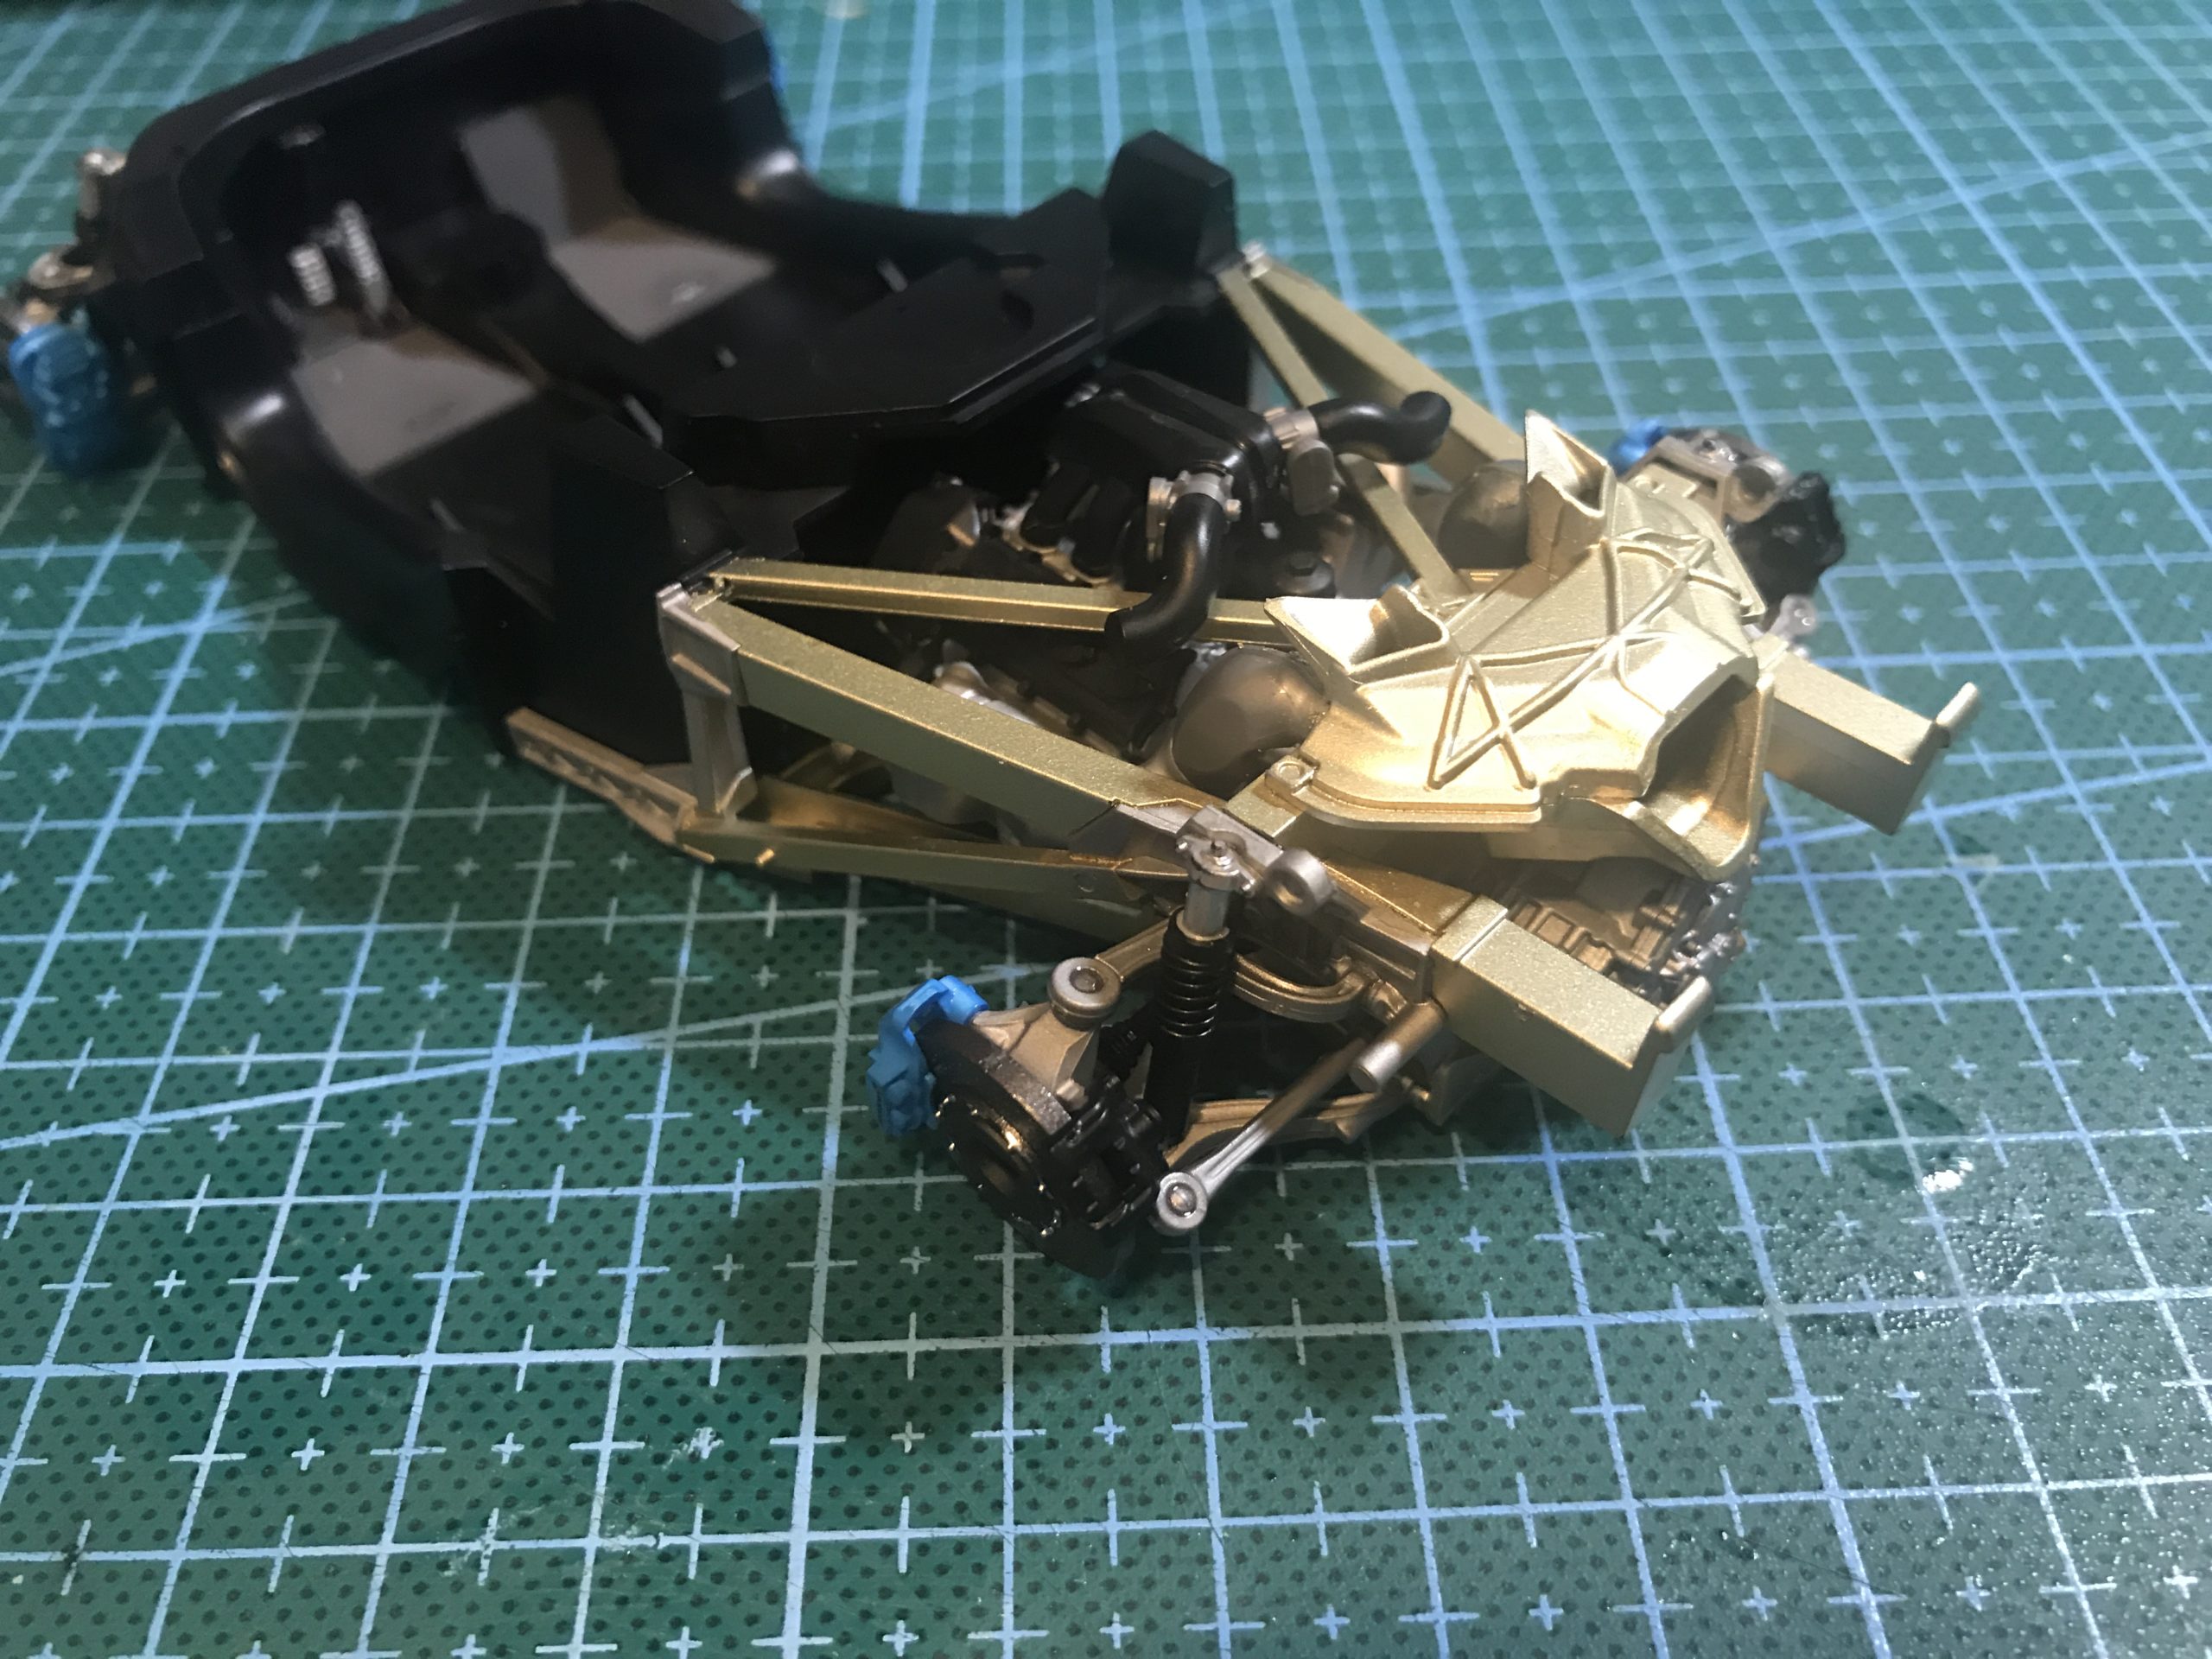
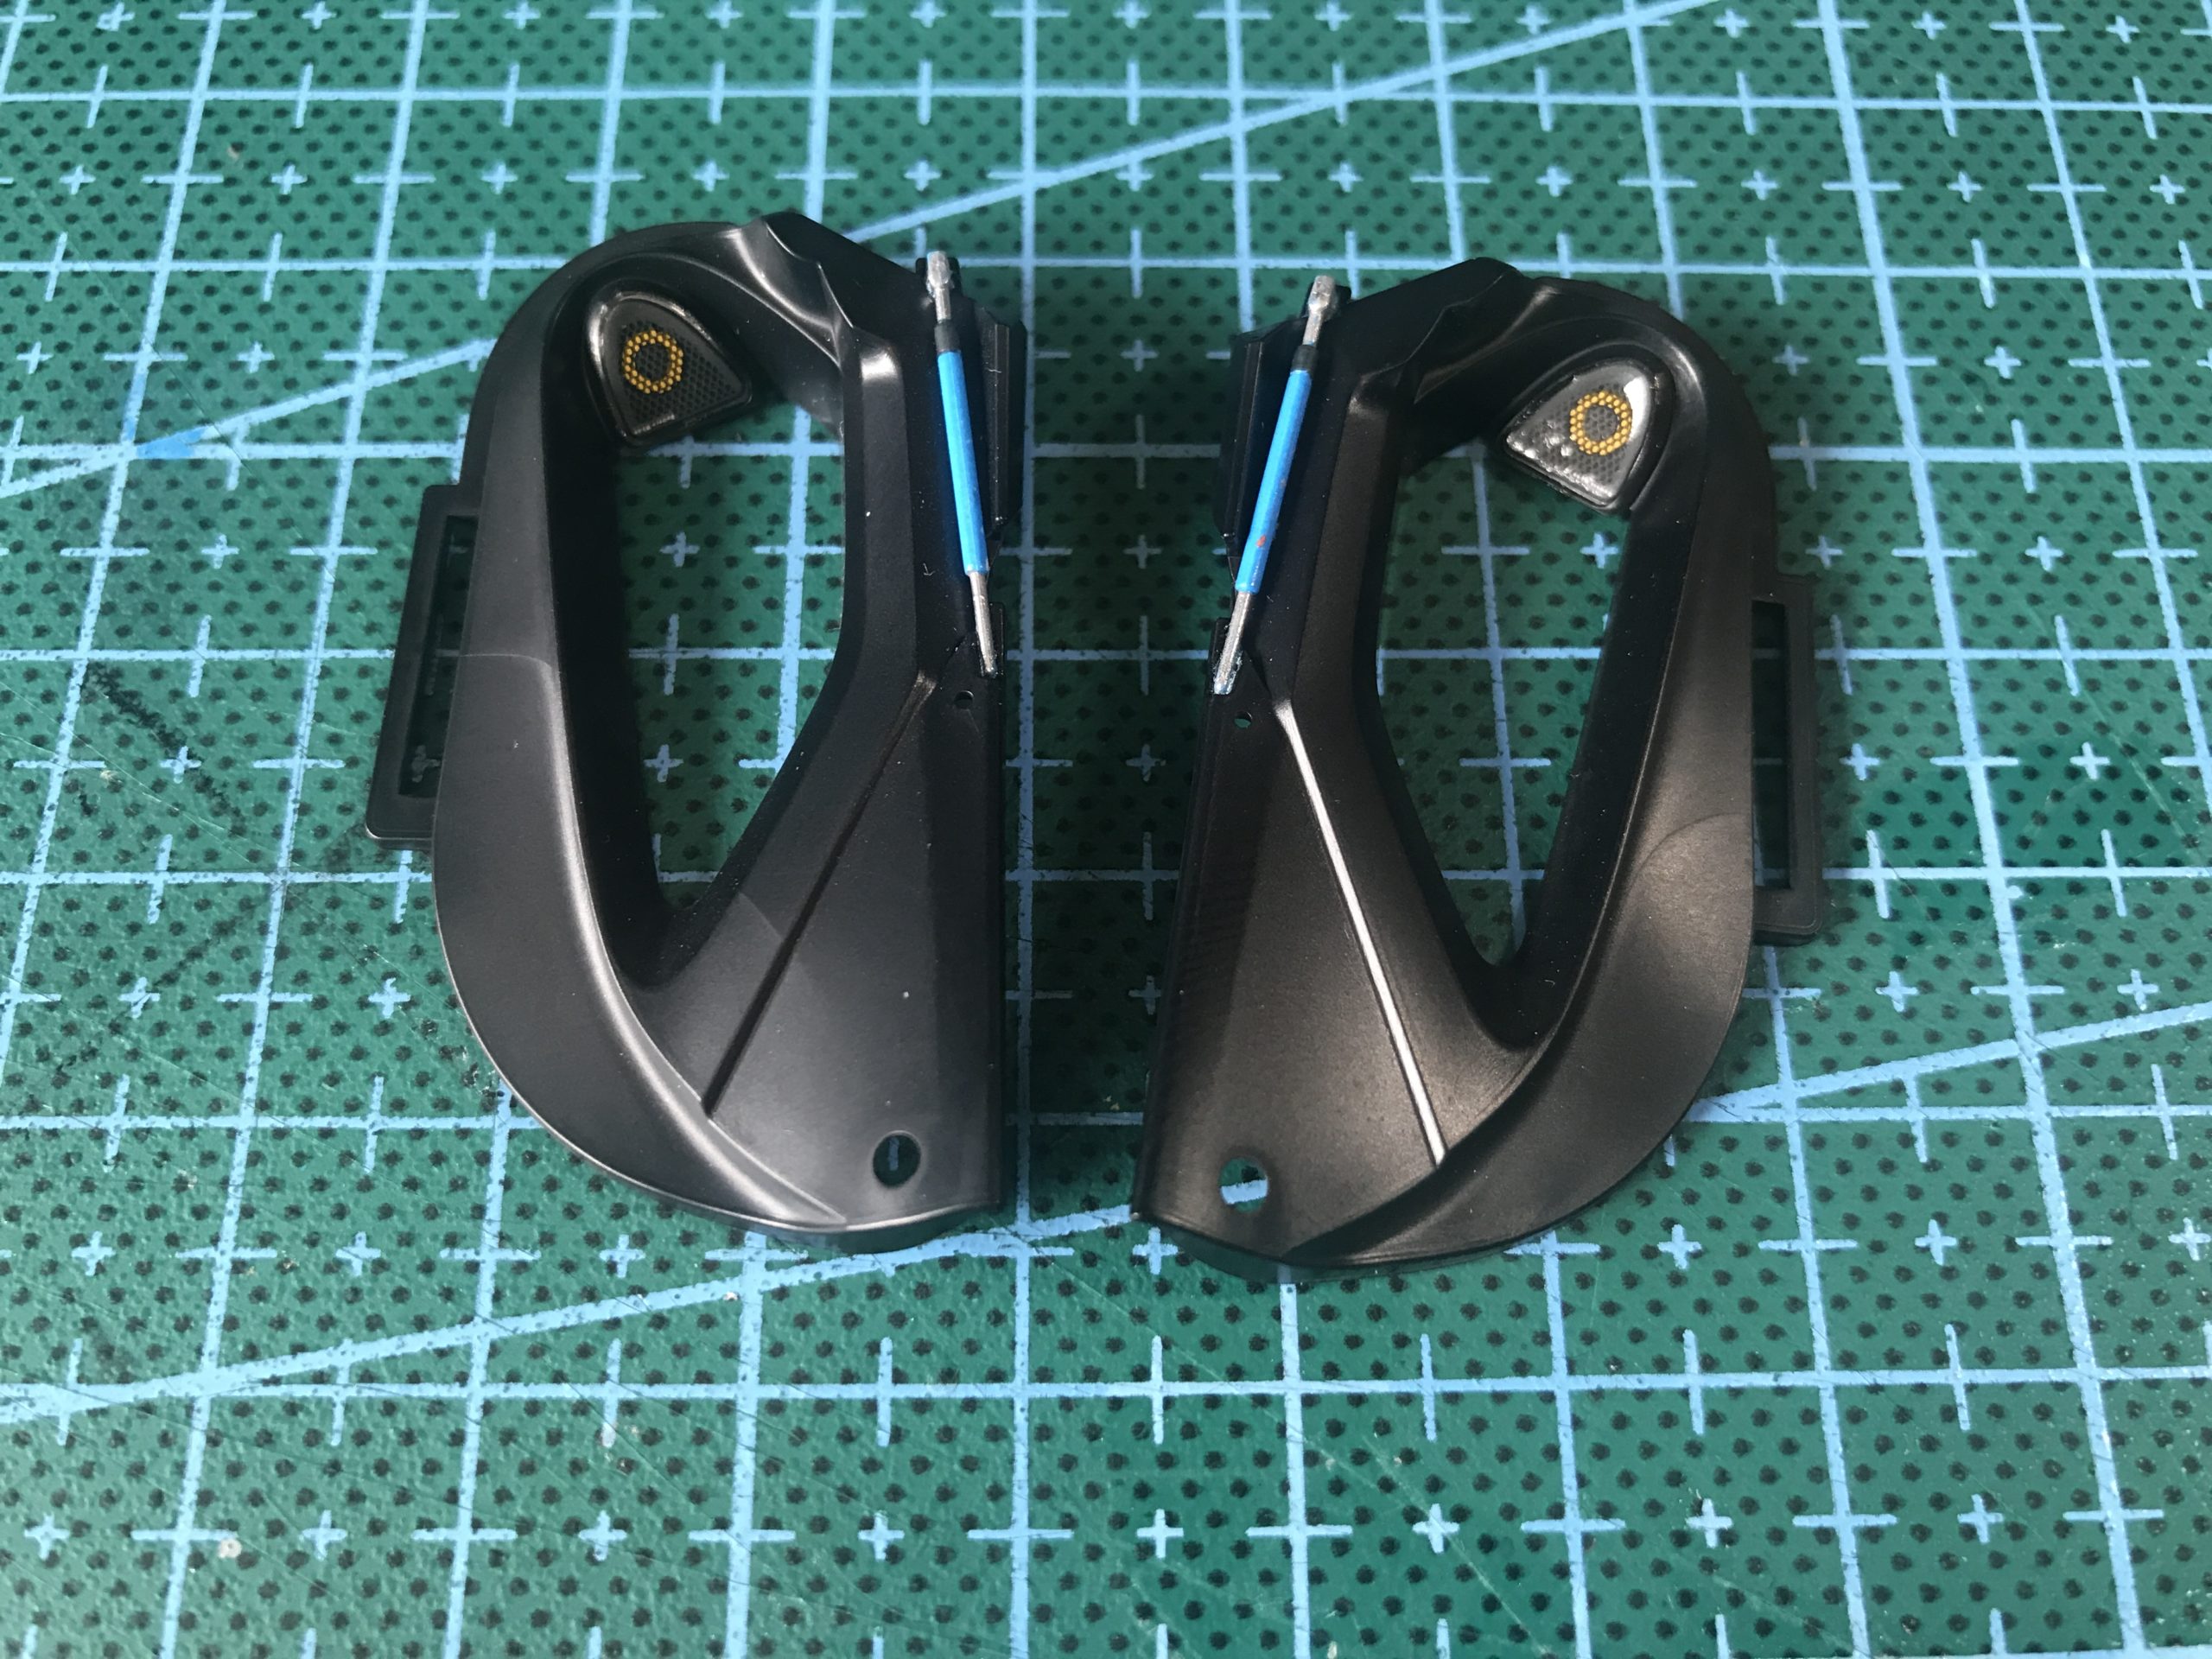
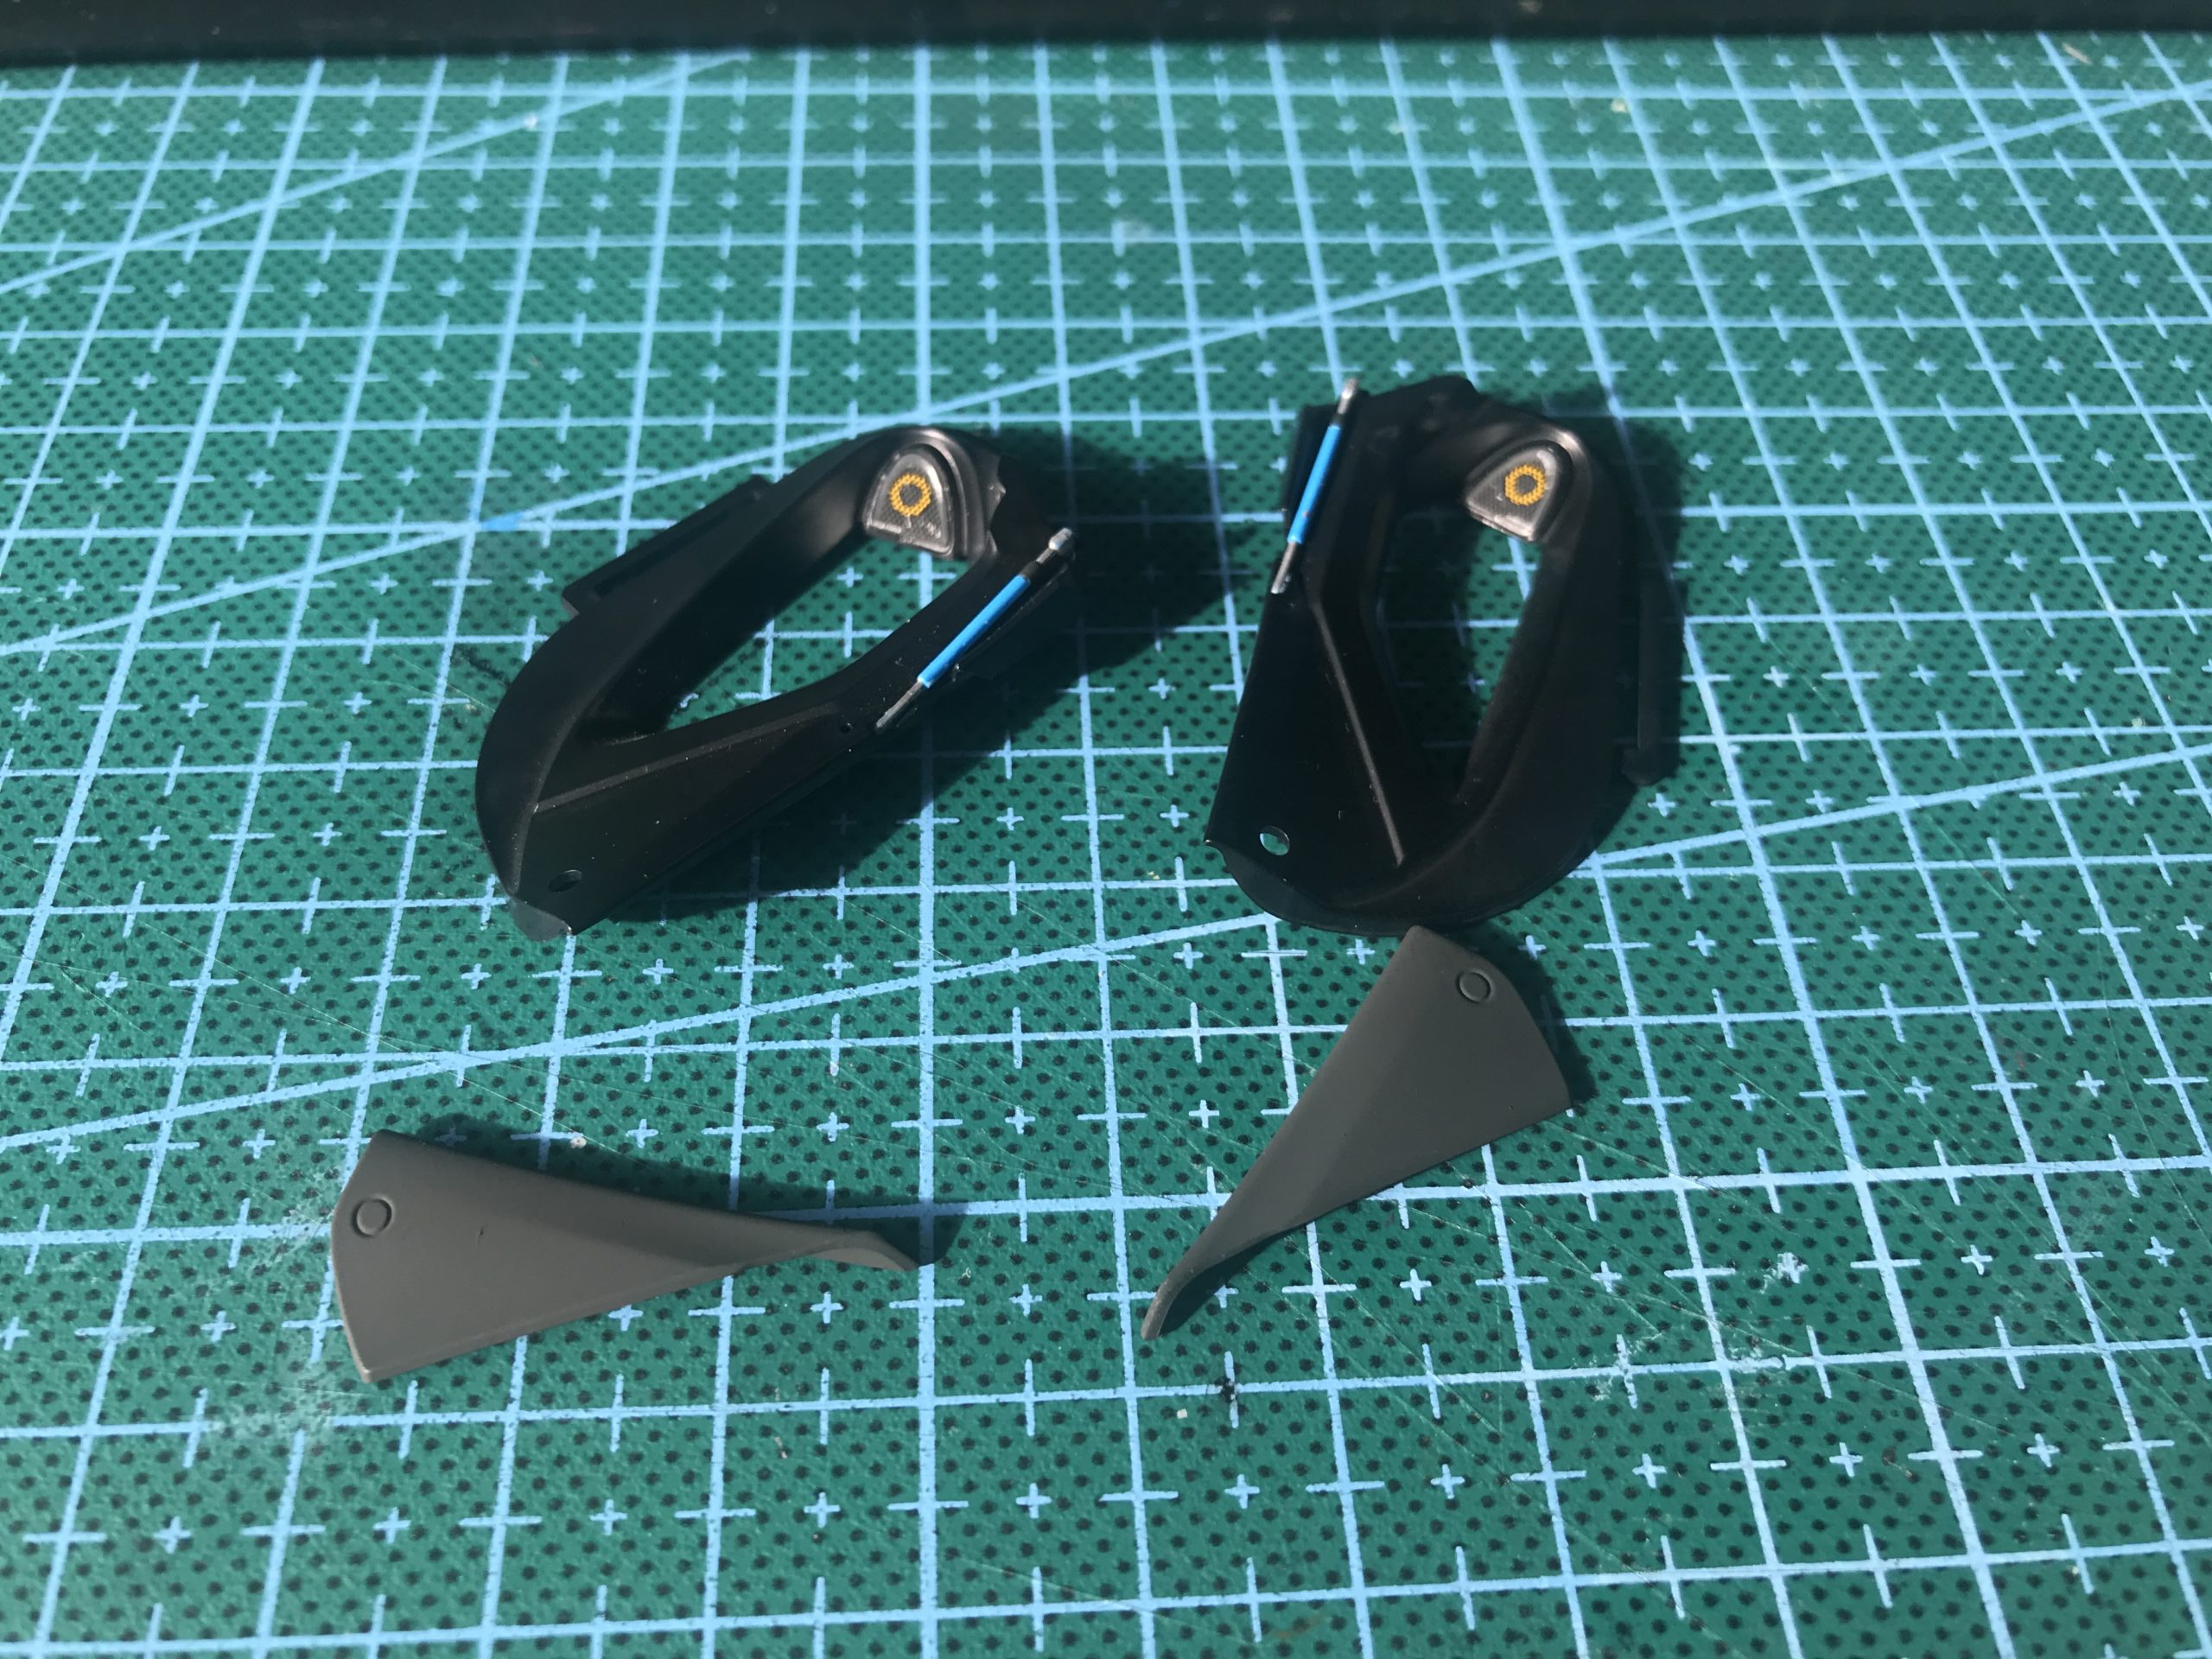
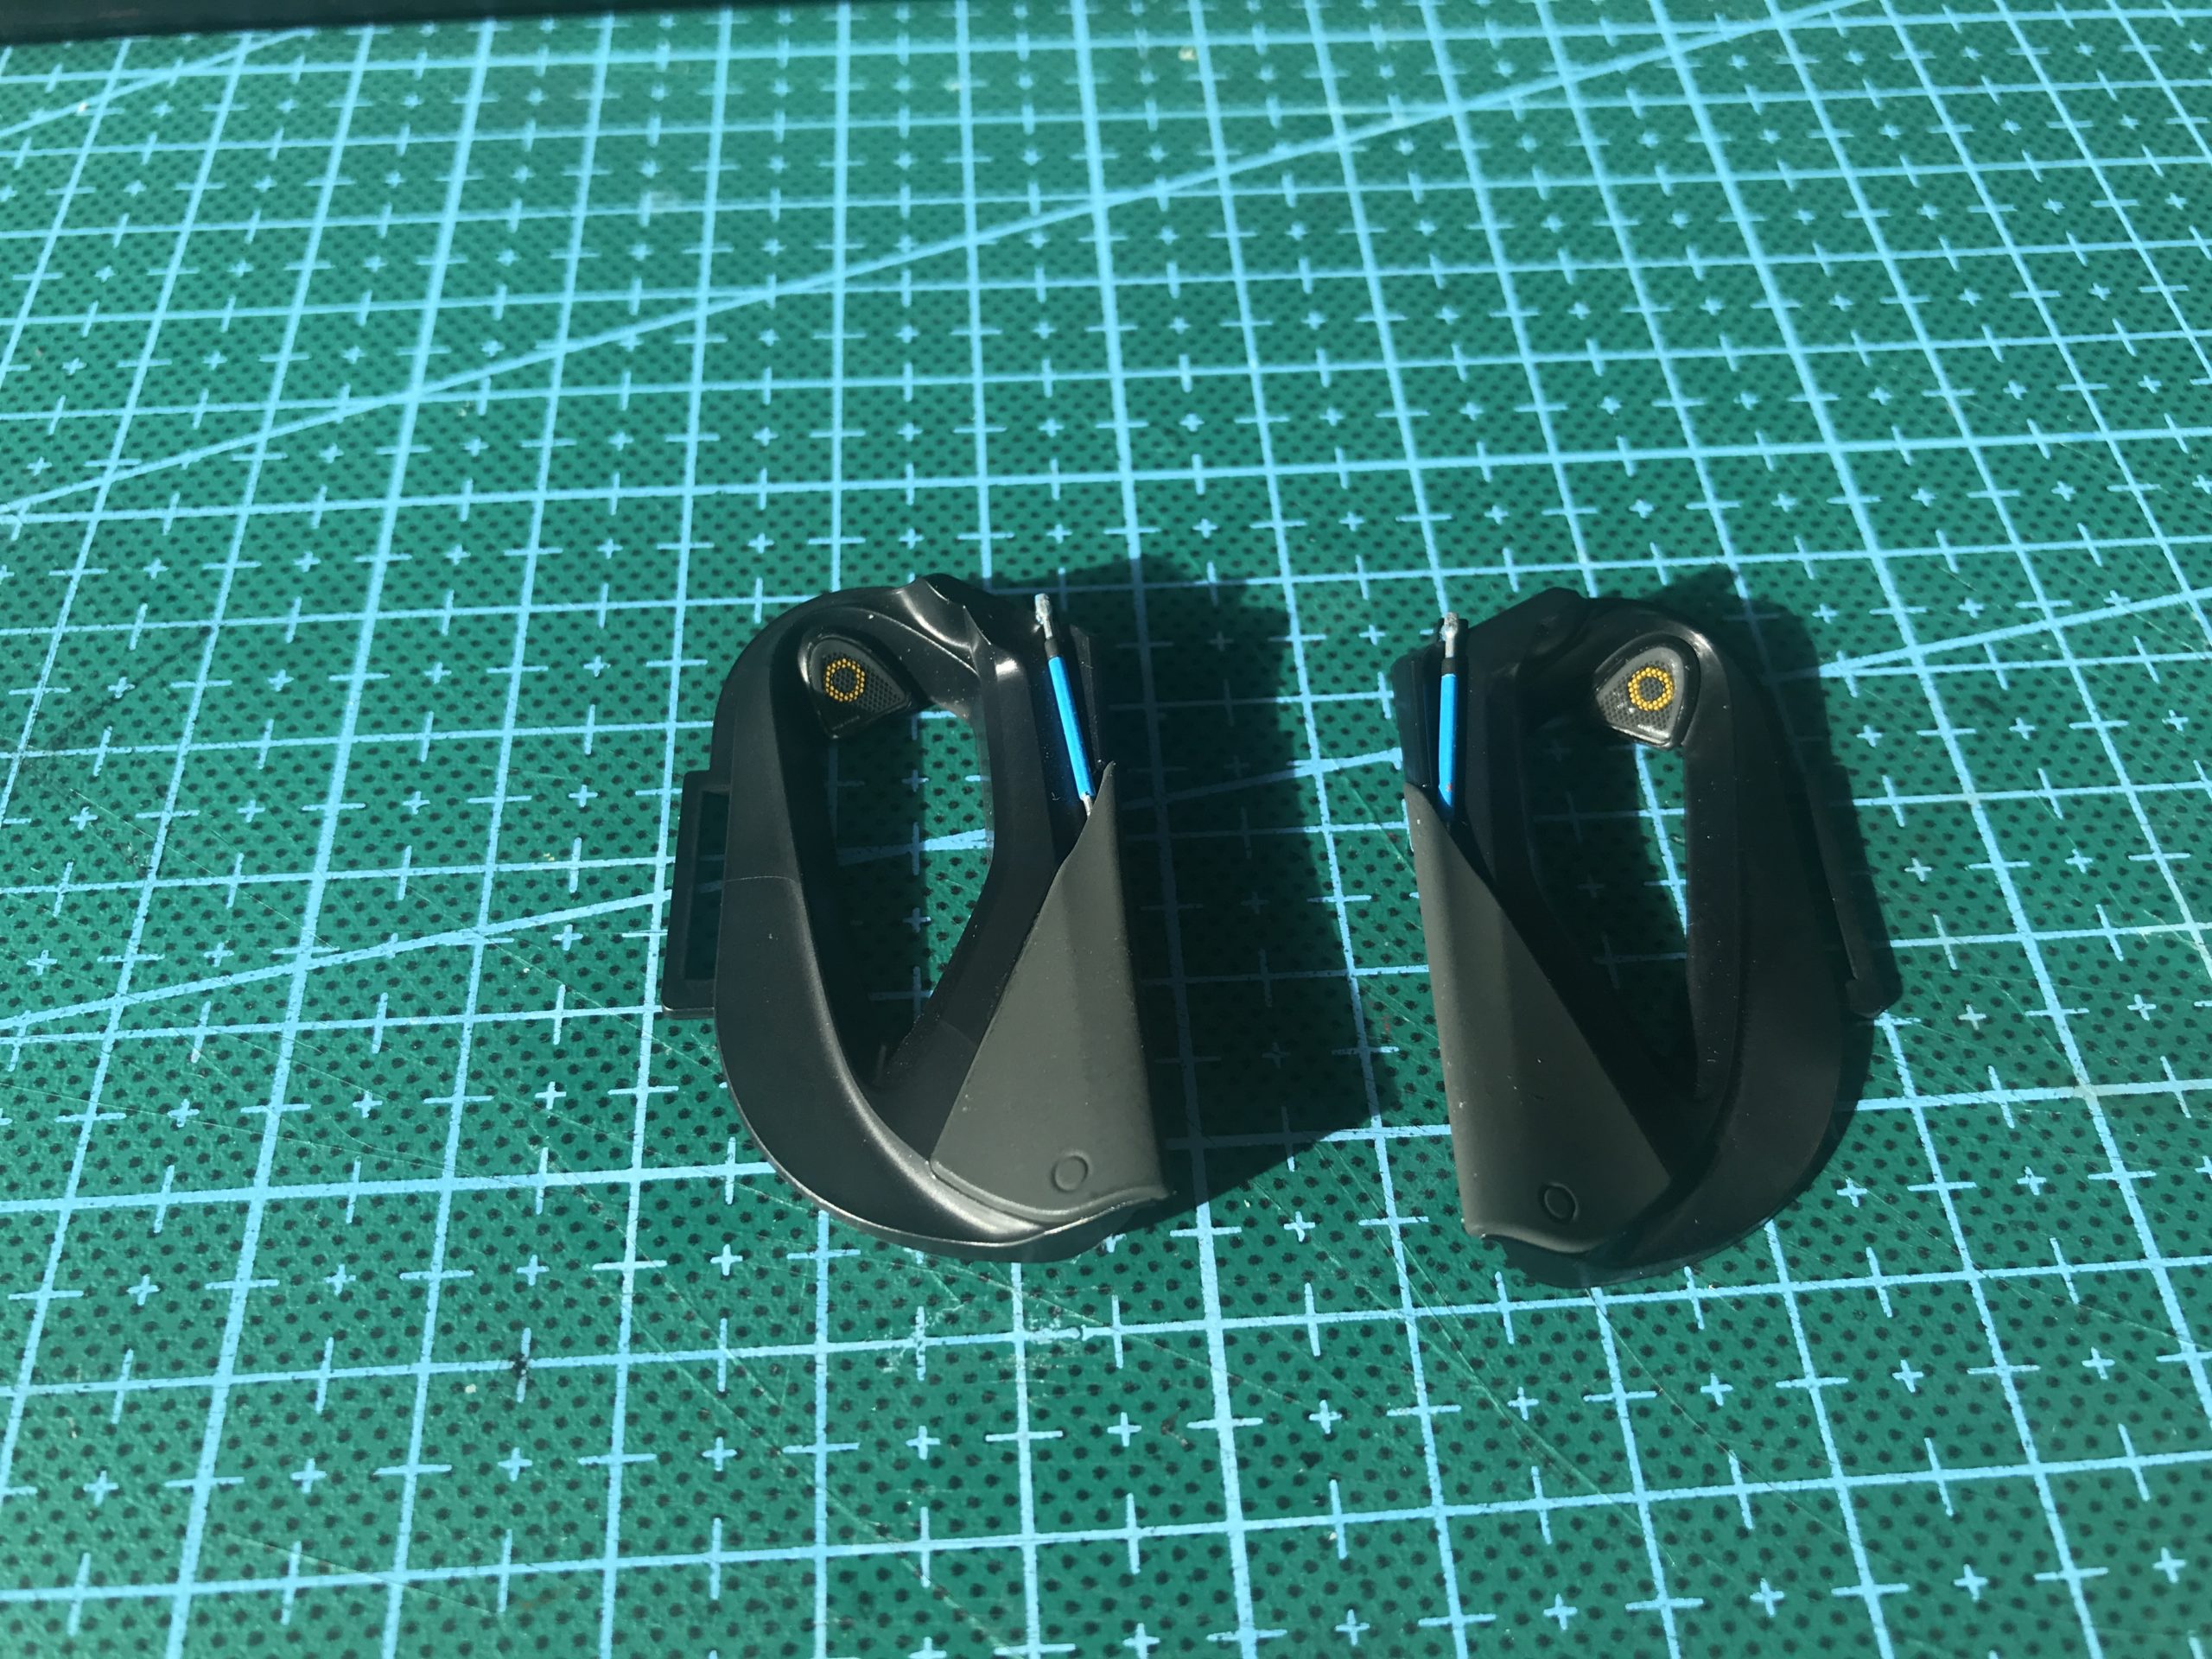
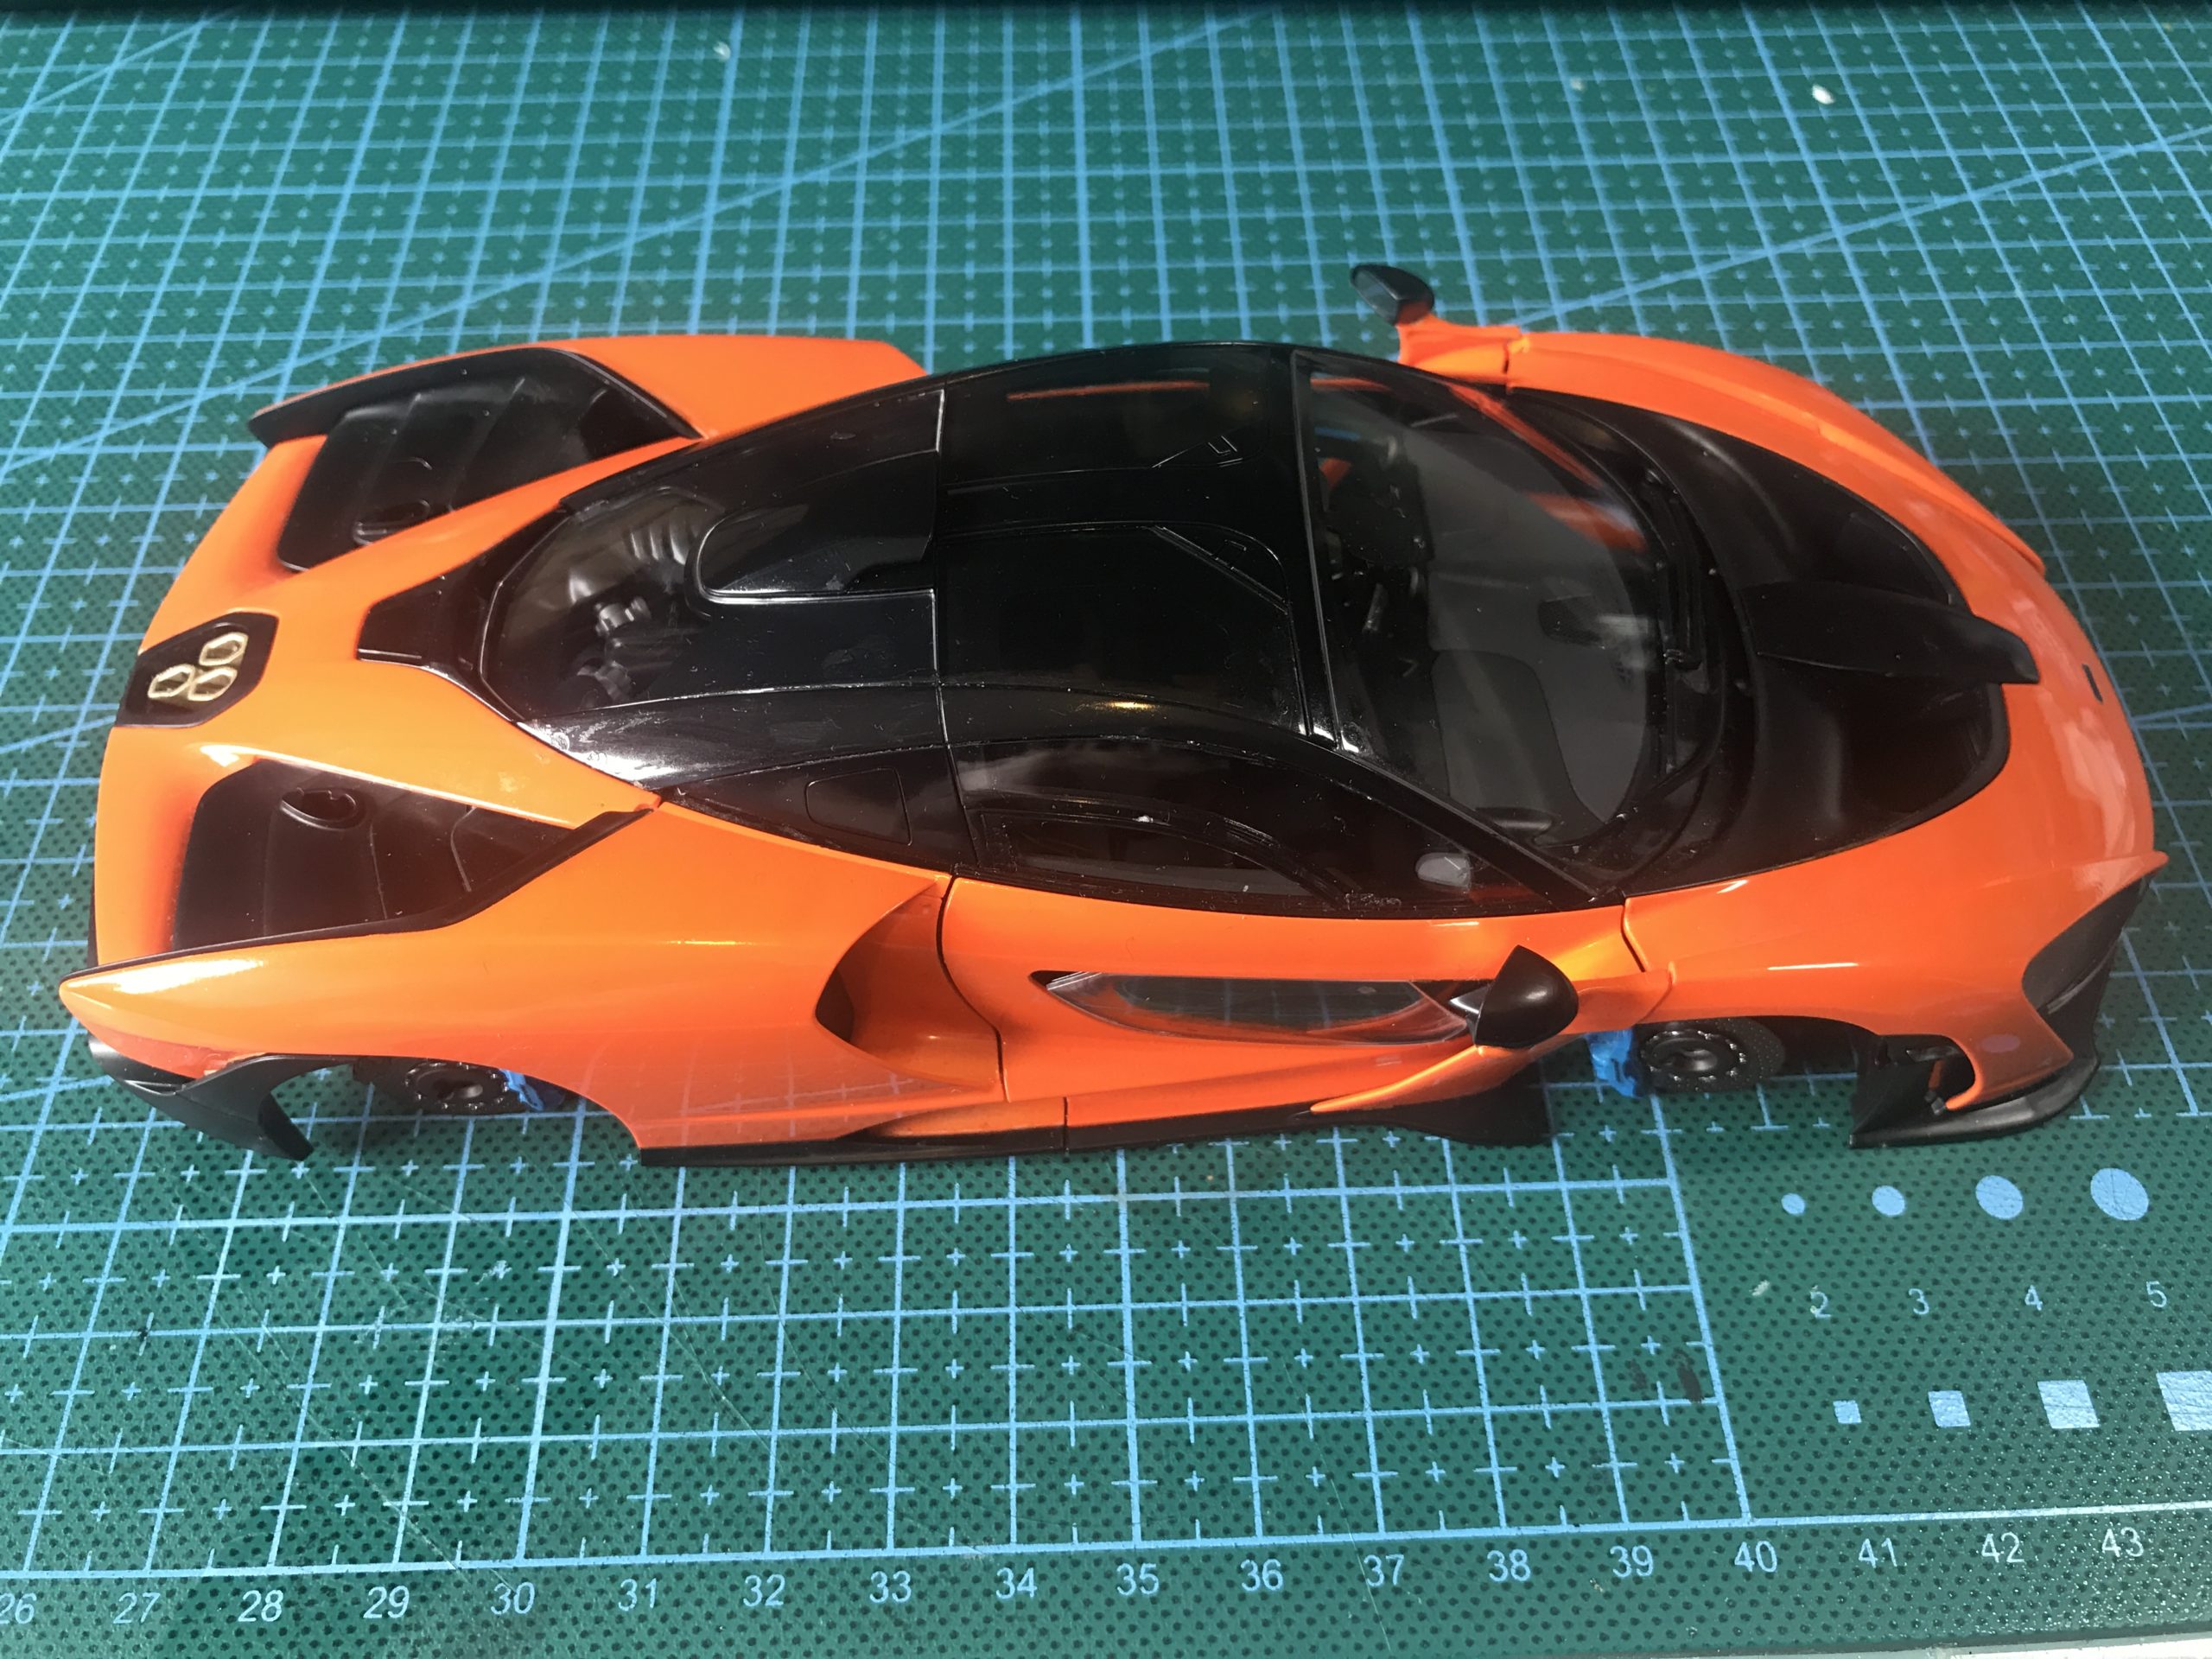
Now the arduous task of adding all the parts to the frame.
If a picture speaks a thousand words this lot must be worth quite a few..


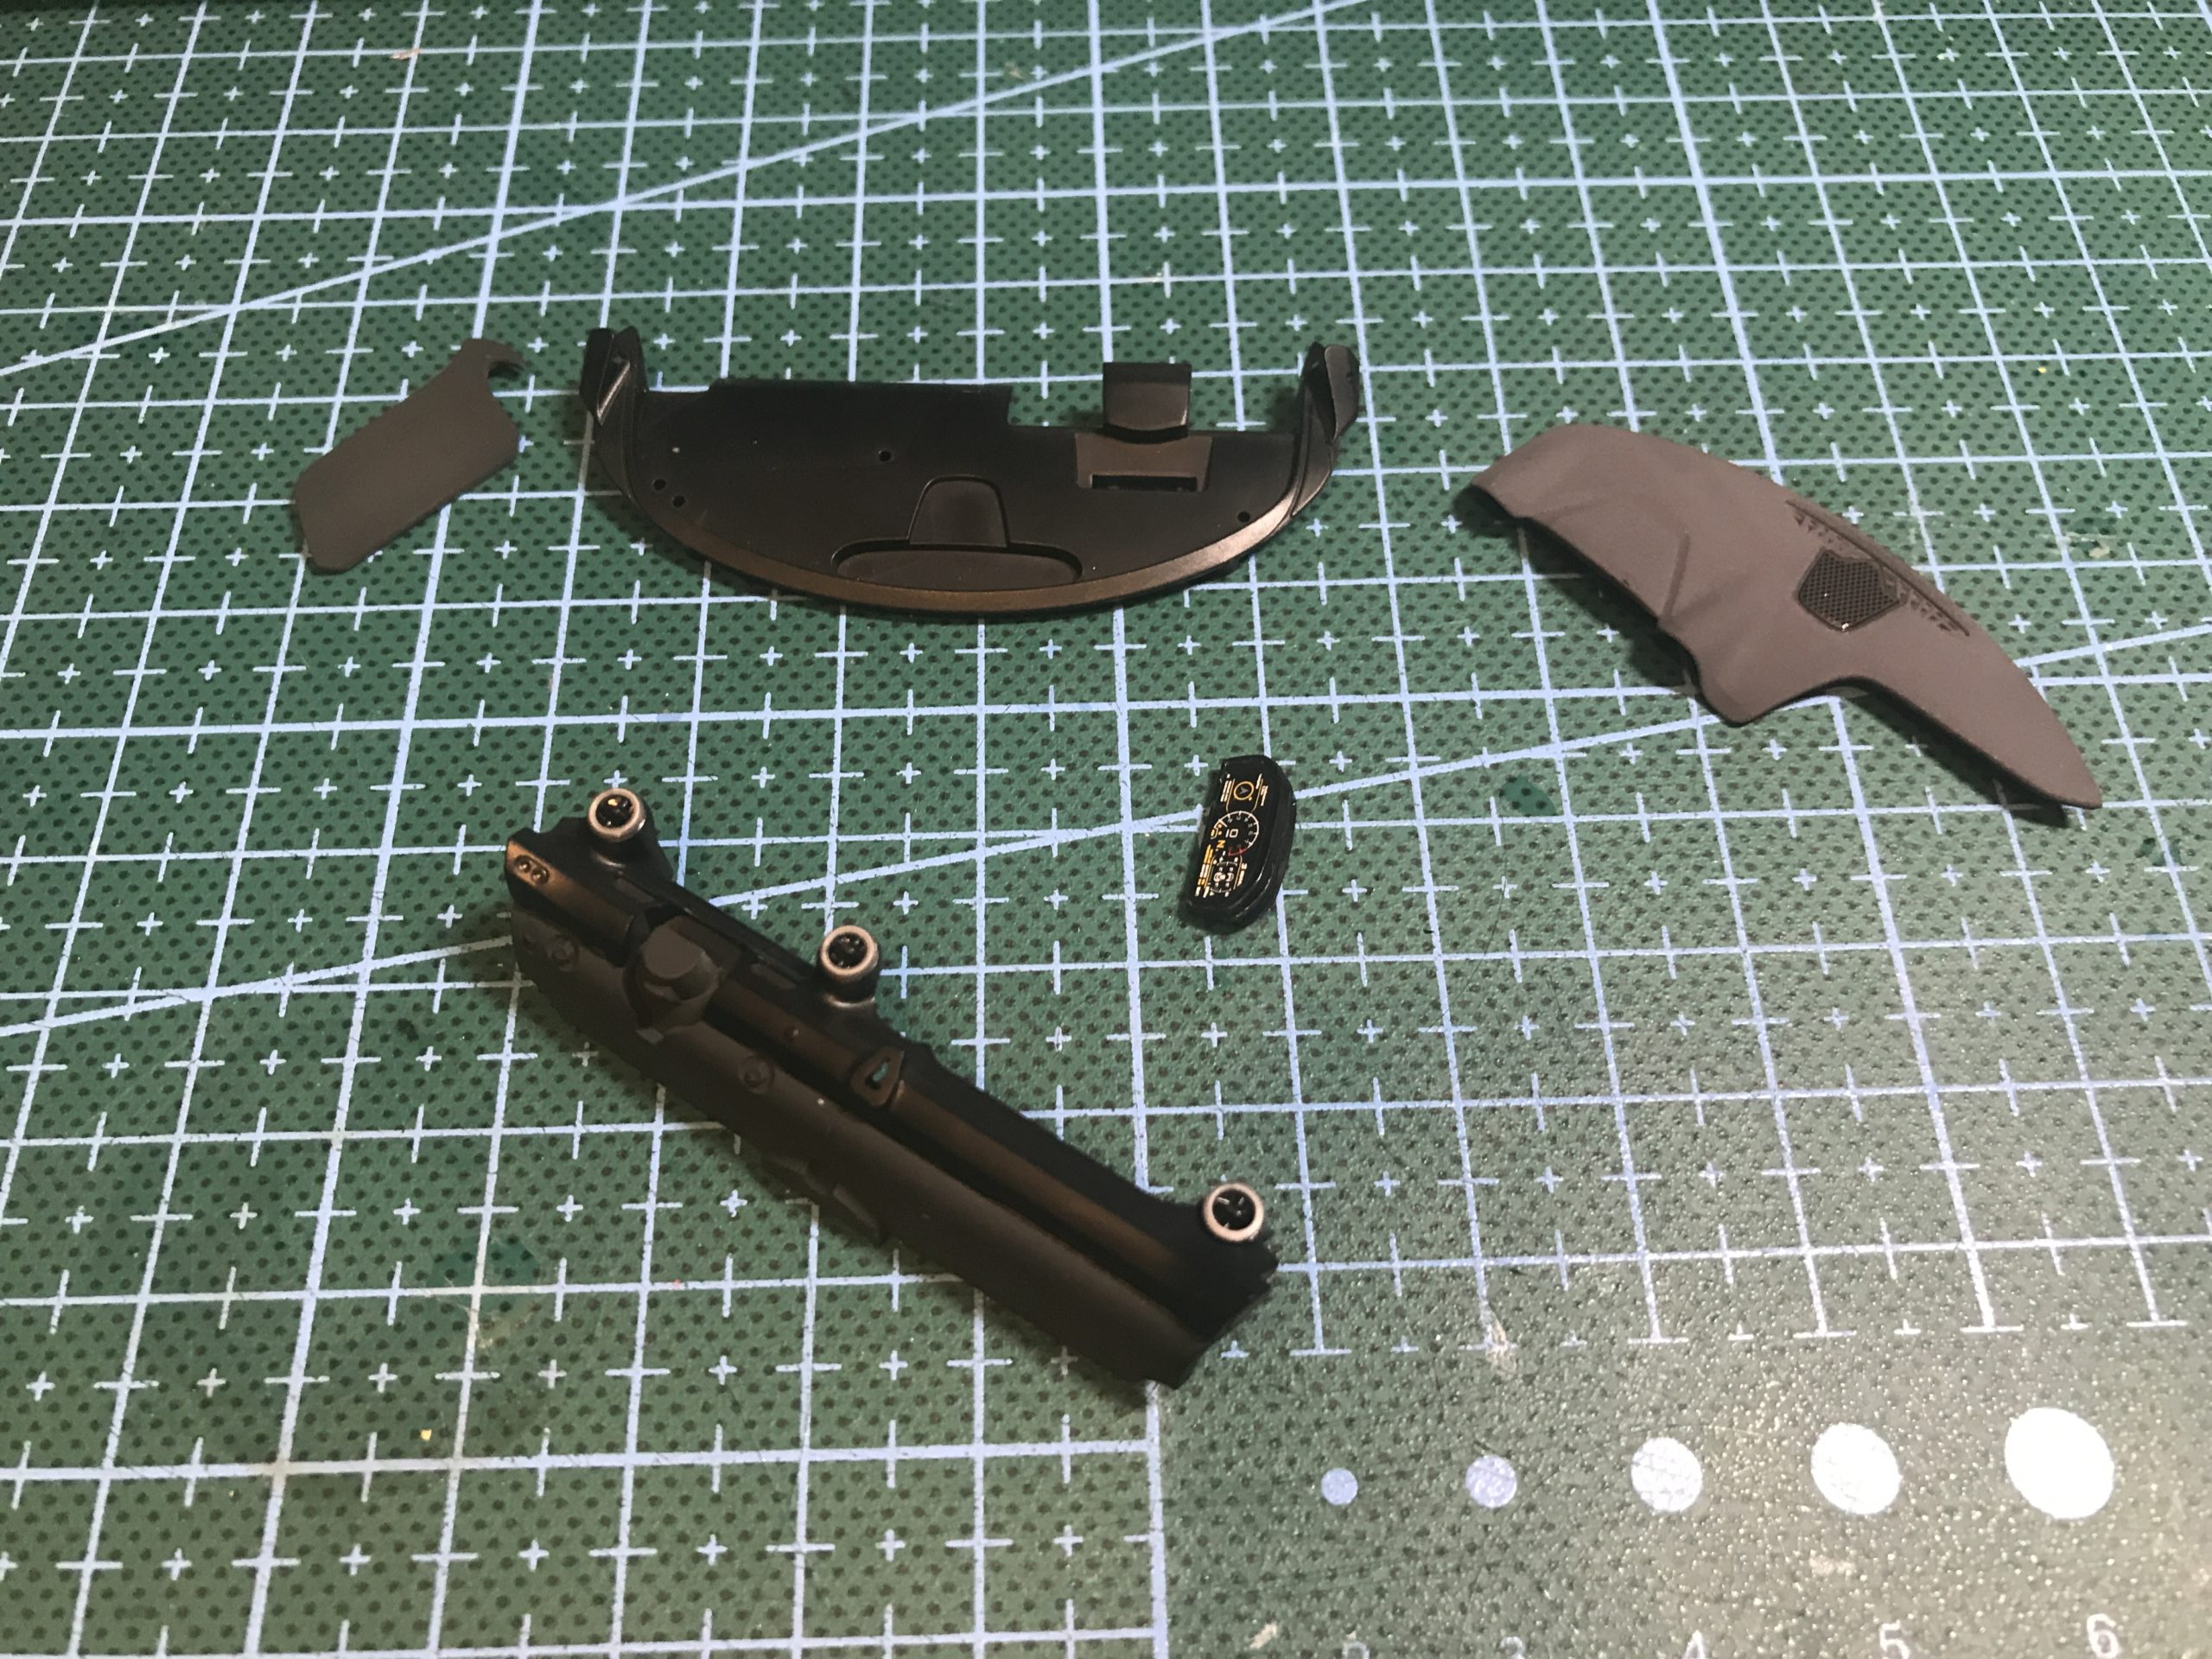
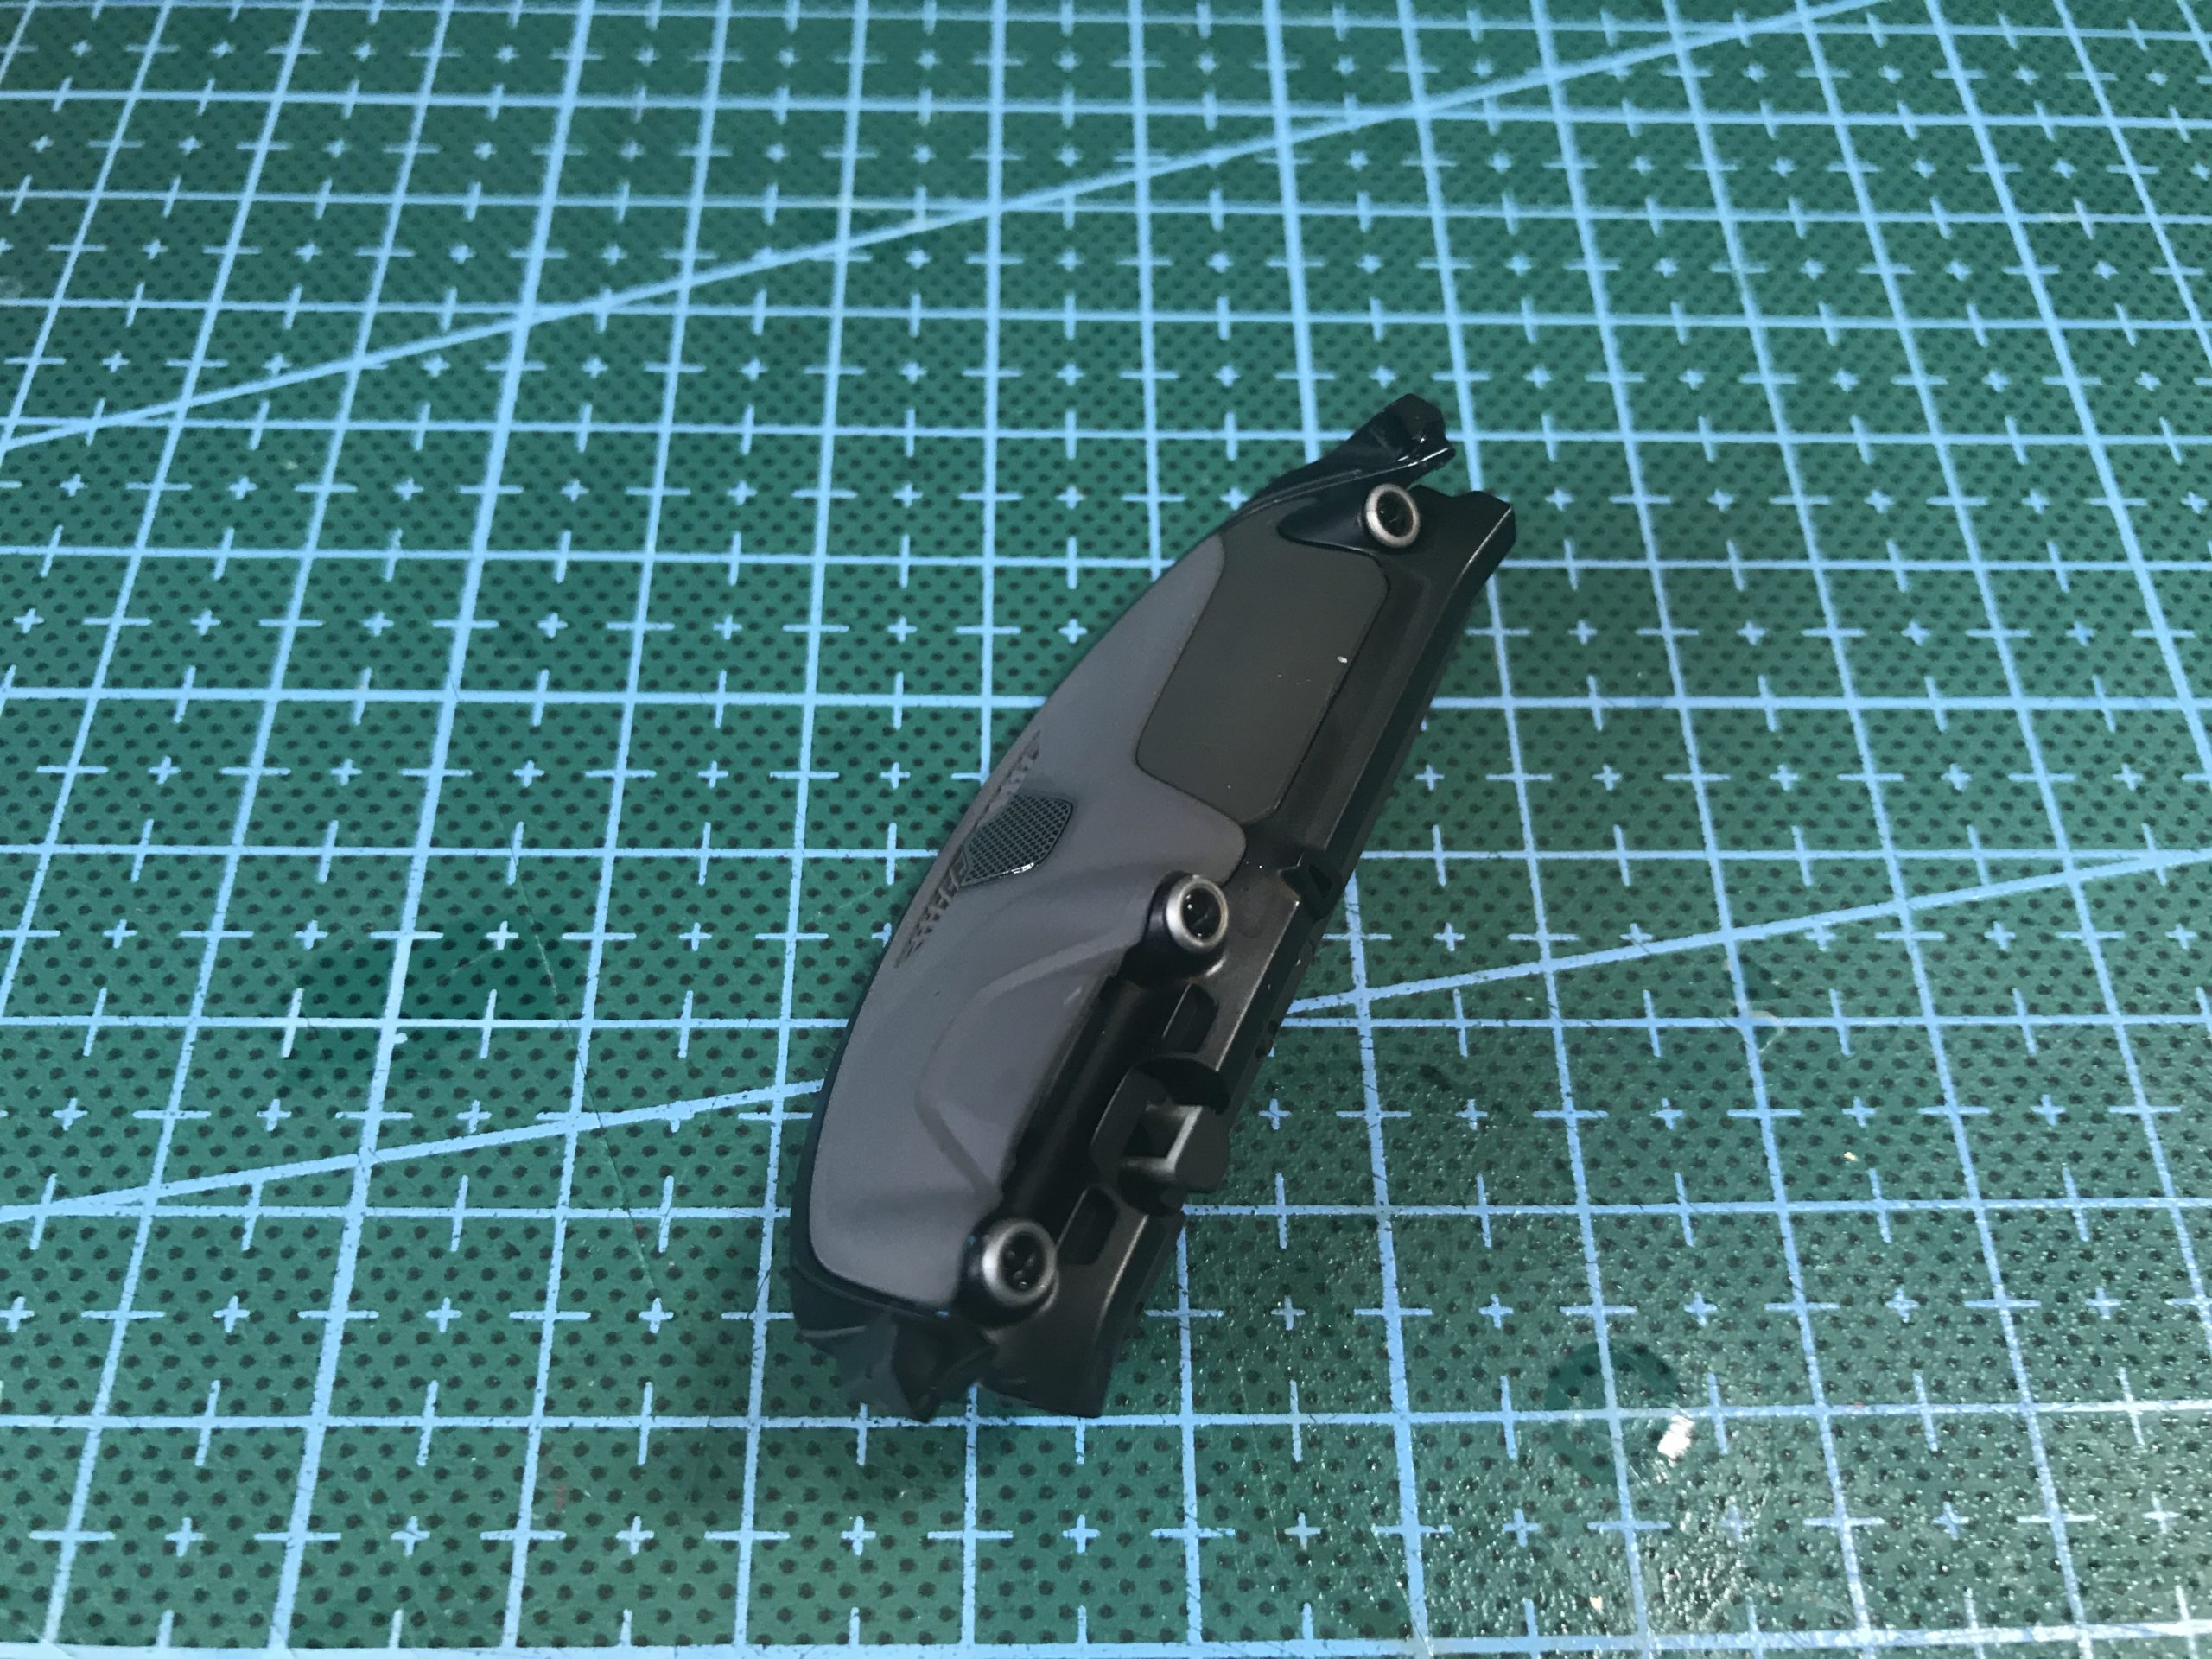
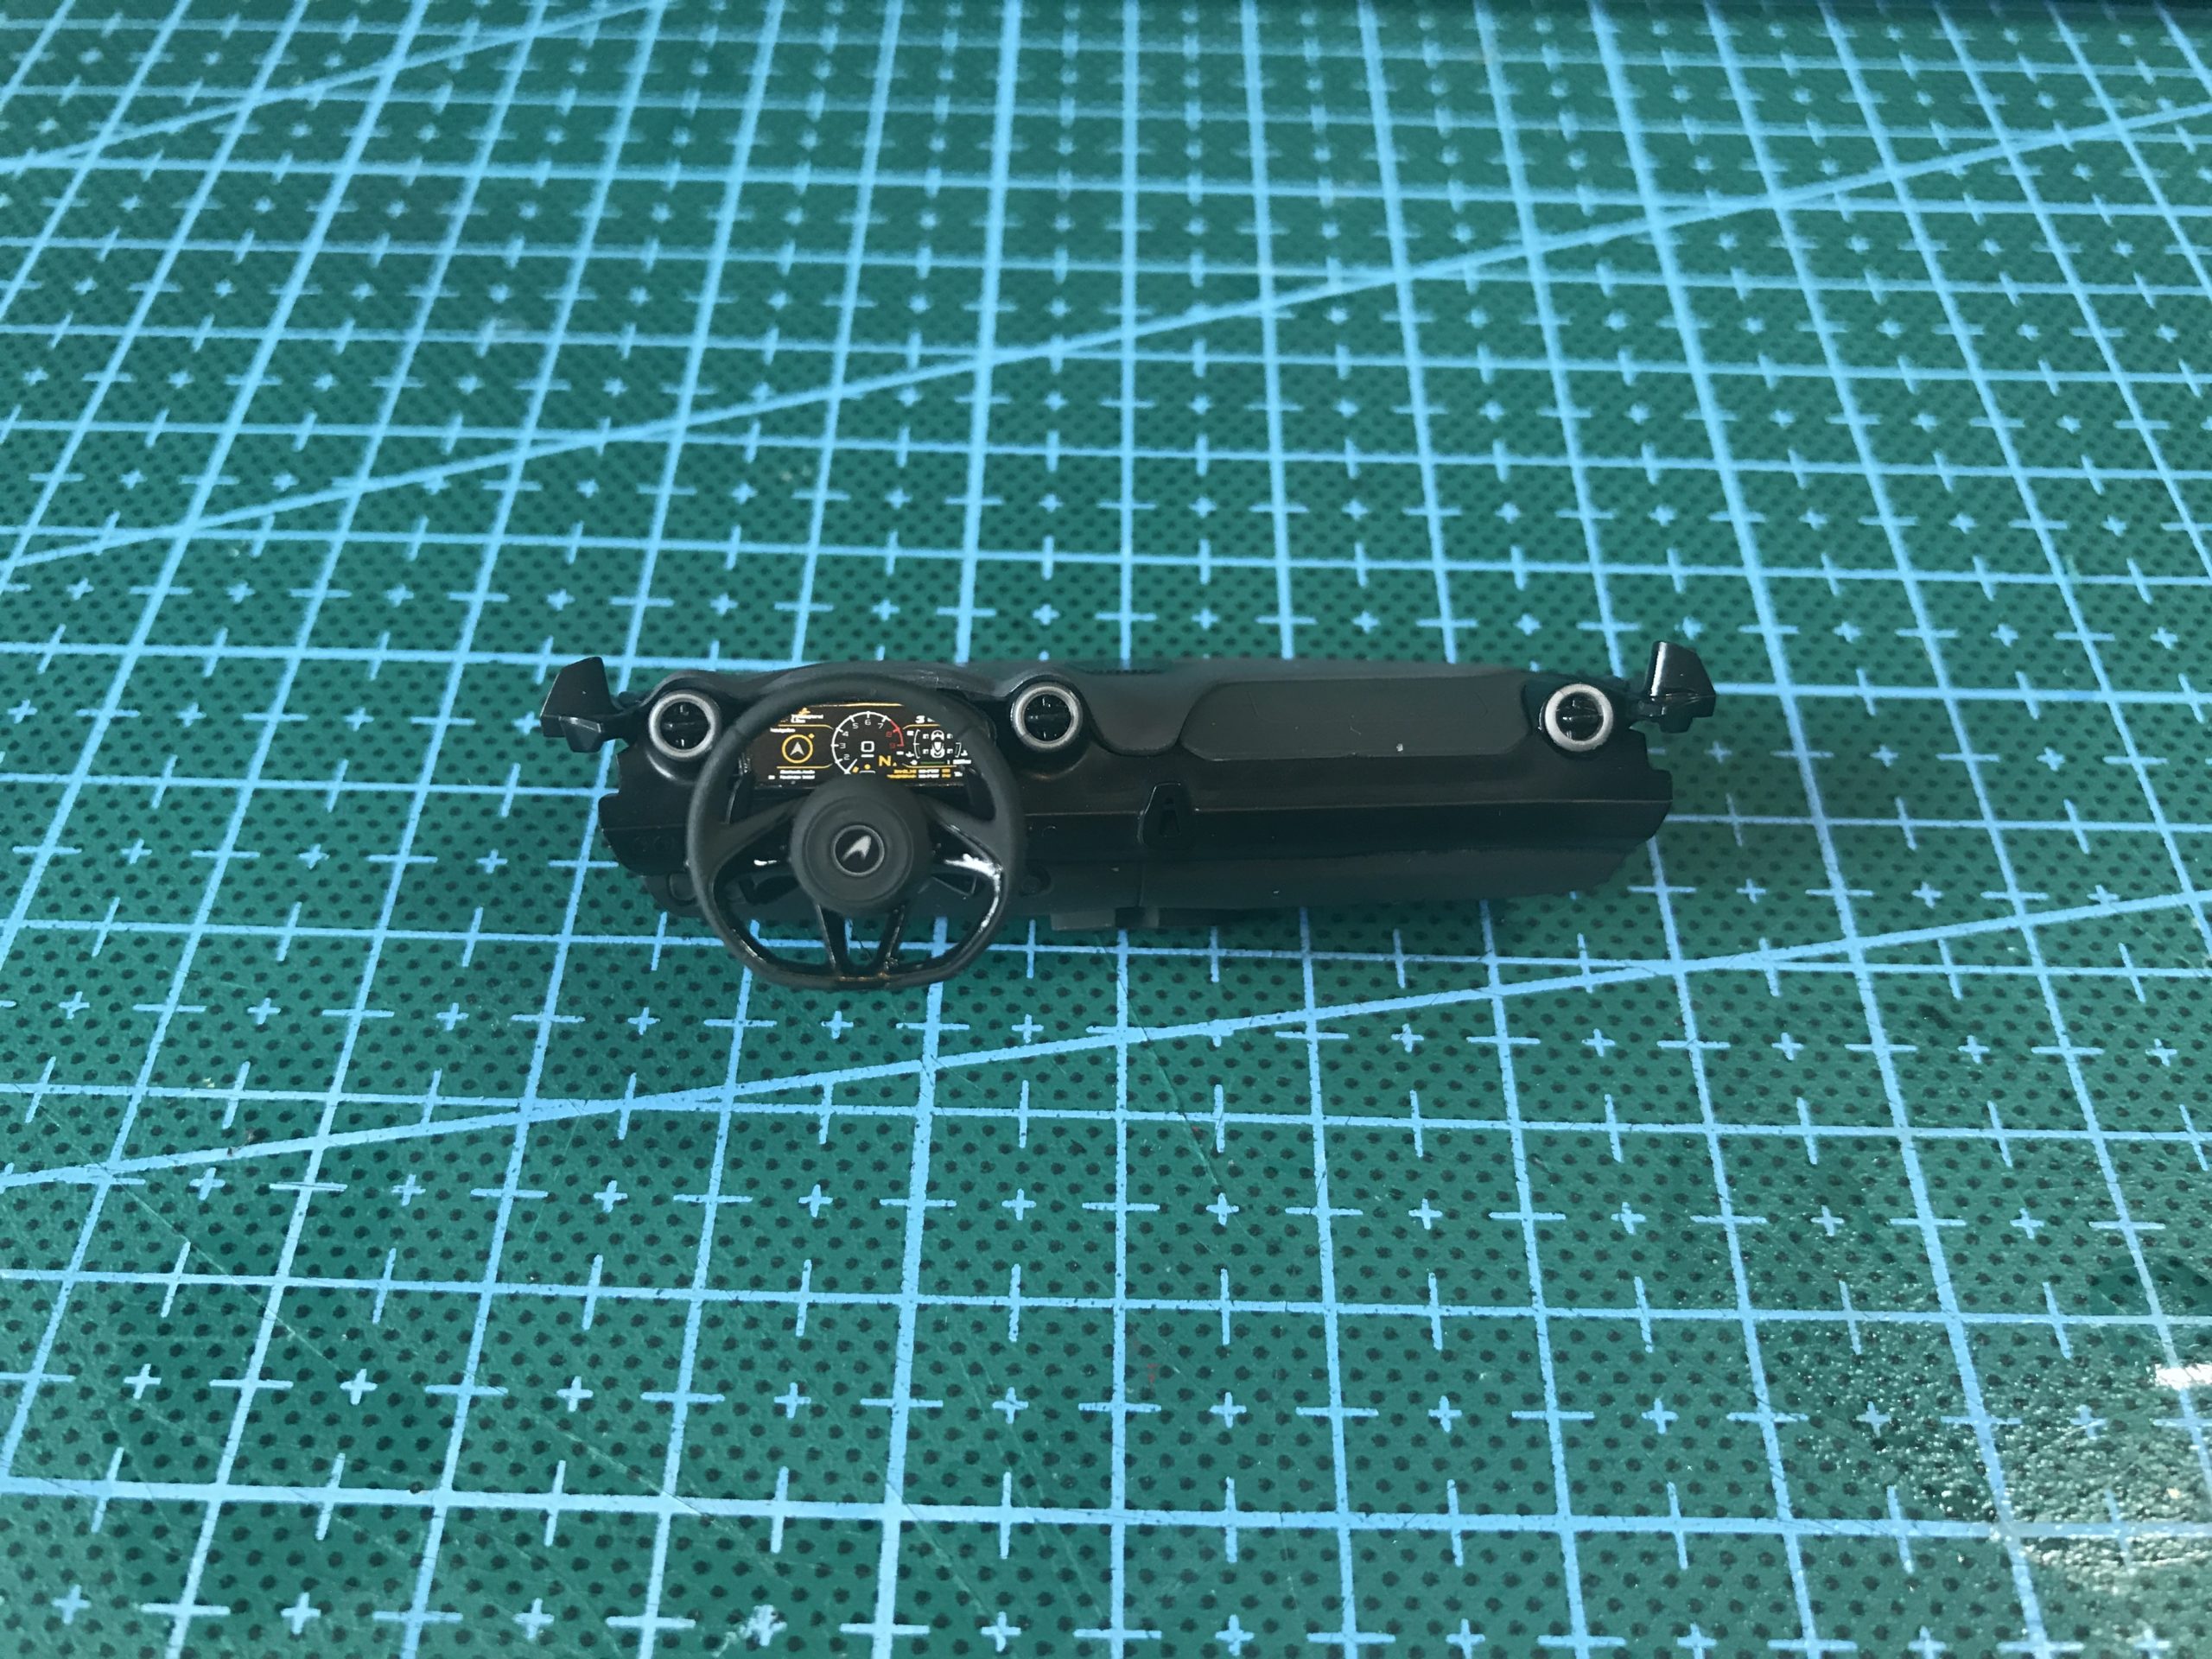
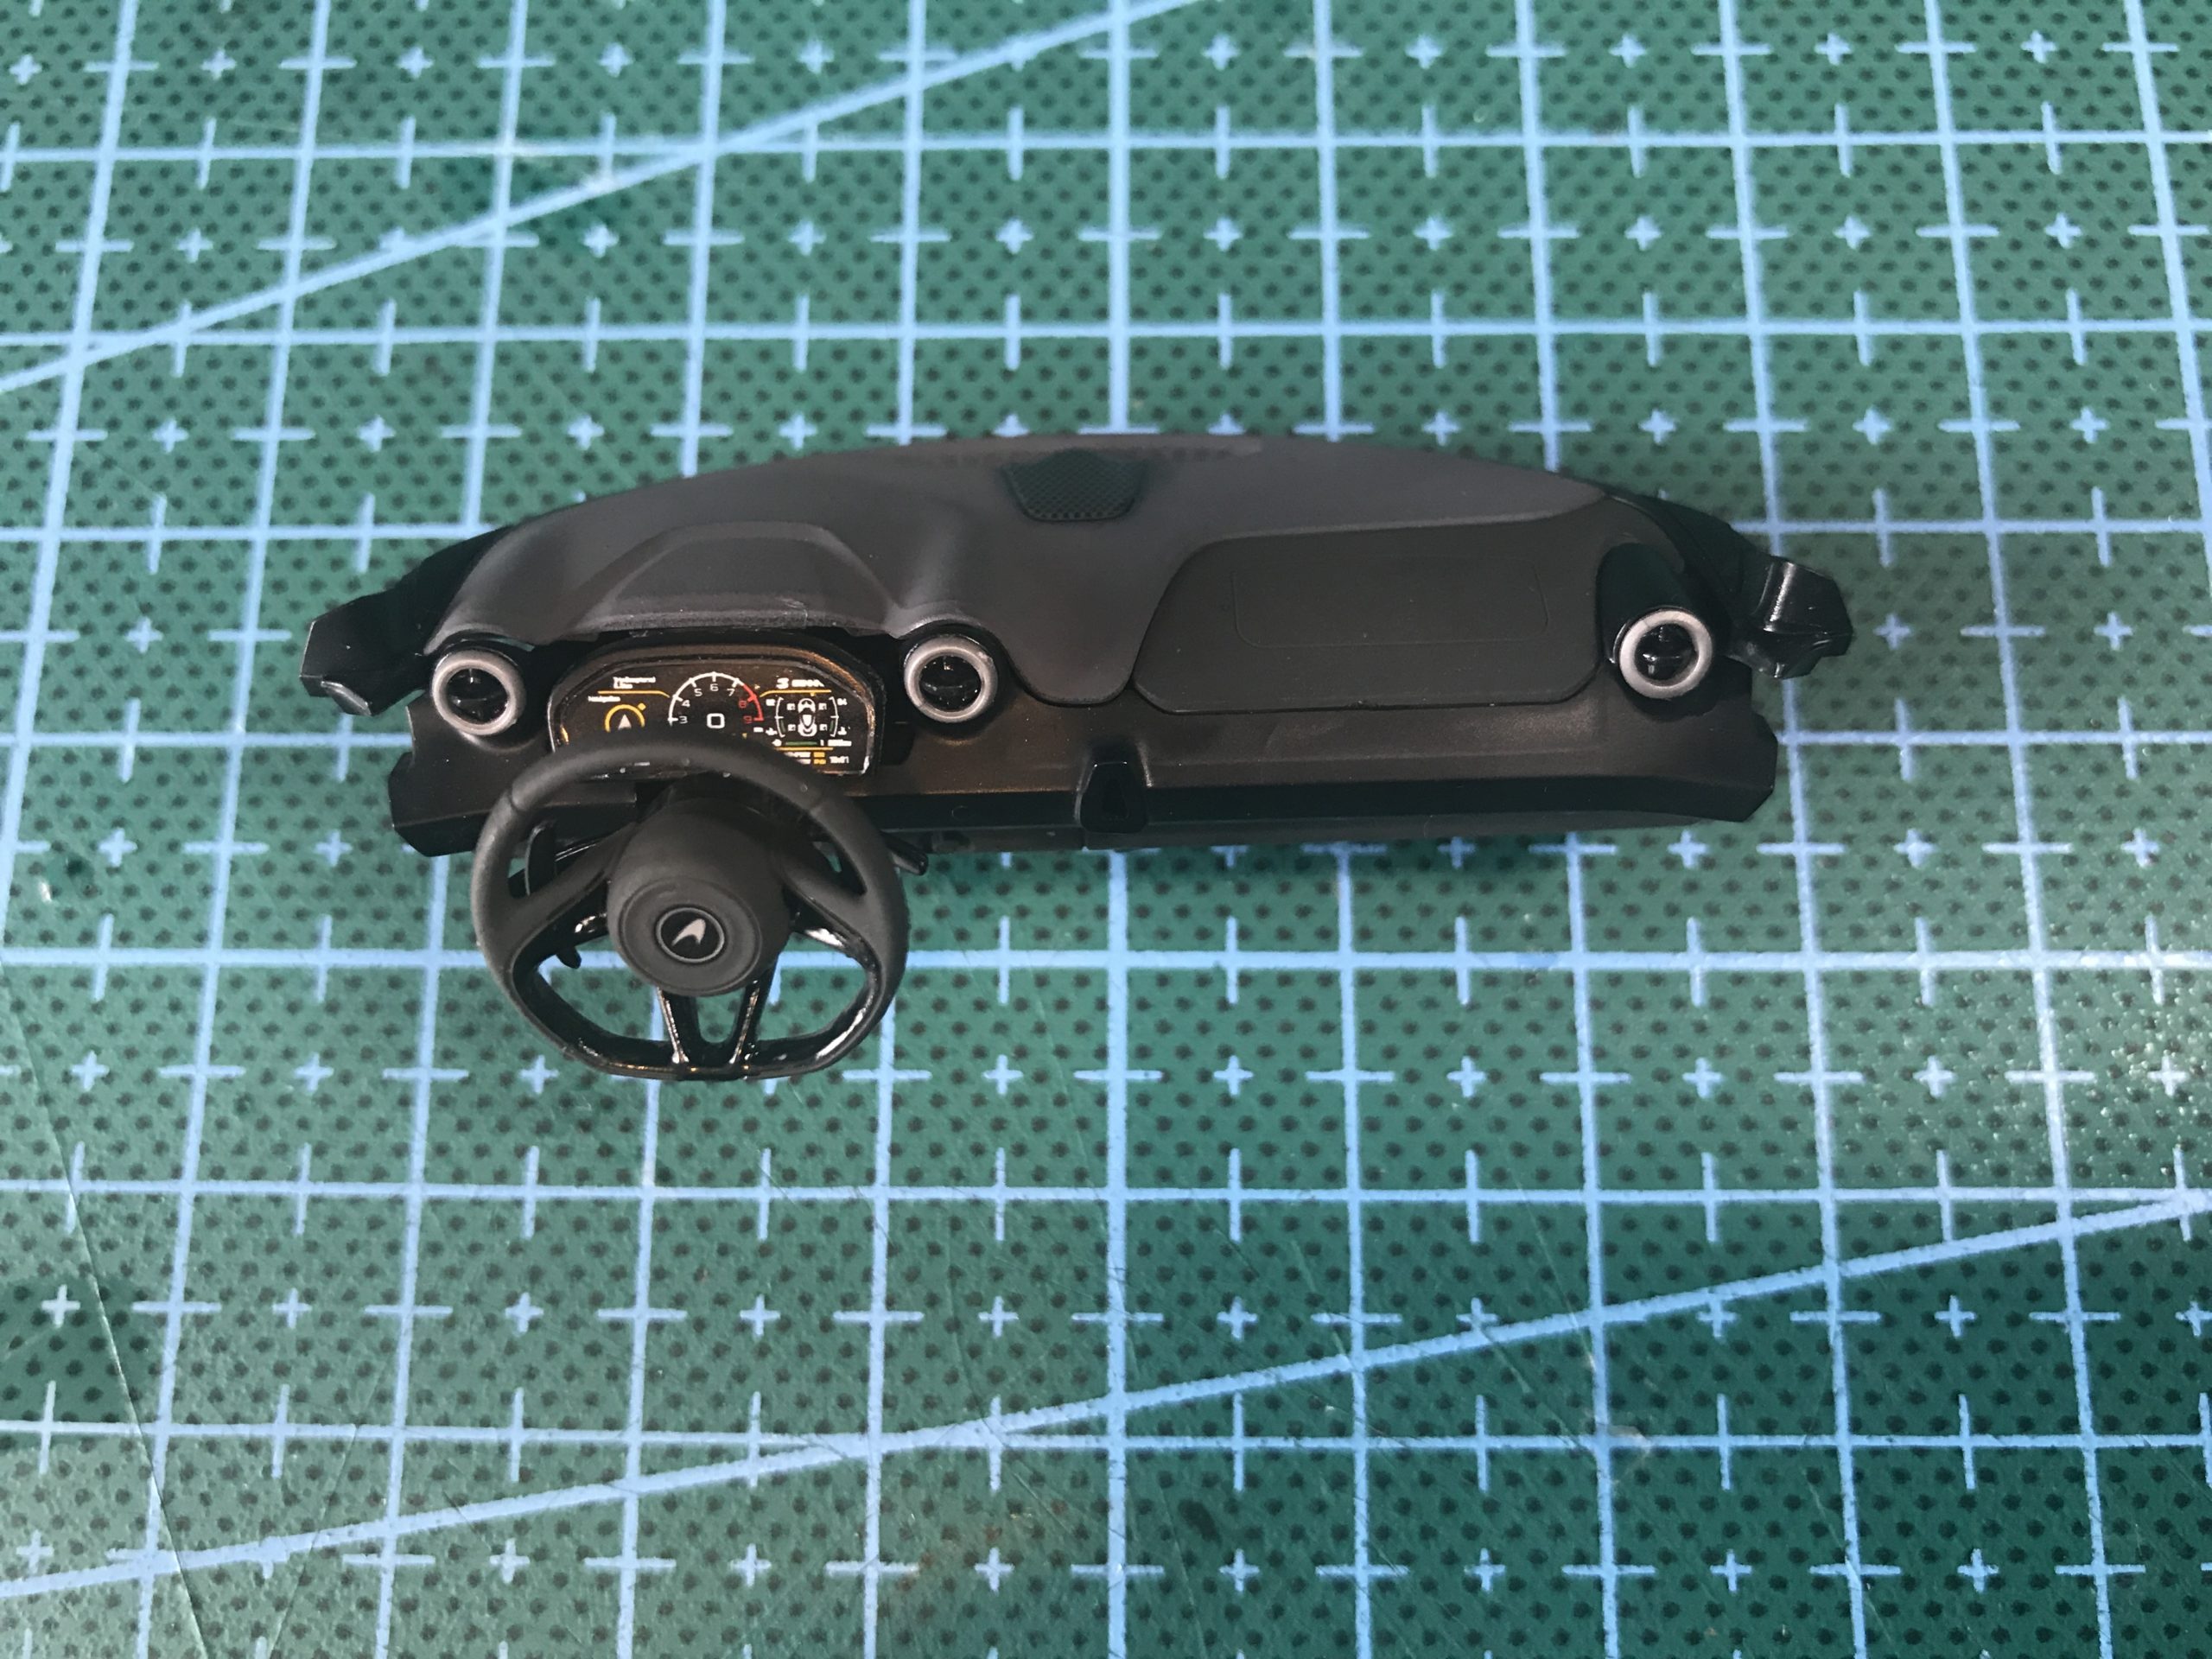
The build part 2 – The interior and oily bits.
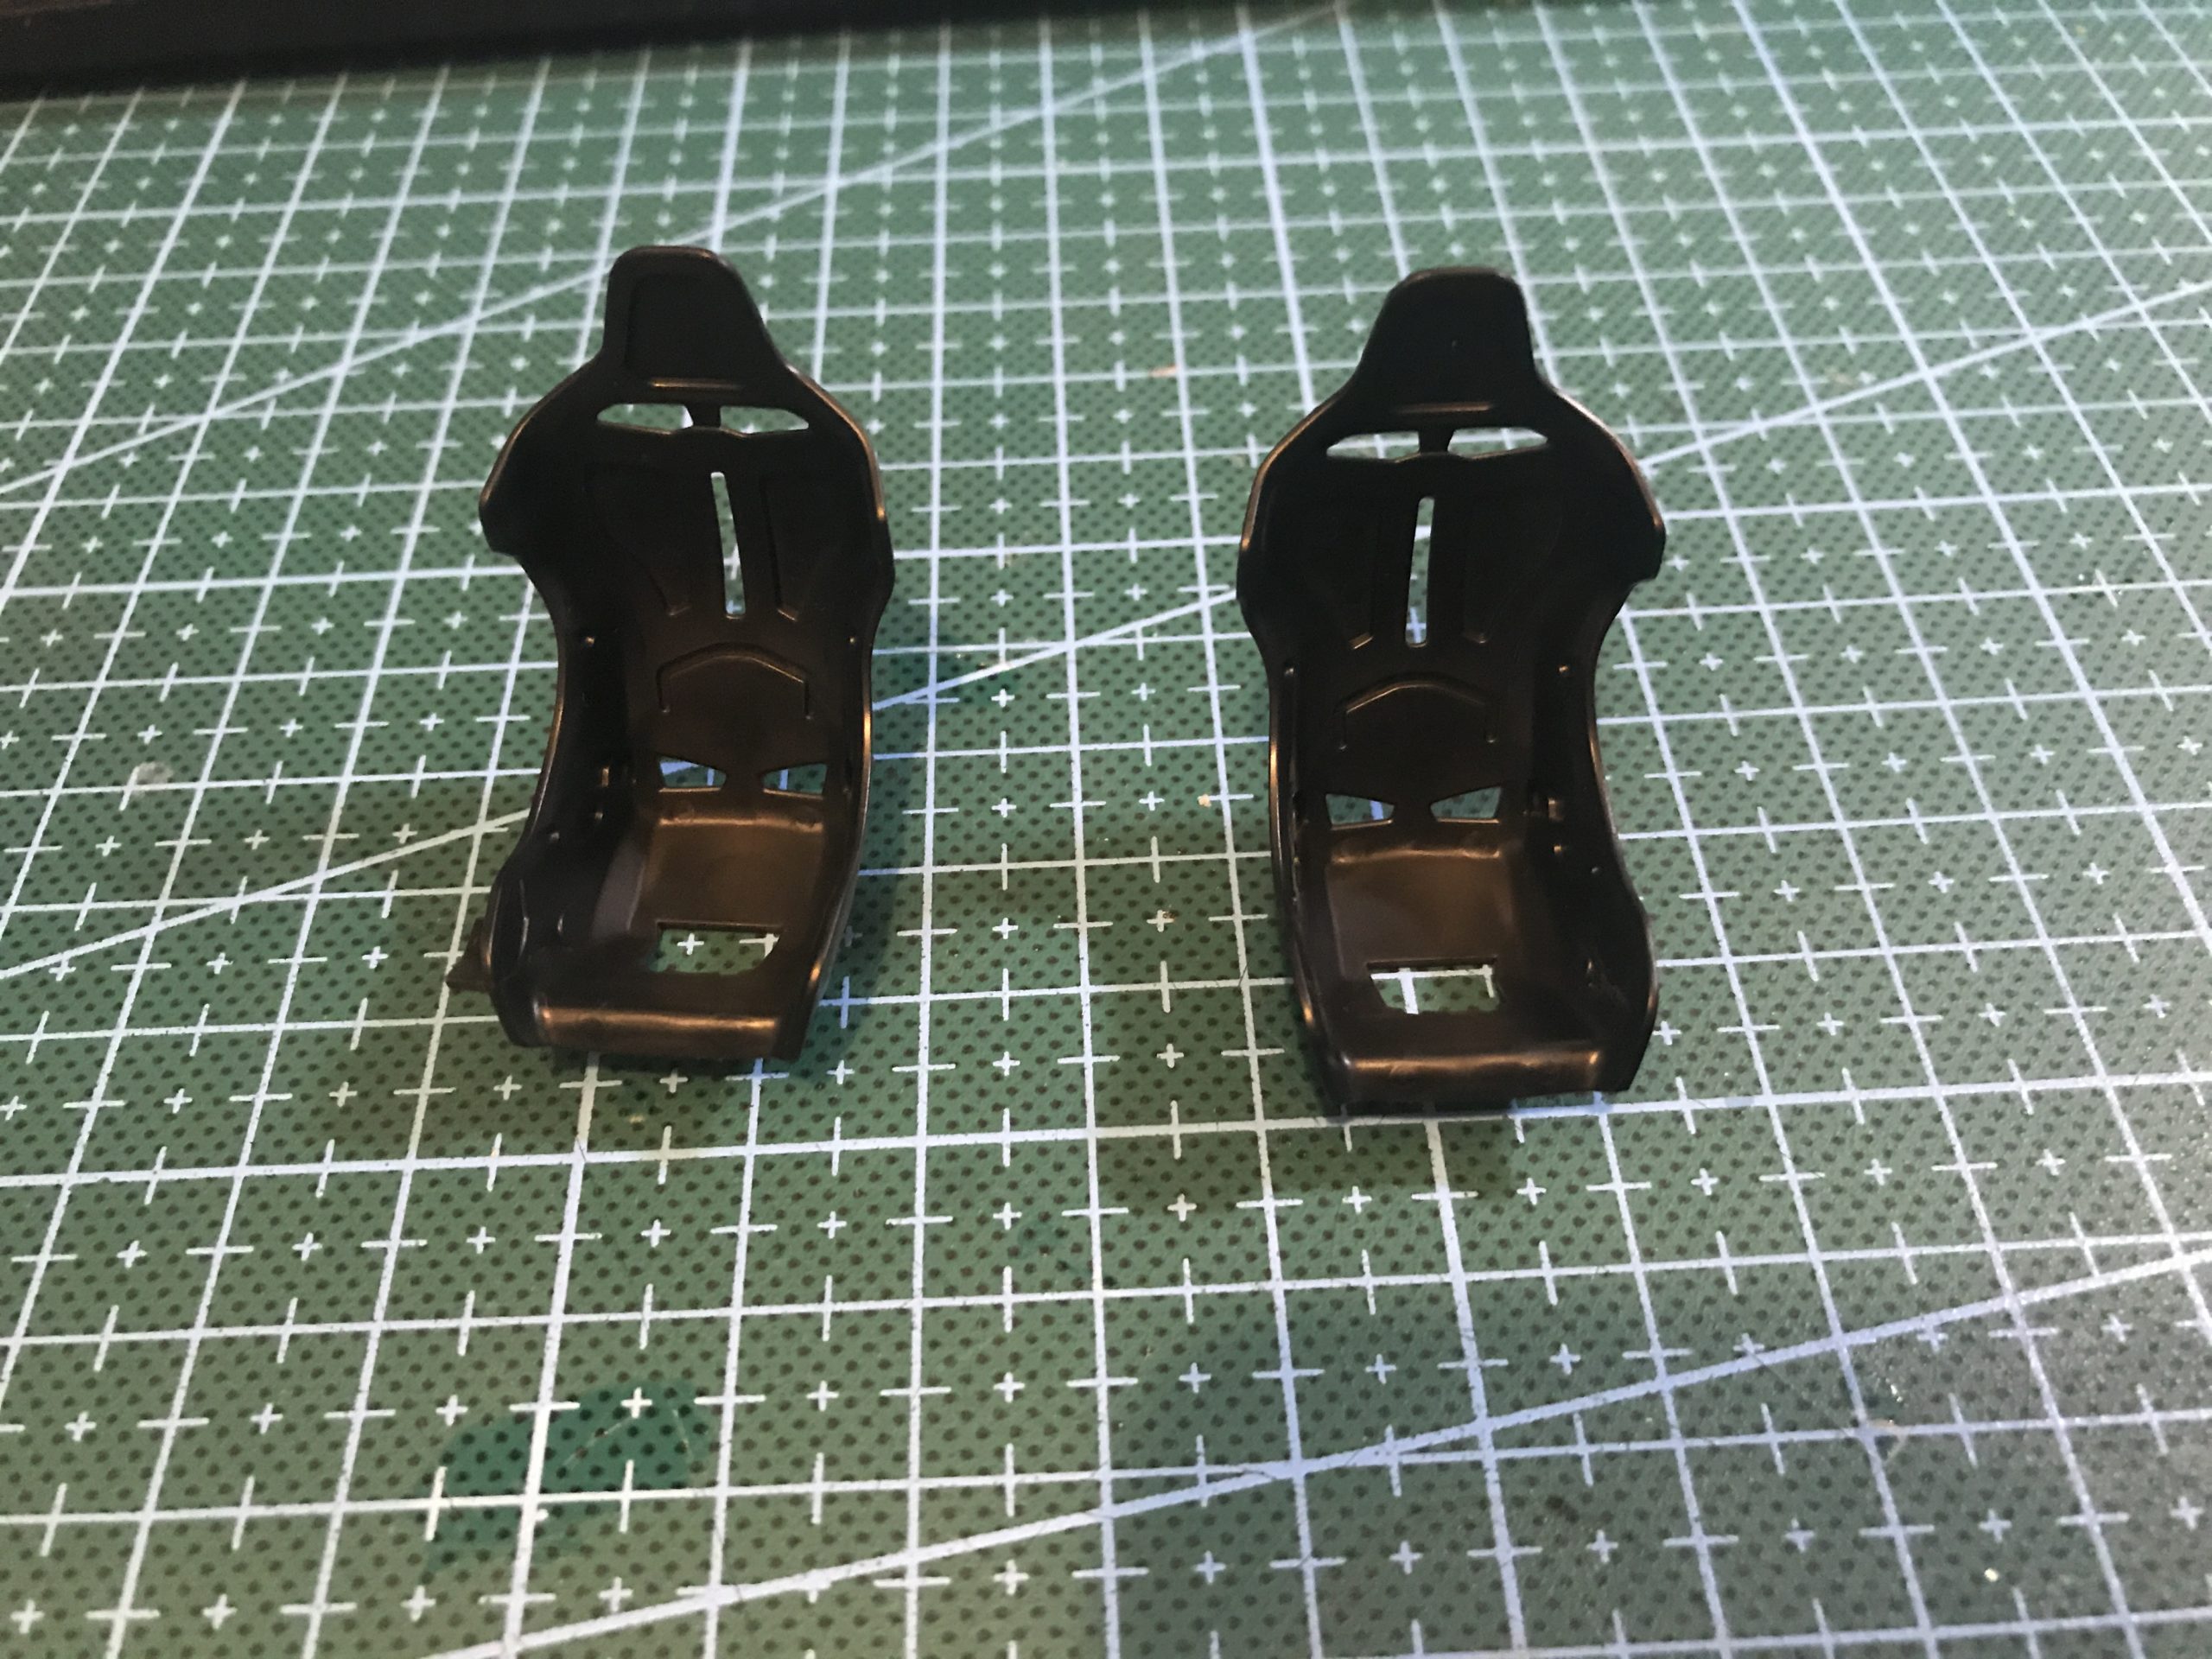
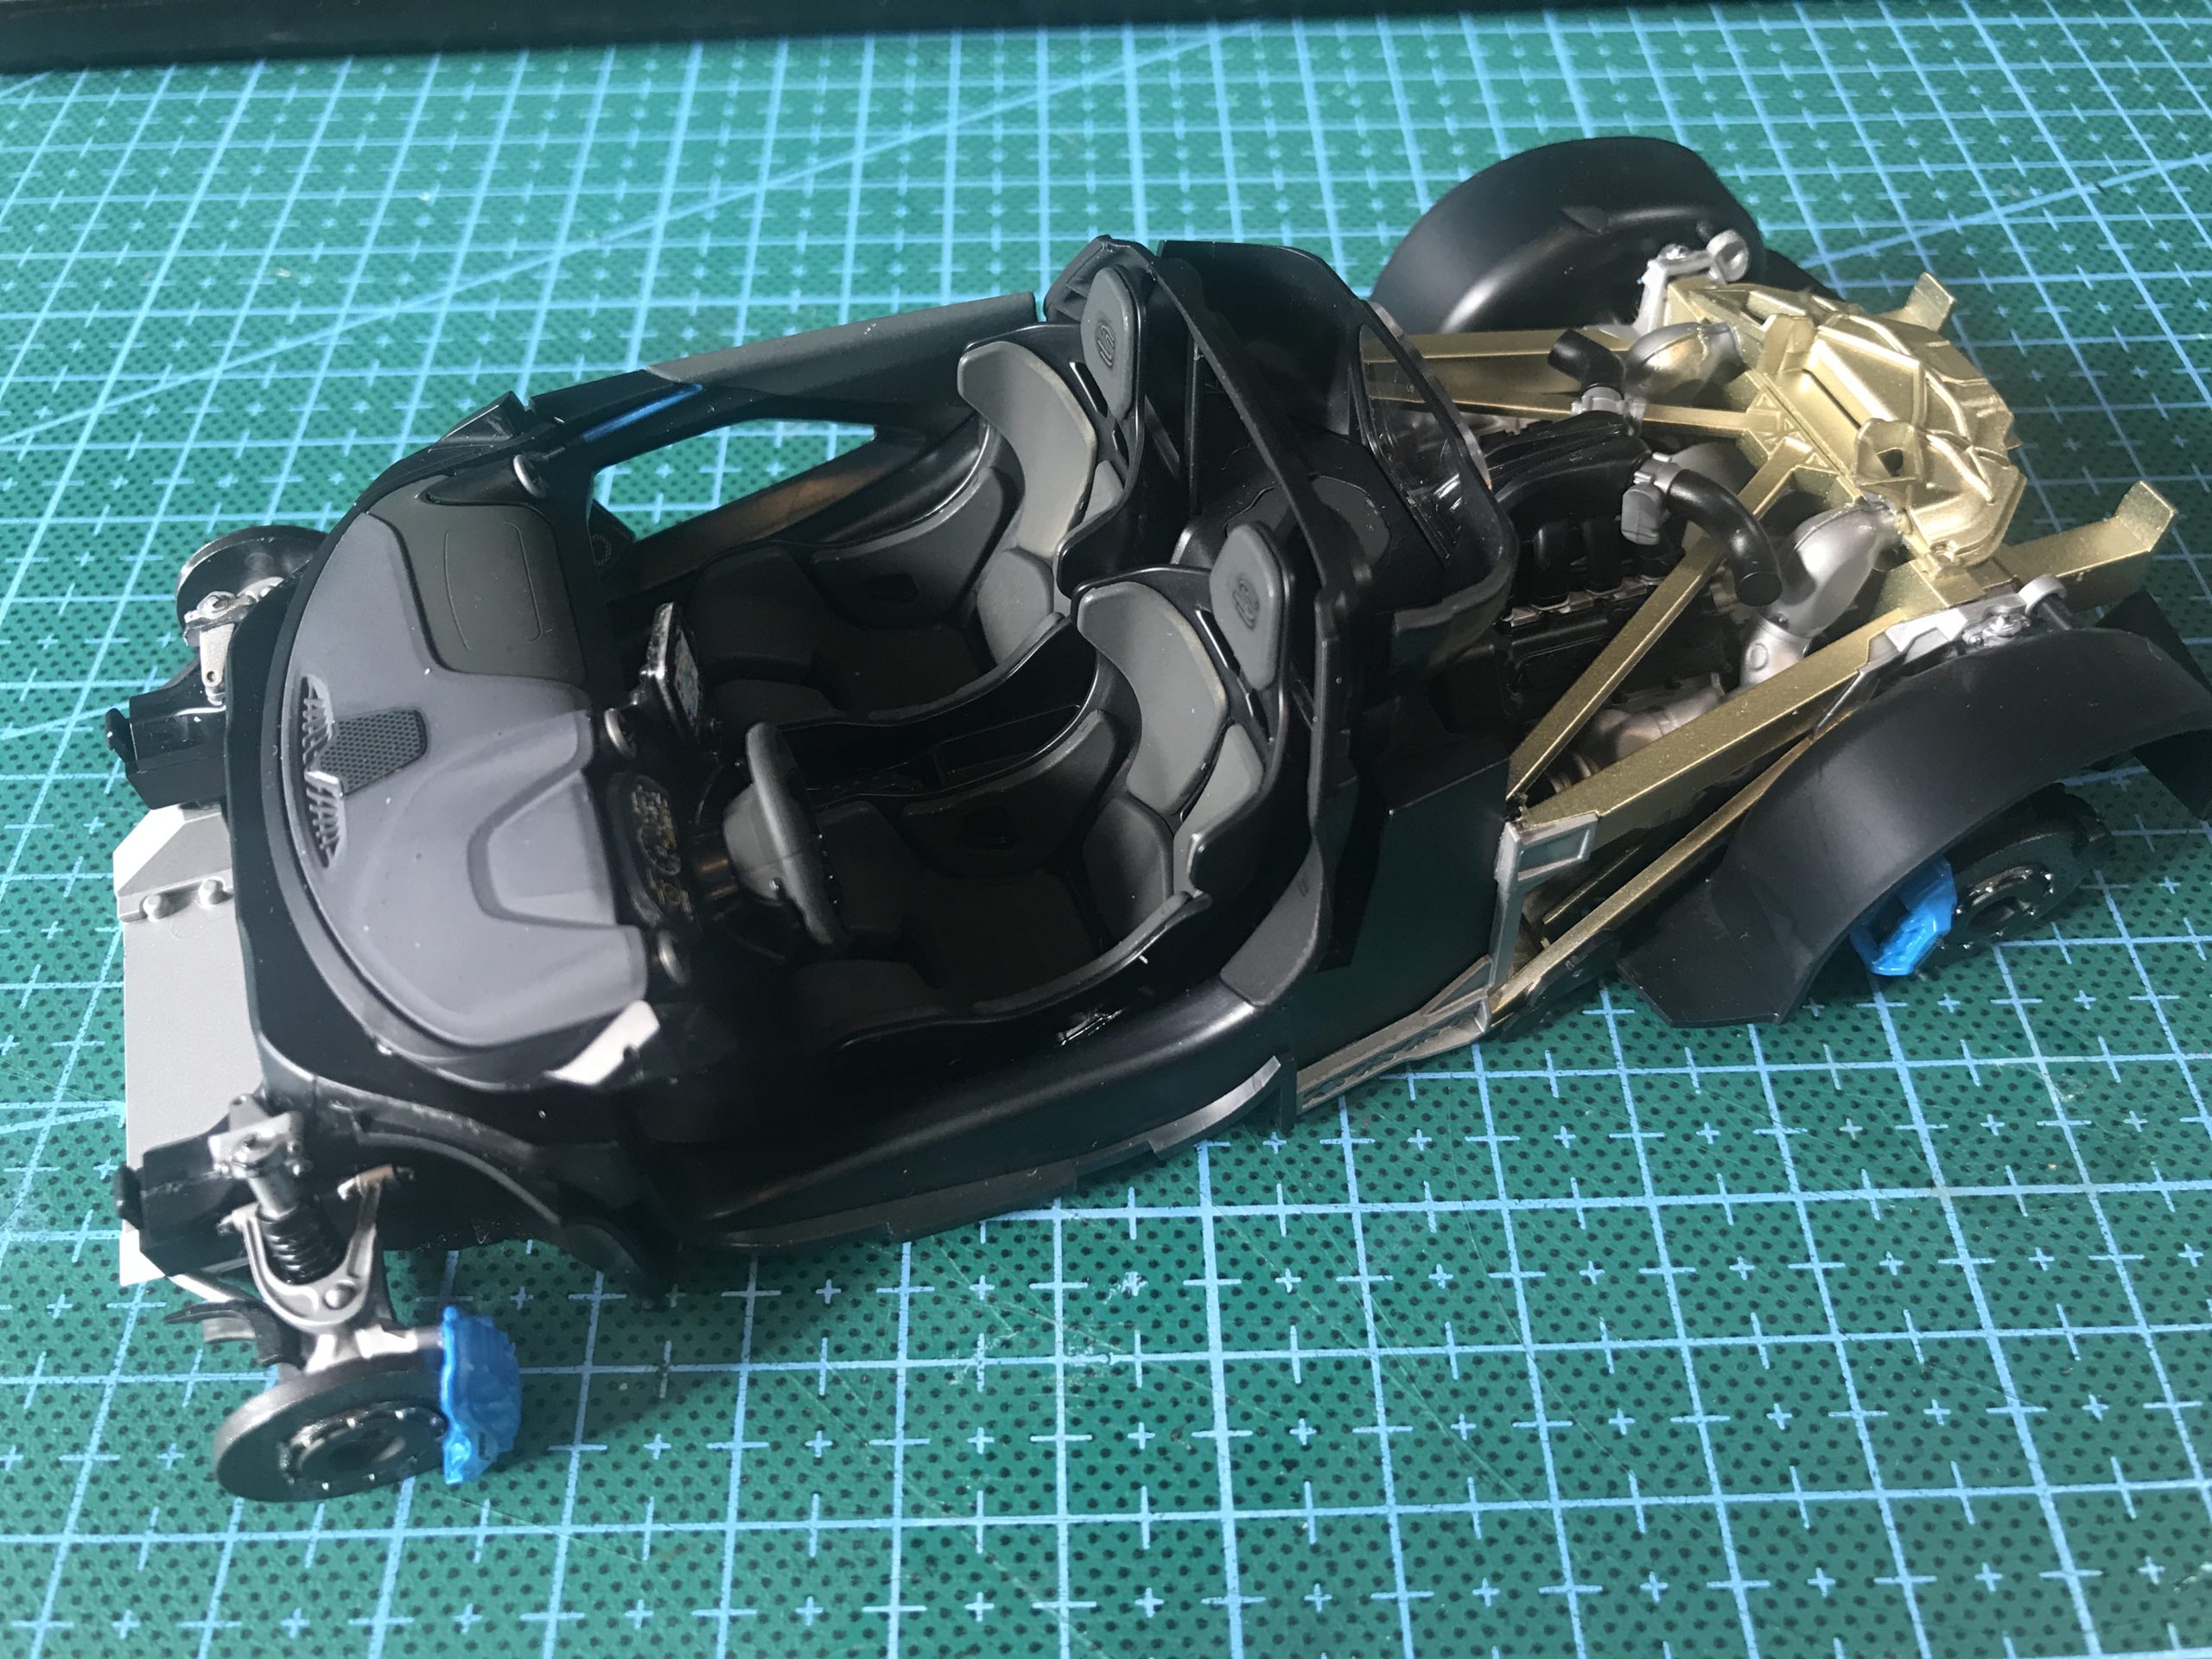
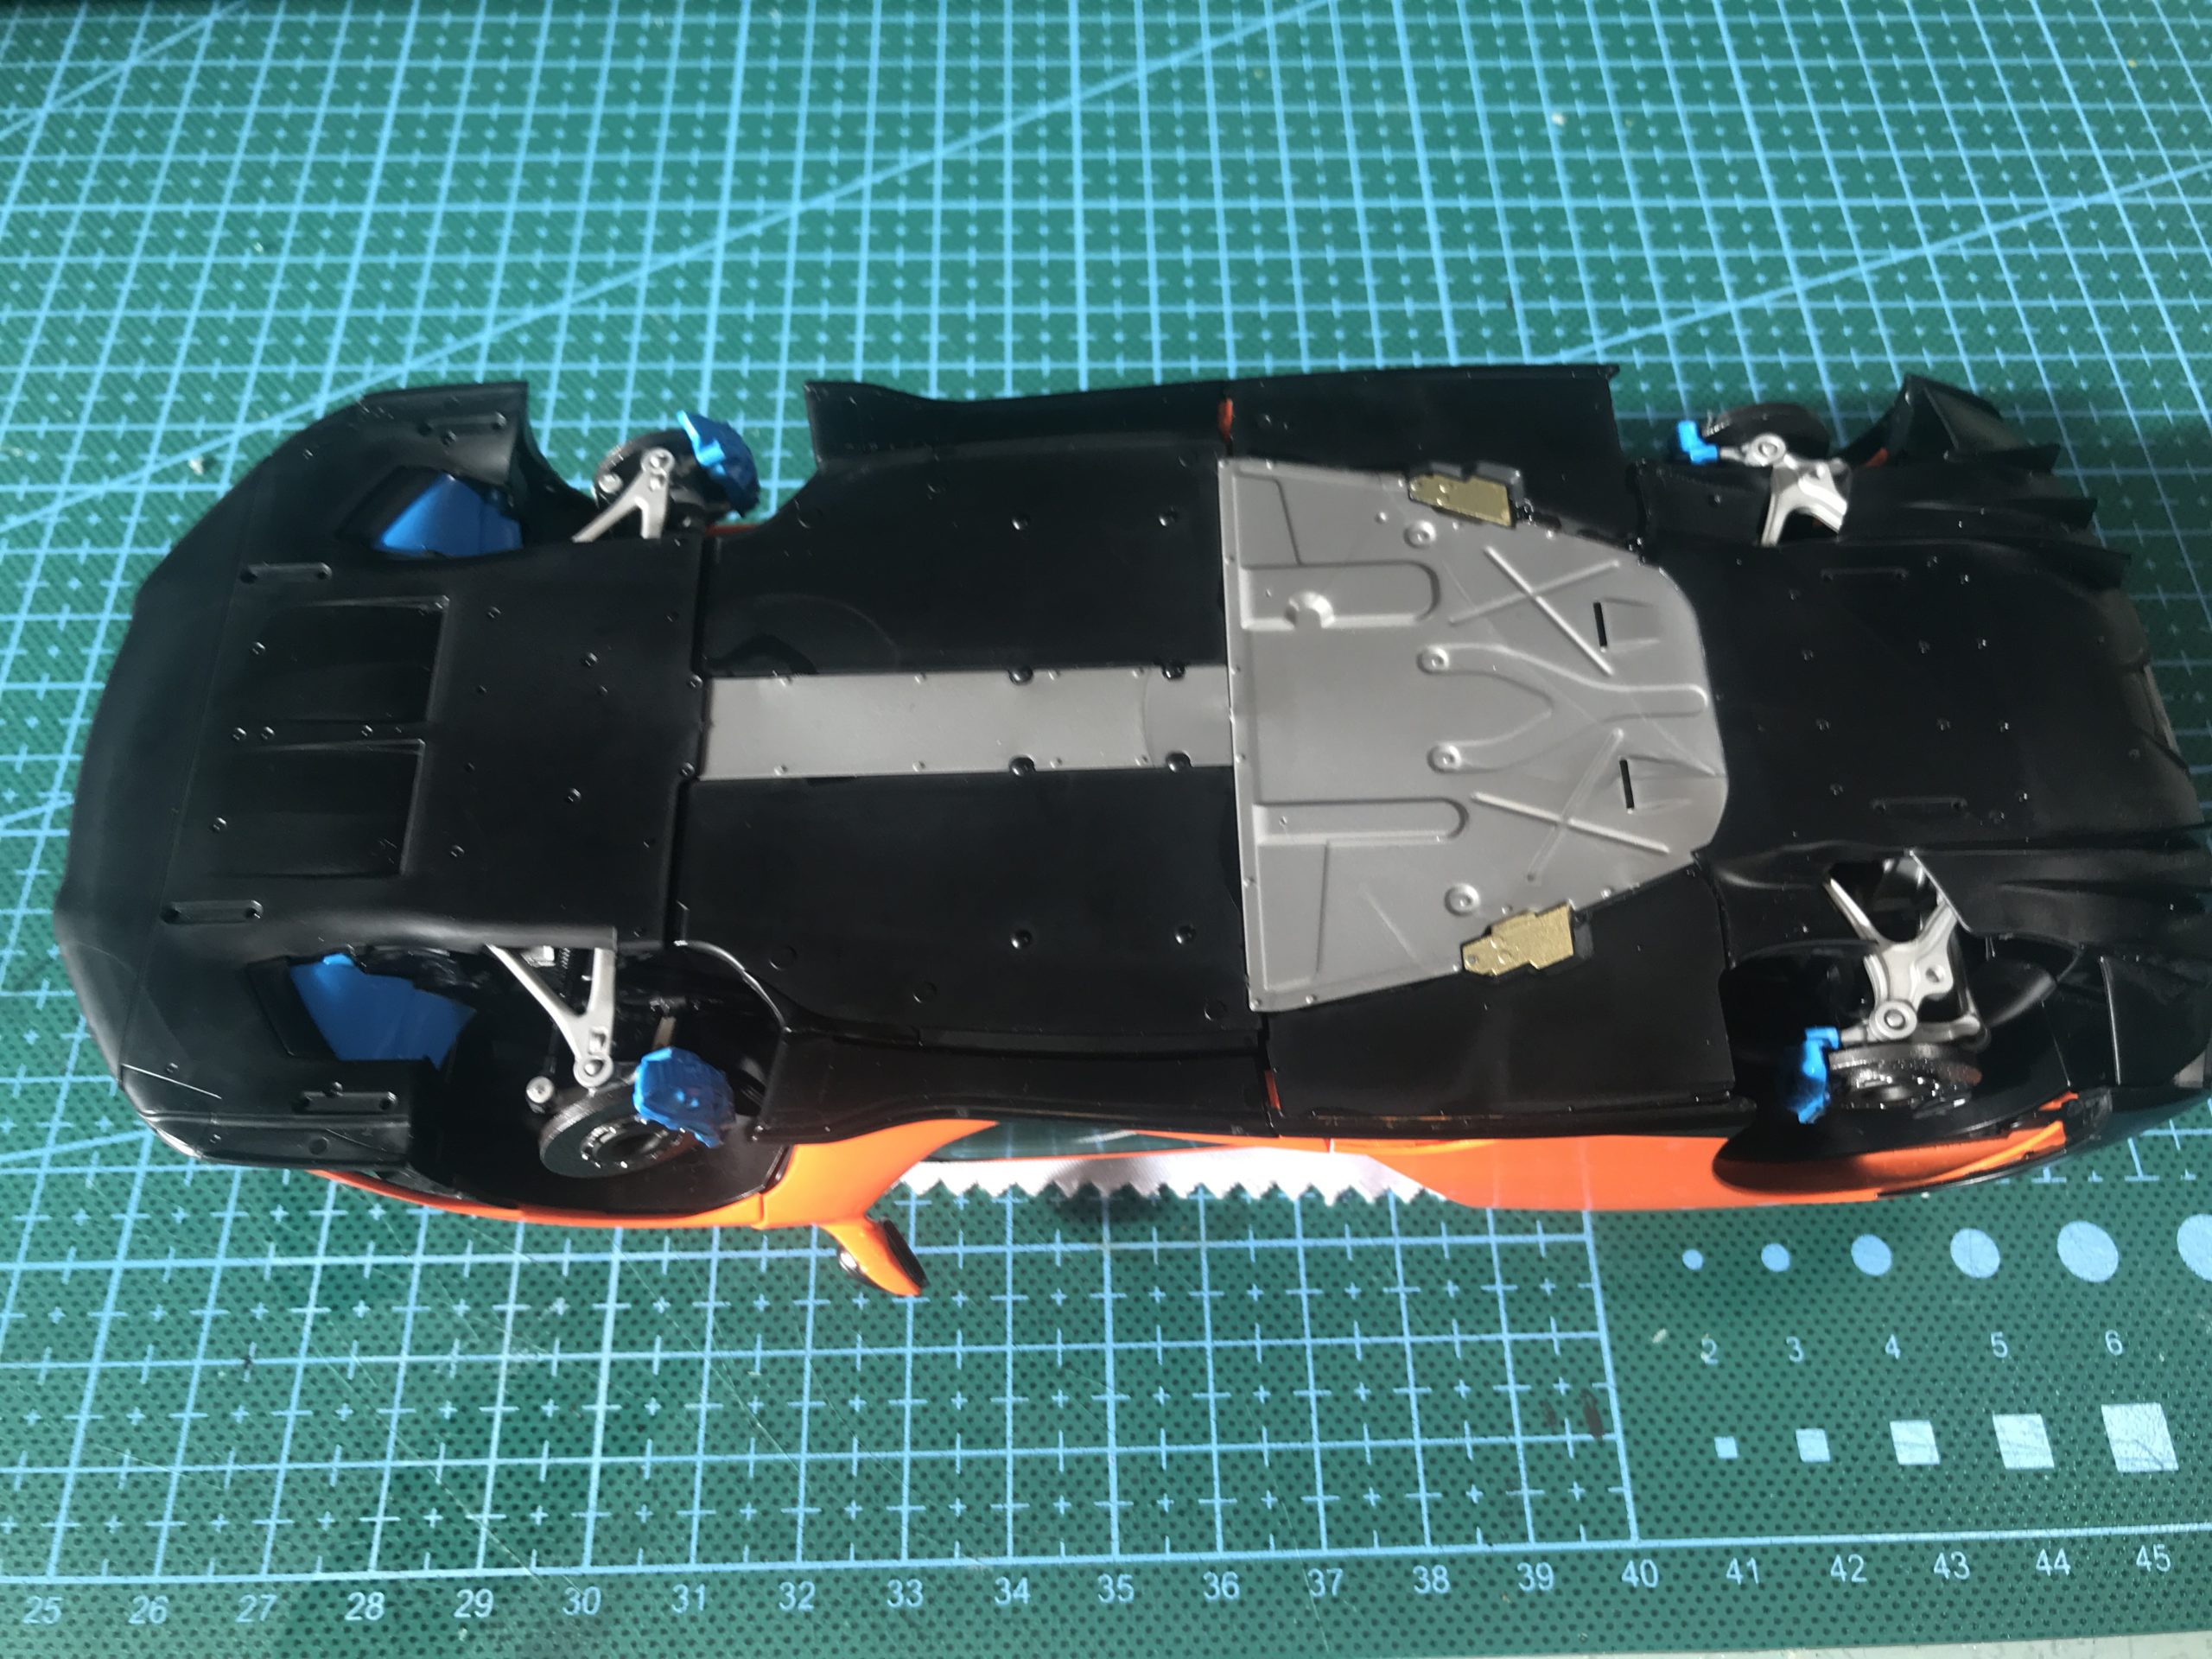
With the body assembled I basically knew the finished model was going to look okay. The interior and chassis are much more like a conventional car kit. So the average modeller can heave a sigh of relief safe in the knowledge the hard bit is done.
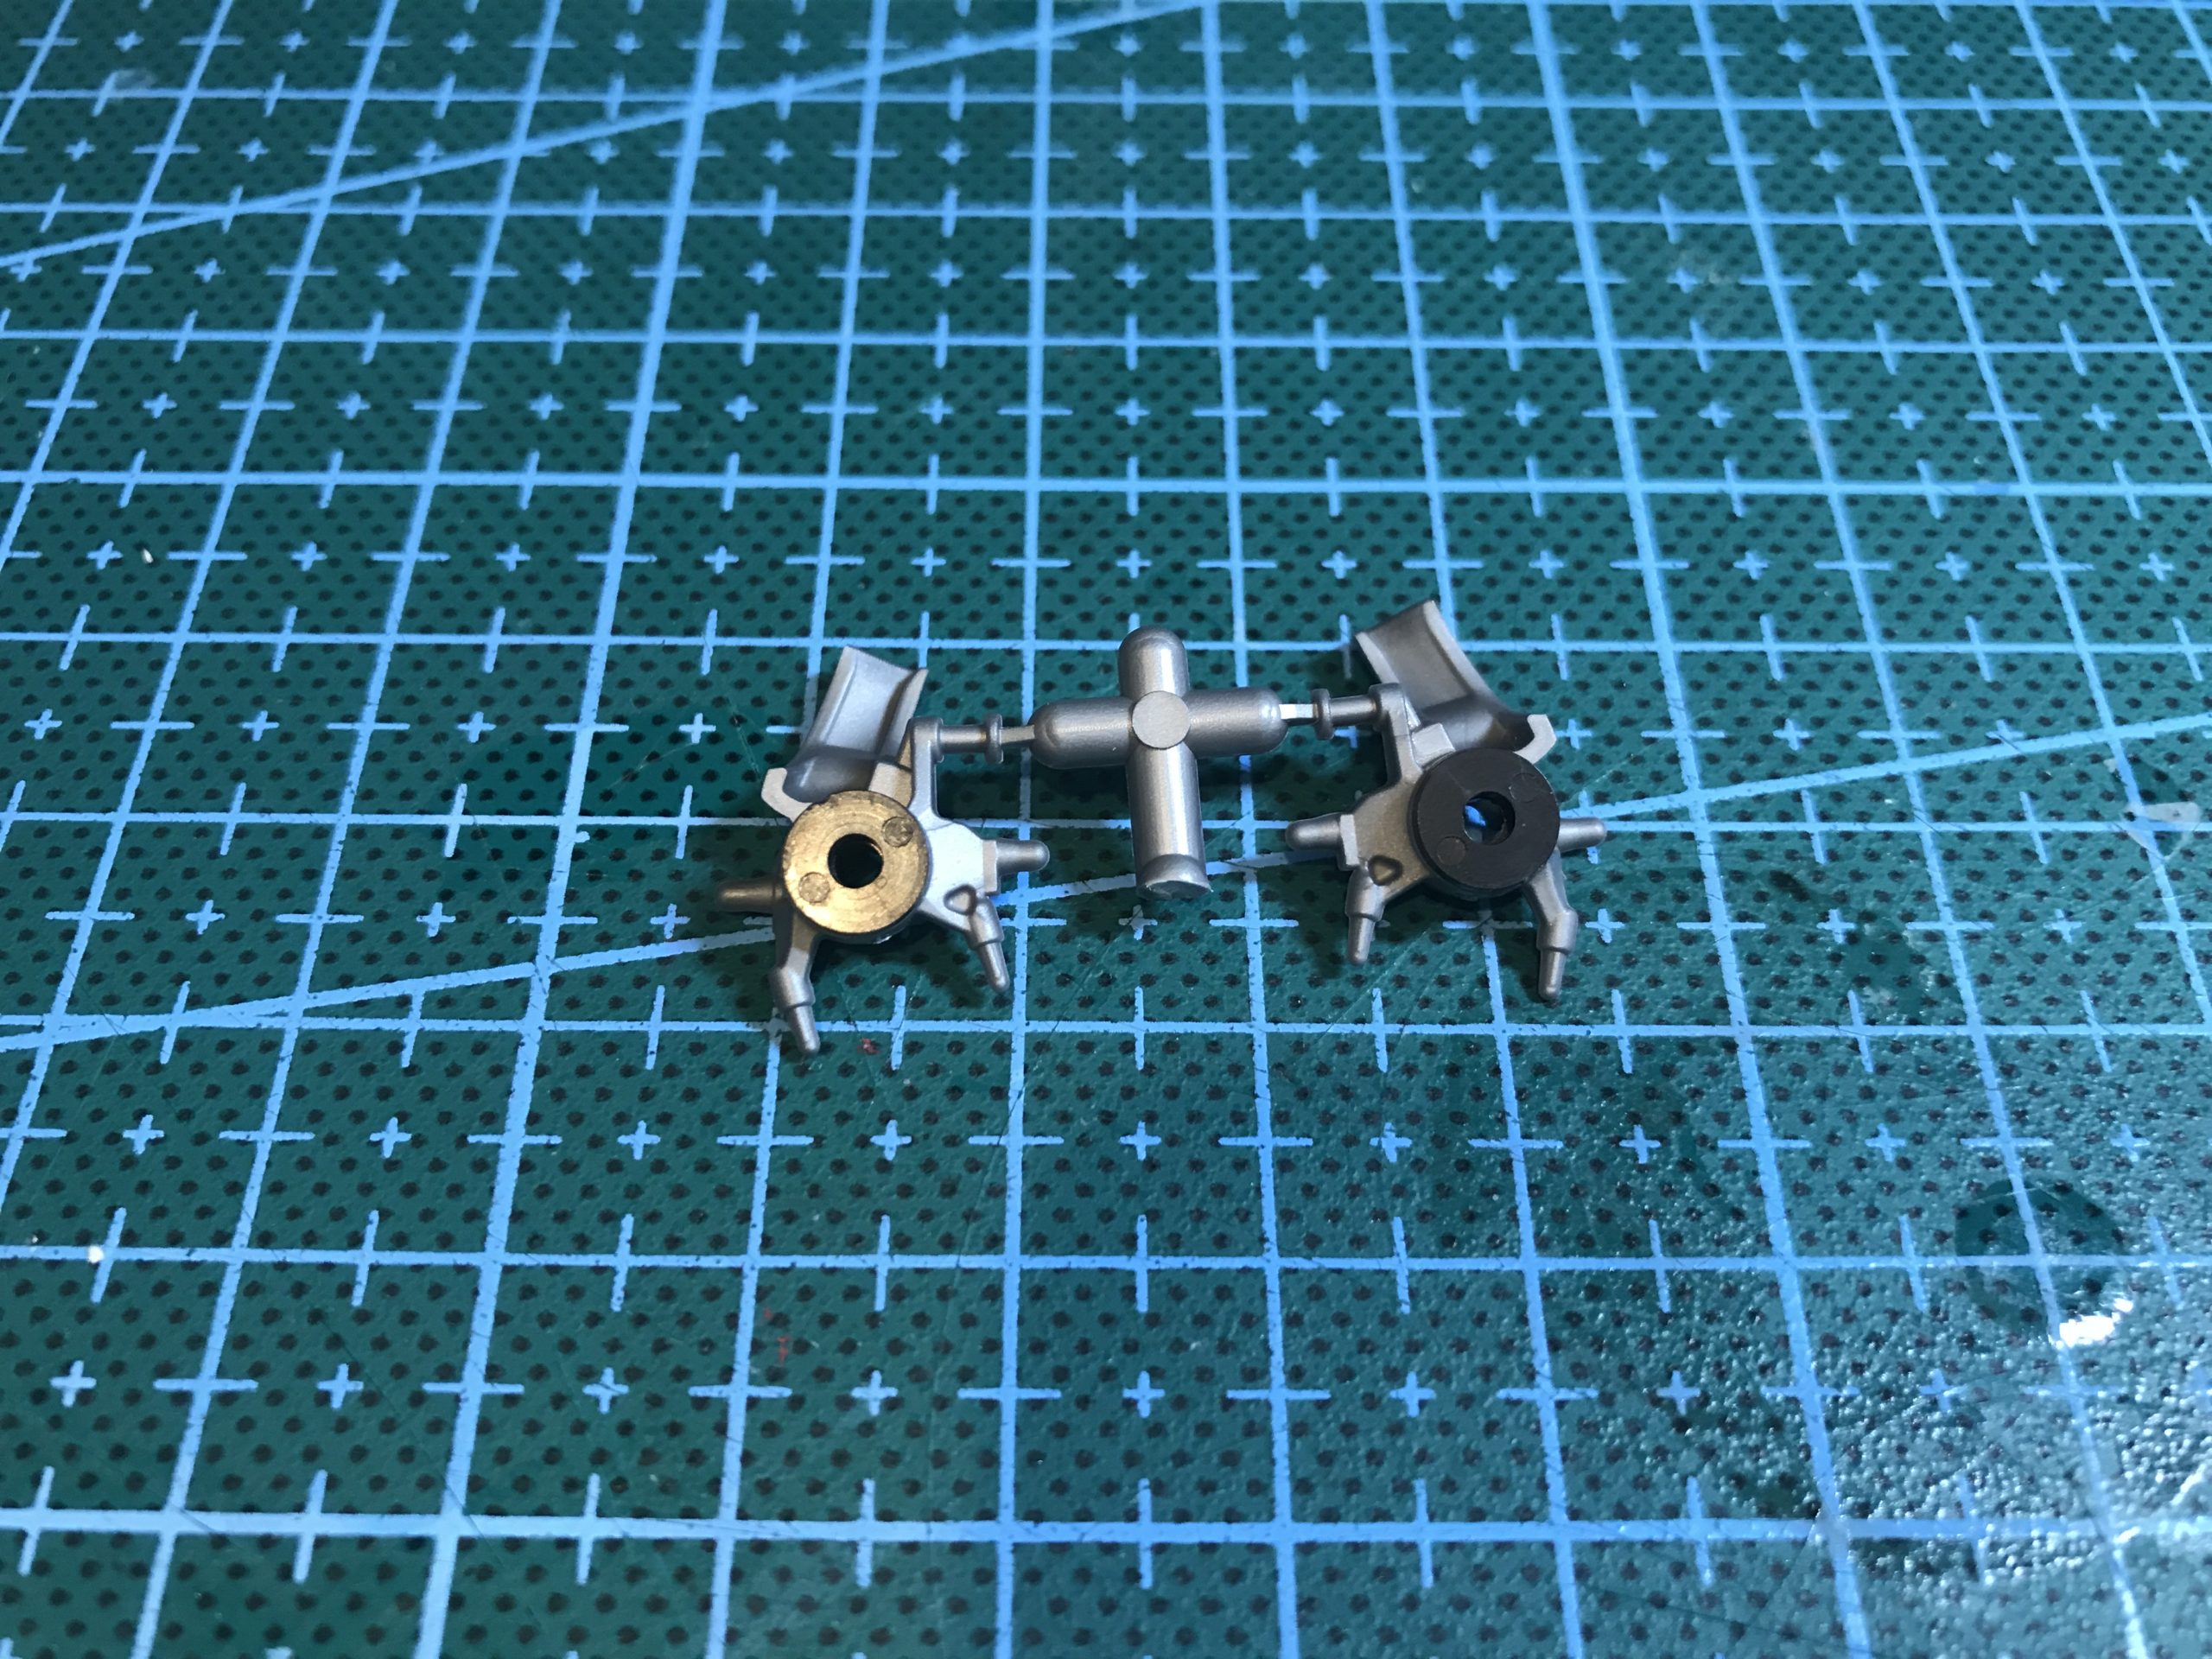
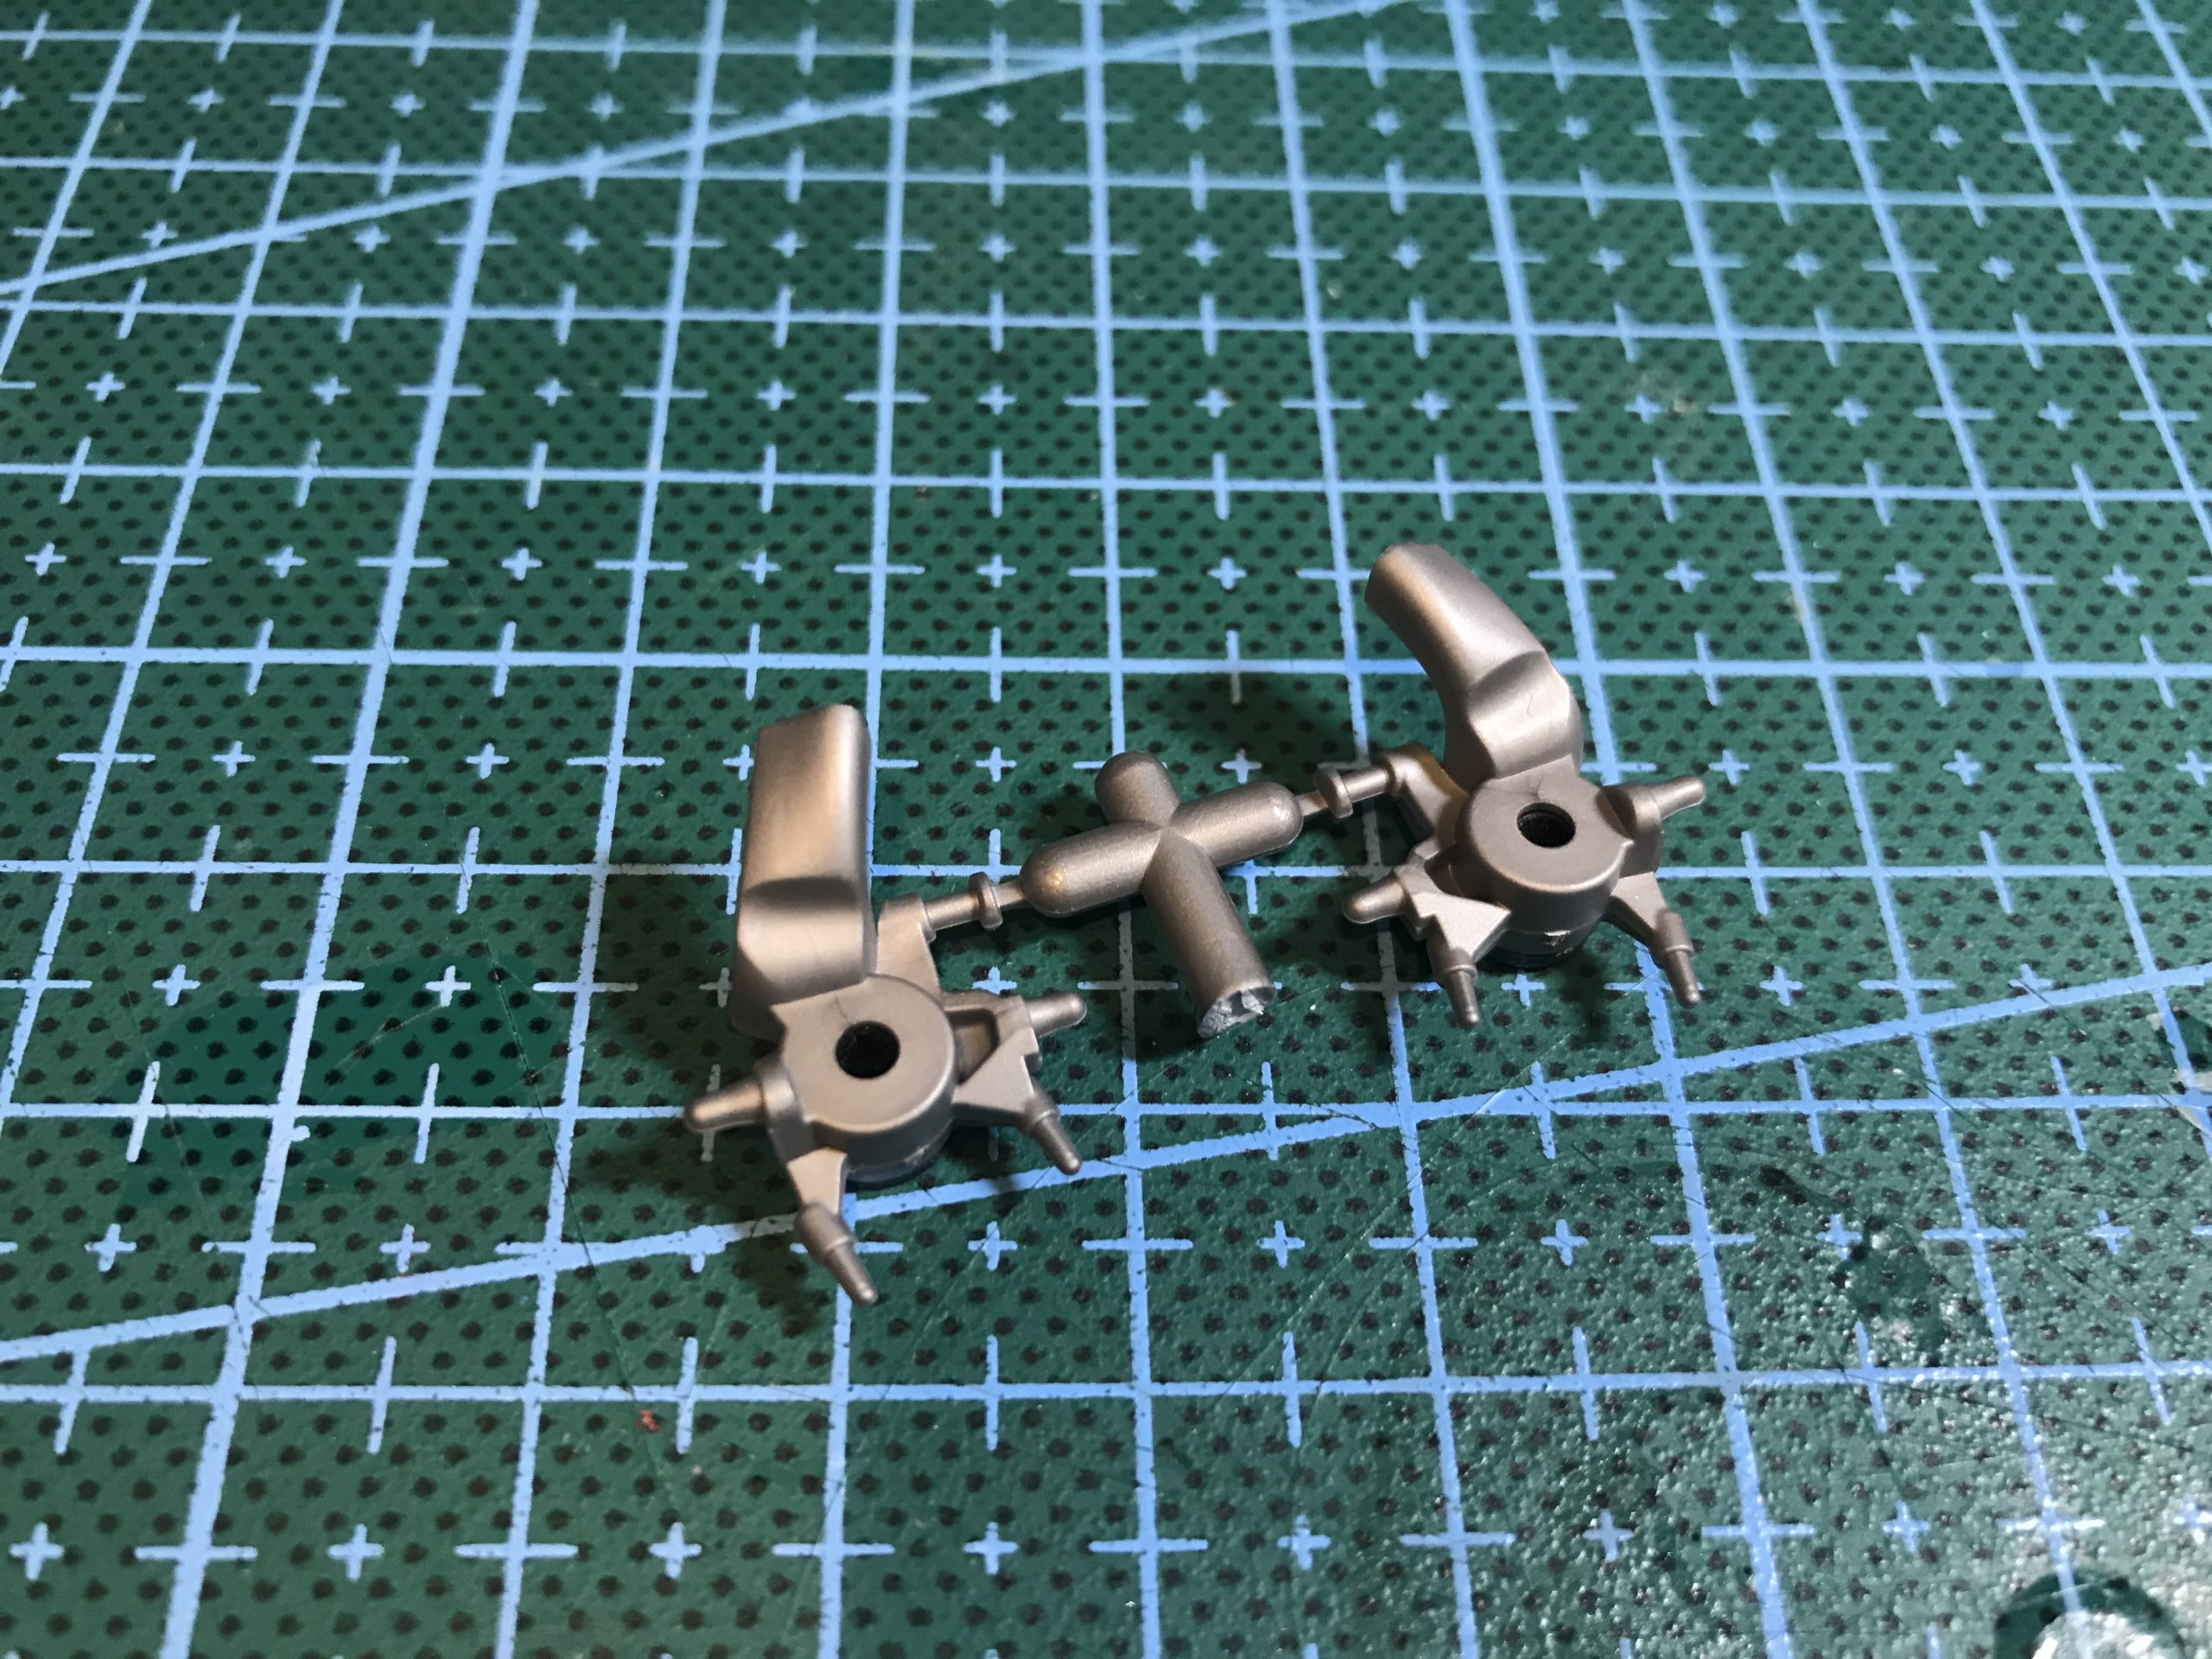
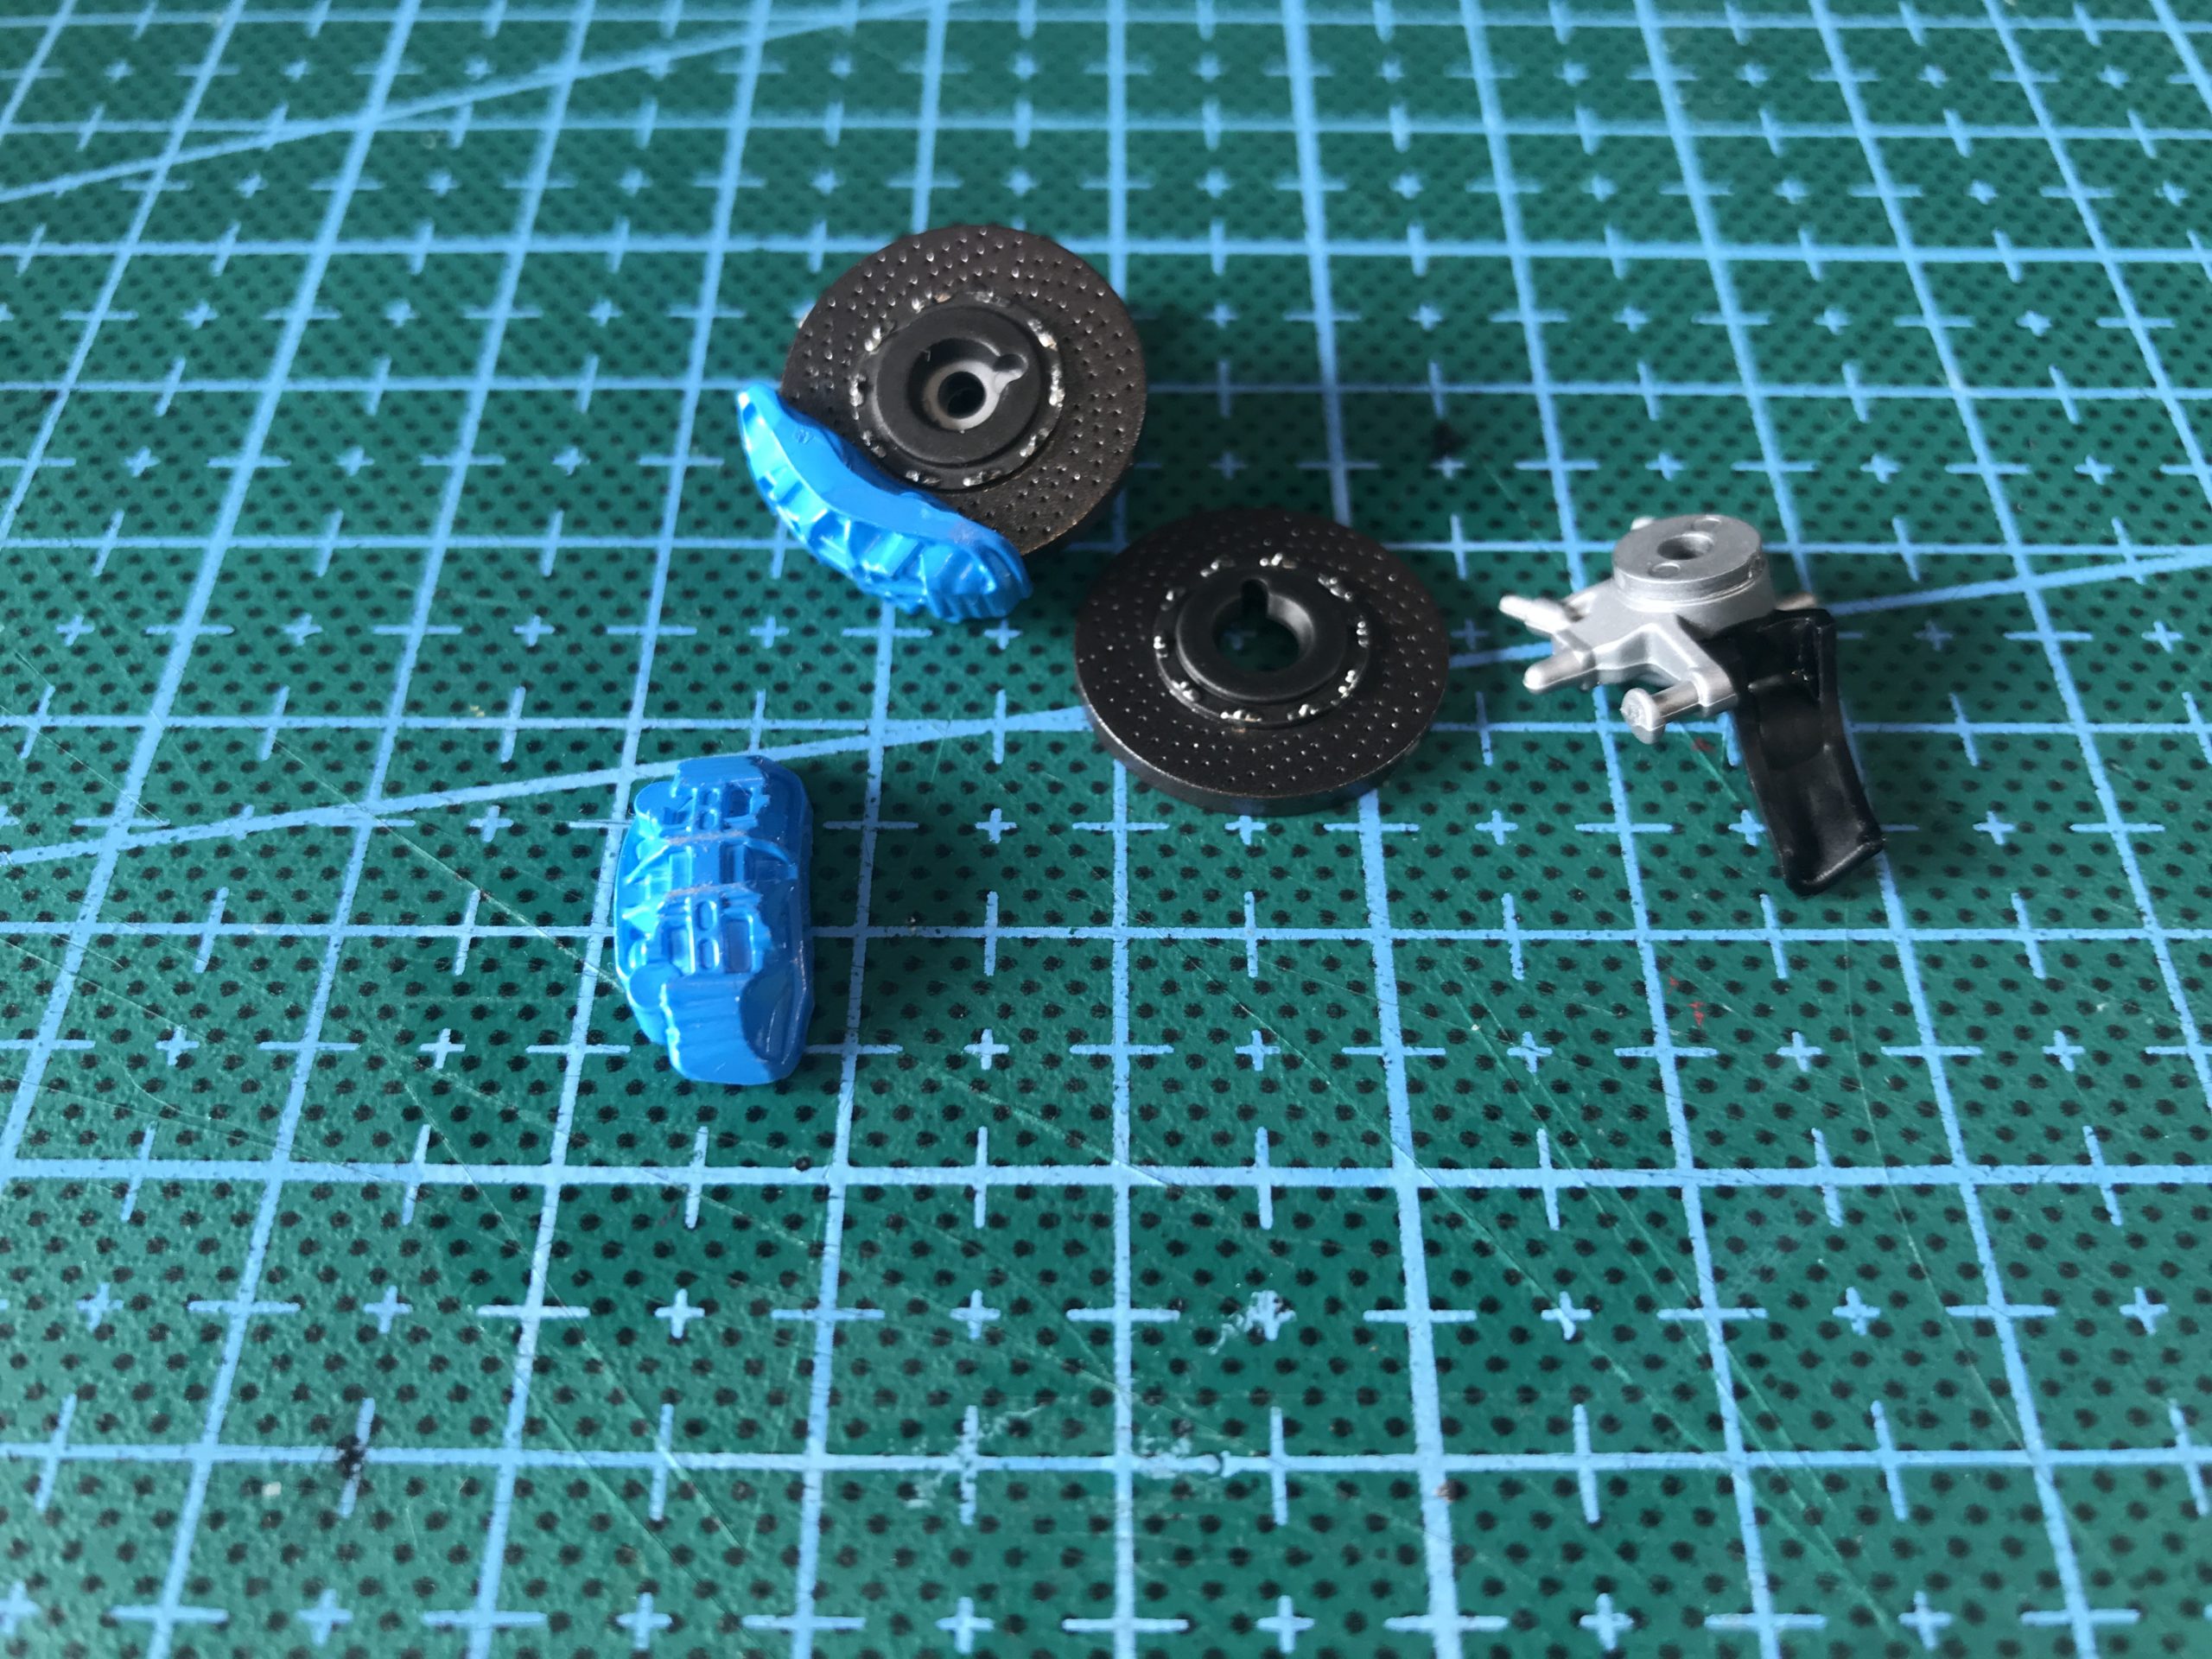
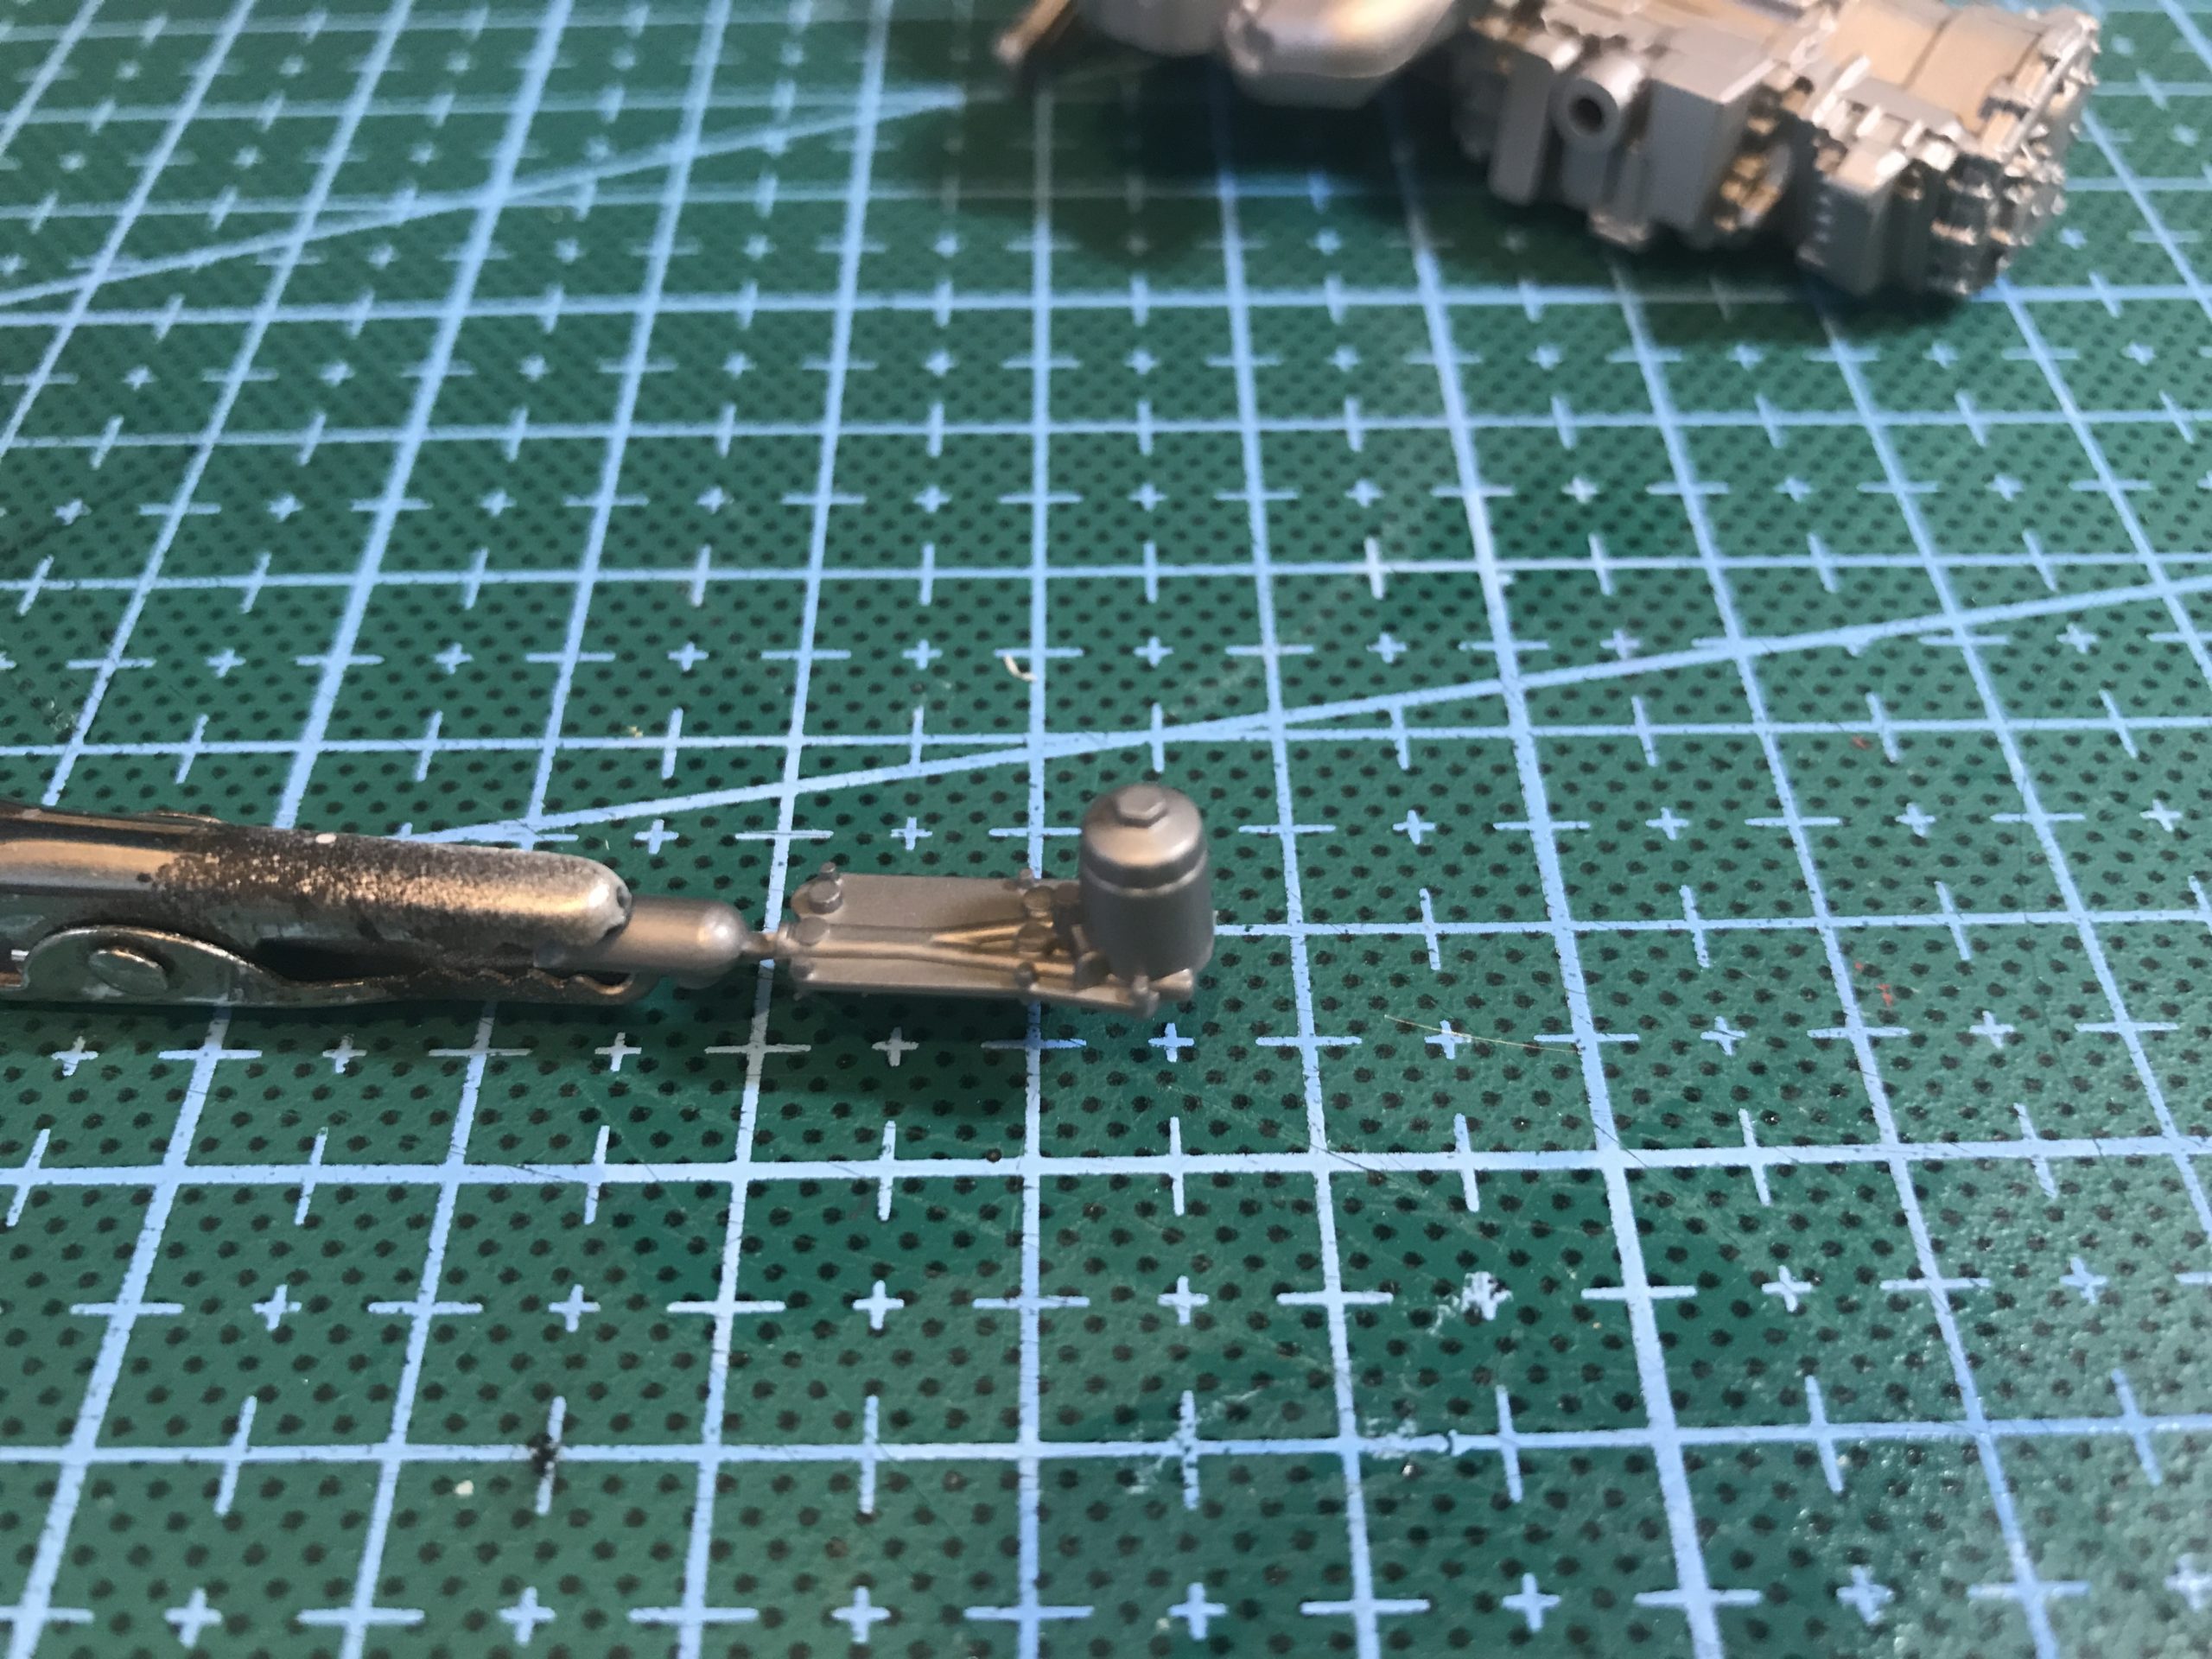
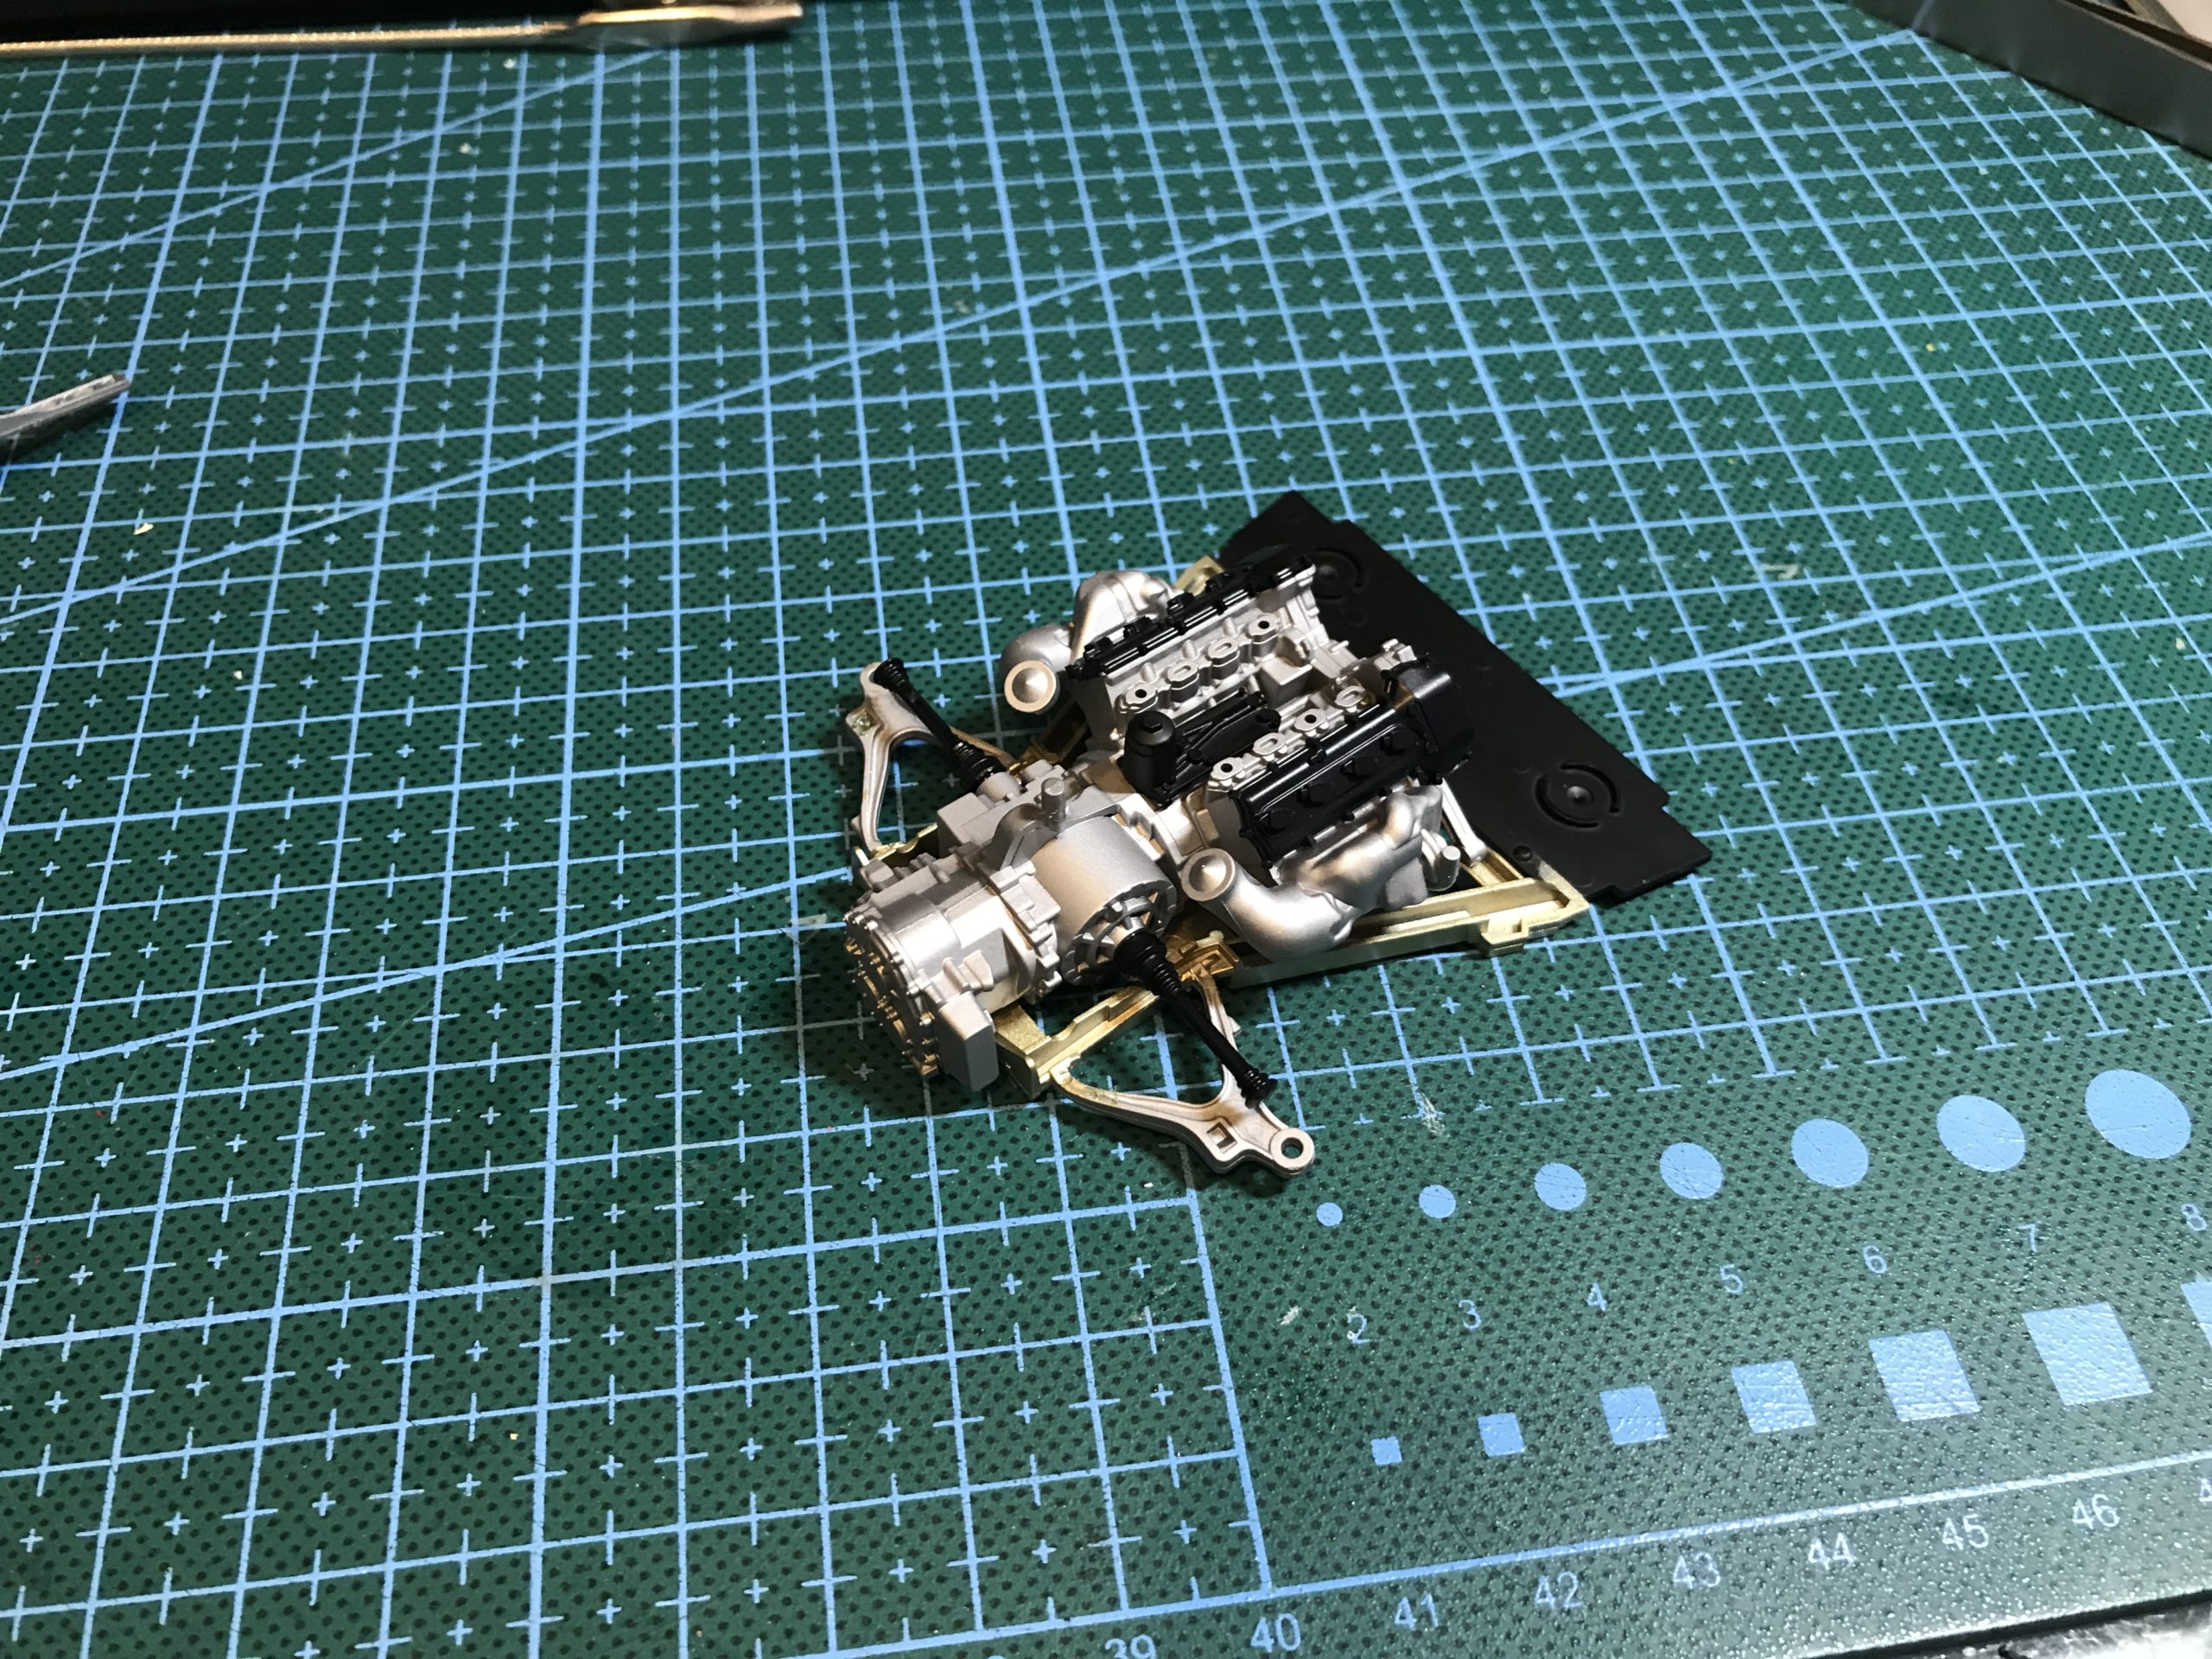
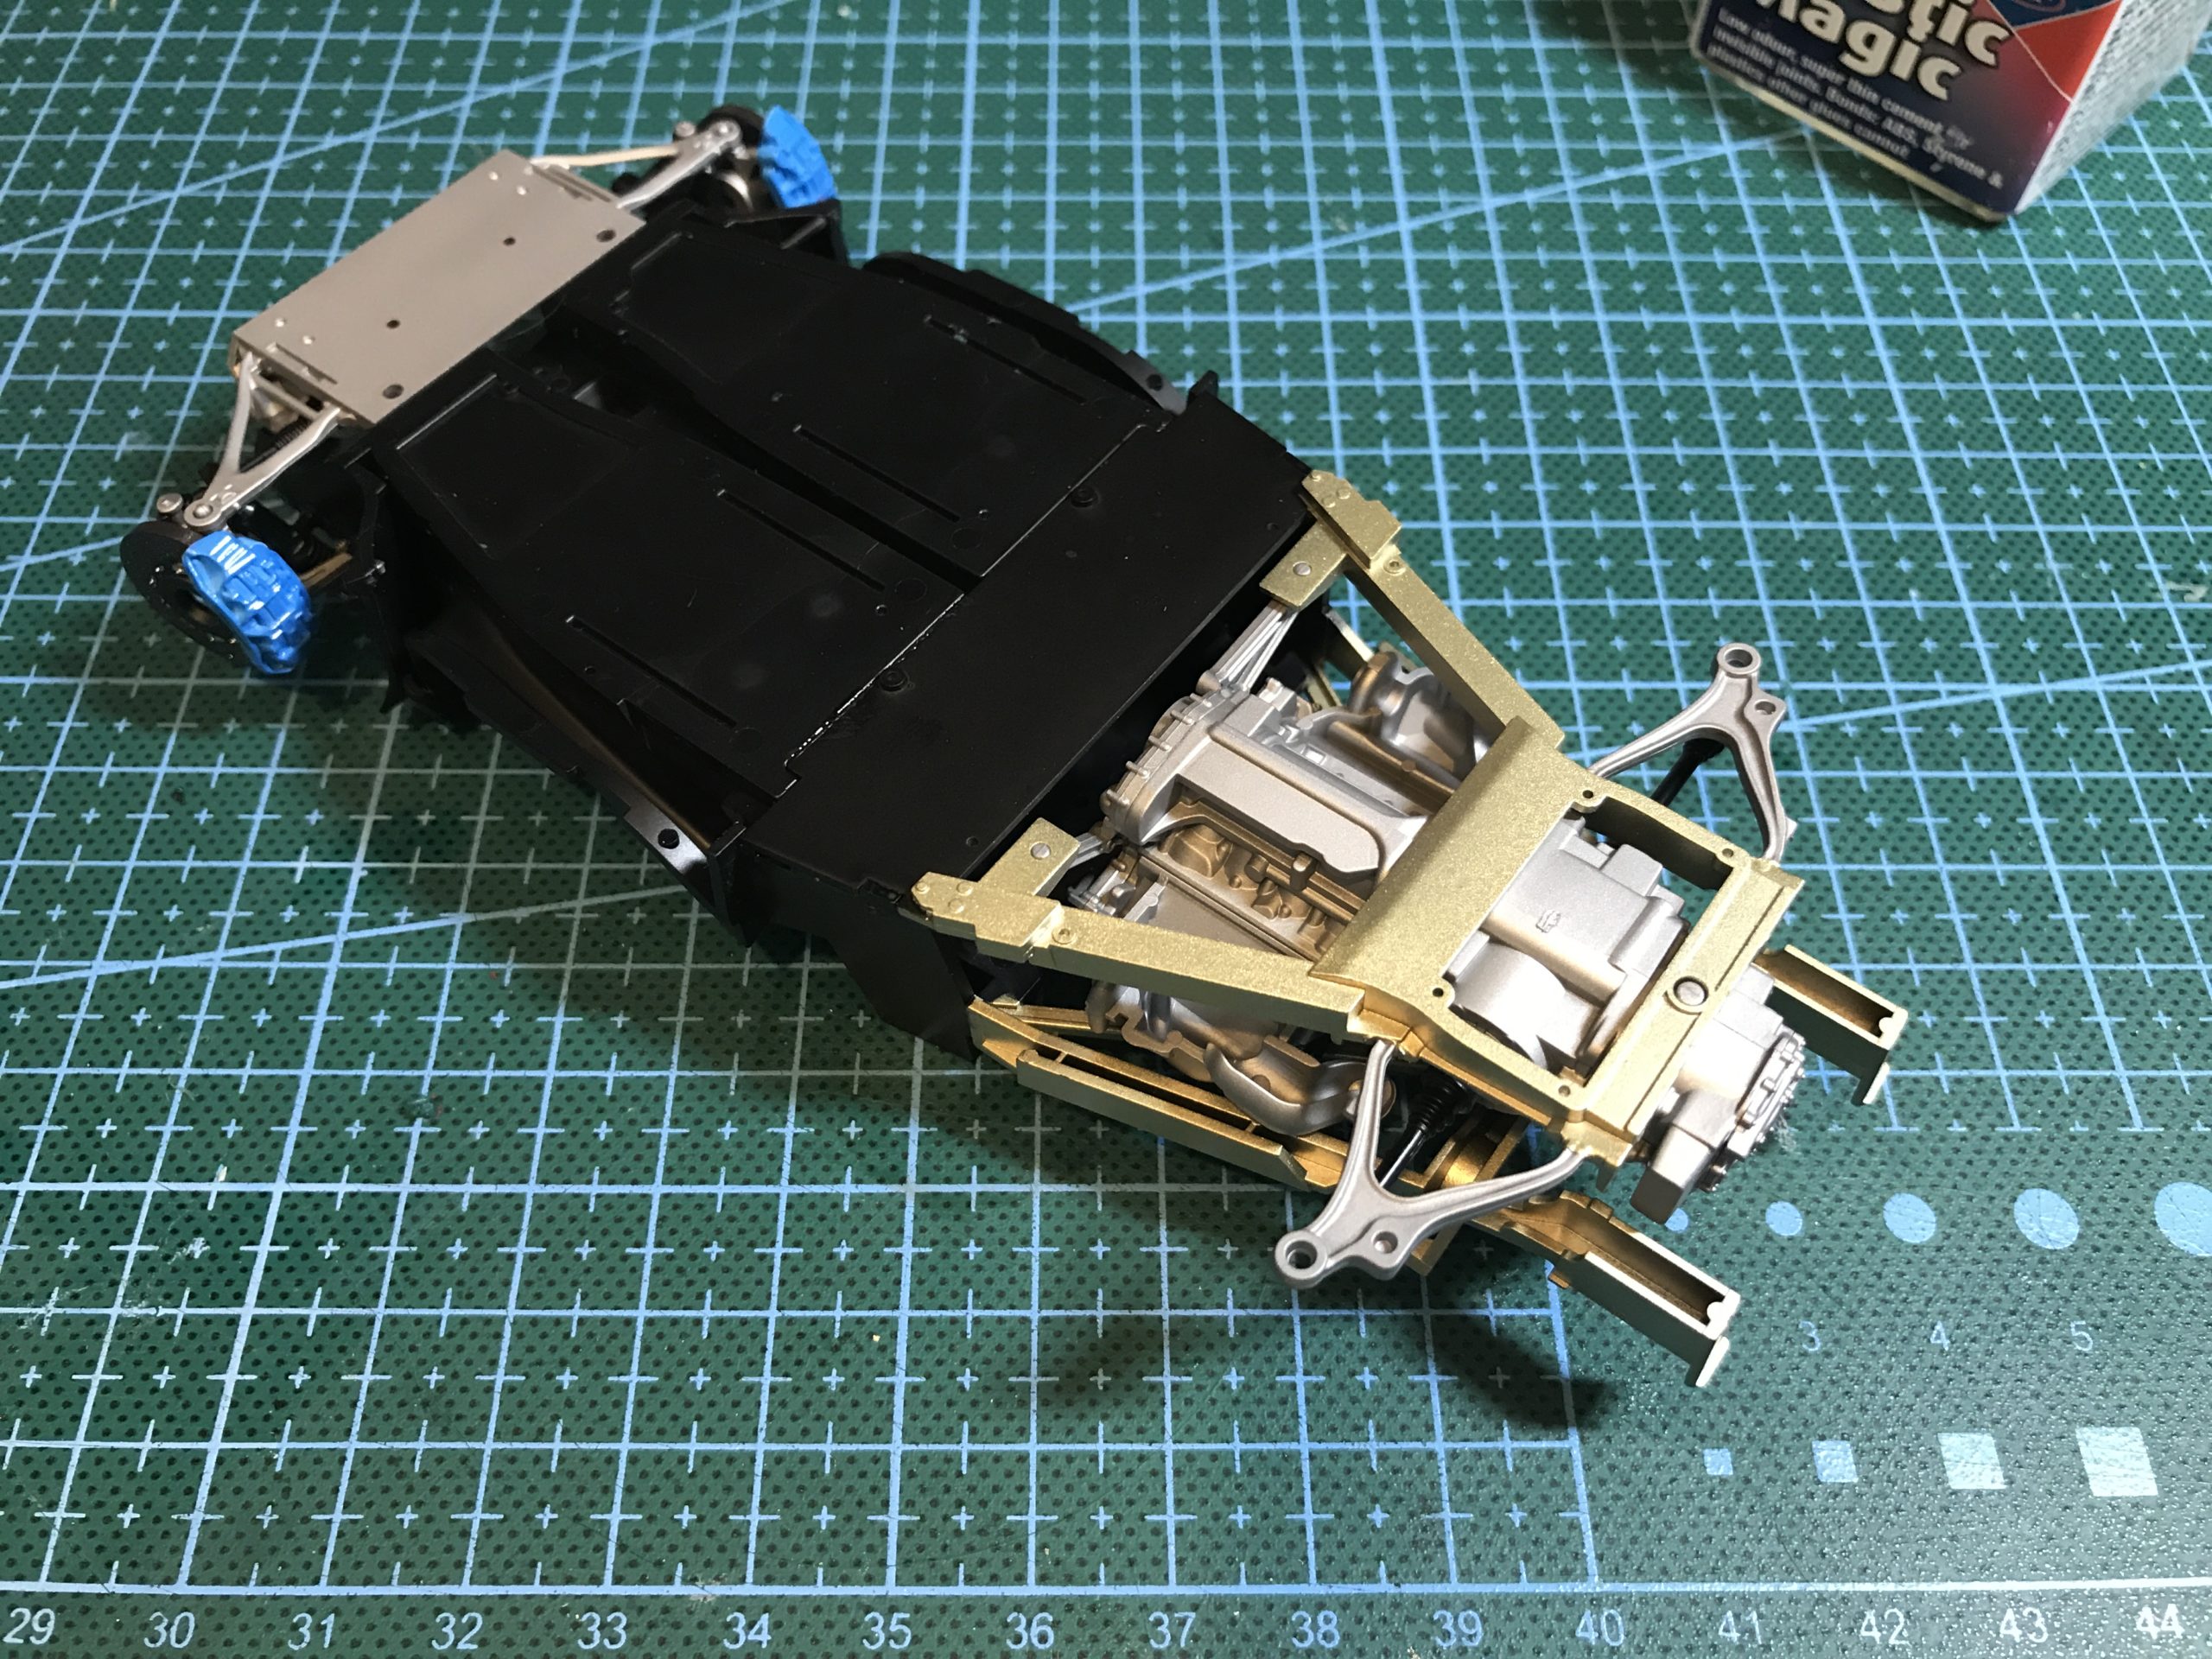
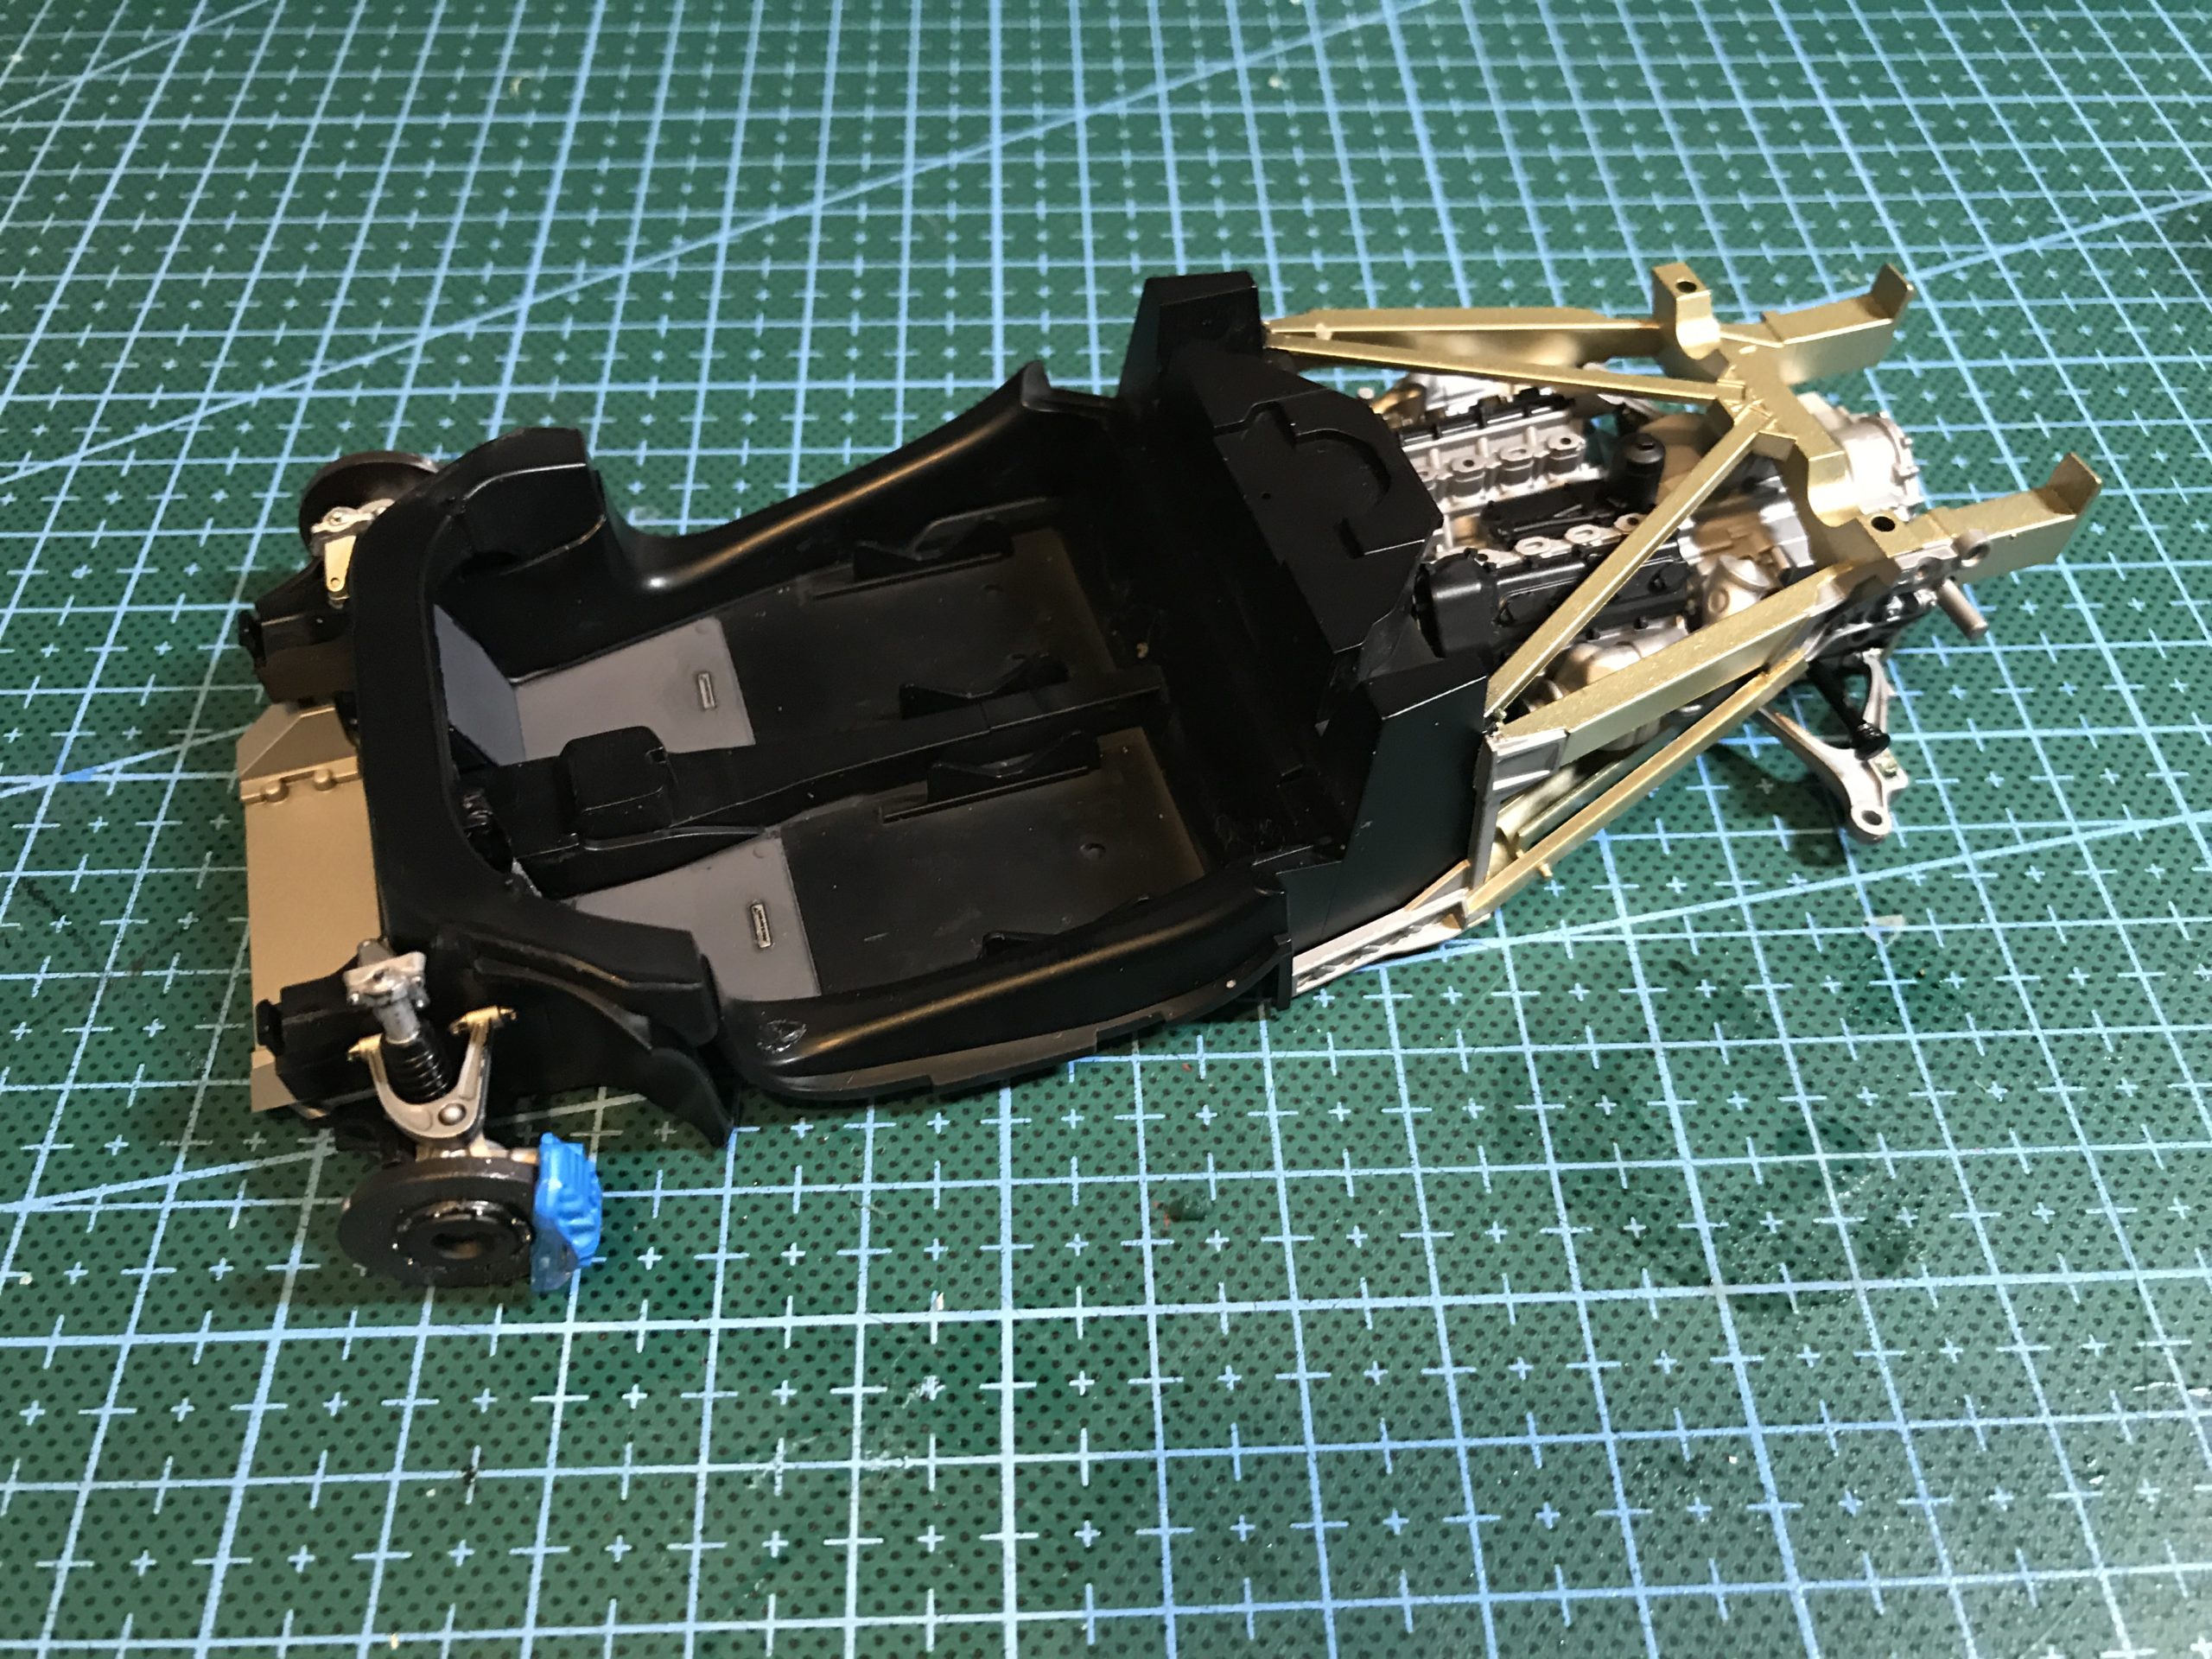
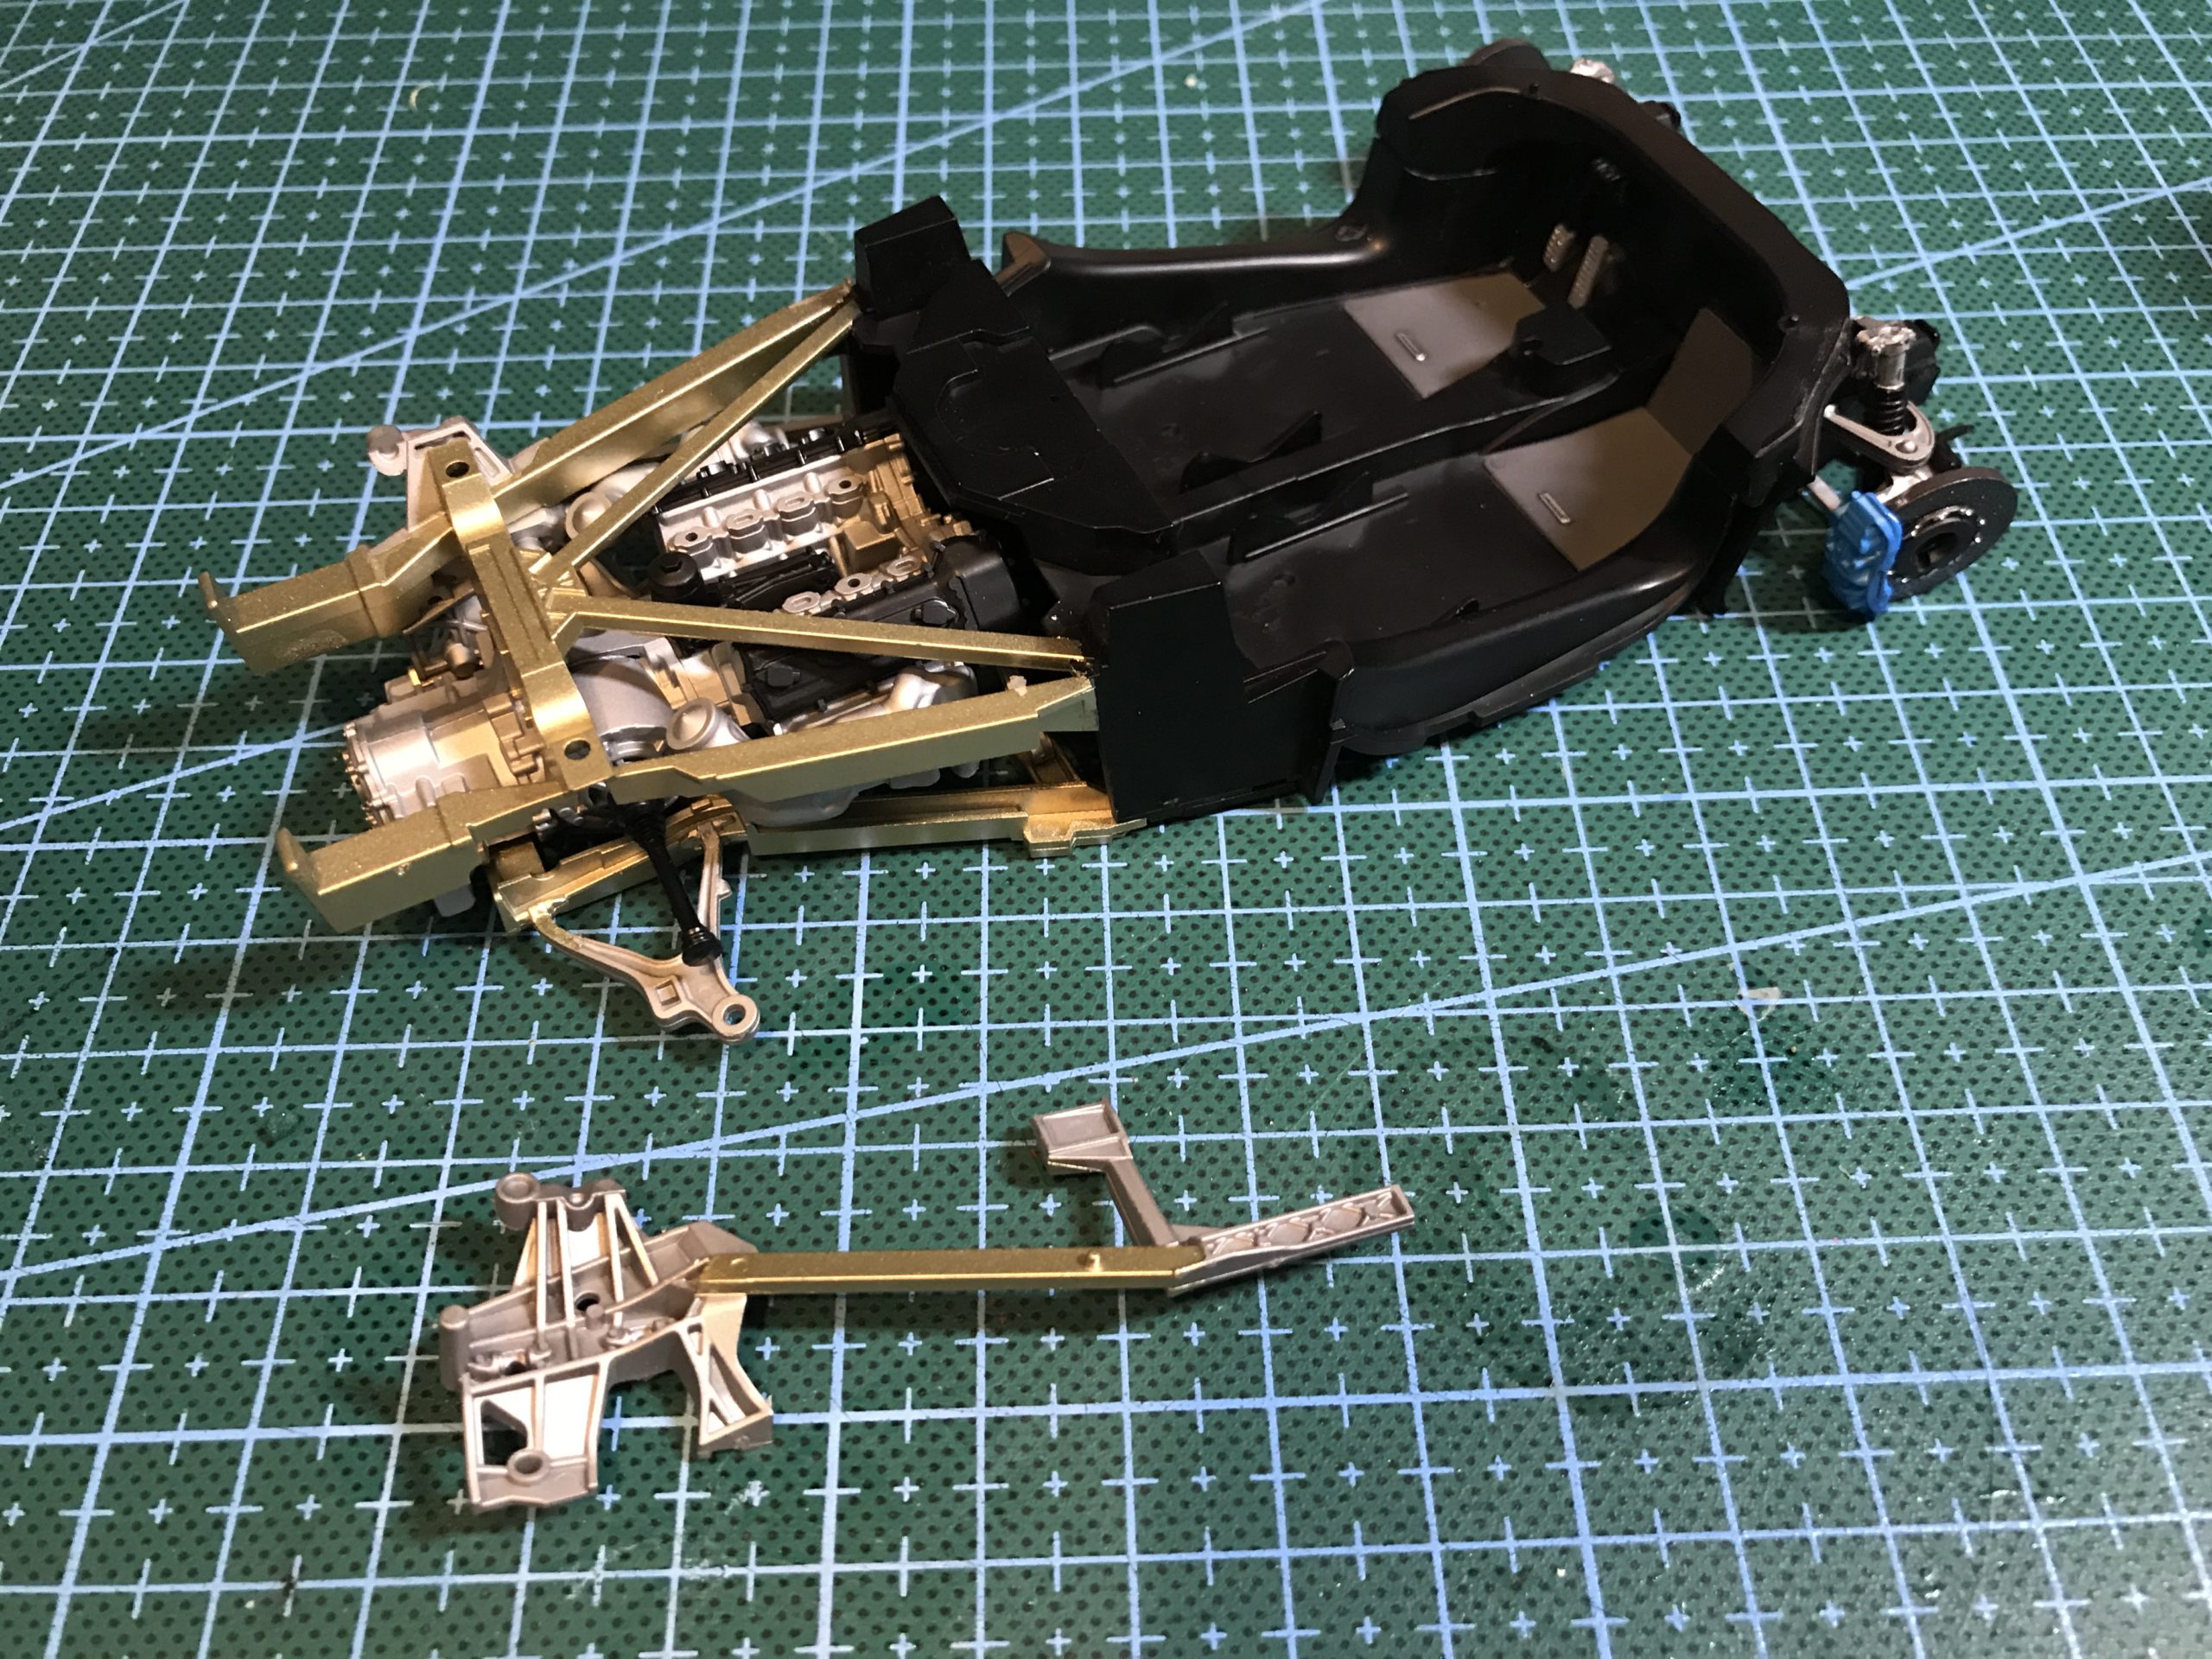
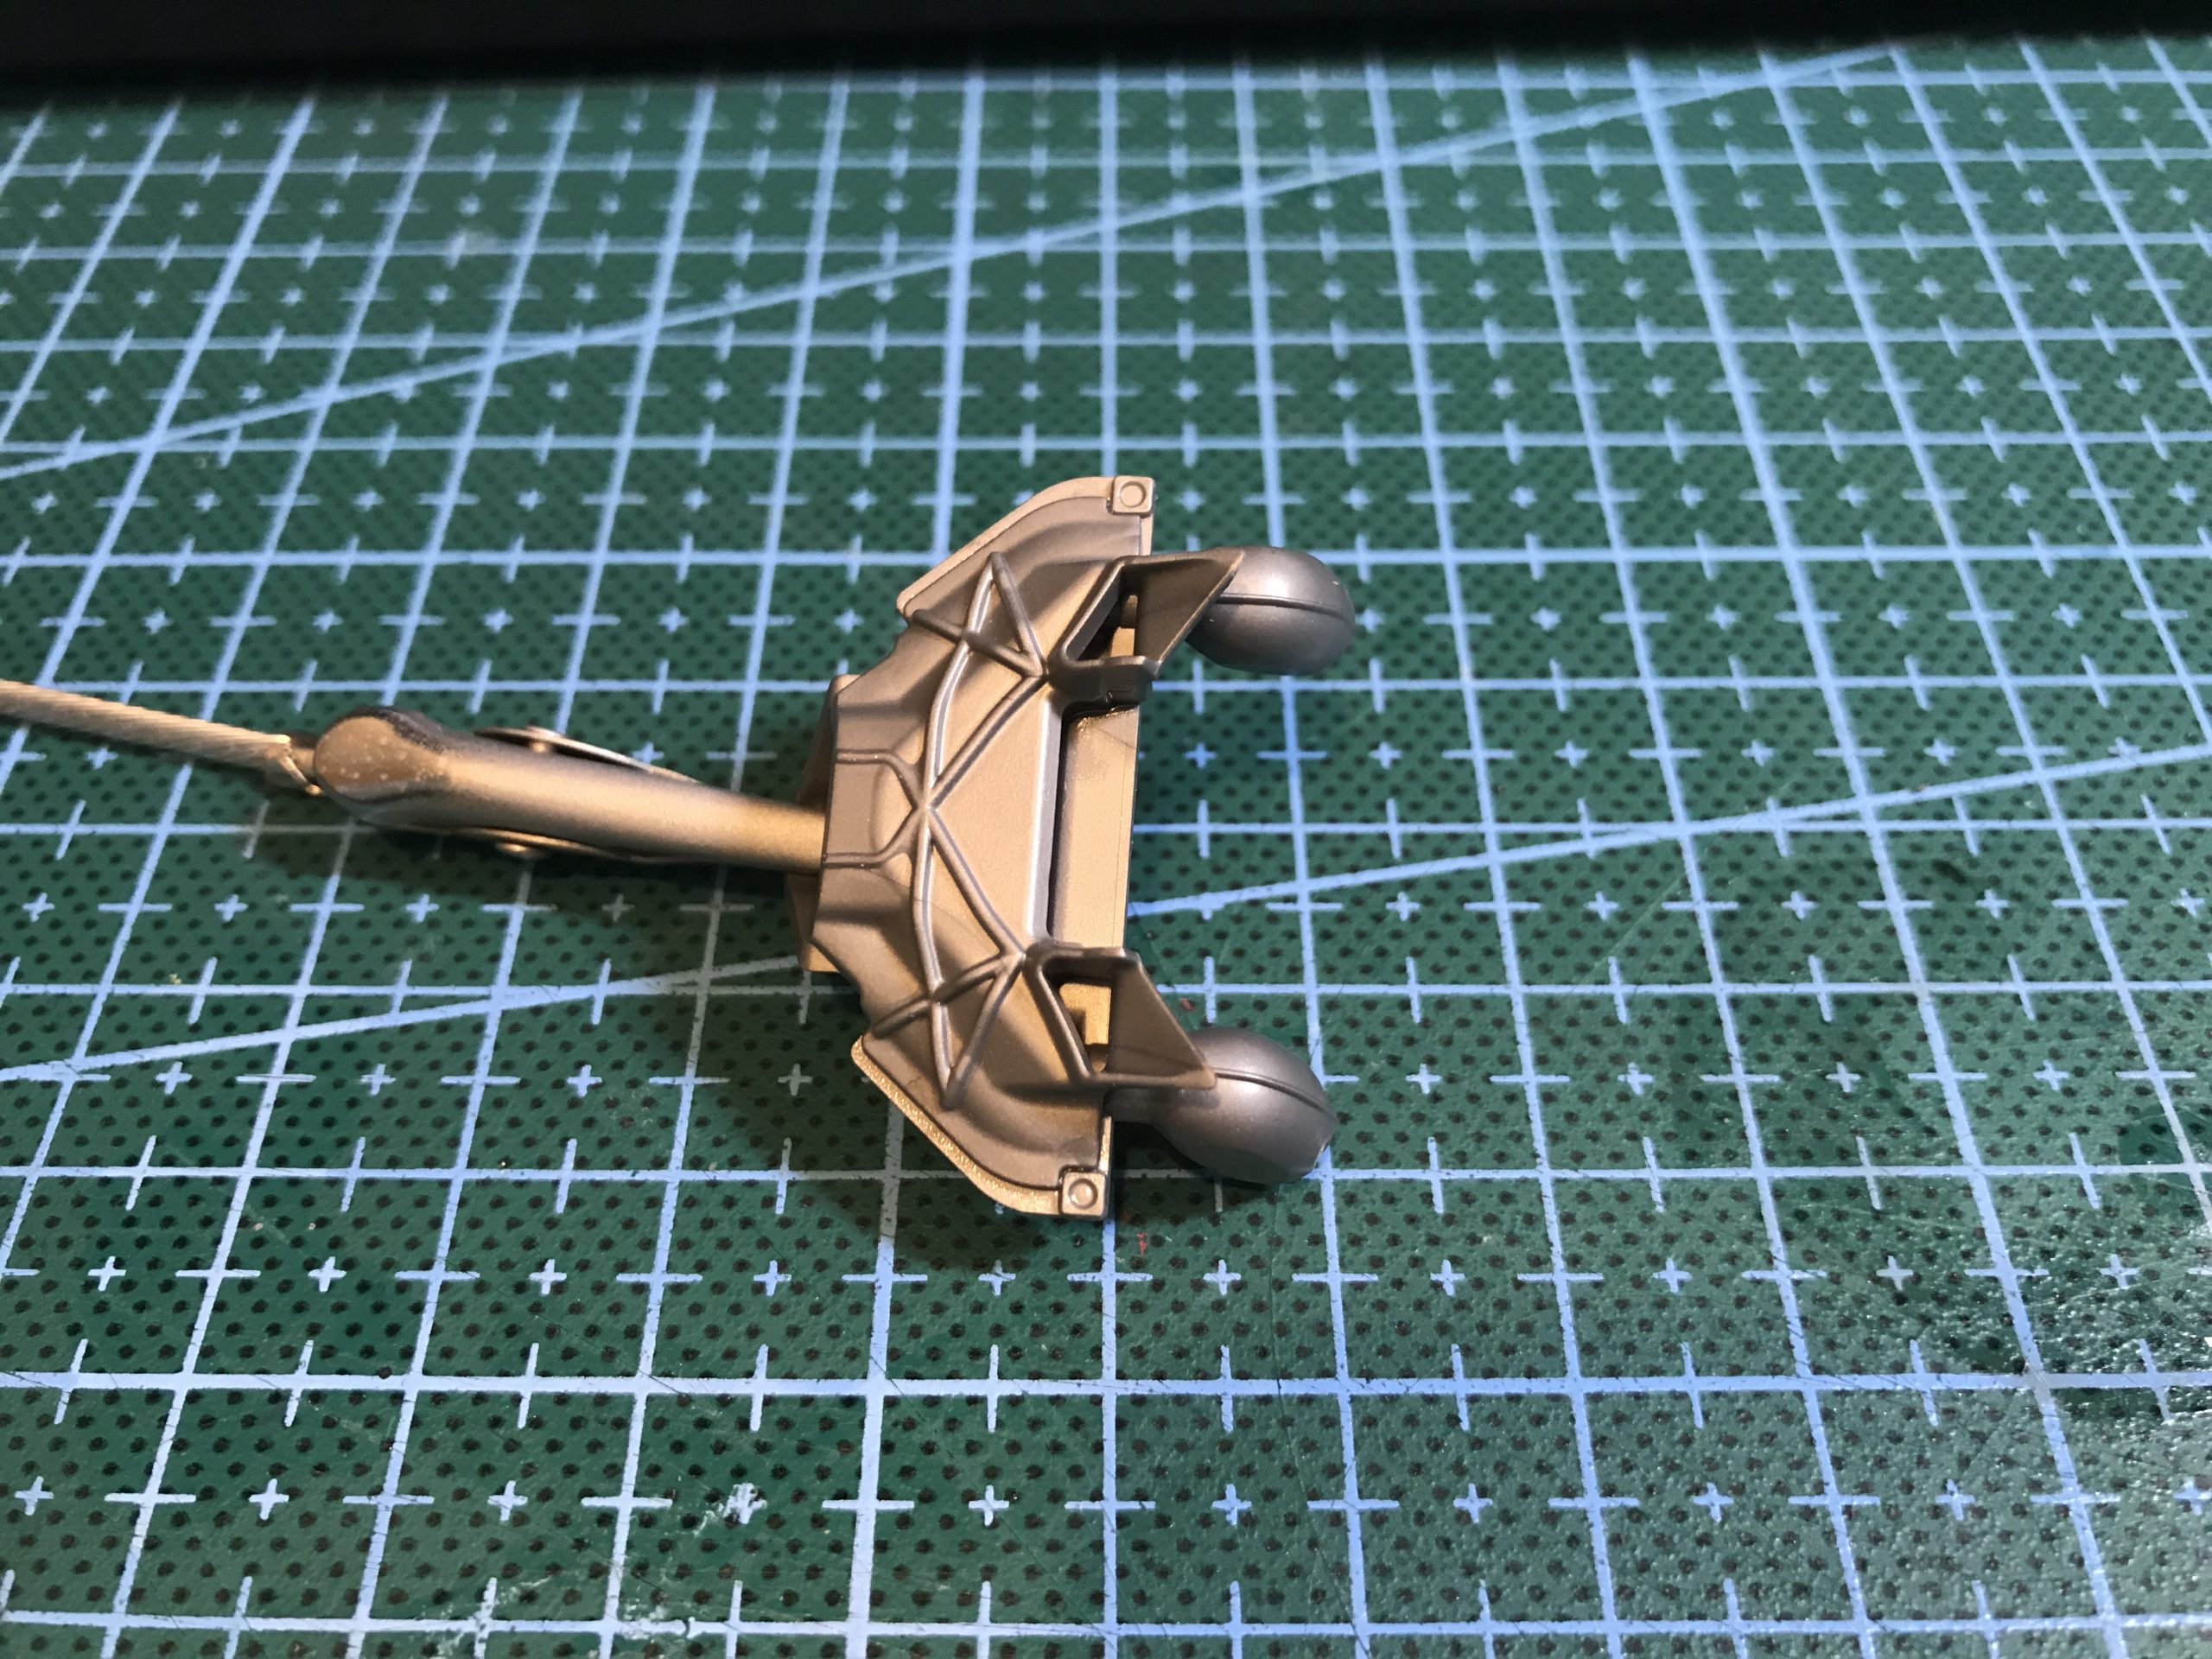
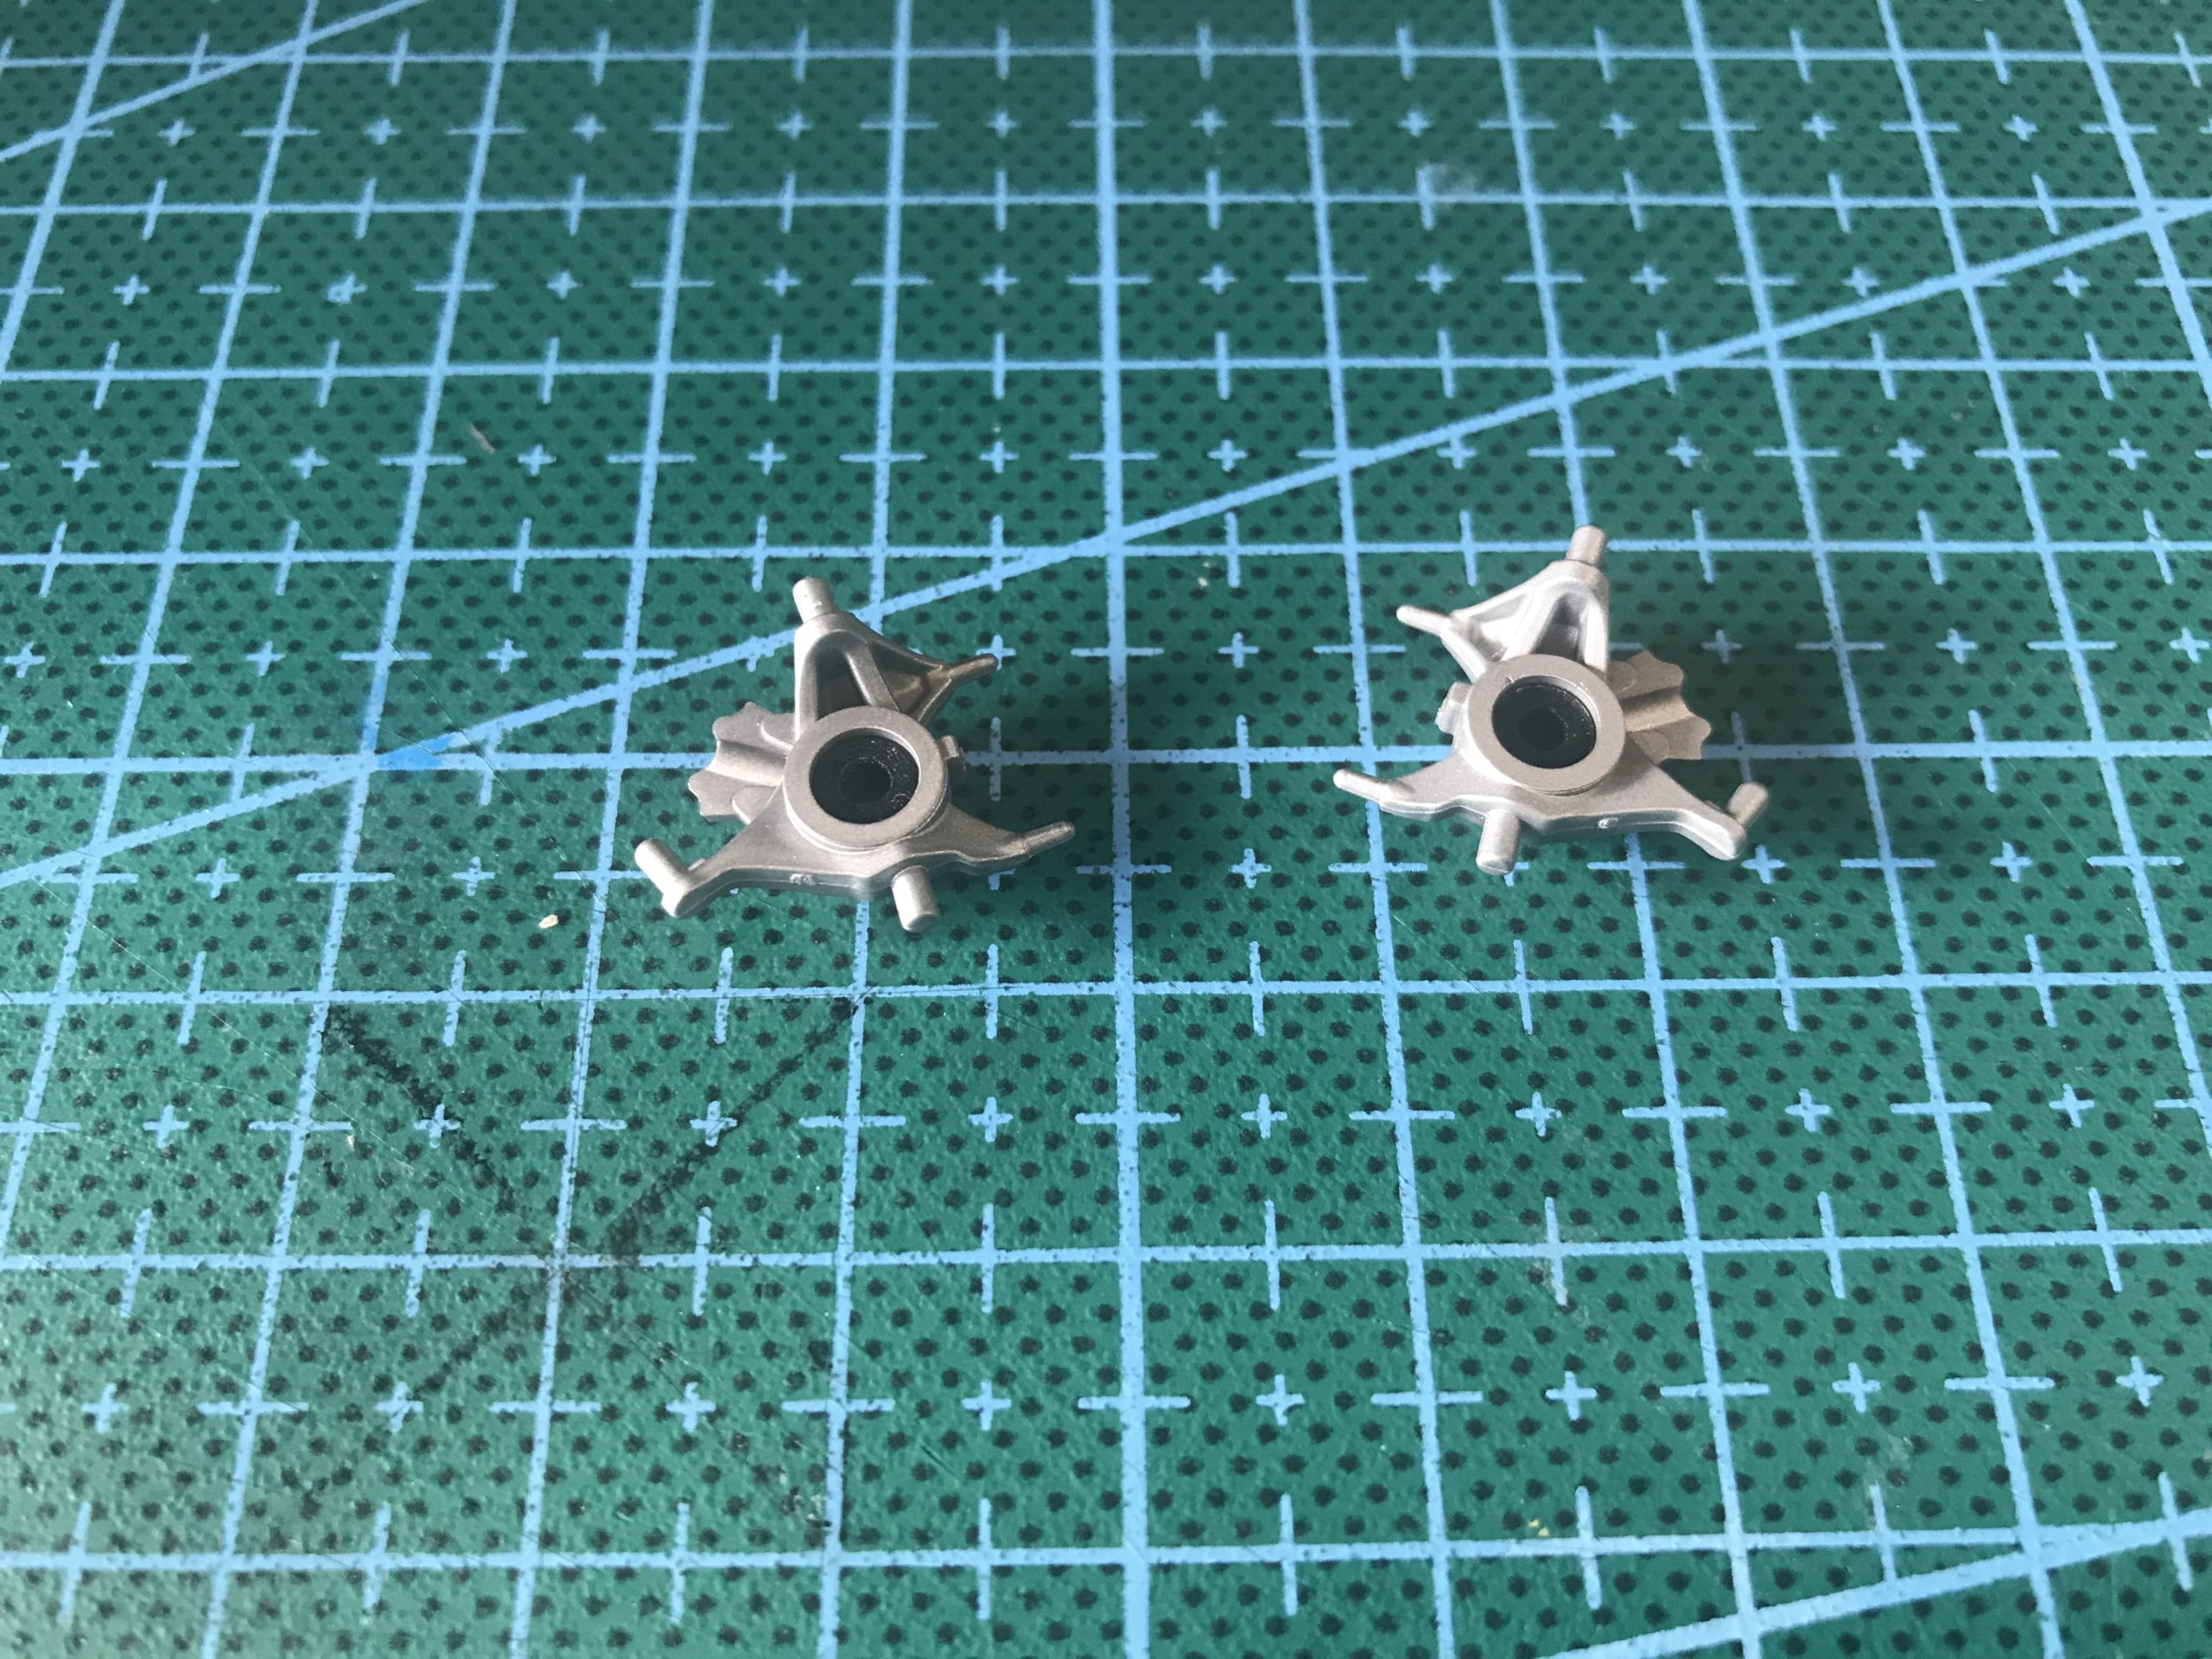
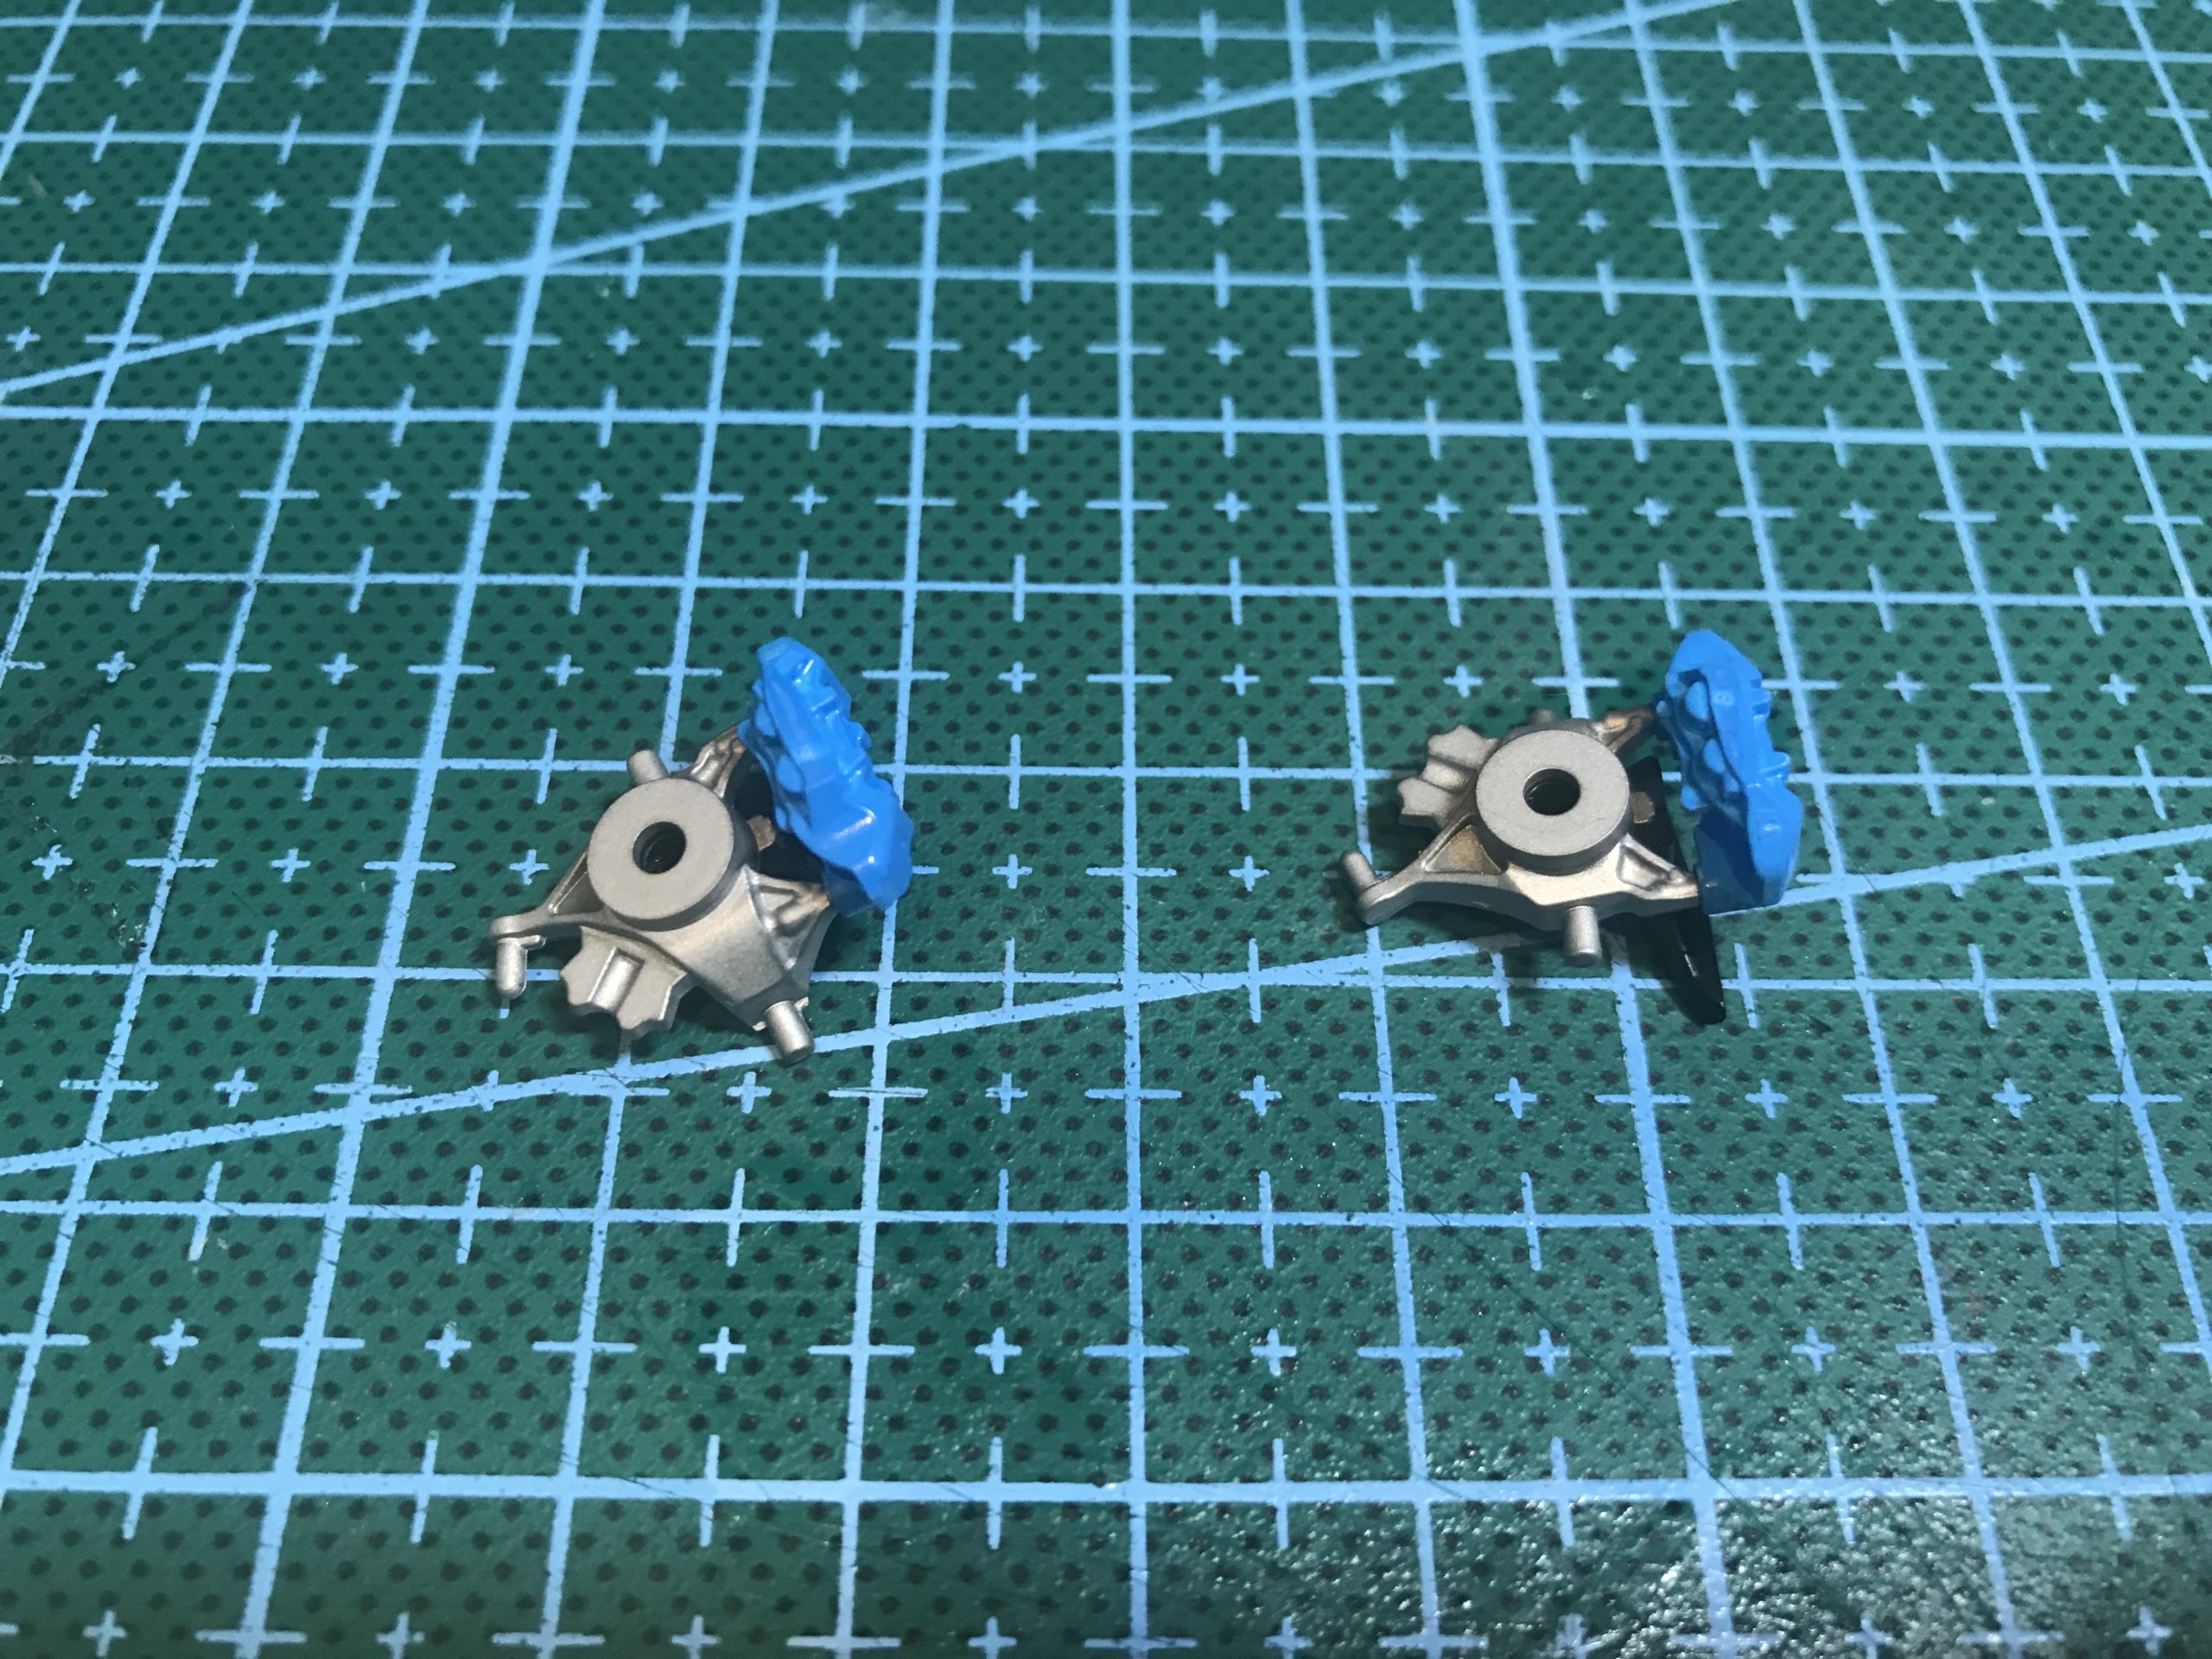
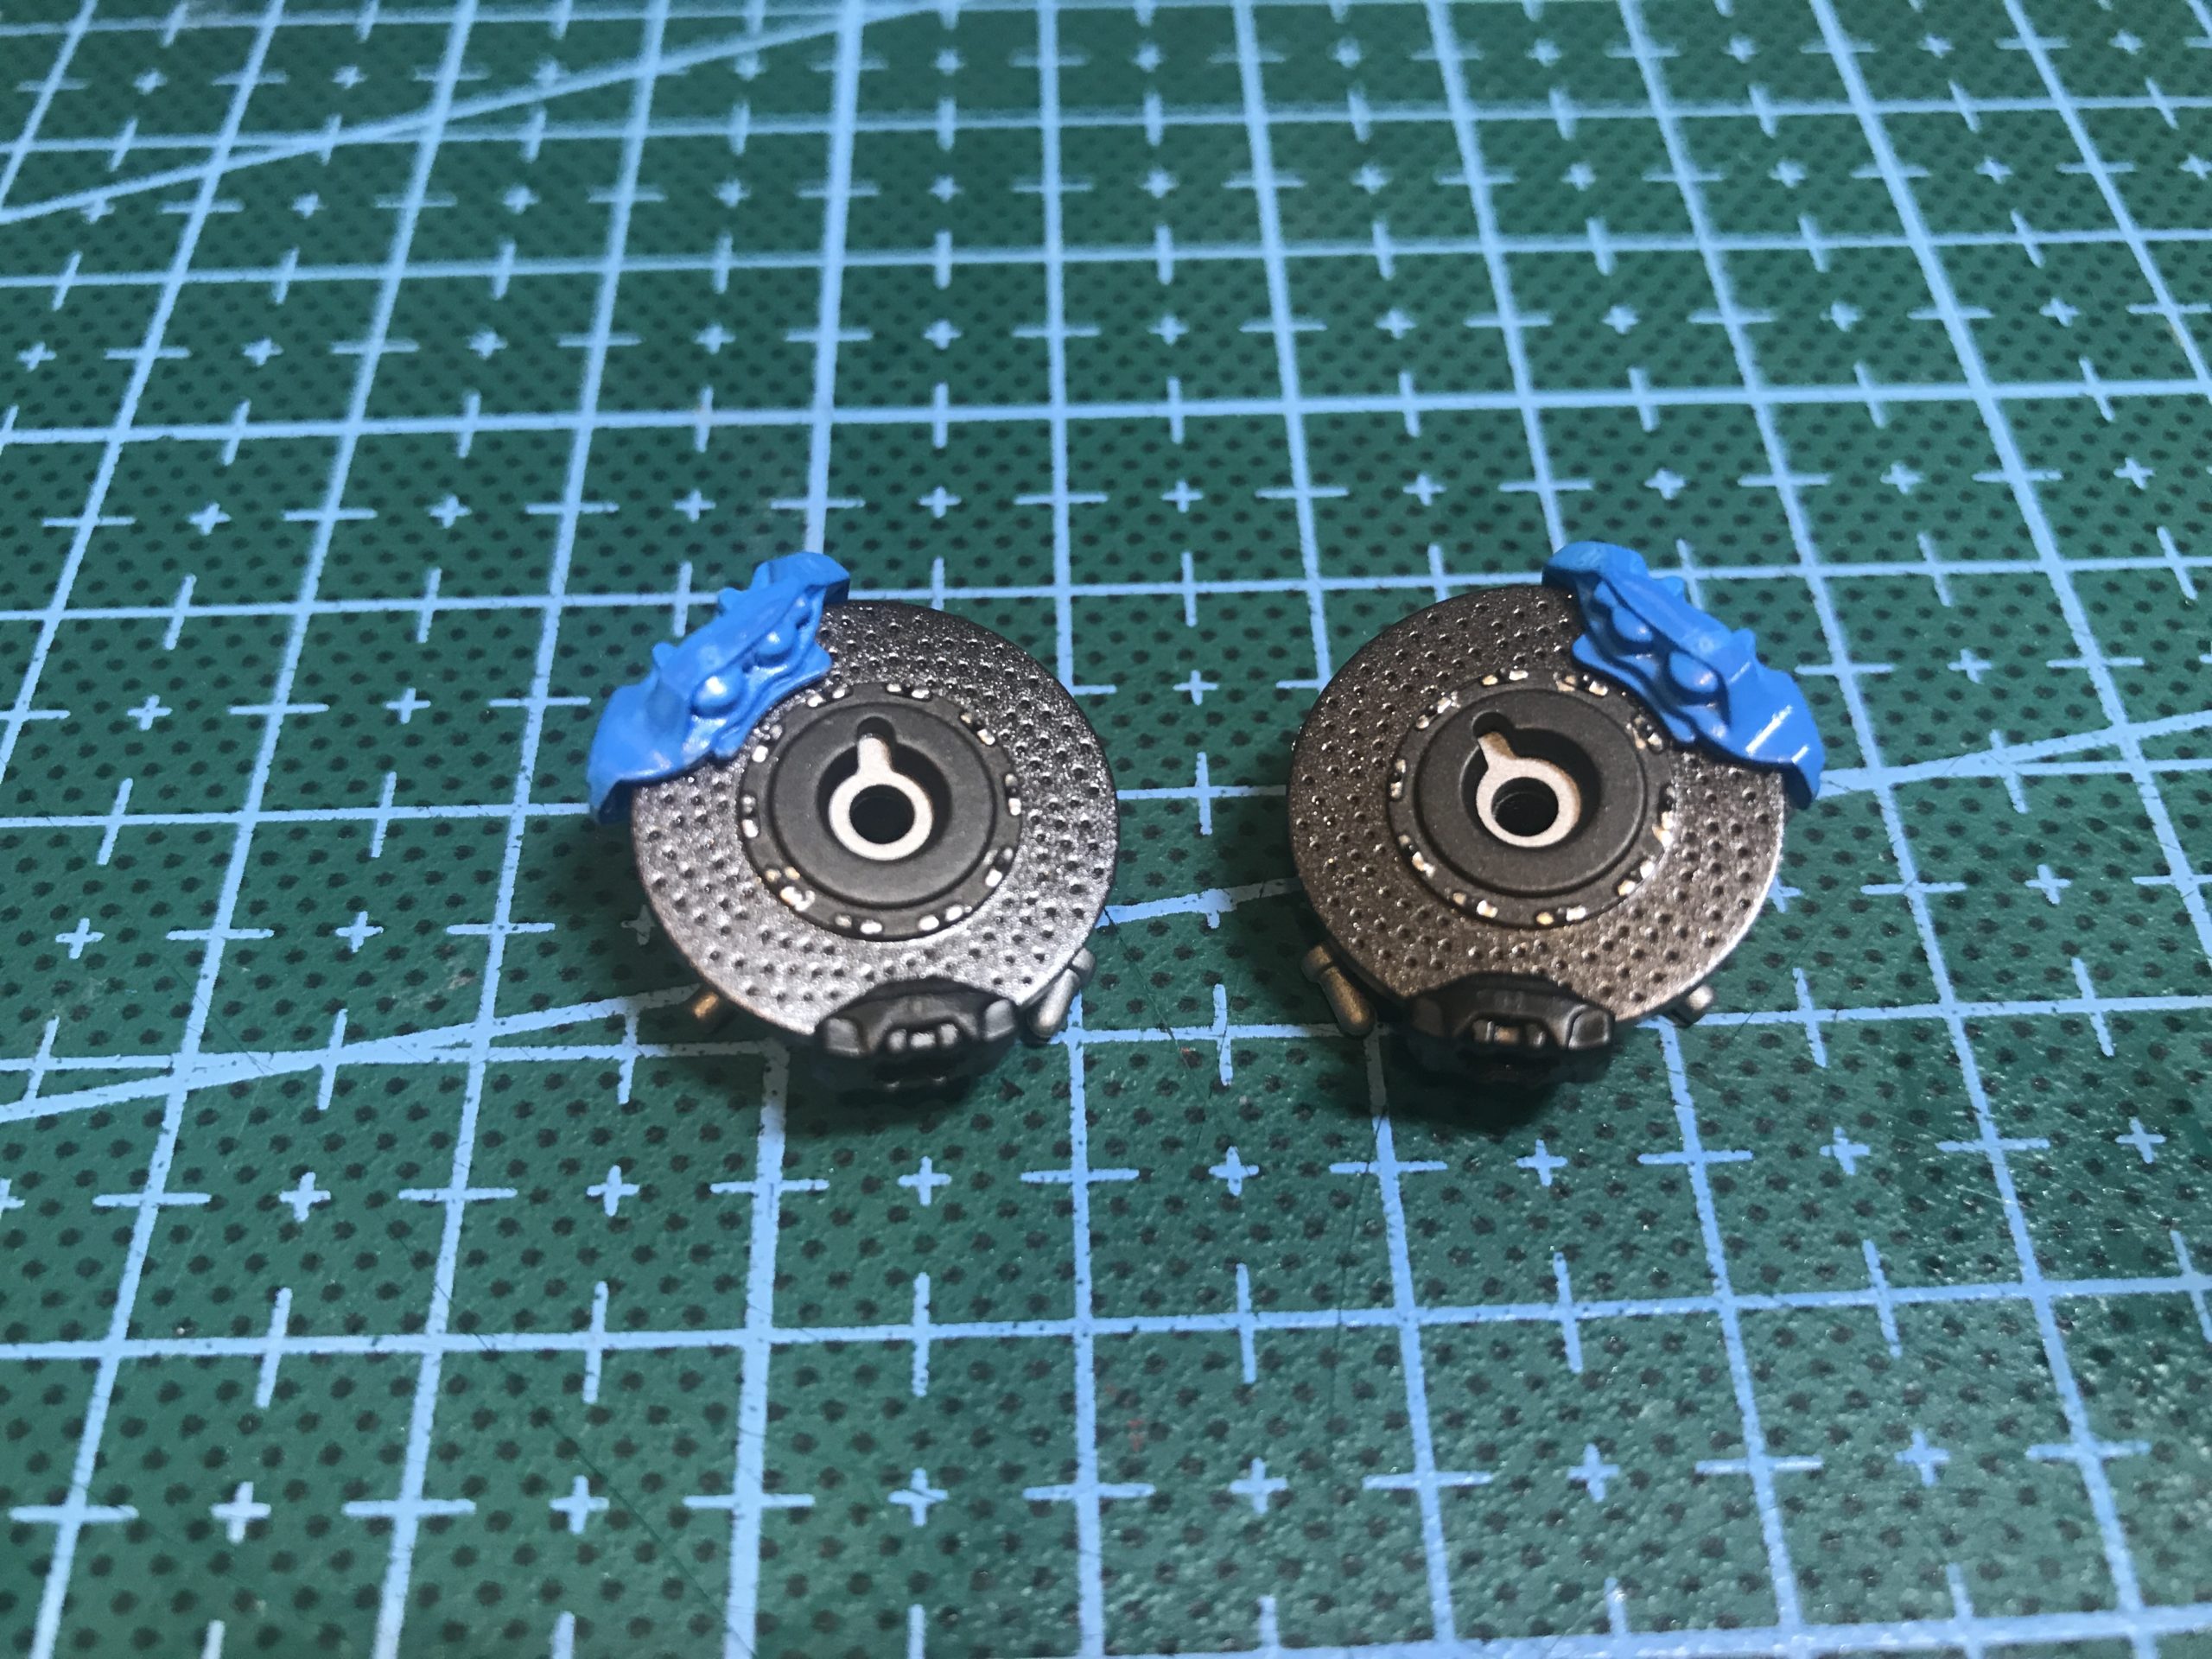
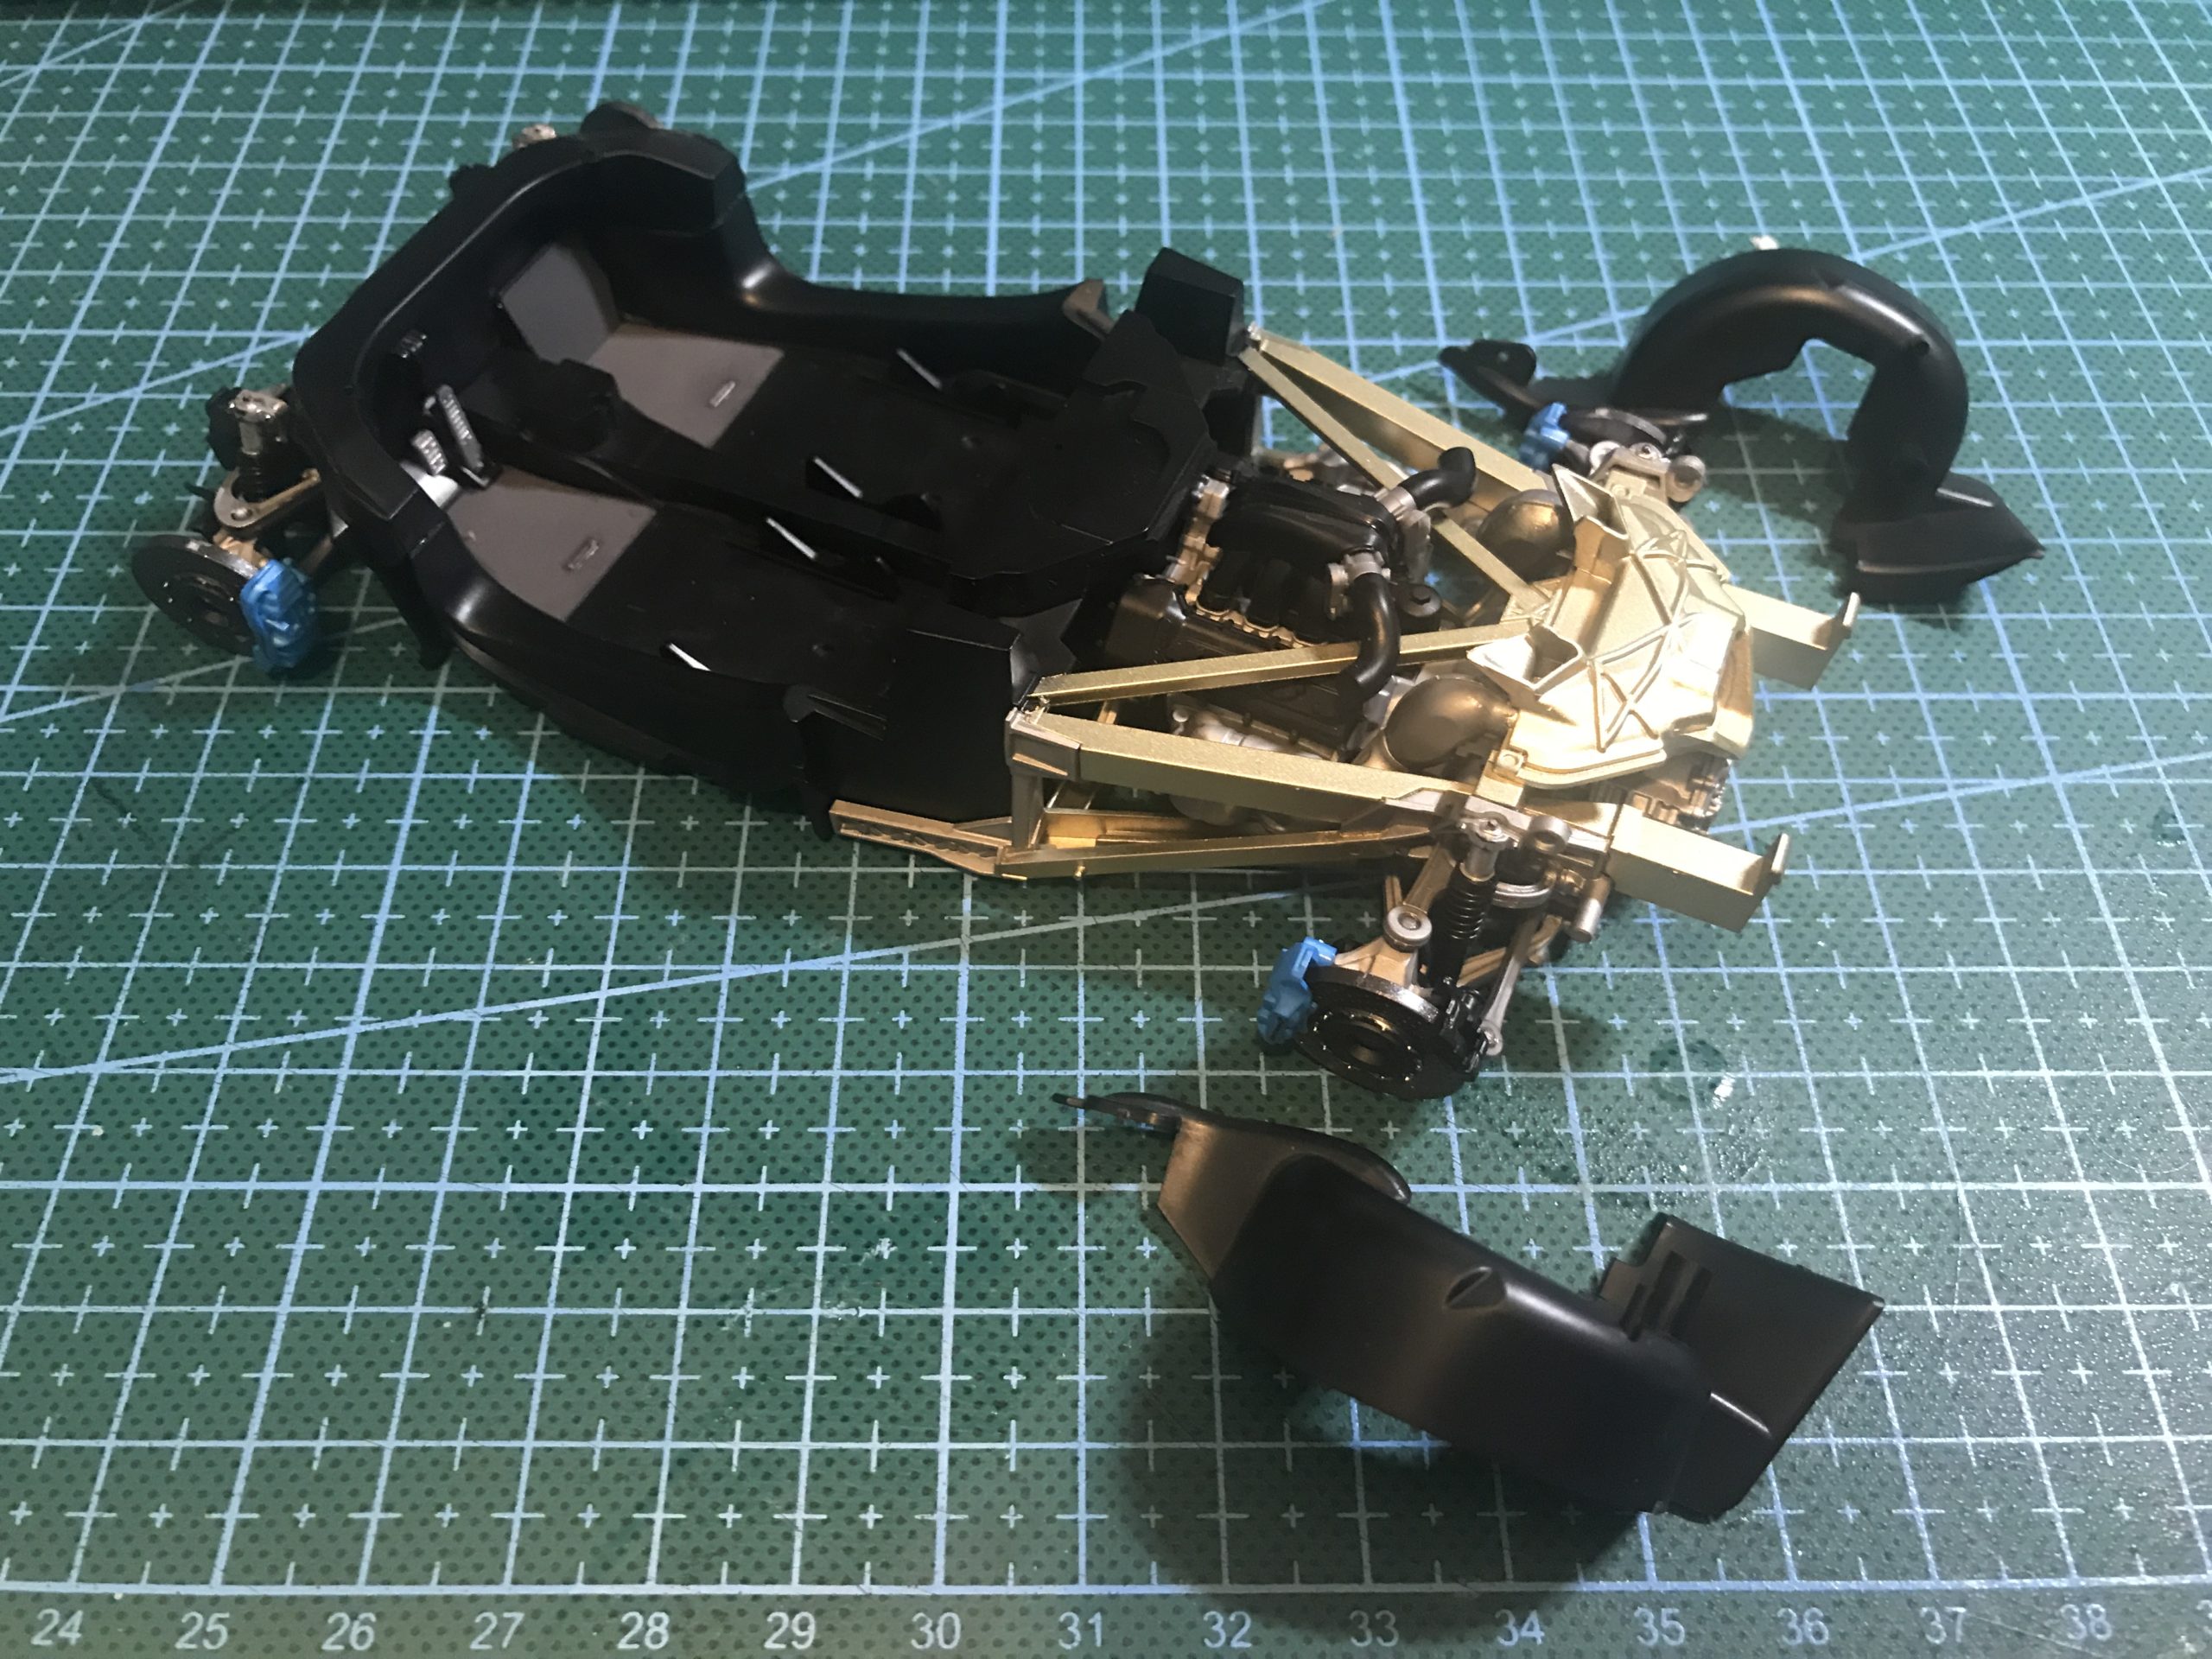
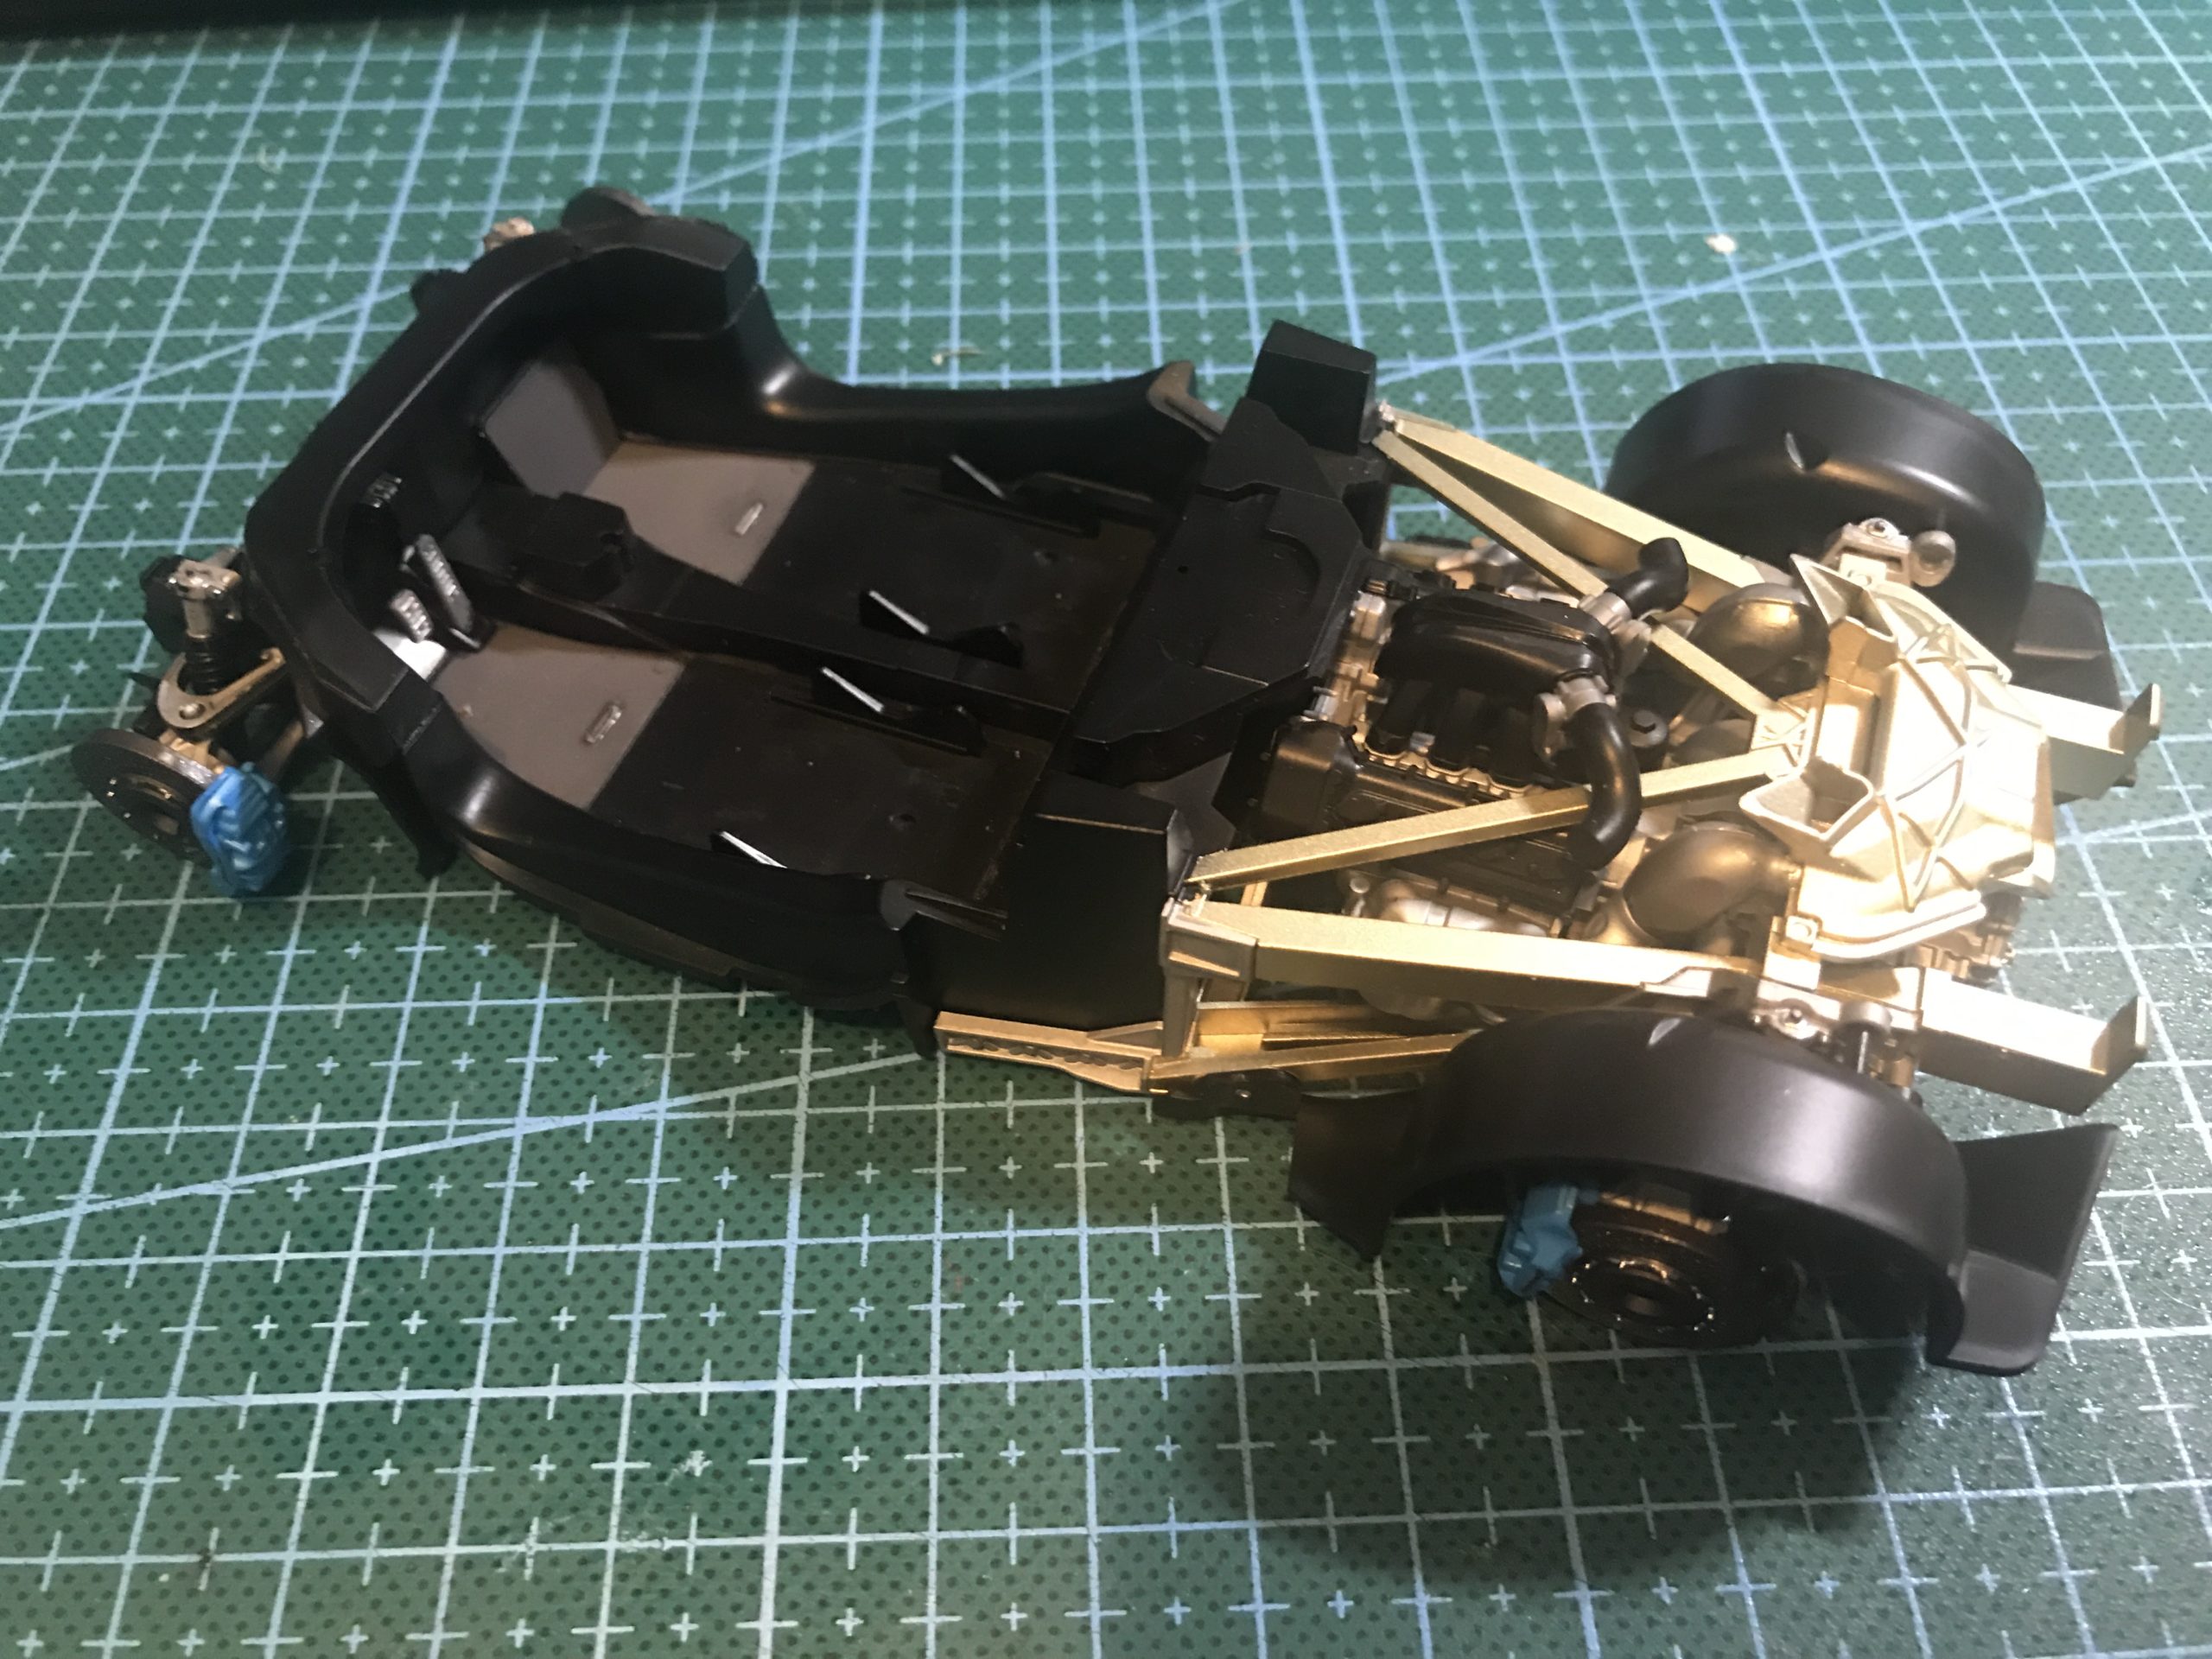
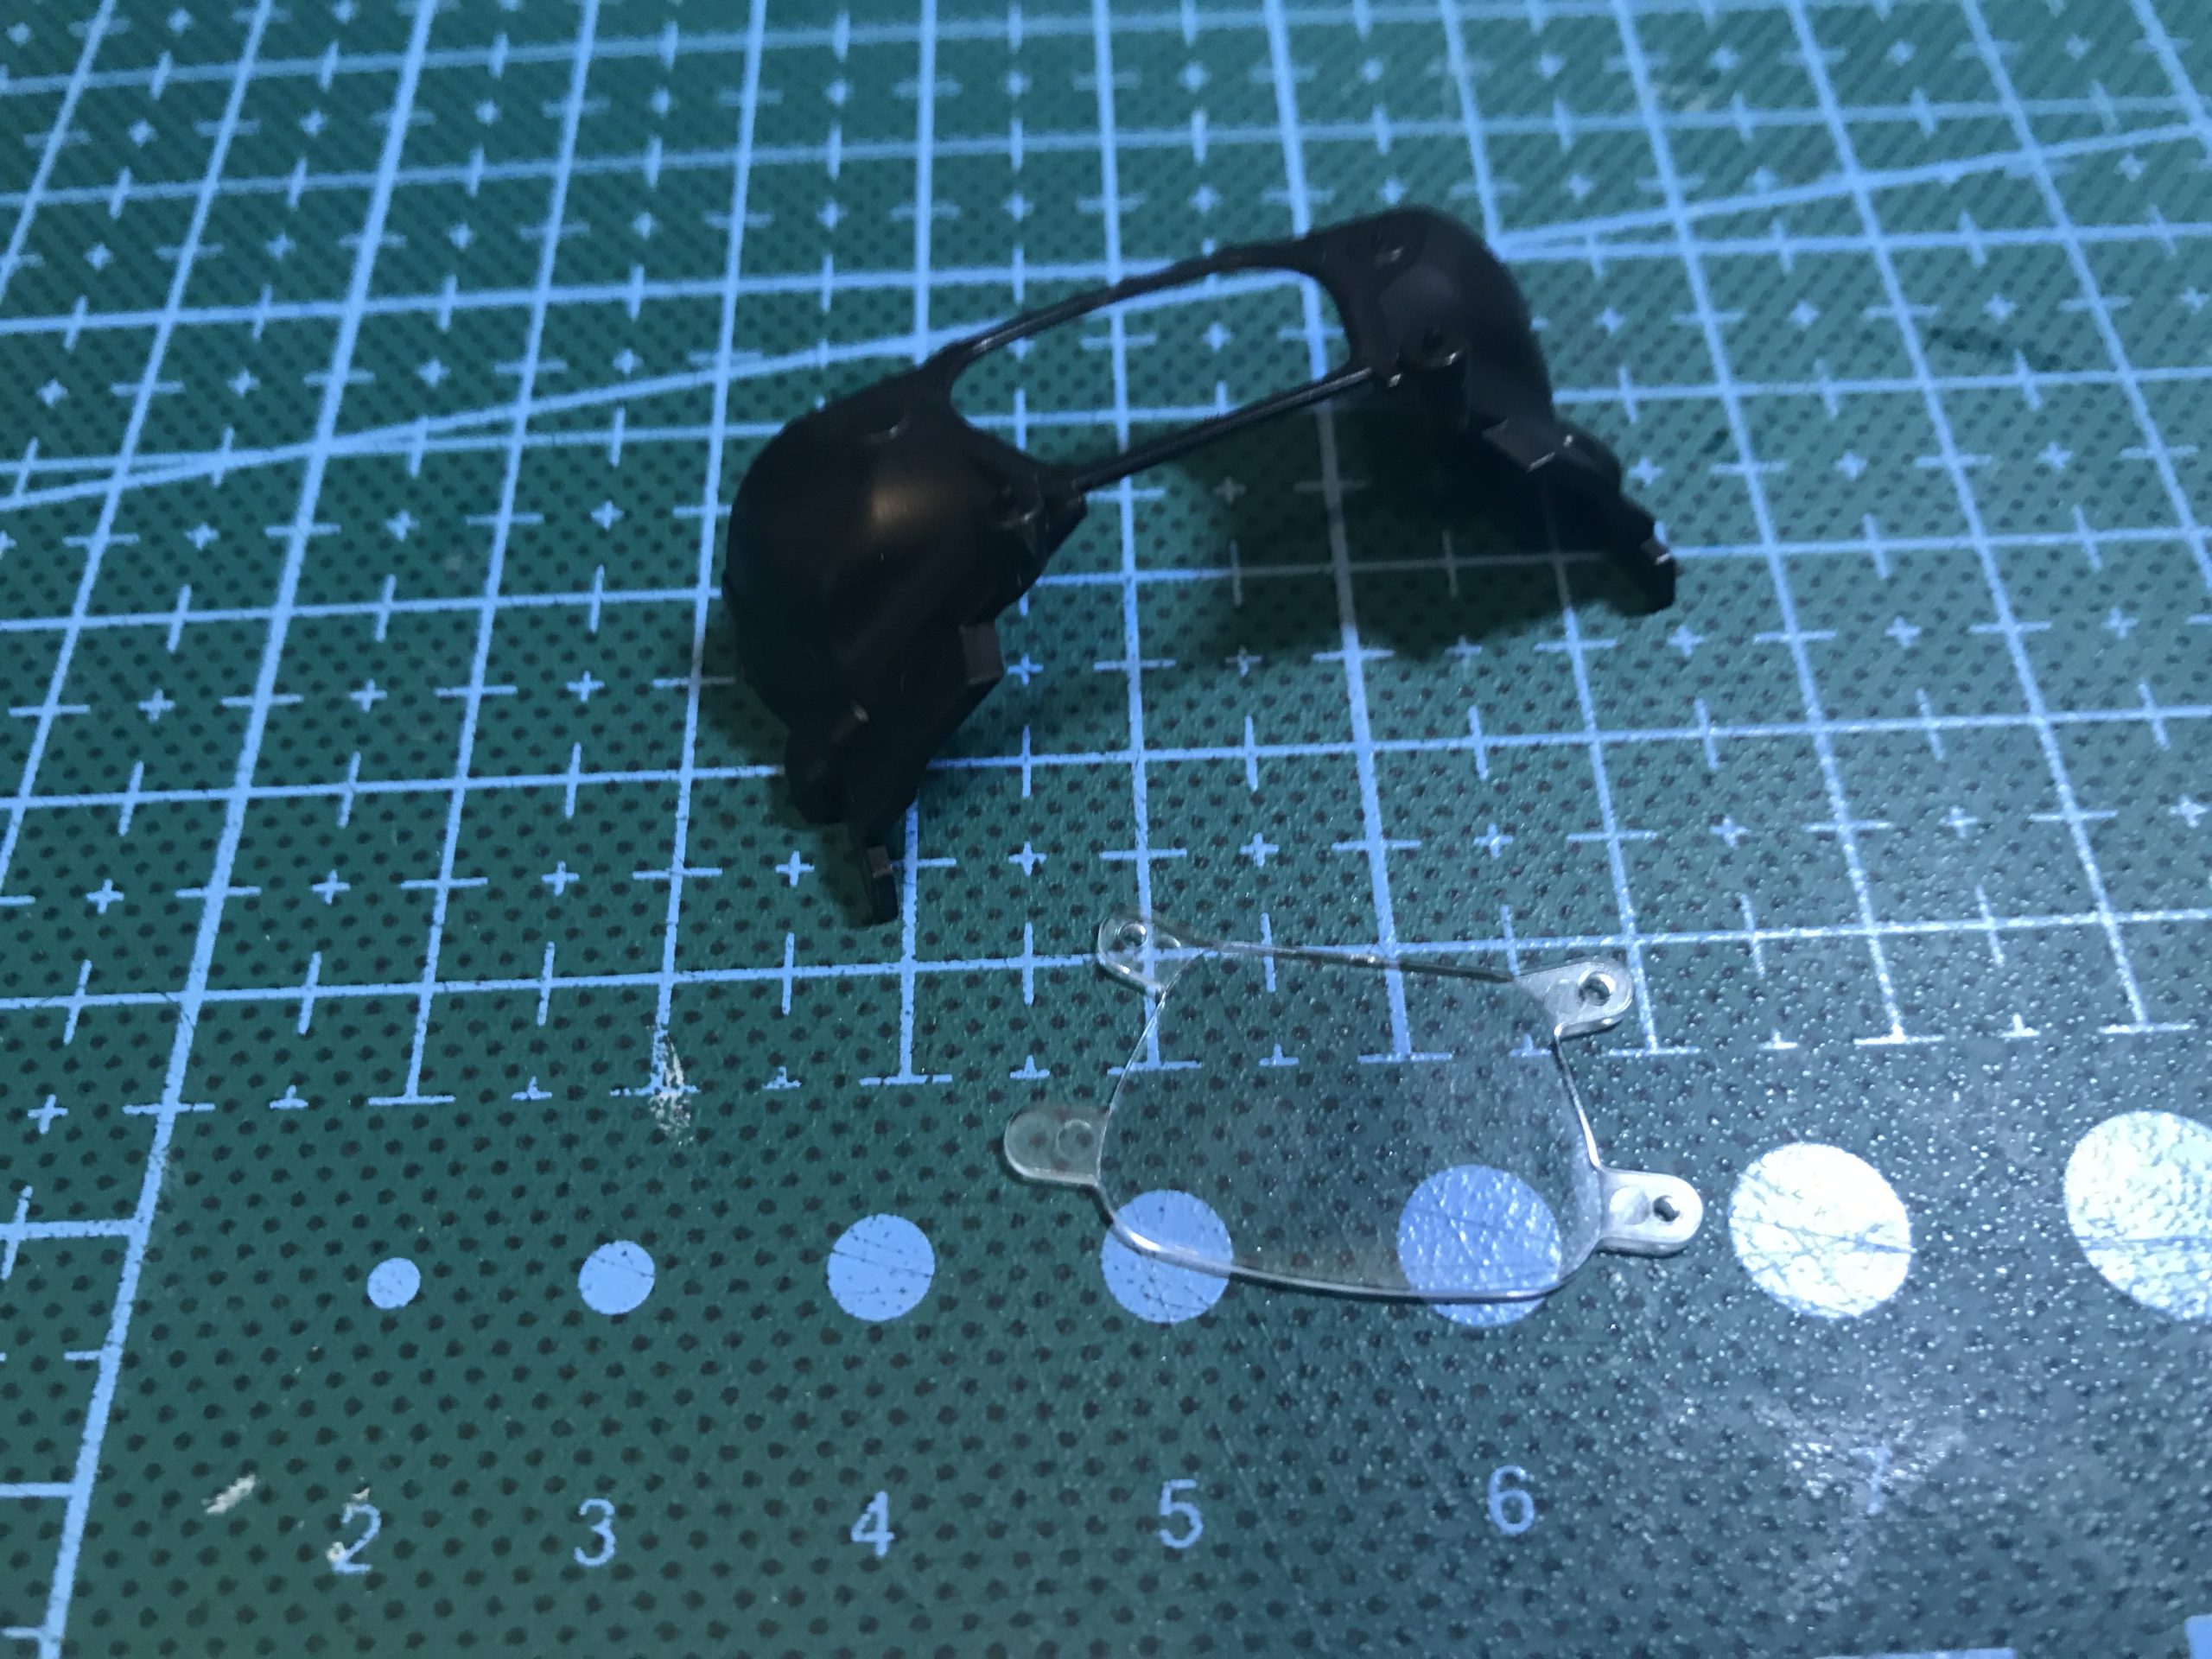
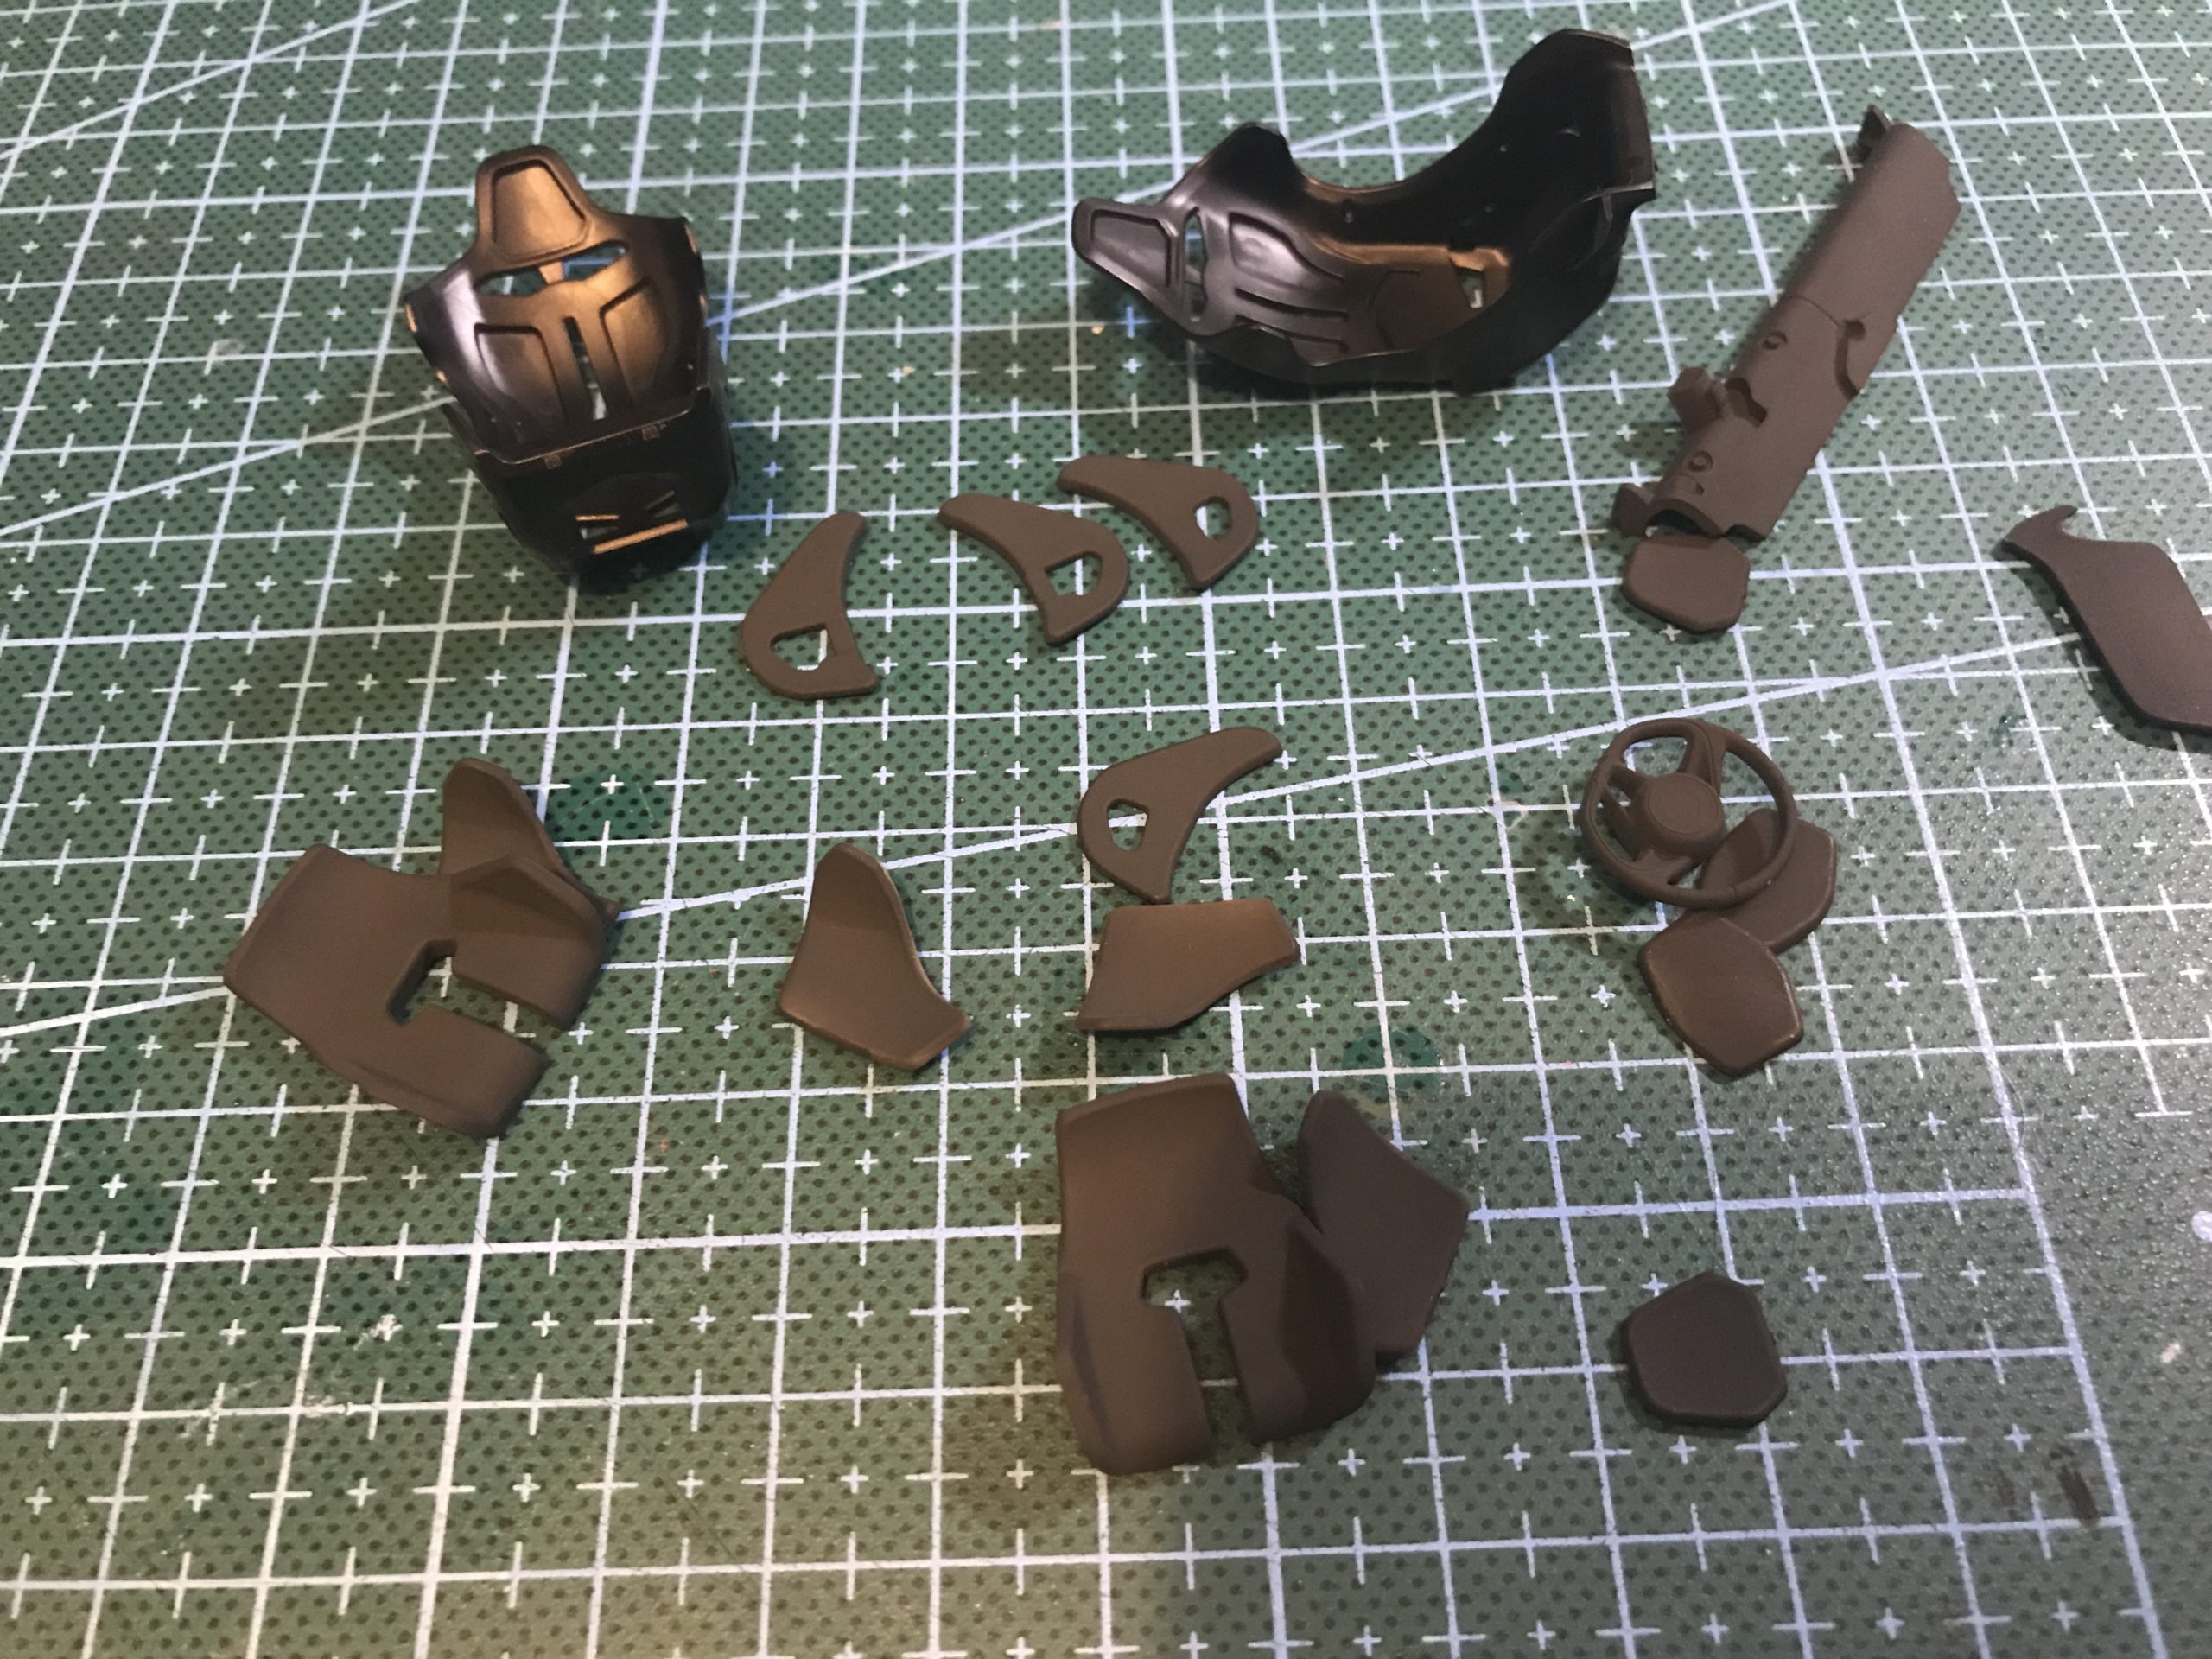
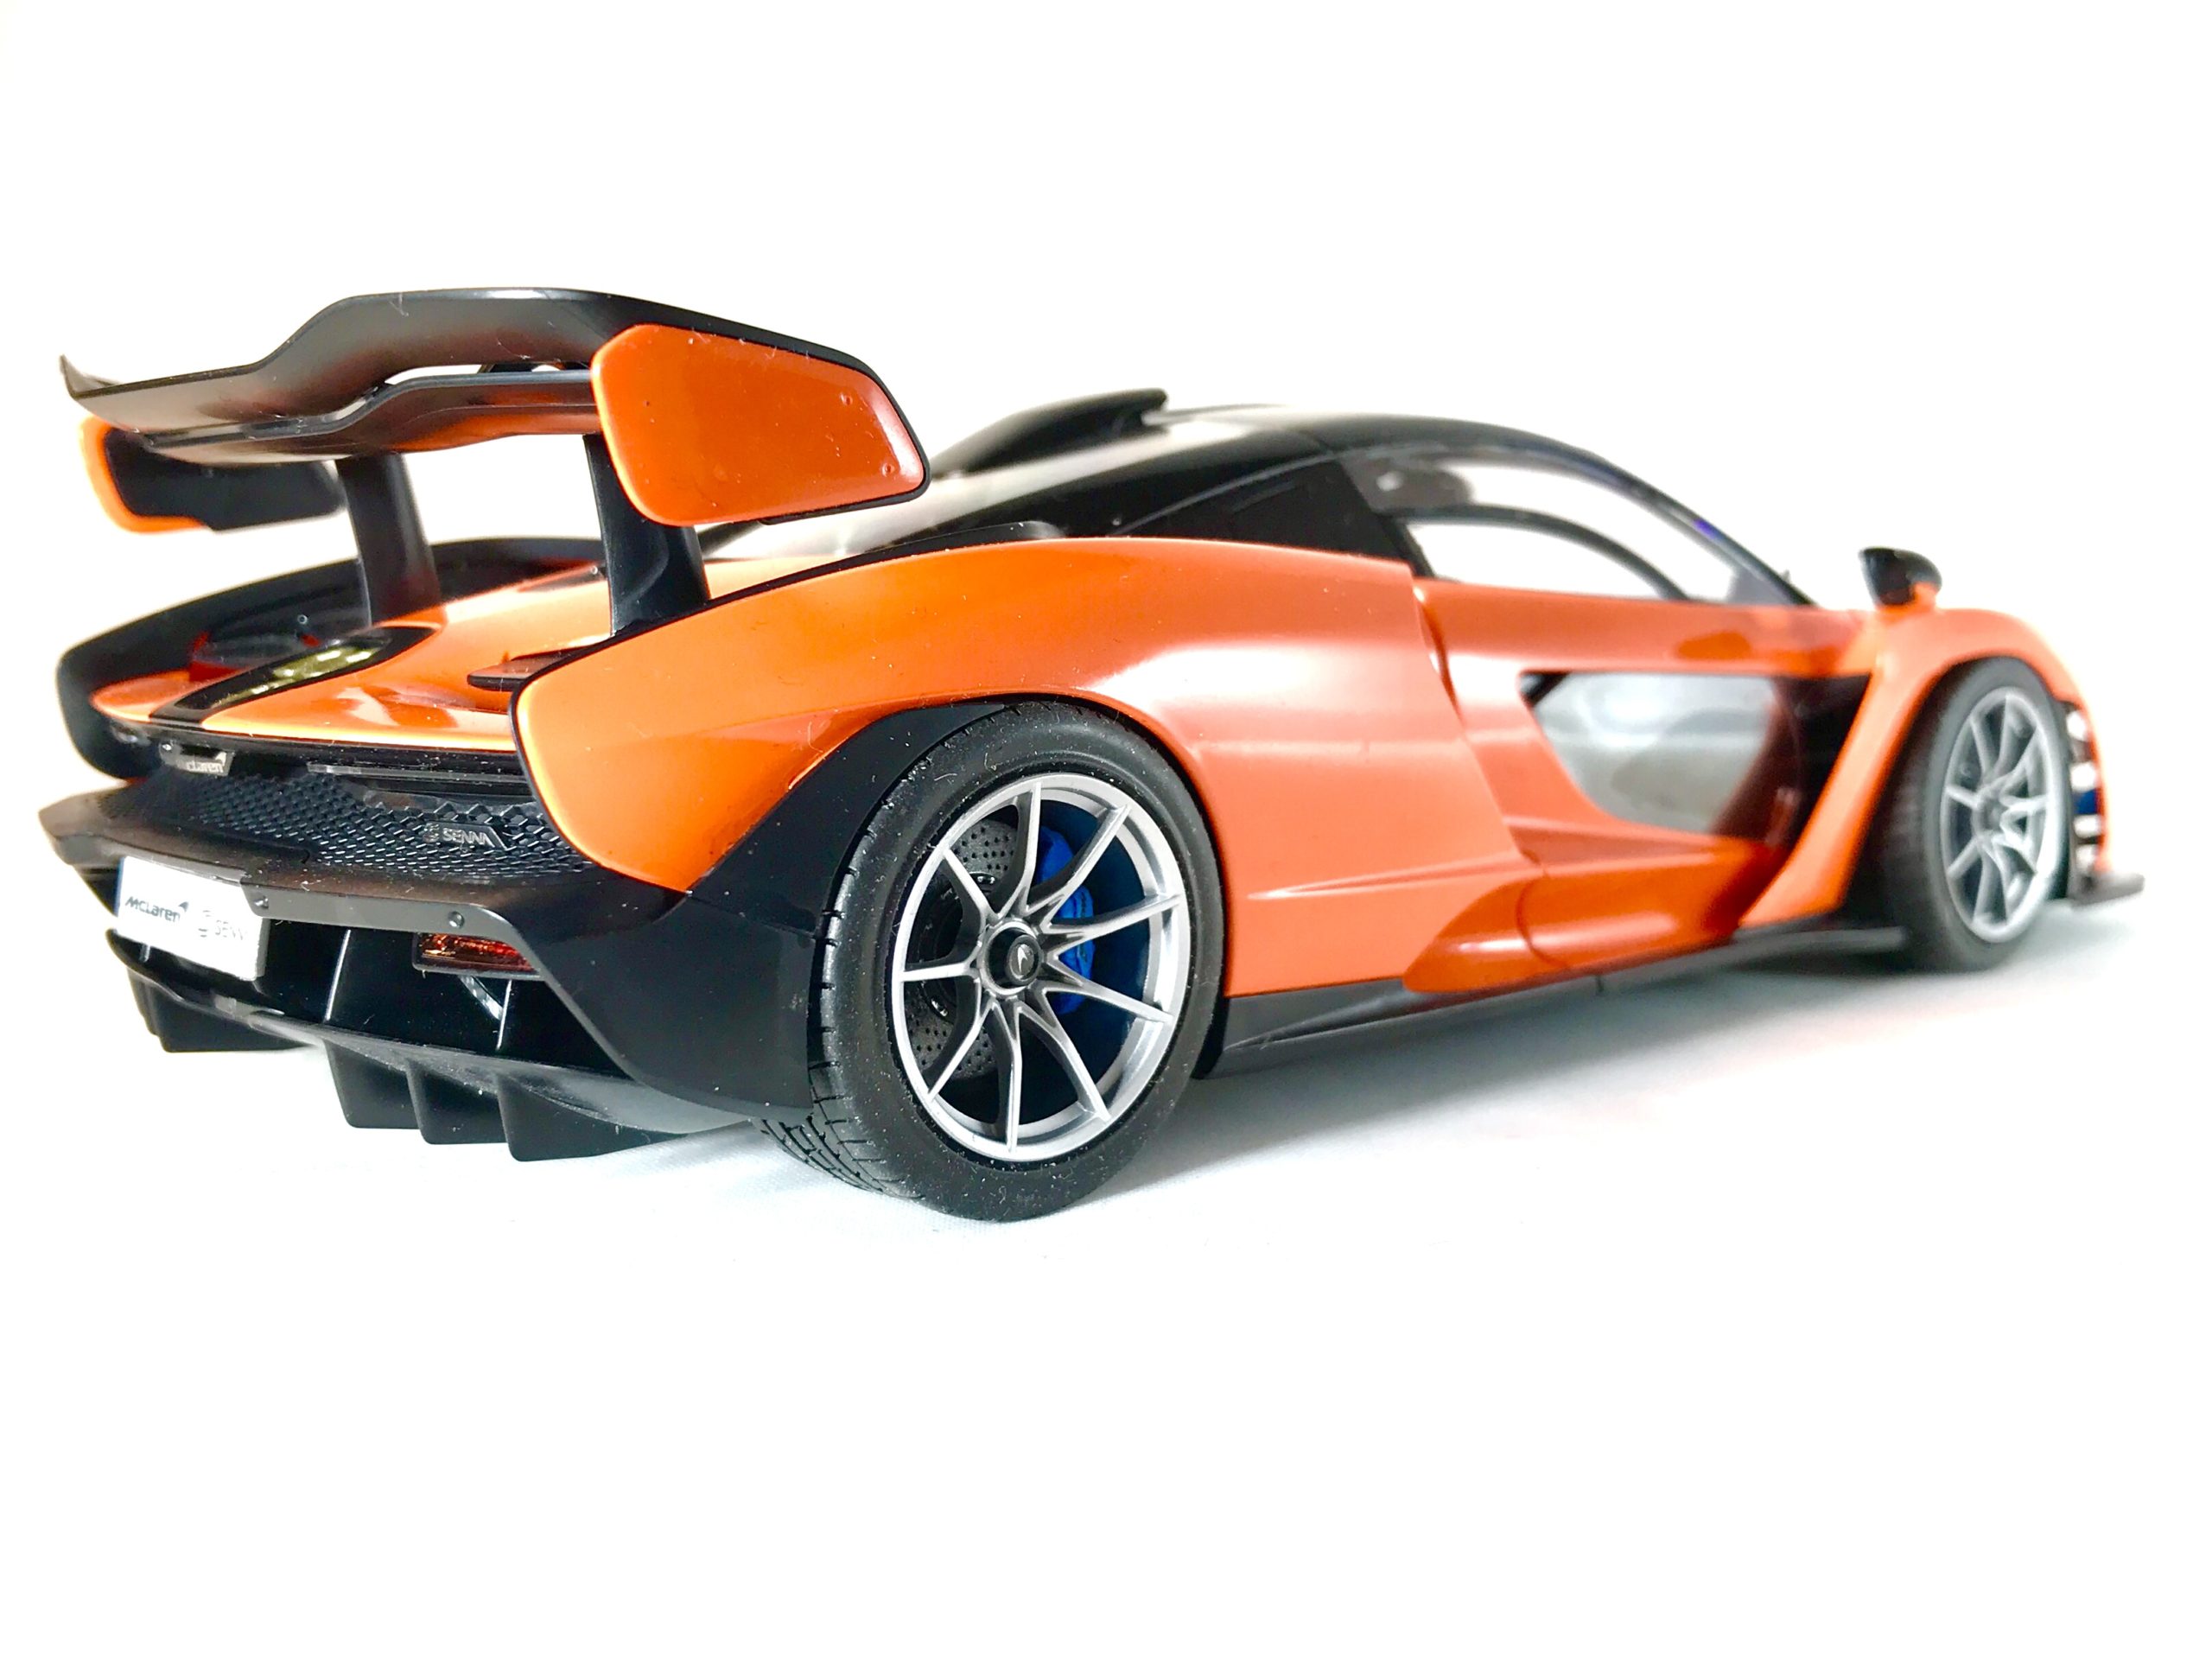
Assembly is a simple case of mask, paint and repeat to make your way through the various stages. There are some lovely touches that I personally haven’t seen on a kit at this scale. Brake discs separate from the callipers is a new one for me and makes the painting a lot easier.
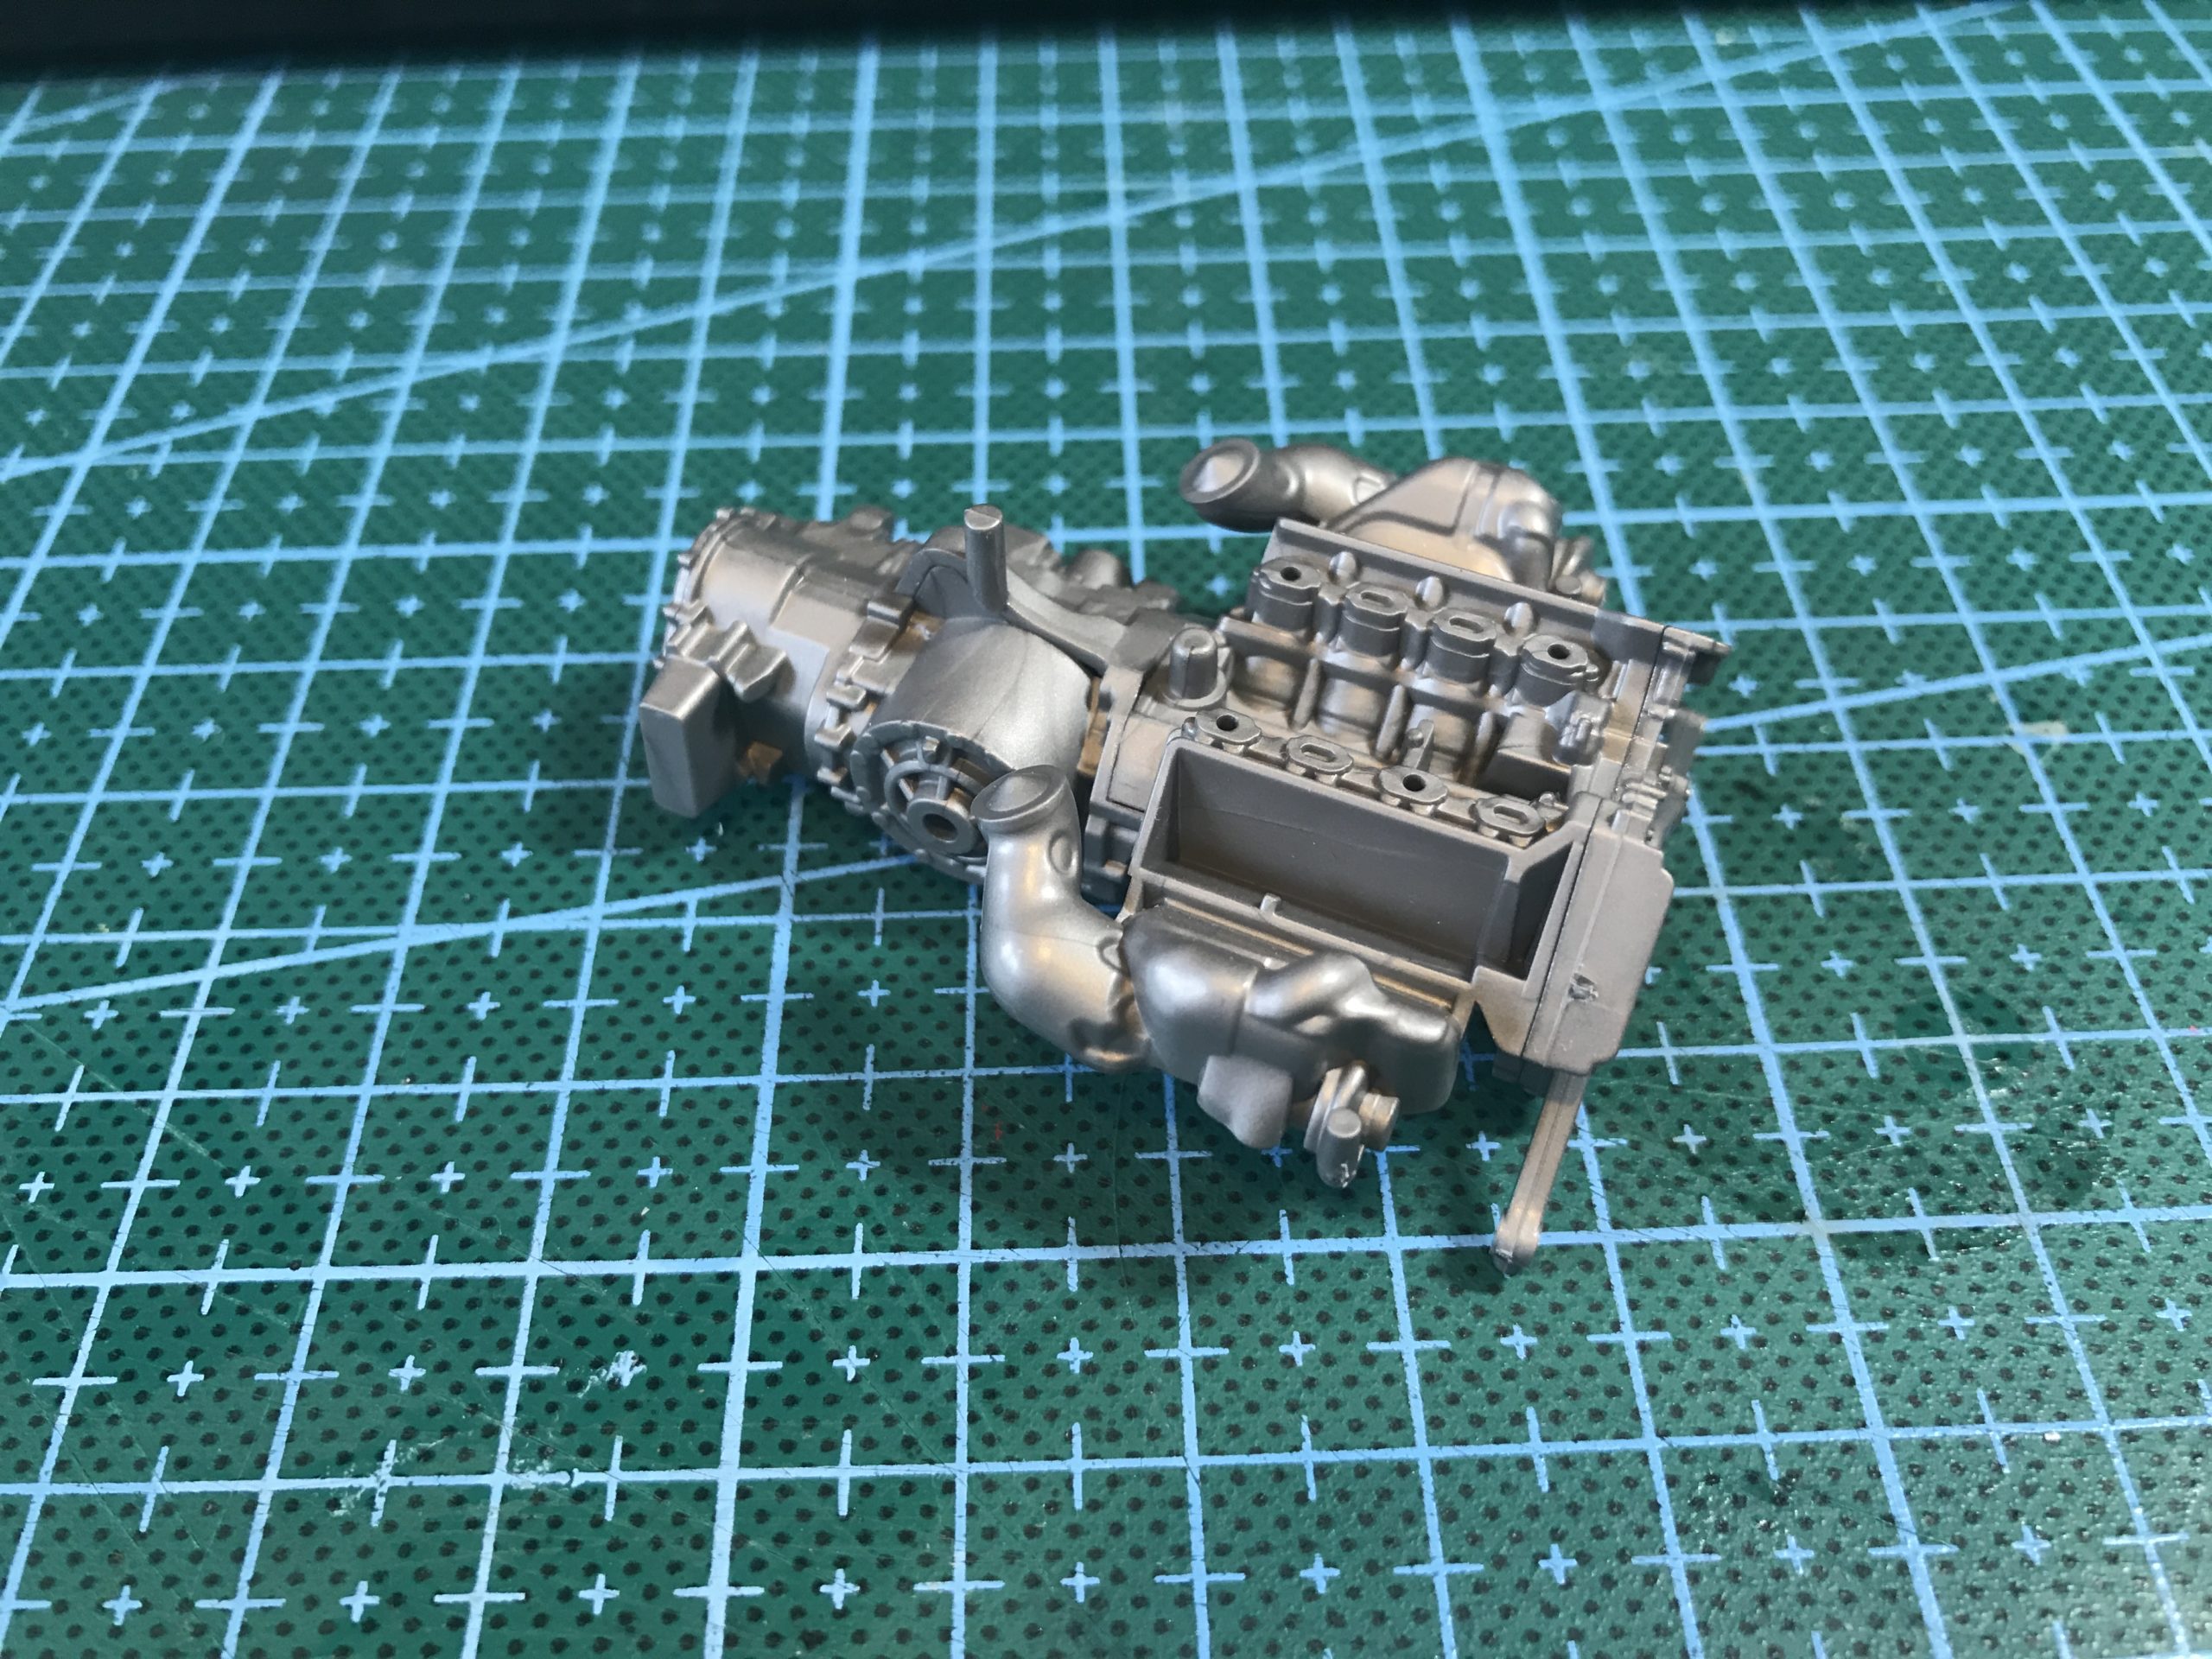
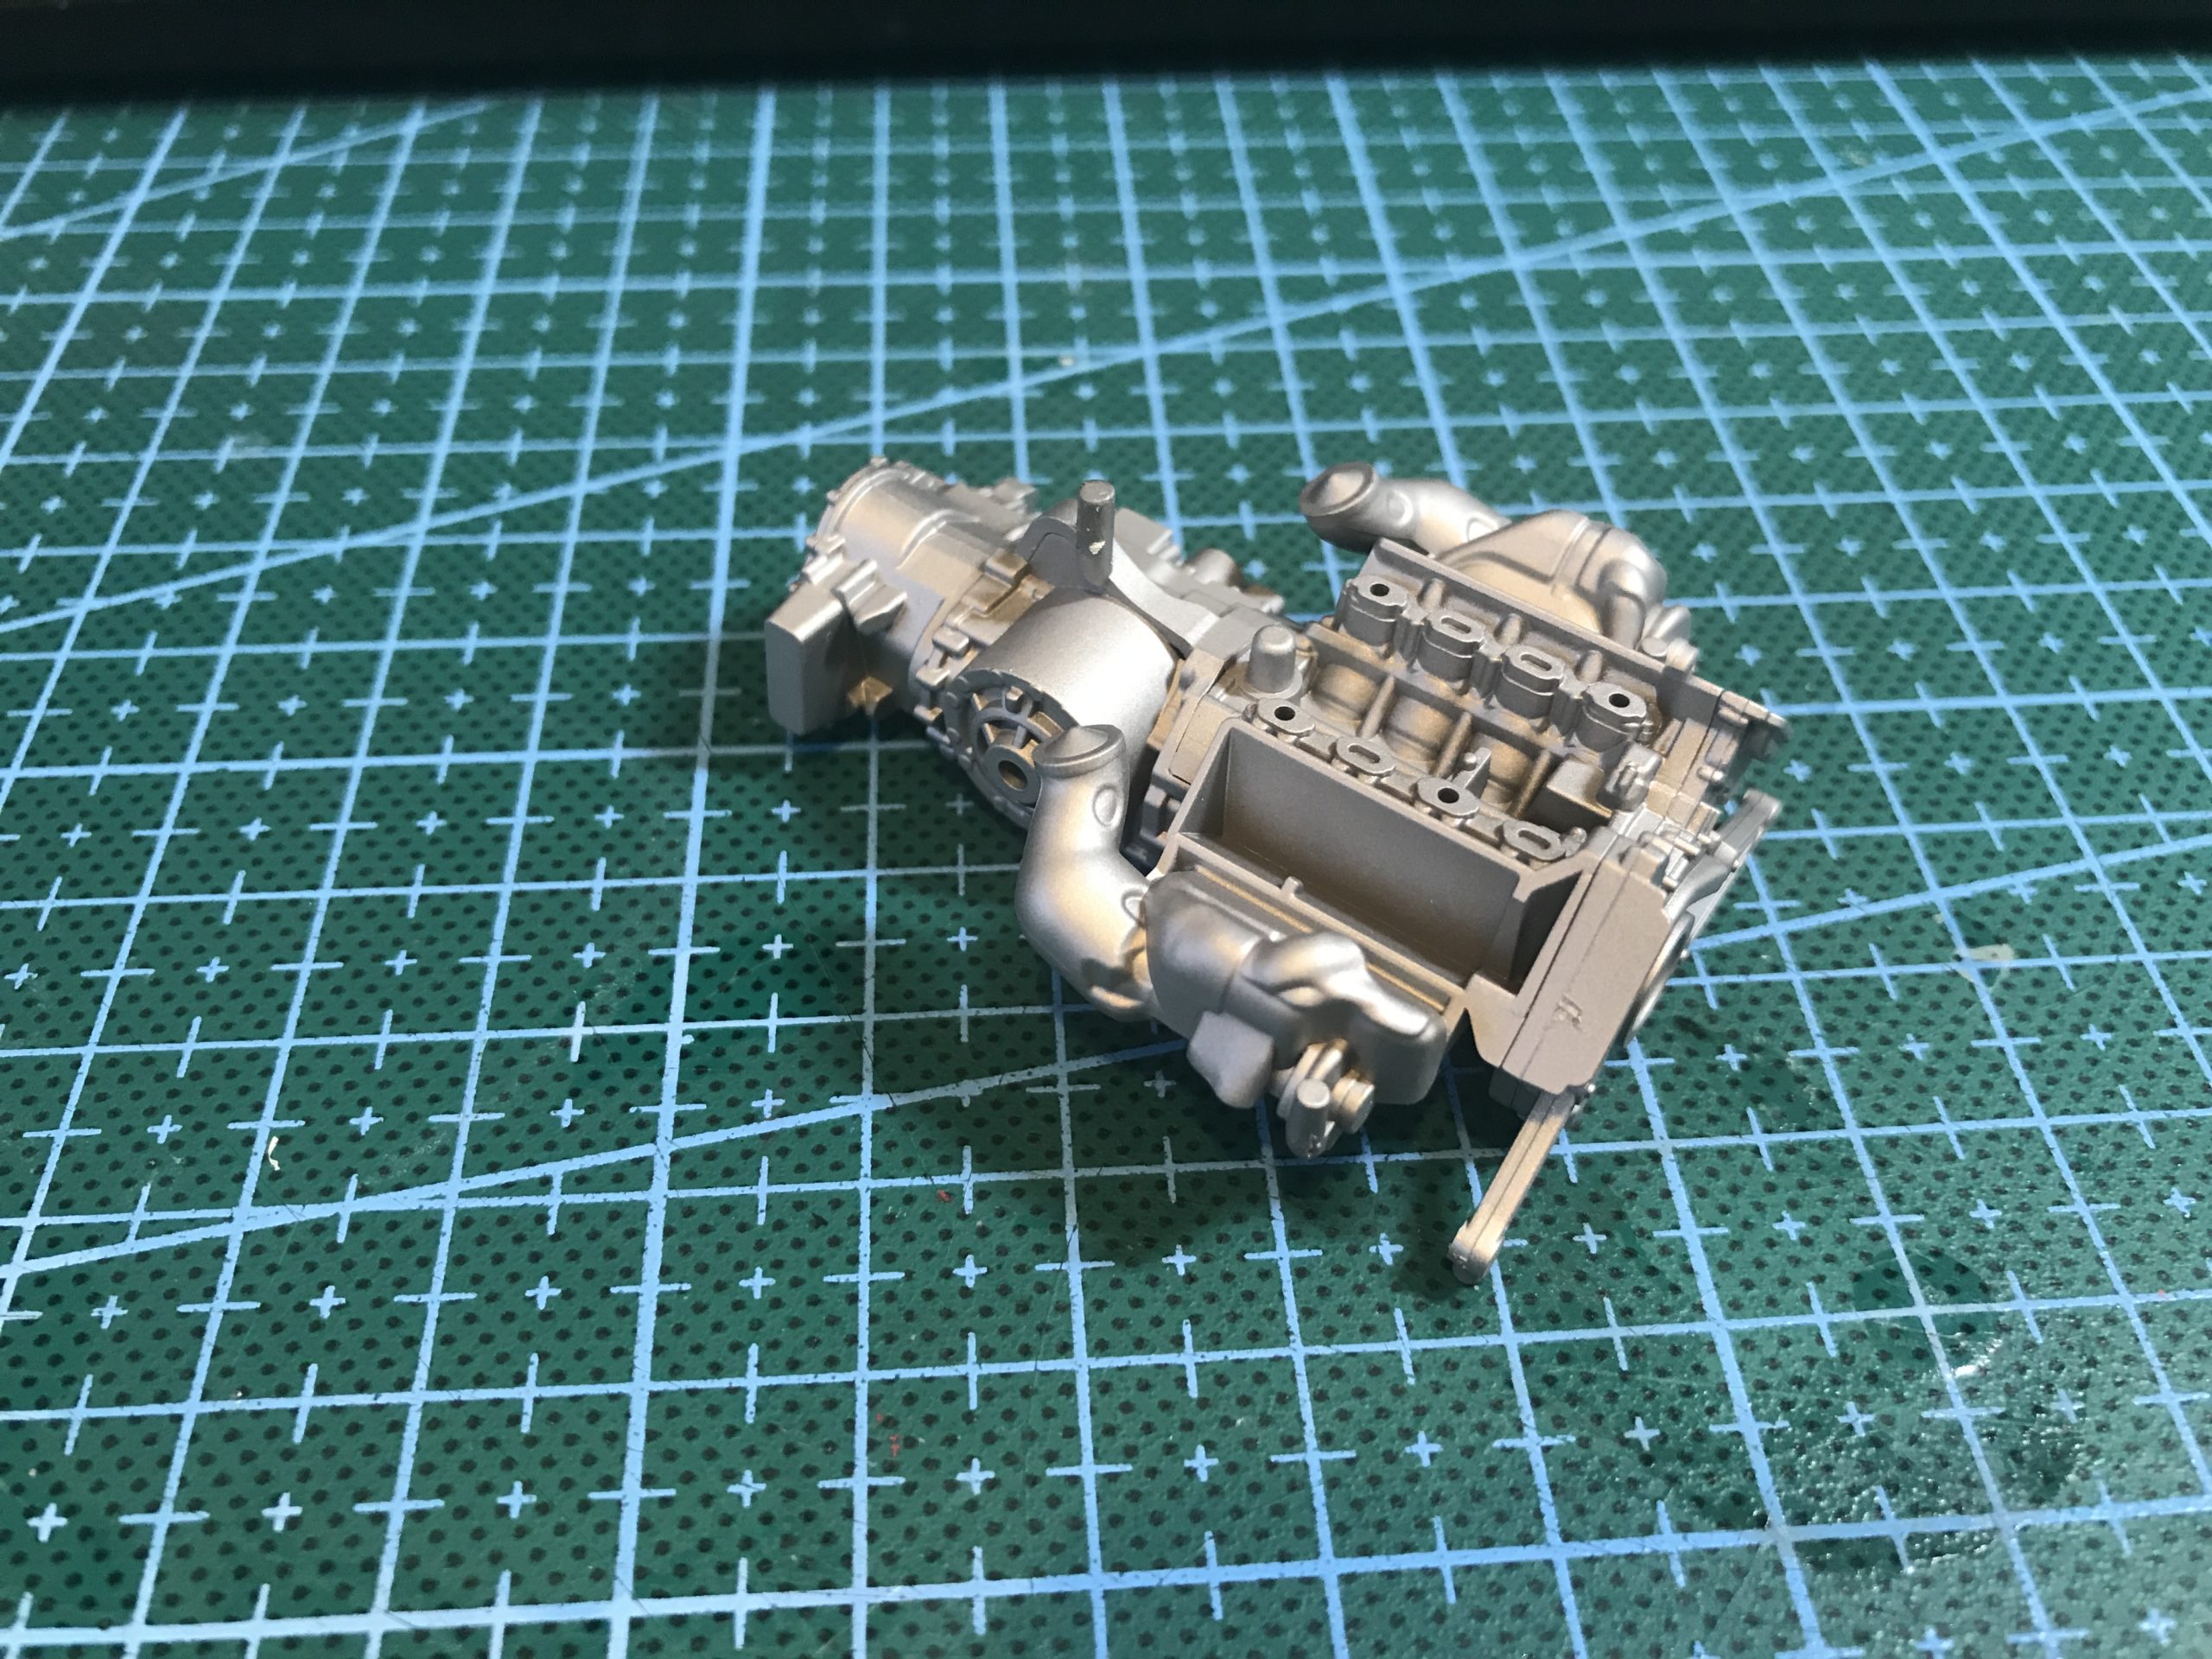
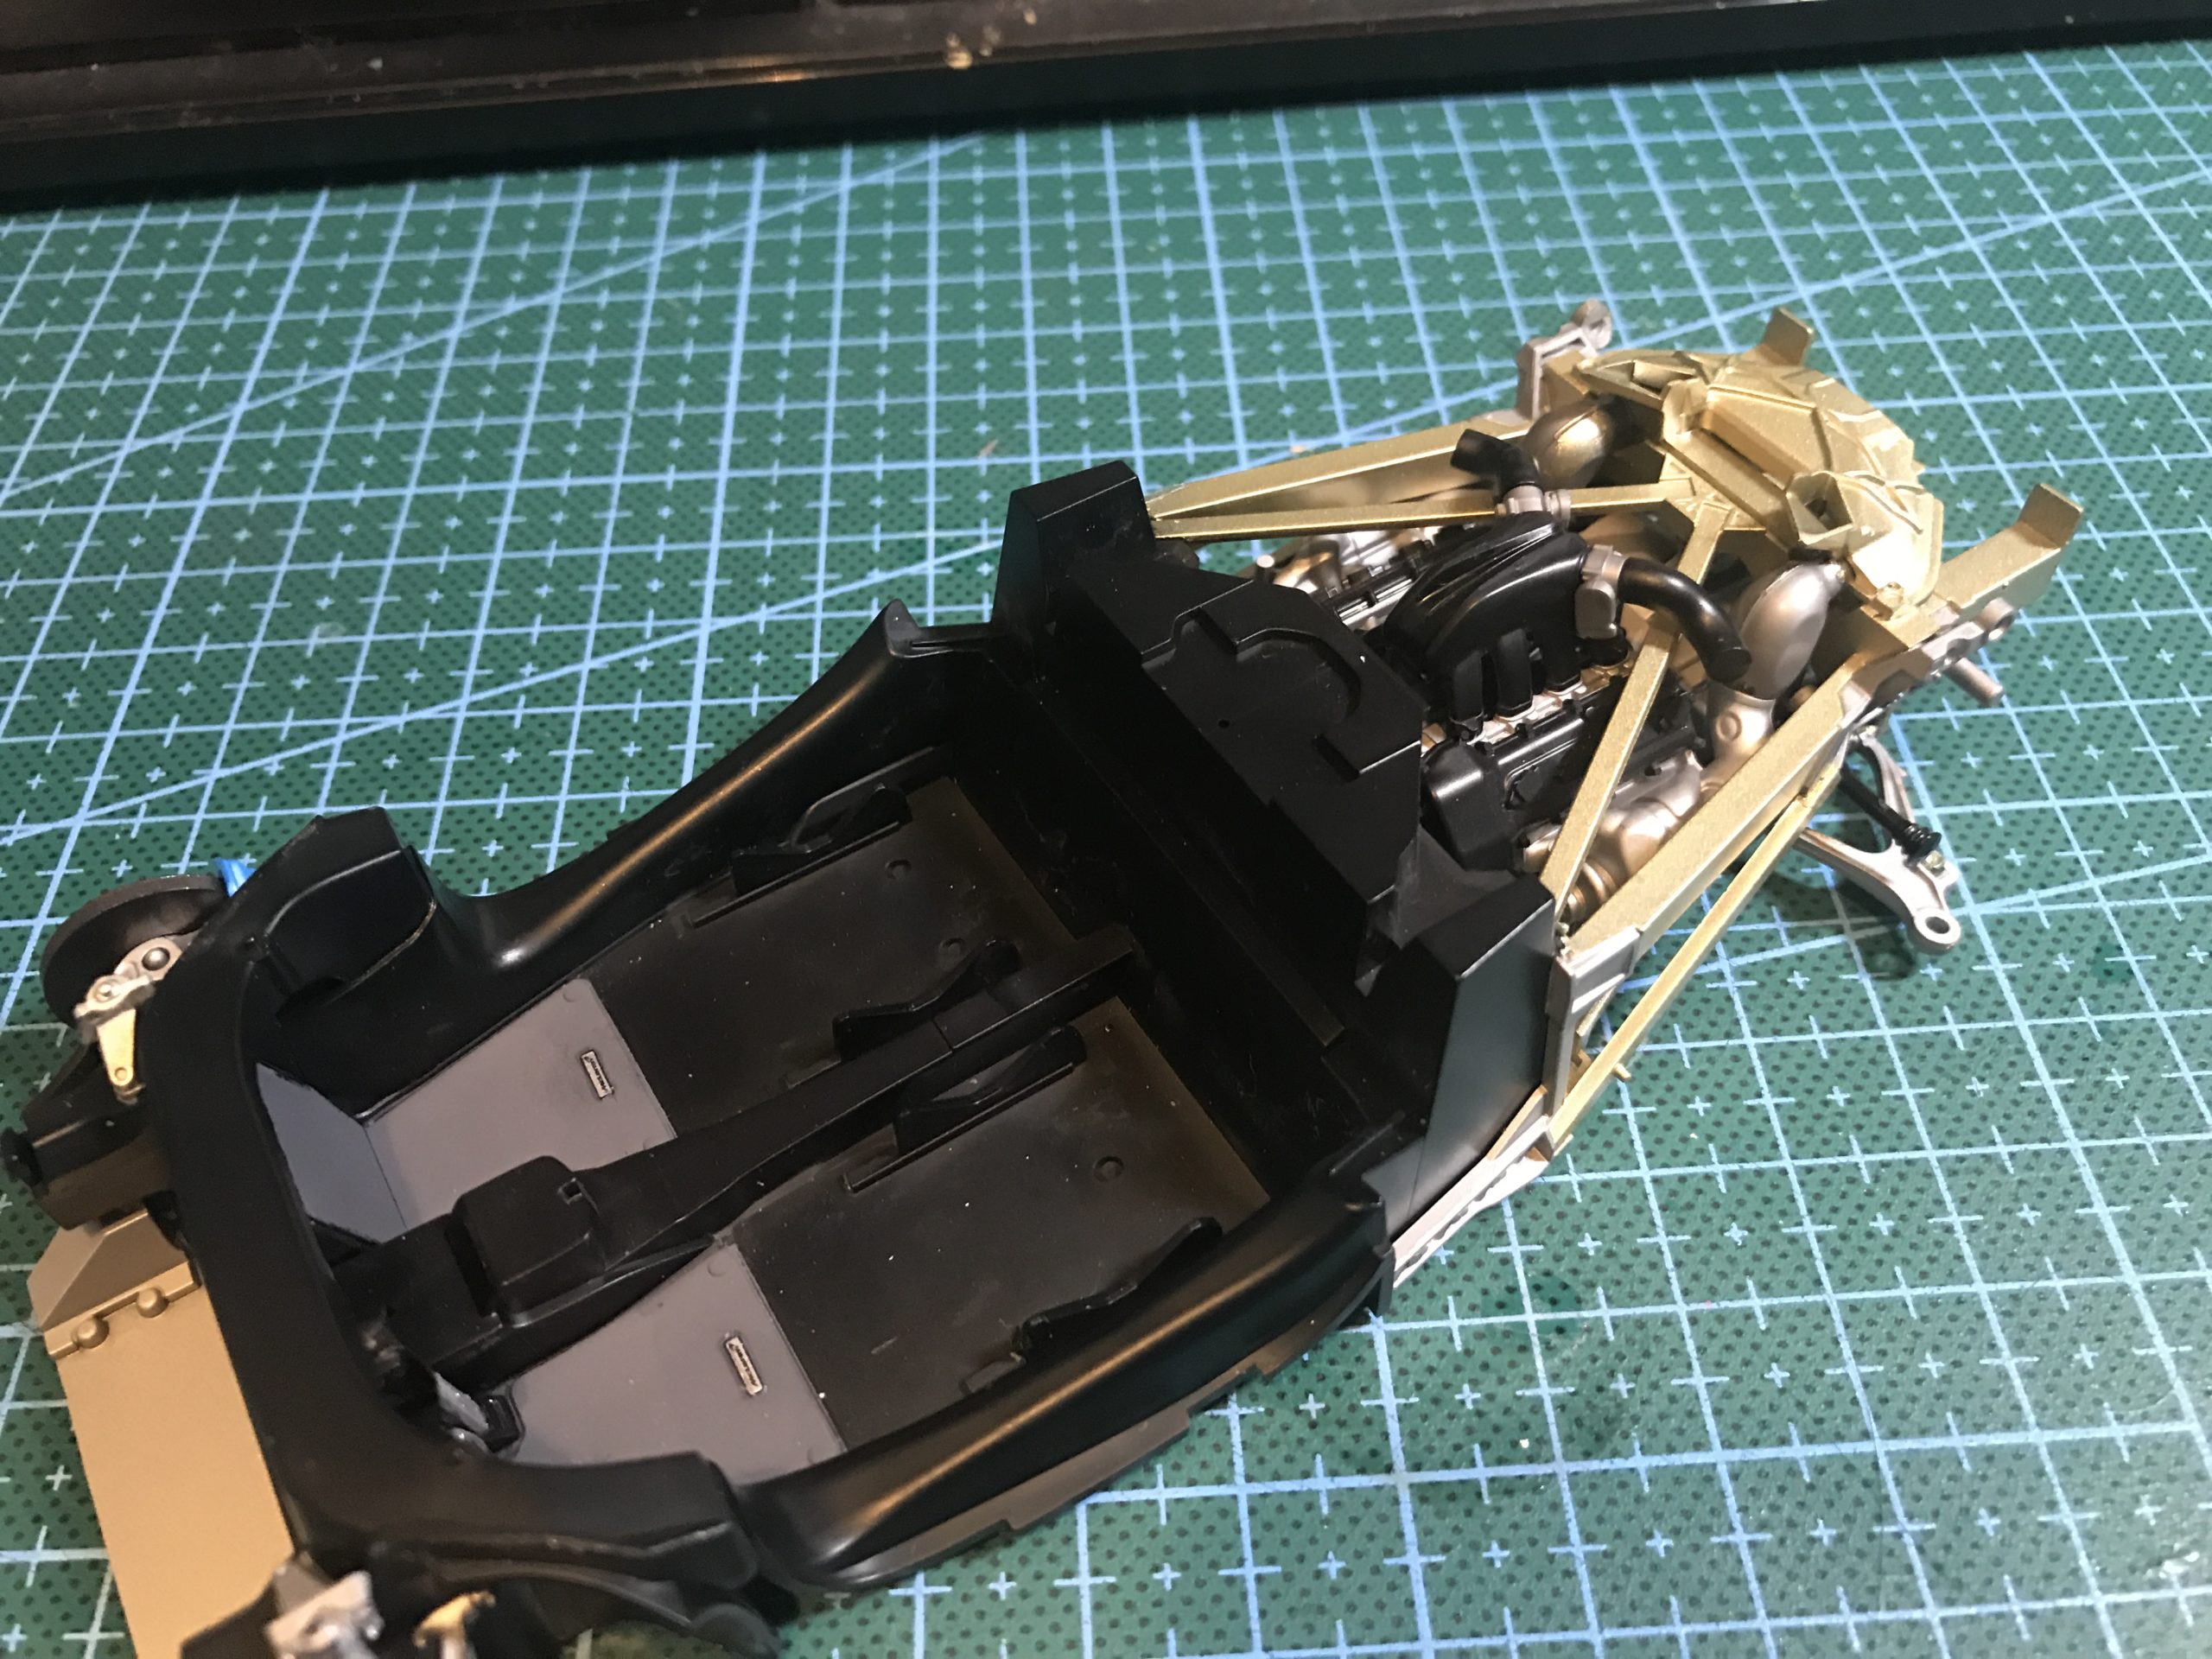
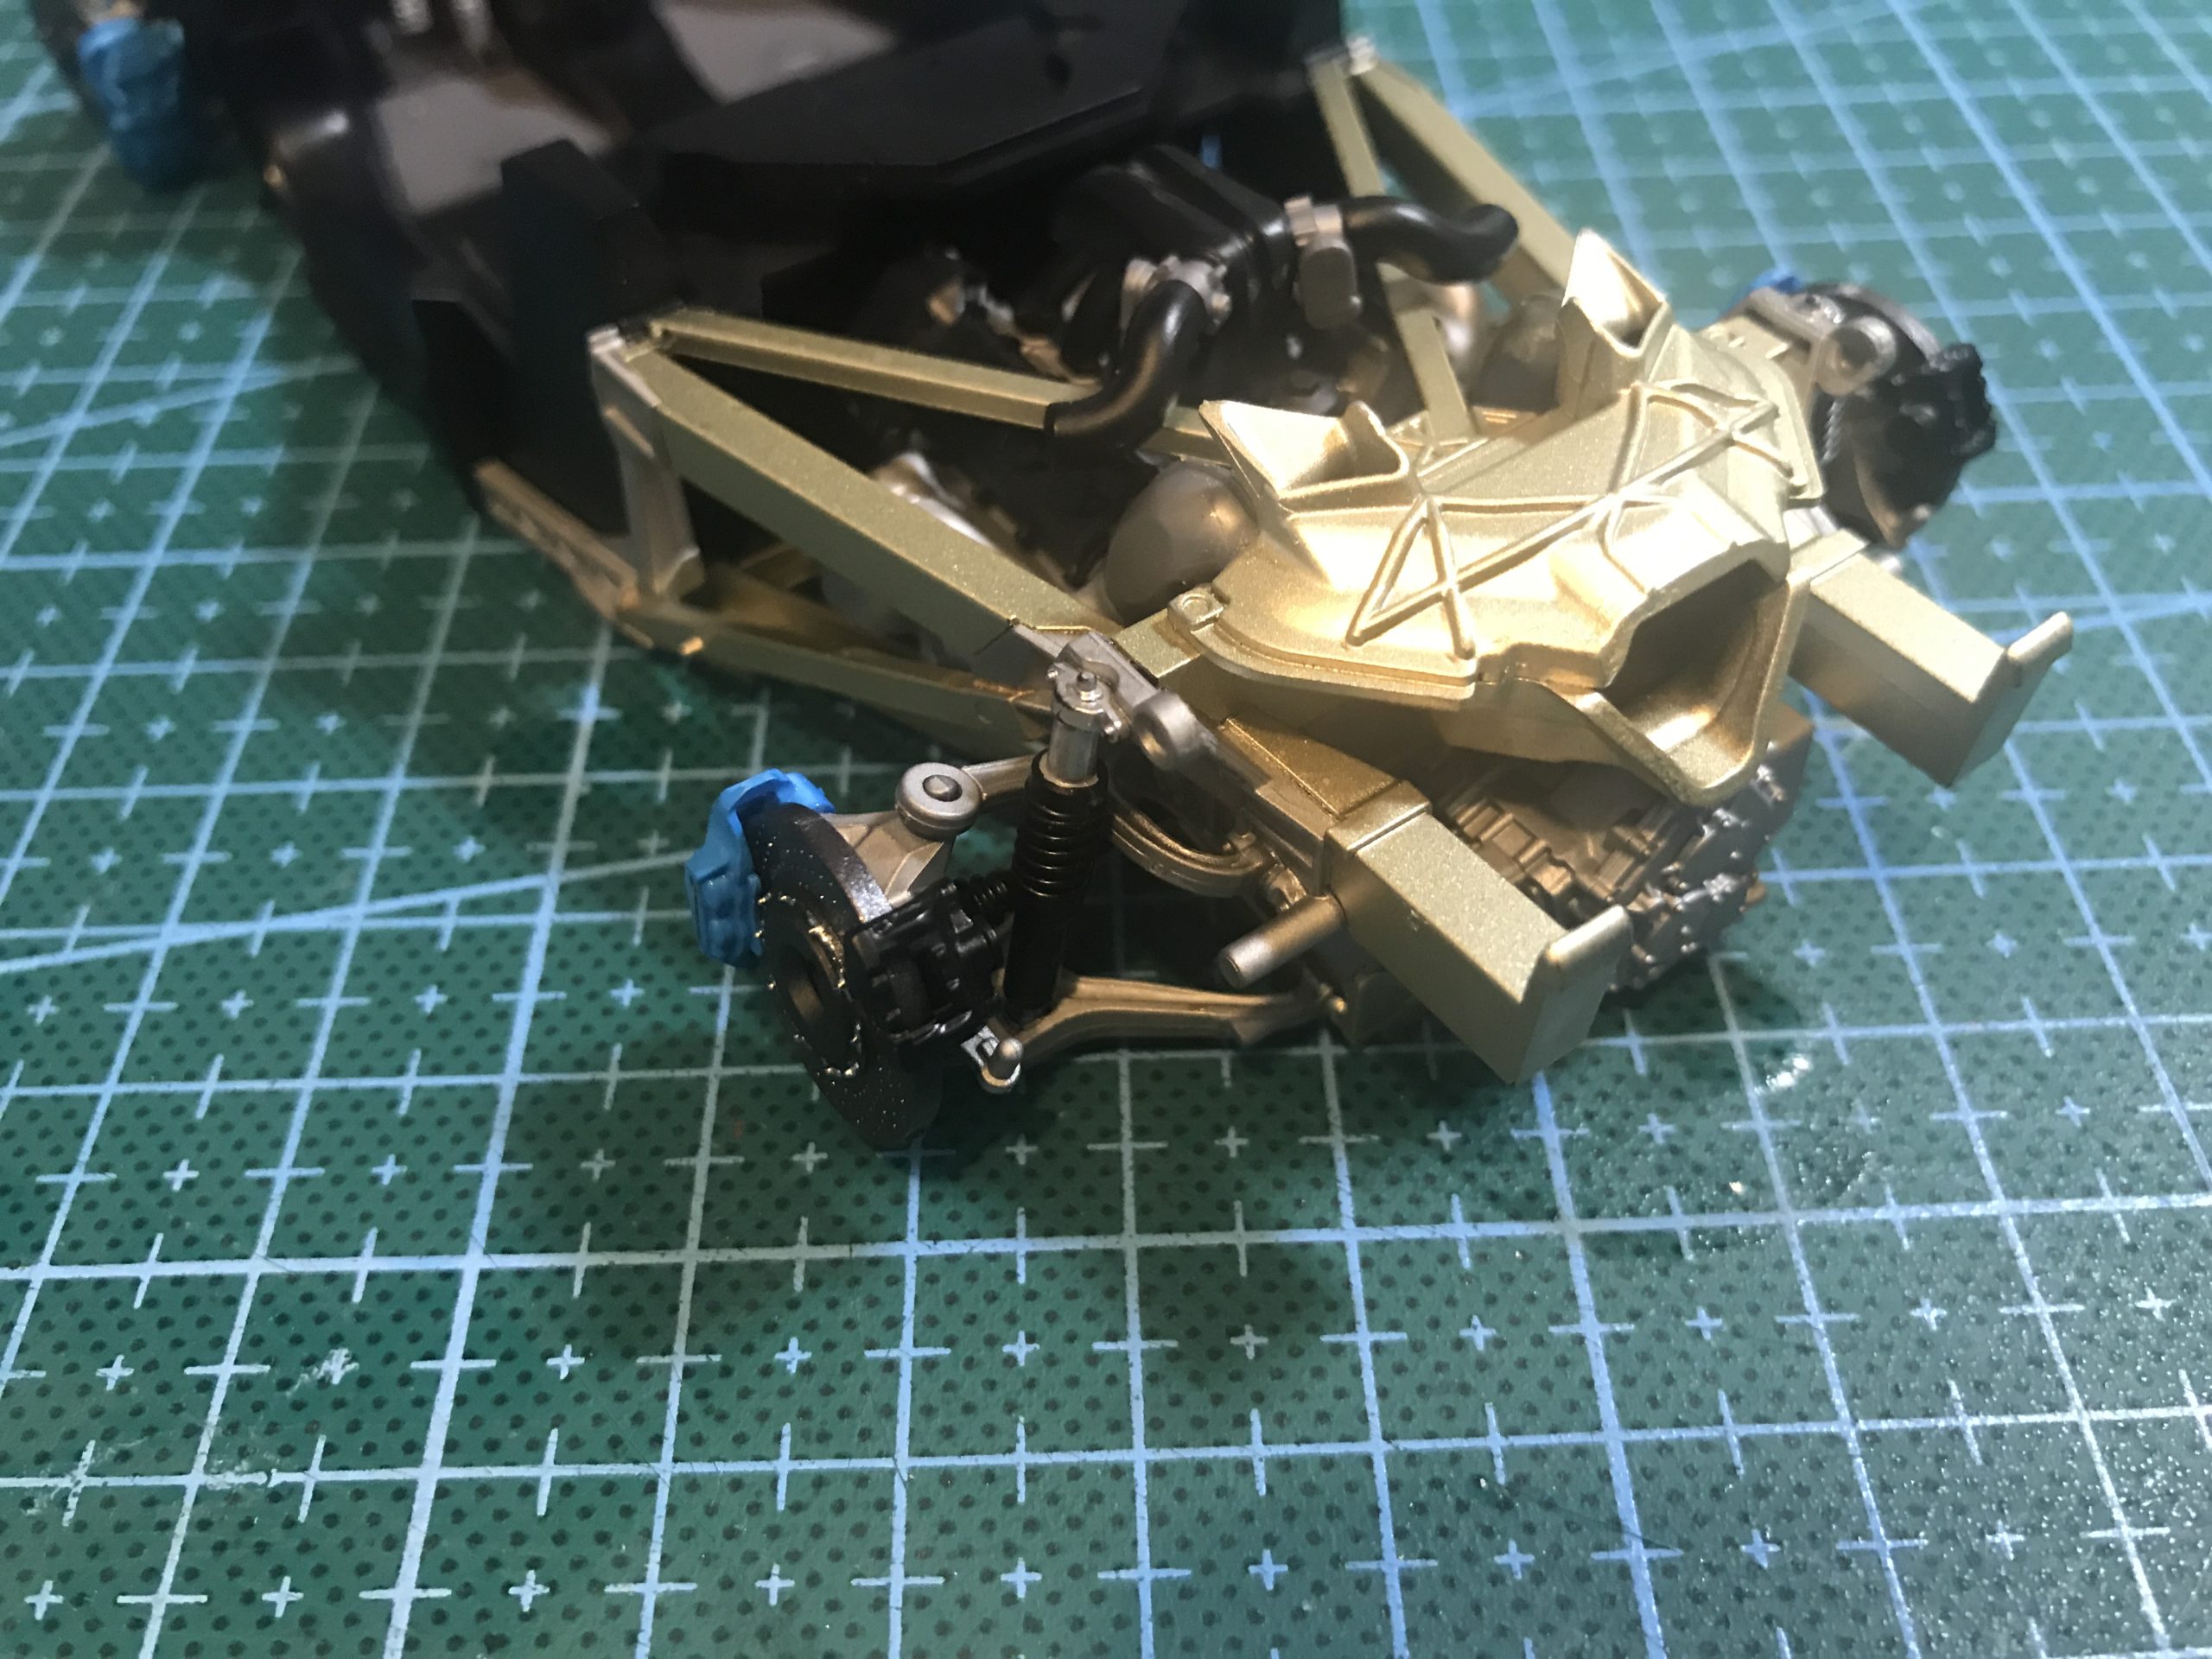
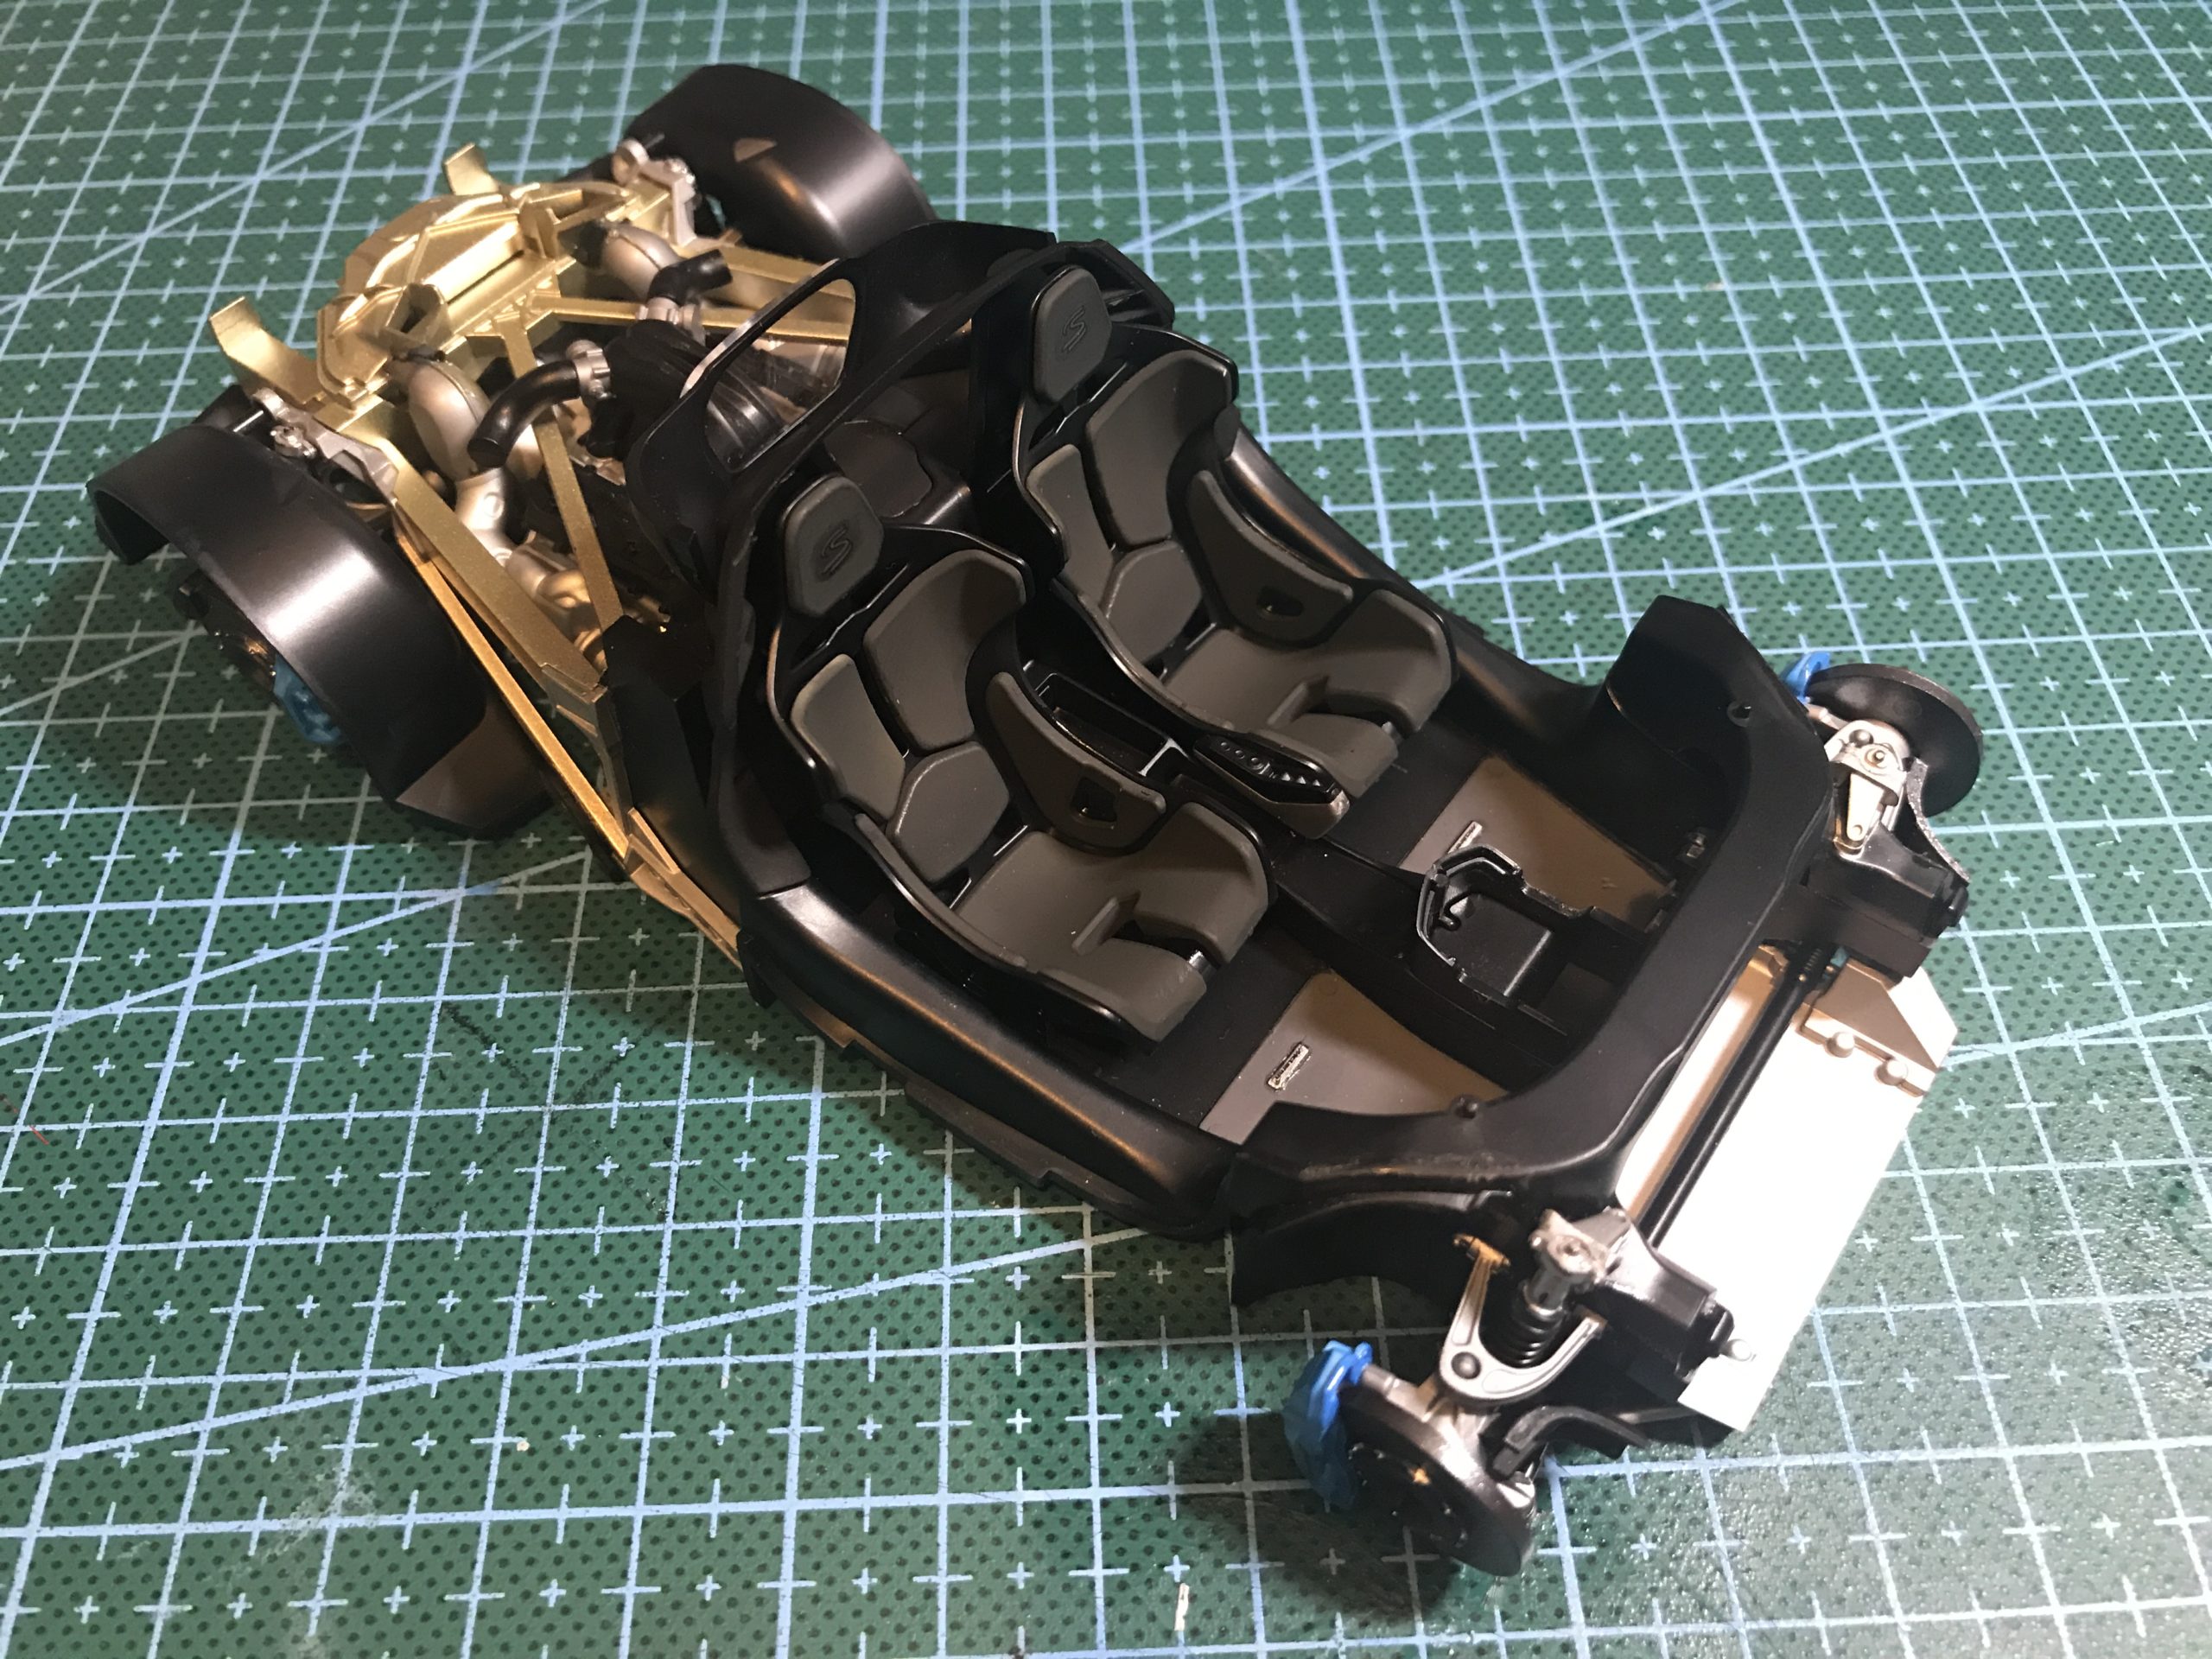
You do get a beautifully detailed interior and engine bay (although you can’t see a lot of the latter after assembly.
Here’s the assembly in pictures.


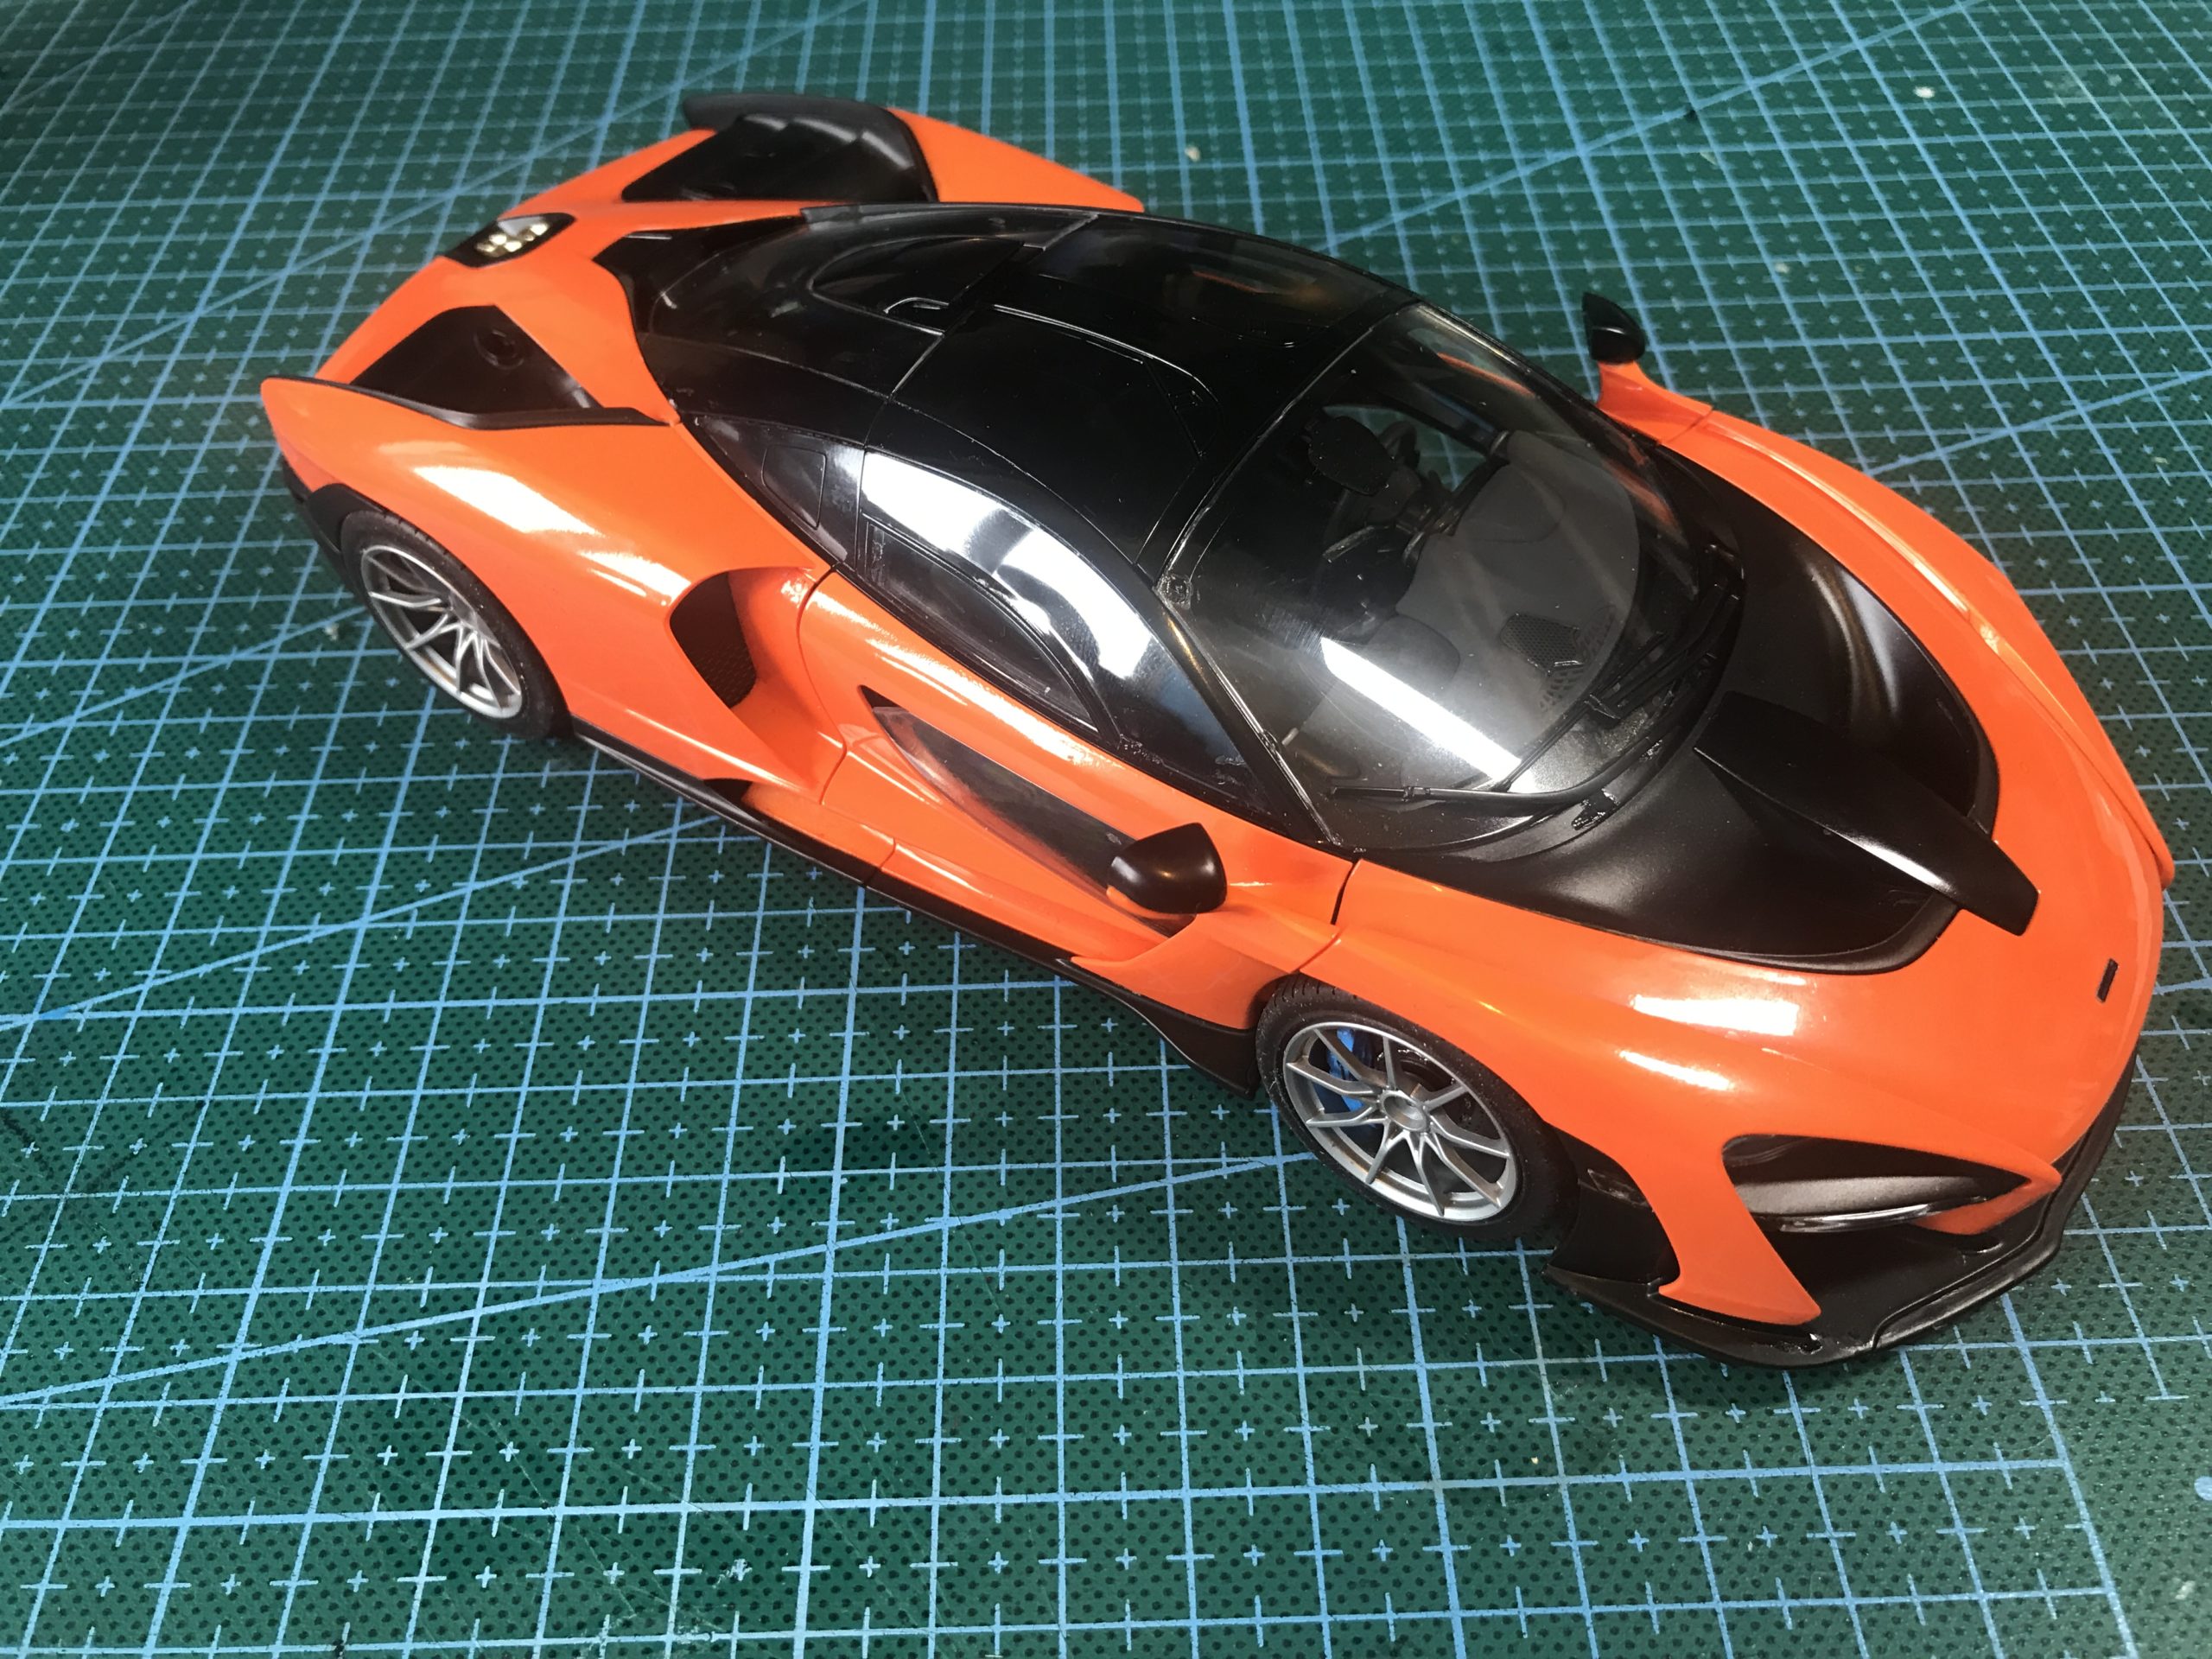
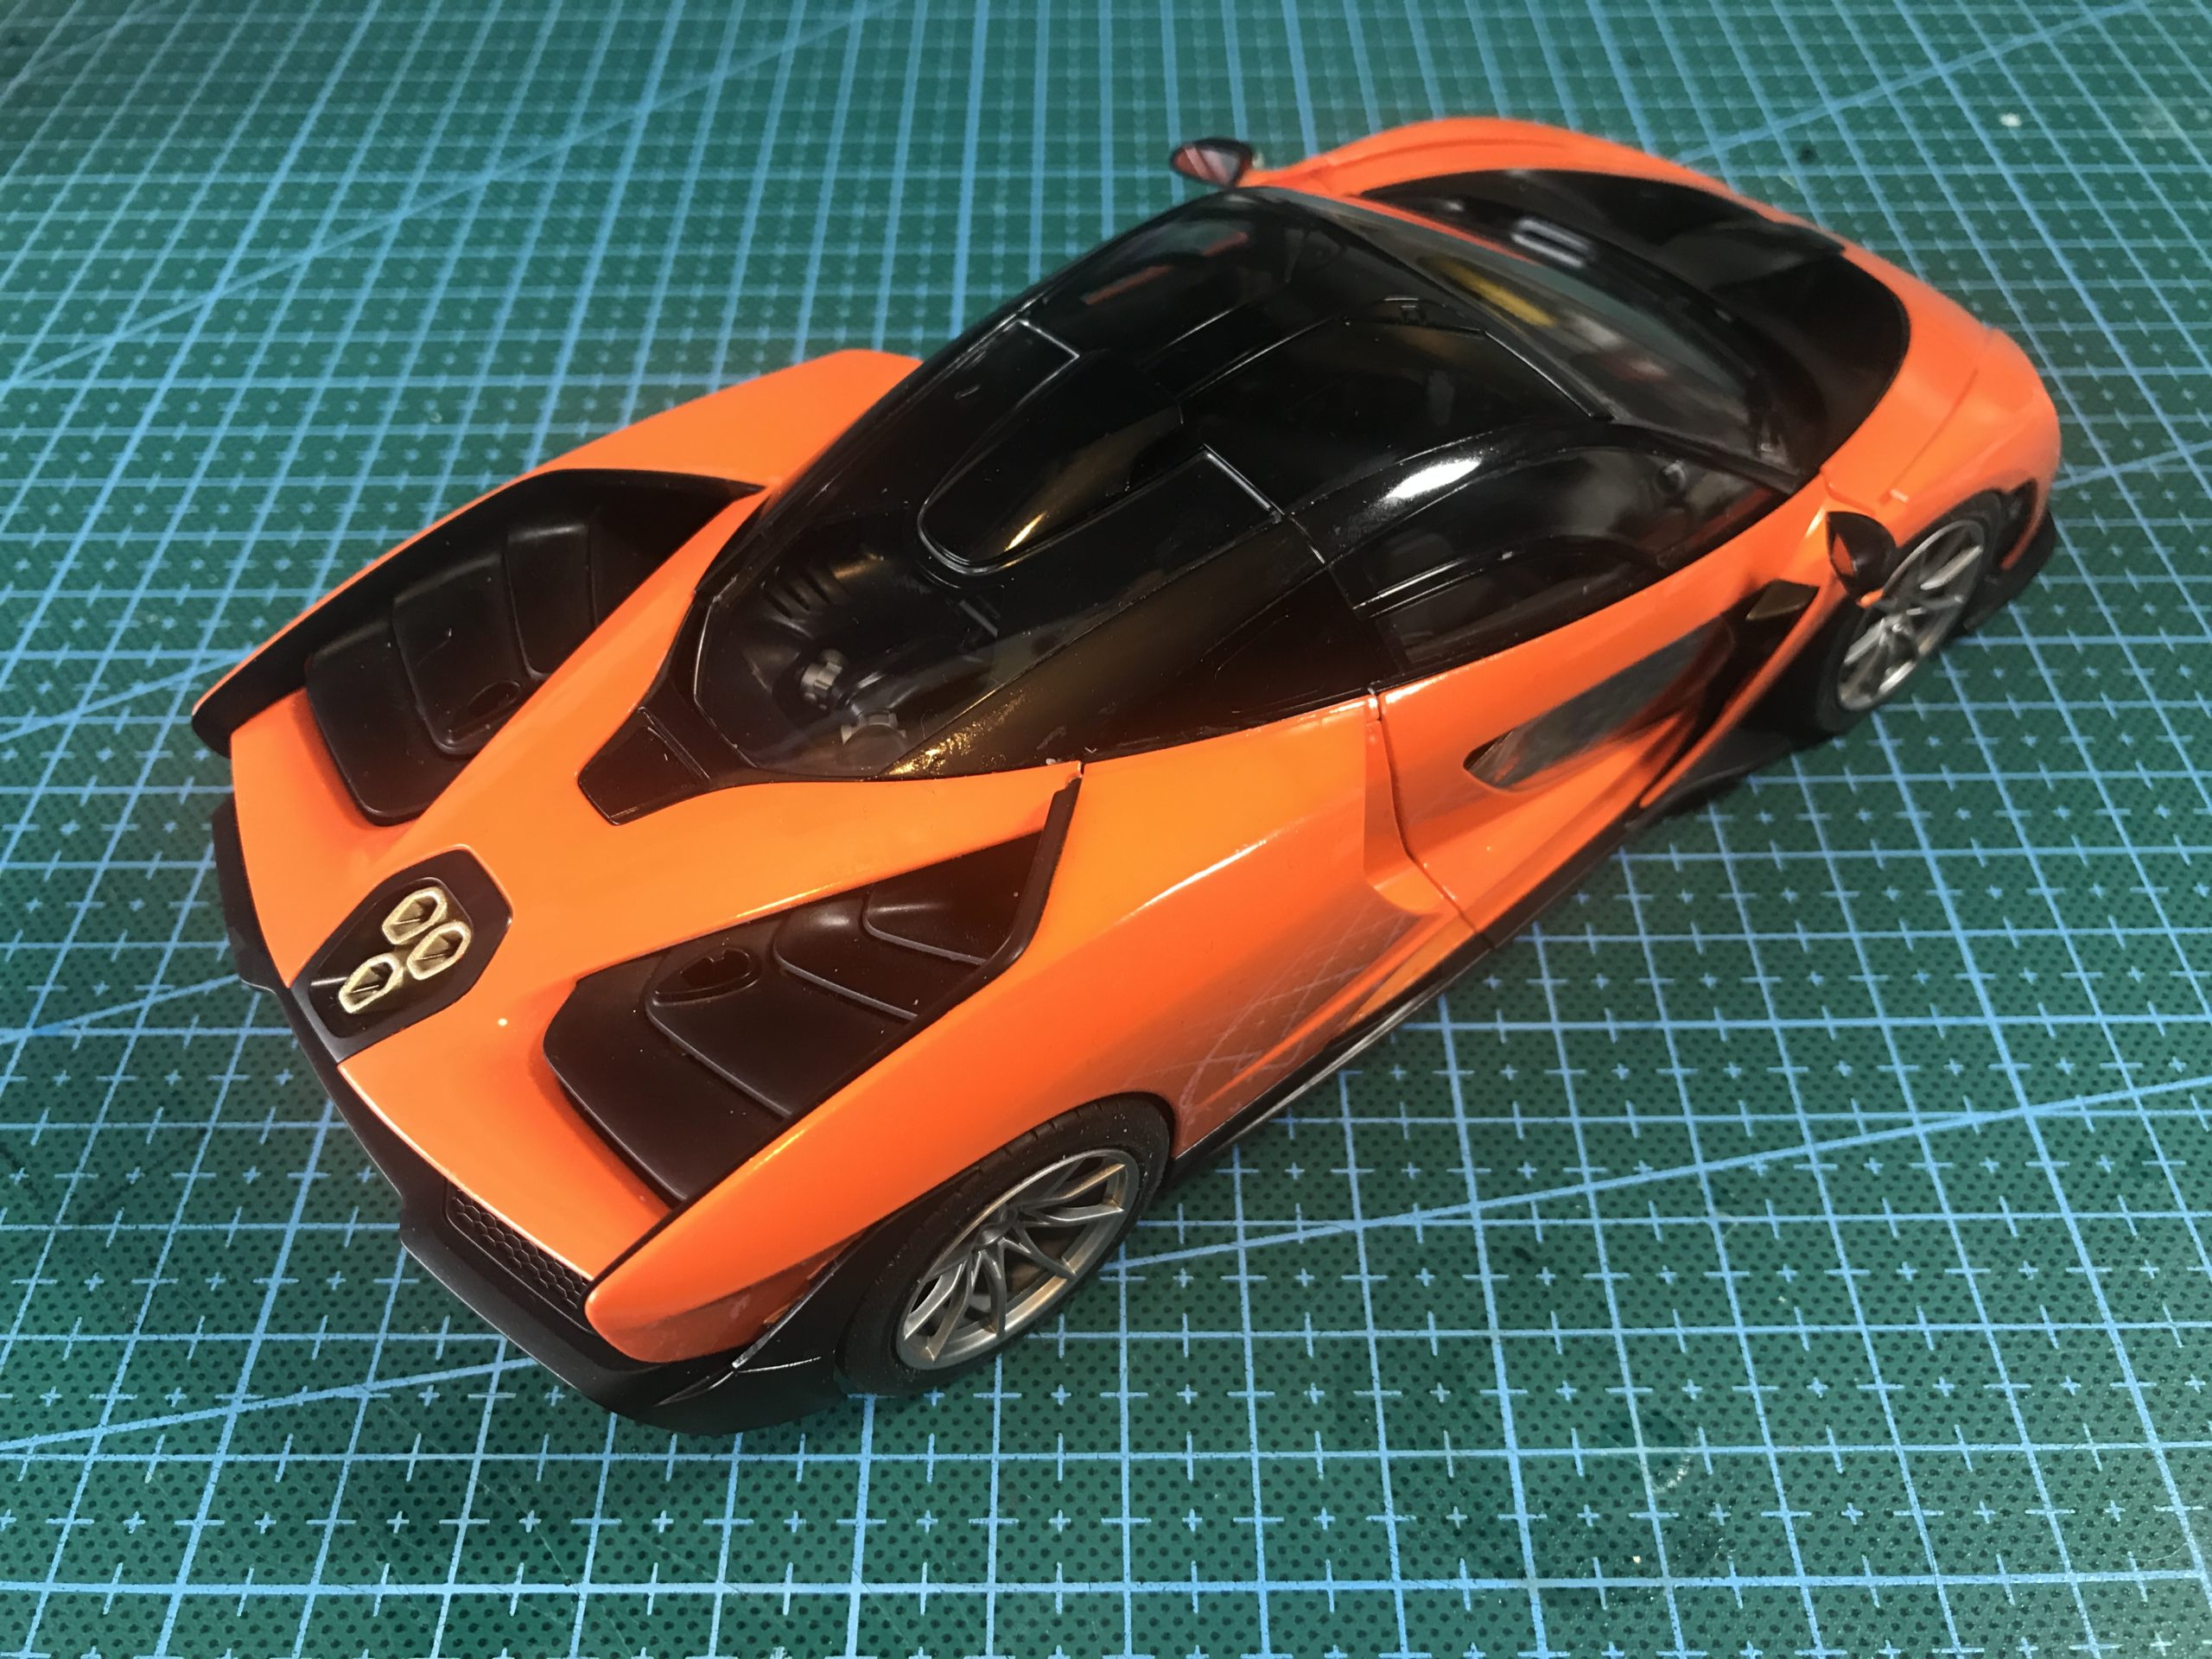
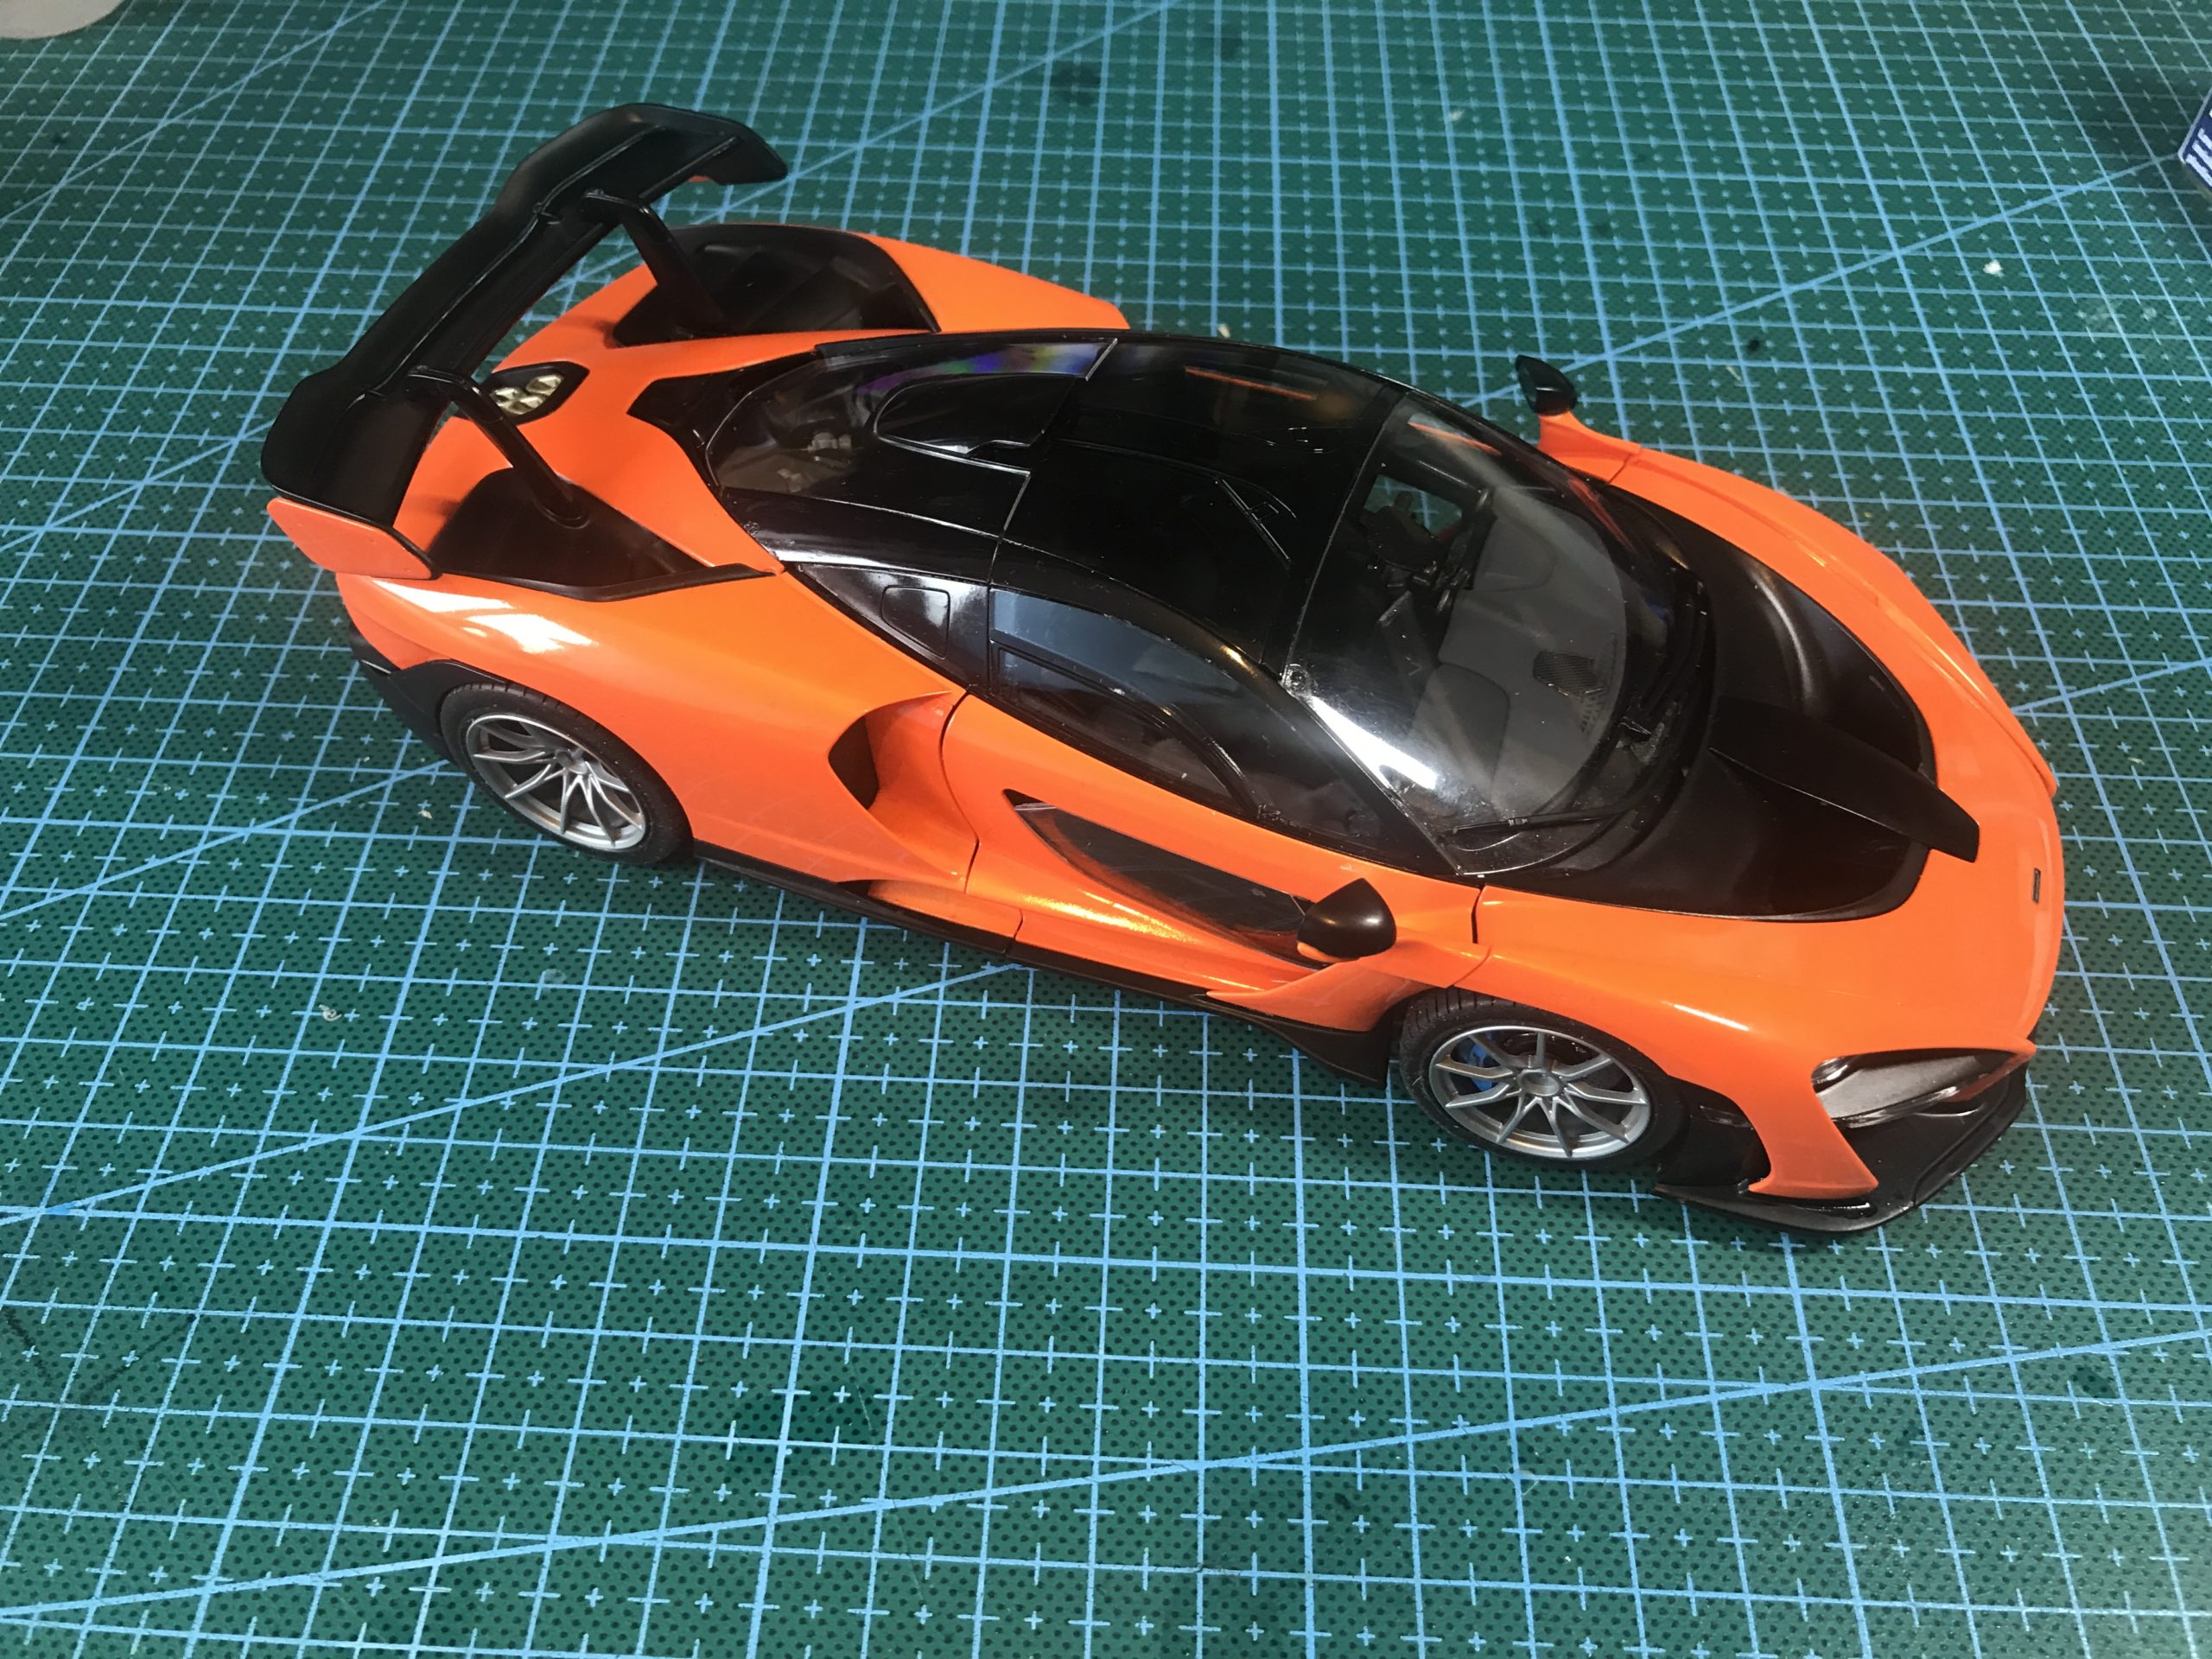
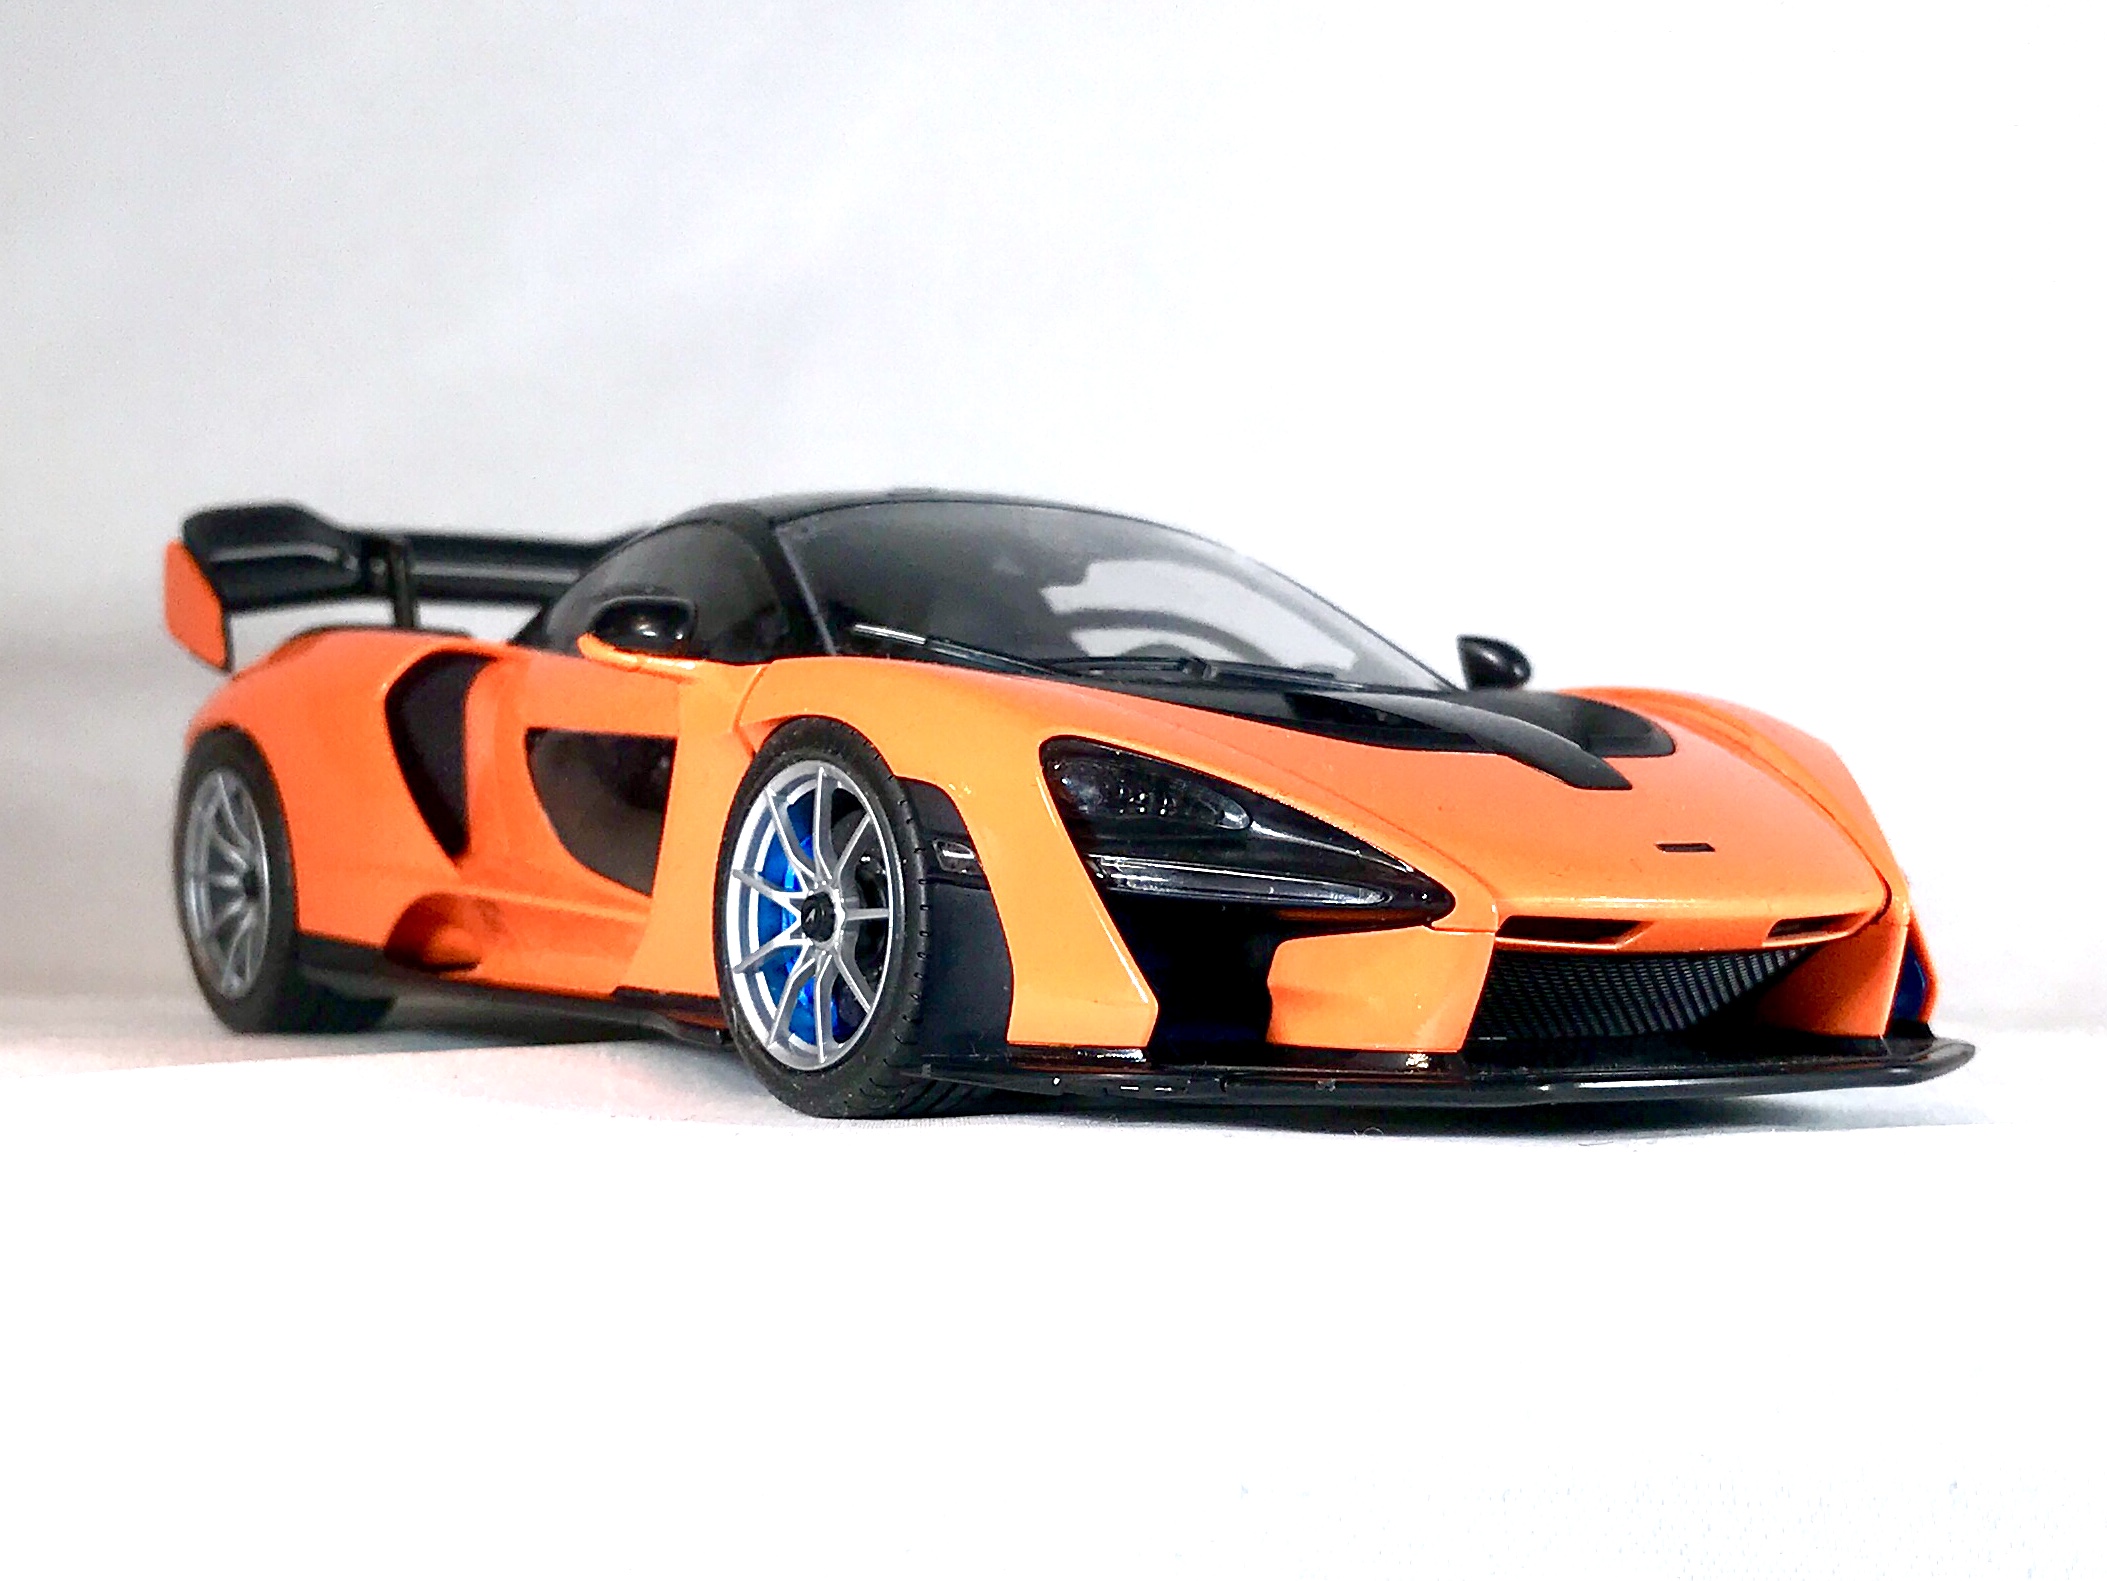
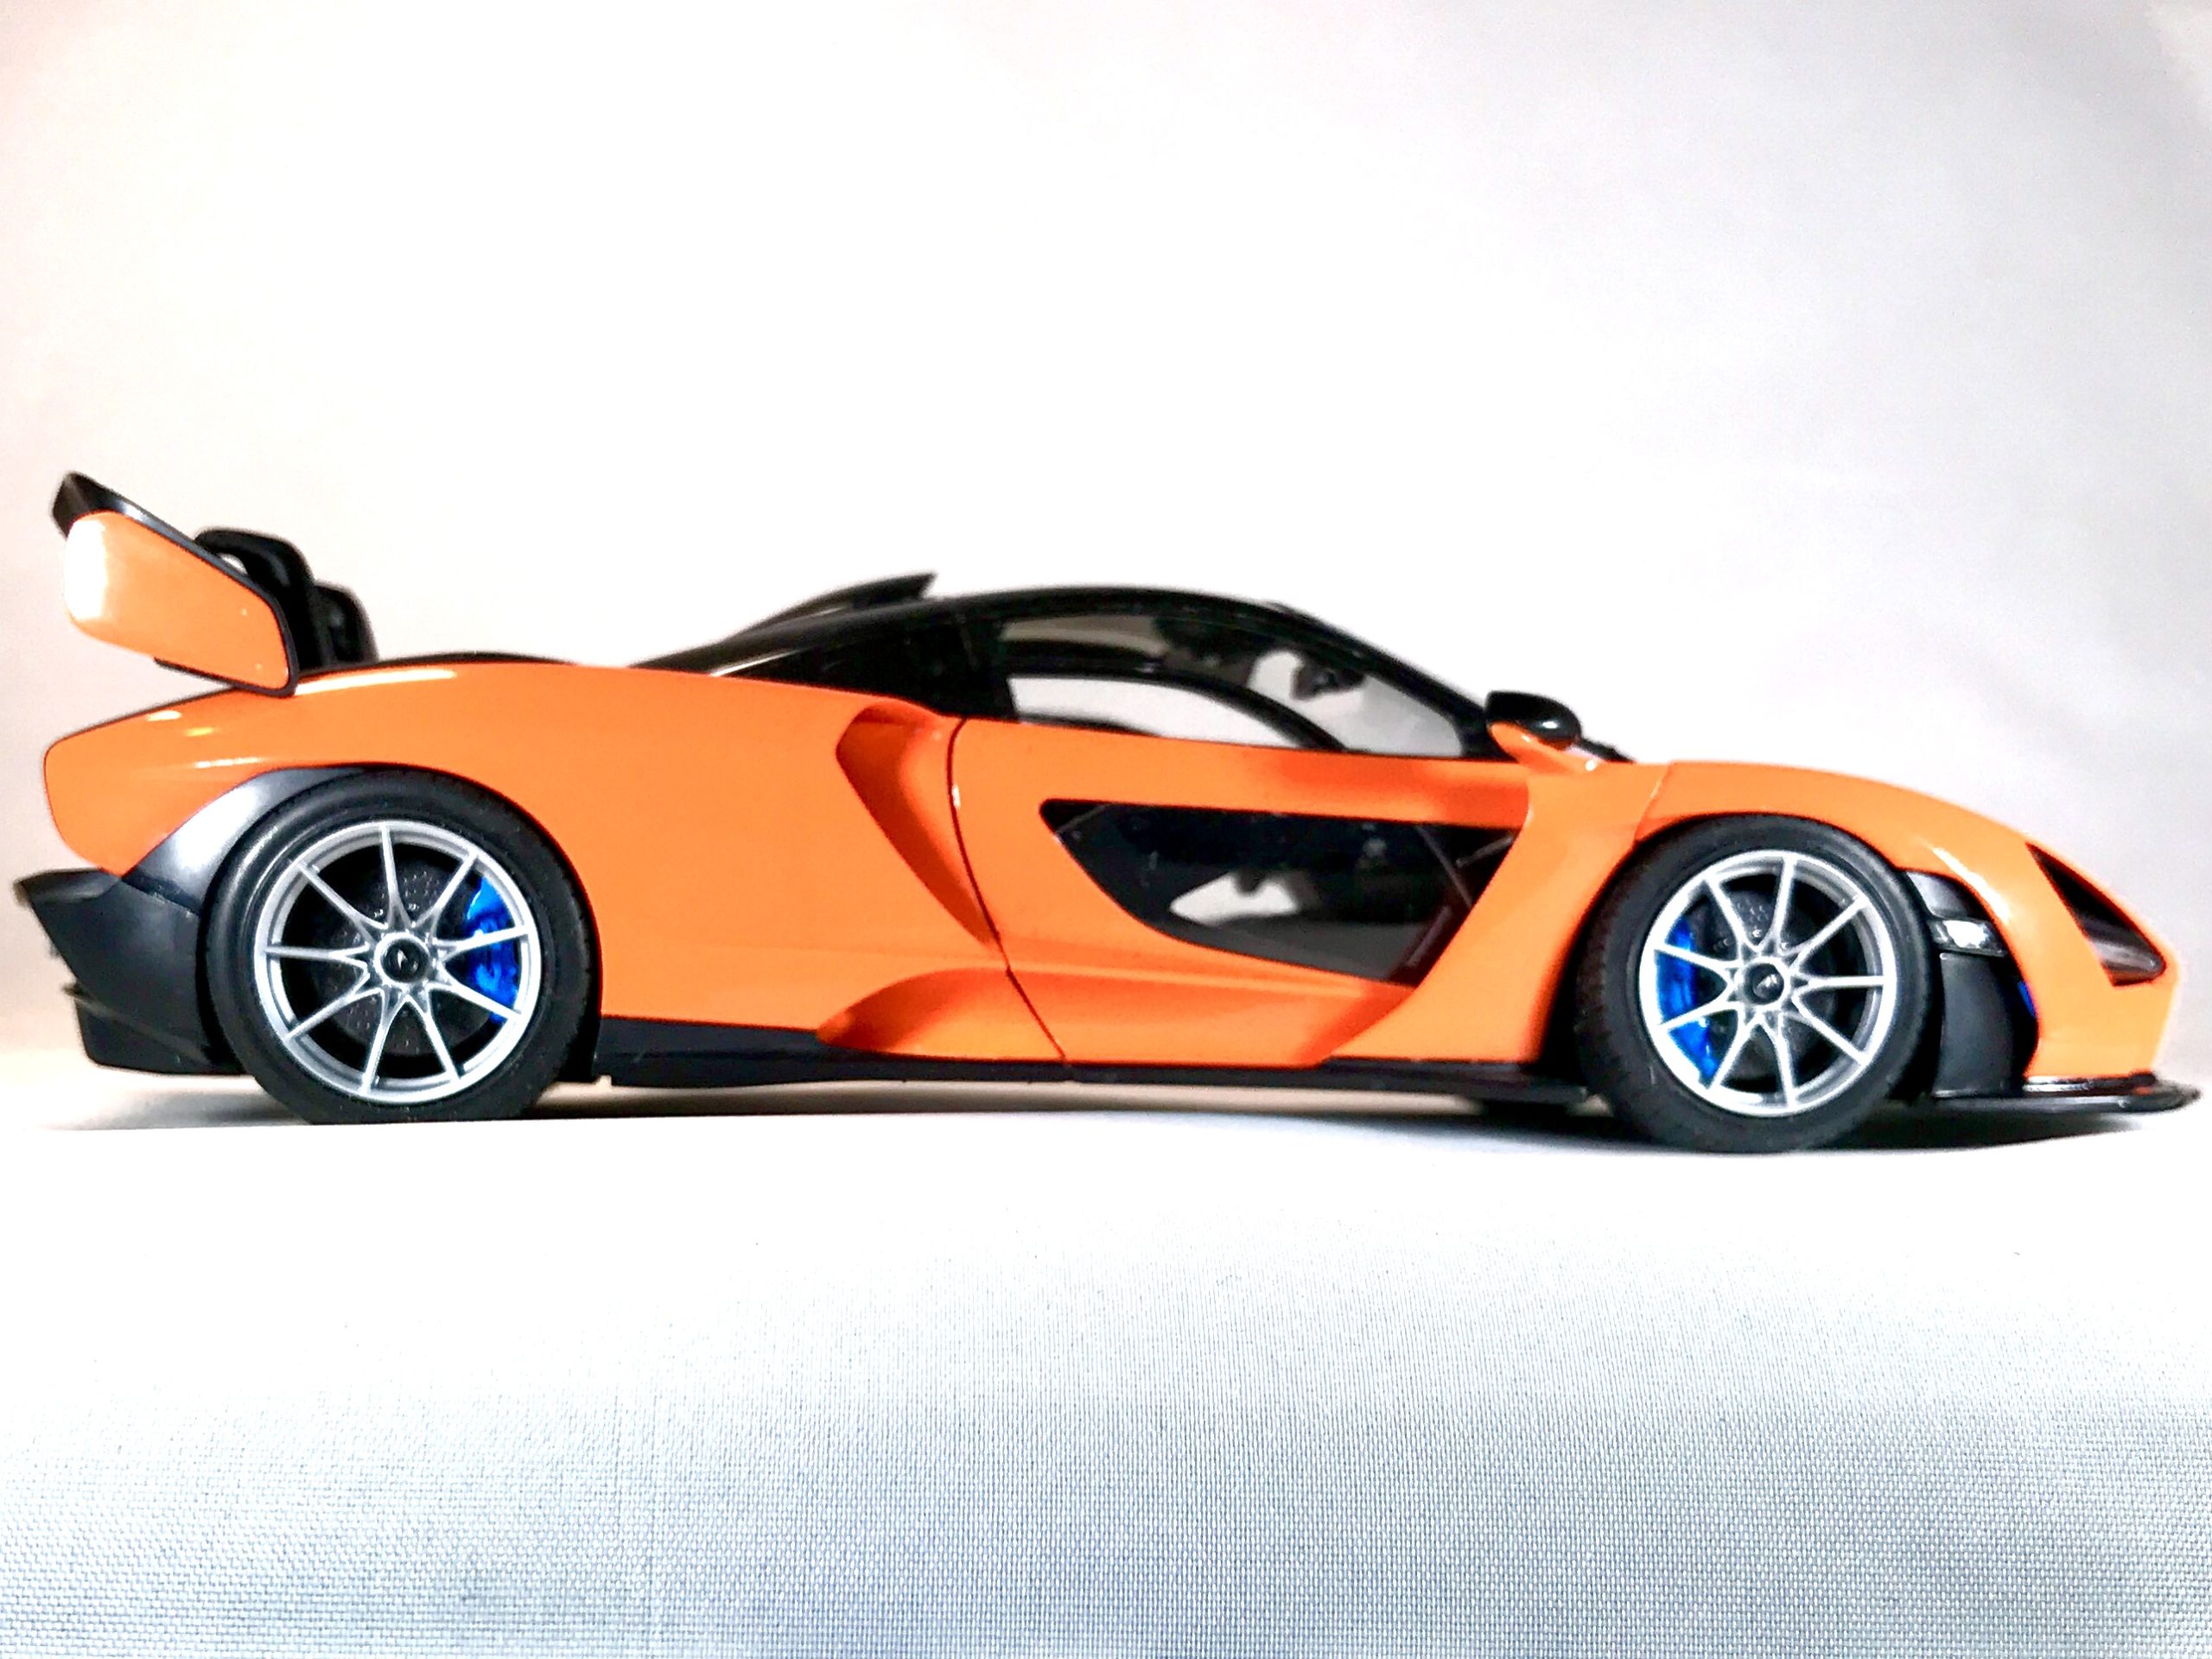
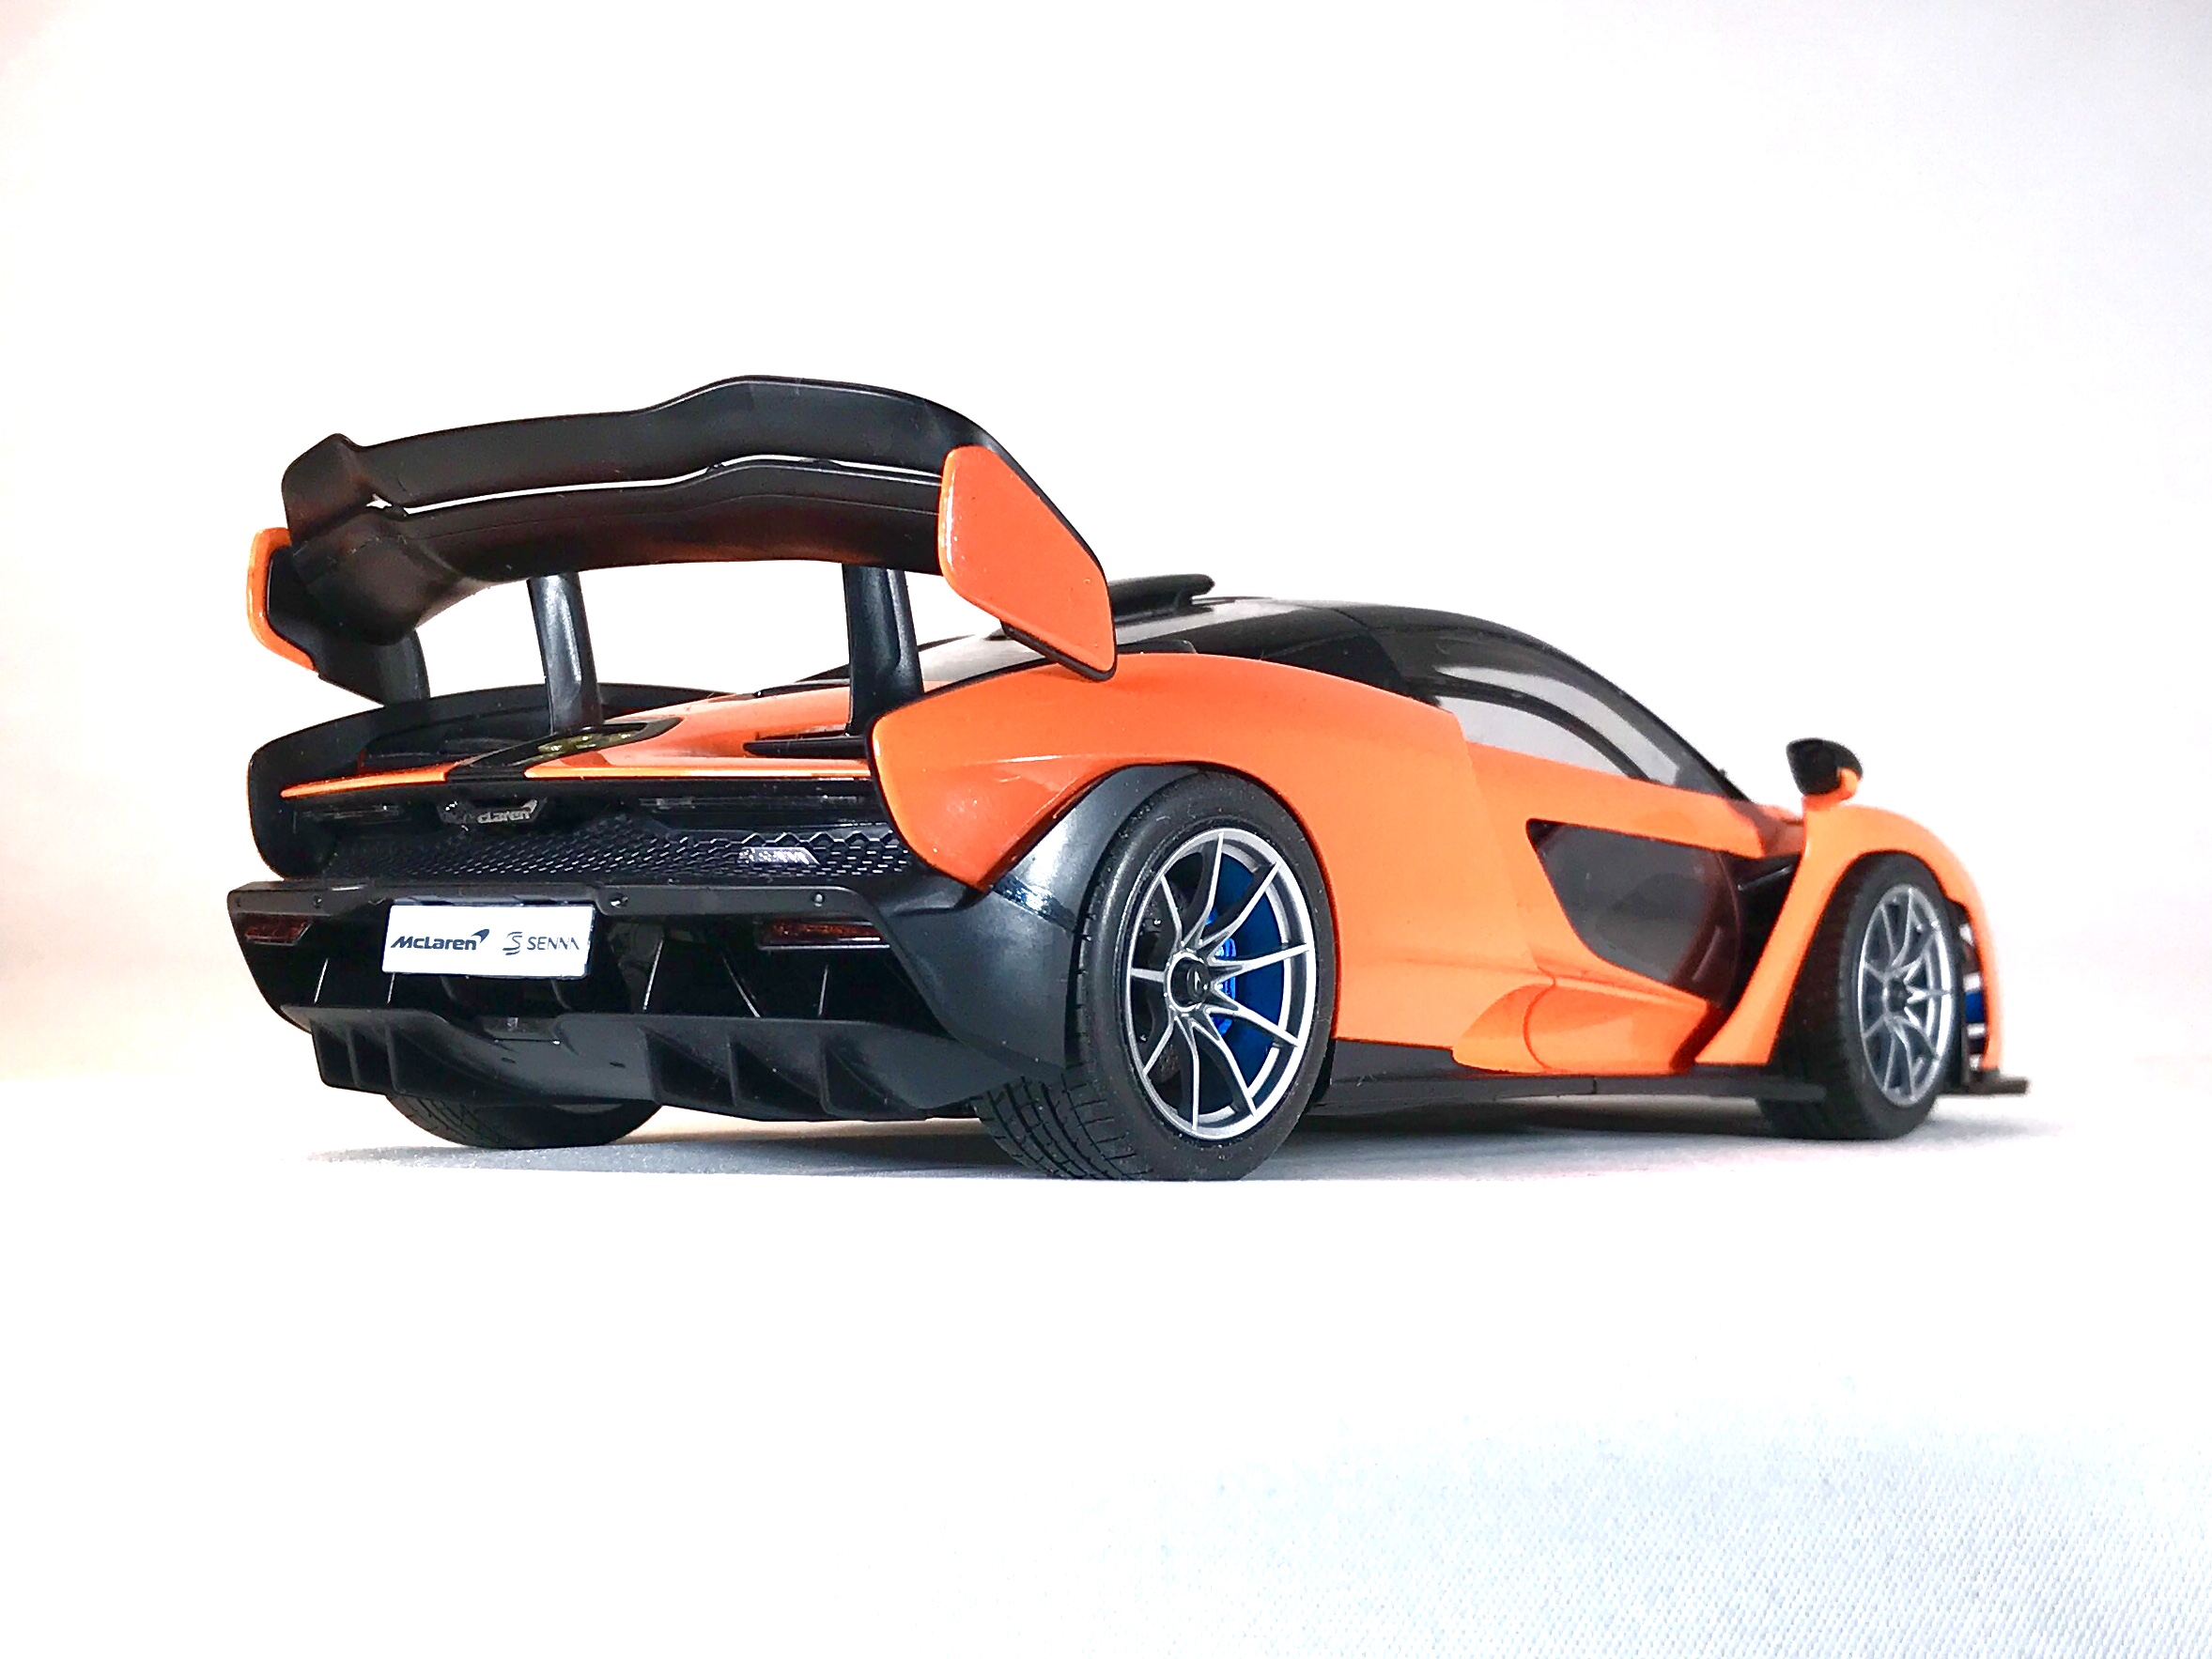
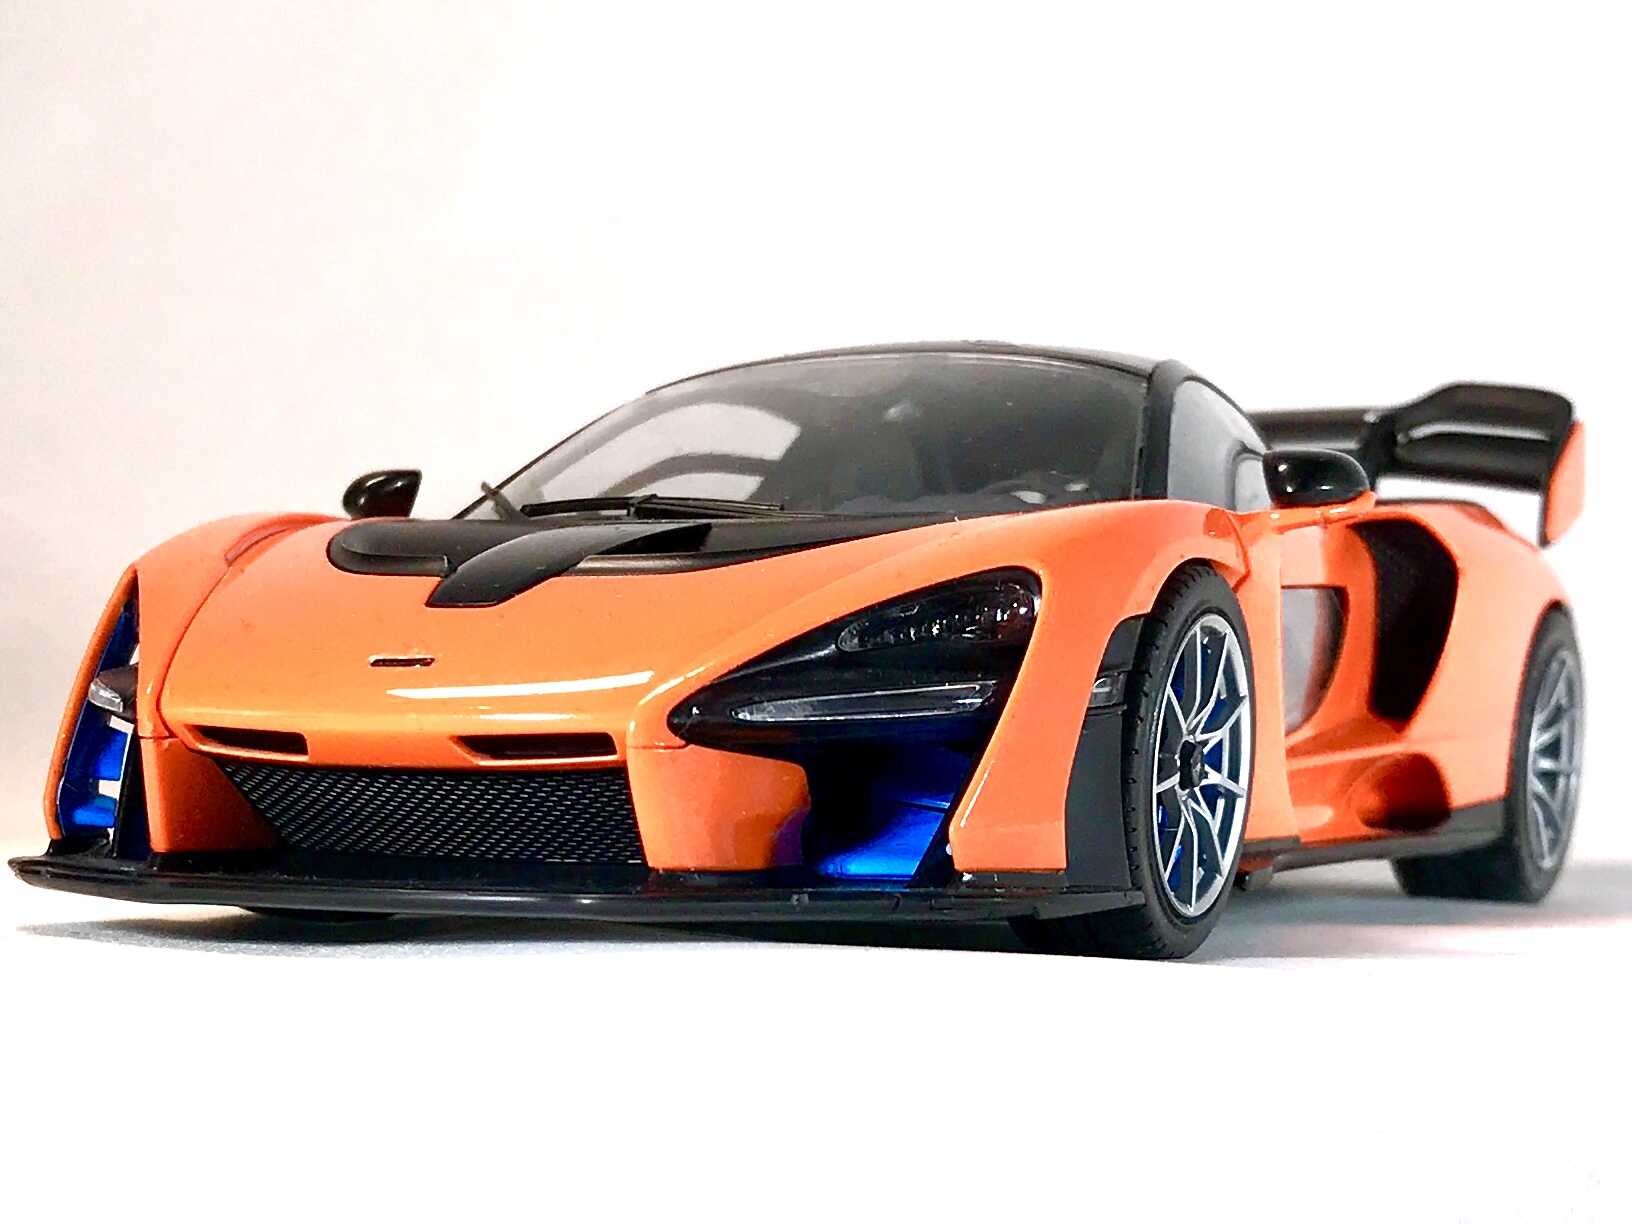
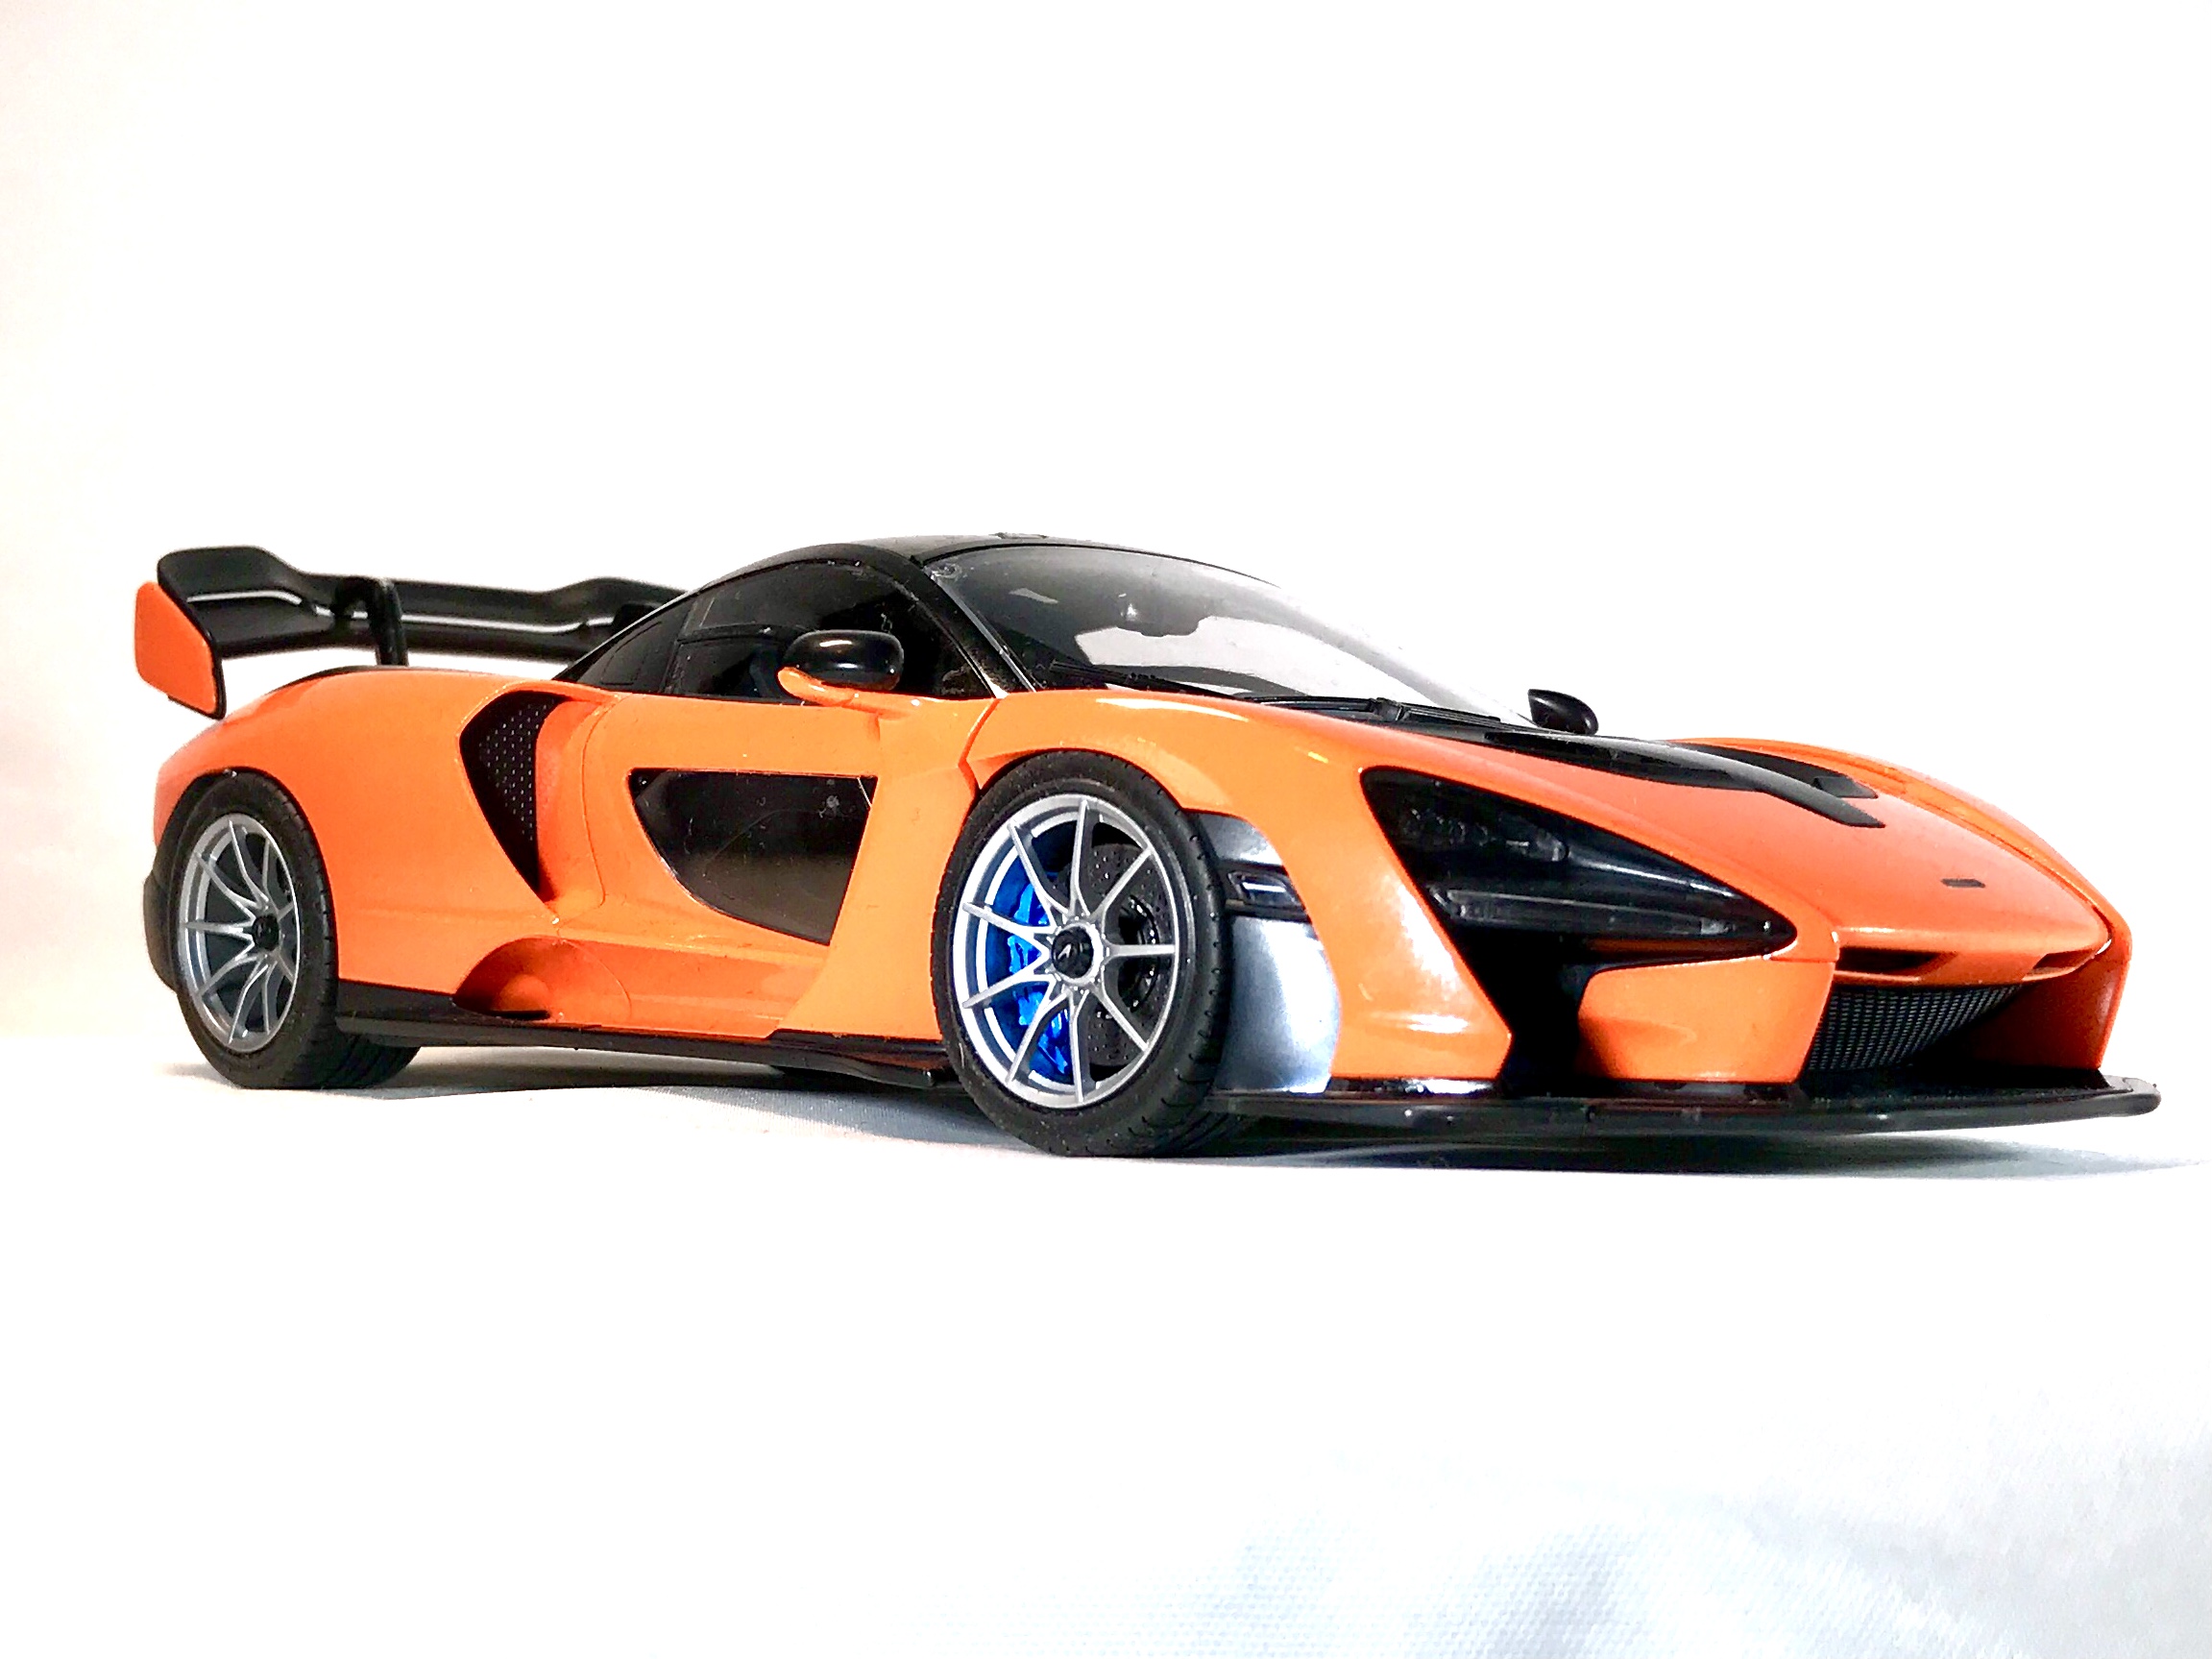
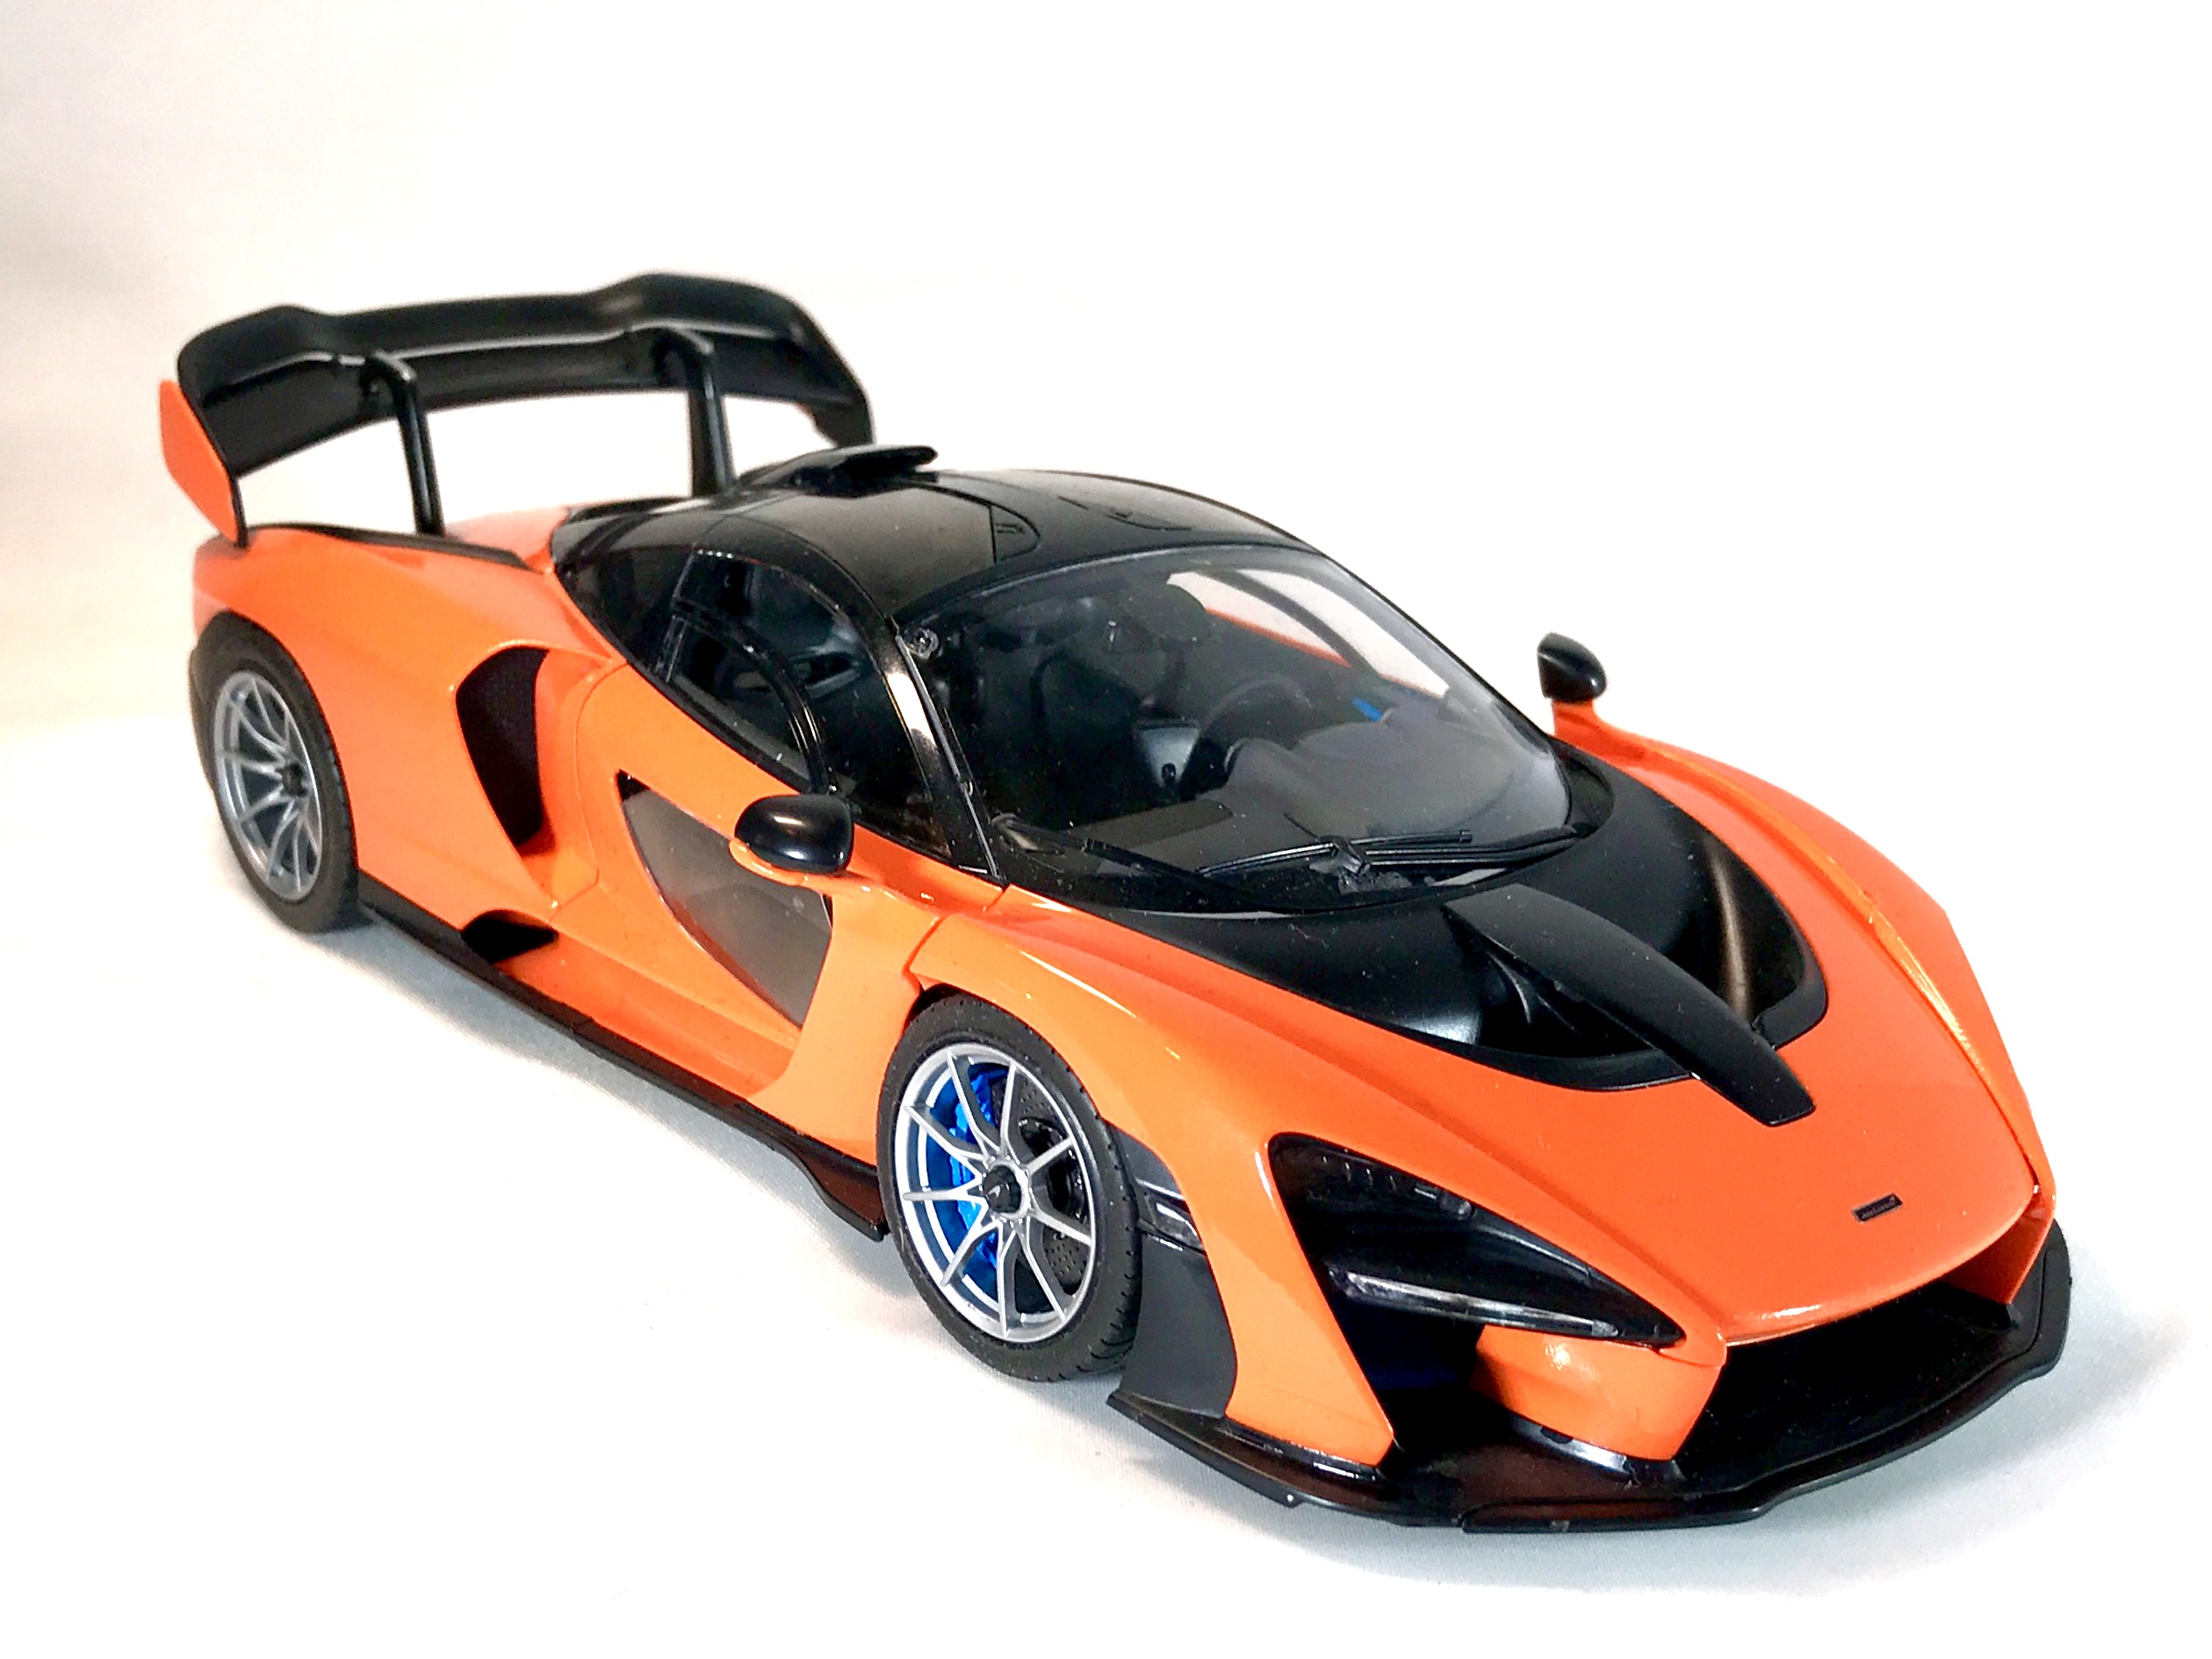
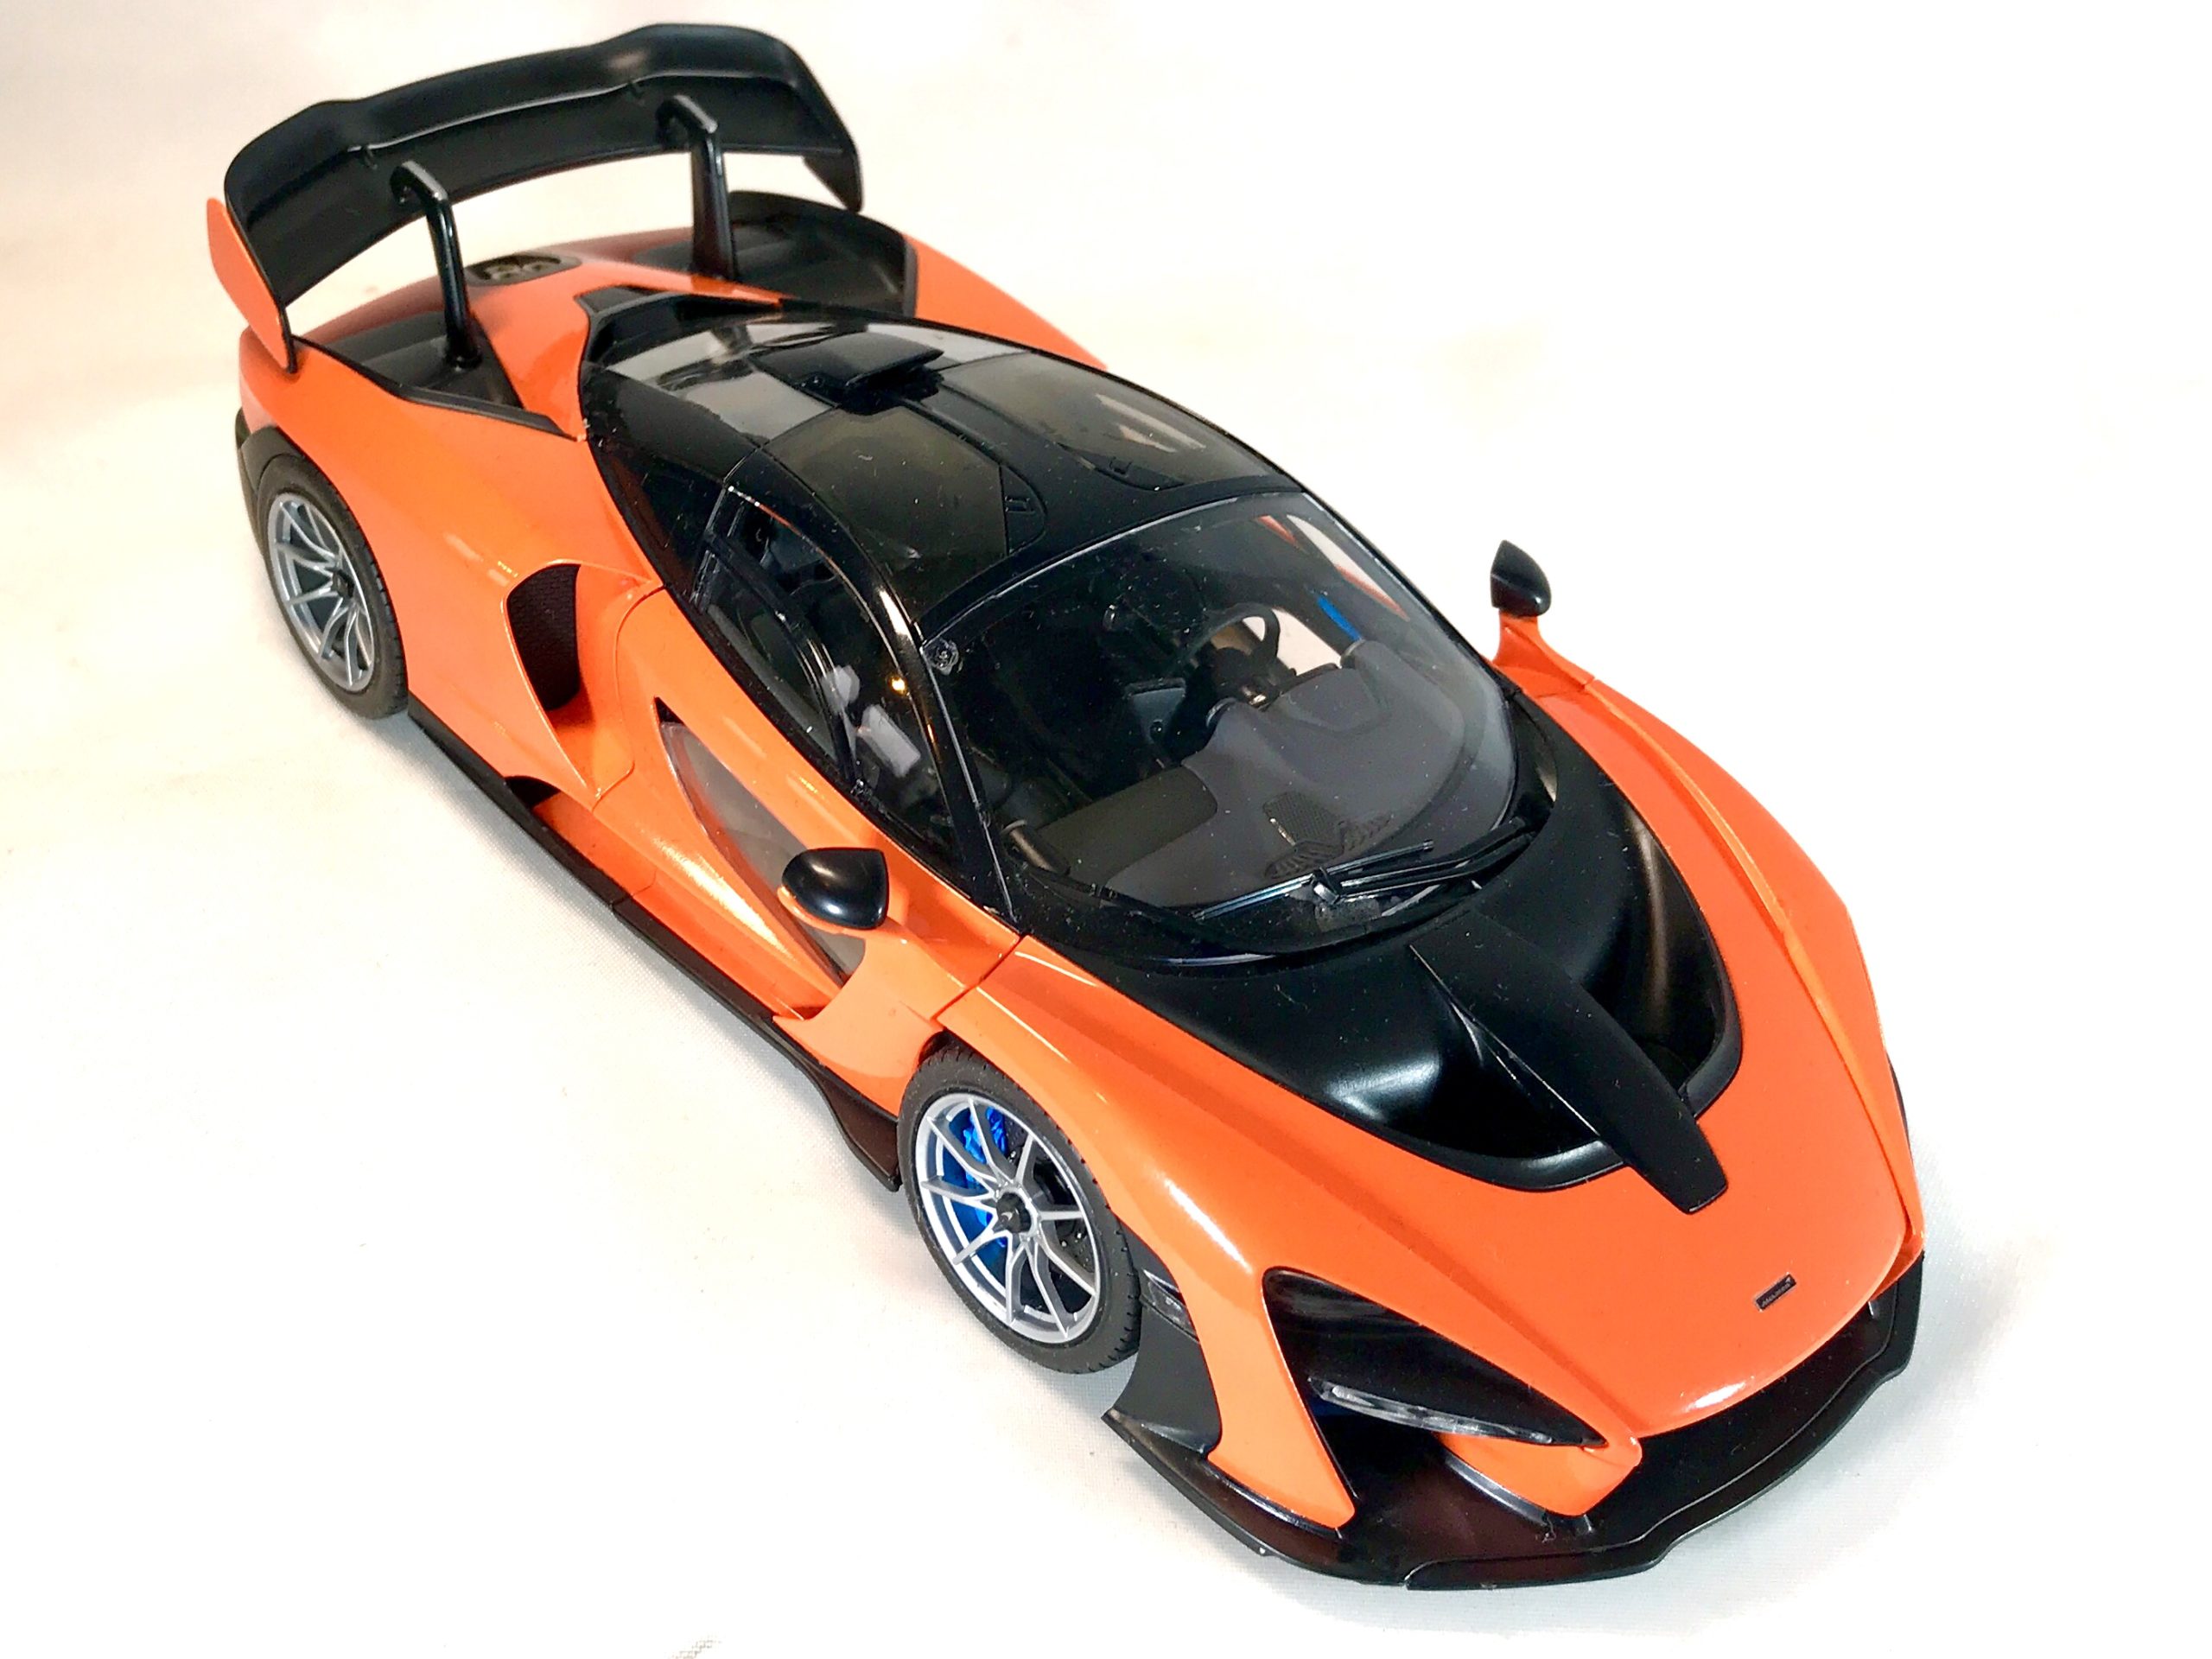
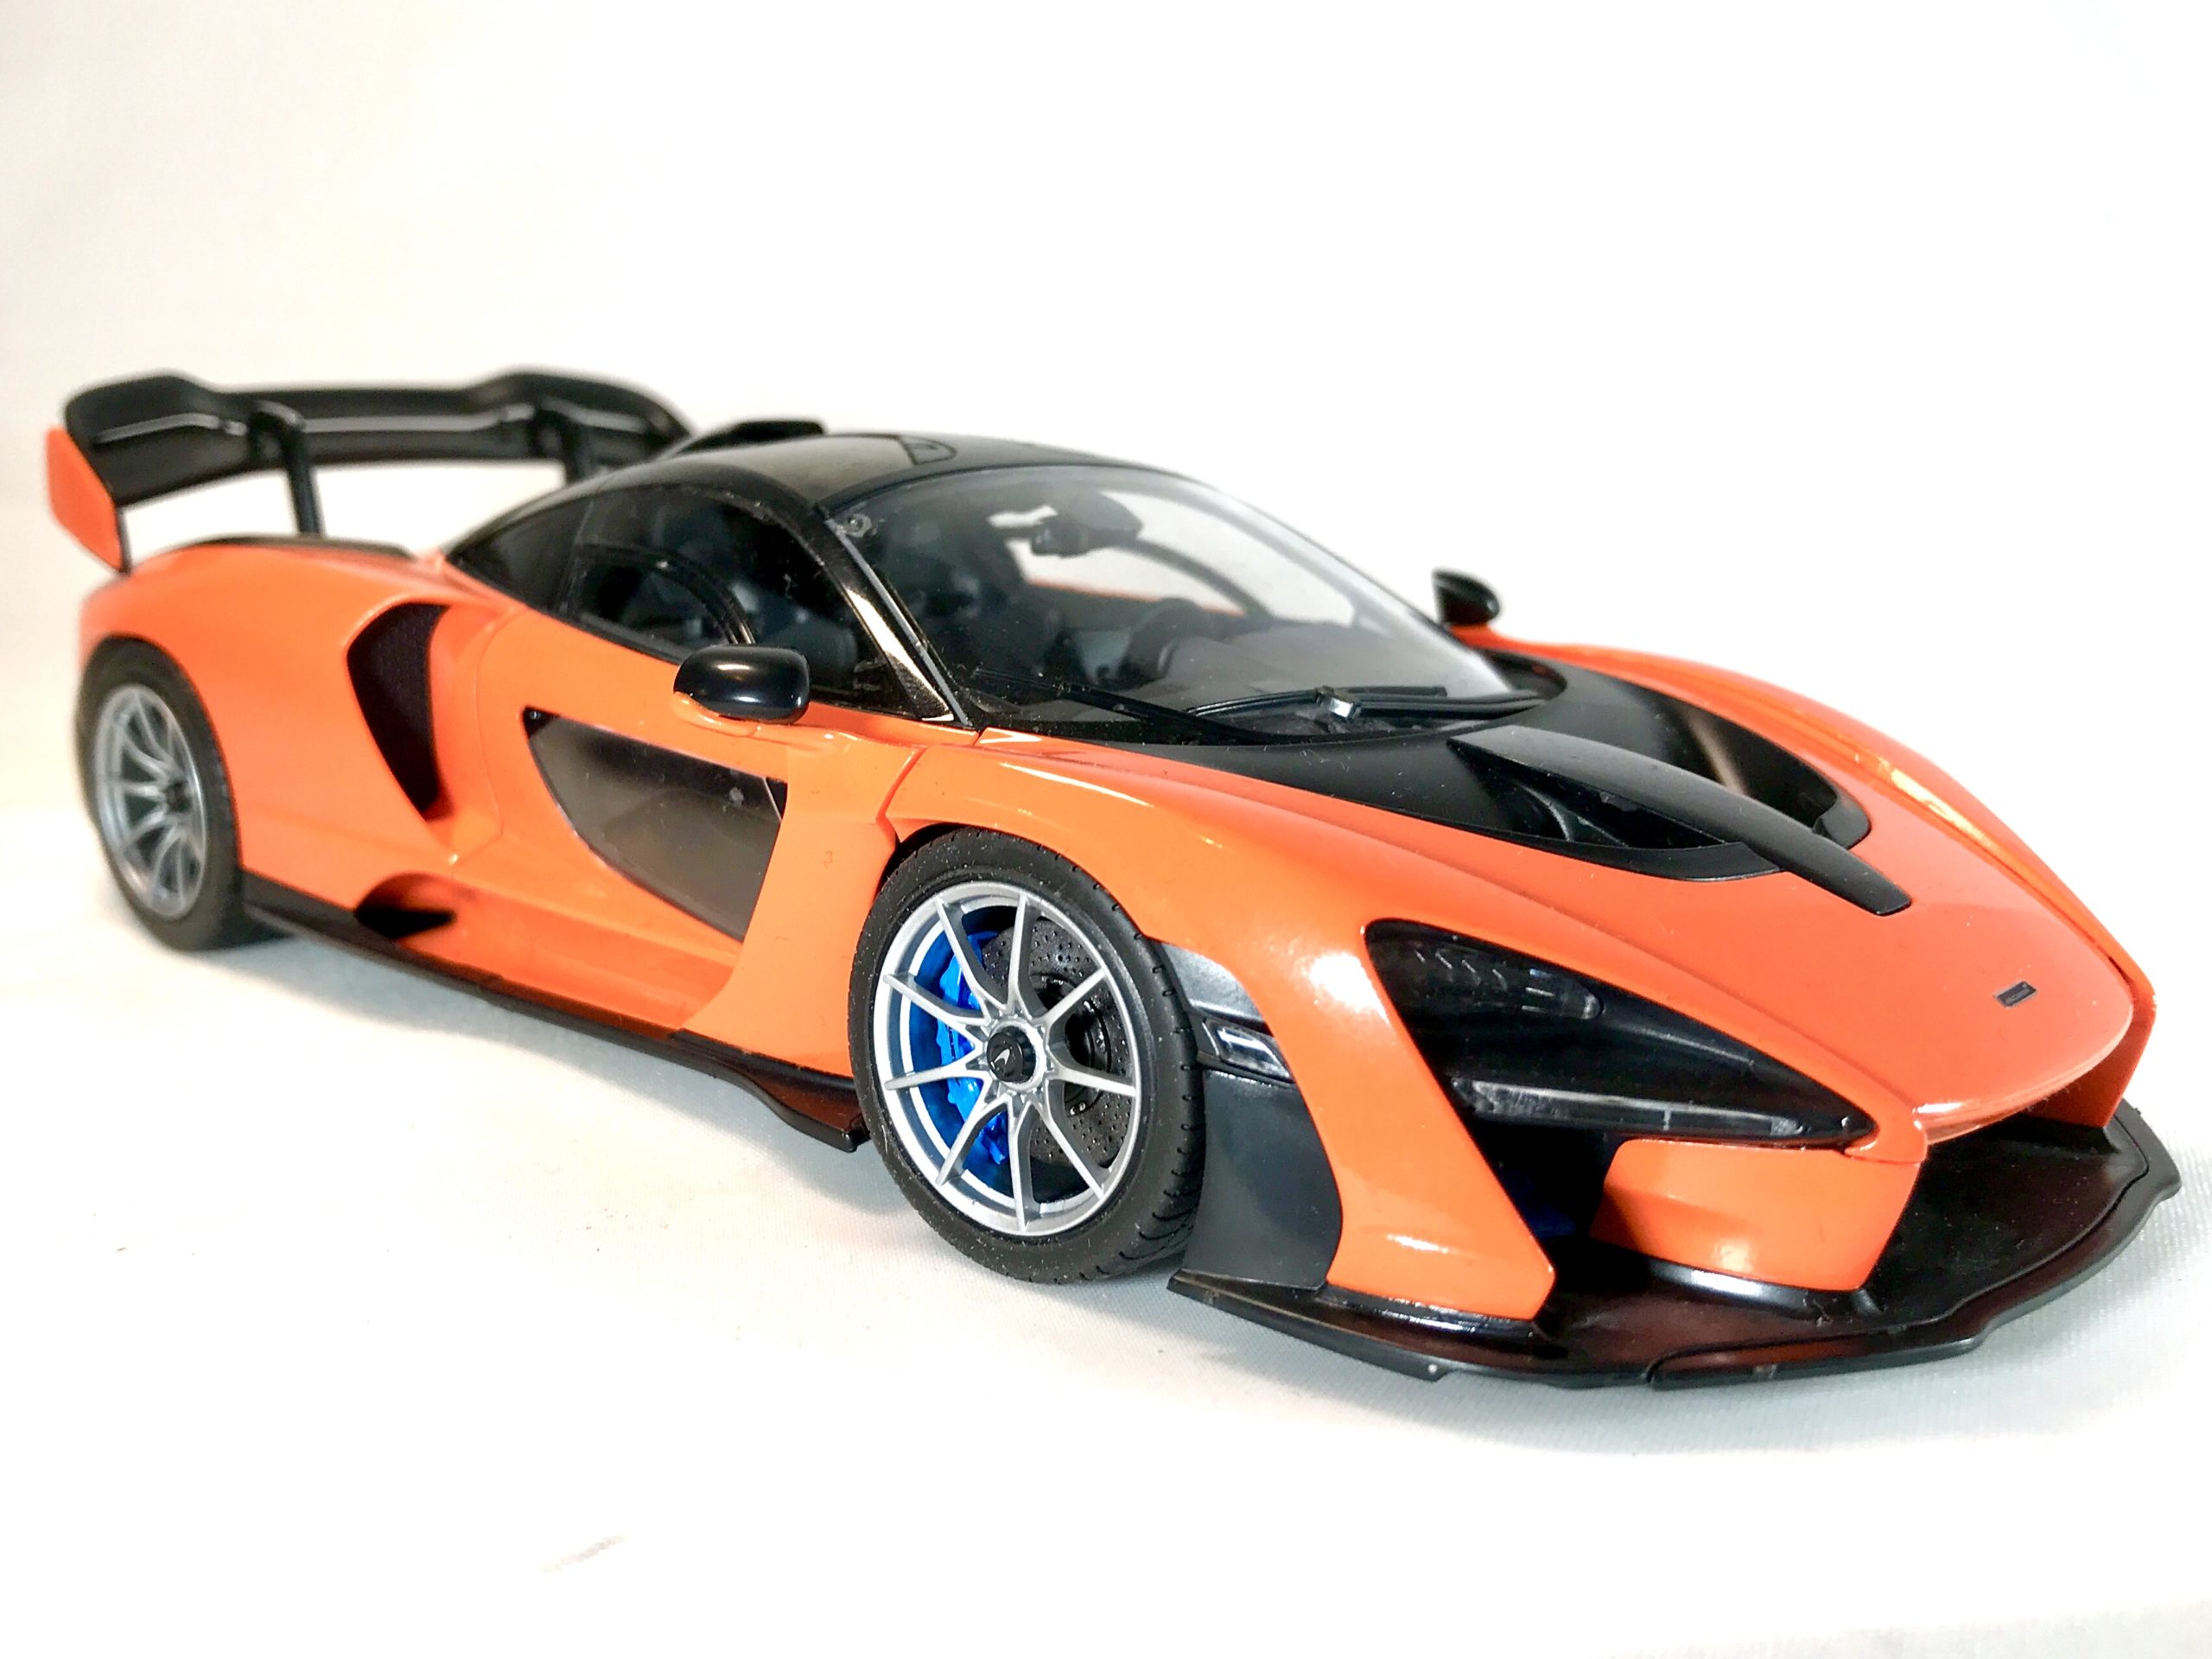
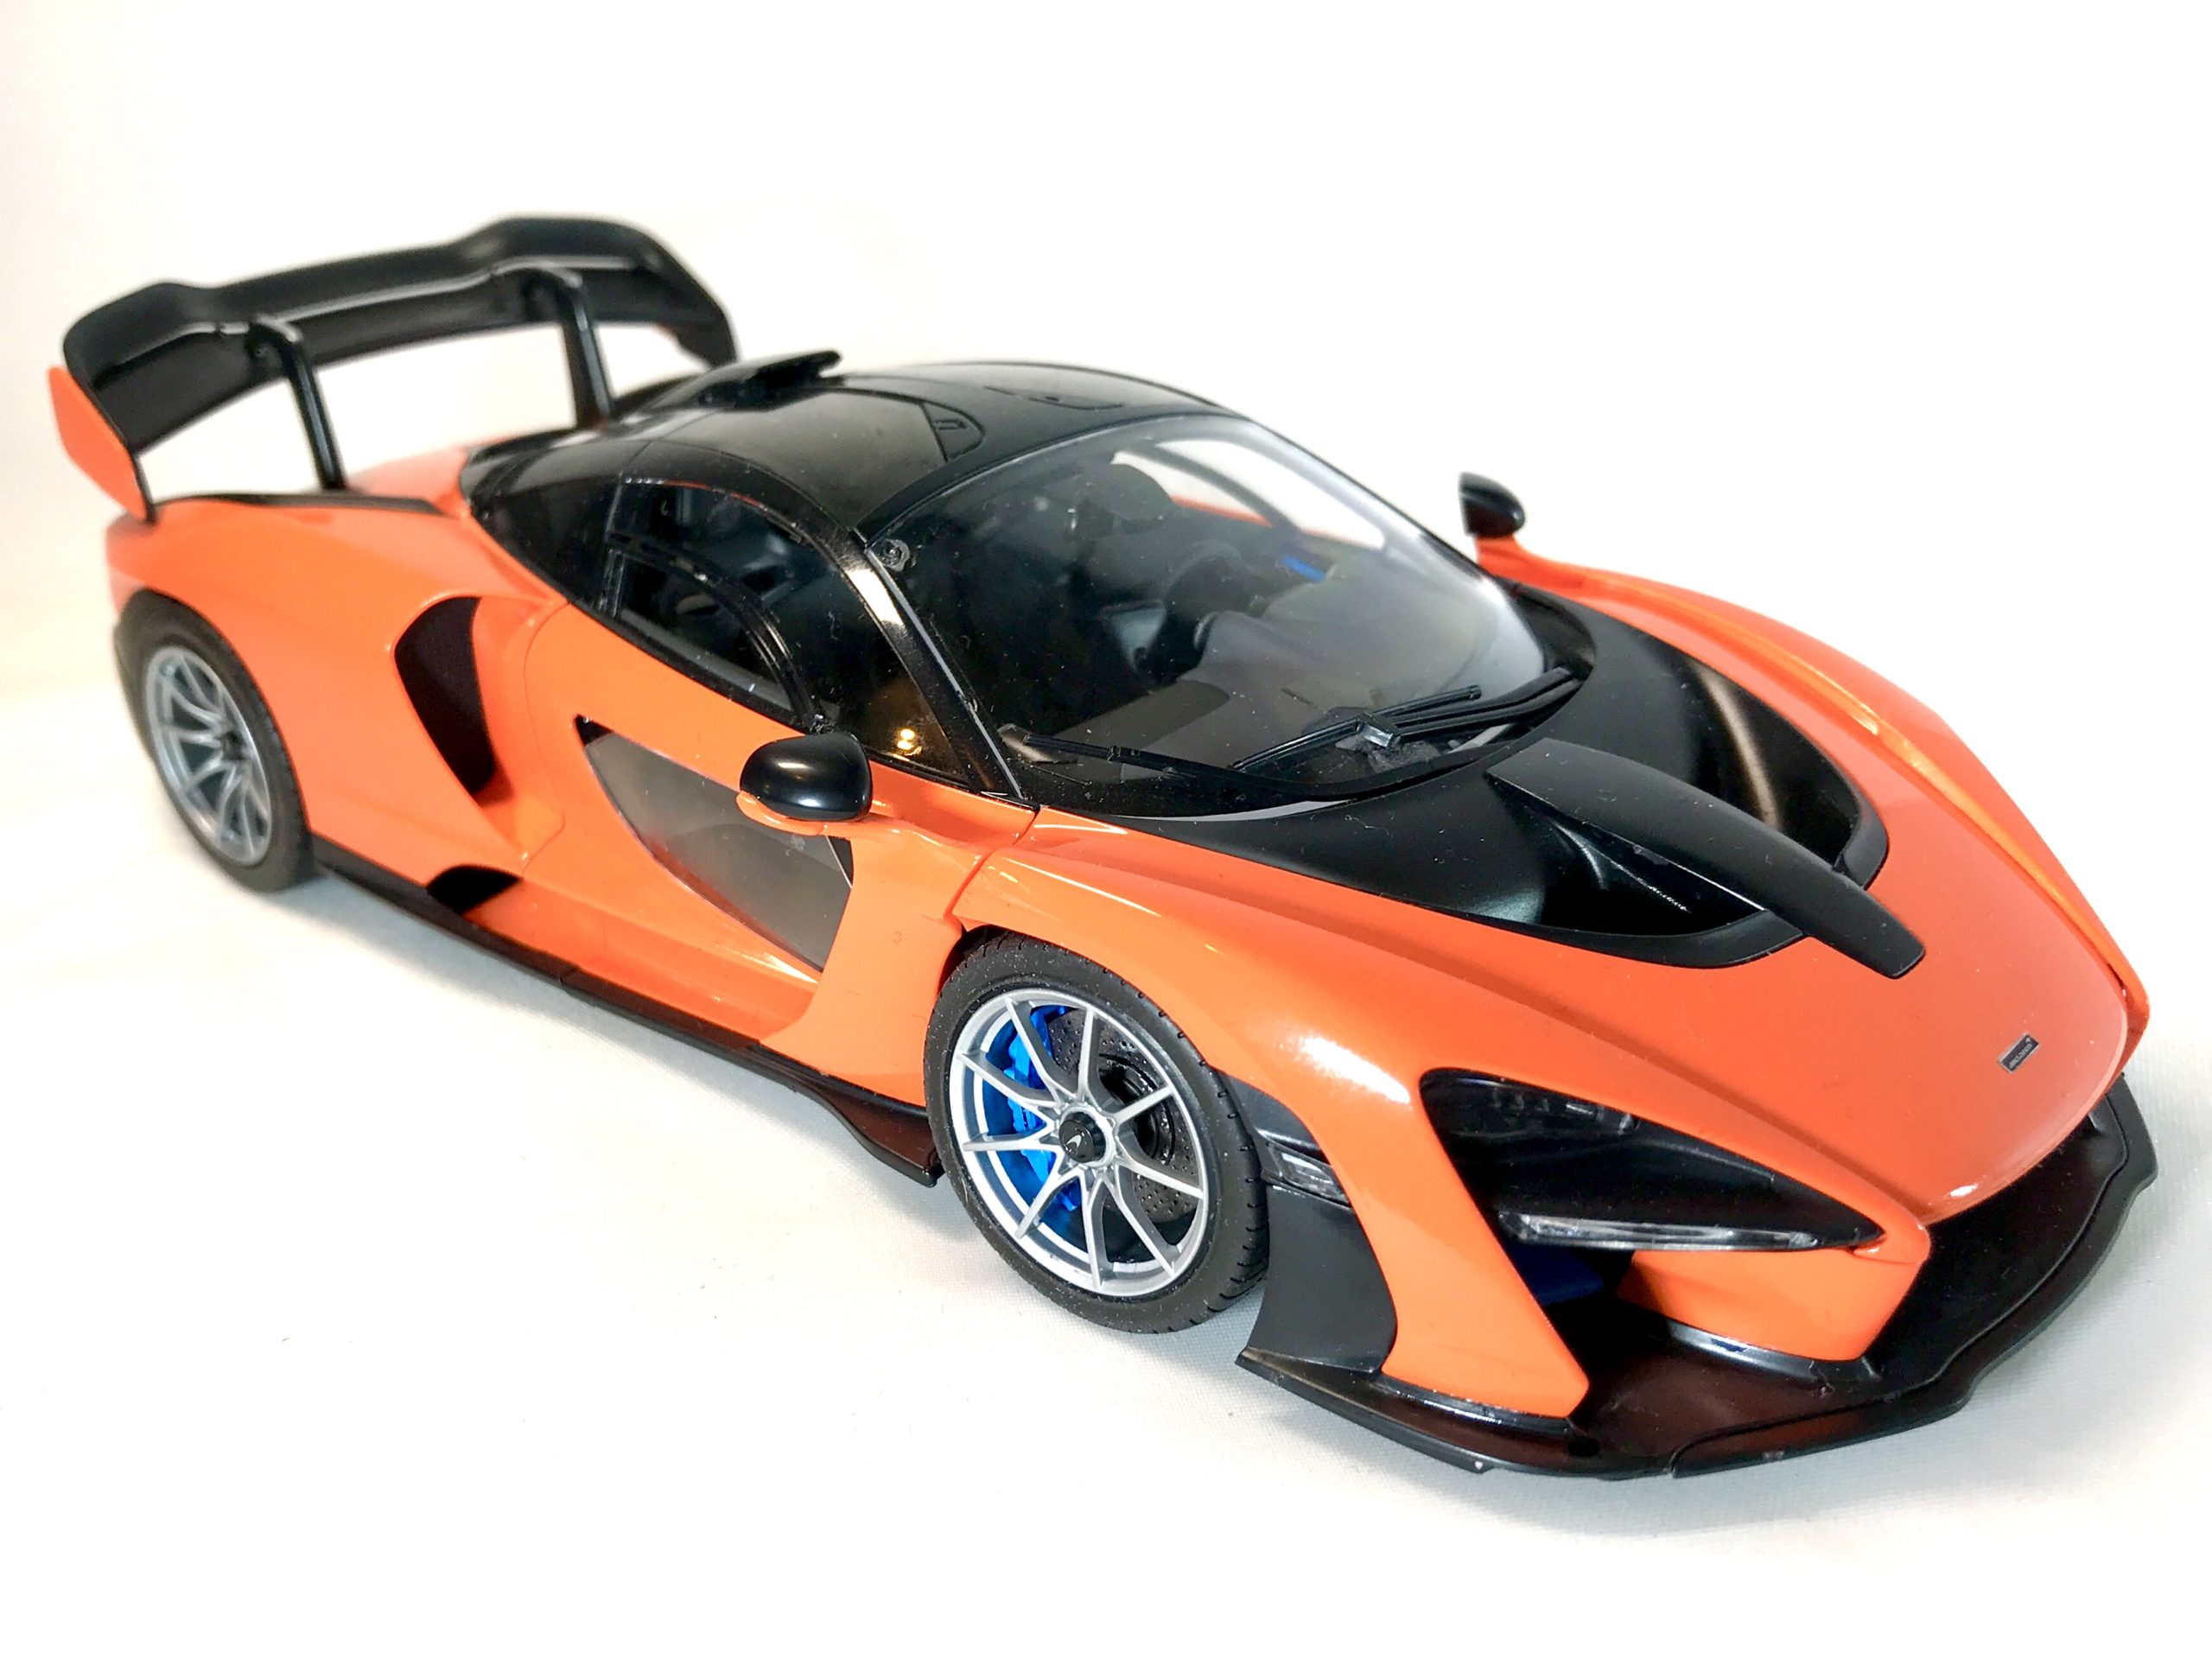
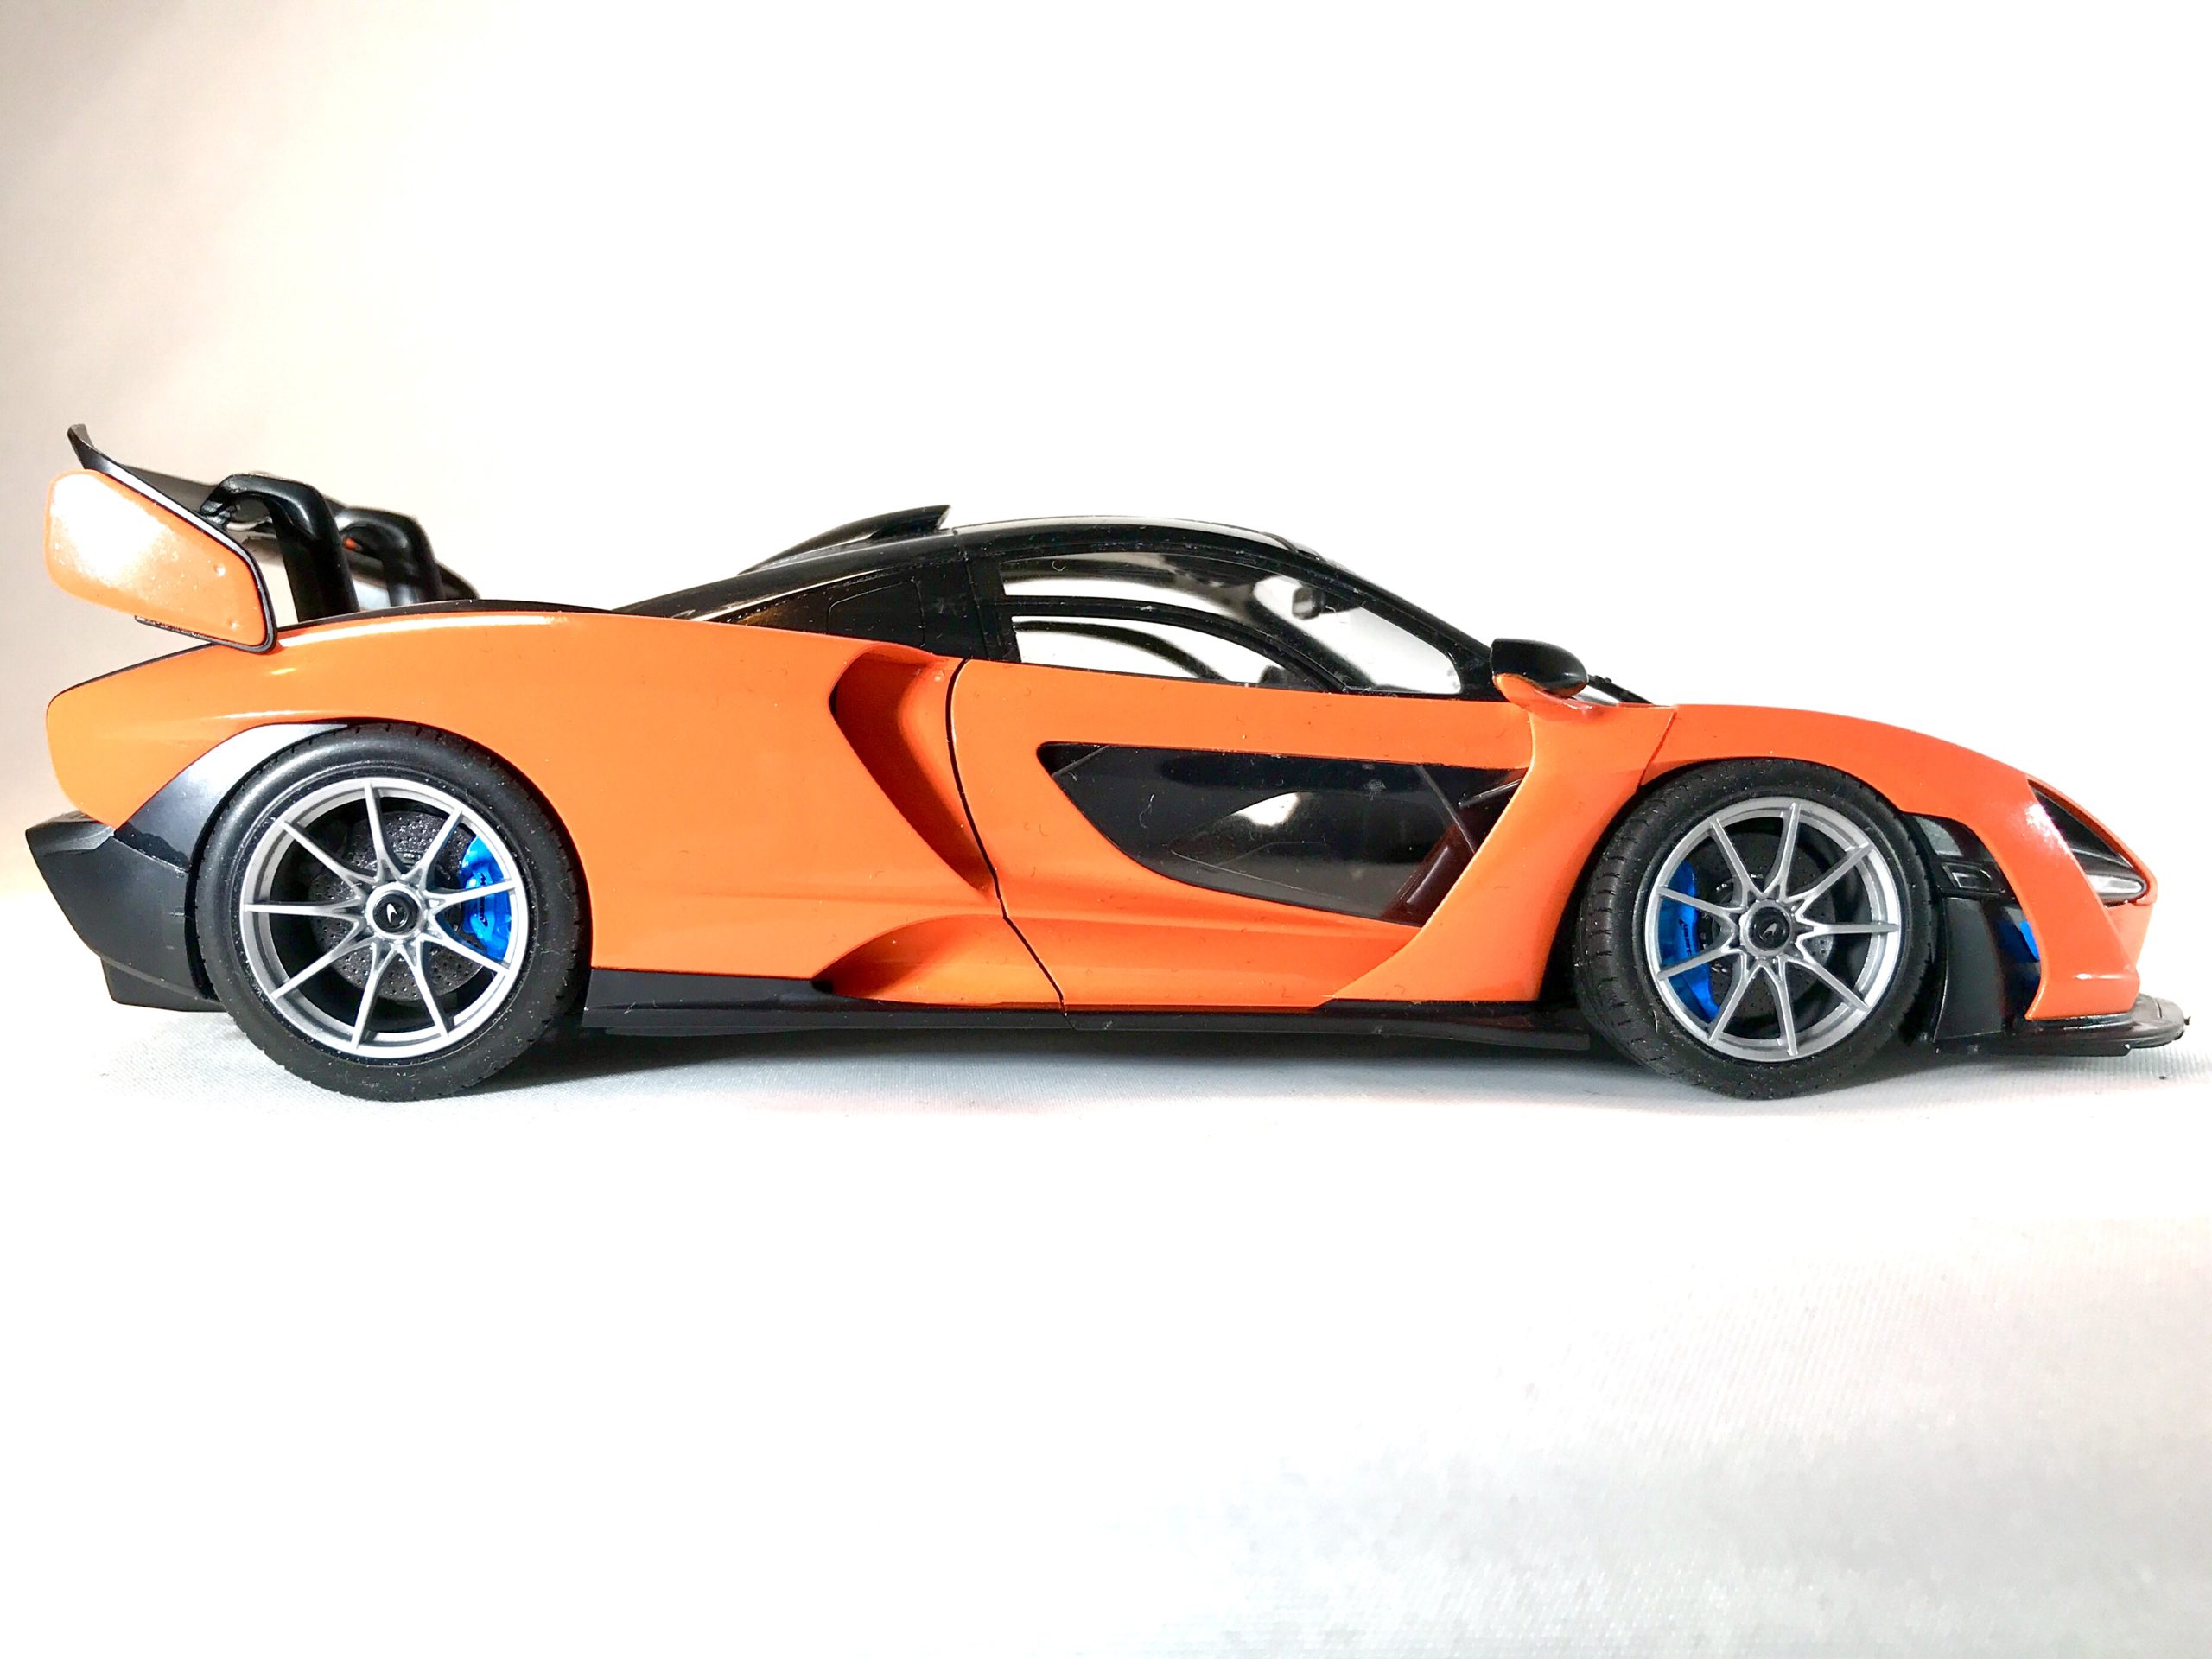
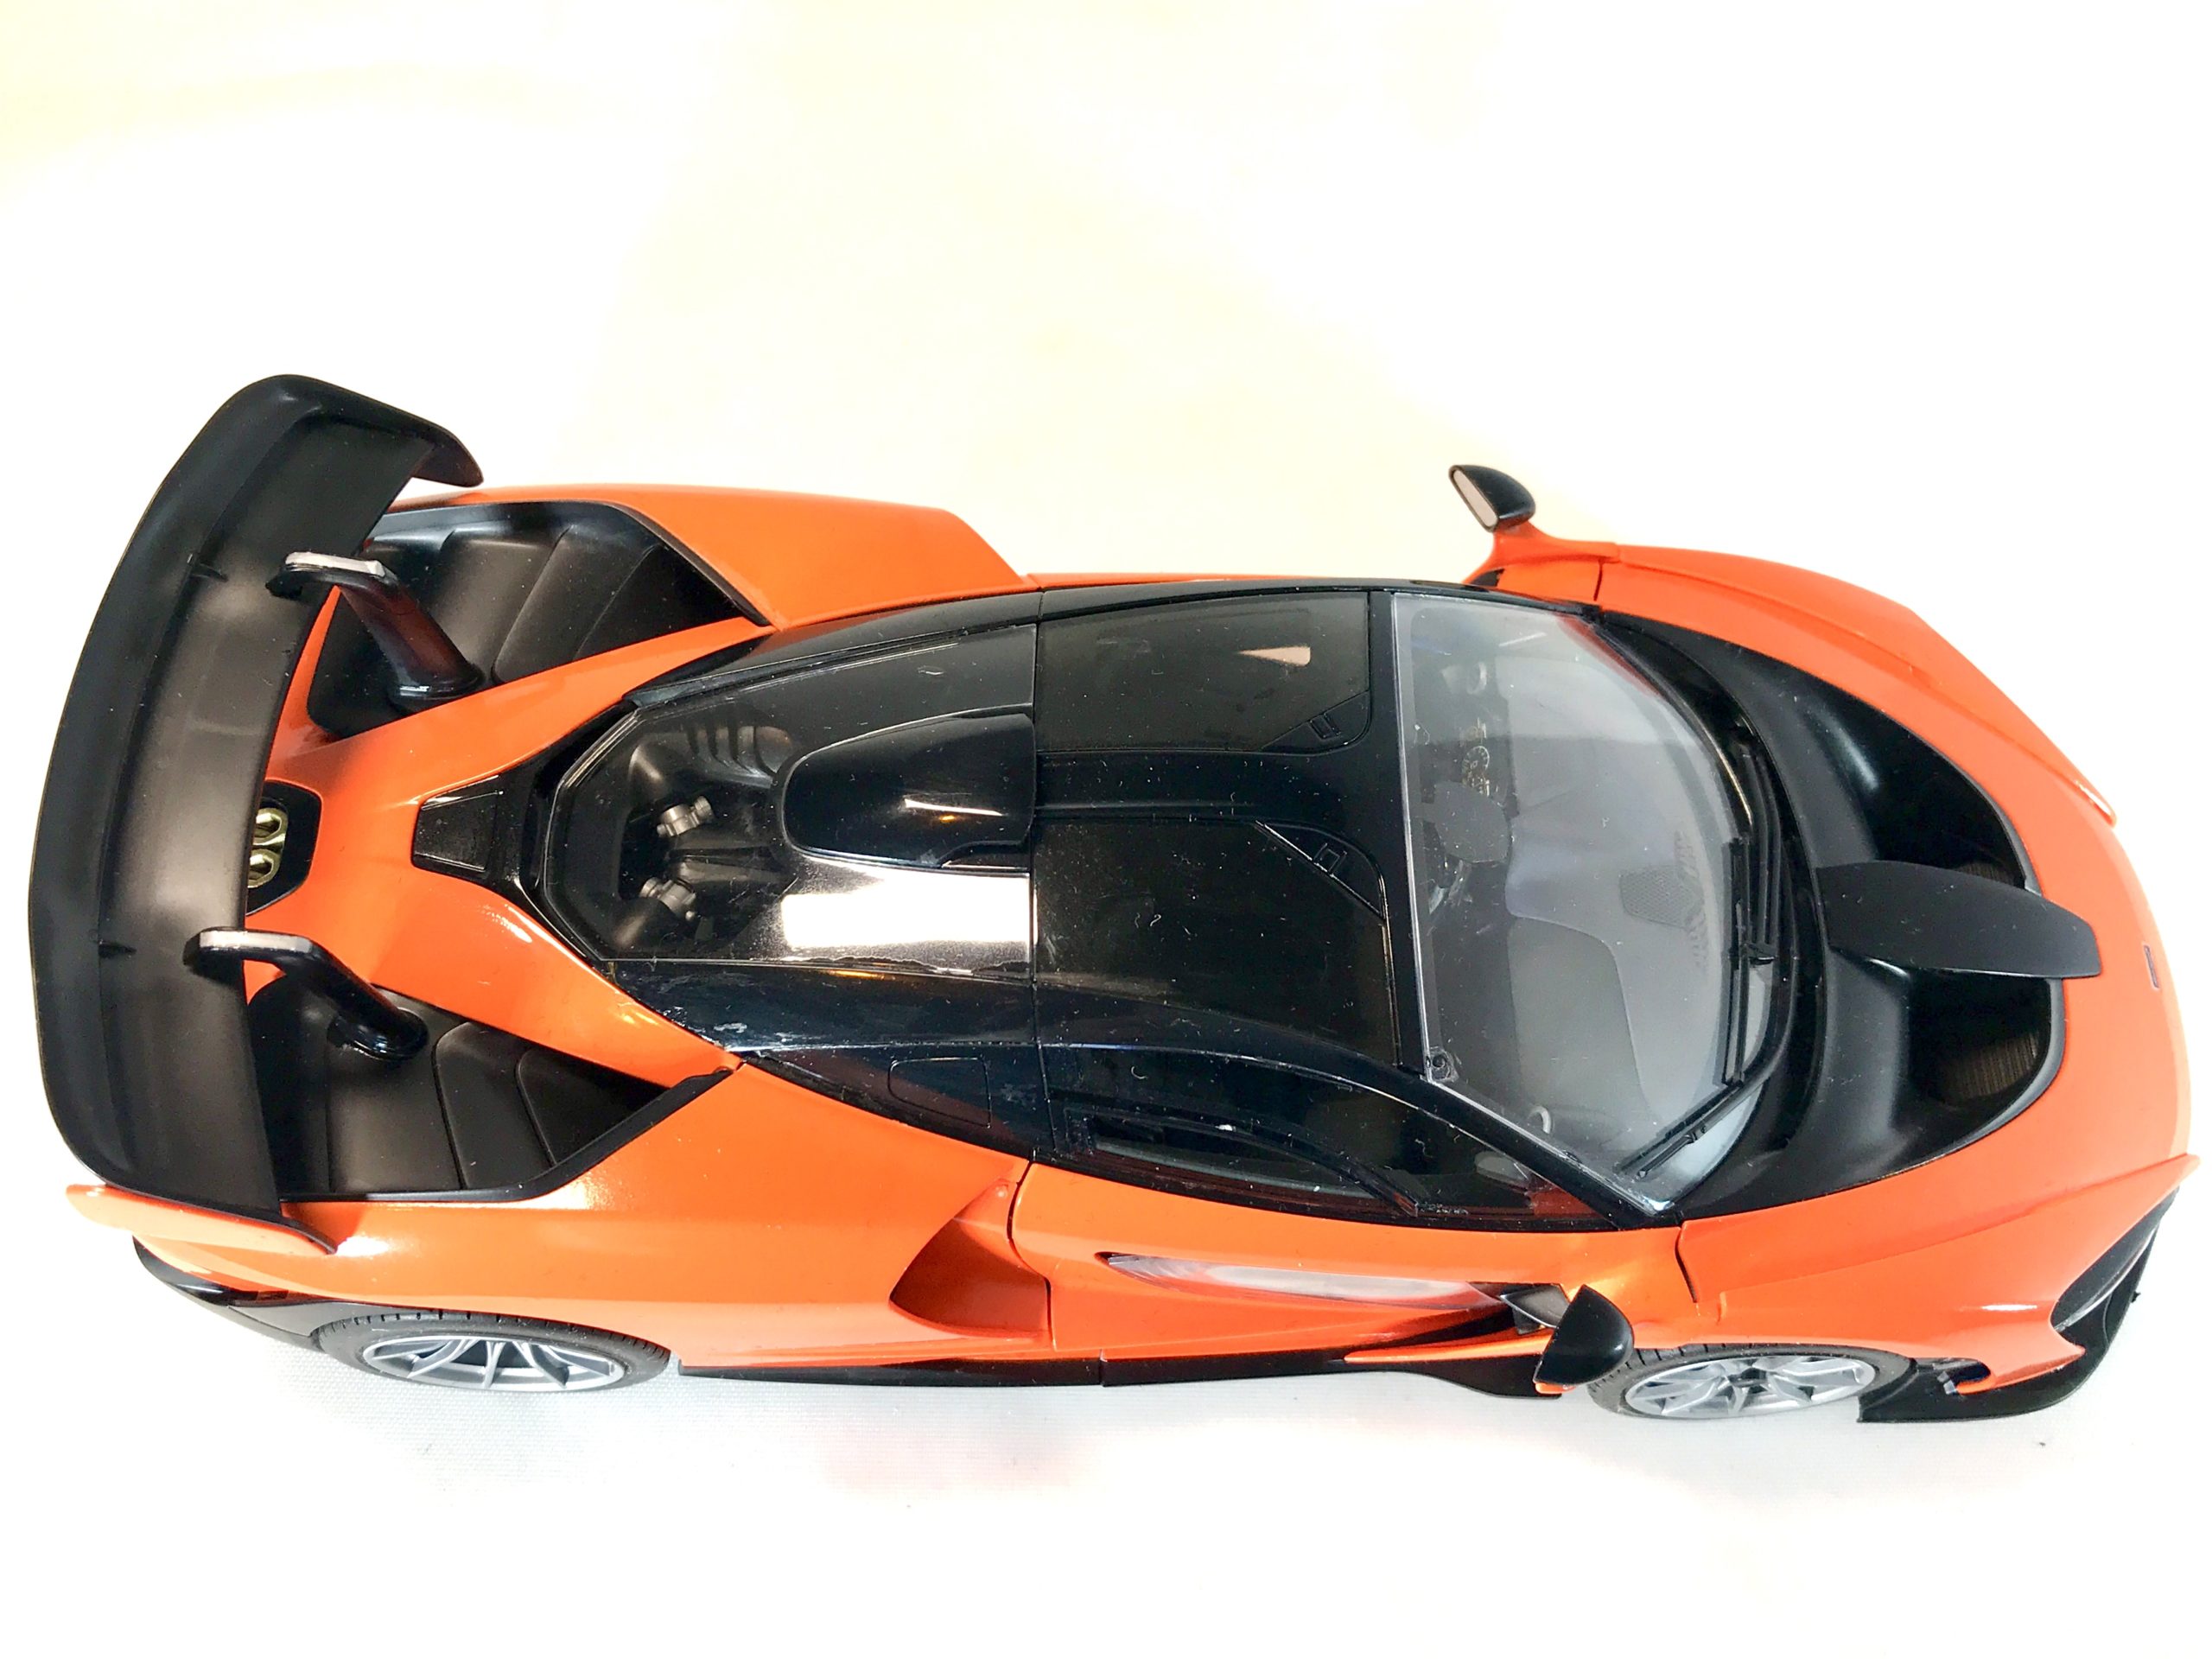
The finished model….


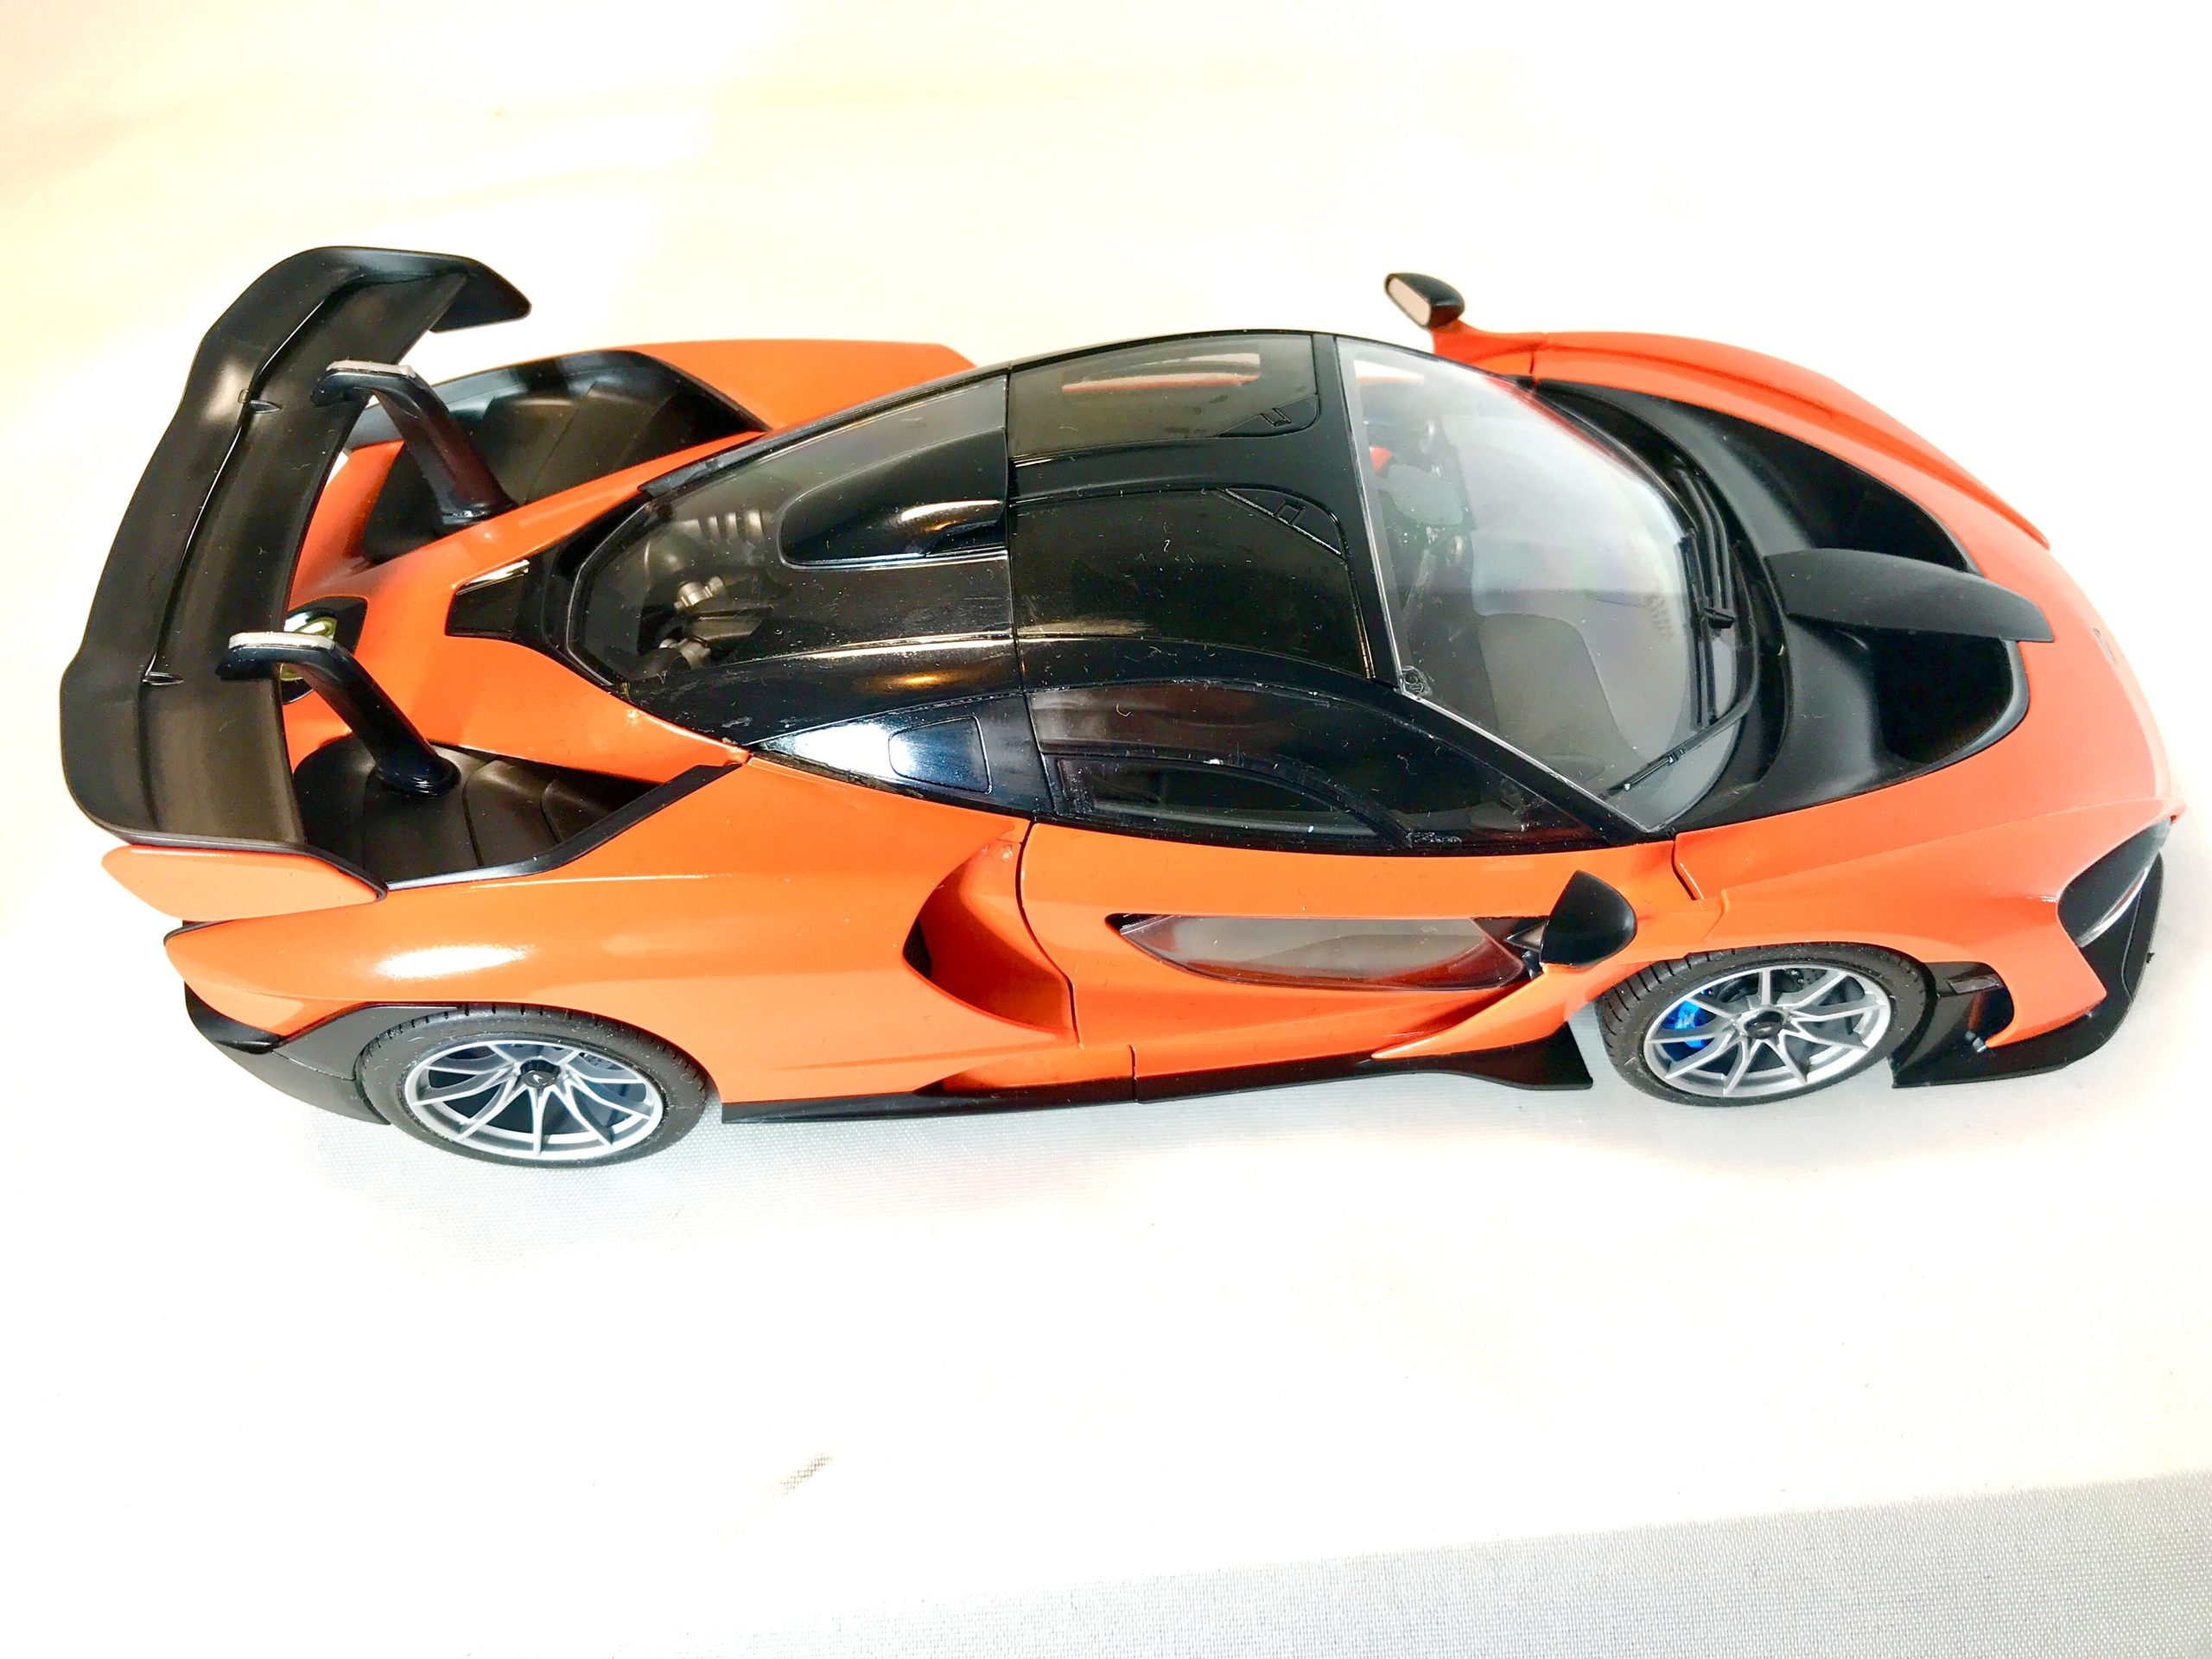
The verdict on this kit
Build time
This took a while as you are handling a lot of painted parts the key is to ensure everything is fully dry before handling. Patience will pay dividends on this kit. I would say in total the build time was around 50-60 hours, so the price represents great value for money.
Tools
The quality of the Tamiya kit means only minimal modelling tools are required. Some decent sprue cutters and a couple of sanding sticks is about all you will need for preparing the parts as everything goes together with absolute precision. You will get through a fair amount of masking tape if you decide to apply different finishes to some of the parts, but to be honest you could probably get by without this.
Conclusions.
Initially I thought this could be a good kit for a beginner, but that isn’t the case. Some of the assembly is quite tricky and a challenge for my average skills, so I would advise you get a couple of Tamiya motorcycle kits under your belt before trying this one. Yes that’s right I stand by my Motorcycle comparison, if you are comfortable with those this shouldn’t present too many issues. There is no doubt the finished model looks good and is packed with a great level of detail. Patience is the key, take your time and it’s an absolutely fantastic build.