A note from the author…
I’m Rob, a normal guy who enjoys making models! I’m by no means a ‘professional’ modeller, but I am passionate, try my best and kits generally turn out well! All my builds are done at home in my spare time with typical model tools and accessories – all views and opinions are my own and not that of Jadlam.
Name – Airfix A00505 Top Gun Maverick’s P-51D Mustang 1:72 Plastic Model Kit
Number – A00505
Scale – 1/72
Price – £9.99 RRP
Availability – November 2020 – available for Pre-Order Now! Buy yours here! at our website jadlamracingmodels.com
Introduction
I was lucky enough to get a preview of some of the “new” Airfix releases set to coincide with the new Top Gun sequel. Unfortunately the movie has been delayed by a year due to the ongoing pandemic.. On the plus side we get some kits to build and they’ll still be released before the film is out!
The Kit
The first out of the box is the P-51D flown by Maverick in the movie and owned by Tom Cruise in real life too (lucky fella!)
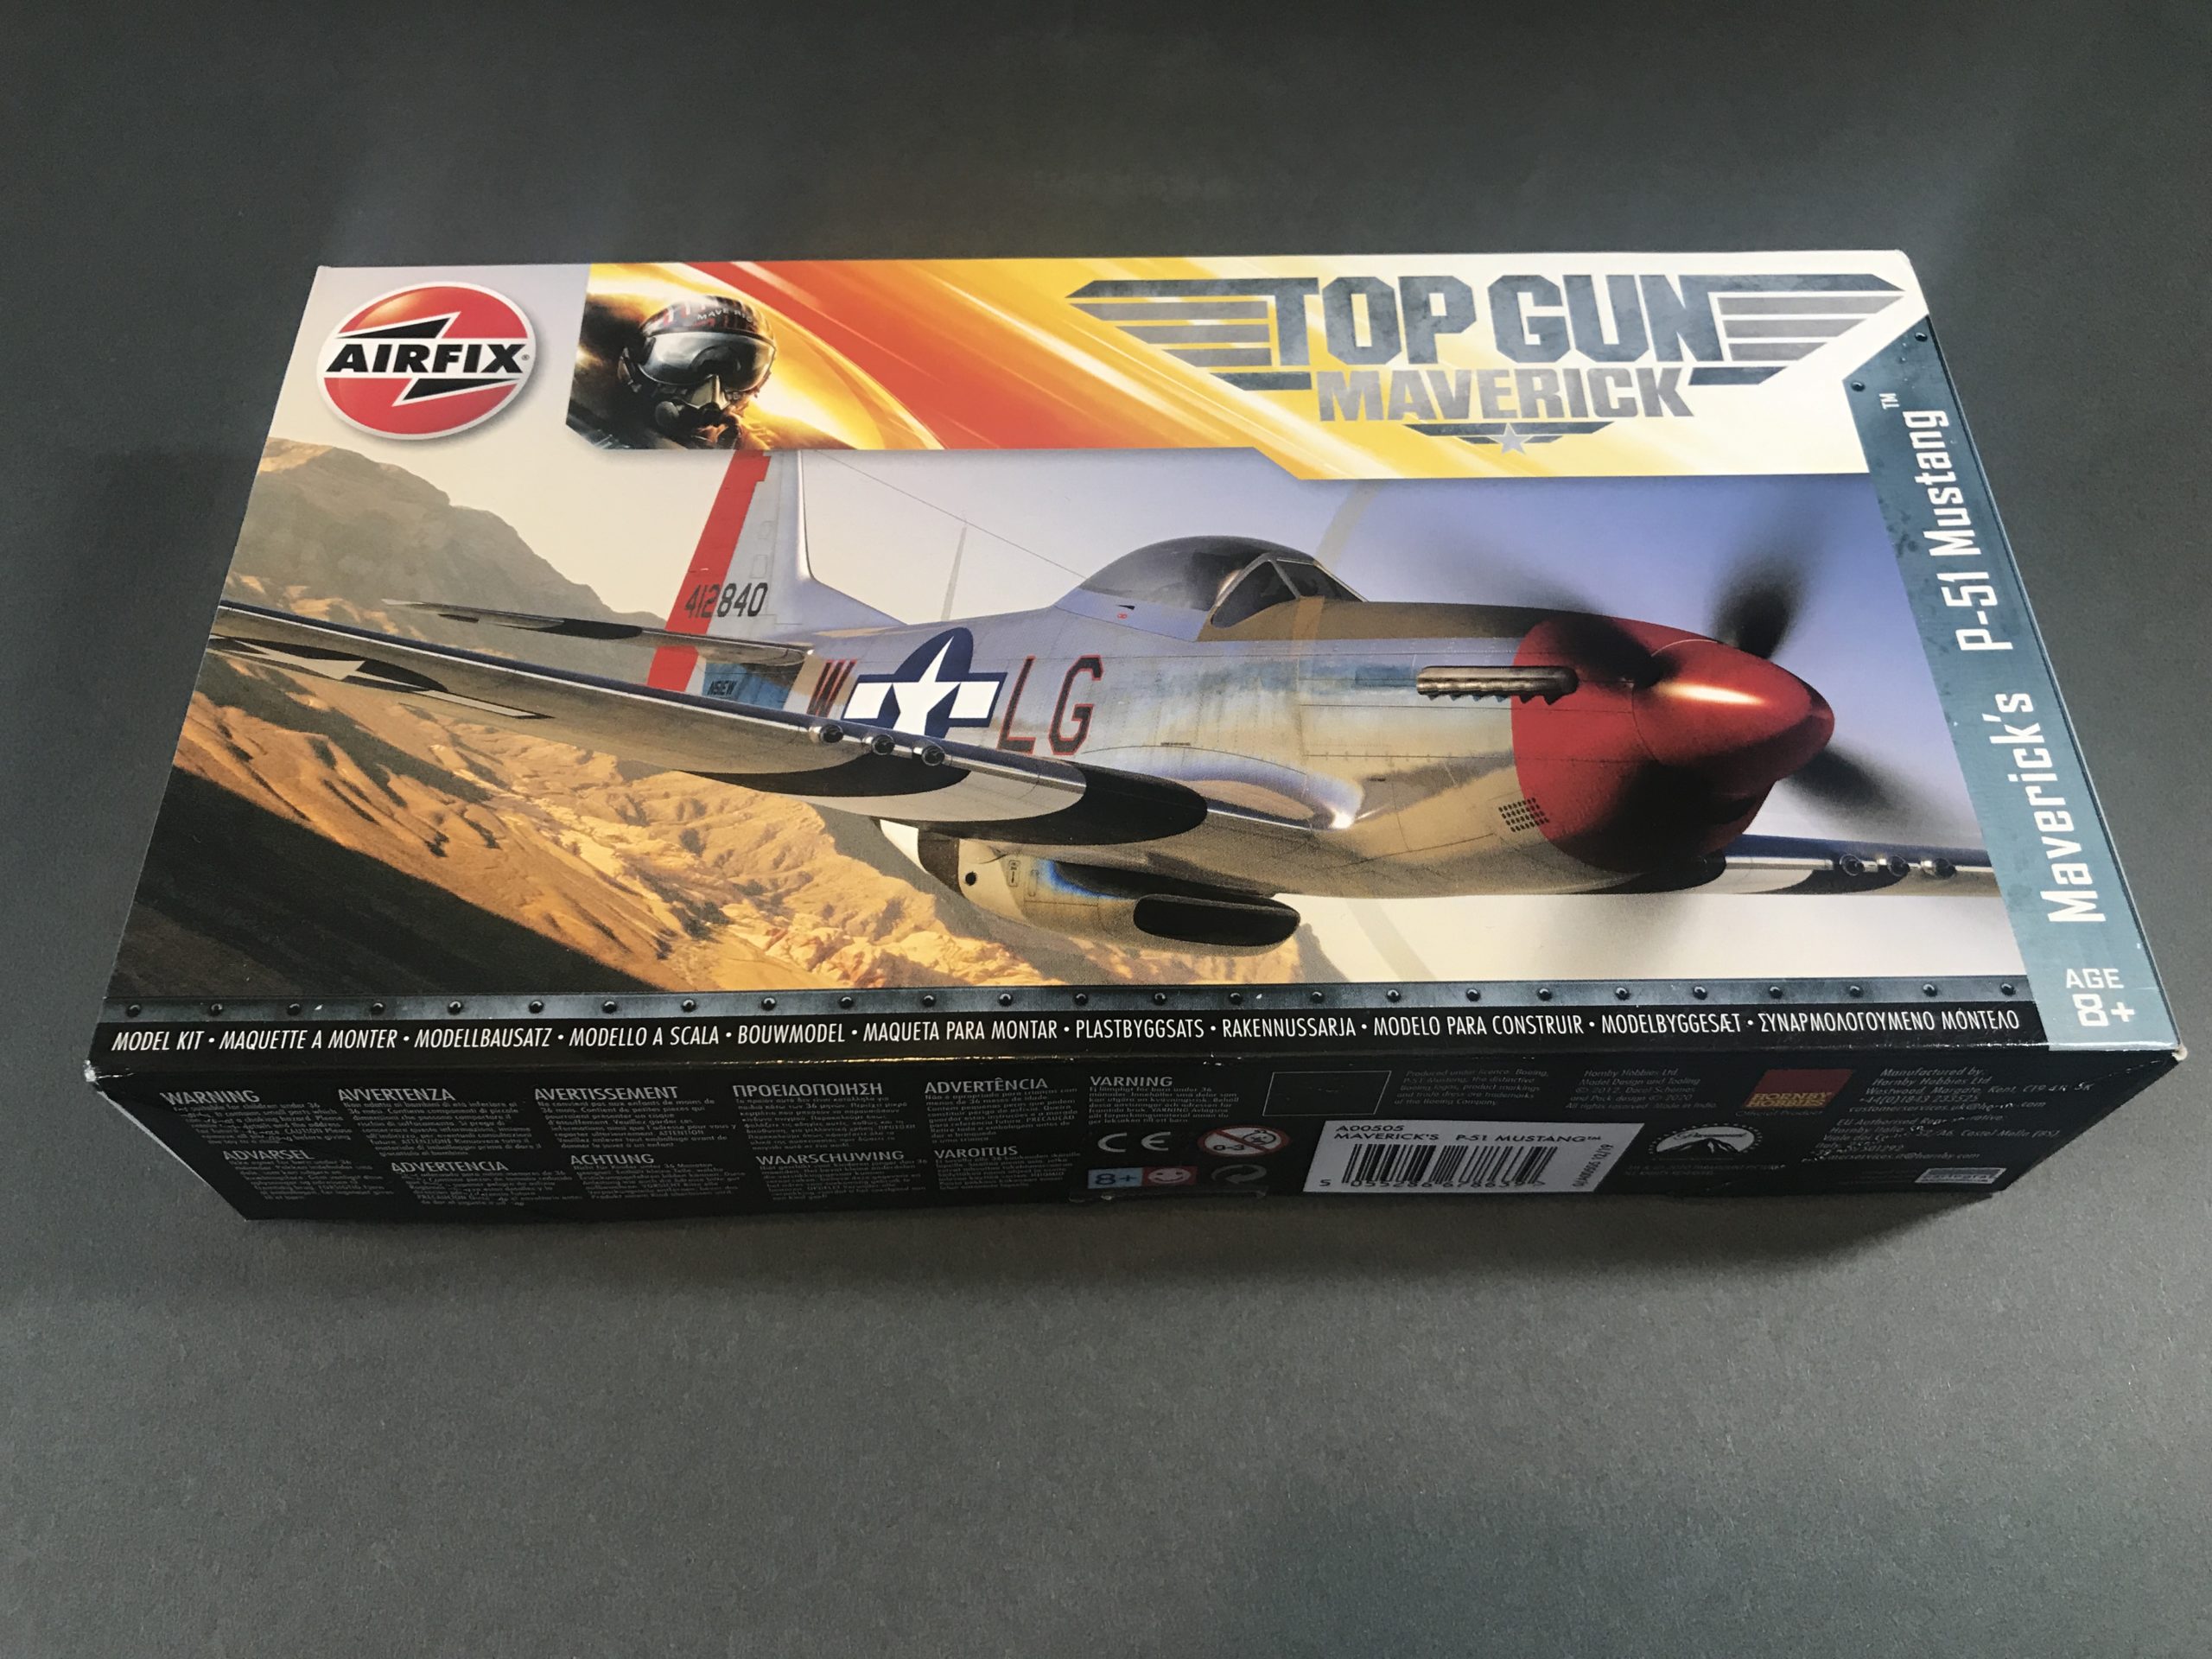 As is now the case for all new Airfix releases the box art is very nice. Not quite as nice as some of the recent highlights, but never the less a great picture.
Opening the box and looking at the sprue’s it’s immediately clear this is a re-box of the kit originally launched back in 2012. Not a problem as that is a great kit I have built several times already – The only new addition is the decals.
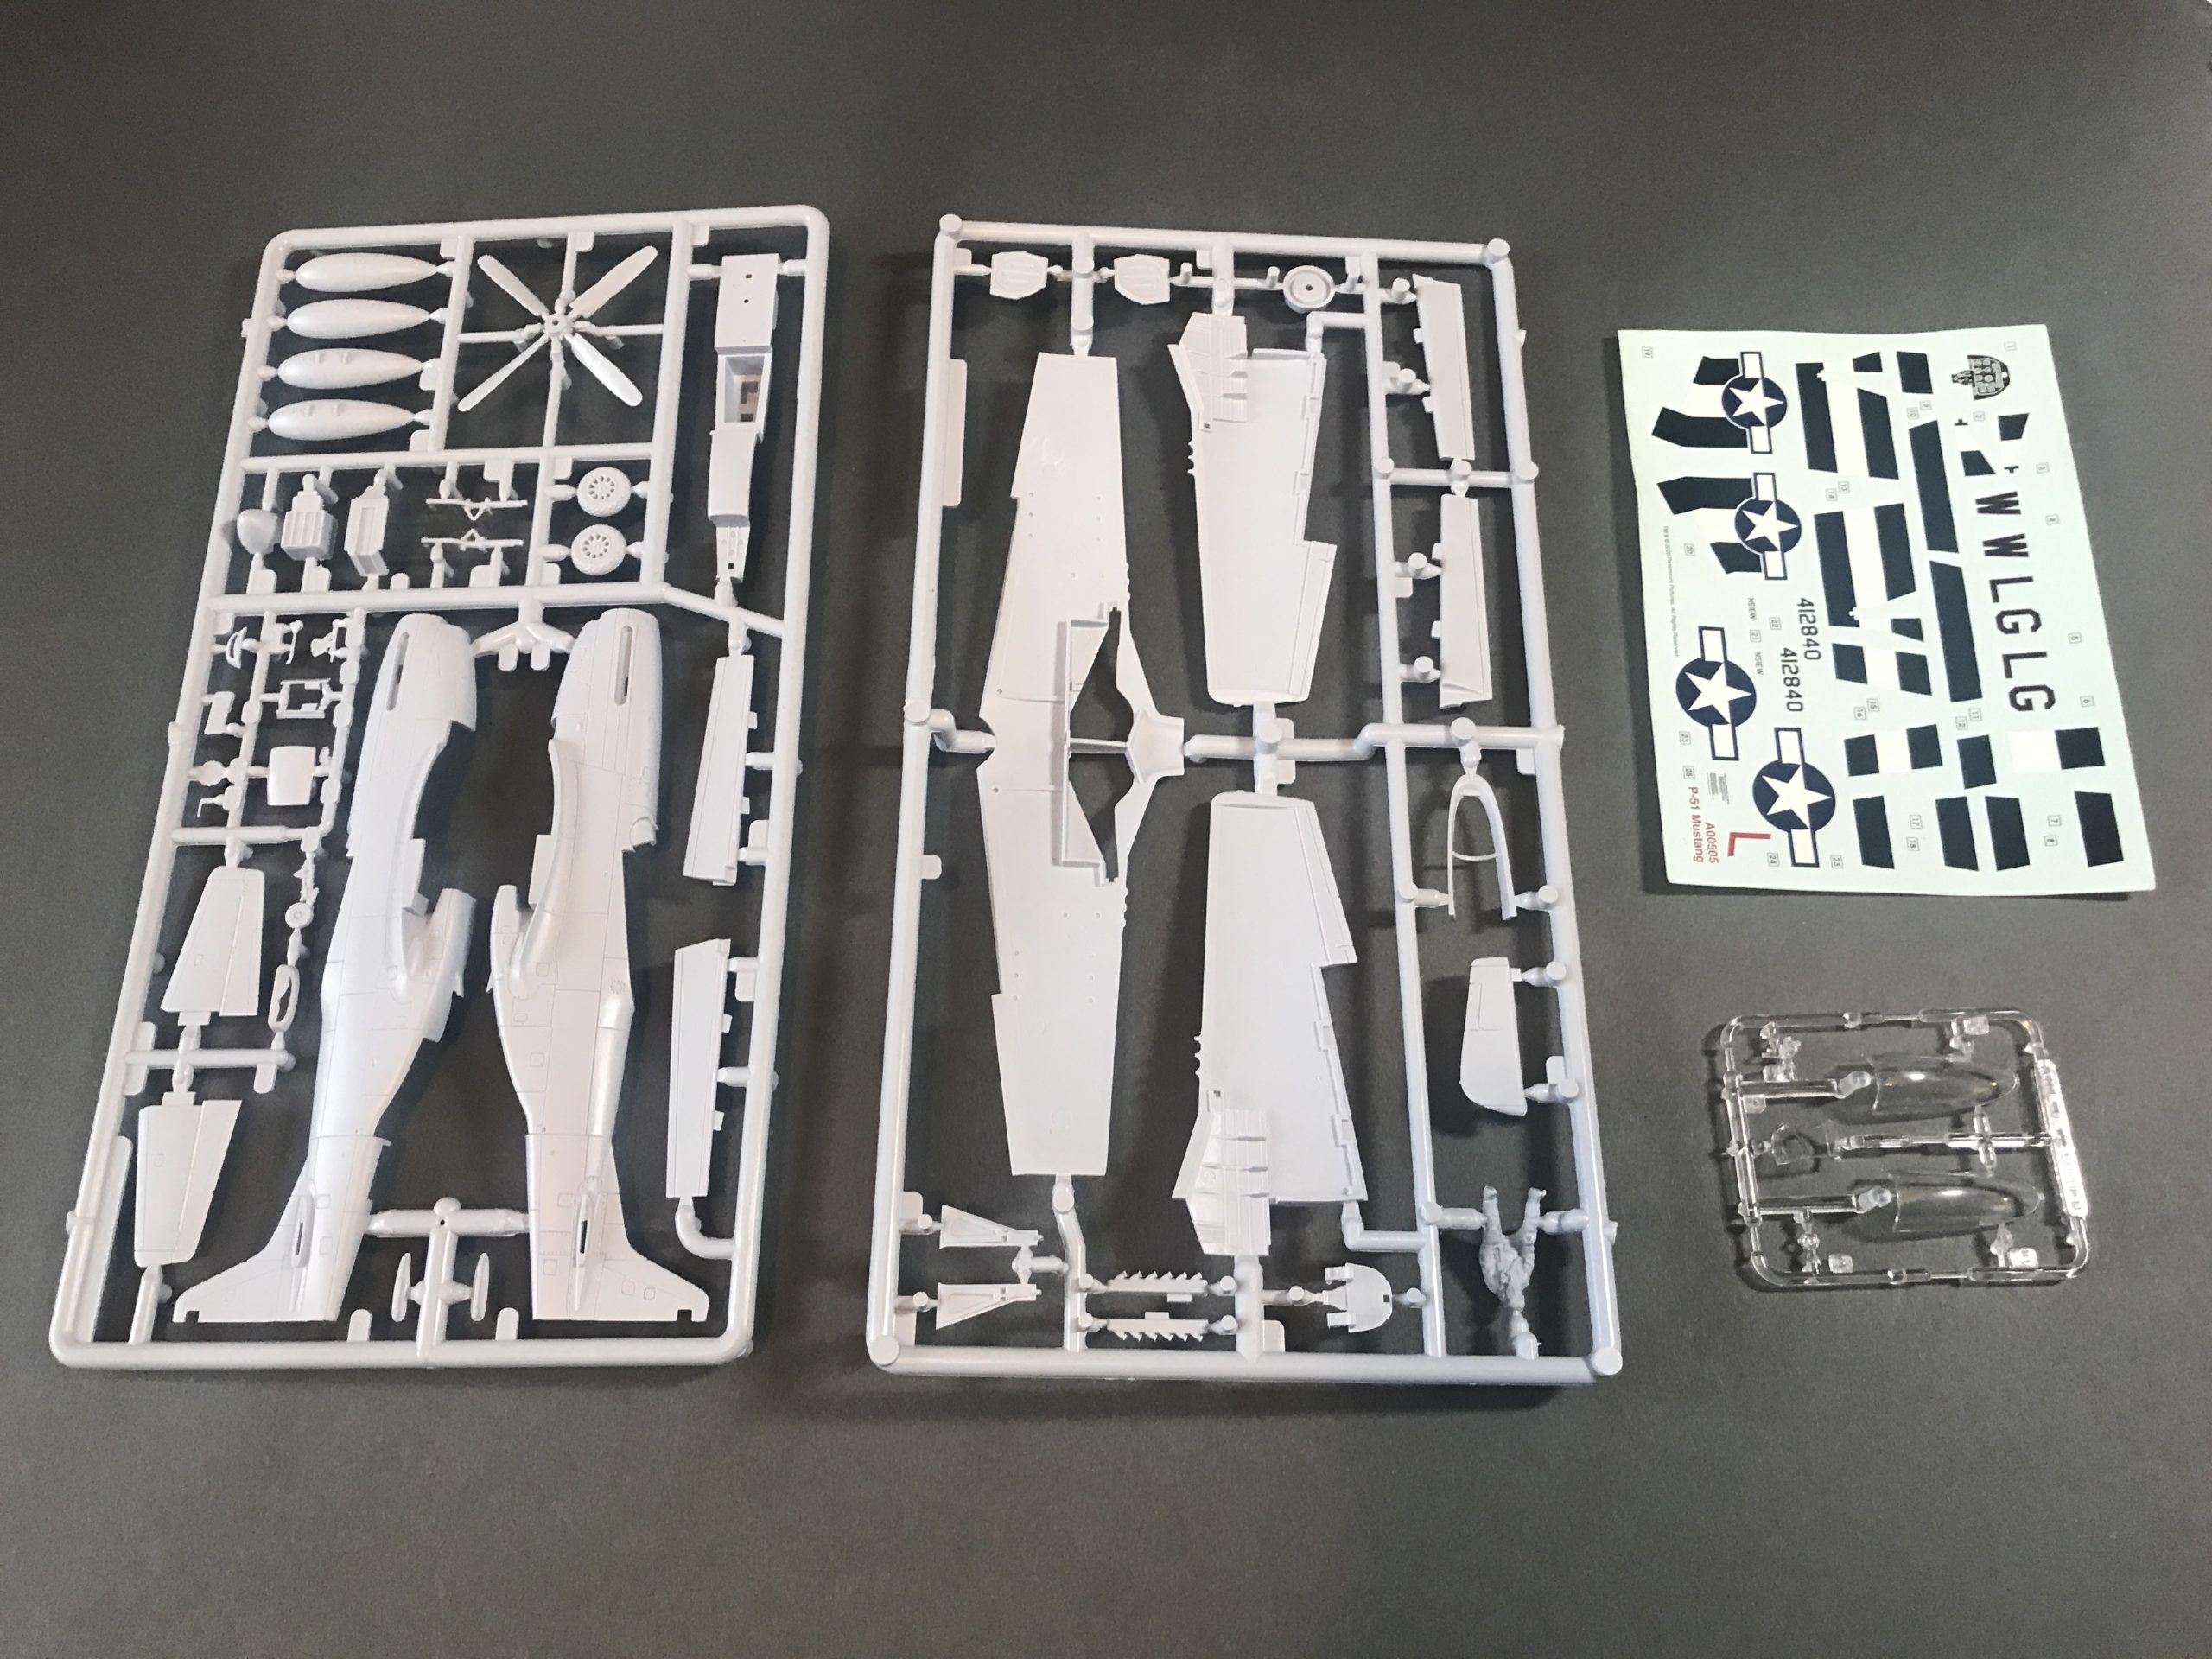
Chances are you will be familiar with the kit too and know what a great little model it is.
The Build
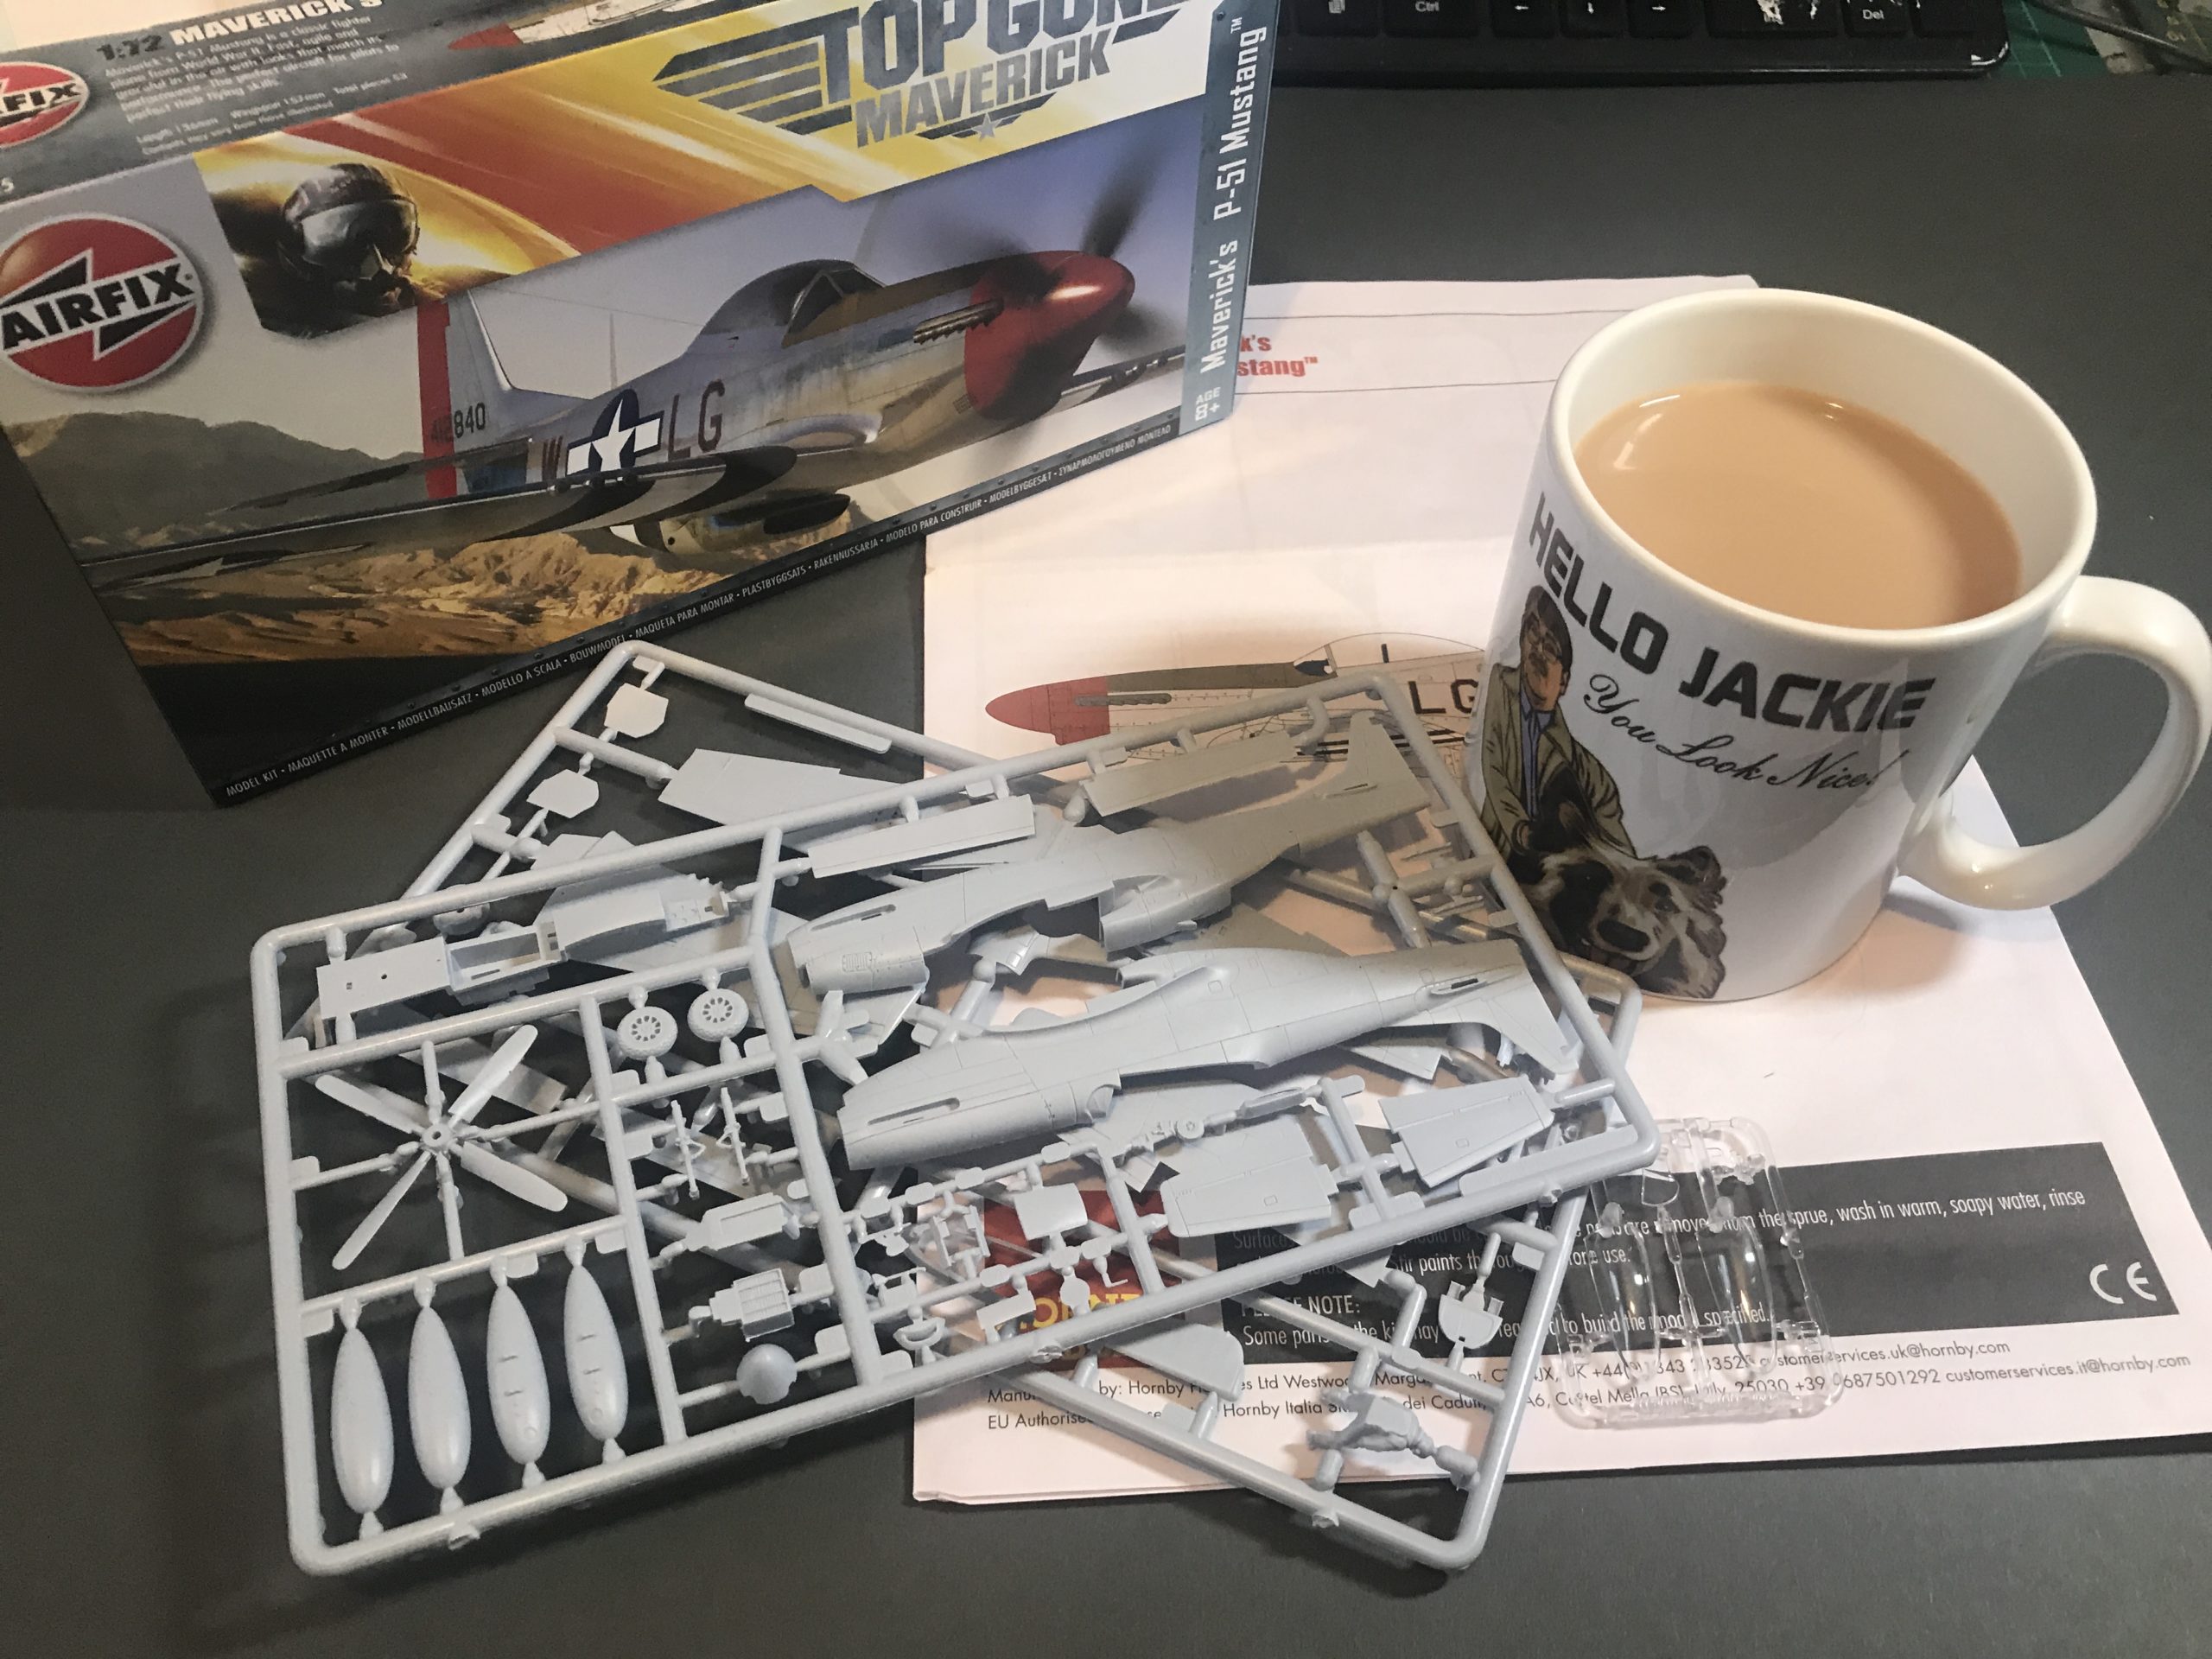
Well I can’t resist the chance to have another crack at this kit, so best get a cuppa.
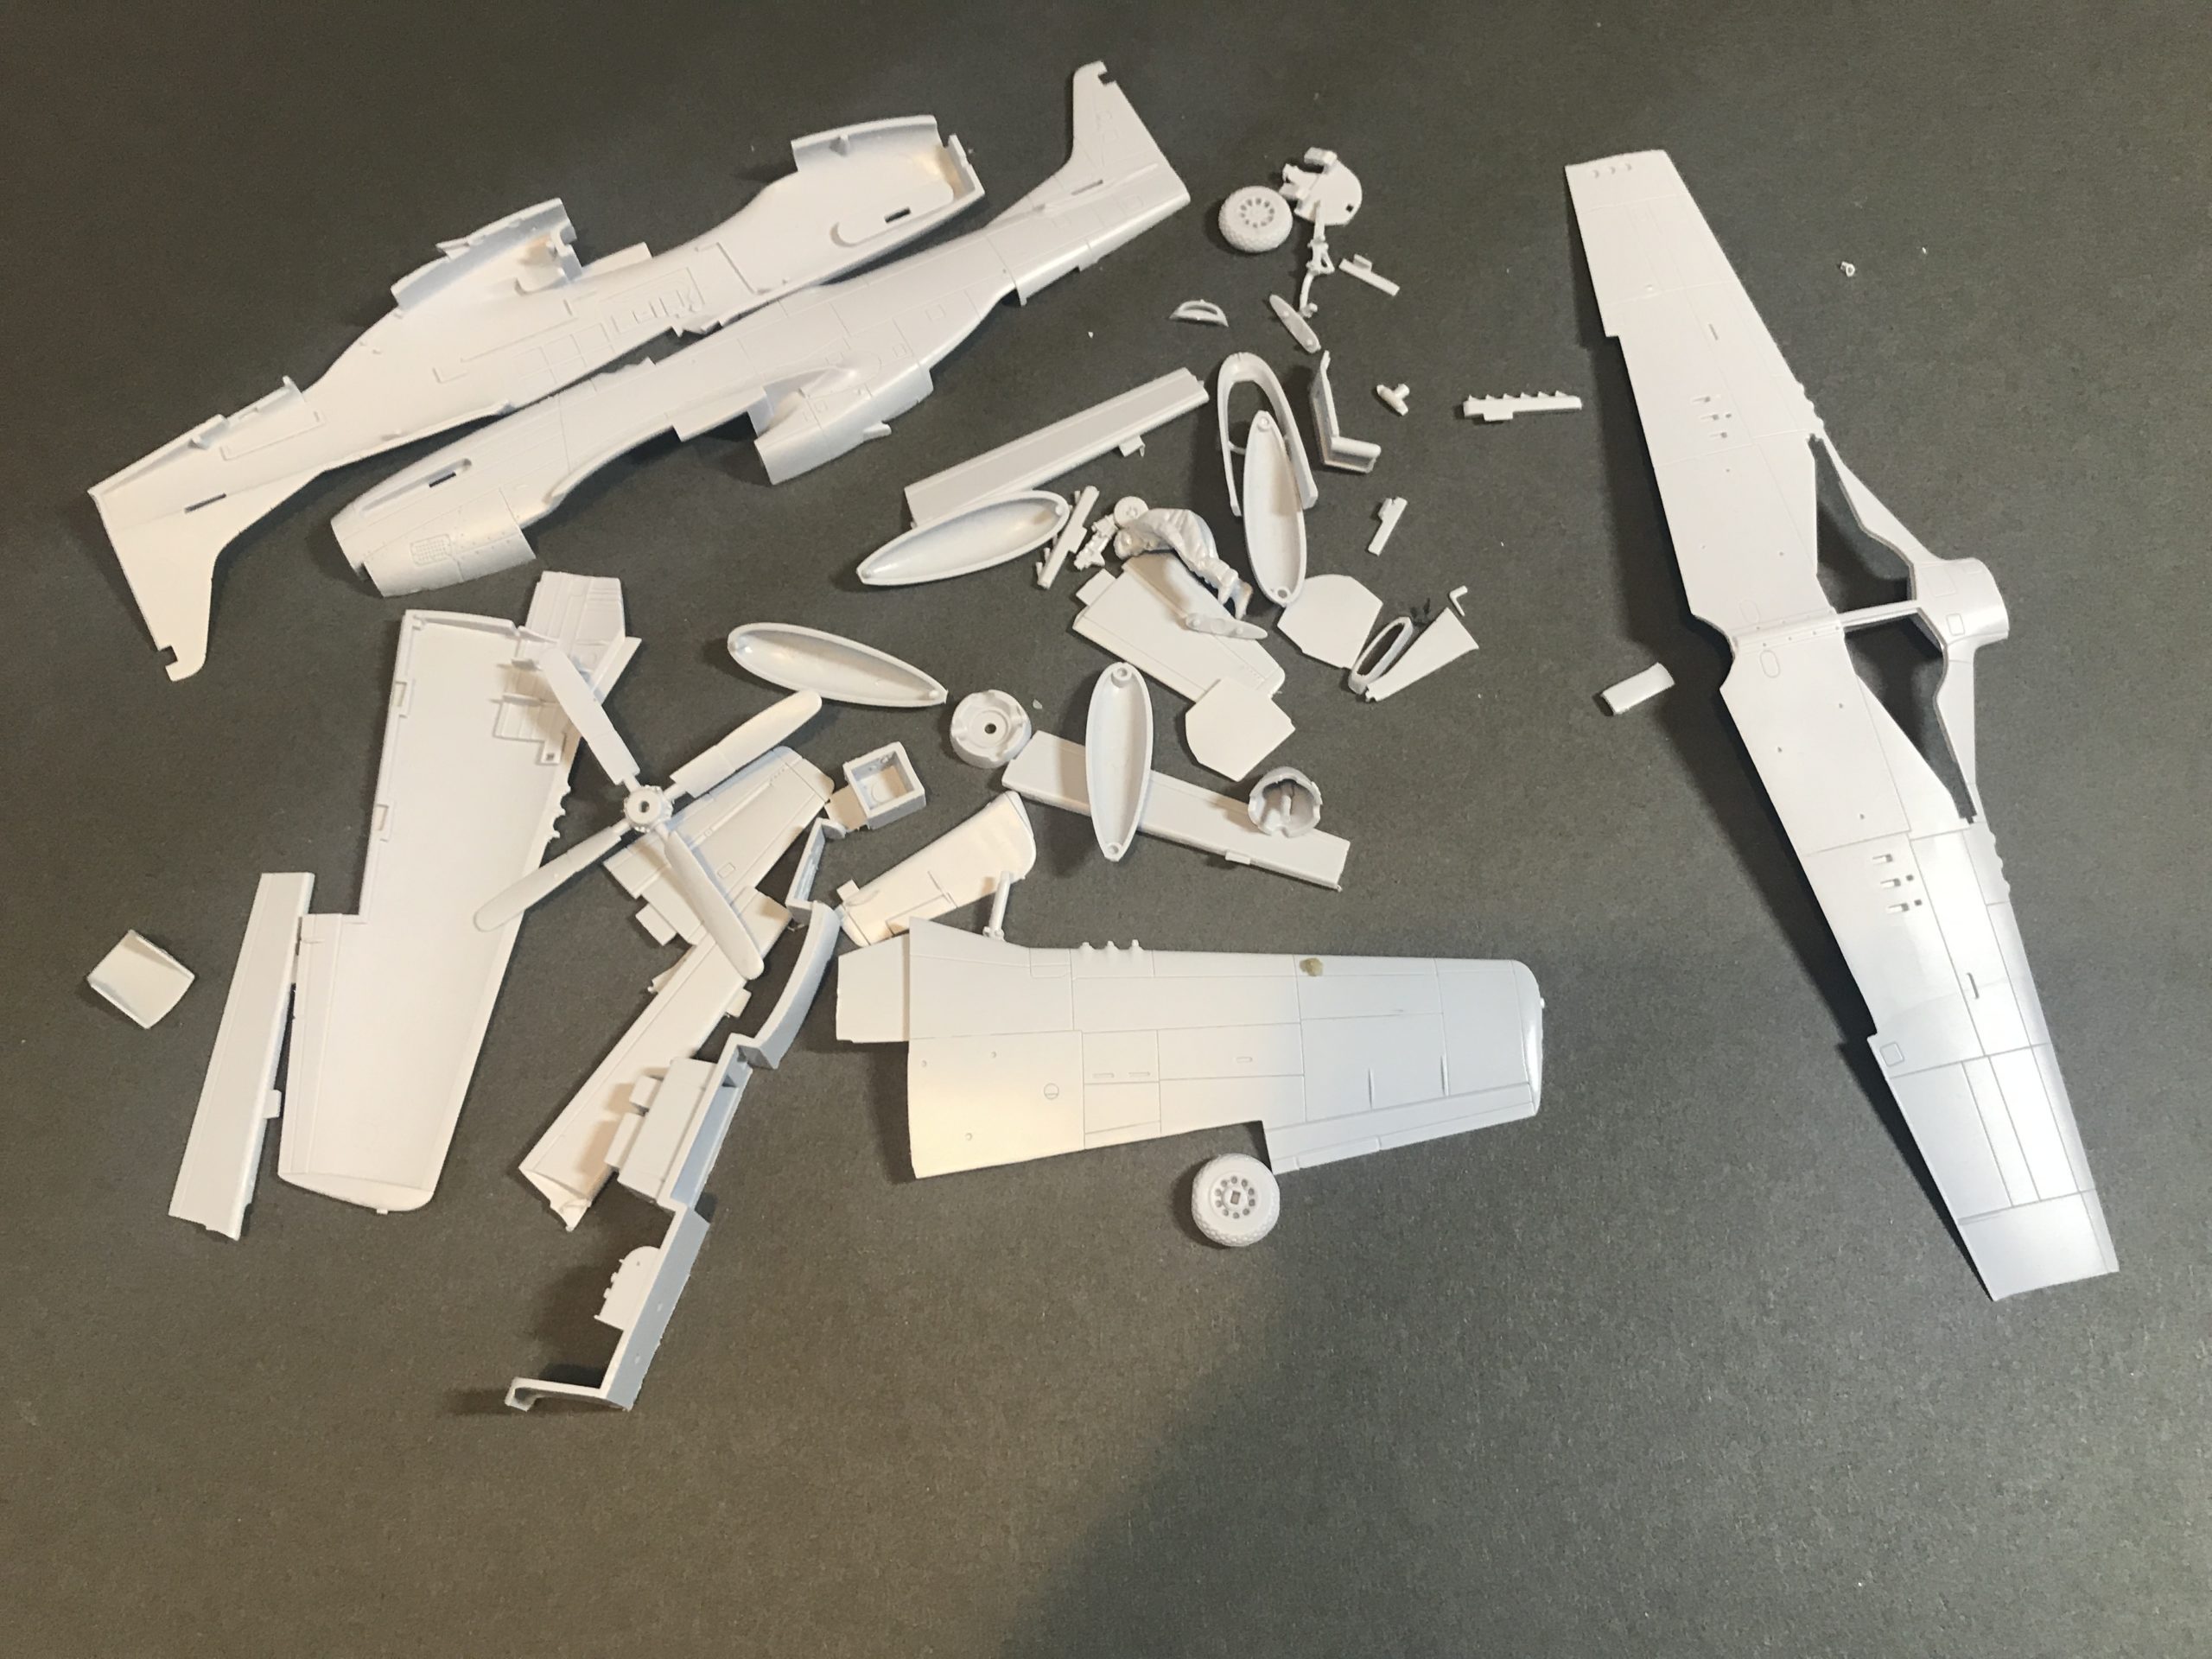
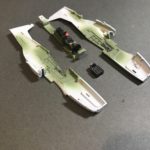
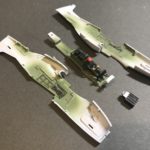
This is where I get into trouble with the guys from Jadlam. They don’t always like it when I take all the parts off the sprue in one go. In fairness it’s probably not the greatest idea for a beginner, but it does make for a cool picture.
Assembly
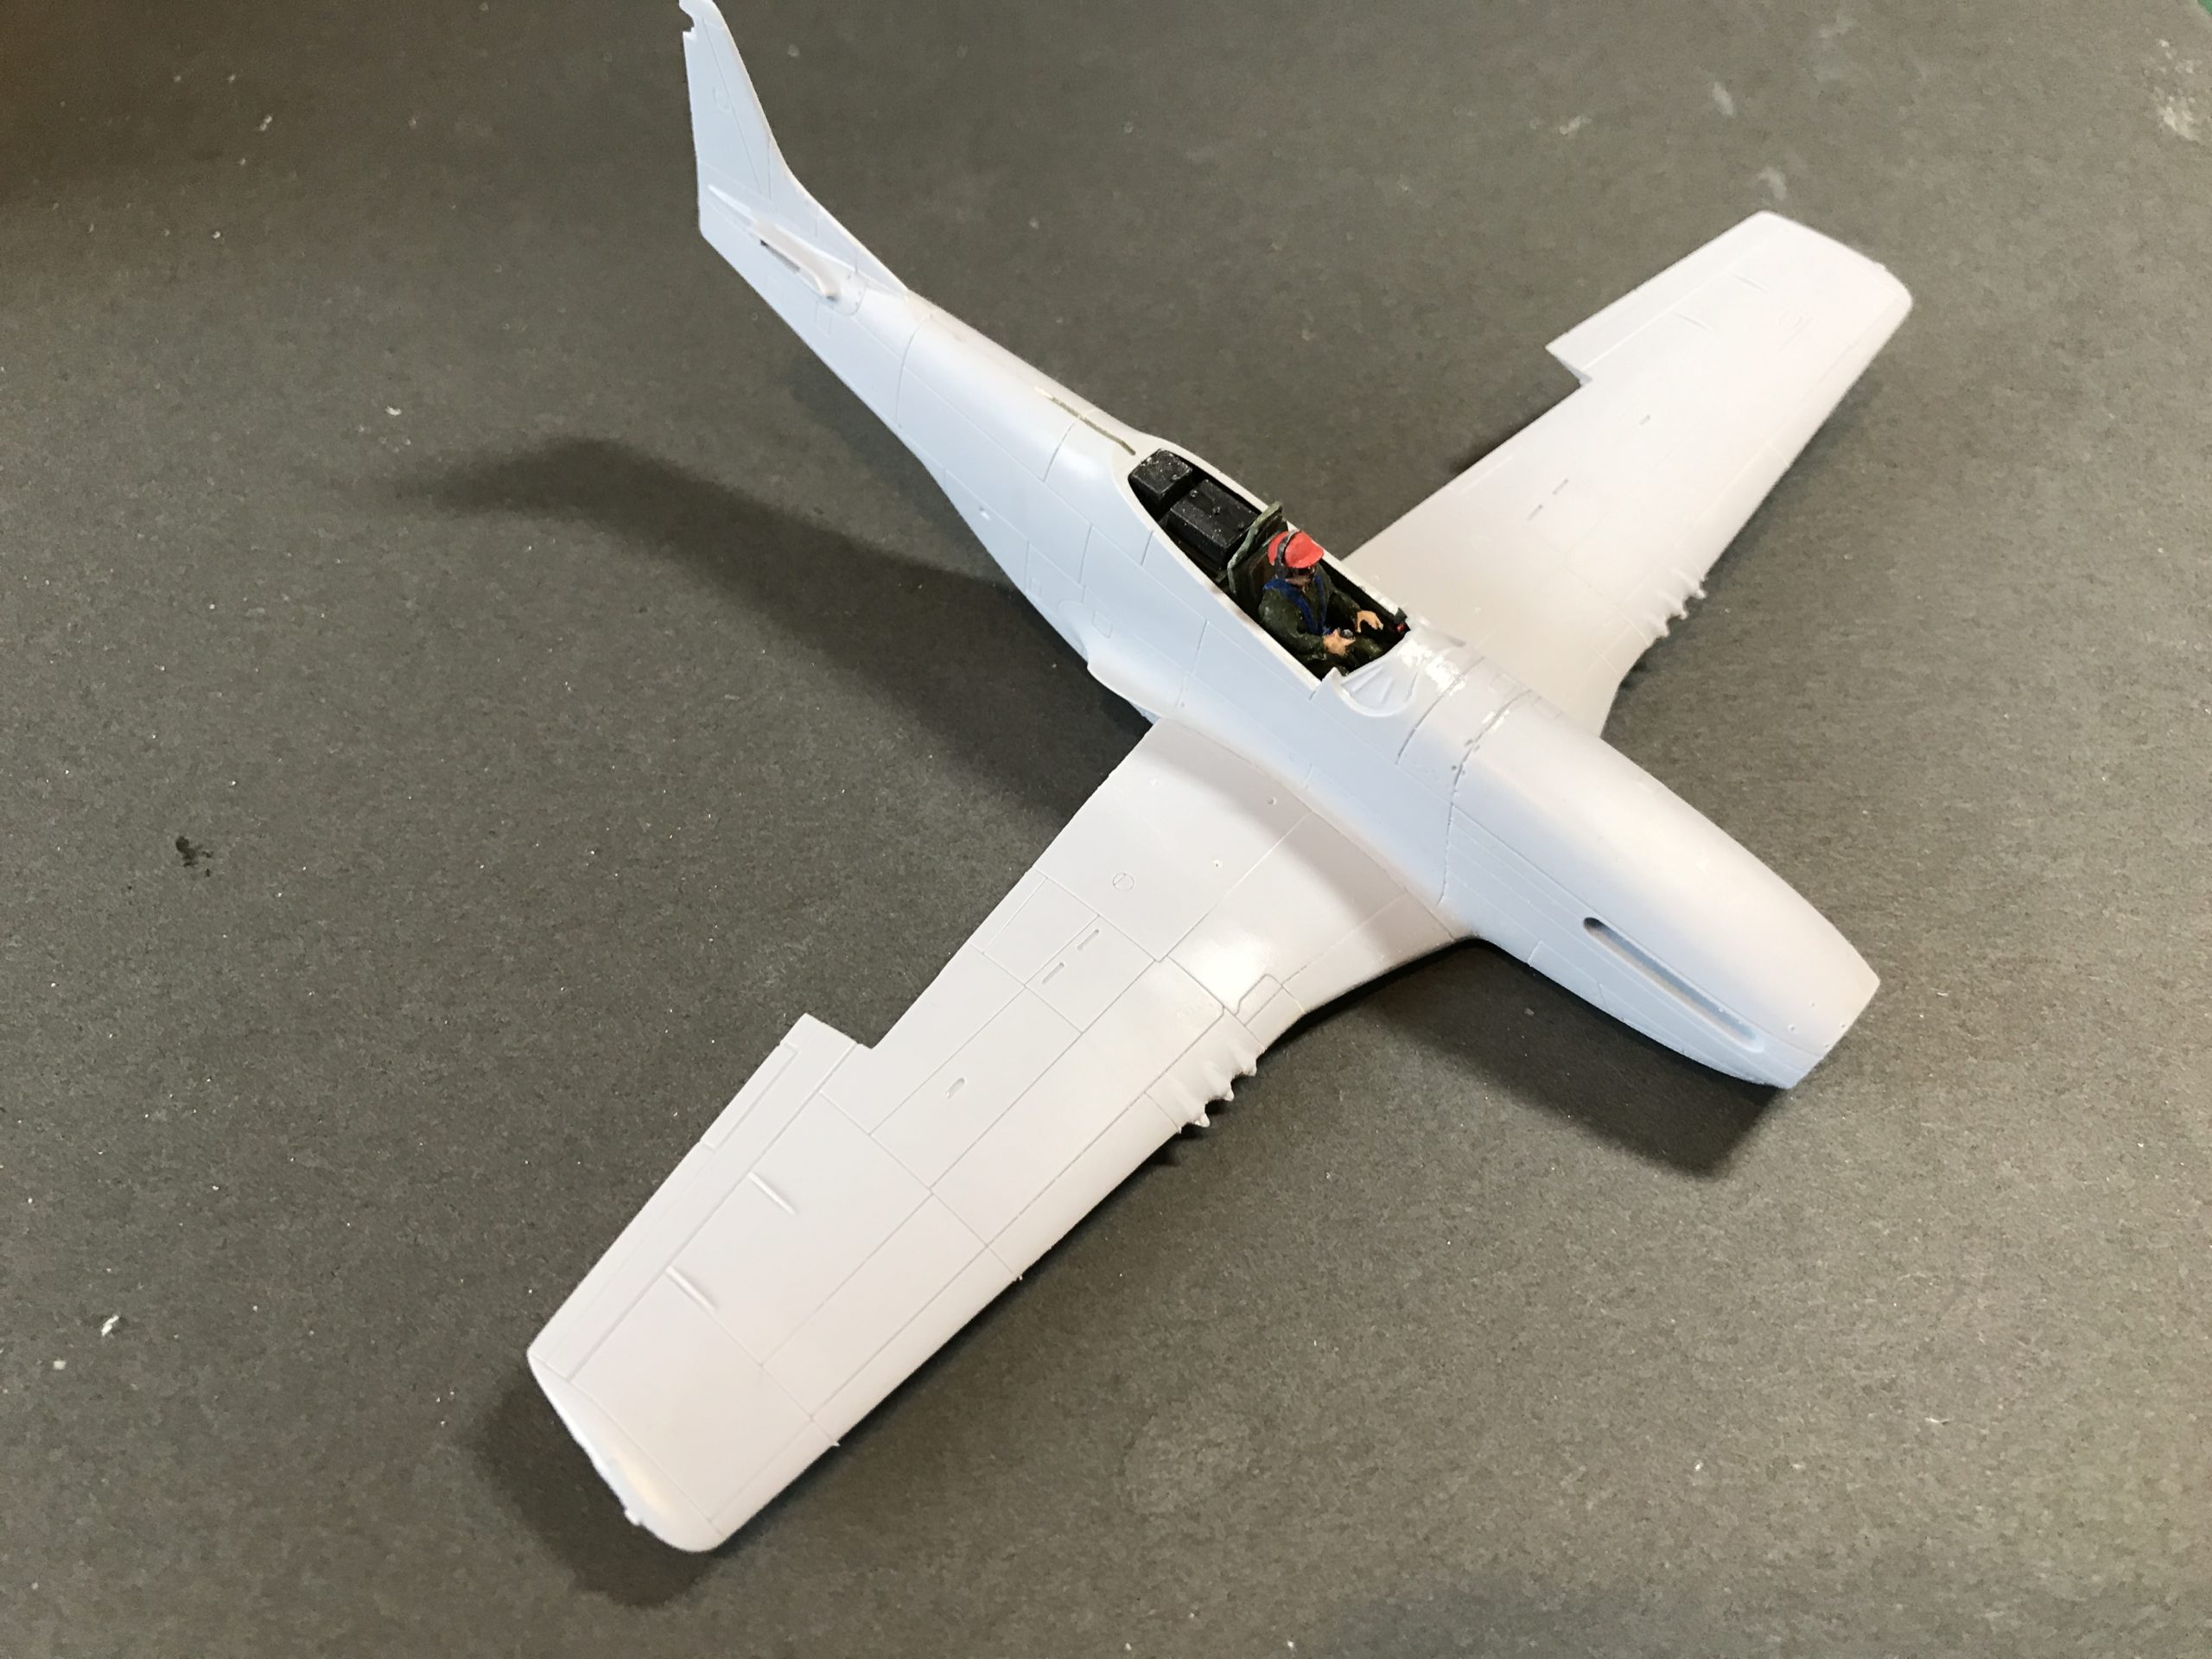
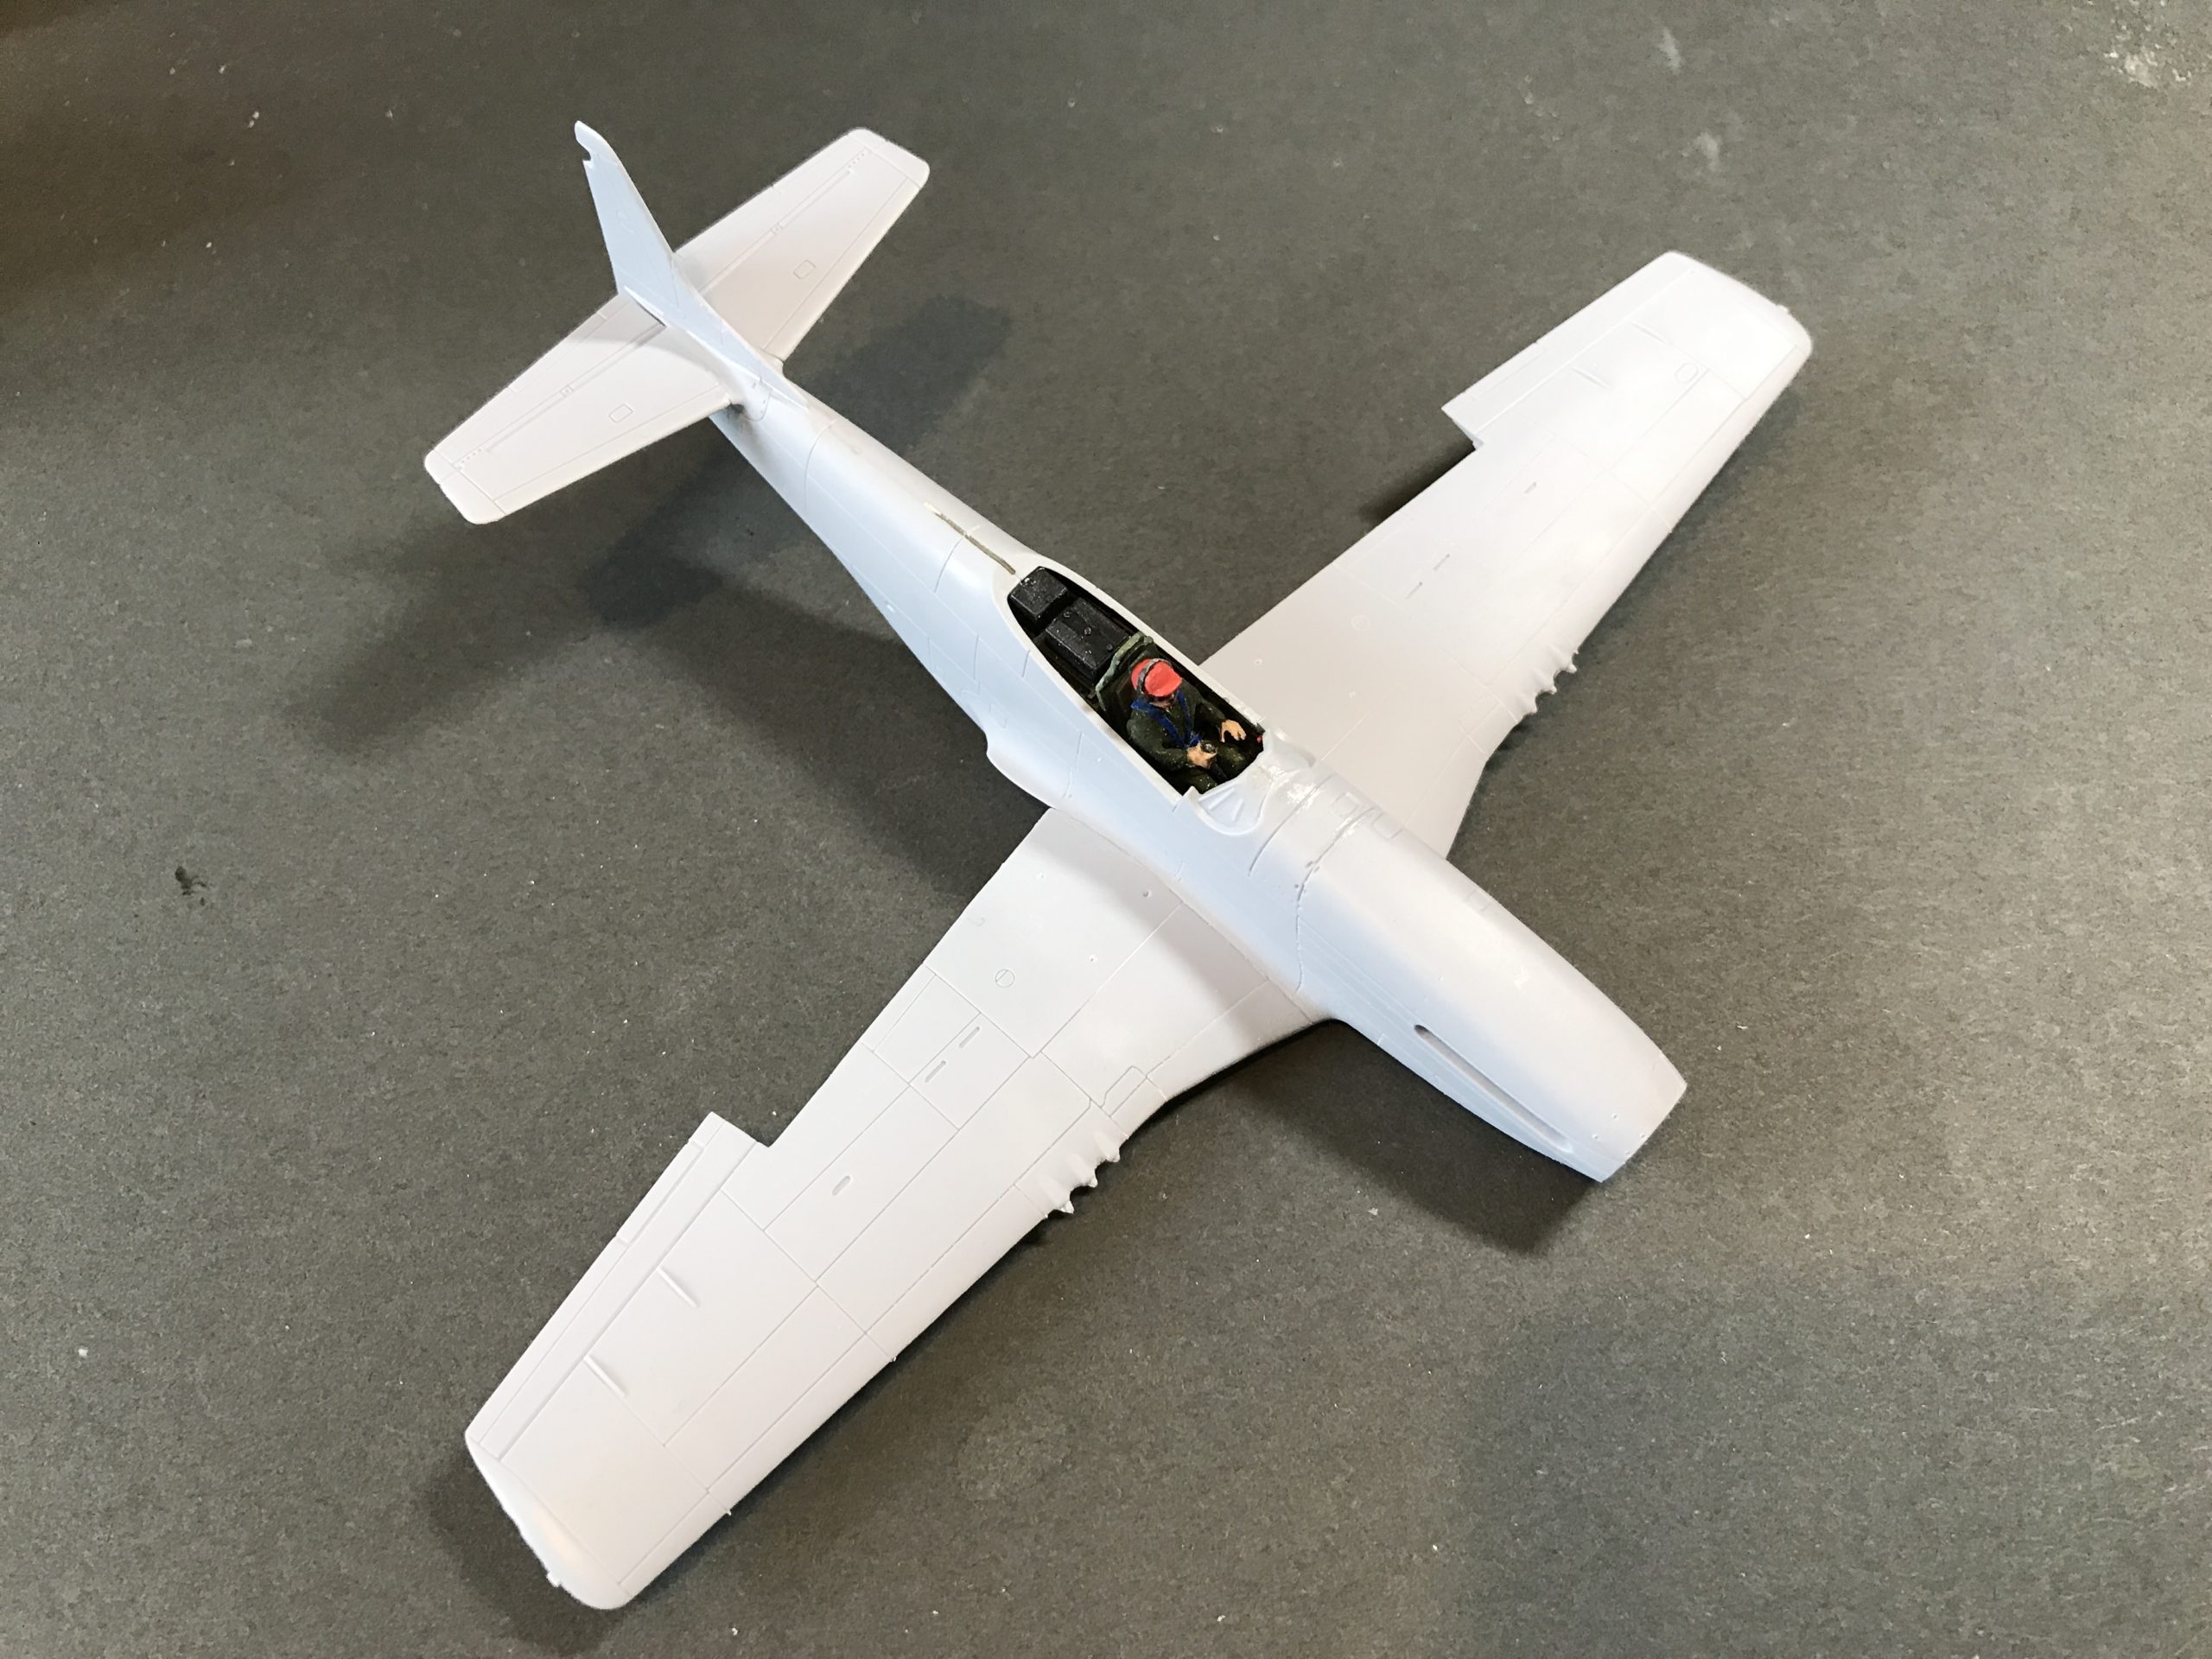
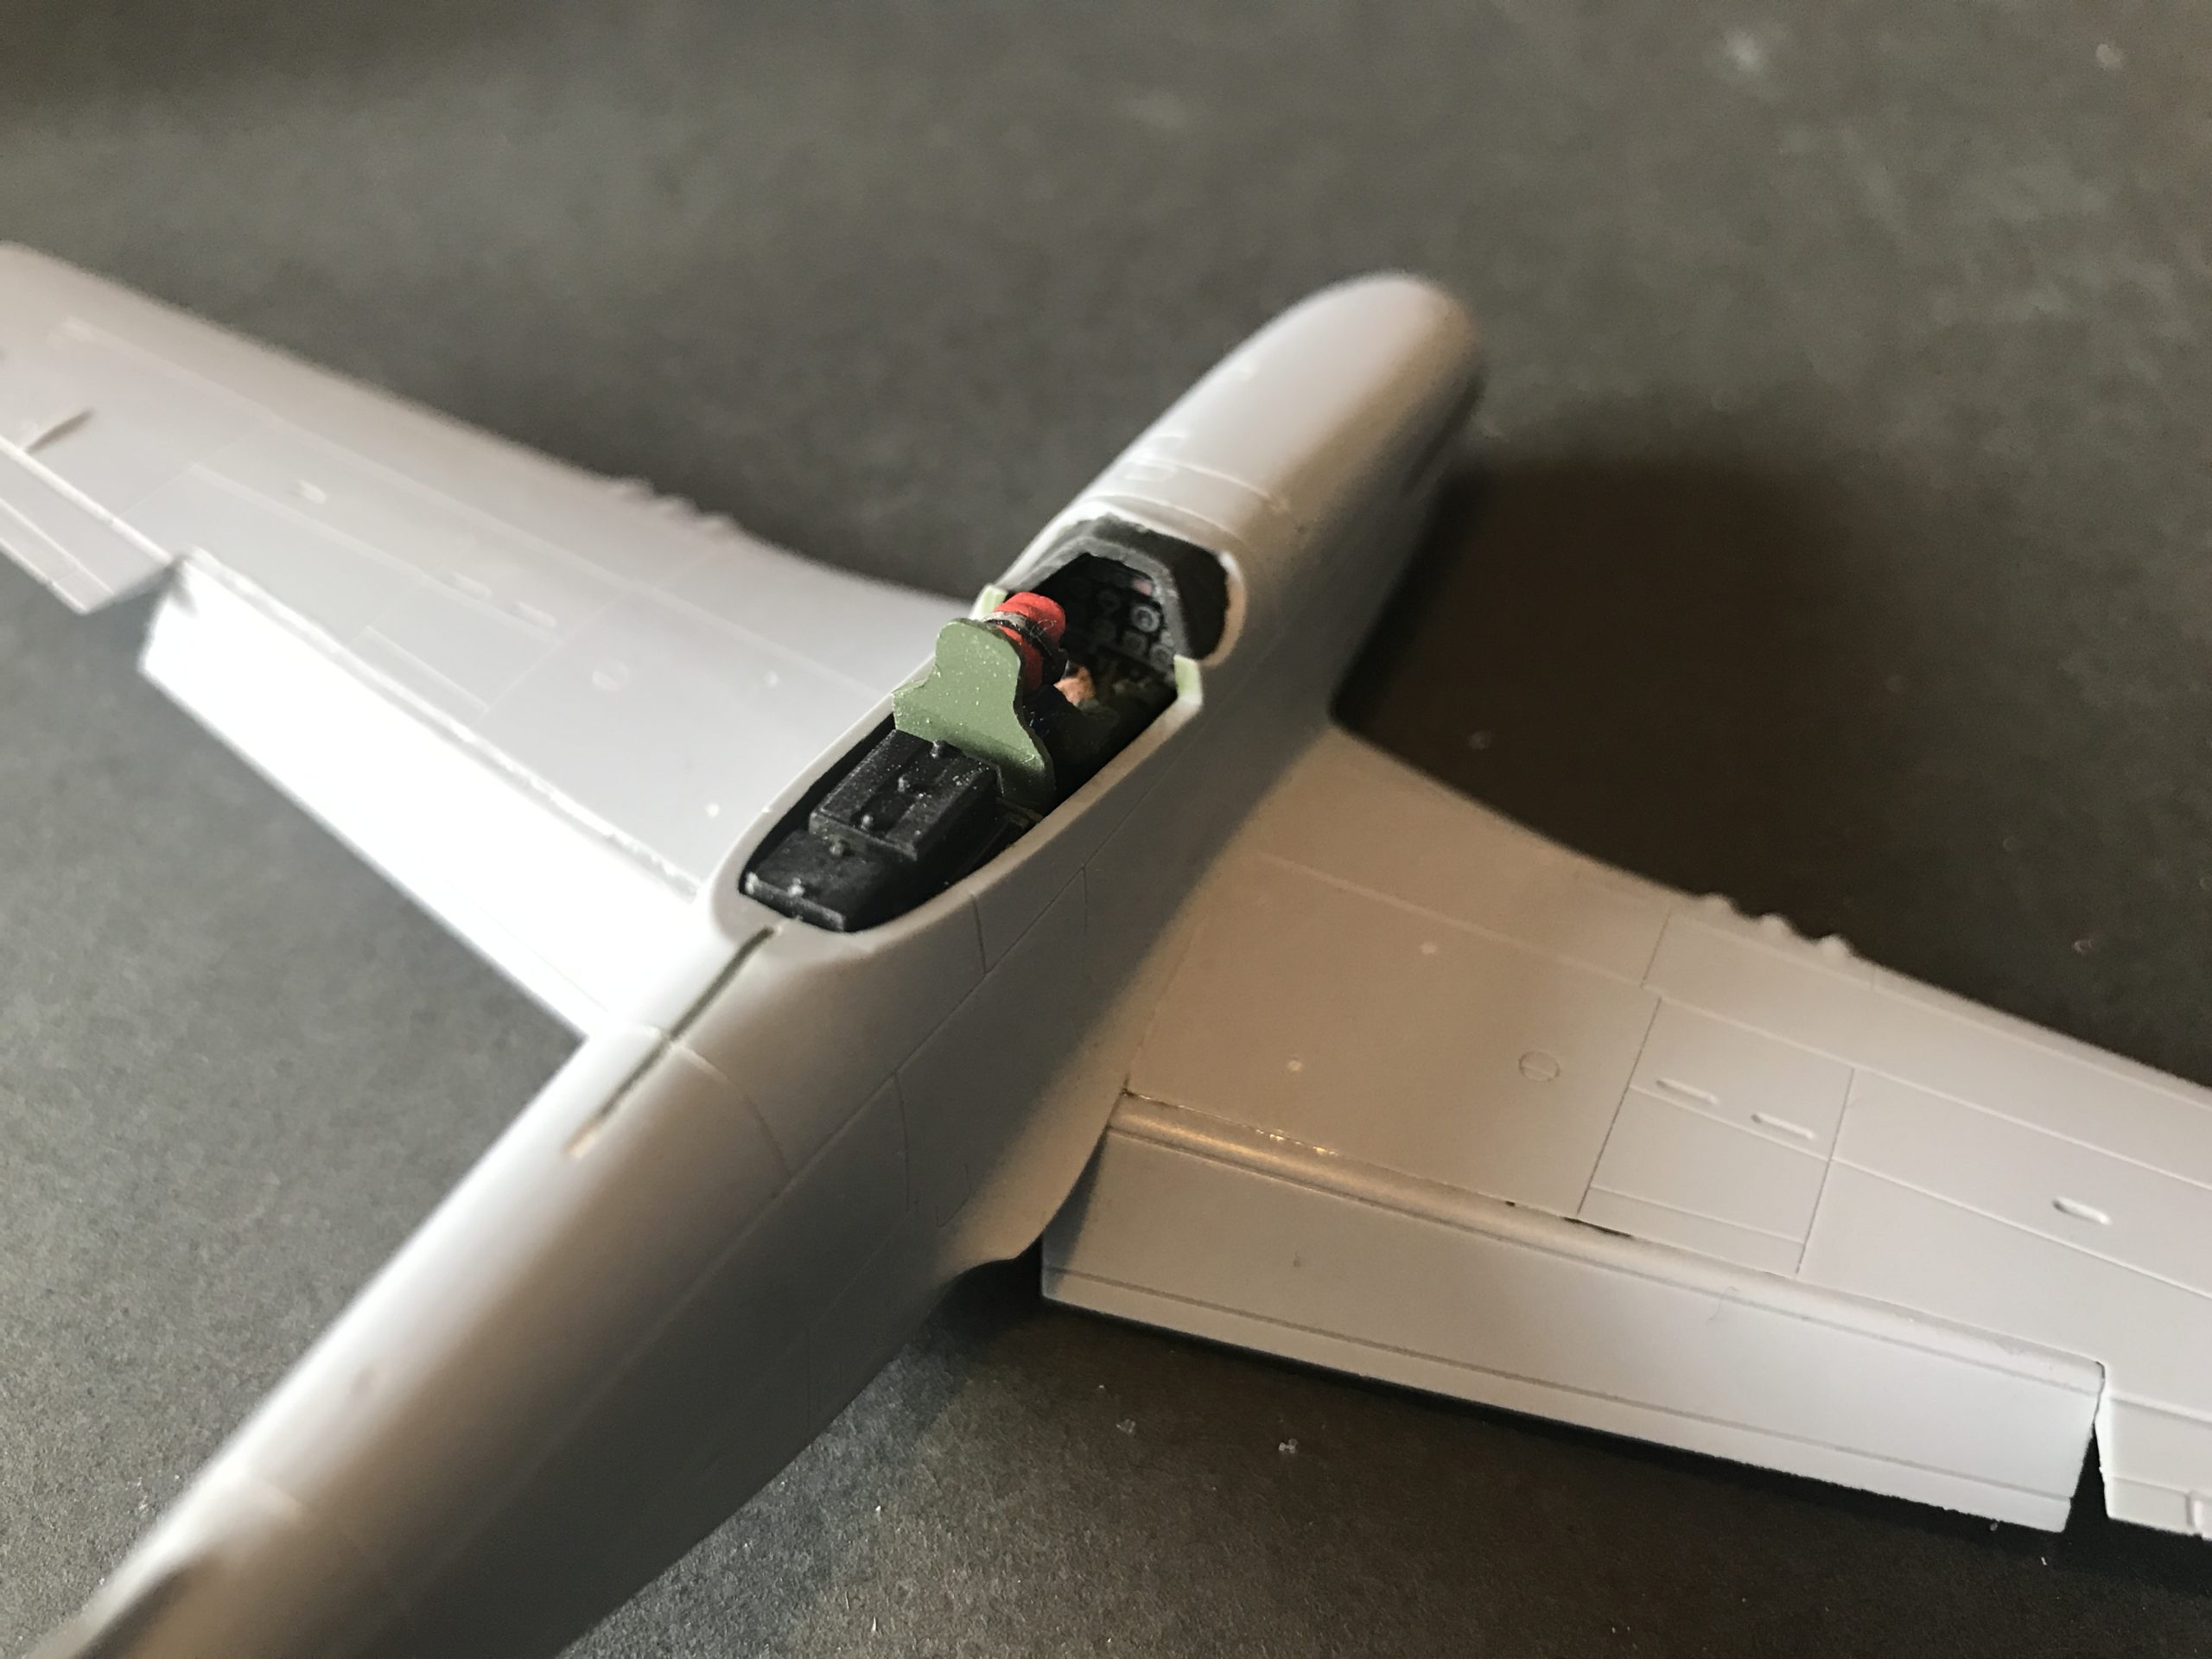
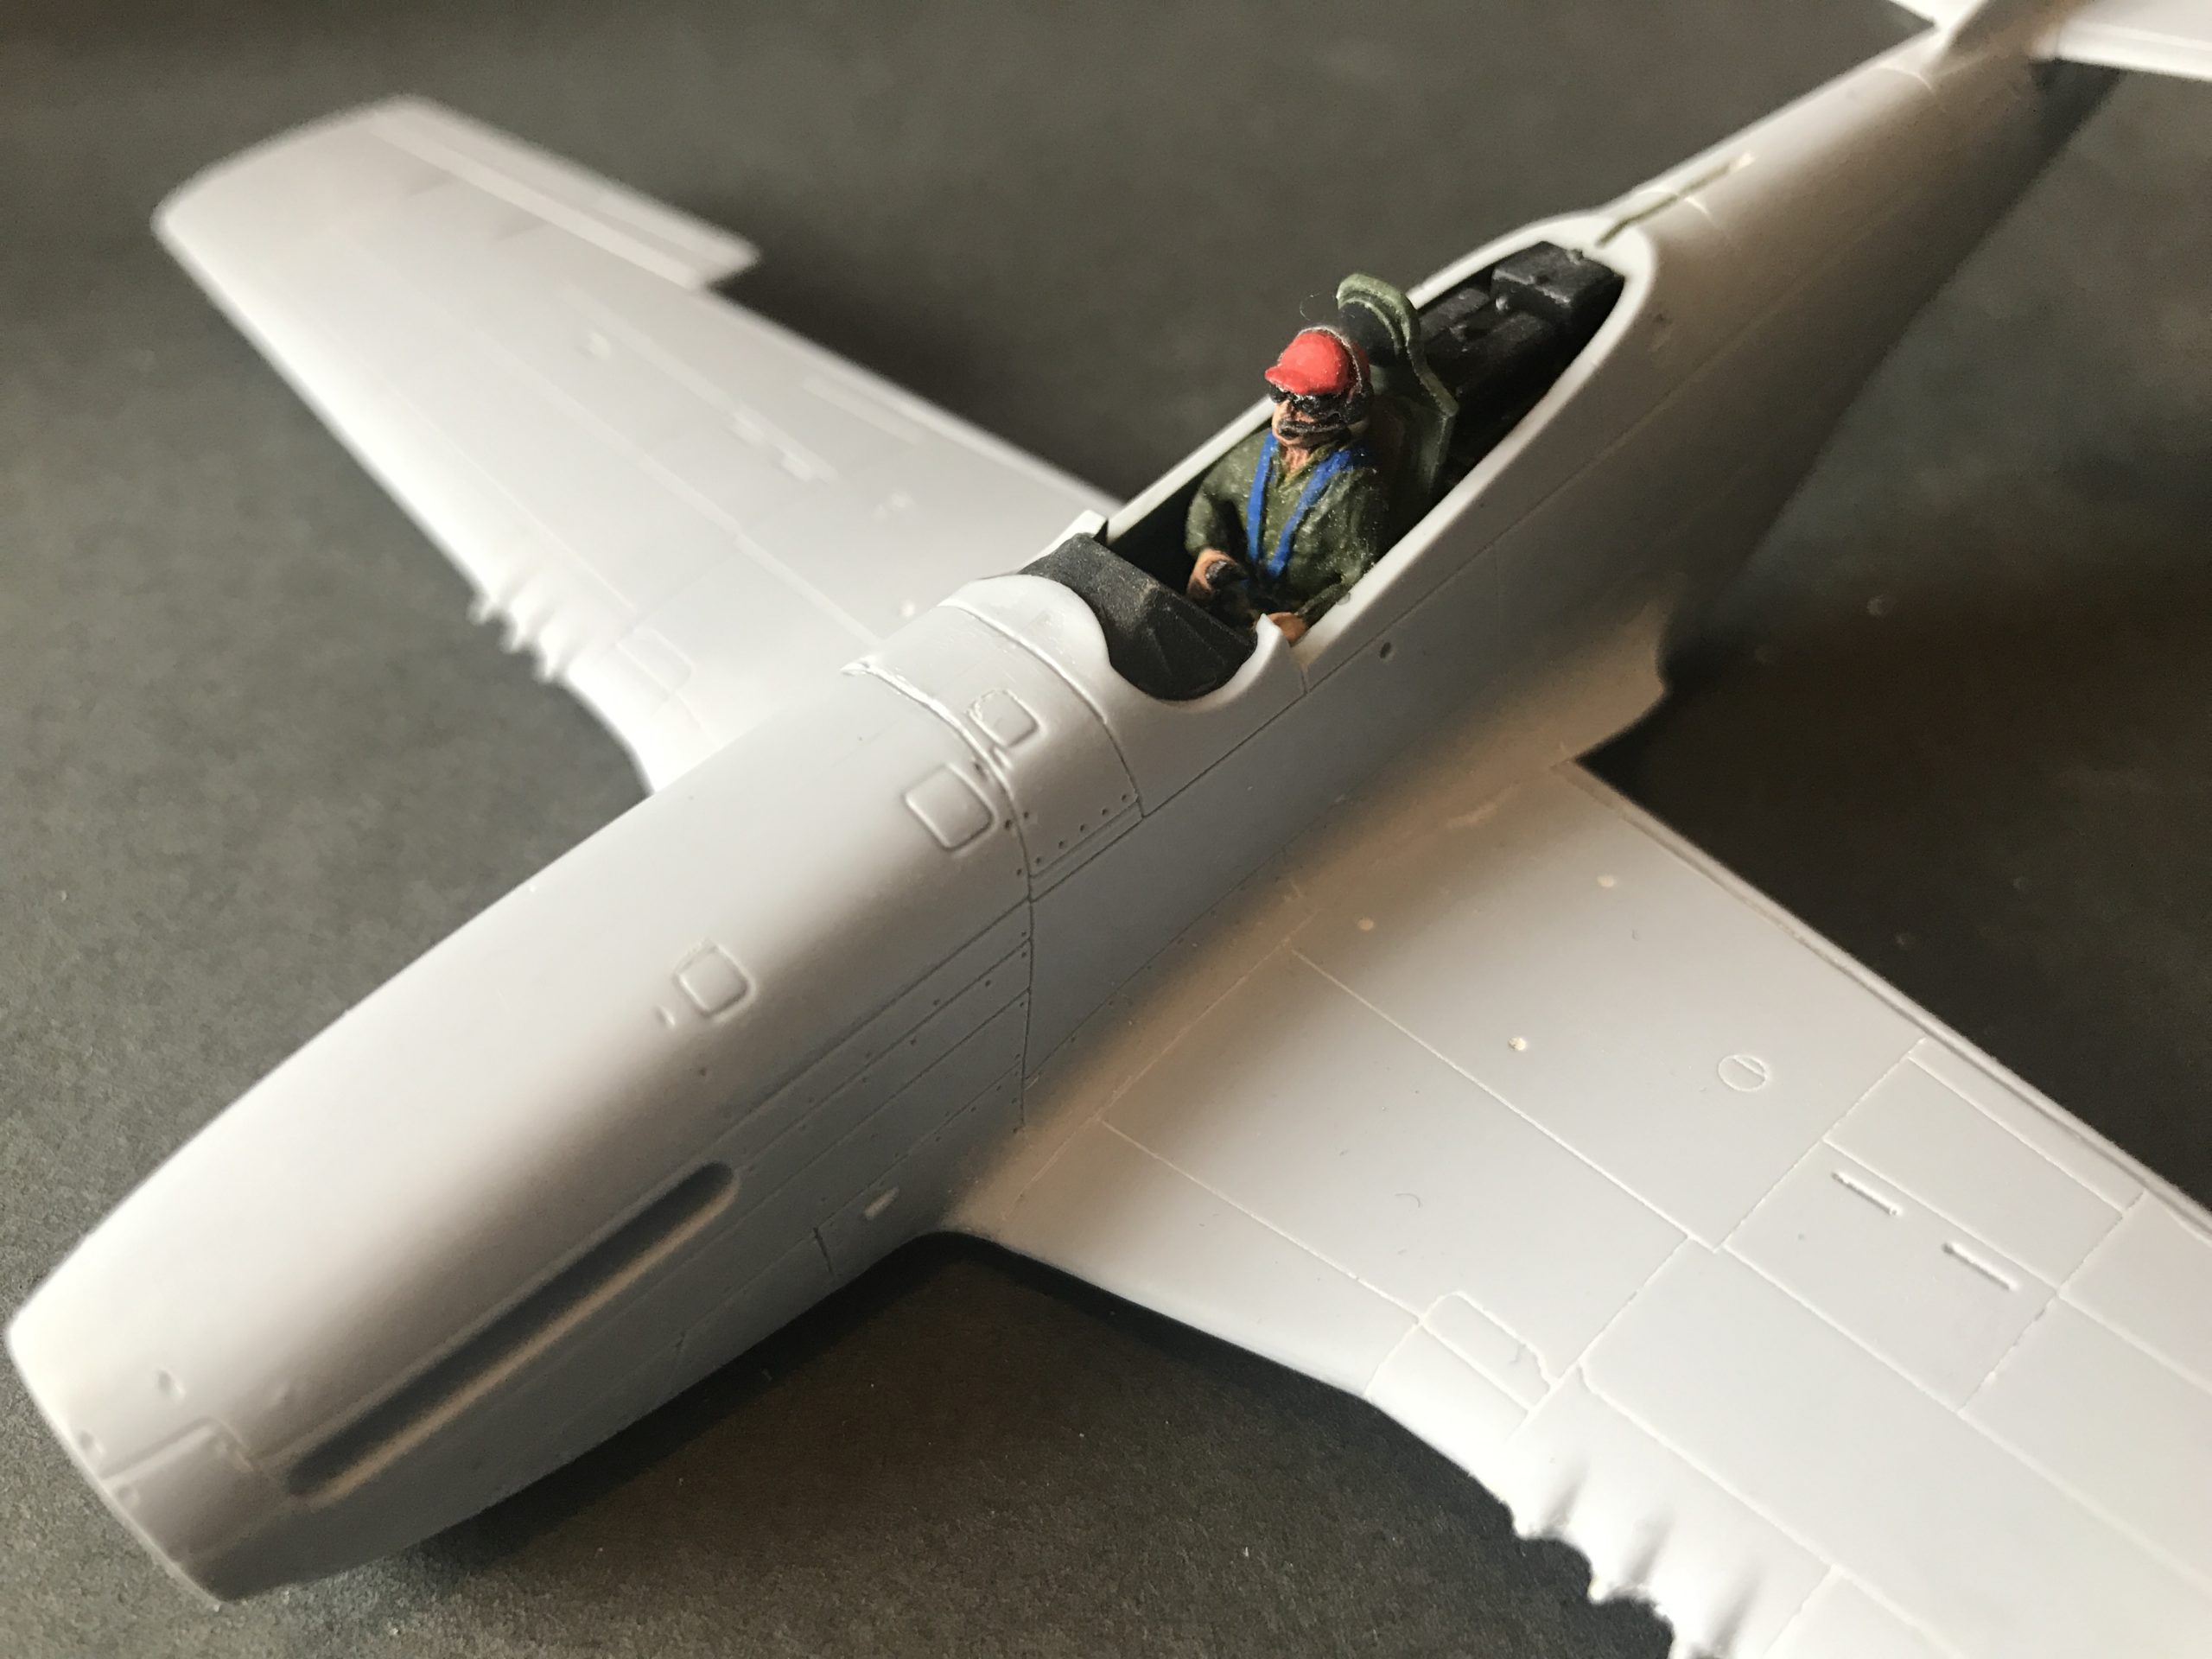
As with the vast majority of aircraft model kits the assembly starts with the cockpit. As previously mentioned this is the existing P-51D kit, so has a WW2 era pilot. I wanted something a bit more up to date, so raided my parts box and found a correct scale civilian pilot. Once painted Tom Junior was added to the pilot seat.
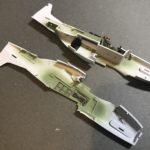
I brush painted the details in the cockpit to add a little interest, then added a light wash to make the moulded detail “pop”.
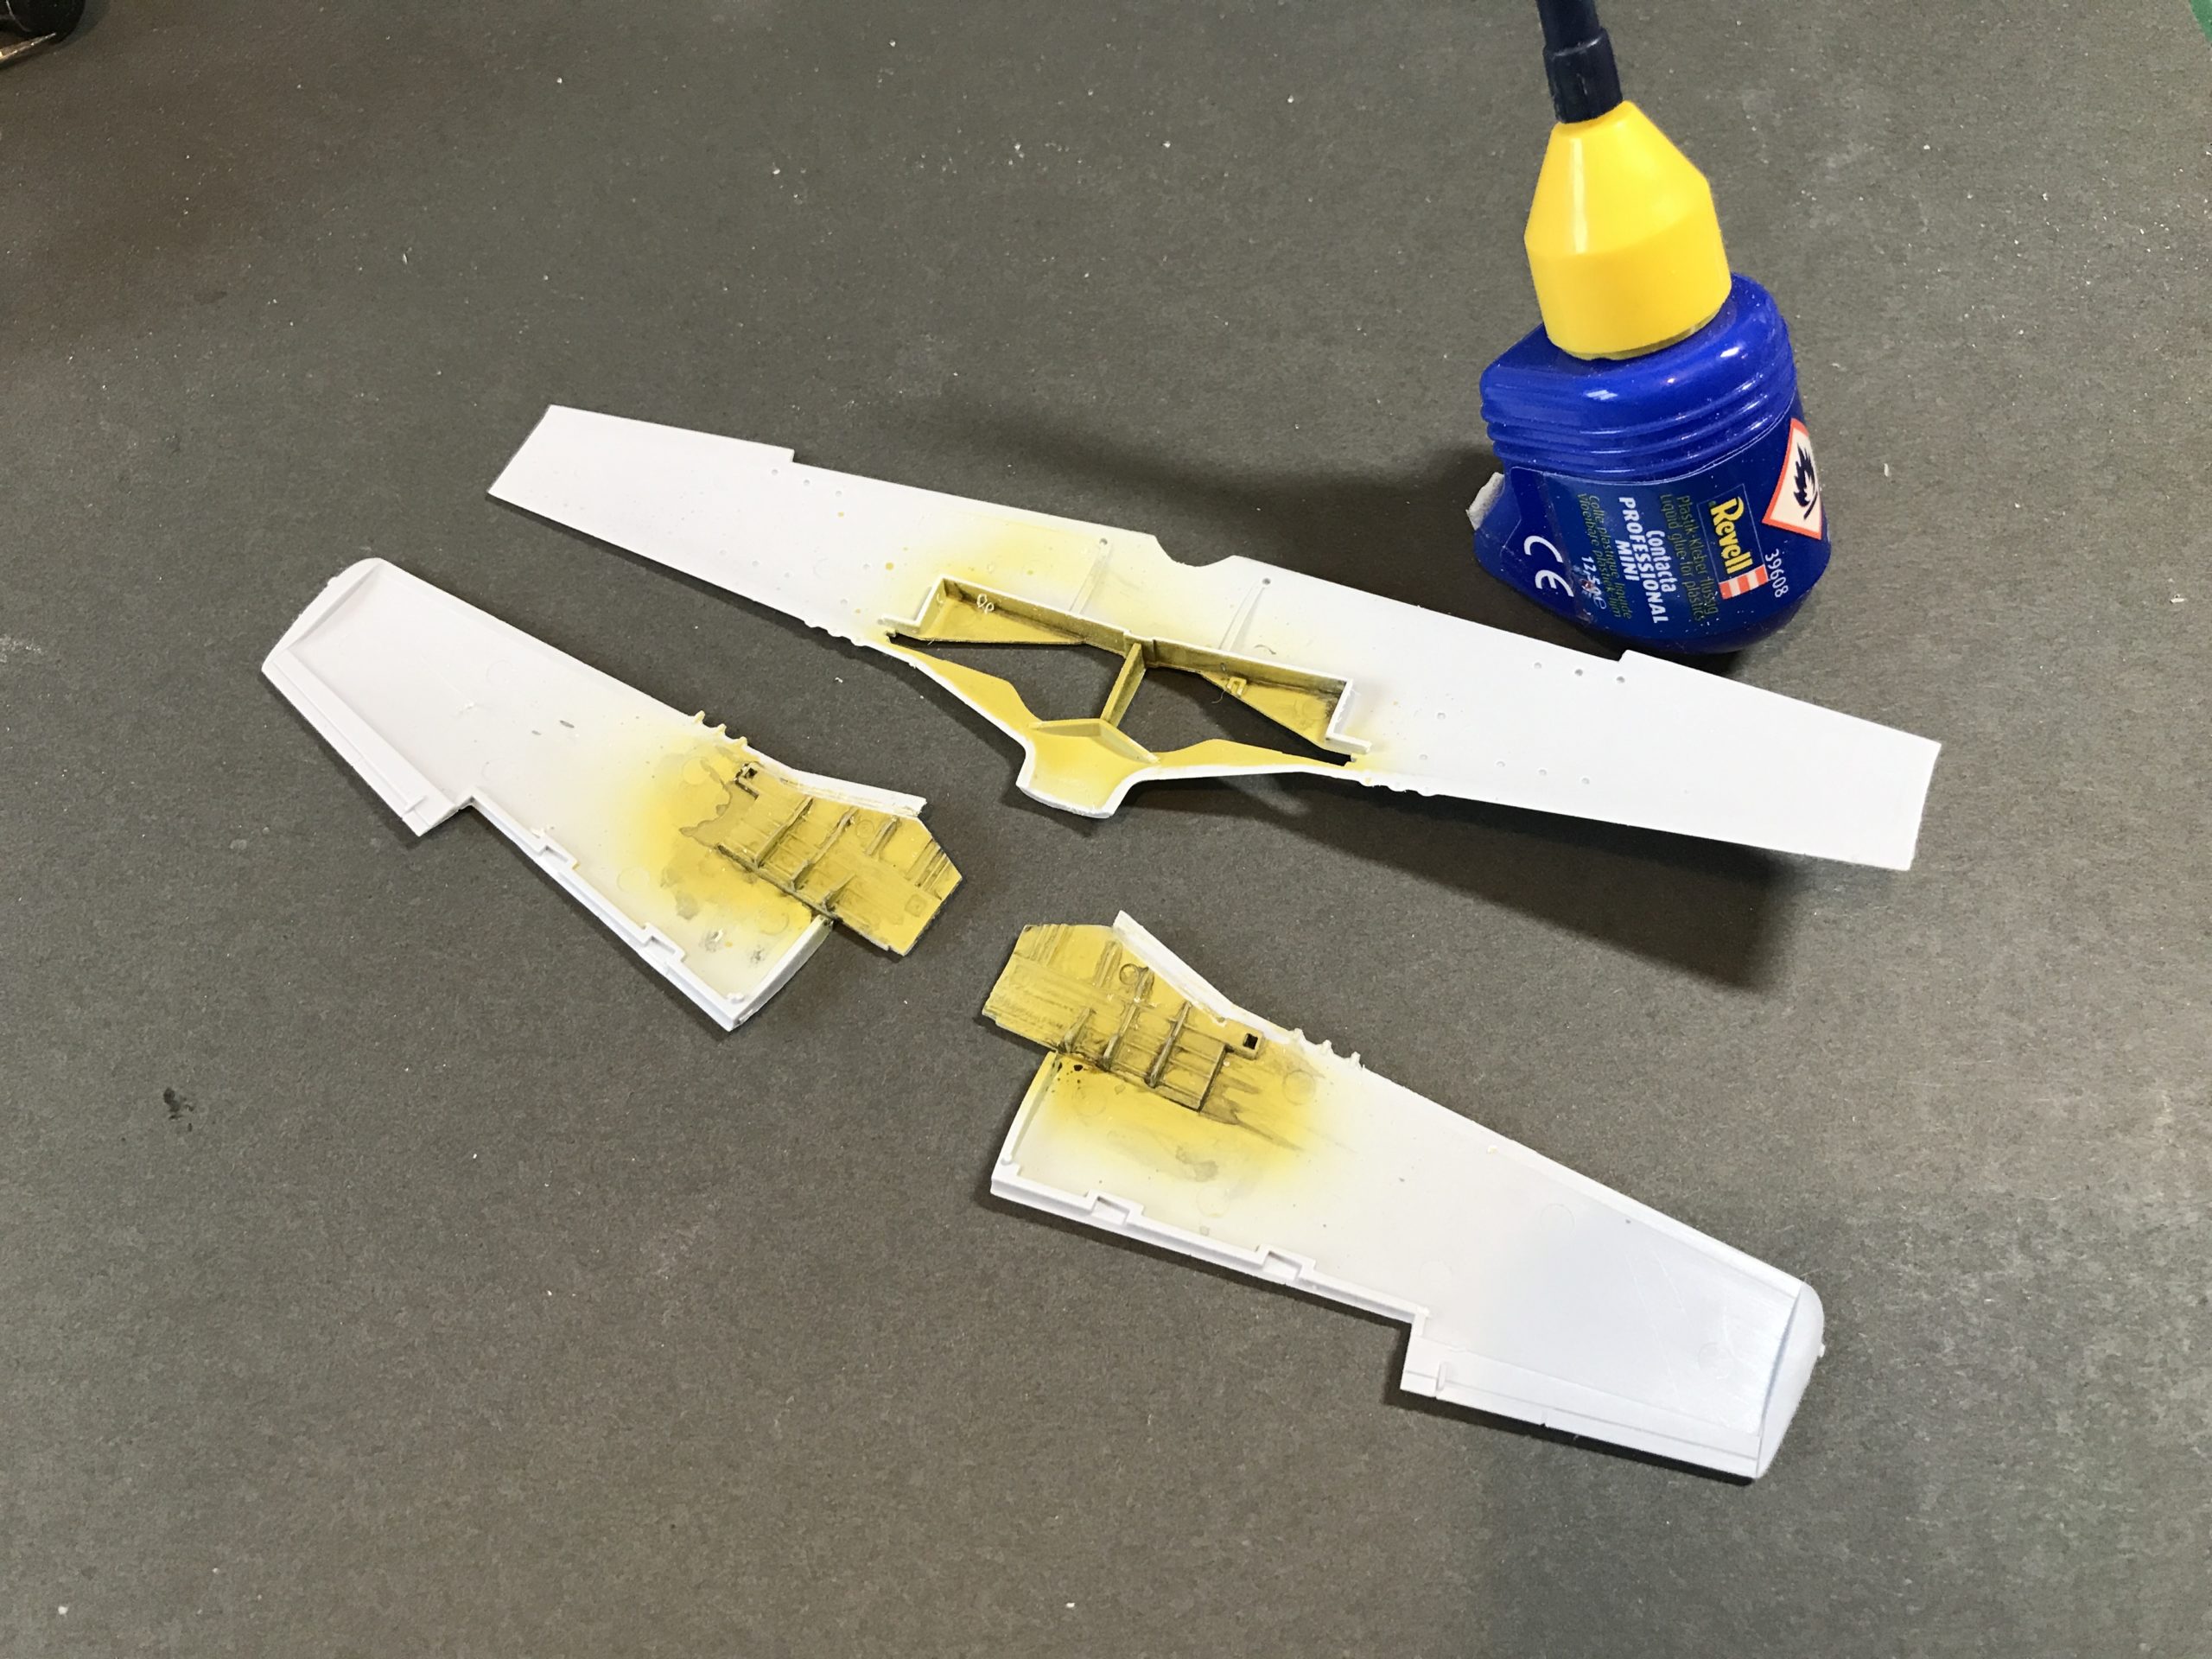
Prior to assembling the parts I carefully used the edge of my blade to remove the paint from the surfaces i was going to apply glue to. This will make the parts bond much better and also be neater too.
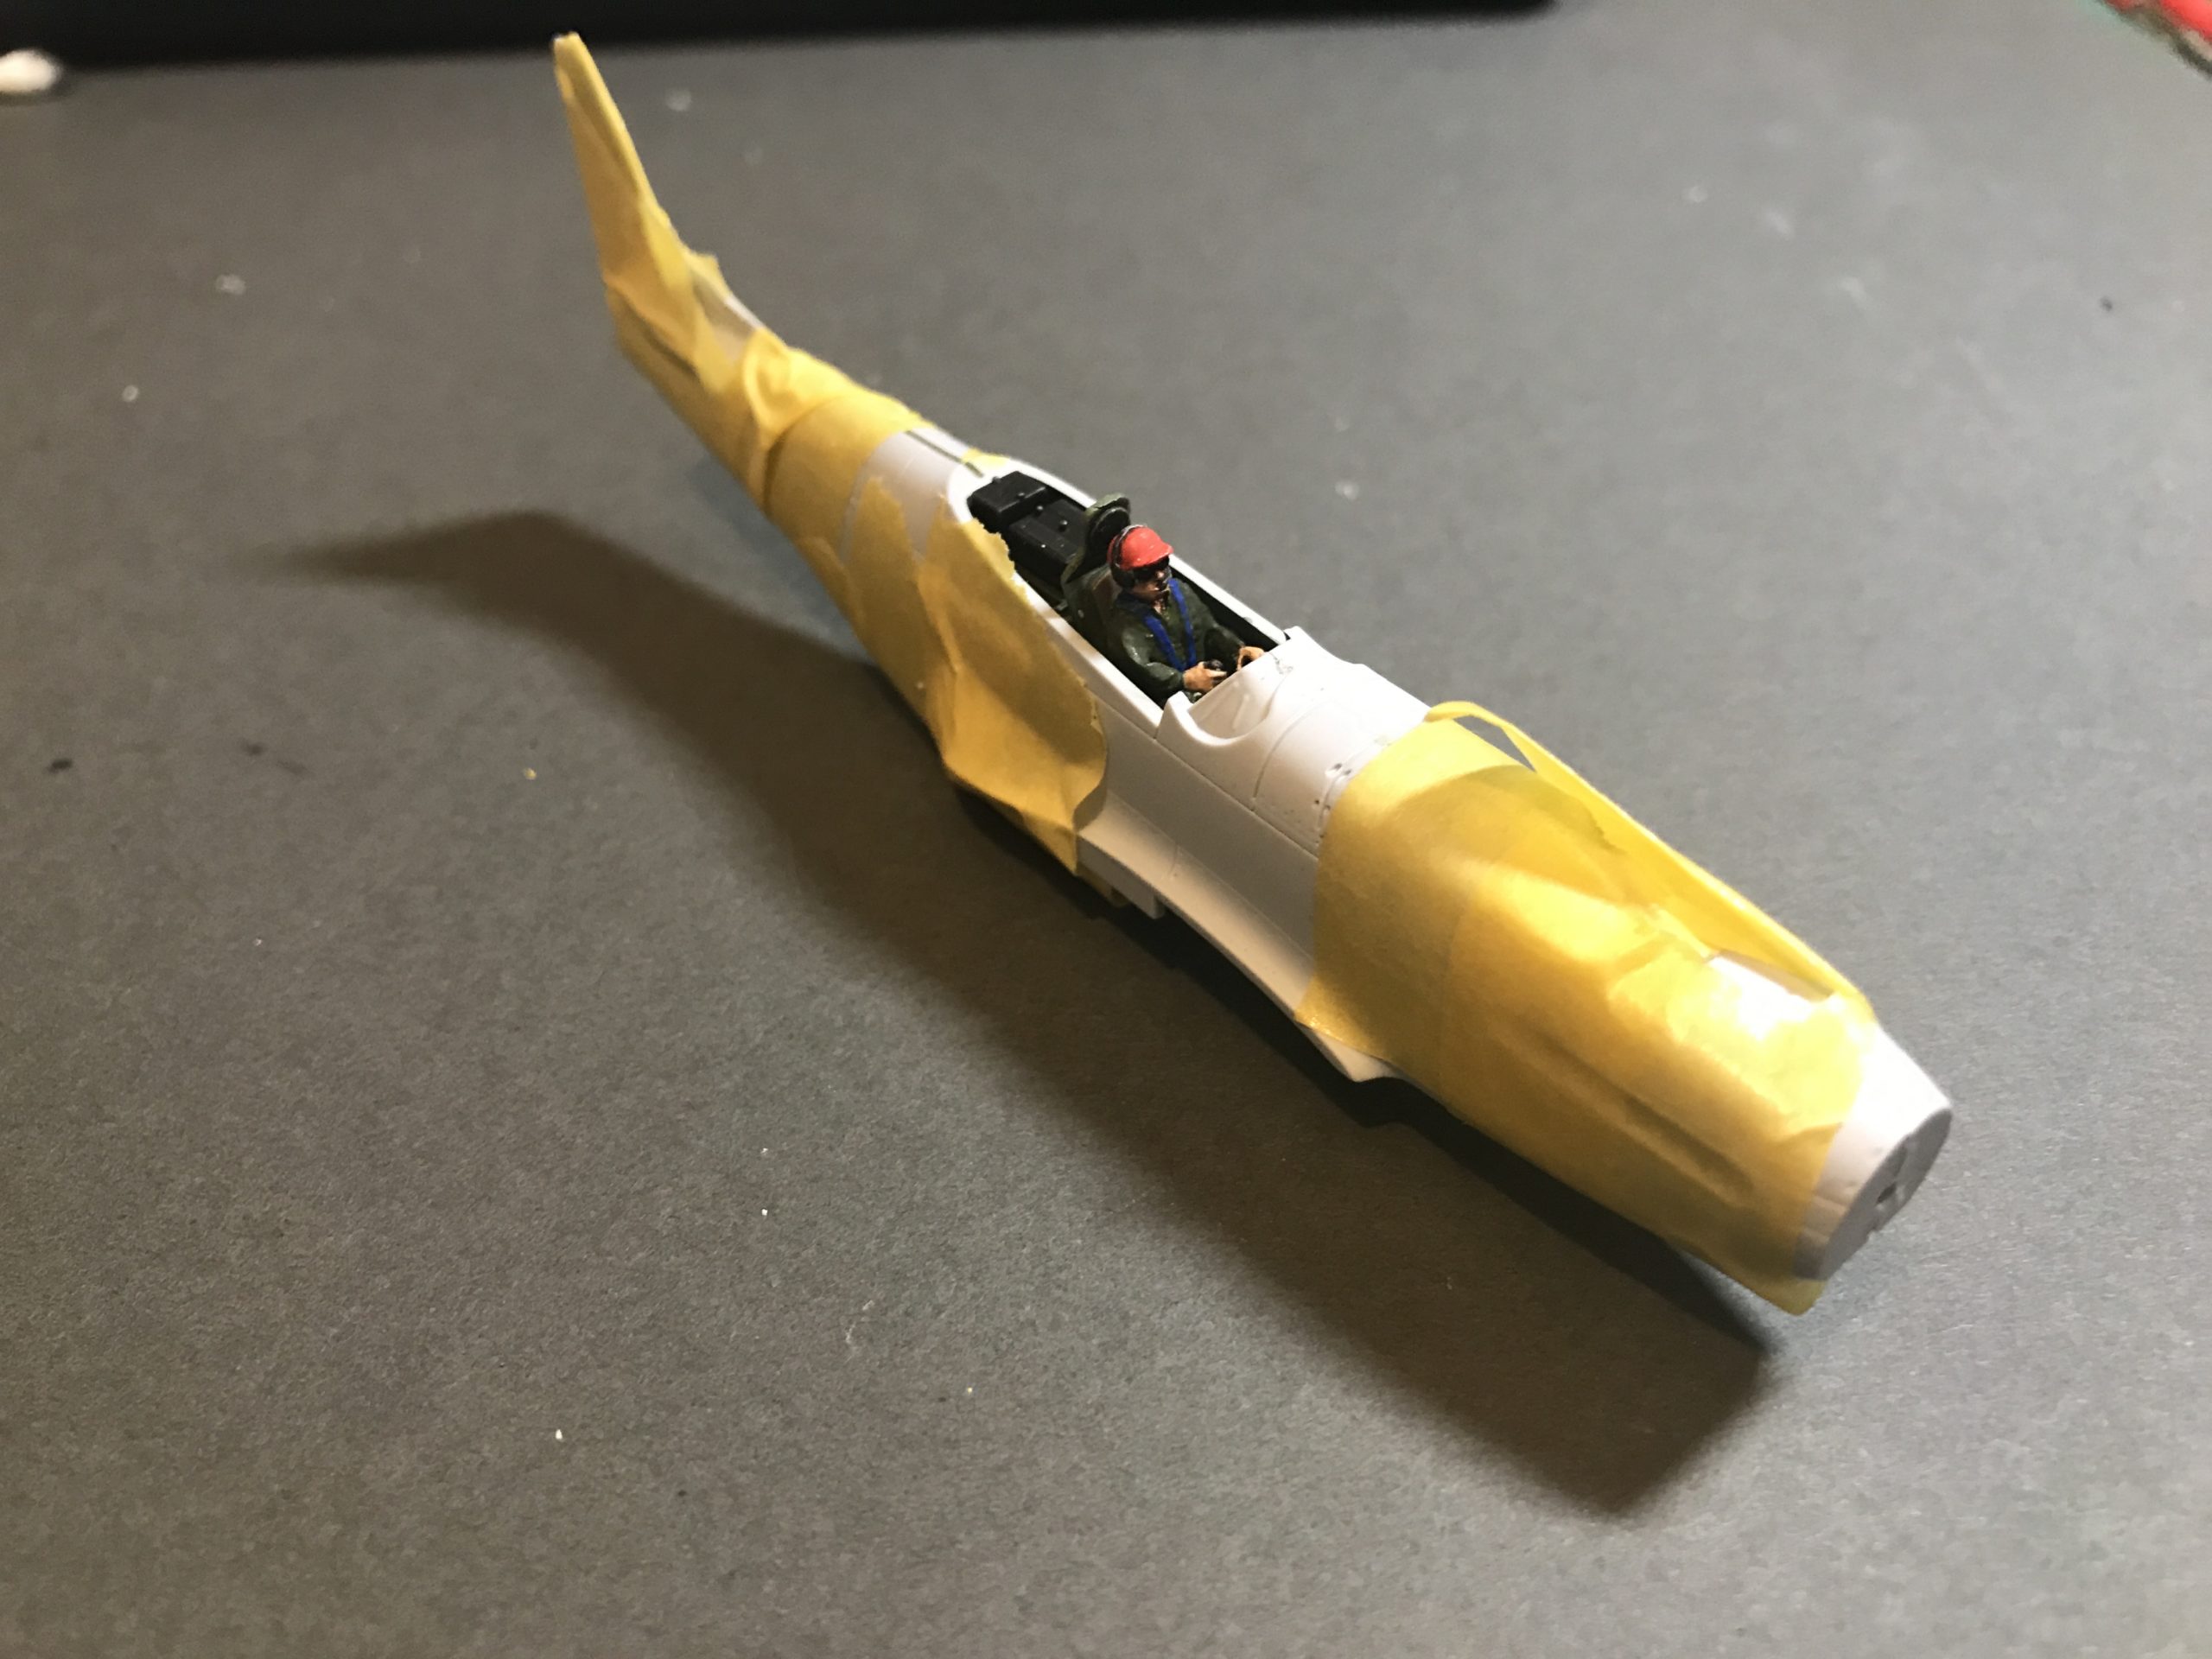
Once the halves of the fuselage where joined I used some masking tape to hold everything in place and left it to dry overnight.
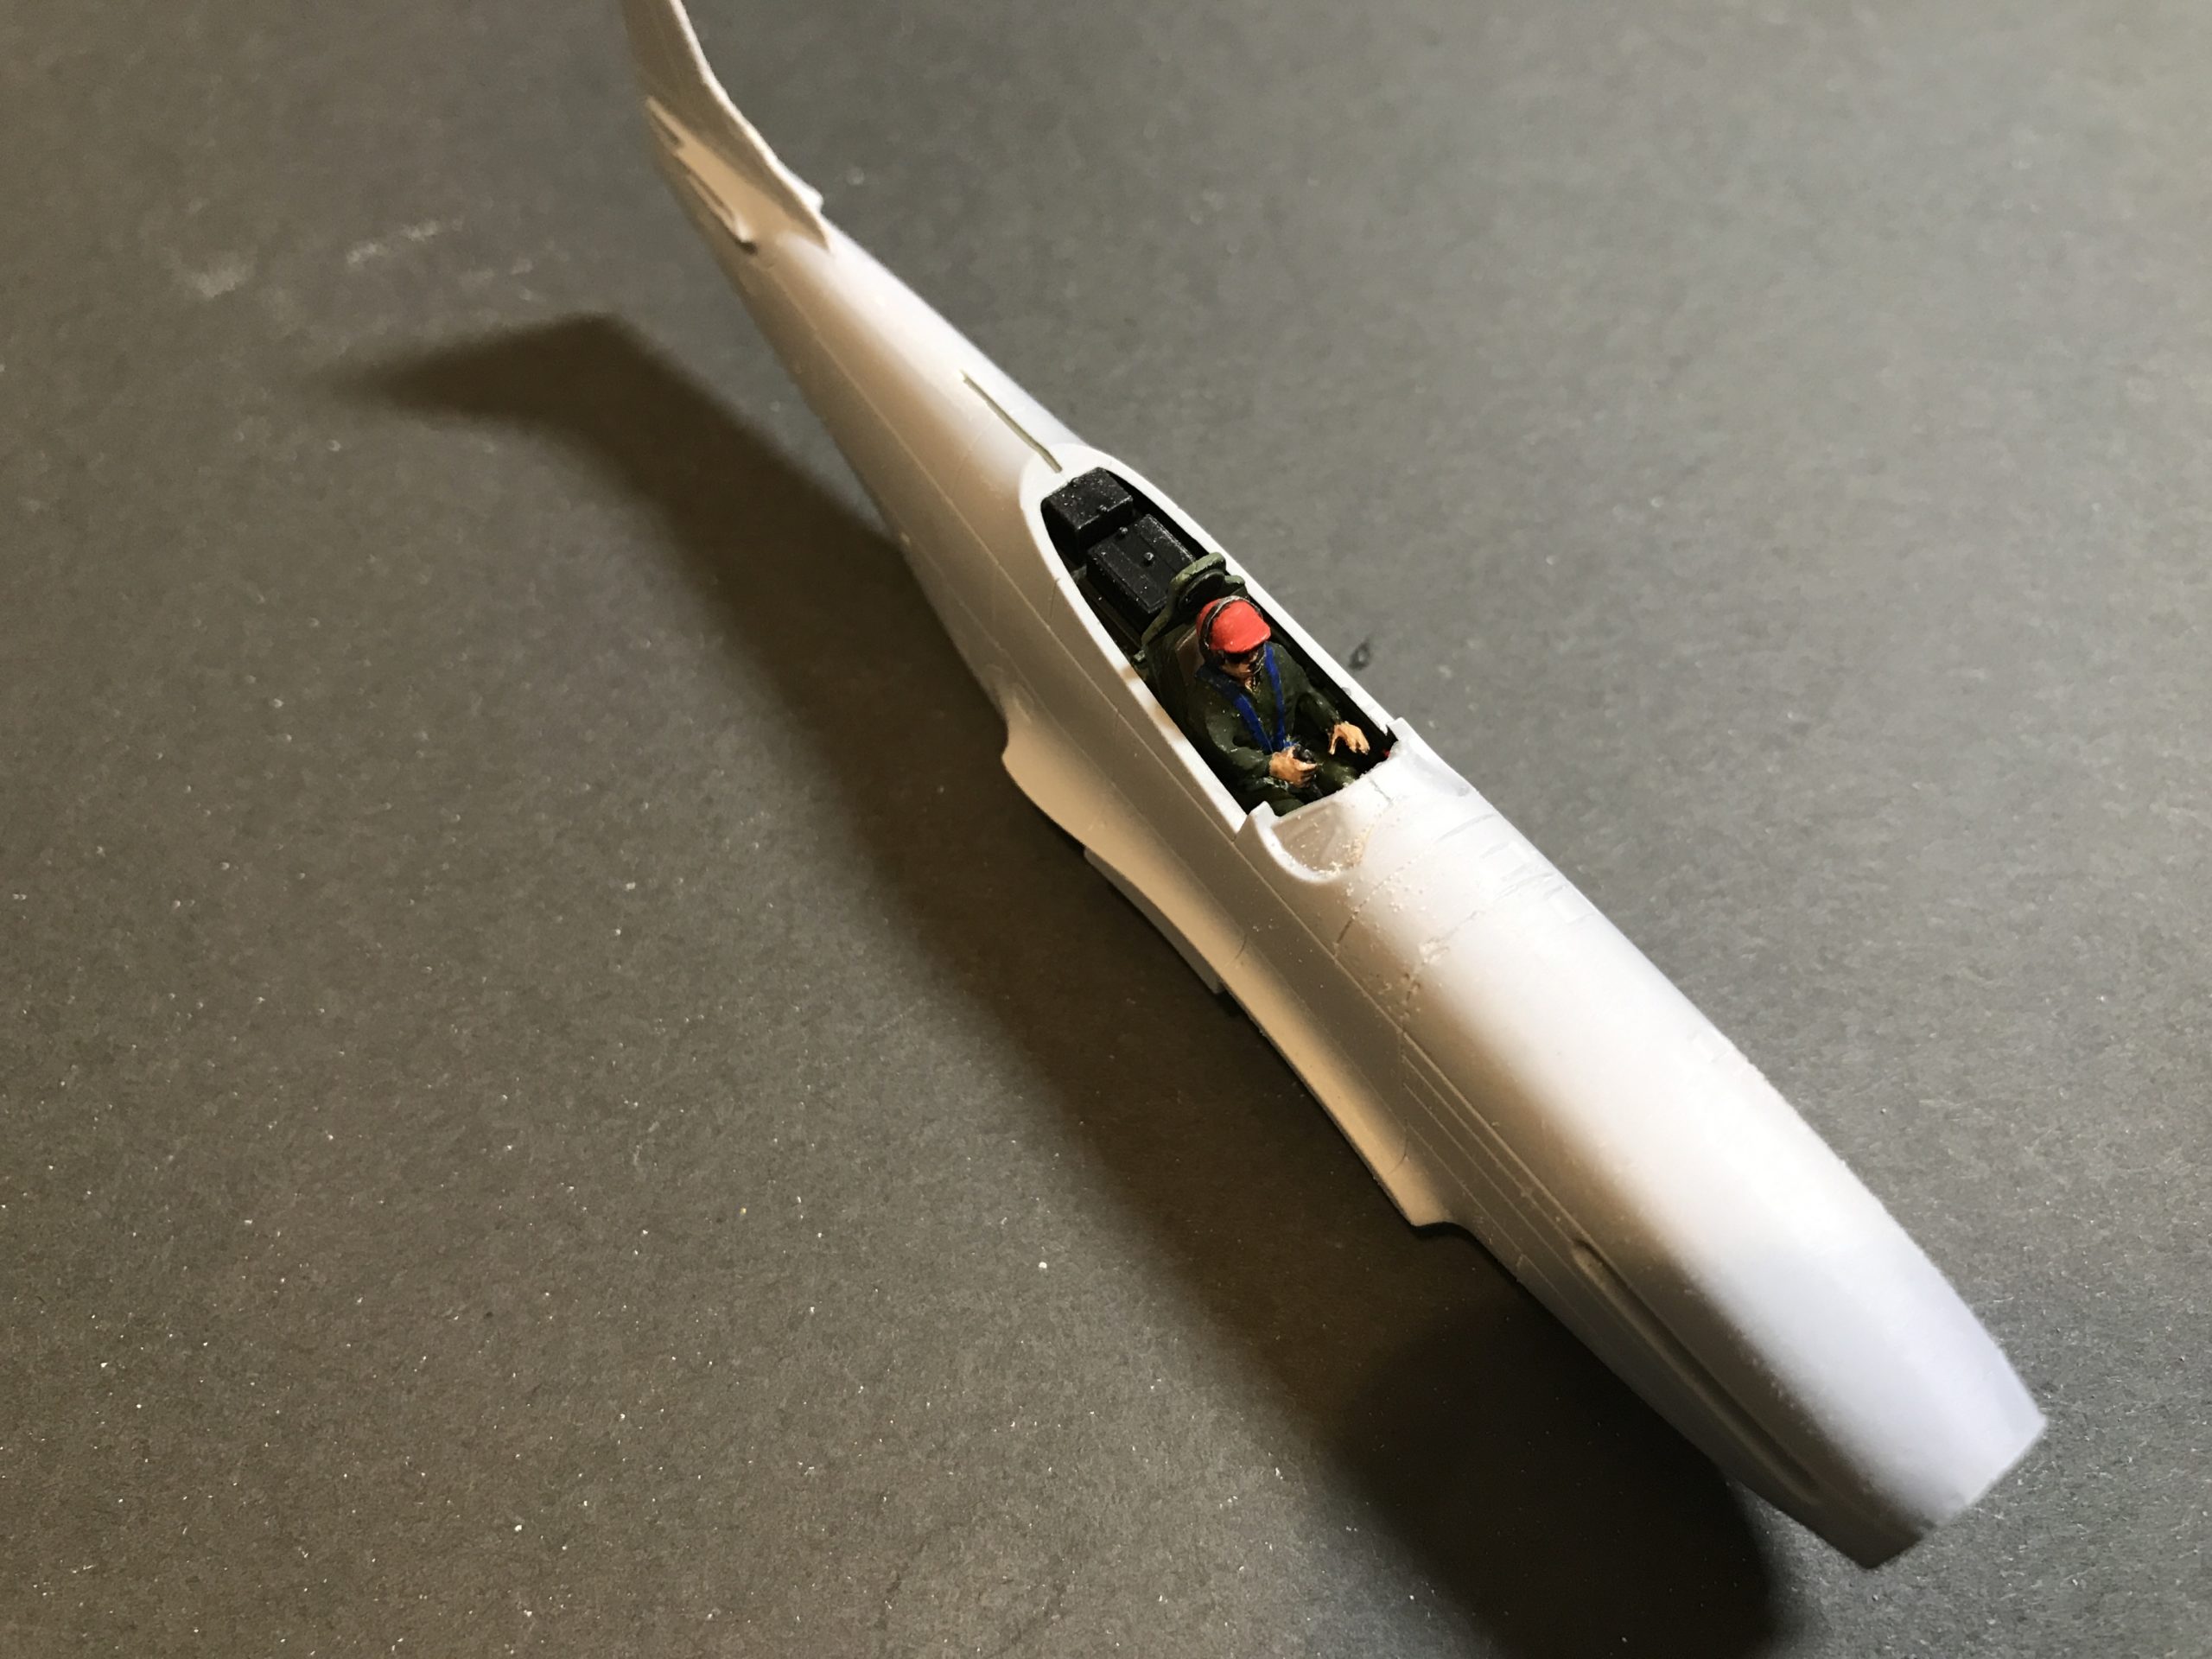
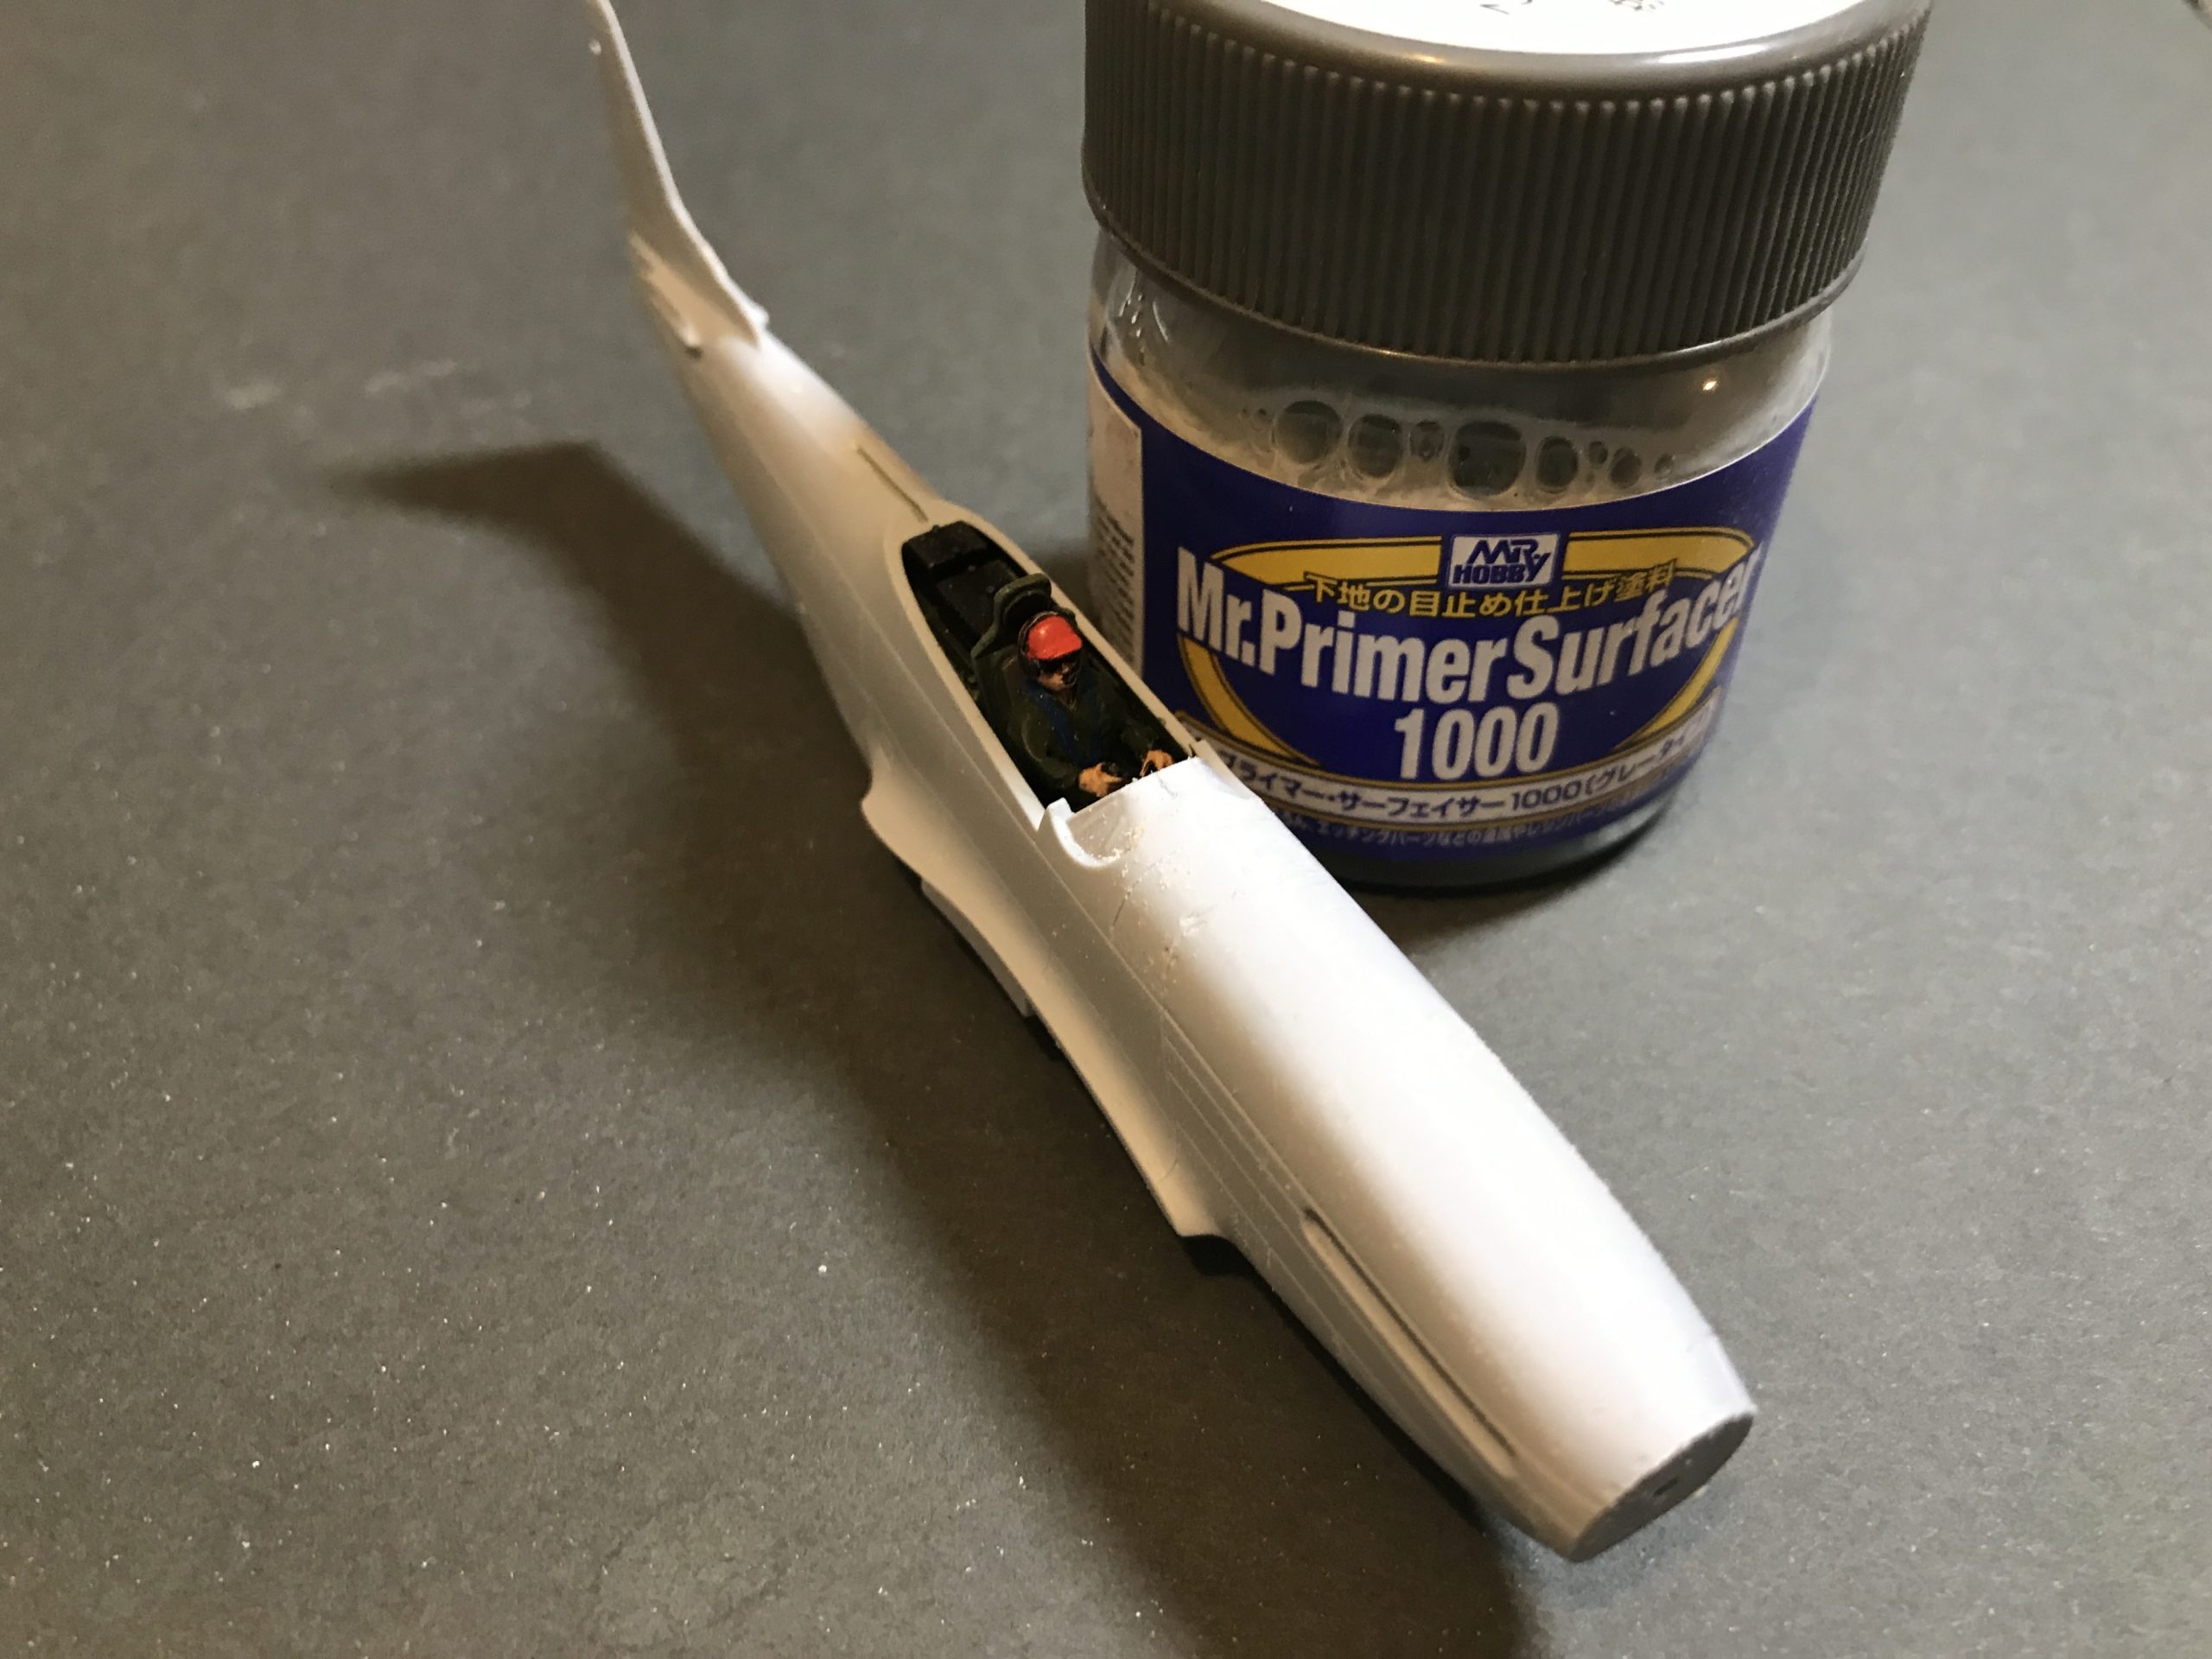
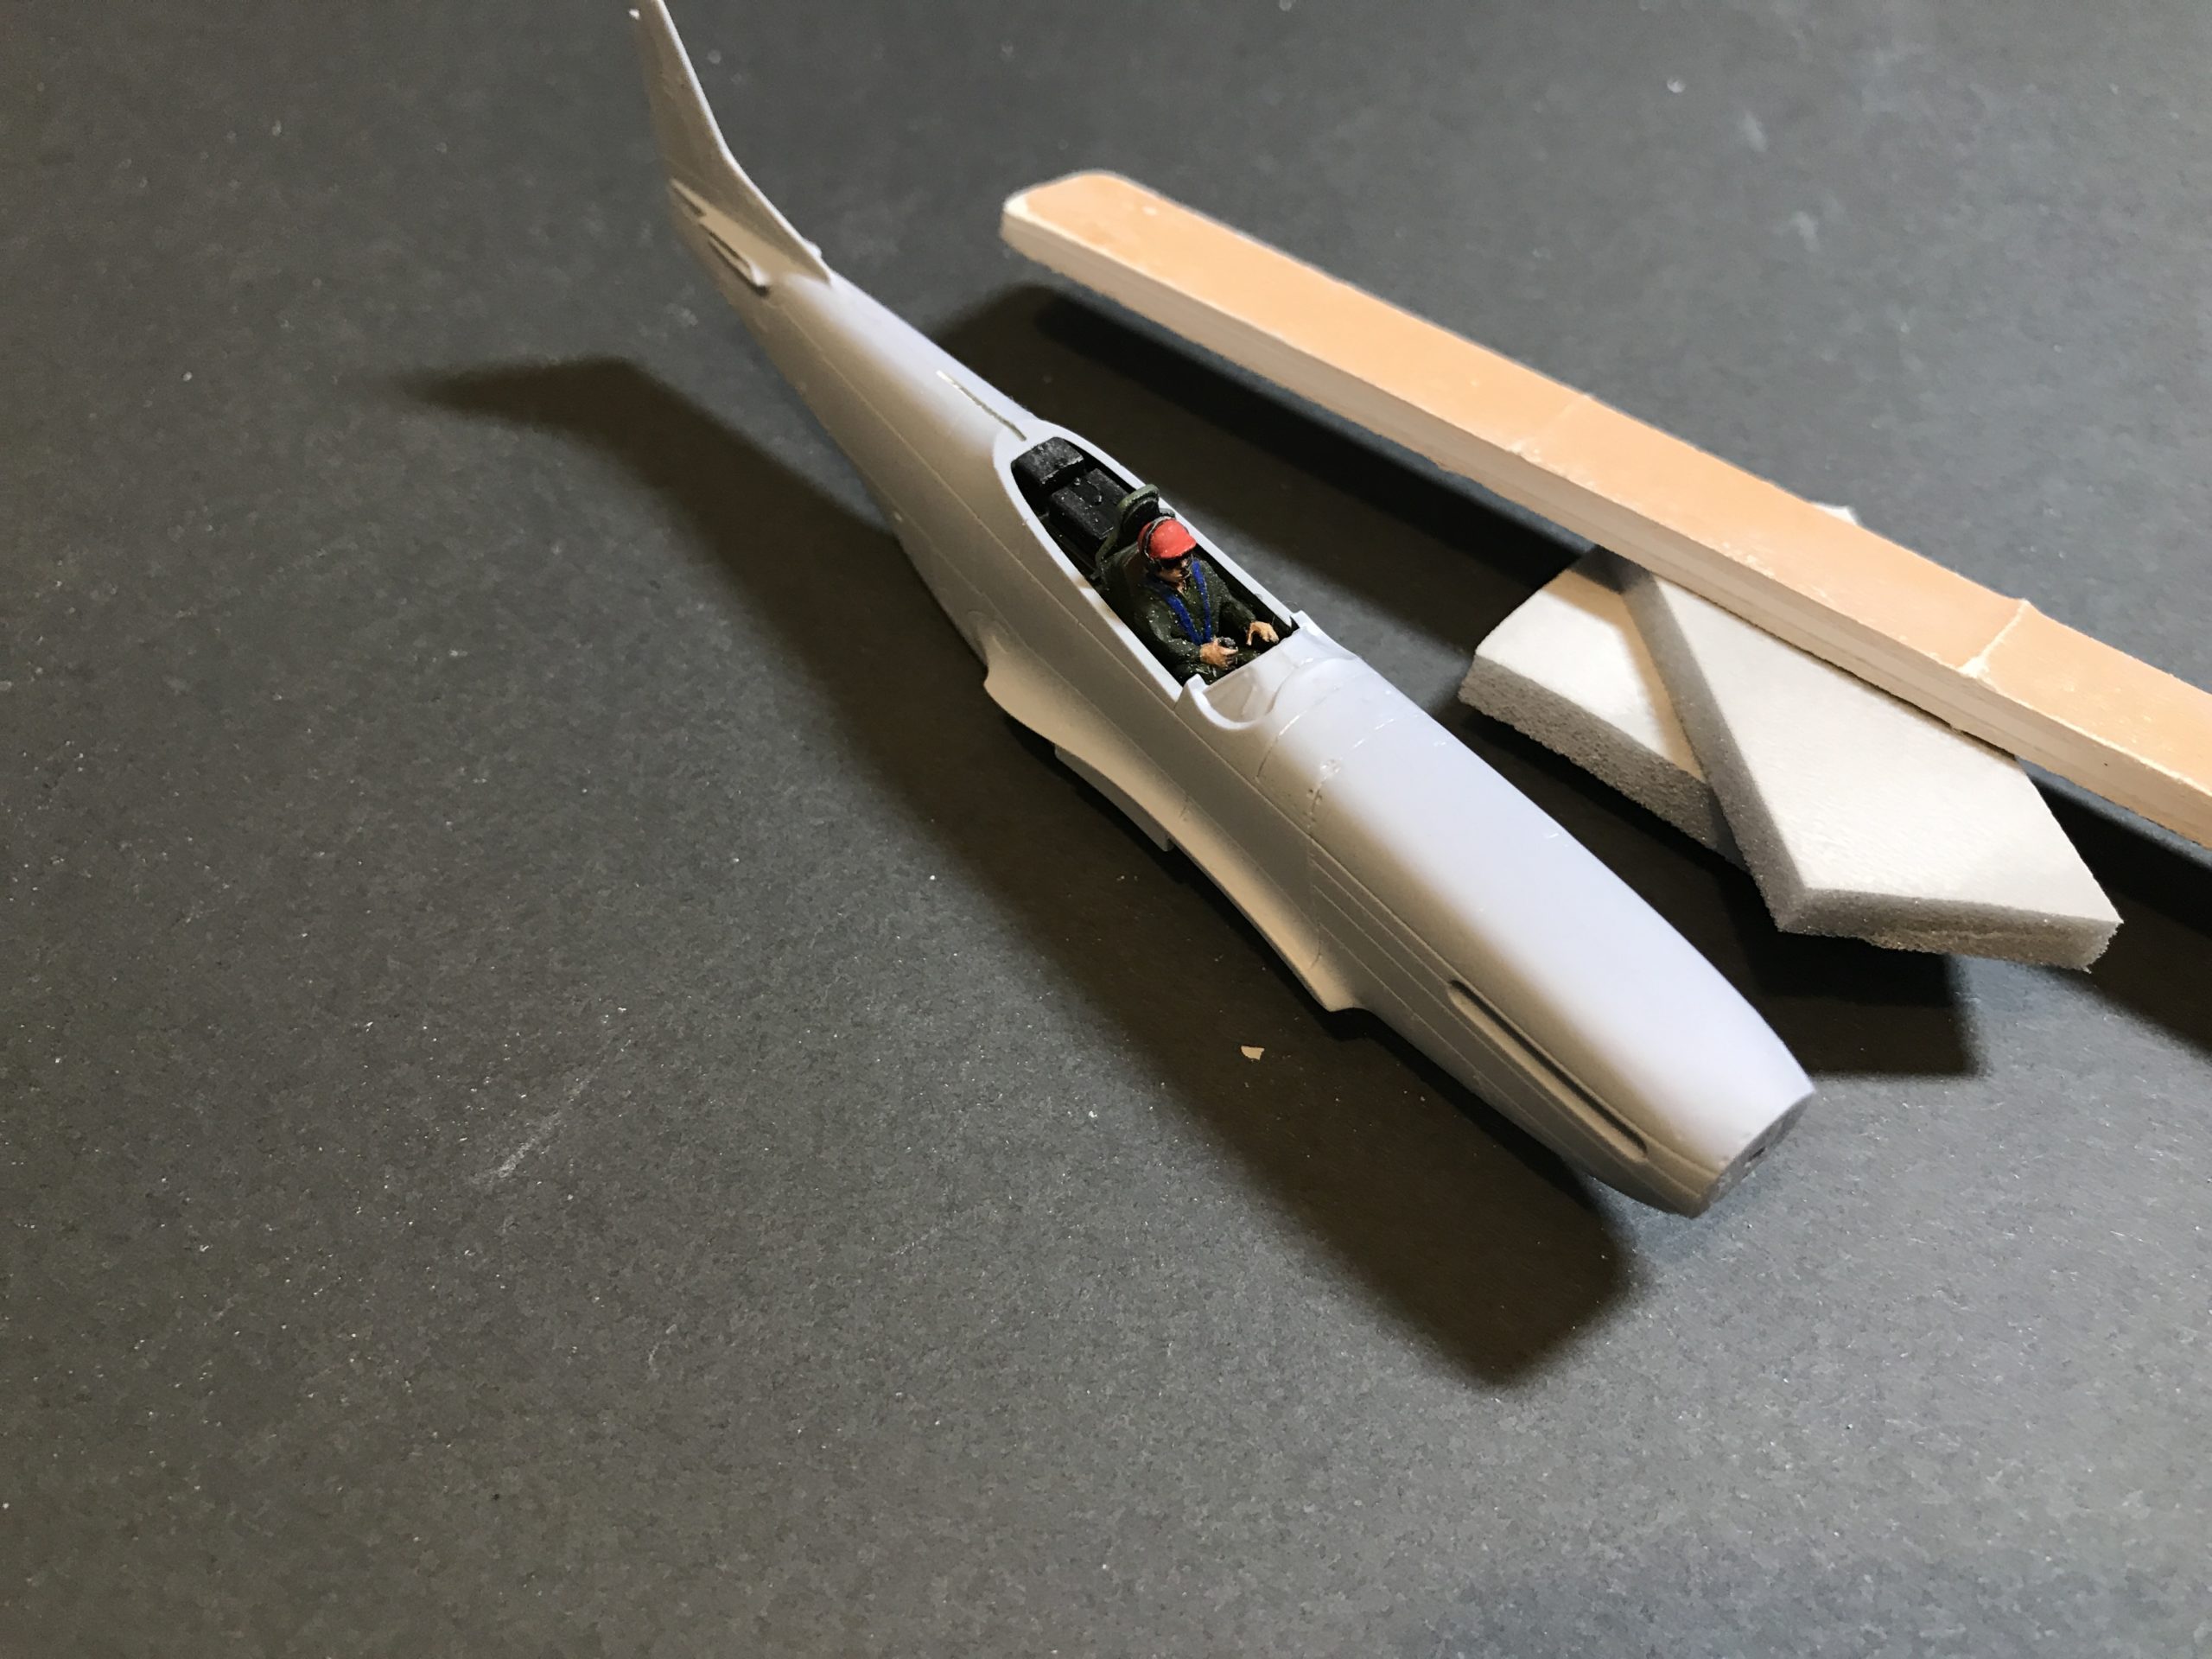
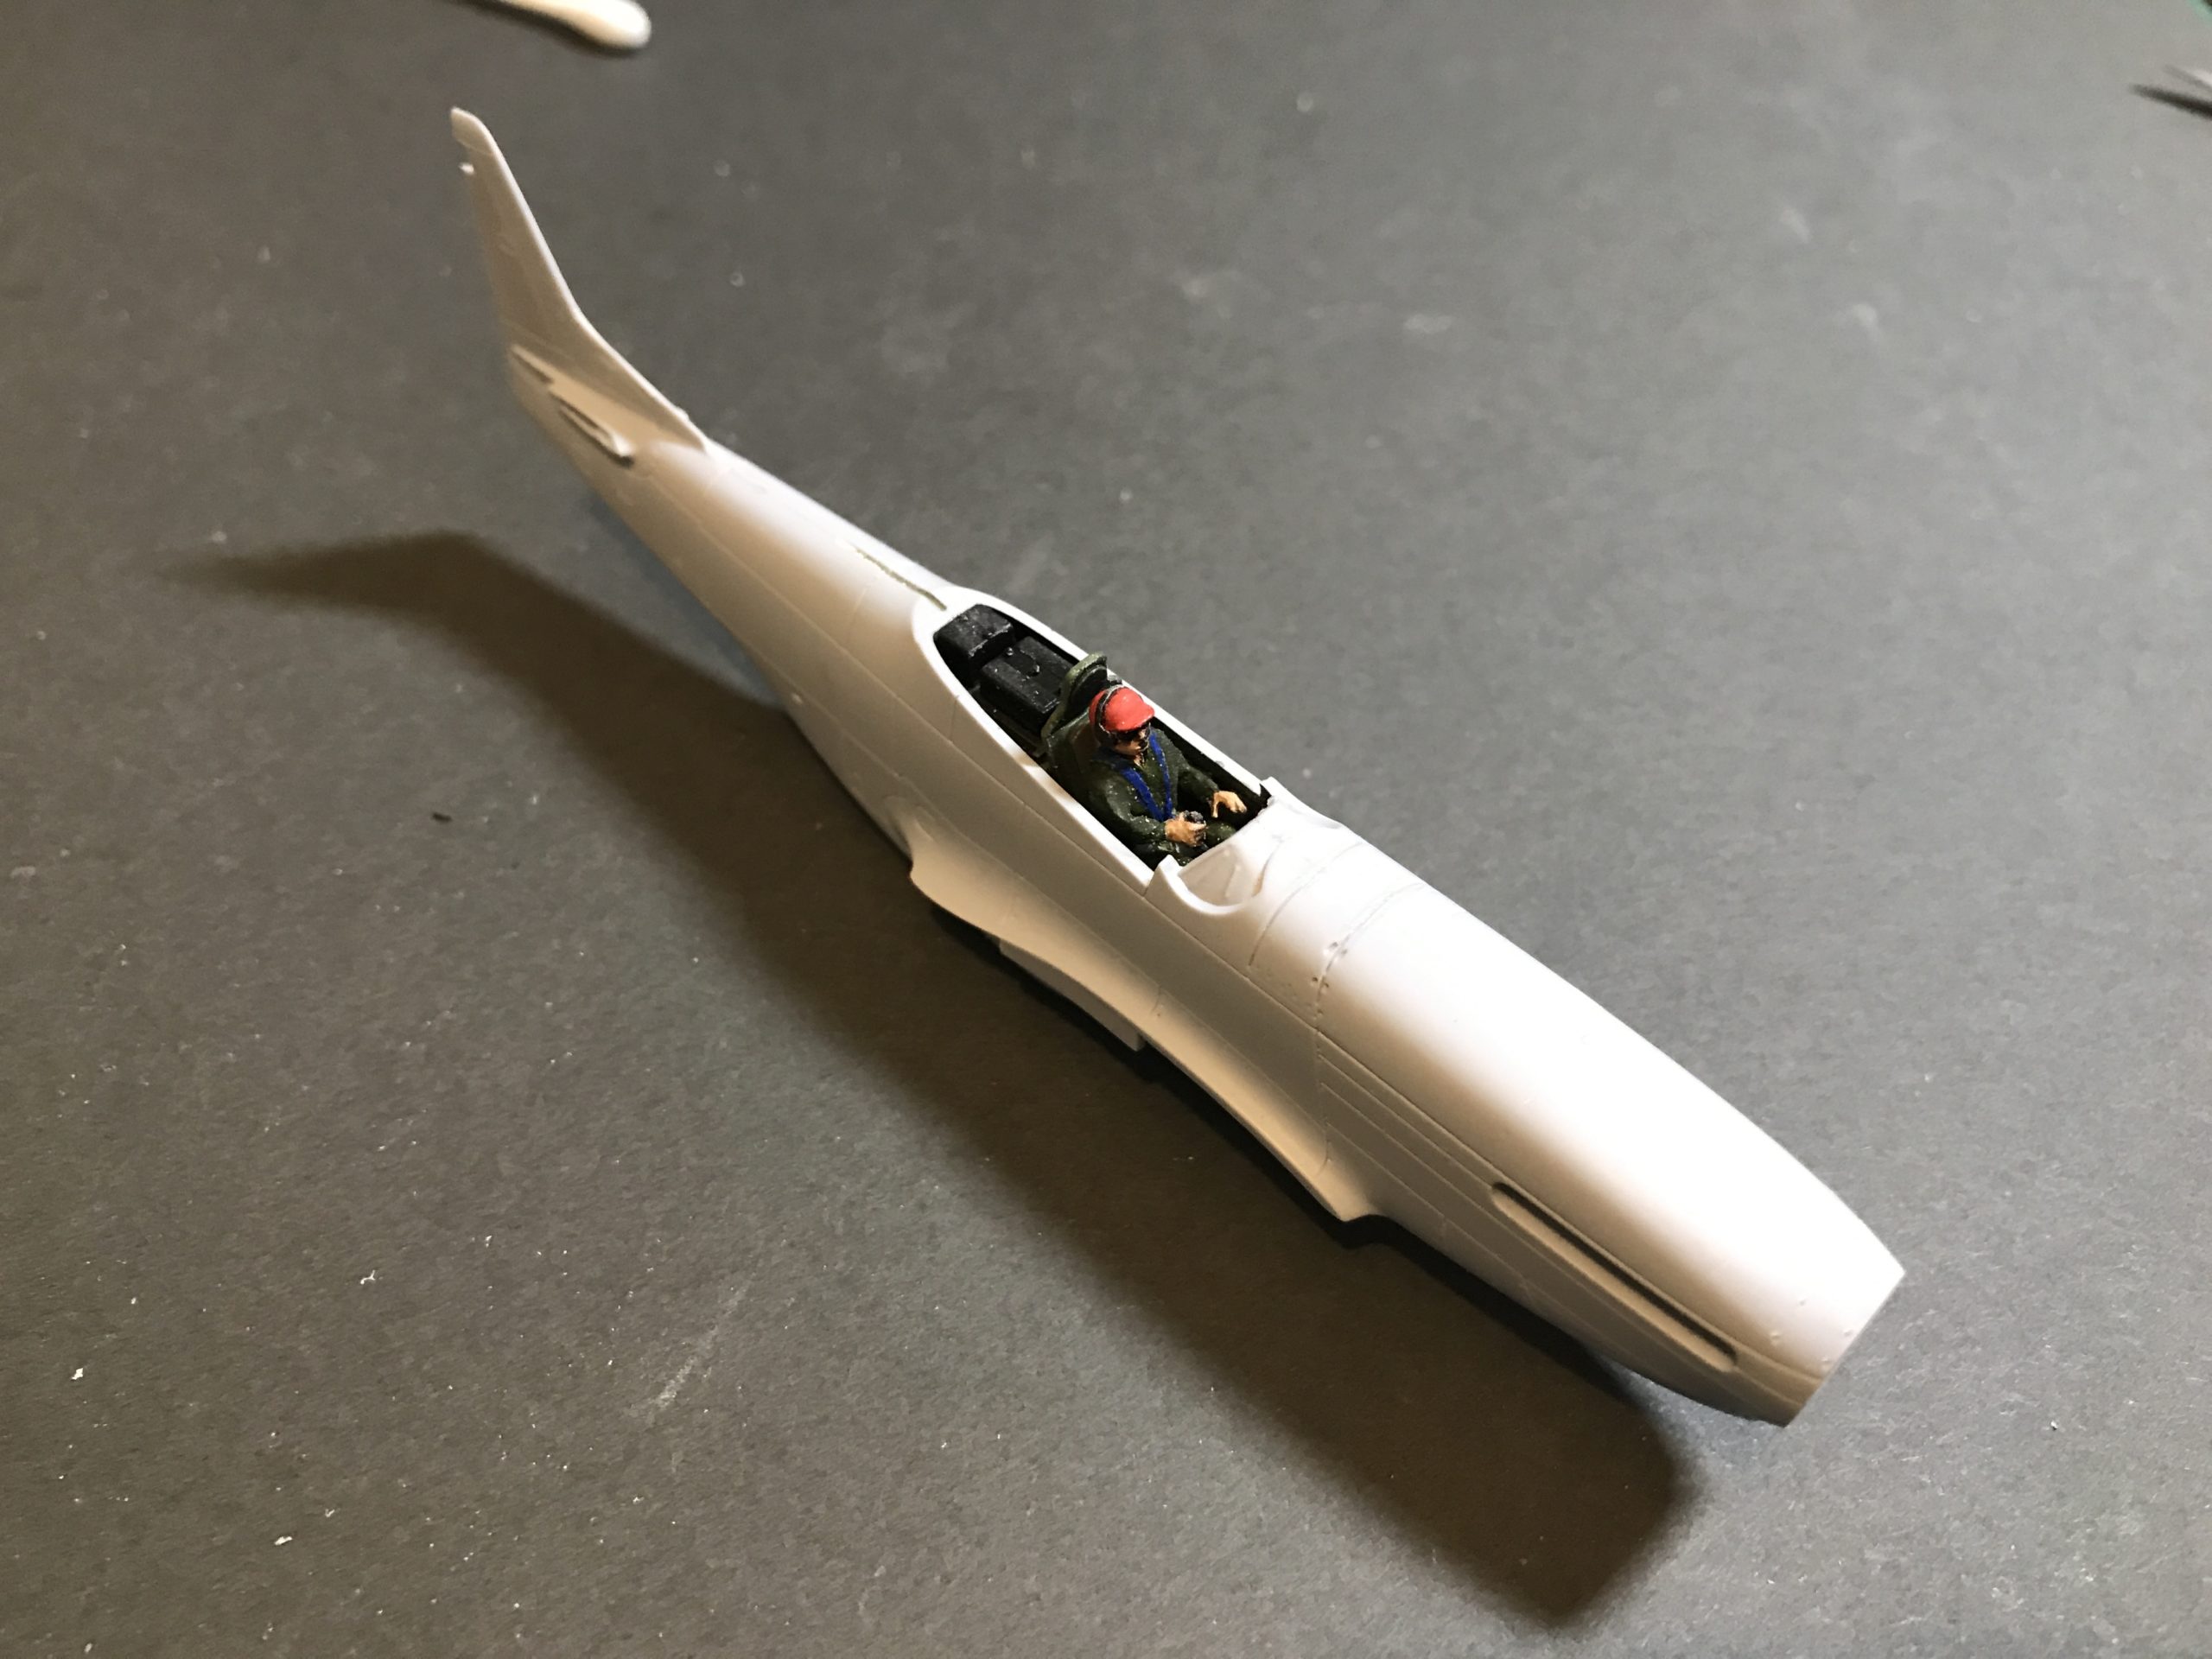
Once the glue was set i got to work on removing the seam. This meant sanding, filling and yet more sanding. I was happy with the result.
It’s worth spending the time on this stage as it really elevates the build to a much higher standard. The only drawback is that you may need to re-scribe some panel lines. I use a home made scriber made from a leather sewing needle and the handle of an old paint brush. As always more expensive alternatives are available.
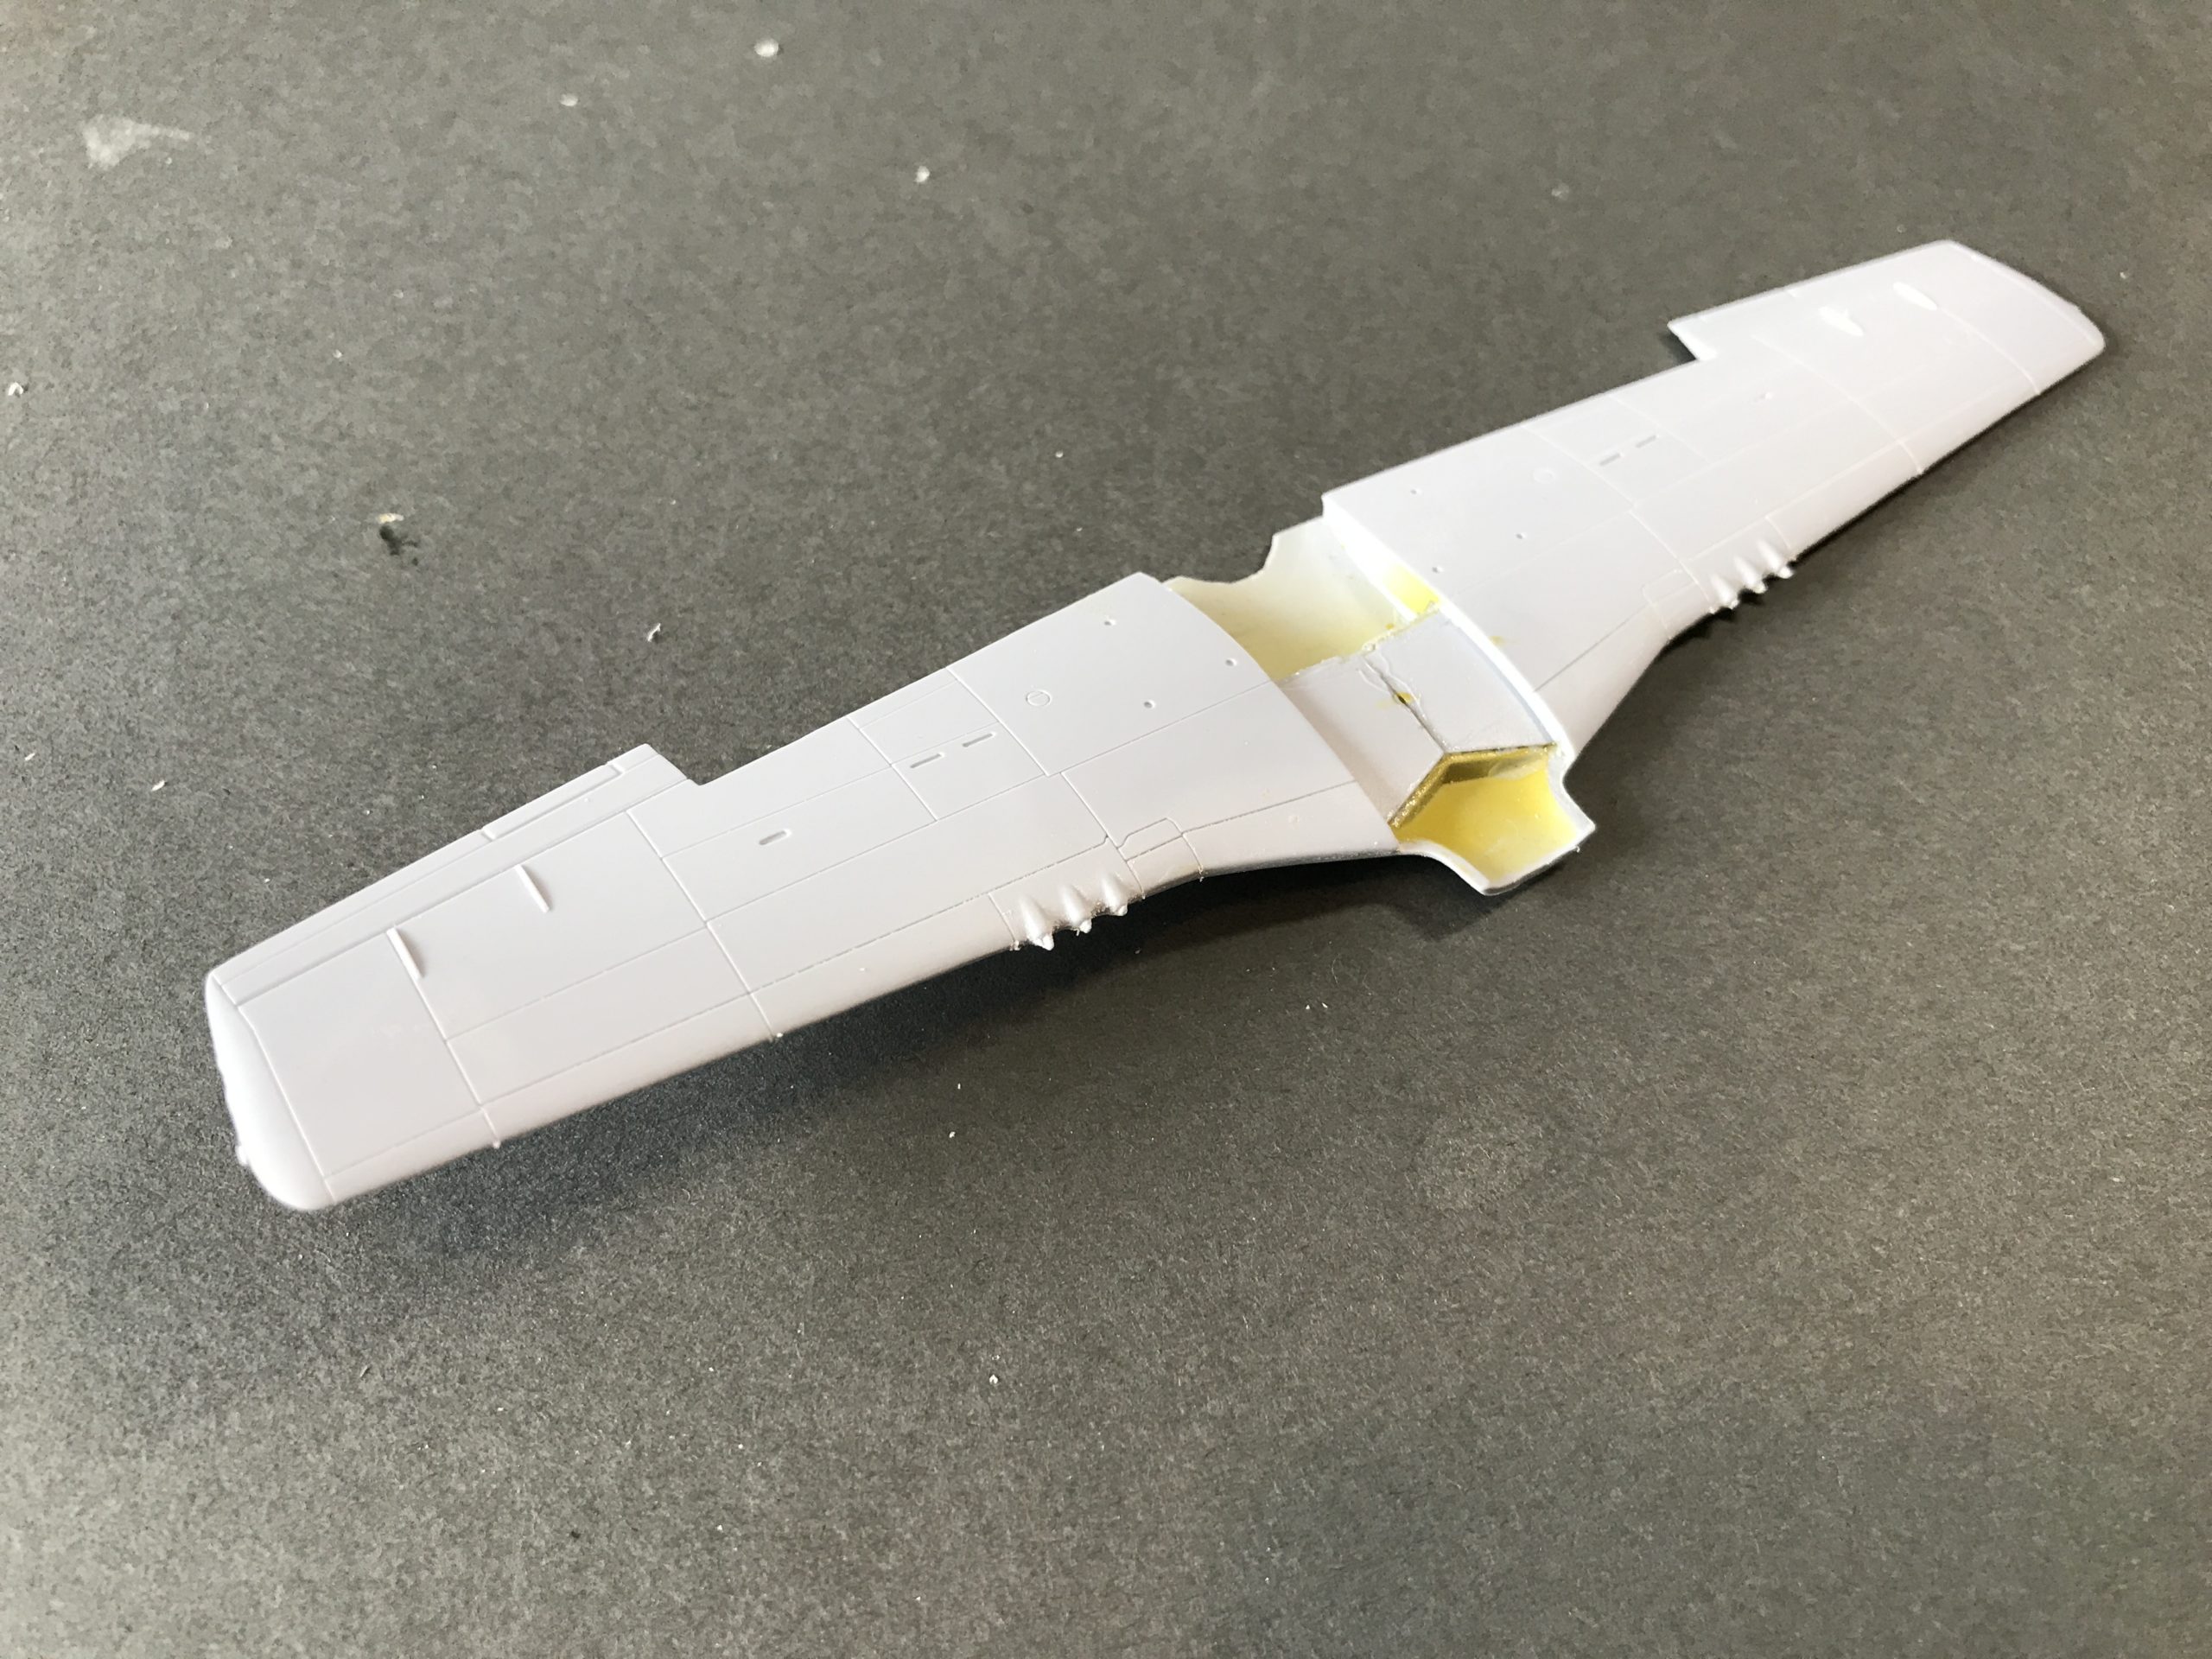
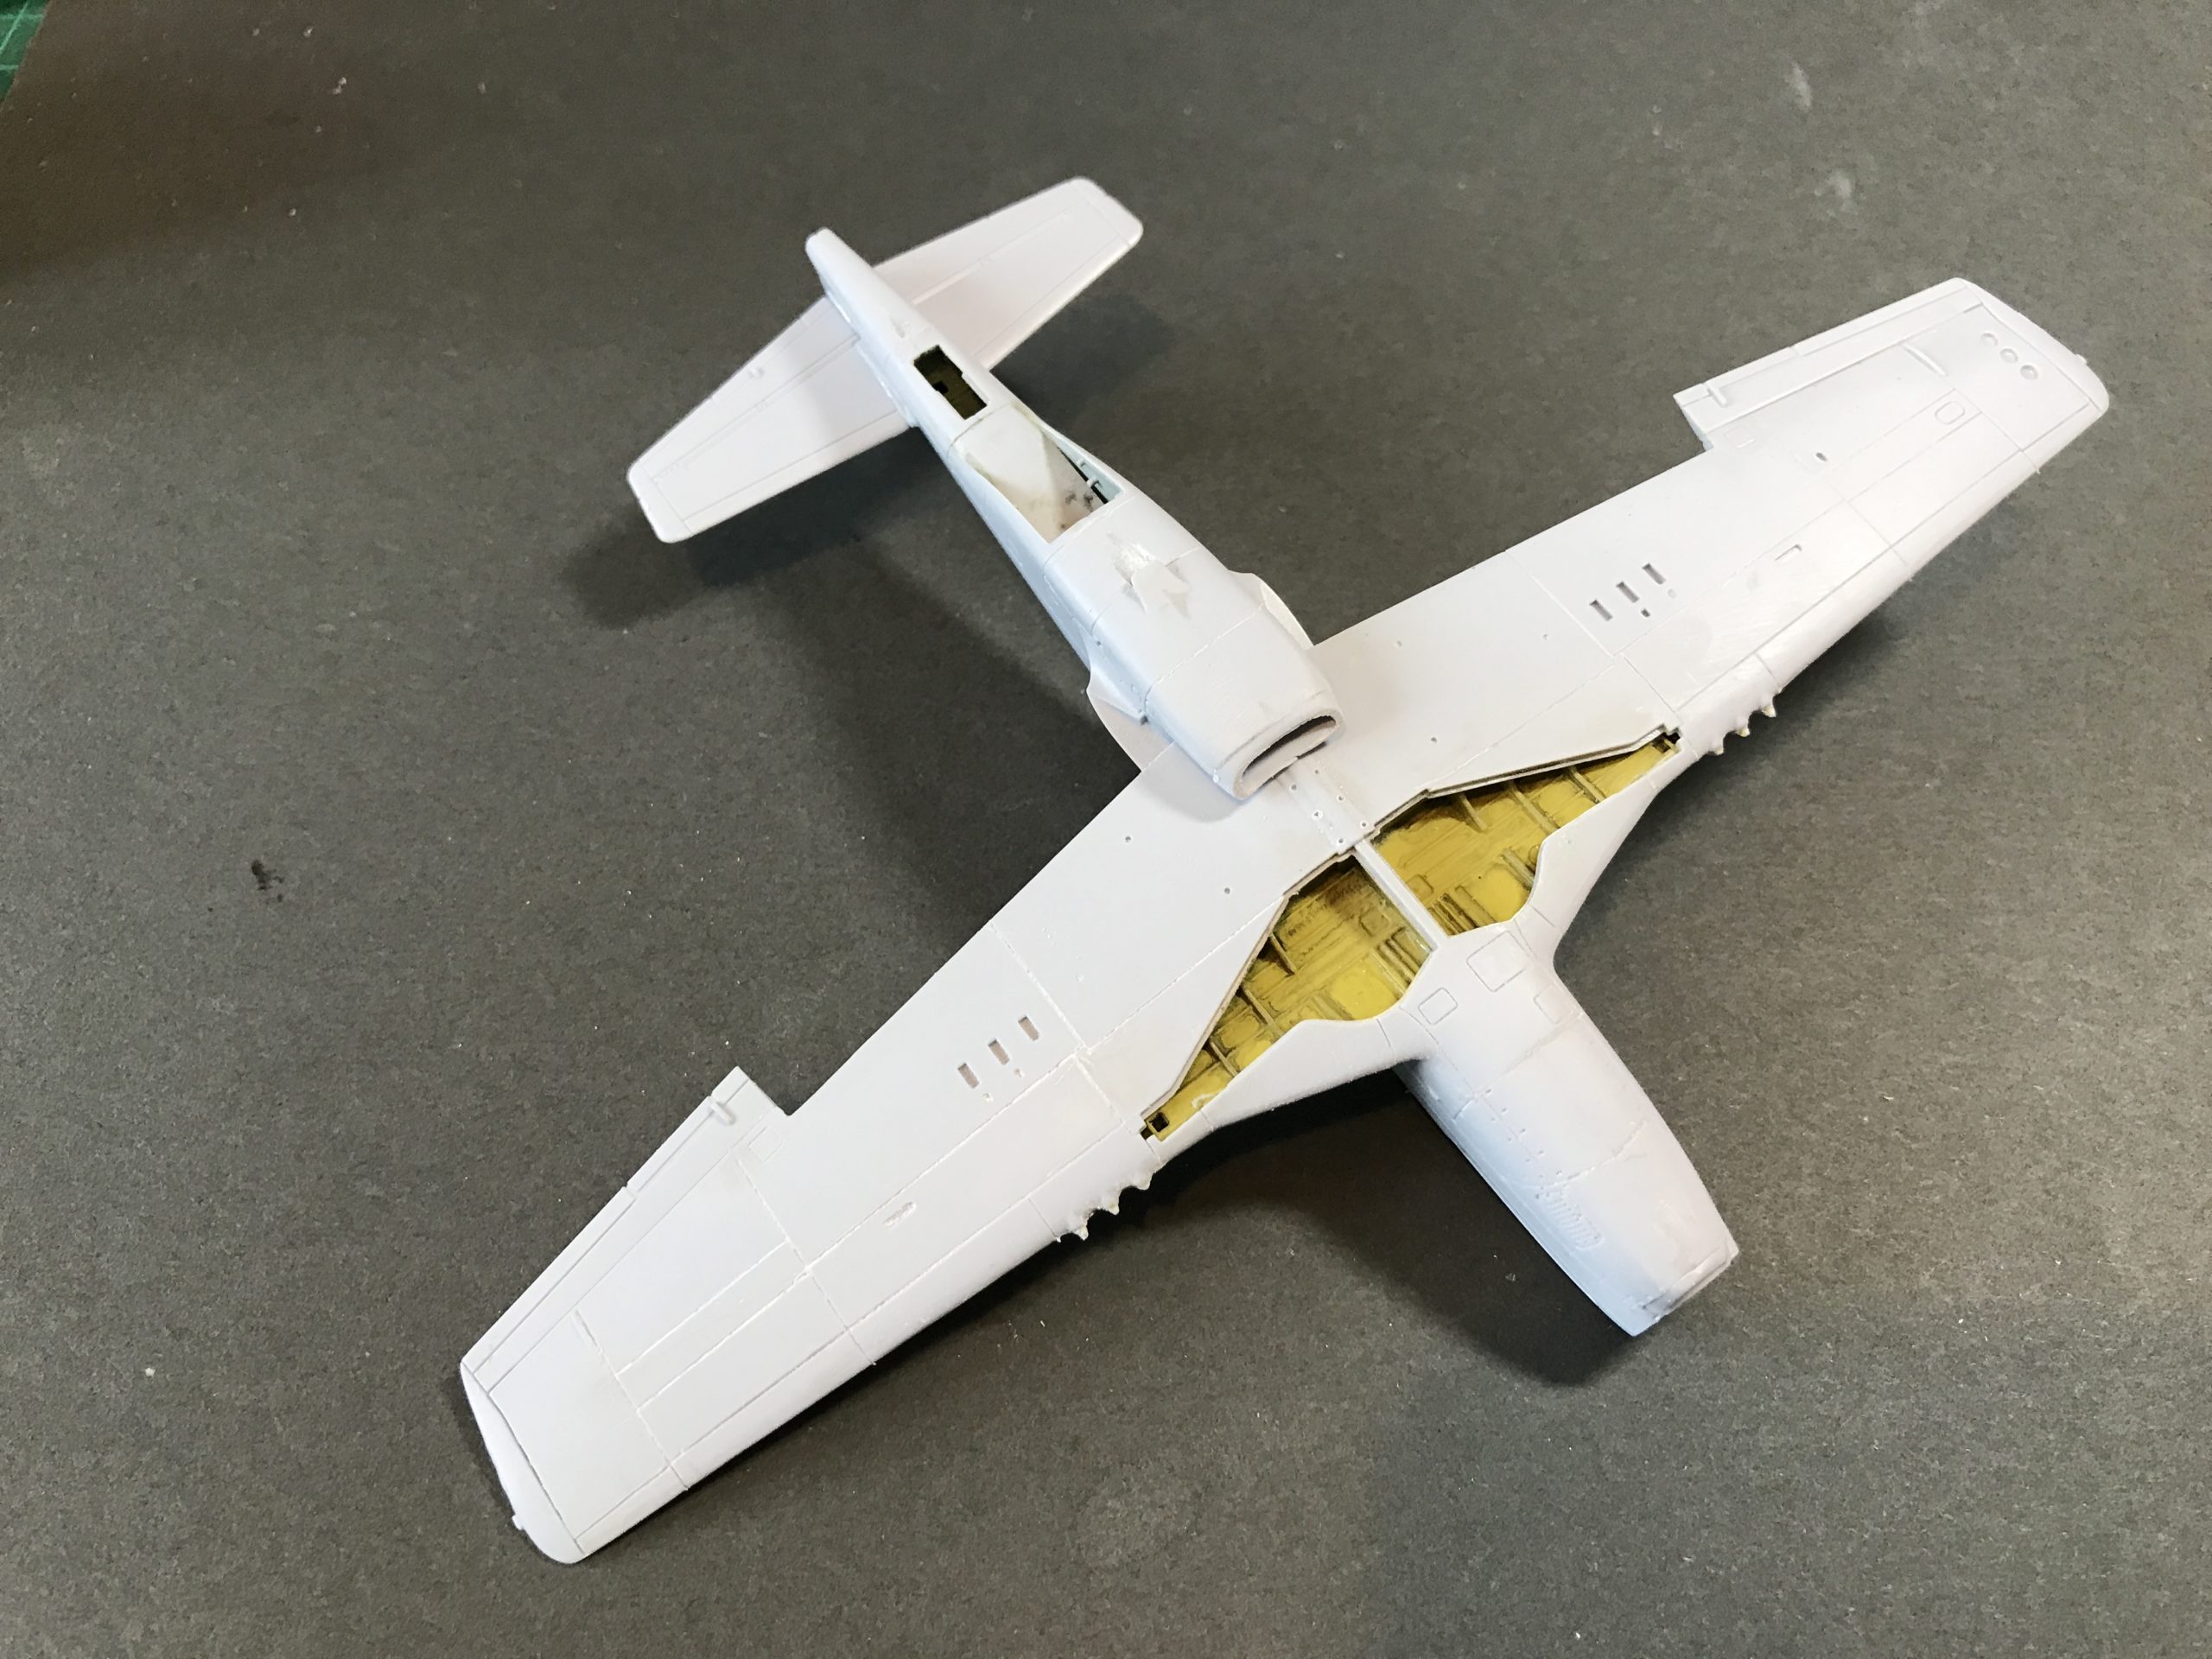
Fuselage complete the wings were assembled in much the same way.
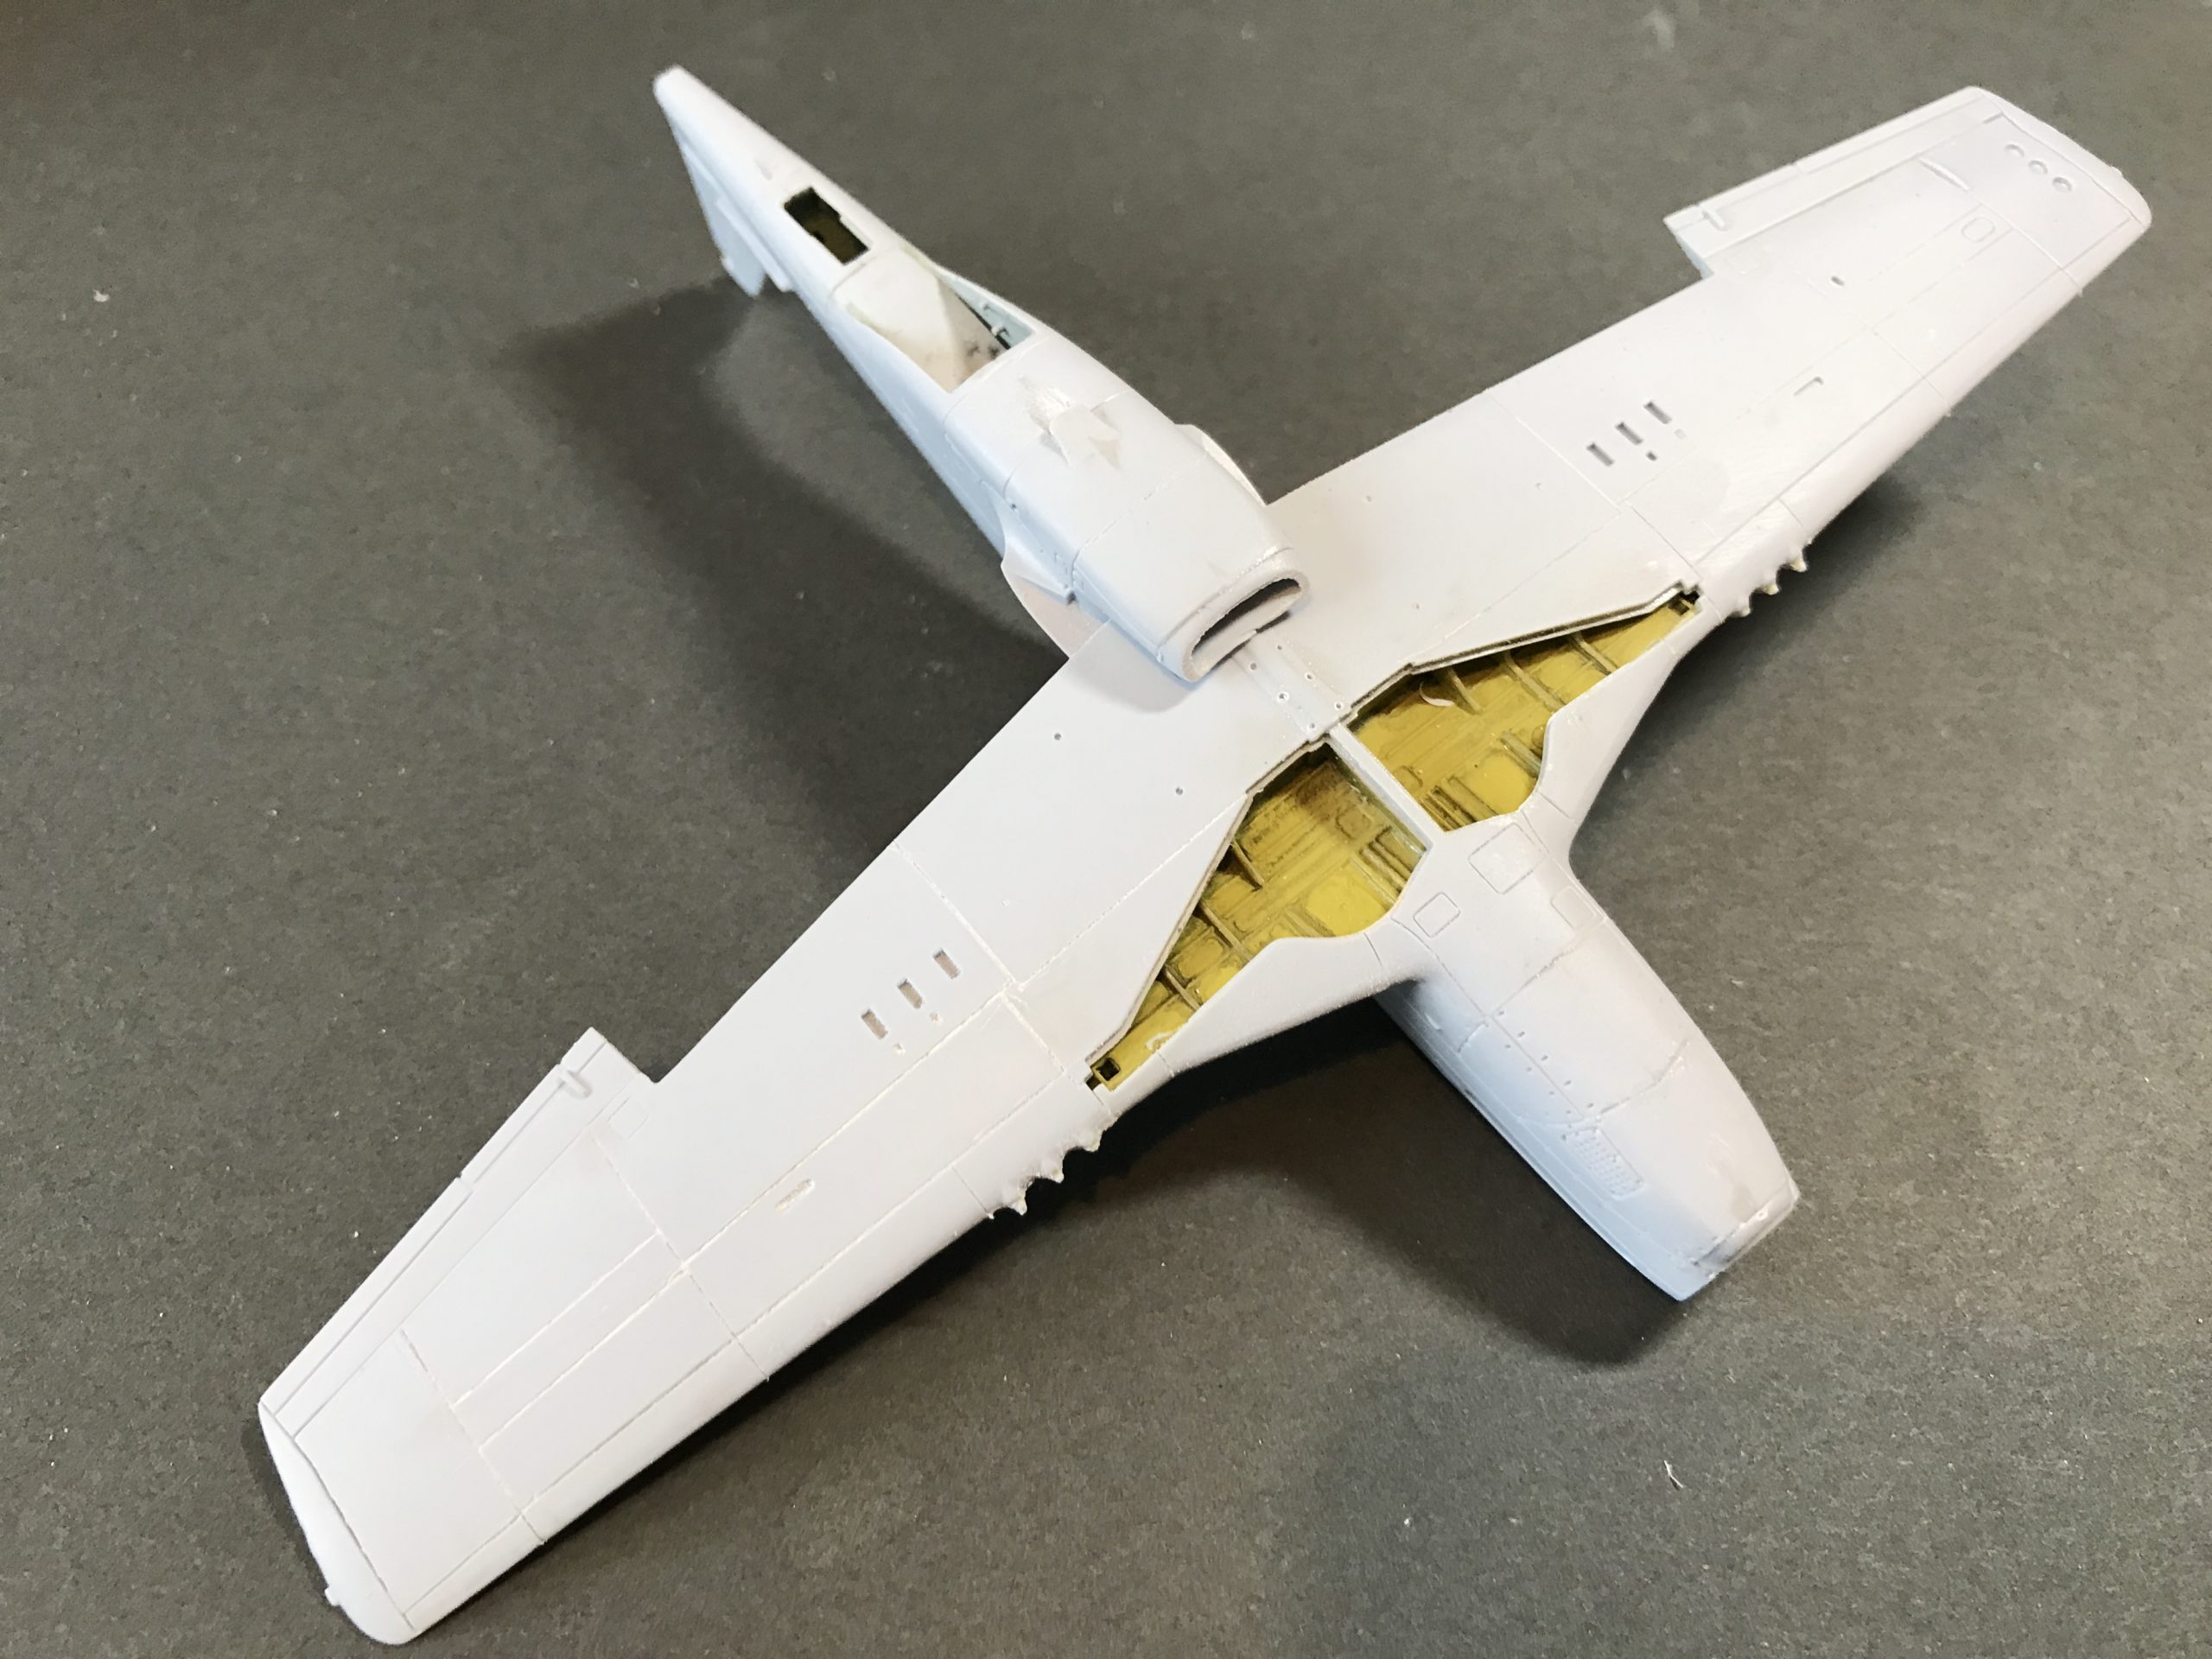
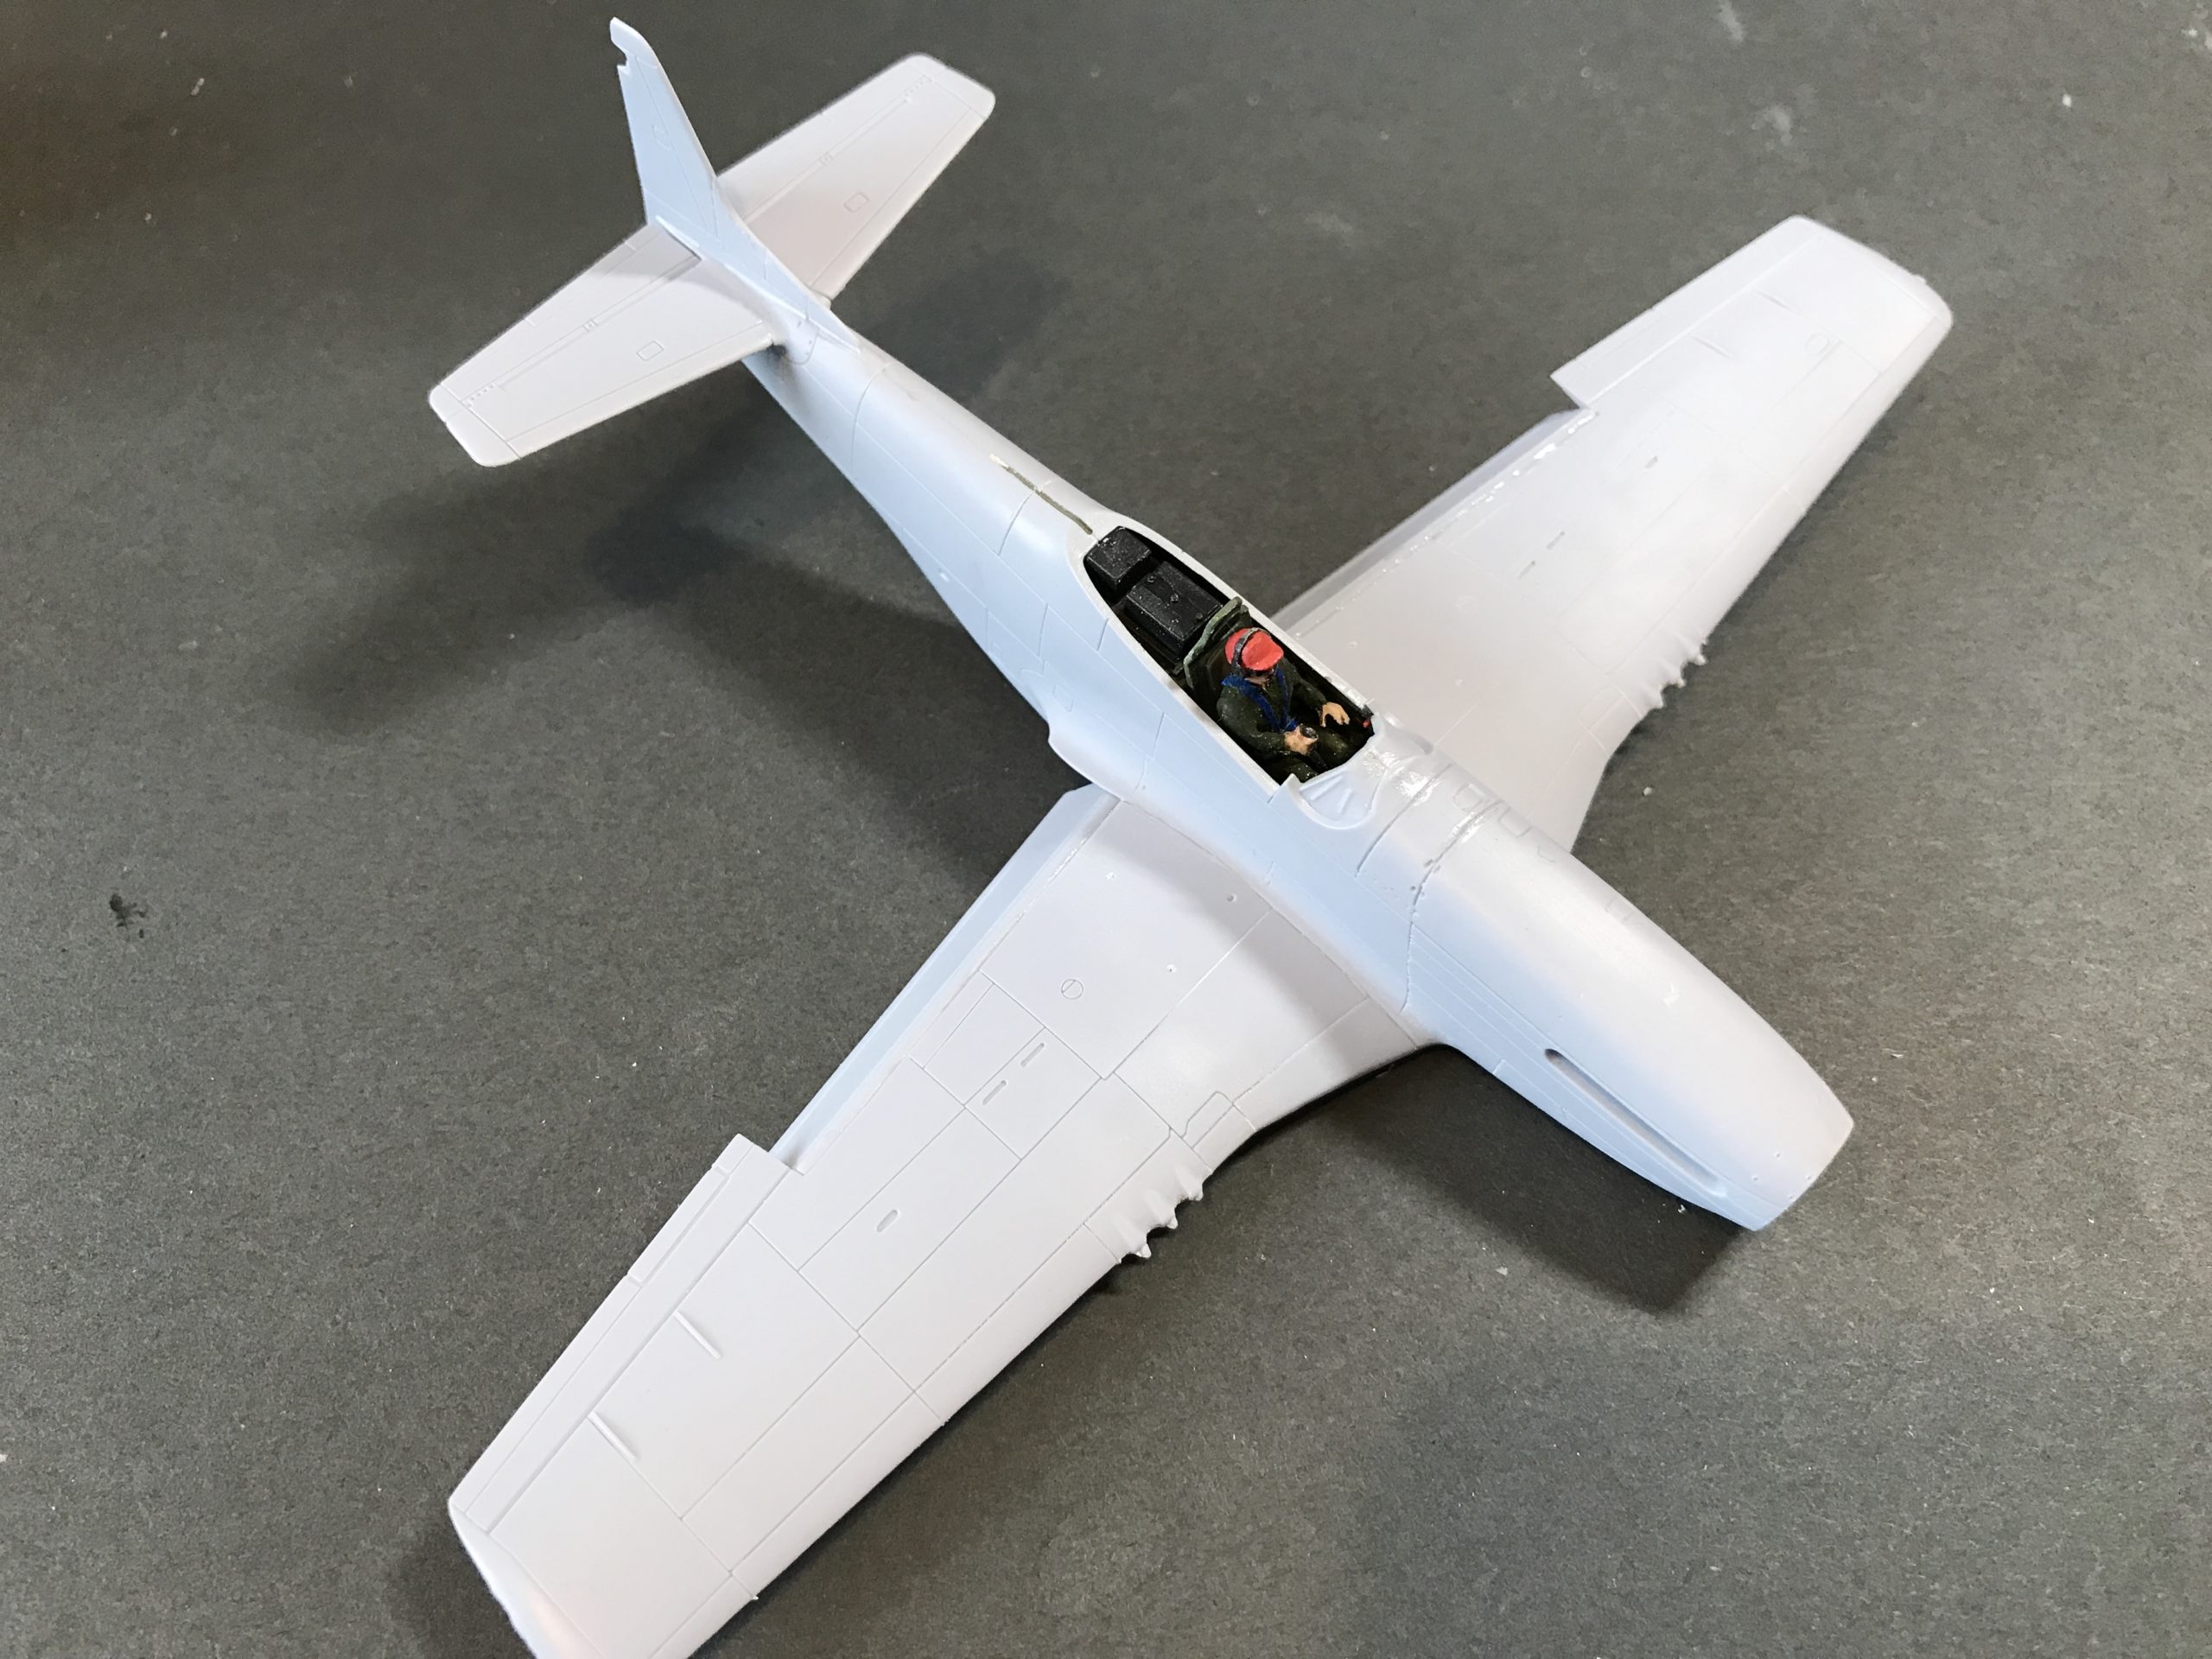
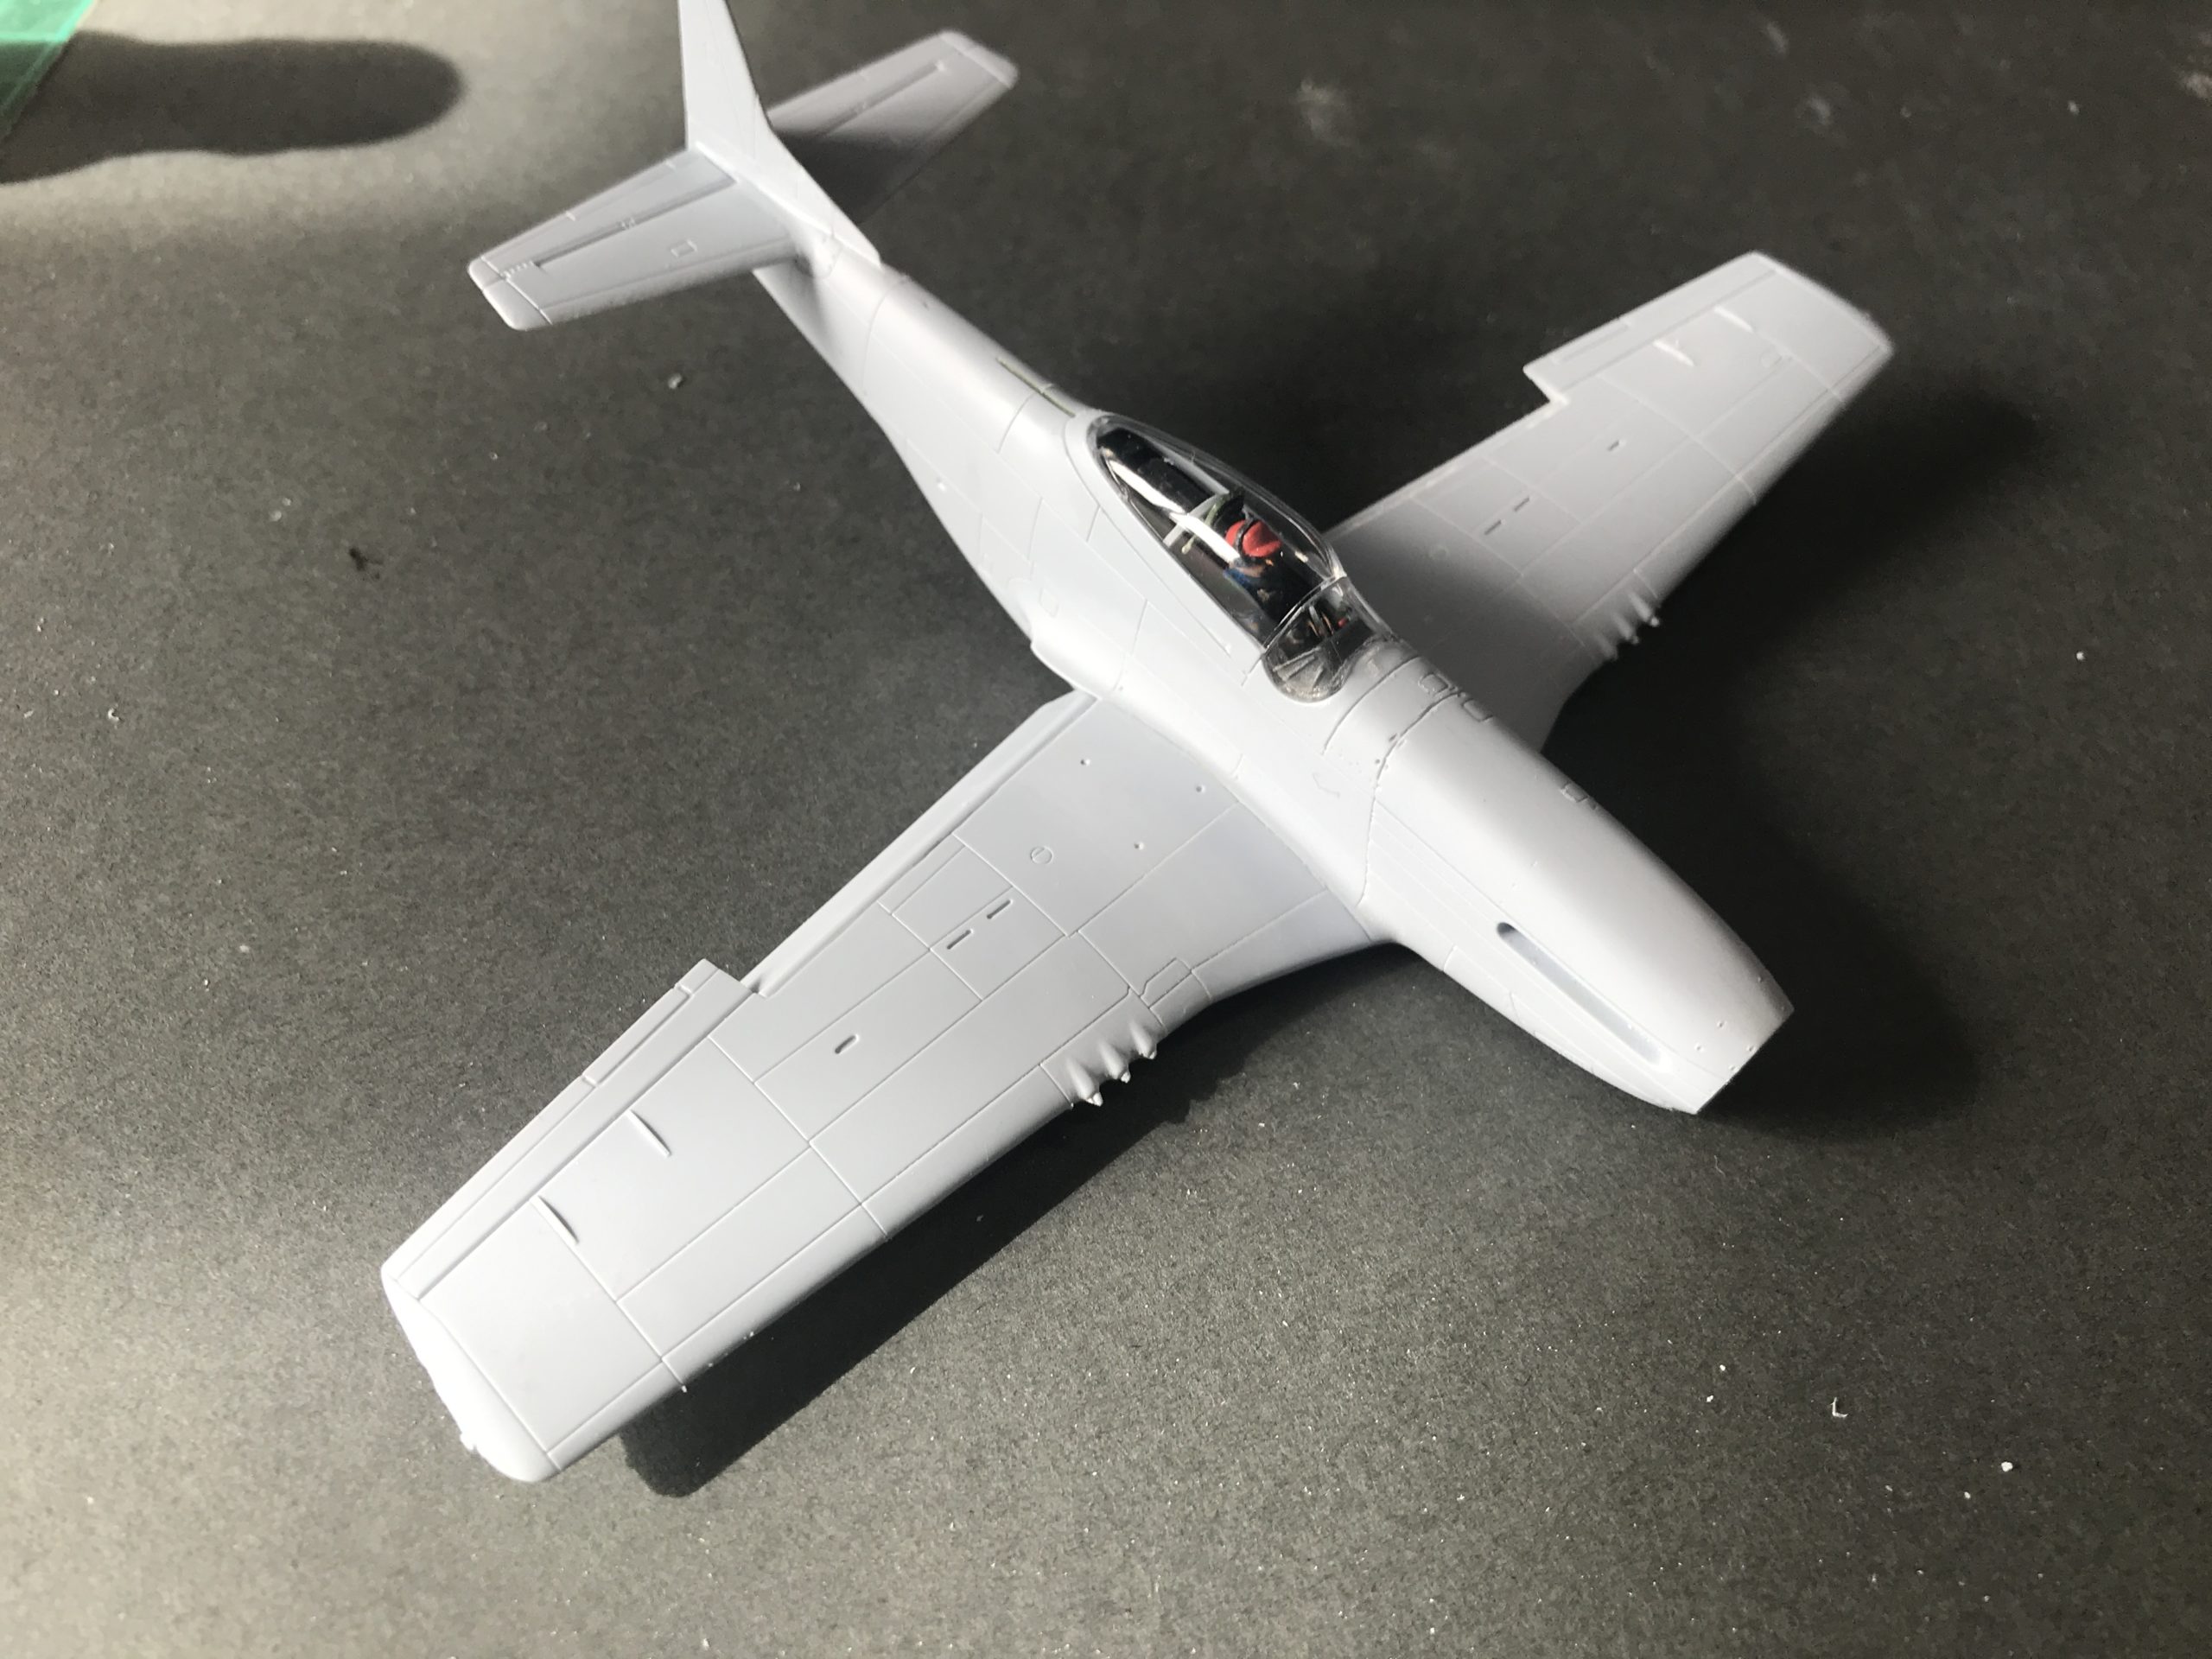
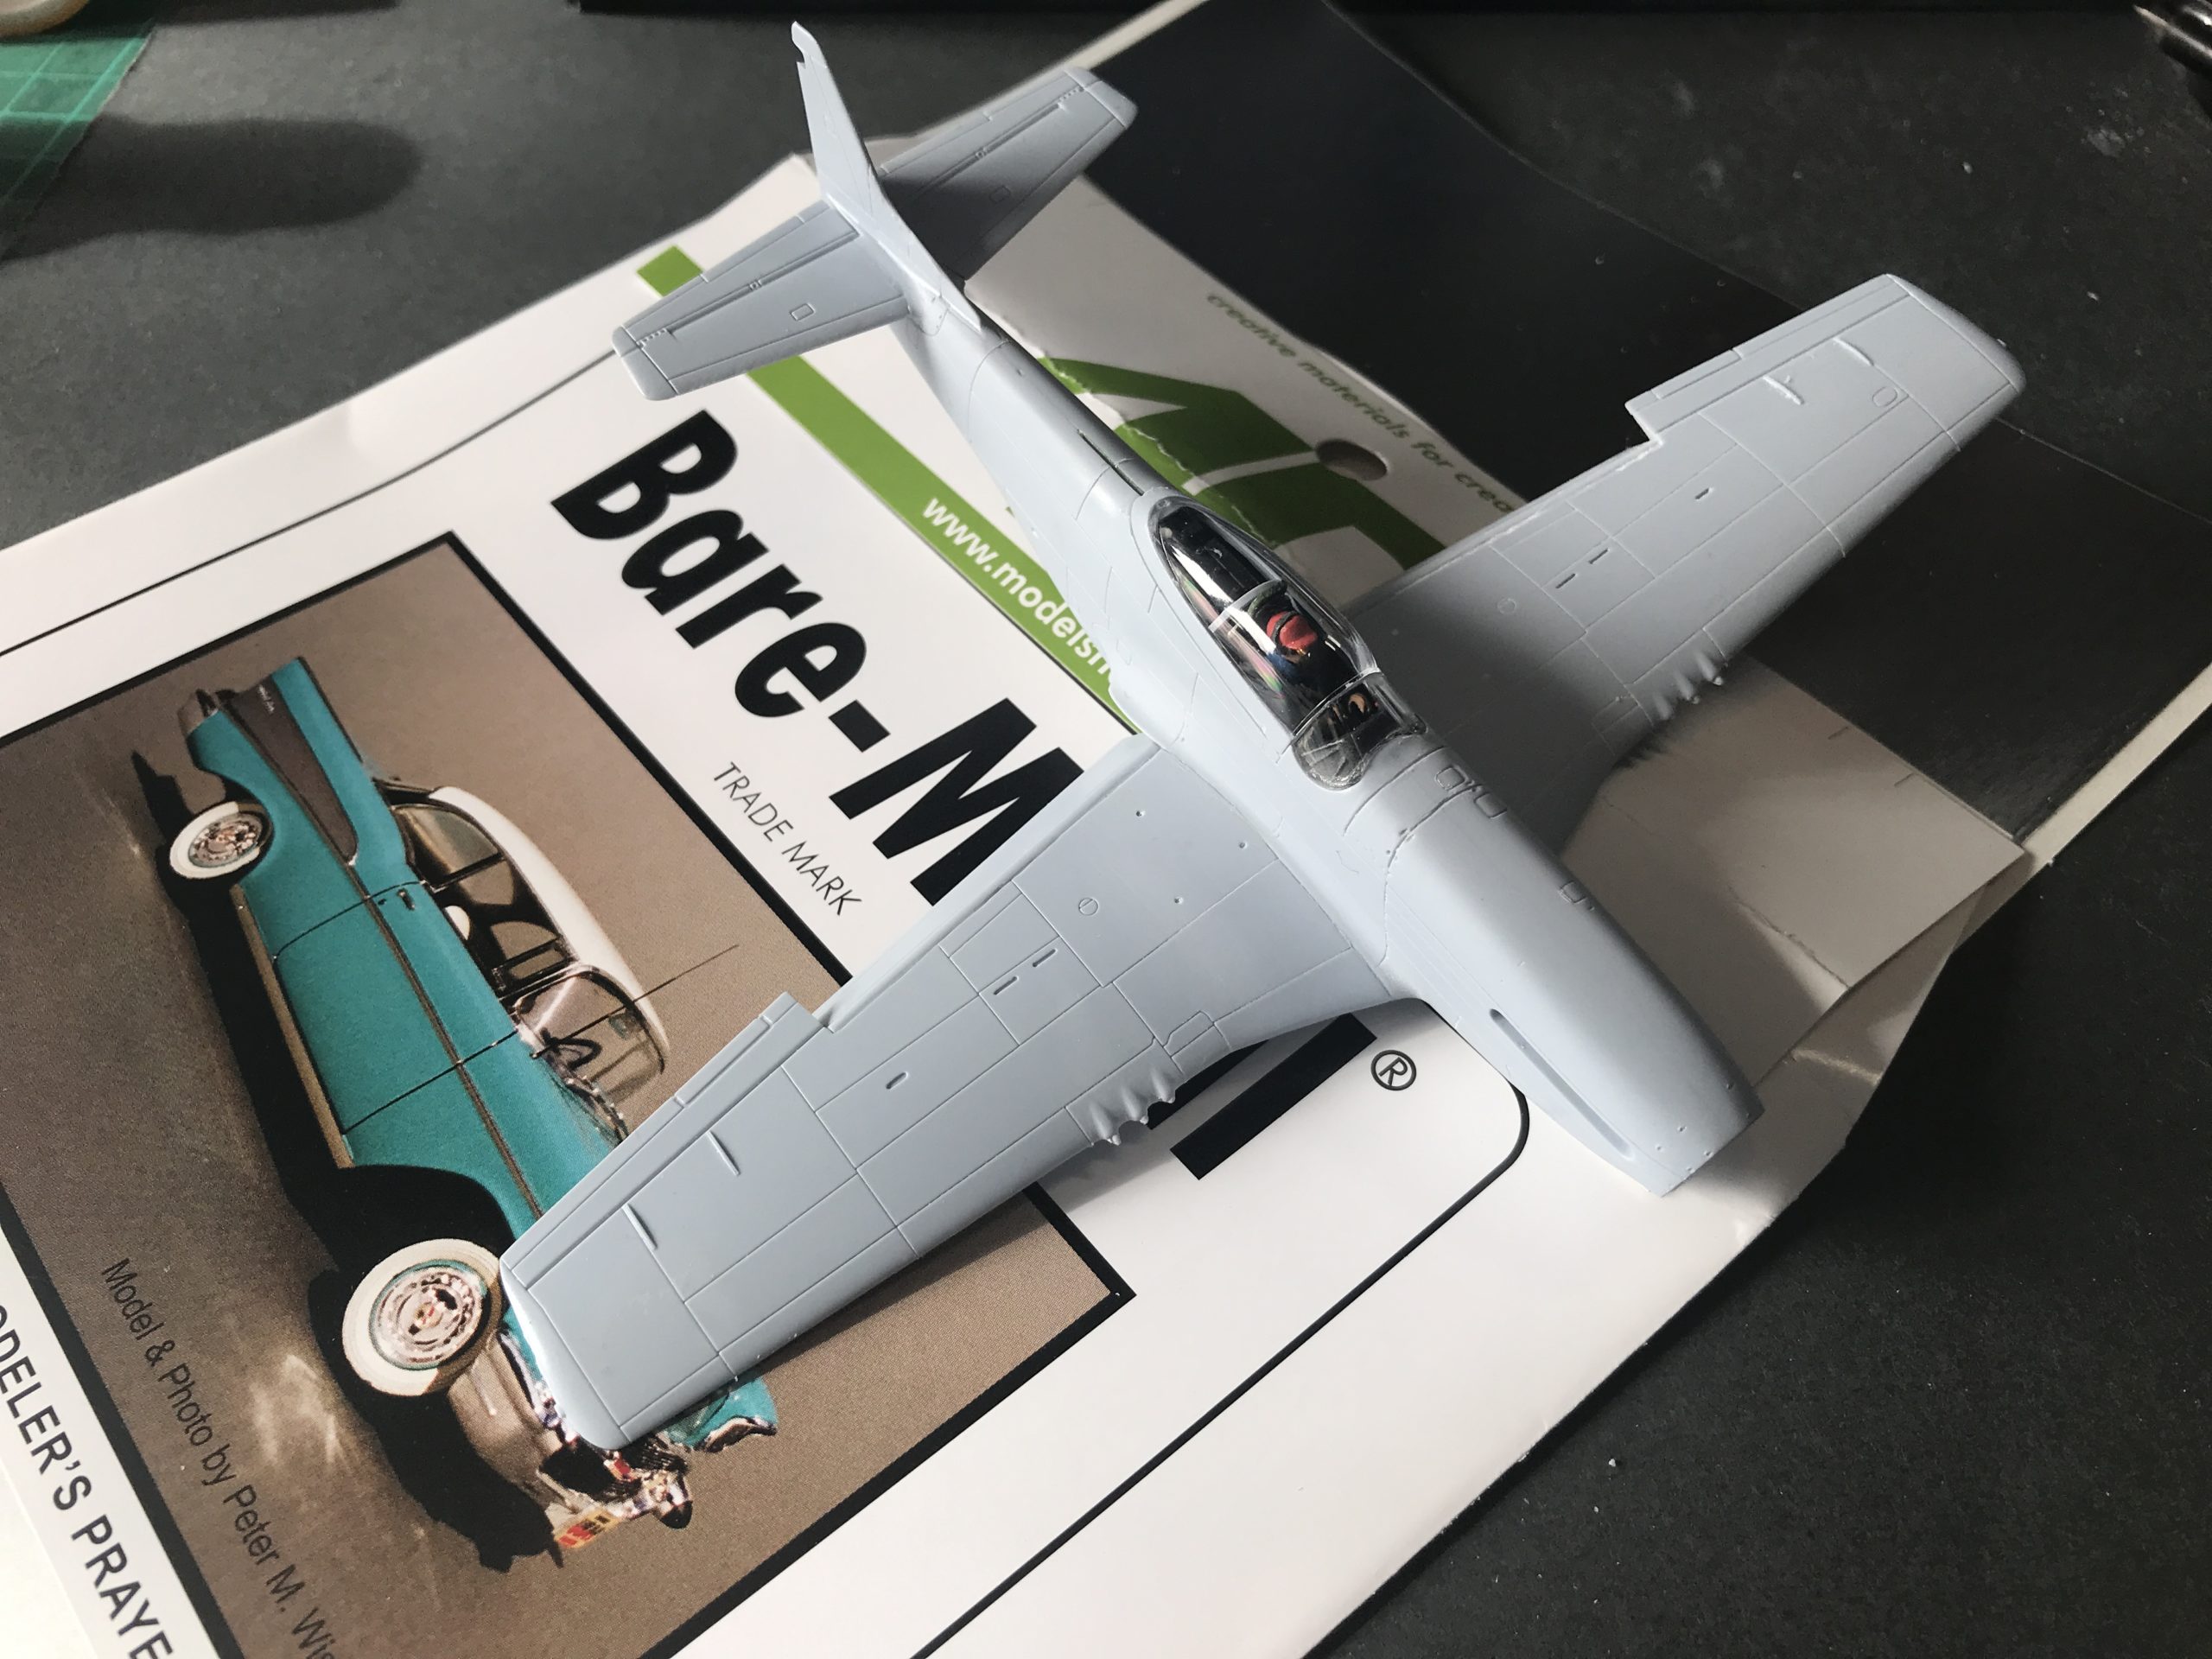
The fit on the wings to the fuselage is excellent and no filler was required. I then added the flaps and tail.
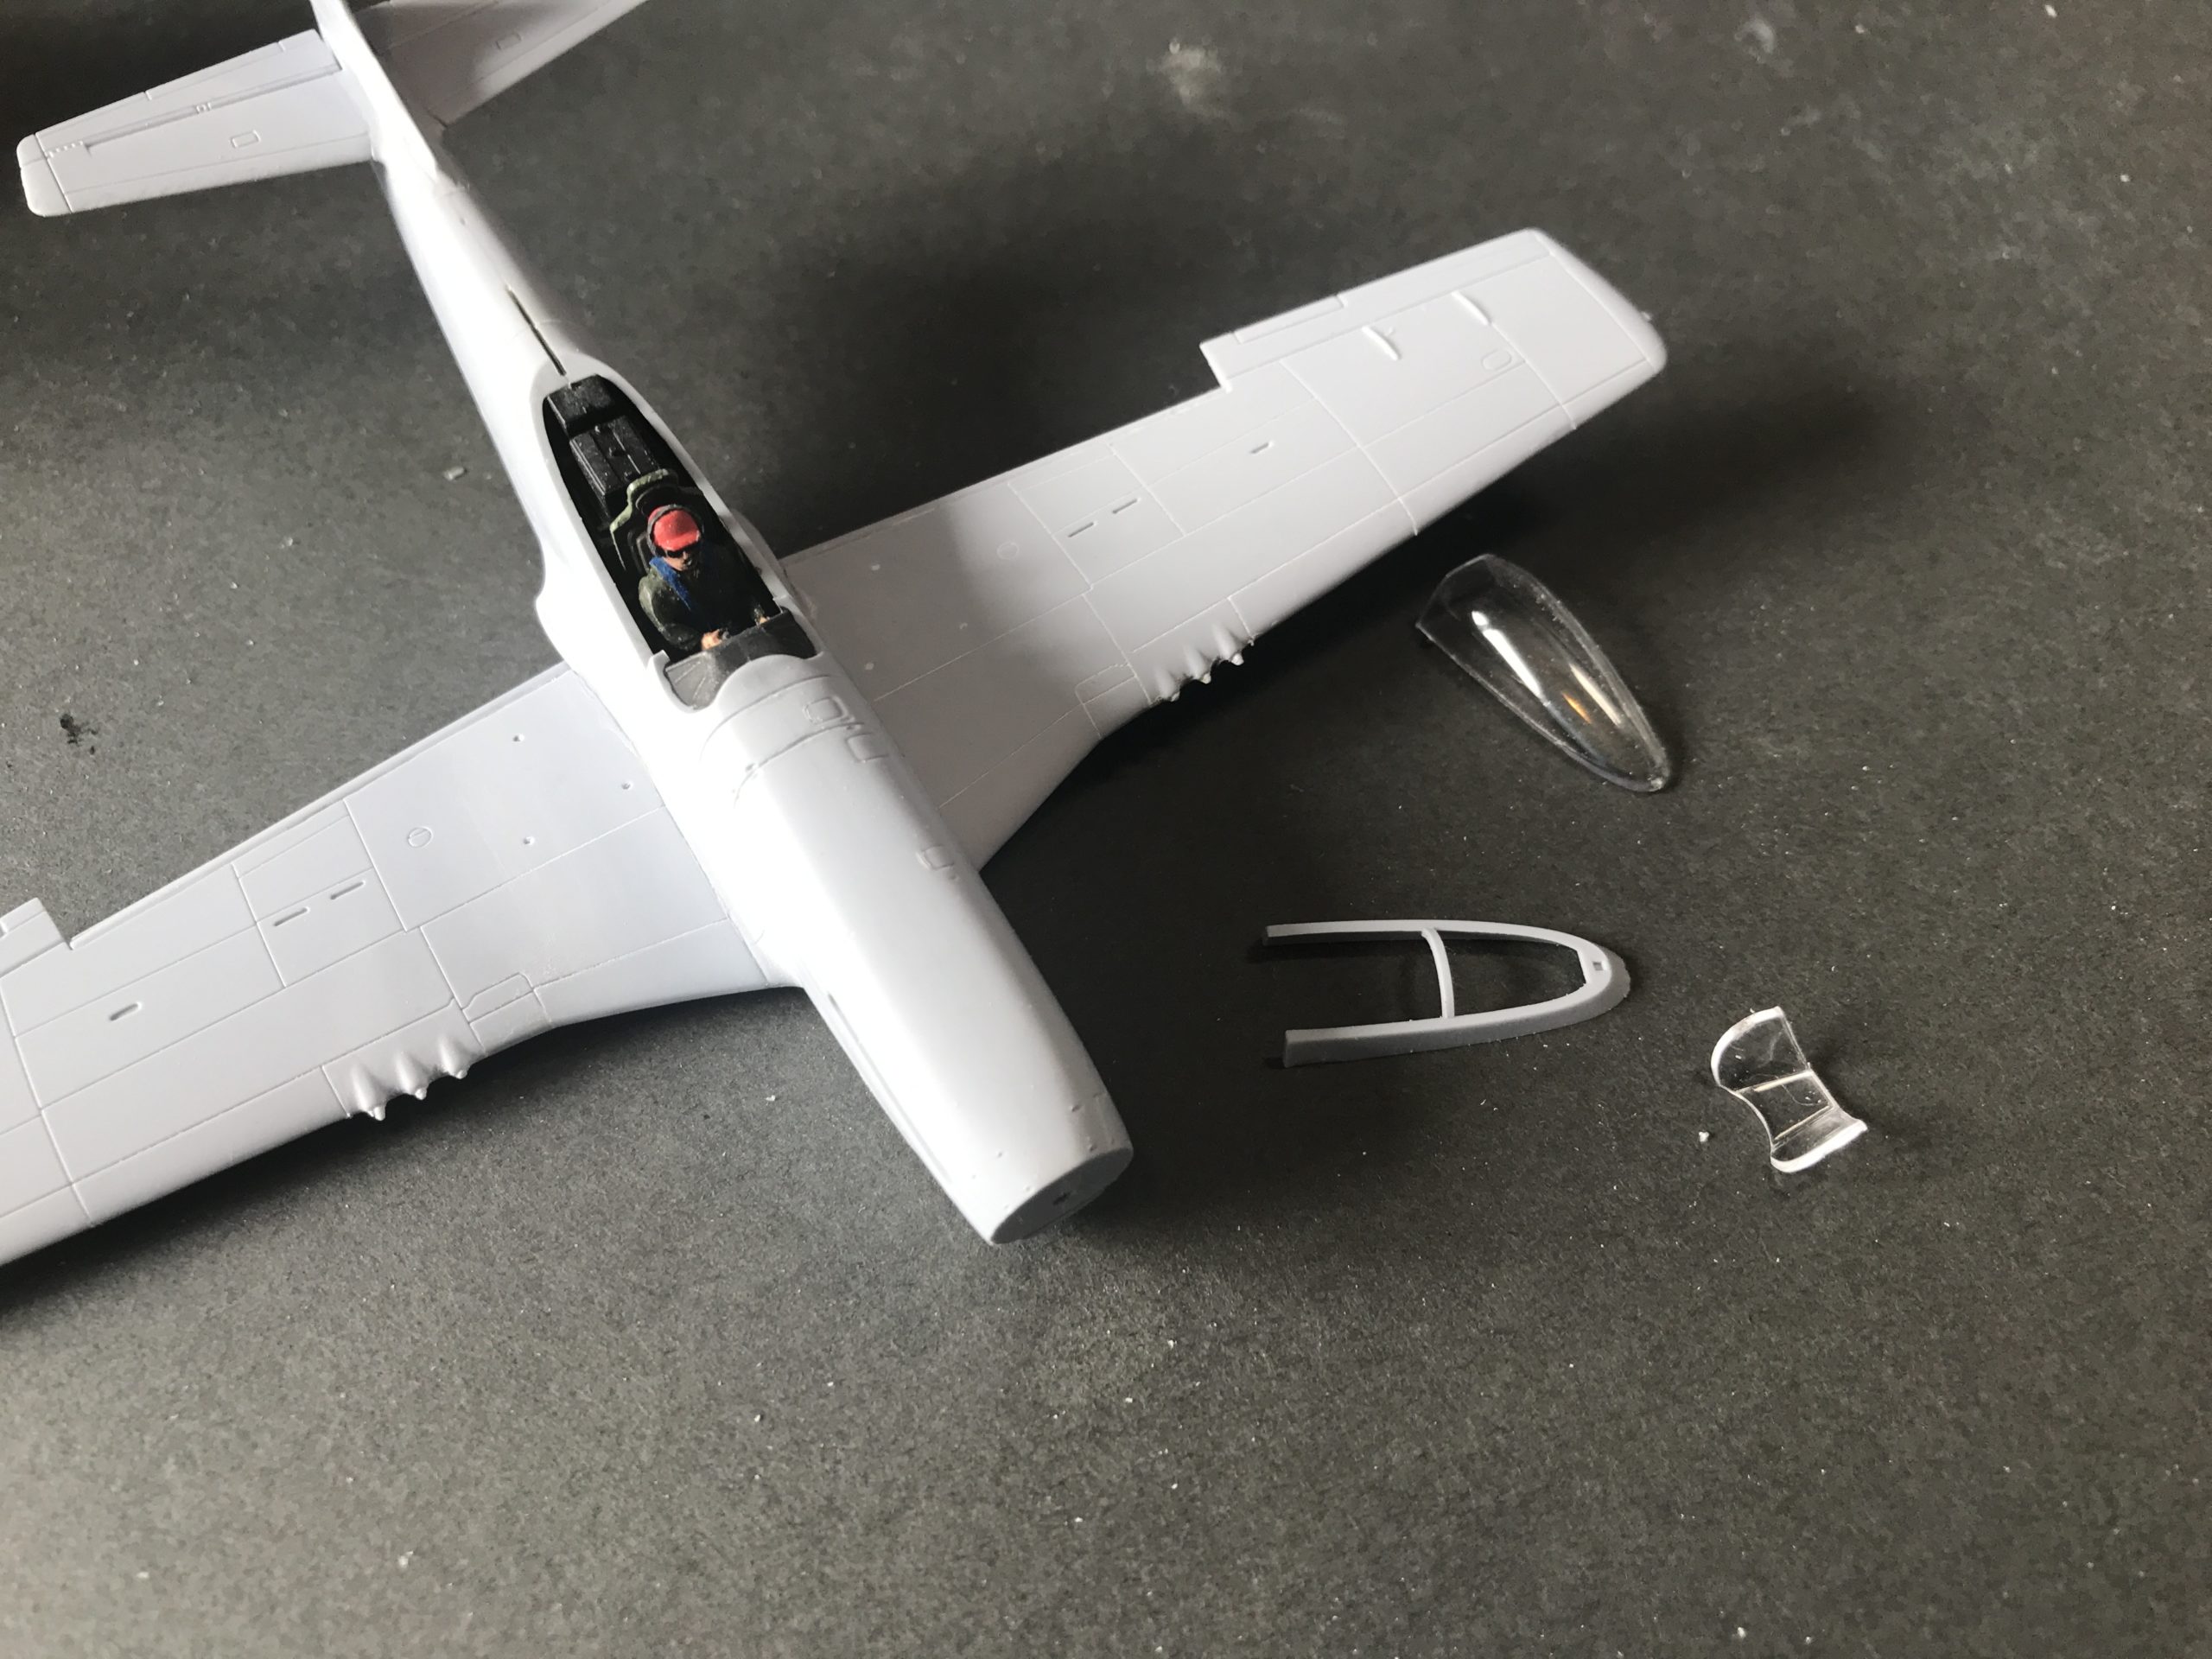
I couldn’t resist a couple of pictures of Tom Junior in his office before adding the canopy.
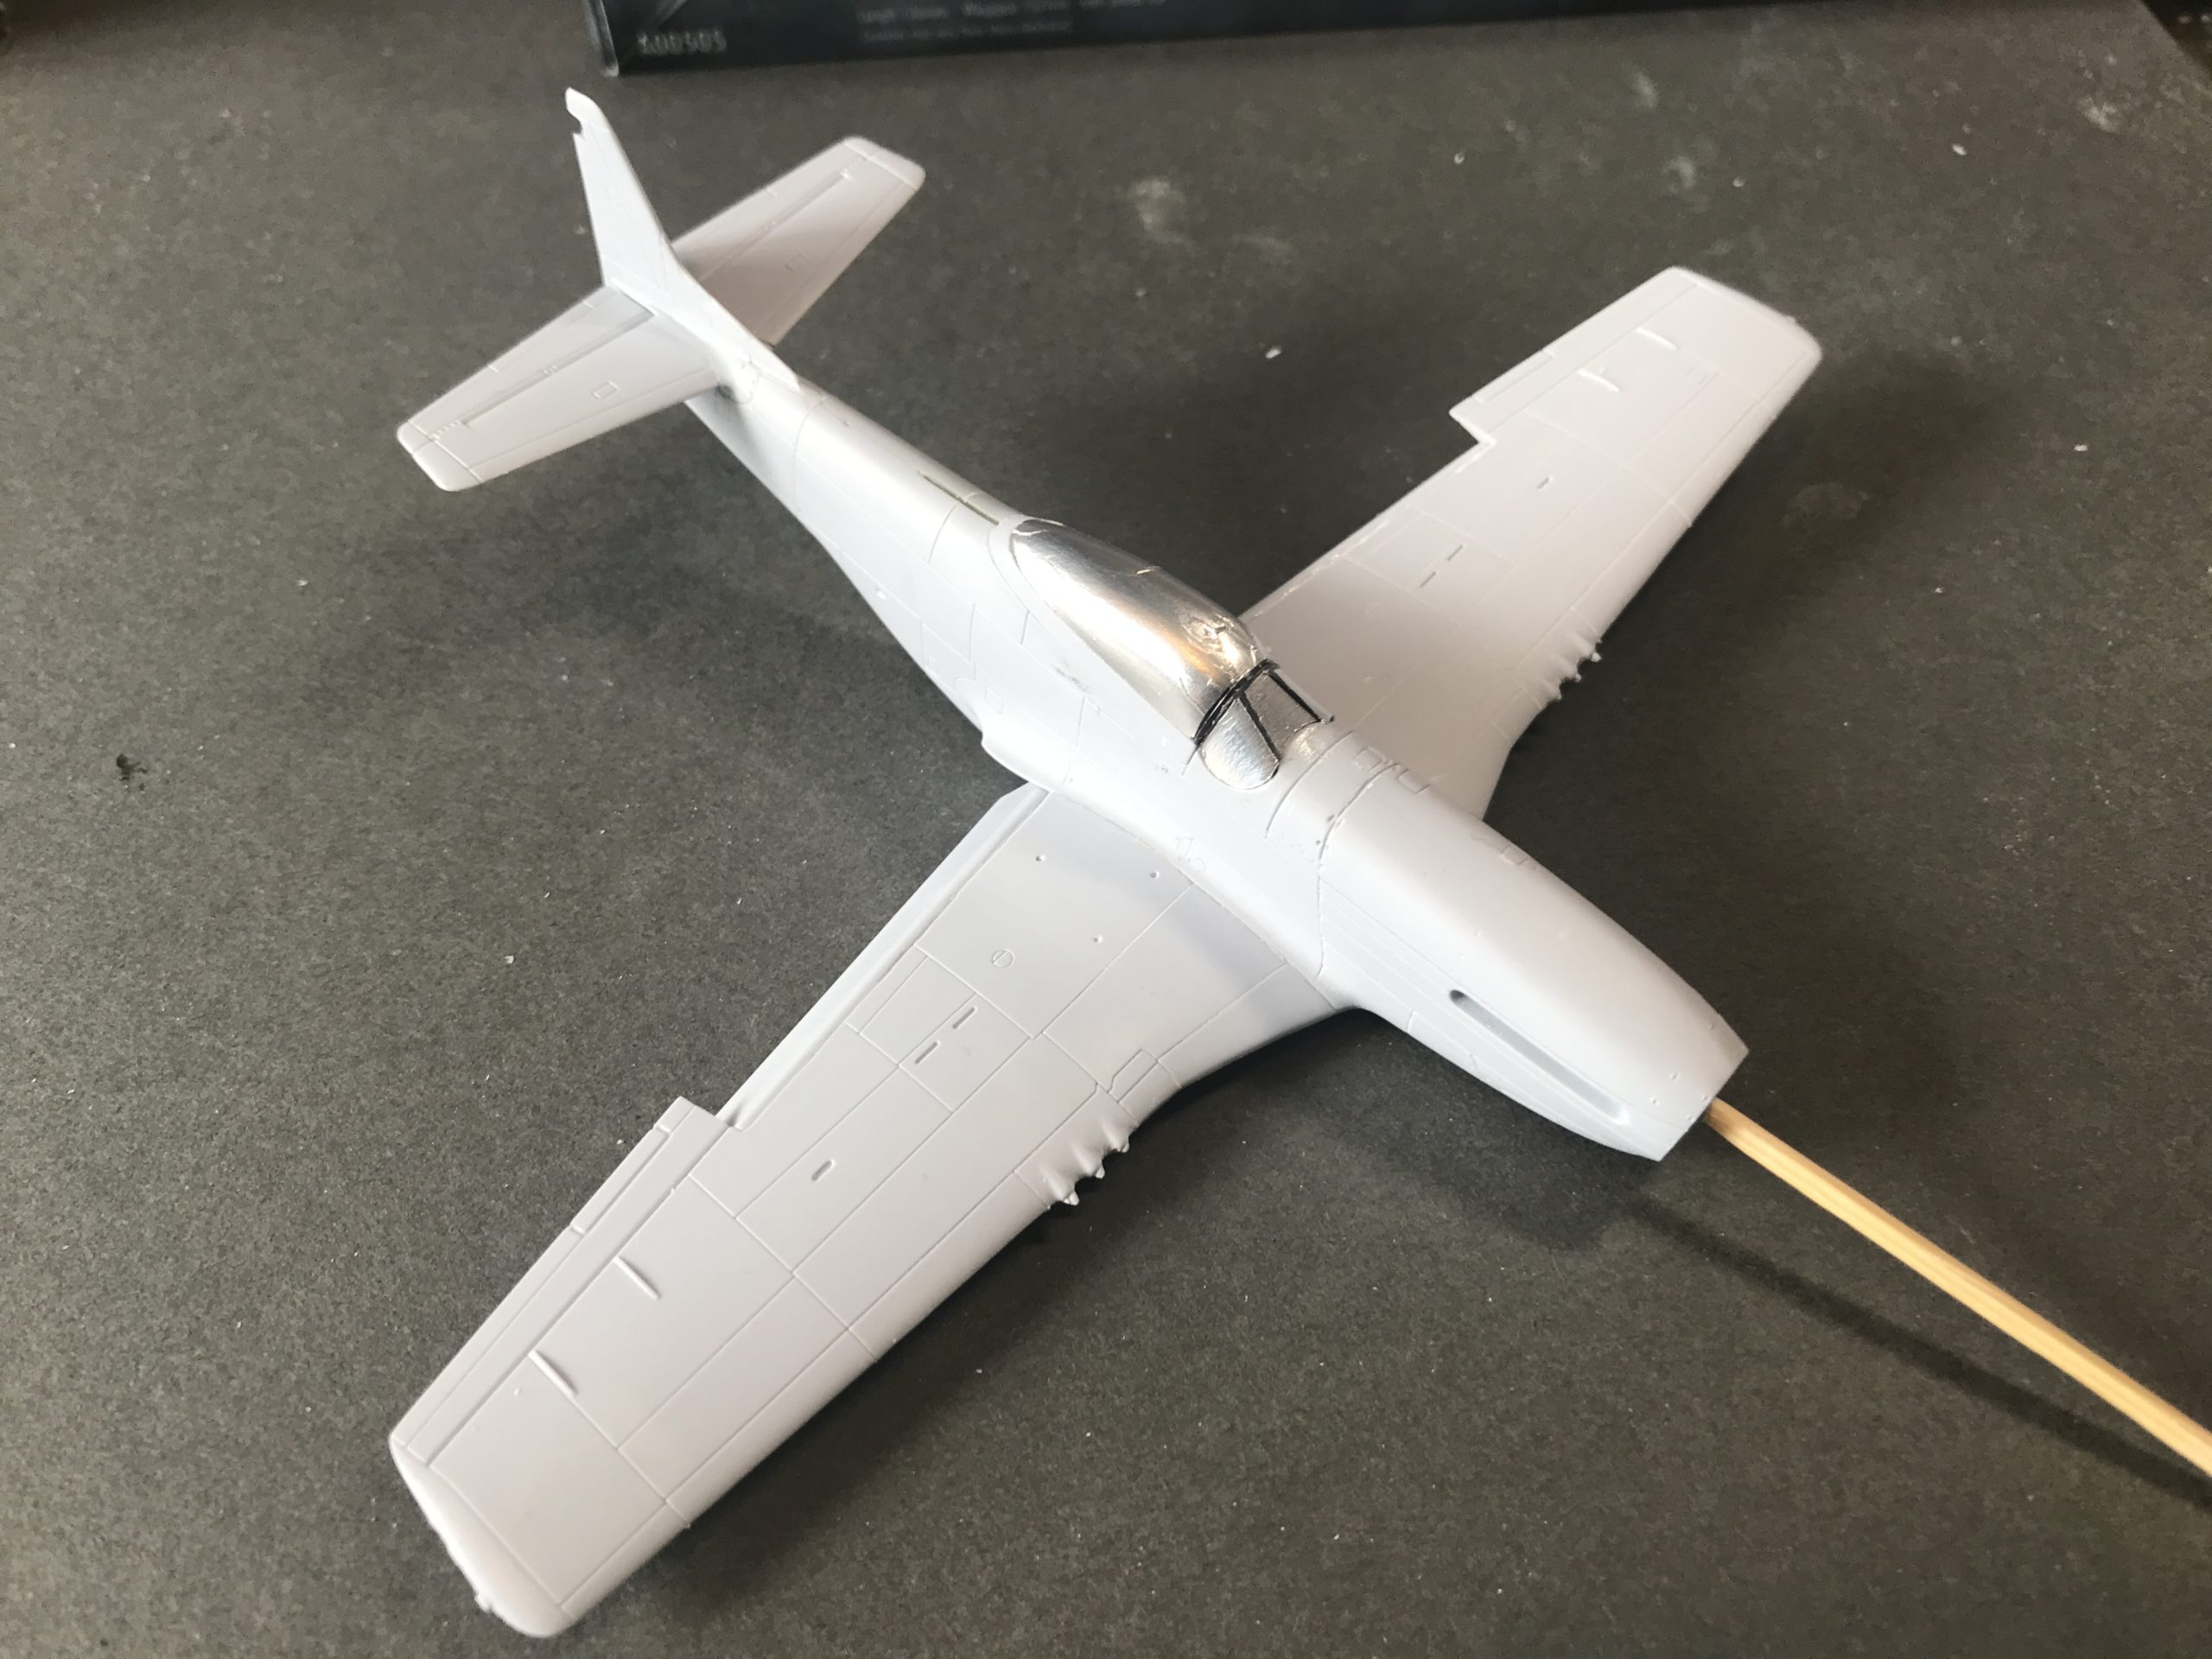
The canopy could now be assembled and fitted.
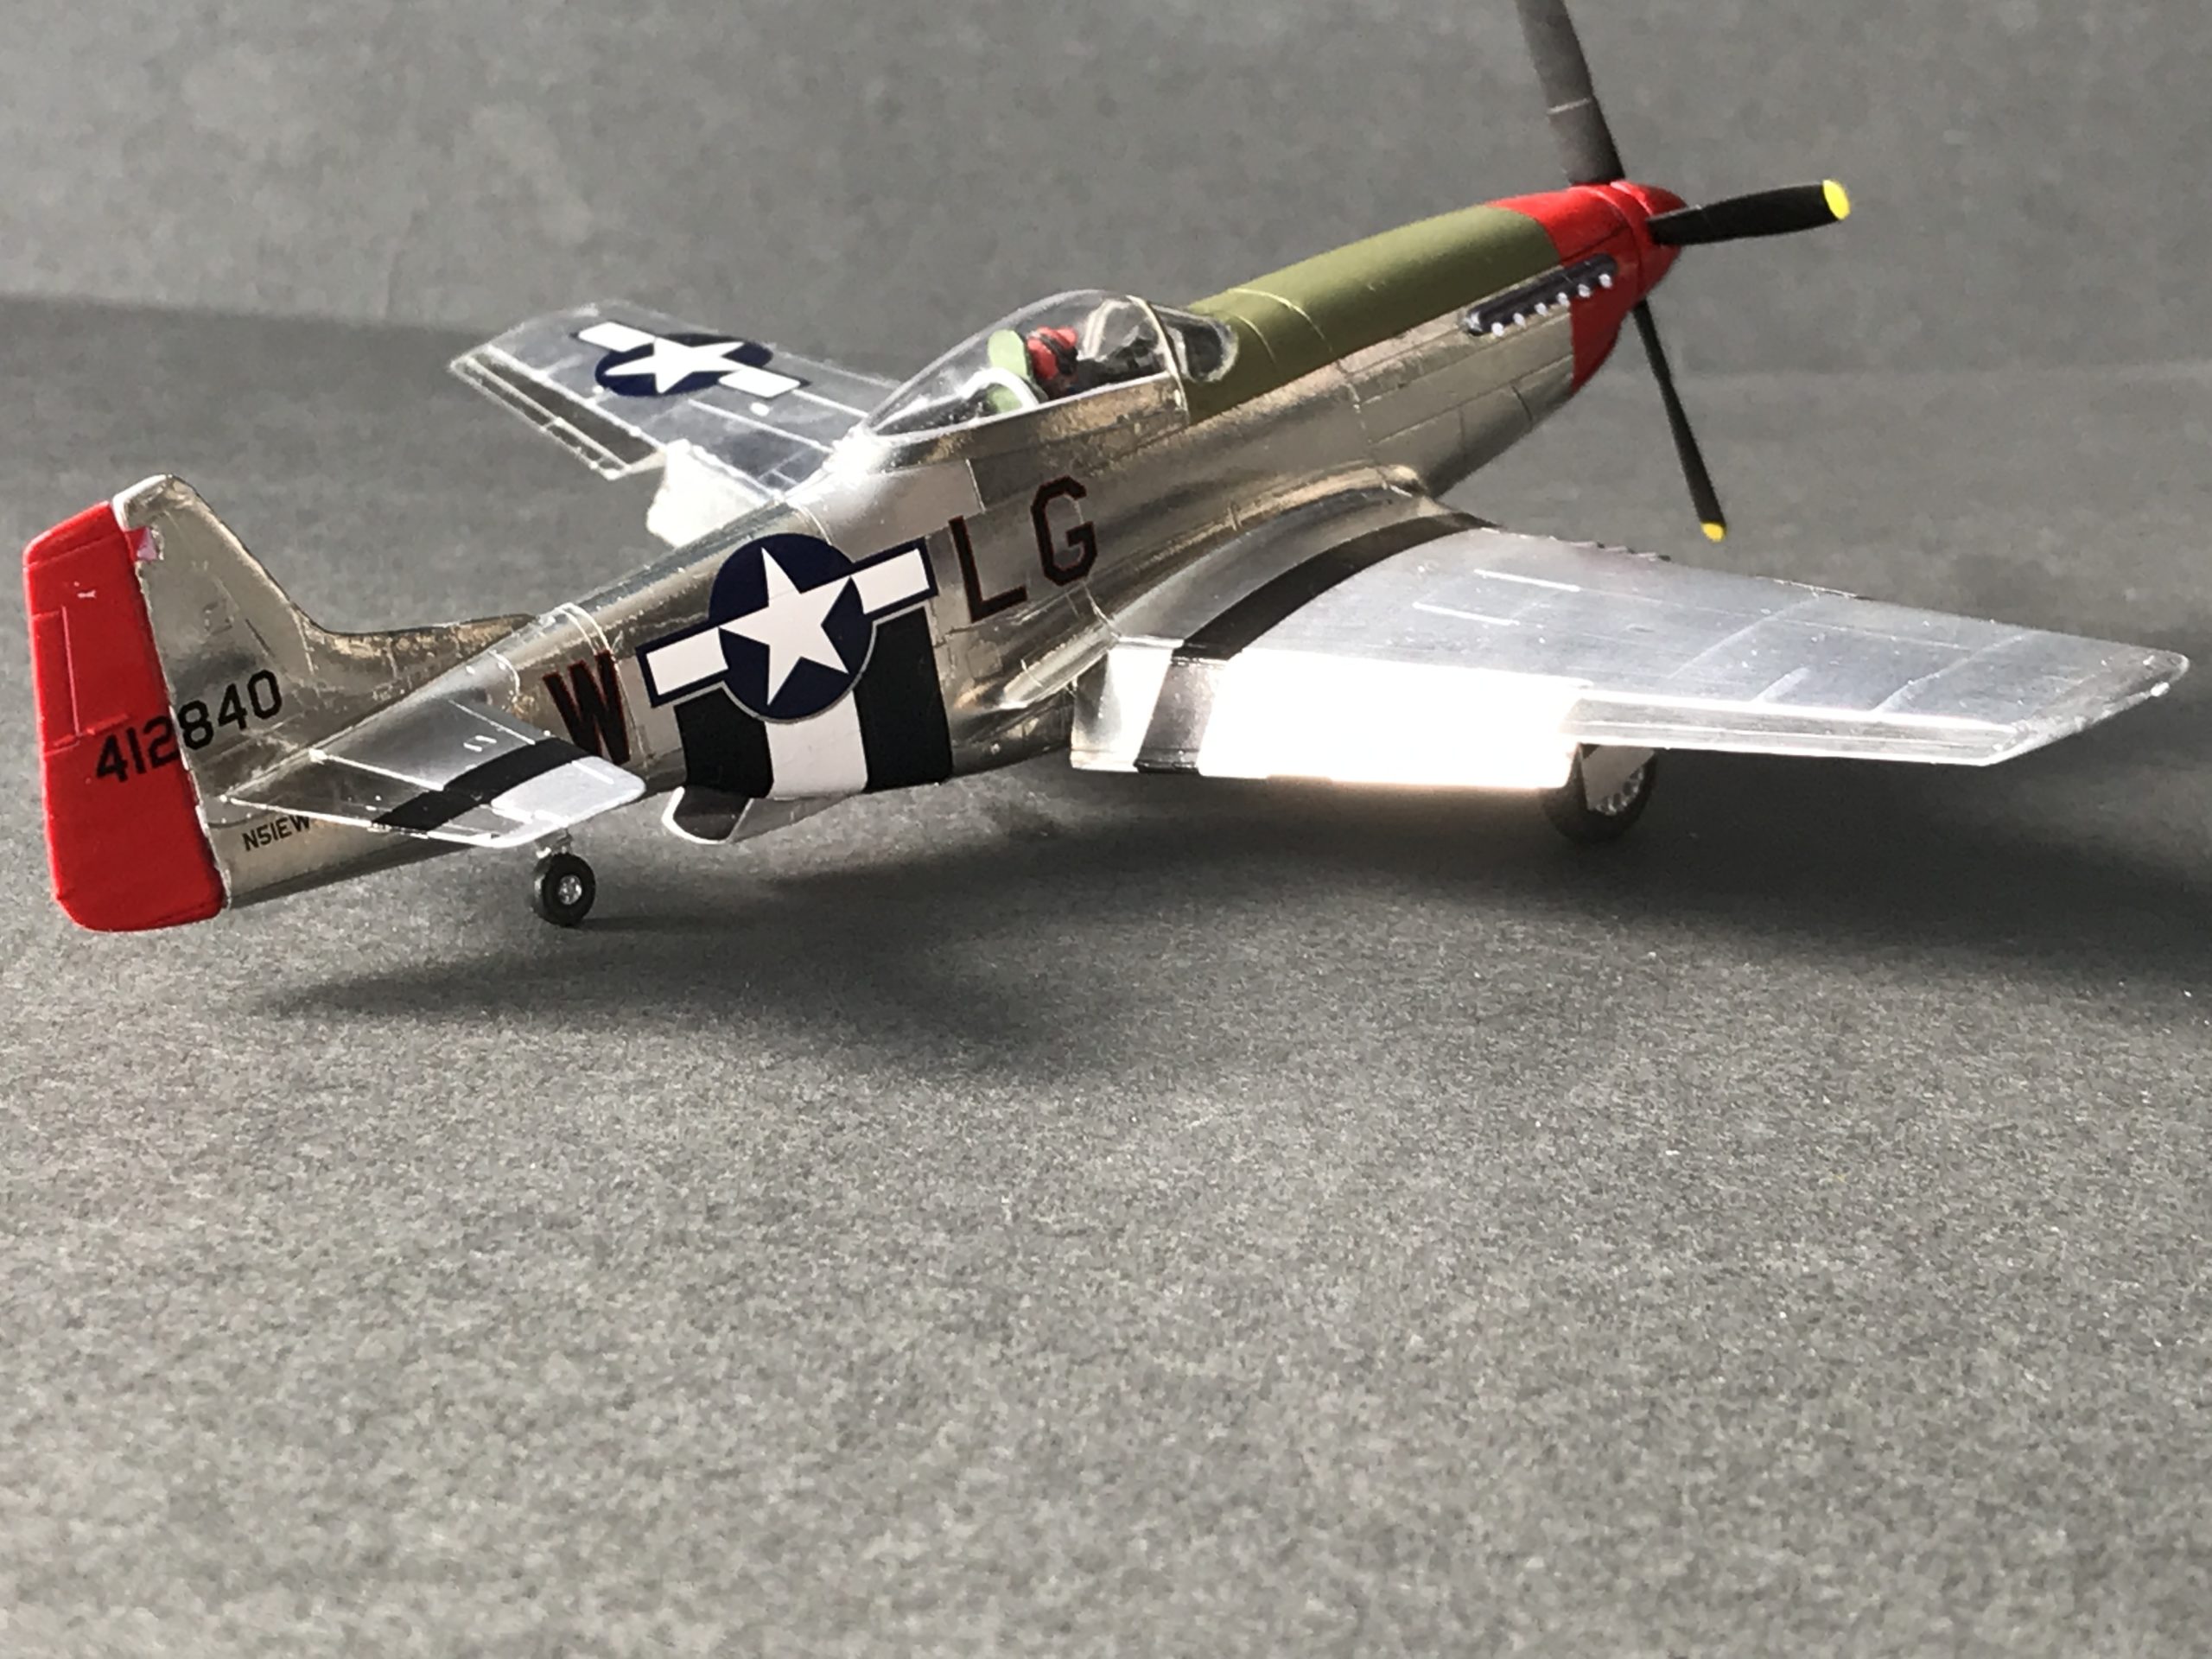
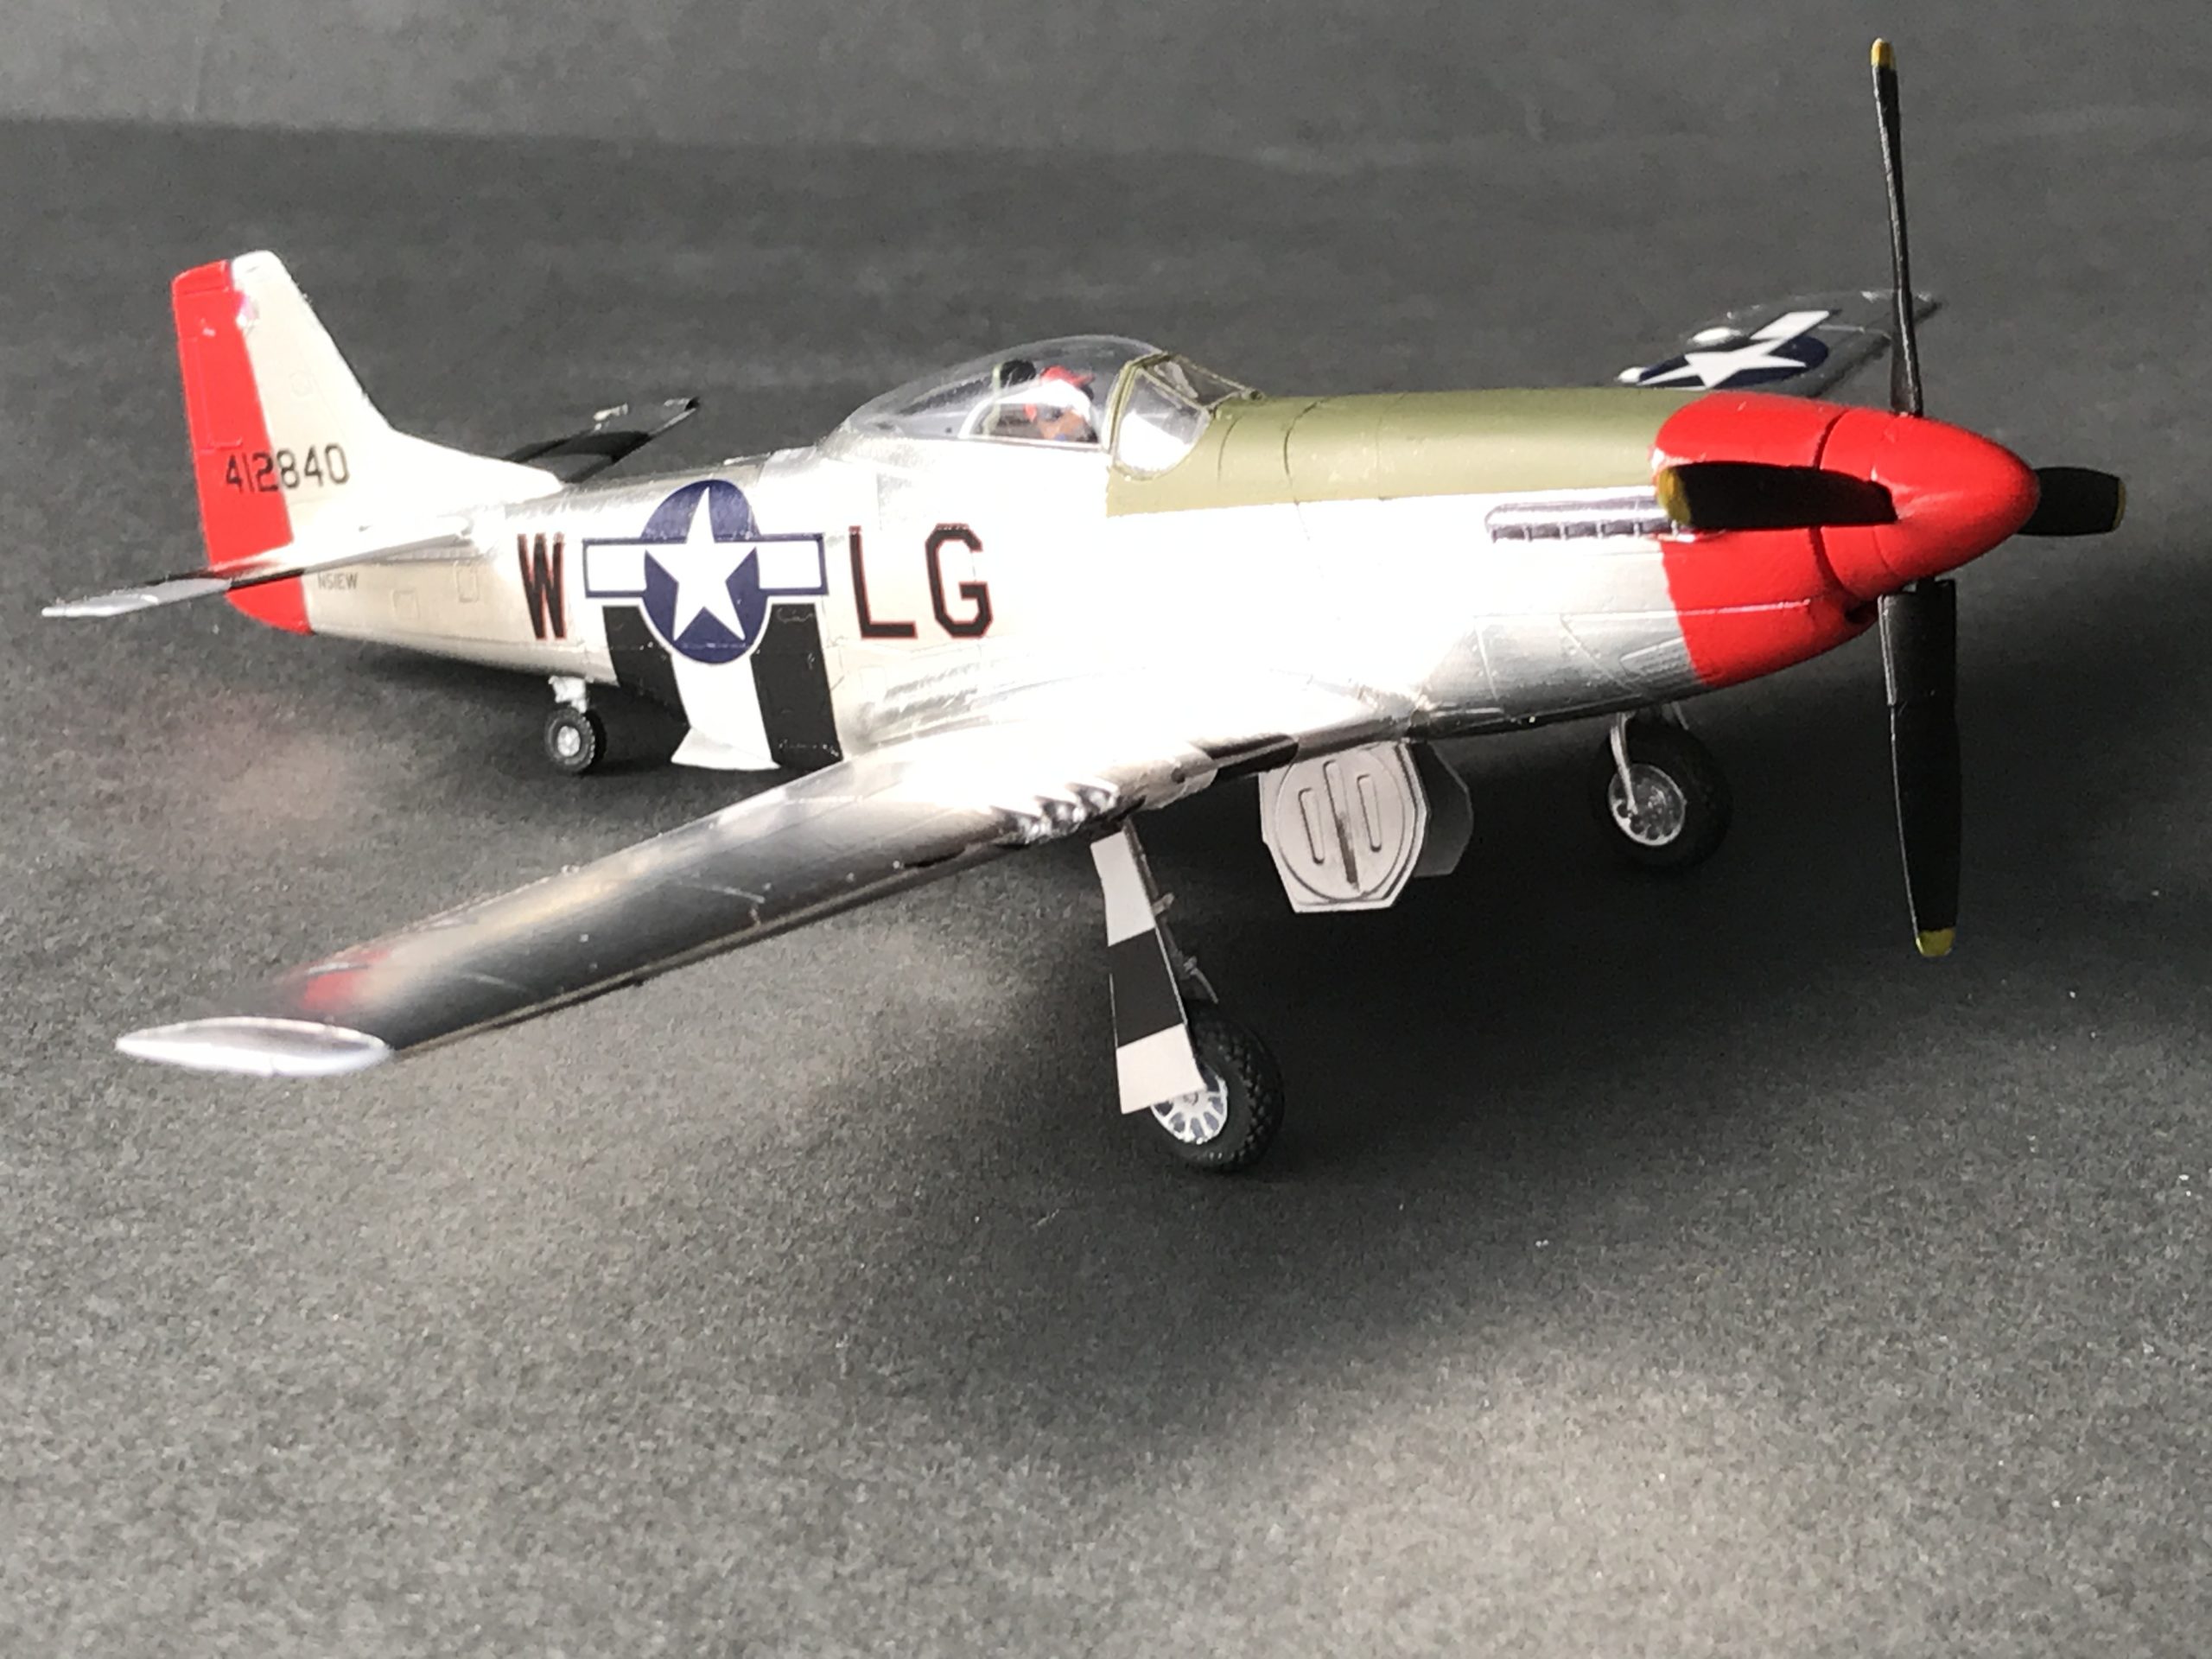
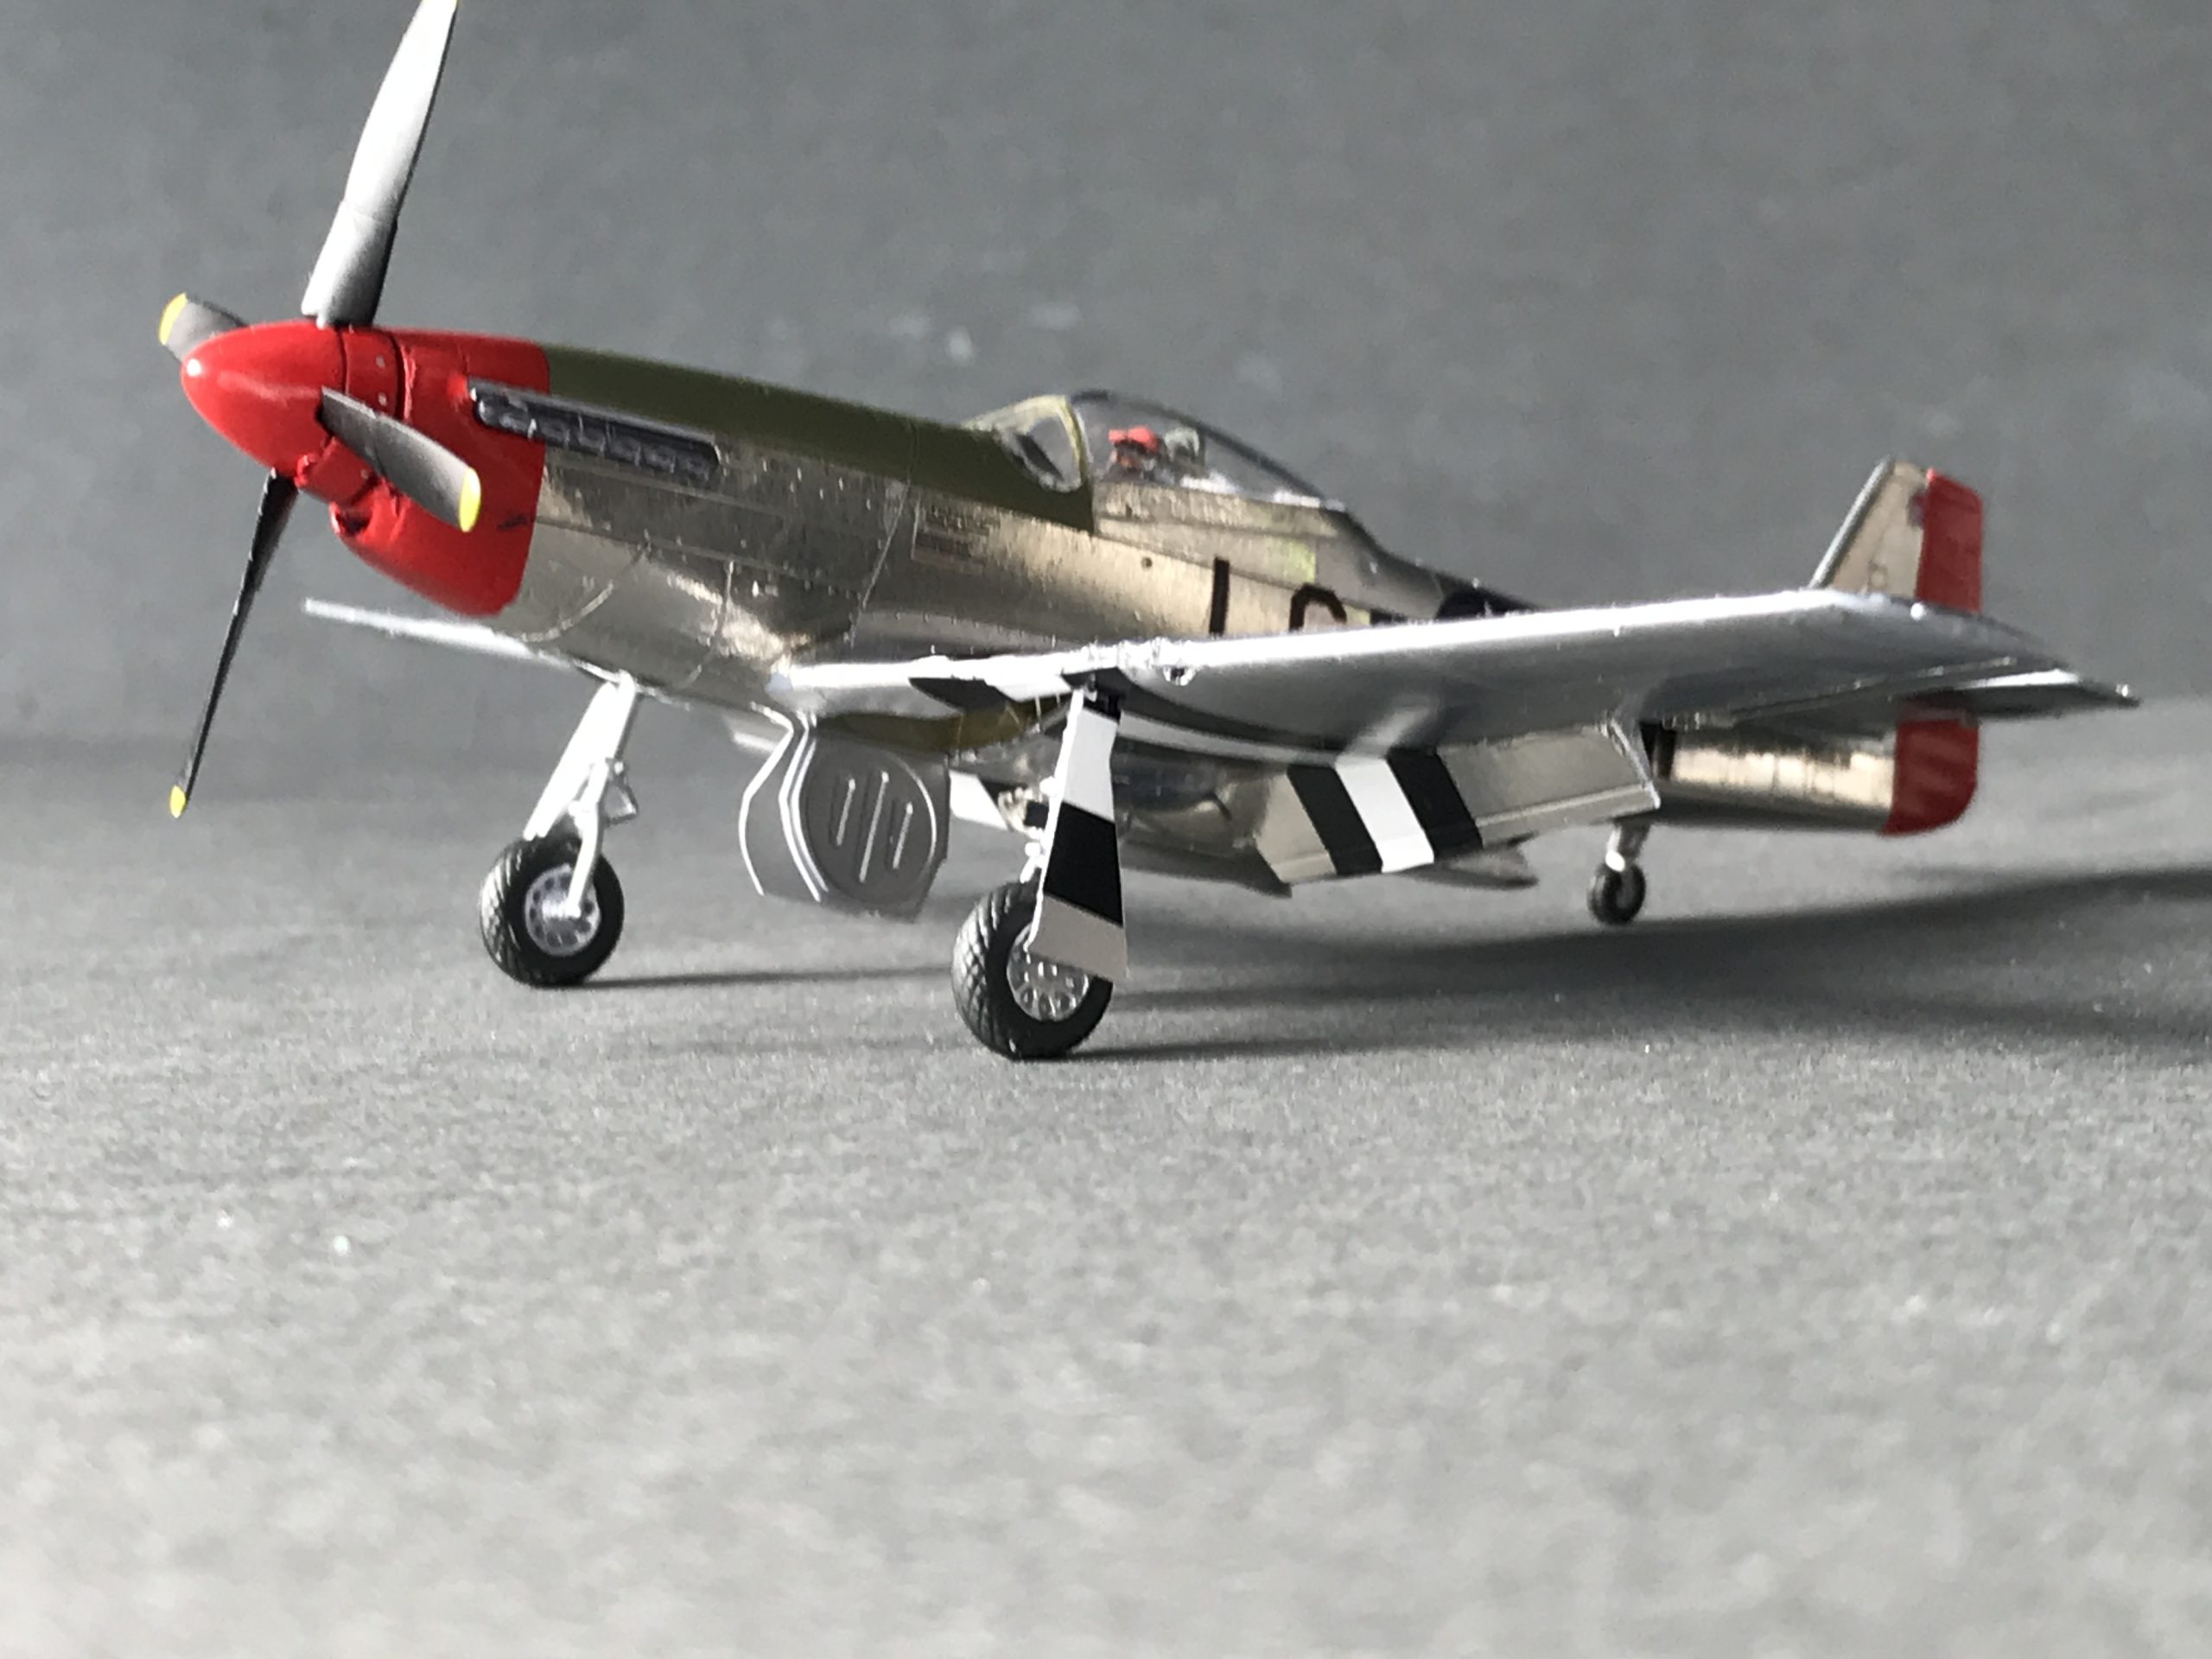
My plan for painting the model involved using metal foil to replicate the distinctive bare metal finish of the real plane.
I thought I’d try metal foil for masking the canopy as I had heard it was a great method. Without jumping ahead I wont be using it again, but more on that in a bit.
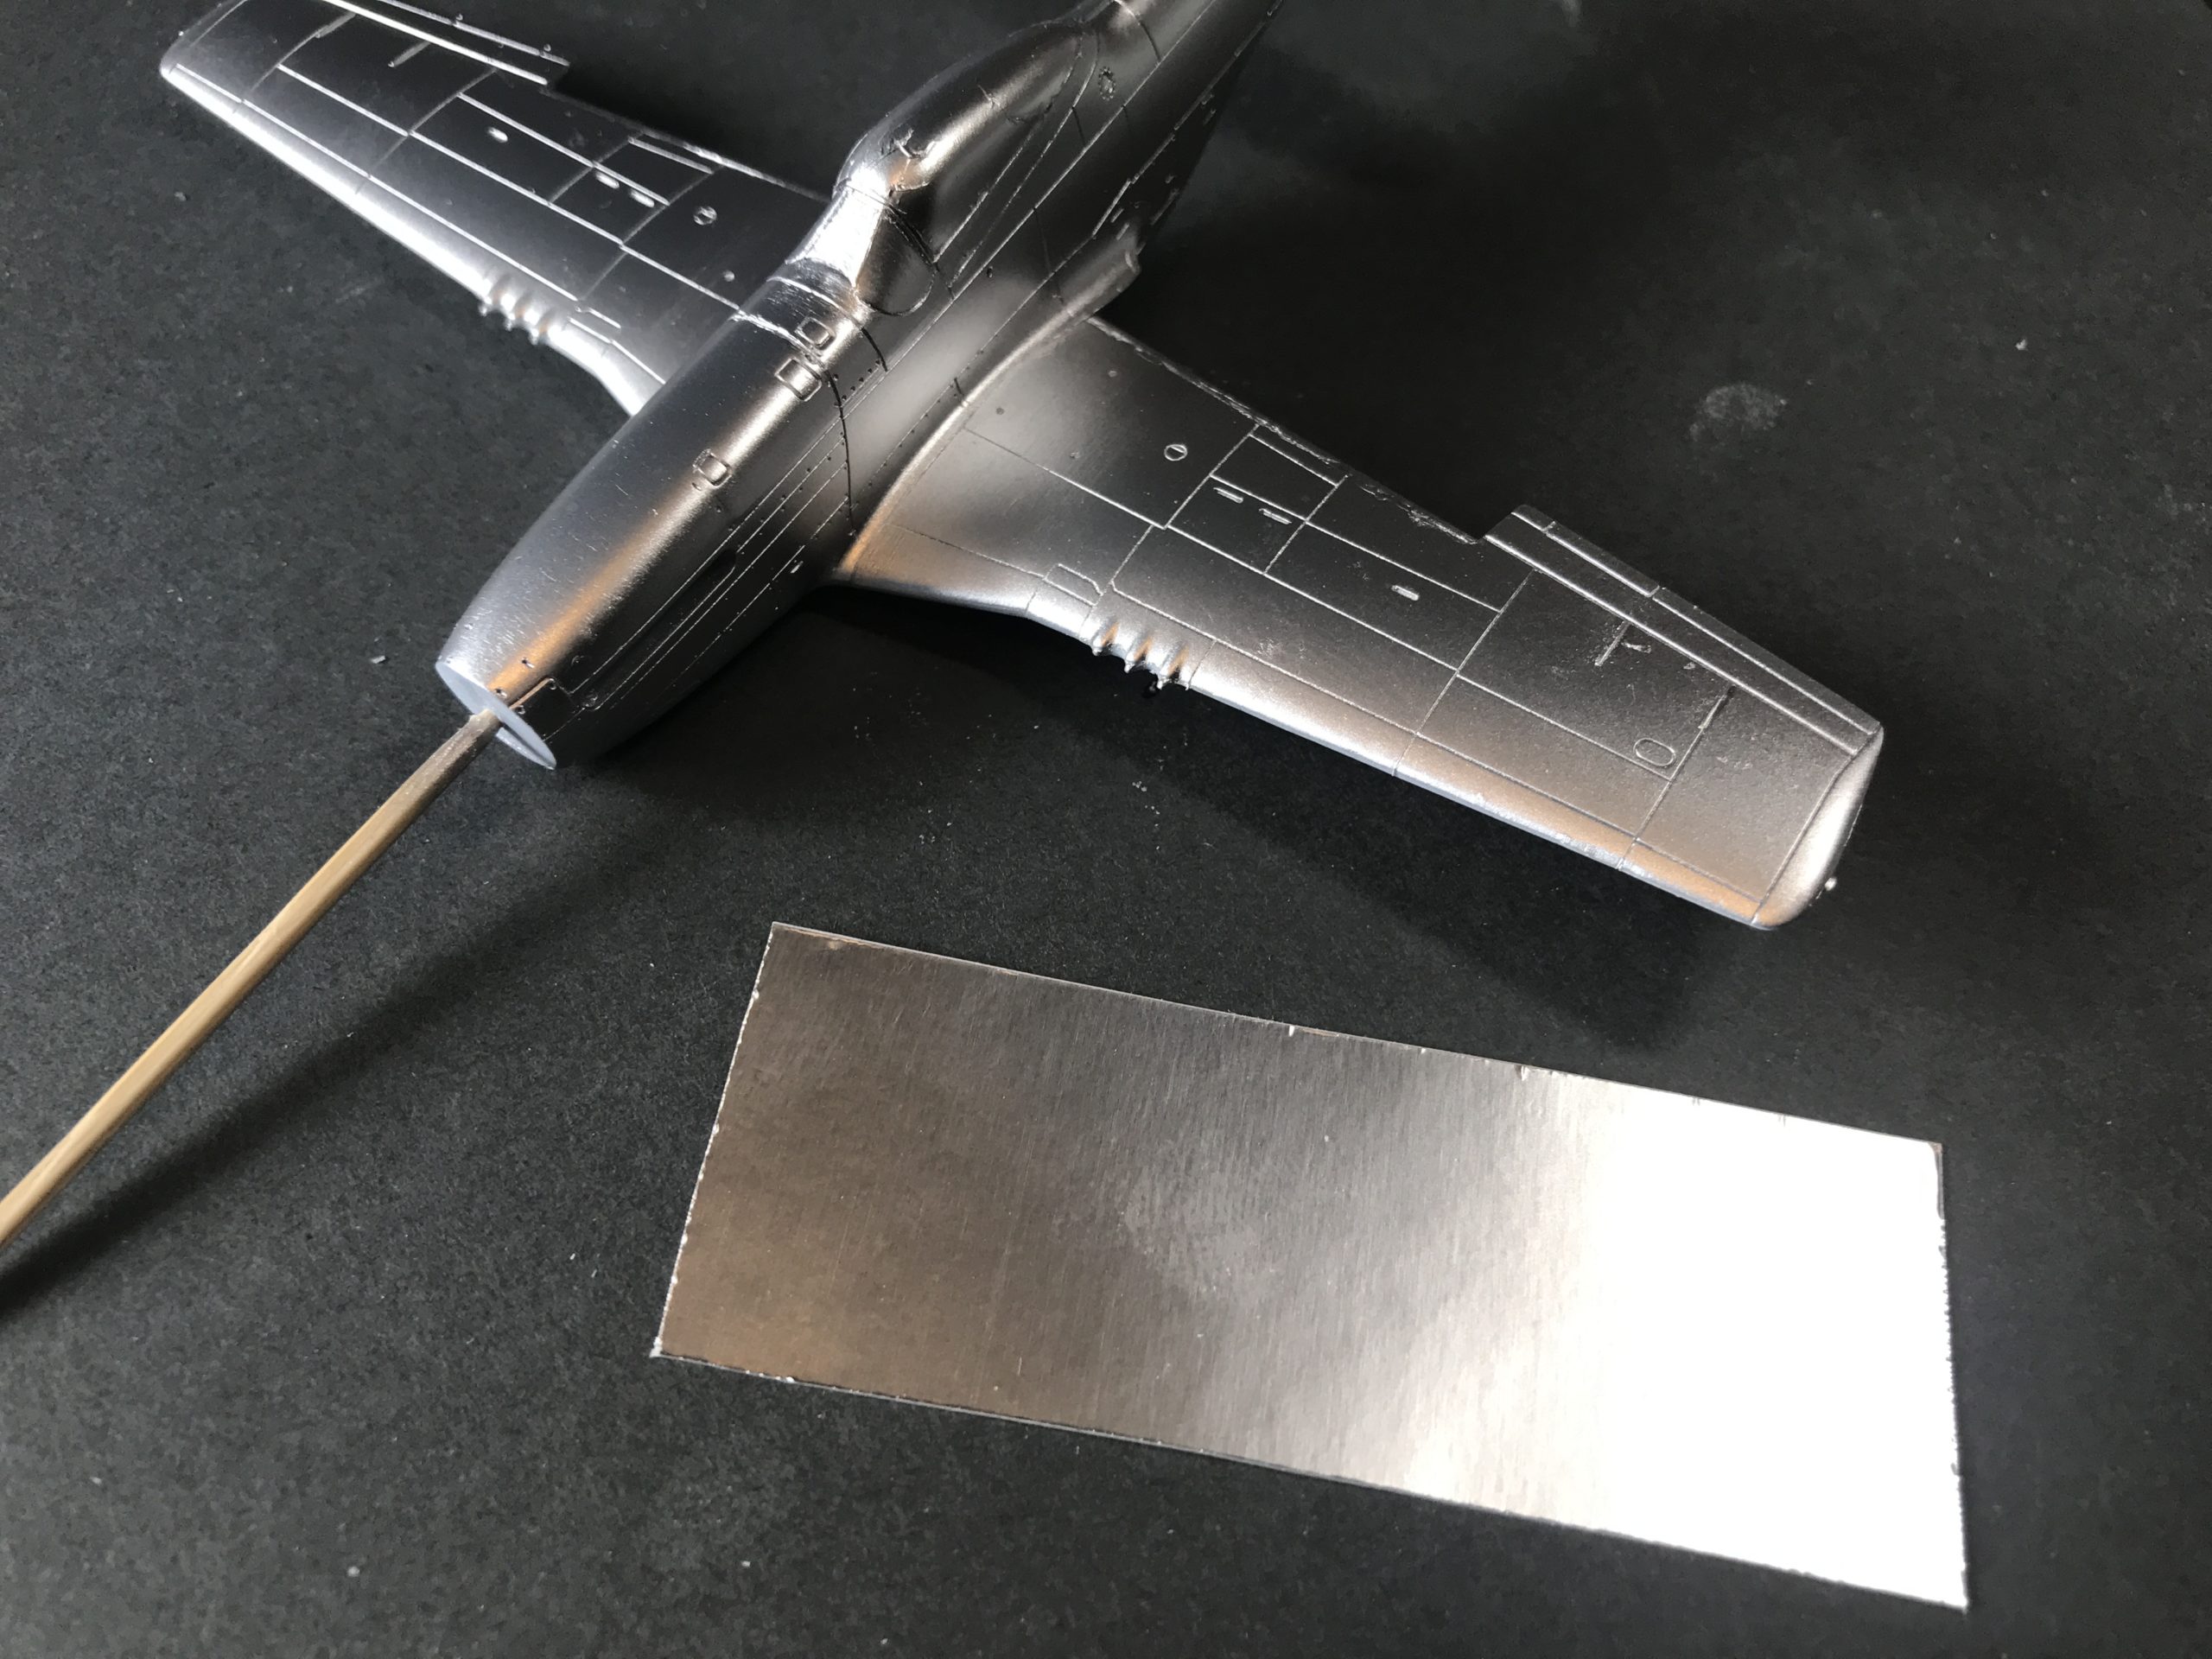
I then gave everything a coat of Tamiya LP-48 Sparkling Silver. It looks pretty good. Perhaps I should just leave things there.
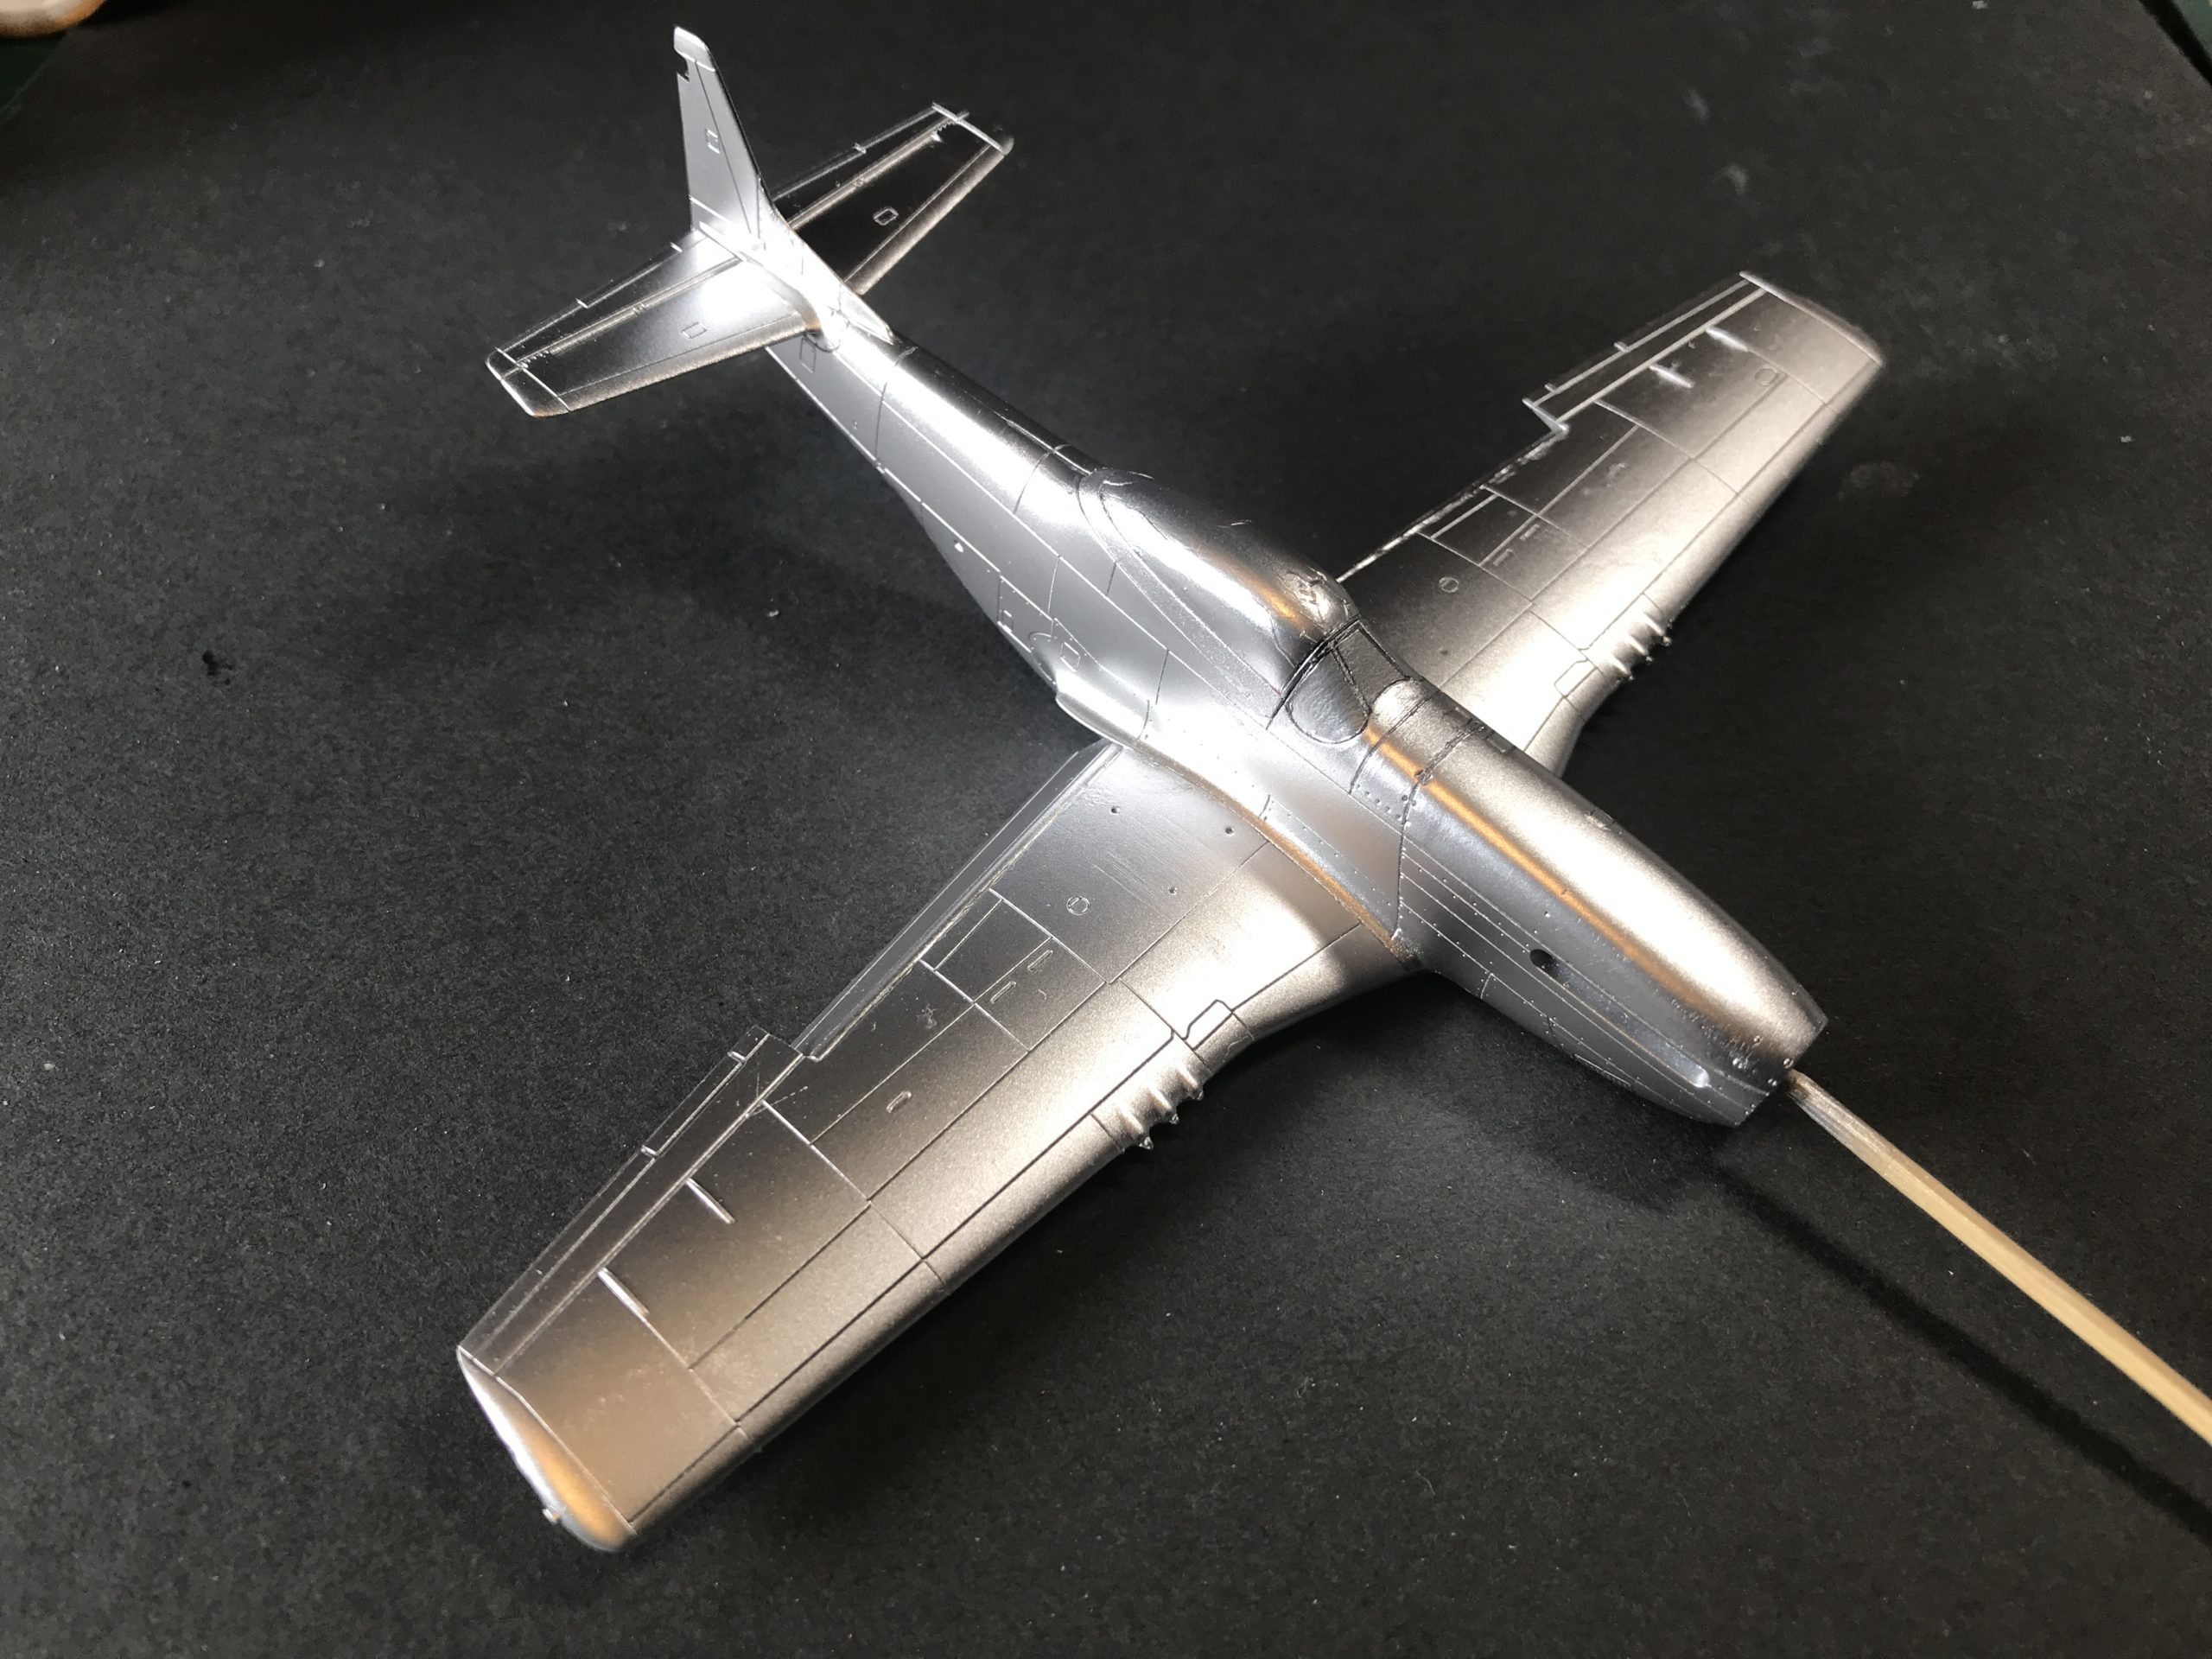
That would be too easy though. Let the foil coating begin….
What could go wrong?
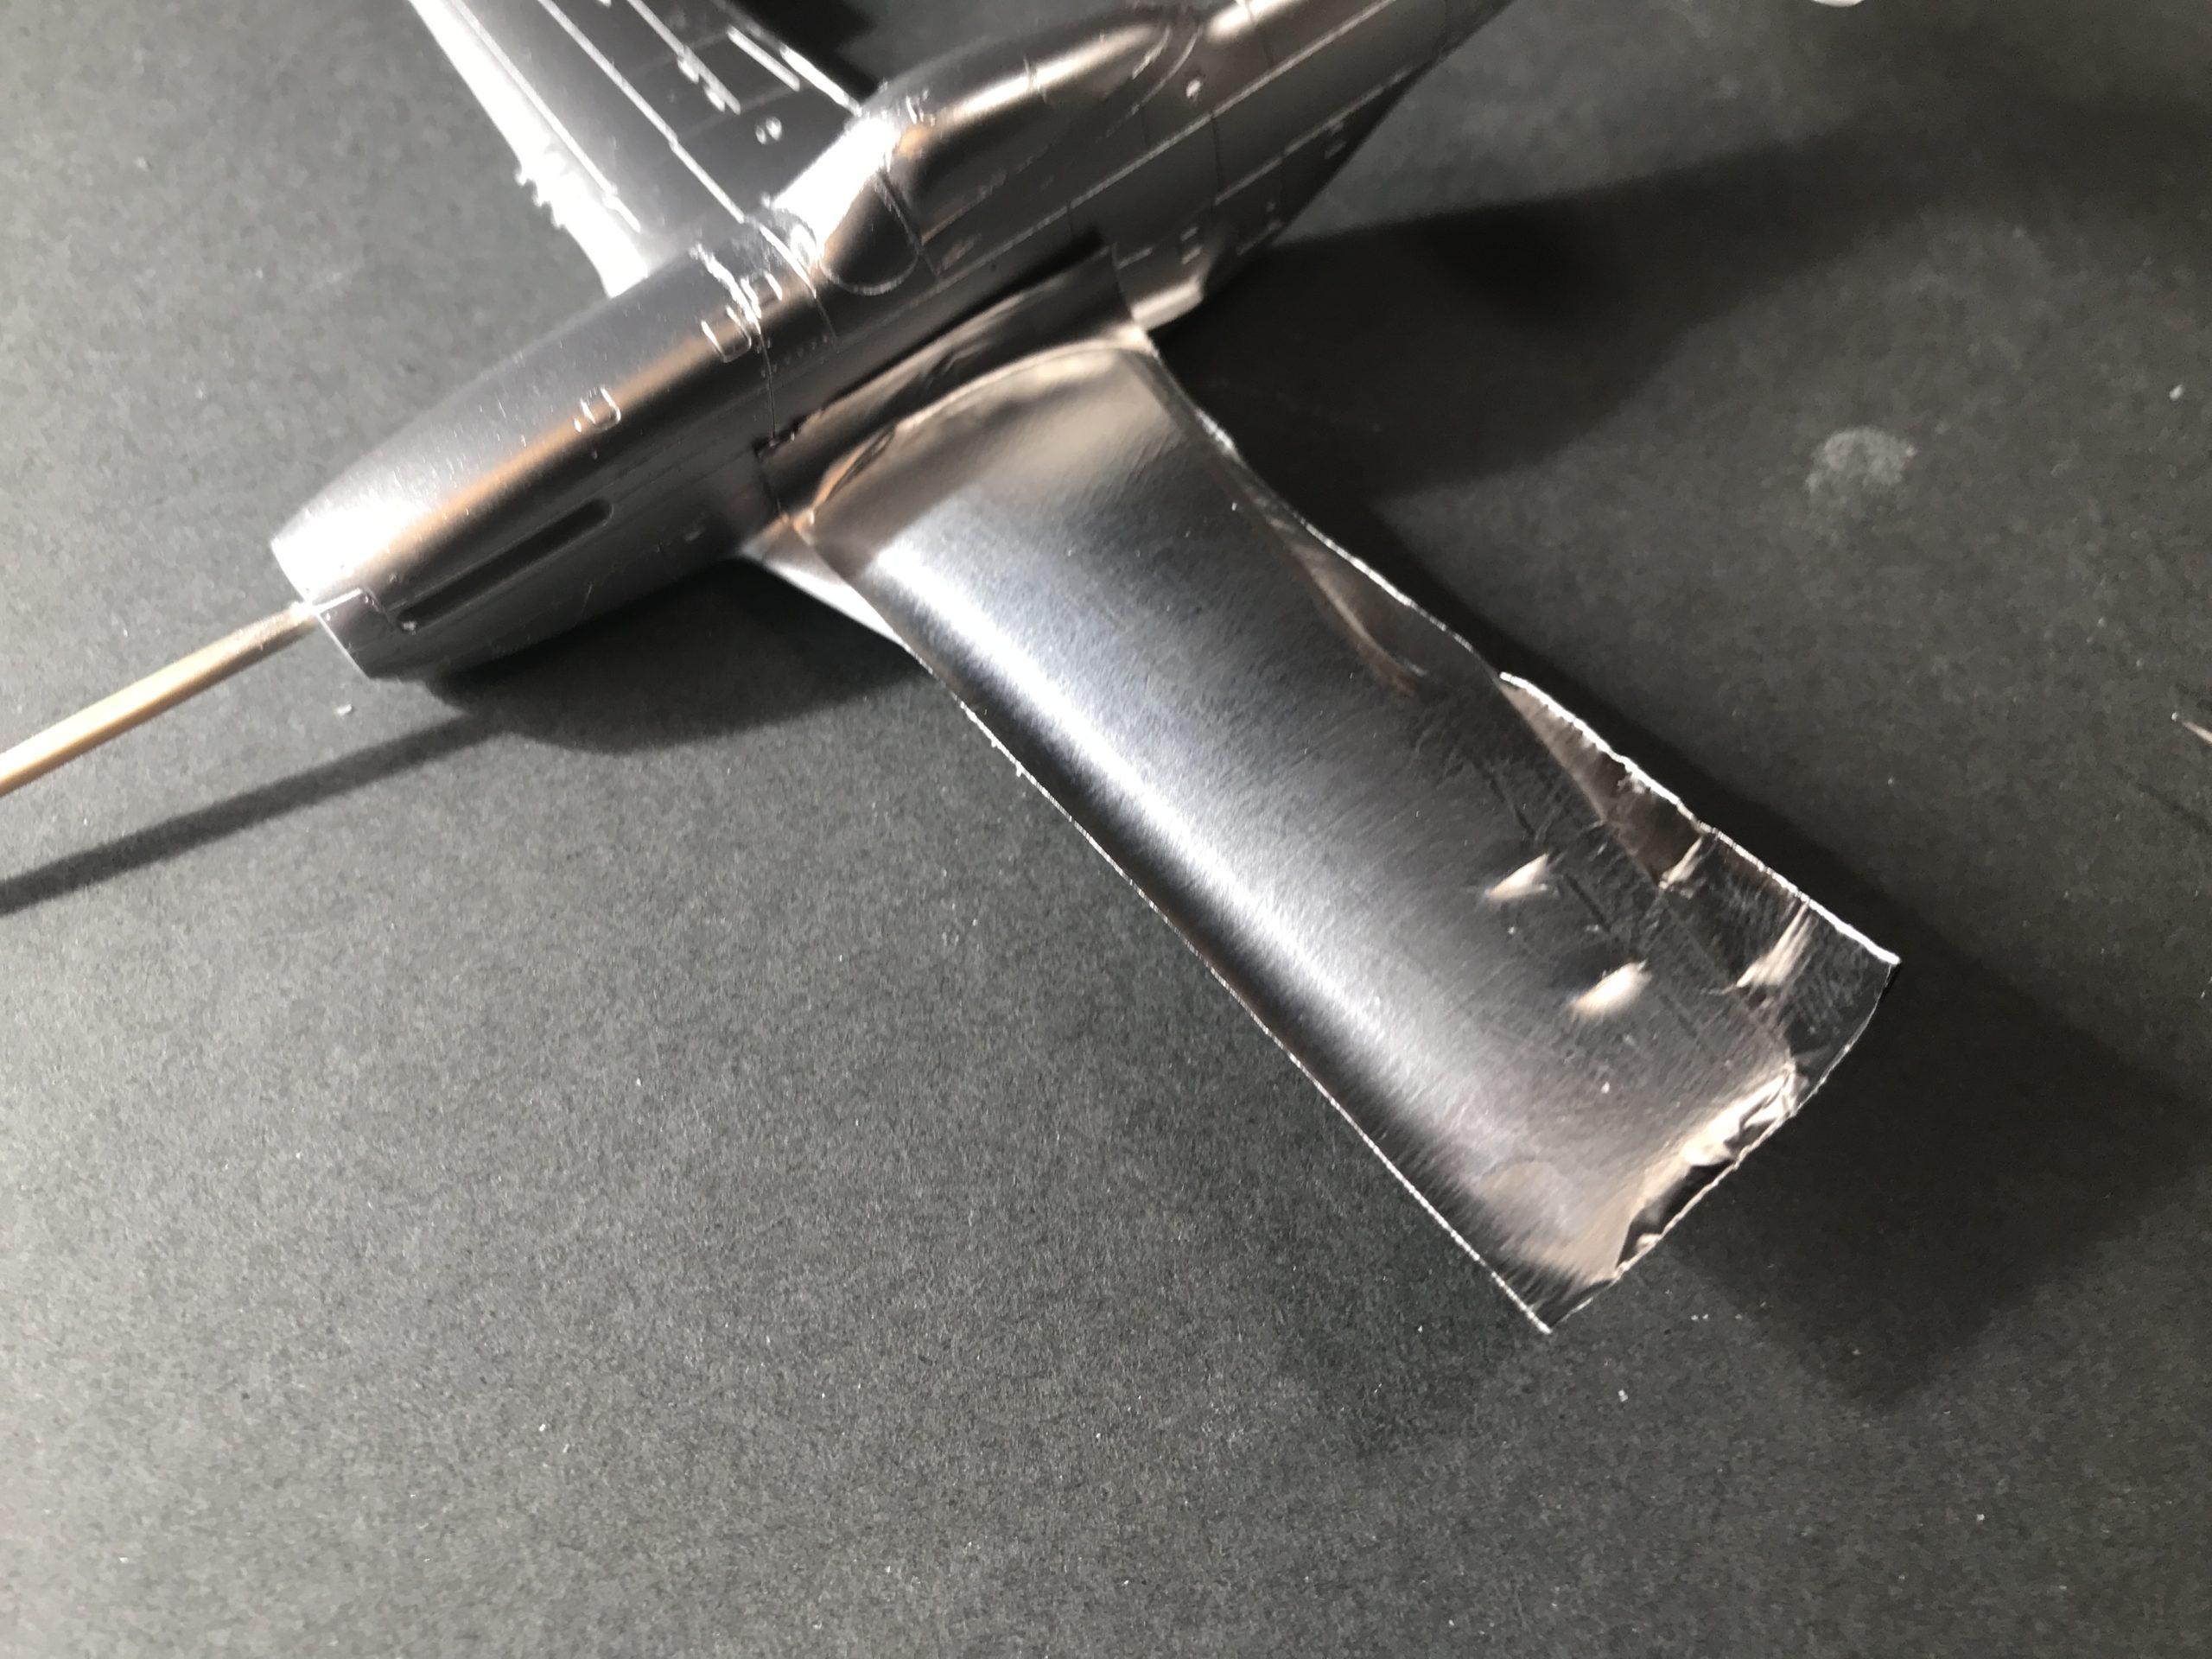
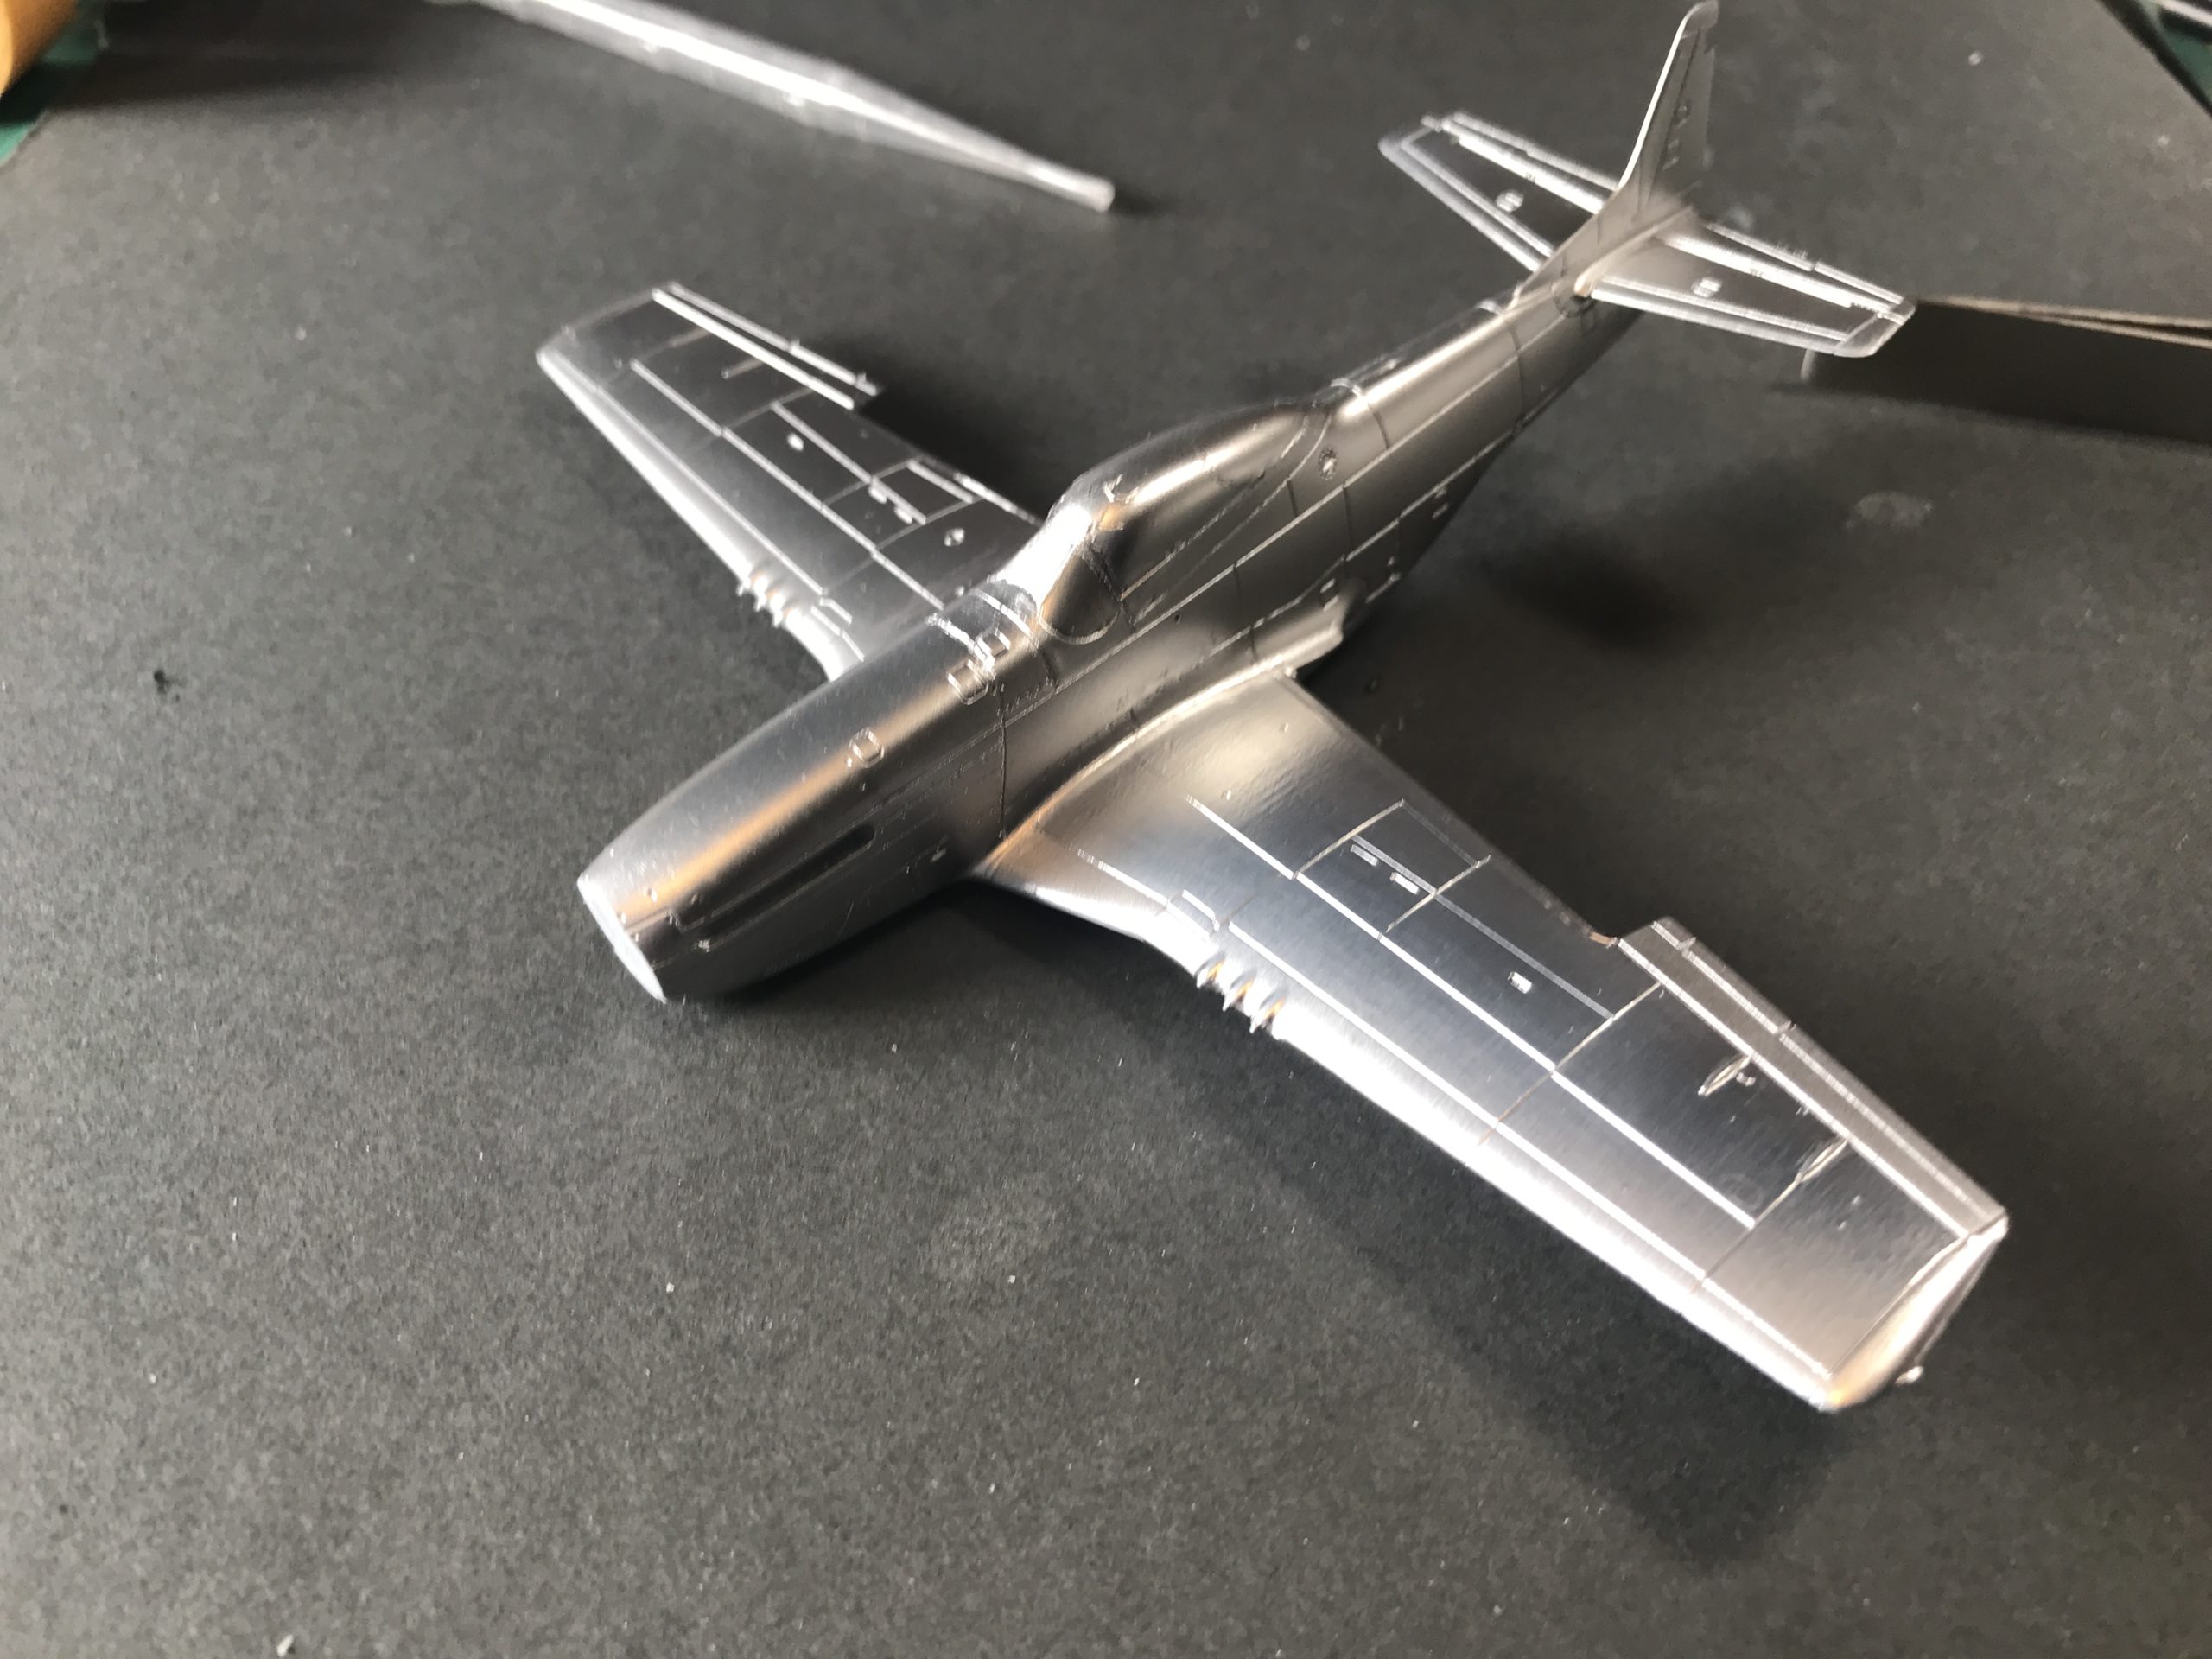
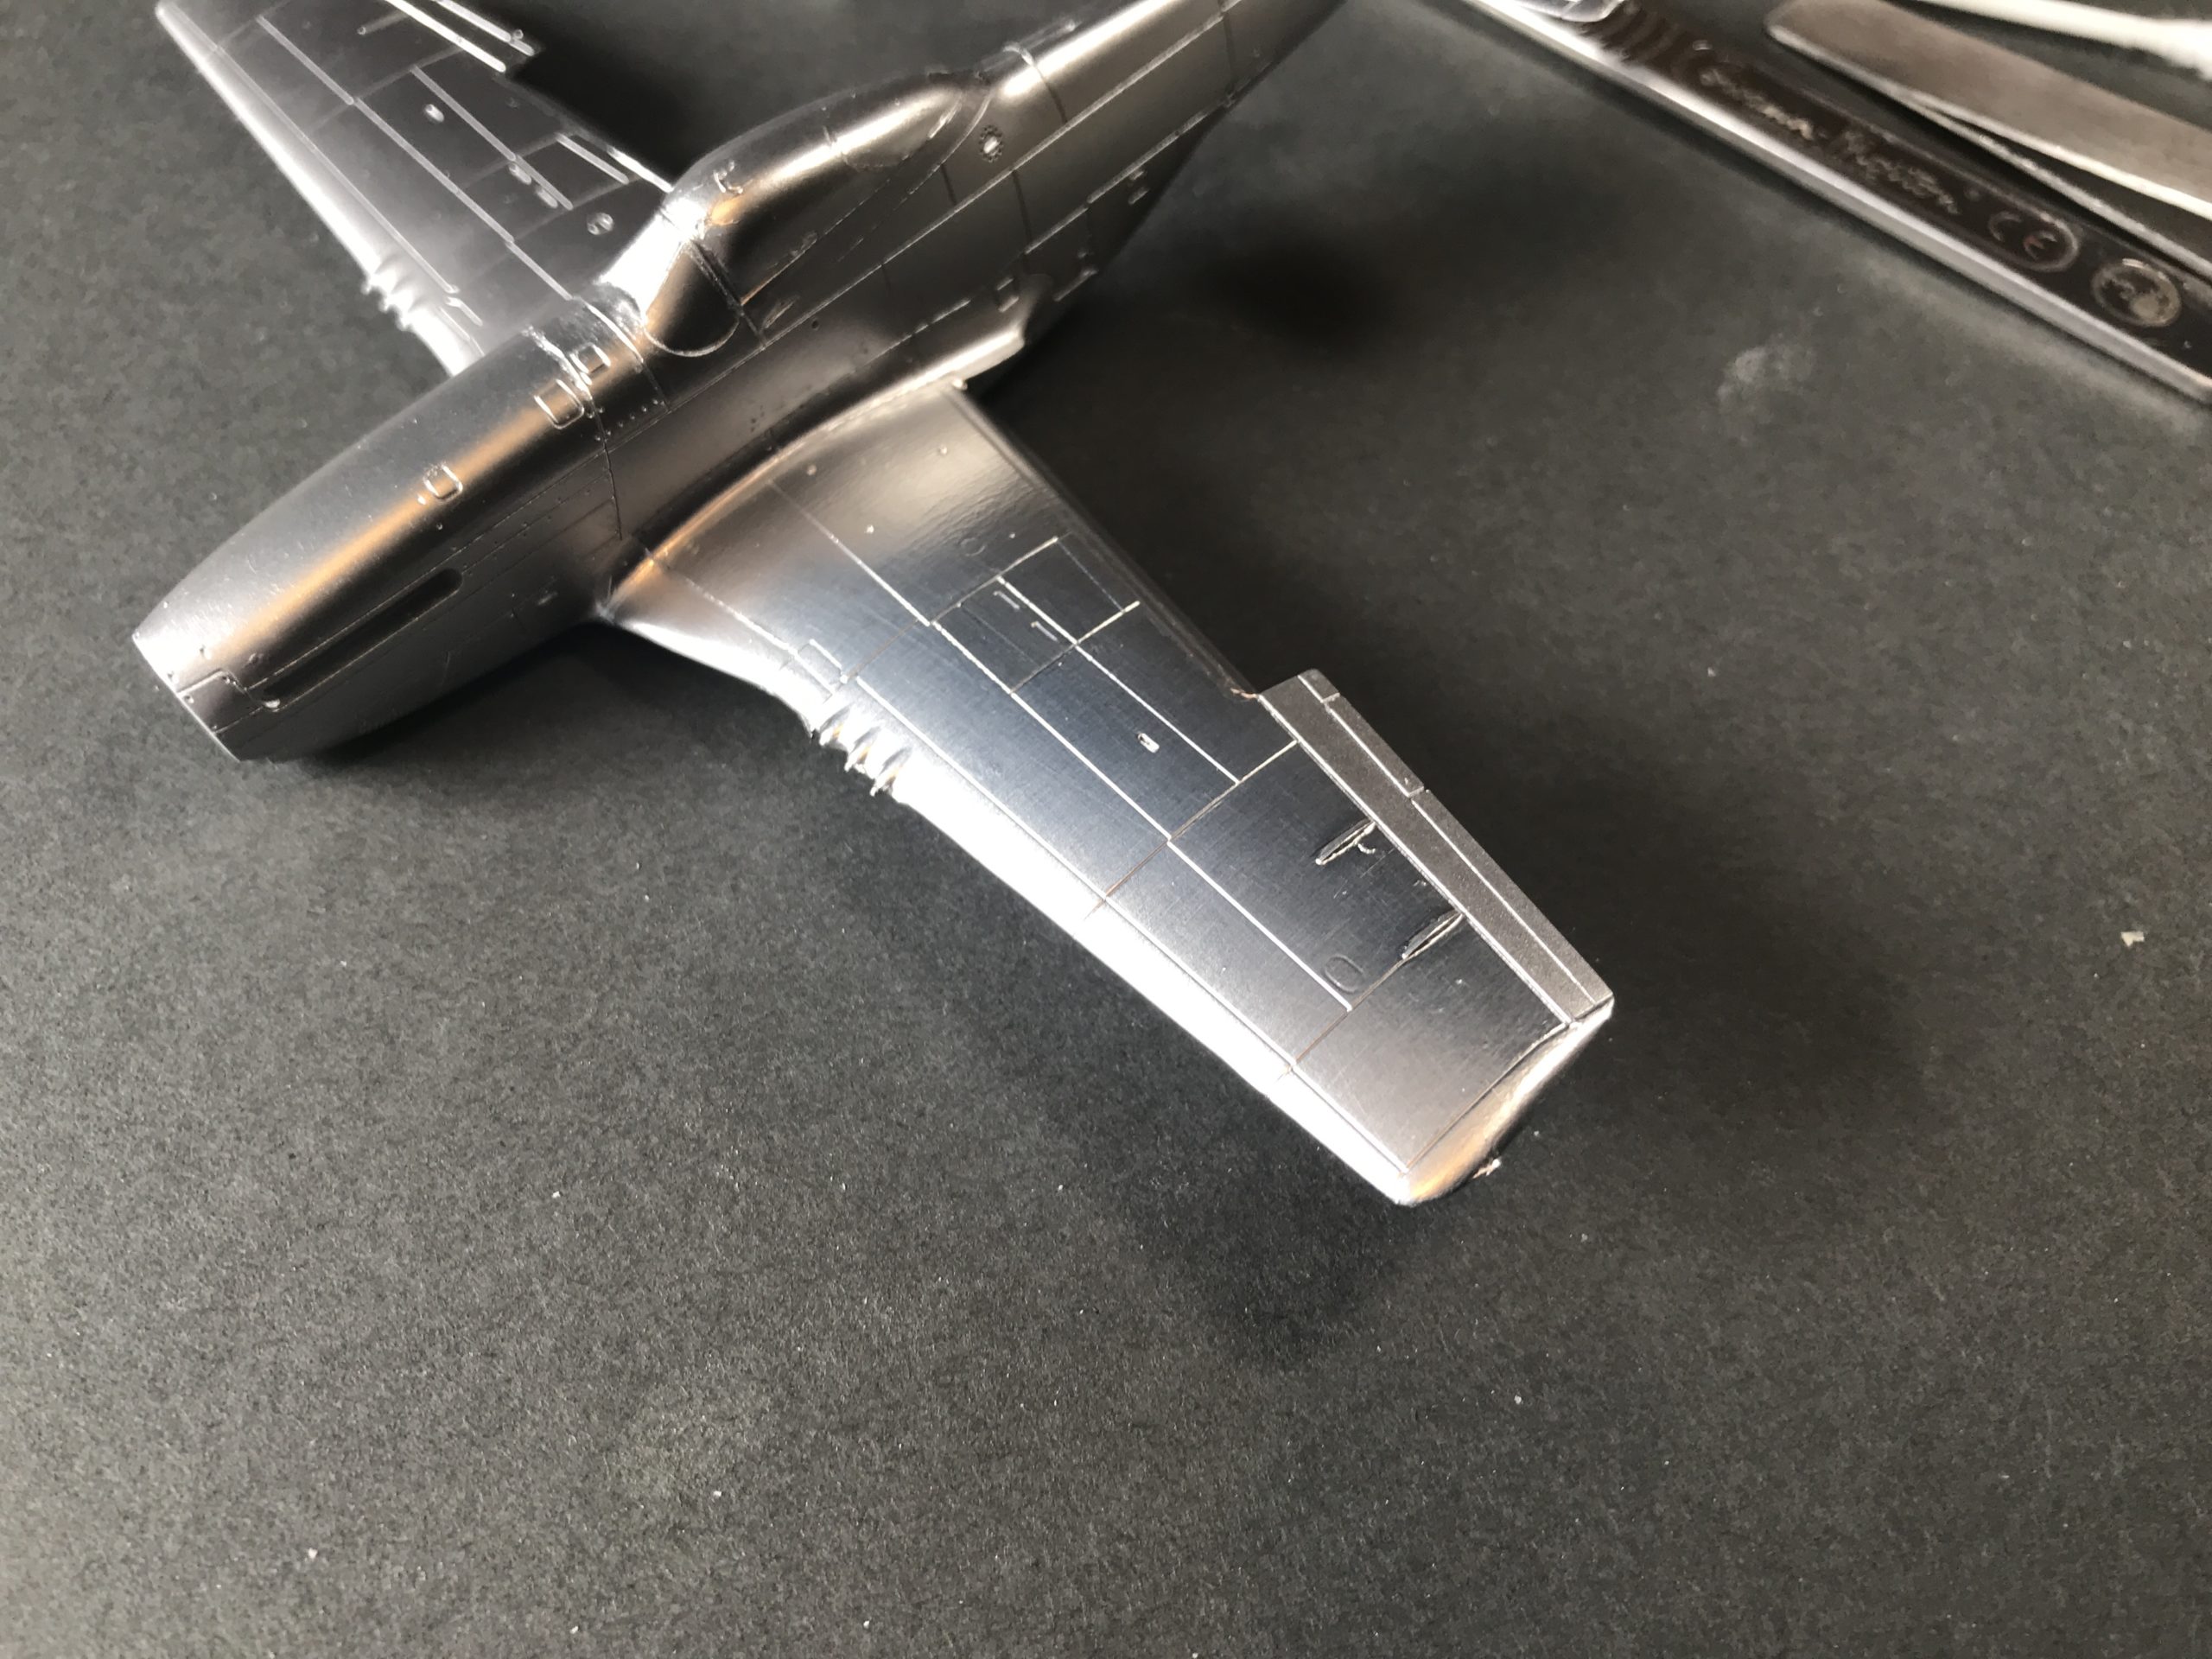
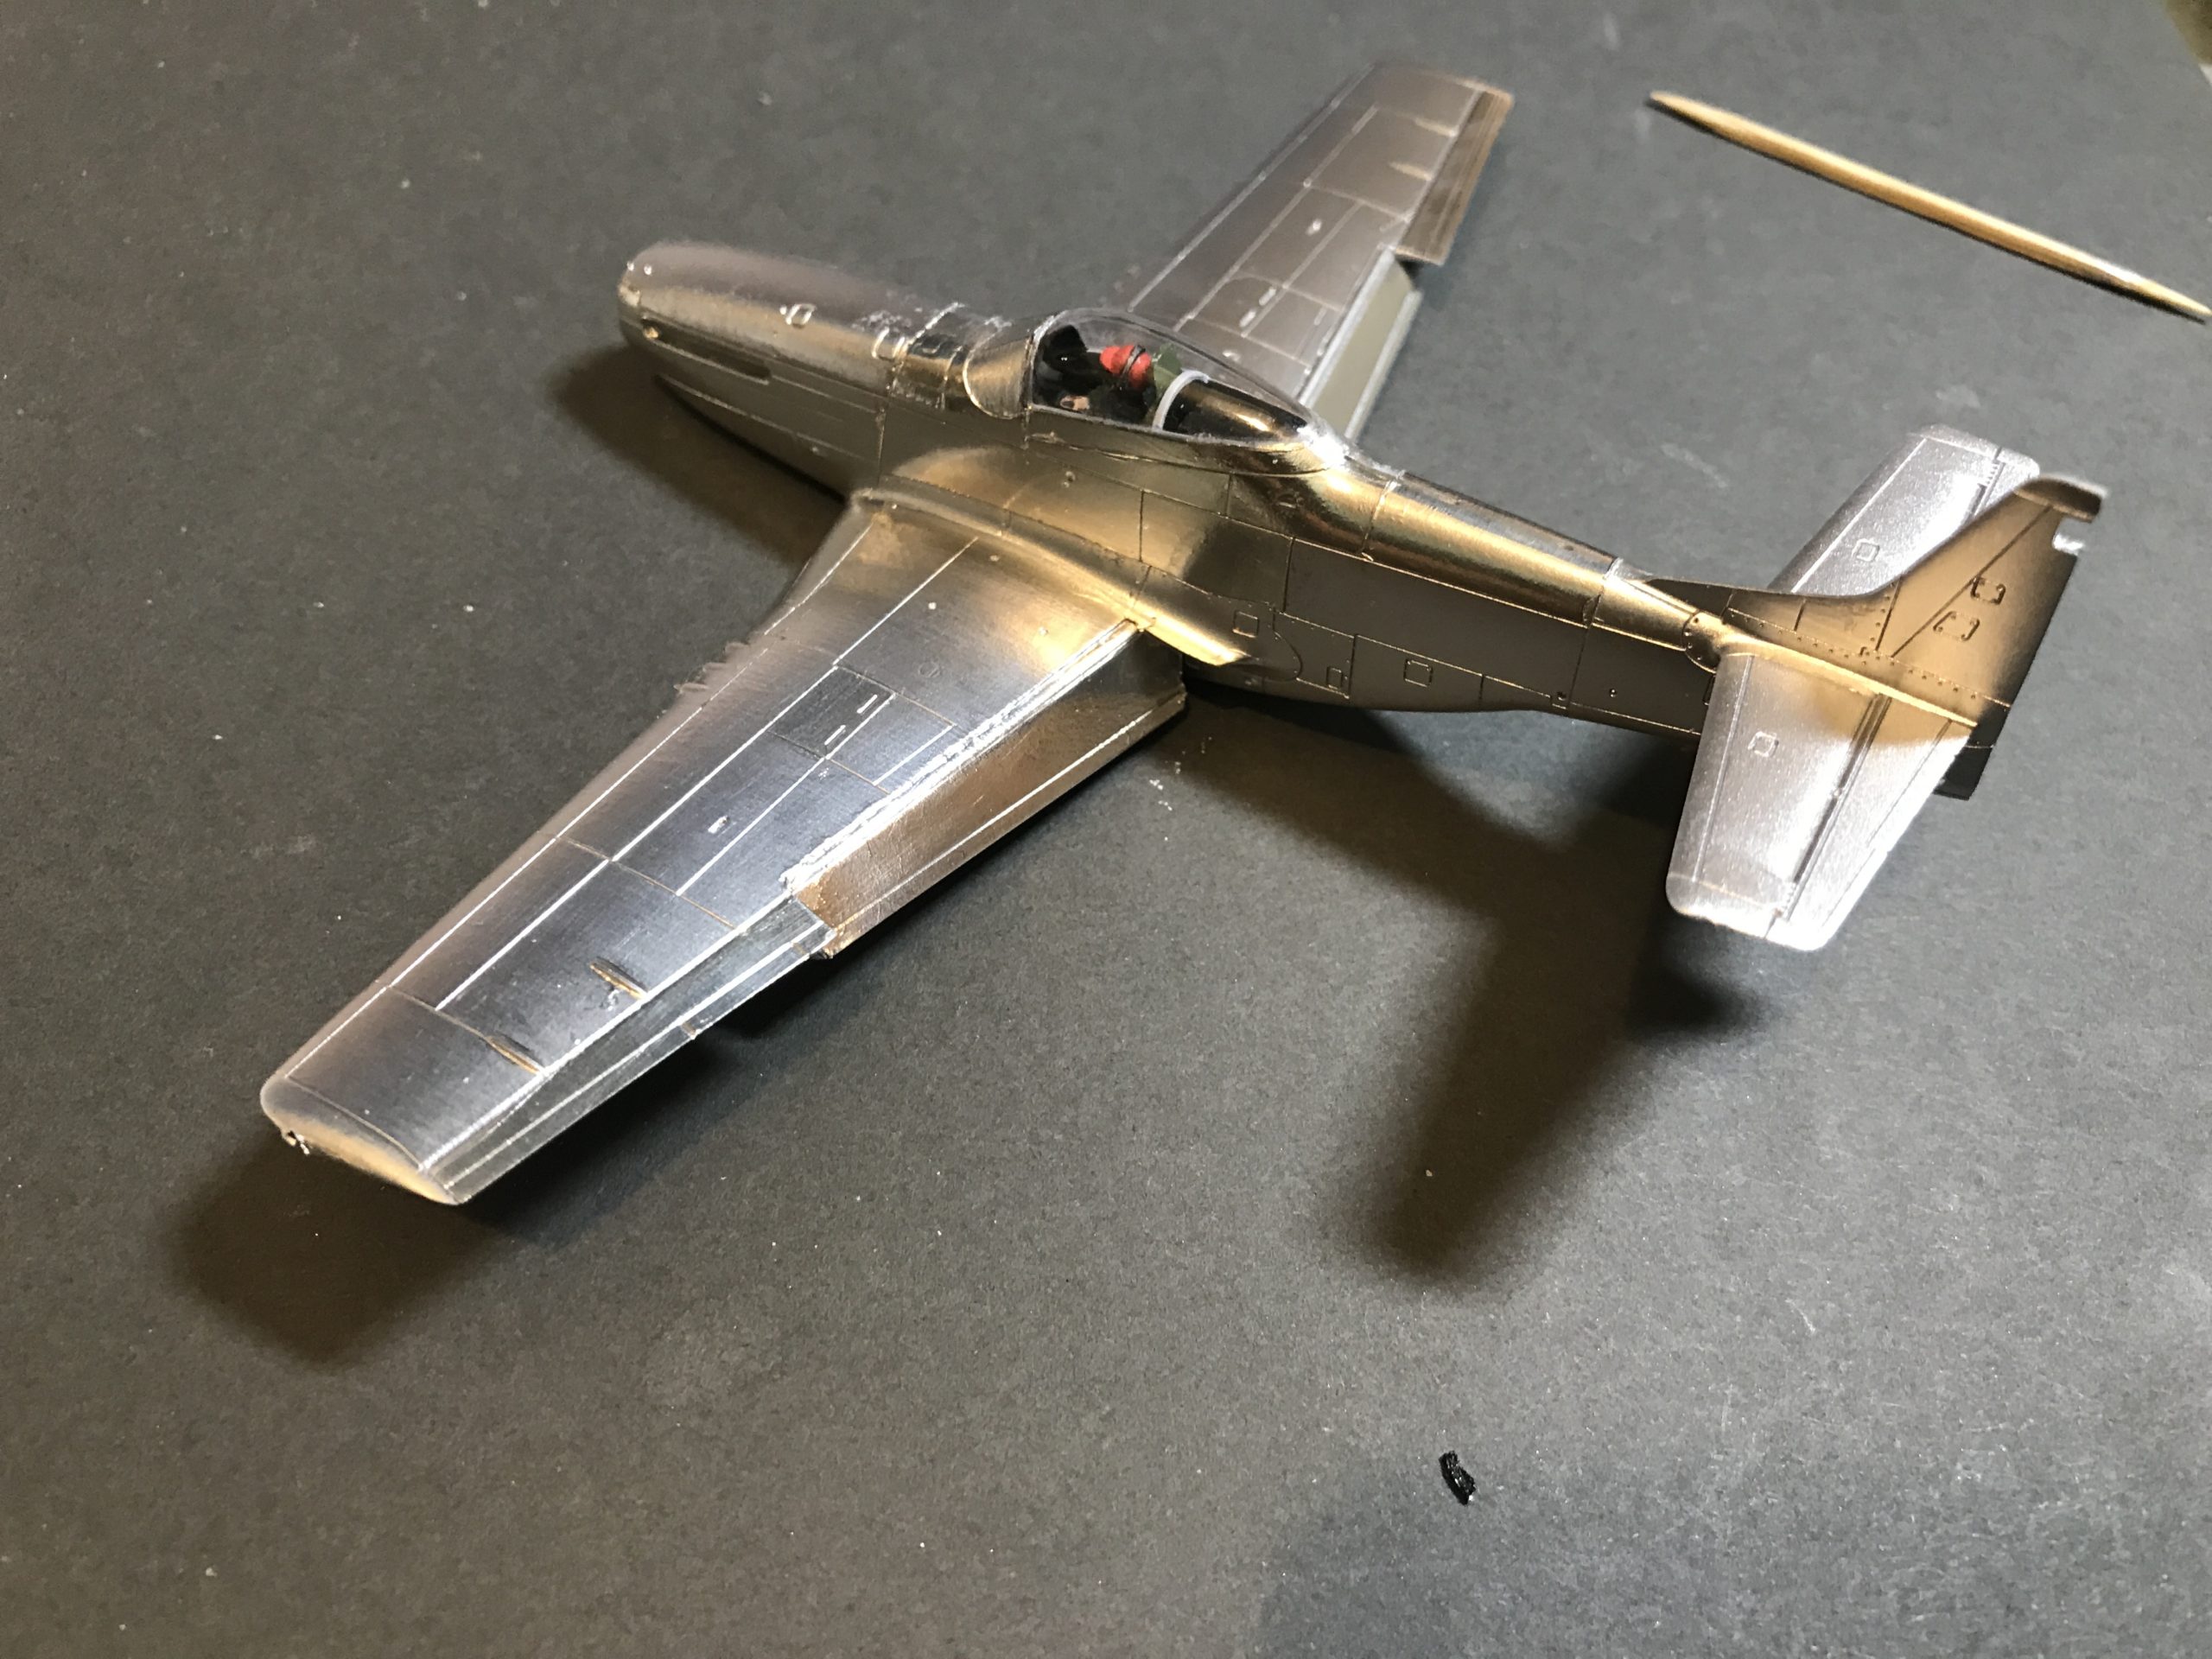
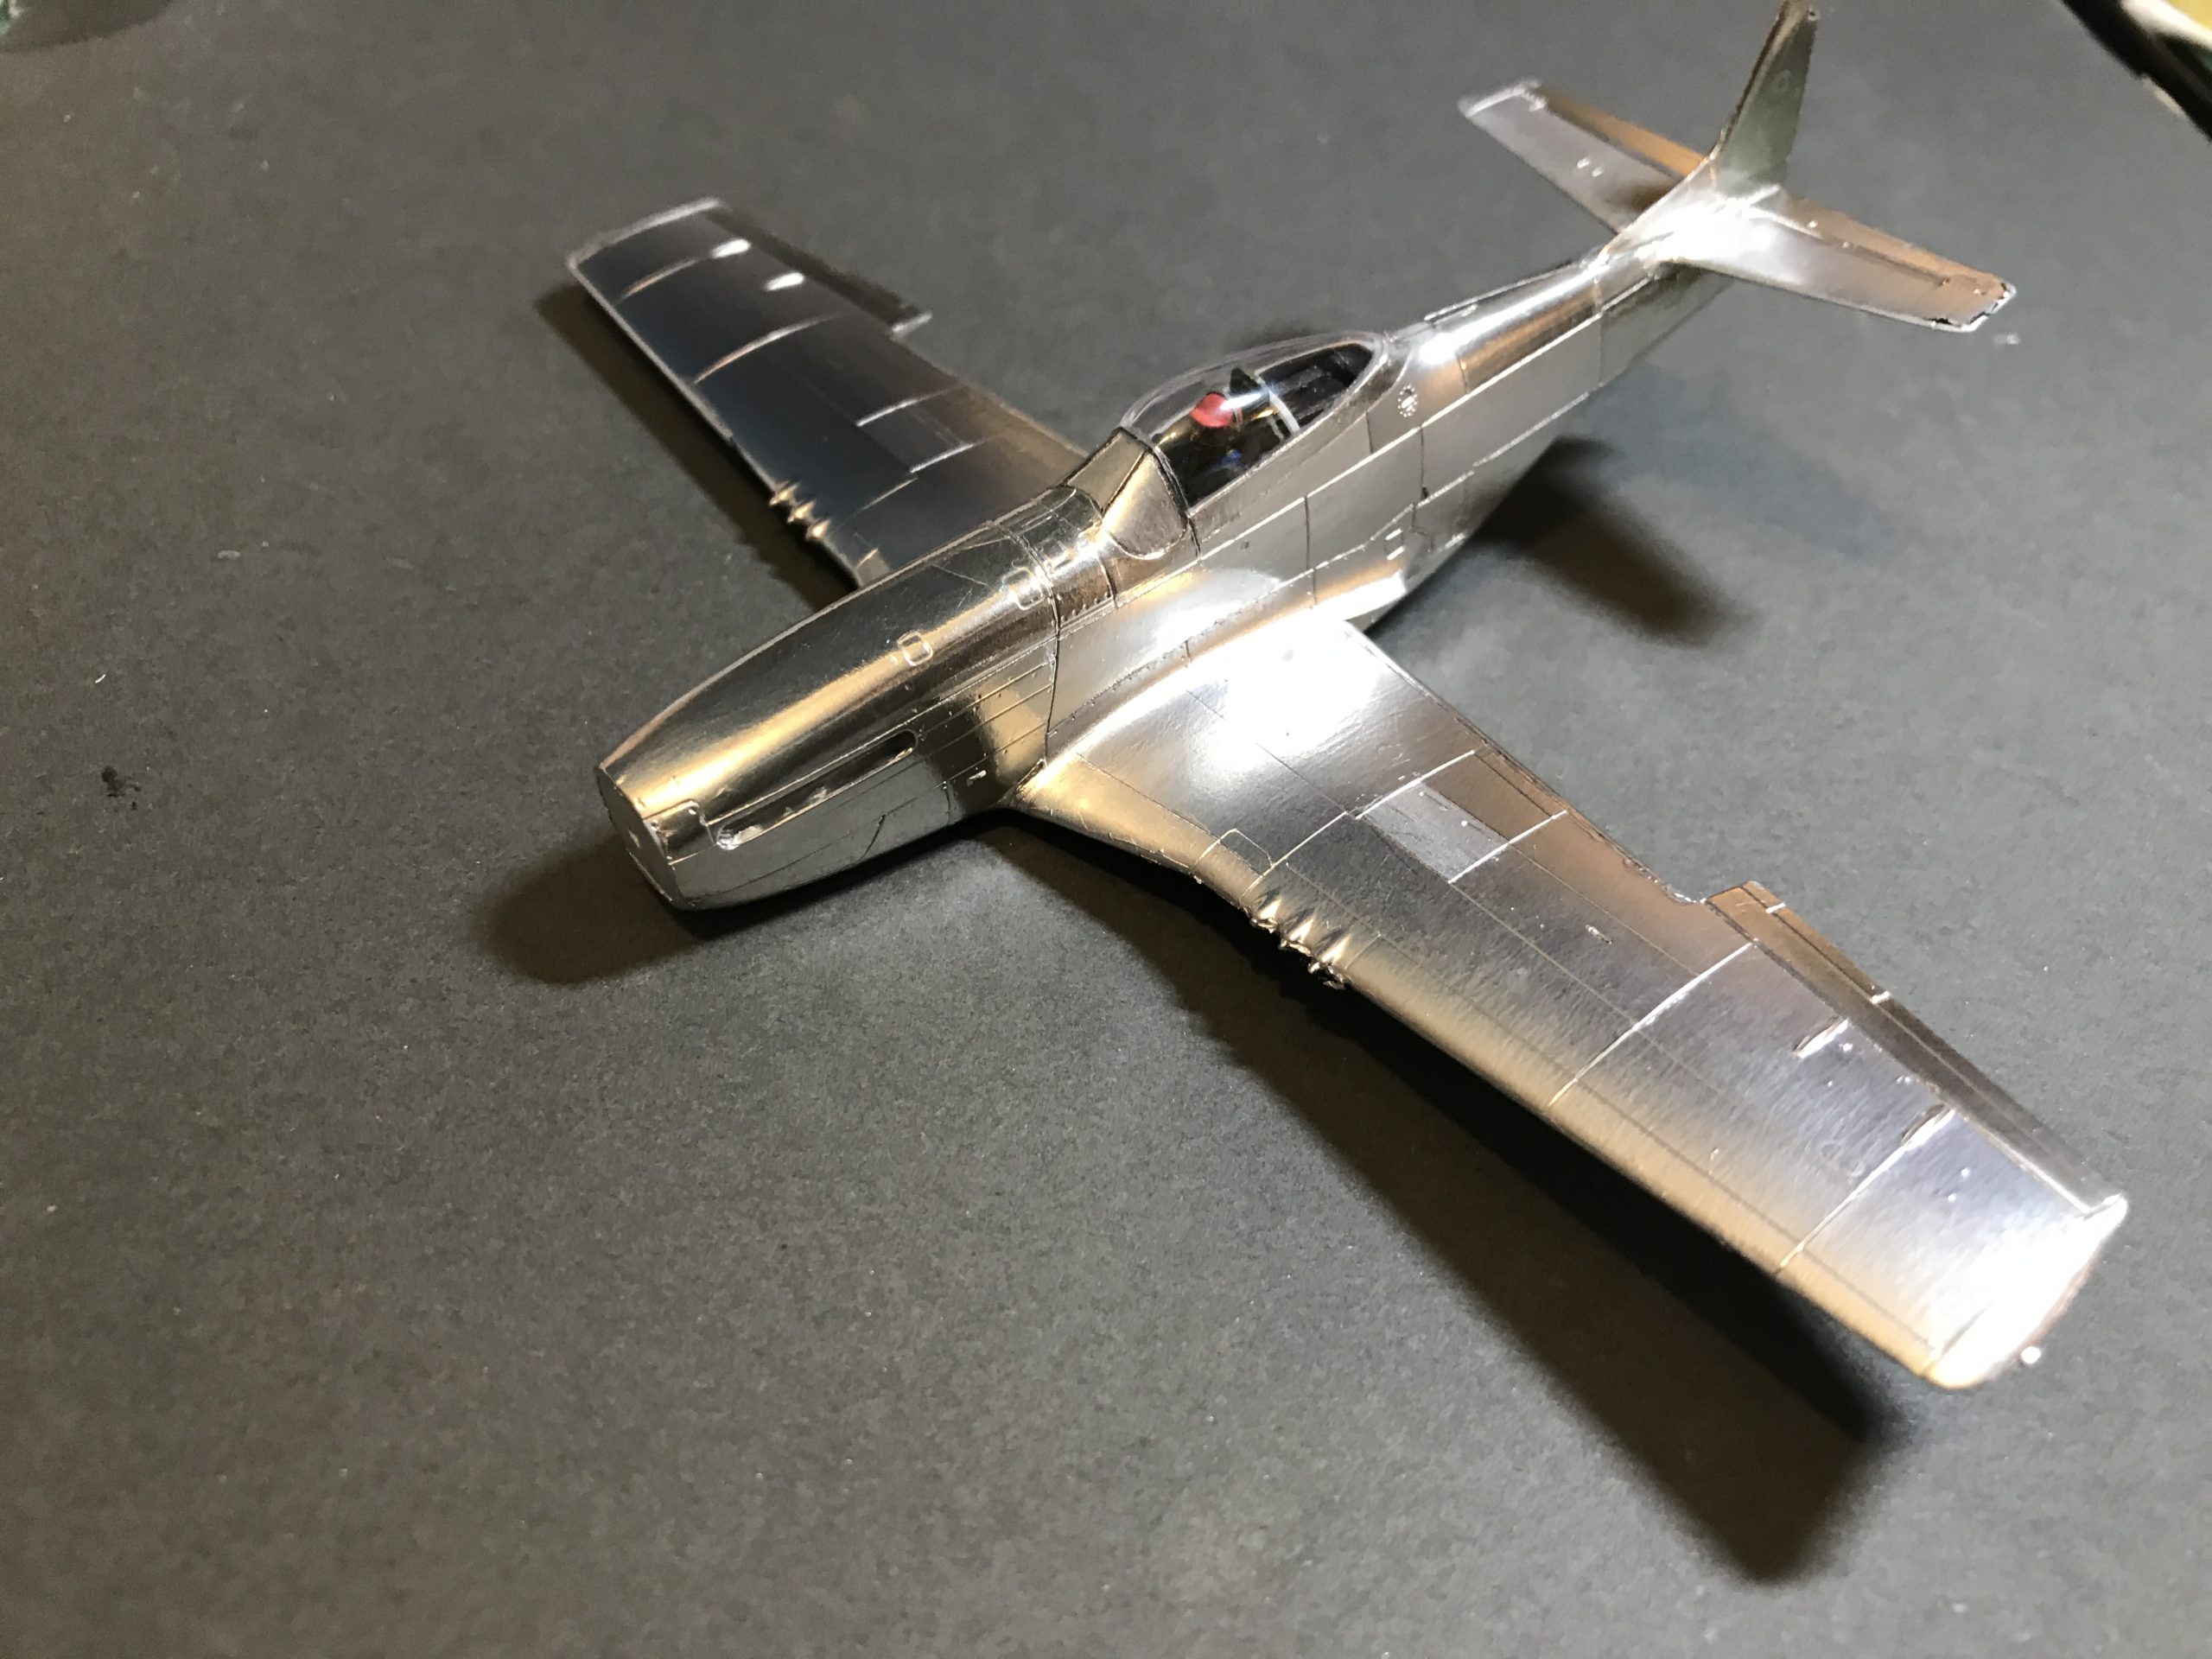
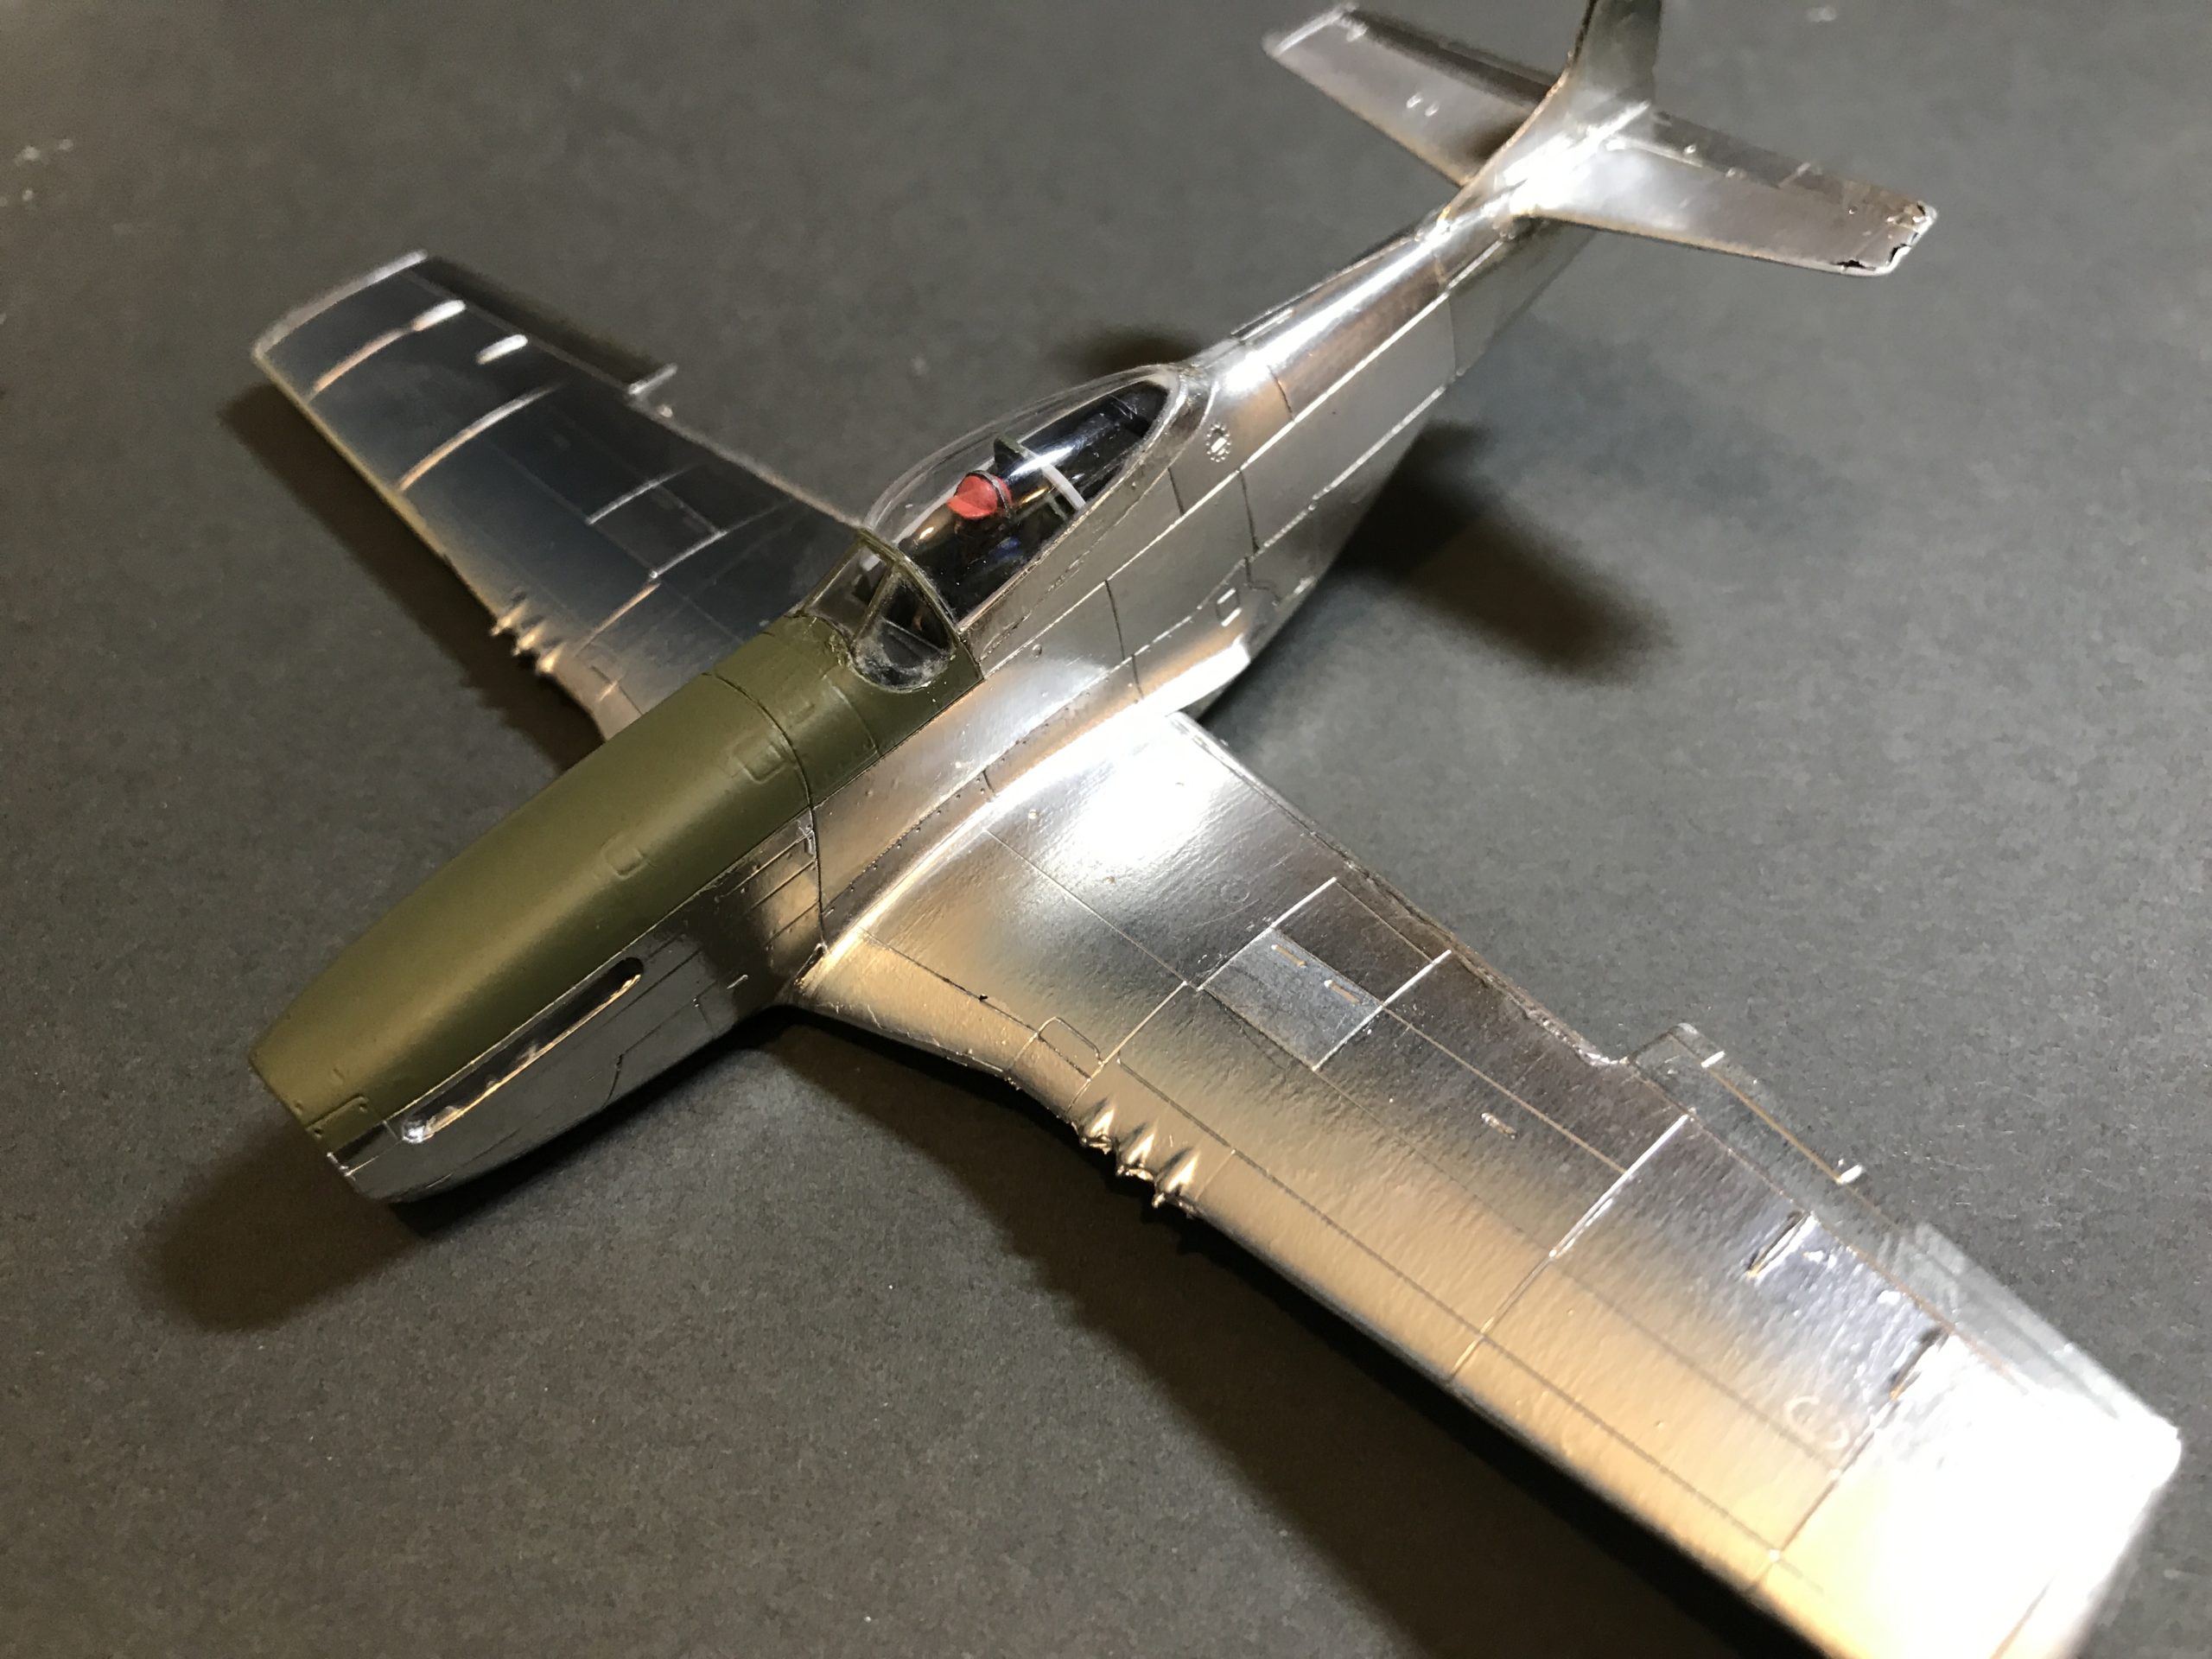
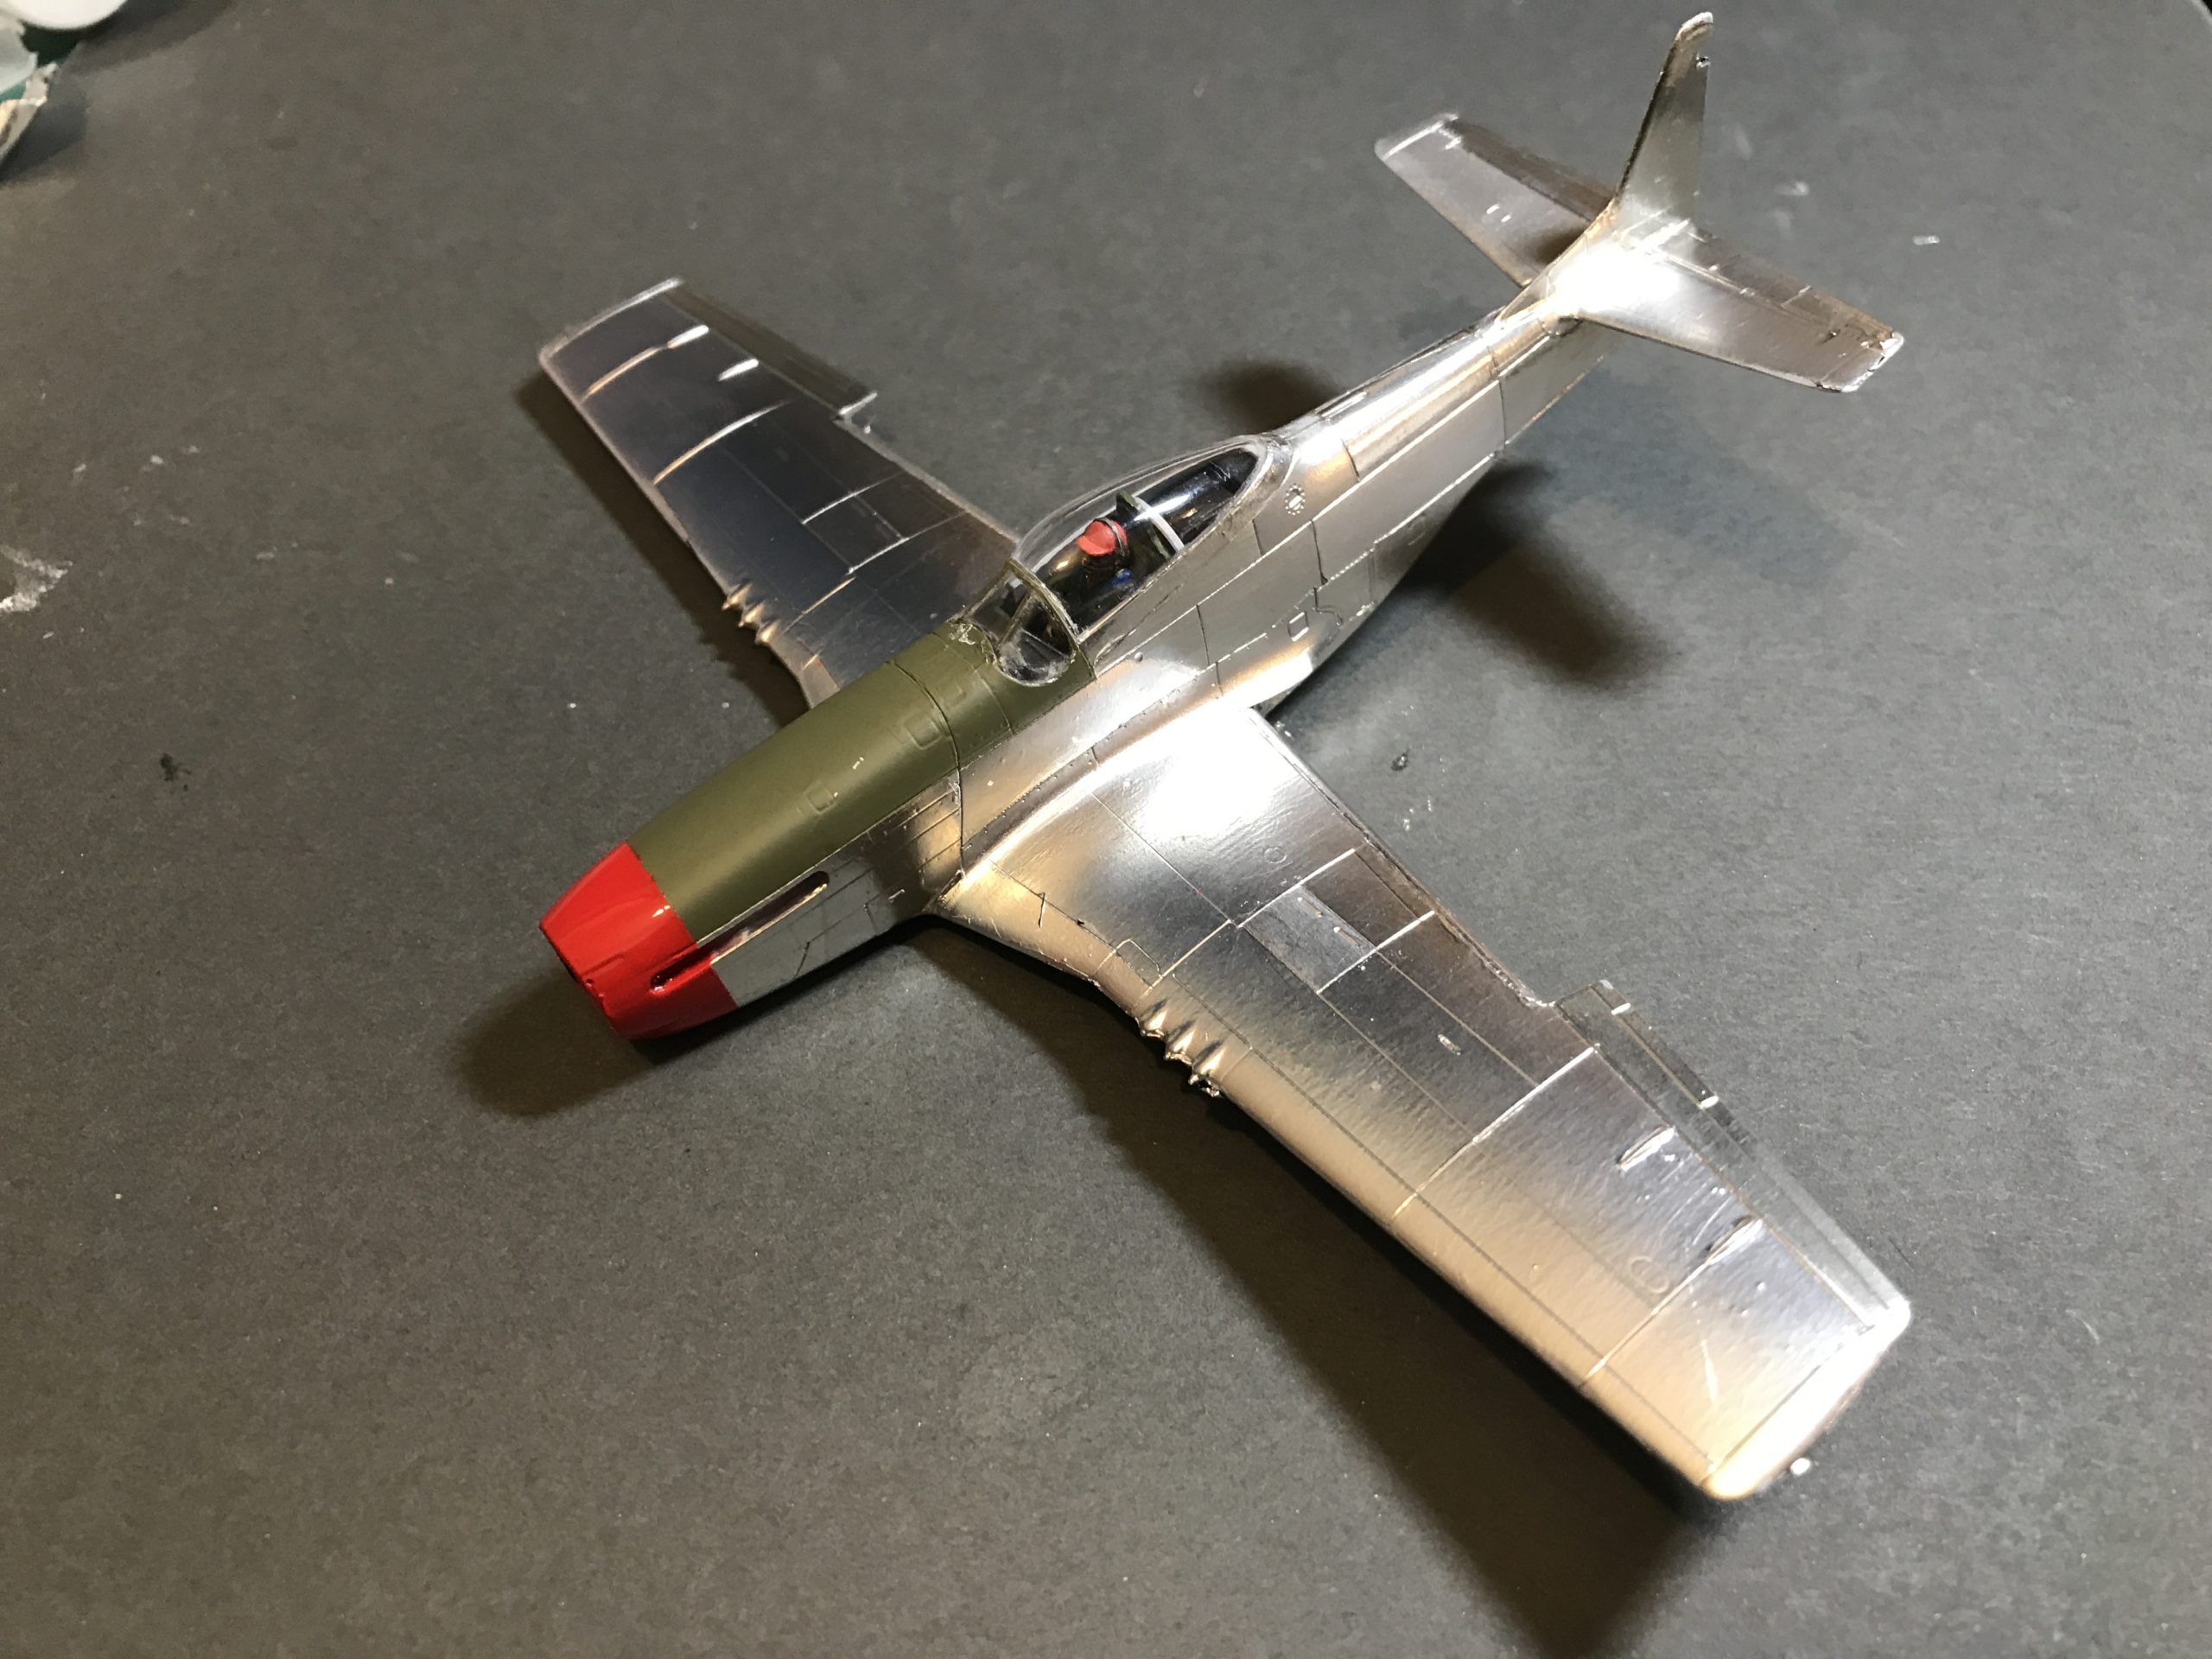
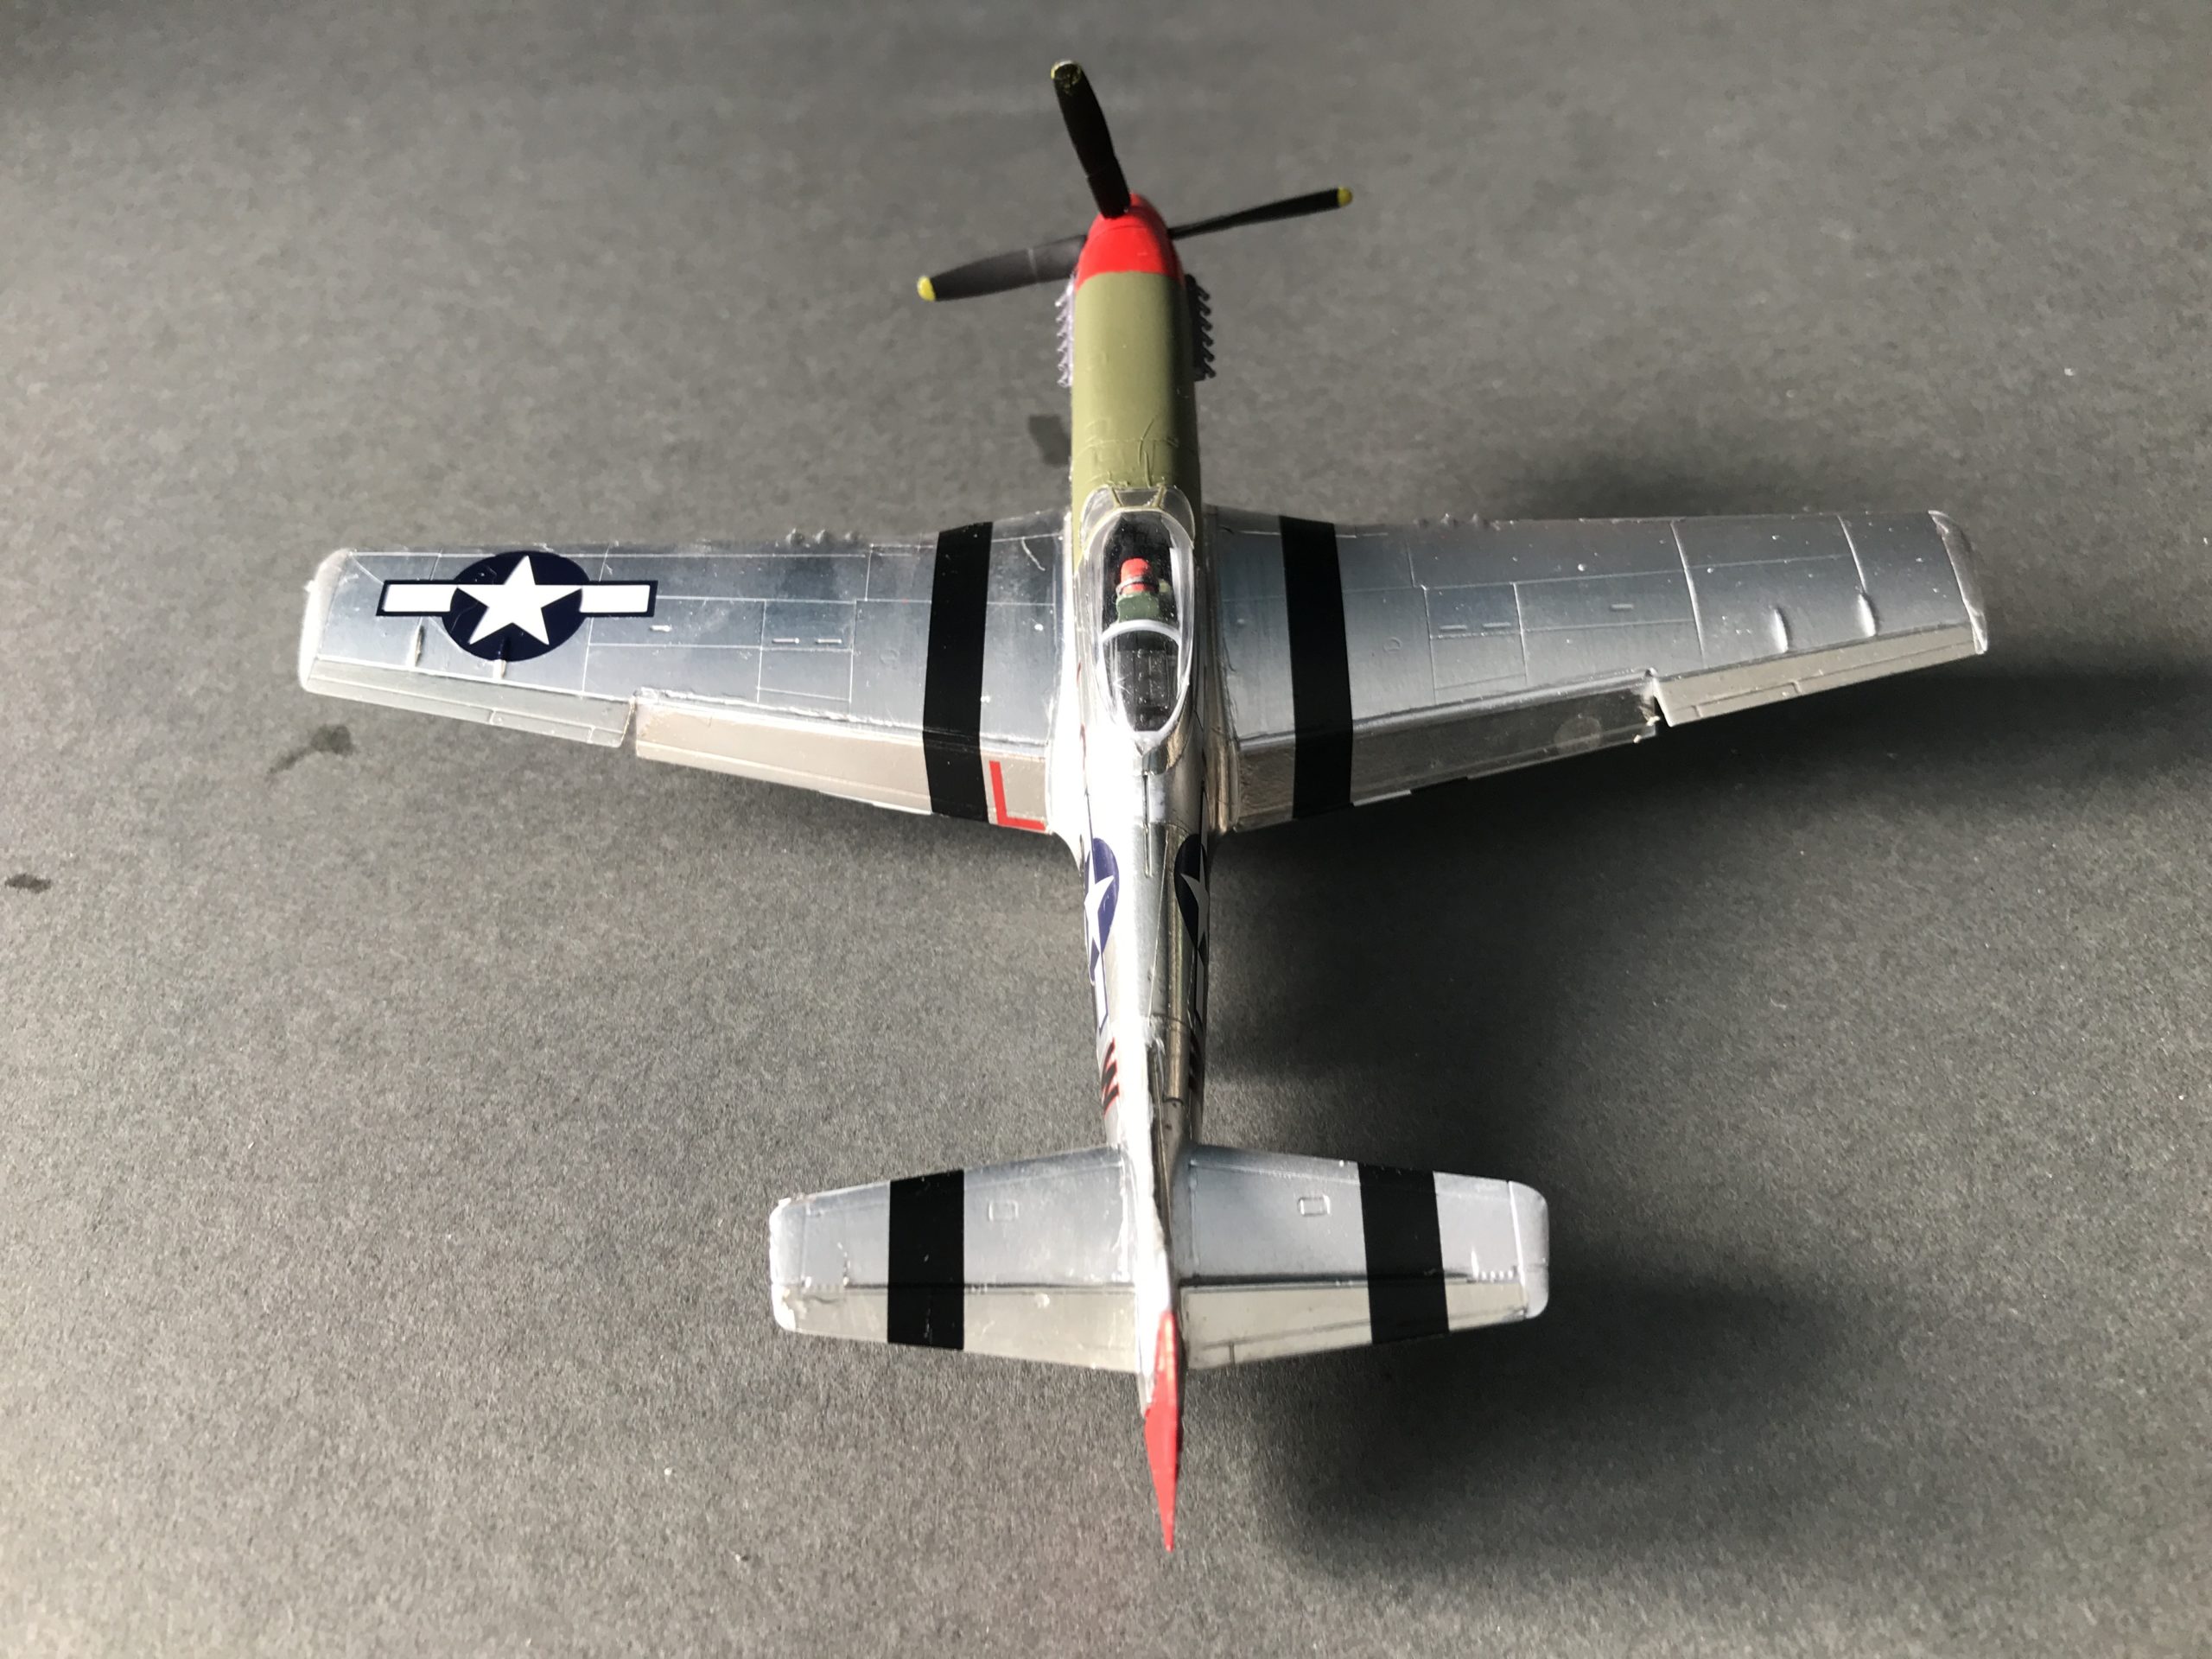
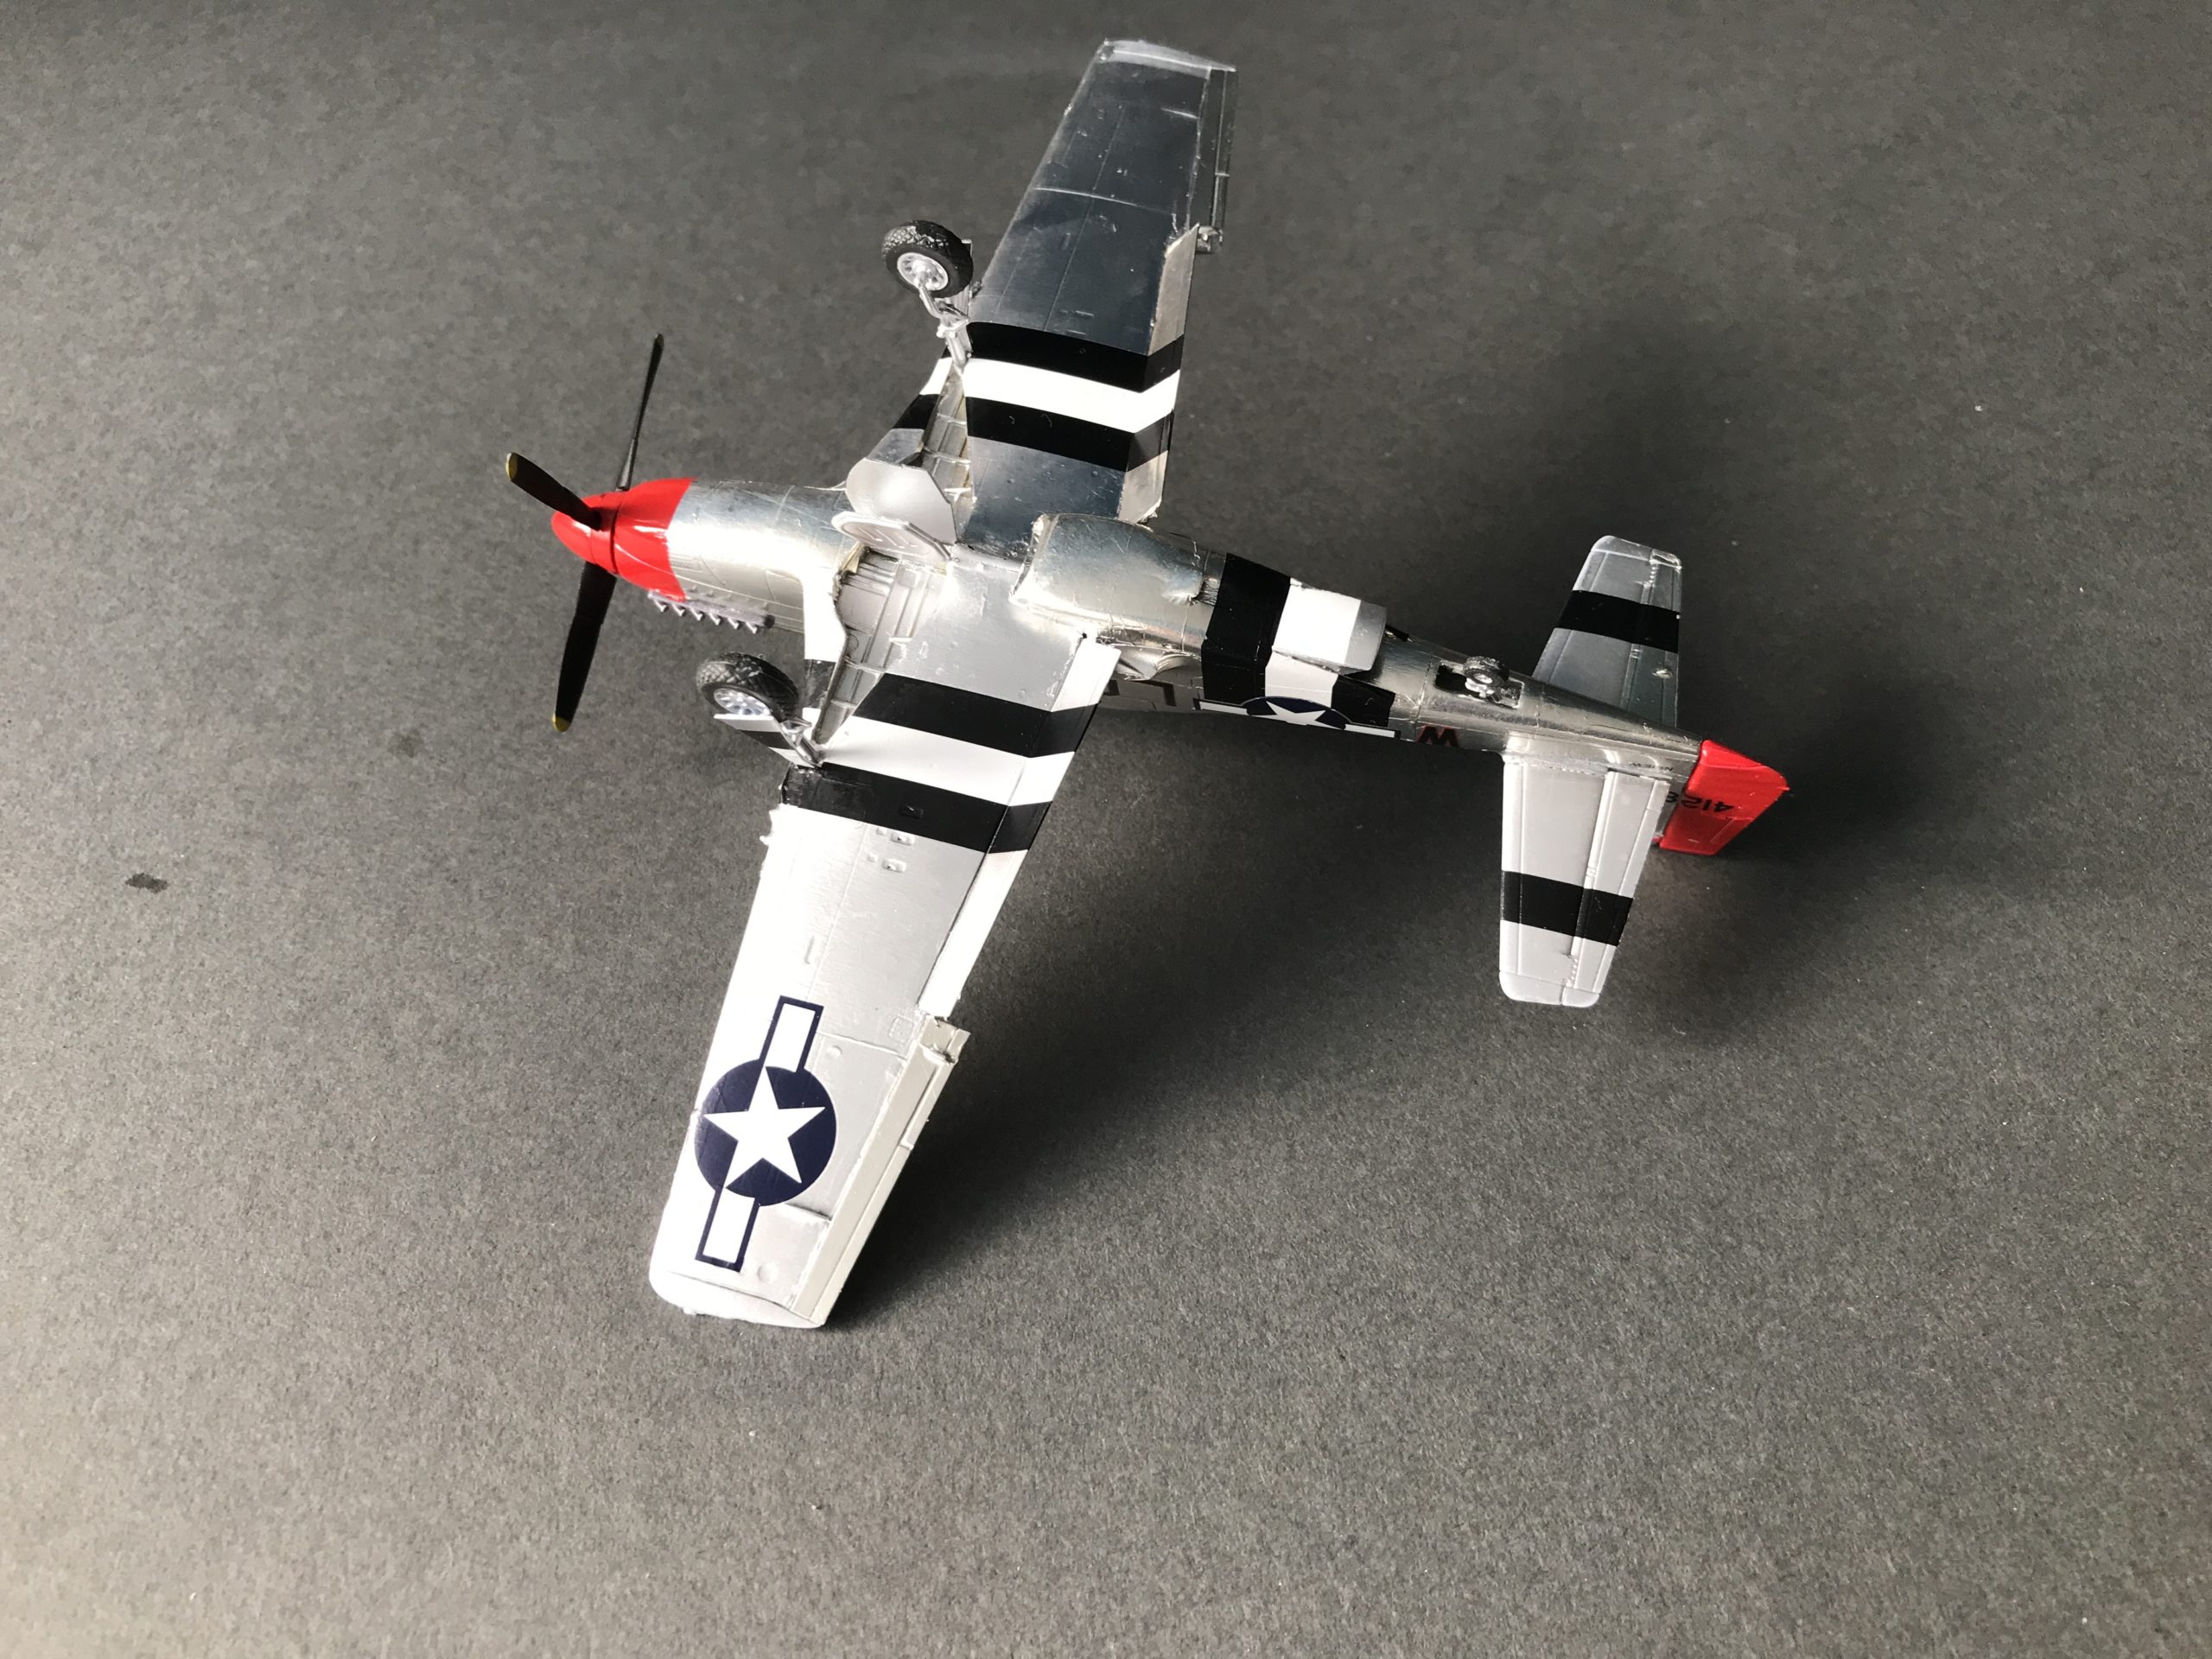
I used two types of foil Matt Aluminium and Chrome. I referred to pictures of P-51D’s as a guide and began applying the foil in sections. A long and arduous task.
I’m reasonably happy with how it turned out. If I were to do it again I would probably do the fuselage and wings separately and assemble them after application.
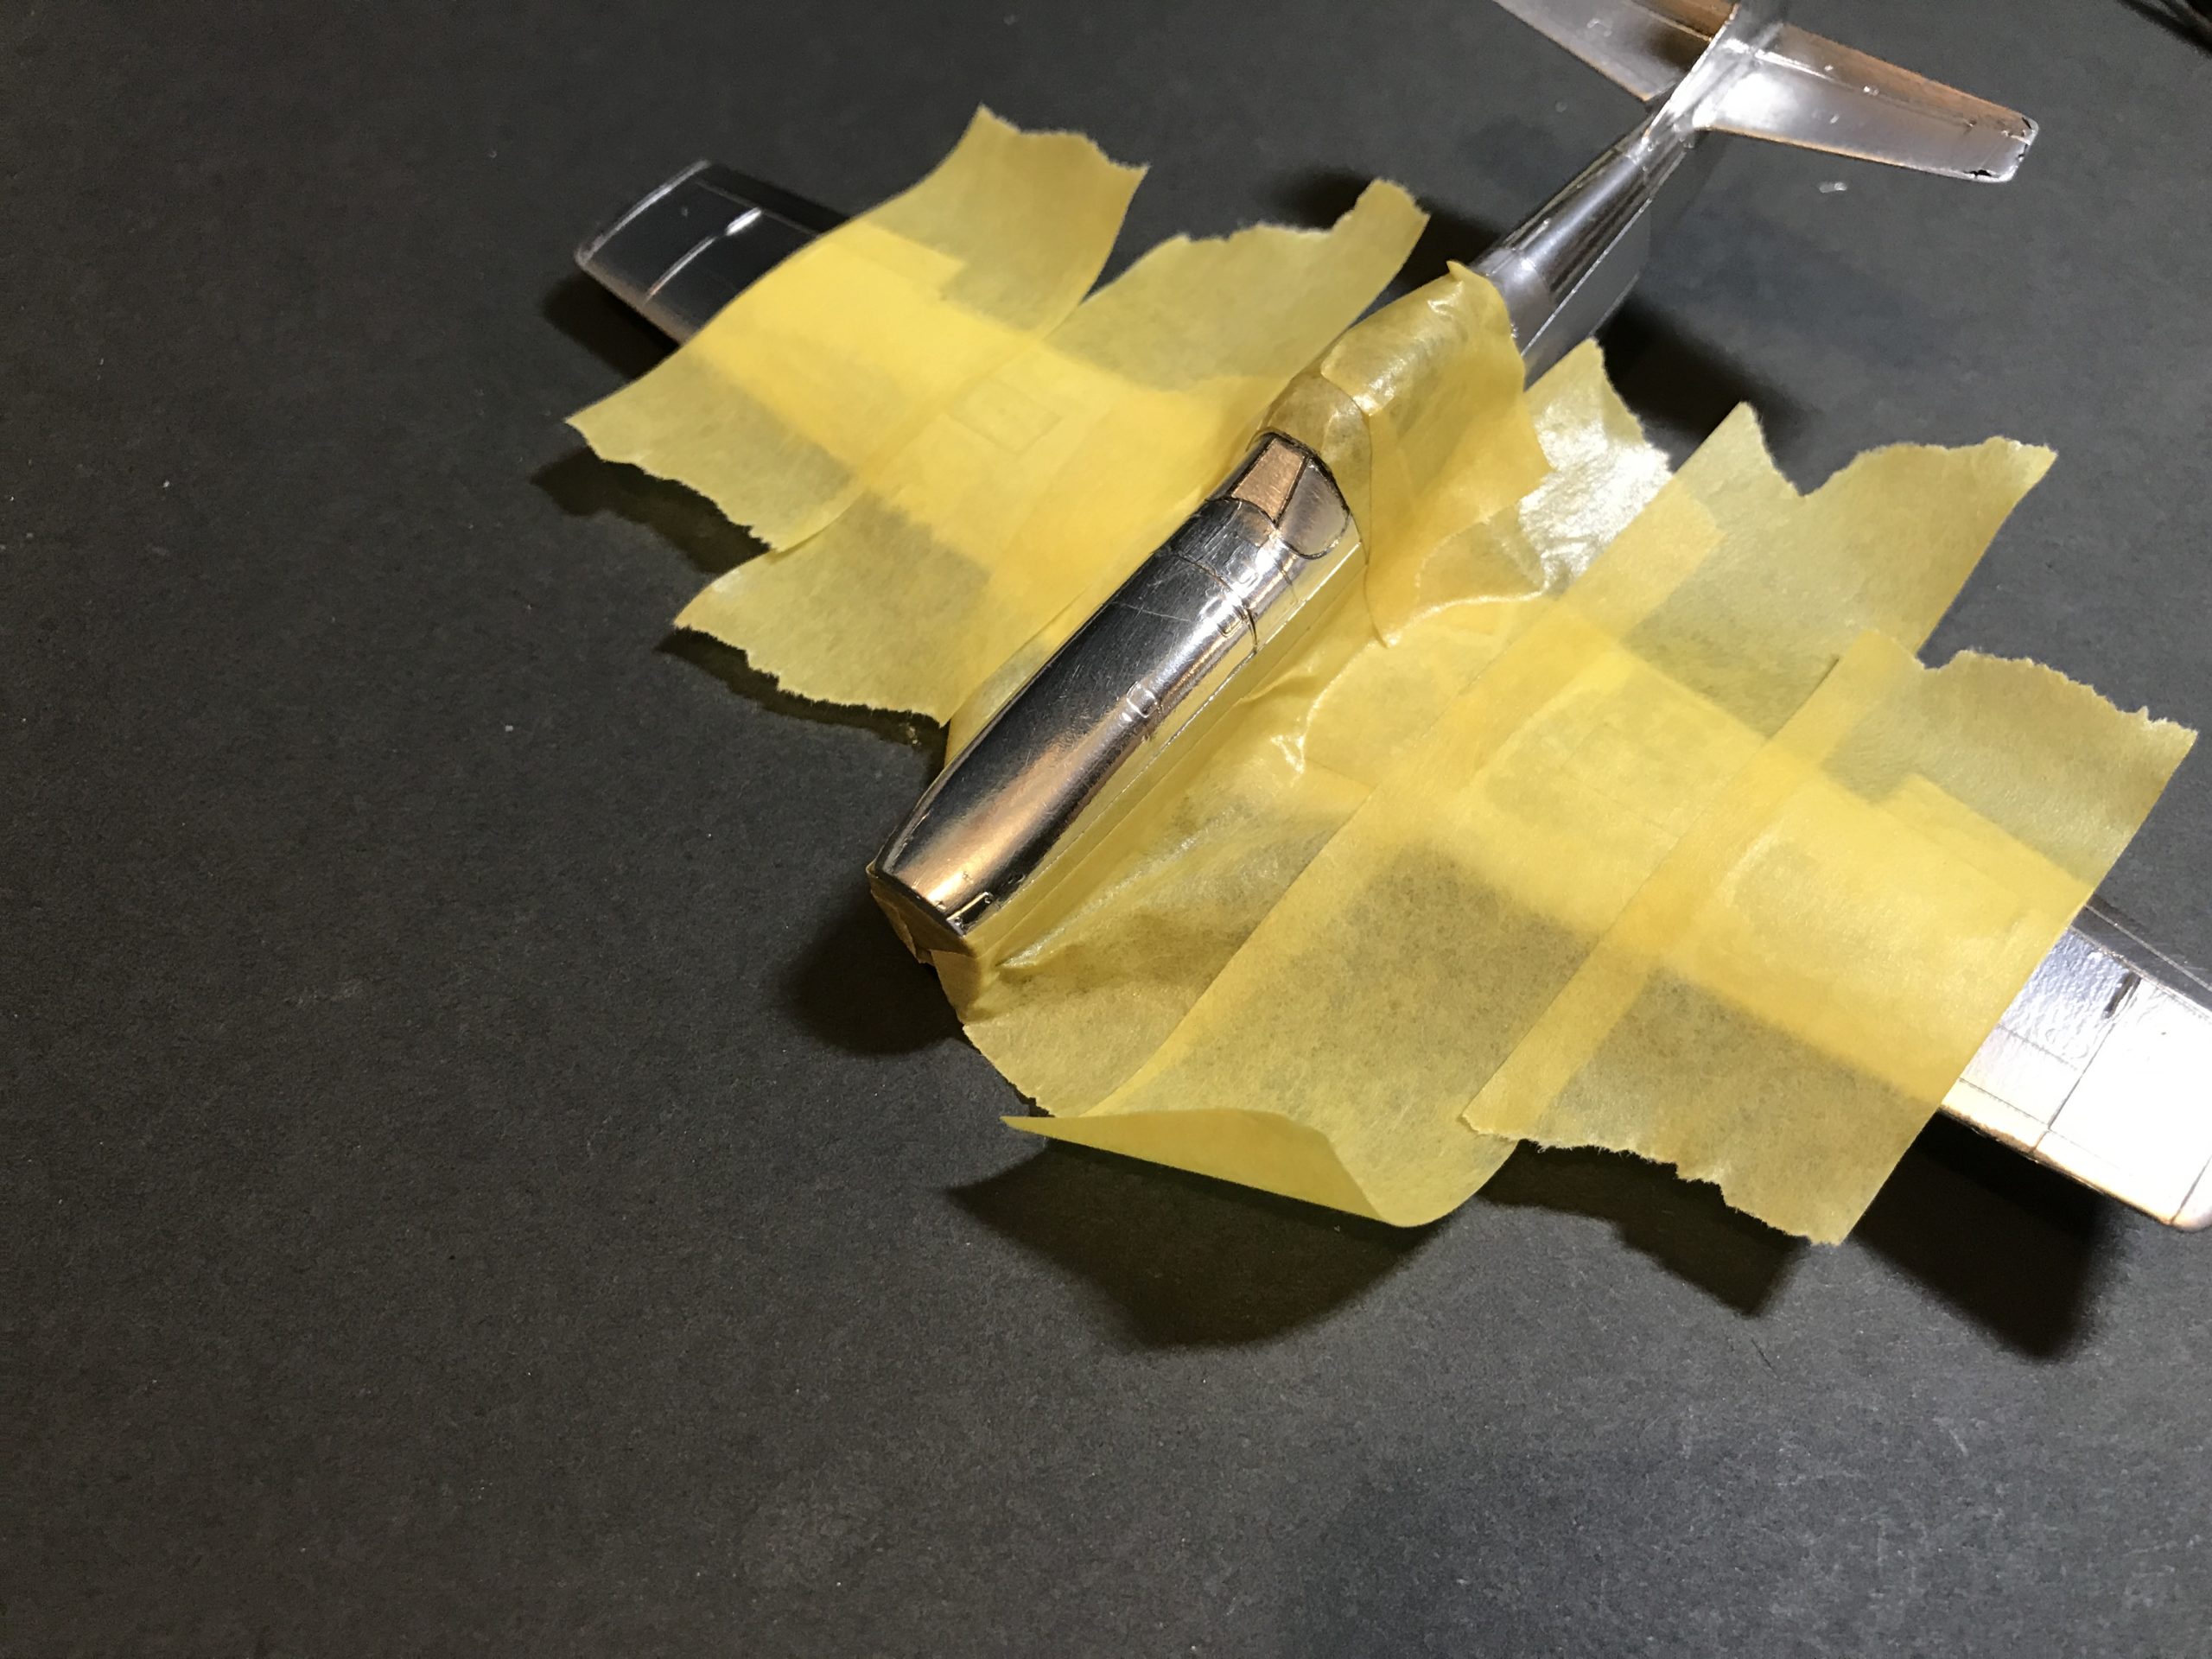
I then needed to mask for the anti glare paint and nose stripe.
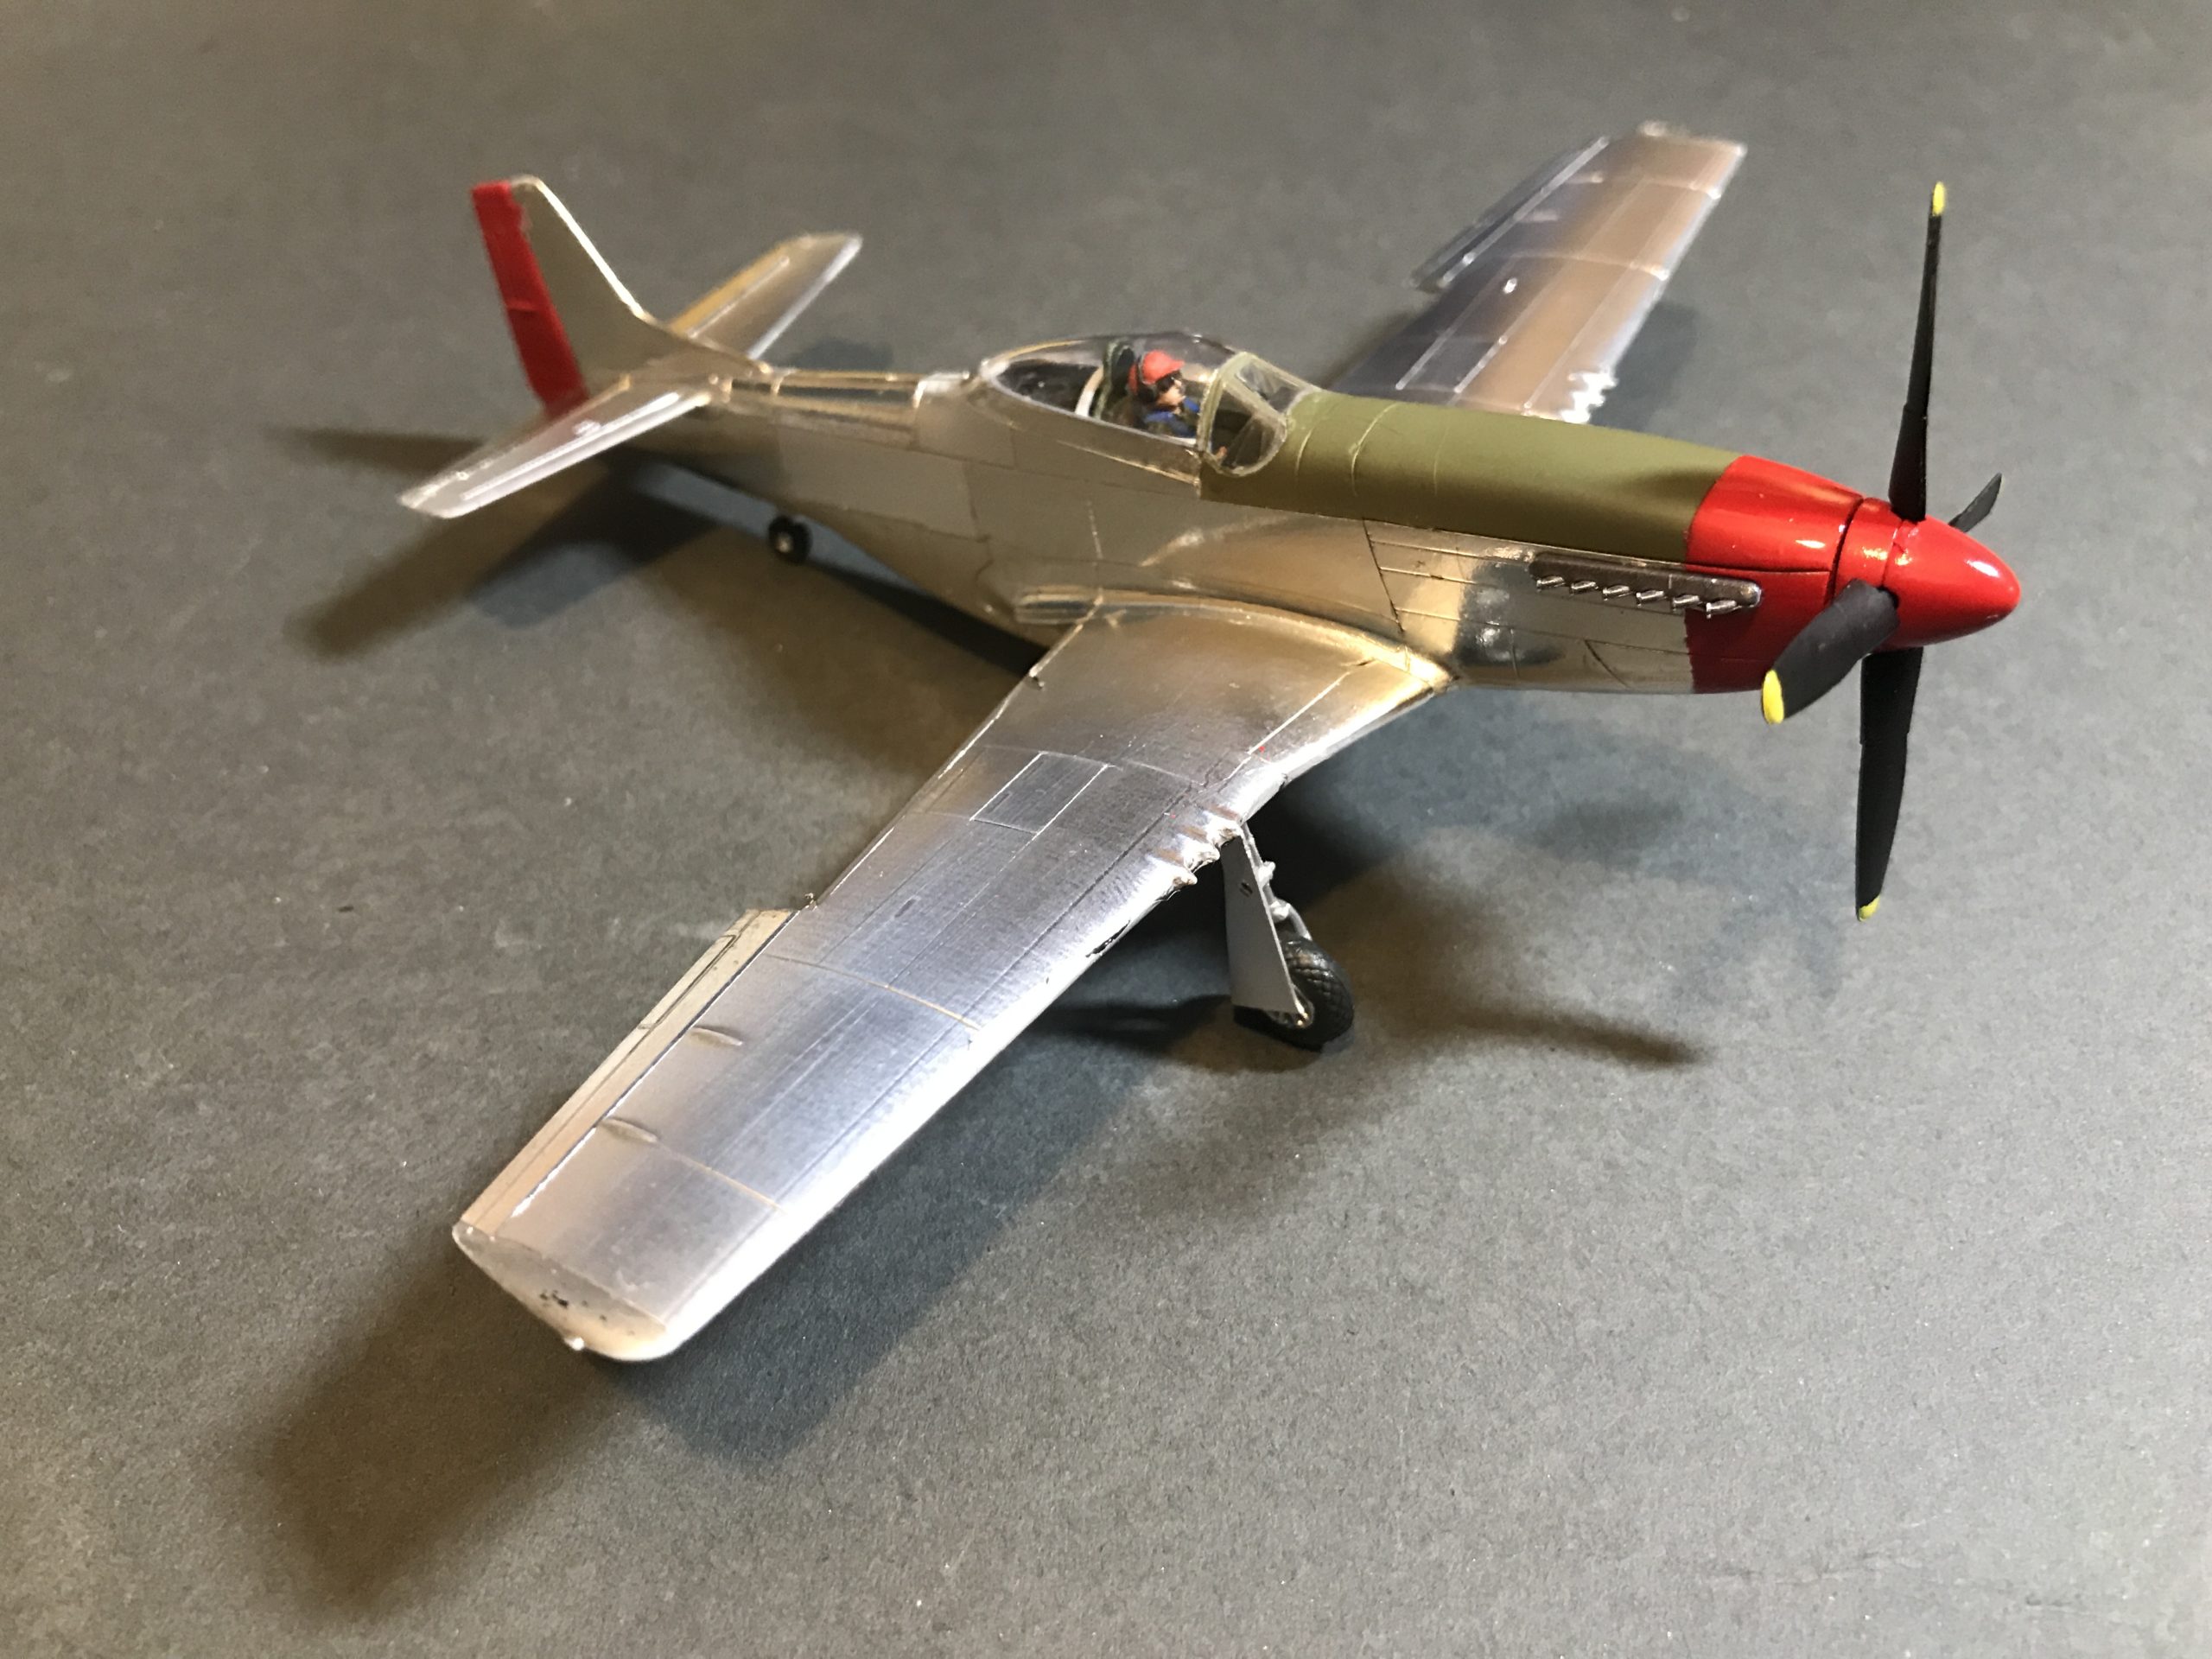
it’s starting to look the part now!
The rest of the parts were painted and added. The aerial was left off as its not on the actual aircraft.
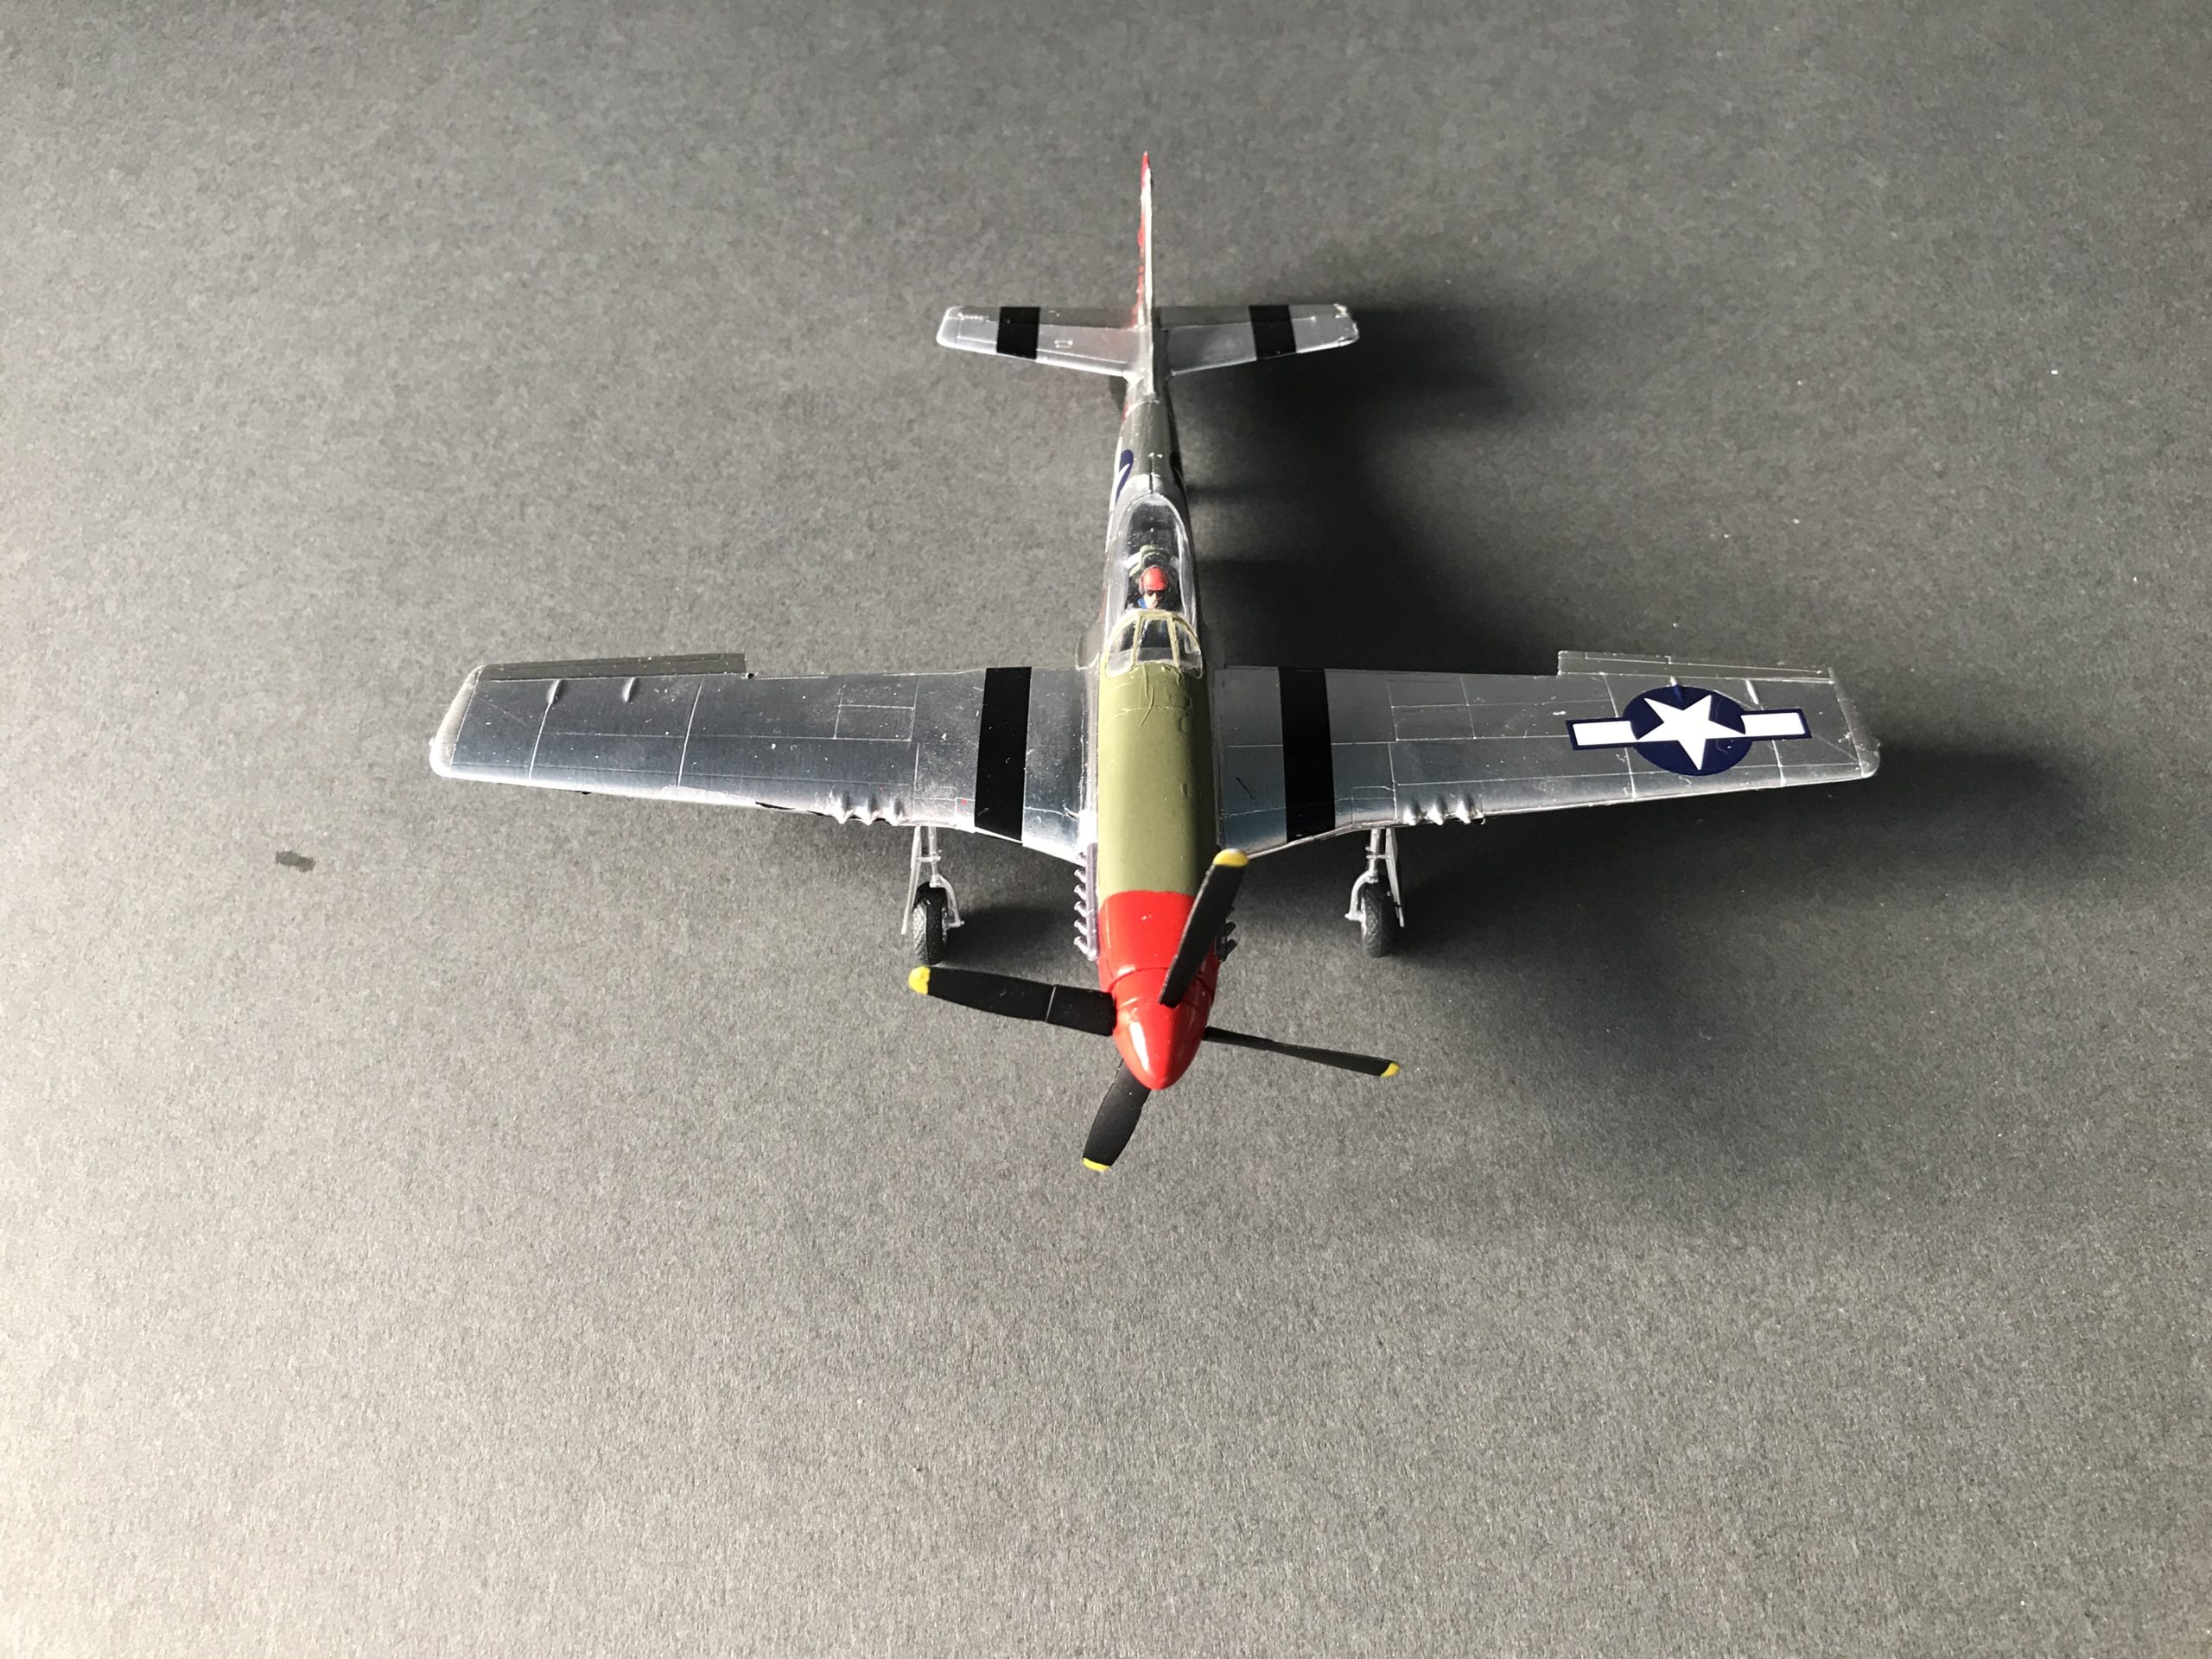
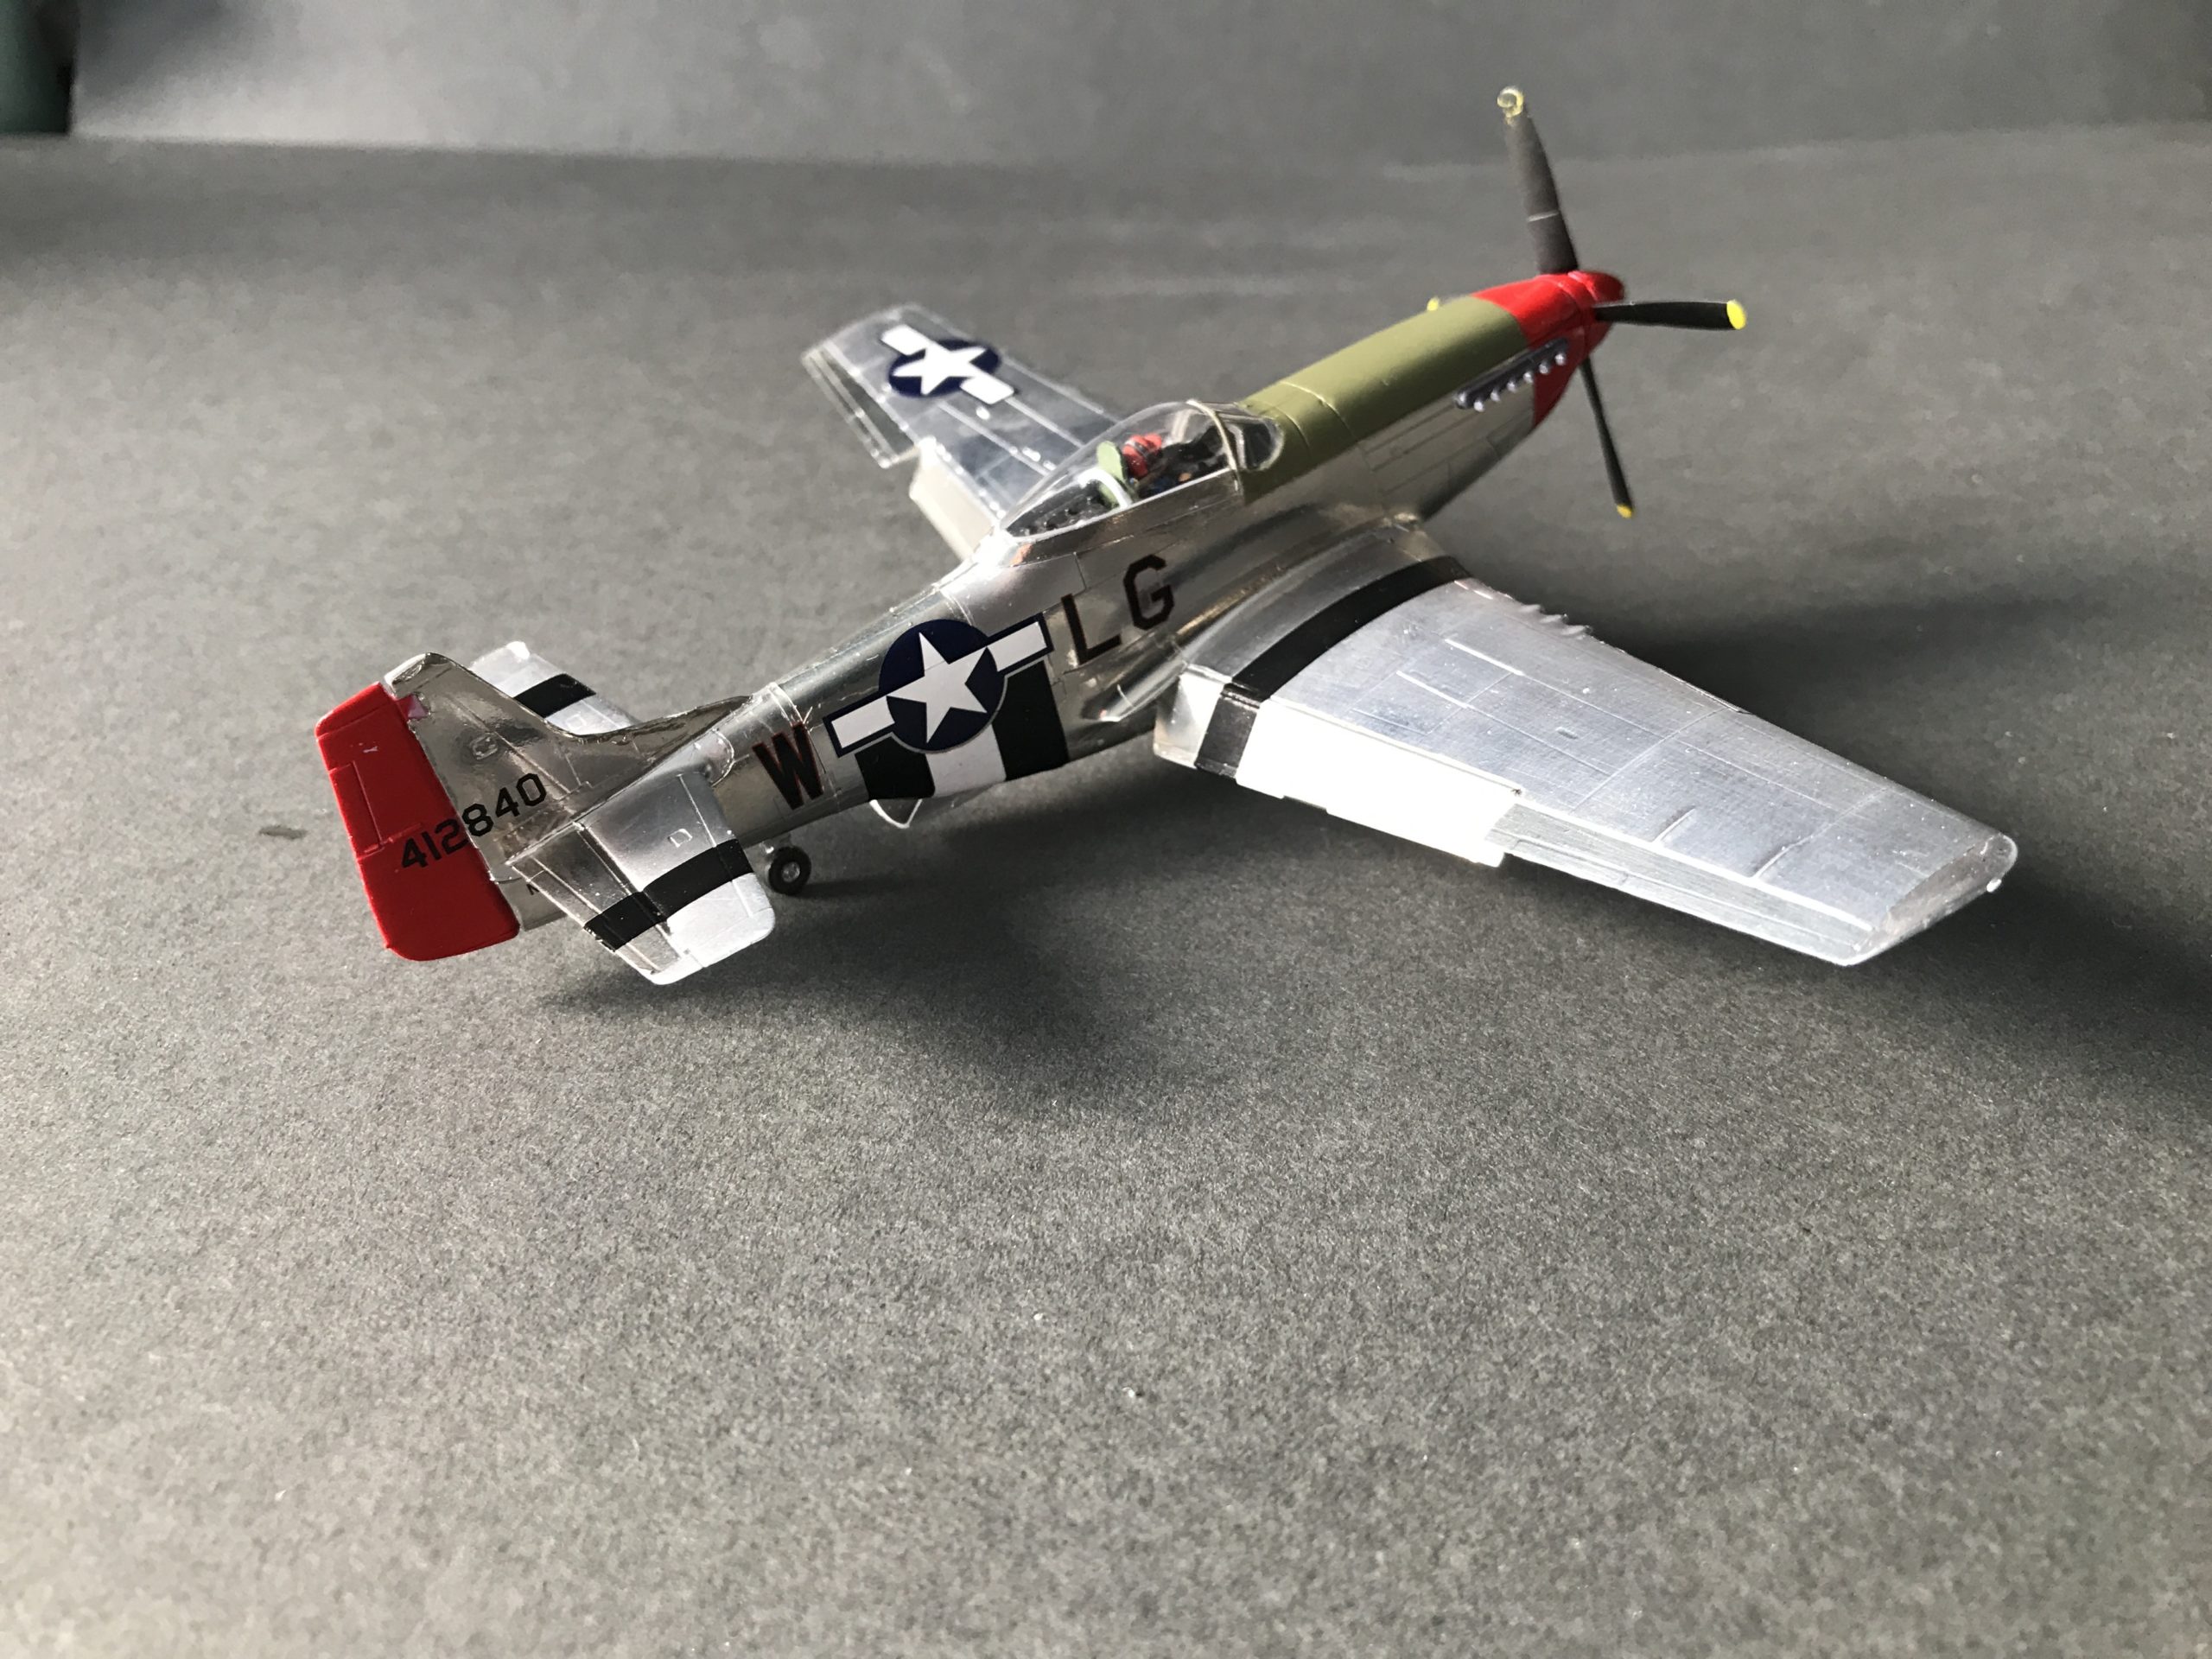
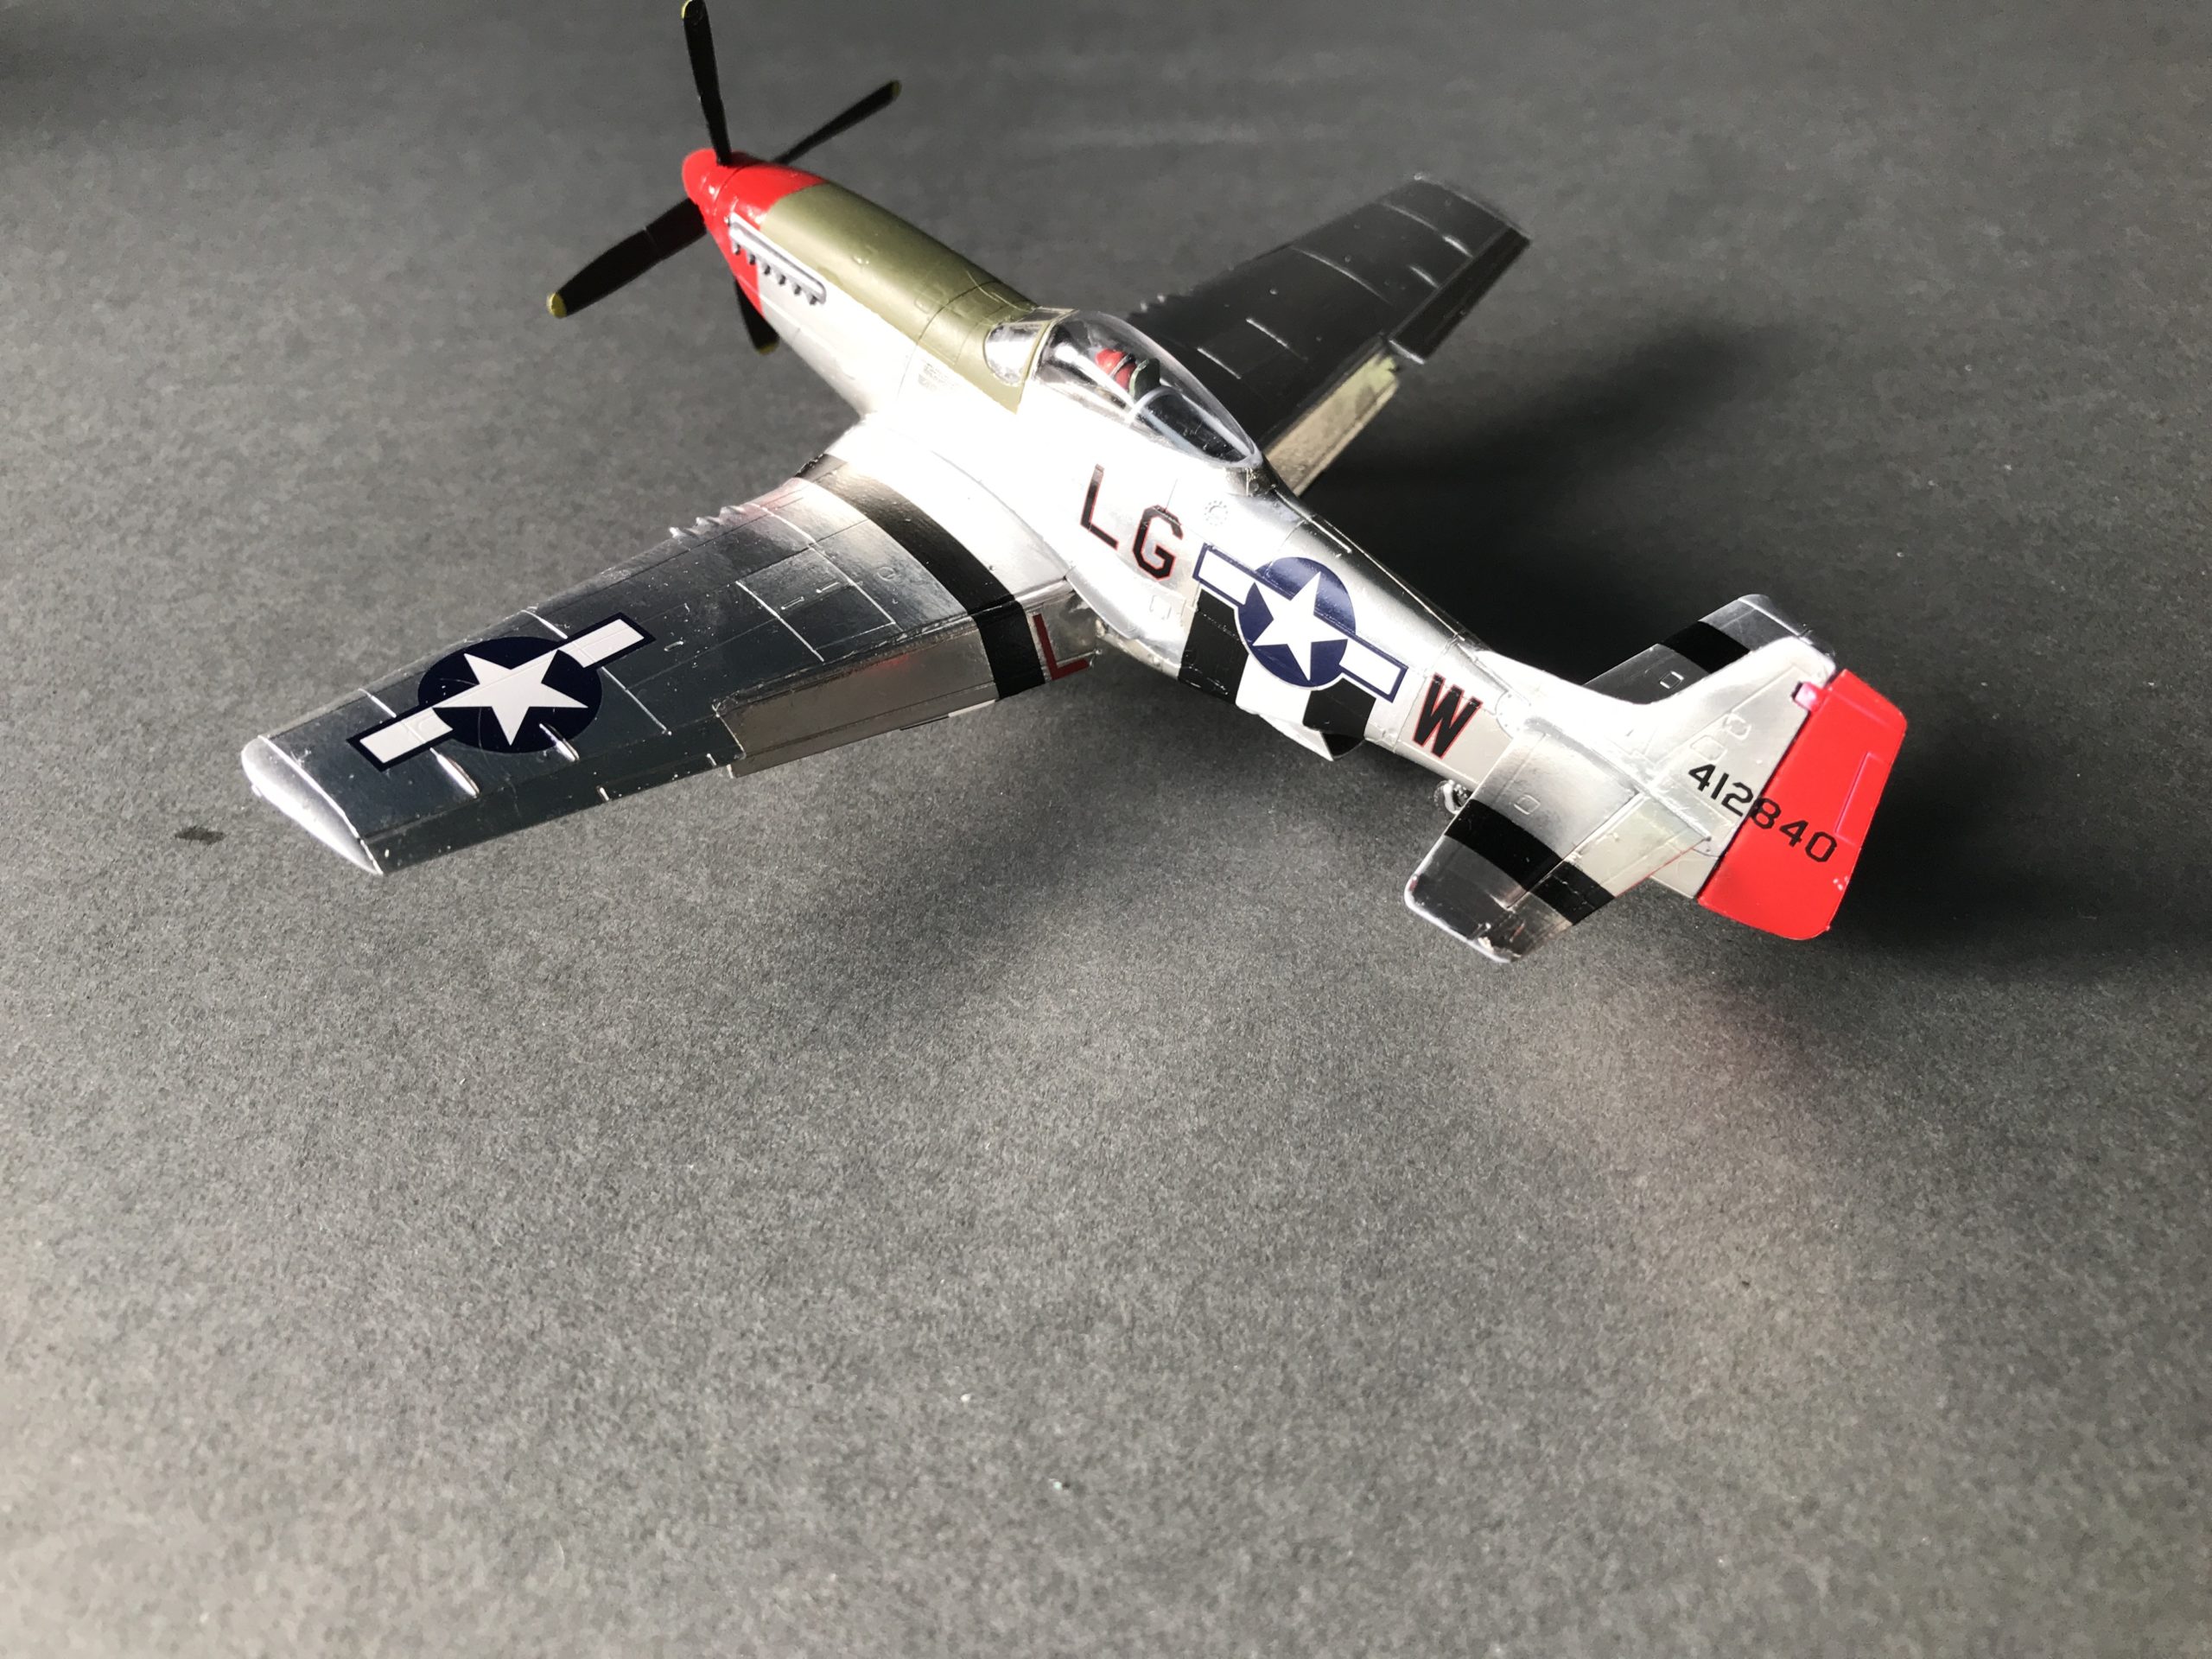
Now it was a relatively simple job to add the decals to finish the model.
Overall a fun build as it was last time. I have learnt some lessons for my next foil project too. I have the new tool Eduard P-51 in my stash and know how I will be getting the metal effect.
The Verdict on this kit:
Build Time:
I forgot to start the stopwatch – but as you’ll know you can chuck a simple 1/72 plane together pretty quickly – that is until you decide to cover the thing in foil.
Suggested Tools:
For a tidy finish you’ll want to spray the model as its a single colour.
Other than that there nothing specialist was required, the parts went together very well.
What we’ve taken away from this build:
Similar to the other Top Gun kit I have built recently, its just a re-box of a previous Airfix Kit. In this case a WW2 ‘stang from 2012. But don’t see this as a con, this is a great little kit that goes together very well – the fit/finish is great.
In attempt to improve the kit I decided to coat the model in foil to give a more realistic “bare metal” finish. Whilst its worked well, it took a long time and I have learned a lot from my first attempt! However, in fairness the model would look nearly as good on the shelf if I had just stuck with the spray job – but these things are fun right?
Whilst I expected as much the pilot is just a typical WW2 affair – they failed to mould Tom for the kit or maybe the real Tom Cruise would fit?
Regardless of the kit being a model I have built several times before I enjoyed the build and would recommend to anybody – I spent the majority of the build listening to “Take my breath away” and now cannot wait for the new film to come out!


Hi Rob,
I did a lot of kids in my youth and revisted the hobby a couple of years ago but the eyesight isn’t what it was.
I have to say the detail in your build is very good especially for 1:72, but didn’t even know applying foil was a thing!
How do you get the details in the moulding so fine whilst avoiding crinkling at the foulds/overlaps?
Thanks.
This was my first attempt with foil. There are loads of things I would do differently next time.
The foil is actually really thin, so getting it to conform to the plastic is easy.
Do small areas at a time and you won’t have a problem.
The downside is any surface defects will show through so preparation is everything.
Lovely build, and well done with the foil! I’ve got one of these in the stash, which I want to do in a natural metal finish, but I think I’ll stick to using paint. The Tamiya silver lacquer looks great – did you prime or just spray onto the plastic?
Thanks,
Ian.
Ian
I missed this comment. I didn’t use any primer.
Providing the plastic has been cleaned to remove any mould release agent (I use IPA, alcohol not bitter)