
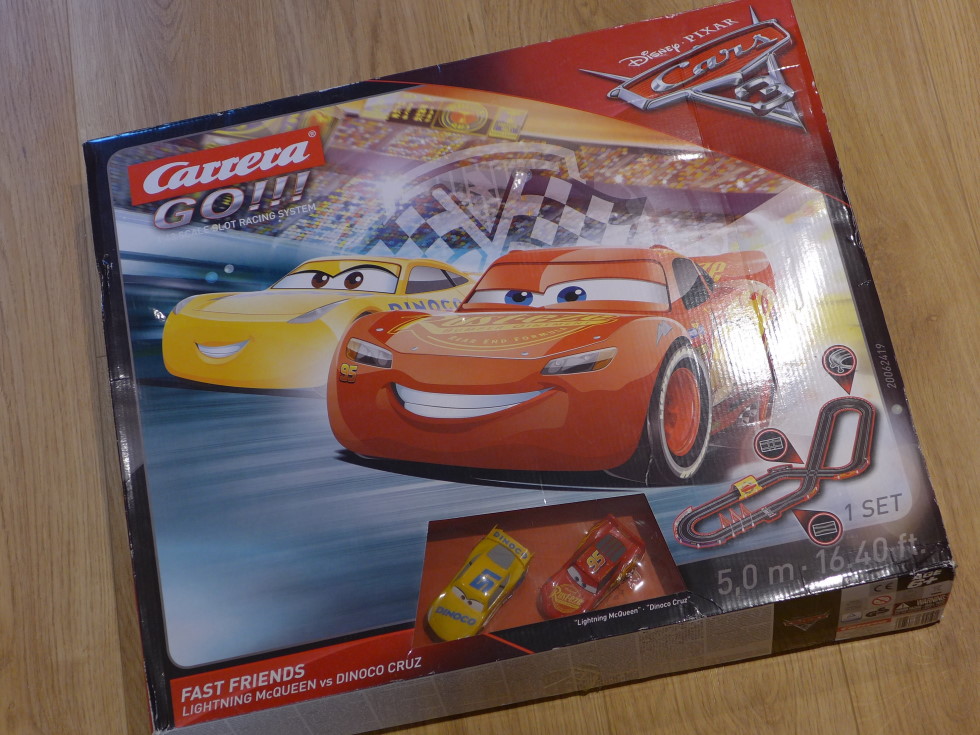
Carrera Go! is a 1:43 scale slot car system that fits in between Micro Scalextric (1:64 scale), Scalextric (1:32) and full-size Carrera (1:24).
Its smaller size gives Carrera Go! some definite advantages if space for a layout is tight. Although designed as a starter system, the Go! range is vast – with loads of fabulous cars, track pieces and accessories. As you’d expect from Carrera, it’s also good quality. After doing your research and choosing a Carrera Go! Set, here are a few tips and tricks to help you get the very best experience from your set.
Preparation
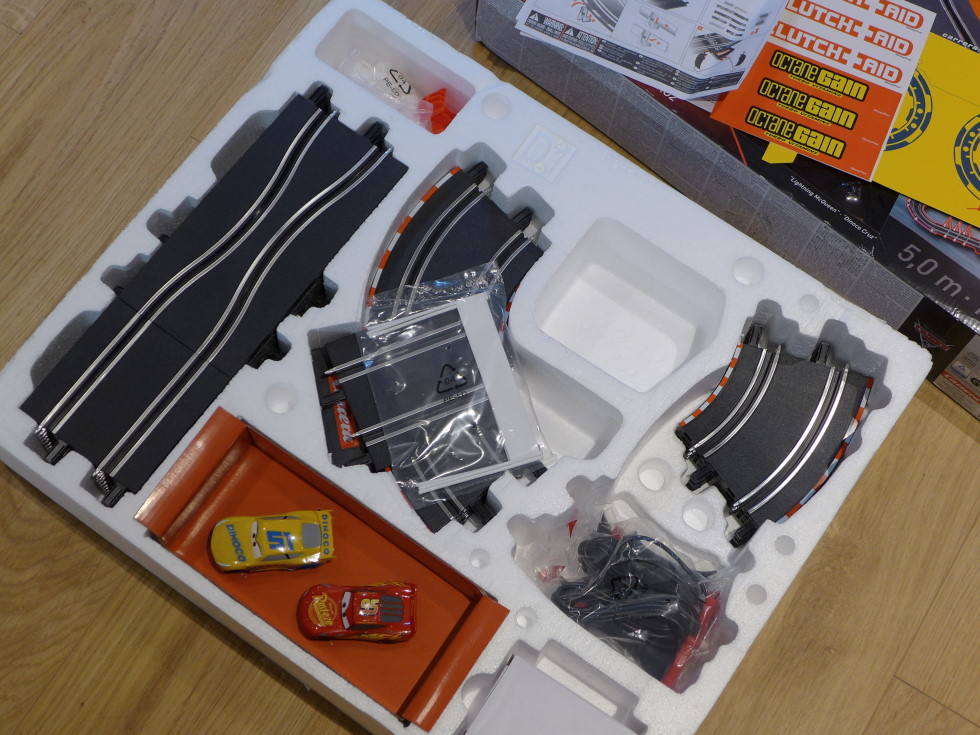
If the set is a Christmas or birthday present, it’s a good idea to take some time before the big day to familiarise yourself with the contents of the box. However, before you do anything, run a vacuum cleaner over the carpet or sweep the floor so you build your Carrera Go! layout on a nice, clean surface.
It helps to take a picture of the set before you unpack – you can refer to it when you pack away. The Carrera Go! set instructions are the next thing to find. It will be a single sheet of paper with the set contents, a suggested track layout and diagrams to help with assembly and making sure the cars’ pick-up braids are correctly arranged. There’s also a link to a video. The instructions should be read and kept safe. You could even photograph or scan them as a backup. Other paperwork includes safety advice for parents – this should be read and saved too.
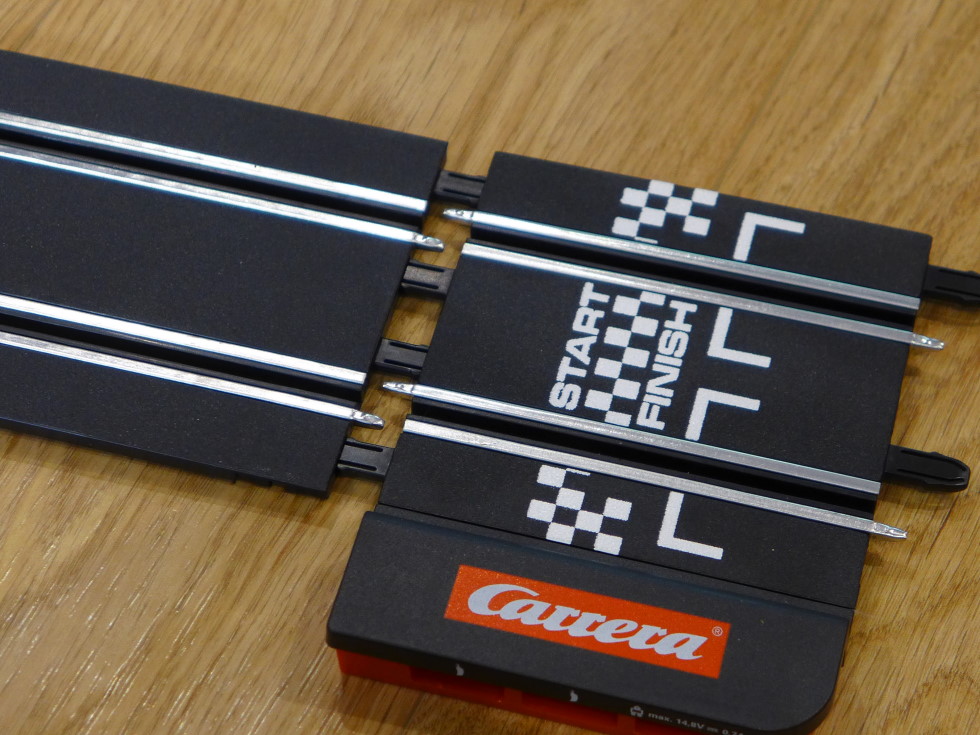
Track
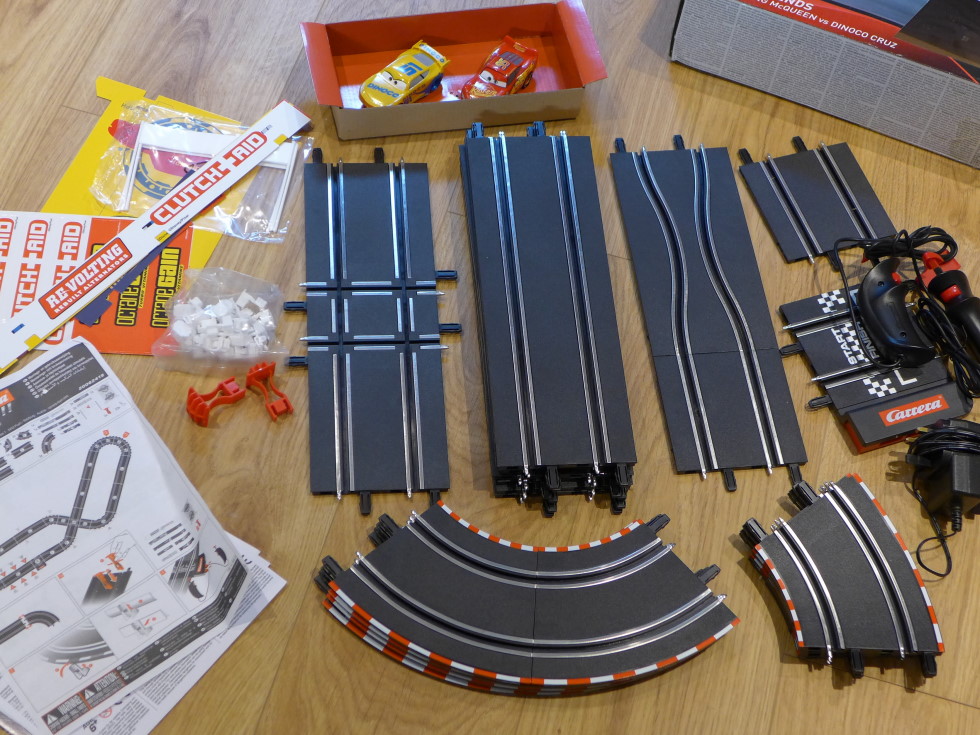
It doesn’t take long to unpack the box – and you can use the instruction sheet to identify all the contents. Use the layout diagram to lay out the track pieces. Don’t connect them up yet – it is safer and easier to move the track pieces before they are connected together. Half the fun of building a slot car track is to design and build your own circuits, but it’s best to follow the plans in the set instructions for this first test.
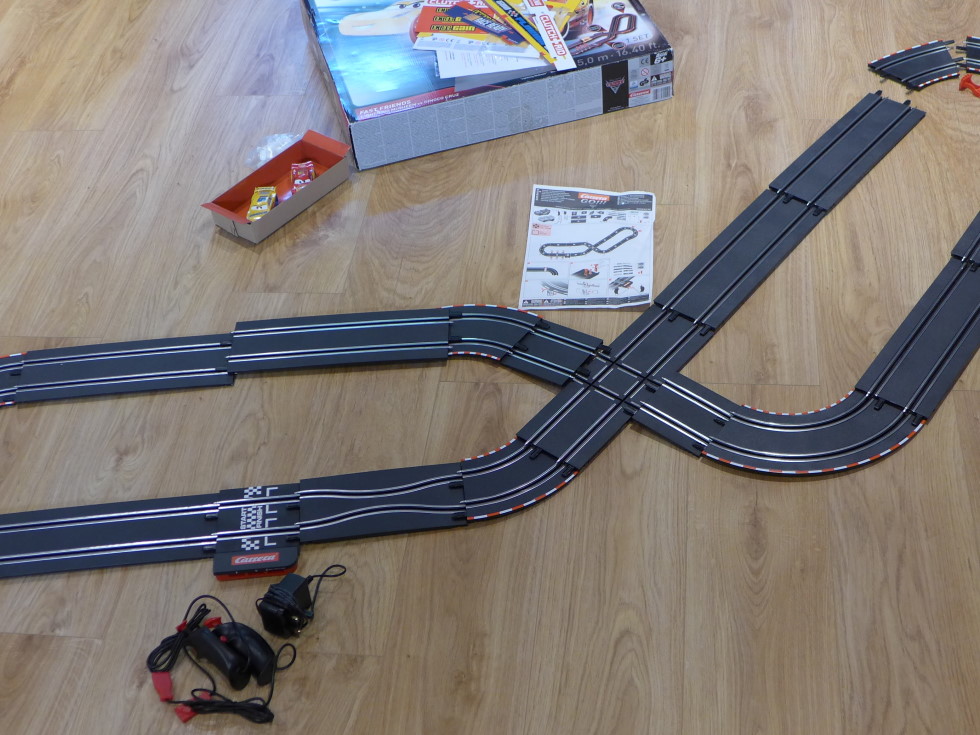
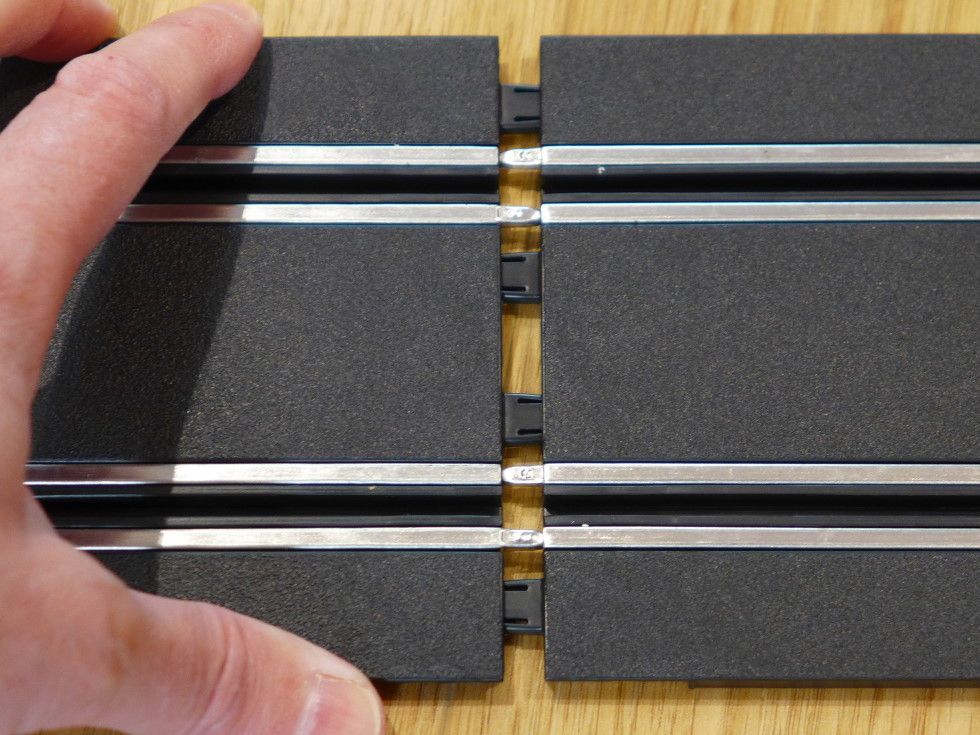
When you have the pieces laid out and you are happy that everything fits into the space you have, start connecting up the track. The Carrera Go! track needs to be treated with some care at this point. As you line the ends up, keep the pieces flat on the floor and gently push the tabs into the slots. These tabs are a little fragile if treated roughly or pushed into the slots at an angle. The two pieces should then be pushed together firmly, straight and flat – with just a very slight sideways wiggle as they push into place. After a few connections, you will get the knack. Smaller children should be helped with this – and supervised at all times.
It’s always a good idea to build any loop-the-loop sections first and connect them into the layout as a complete unit. The final connection of any circuit is always the trickiest – keep the pieces as flat and as straight as possible. Once the entire track is connected up, you can add any bridge and banking supports, barriers and cardboard scenery that might be included in your set. Fixing the barriers to the track can be hard work, but you will soon get the knack and the tabs will loosen up with use.
Controllers
Most of the Carrera Go! controllers plug into the powerbase straight – although a few high-end sets have wireless controllers powered by built-in rechargeable battery packs. All the controllers are operated by pressing down the big ‘plunger’ button with your thumb. There’s also a smaller button on the front of the controller. This is a ‘Turbo’ button that gives an extra boost – especially useful if you have a loop-the-loop in your layout. As with any slot car system, drivers must learn to accelerate on the straights (and round the loops) and slow down for the corners by lifting their thumb off the plunger.
Cars
The Carrera Go! cars are all very robust with breakable parts kept to a minimum. They are fitted with magnets that help them stick to the track – meaning they will grip quite well round the corners, but at some point they will fly off the track. This isn’t a fault with the cars – it means you are driving too fast!
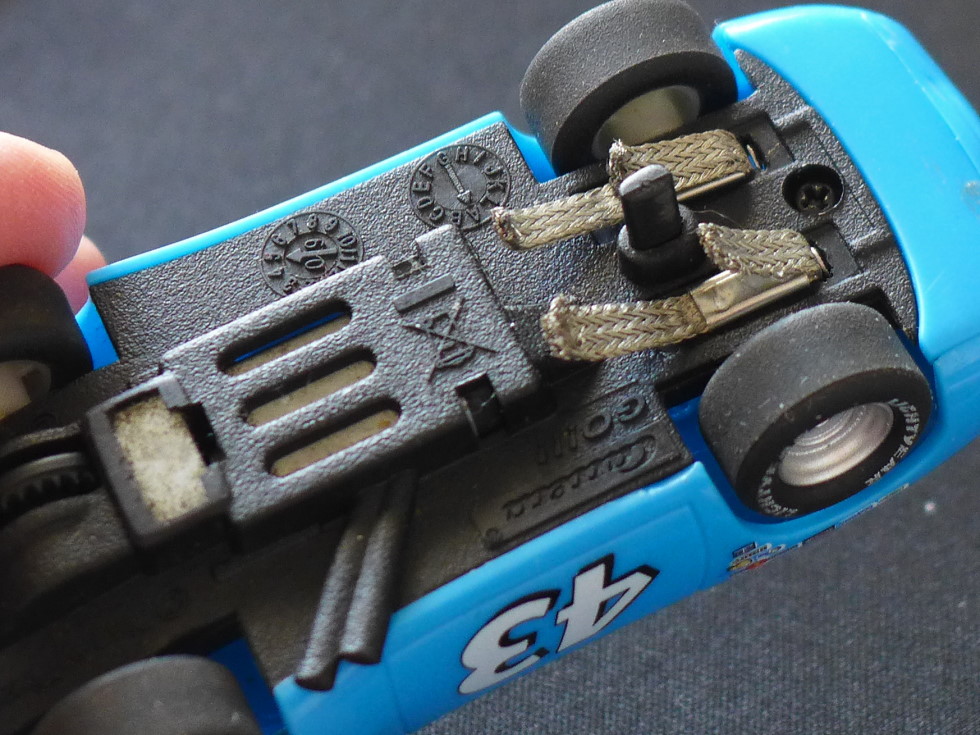
An important part of the car to keep an eye on is the pair of pick-up braids at the front. These connect the car to the electrical power in the track. Diagrams on the instruction sheet show how the braids should look. Both ends of each braid should be pointing straight back towards the rear of the car at all times. The braids can get crooked after a crash – it’s always a good idea to check they are nice and straight. Scrunching out the ends a little does help with connectivity and smooth running.
Spare braids are included with the set – and available separately (part number CA61510 here) – if the original ones get damaged or worn beyond just needing to be straightened-out. There are also spare ‘guide pins’ included that fit into the slot and keep the car on the road. The guide pins are tough, but can get damaged or – after very many hours of hard racing – may wear out.

Maintenance and problems
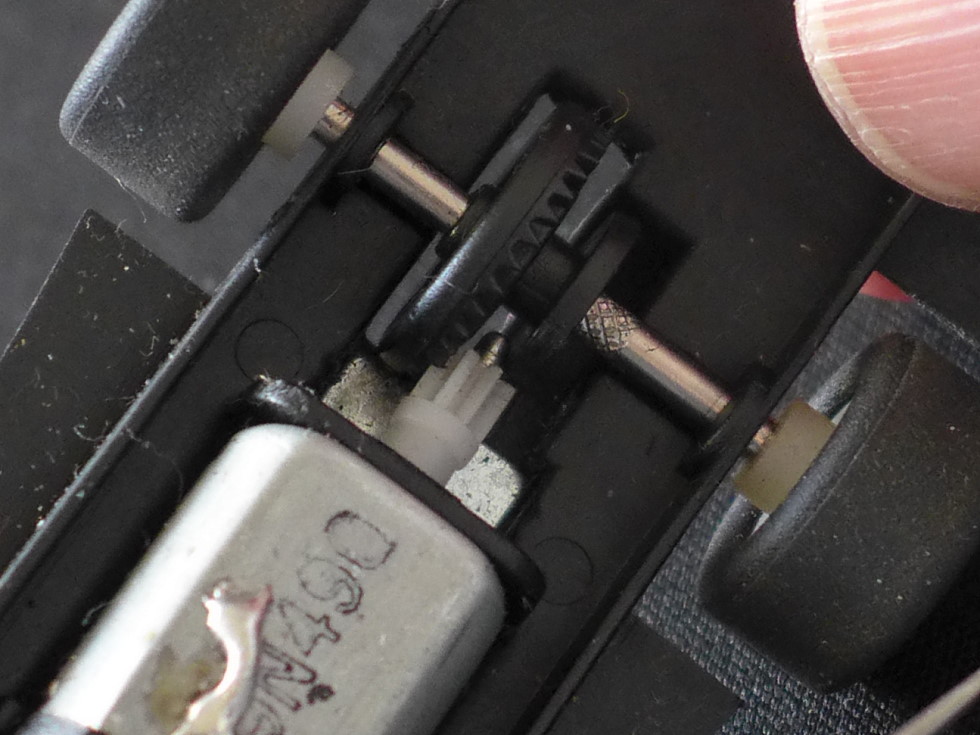
With care taken in preparation and use, you shouldn’t experience many problems with a Carrera Go! set. If a car gets slow or the motor feels hot, it is worth checking for hairs and carpet fibres wrapped around the rear axle – and remove any you find with a pair of tweezers. With most cars, you will need to remove the car body – this is held in place by one, two or three small cross-head screws on the underside of the car. Very occasionally, put a small drop of oil on the gears and where the axle passes through the car under-tray – this will help keep everything running well. An ideal time to do this is when the body is off.
The track is robust, but it should never be trodden on. A small track can be left set up on a table or pushed under a bed. If you do leave the track assembled, it will need a quick dust once in a while – and you should always unplug the powerbase when not in use. If space is more limited, it is best to pack the track away, rather than risk anything getting stepped on and damaged. It is a good idea to store the set in the original box, using the picture you took earlier to make sure everything fits.
Great care should be taken when pulling the track pieces apart. They will be very tight when new and require a strong pull apart. It’s the same as assembling the track – firm, flat and straight. If you pull at an angle, the tabs will snap off. You do want to avoid that, but the track will still work with a few tabs missing. Every Carrera Go! owner has experienced the dreaded sound of tabs snapping, so don’t worry if it happens to you!
What next?
A Carrera Go! set is an ideal way to get started with slot cars, especially if space is limited. However, the wide range of cars, track pieces and accessories means there is plenty of scope to develop a fantastic layout and enjoy Carrera Go! for many years. Check out the Carrera Go! products here on the Jadlam site to see what is available. Please note that the Carrera Evolution, Digital132 and Digital124 cars, track and accessories are not compatible with Carrera Go!
Help and advice
If you have a problem with the set that can’t be solved using the instructions, do check the FAQs and the various How To blog posts on this site and the FAQs at www.carrera-toys.com. If the information doesn’t help, then contact Carrera or Jadlam for support.