
A note from the author…
I’m Rob, a normal guy who enjoys making models! I’m by no means a ‘professional’ modeller, but I am passionate, try my best and kits generally turn out well! All my builds are done at home in my spare time with typical model tools and accessories.
I will endeavour to provide an honest view on the kits I build for this blog, good and bad*. I will point out things you may need to be careful about and some little tips and tricks to make the build a bit easier and more enjoyable. I might even throw in a bit of humour** along the way.
So get the kettle on, put your feet up and have a laugh at my mediocre modelling skills.
*Views and opinions are my own and not that of Jadlam.
**Humour and jokes may not actually be funny.
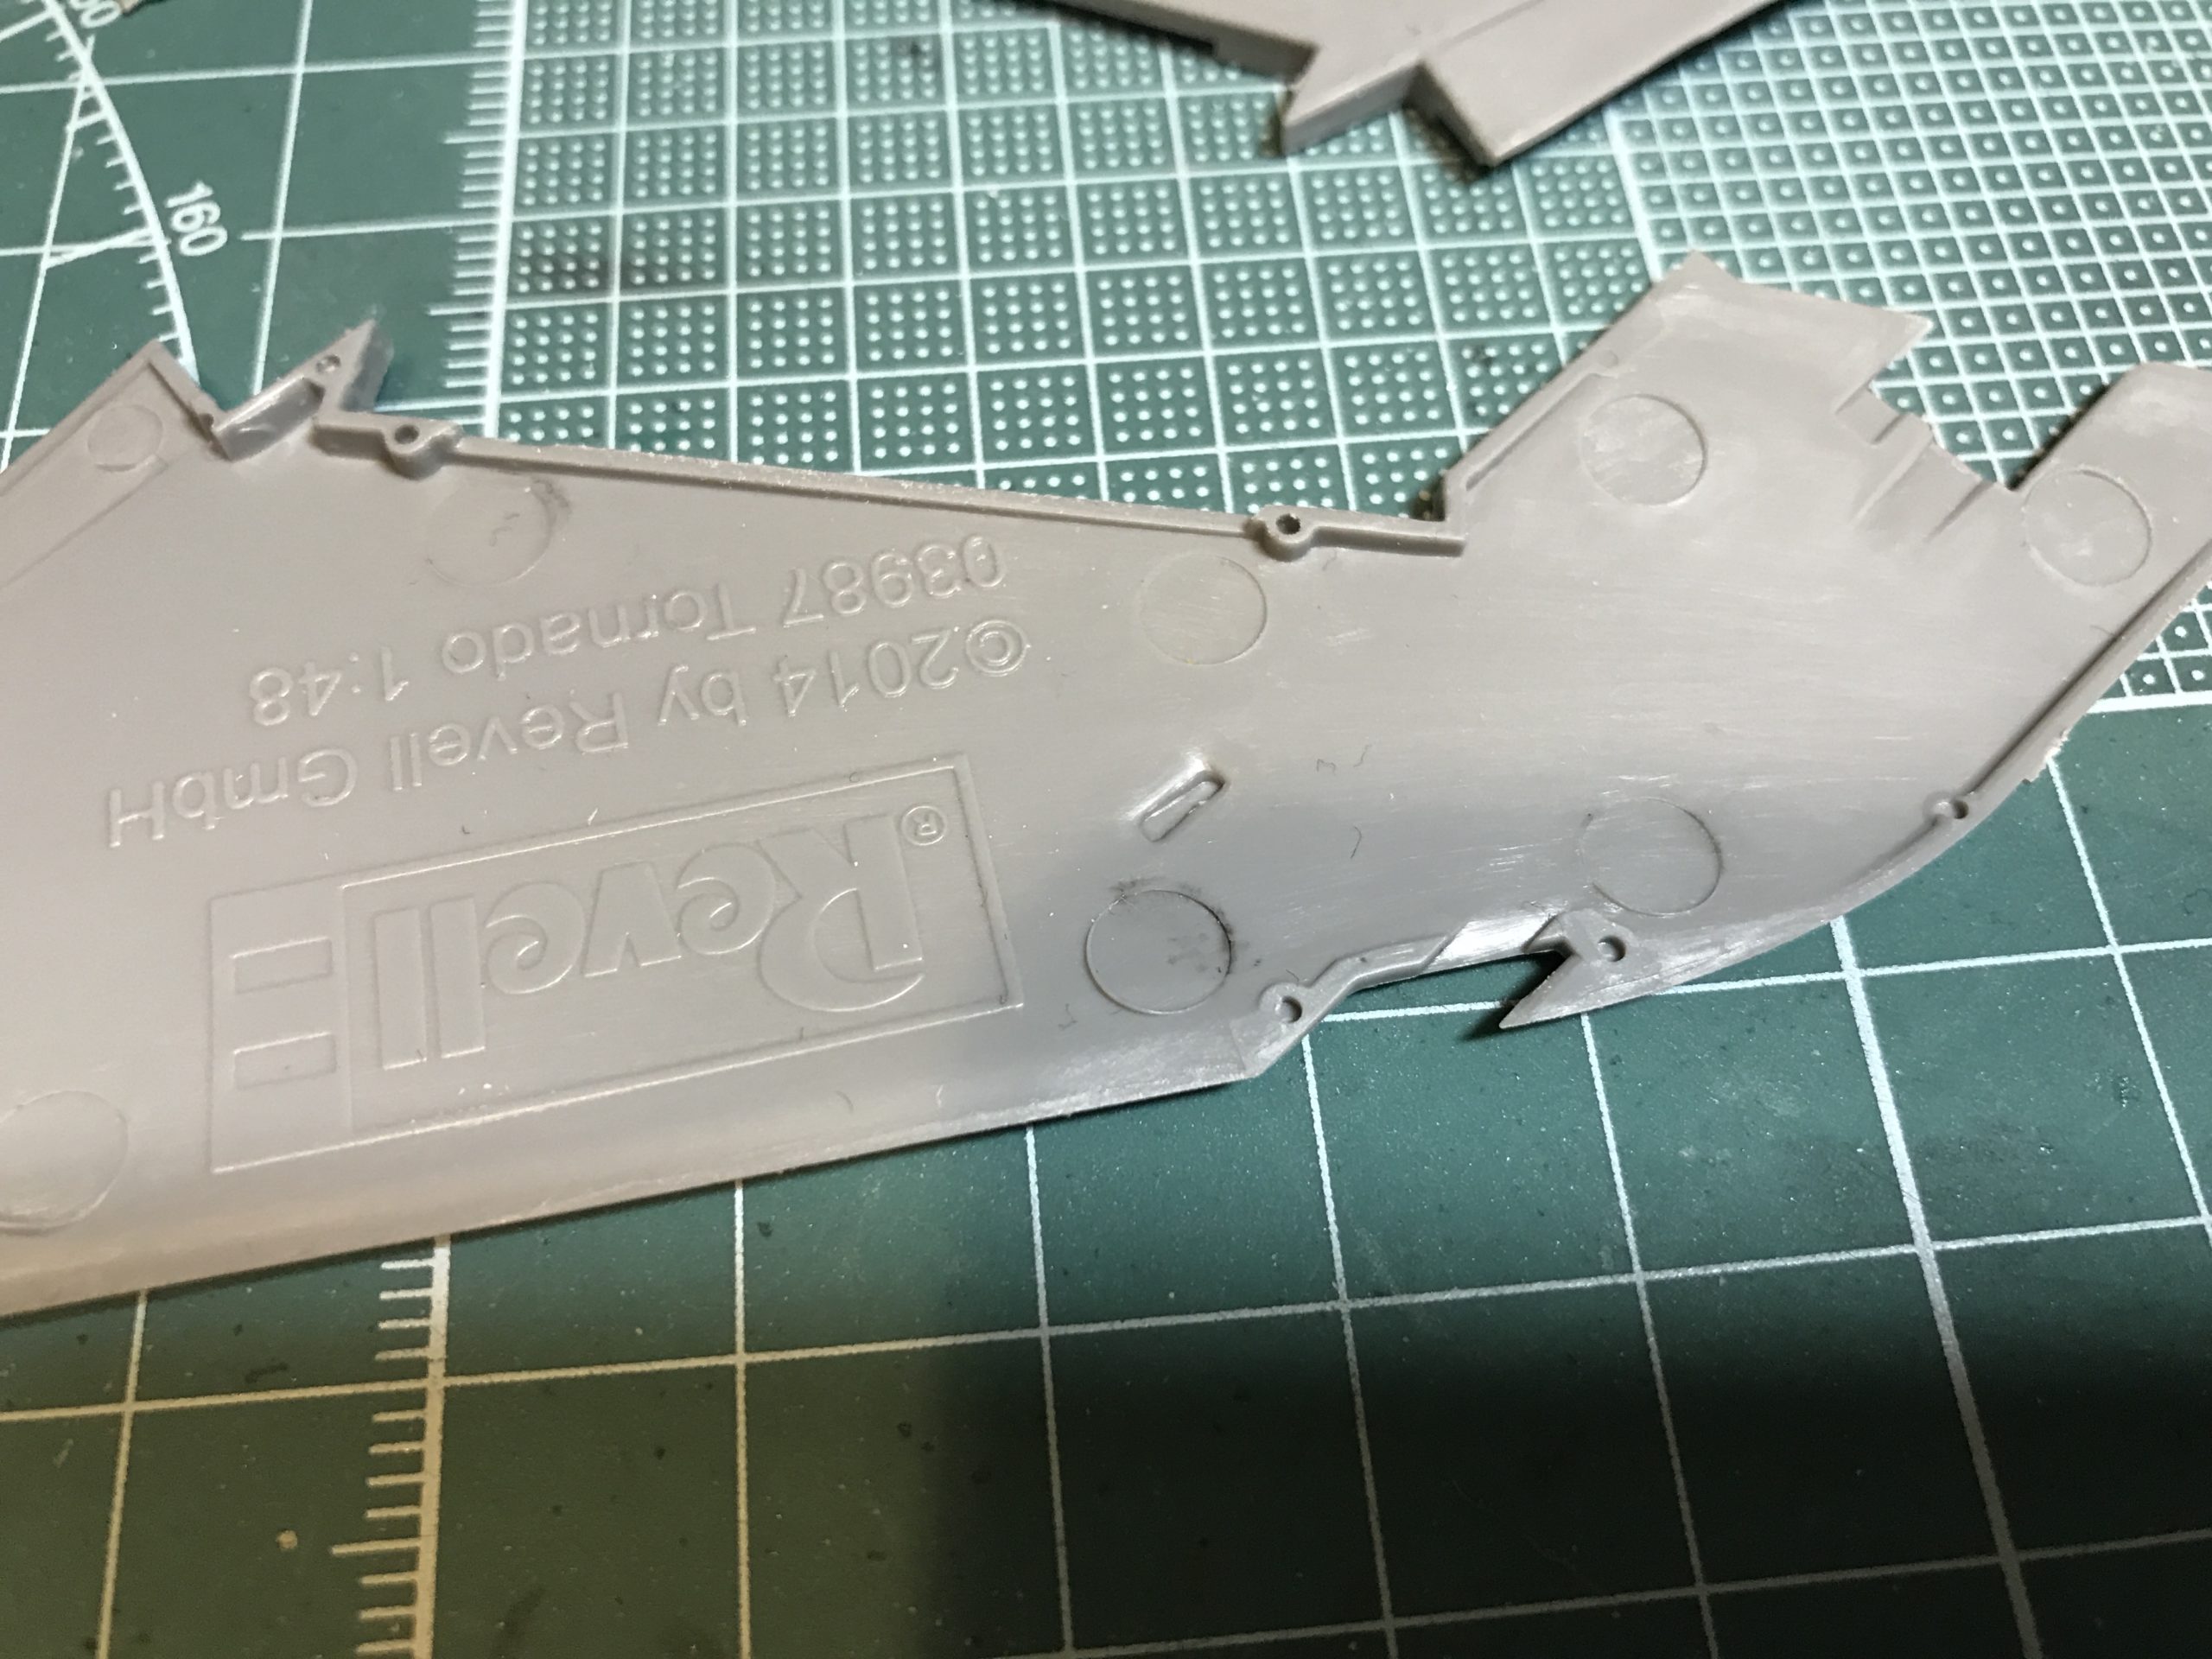
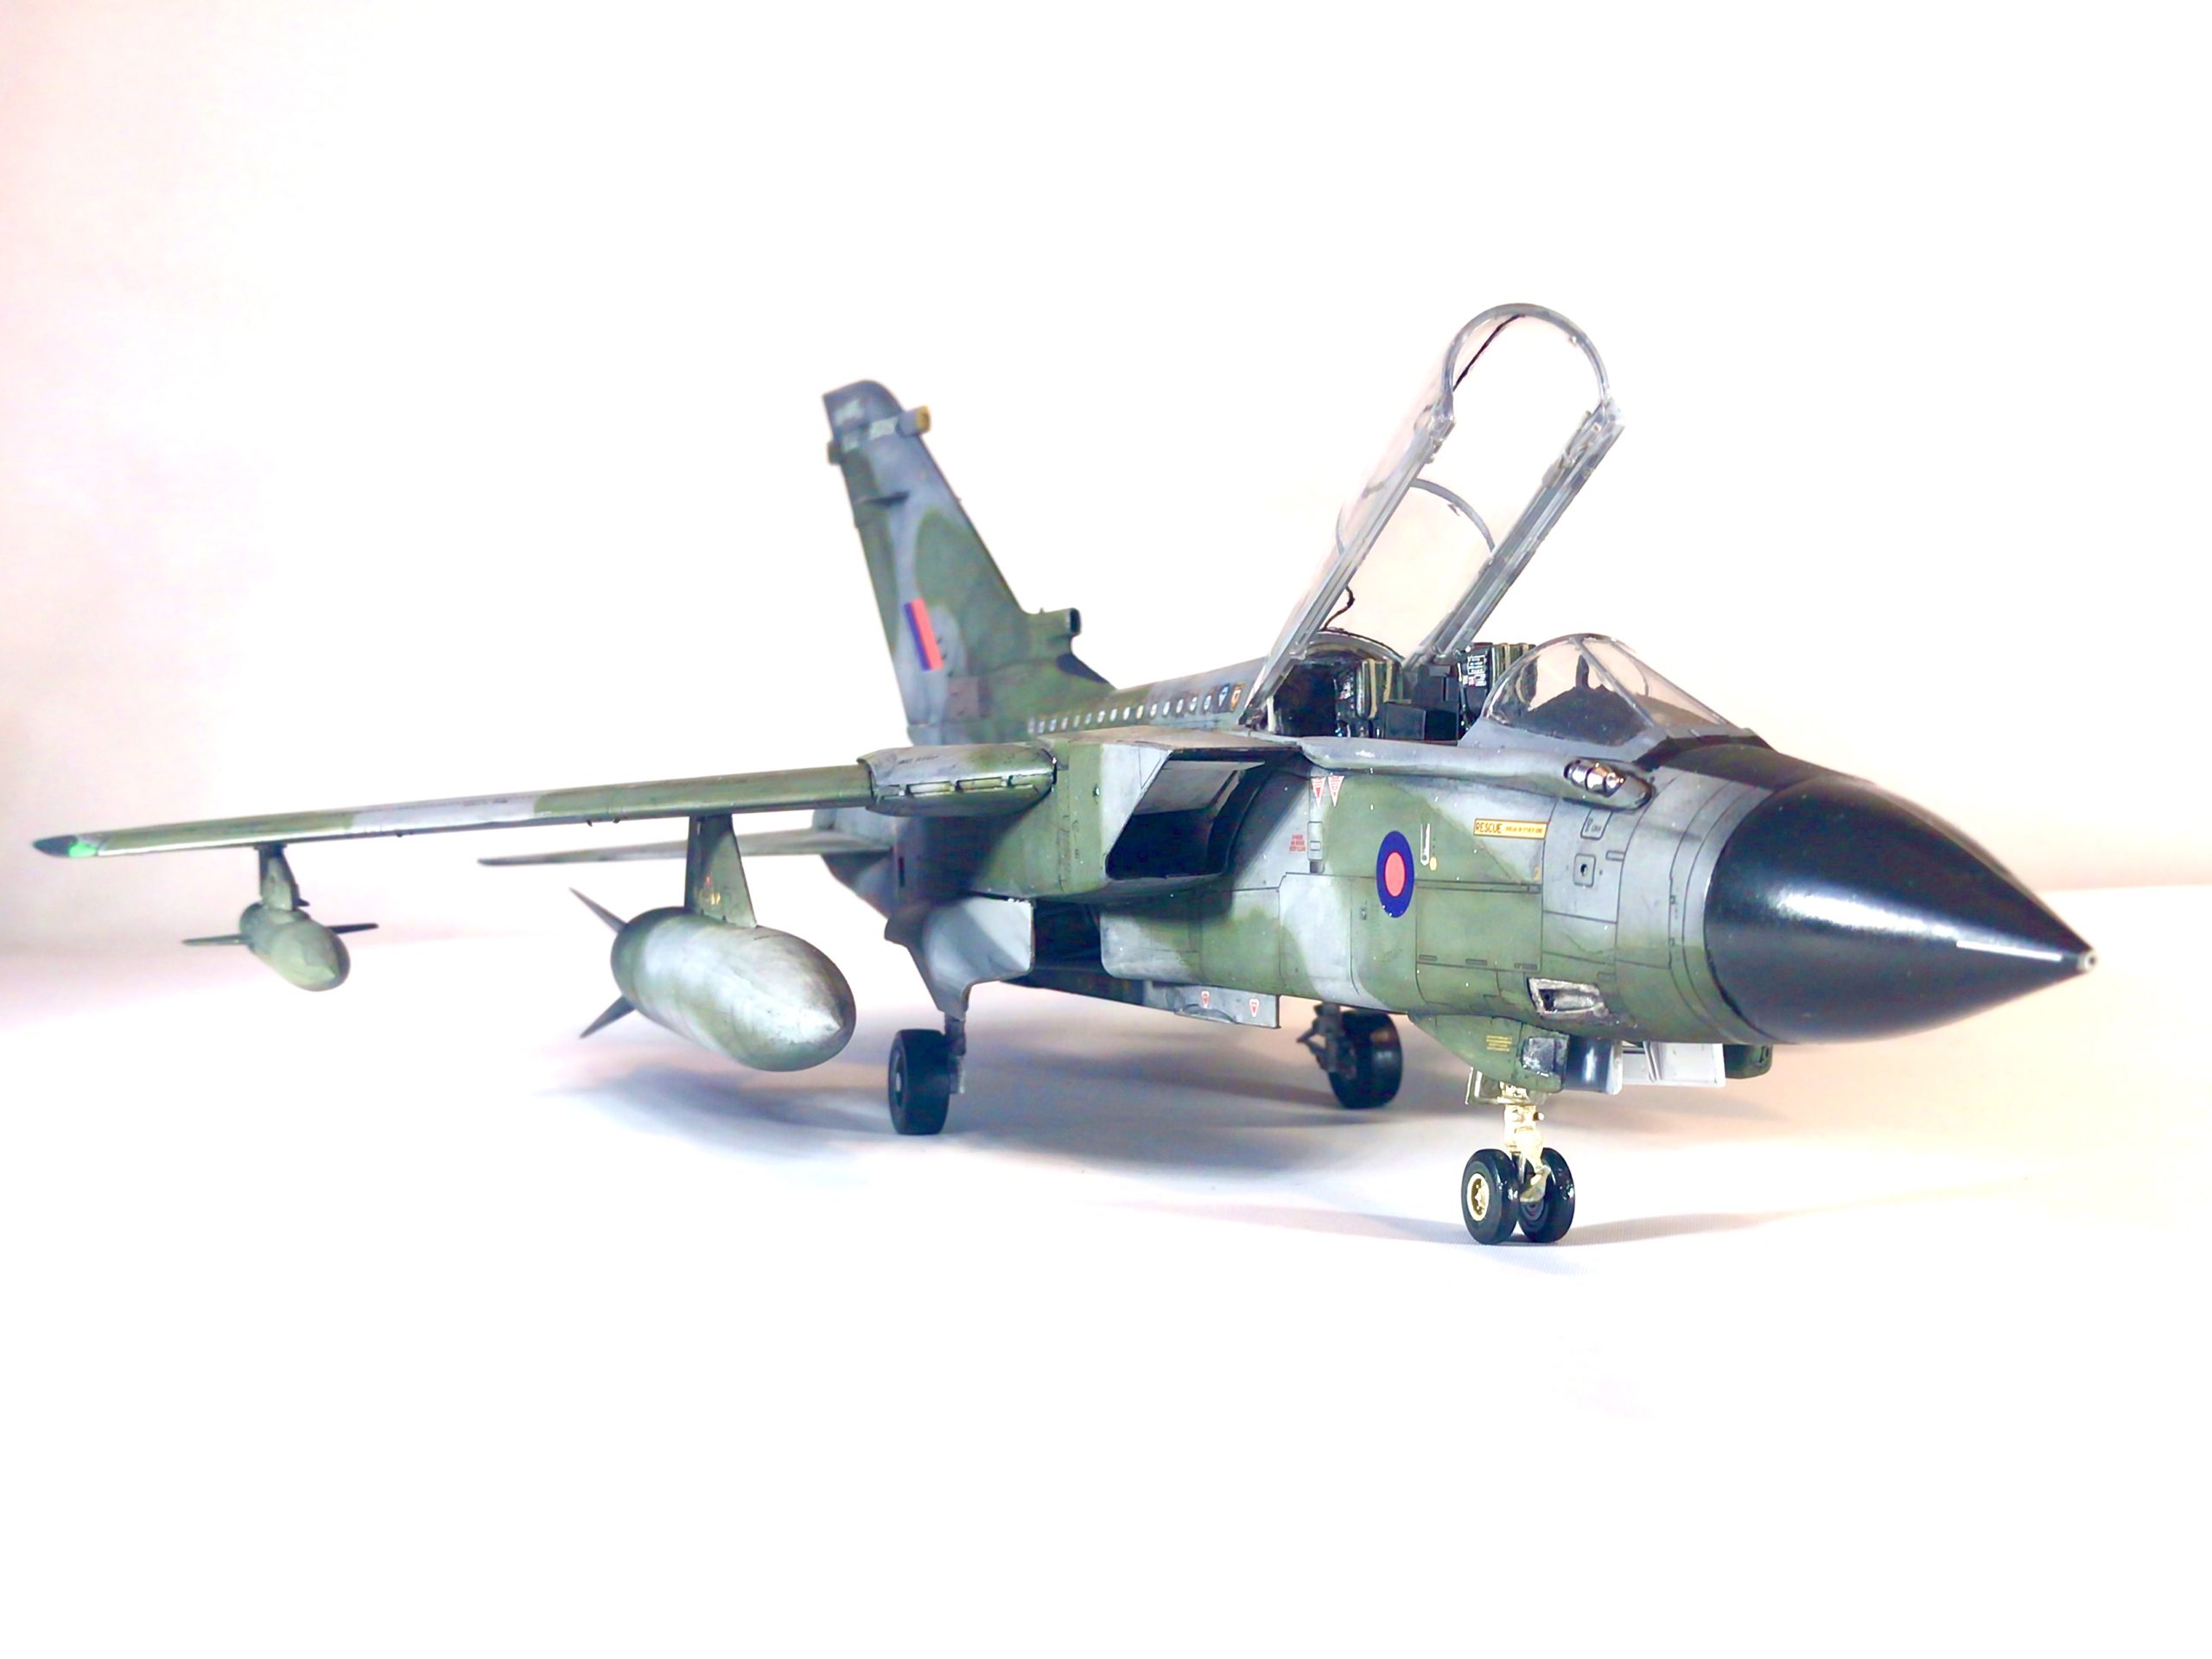
 Name – Revell 1/48 Tornado GR.4 “Farewell”
Number – 03853
Scale – 1/48
Price – £25.95
Availability – Now! (Caveat emptor) Buy yours here! at jadlamracingmodels.com
Introduction
Im actually a bit of a fan of Revell kits most of the time. They offer a great balance between price and detail. If you accept that the kits won’t fall together Tamiya fashion and that you might have to put in a little more effort that is.
So when the good people at Jadlam gave me the opportunity to have a crack at the recently re-boxed and re-released 1/48 Tonka (the Tornados nickname; derived from the rugged toy brand of yesteryear) I was keen to take a look.
When the box arrived I was impressed by a couple of things;
Firstly: the sheer quantity of plastic in the box, a little bit daunting to be honest.
Secondly: the quality of the surface detail. A little shallow perhaps, but impressive none the less.
I haven’t done my usual sprue pictures because there were too many, but take my word for it there is a lot to go through.
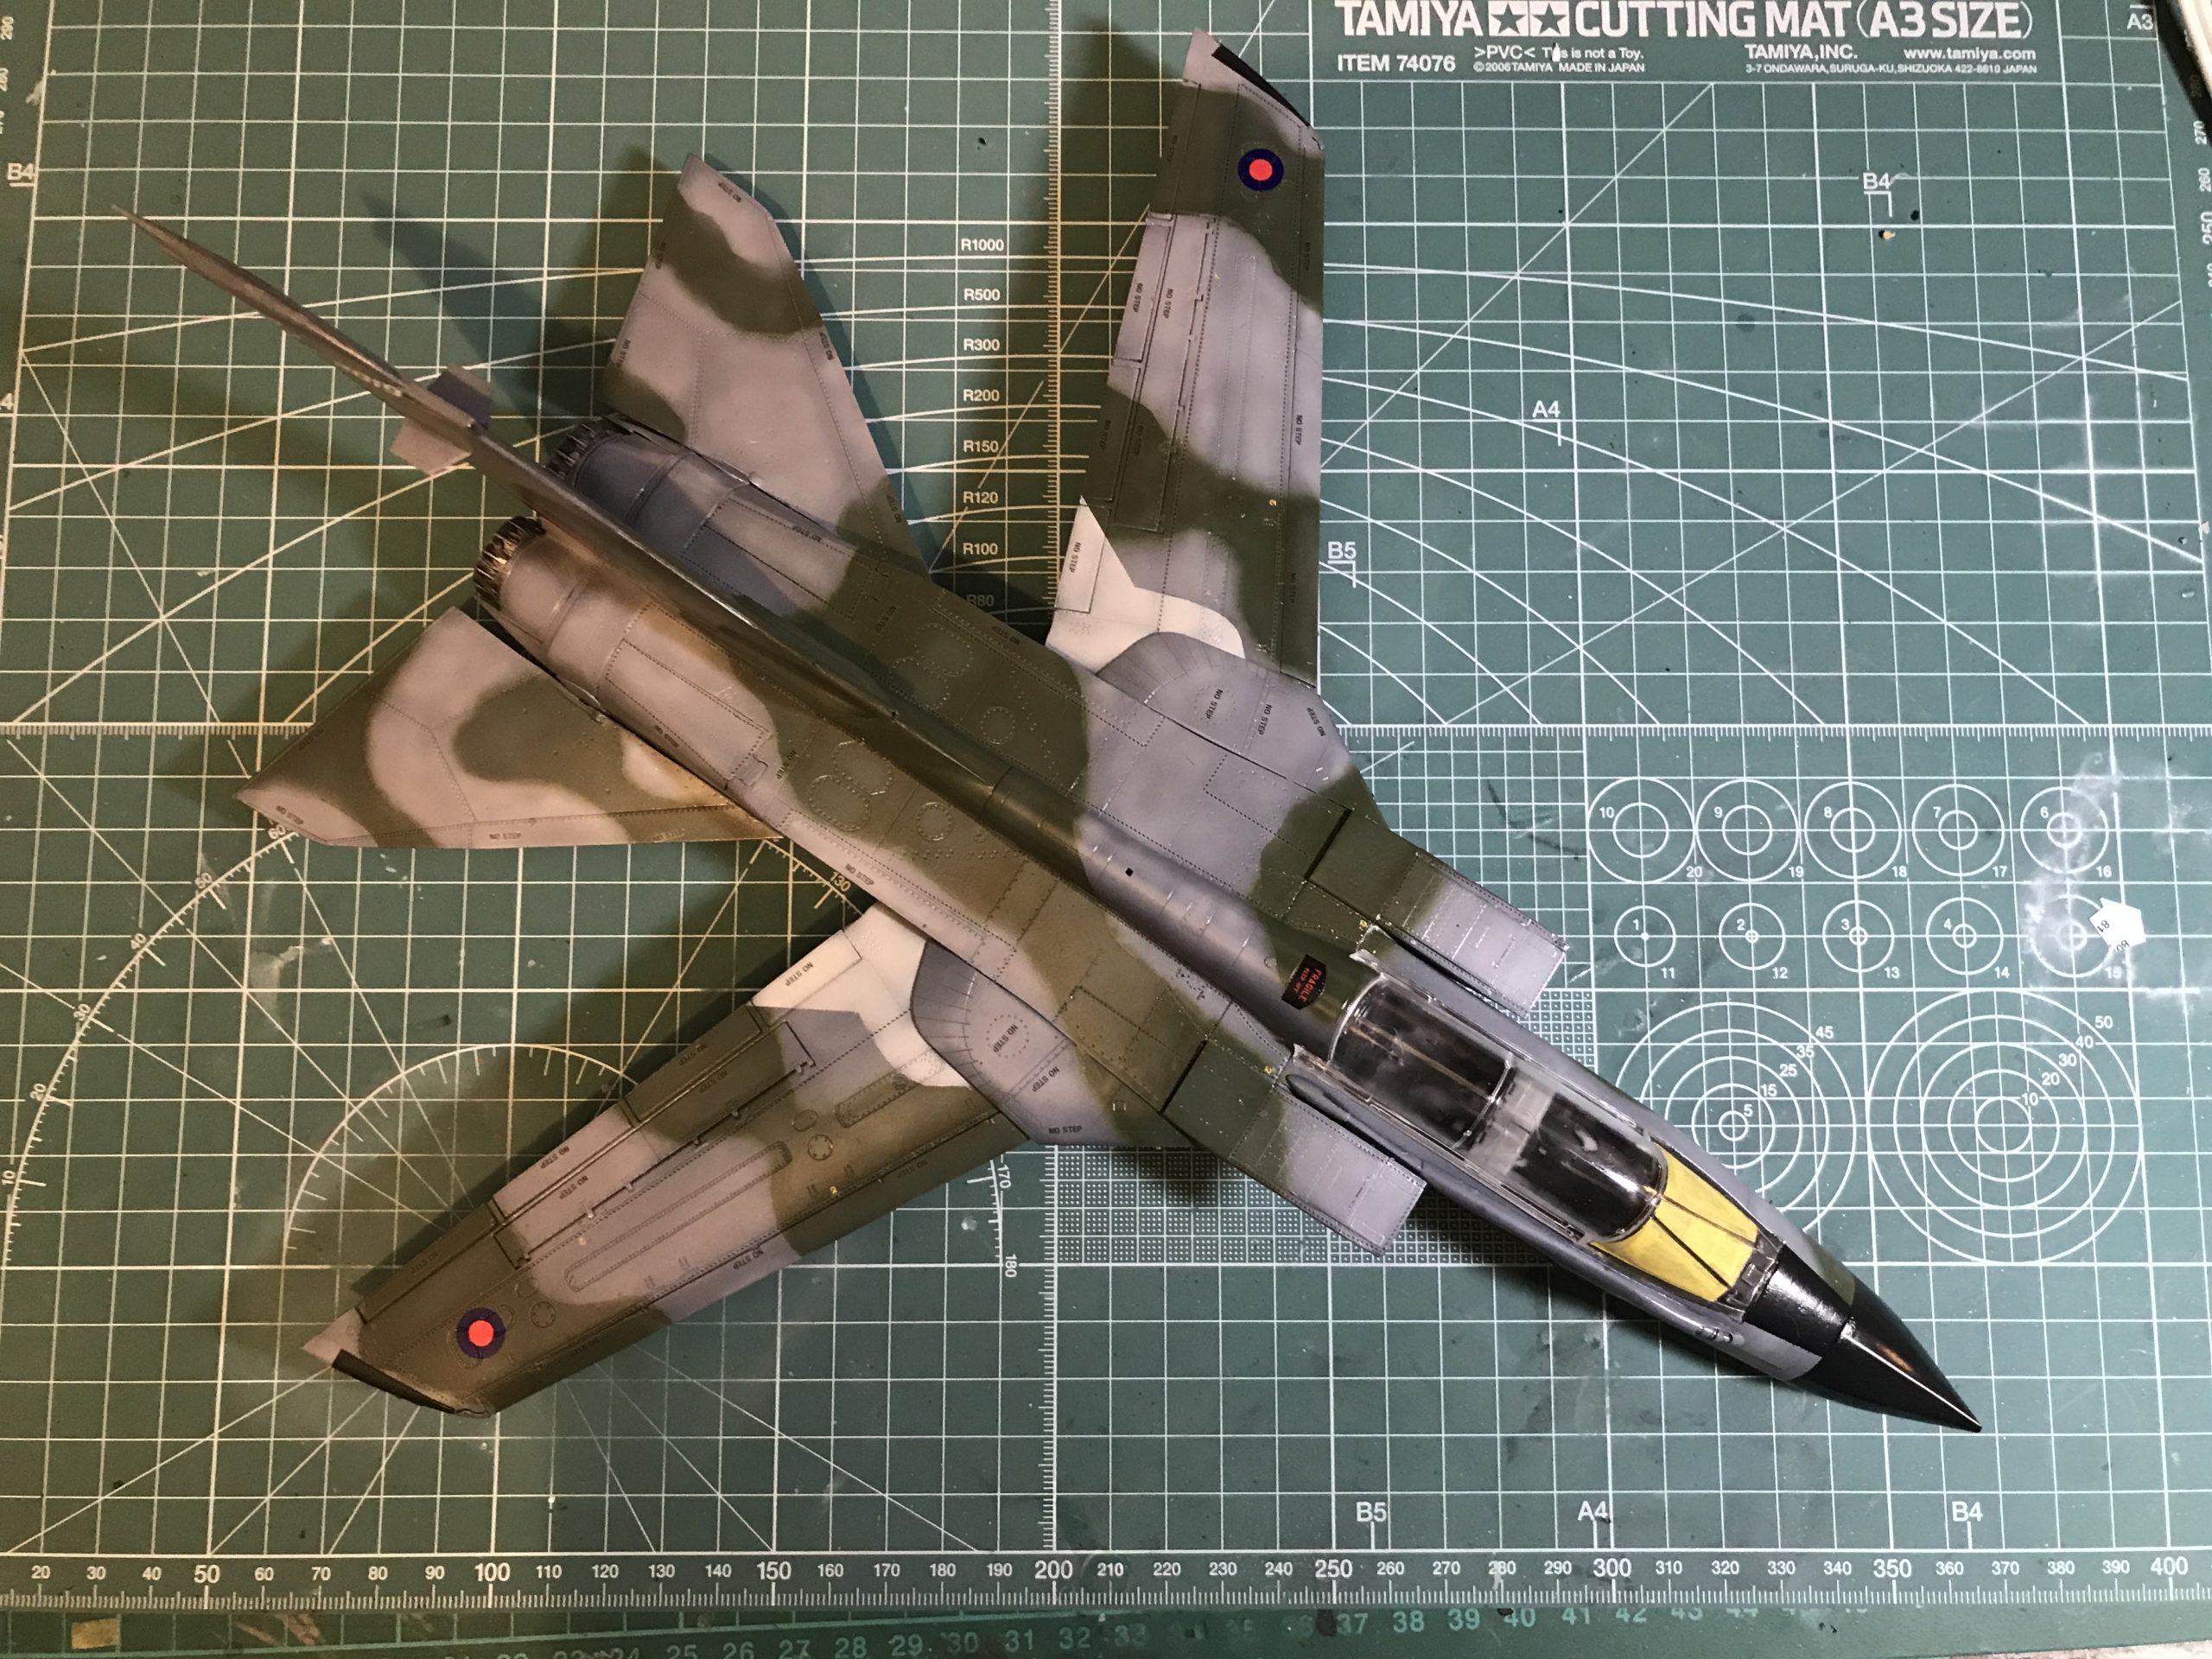
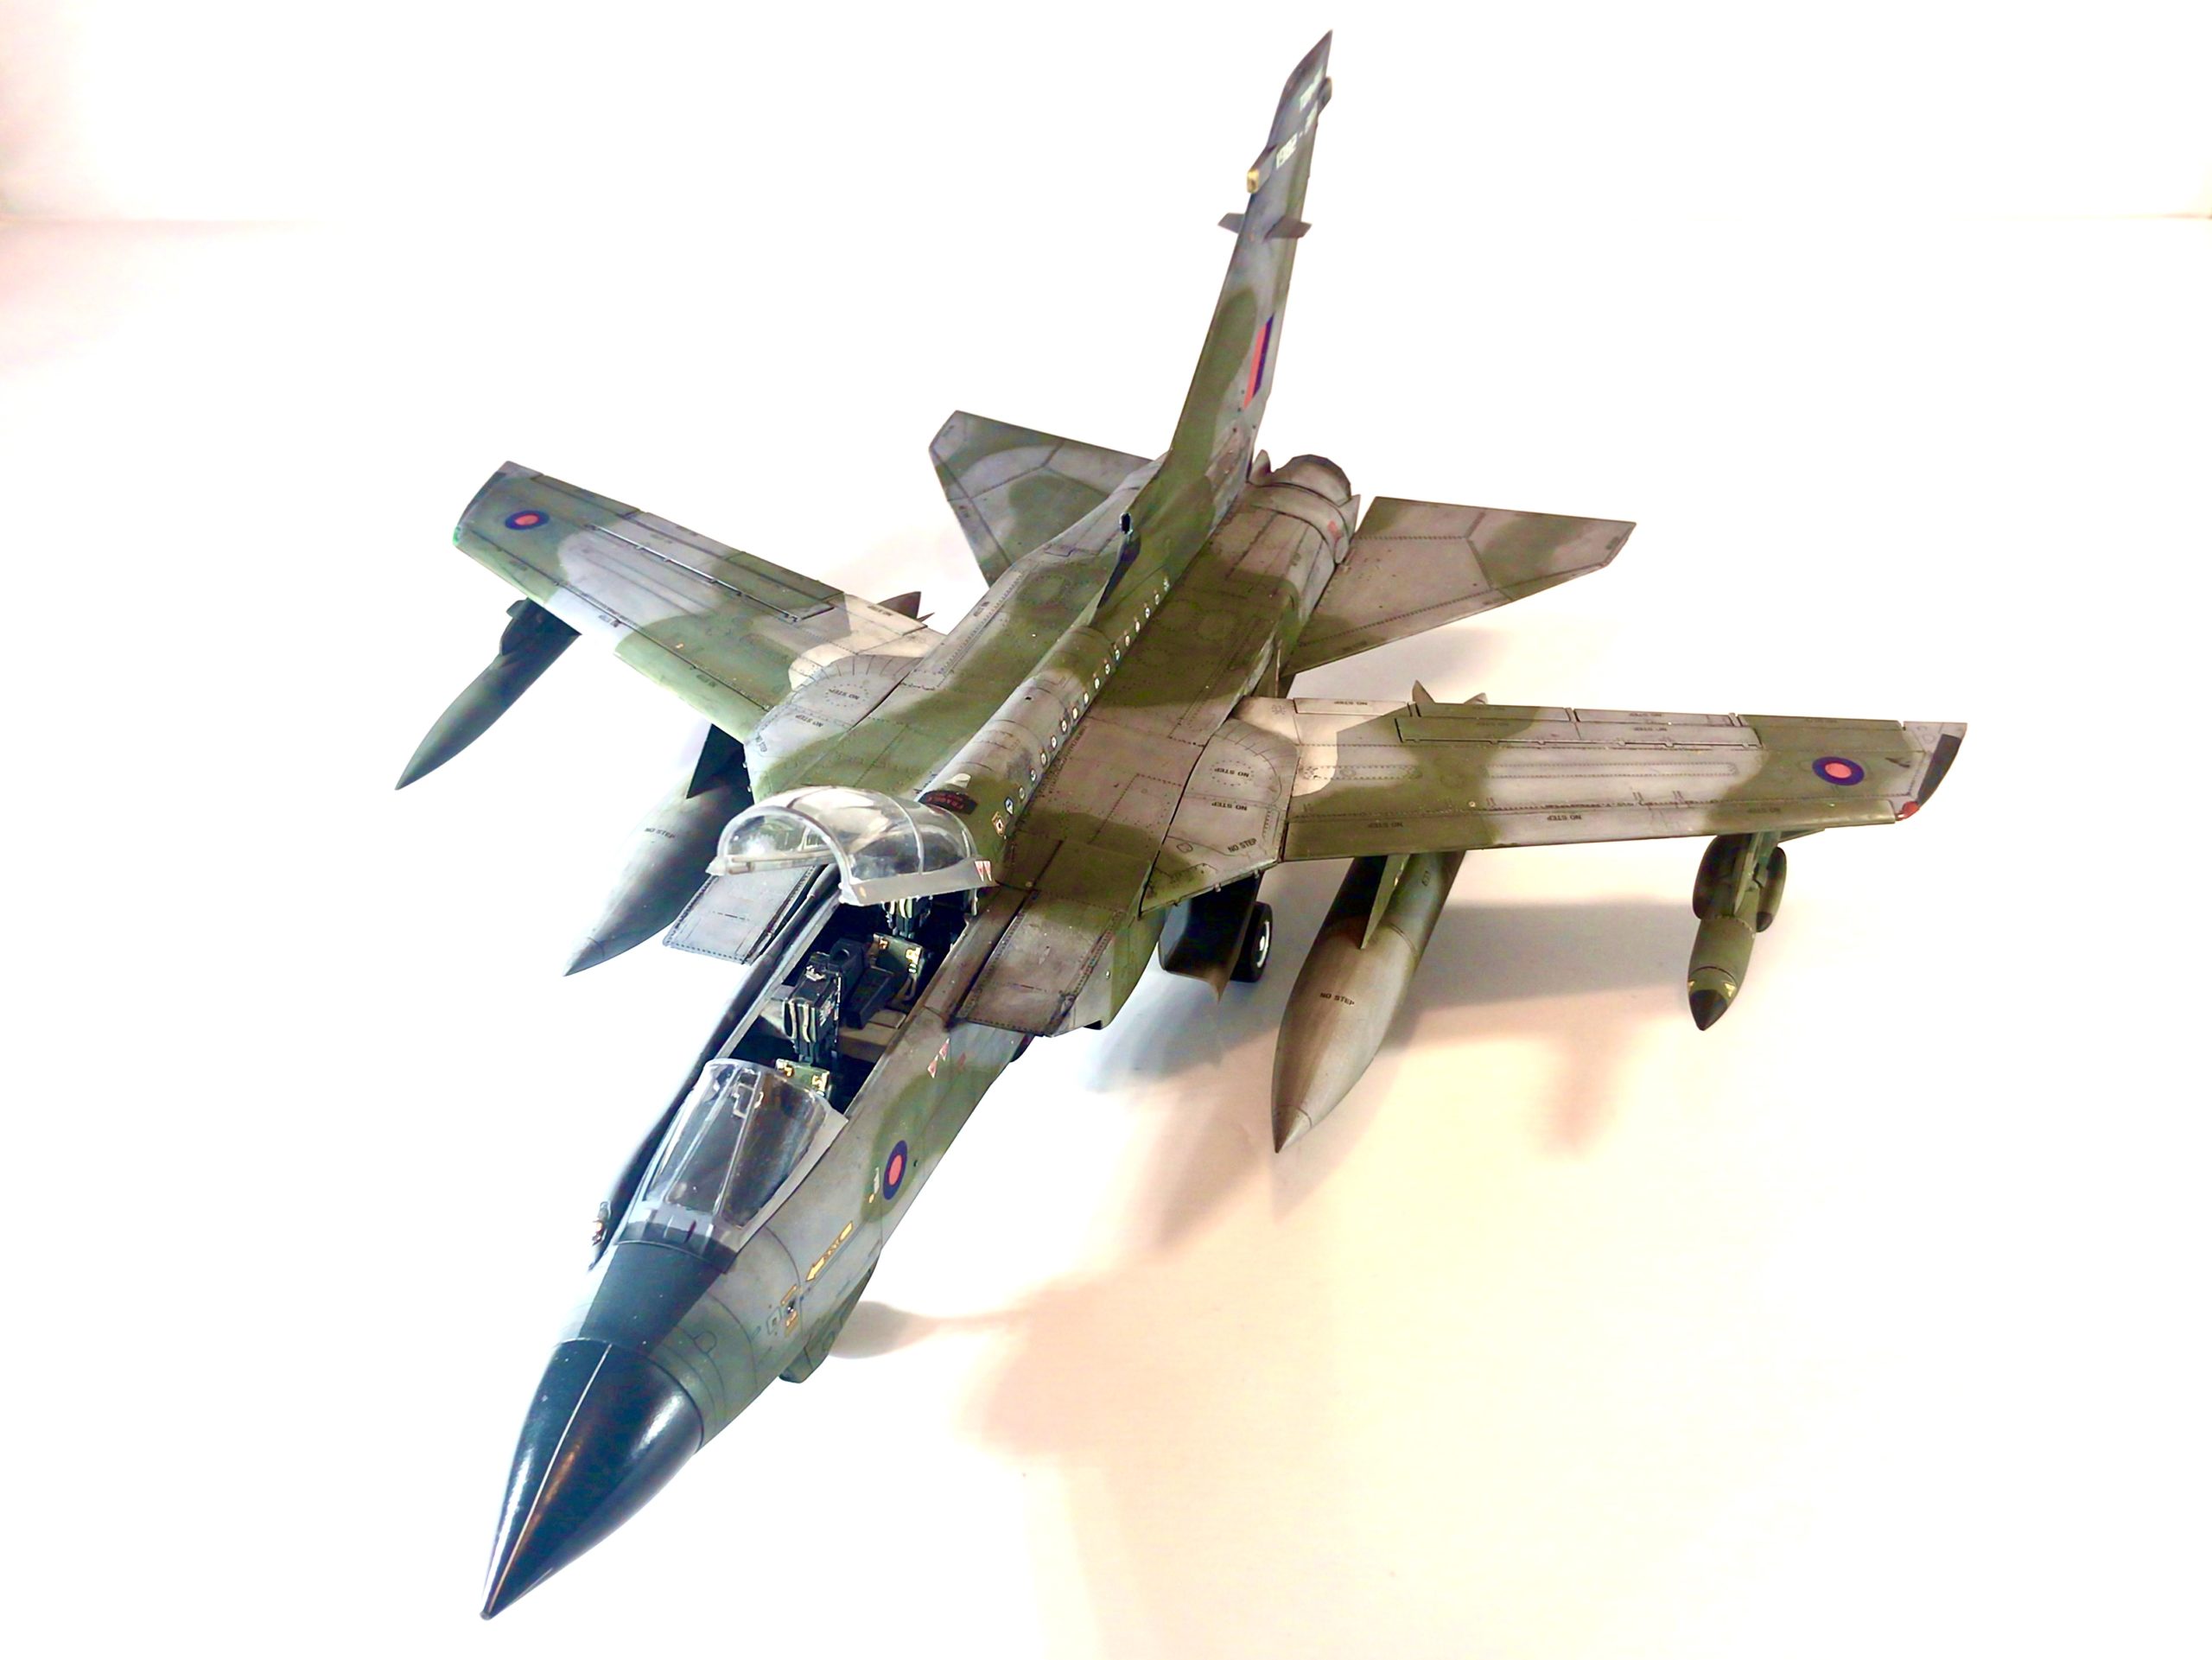
Once again the decals are superb. It’s really nice that something that seemed like an after-thought for so long by many manufacturers is now a highlight. Three retirement schemes are available in the box. Two grey and one retro Dark Green over Medium sea grey.
The instructions aren’t the best. It’s often difficult to tell what parts go exactly where, what holes to drill and where for different versions and worst of all some of the part numbering isn’t right.
Still. First world problems and all that. Nothing a bit of care and attention won’t easily solve. Or so I thought.
The Build(s)
As it turns out my Tornado build was going to be quite a bit more complicated and time consuming then I imagined. I had planned a complicated analogy with Homers Odyssey (the Epic Poem not the Simpsons episode) but decided to abandon it as it was a touch too self-indulgent. Suffice to say a fair bit of blood, sweat, tears and foul language were needed to see this one across the line.
So, what’s all the drama Rob I hear you ask?
Get the kettle on or crack open a beer as this is a bit of a long one.
So read on friends and I will tell you what went wrong and how you might be able to avoid similar issues yourself.
Build 1.
Build 1? What are you going on about? Well, I have actually built this twice…. Well more accurately one and a half times.
You see the first attempt went…. Poorly and ended up on the shelf as a constant reminder not to rush things.
Don’t worry I will tell you what I did wrong. (If you want to see what I did right fast forward to build 2)
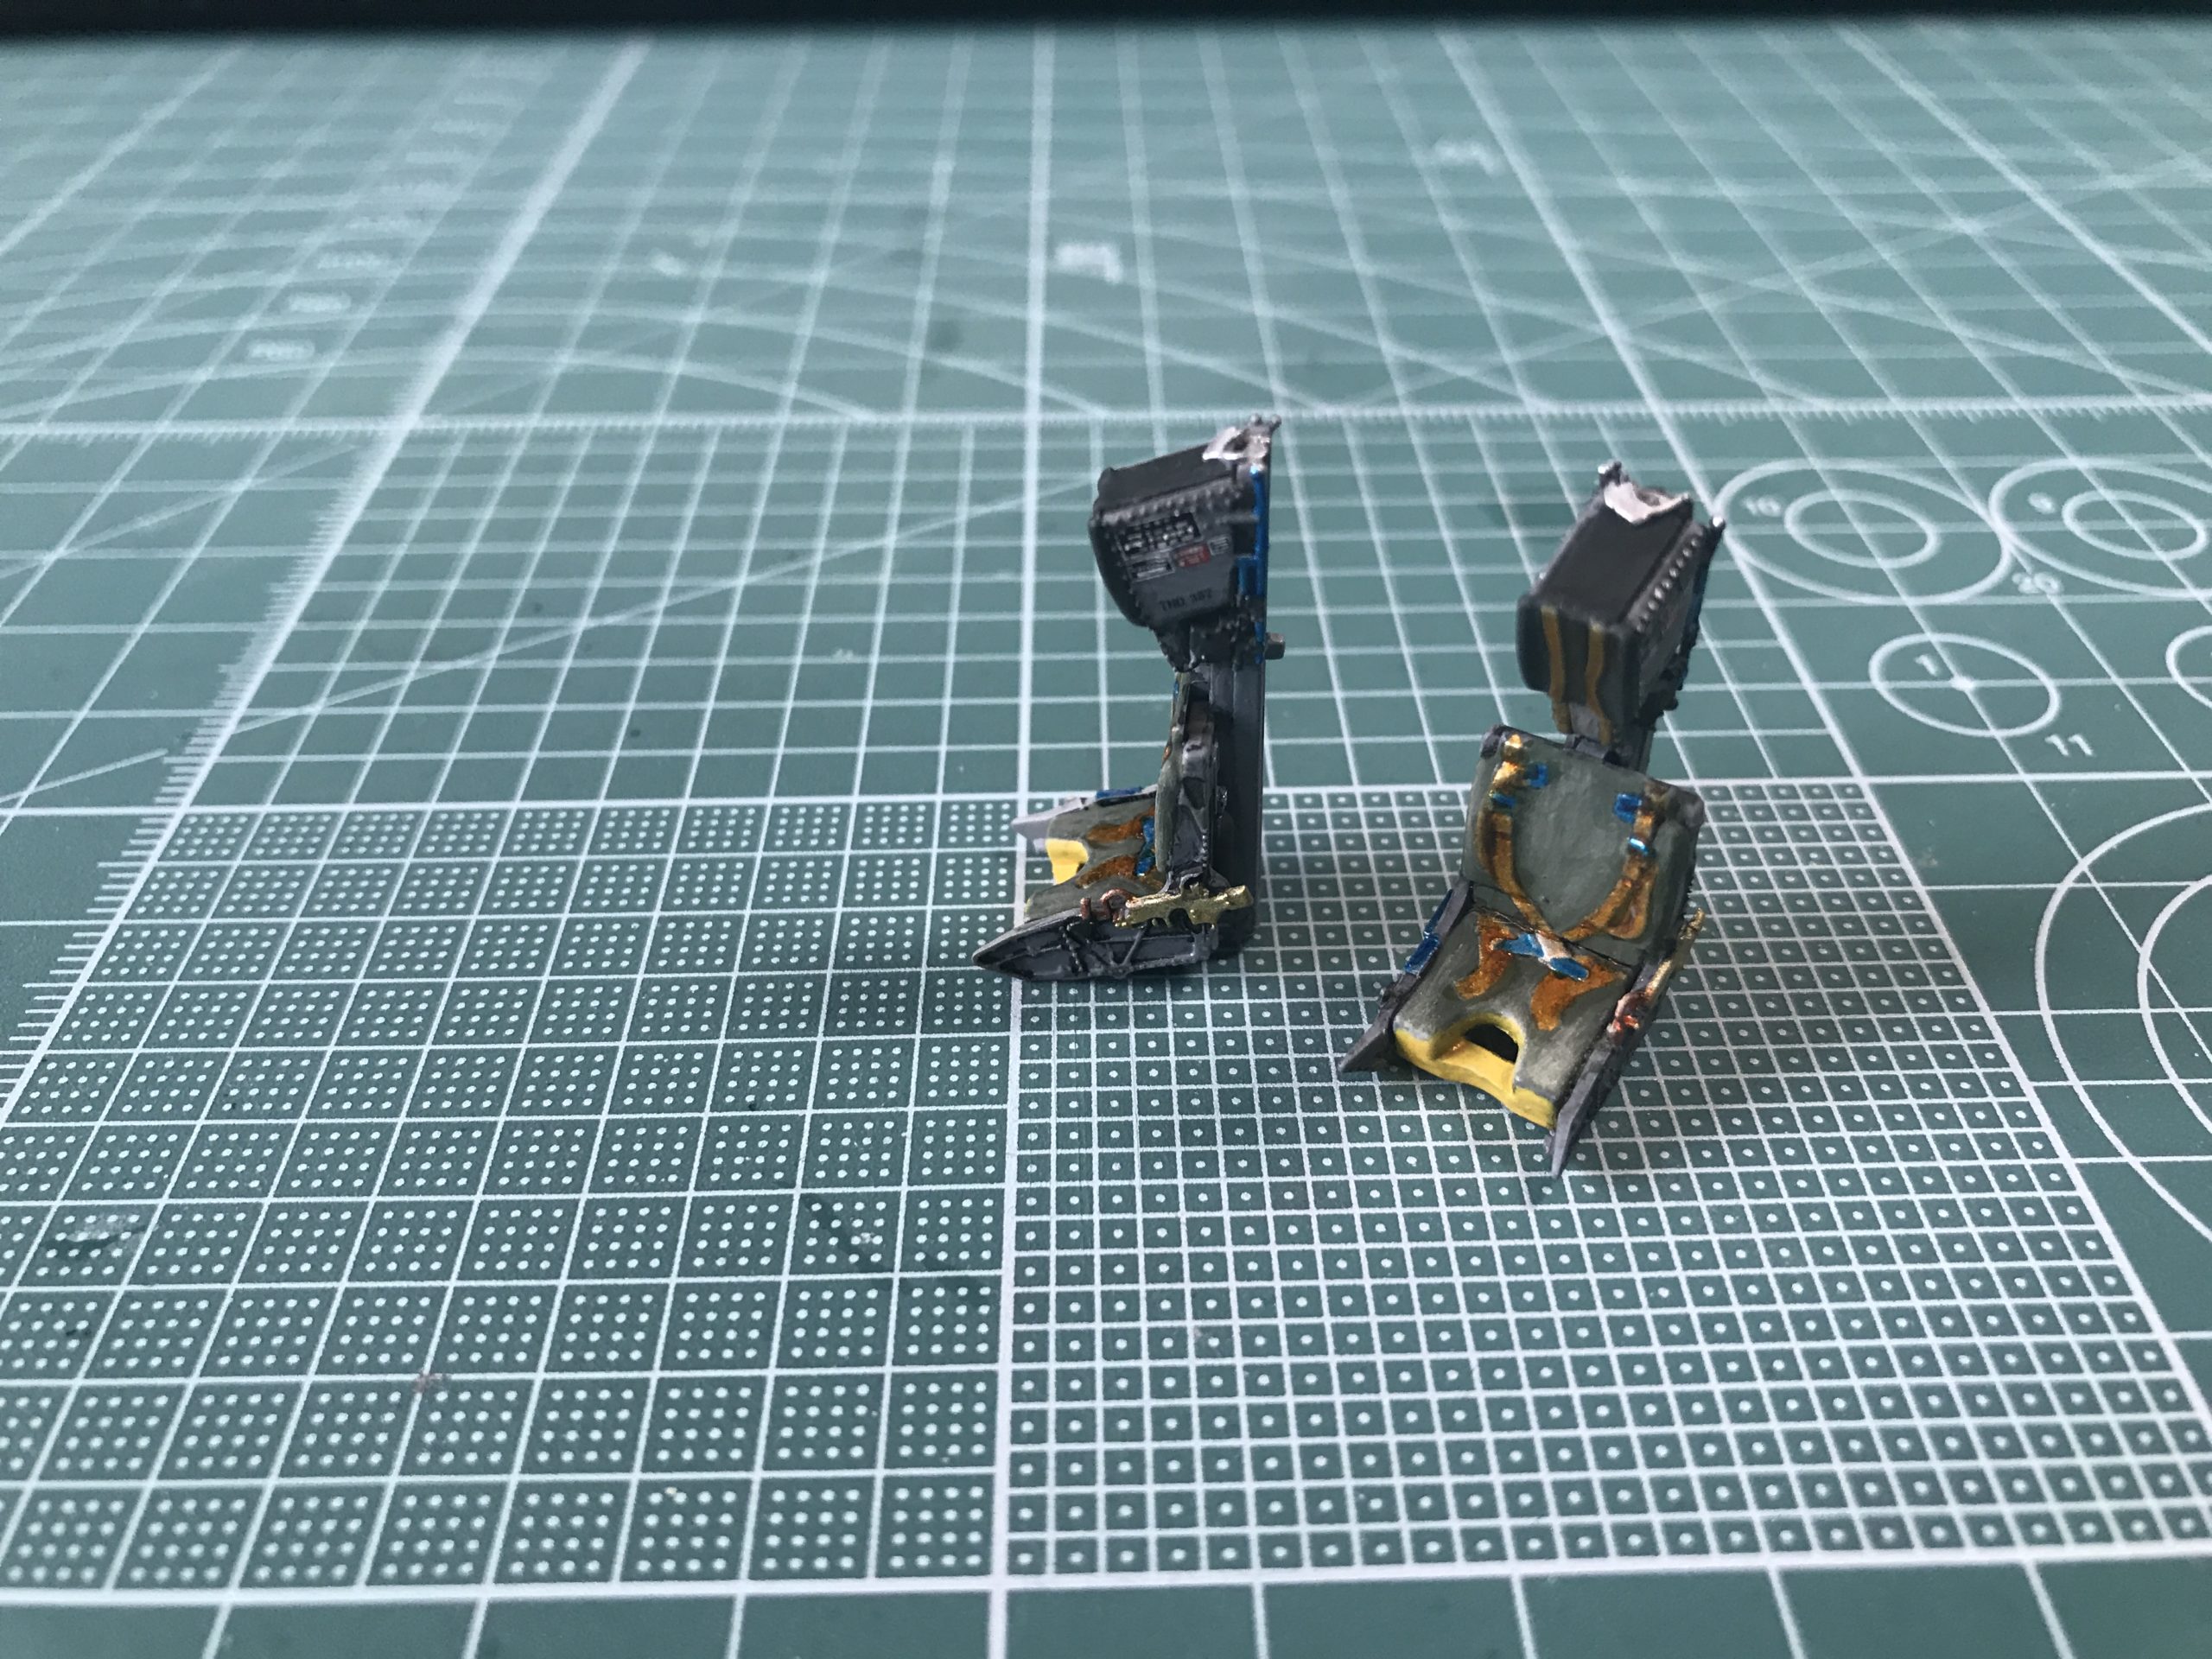
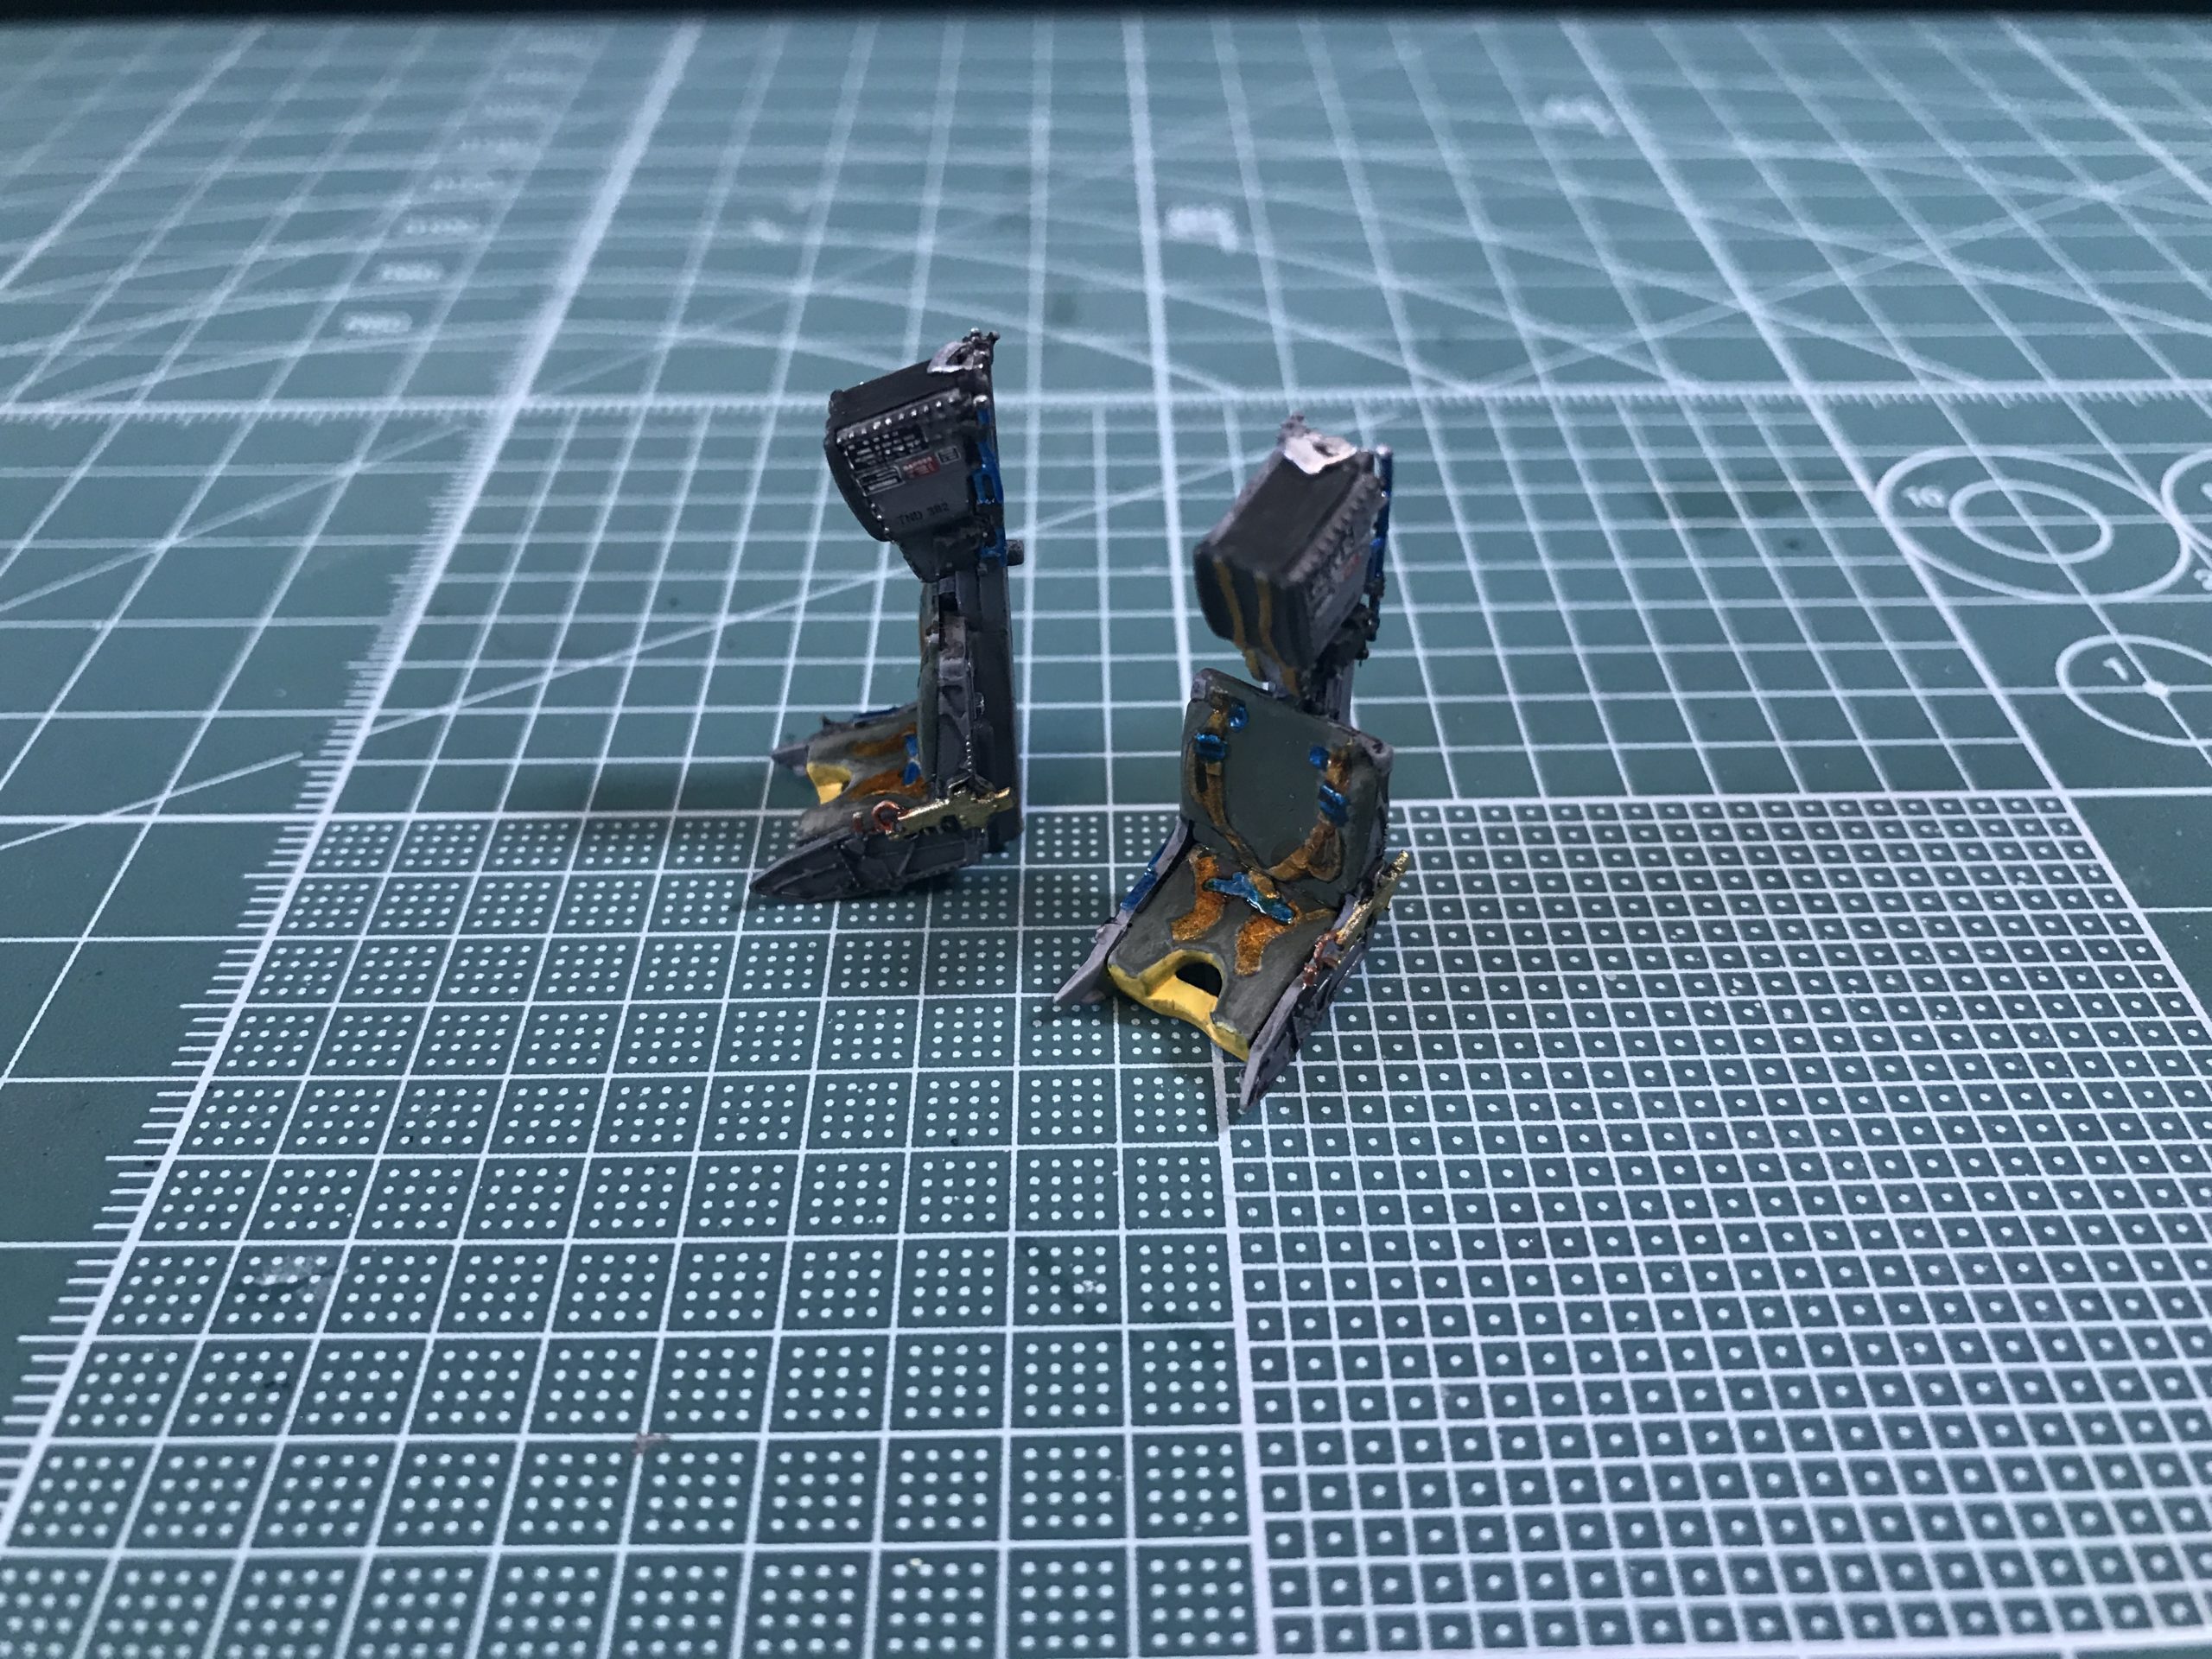
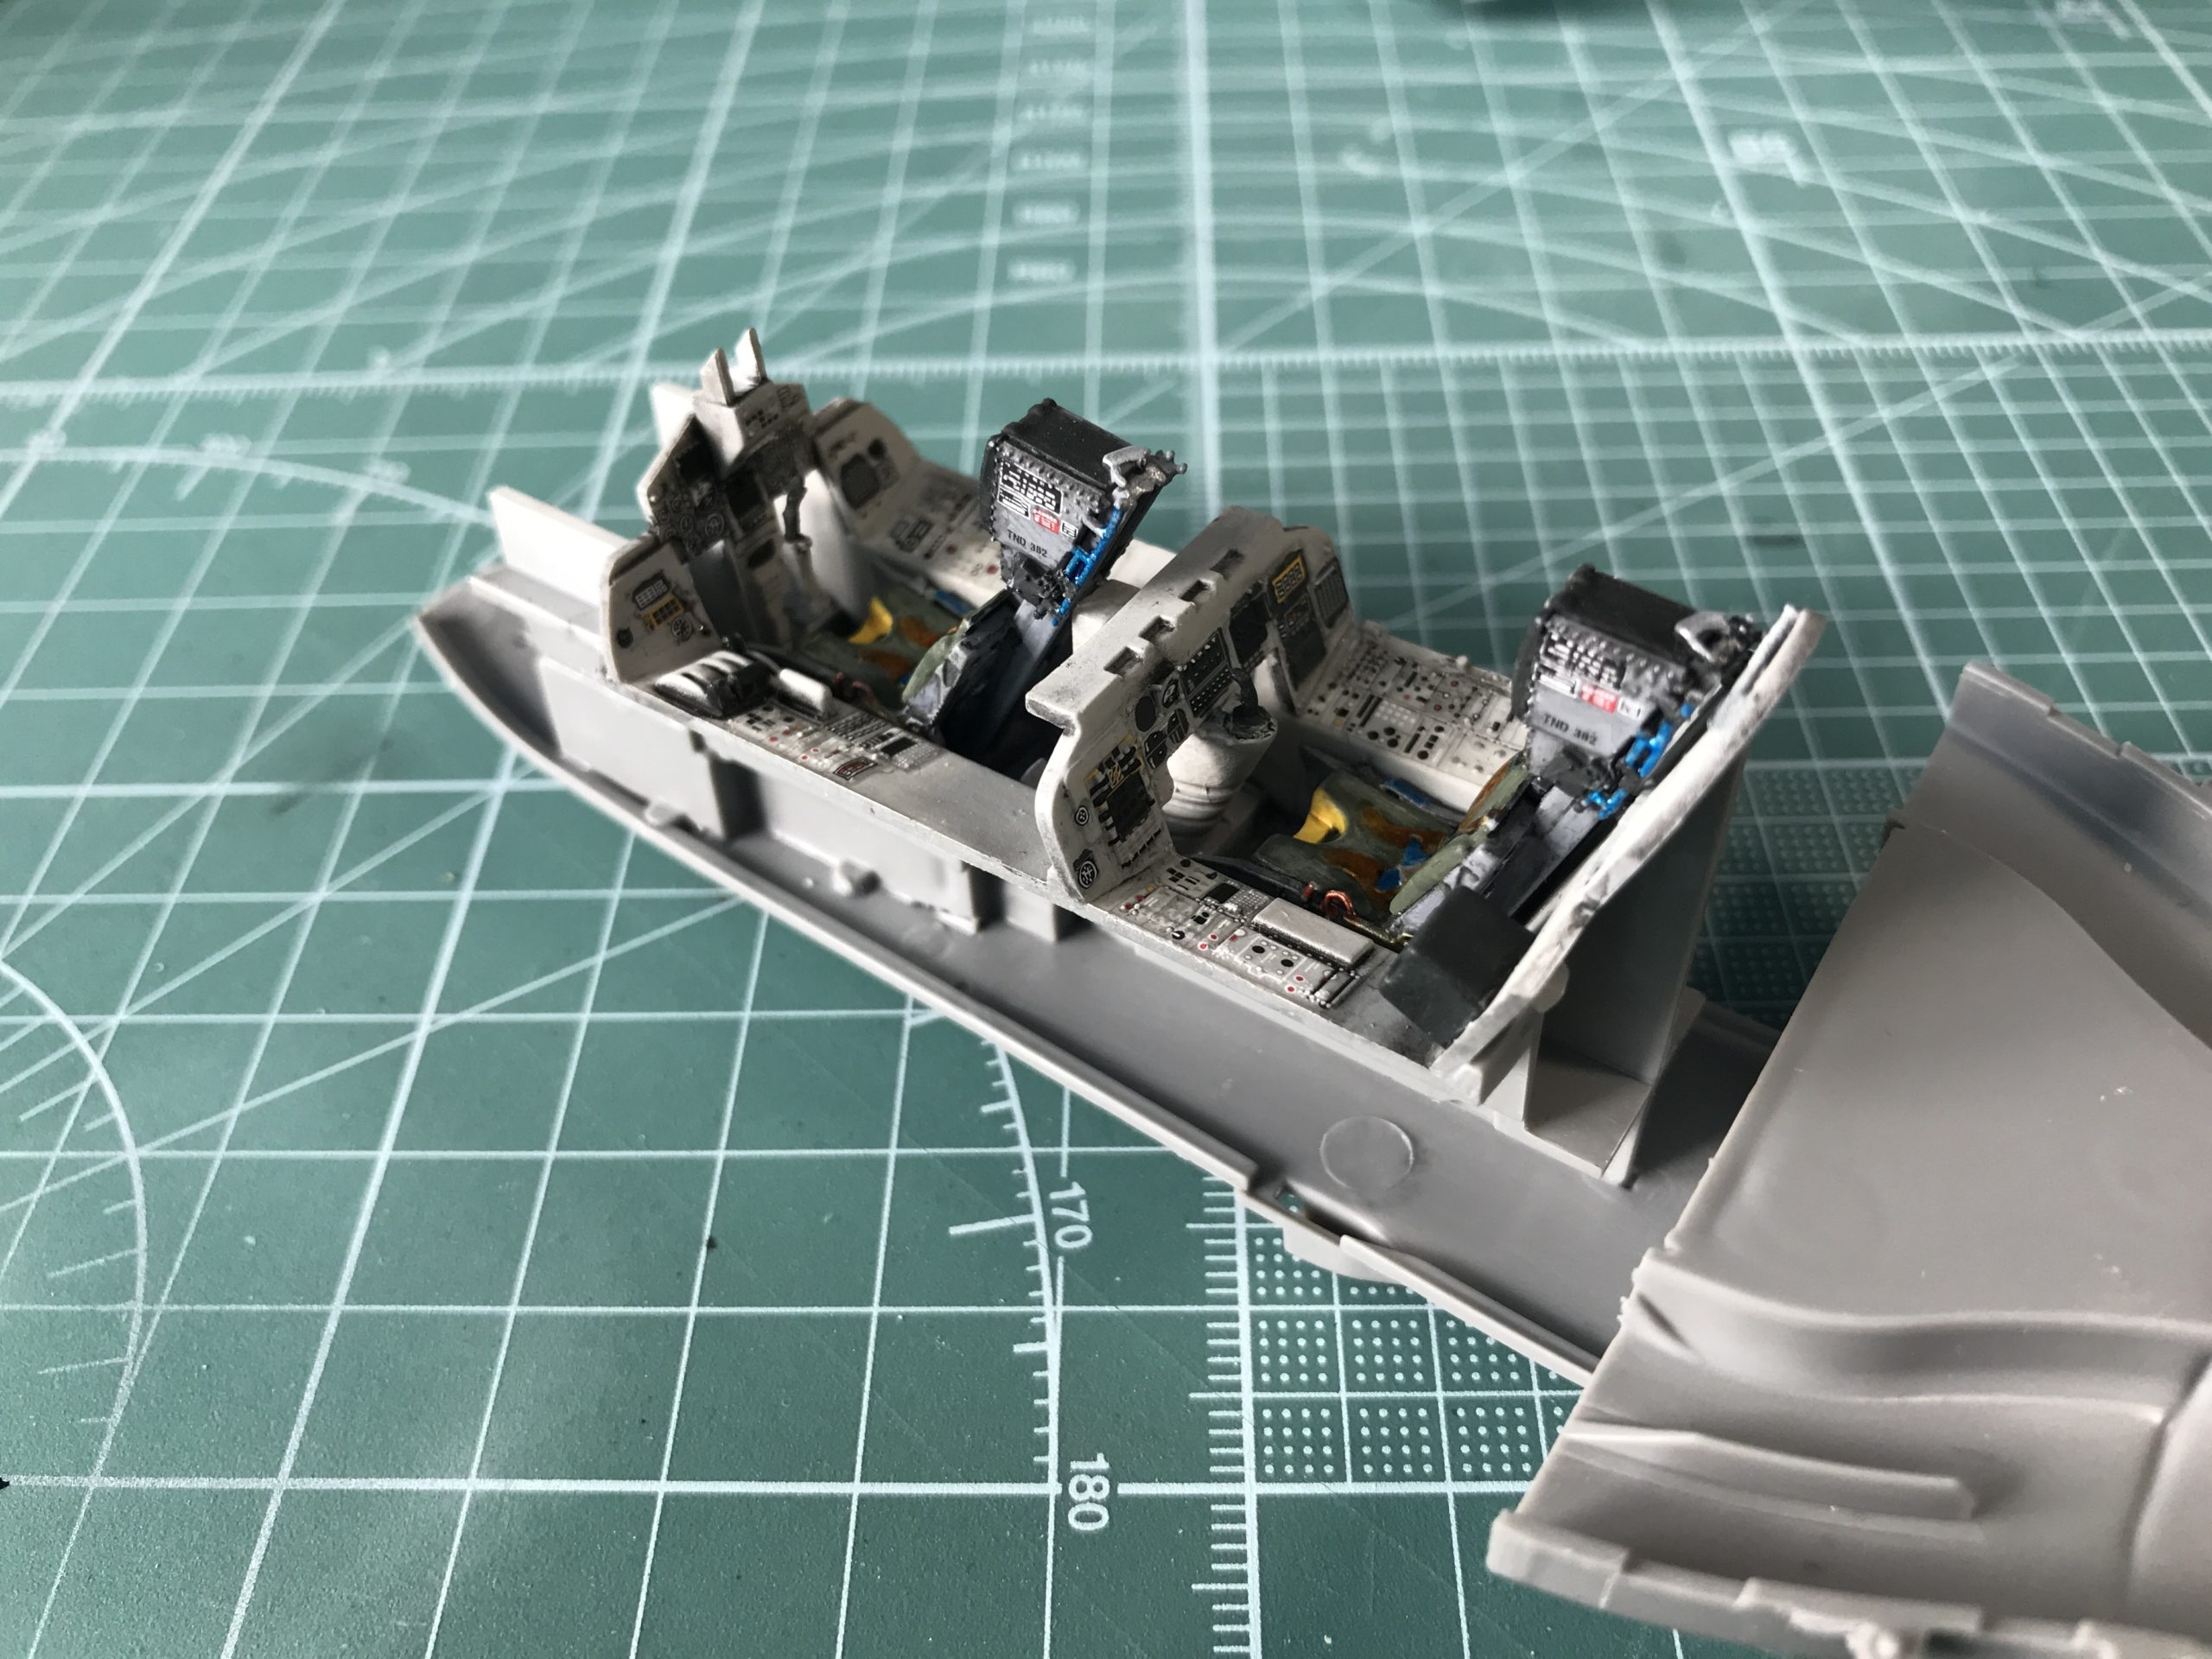
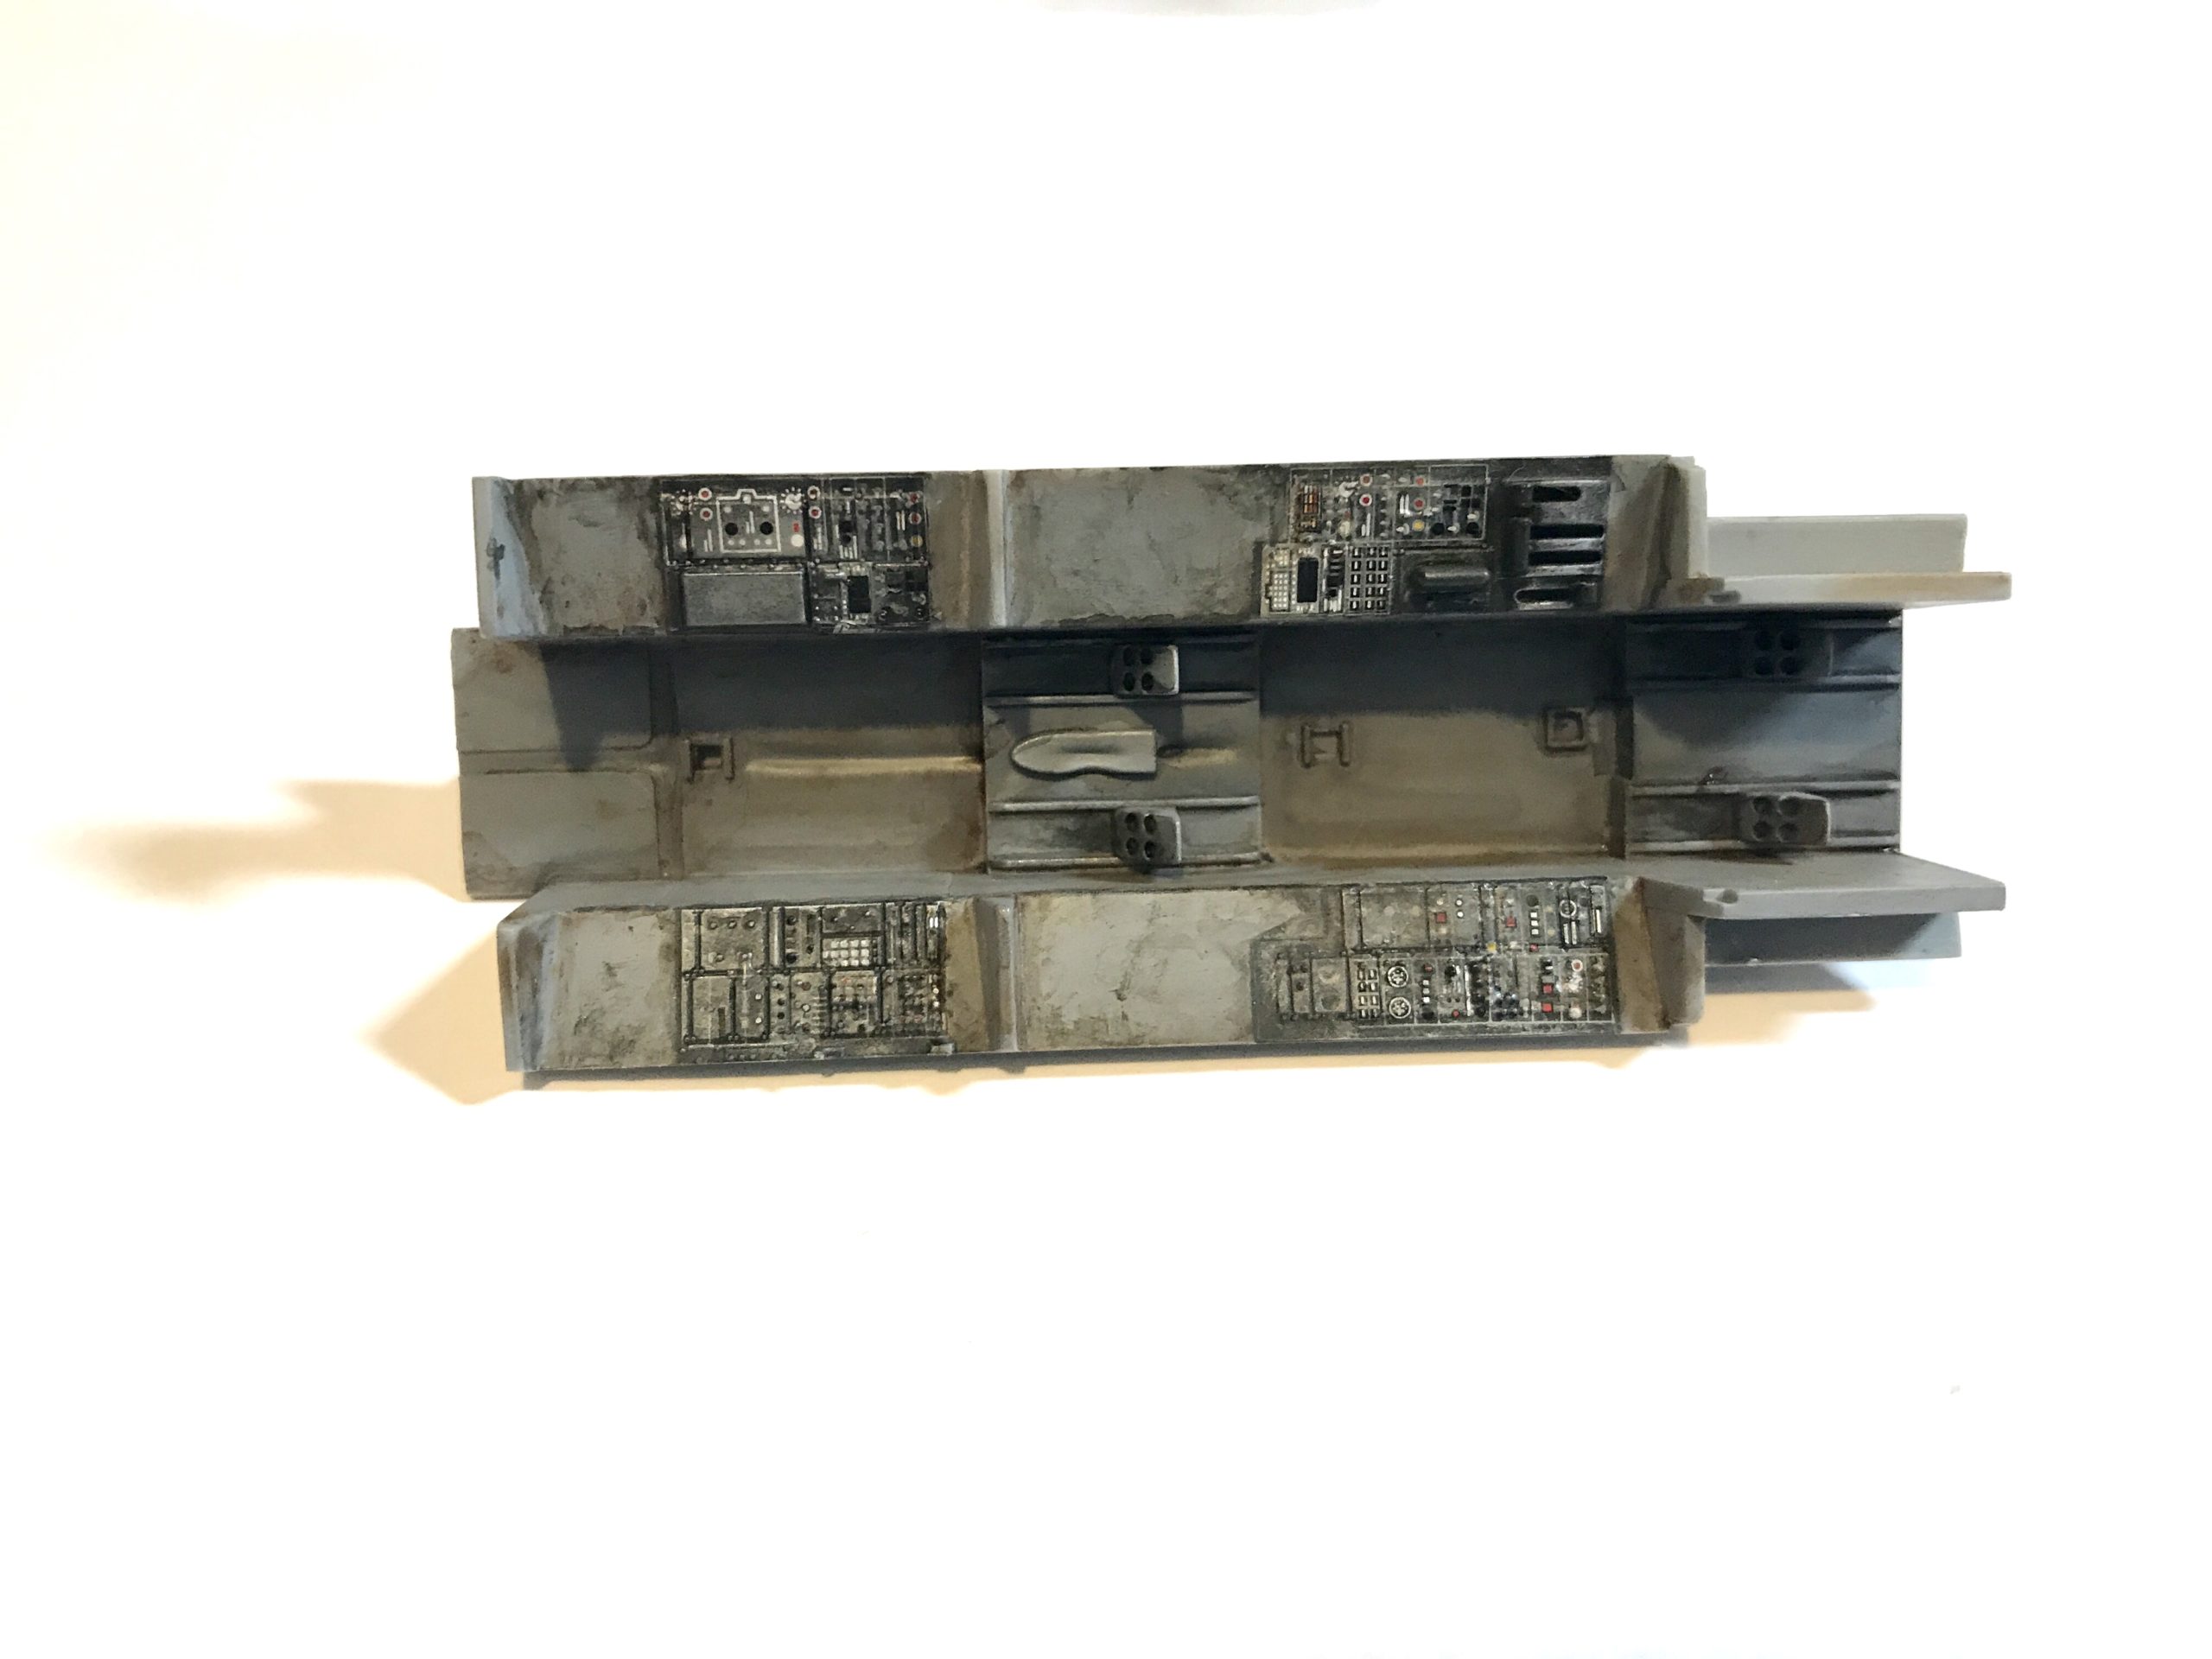
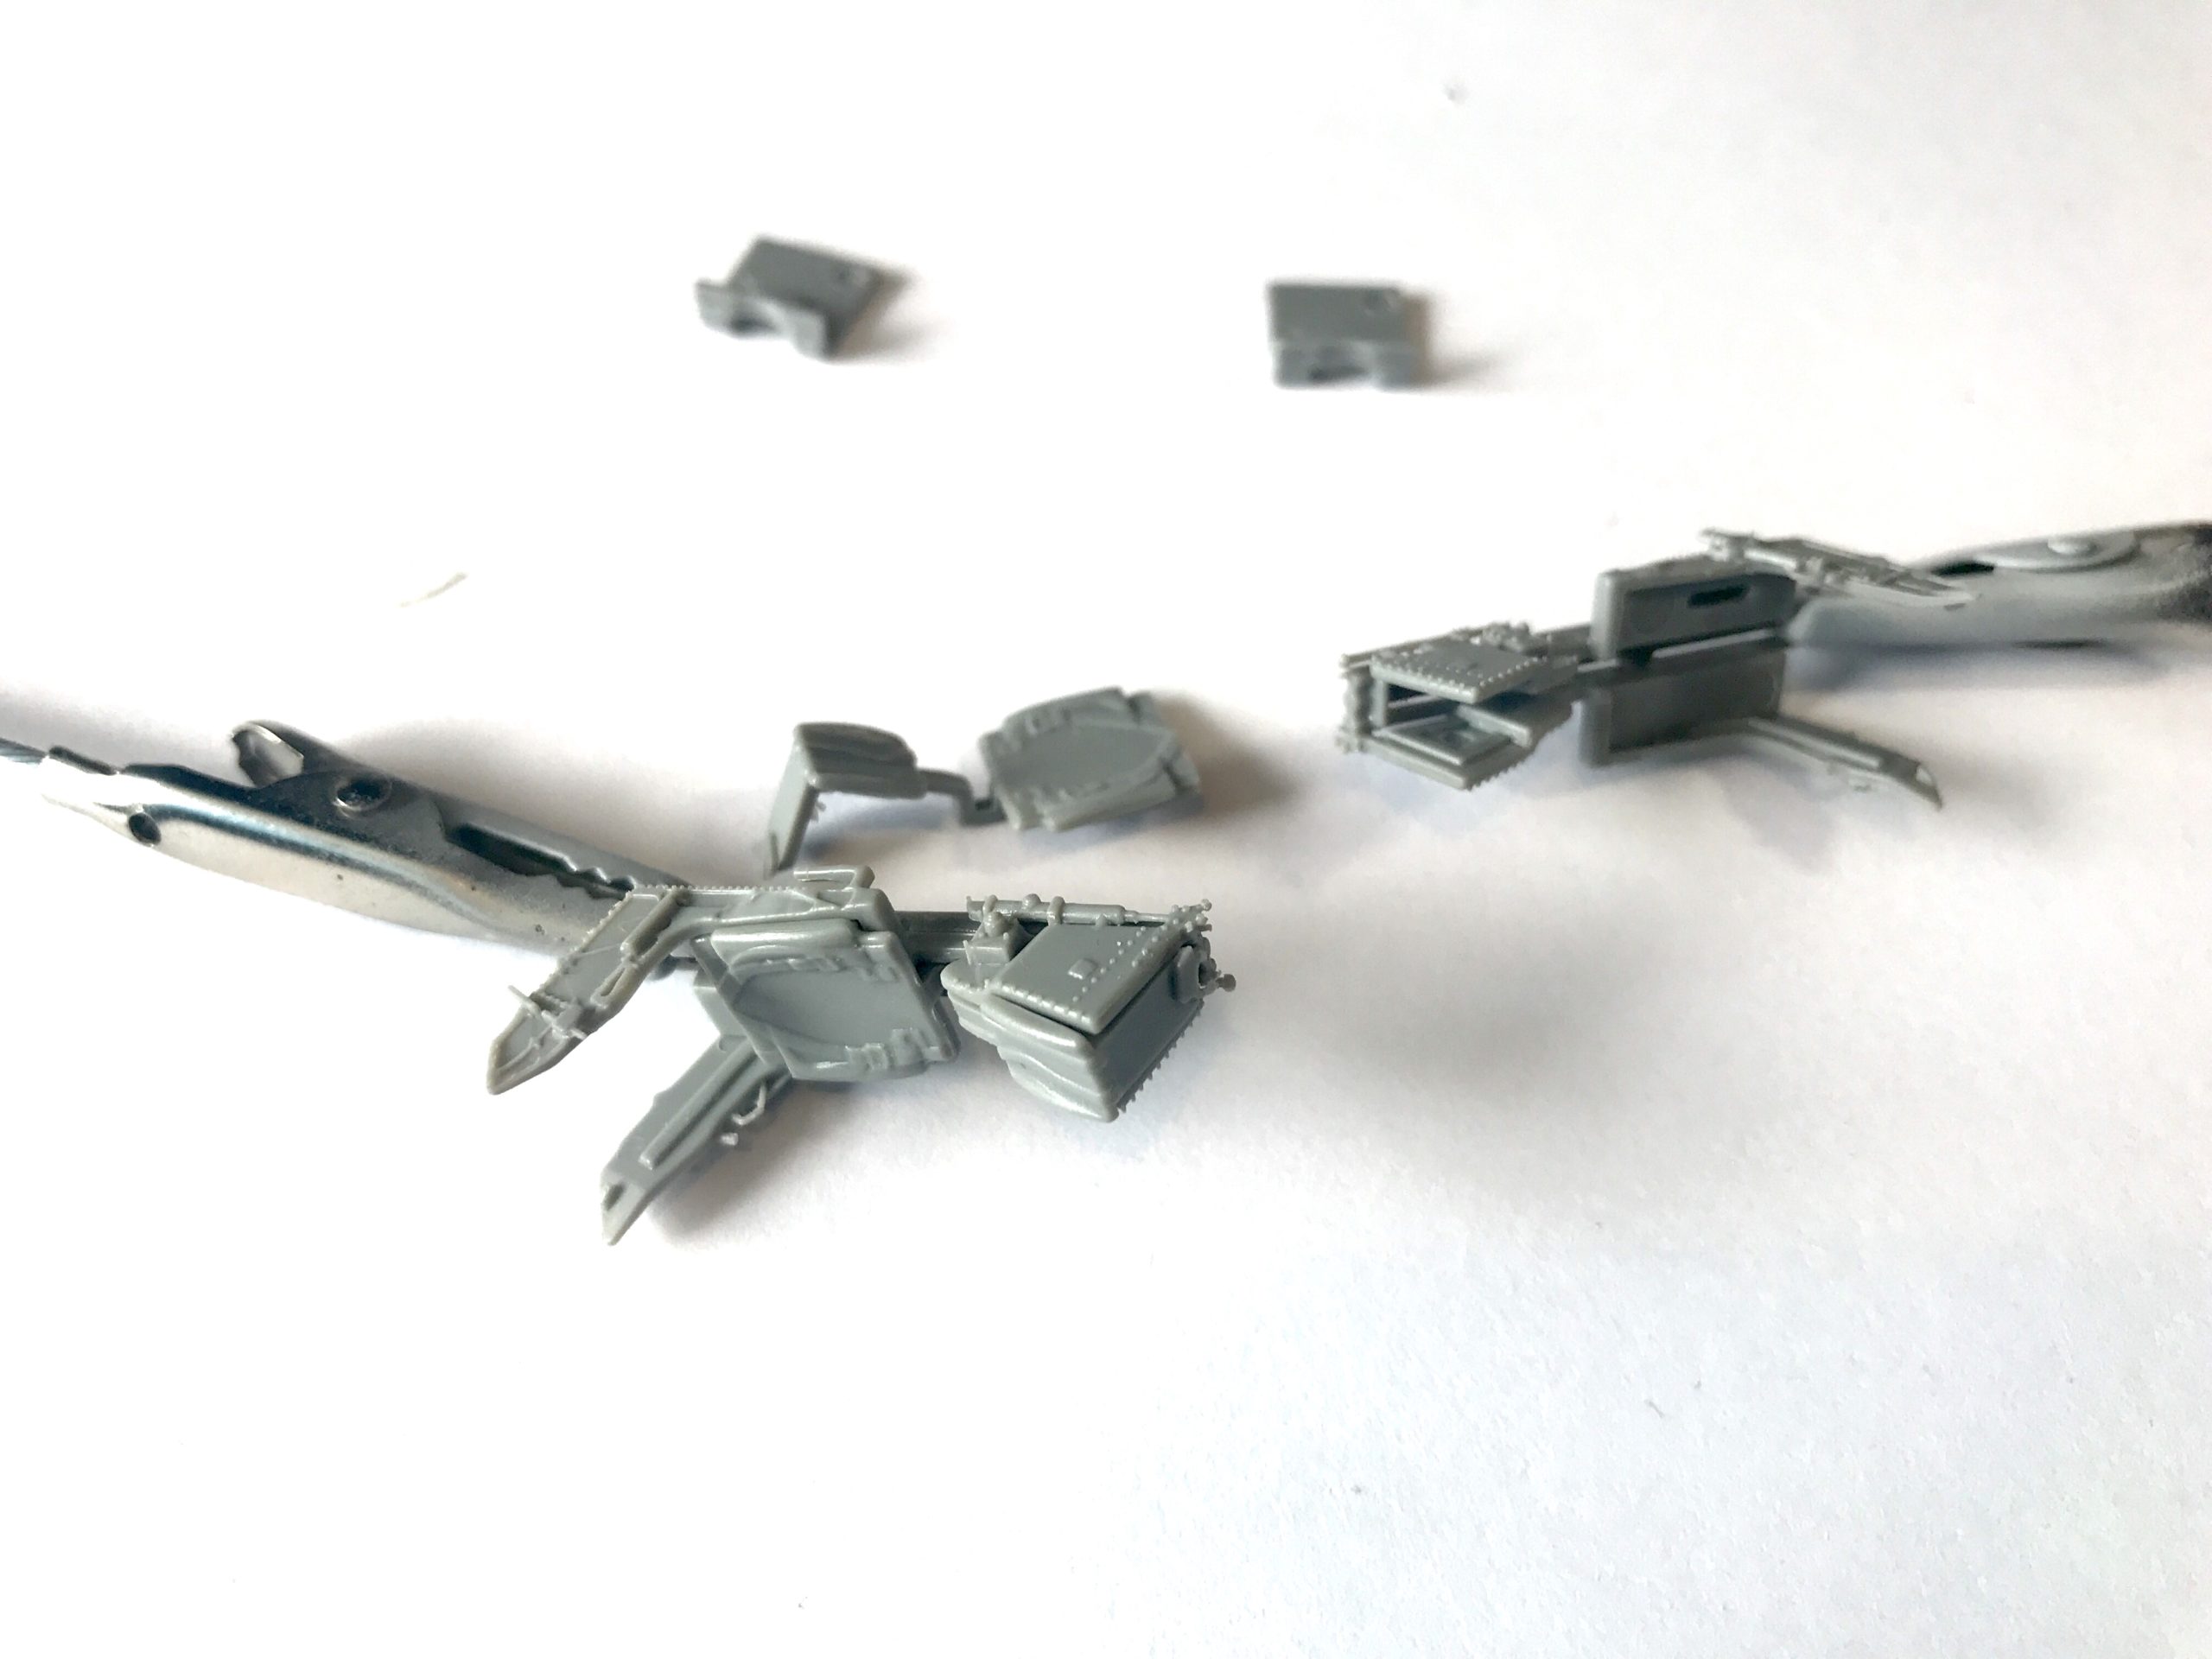
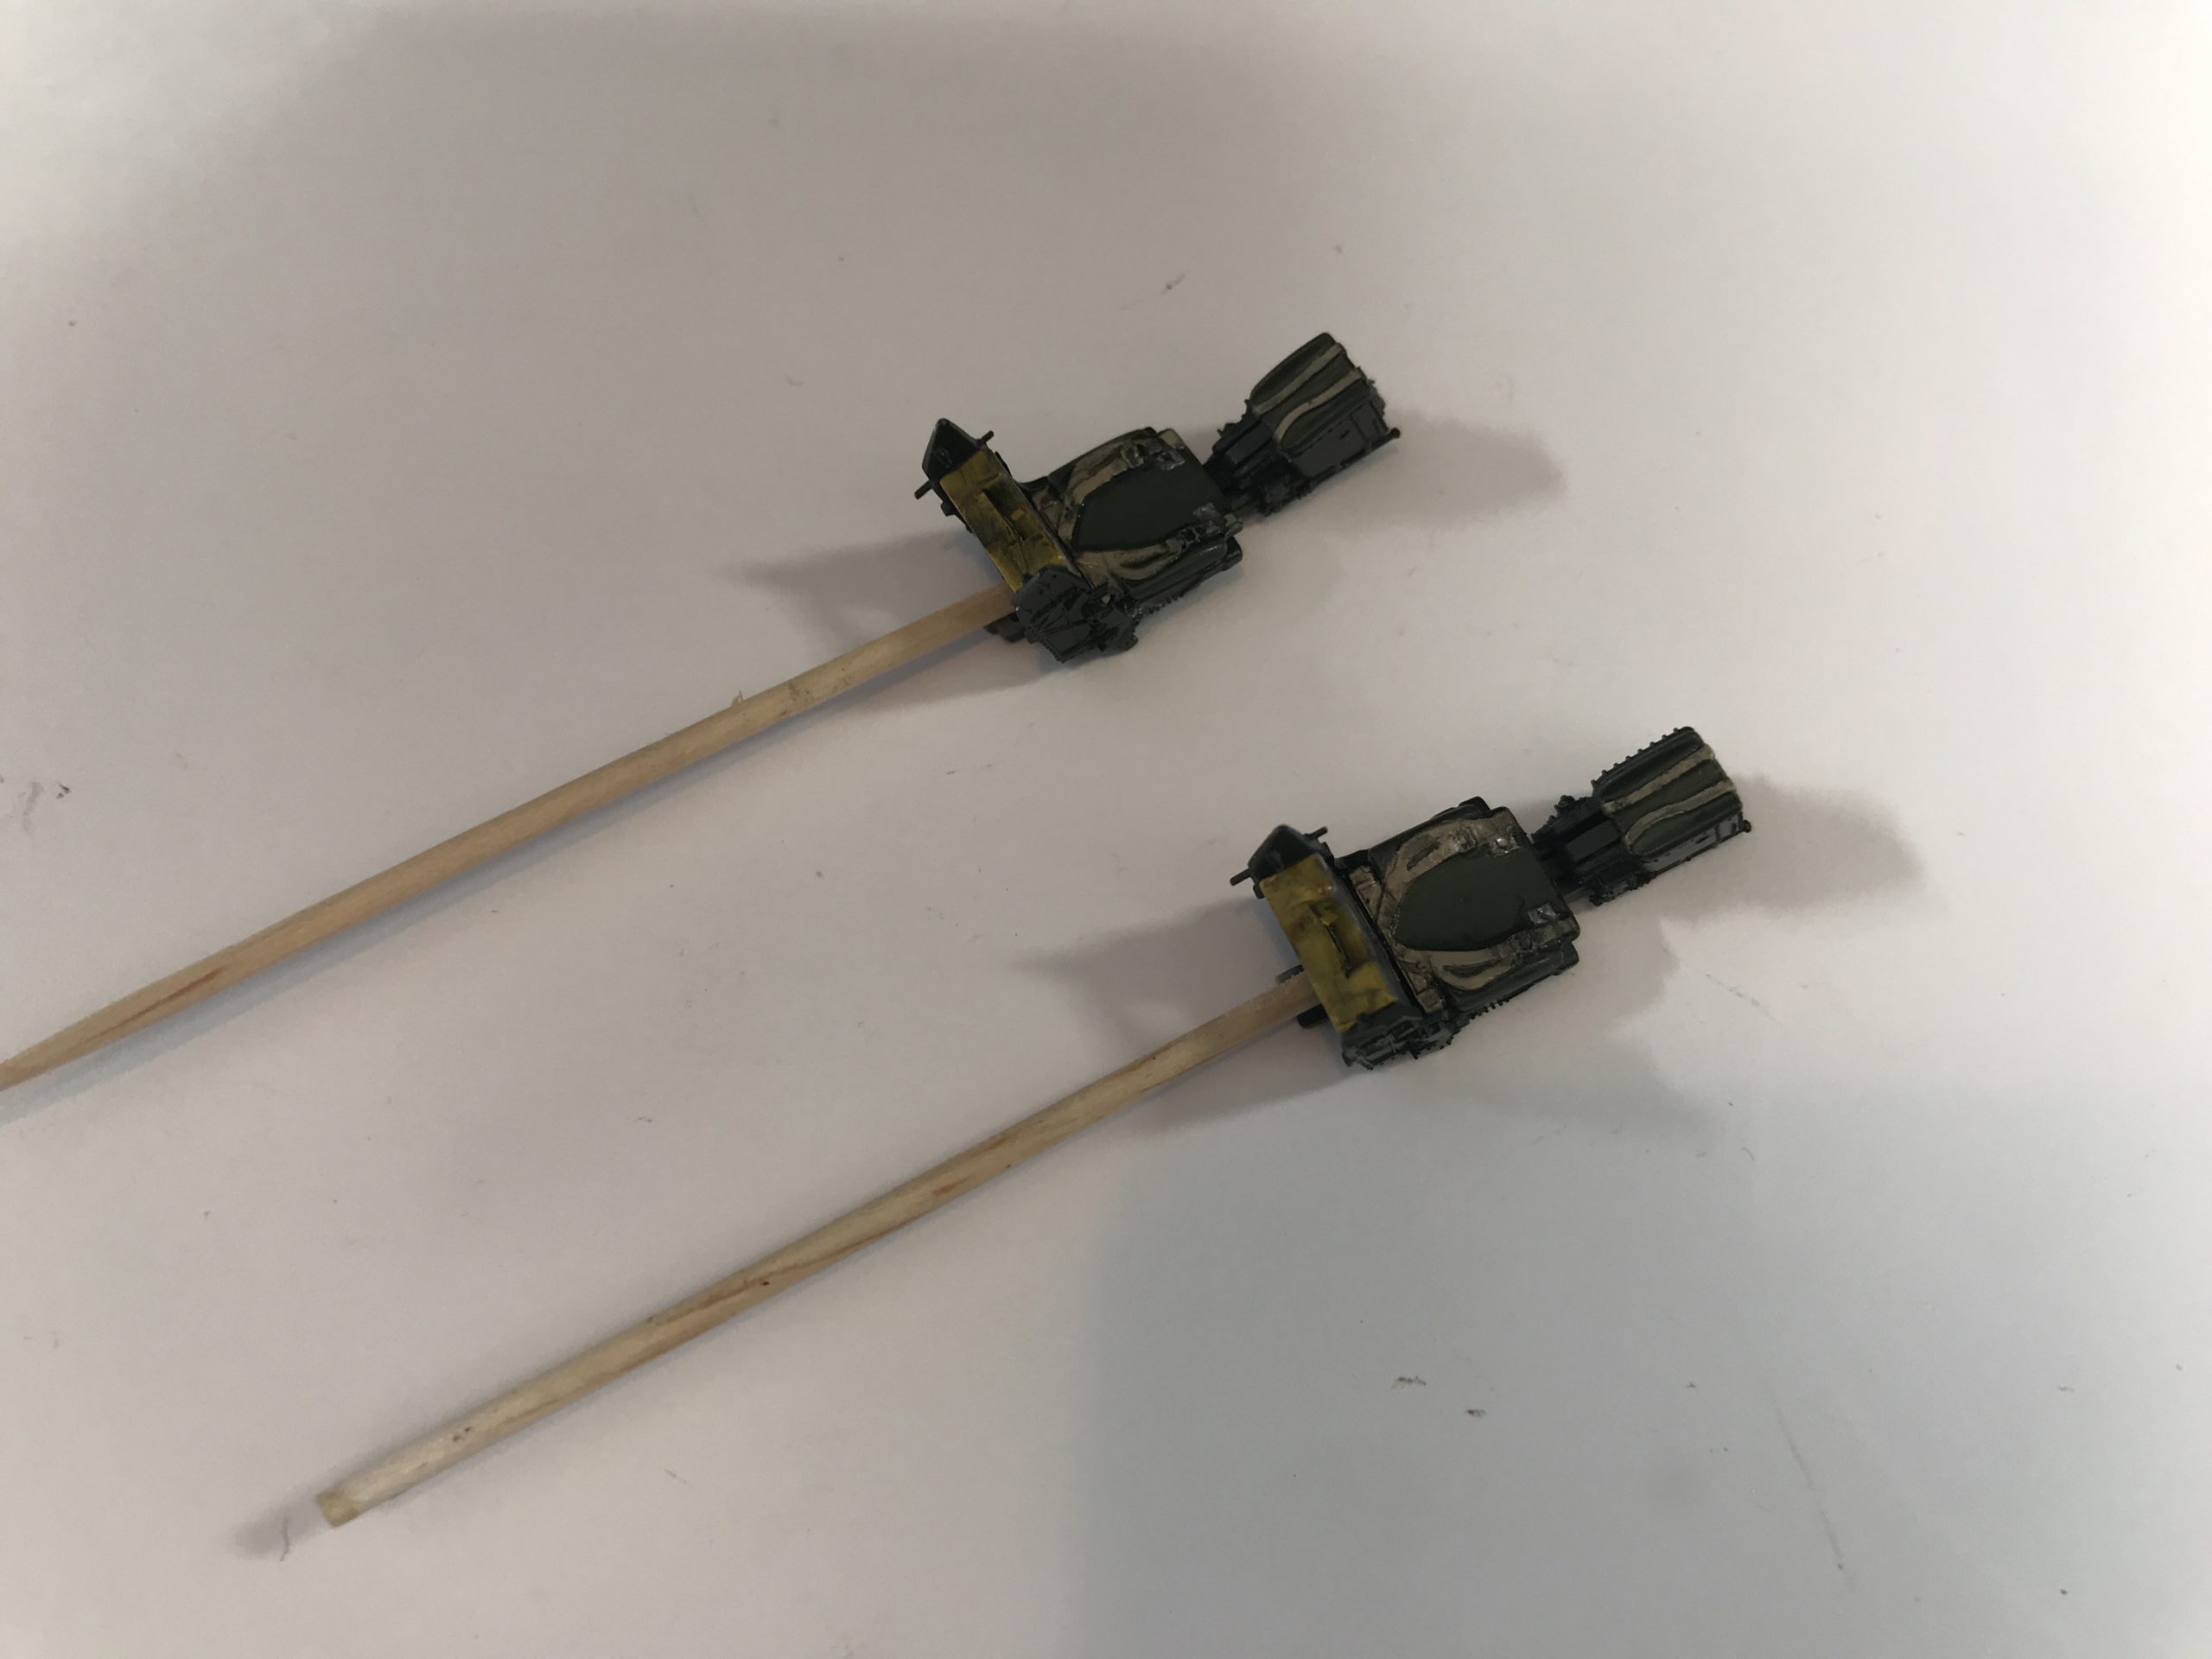
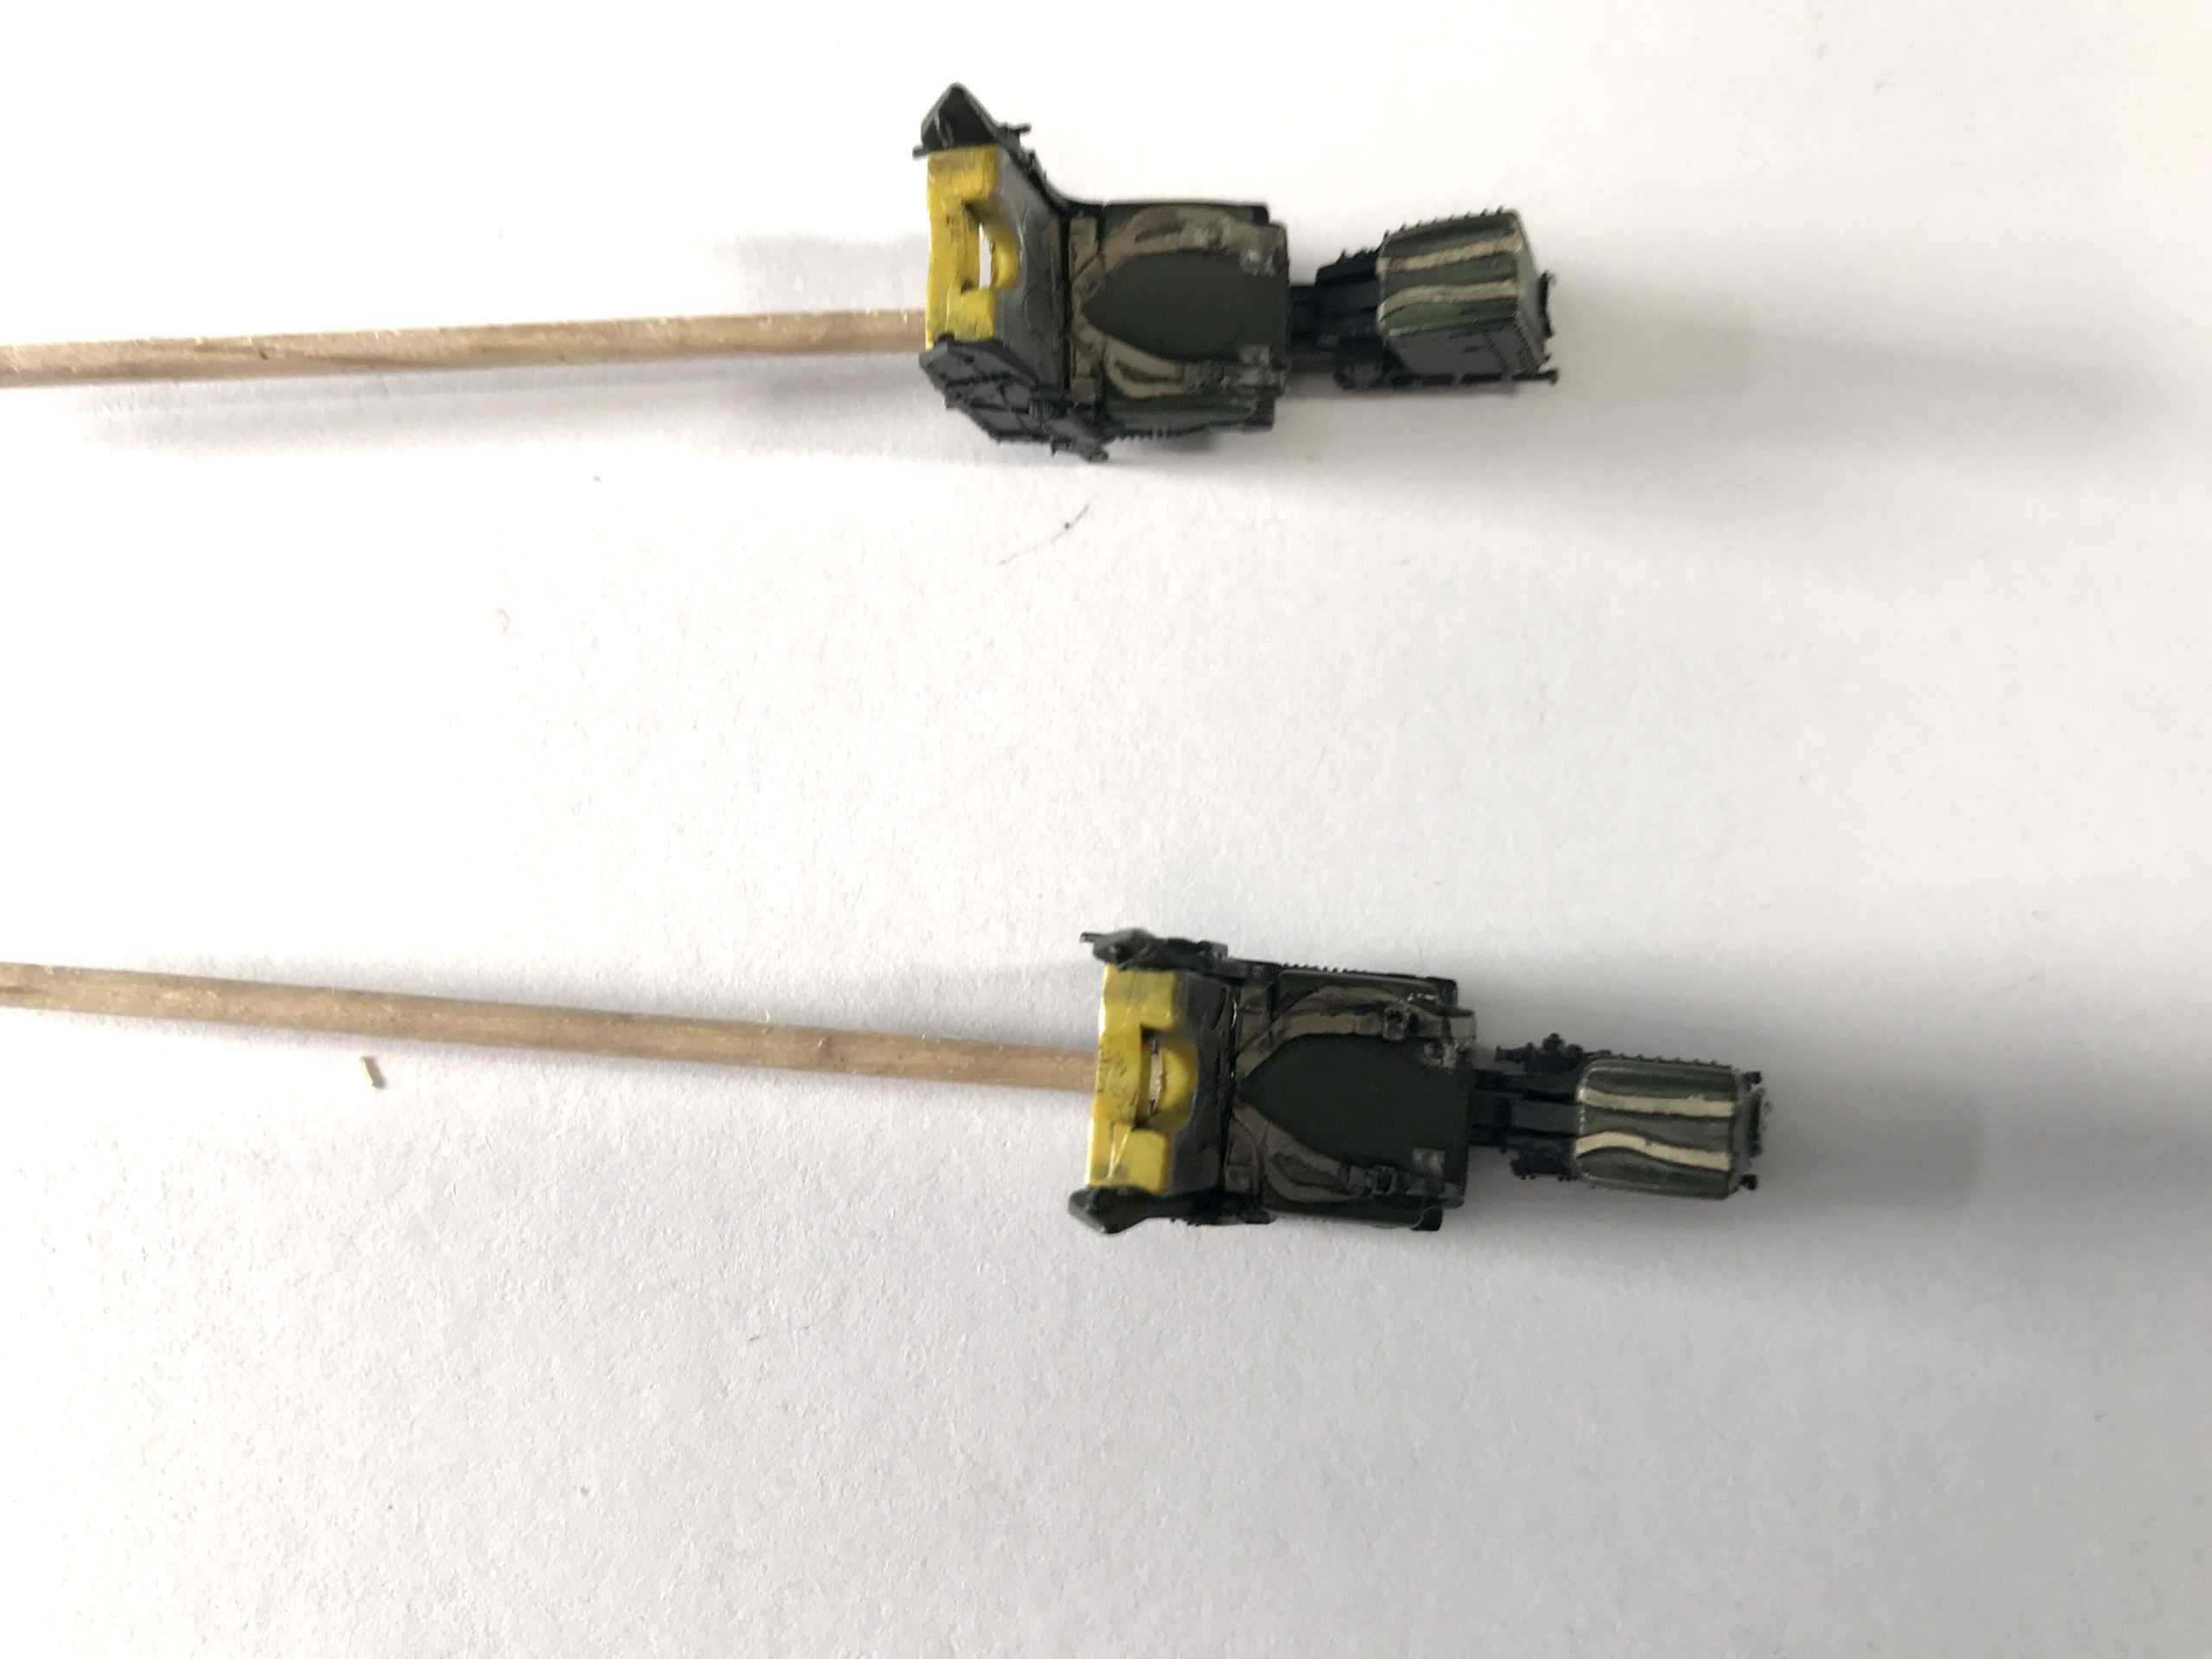
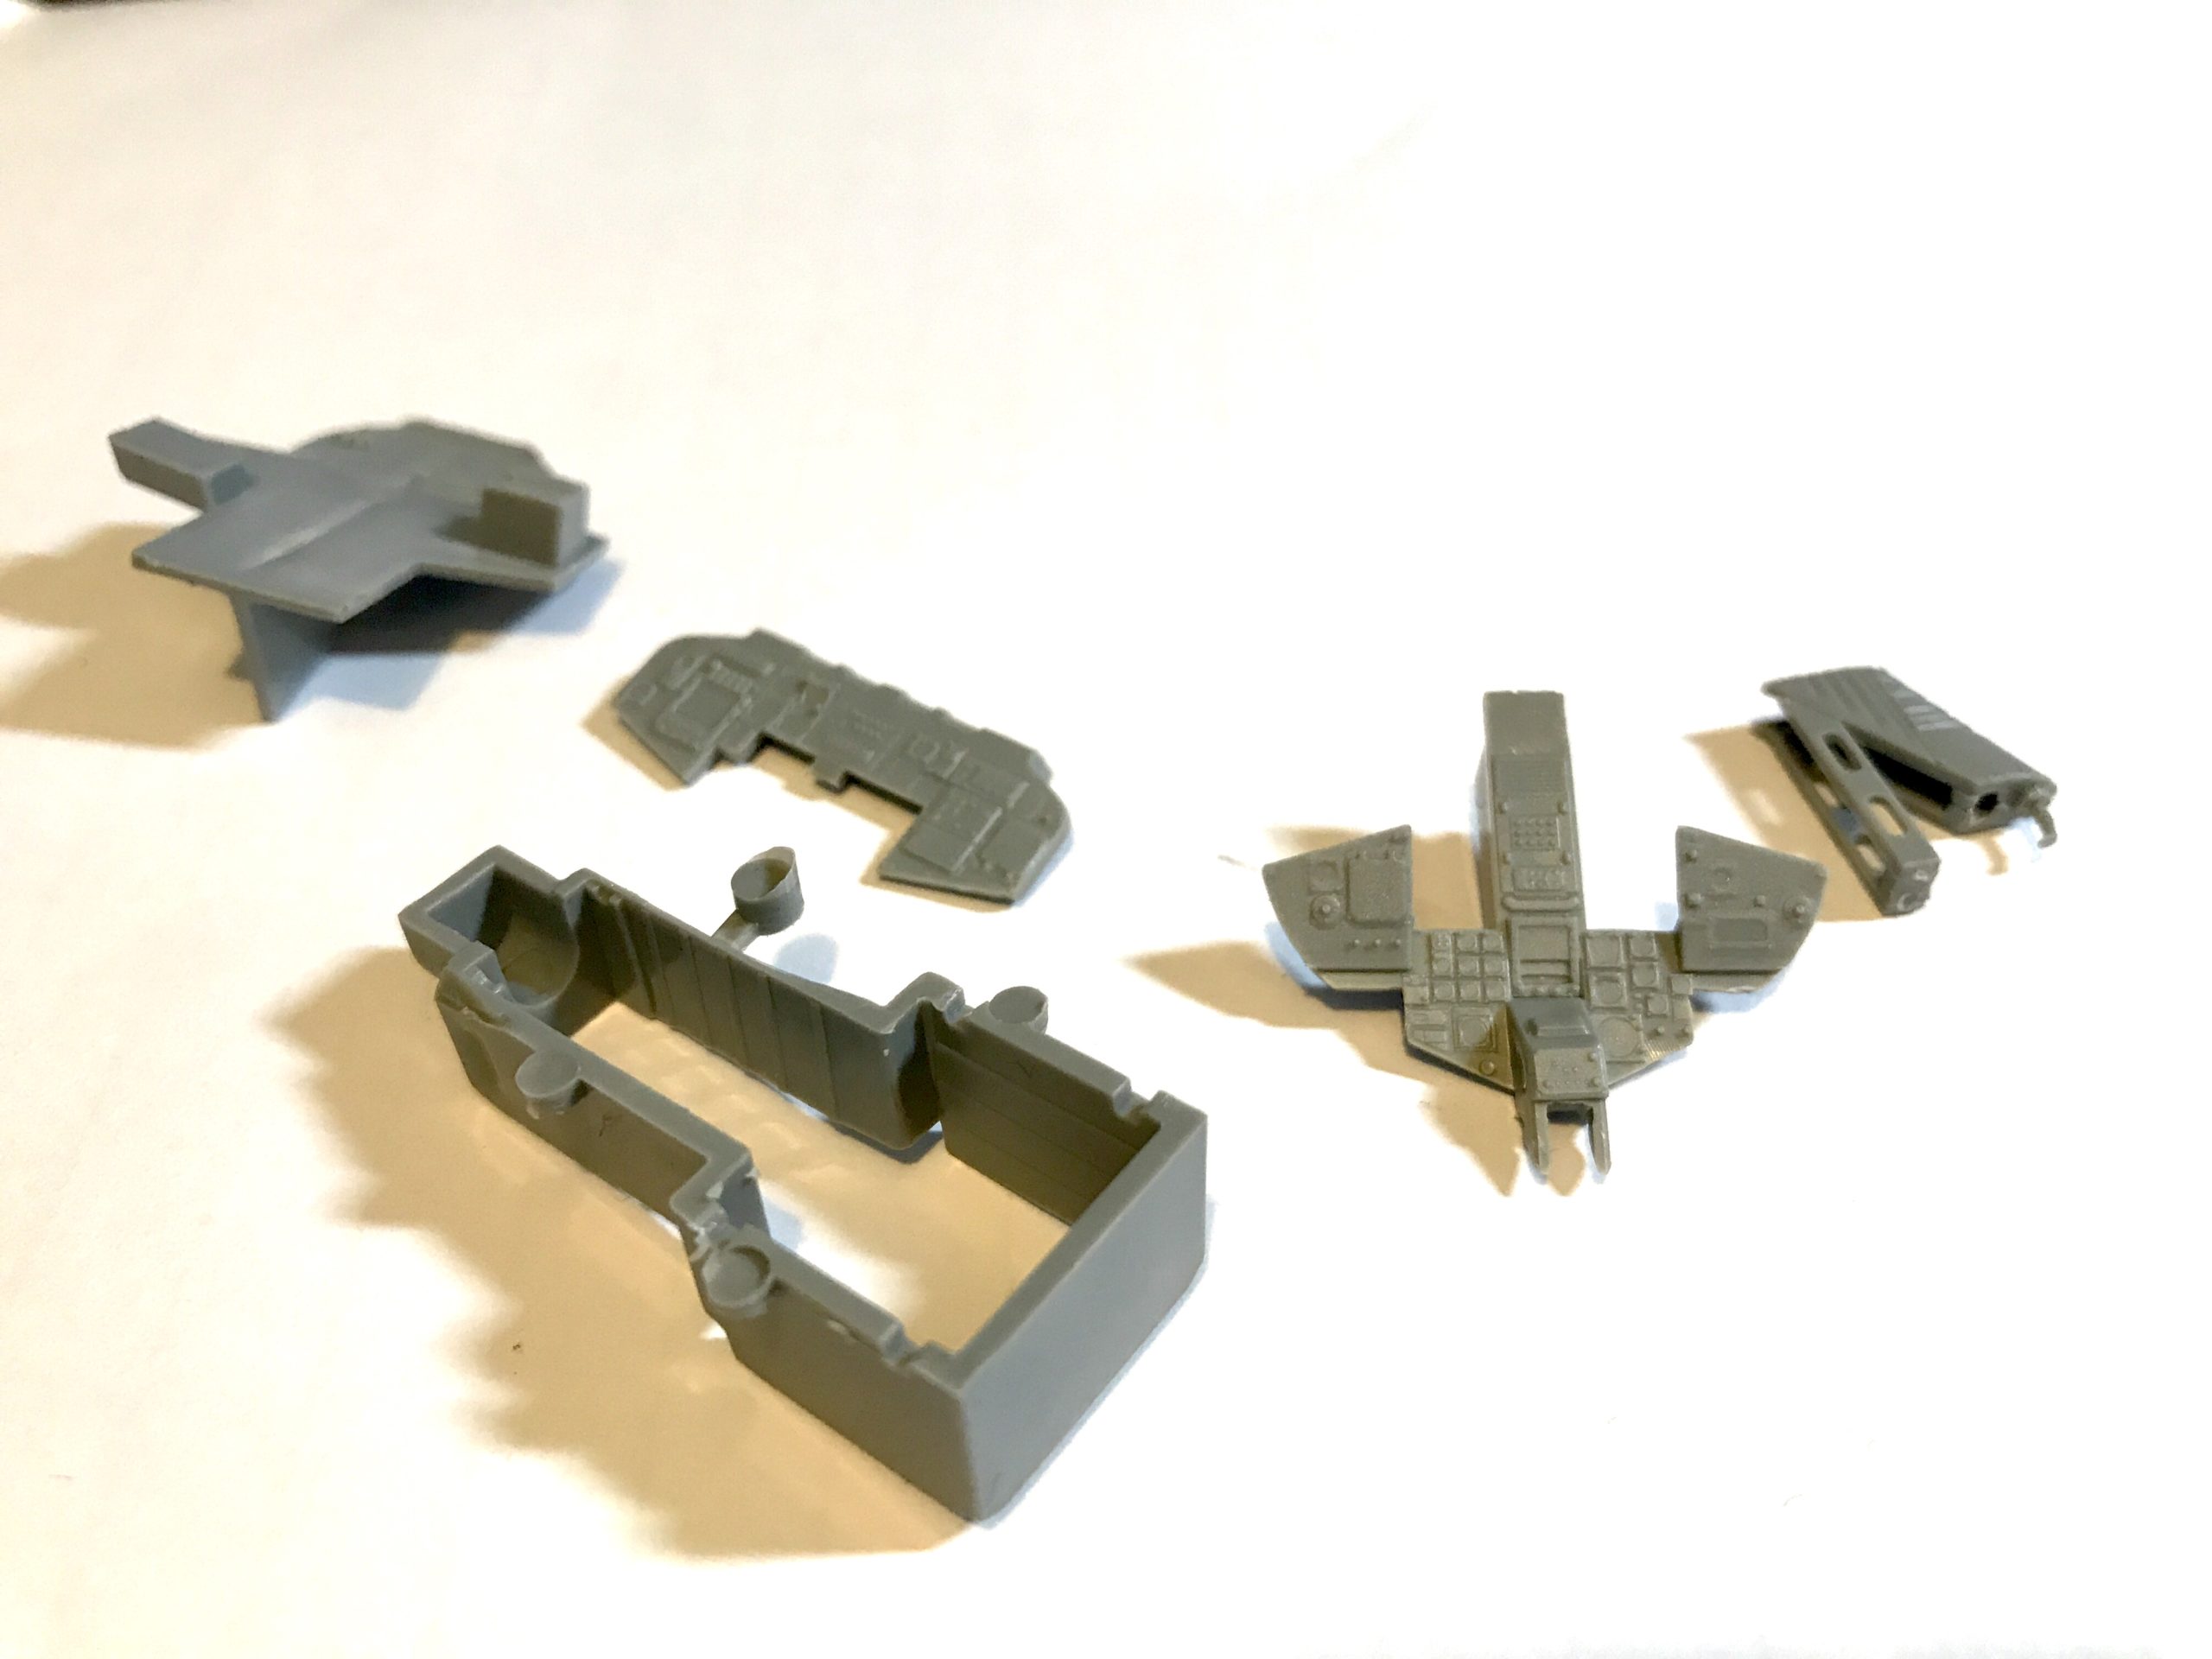
With the same certainty as the sun rising the build begins with the cockpit. The ejector seats are the focal point and both identical seats comprise several parts and a few nice decals. Once assembled and painted with a little care these look quite nice.

The cockpit is just a few different grey tones. The various buttons and controls are moulded on to the side panels. The detail is a little soft and doesn’t line up 100% with the provided decals. I’m guessing here but it’s like the moulding is for a different variant.

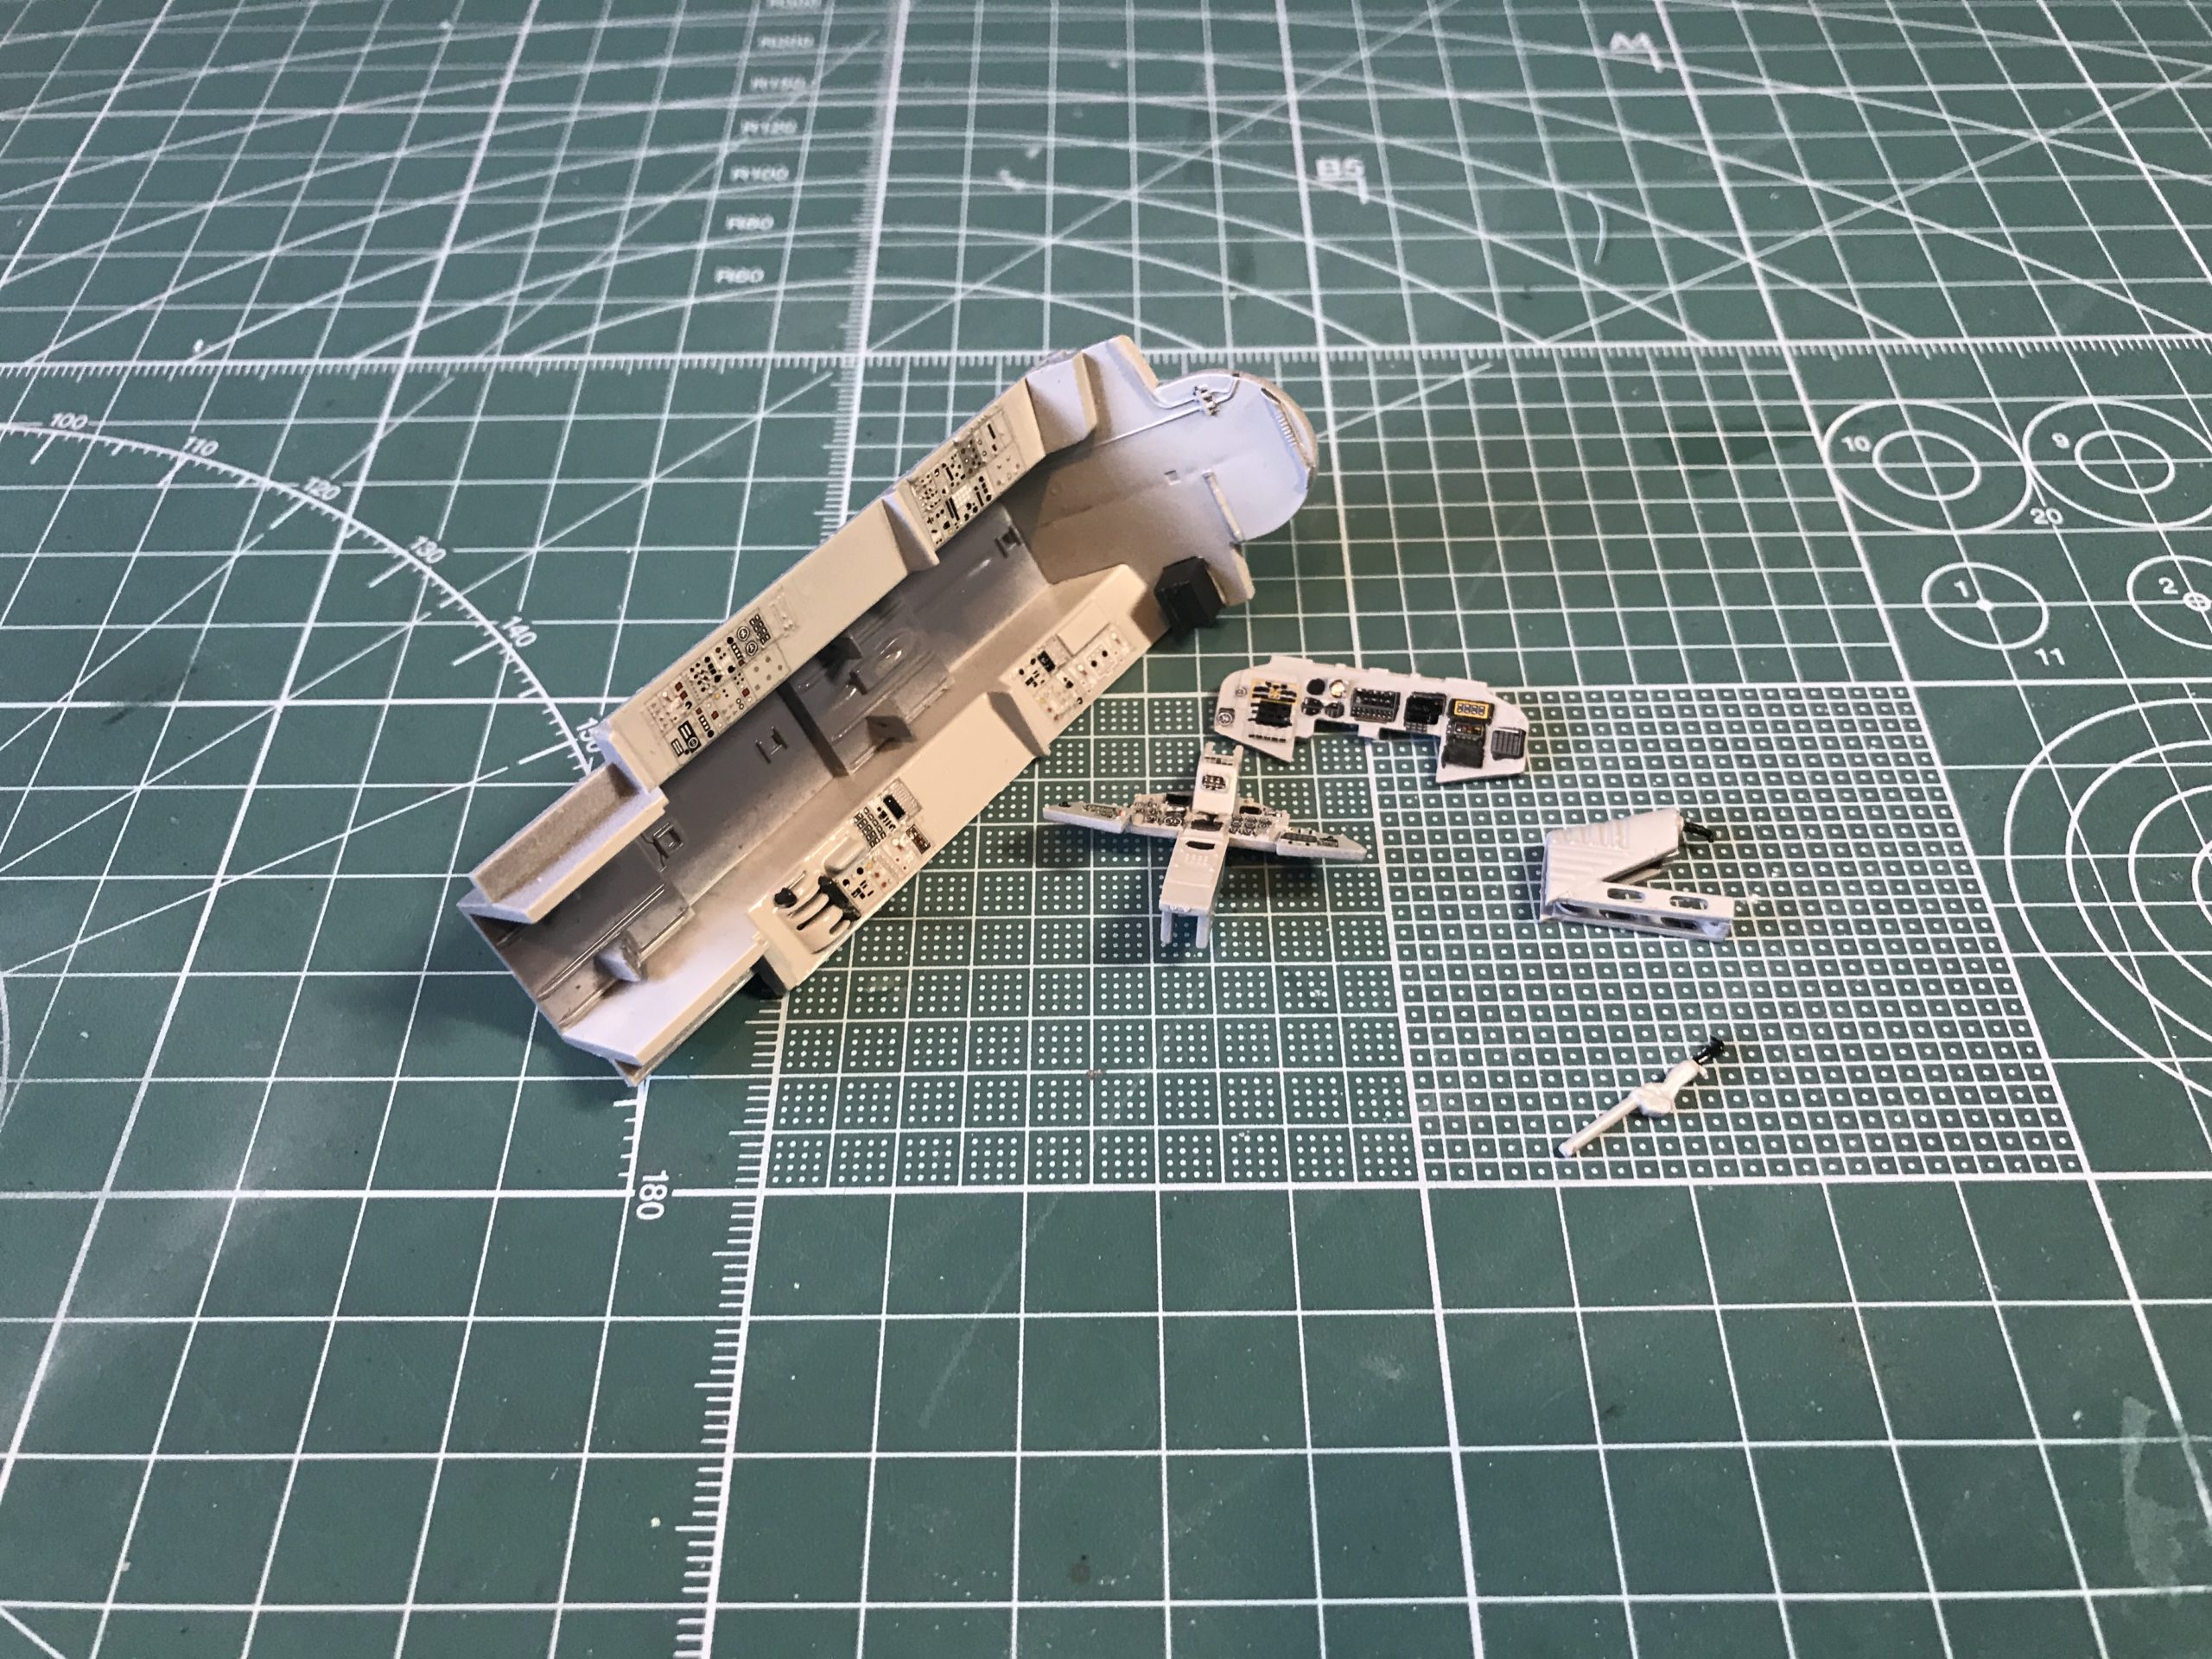
Once complete it looks okay, but a little plain.
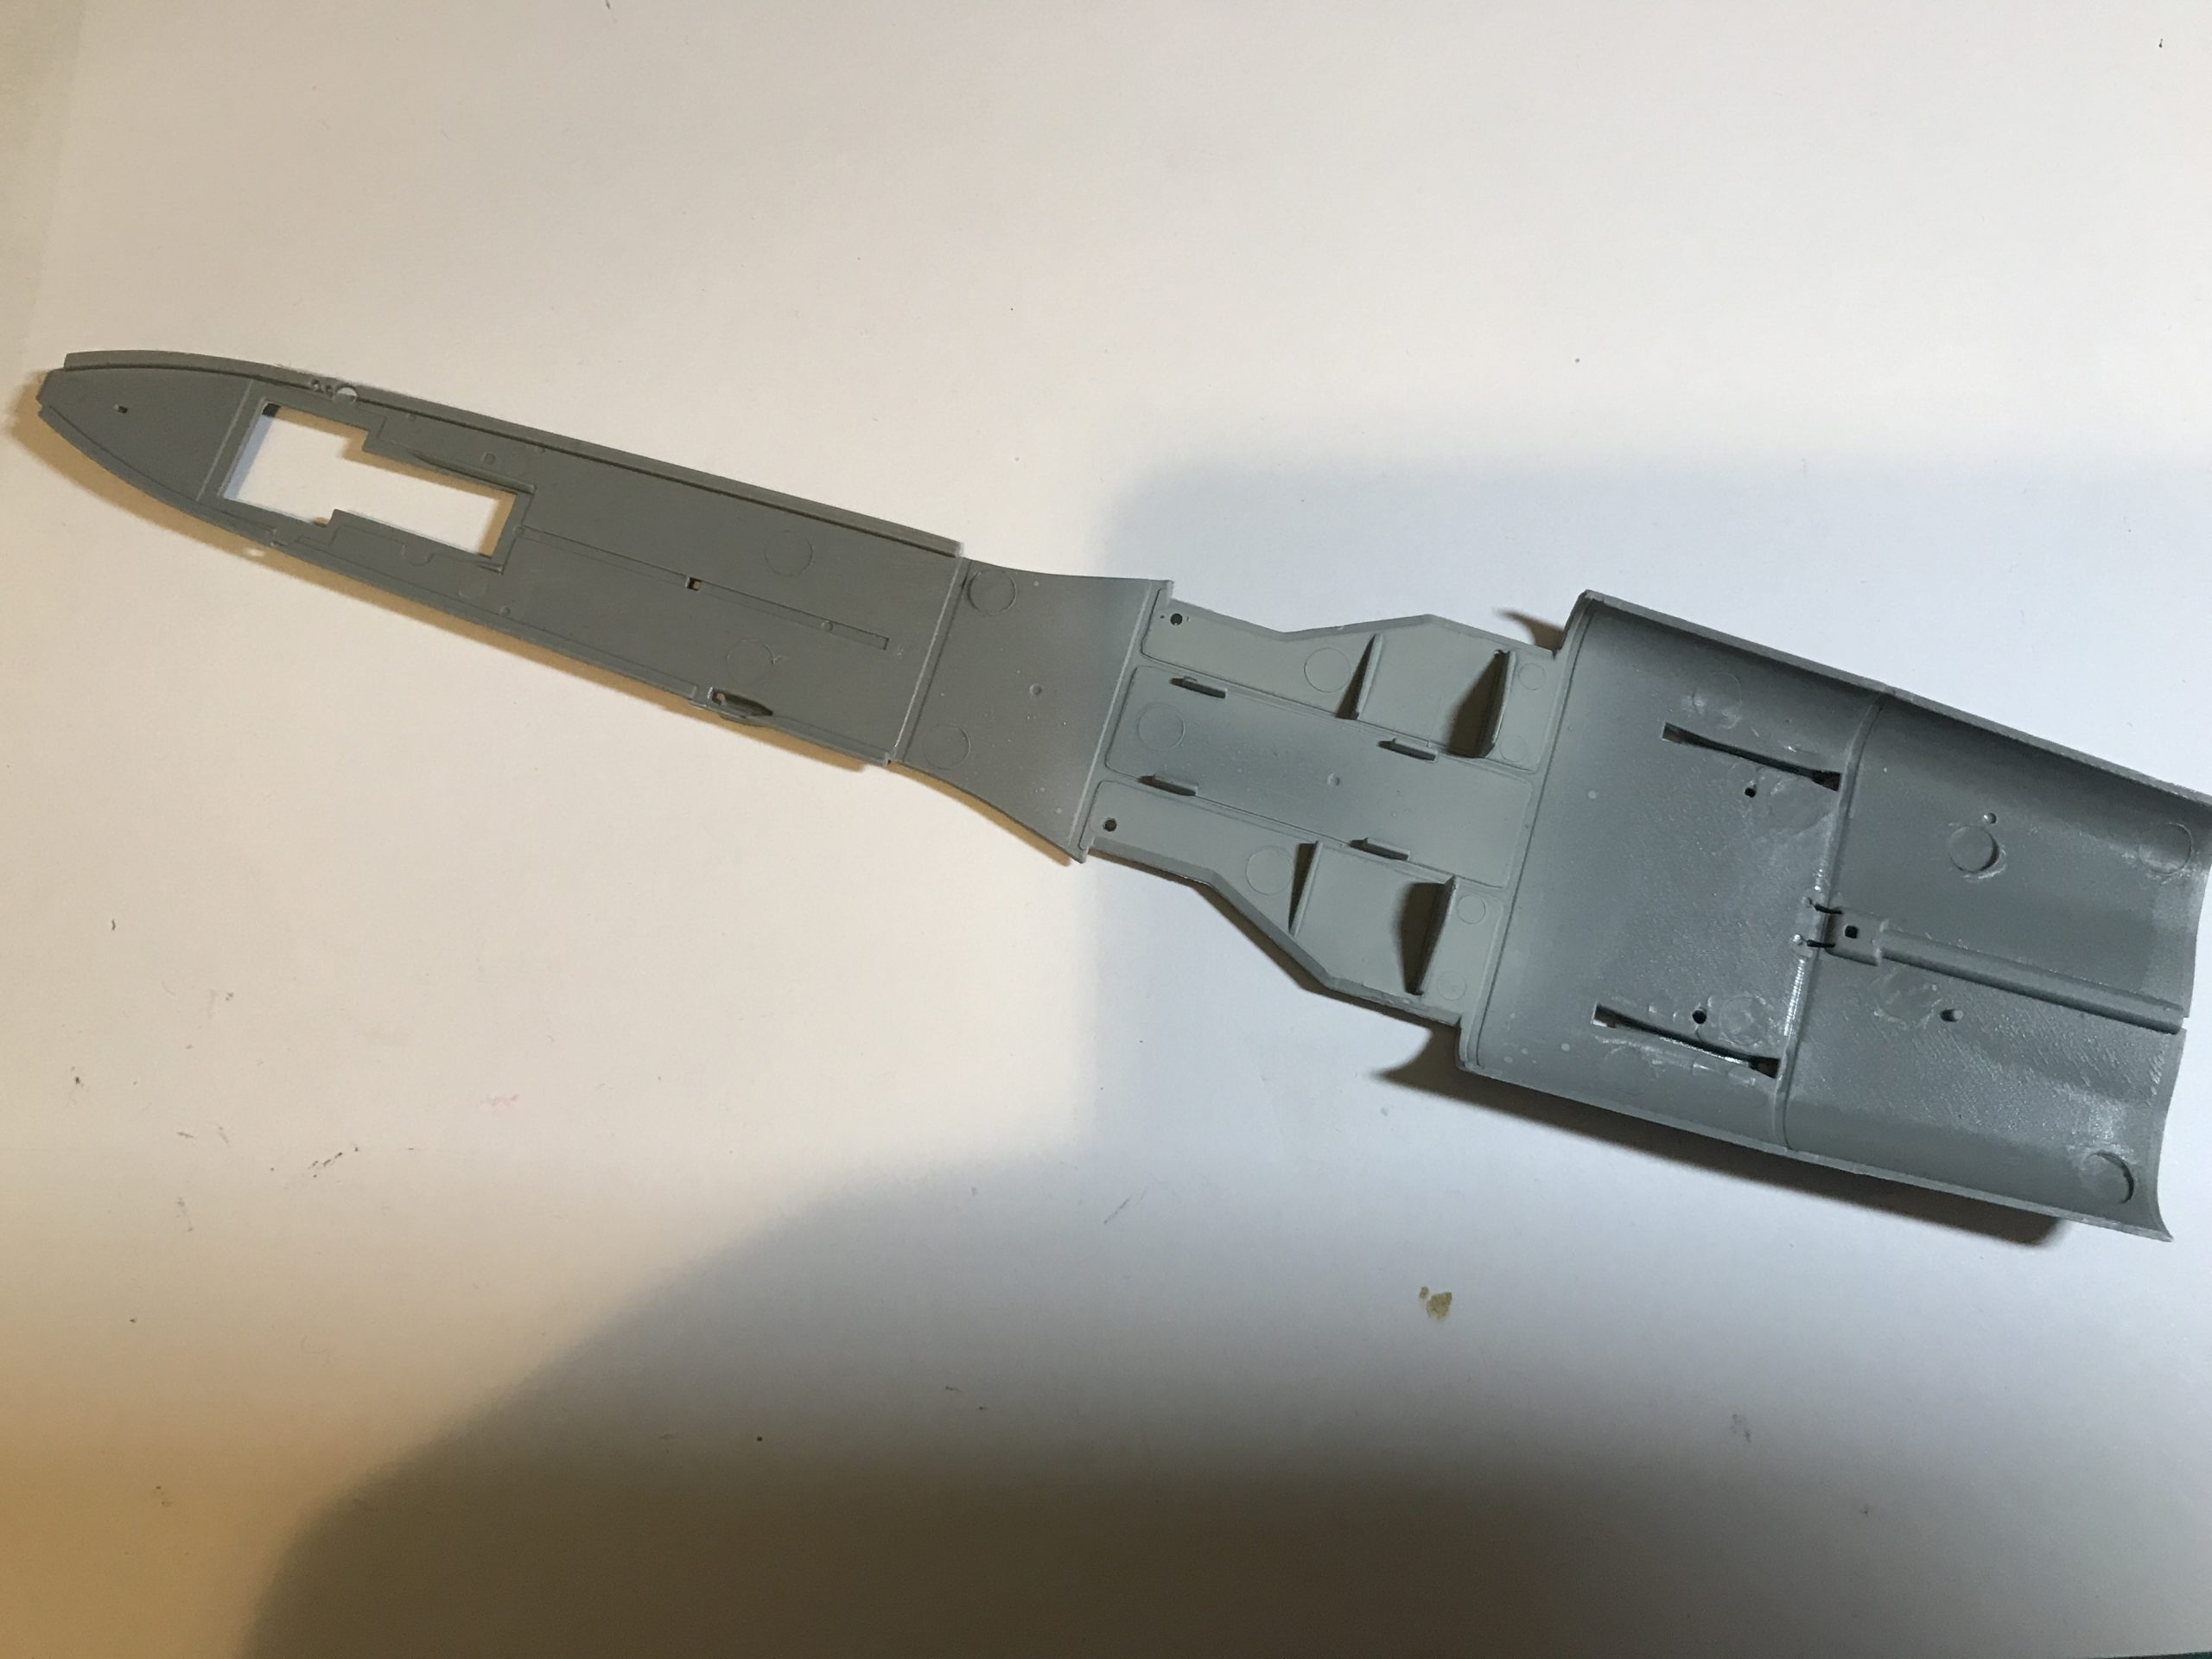
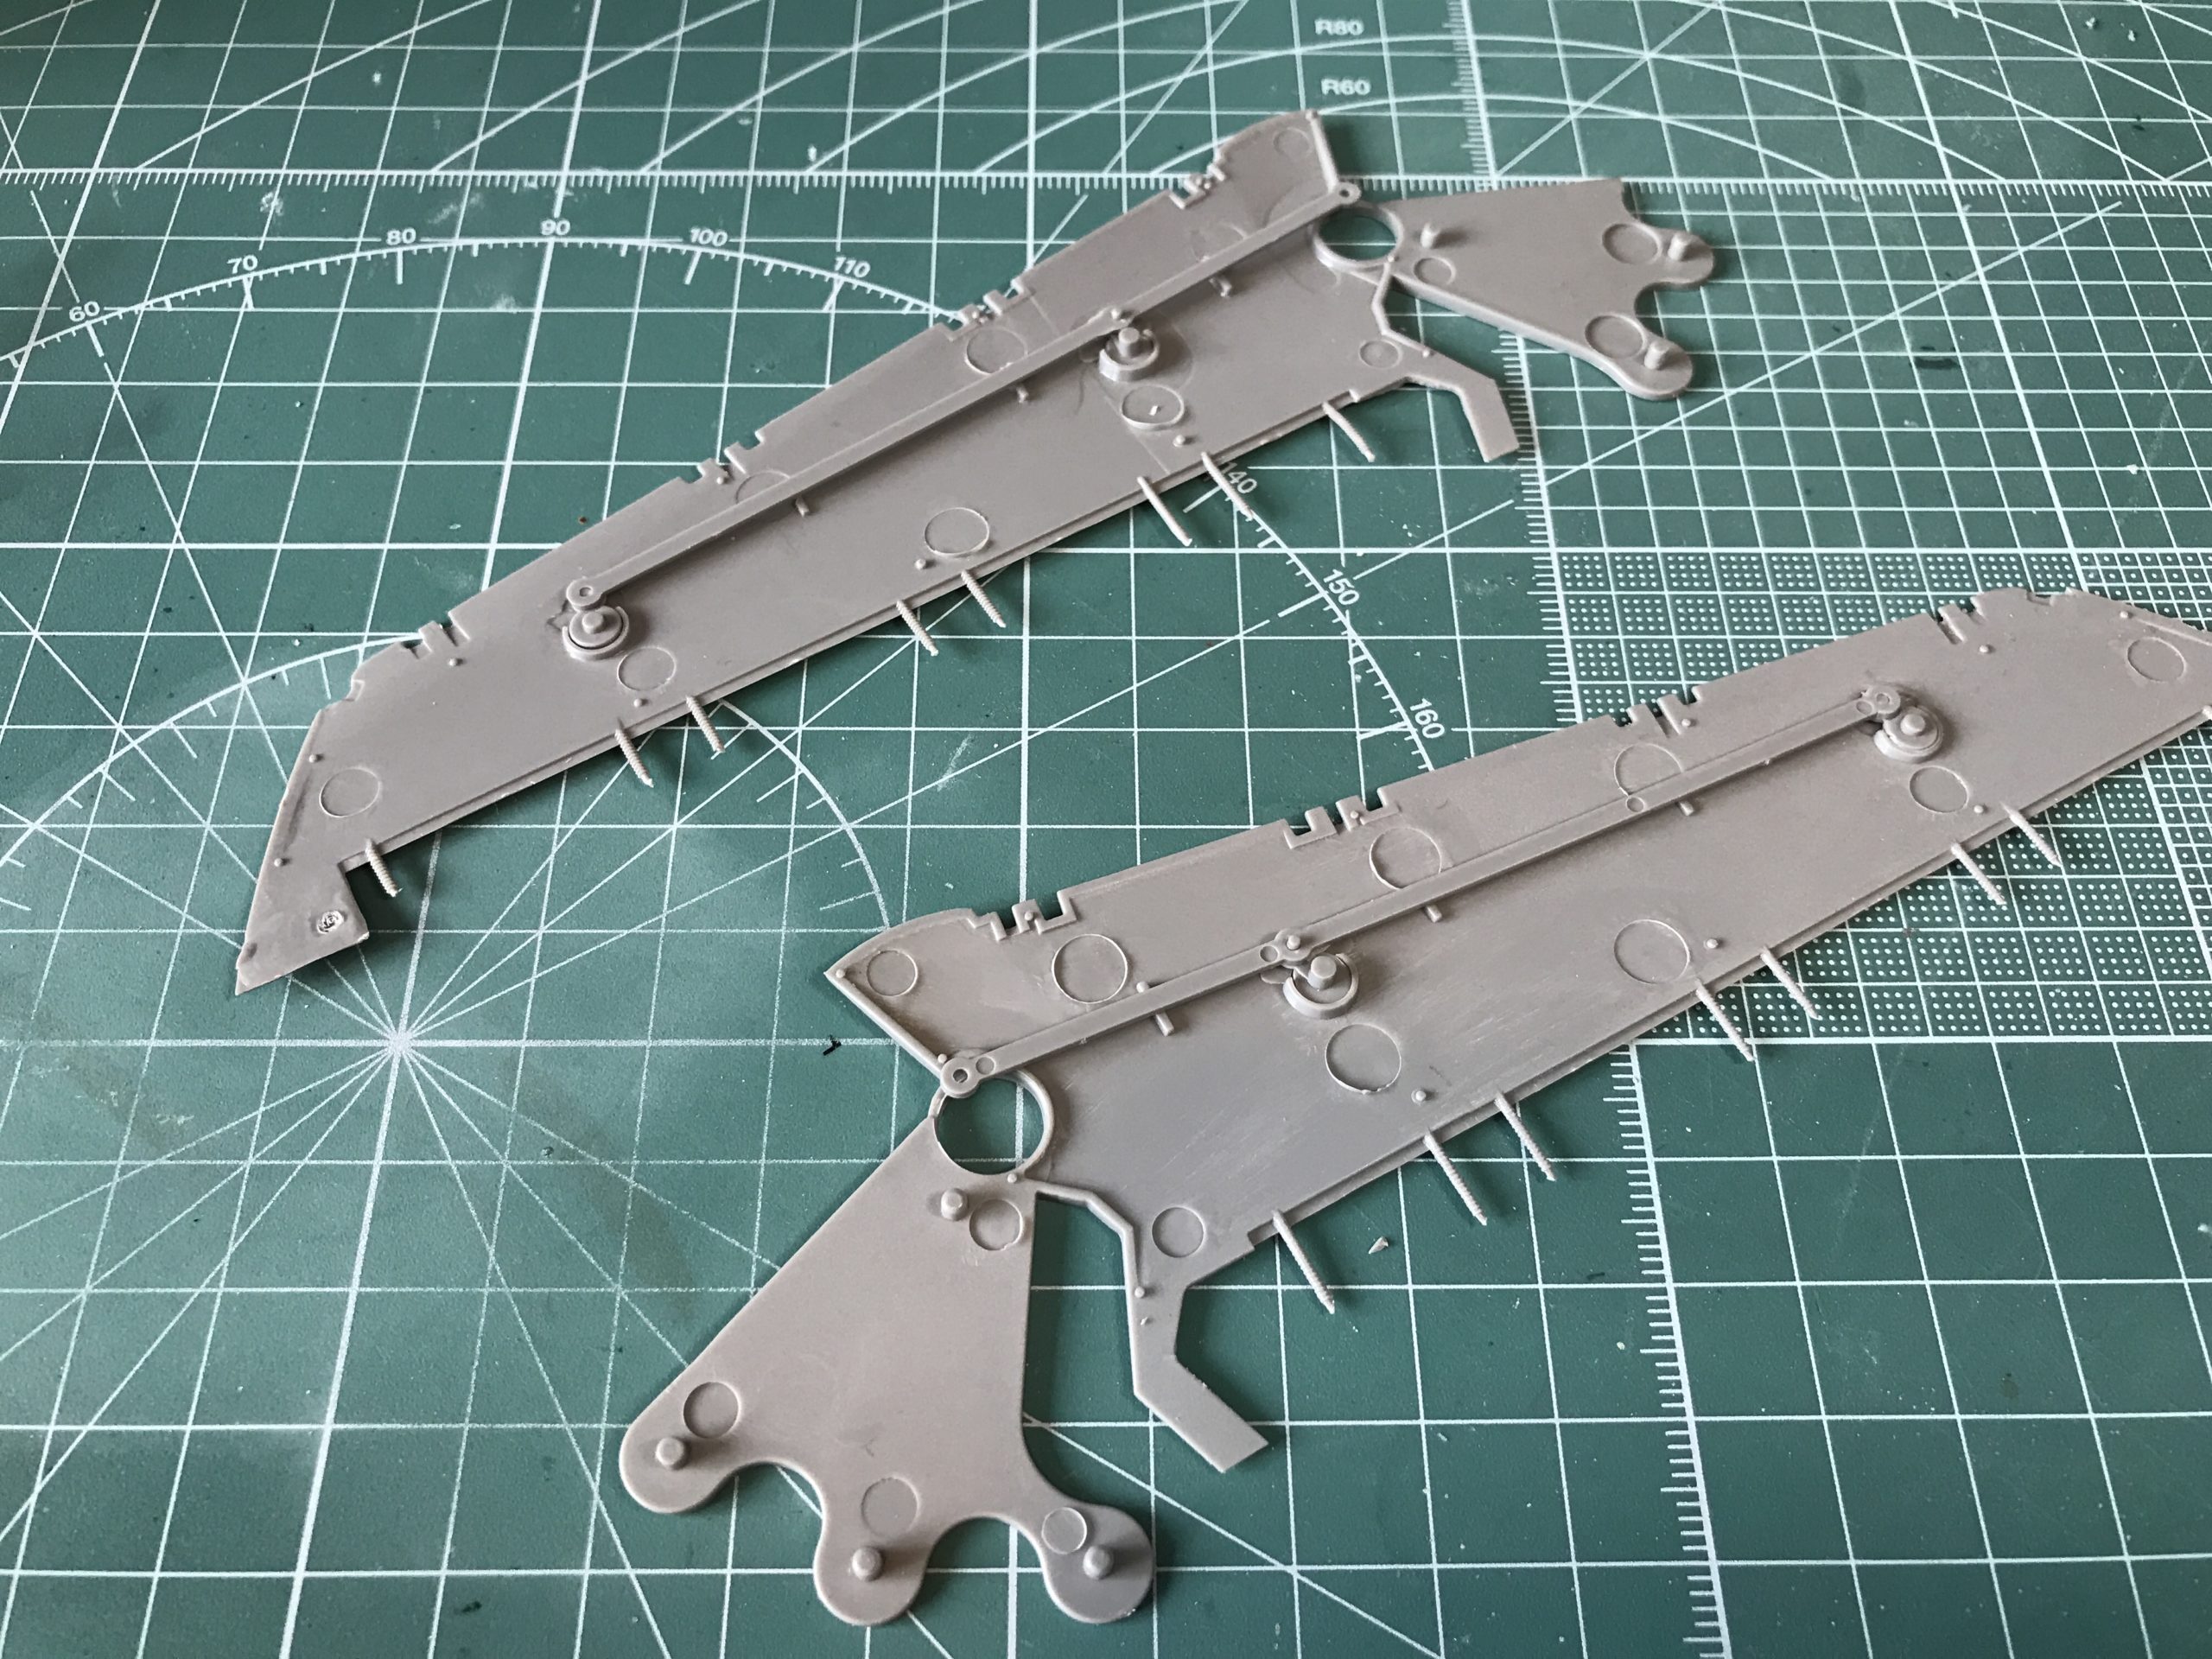
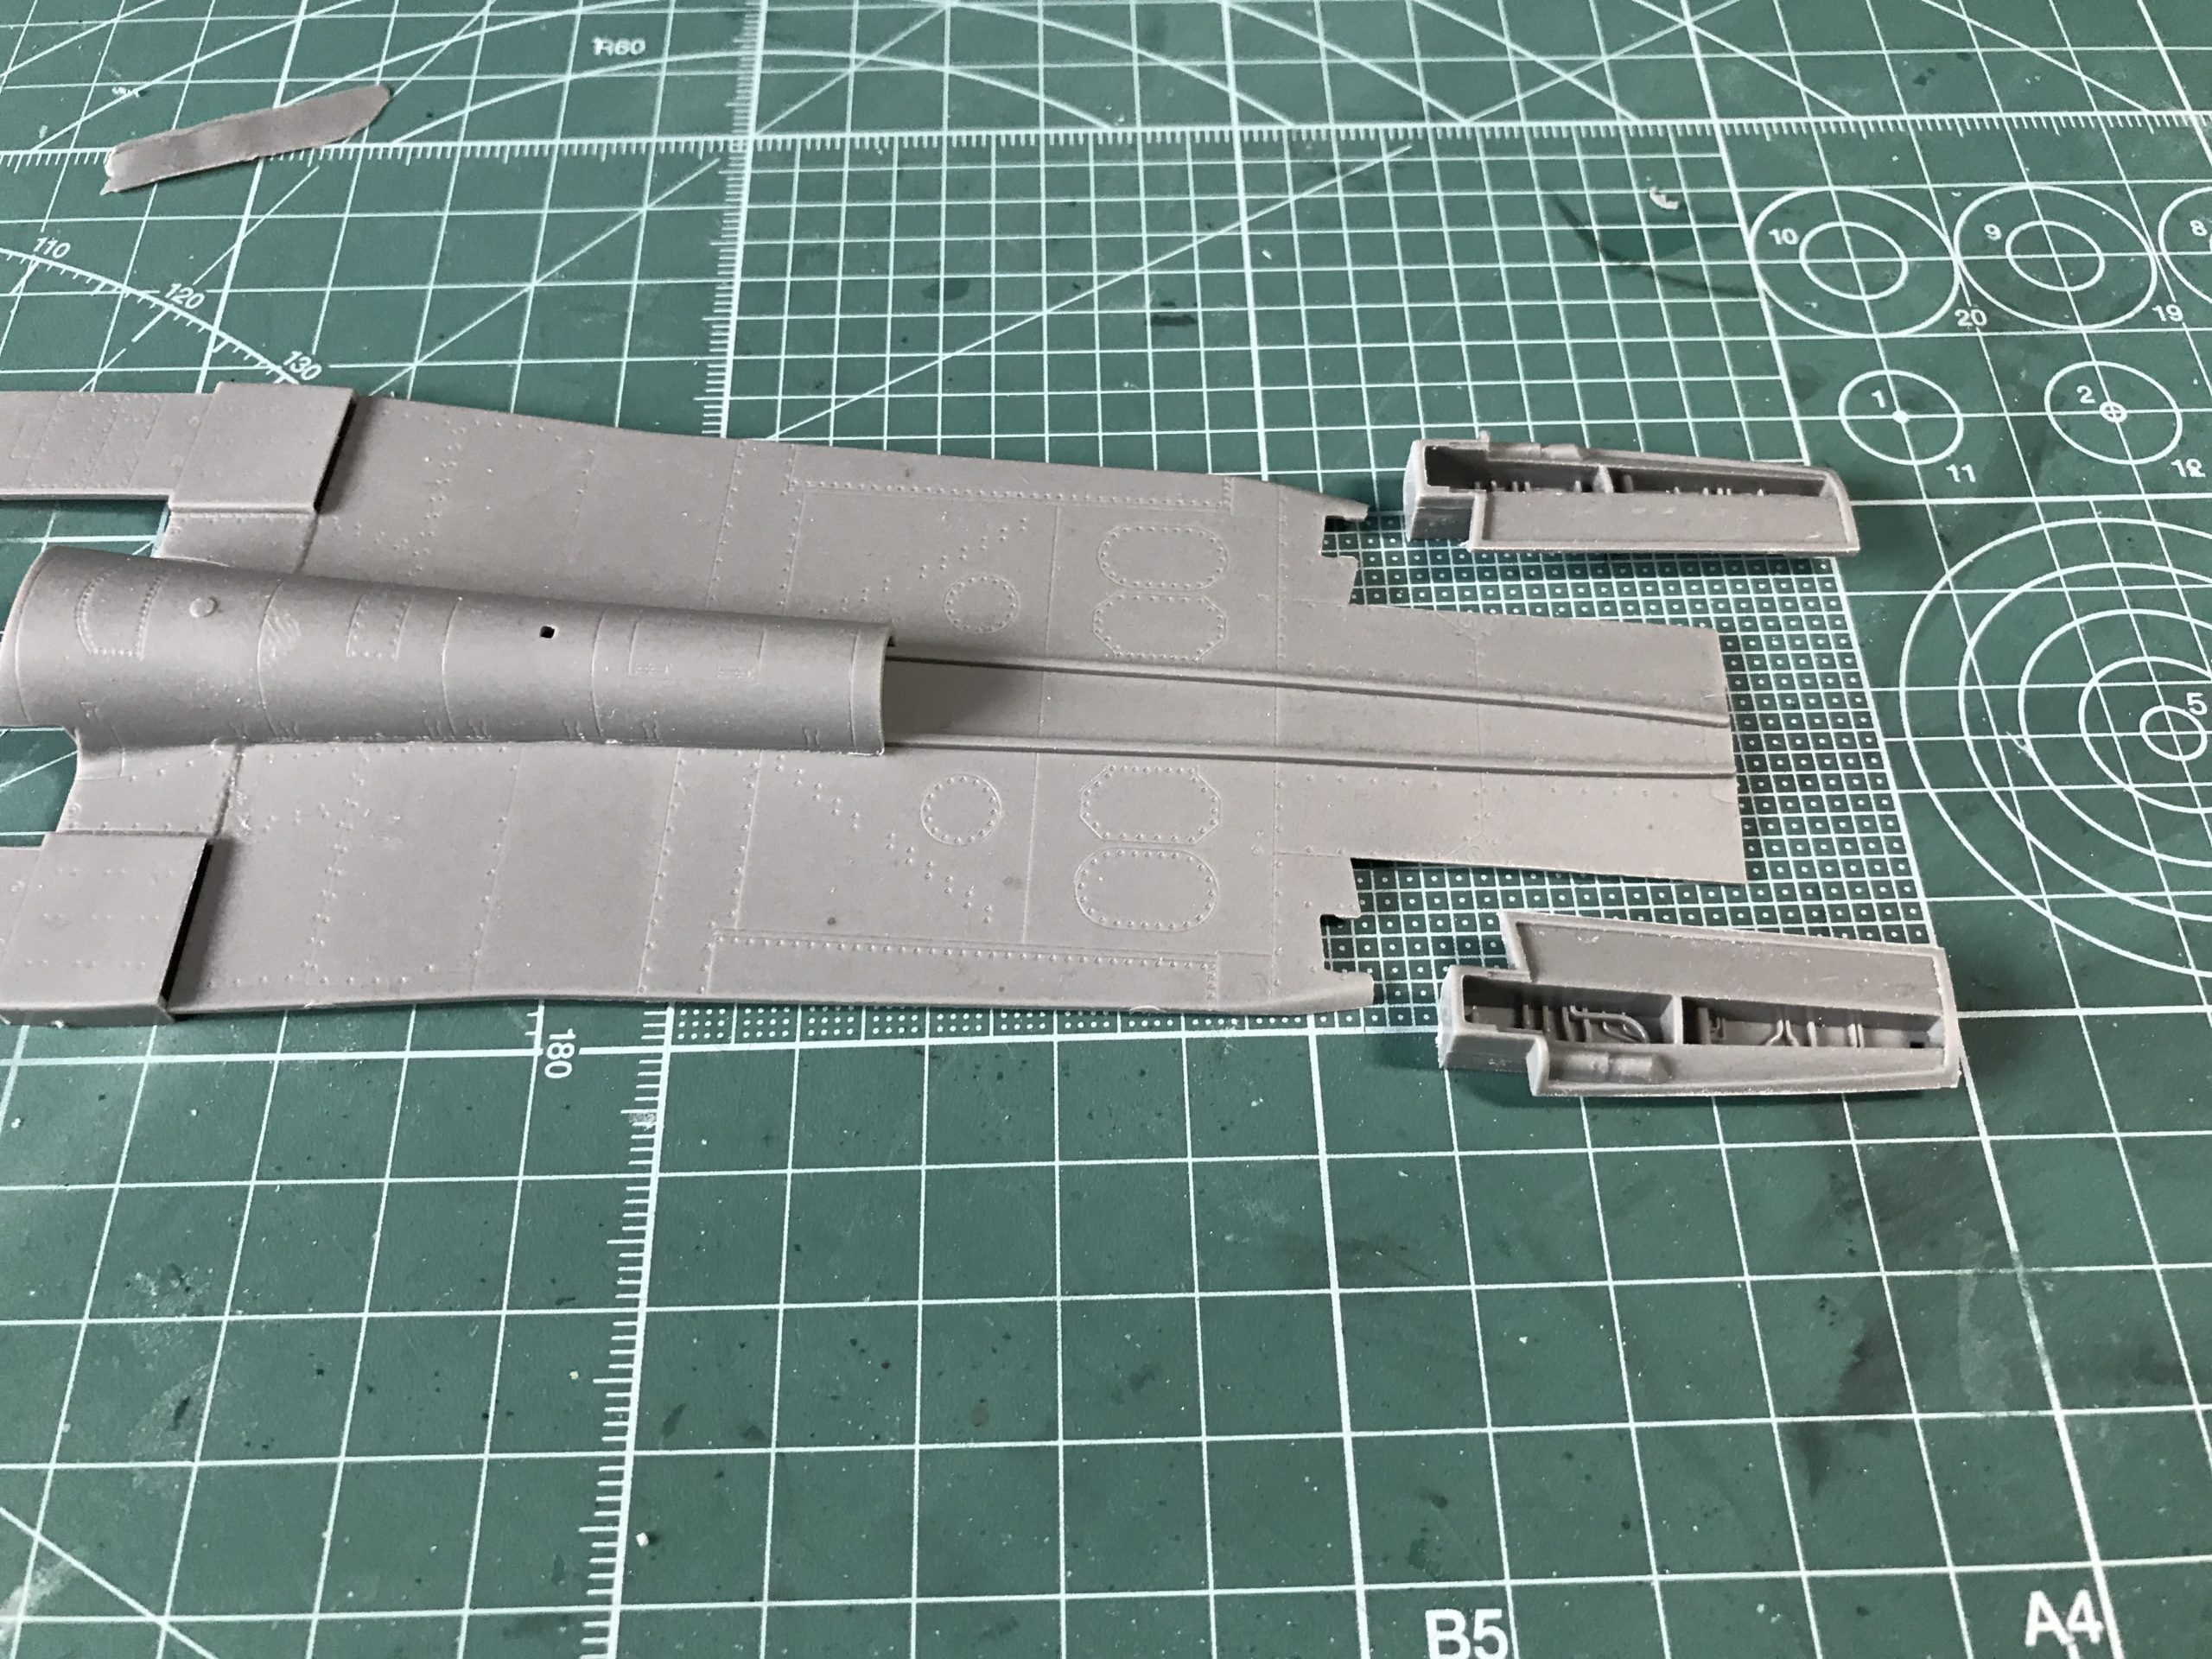
Now it’s a case of just assembling the various parts of the fuselage. Nice and easy…
The fact the fuselage is made up of several parts is a little strange and not something I remember coming across on an aircraft previously. I guess the issue is the Tornado’s boxy cross section makes it difficult to do in just two parts at this scale.
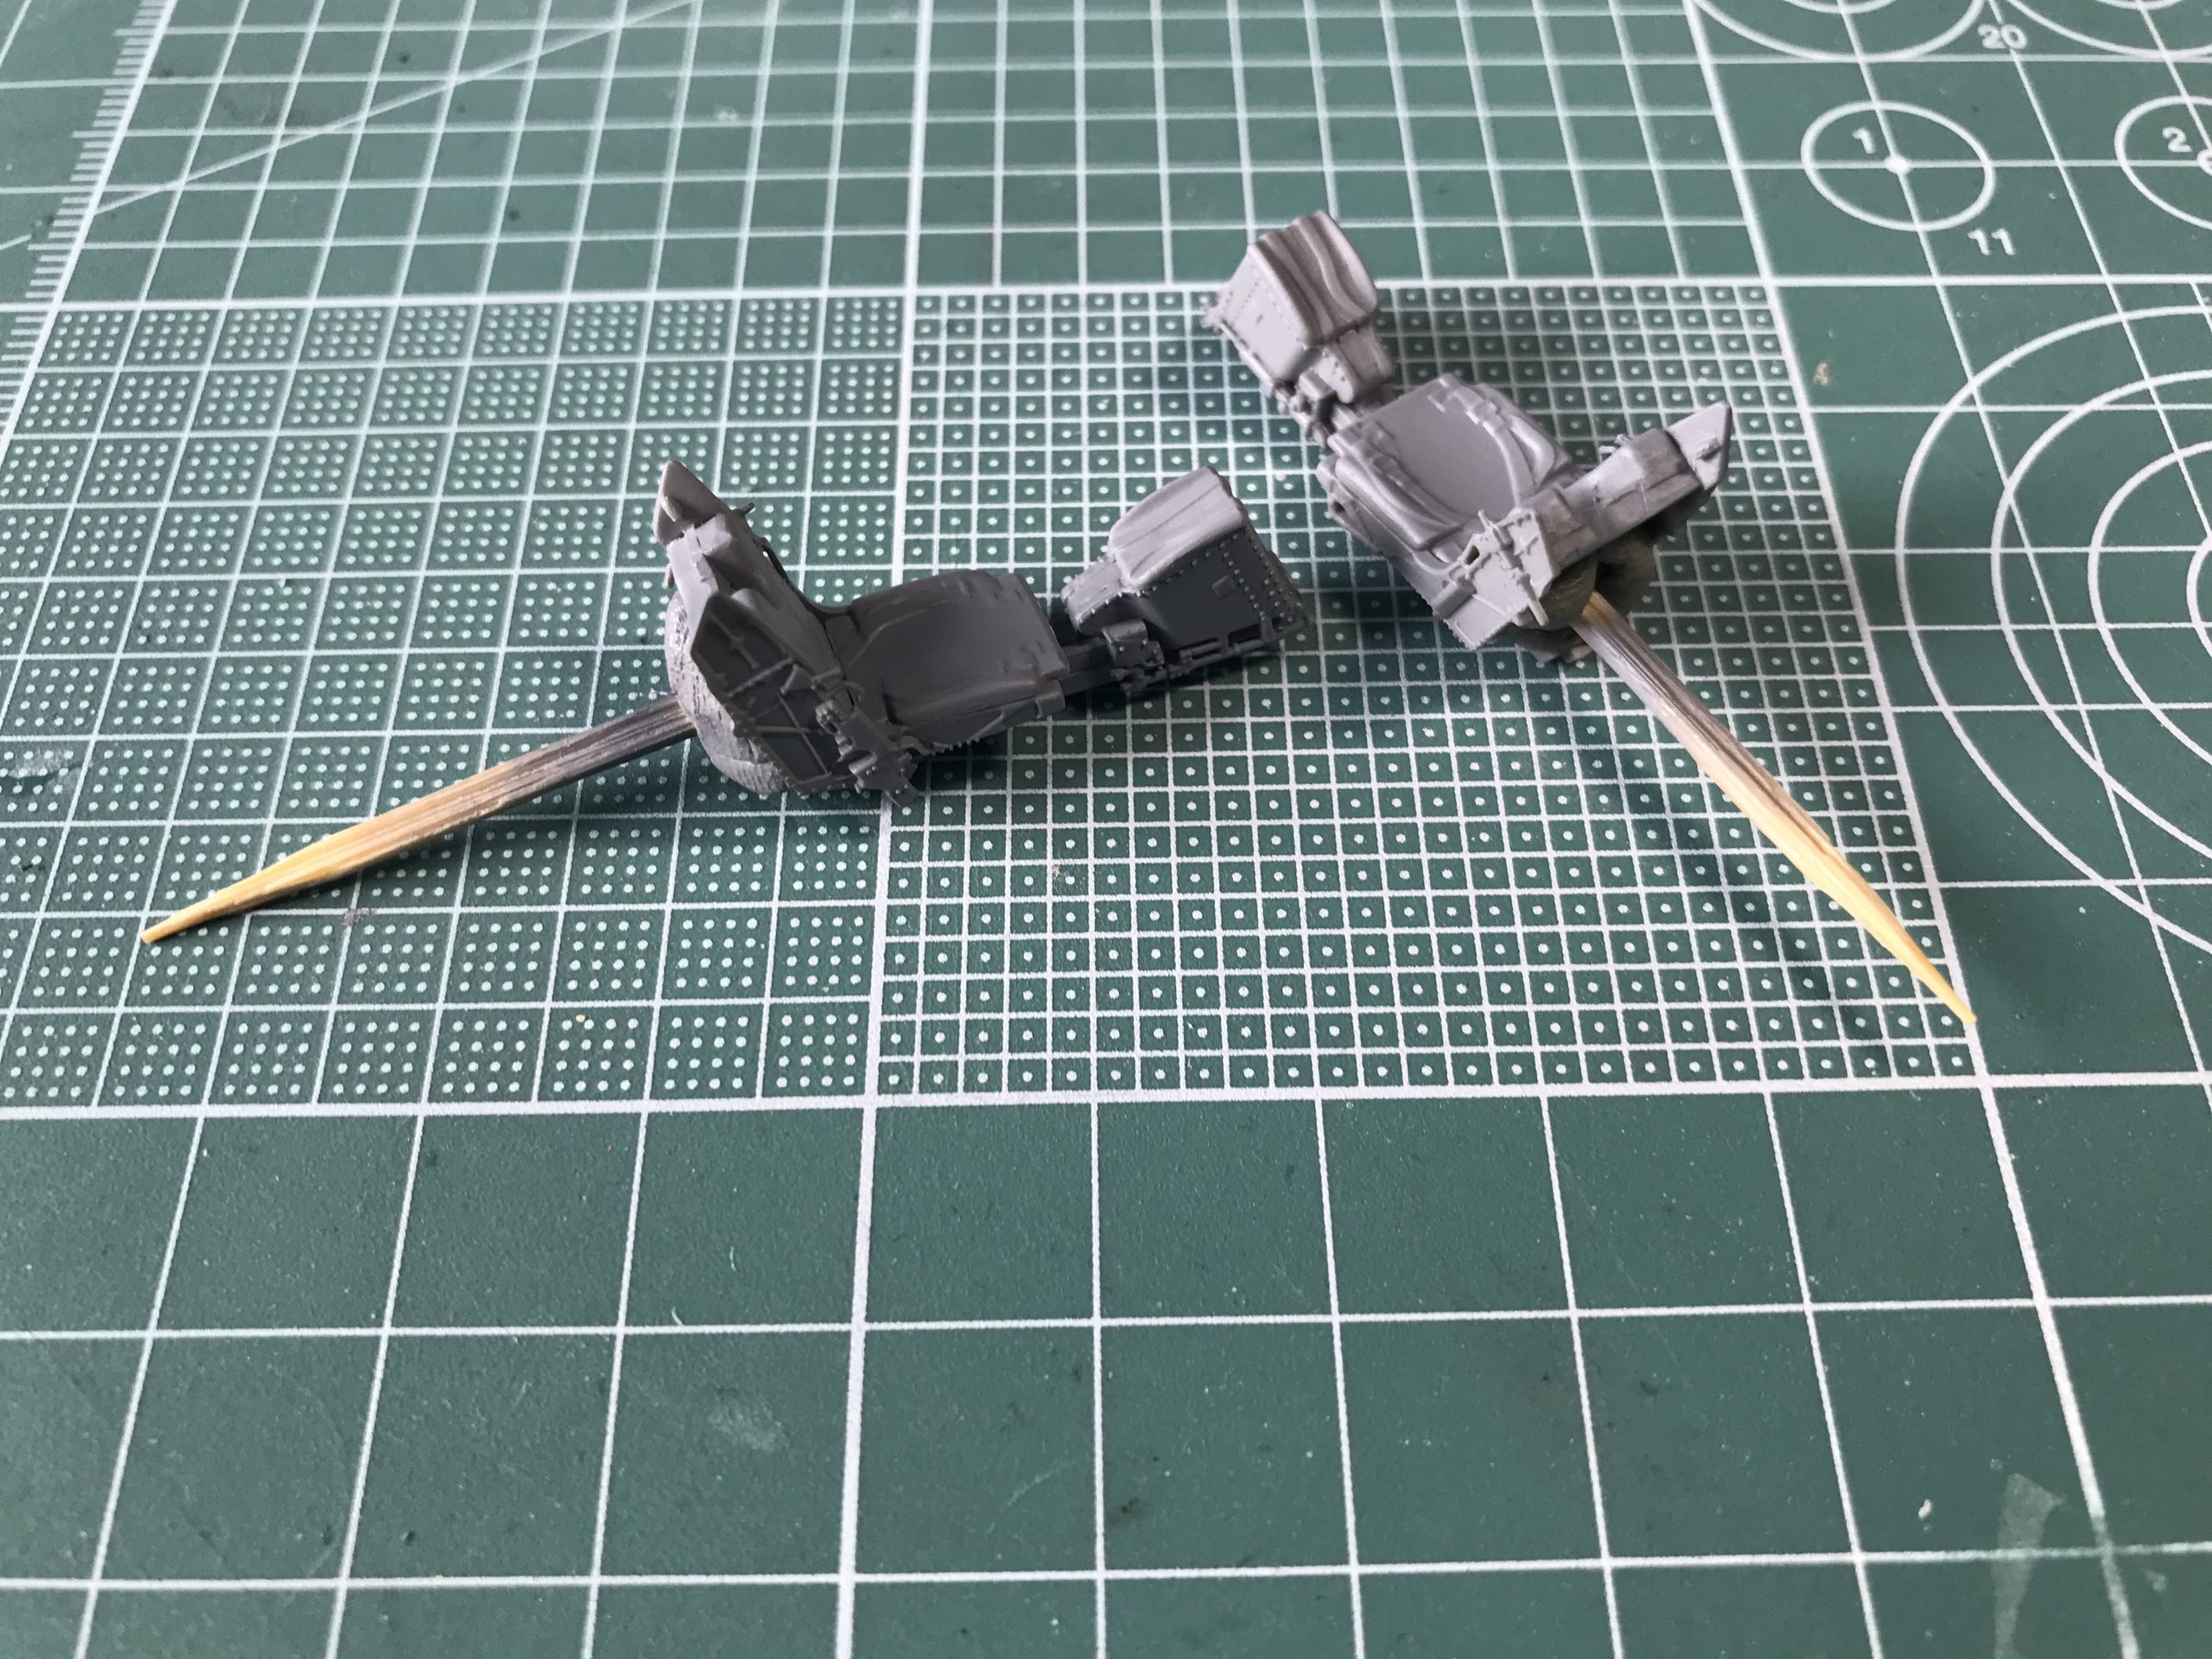
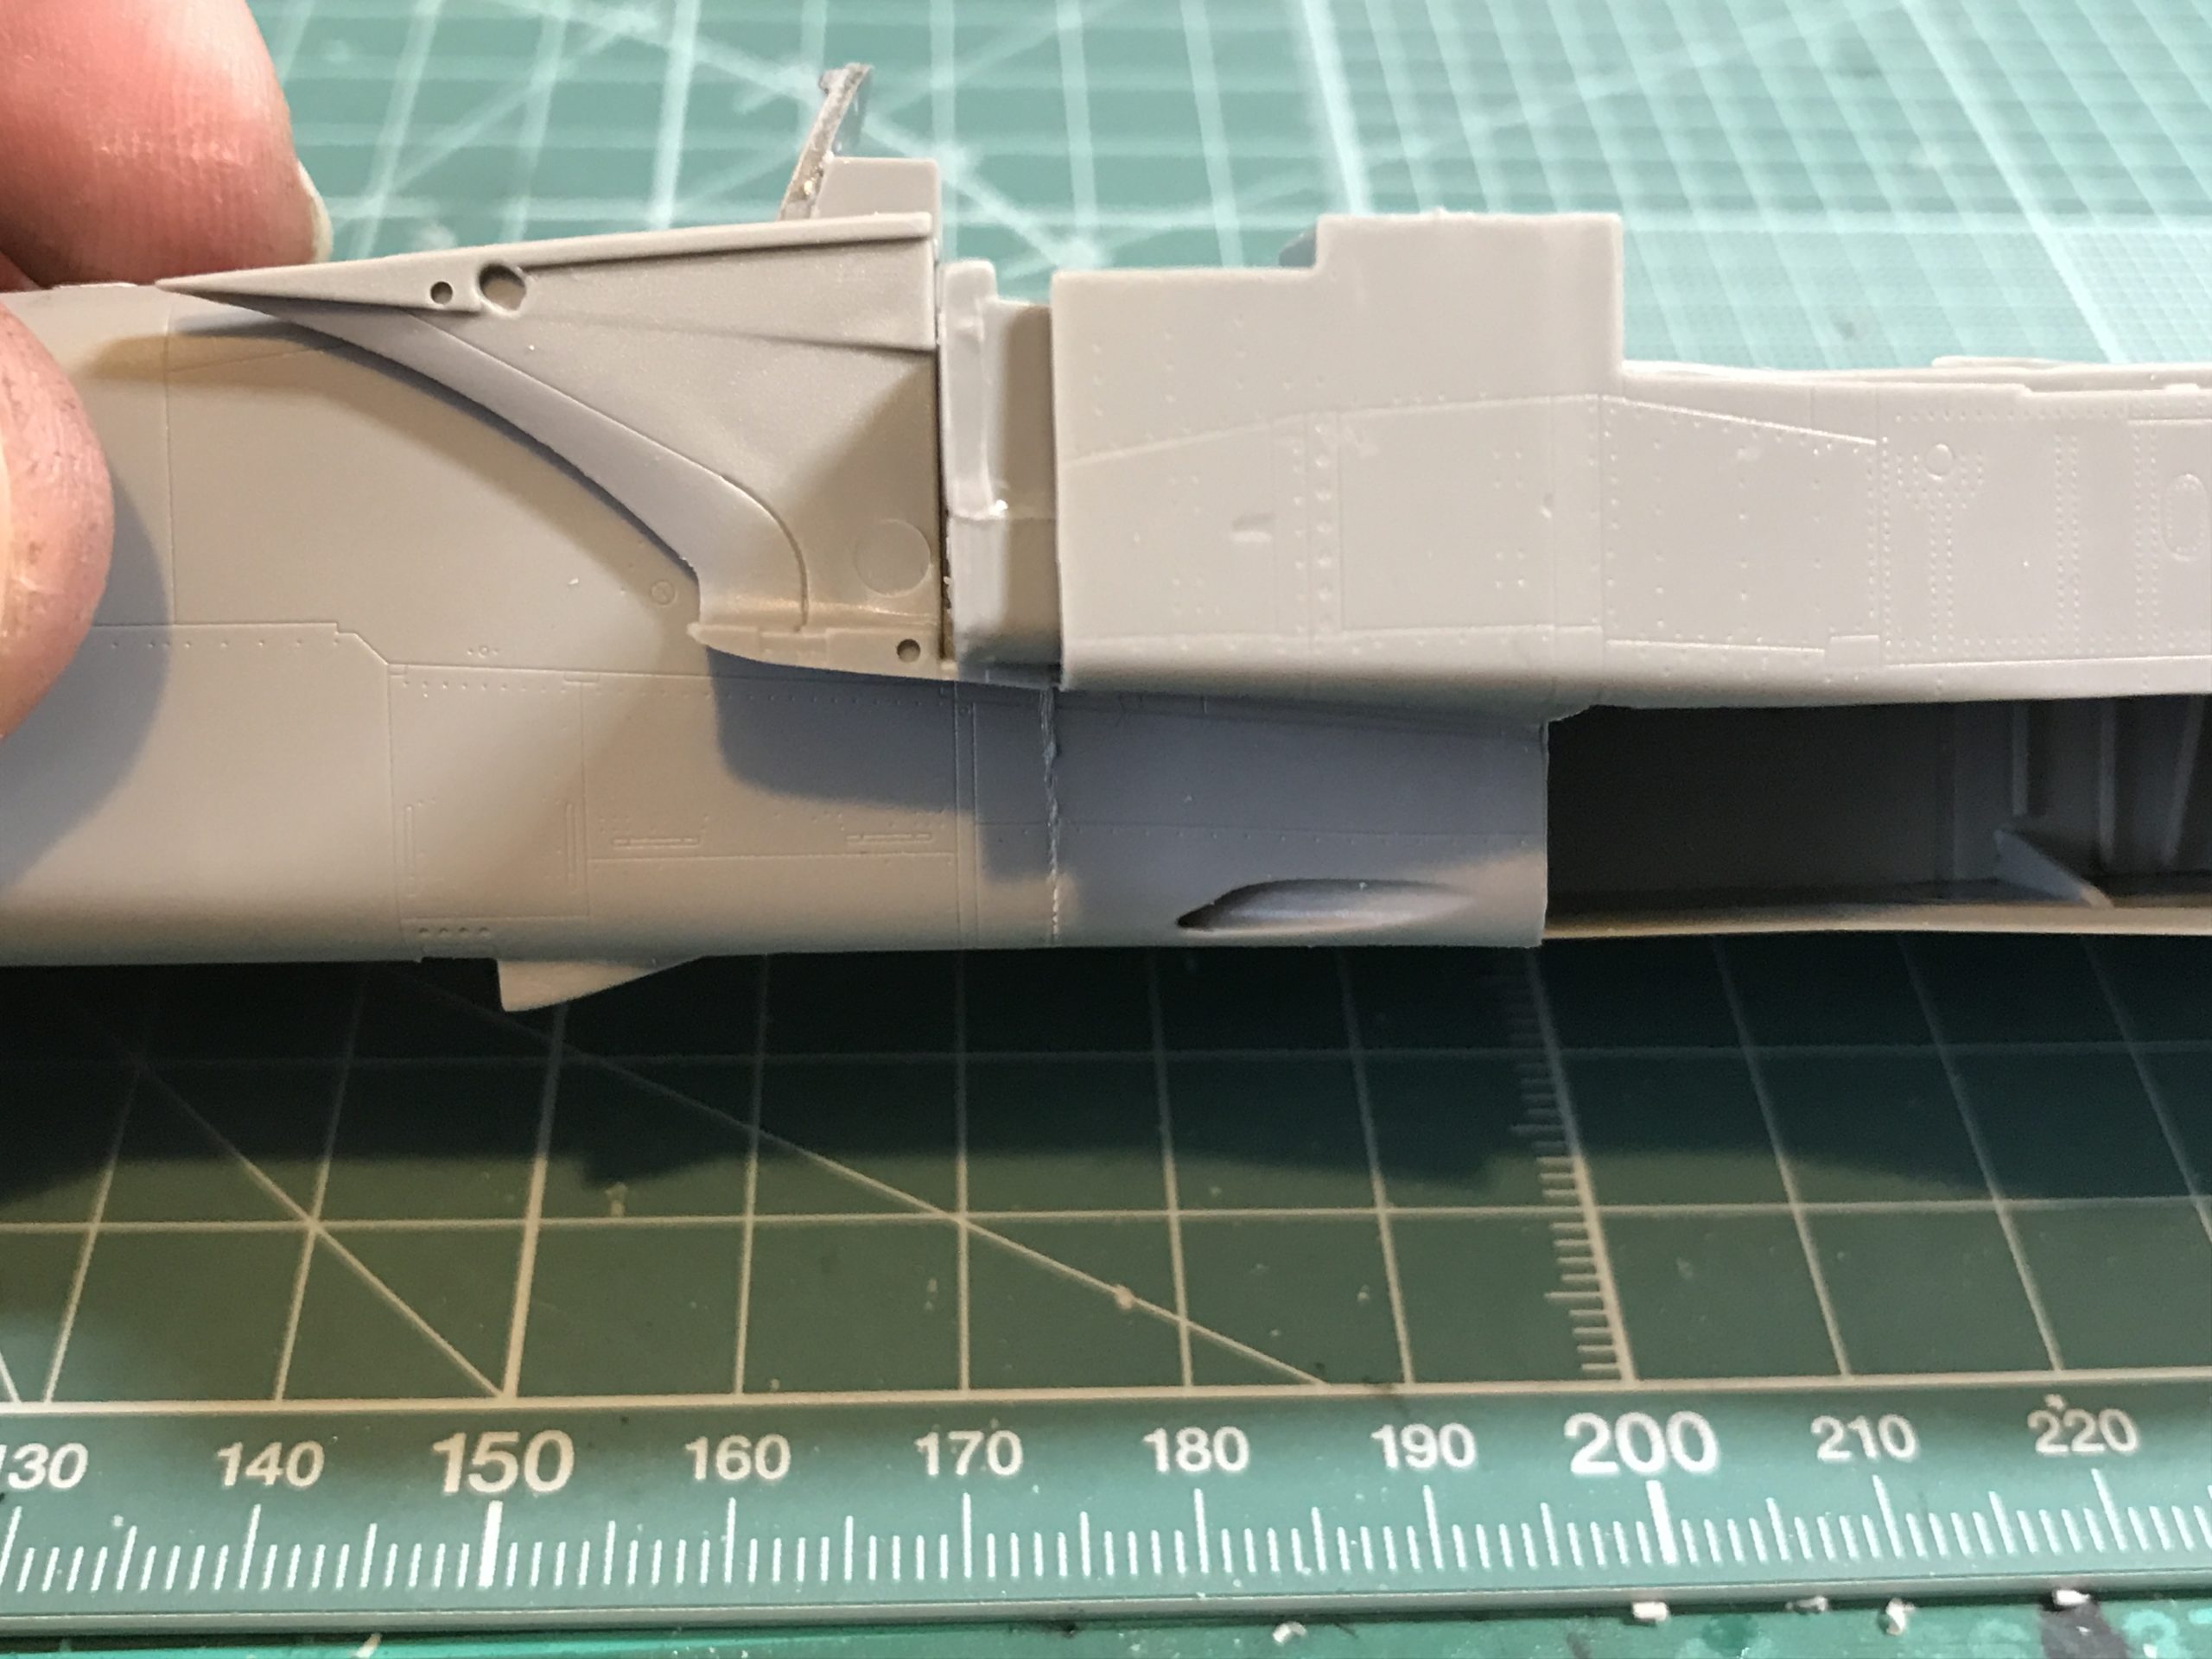
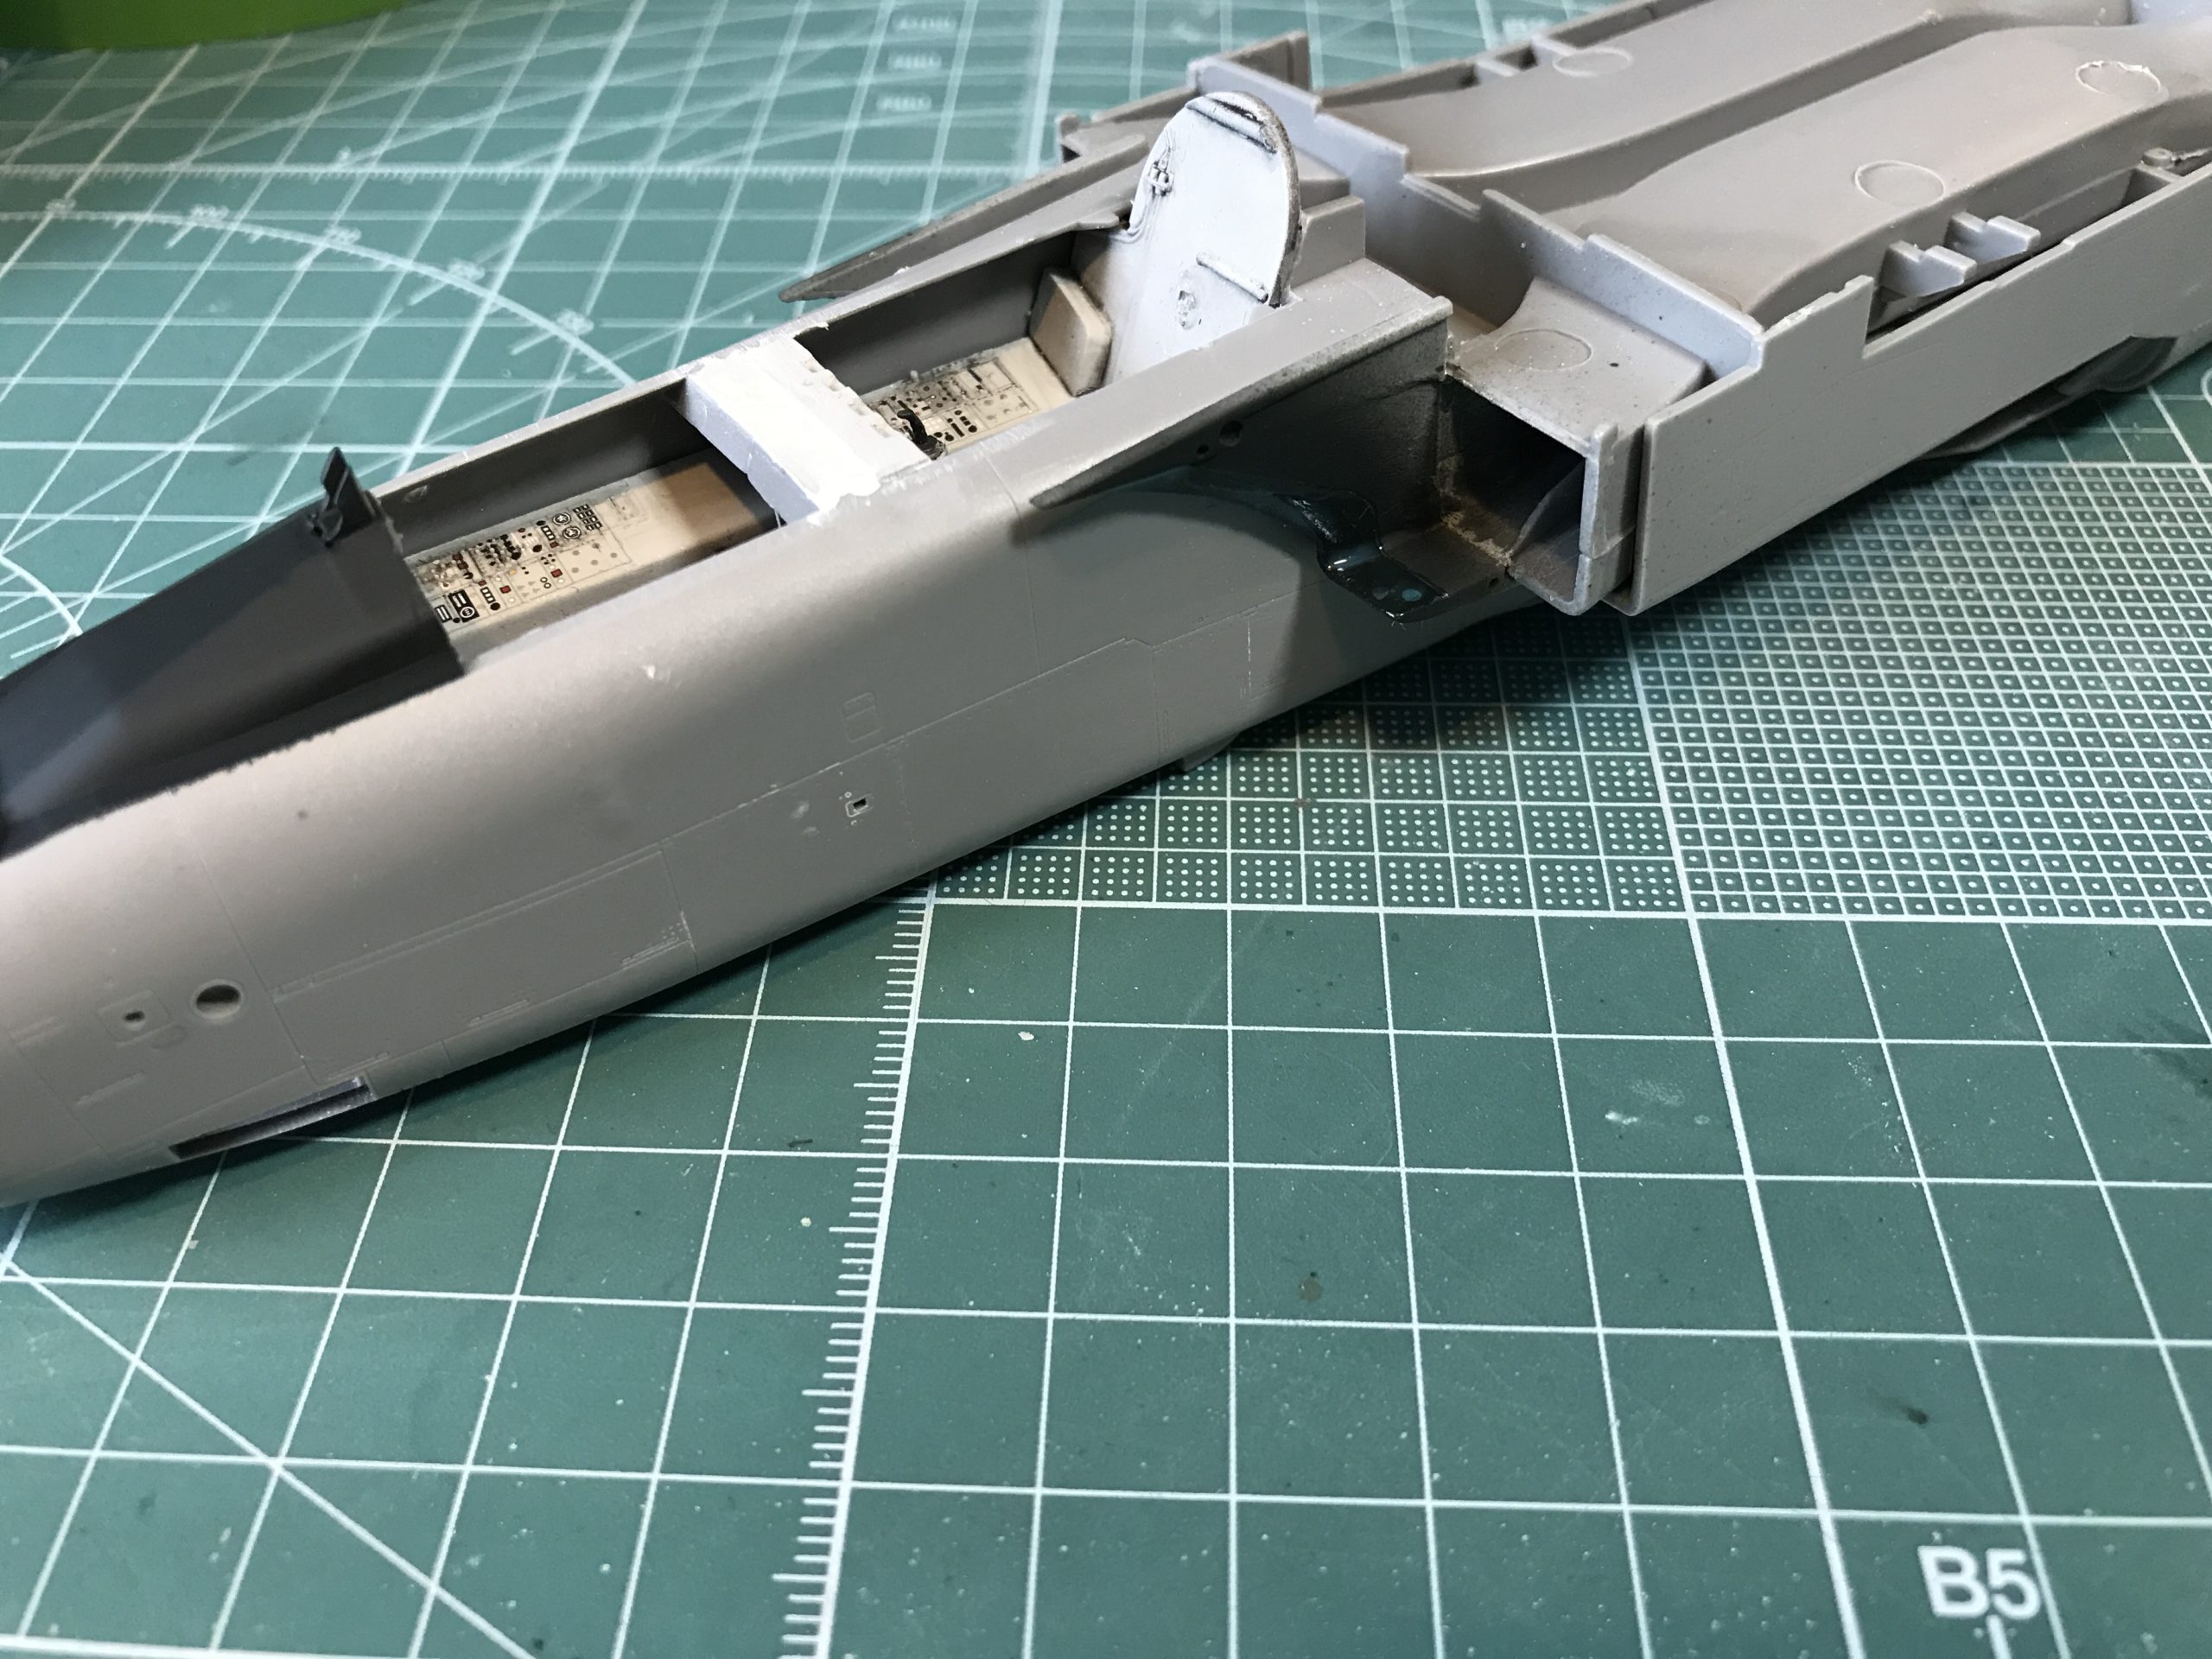
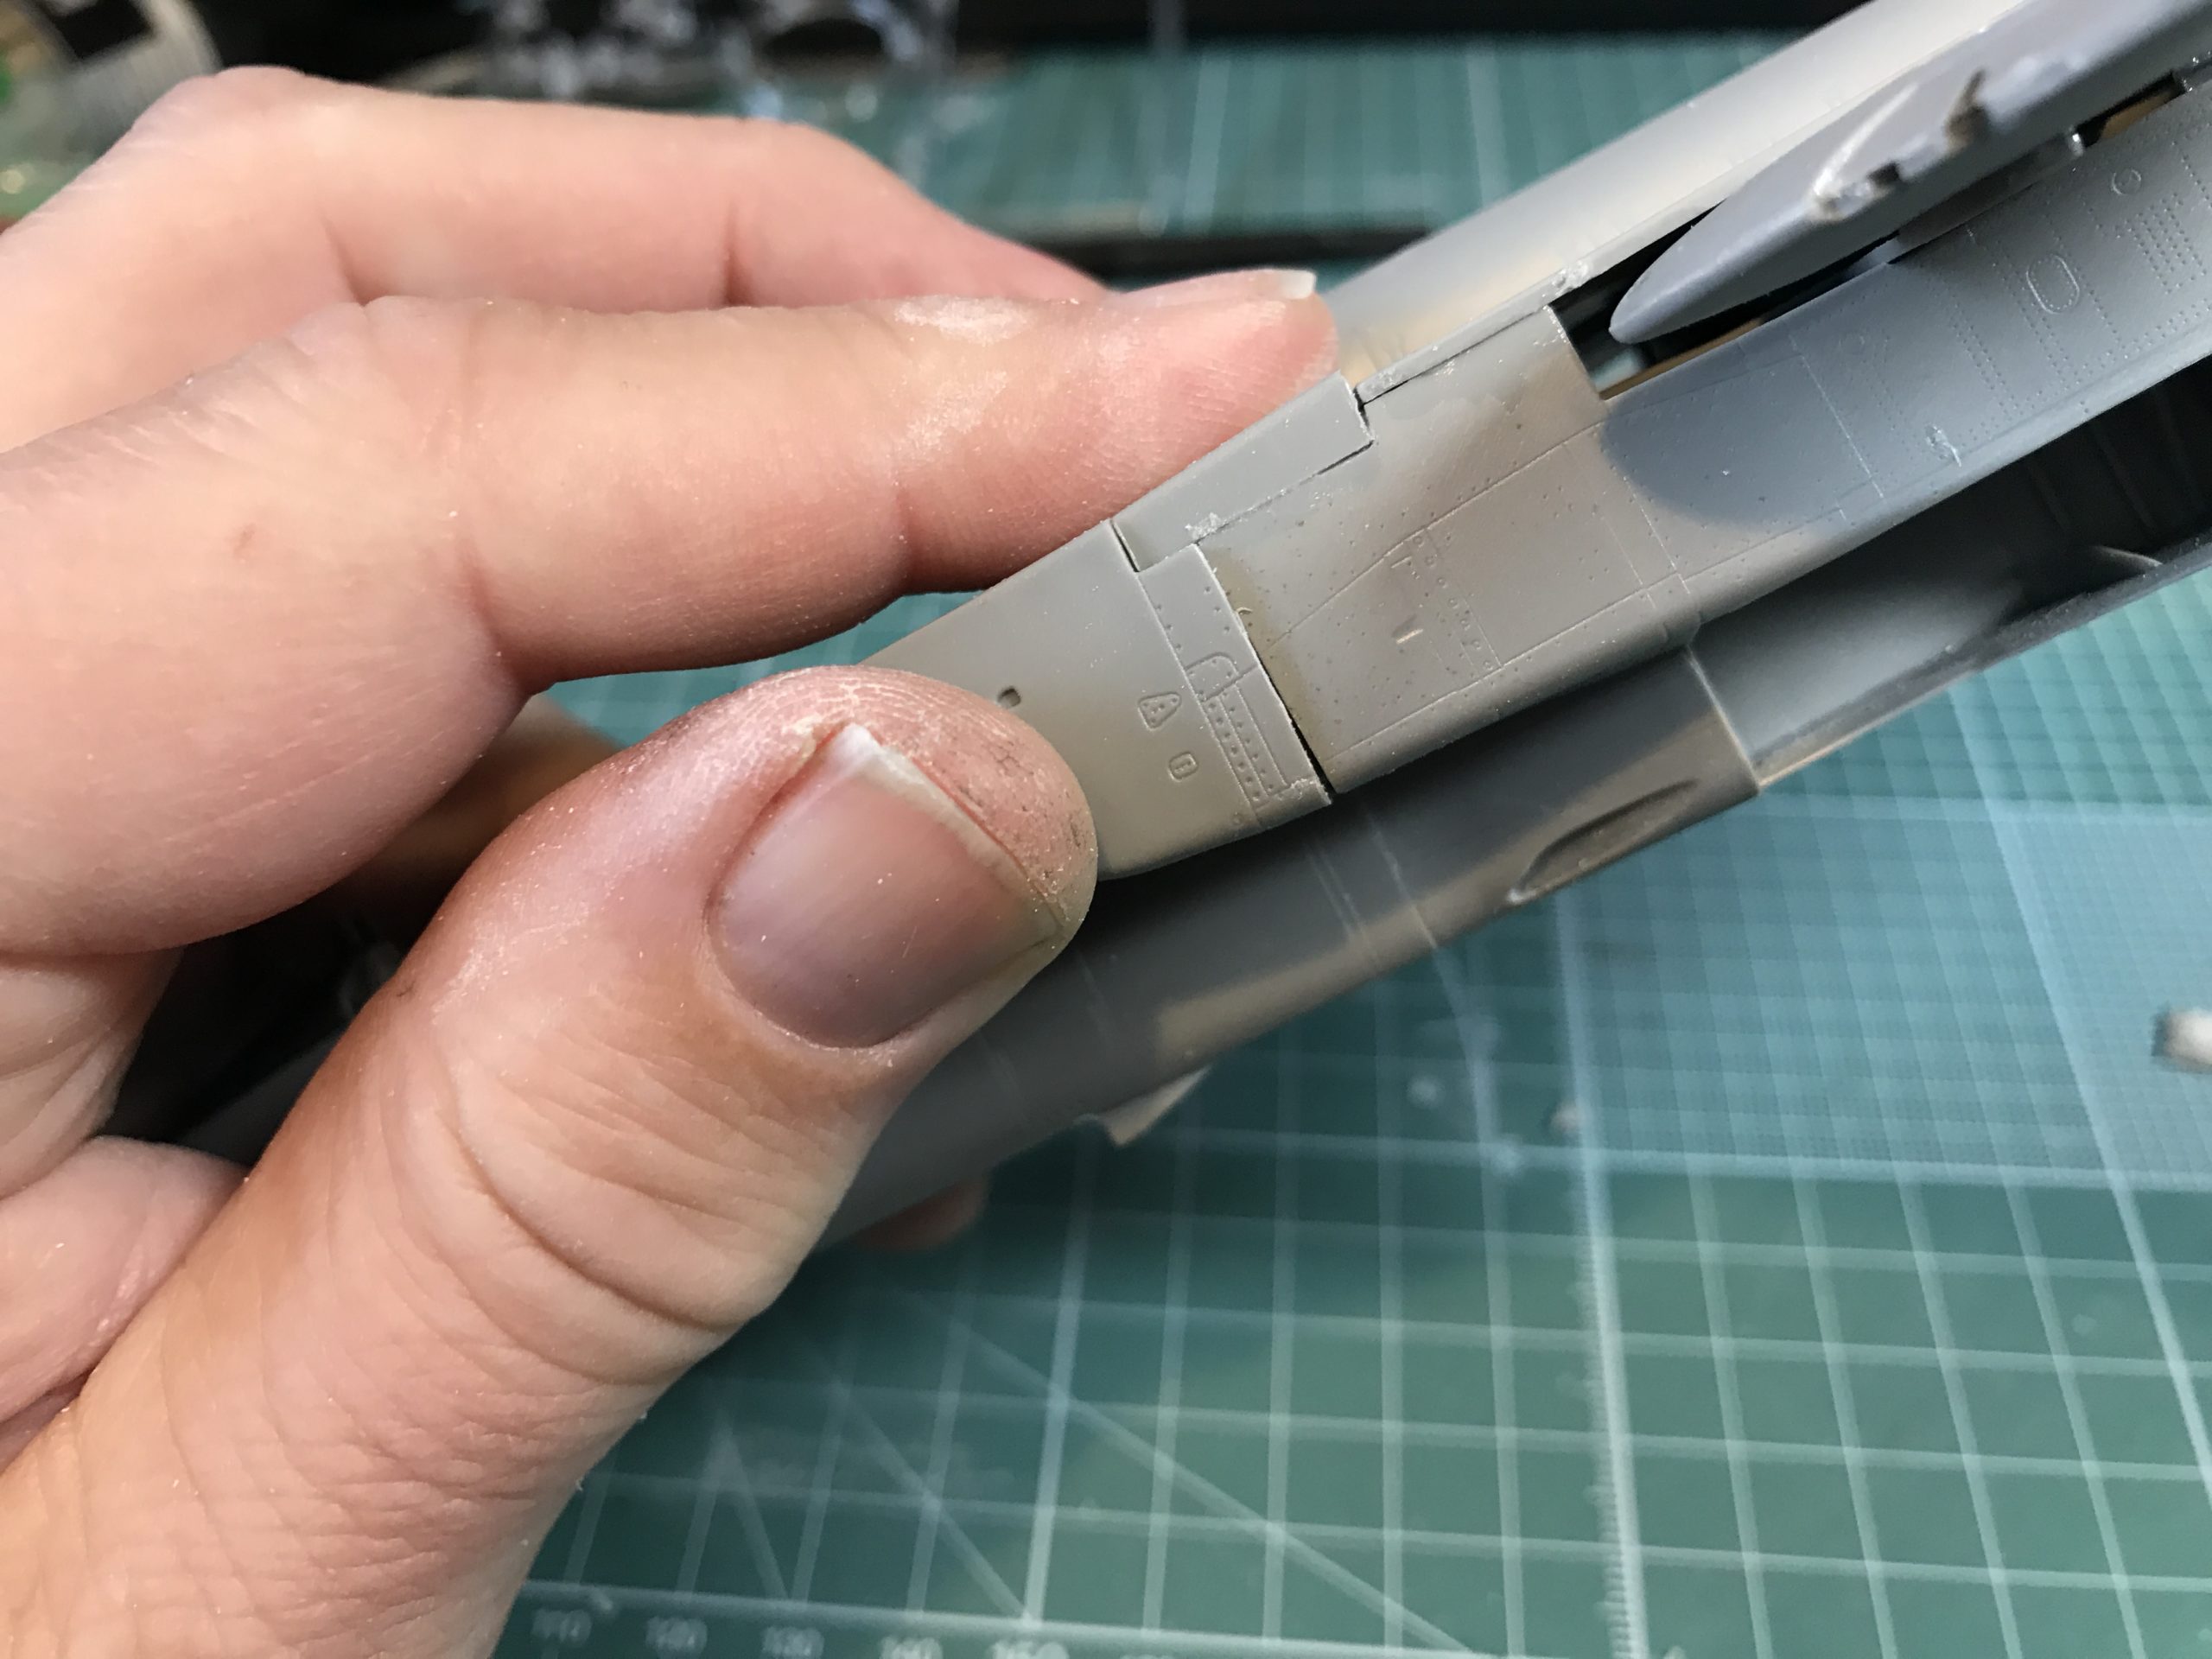
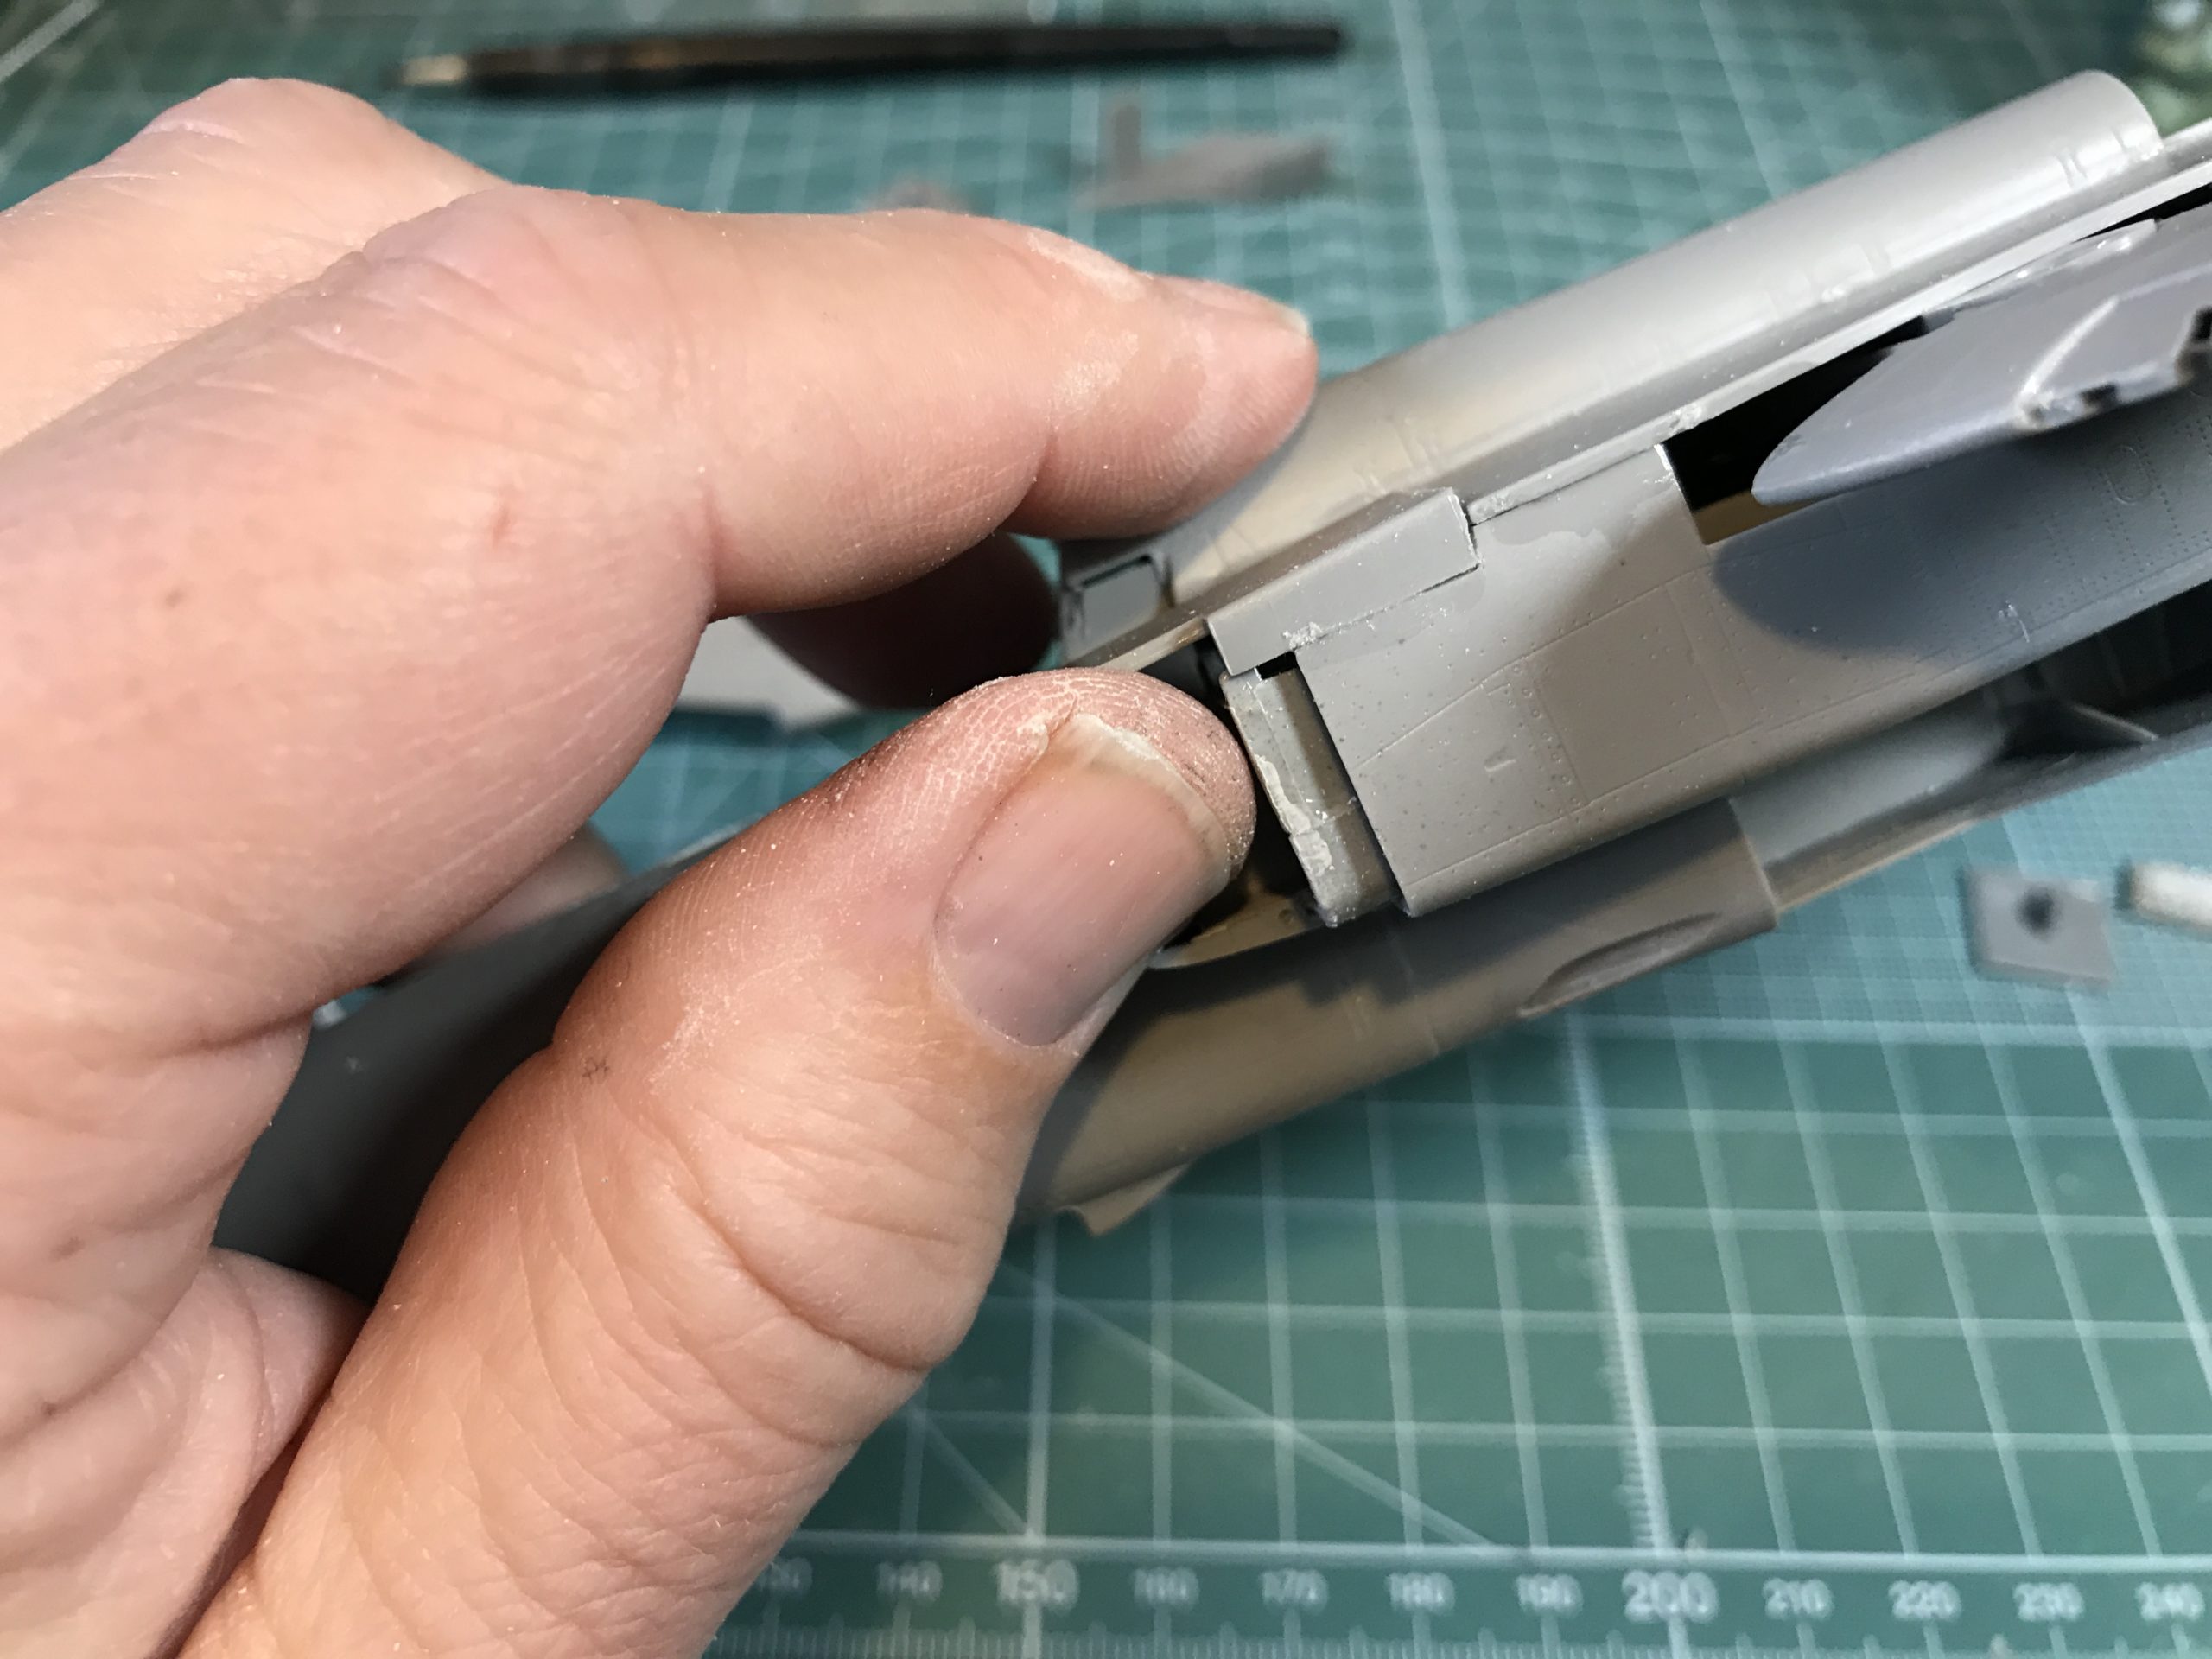
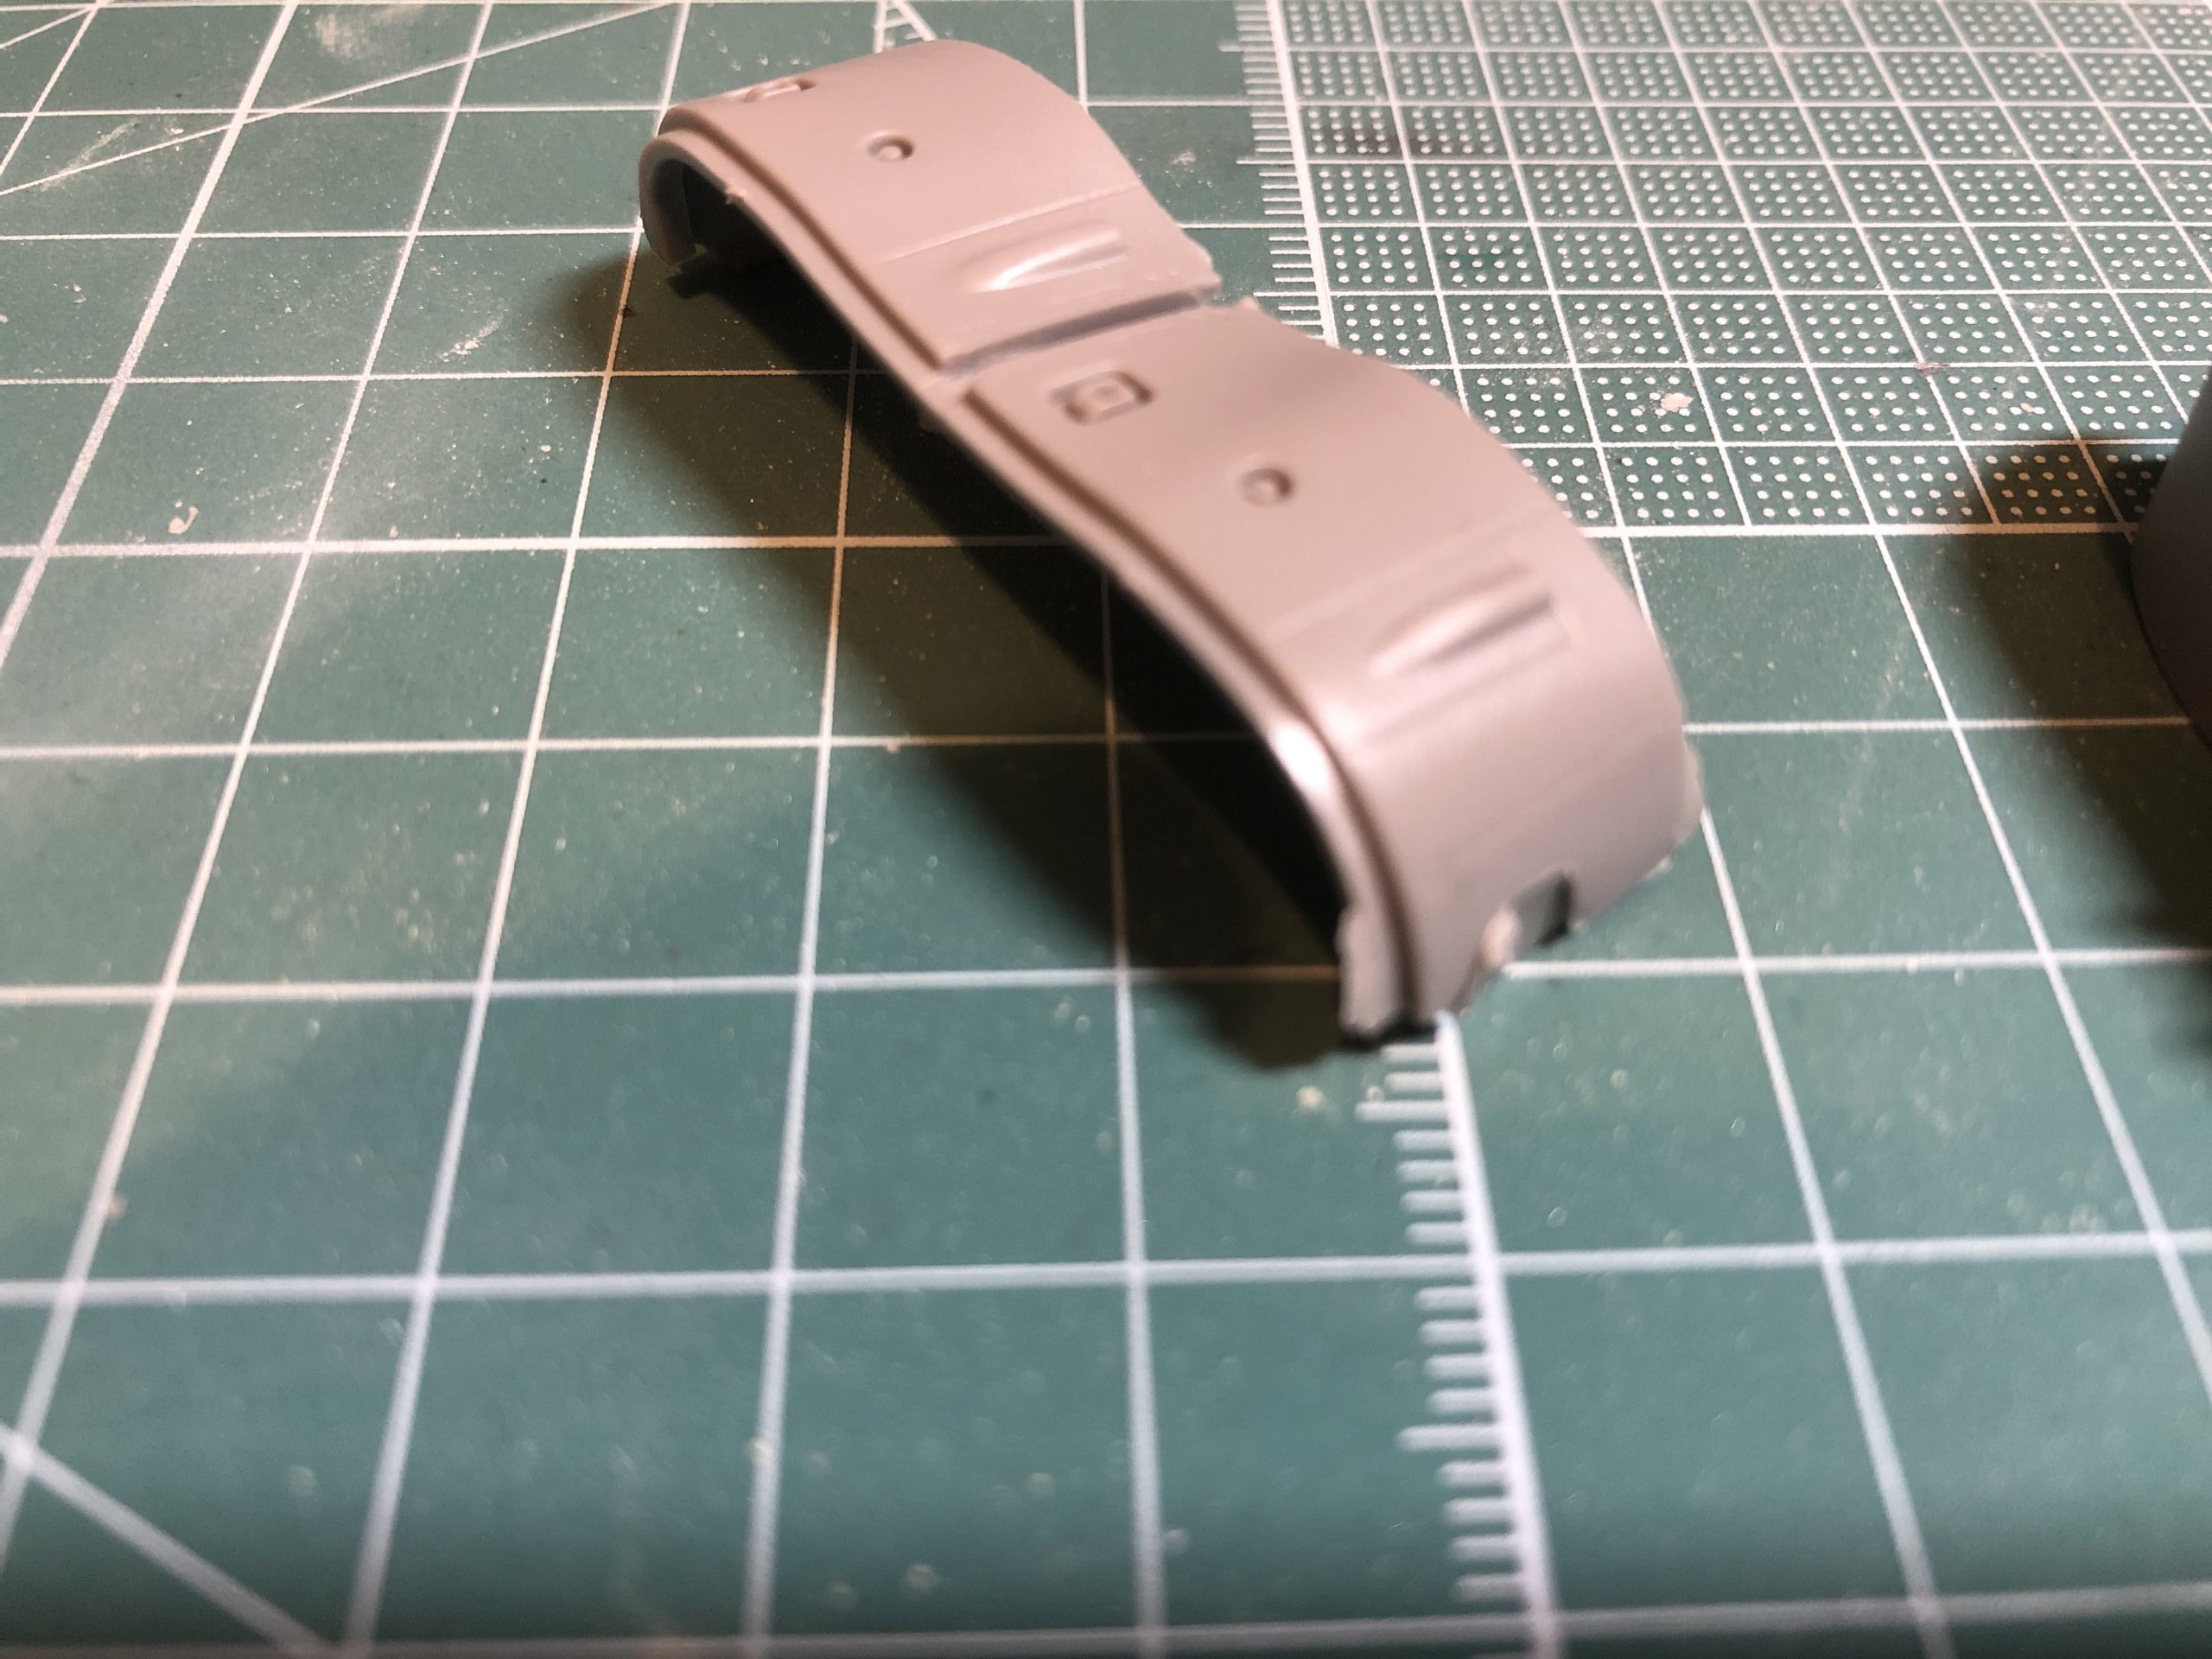
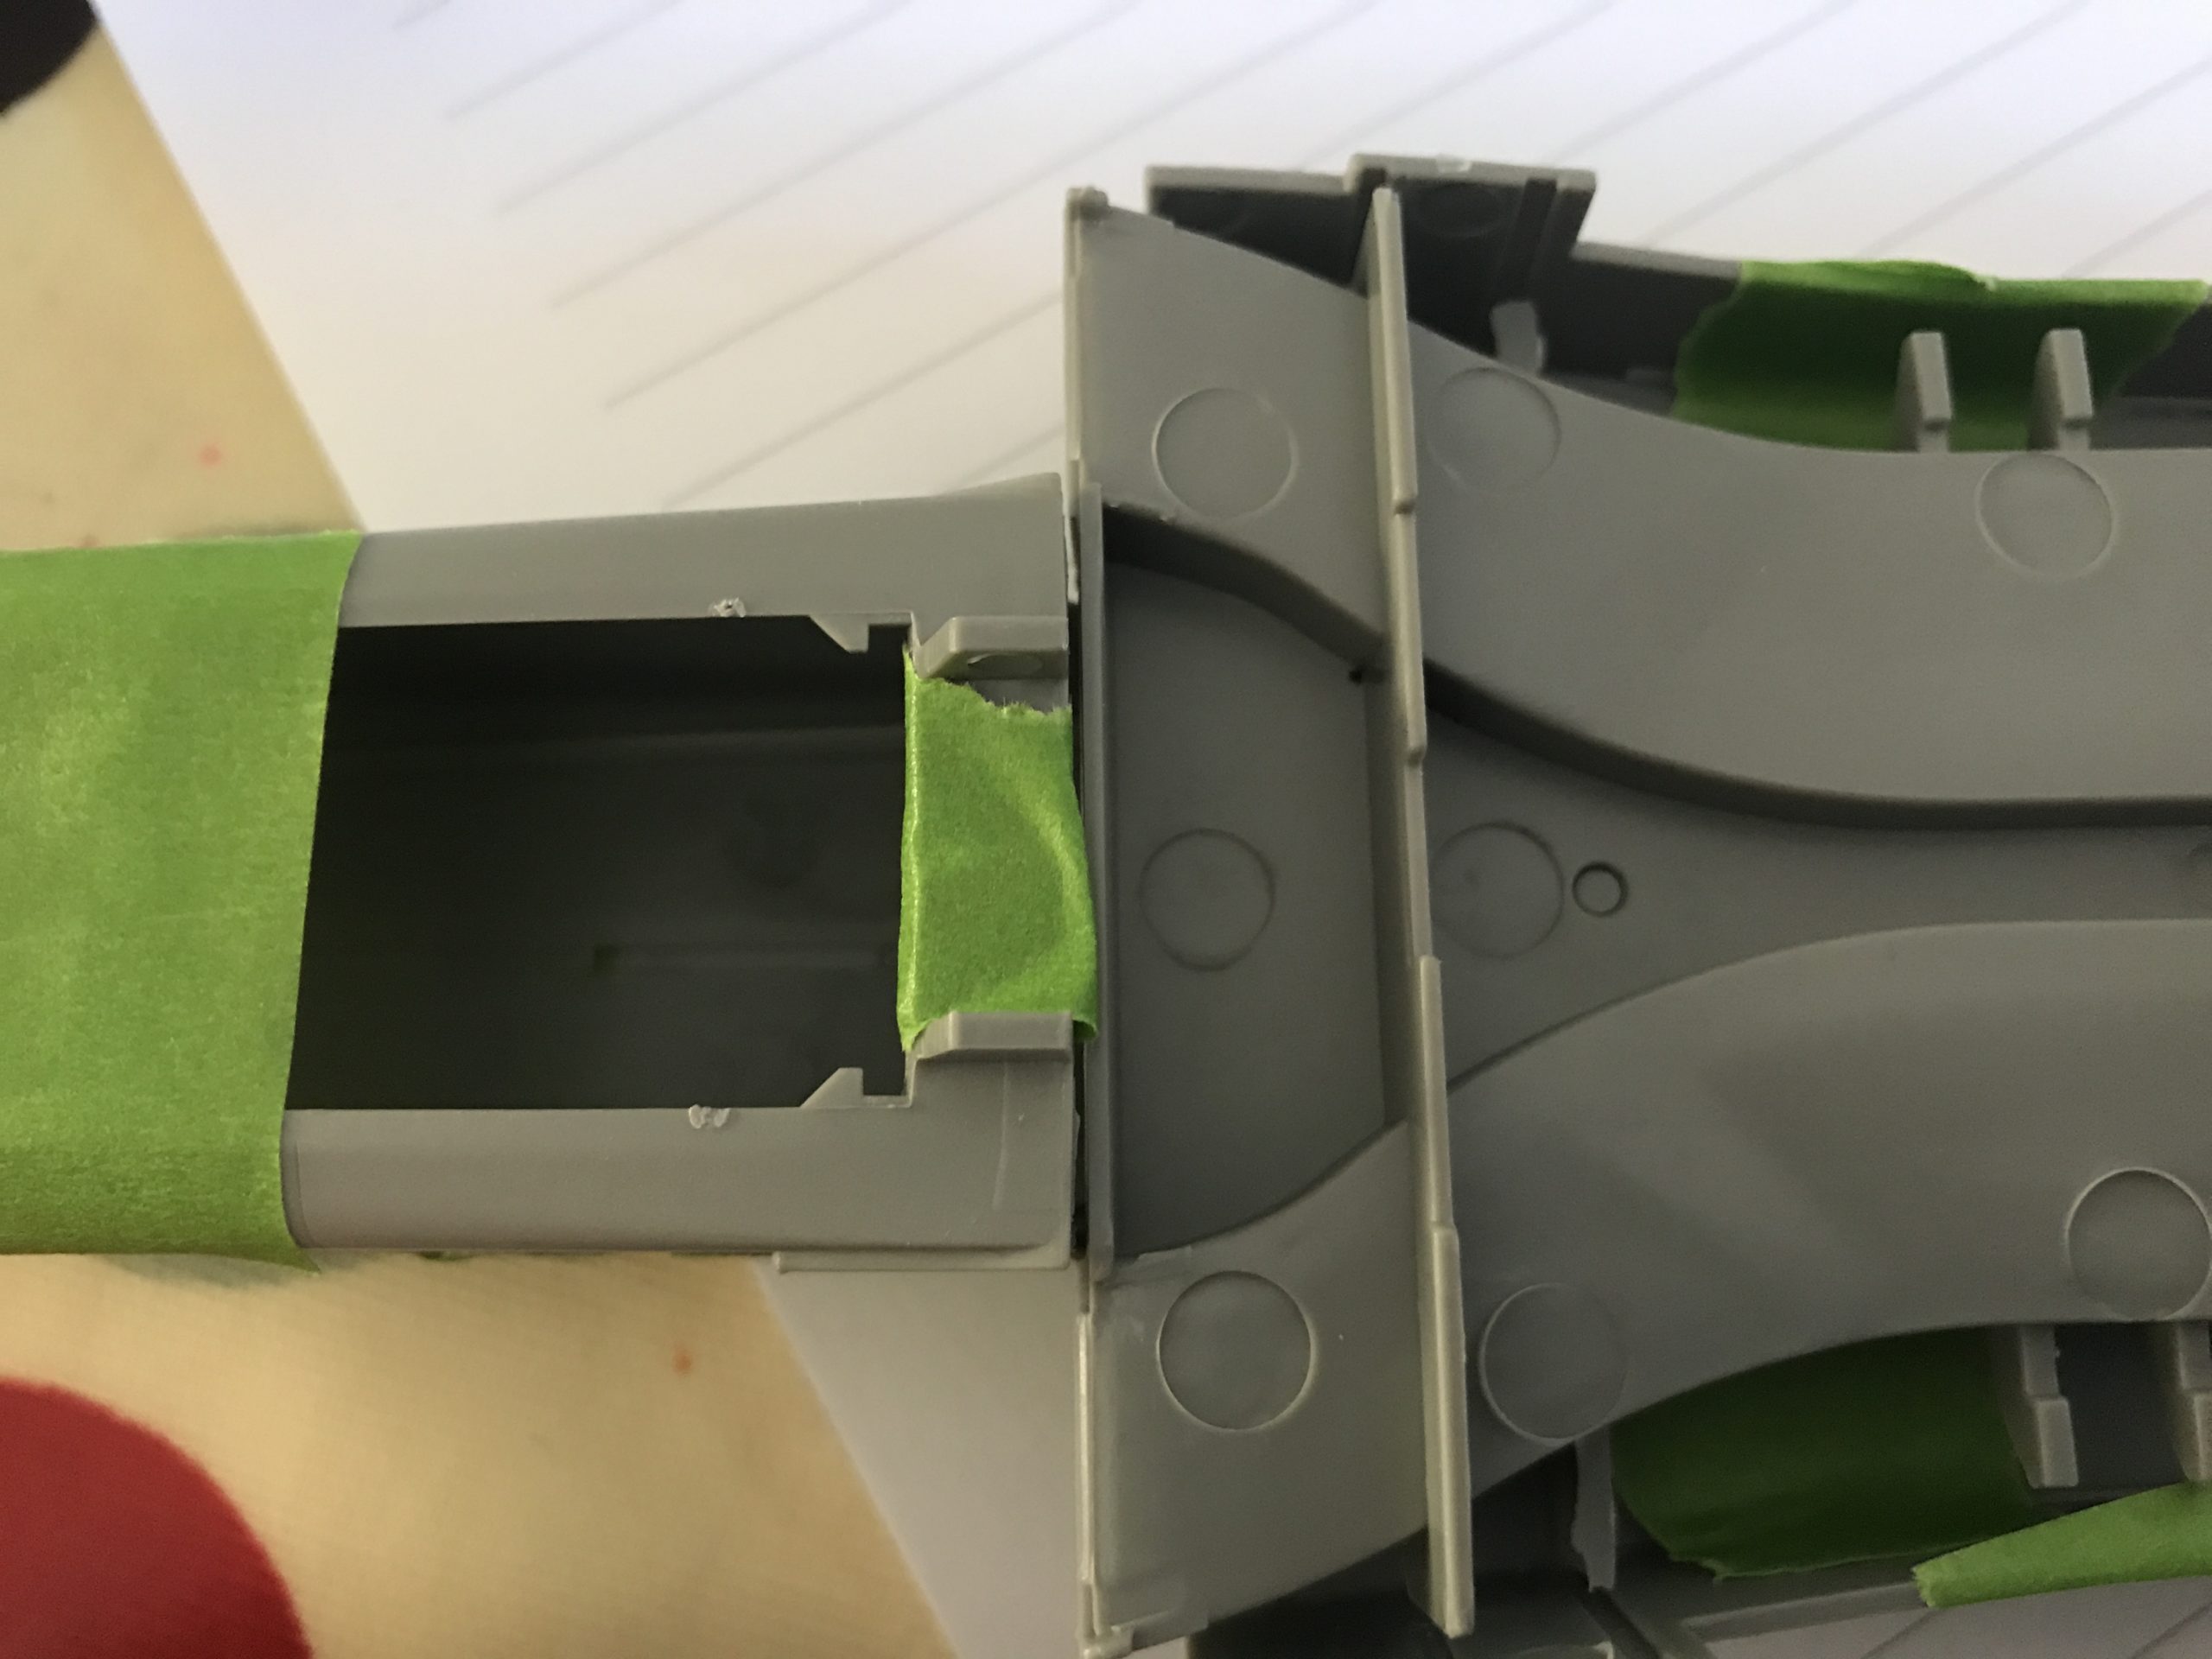
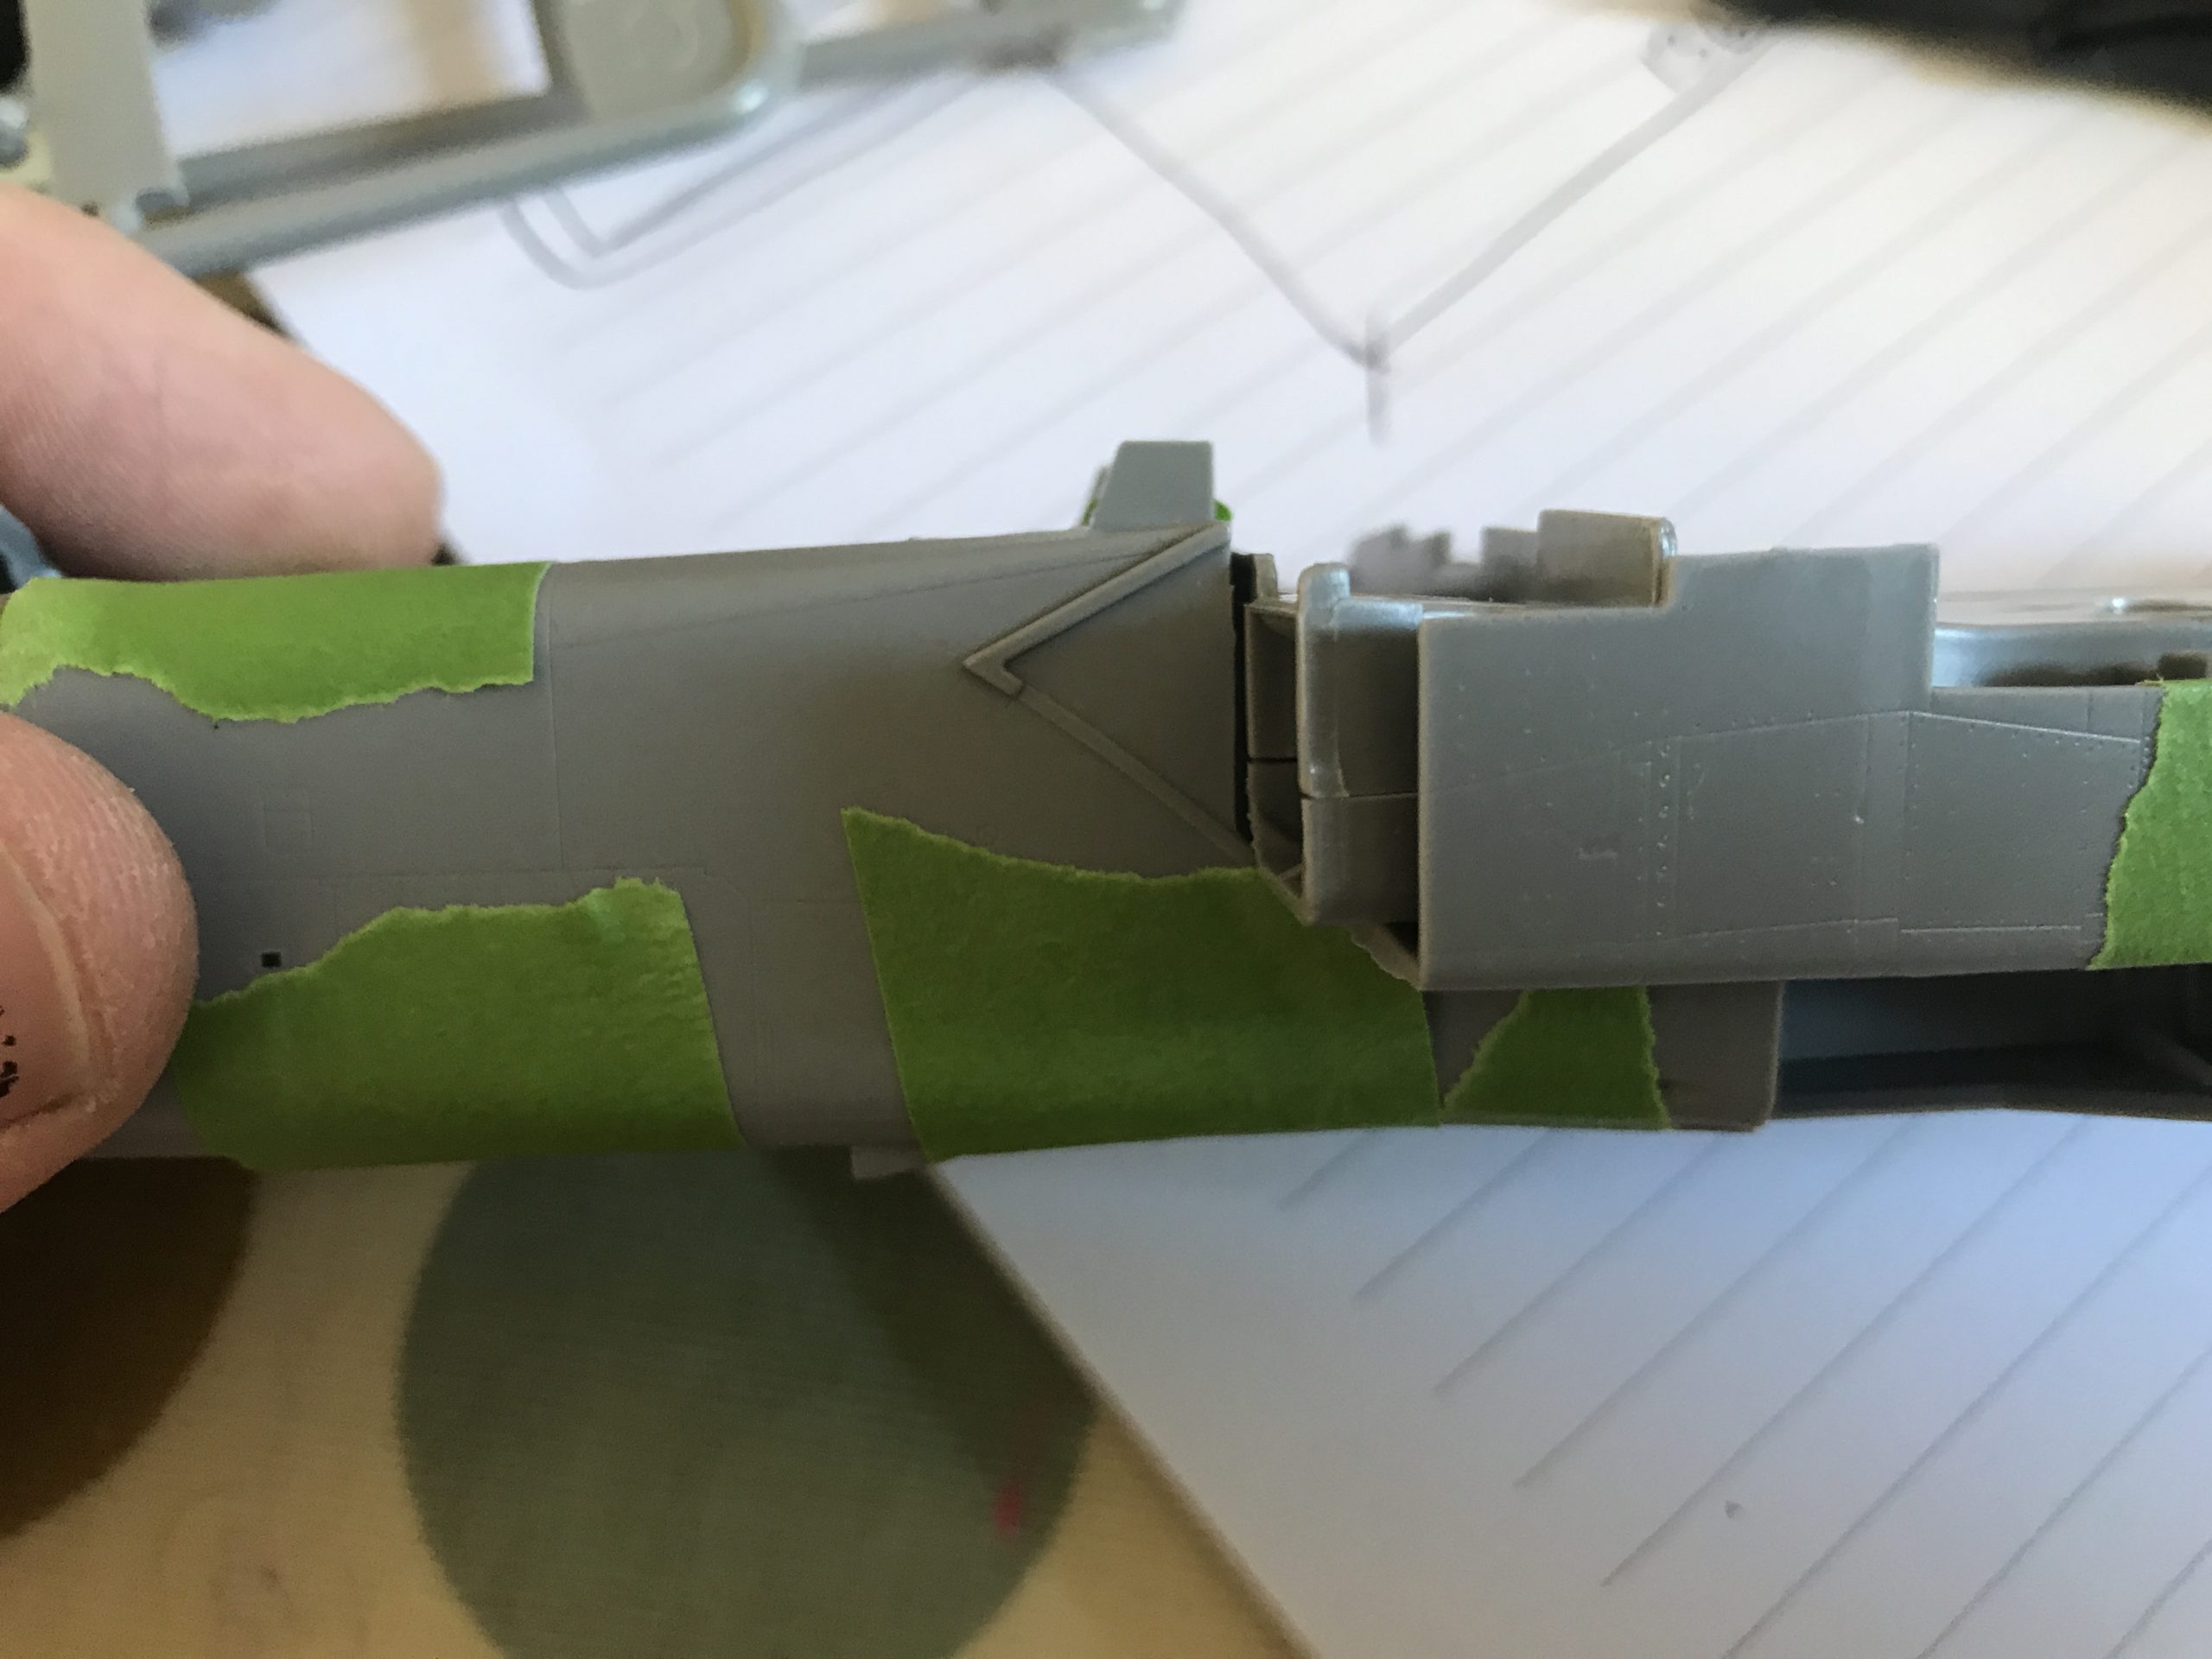
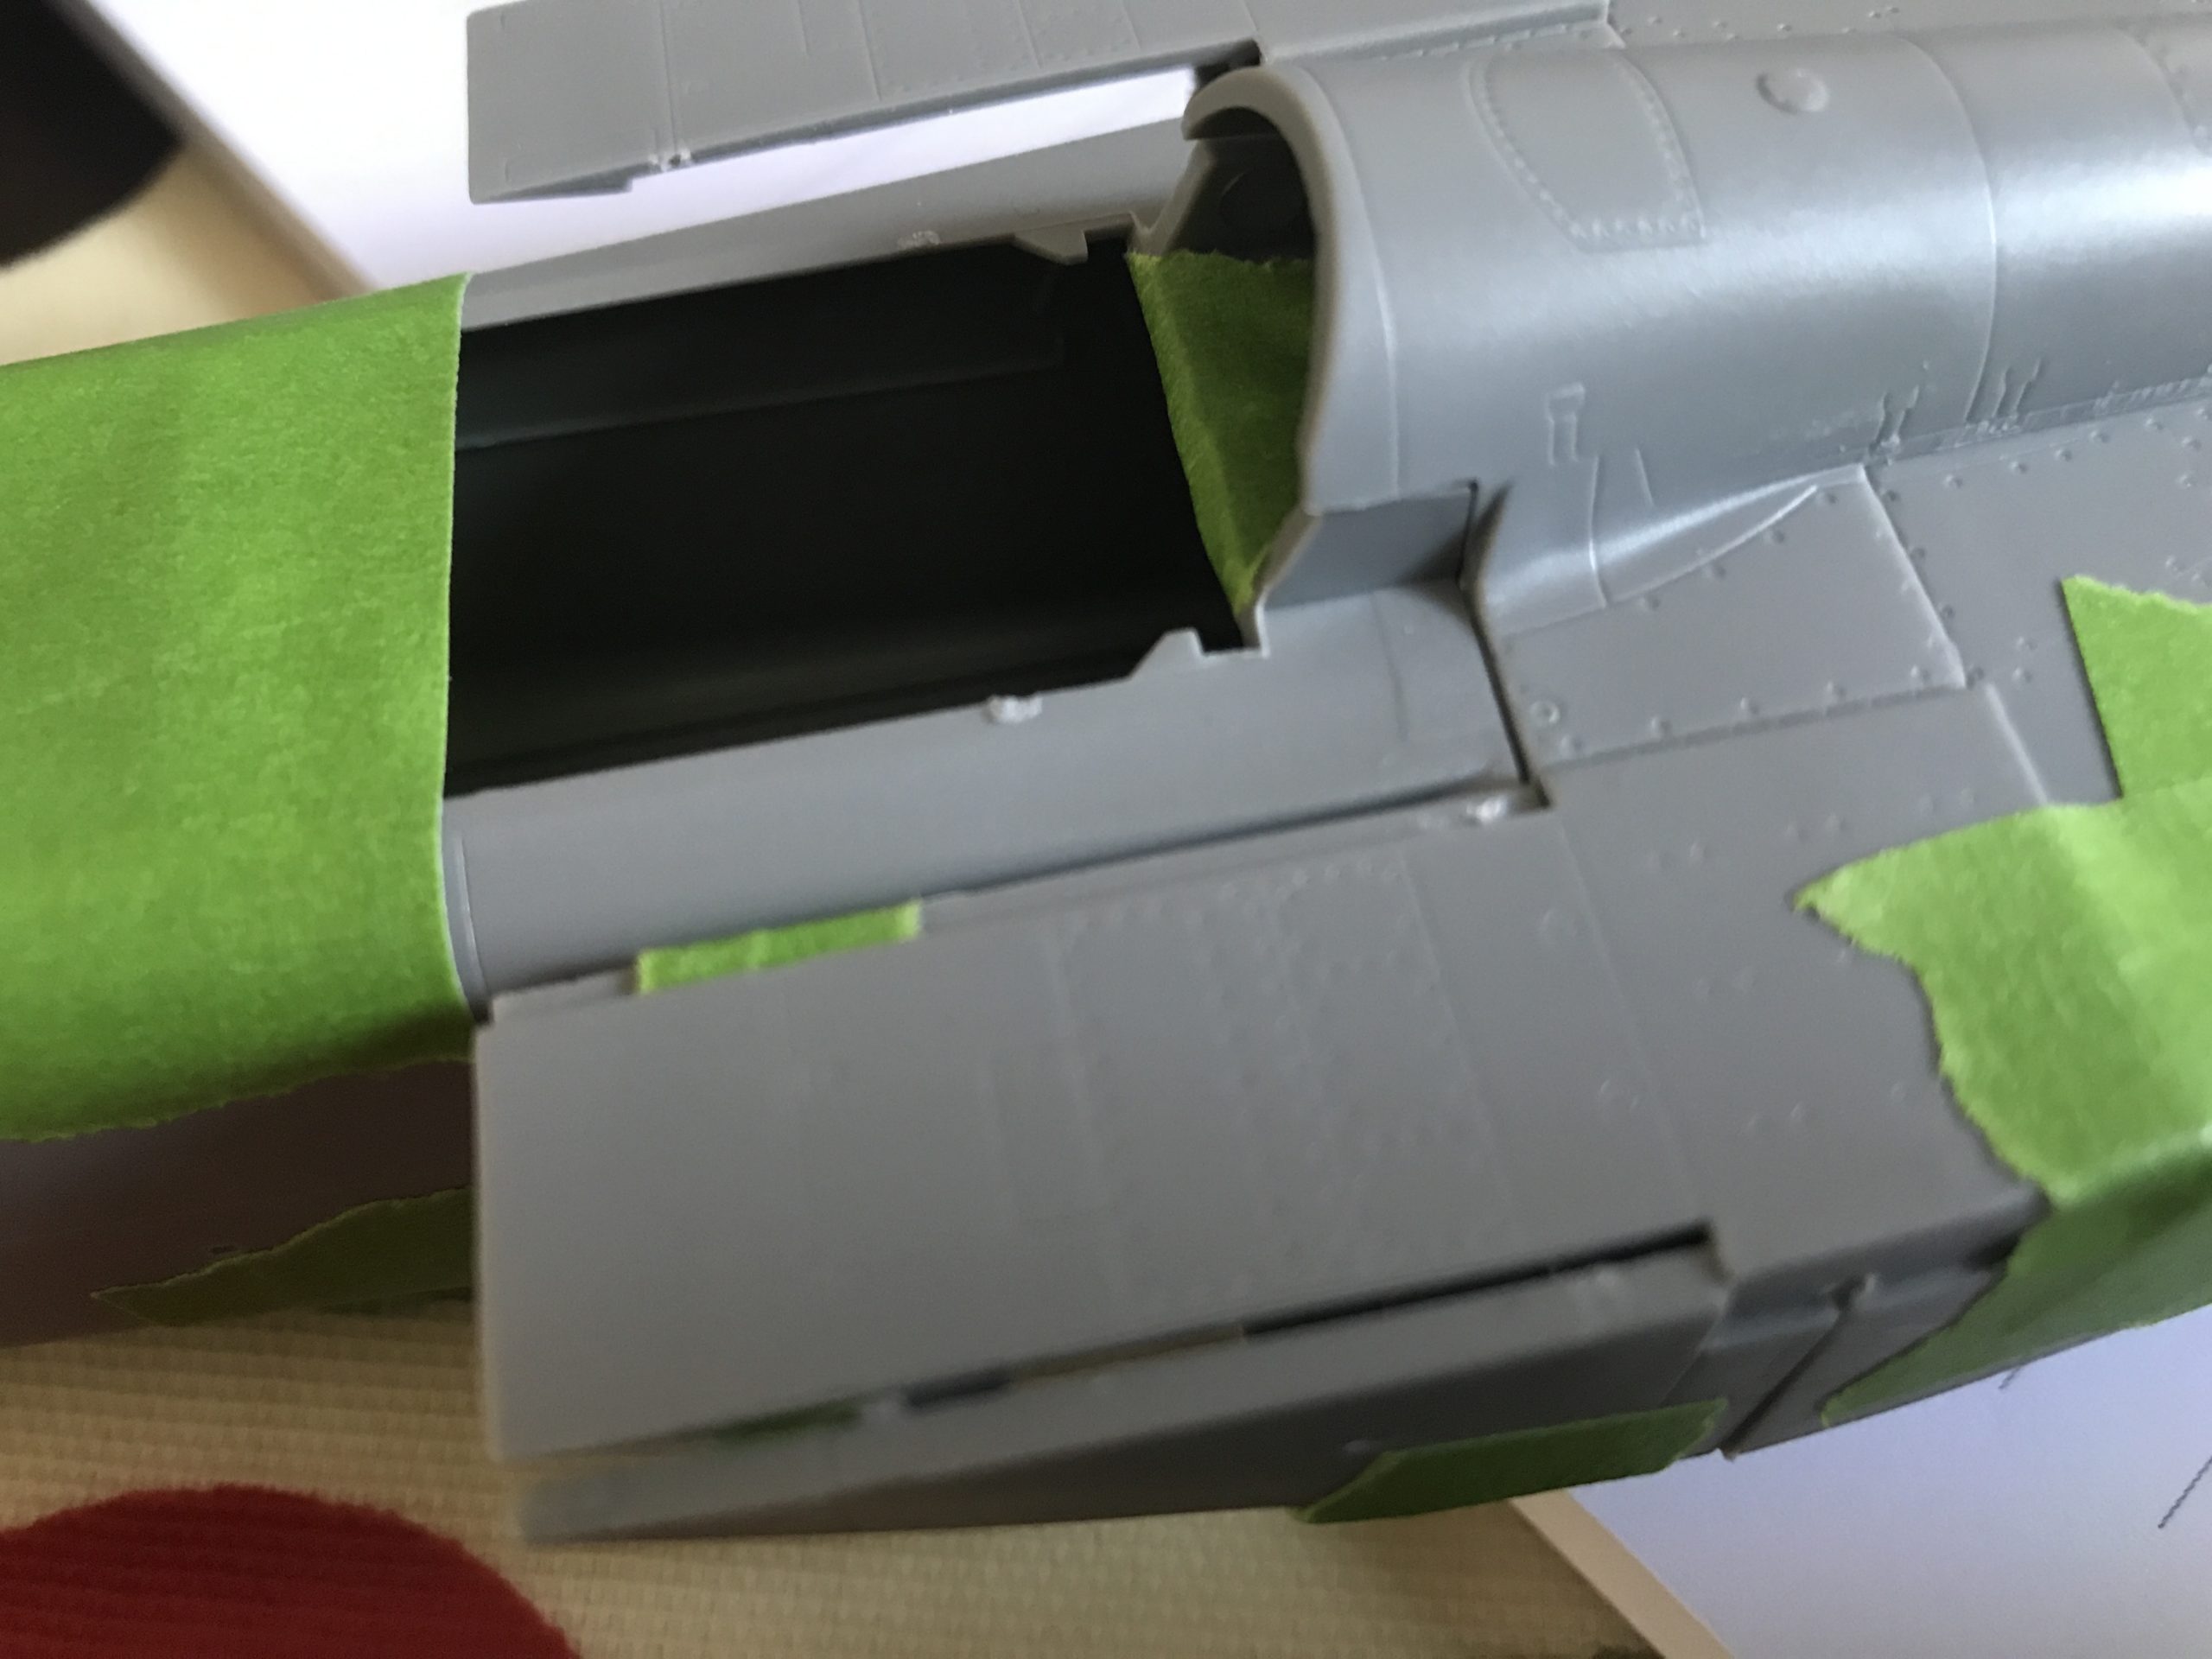
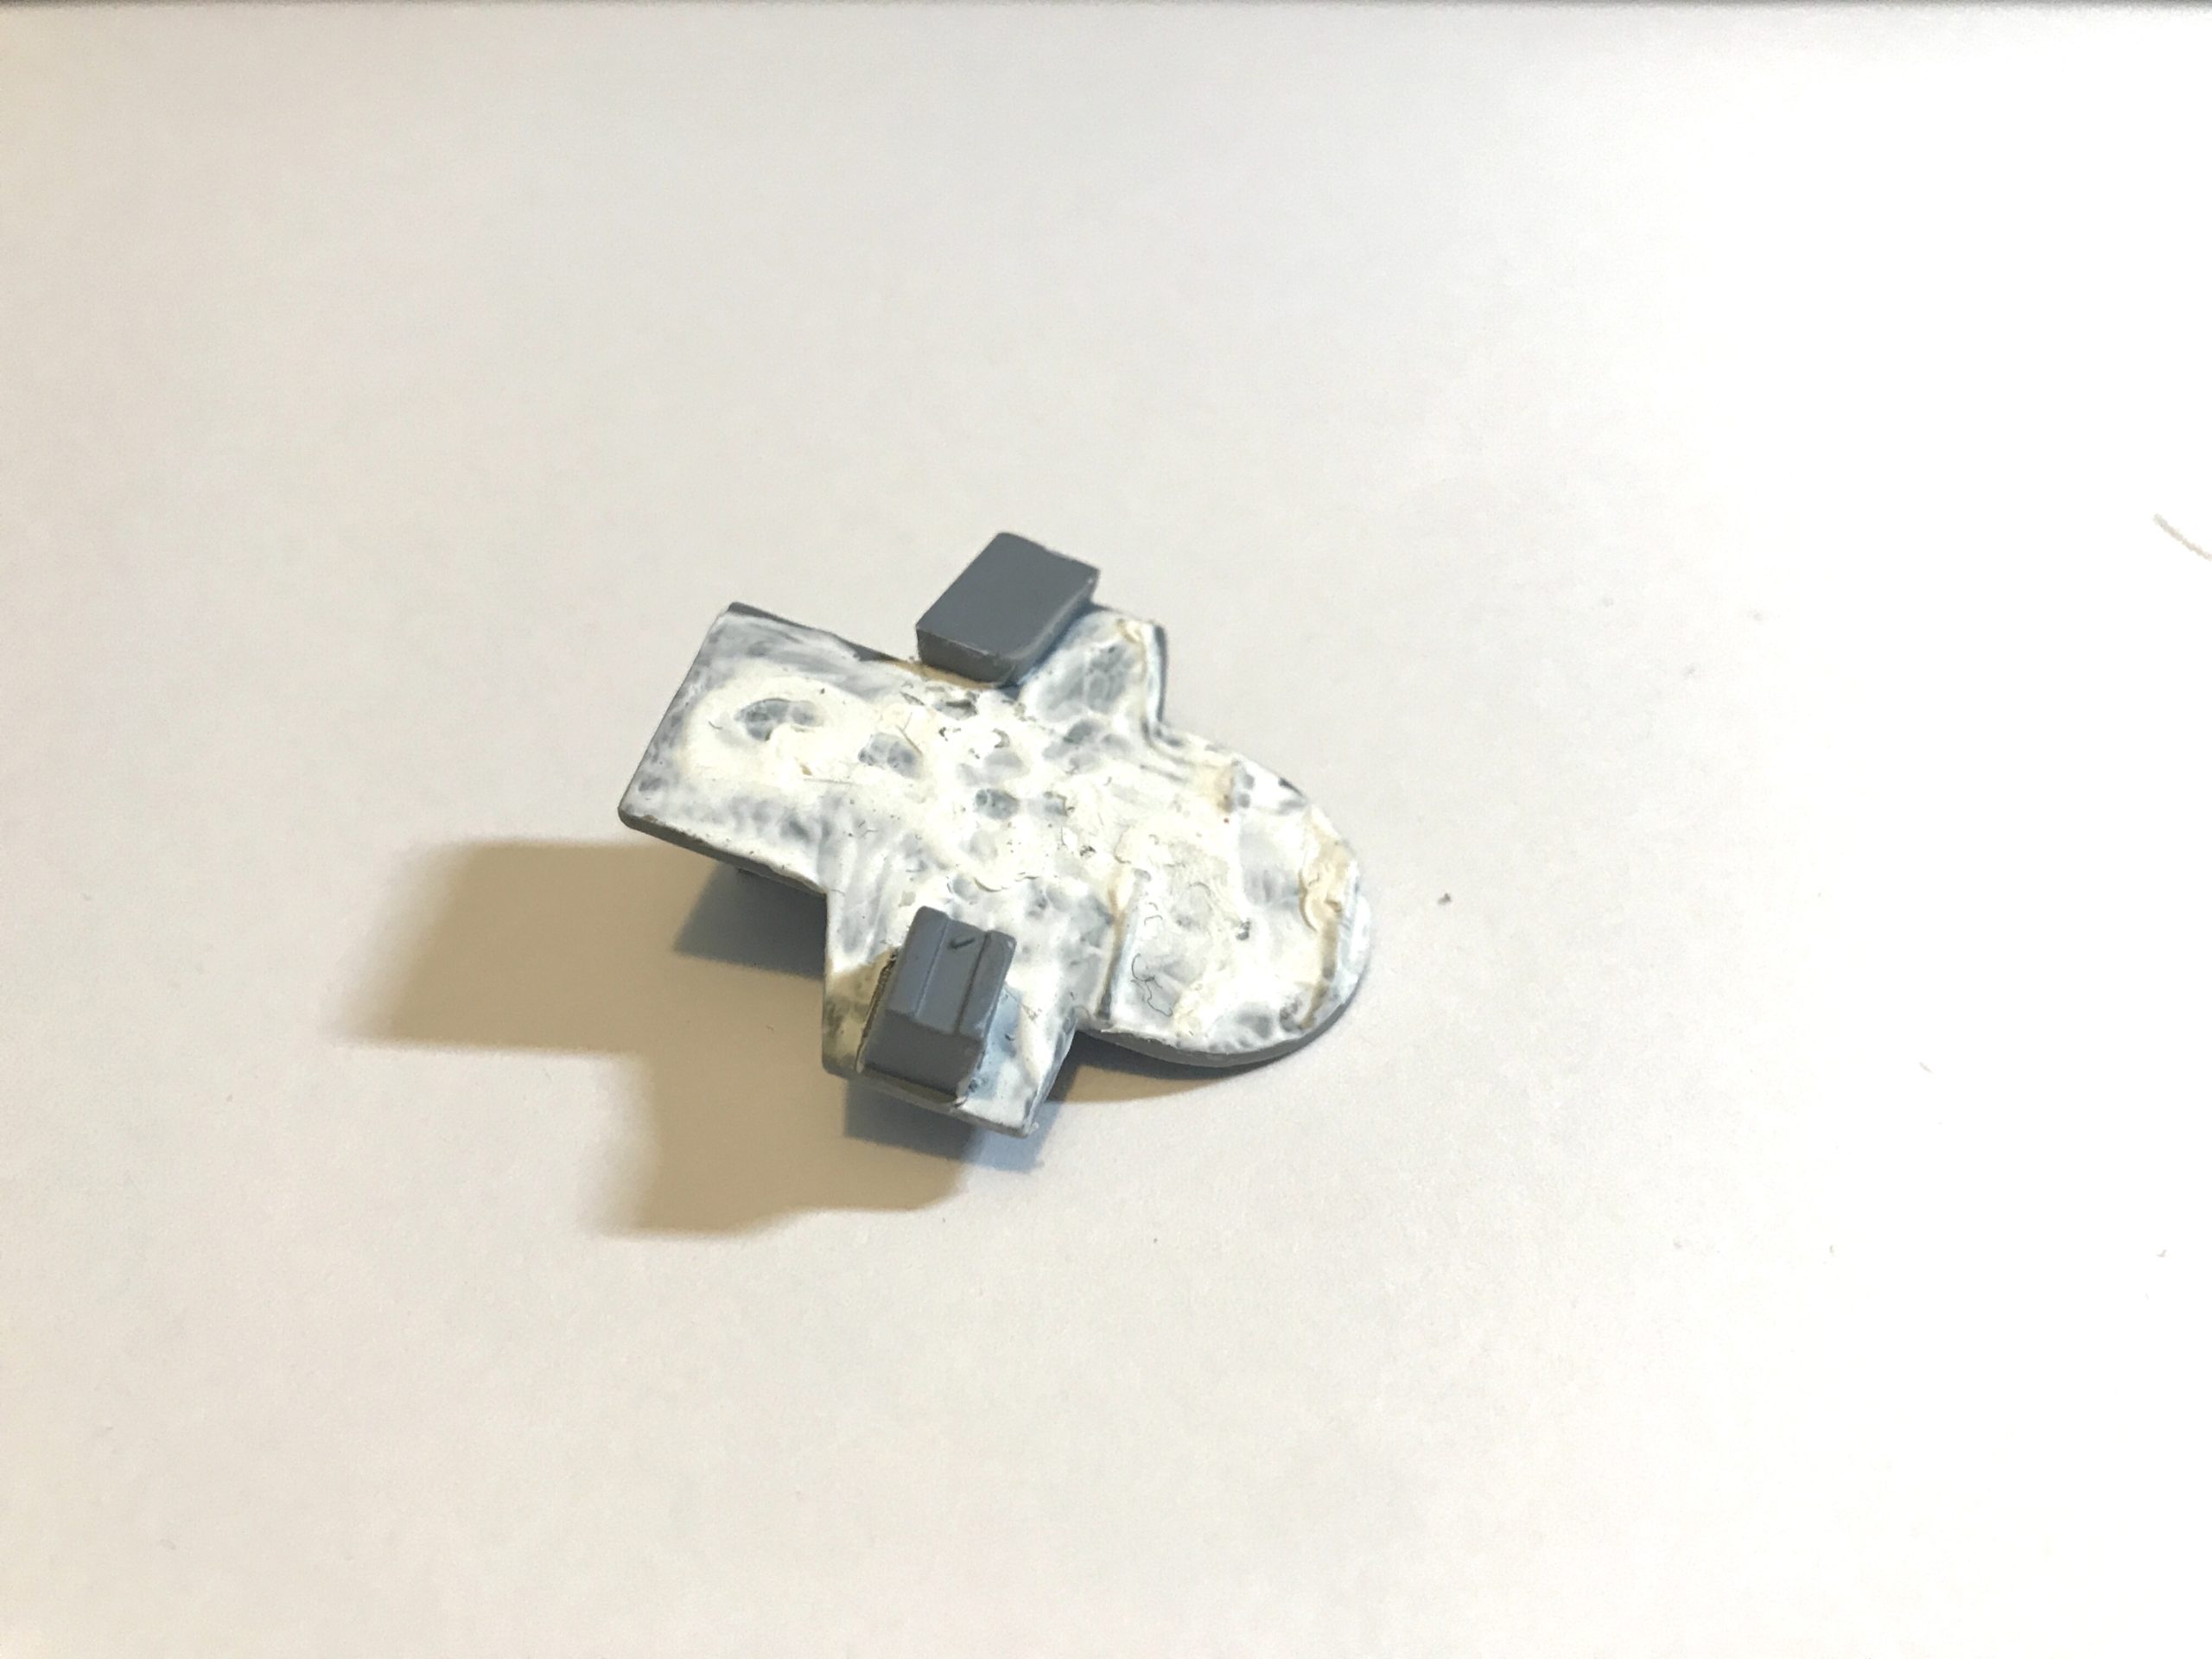
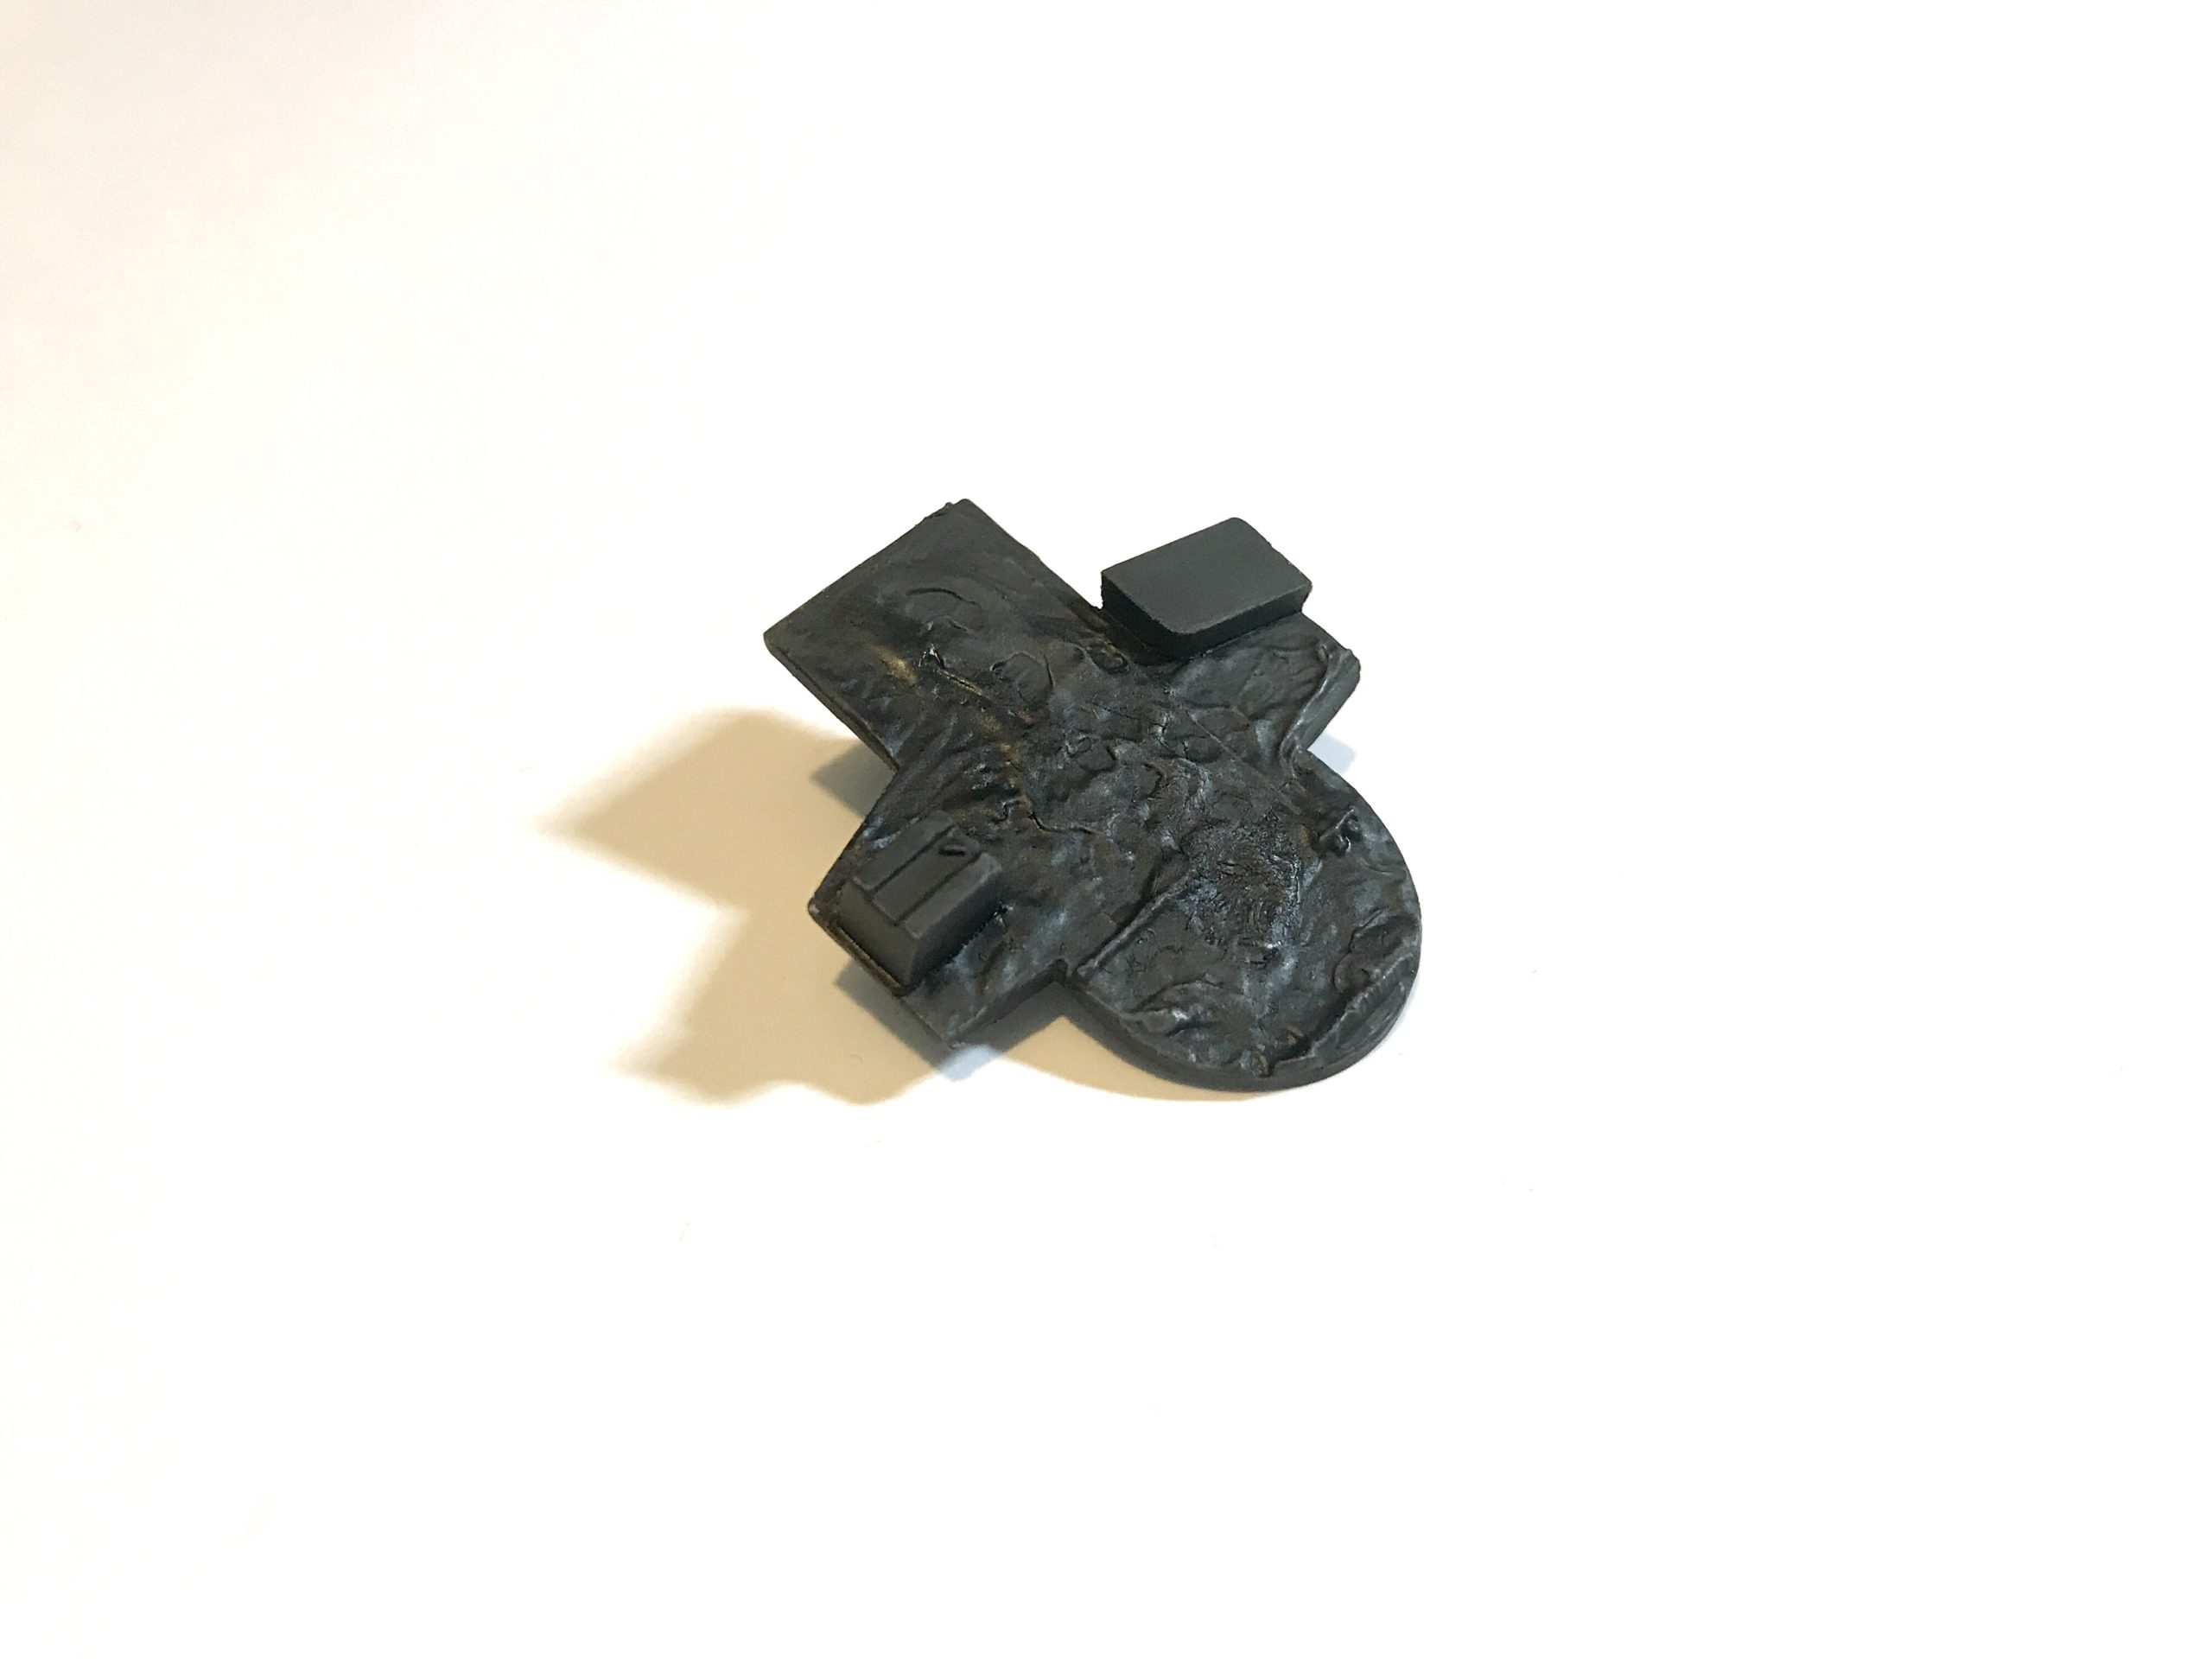
Unfortunately, this is where my first build went badly wrong. There are a couple of issues as I see it. The first is as you build up the parts you end up with a couple of millimeter gap behind the cockpit this looks wrong (to me at least) and my modelers brain tells me these two parts should meet up. Well they shouldn’t
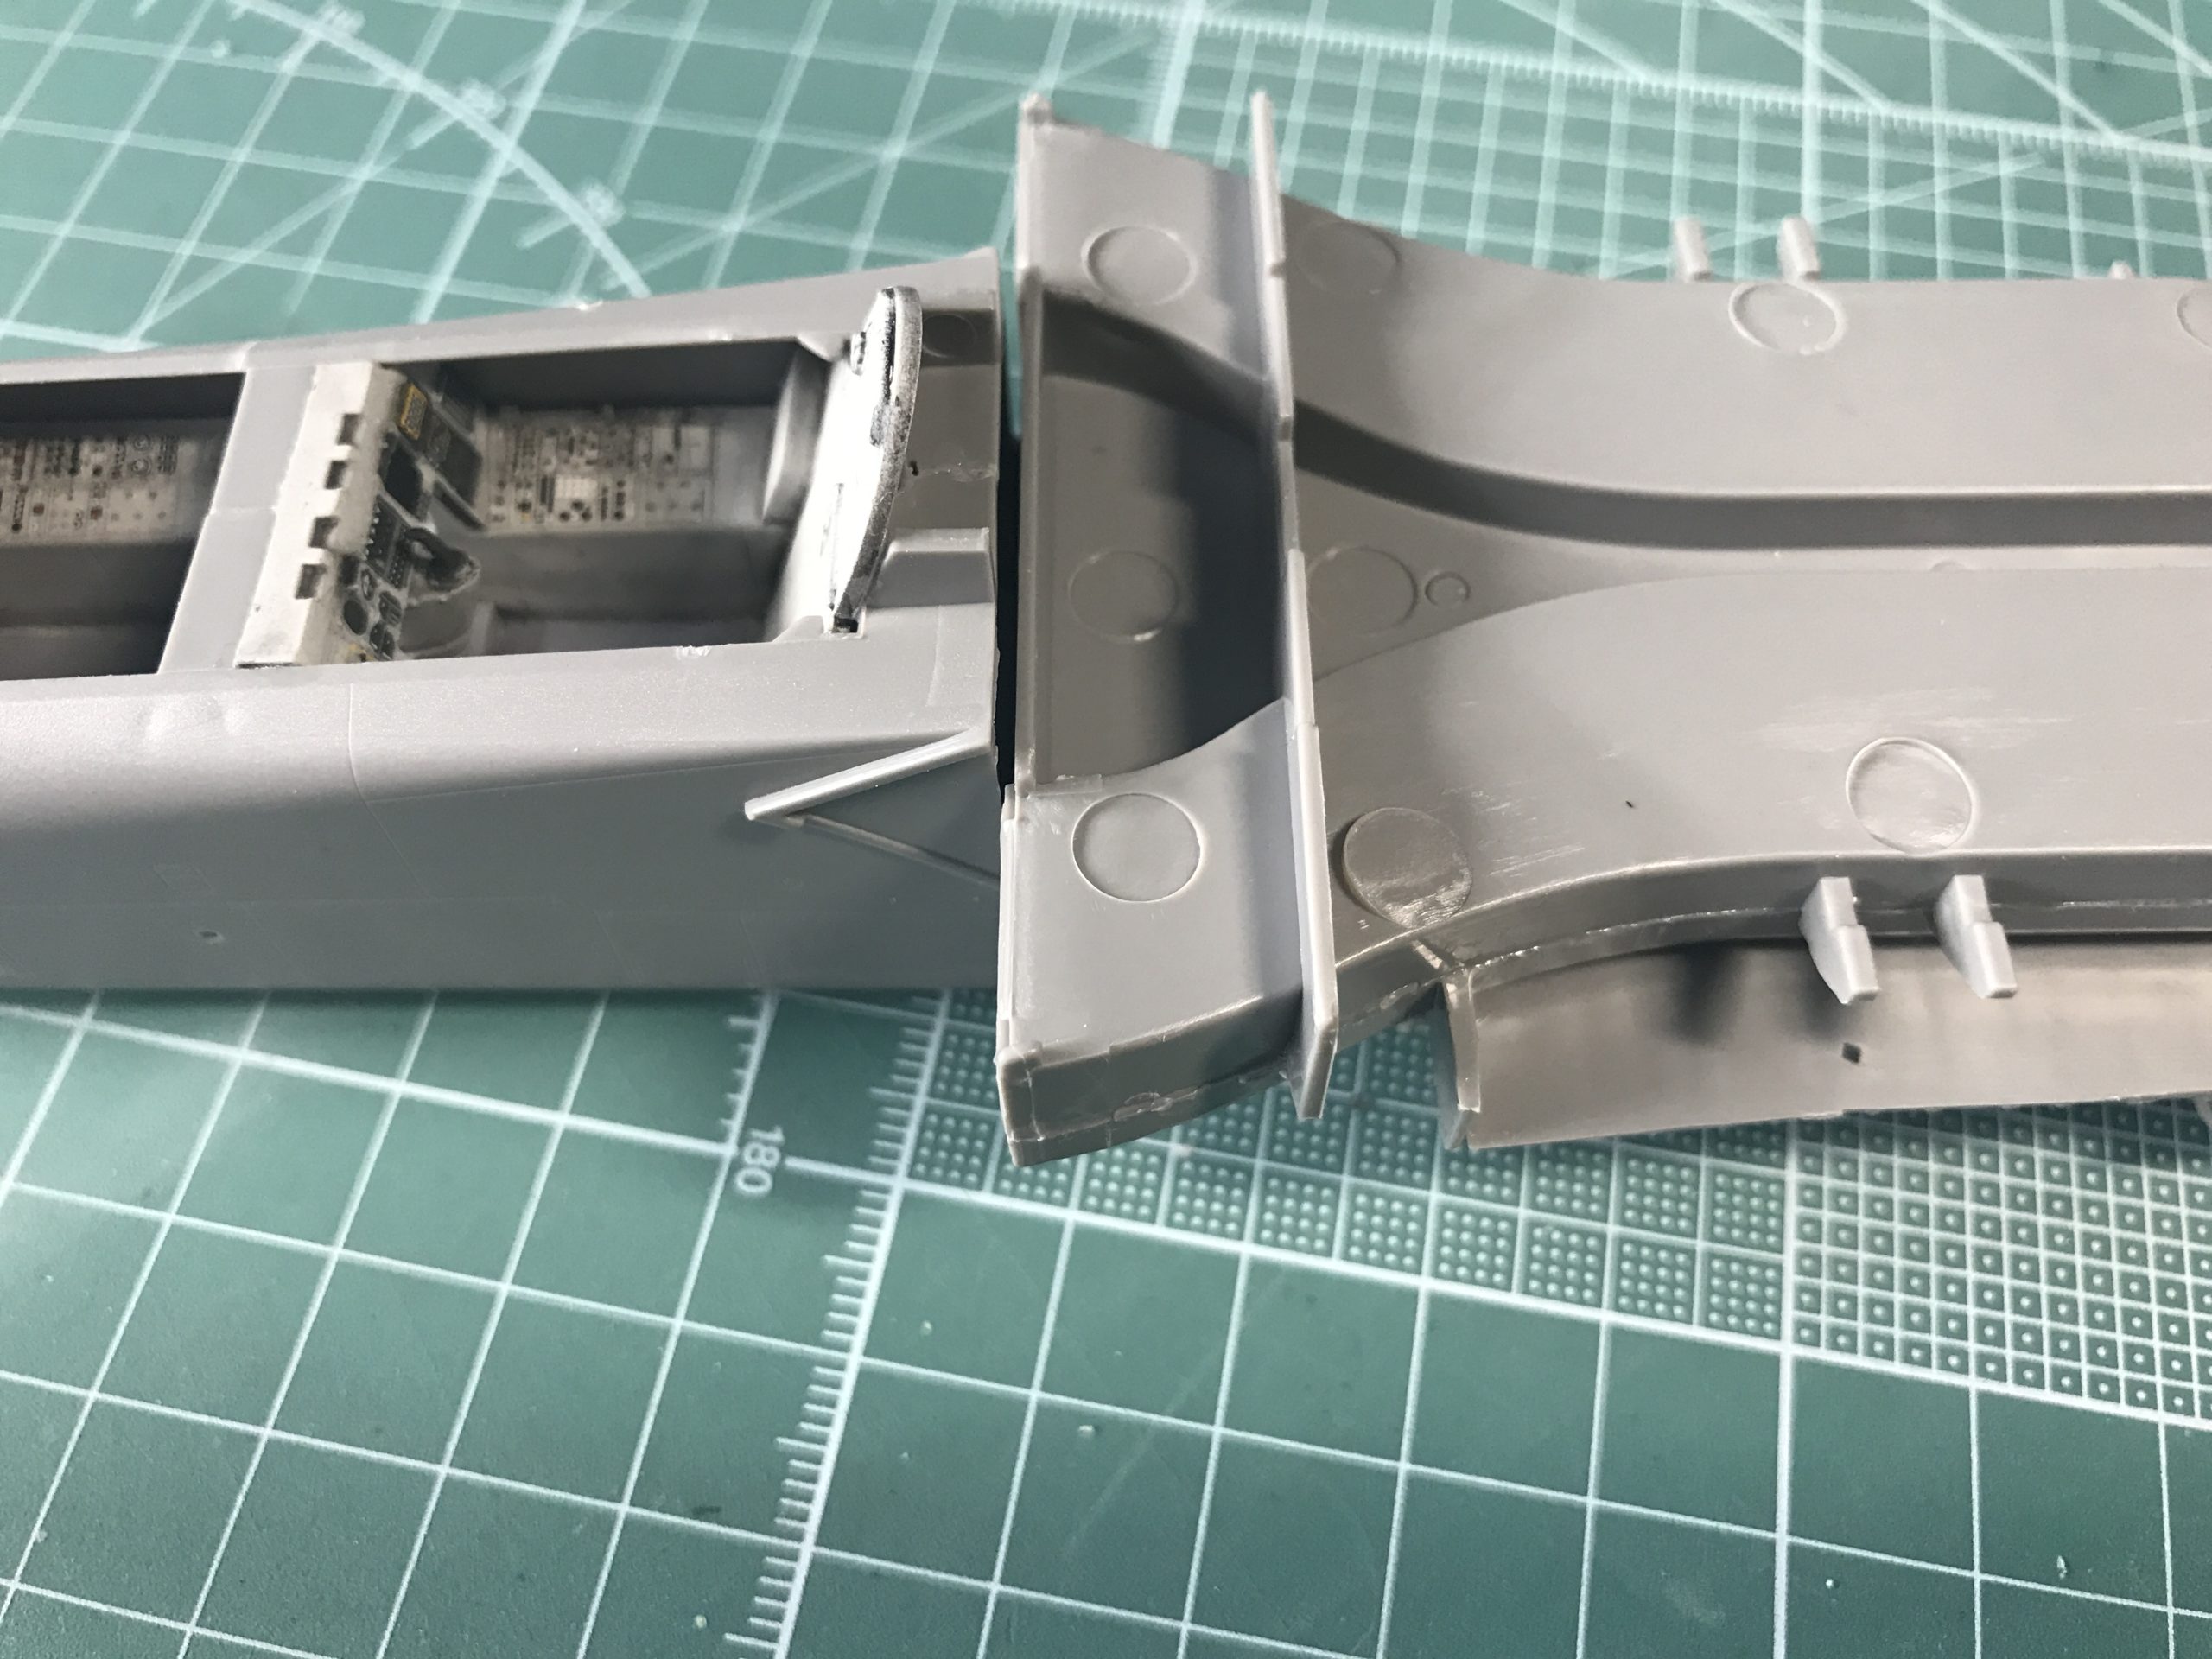
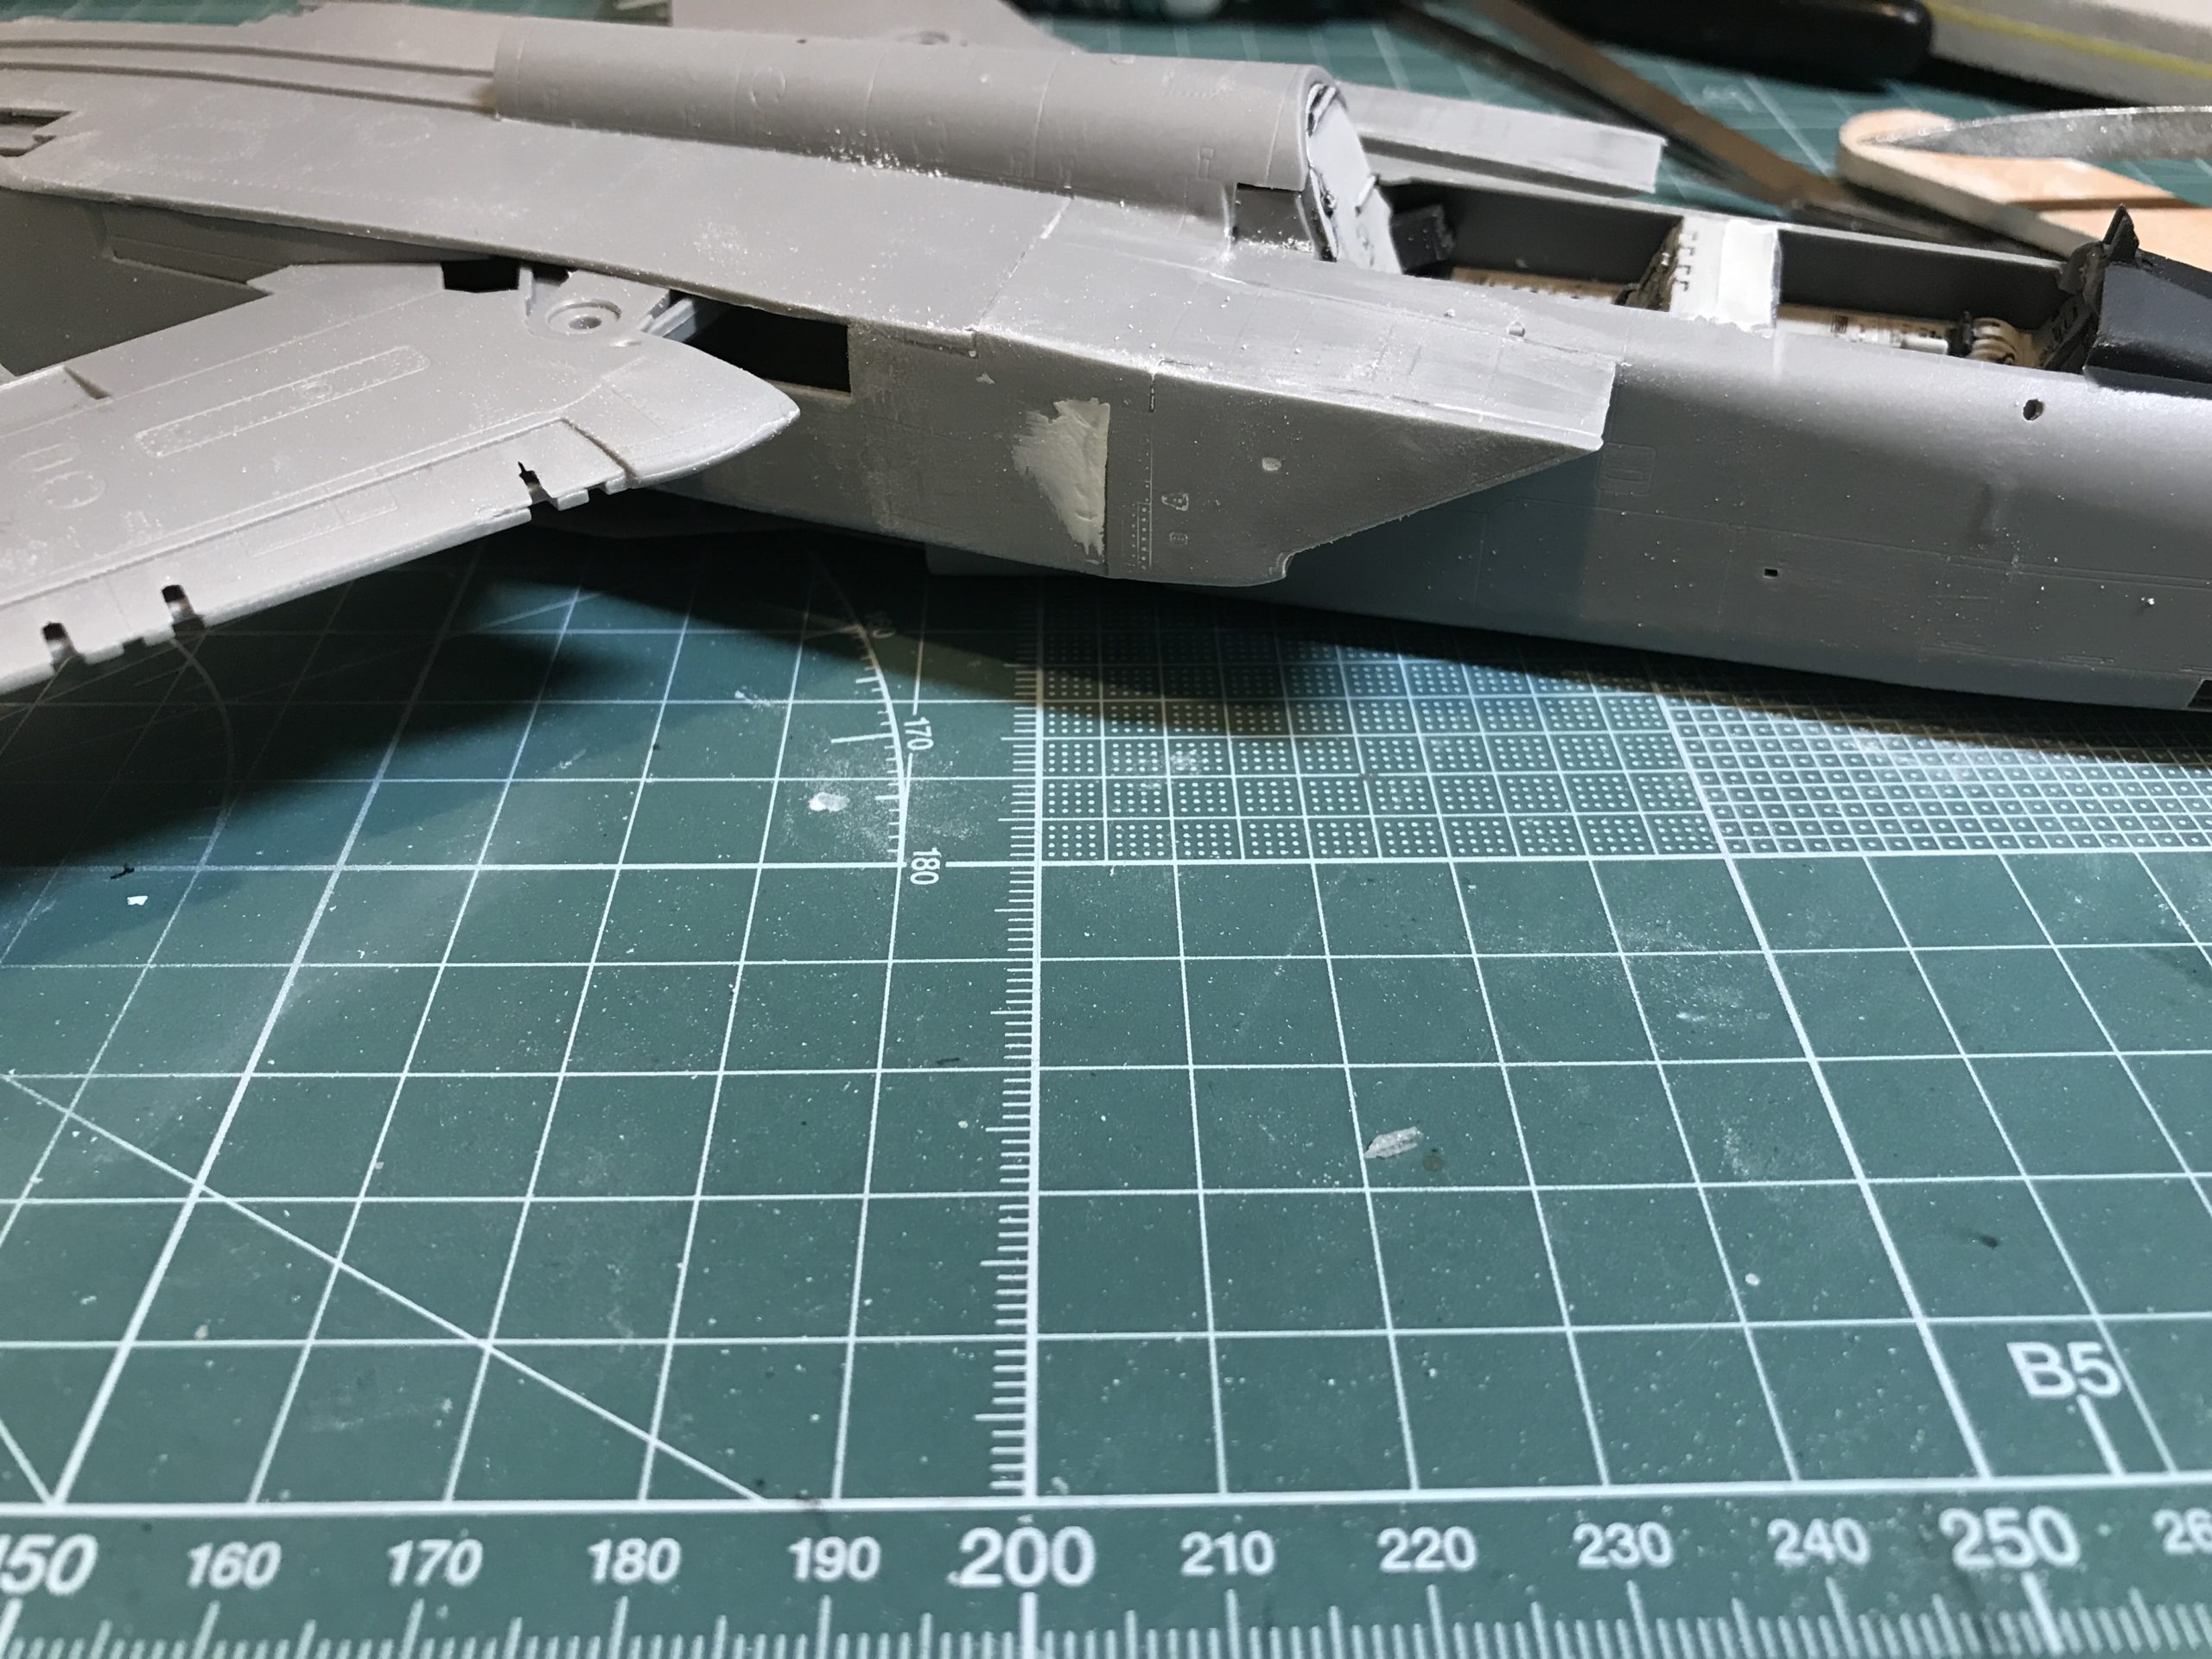
Also the instructions tell you to install the half of the air inlets next to the fuselage. In retrospect I think this is an error. Anyway whatever the reason nothing lined up. I ended up using a lot of filler and losing all of the lovely surface detail. When I couldn’t get the thrust reverser assembly to fit it was time to call it a day and have a good think about what went wrong.
Here is a montage of the ever escalating errors….


Build 2
Putting what will henceforth be named ” the unpleasantness'” of the first build behind me and waiting for the replacement kit to arrive I had a bit of a look on the internet to see if others had similar issues. Well I can’t say it is a commonly reported issue, but there are a few people that seem to have had a few issues with the air intakes on this kit. This seems to be where the biggest “problem” is.
Armed with this new information and a reflection that perhaps I should have had a quick look before build 1. (you live and learn)
I set about building a couple of Top gun Airfix kits to entertain me during the short wait.
When the second kit arrived I decided to have a very careful look at all the parts and try and figure out the root of my problem. So when the house was empty one Saturday morning I retired to the dining room table with my Vernier calliper, a notebook and of course the new kit.
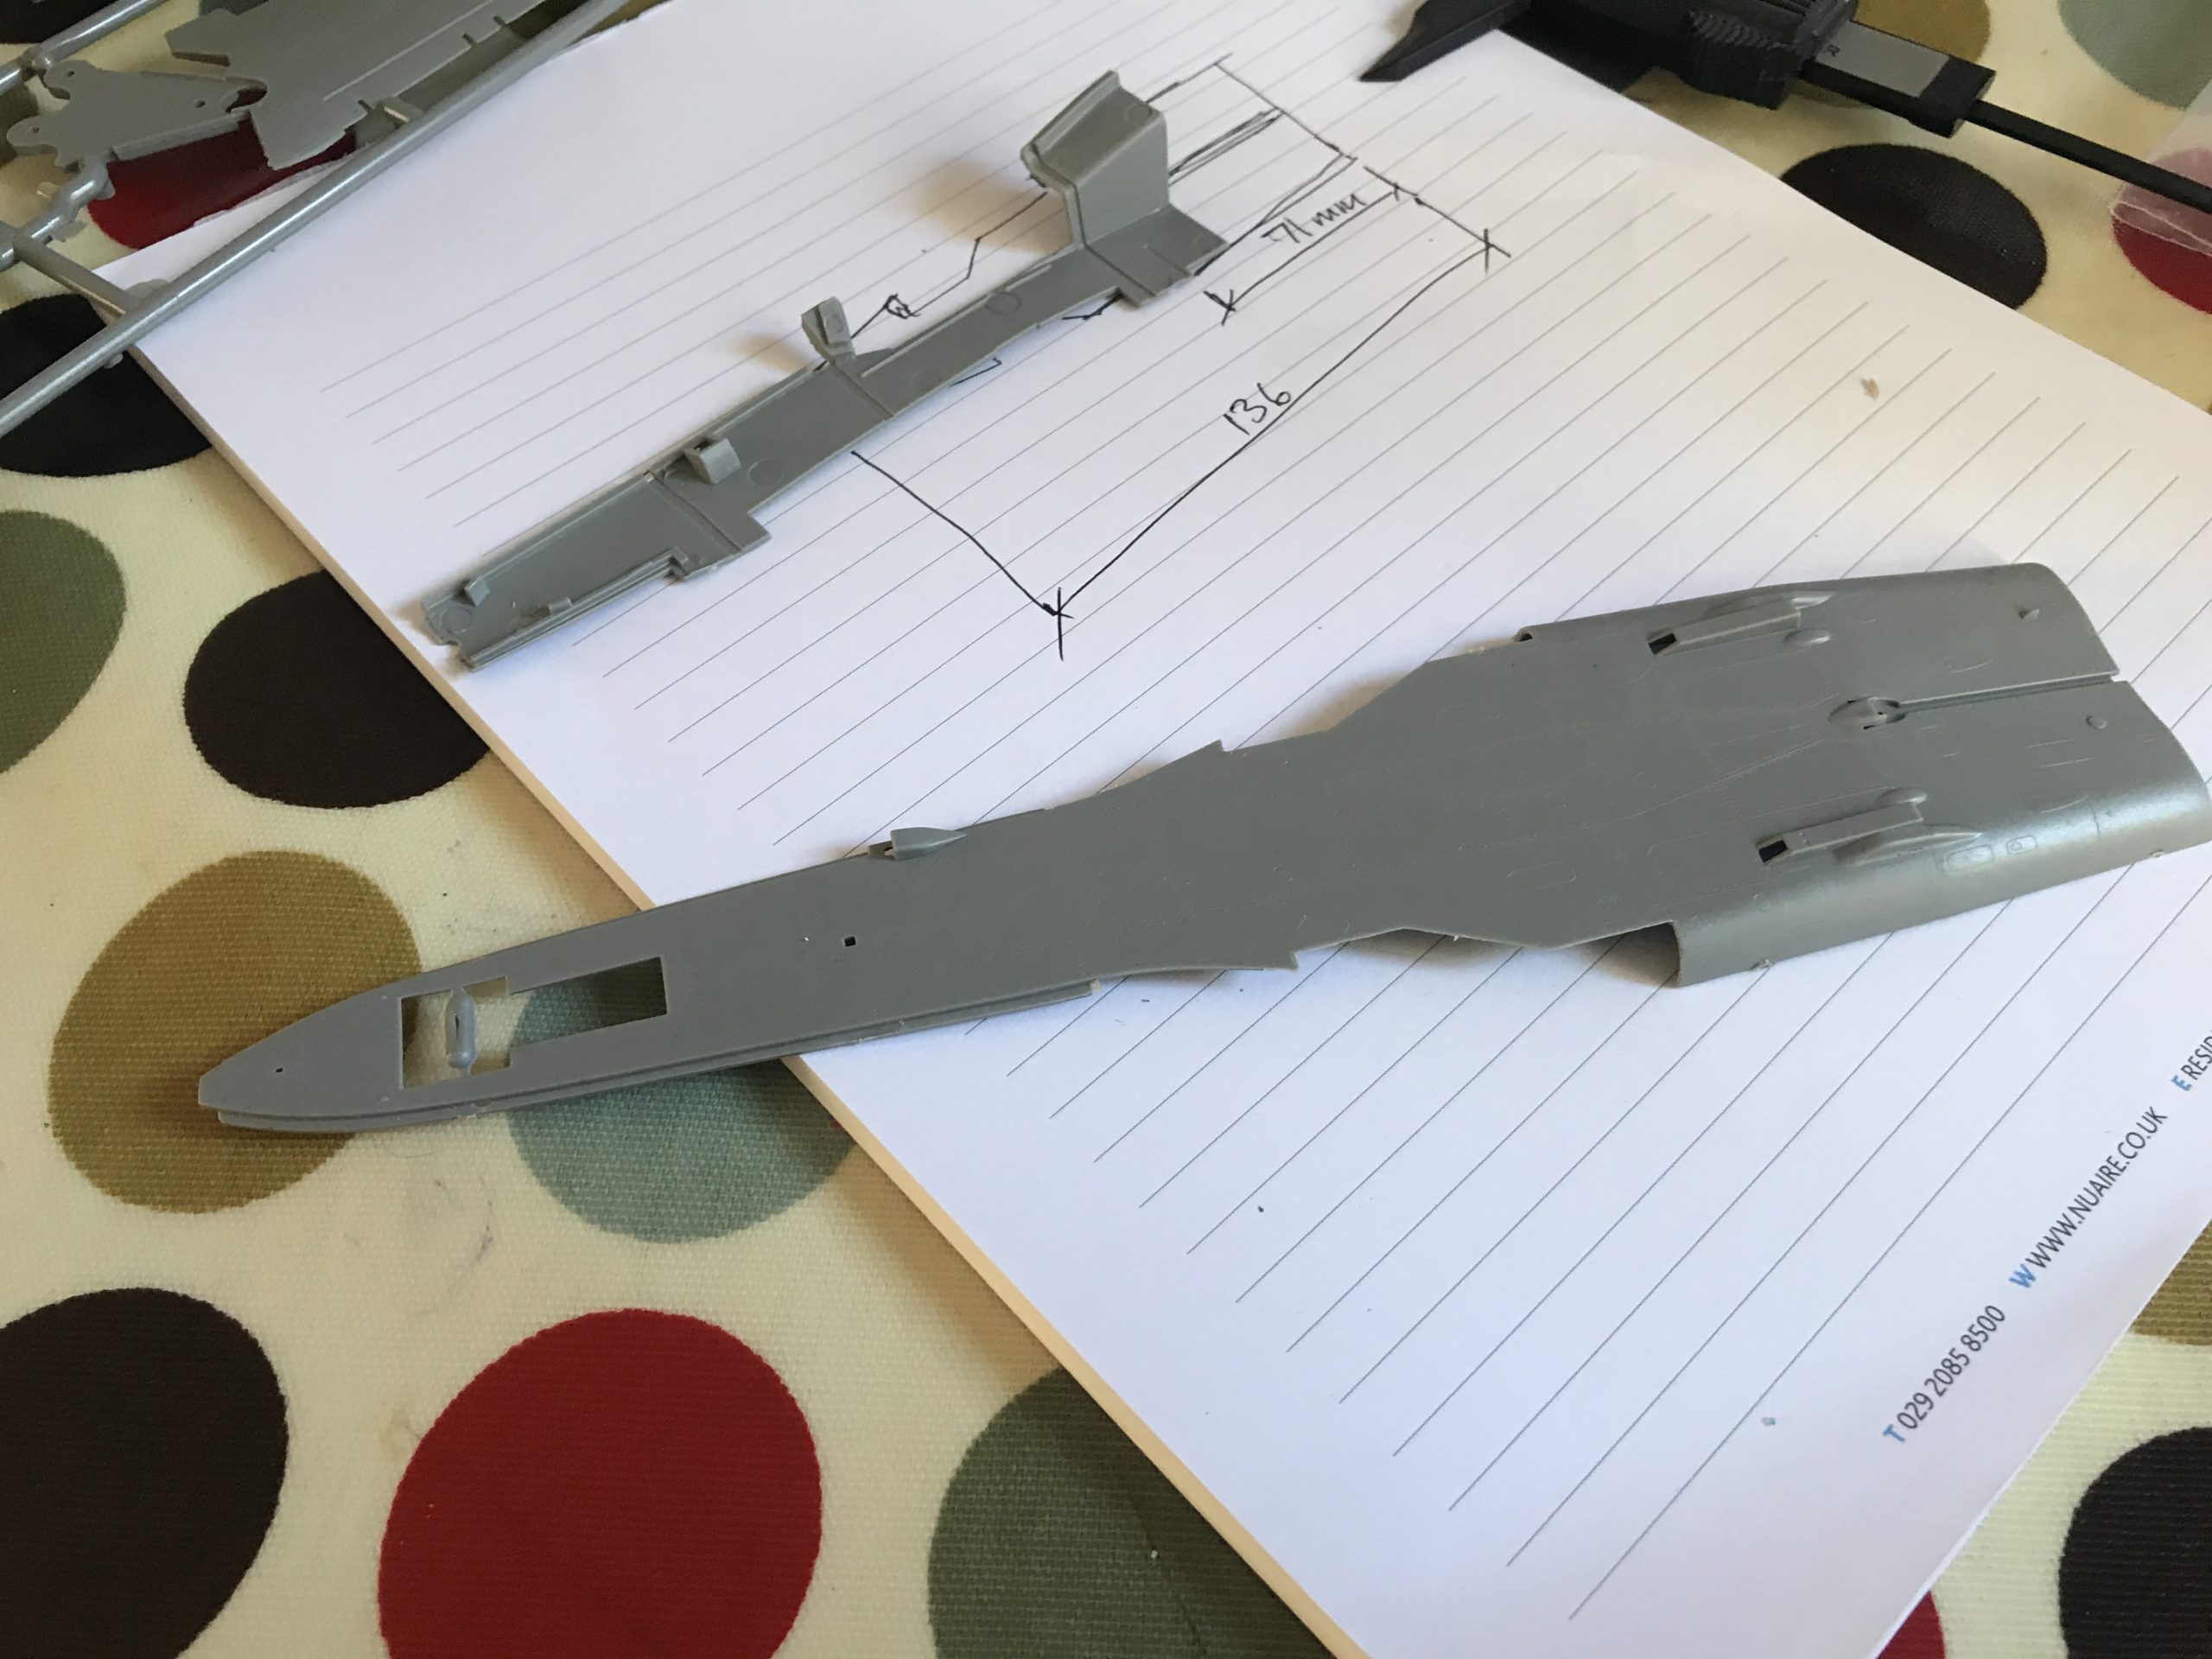
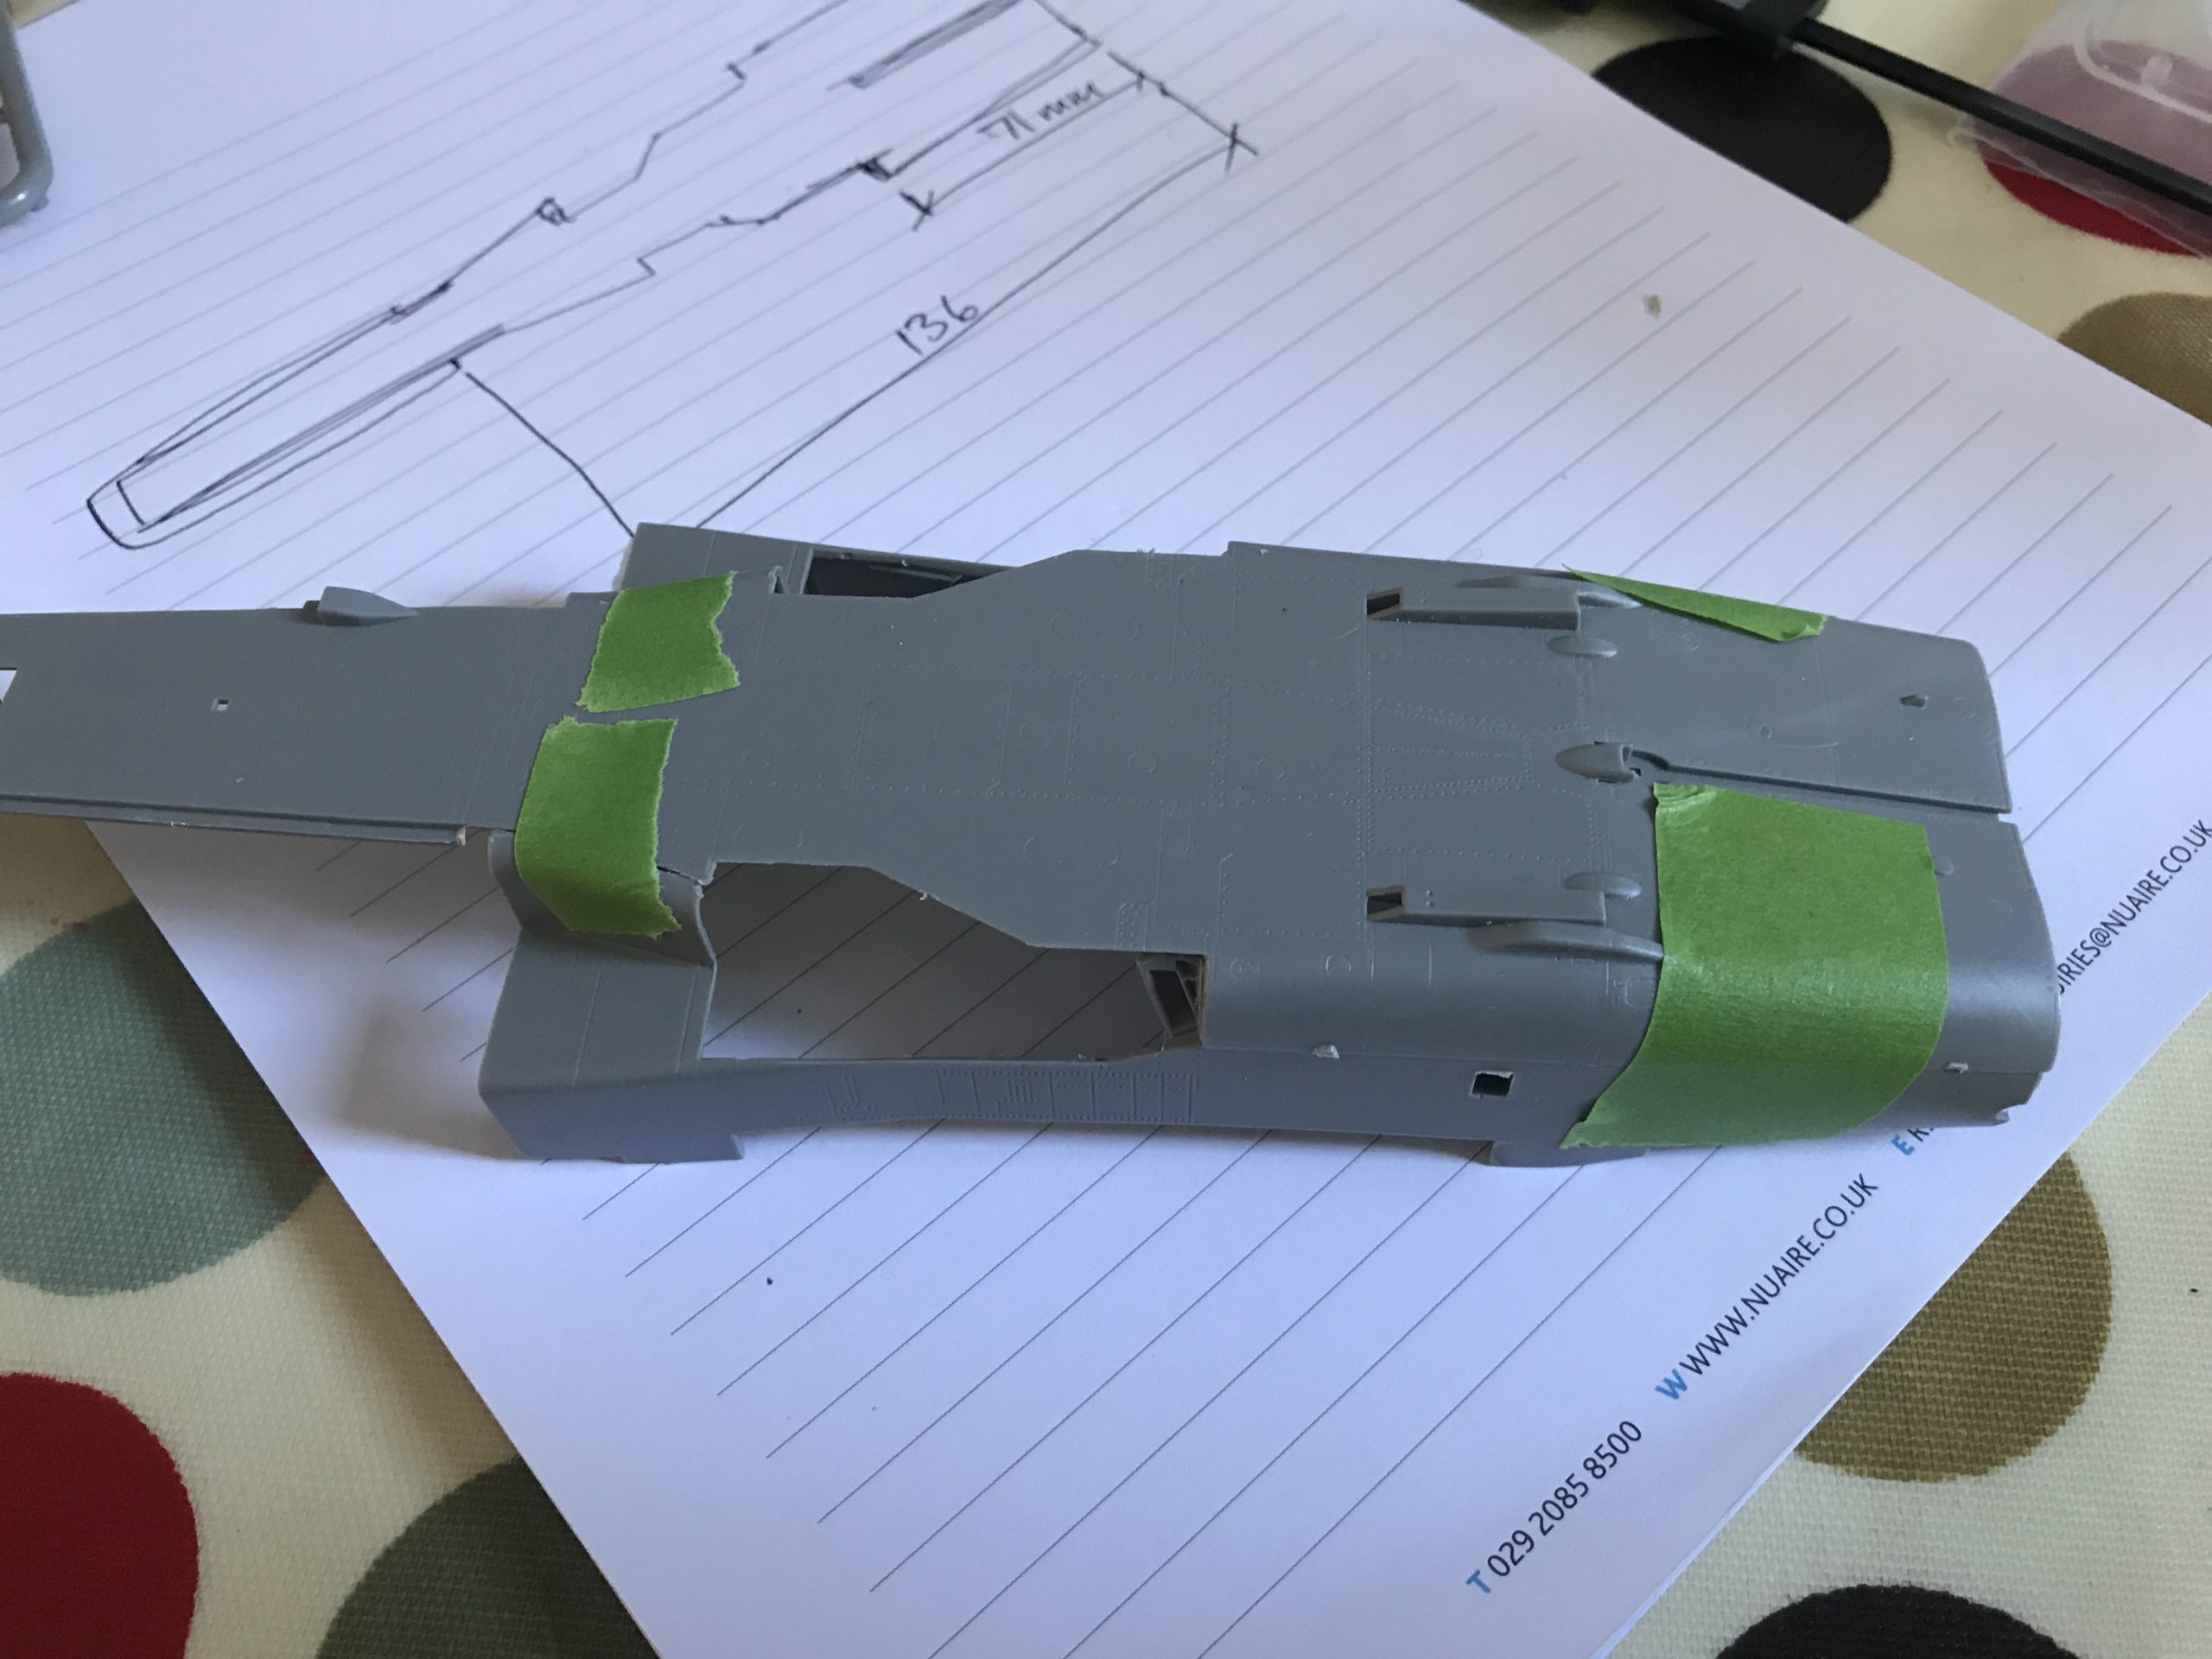
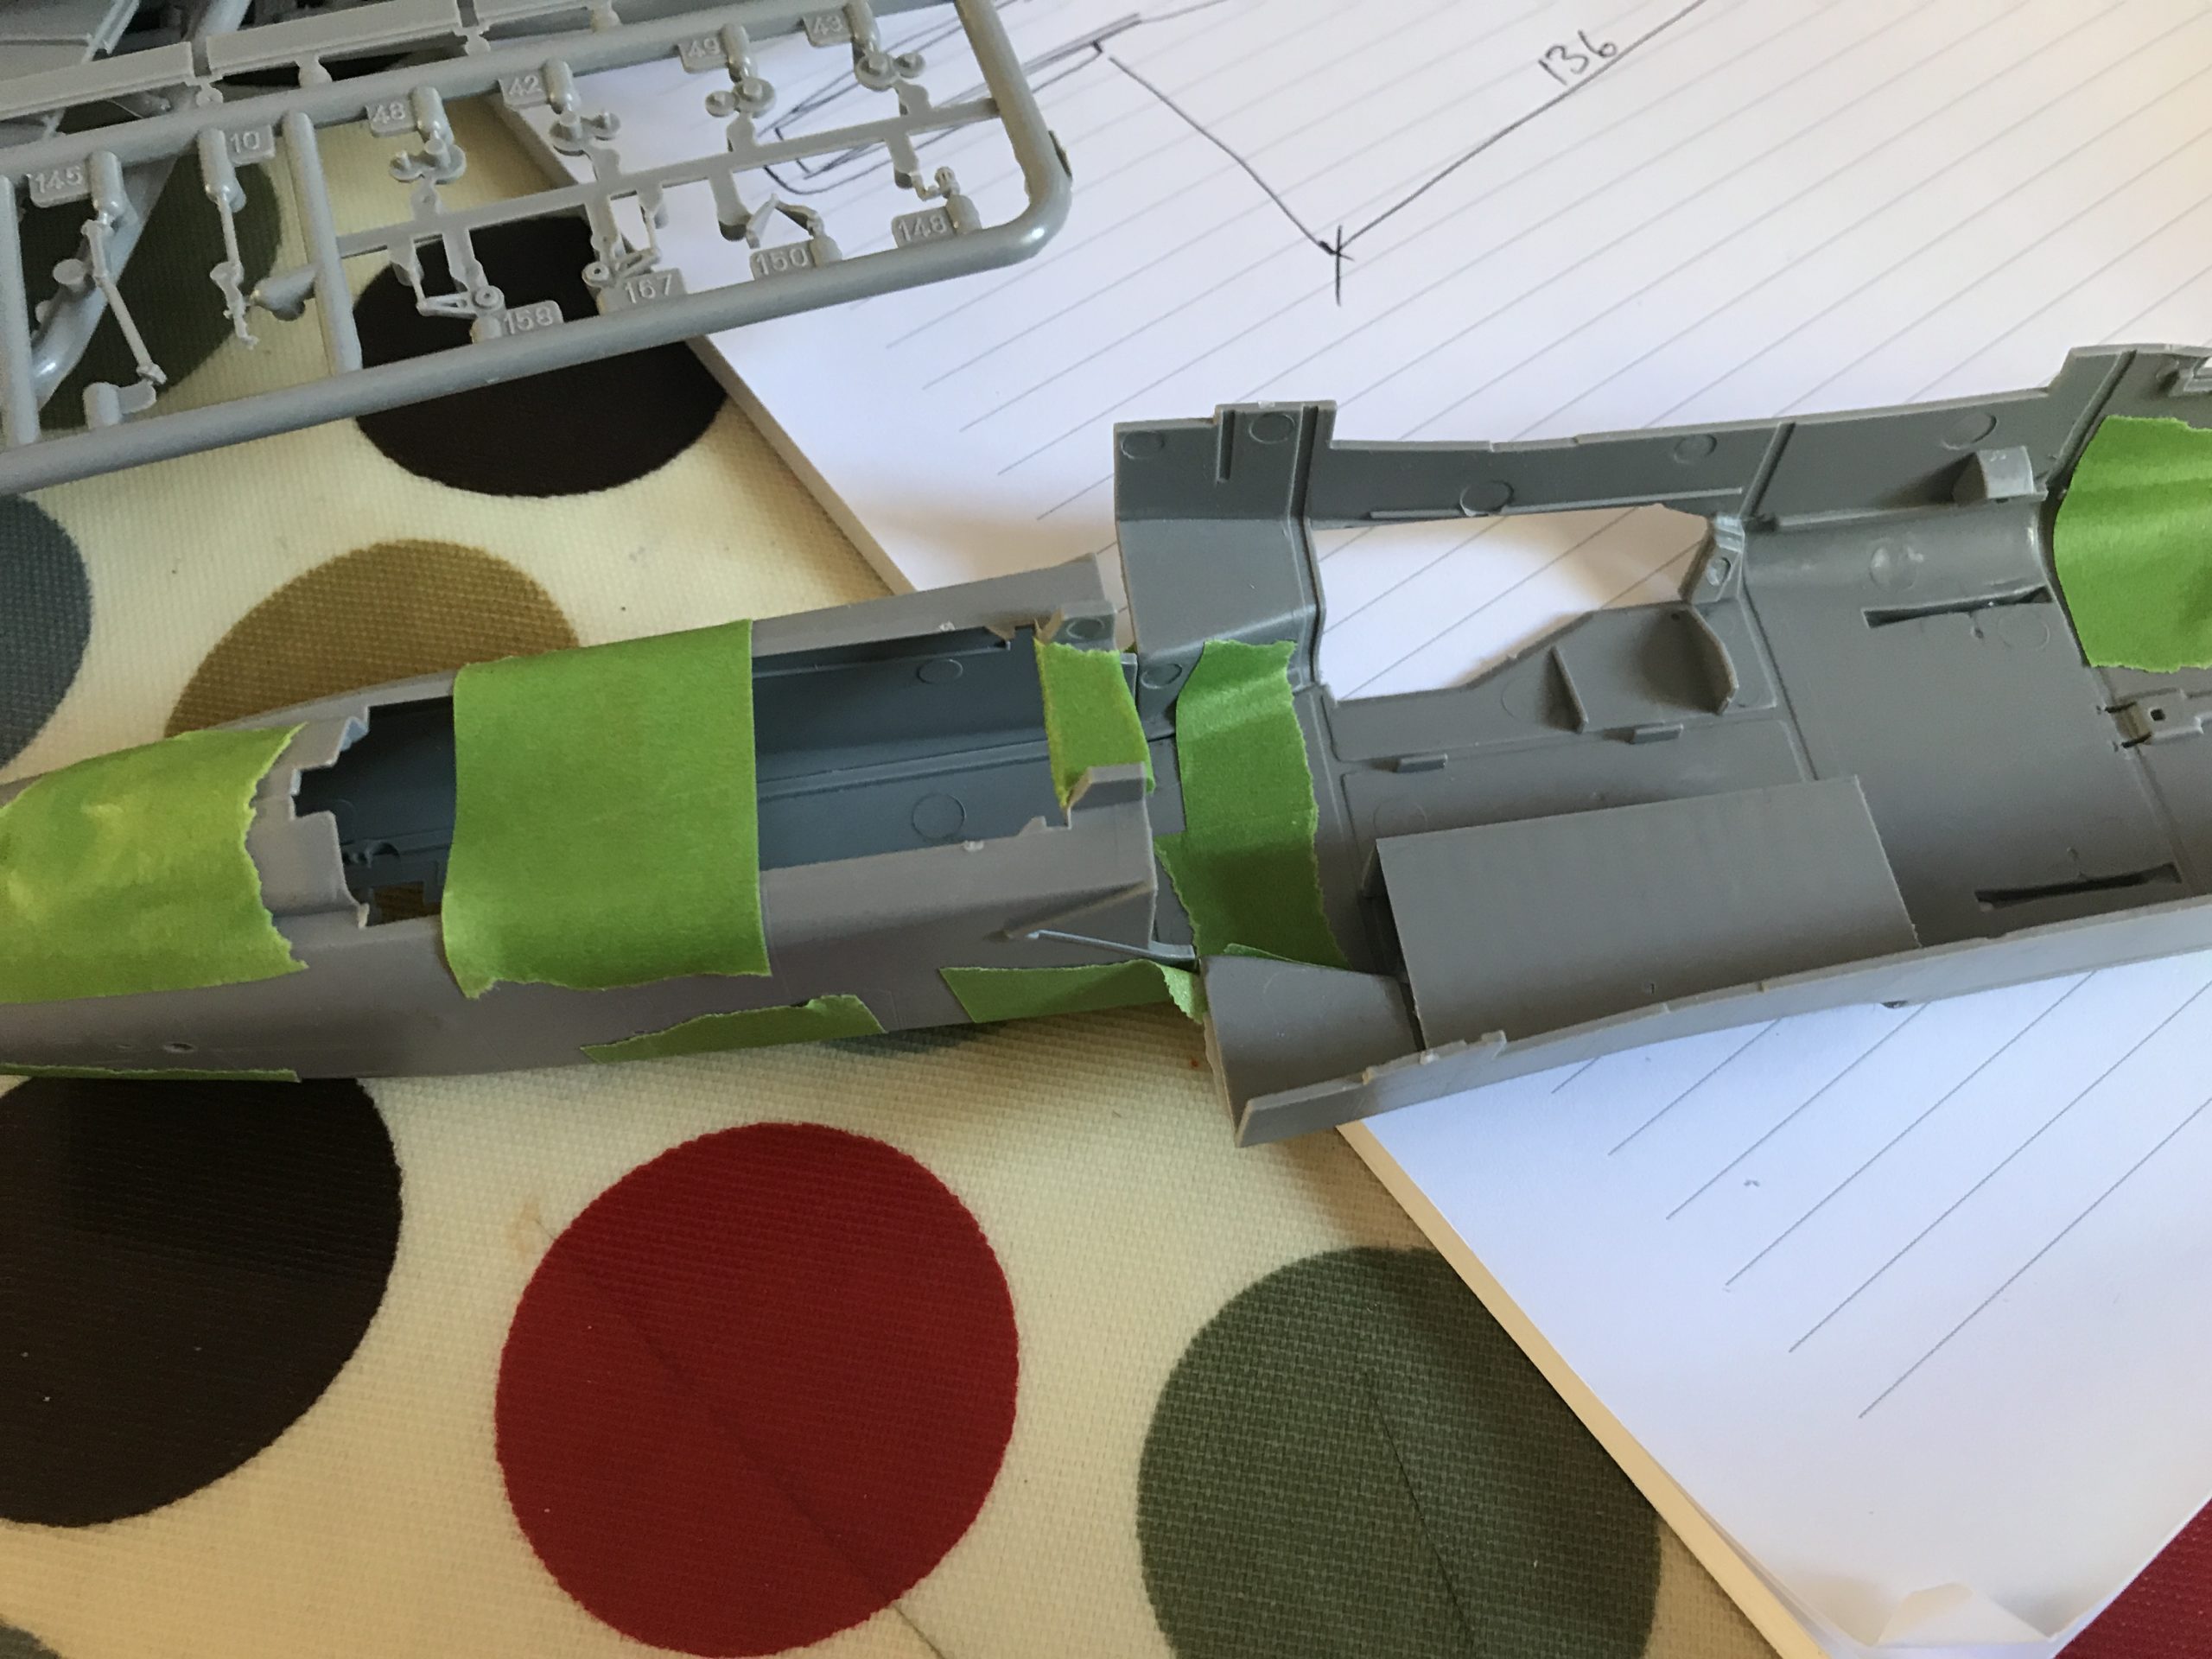


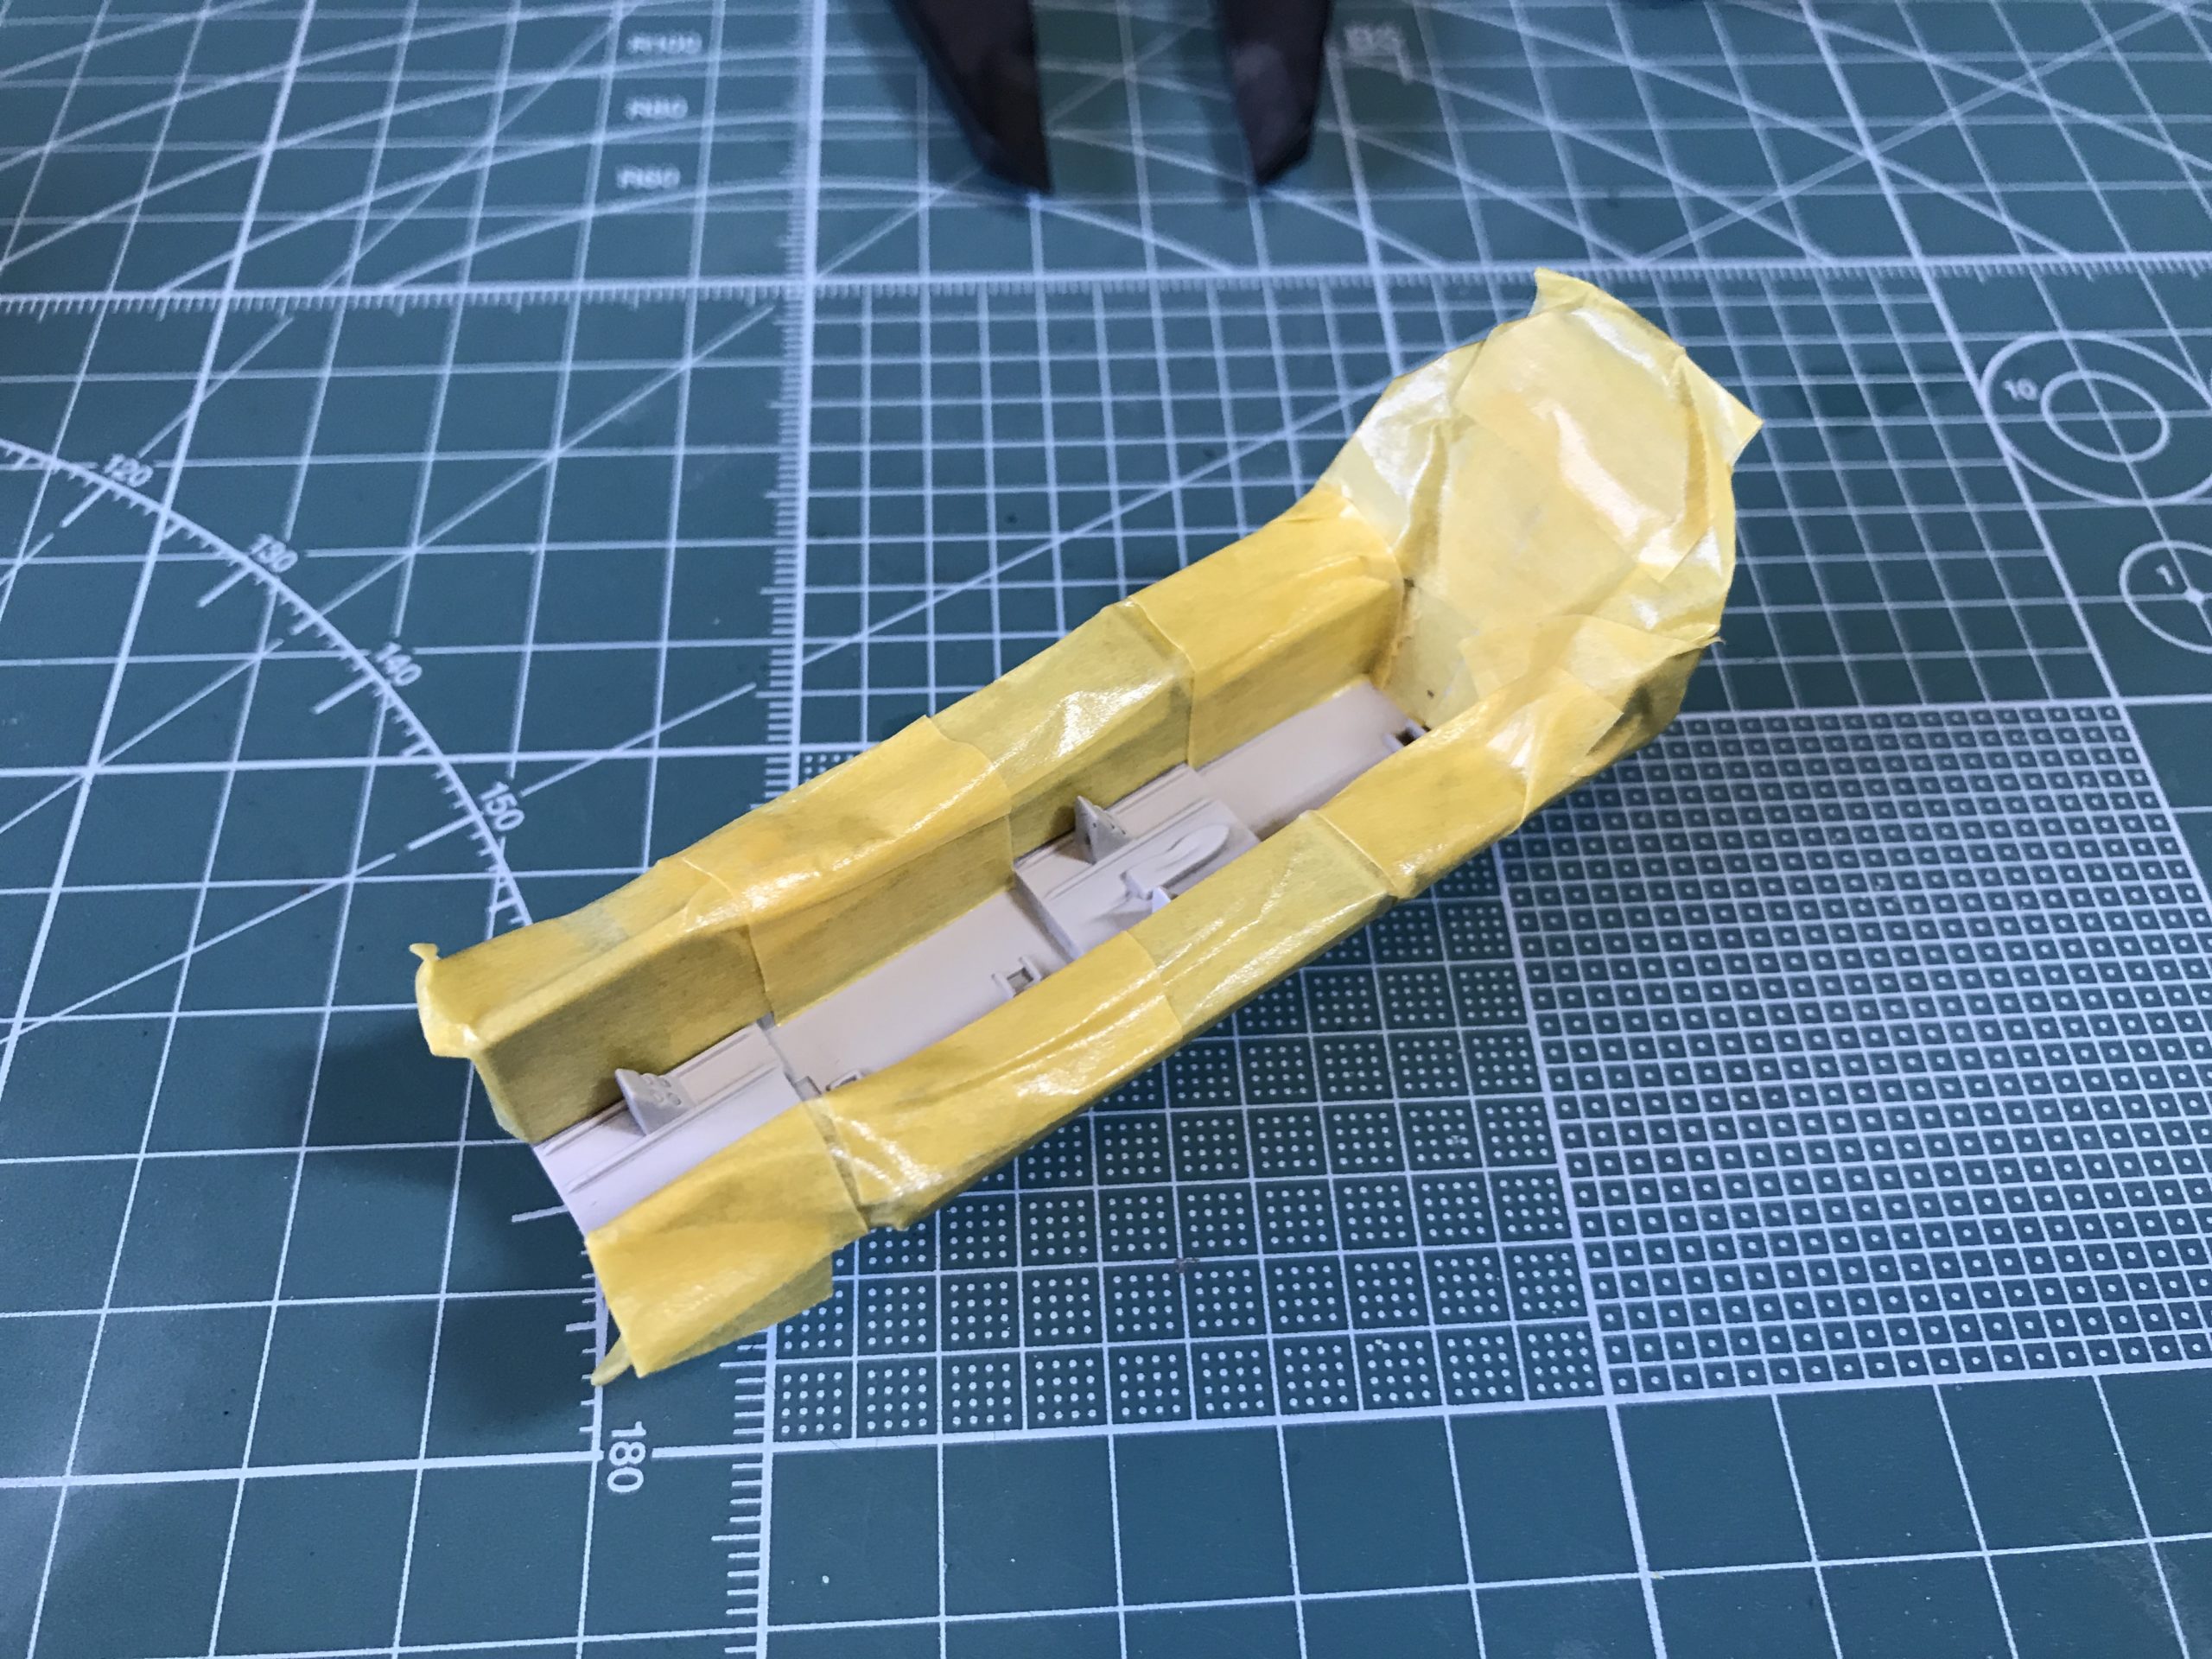
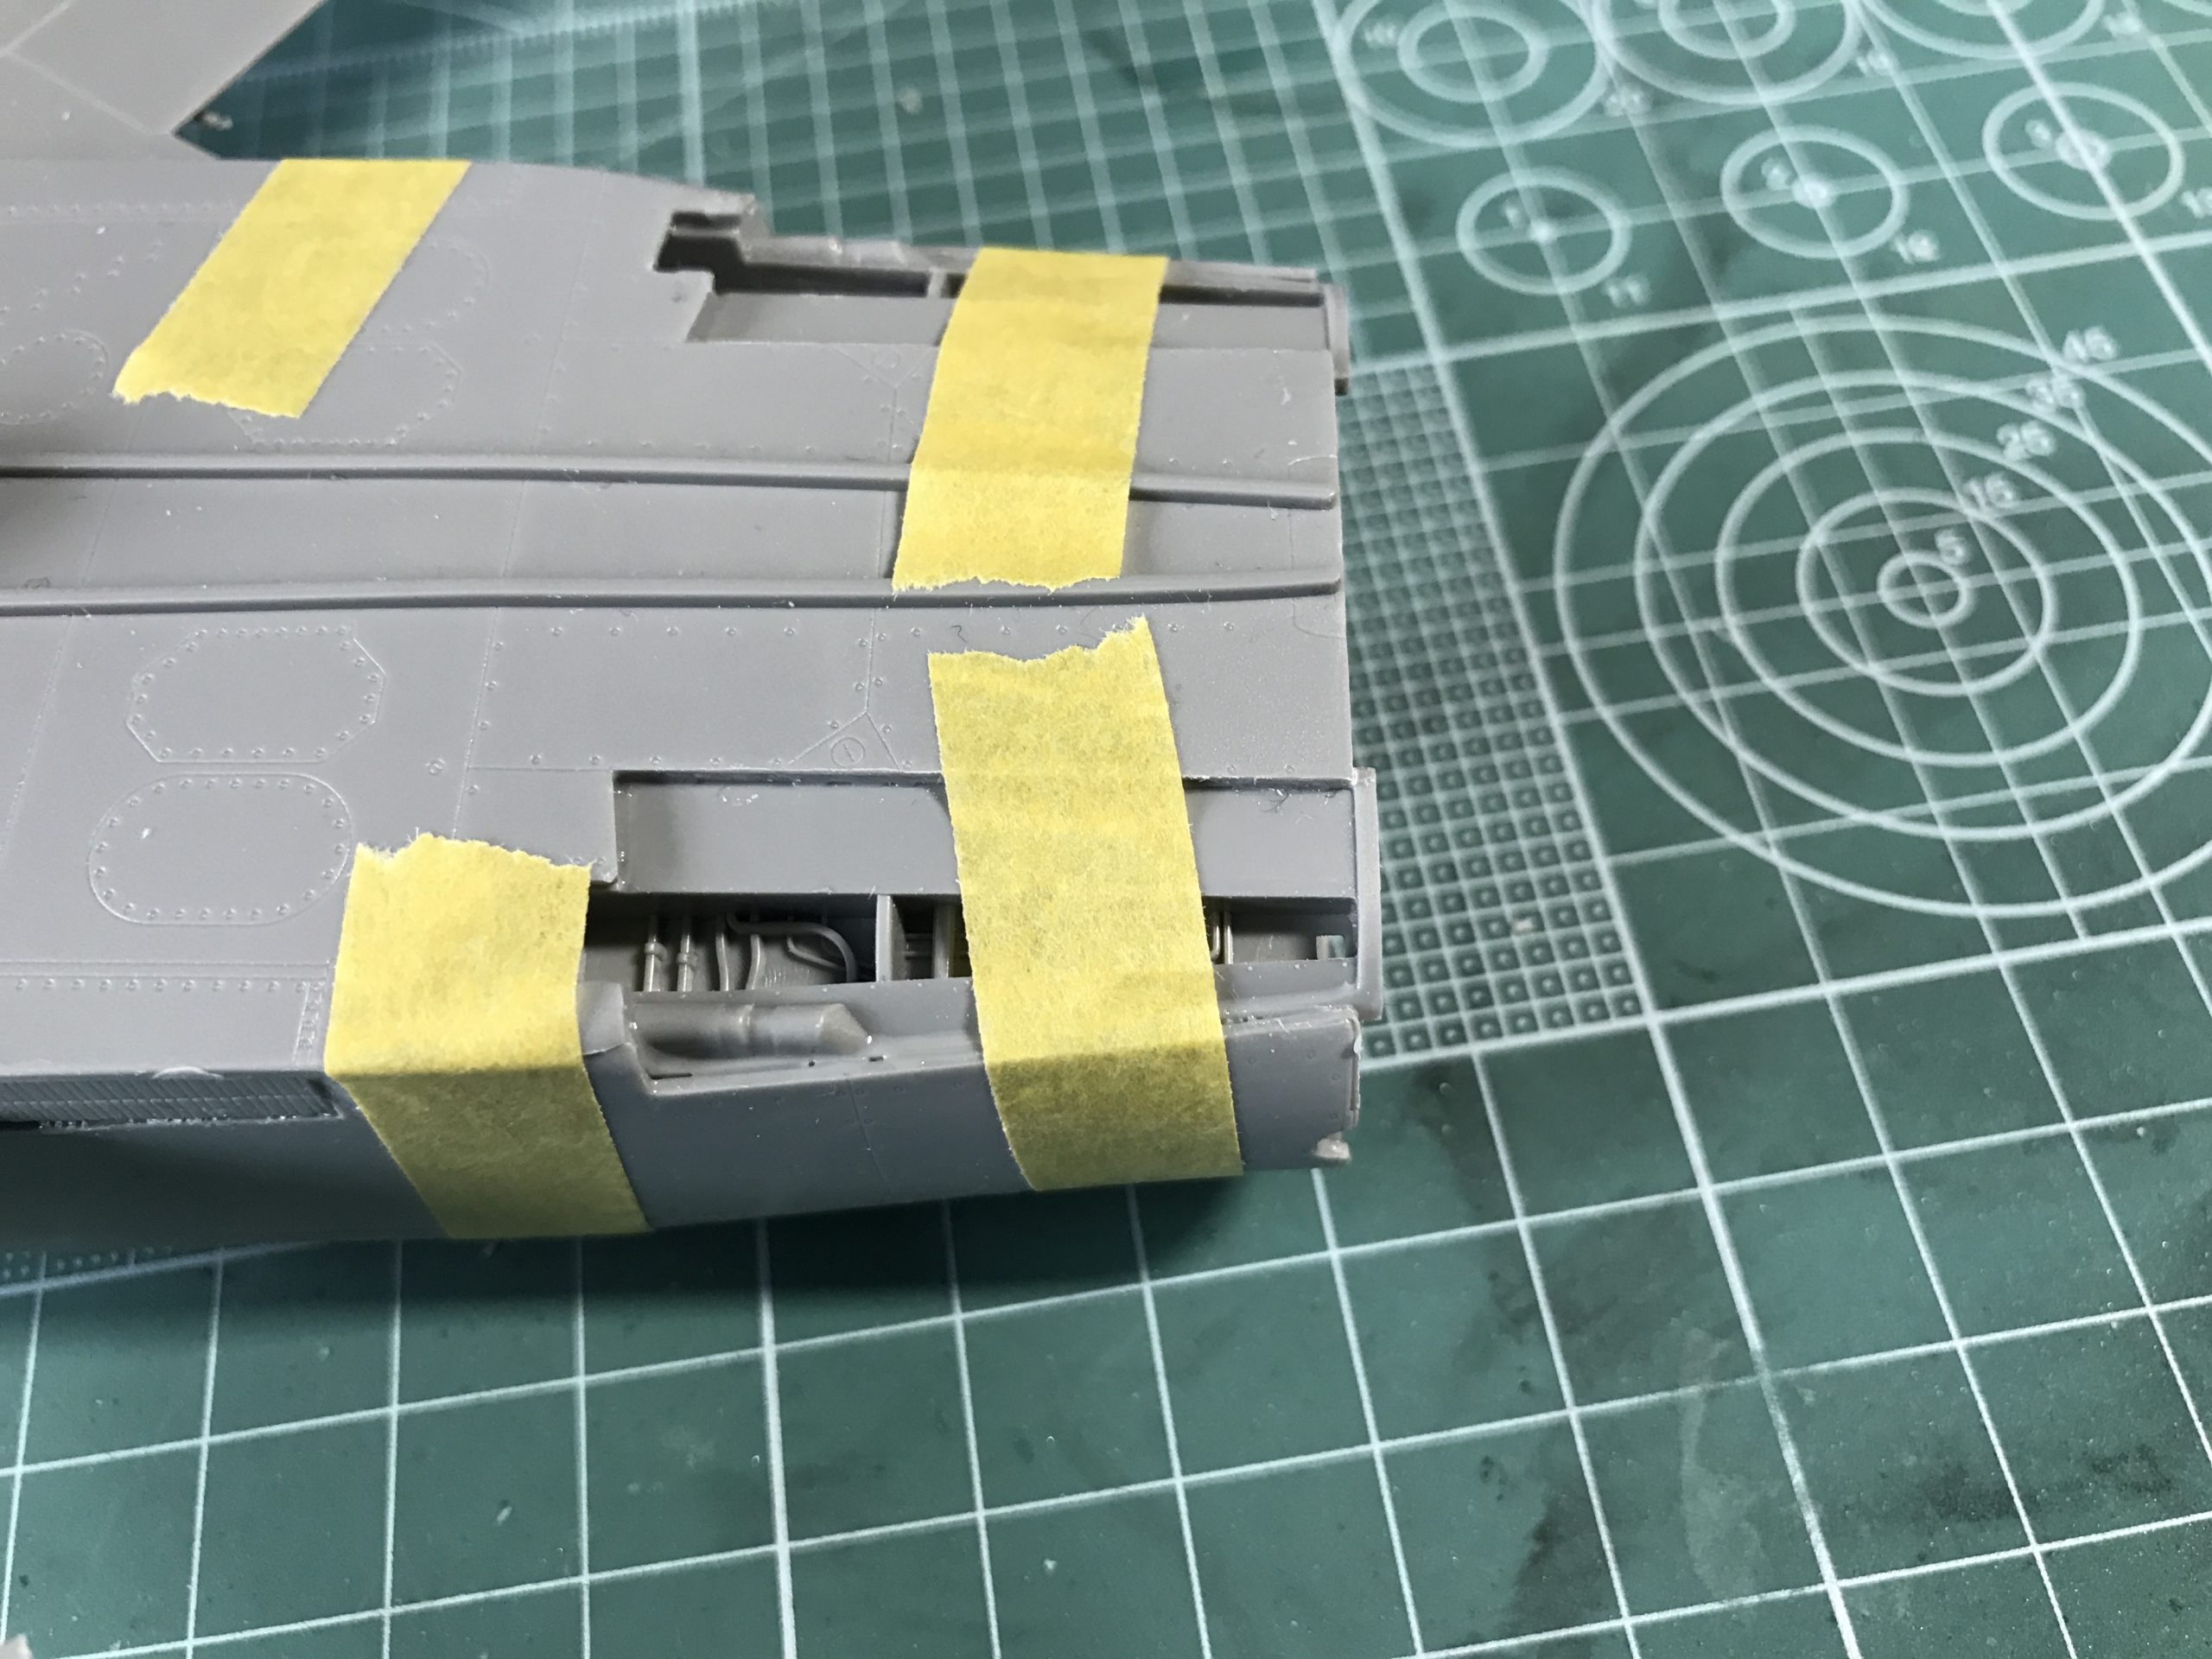
I used the back of the main fuselage as my datum and started measuring. After quite a lot of time I couldn’t find an issue. Scratching my head, I decided to try and fit the parts together using tape to hold them in place. Once again no problem.
After several hours of procrastination, it dawned on me the problem was the stack up of tolerances when assembling front to back as per the assembly instructions. Using the back face as the datum meant all the parts lined up. It was as simple as that. I also worked out that the air intakes should be sub-assembled before installation. It’s a little fiddly to install them, but allows you to fill and mask the parts much more easily.
Confident I had found the problem I started assembly of the second kit.
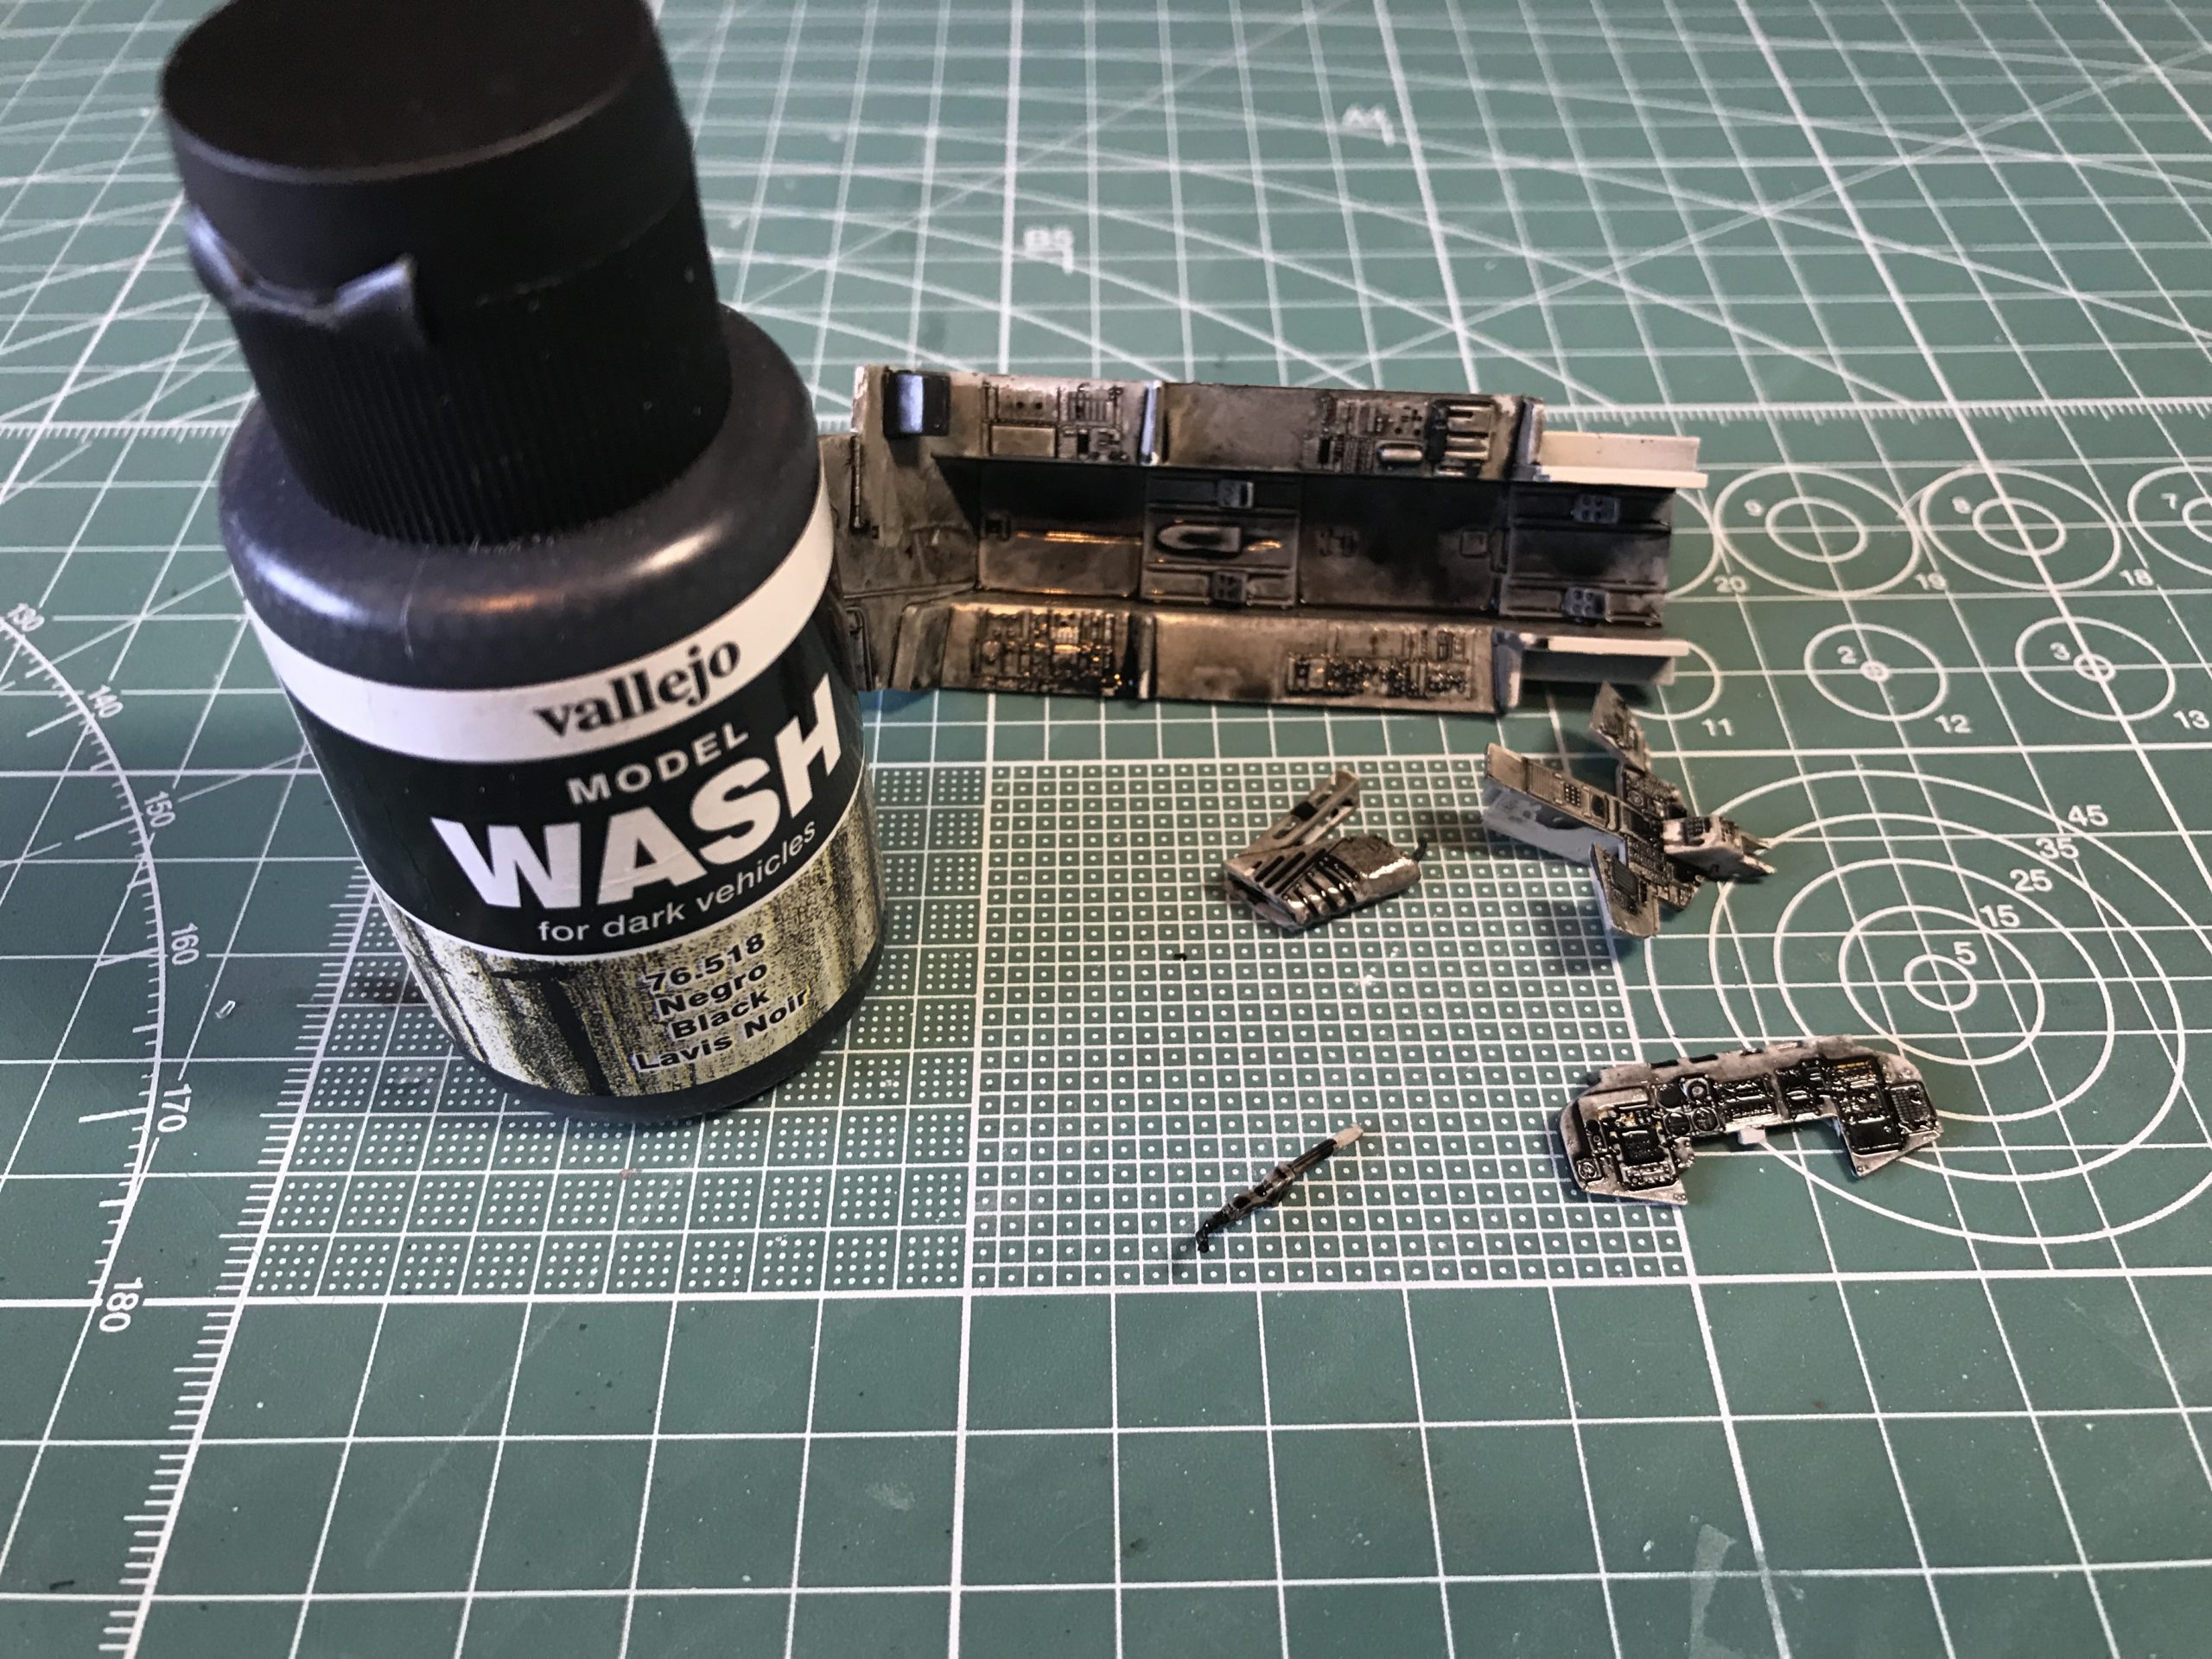
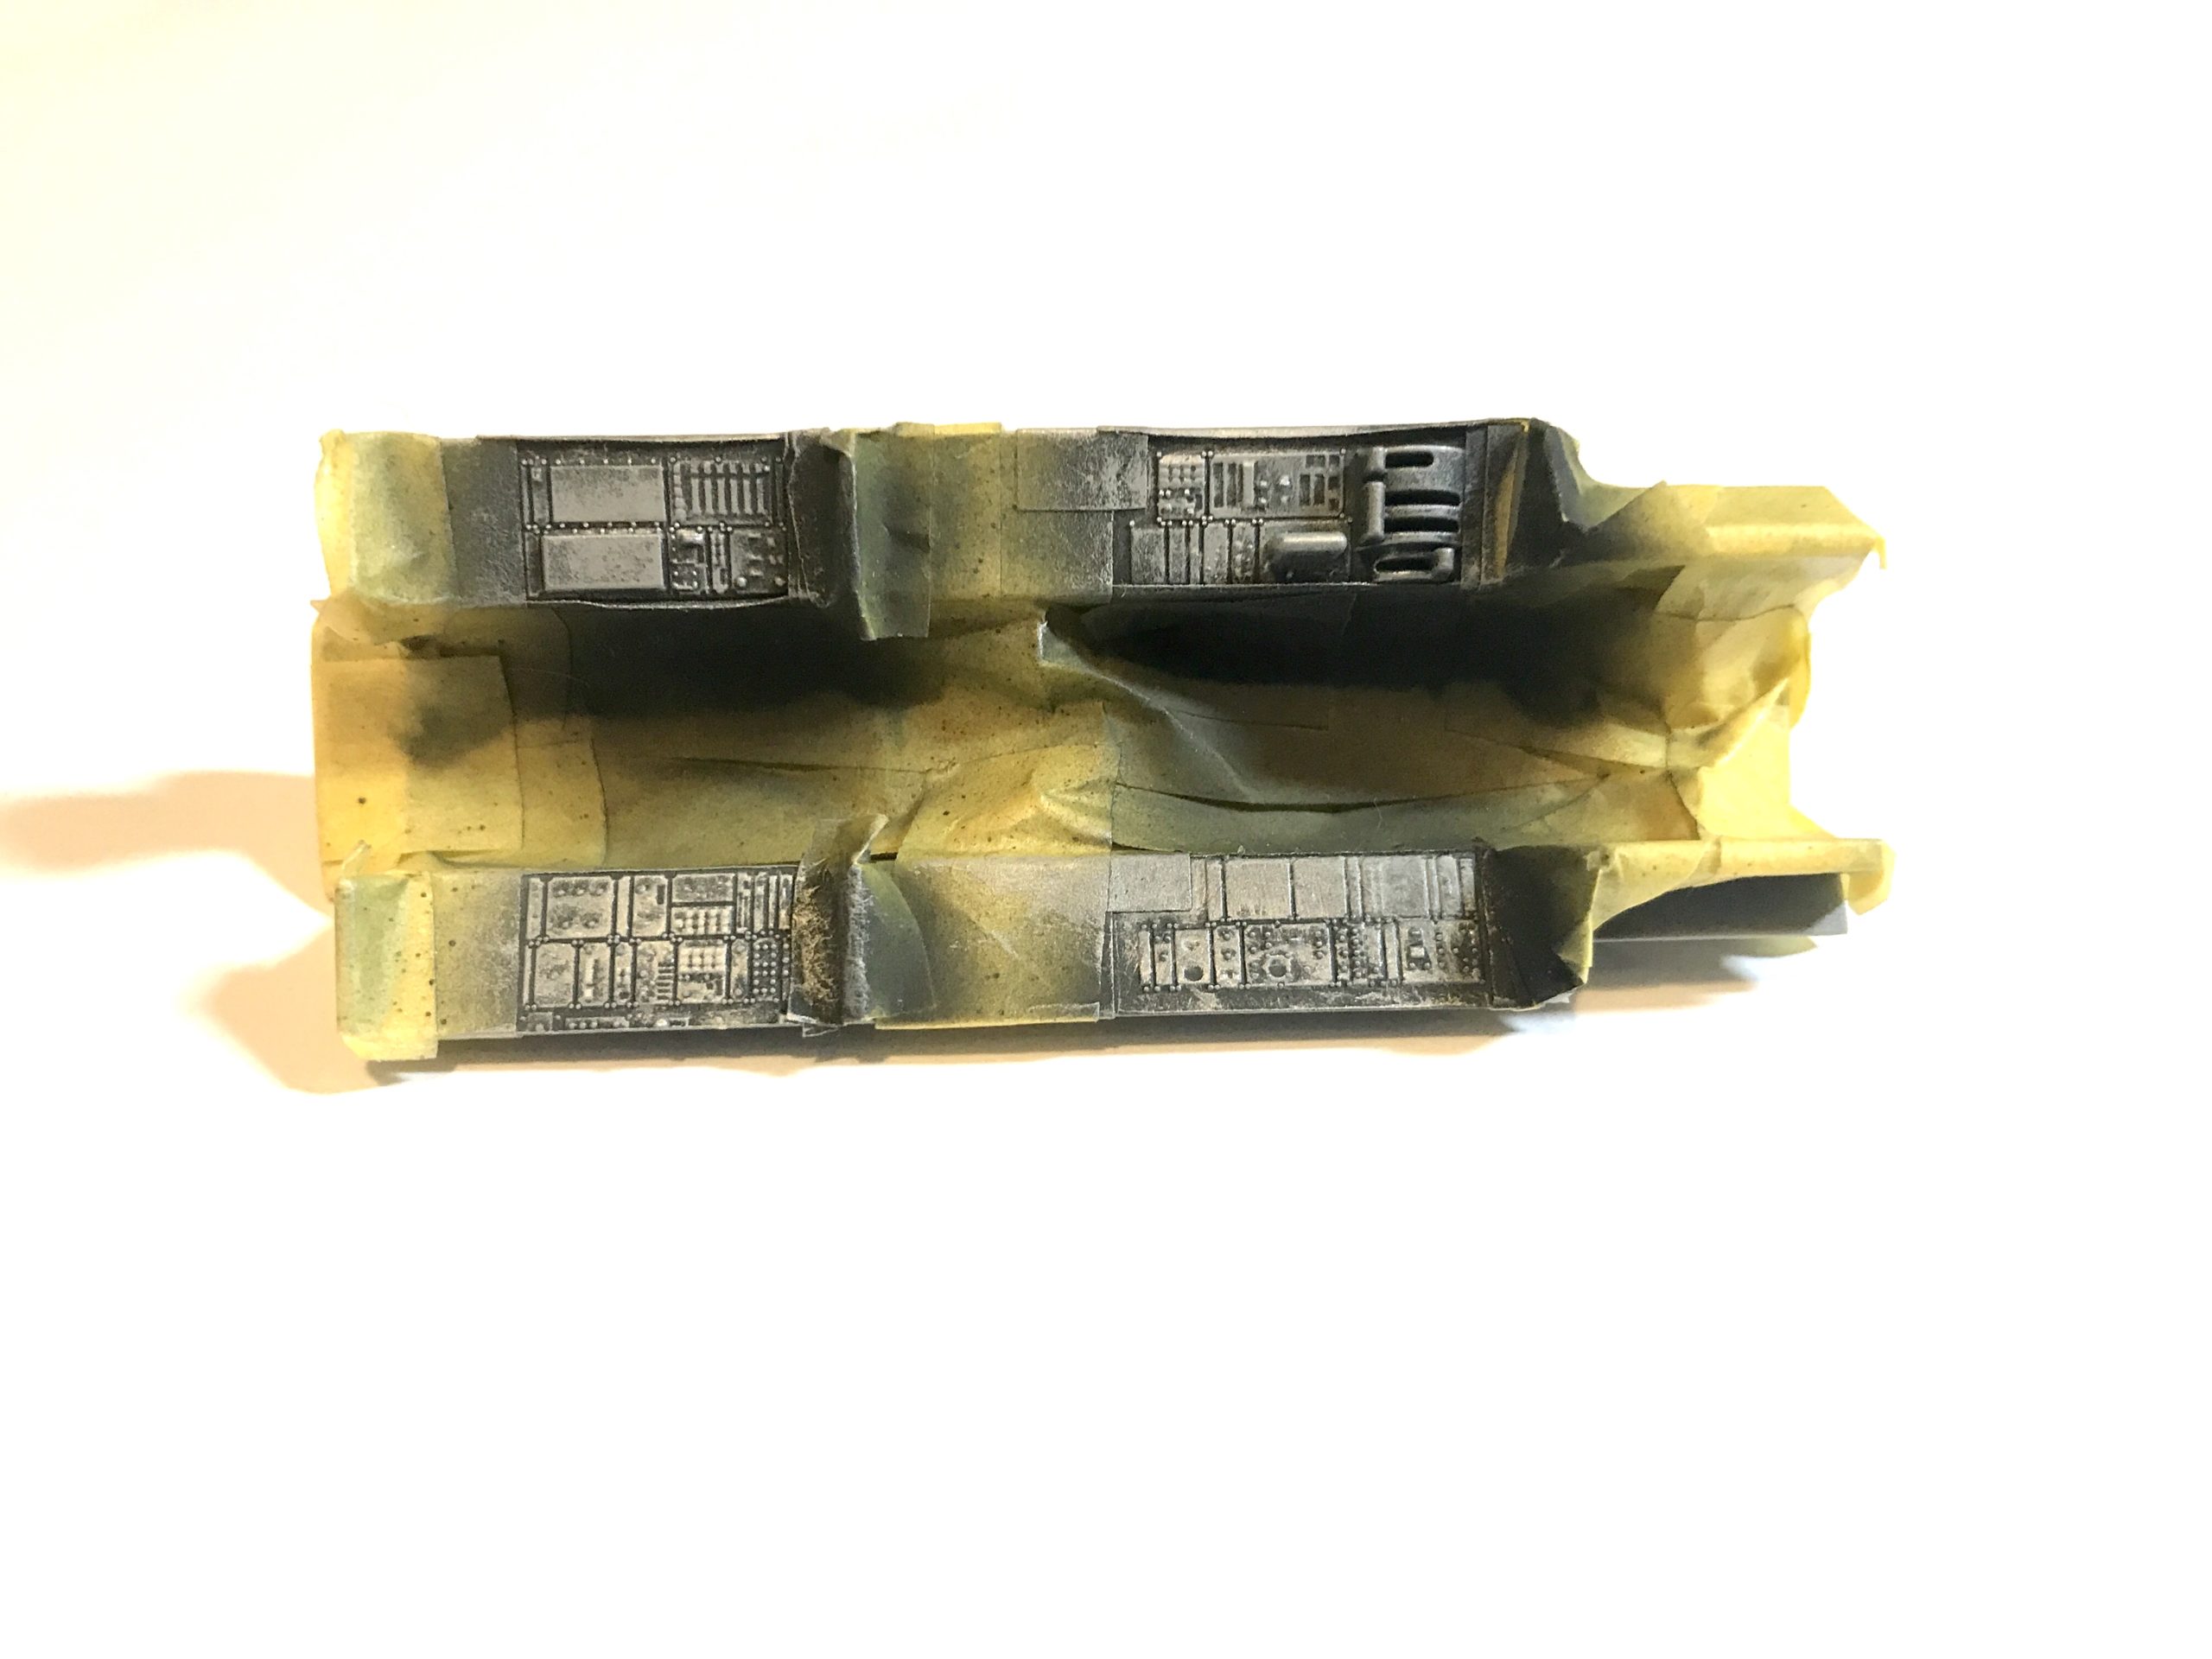
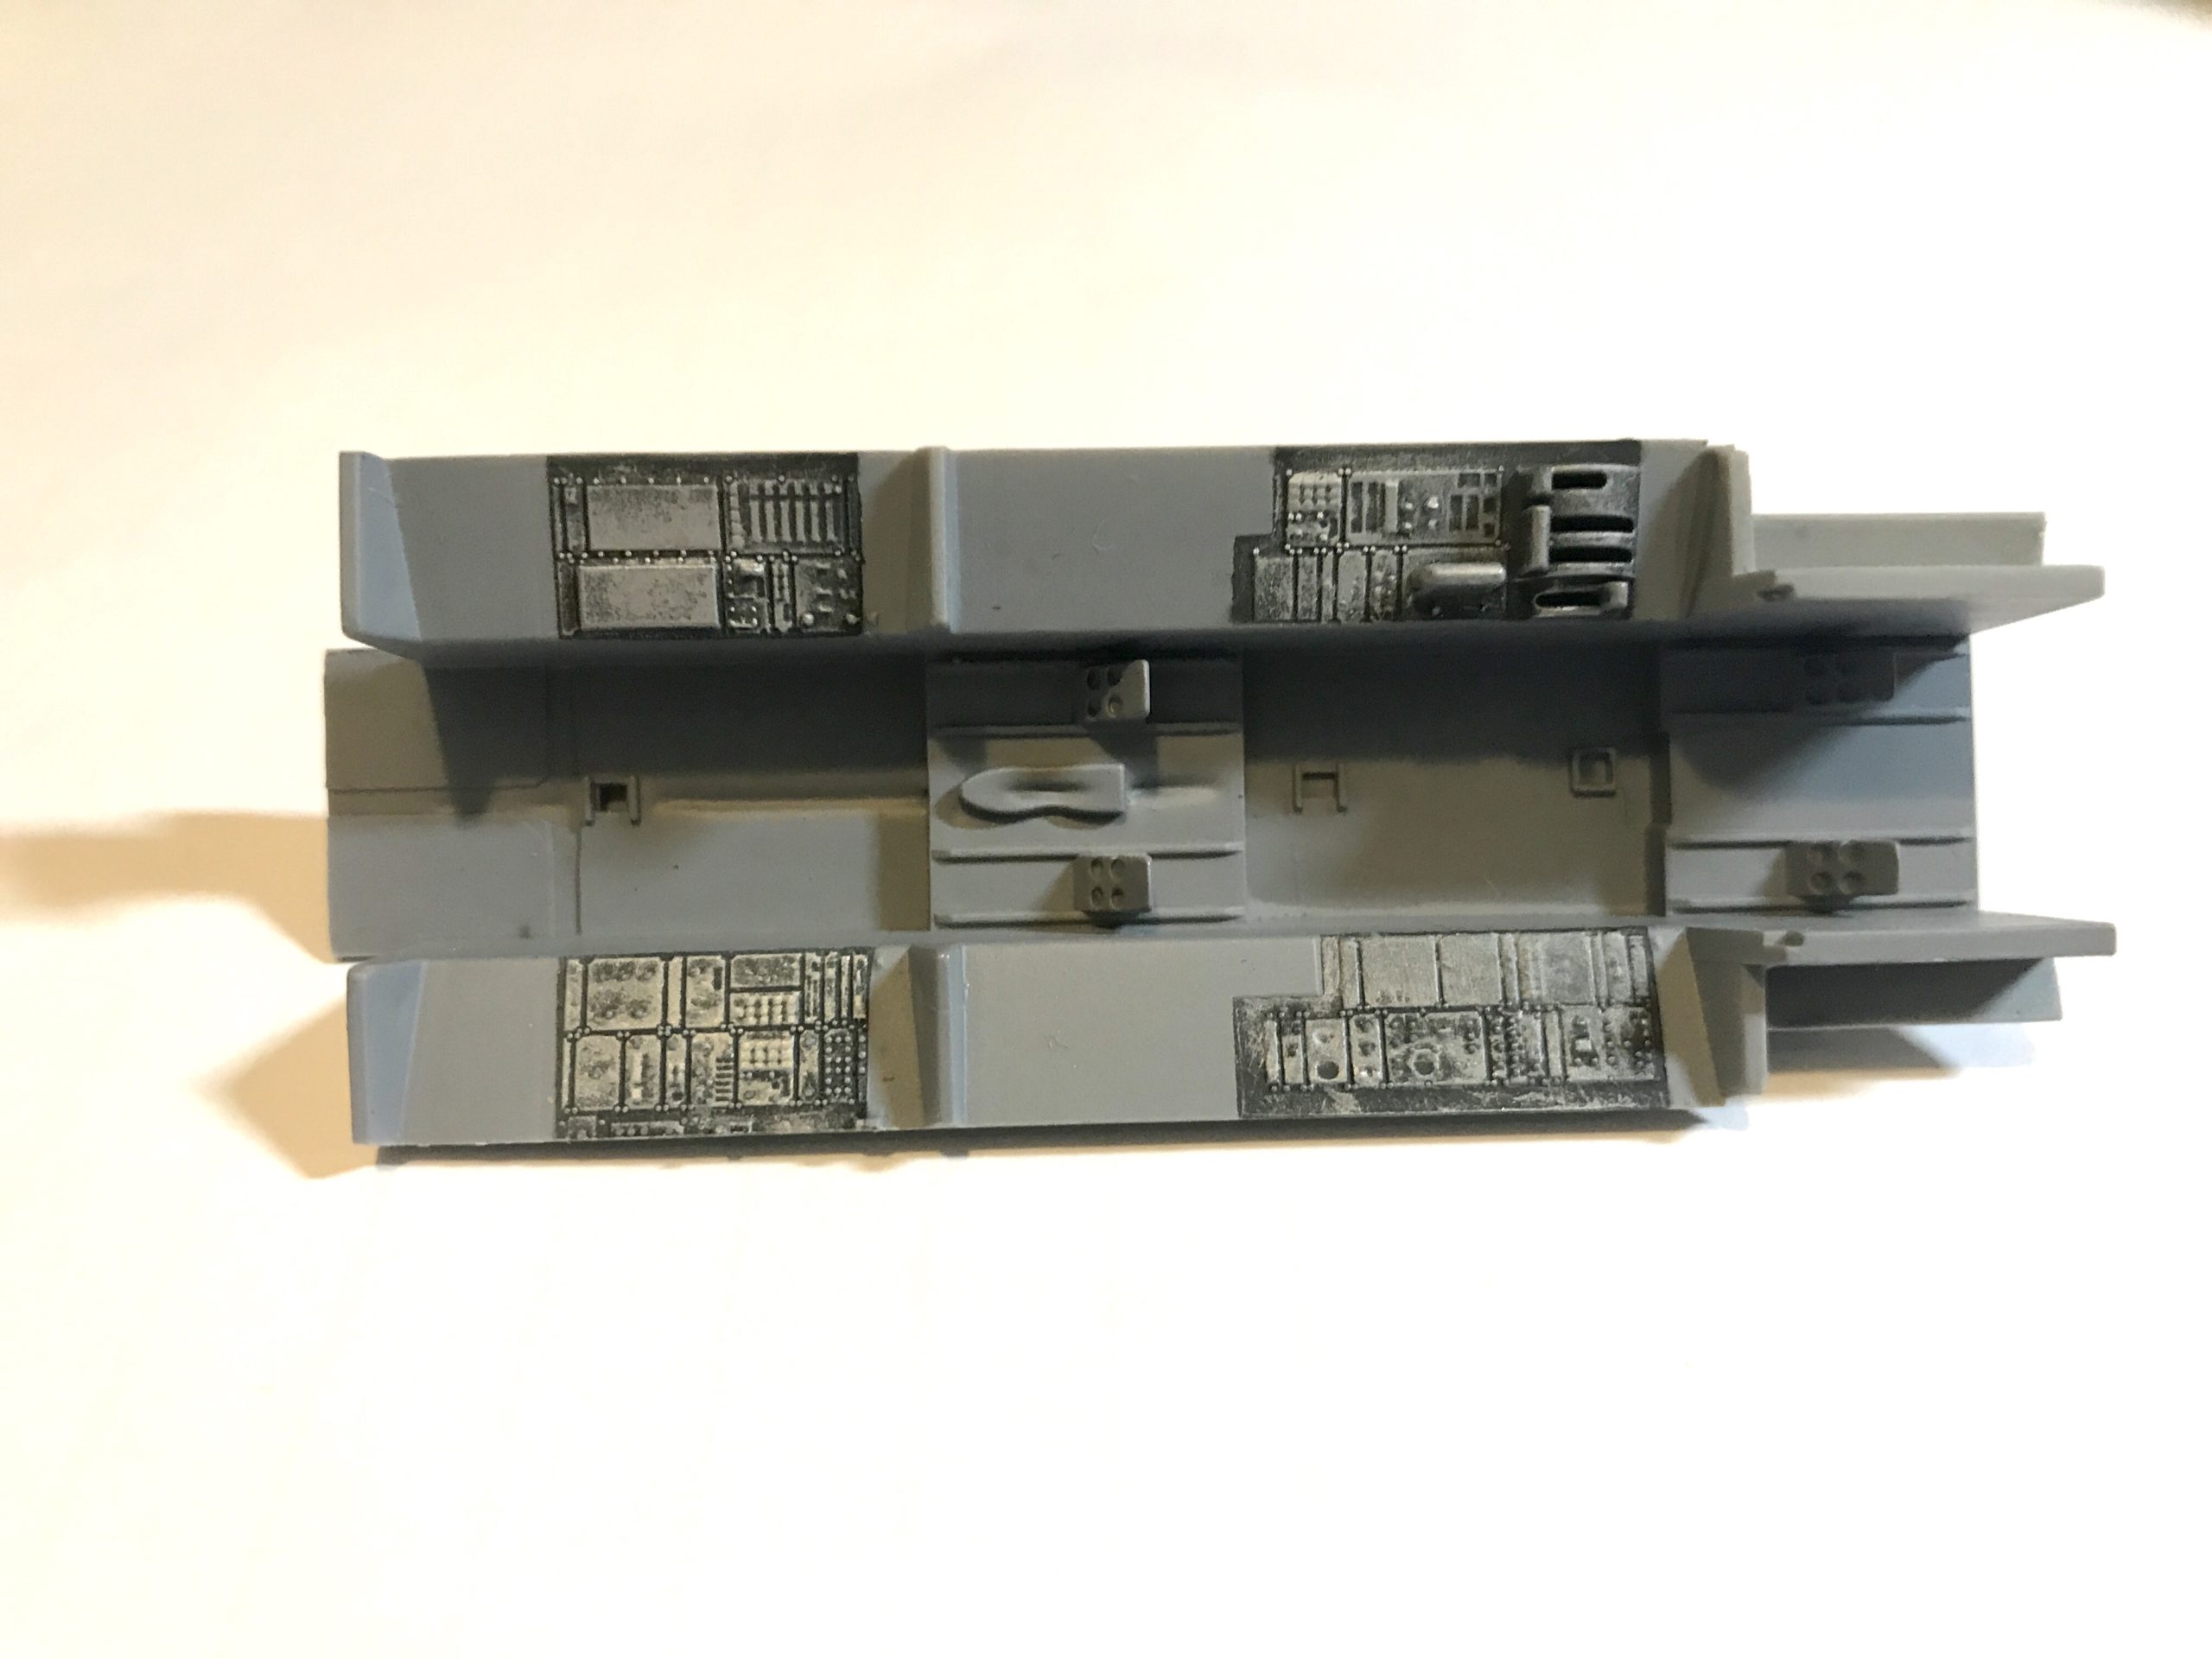
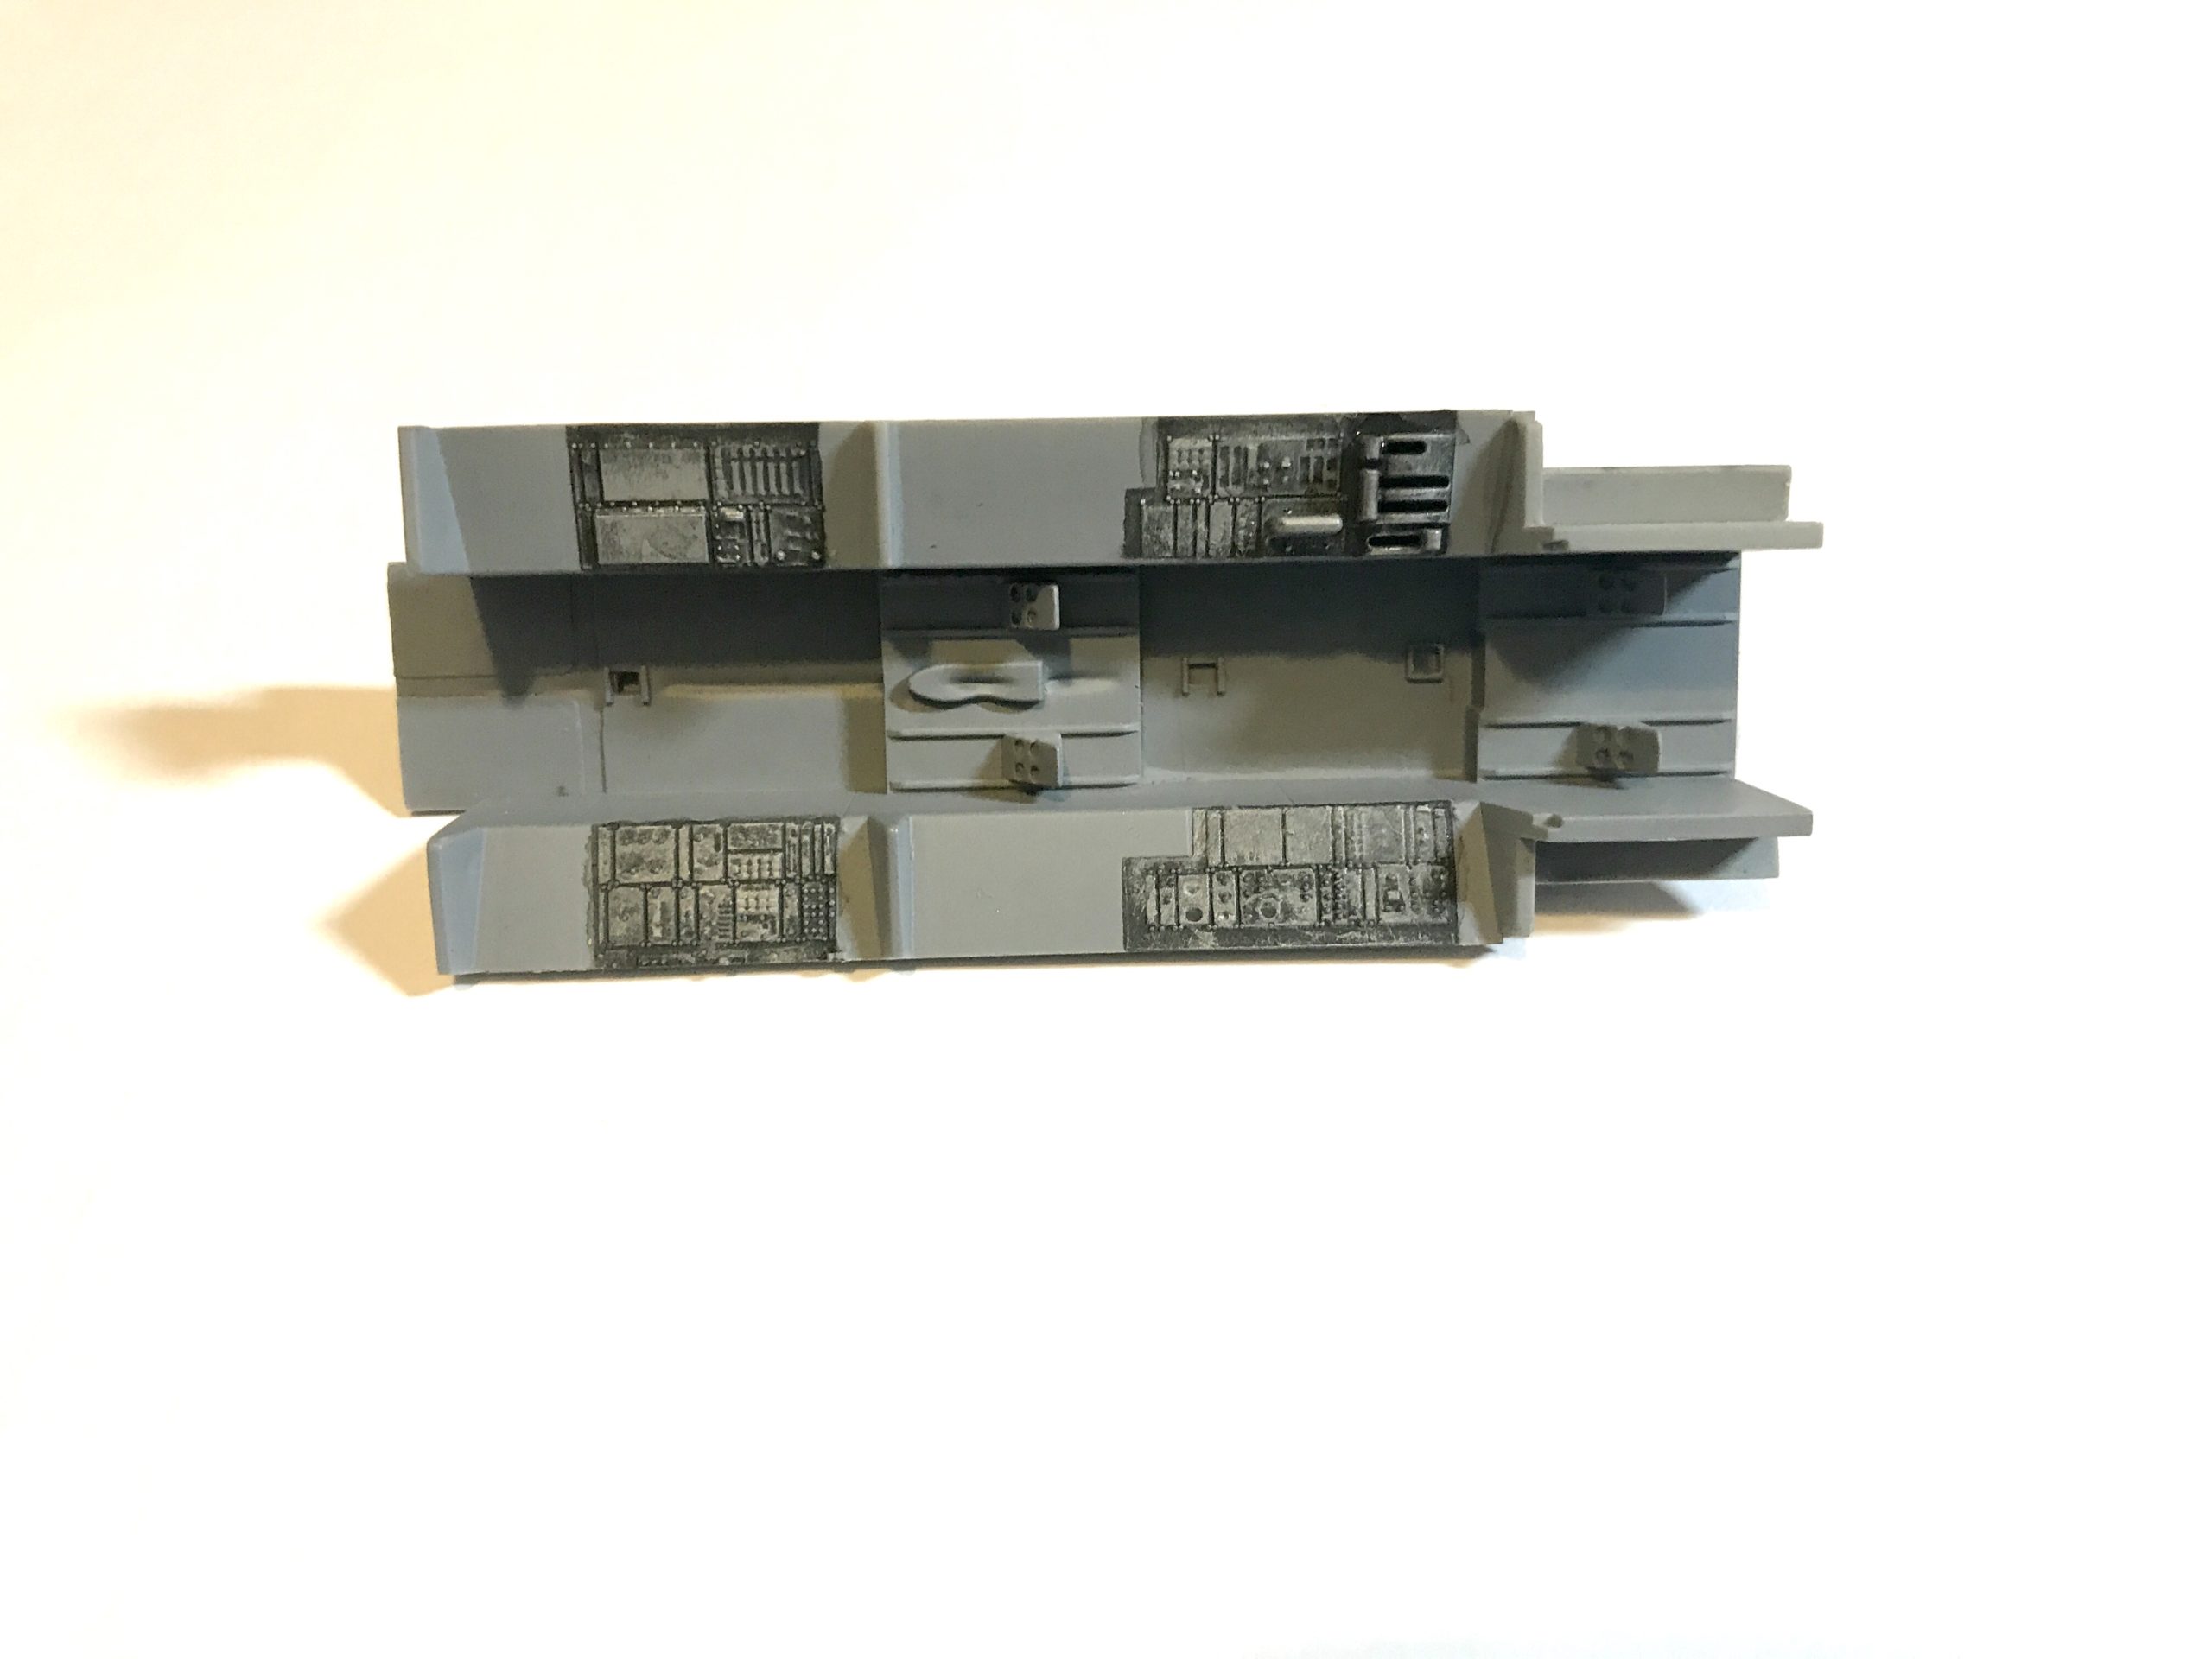
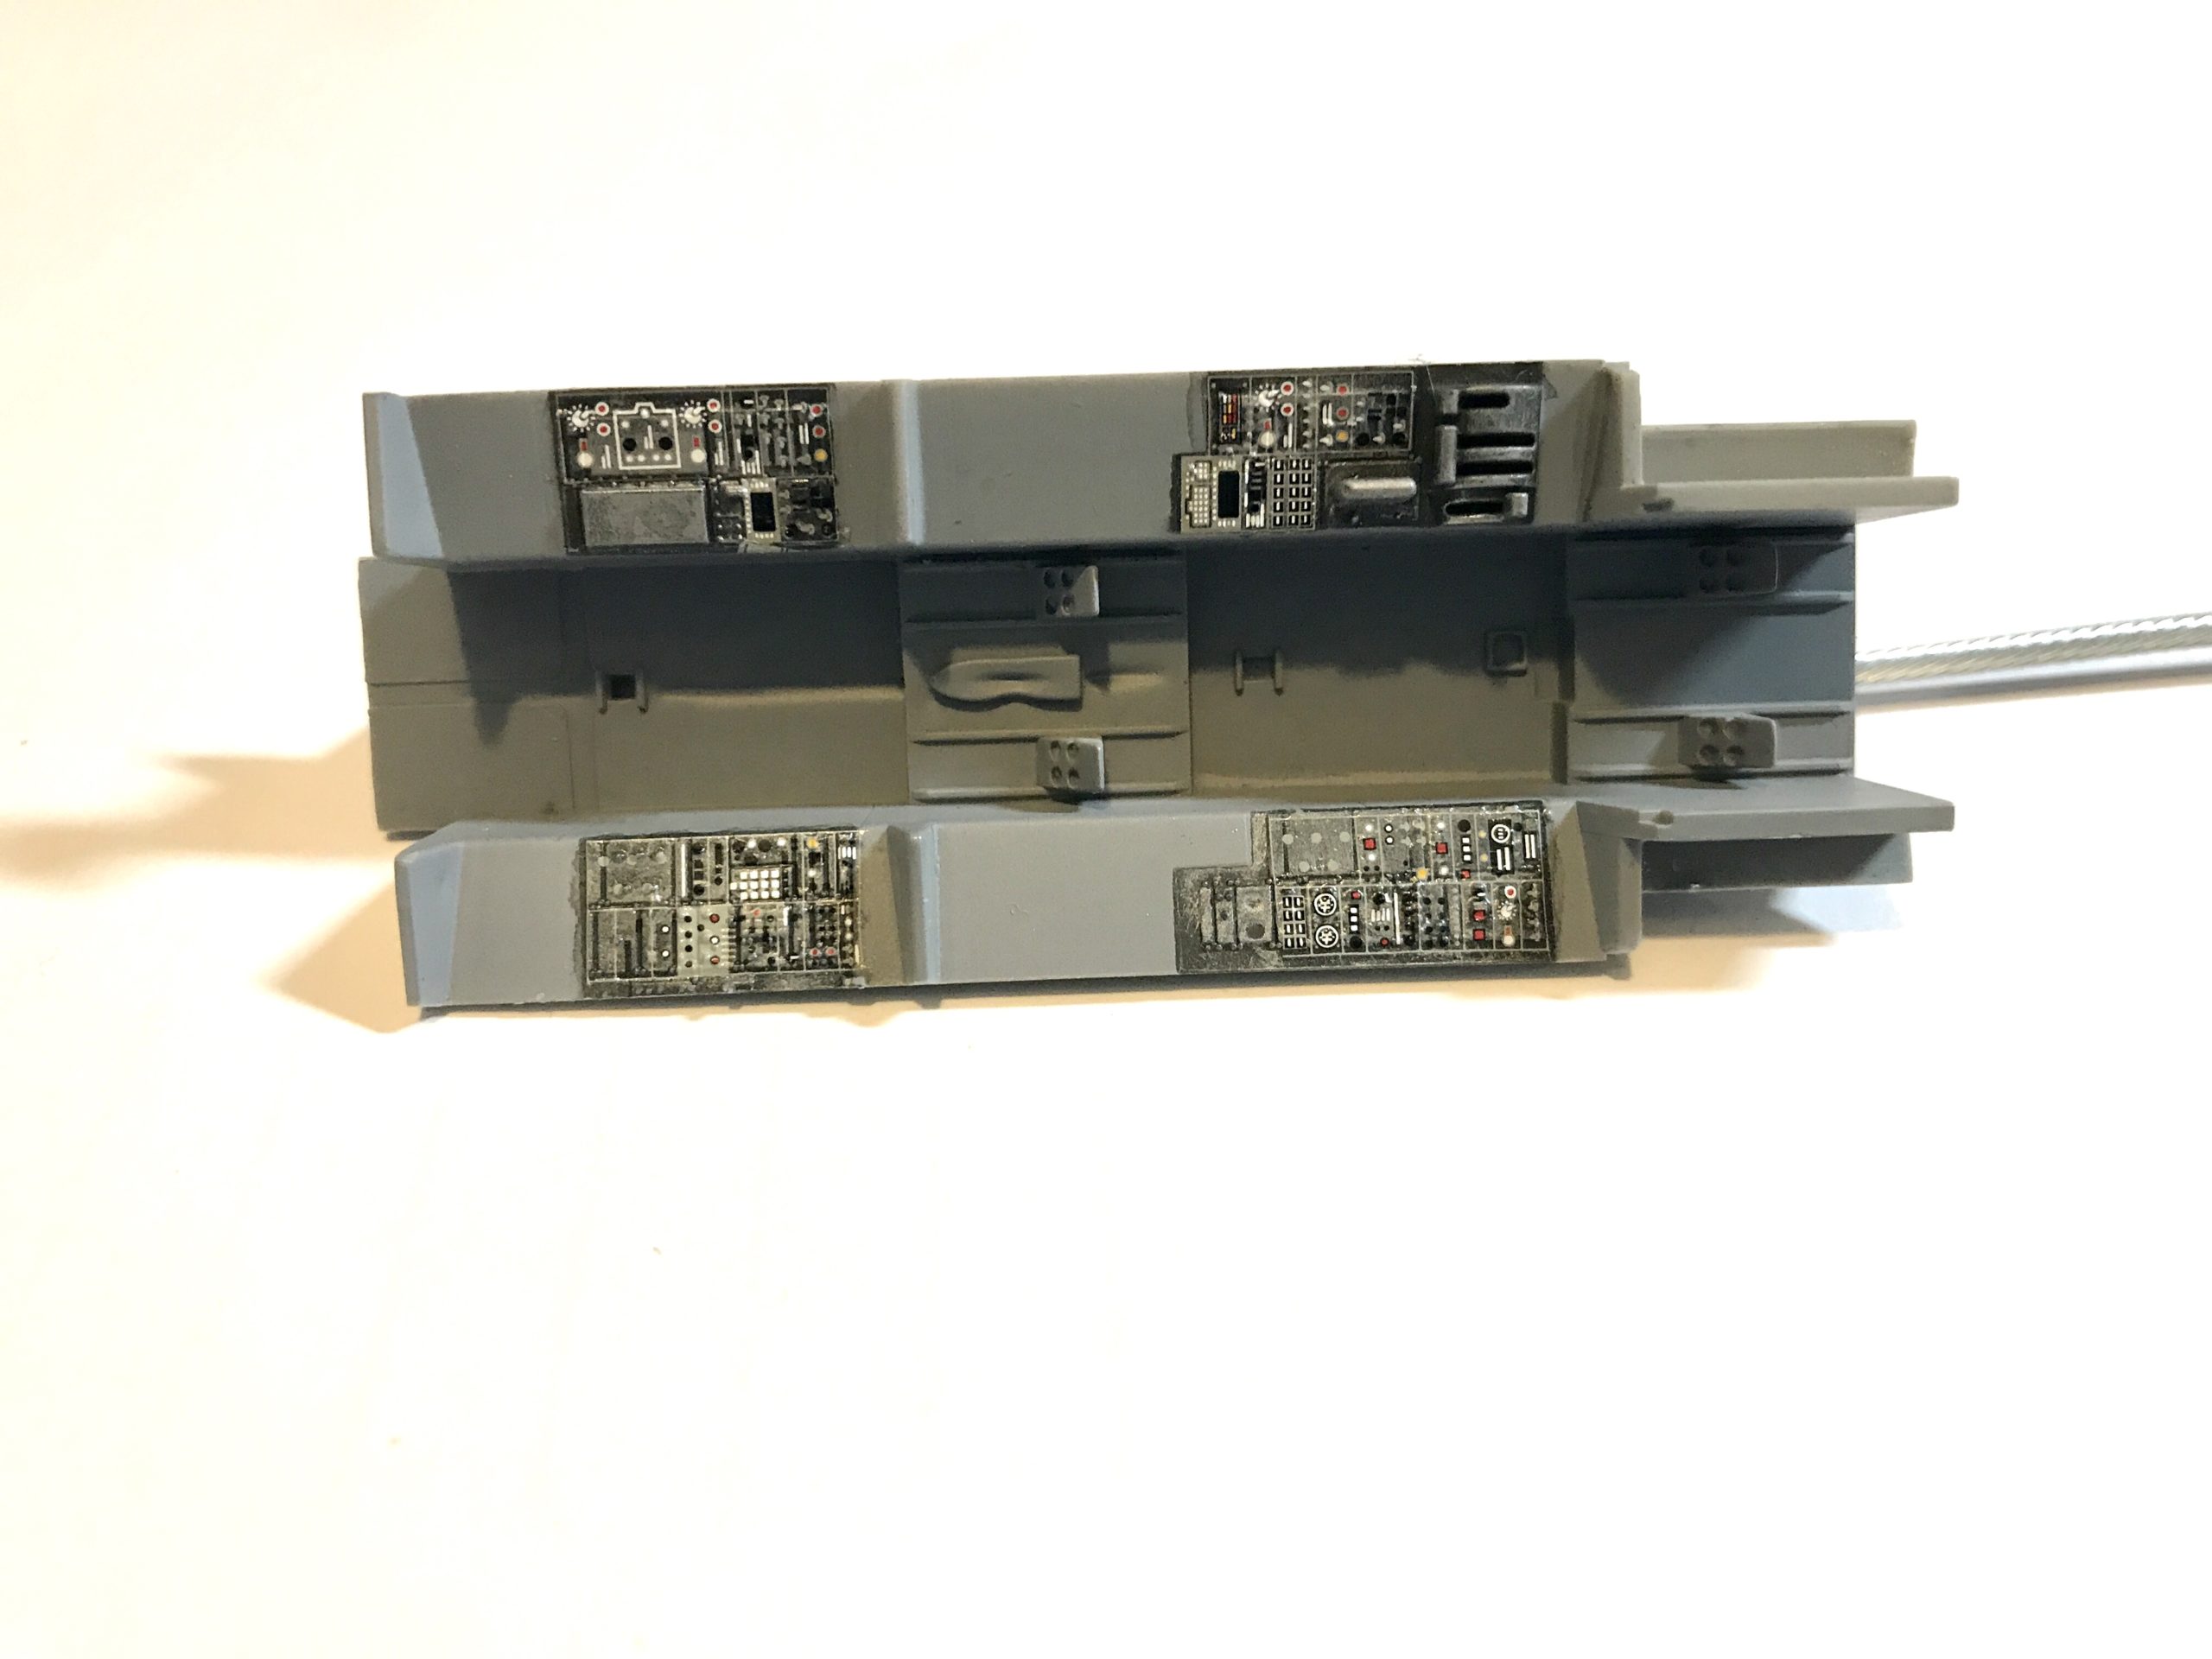
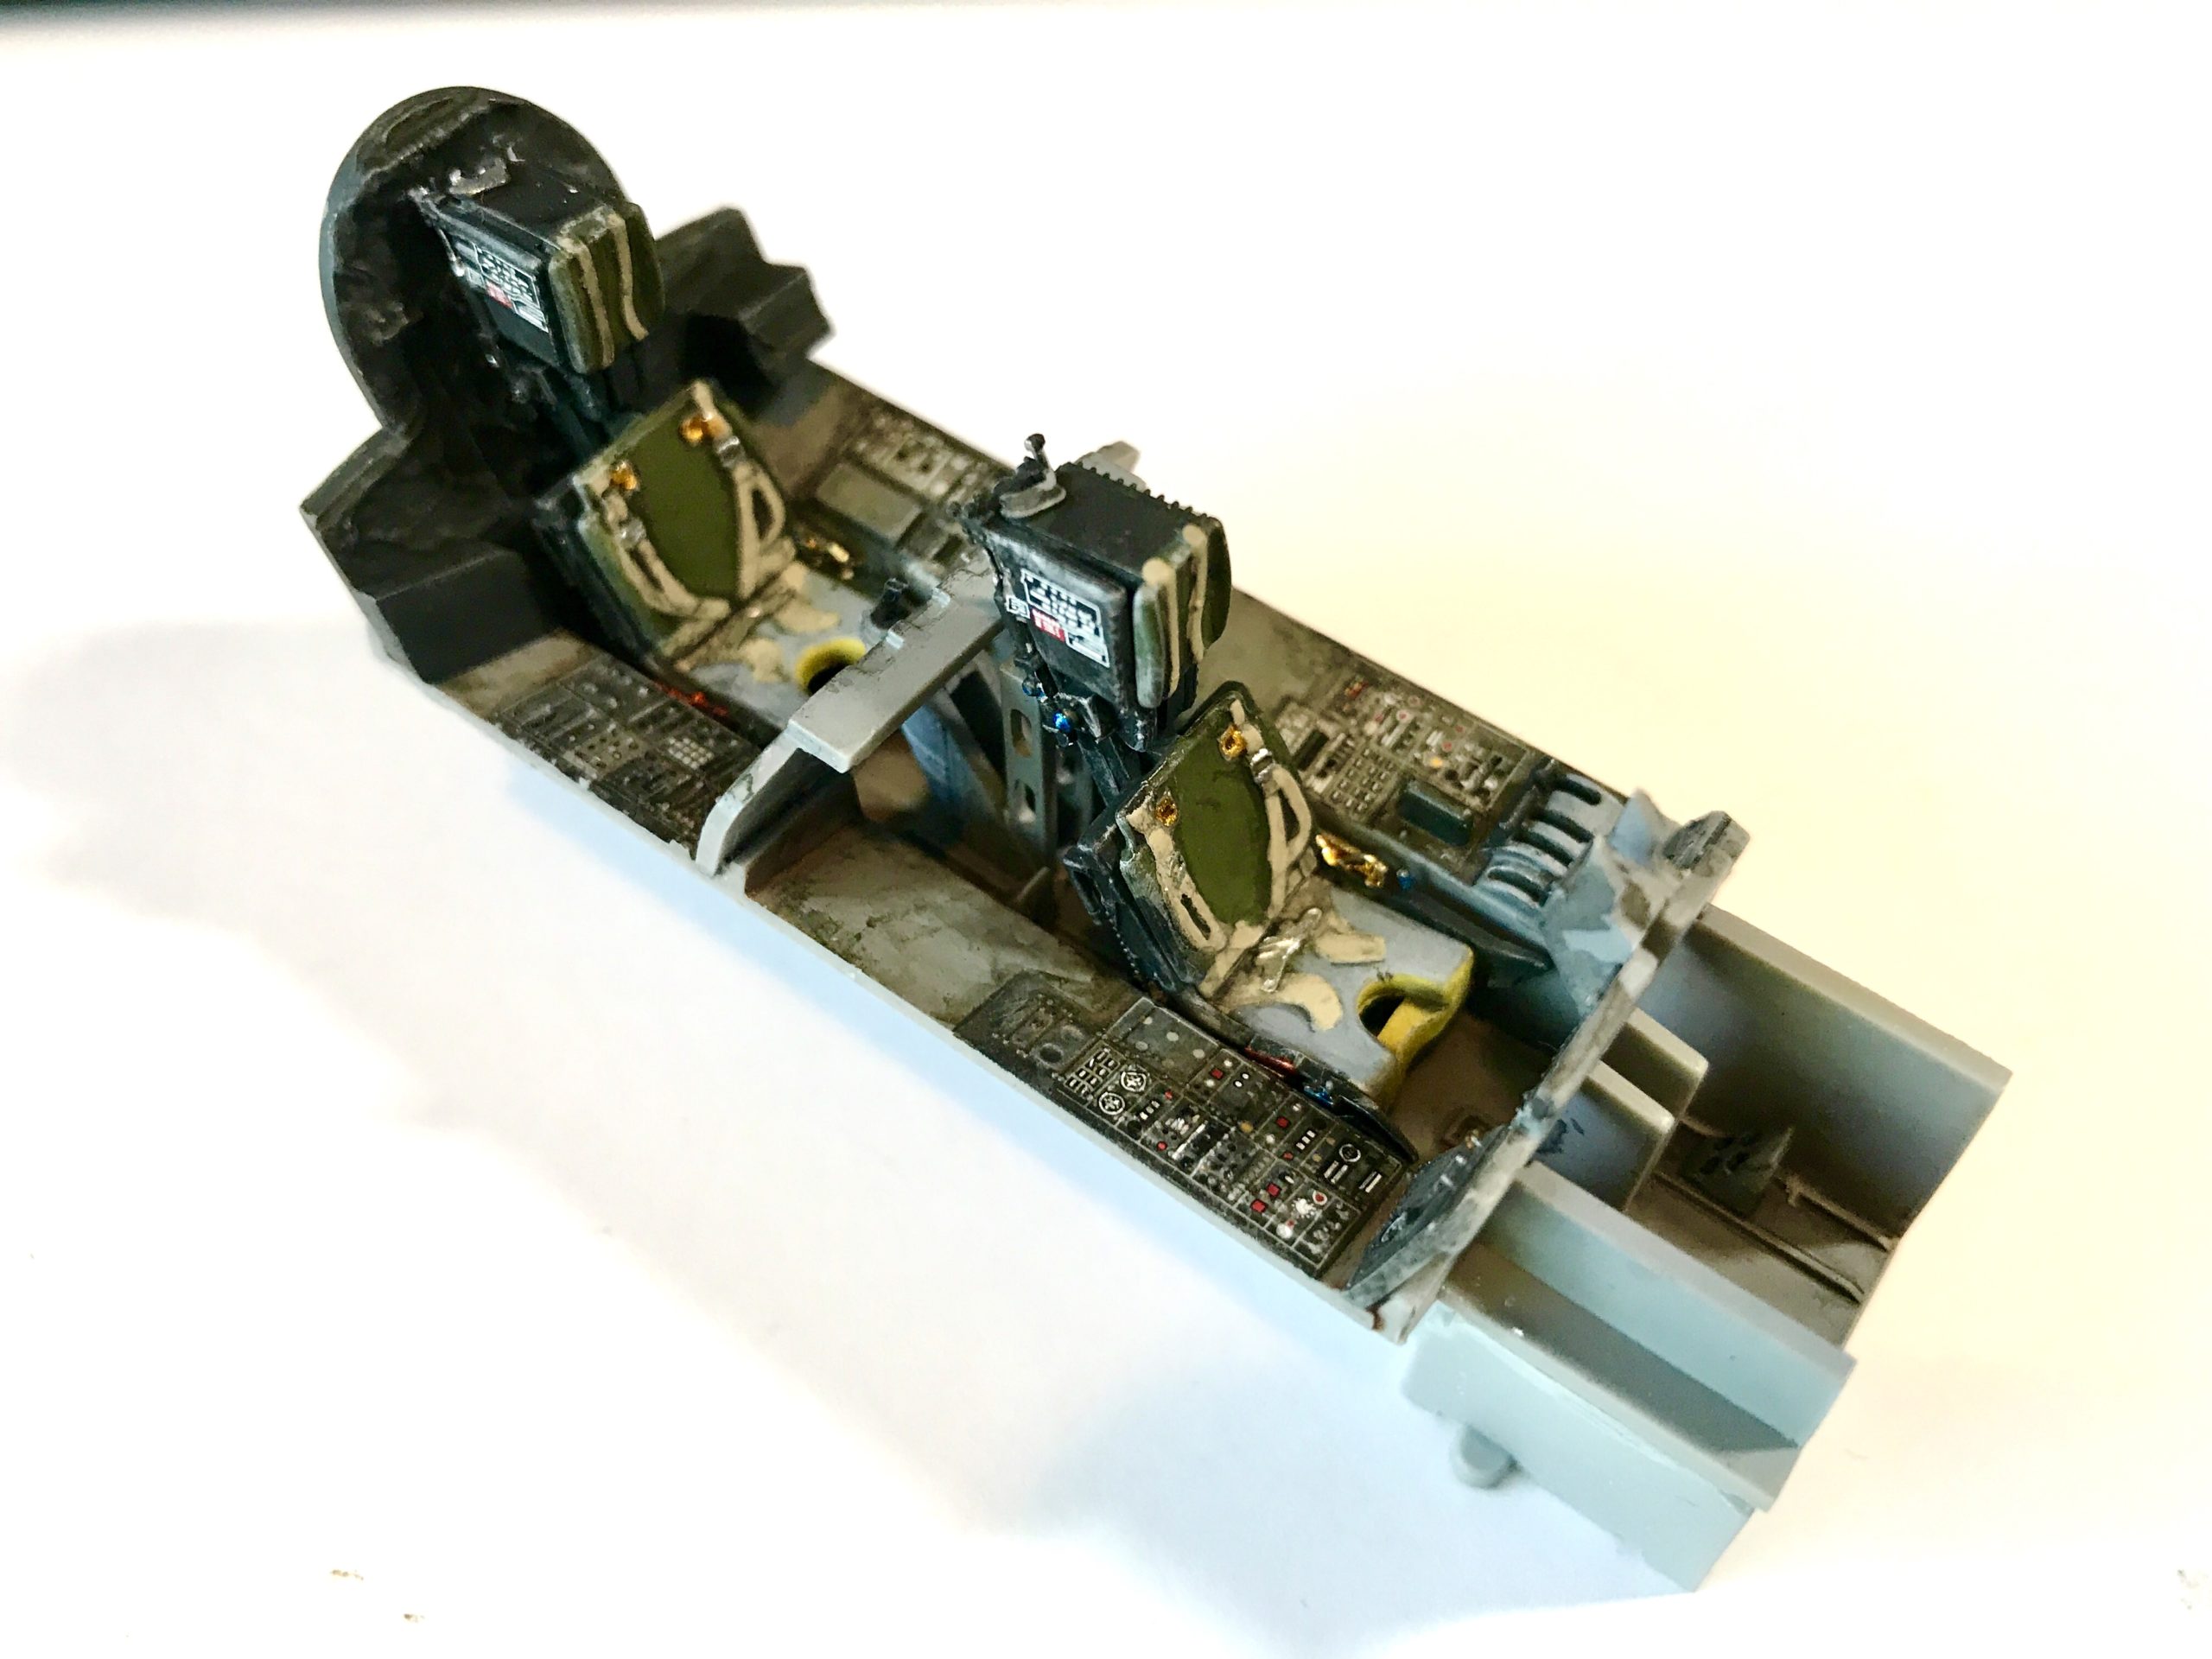
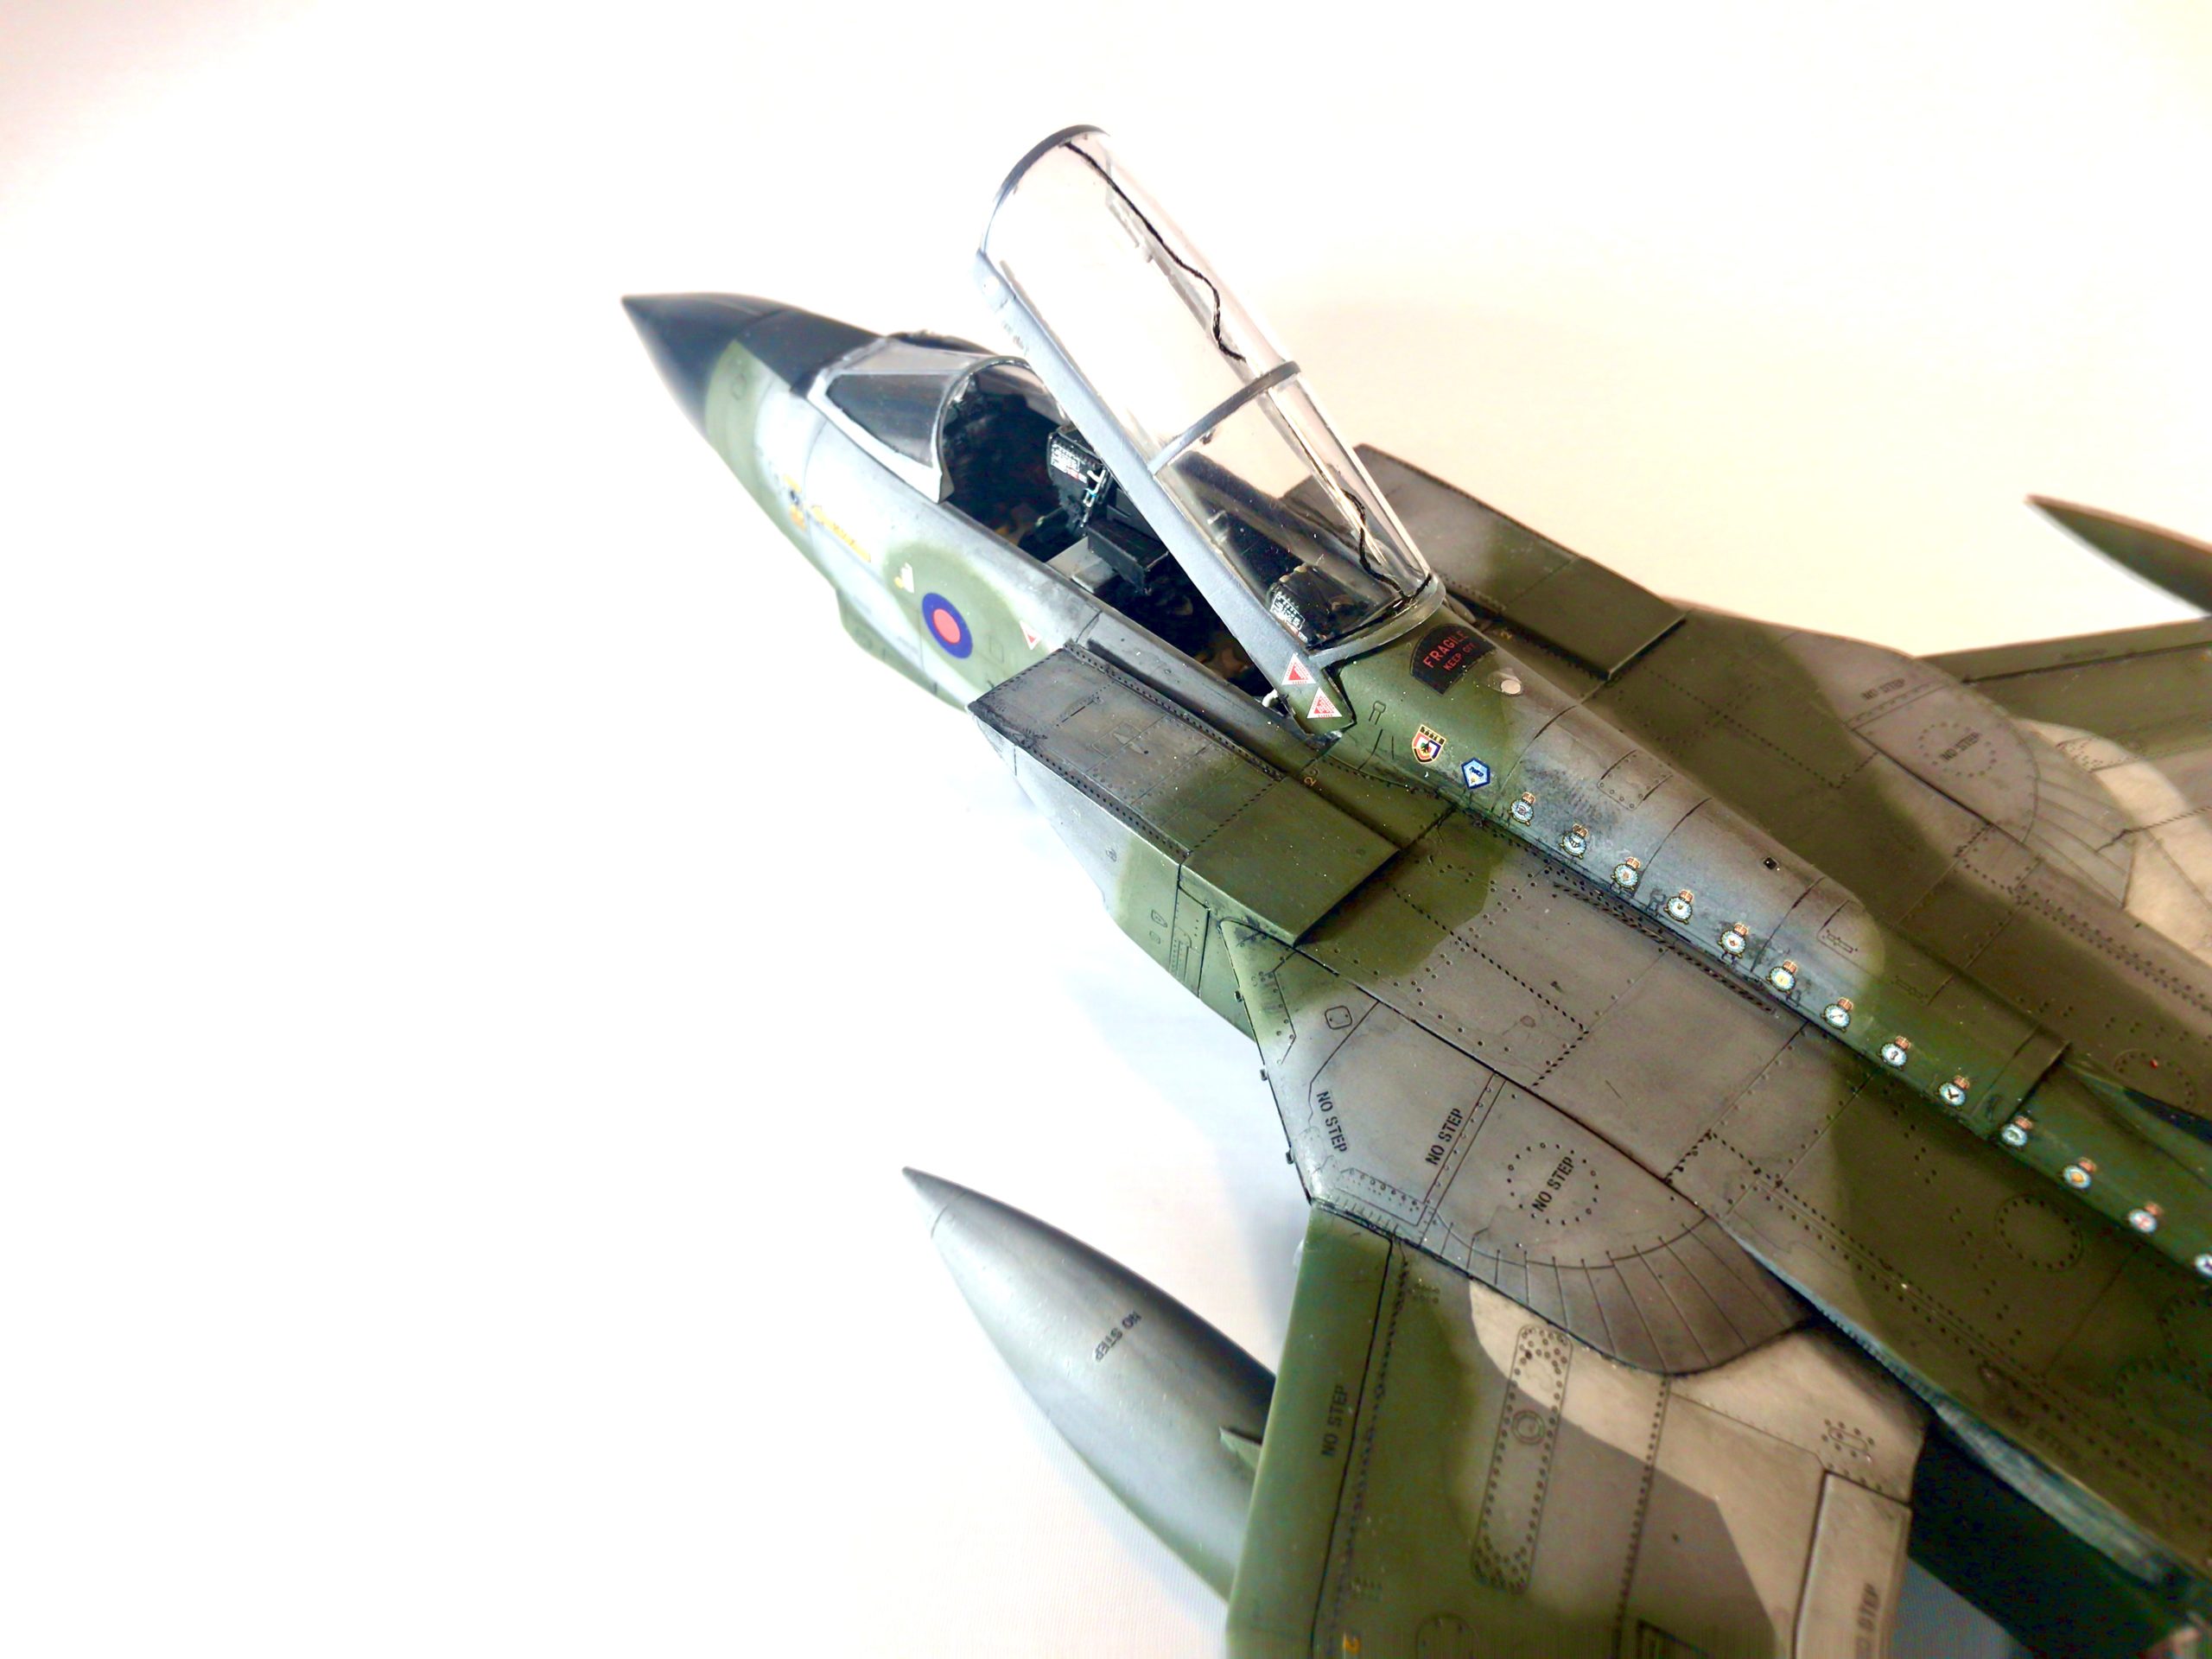
I decided that I was going to do a lot of weathering on the second build, so started by doing to town on the control consoles with washes and dry brushing. I was much happier with the result this time around. I know many will correctly point out that as this is a retirement scheme the aircraft wasn’t likely to be too dirty, but I decided to invoke modelers license and ignore that little detail. If any RAF personnel read this build; firstly, thank you for your service and secondly I fully realize that aircraft in the care of the RAF are maintained to an absolutely immaculate standard, my weathering is only to add a little interest to a plain looking cockpit and is in no way a slight on the excellent work of RAF ground crew.
A step by step view of the process can be seen below.

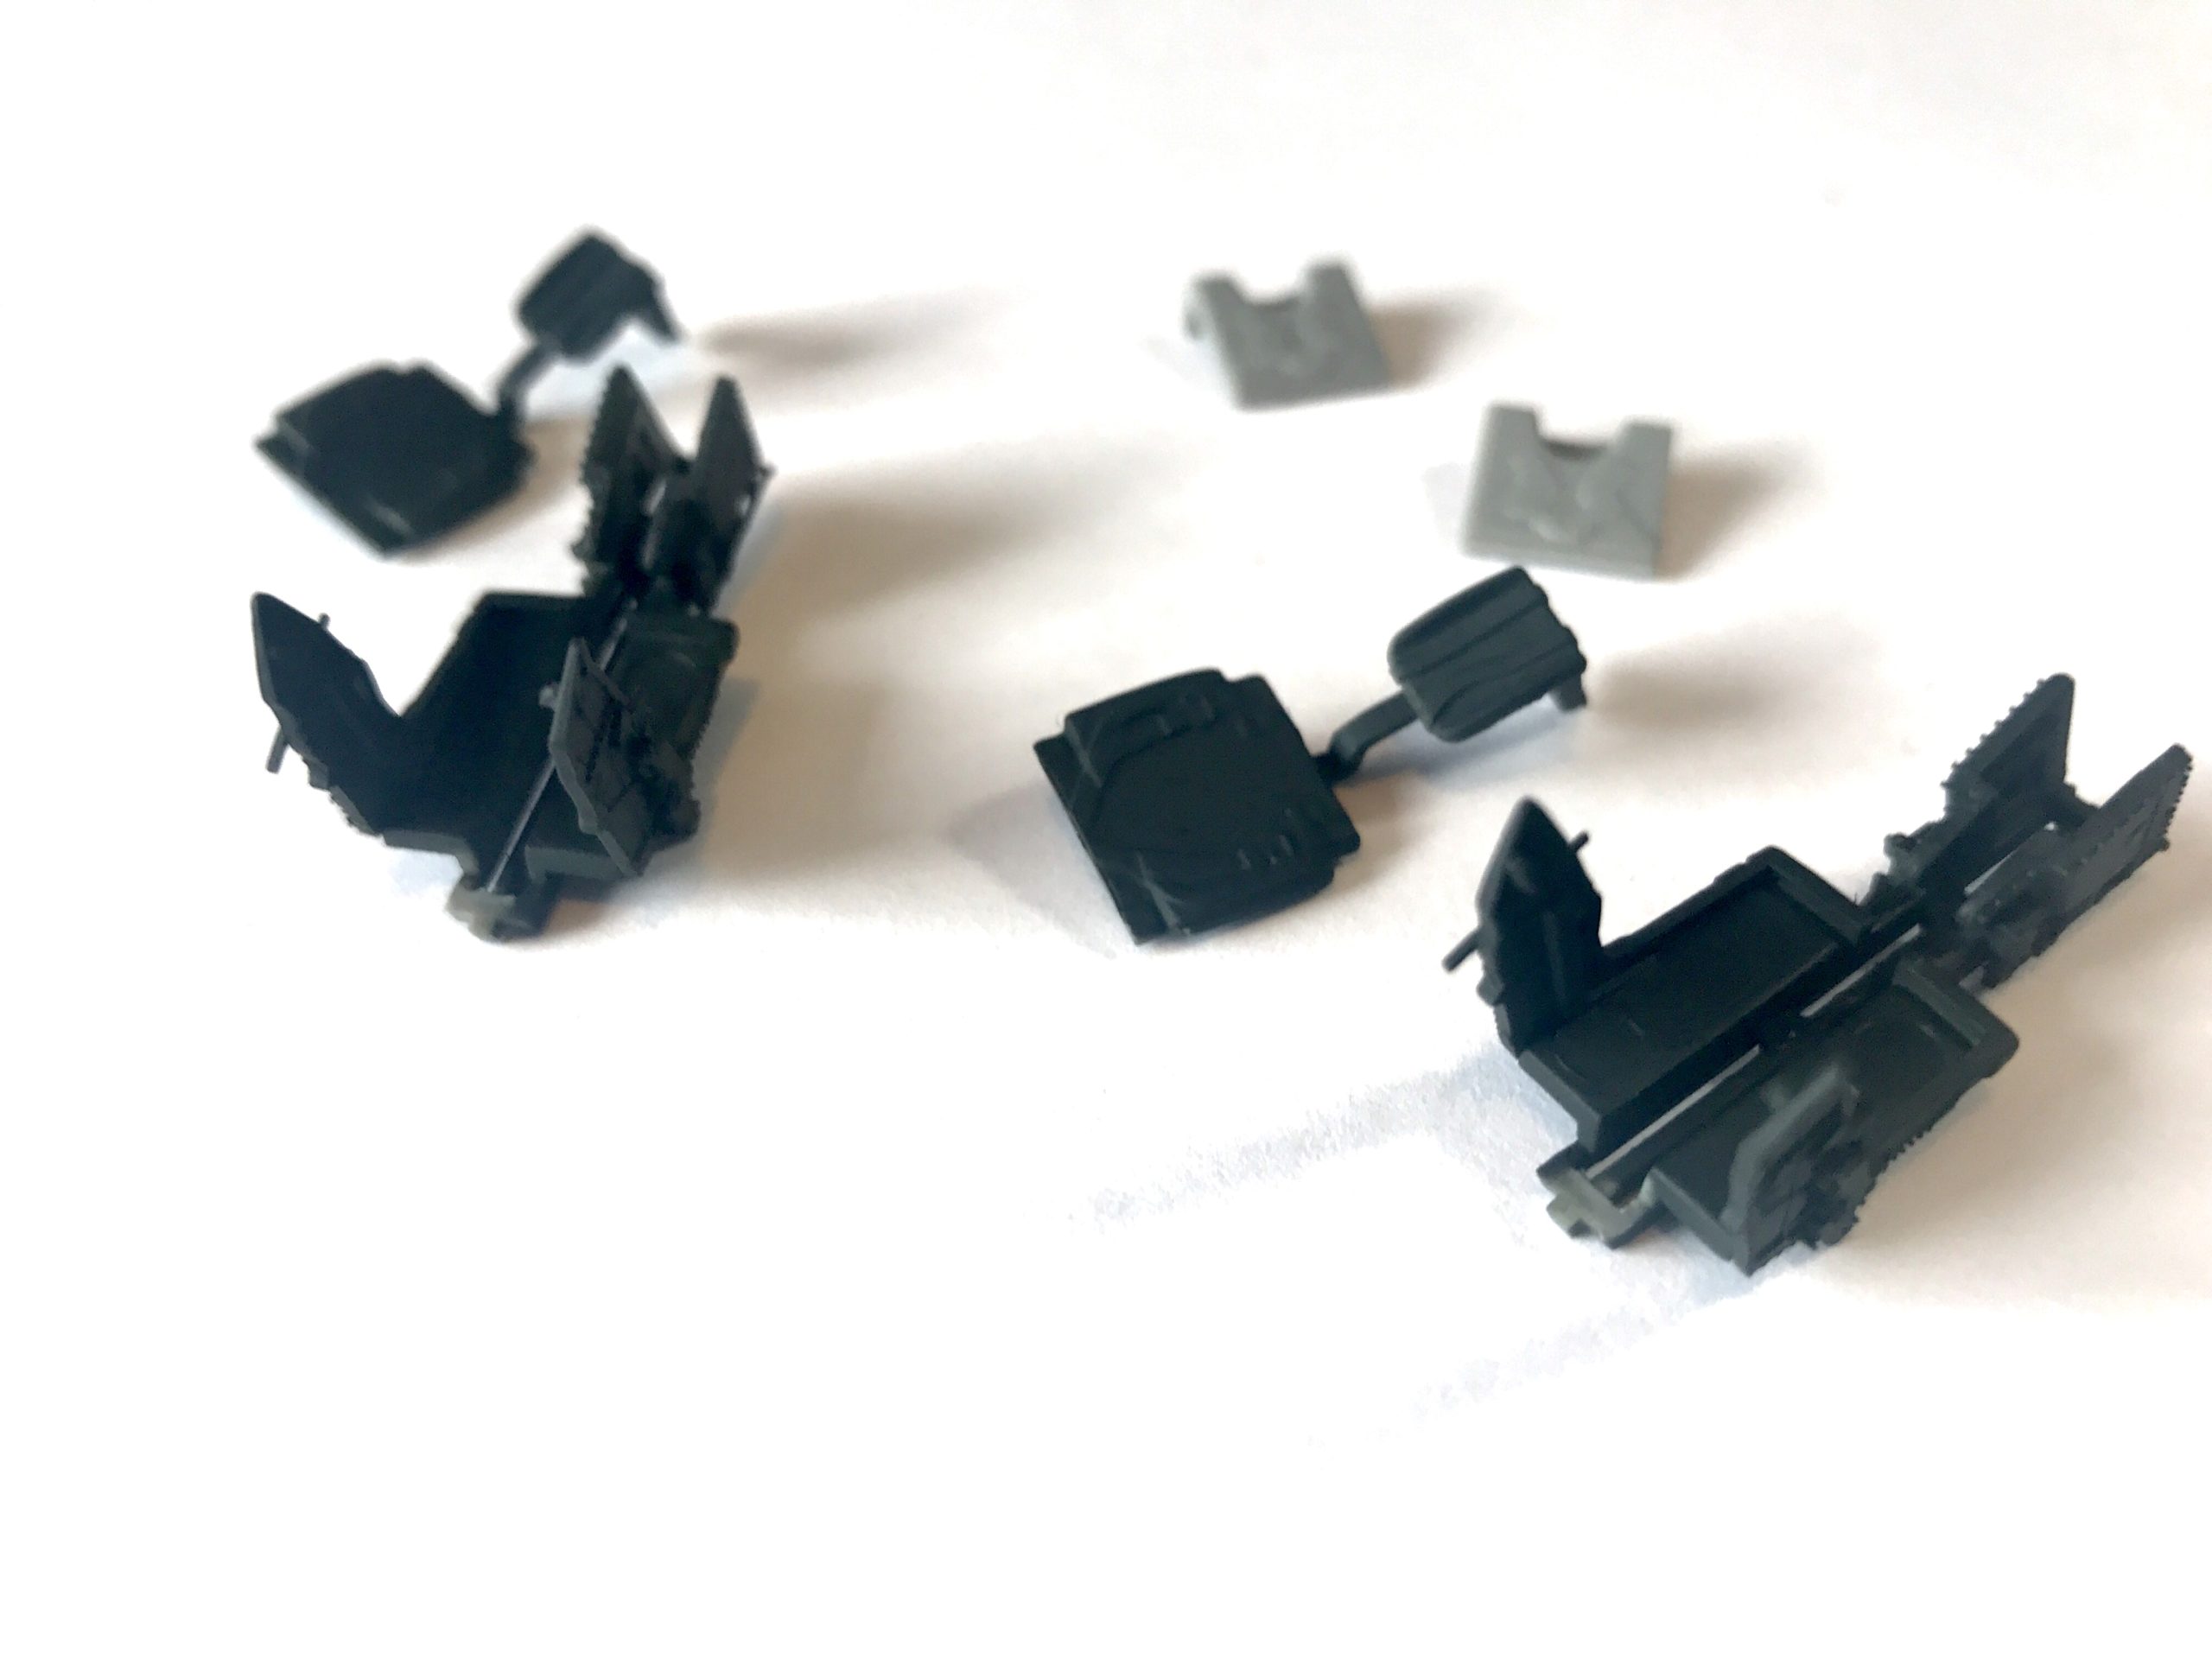
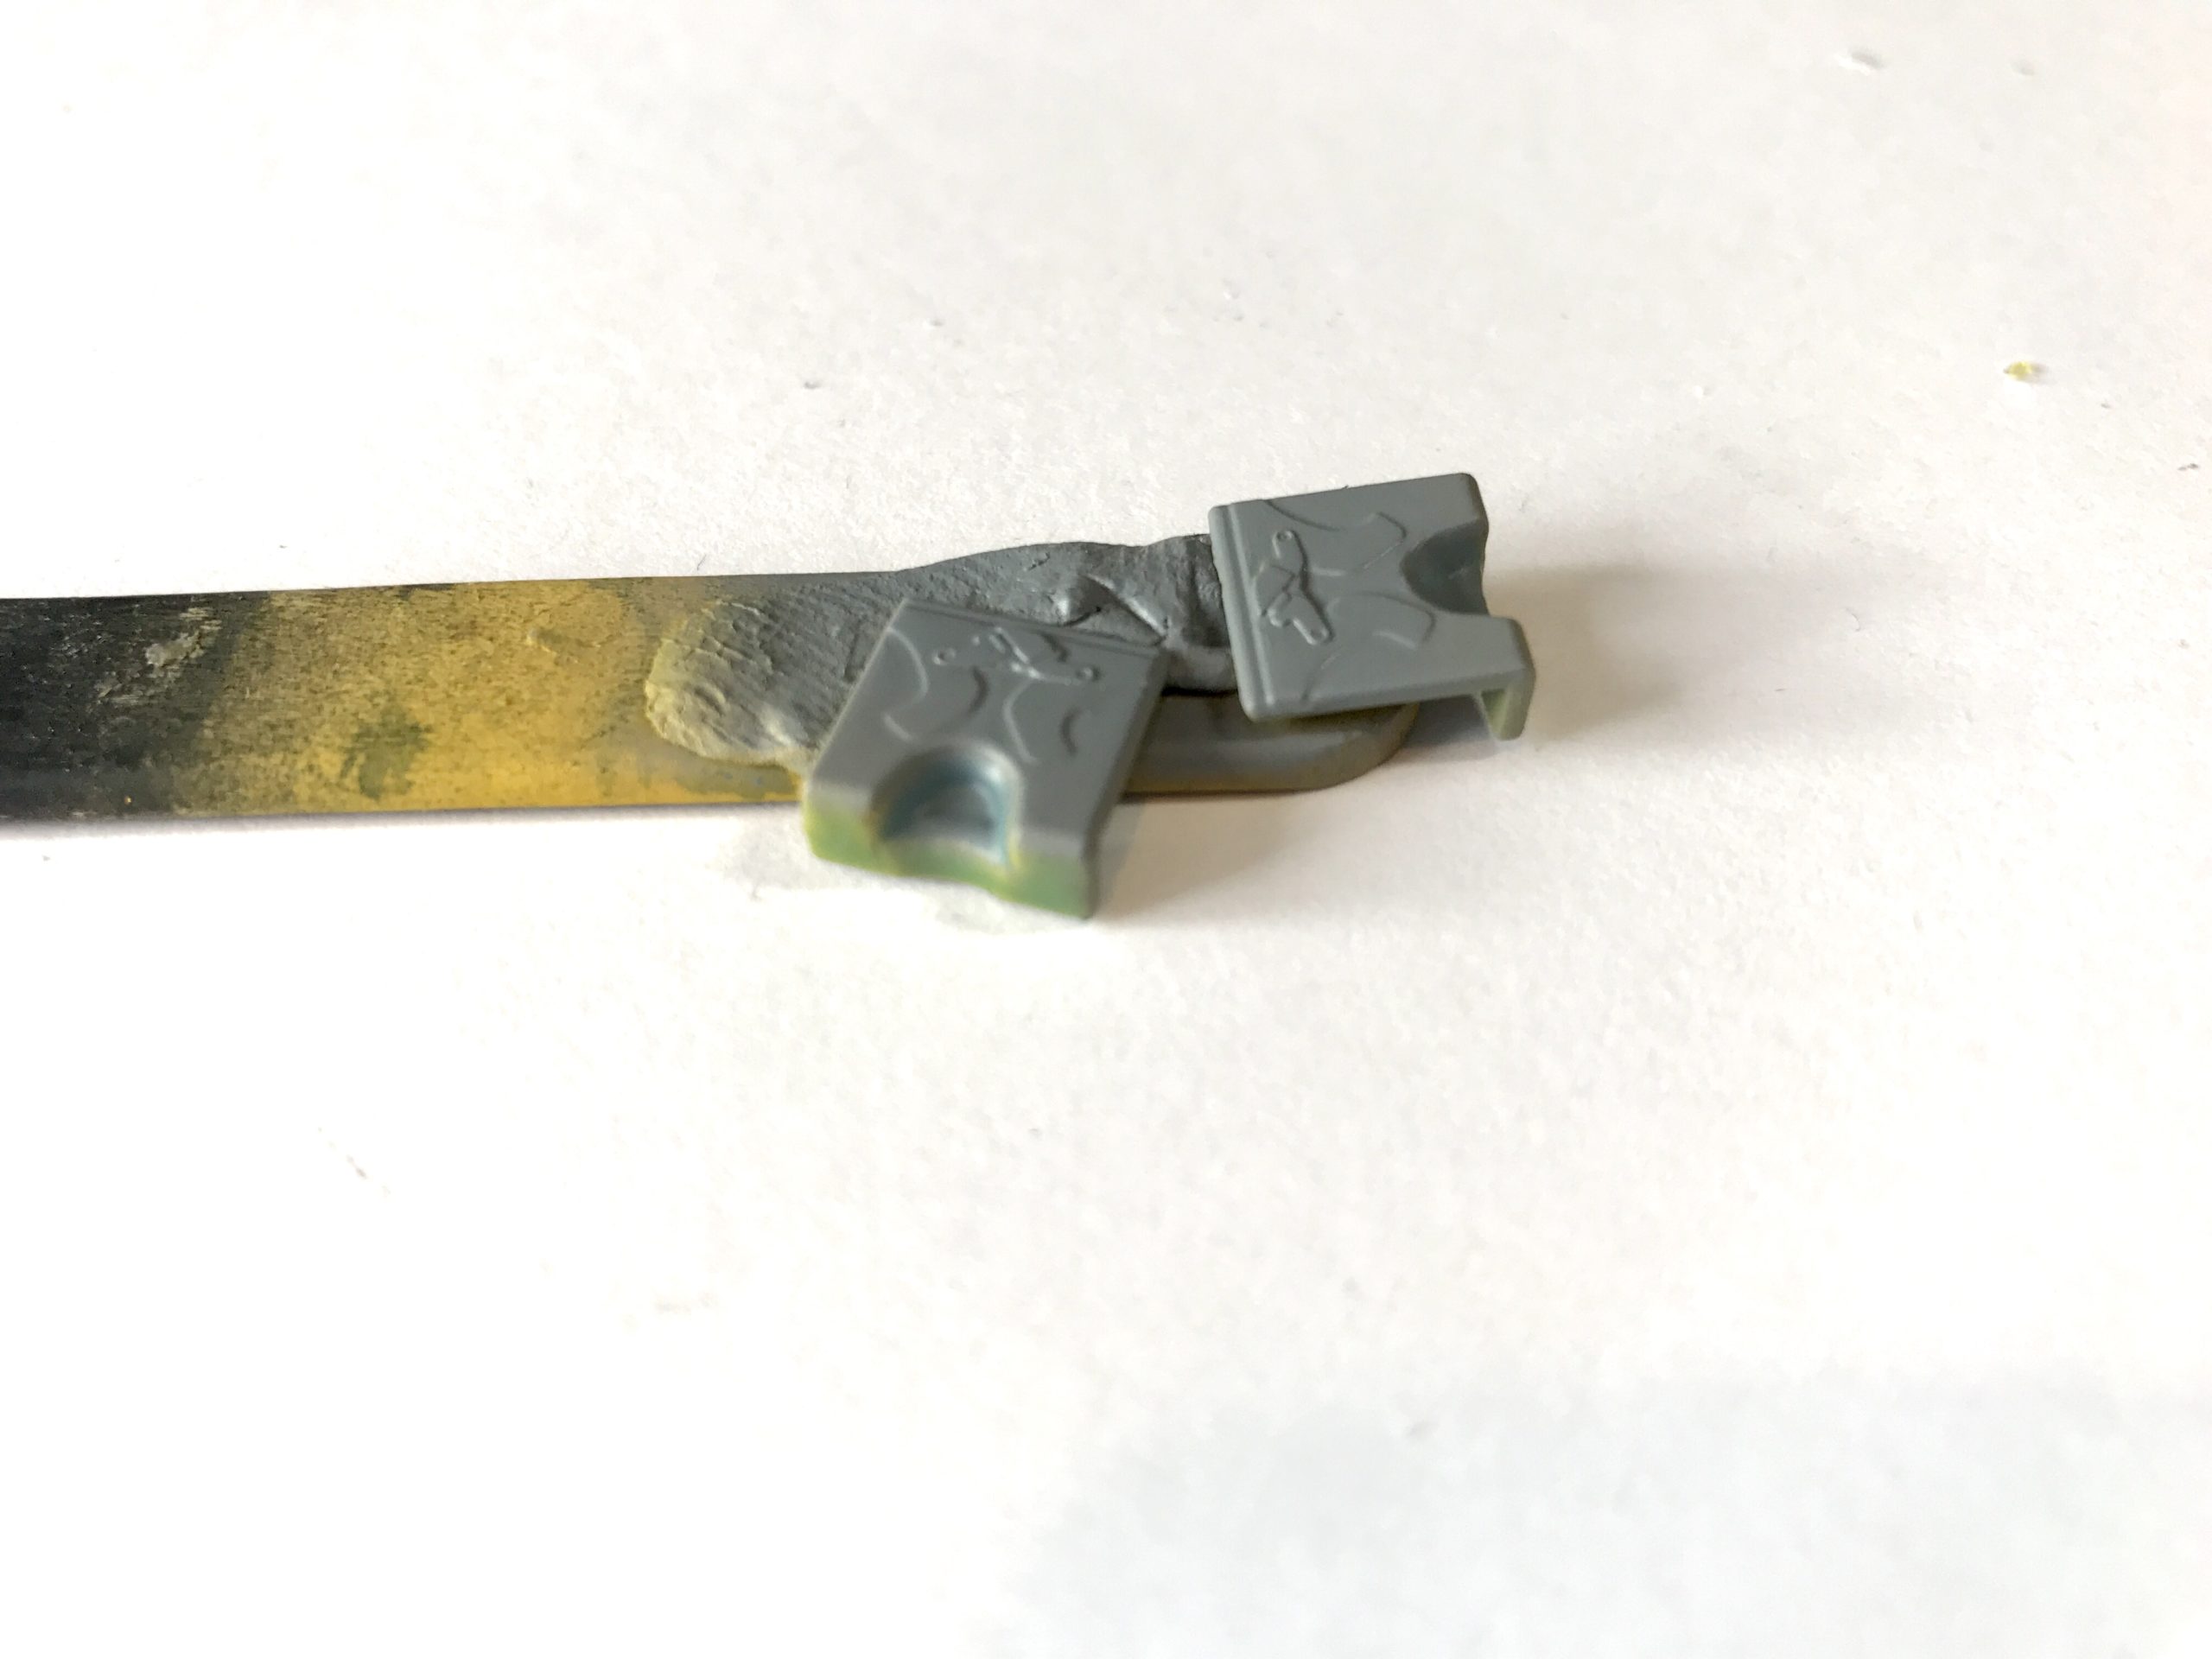
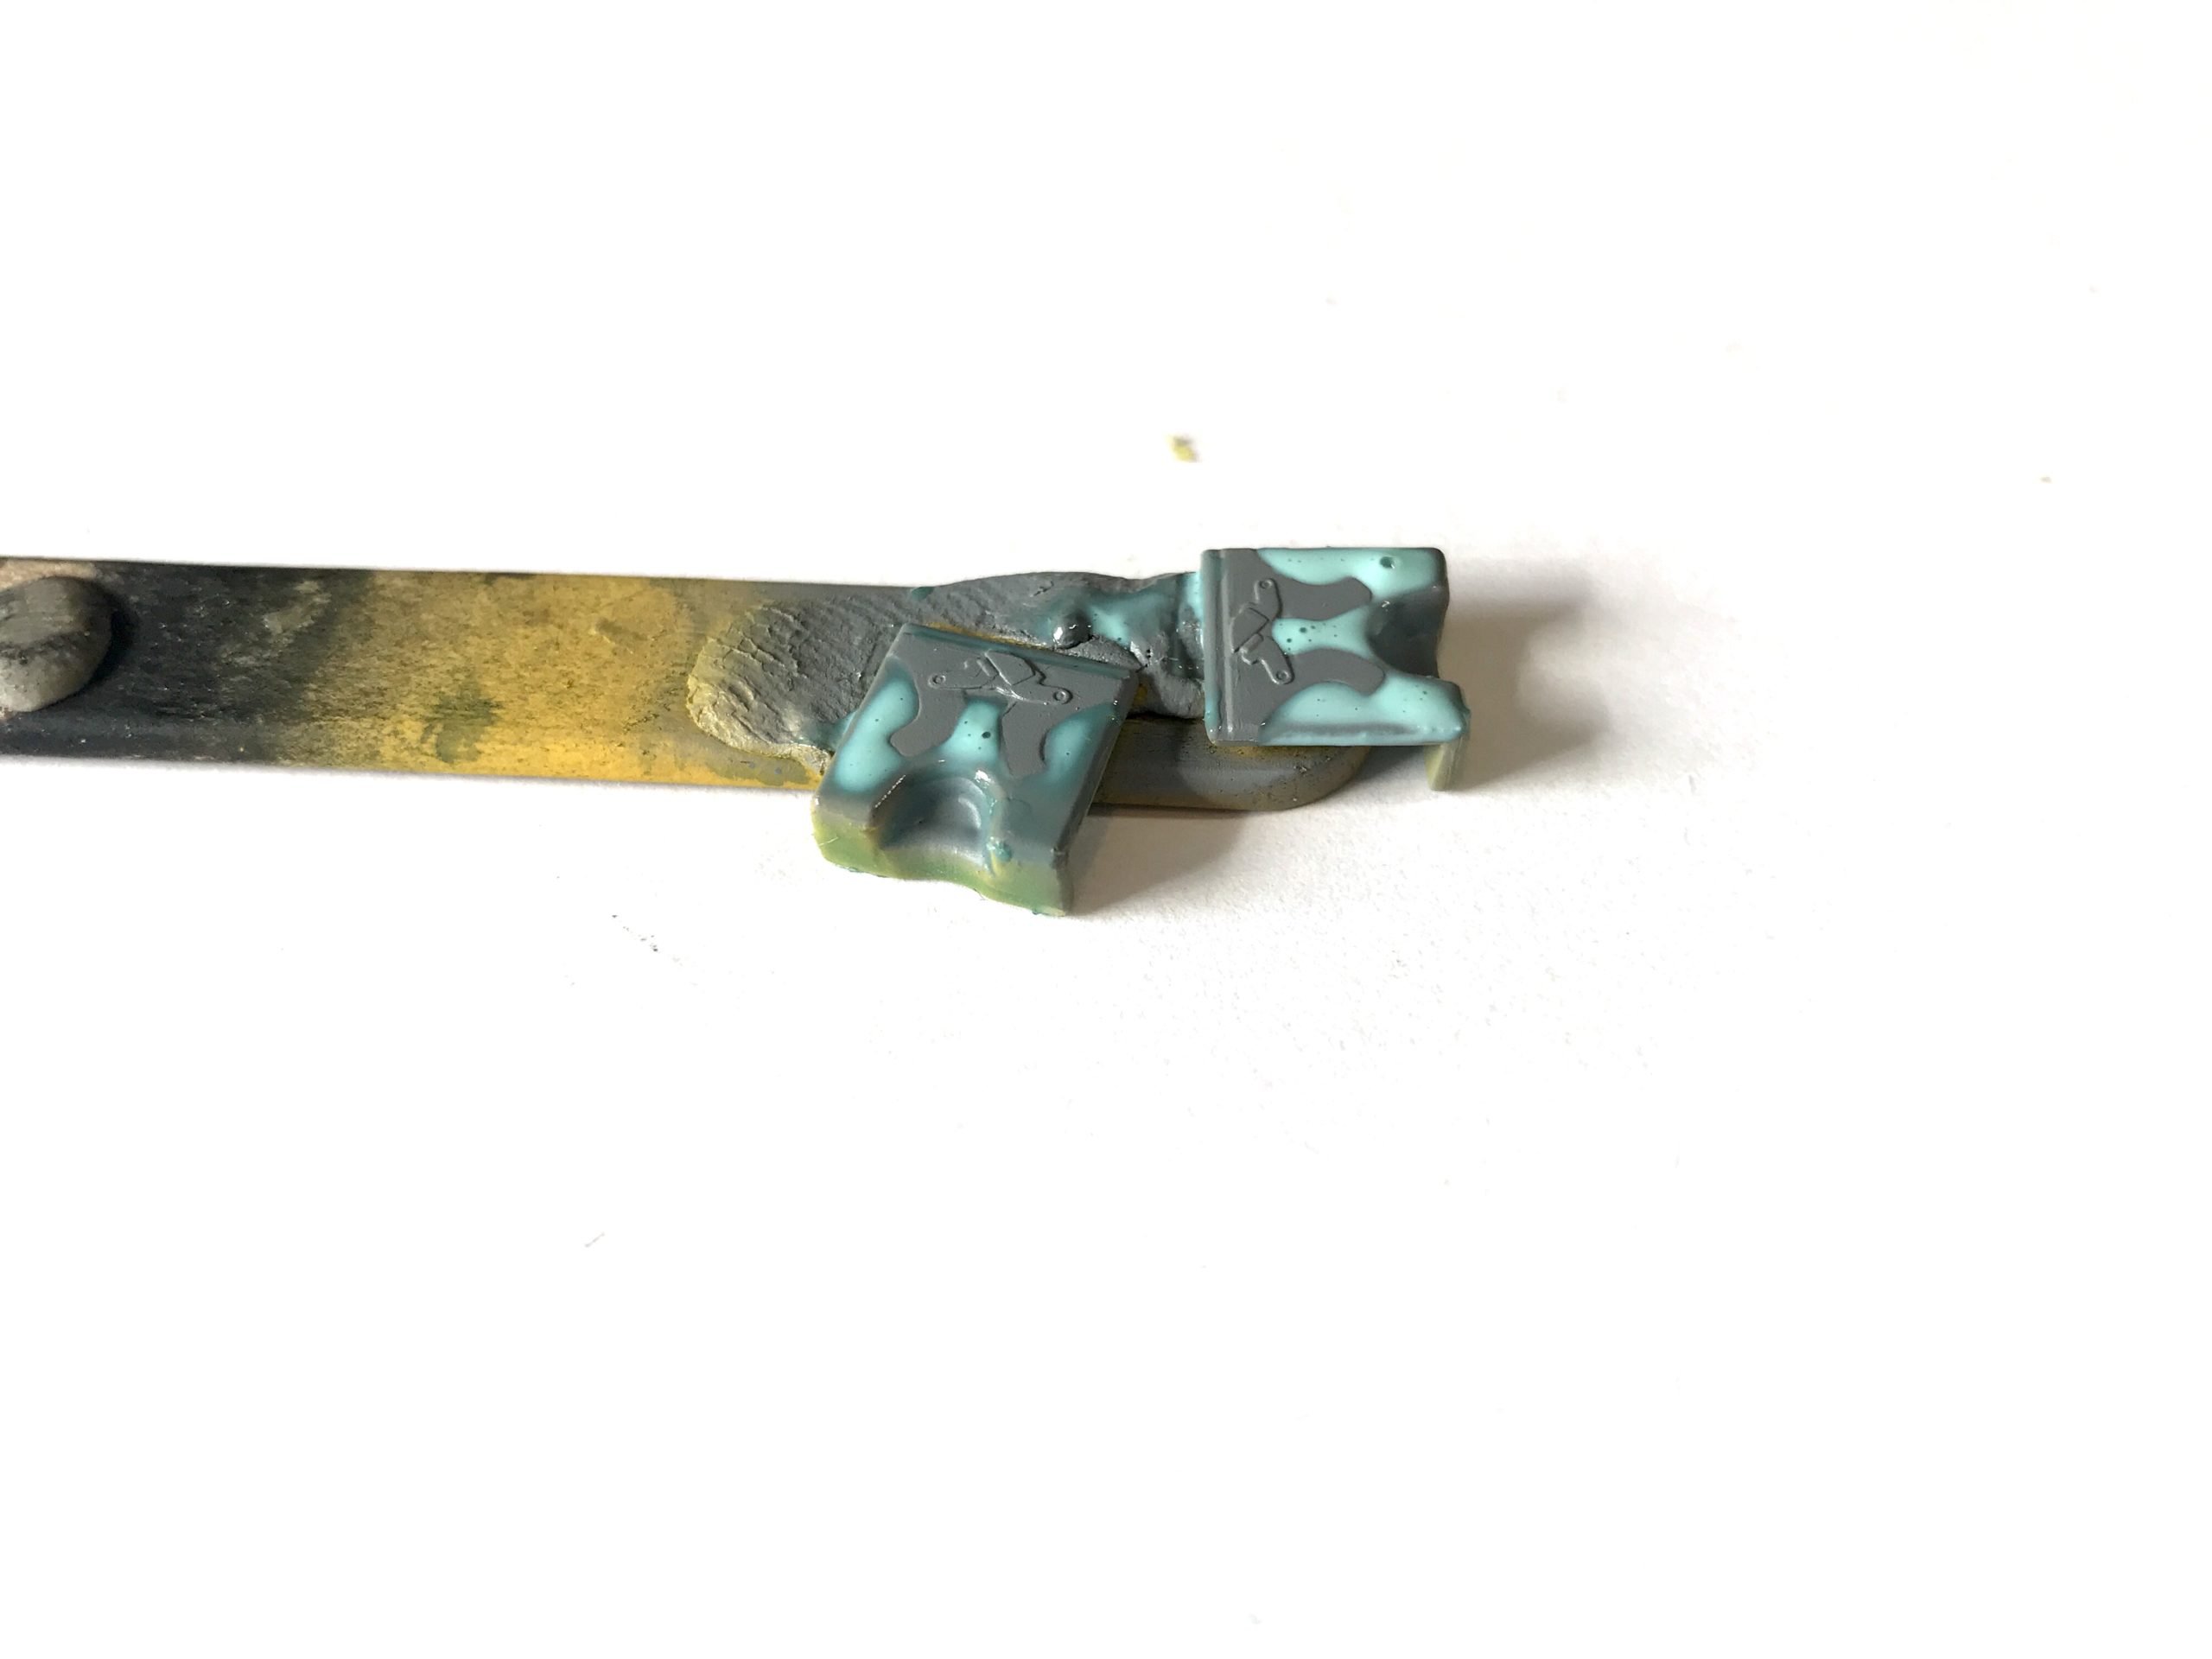
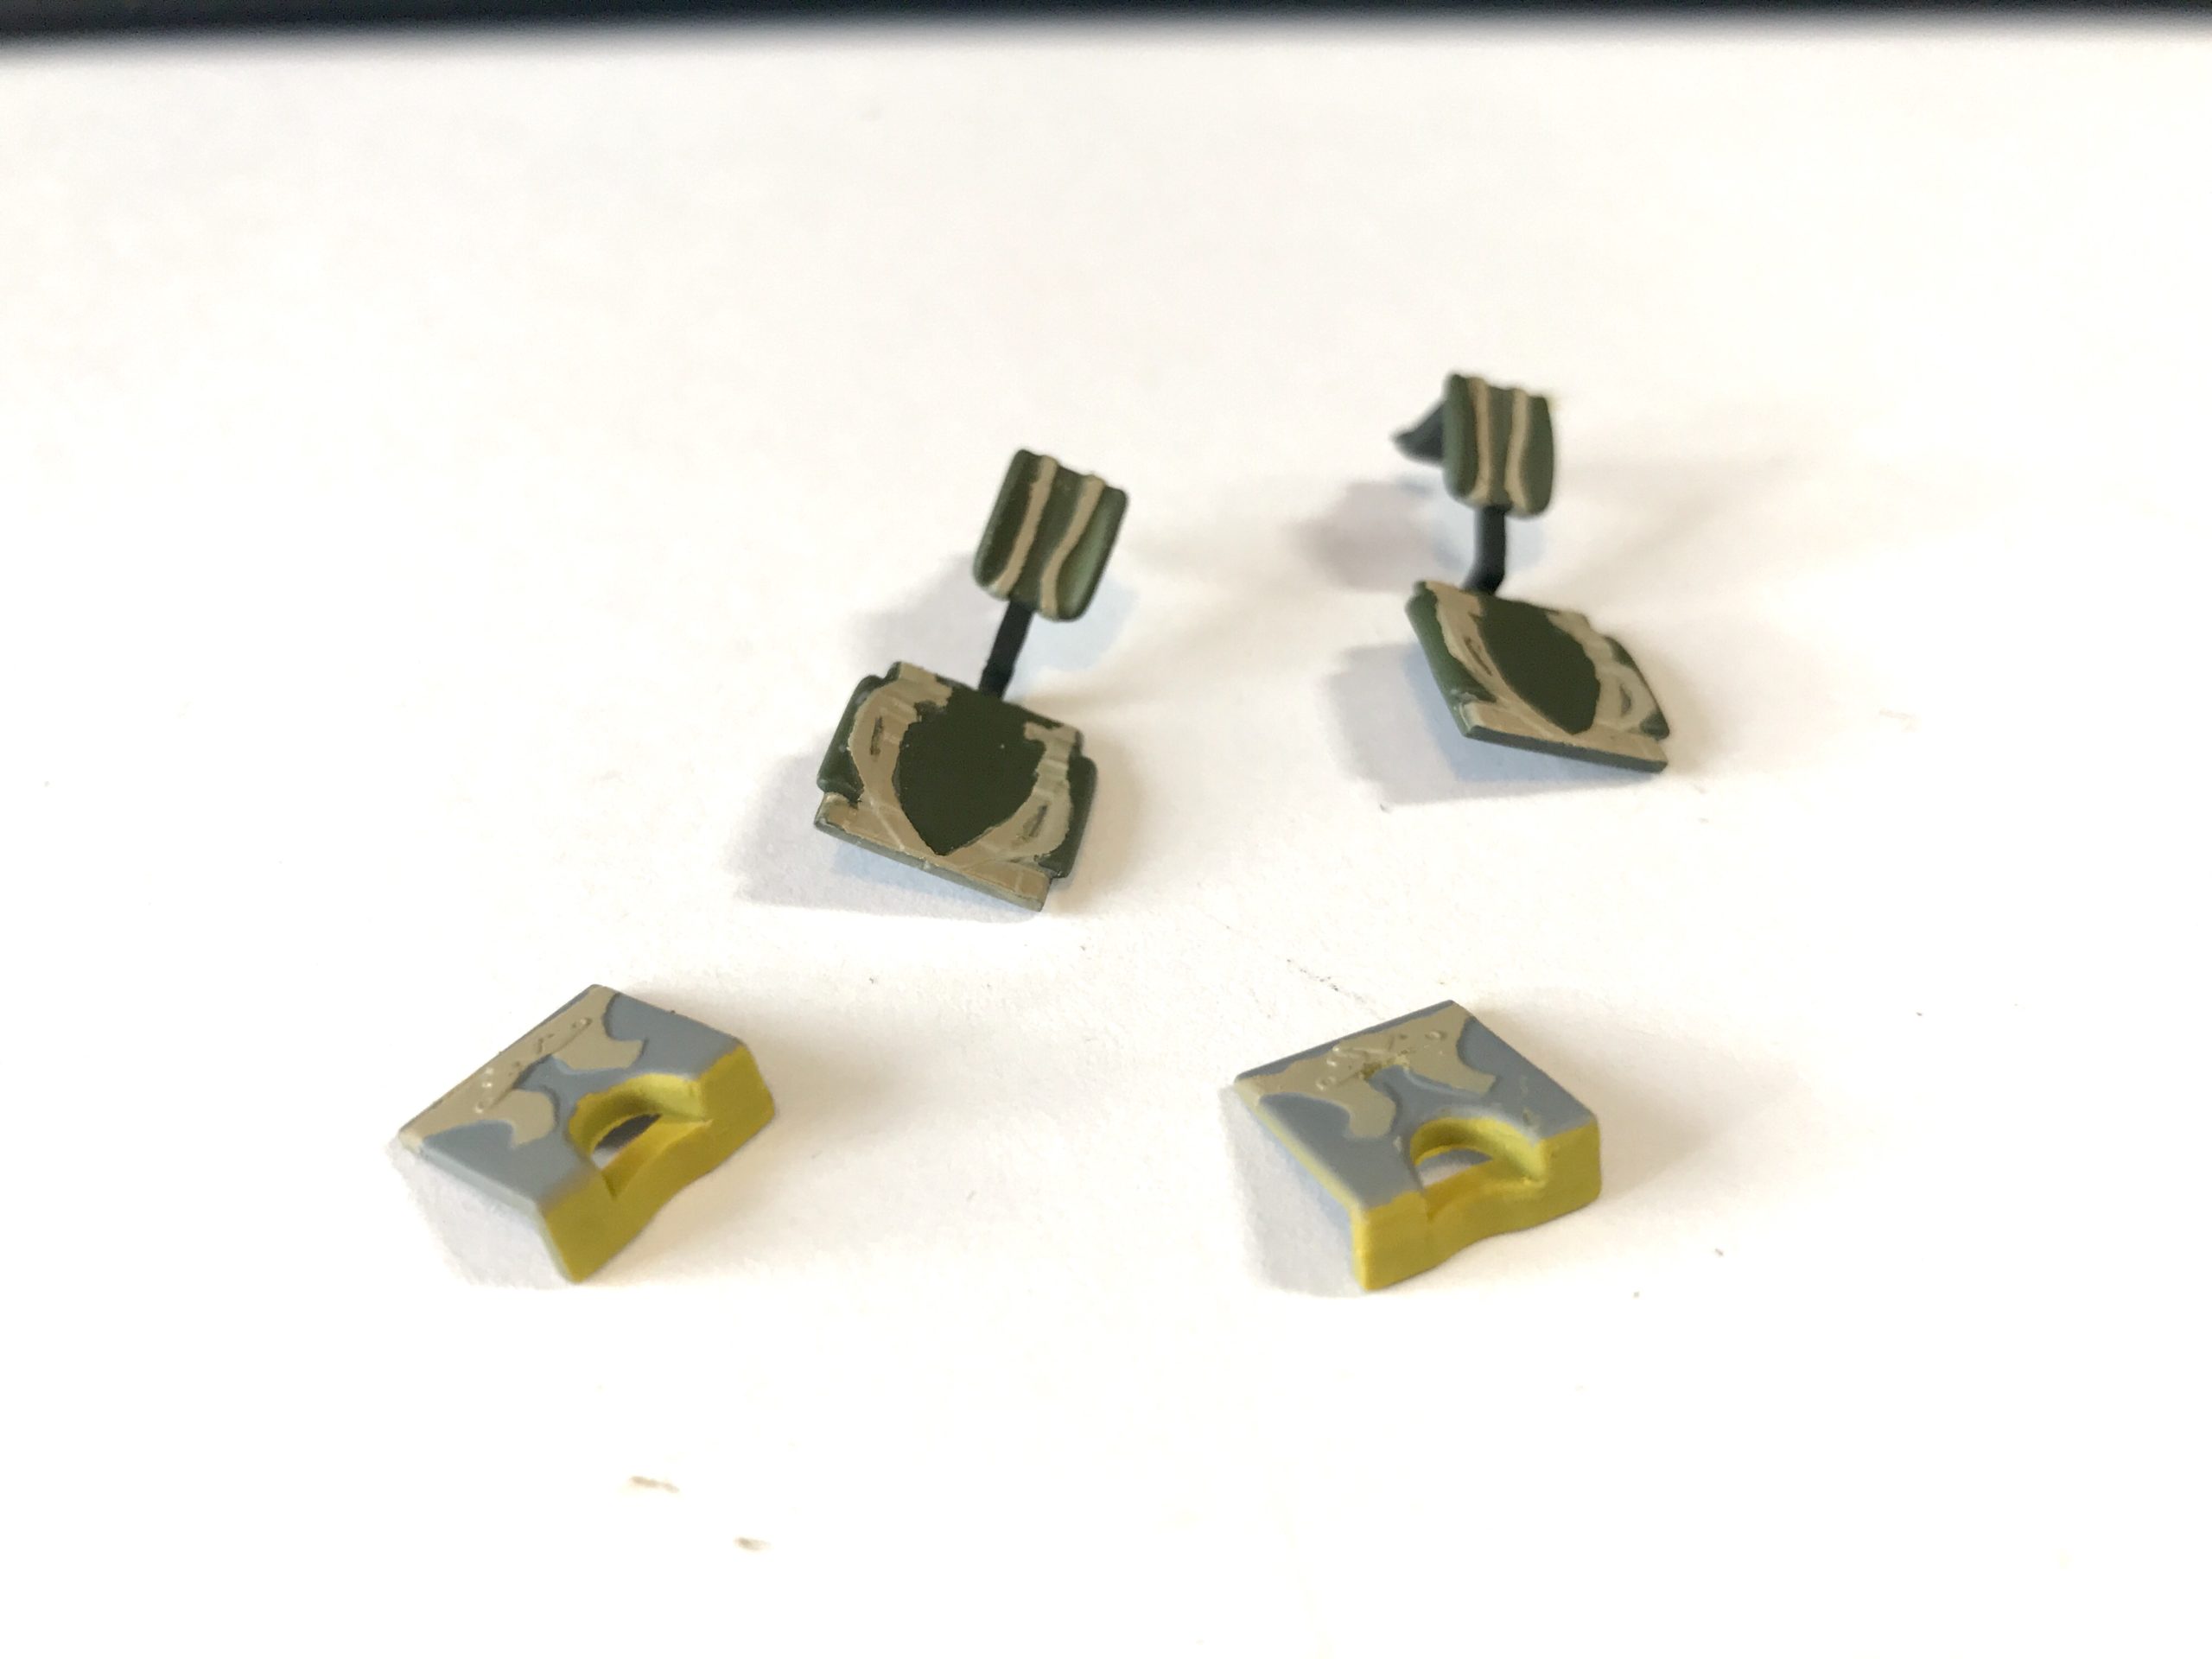
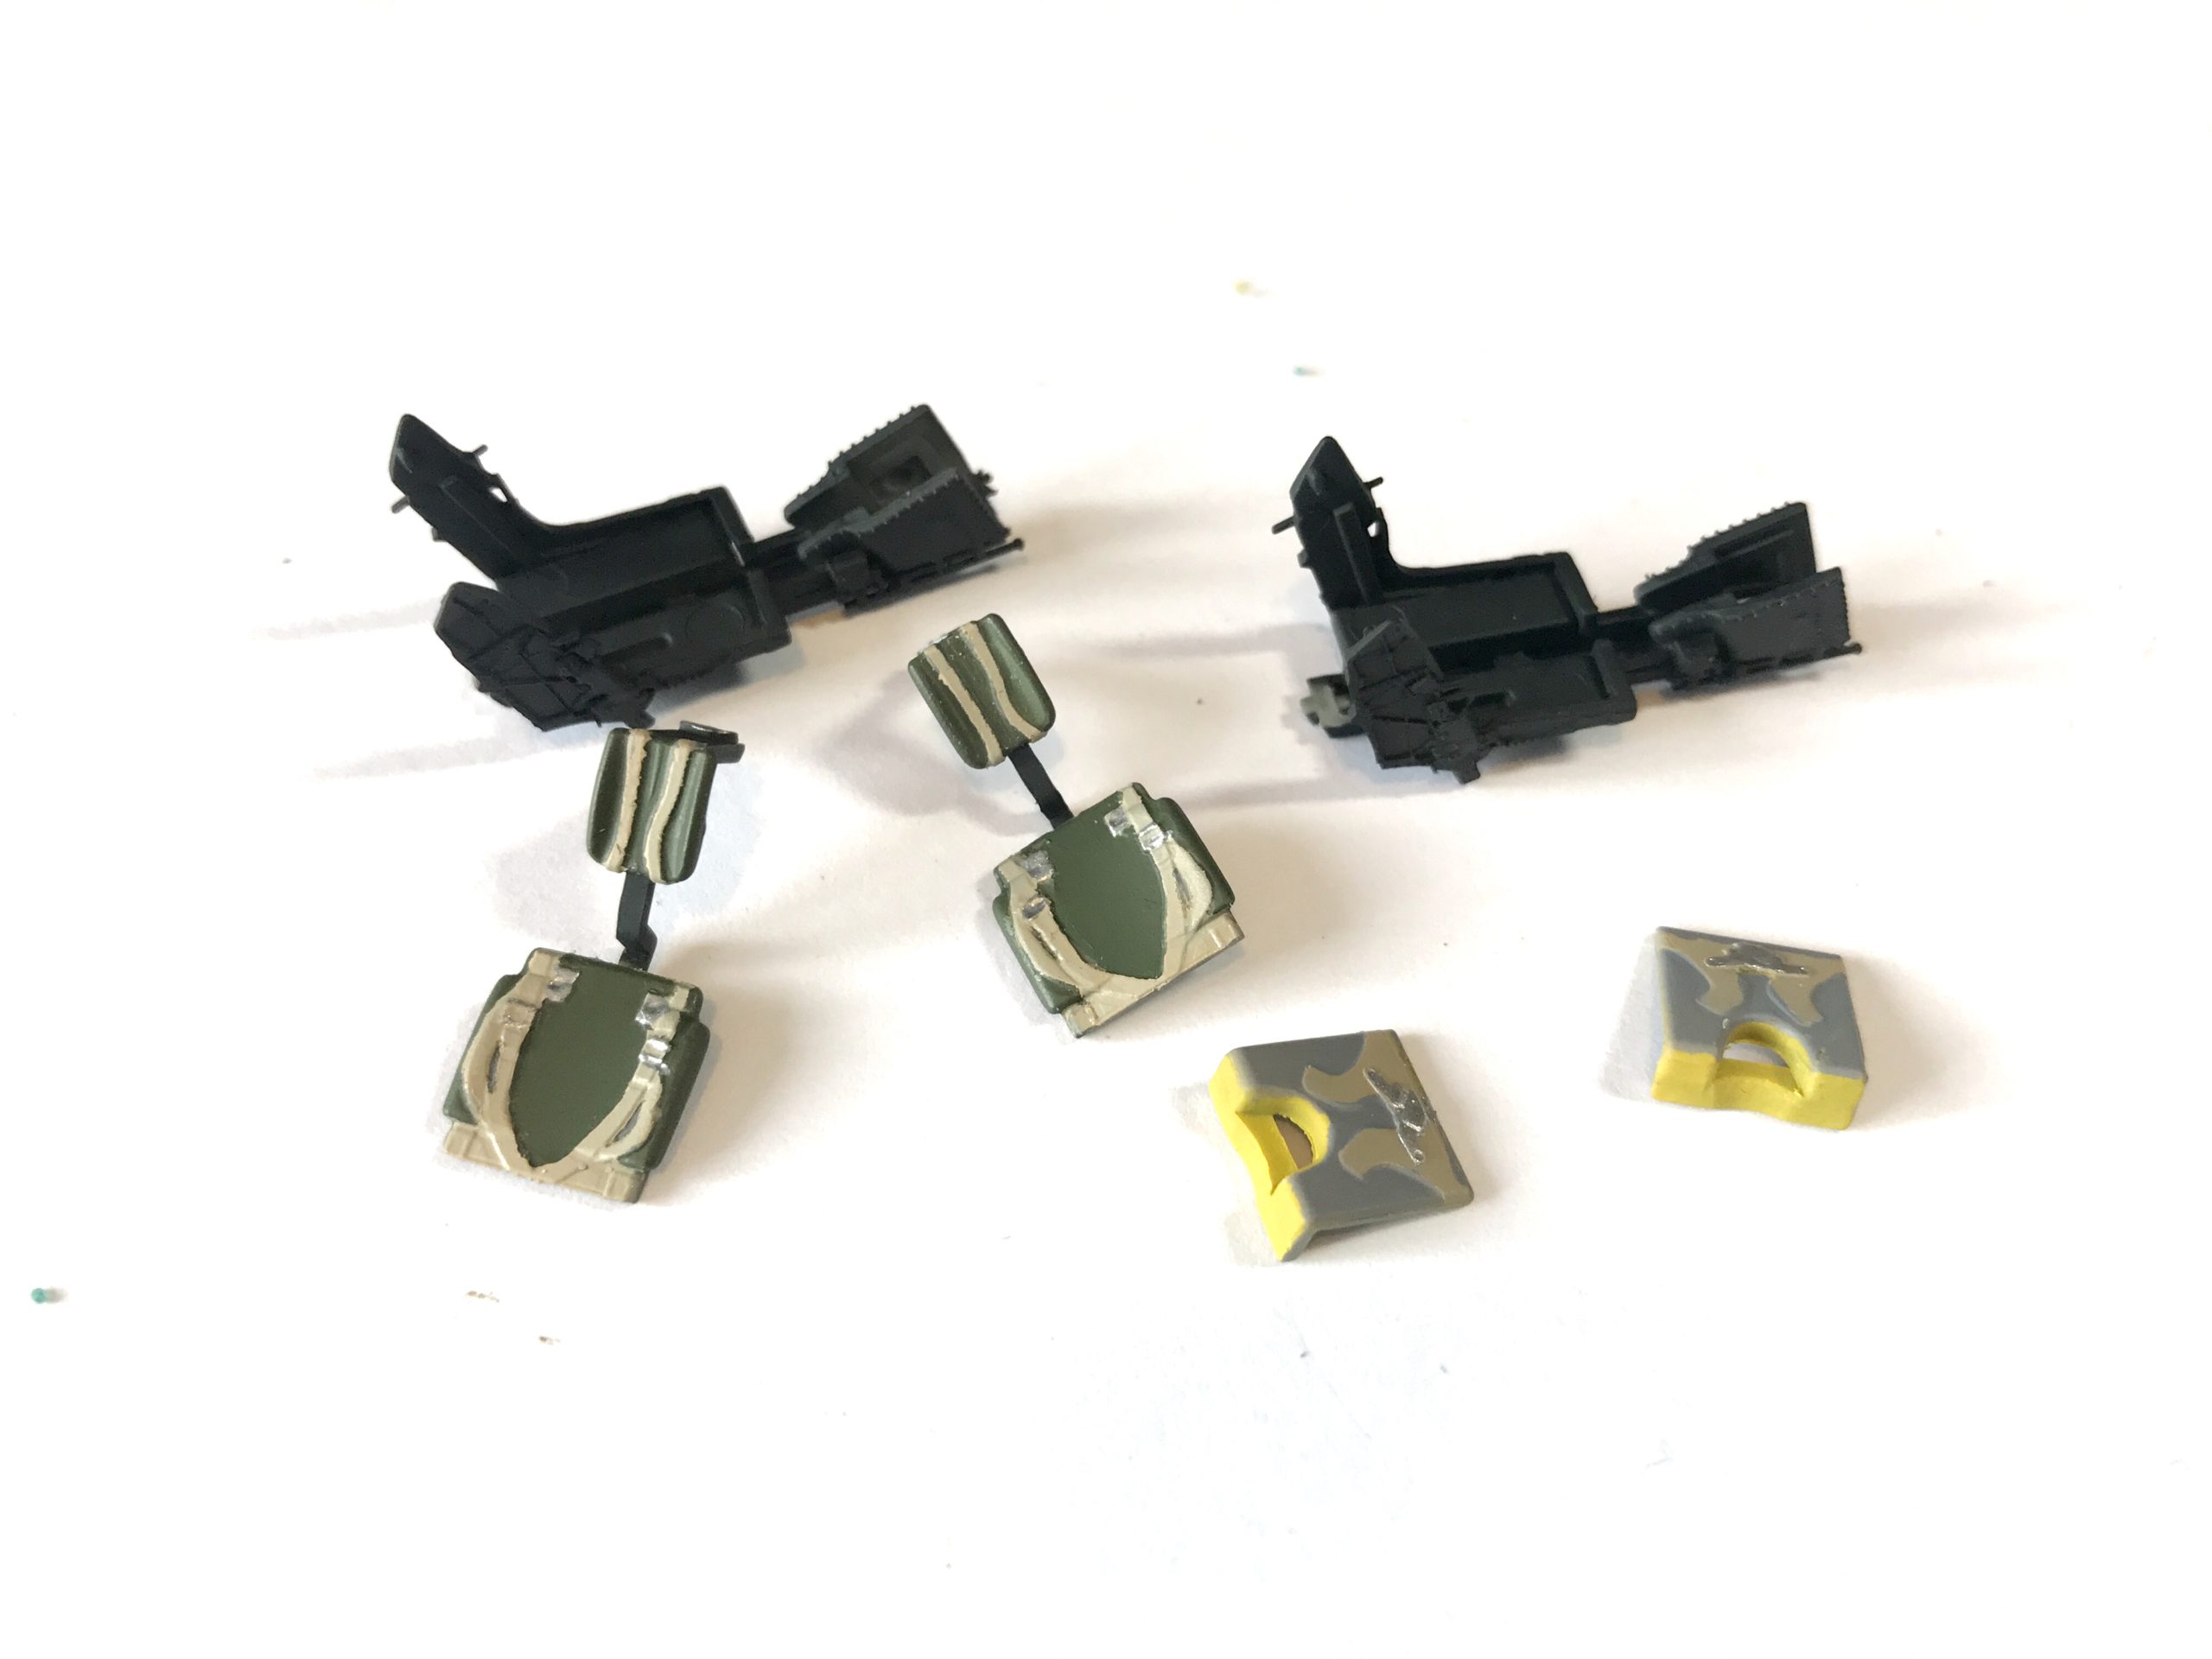
I could have used the ejection seats from my previous build as I was actually pretty happy with how they turned out. I thought I could do better though and tried again. I could always choose the best ones to include. The process of painting and assembly can be seen below.

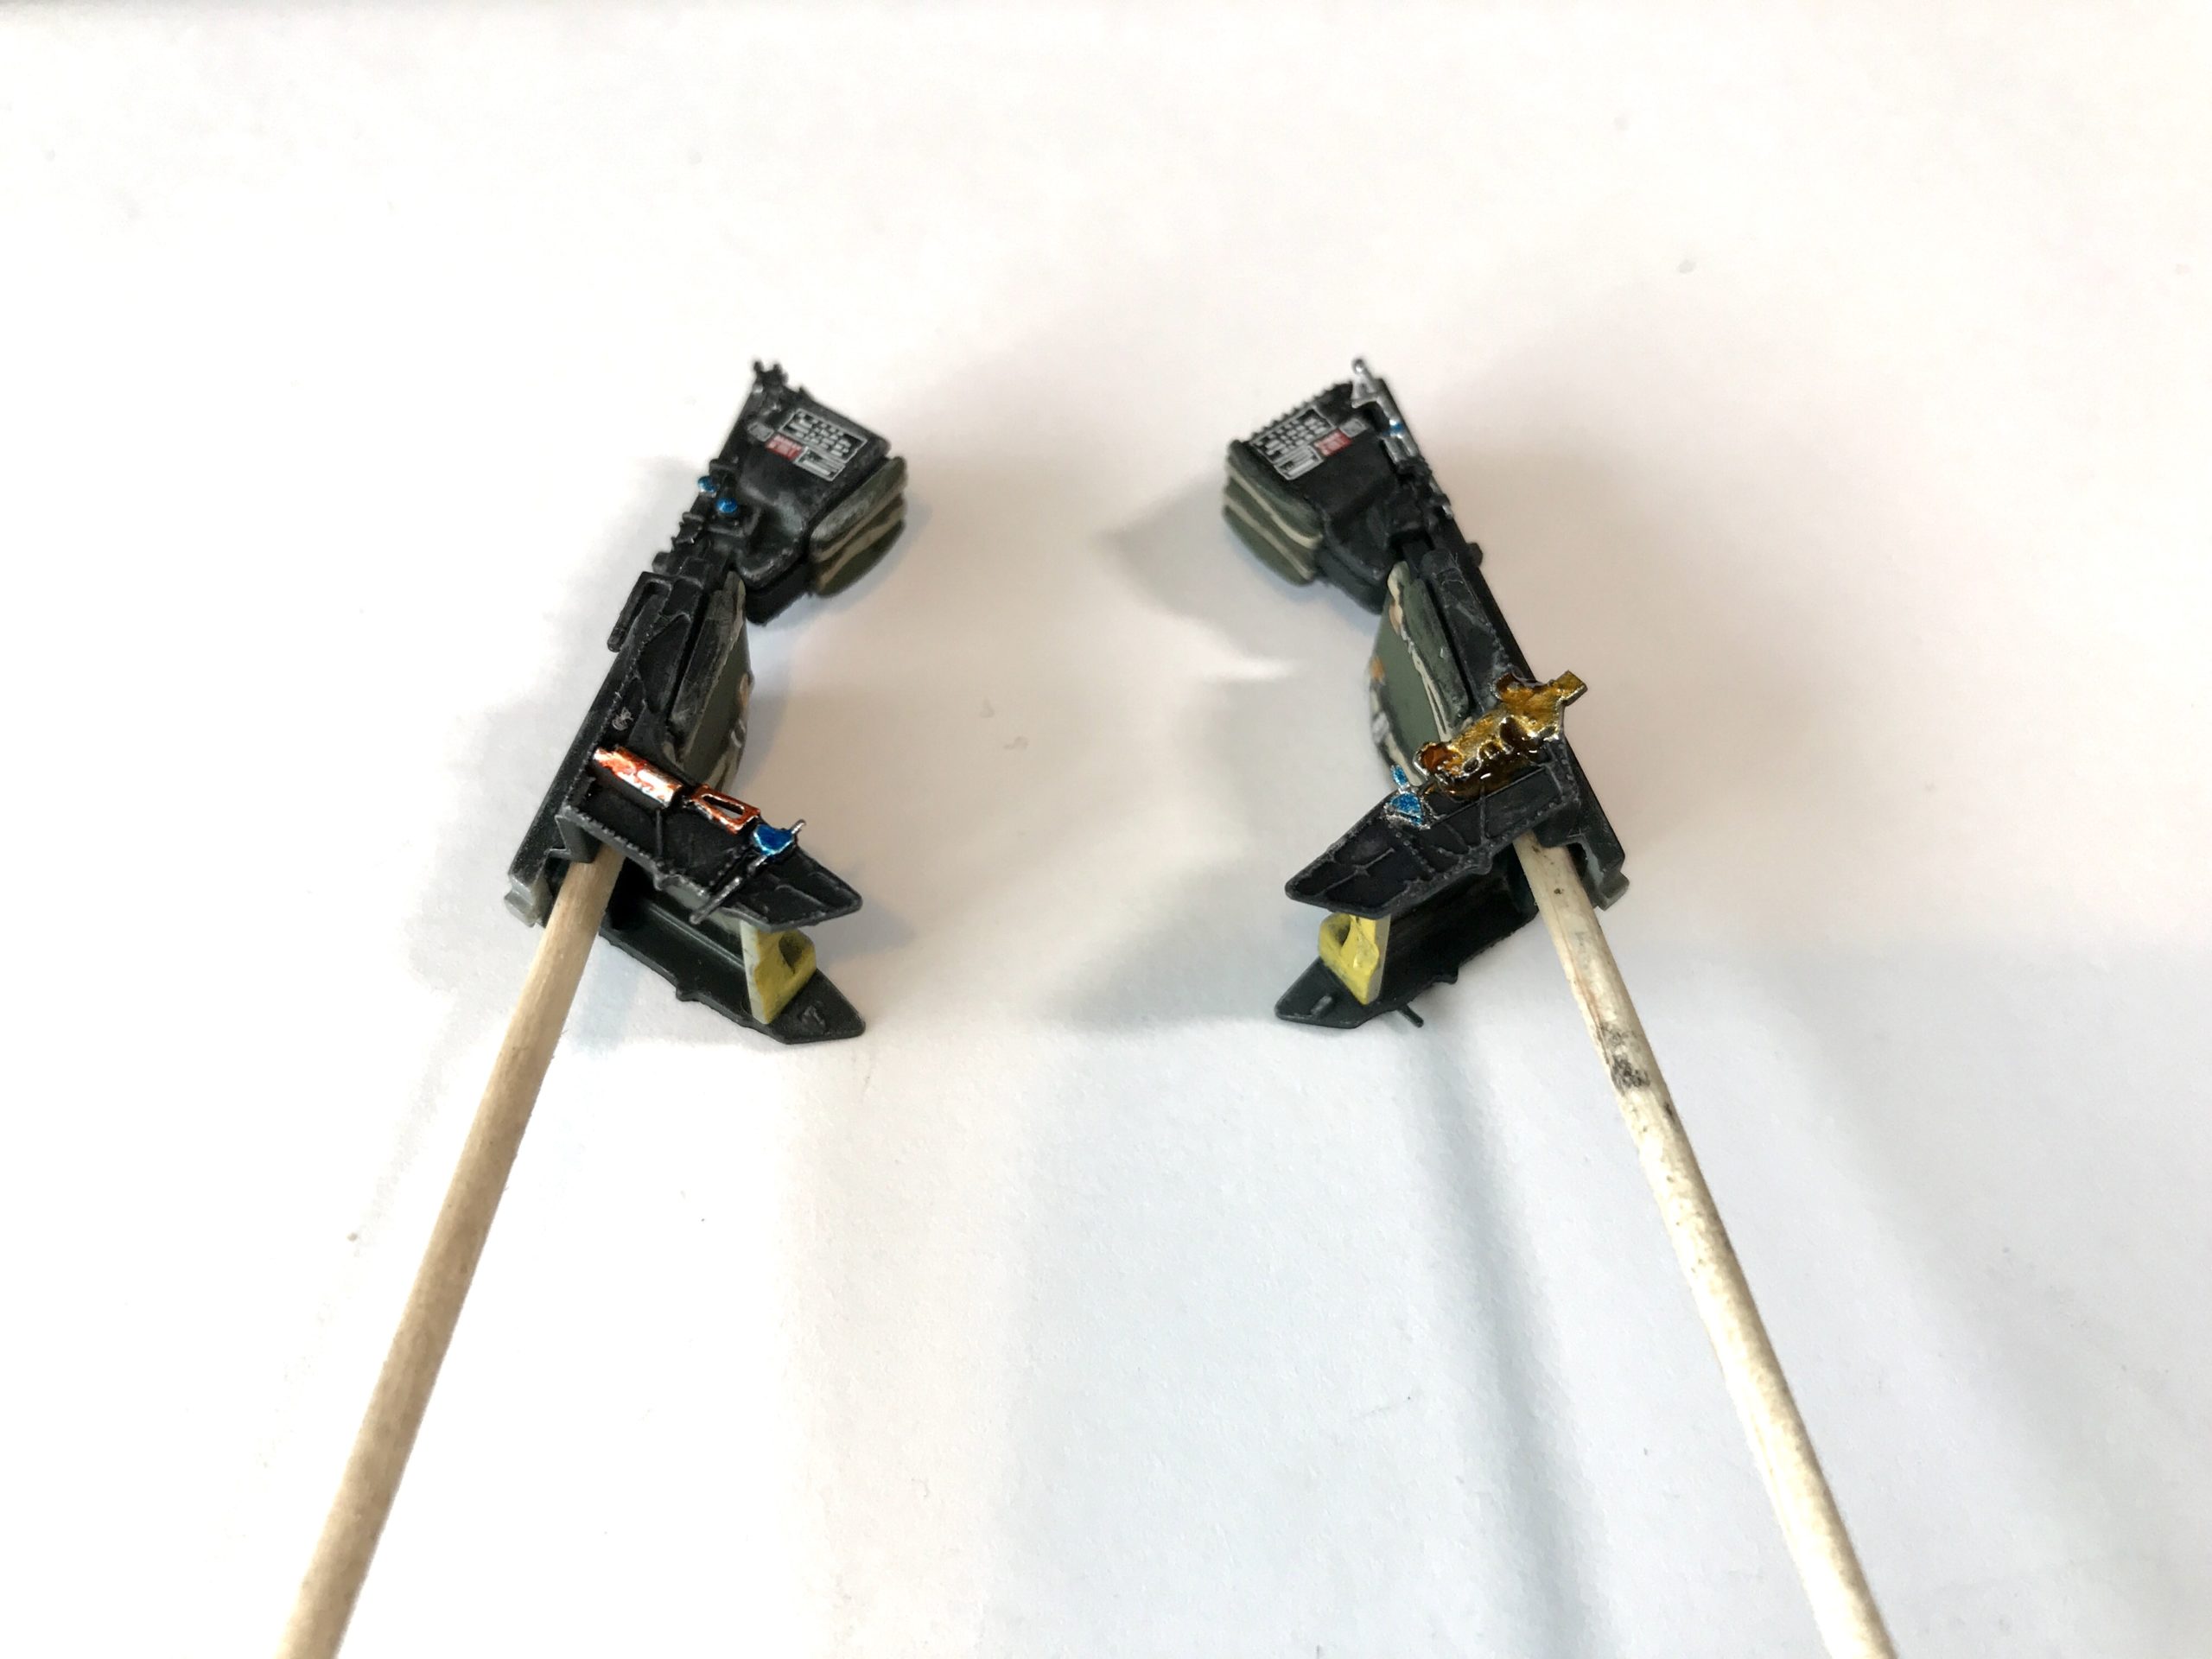
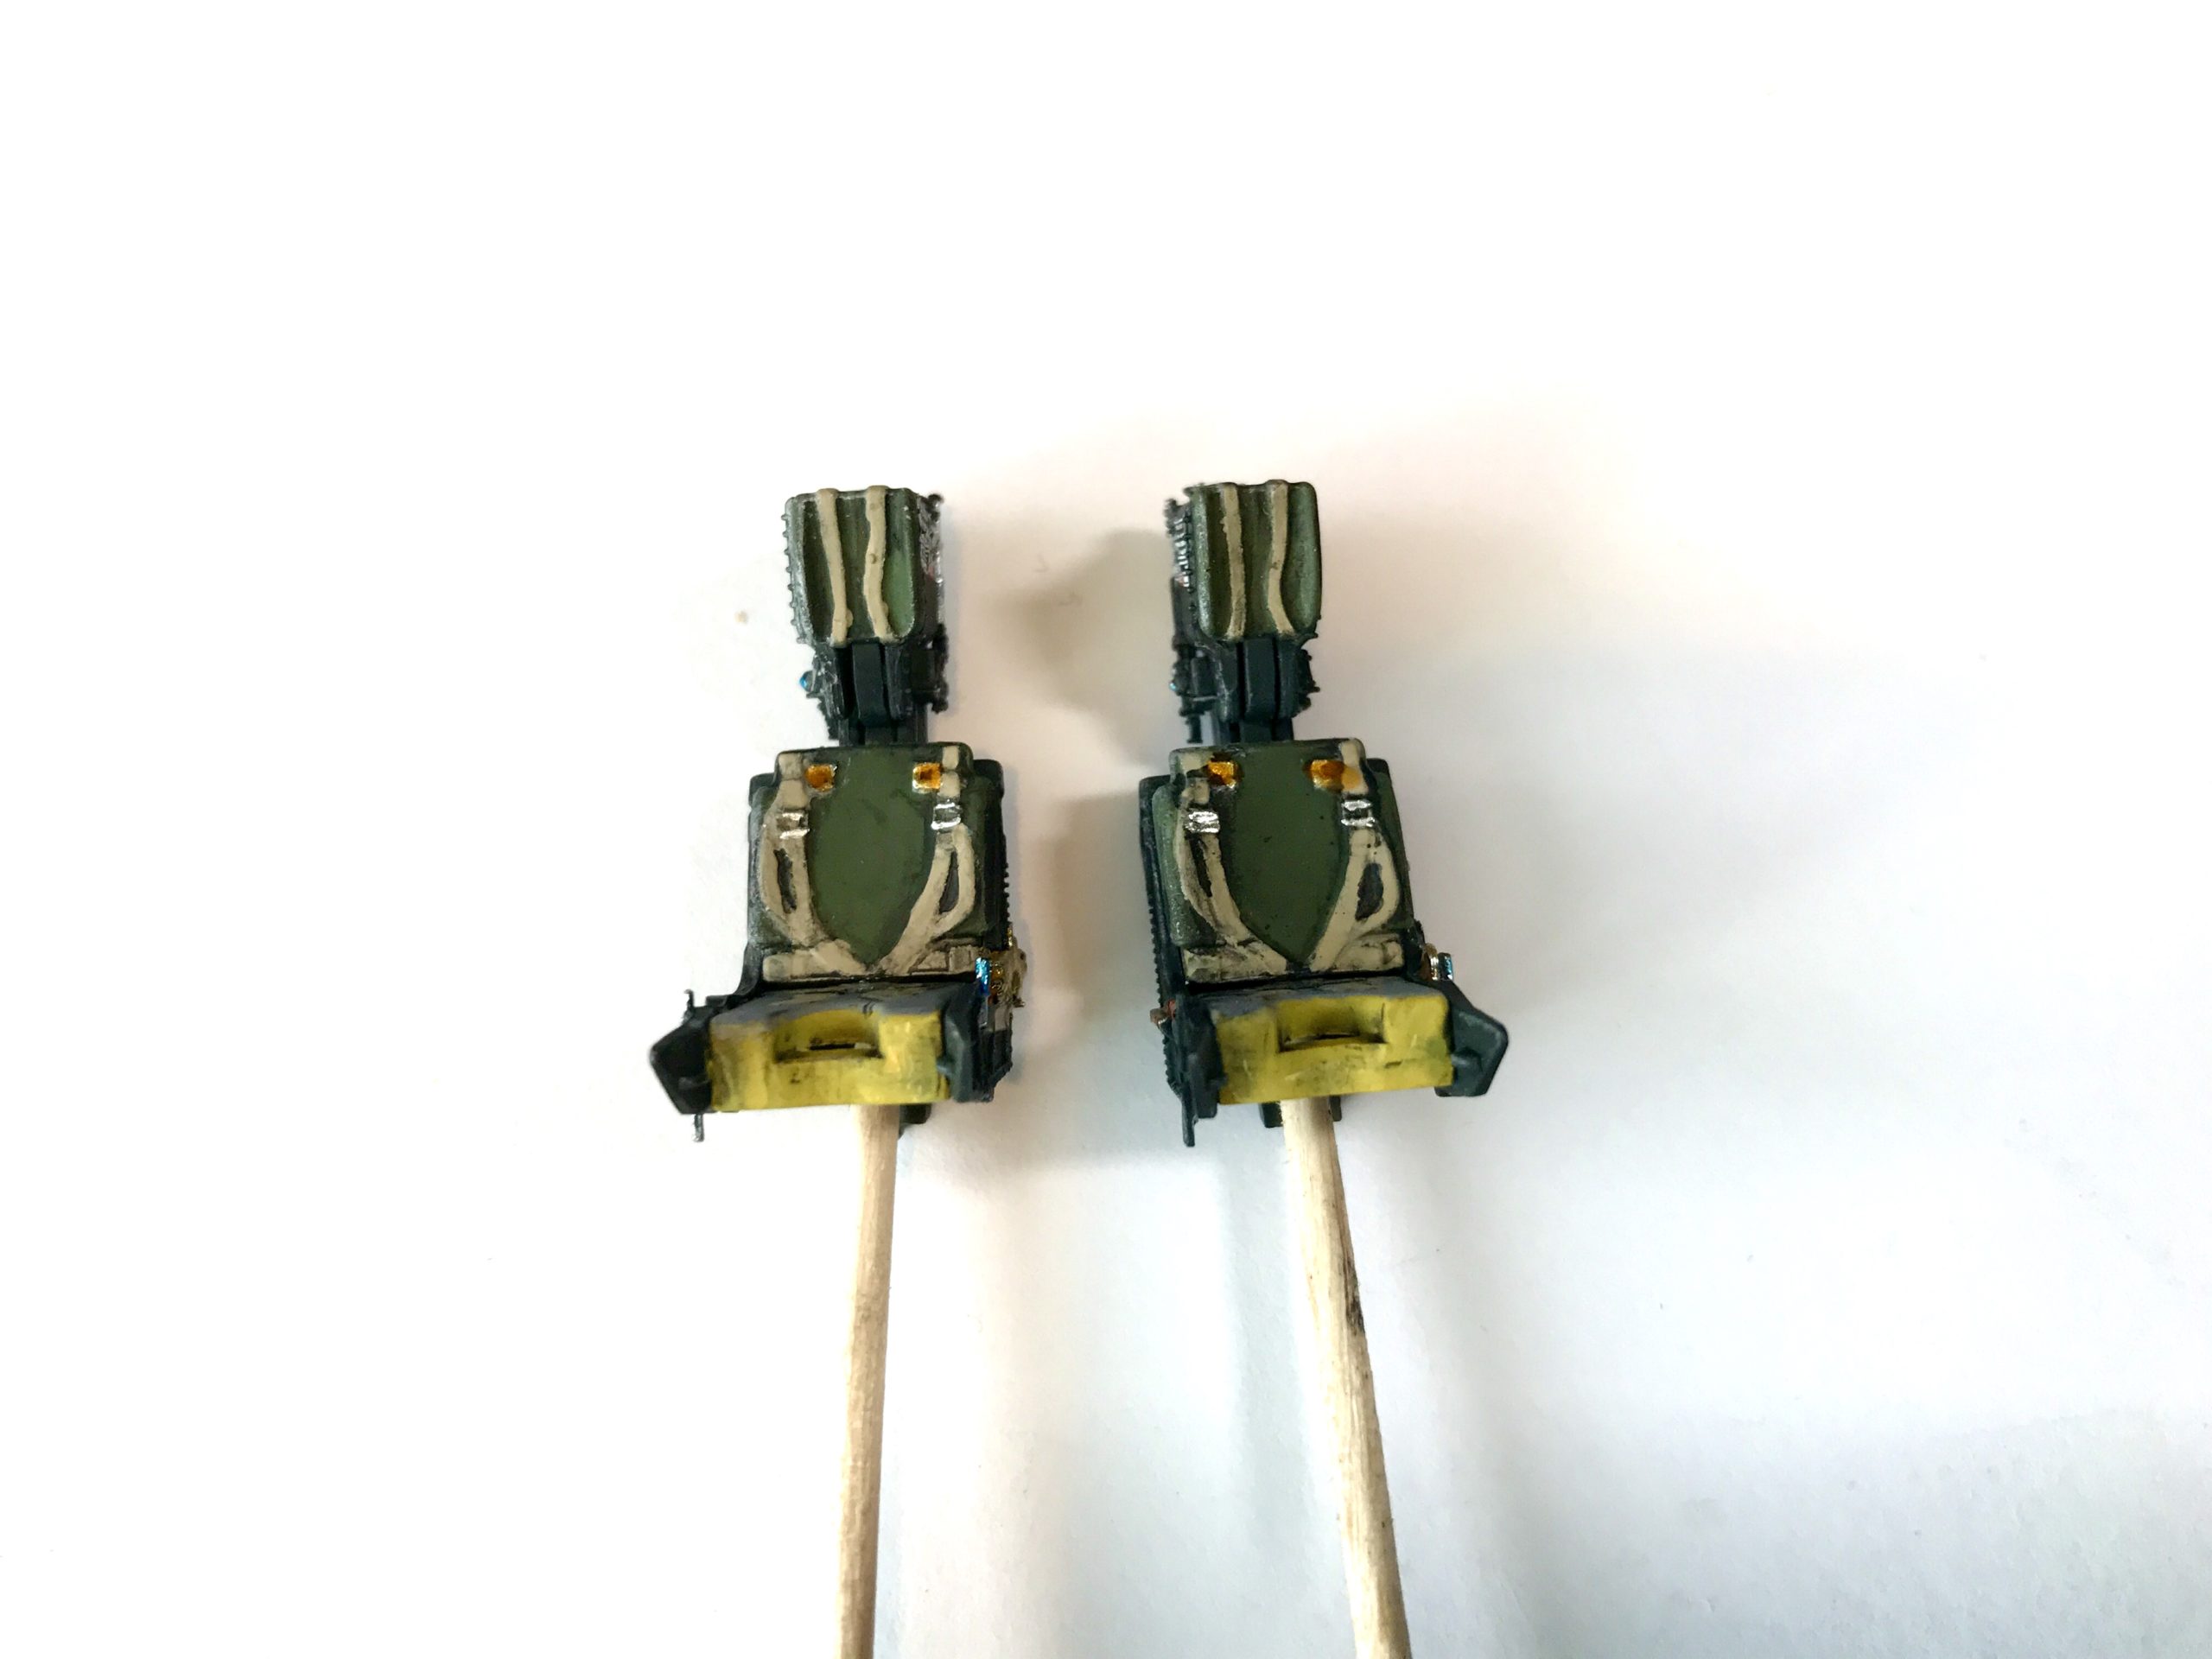
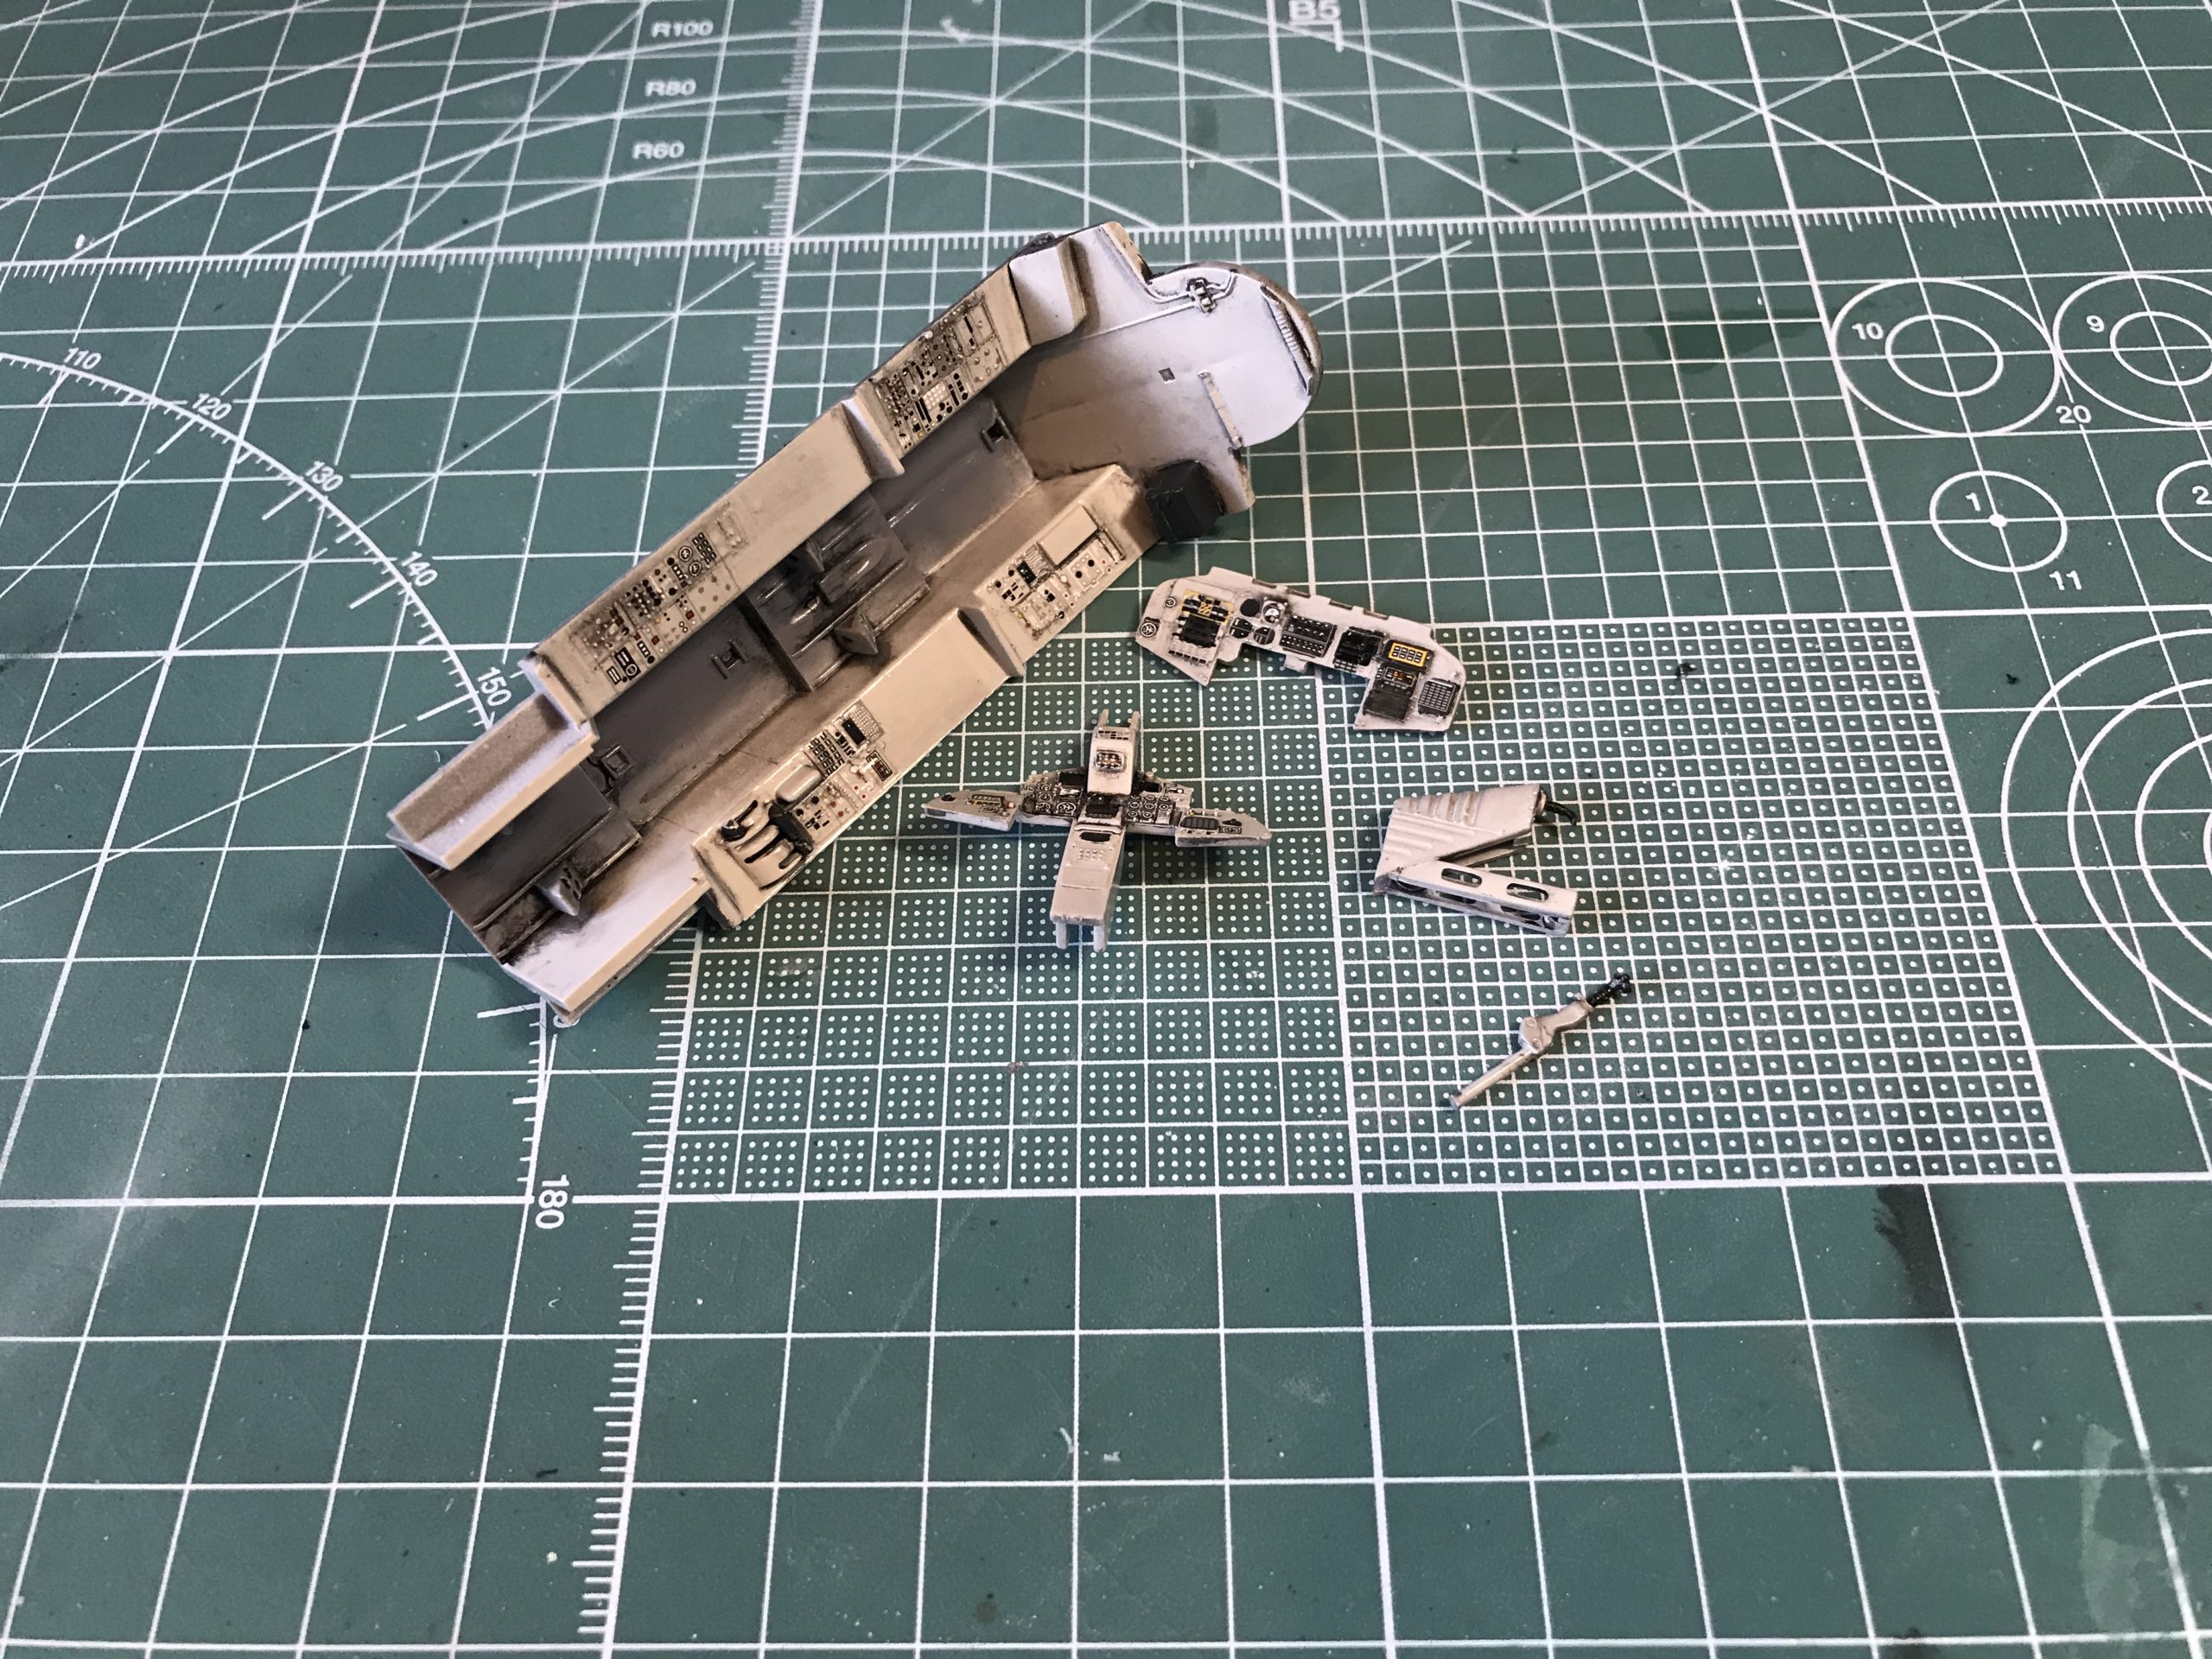
Next up the instrument panels were treated to a similar patina.

Looking at pictures of the real aircraft it seems there is a black blanket of sorts on the rear cockpit bulk head, so I tried to replicate that with a little filler. Ultimately it wouldn’t be too visible.
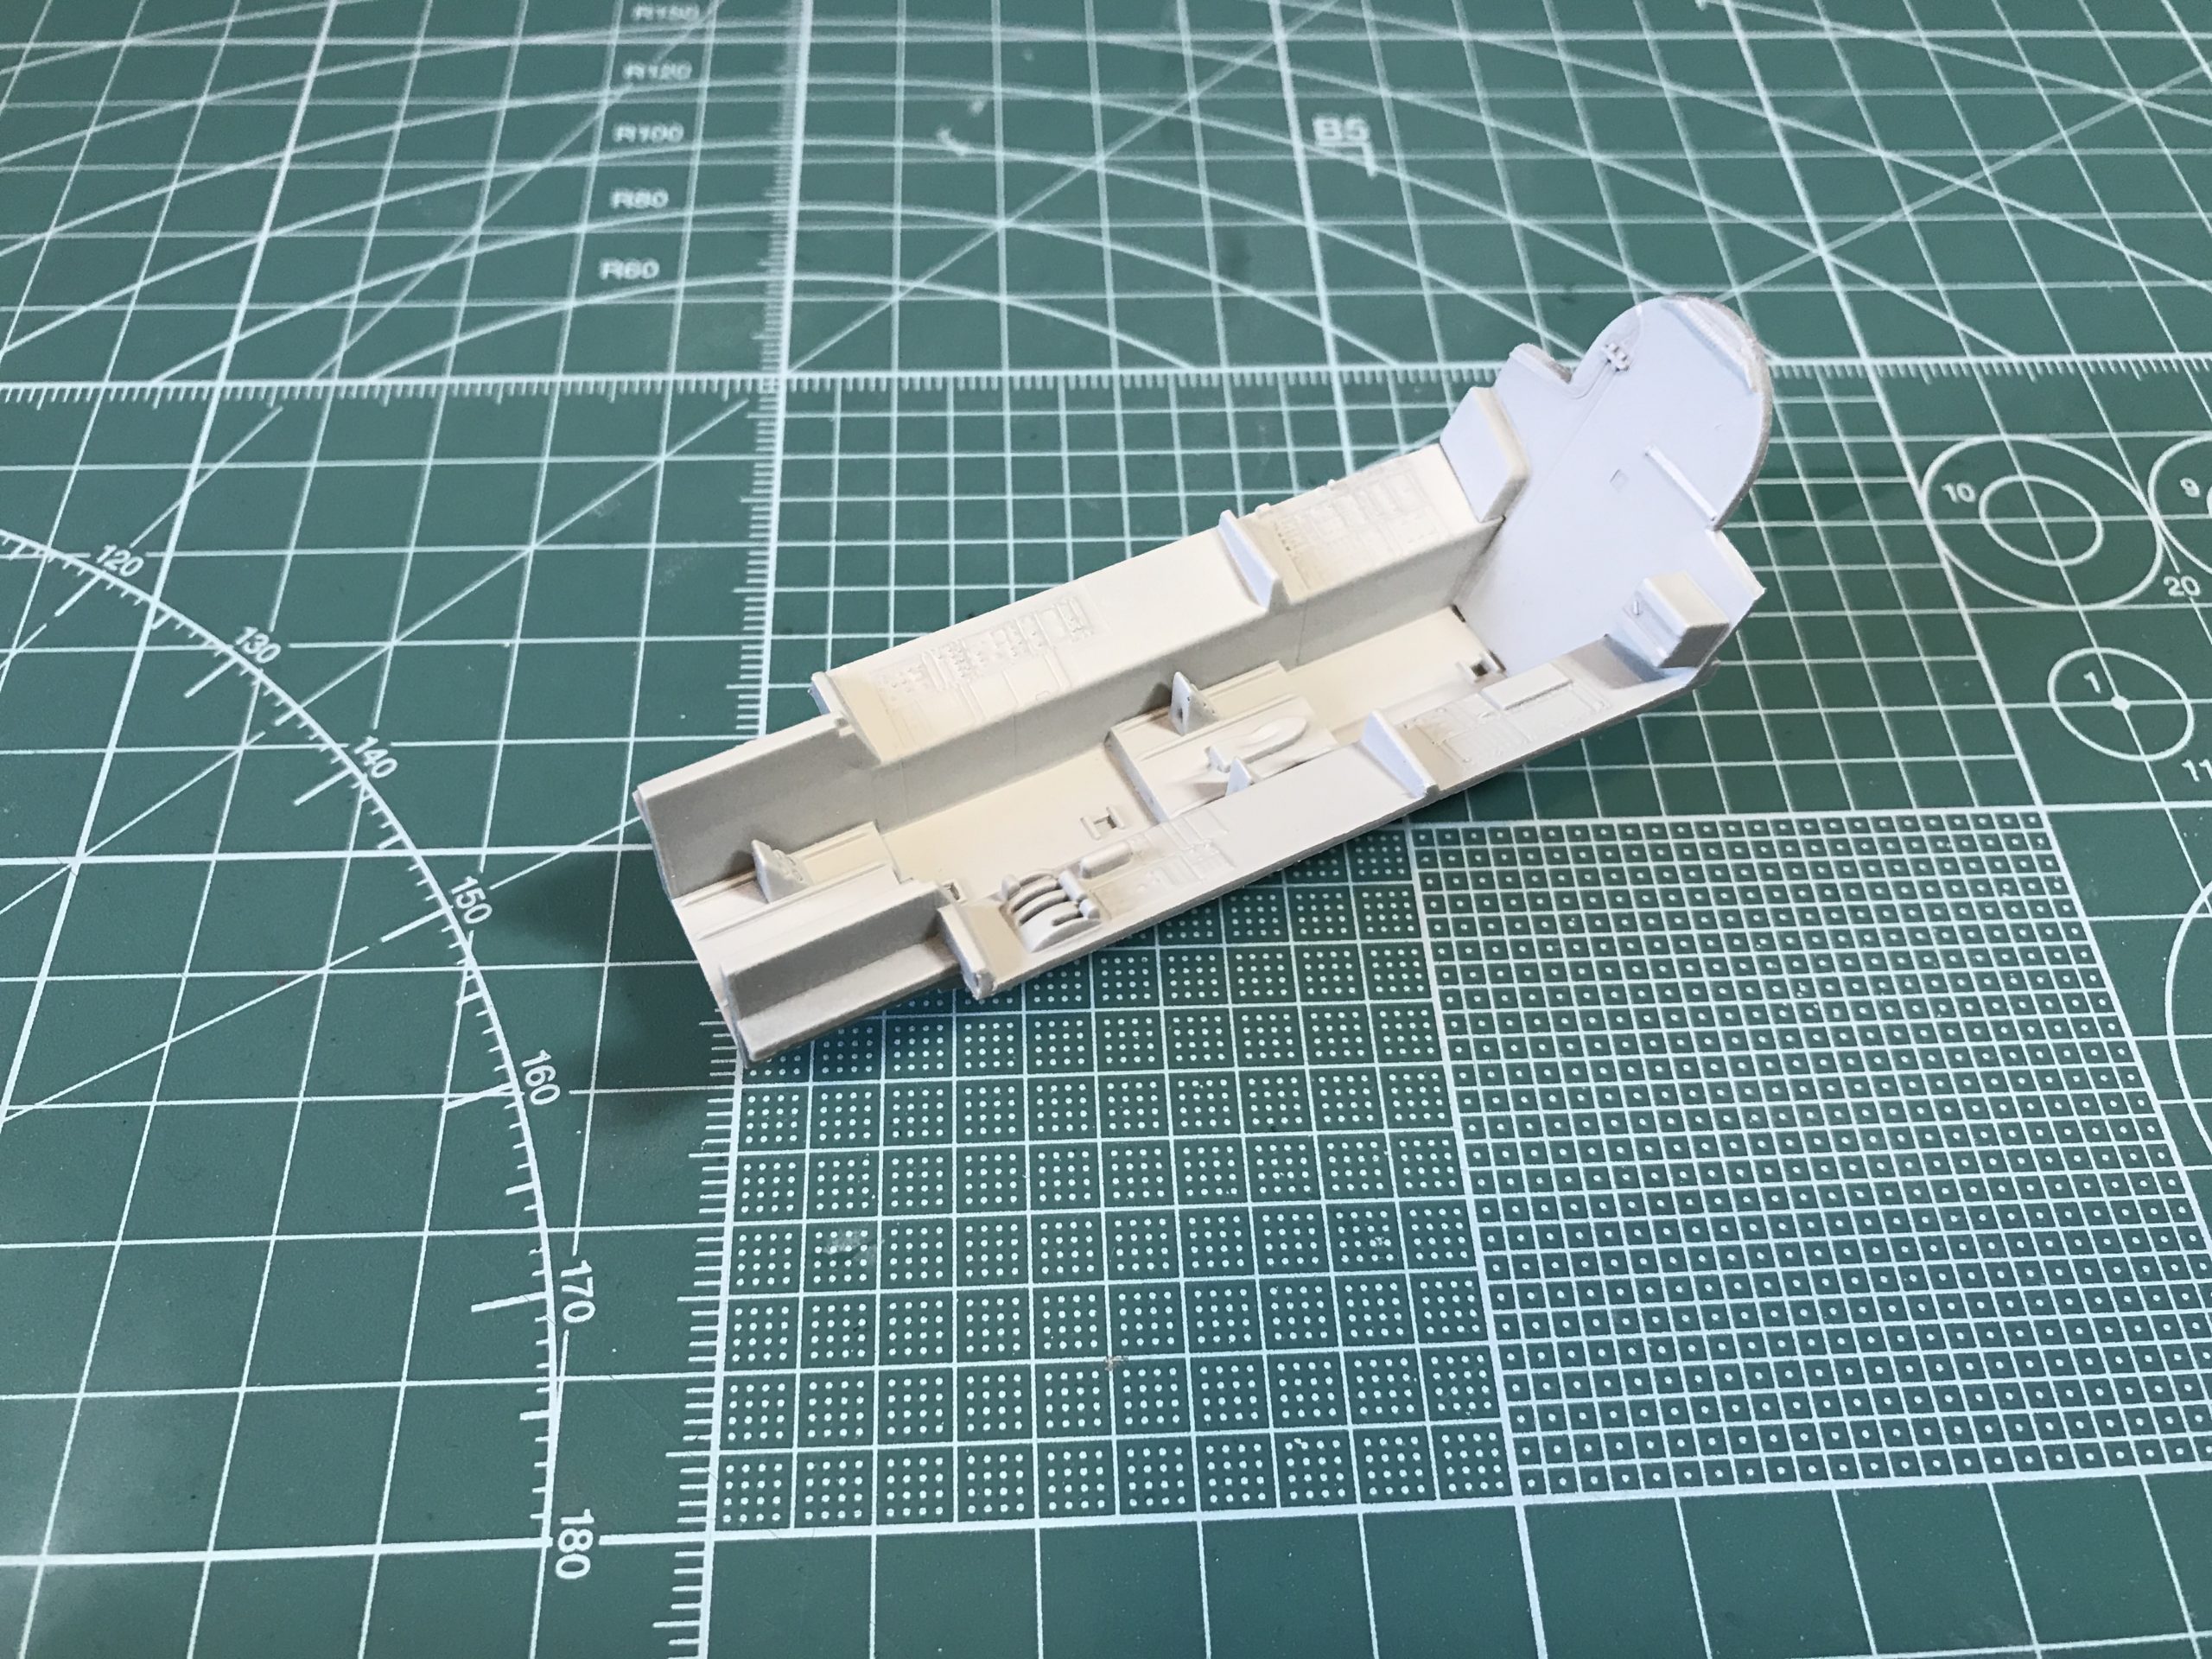
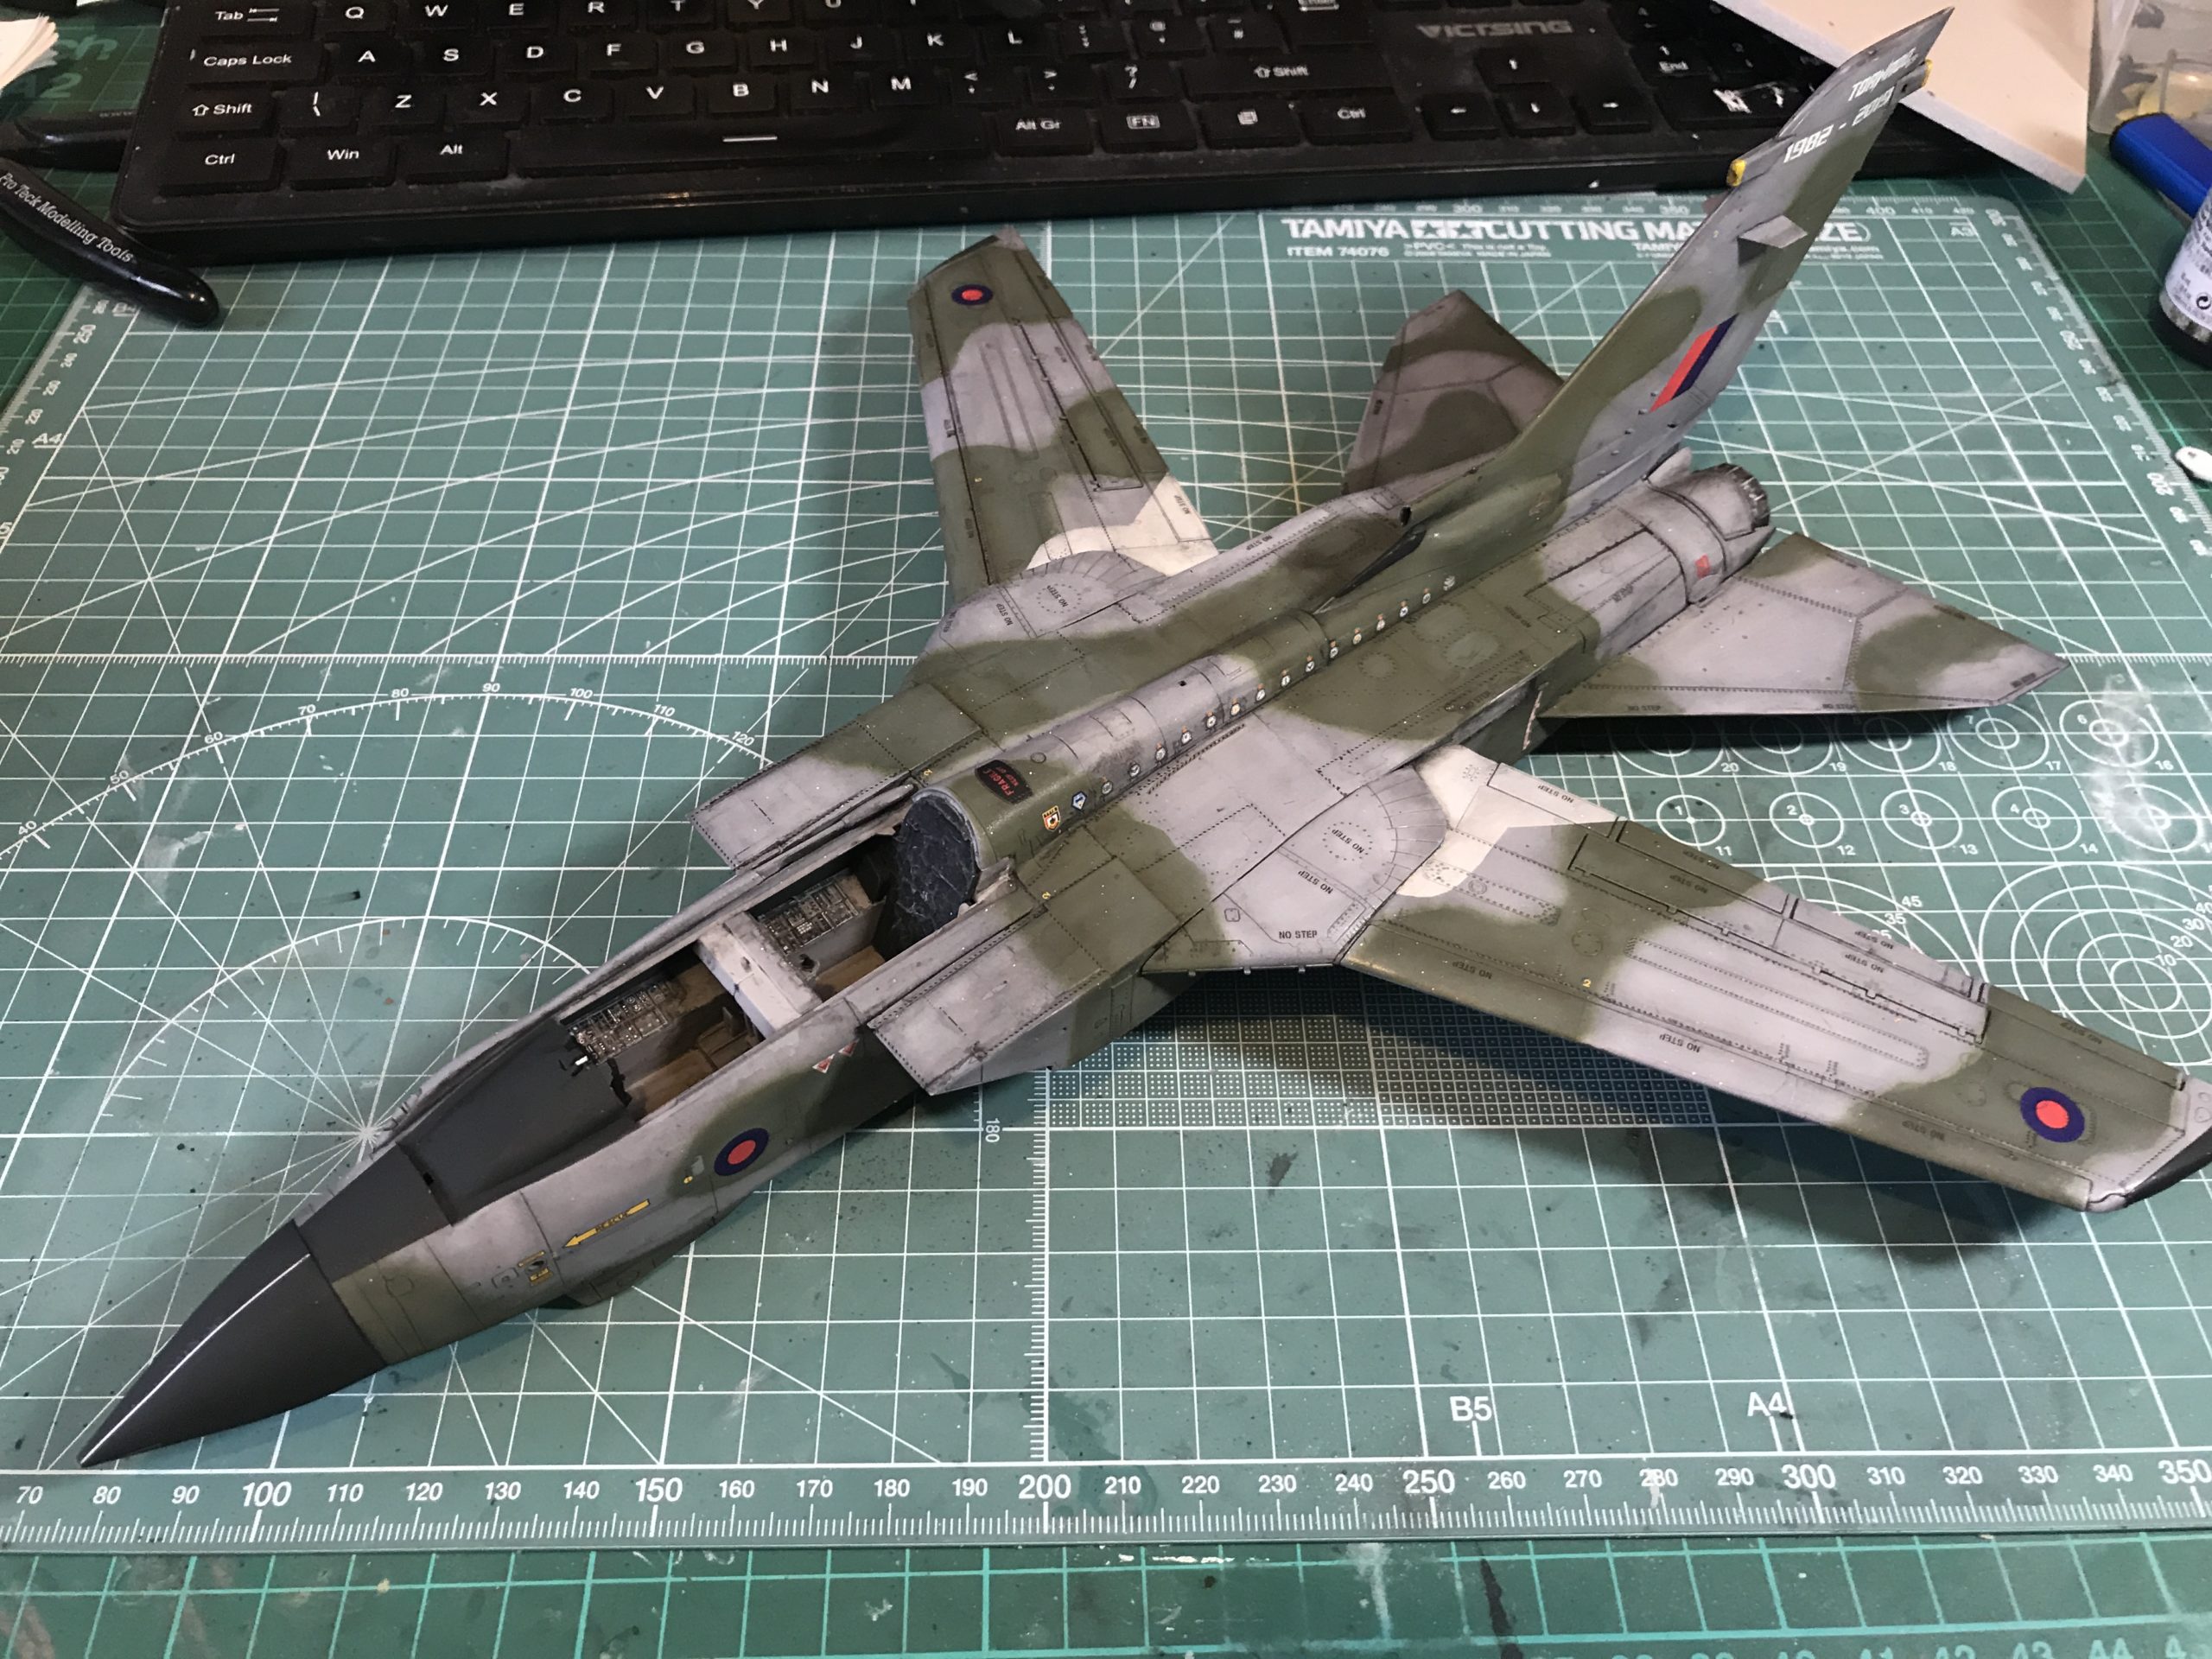
The cockpit can now be fully assembled: Looks good to me.
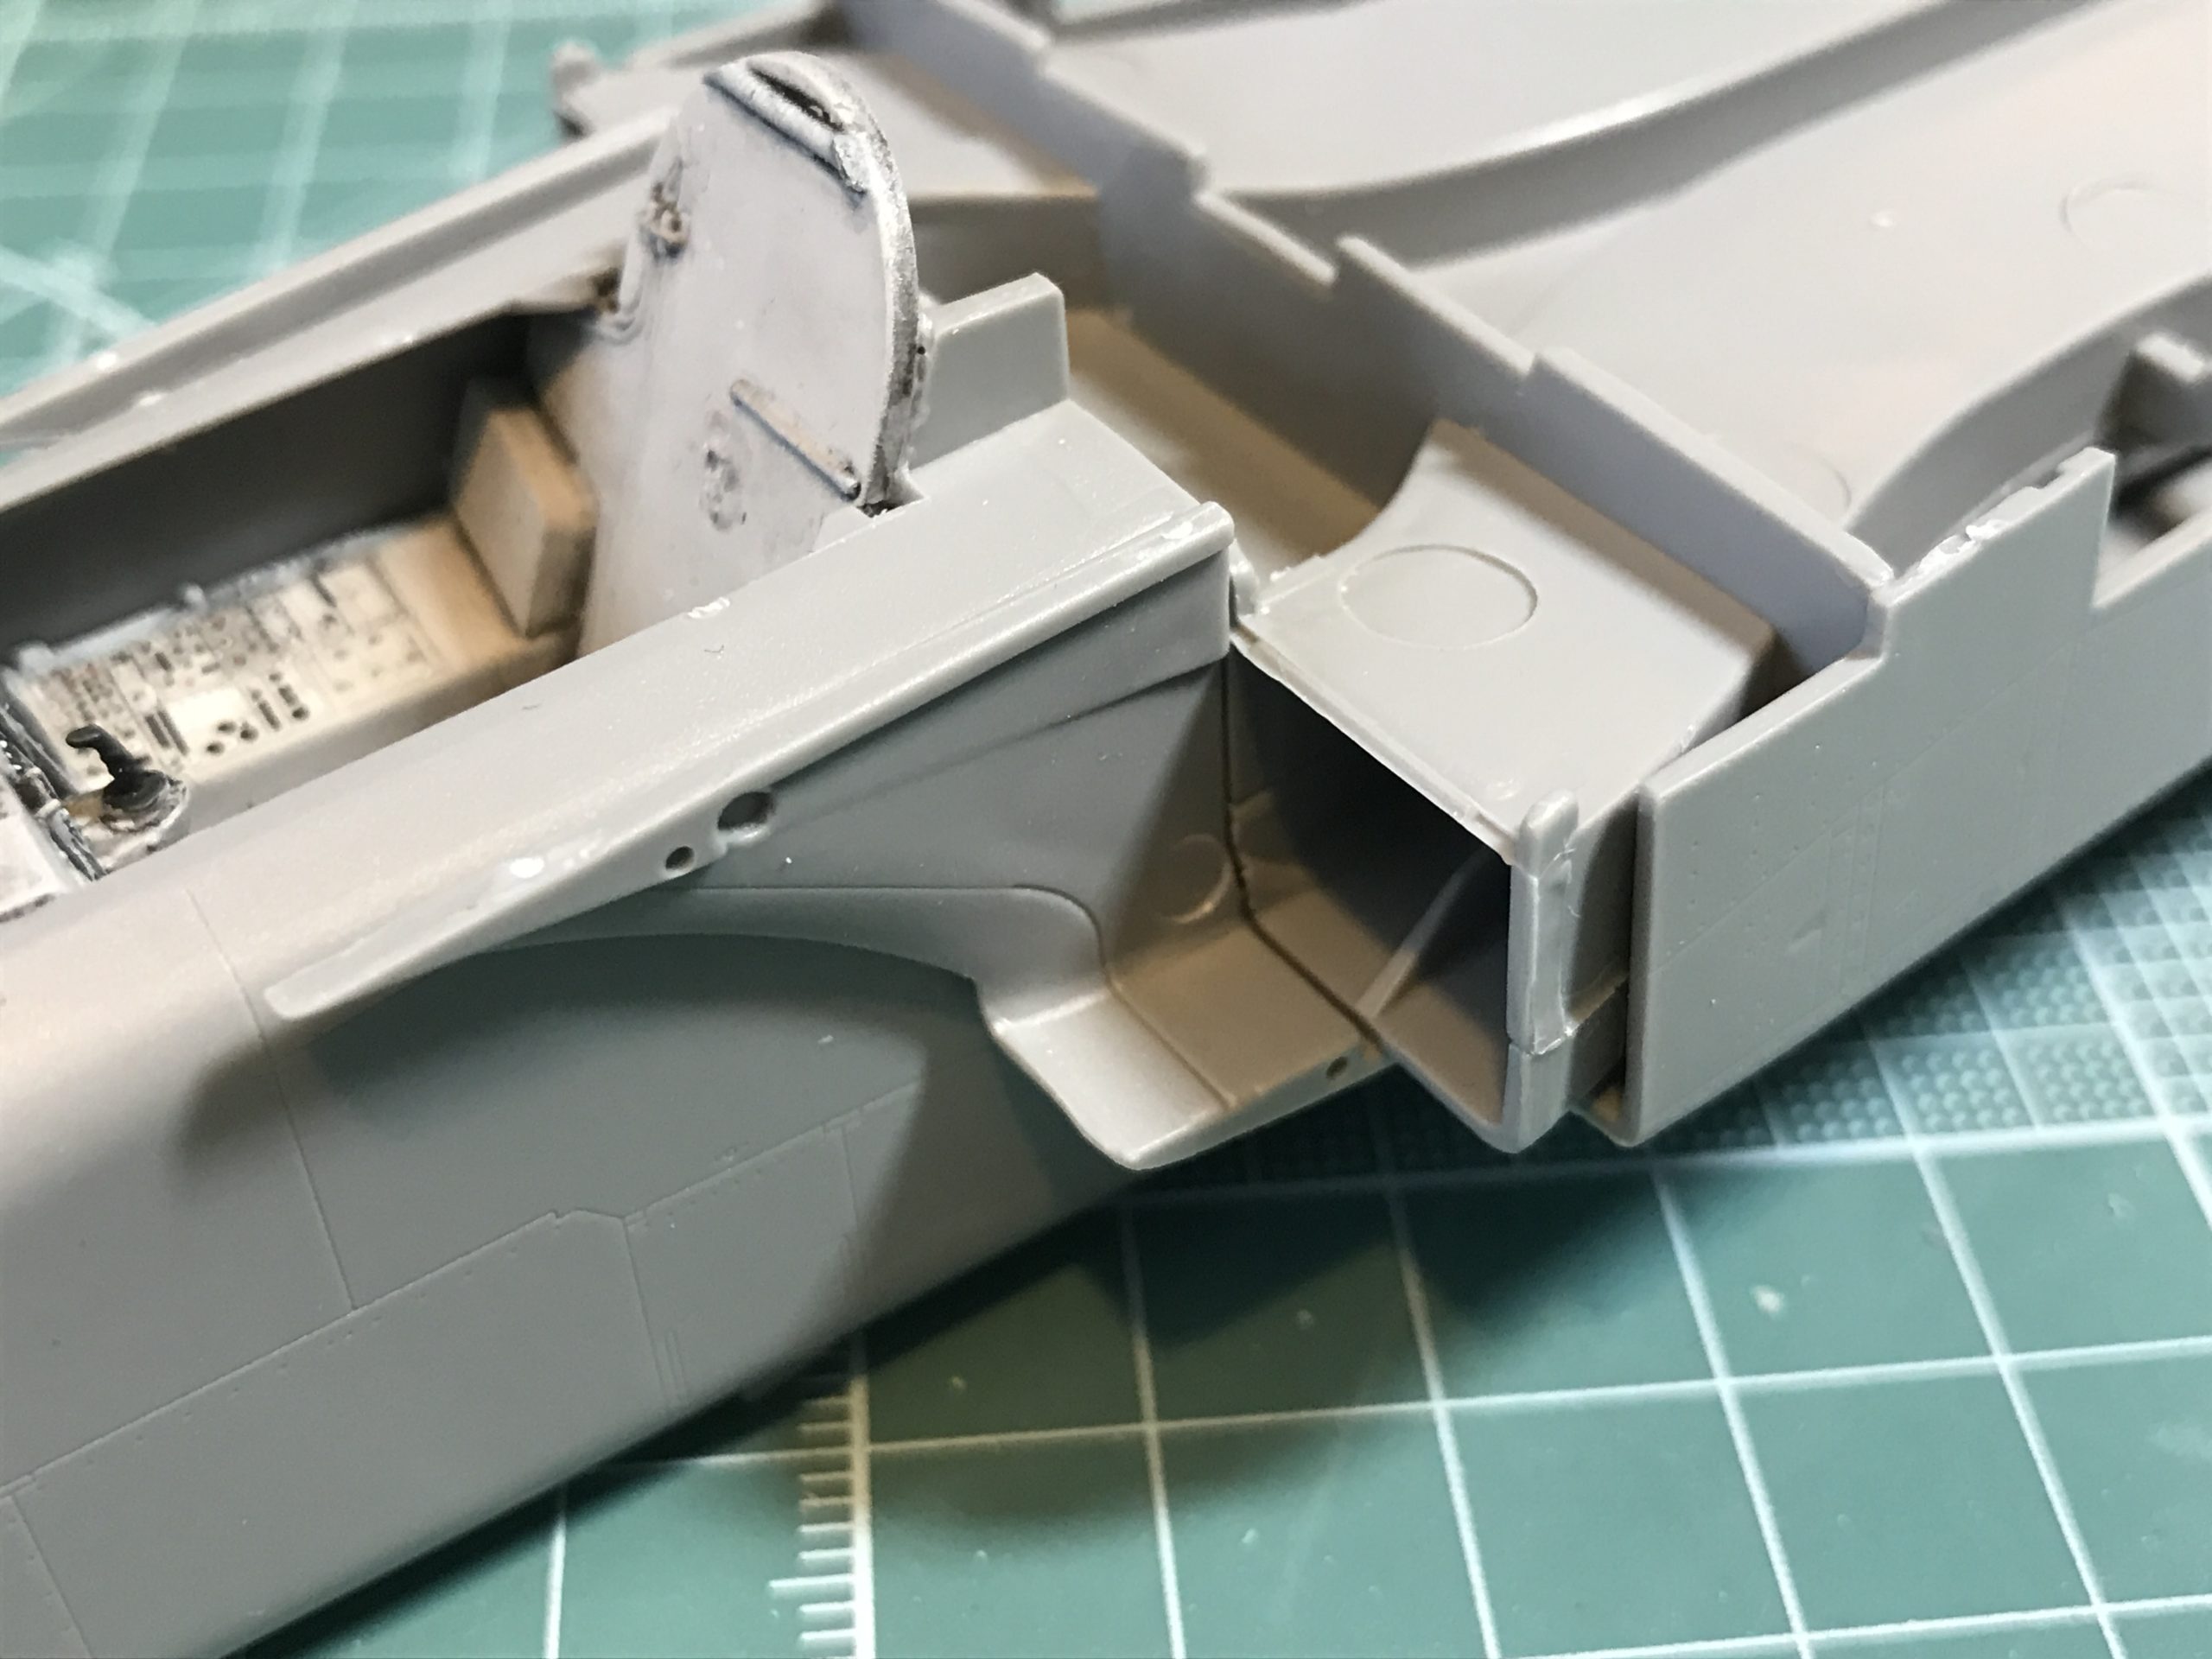
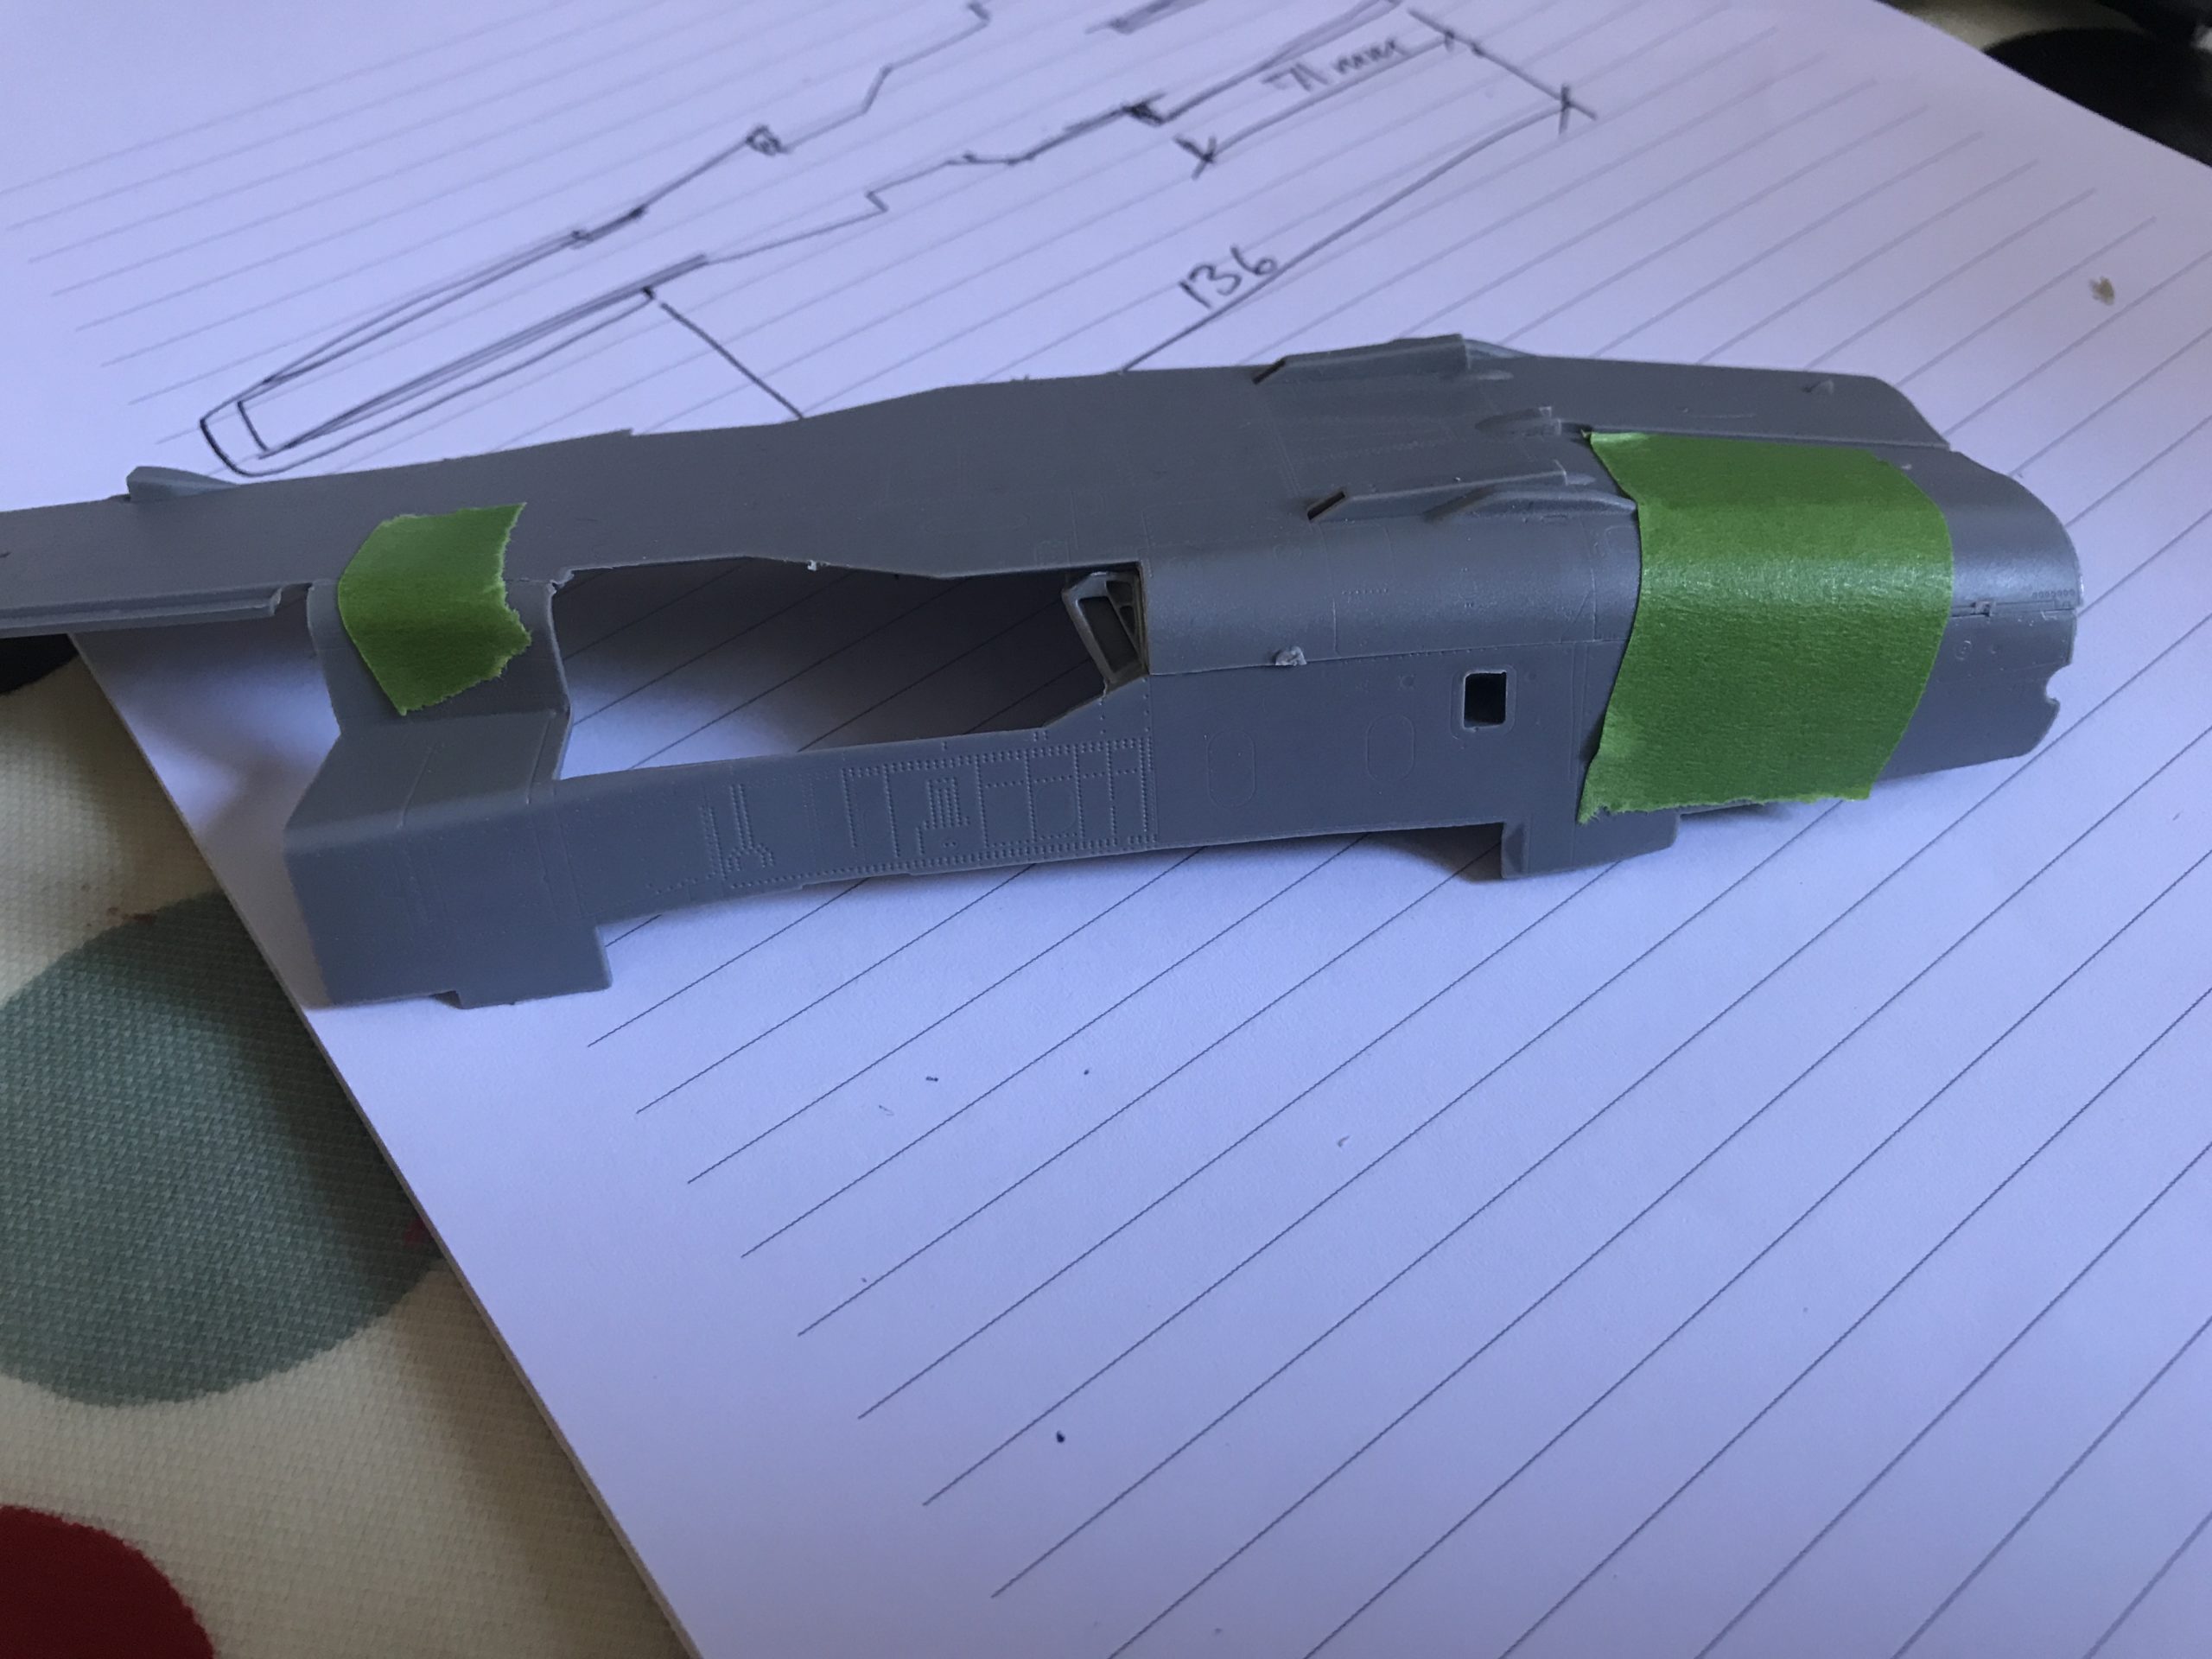
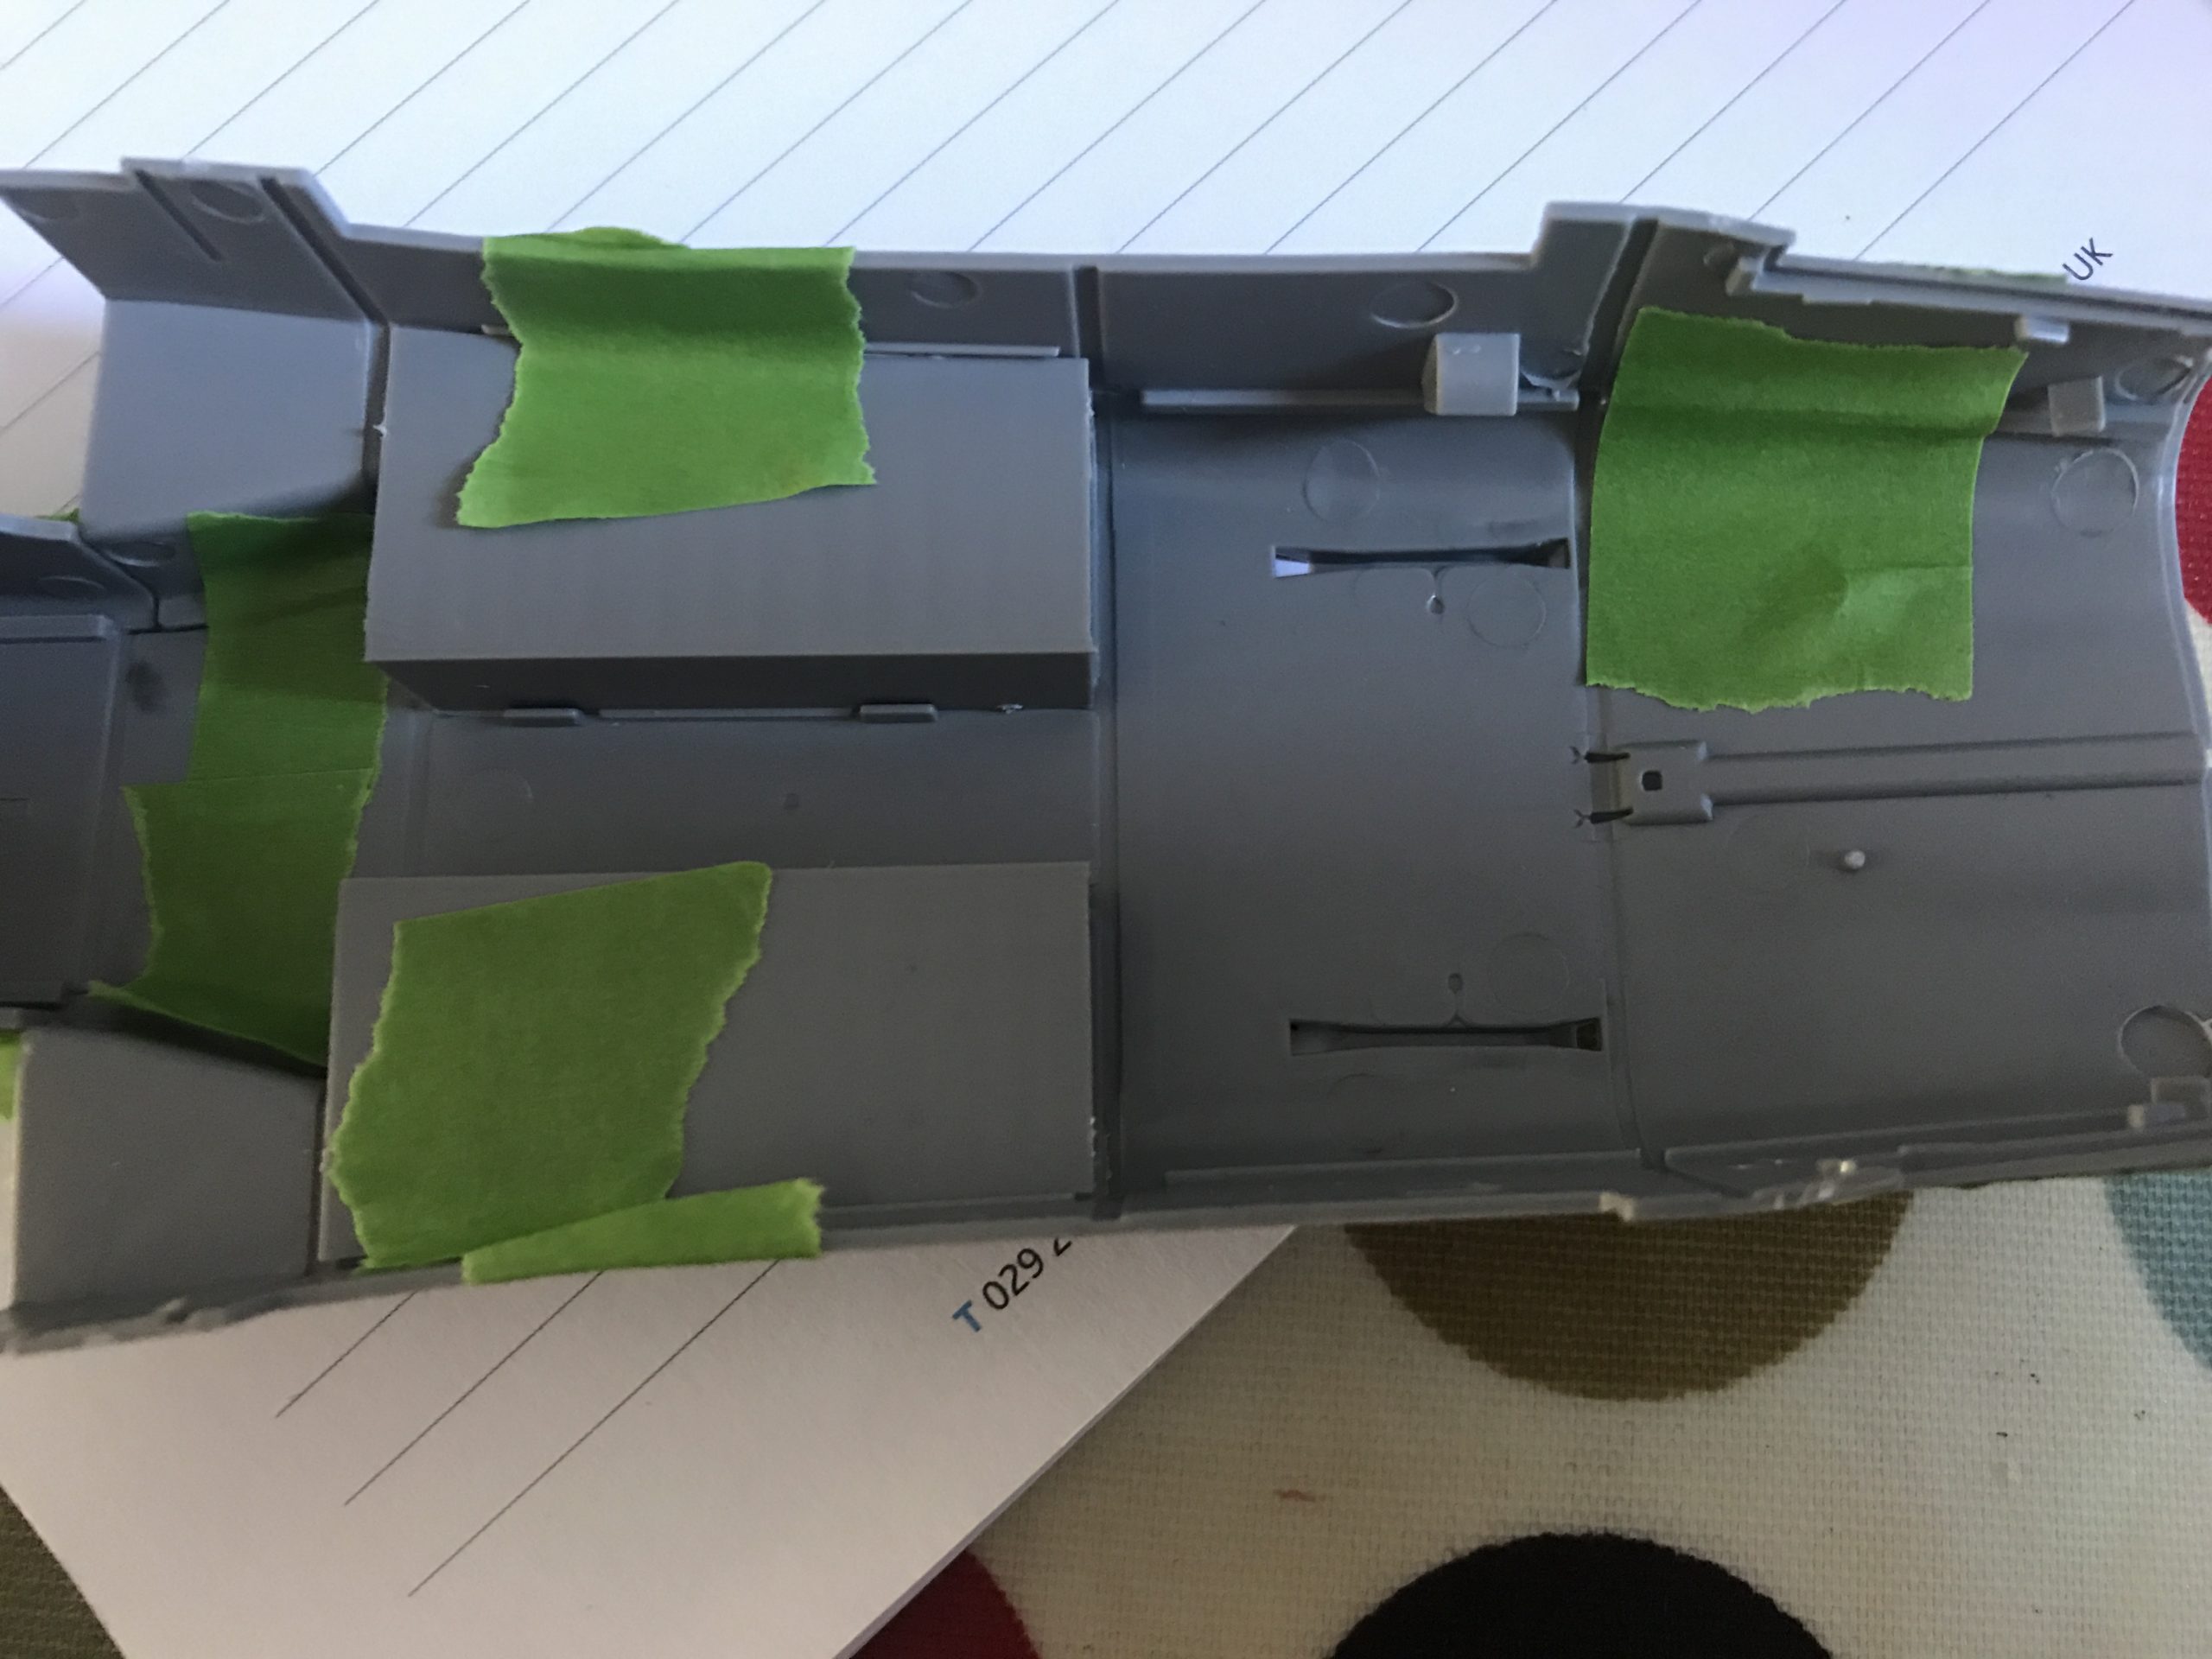
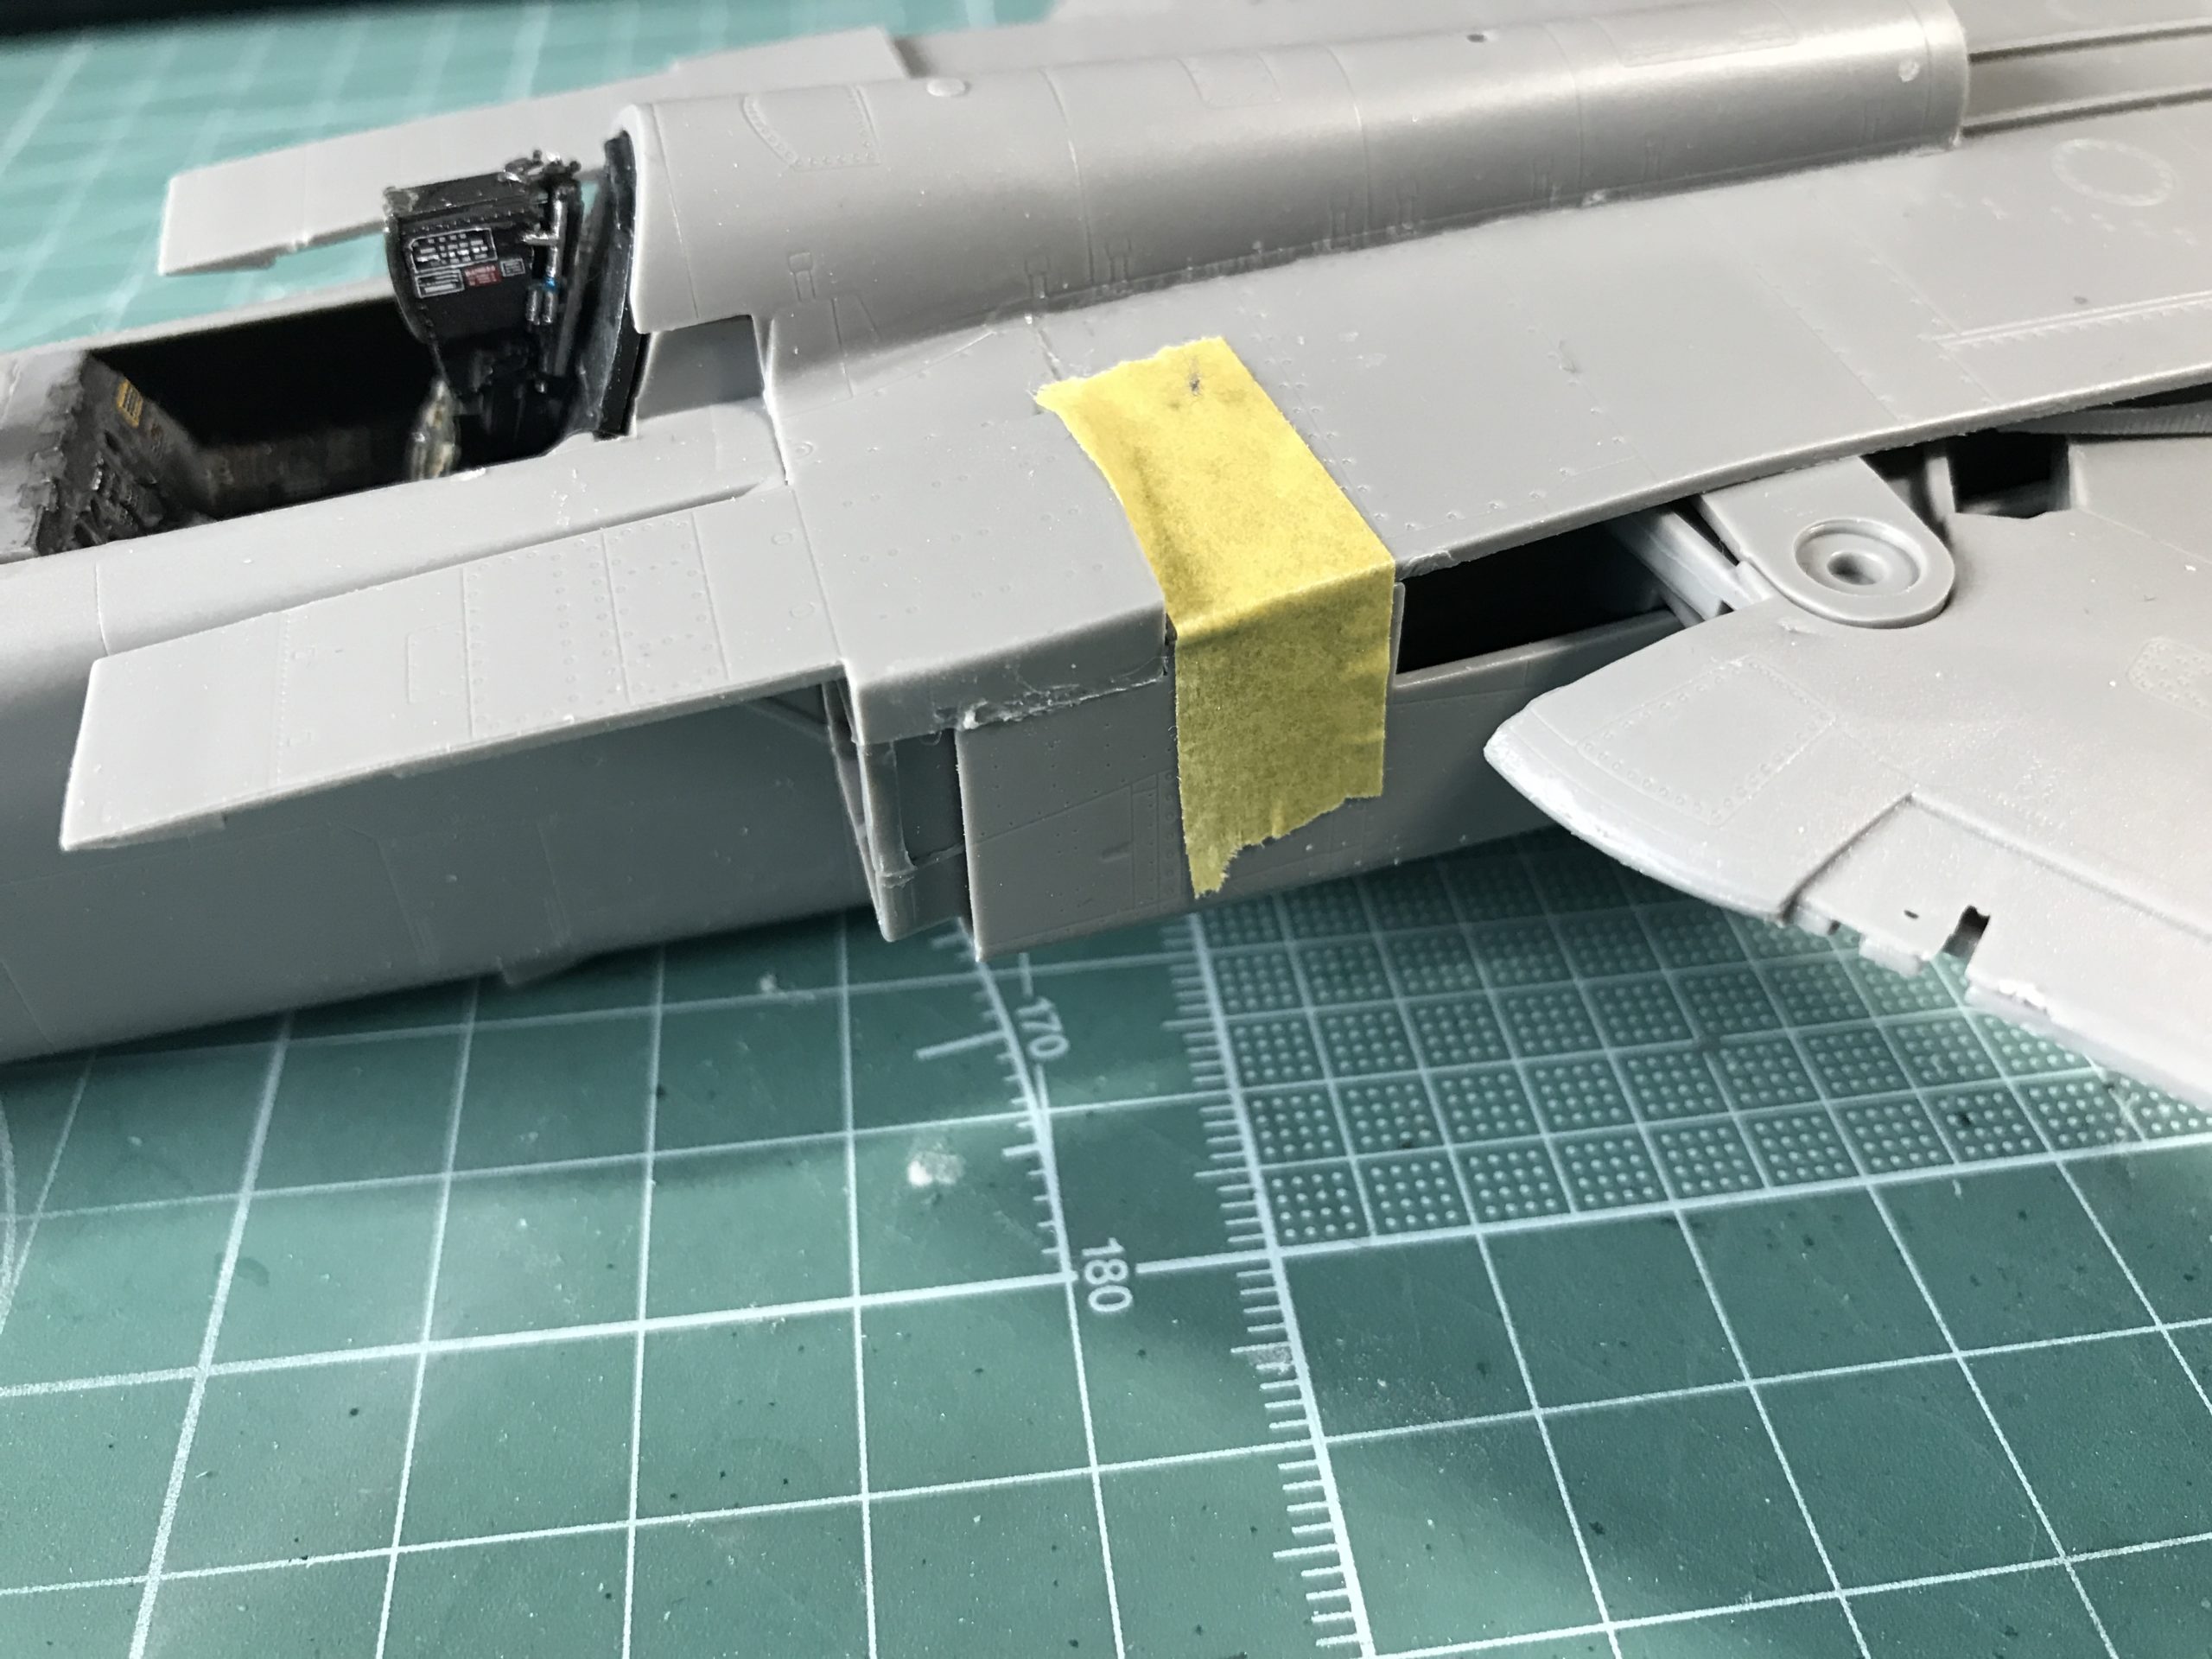
The assembly can now be added to the lower fuselage surface. The various parts of the internal structure and fuselage can now be built up.

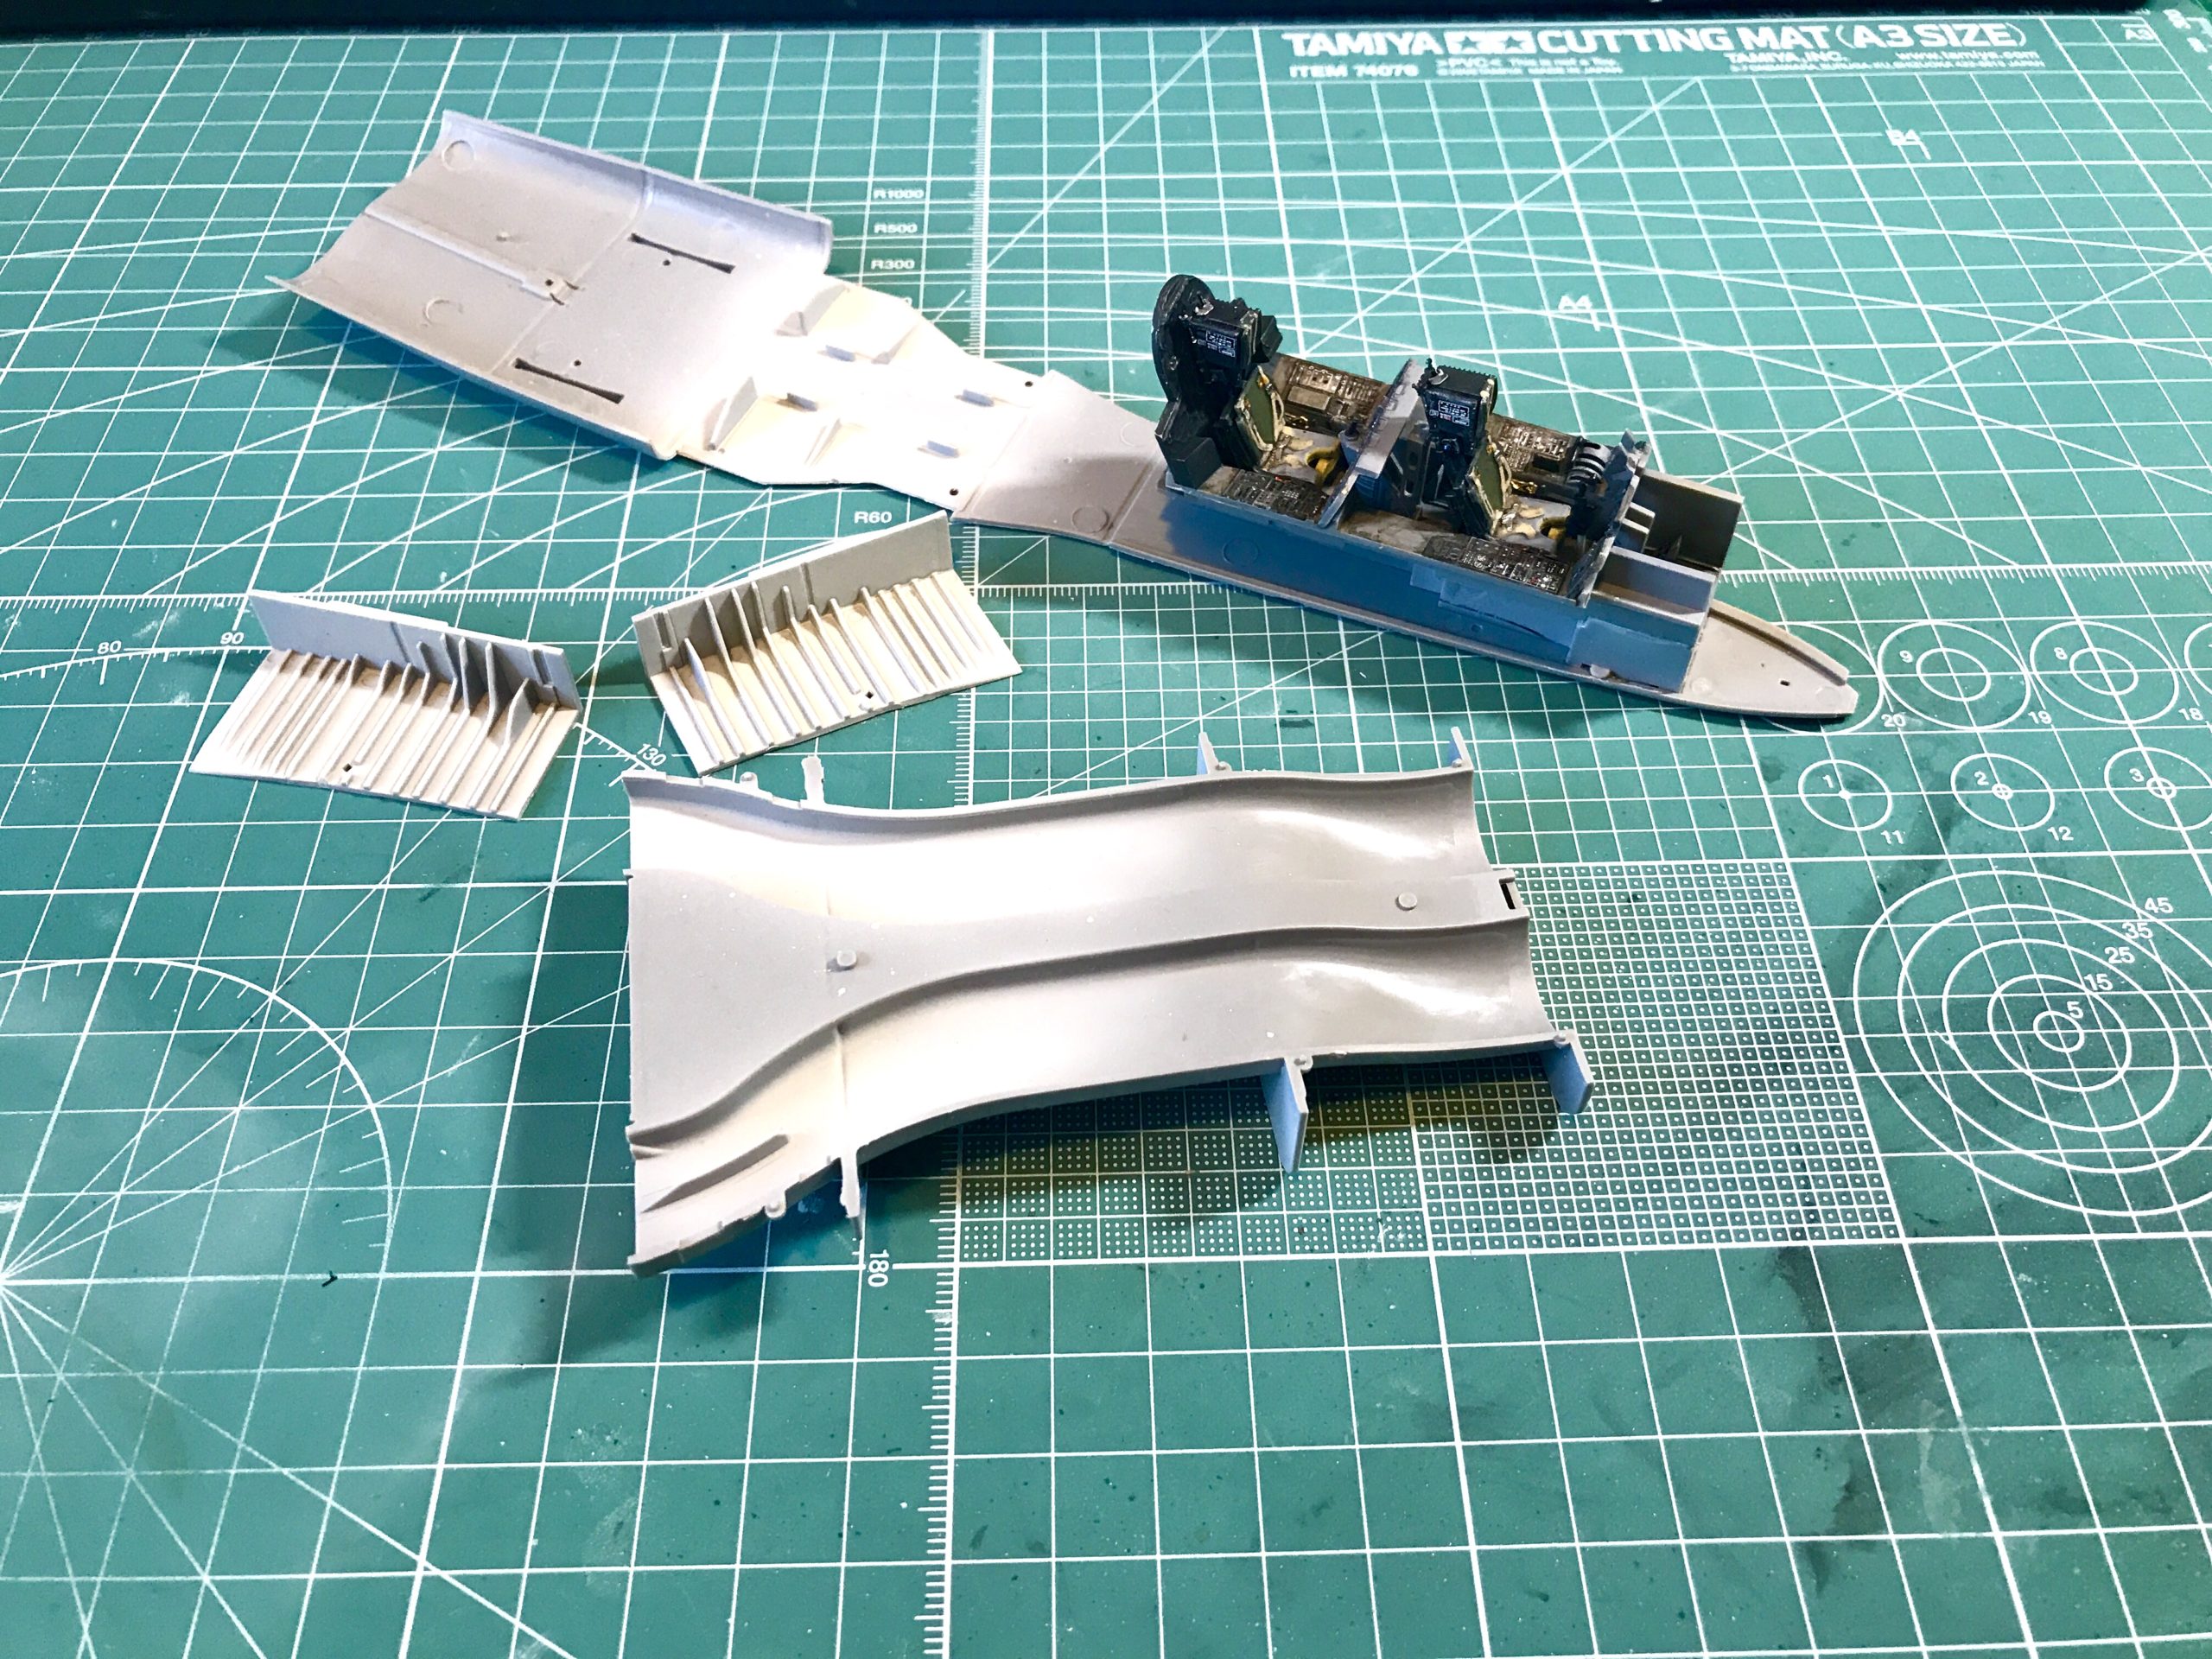
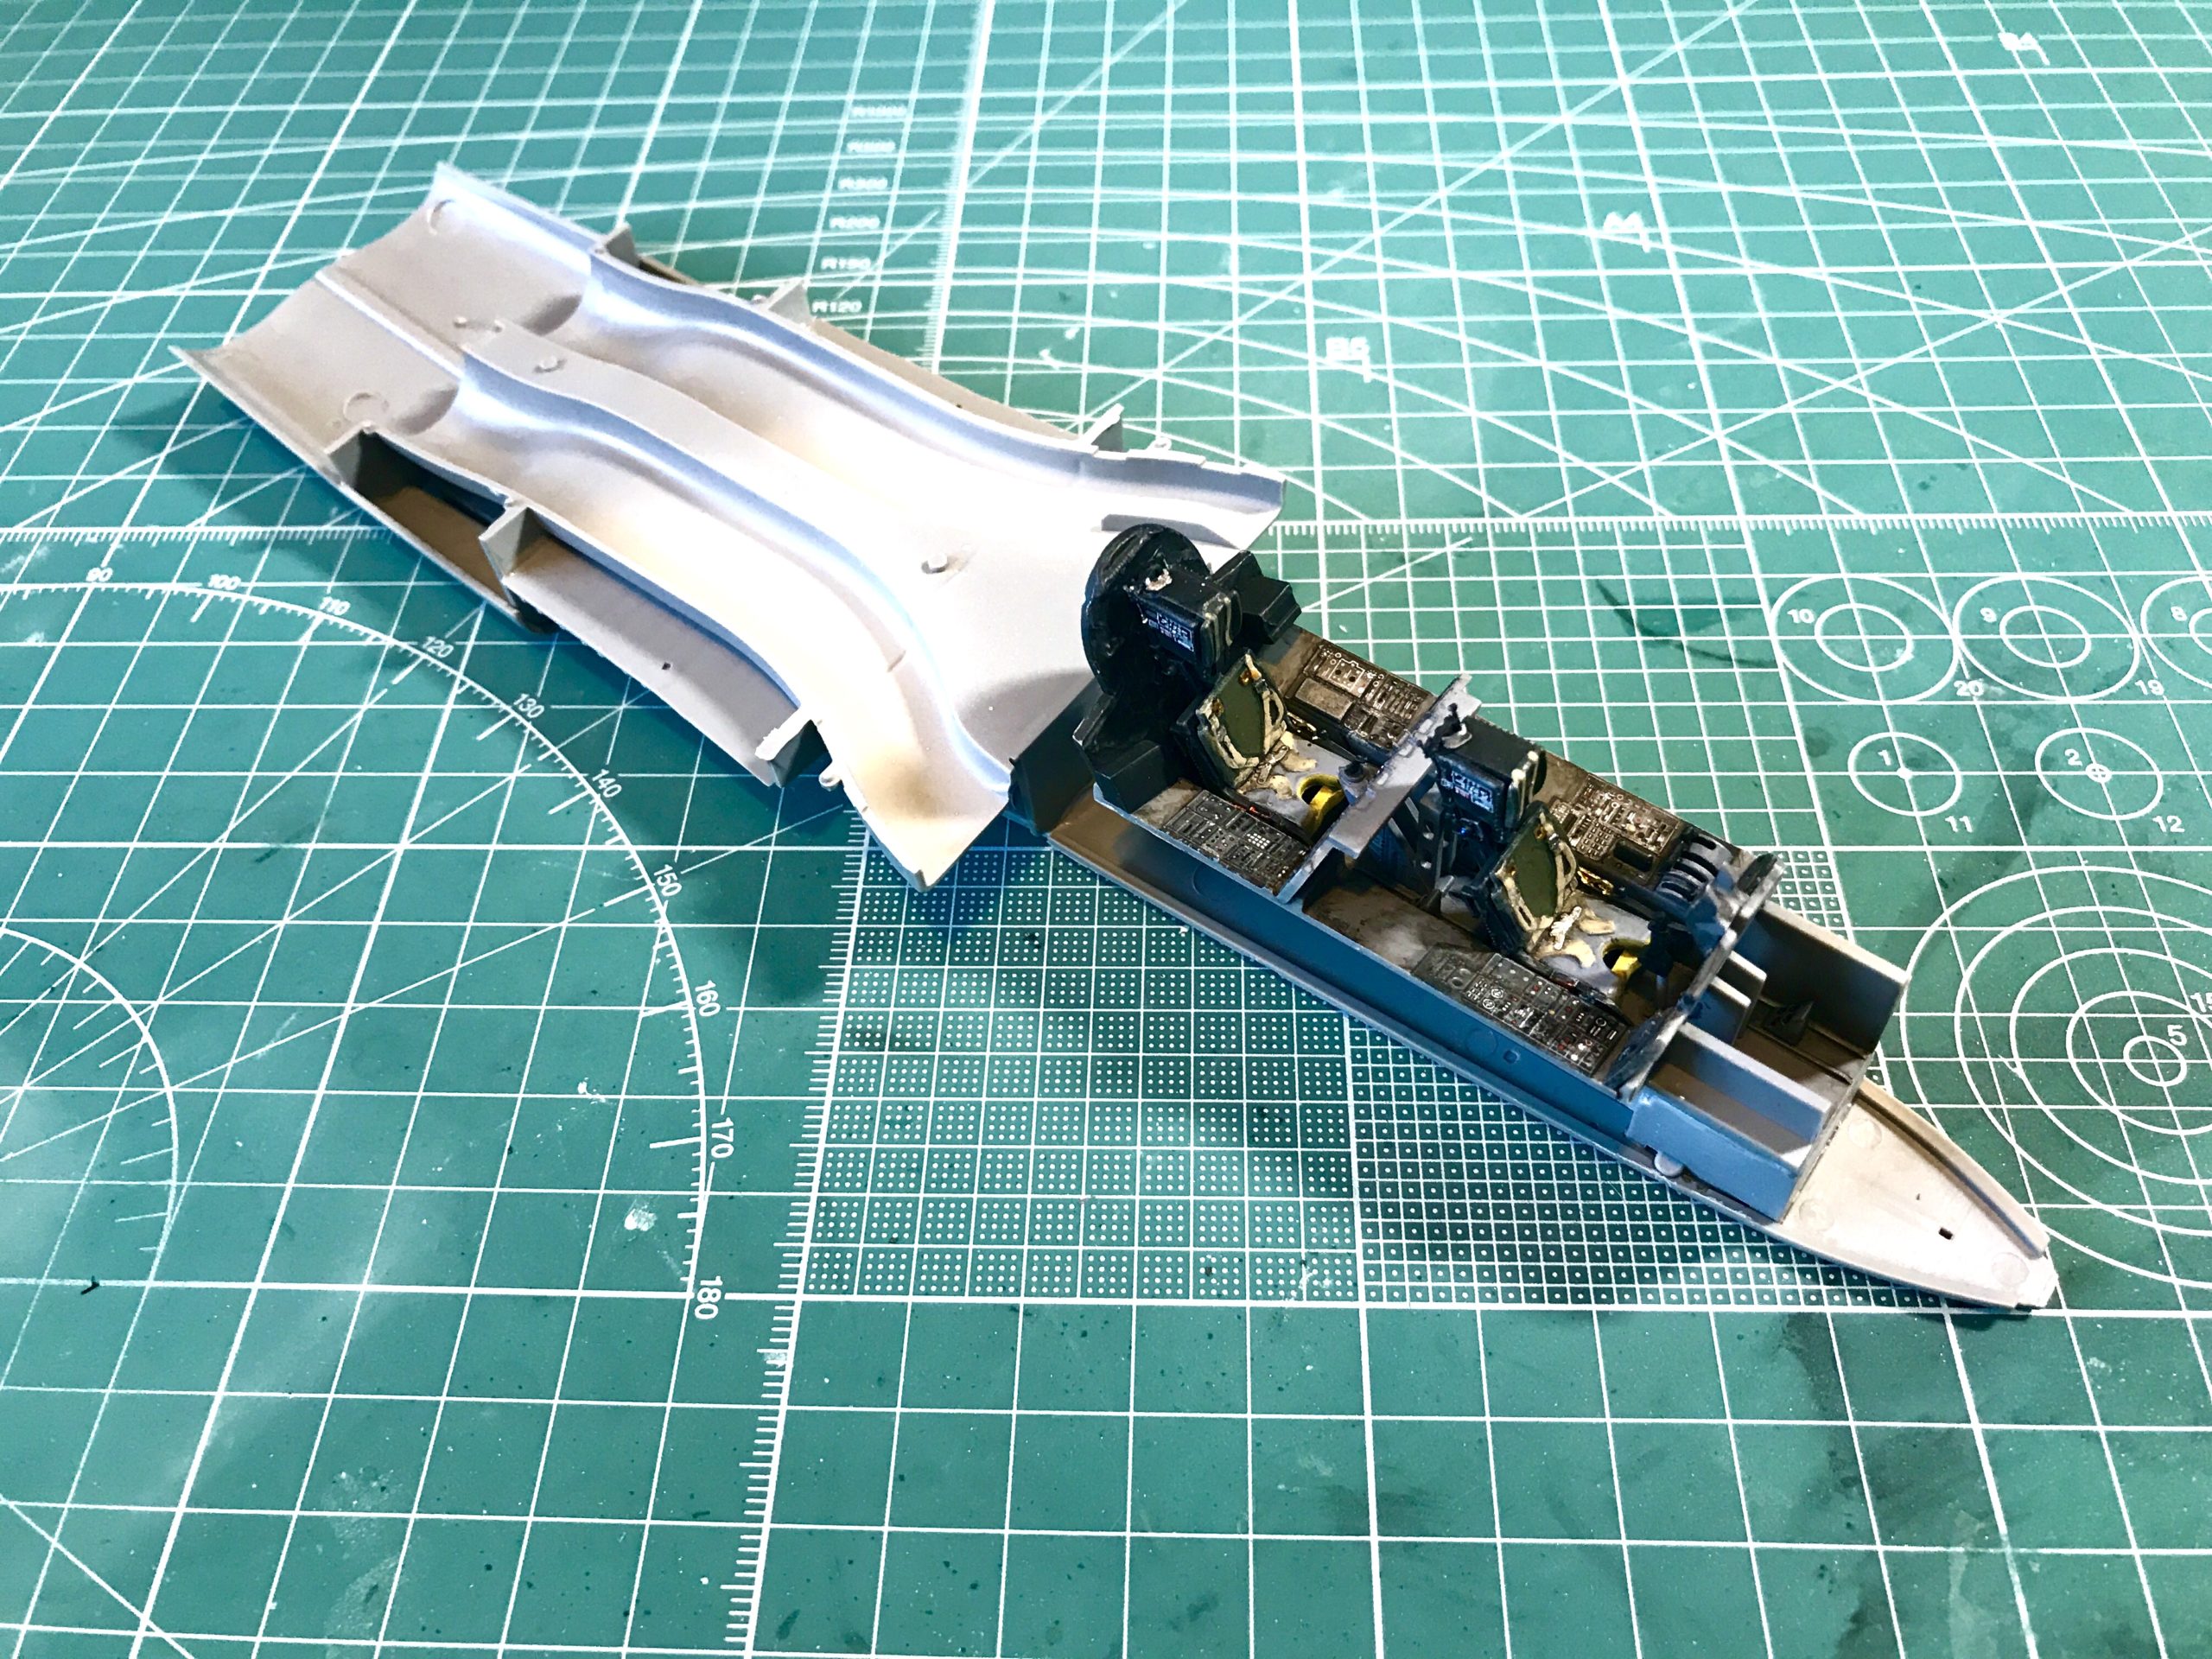
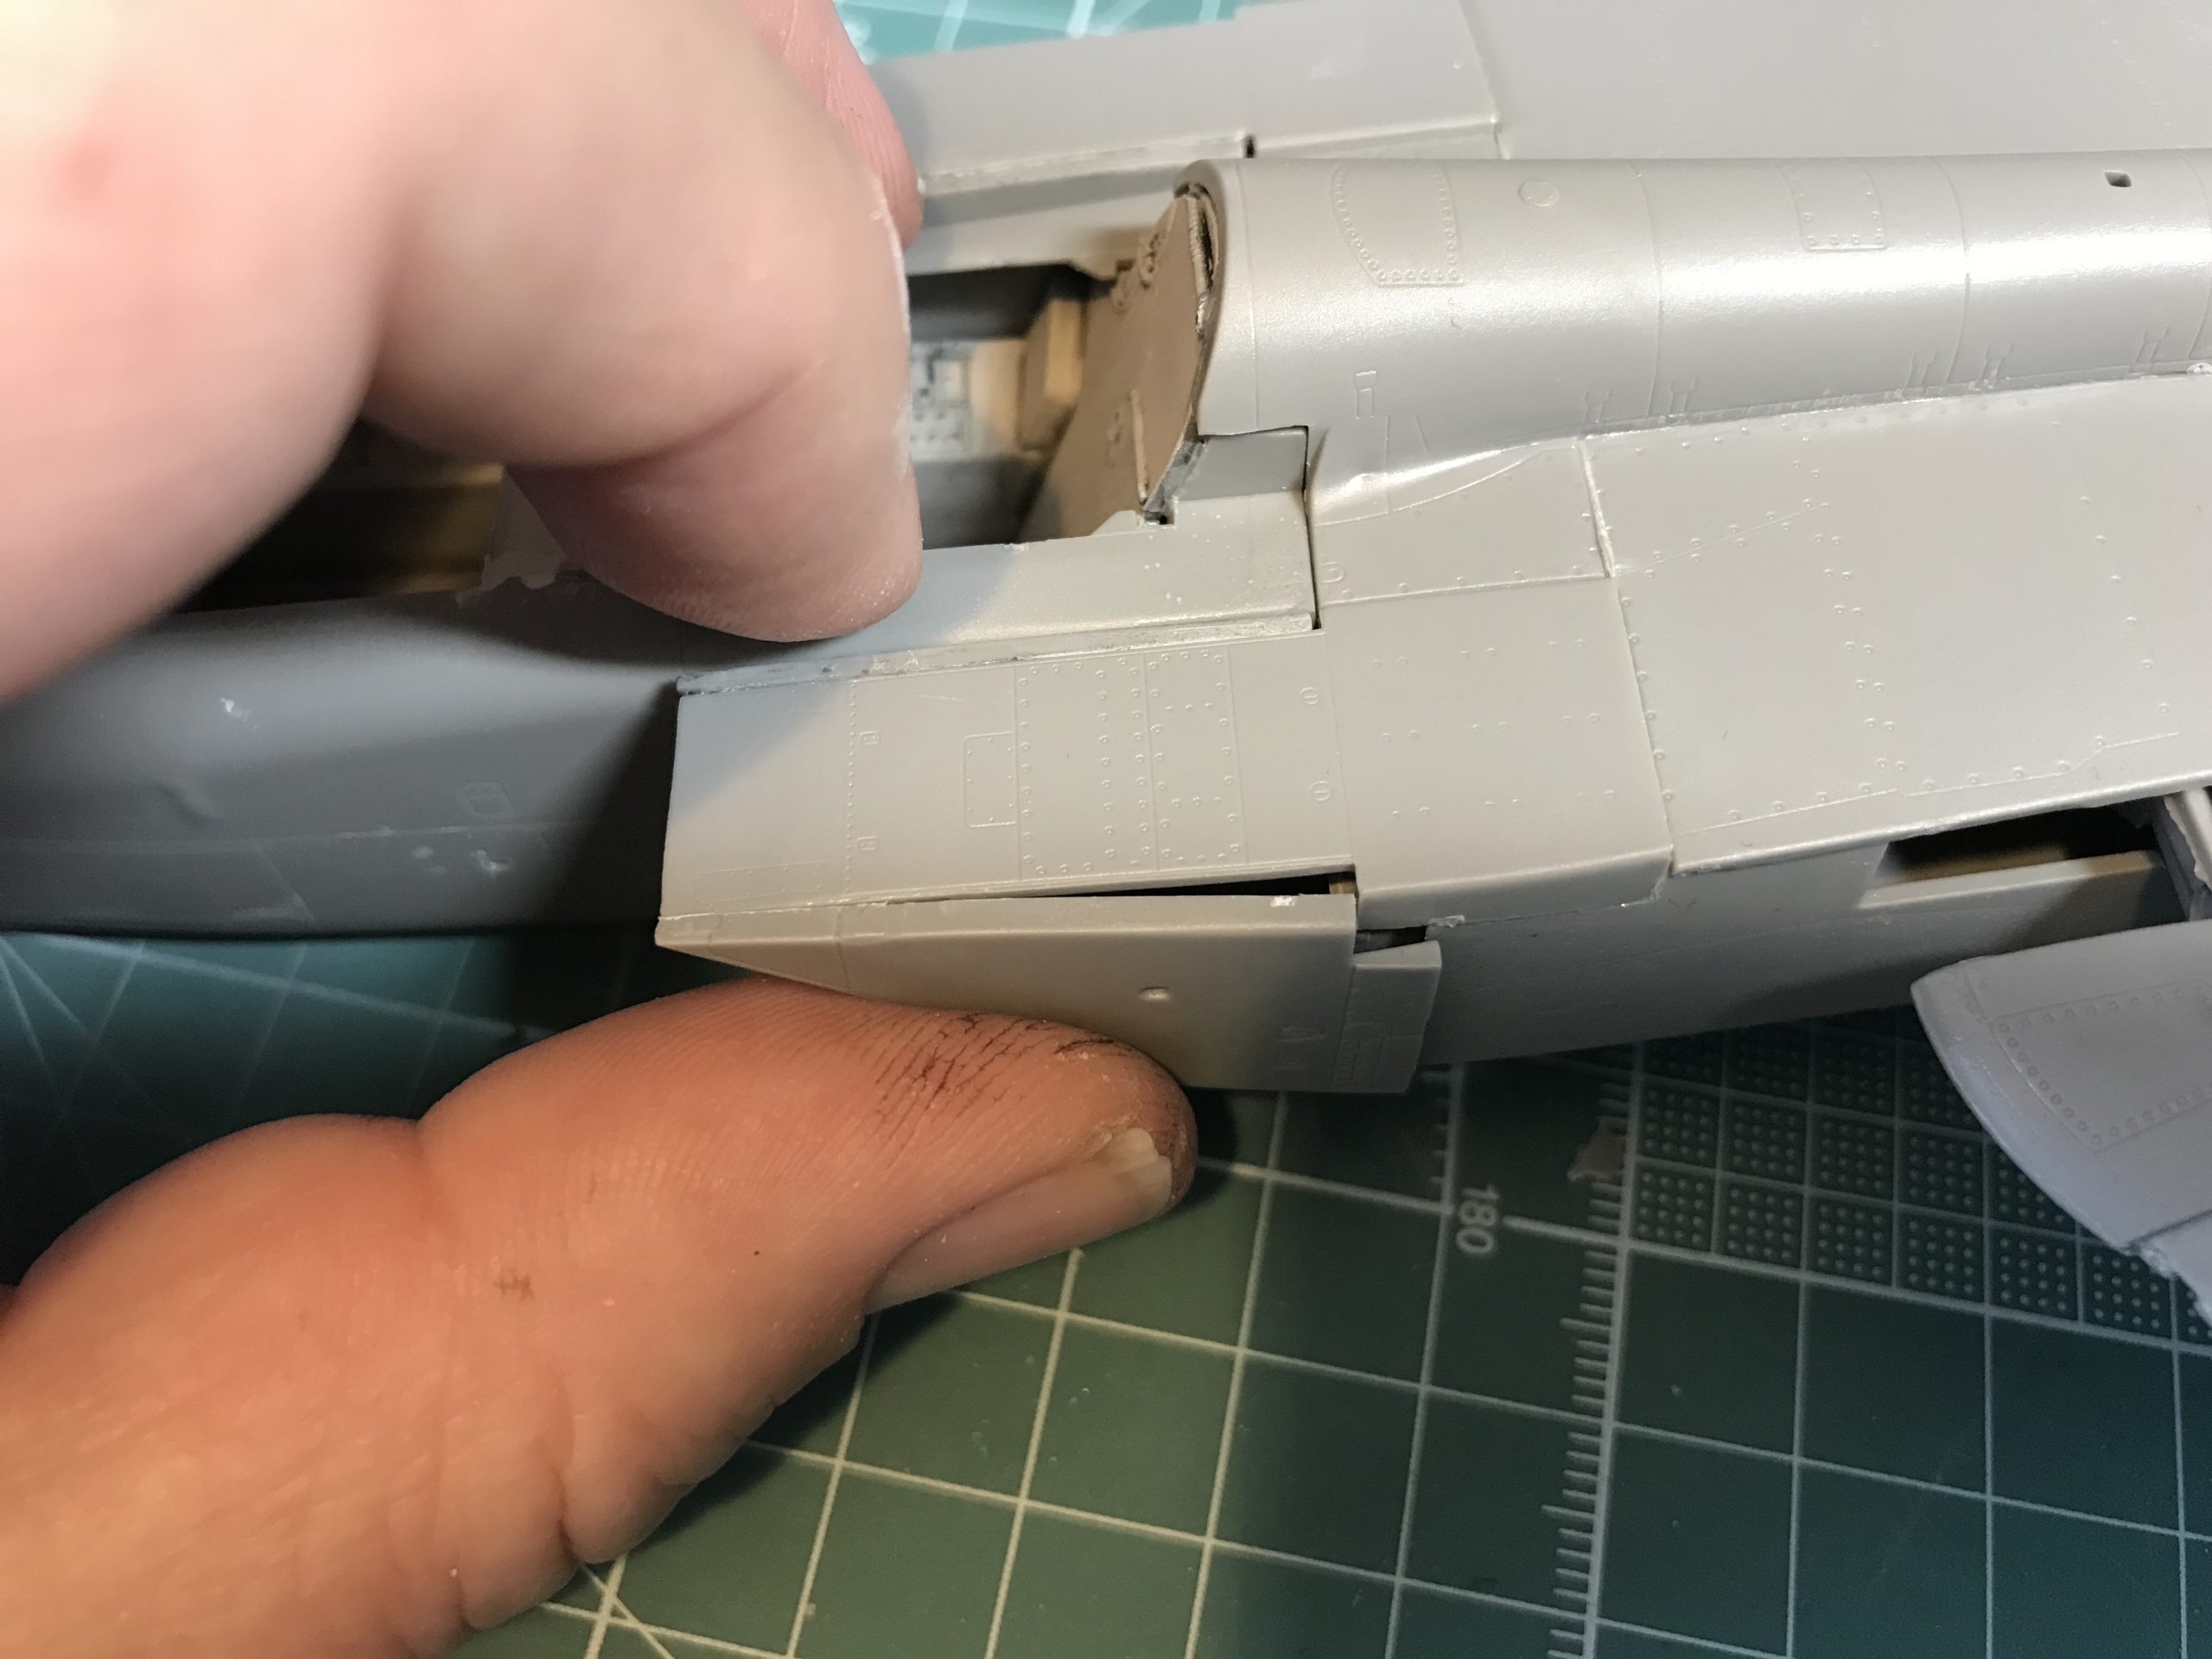
Make sure to maintain the gap between the back of the cockpit and front of the air intakes.
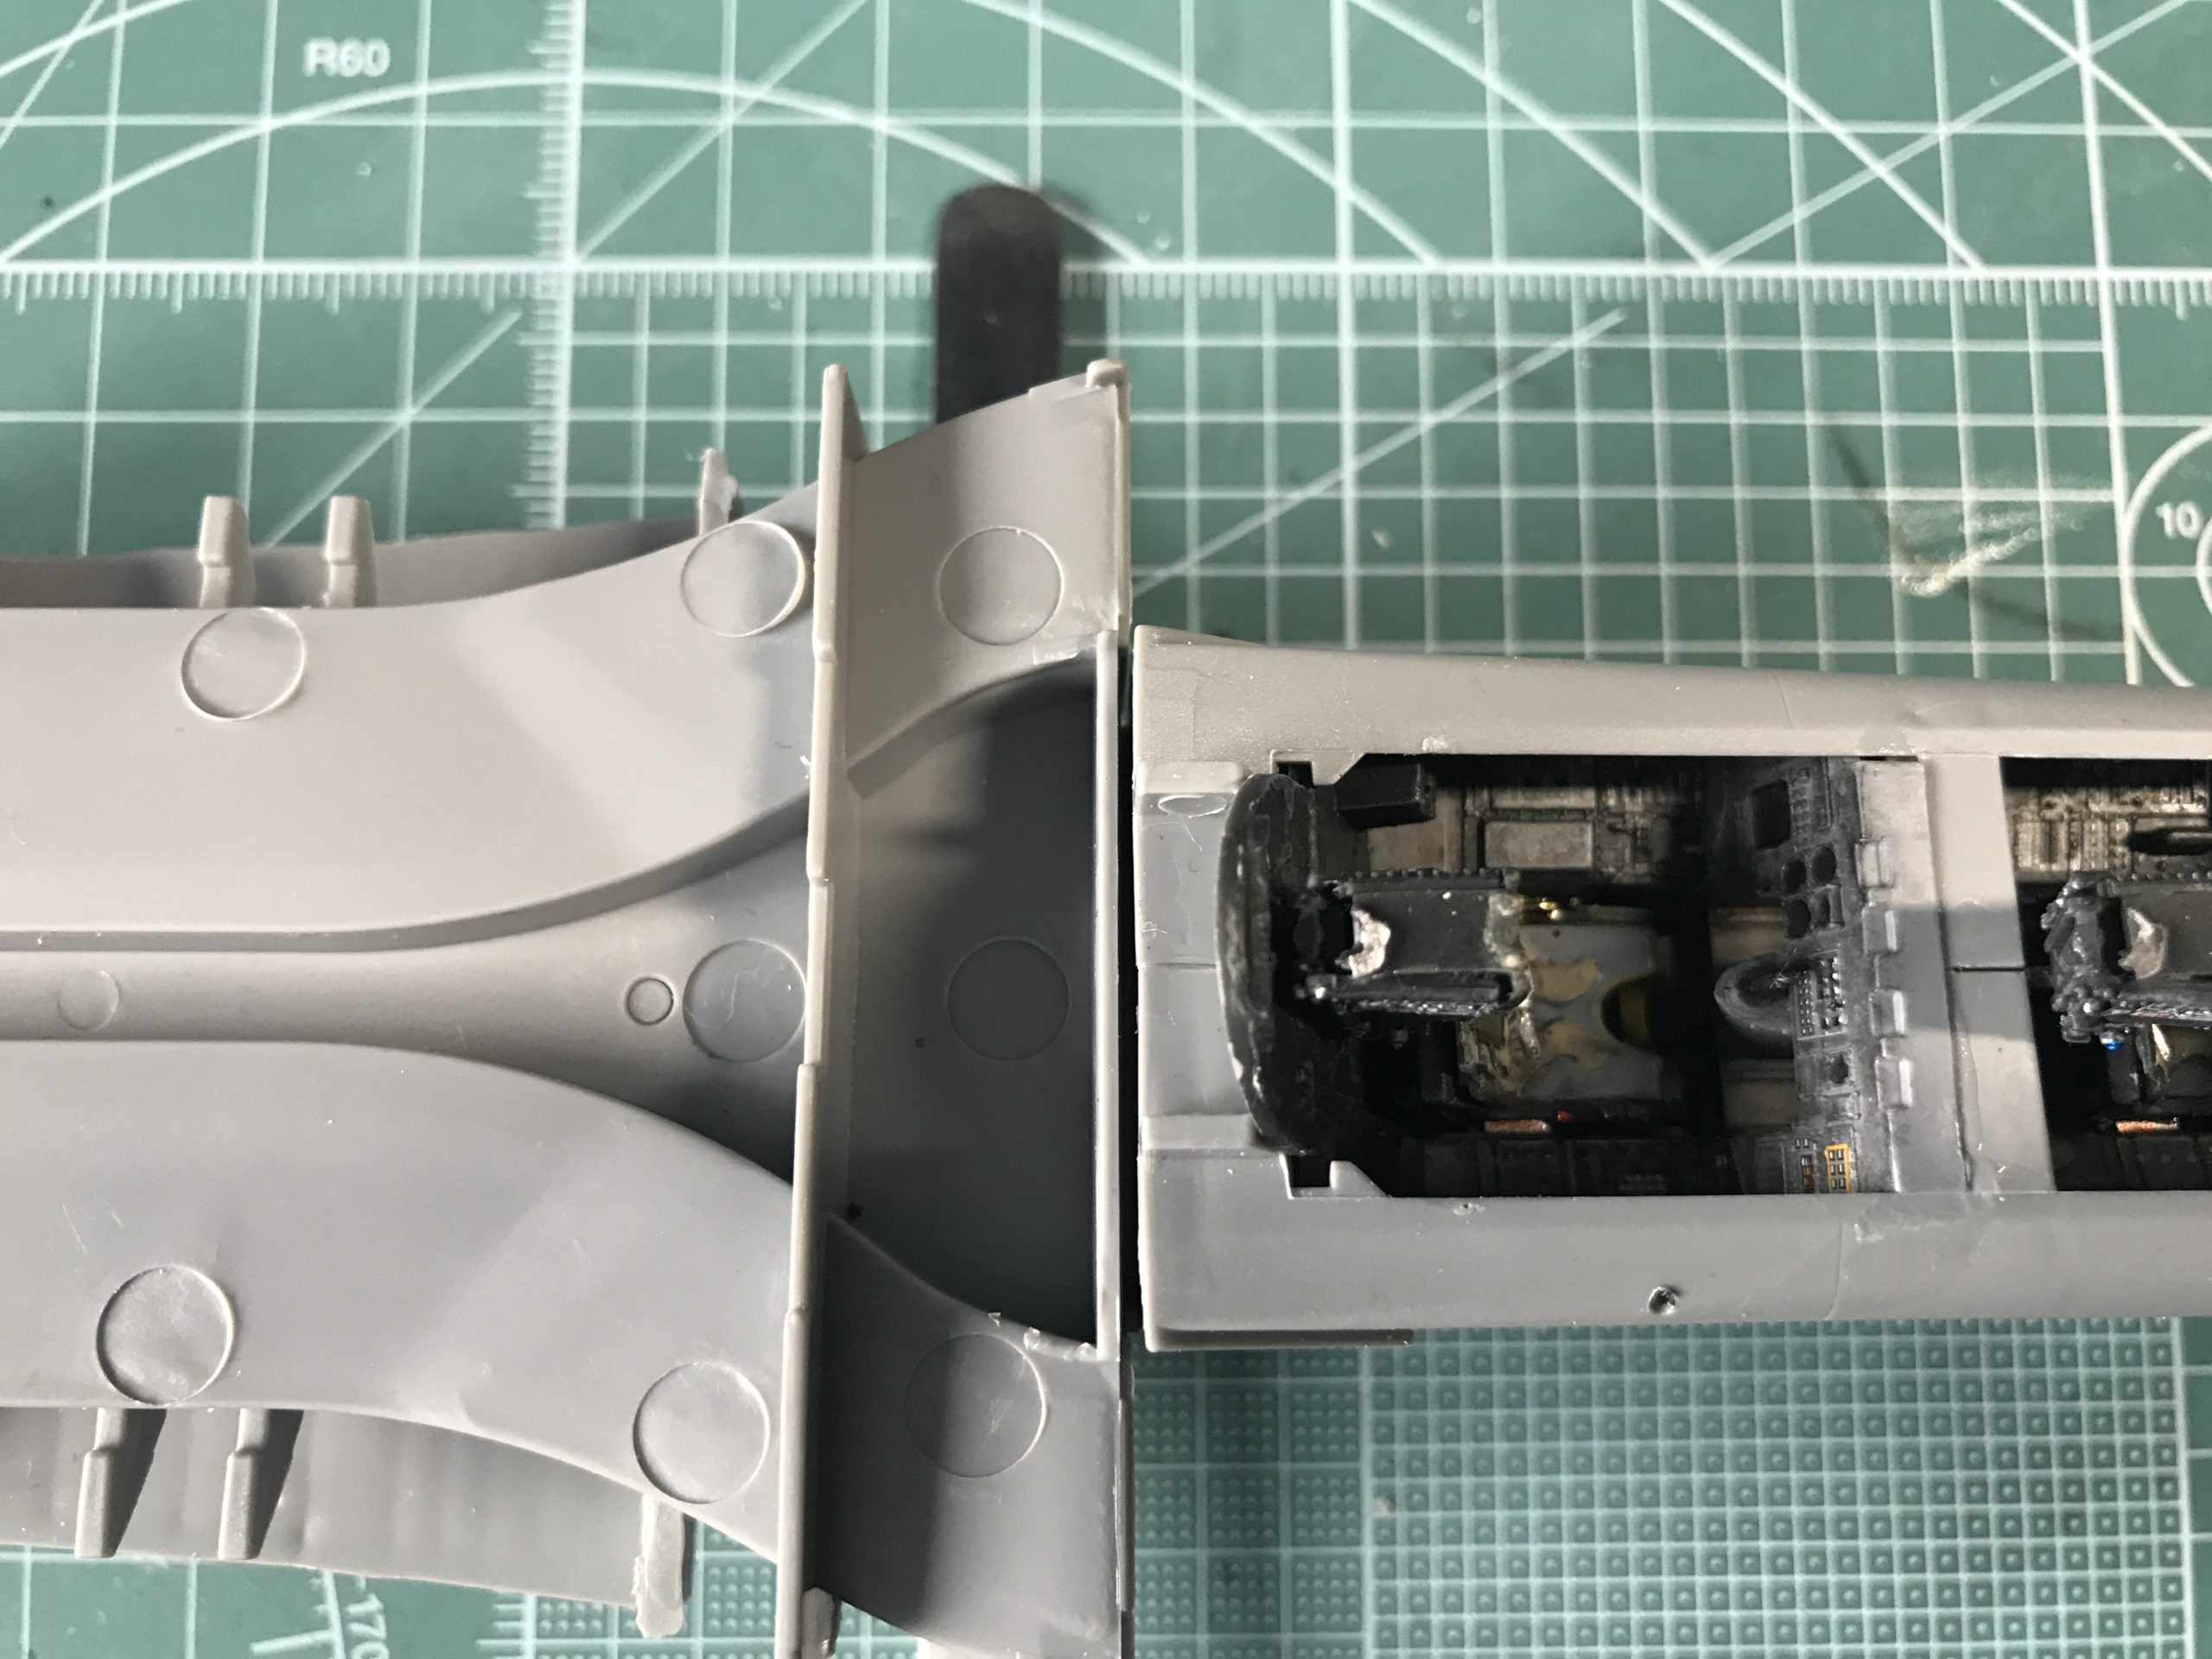
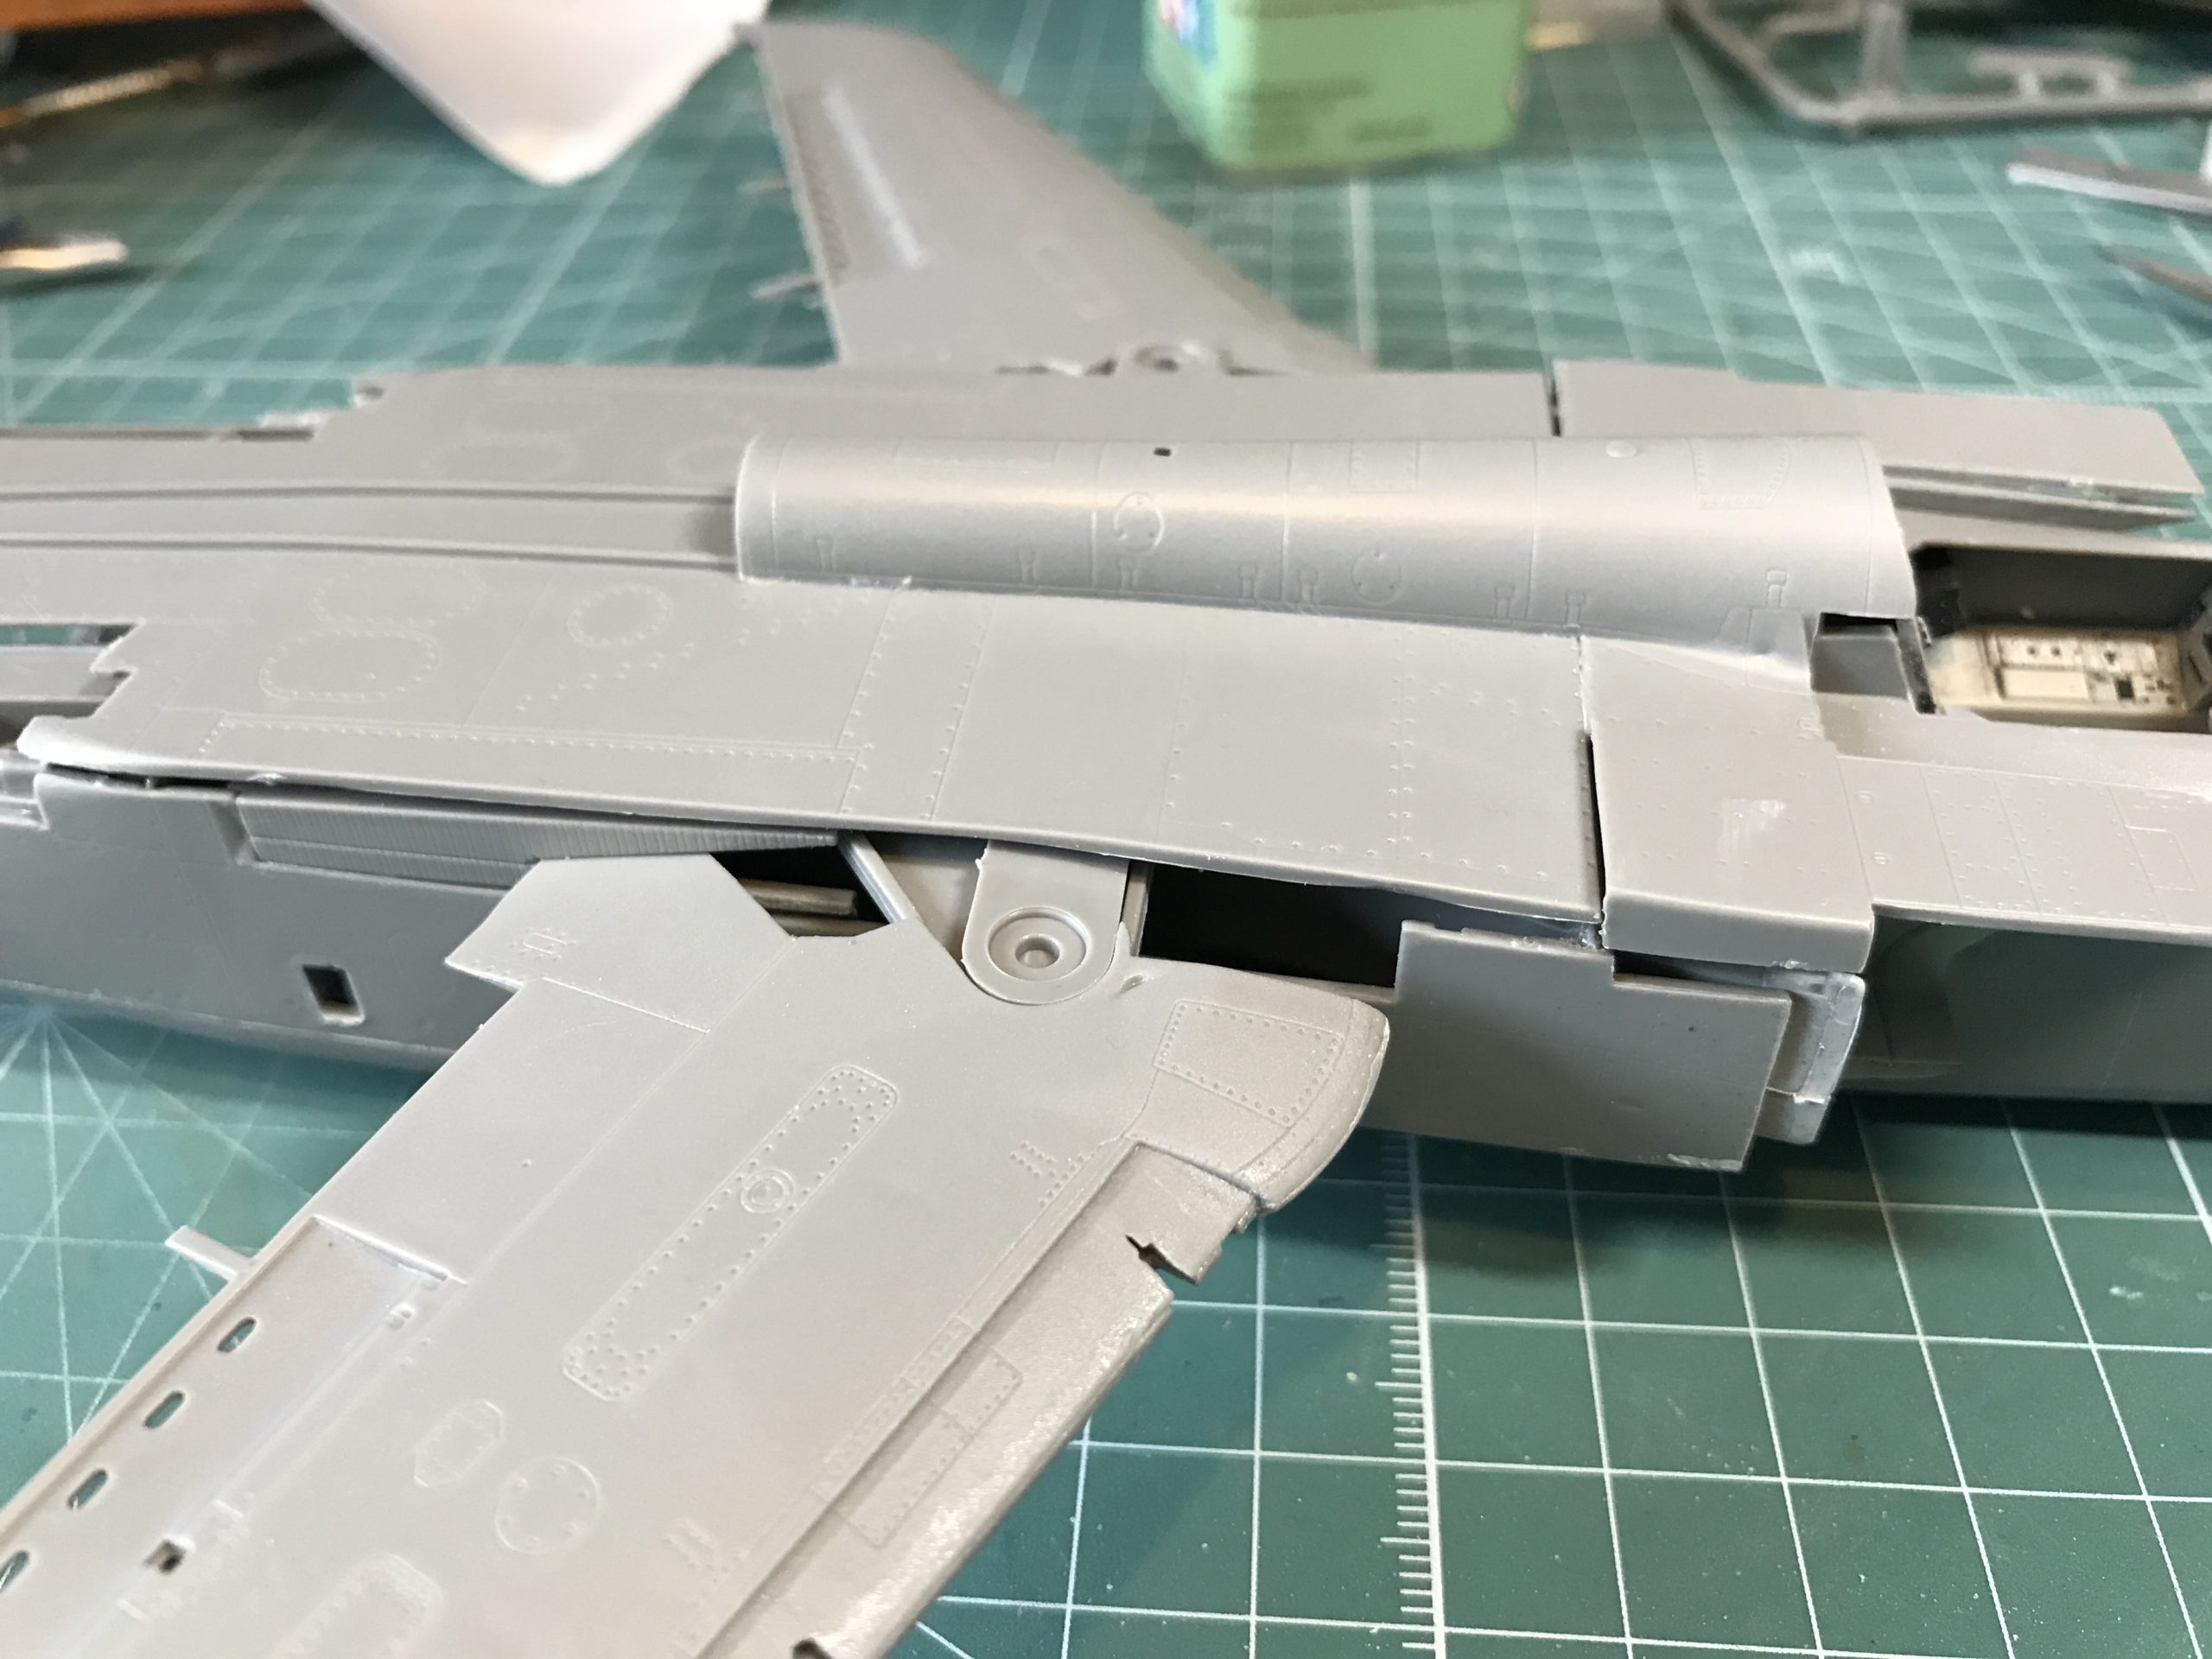
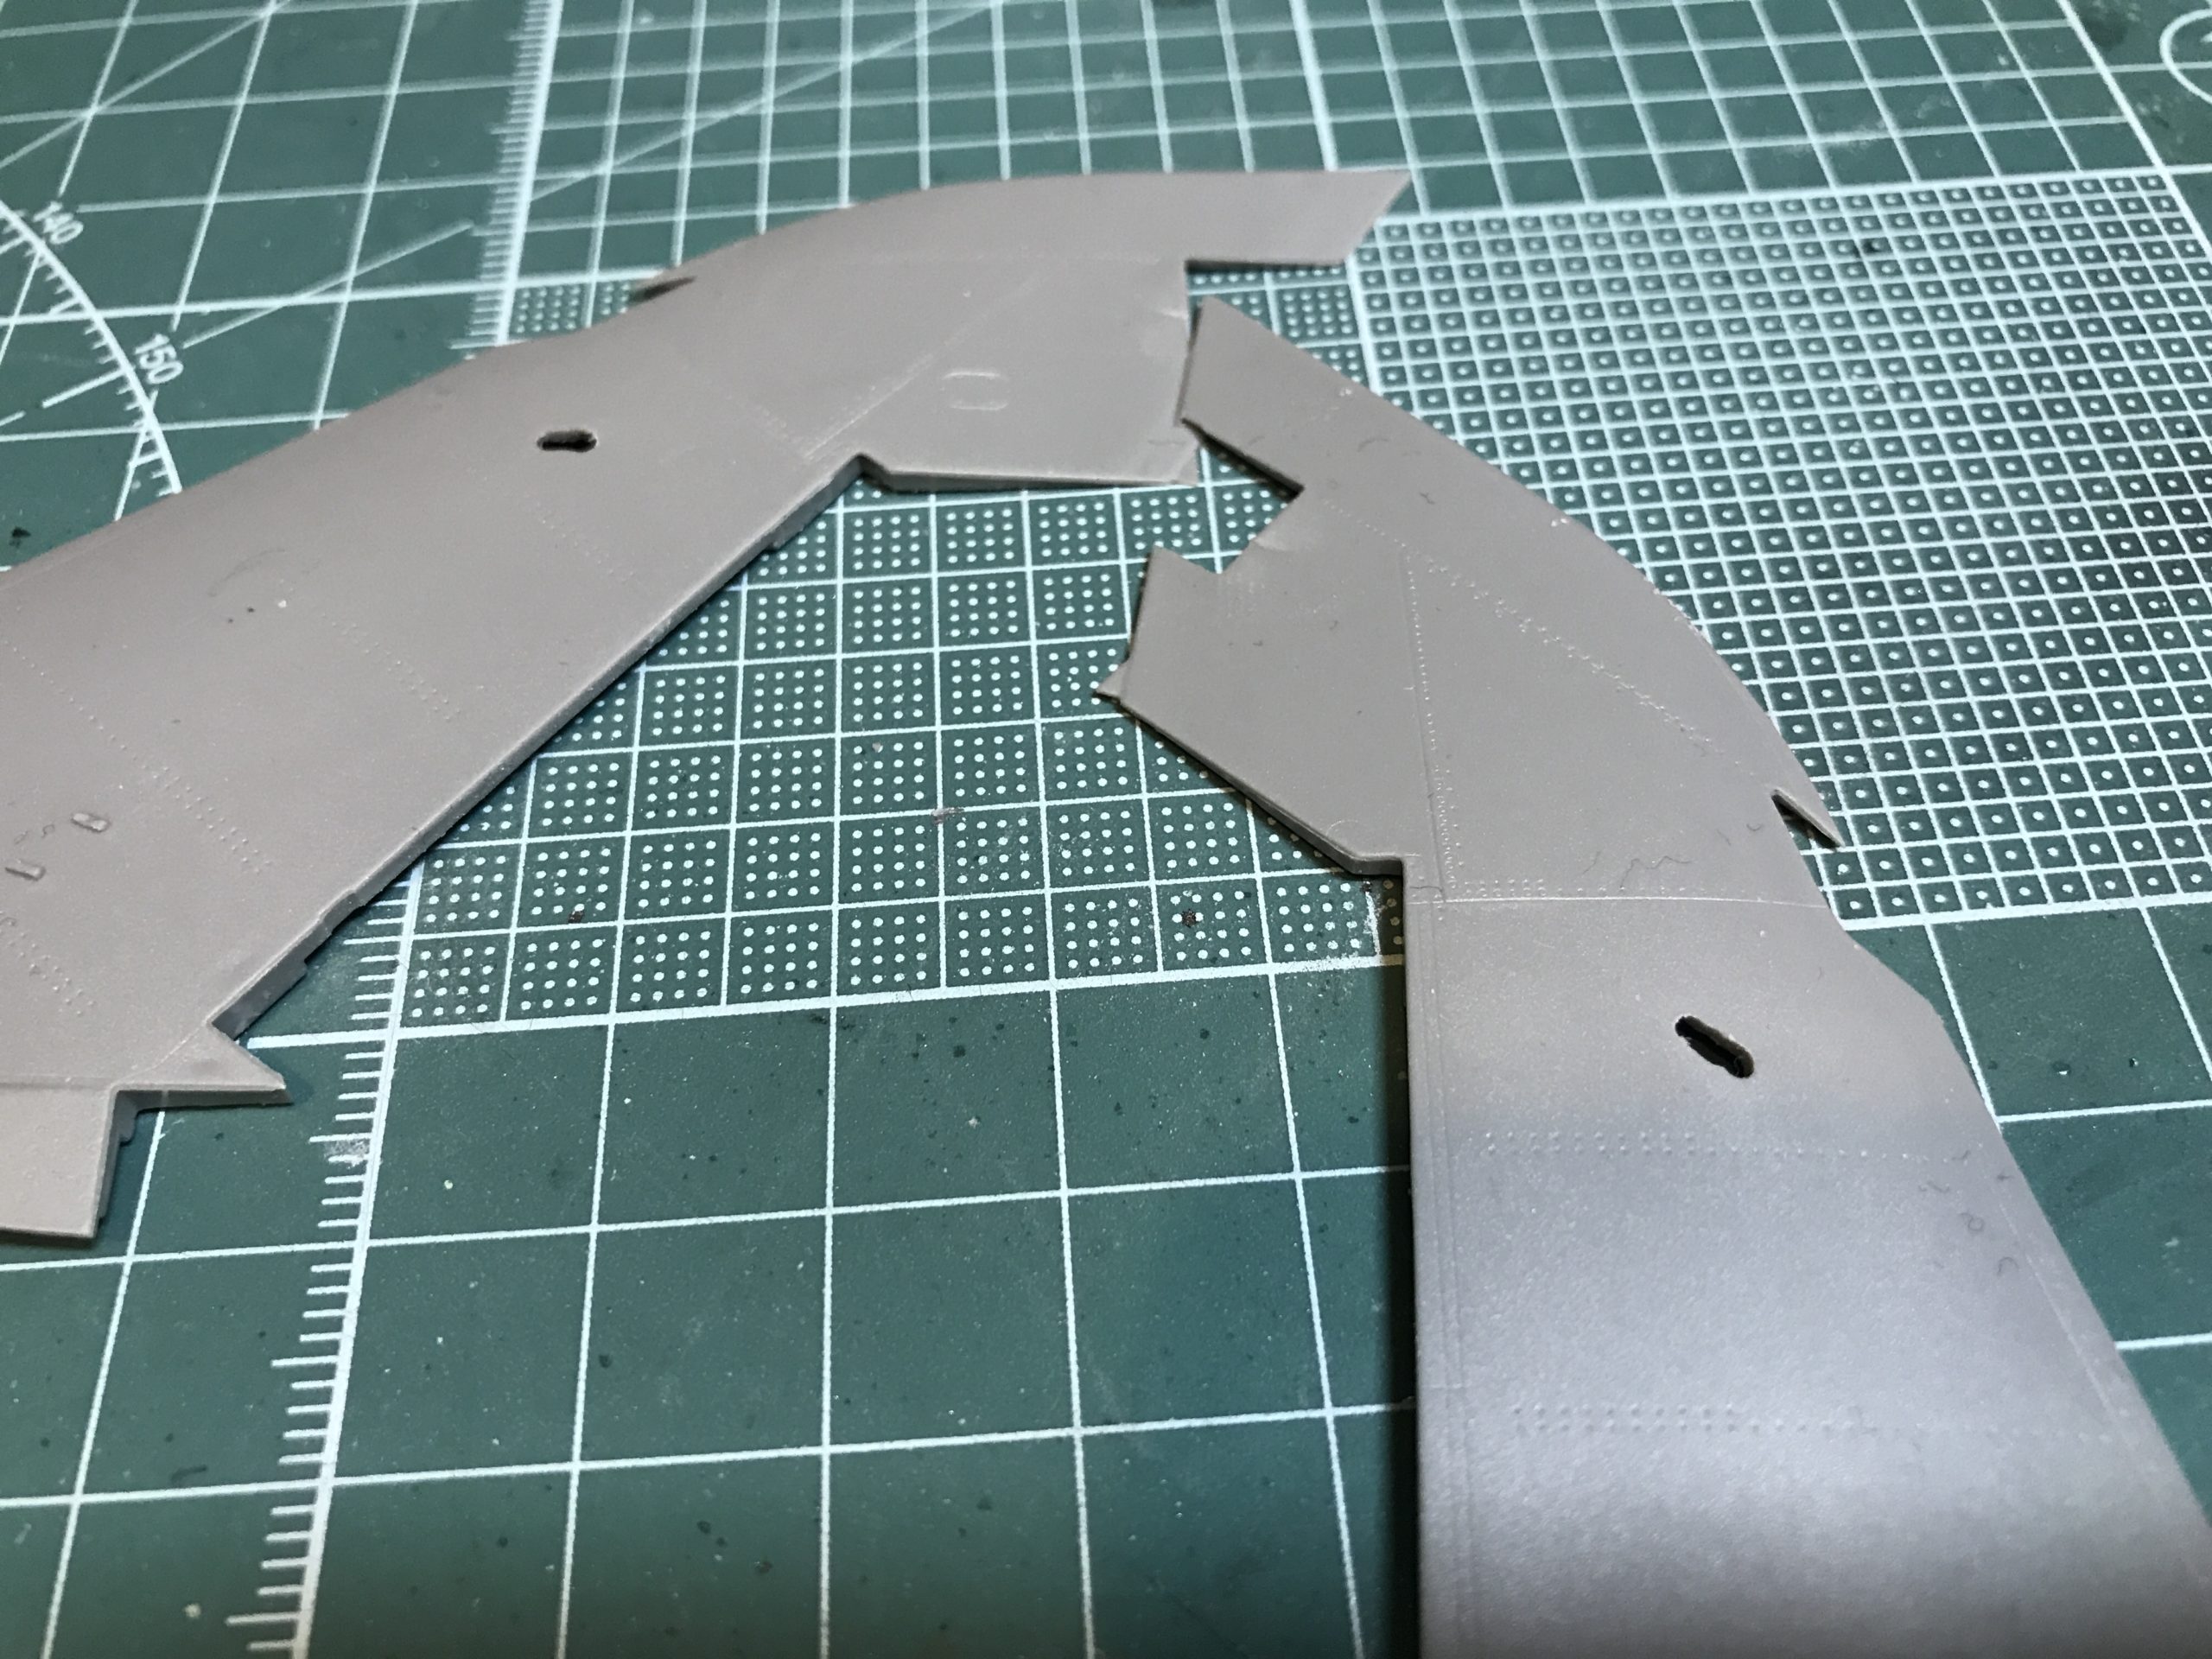
About halfway through the fuselage build you need to look at the wings. There is a clever mechanism inside each wing that will maintain the correct orientation for the weapons when the wings are swept forward or back. The fact there is a tight fitting glove at the root of the wing means that you have to decide what wing sweep you want making the variable feature redundant. It also means the connection point for the rather large external fuel tanks is rather small. Hopefully that won’t be an issue.

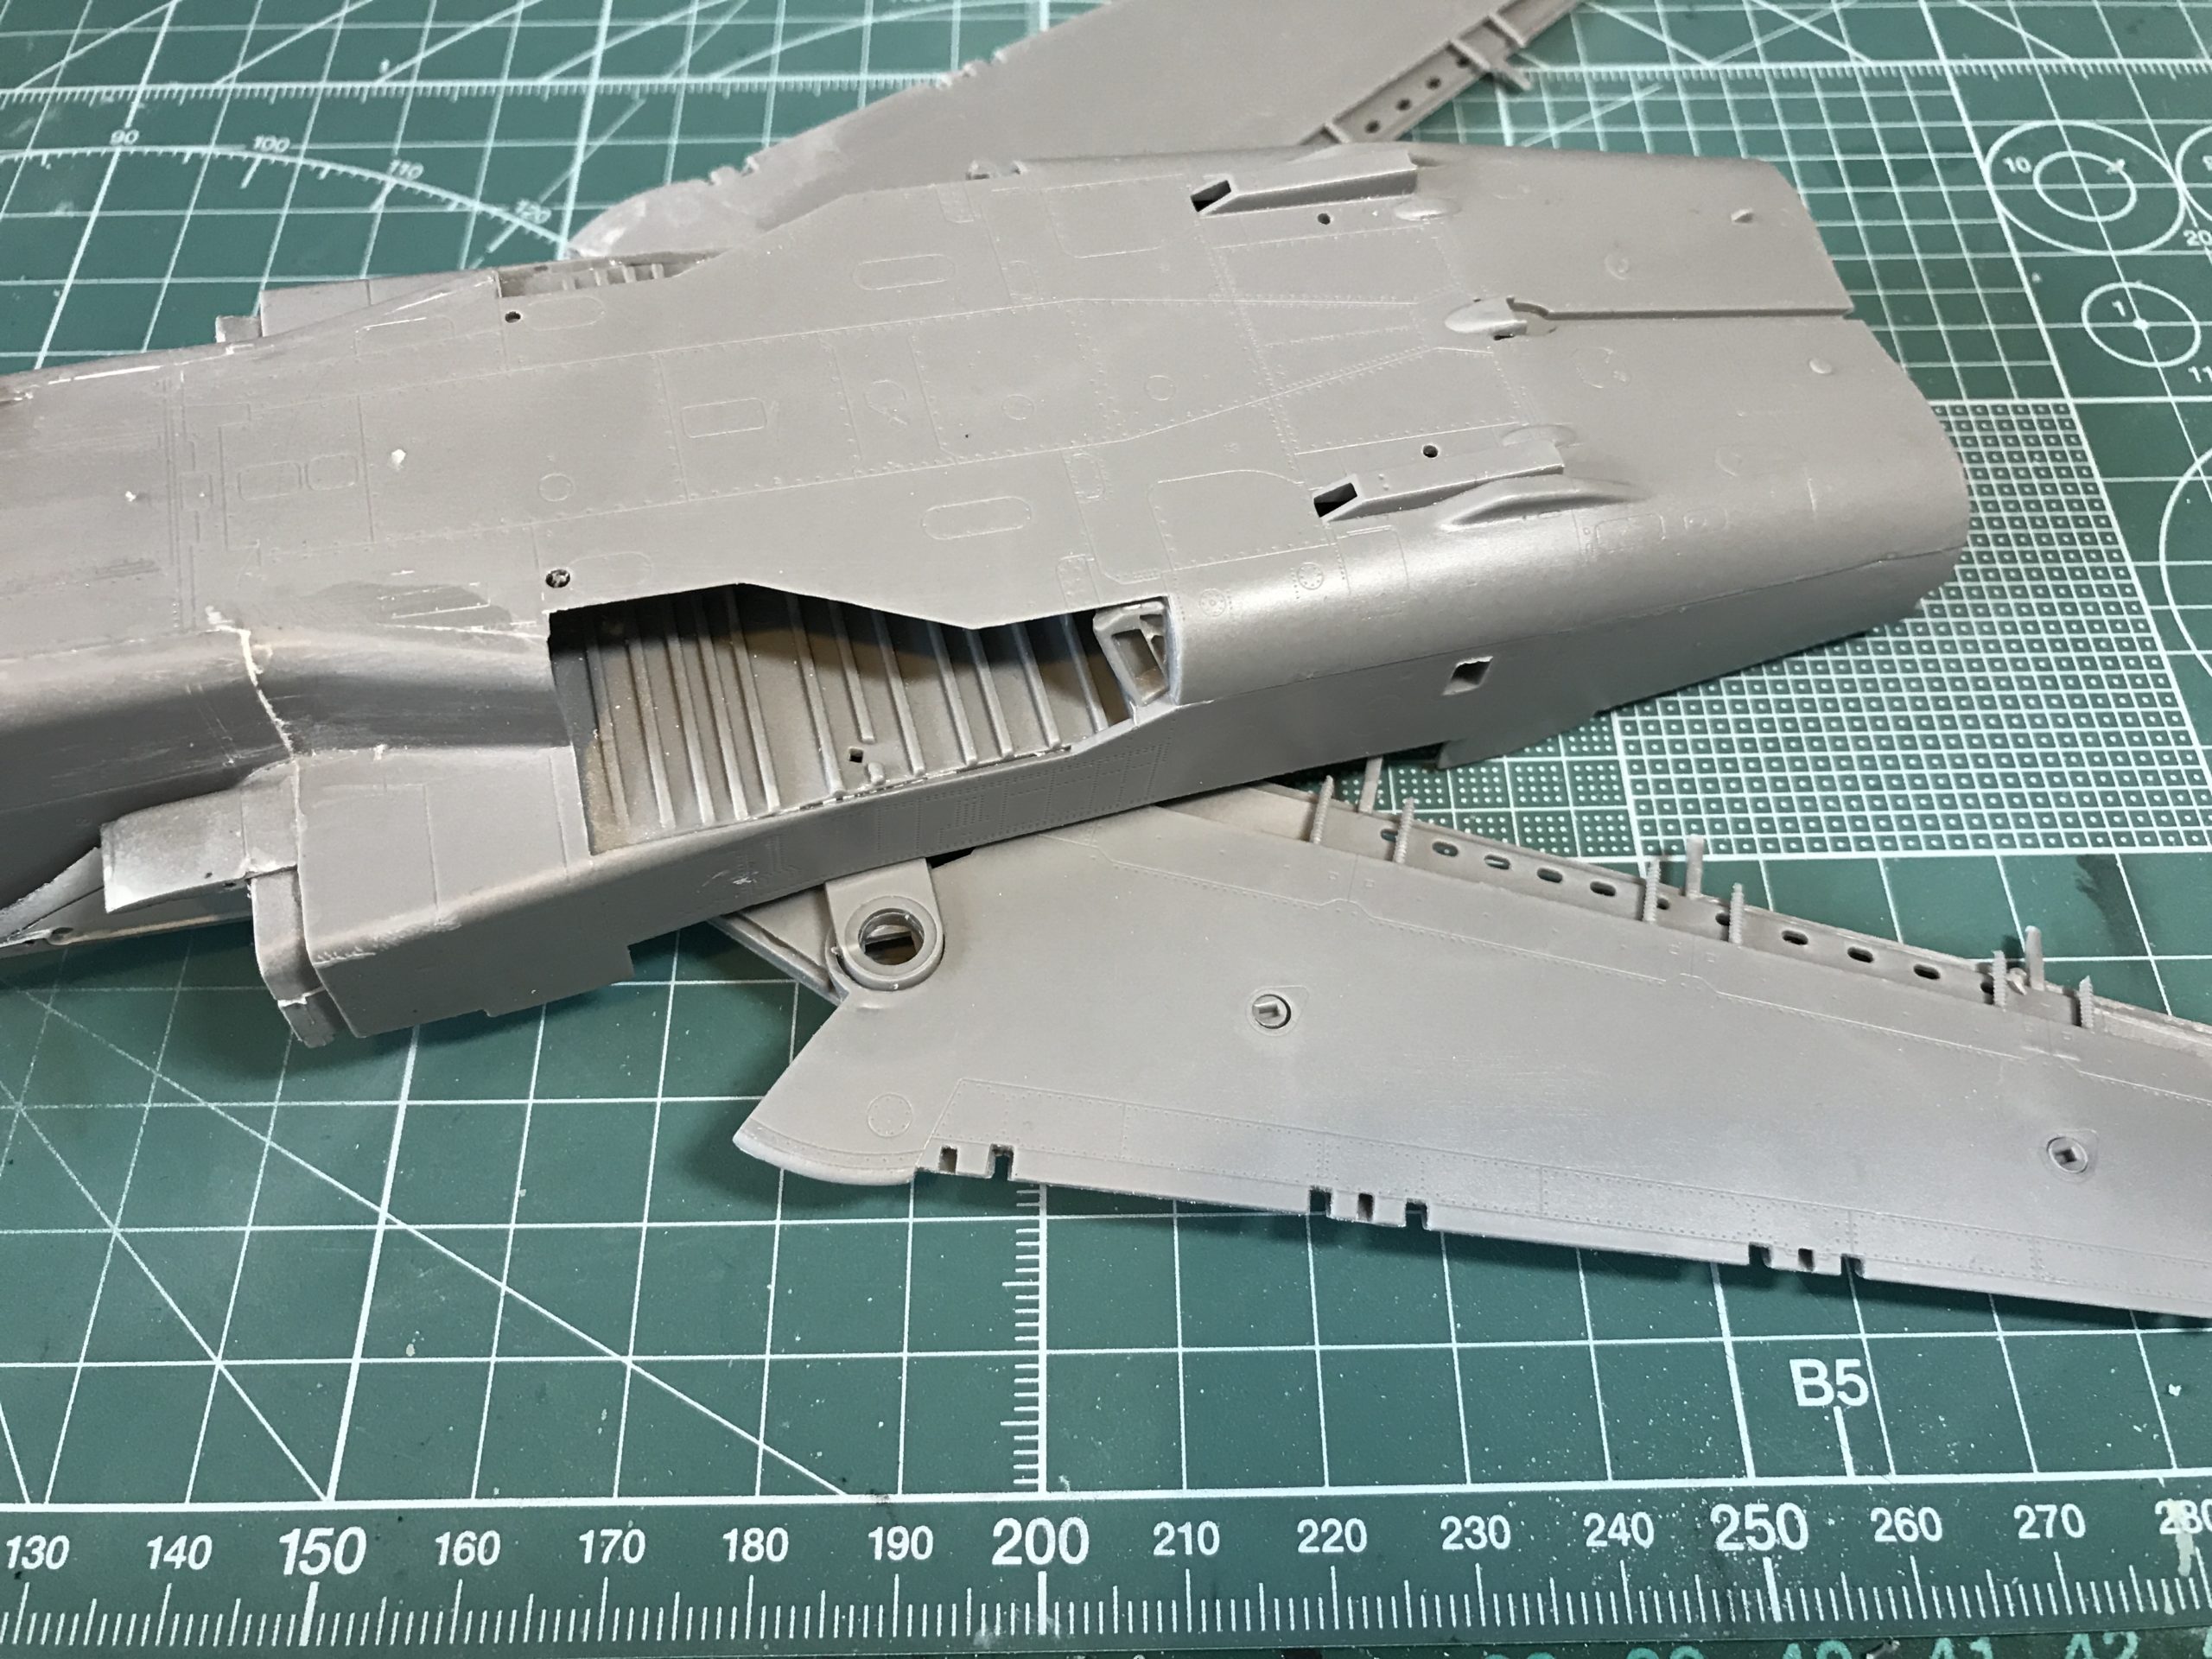

Once the wings are on the top part of the fuselage can be fitted and cemented into place. Thankfully it looks like everything is lined up perfectly.
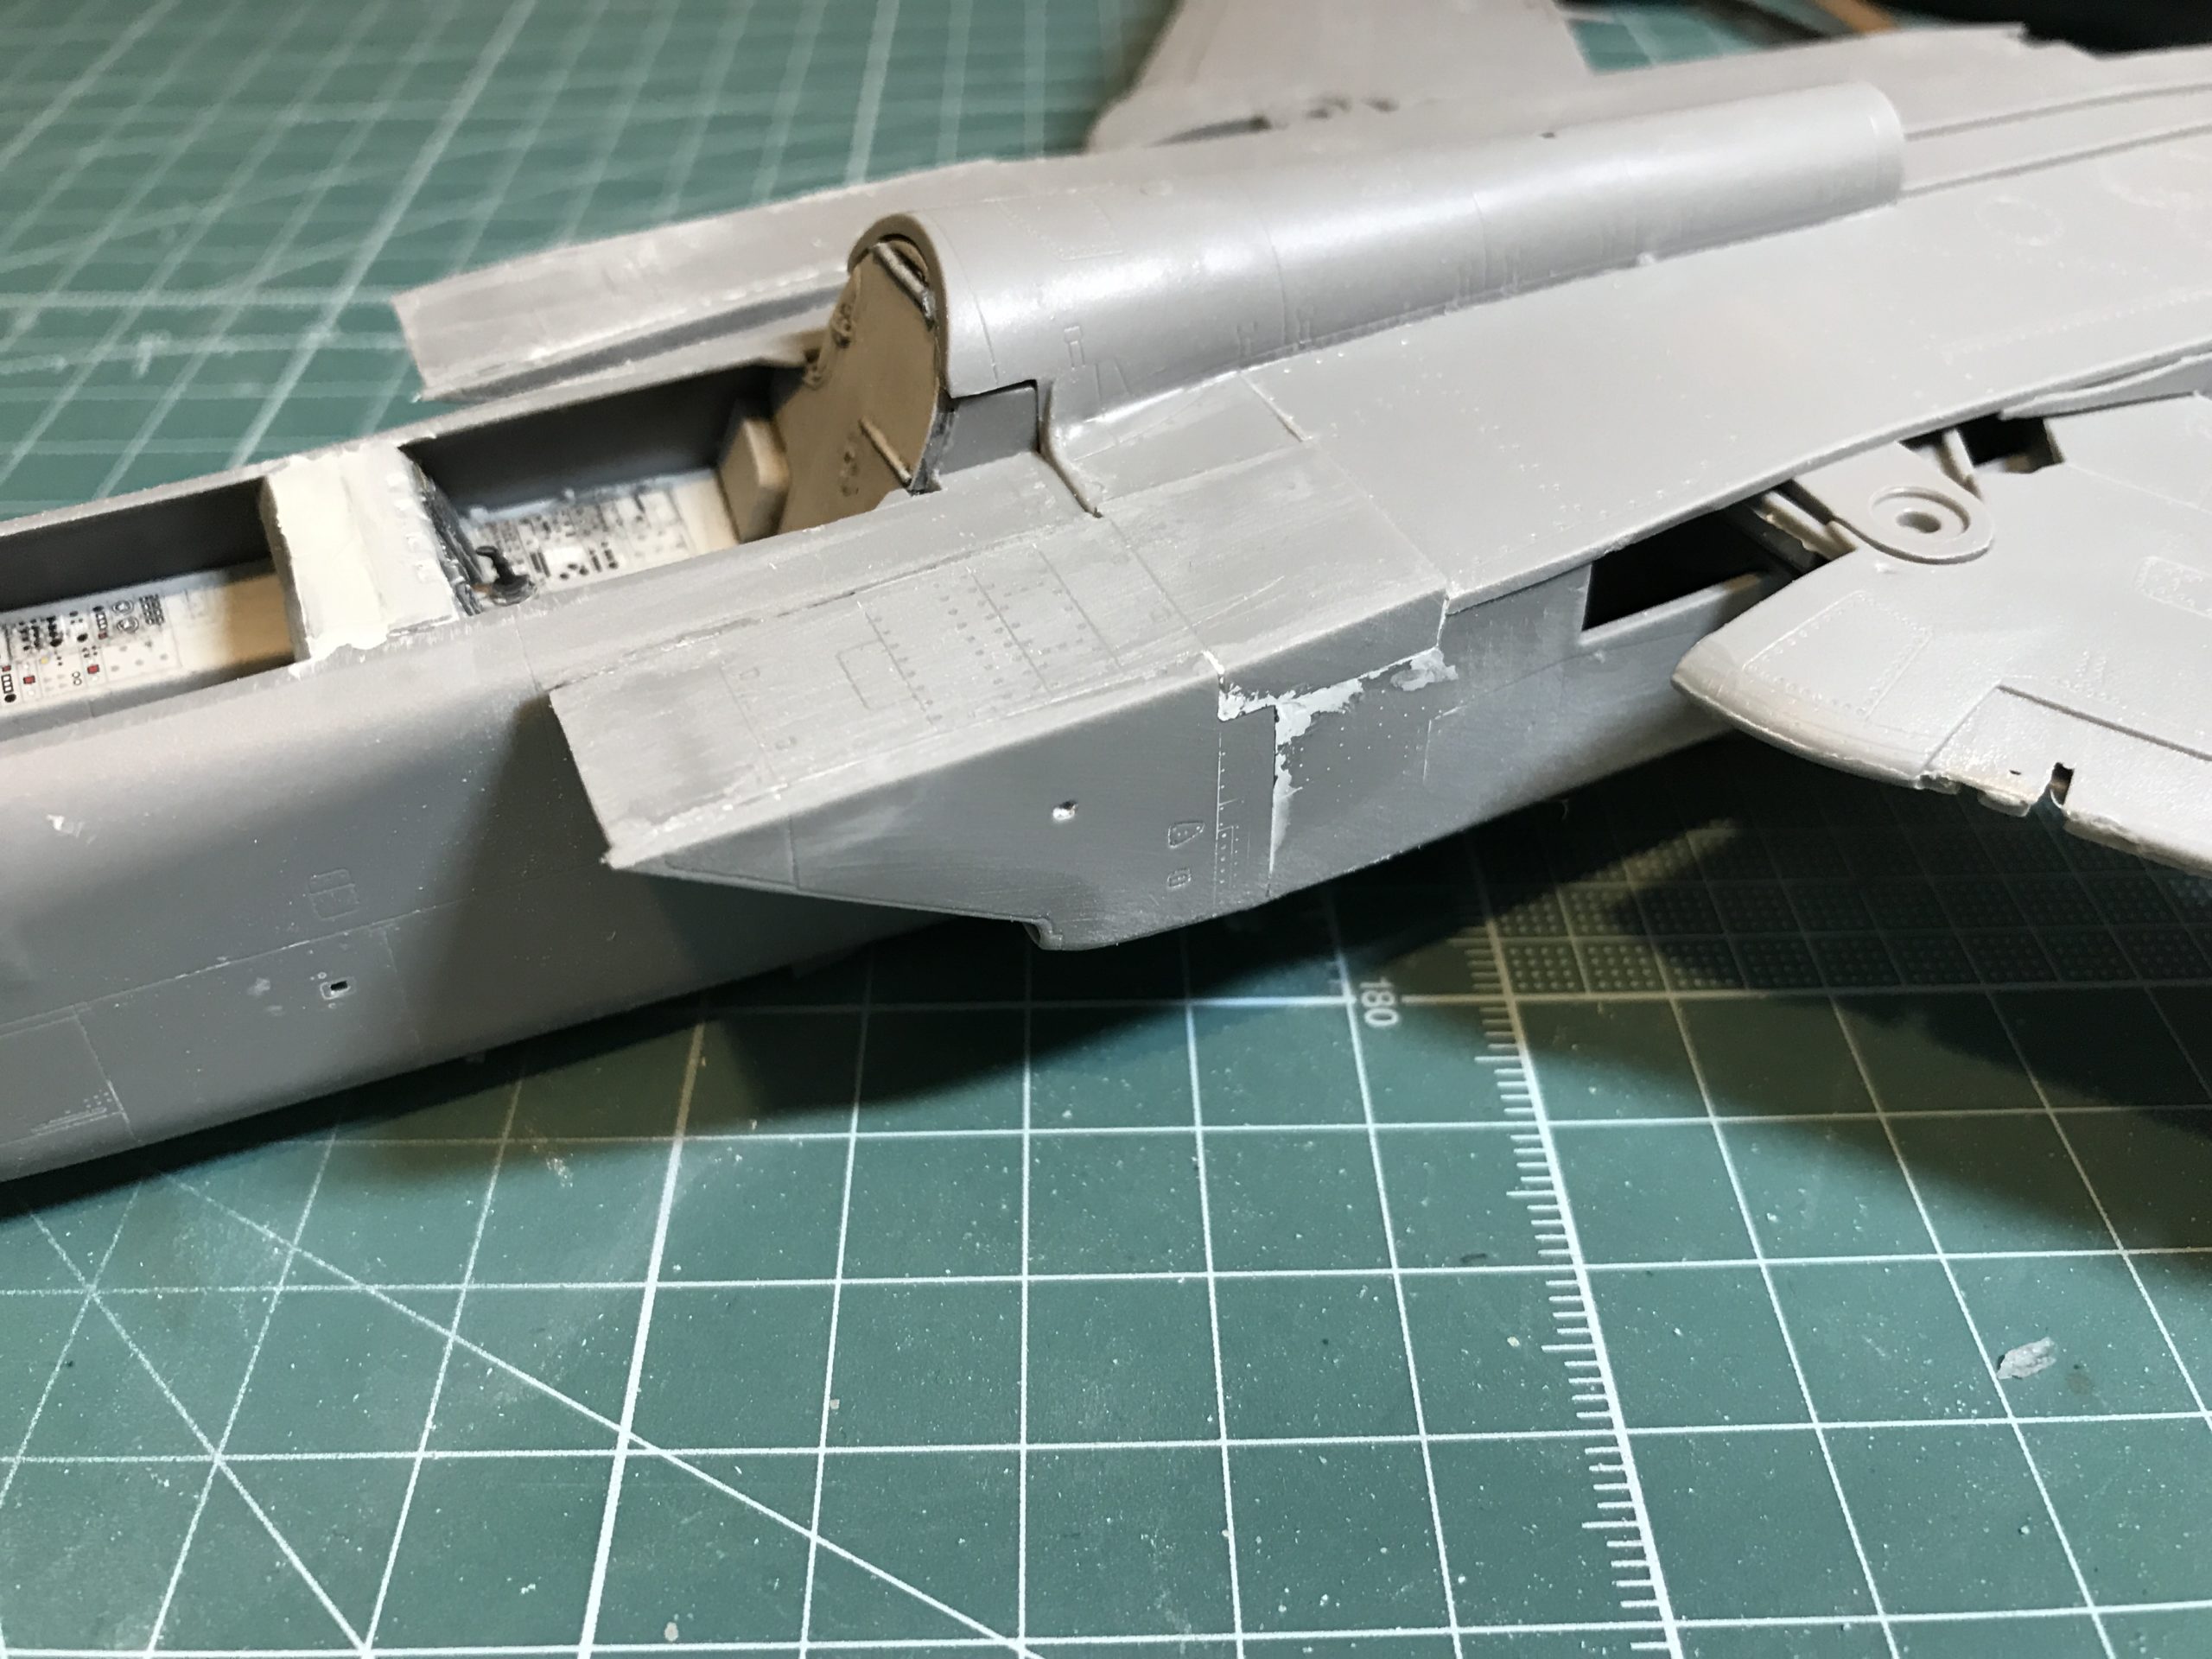
I have included a picture of the back part of the assembly showing the correct assembly of the airbrake aperture. This is unclear in the instruction book.
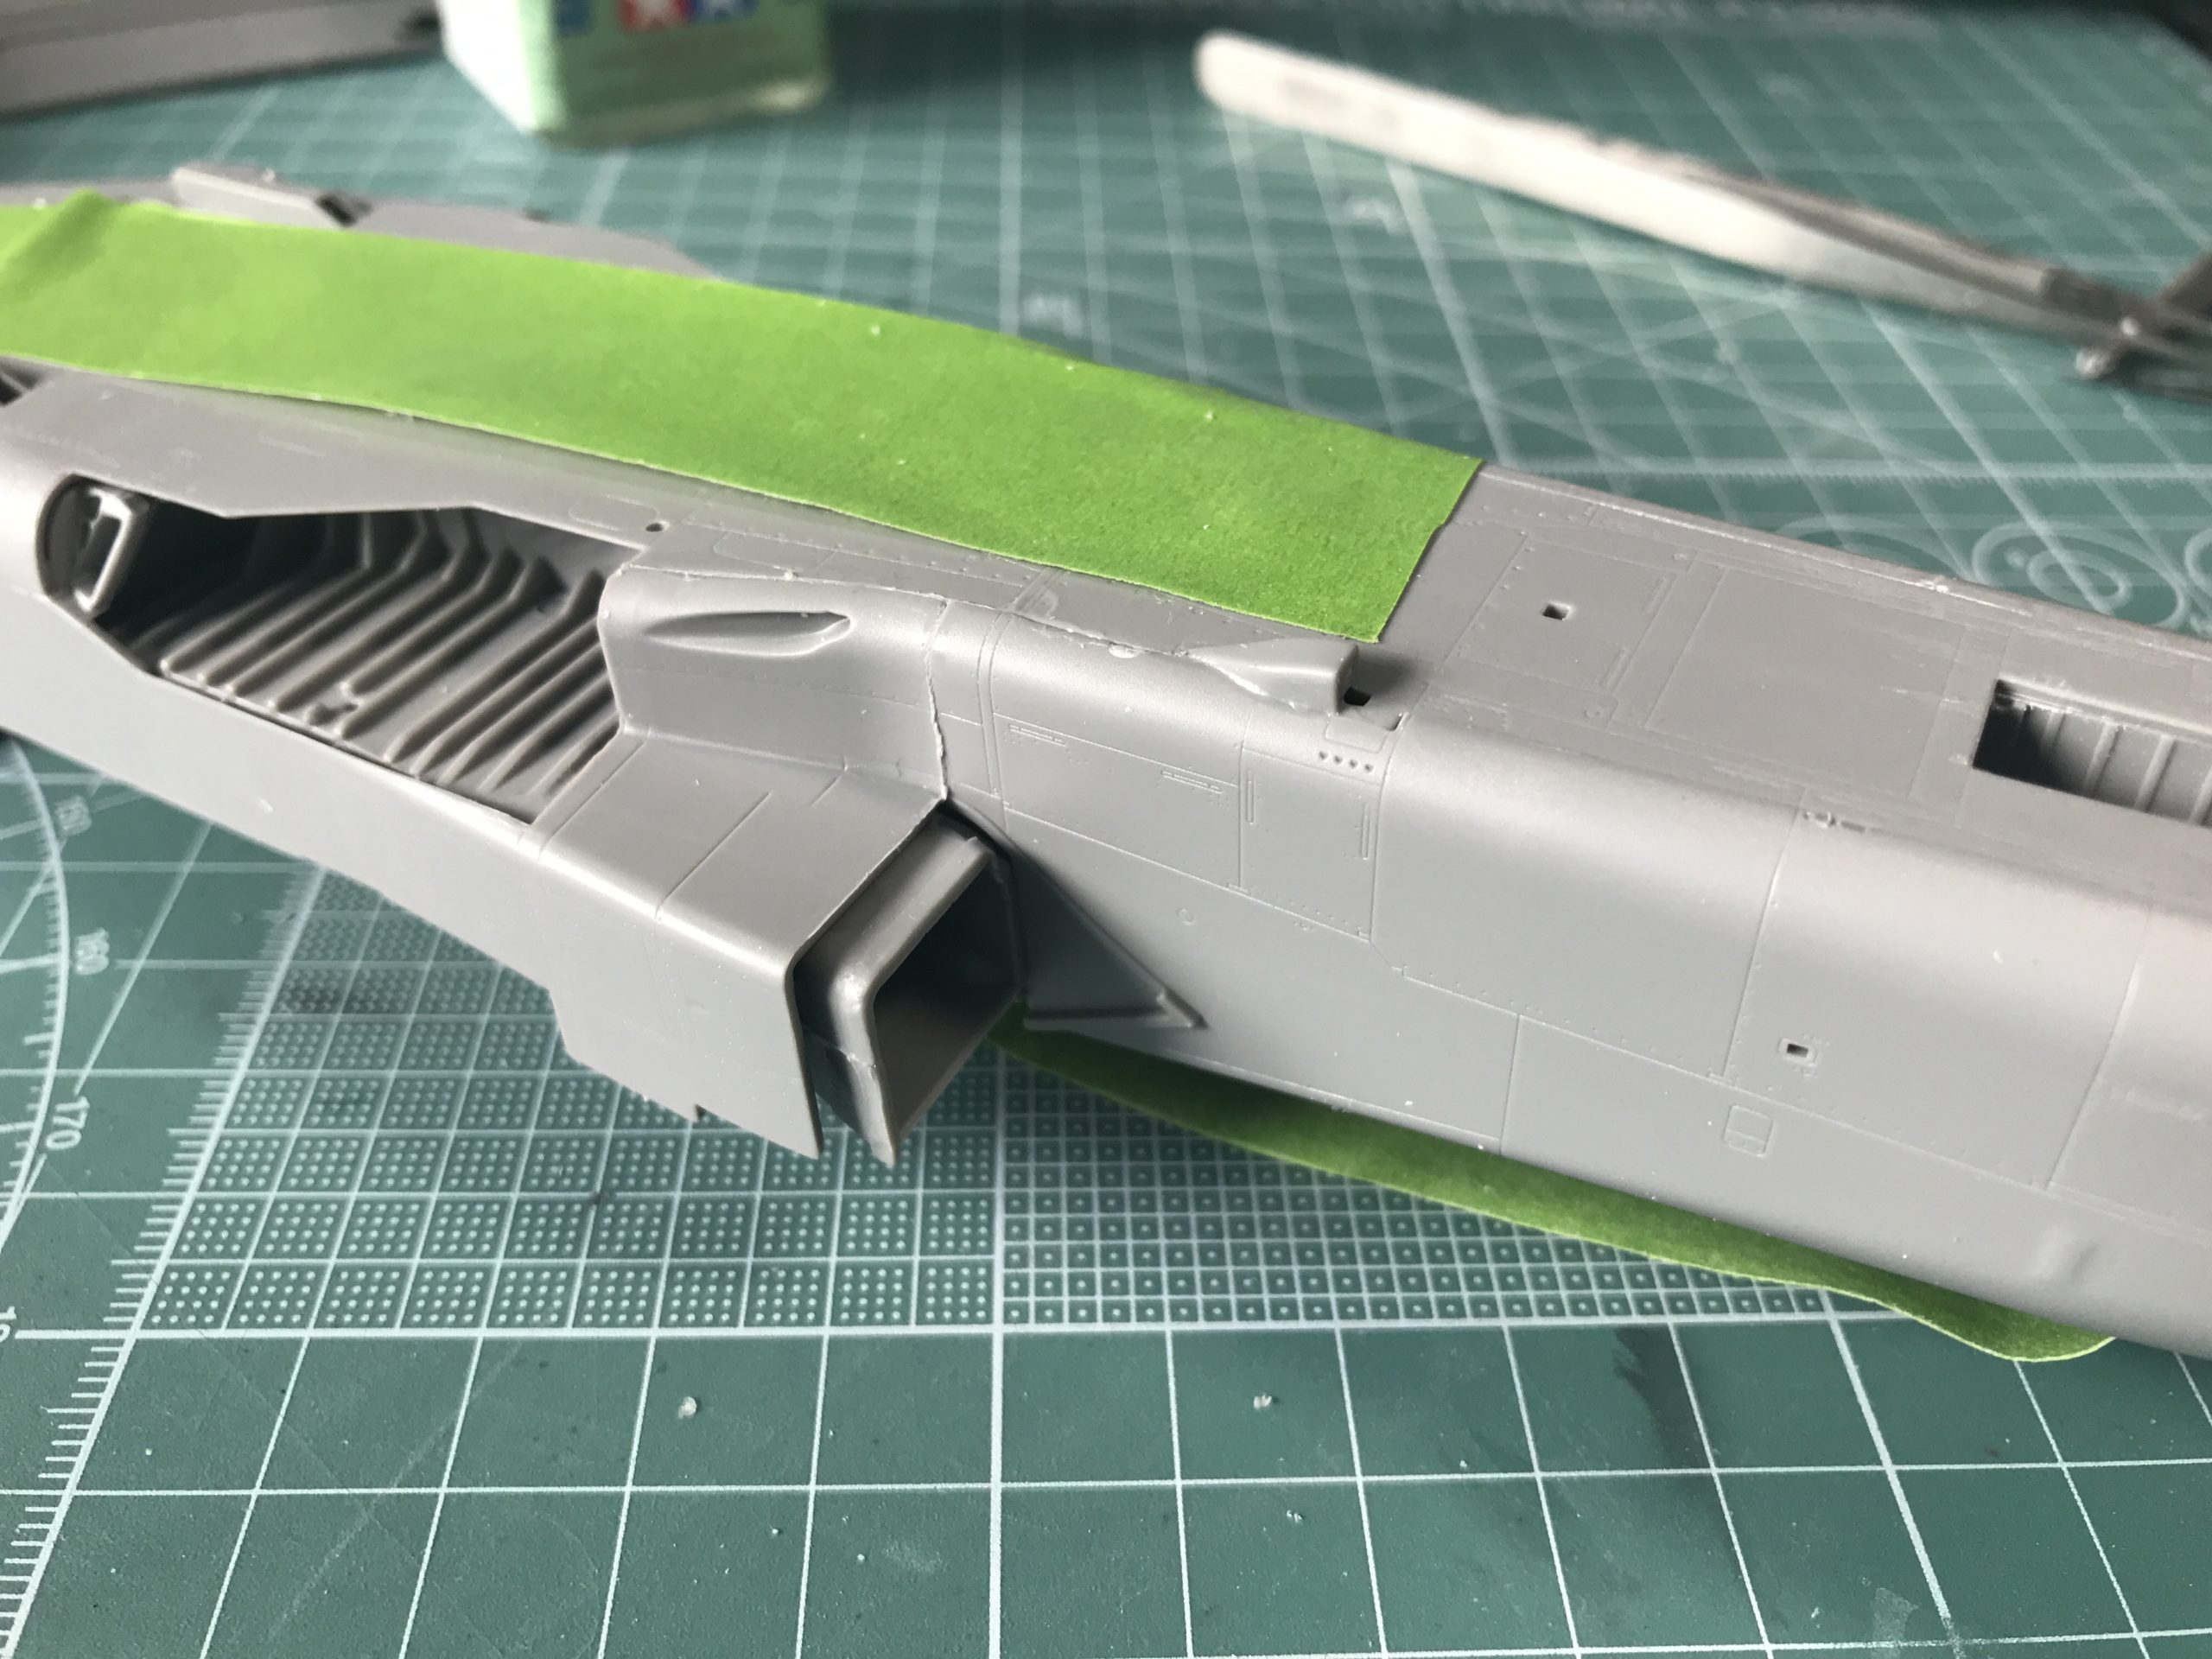
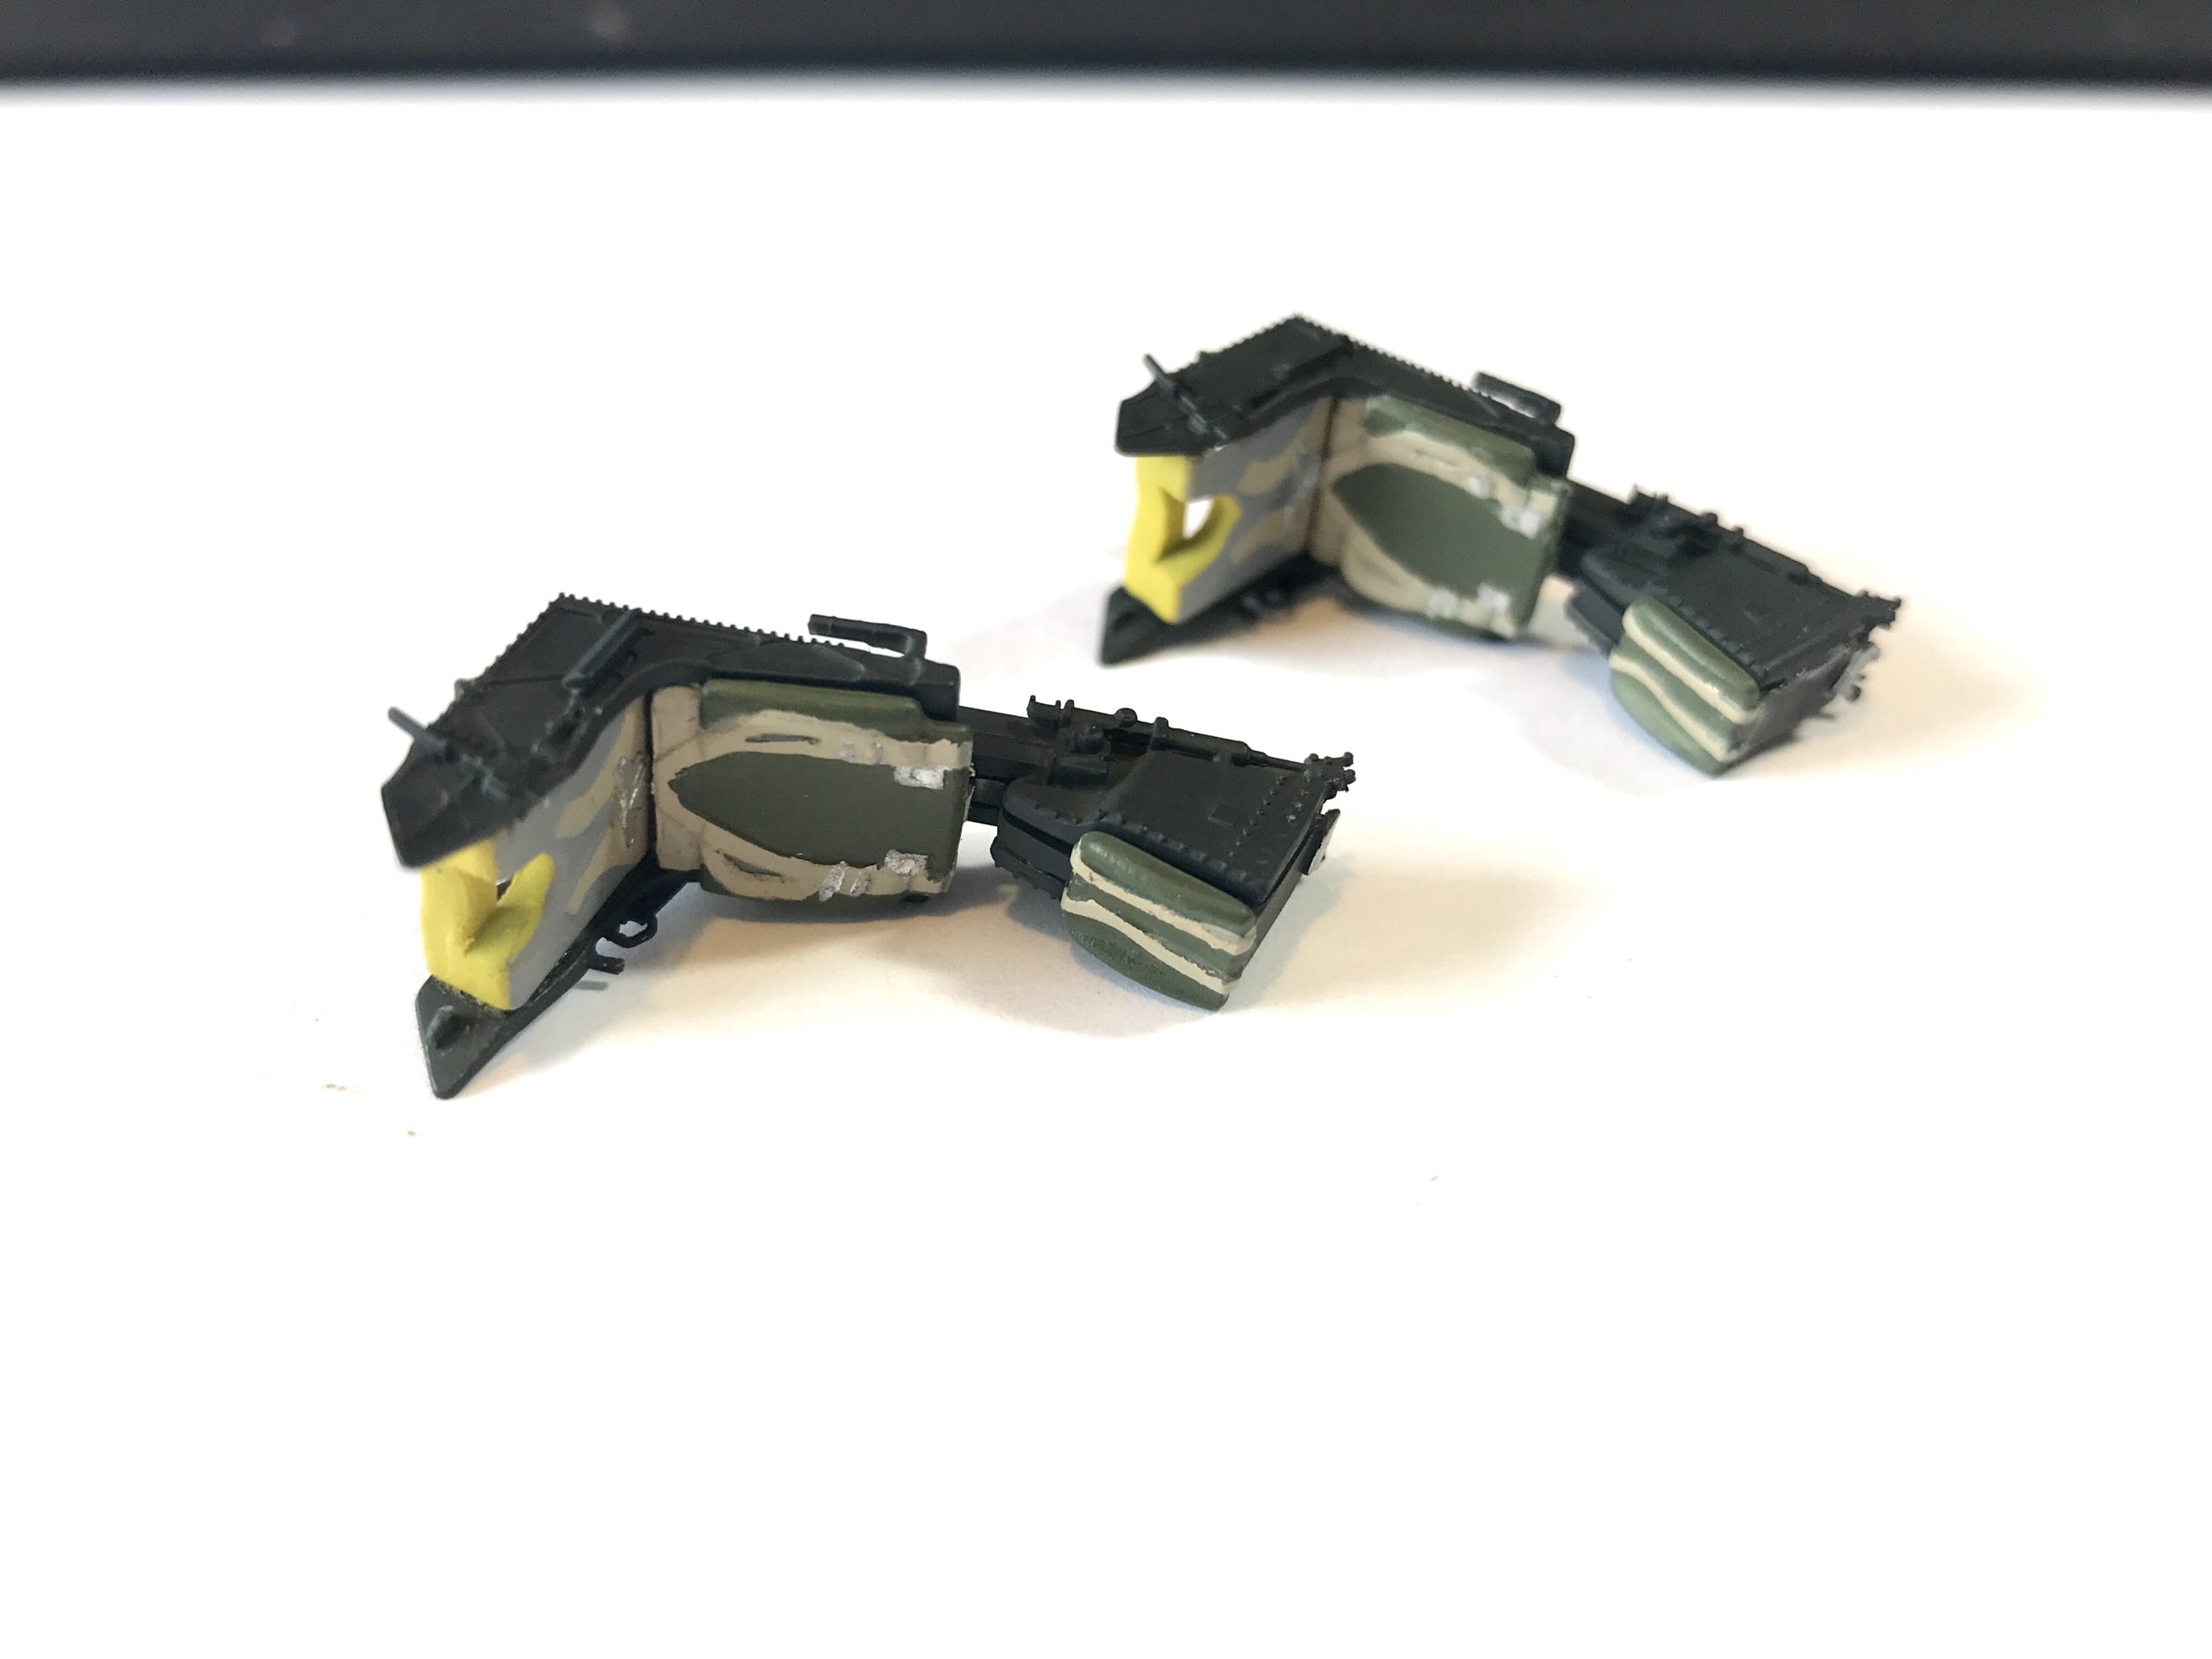
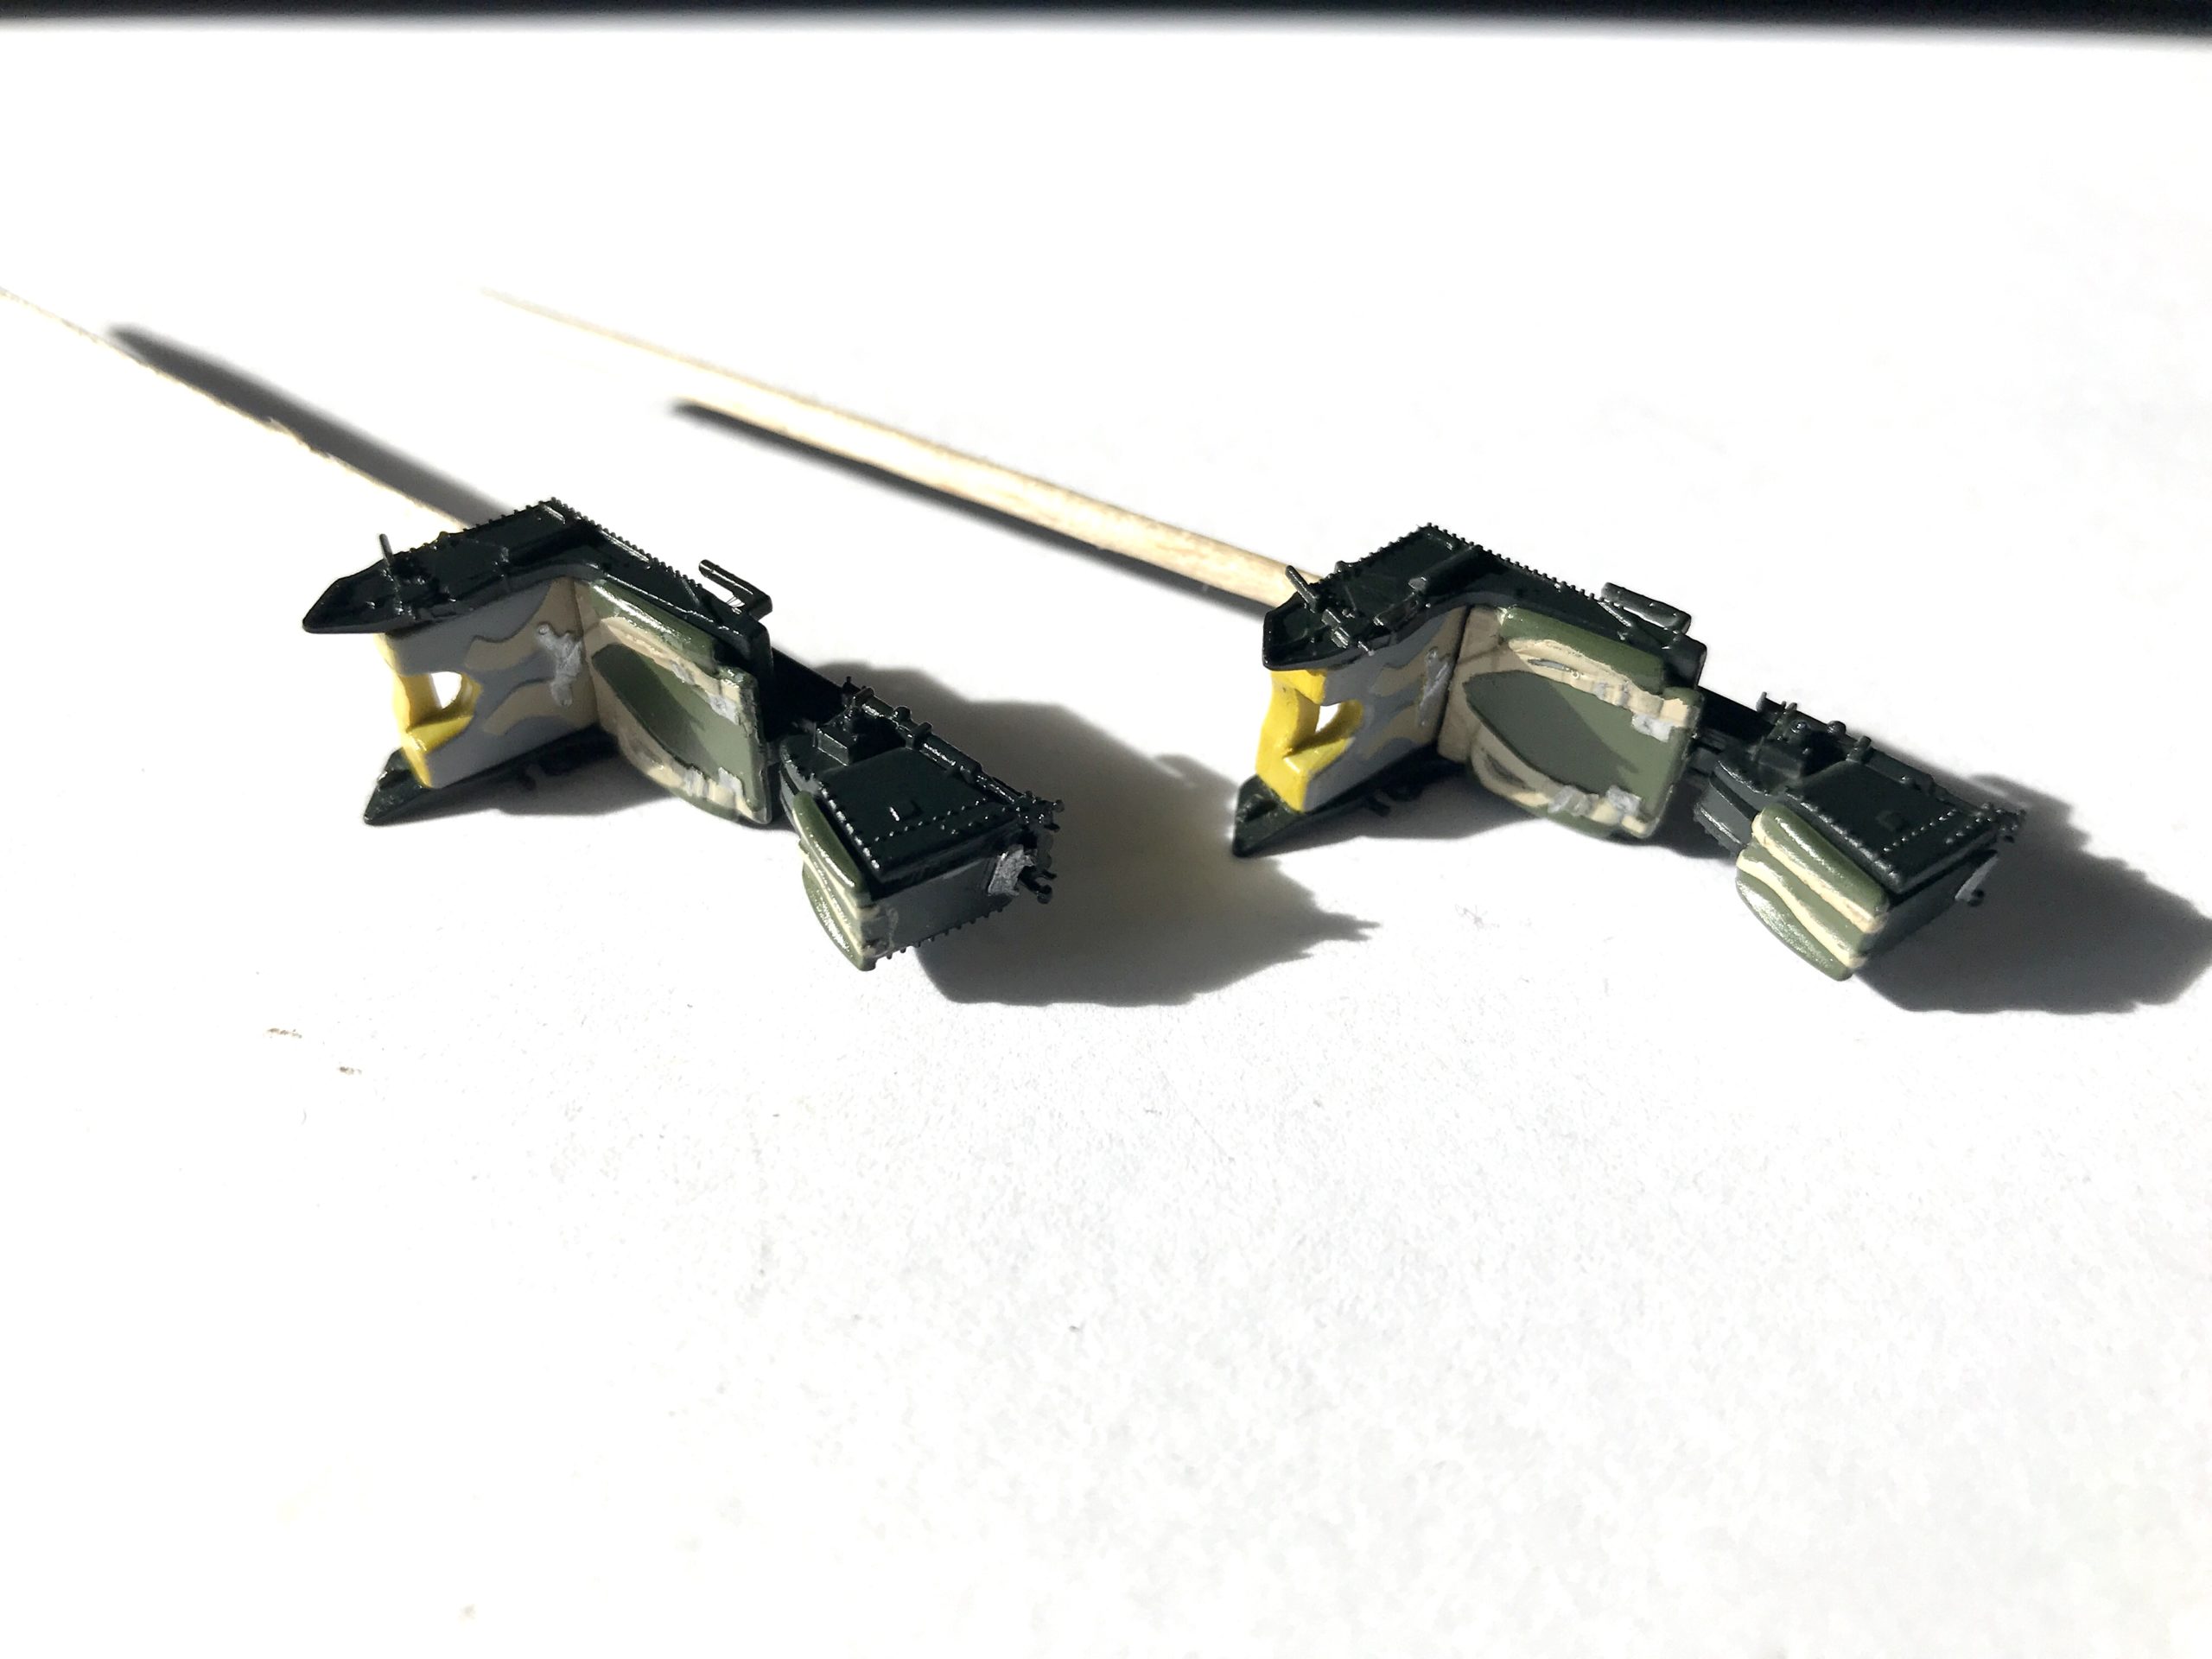
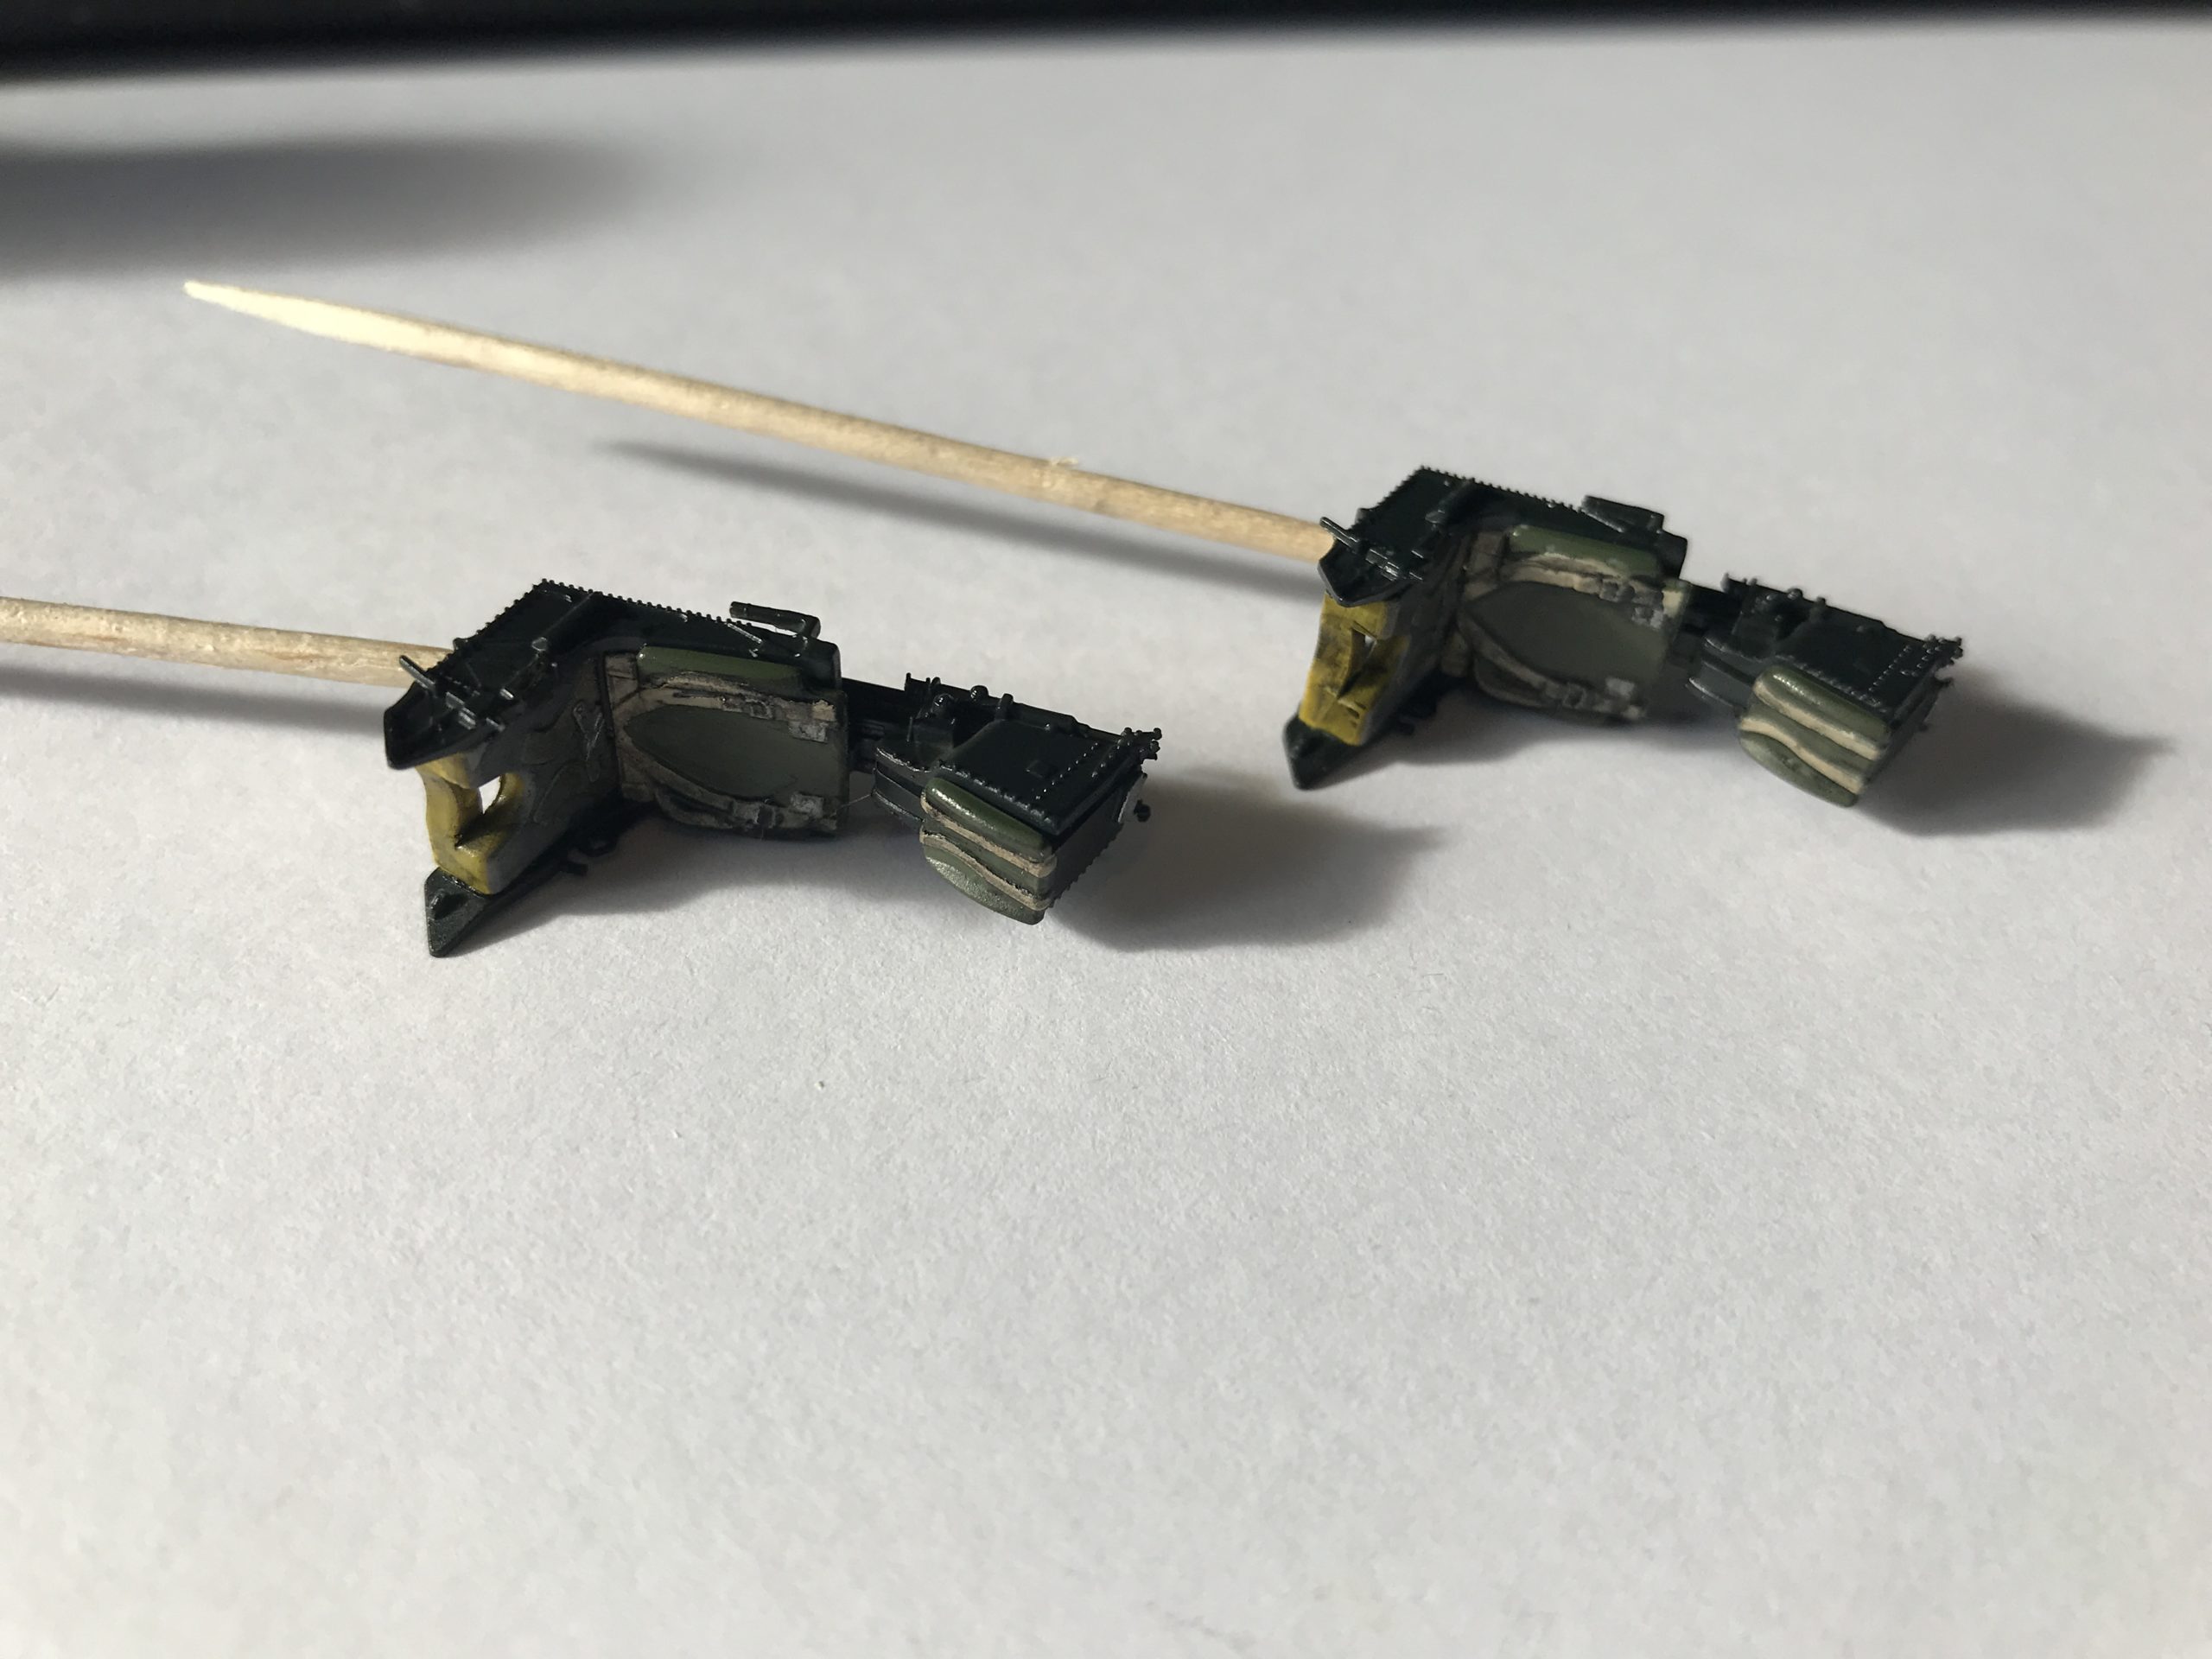
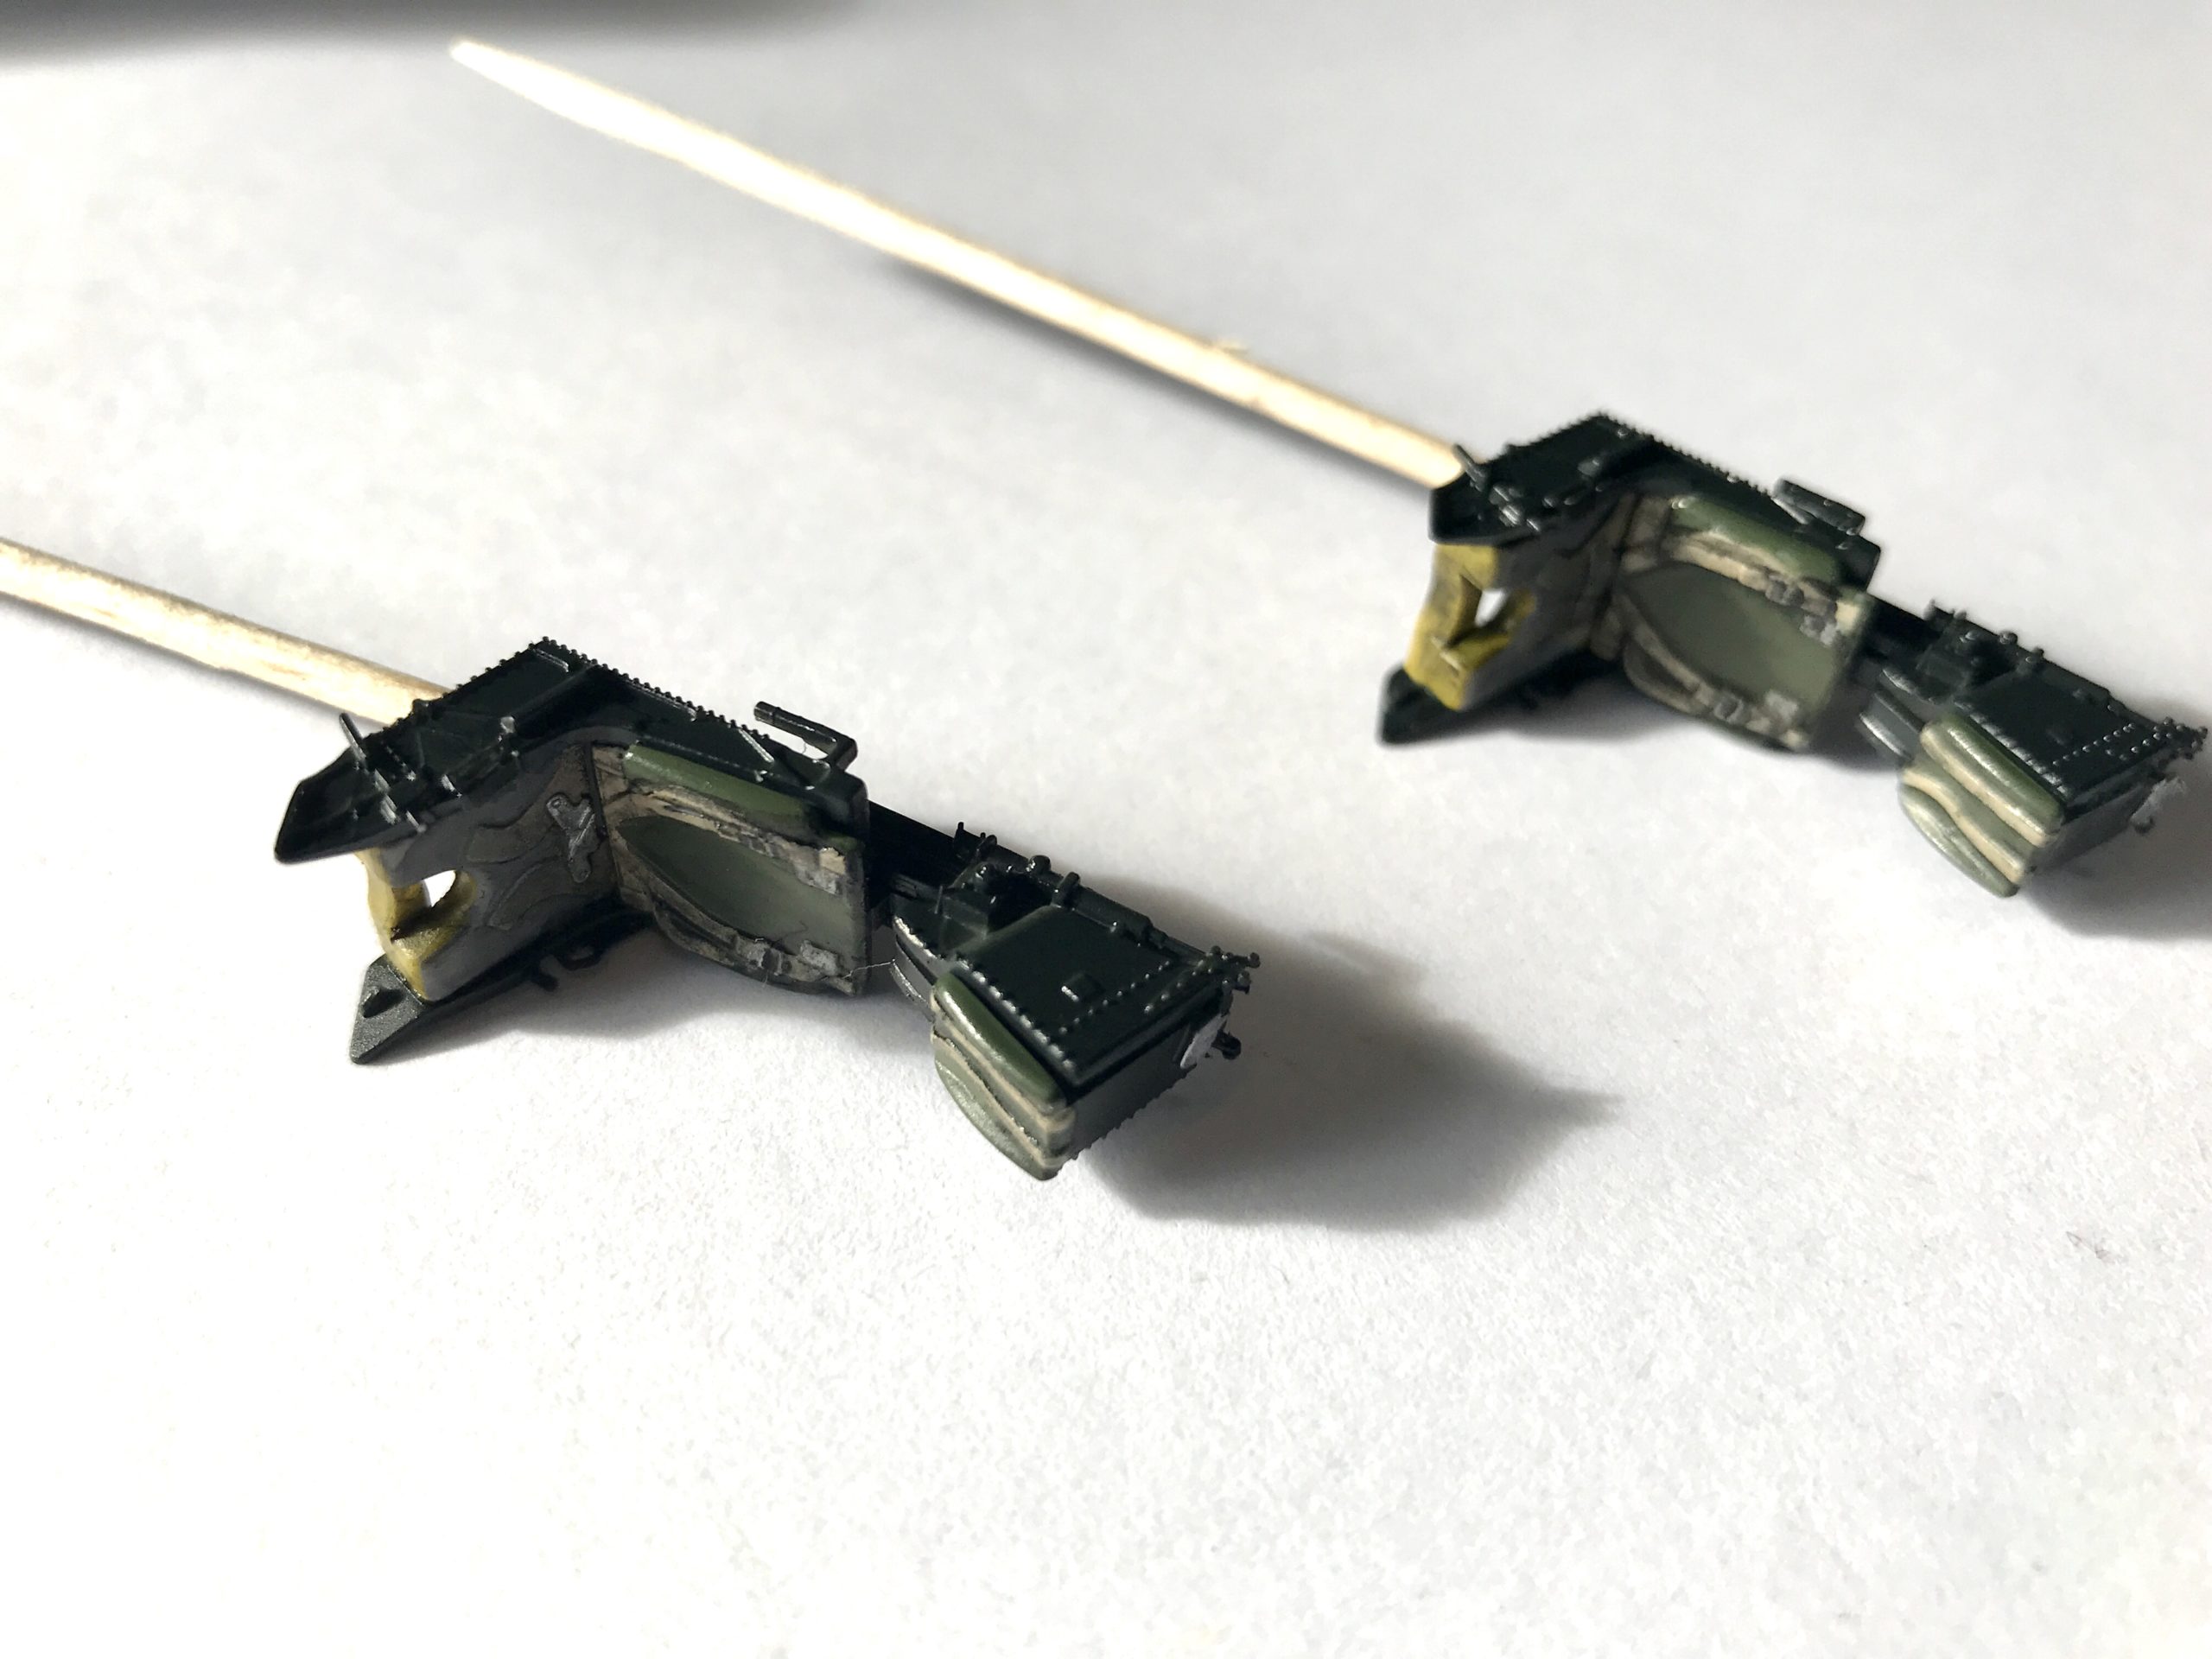
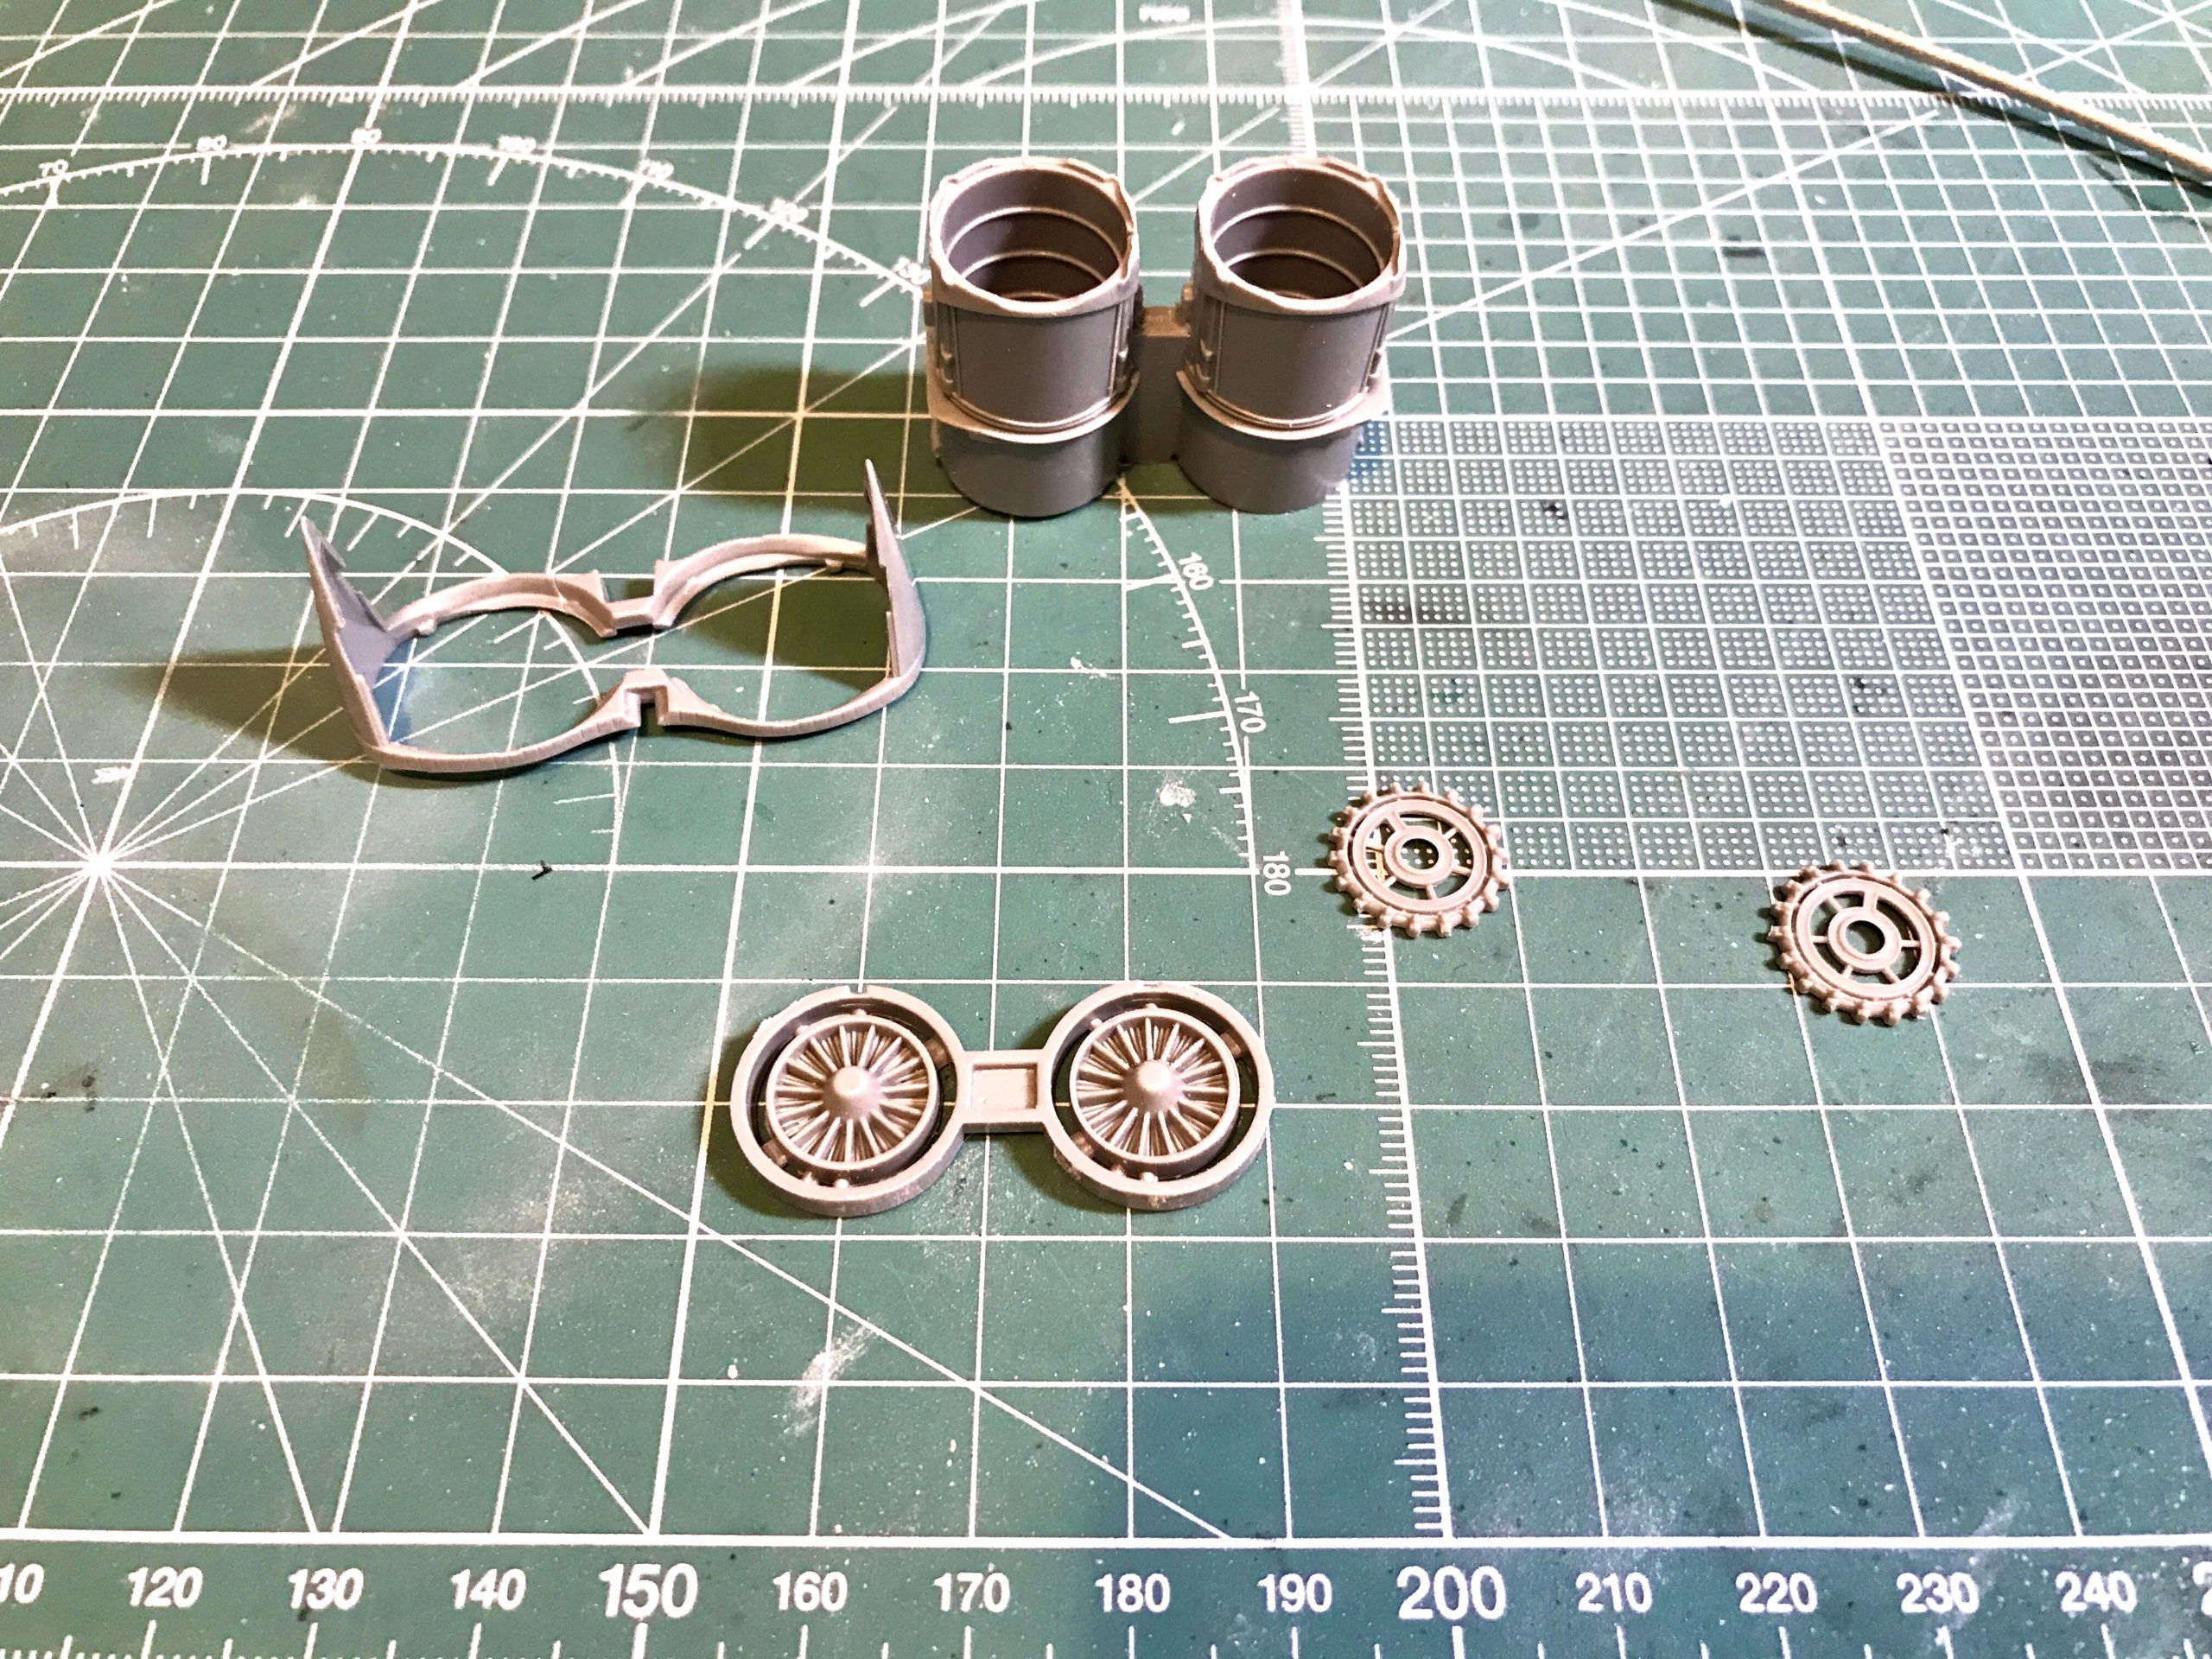
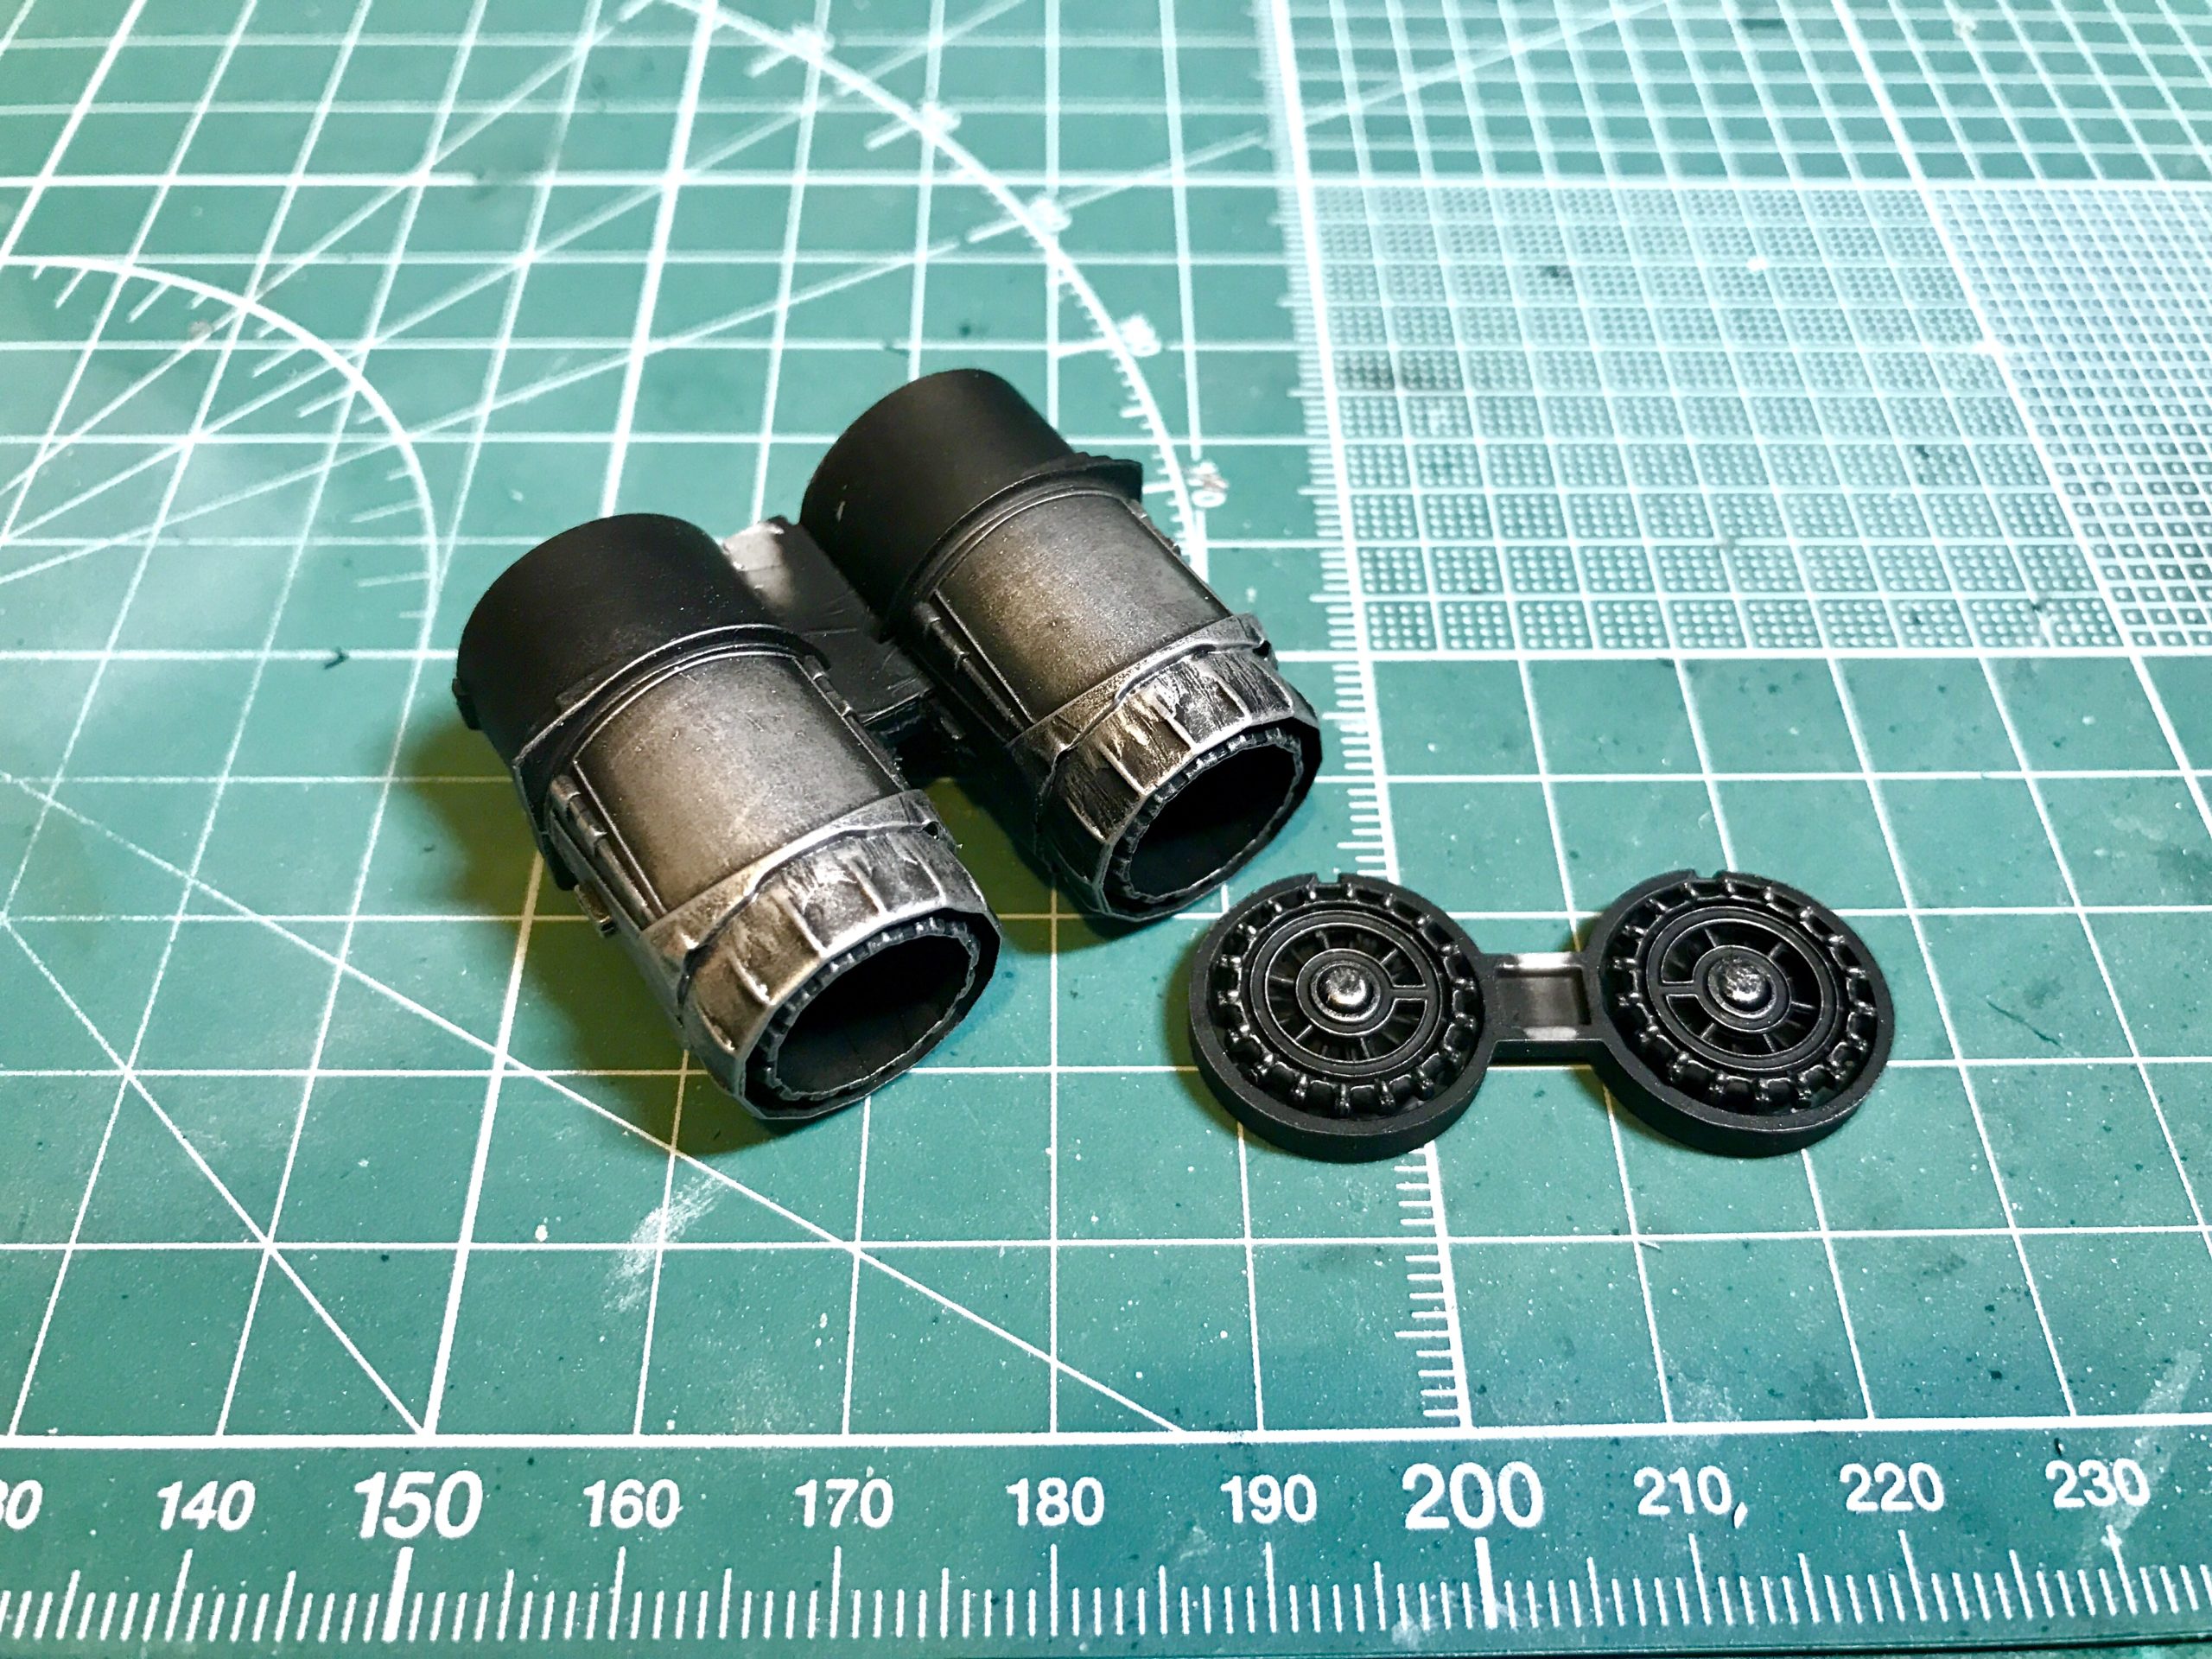
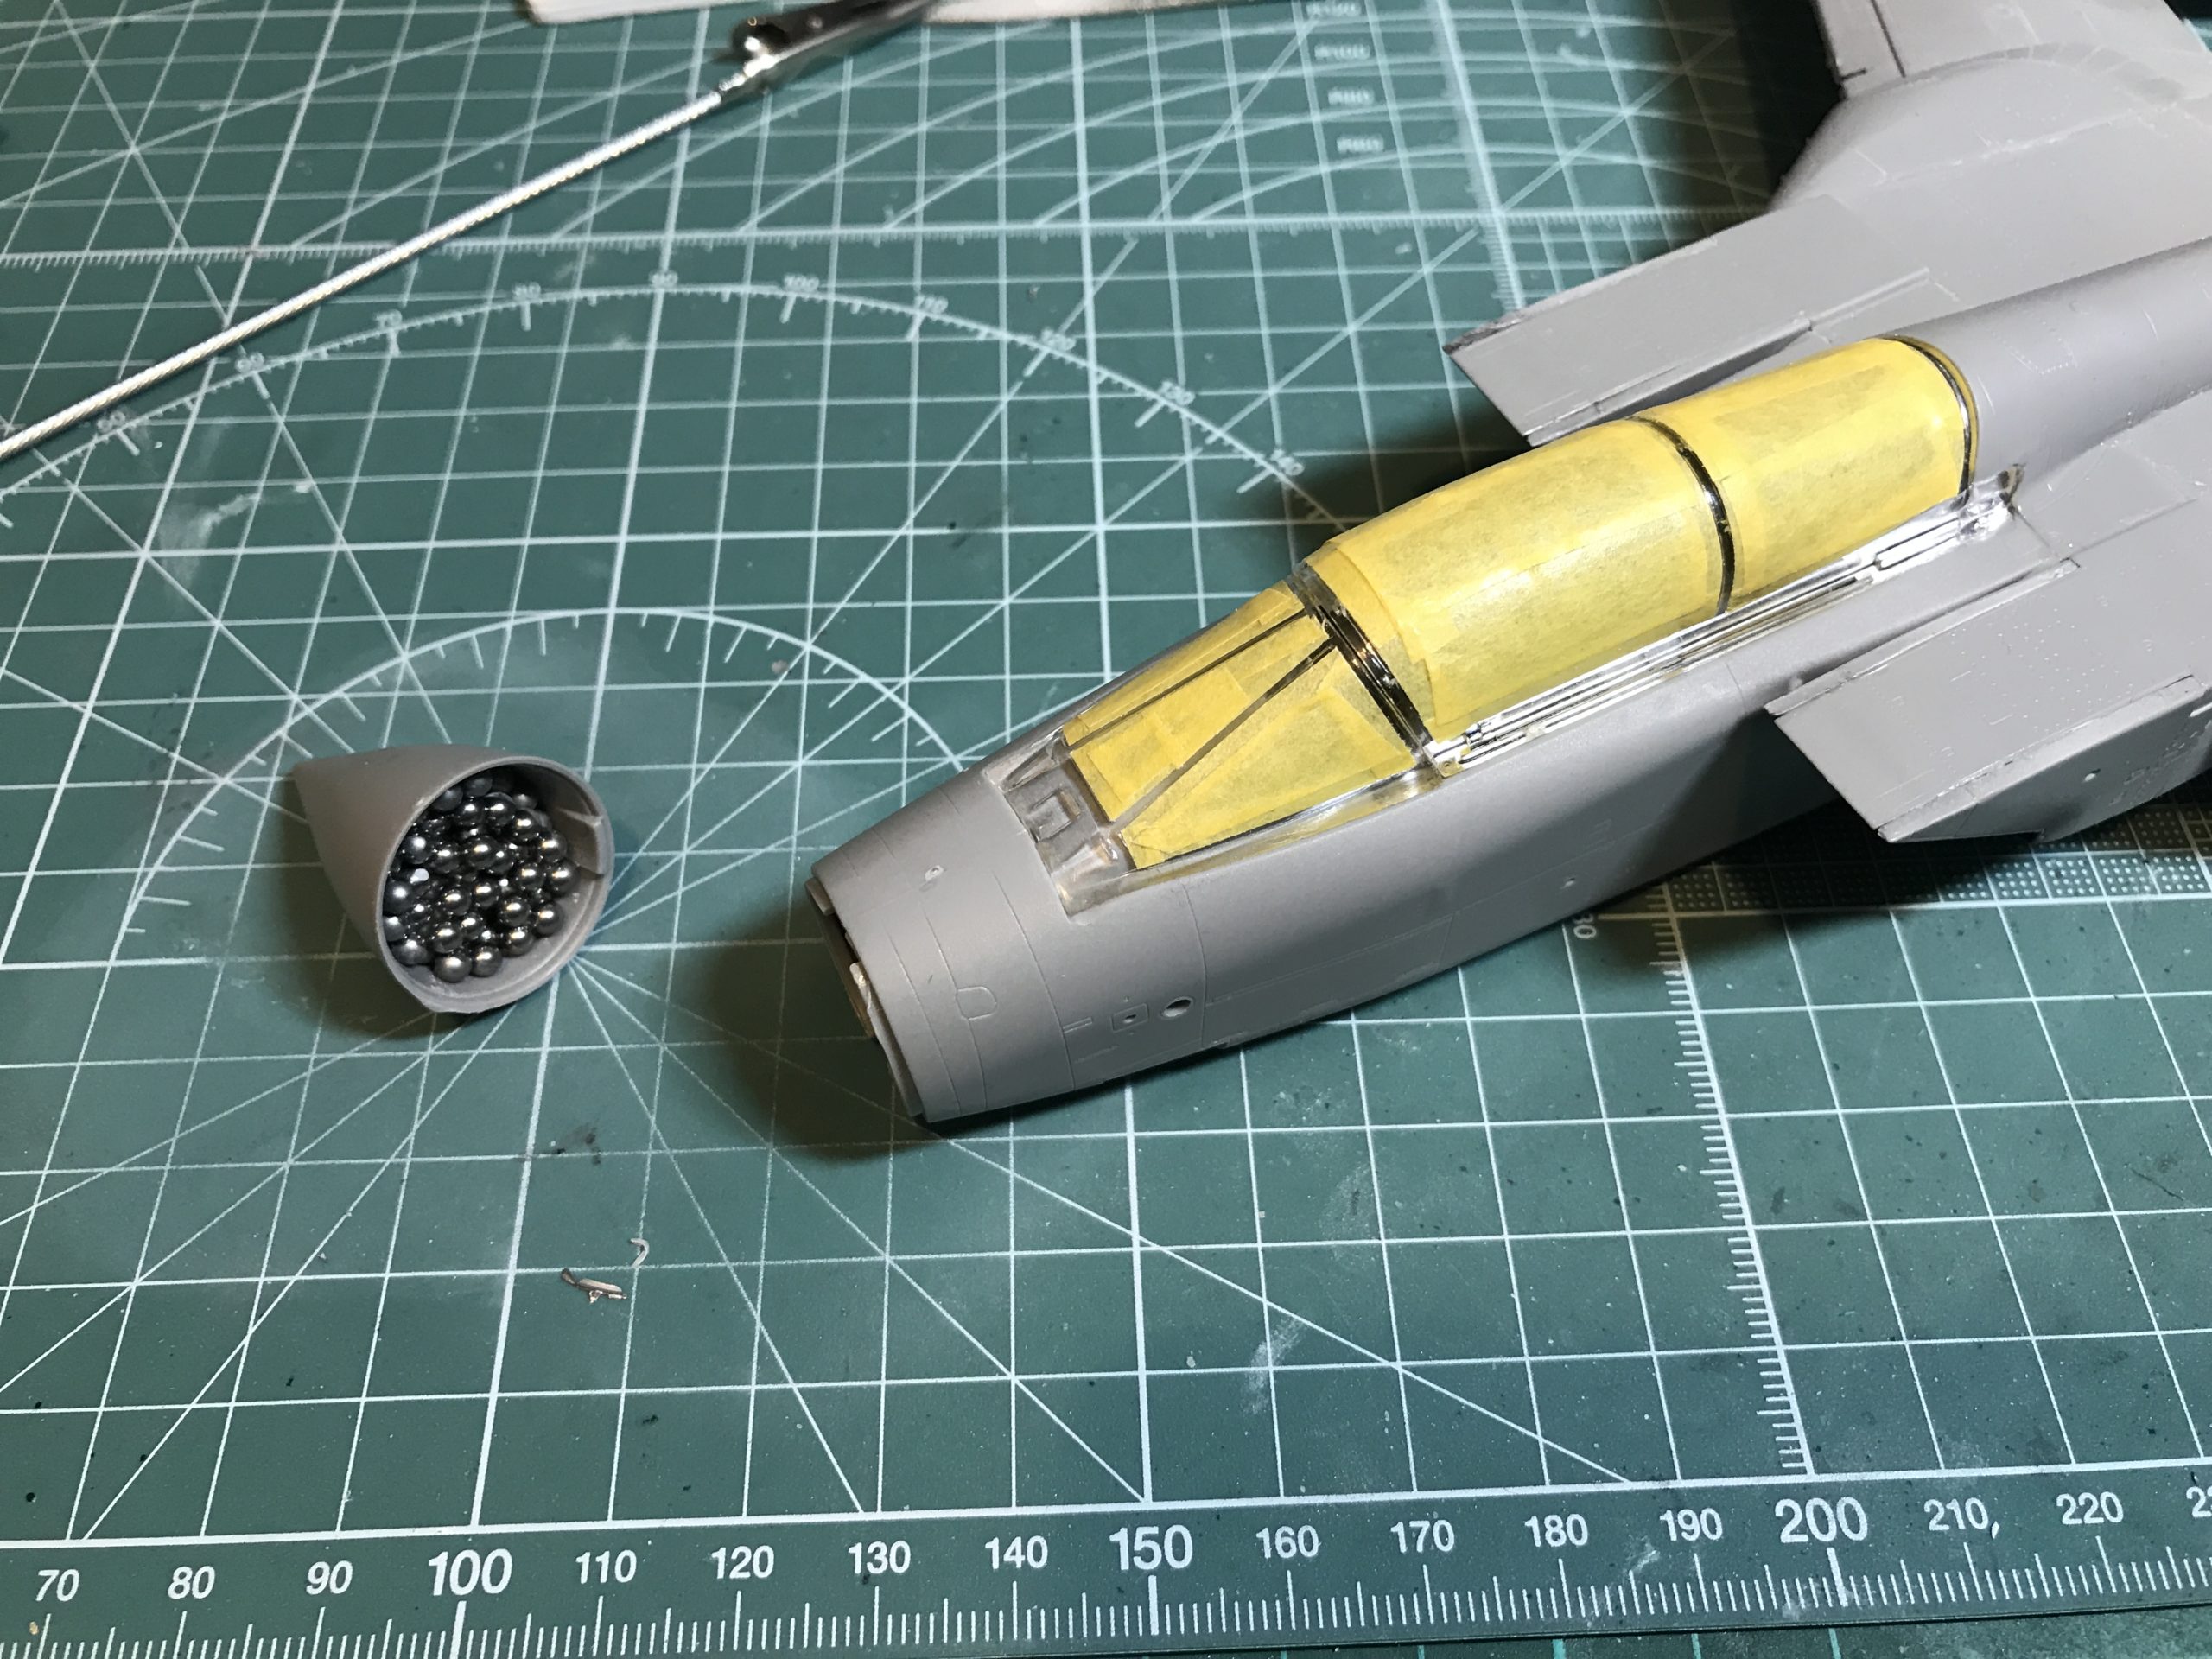
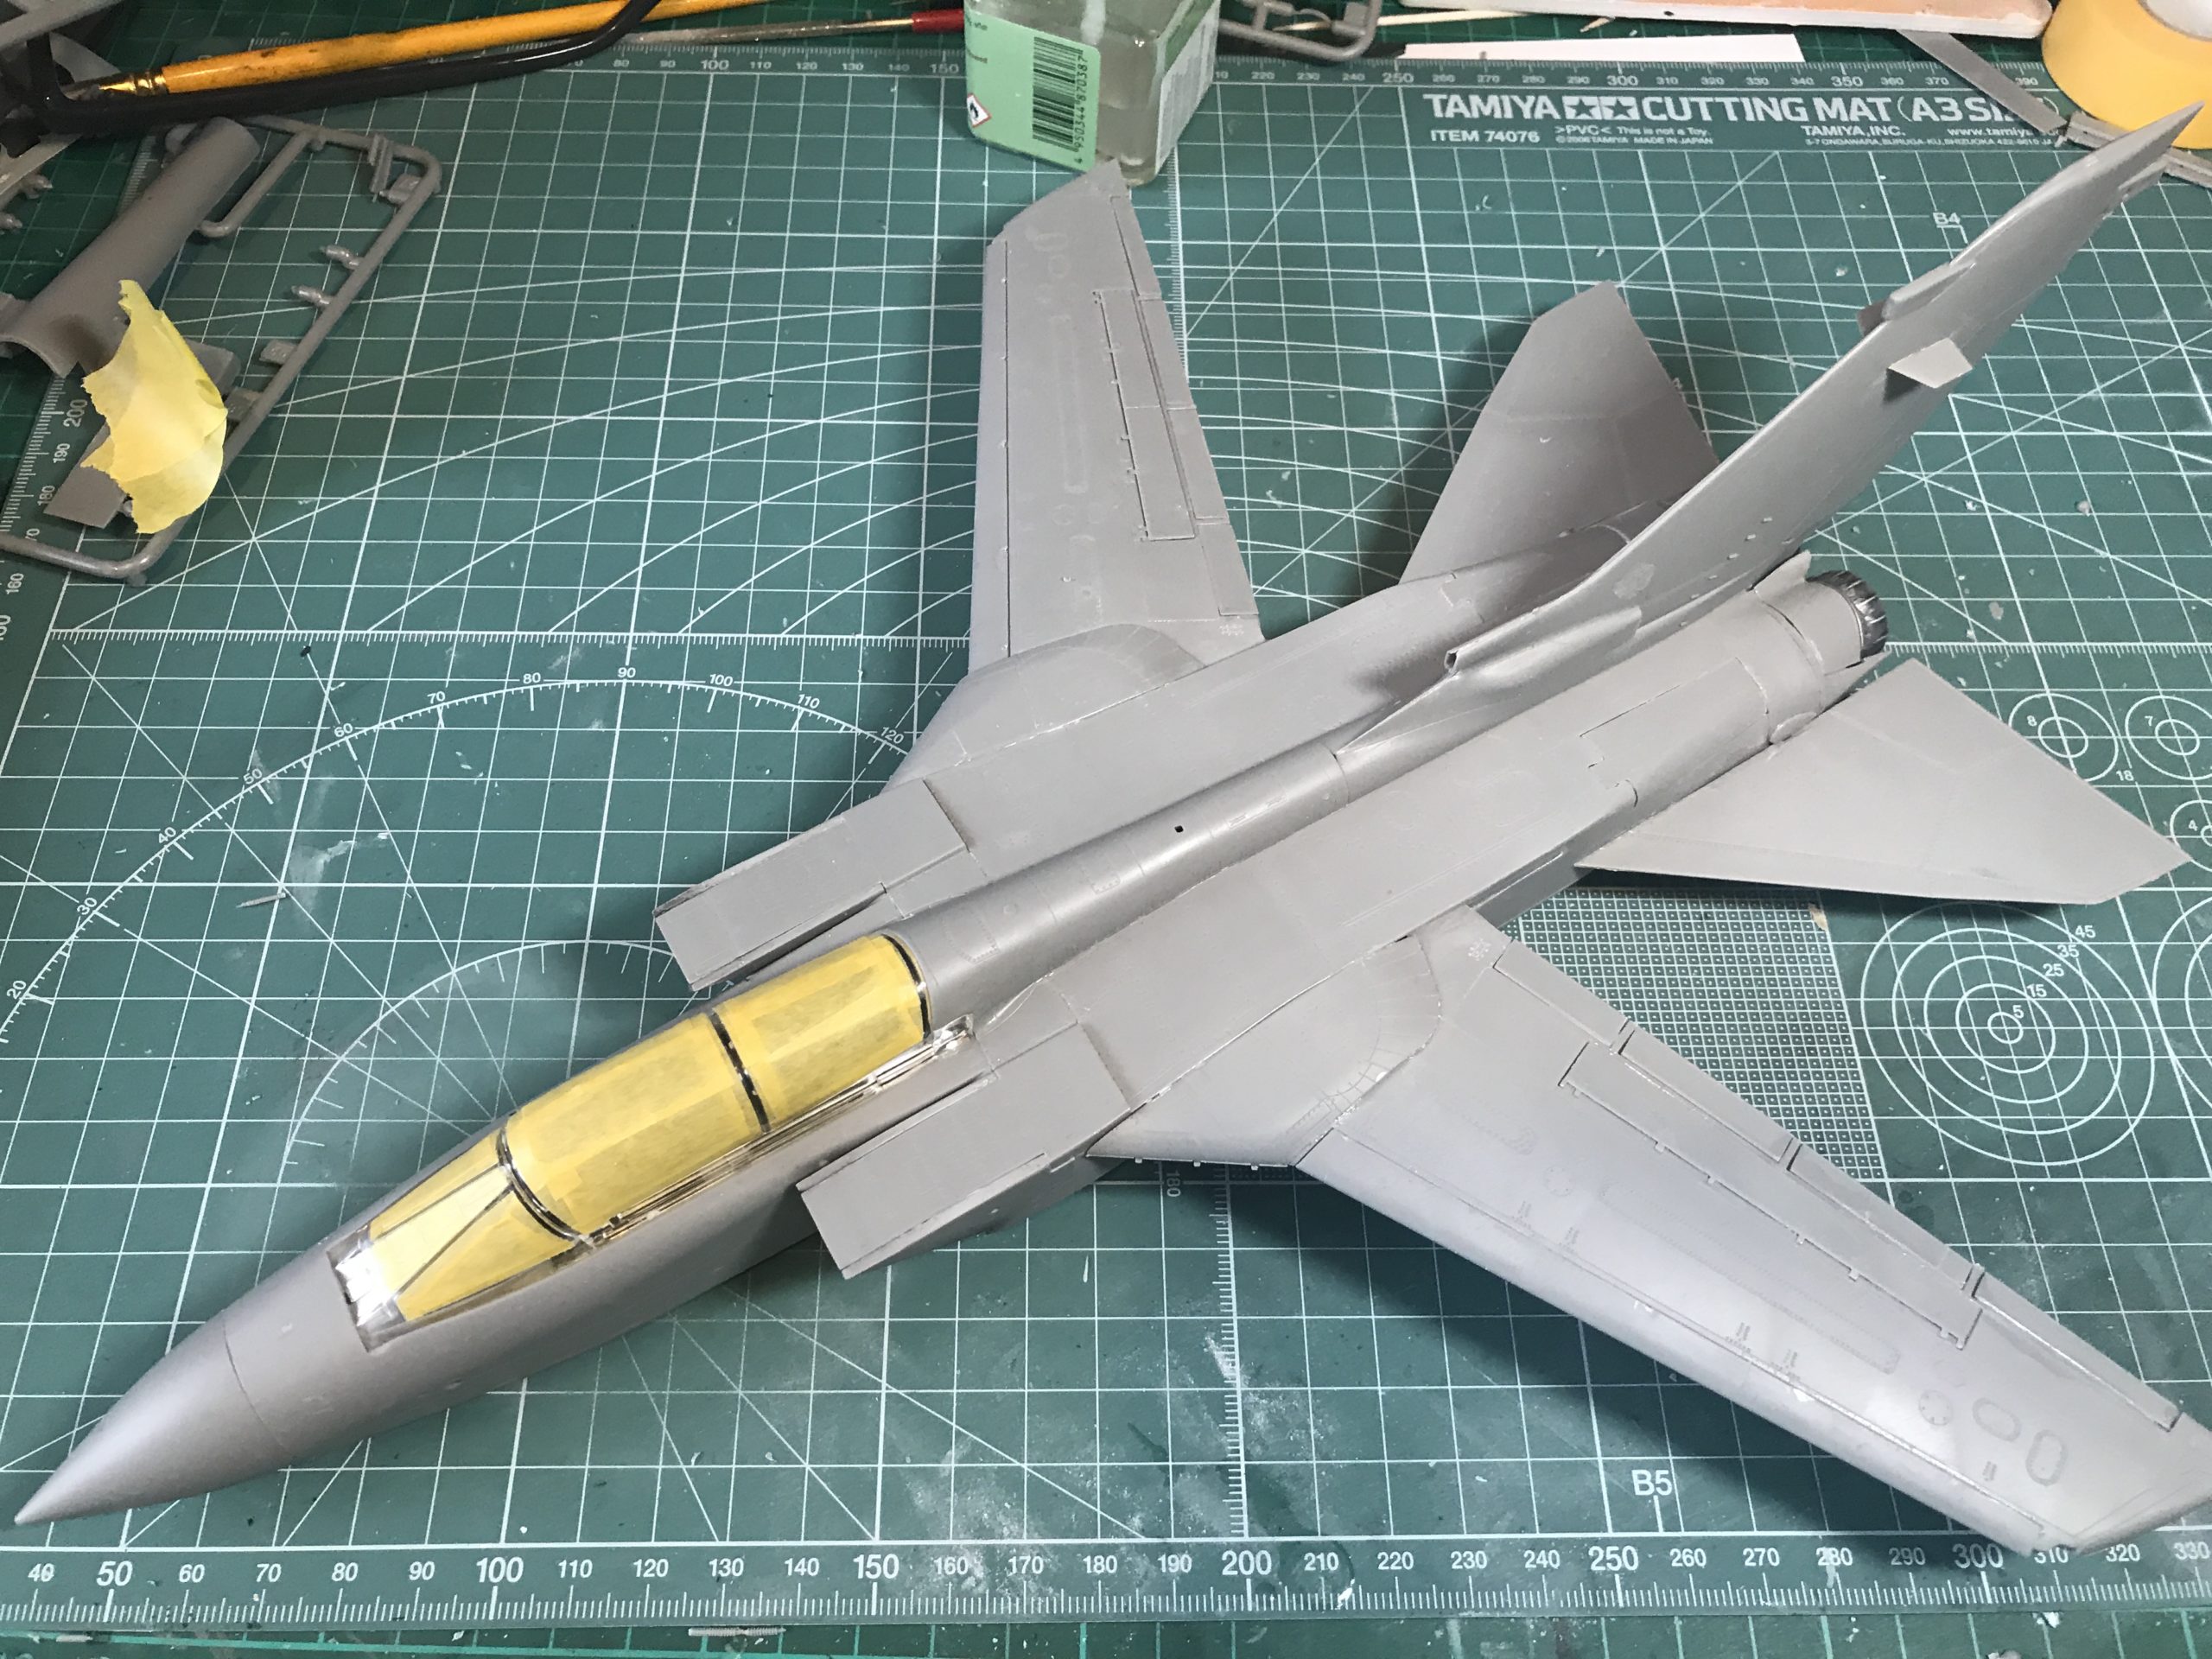
Attention now turns to the air-intake assemblies. These are nice and simple assemblies. Here are a few pictures. No filler required.

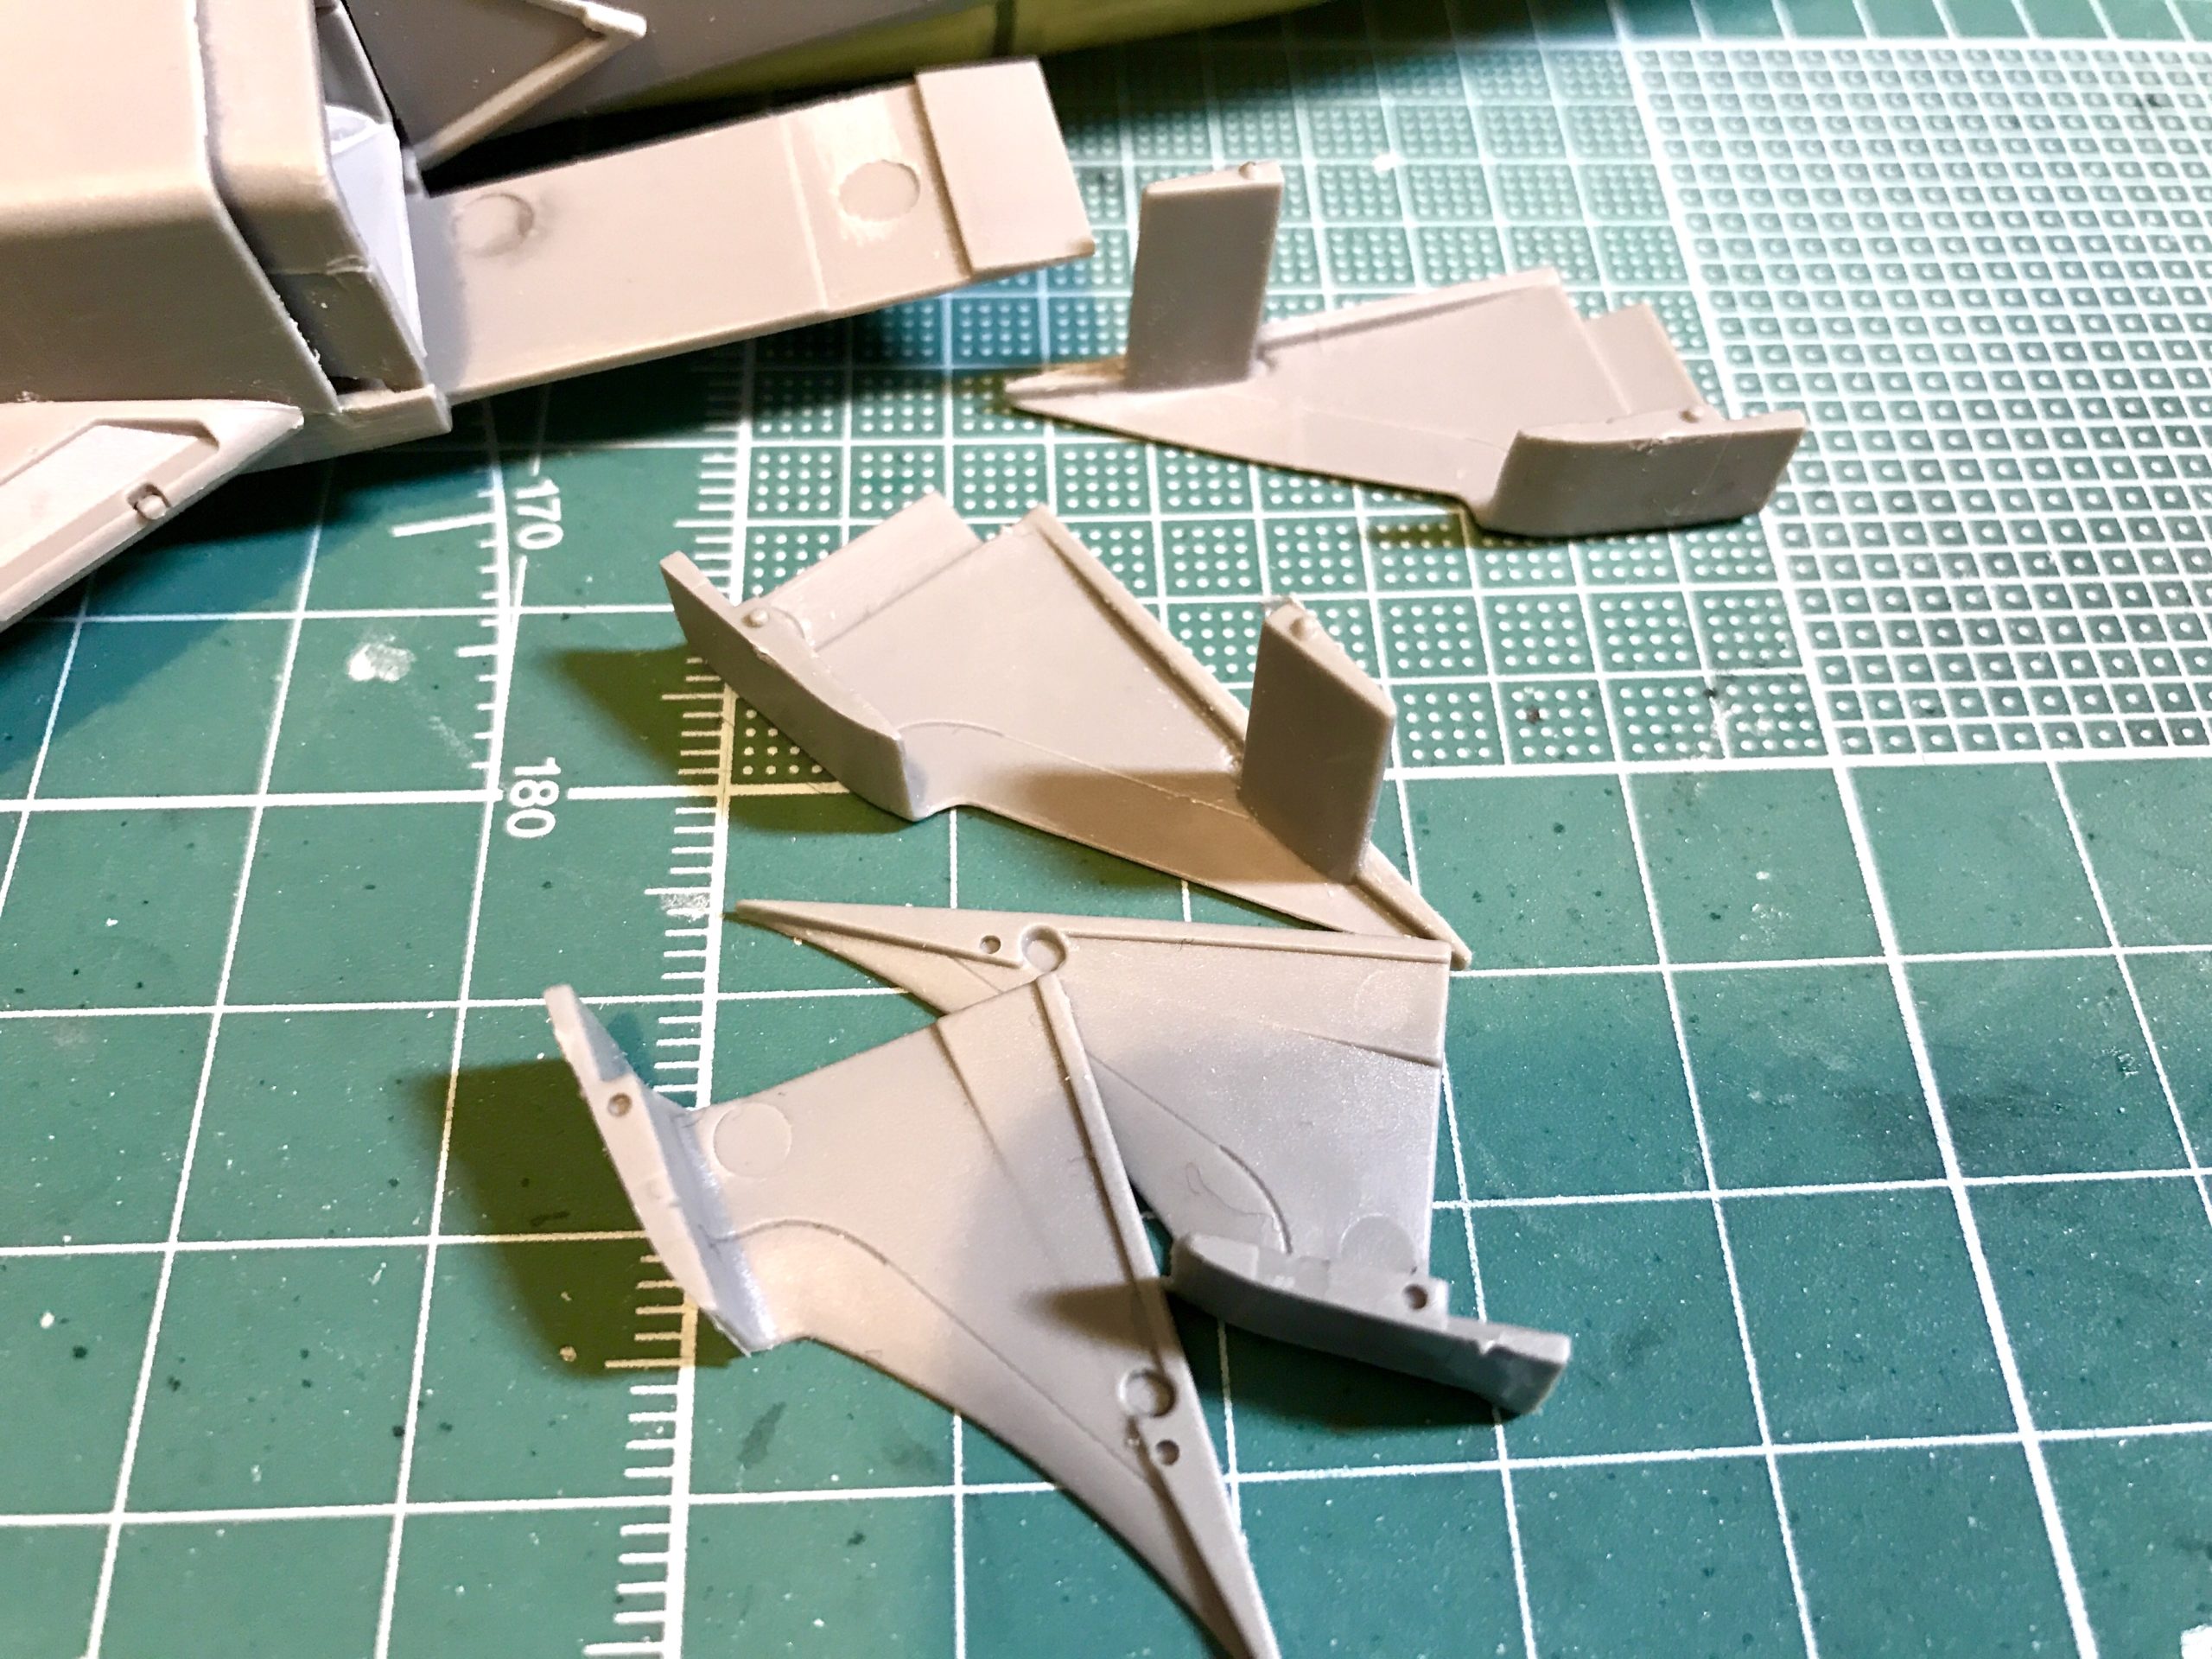

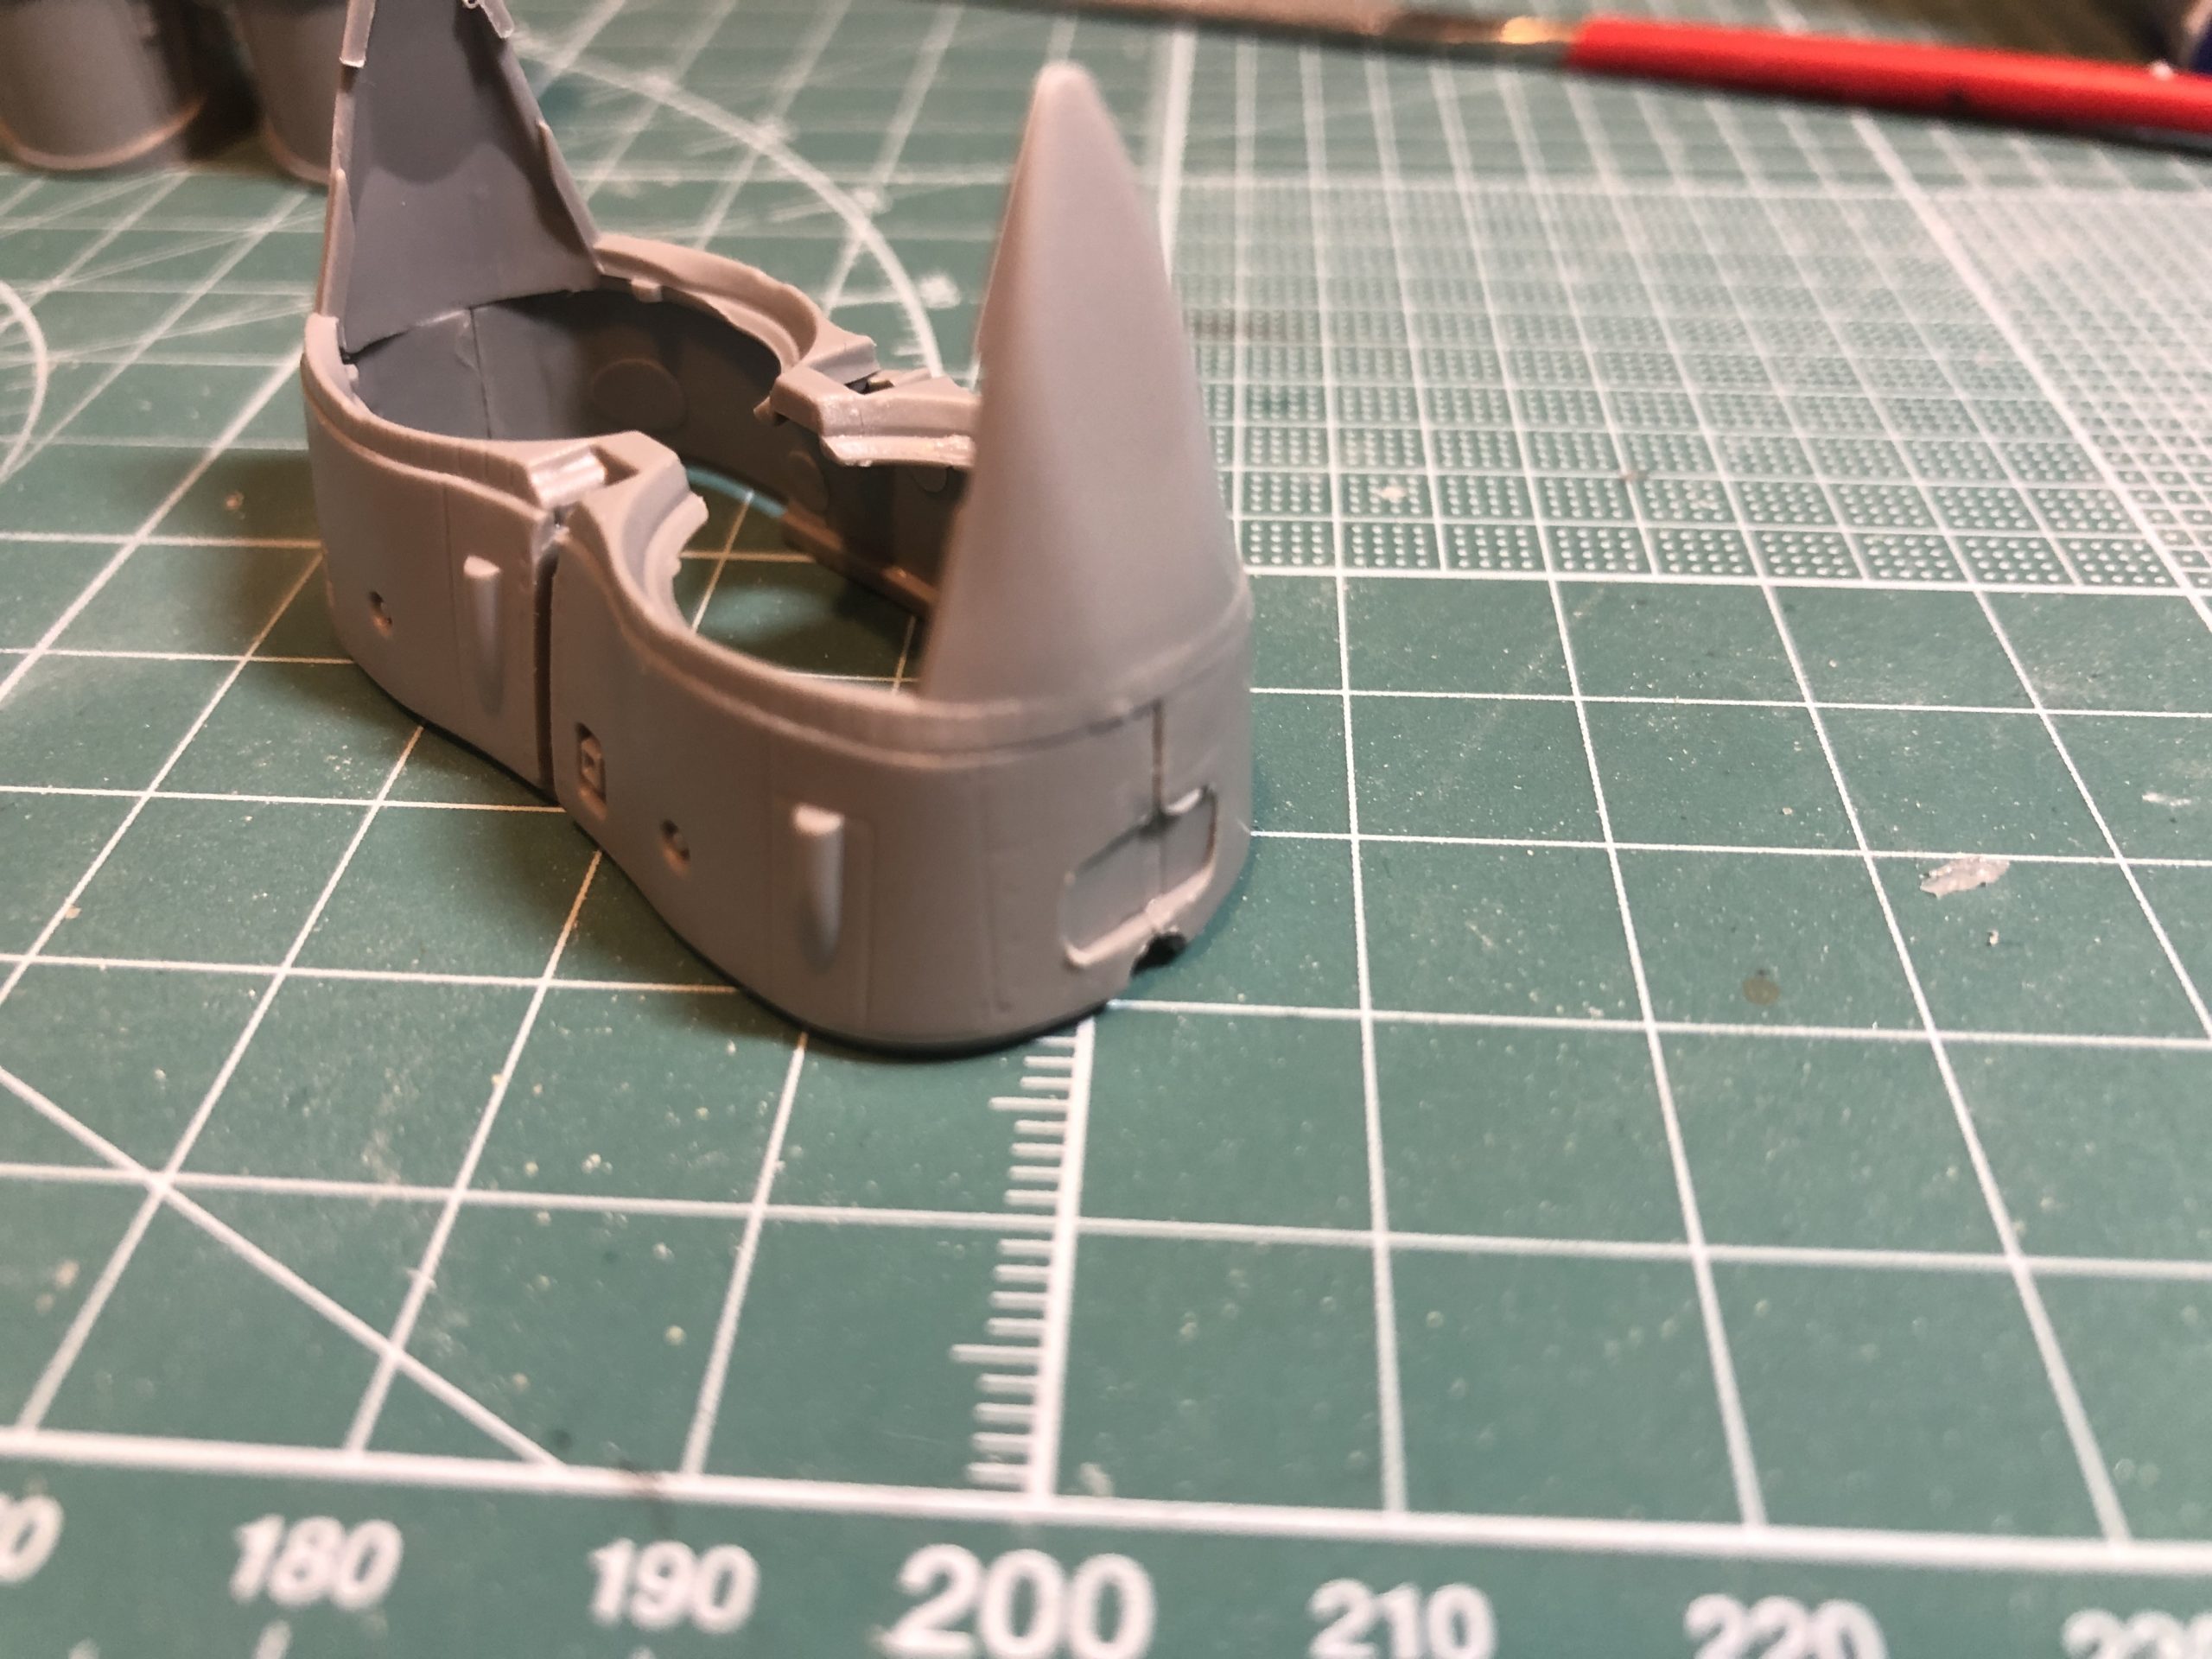
That done the engine exhausts and thrust reverser assembly and be assembled and installed.
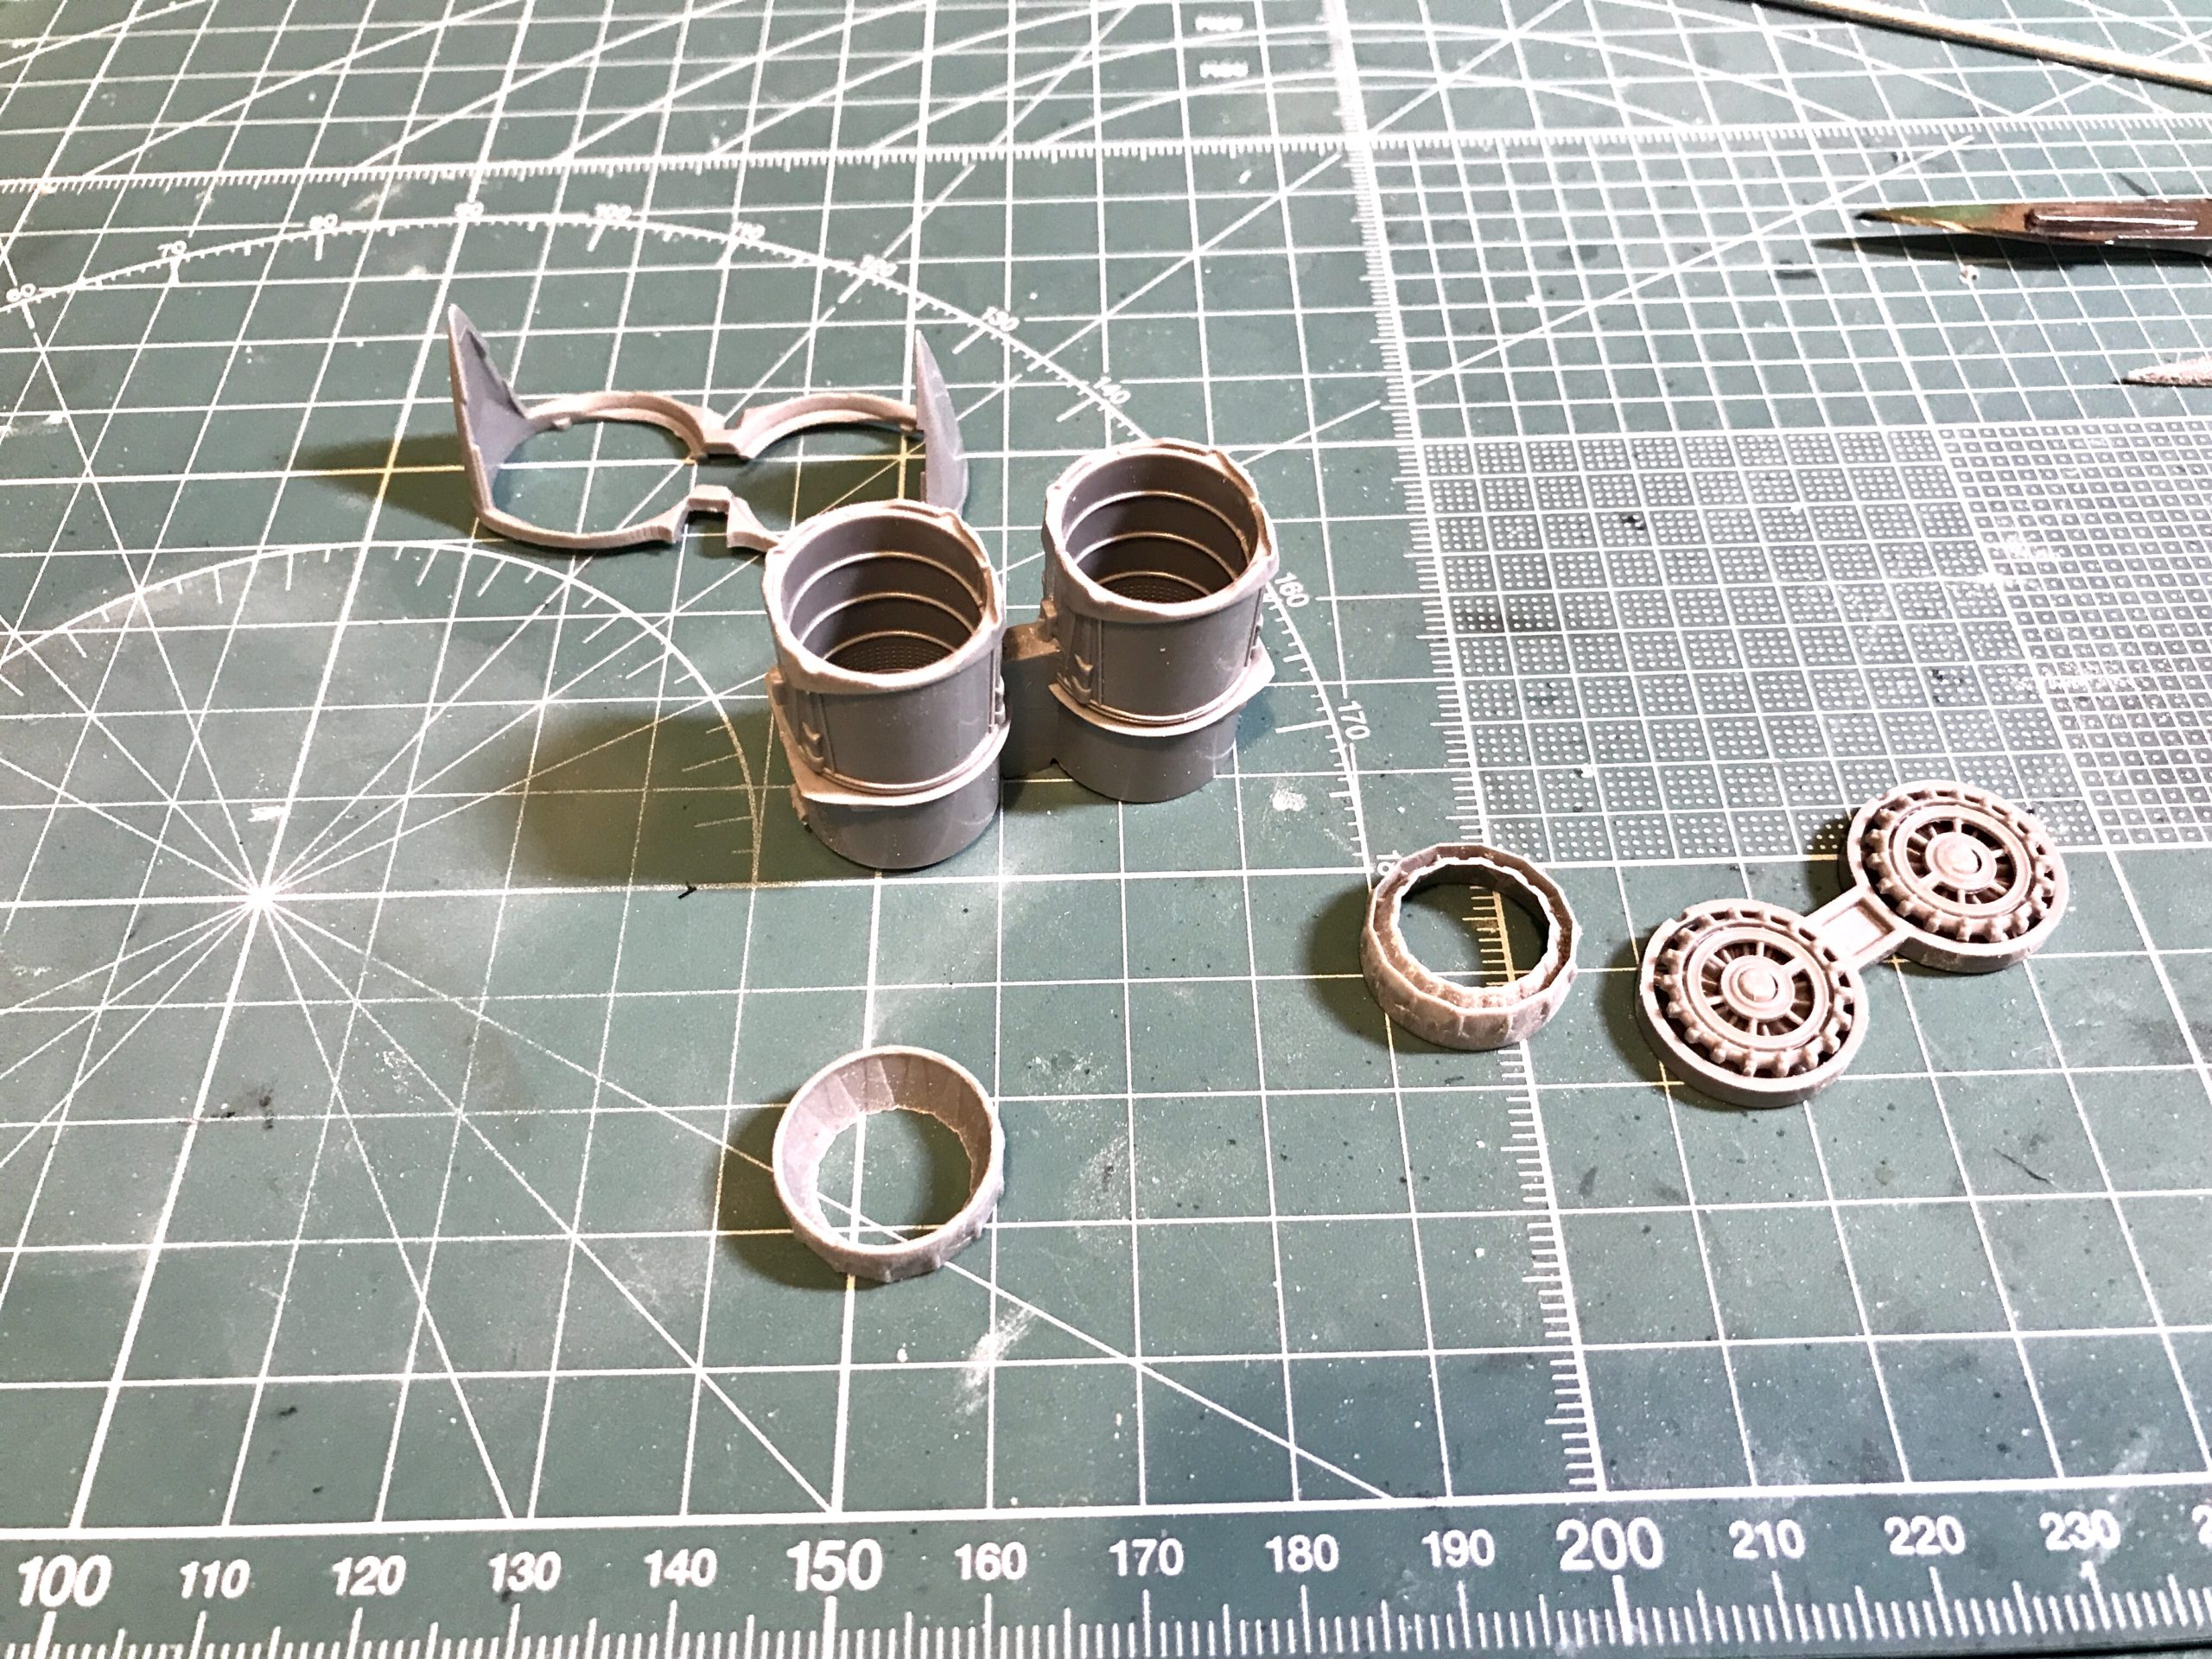

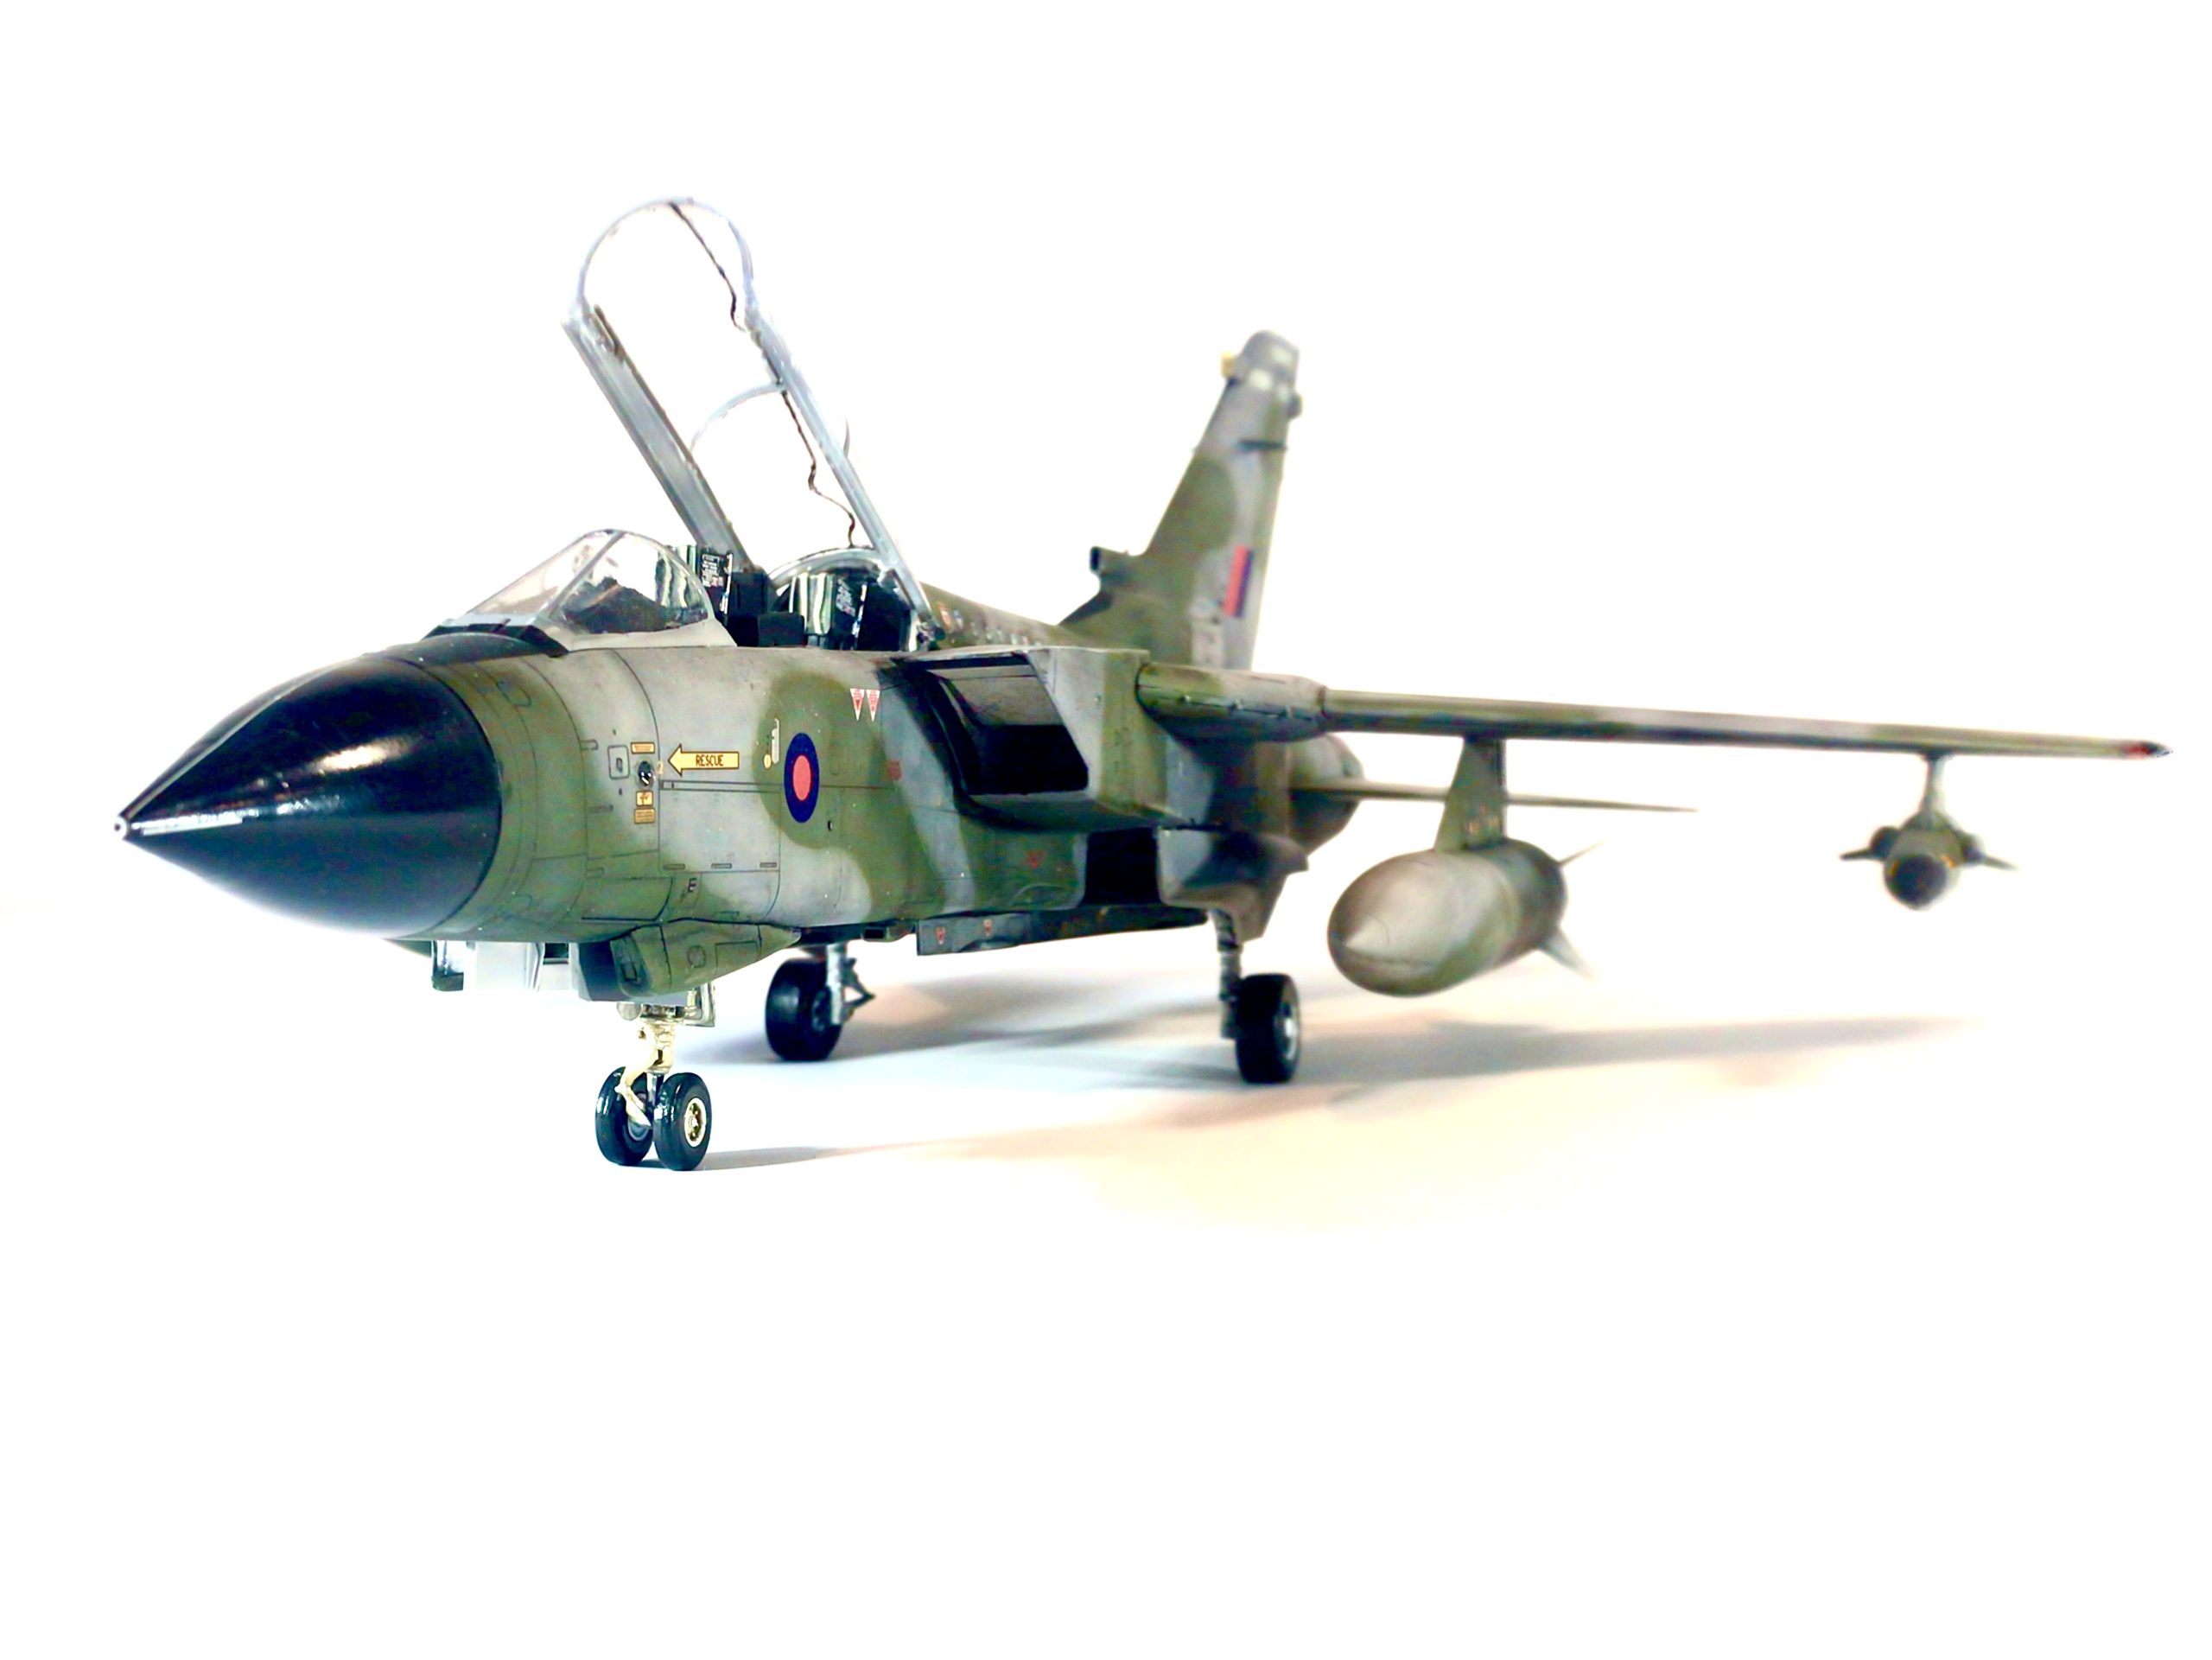
Weight is added to the nose cone to ensure the model will sit nicely on its tricycle undercarriage when complete.
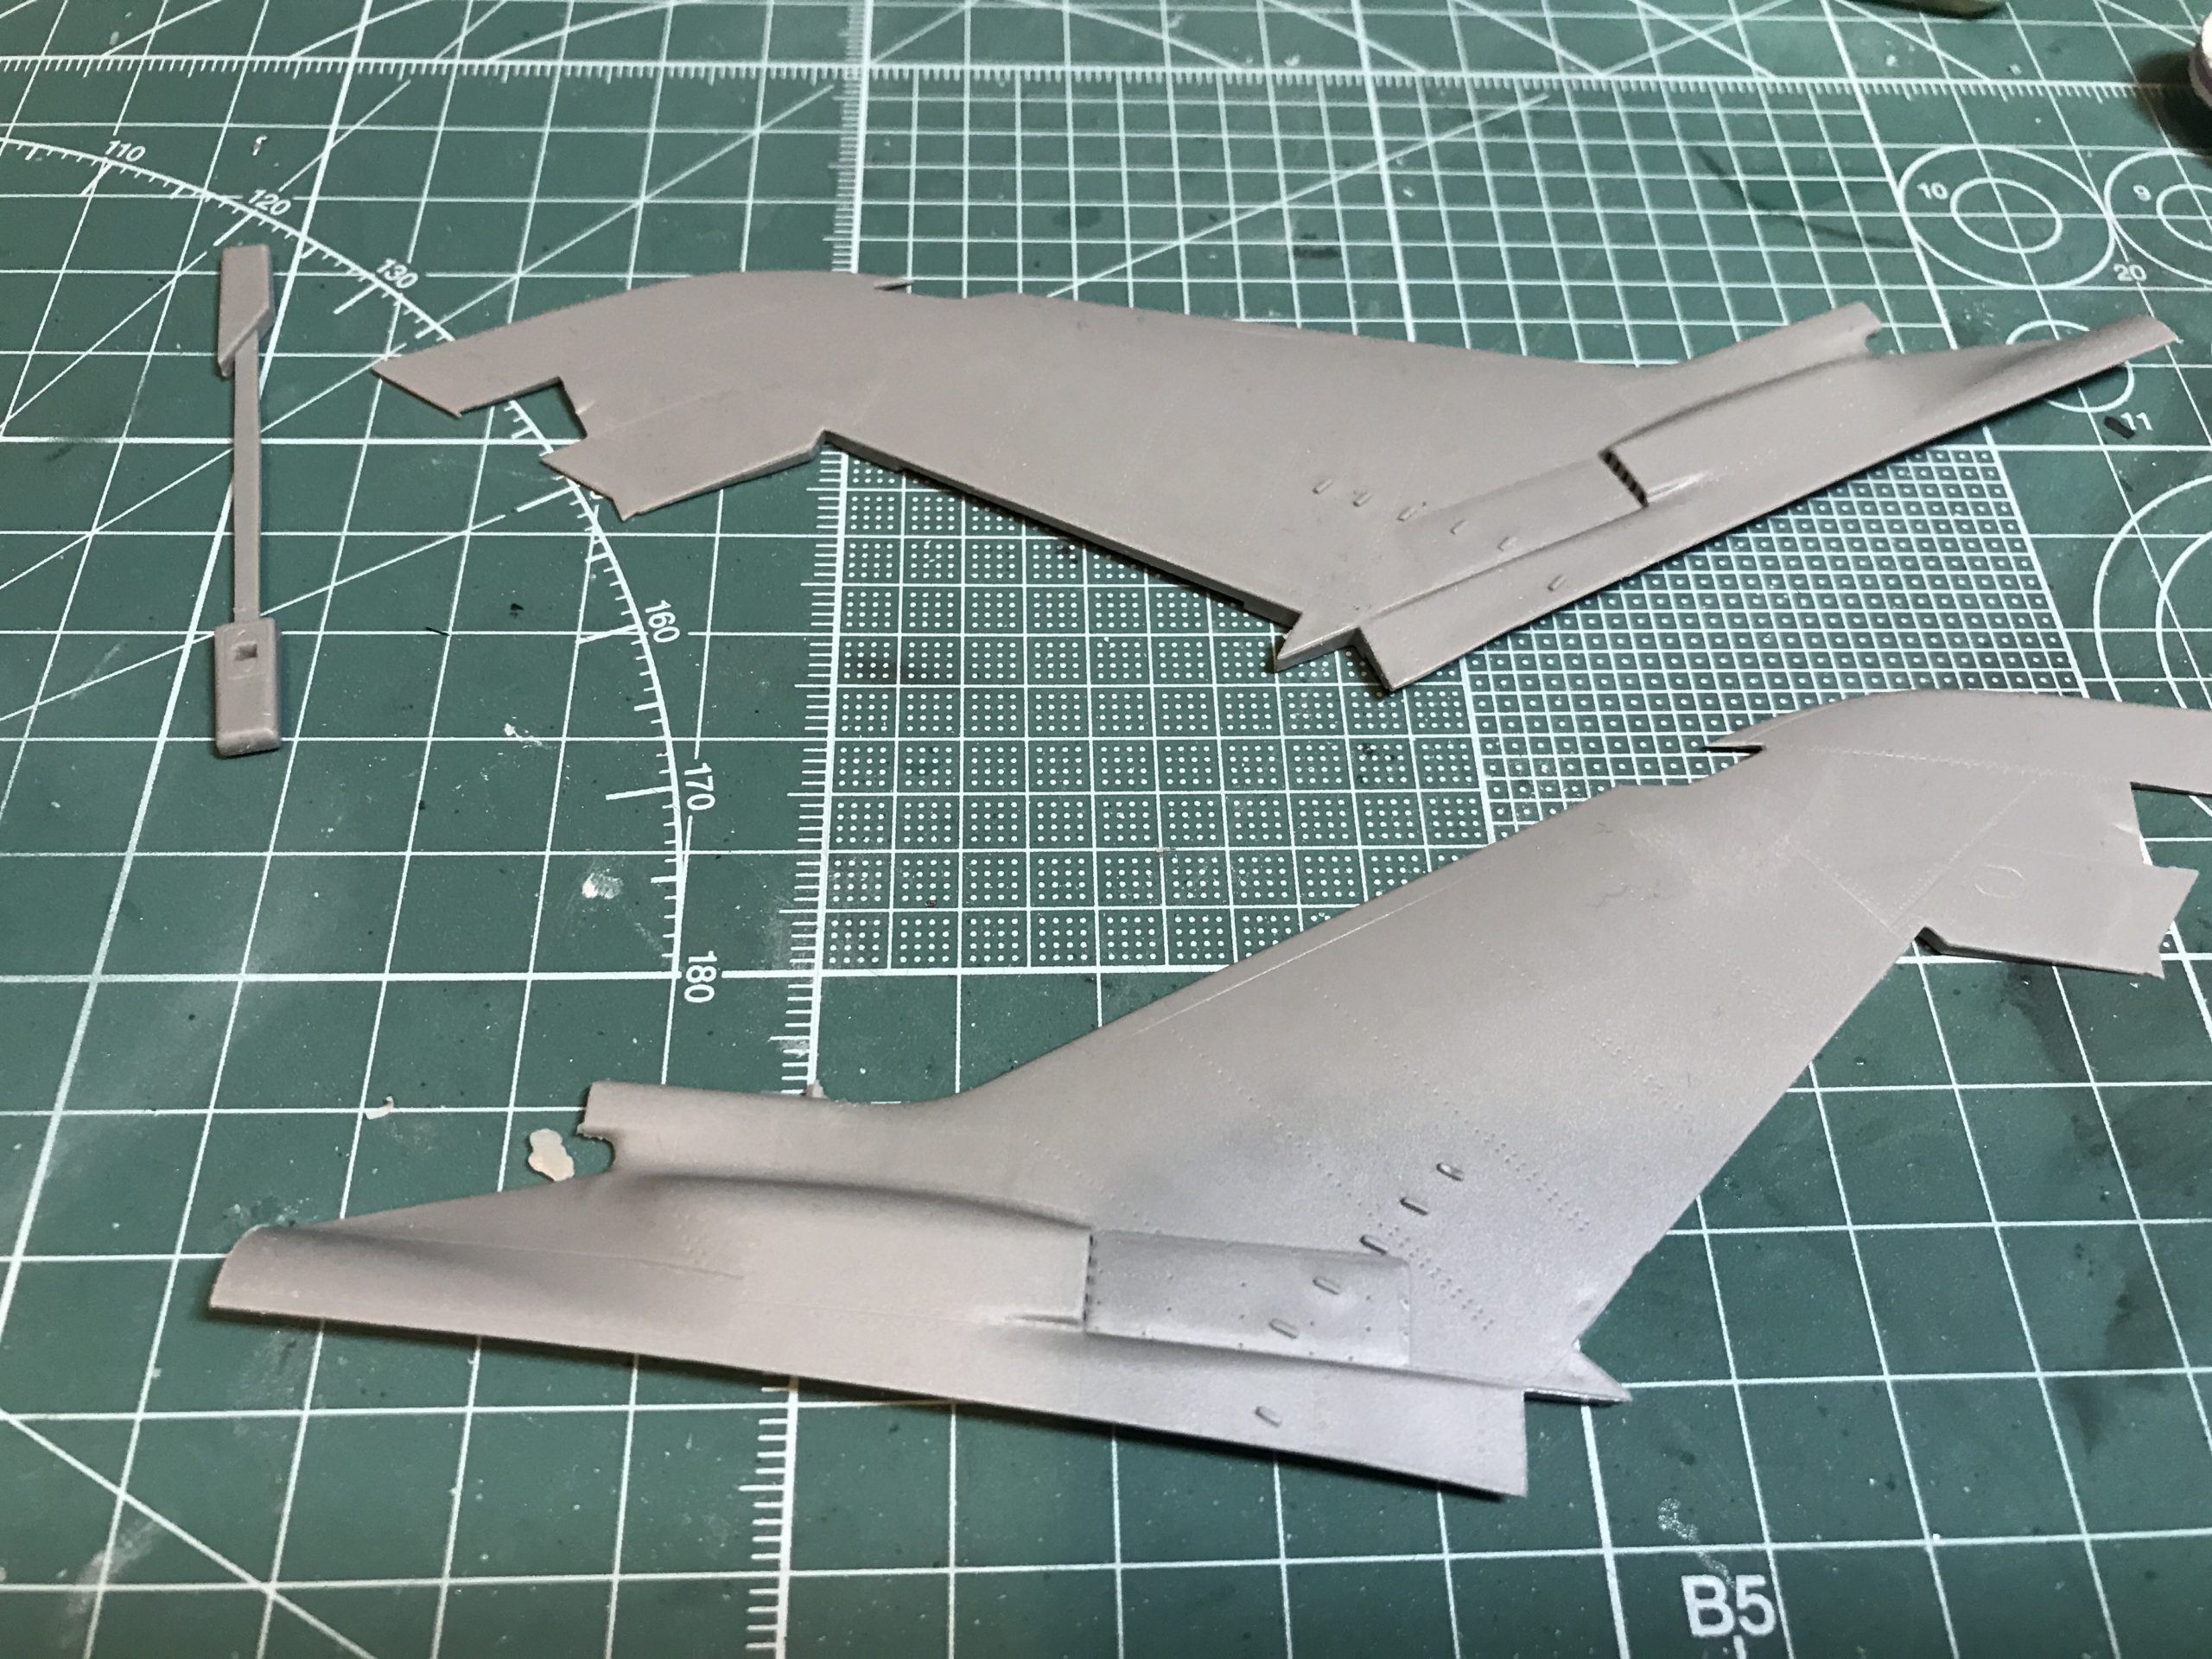
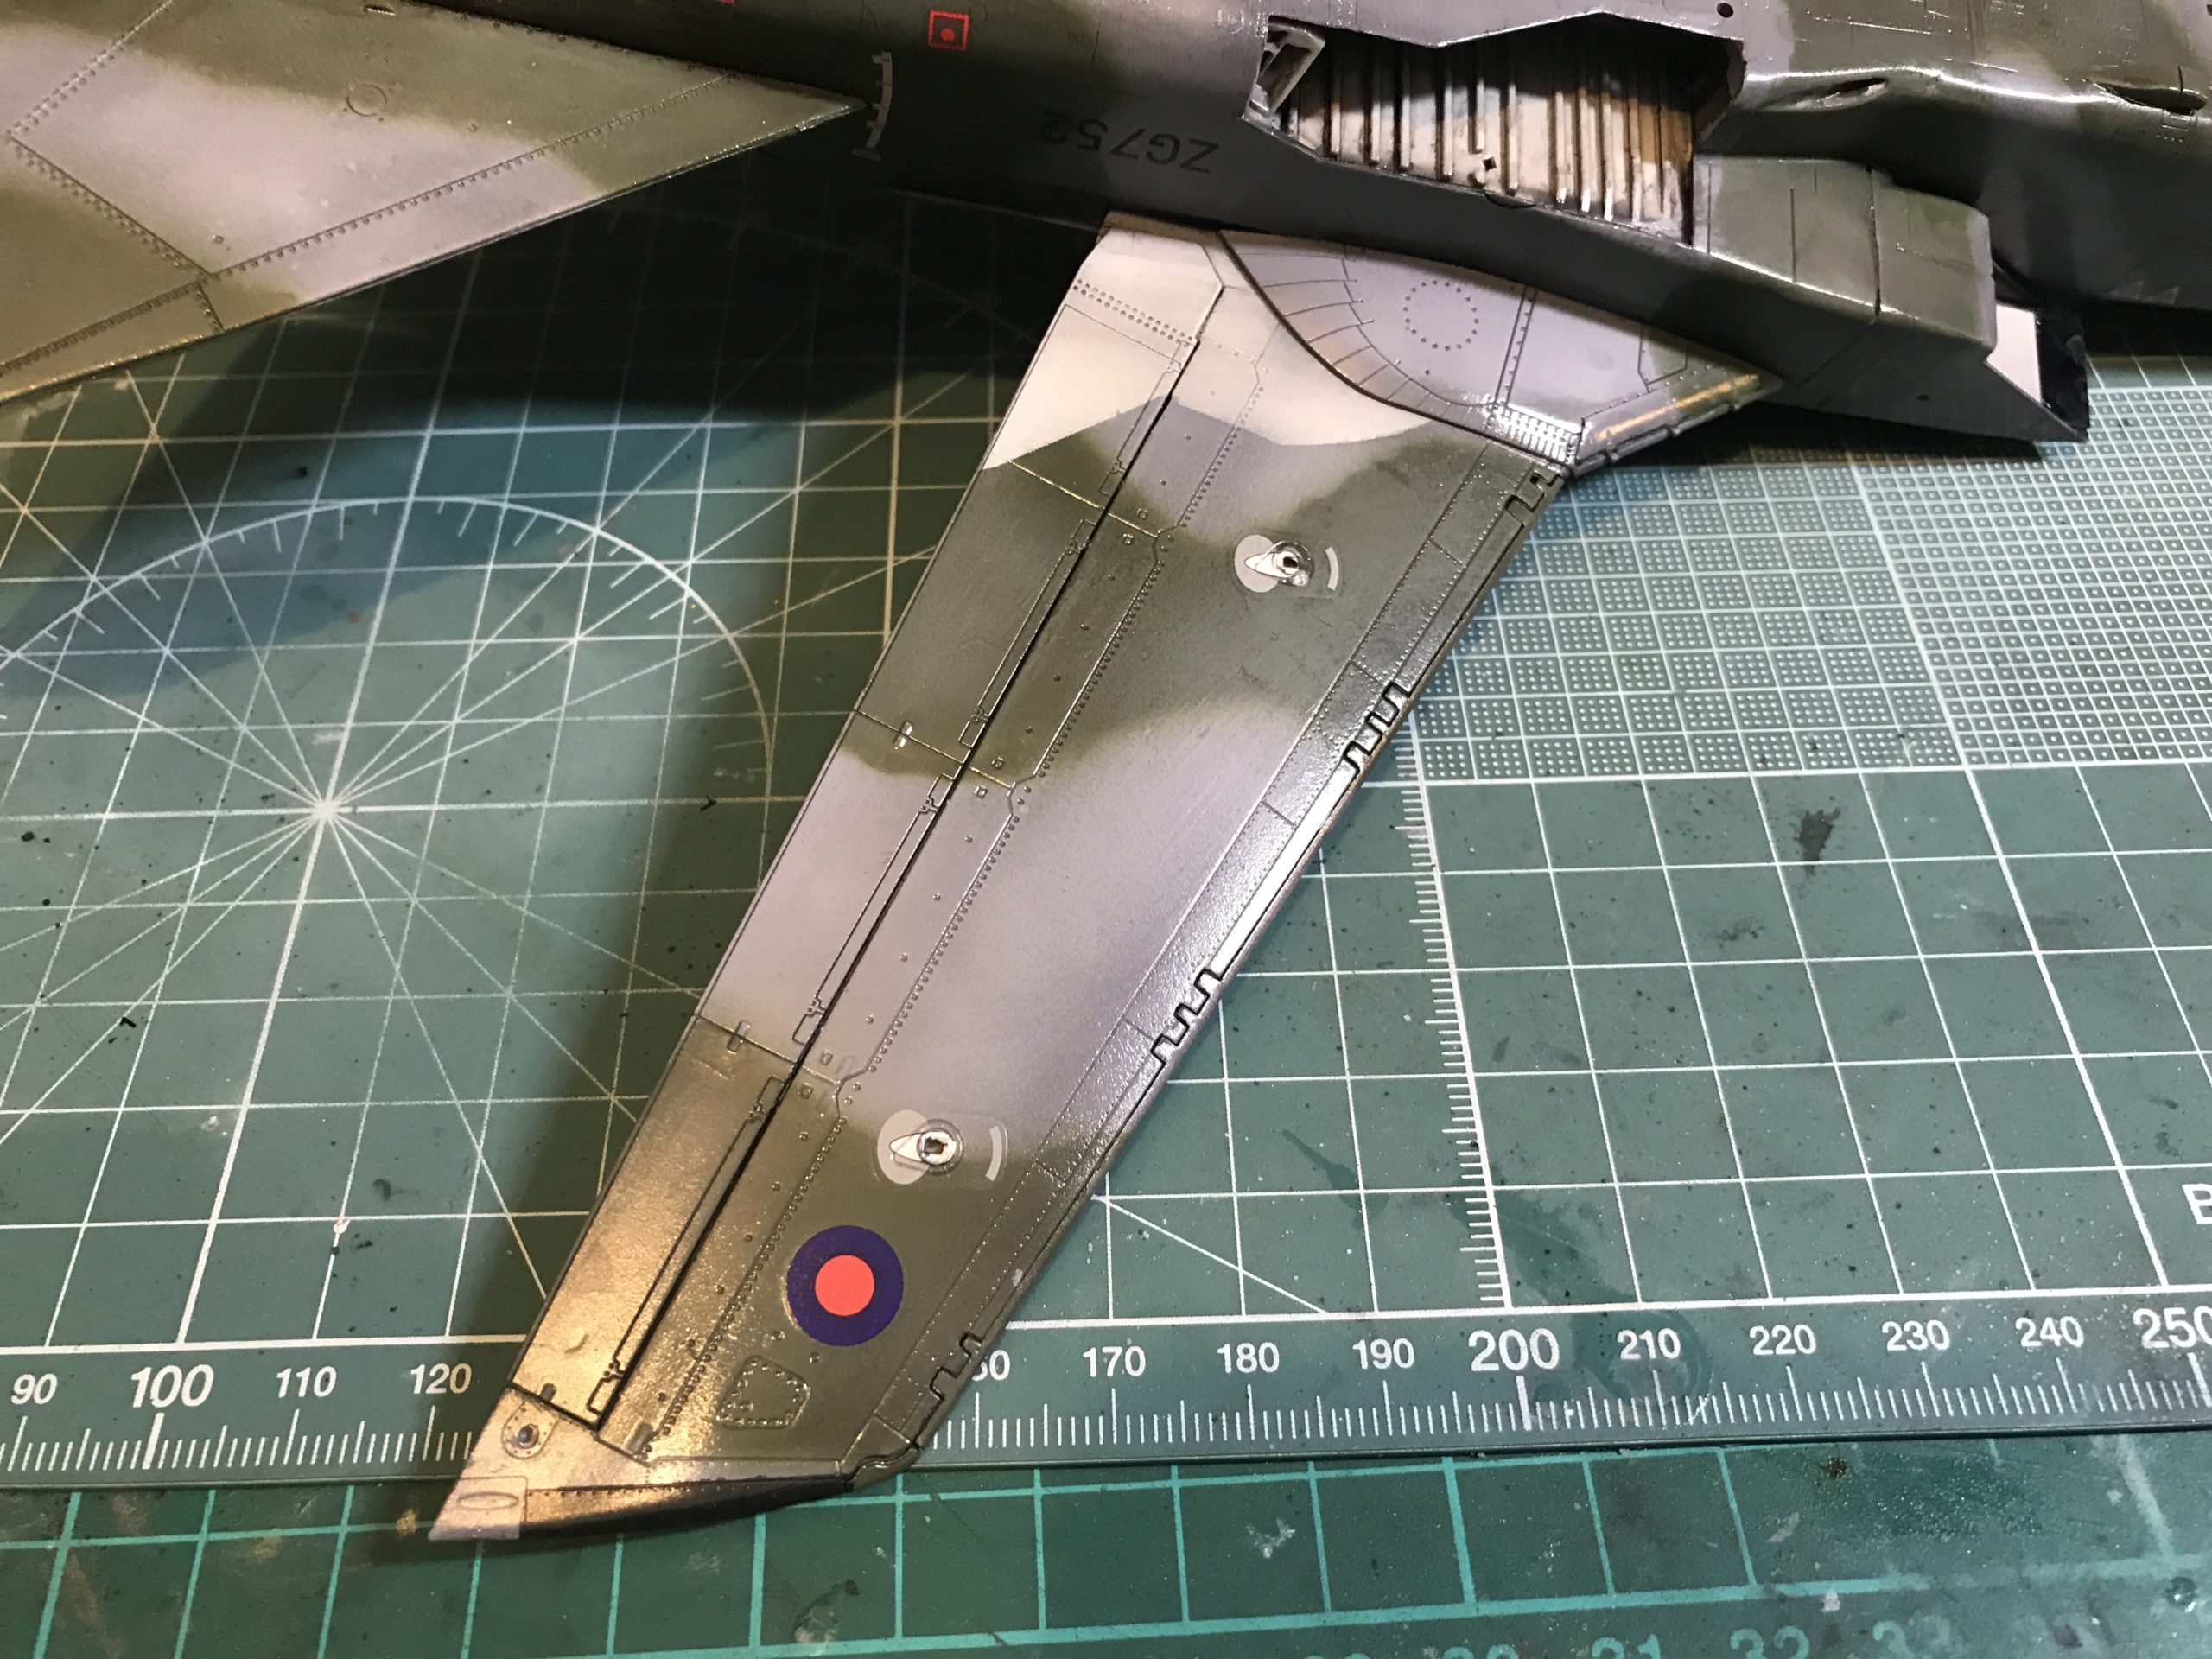
The tail assembly is next on the list and once again very straight forward.

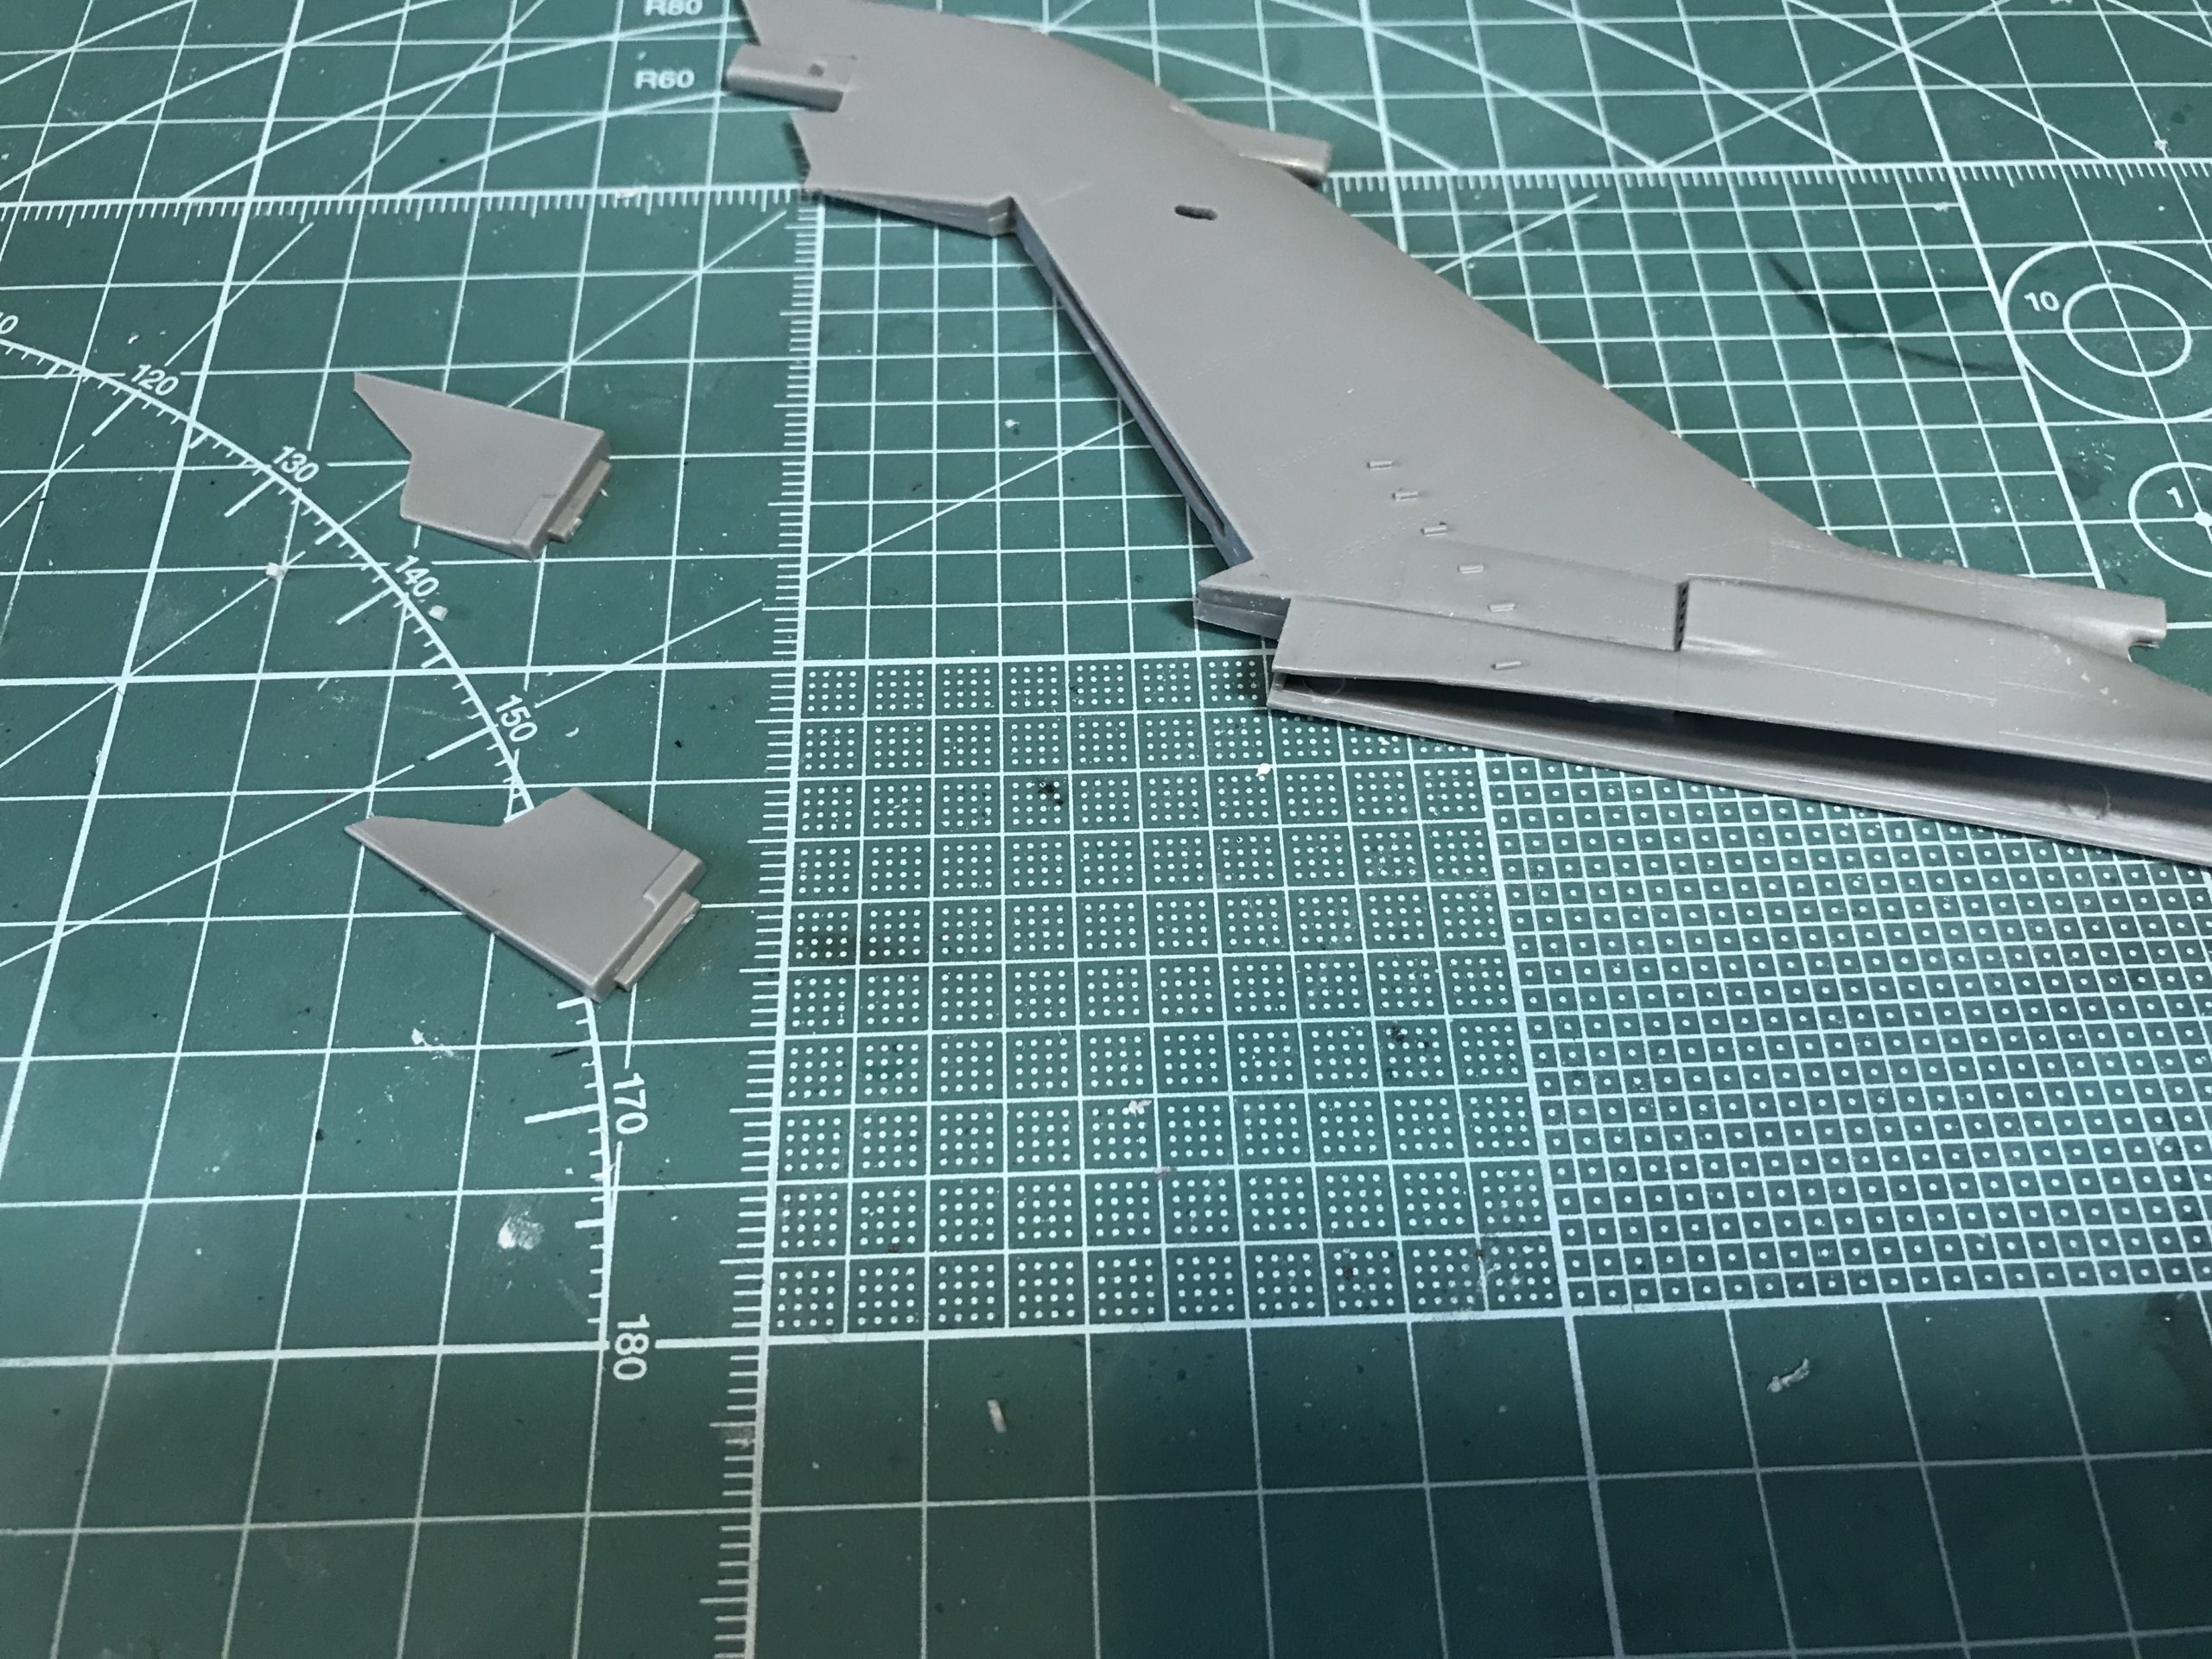
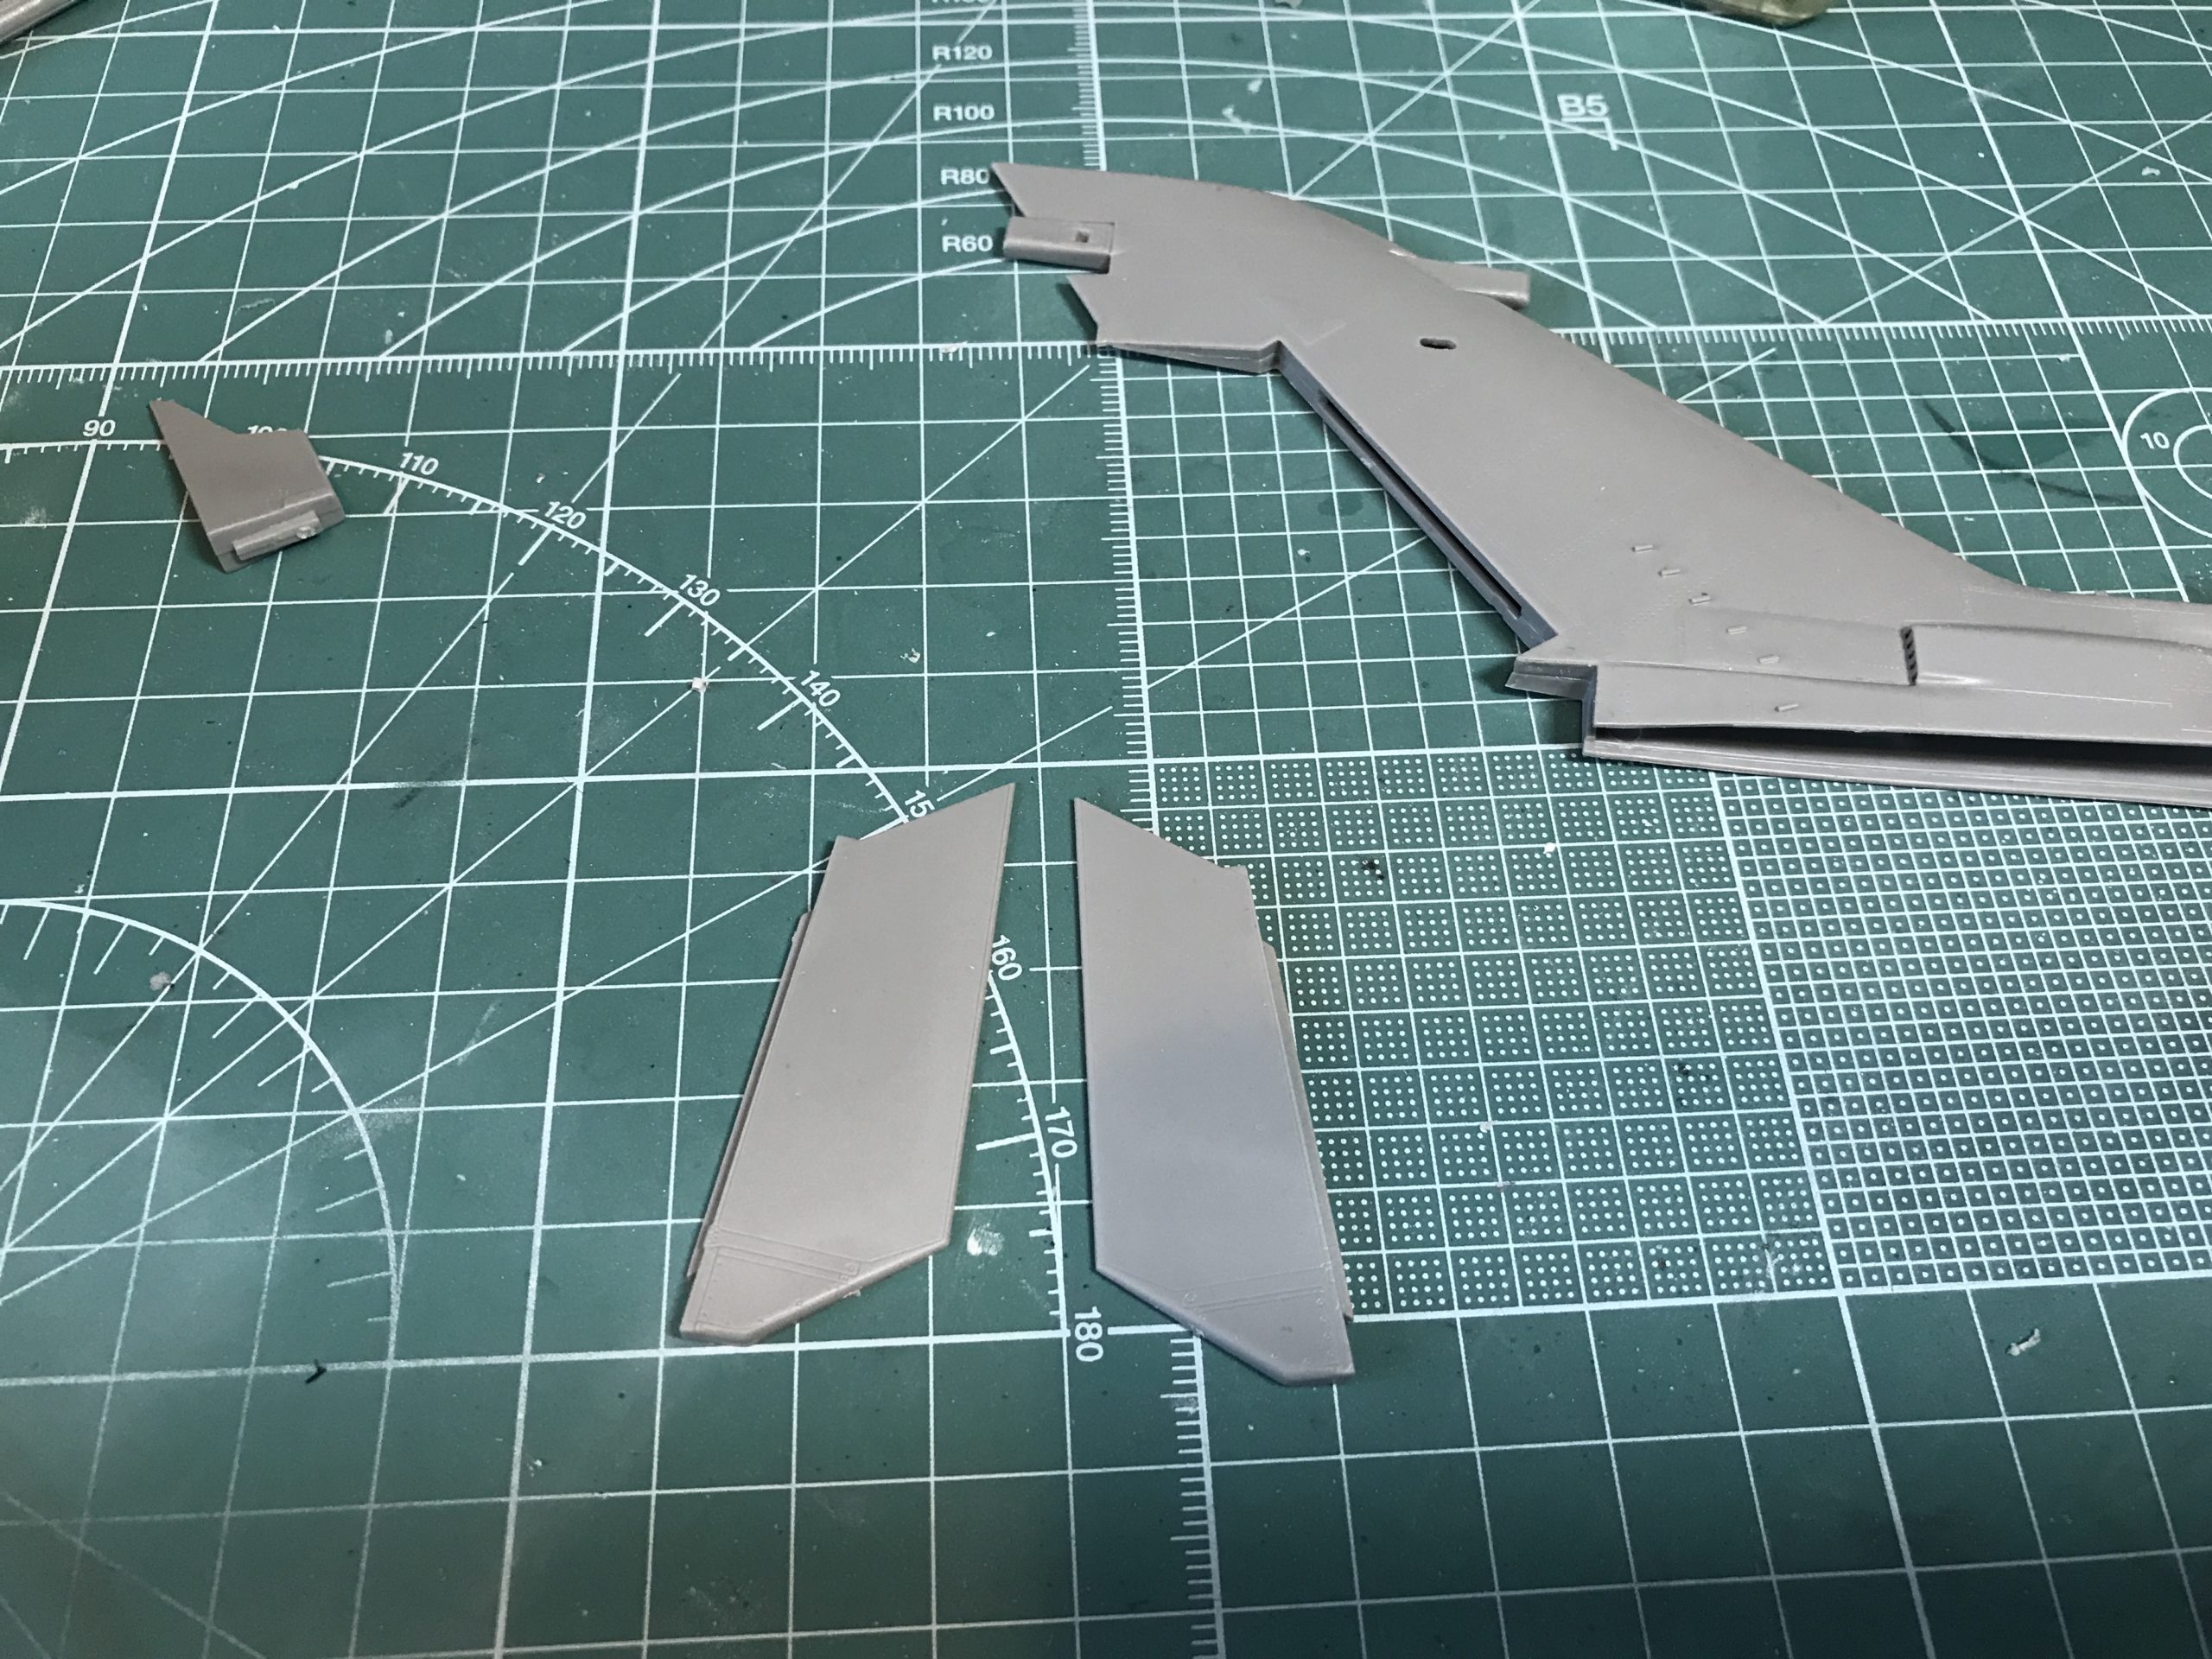
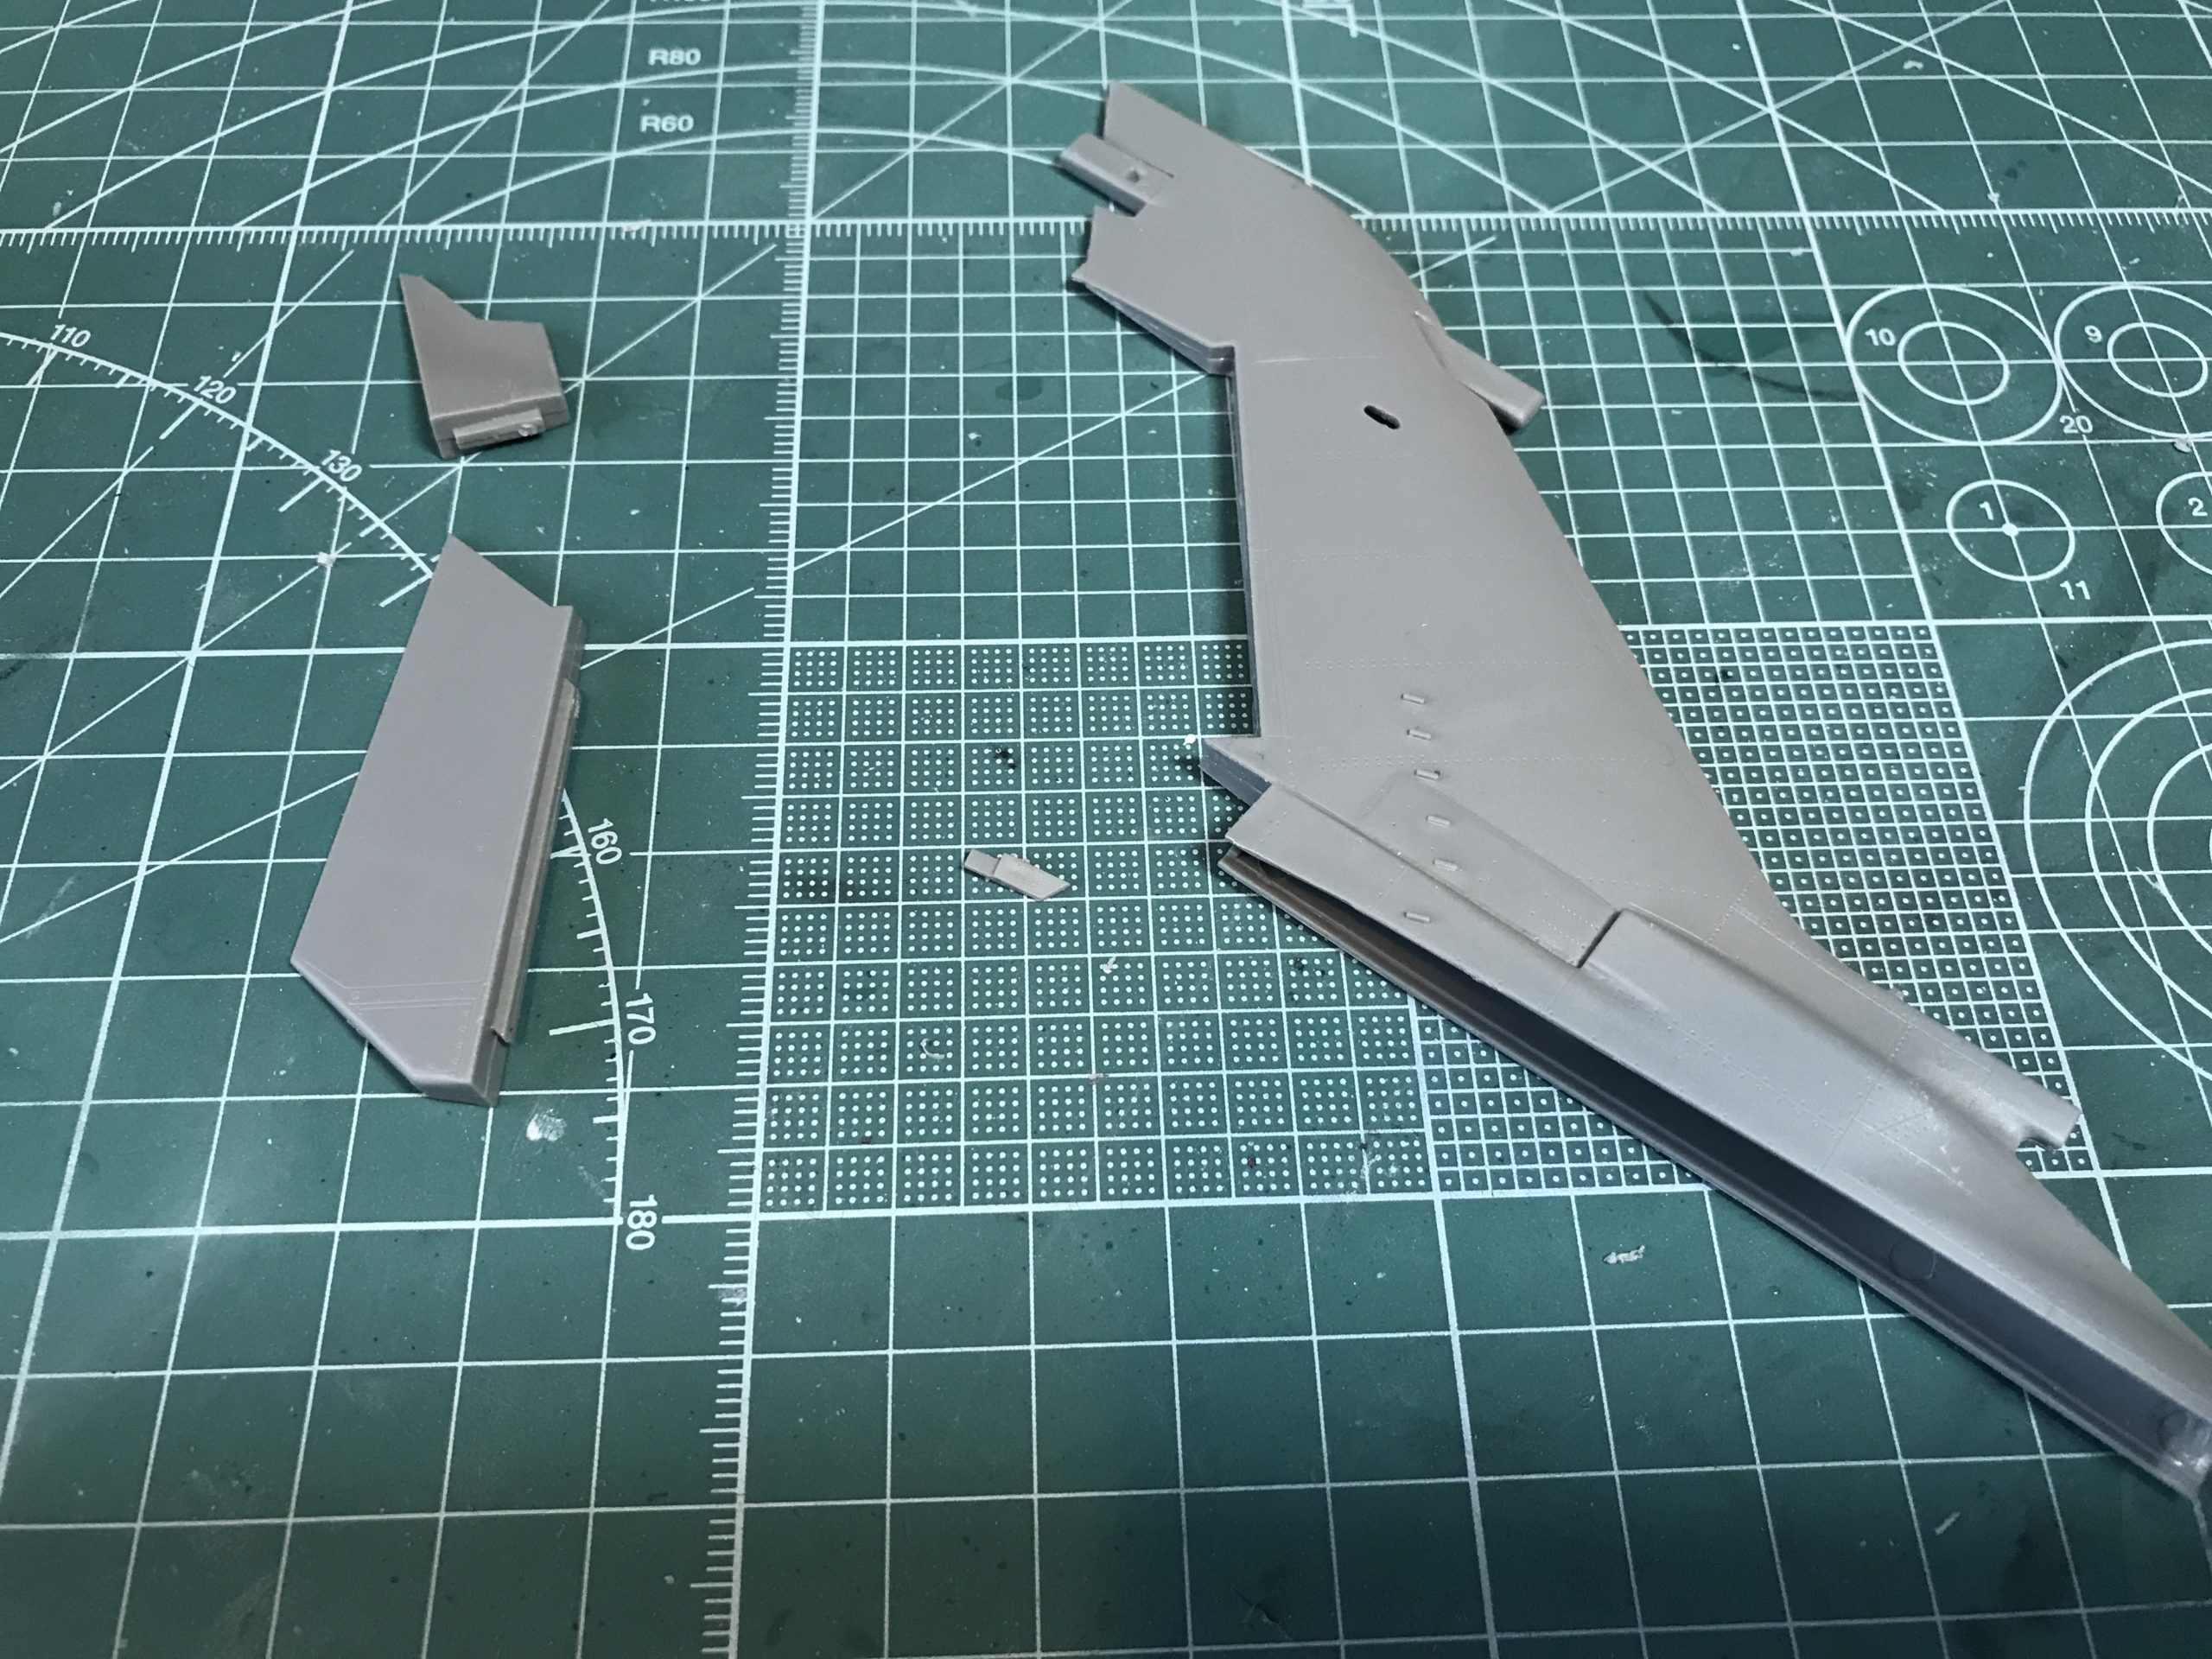
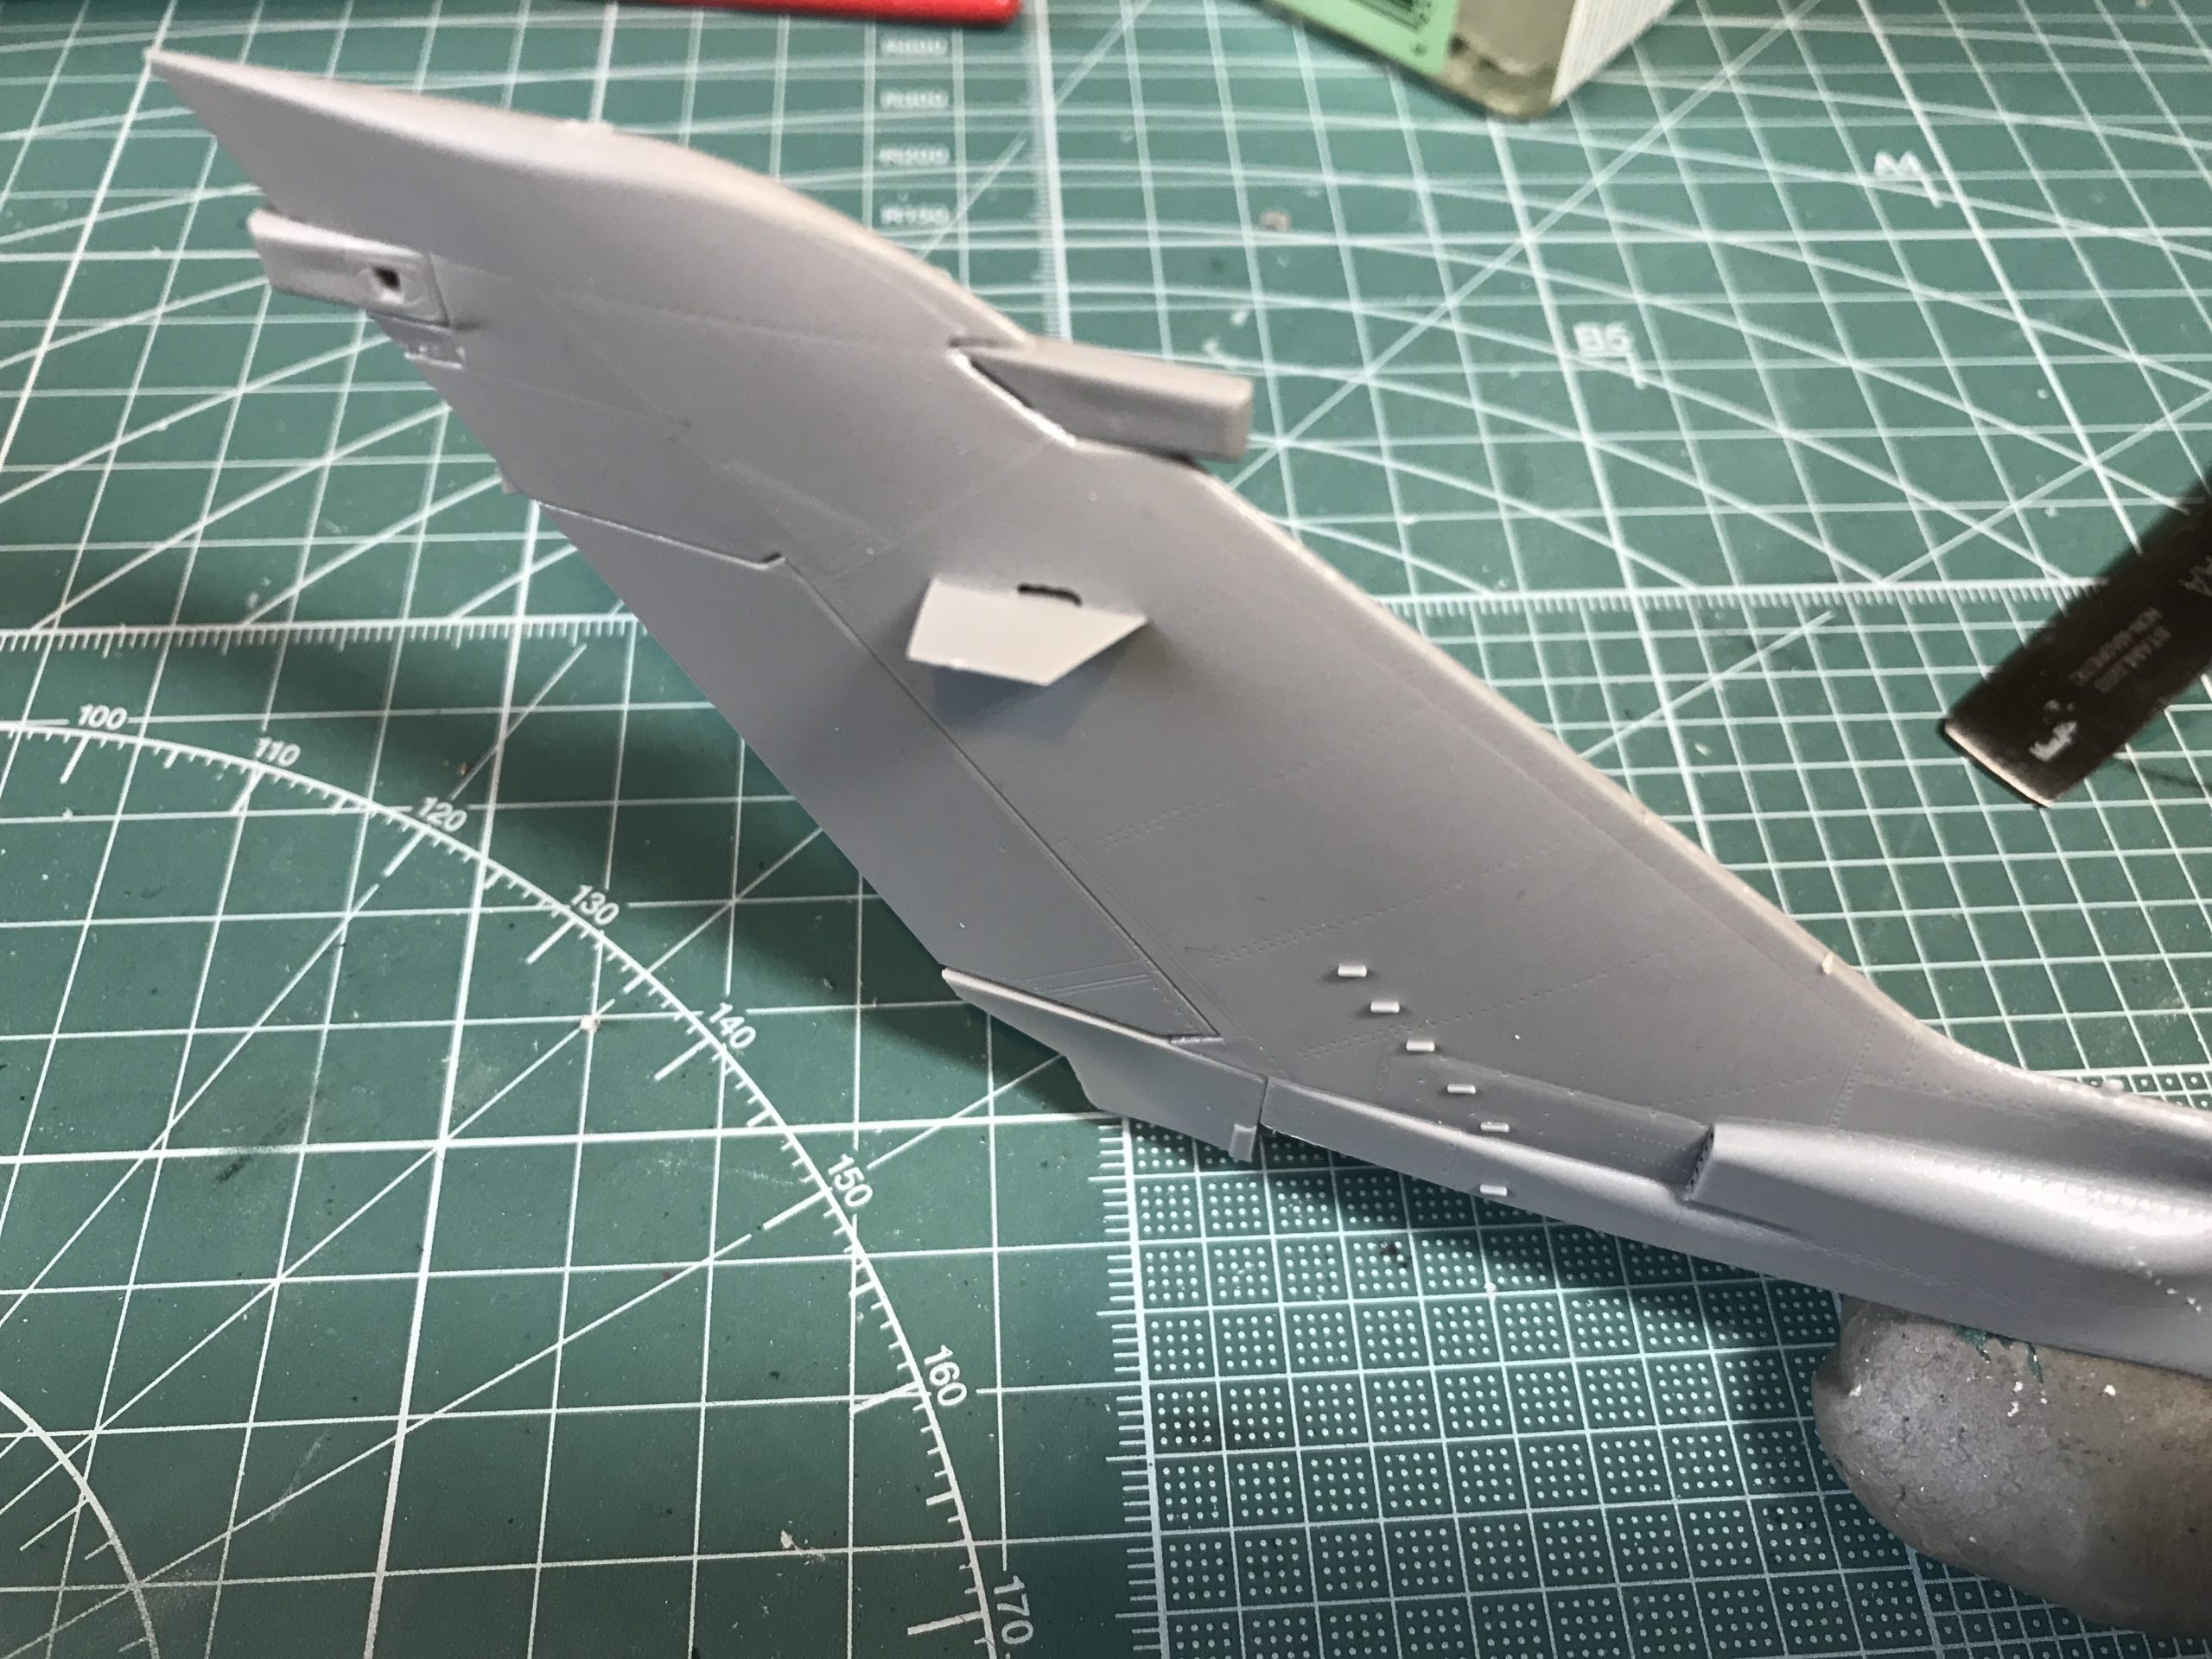
That’s it I made it through the build and exhale and audible sigh of relief. Painting next….
Painting
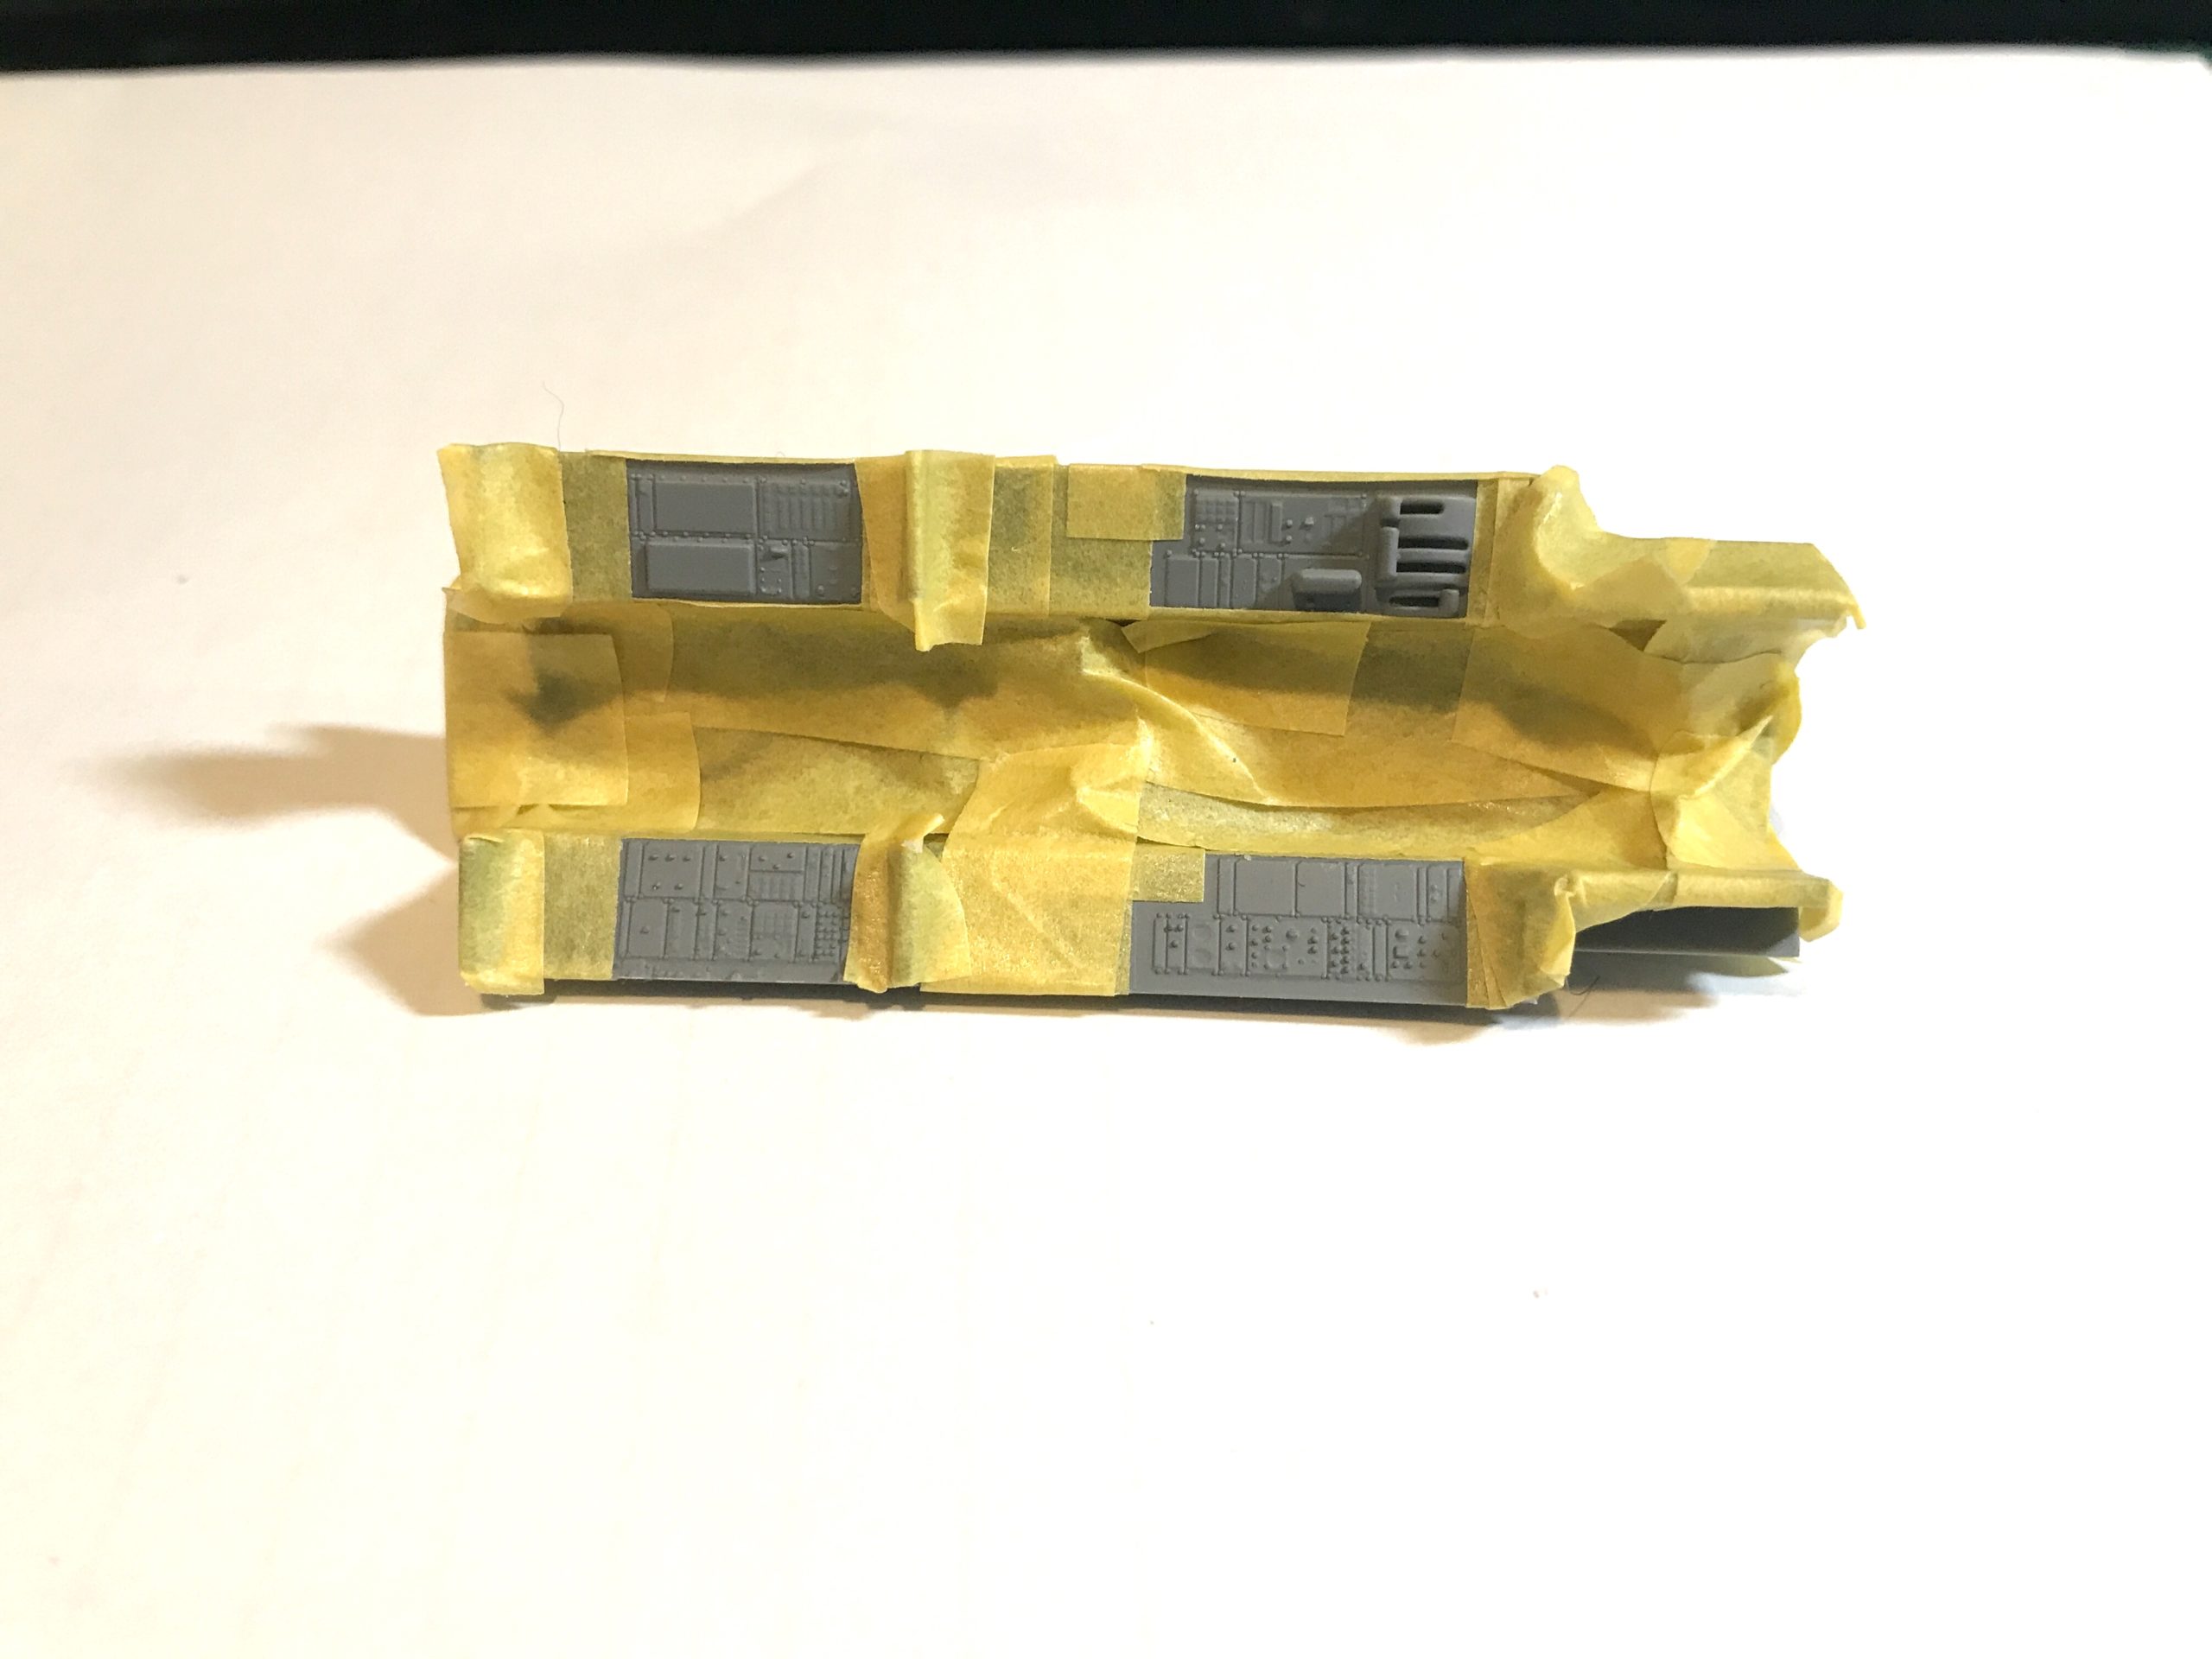
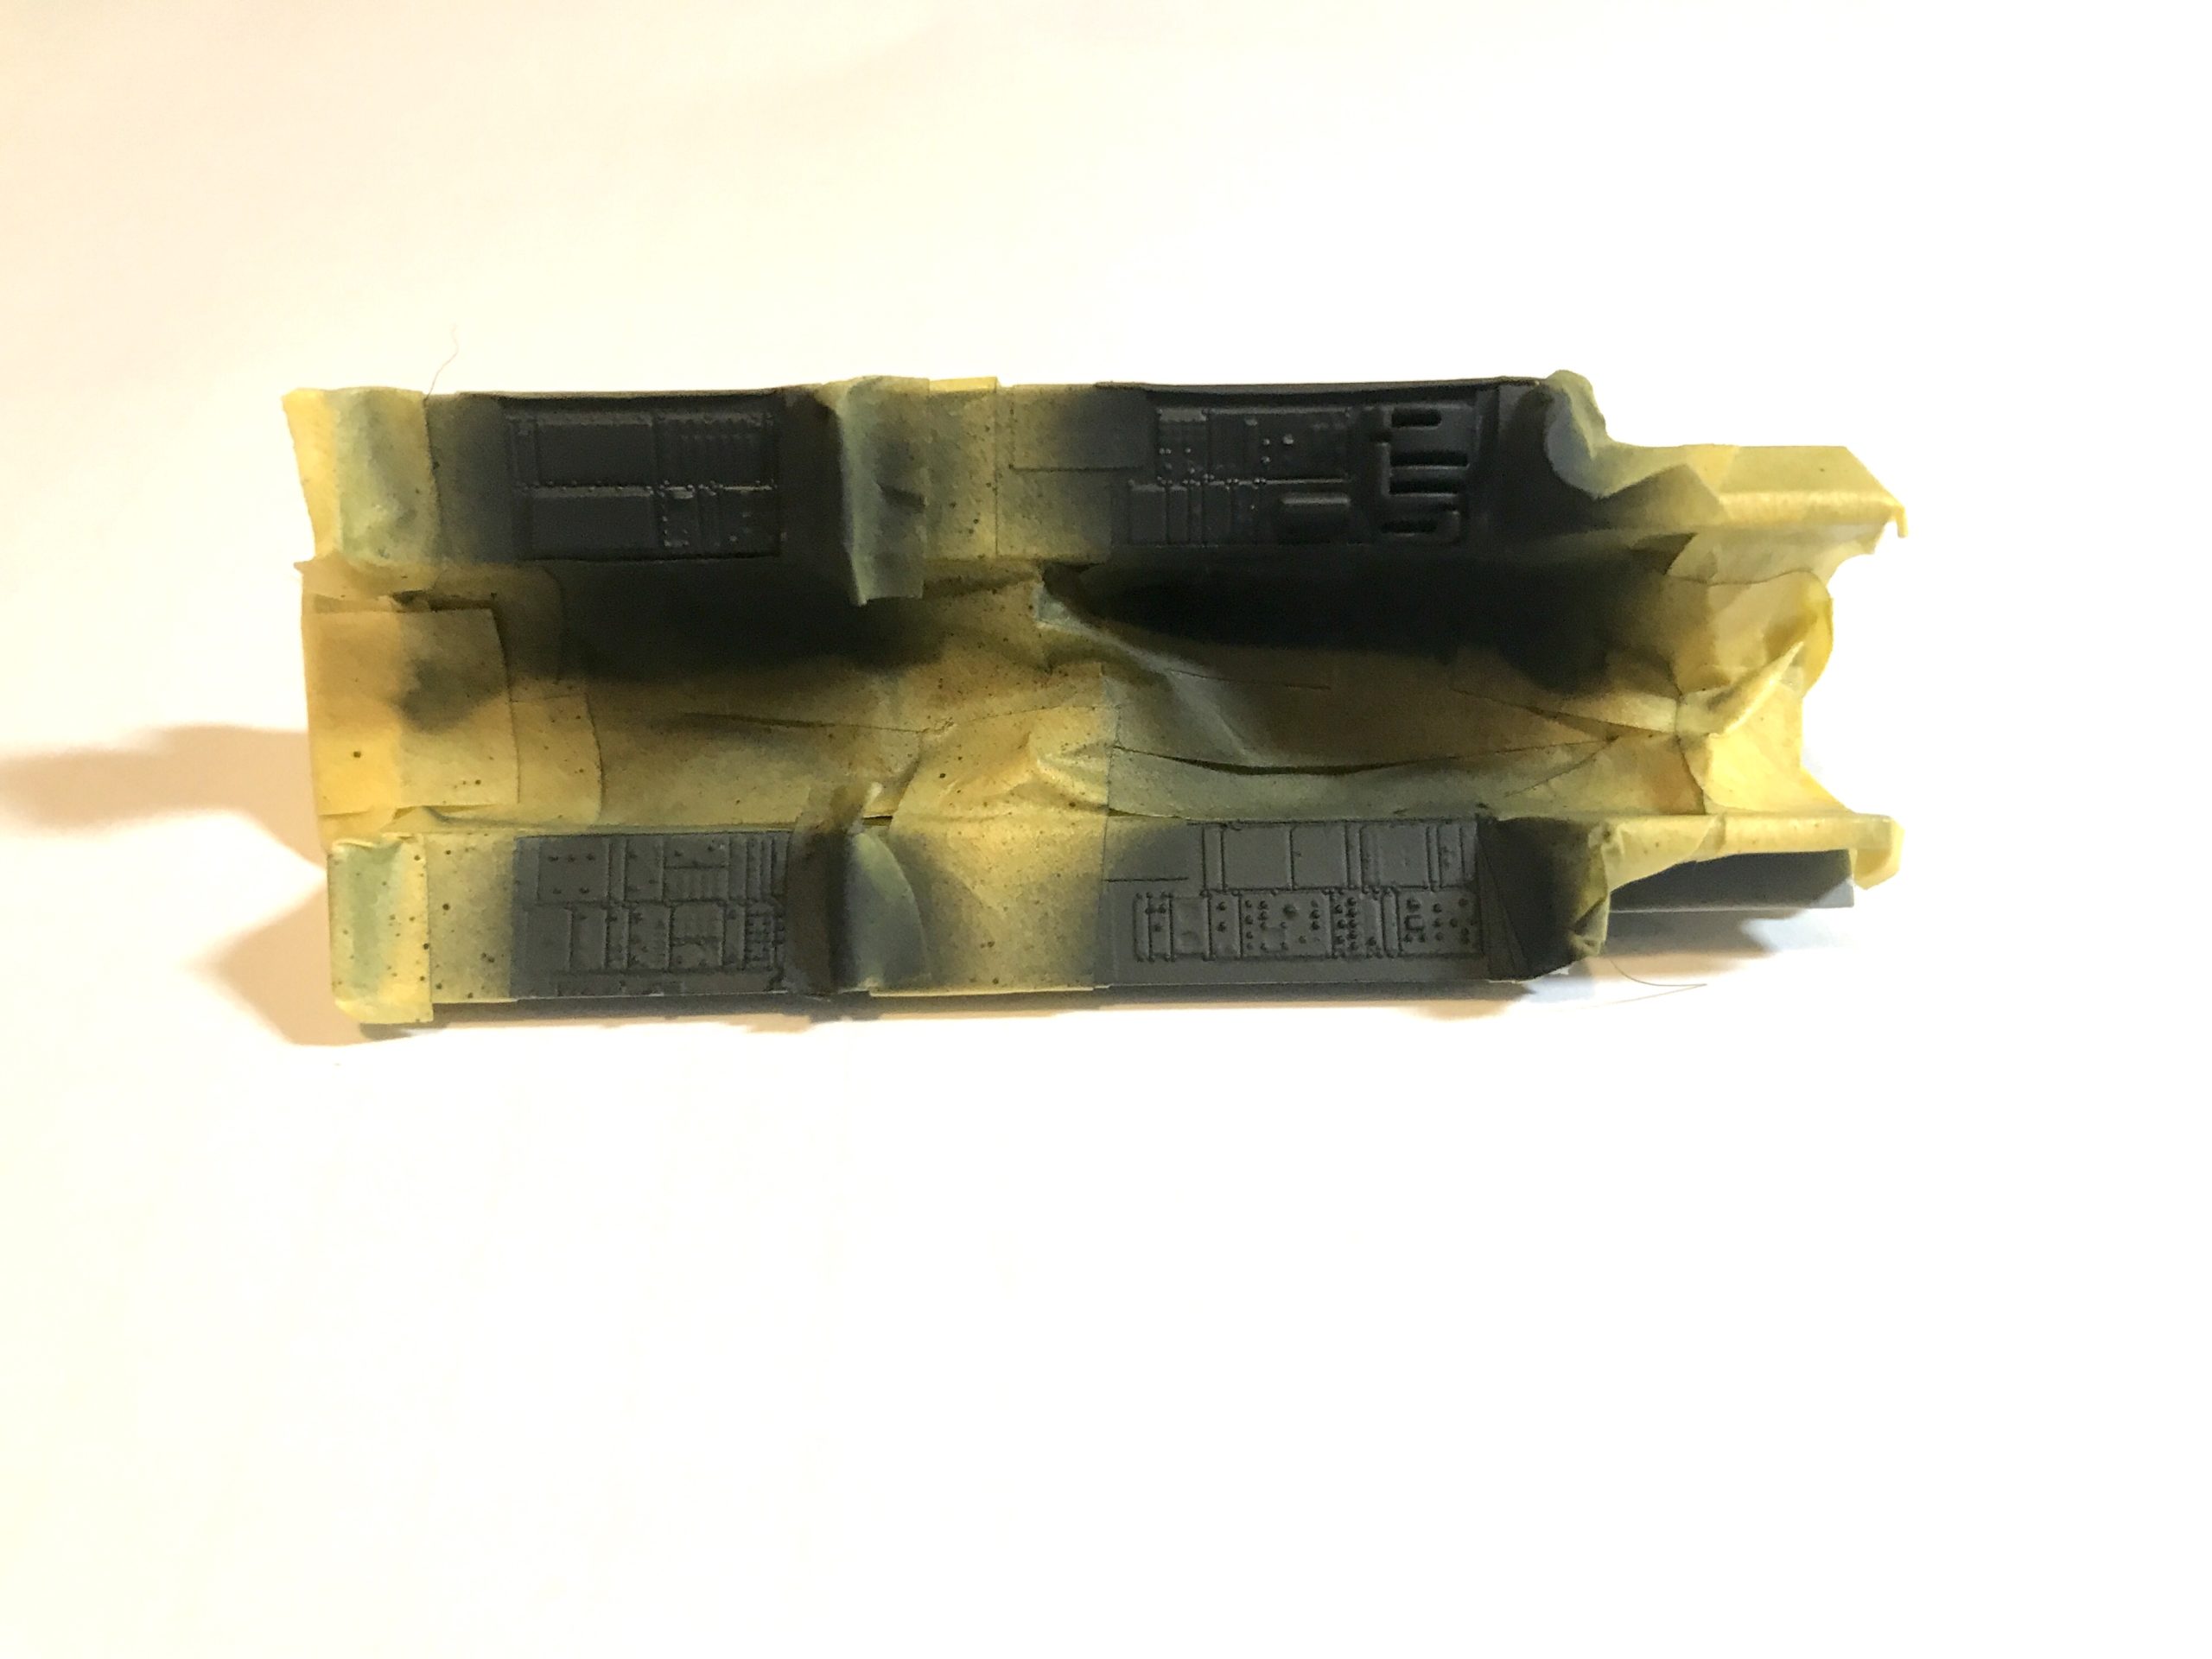
I start off by going over the panel lines with NATO black as part of the pre-shading process. This takes a little time, but adds visual interest on a larger model.
Thin coats of the base grey can be added taking care not to completely obscure the panel lines. The key here is to take your time. Apply a thin coat, wait for it to dry then assess whether you need more coats.


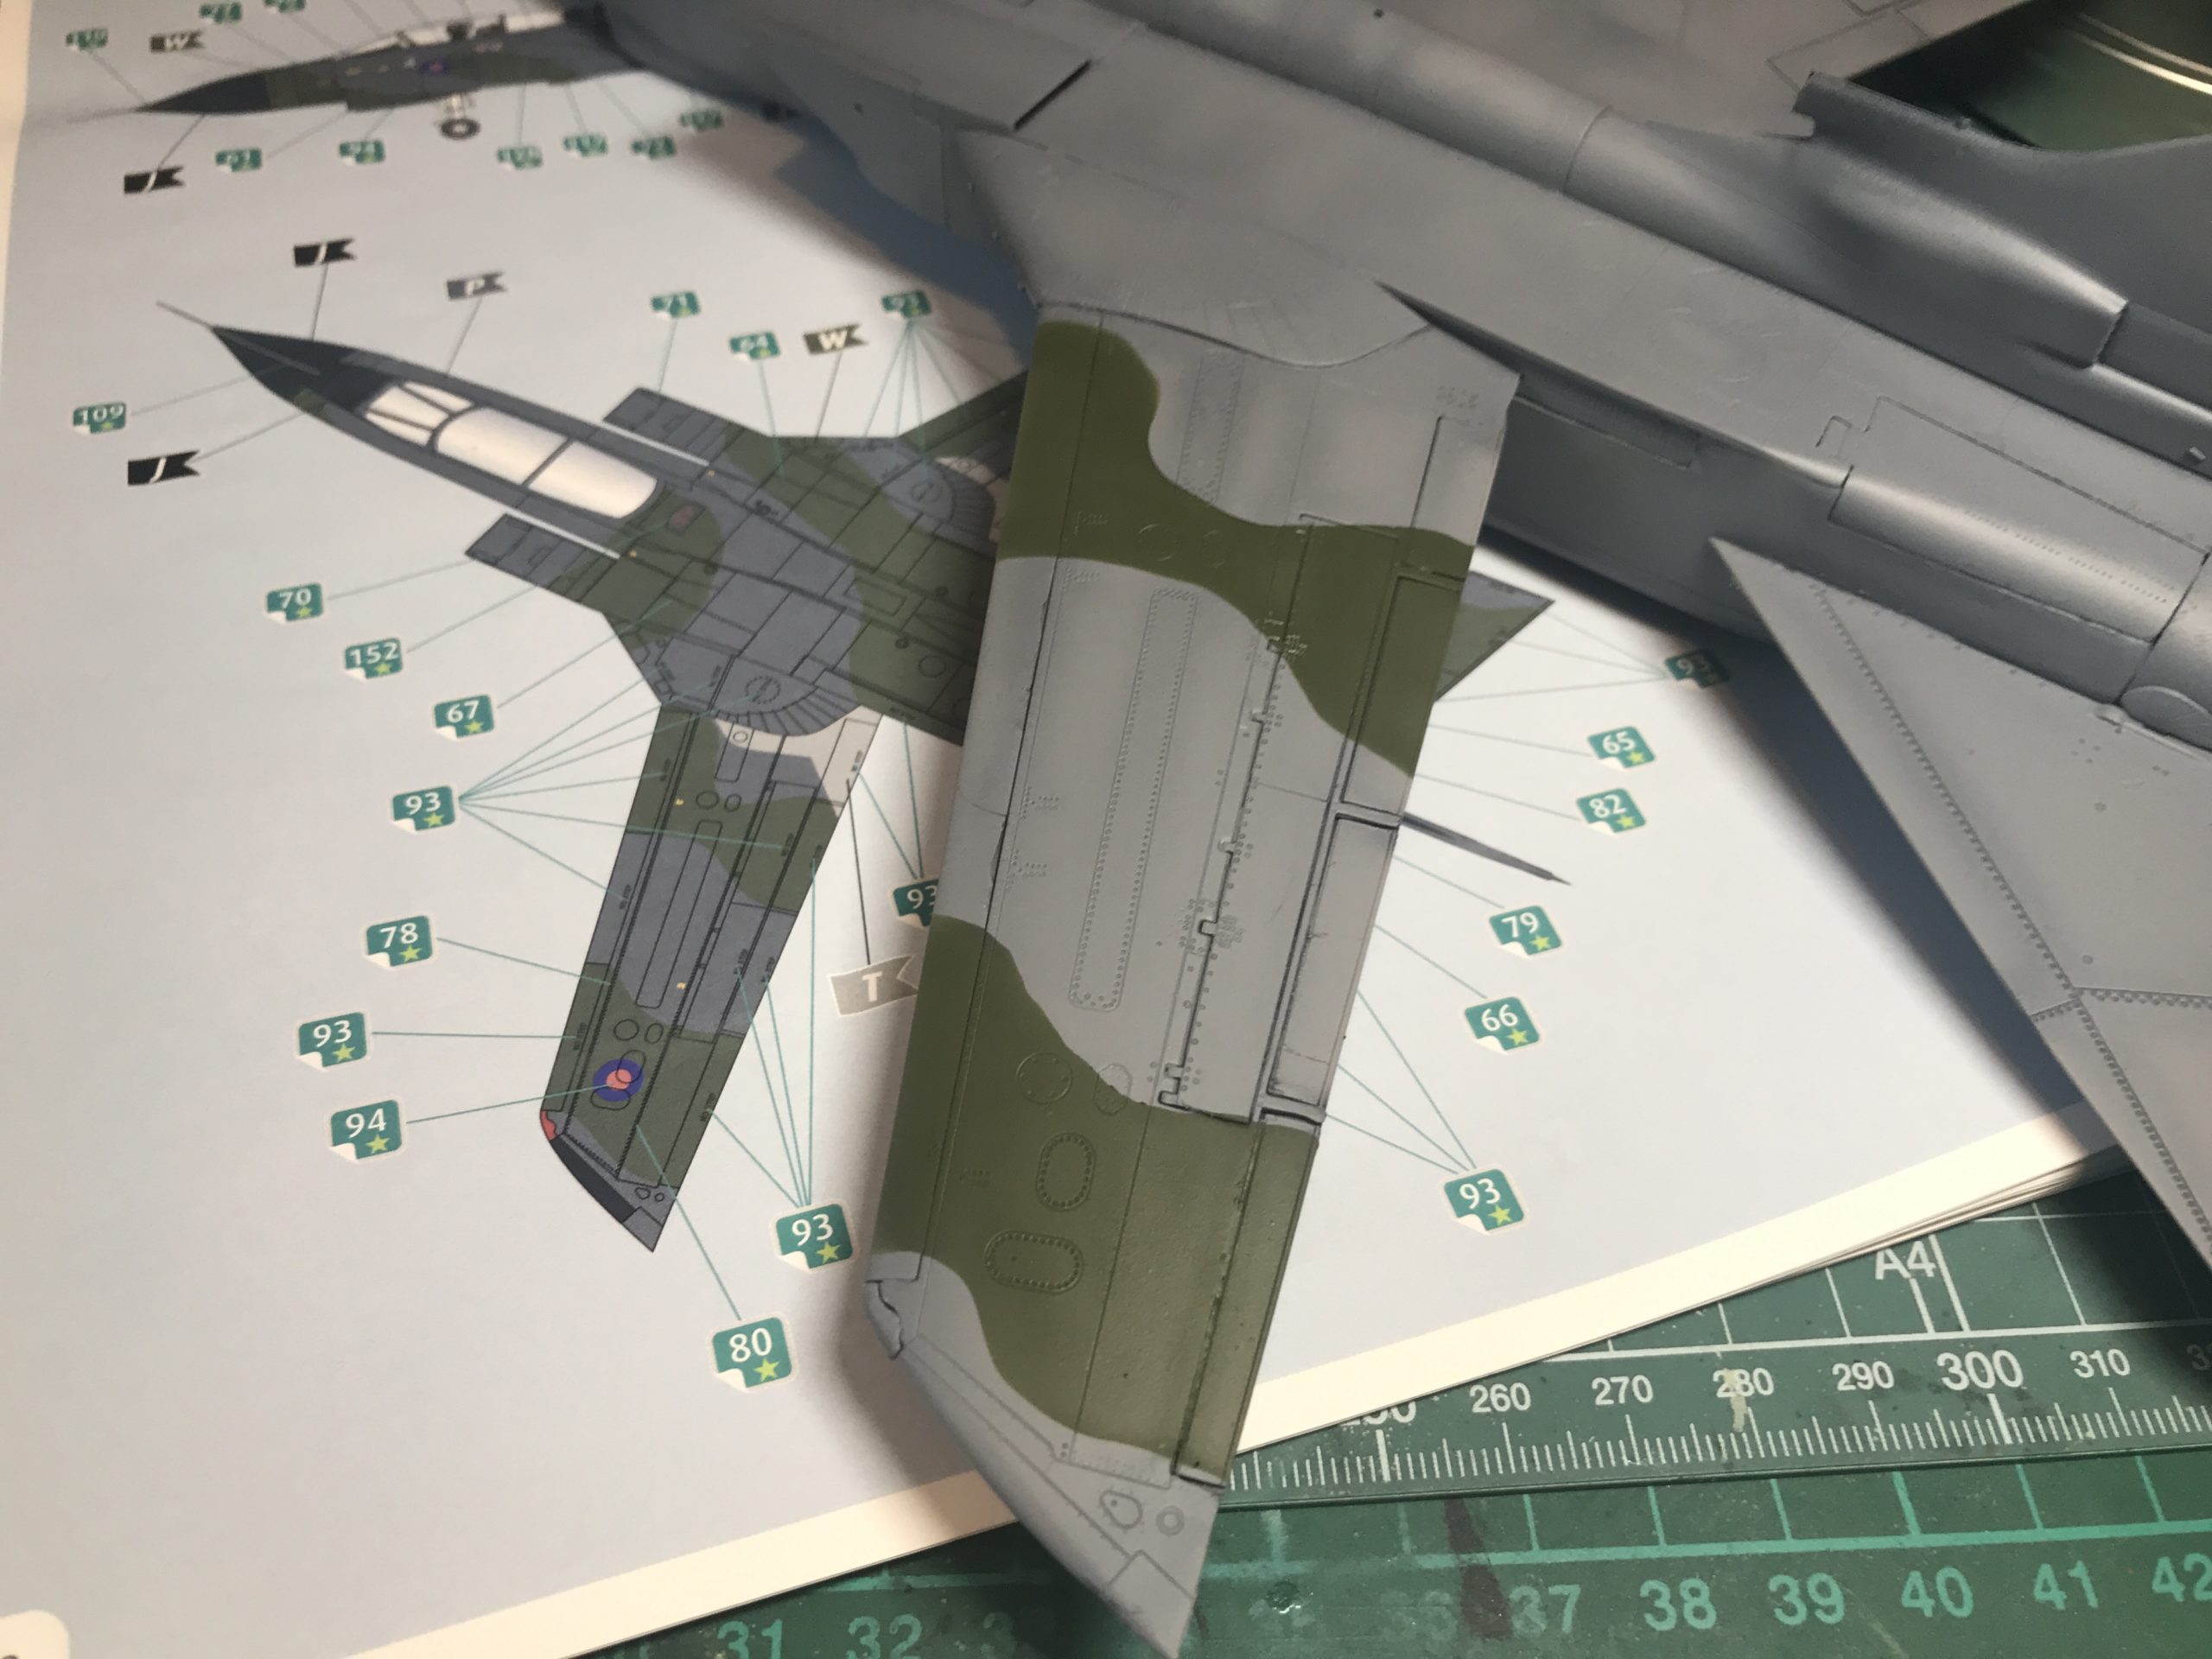
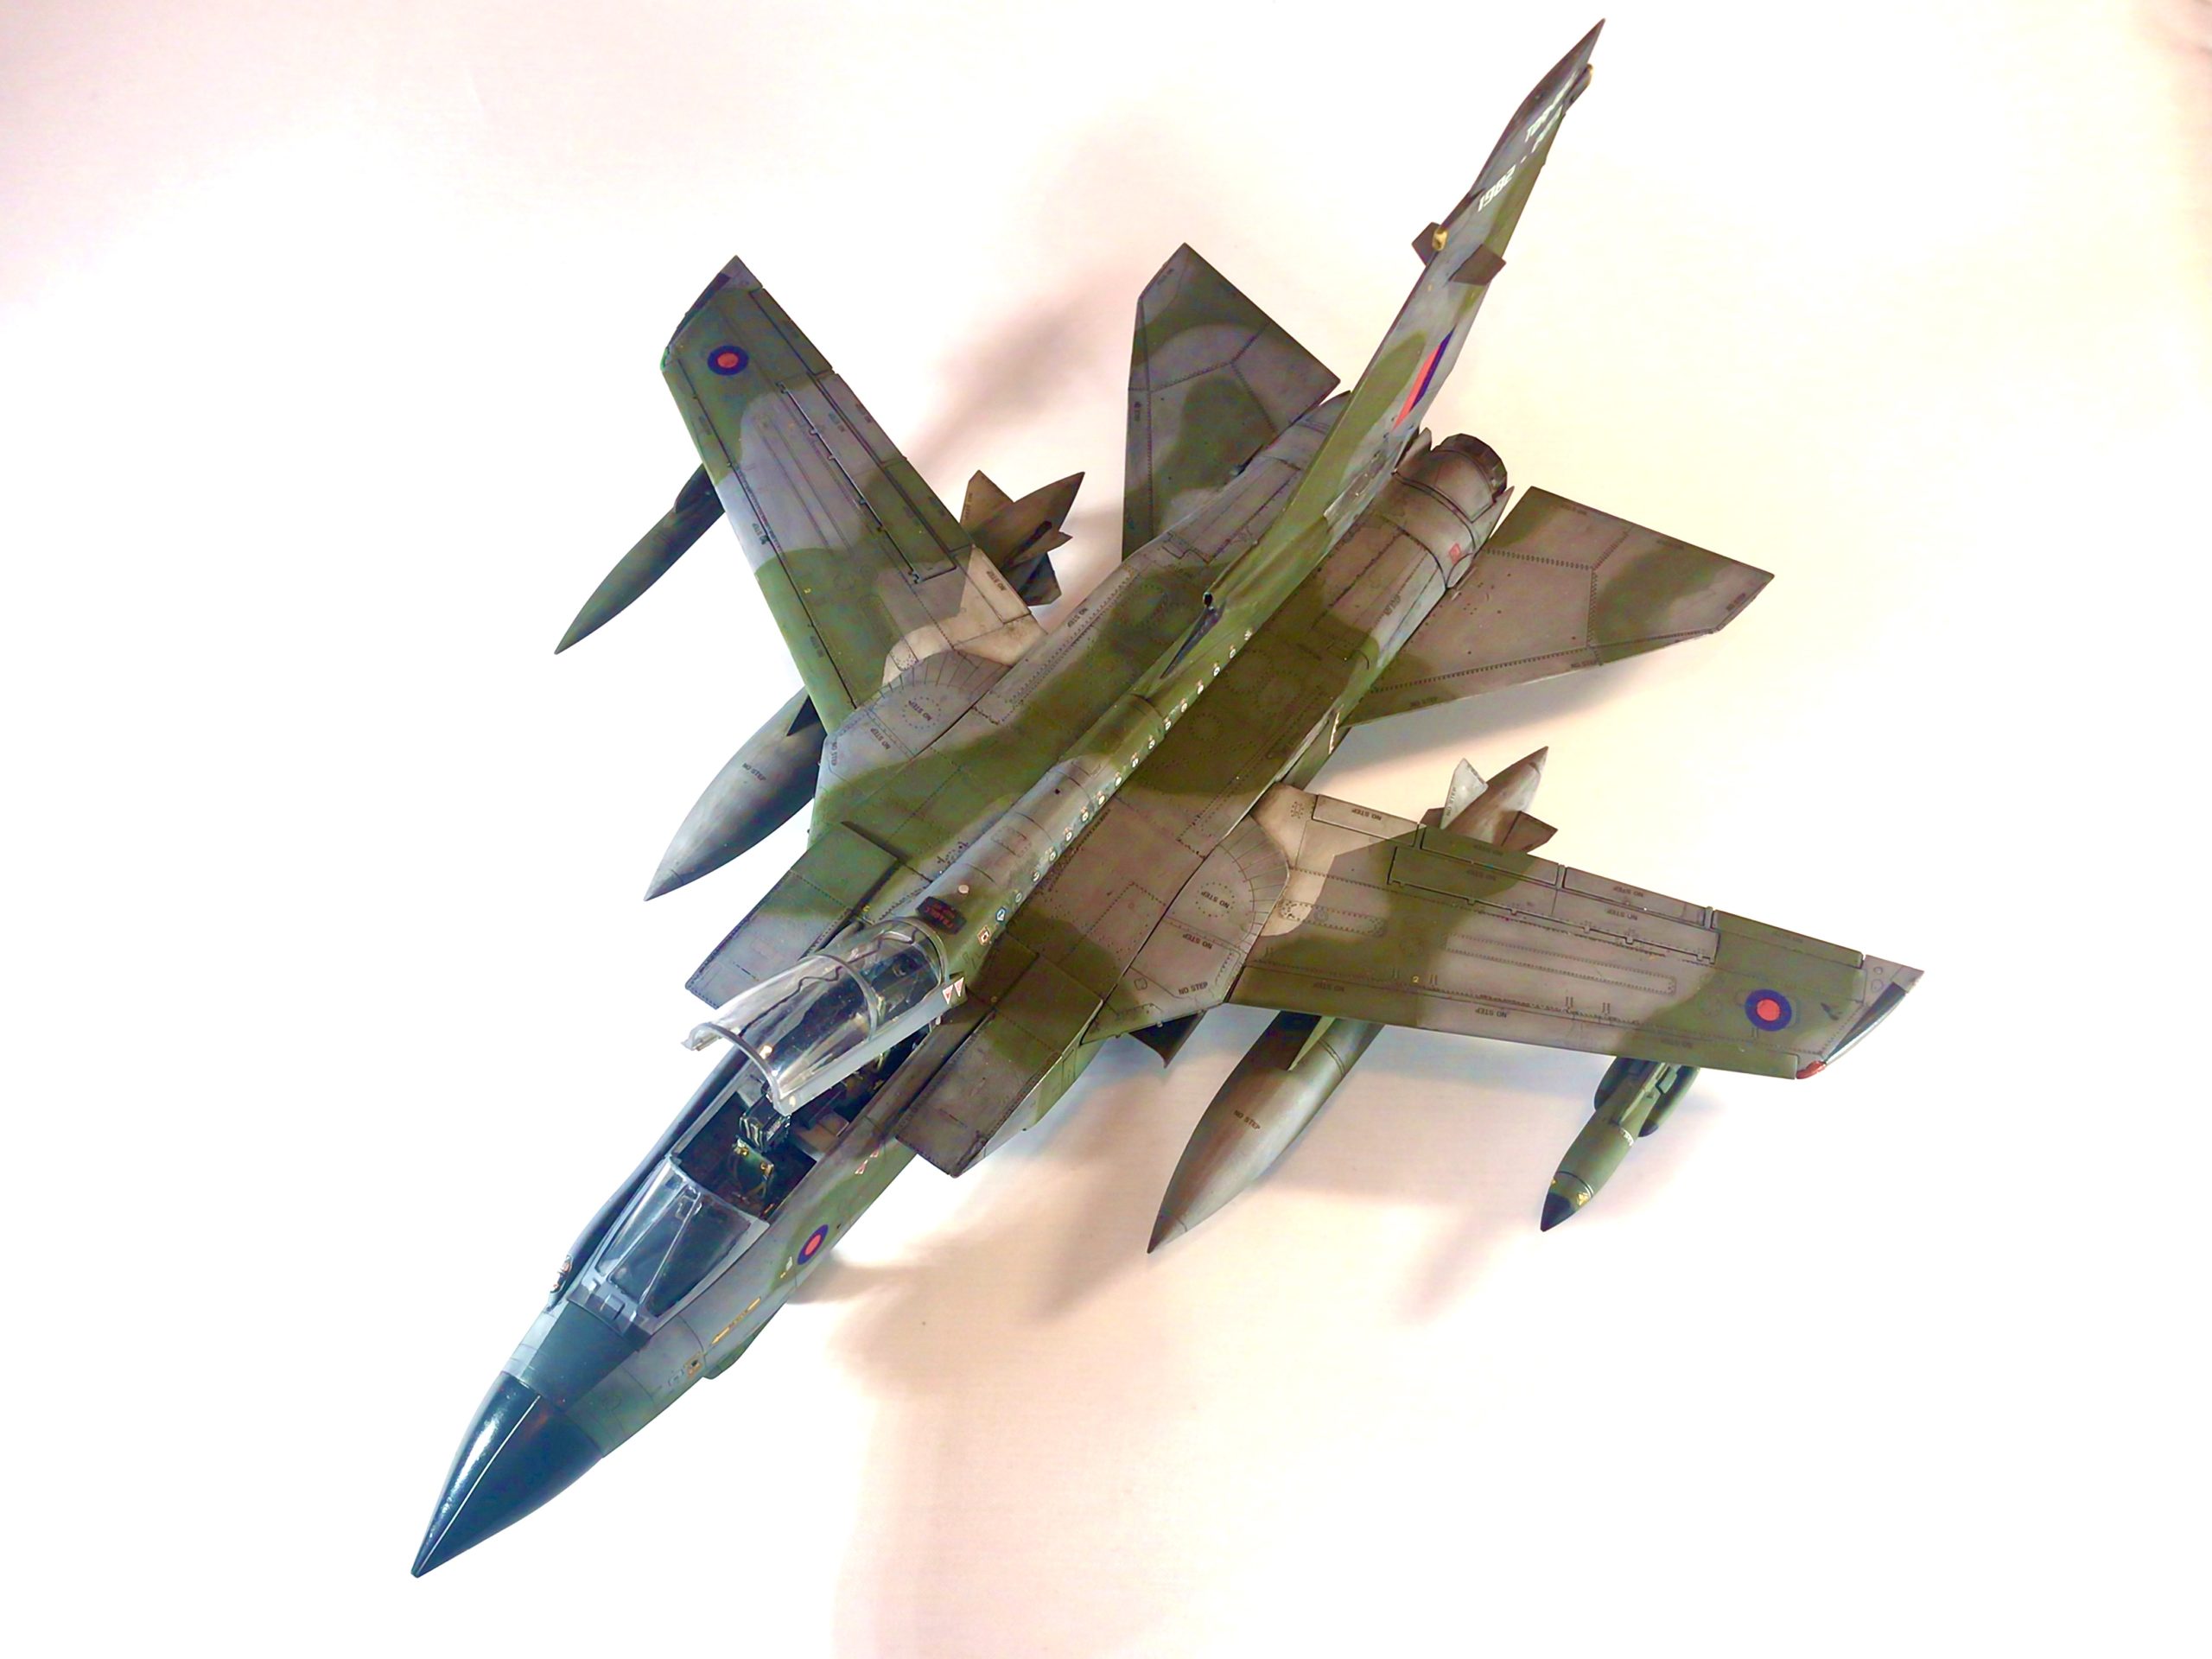
Now on to the dark green camouflage pattern.
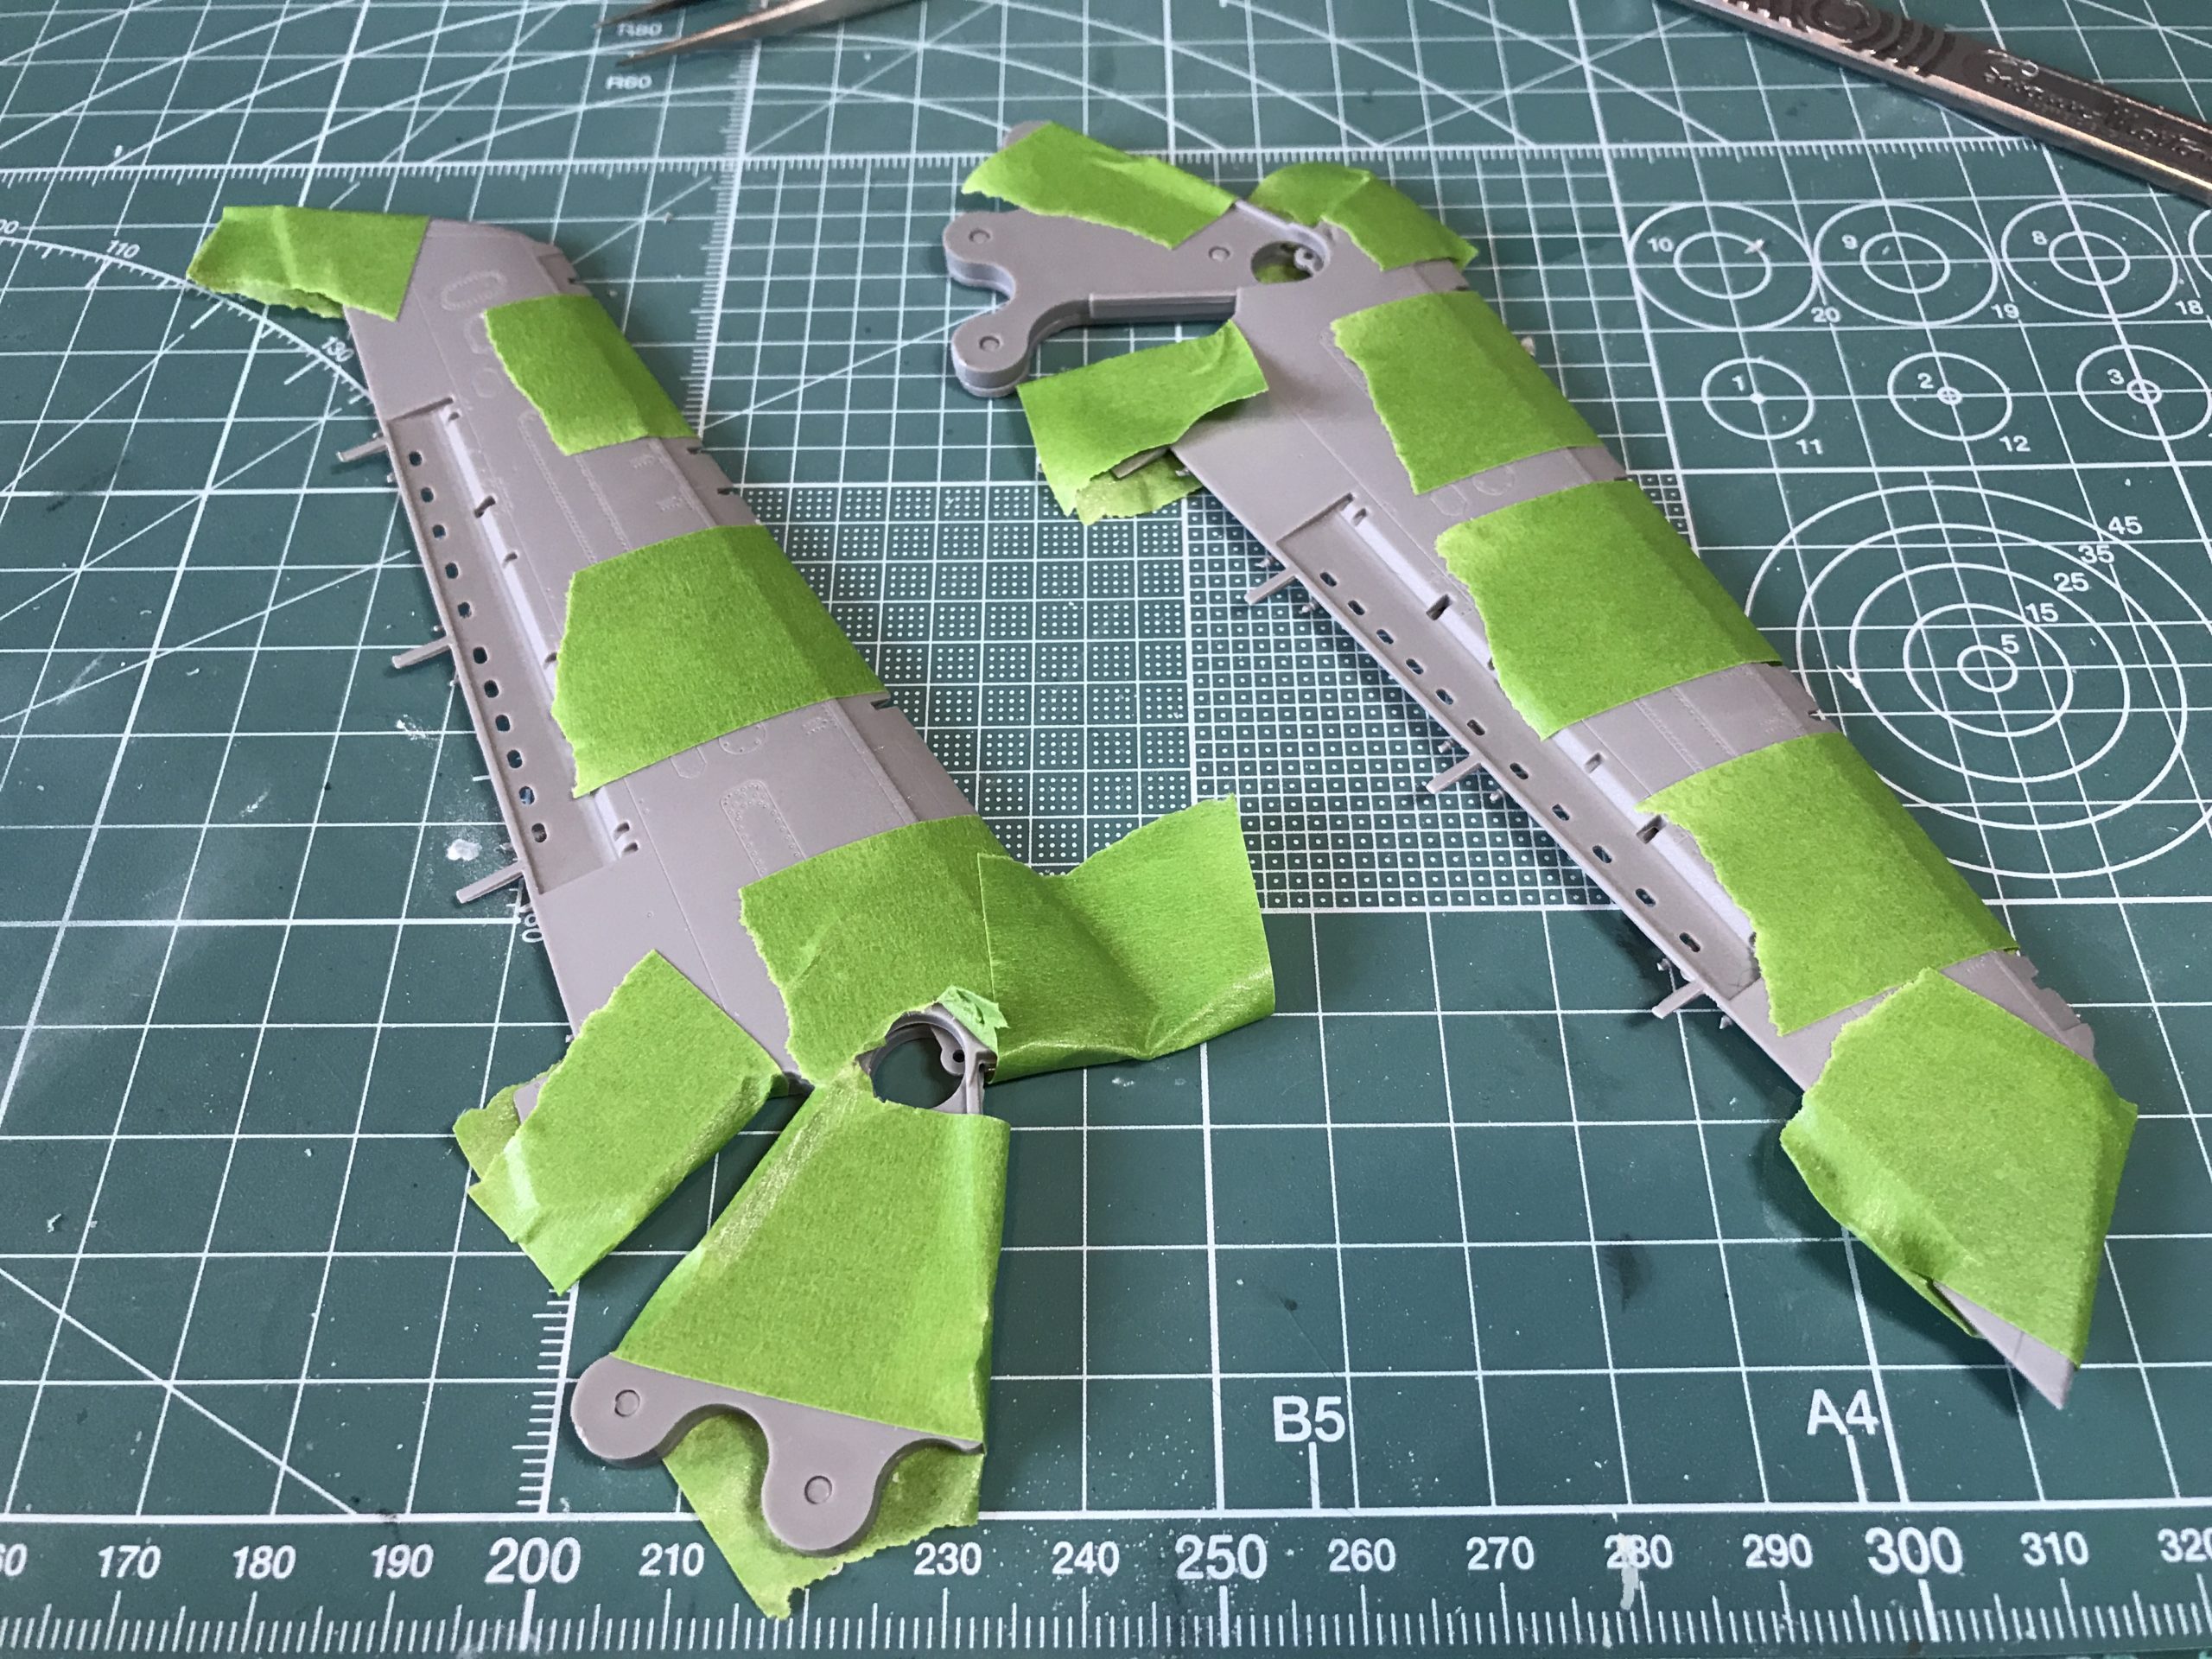
Normally I would upscale the painting guide, but I’m trying something new. After dropping a heavy hint in a previous review (A4 Skyhawk read it next if you haven’t already) I was furnished with a sample of the excellent camouflage masking putty from the good people at Ammo by Mig Jimenez. If anyone from Ferrari is reading I would very much like to feature one of your fine products in a future review / build. (you never know!)
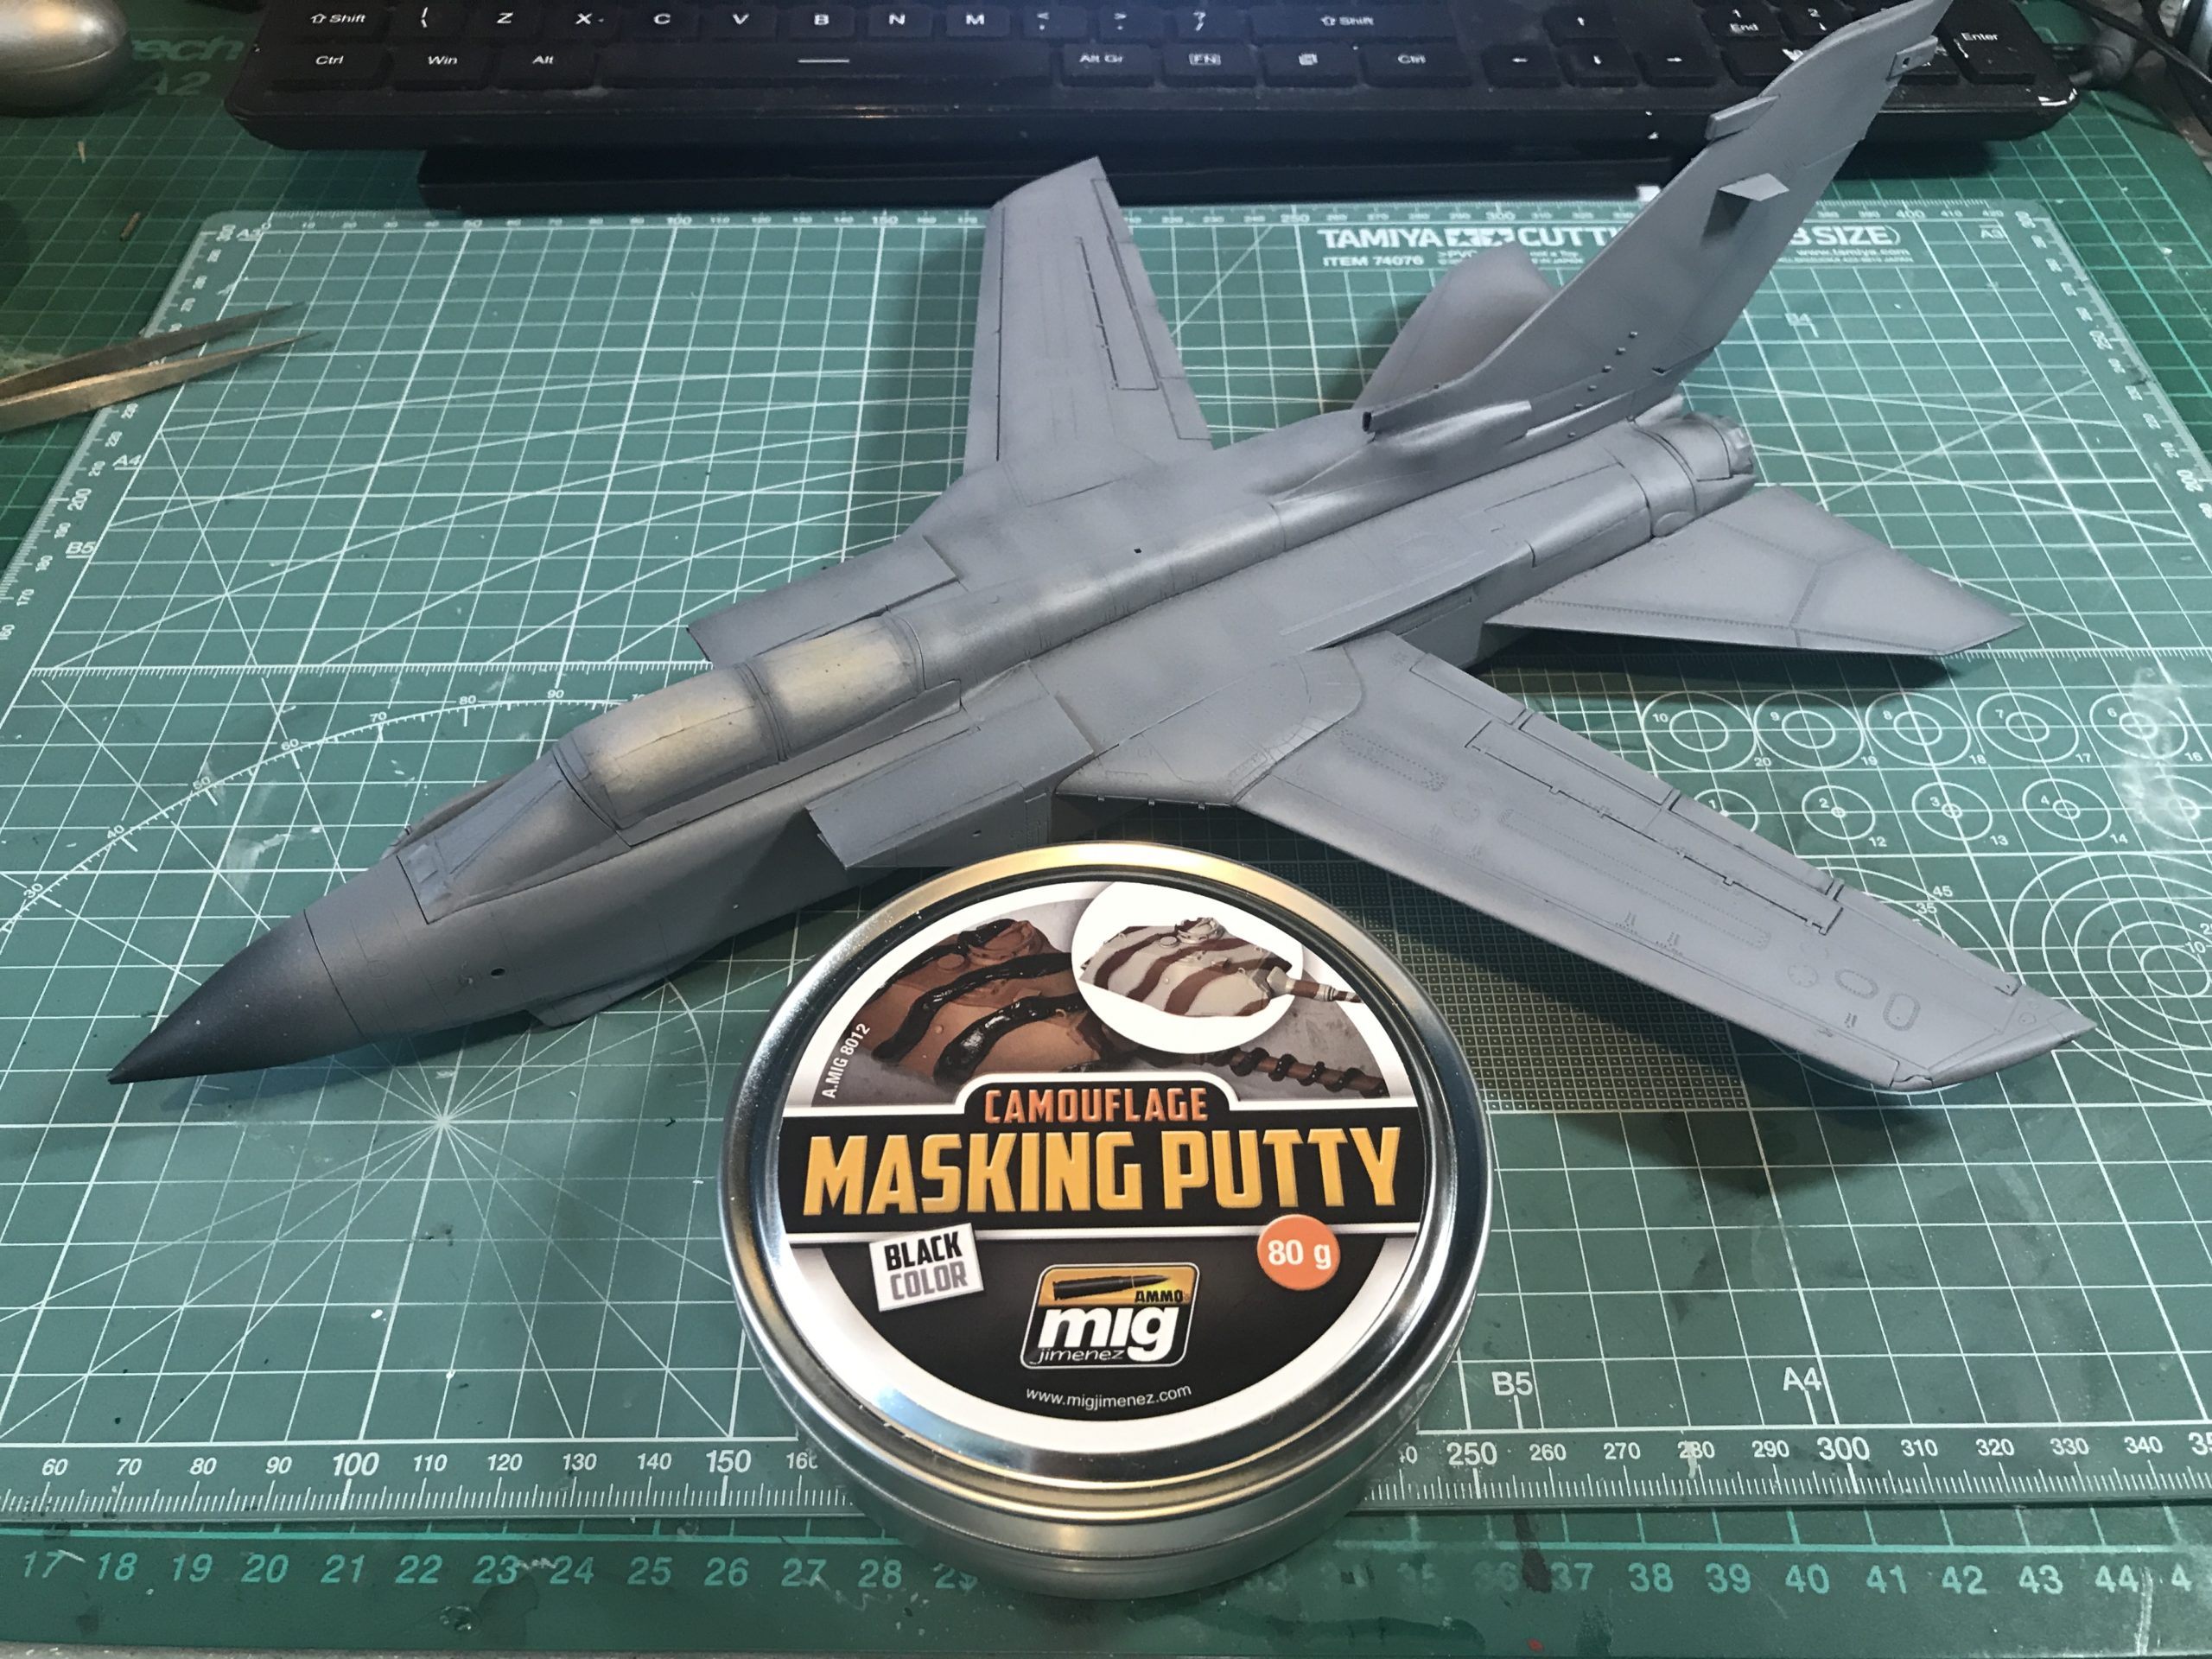
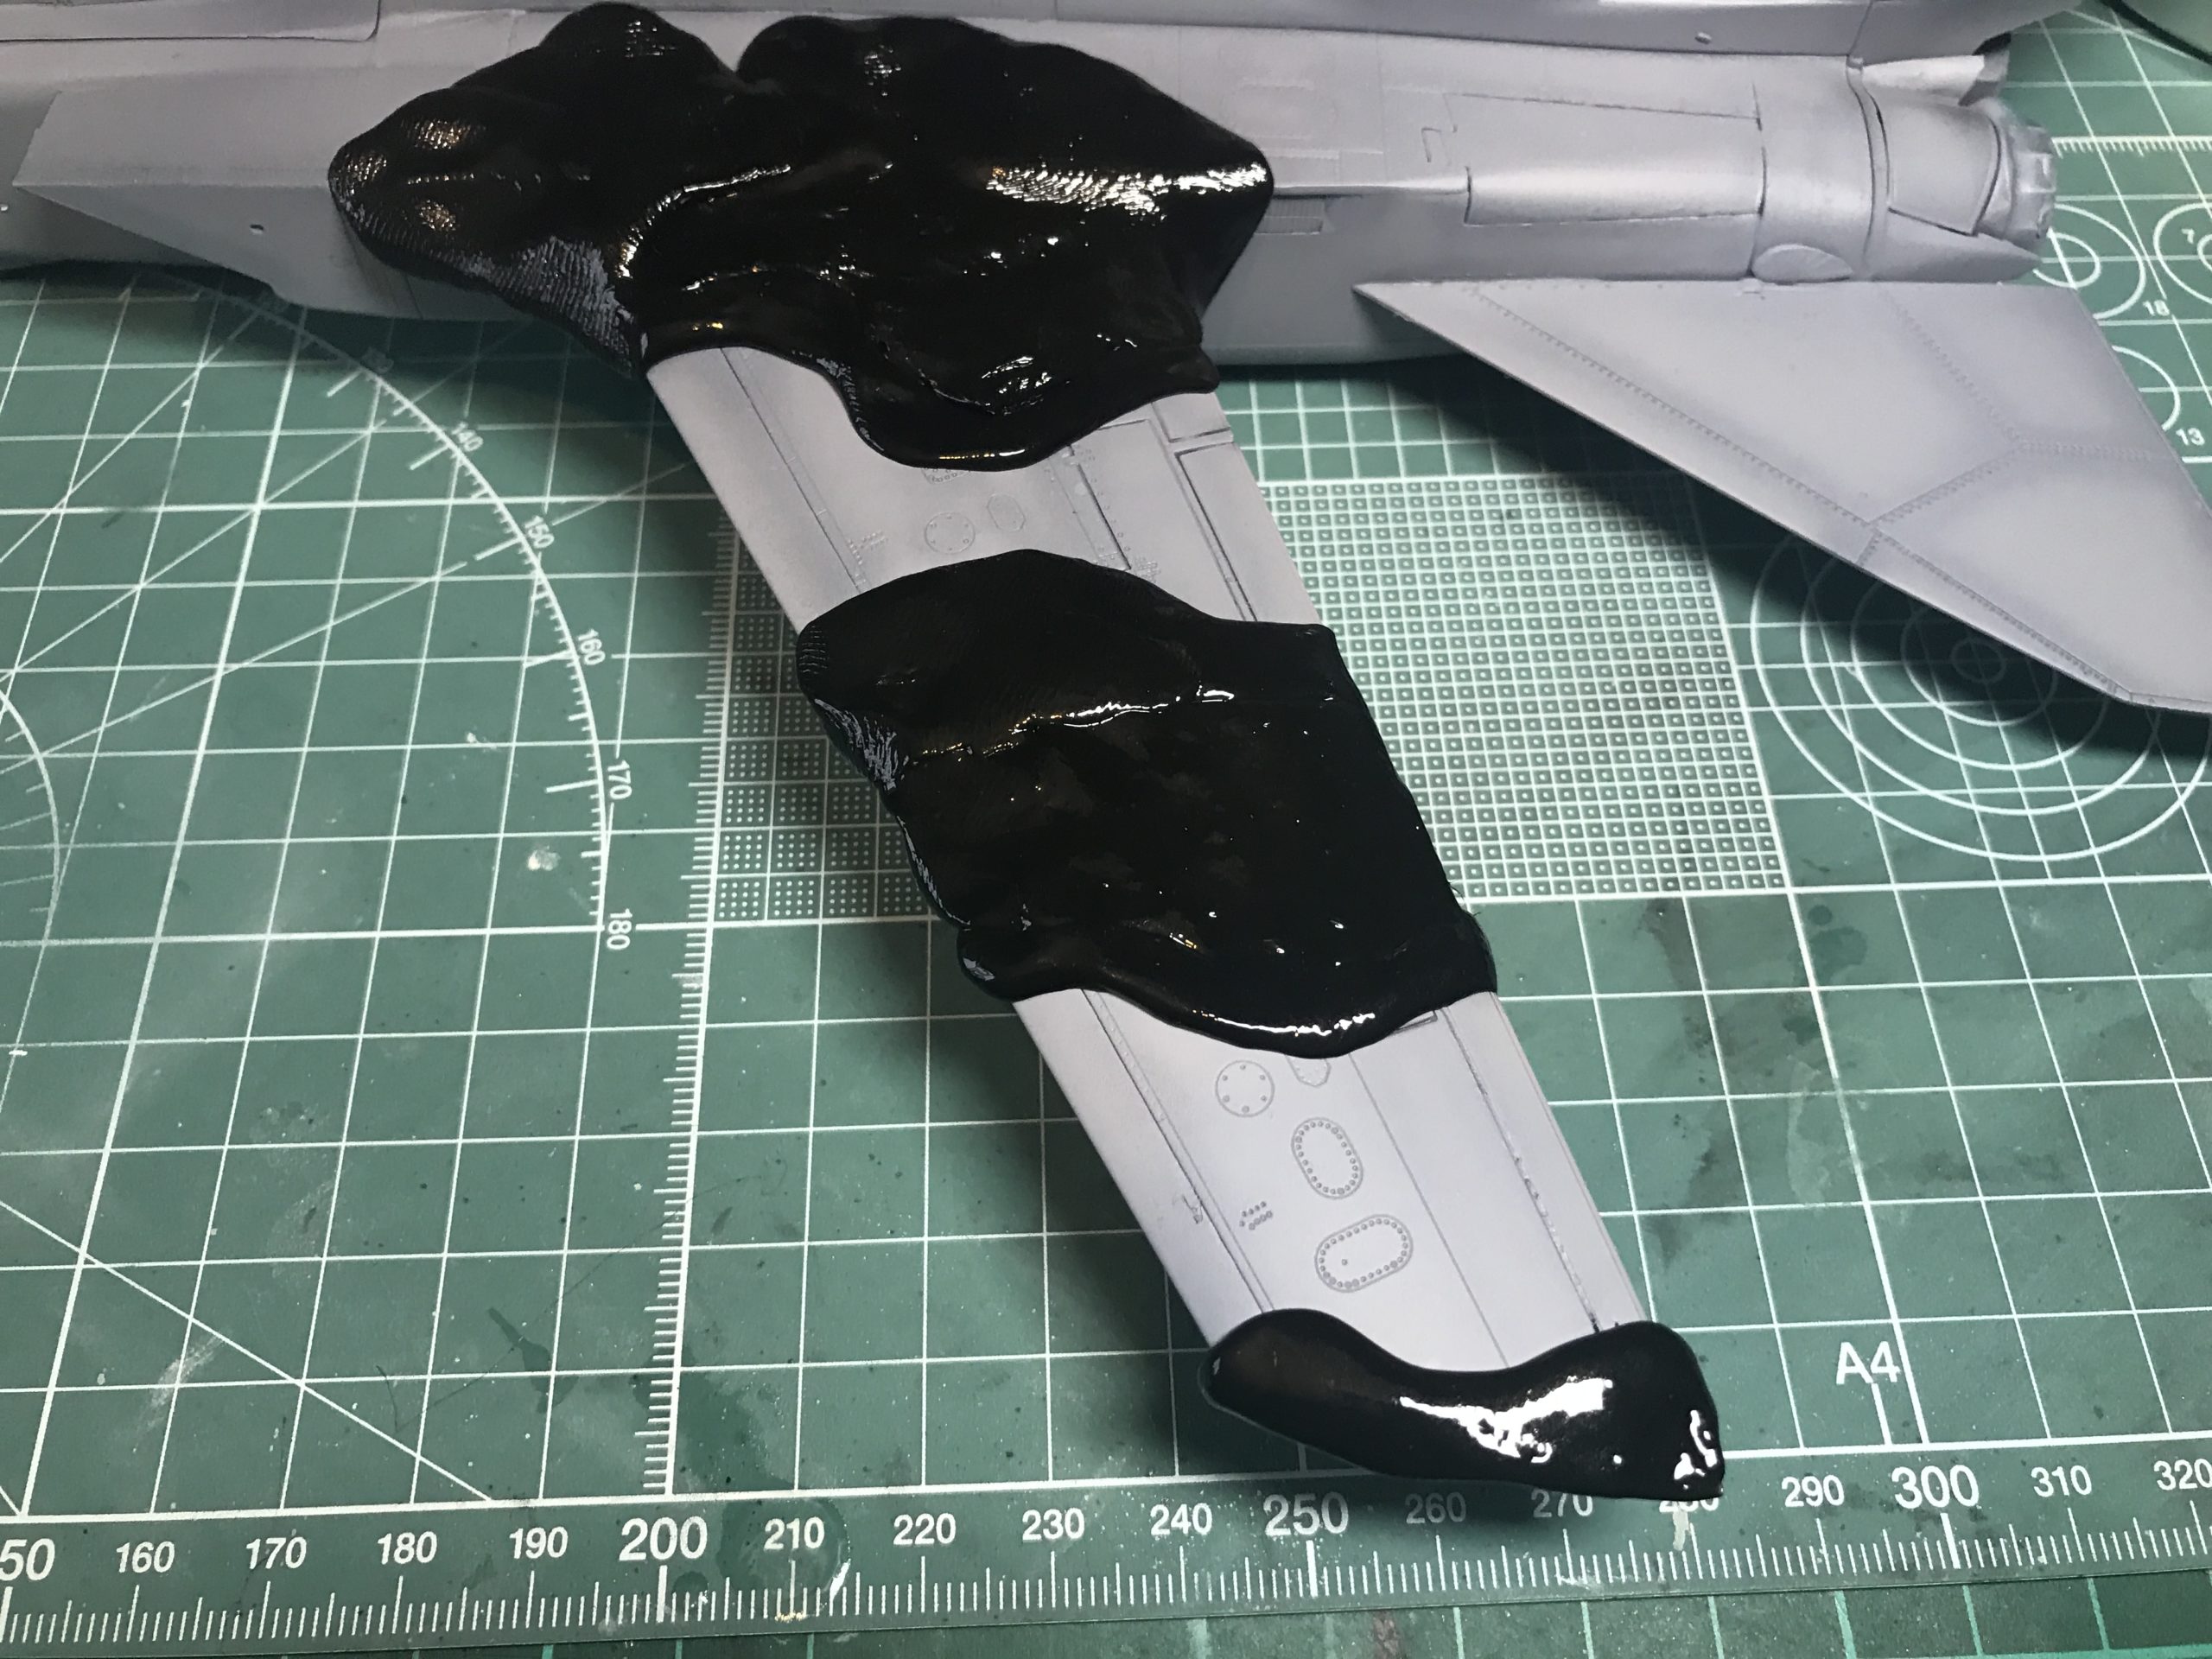
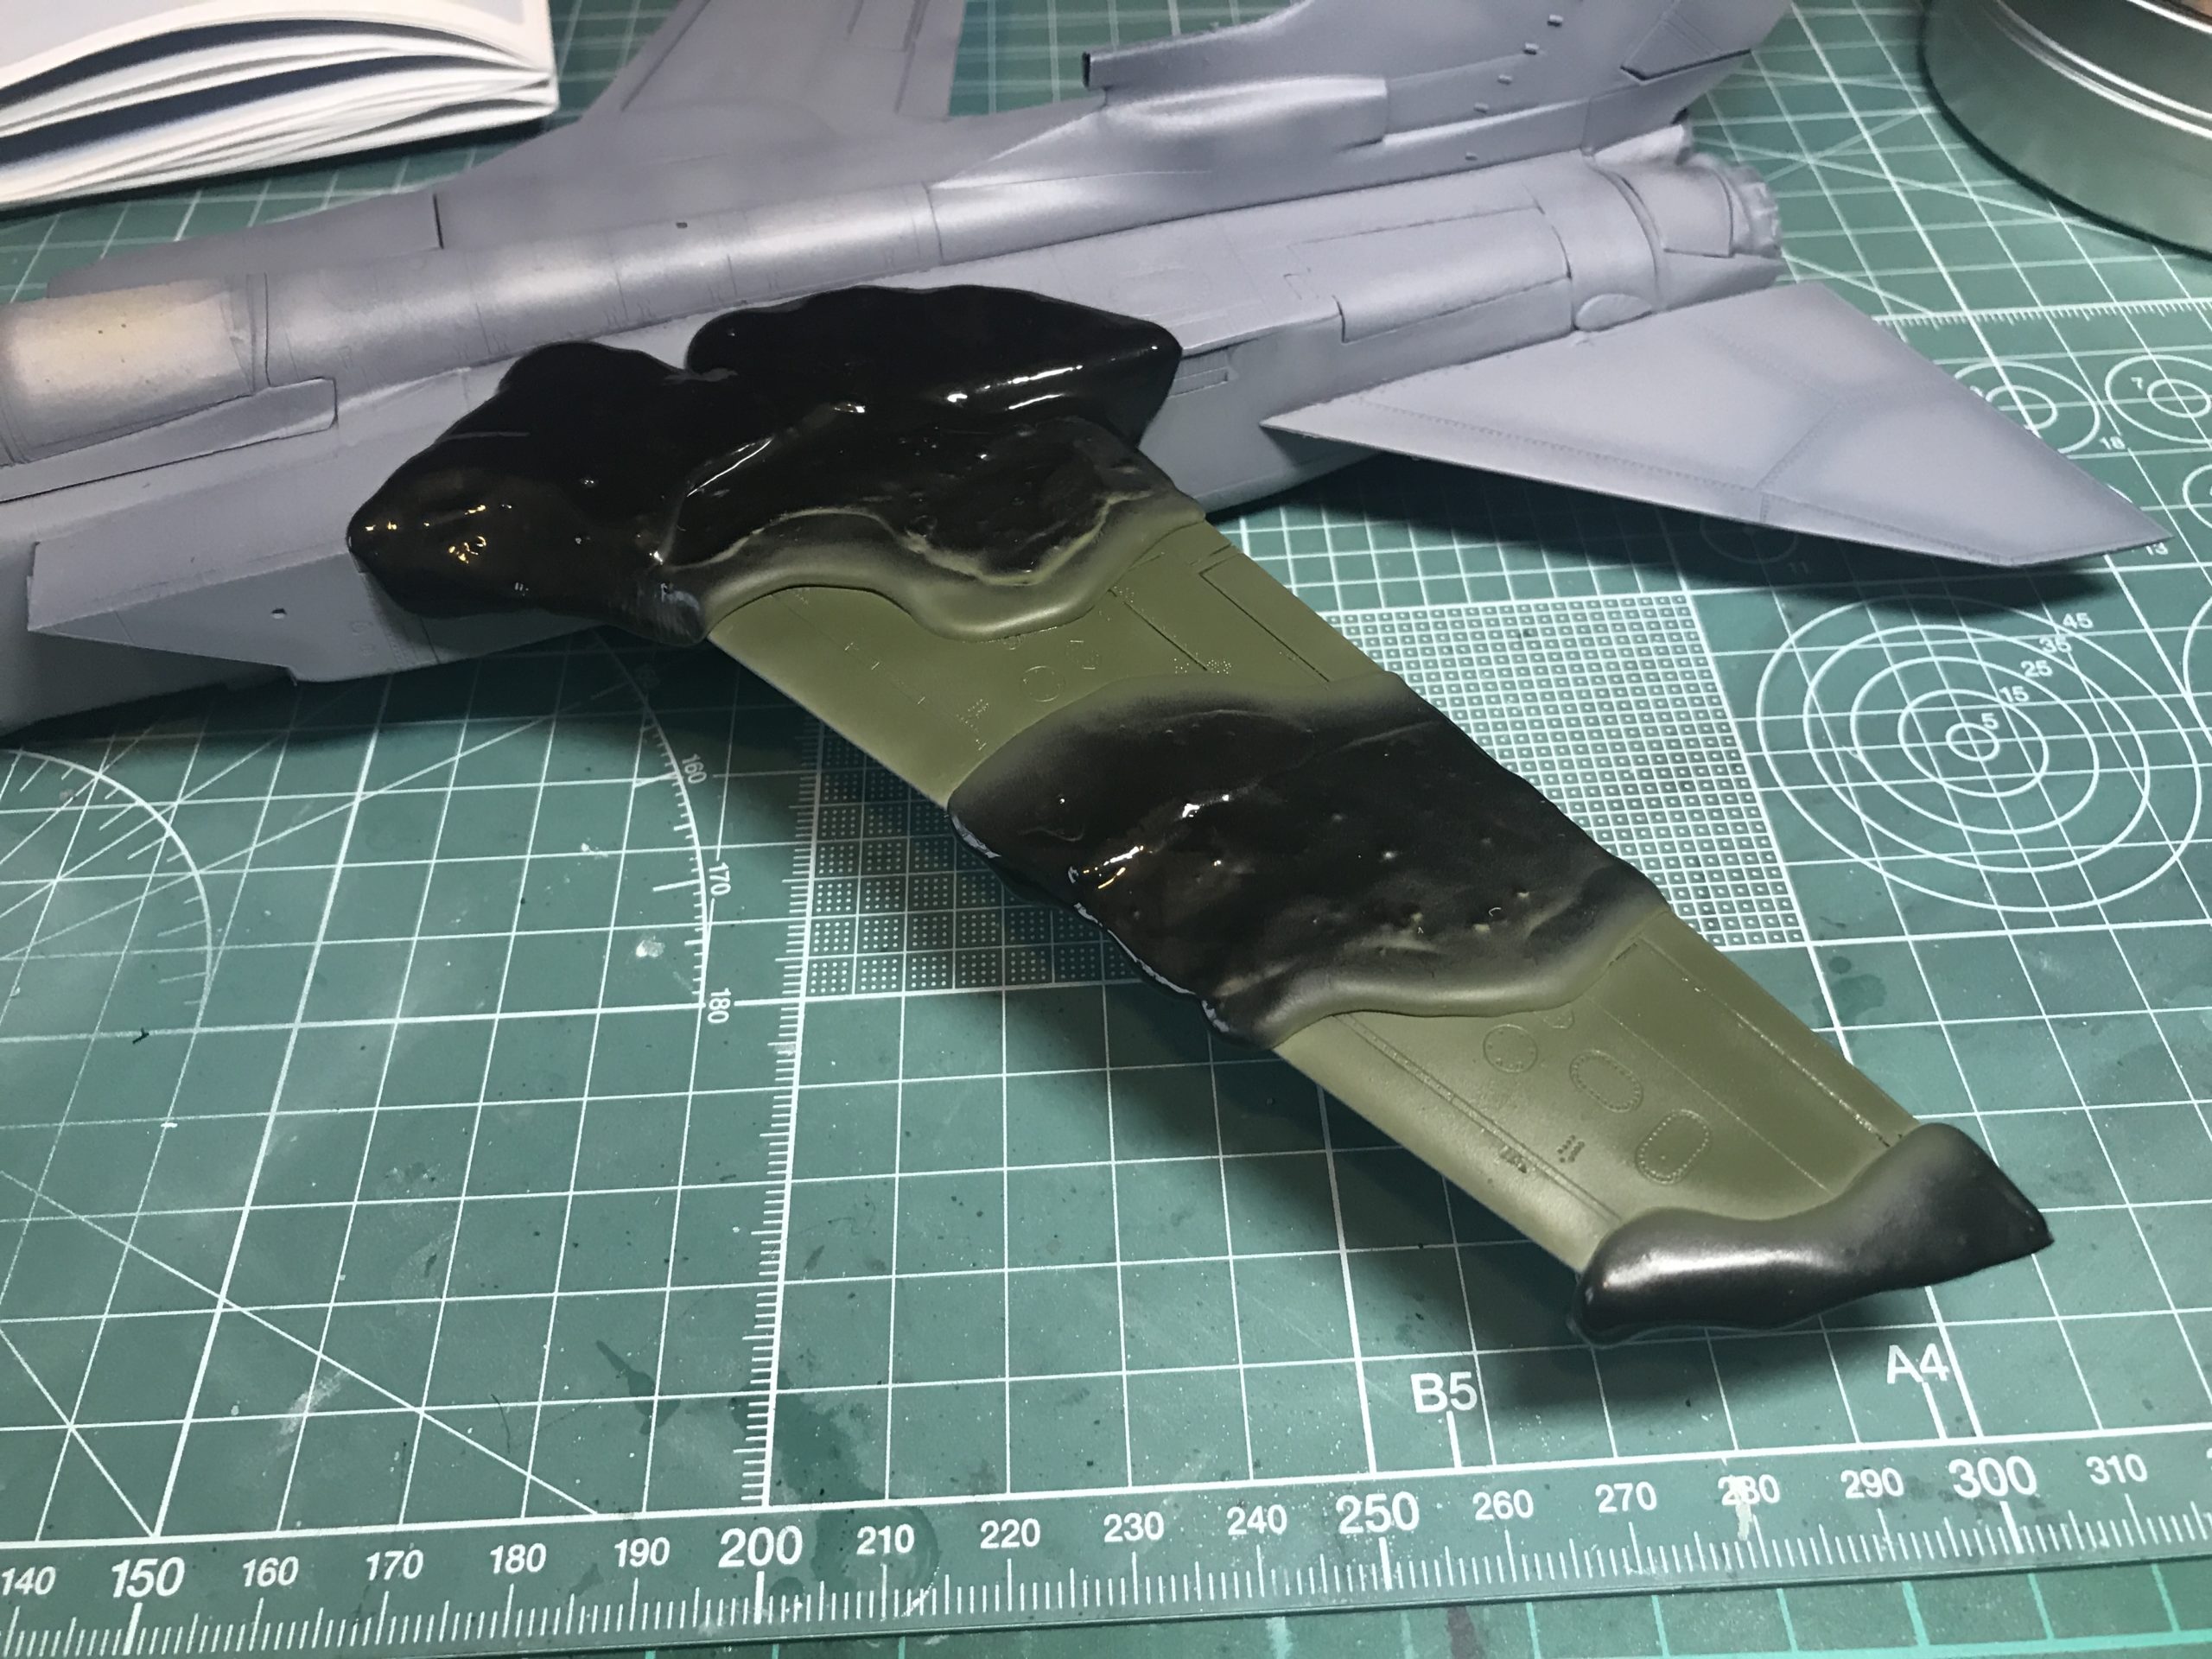
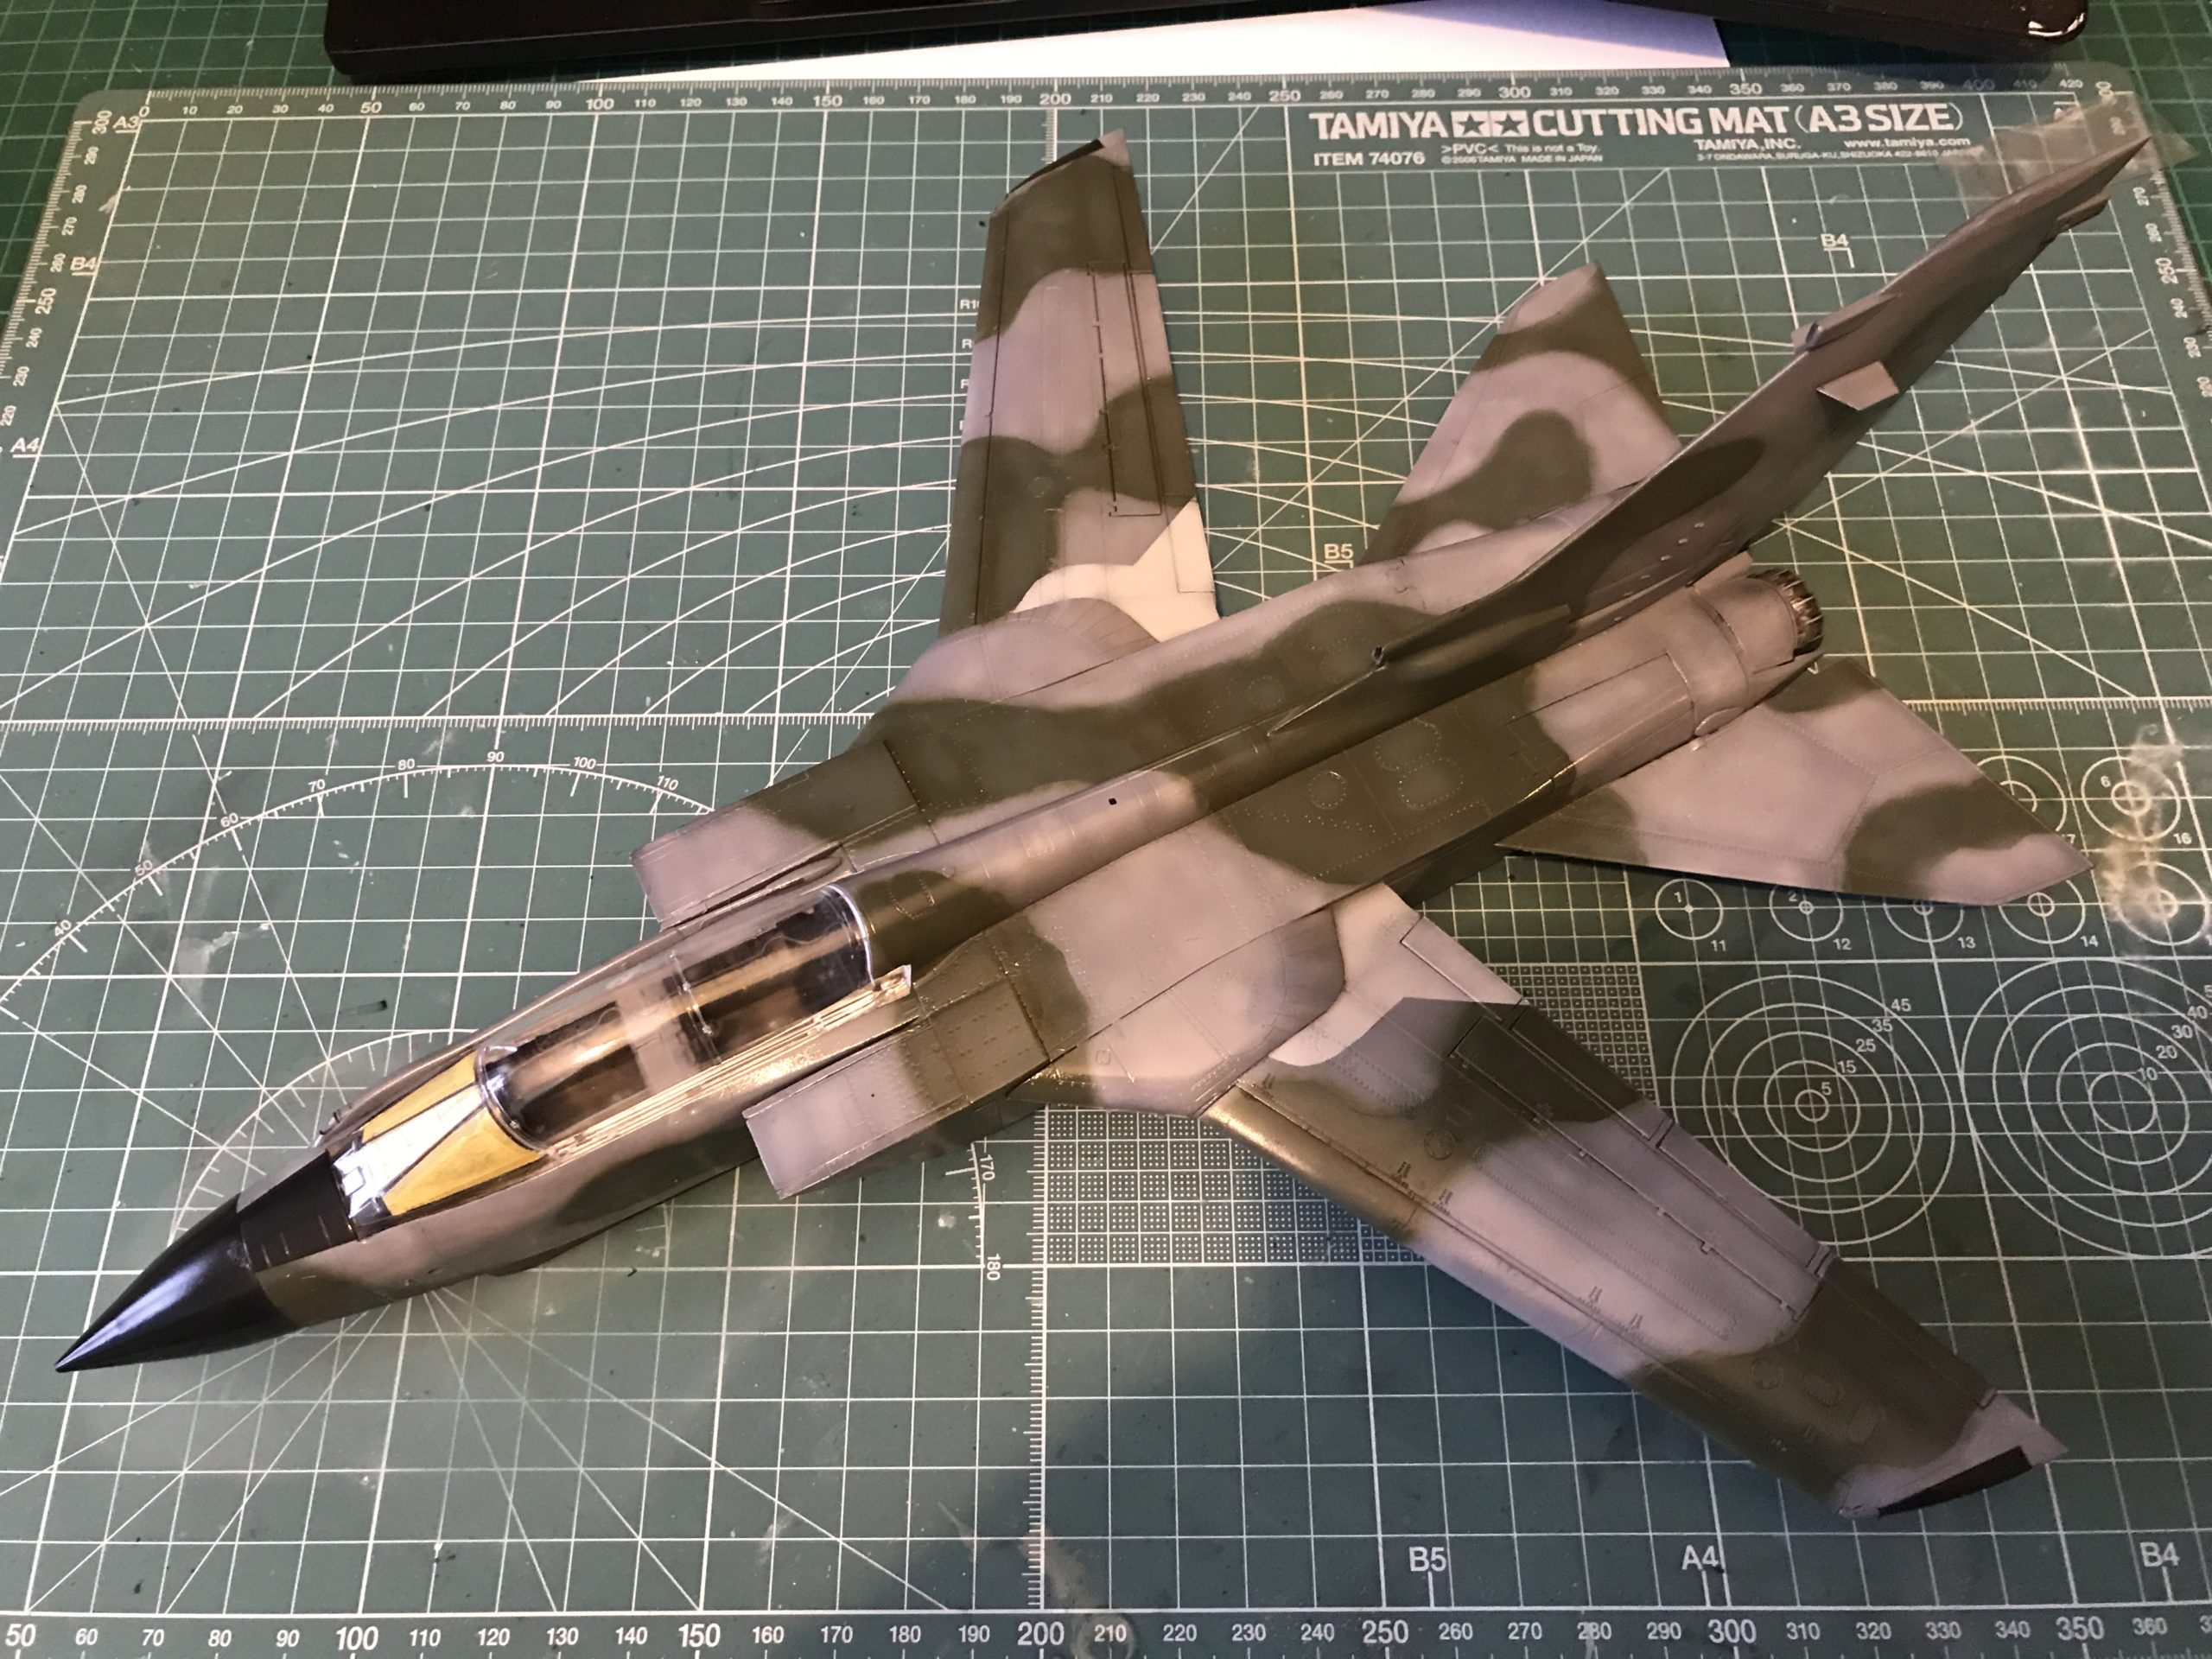
The masking putty is exactly what is says on the tin. To make handling the model easier I made the decision to mask one surface at a time. Much less daunting than trying to do it in one go. The great thing about the putty is you can continue to tinker with it until you are 100% happy with the masking. I really wanted the pre-shading to show through, so reapplied the NATO black to the panel lines. Then coats of dark green 2 were then applied in layers as per the grey basecoat.
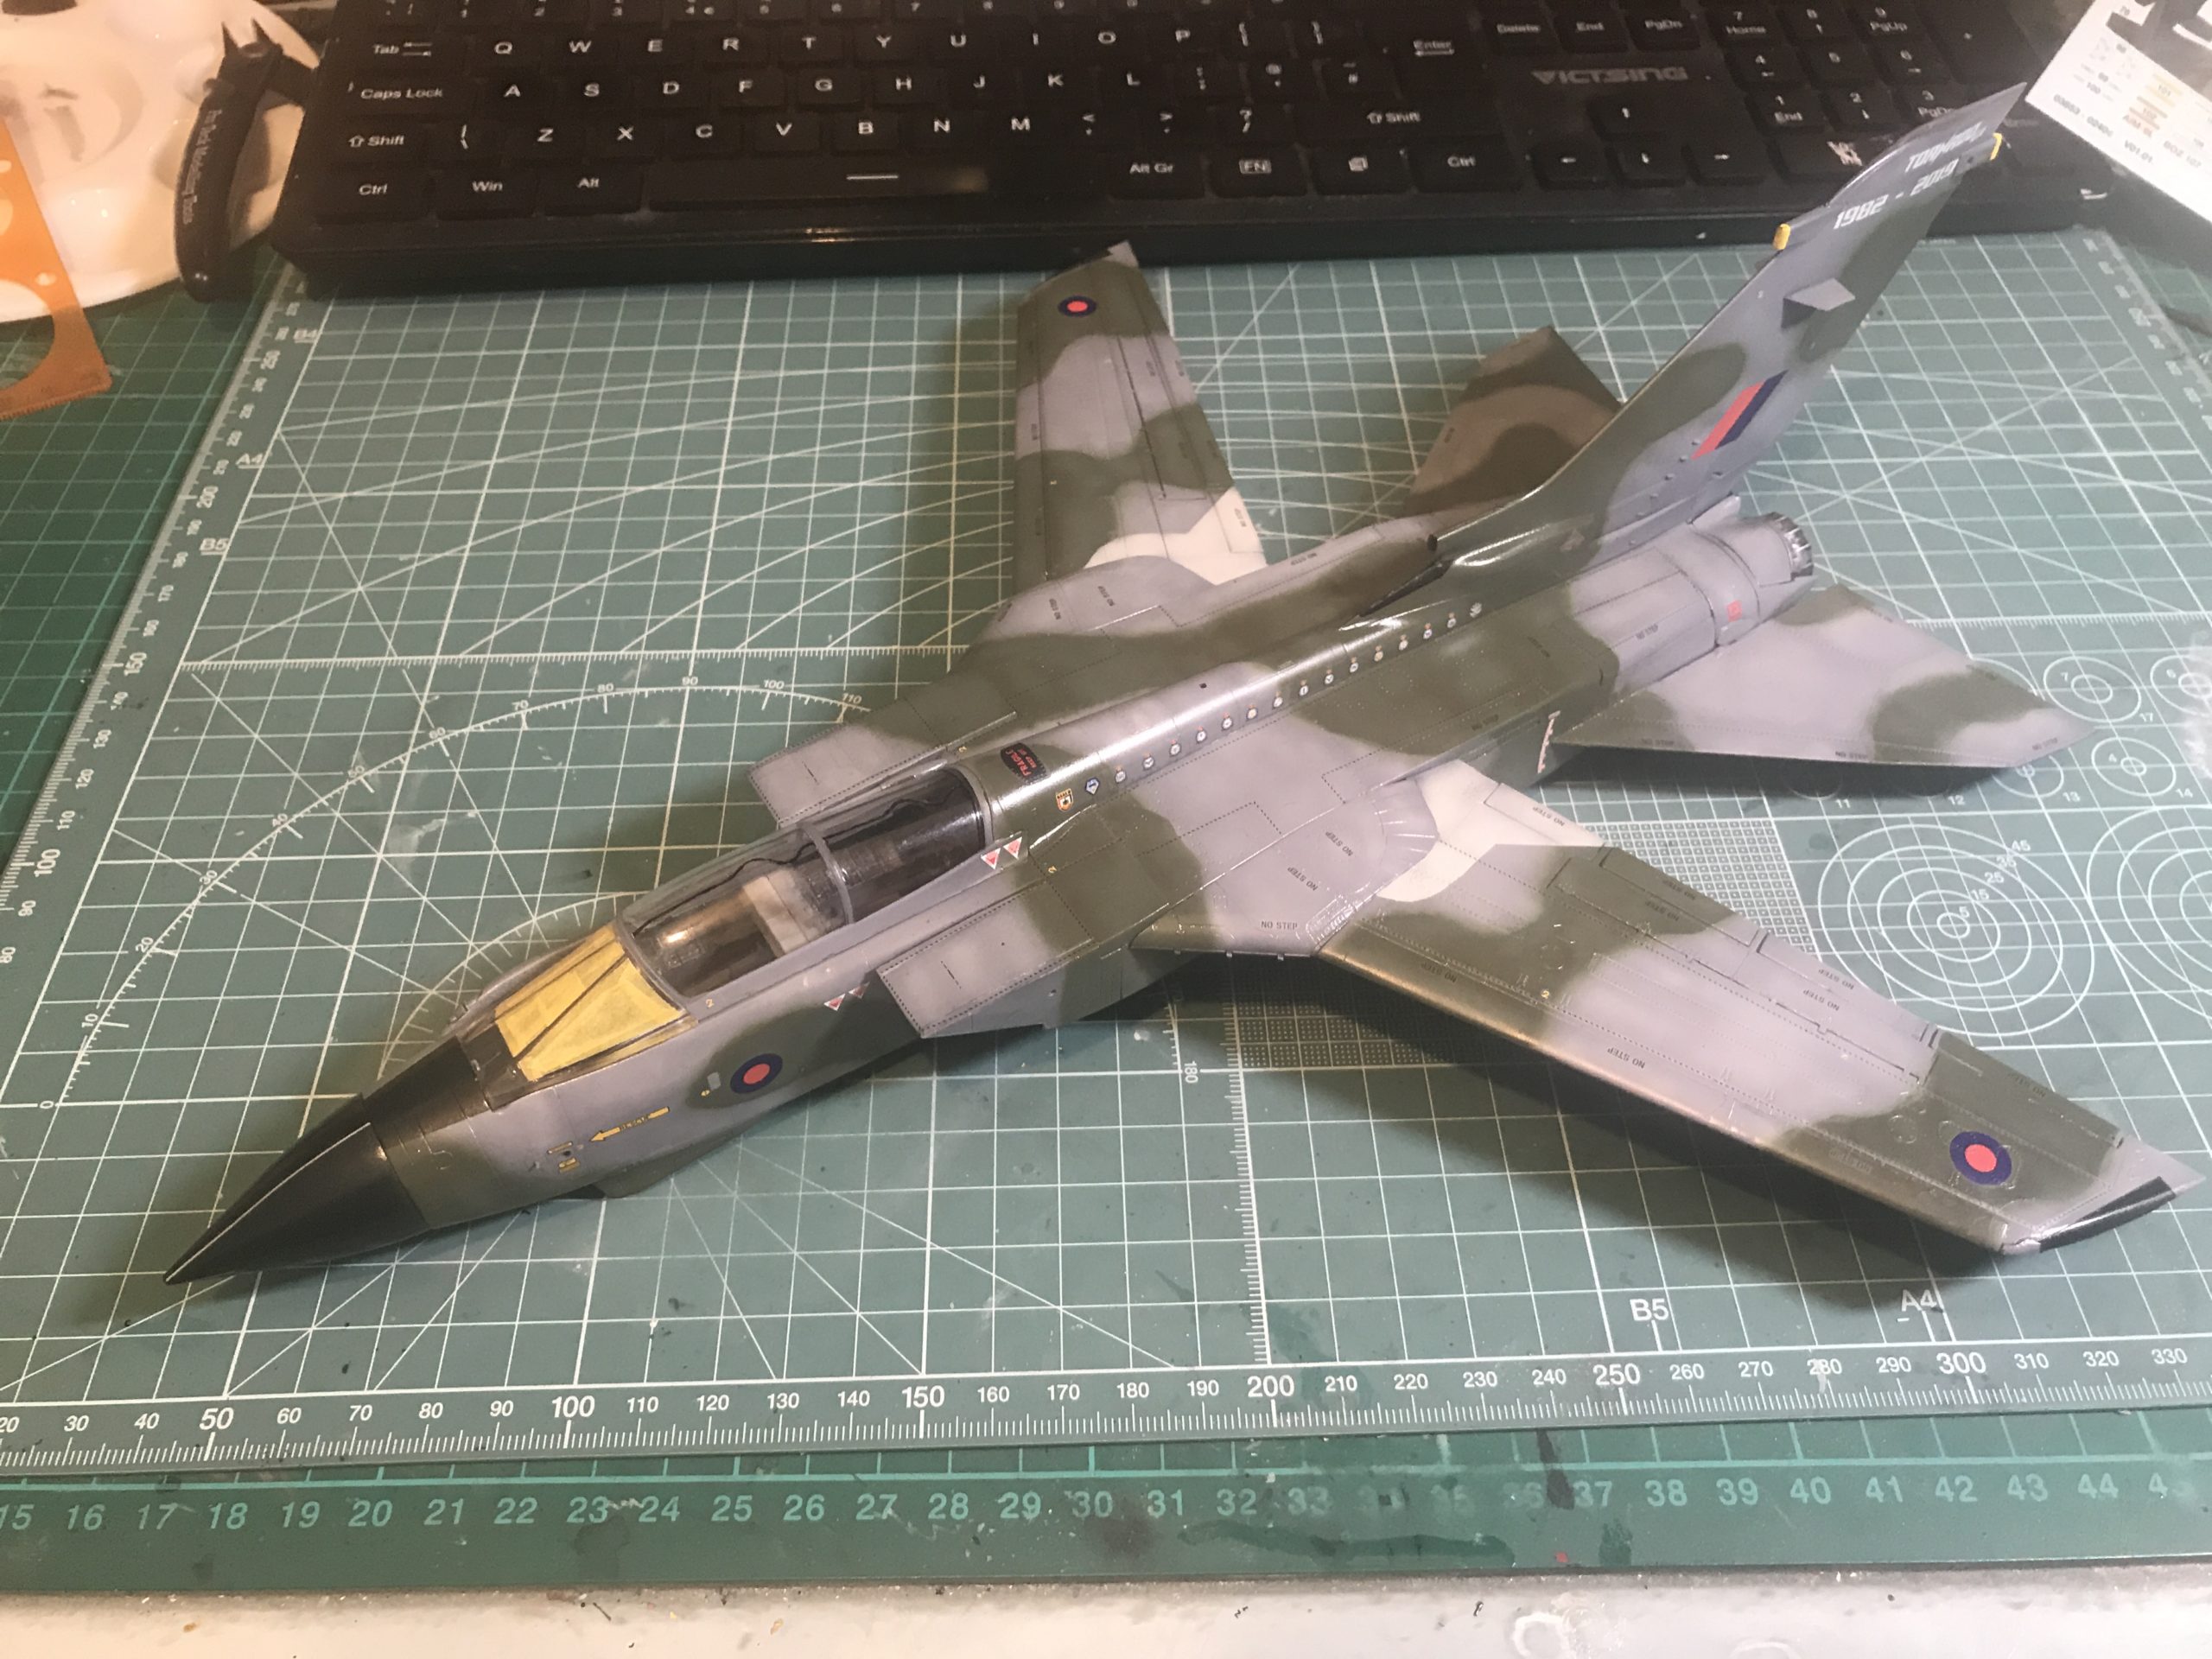
The end result is nice and accurate and could easily be left as it is. I took a lighter shade of green and applied it in a random fashion to replicate a bit of sun bleaching (once again something not on the actual aircraft, but there you go)

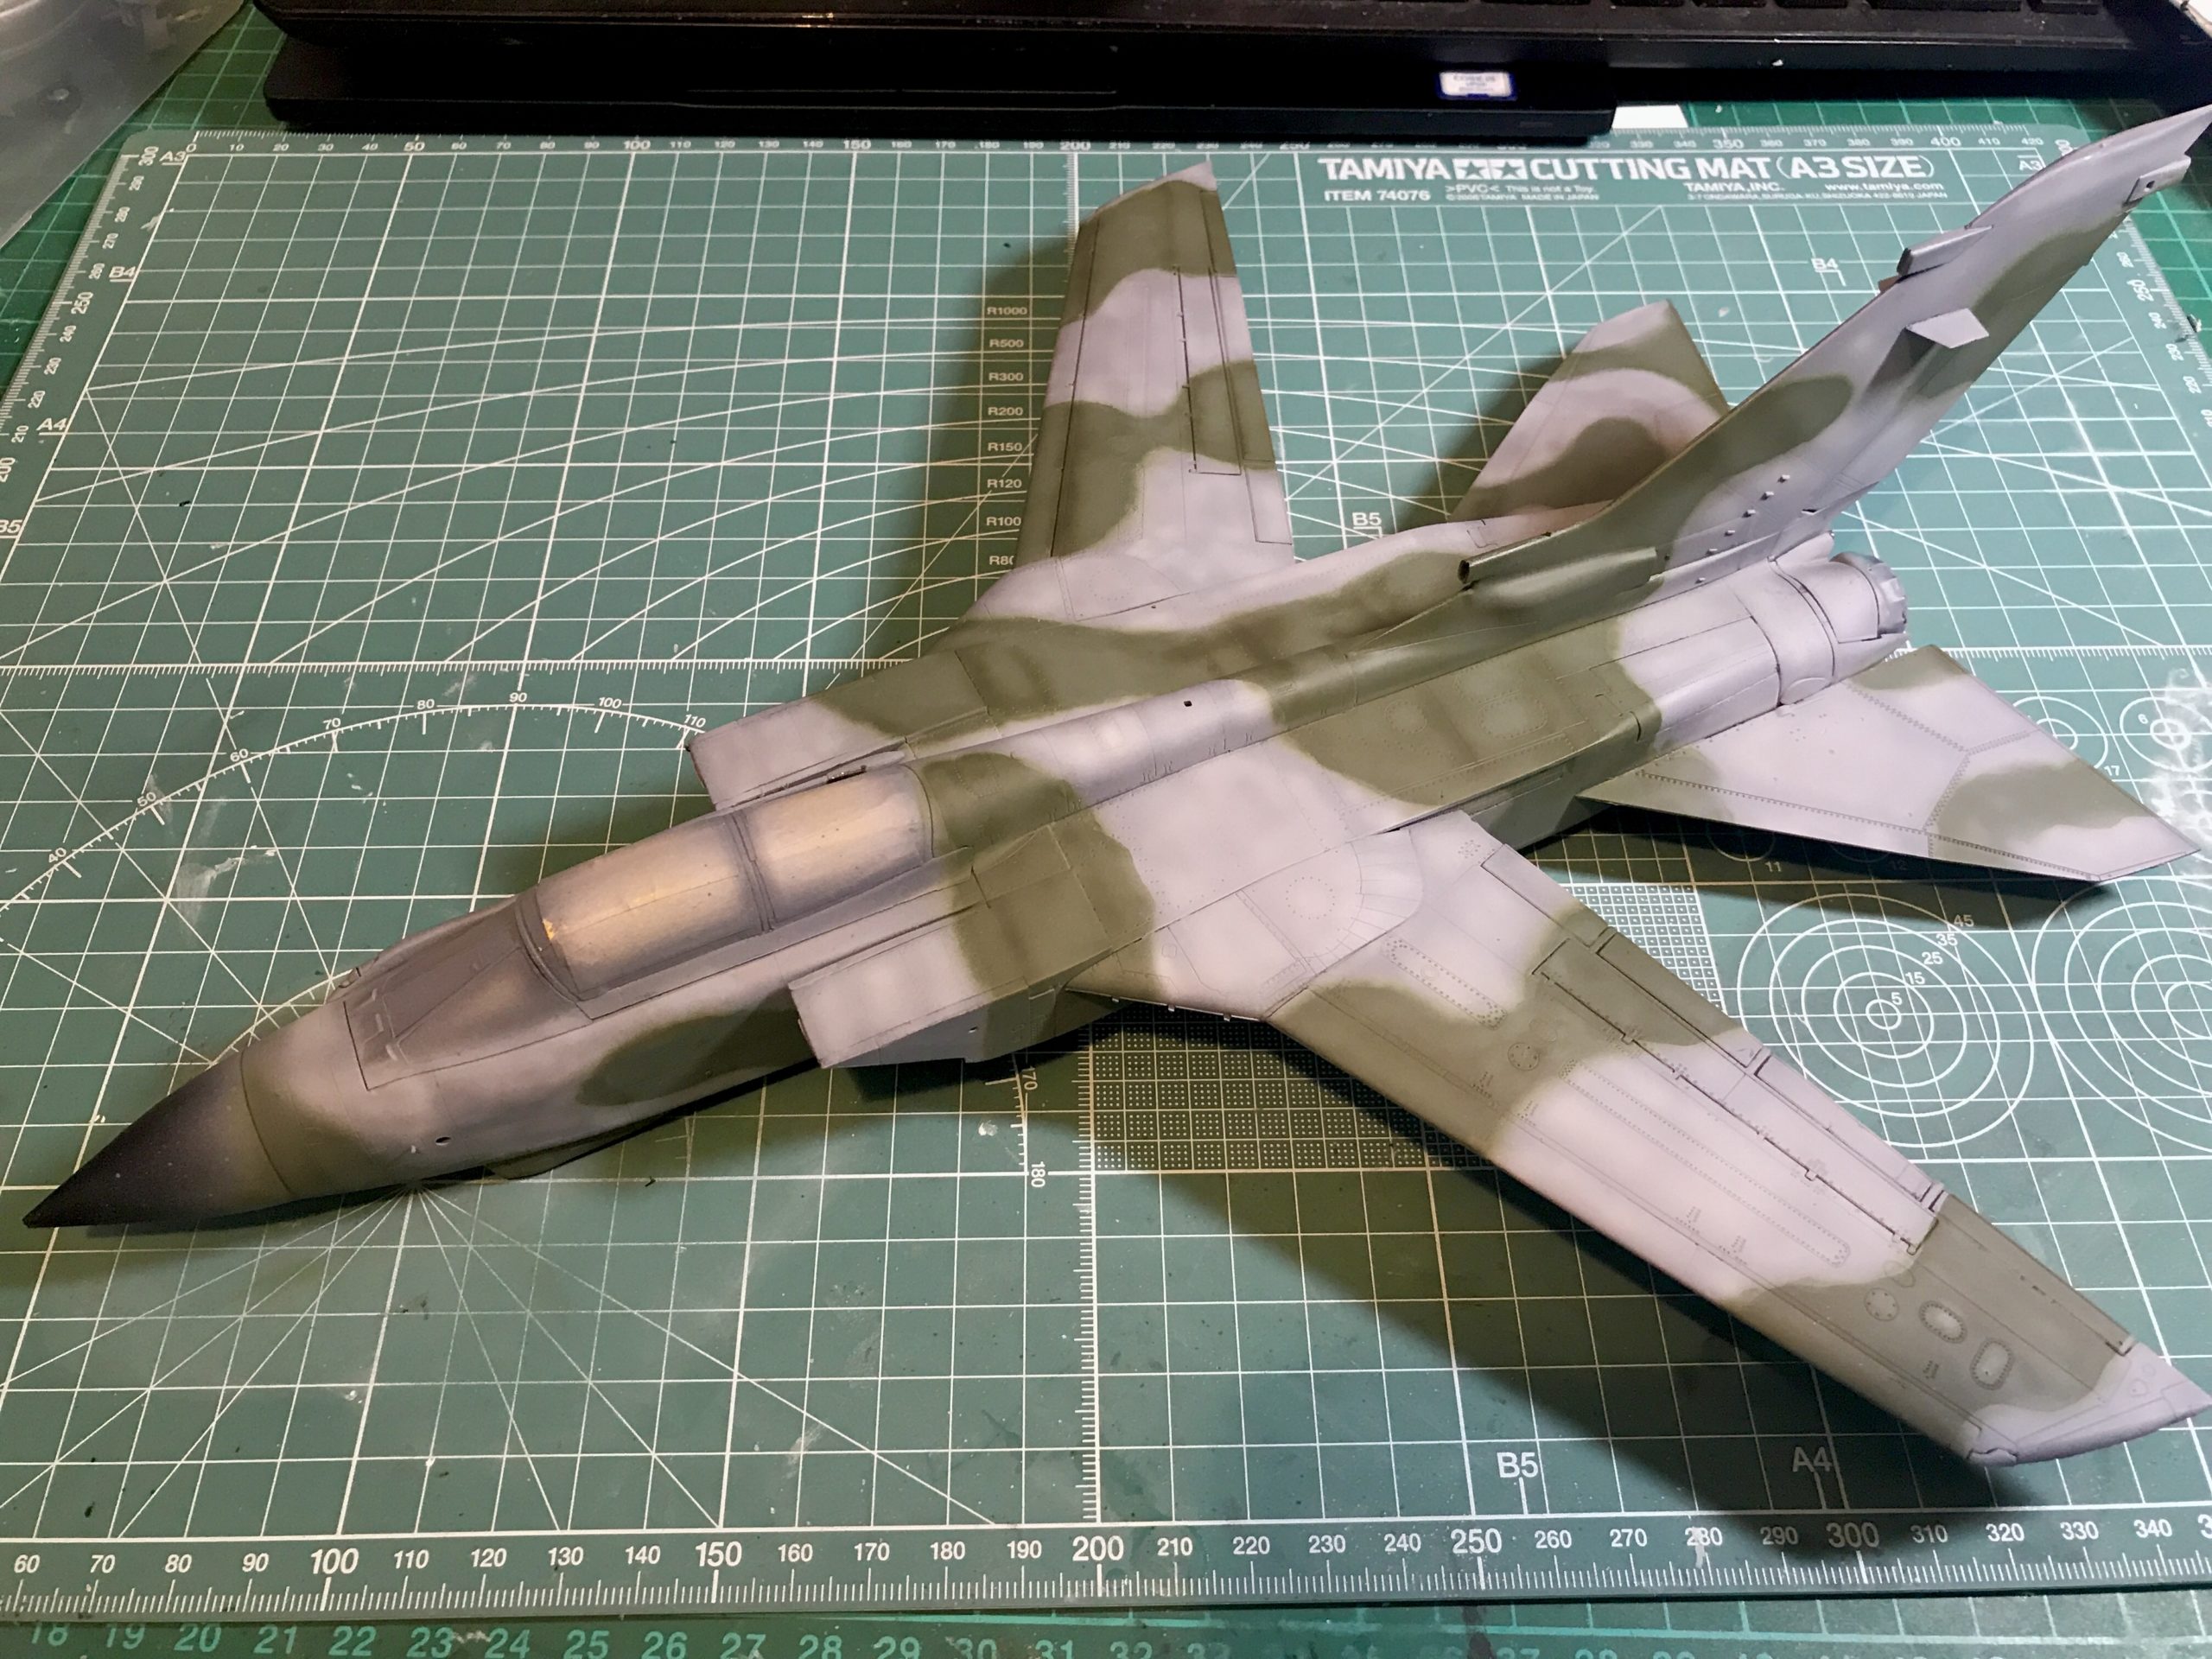
Once that was done I painted the light grey detail at the wing roots and applied a clear coat.
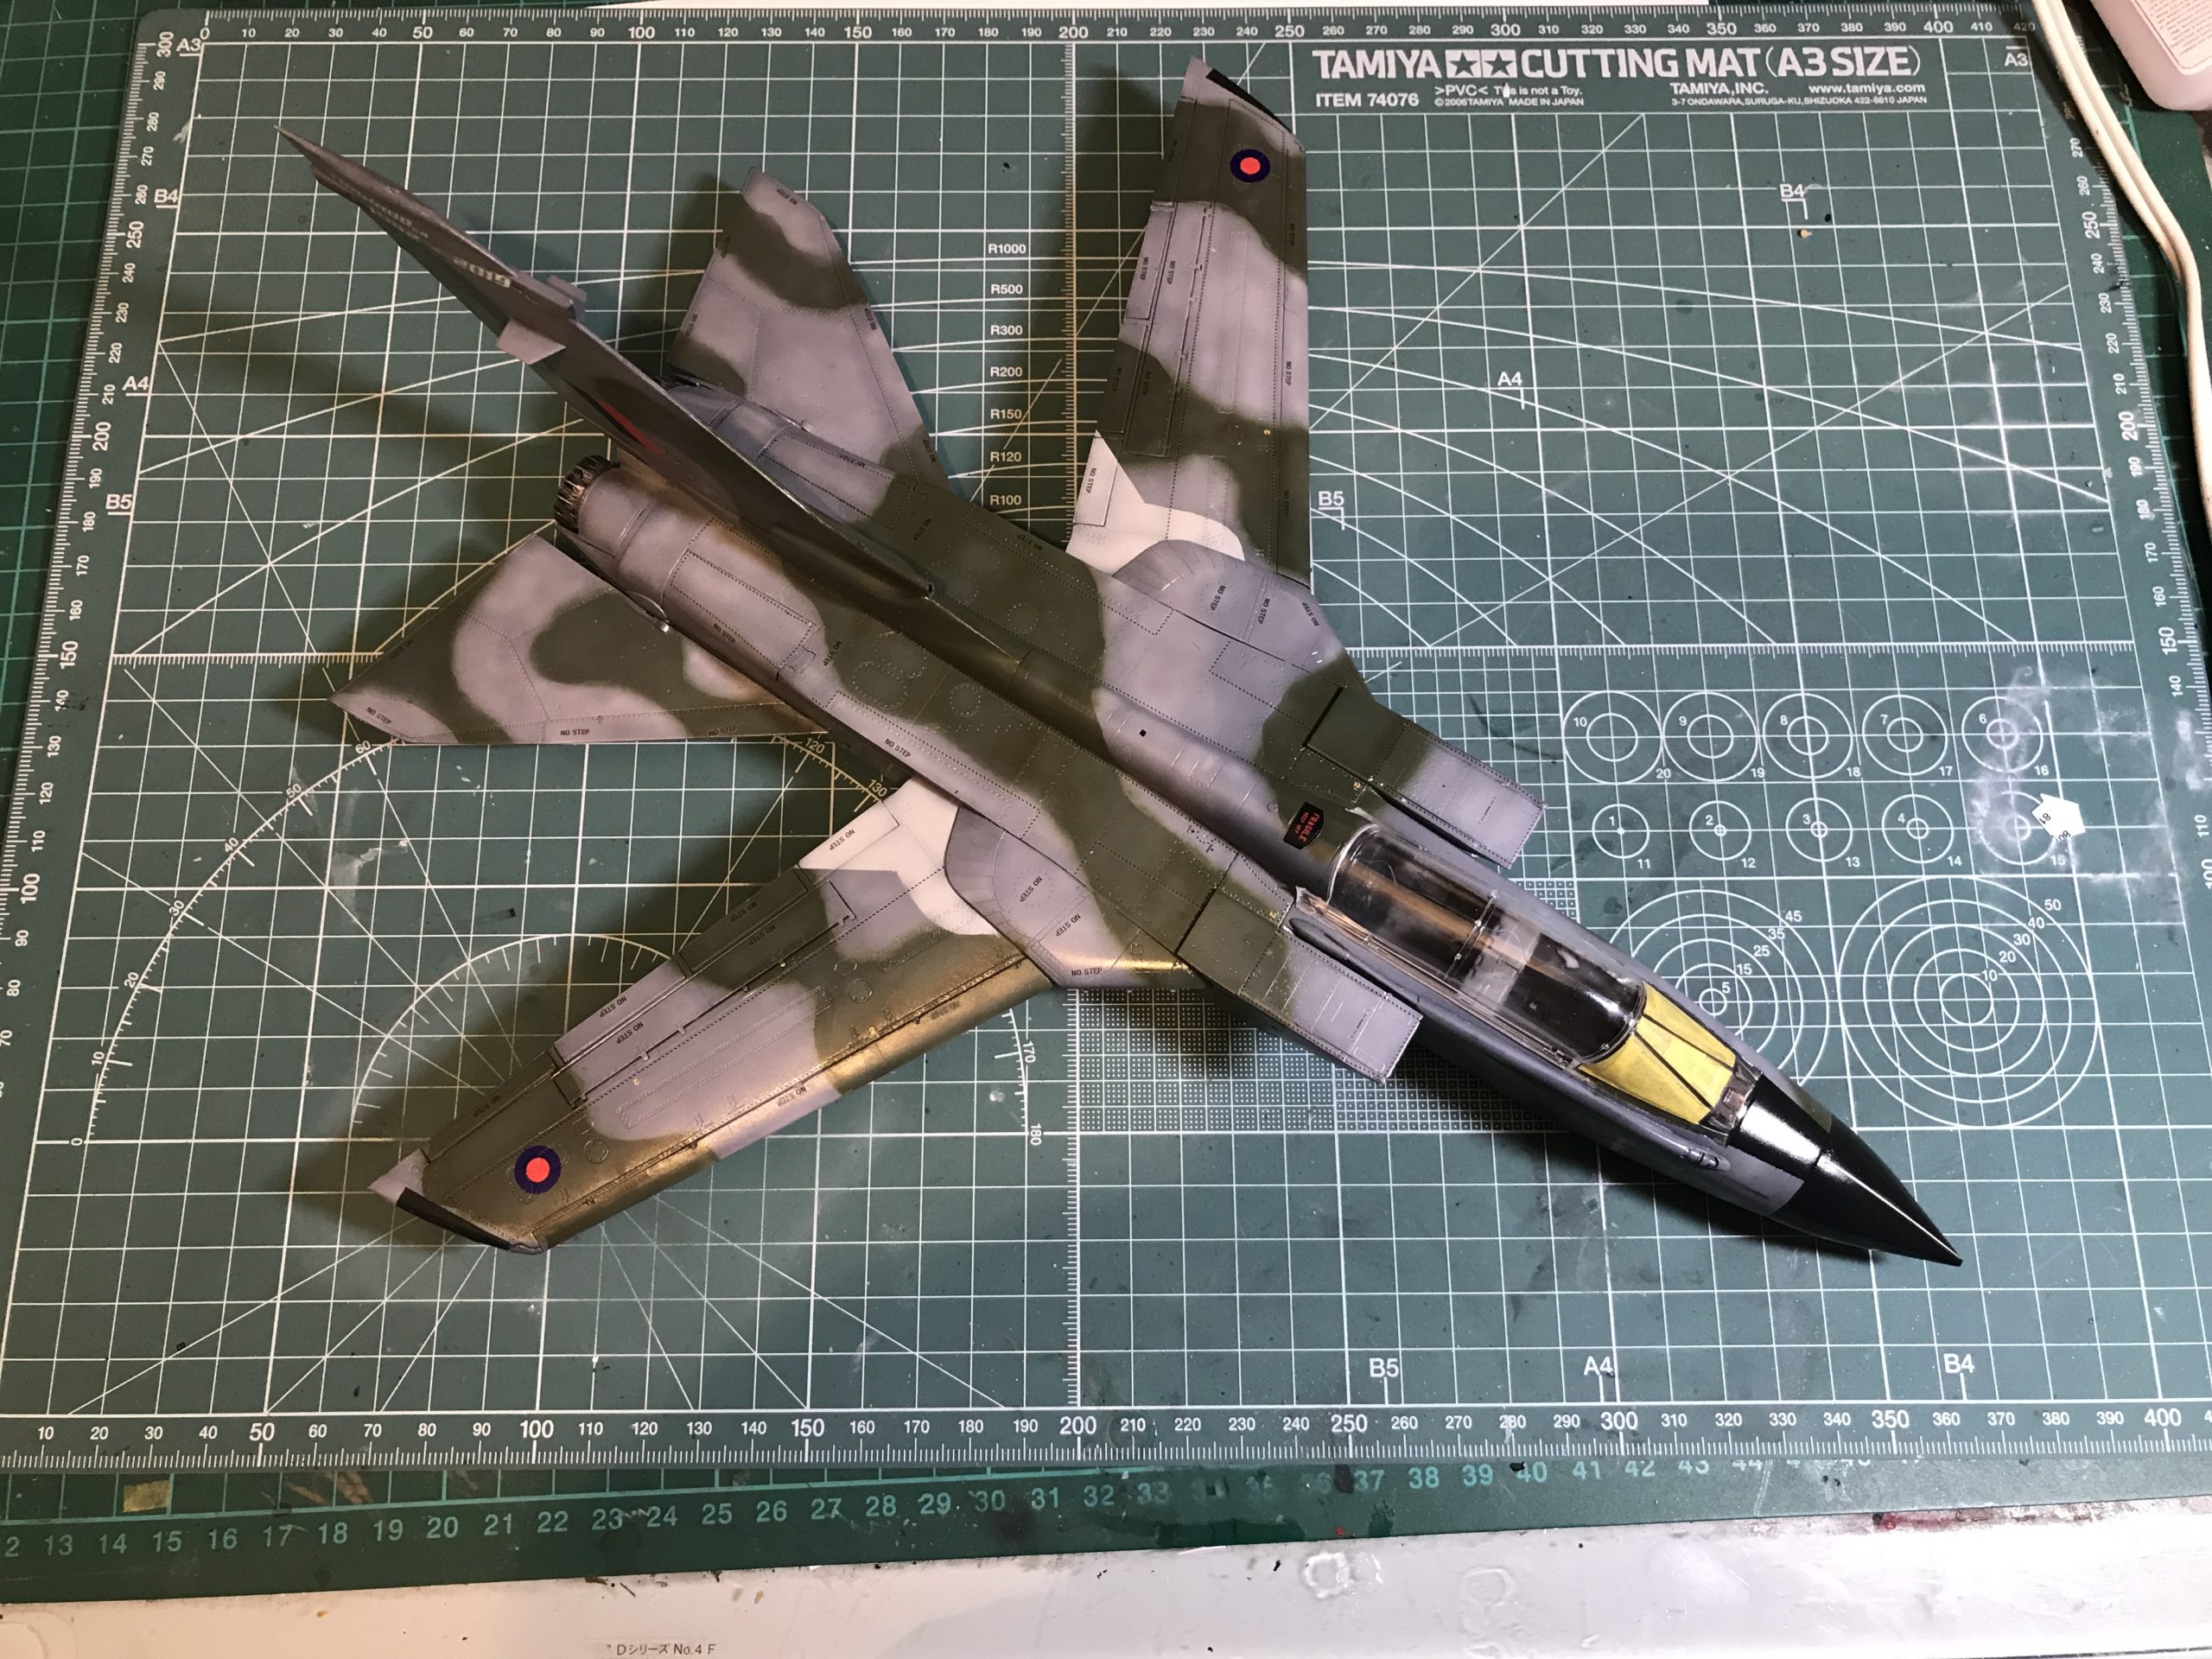
Decals
I thought the decals were going to be time consuming and was inevitably correct. The pain was somewhat offset by as the decals were excellent and really easy to work with. Also due to my failed first build I had a spare for everything if something went wrong.


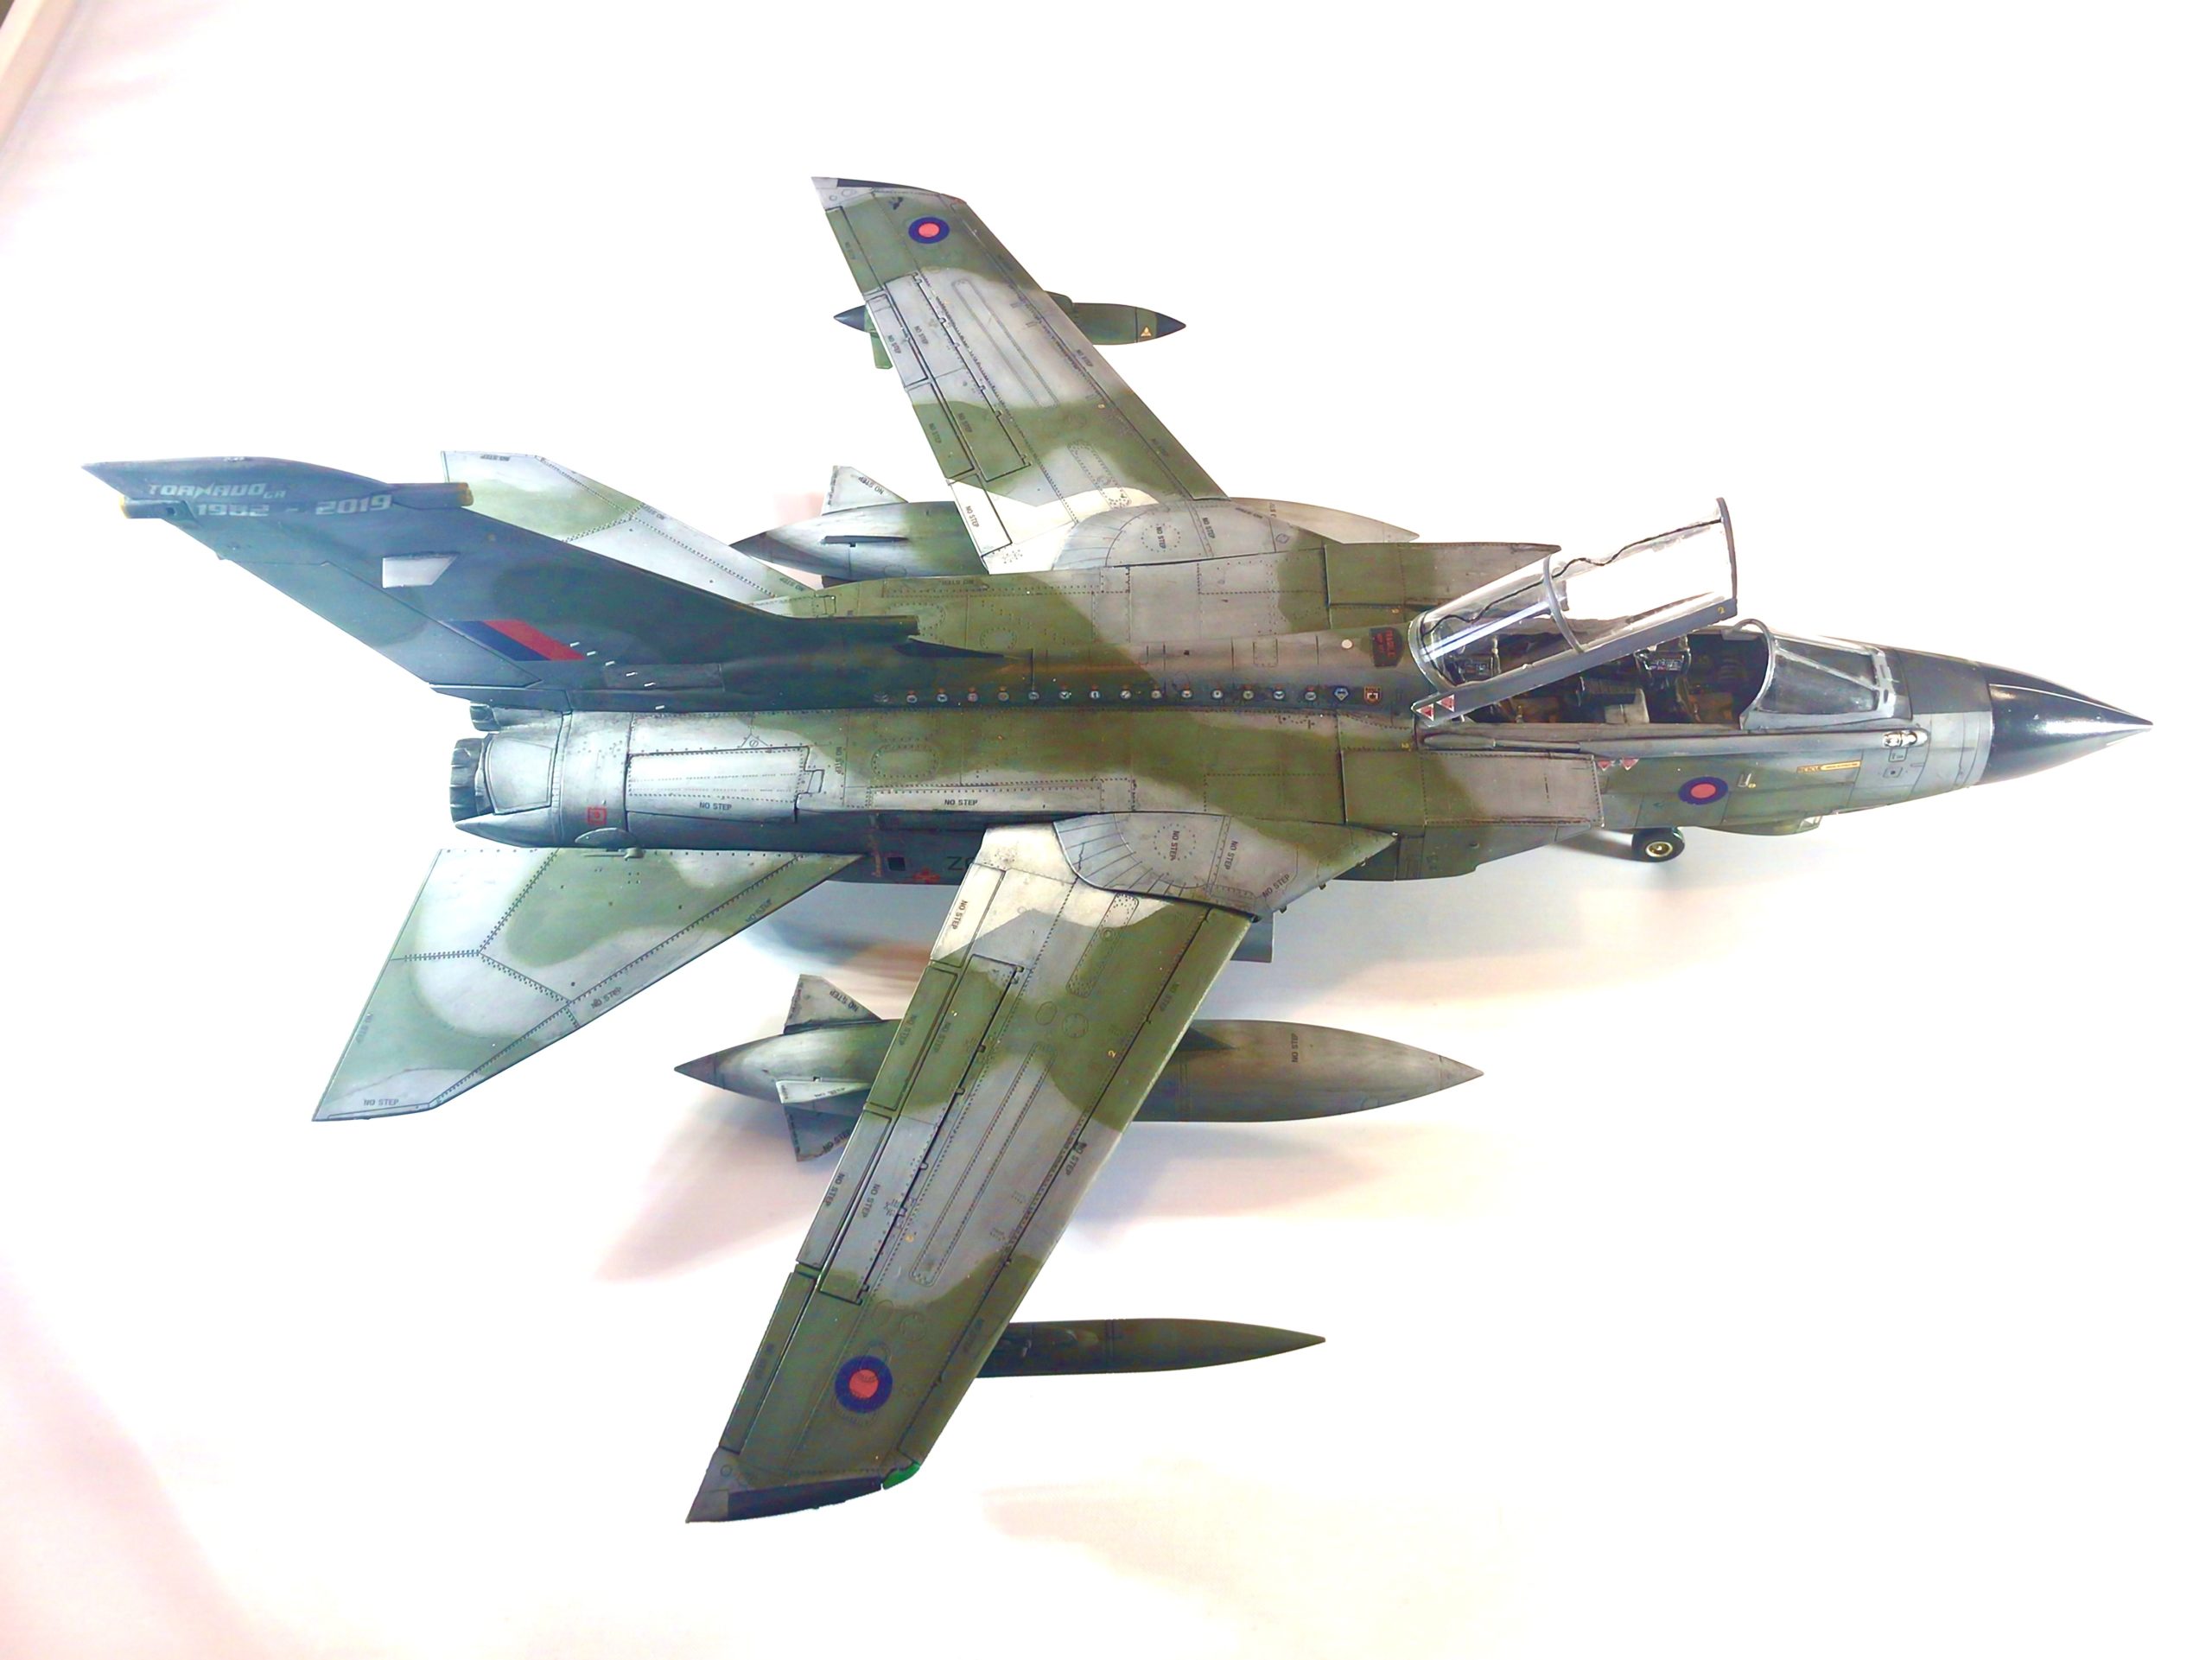
The one thing this build has taught me is there are lots of places you shouldn’t step on a Tornado….
It’s a gradual, but rewarding process seeing the decals really bring the model to life. Everything was applied with a liberal coat of Micro Sol and Micro Set decal solutions.
Weathering
With the decals complete it was time to look at the weathering. A fairly simple task of applying the water based wash and gradually diluting with more water to get the desired effect. Despite being straight forwards it is still time consuming as the surface detail is fairly shallow (probably to scale in honesty) so if you aren’t careful it’s easy to wash the panel lines off and then it’s back to square one.

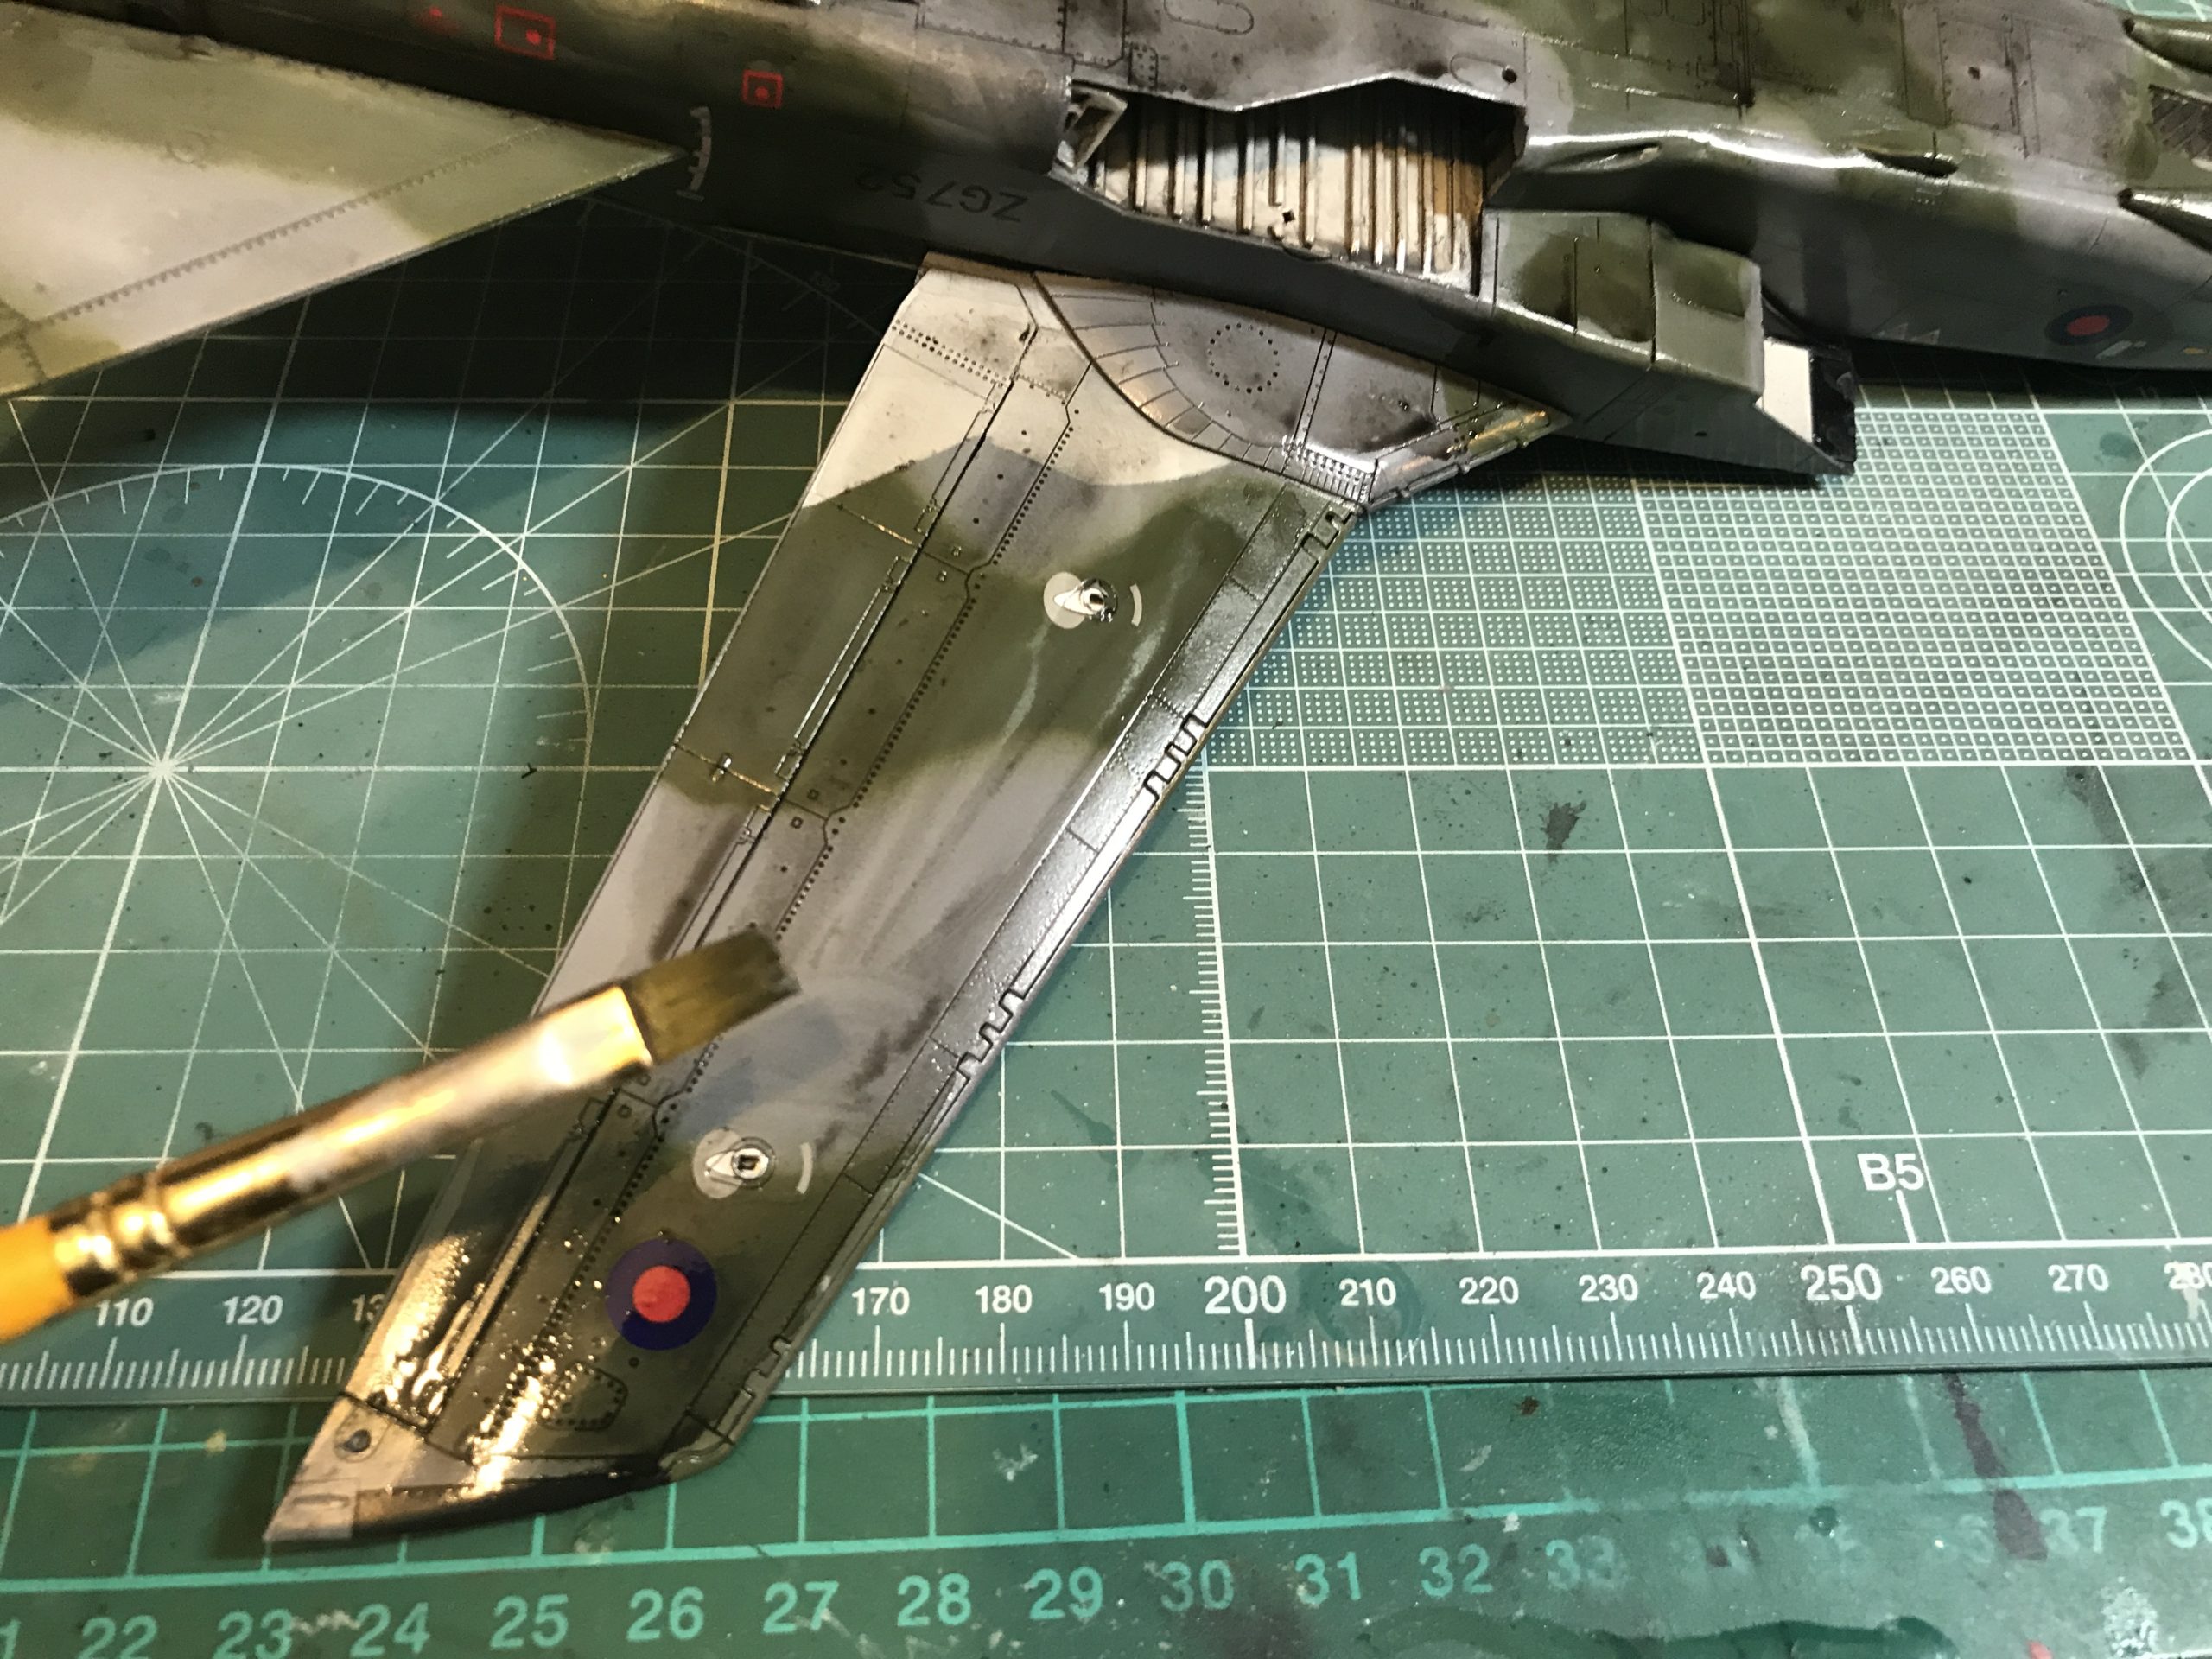

Once the desired weathering effect is achieved the whole thing is given a coat of flat varnish.
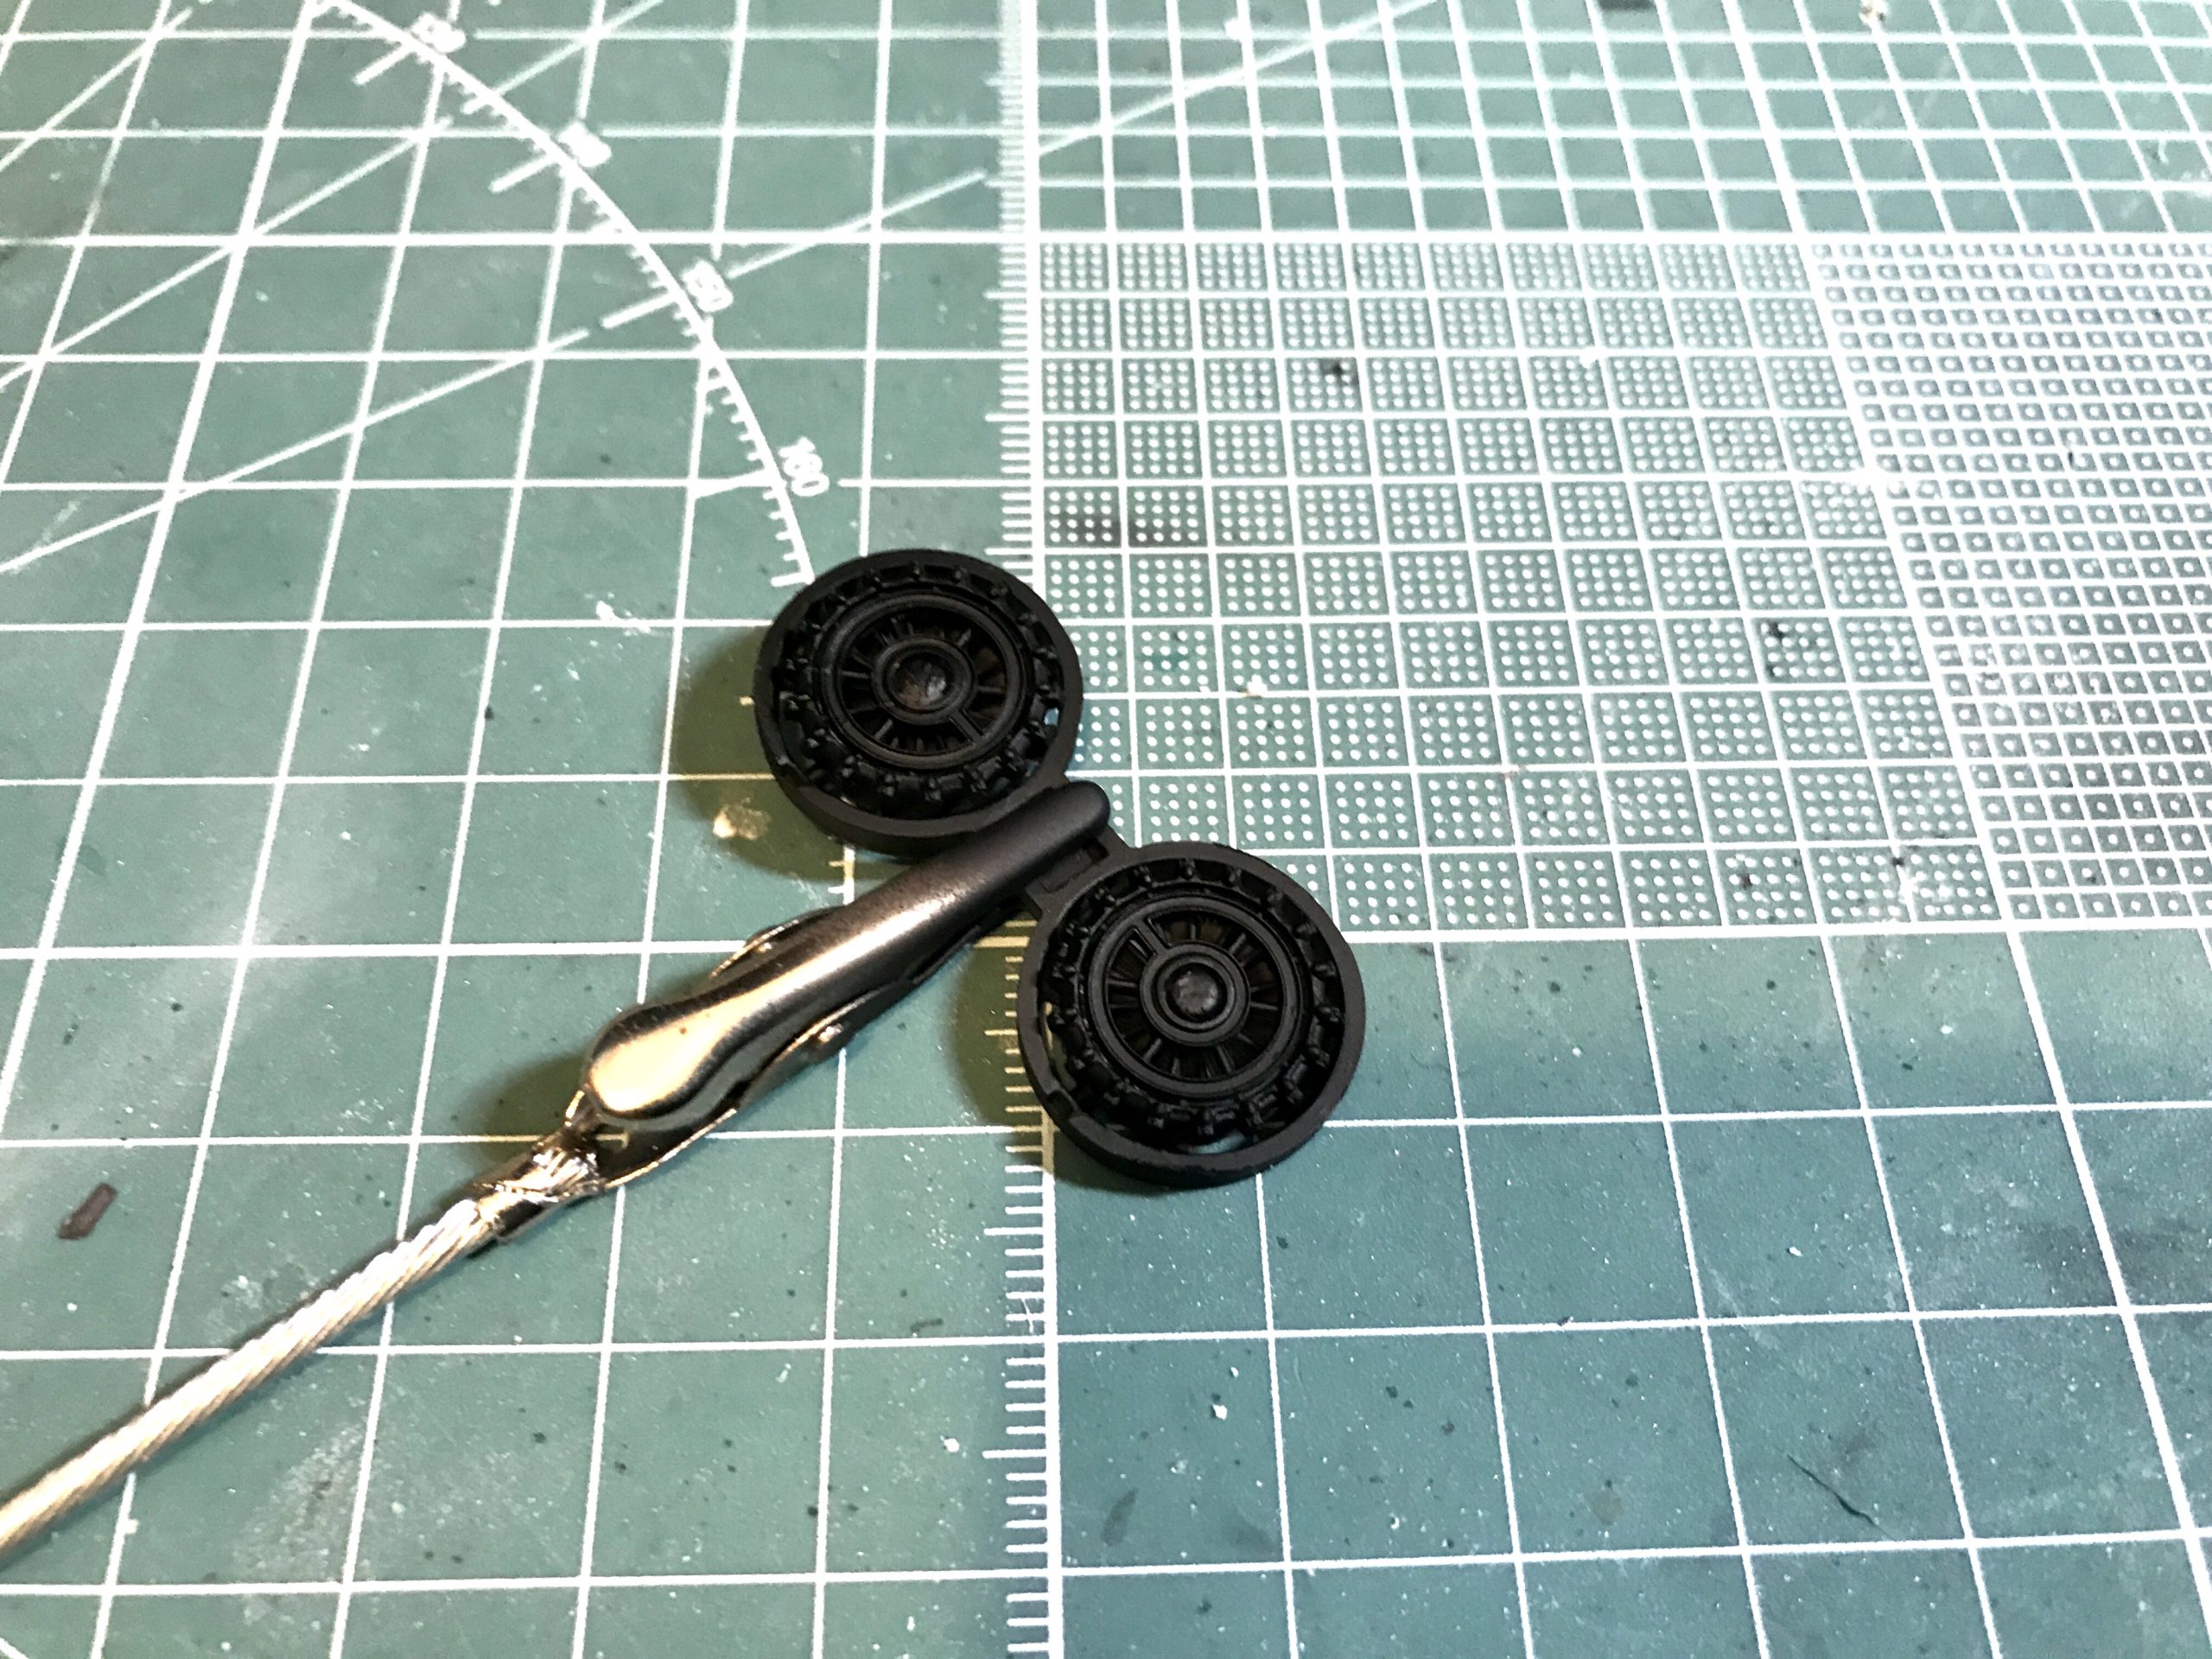
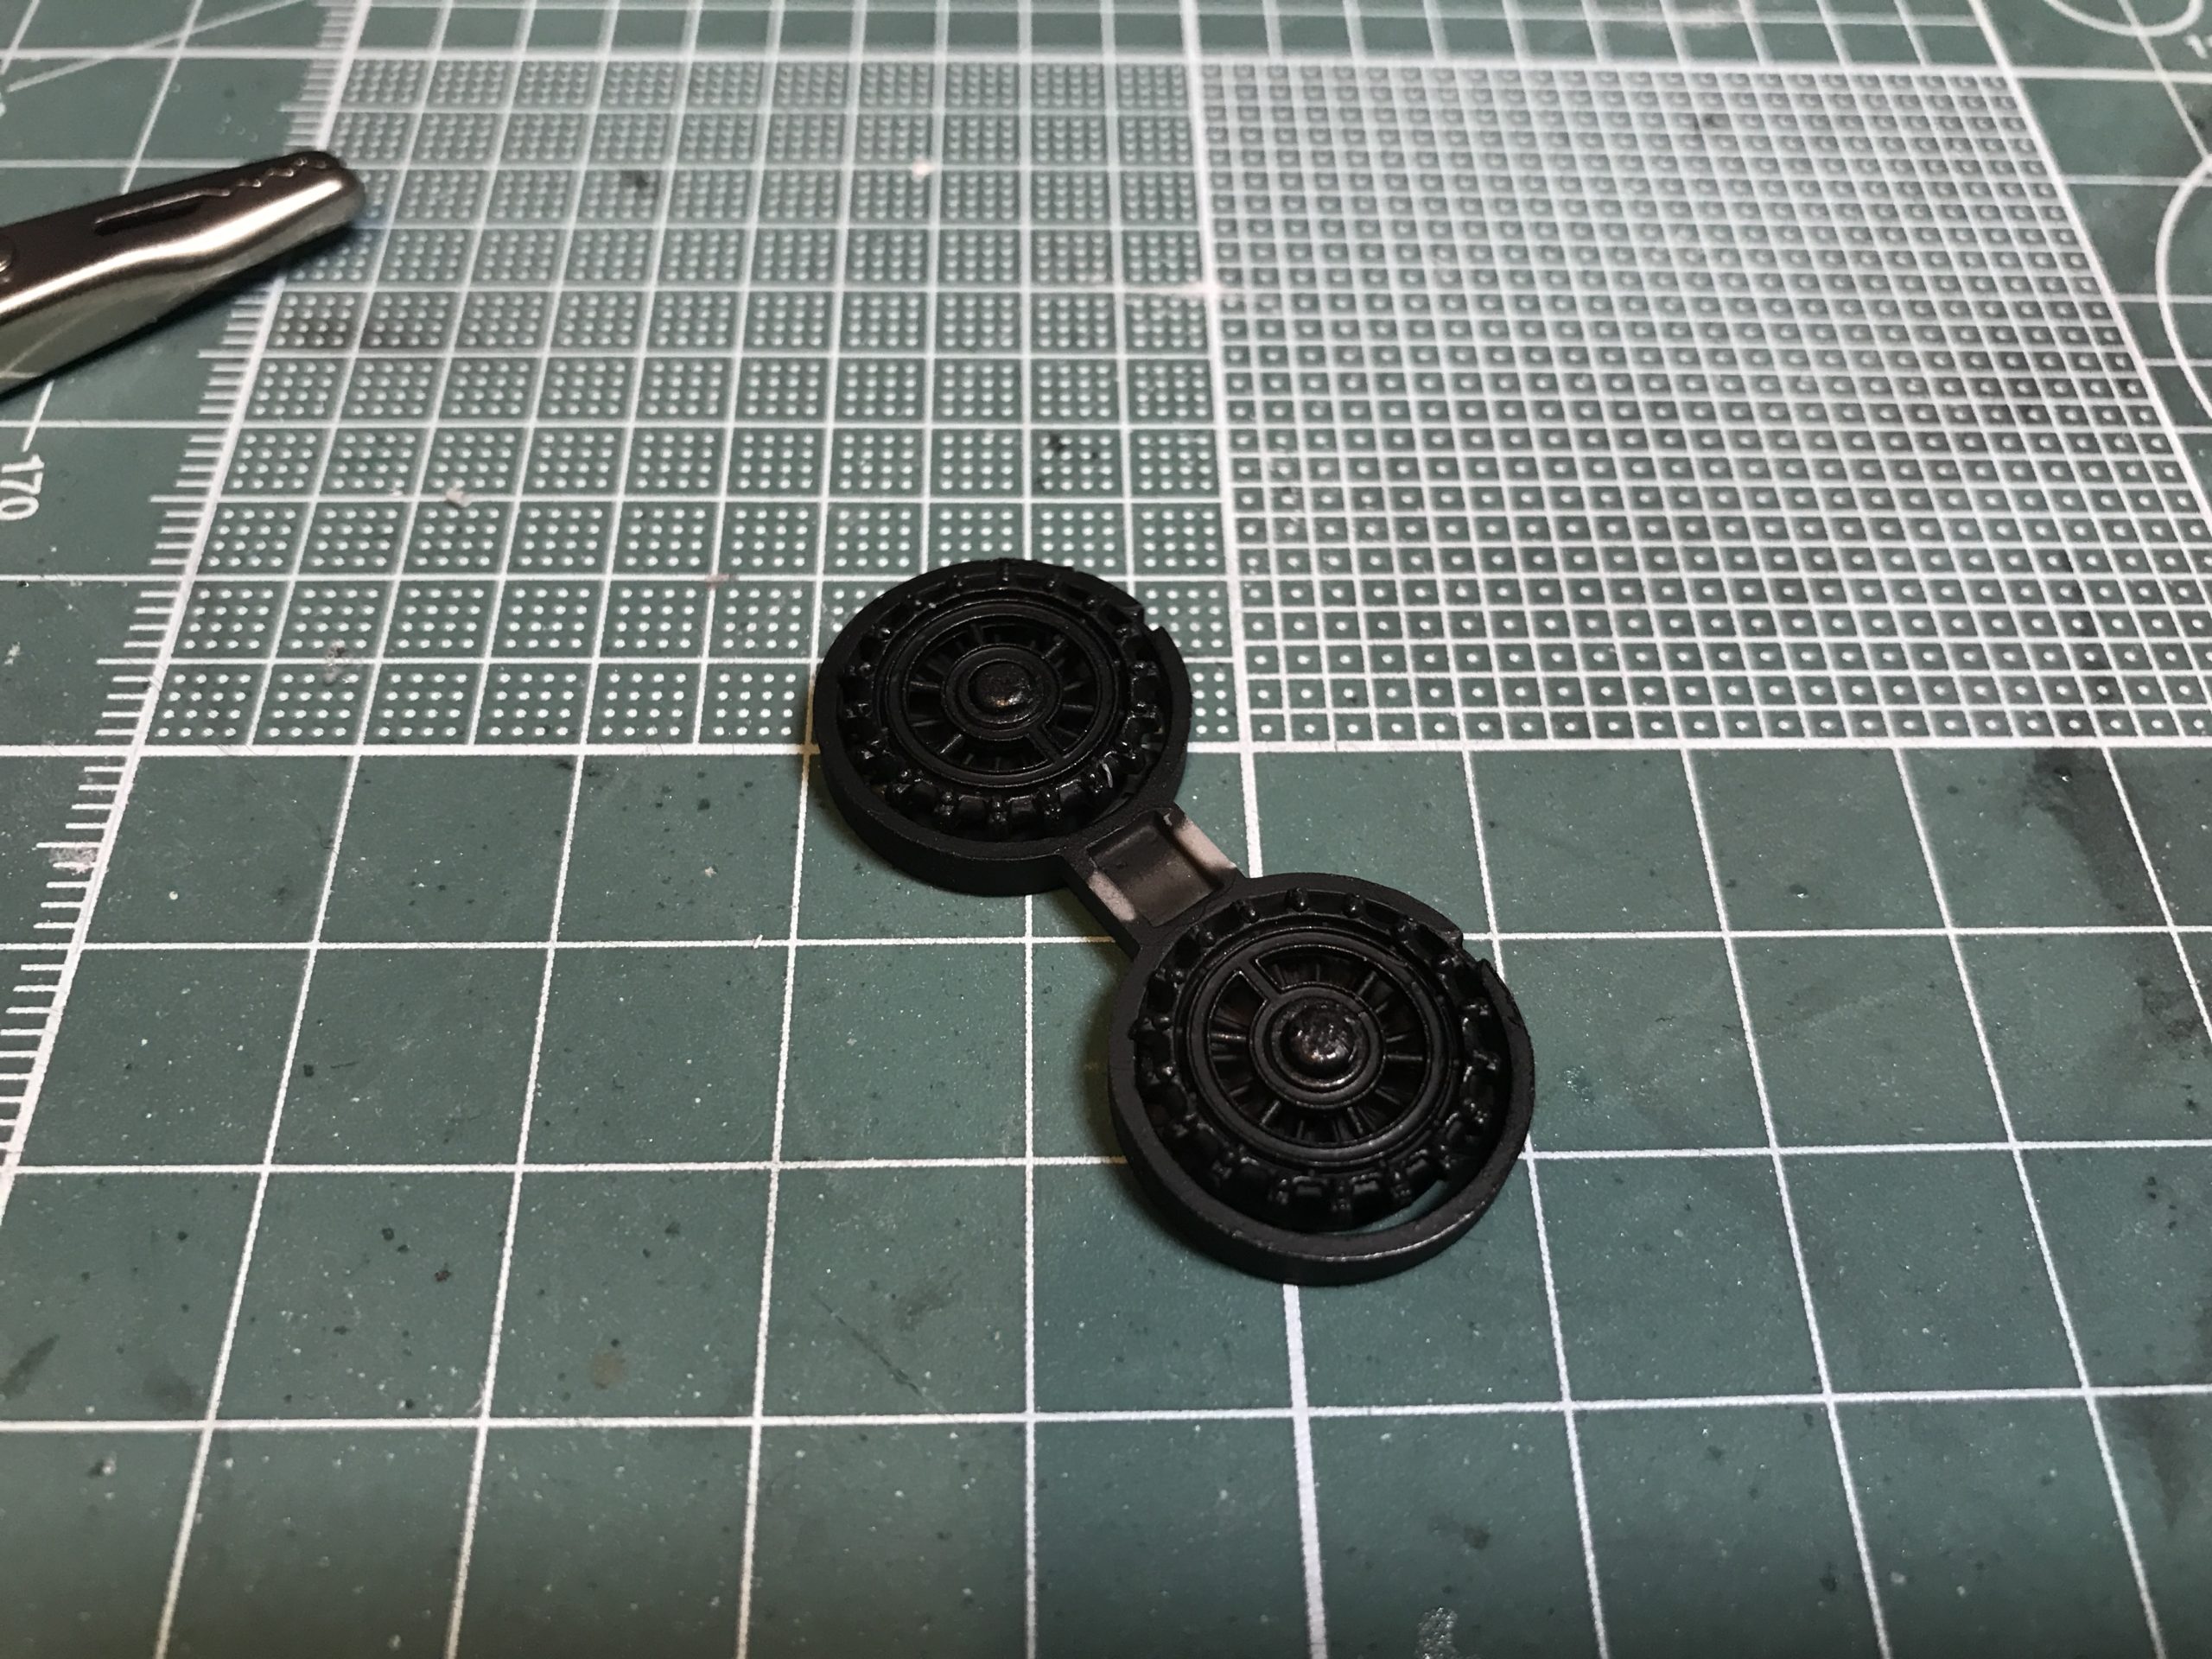
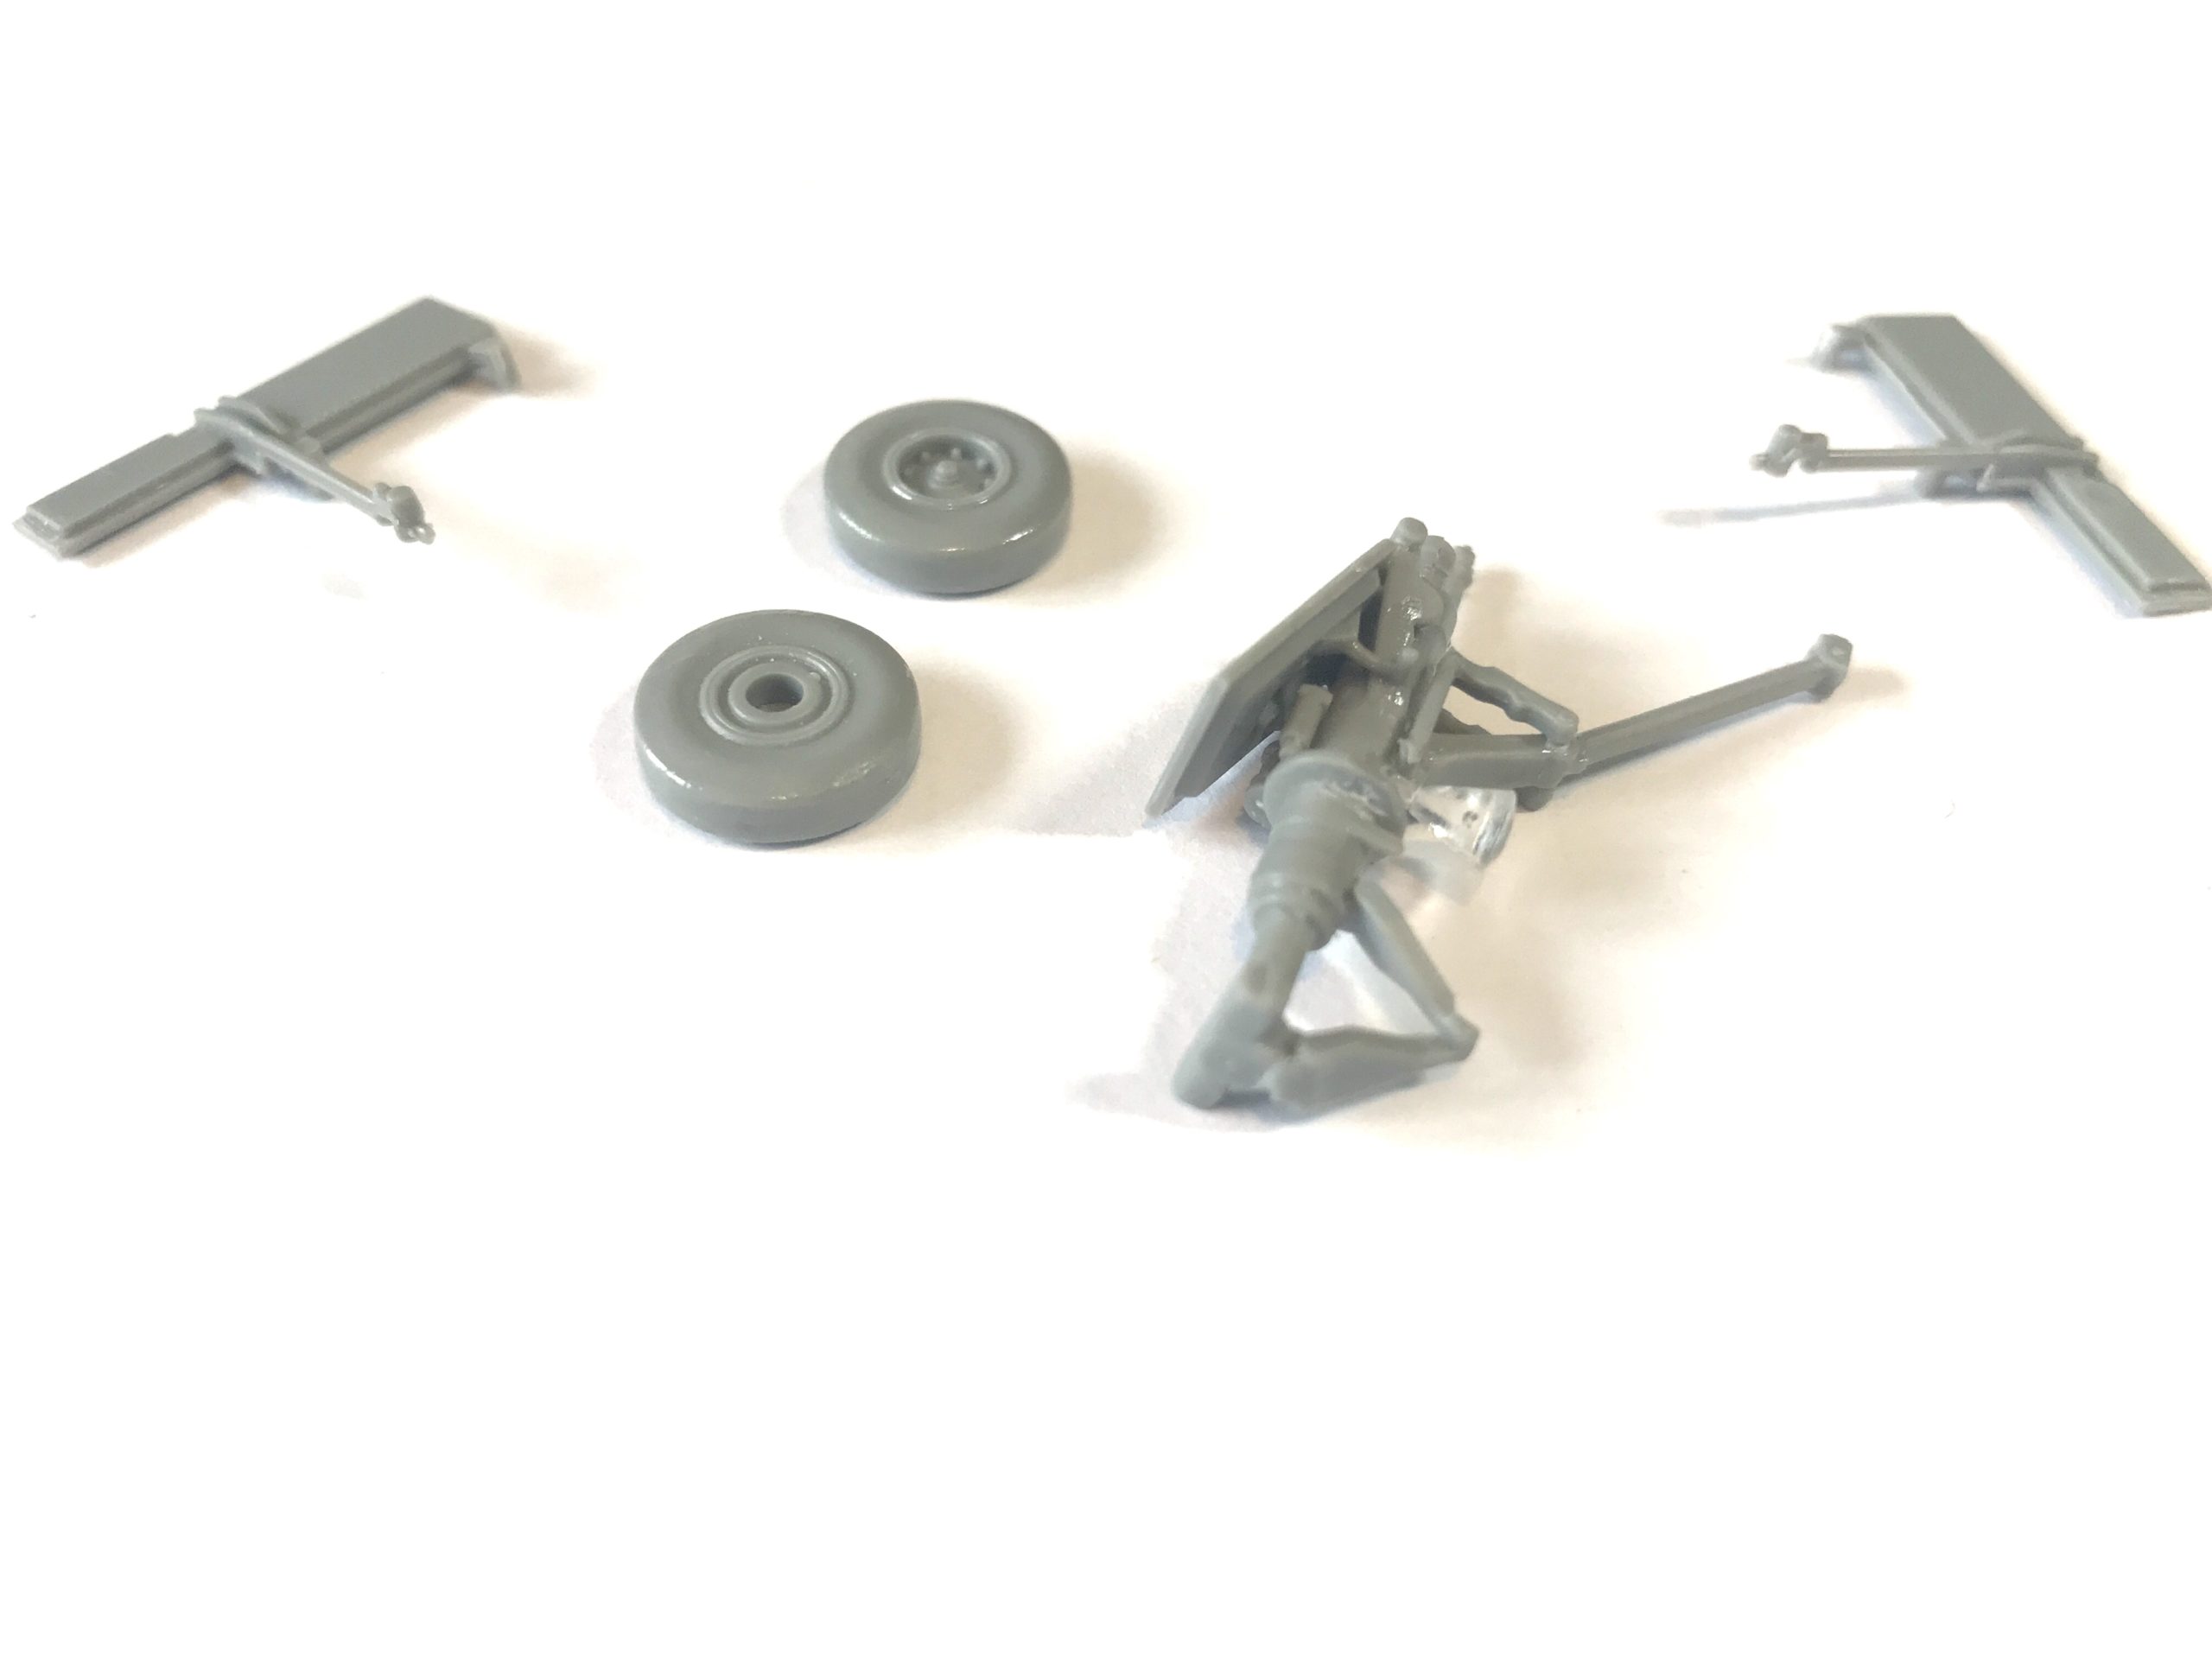
Next up is the undercarriage which are built, assembled and painted before being attached to the model.

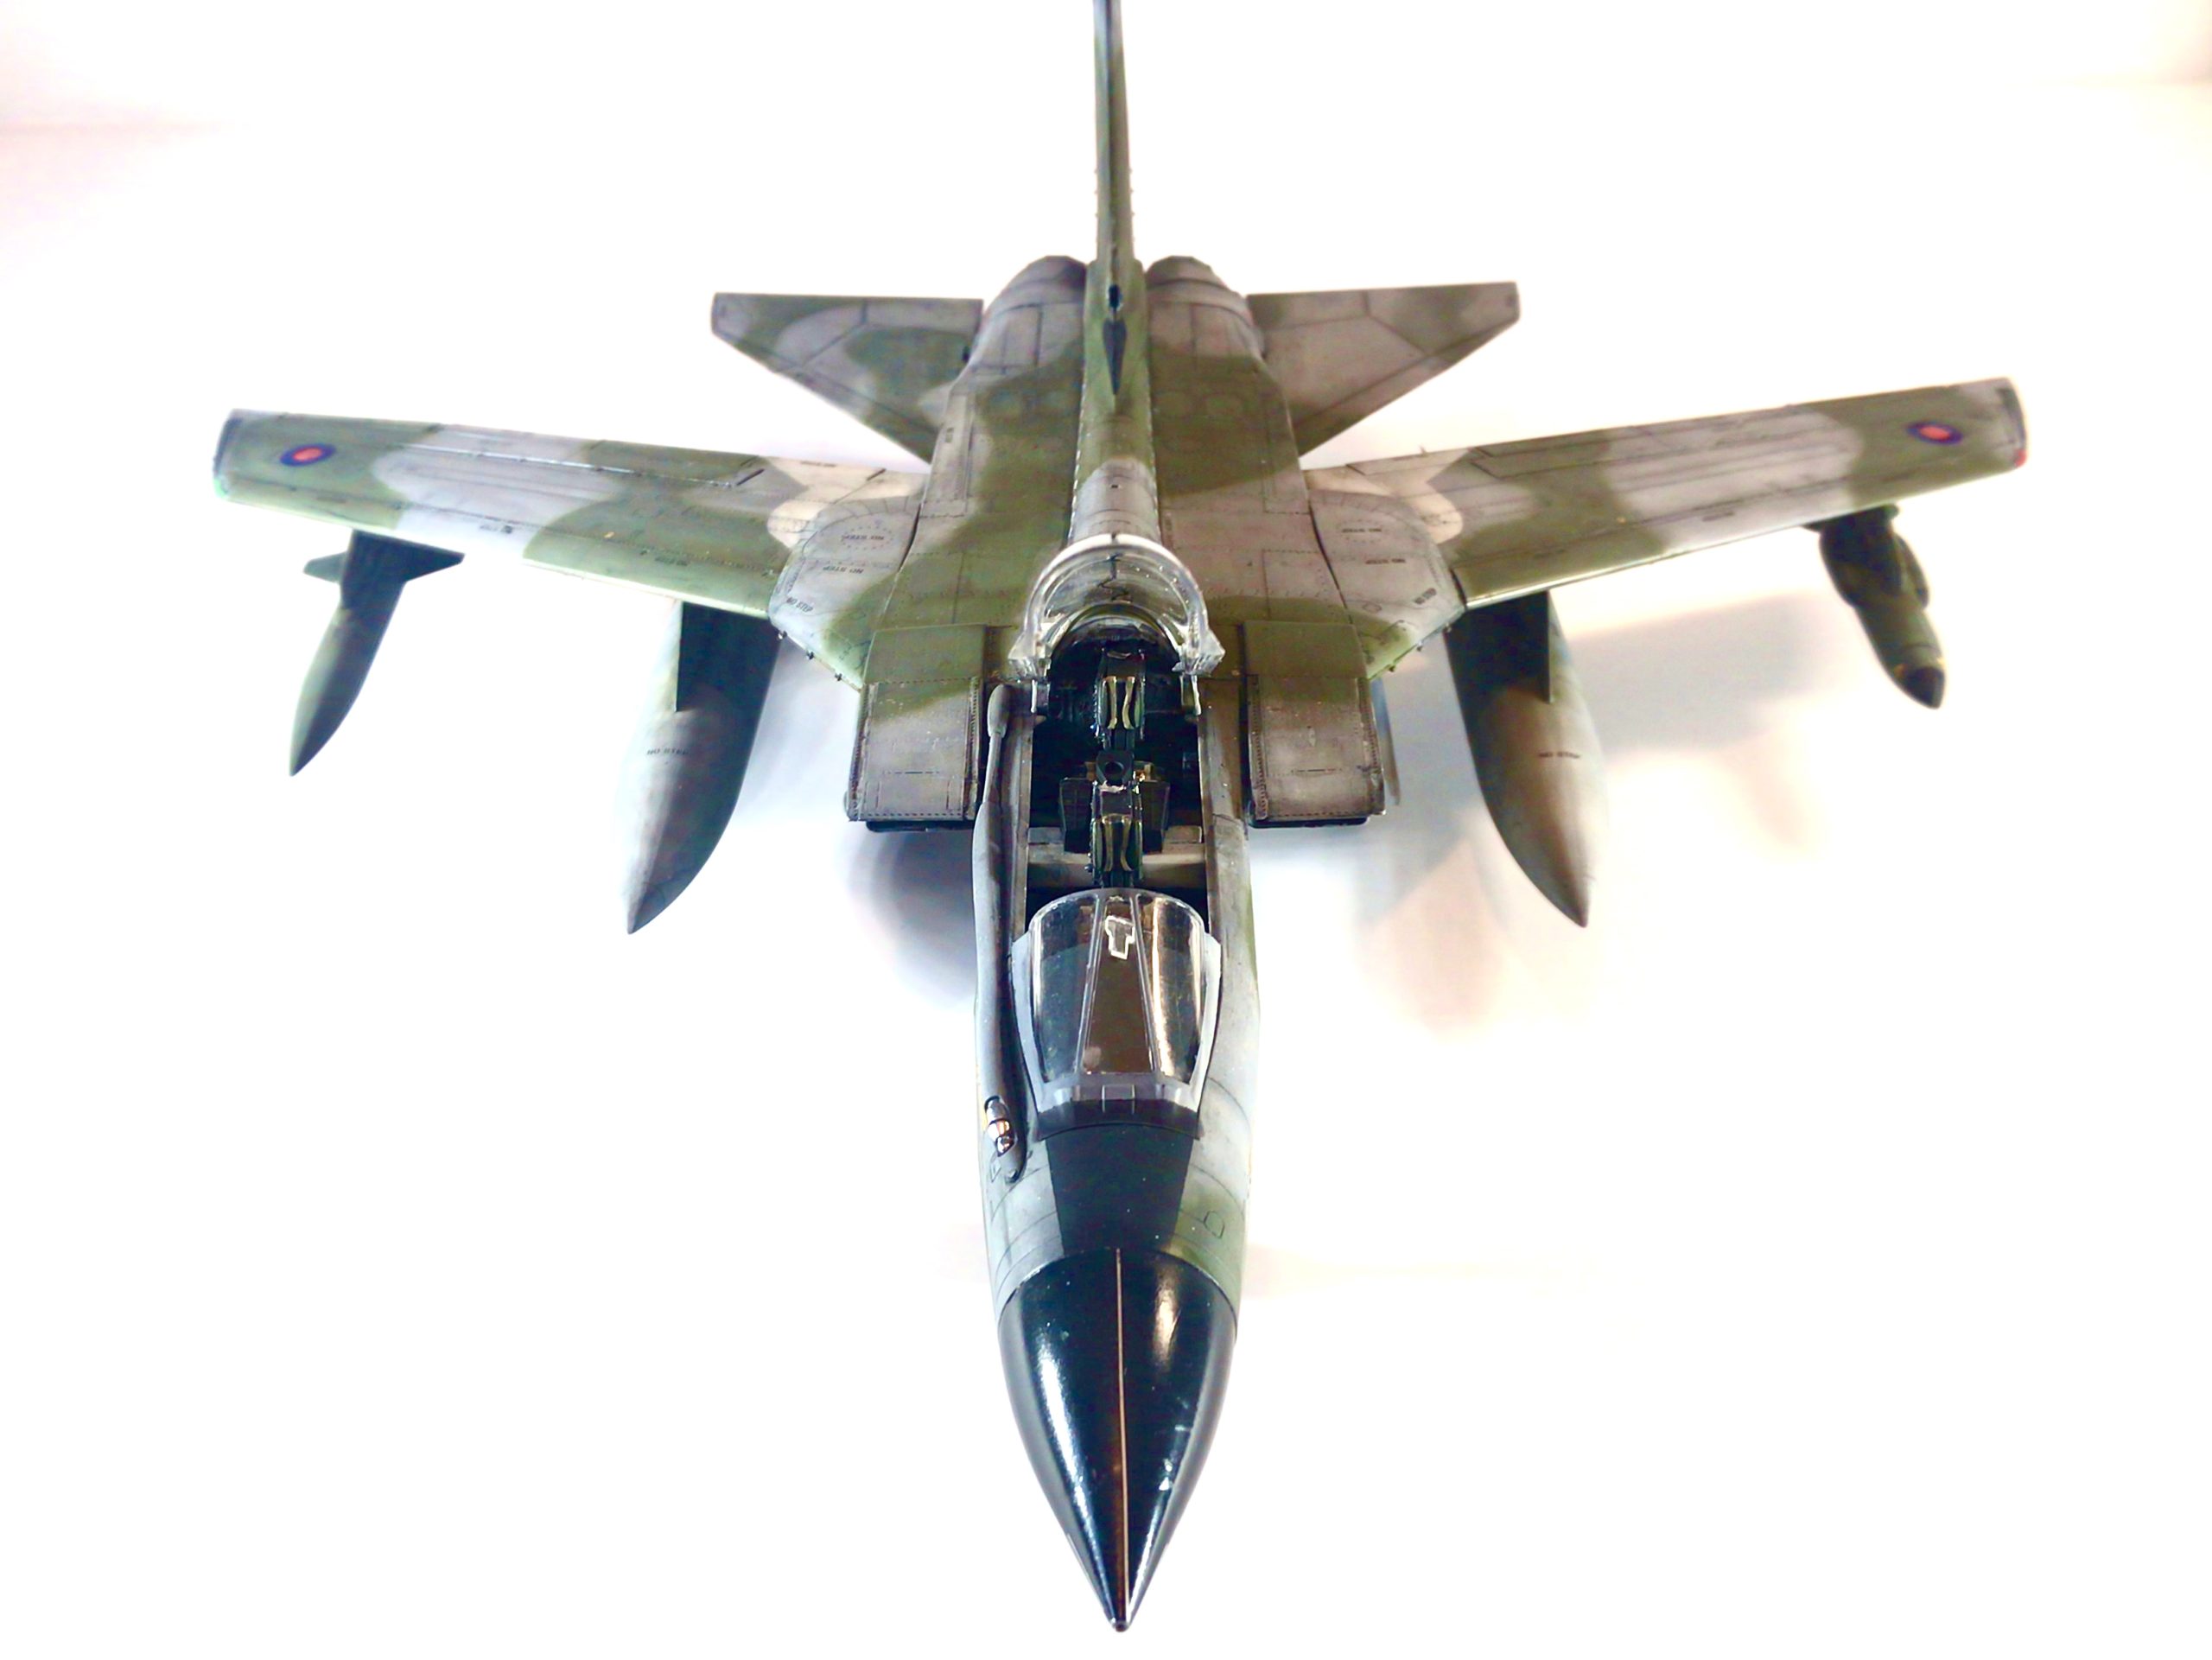
Finishing touches
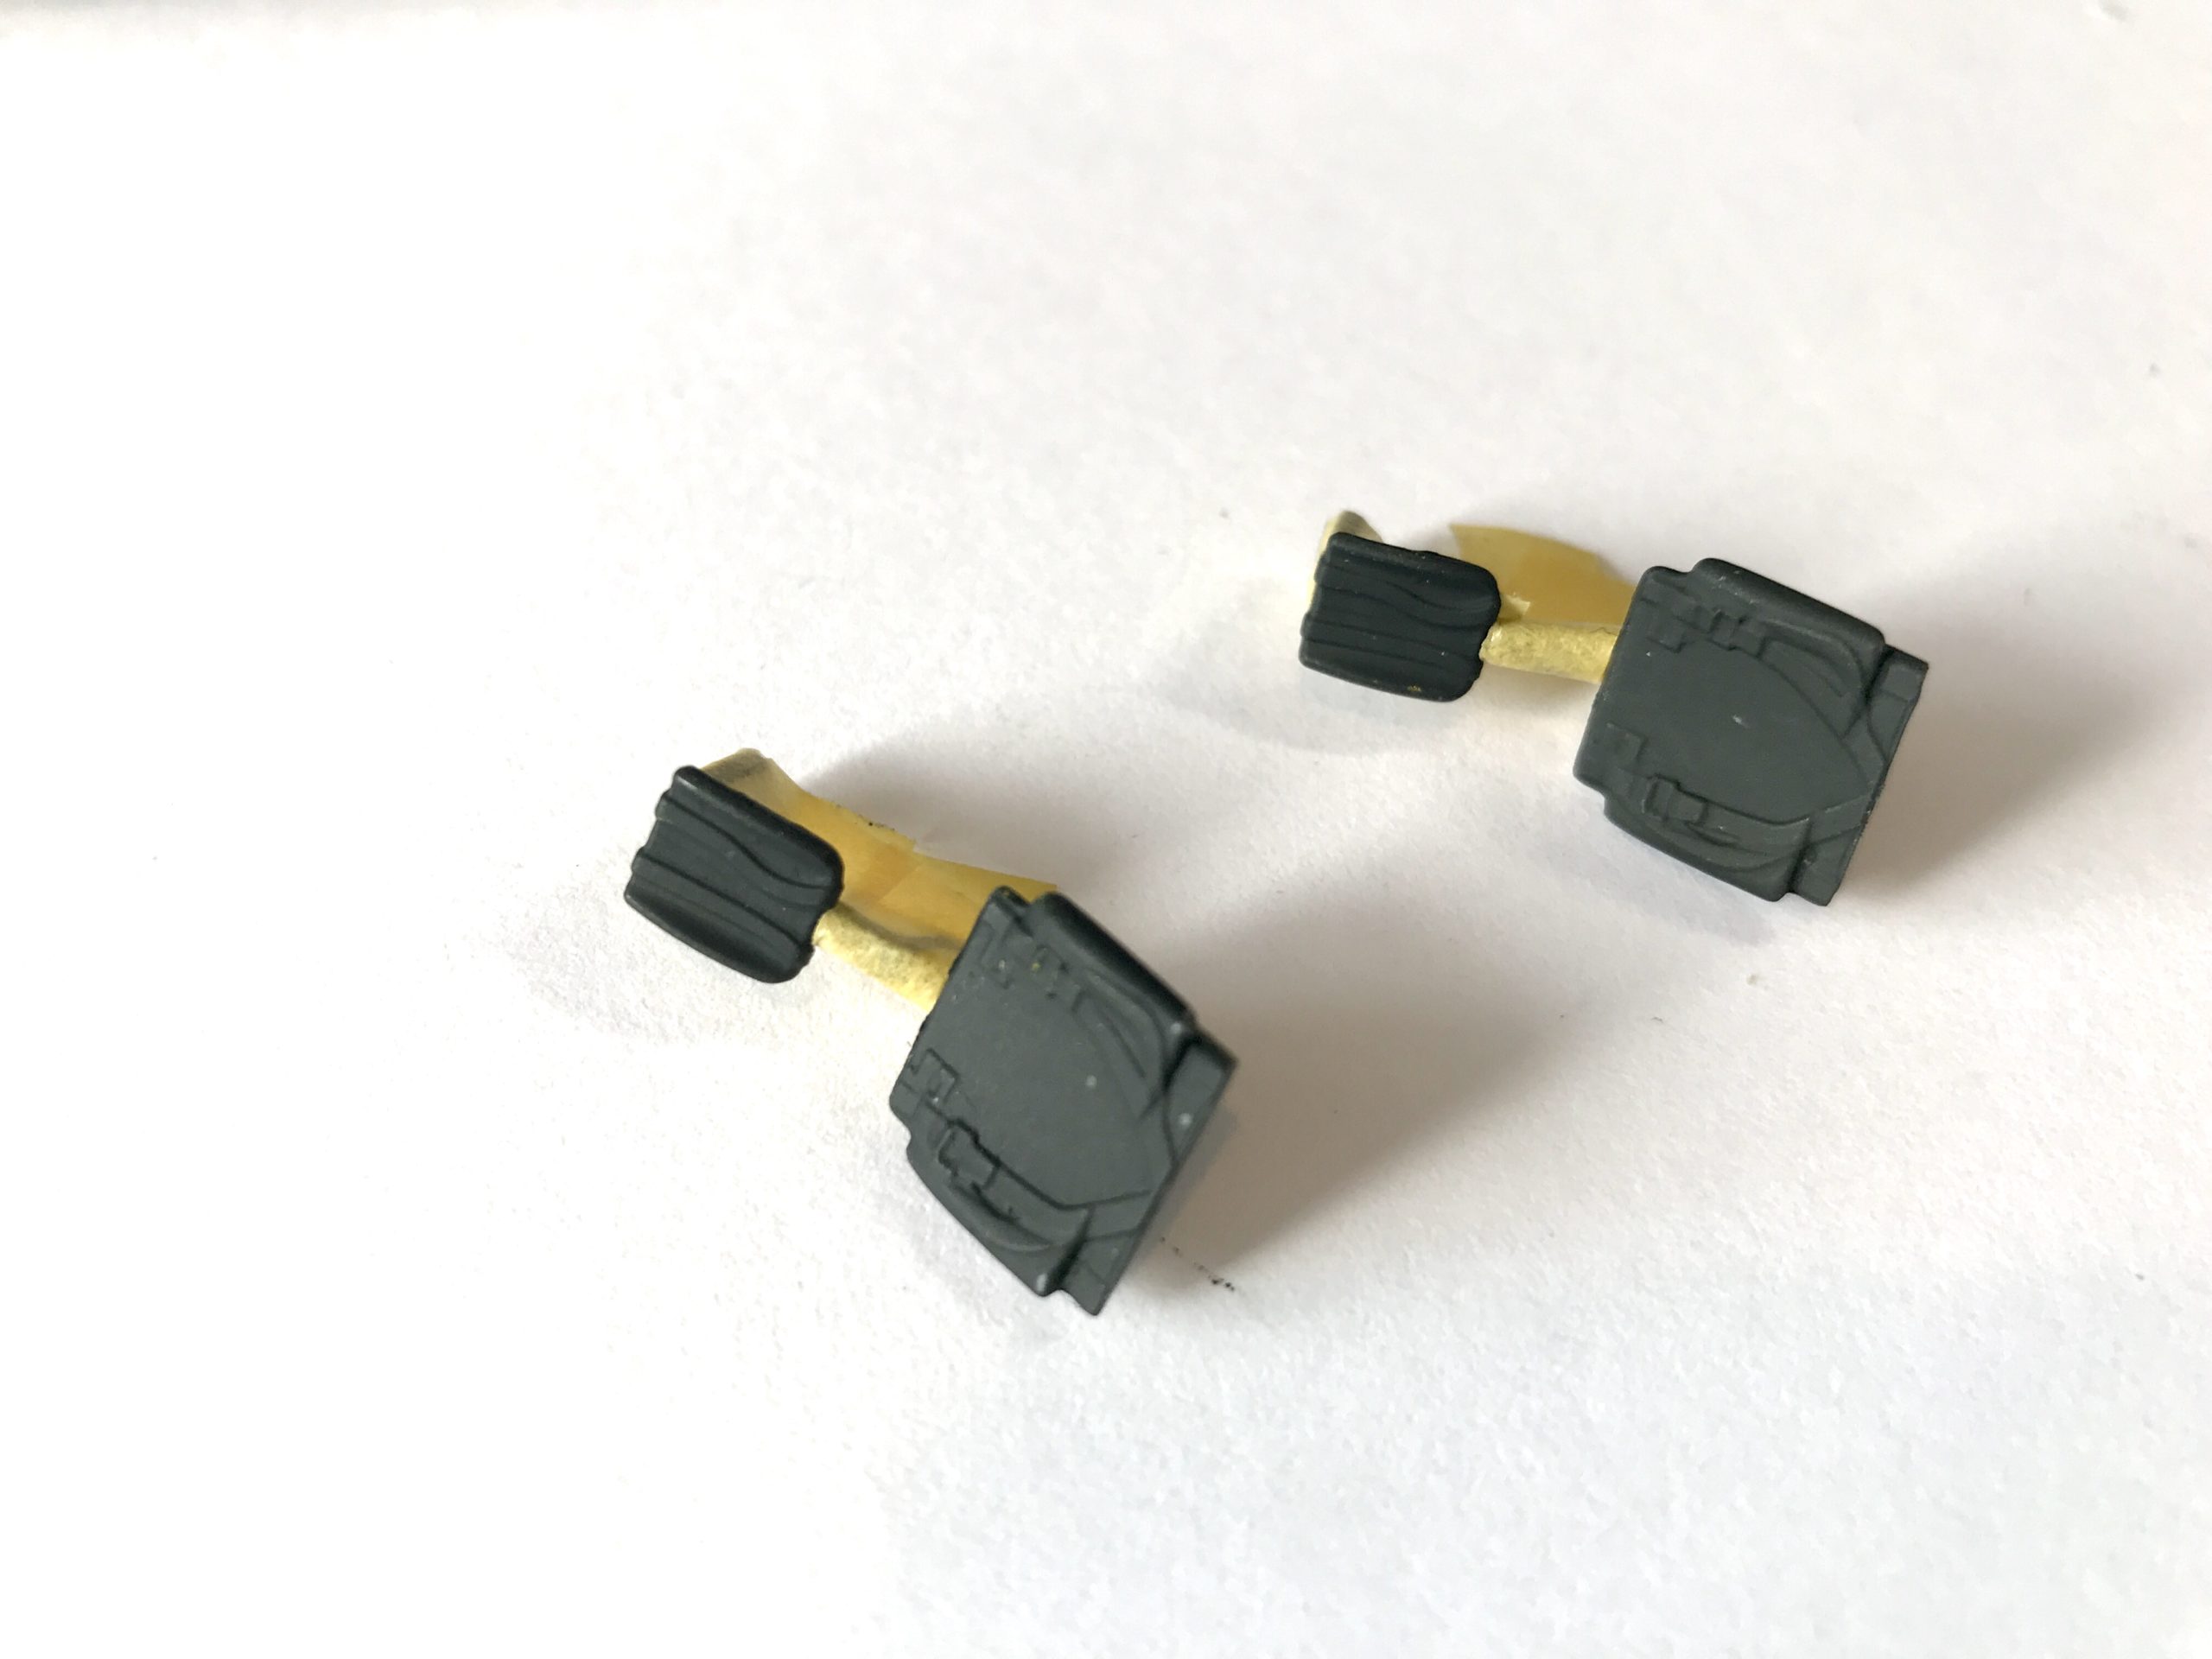
We’re on to the final furlong now and just have the weapons load and a few bits and bobs to finish the model. Well if you’ve made it this far this isn’t going to stop you and it’s a simple assembly, paint and decal process. (with a smattering of weathering)
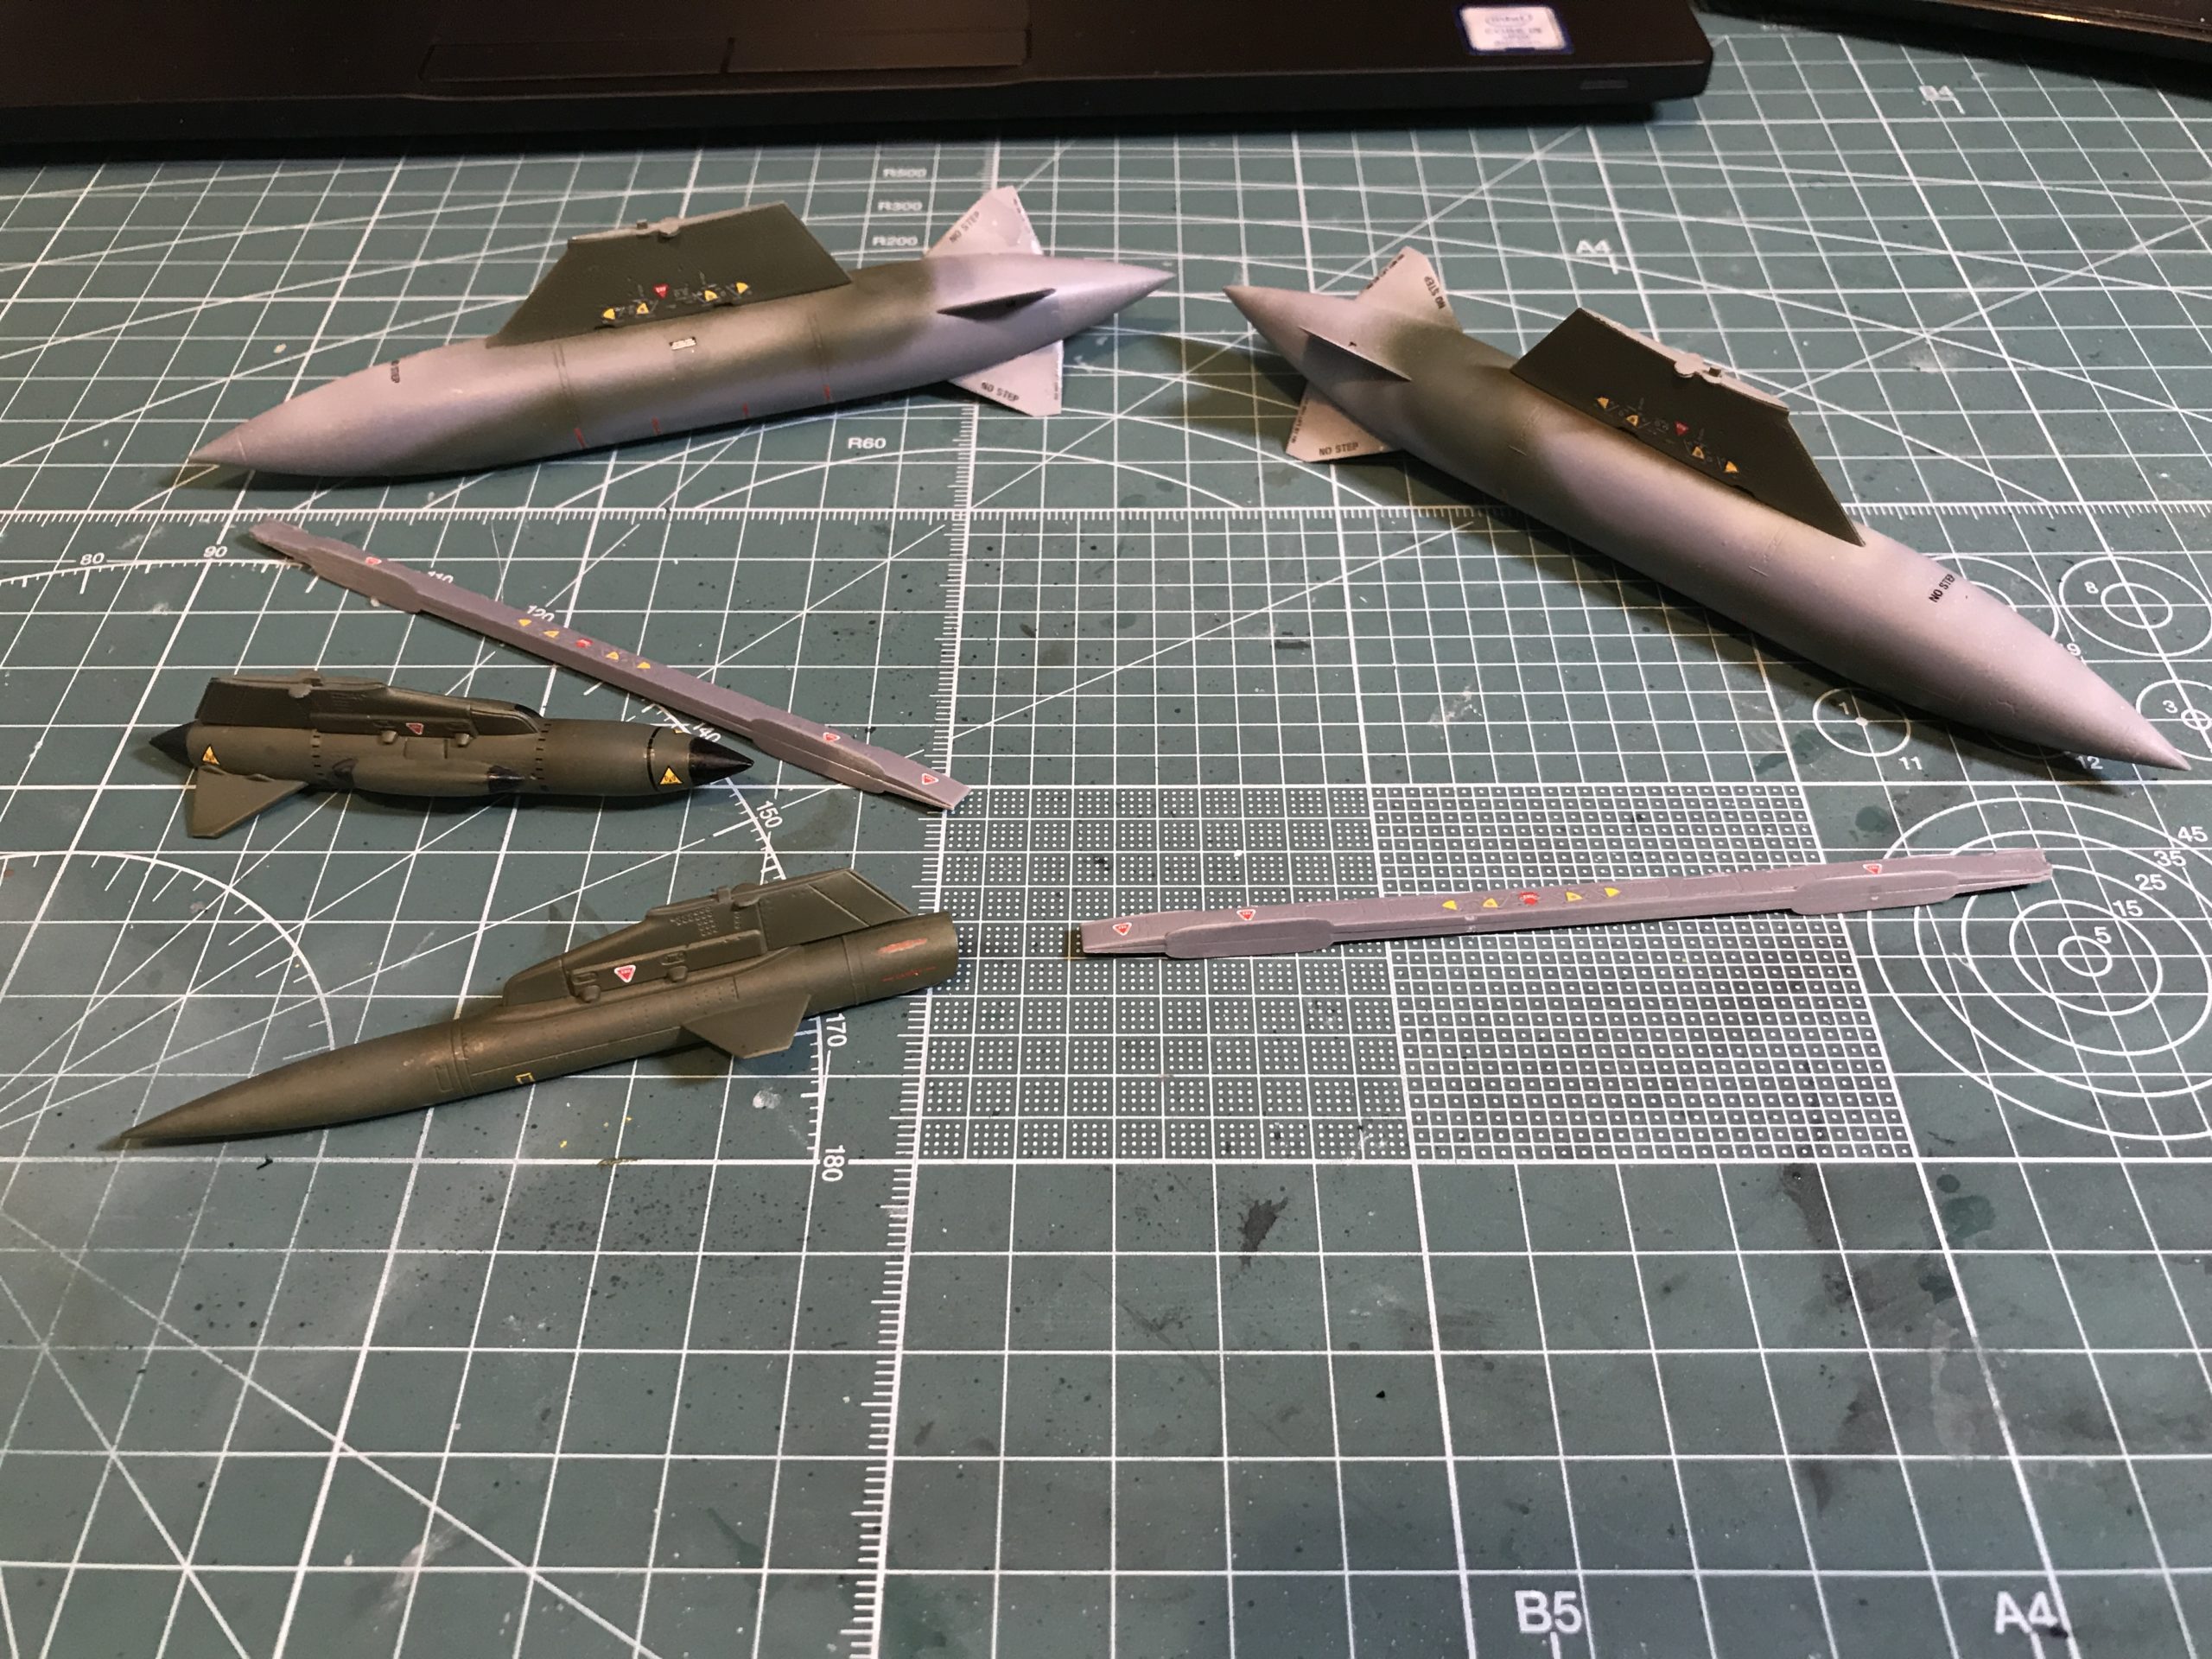
Now let’s take a look at those tiny connection points. What could possibly go wrong……
Well, not too much actually. I think a sturdier connection would be ideal, but nothing has fallen off (yet)
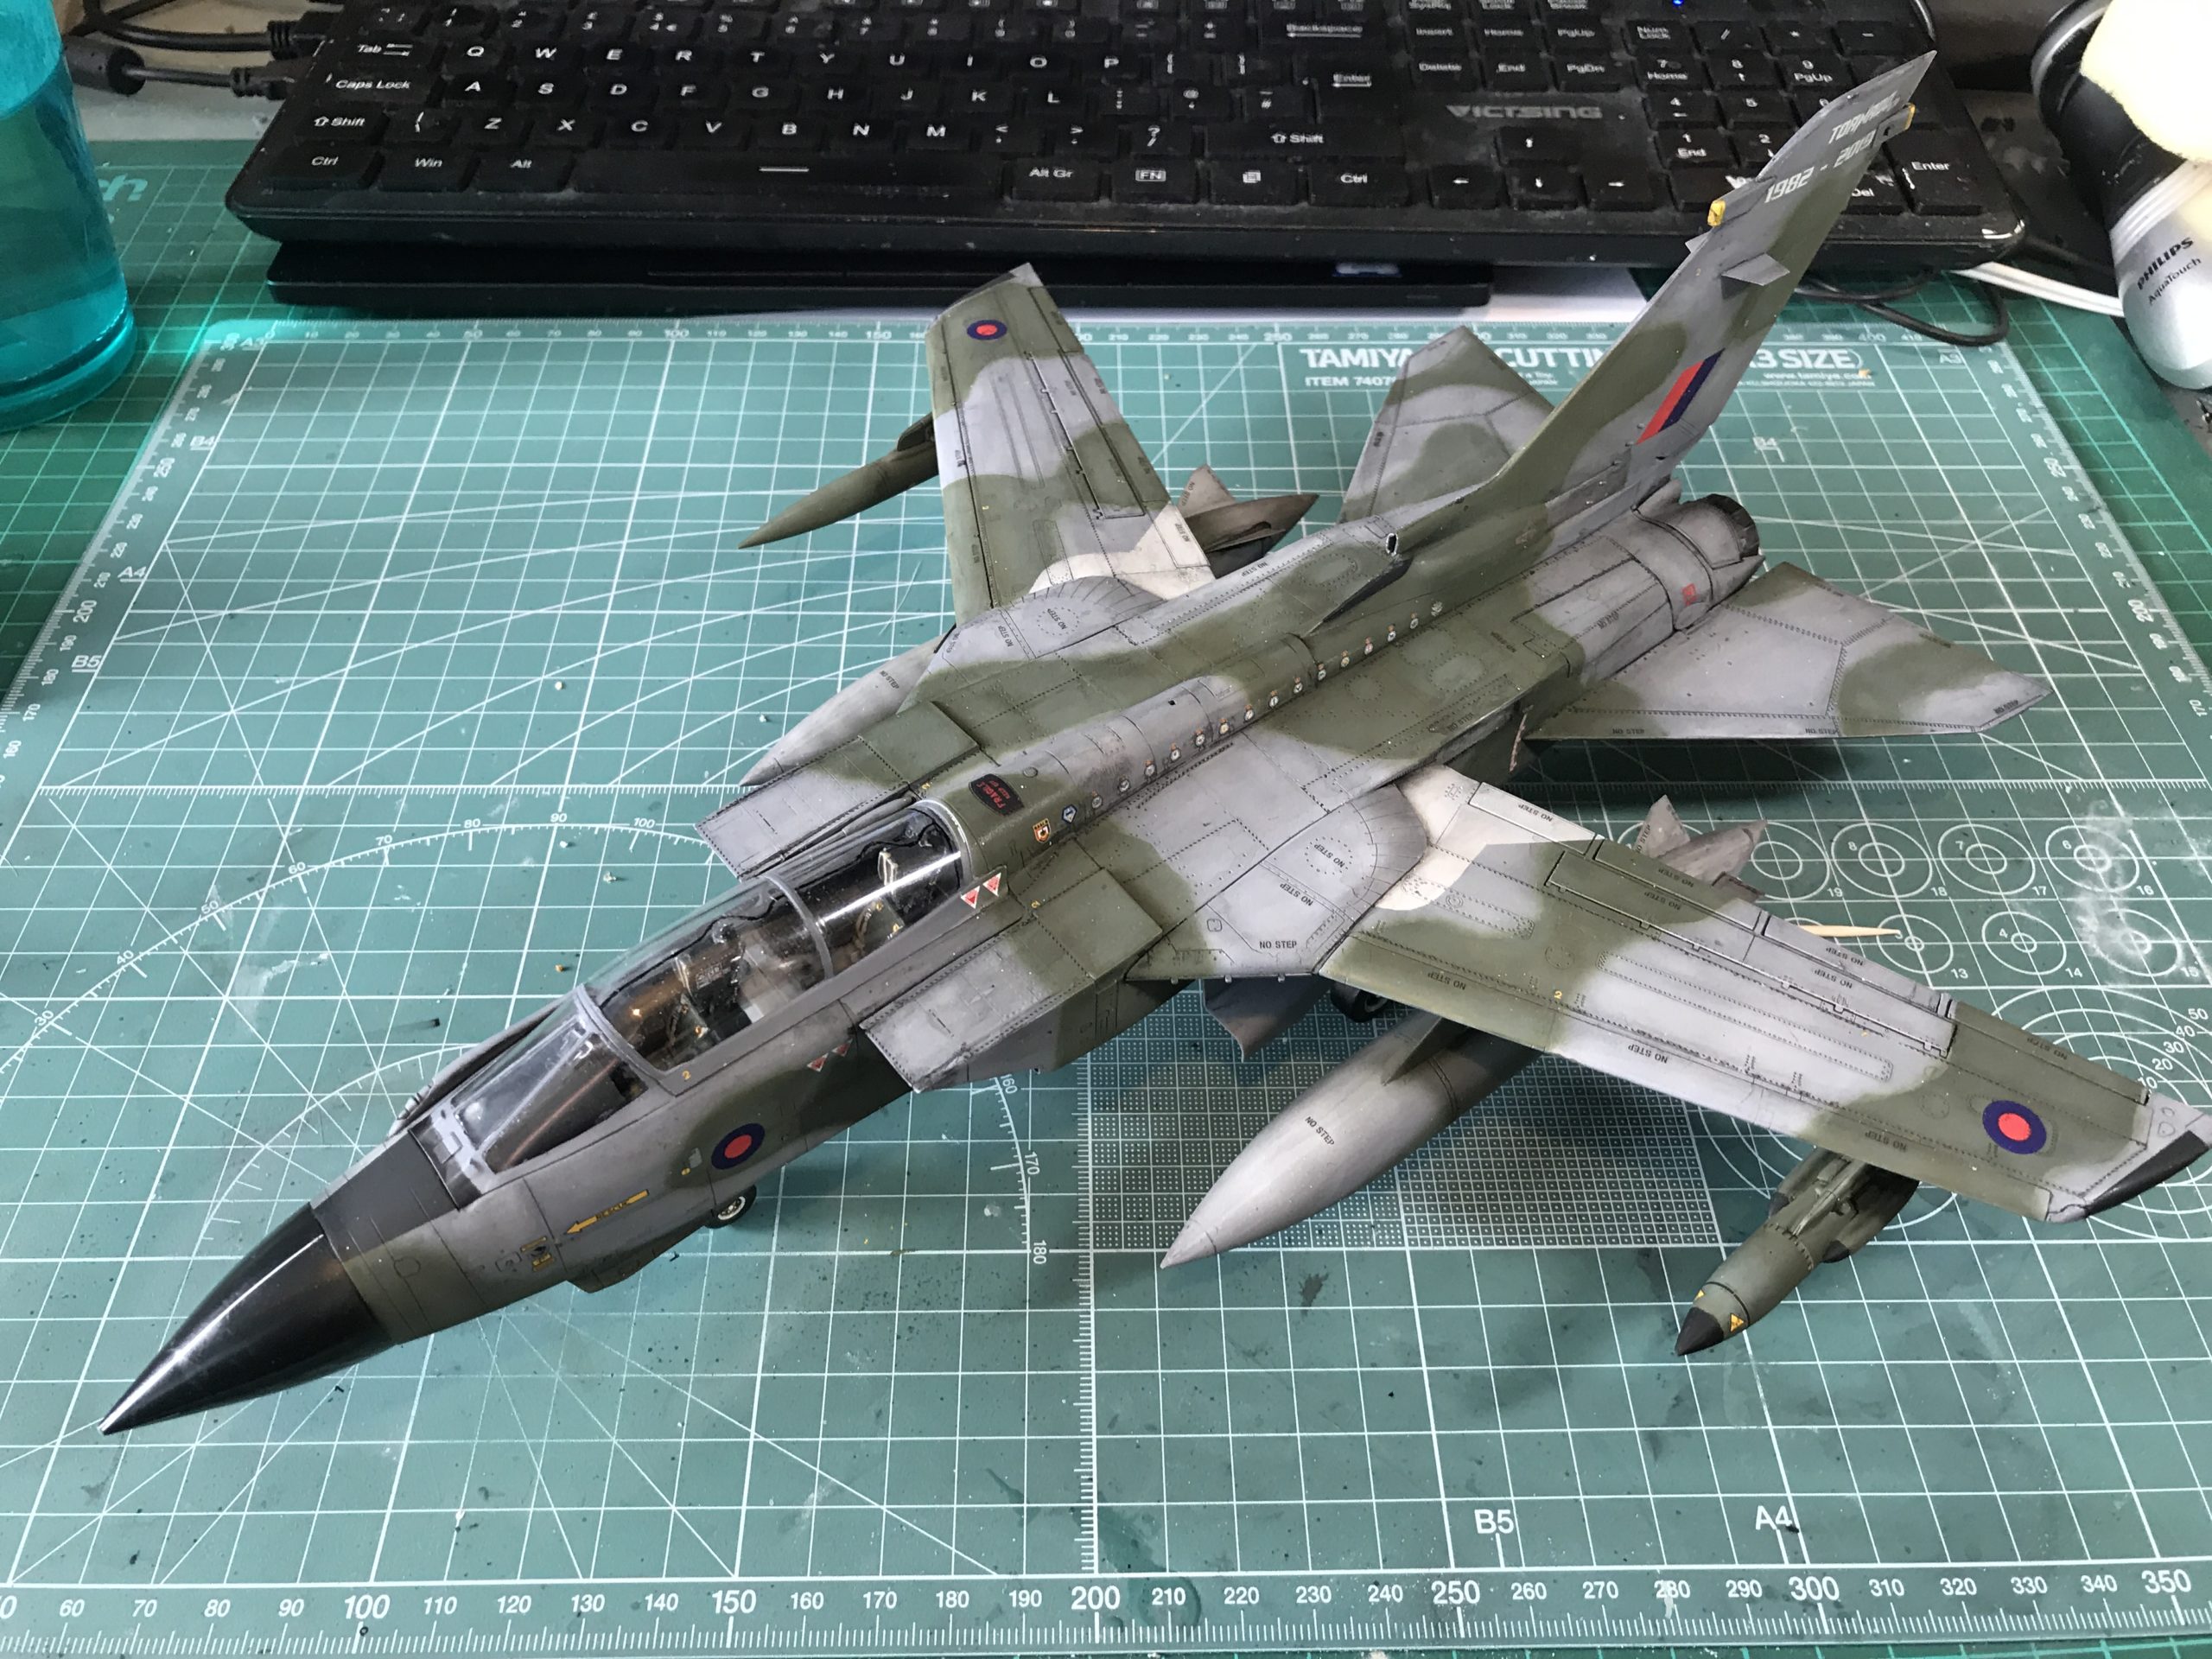
The very last part of the build are some of the Navigator / Weapons operators instruments and some internal canopy framing. this is slightly fiddly but as with the rest of the build take a bit of time and it’s all good.
And there we have it. It feels like it’s the longest build I have ever done. Has it been enjoyable? well in all honesty, no.
I think that’s more of a comment about my style of model making than the kit though as plenty of modellers enjoy long term projects.
Am I pleased with the results? Yes, I think the level of detail out of the box is quite remarkable especially when you consider the modest price.
So going back to the very beginning of this review; Next to availability I quoted “Caveat Emptor” which I’m sure most of you know is “Let the buyer beware”. This is a good kit but thoroughly justifies it’s level 5 status and really should only be taken on by experienced modellers.
The Verdict on this kit:
Build Time:
Build time measured with a calendar not a watch. One for the modeller that enjoys a longer project.
This is 100% a level 5 kit and not one for beginners.
Suggested Tools:
Patience…..
Some decent sanding materials is going to help. As would Mig masking putty if you are going for the retro scheme like me.
Otherwise it’s just the regular stuff from the toolbox.
What we’ve taken away from this build:
“More haste less speed” My dad tells me (he also told me to “fight fire with fire”, but that didn’t help my career in the fire brigade) In this case he was right though. To do this kit justice don’t rush it, take time and care and you will end up with an impressive model for a very modest price.
Just in case you haven’t picked up on it; this isn’t a weekend build (I completed the Marder in a half the time I spent on the decals here)
If you enjoy a longer more complicated project then this may well be the kit for you.
Want to build this kit yourself? Order yours here at jadlamracingmodels.com. Looking for more model kits? Explore our massive range here!
Another lovely job – 10/10 for perseverance! Cockpit finished nicely (especially the seats), weathering was also nicely done. I have Revell’s 1/72 GR1 in the stash, your build has encouraged me to move it a bit closer to the top of the pile.
By the way, good luck with the Ferrari!
Thanks. The 1/48 kit is worth the effort and looks great on the shelf. It’s made me want the upcoming italeri 1/32 new tool kit.
Sadly the folks at maranello haven’t been in touch though.