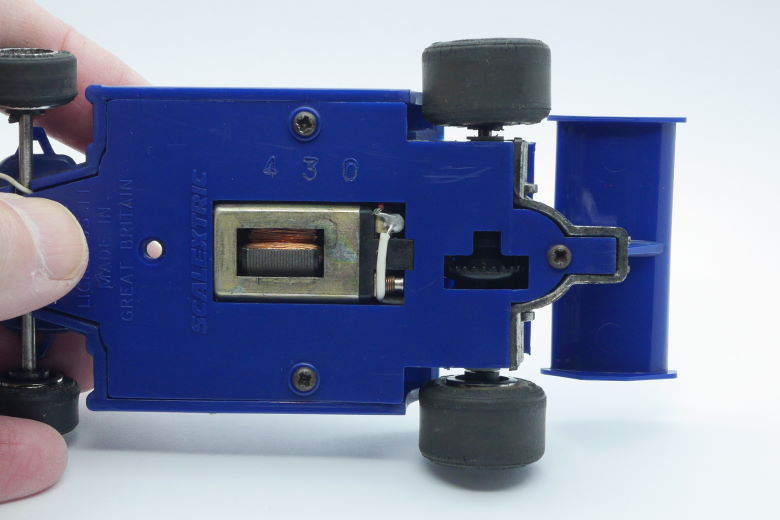
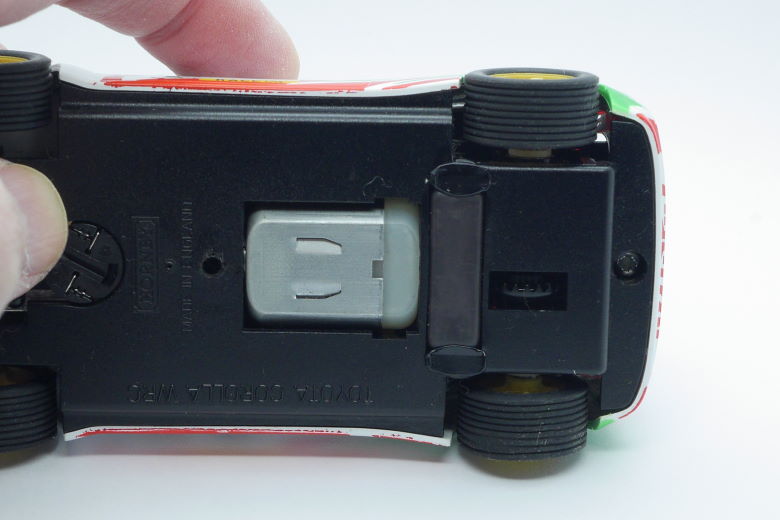
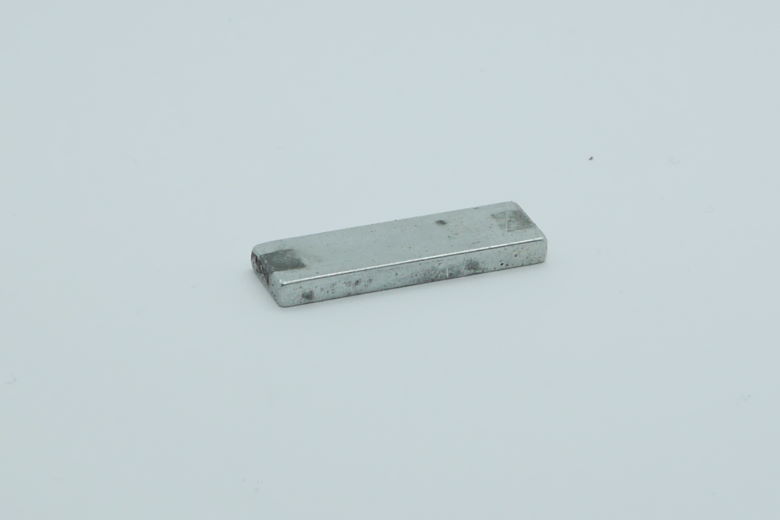
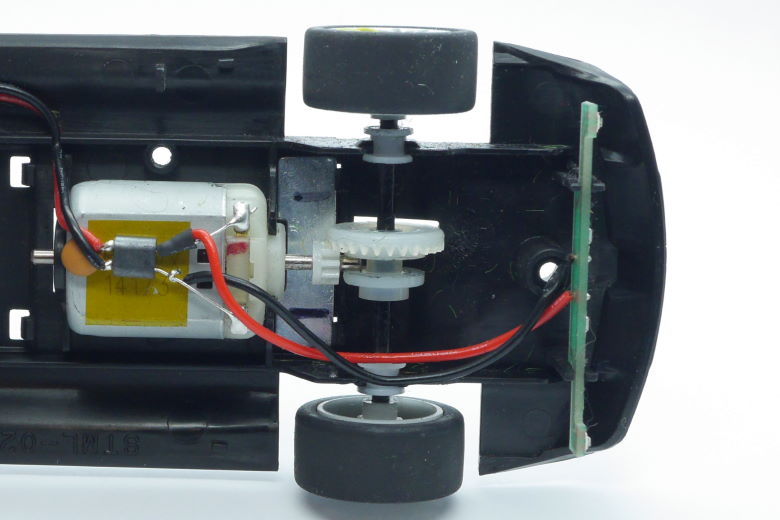
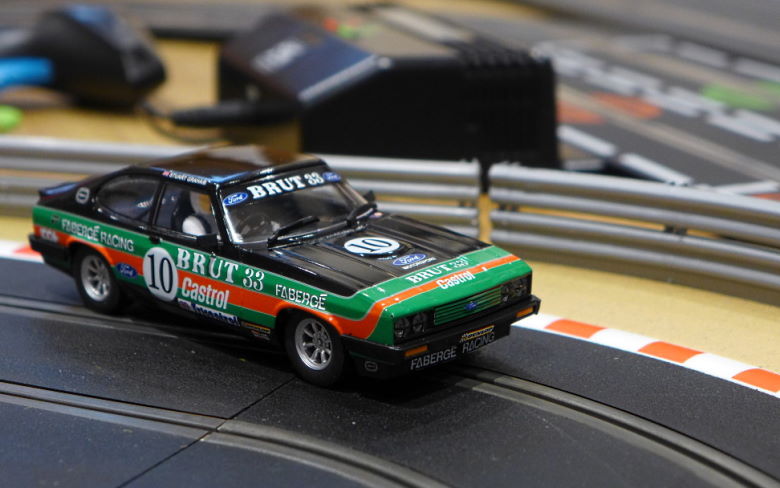
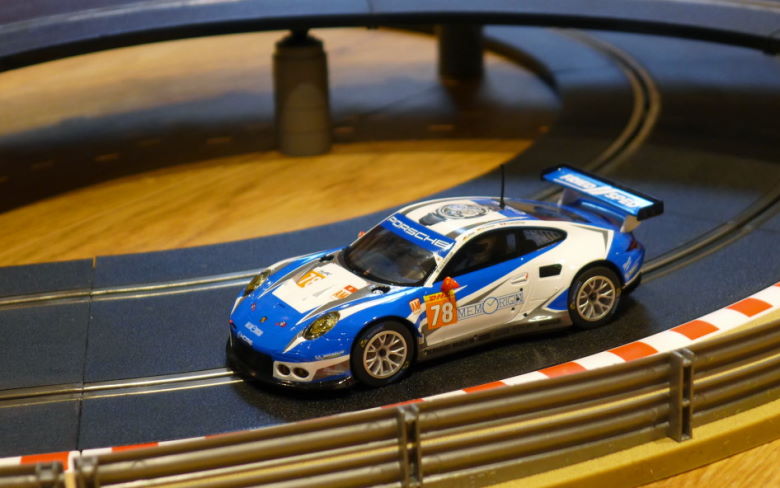
Scalextric cars are fitted with a traction magnet to create ‘magnetic downforce’…
This magnetic downforce has a similar effect to aerodynamic downforce on real racing cars – giving more stability and speed through corners. However, downforce also creates ‘drag’ on straights and the motor needs to work harder than it would without magnets fitted.
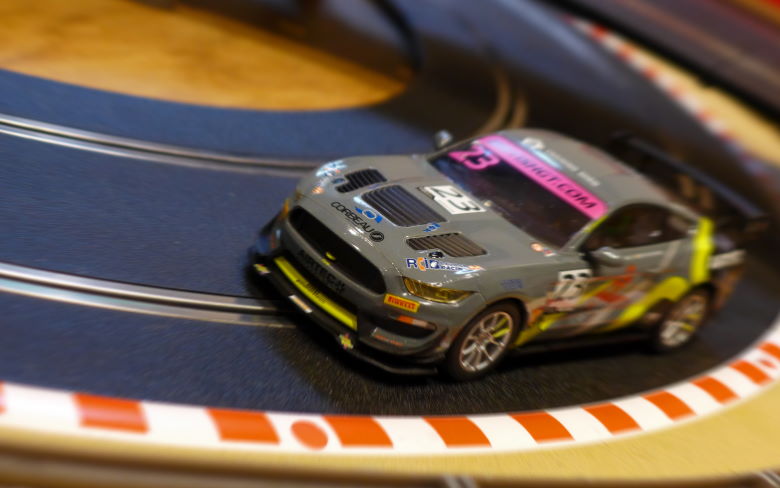
In this blog post, I’ll touch on some of the theory behind ‘magnatraction’ and use the Scalextric Mustang GT4 to explain how to measure and tweak this magnetic downforce – and then look at the results on the Jadlam SL6 test track.
‘Magnatraction’ on Scalextric cars only appeared in the late 1980s and early 90s. The first magnets were weak ‘ceramic’ magnets and these were replaced by stronger ‘neodymium’ versions about twenty years ago. Although some slot car racers don’t like magnatraction, most of us see the magnet as just another part of a Scalextric car – as much as the wheels, motor or braids. If we’re going to tune a car, then thinking about the magnet is as important as every other component.
How Magnatraction Works
The magnet attracts and ‘pulls’ on the metal track rails. The amount of ‘pull’ depends on the strength of the magnet and the distance between the magnet and the rails. Some older Scalextric START and Super-Resistant models were fitted with stronger magnets, but the magnets in most of the current standard cars are quite uniform, with plus-or-minus 10% variation.
Despite similar magnet strength, different models can have very different magnetic downforce. This depends on how close the Magnet Pocket is to the track. The bigger the gap, the less downforce.
All modern Scalextric cars have the magnet just in front of the rear axle to add grip to the rear wheels. Of course, if the rear of the car drifts and the magnet is no longer over the metal rails, magnetic downforce is lost and the car spins out, flips over or flies off into the scenery. That ‘all-or-nothing’ feature is one of the least attractive things about strong magnatraction and can lead to damaging high-speed impacts, broken rear wings, smashed windscreens and frayed tempers.
Downforce vs Drag
Magnetic downforce gives the car more speed and stability through corners. It also creates ‘drag’ on straights – the motor needs to work hard to overcome the magnetic ‘pull’. Typically, that means the car is slower on the straight than one with less magnetic downforce. Strong downforce also causes the motor to heat up quicker – and too much downforce risks permanently damaging the motor.
Getting the balance right – three scenarios:
- On a twisty track with no long straights, more magnetic downforce will give quicker lap times – unless too much downforce overheats the motor and starts to slow the car.
- On a fast track with few corners and long straights, less downforce may give quicker lap times.
- In an endurance race, less downforce will put less strain on the motor and it will perform better throughout the race. Fastest lap times may be slower, but you’ll finish with a healthy car and probably win the race!
Measuring Downforce
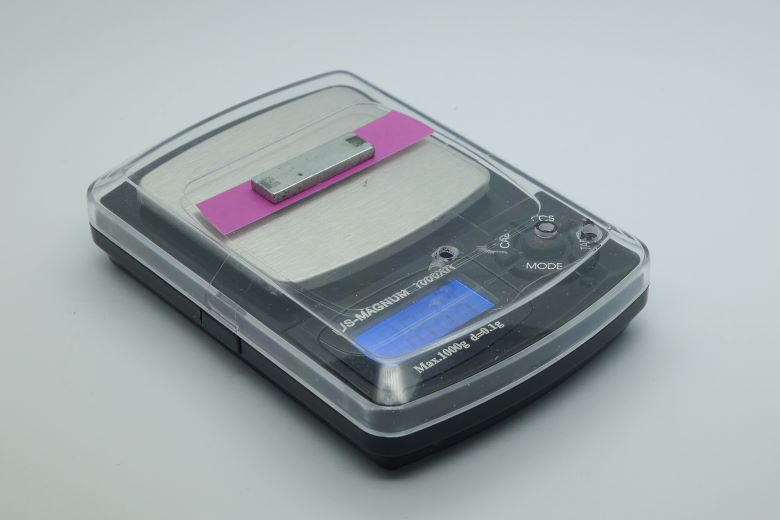
I have built my own ‘magnet meter’ to measure the strength of magnets in and out of a car. It is based on a jewellers weighing scale with a metal weighing tray that the magnet can ‘pull’. The plastic cover is left on and a hole drilled so I can press the on/off button with a cocktail stick. If I place a magnet on the plastic cover, it will pull up the metal tray underneath and register a negative weight – that is my measure of the magnet’s strength out of the car.
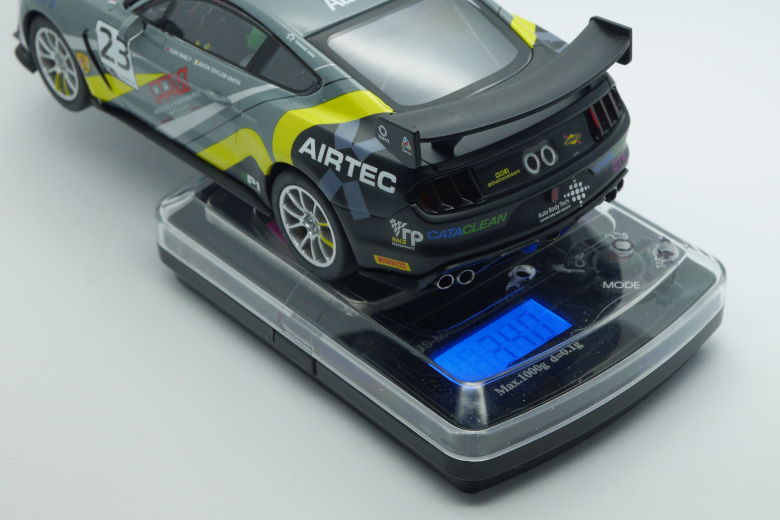
To compare magnets, they should be place in exactly the same place on the tray. Likewise, with measuring the downforce when the magnet is fitted in the car, I place the rear wheels so the magnet is above the pink ‘Magnet’ sticker. It is a simple, effective and cheap solution – the scale can be bought for around £10 – but the weighing plate must be metal. Plastic weighing plates won’t work.
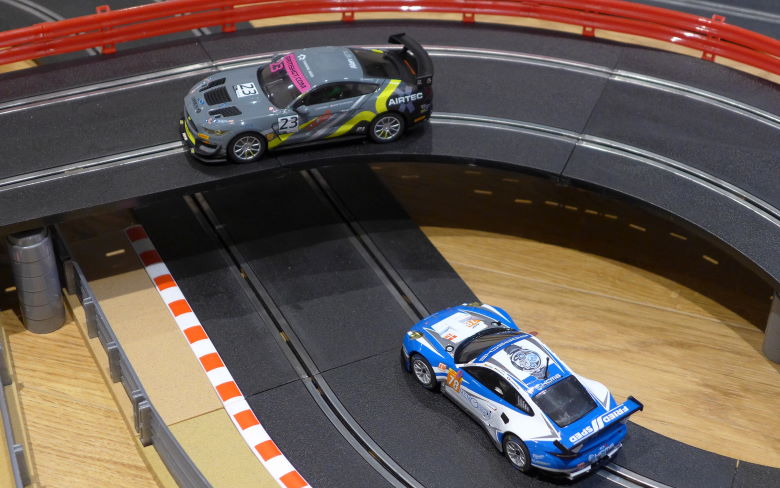
Putting the Mustang on the scales, I got a downforce reading of 33g. That compares to 49g for a Porsche 911 RSR, one of the best handling Scalextric GT cars. The 16g difference is noticeable when I lift the rear of the car off the track and translates into a more ‘tail-out’ character of the Mustang on the SL6 test track. I do like a car that is tail-out – or ‘oversteers’ – and that might explain why I can drive the Mustang almost as fast round the twisty test track as the Porsche. However, it won’t suit everyone’s driving style.
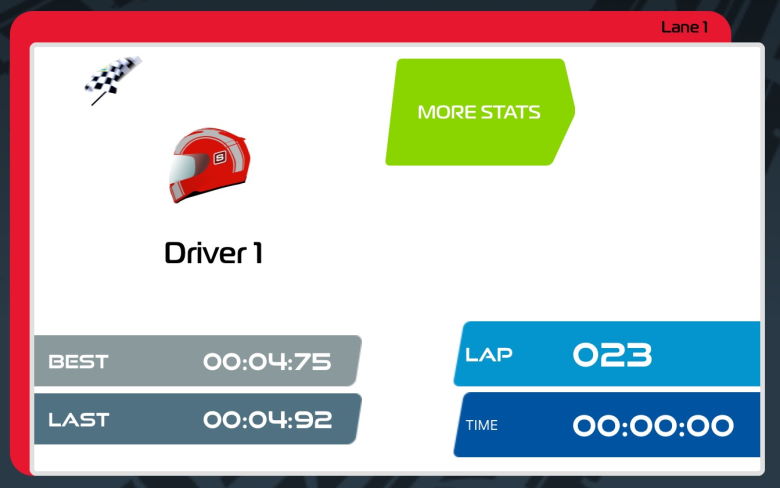
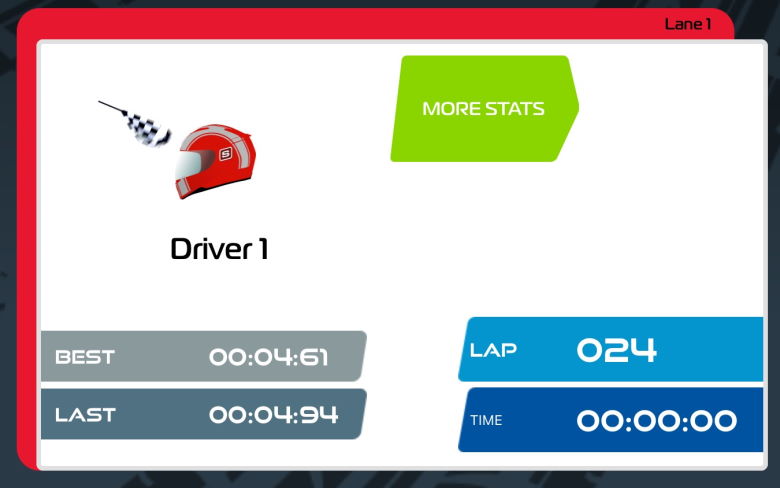
With just the four basic tweaks (see here), a two-minute test run (see my ARC app set-up here) gives me 23 laps and a best lap time of 4.75 seconds for the Mustang, compared to 26 laps and 4.28 seconds for the Porsche. Now it’s time for some tweaking…
Tweaking Downforce
There are three main ways of tweaking magnetic downforce:
- Changing the strength of the magnets – e.g. adding or replacing magnets
- Moving the height of the magnets from the track rails – e.g. fitting bigger or small diameter rear tyres
- Moving the position of the magnets – e.g. using alternative magnet pockets
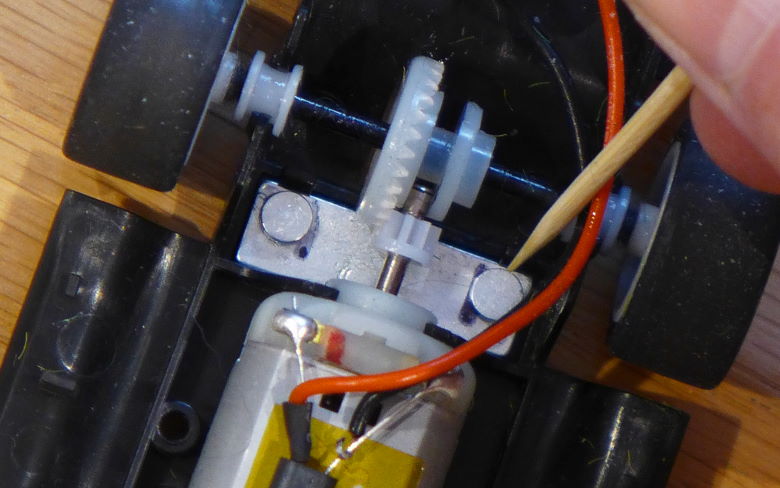
My preferred way to increase the downforce is to add small 4mm x 2mm neodymium button magnets to the top of the standard ‘bar’ magnet. This increases the combined magnetic attraction. It’s easy to do, easy to reverse and very cheap – a bag of 50 magnets costs about £5. An easy way of reducing downforce would be to remove the bar magnet and glue the button magnets to the underpan within the magnet pocket.
**Caution** neodymium magnets can be very dangerous if swallowed and must be kept away from children and pets. If you are going to use this tweak, I strongly suggest gluing or taping over the button magnets so they can’t fall out of the car.
After removing the body of the Mustang, I added one button magnet at each end of the standard magnet and remeasured the downforce reading. It was now 41g. A two-minute test run saw the Mustang clock up 24 laps and a best lap time of 4.61 seconds. Although the car had better traction in the corners, it also tended to tip over rather than slide. This was awkward at the sharp ‘radius 1’ right-hander in the centre of the SL6 layout and I really had to ease off for this section of the track.
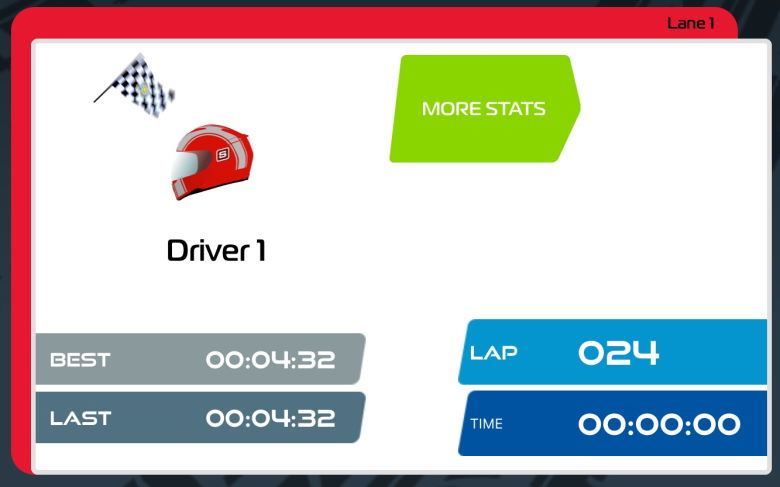
A third magnet in the centre raised the downforce reading to 46g – close to the Porsche’s 49g – and another two-minute test gave us 24 laps, with a best time of 4.32 seconds. The extra magnet made the Mustang less ‘tippy’ – including in the sharp radius 1 corner – but when traction was lost, the car really broke loose. That’s the ‘all-or-nothing’ feature of strong magnatraction I mentioned earlier.
What I had now was a car as quick as the Porsche over a lap, but not as much fun to drive. A worrying issue was the motor got pretty hot after just two minutes of racing – I didn’t want to damage the motor, so called a stop to any more magnet experiments. There are other ways to find more rear-end grip for the Mustang – and I’ll look at some in the next blog post.
However, adding magnets has worked well for me with other cars – one very pleasing example was balancing the performance of the Honda Civic and BMW 125 cars in the BTCC Touring Car Battle set. With two extra button magnets, the BMW became a perfect match for the small and grippy Honda. If you have a fleet of Scalextric BTCC cars, it’s a good tweak to try.
I did want to look at how moving the magnet to the front magnet pocket changed the handling of the Mustang. I was a bit nervous about cracking the underpan when removing the magnet, so I didn’t. I will be removing the Mustang’s magnet permanently in Part 9 – Removing the Magnet, so will take the opportunity to try the other magnet pocket then and report back.
Tweaking Magnets in Practice
There are a number of reasons why you might want to measure and tweak the magnatraction of your cars. Here are a few examples:
Realistic Downforce: Tweaking magnetic downforce is a perfect way of producing realistic race classes. It would be a superb project to tune your cars and tweak the magnatraction to give rear-end grip that mimics the real cars of that class or era.
Balance of Performance: The downforce tweak is a good way of balancing the performance of different models of cars. This is what I did with the Mustang and the Porsche and mimics Balance of Performance tweaks seen in real-life GT racing series.
Avoiding a Magnet War: If you are inviting other people to bring their cars to race, there is always a risk of victory going to whoever has the strongest magnets. Measurement of downforce will be vital, but it’s also one reason why some racing groups choose to race ‘bring-your-own’ cars without magnets.
Running Without Magnets: Scalextric cars are designed to be run with the magnet. Removing the magnet usually gives a car that is undriveable without a fair amount of tweaking. I’ll examine ‘non-mag’ tuning in Part 9 – Removing the Magnet. I also find Slot.it, Policar and NSR cars (available at Jadlams here) a much more straightforward way to racing without magnets. I will be looking at these cars in a separate Performance Slot Cars series.
Learner drivers: One final thing… There is a temptation to add extra magnets to a learner driver’s car so they can drive fast without the frustration of crashing. Despite the probability of burning out the car’s motor, it’s not the best way to learn. Scalextric have produced an excellent new controller with four speed-limiting settings (available at Jadlams here and here). Using the slowest setting gives the thrill of ‘full gas’ and then working up through the settings is a perfect way to learn to drive a Scalextric car. ARC Air and ARC Pro sets have a Max Power menu within the ARC app that does the same.
Next time I’ll start looking at some of the more advanced tuning tweaks we can use on a Scalextric car using the standard parts. I’ll start with Fixing Oversteer – sorting out the rear of the car and getting more power and grip. And then – after a break – I’ll tackle Understeer – looking at the front of the car to improve handling.


