
Understeer is when the front of the car goes straight on in a corner…
It’s what Americans describe as the car being ‘tight’ – the front fails to turn and the rear-end does not slide out. I looked at the opposite – oversteer – in Part 5 – Fixing Oversteer.
We all have our own driving styles, so some of us might like a bit of oversteer on a slot car – but no-one likes understeer! It means a slot car de-slots too easily going into a corner, which is really annoying. For quick lap times and successful overtaking manoeuvres, you want to be able to throw the car into a corner and be as late on the brakes as possible.
The Mustang is naturally an oversteering car, but there were two things we did in Part 2 – Tweaking a New Car that help control understeer – re-profiling the braids and loosening the body screws. Also, by fixing oversteer, we now have a car that is slightly more prone to understeer – that’s how tuning goes… you fix one thing and often create another problem.
In this blog post I am going to concentrate on the front end of the car – getting the guide down into the slot, reducing grip on the front tyres and adding a little weight to the car. I am sticking with all the standard parts that came with the Mustang and introducing important techniques for future tweaking and tuning.
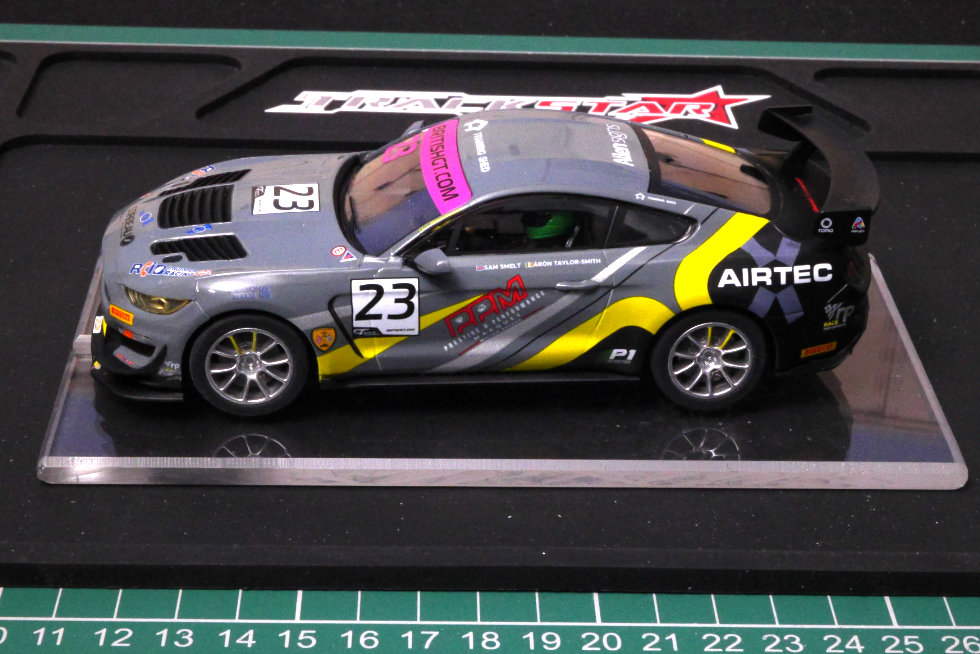
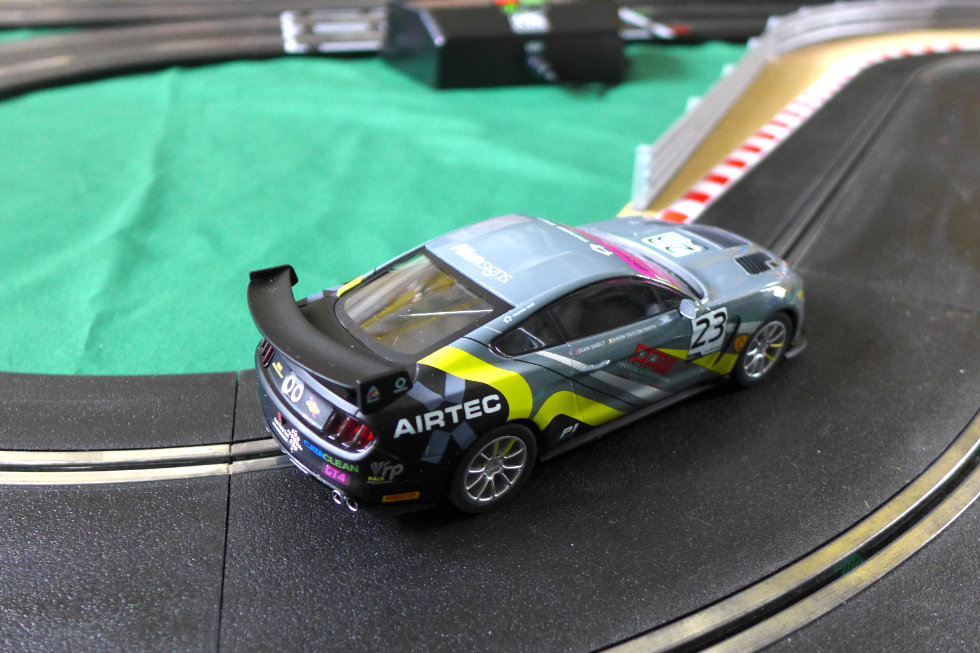
But first, I need to do some maintenance on our Mustang GT4 test car and give our Jadlam SL6 test track a good clean. Unbelievably, the last tune-up session was back in December, so I’d expect performance to have dropped off. I cleaned the track as I usually do (see my blog post here) and then cleaned the Mustang’s rear tyres on masking tape. Over a couple of two minute races, the ARC app gave a best score of 23 laps and a best lap time of 4.82 seconds. That’s not even close to where we left things before Christmas – hitting a high of 26 laps and a best of 4.23 seconds. However, it did remind me how much fun this car is to drive – I just love the controllable tail-out action the Mustang provides.
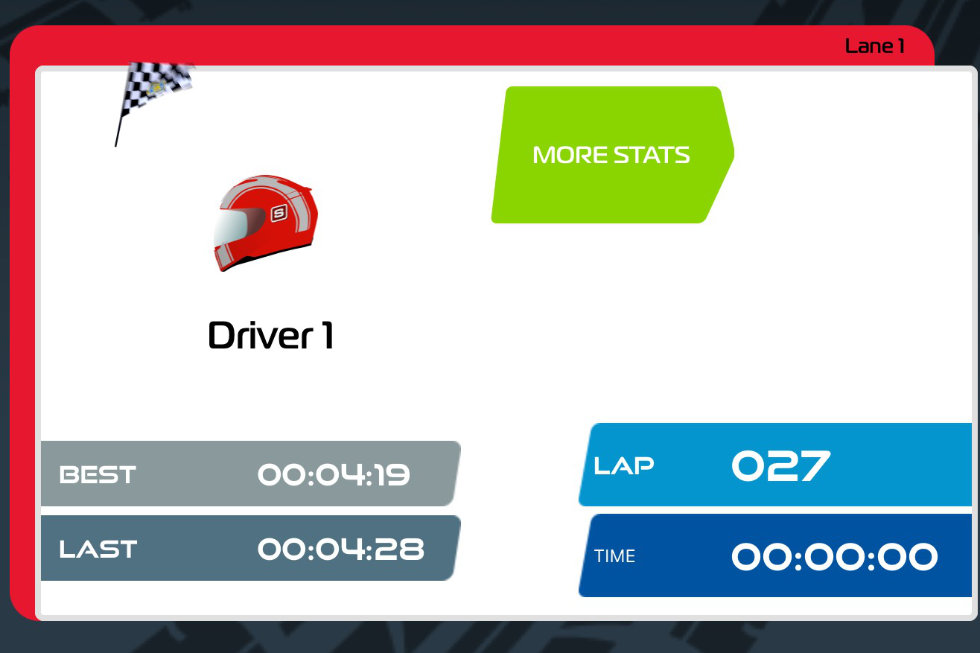
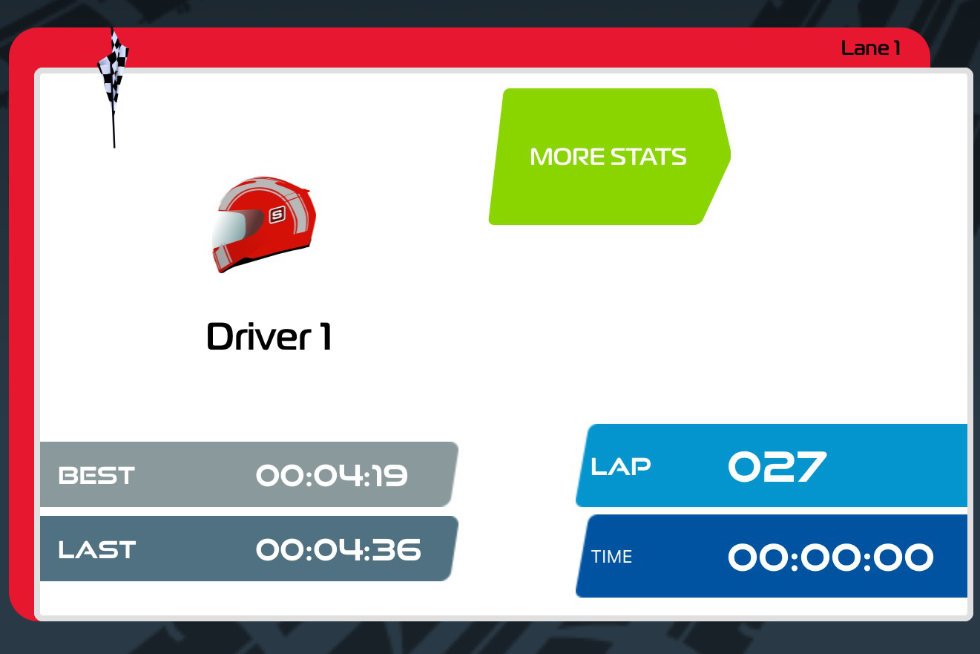
The car did need cleaning and perking up. I methodically worked through my maintenance tips (Part 3 – Maintenance & Repairs), plus I removed the rear axle and ran the motor at a steady 6 volts for about 5 minutes. I then scuffed up and cleaned the rear tyres, cleaned and tweaked the braids and put everything back together with the body screws loosened off. Another two minute run gave me a score of 27 laps and a best lap time of 4.19 seconds. That’s more like it! In fact, that’s the best run ever for the Mustang on our SL6 test track. Can we get it quicker?
Front Wheel & Tyre Truing
Although the front wheels and tyres don’t drive the car, they are important for handling. Scalextric front wheels are notorious for lifting the guide out of the slot – a major cause of understeer in corners and of de-slotting on a flyover. In that situation we want to reduce the diameter, so the tyres just touch the track. We also want the wheels and tyres to be nice and round. Any lumps or bumps on the wheels risk bouncing the front of the car and causing a de-slot.
The first thing to do is look at the Mustang on a piece of track or a set-up plate. My set-up plate is a strip of acrylic with a groove cut for the guide – a flat piece of track works just as well. Looking closely at the front wheels – and turning them with my finger – I can see that the tyres are barely touching the plate. This is excellent news (well done Scalextric) and probably a reason the Mustang doesn’t suffer from understeer. However, I will want to sand the wheels and tyres so they are nice and round and ‘true’.


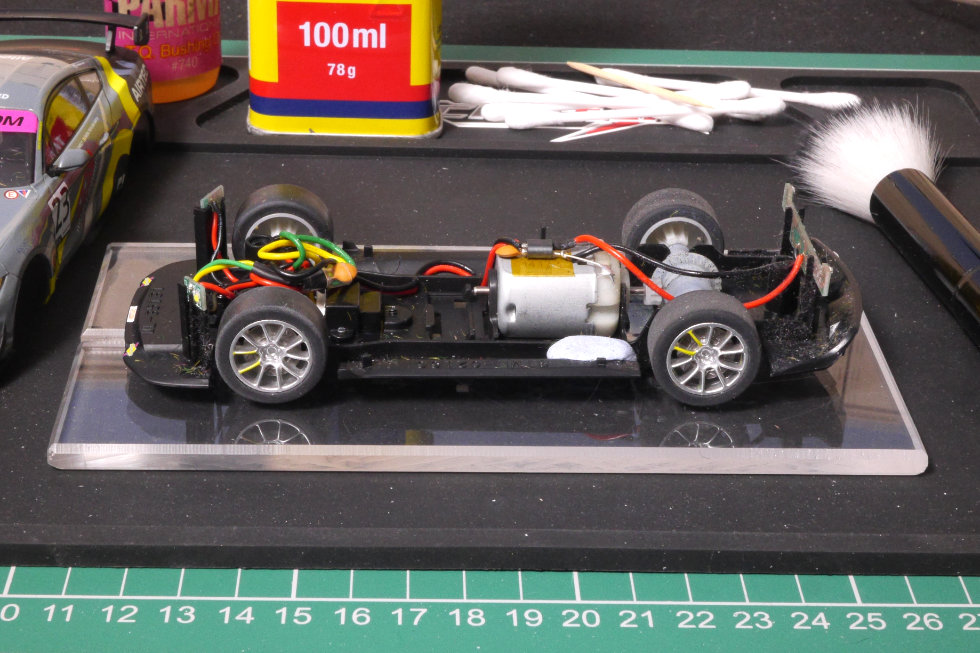
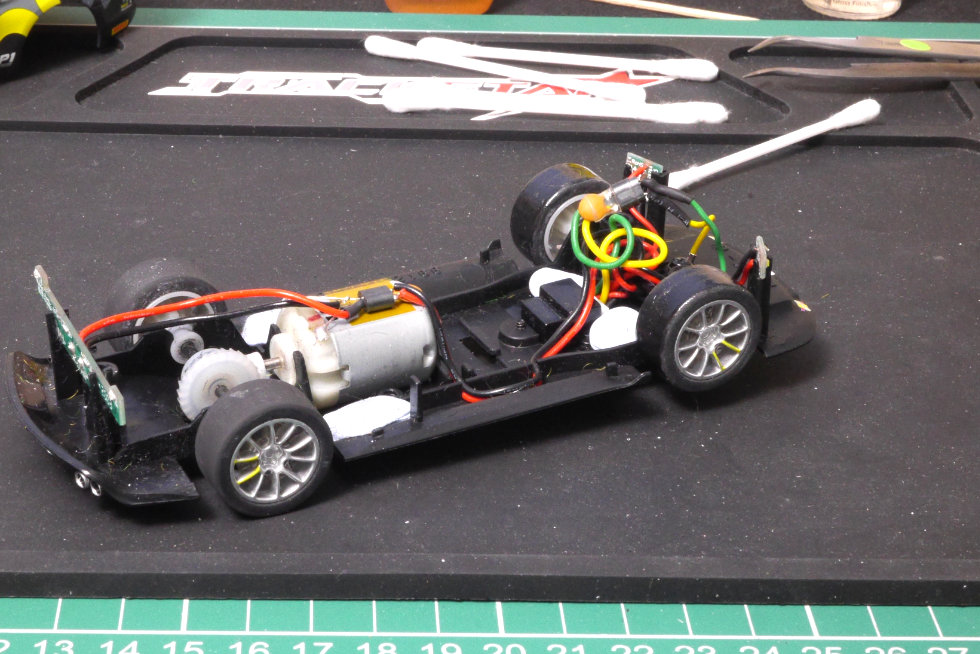
To do this, I can’t use my DIY Tyre Truer as I did in Part 5 – the front wheels aren’t powered. Instead, I am going to use the sanding block and rotate the front axle with my Dremel 3000 (other multitools are available). It is a bit of a fiddly process and an extra hand would always be useful, but you can see from the photo above how I do it.
The aim is to remove any moulding lines or bumps from the plastic wheel – and there was quite a big moulding line down the centre of the Mustang’s wheels. When both sides are done we can look at the tyres. Because the front and rear tyres are a similar size, I simply swapped the front tyres onto the back wheels and true them as I did in Part 5 – Fixing Understeer. Because the Mustang’s wheels aren’t lifting the front of the car, I don’t need to remove much rubber from the tyres – just make sure they are round. Remember, patience is key – a count of “1,000 – 2,000 – 3,000 – 4,000 – 5,000” and then lift and rest.
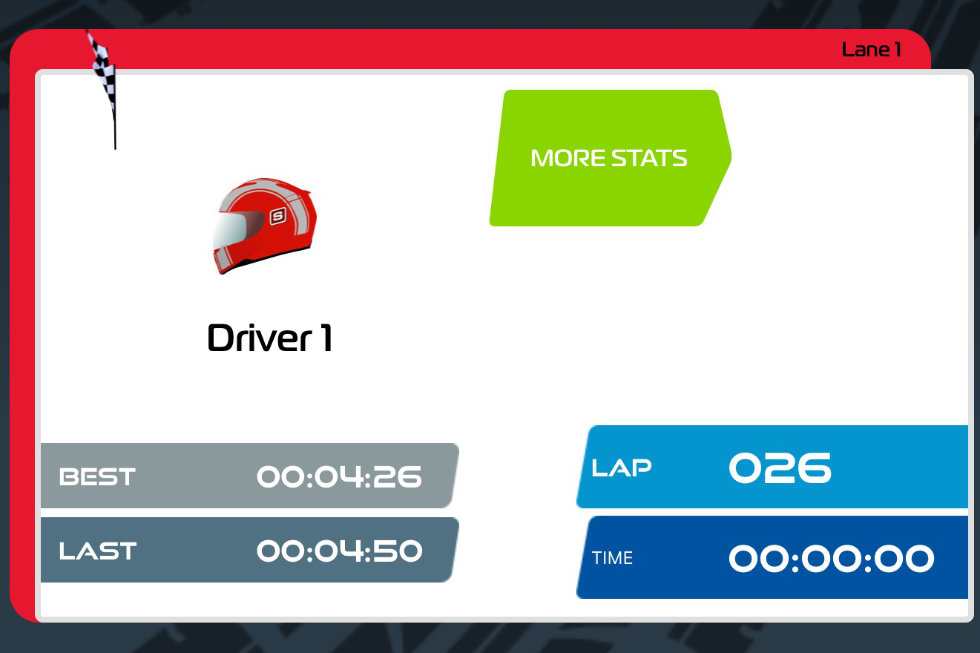
Once the wheels and tyres were trued, I reassembled the Mustang. A test run delivered a score of 26 laps and a best lap time of 4.26 seconds. During the test run, it felt like I’d upset the balance of the car a little. Truing the front tyres makes them more grippy and that did occasionally unsettle the front of the car in some corners.
To be honest, I’d only expect performance improvements on a car with big front wheels that suffered badly from understeer. The aim then, is to remove enough rubber so that the tyres are just touching the surface of the set-up block or track surface. That might take a lot of time and patience. An alternative is to source and fit ready-made low-profile tyres – we’ll look at this in Part 8 – Using Upgrade Parts.
Reducing Grip
We spent a lot of time in Part 5 – Fixing Oversteer increasing the grip of the rear tyres to fix the Mustang’s oversteer. Here we’re going to decrease the front end grip to fix understeer. In theory, a slot car rides on its guide at the front and rear wheels at the back – a ‘tripod’ or triangle. The front wheels only act as stabilisers to stop the front of the car tipping. When the front tyres stabilise the car, we don’t want them to grip or ‘dig in’ as that will upset the stability of the car. That’s why we reduce the grip.
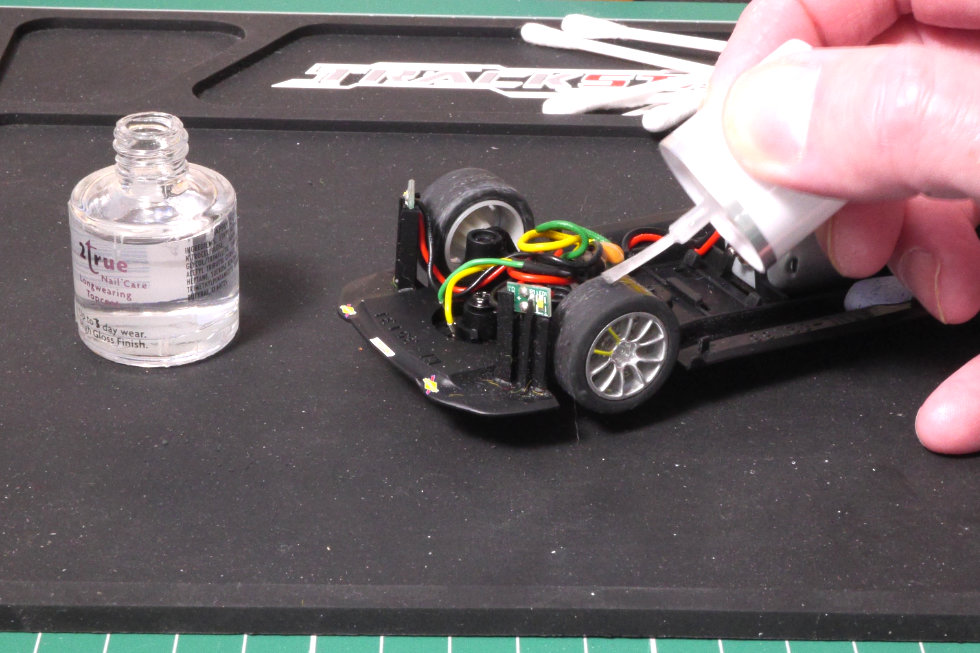
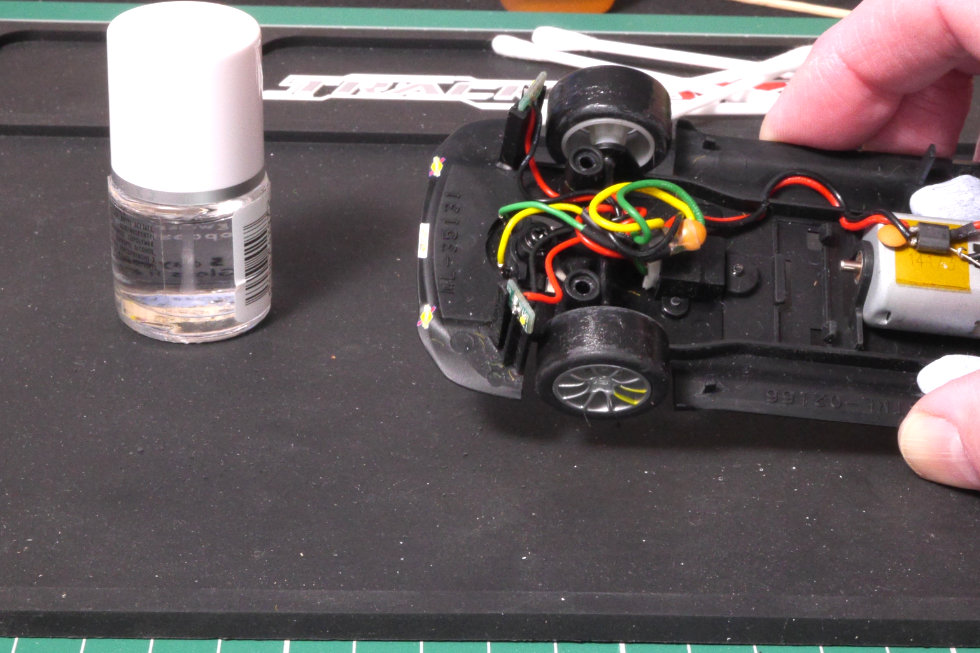
There are many ways of doing this, but the method I prefer is painting the tyre surface with two thin layers of nail varnish. I can’t say I know a lot about nail varnish, but what I use was from the pound shop – ‘high-gloss’, clear and comes with a brush in the cap. I paint it on sparingly, let it dry to the touch and then apply a second thin coat. Covering the tread of the tyre is important, the side walls don’t matter.
After the second coat had completely dried – about 45 minutes – I returned the Mustang to the test track and a two minute run gave me a score of 27 laps and a best lap time of 4.19 seconds. The balance of the car was right back in the sweet spot.
Adjusting the Guide
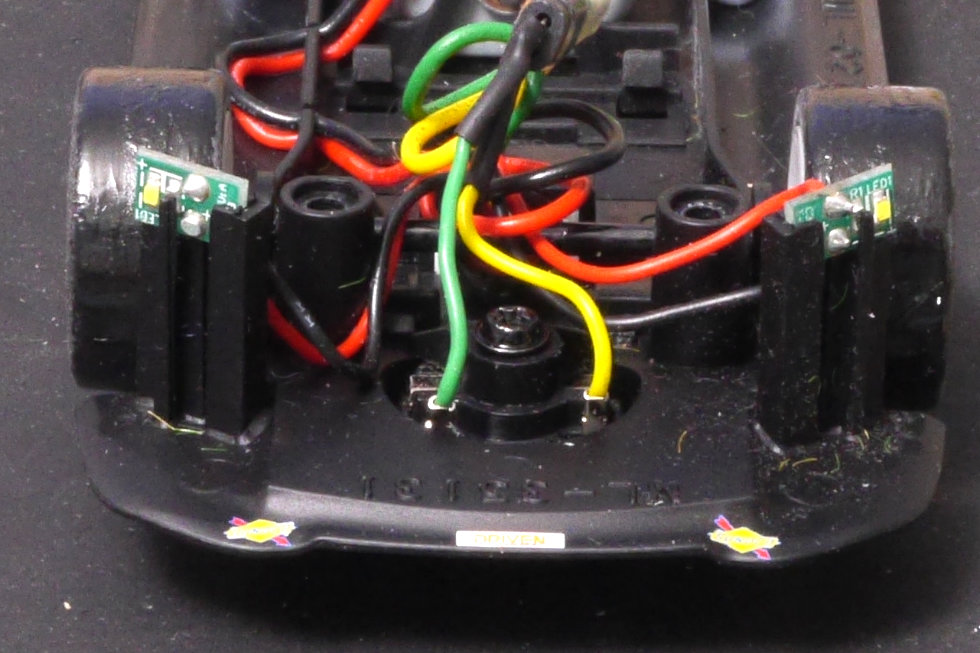
There are two really important things about a slot car guide: it must rotate freely and the blade should sit as deeply as possible in the slot, but without catching on the bottom. If the guide doesn’t turn or the blade lifts up, understeer will be a big problem. In Part 2 – Tweaking a New Car we looked at checking a new car to make sure everything was moving freely and re-profiled the braids to get the guide blade sitting low. Earlier in this post, we made sure the front wheels weren’t lifting the guide at all. Now let’s look at the guide itself.
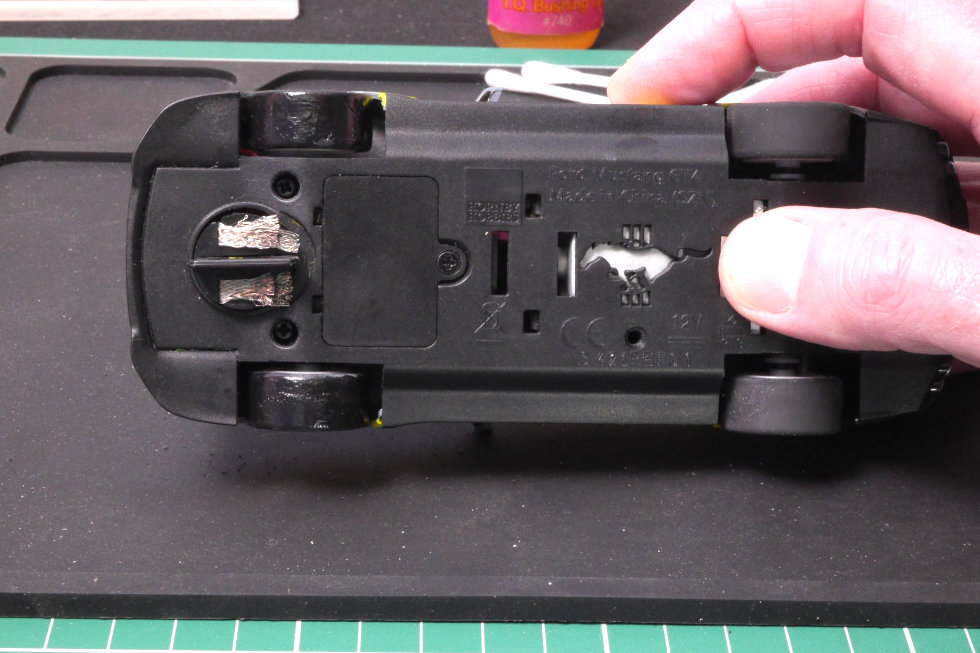
The Scalextric Quick Change guide has a few issues, one being that it can be a bit ‘floppy’. Ideally, the guide should only move in a circular motion, not pivot front-and-back and side-to-side. The problem is the flanged screw sits about 1-2mm above the guide socket in the underpan – allowing the guide stem to wobble. The guide can be tightened a little by sanding the top of the guide stem so the flange of the retaining screw sits snuggly on the underpan. This is best done with the guide removed from the underpan. Be careful not to pull the wires – feed them out gently from the inside.


By adjusting the screw, you can now adjust the tightness of the guide – you want it to rotate nicely, but wobble as little as possible. It’s not a perfect fix, but can improve stability going into a corner. For the Mustang, it felt really good – a two minute run with the ARC app gave me a score of 27 laps and a best lap time of 4.26 seconds. No measurable improvement, but the car felt noticeably more stable through some corners on the test track.
One other thing to look out for is worn and bushy braids – they can lift the guide up too. Keeping the braids neat and replacing them when they become worn and bushy will help keep that guide deep in the slot.
Adding Weight to the Front
We played with some weight in Part 5 – Fixing Oversteer – adding about 1 gram either side of the motor made a noticeable difference to the handling of the Mustang. Increasing the weight at the back does shift the balance away from the front of the car, so can increase understeer. That’s true in real cars and slot cars. Getting a balance is important.
I played with just a little bit of Blu-Tack at the front of the car – as near to the guide as possible. There’s not a lot of space in that part of the car and it’s important not to interfere with the guide or the rotation of the front axle. I squeezed in 1.3g – 0.65g each side. A more dense material like tungsten putty or lead sheet will be much better for permanent ballast, but Blu-Tack is perfect for experimenting.
Driving the Mustang with extra weight at the front, I noticed an immediate difference – I could safely carry more speed through the corners. A test run clocked up a score of 27 laps and a best lap time of 4.19 seconds – again! I was getting tired, so wasn’t pushing quite so hard as earlier. I reckon there is a tenth to be shaved of that lap time with this car.
The Mustang still has its traction magnet fitted, so the downforce from that will be more of a factor than any weight we add. However, with the magnet removed, weight becomes a vital component of tuning a Scalextric car. We will look at this in Part 9 – Removing the Magnet.
Adding too much weight means the car’s braking and acceleration is reduced. In terms of understeer, a heavy car needs to brake earlier and its momentum makes it more likely to go straight on. Extra weight over the guide might keep the guide in the slot for longer, but there is a balance… The correct placement of a small amount of weight is likely to be more effective and record faster lap times than a car with lots of ballast thrown in.
That’s it for understeer – at least for now. Although not a big deal for the Mustang, the front tyre truing and varnishing is an important tweak on any slot car. So is tightening the guide and beginning to look at a little weight up front. Although the biggest strides in laps and times were made with the initial clean and service, the handling of Mustang was improved.
Next time we’ll look at ‘Body Float’ – progressing from the basic loosening of the body screws from Part 2 to give a car that handles more predictably around any circuit – and will certainly help any car suffering from understeer.
I hope you’re finding these tuning tips useful – and understanding some of the principles behind them. Whether you race at home or are looking at trying out some club racing, being able to tune your cars certainly increases the enjoyment of this great hobby of ours. You can find all ten parts here: https://blog.jadlamracingmodels.com/tag/scalextric-tuning/