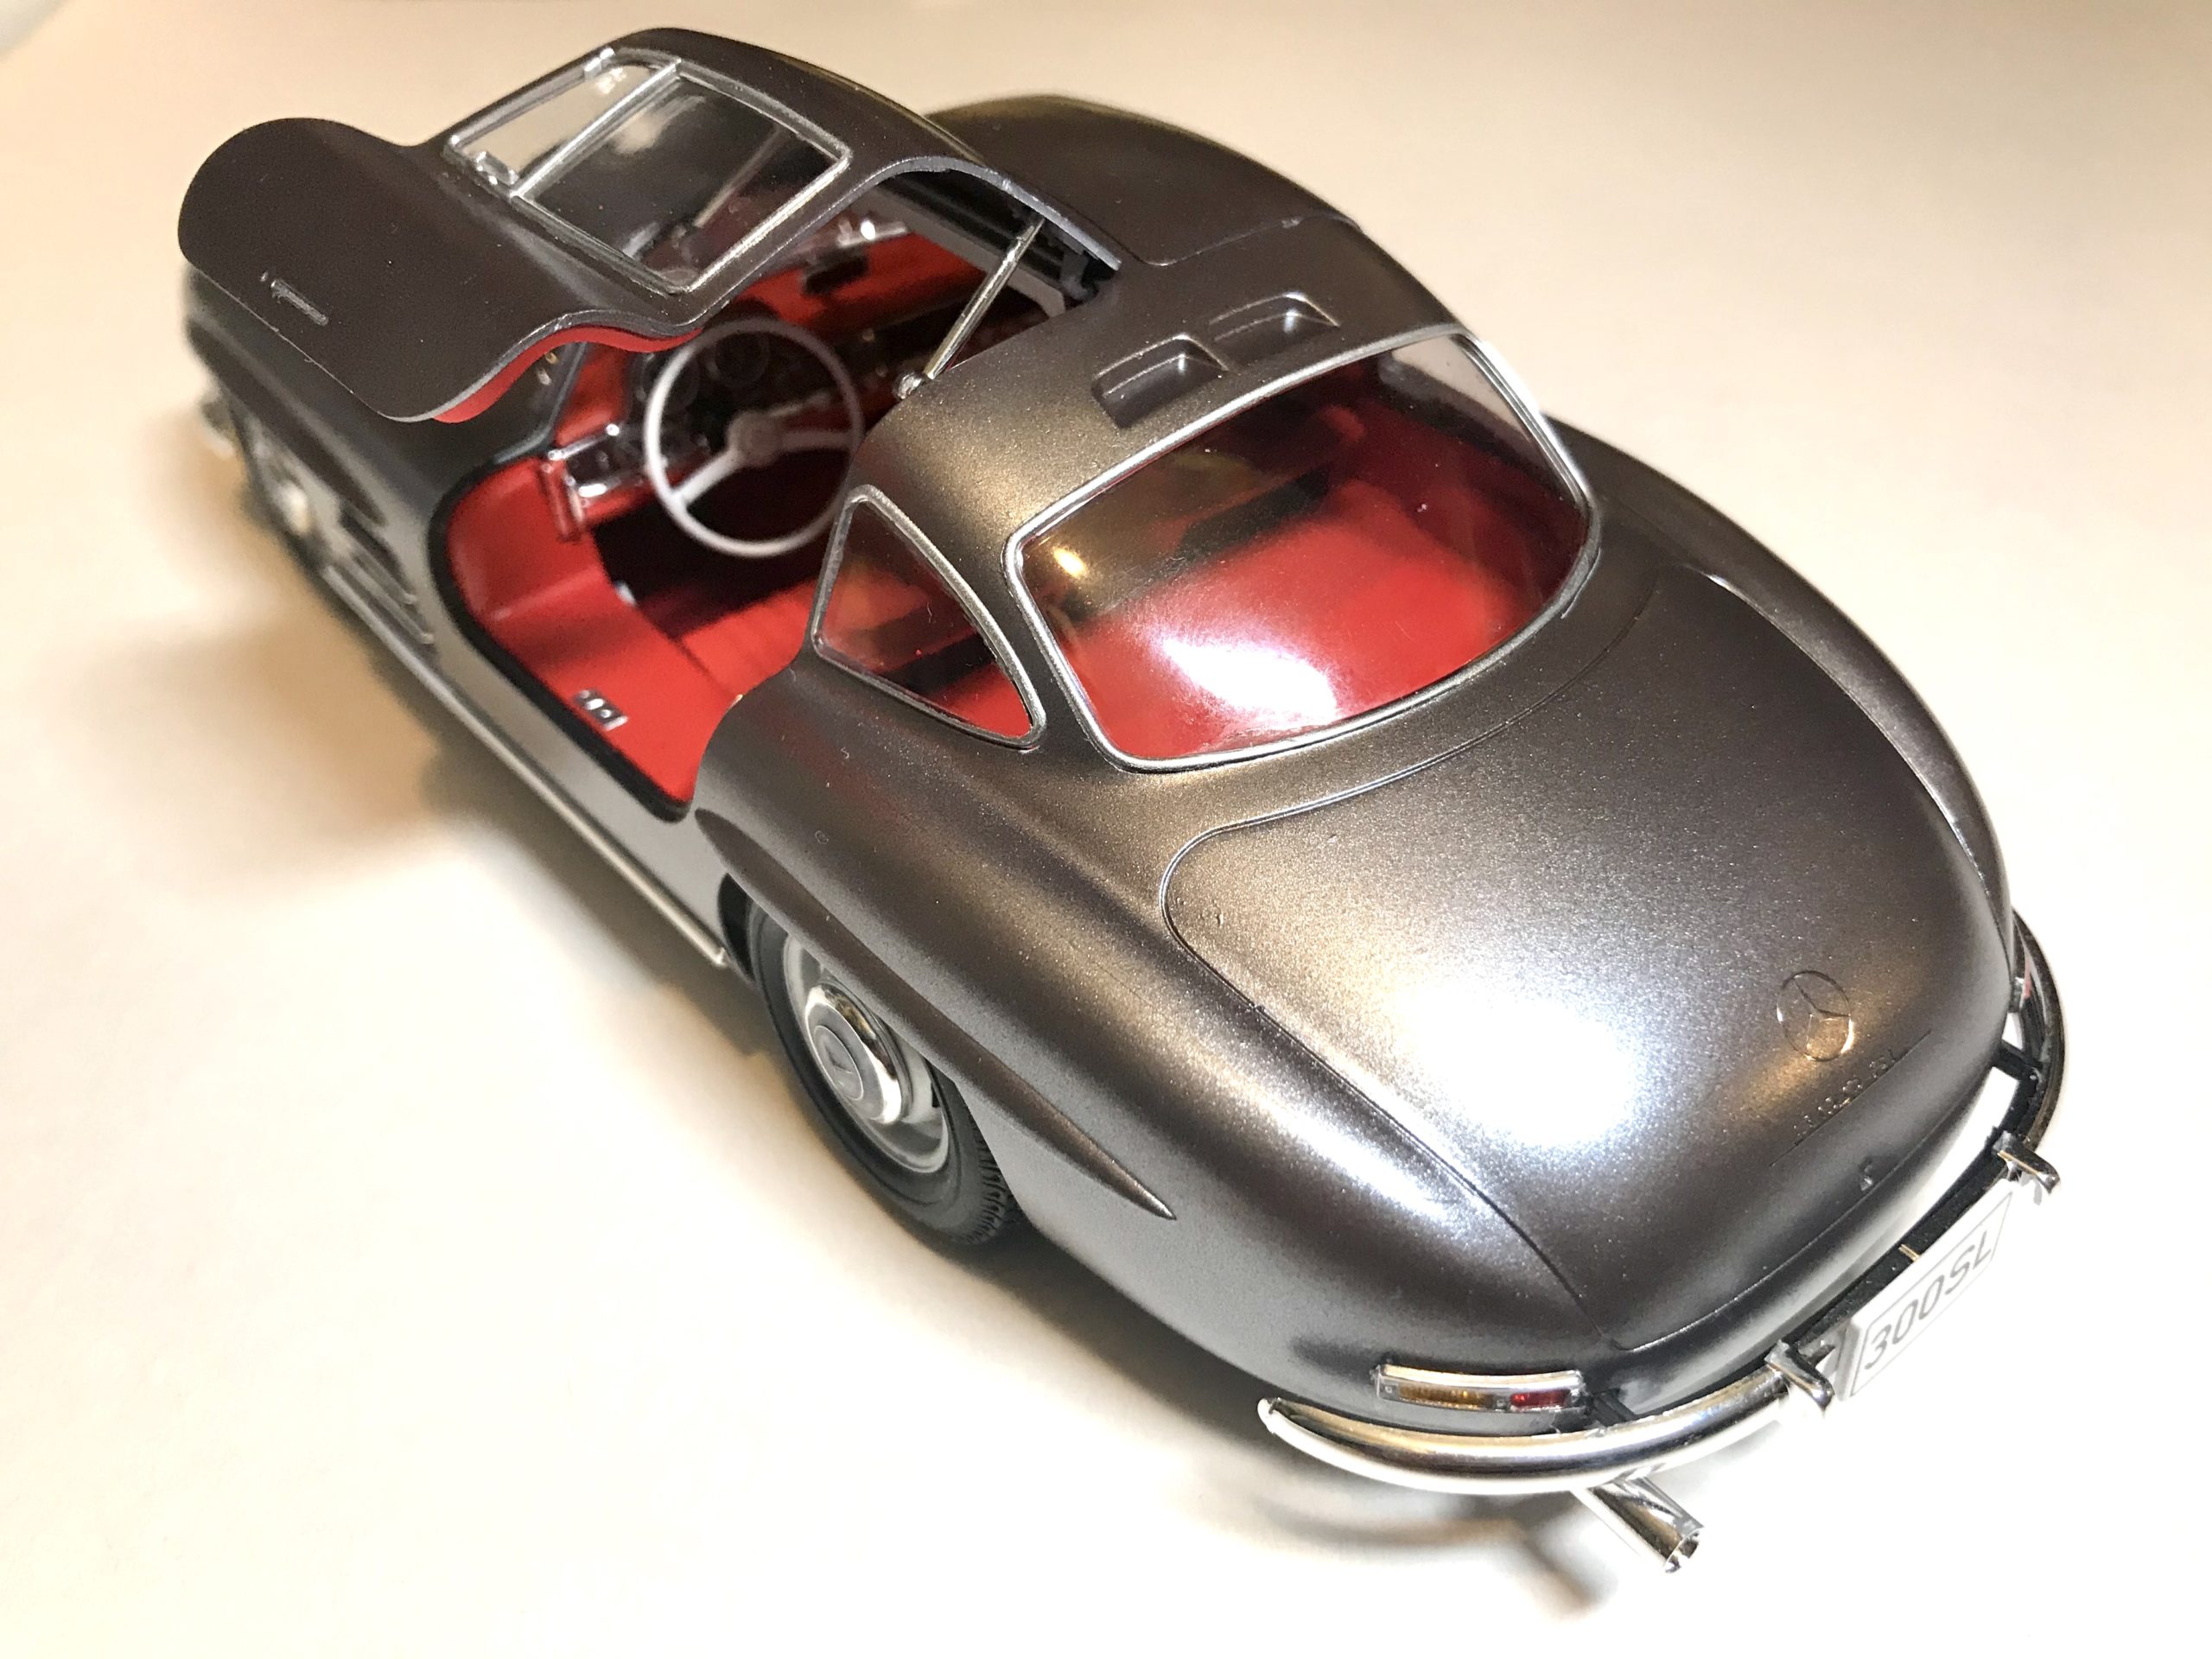
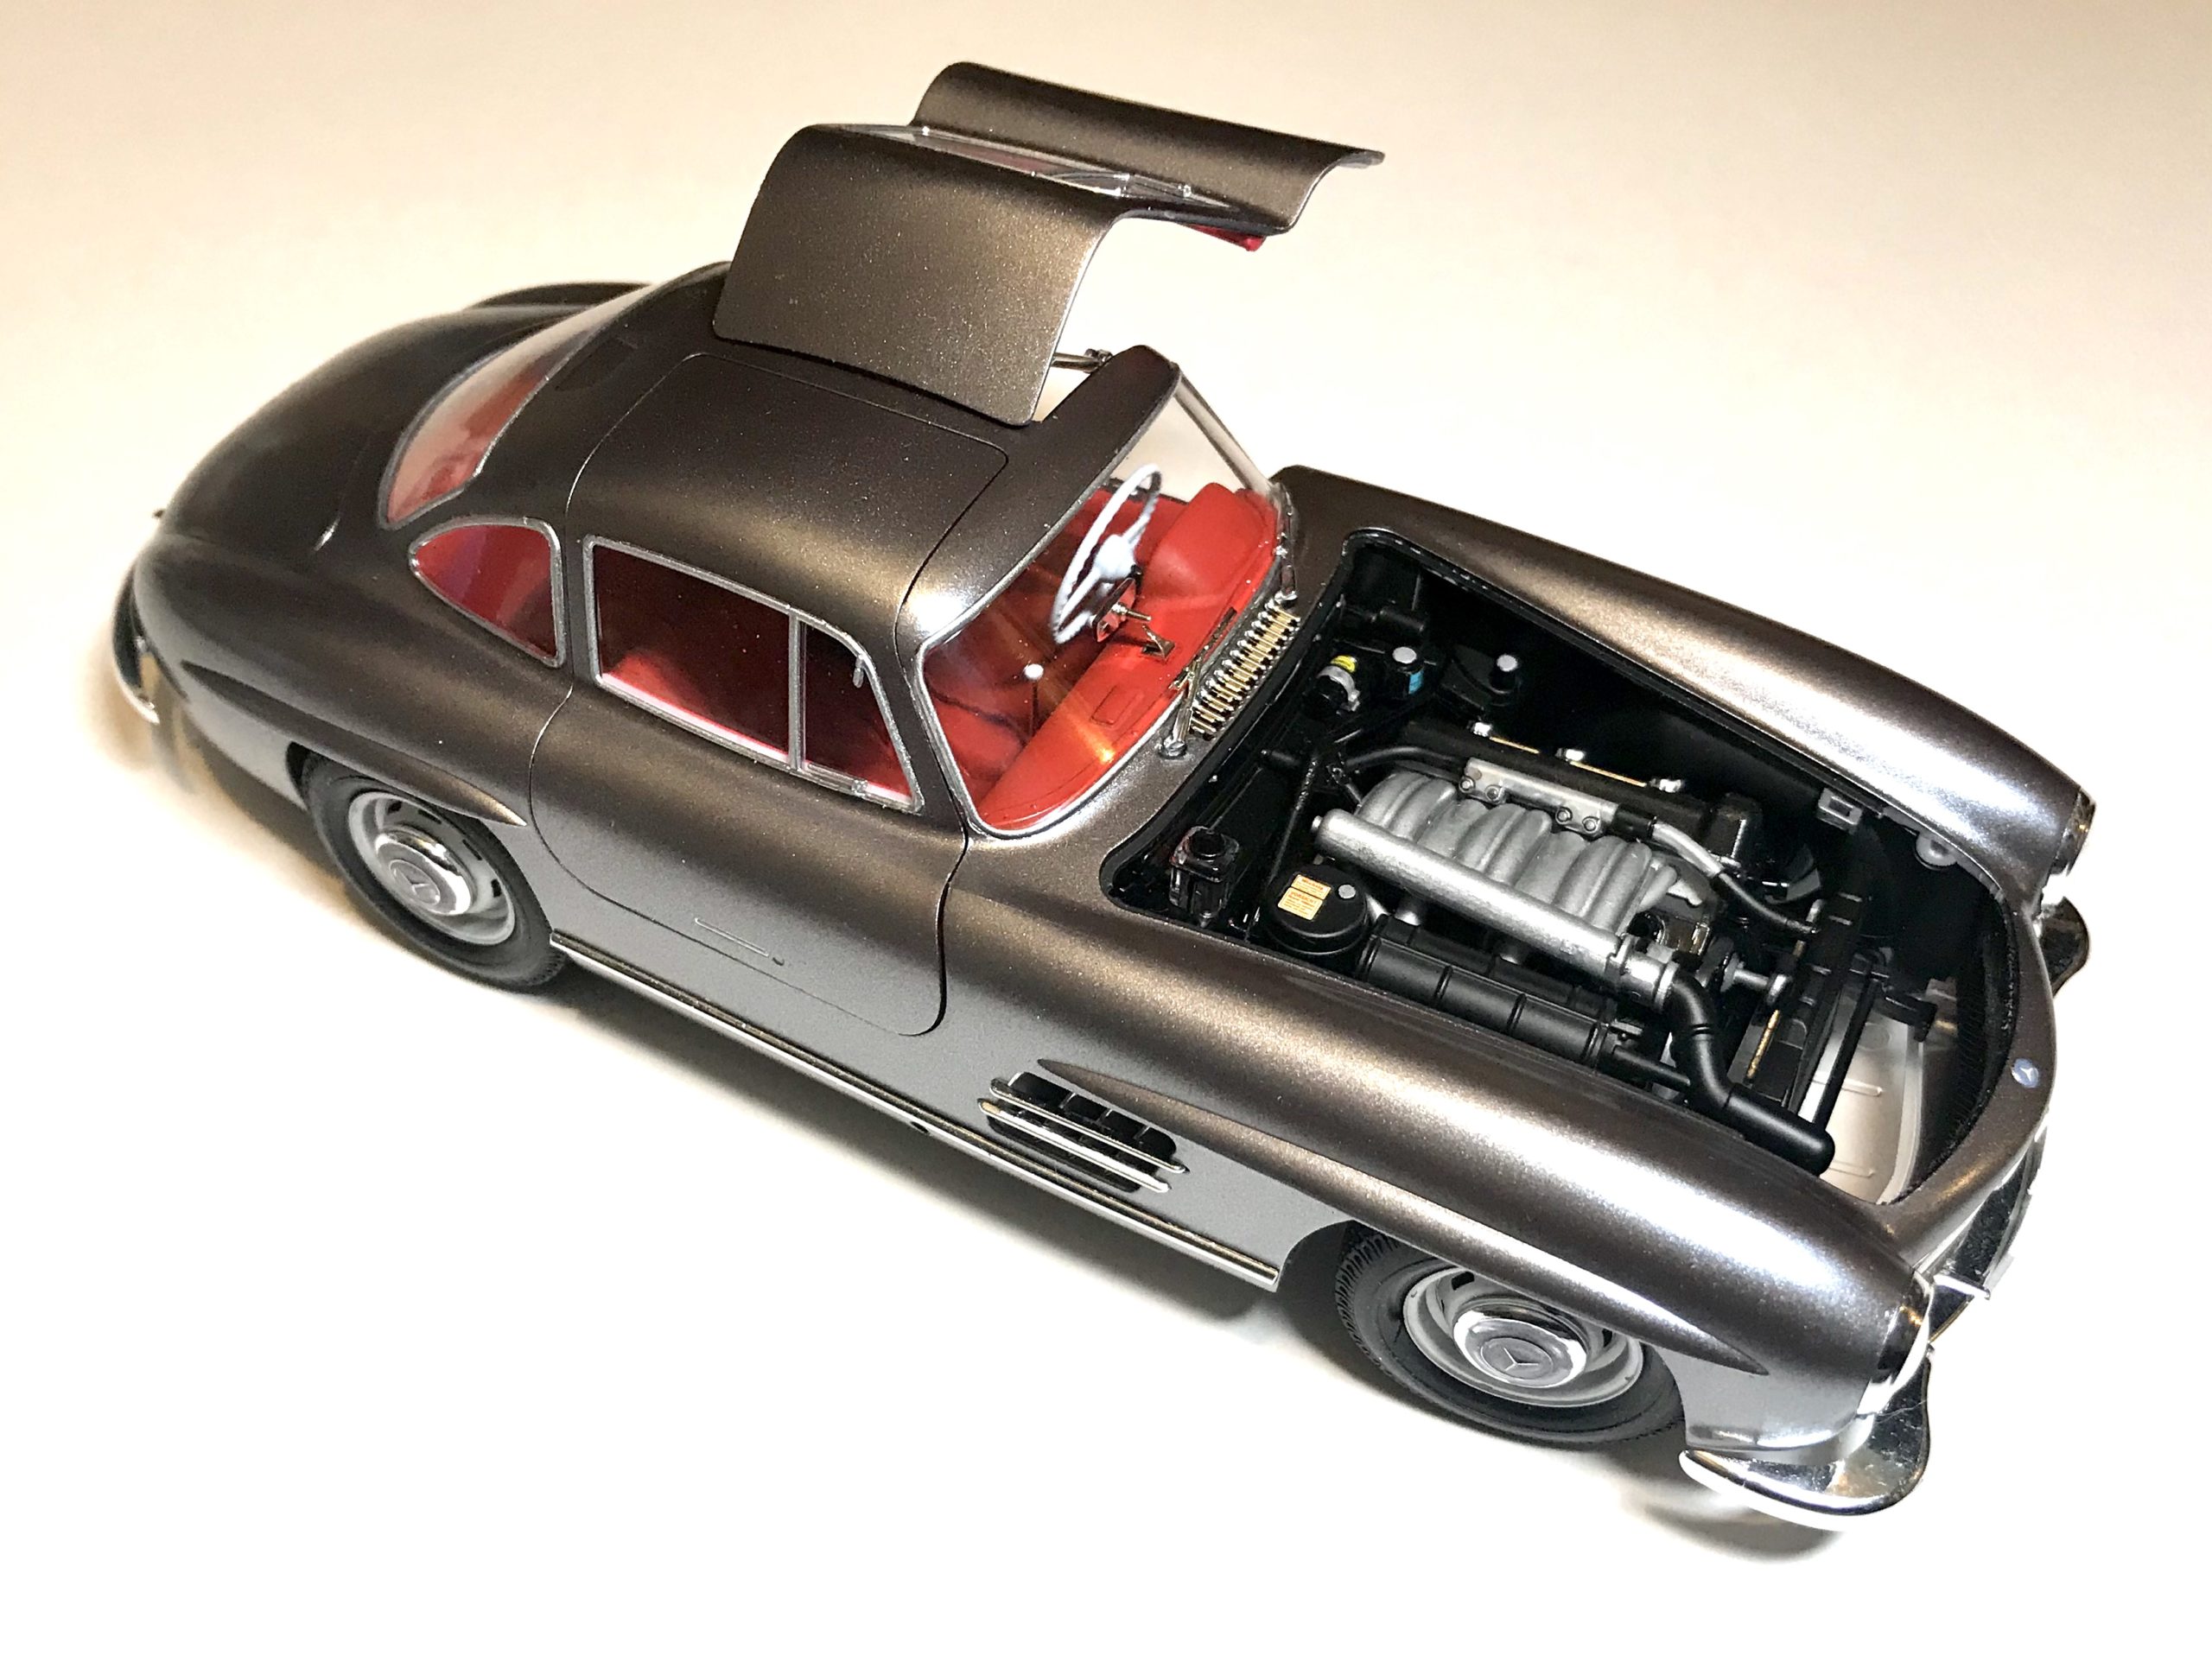
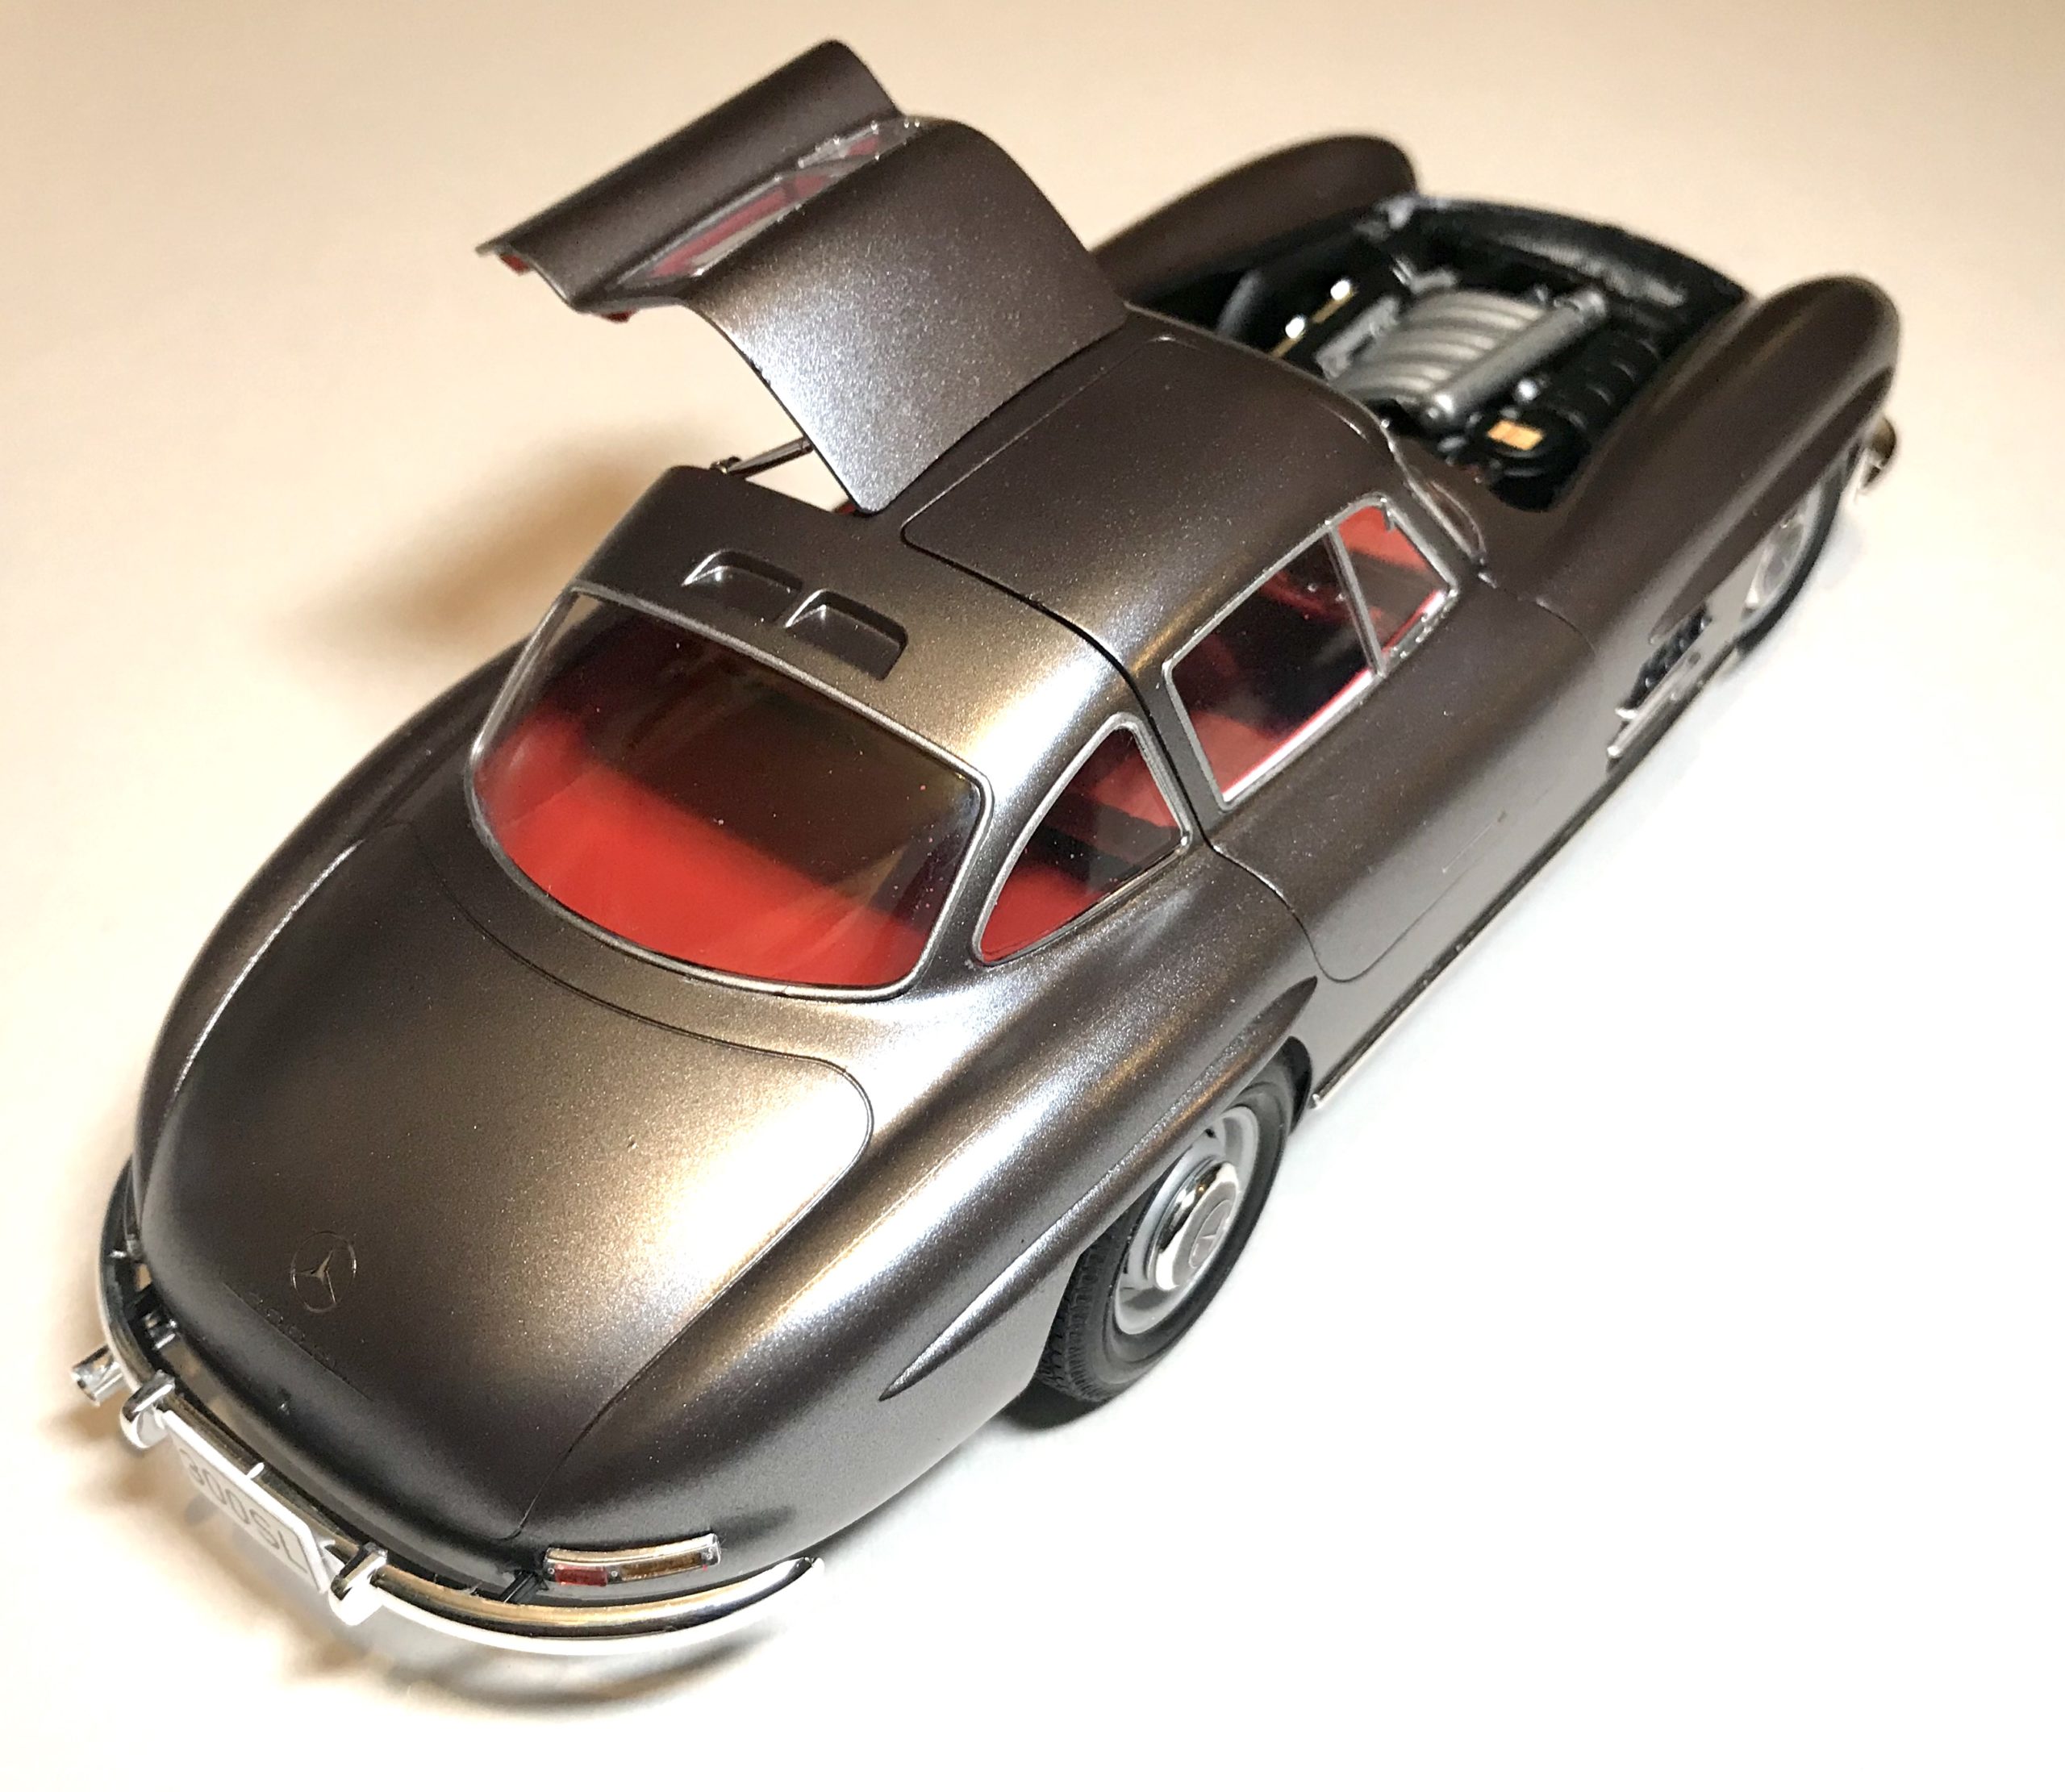
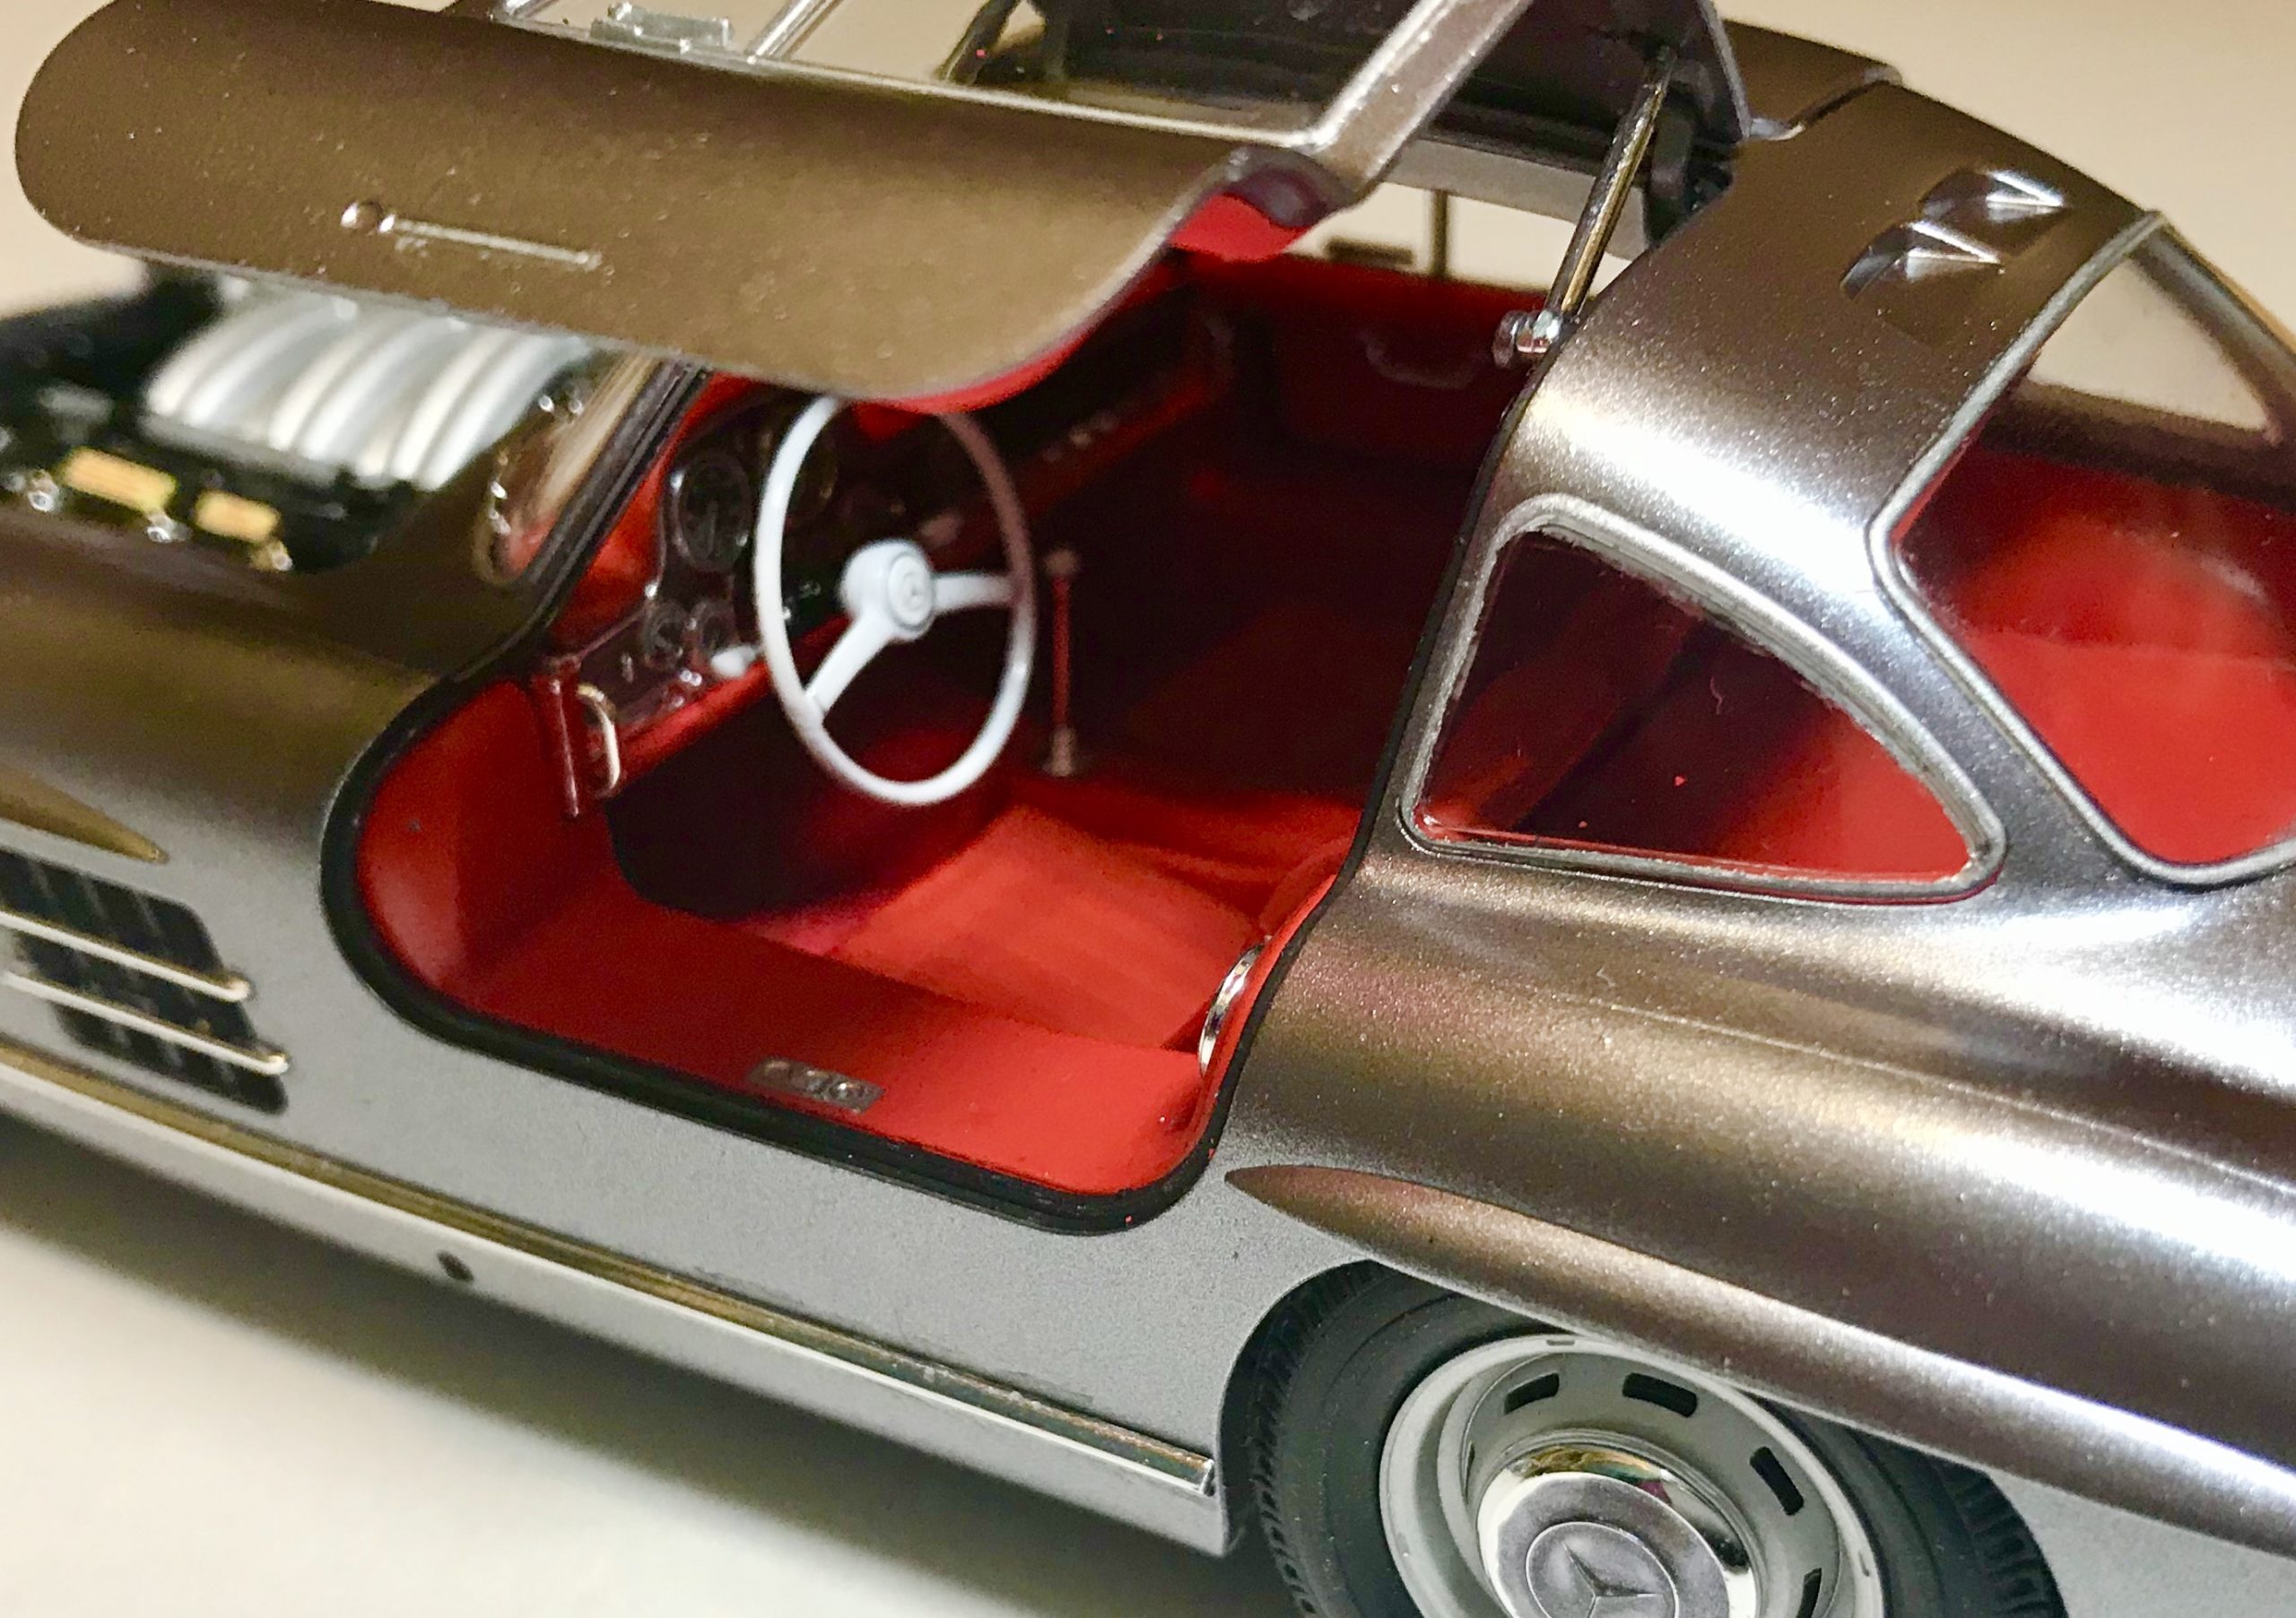
A note from the author…
I’m Rob, a normal guy who enjoys making models! I’m by no means a ‘professional’ modeller, but I am passionate, try my best and kits generally turn out well! All my builds are done at home in my spare time with typical model tools and accessories – all views and opinions are my own and not that of Jadlam.
Released in 2015 this kit has been on my radar for a long time. Its not new or even relevant to anything recently released – I simply fancied building the kit and thought I would document my build and give you my opinion!
Name – TAMIYA 24338 Mercedes Benz 300SL 1:24 Car Model Kit
Number – 24338
Scale – 1/24
Price – £44.99 RRP
Availability – In stock now at £39.49 Buy yours here!
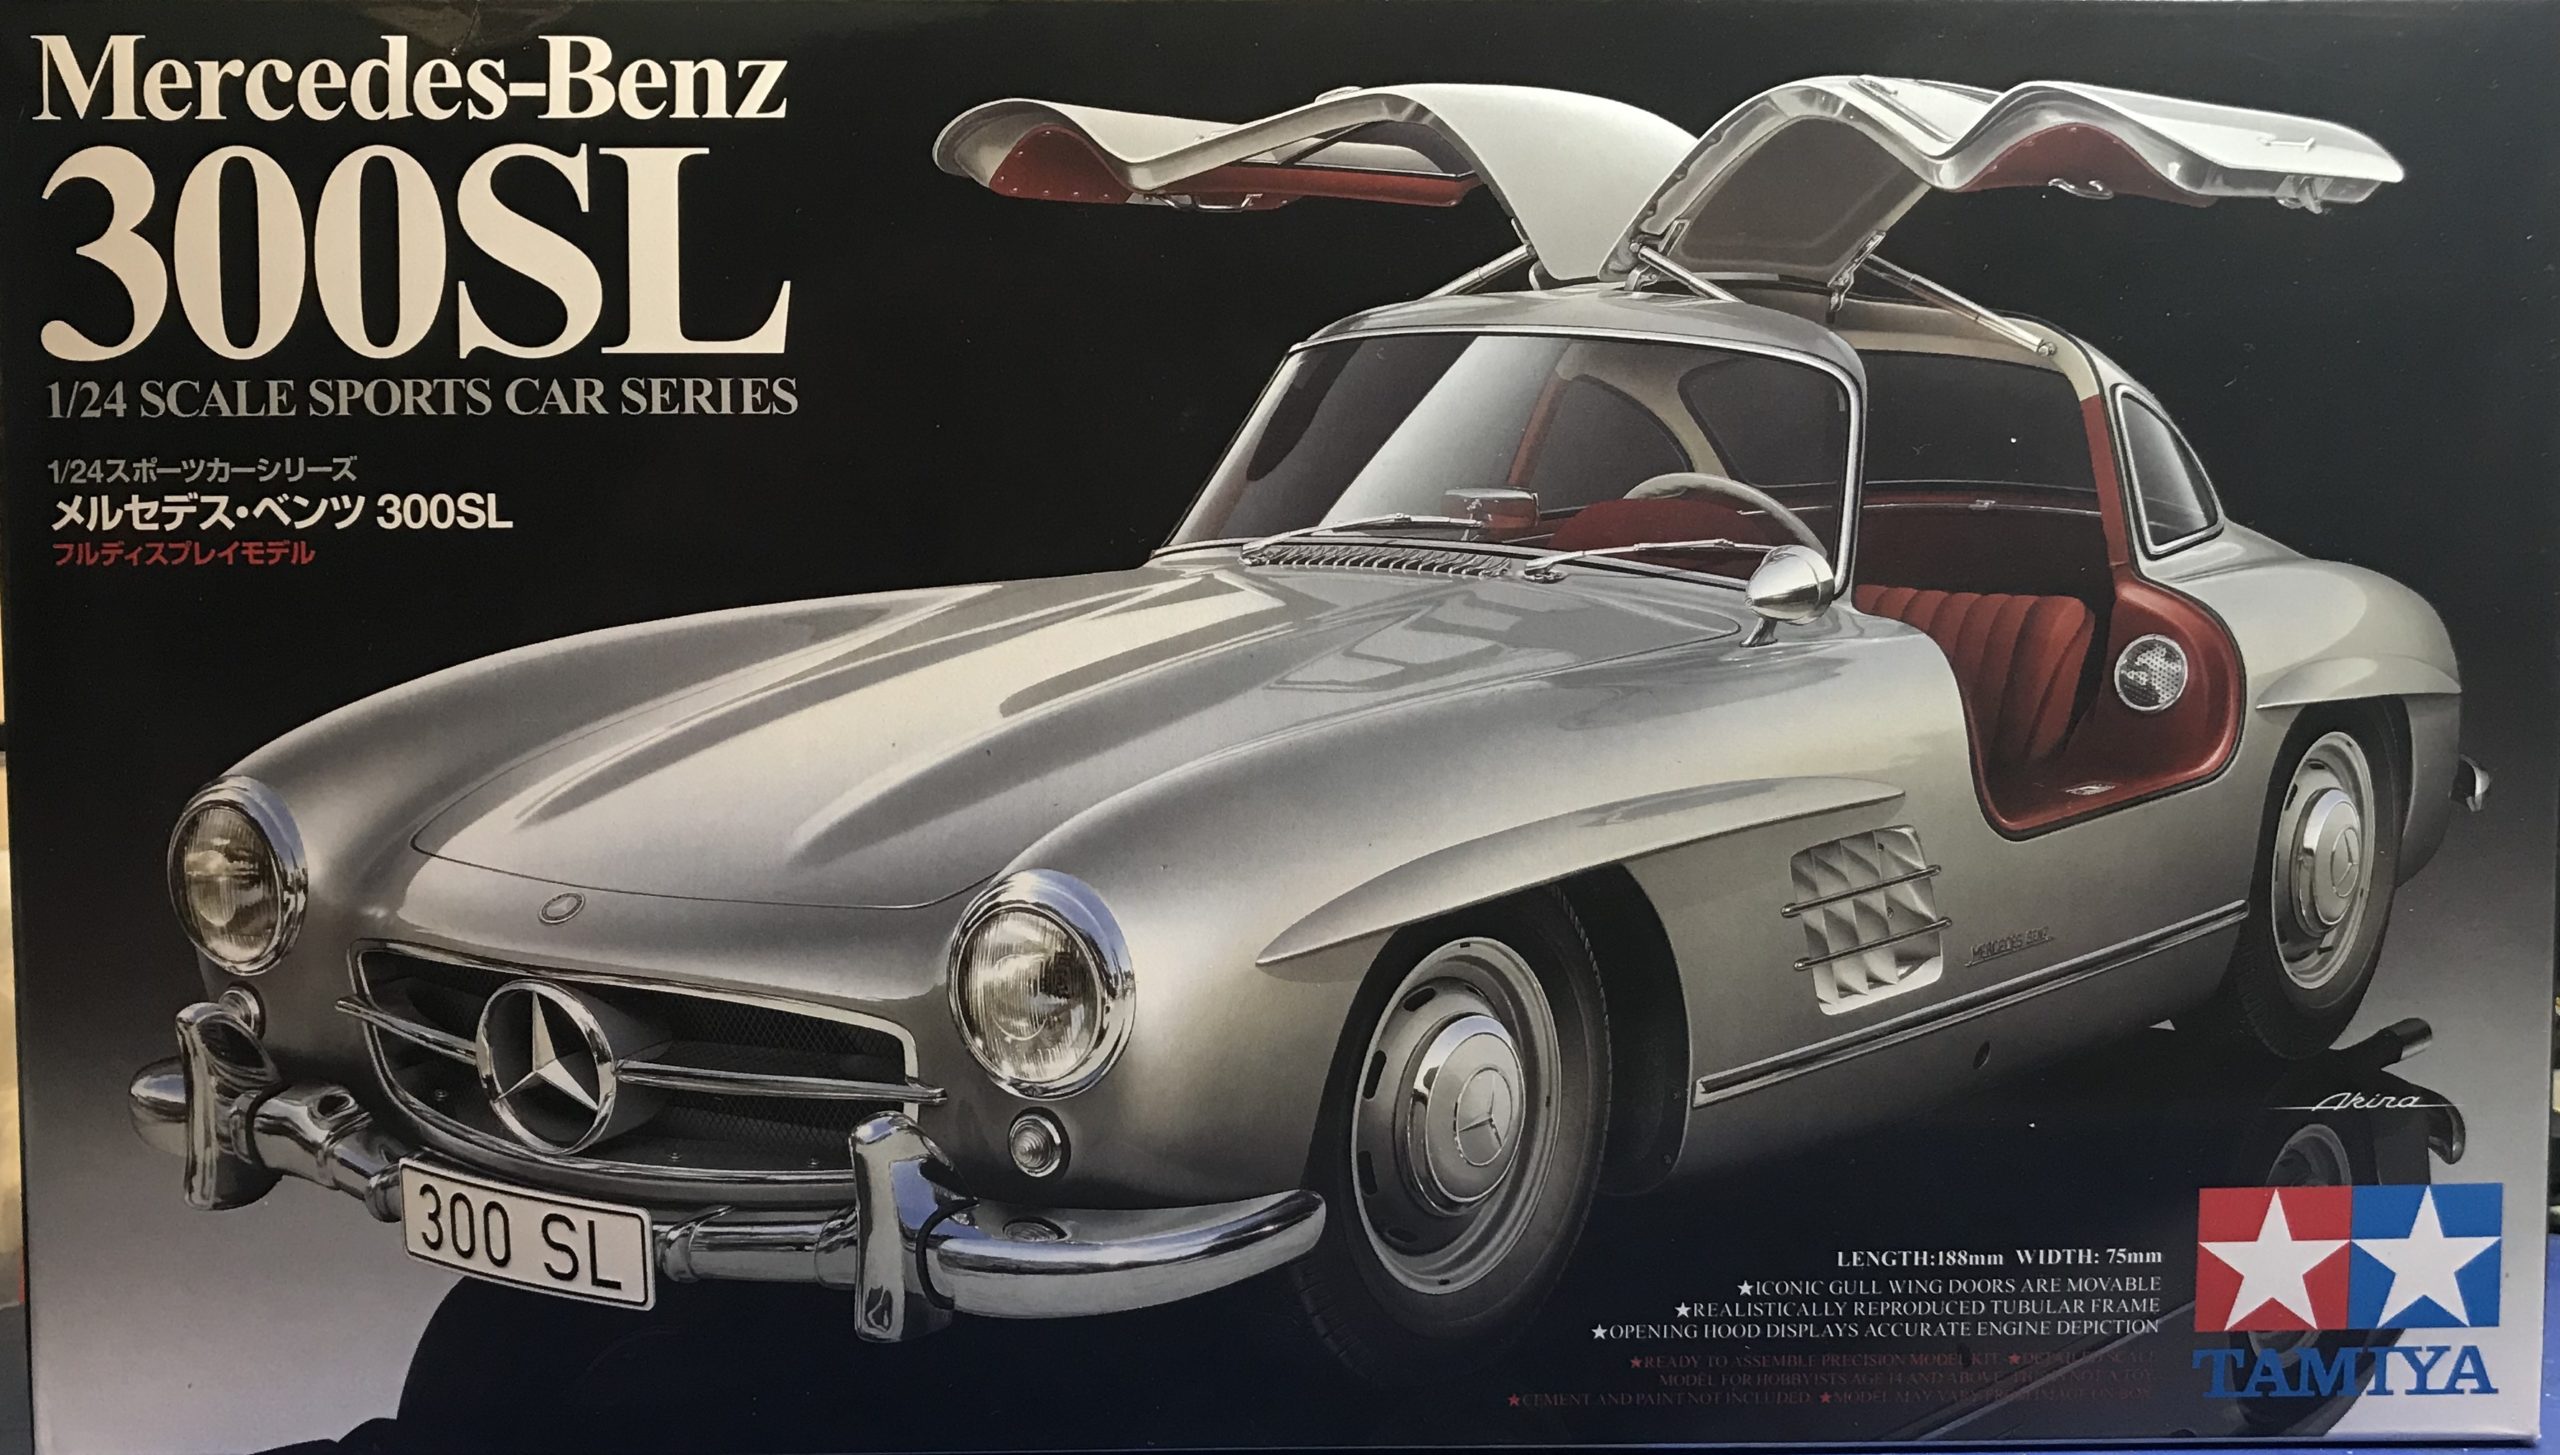
I have come to expect great things from Tamiya and from the off this kit does not disappoint. It’s a great kit packed with detail, the only thing it lacks is an opening boot.
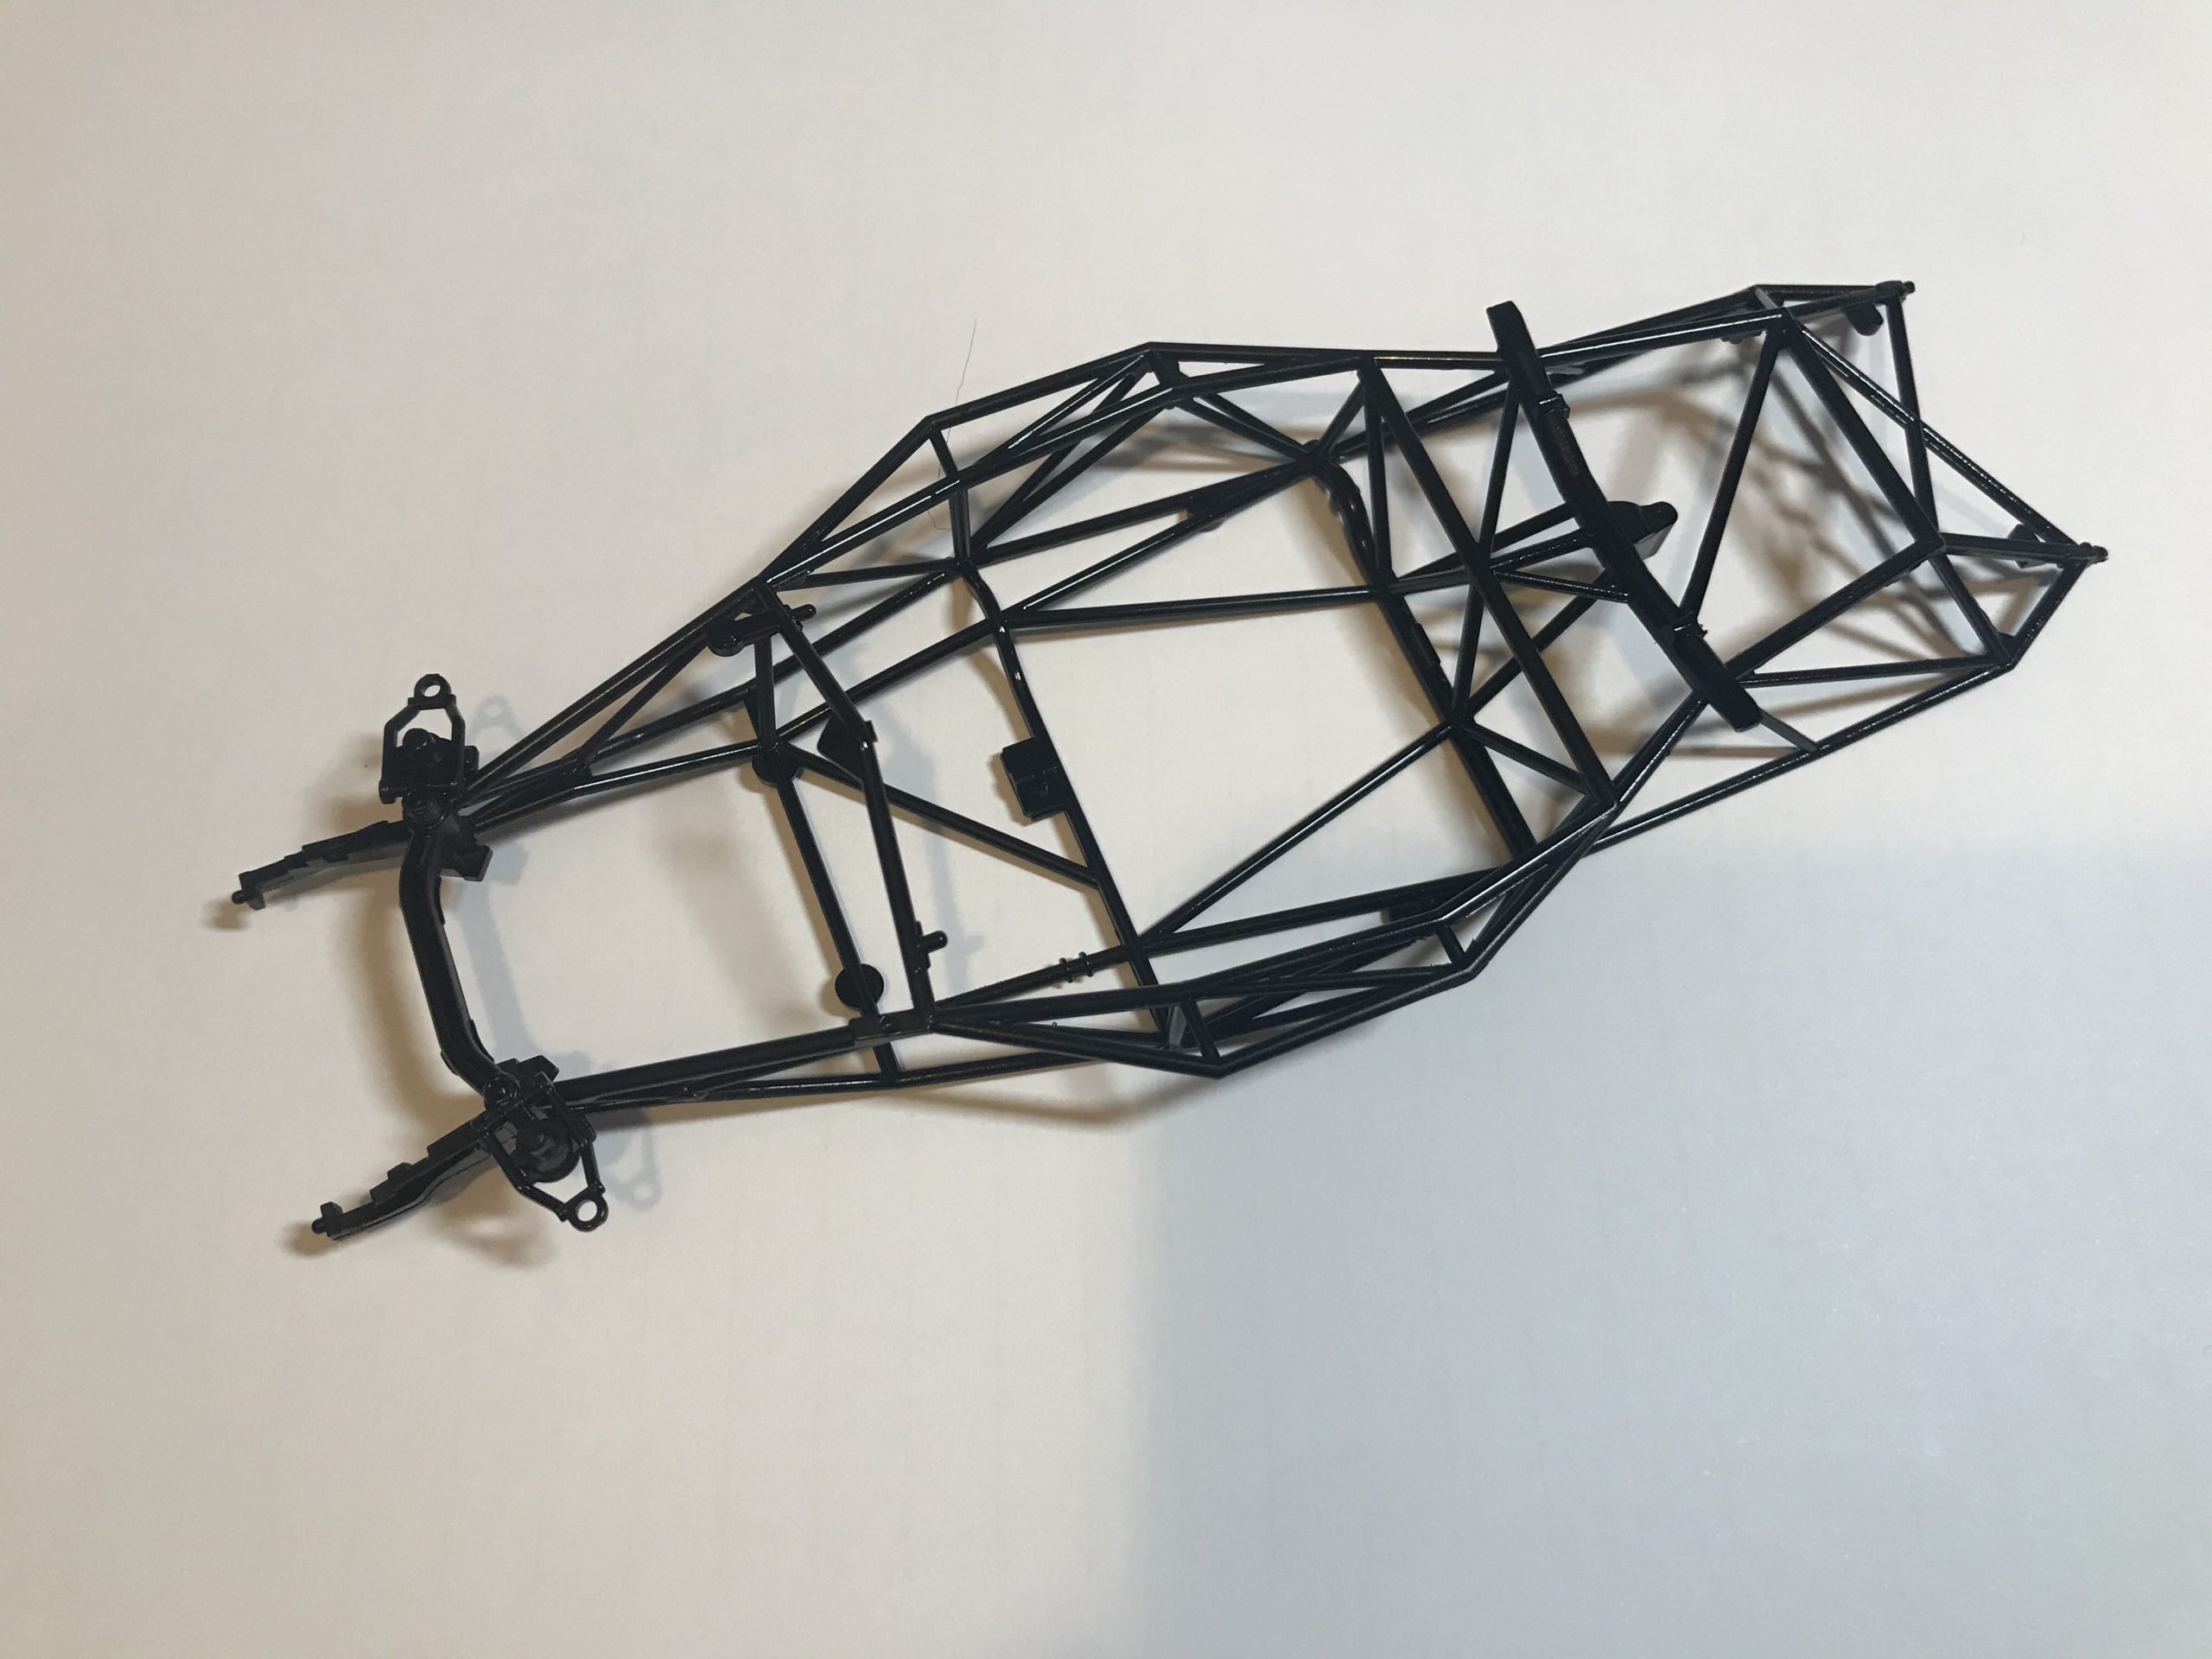
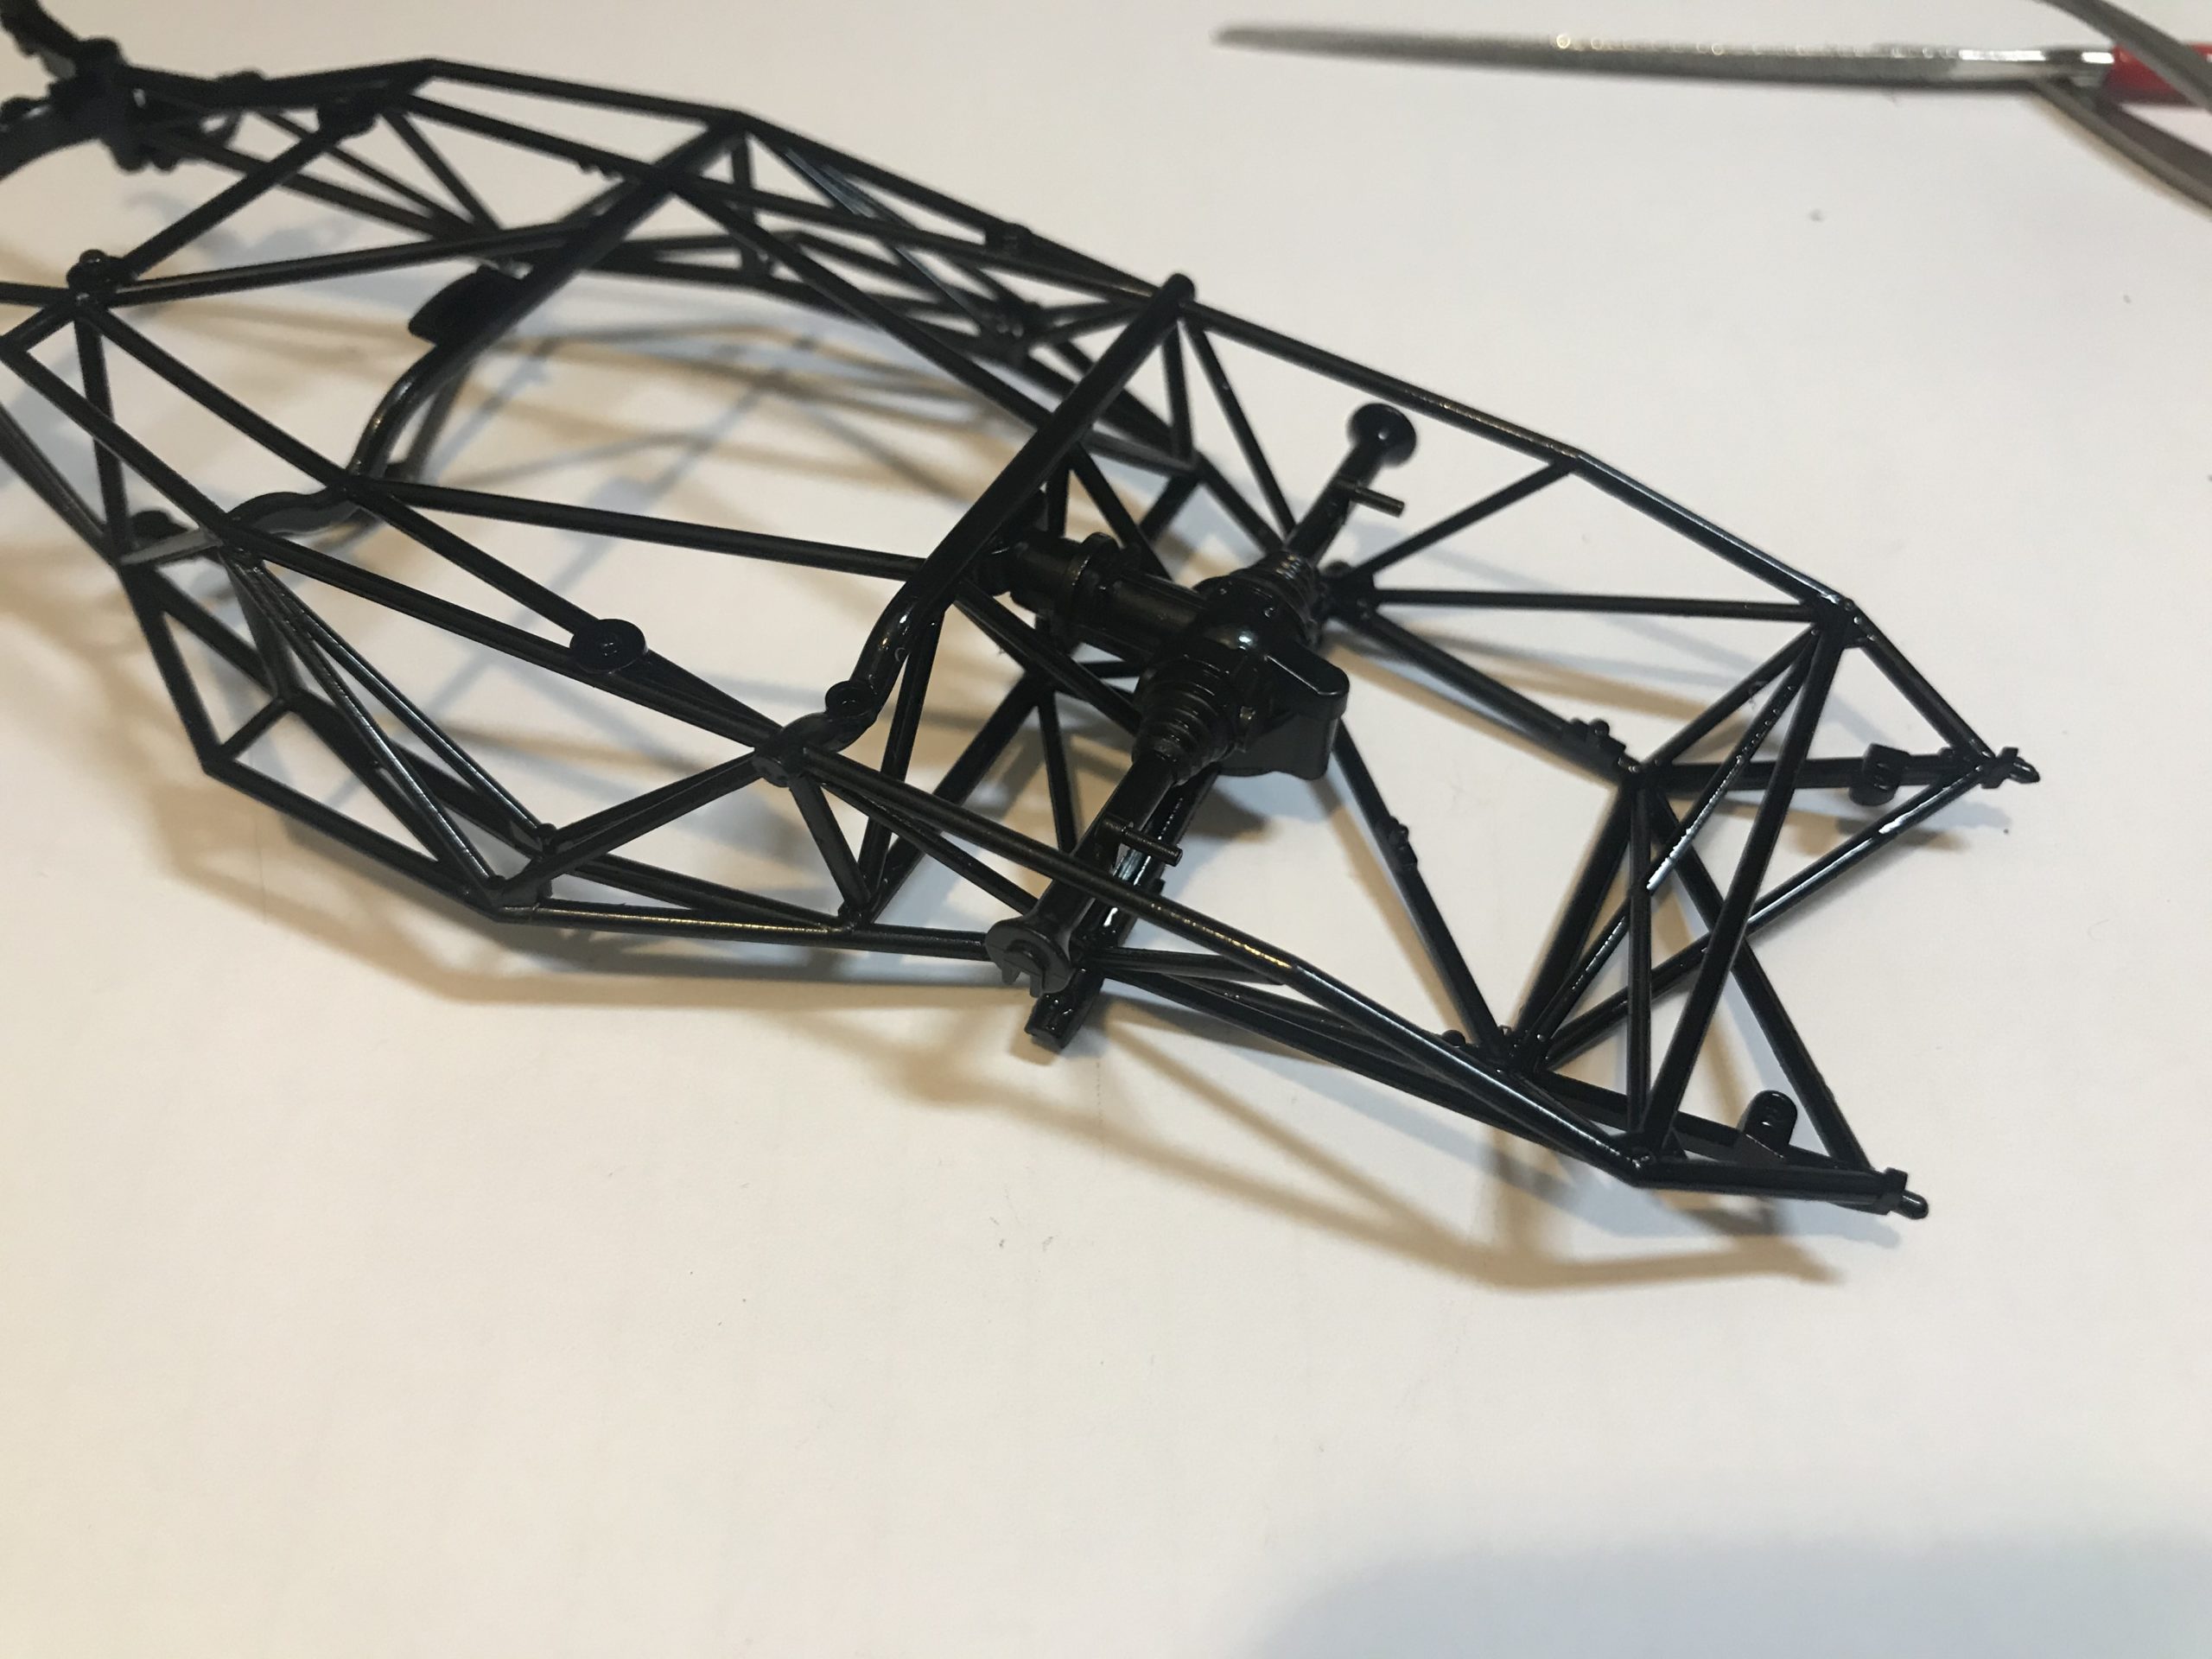
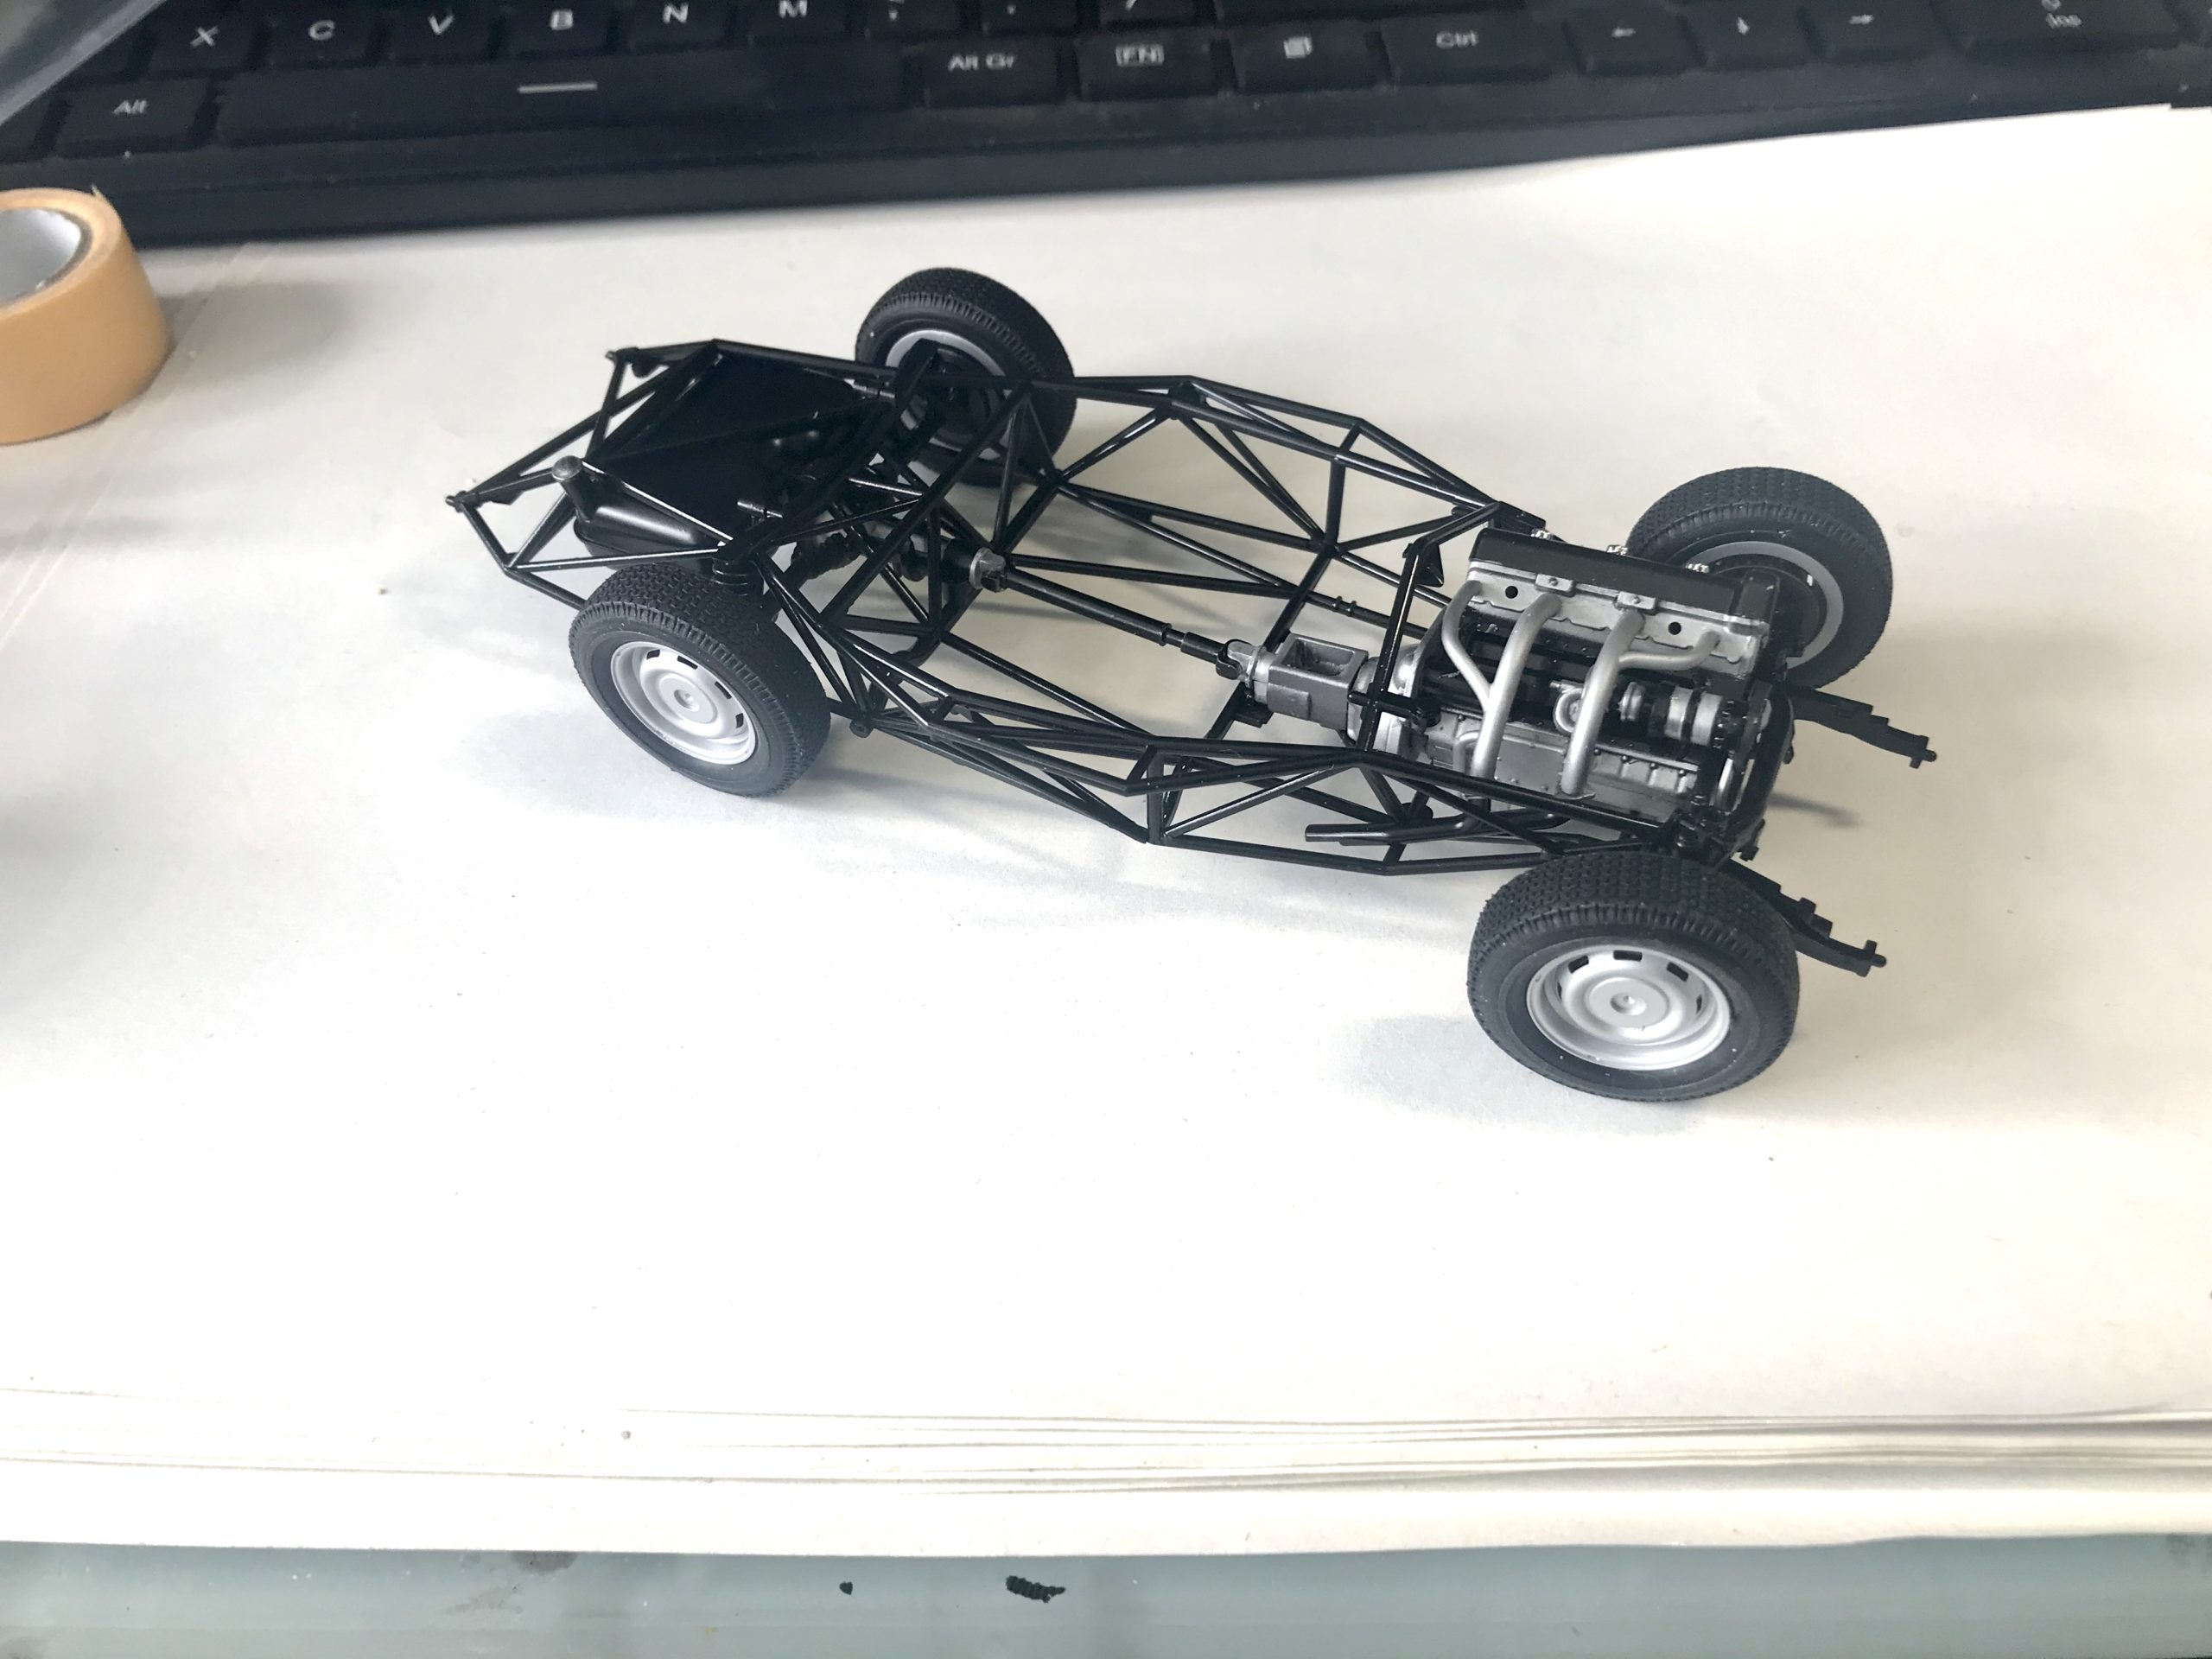
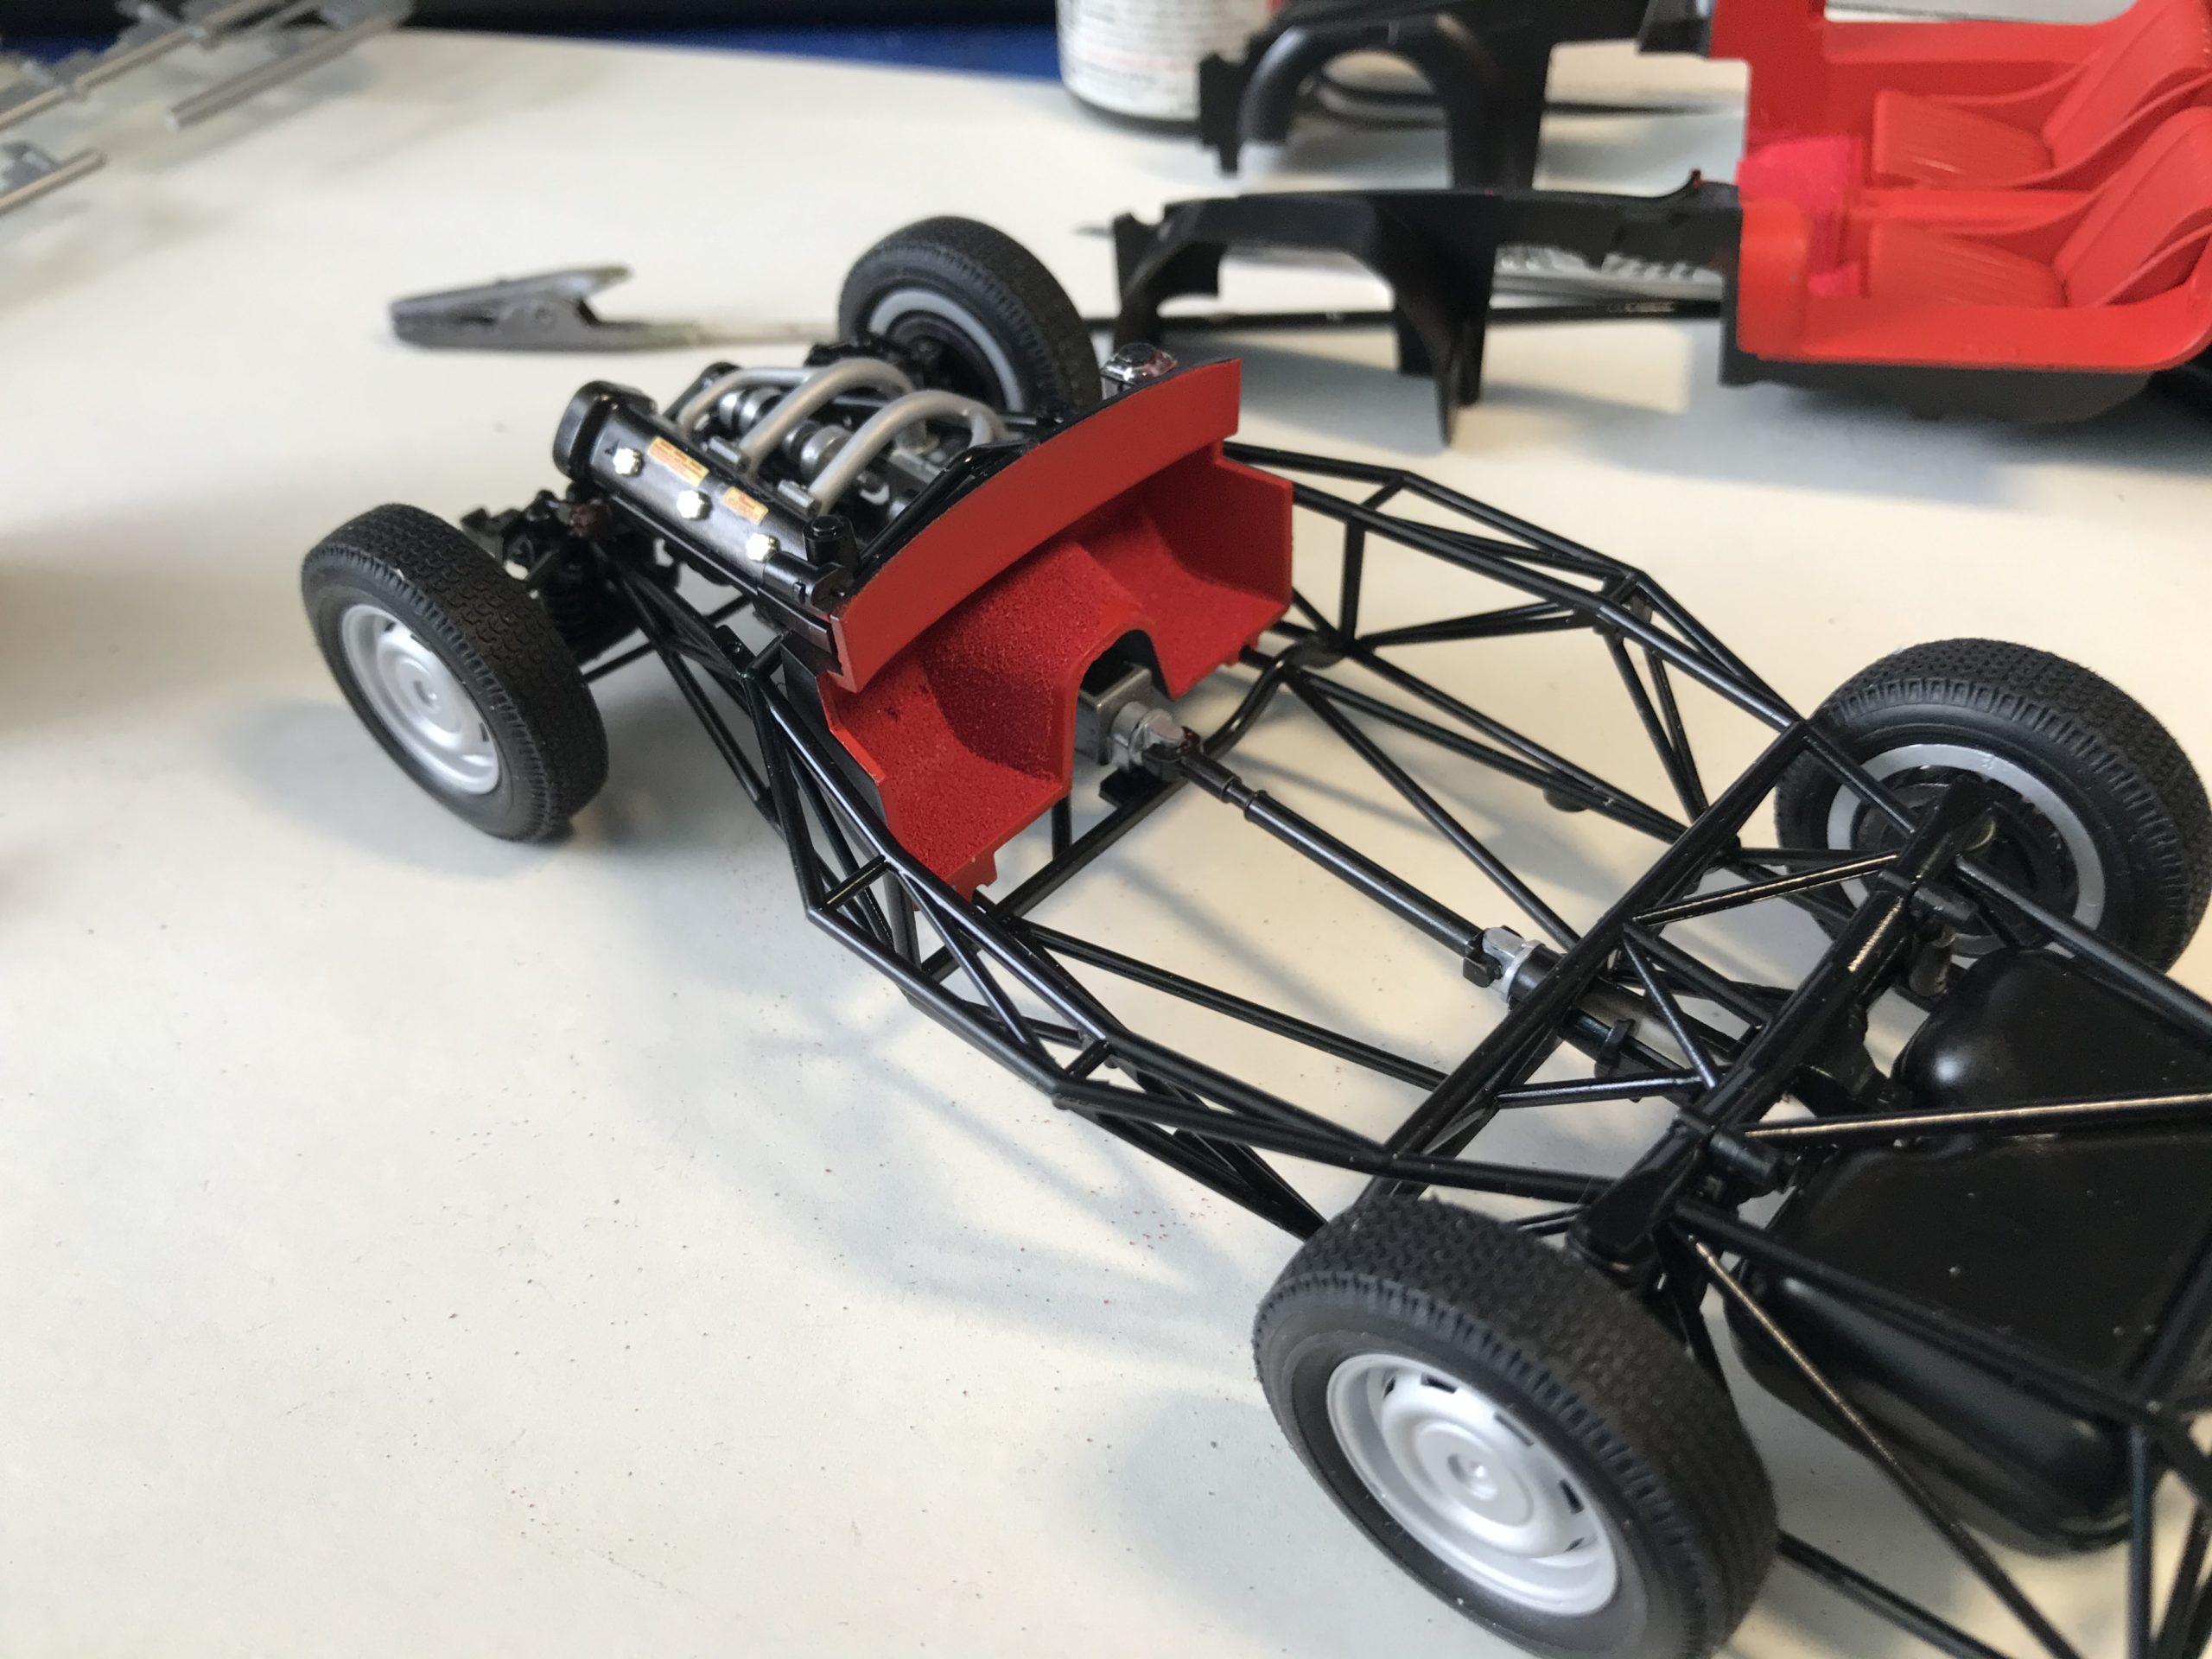
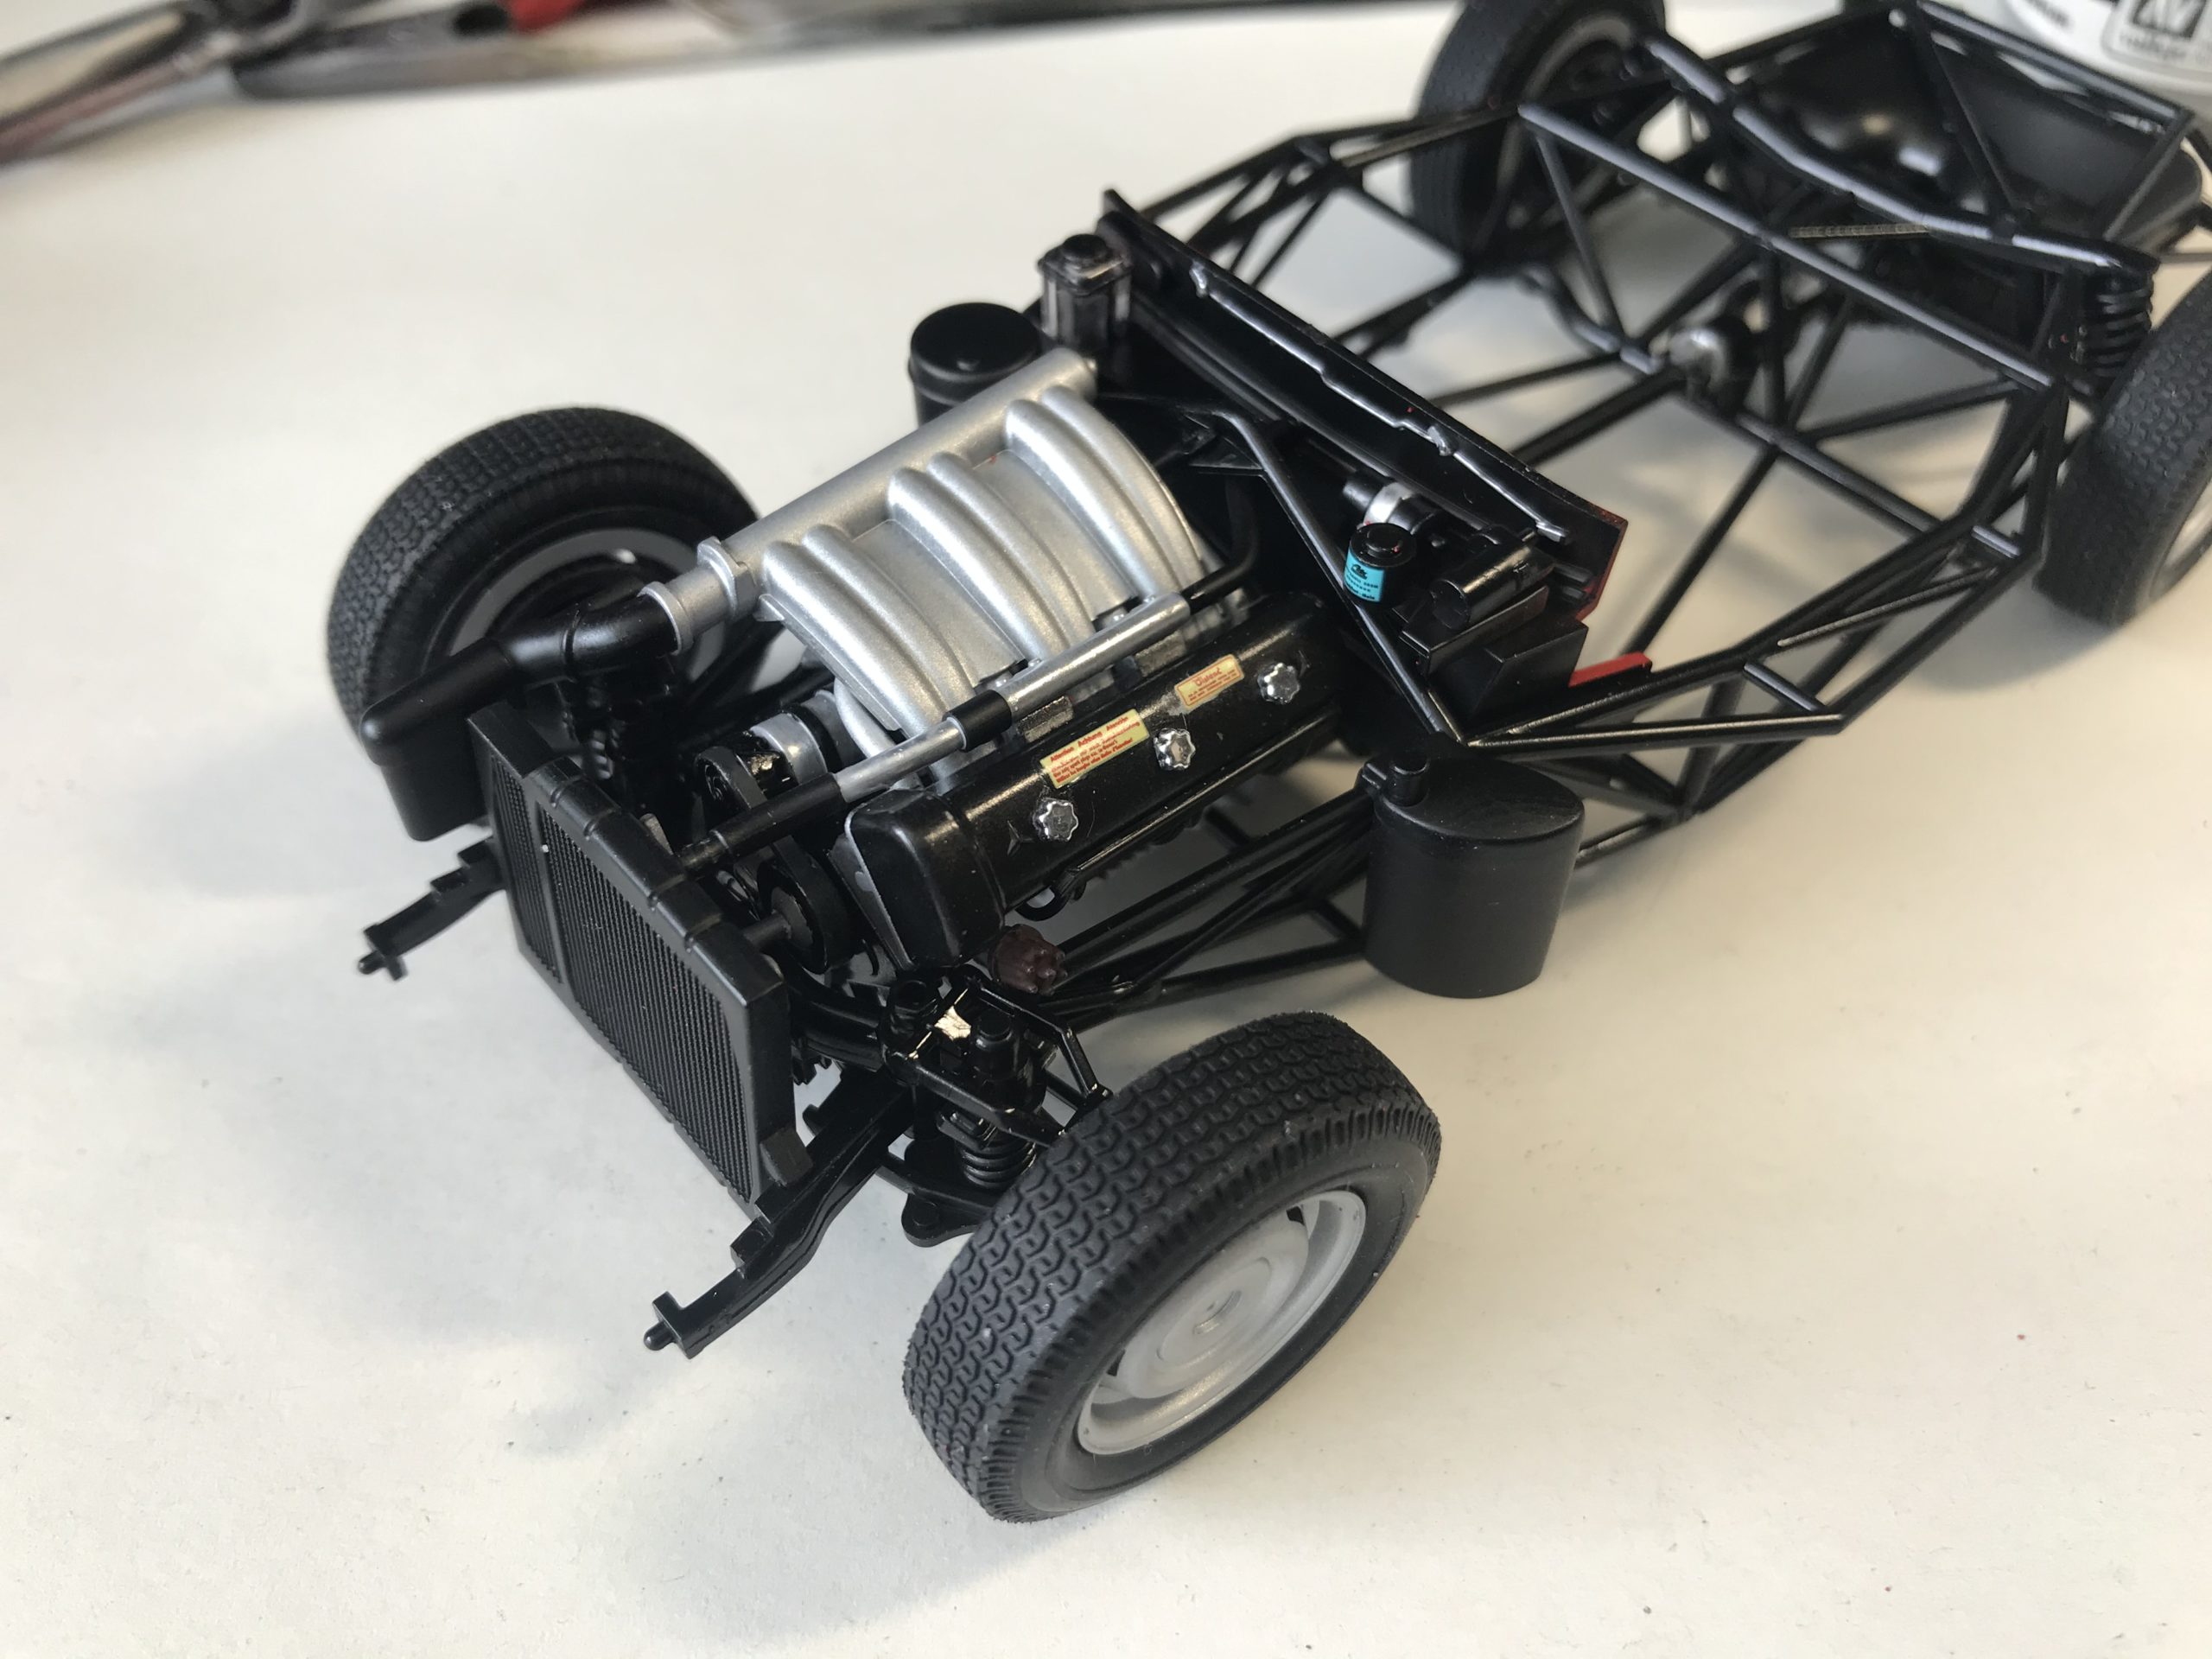
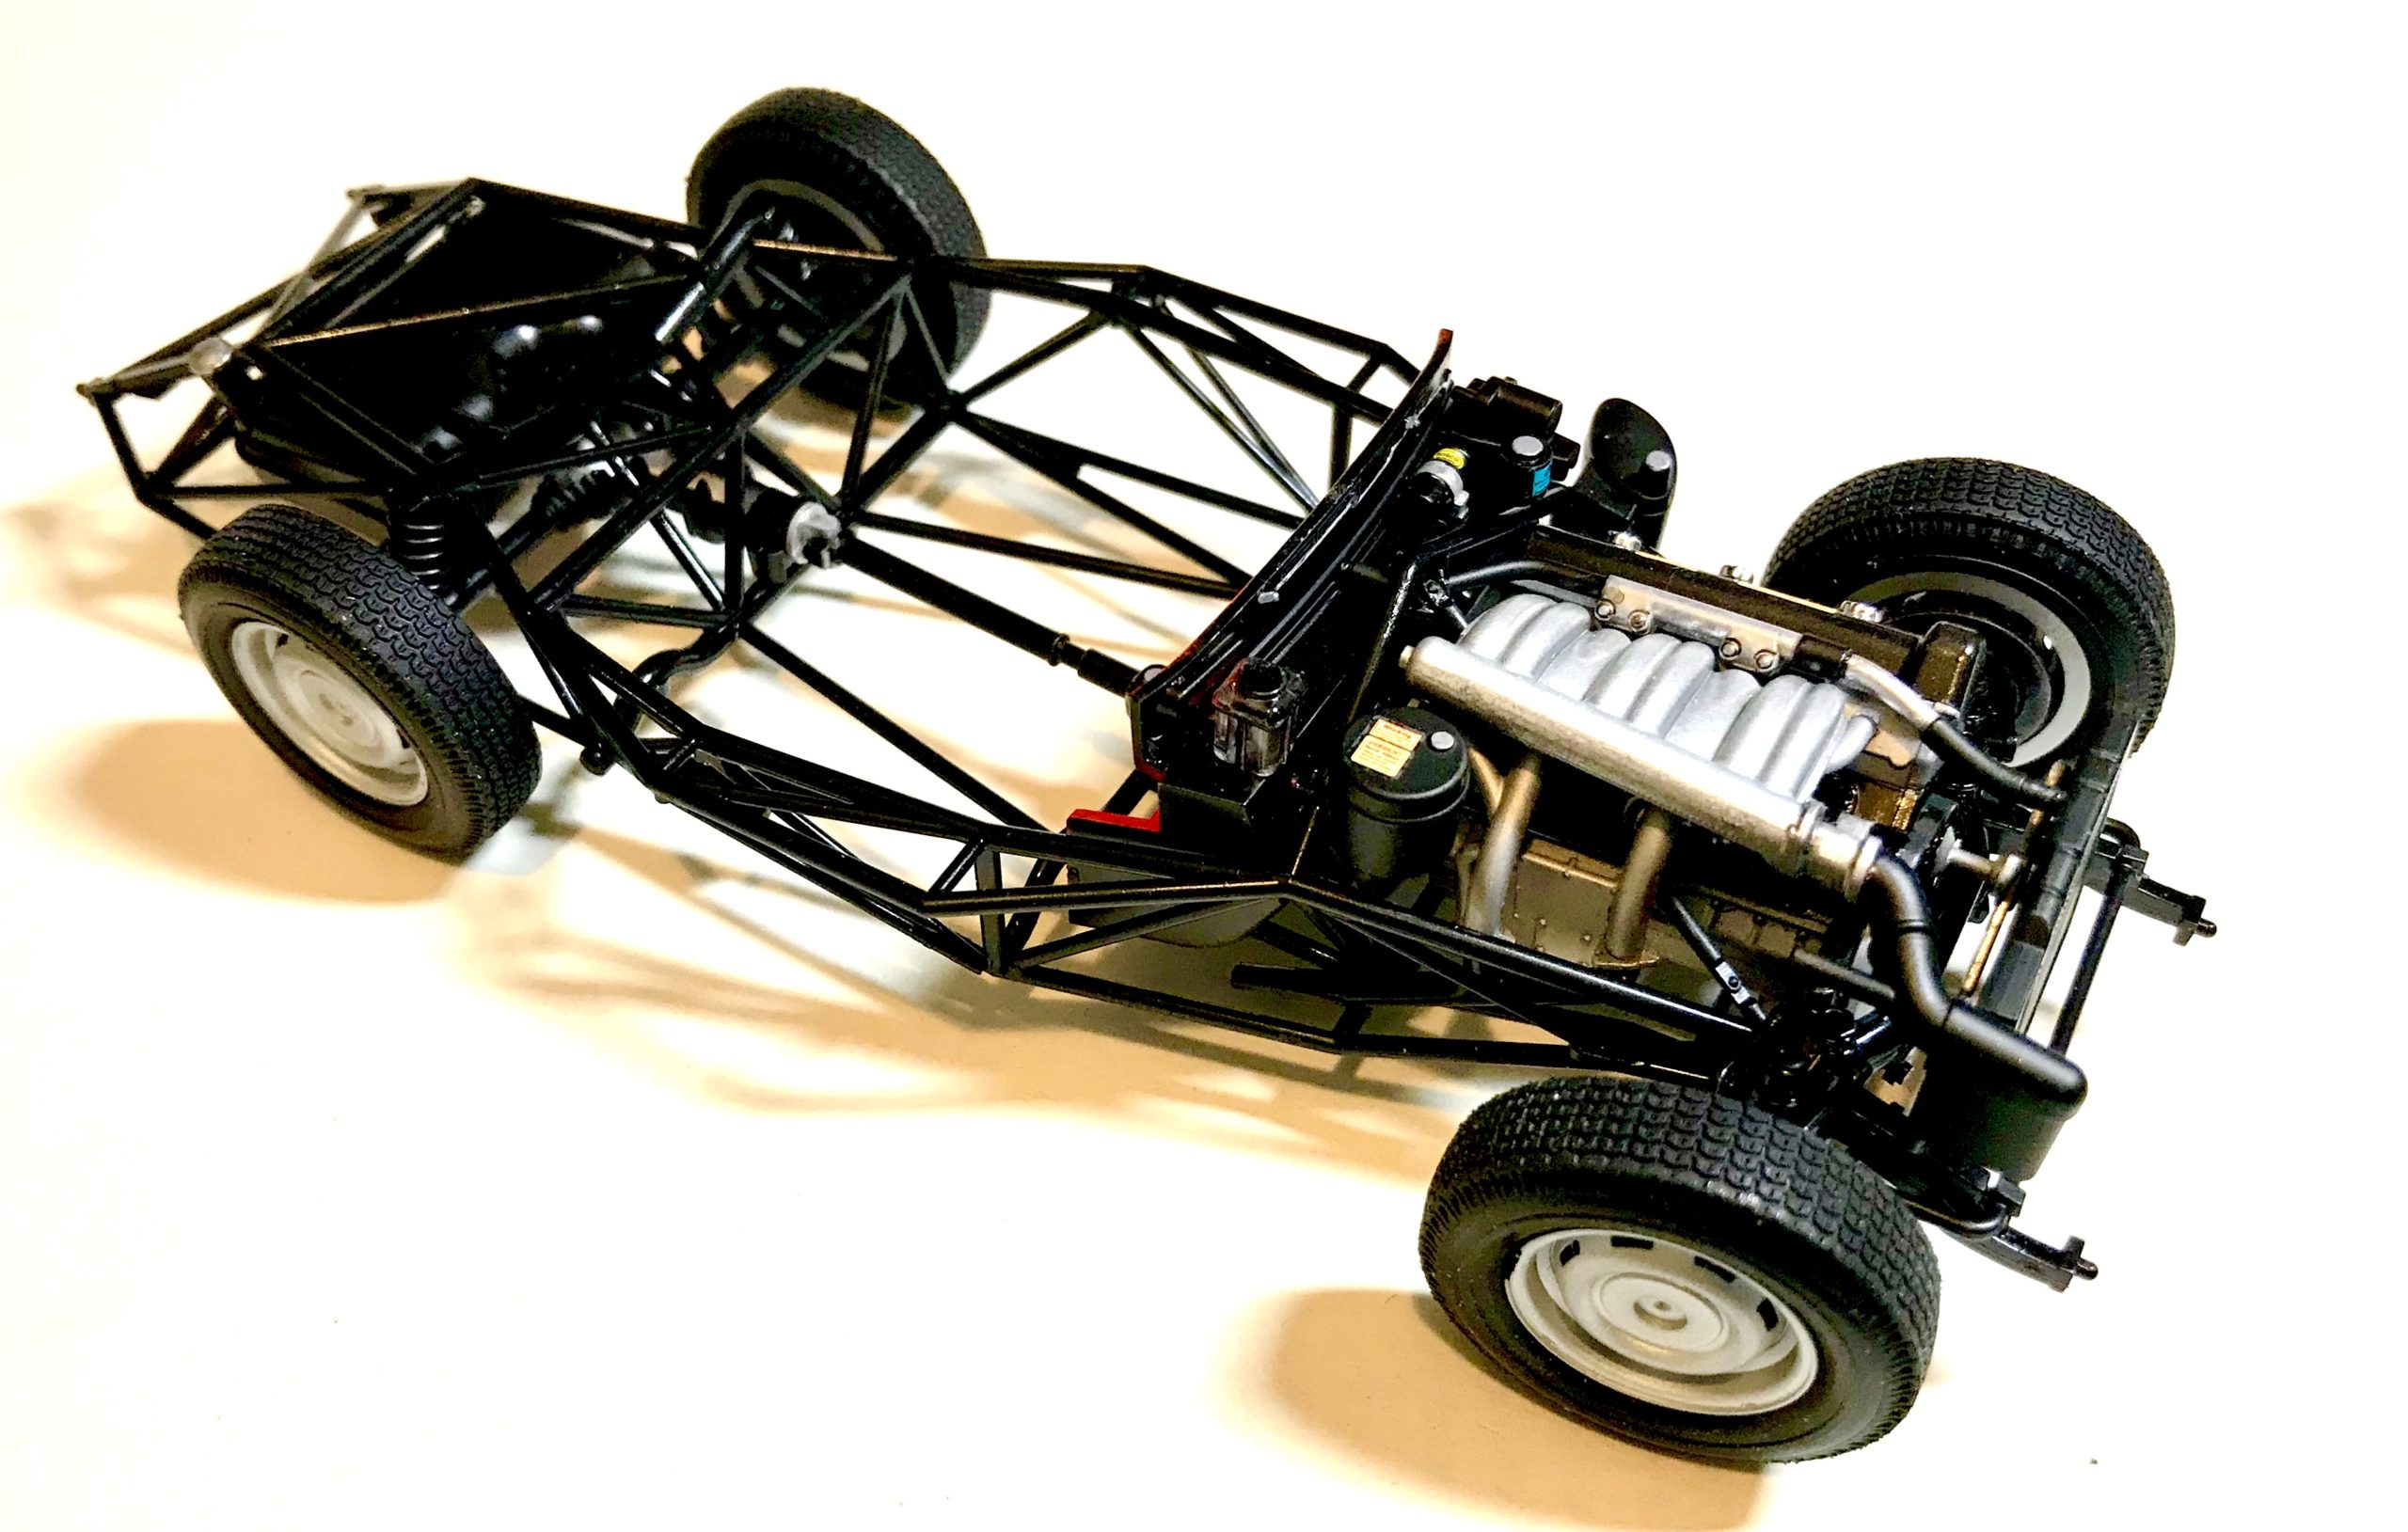
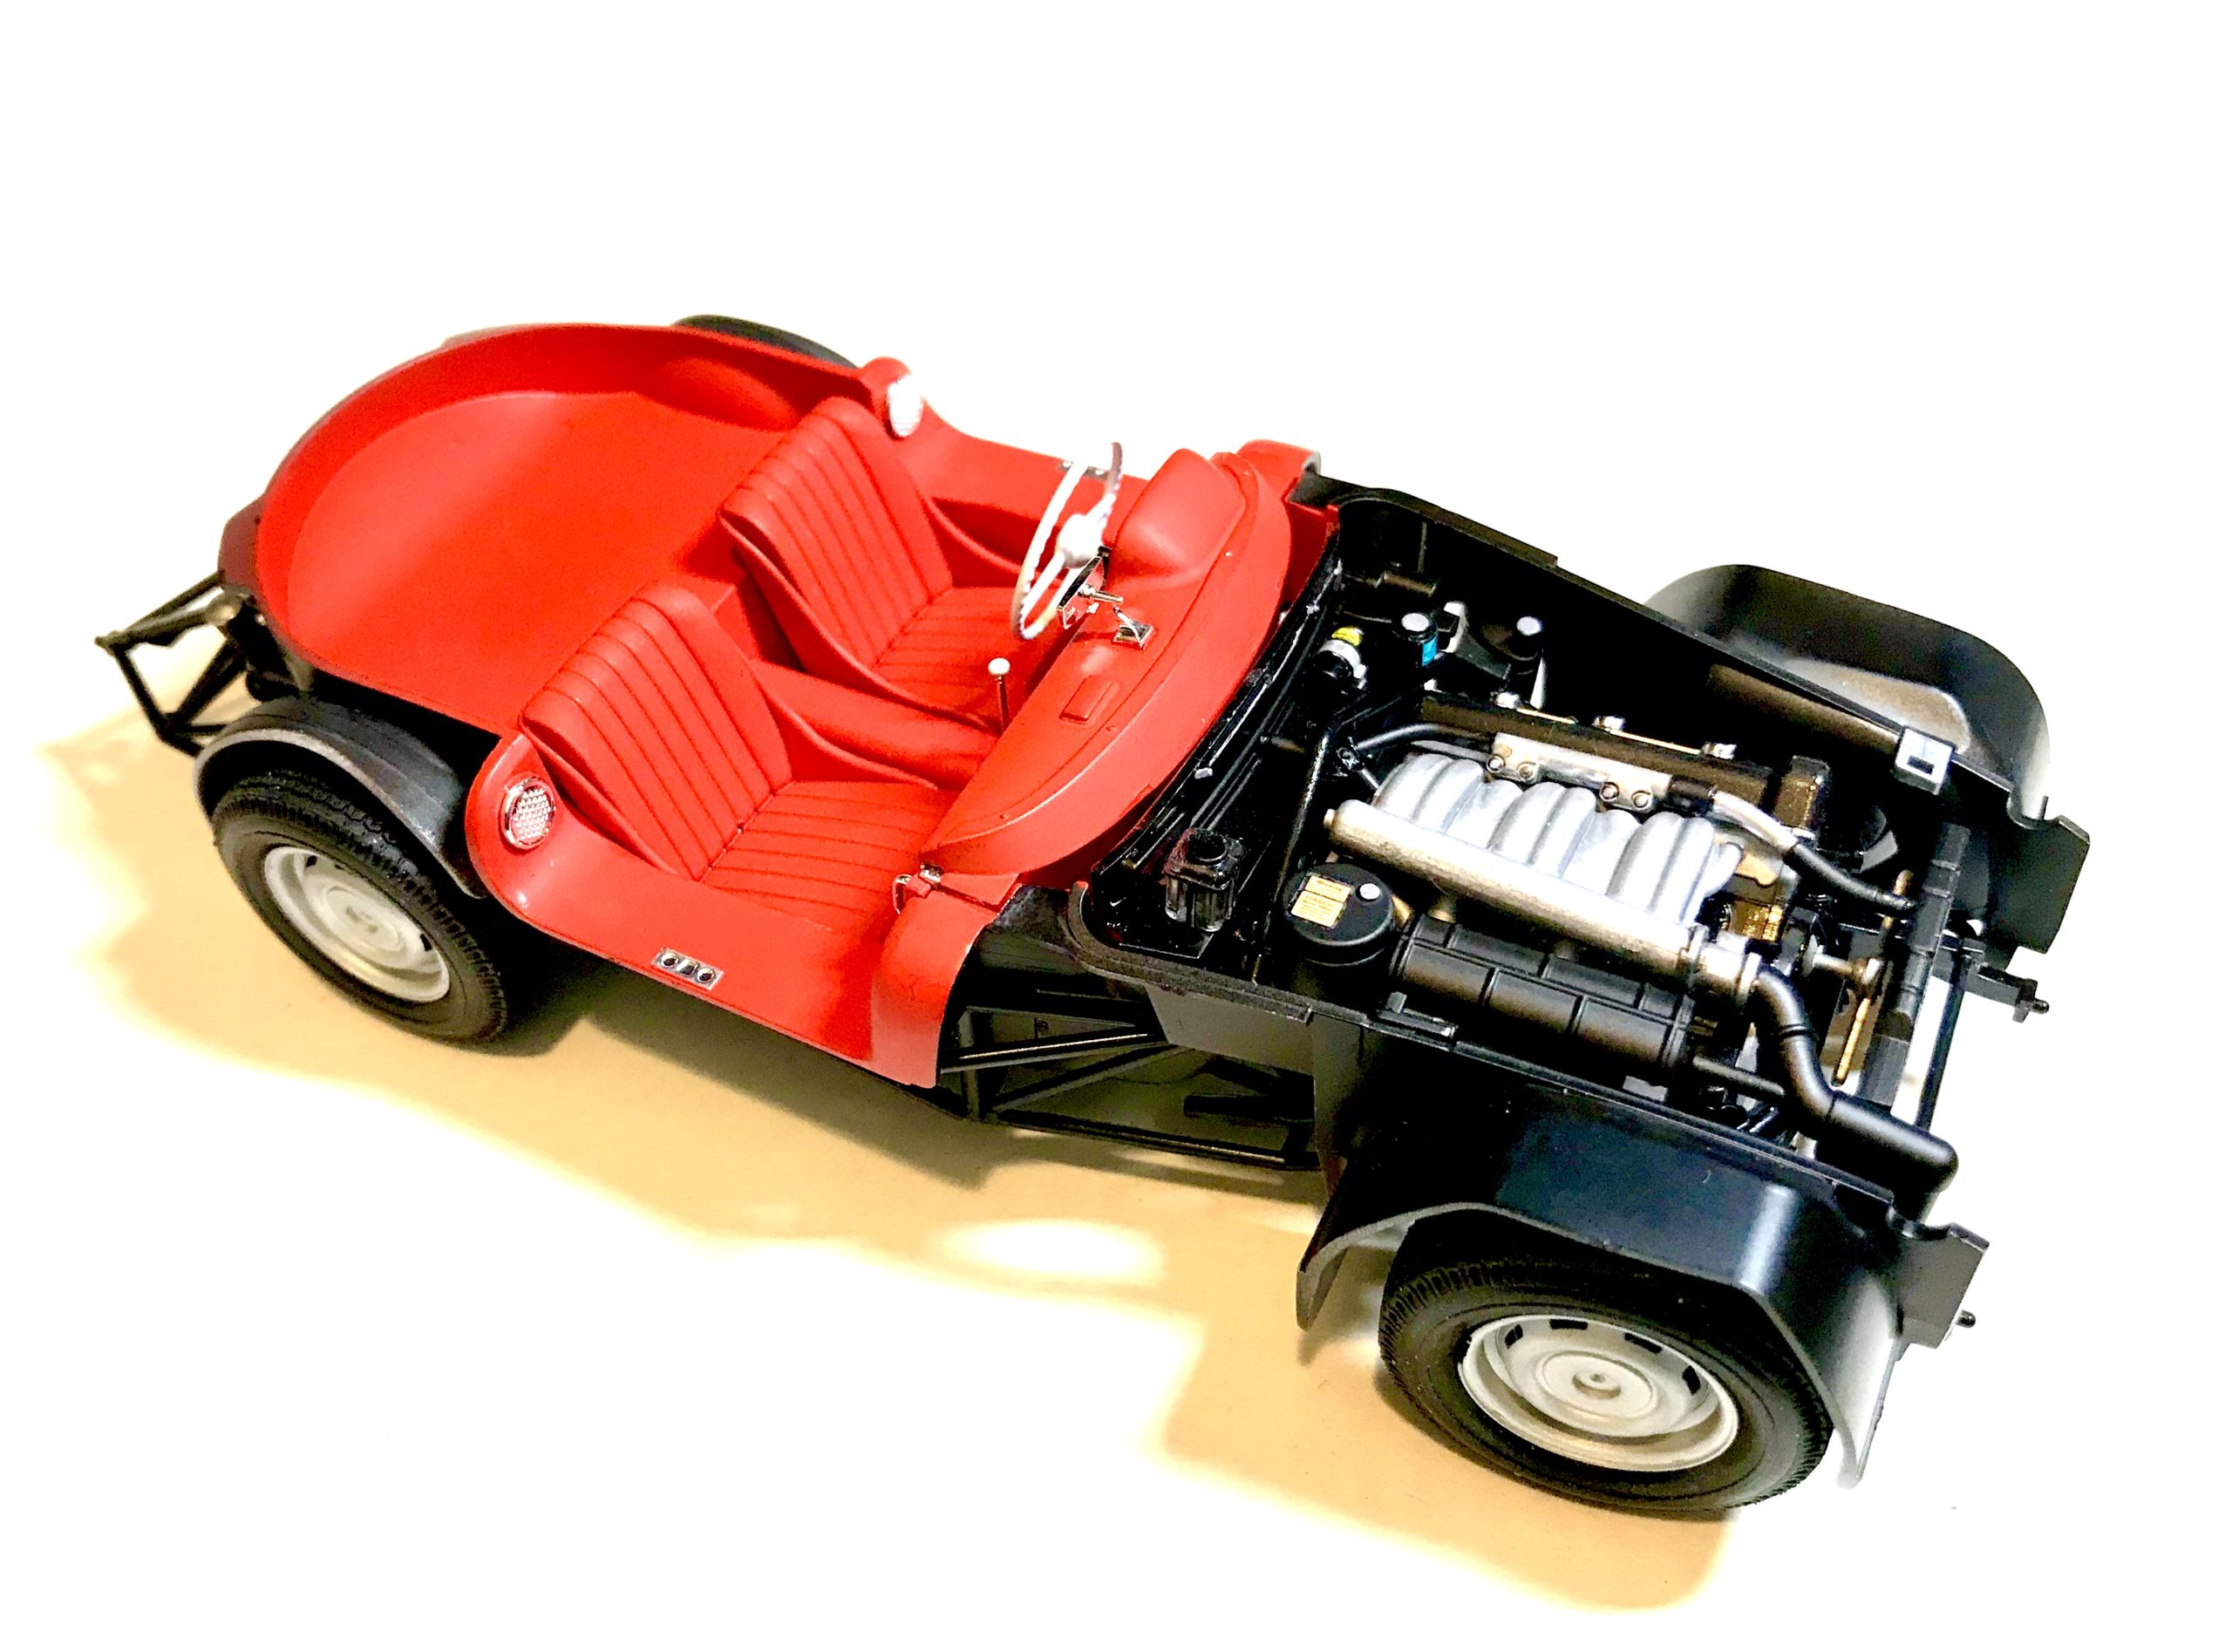
The first stage of assembly is the fully detailed space frame chassis – The level of detail is superb.
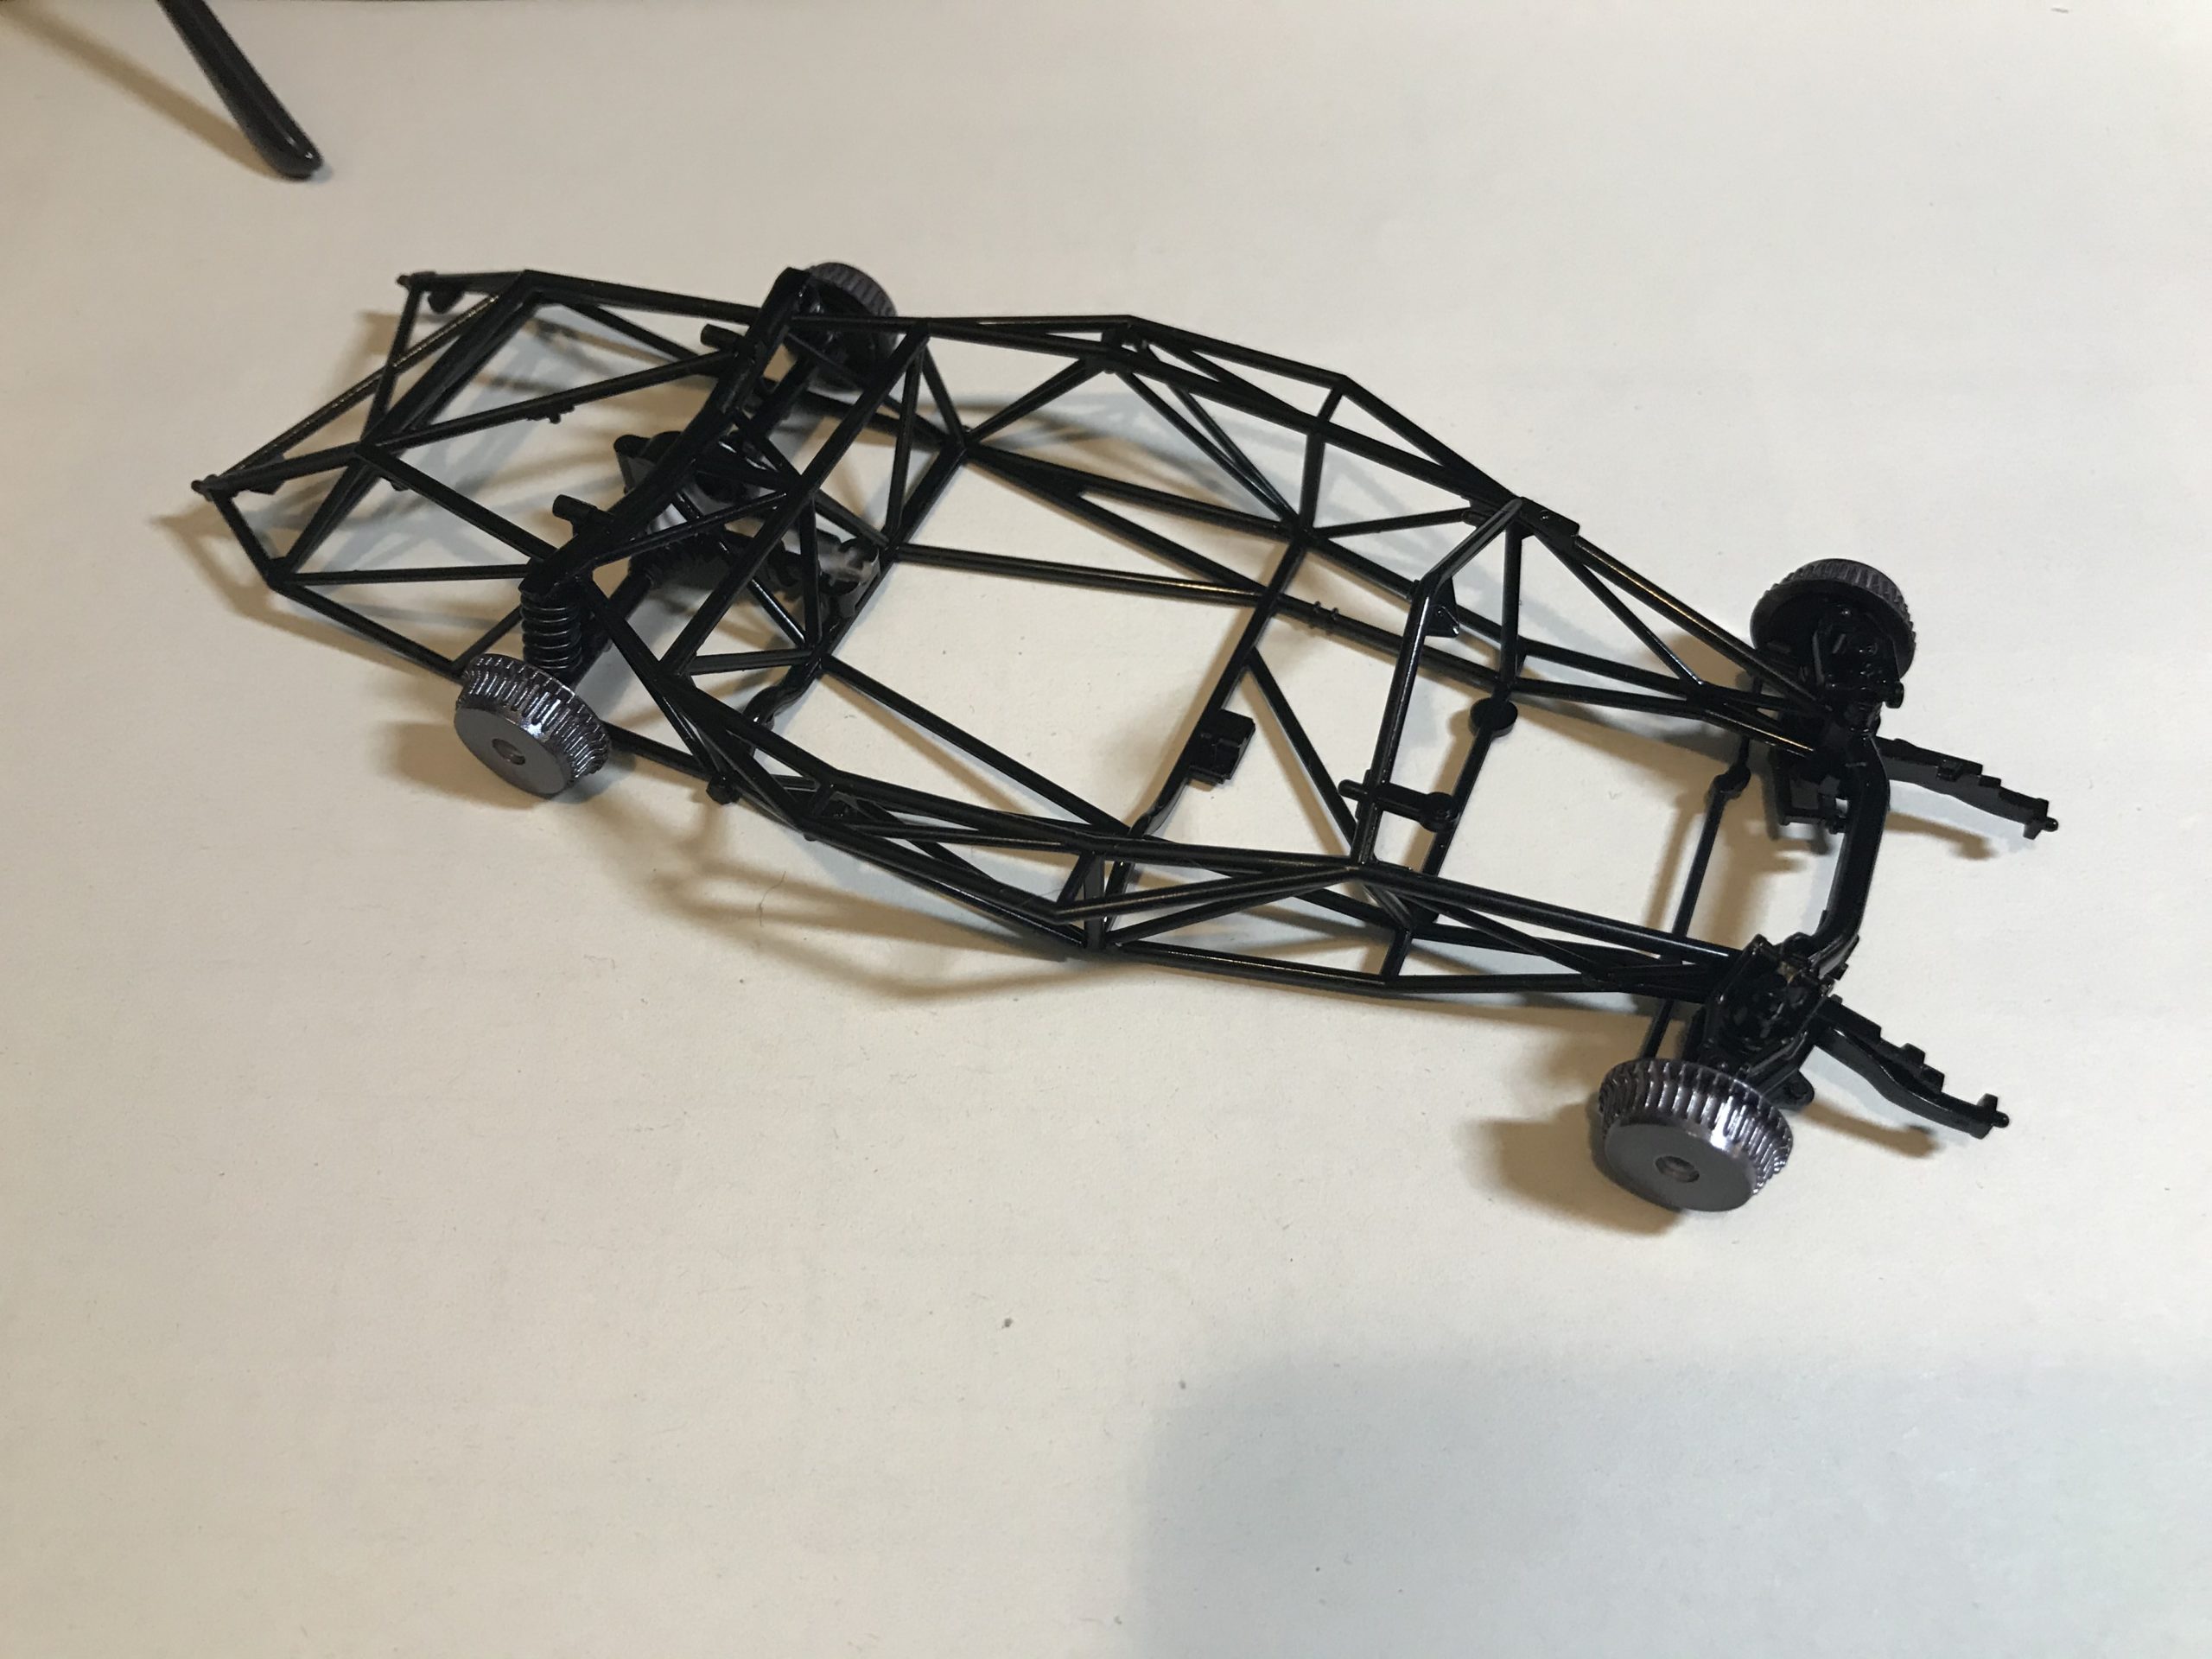
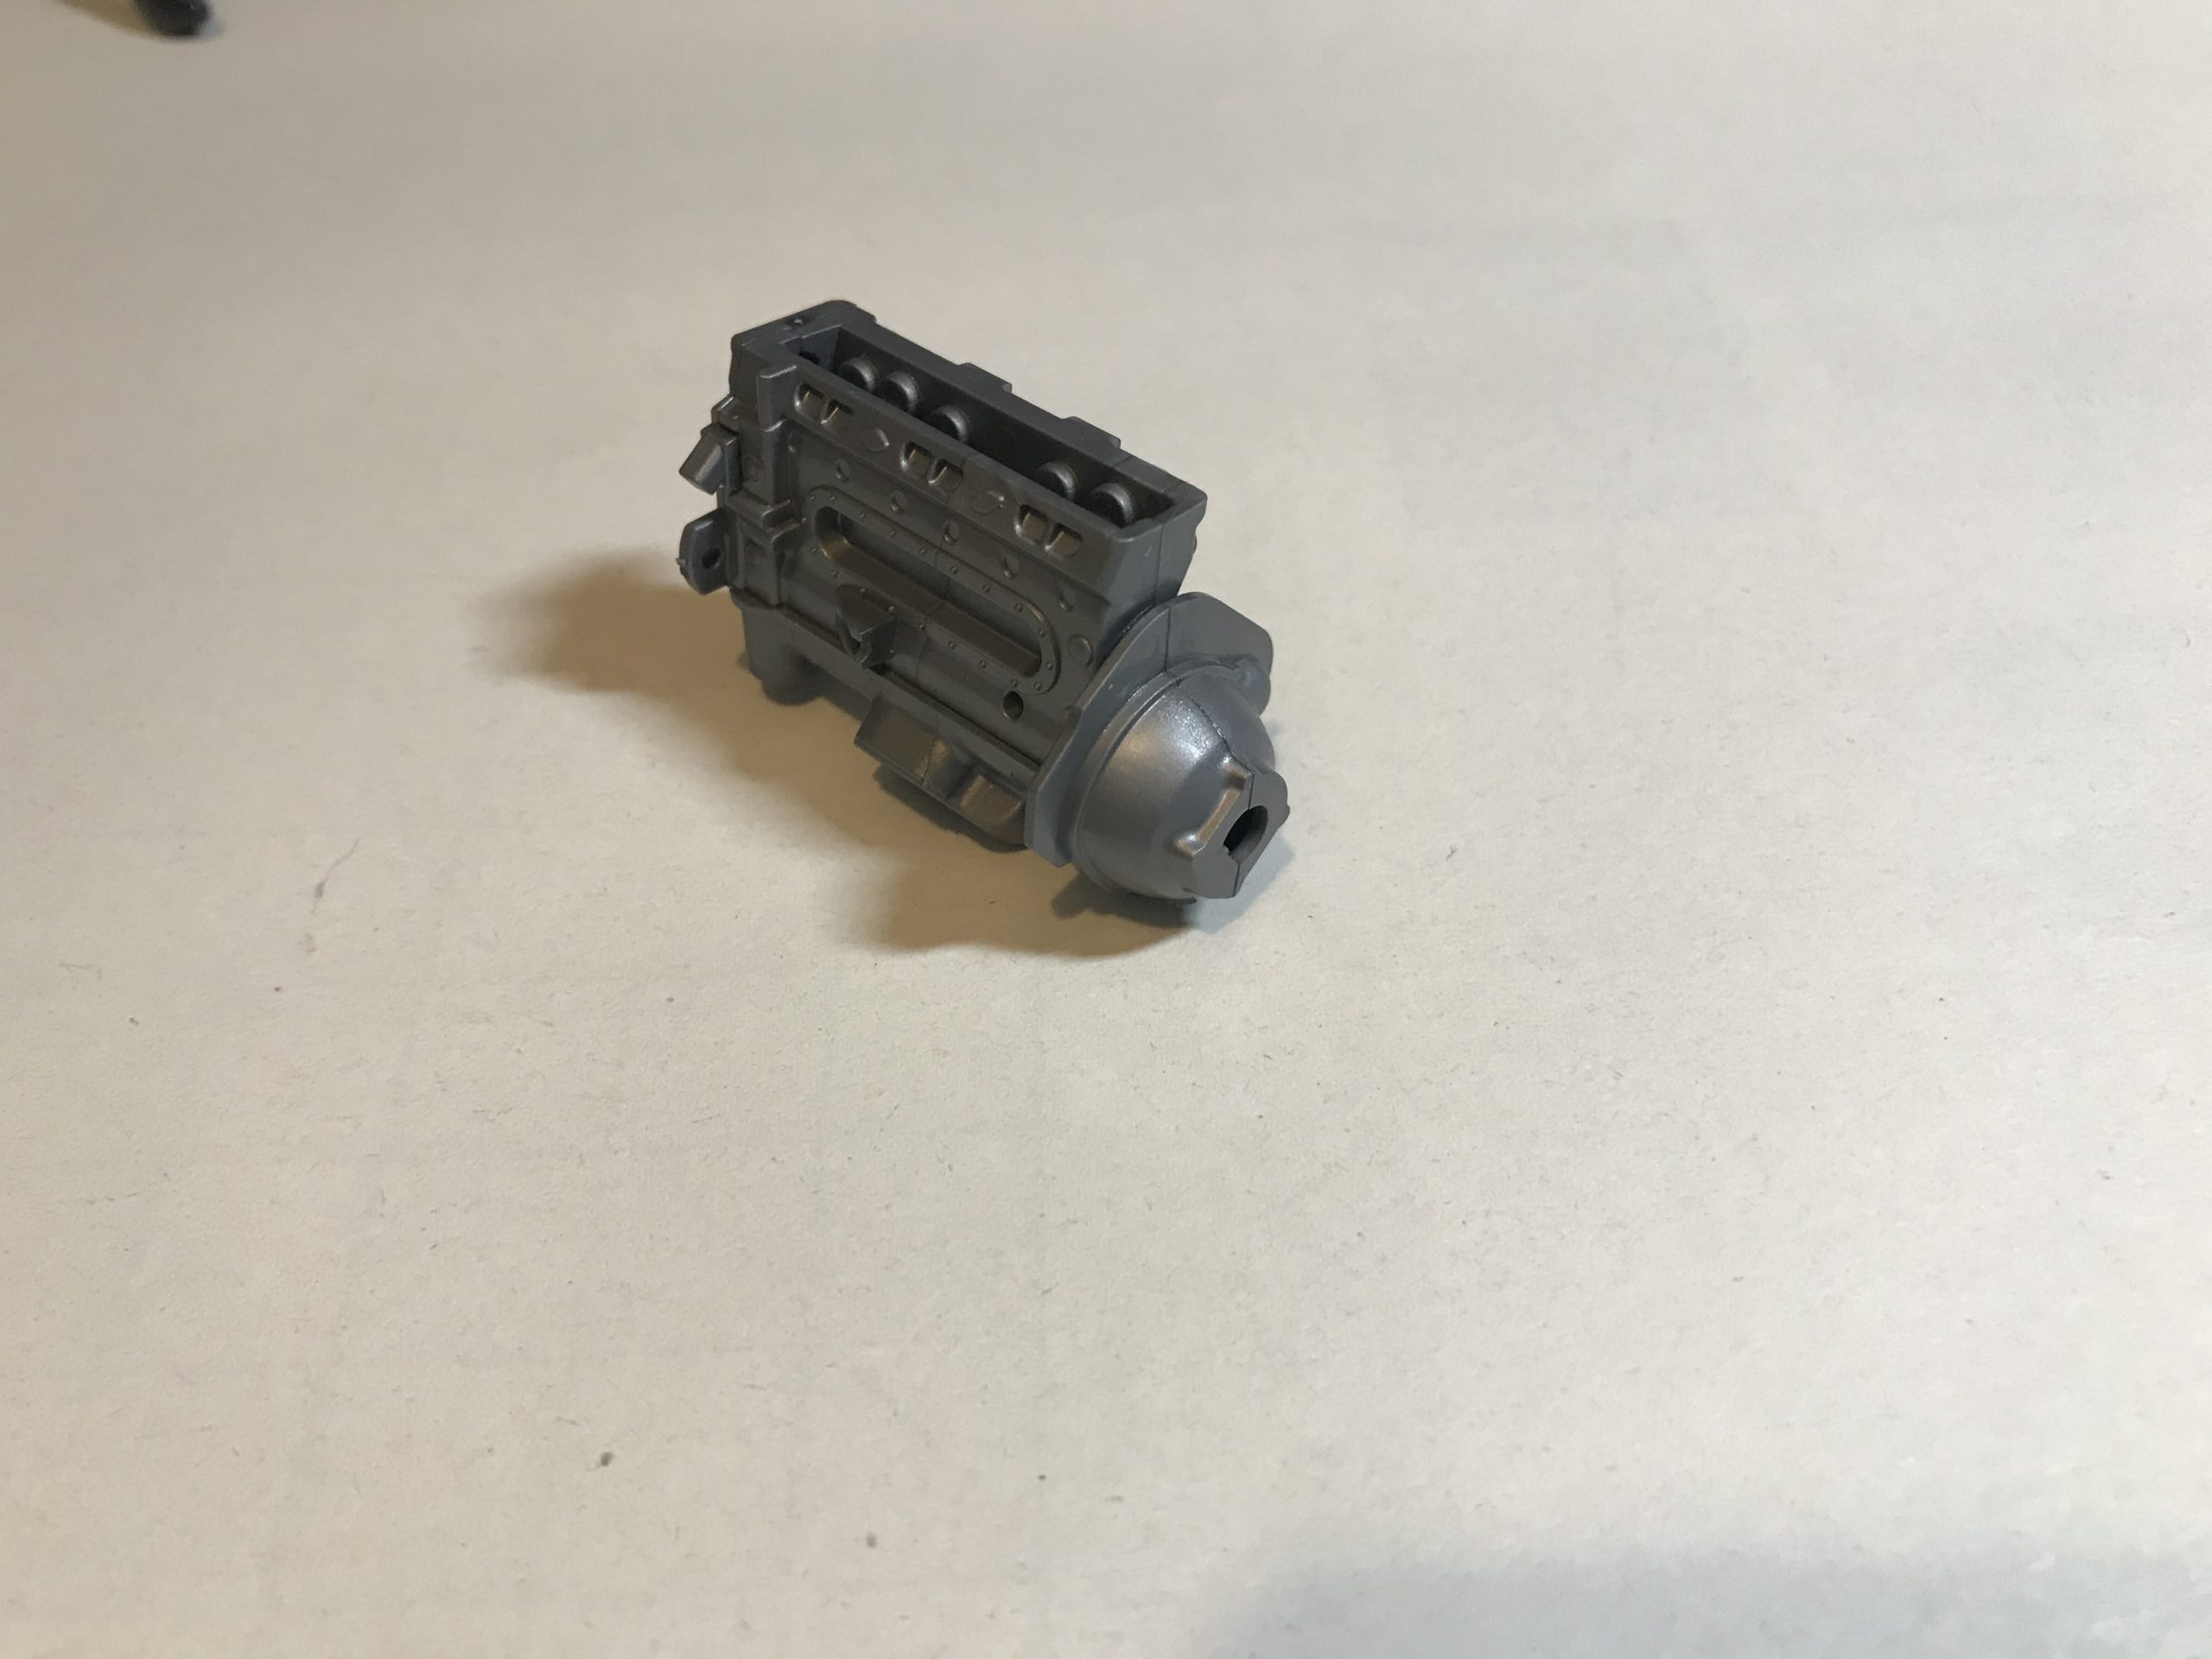
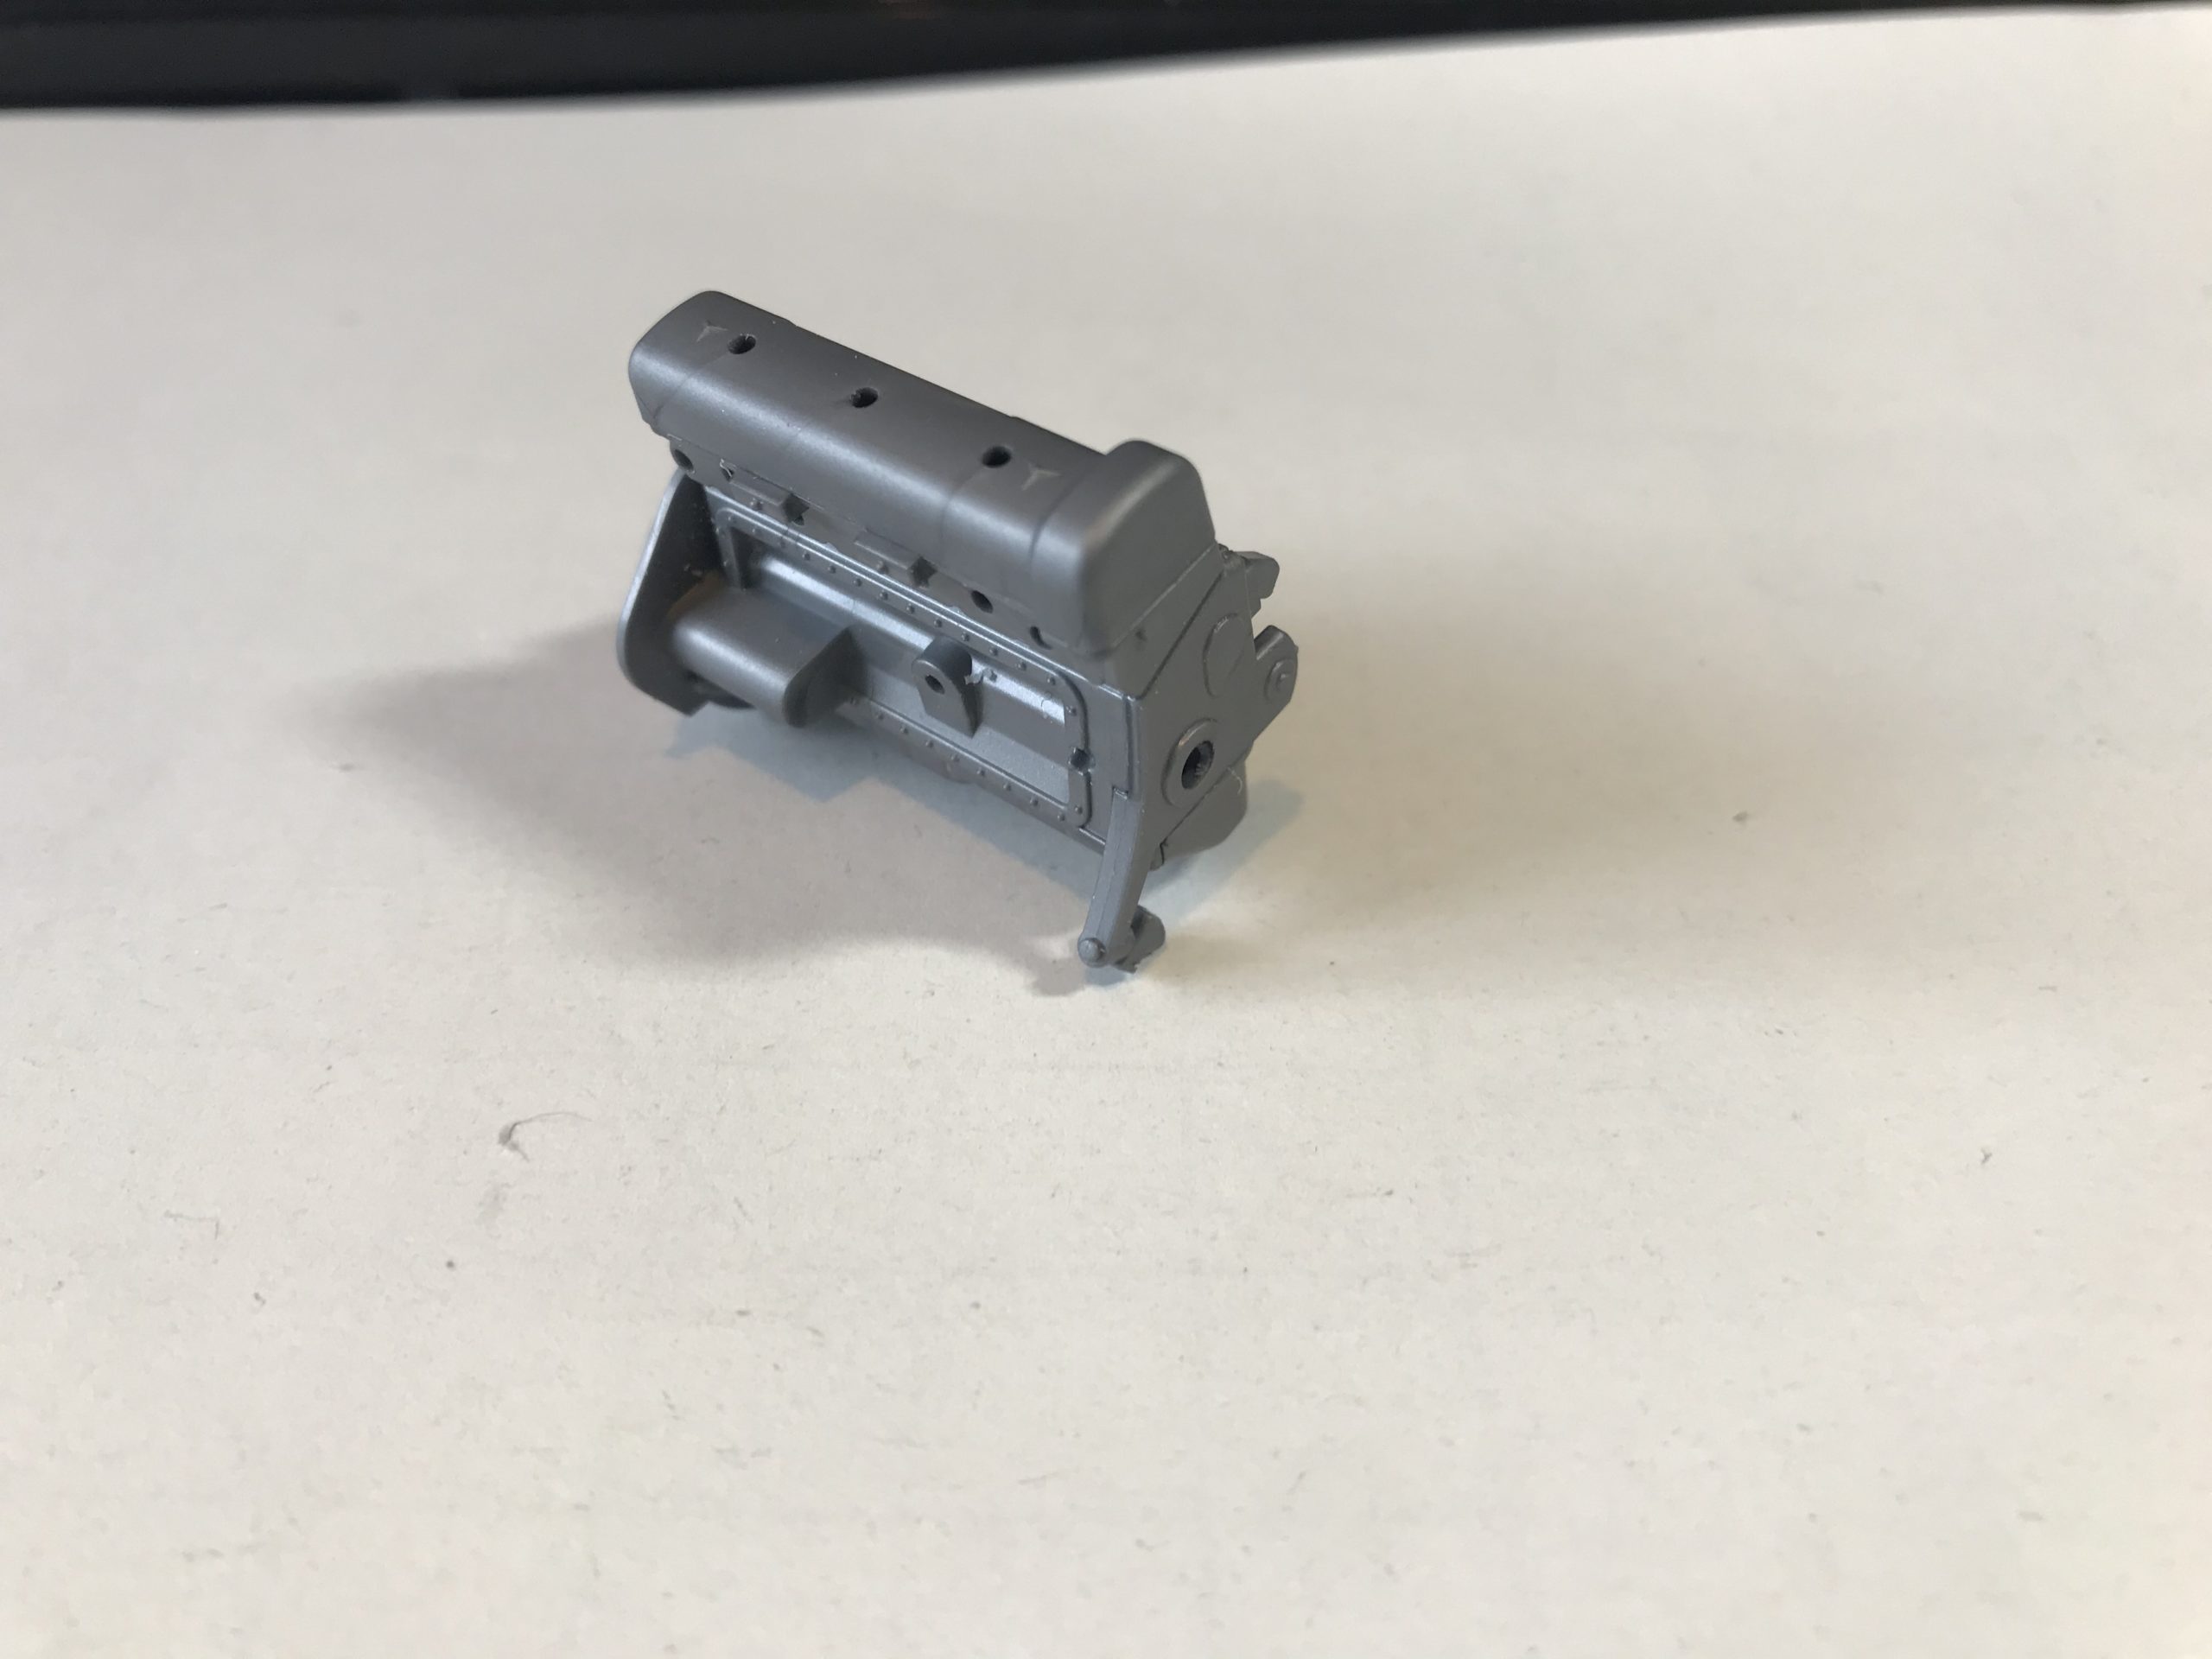
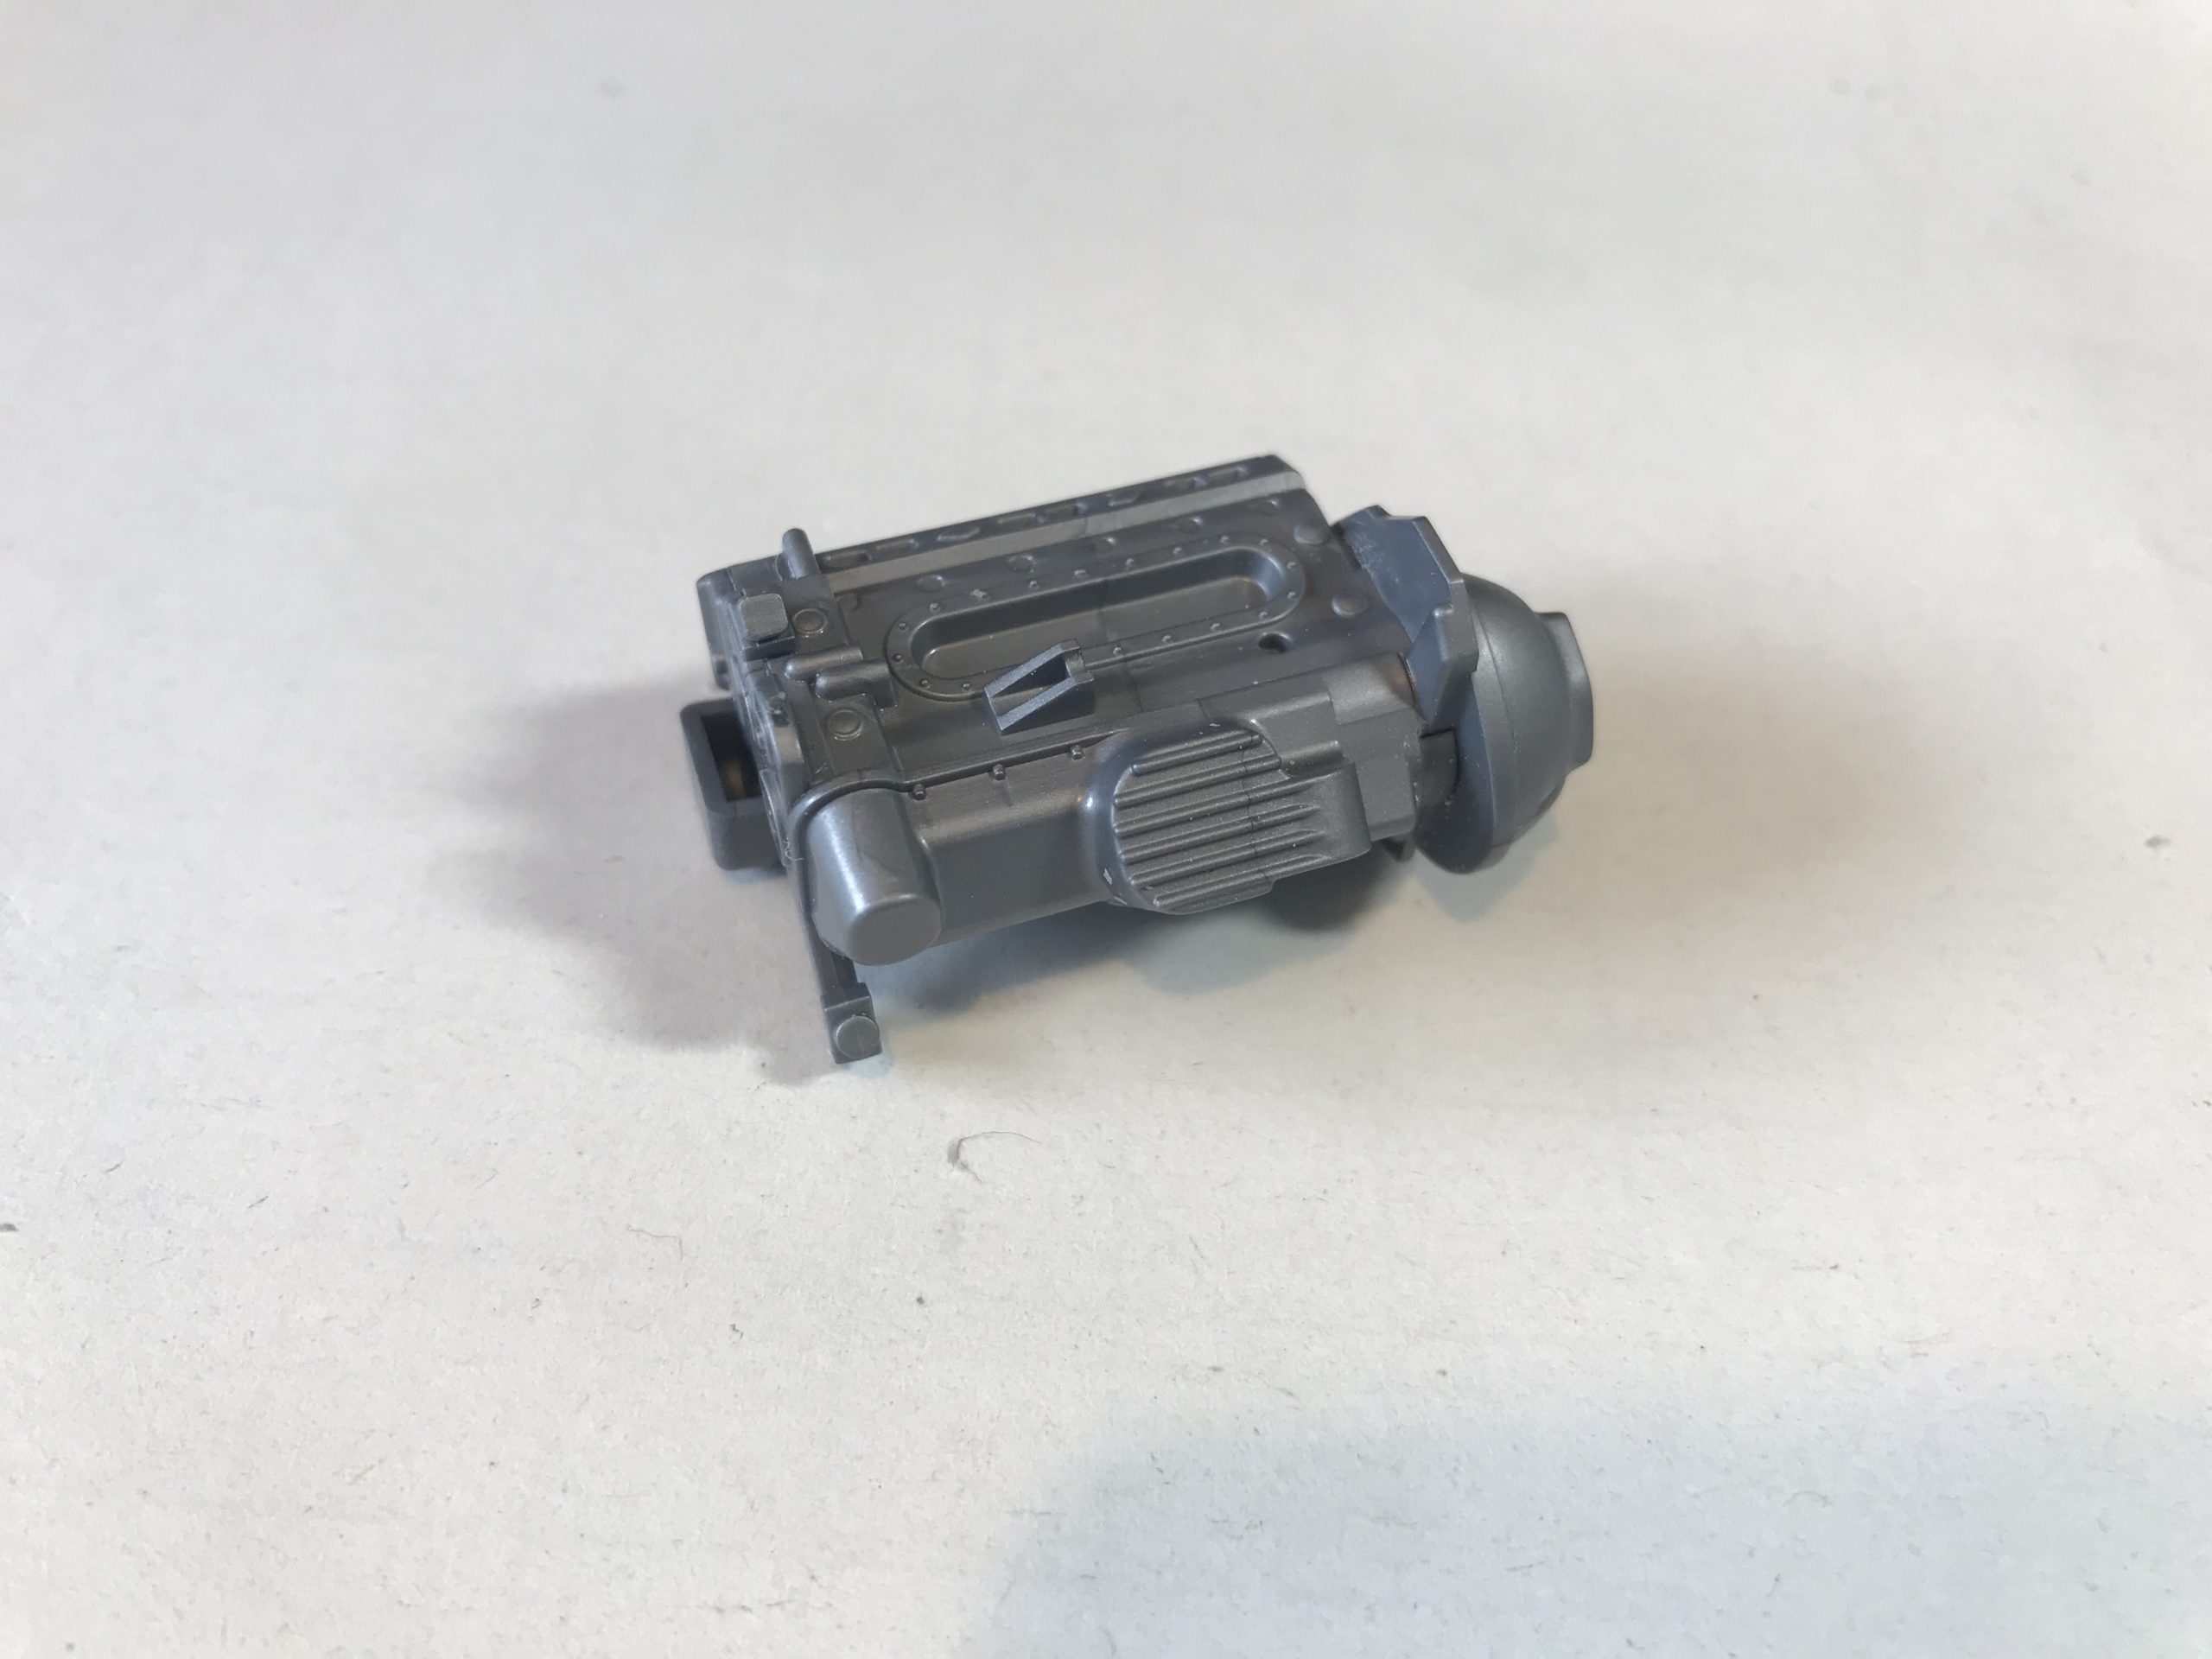
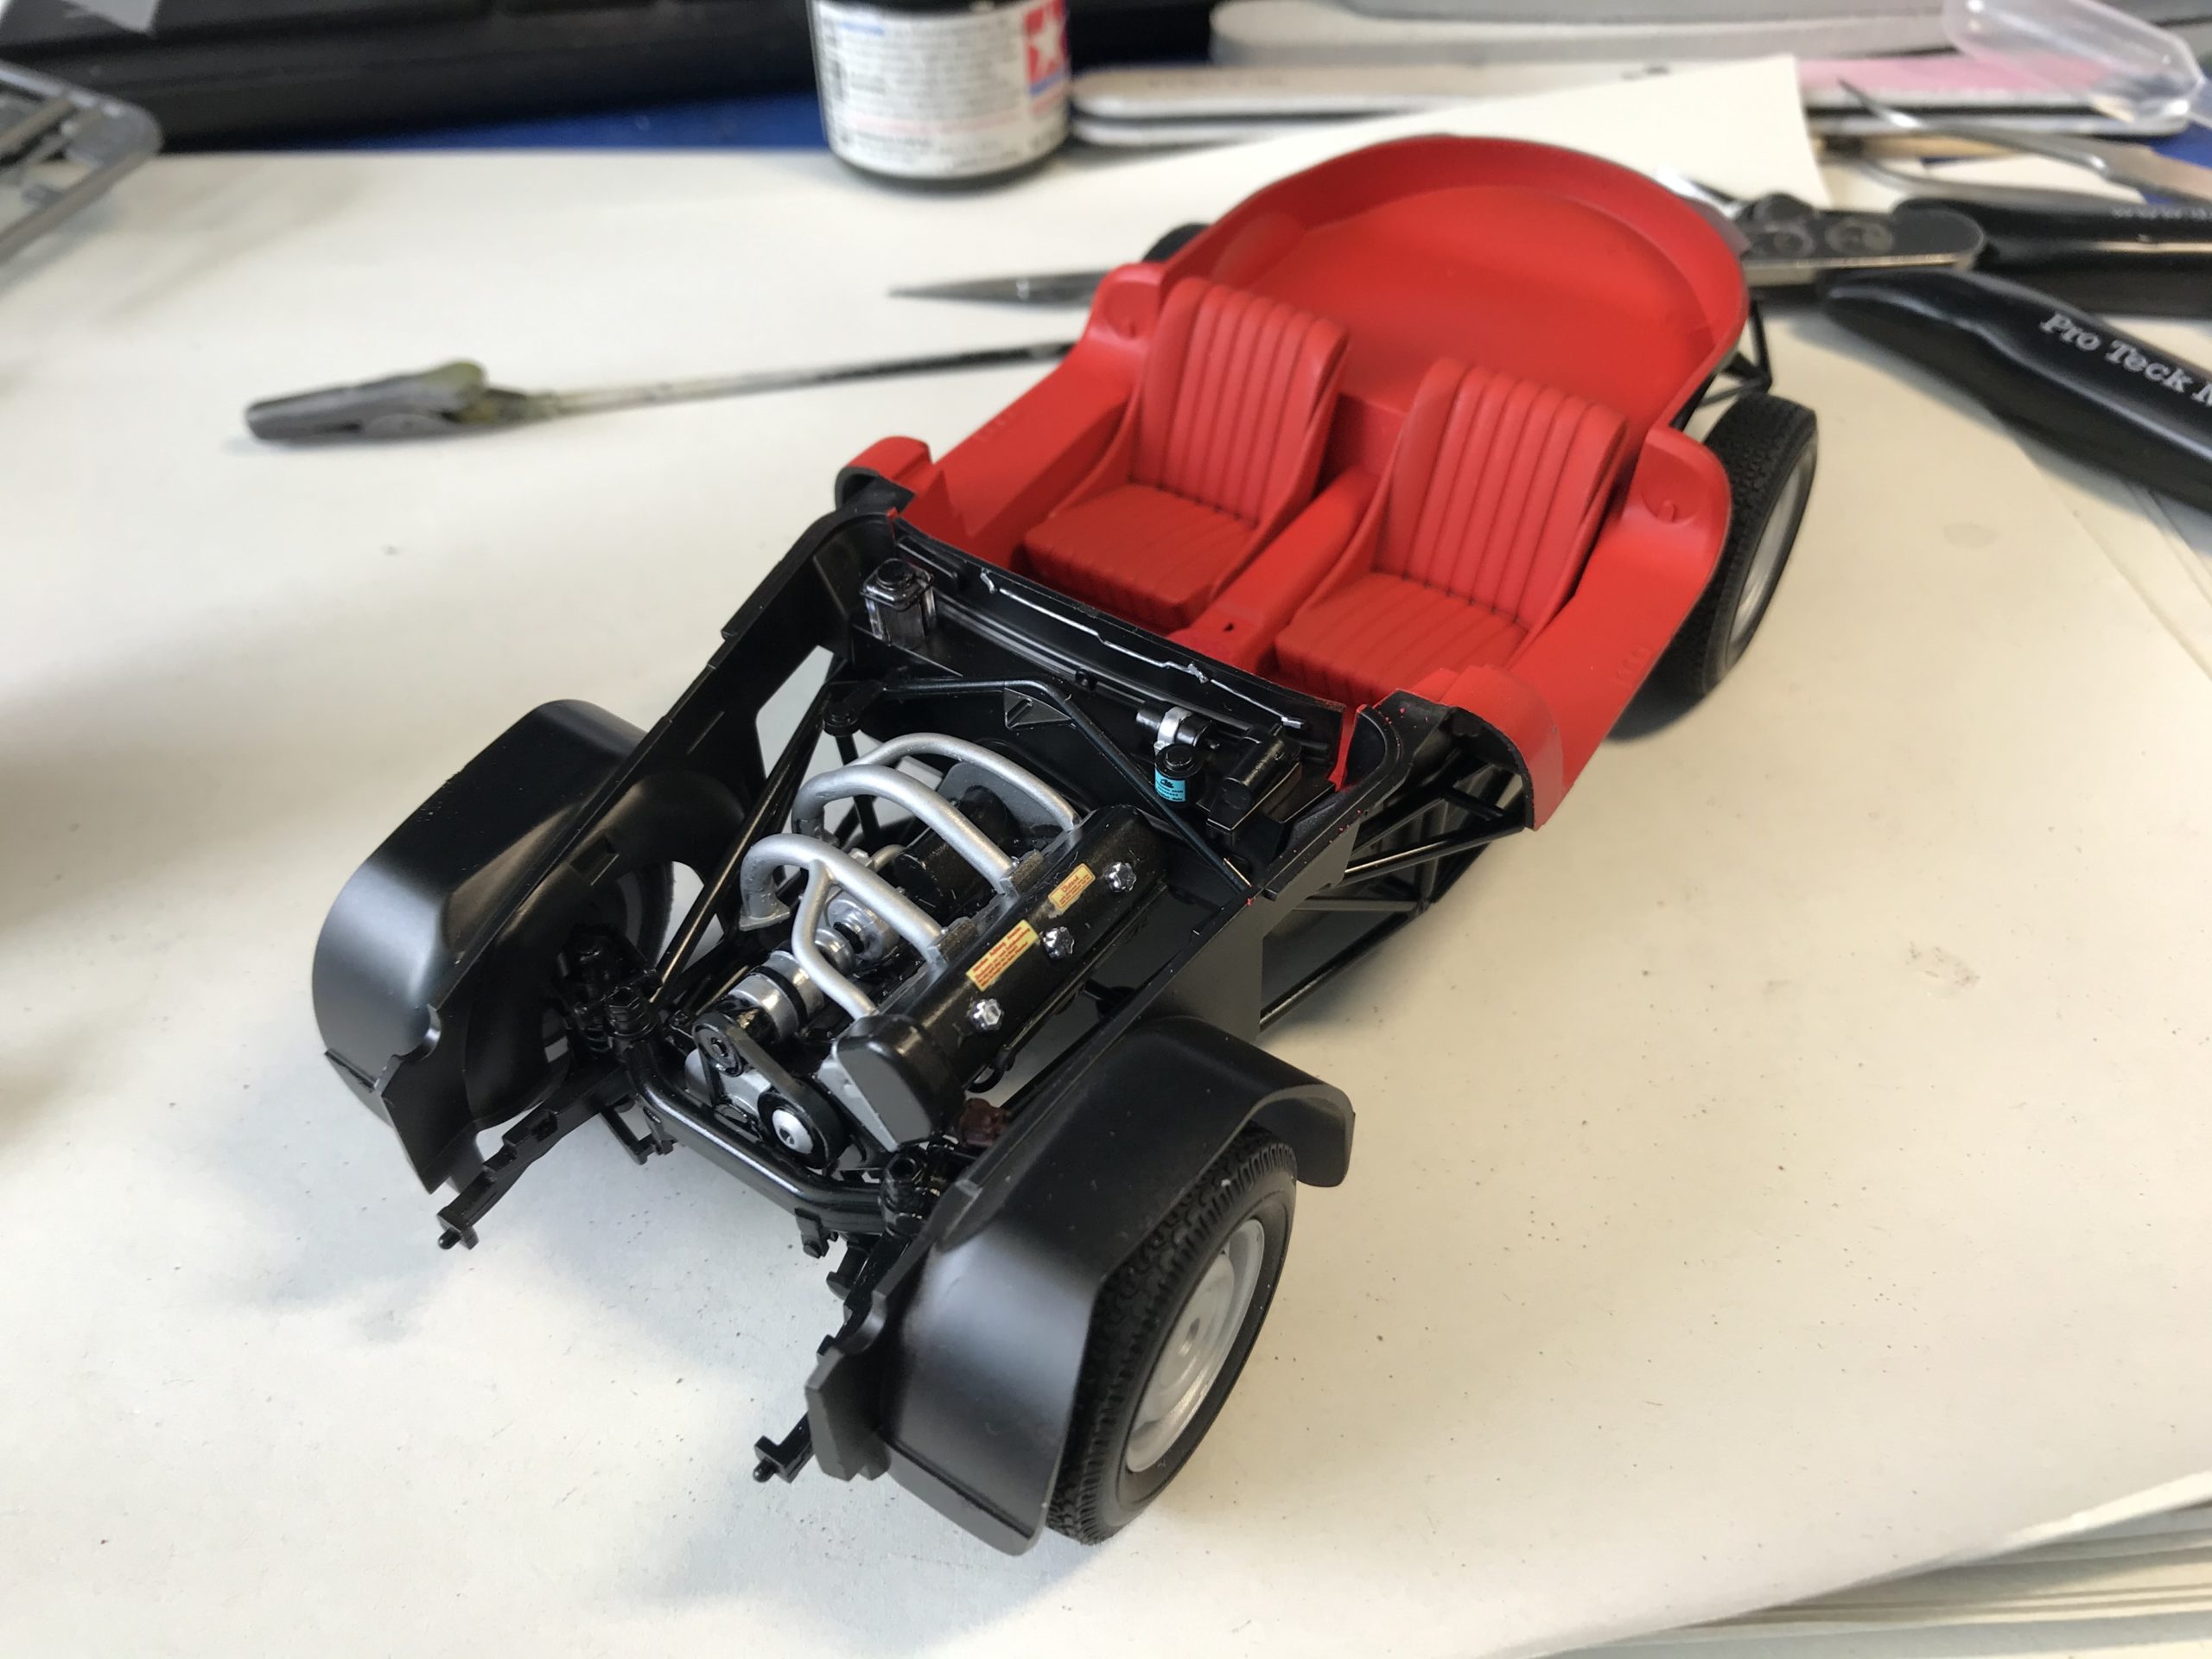
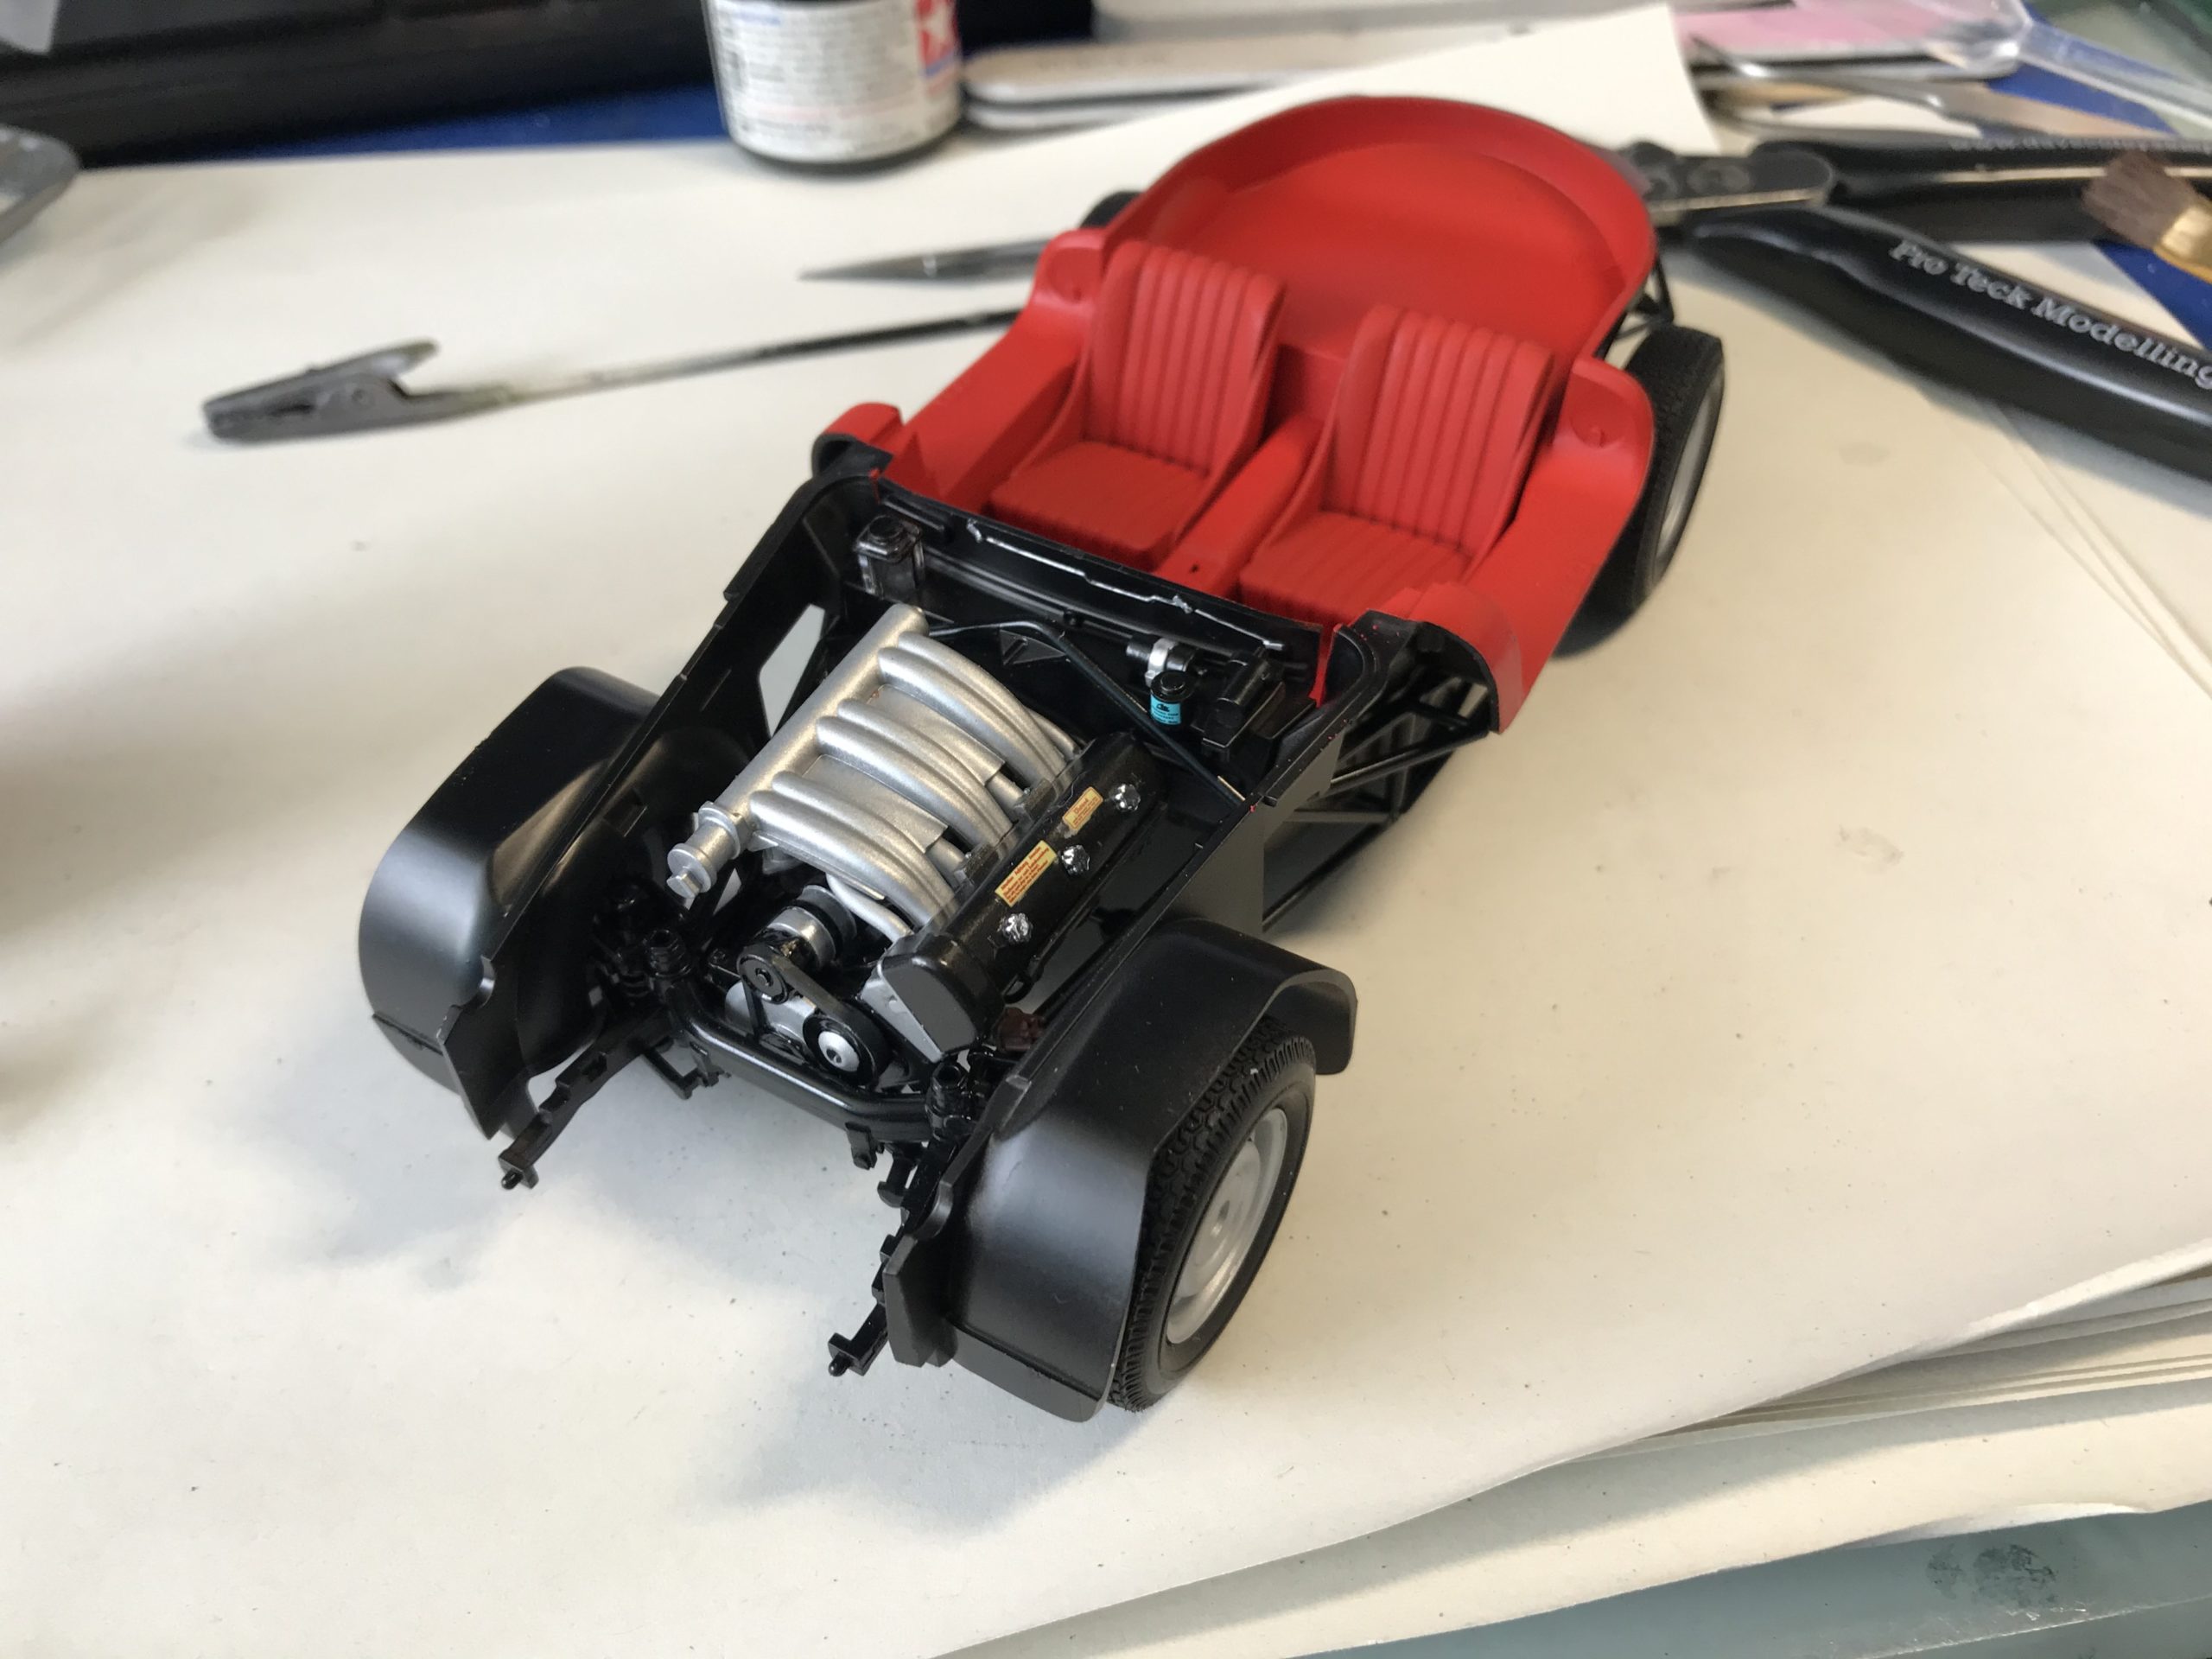
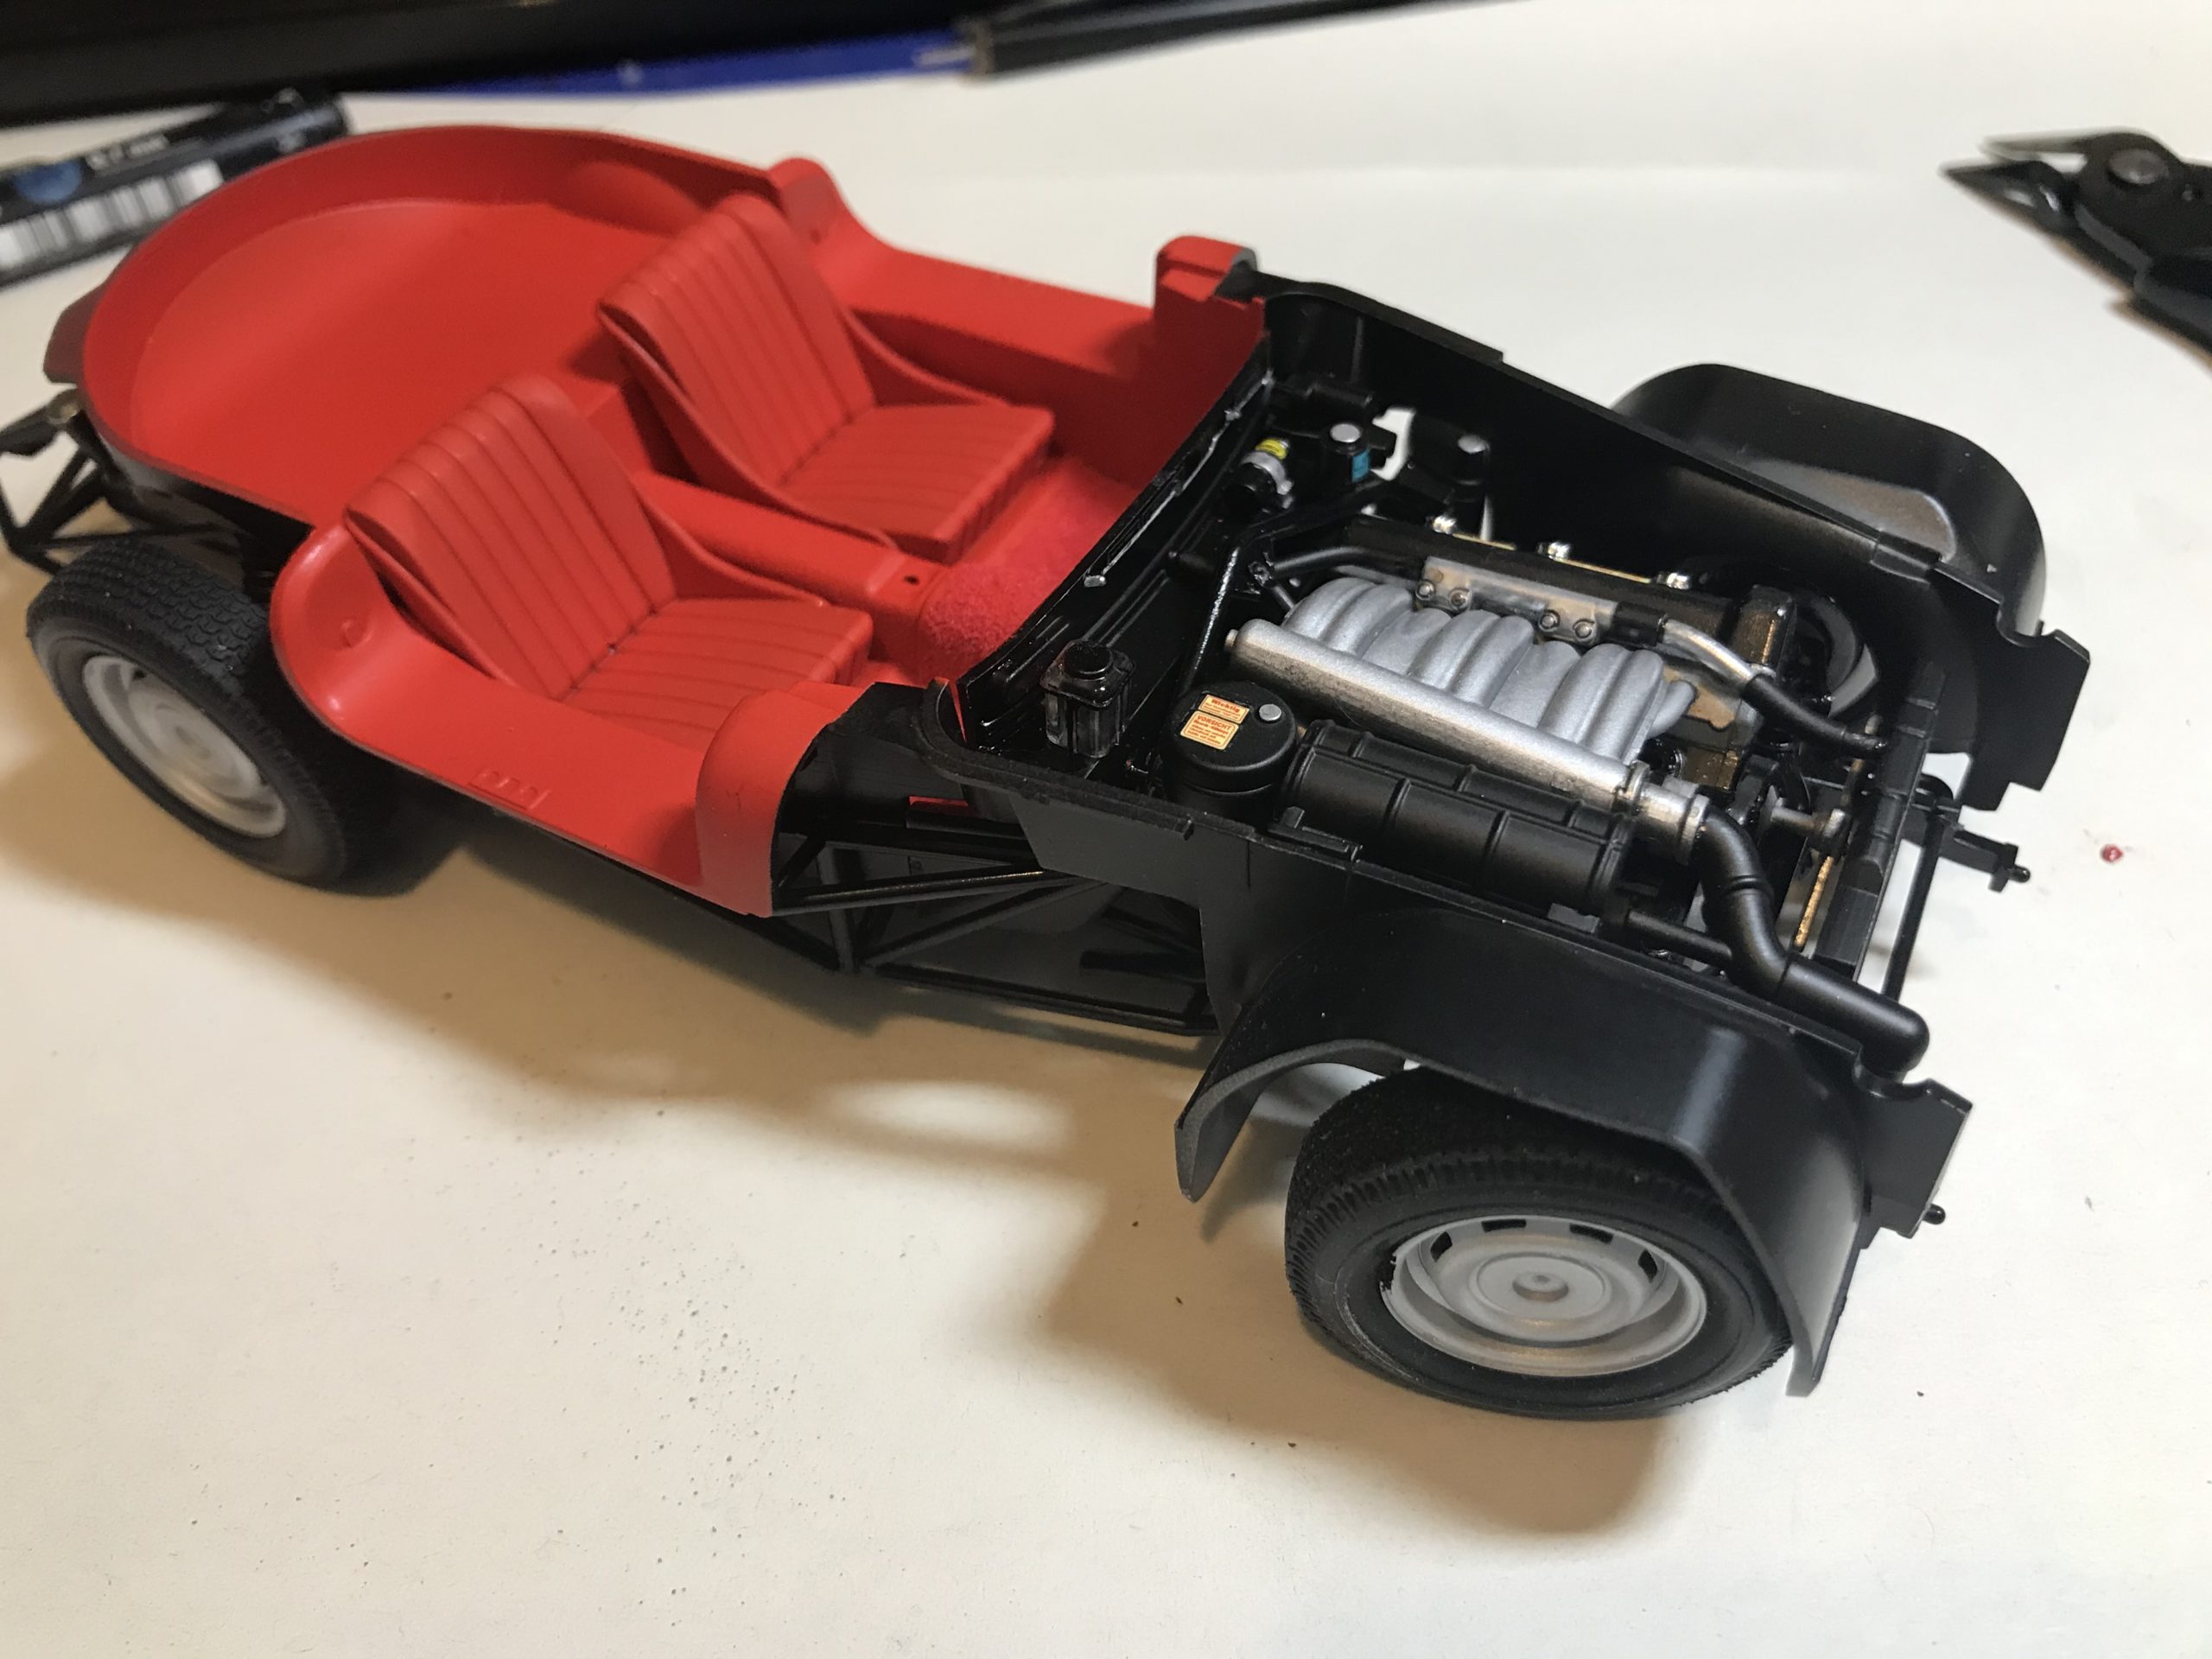
You also get a fully detailed engine bay! After assembling the chassis, fitted the wheels and transmission you have a fully rolling chassis.
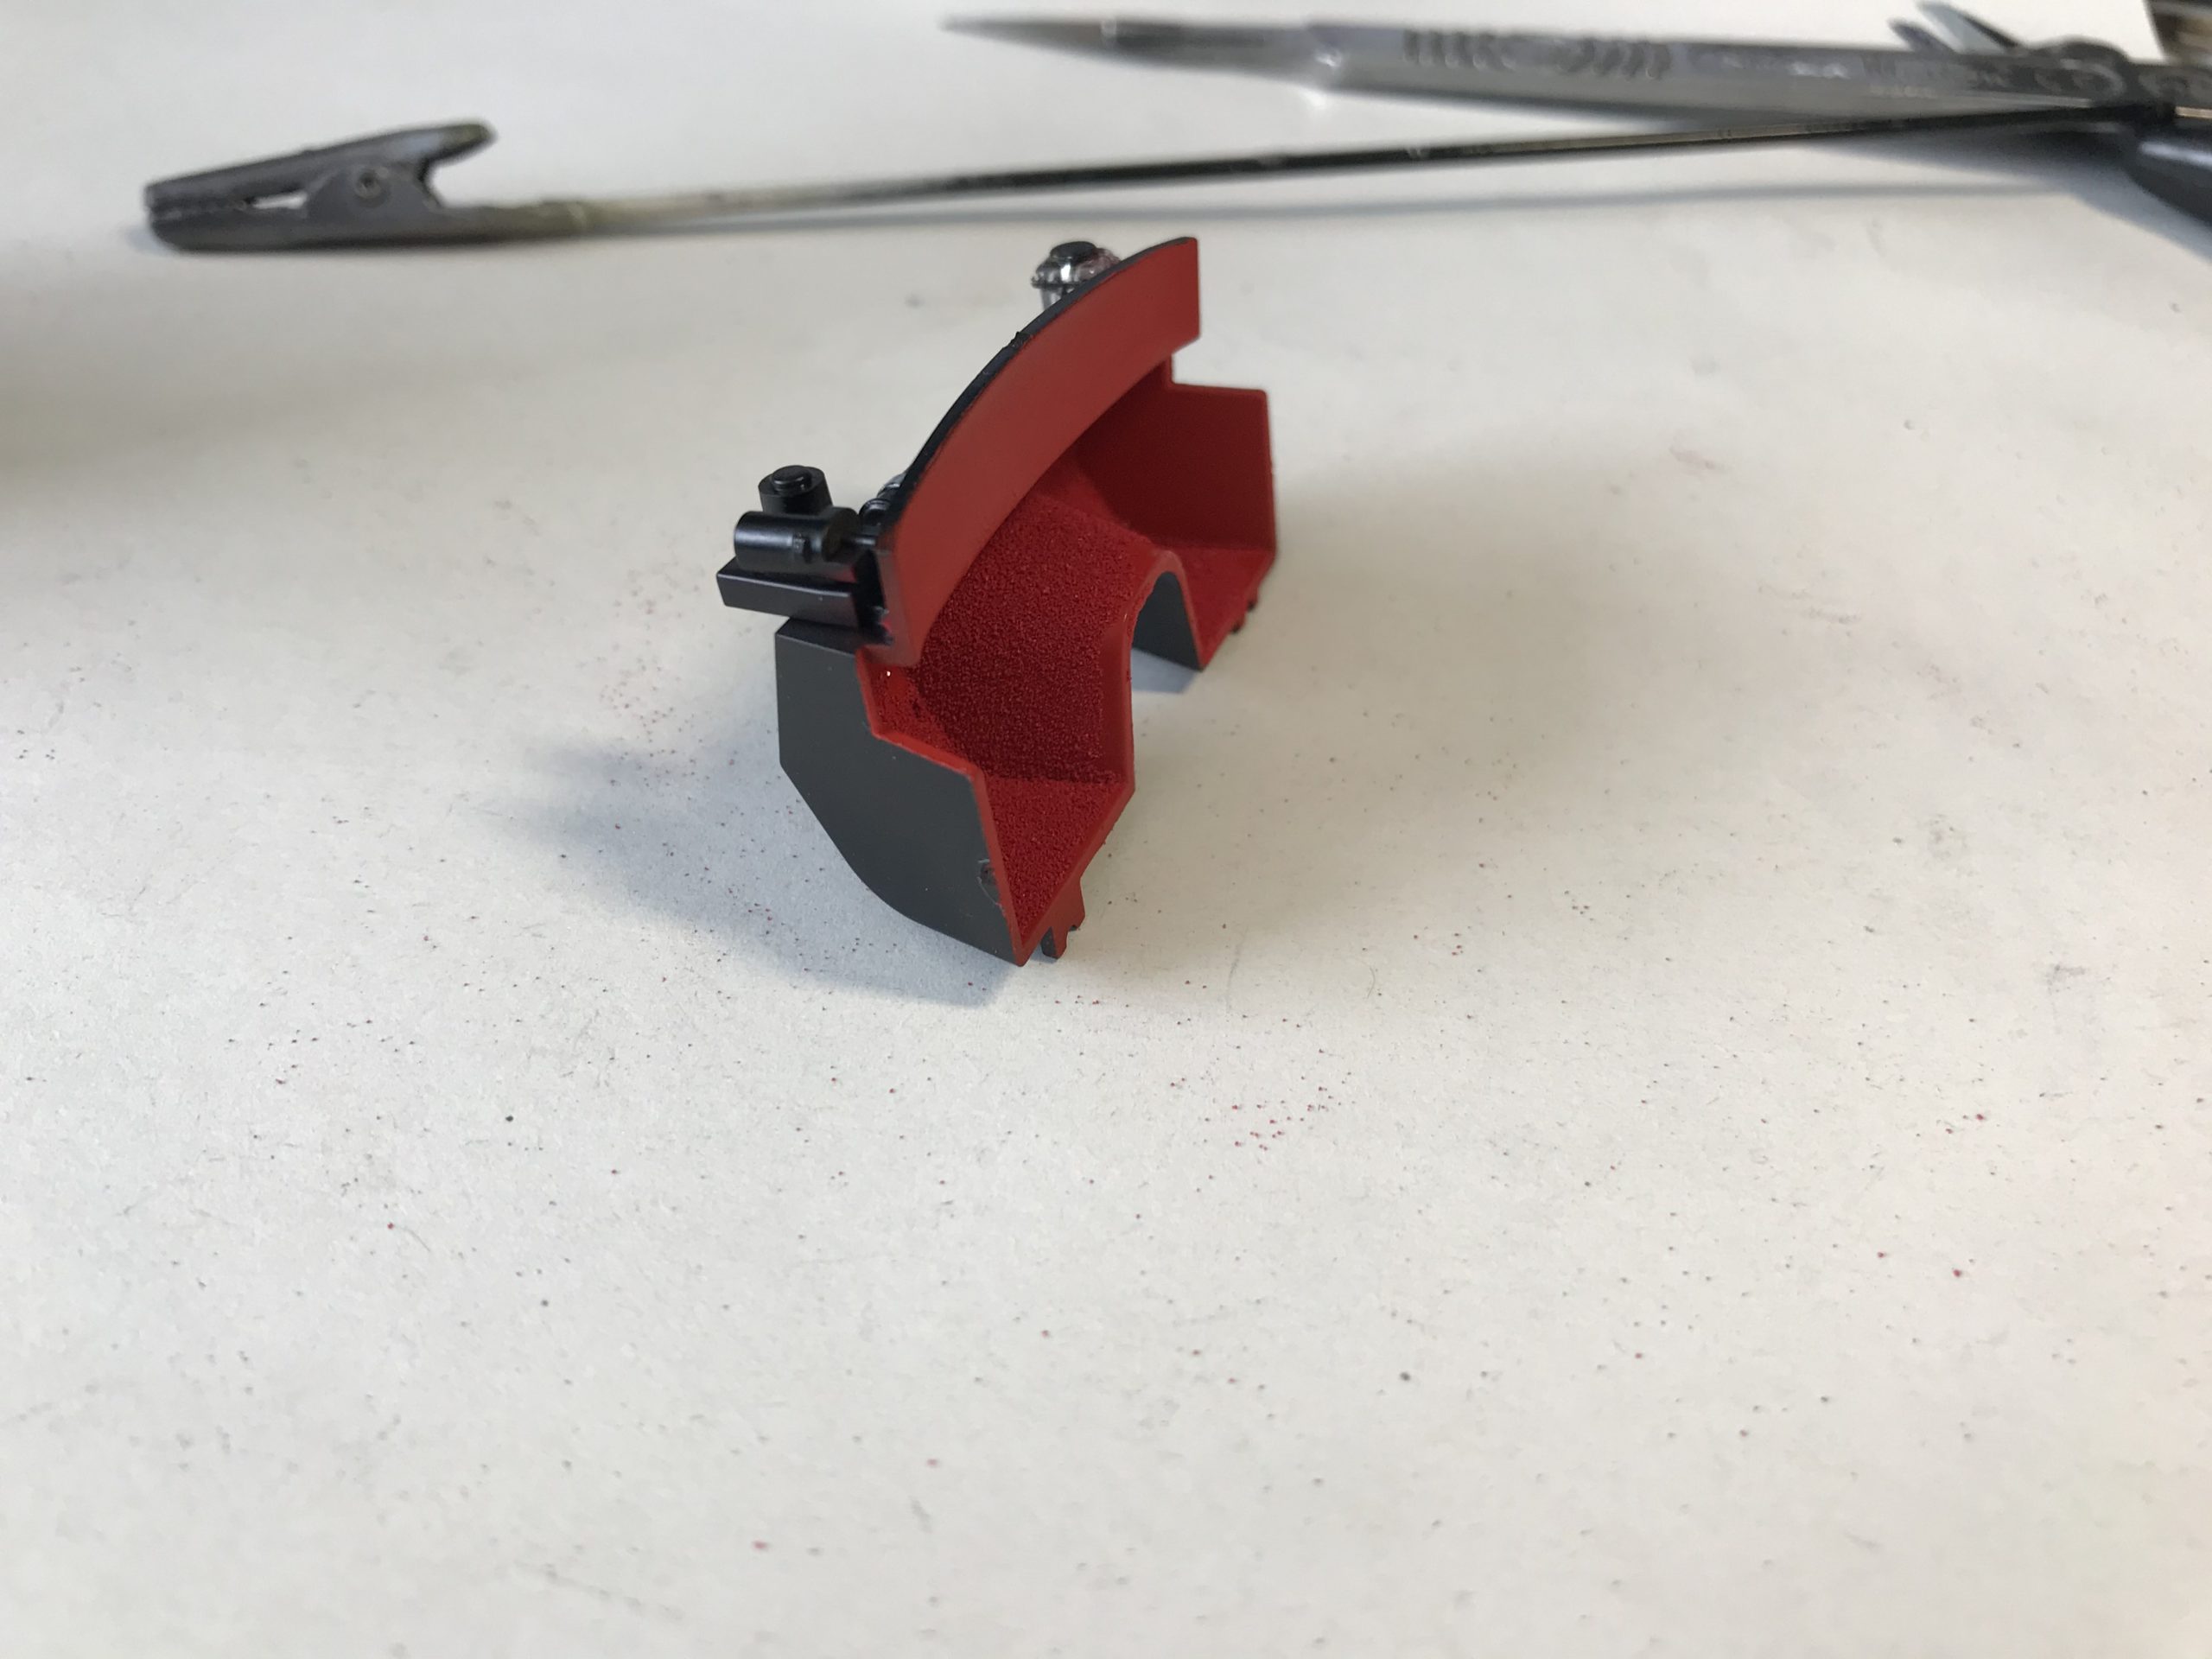
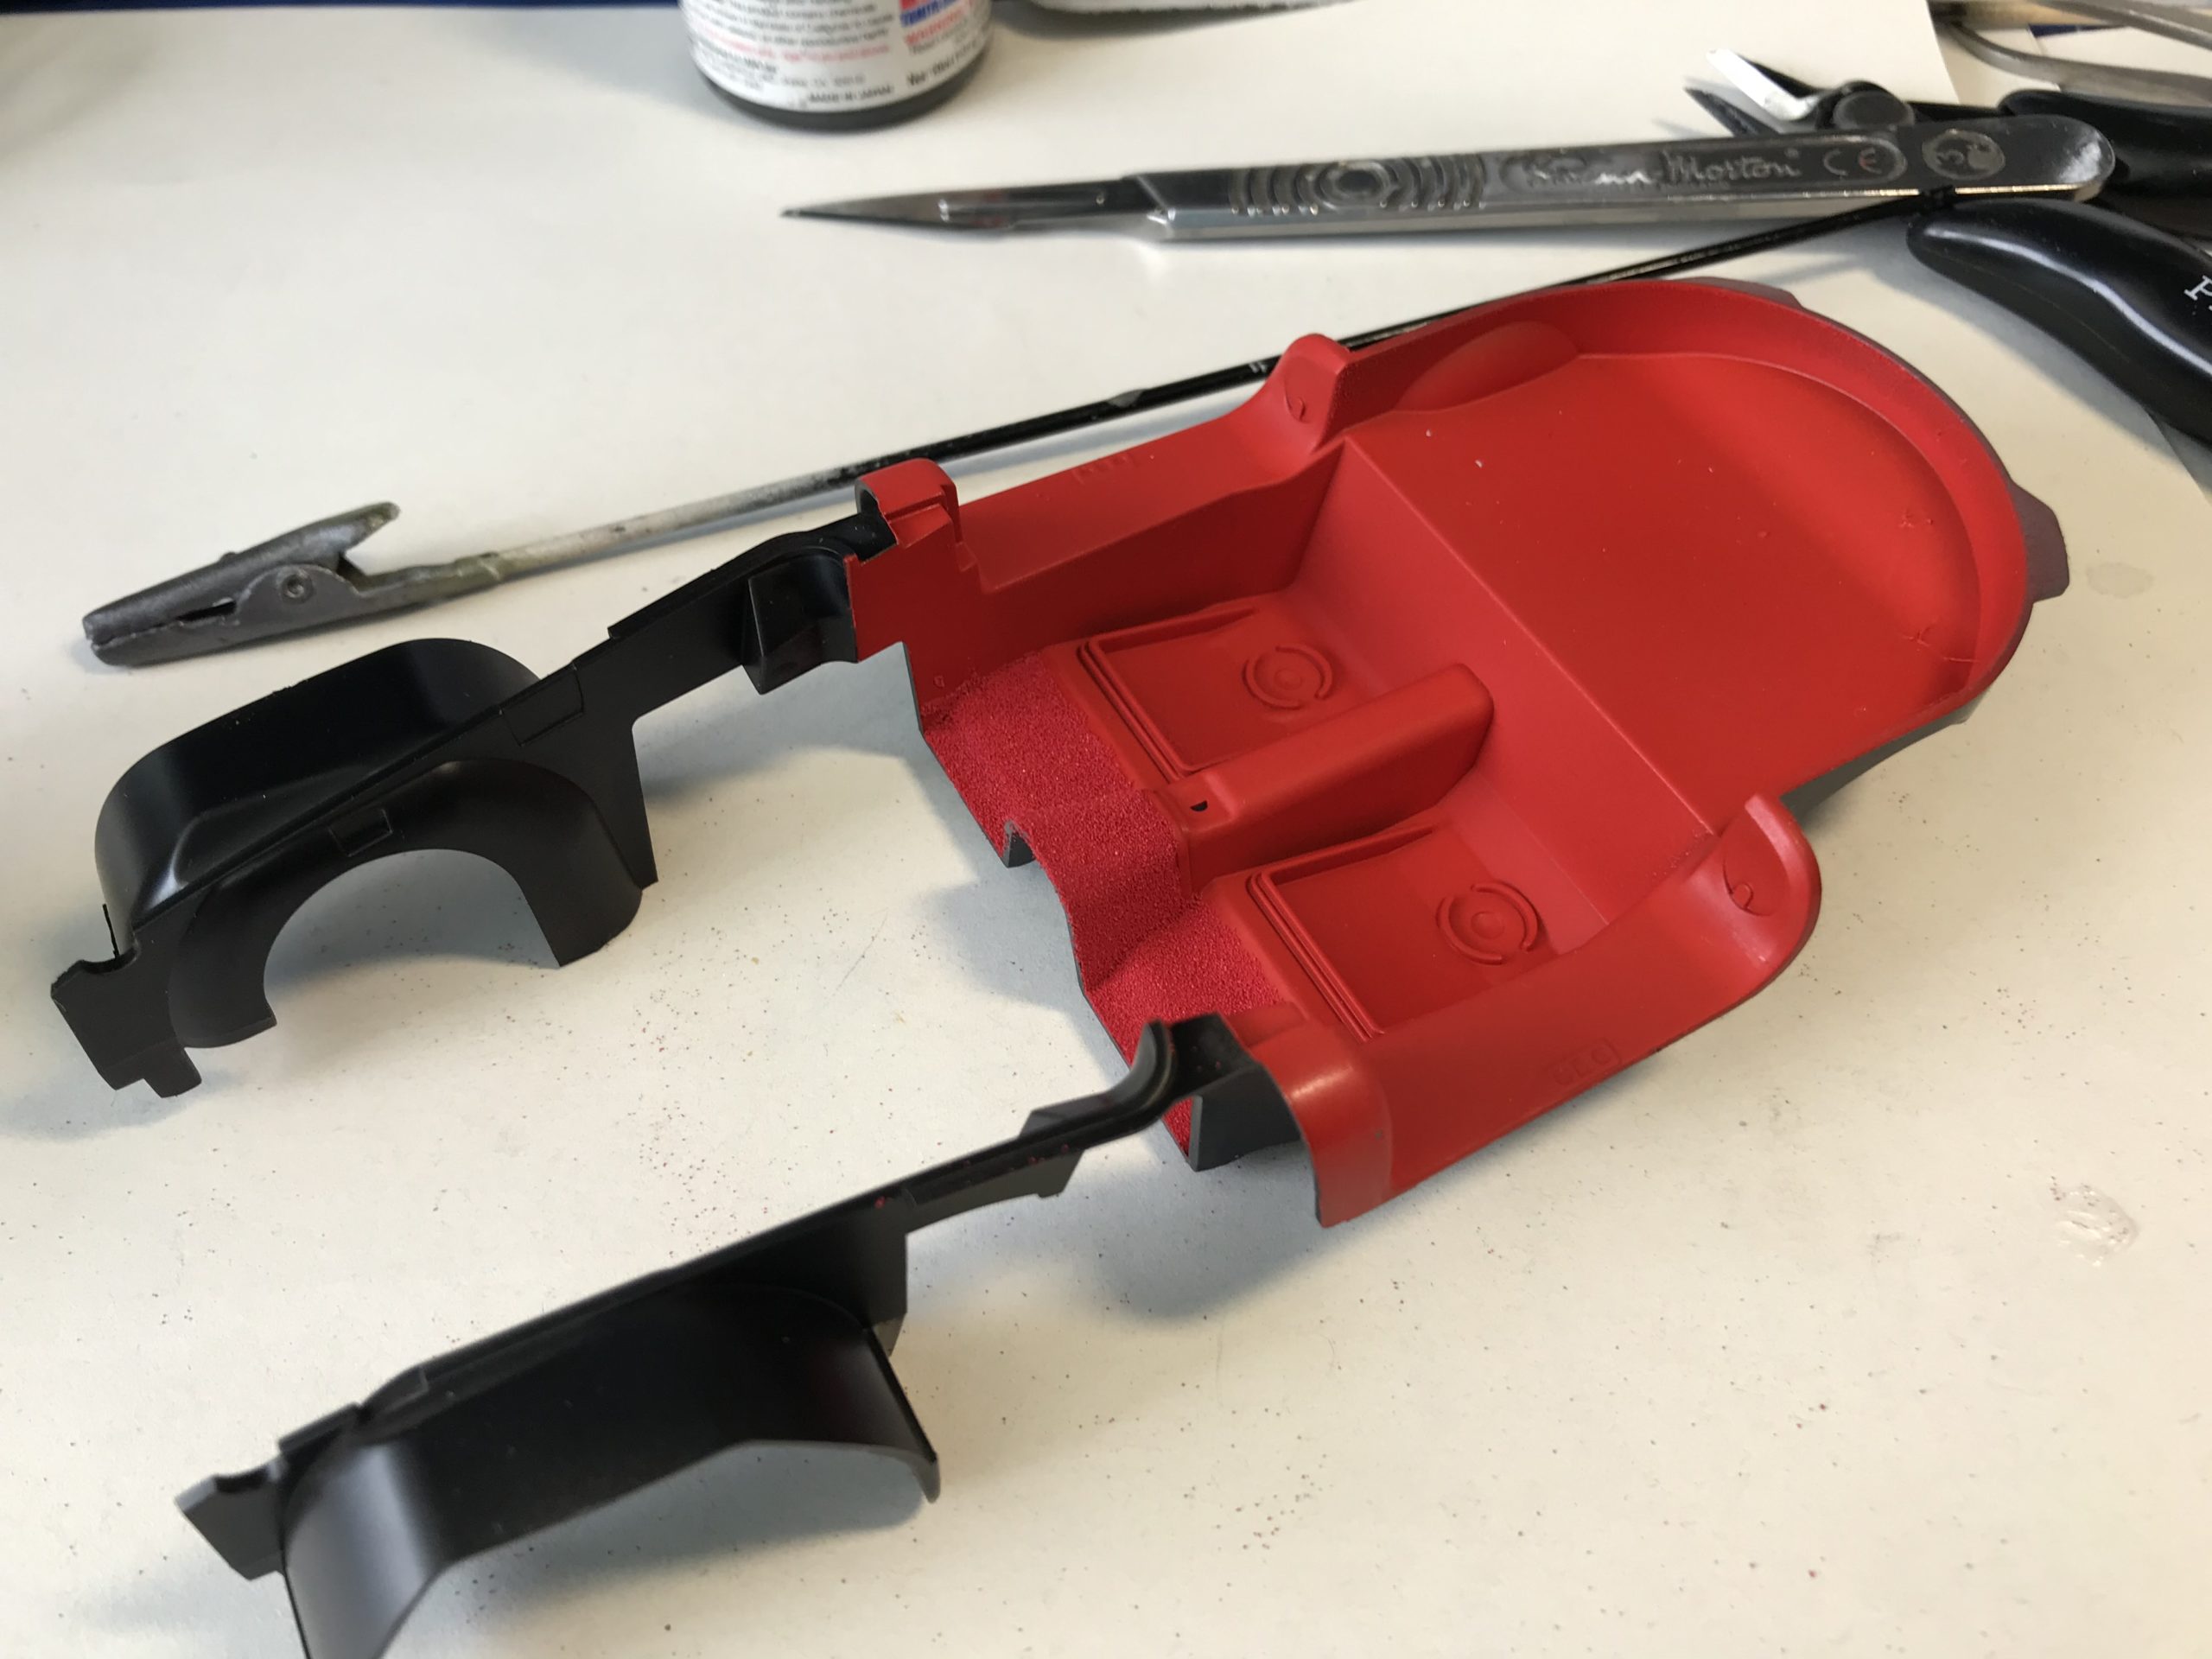
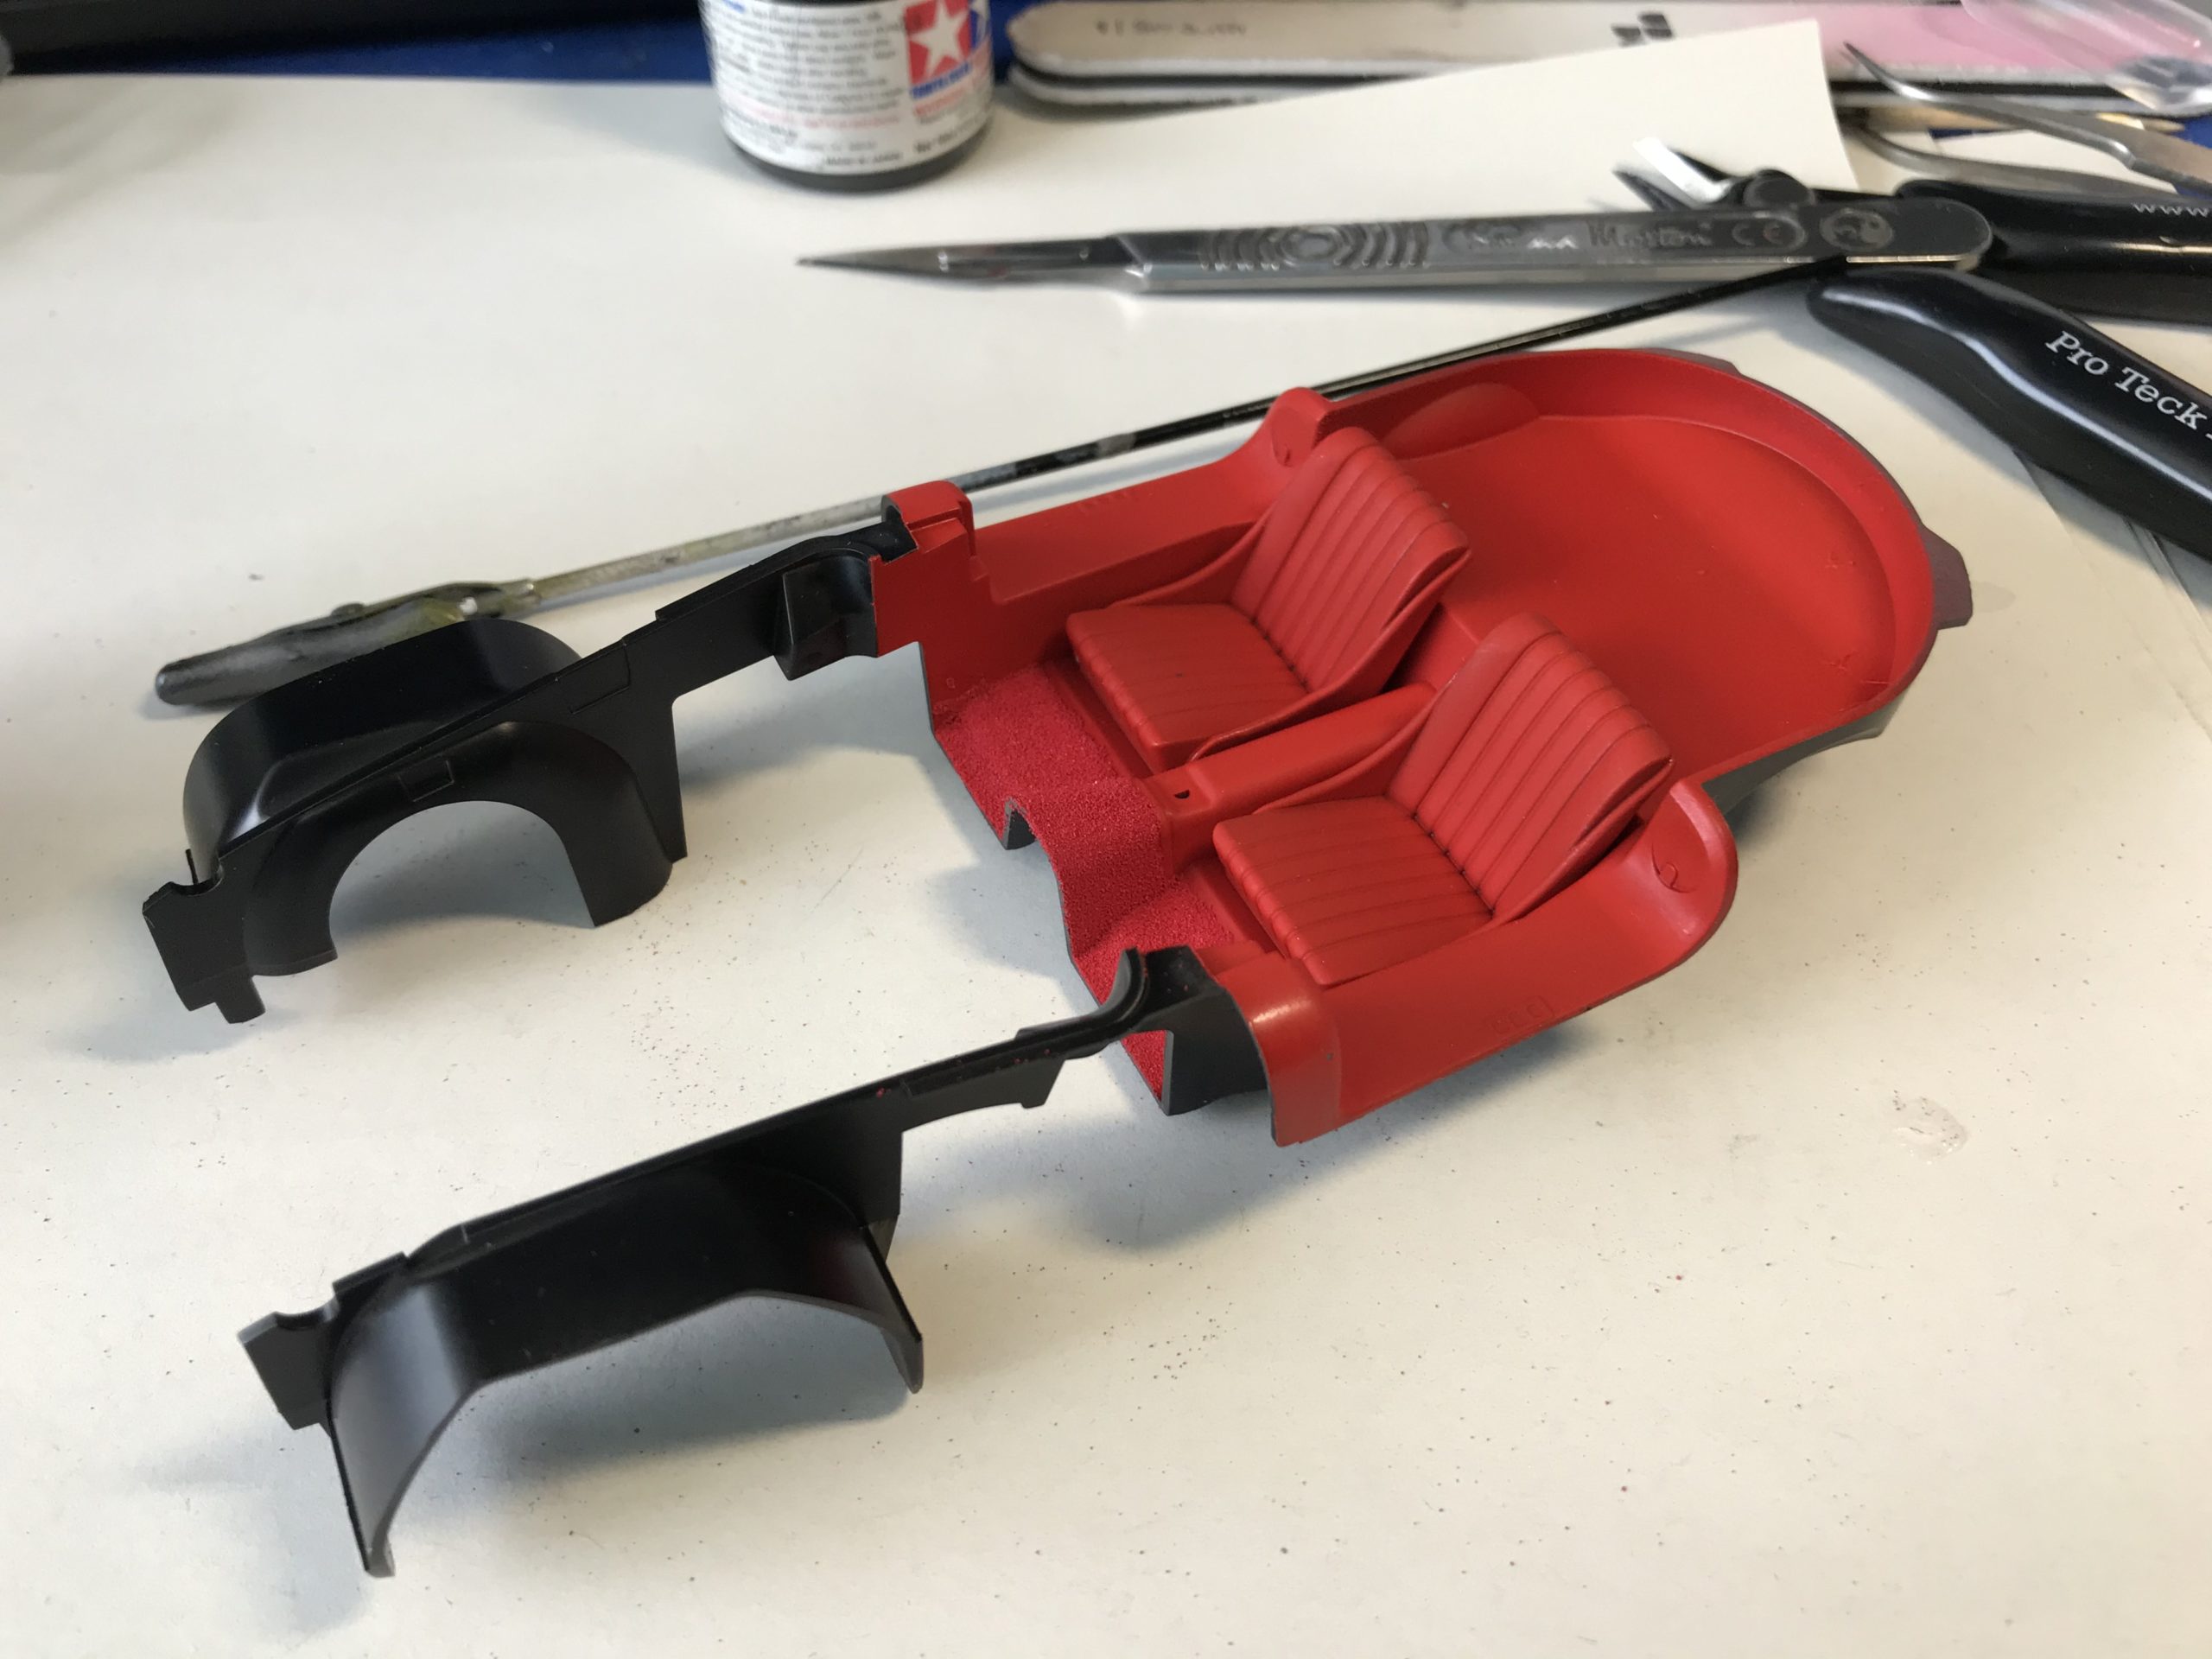
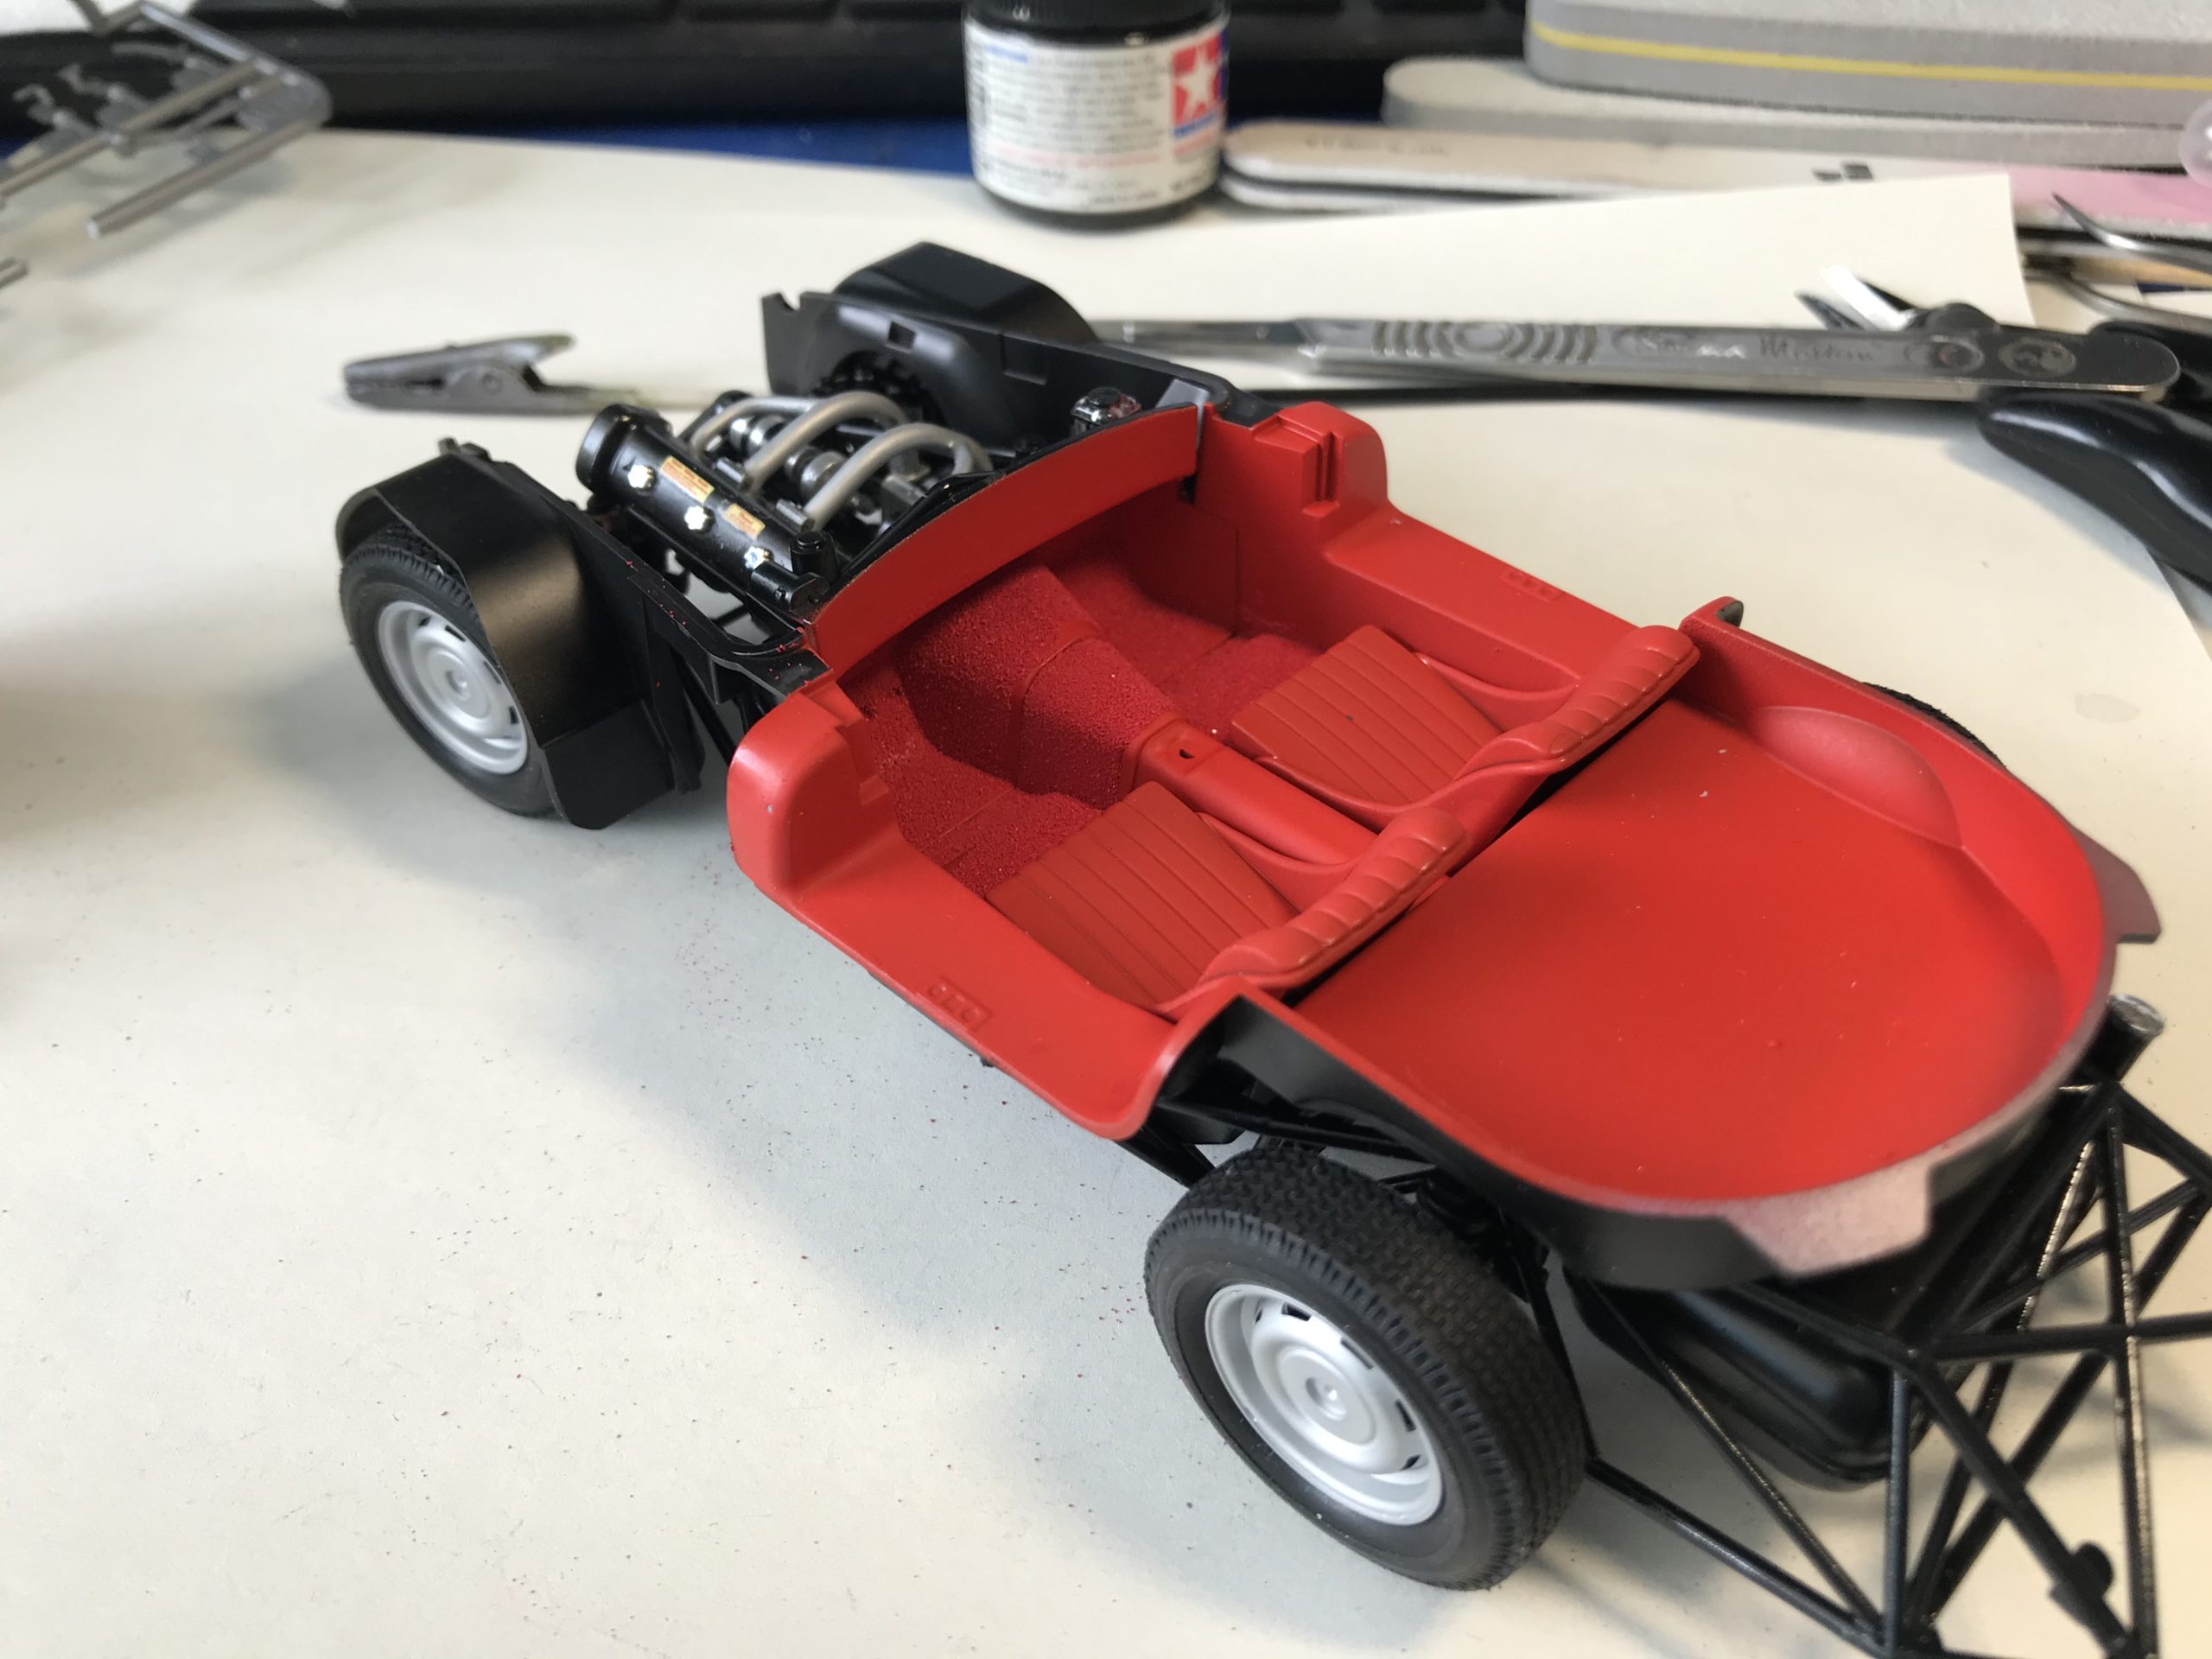
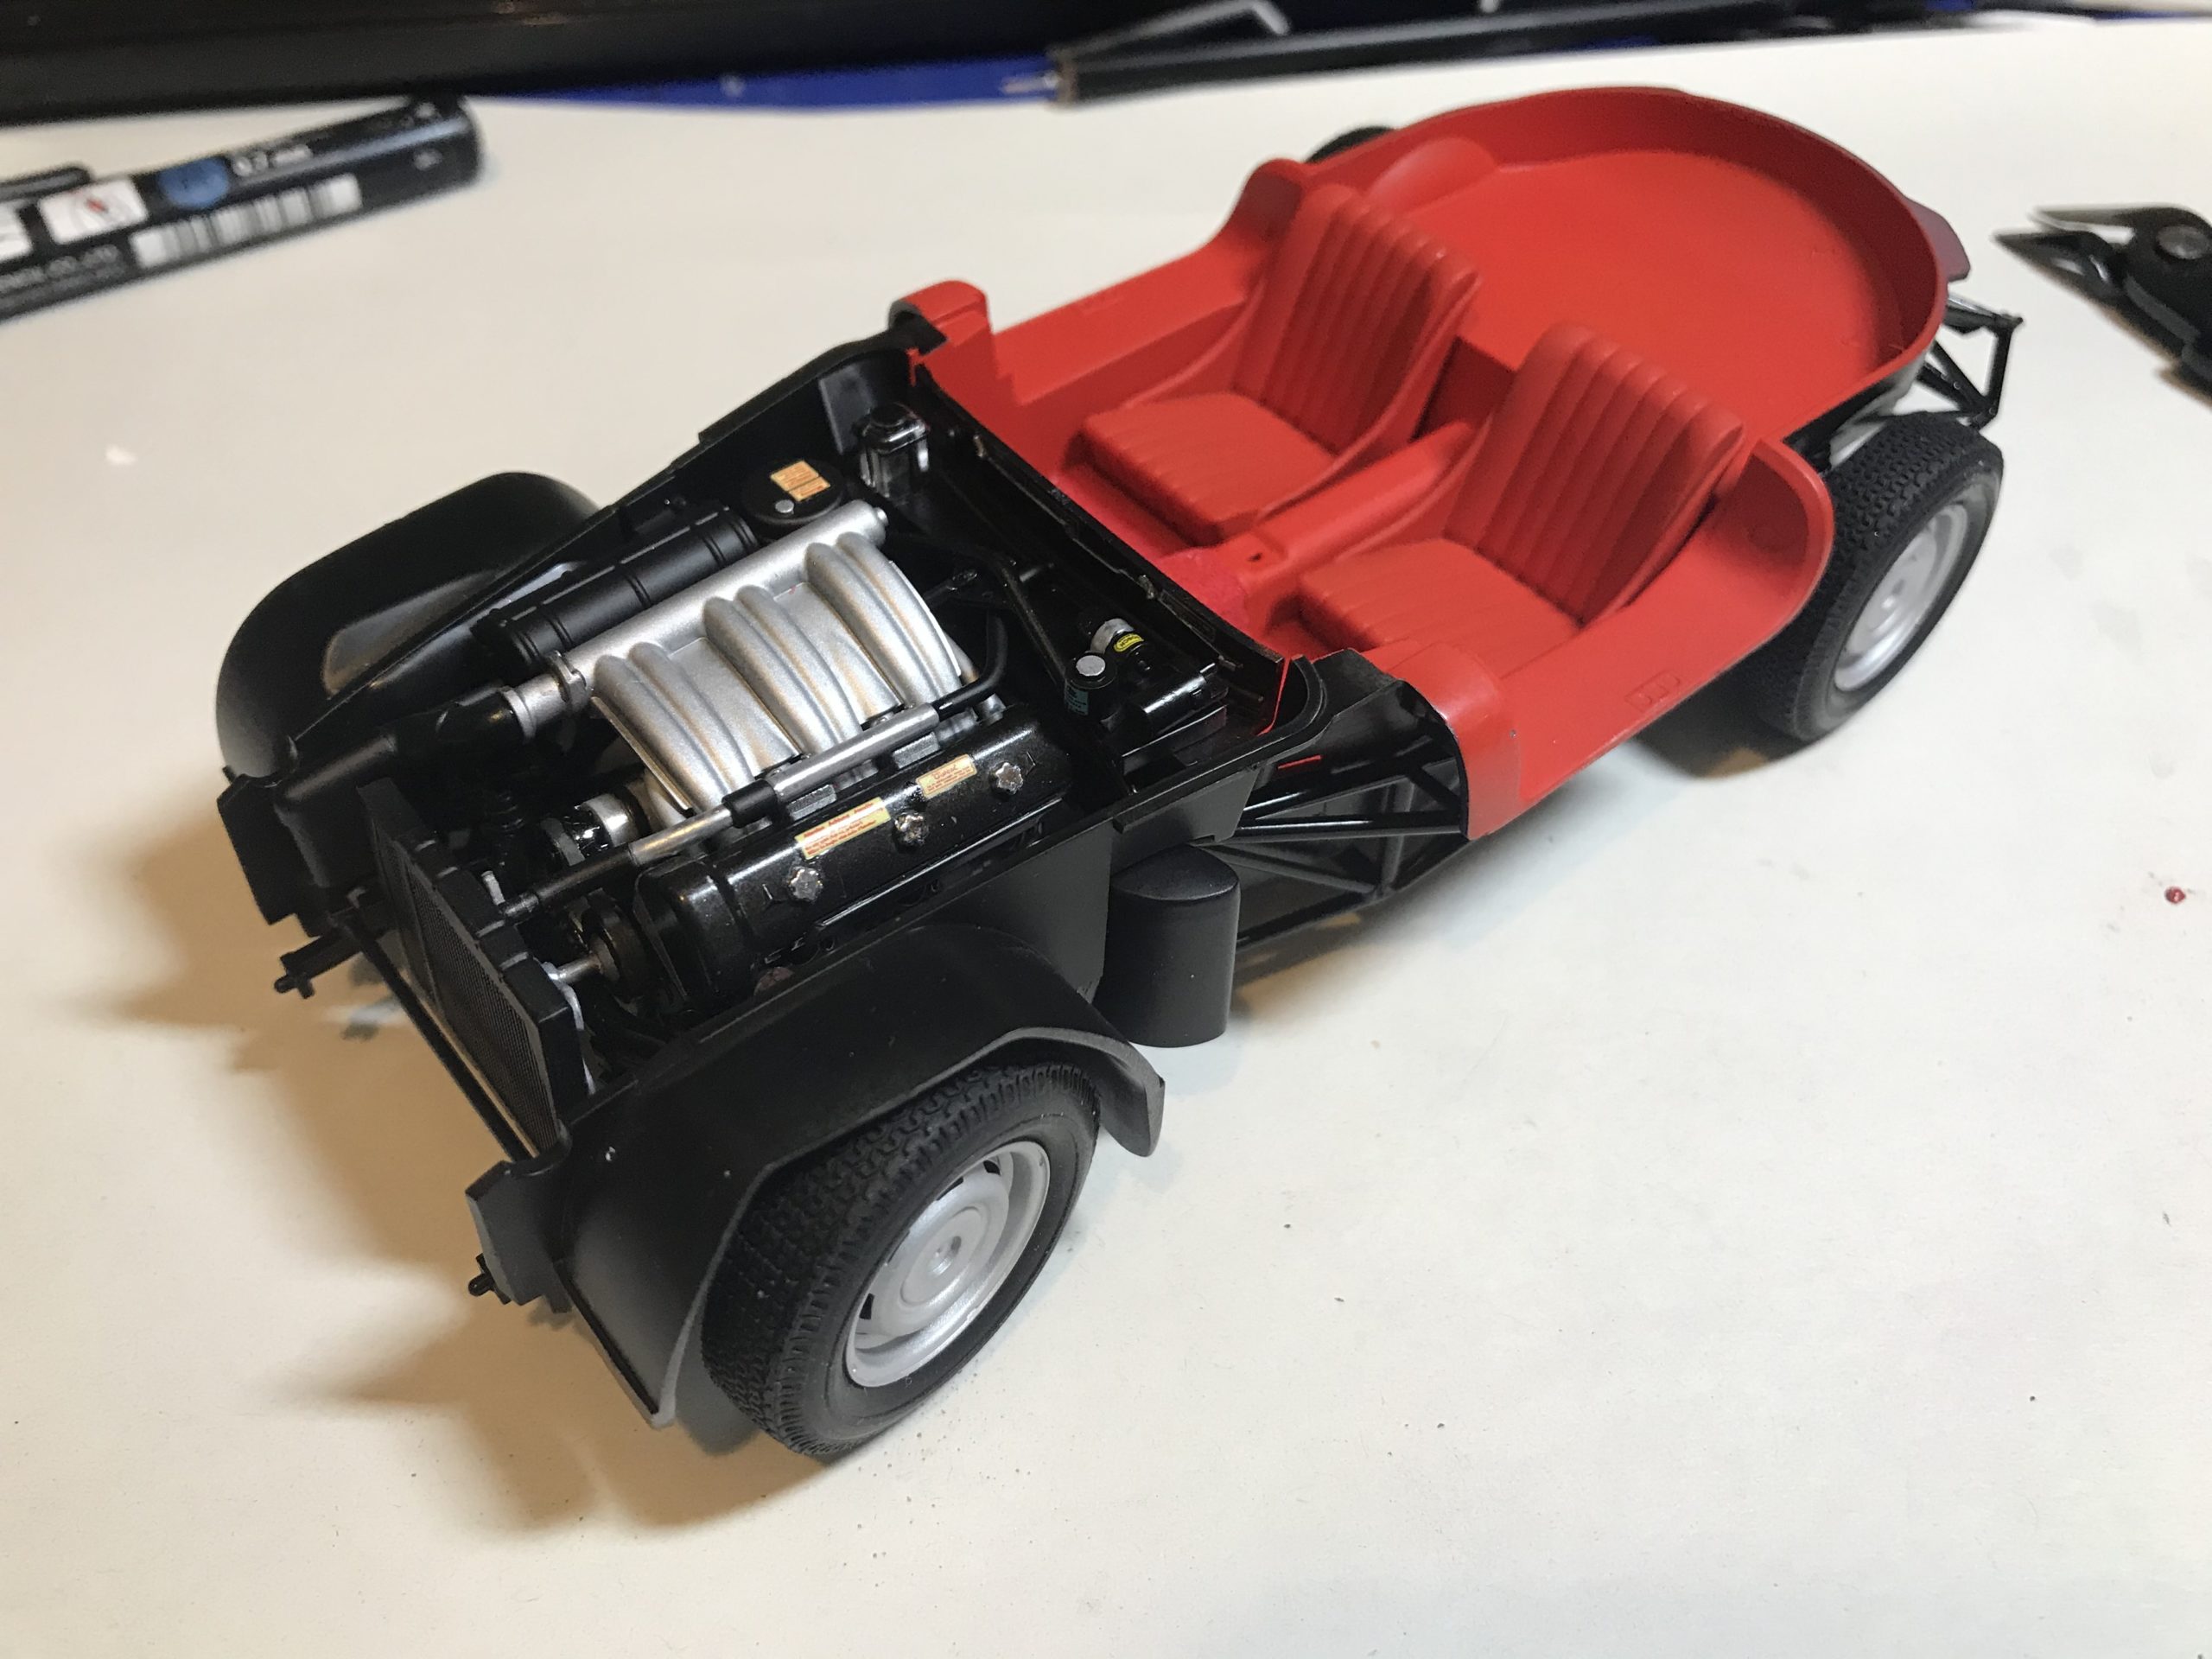
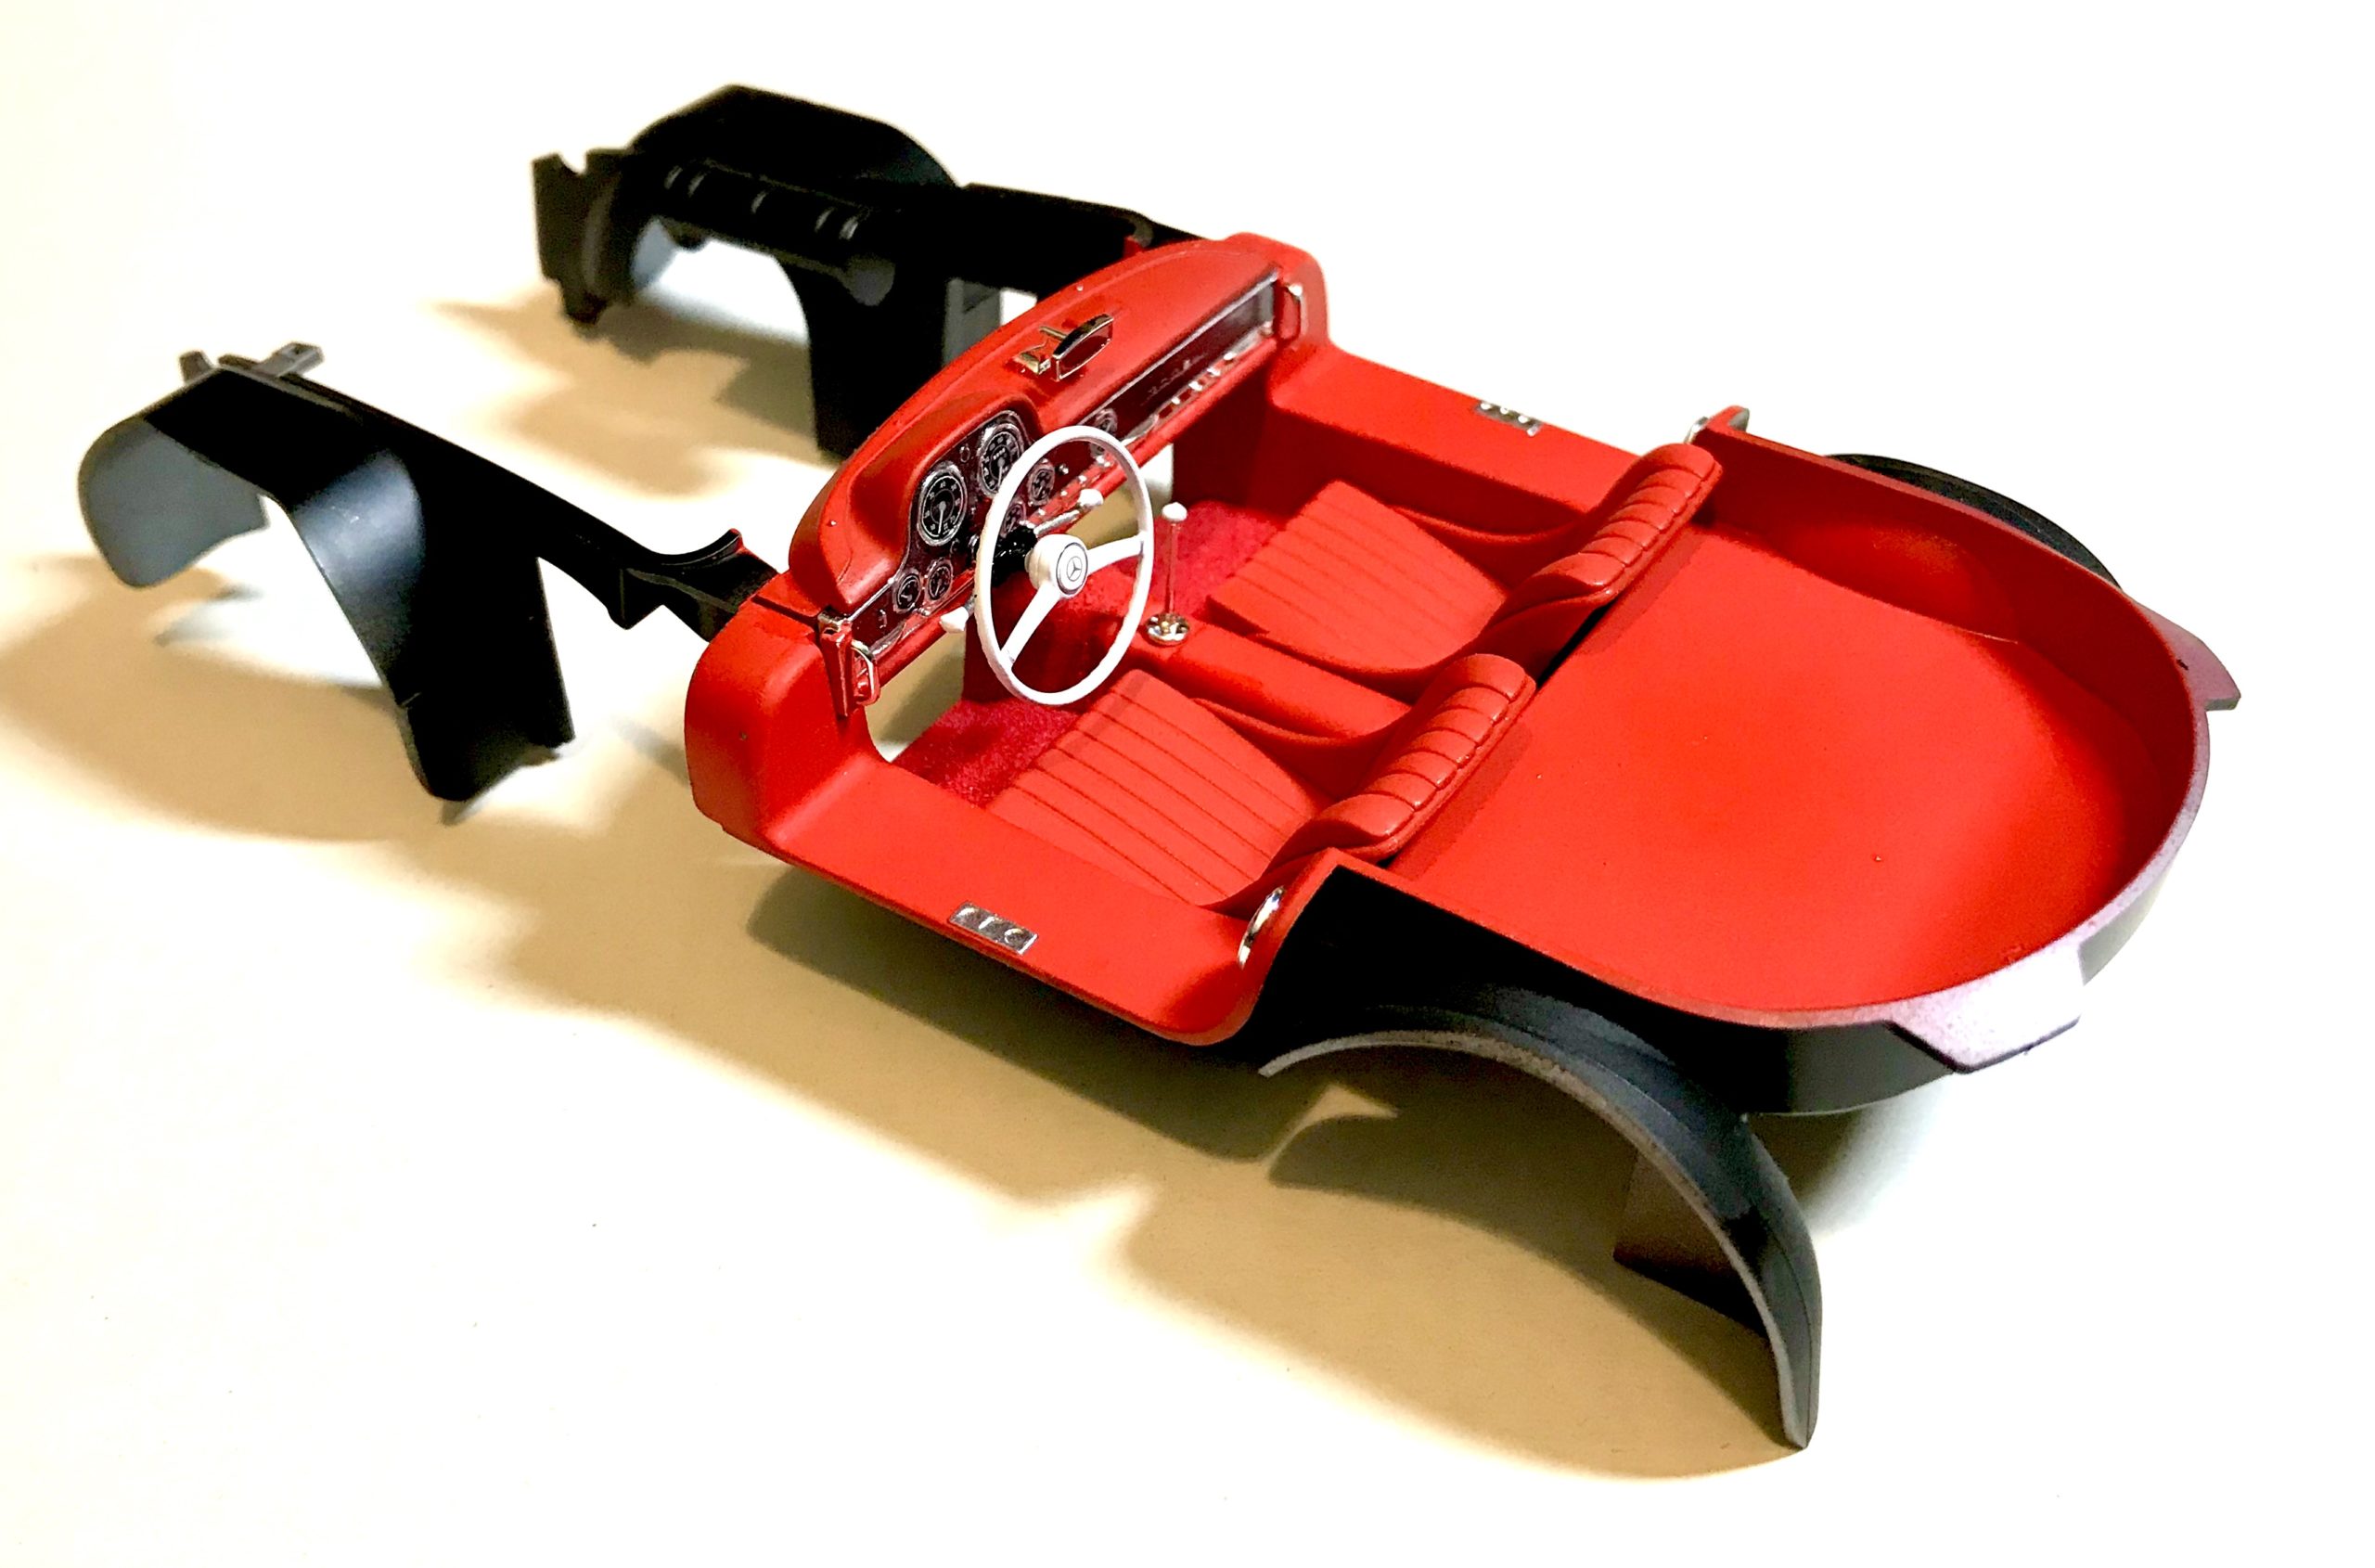
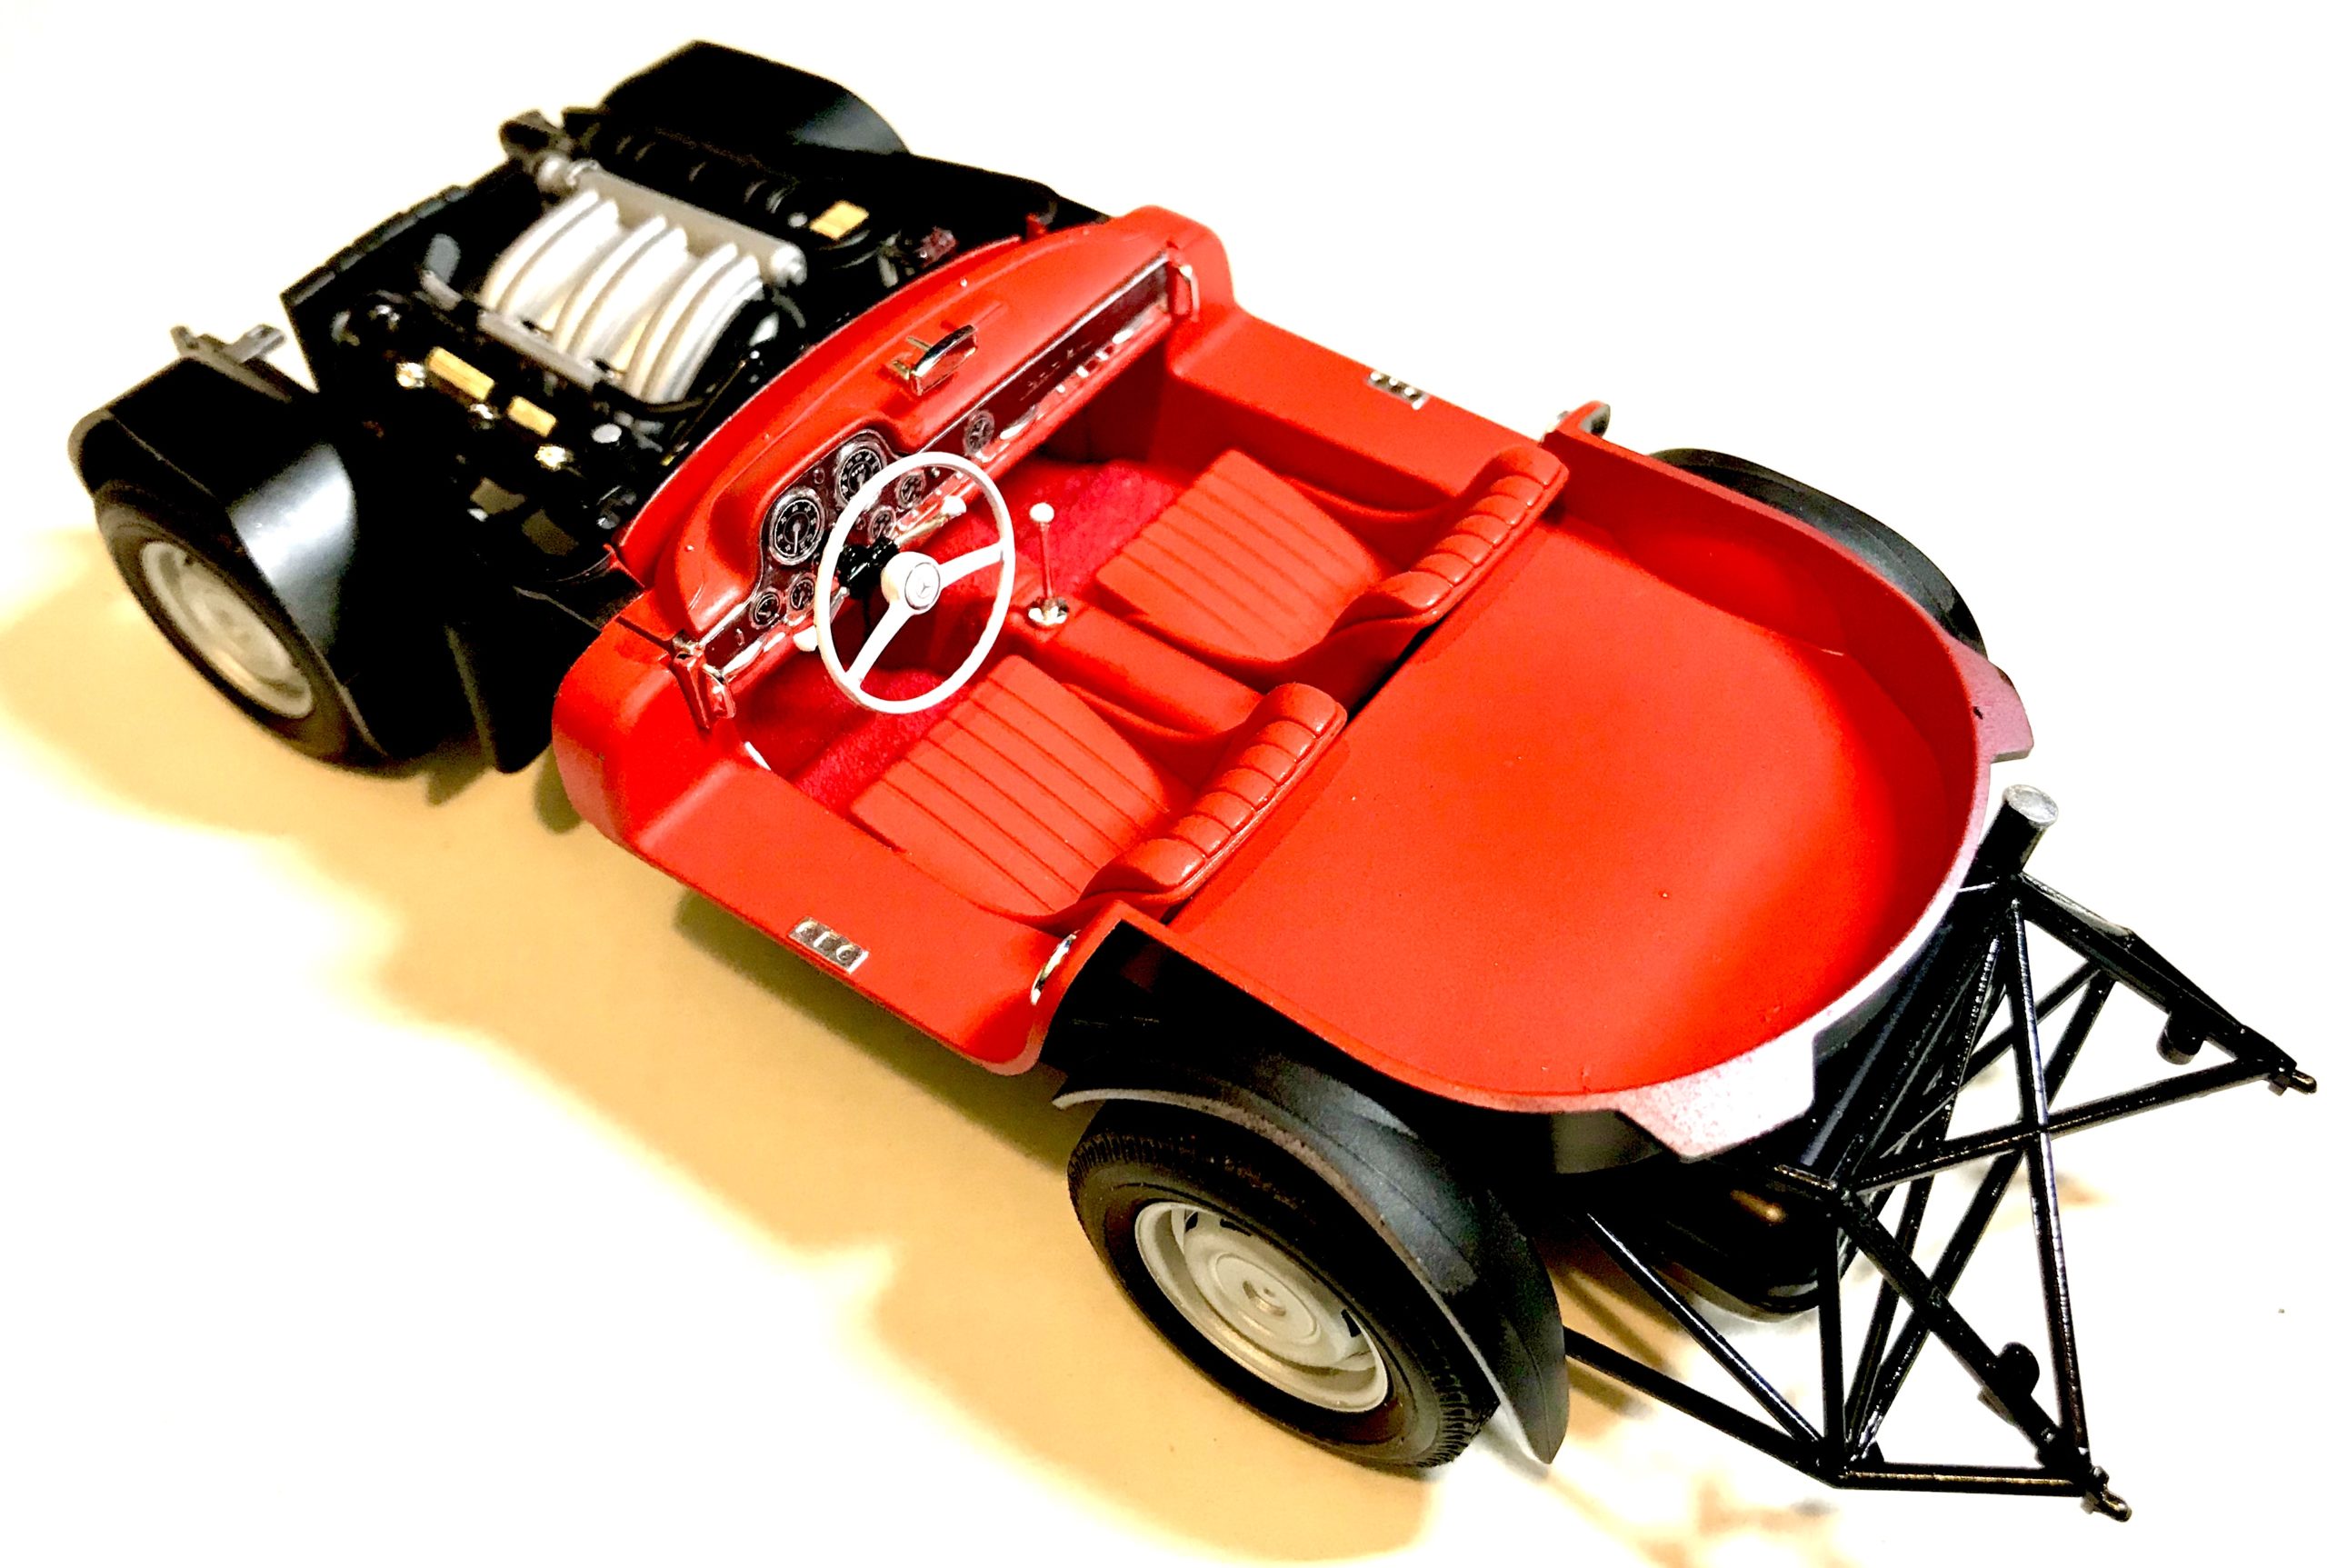
Work can now start on the interior – finished in red as per the box art. I wanted to add a bit of texture to represent a carpet in the car, so used PVA glue (thinned with water) and painted it onto the carpeted area. I then poured red embossing powder on to the sticky areas. After allowing this to dry for a few minutes I shook off the loose powder and returned it to the container. I think the result looks good, certainly better than a painted floor!
As you would expect with a Tamiya kit assembly is incredibly straight forward and is just a matter of assembling, painting and applying decals to the parts as you go. You can see the running gear and interior coming together nicely in the pictures below – It almost looks real (if only!)
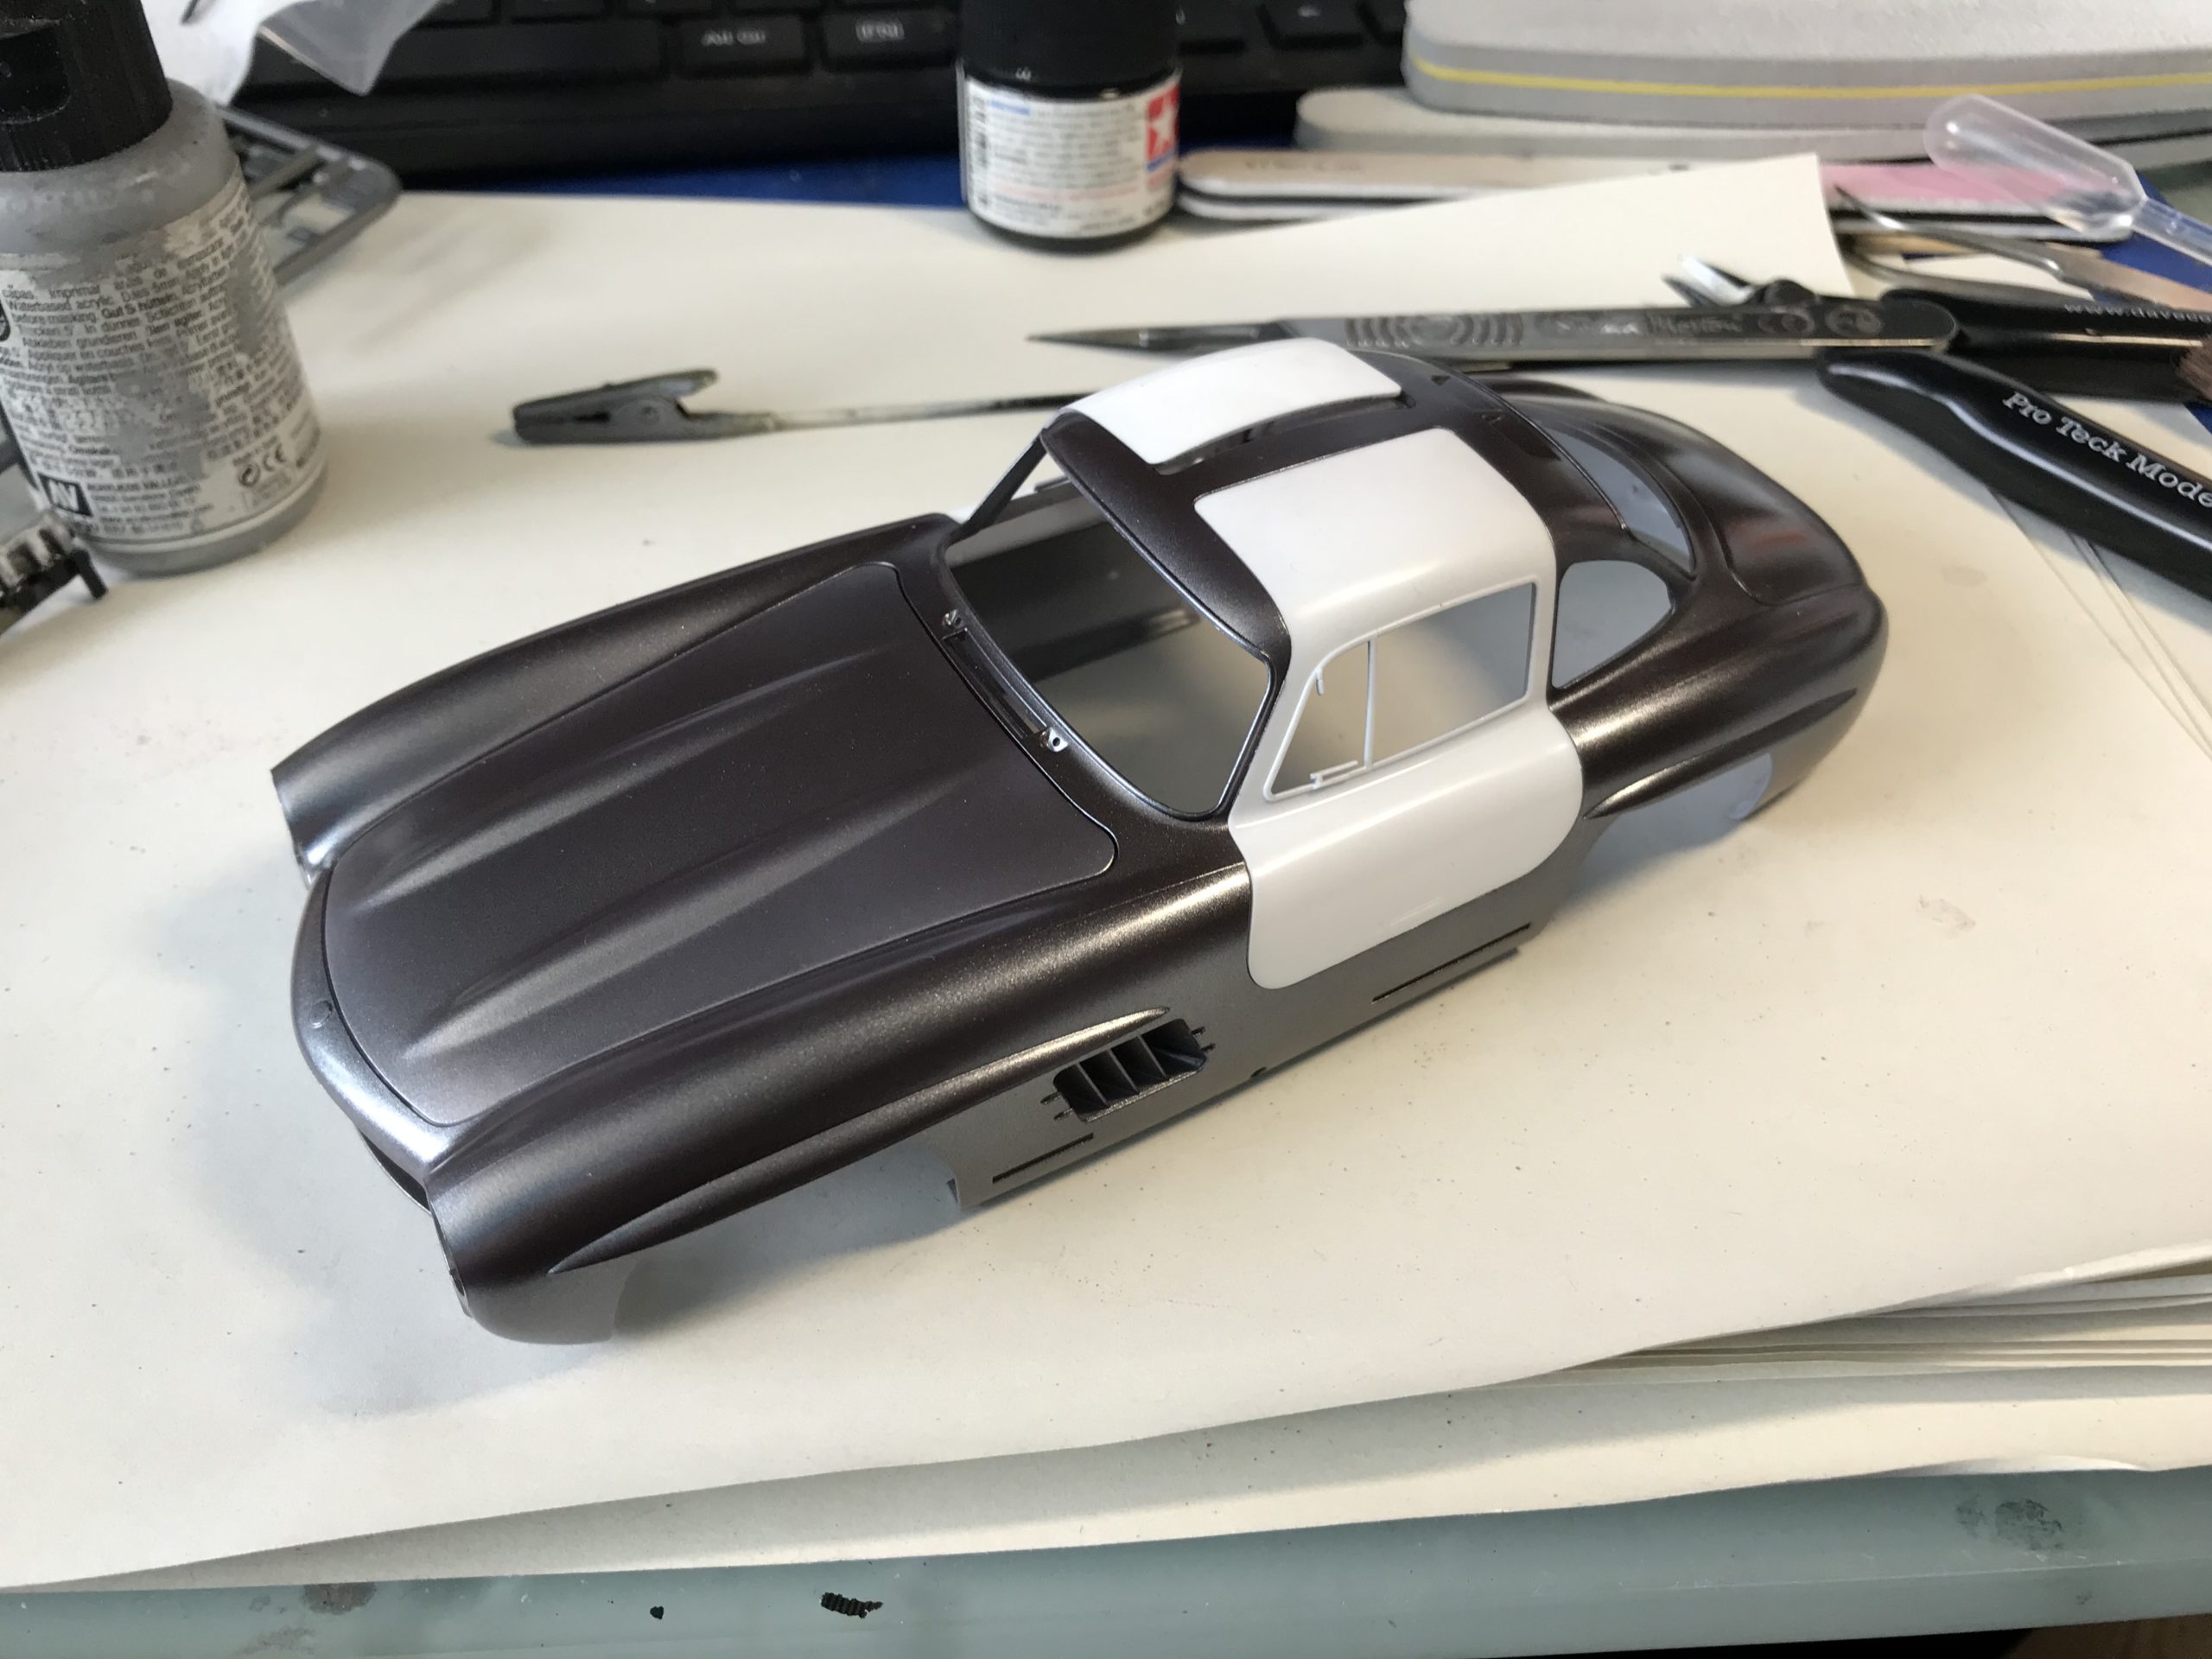
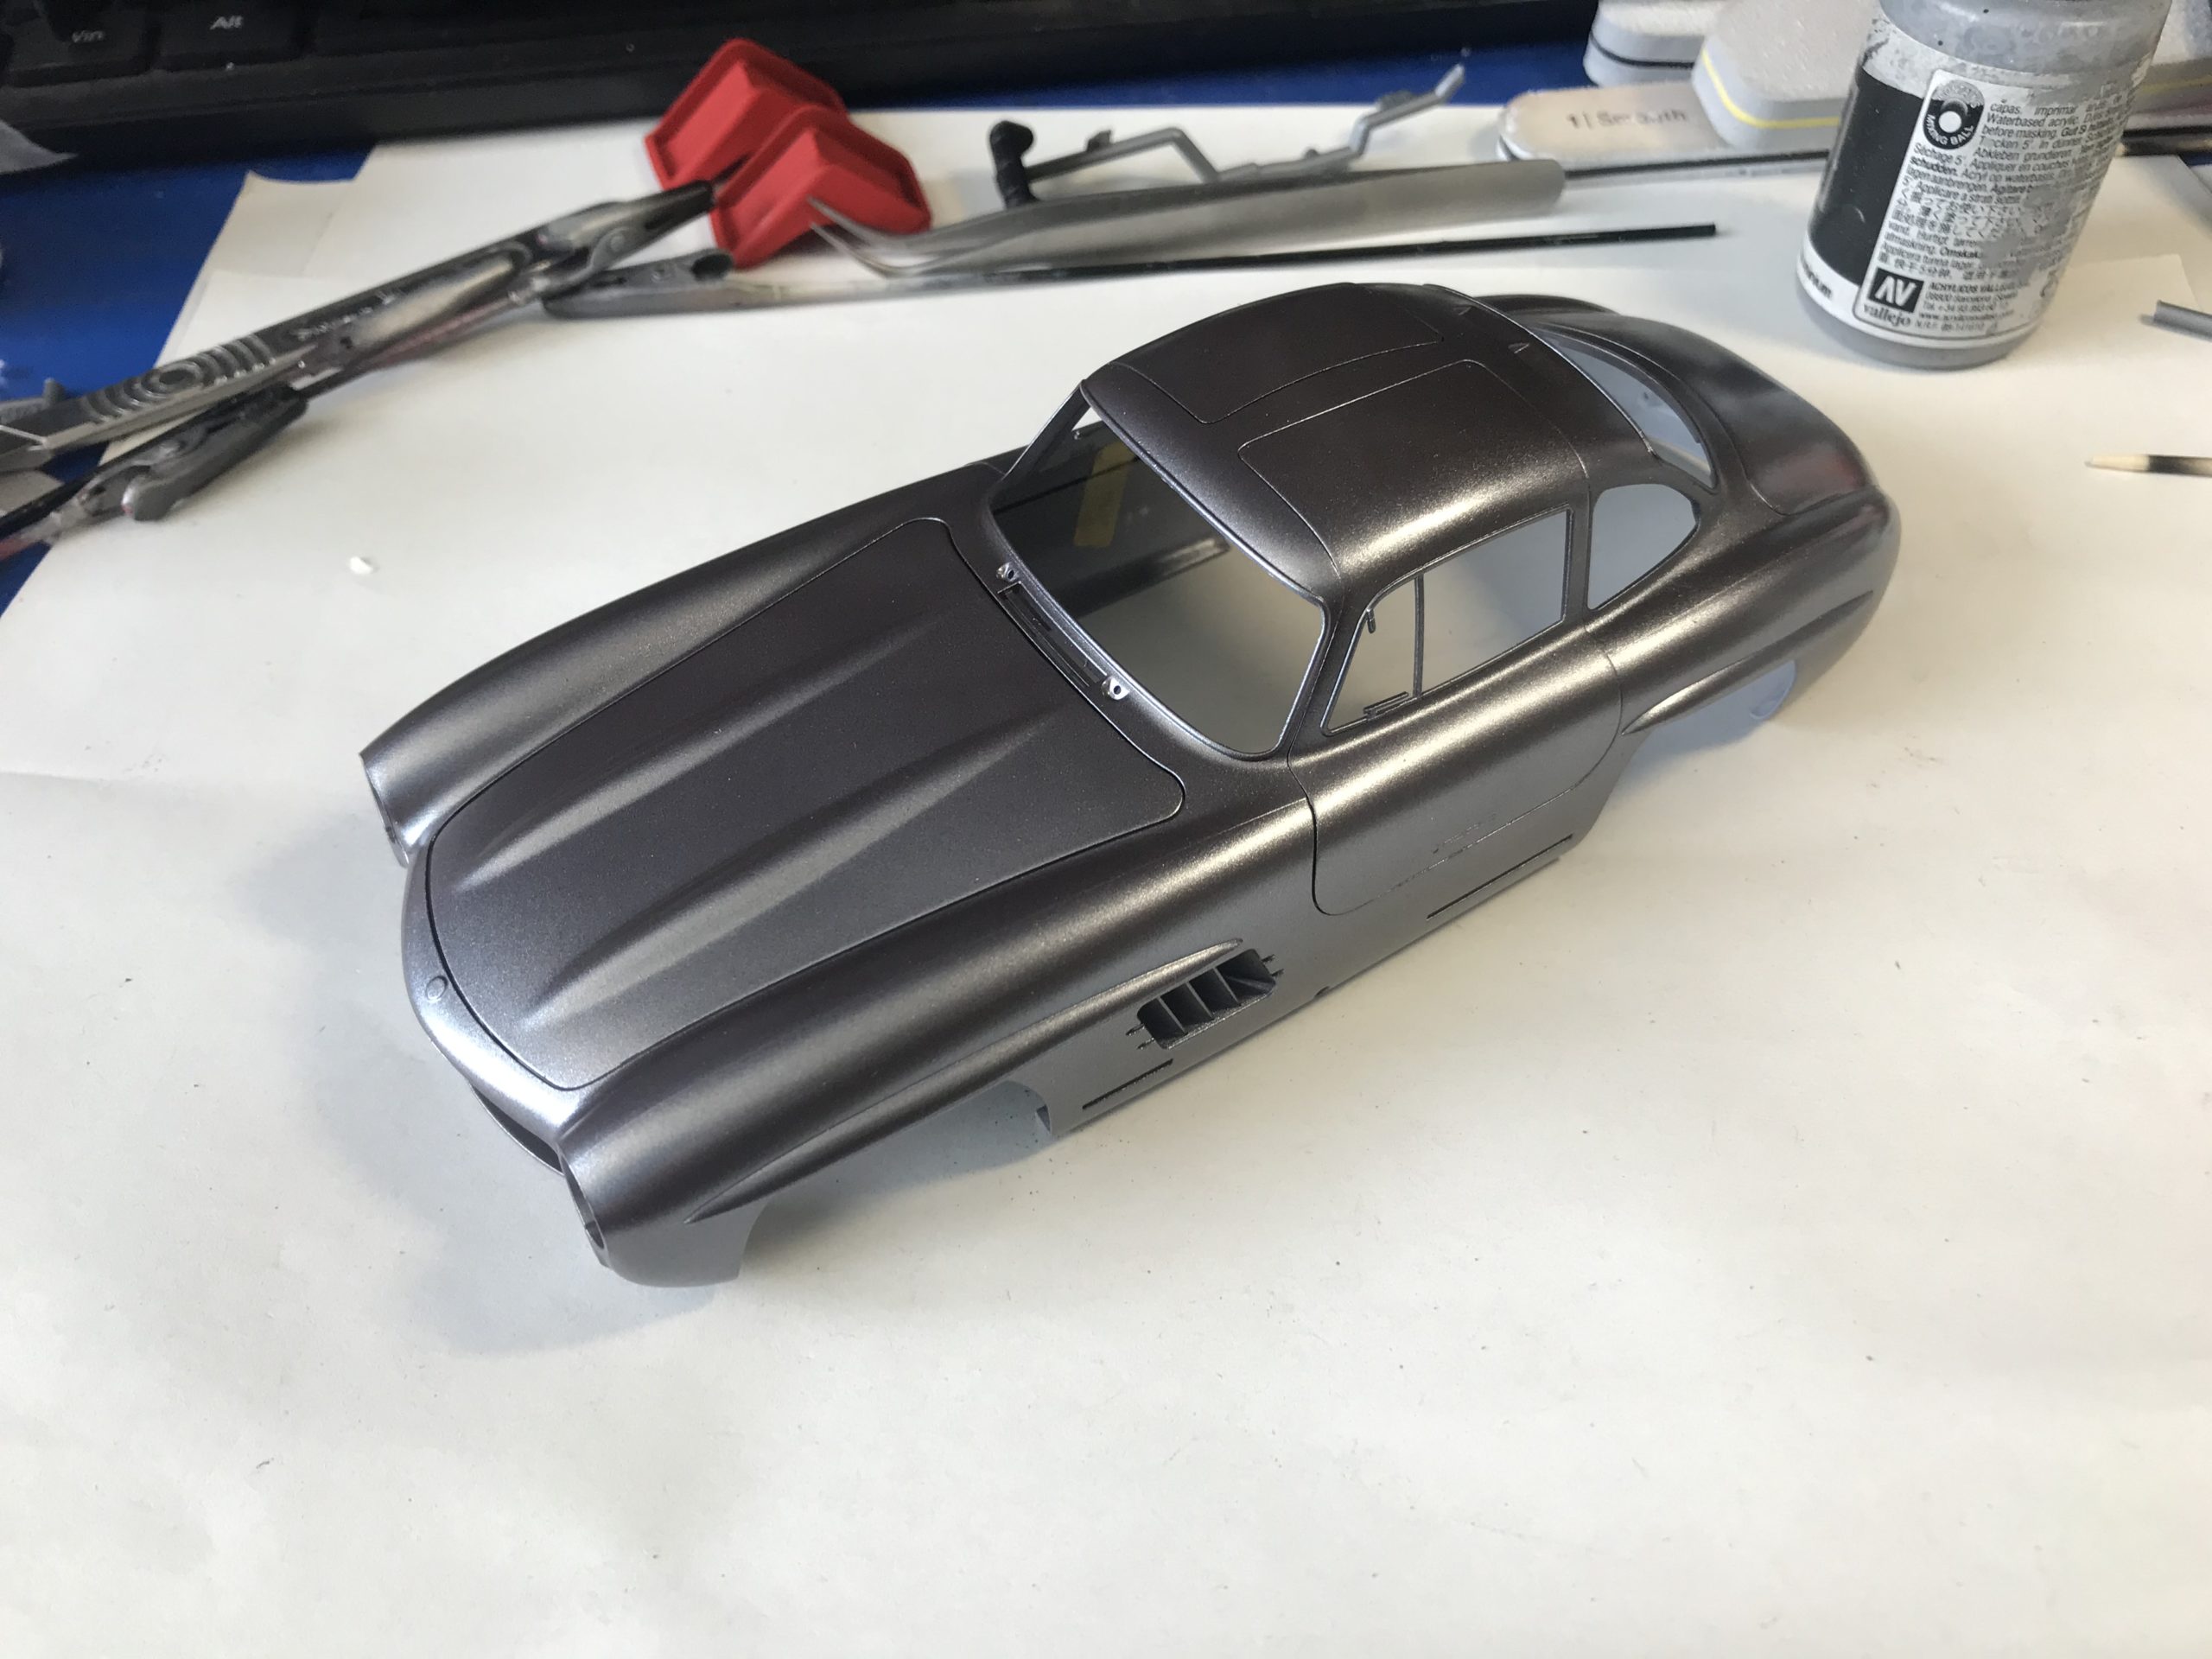
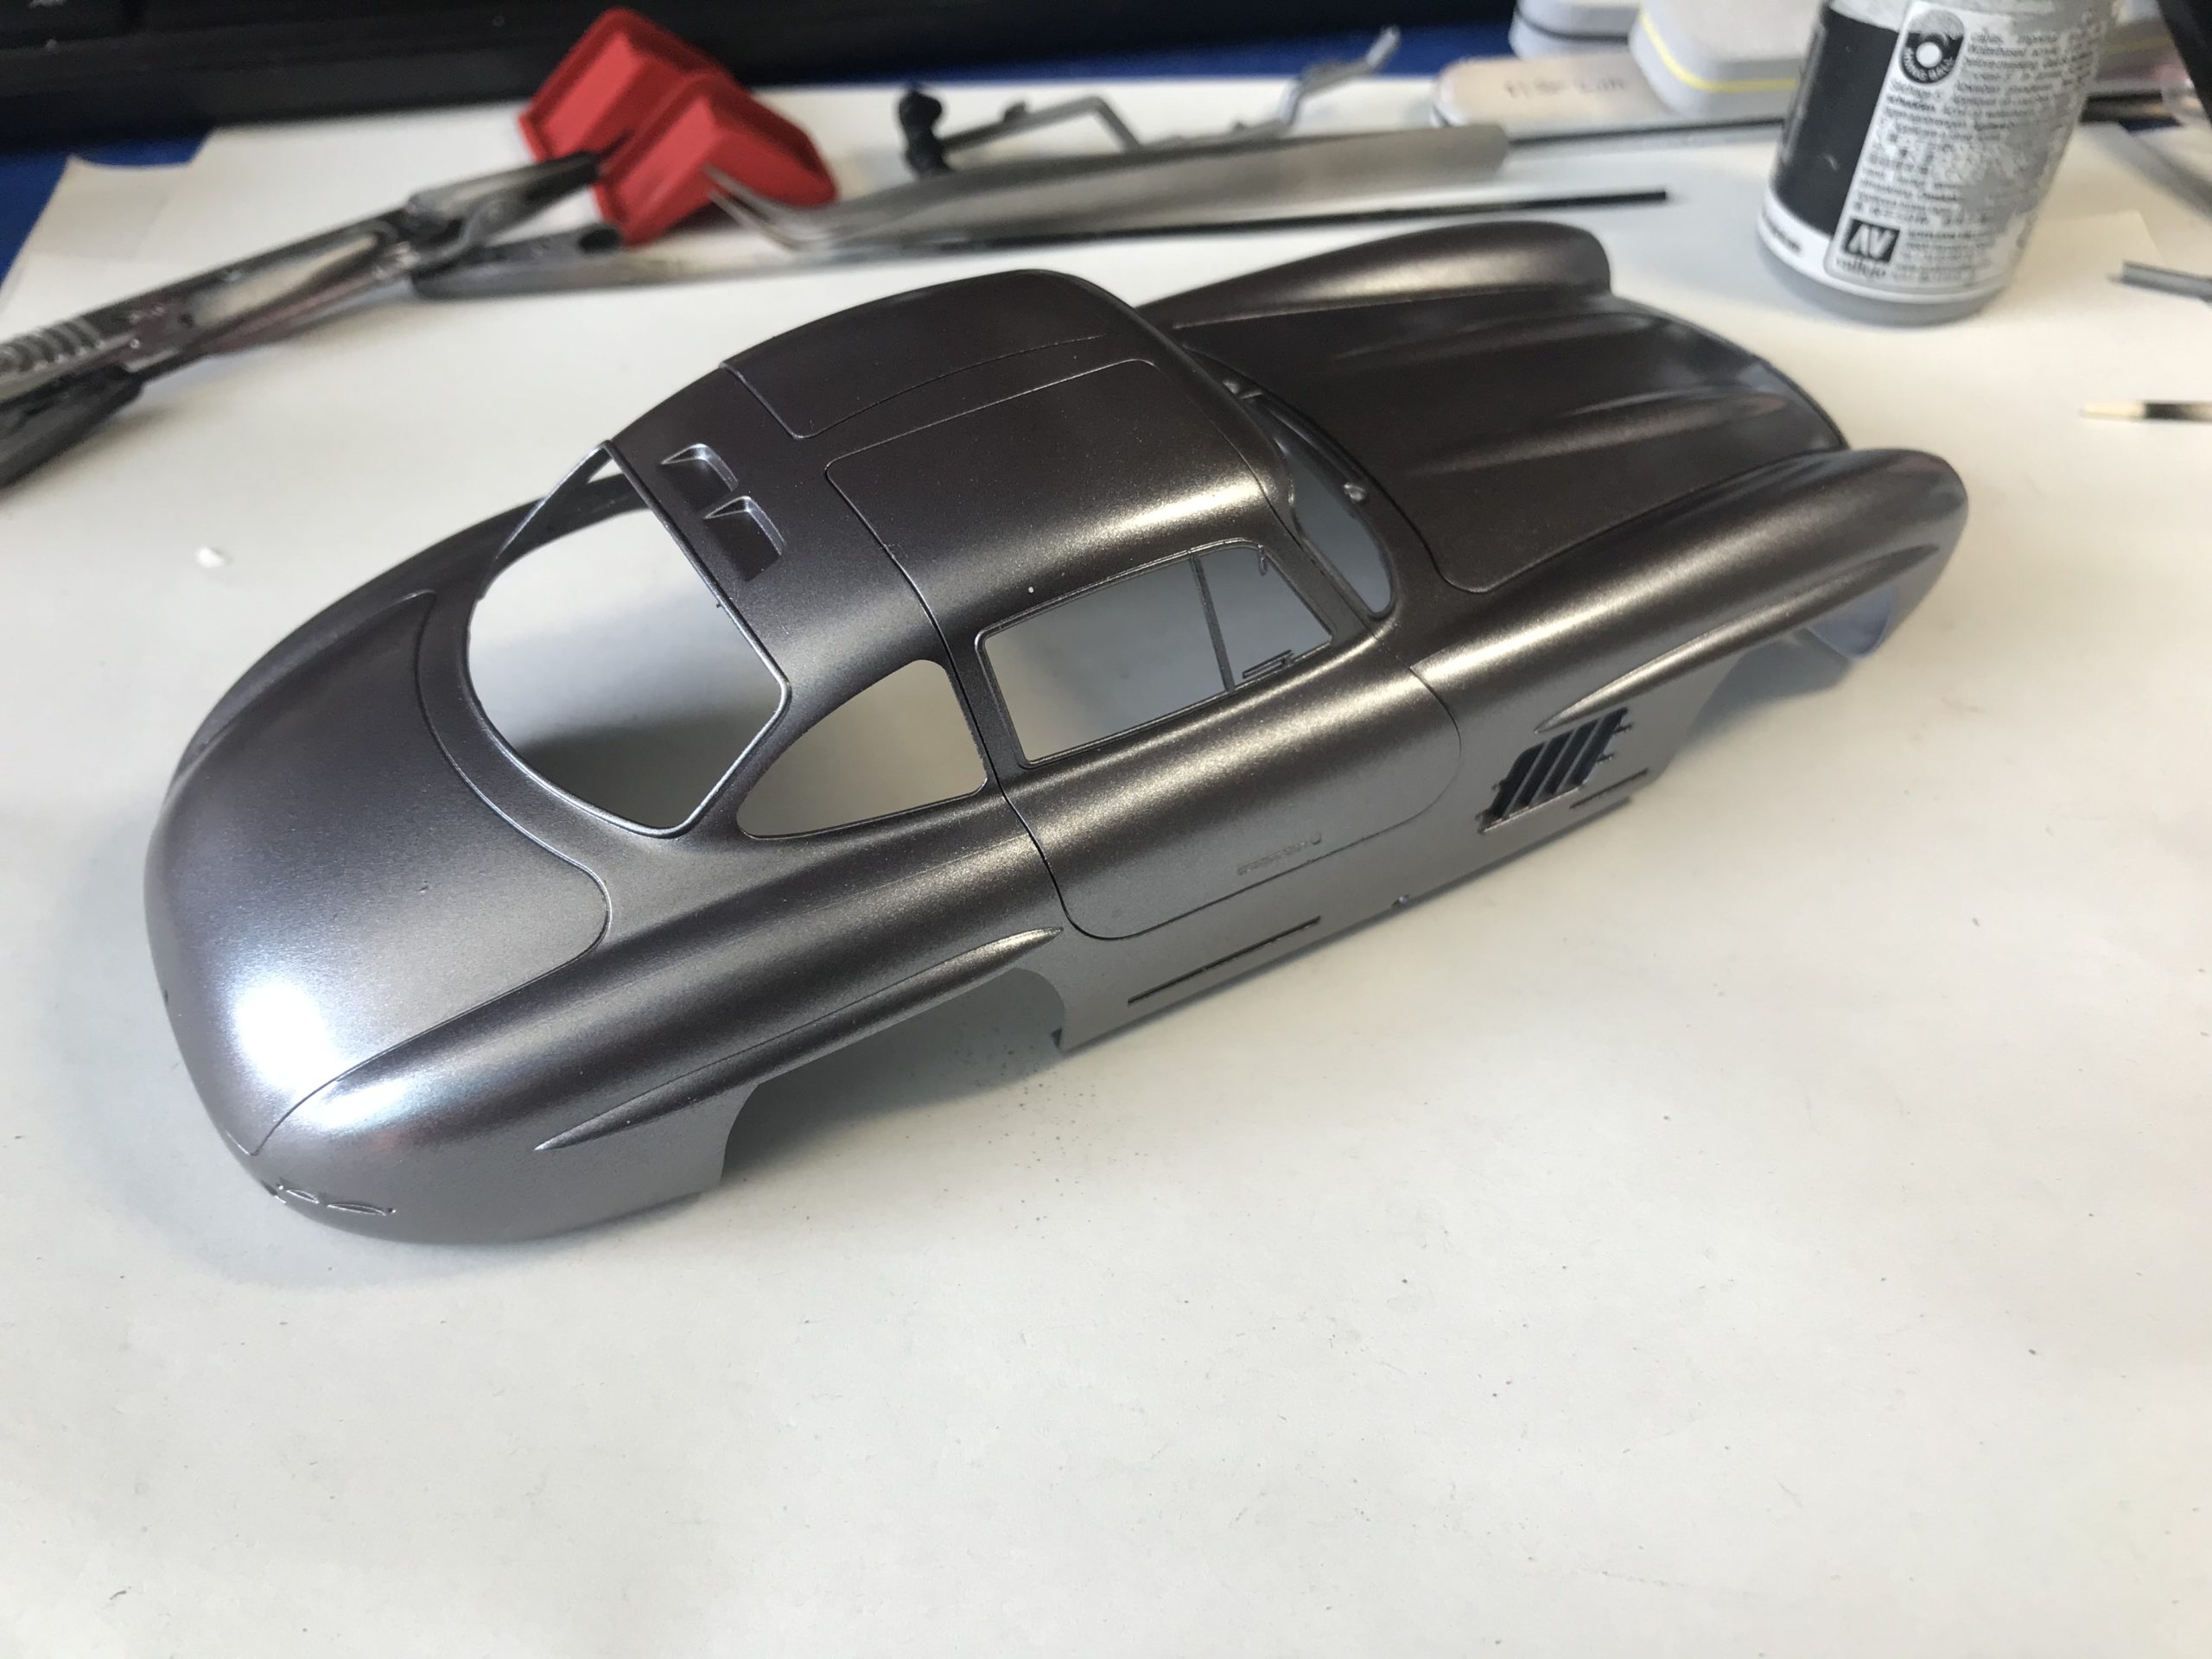
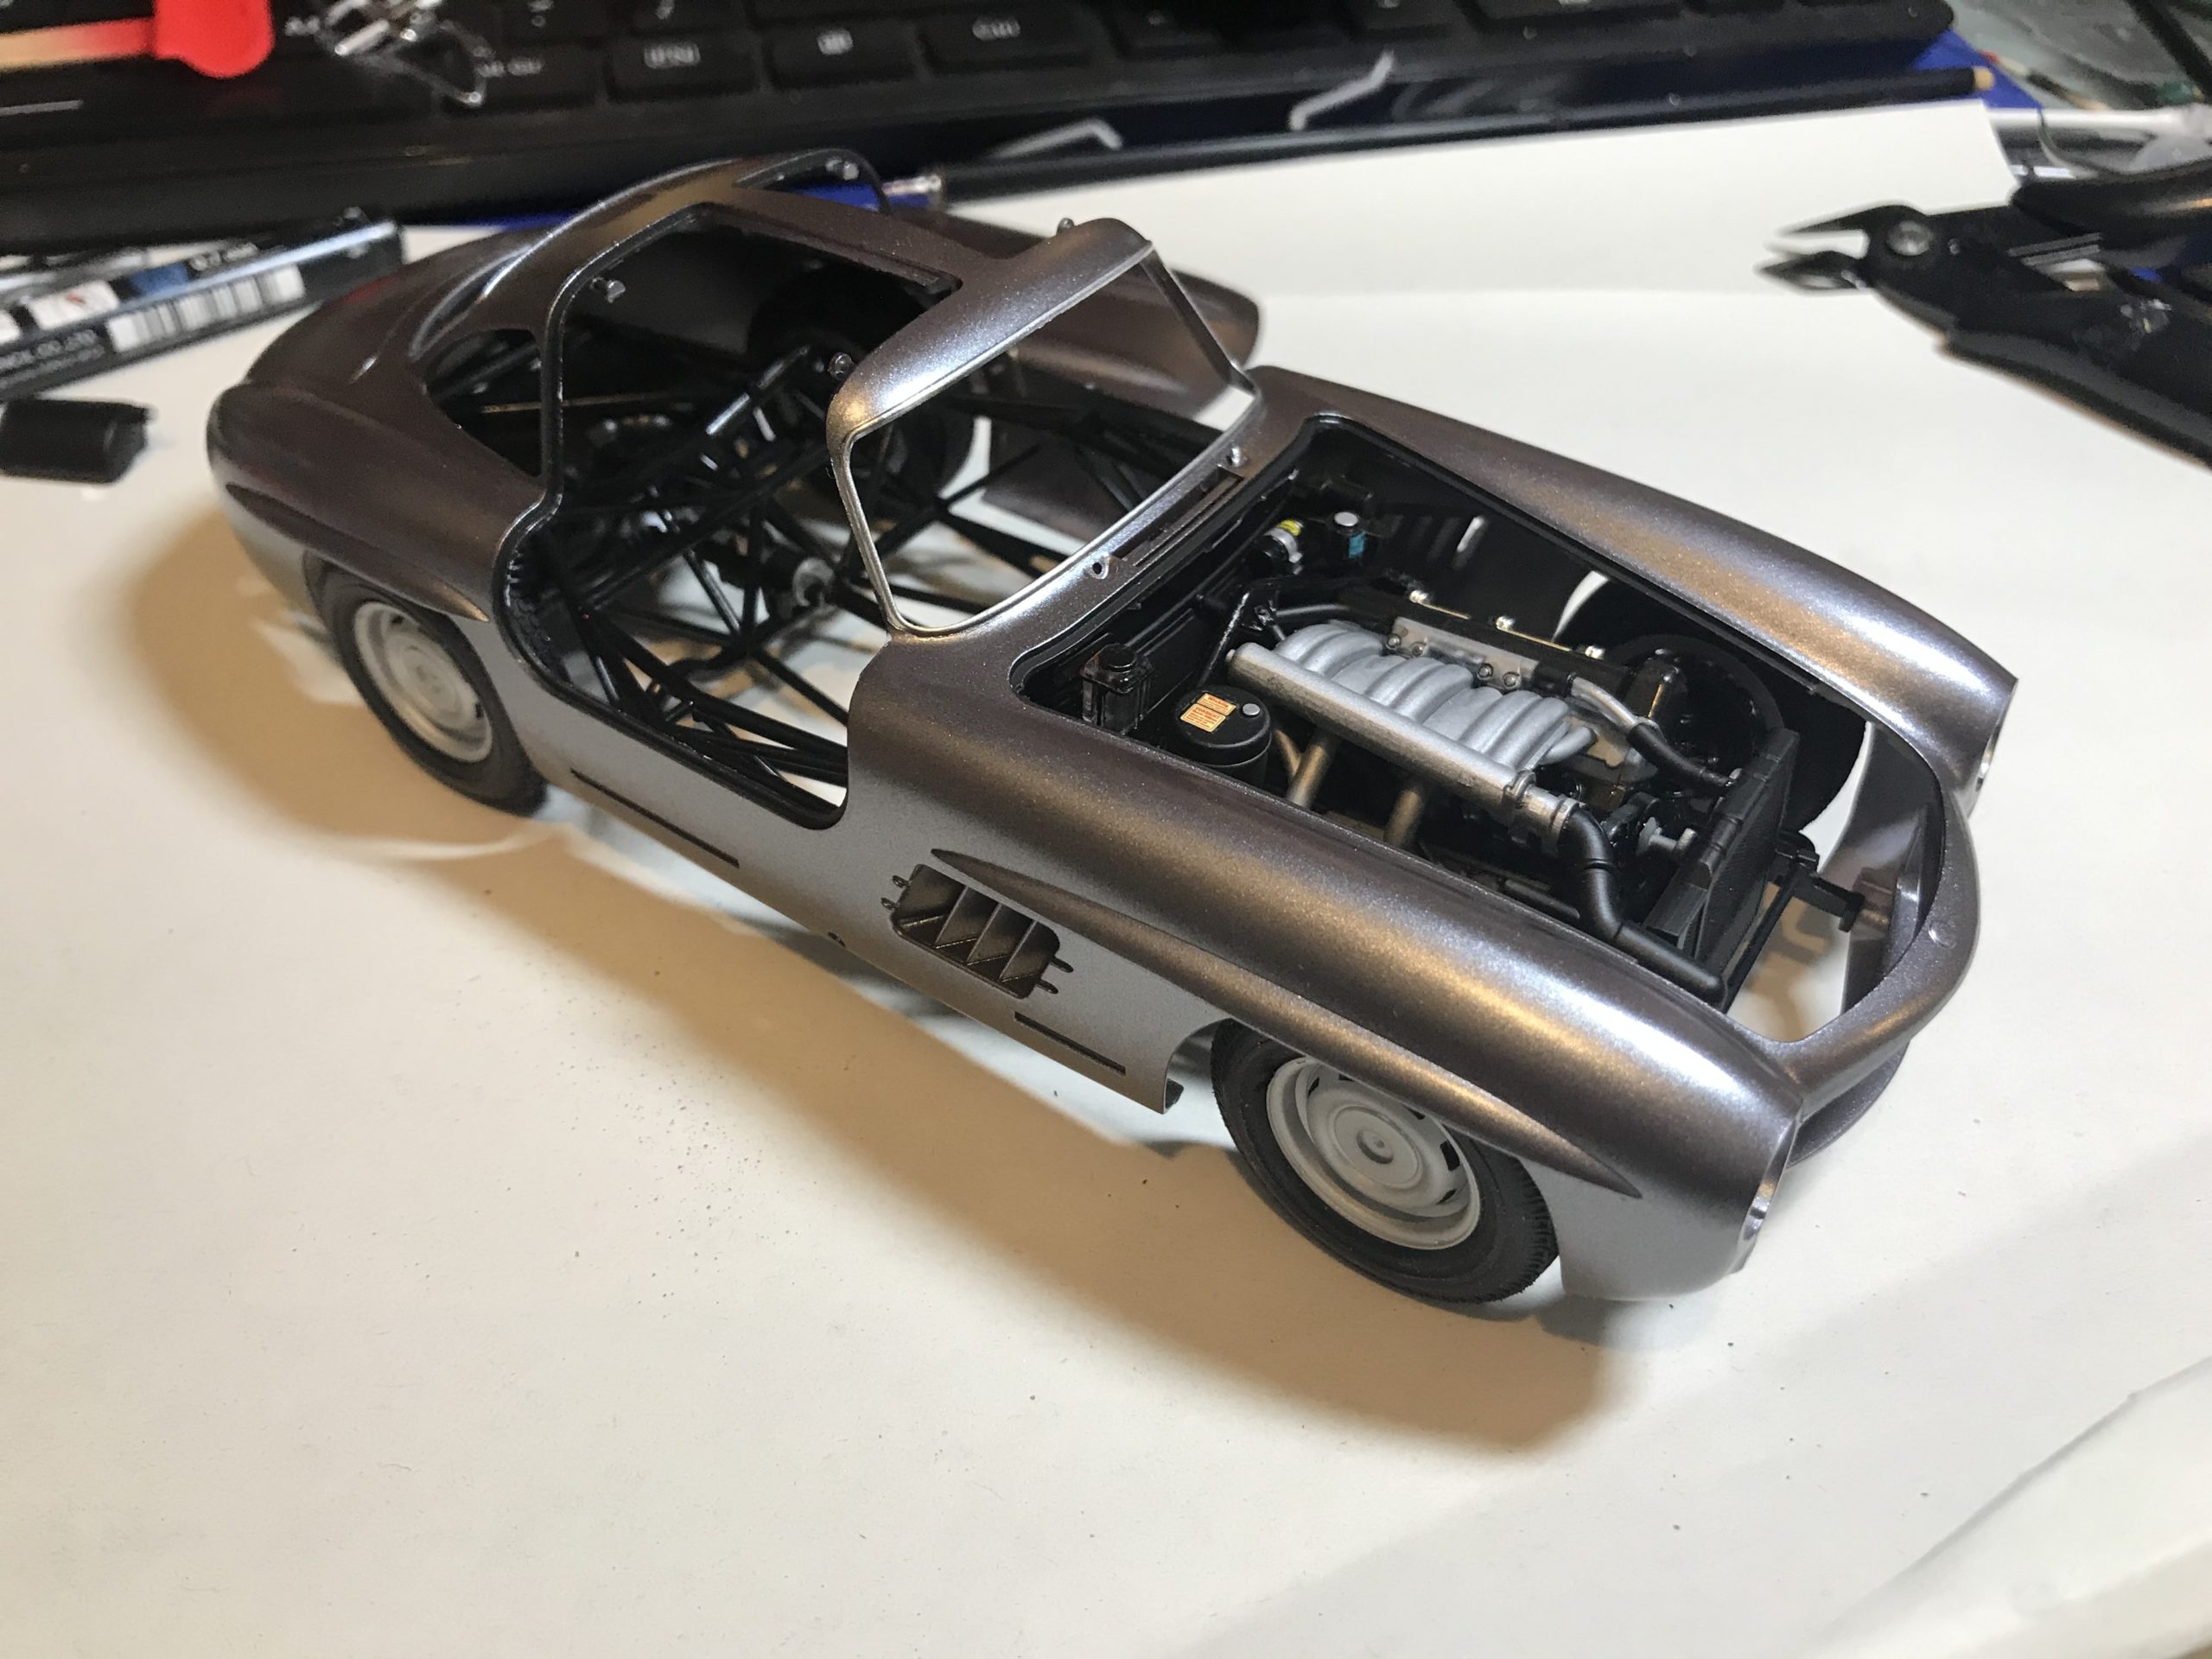
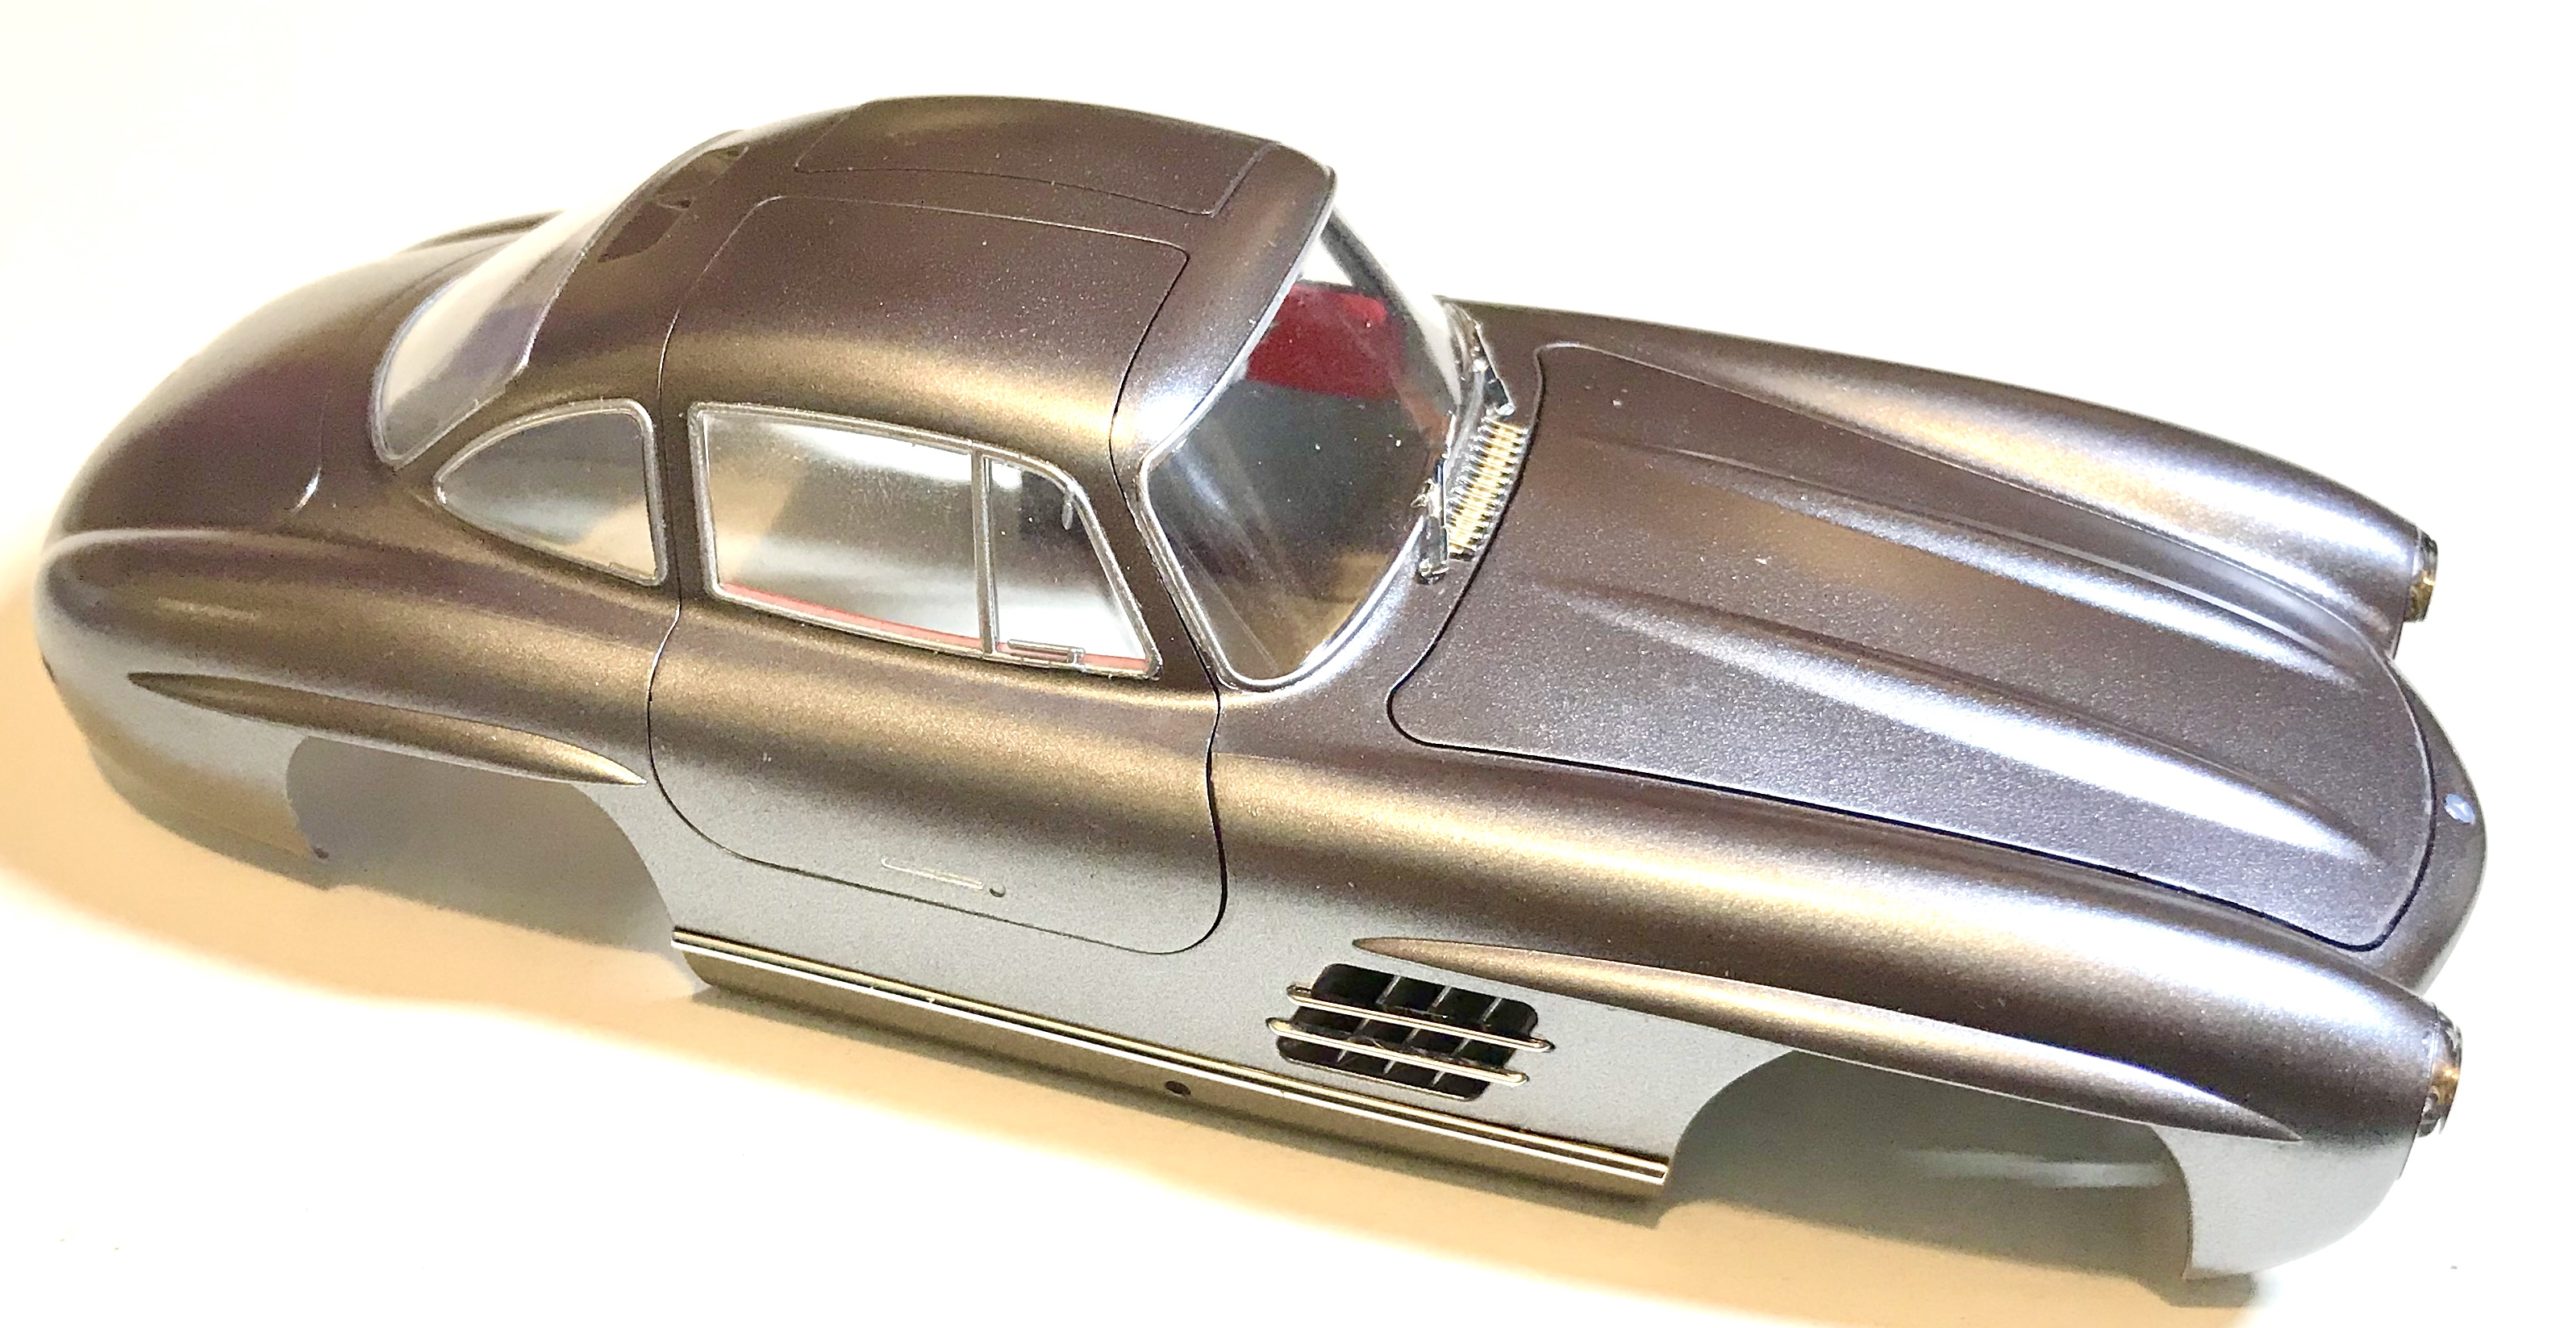
I sprayed the body in Tamiya light gun metal lacquer paint. This goes on very smoothly and gives a “scale” metallic finish.
Seeing the parts come together after hours of preparation, assembly and painting is very rewarding!
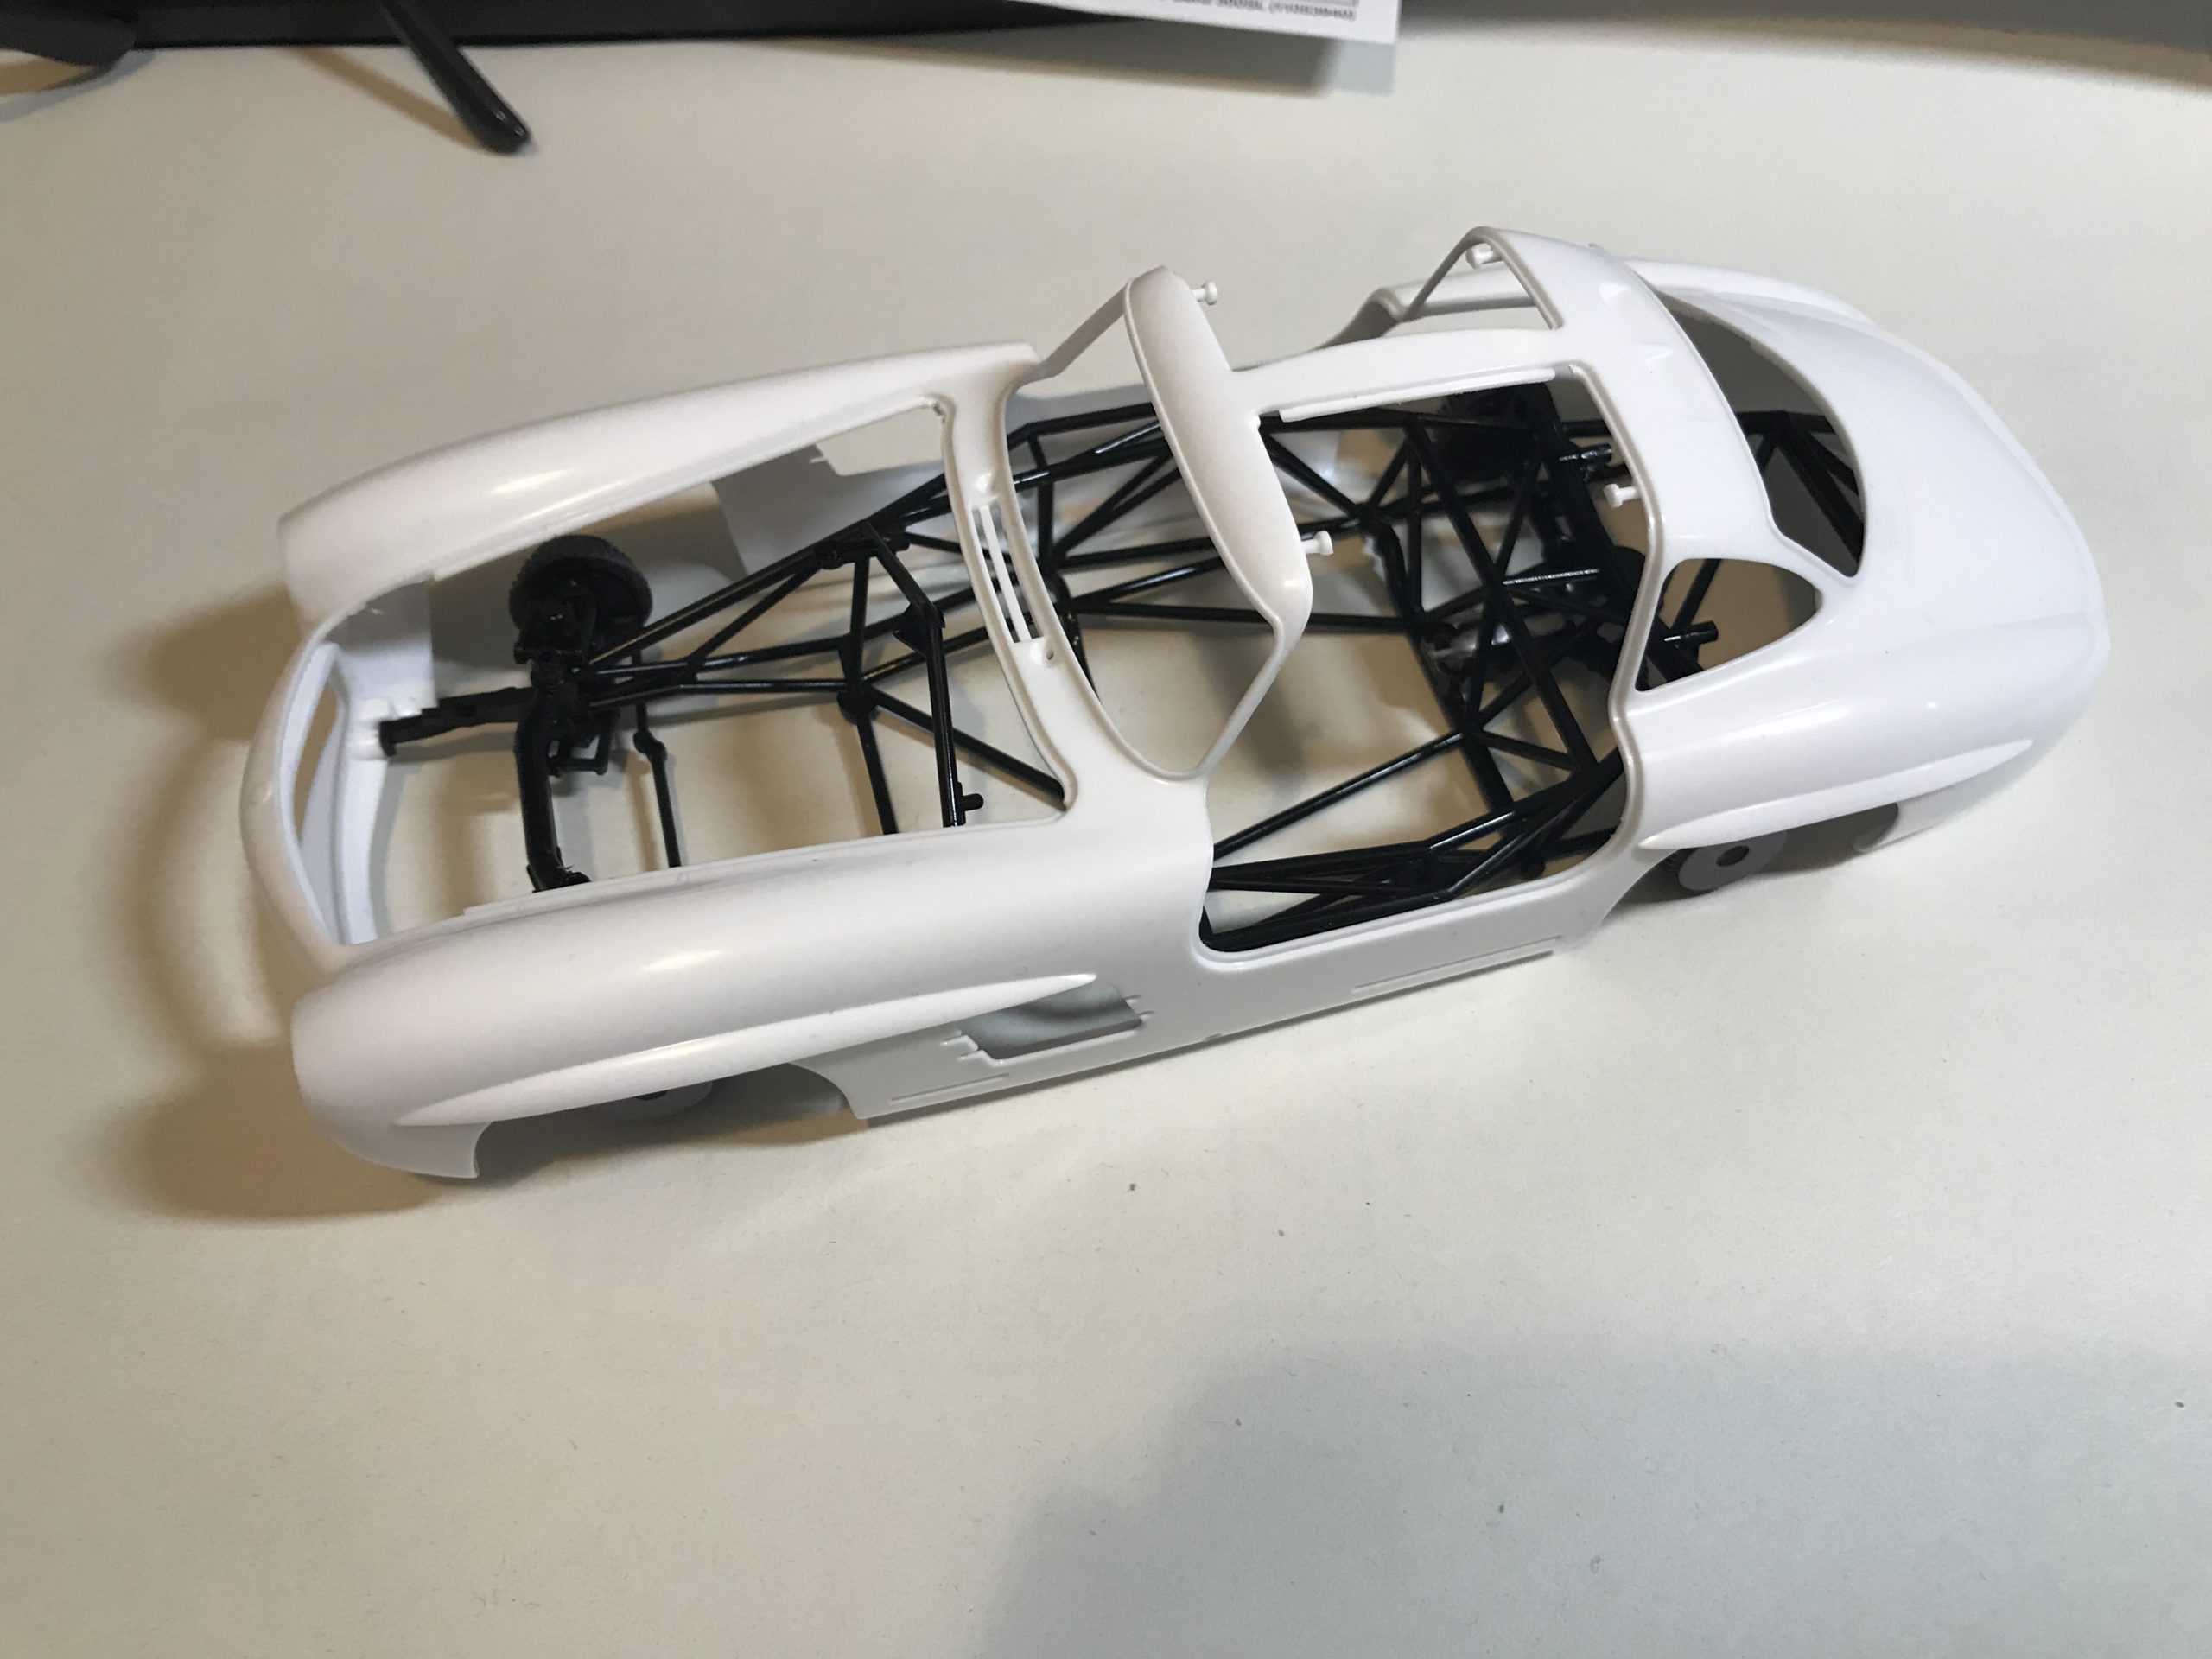
Here are the three sub assemblies. The interior tub, chassis and running gear and finally the body shell.
I had to get a couple of shots of the interior and chassis together before putting the body on as some of detail wouldn’t be seen again.
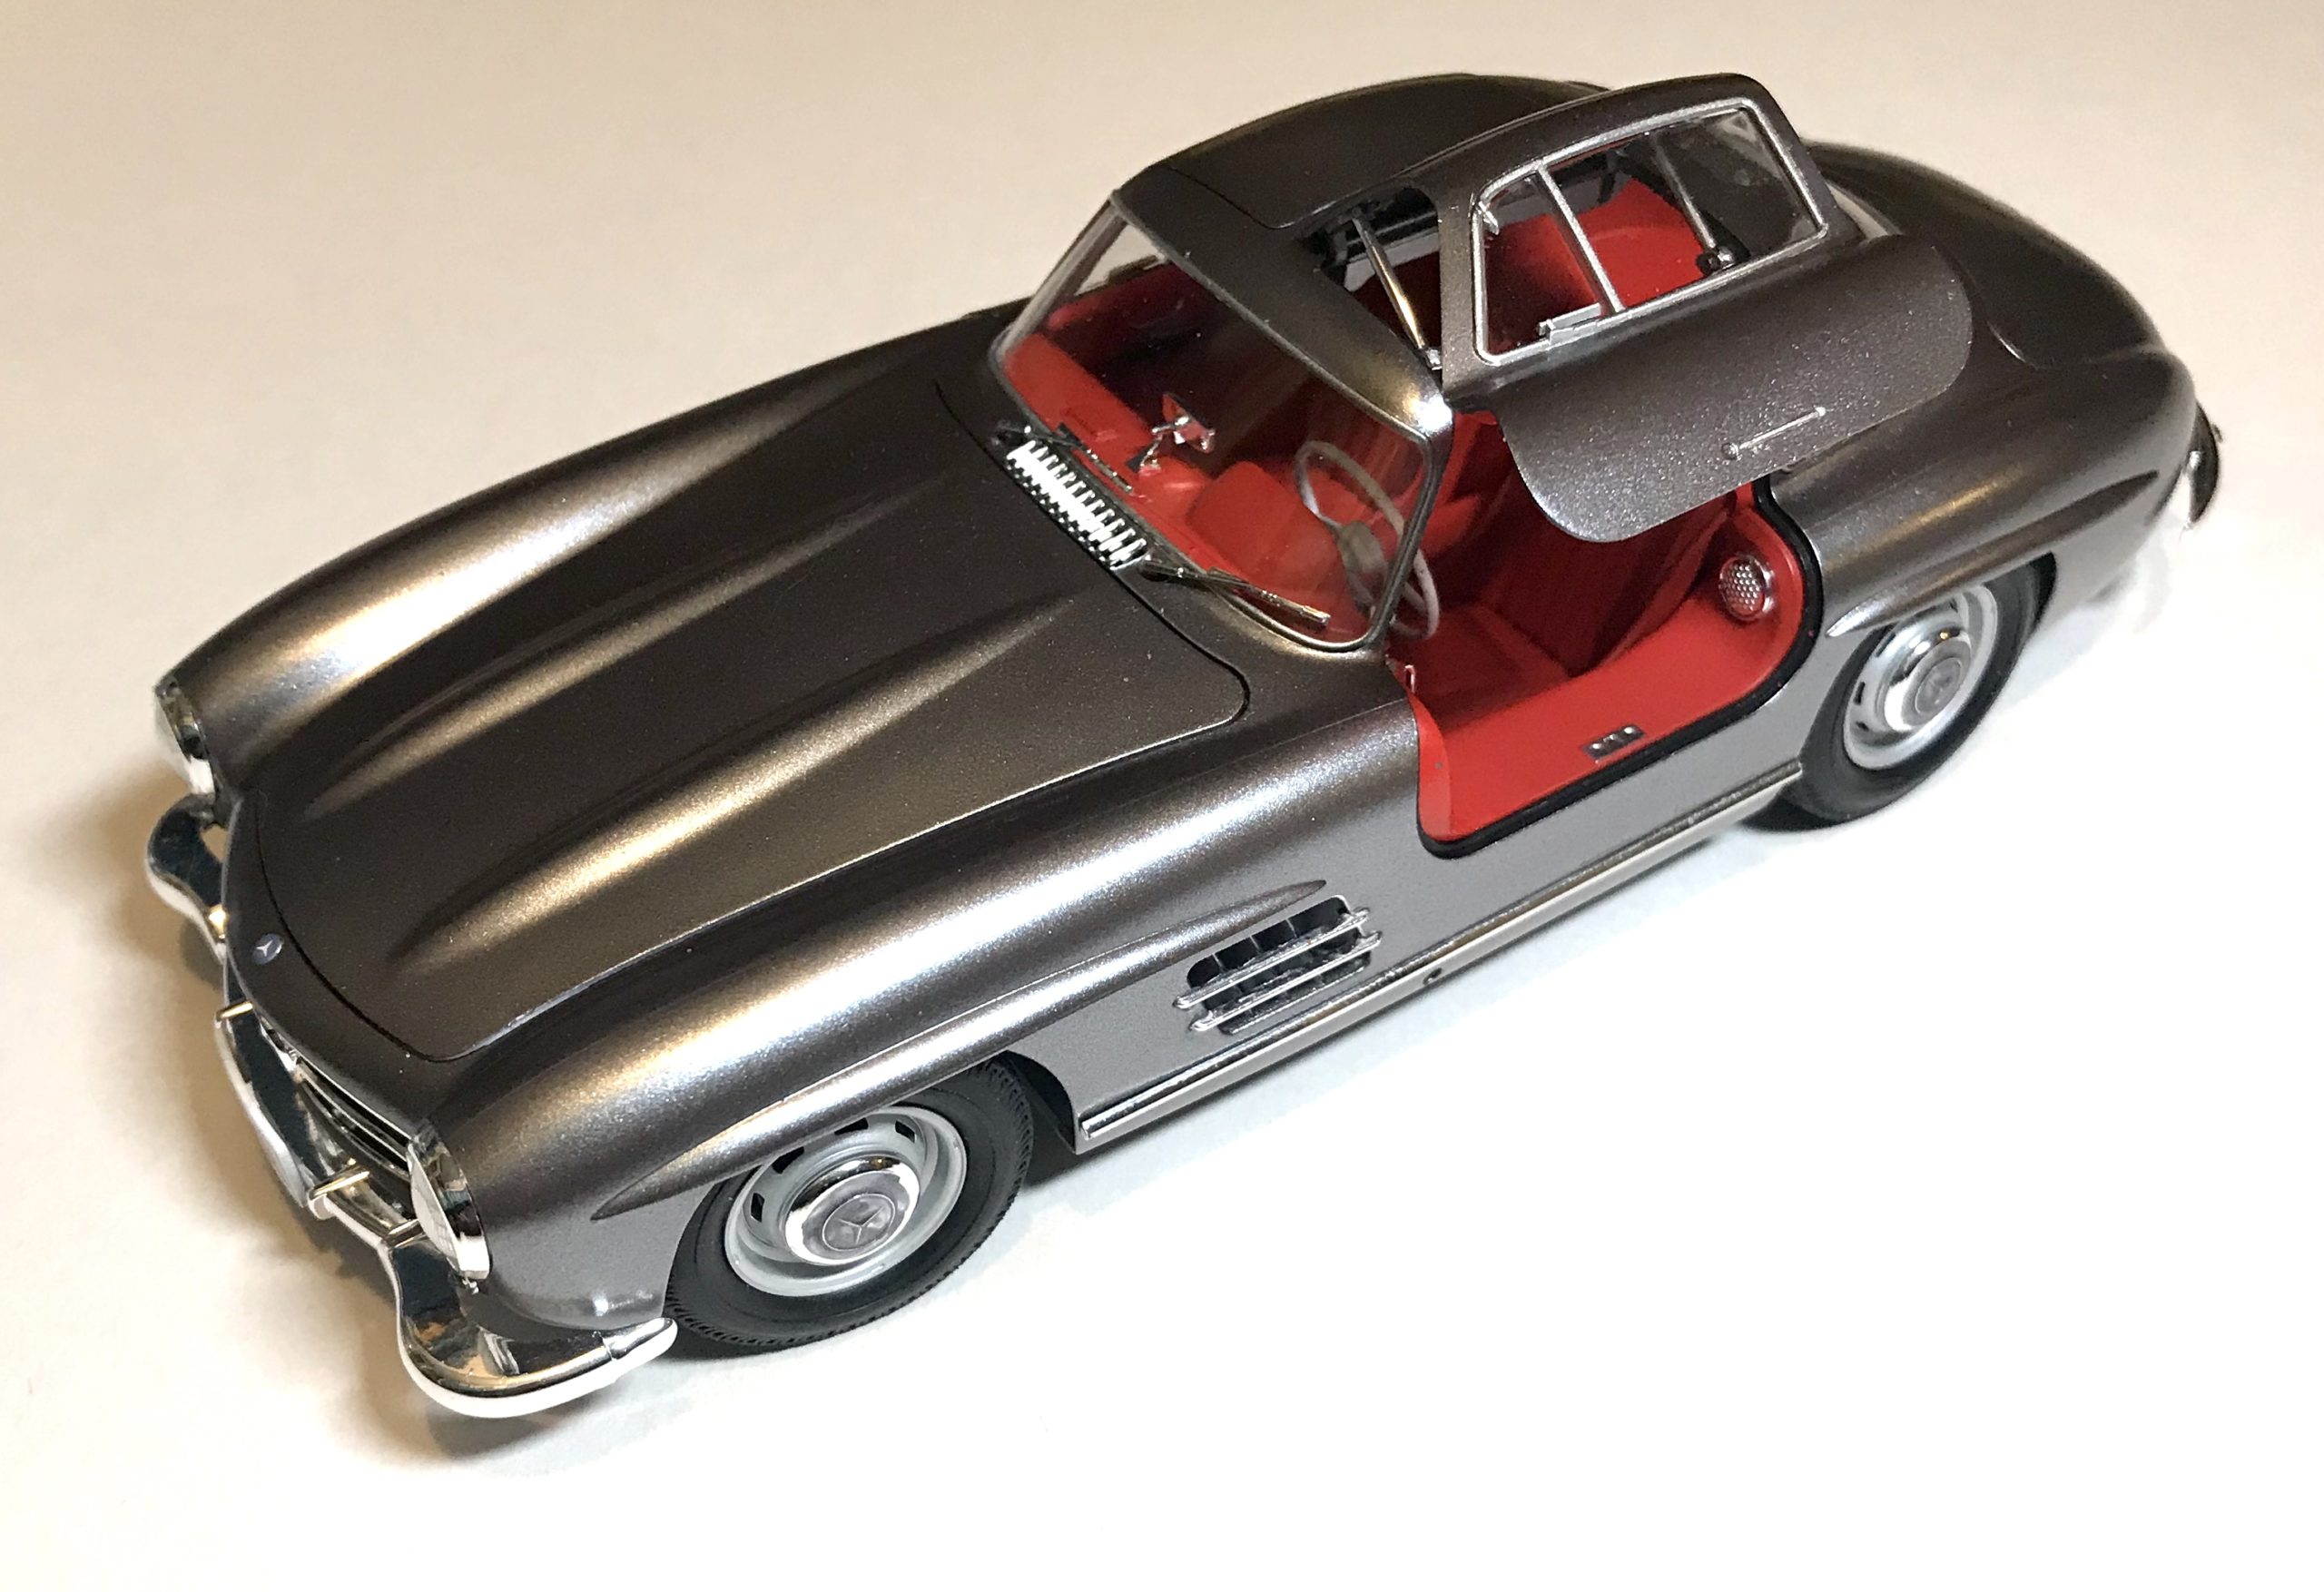
Only the chrome parts to add now and the model is complete.
A wonderful kit and very enjoyable build.
The Verdict on this kit:
Suggested Tools:
As per my recent build of the Revell Jag E Type Id suggest painting the body with an Airbrush or at least a rattle can – it really is the only way to get a great and even finish on the body shell. Otherwise, as Tamiya kits are so well put together you really need nothing more than a few basic model tools to complete – it went together flawlessly.
Kit Specific Advice:
The instructions are easy to follow and the kit easy to assemble. As per my build there is no specific advice – however I did enjoy trying to add extra detail by “flocking” the carpet area of the interior. Give it a go..
What we’ve taken away from this build:
I am yet to build a bad Tamiya kit. Whilst some are better than others they all offer a great experience as they are designed and produced so well. I often tell beginner modellers to take on a larger more complex build providing its made by Tamiya – as their lack of experience and skill is not a problem when kits simply fall together like this one!
This kit was no different, the detail on the space frame was great and it was nice to assemble the chassis instead of just putting a body shell over a typical floorpan. Like many Car and motorbike builds its always such a shame to fit the body shell and cover a lot of your hardwork in the engine bay and elsewhere – but we know its there!
The only thing I think the model lacked was an opening boot, but its not really an issue and will soon be forgotten when its sat proudly in my display cabinet! Other than that it was a fun build and I’d thoroughly recommend it – it might seem slightly expensive compared to other 1/24 model cars – but when you build the kit you can see and justify the value.


