A note from the author…
I’m Rob, a normal guy who enjoys making models! I’m by no means a ‘professional’ modeller, but I am passionate, try my best and kits generally turn out well! All my builds are done at home in my spare time with typical model tools and accessories – all views and opinions are my own and not that of Jadlam.
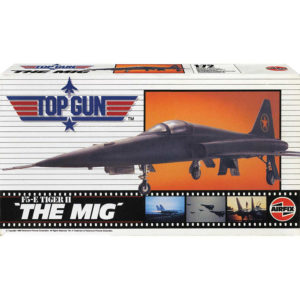
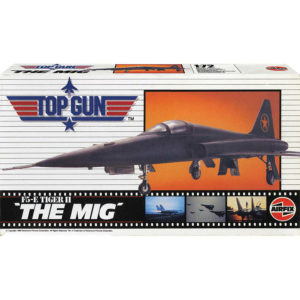
Name – Airfix A00502 Top Gun F5-E Tiger II “THE MIG” 1:72 Plastic Model Kit
Number – A00502
Scale – 1/72
Price – £14.99 RRP
Availability – November 2020 – available for Pre-Order Now! Buy yours here!
If you have read my review and build of Mavericks P-51D Mustang you will already know I got an early look at the “New” Top Gun Maverick kits from Airfix.
Now the more observant amongst you are quite rightly questioning exactly what type of MIG is that? and it looks quite a lot like a F-5 Tiger II. You are of course correct, bit anyone who has seen the original classic Top Gun movie will know this is exactly what happened in the film. In 1987 there weren’t a great deal of Soviet fighters available for Hollywood to use in movies. This left the movie makers with a choice of using miniatures, or repainting an available aircraft and slapping a star on the side of it. Fortunately Tony Scott (the Director, not the Plumber) chose to do the latter.
As a side note a fun game is to watch movies from the eighties and see what aircraft they used to simulate Soviet era aircraft. The Puma with a fibreglass bodykit was a regular stand in for the Hind gunship for example.
Once again this isn’t a new kit. In fact looking at Scalemates it looks like this kit comes from 1983. It also looks as though it was re-boxed as the MIG for the original Top Gun movie back in 1987. Not the best start, but also not necessarily an issue either as lots of older kits are still very good – lets see how we get on with it!
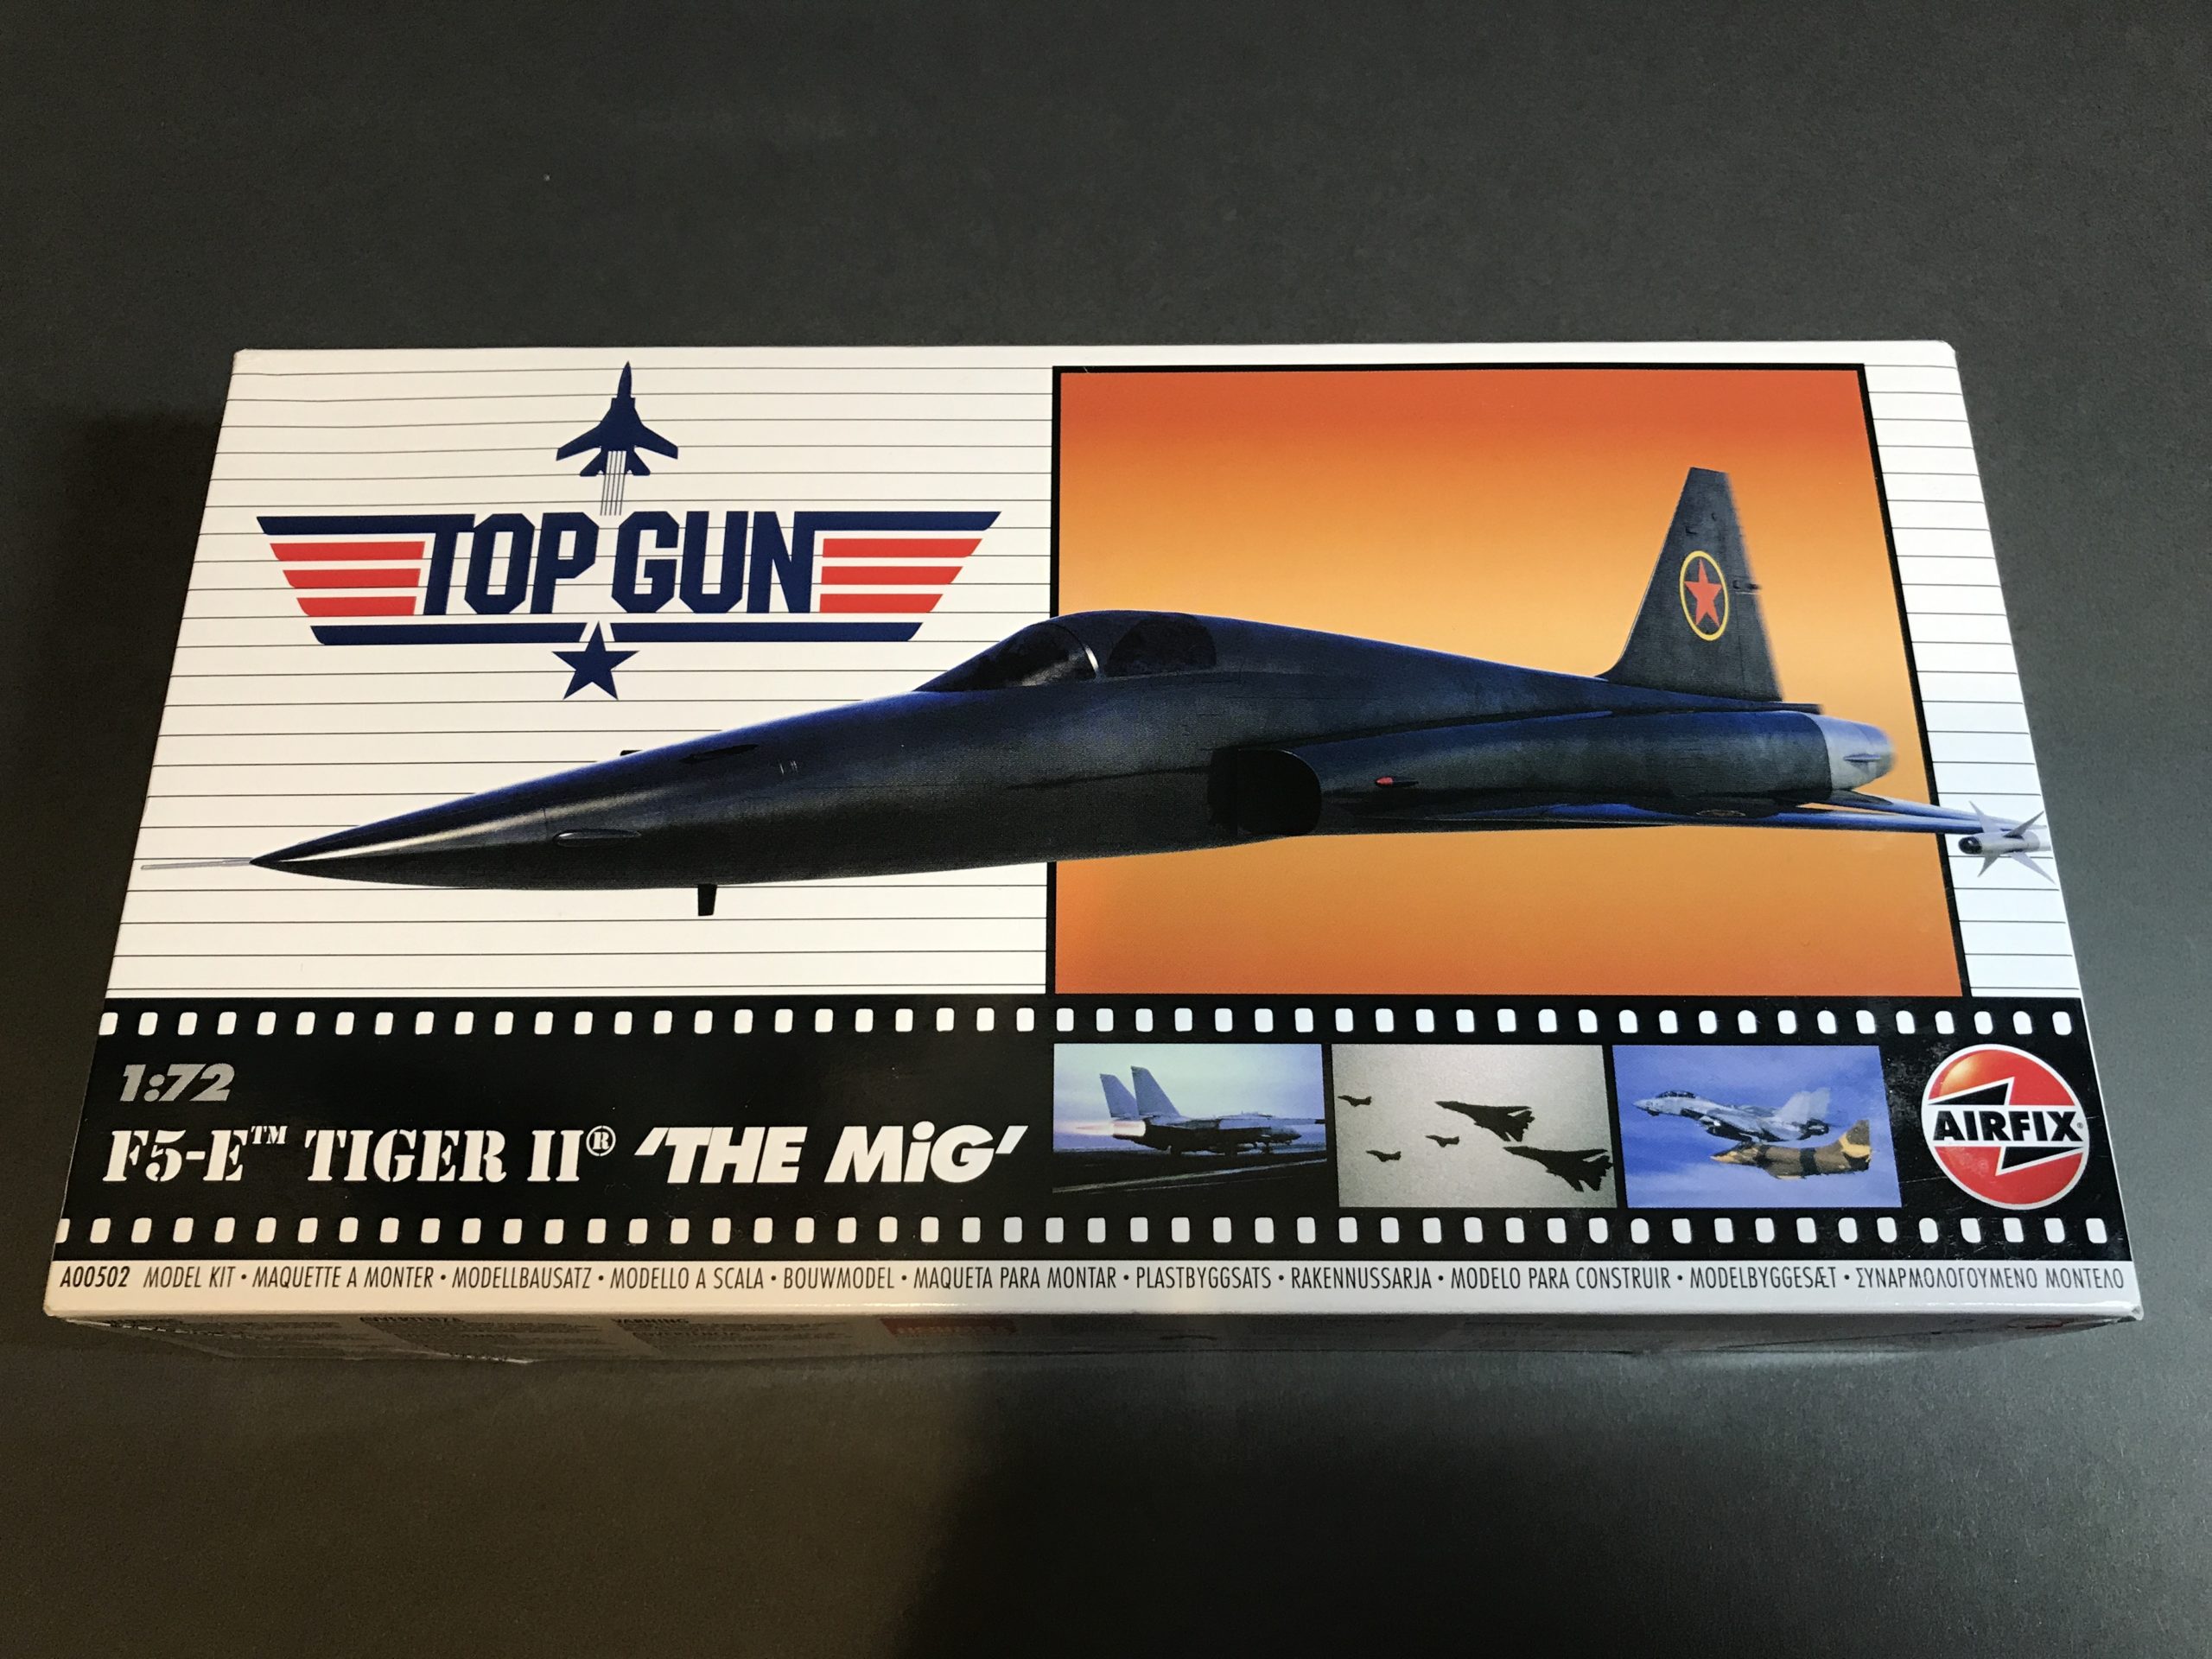
What’s in the box?
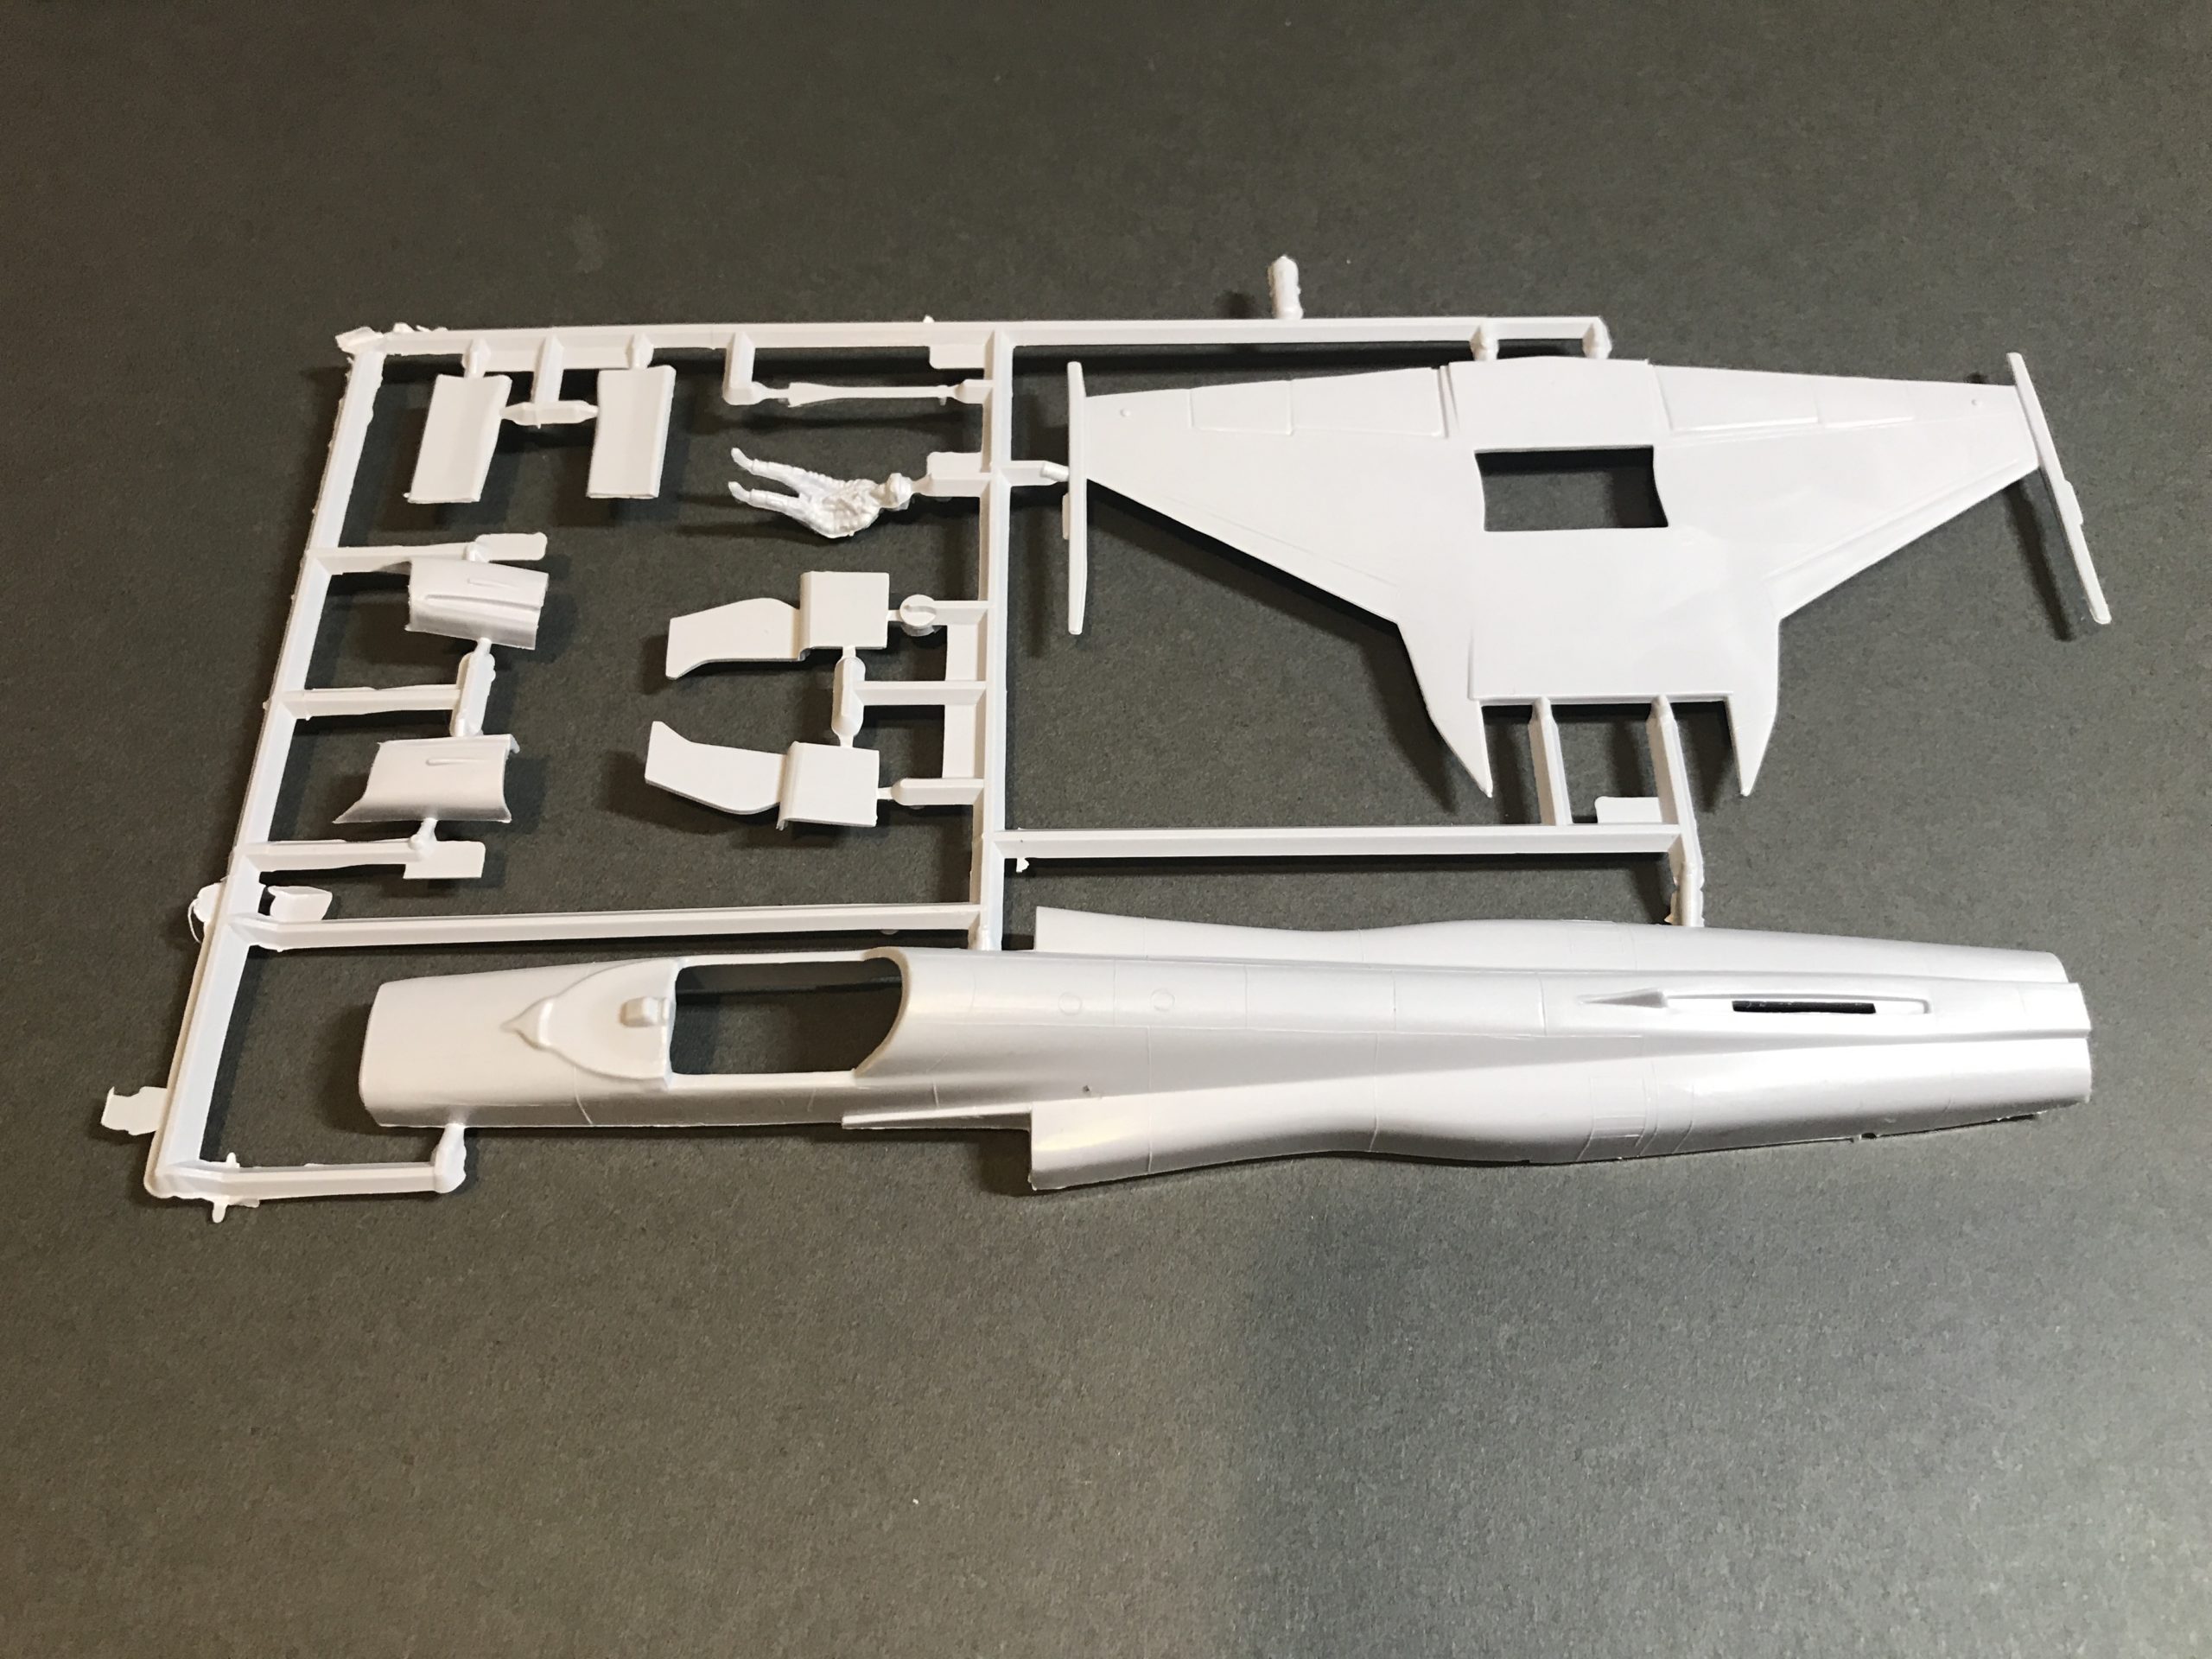
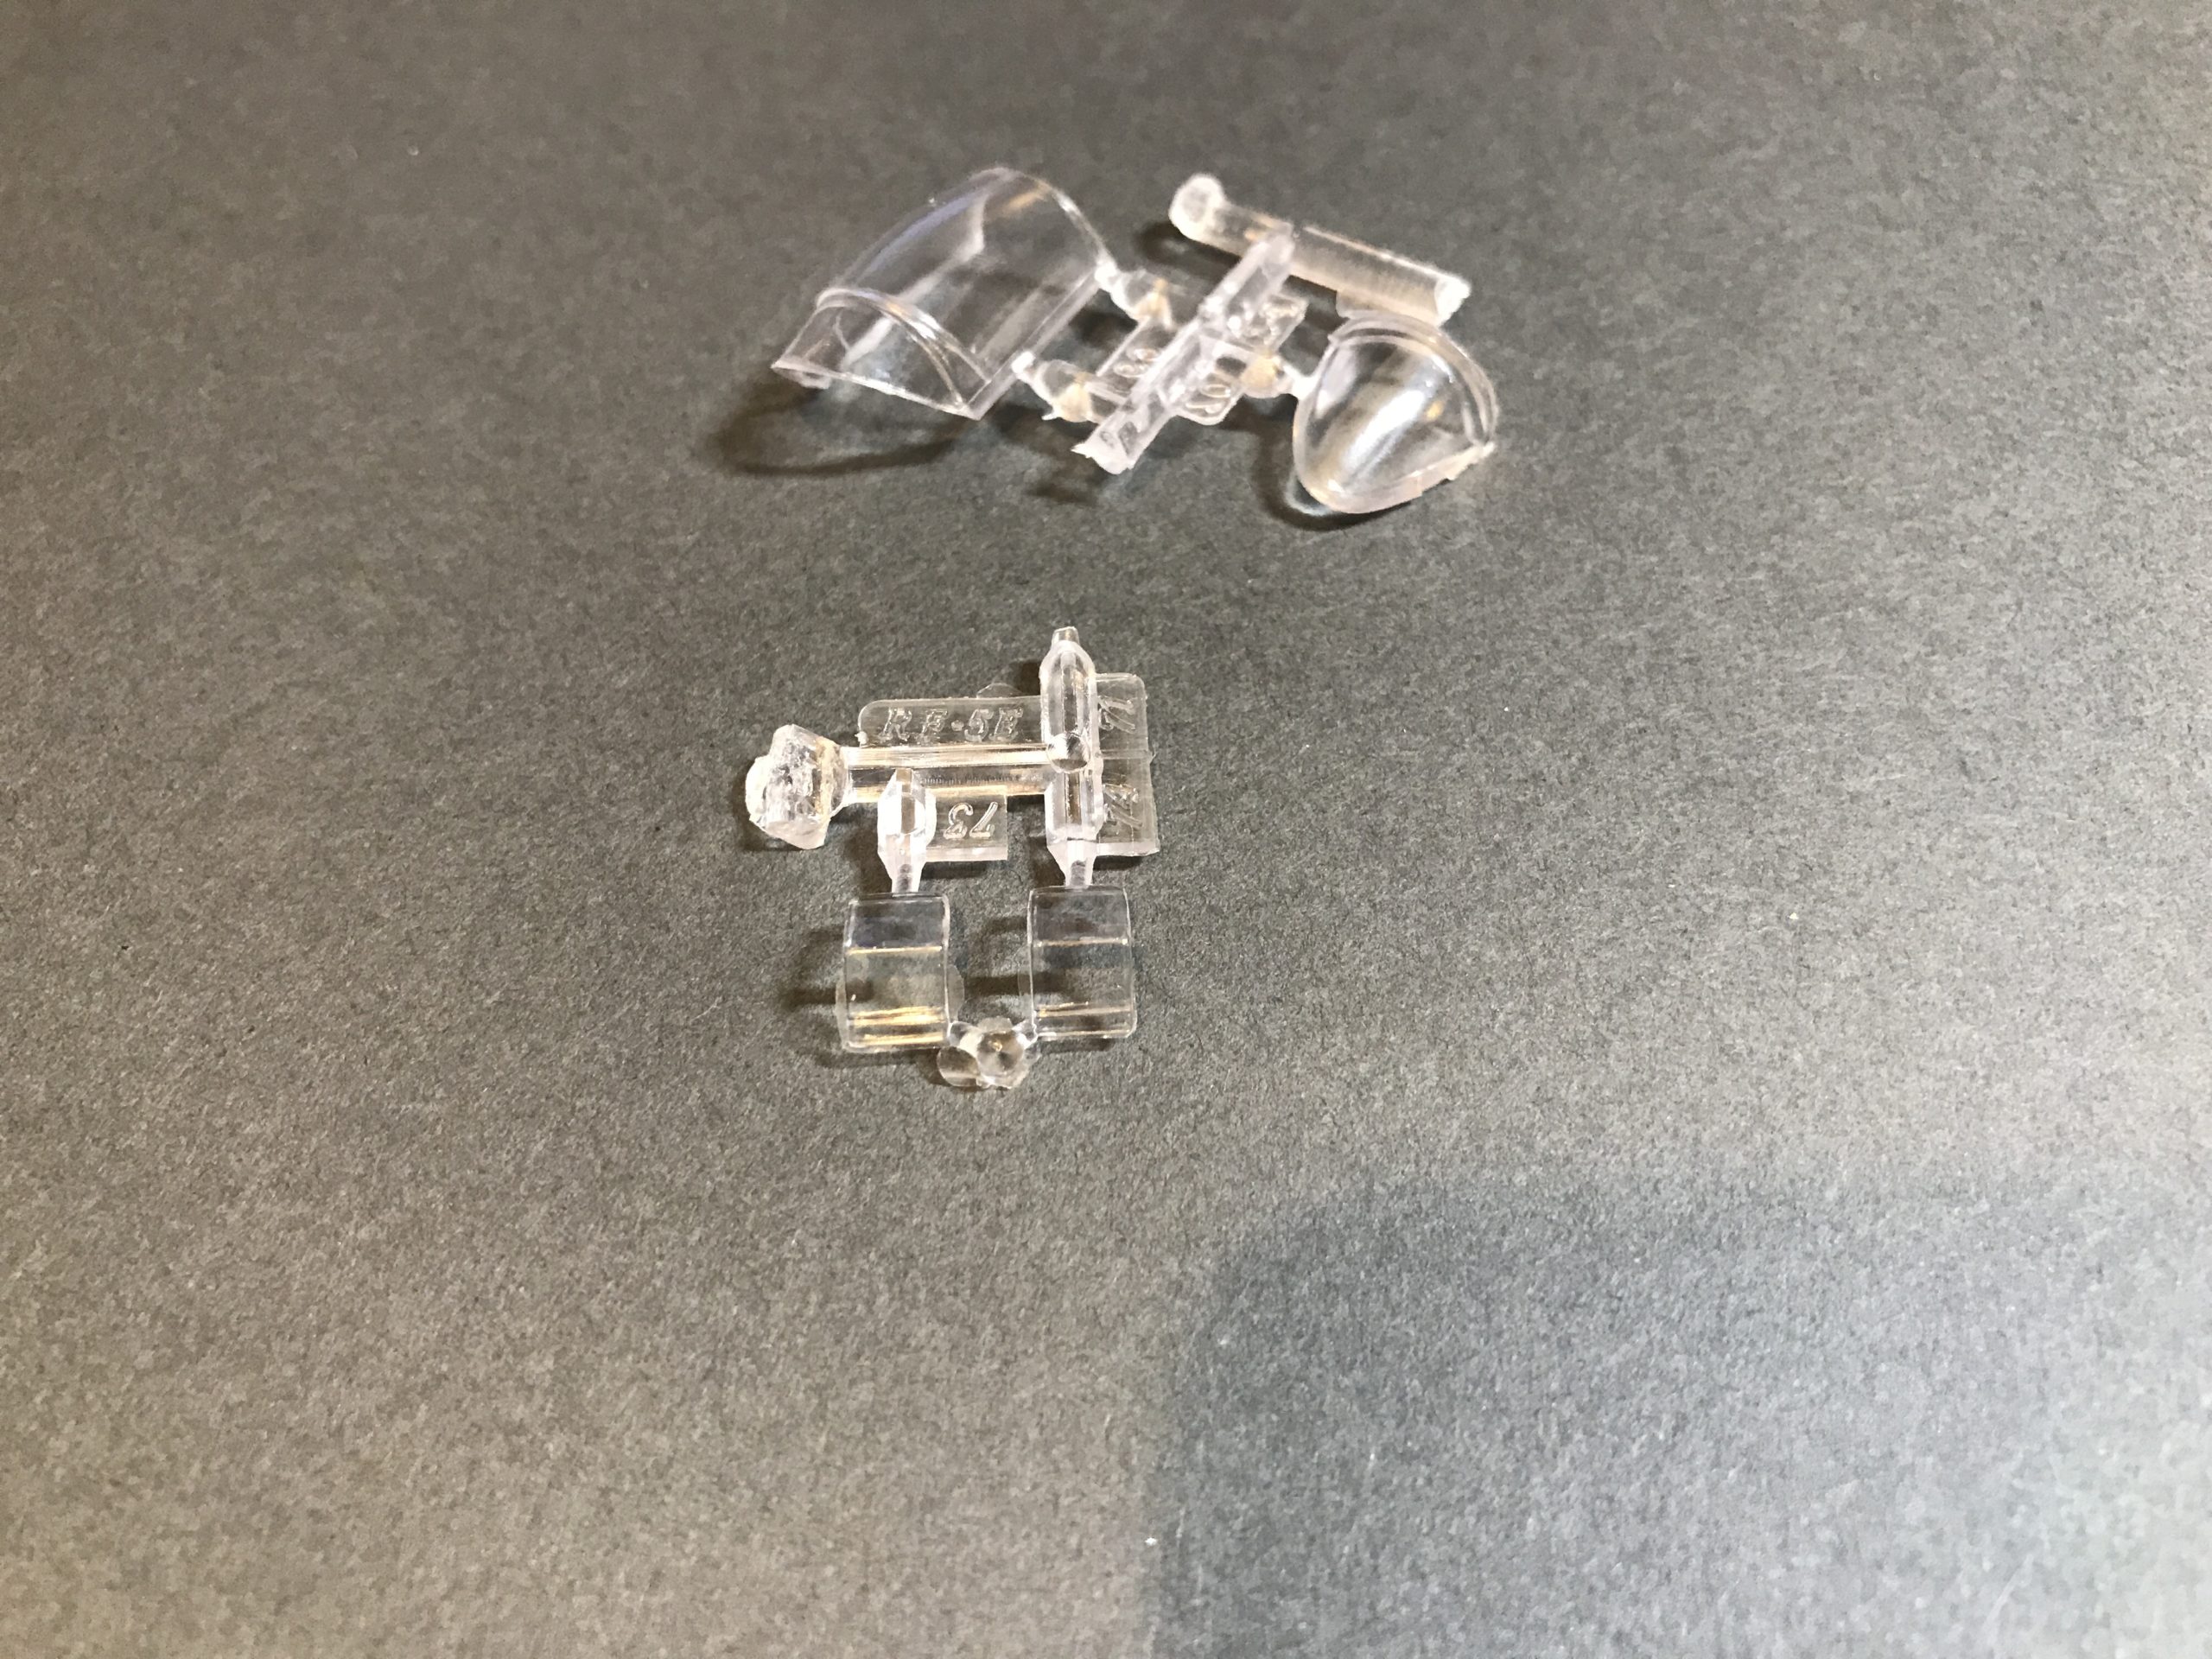
Well it’s pretty simple four light grey styrene sprue’s, one clear, some instructions and a very complex set of decals 😉
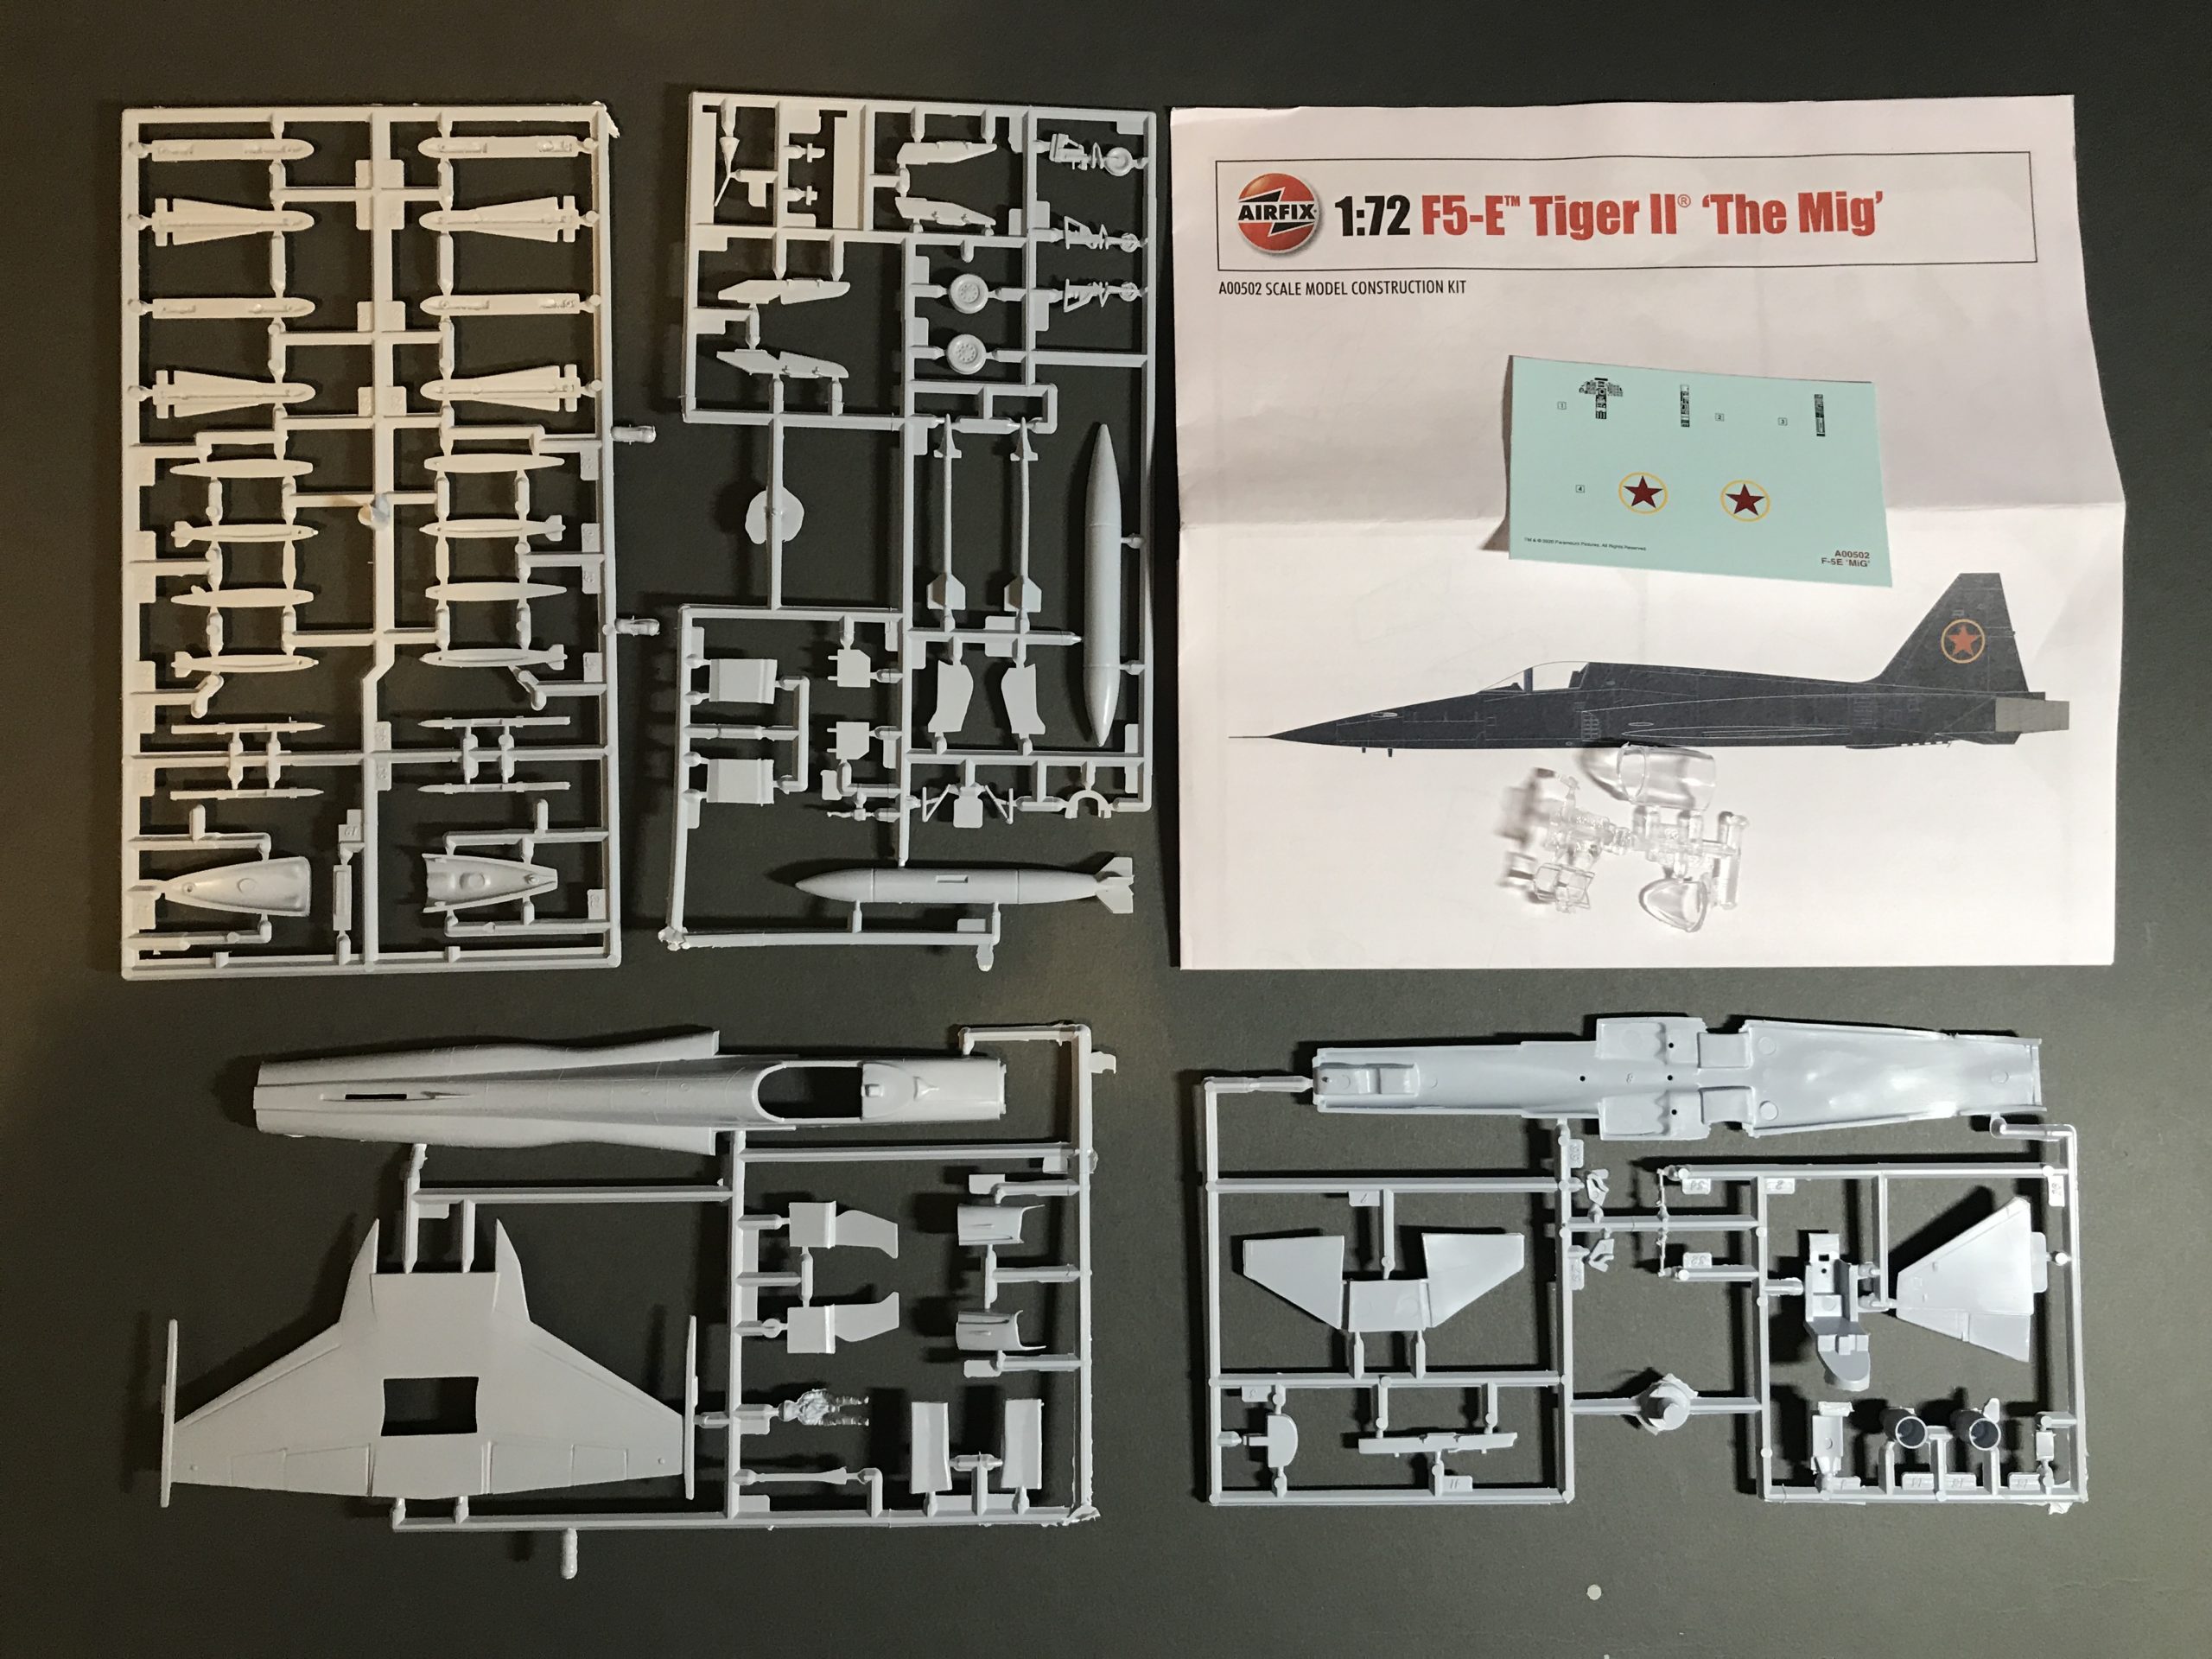
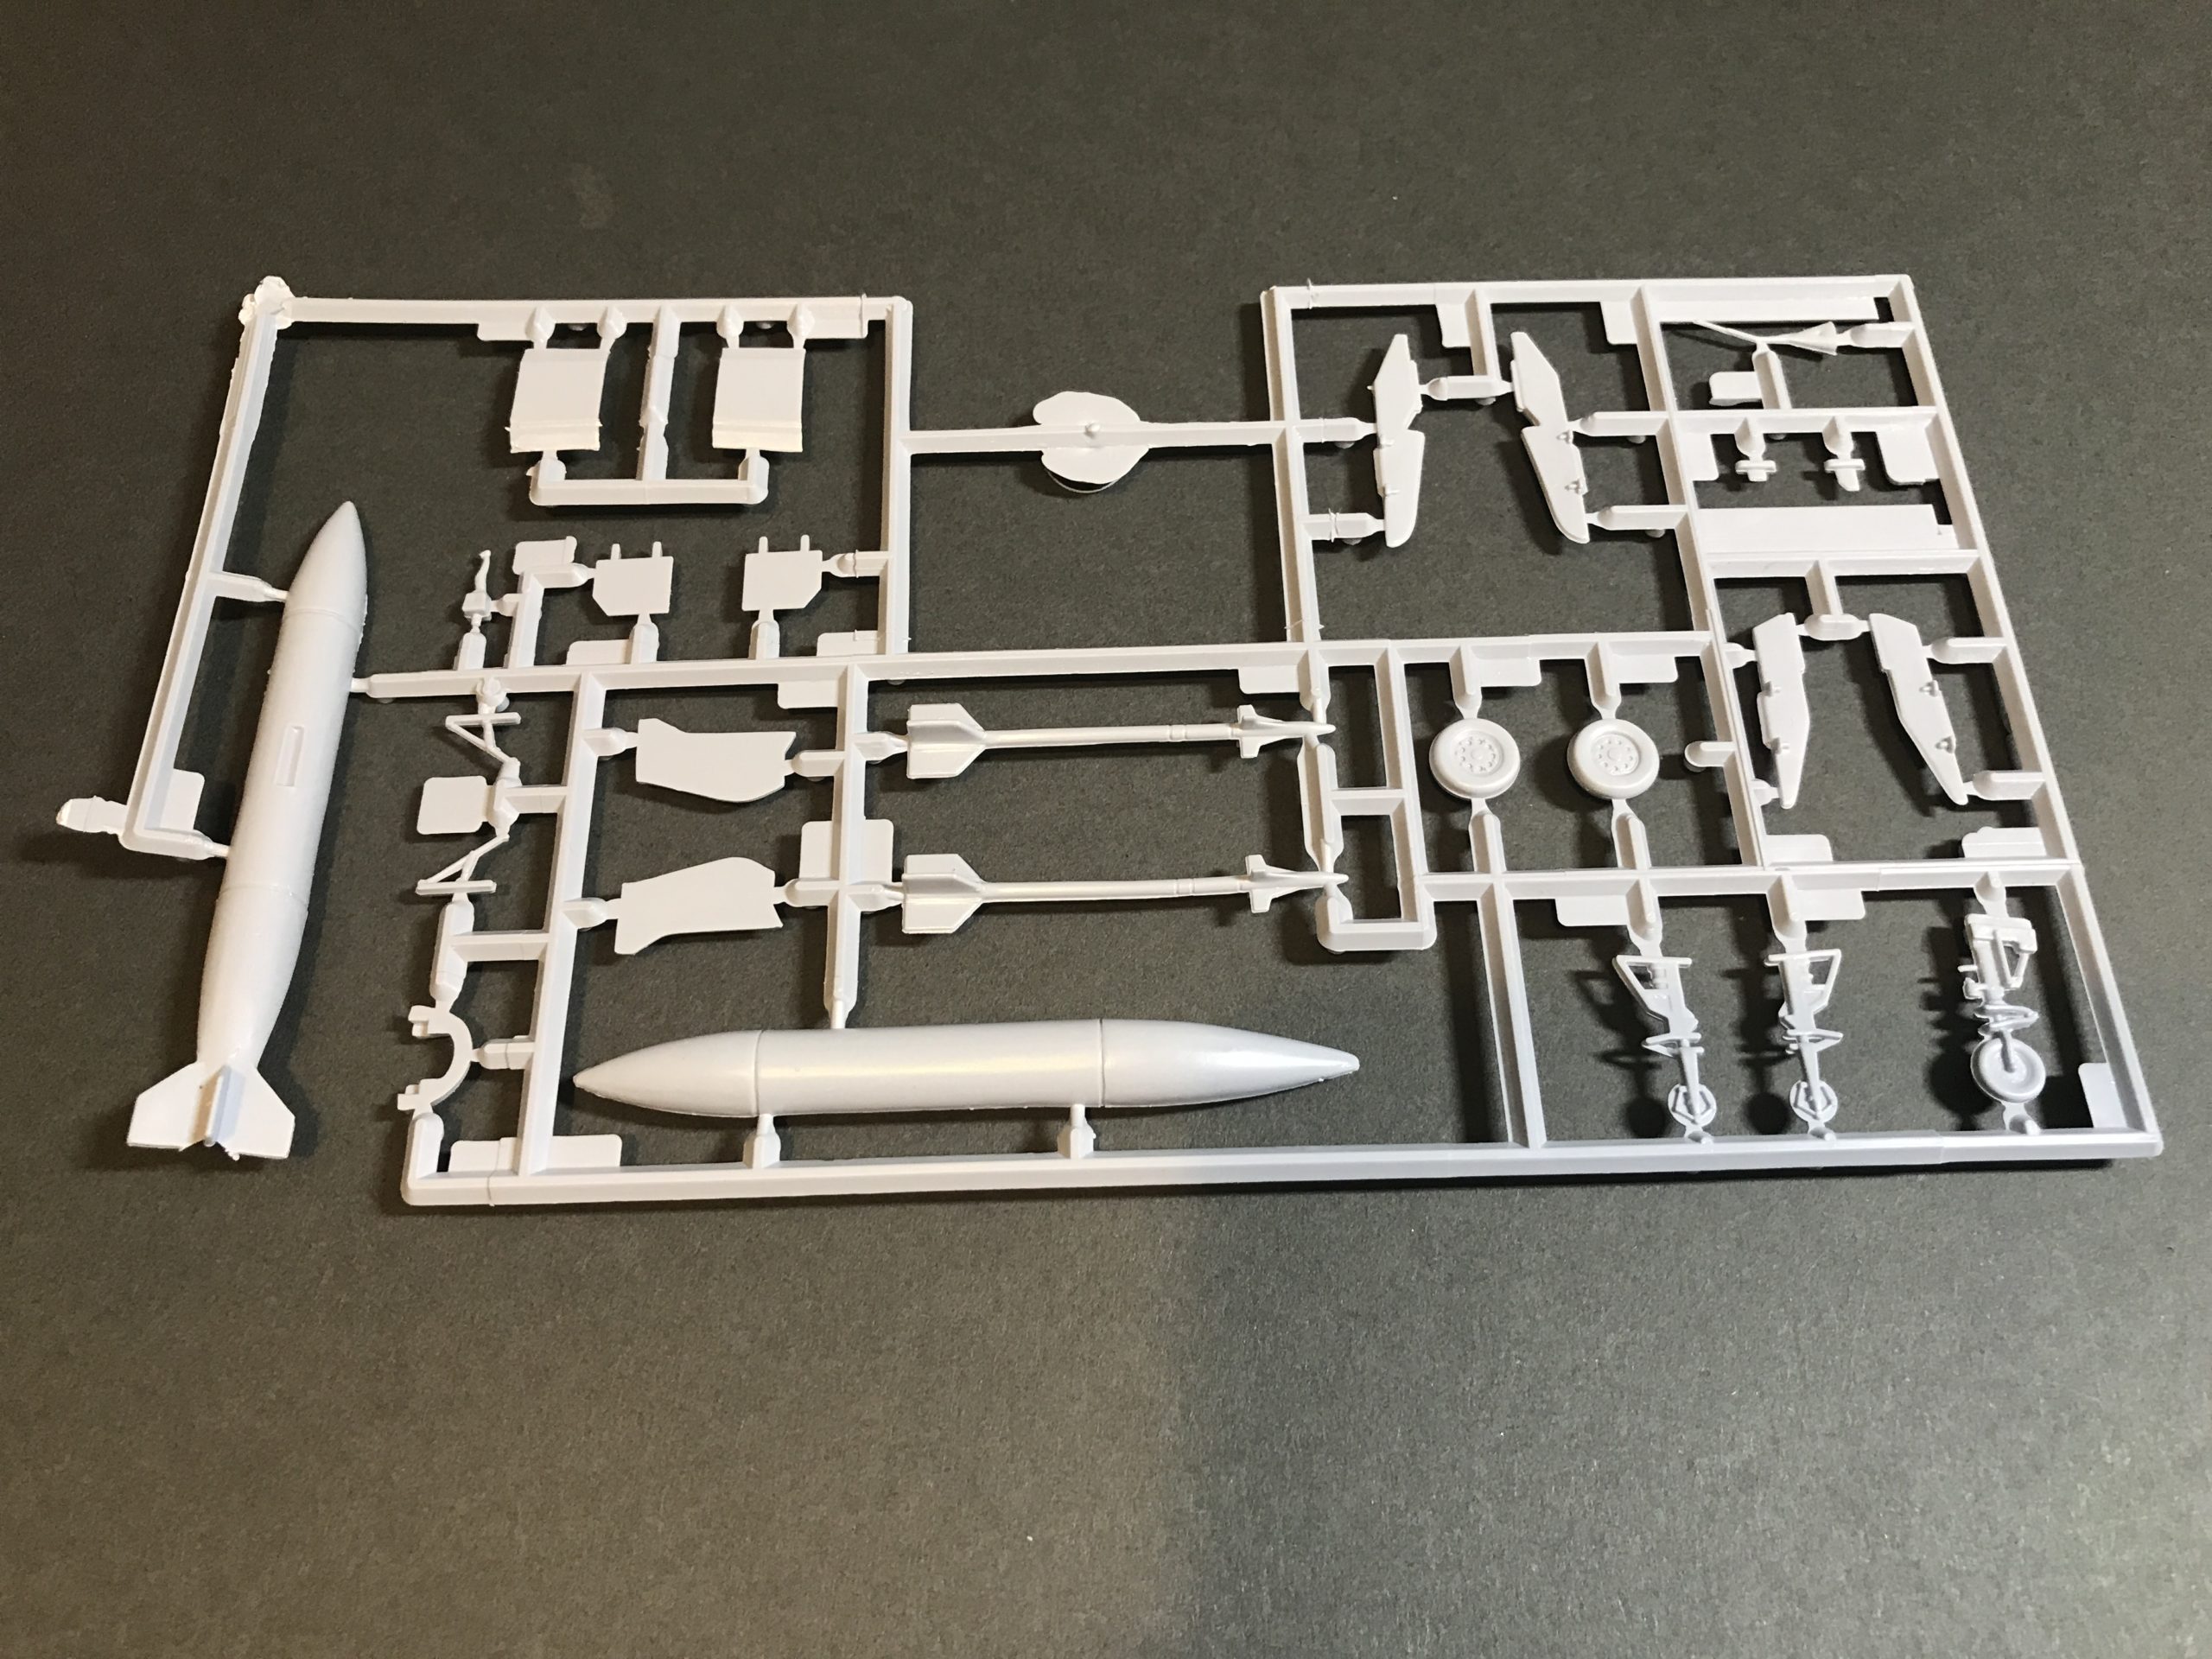
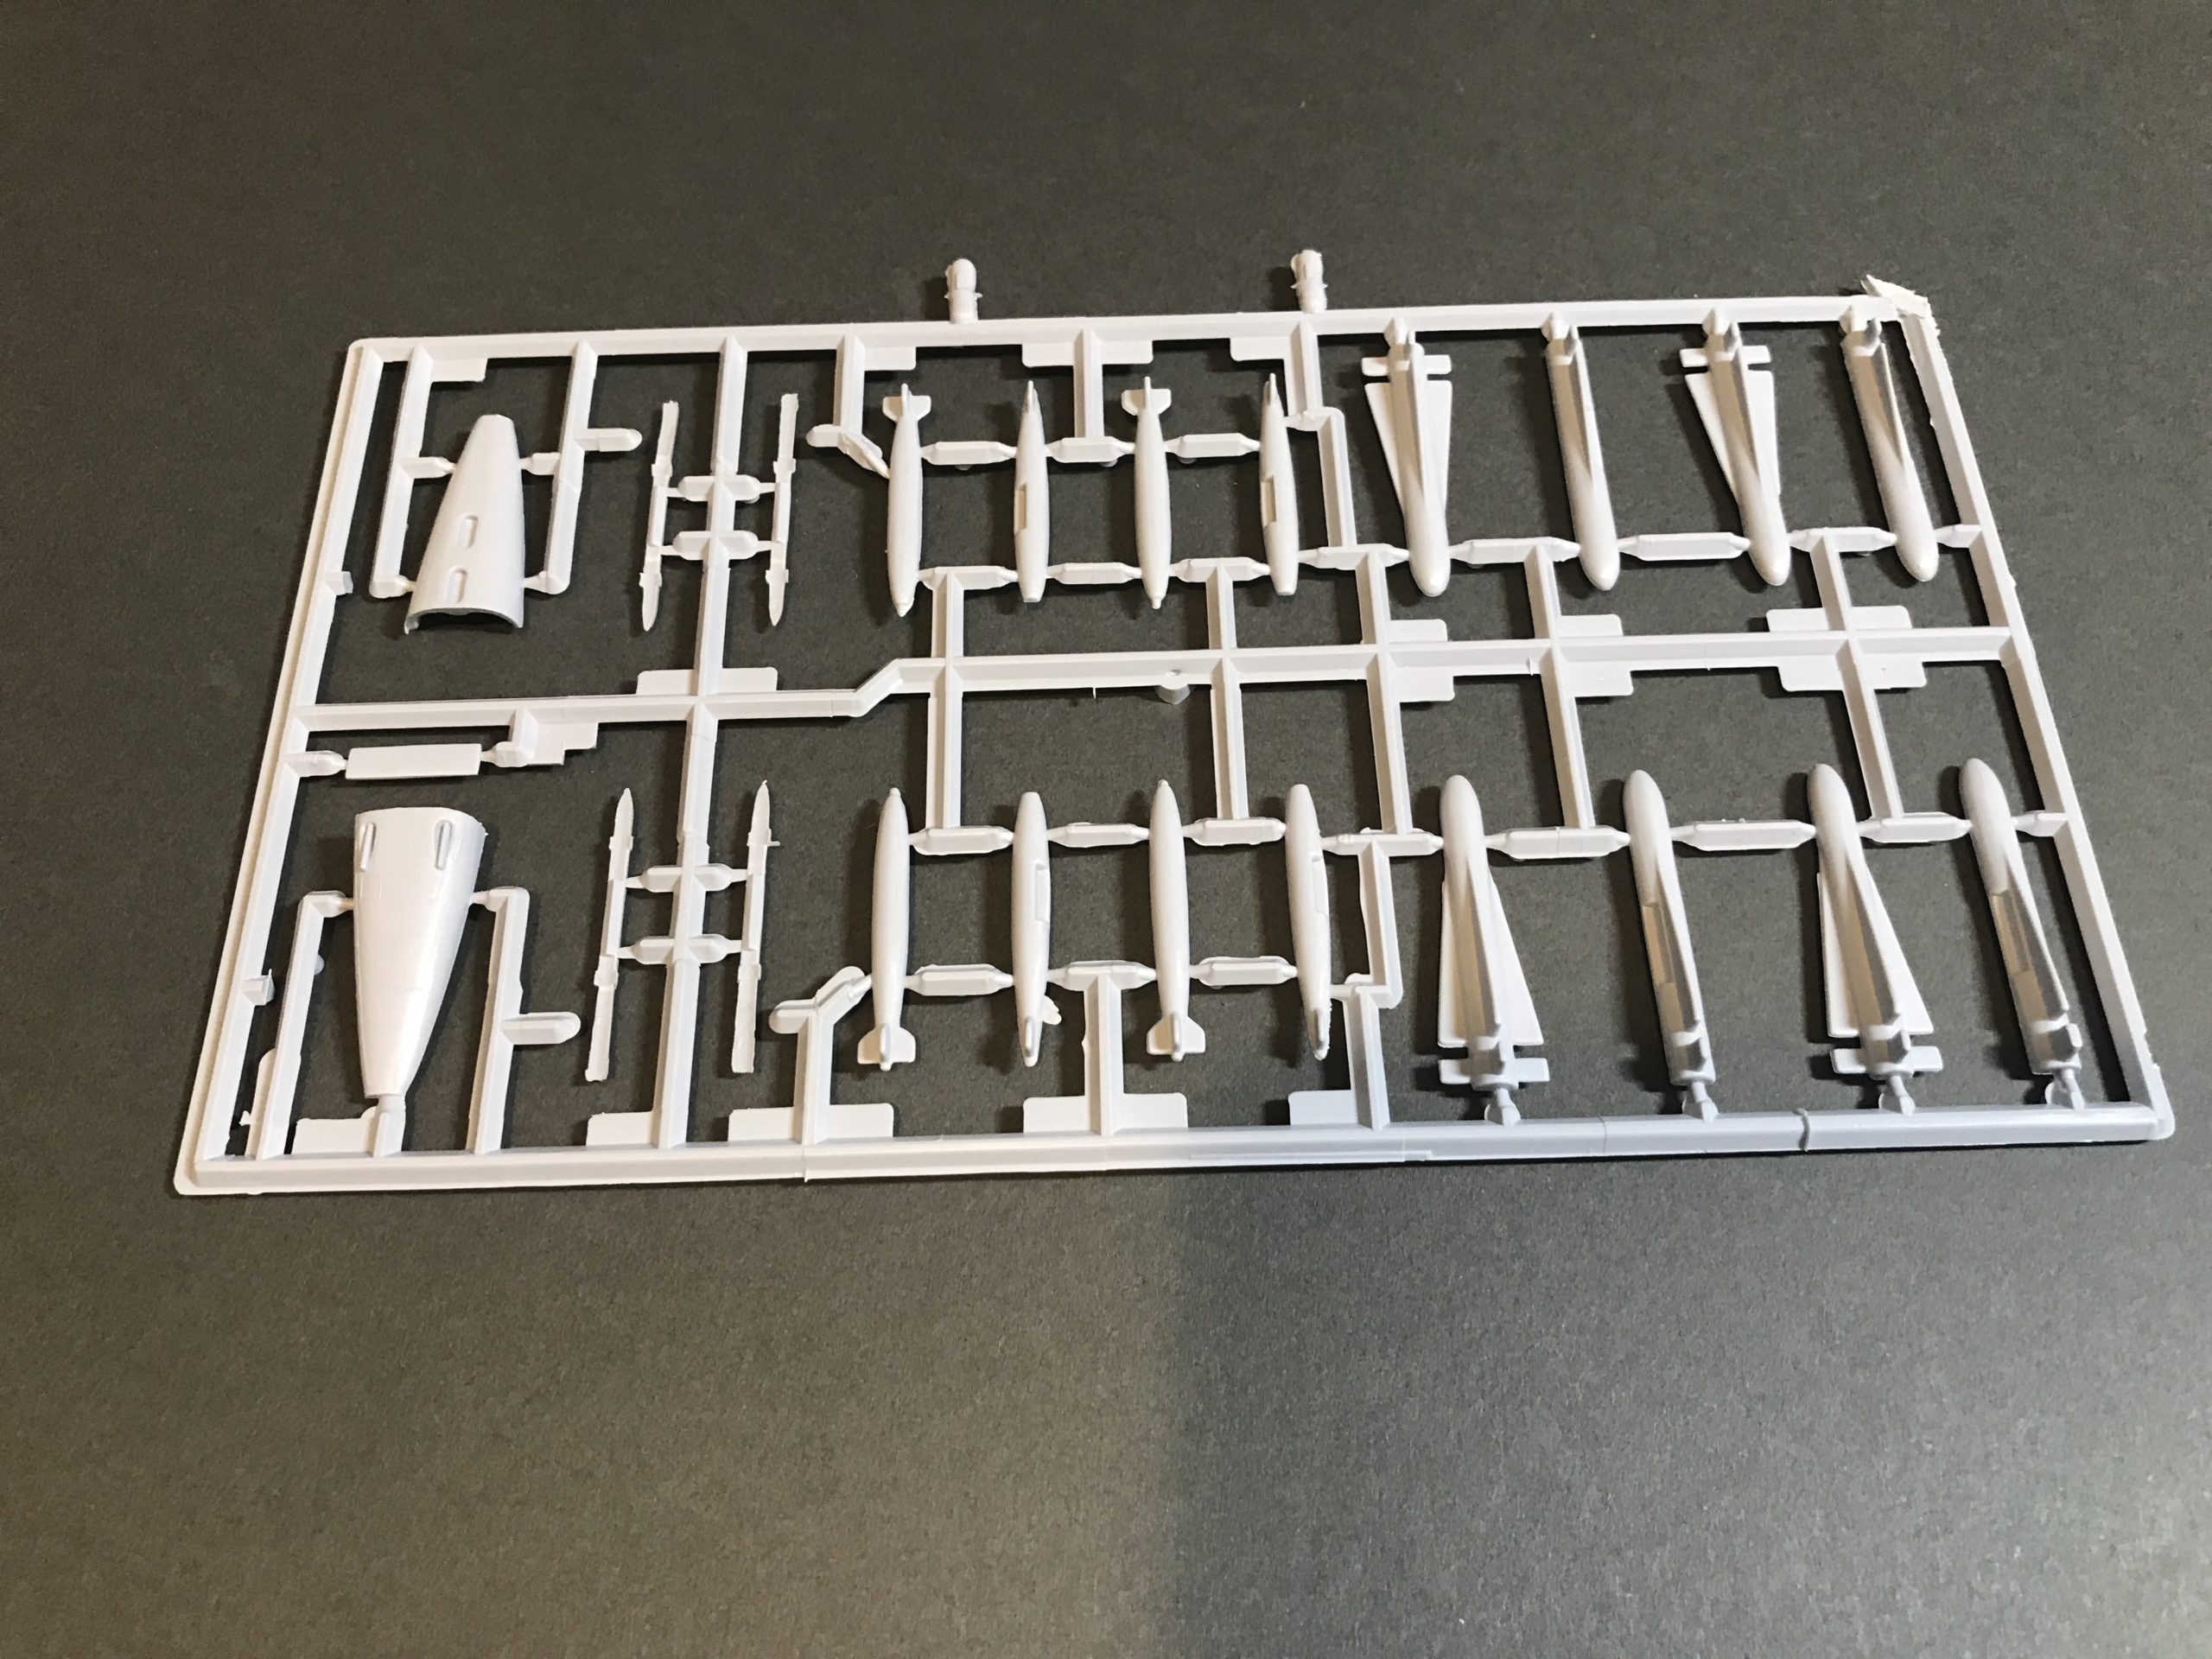
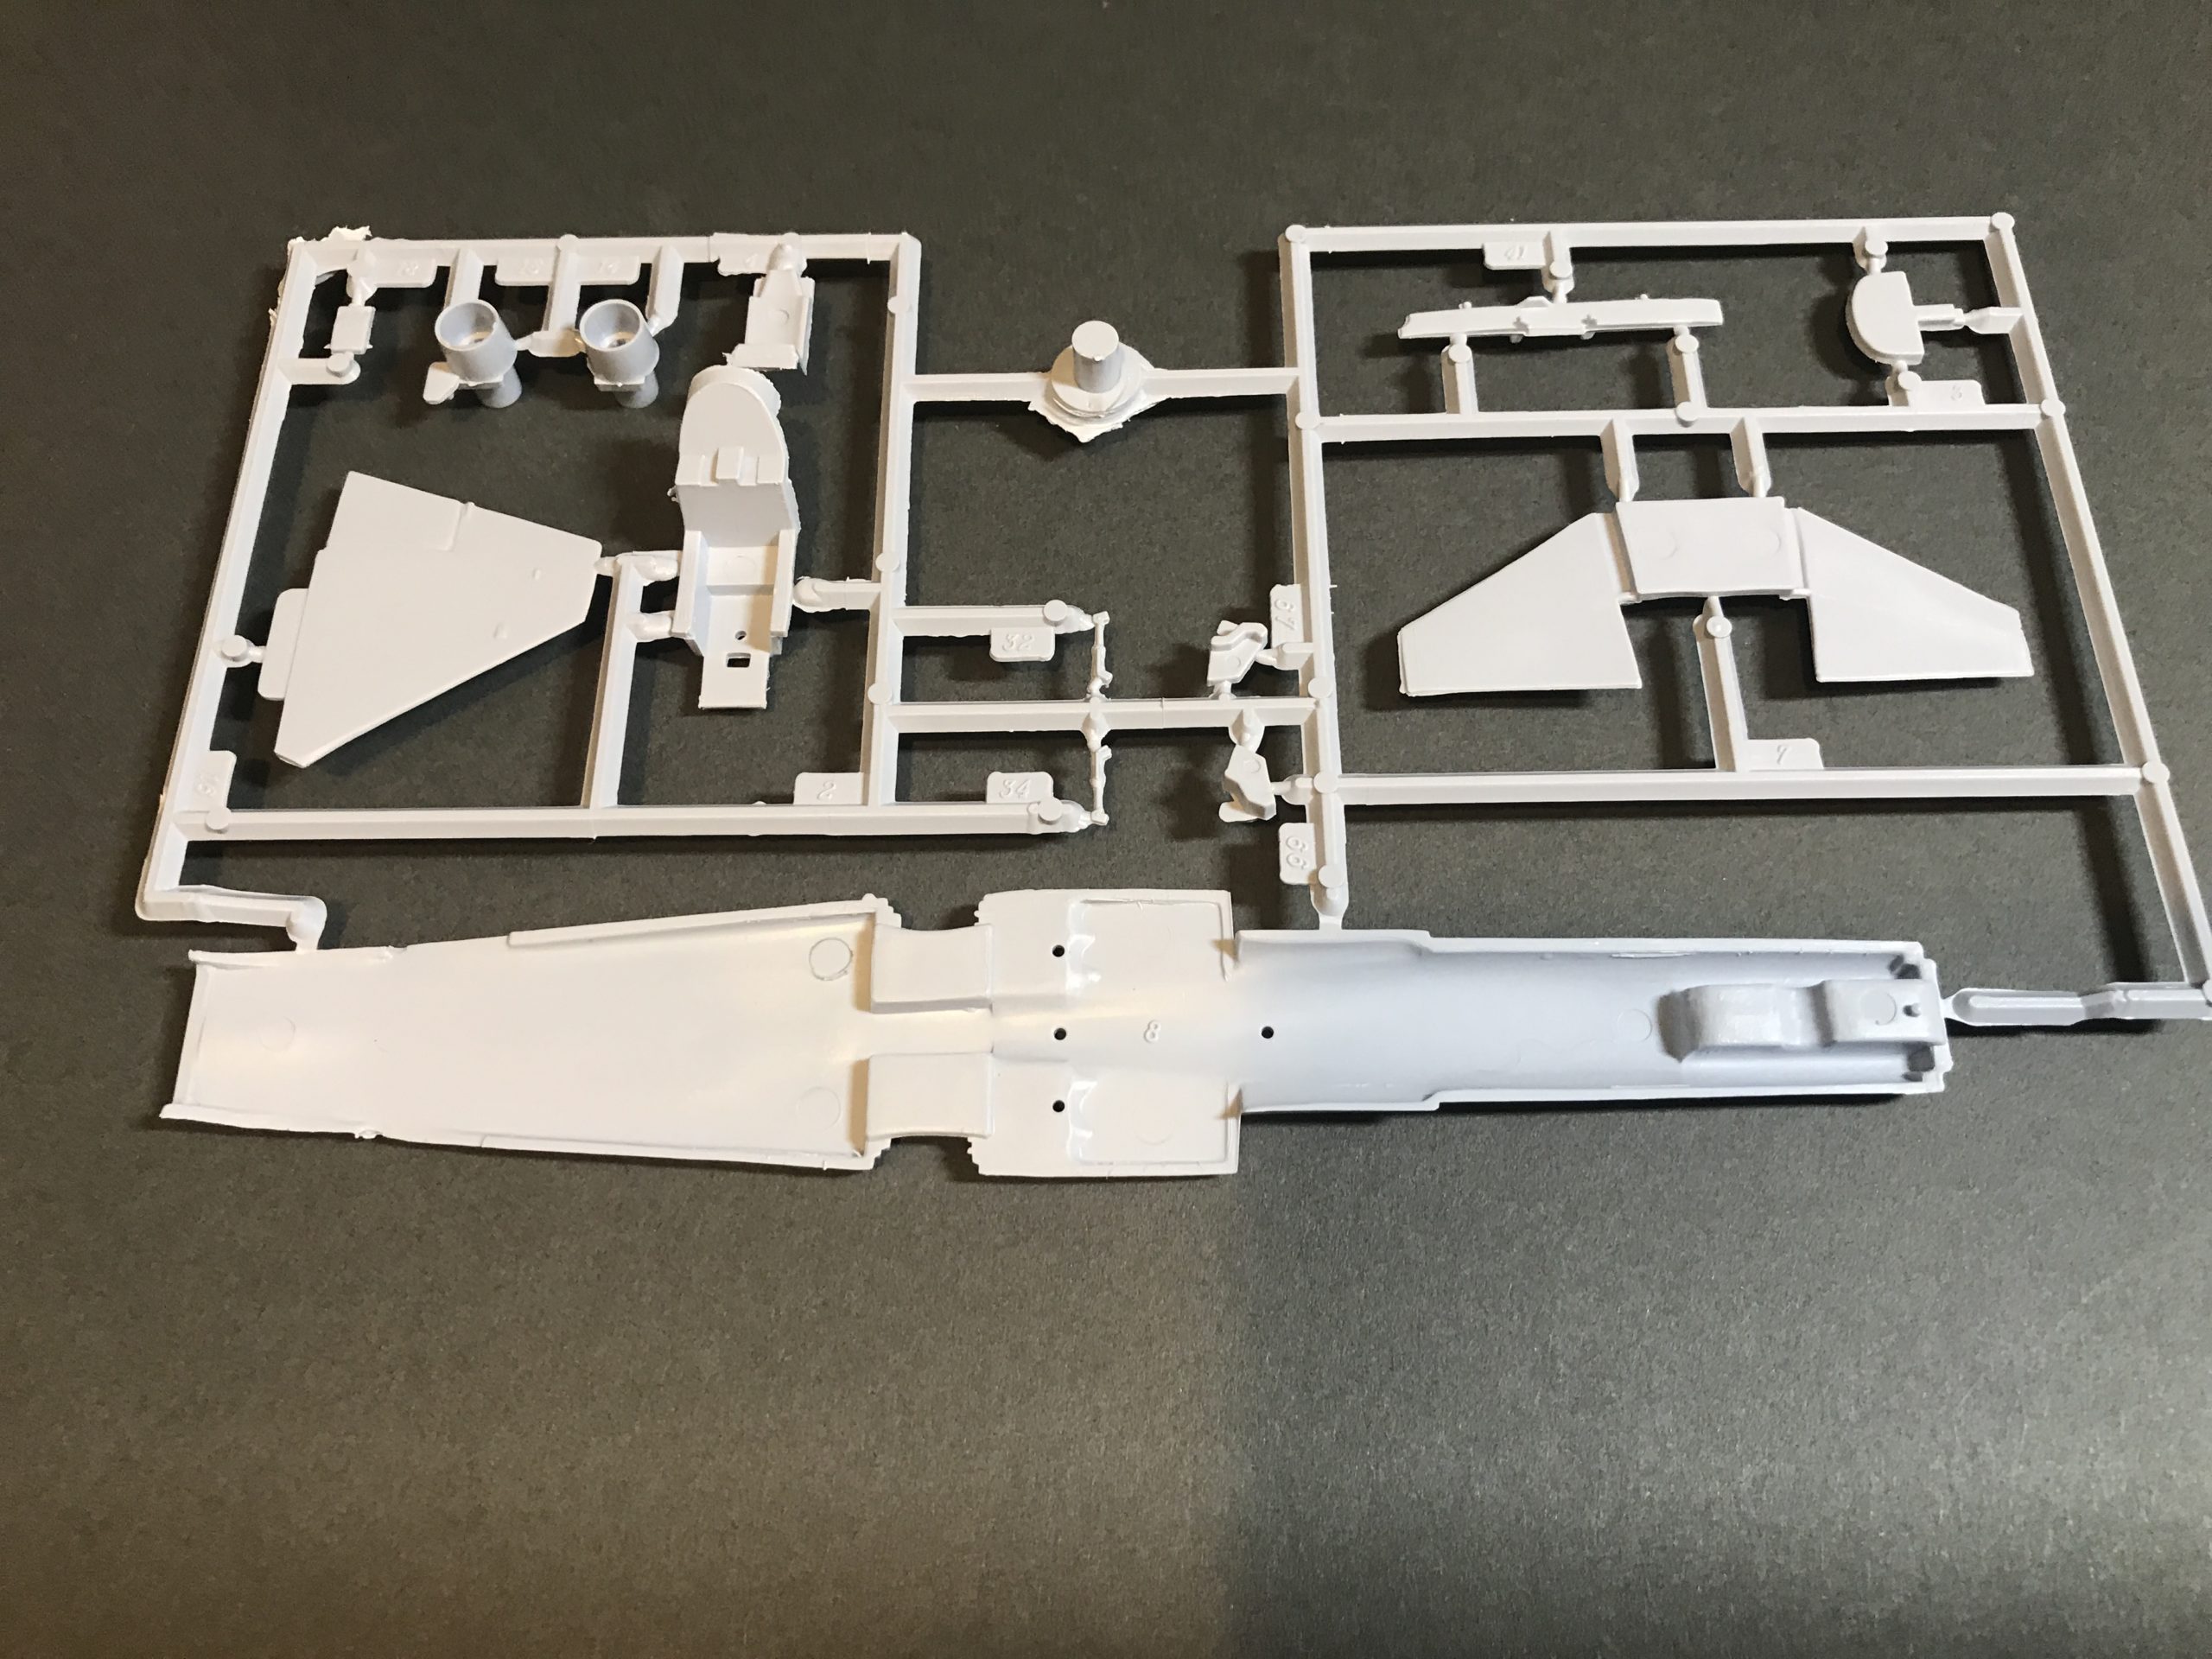
Let’s take a closer look at those sprue’s.
I’m guessing at least some of you would have seen this before, to be honest I probably built it as a kid (but don’t remember it). Getting to the point; this is obviously an old kit from an old tool. The parts lack the crisp detail we are used to on modern kits, Lots of parts have clear ejector pin marks on flat areas and there is quite a lot of flash on some parts. The worst part (in my mind at least) is the raised panel lines. Not an issue for the experienced builder with plenty of time, but many wont have the time or skill to re-scribe everything. Ultimately other f-5 kits are available, so unless you’re up for a challenge or happy to live with compromise then you may well be better off looking elsewhere for your MIG.
That said, I’m going to build it out of the box to the best of my ability with no re-scribing, so I might yet change my mind.
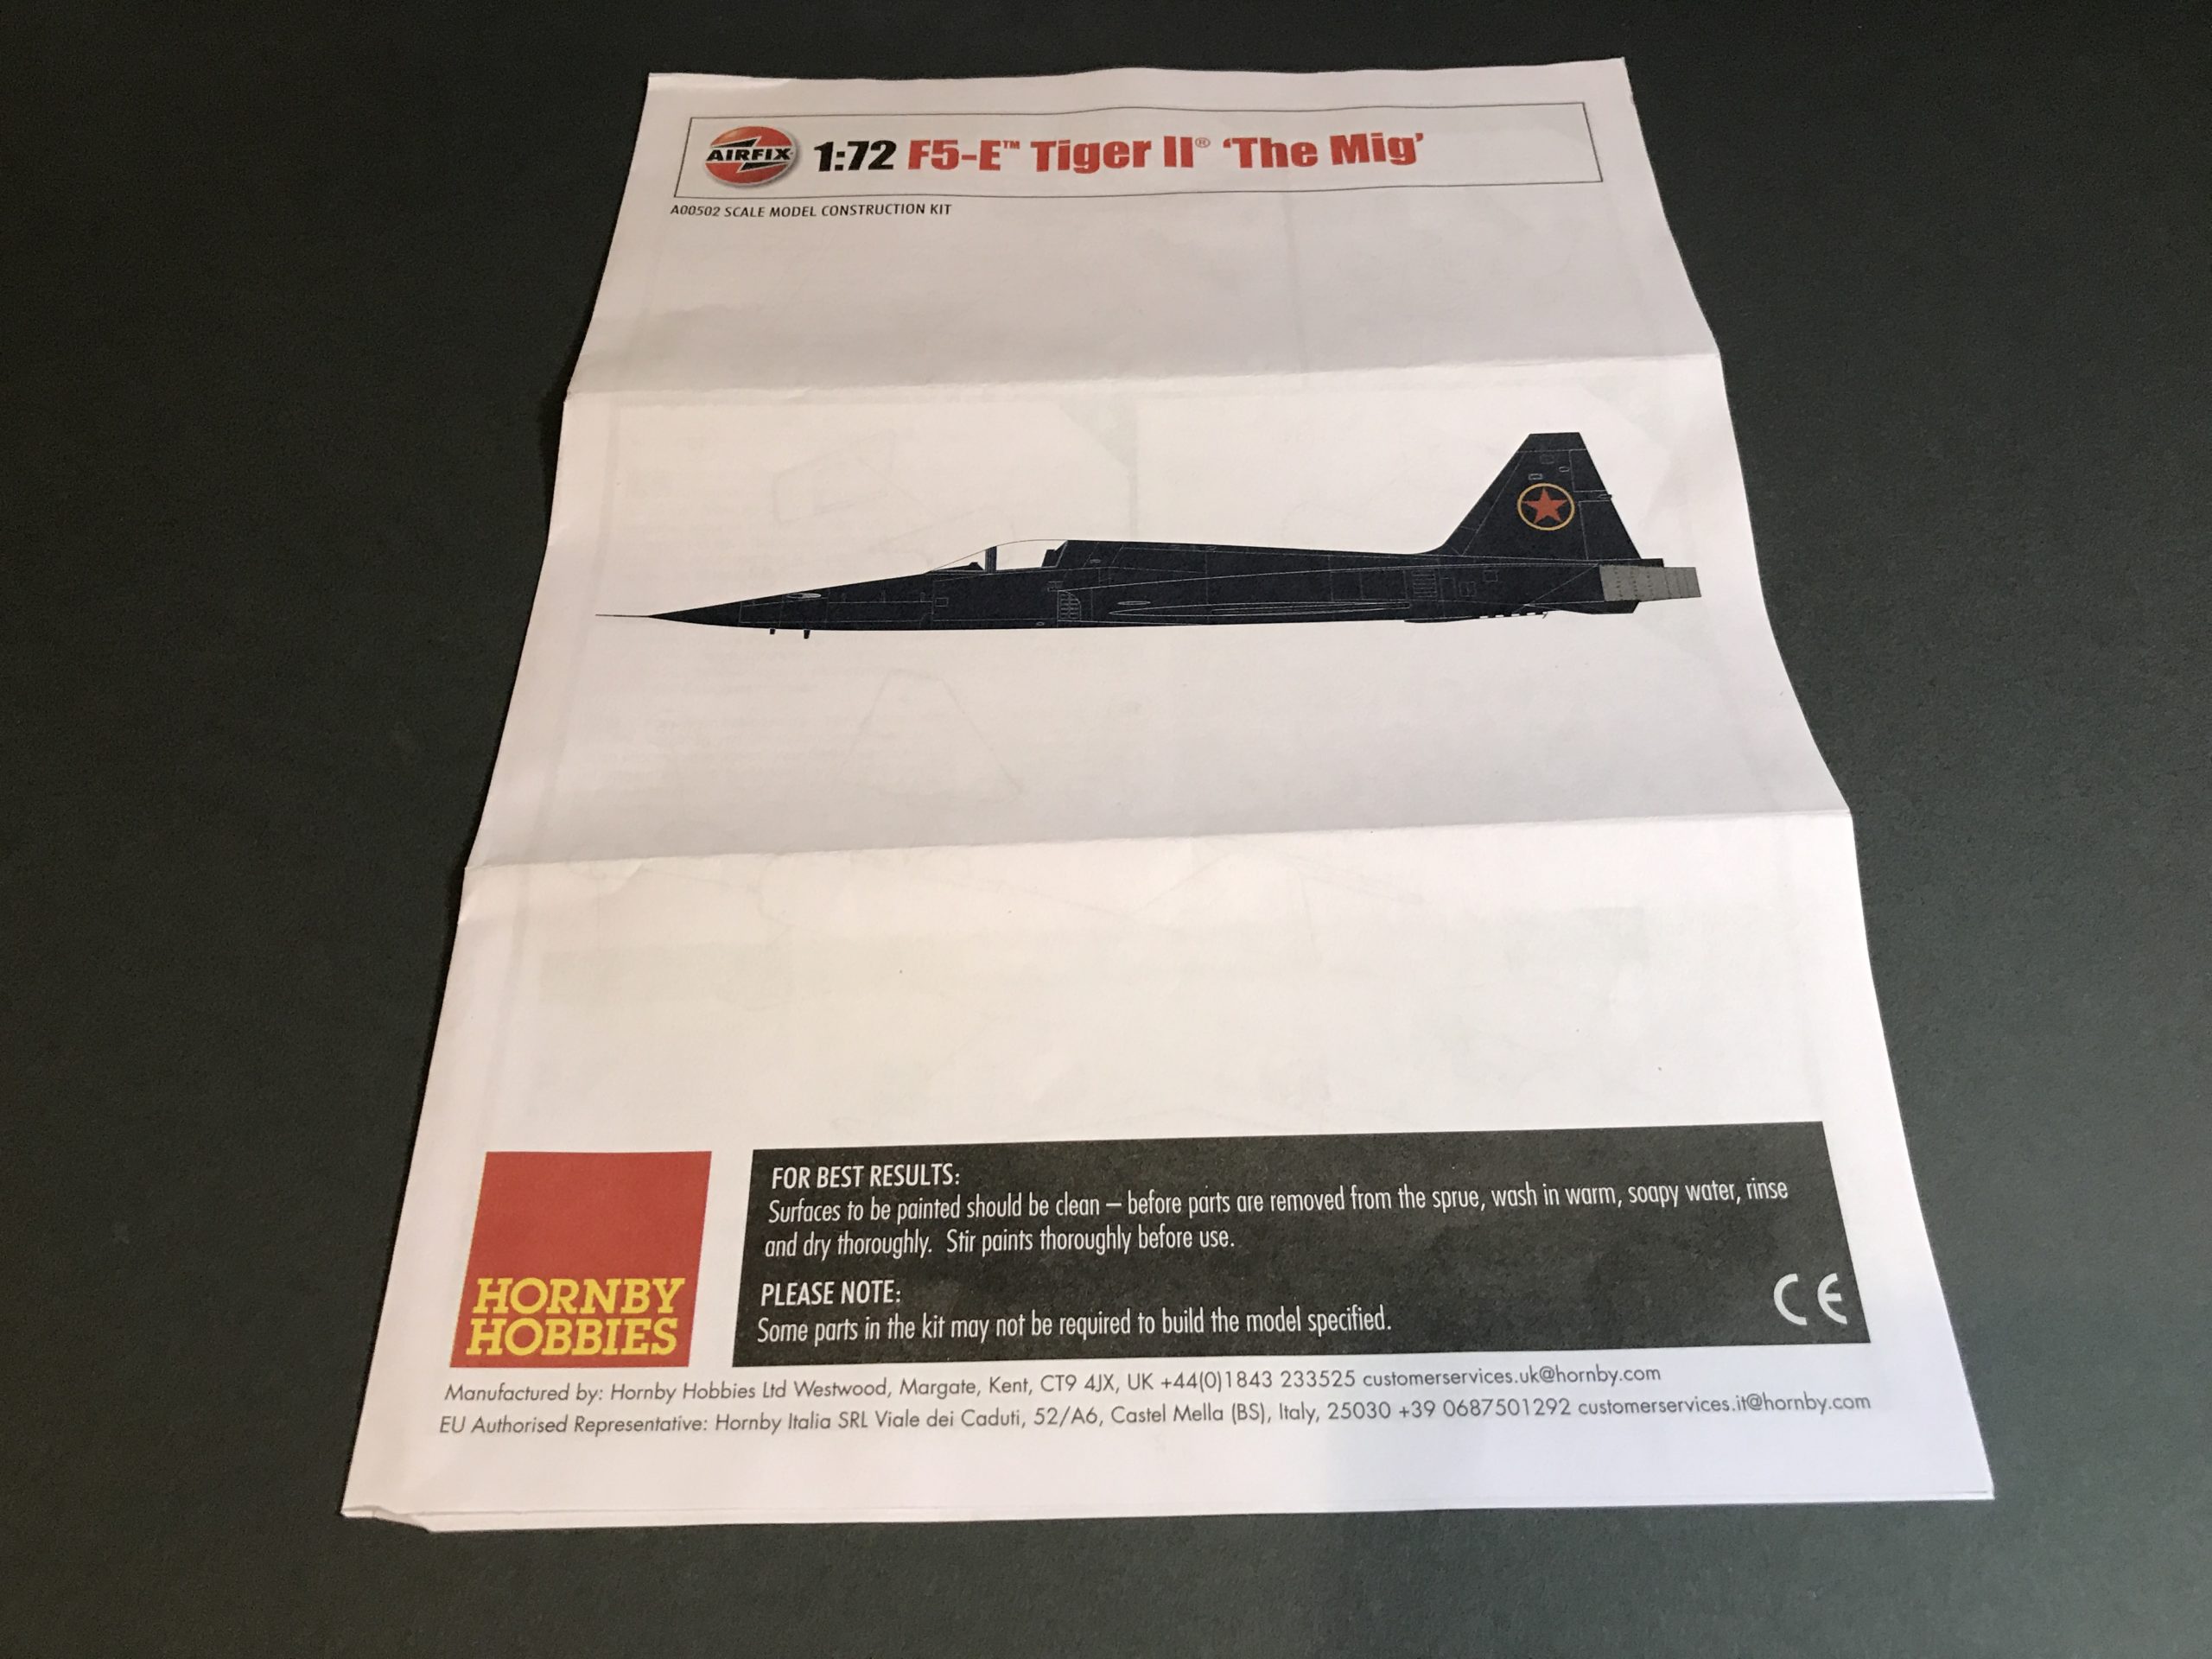
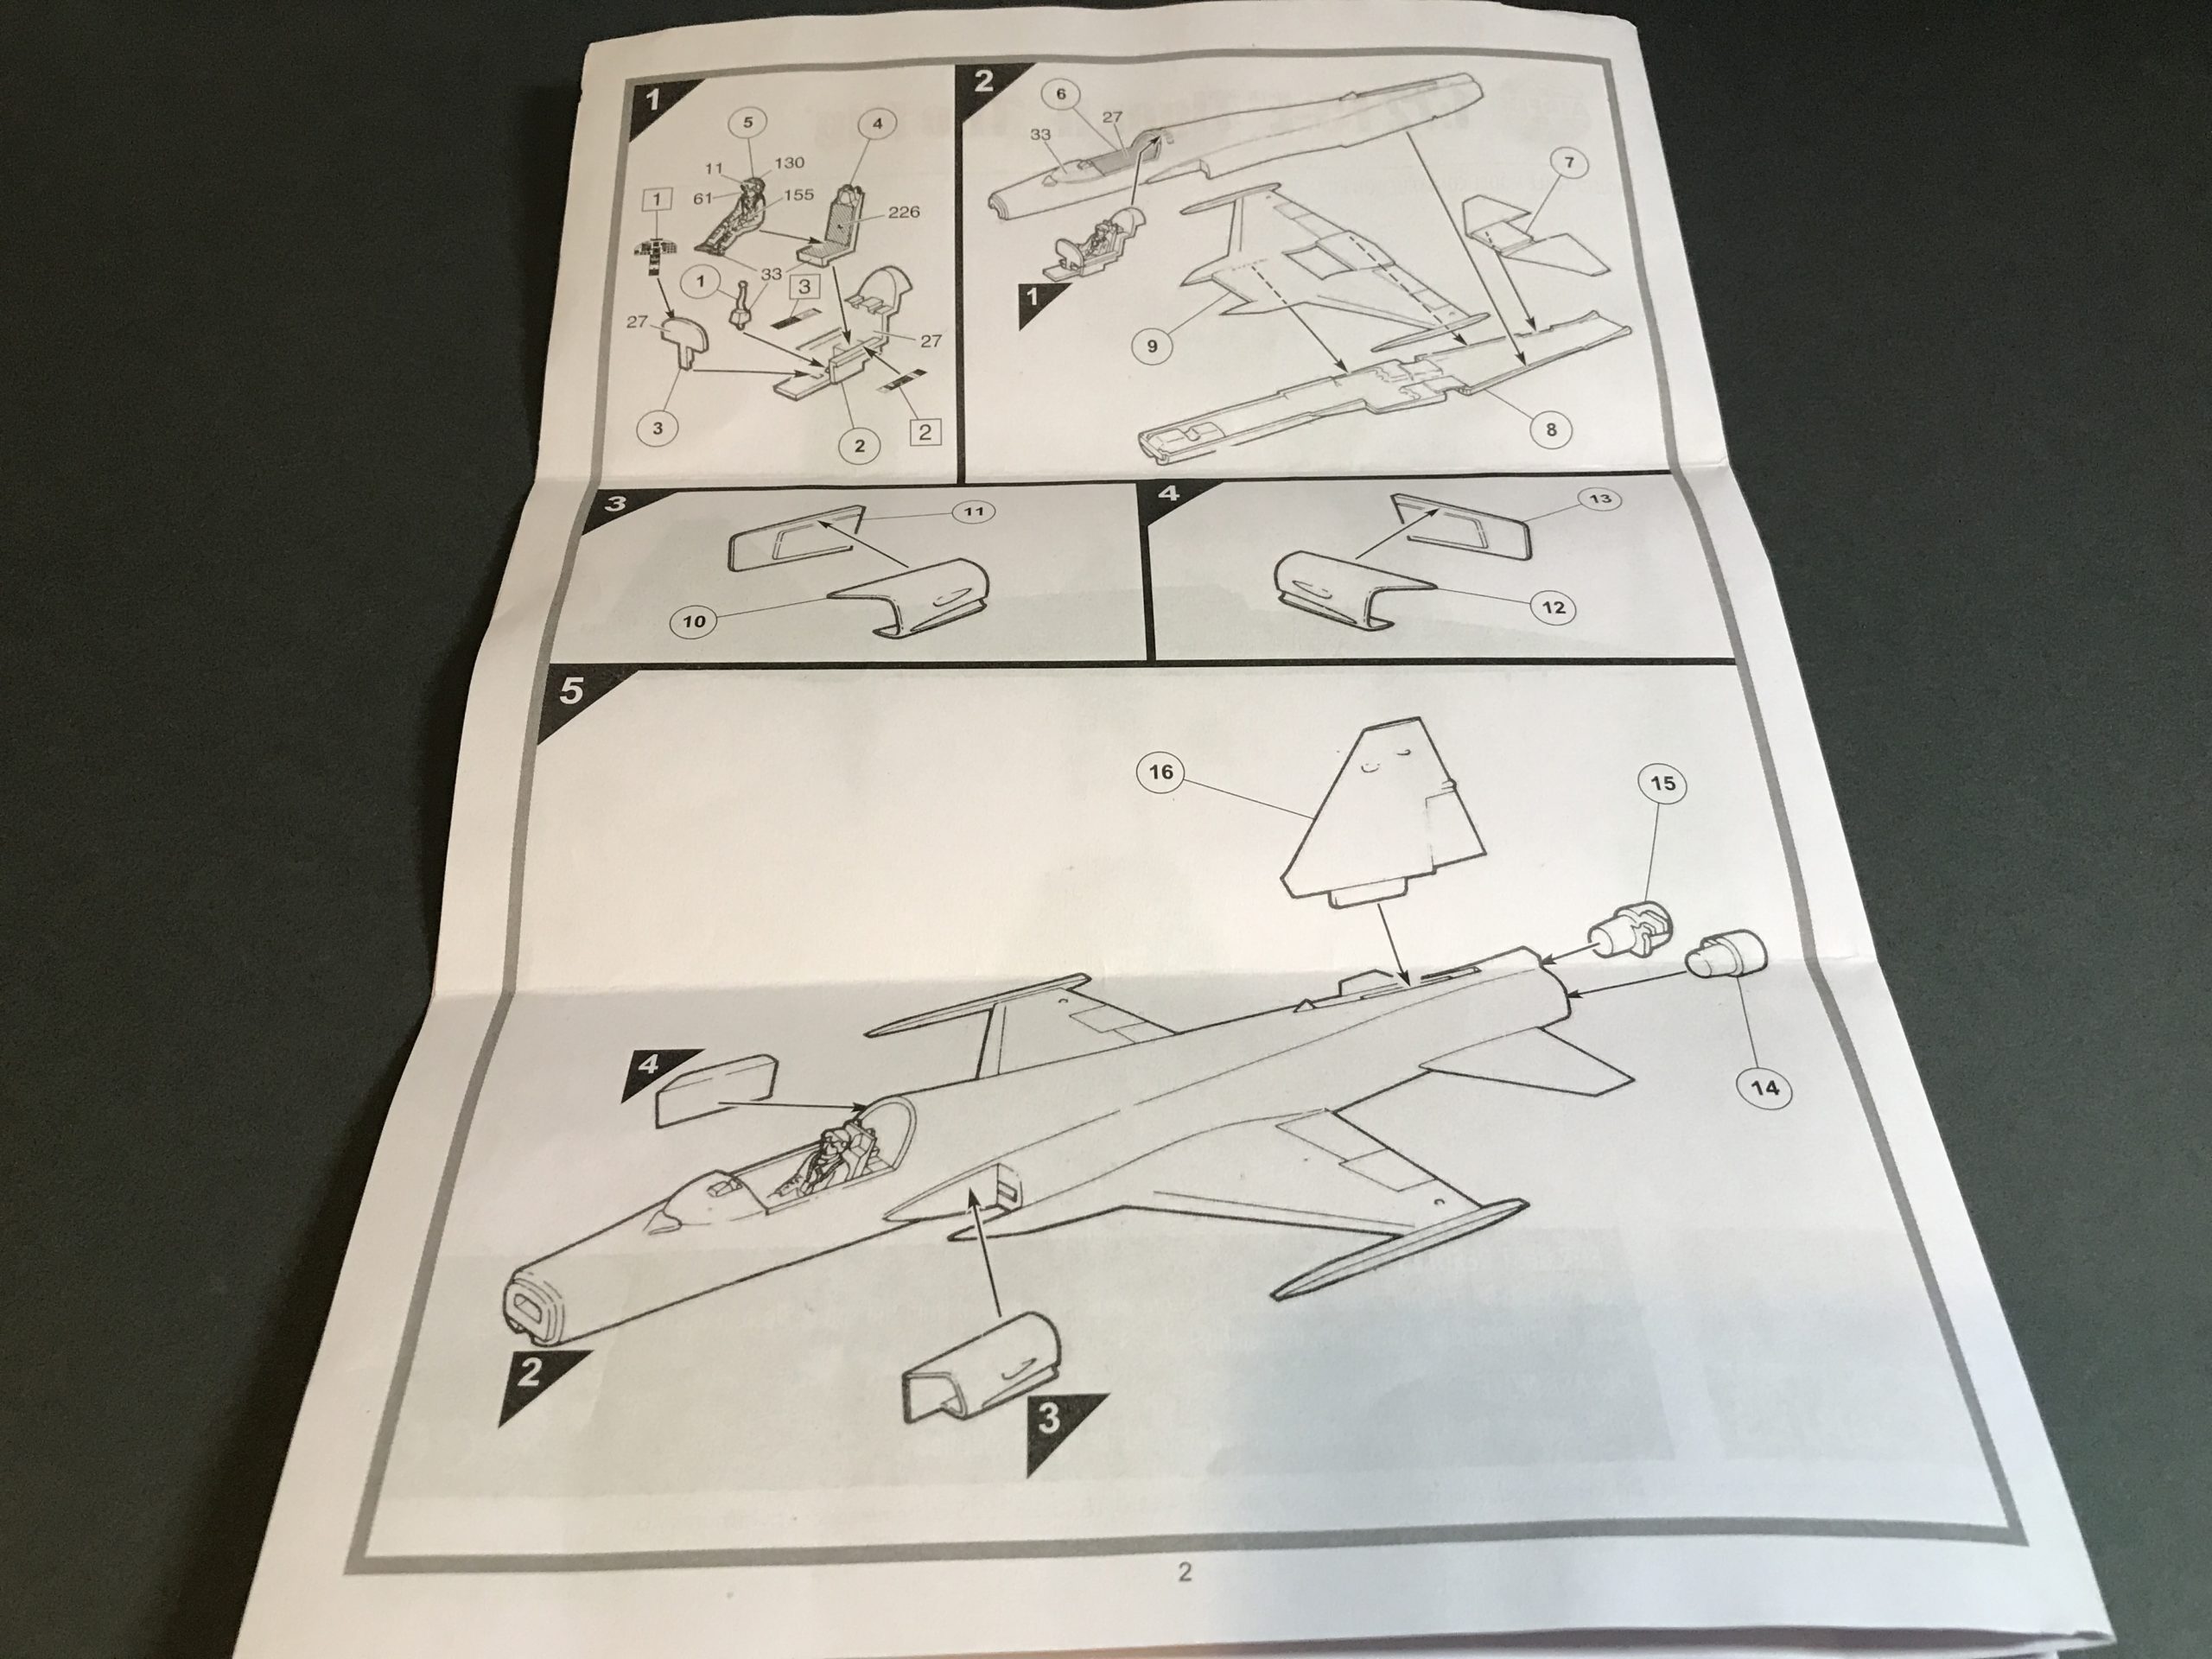
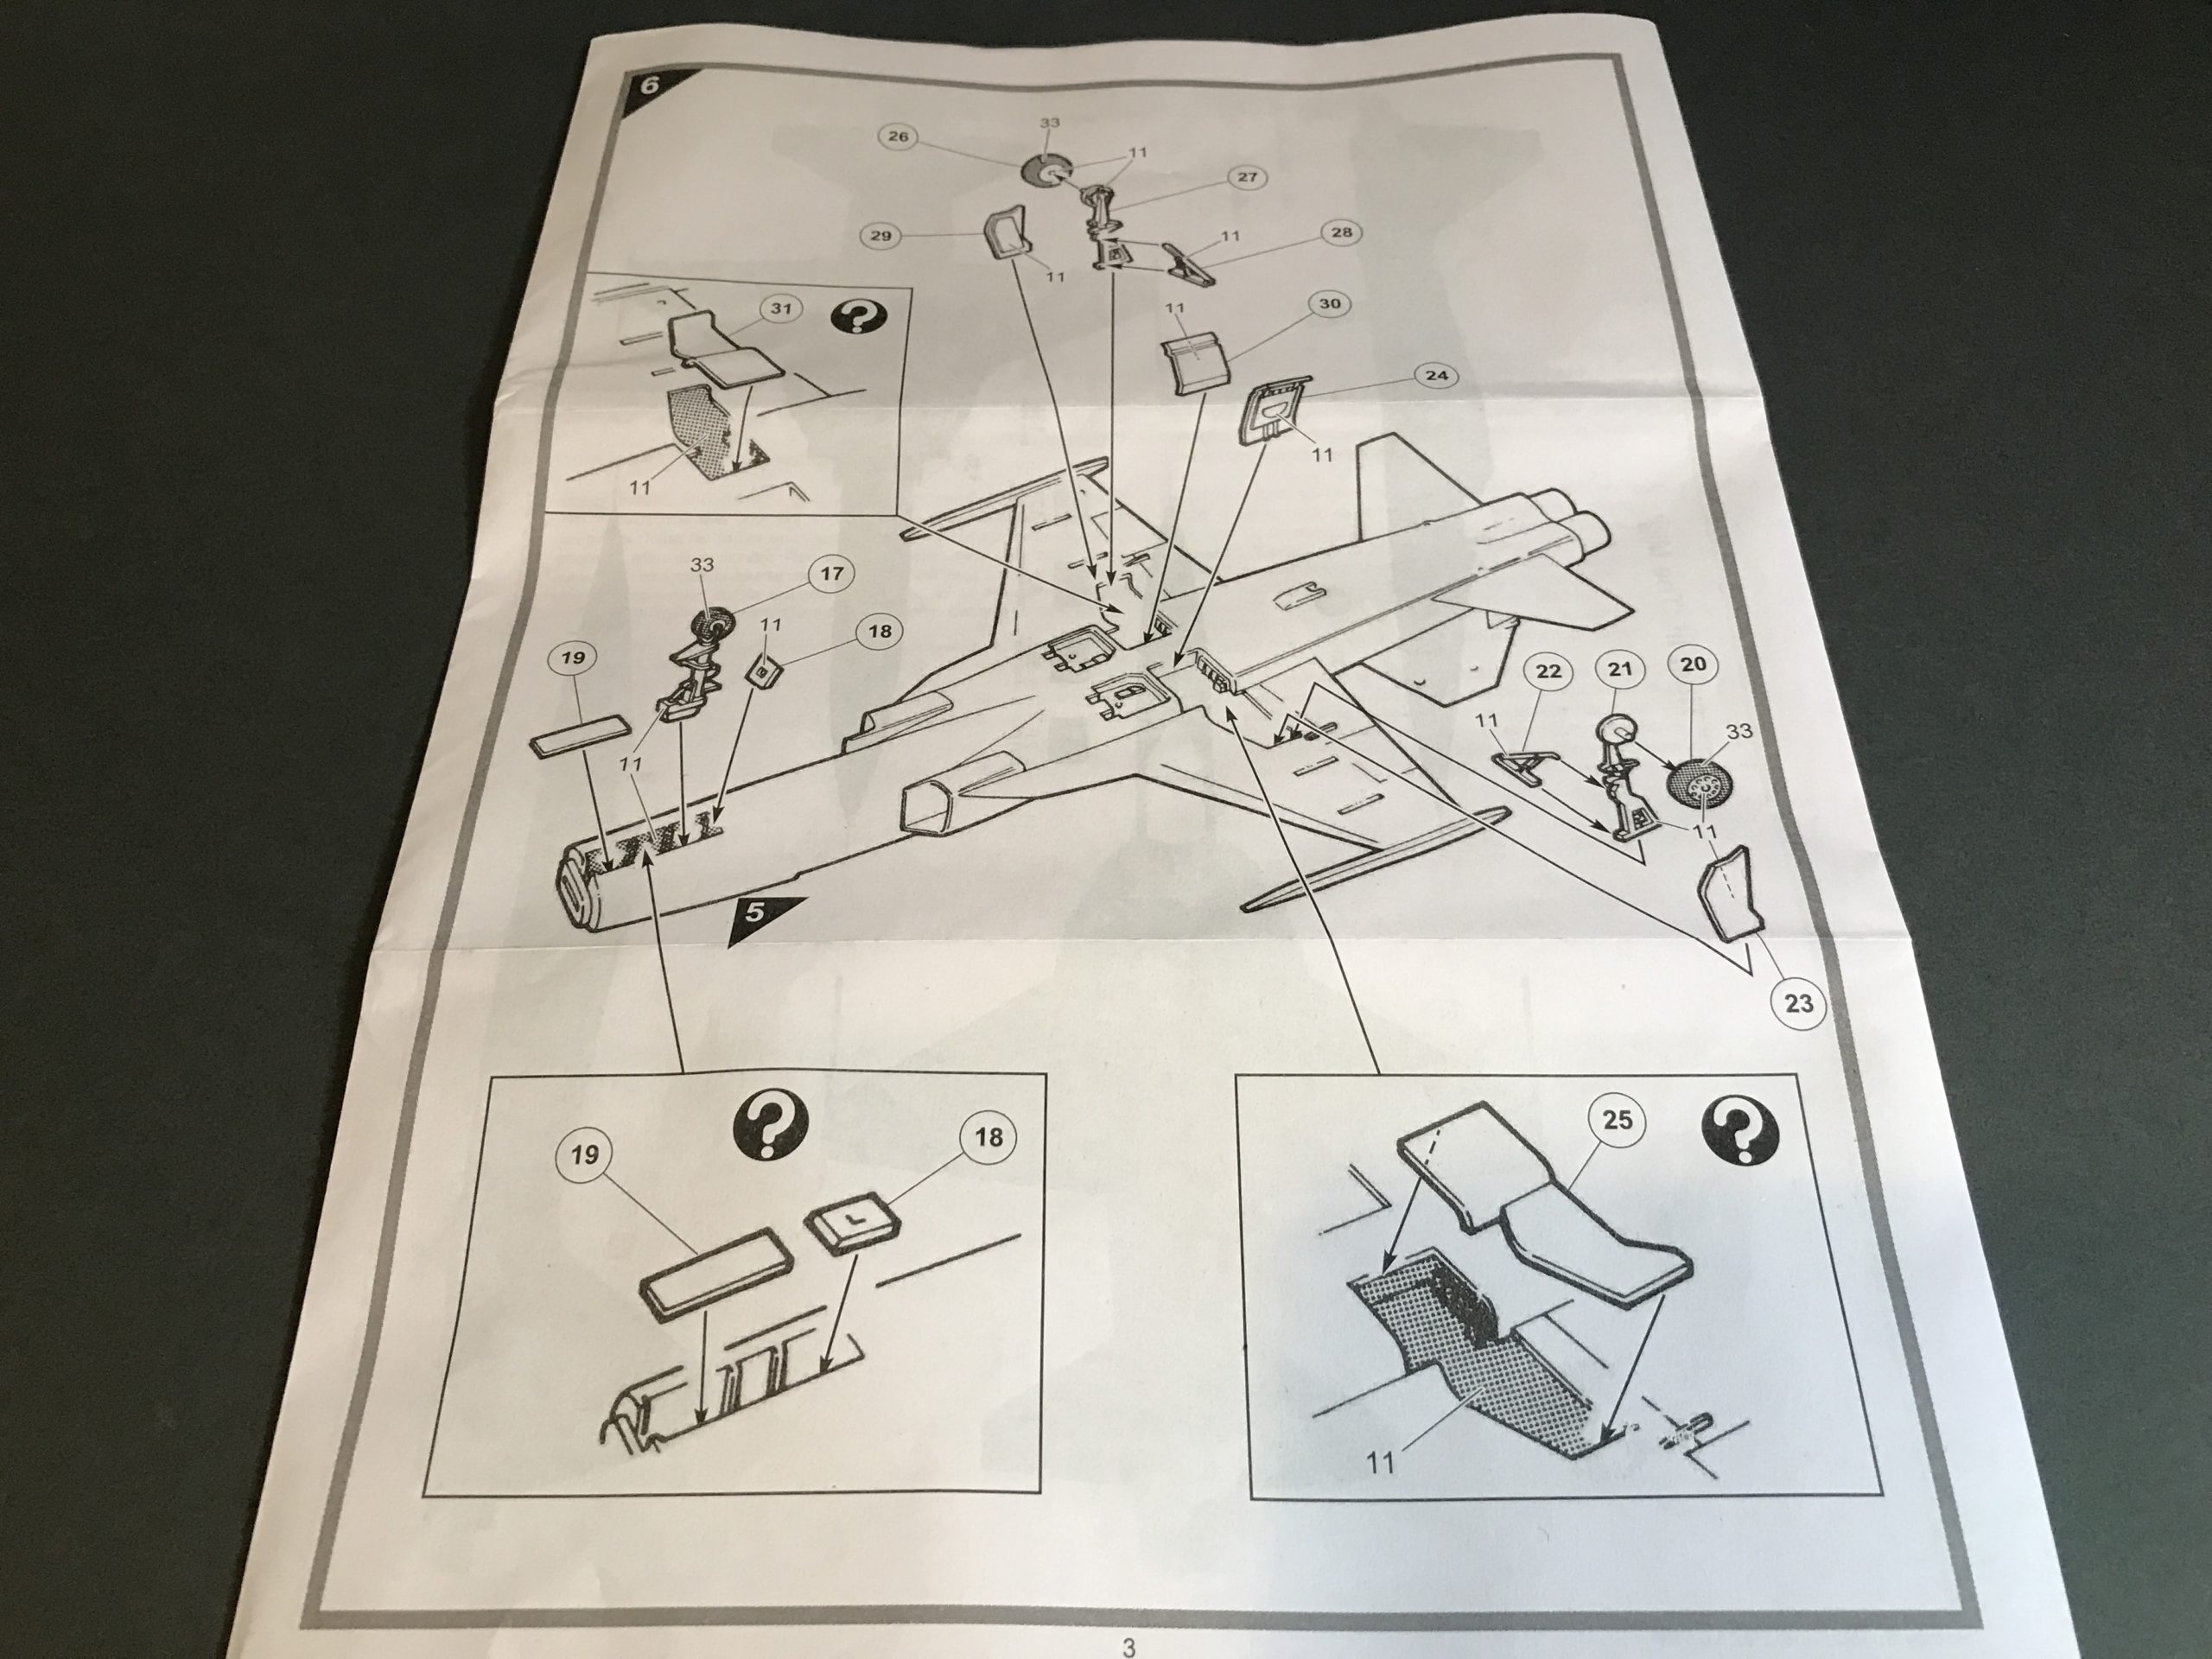
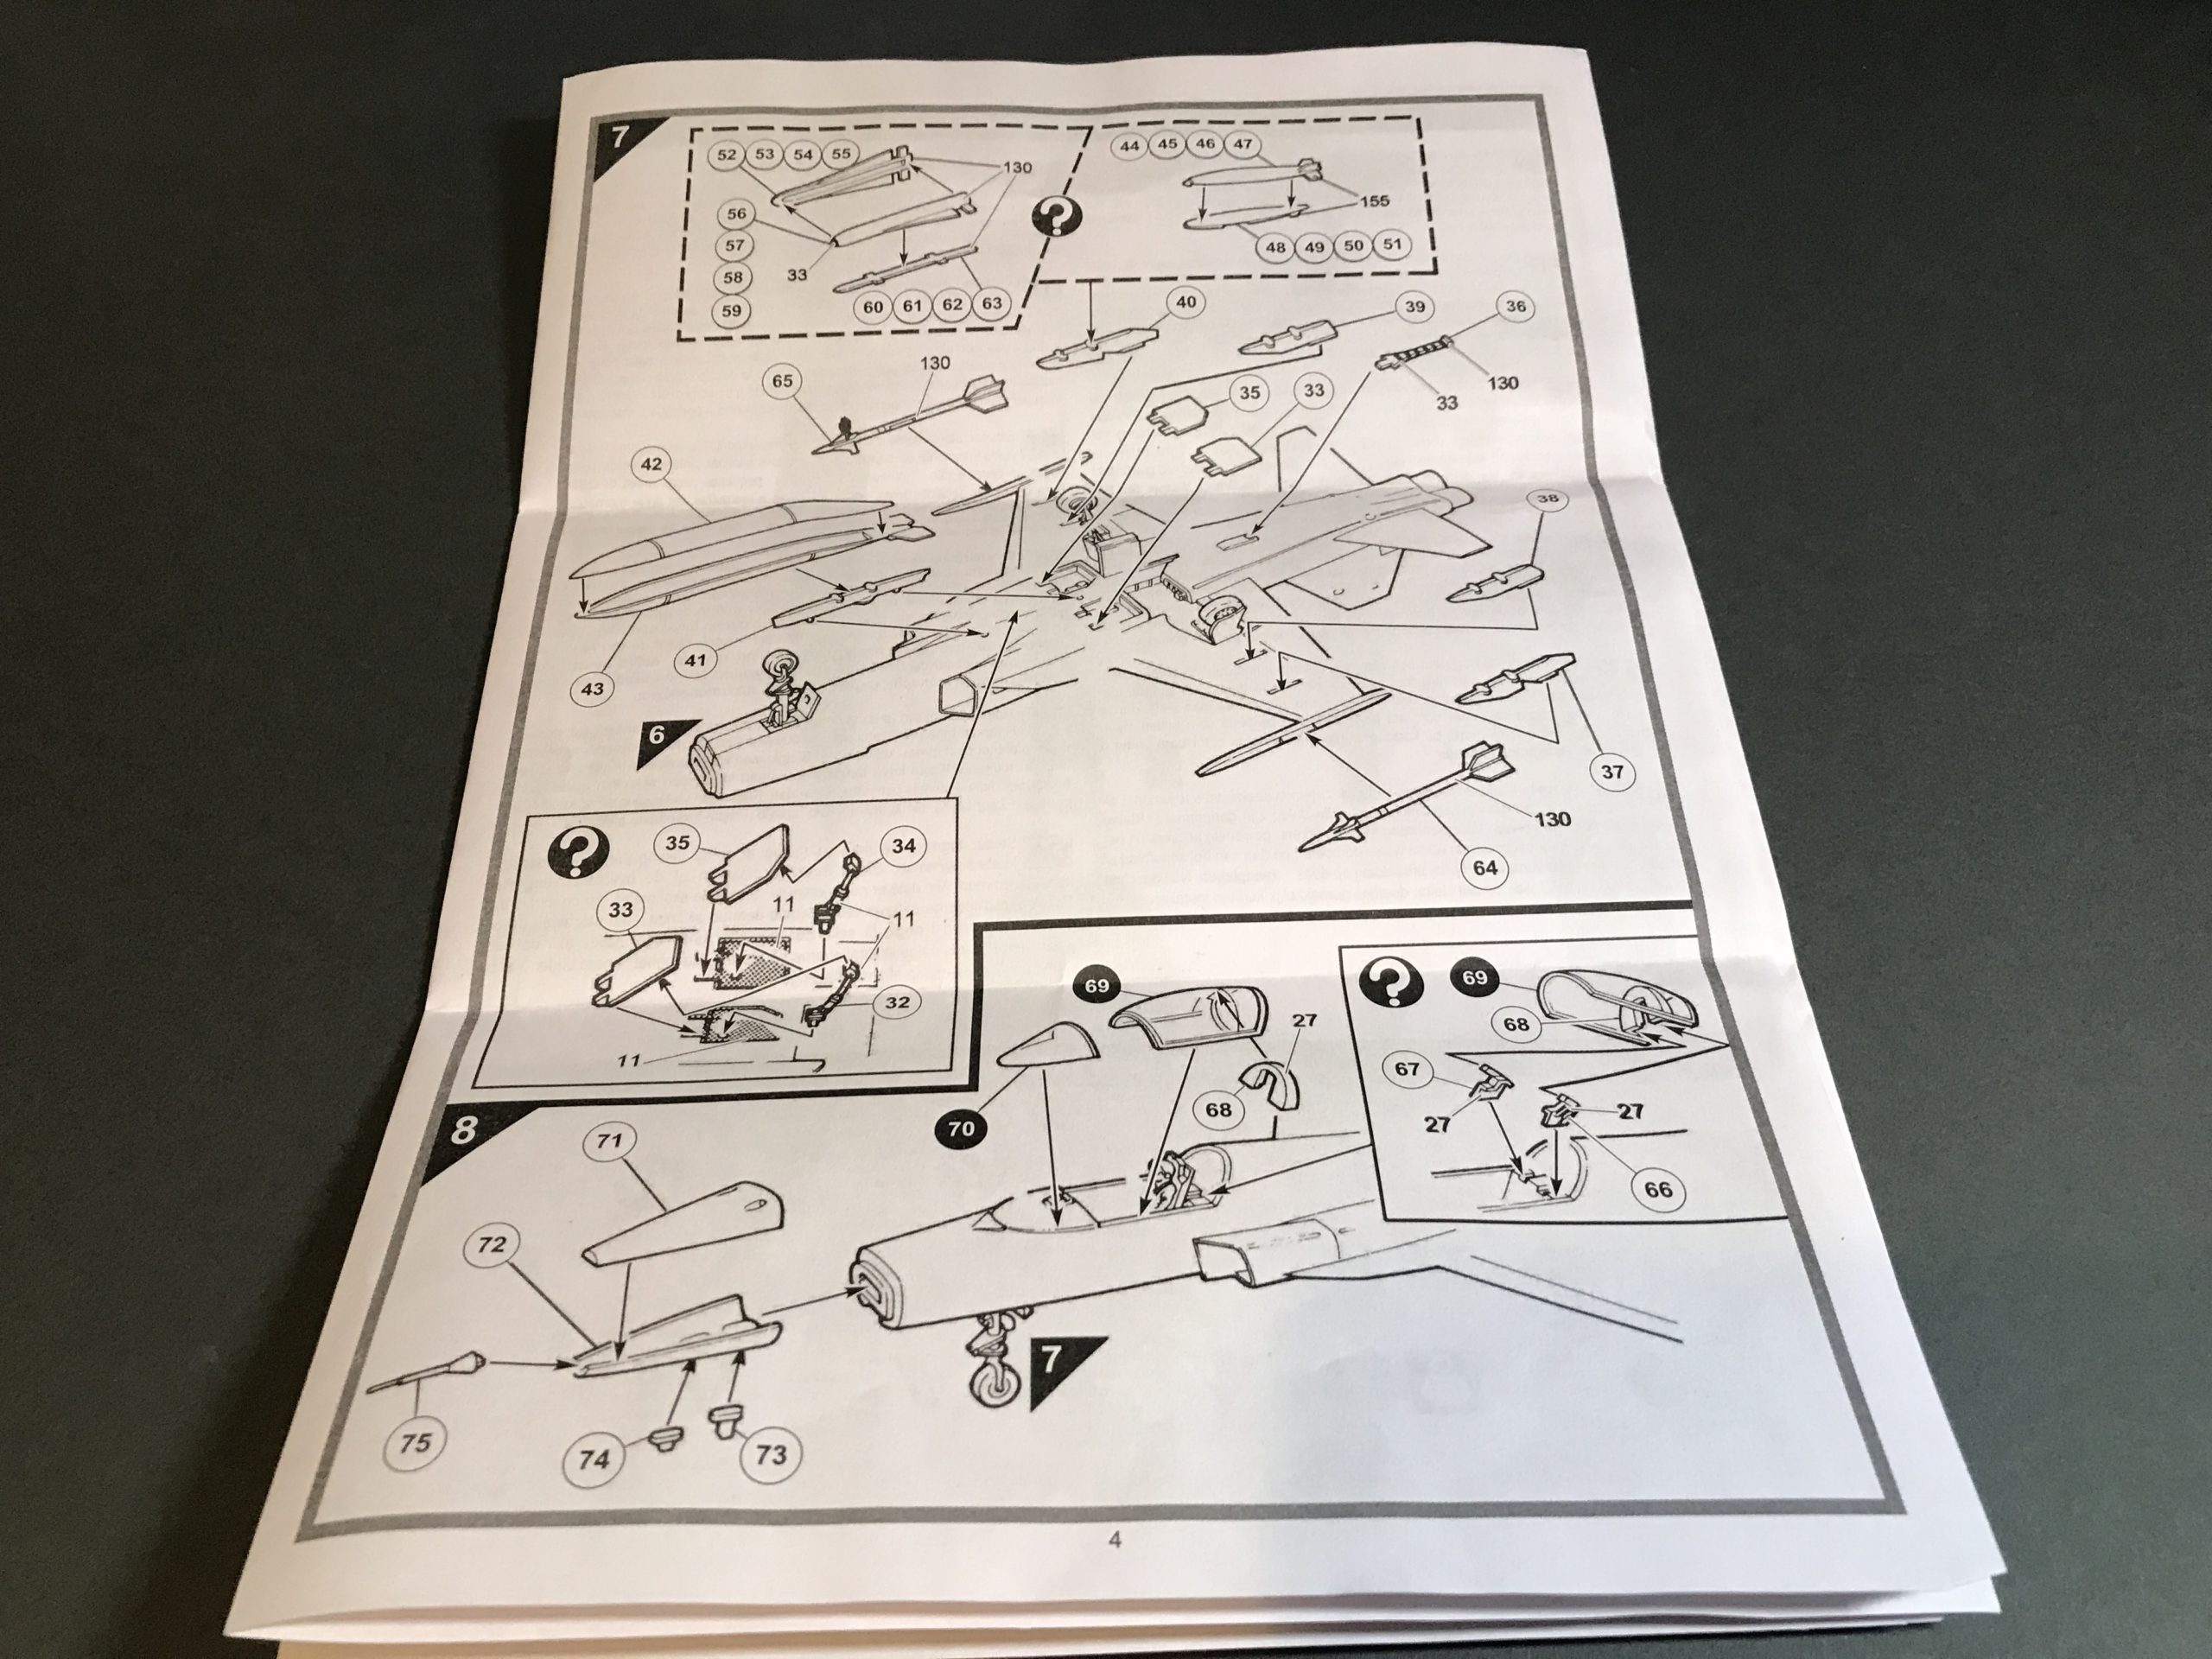
Moving on to the instructions. As you imagine they are a fairly simple affair.
This is another reason to build the kit: it’s going to be a quick build. Perhaps quickest ever….
I have saved the highlight of the kit until last. You must brace yourself dear reader for the majesty of the decal sheet.
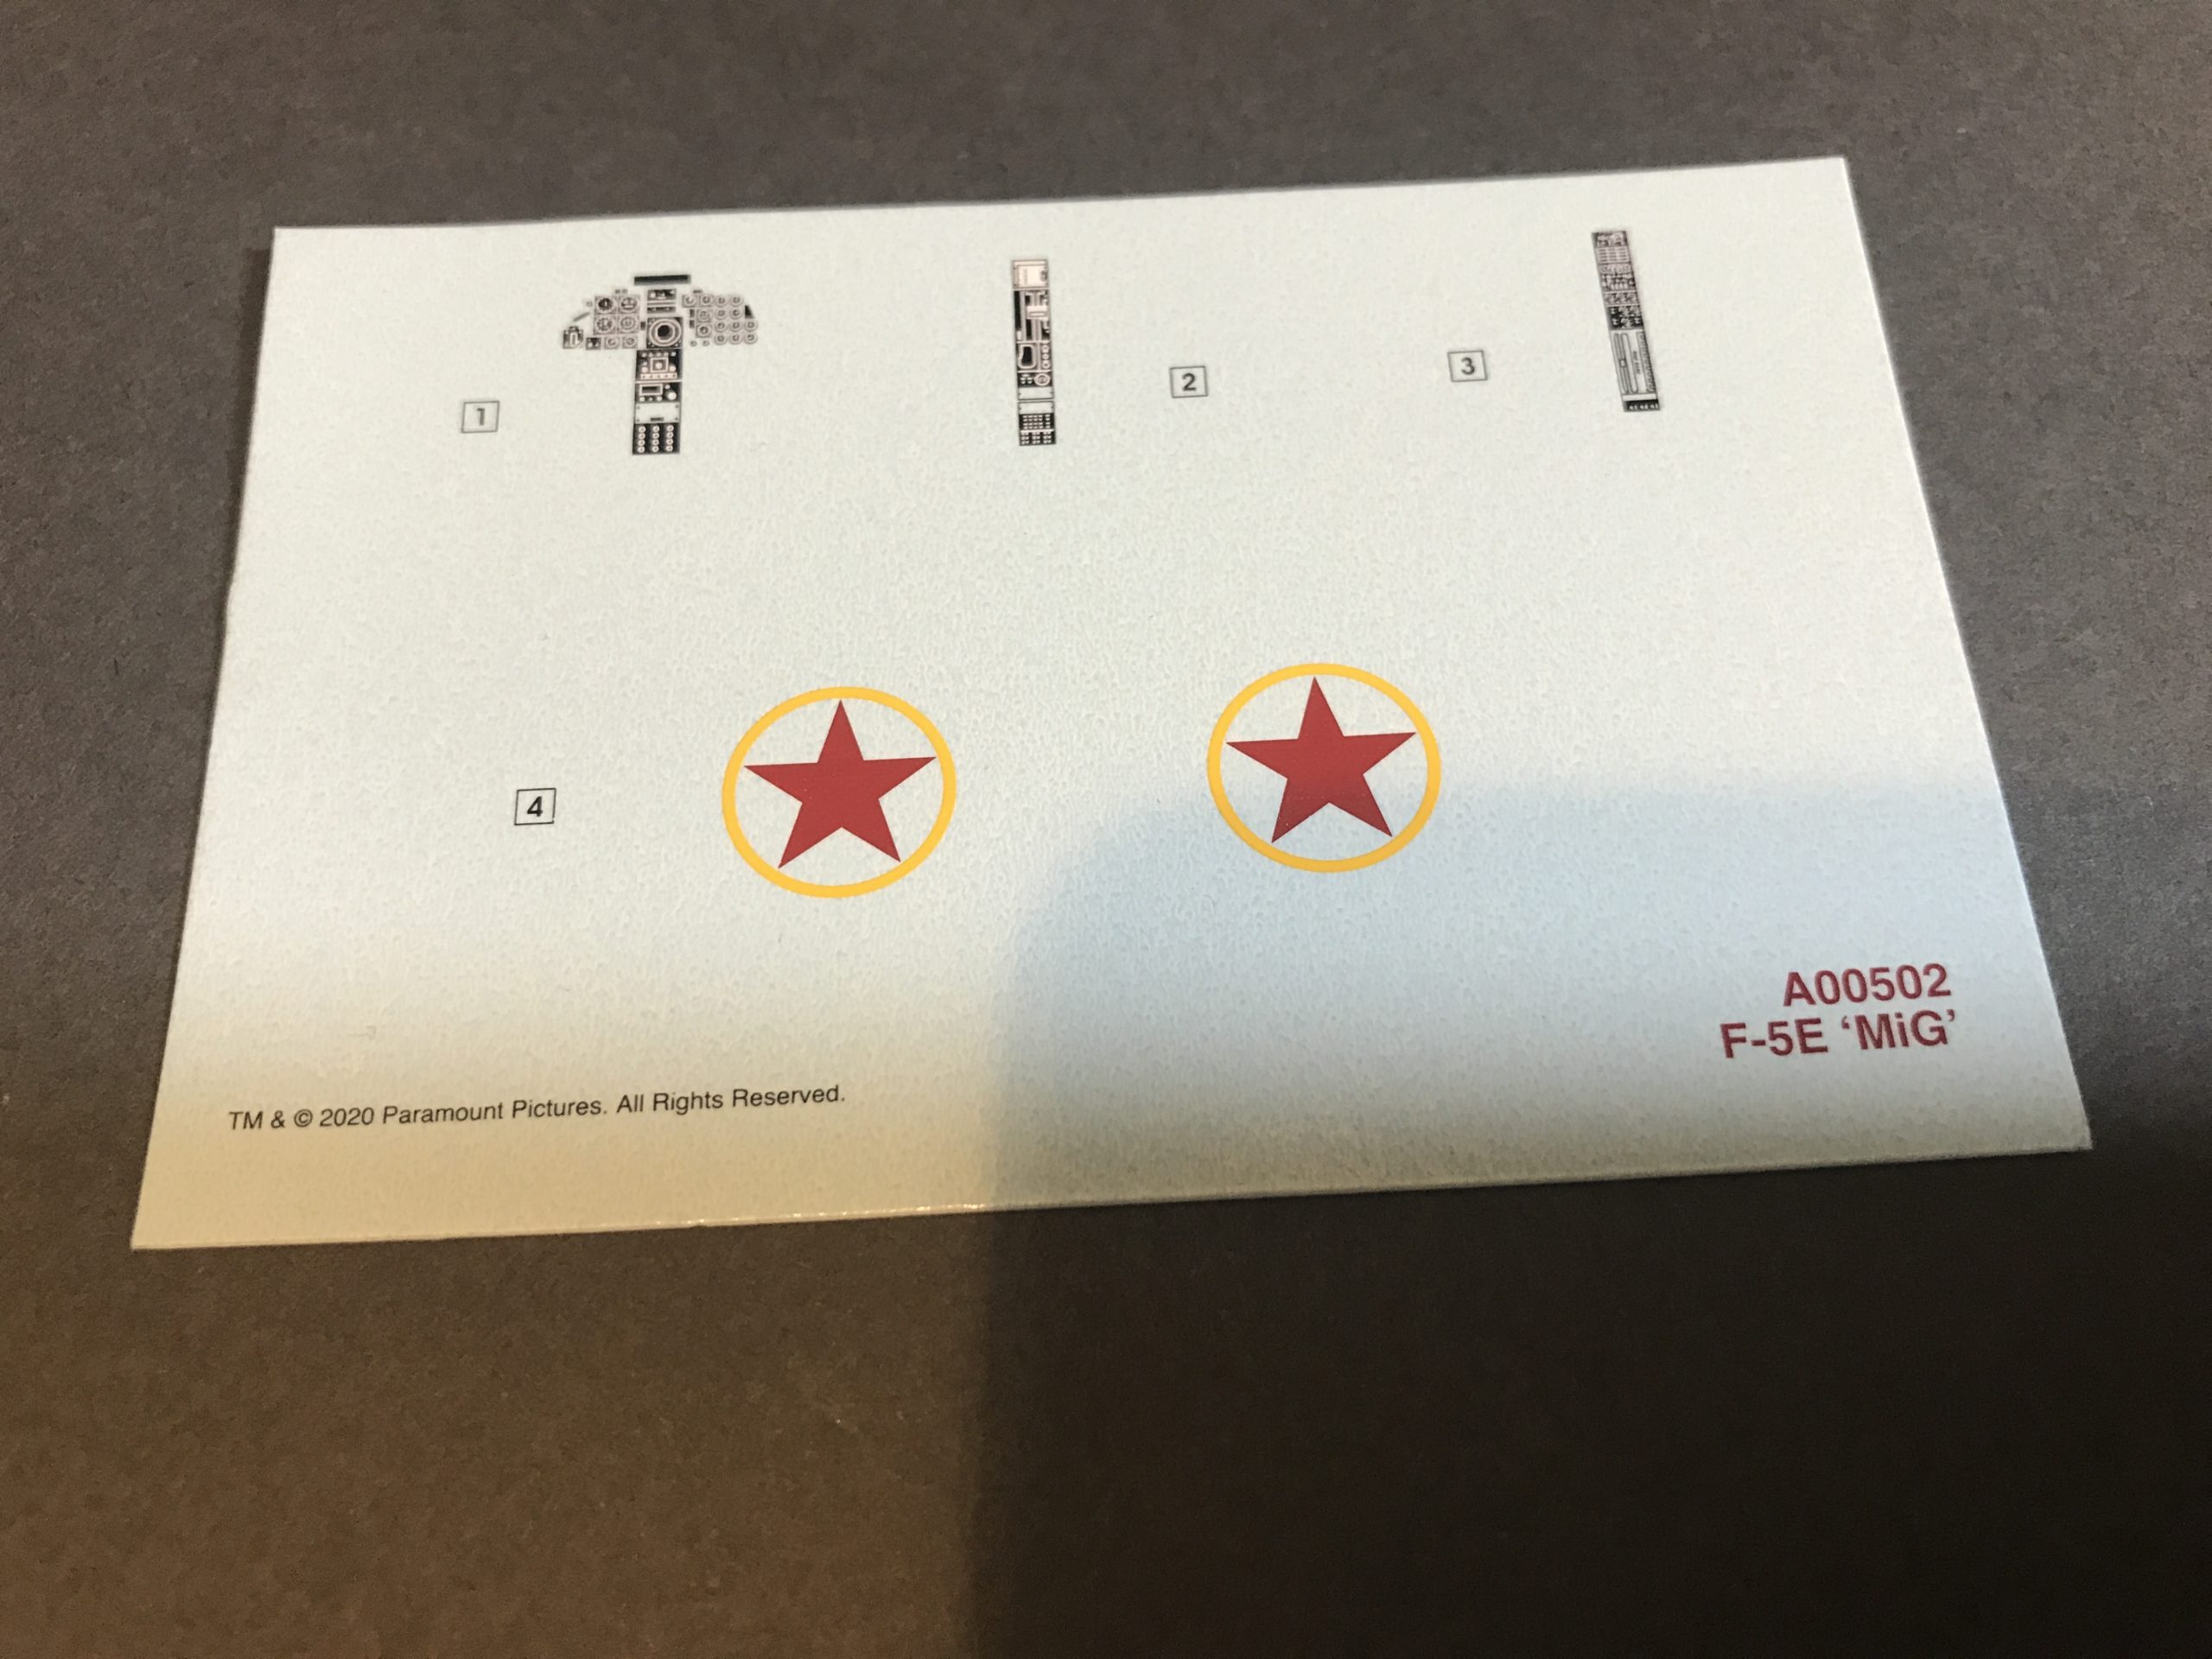
Five decals! the fewest I have ever had on an aircraft model. This alone is reason to build the kit!
The Build!
Sit tight dear reader as I paint pictures with words (and photographs) and take my hand as we go through the build of this vintage kit. I’m not sure what to expect but have got a couple of fingers crossed it goes well, although this is a bit of a hinderance when it comes to painting.
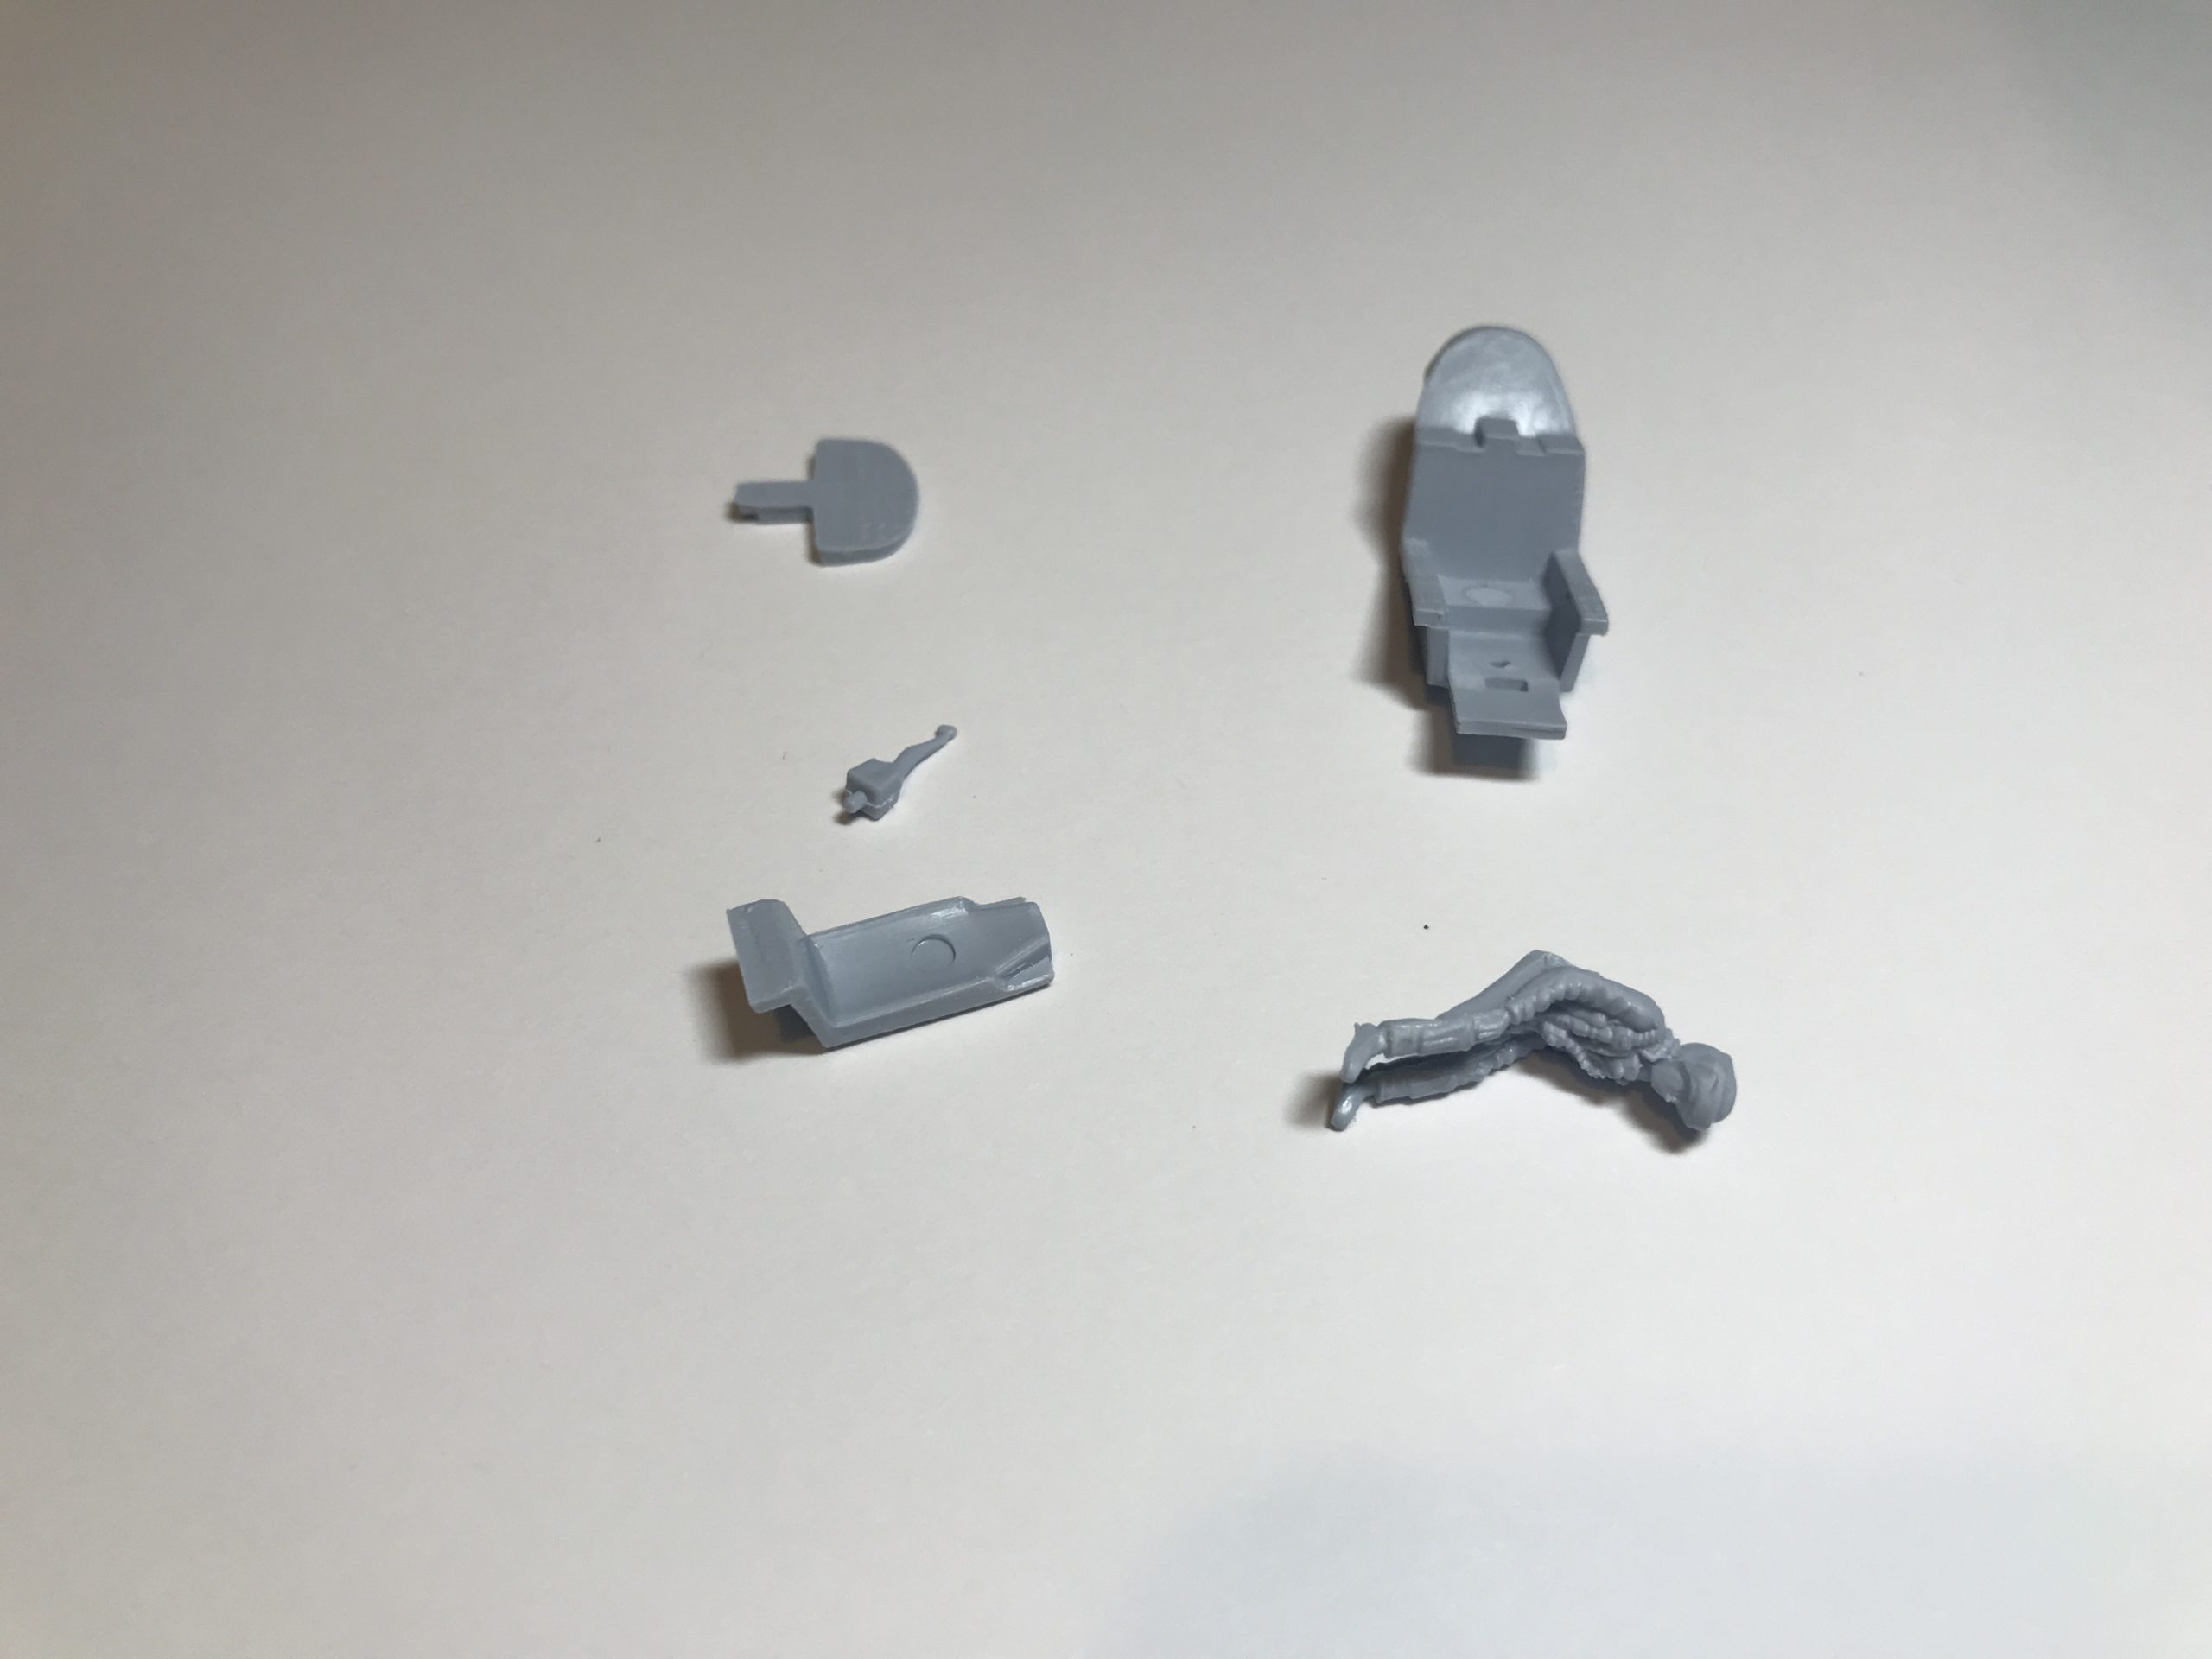
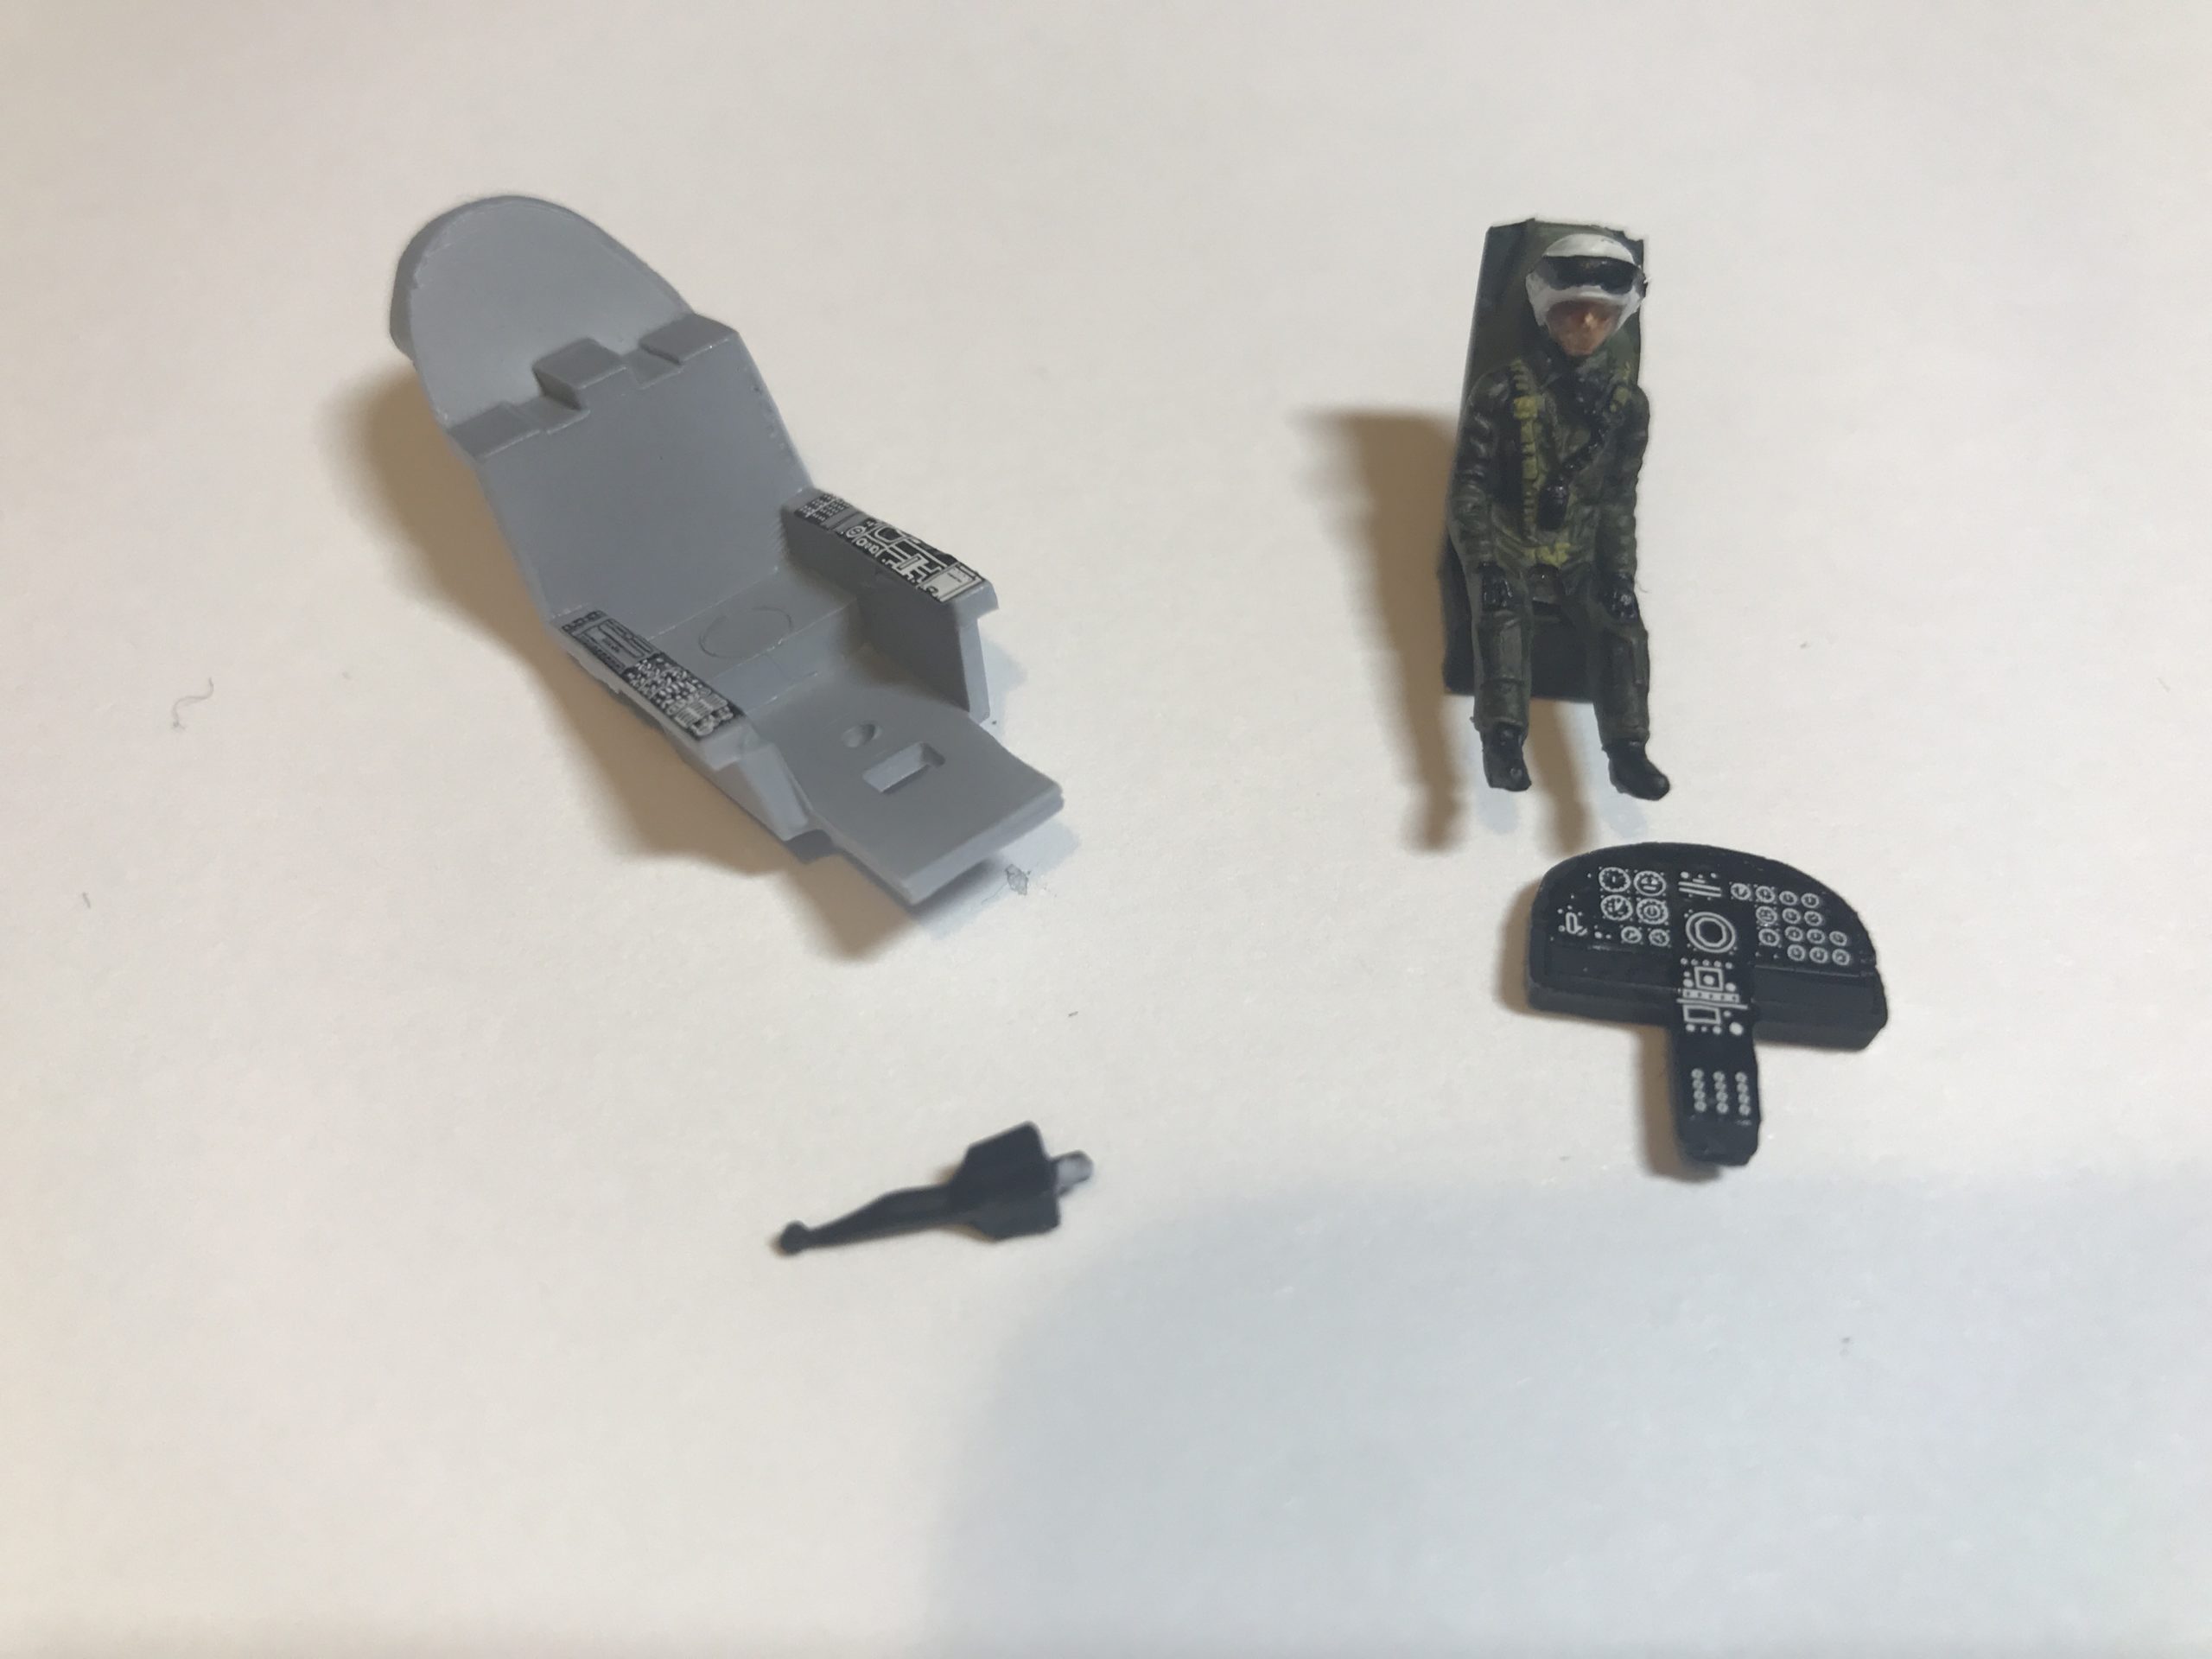
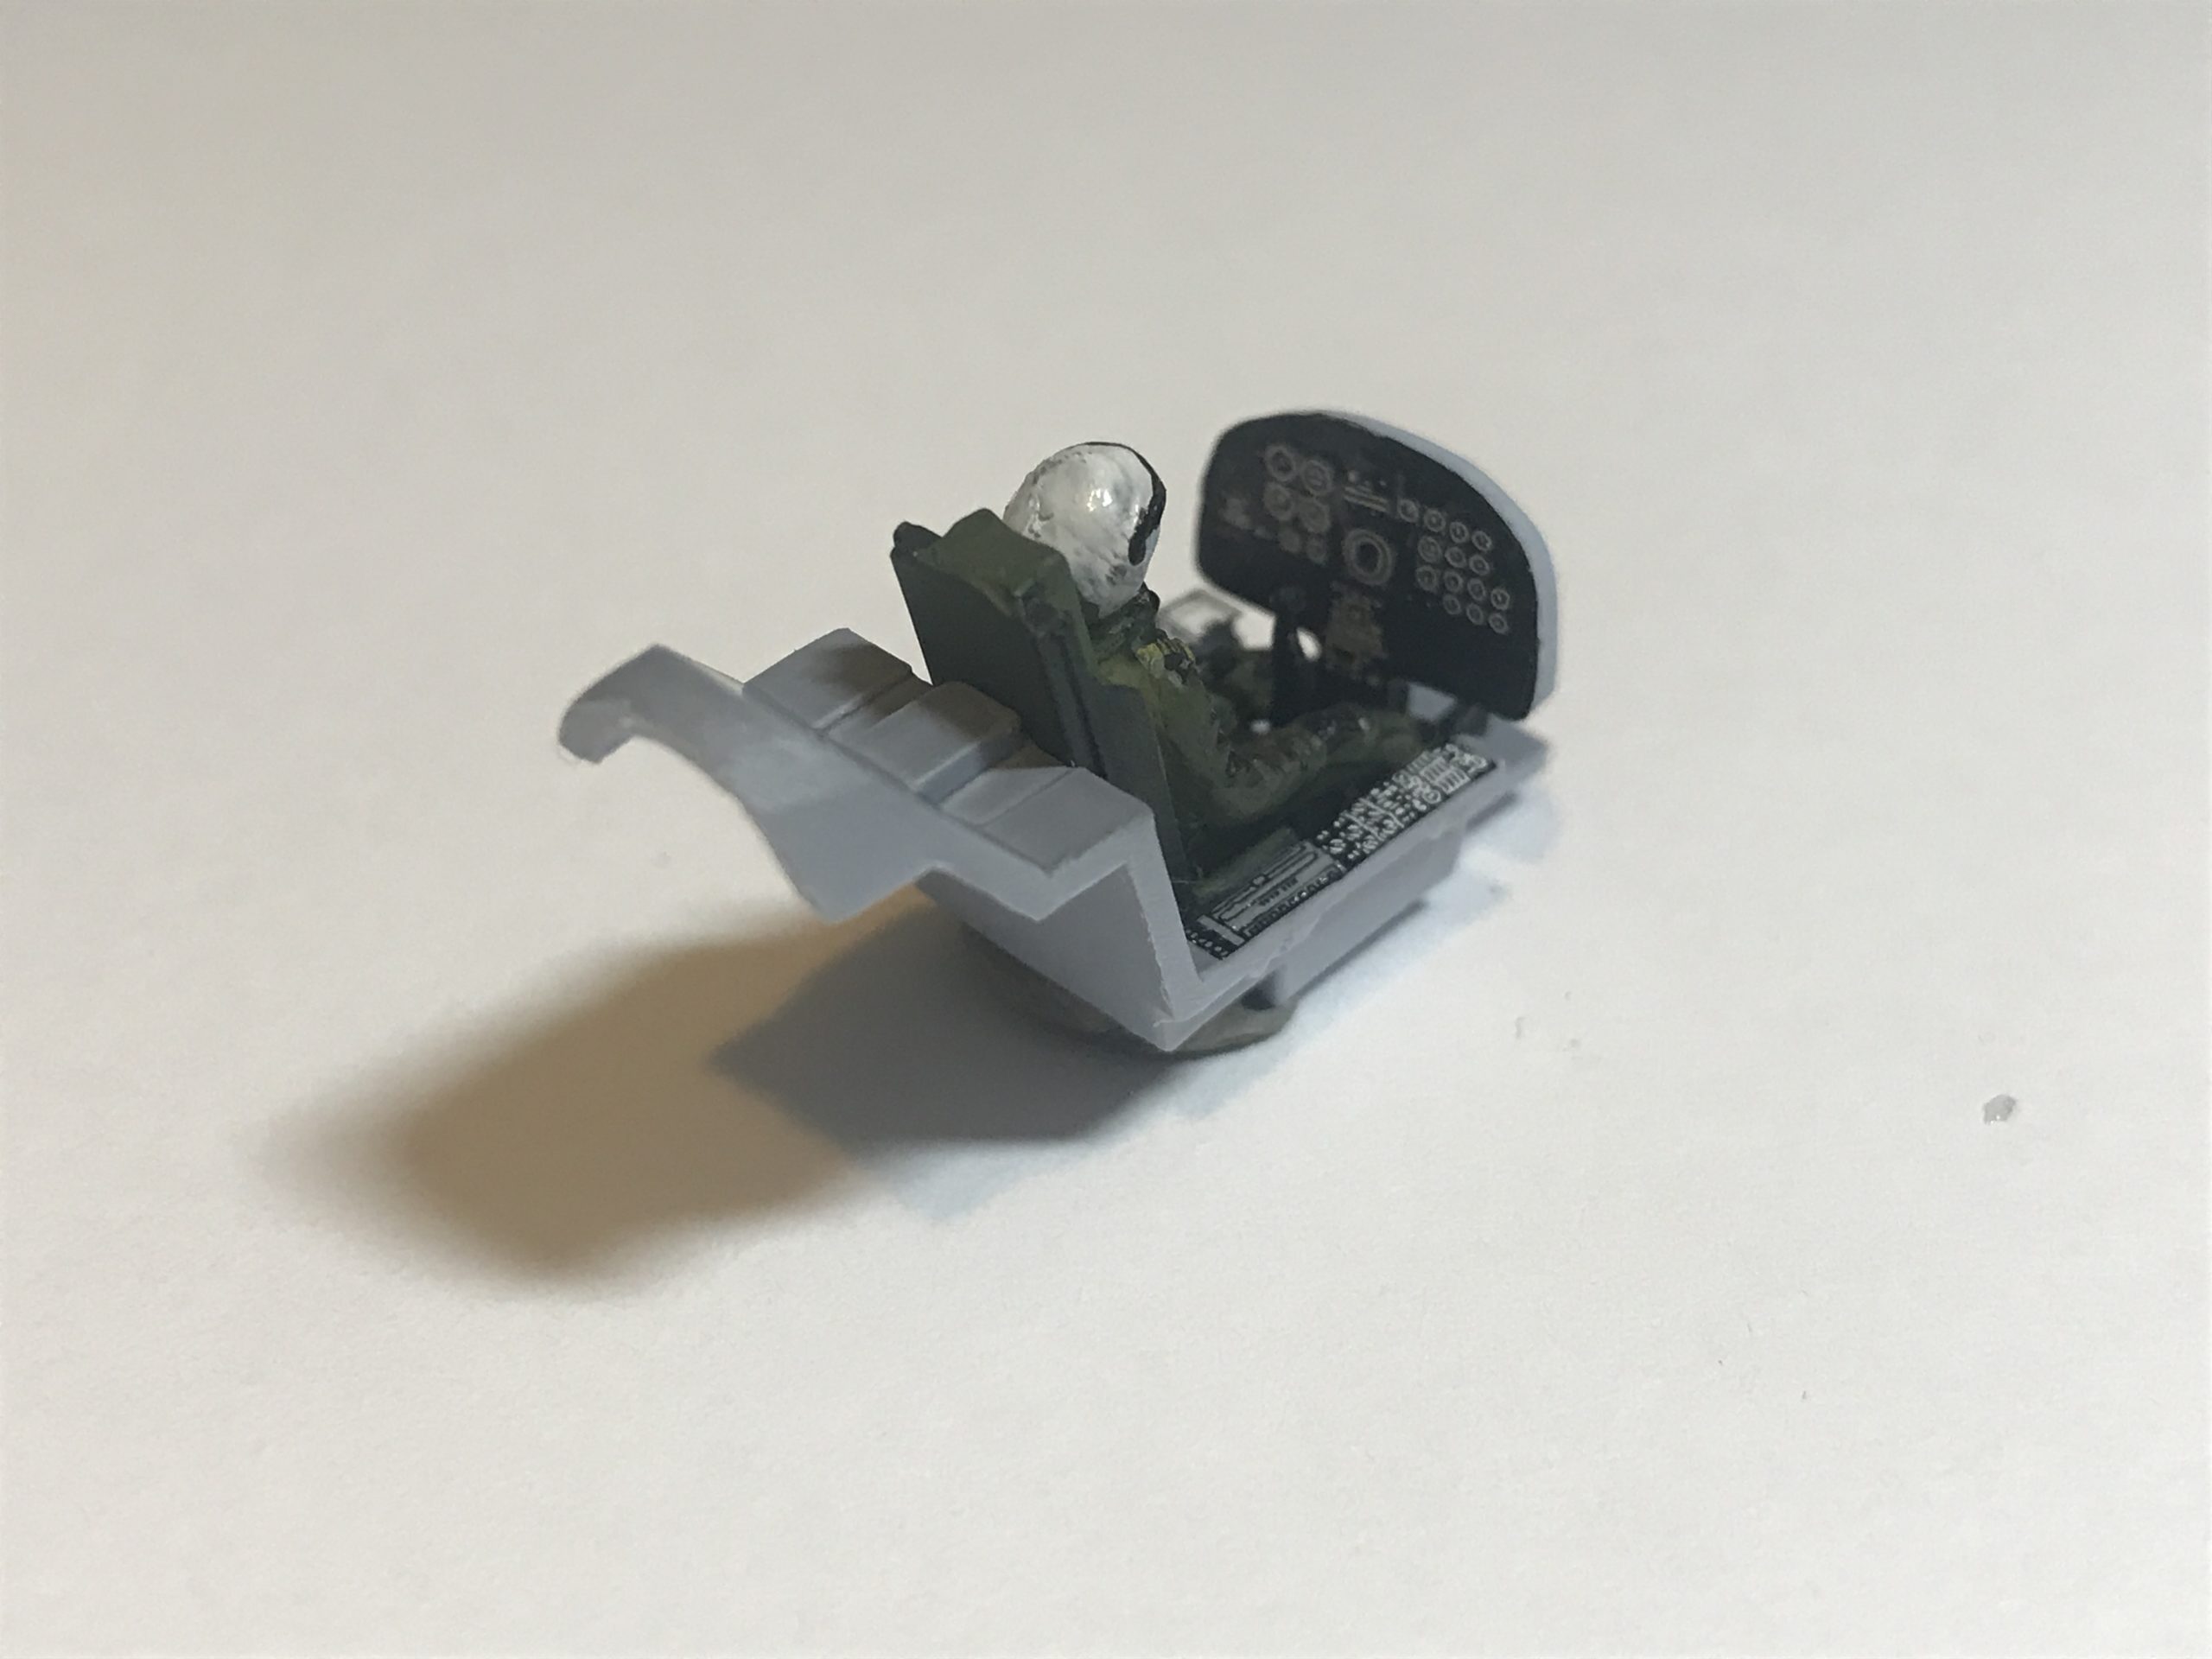
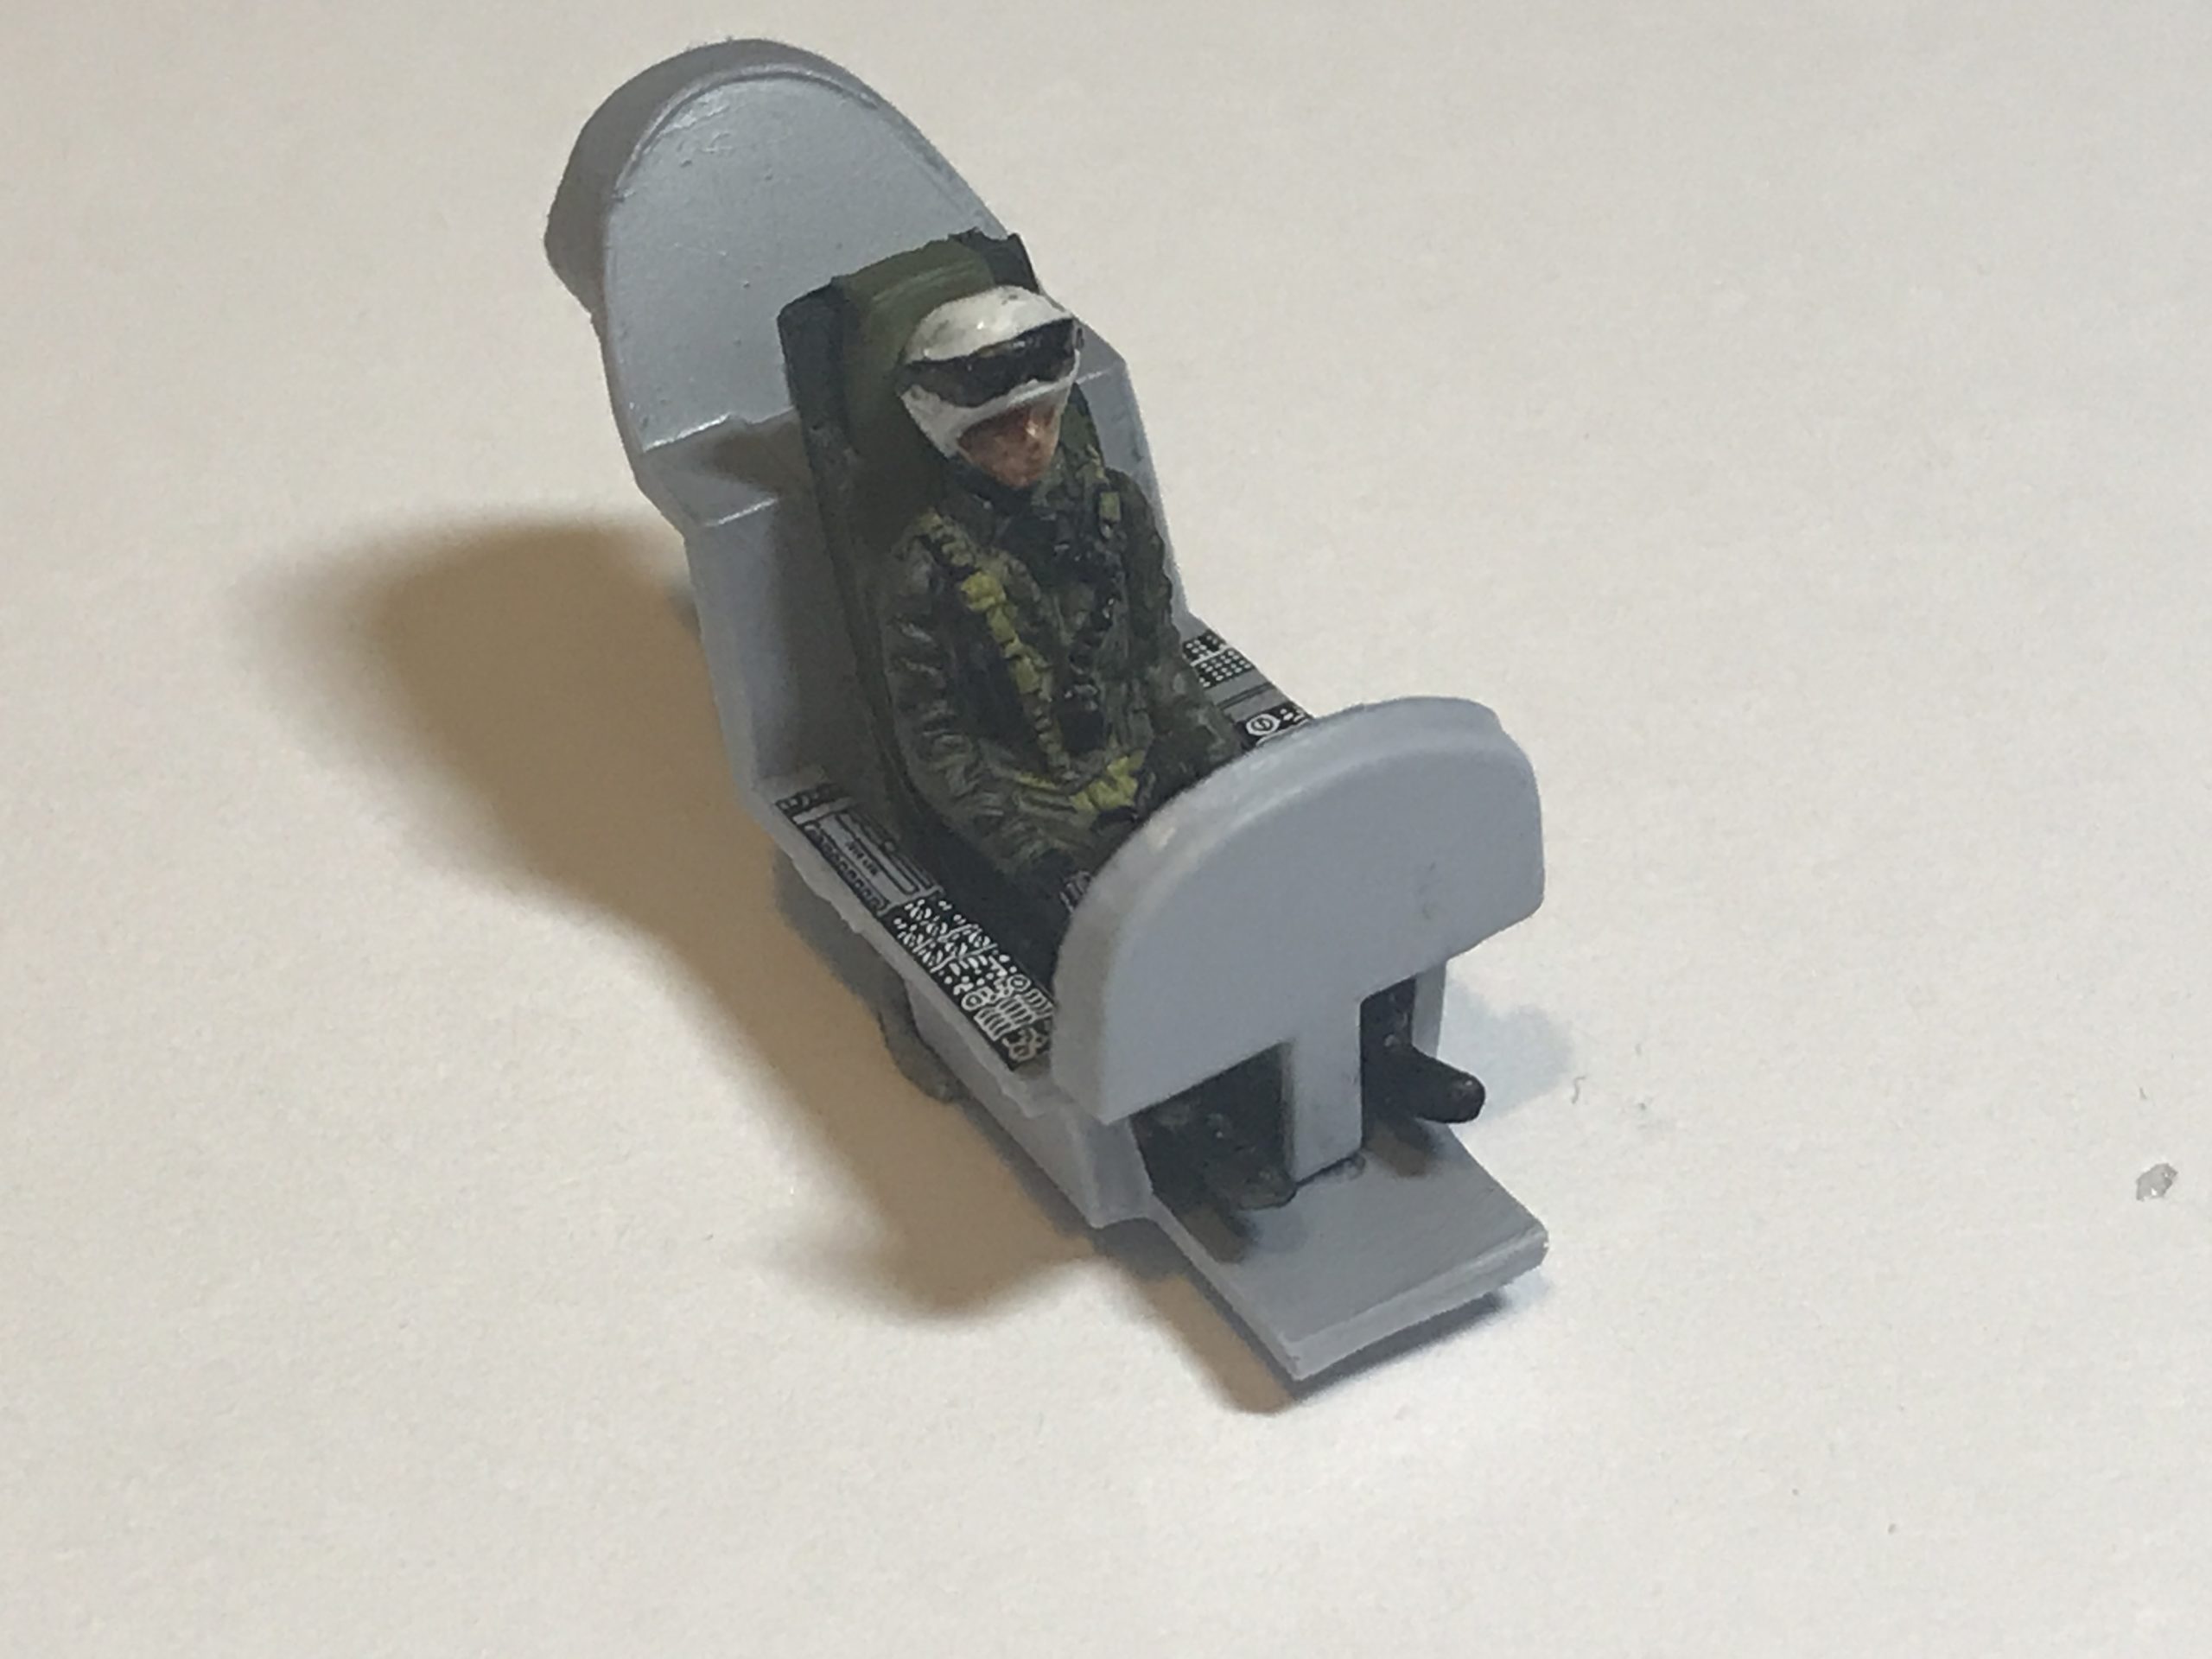
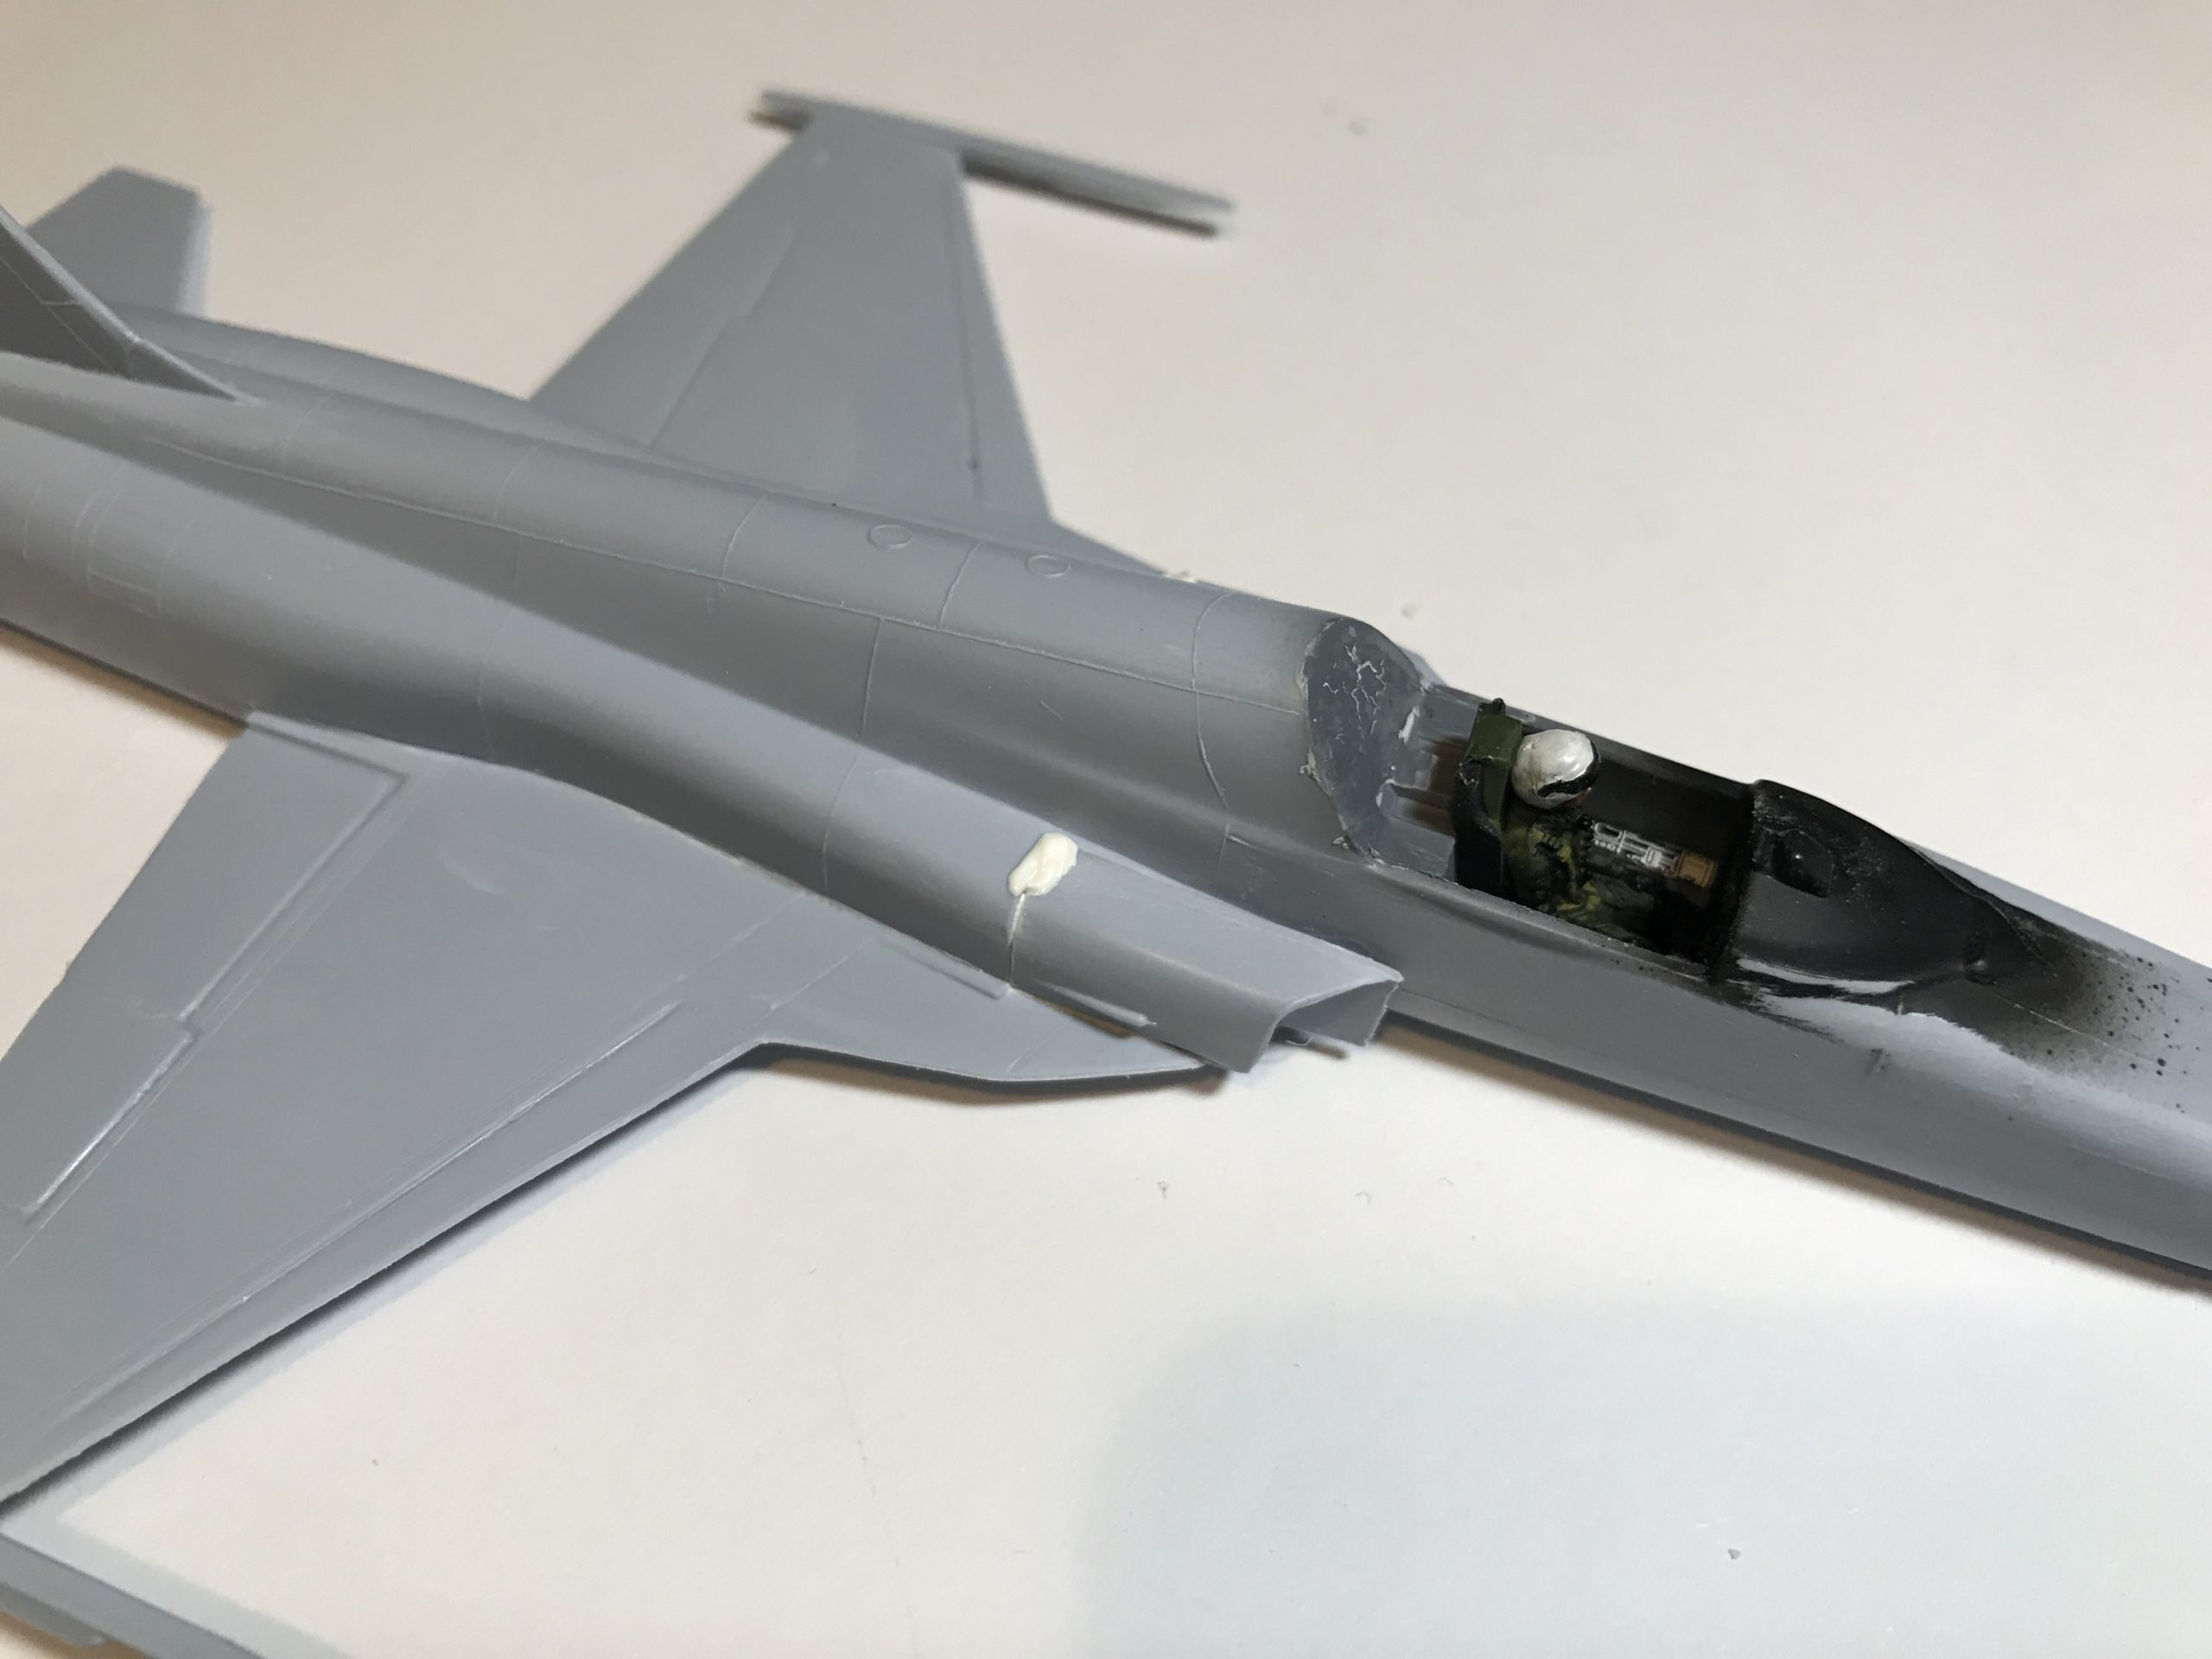
In an almost painfully predictable way assembly begins with the cockpit. The parts require a bit of a clean up and the location is a bit vague, but the detail on the control panels is strong, if a little simple. The seat has an ejector pin right on the front, so given a choice of filling or painting the pilot; I chose the latter.
I was pleasantly surprised with how the pilot came out. A bit of patience and care was required to remove the moulding flash, but “Little Ivan” came out pretty nice. The cockpit pit is also home to the majority of the extensive decal sheet (three out of five!). Here are a few pictures.
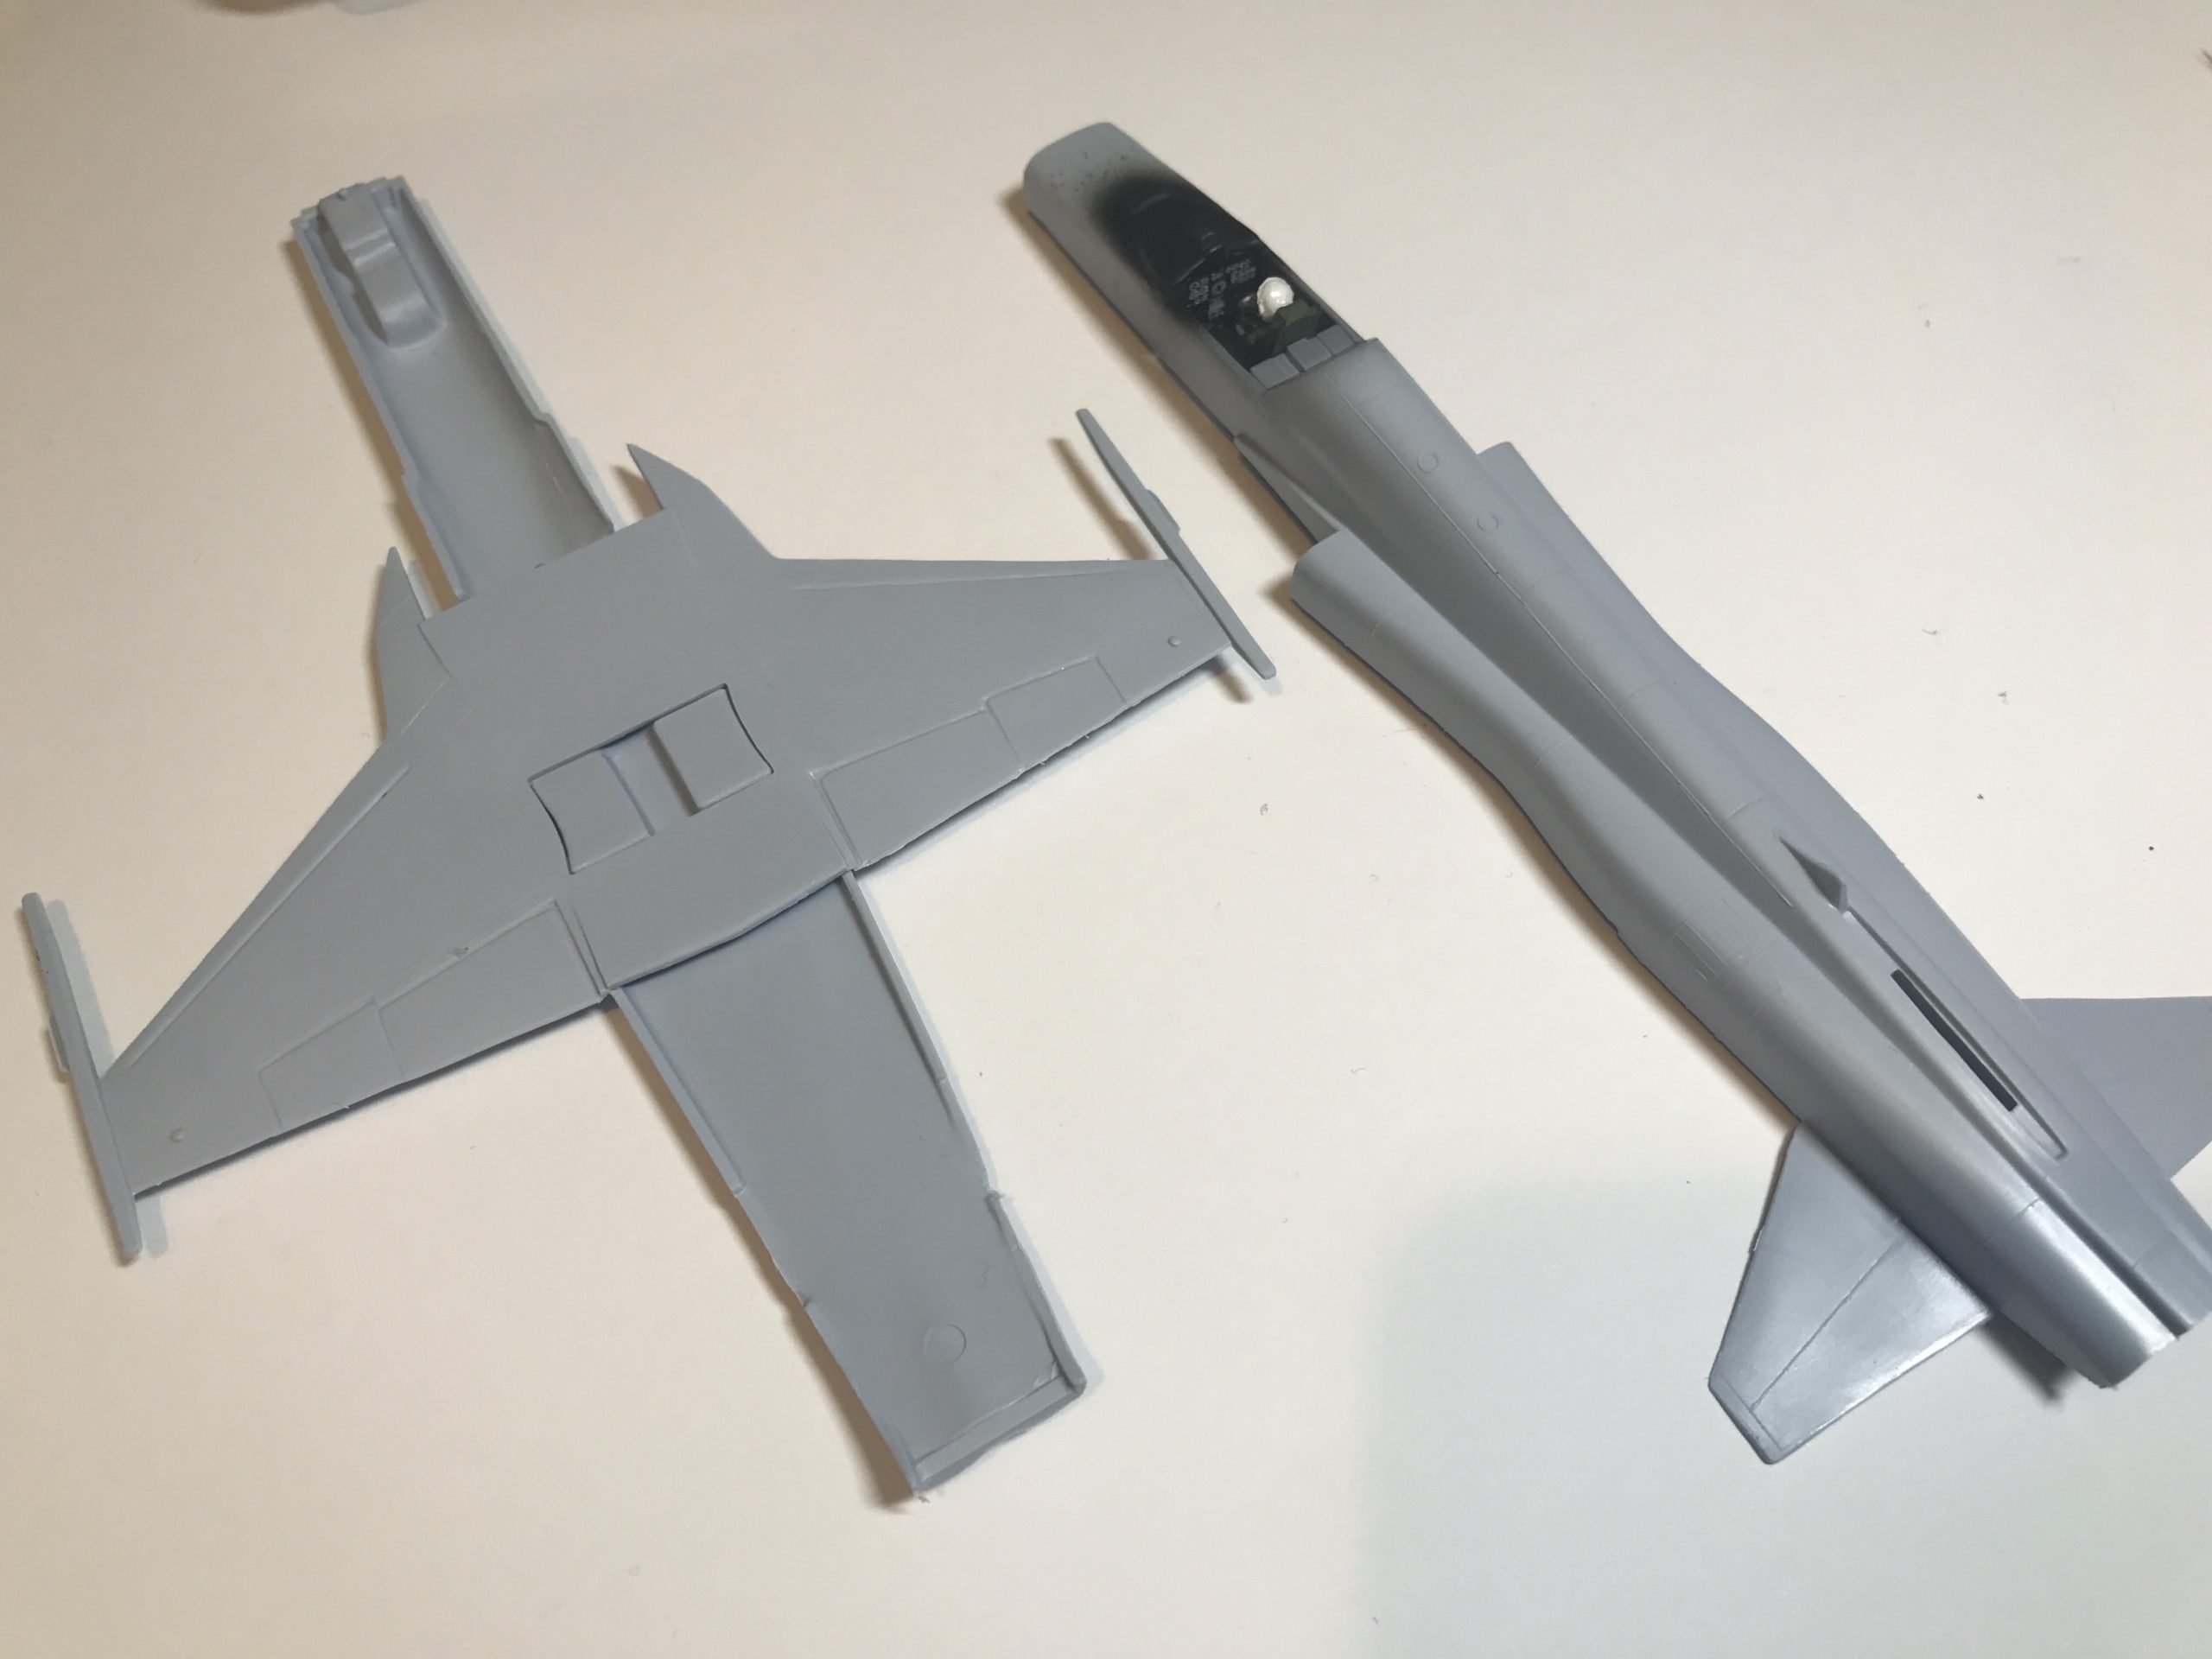
The next step of the fairly simple process is to assemble the main and tail wings to the upper and lower halves of the fuselage. It’s actually interesting to see such an old kit employing this approach rather than the traditional vertical spilt. I think it’s probably due to the relatively wide and short cross section and limitations of moulding techniques at the time.
The cockpit module is then fitted to the top half of the fuselage. ( i have painted the instrument cowling in flat black)
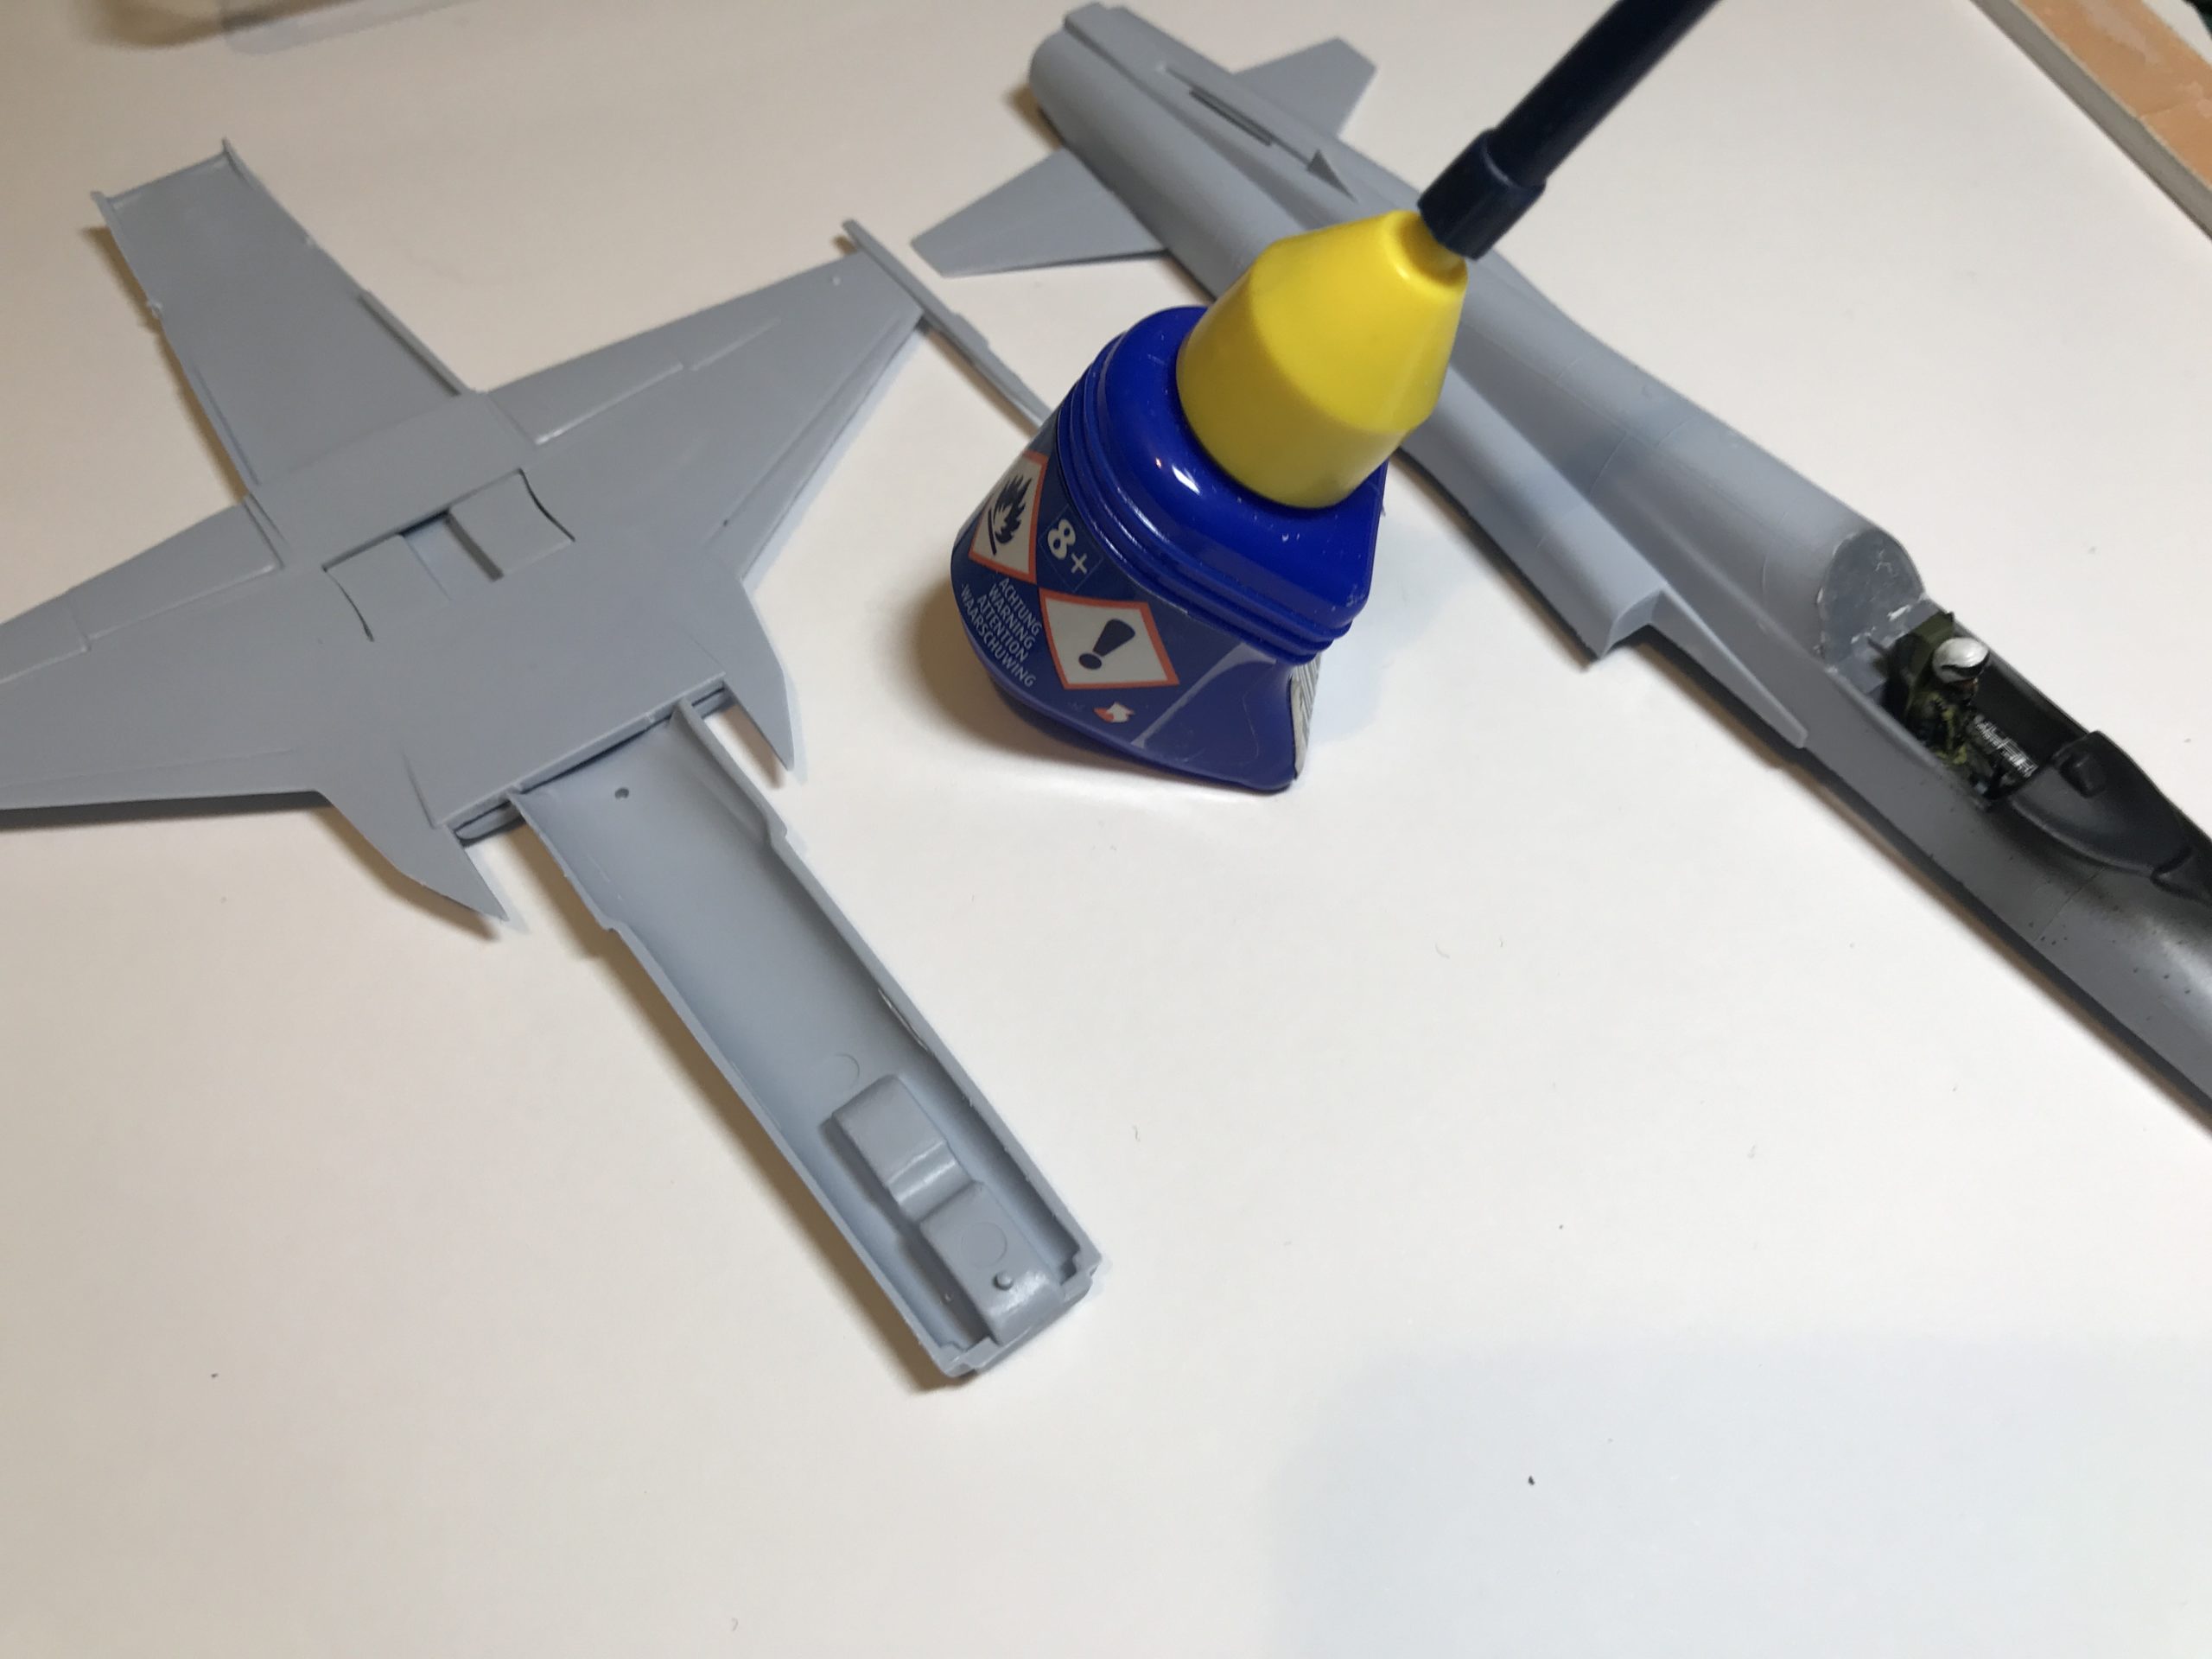
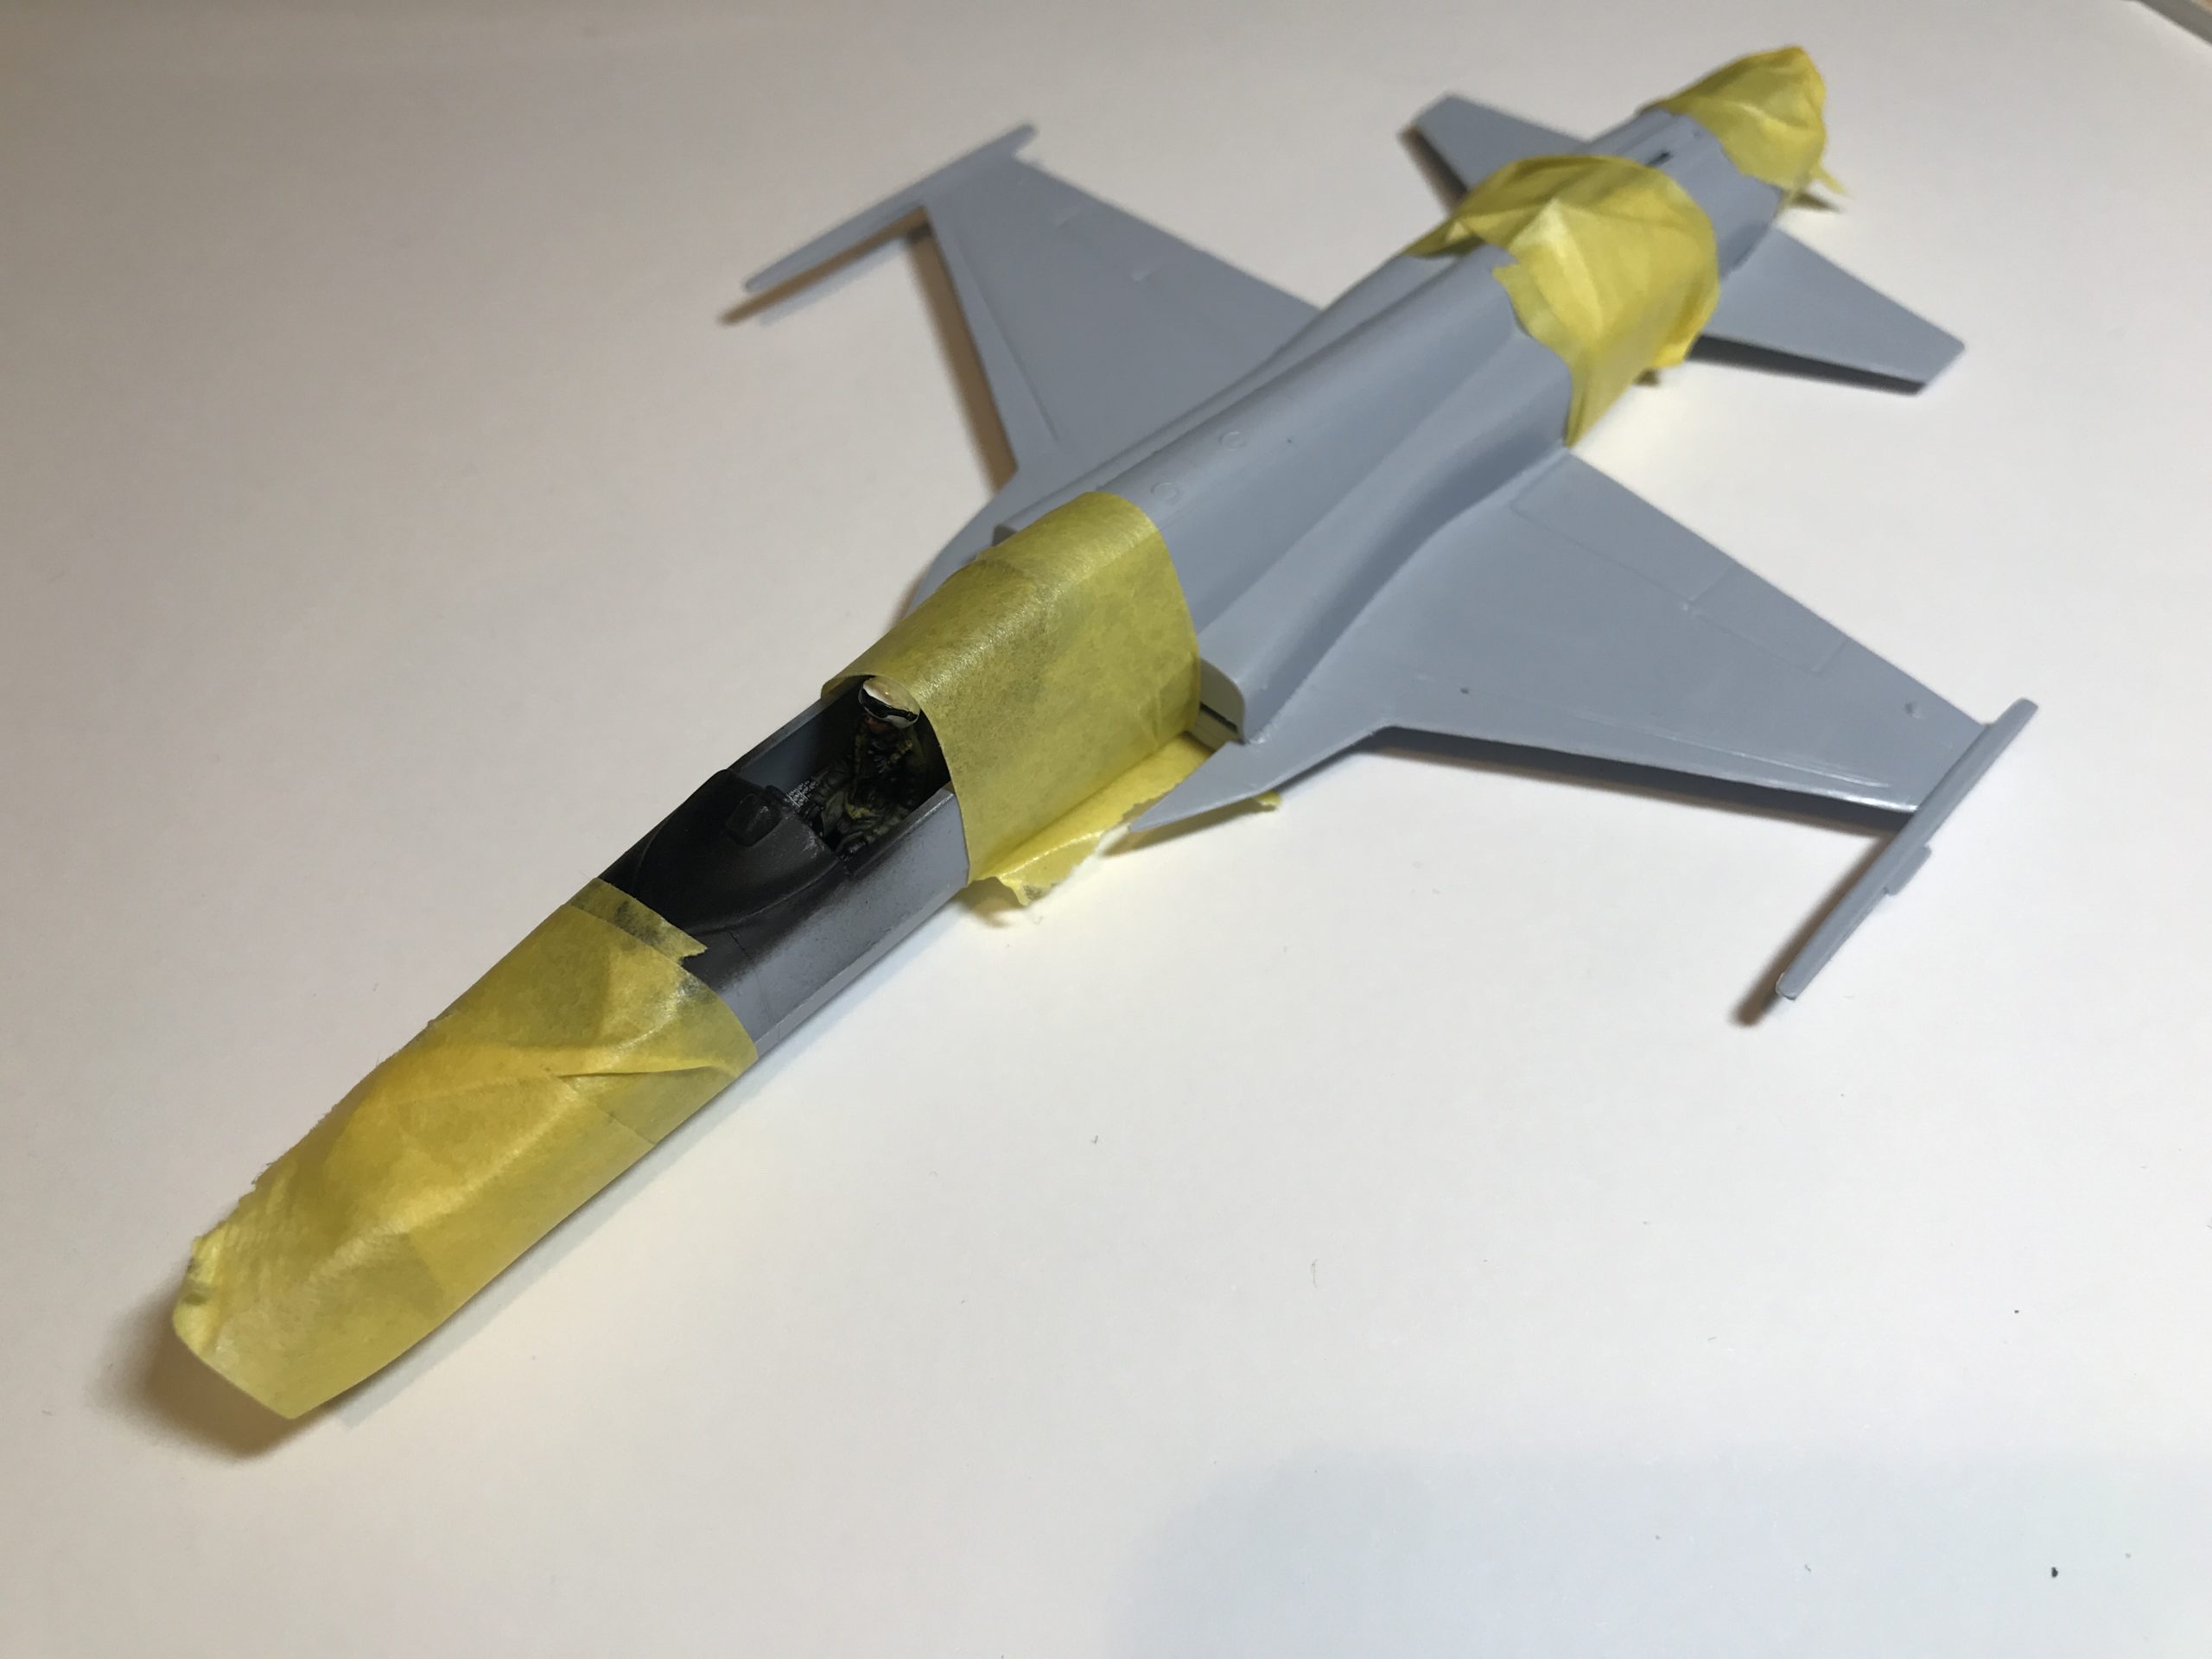
The upper and lower fuselage can now be brought together. I use Revell Contacta for this as it gives you a a lot more time to work than Tamiya Extra thin. Once happy with the alignment I use some masking tape to secure the two halves whilst the glue sets.
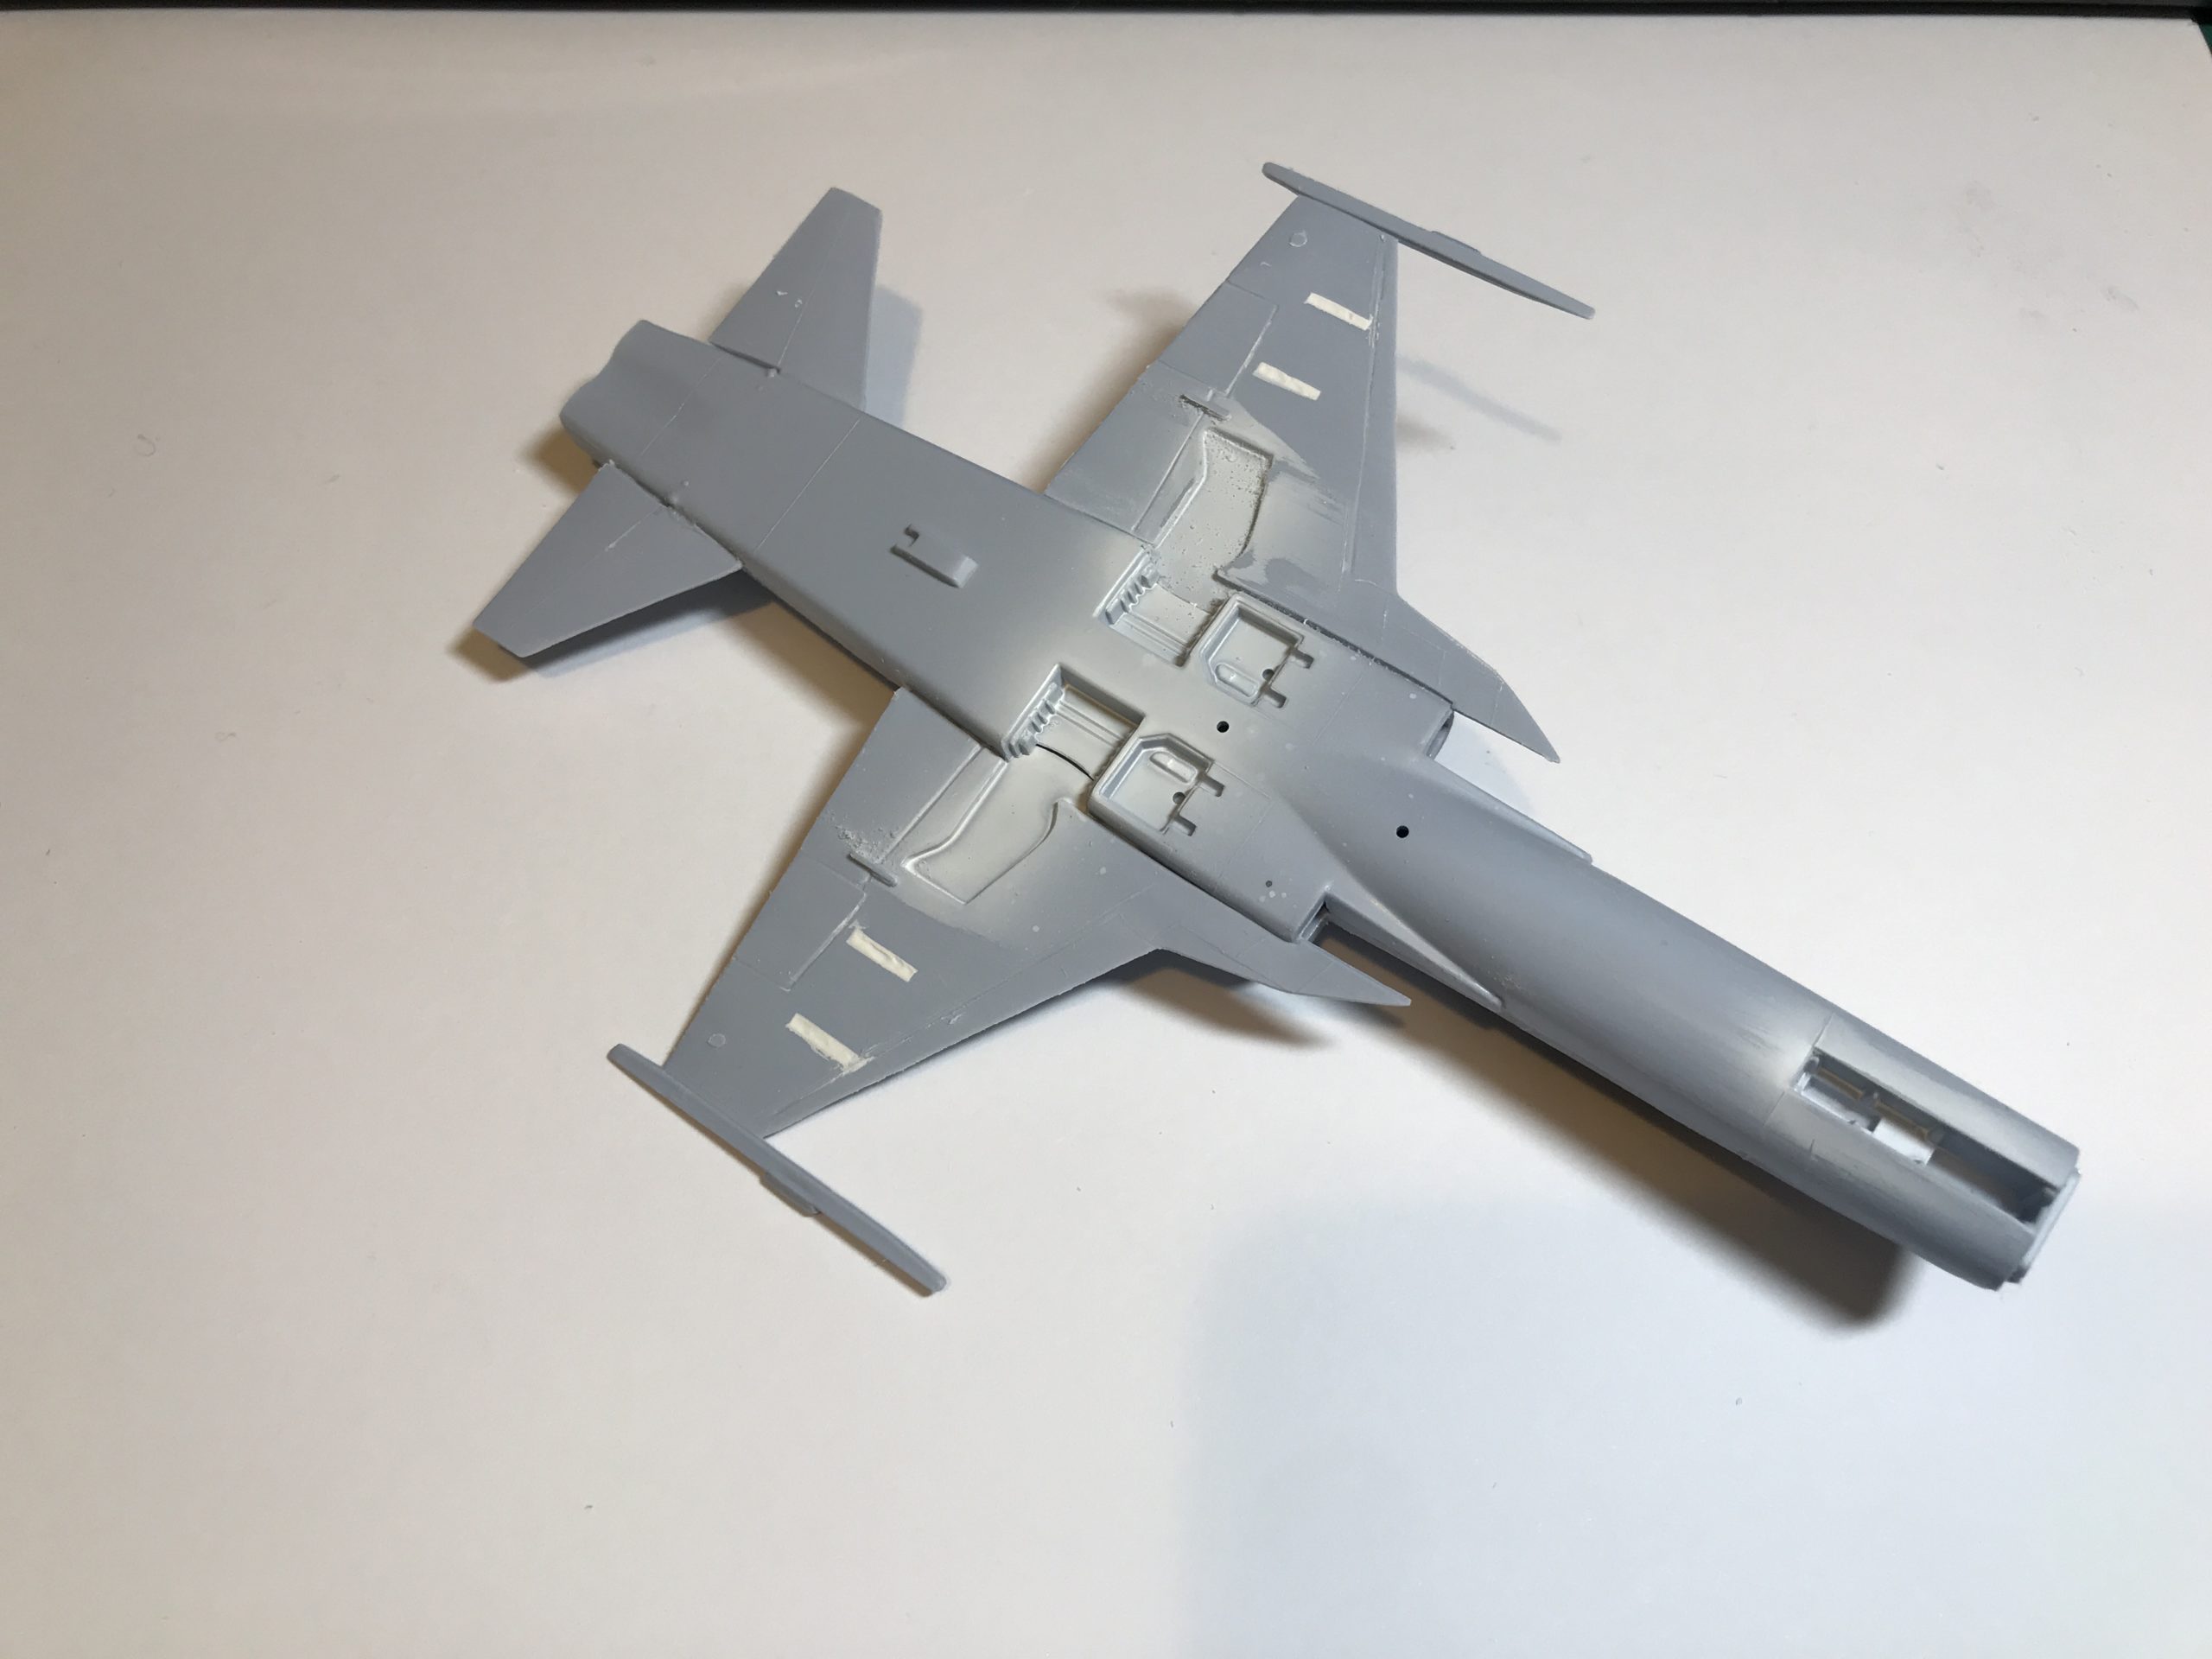
I left the assembly overnight to ensure a strong bond between the halves. Finally before calling it a night I put some filler in areas where weapon pylons would go. The movie aircraft only had a couple of air to air missiles and so will mine.
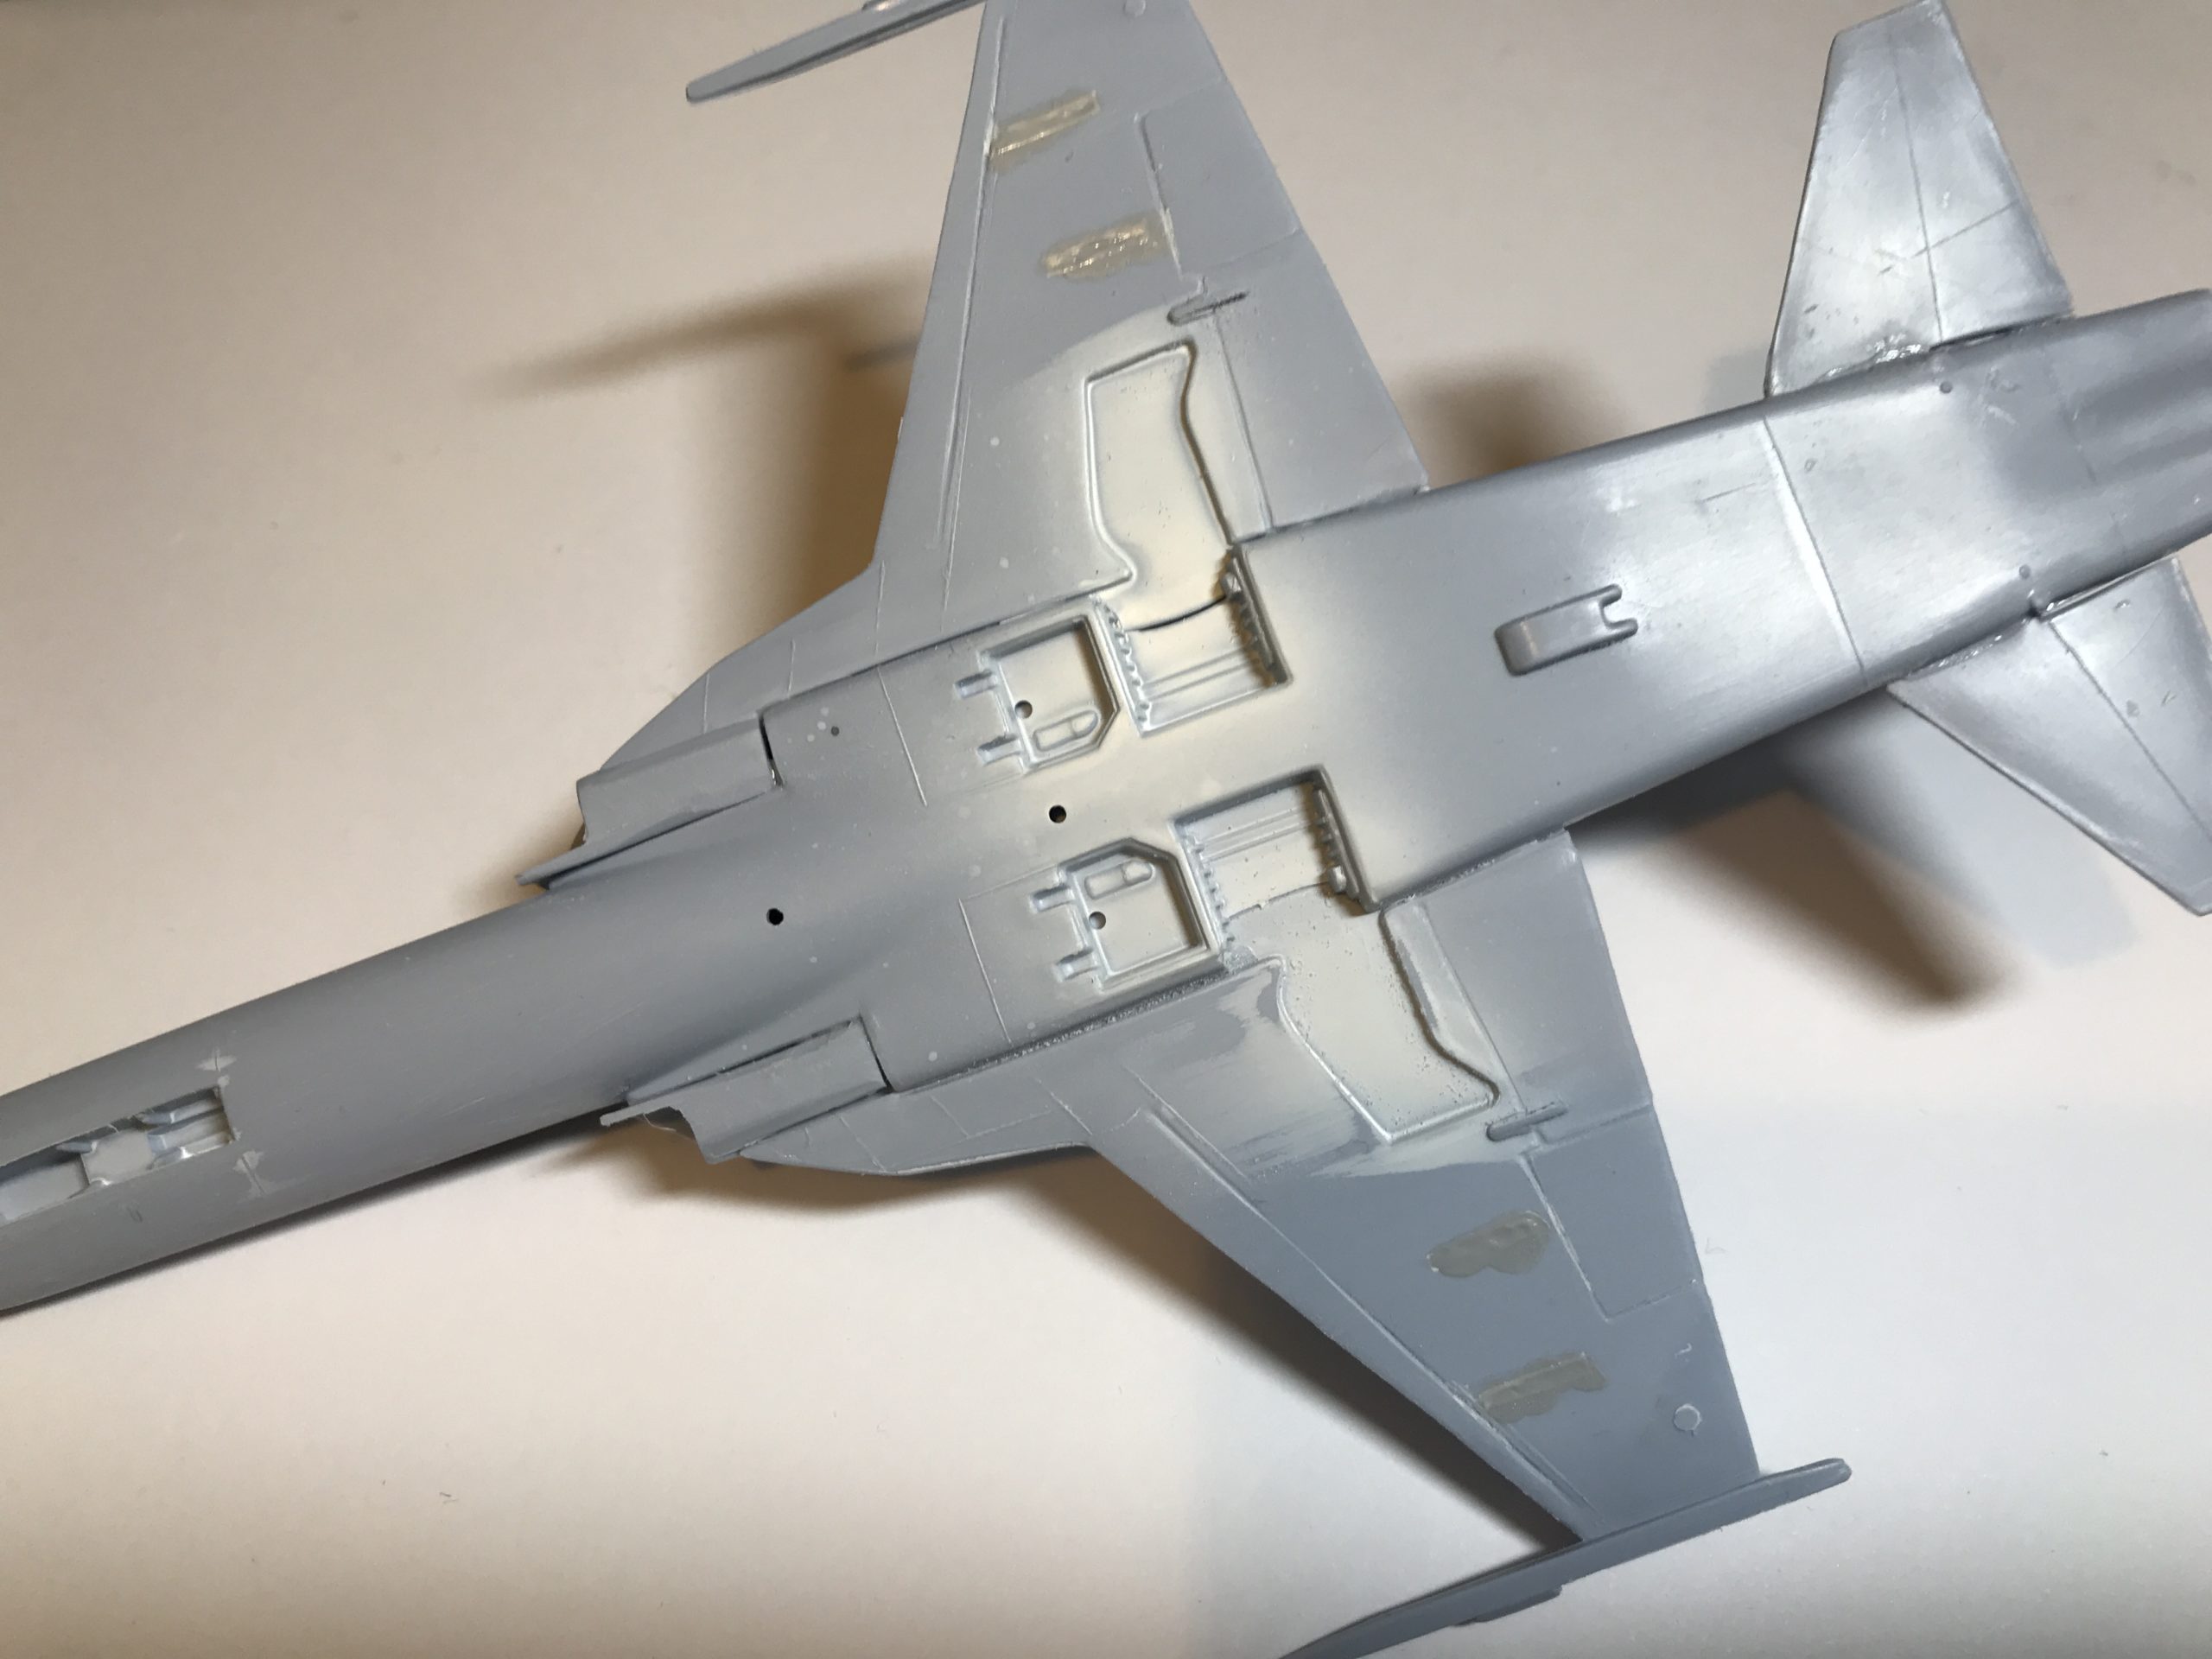
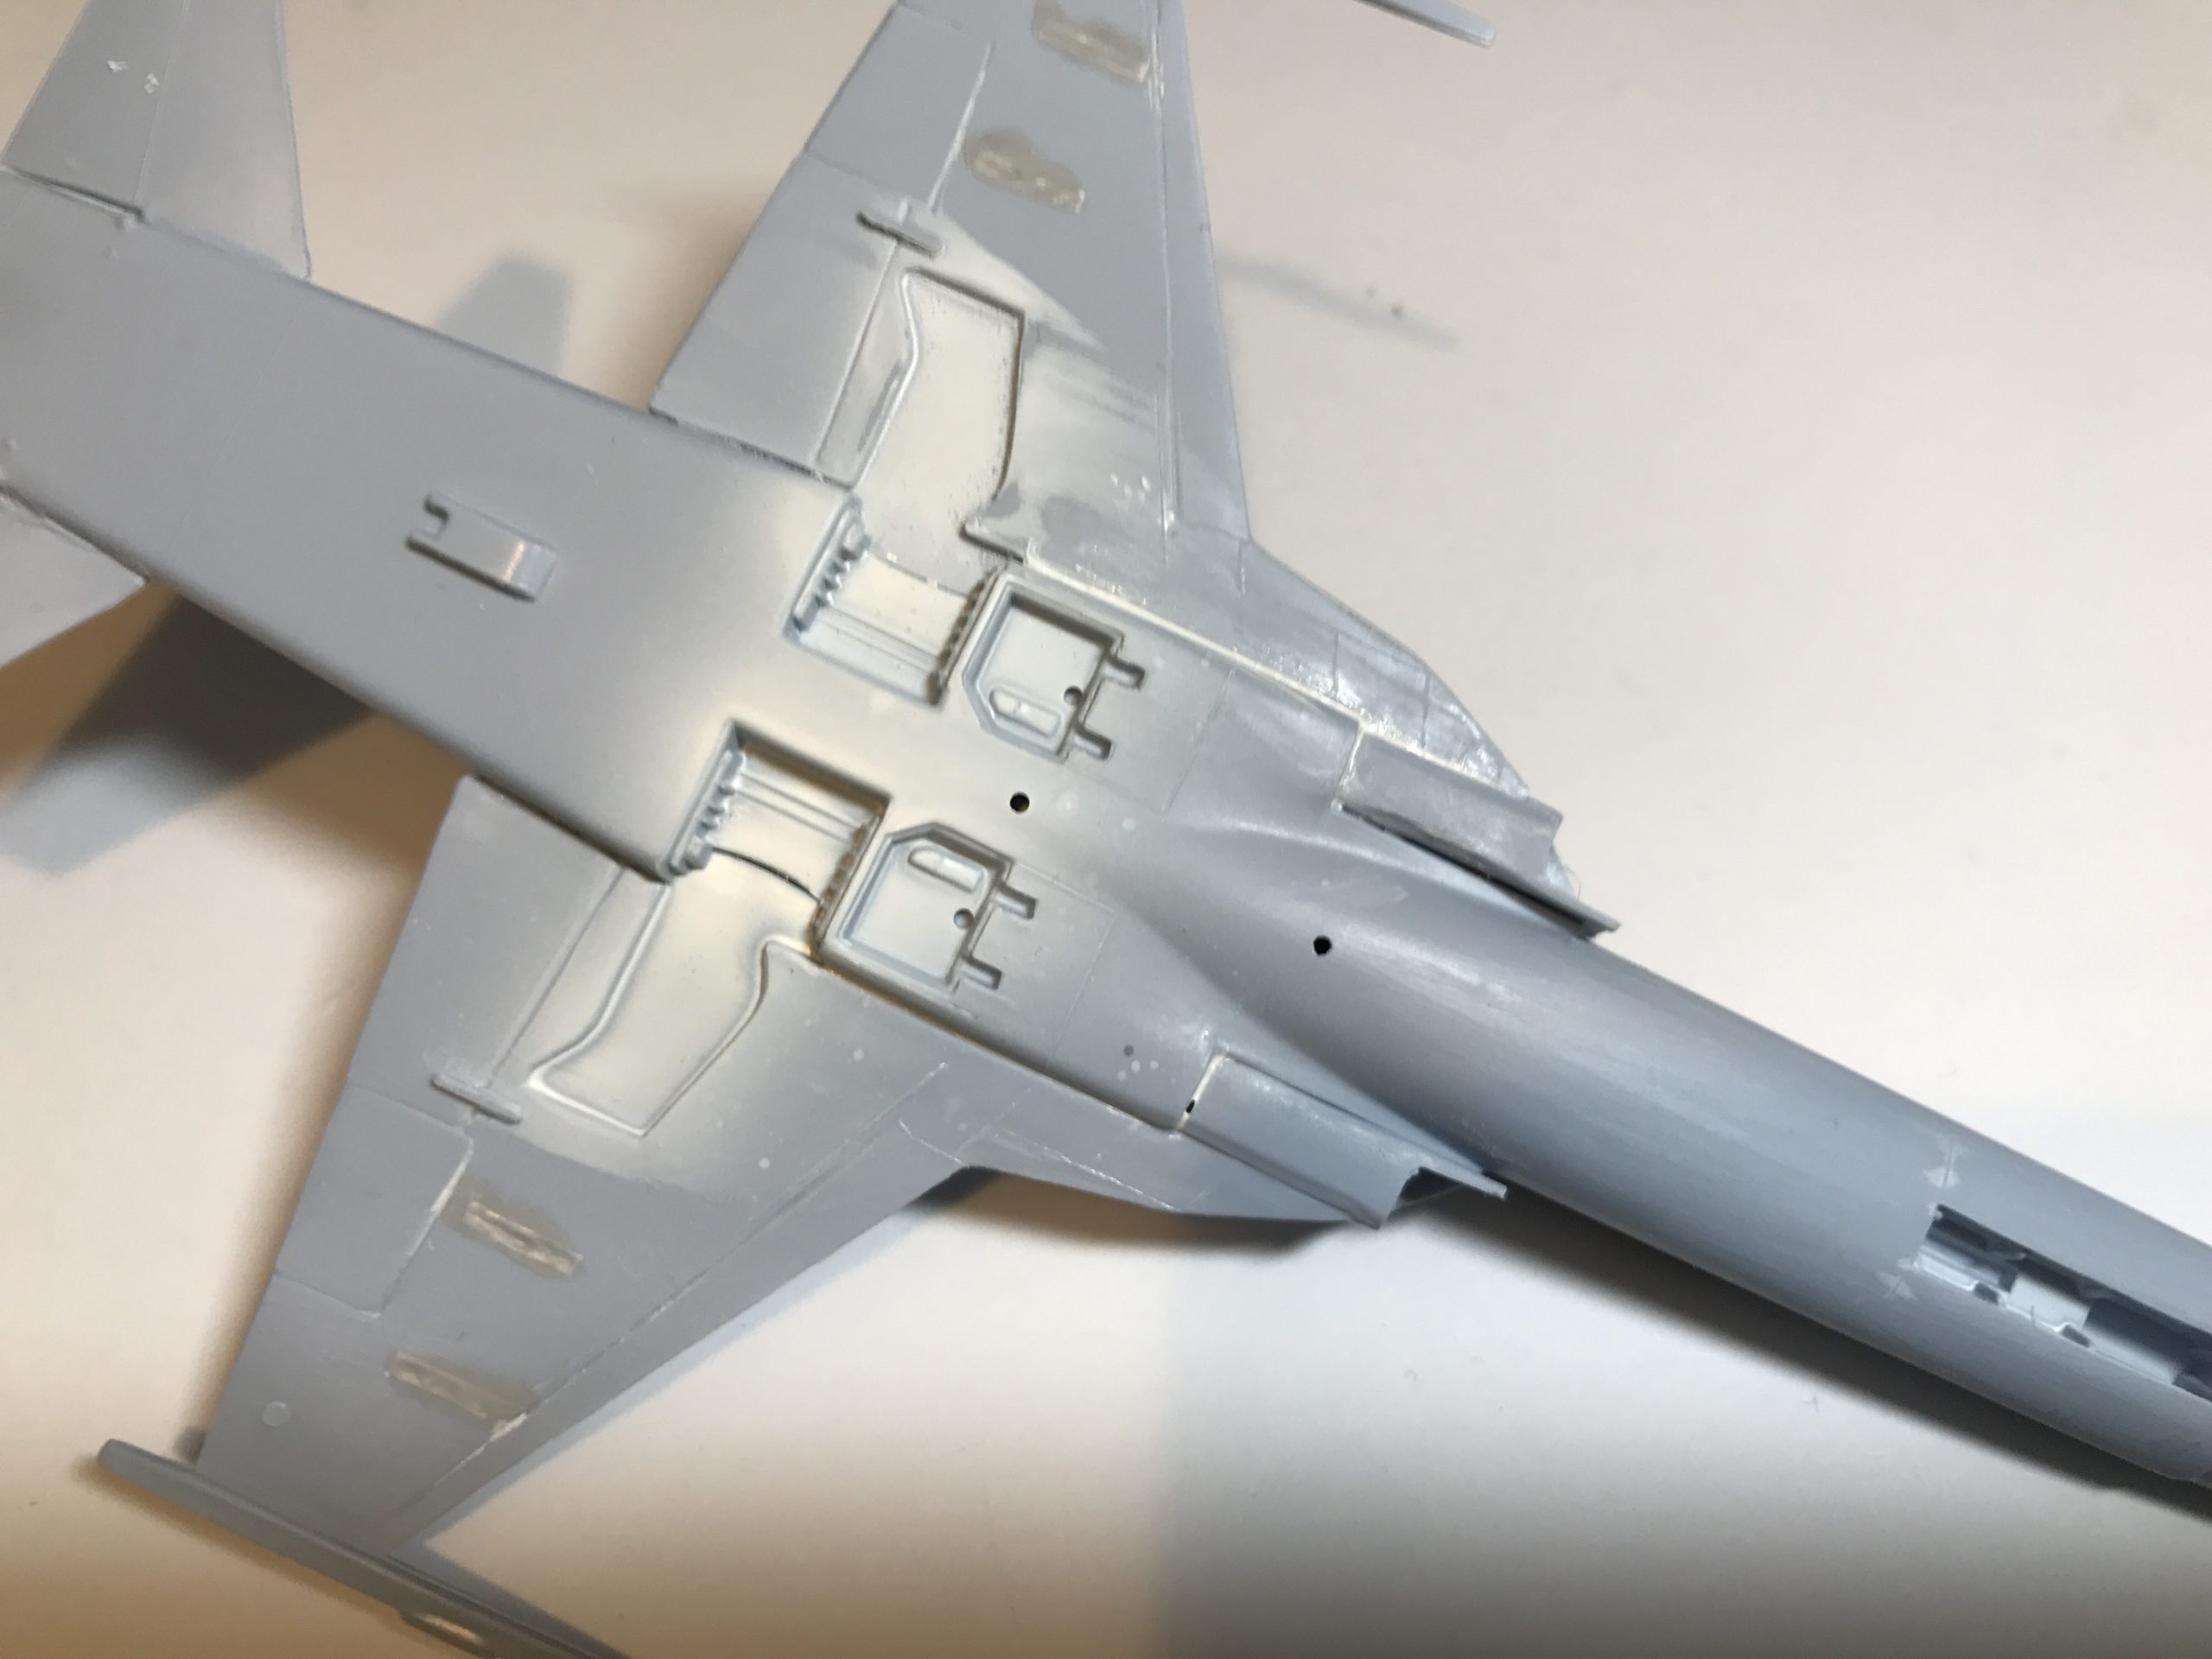
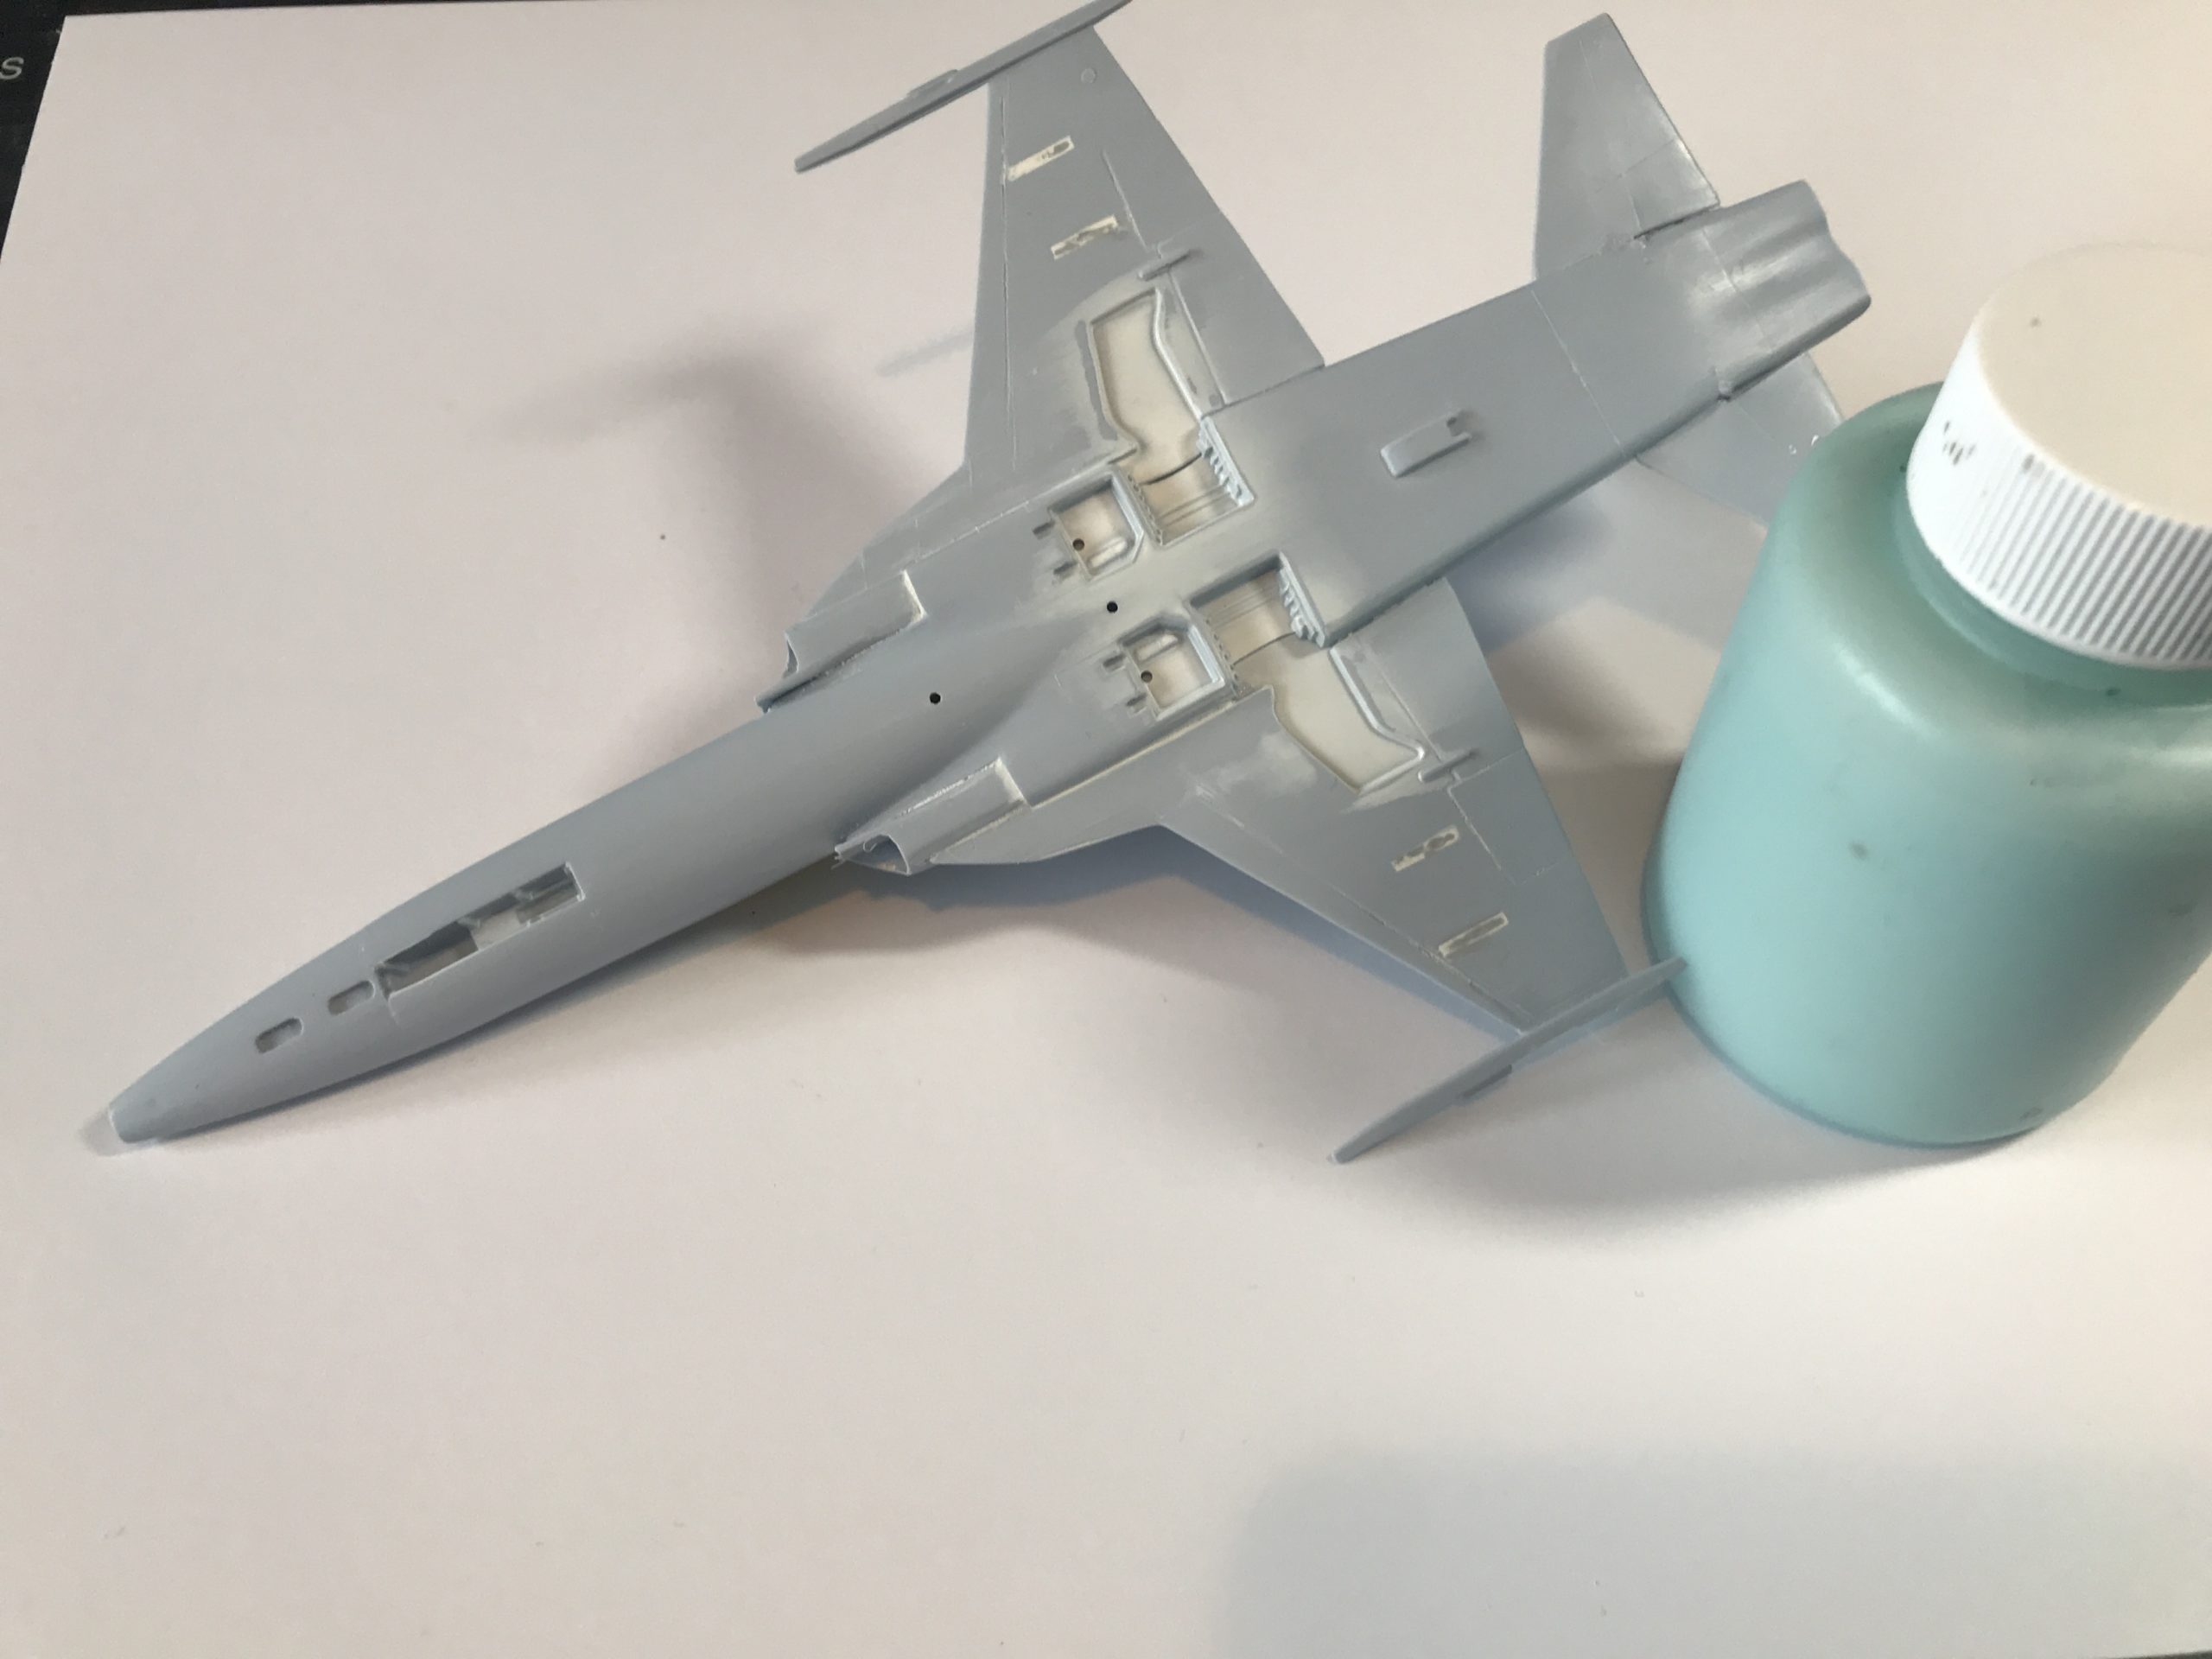
After removing the tape i set to work sanding out the join between the two halves. I also started work on the pylon locations, these will require additional filler. At this point I painted the landing gear and airbrake bays flat white (the instructions call these areas as silver though)
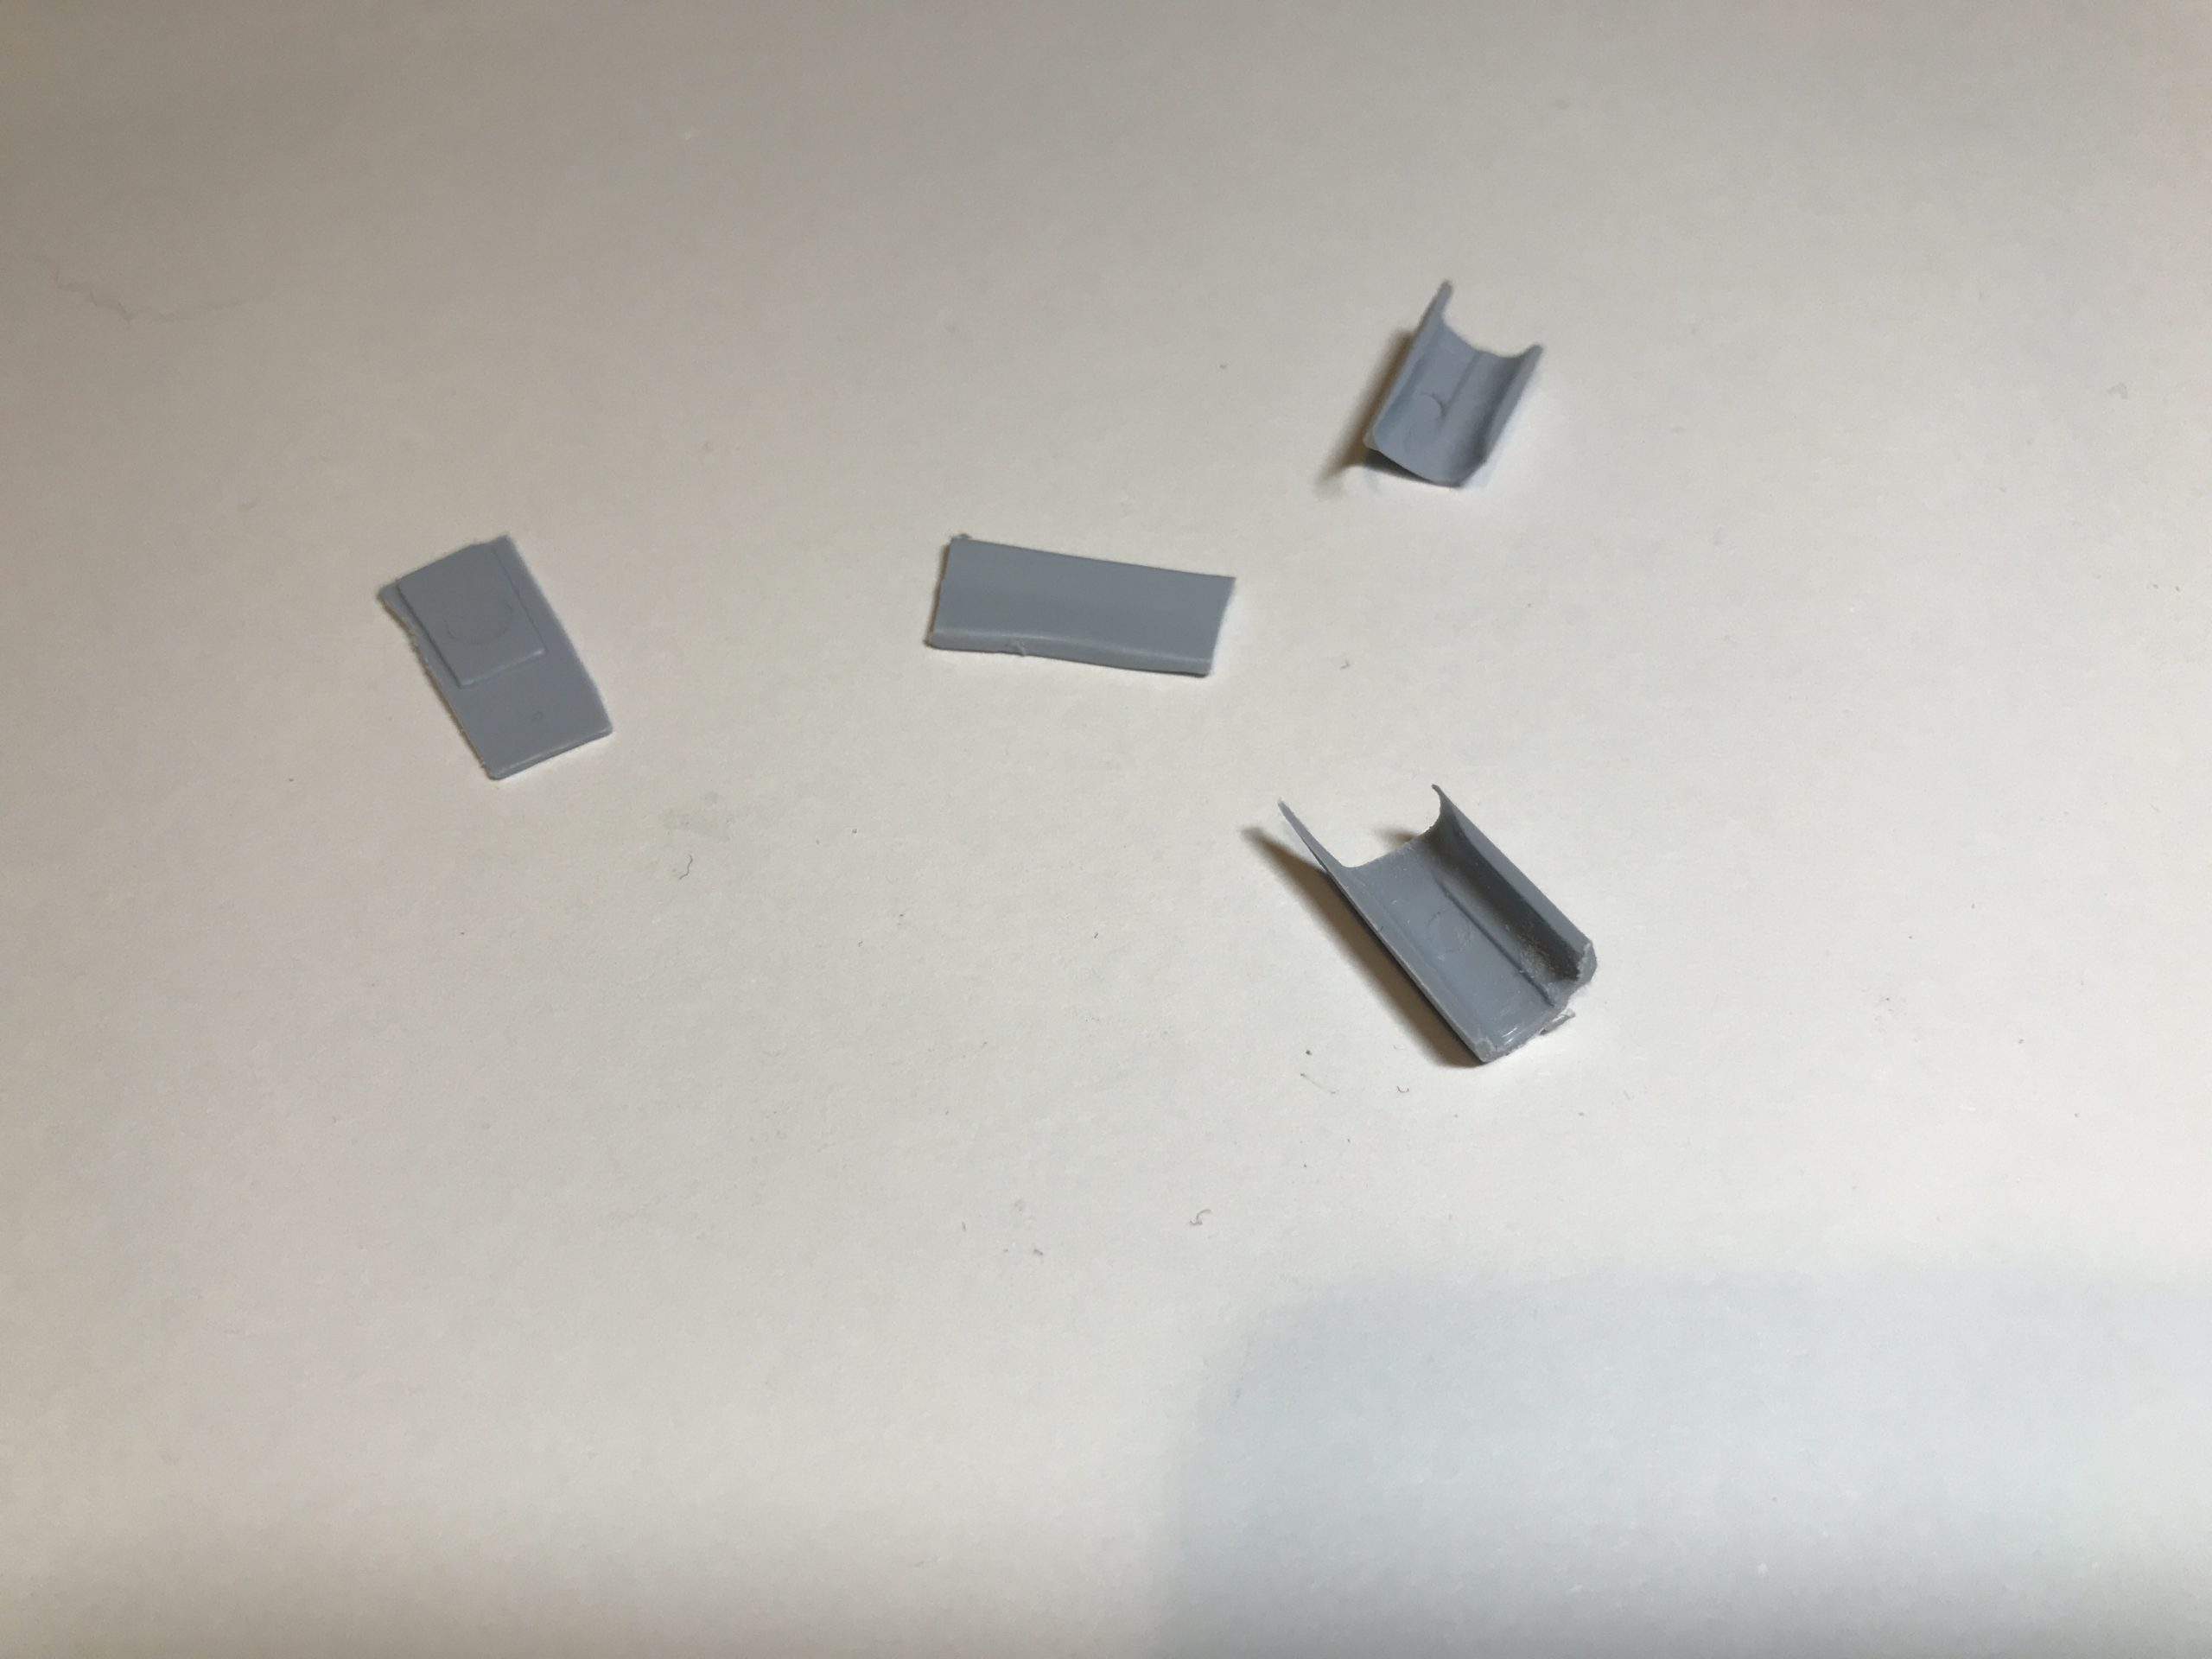
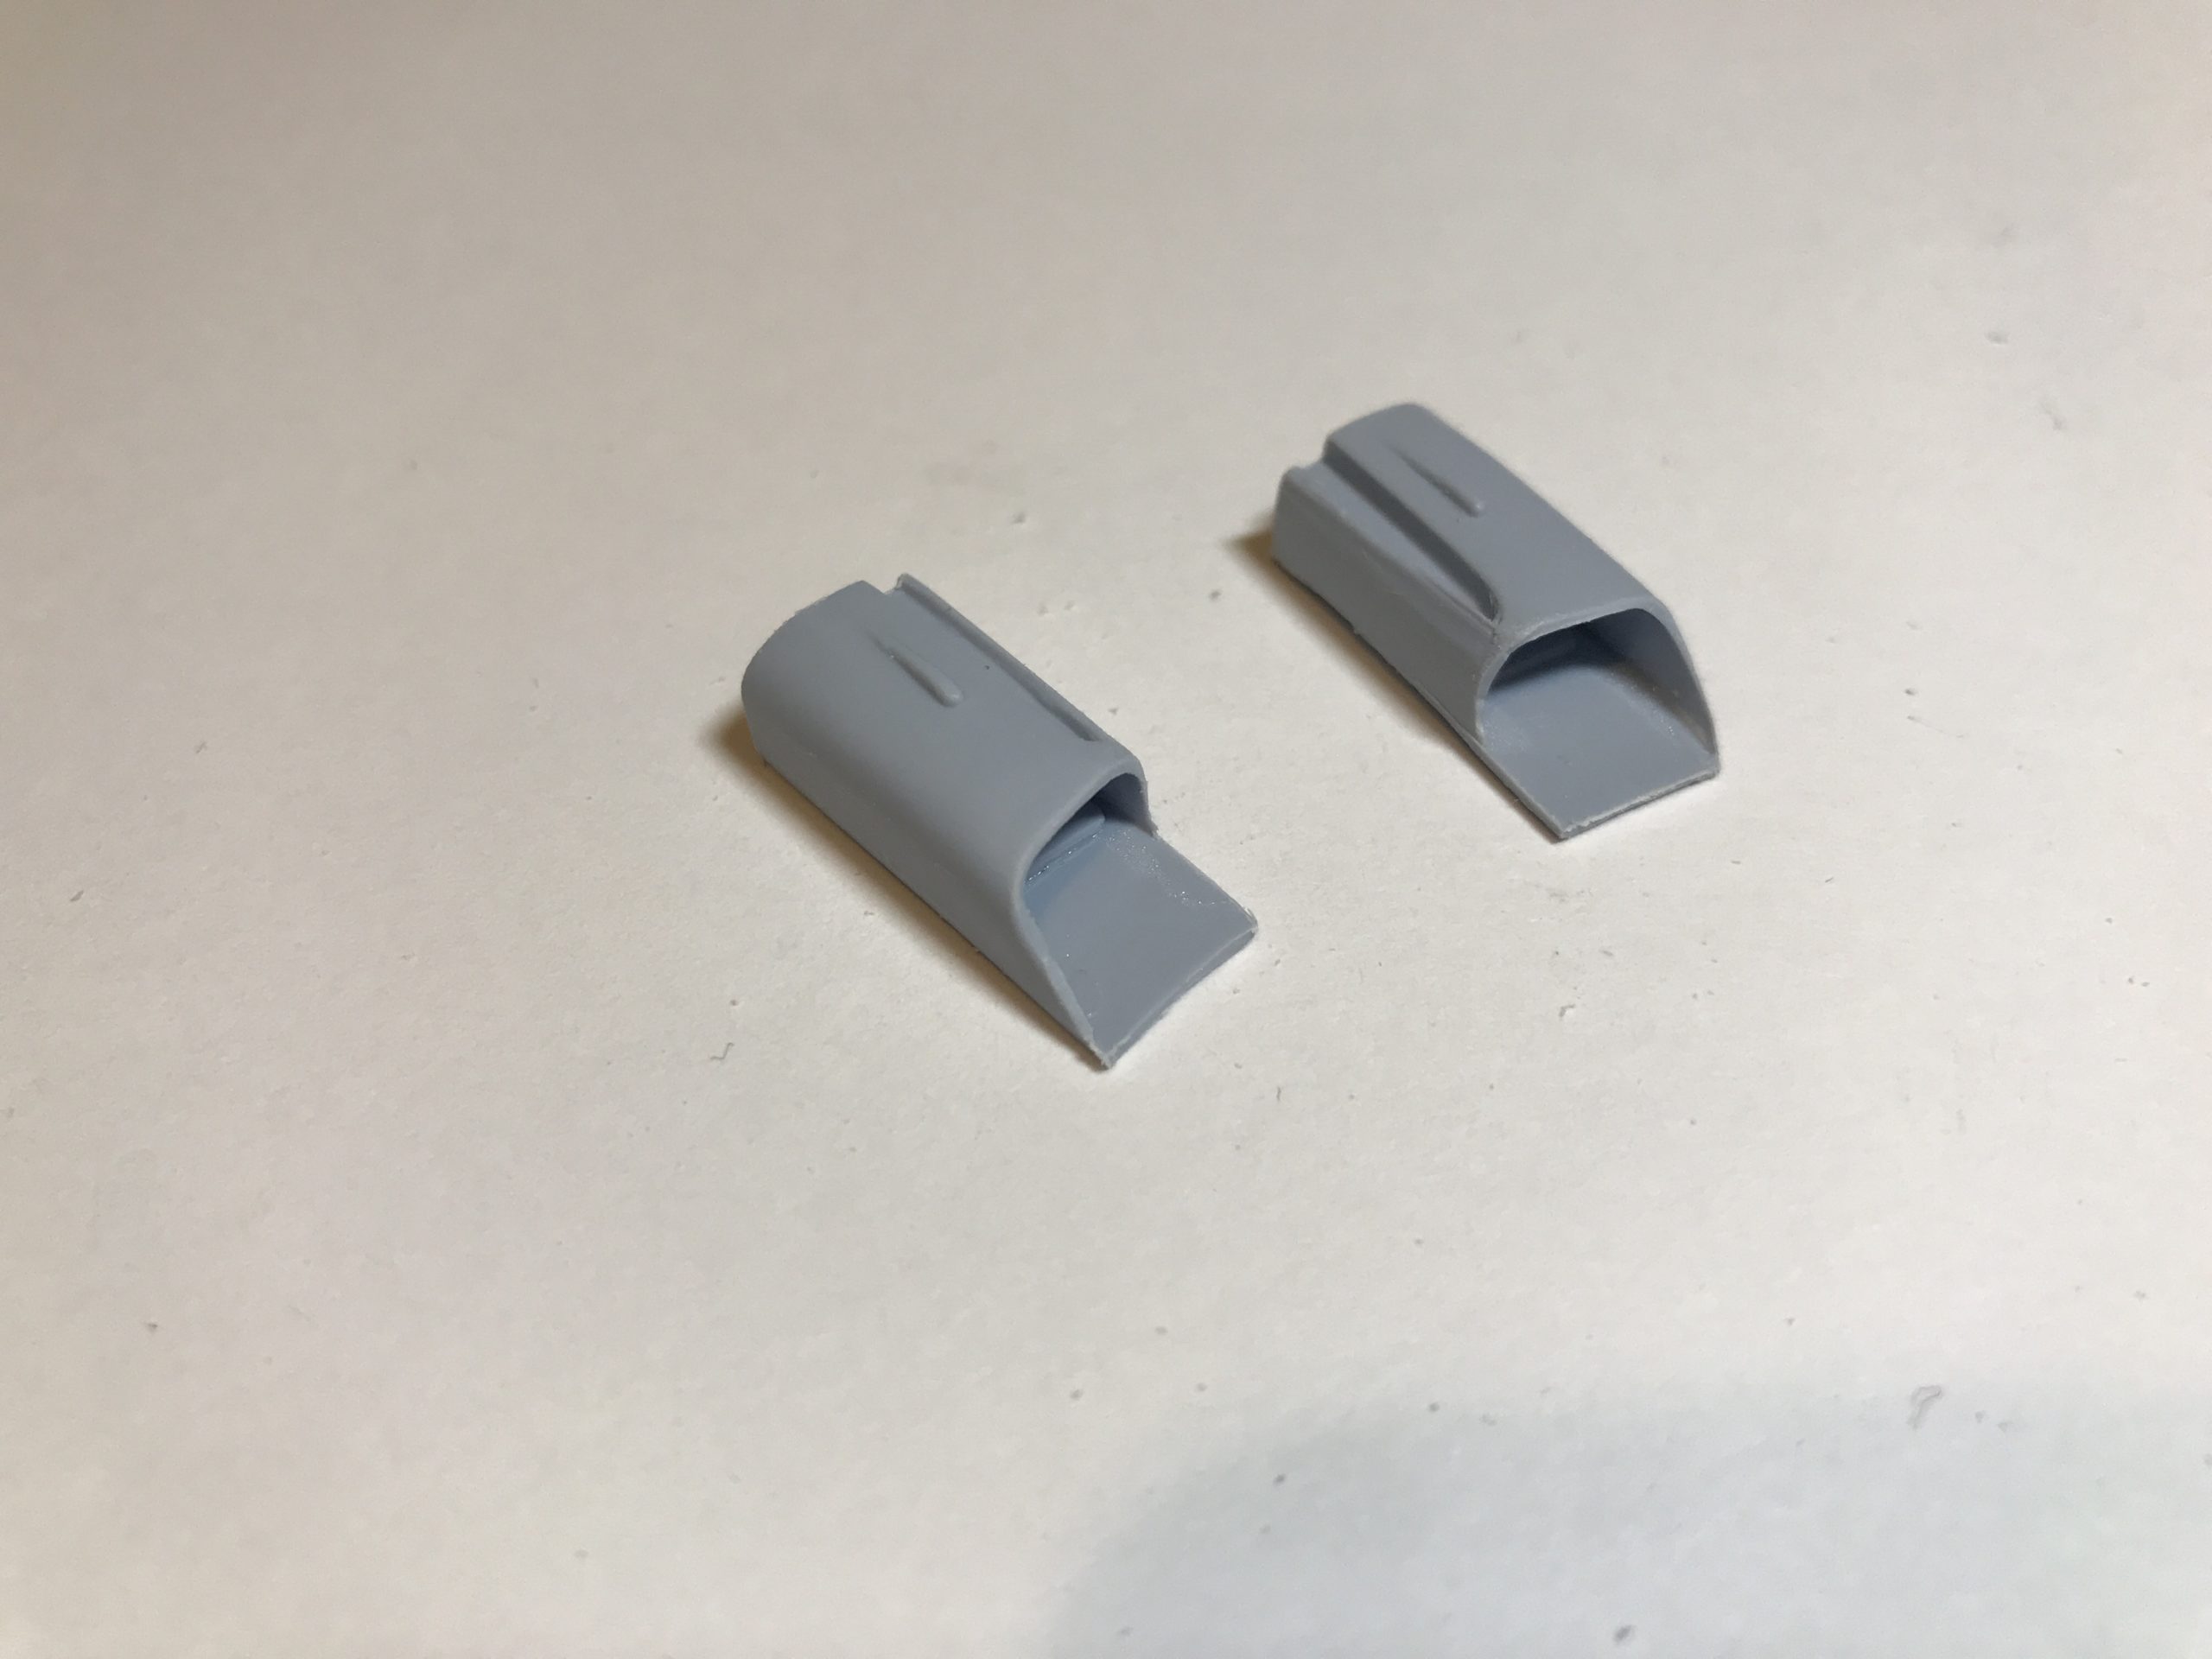
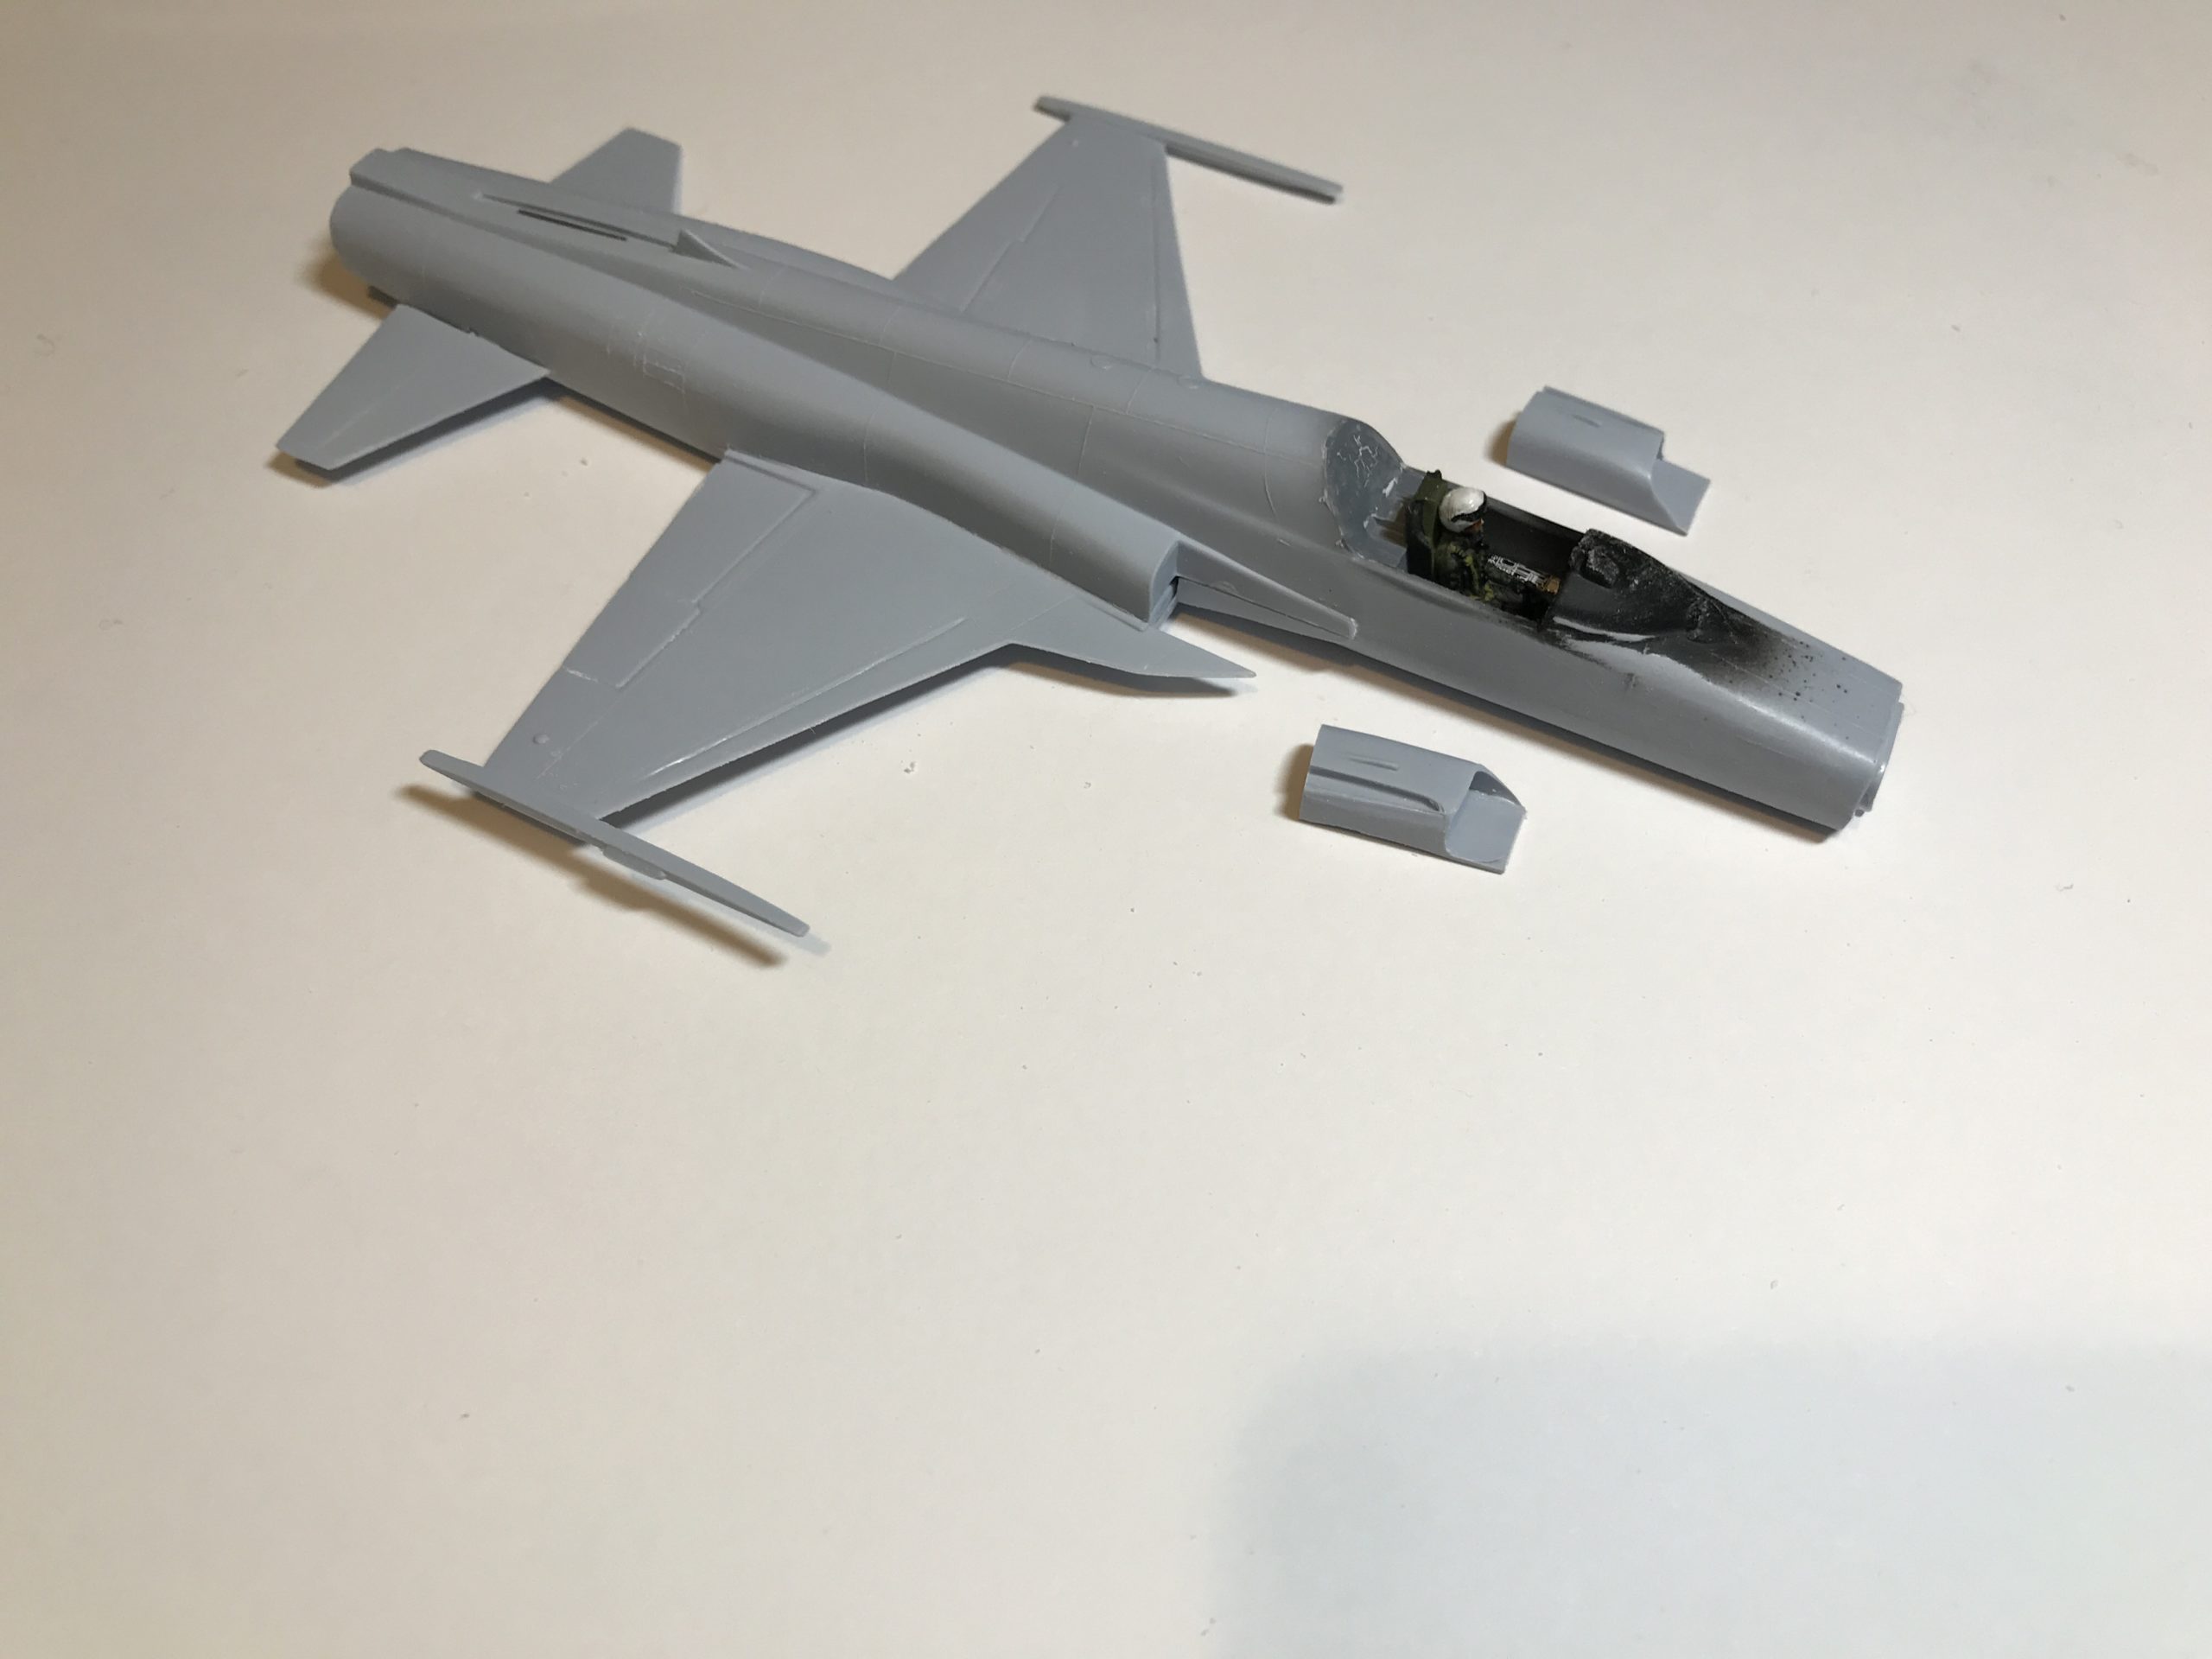
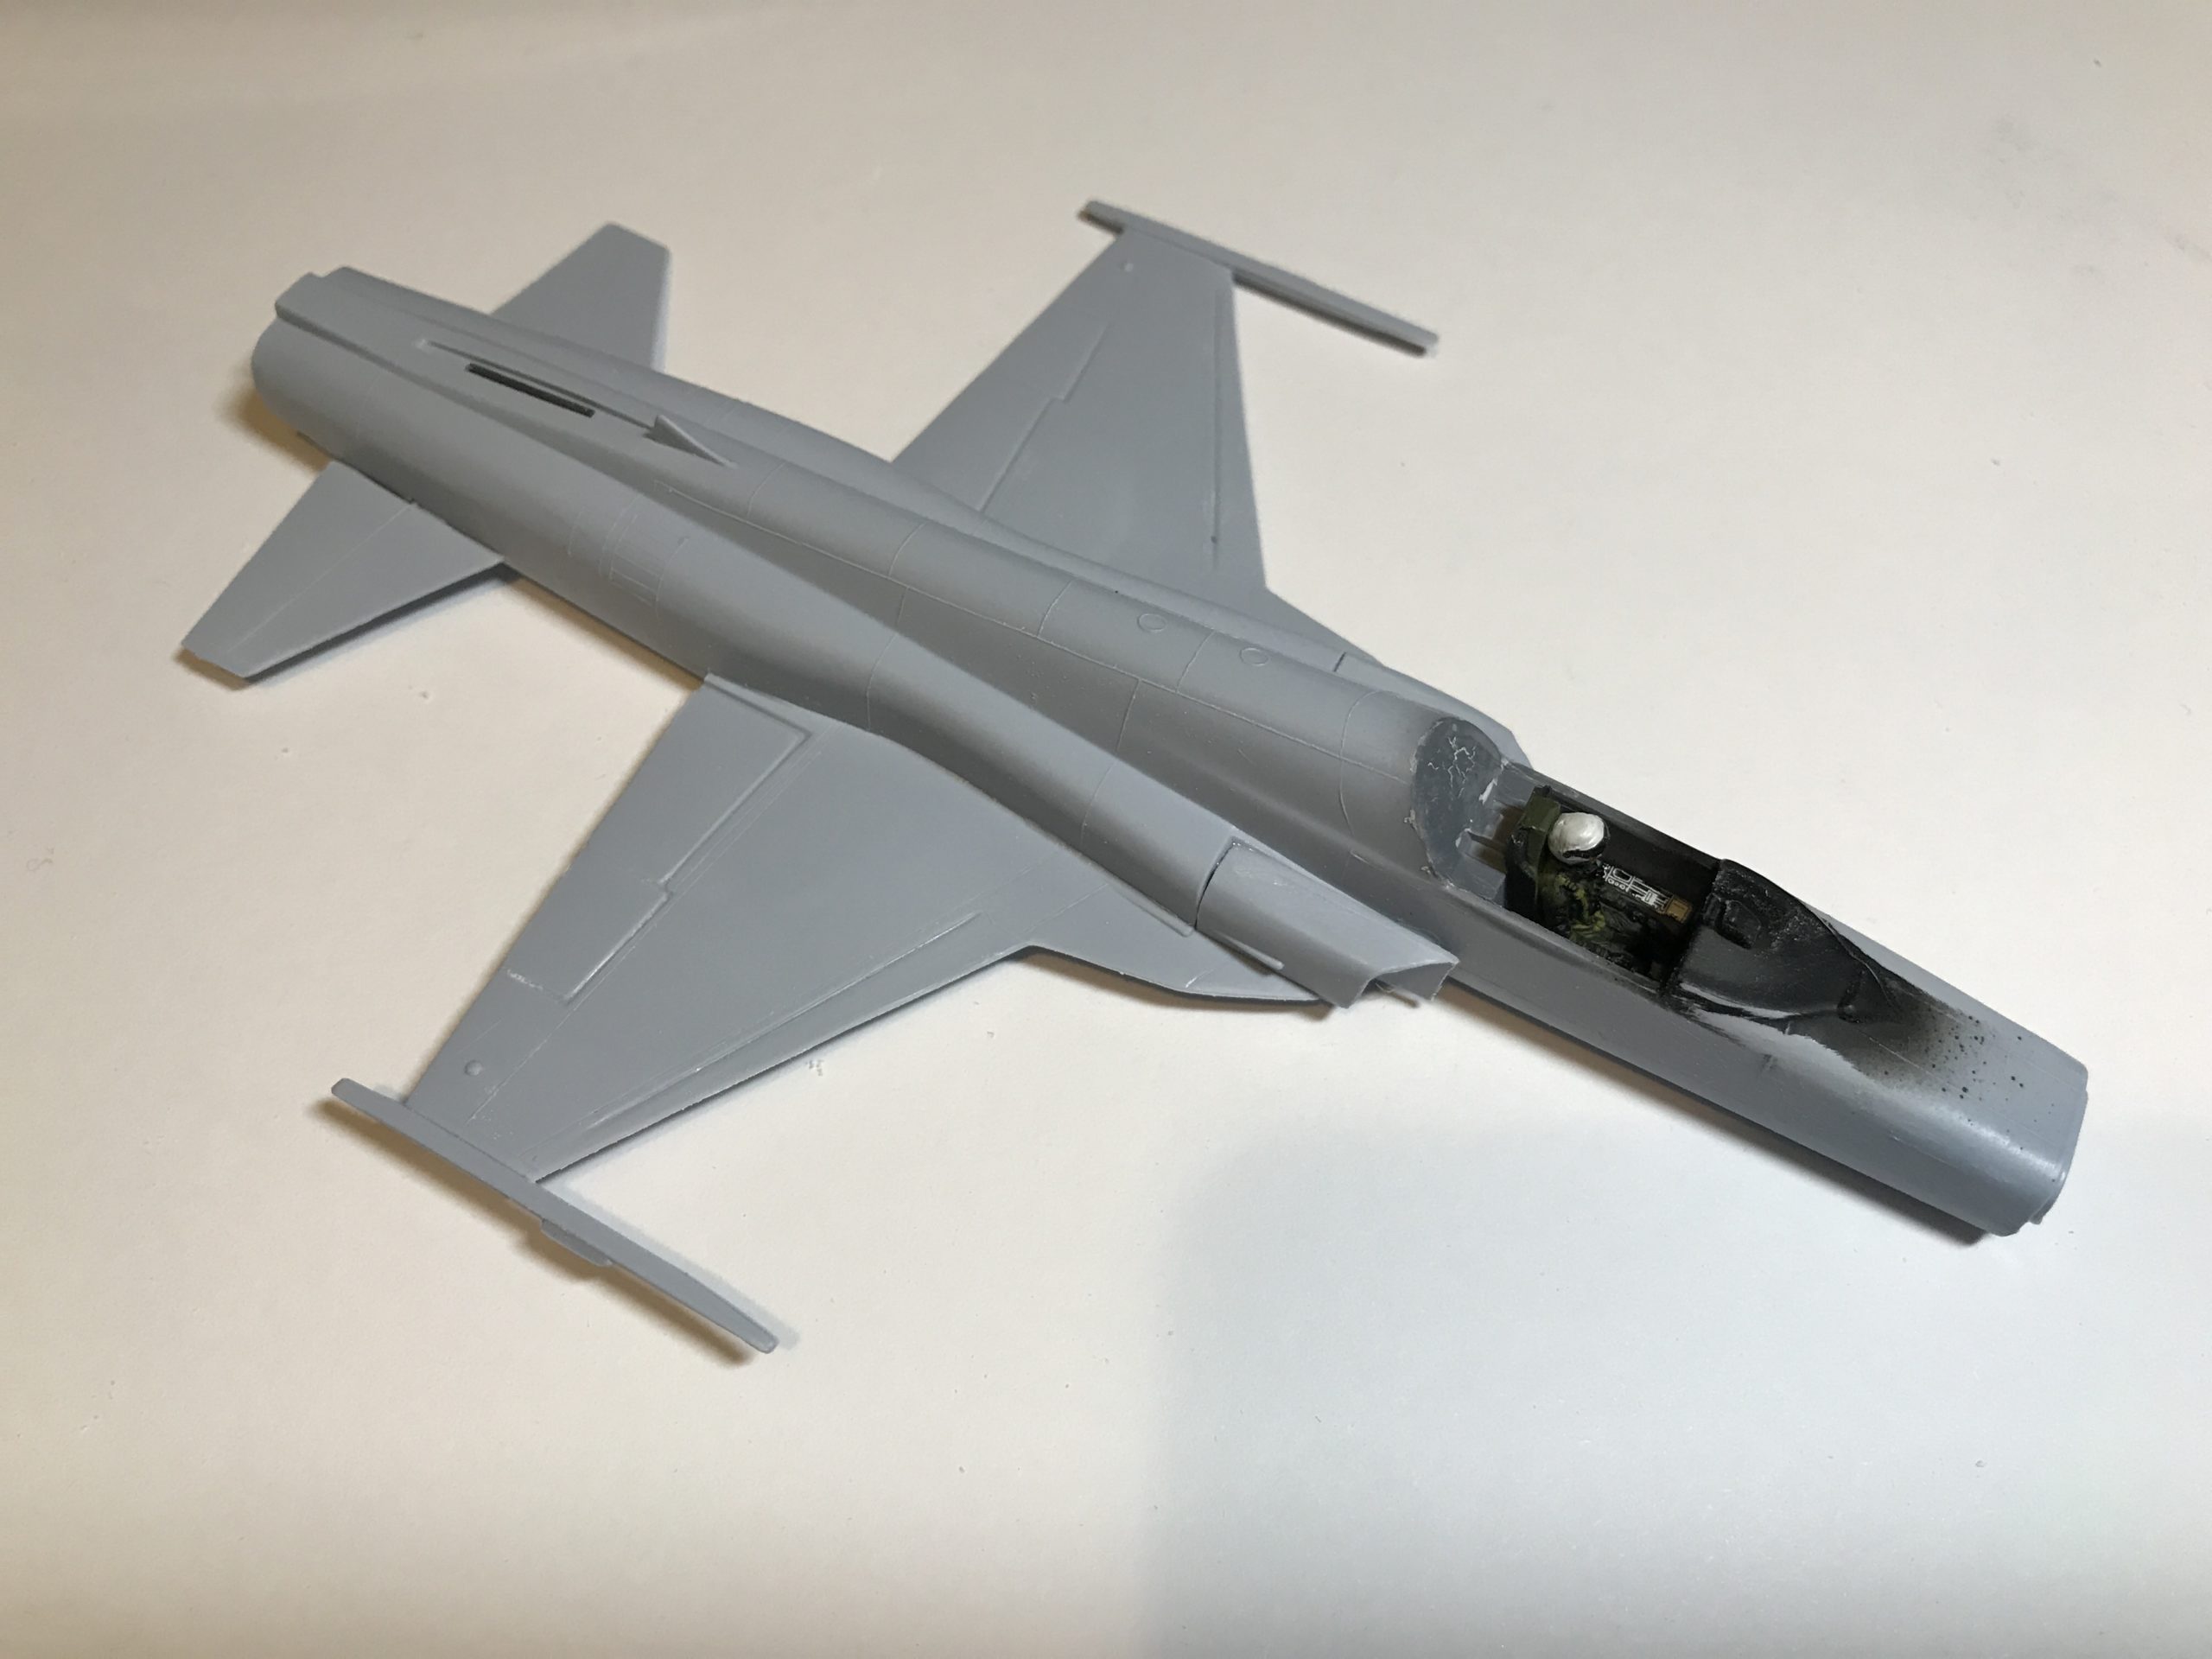
The next job was to assemble and fit the air intakes. This is not a particularly difficult or complicated process, but here are some pictures all the same.
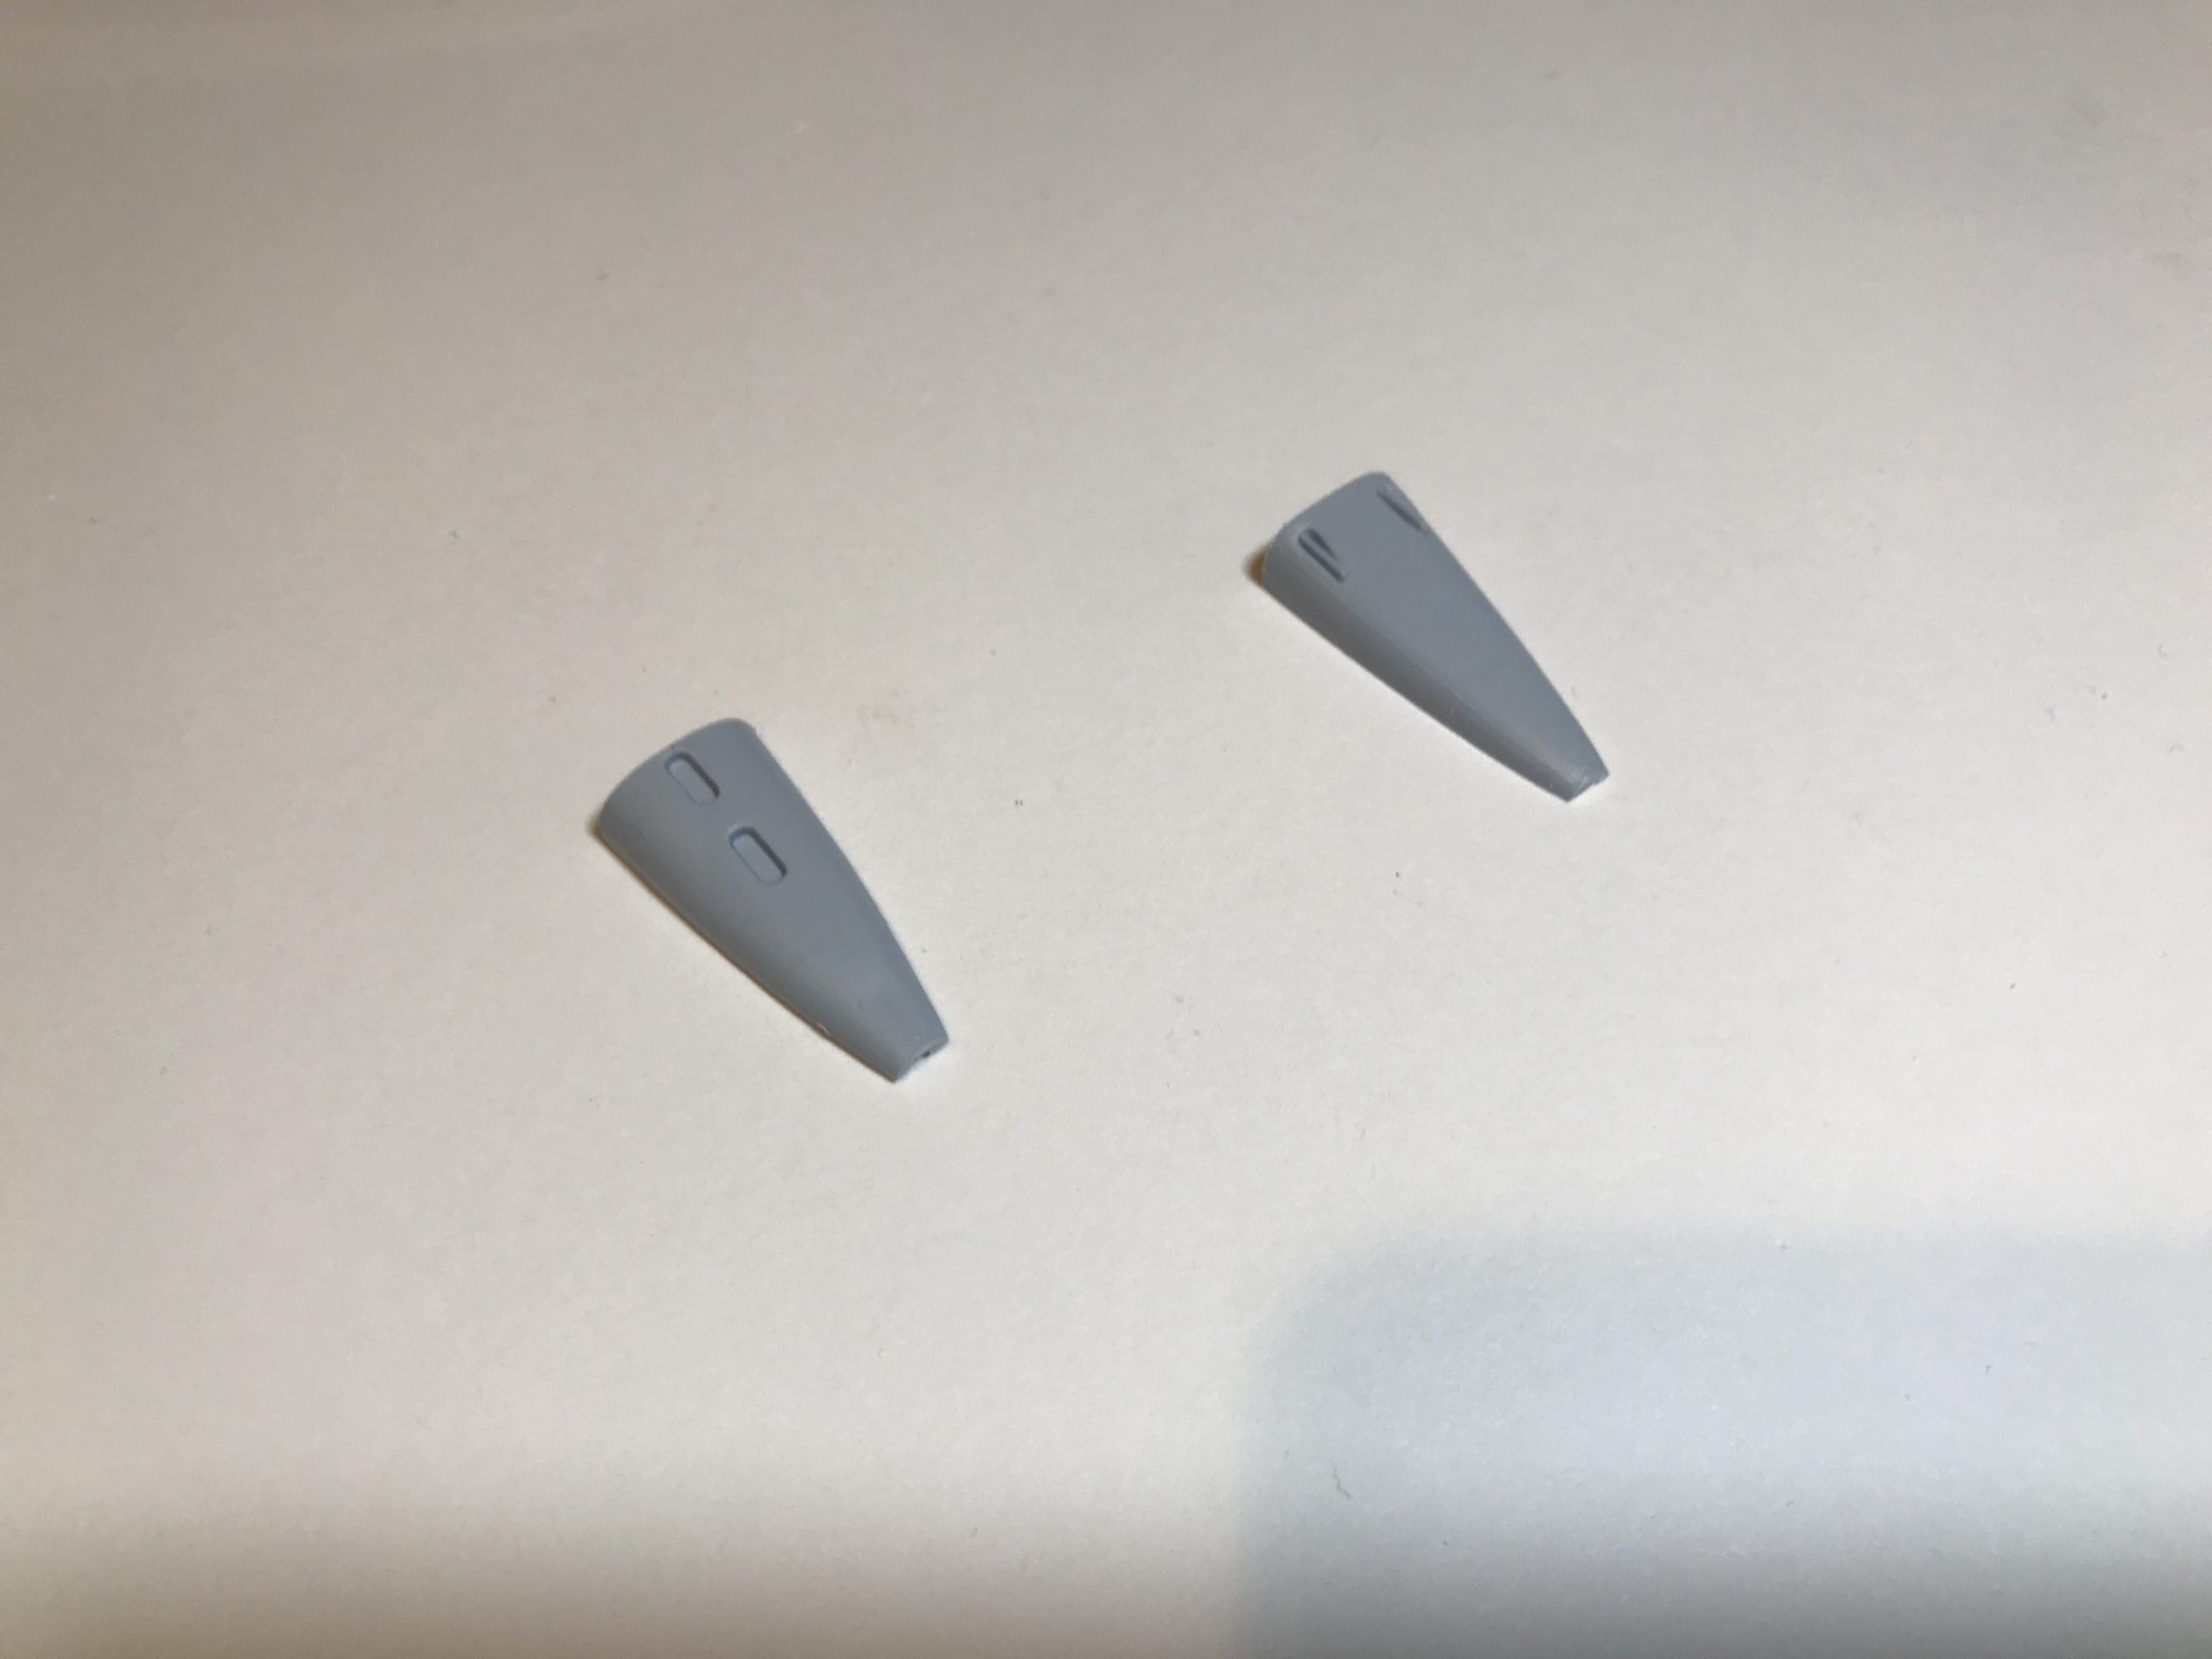
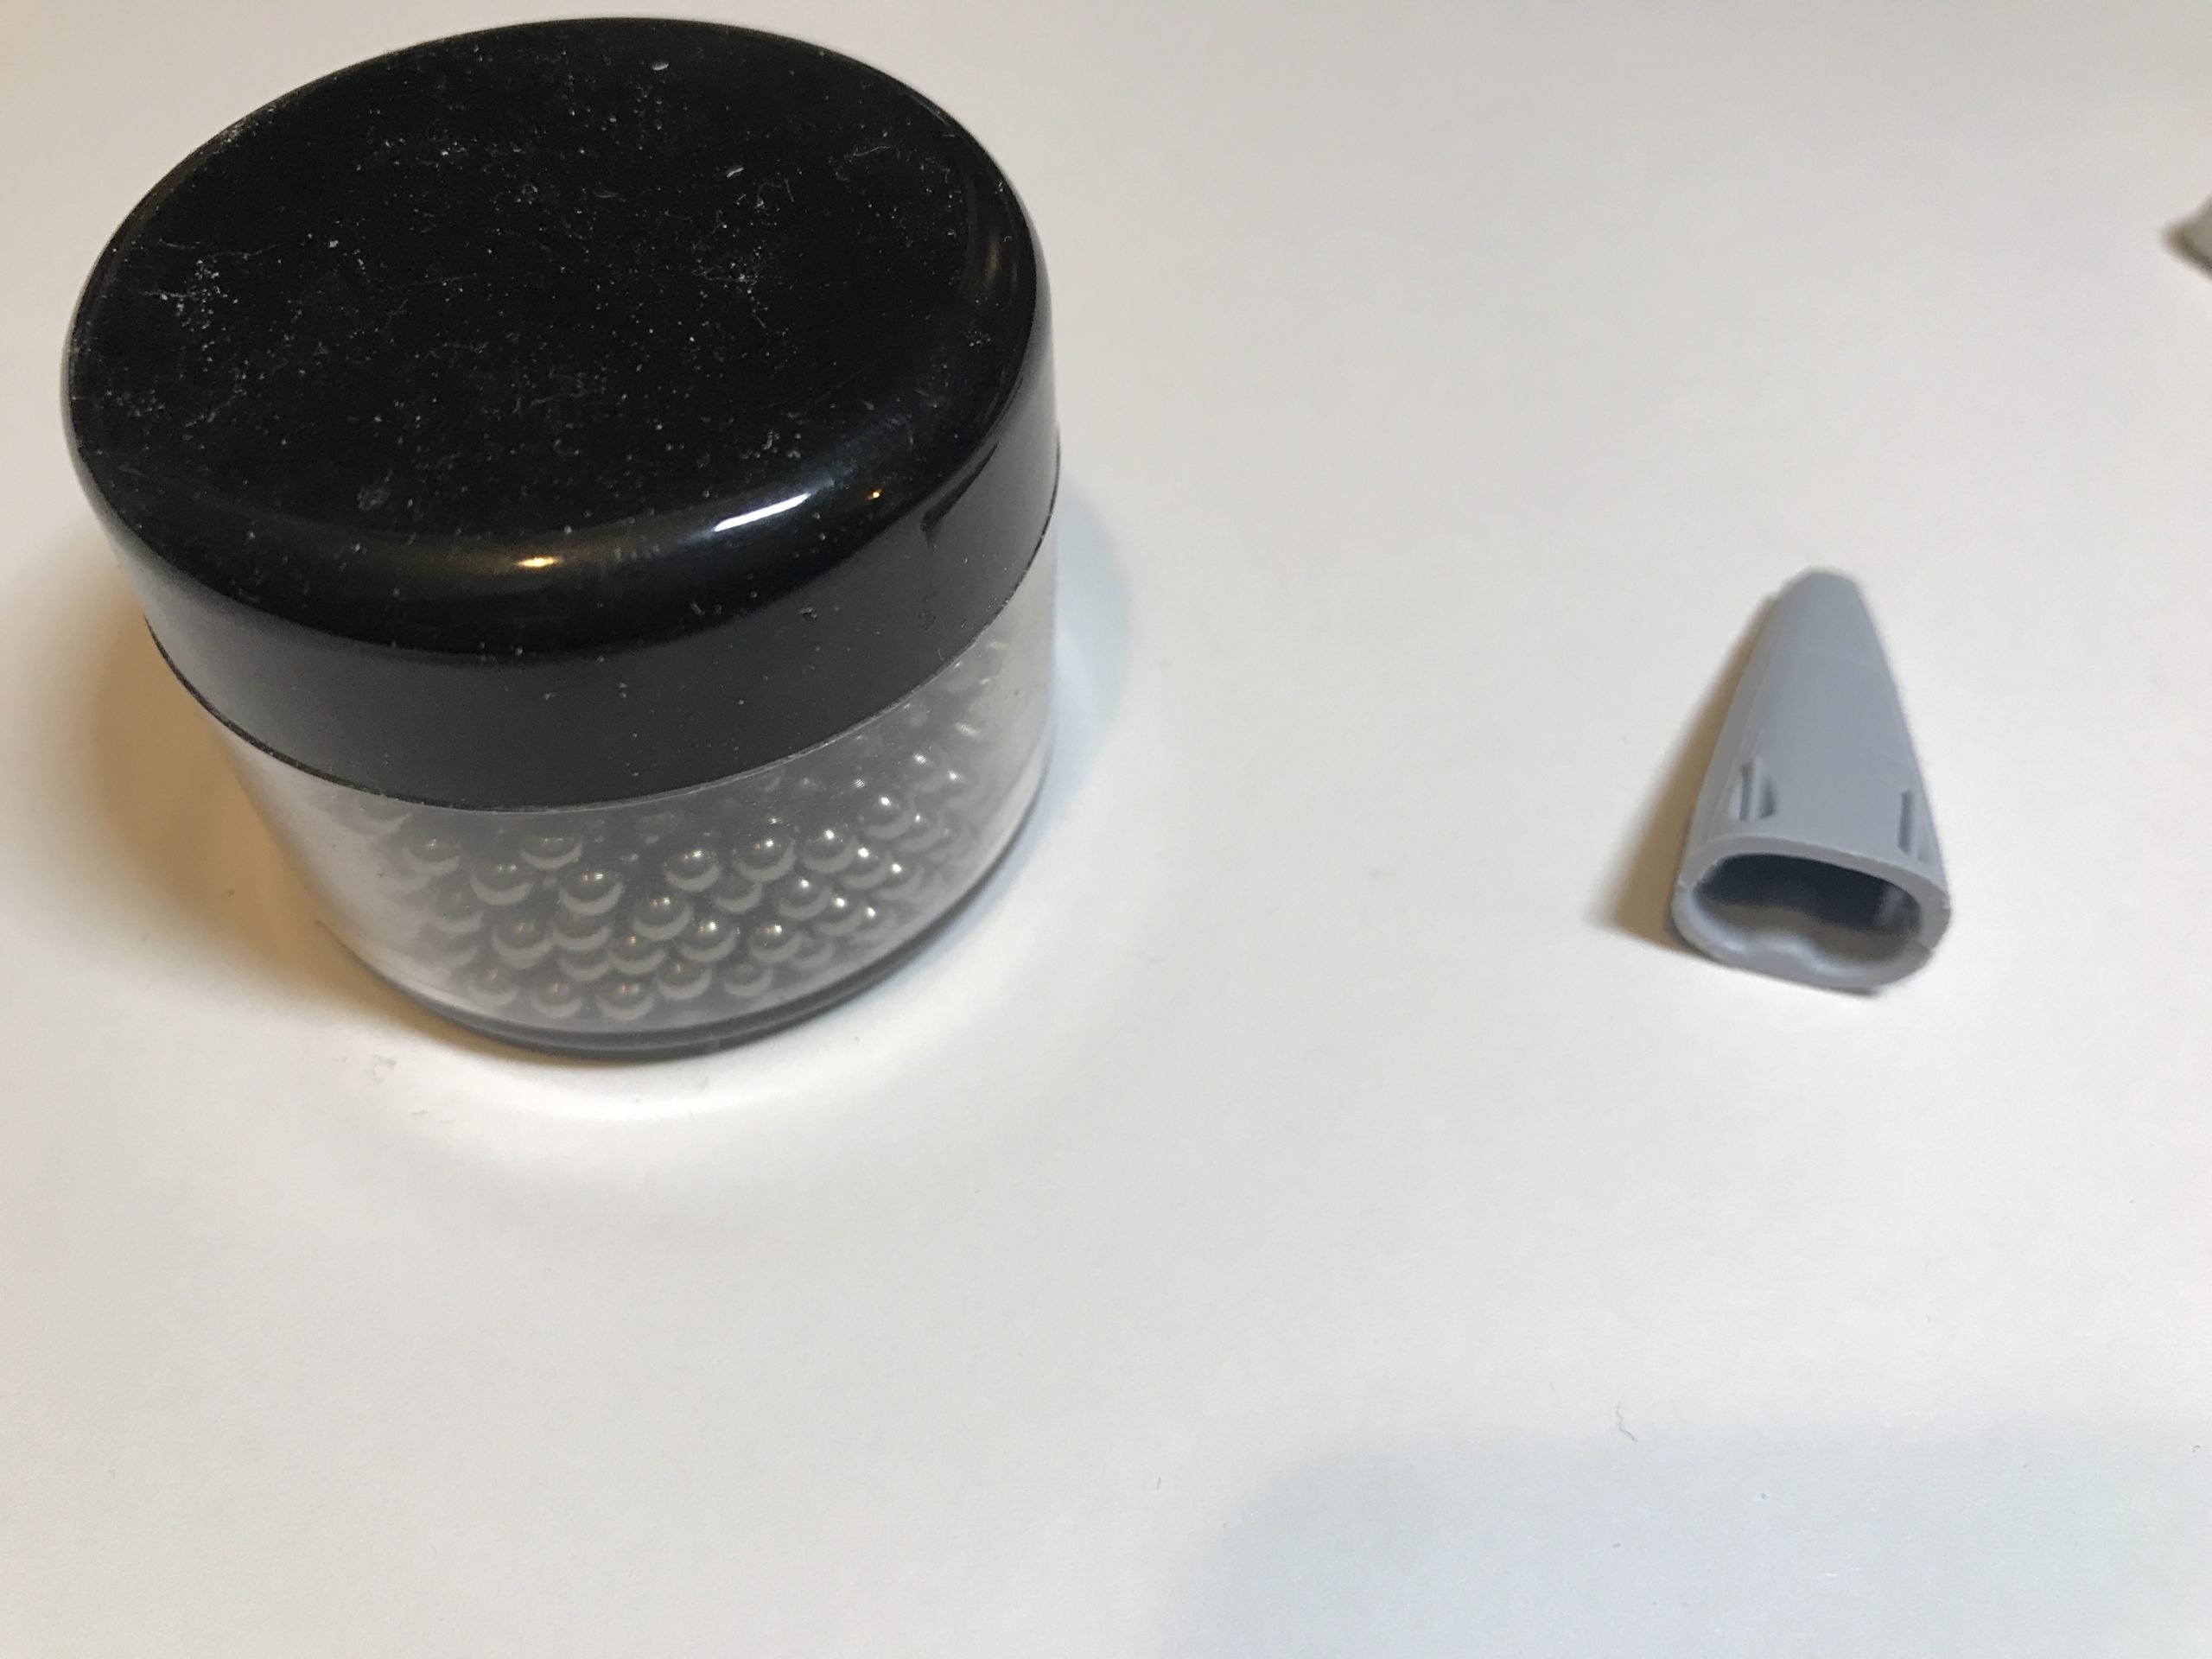
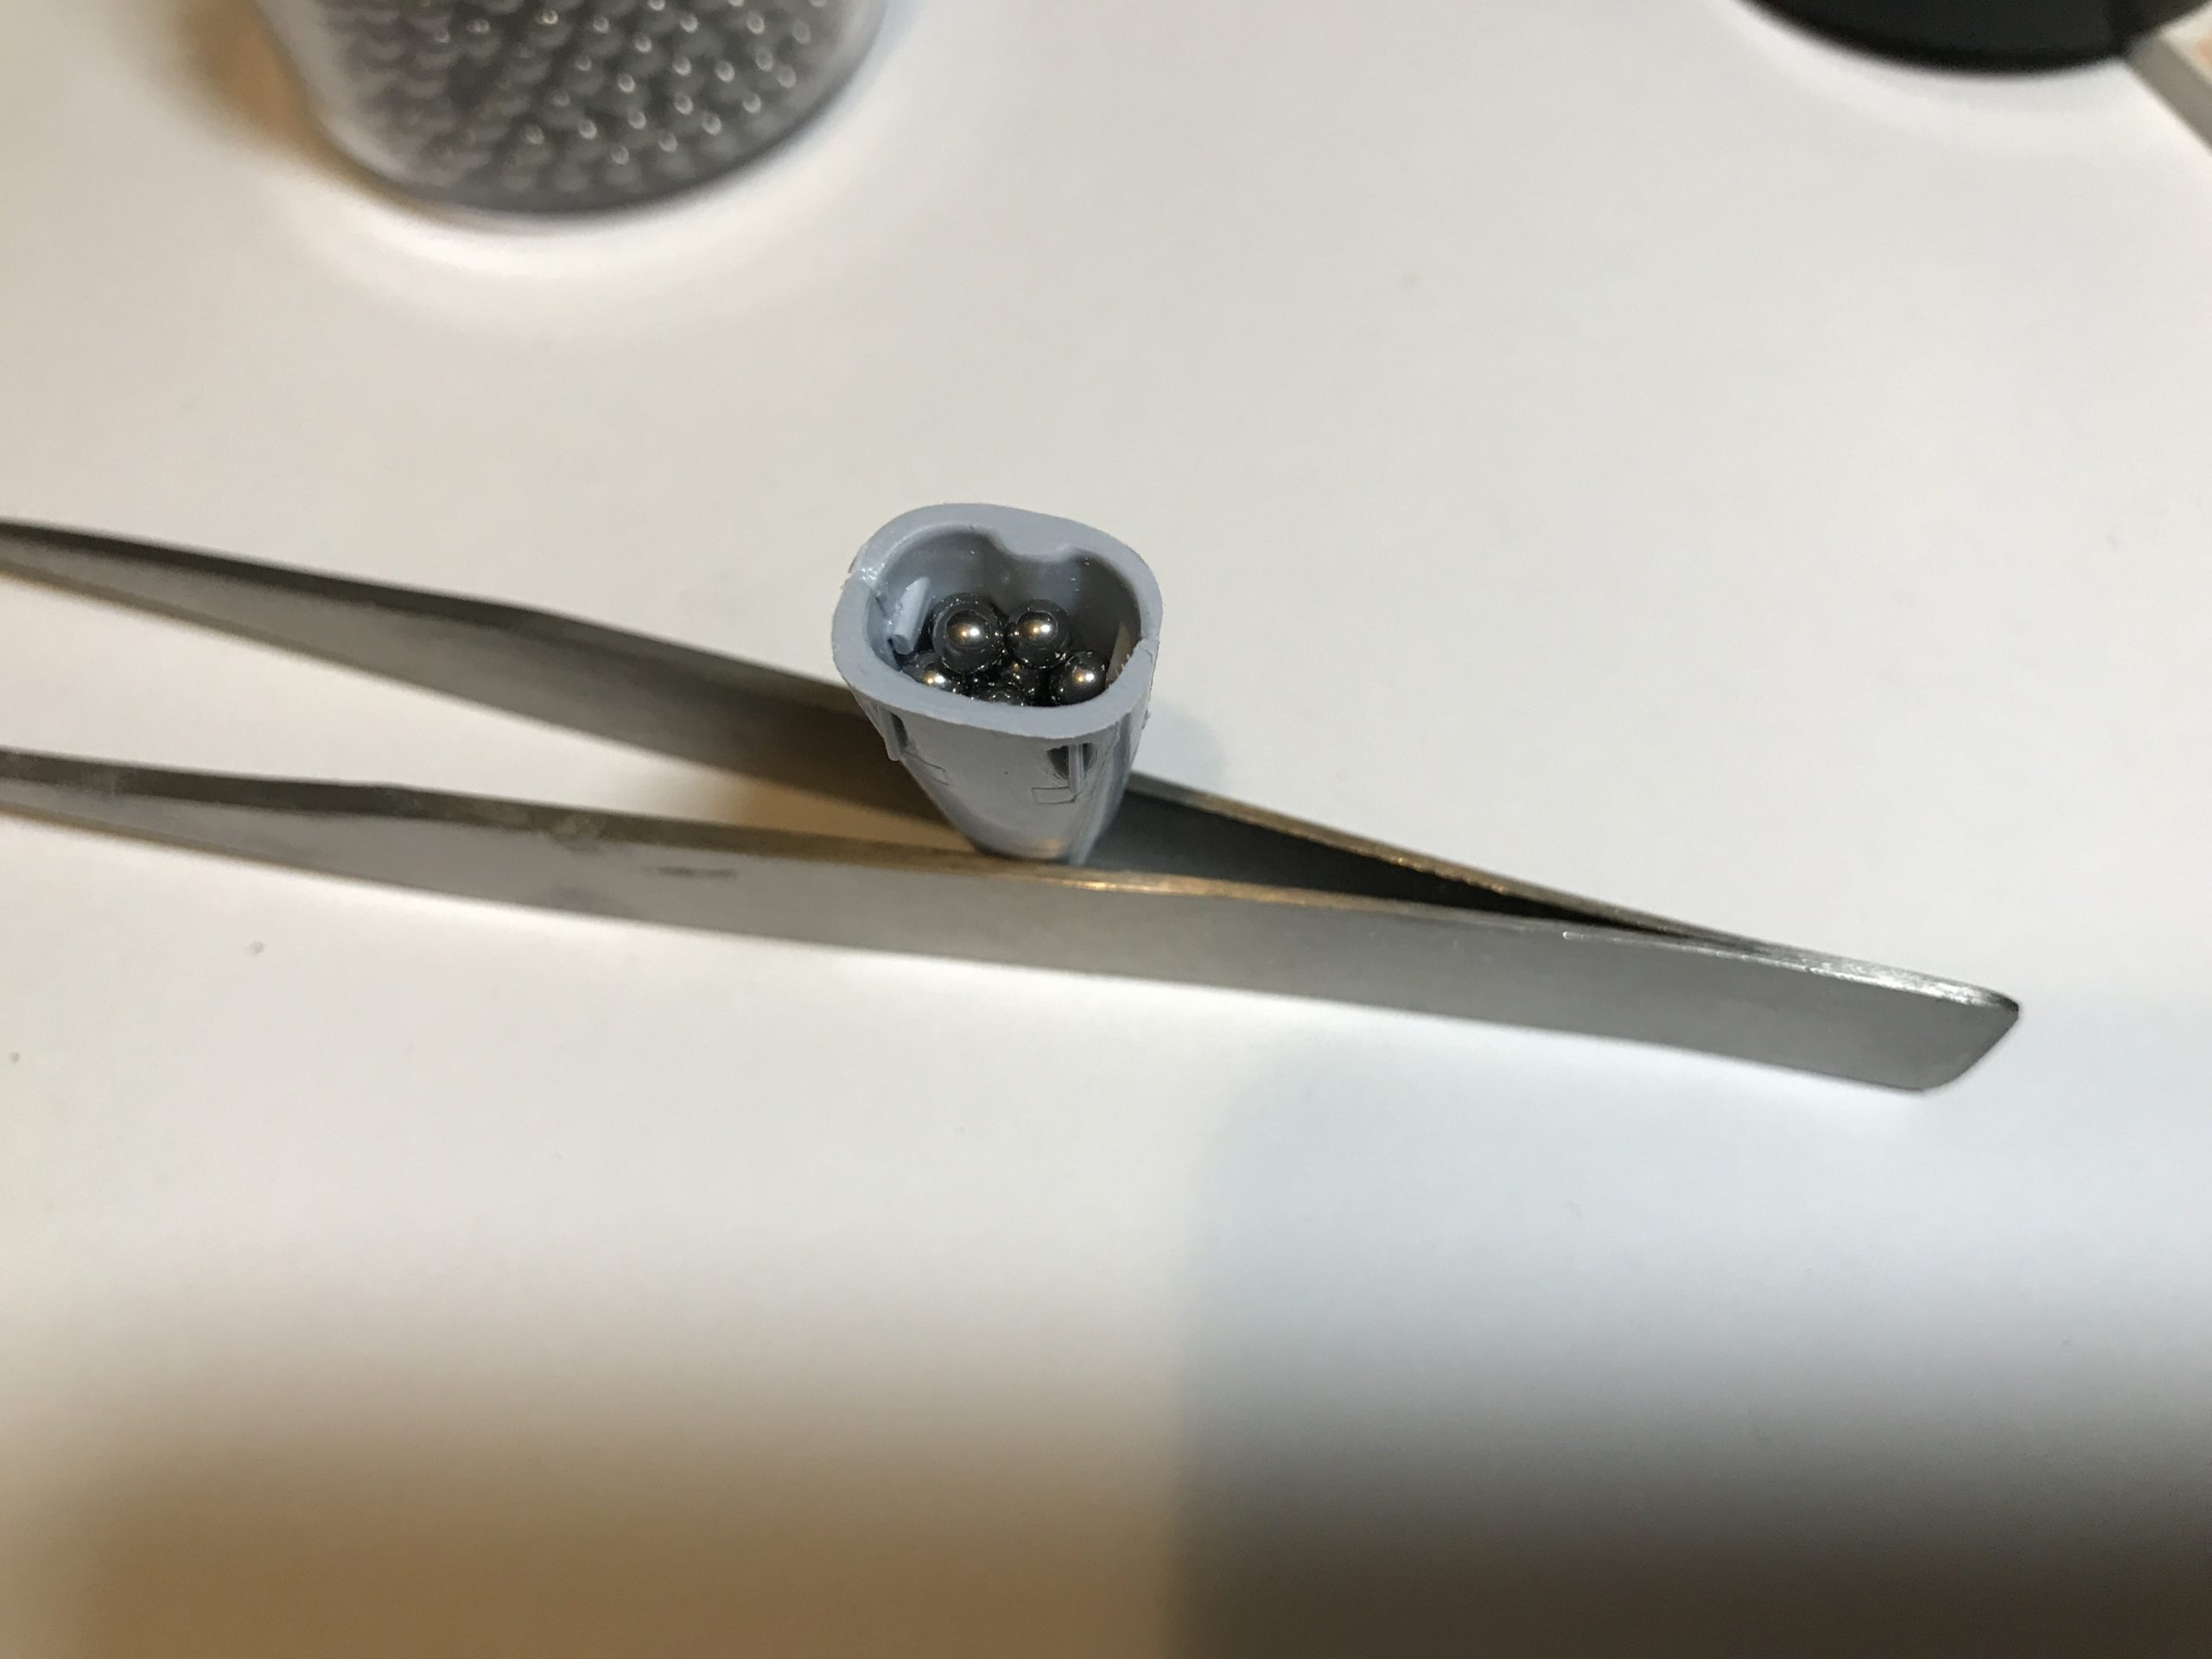
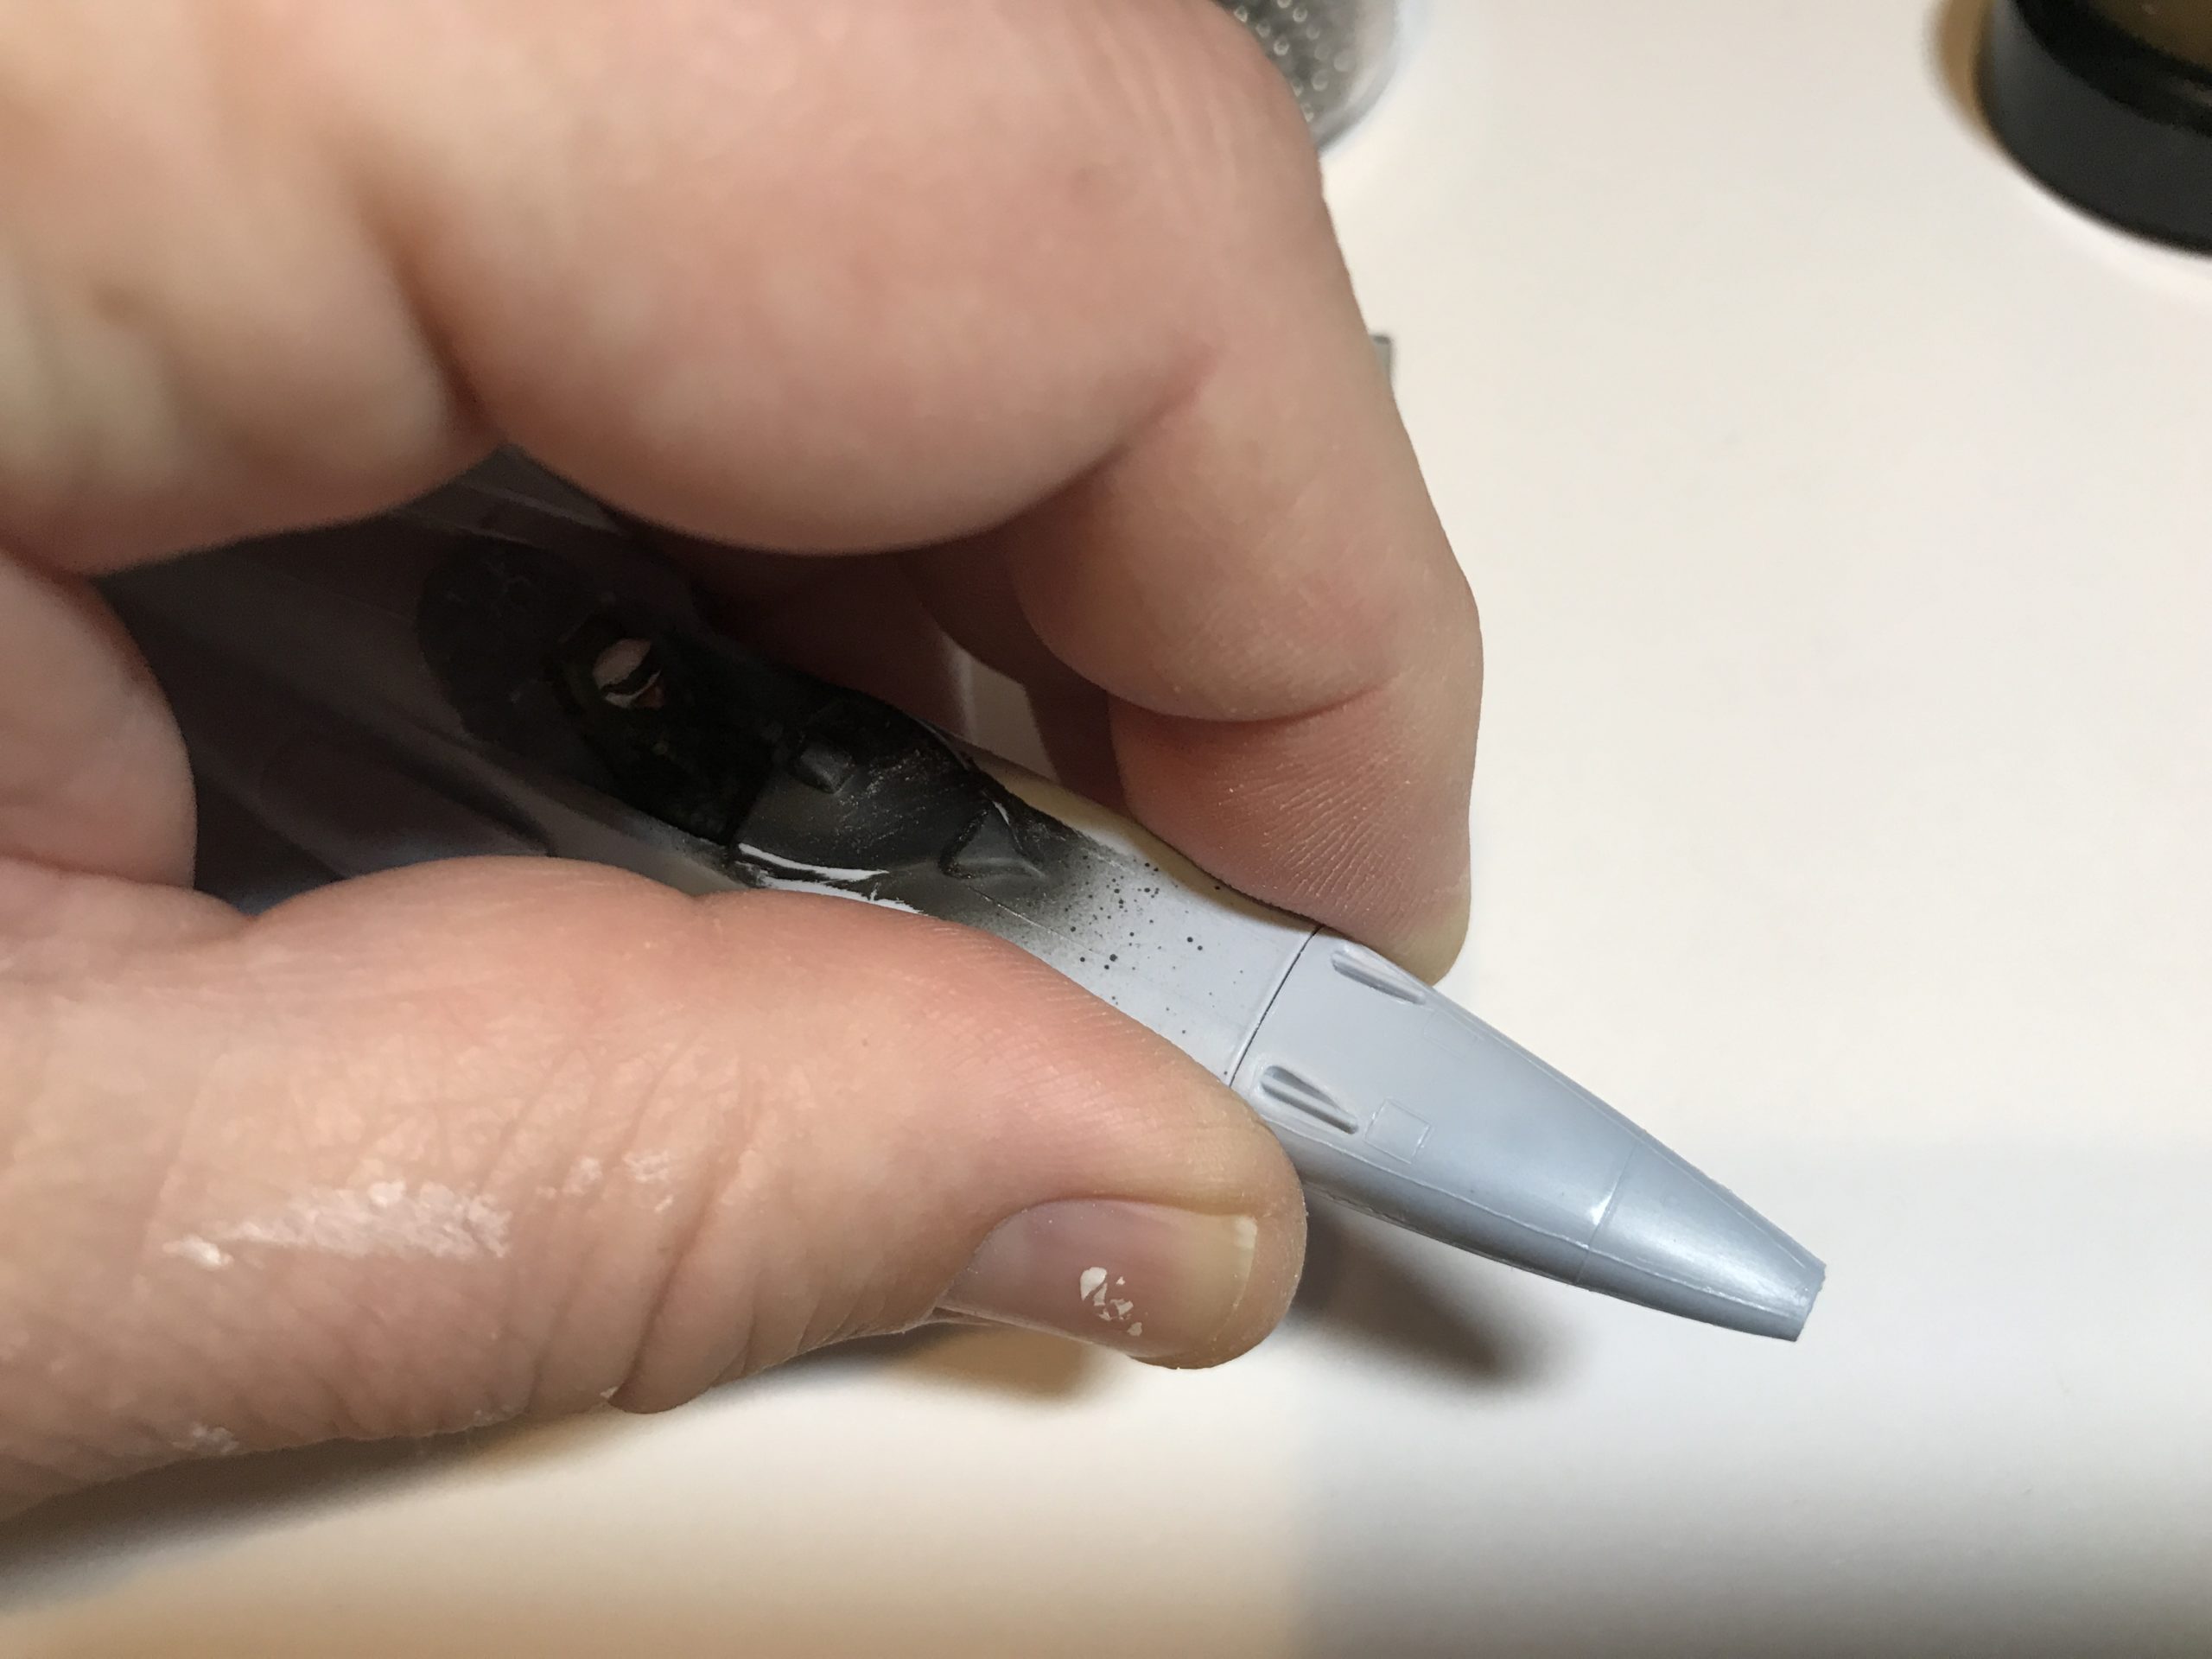
Next job is the nose cone, which is two small pieces. This can then be weighted, I use small stainless steel balls (the pot cost about £5 from eBay.) I put as many as I can in the nose check that it still fits on to the model and then lightly drizzle with CA (super glue) to hold everything in place. It’s worth mentioning that there are many products for adding weight. My solution as usual strikes the balance between cheapness and effectiveness (I save my money to spend on kits). The nose can now be glued (with Revell Contacta this time) onto the fuselage.
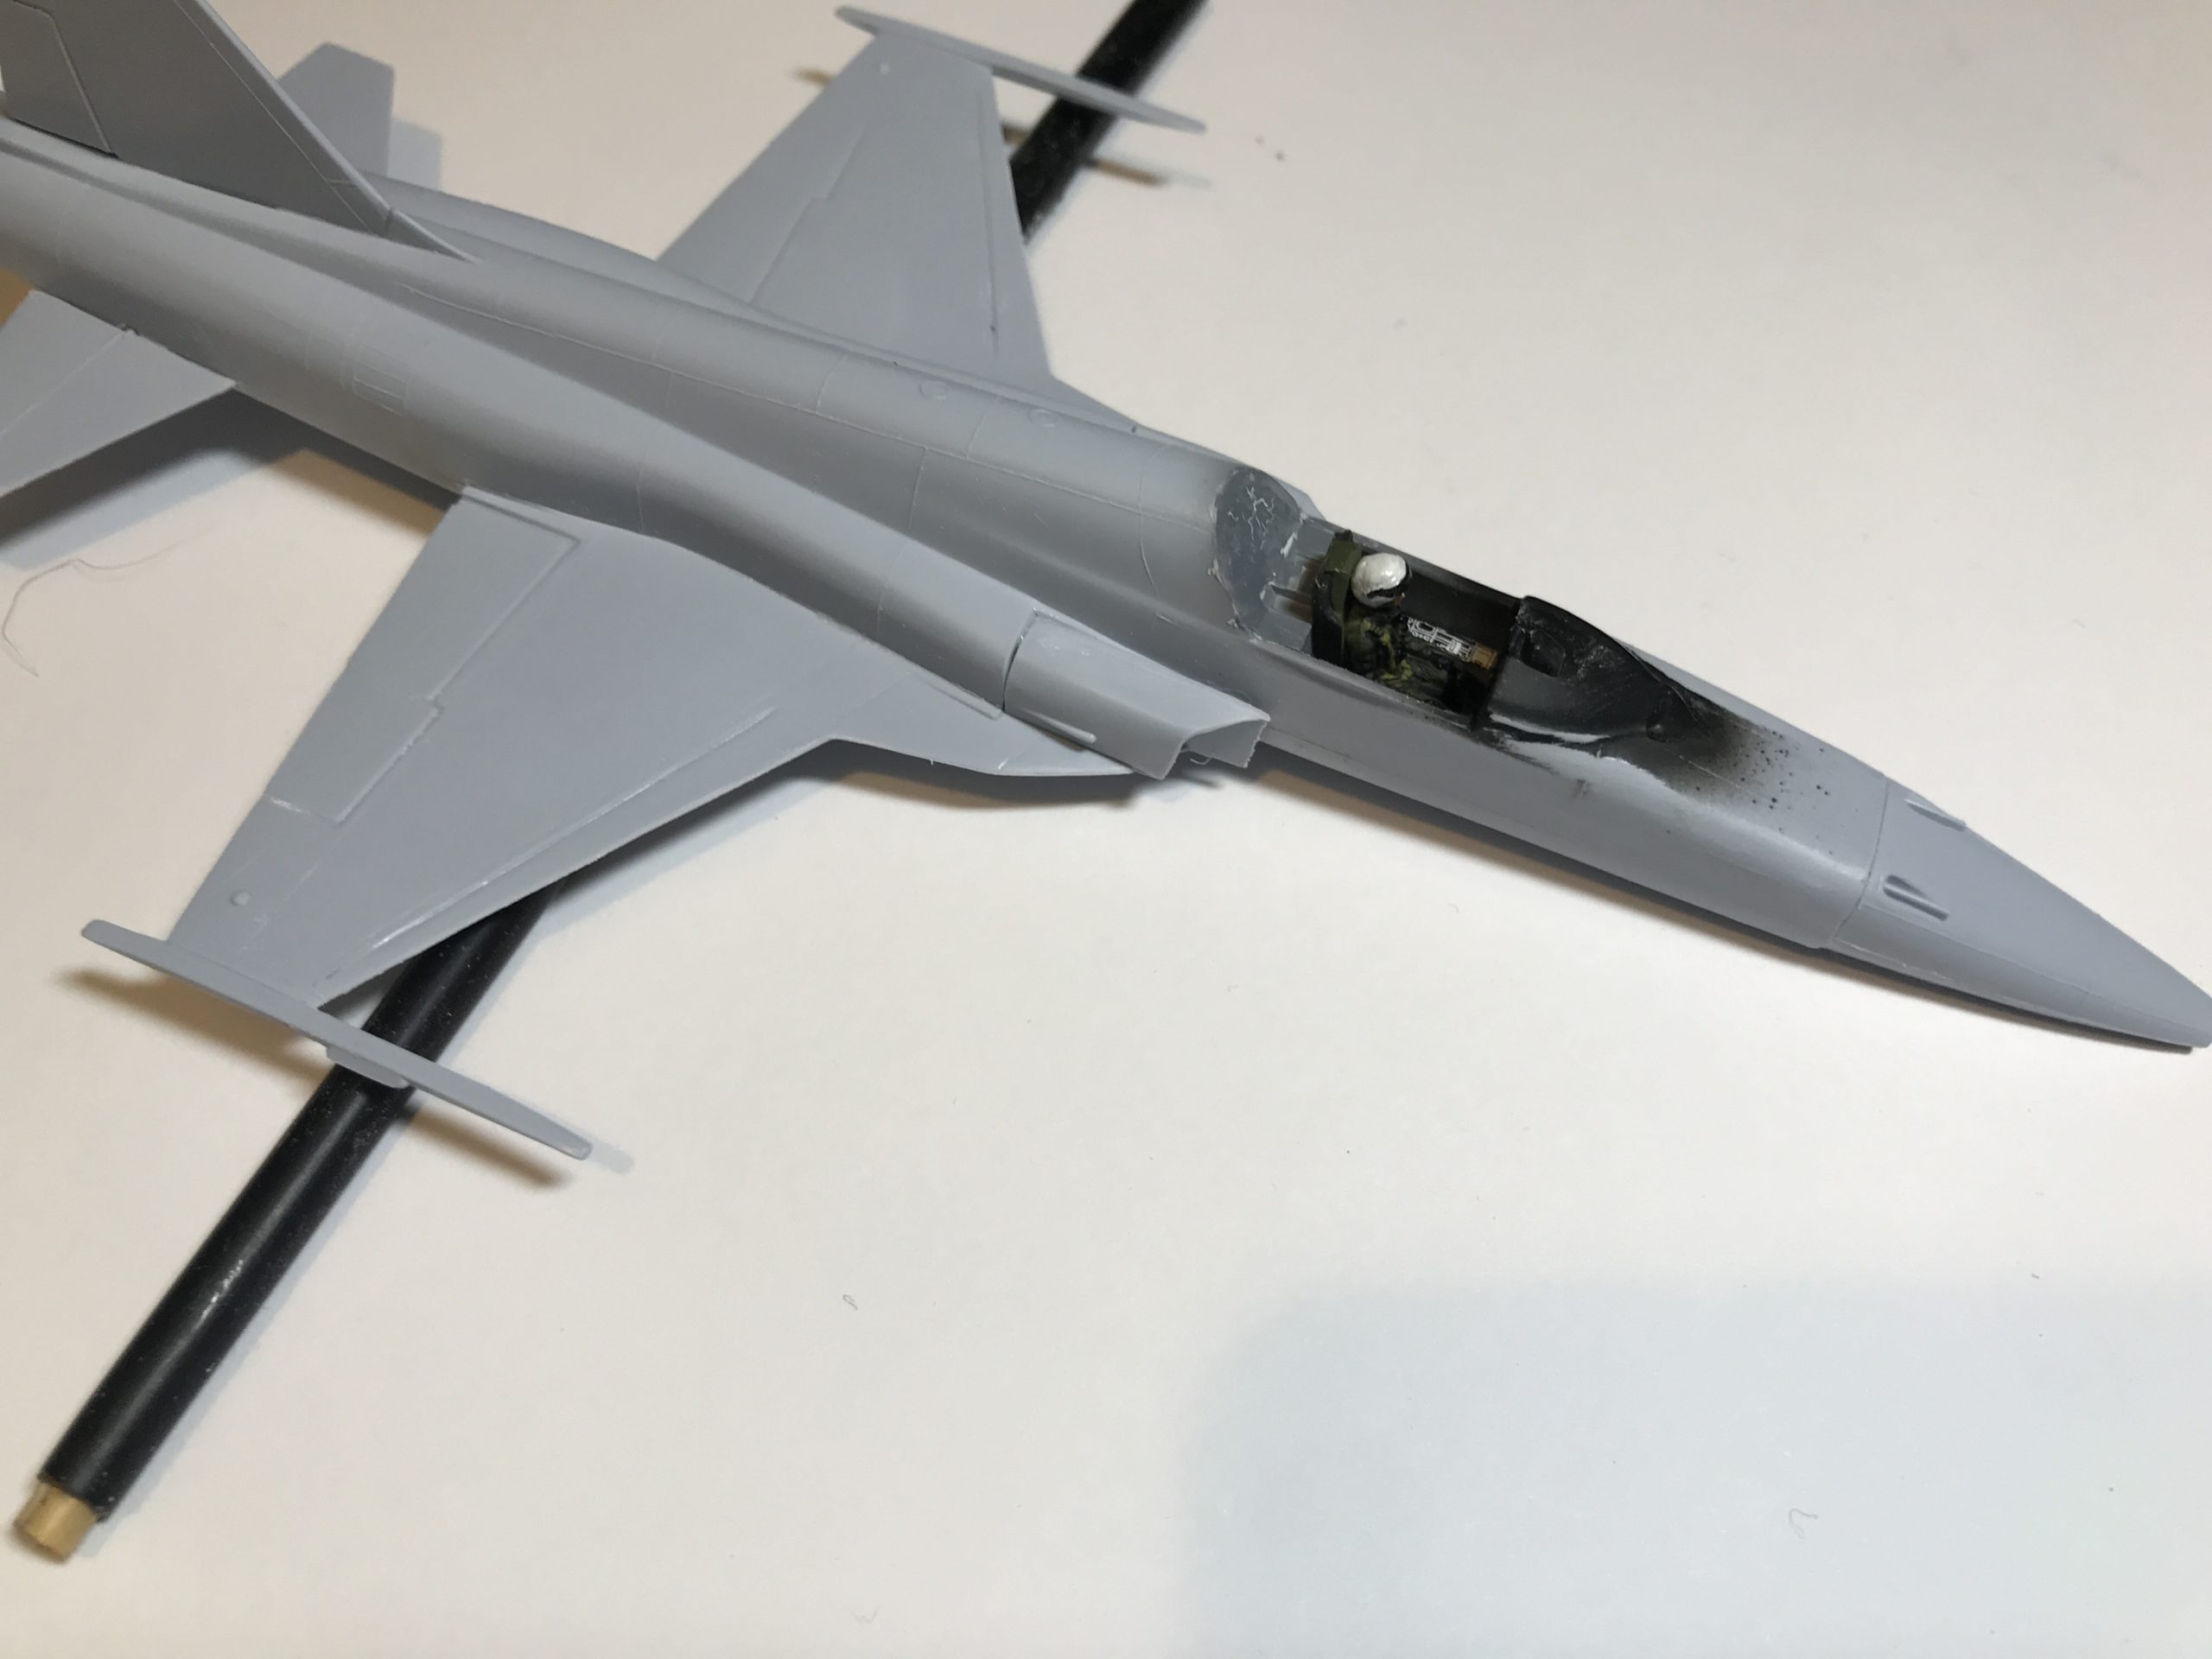
I then place the model on a paint brush to check the weight distribution – the paint goes inline with the main landing gear. If it sits nose down I have added enough weight.
The nose does seem to be from a different kit though and requires a degree of re-profiling to fit the shape of the fuselage. Those raised panel lines are disappearing quickly!
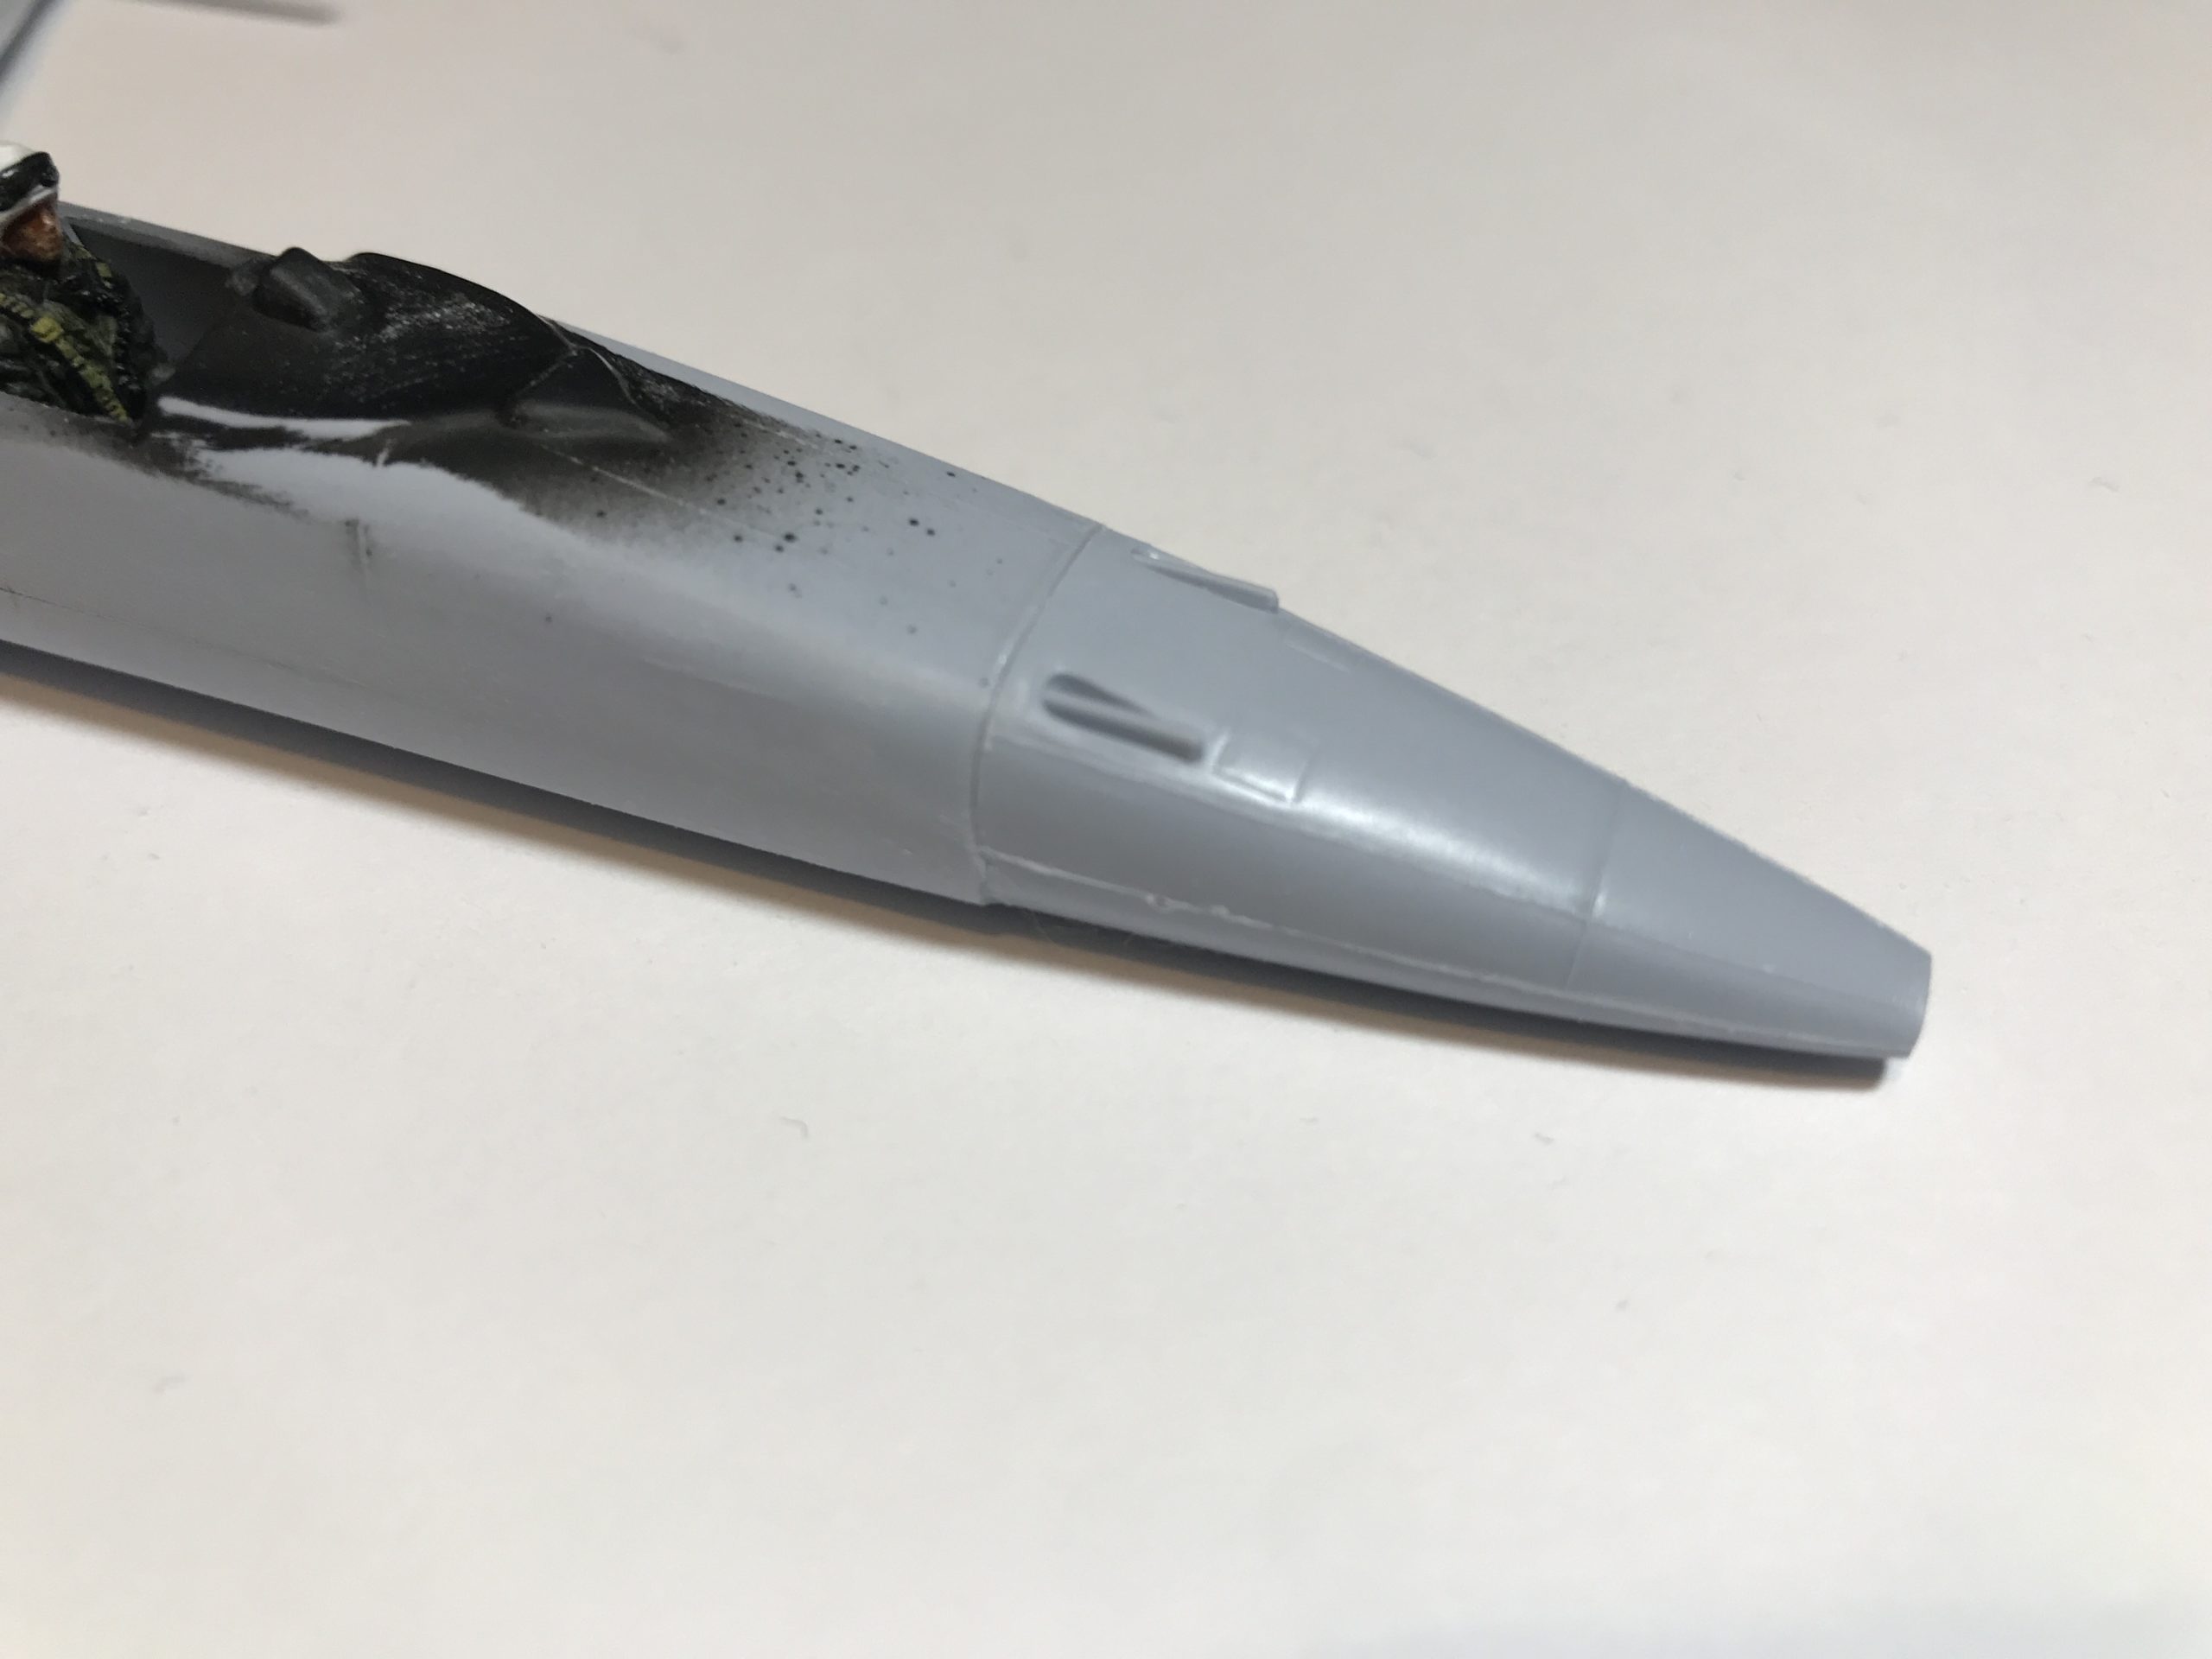
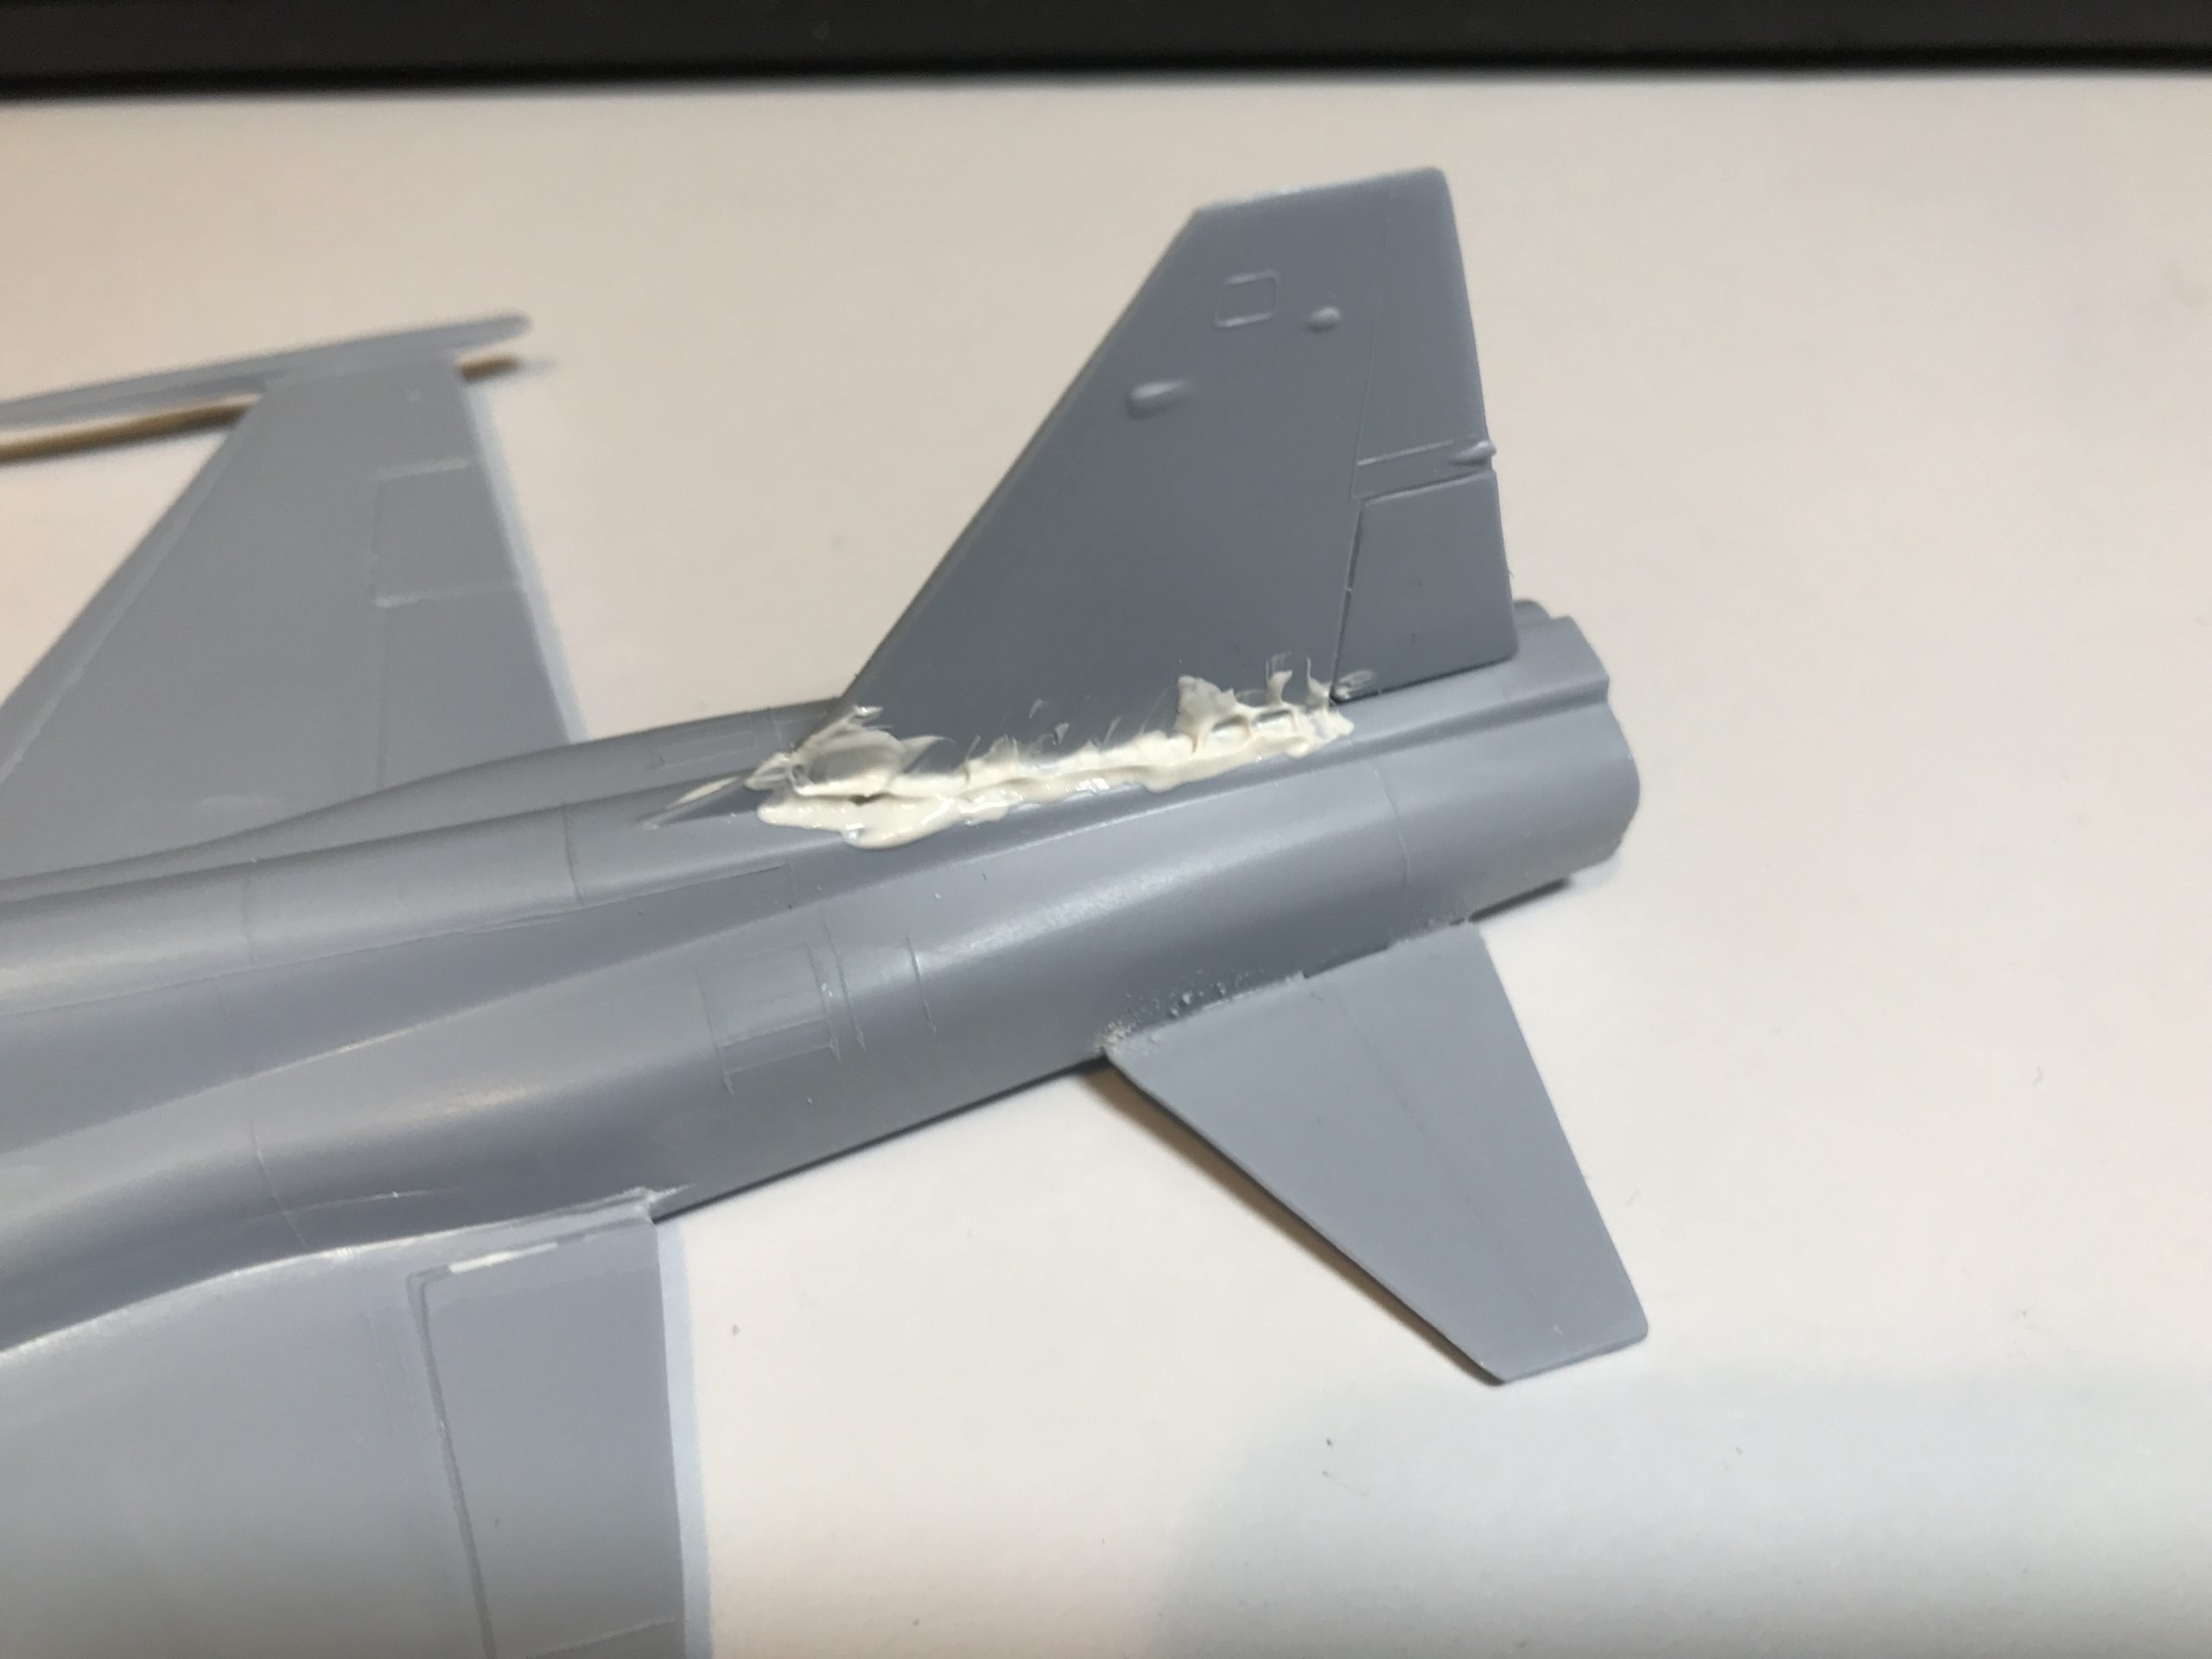
After the nose job it’s filler time!
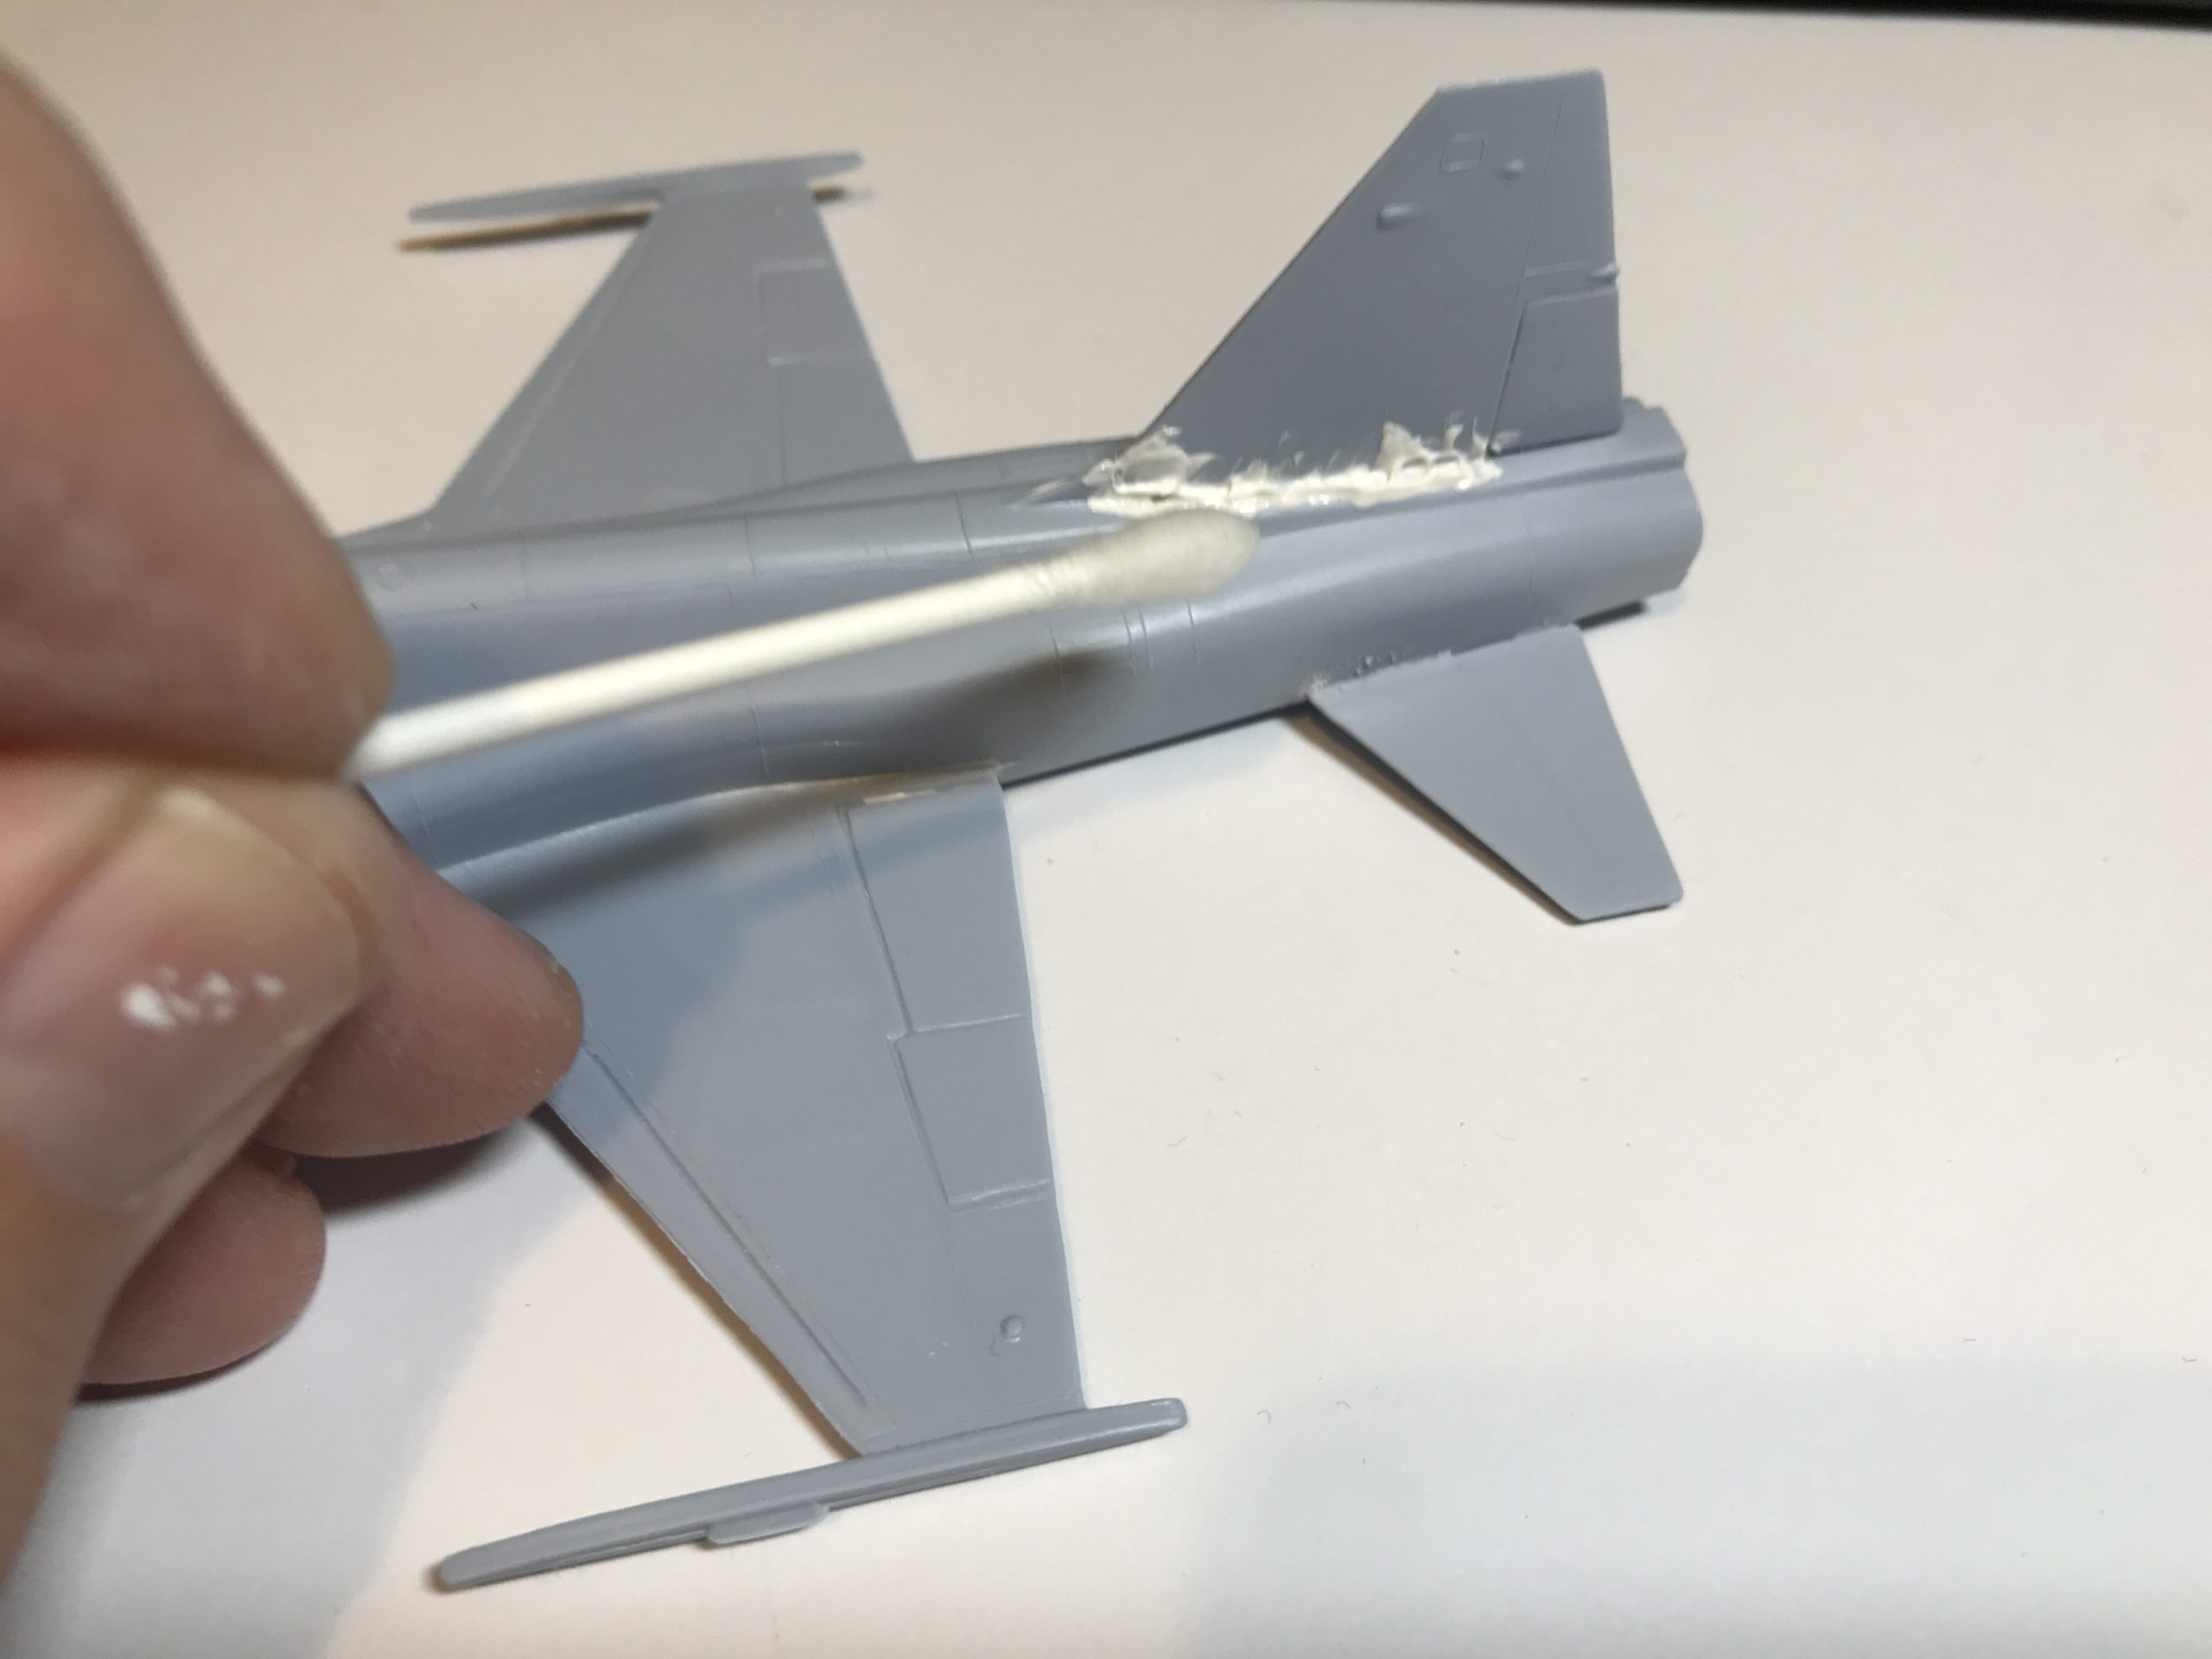
I use a water based filler from Vallejo. as it has a really easy clean up – I will show you how it works
Filler was needed in quite a few areas, but it’s a real testament to the kit that only small quantities were required.
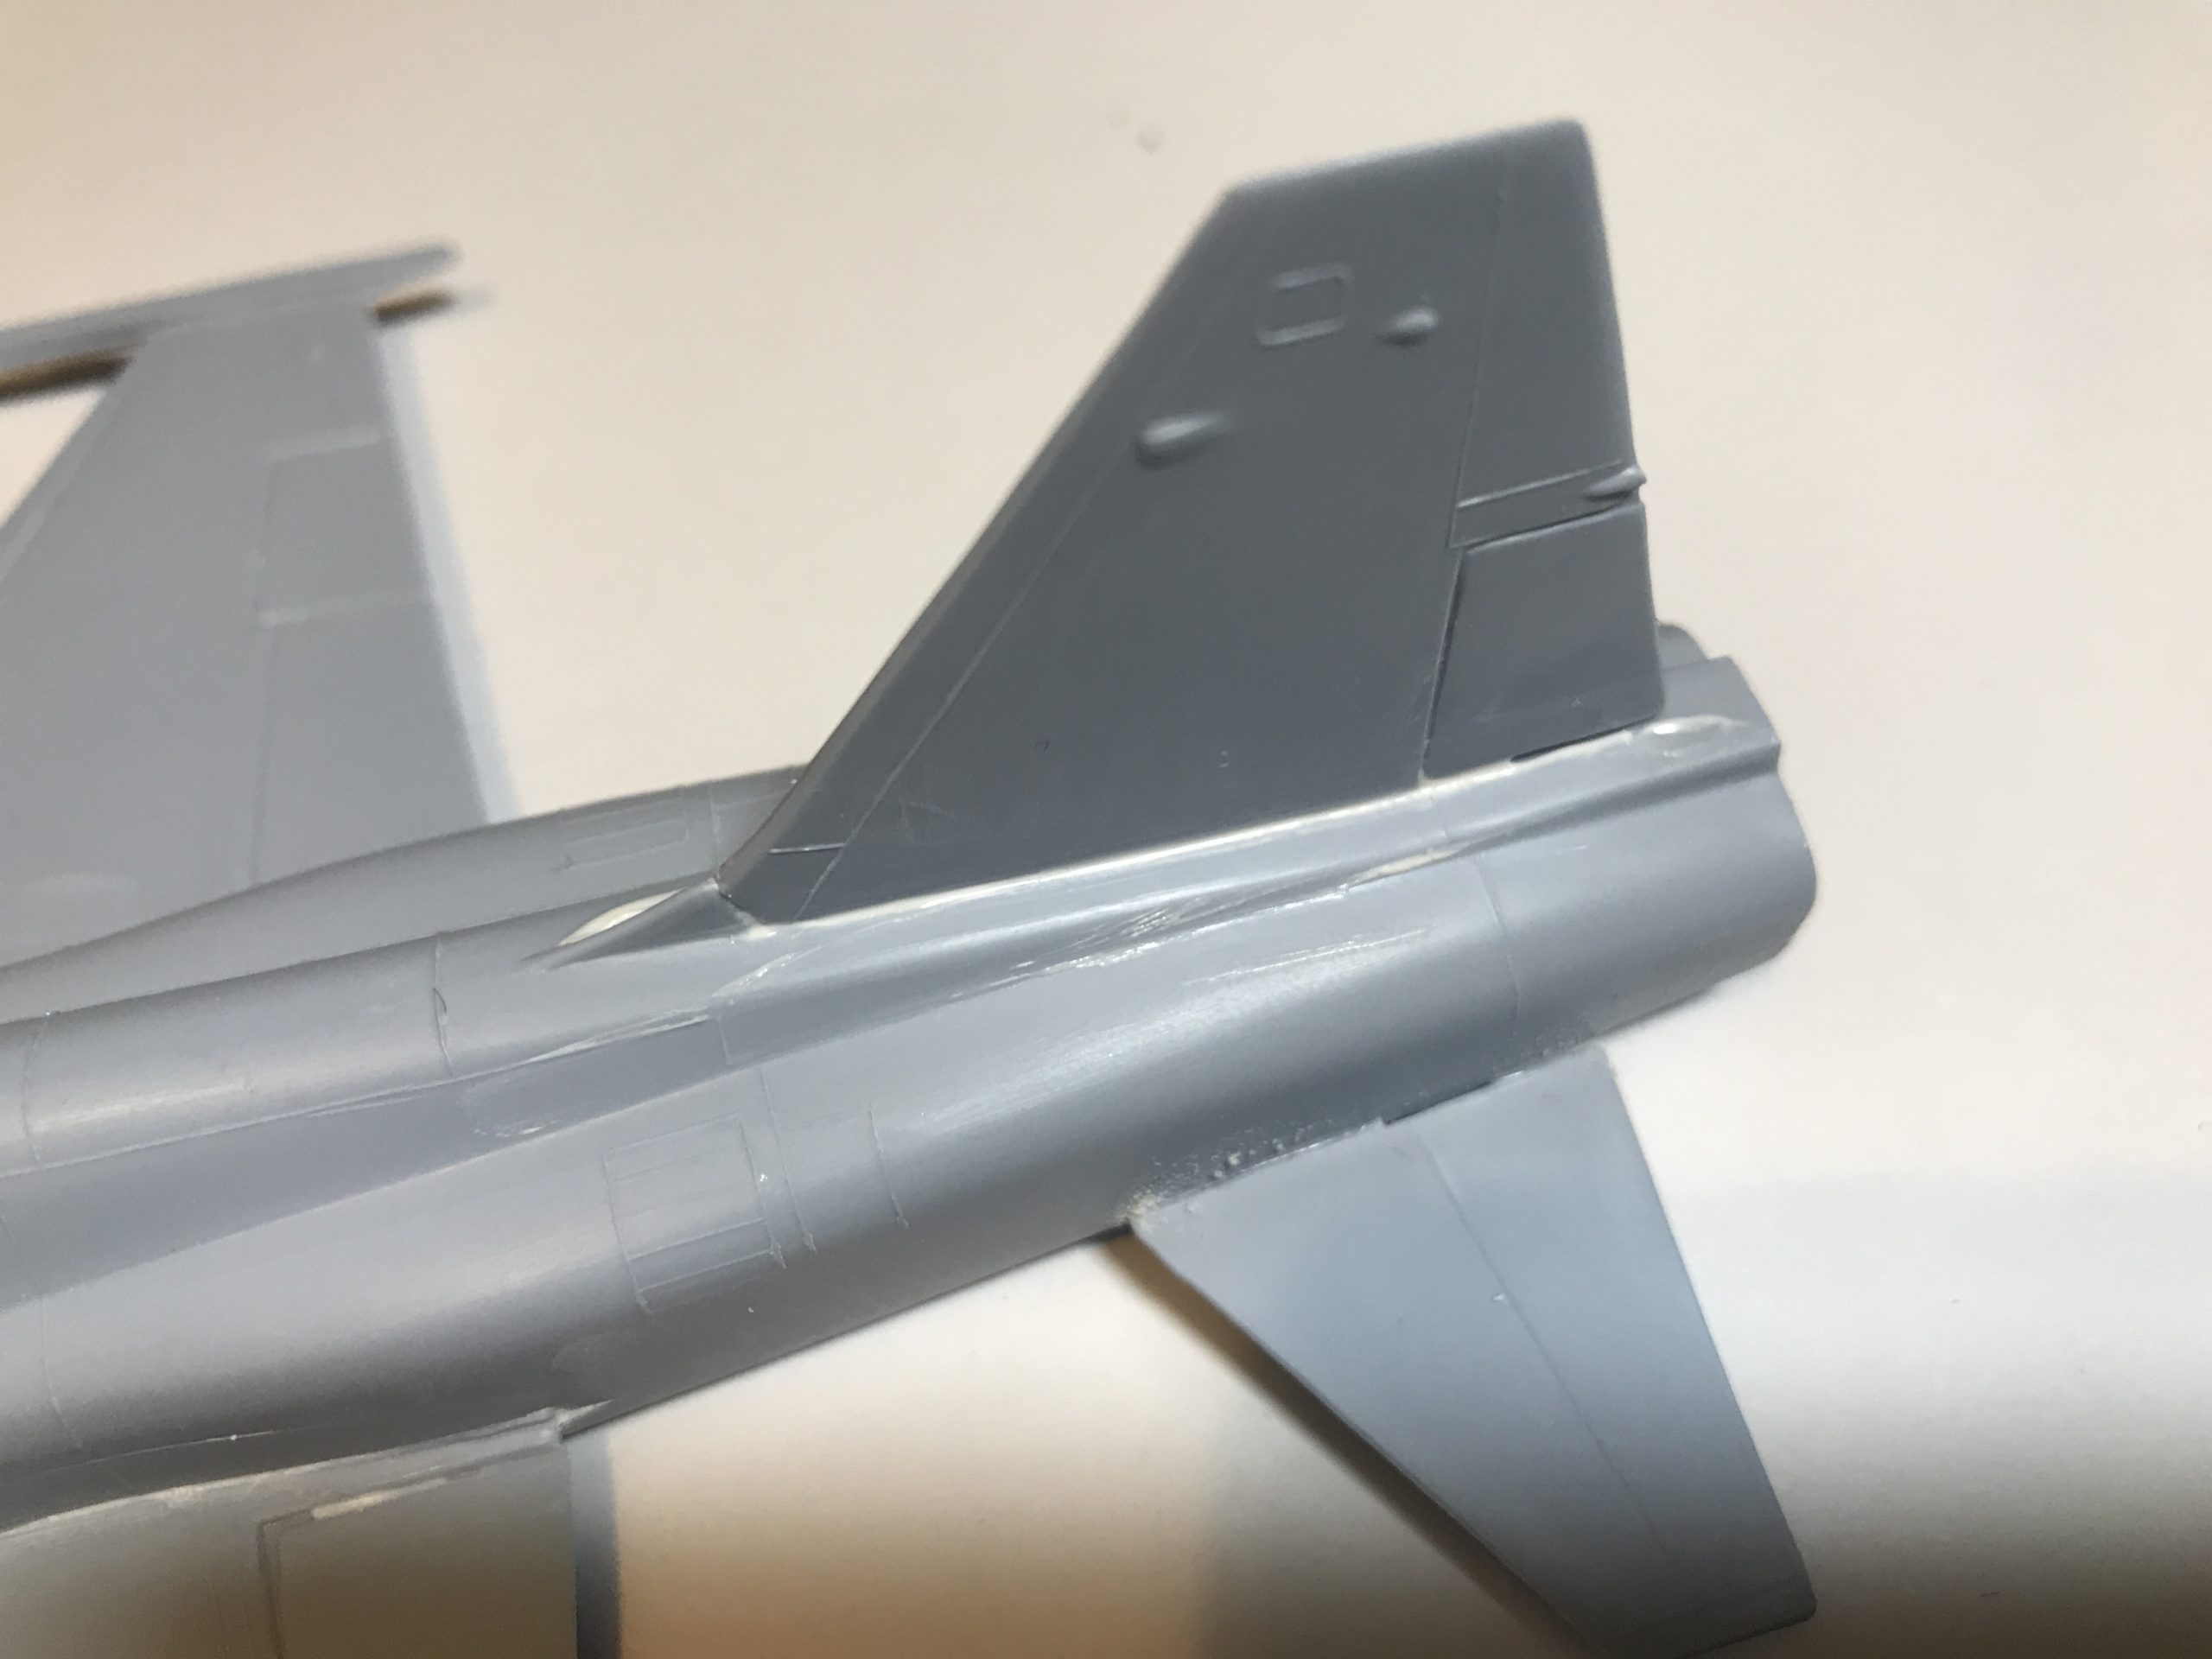
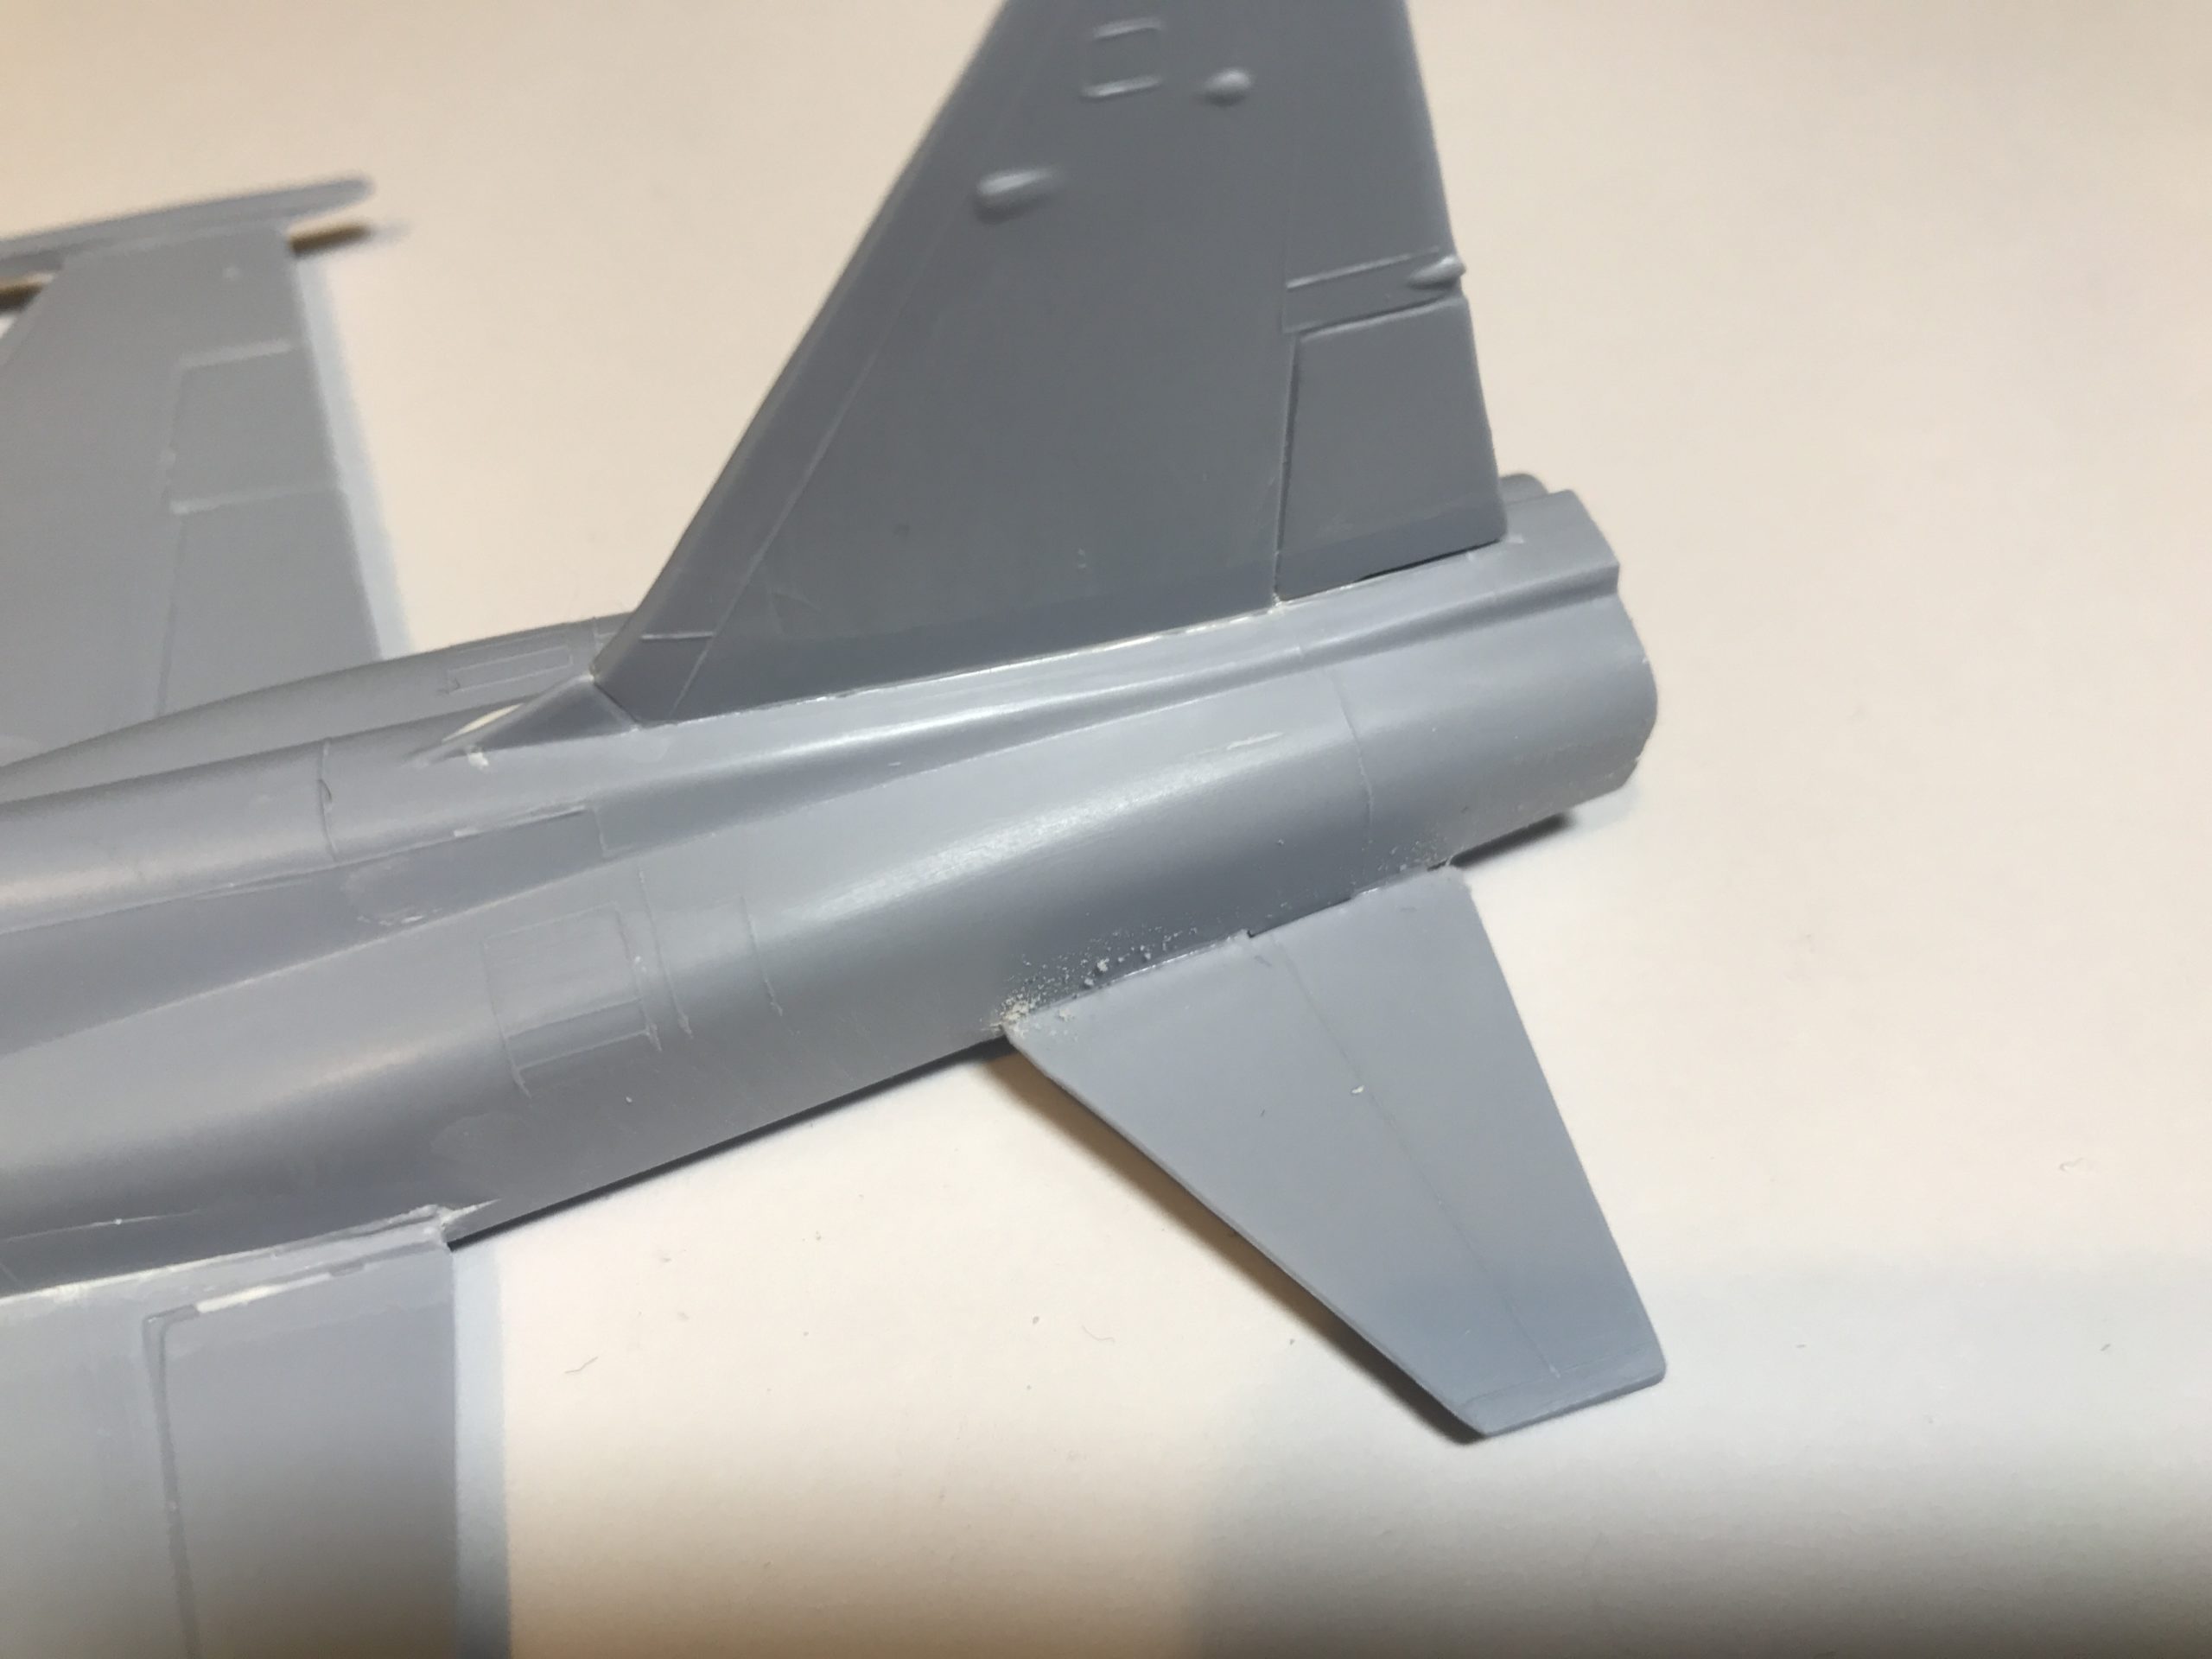
Once that is all dry the joints can be cleaned up as detailed above and sanded smooth if required.
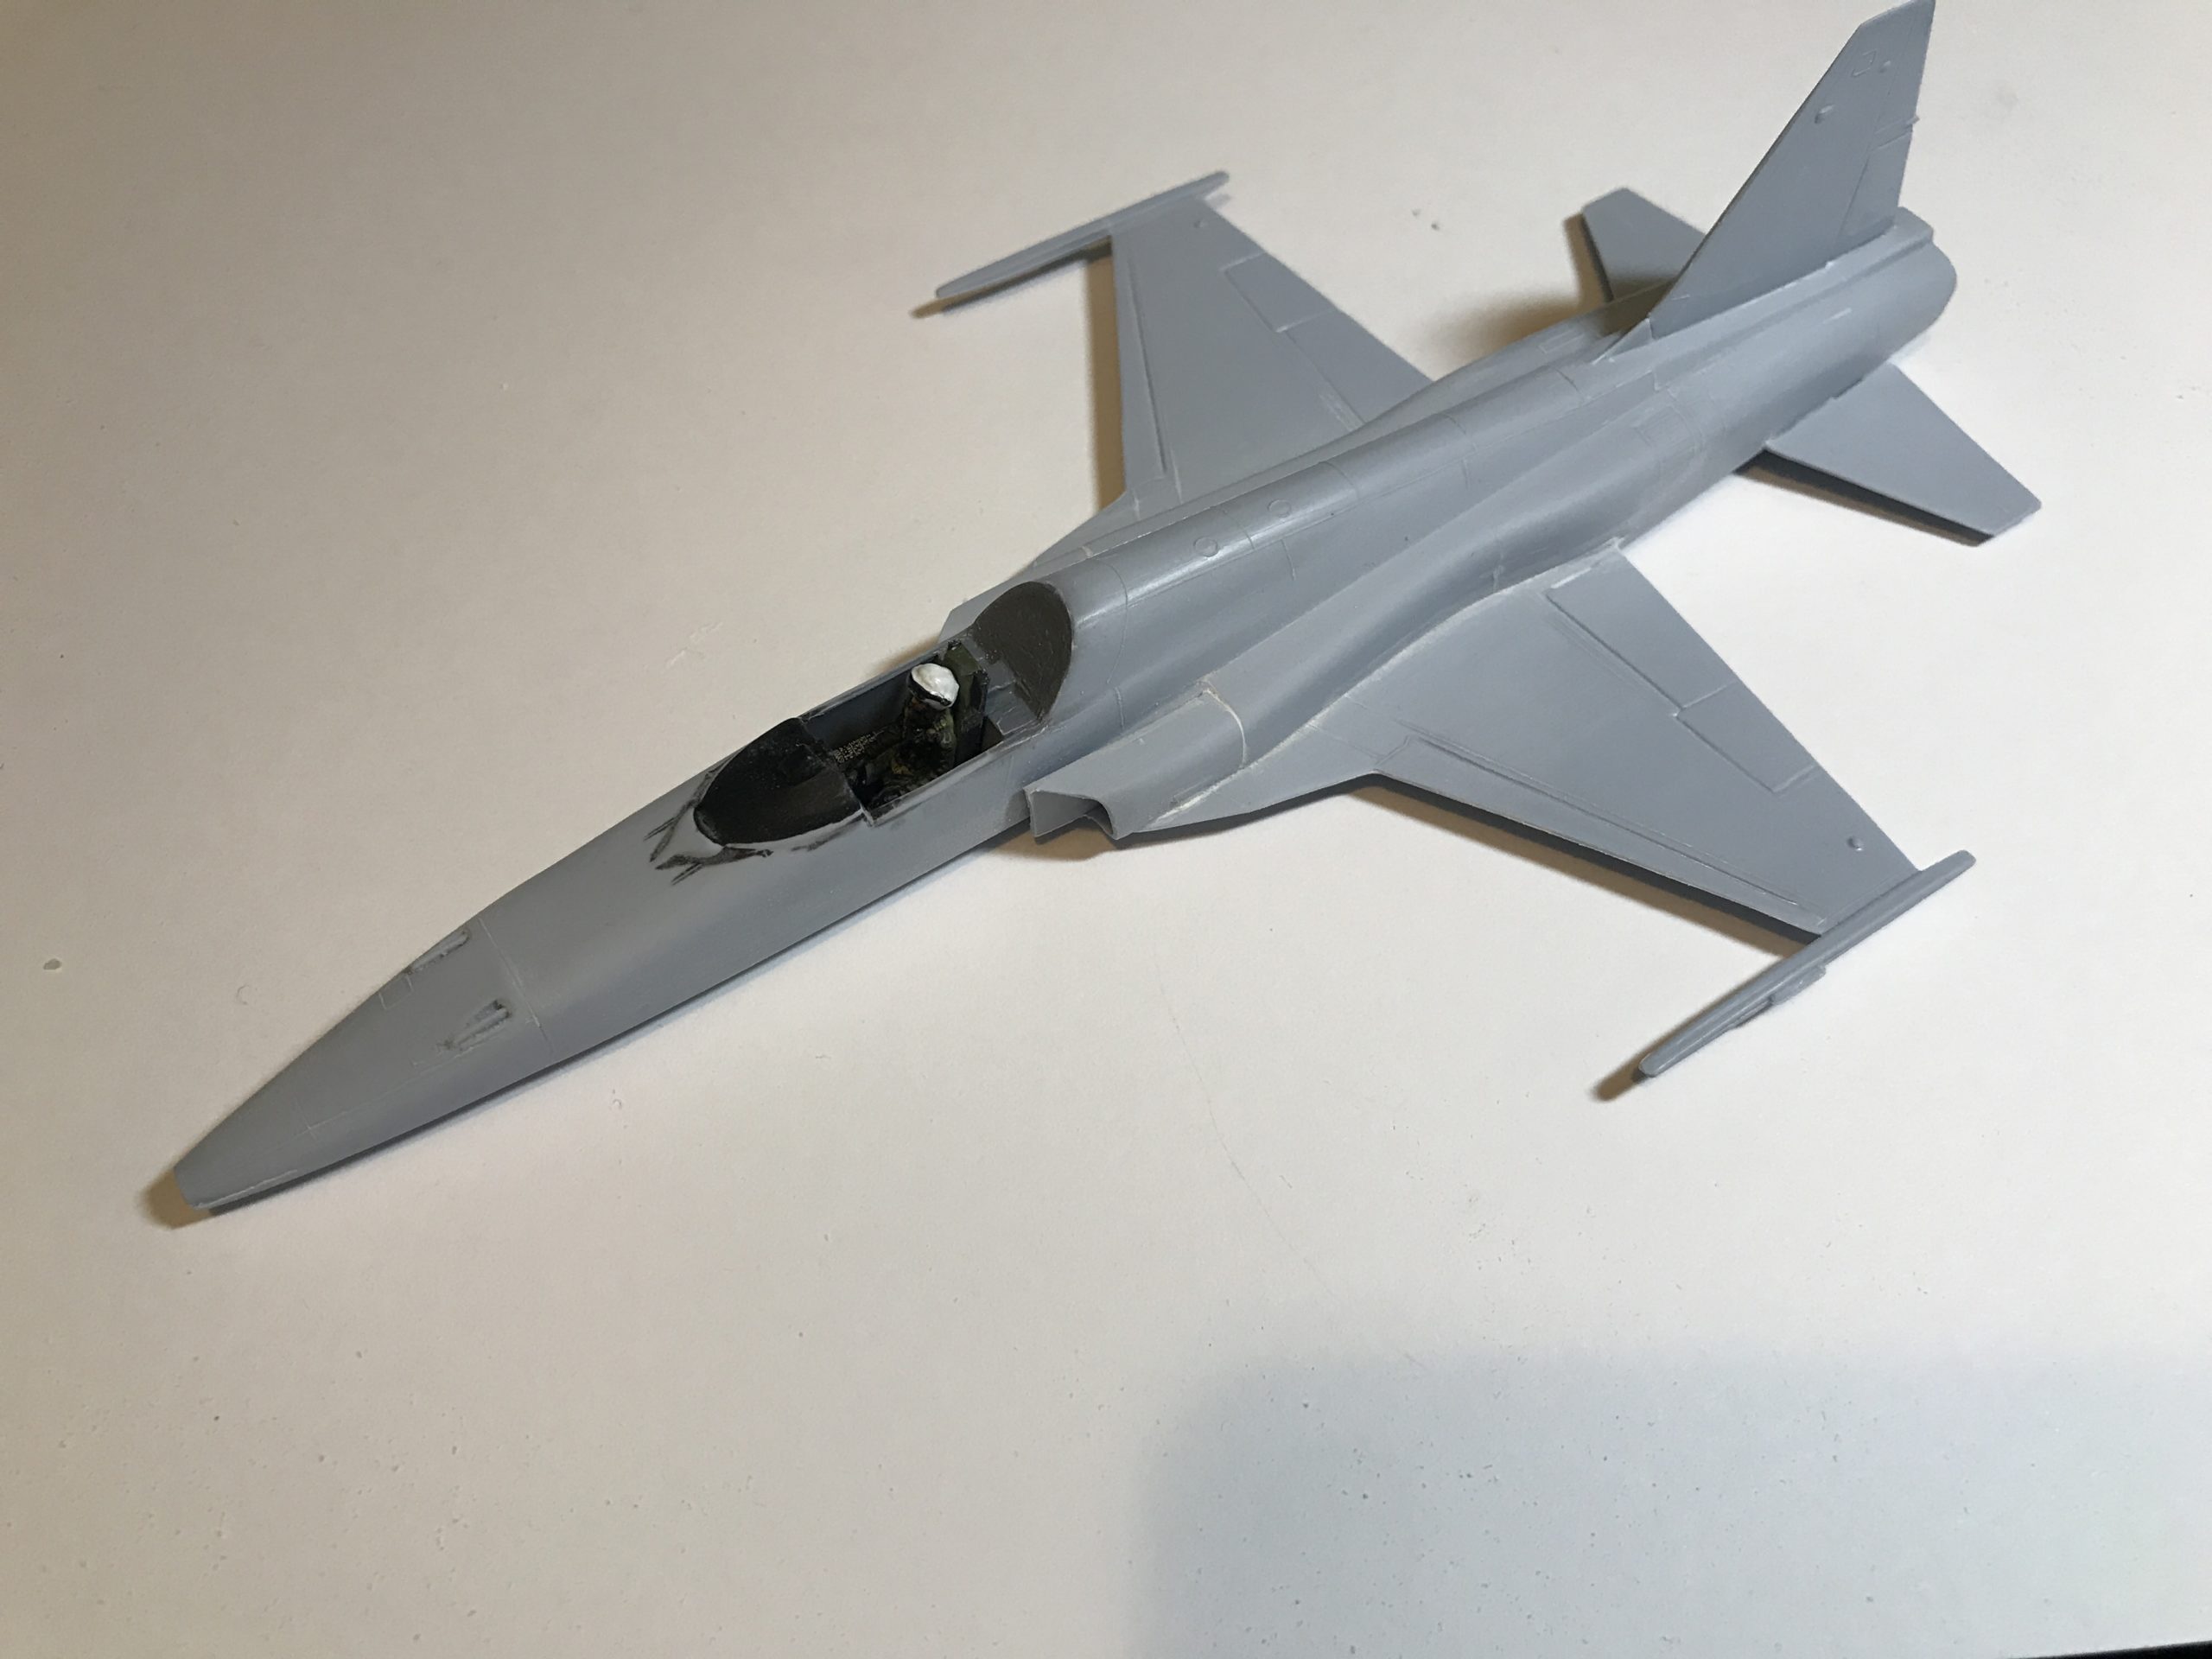
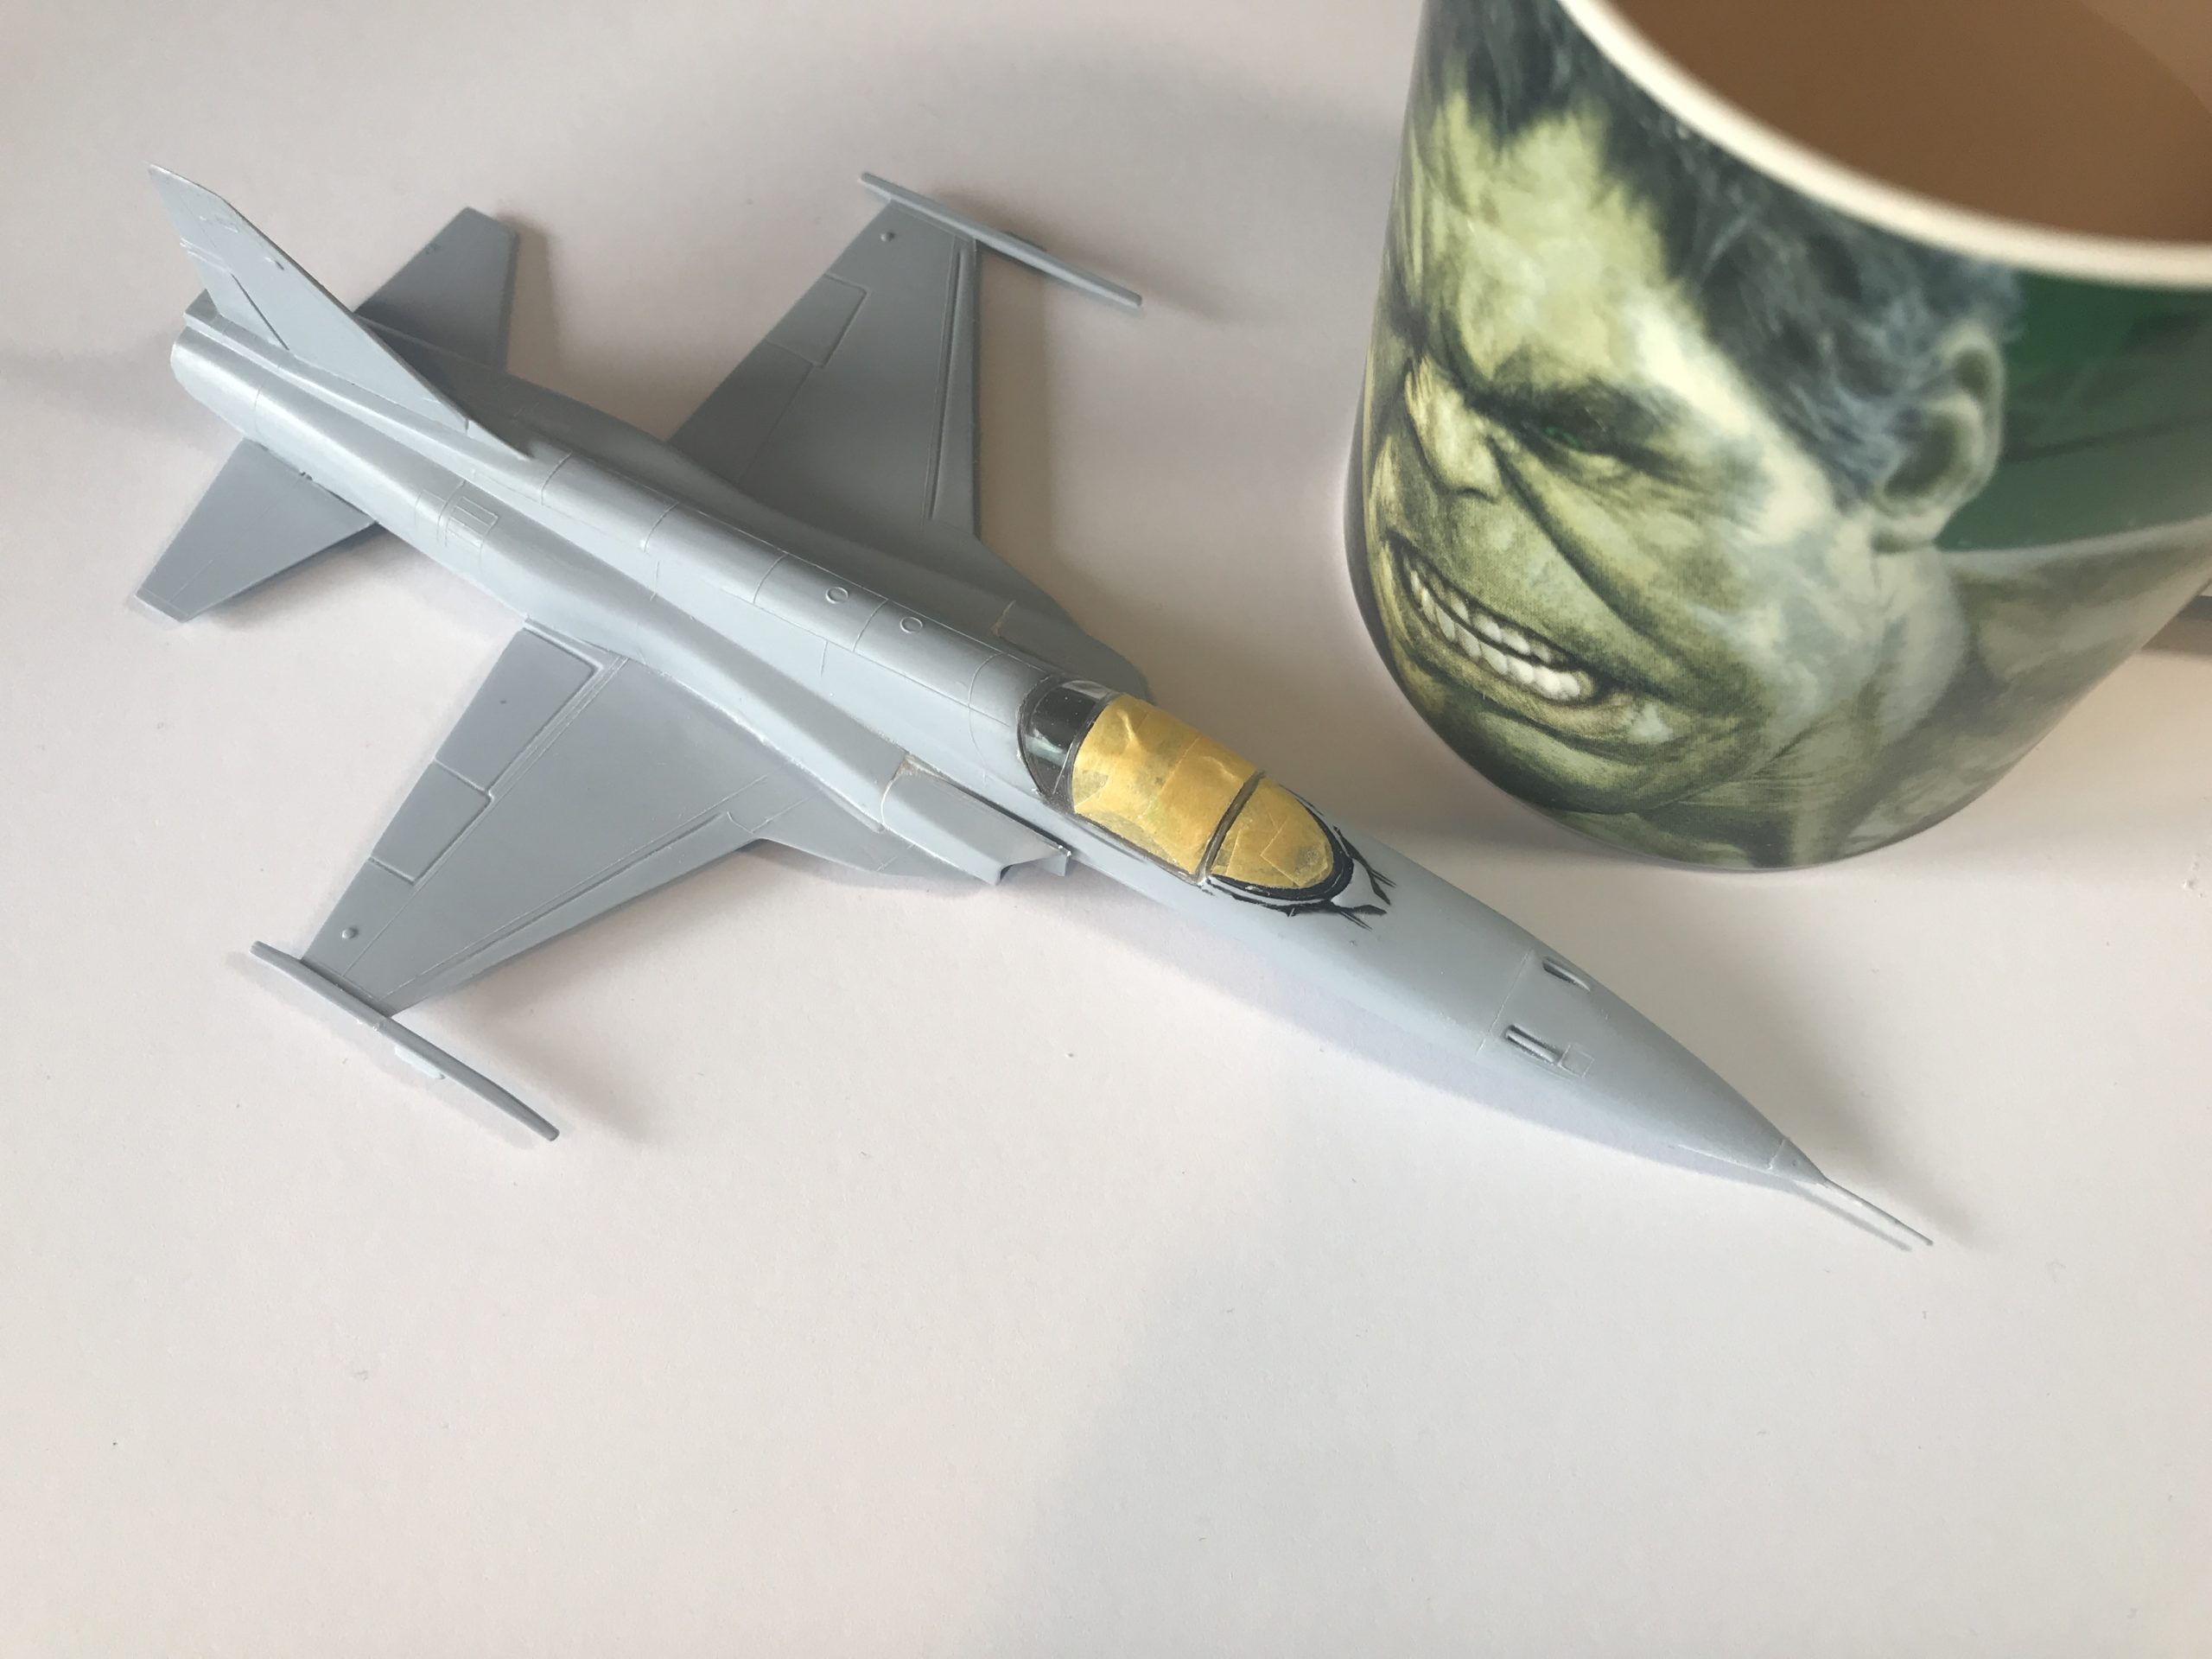
It’s starting to come together now – whilst simple it’s a great looking aircraft.
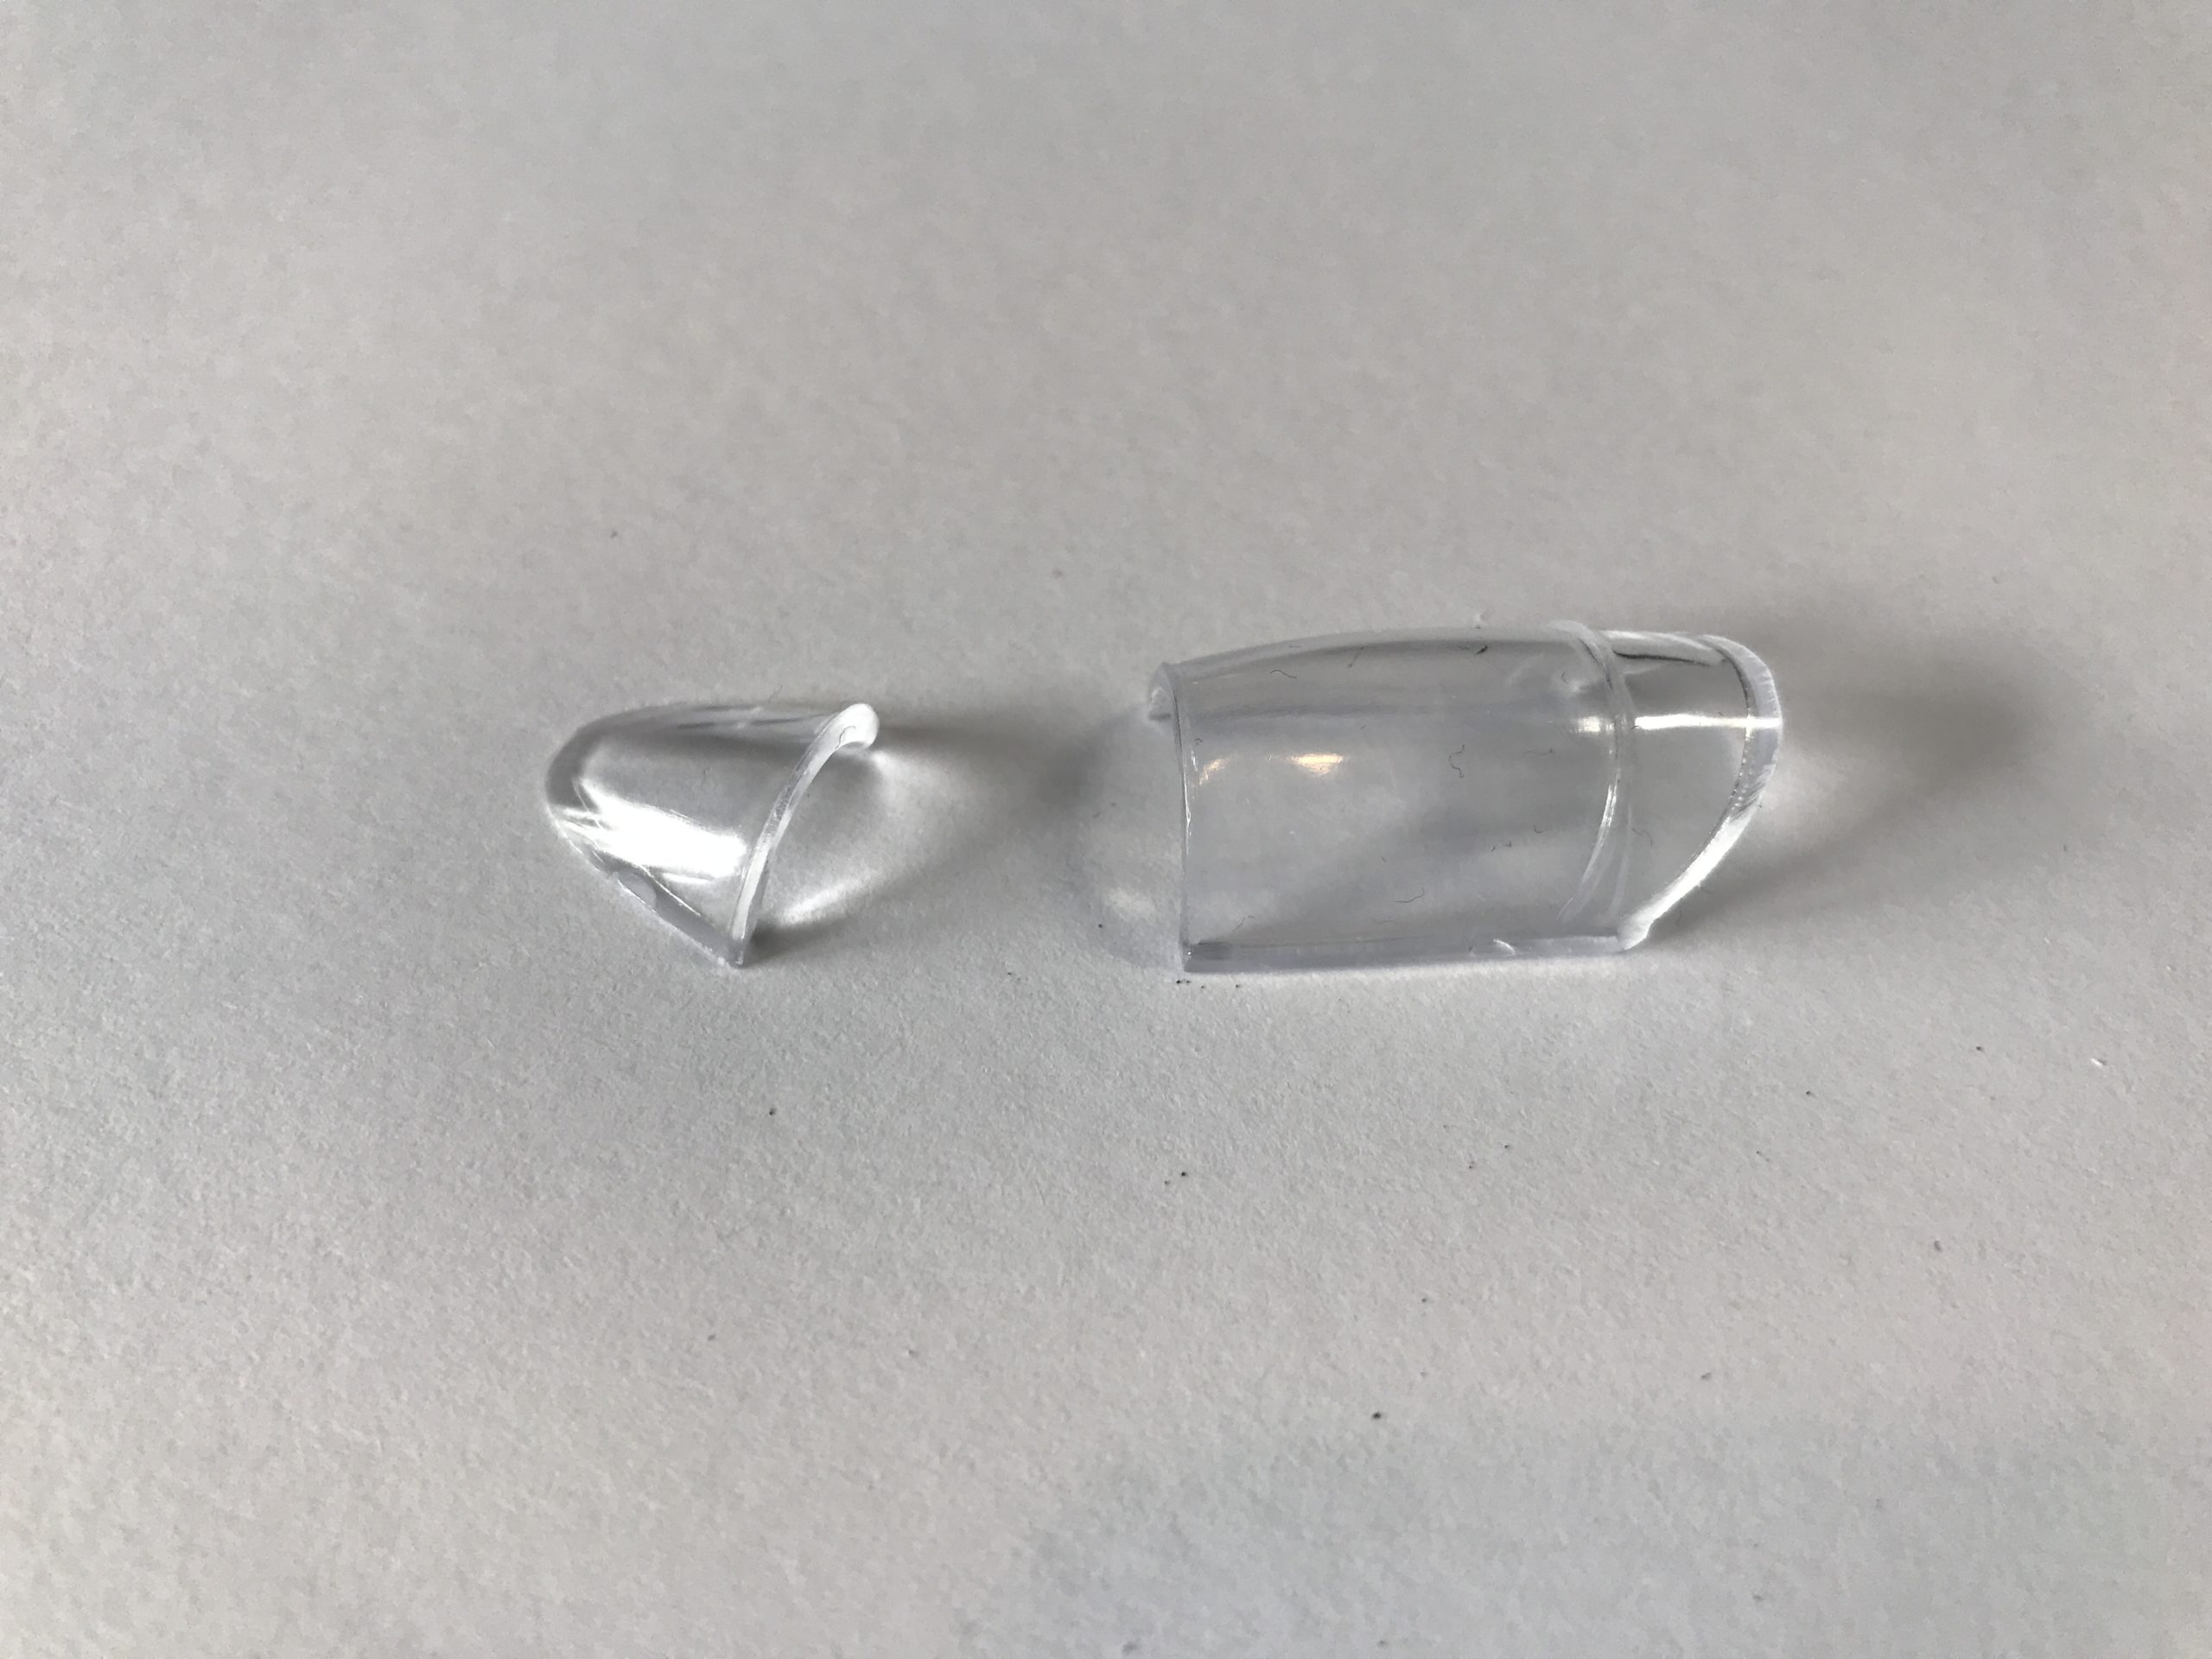
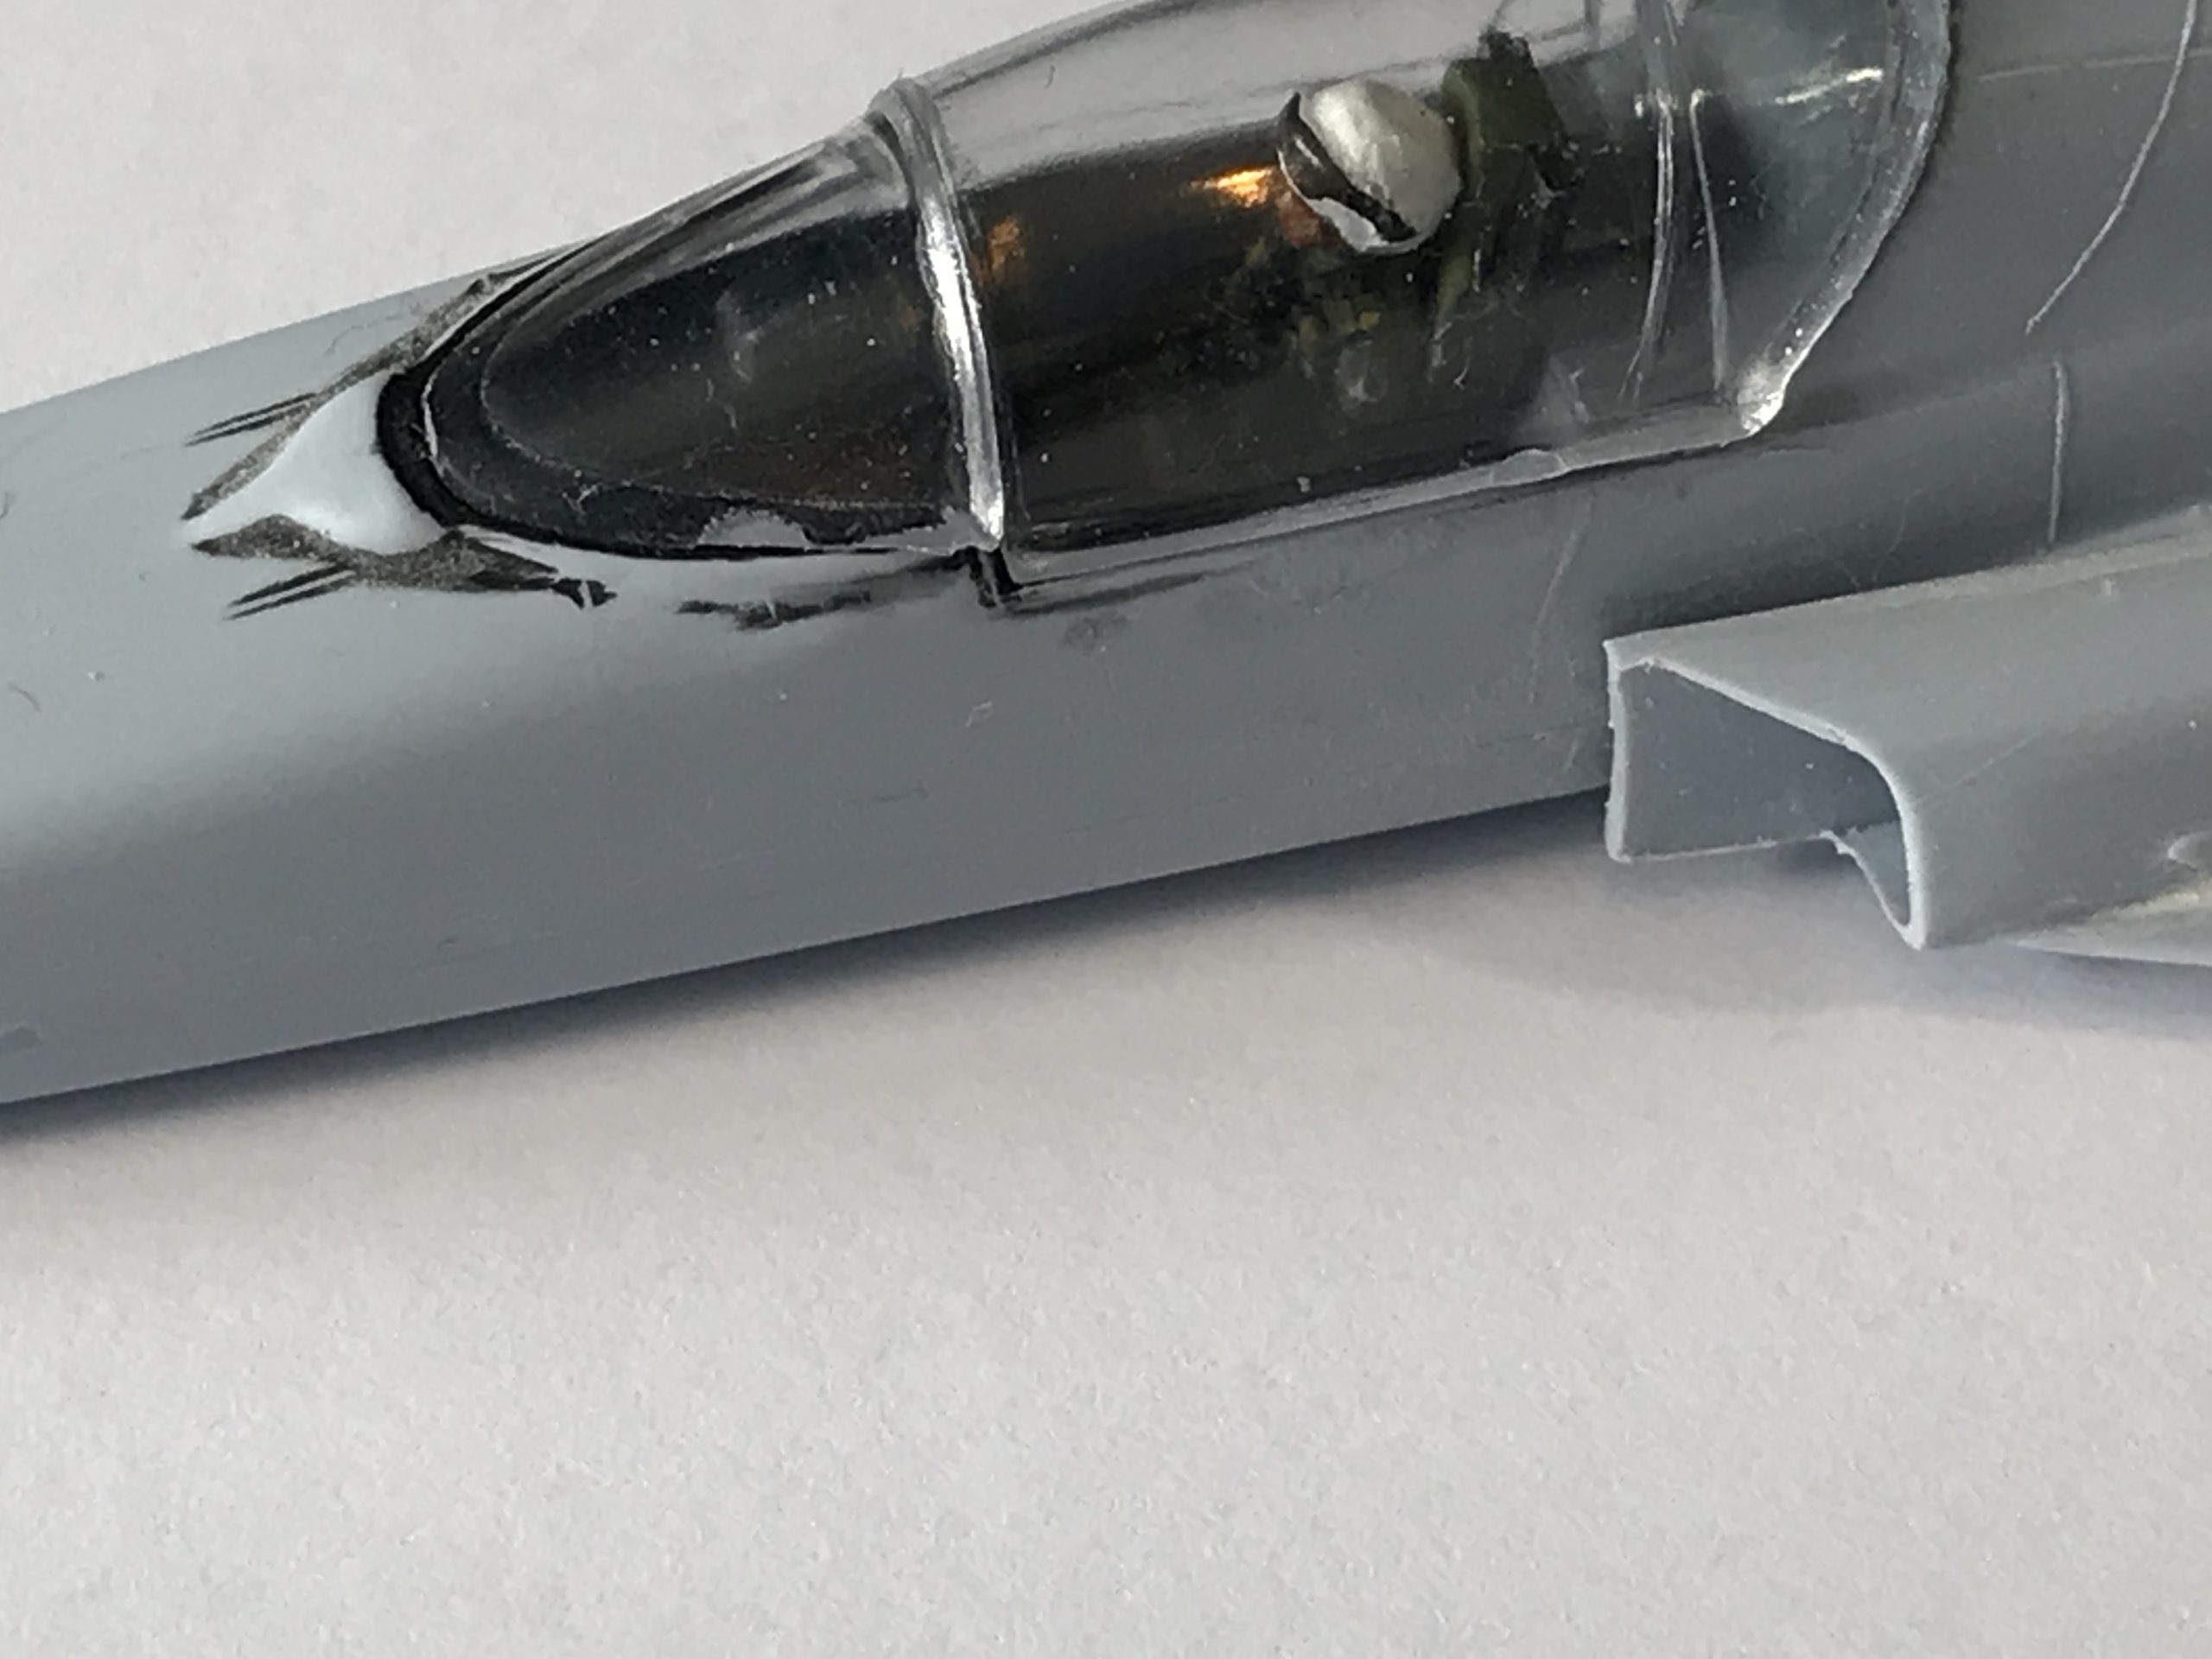
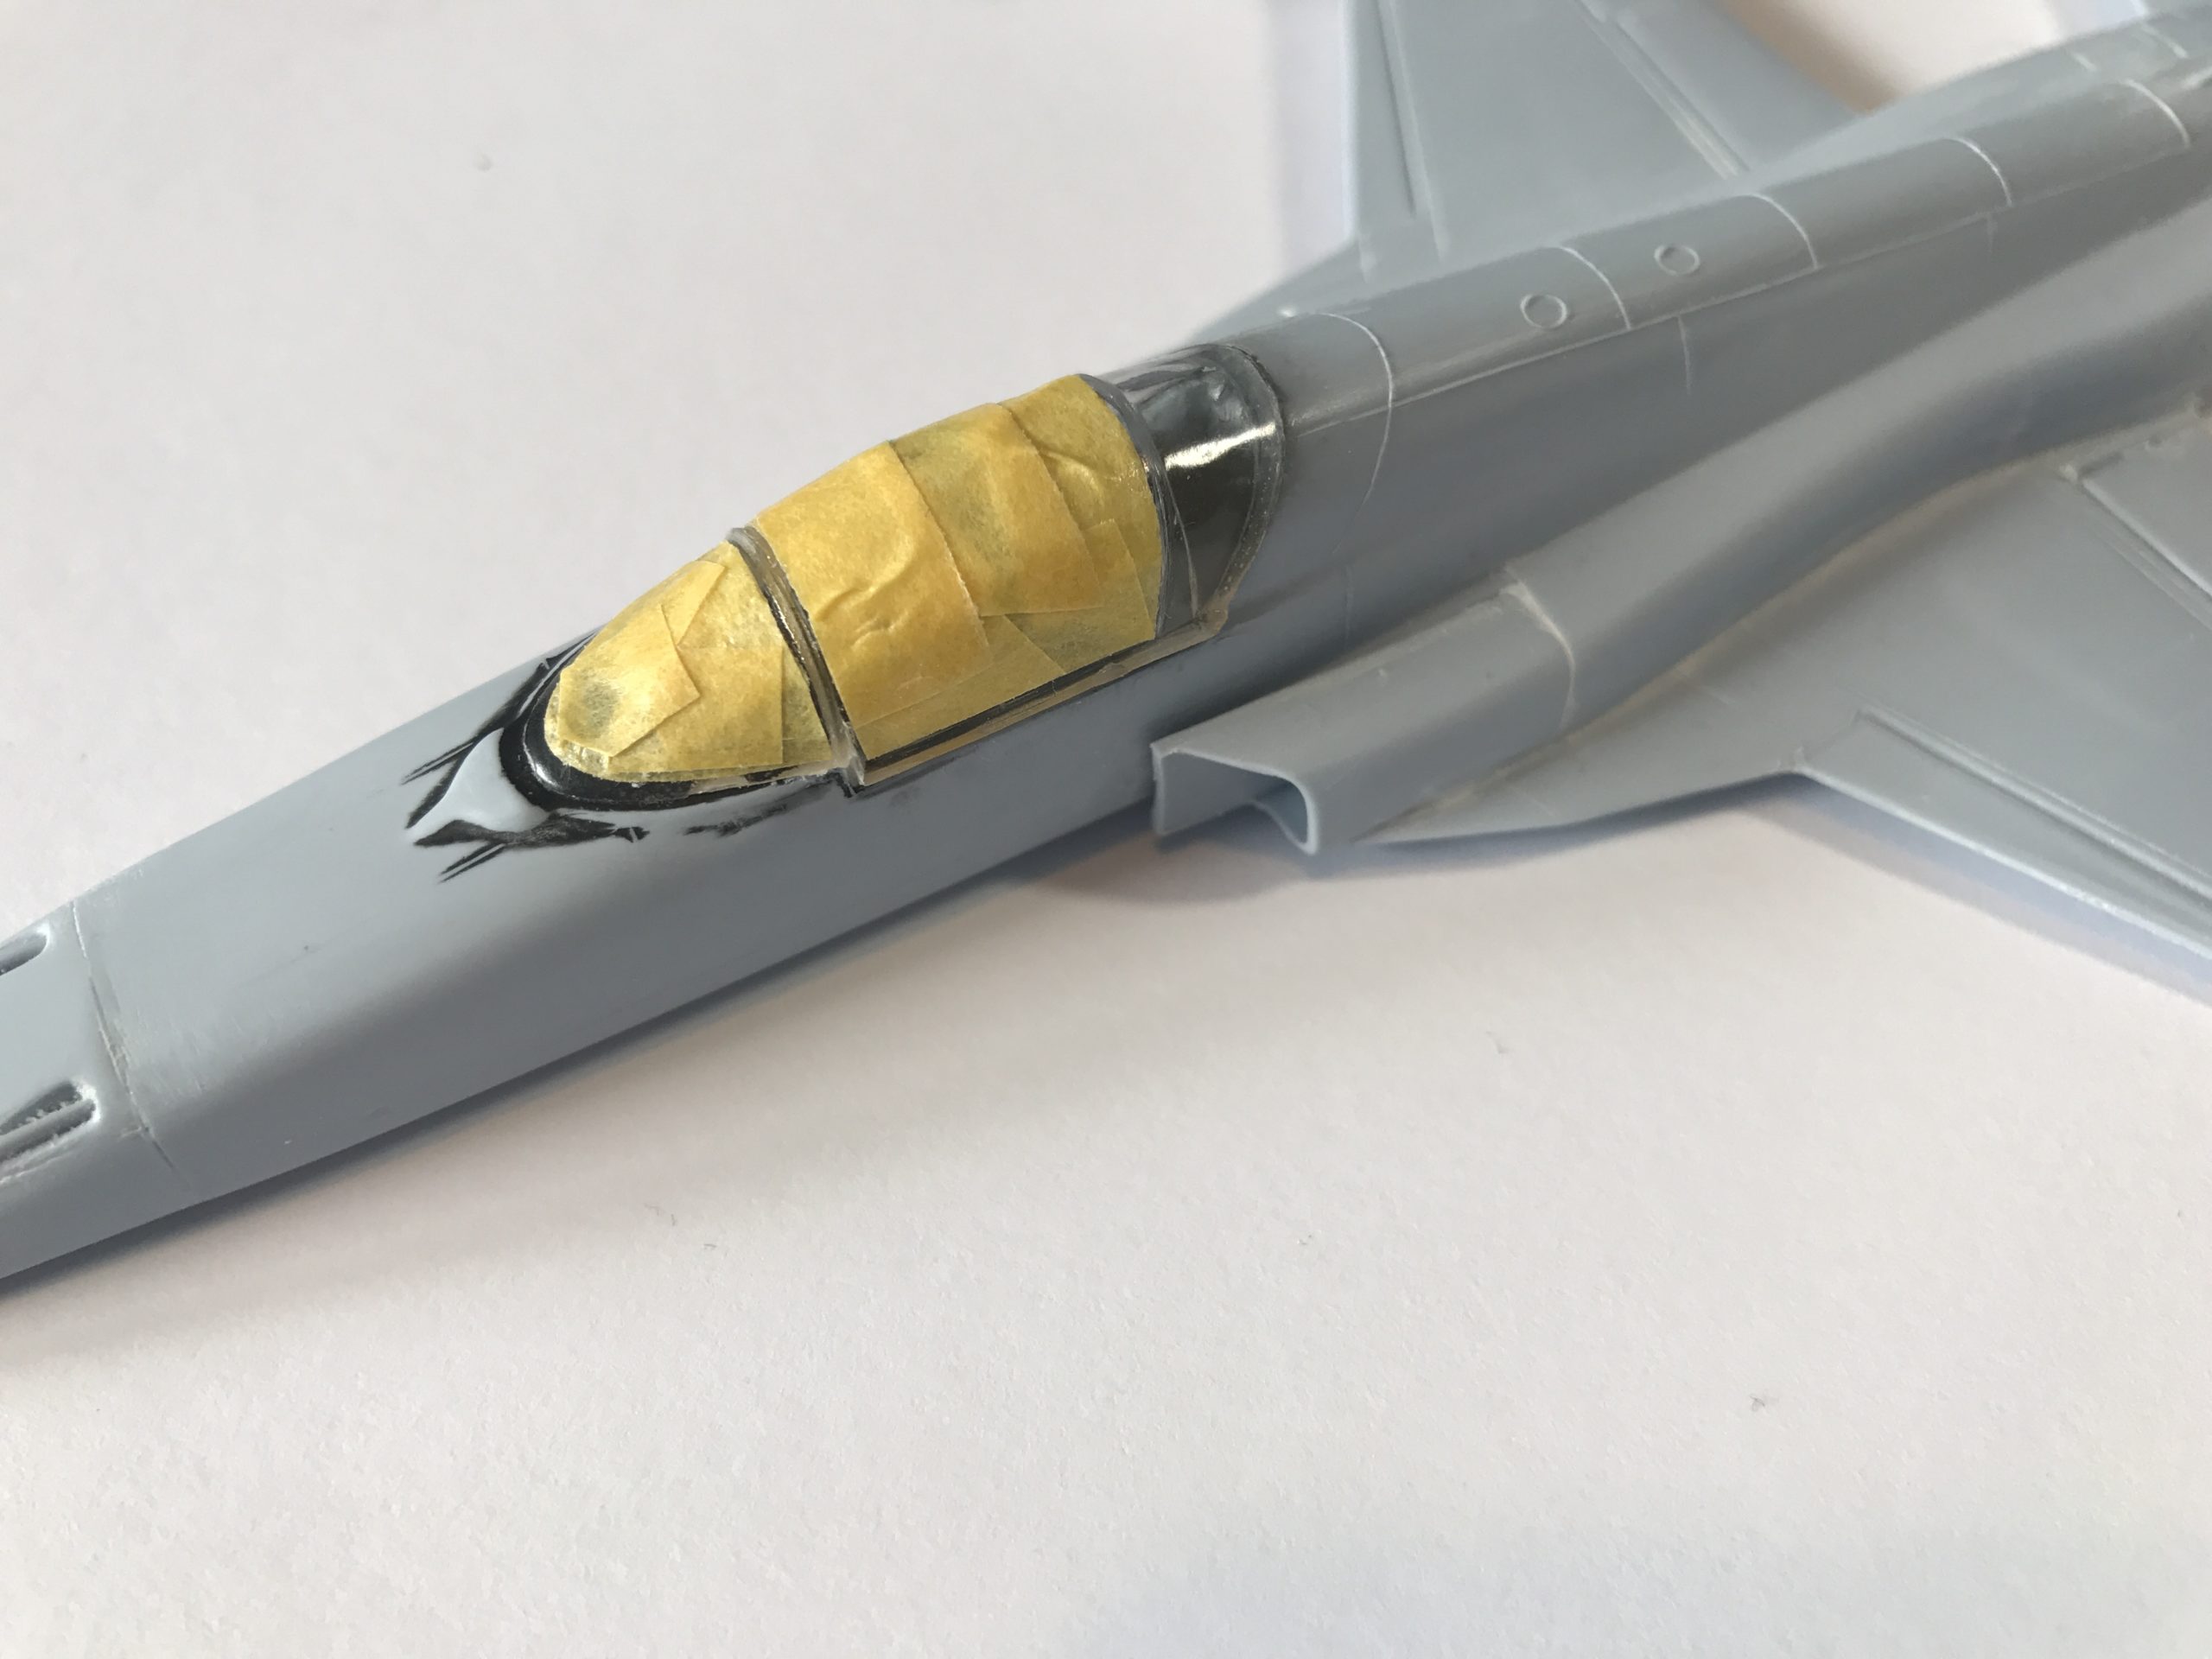
As the canopy frames are quite small I thought I’d fit them prior to masking. The clear parts are okay, but a bit thick. I think “Little Ivan” will need an ice cream after landing.
There was a small gap between the main canopy and the fuselage that needed to be filled, but that’s no real problem.
I used masking fluid on the gear bays and we are ready to paint. Time for a brew.
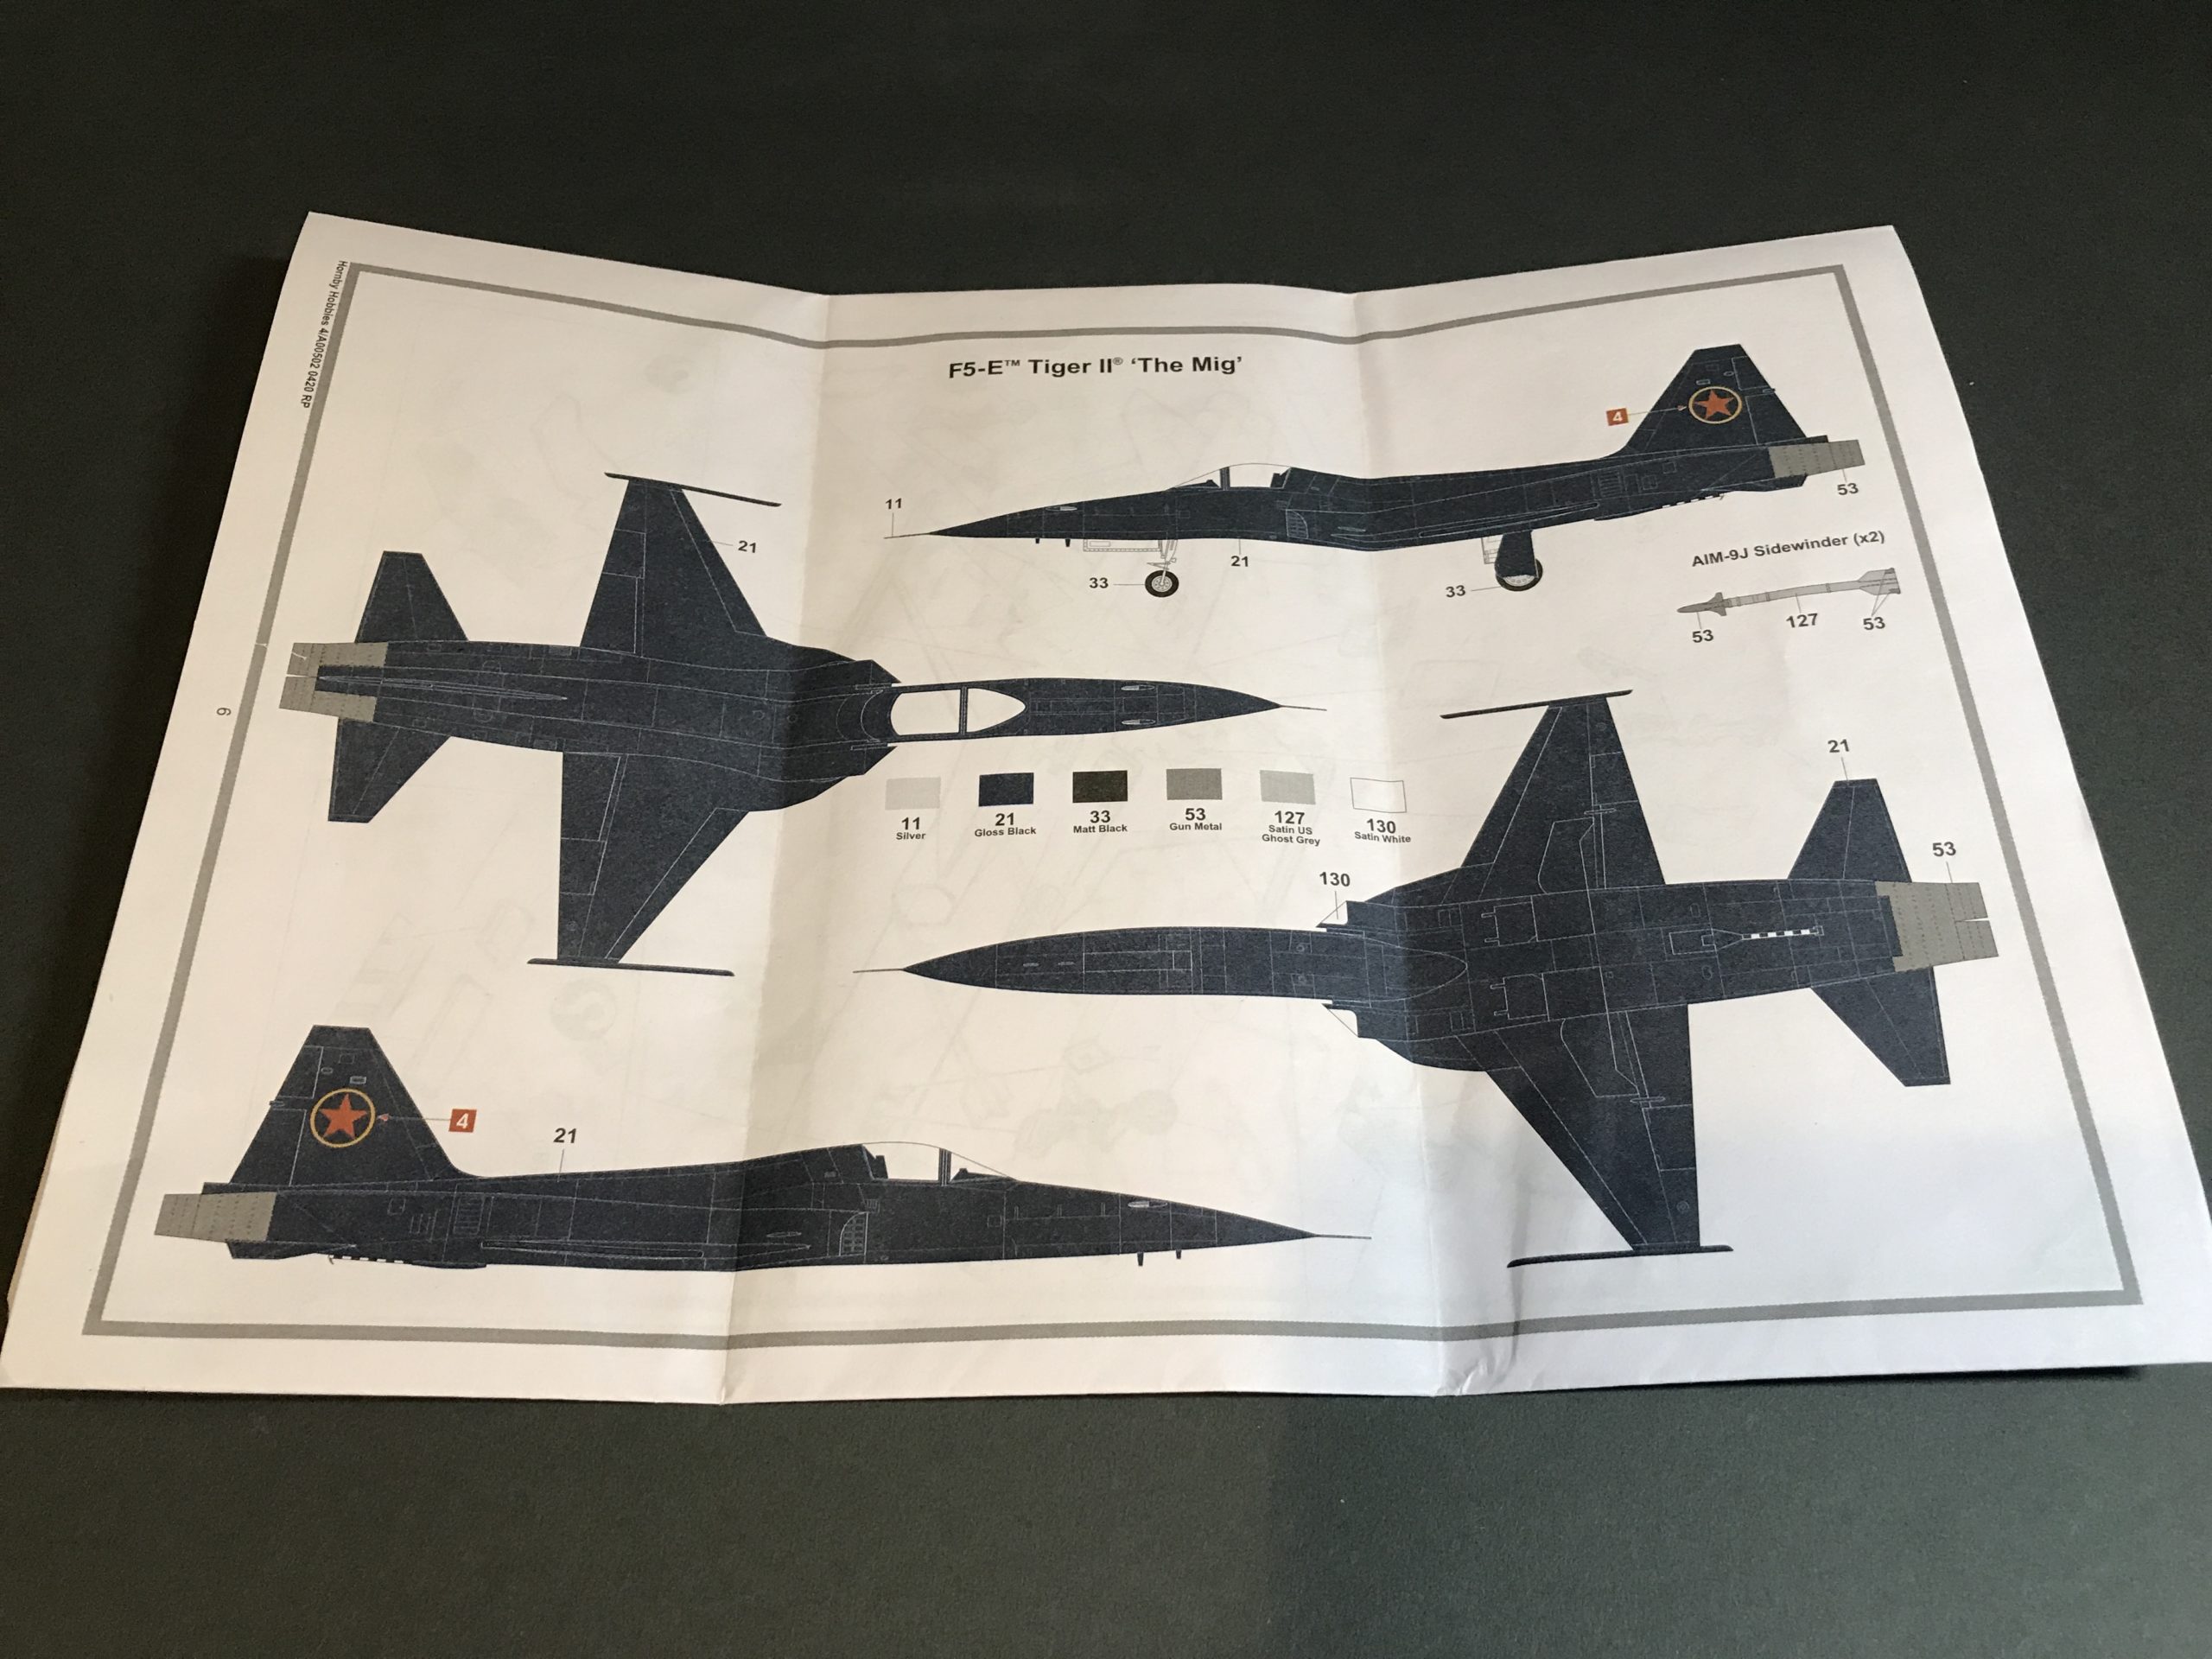
The painting guide calls for gloss black. Looking back at the movie the “MIGs” do look quite shiny, trouble is I can’t quite bring myself to paint the plane in gloss black.
I settled for semi gloss instead.
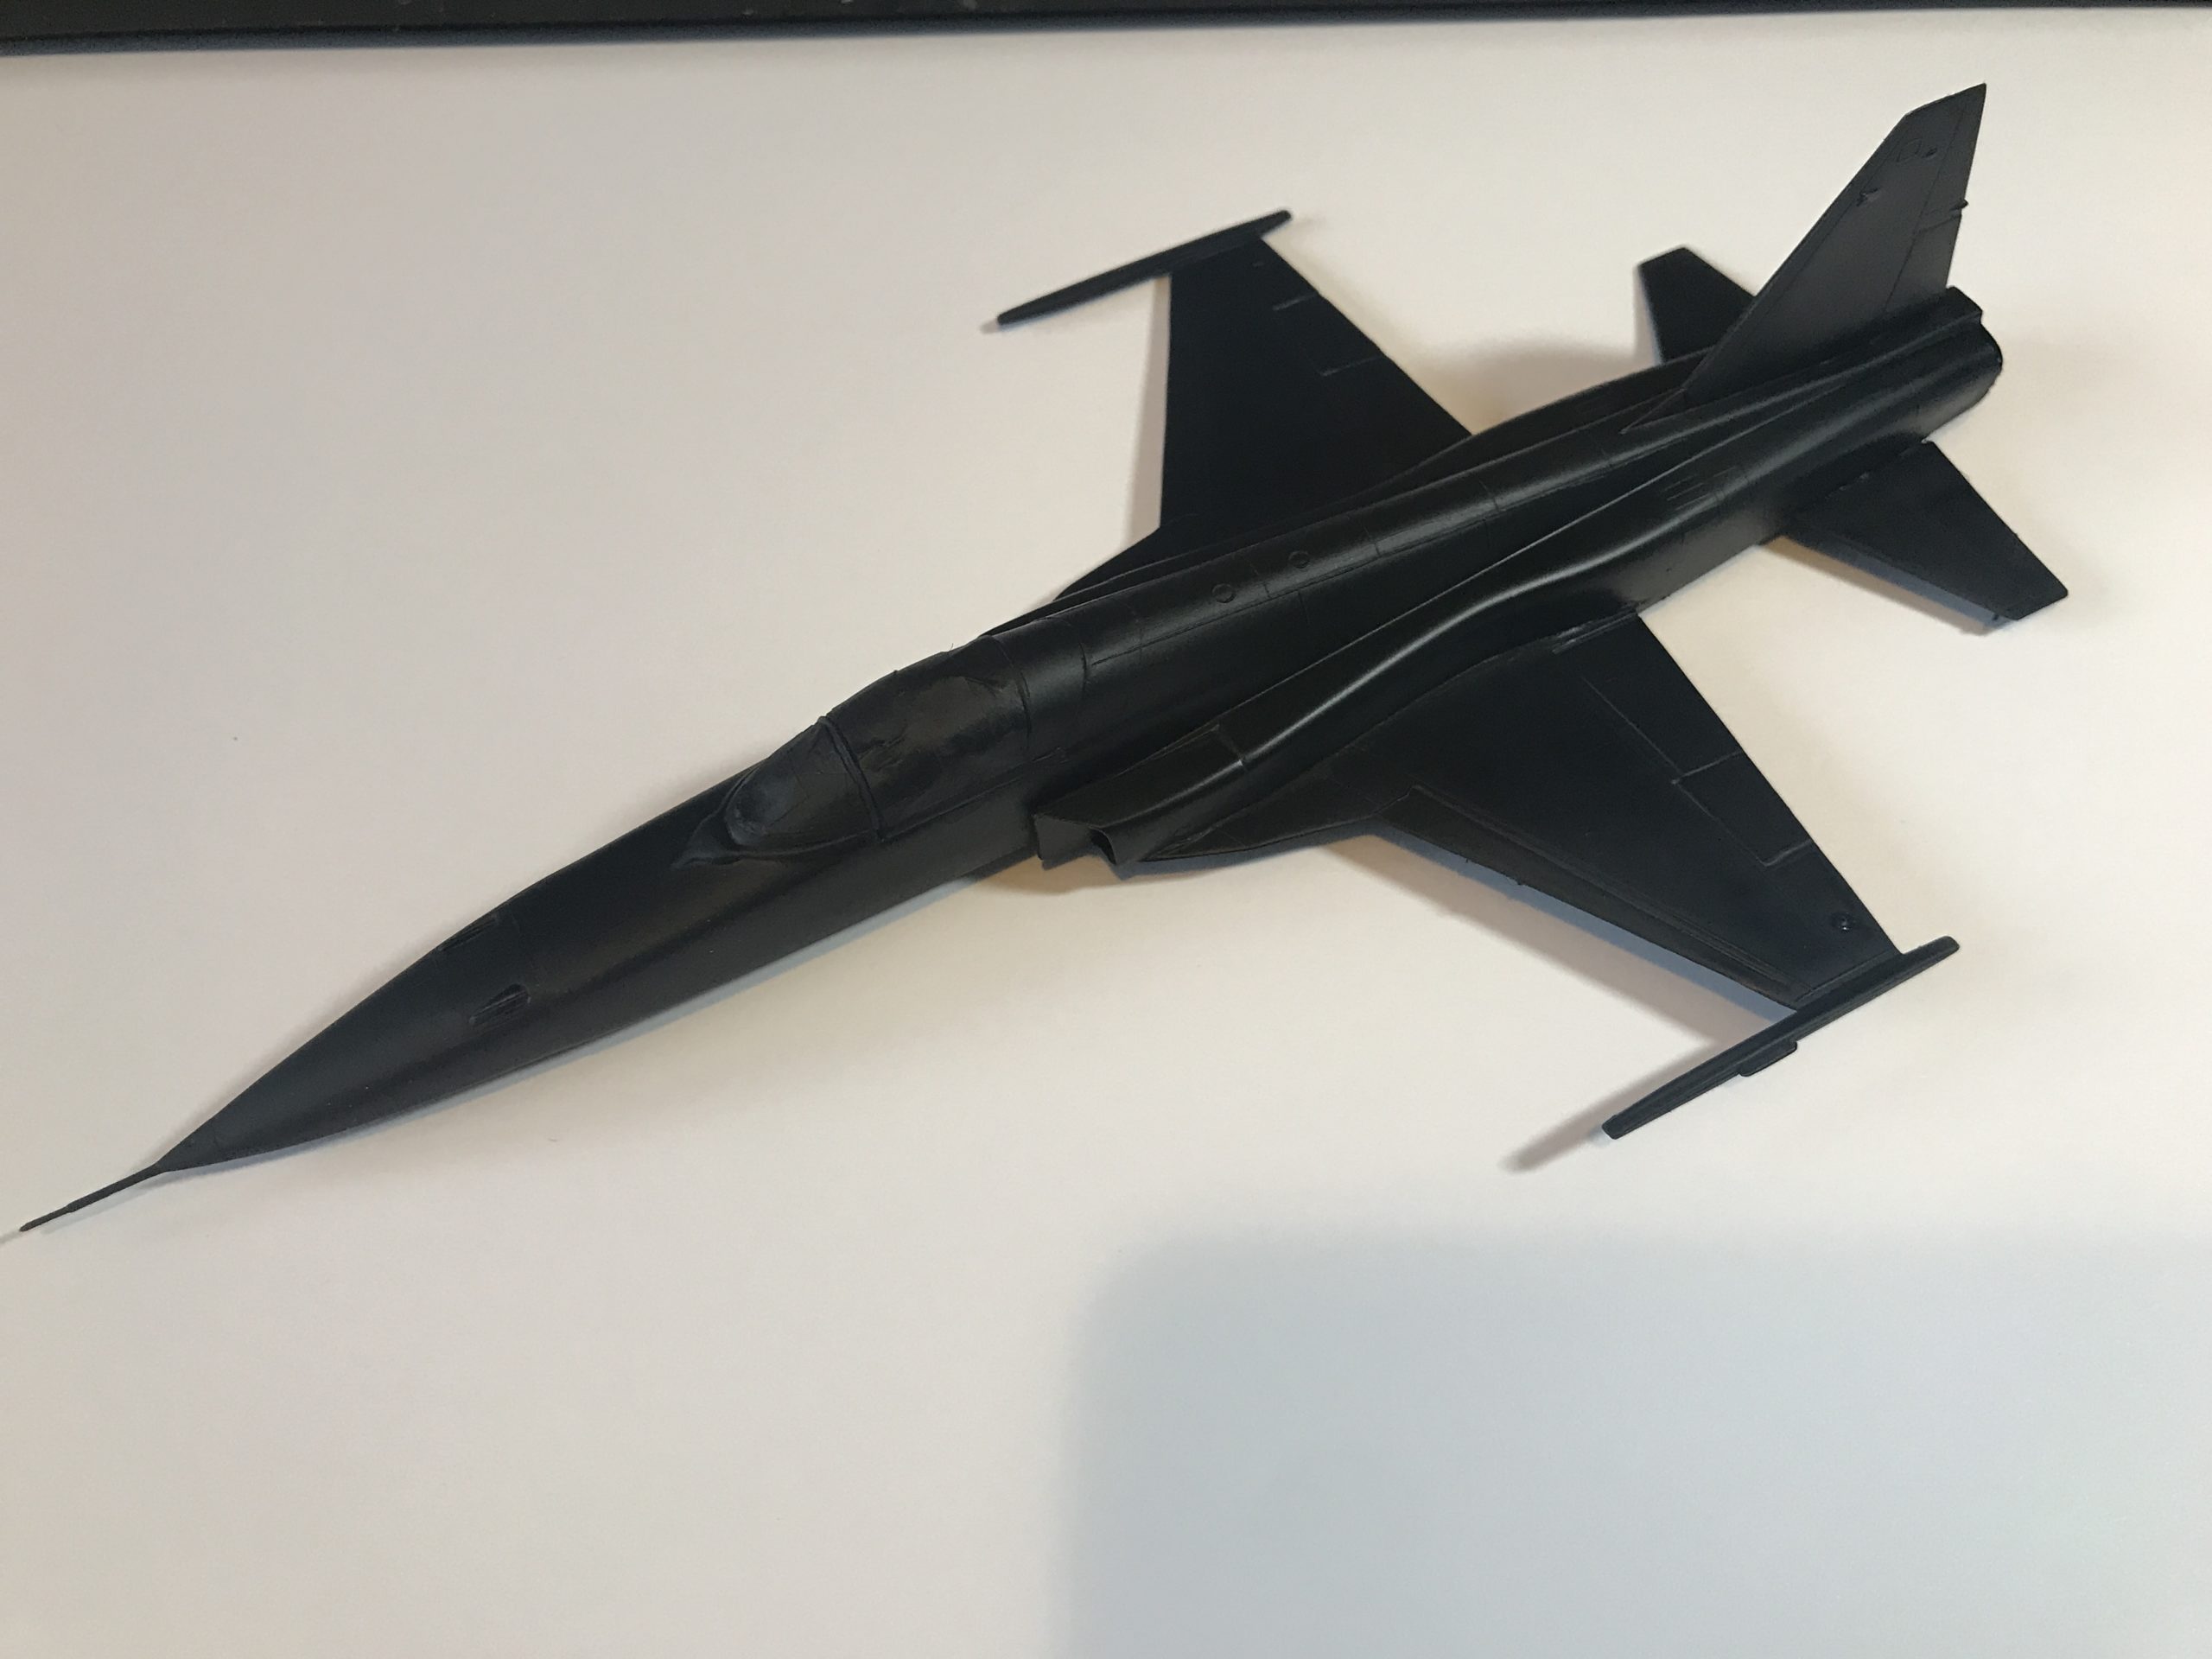
I’m pretty happy with that look. Next job is to remove the masking, but I will let the paint fully dry first.
Once dry I painted the pitot tube in chrome and also the frame of the front canopy as this is what the aircraft in the film have.
I could then complete the application of the decals.
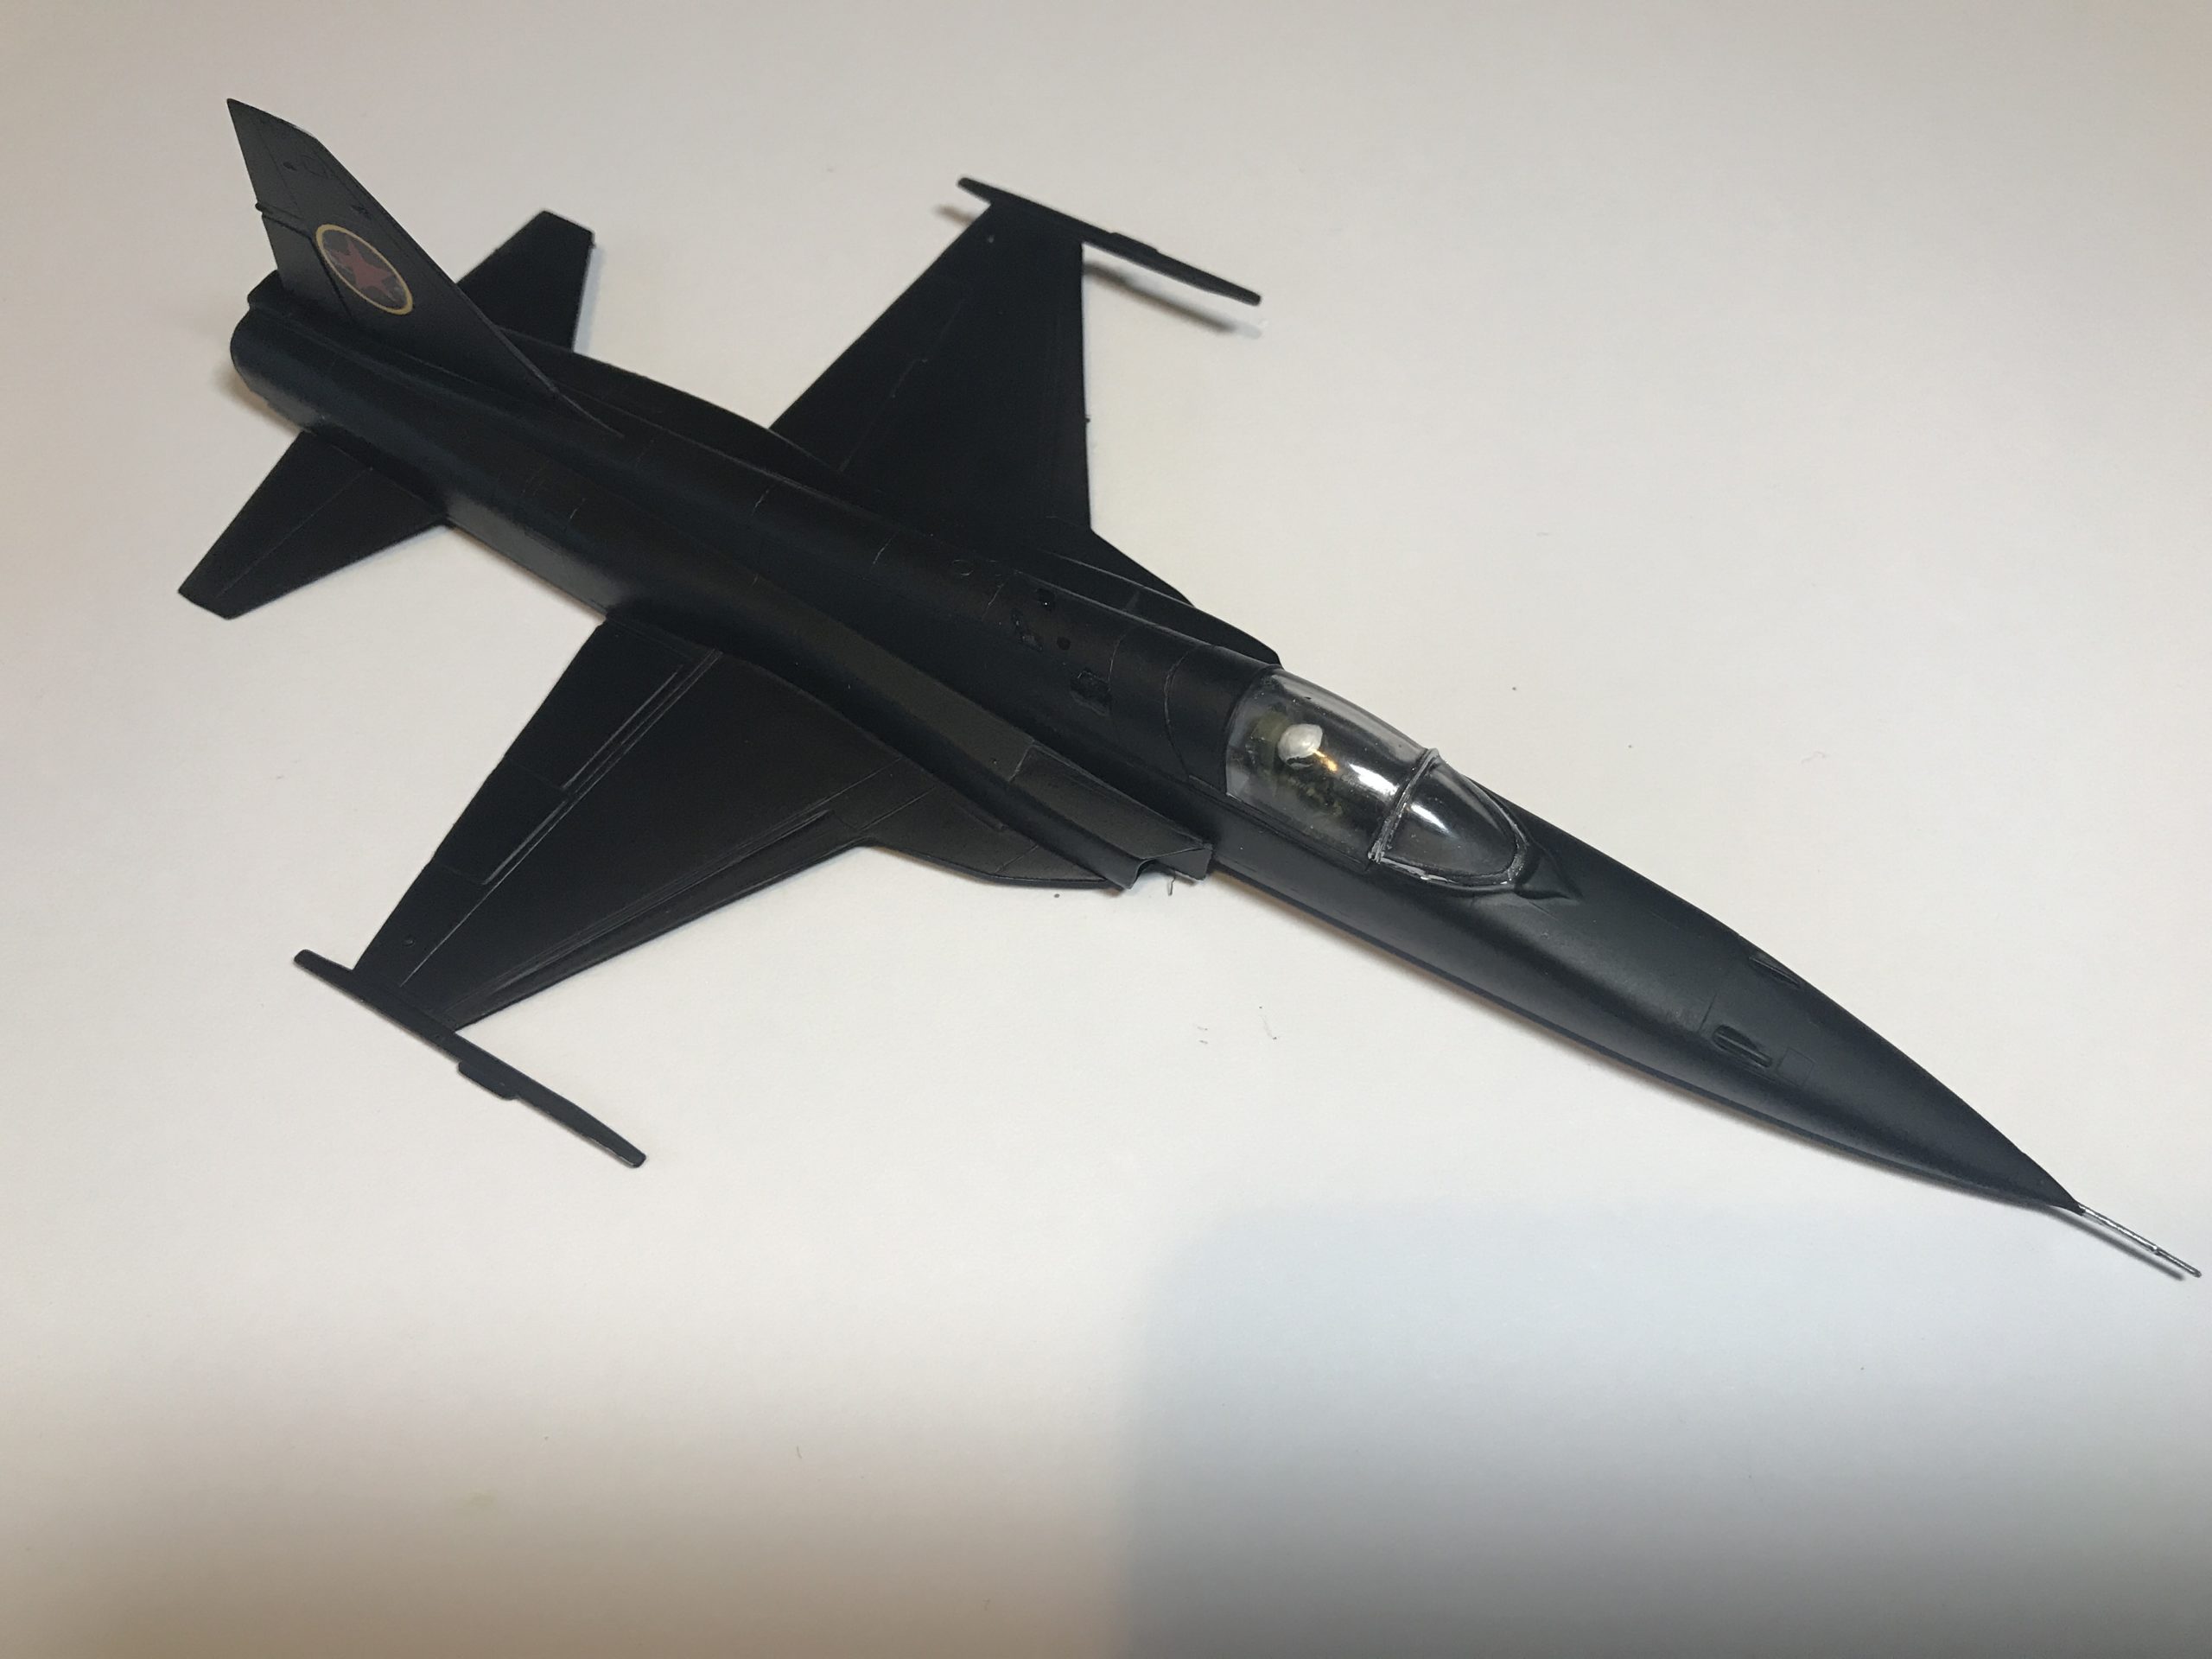
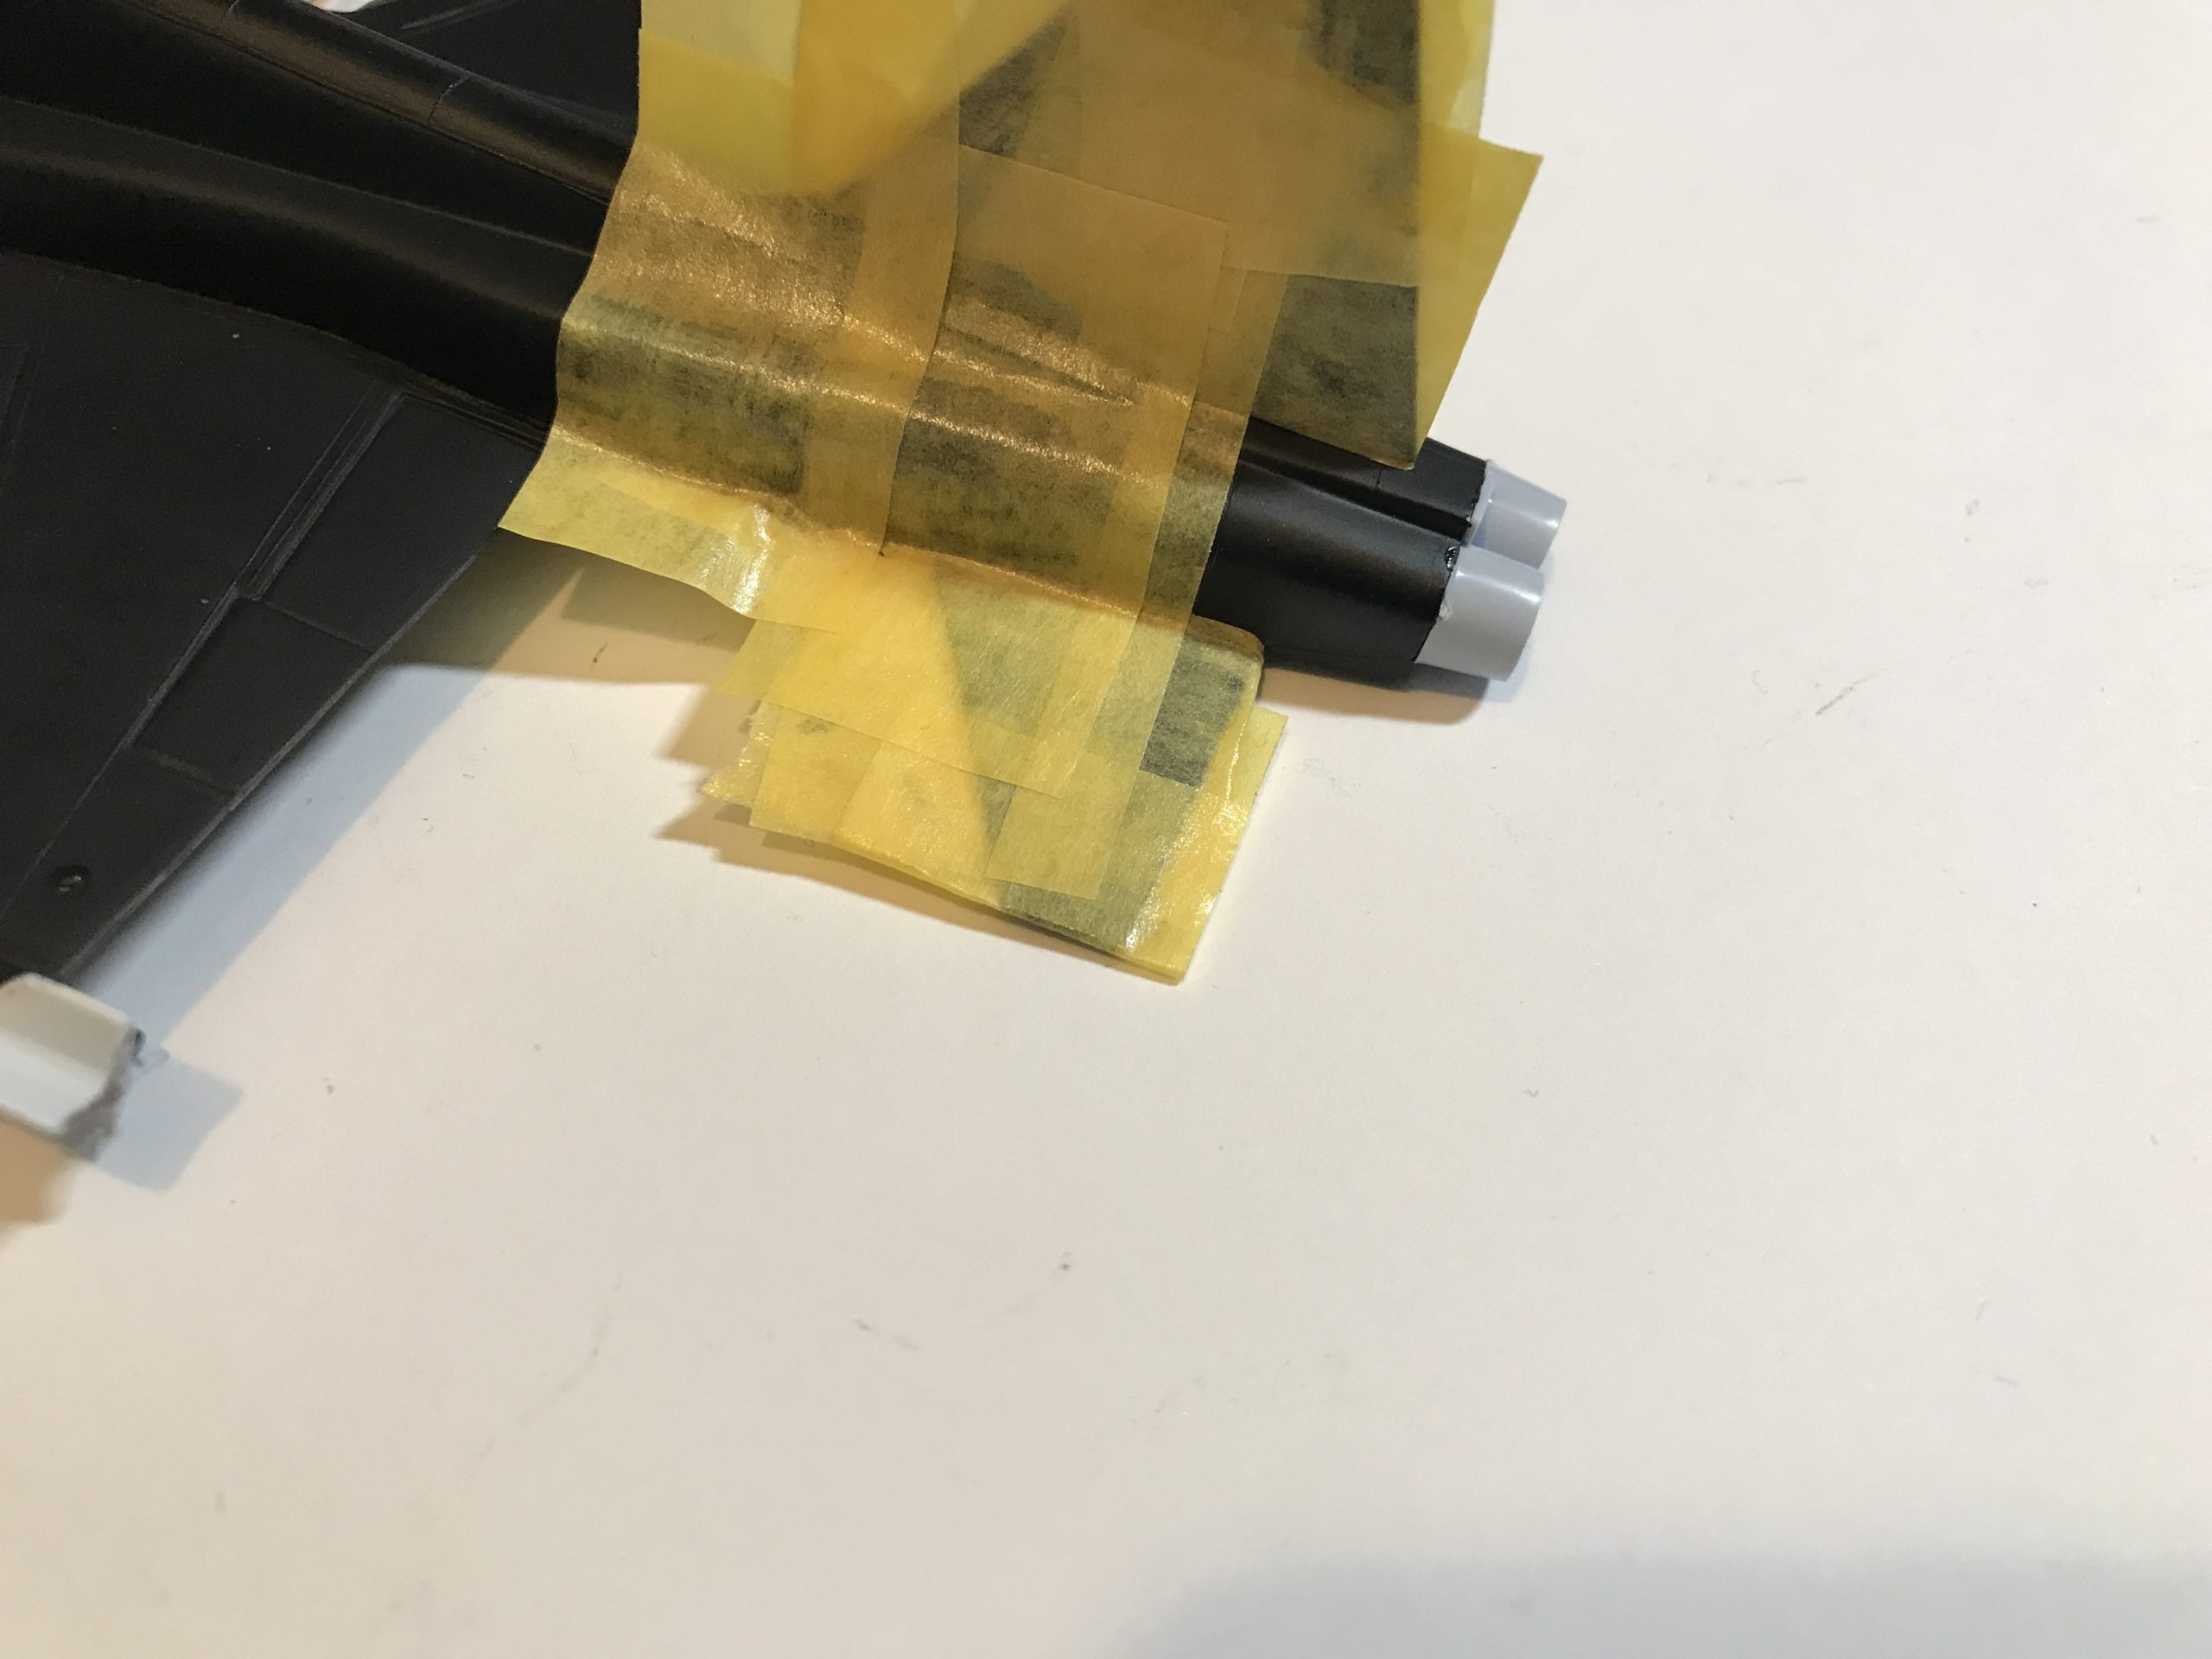
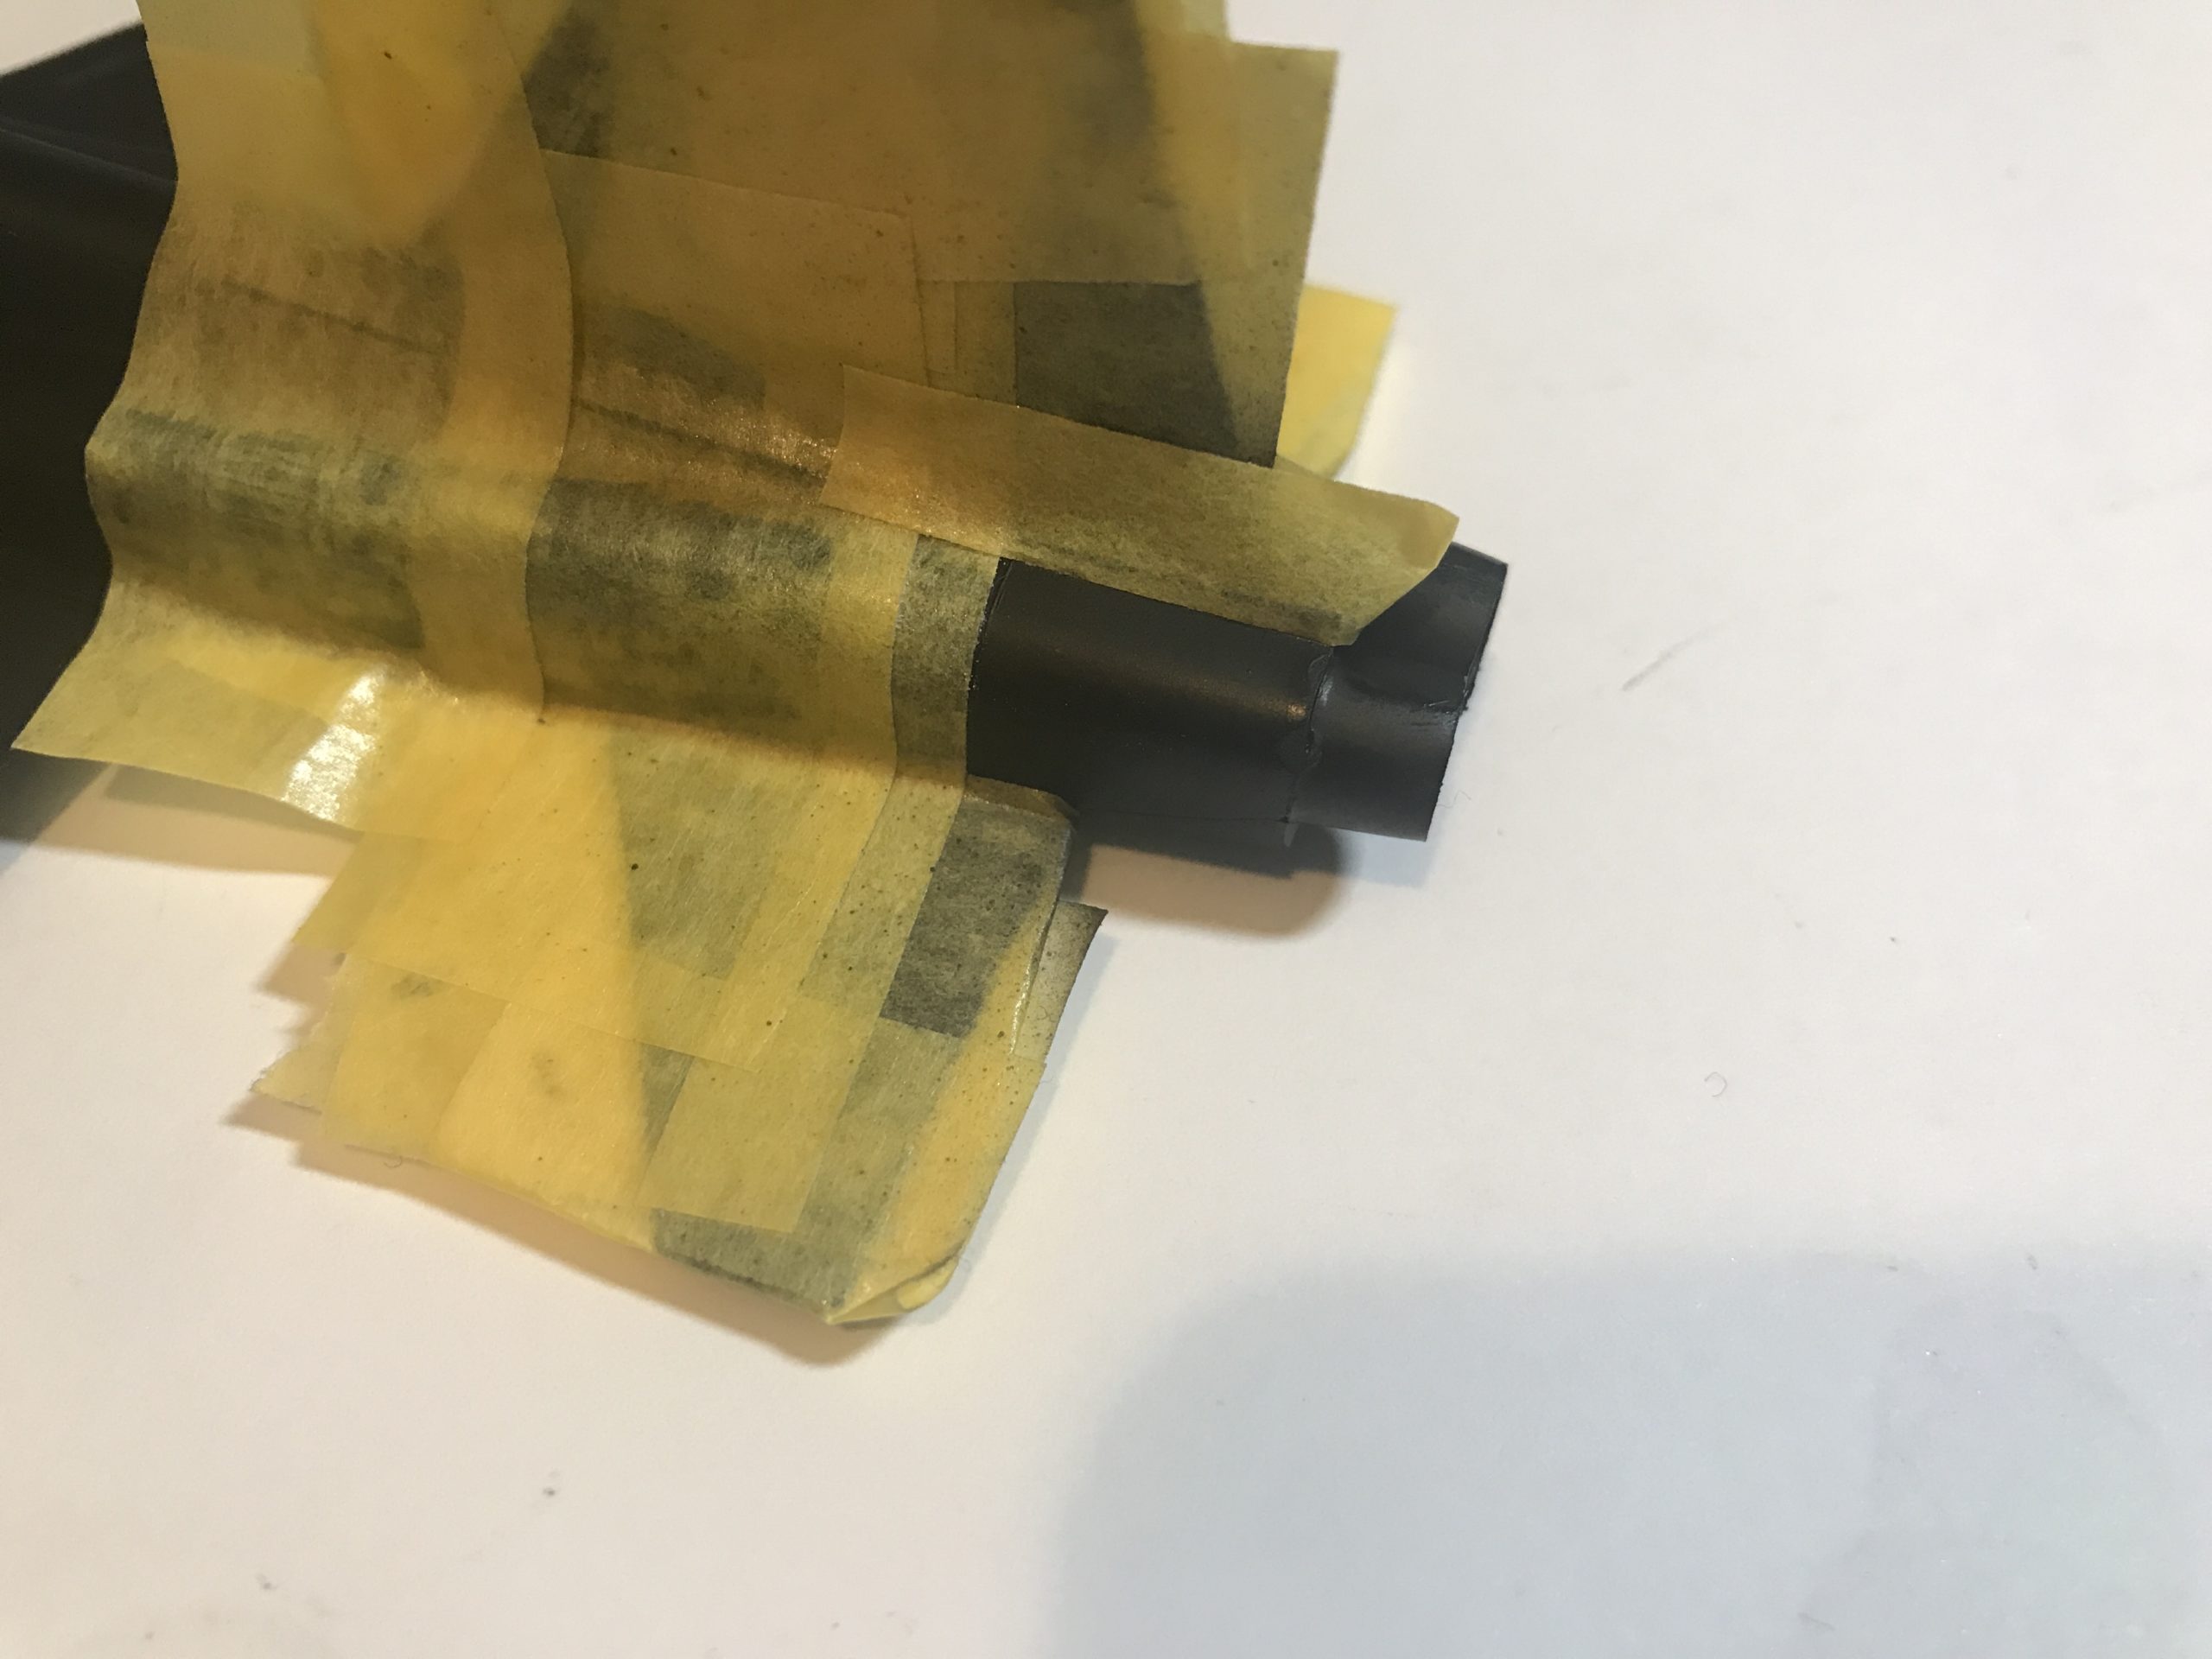
It’s at this point, feeling a bit smug with myself I realised that I needed to paint the engines and would need to mask over the tail decals. D’oh.
Oh well back to masking. I made sure to de-tack the tape that was going over the decals by applying it to the back of my hand and removing it. I did this several times until almost all the “stick” had gone. I don’t want to lose decal when removing the masking. Note to self: If you had put on a clear coat to seal everything then this wouldn’t be an issue.
I sprayed the area semi-gloss black first and then re-masked for the engine colour, which is to be light gun metal.
With that done it was just a case of painting all the landing gear parts. The instructions call for silver, but I went with white.
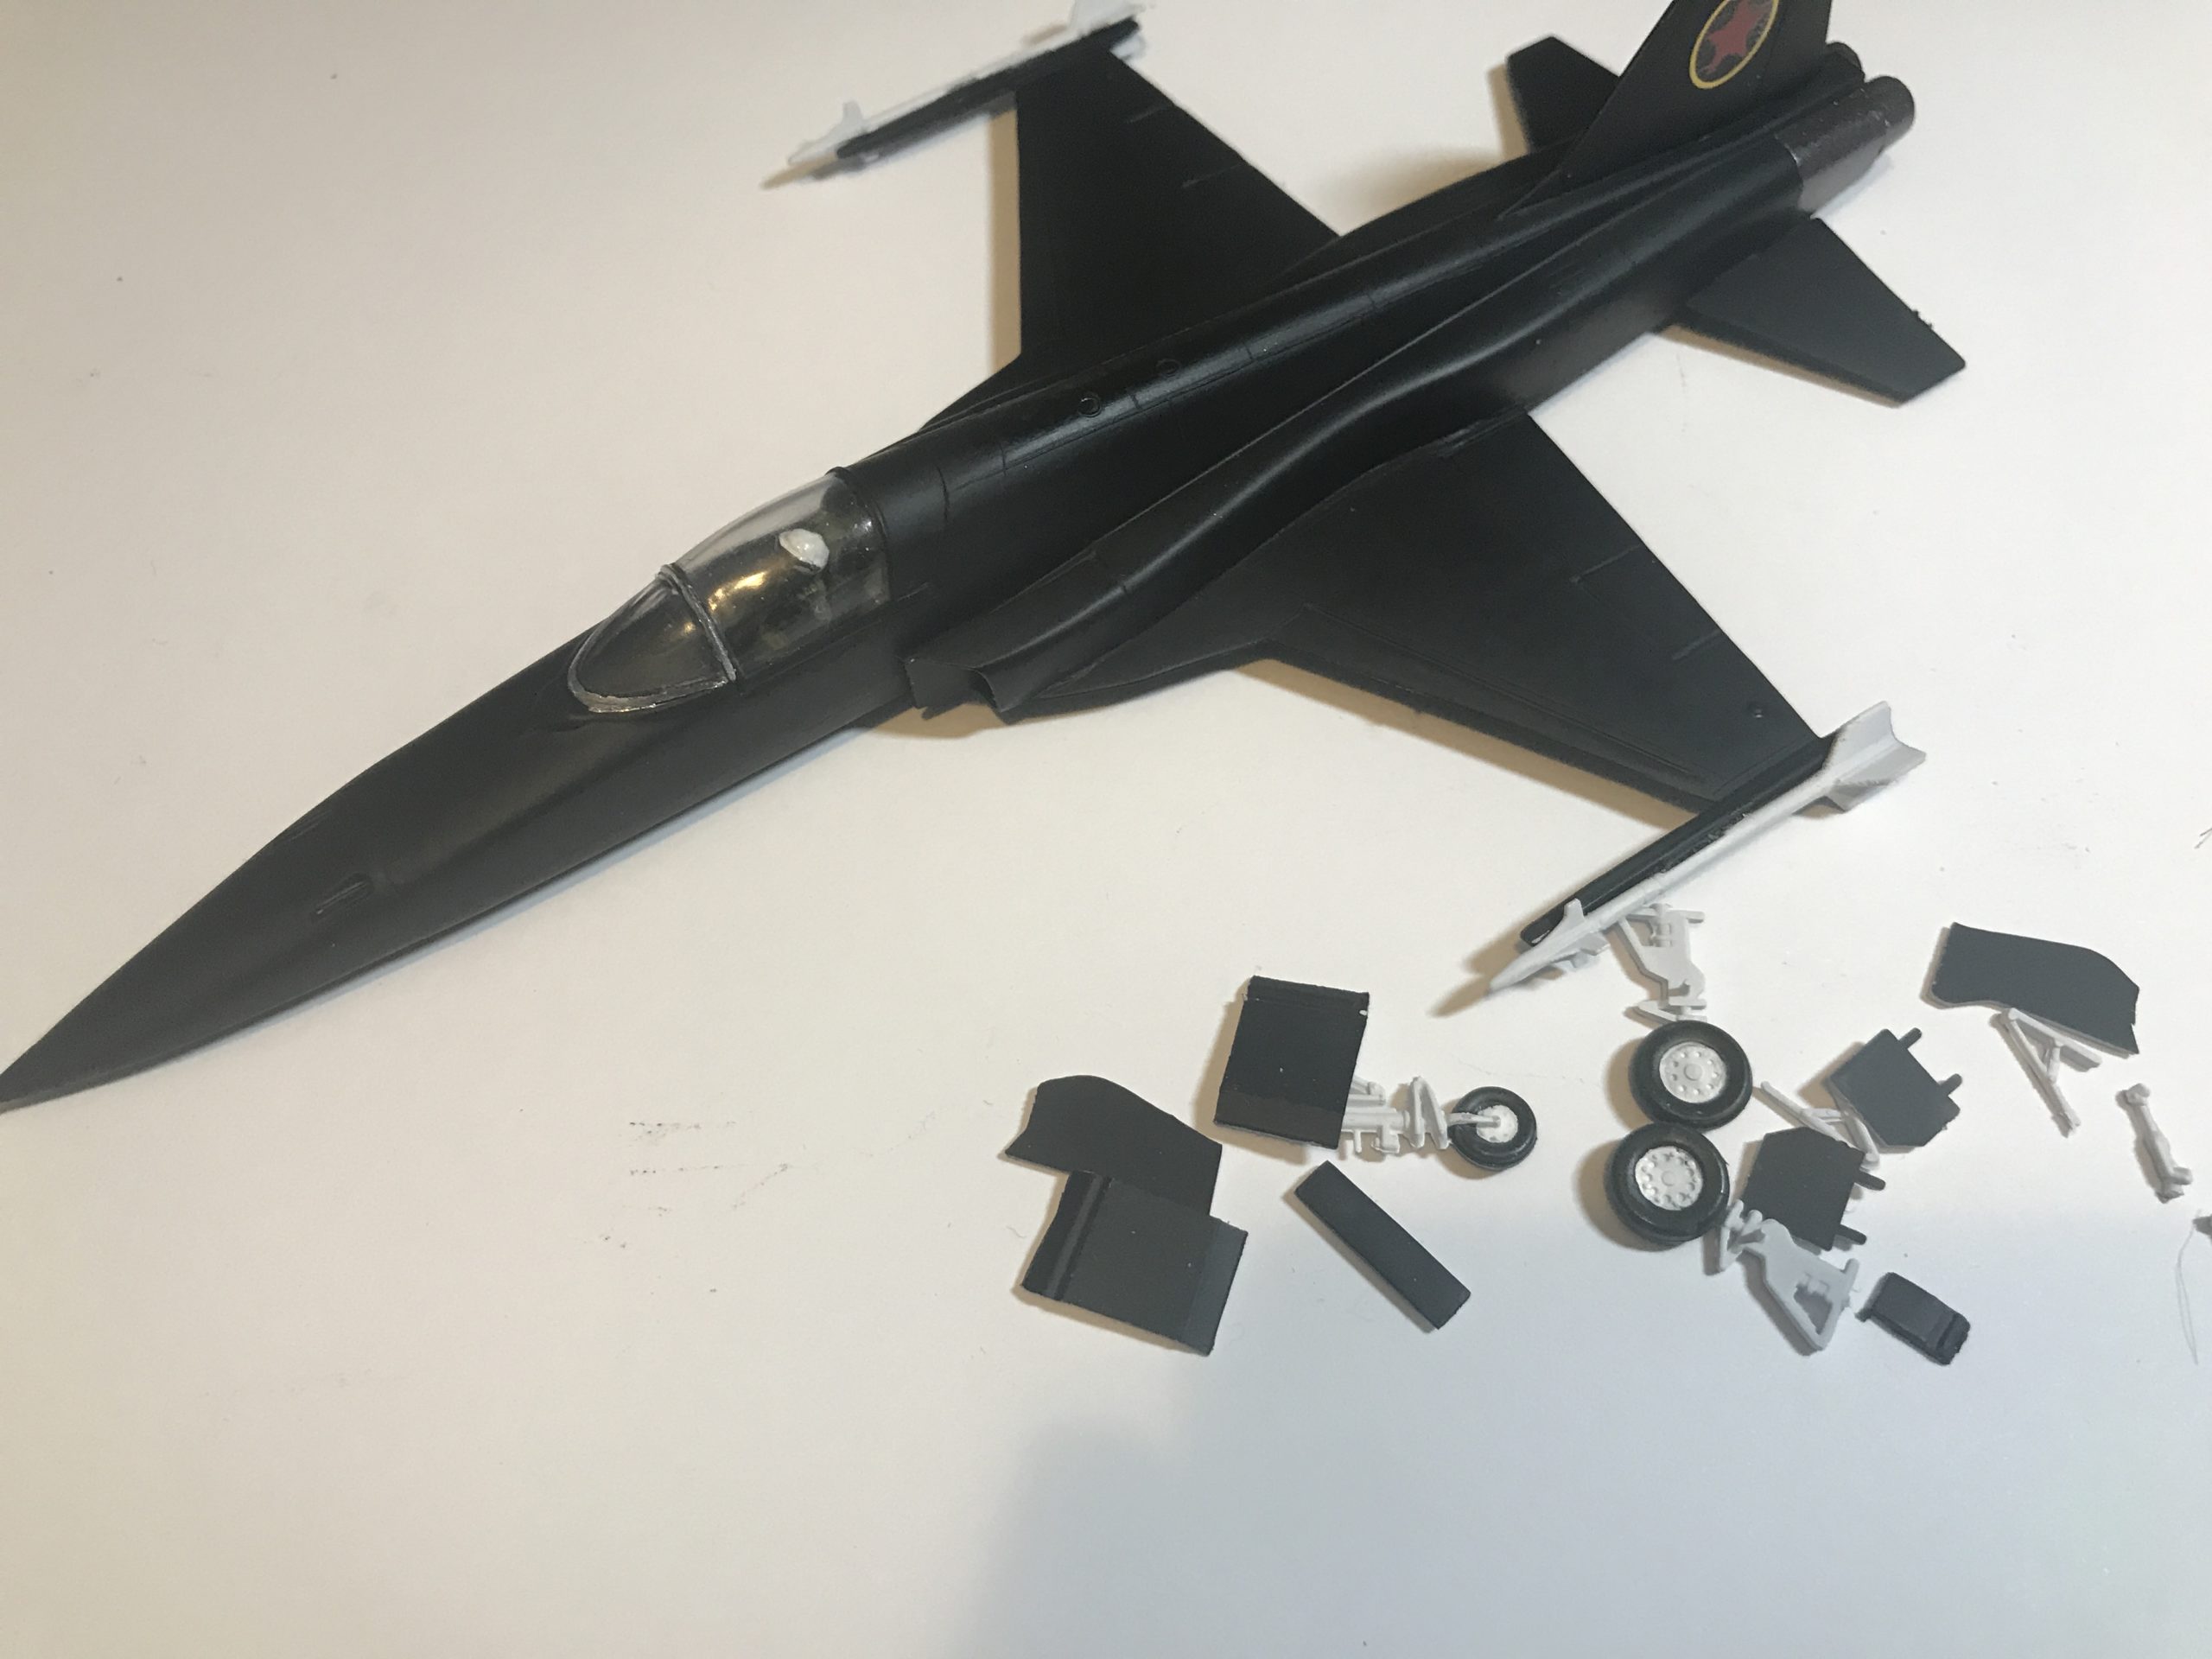 Once they are attached the model is done. No weathering on this one. I am quite pleased with how it came out.
The Verdict on this kit:
Build Time:
I didn’t actually tally up the time, but its only a few hours all in – minus drying time.
Suggested Tools:
For a tidy finish you’ll want to spray the model as its a single colour.
Scriber if you want to go over all of the panel lines.
Model filler – as I said it appears to be a relatively old model, so the fit/finish out of the box is not up to 2020 standards – but its nothing serious and actually quite fun and always good practise on smaller less expensive kits.
What we’ve taken away from this build:
If we looked at this kit as a brand new top of the line 2020 Airfix release then it wouldn’t make great reading. Ultimately its a basic and fairly old model from days past – However, this doesn’t take away from the enjoyment of the build.
For every kit I spend weeks battling together and hours weathering, it’s nice to have a basic and simple build that goes together with relative ease – there is no denying it looks pretty cool once finished too.
It also has the added benefit of being from “Top Gun”, it’s been fun getting absorbed back into the film – I might even crack the DVD out.
Id recommend putting this kit together and grabbing a couple of the others when they’re released – I might even make a little Top Gun plaque and give them a shelf in my cabinet!
Want to build this kit yourself? Pre-order yours here. Looking for more model kits? Explore our massive range here!


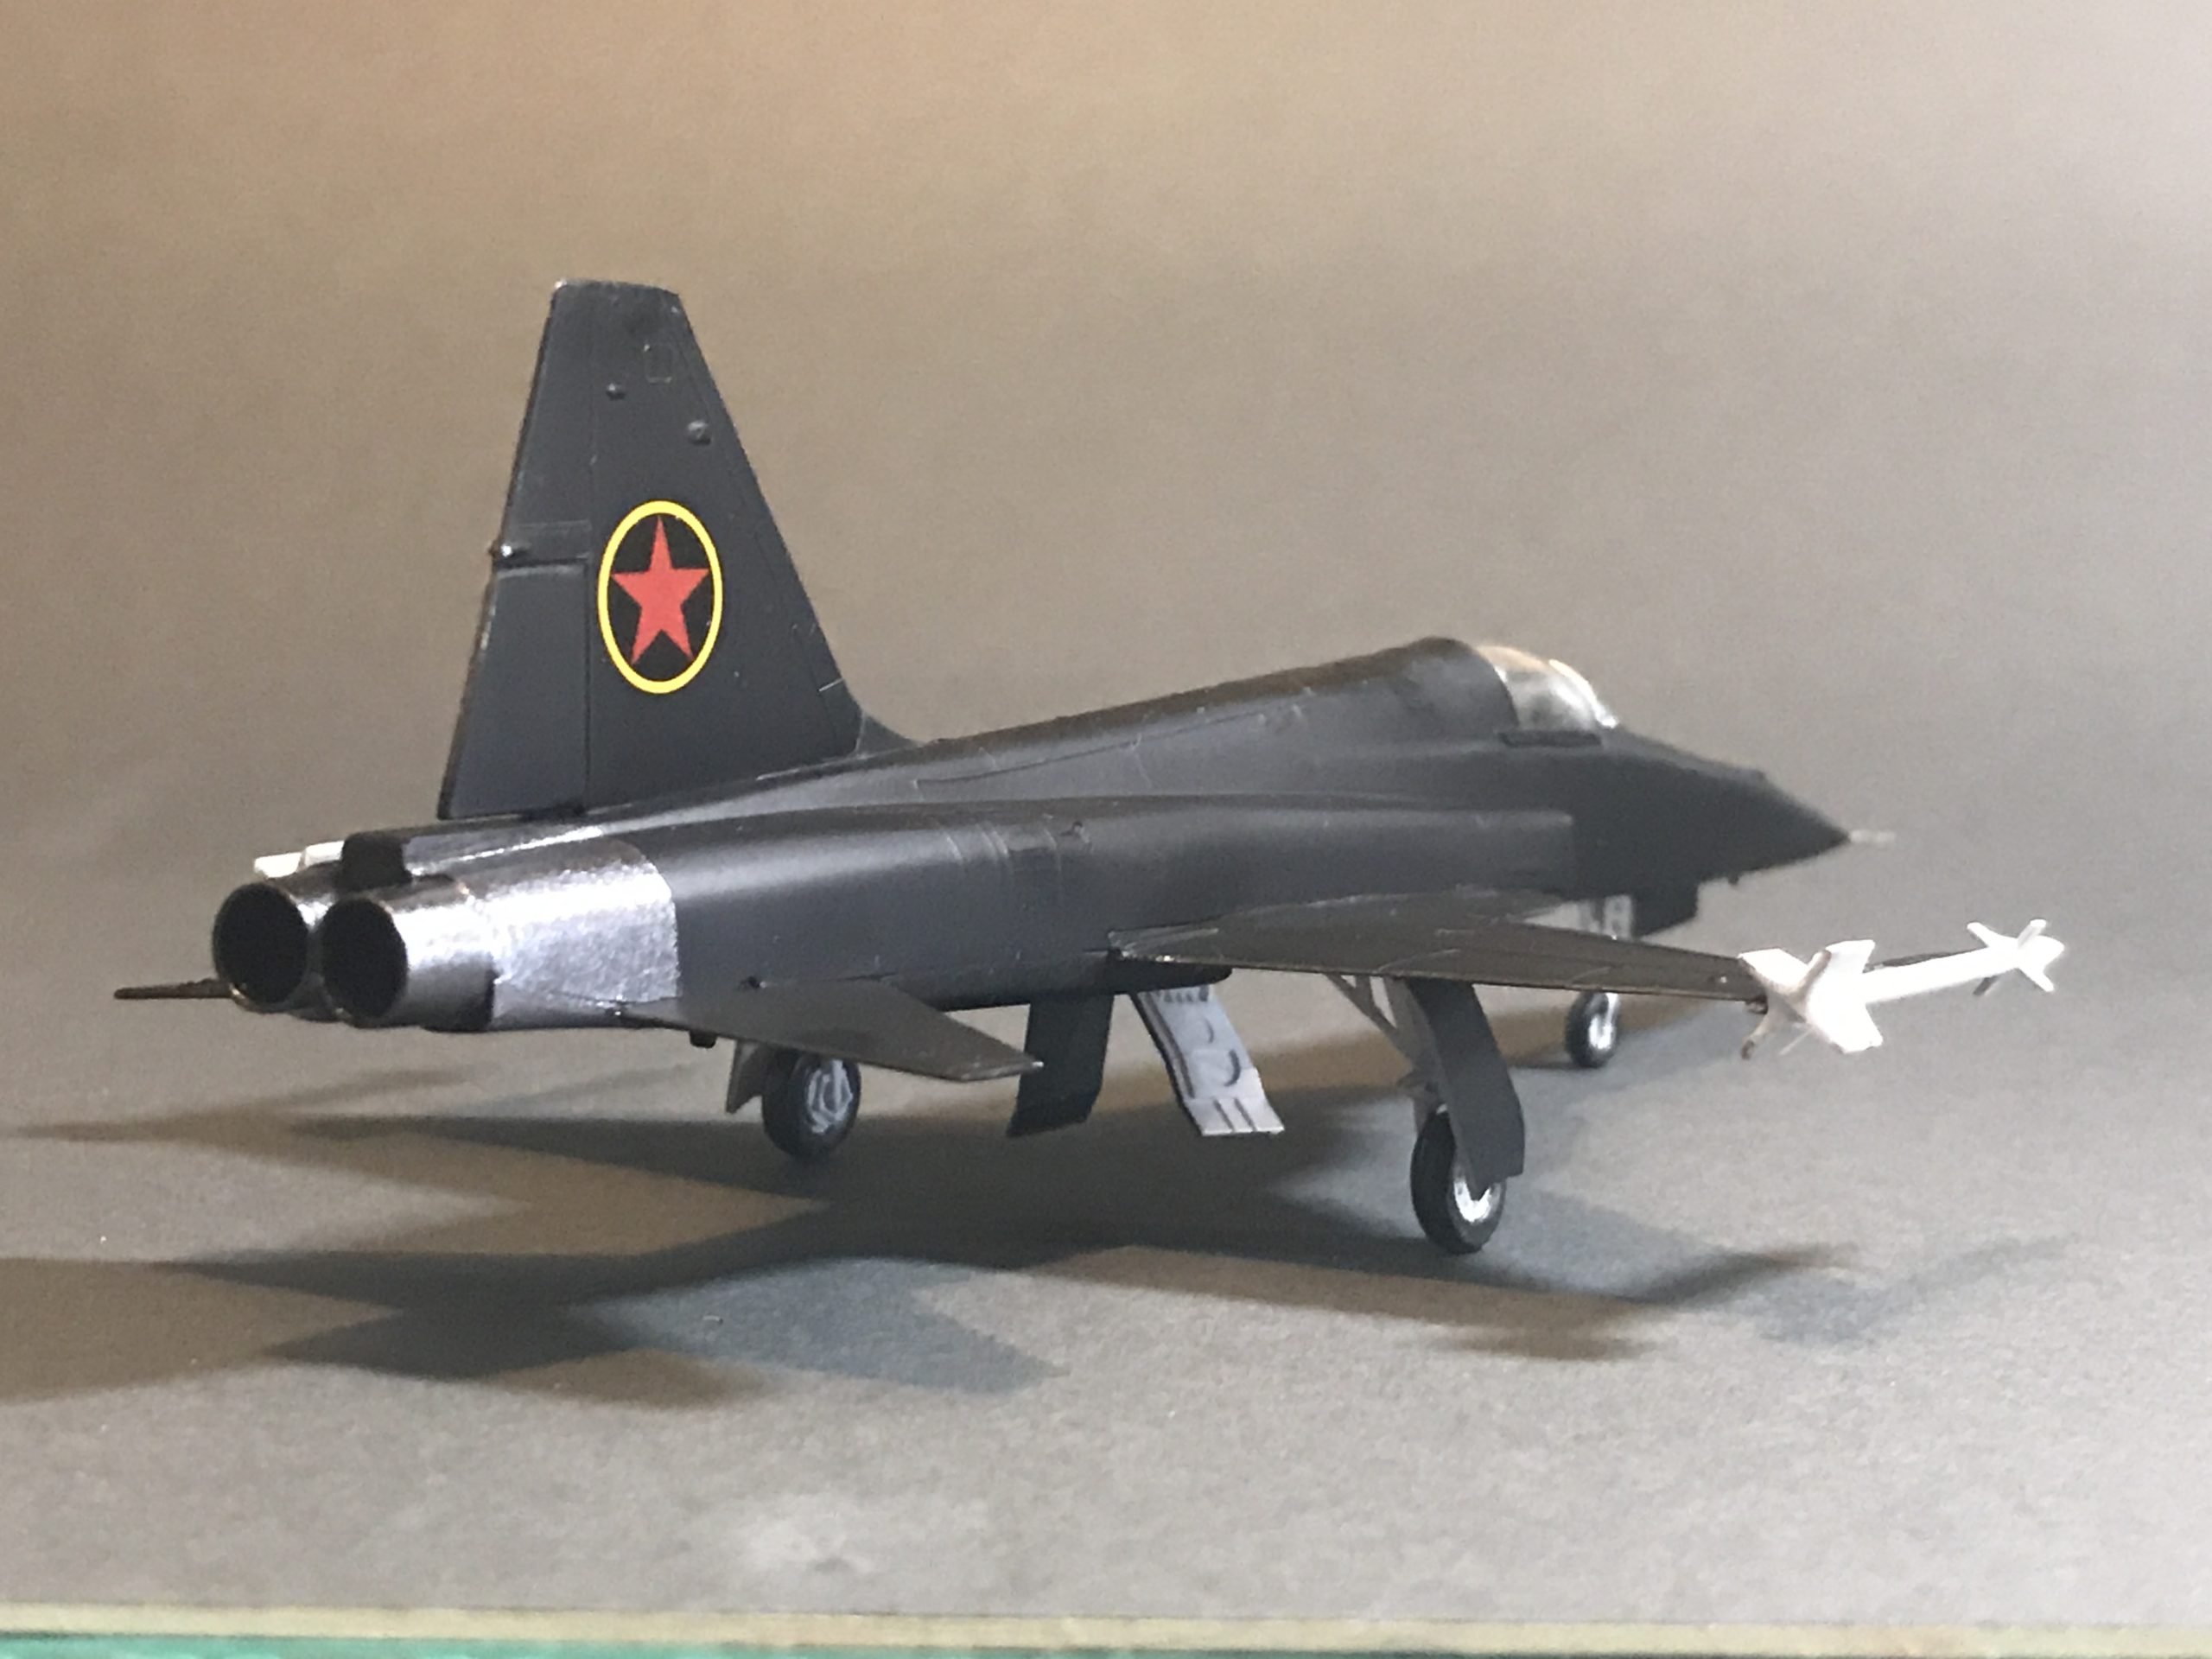
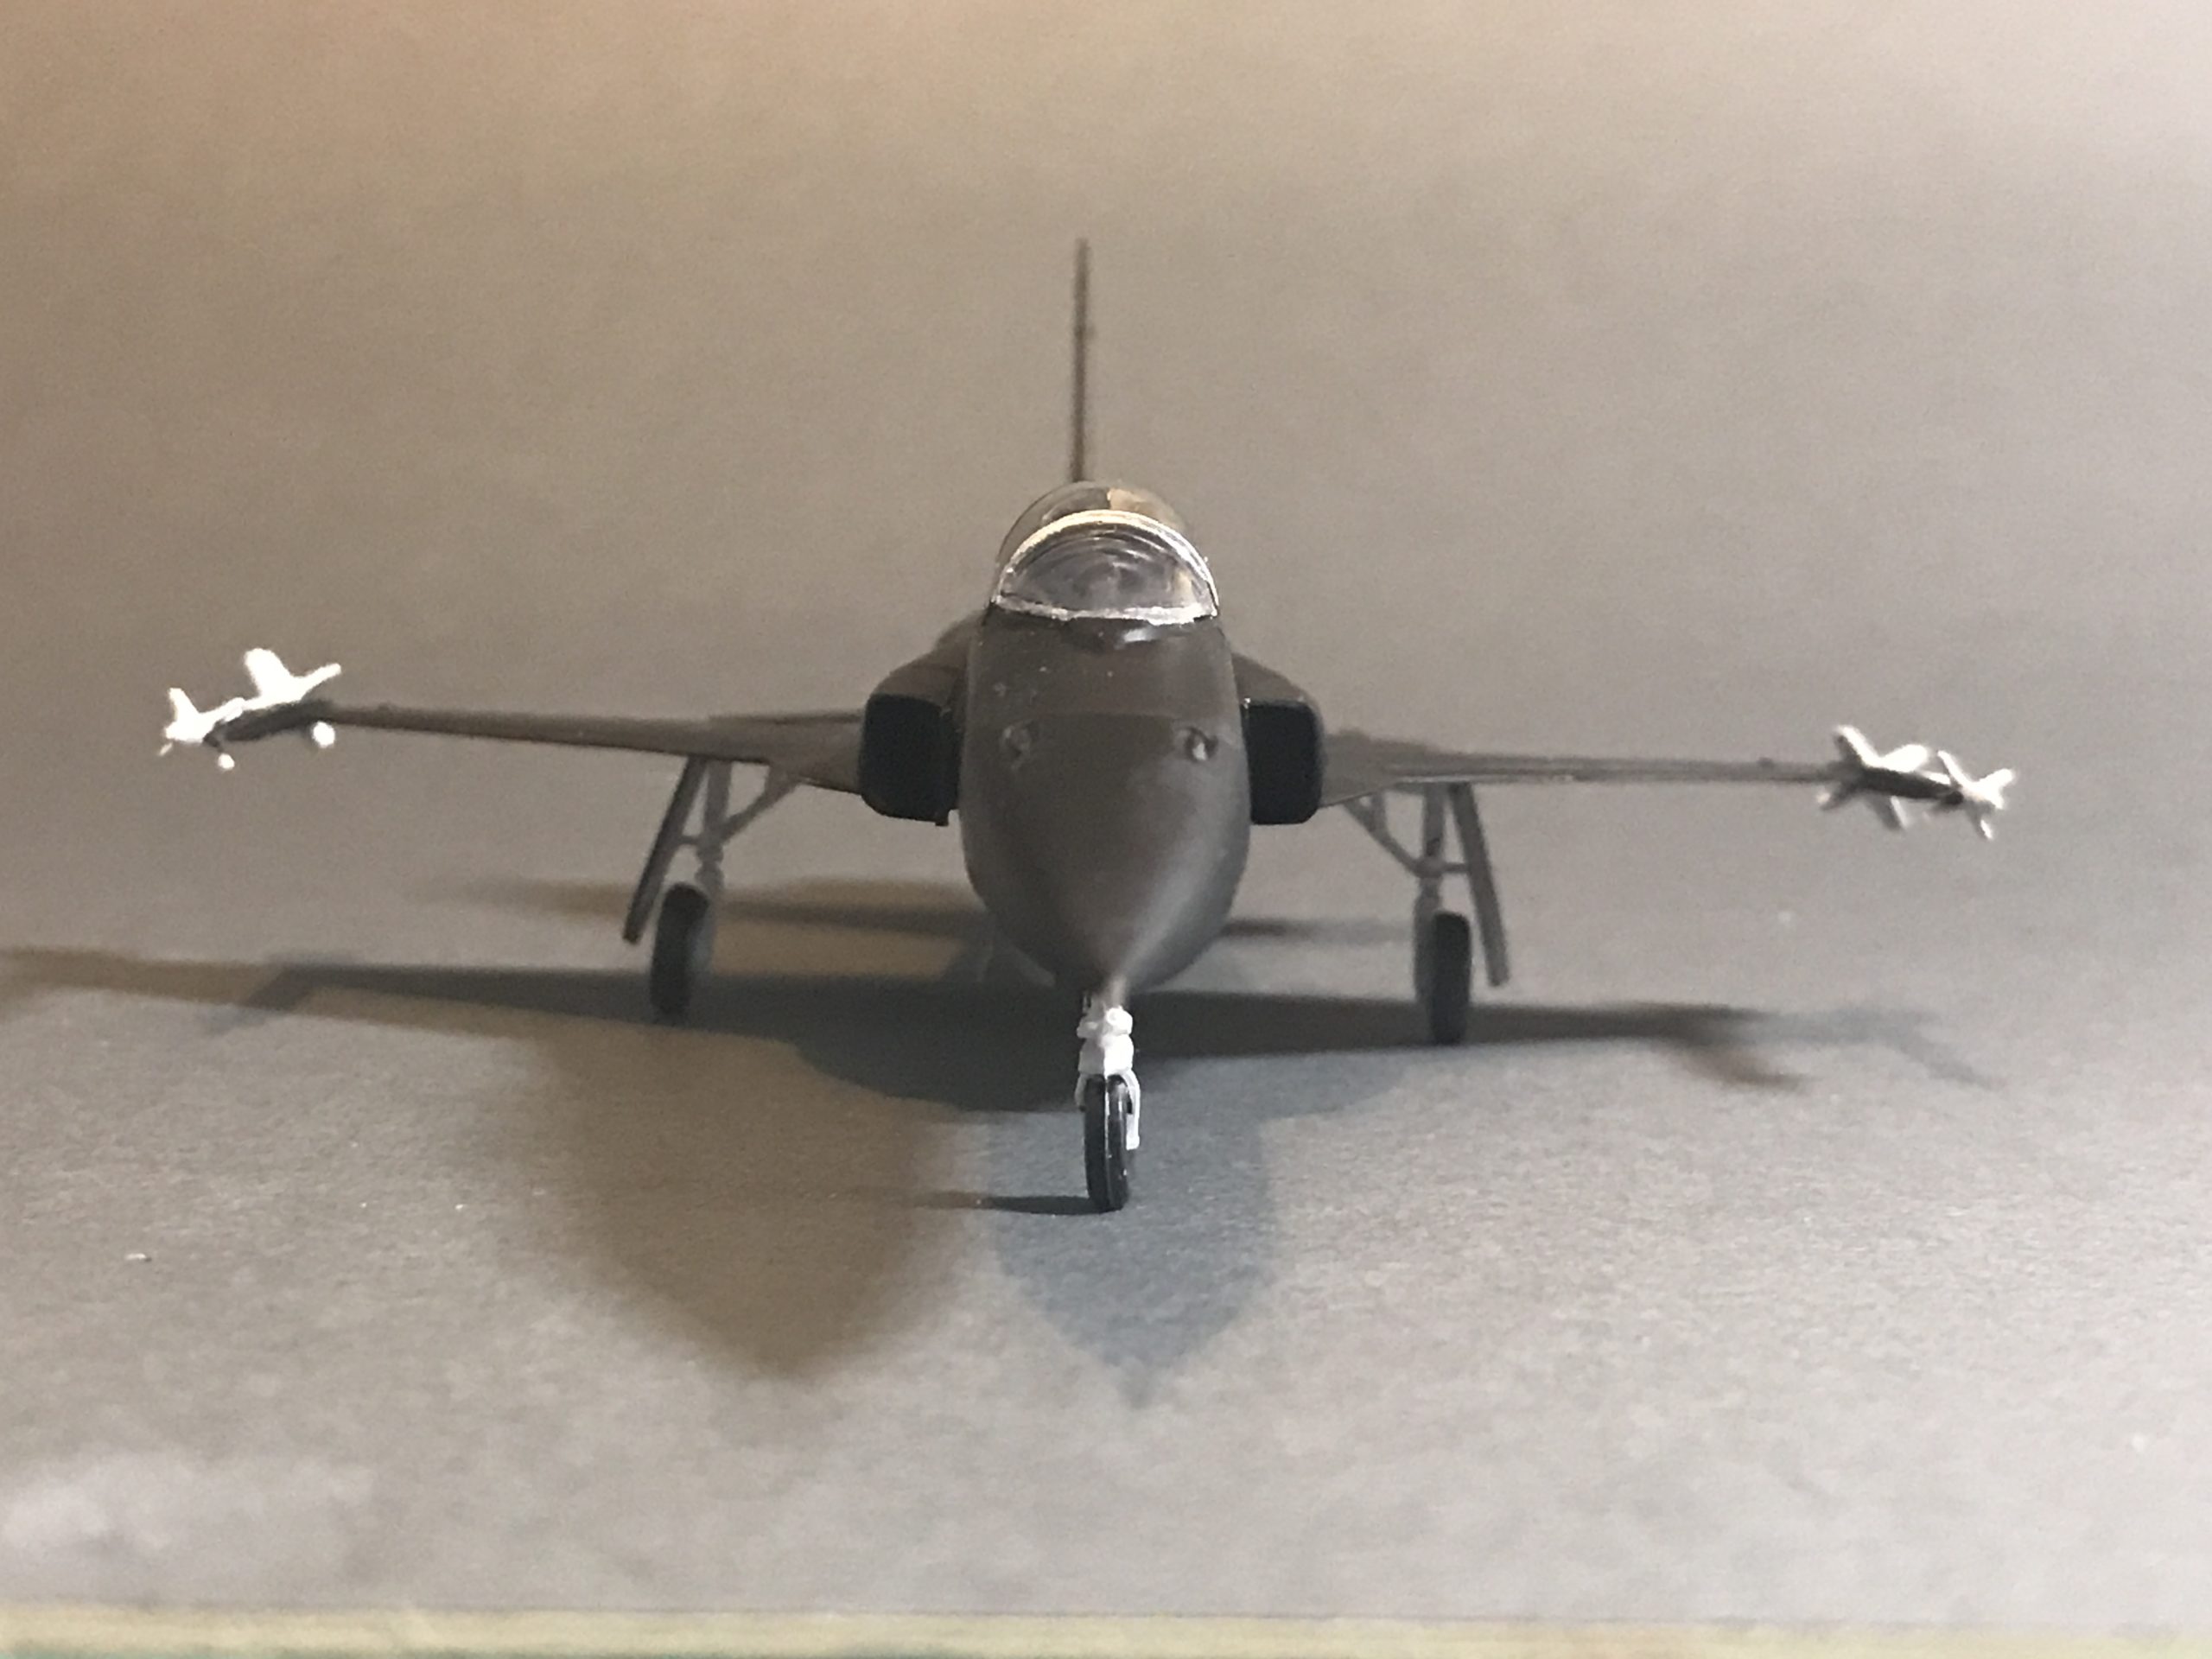
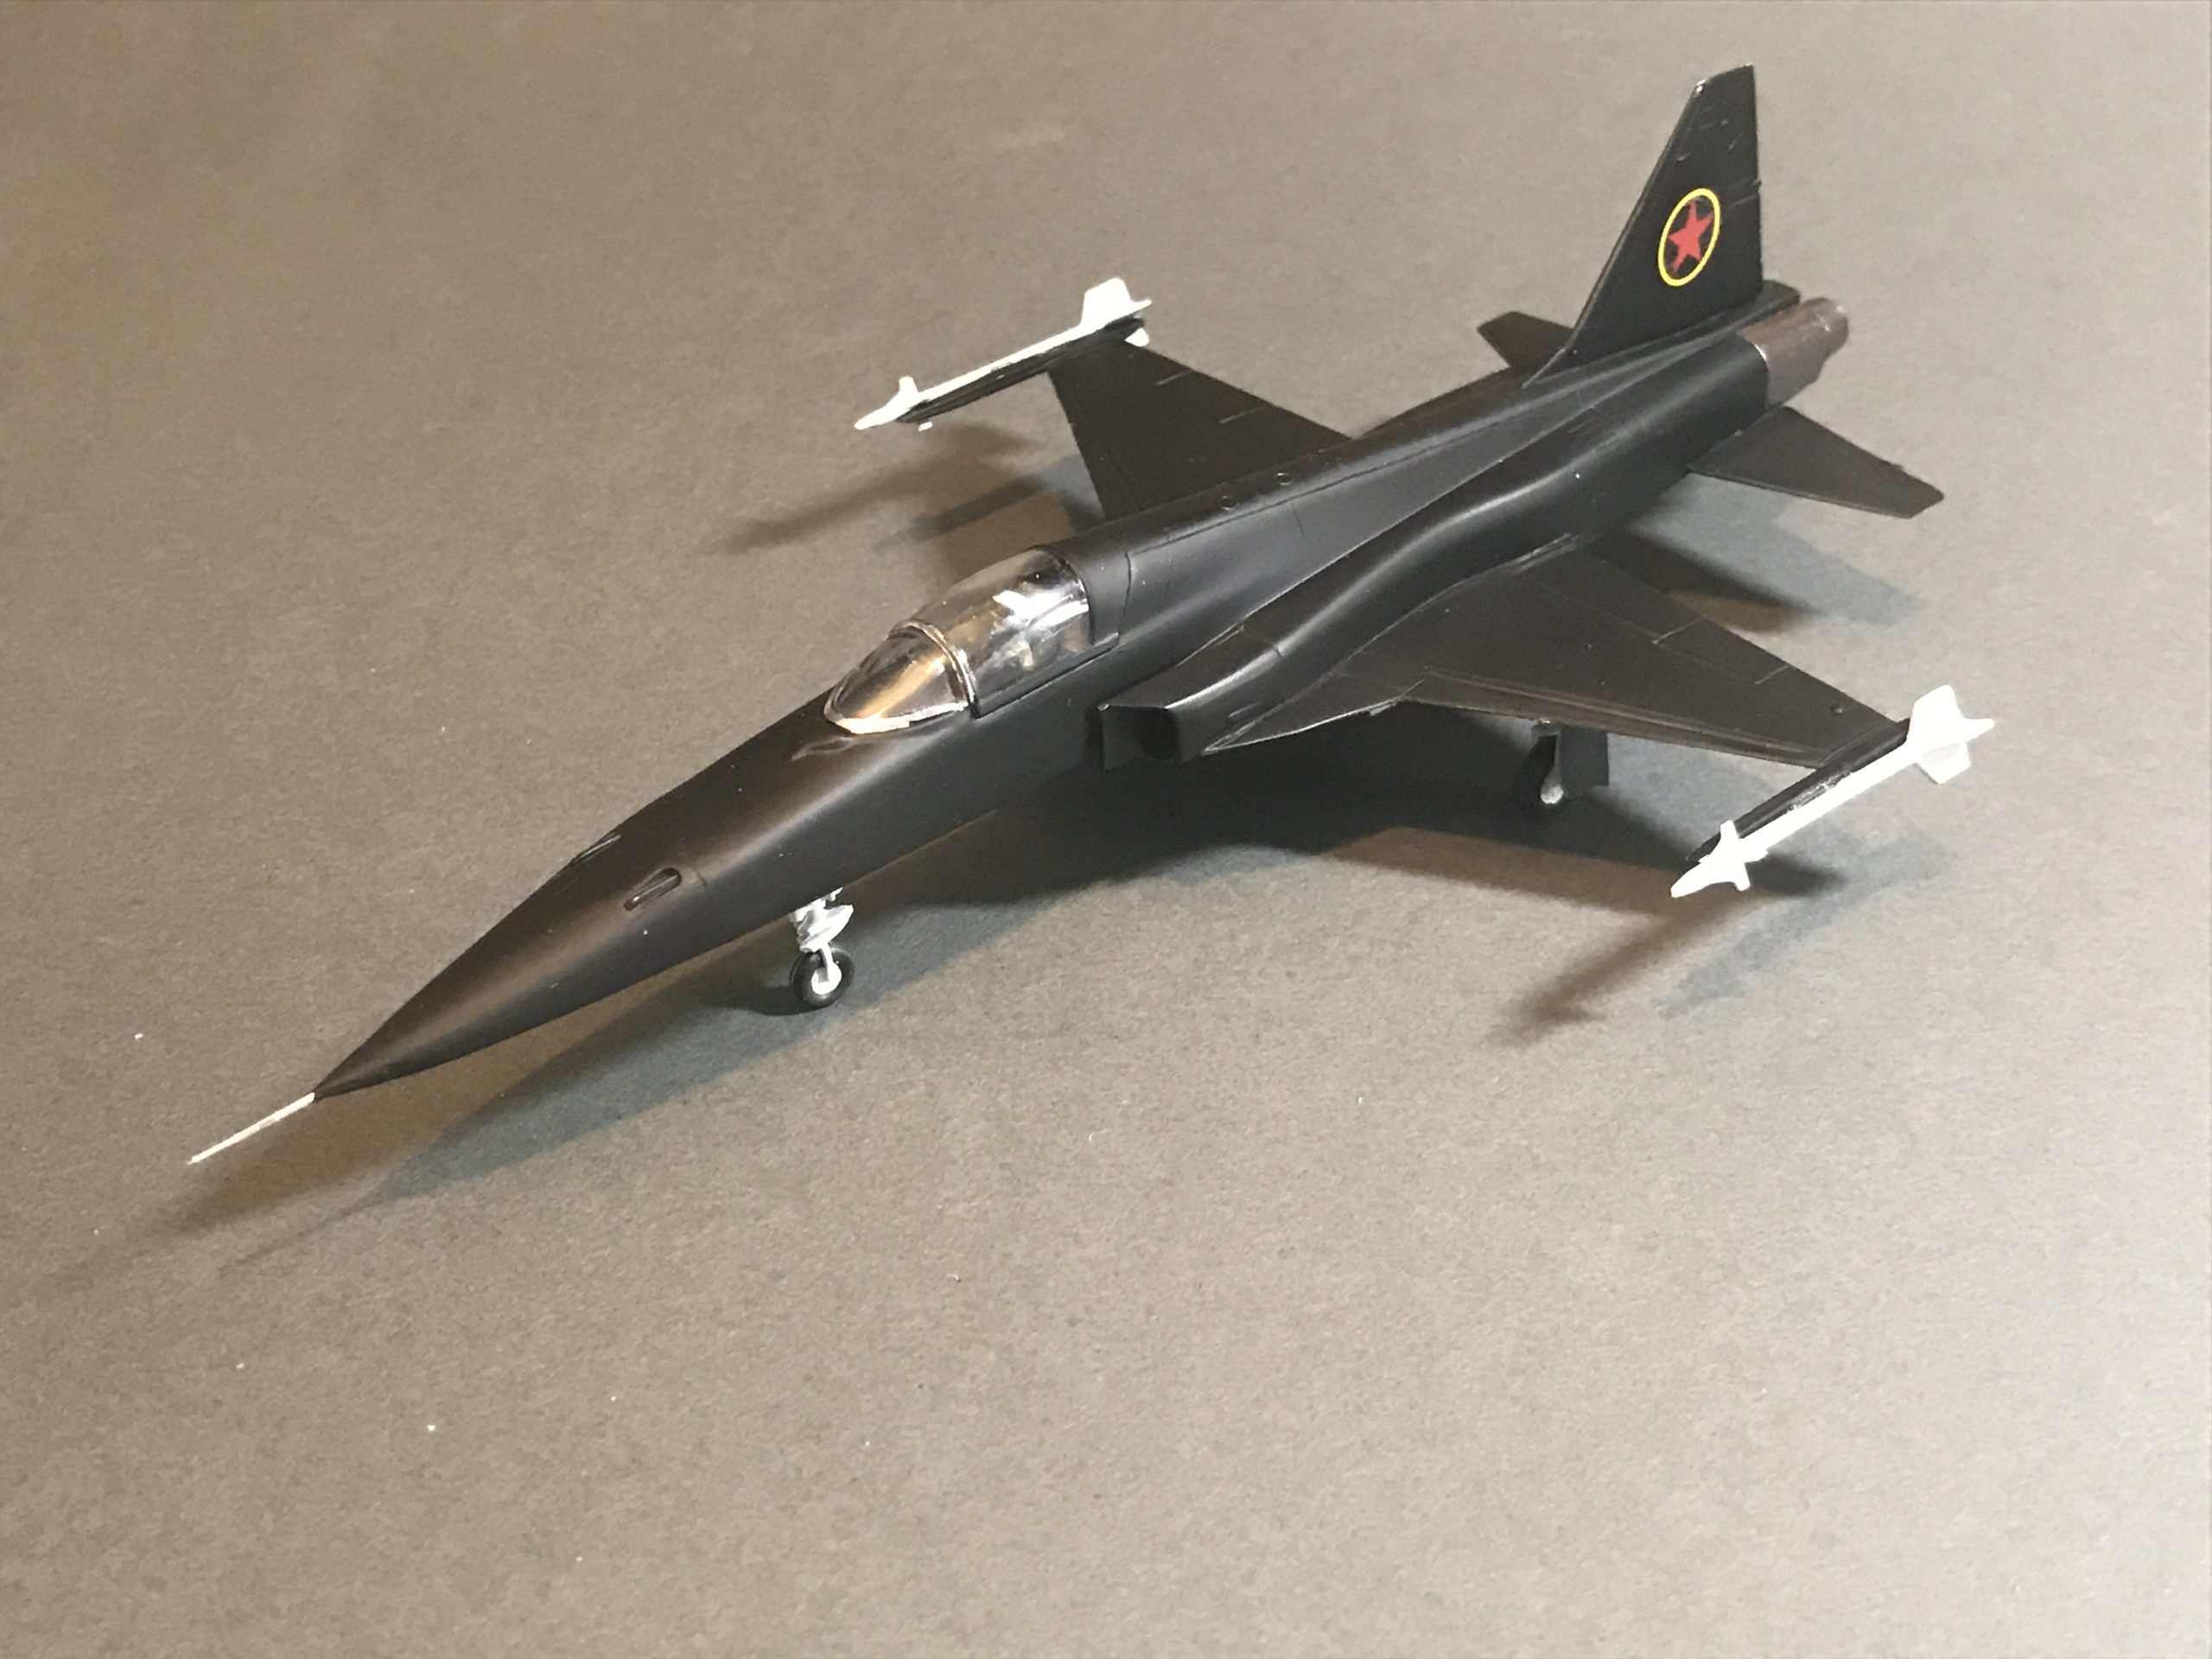
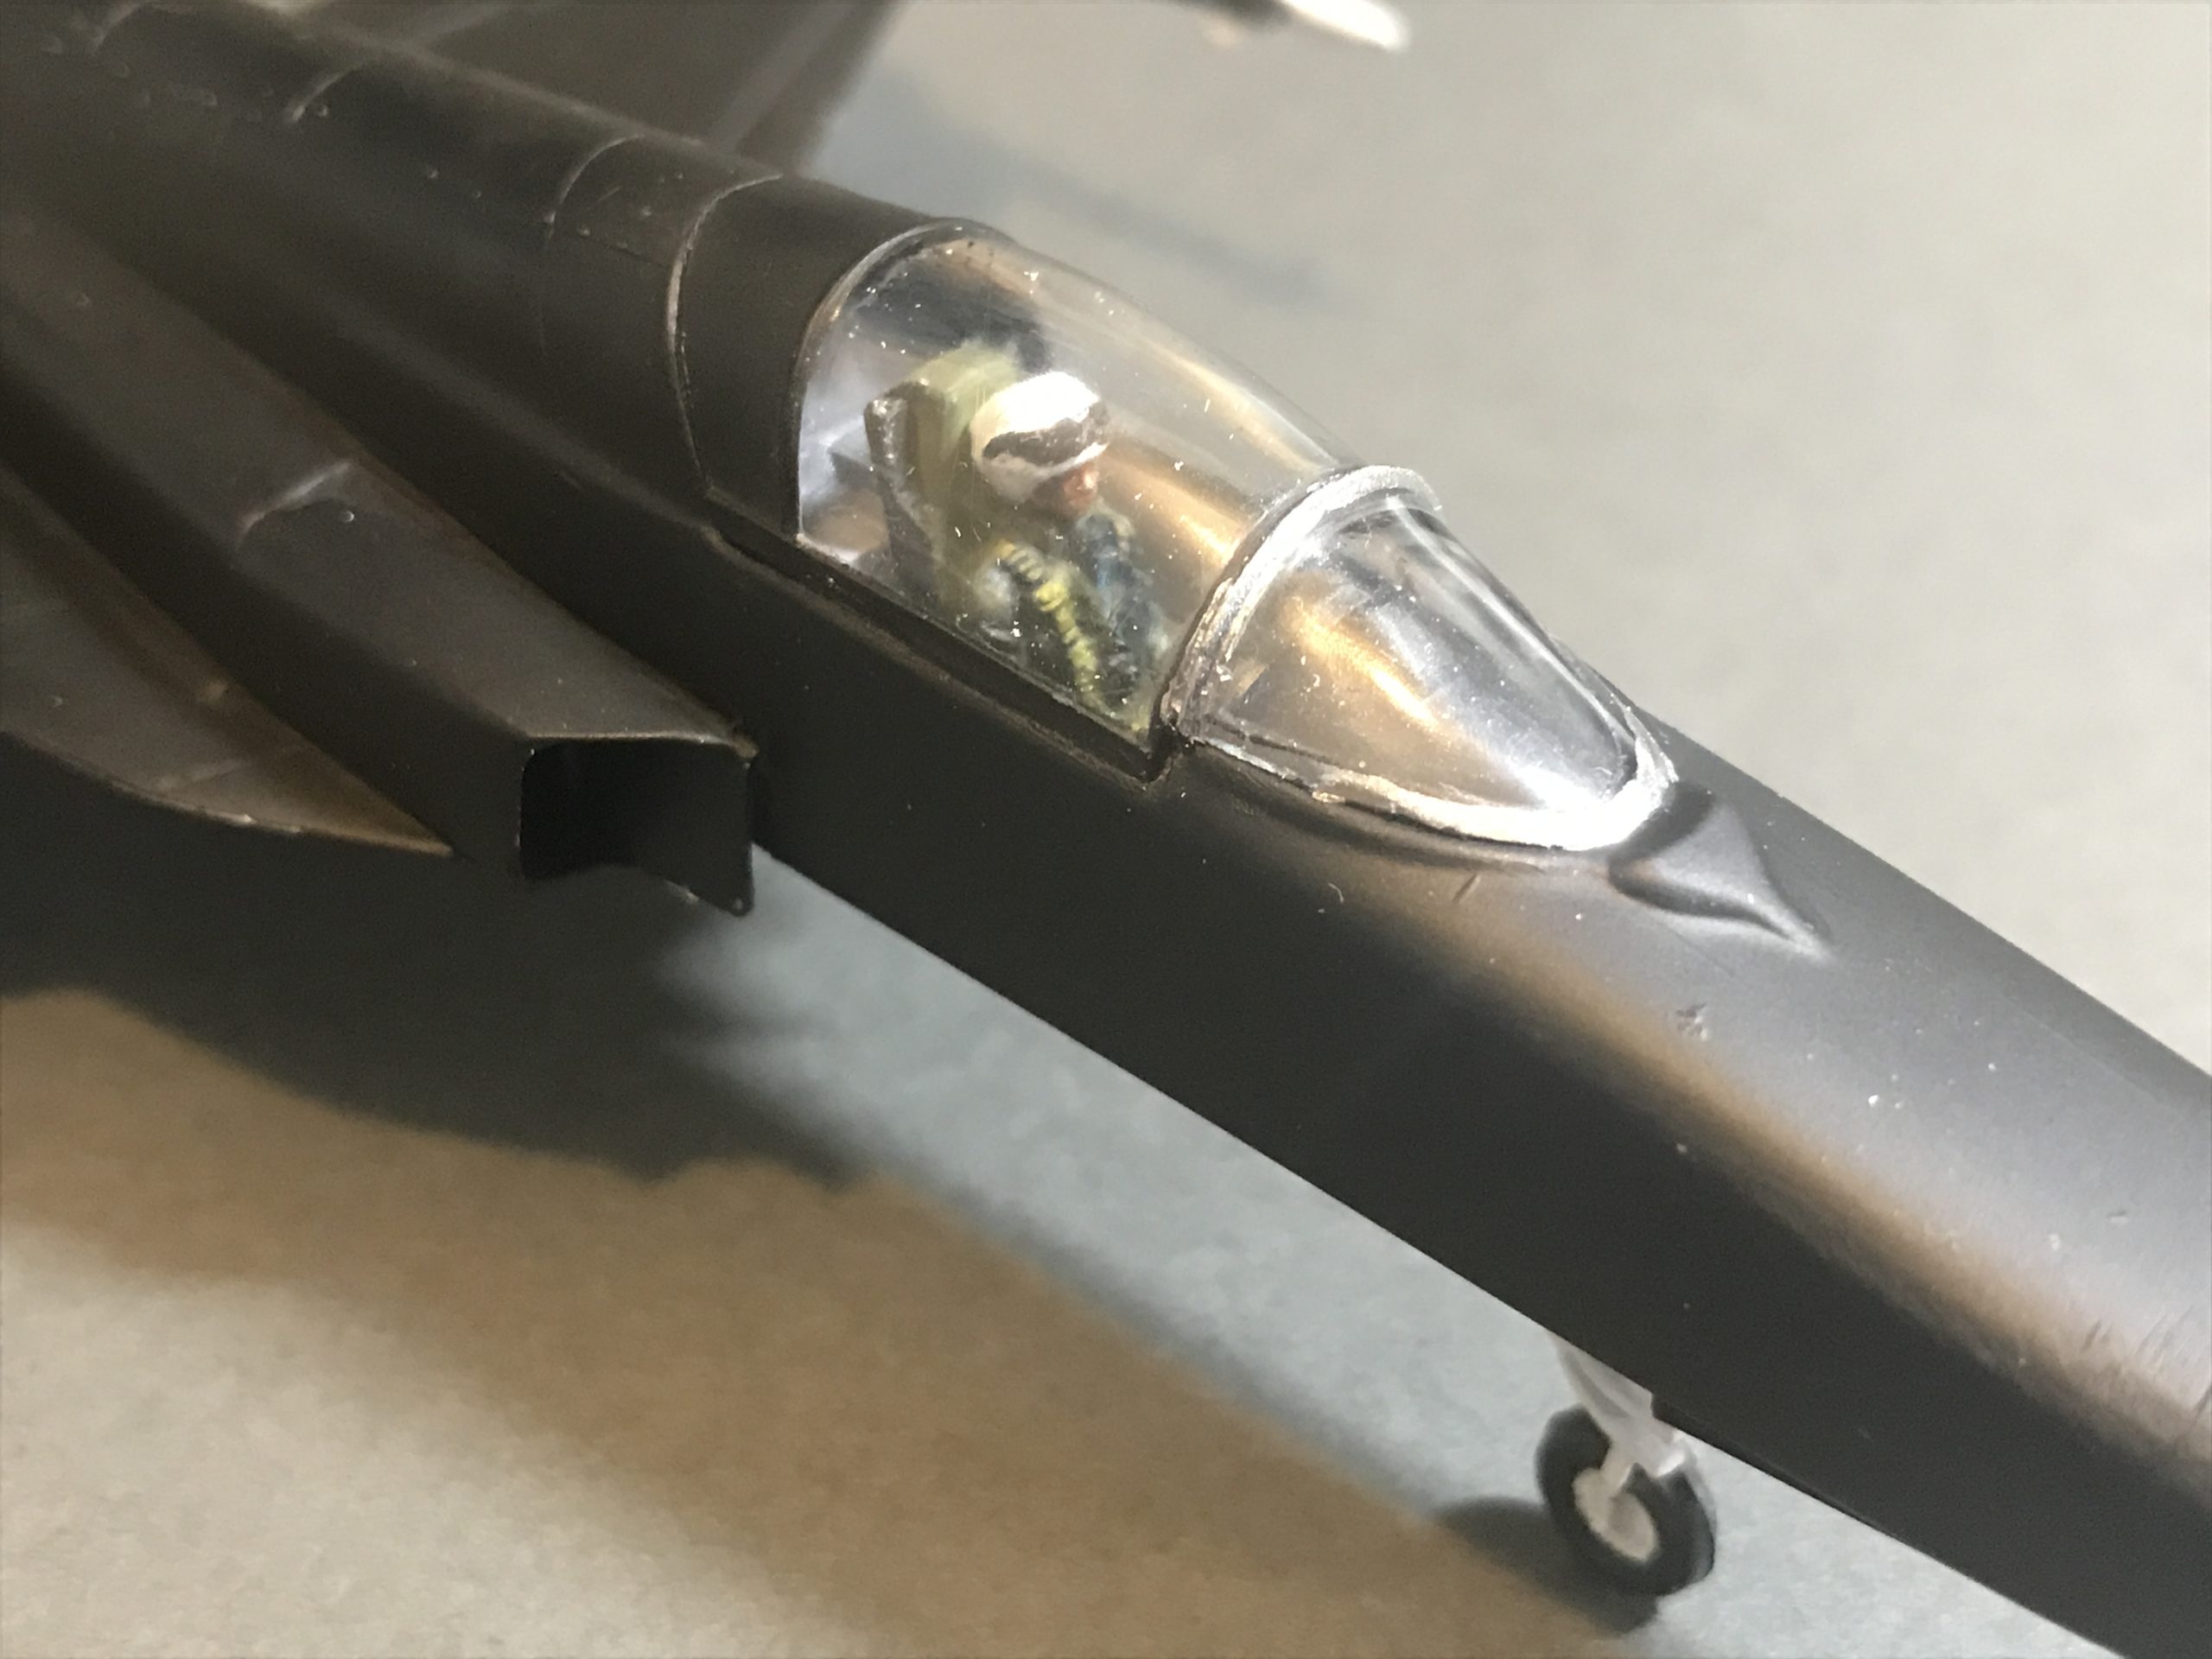
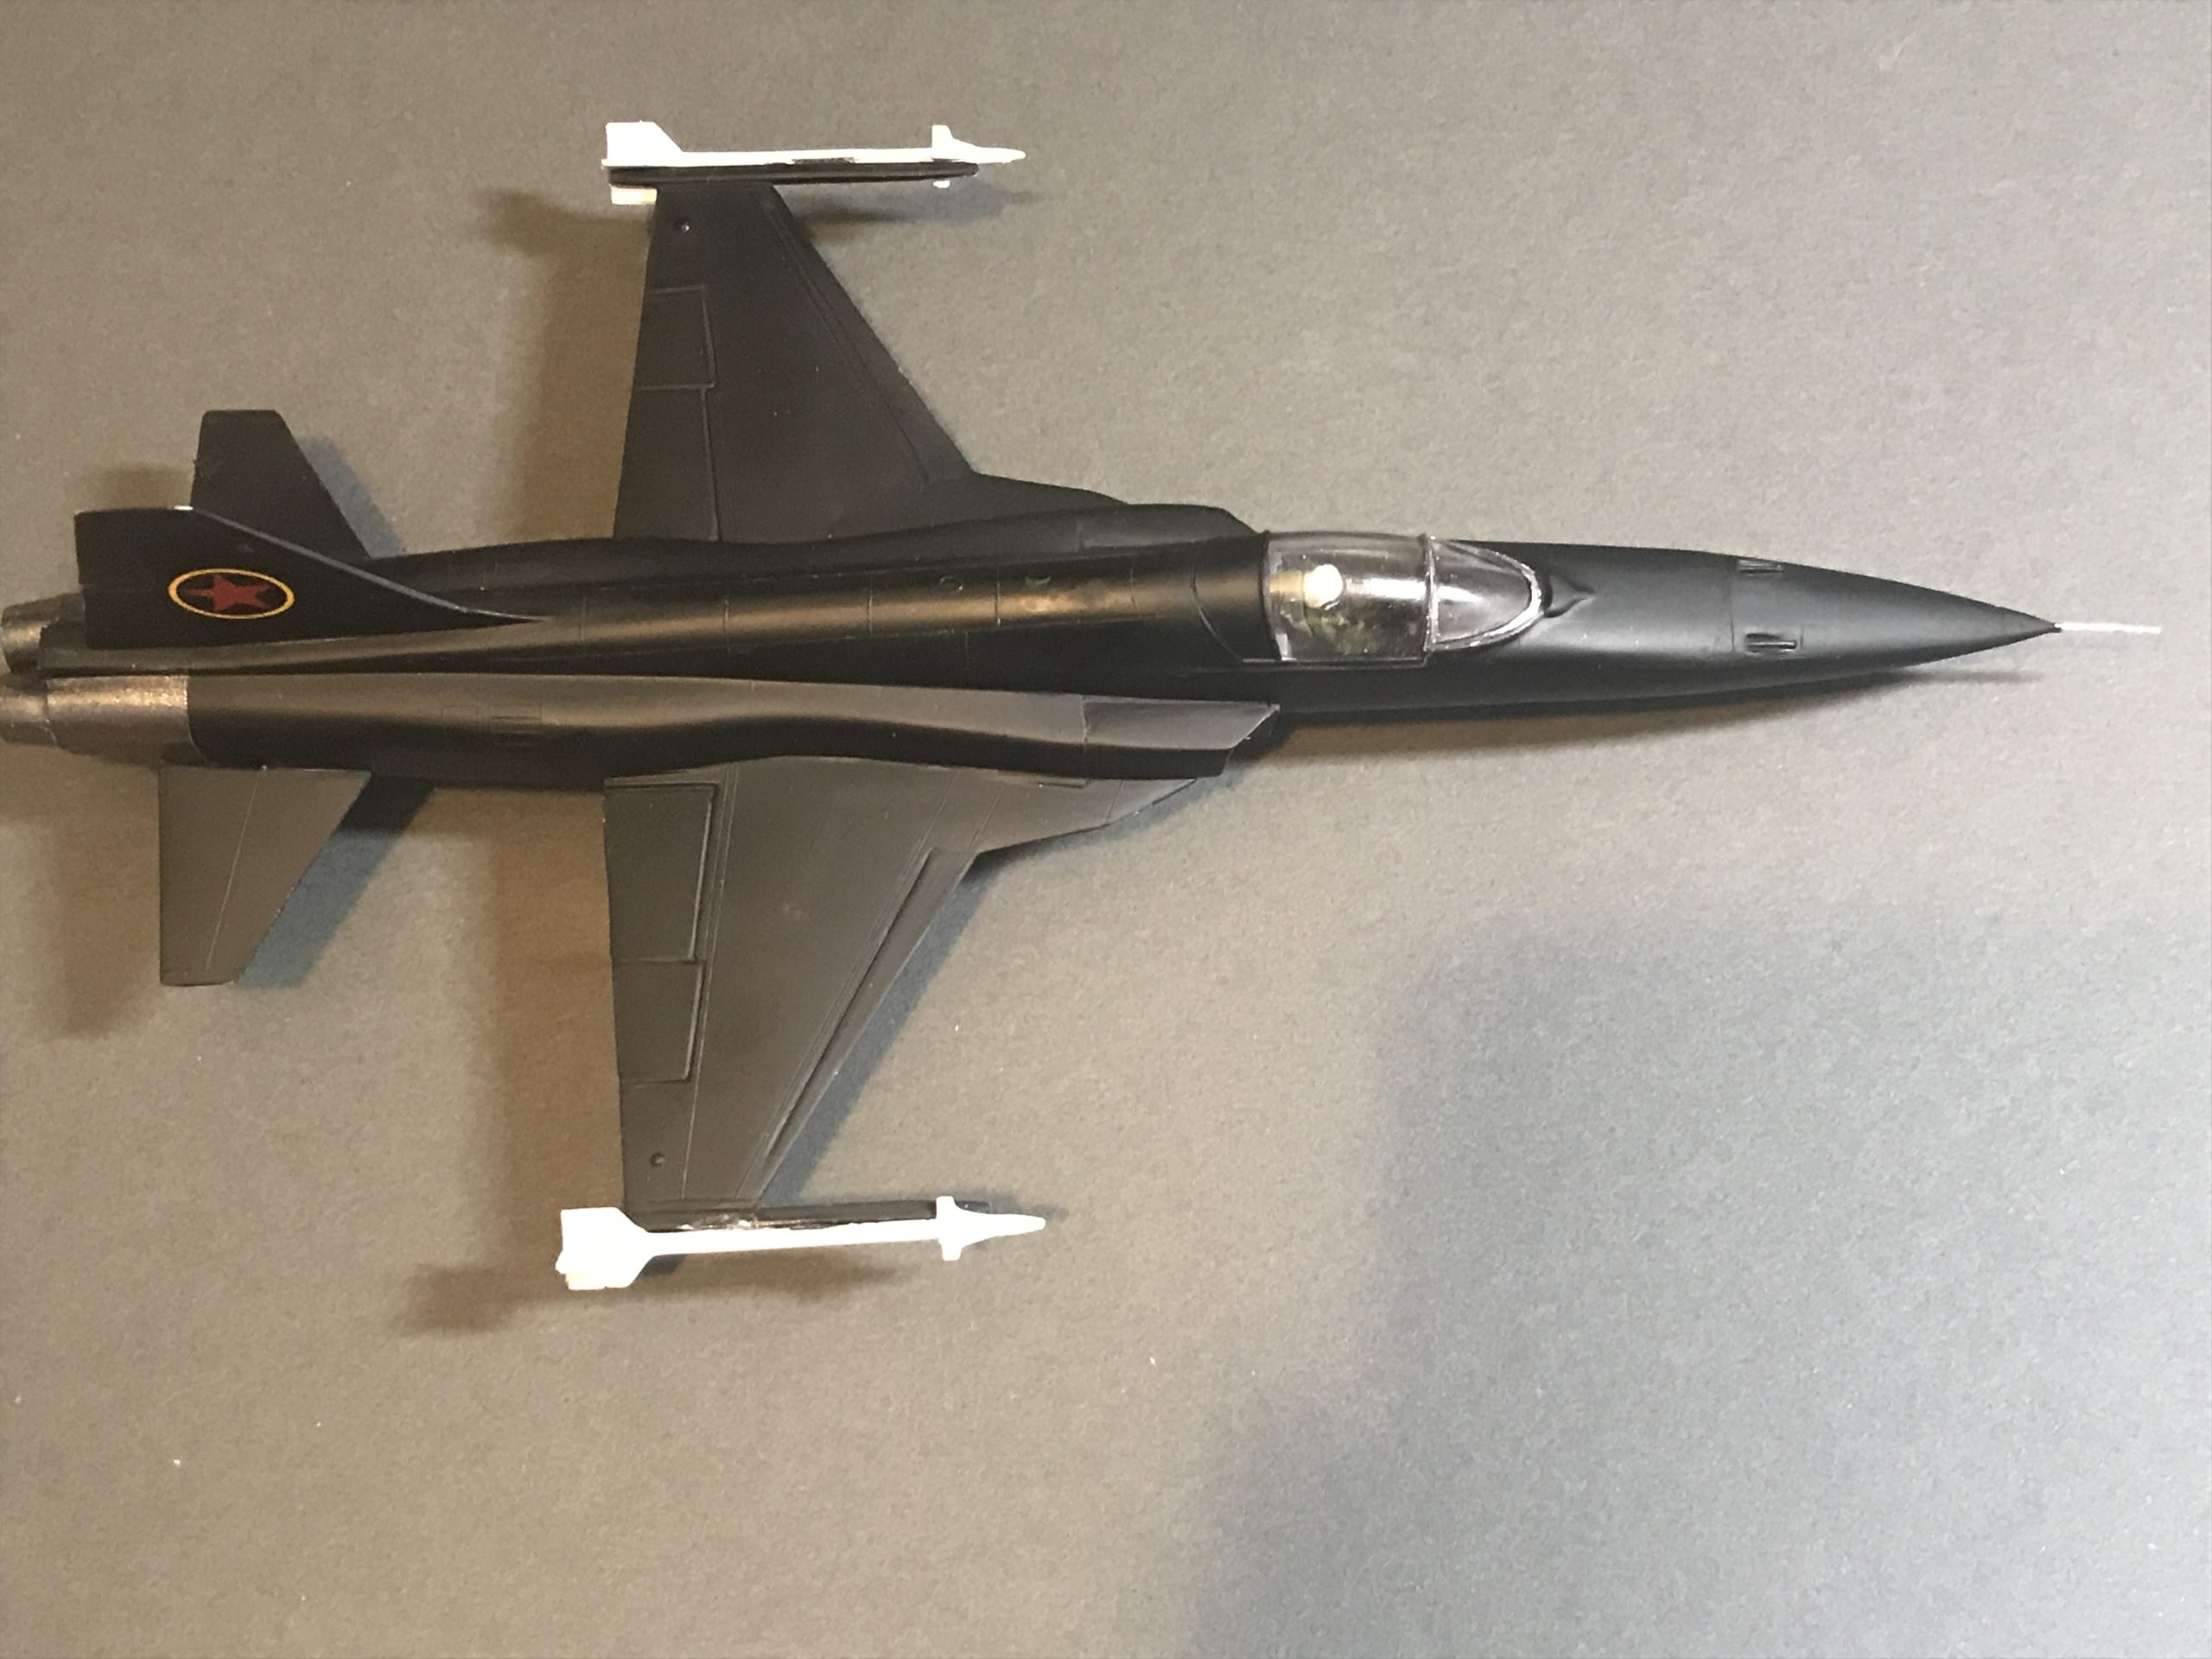
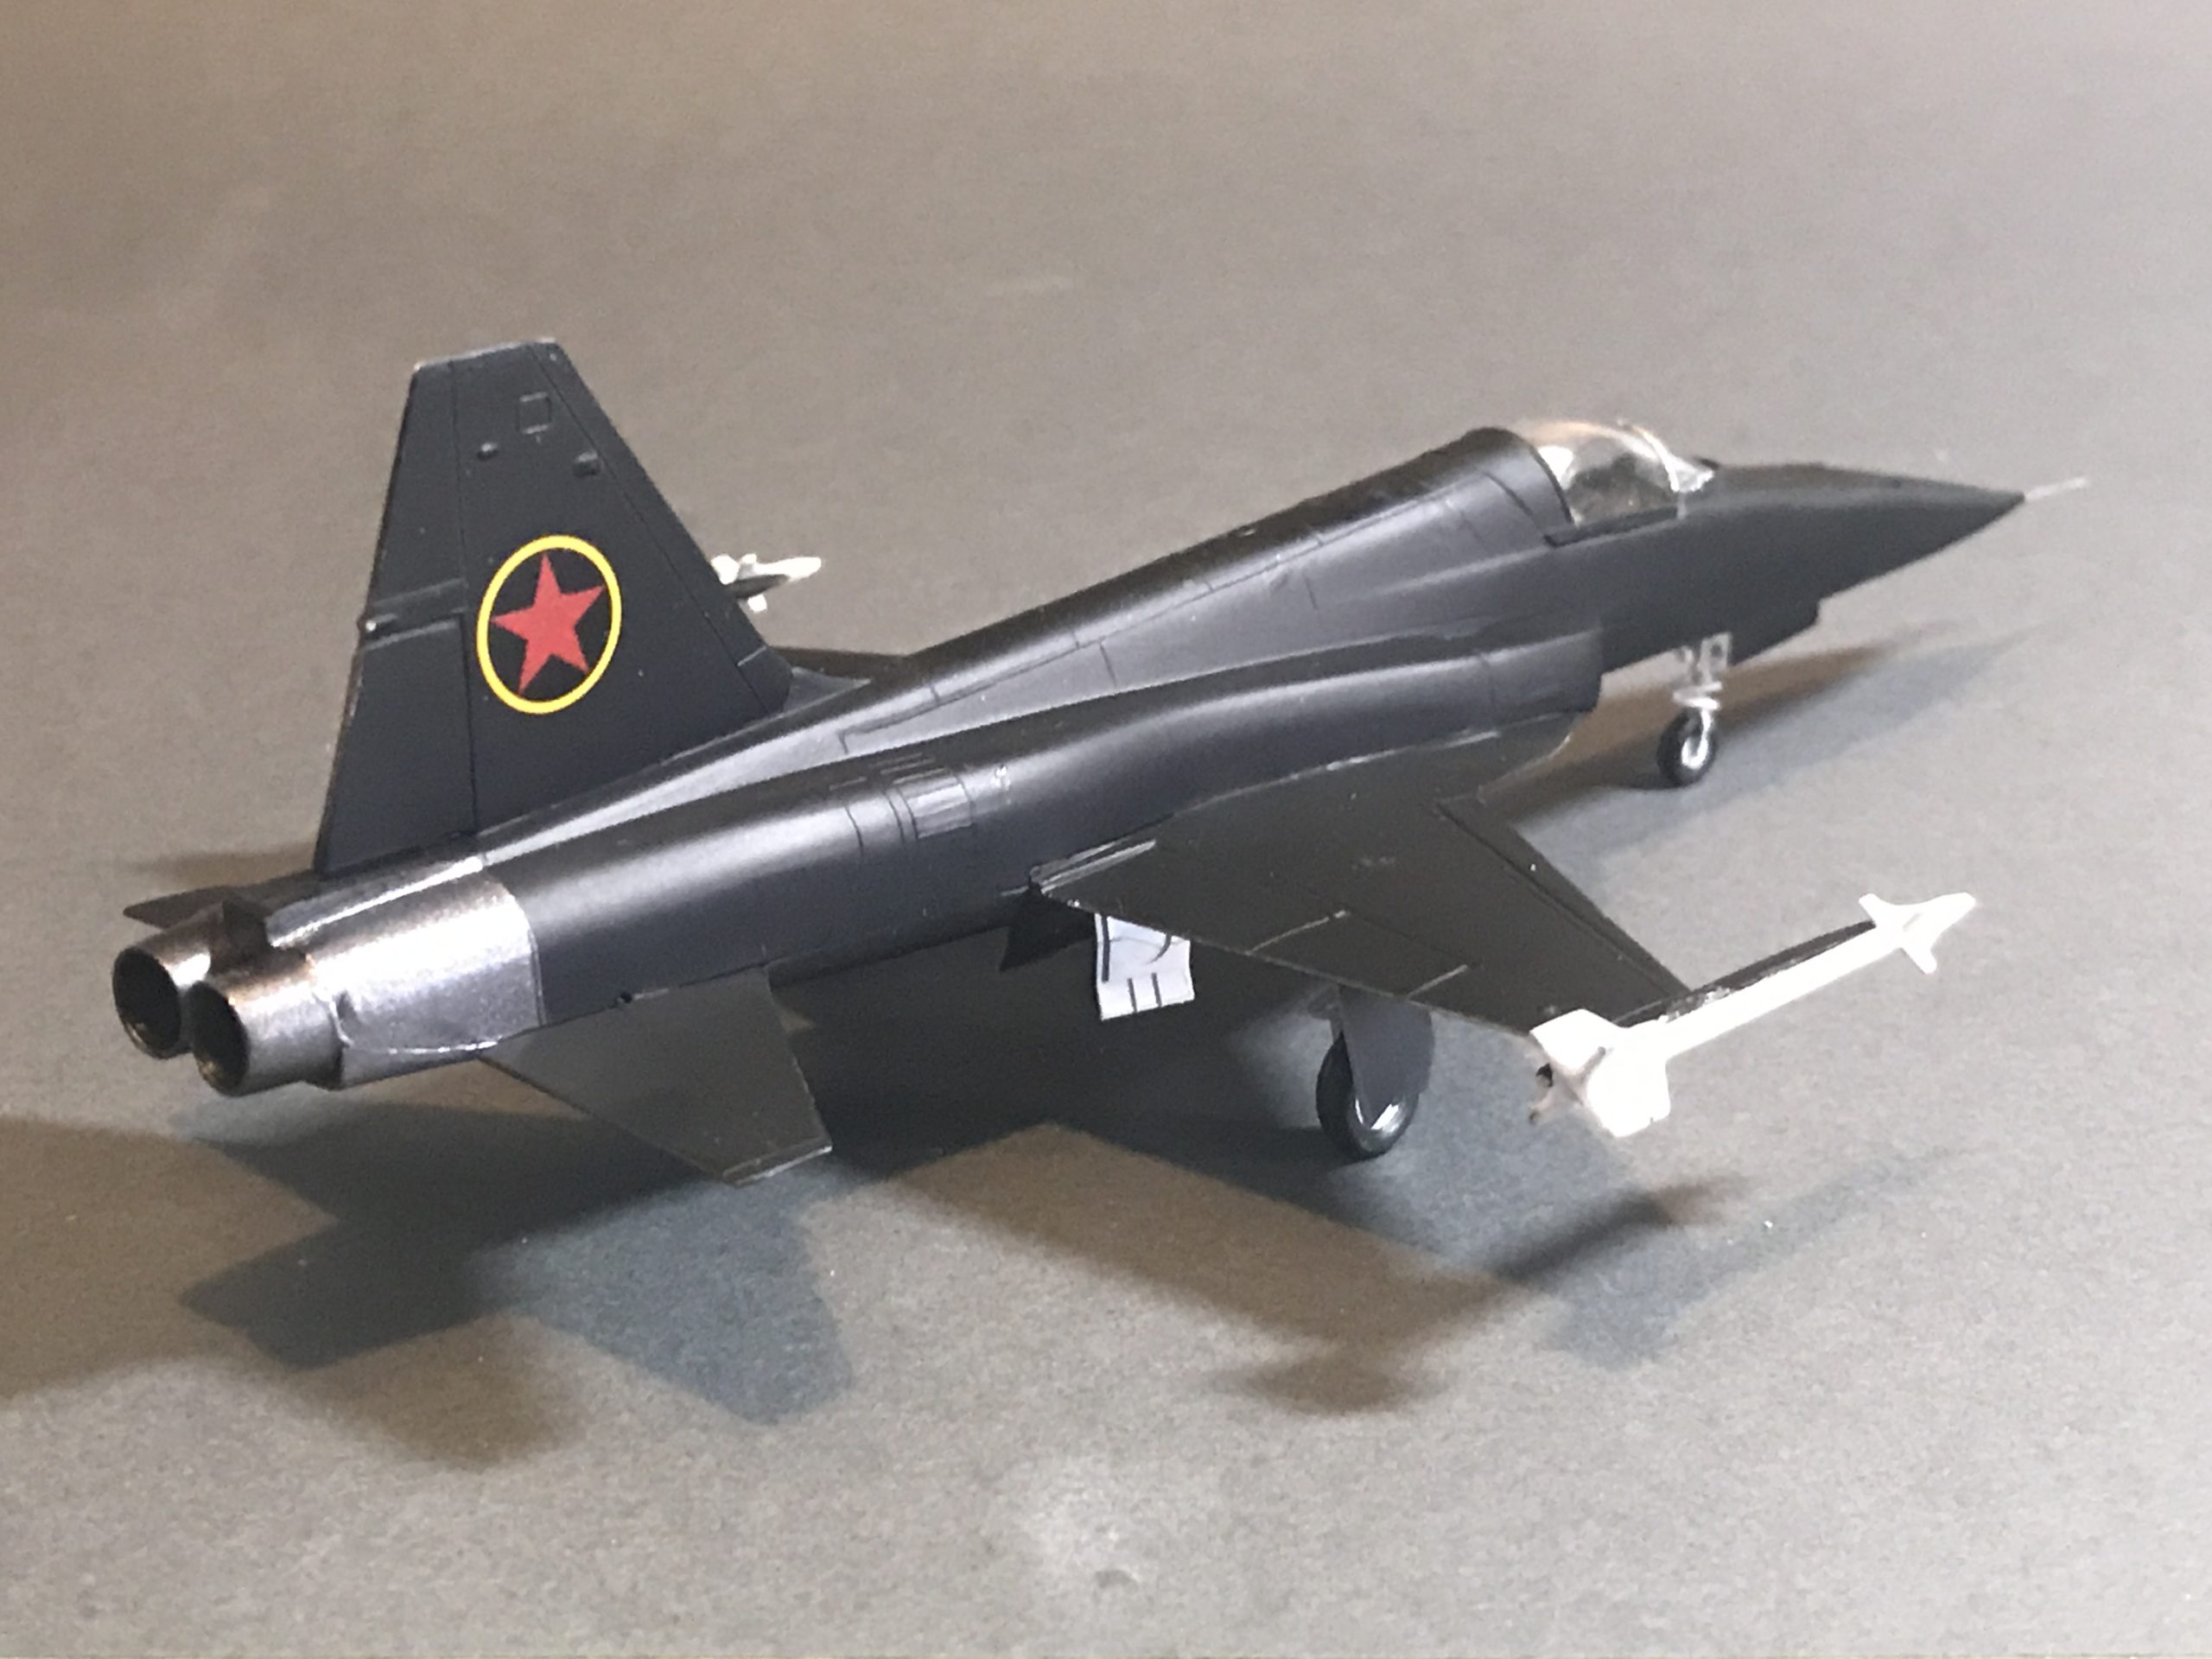
The end result looks very smart – I think the satin finish was a good choice, shame it’s obscured by all those decals!. I built the original Airfix “F5 Freedom Fighter” (sold in a plastic bag with the instruction sheet stapled to the top, priced at 1 shilling and sixpence!) when I was very young. I thought it looked great with gloss black wings & tailplanes, with a Royal blue fuselage!