A note from the author…
I’m Rob, a normal guy who enjoys making models! I’m by no means a ‘professional’ modeller, but I am passionate, try my best and kits generally turn out well! All my builds are done at home in my spare time with typical model tools and accessories – all views and opinions are my own and not that of Jadlam.
As promised on my recent A-4 Skyhawk blog here is a short tutorial on masking complex camouflage patterns.
As always there are lots of different ways to do the same thing. Some will be much better no doubt – but here is how I do it.
Using flexible masking putty is probably the most widely used solution. You can use something like blutack, but this is quite sticky (obviously) and also a little bit stiff. Another solution is something like silly putty which is less sticky and much more flexible.
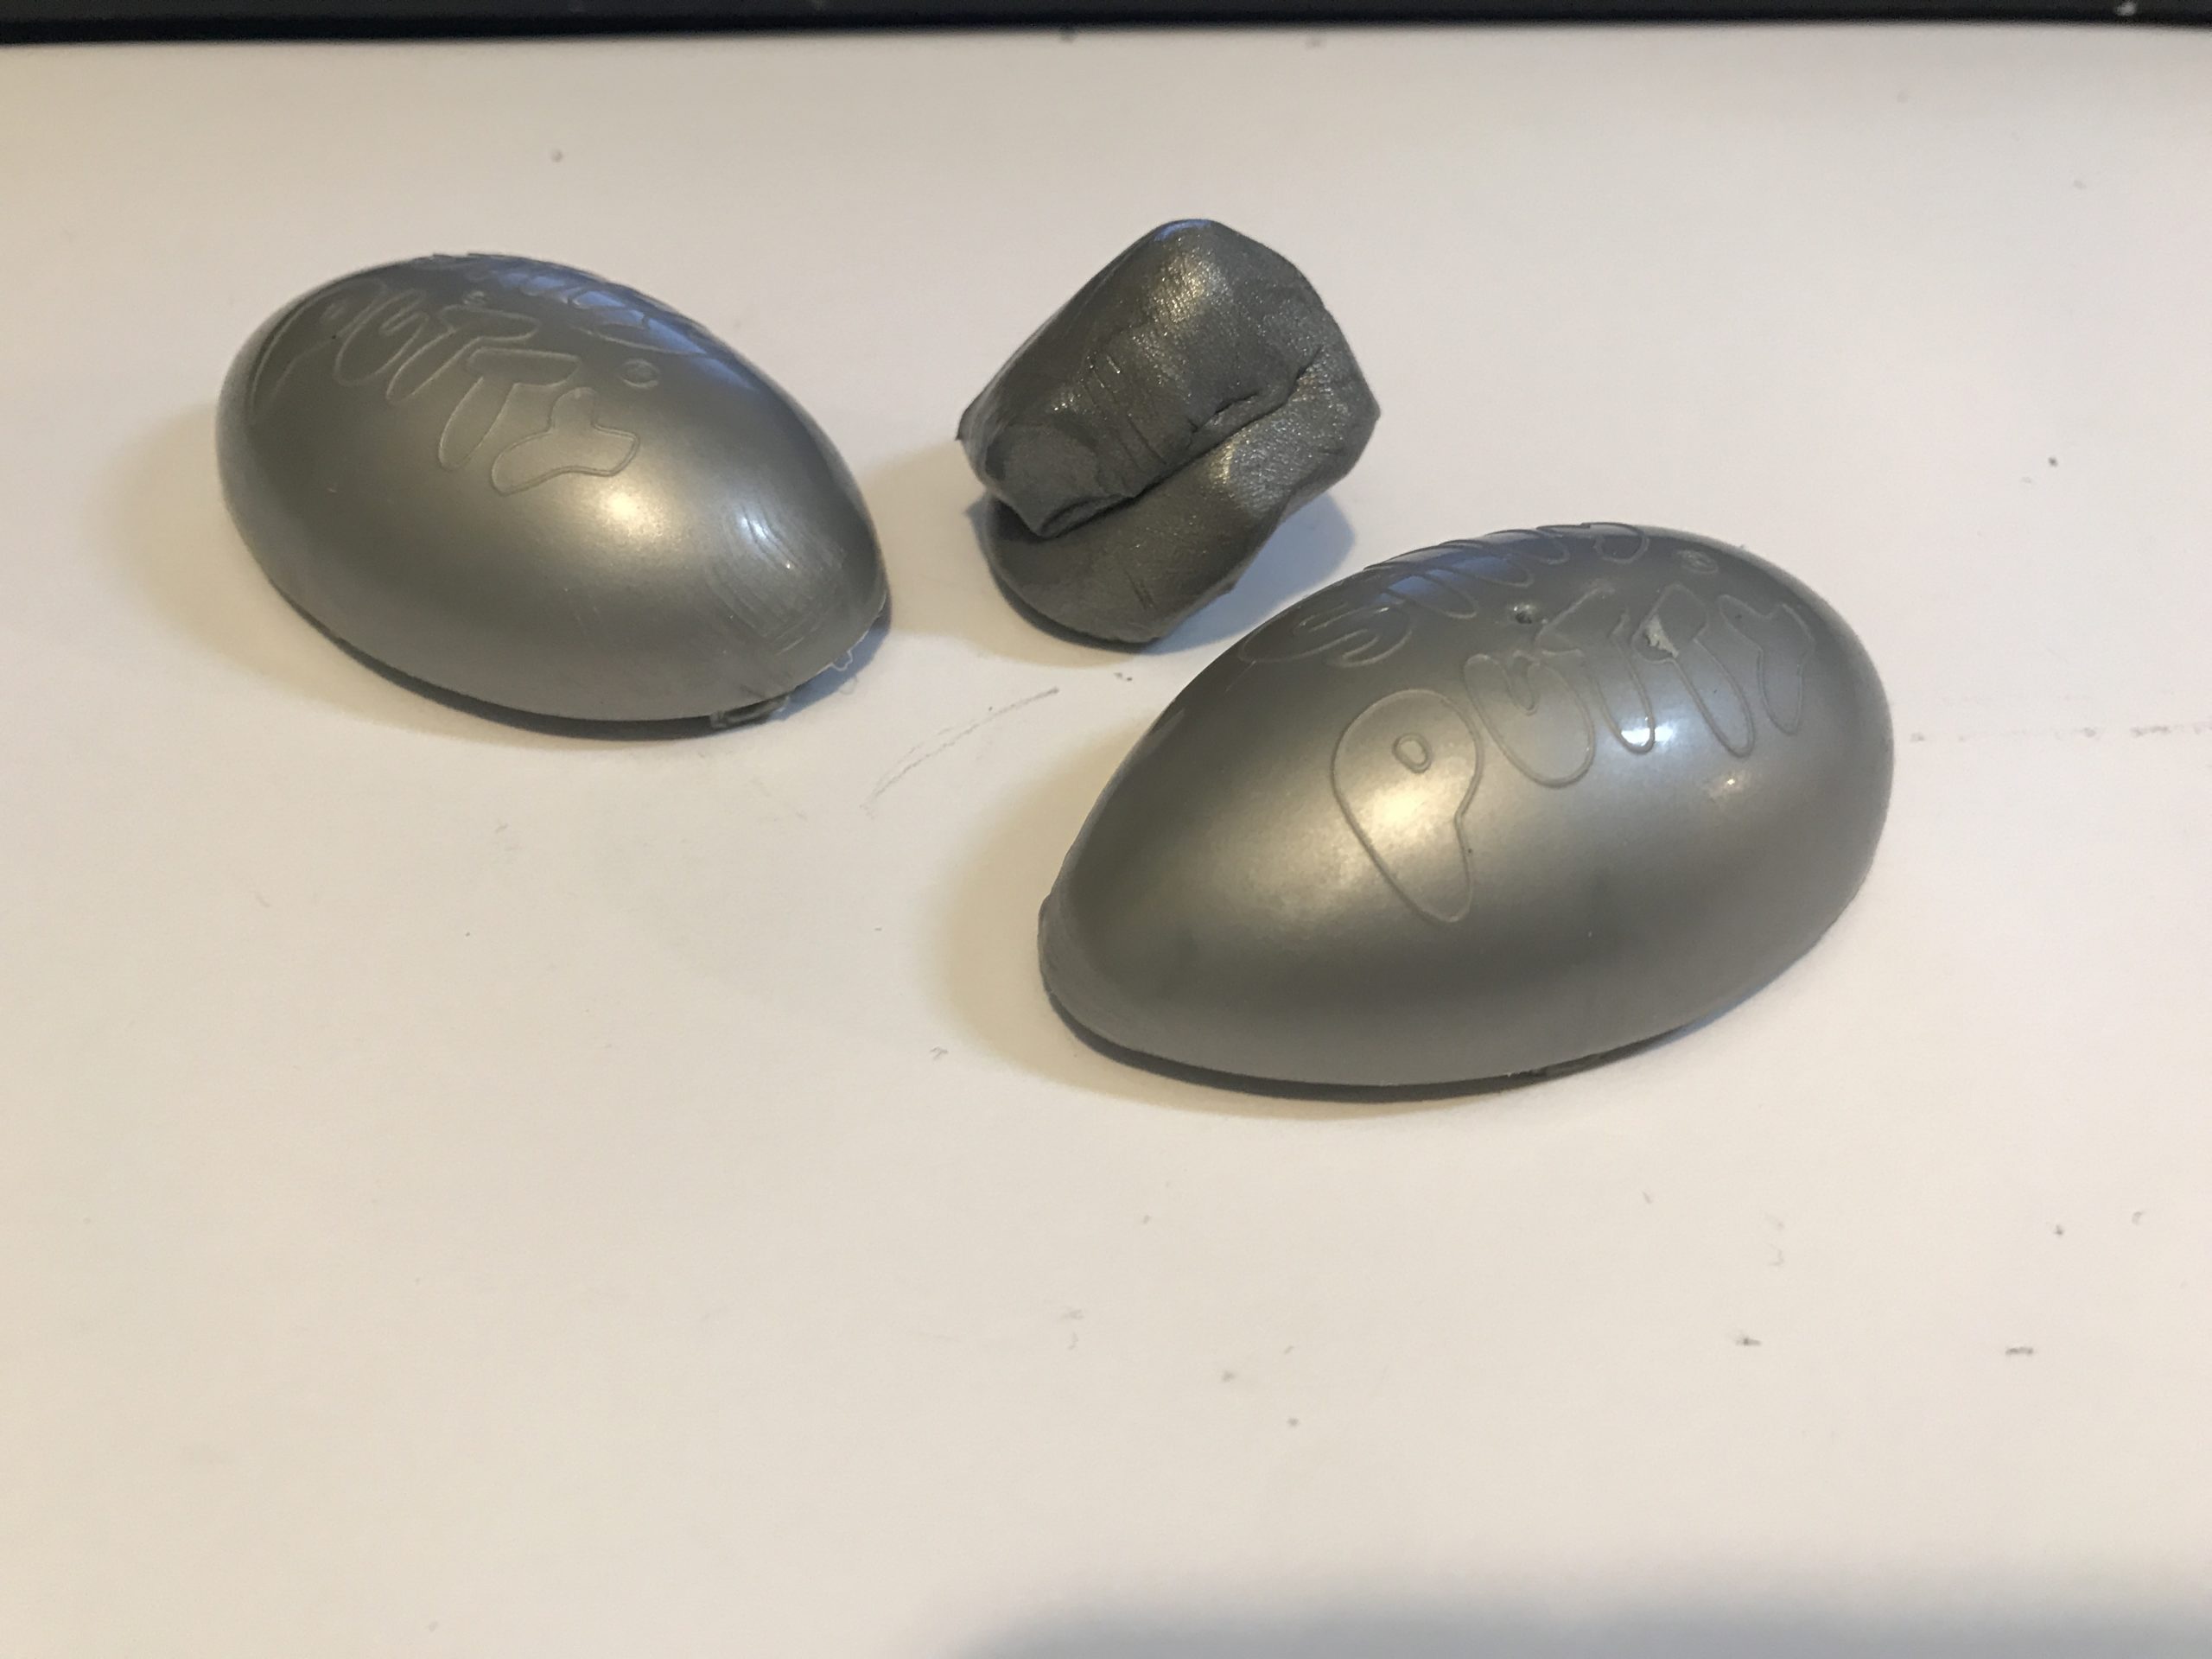
If money is no object then something like this Ammo by Mig Masking Putty is your best bet. Personally the skinflint in me hates spending money, but if any of the good people at Jadlam are reading this and feeling benevolent (hint, hint).
The drawback to this method is you still need to replicate the camouflage pattern and accuracy is very much reliant on your skill as a modeller. It does give the most realistic edge to the masking though. No question.
On smaller scale models (1/72 and 1/144) the border between the colours appears much more defined. Here using masking tape works well.
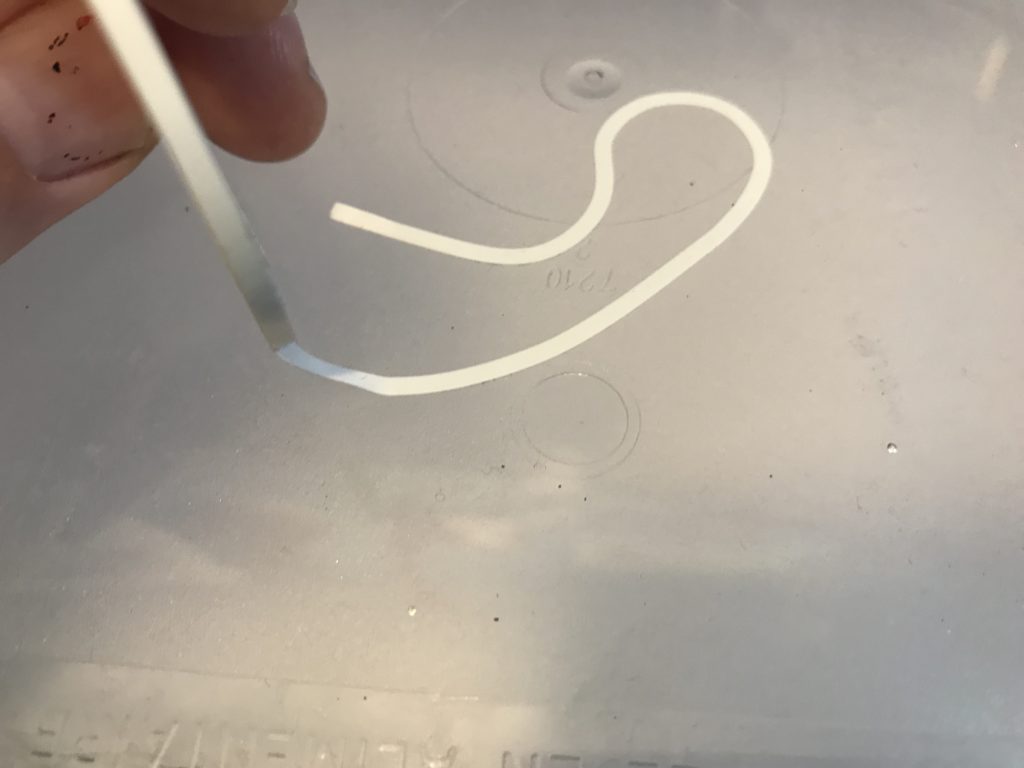
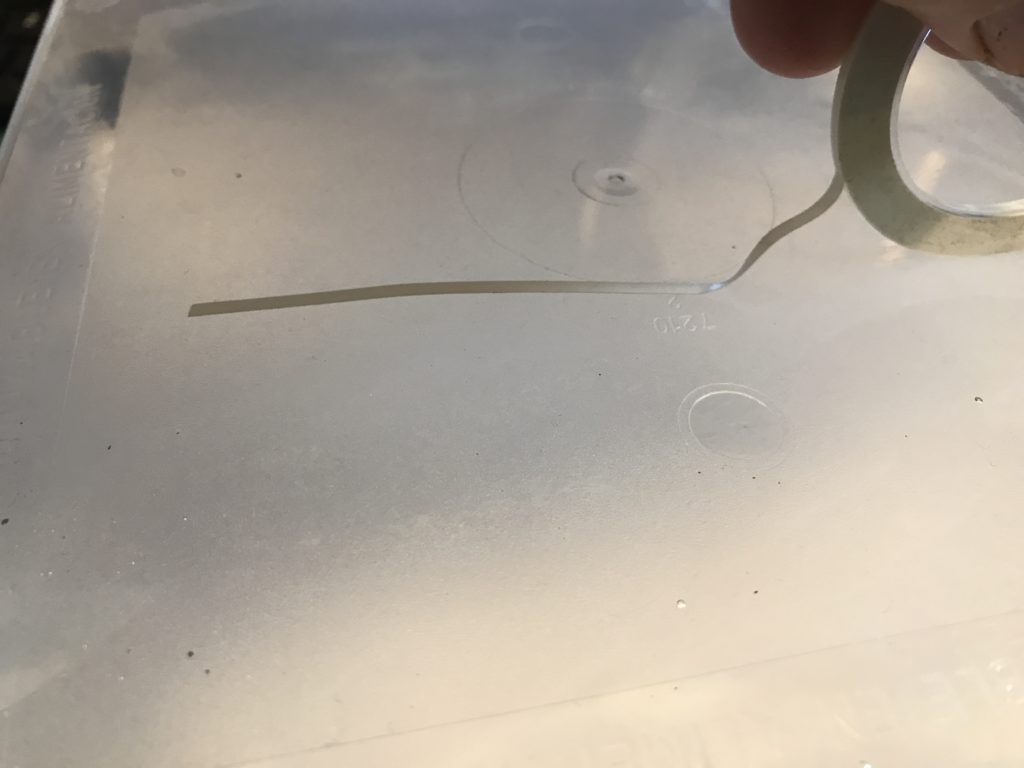
You can use flexible masking tape, but I have to say I’m not a fan and so far haven’t really had much success with it – but I am told it sells like hot cakes, so some people must like it! The problem is it isn’t particularly sticky and always wants to return to it’s original straight shape. Many times have I done a perfect bit of masking only to return to it 5 minutes later to find it has returned to being straight…..
*This is a dramatisation; actual effect may not be so obvious.
It’s also worth pointing out that many companies produce flexible masks pre-cut to the correct size and shape for your kit, just like with canopies. Once again an expensive way of doing things, but if you only build one kit a year it’s probably worth it.
At last an actual example.
If you have made it this far then well done. As a reward here’s some masking I did recently on a 1/144 scale Avro Vulcan from Trumpeter.
In the kit you do get a very nice painting and decal guide. Would it really be too much effort to have it 1:1 scale though?
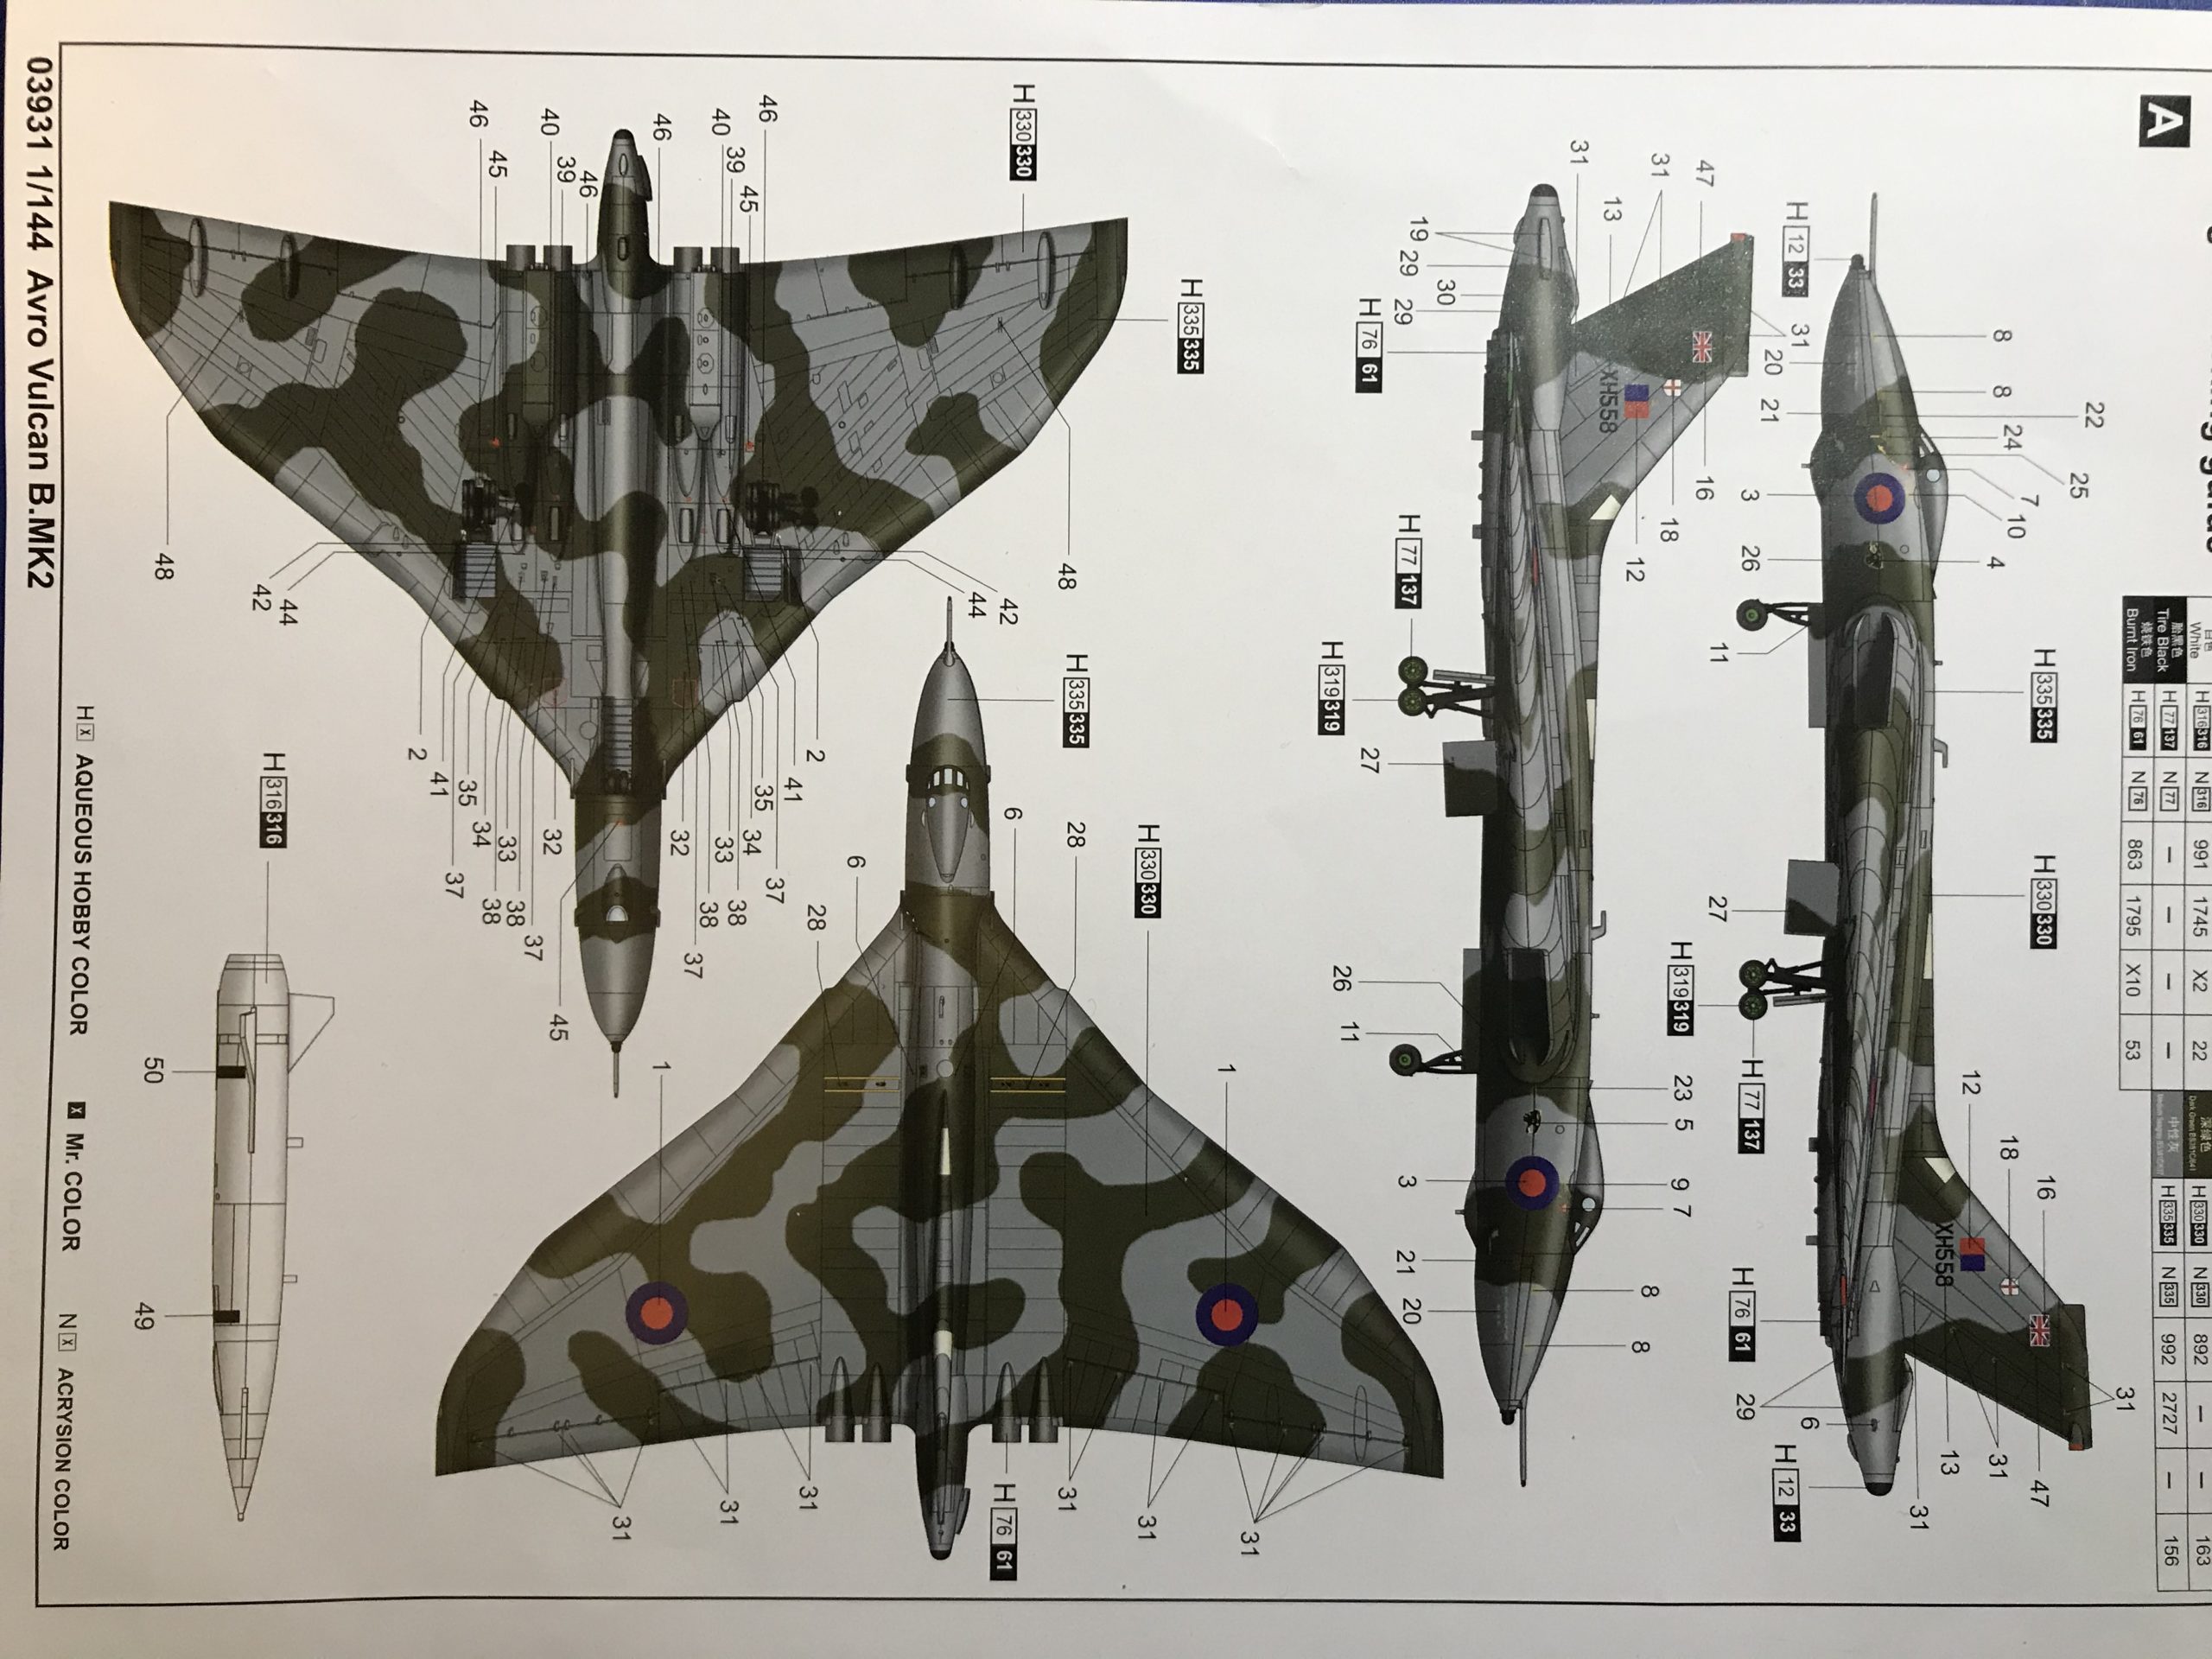
So the key is to rescale it. I scanned the guide and messed around with the scale in powerpoint until I got it the right size. My approach is trial and error, but I’m sure the more computer literate would be able to find a work around.
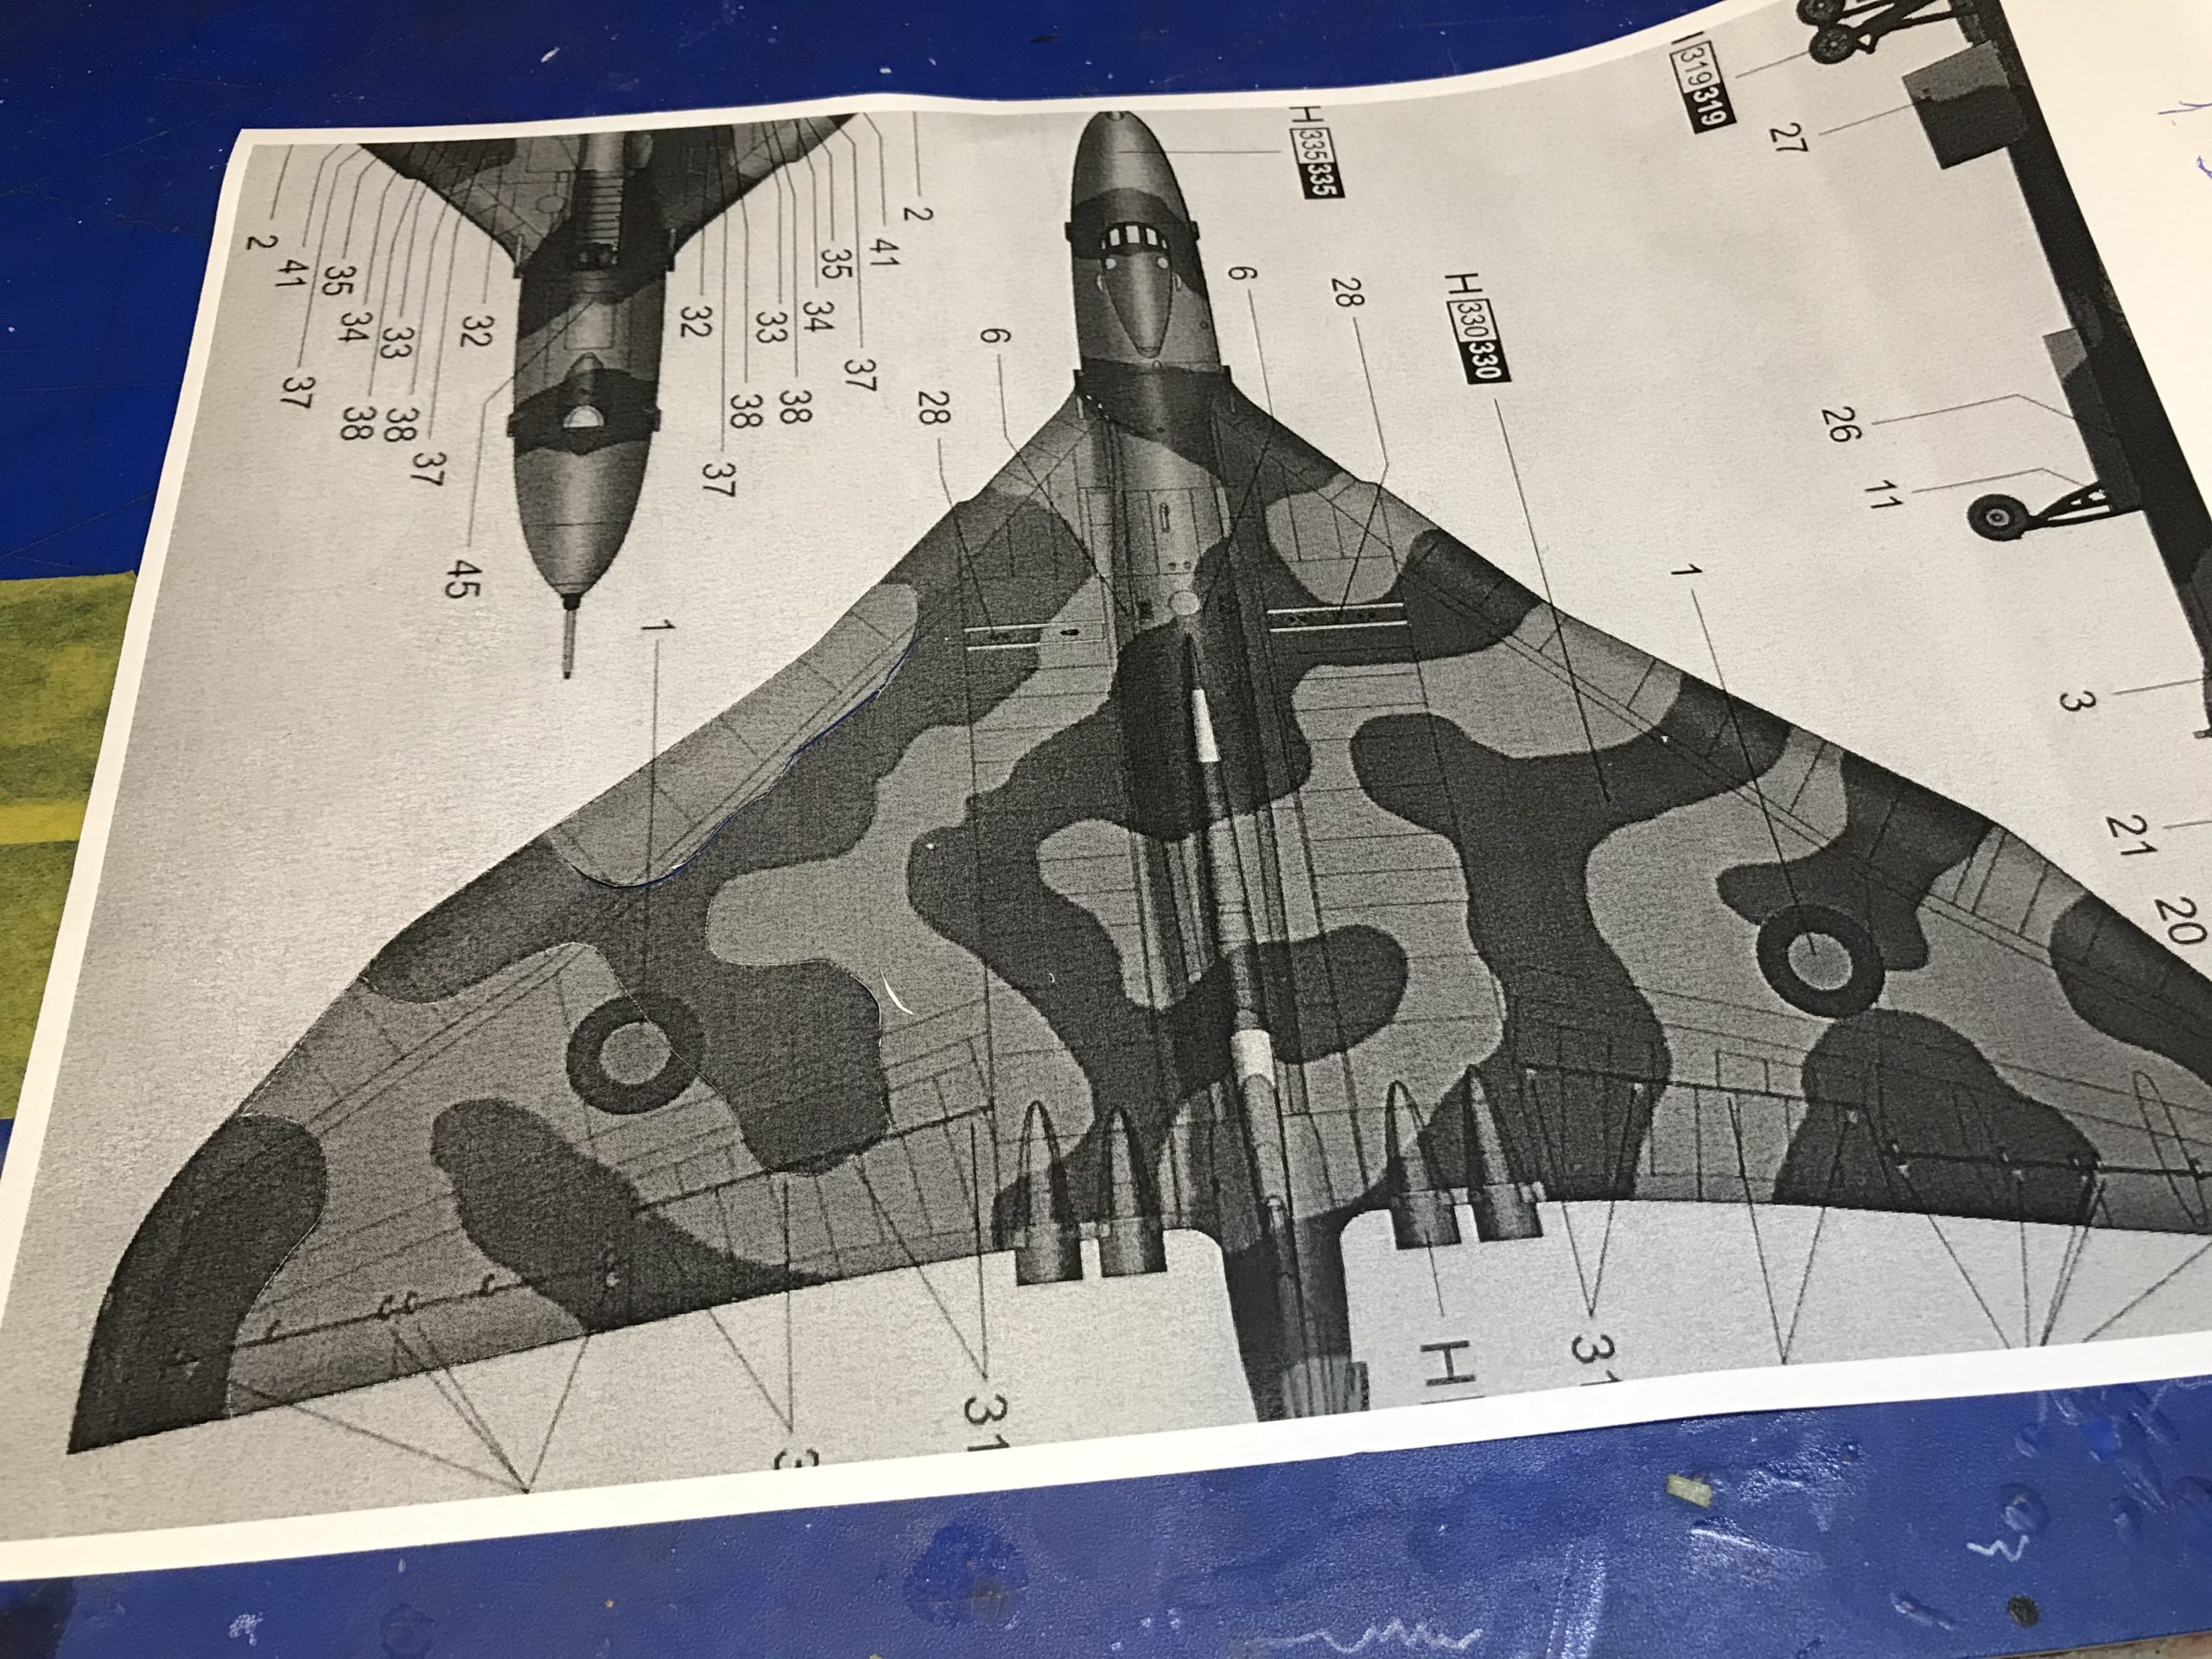
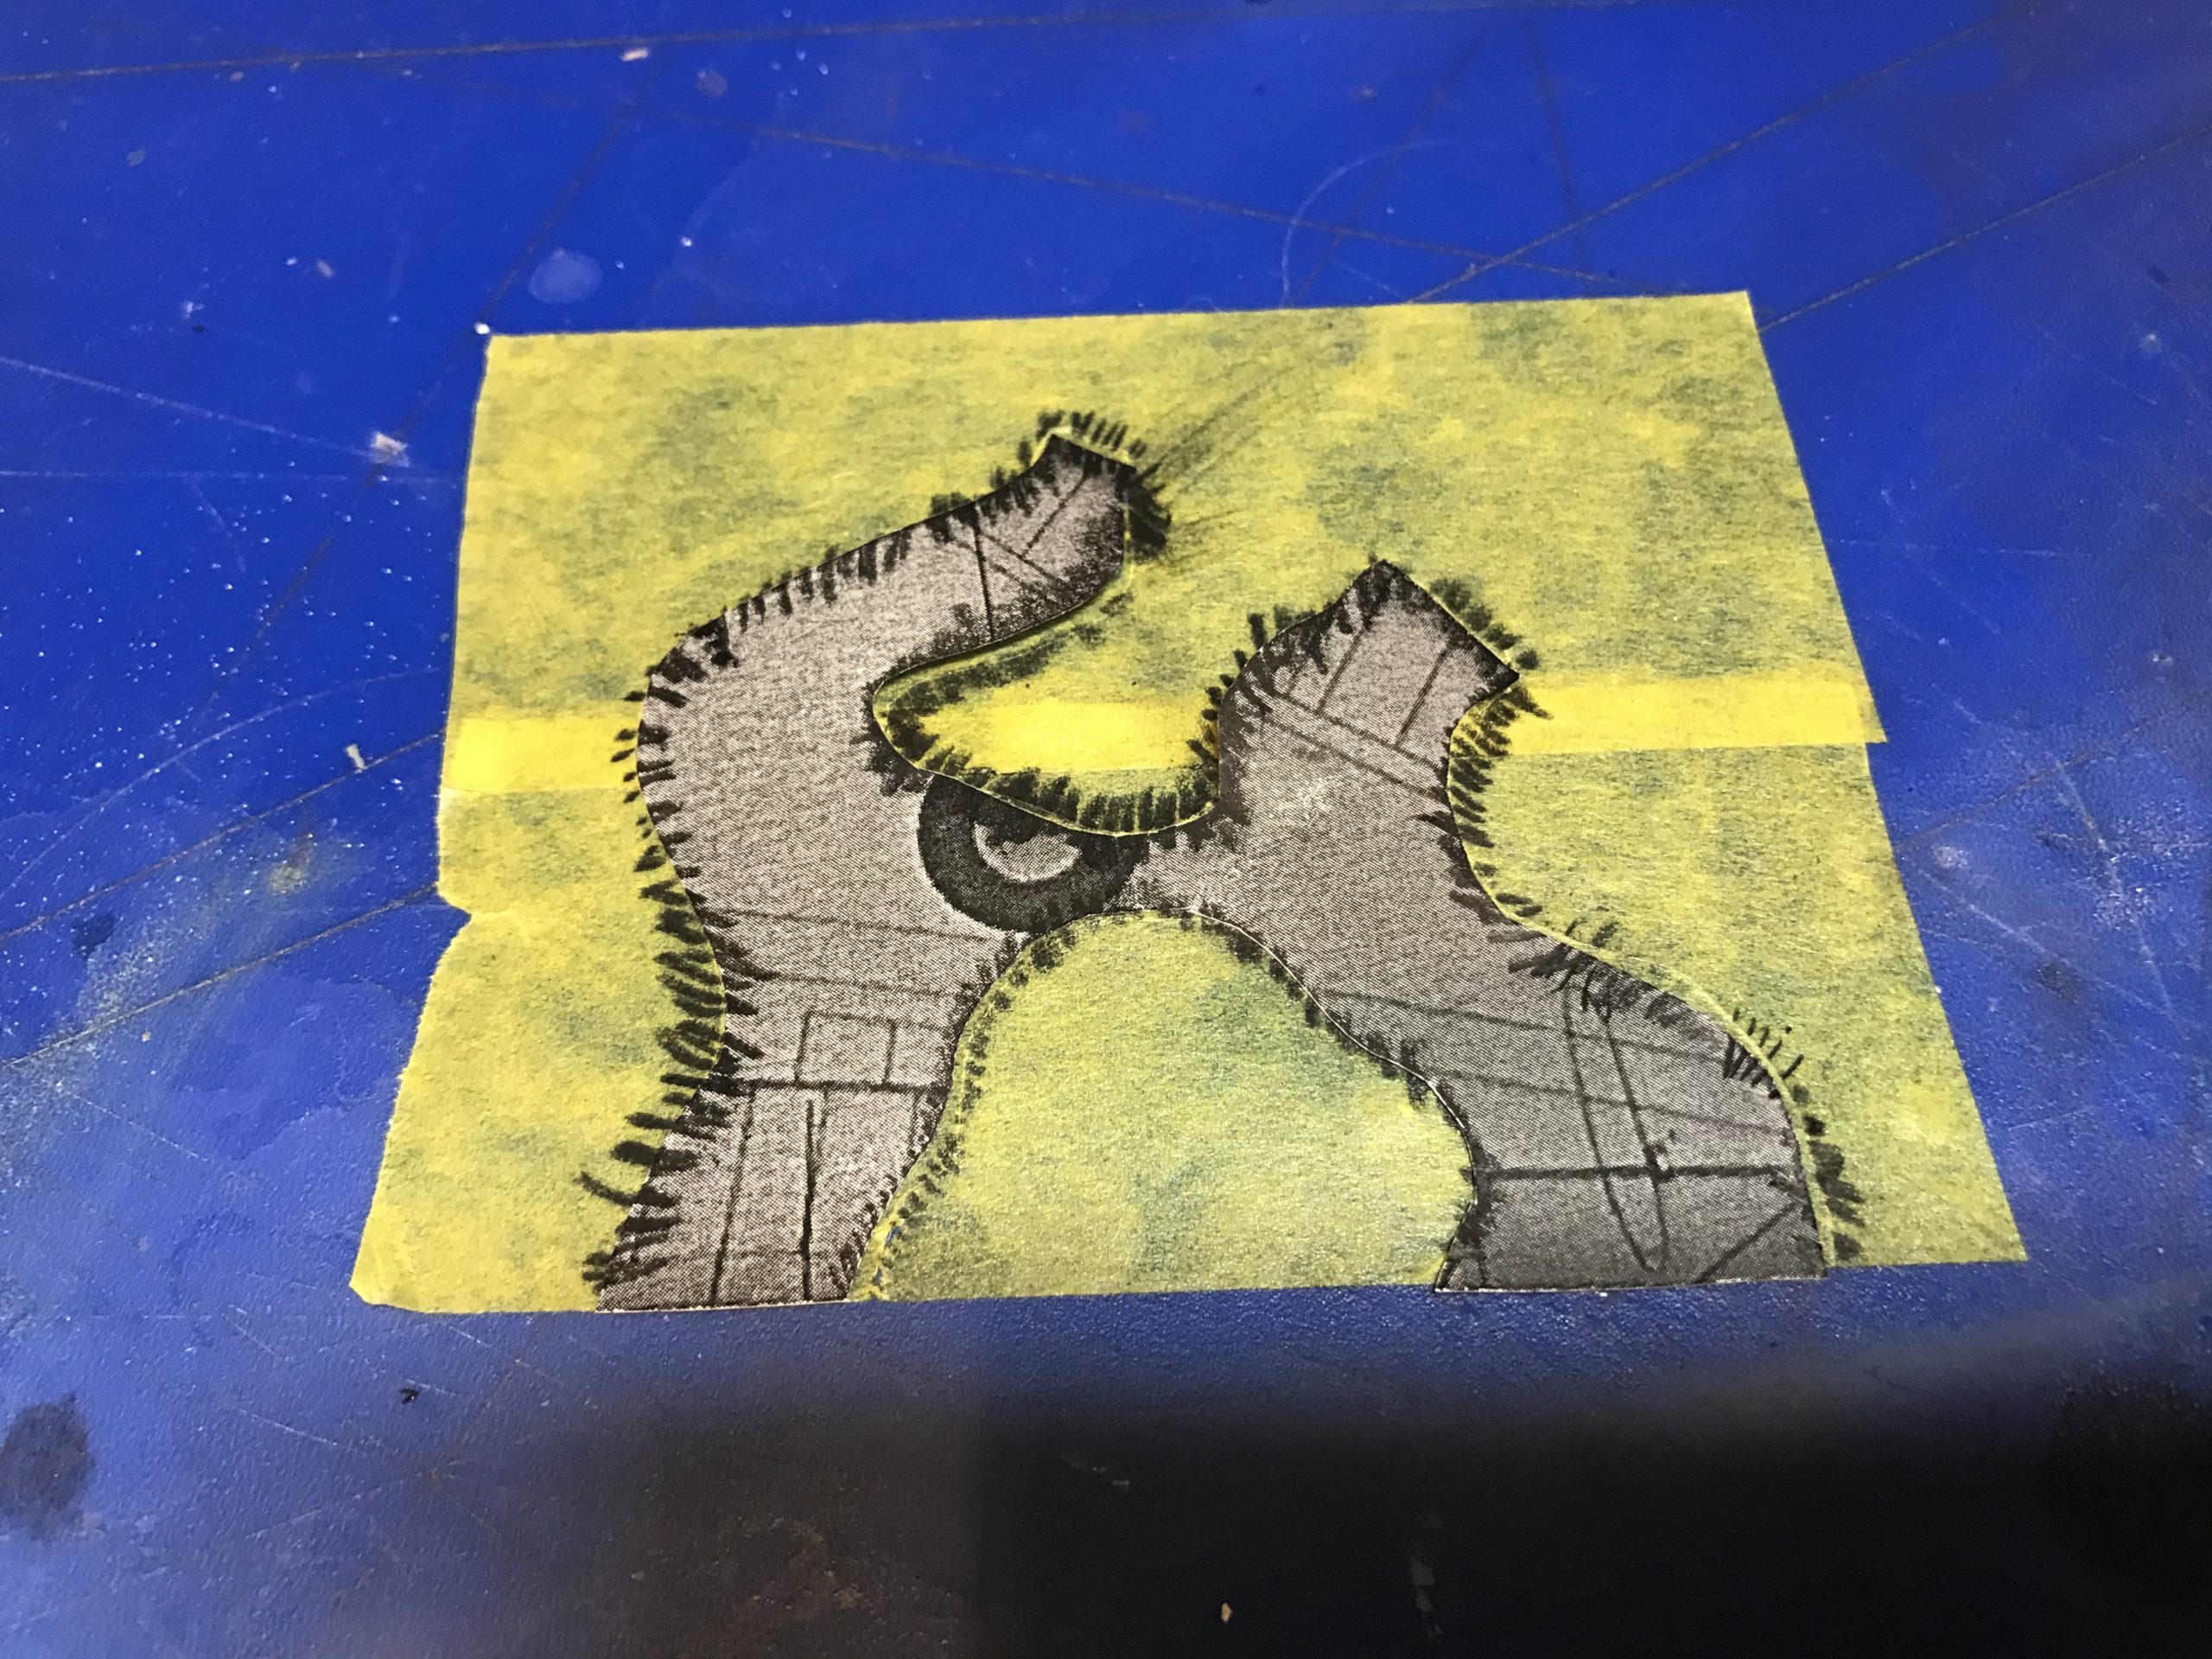
Then the pattern can be cut out and laid on to the model to see if it looks right.
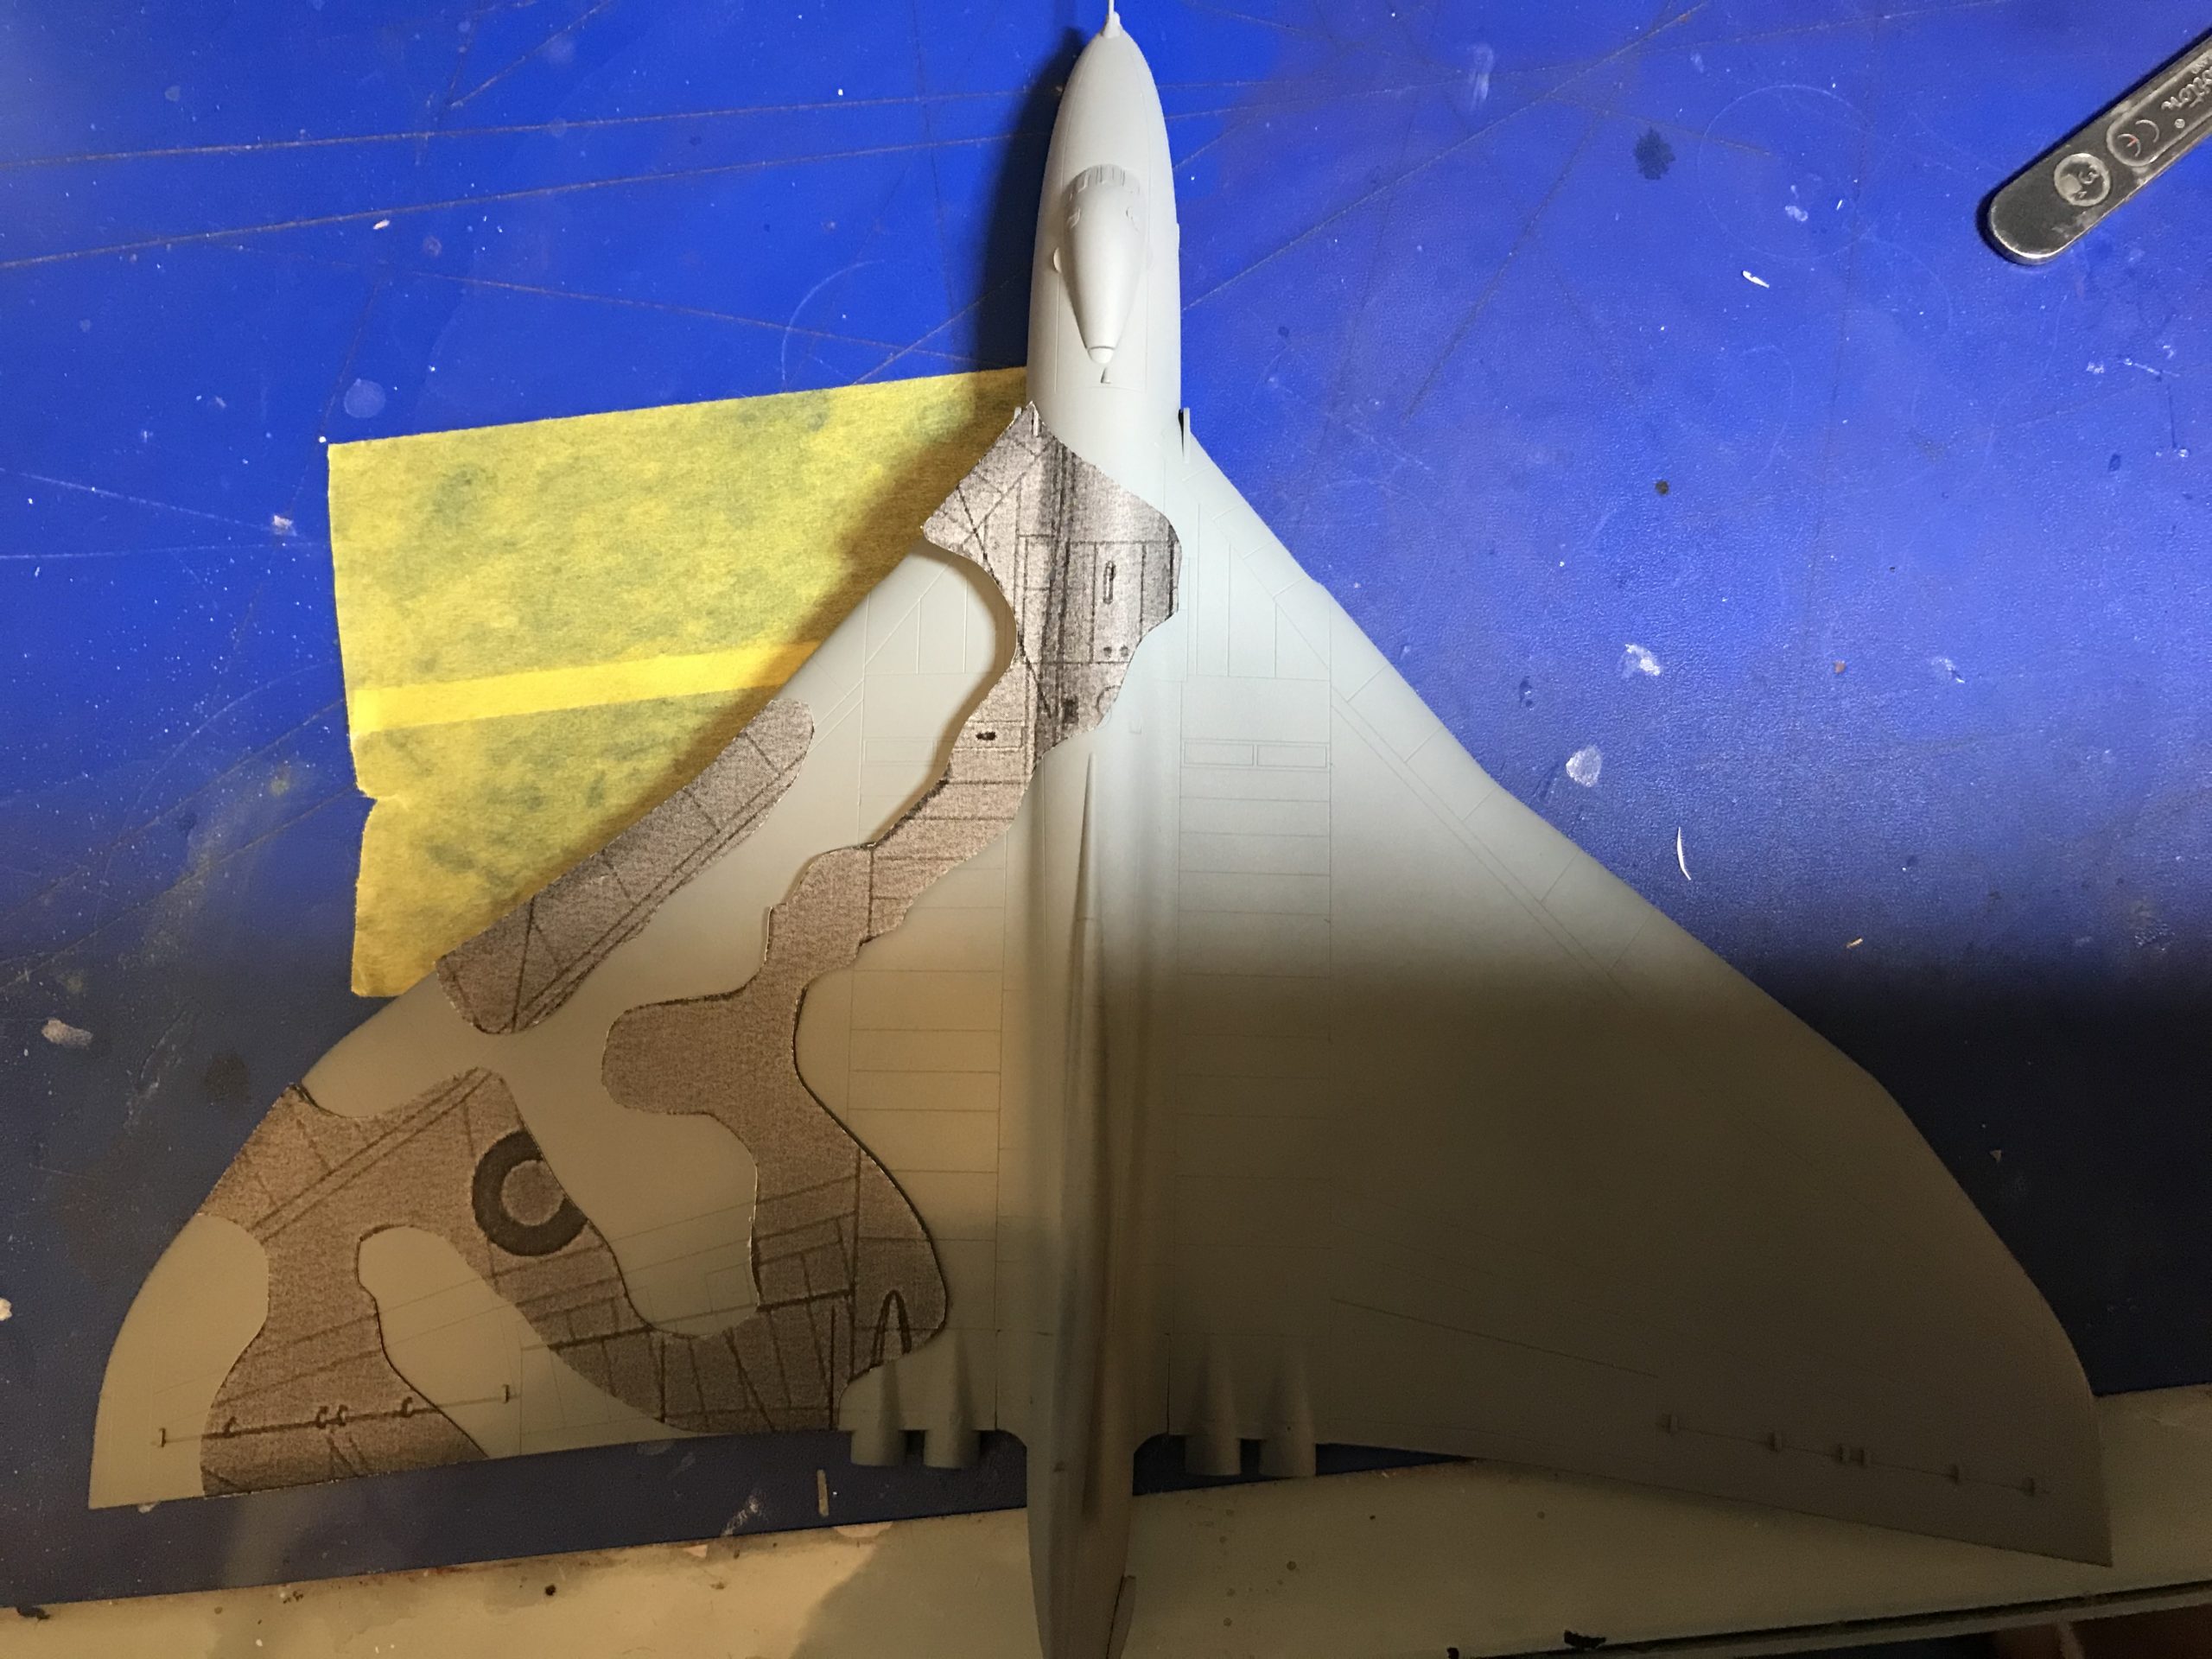
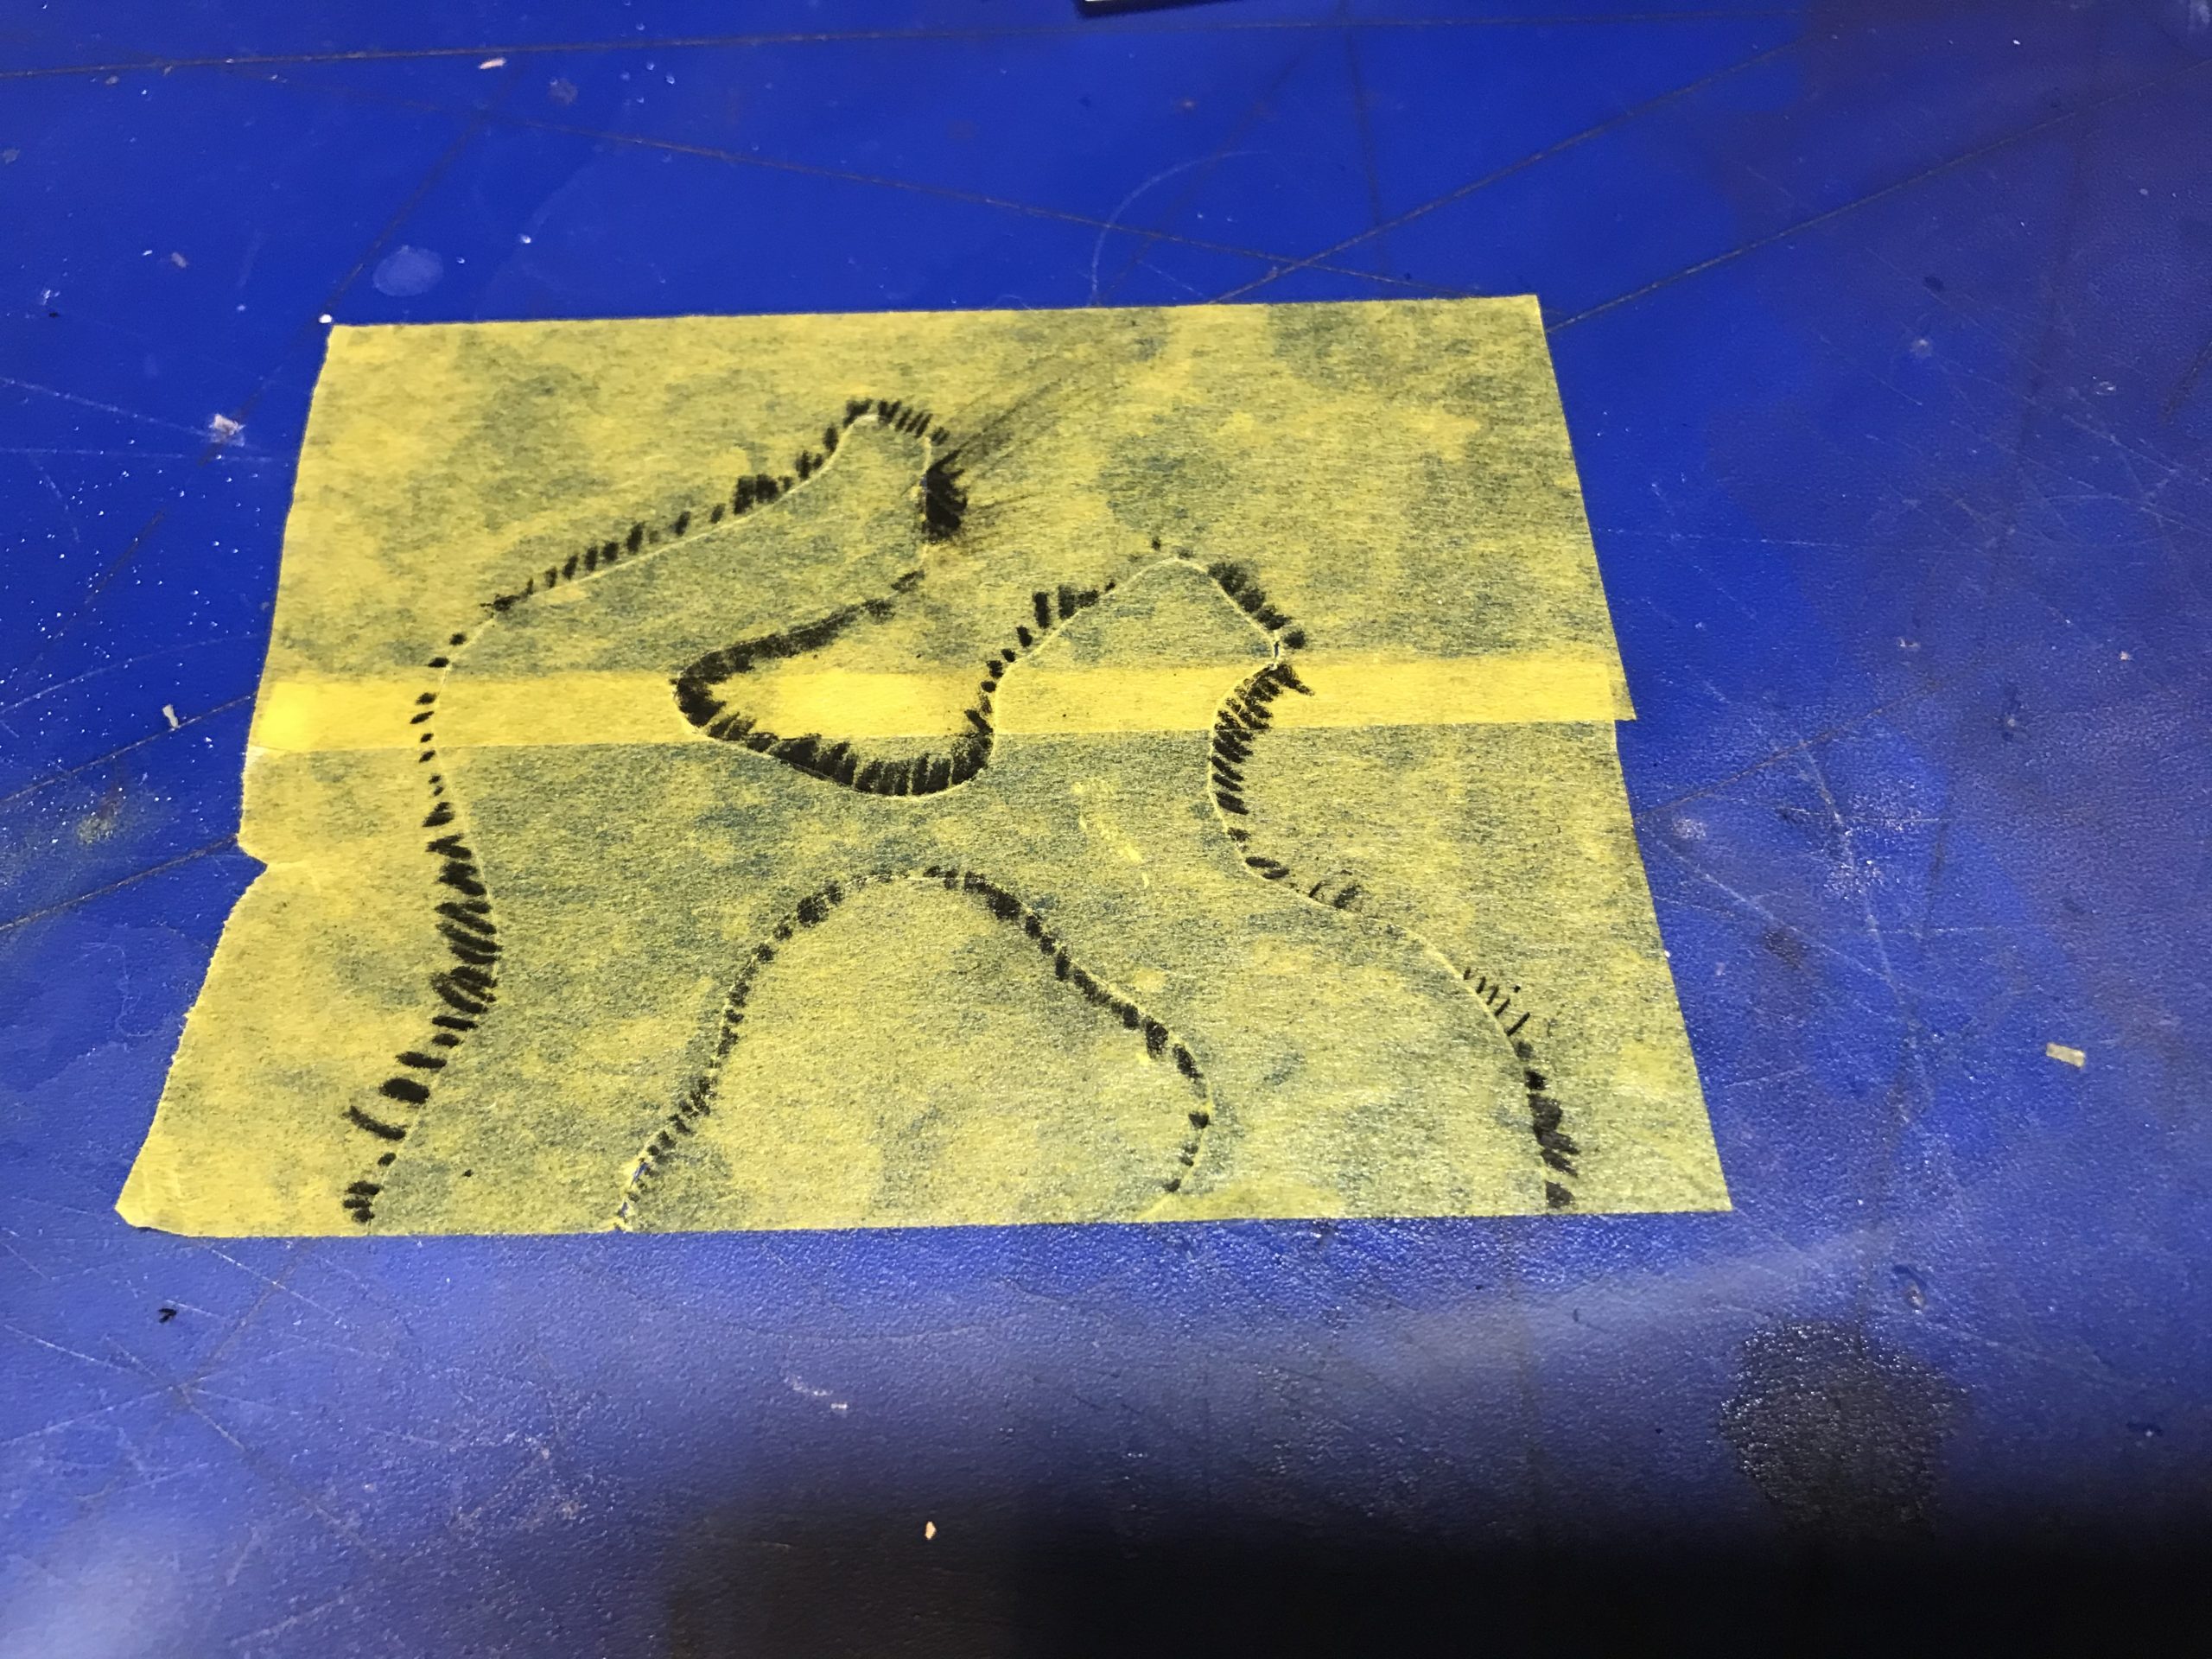
Once happy the pattern is transferred onto masking tape. I overlapped several pieces of tape to make sheet, placed the cut out template on to the masking tape sheet and finally traced around the edge.
The pattern is then cut out with a sharp blade.
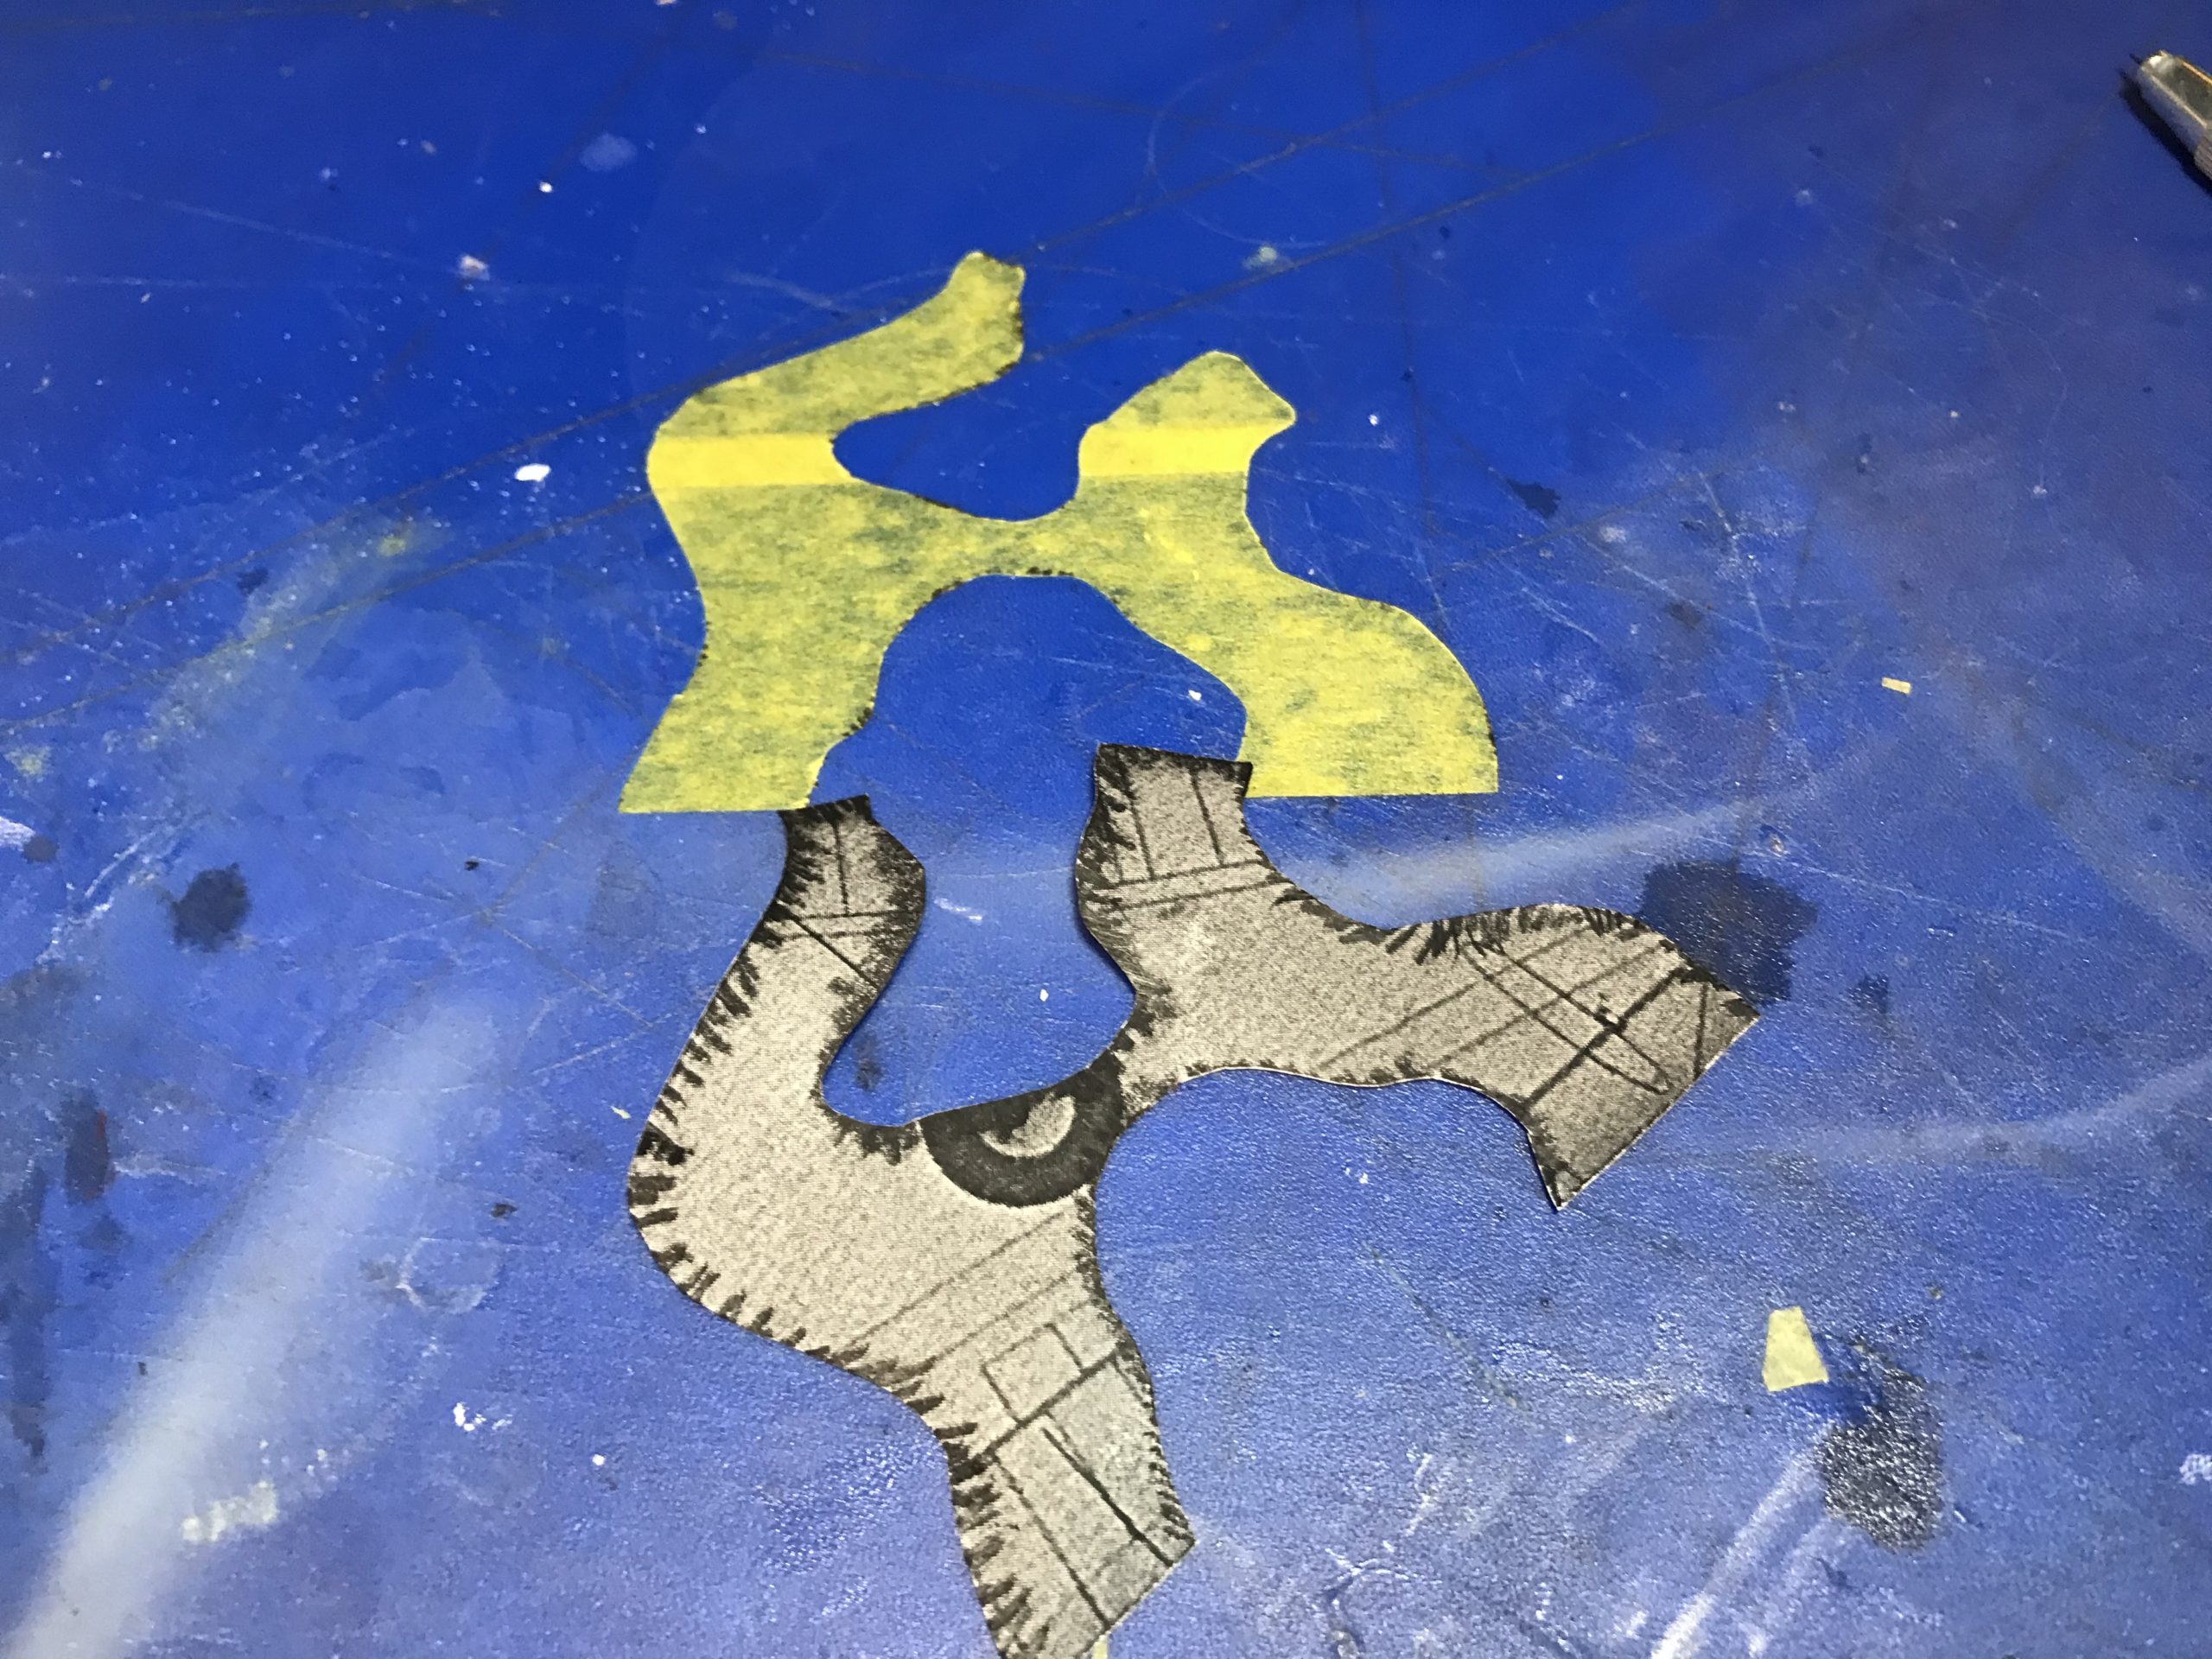
This masking tape pattern is then transferred on to the model. It’s pretty close, but will need a little work to get it 100%
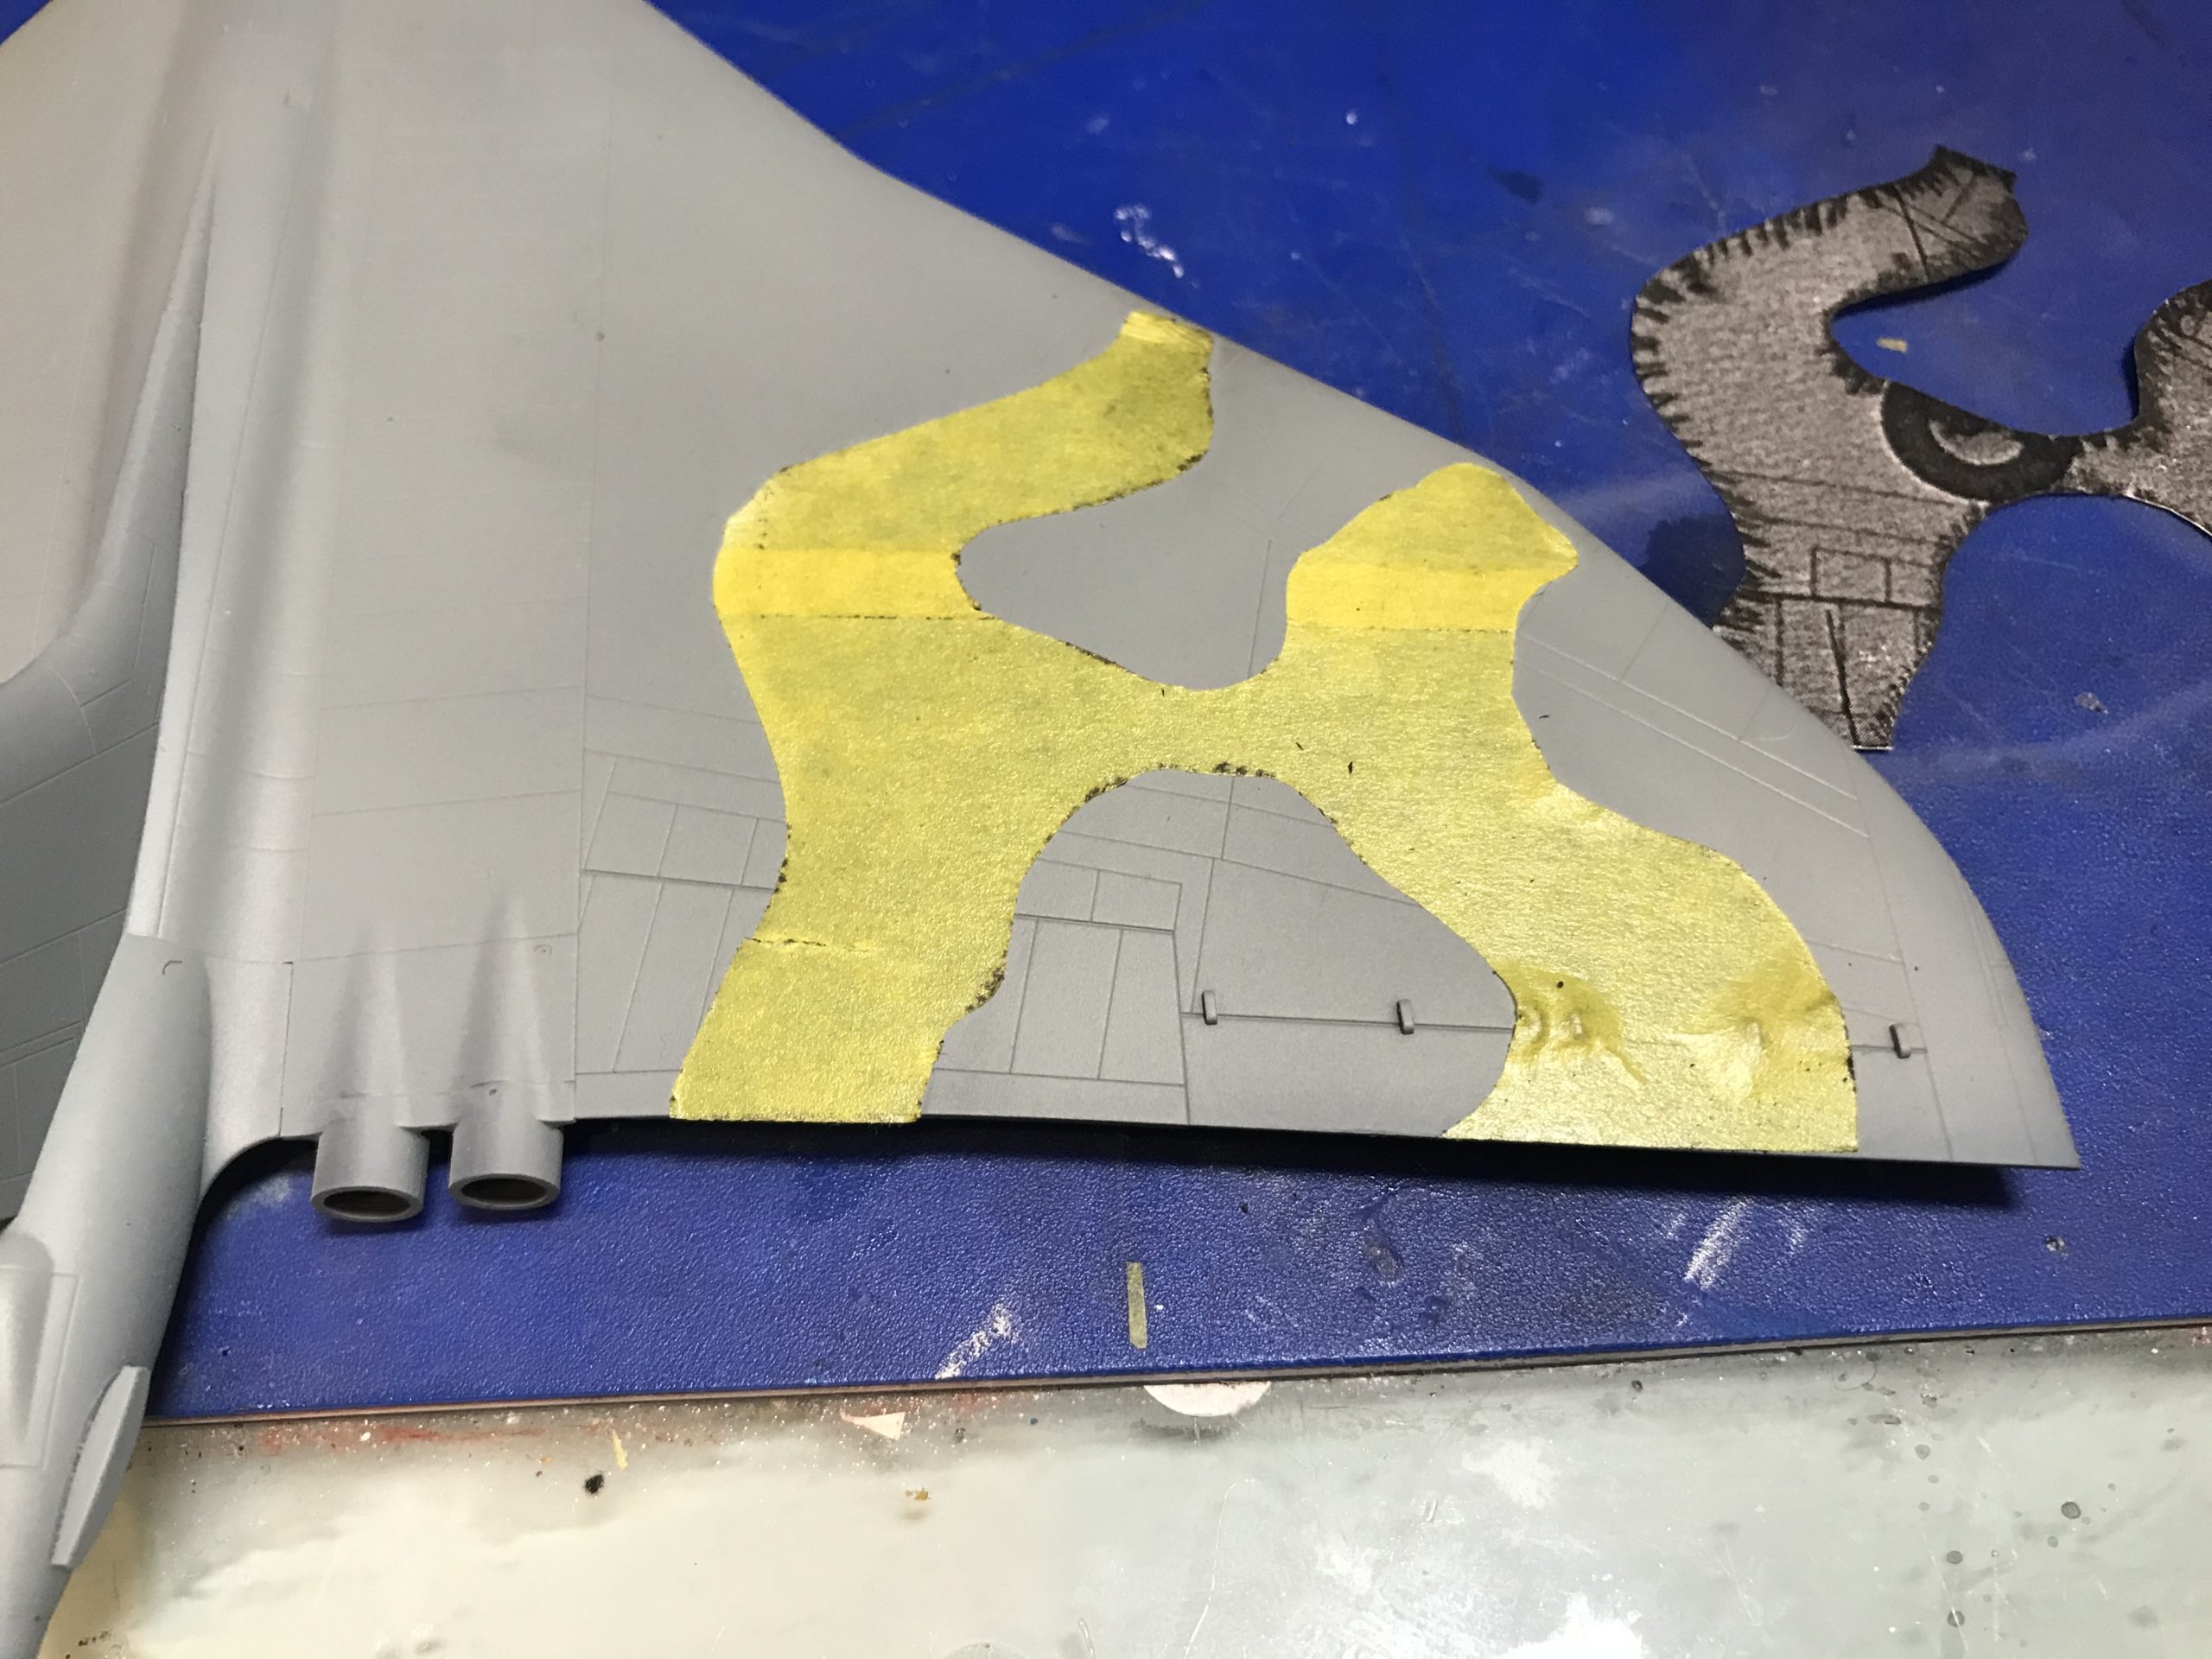
The process is then replicated over the entire model. A little time consuming, but strangely satisfying too.
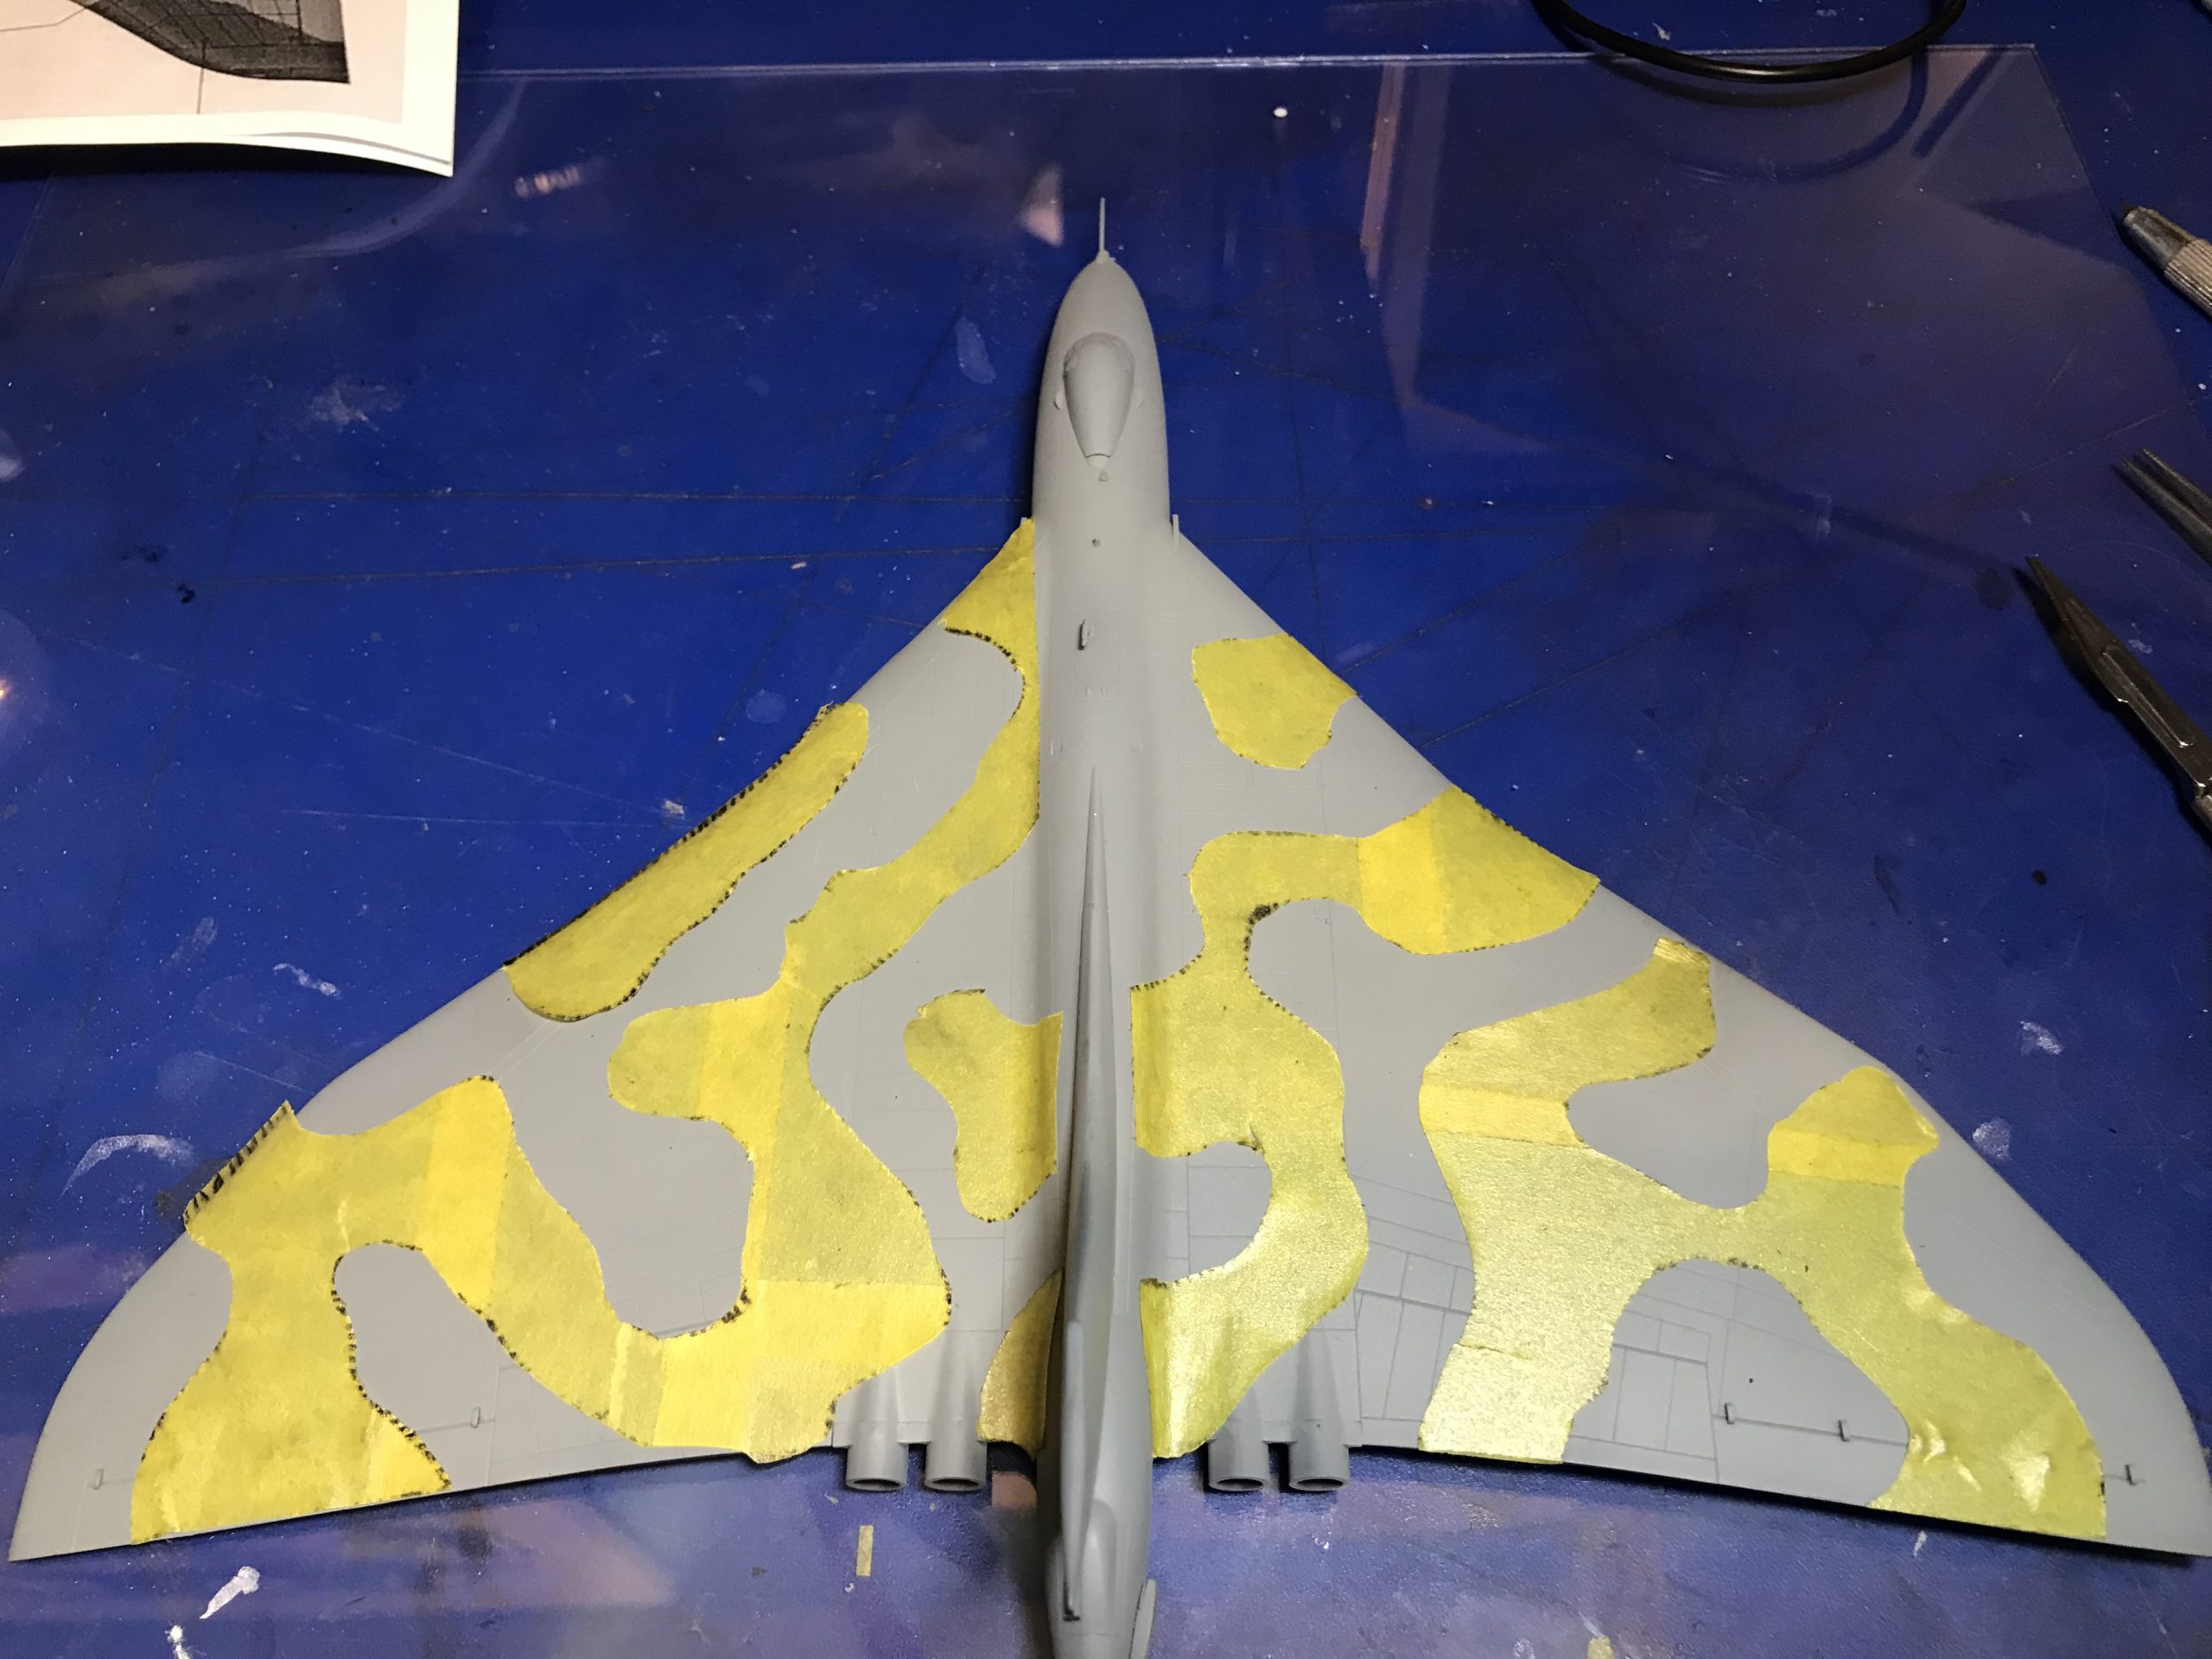
Once the masking is complete the model can be painted.
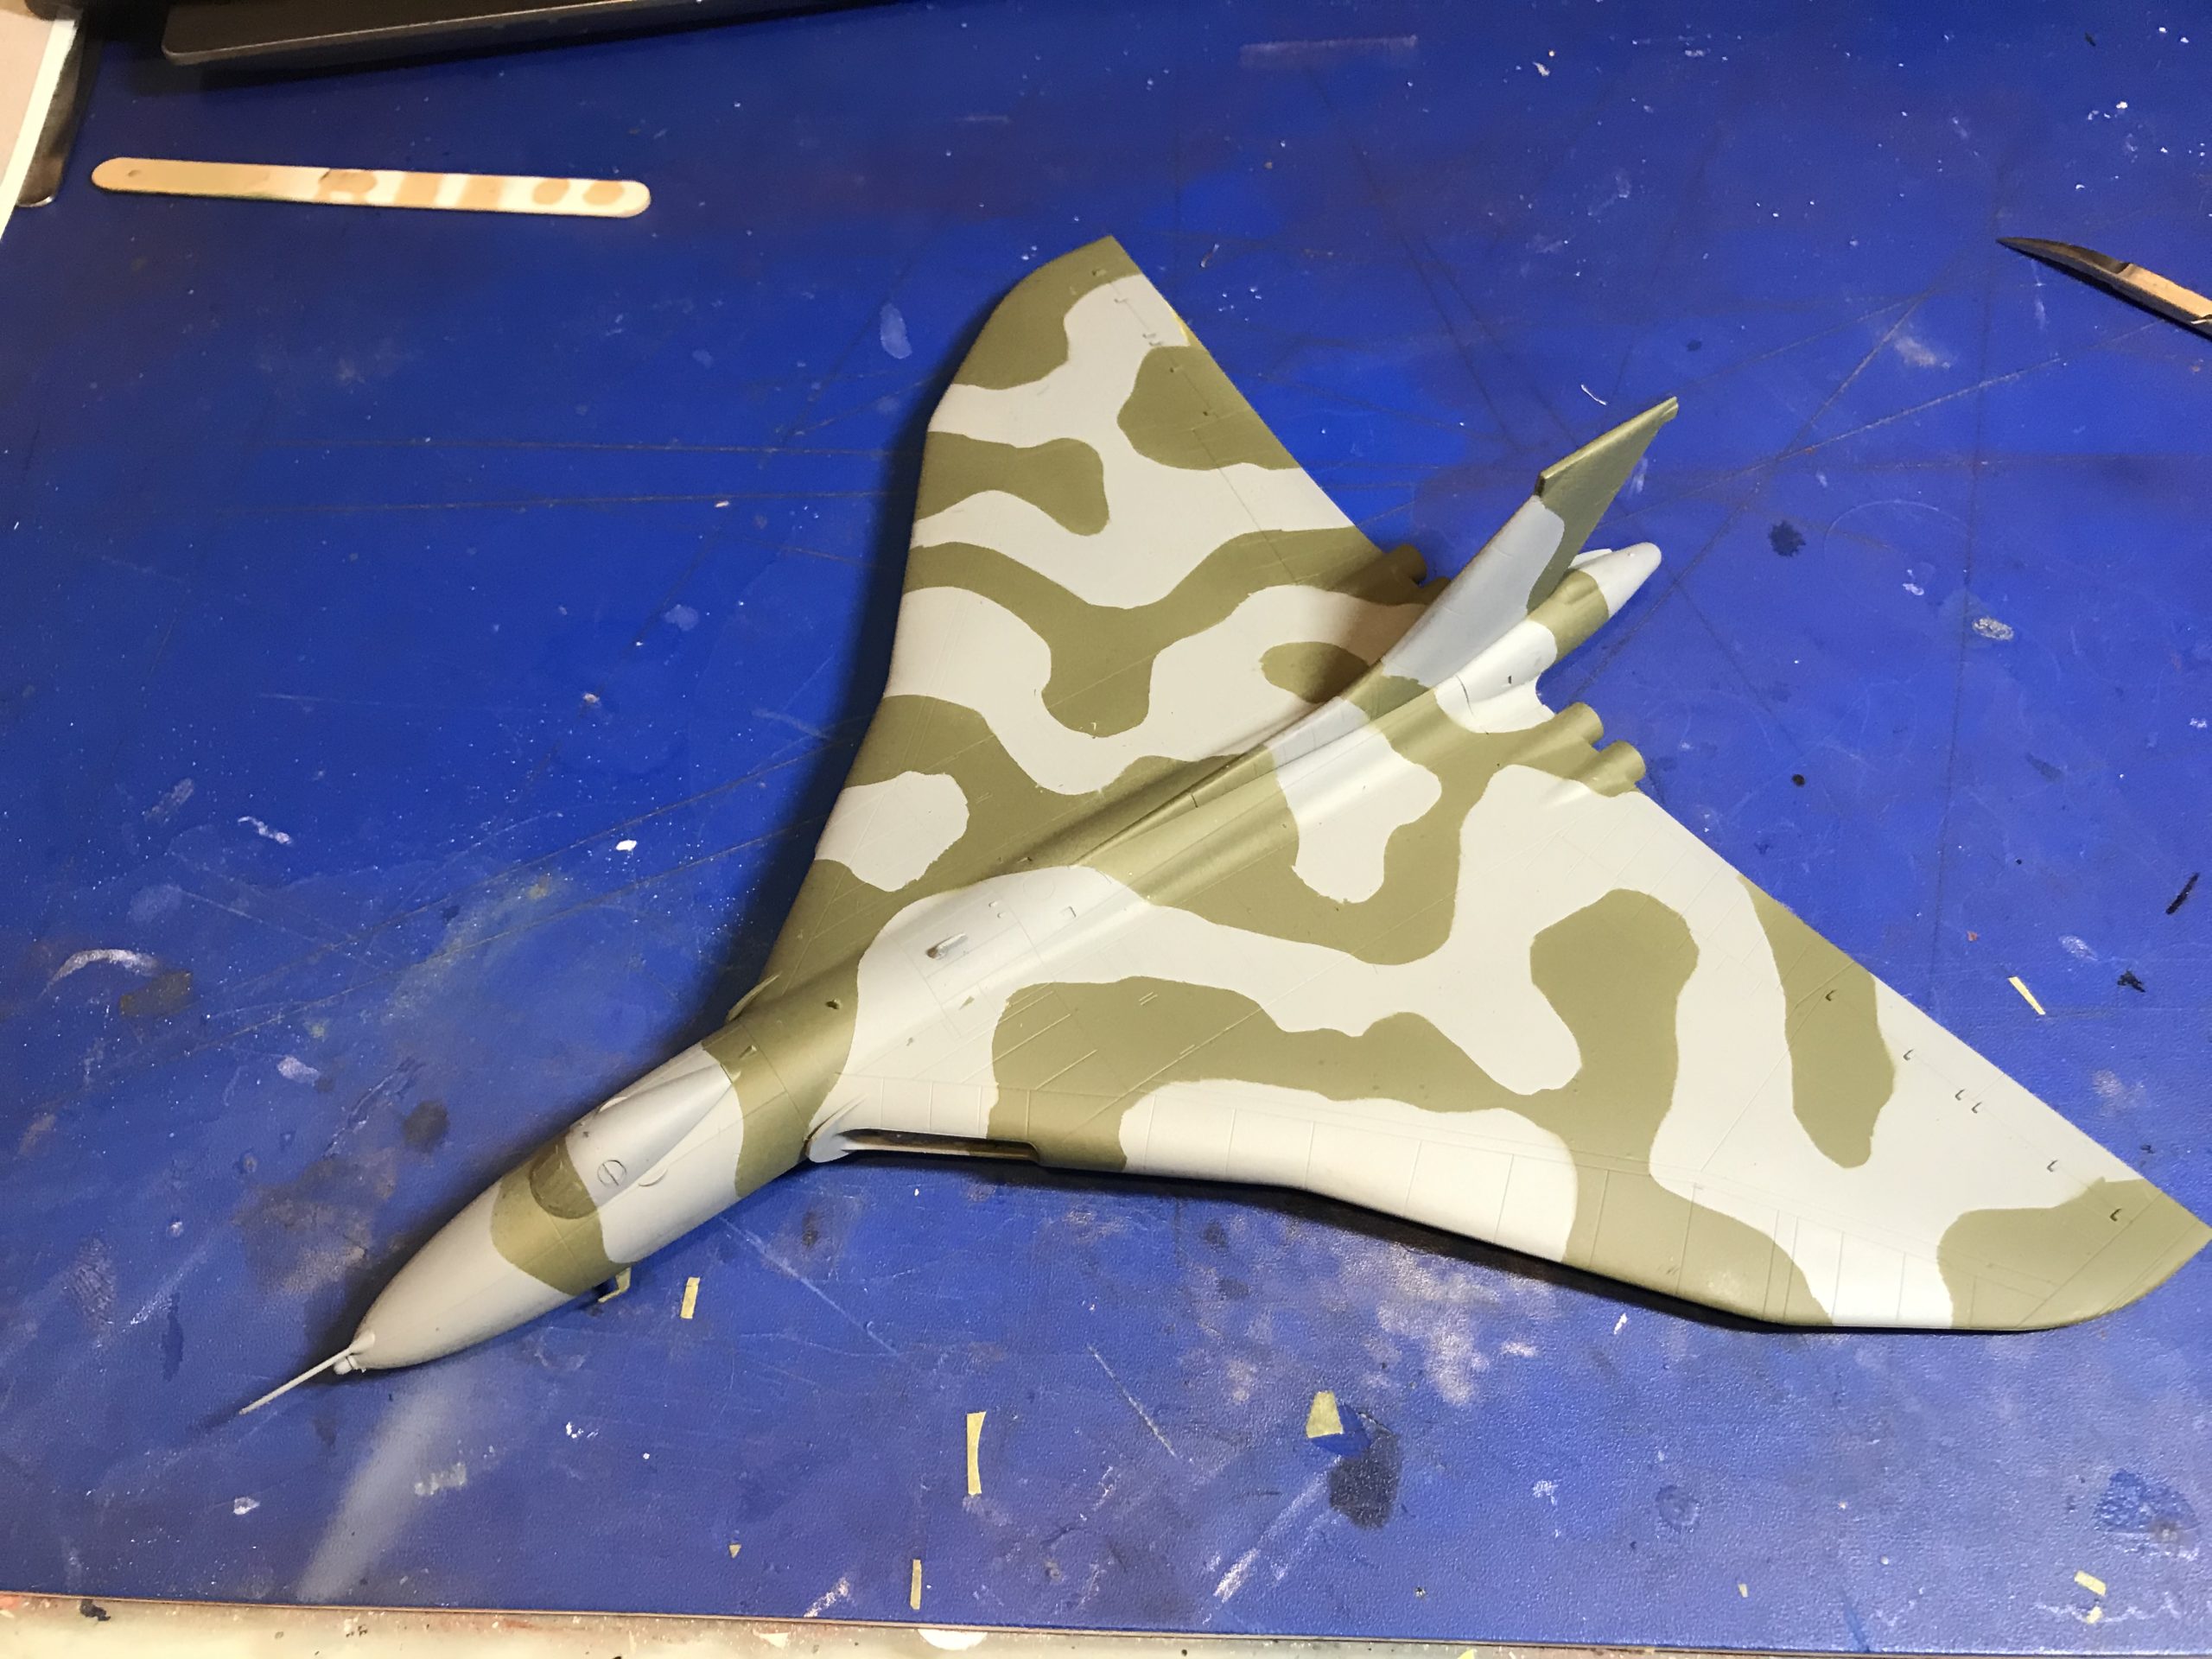
The underside is done in the exact same way.
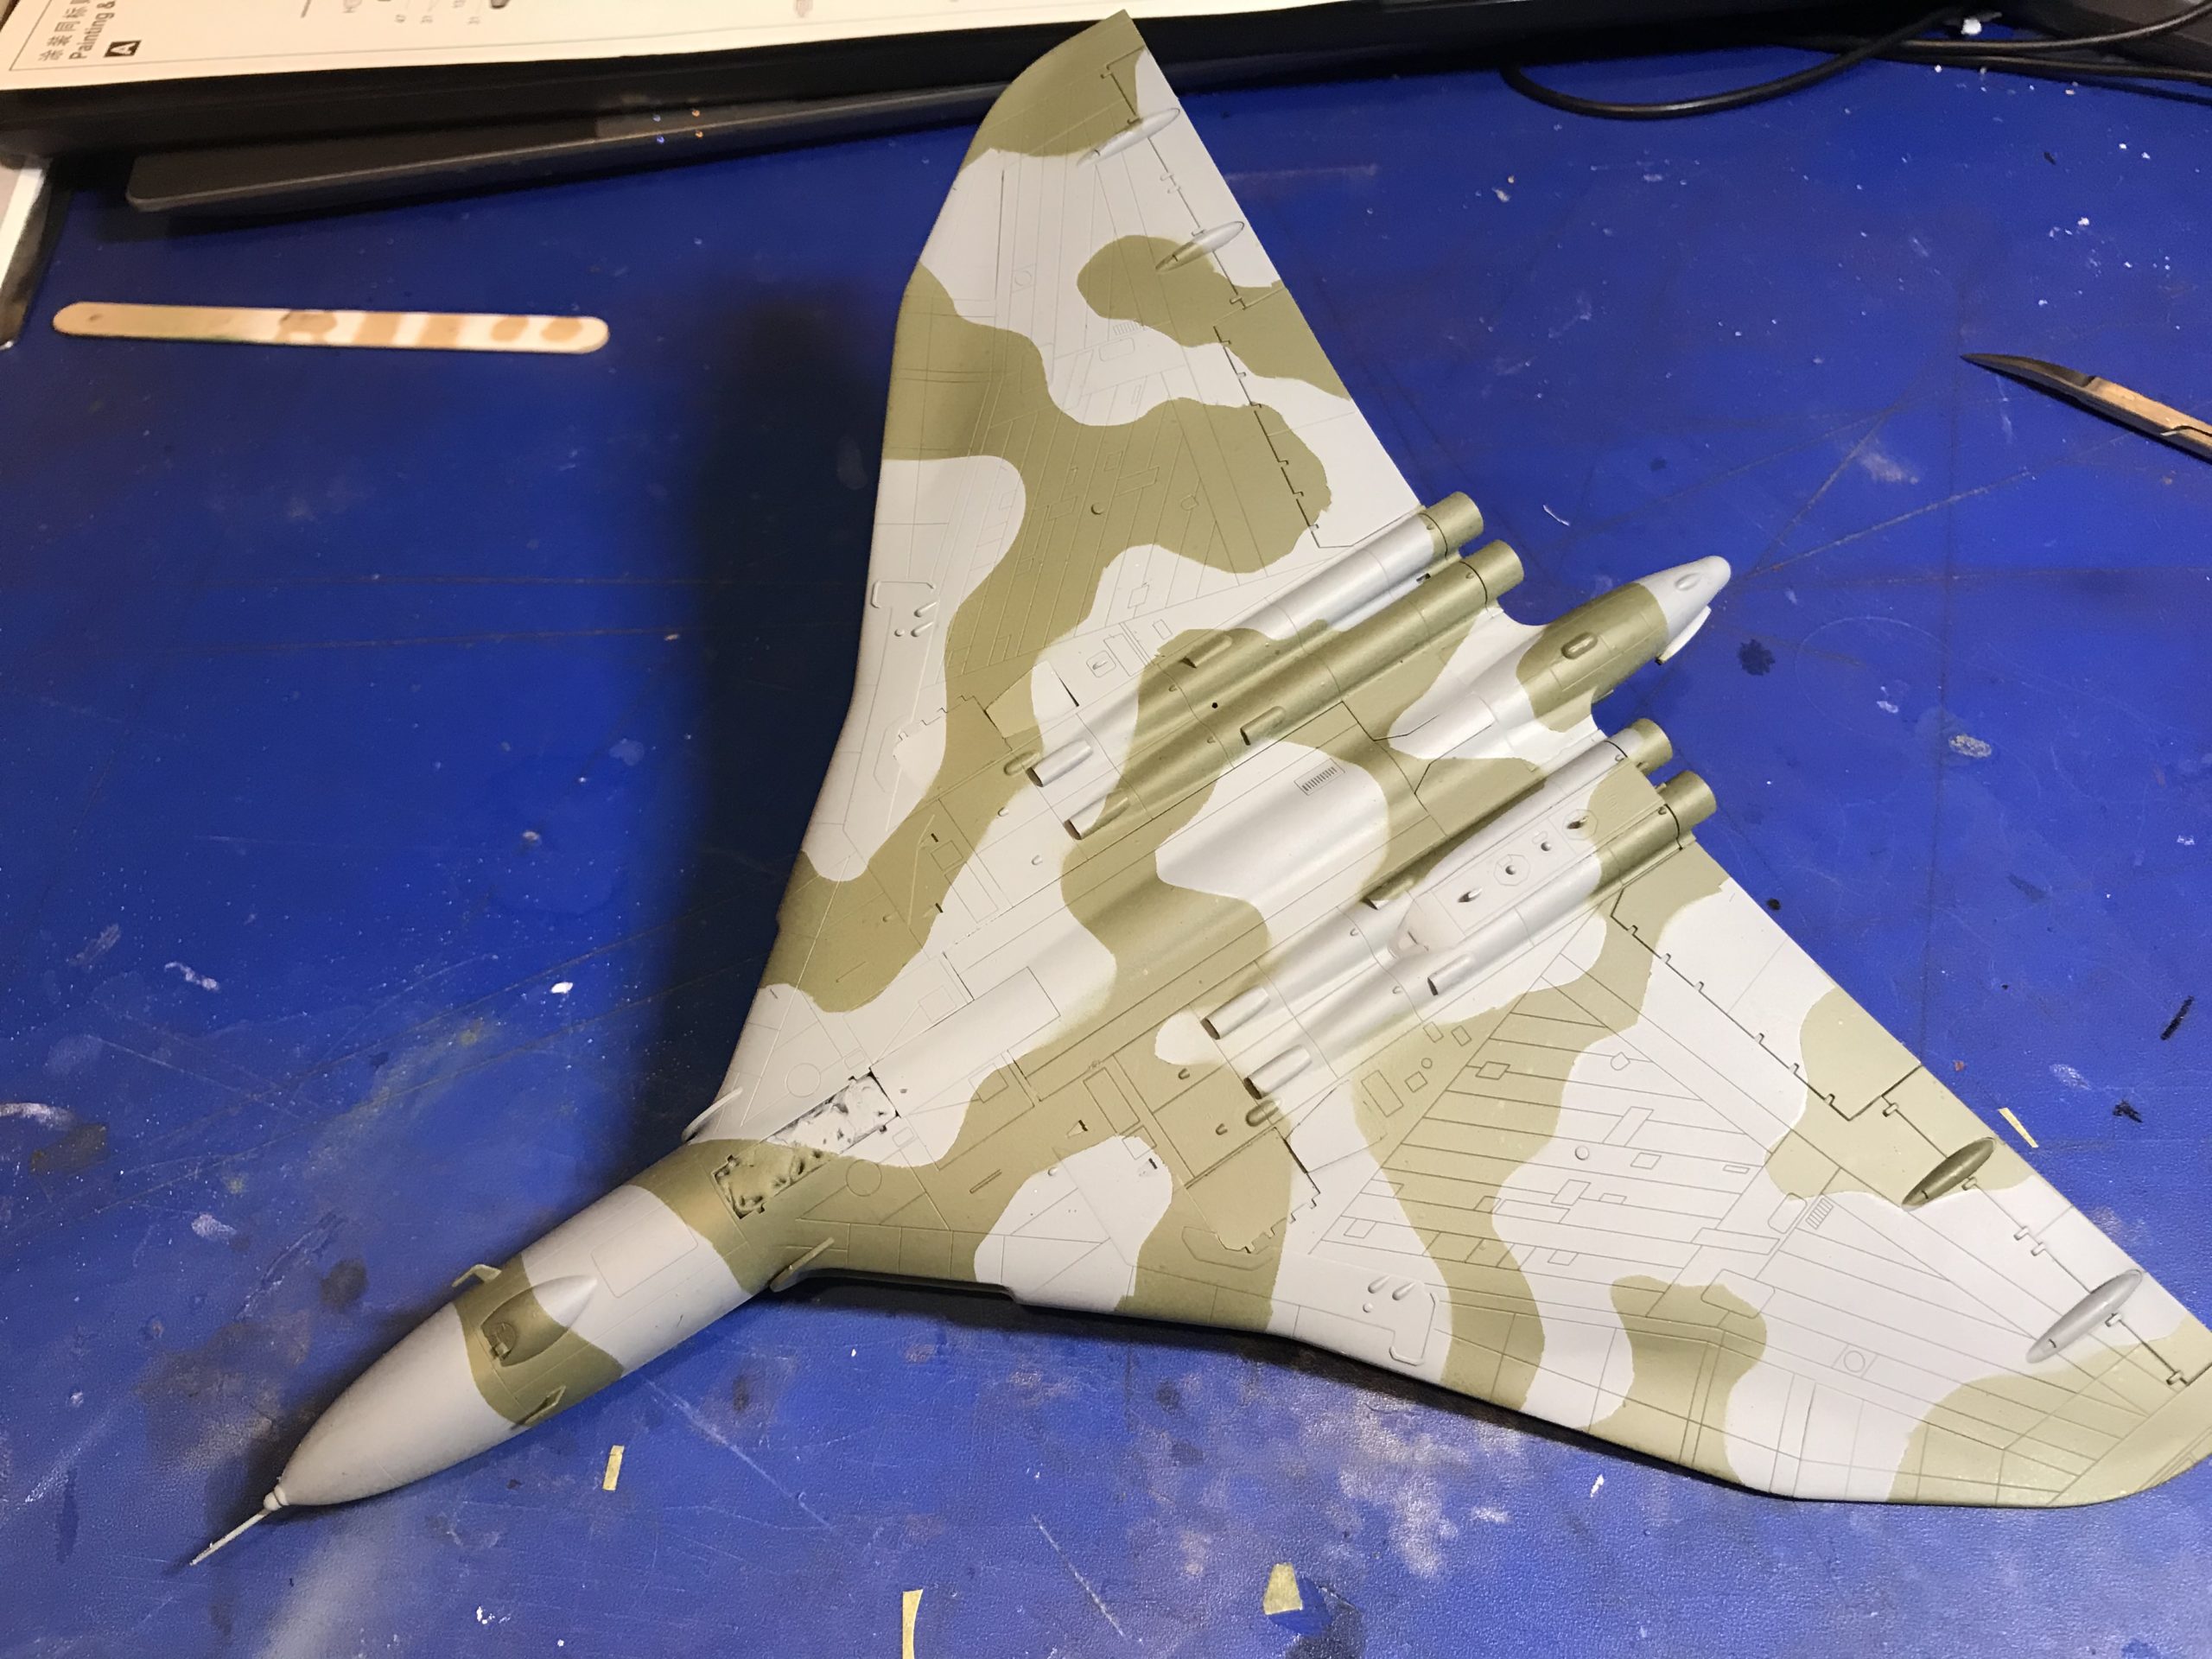
Hopefully this helps you out a little bit – its worked for me on literally hundreds of builds. As per anything in Model making, taking your time on the preparation should yield good results.
Here are the most popular masking items on the jadlamracingmodels.com website:
All masking tapes, including Tamiya curved masking tape – https://www.jadlamracingmodels.com/search.php?search_query=masking+tape&x=0&y=0
Ammo by mig Masking putty – https://www.jadlamracingmodels.com/mig8012-camouflage-masking-putty/


Perhaps it should be pointed out that the model was painted grey before the masks were applied over it, otherwise the process would have to be repeated in reverse for the grey to be painted.