
In my humble opinion I think most models are enhanced by the addition of a figure or two. For a reasonable financial outlay it adds a great level of interest to a build when on display.
I know many people are put off painting figures, perceiving it to be a difficult process as they’re small and high detailed – with a little care it is as easy as the rest of the build.
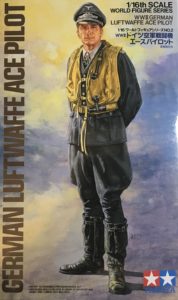
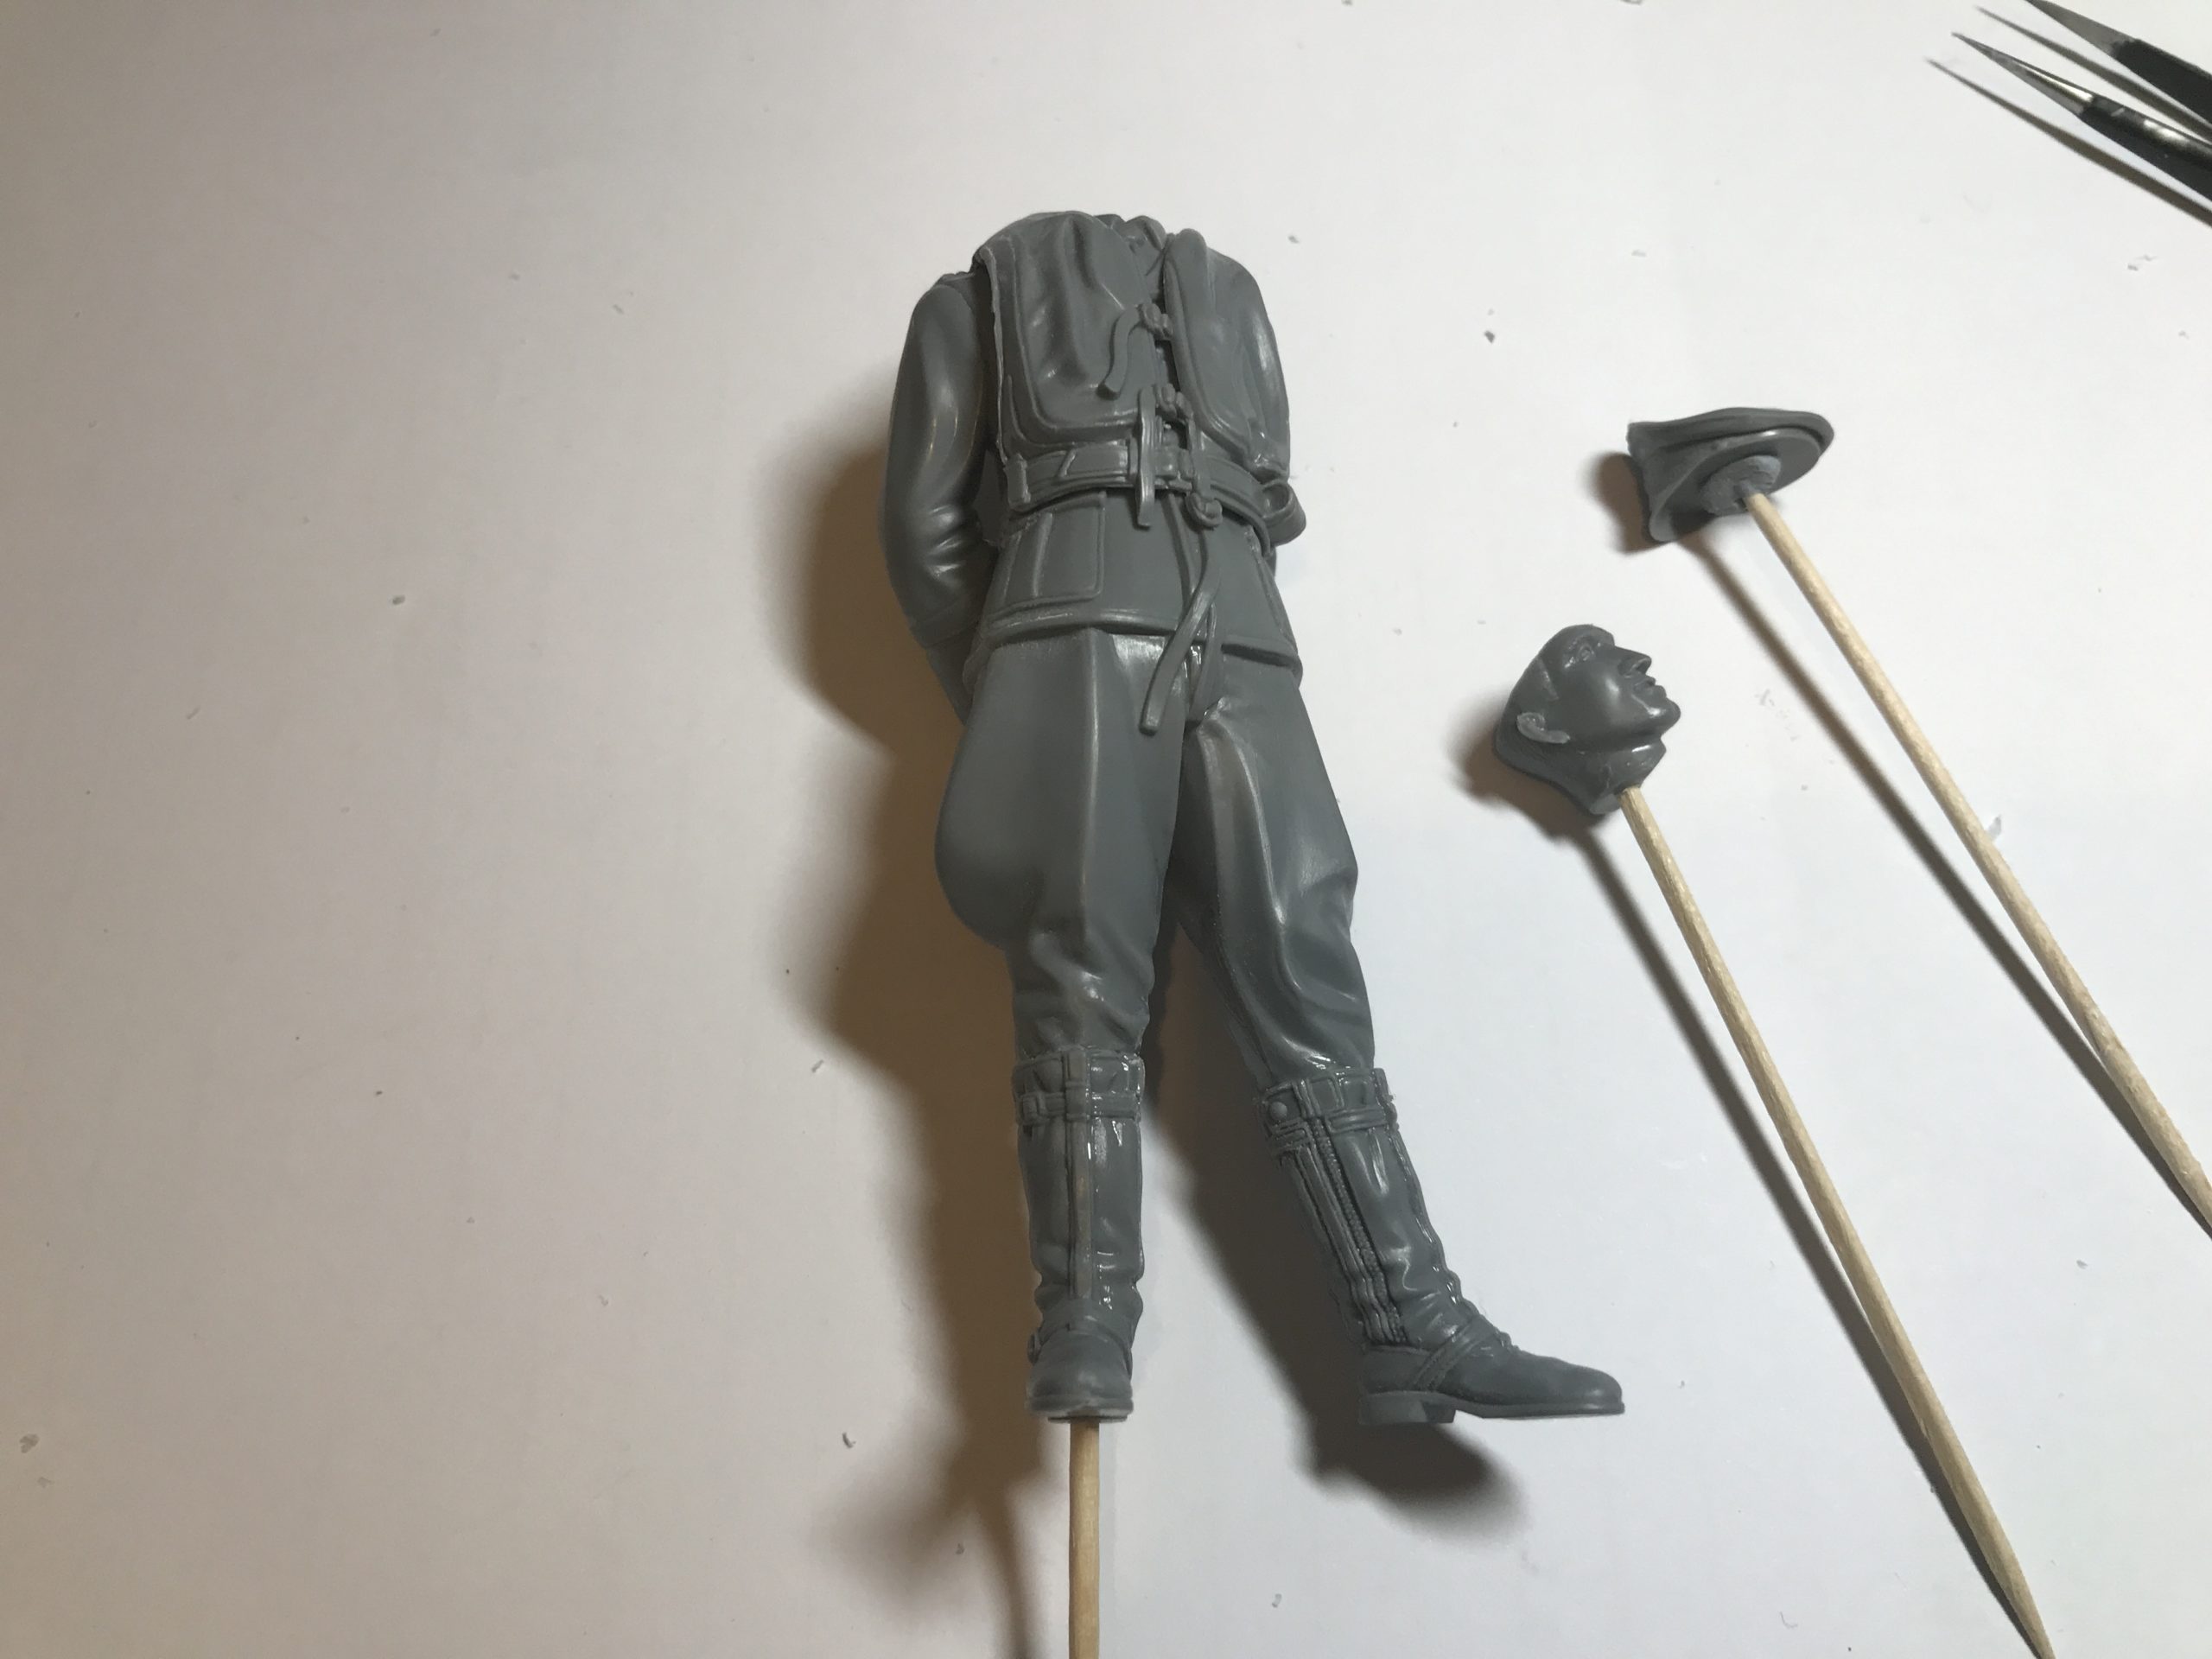
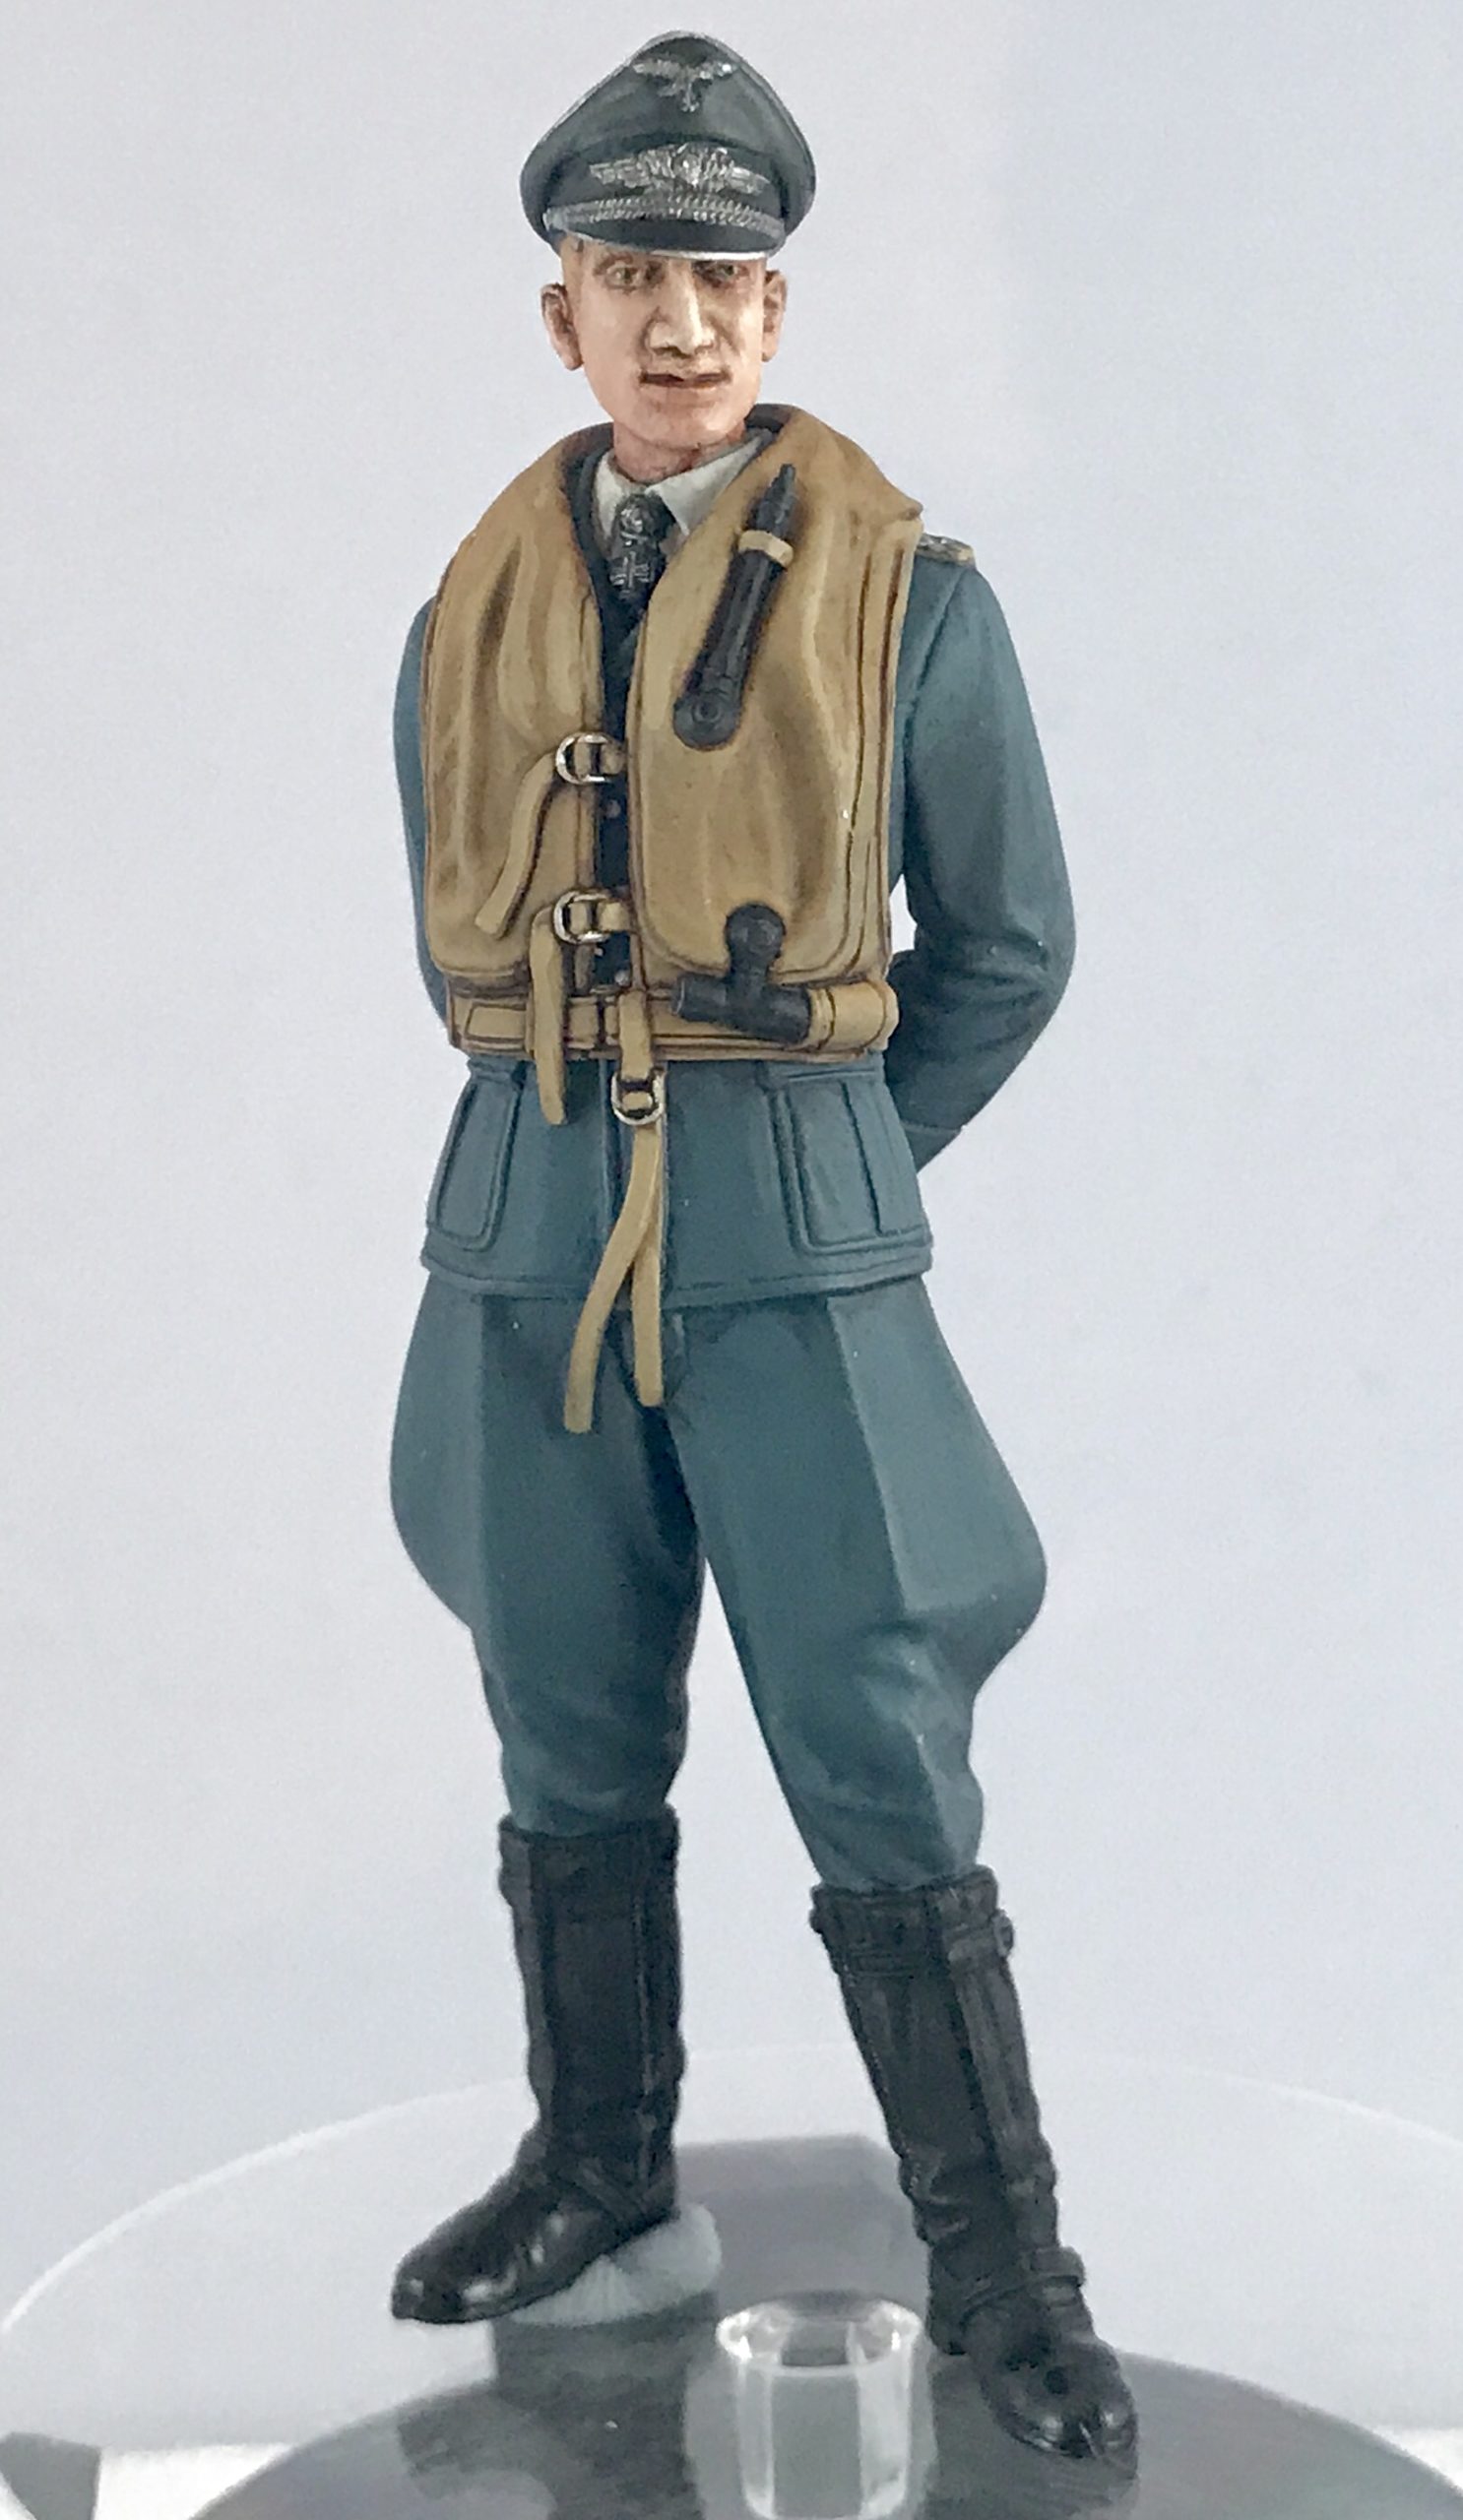
For this article I have chosen one of Tamiya’s 1/16th scale figures – The Luftwaffe Ace Pilot.
Just one sprue on this kit. Nice & simple..
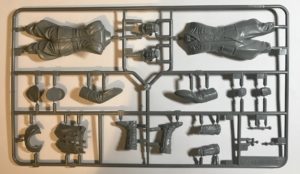
Step one is to remove the parts from the sprue. As we’ve come to expect of Tamiya the parts are well moulded with lots of crisp detail – they come off the sprue easily.
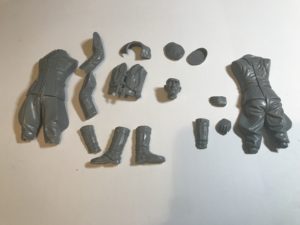
As you can imagine the assembly isn’t exactly difficult, but normal rules apply. Take your time and clean the parts as best you can and remove any rough areas where it was attached to the sprue.
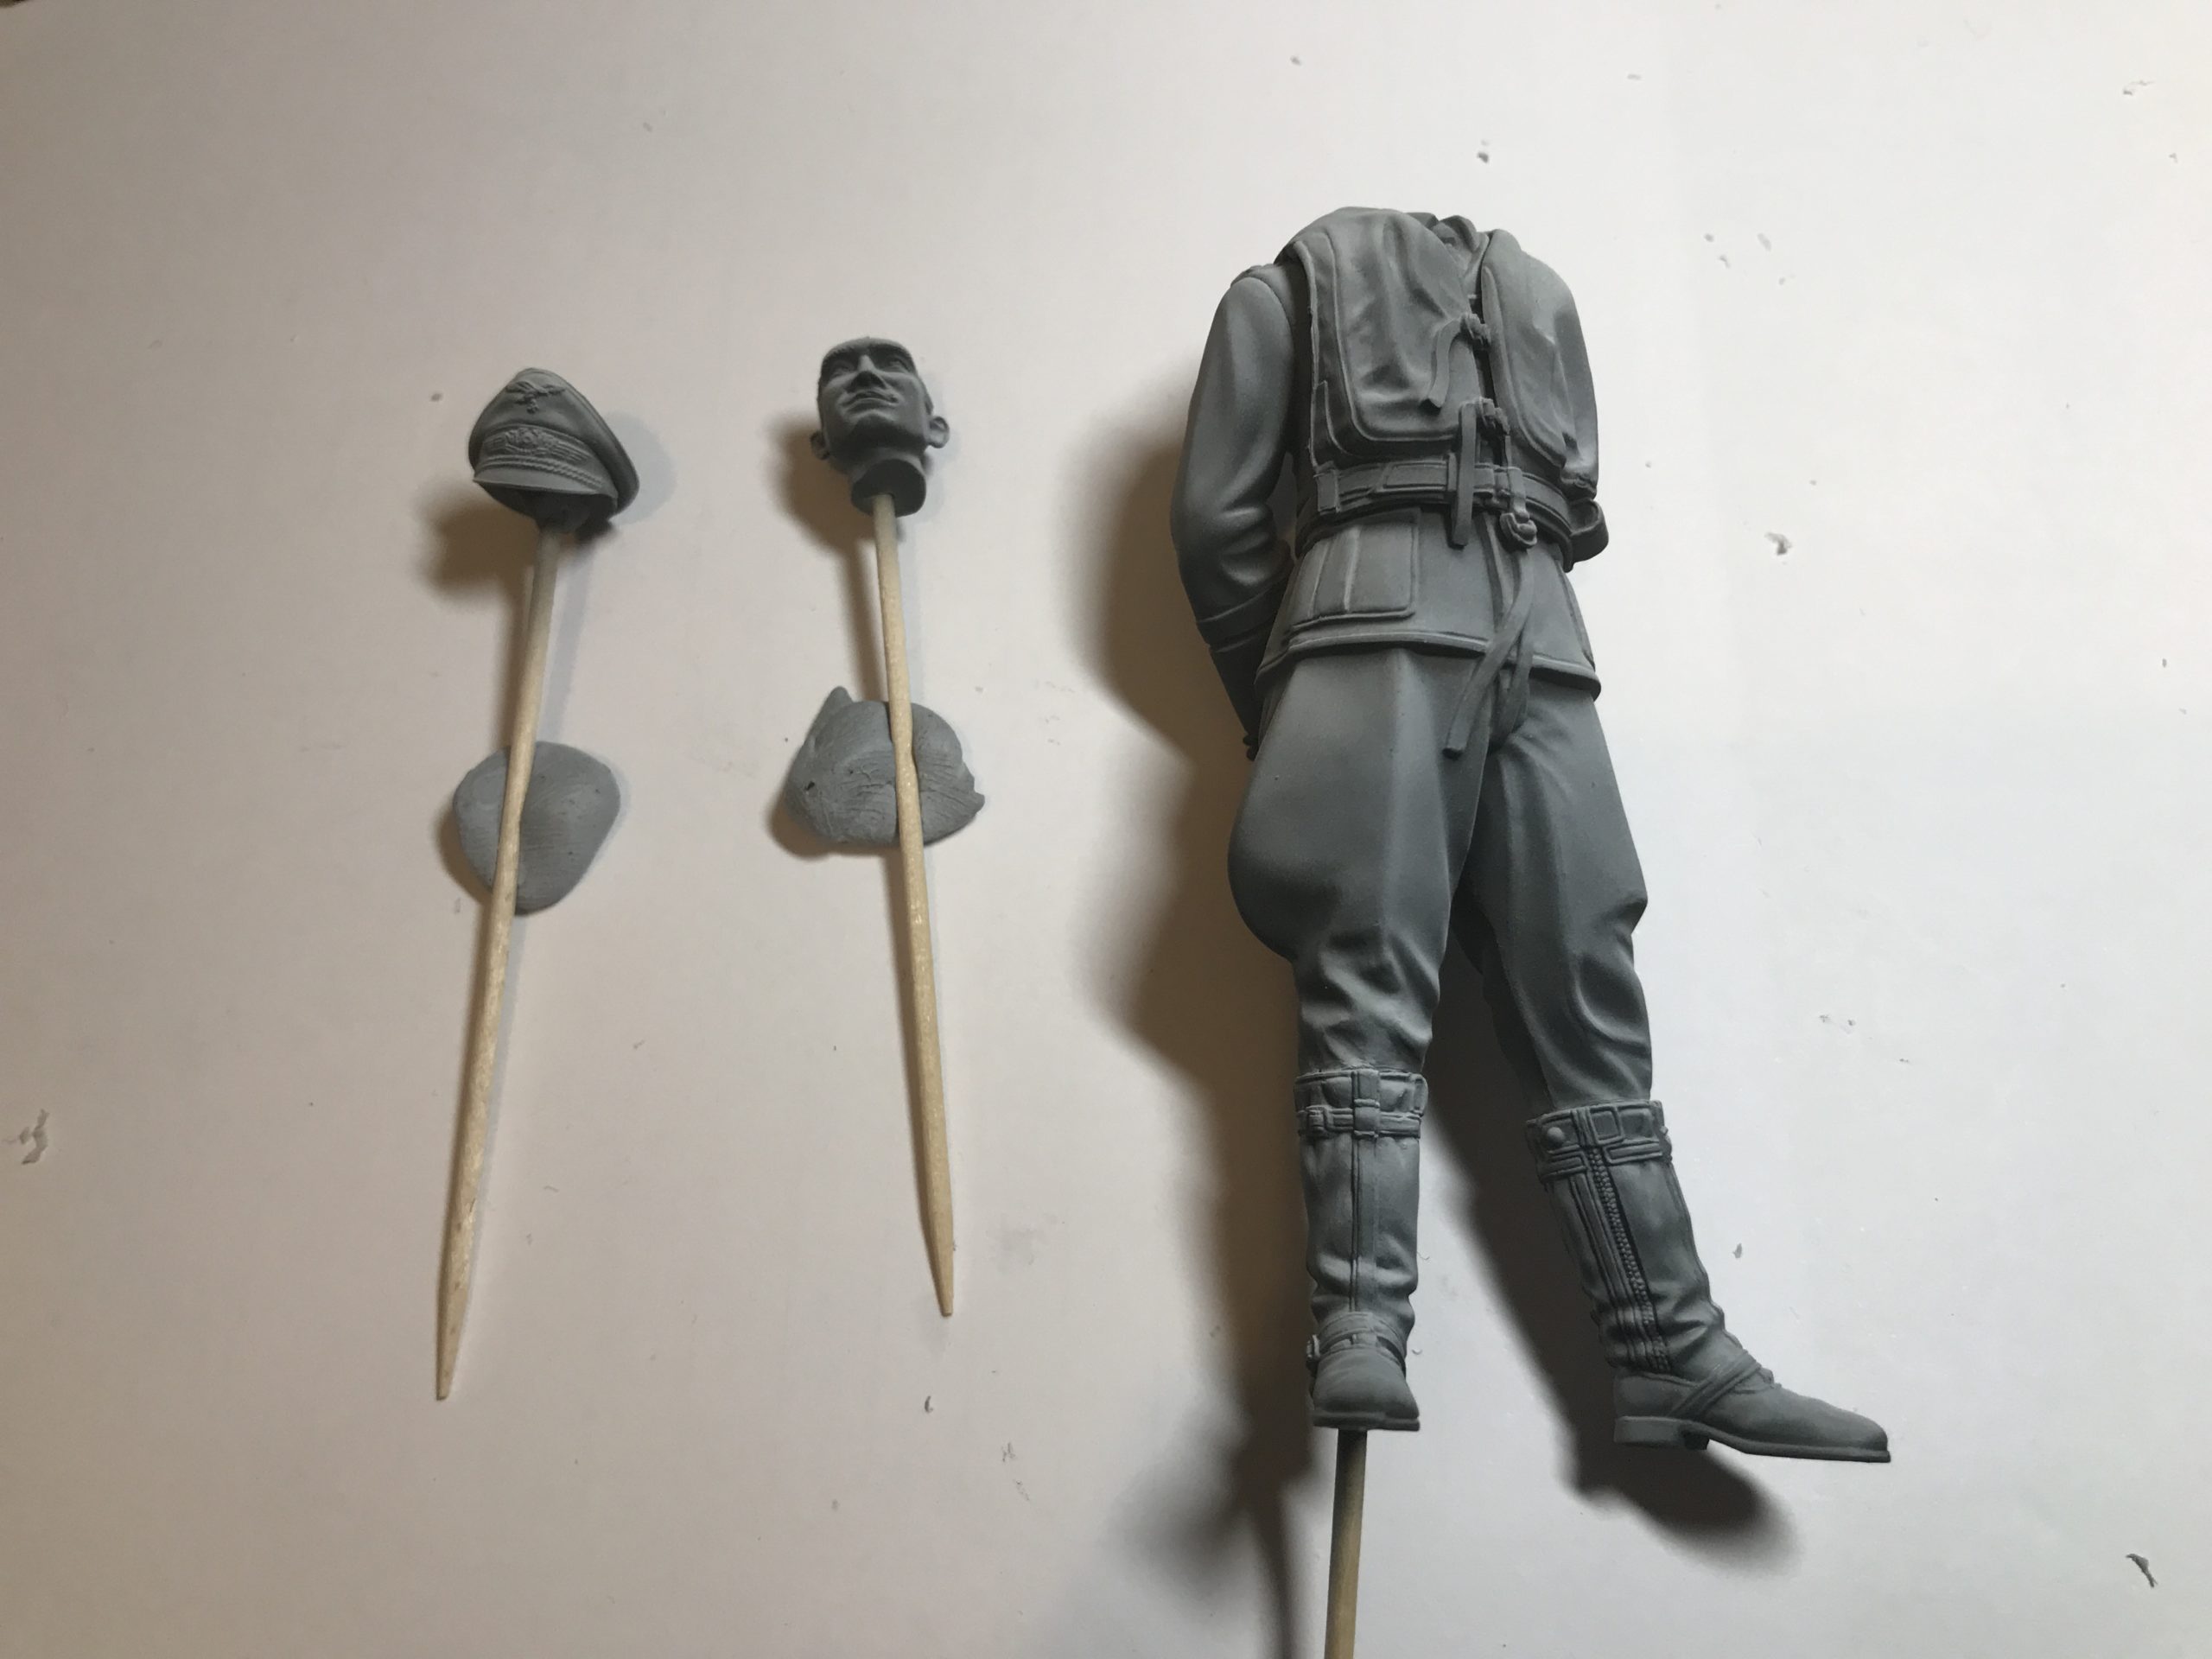
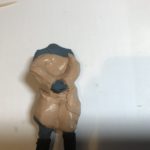
One of the difficult things about figures is getting light and shade right. I start by painting the entire figure white, once dry I pick a direction and lightly spray the figure black (but only from this same direction.)
Imagine the sun shining on a surface, the black spray is the light hitting the surface – any areas not hit by the sun (or black spray in this case) will remain lighter as its in the shade/shadow.
Like the majority of paint jobs, you now have to consider masking the areas that require a different shade of paint – I typically use a putty masking material for figures as it can be easily shaped around small areas and will work with the small textured surfaces.
Once masked I will paint with my Airbrush, these are done in very thin coats to allow the dark and light to still show through.
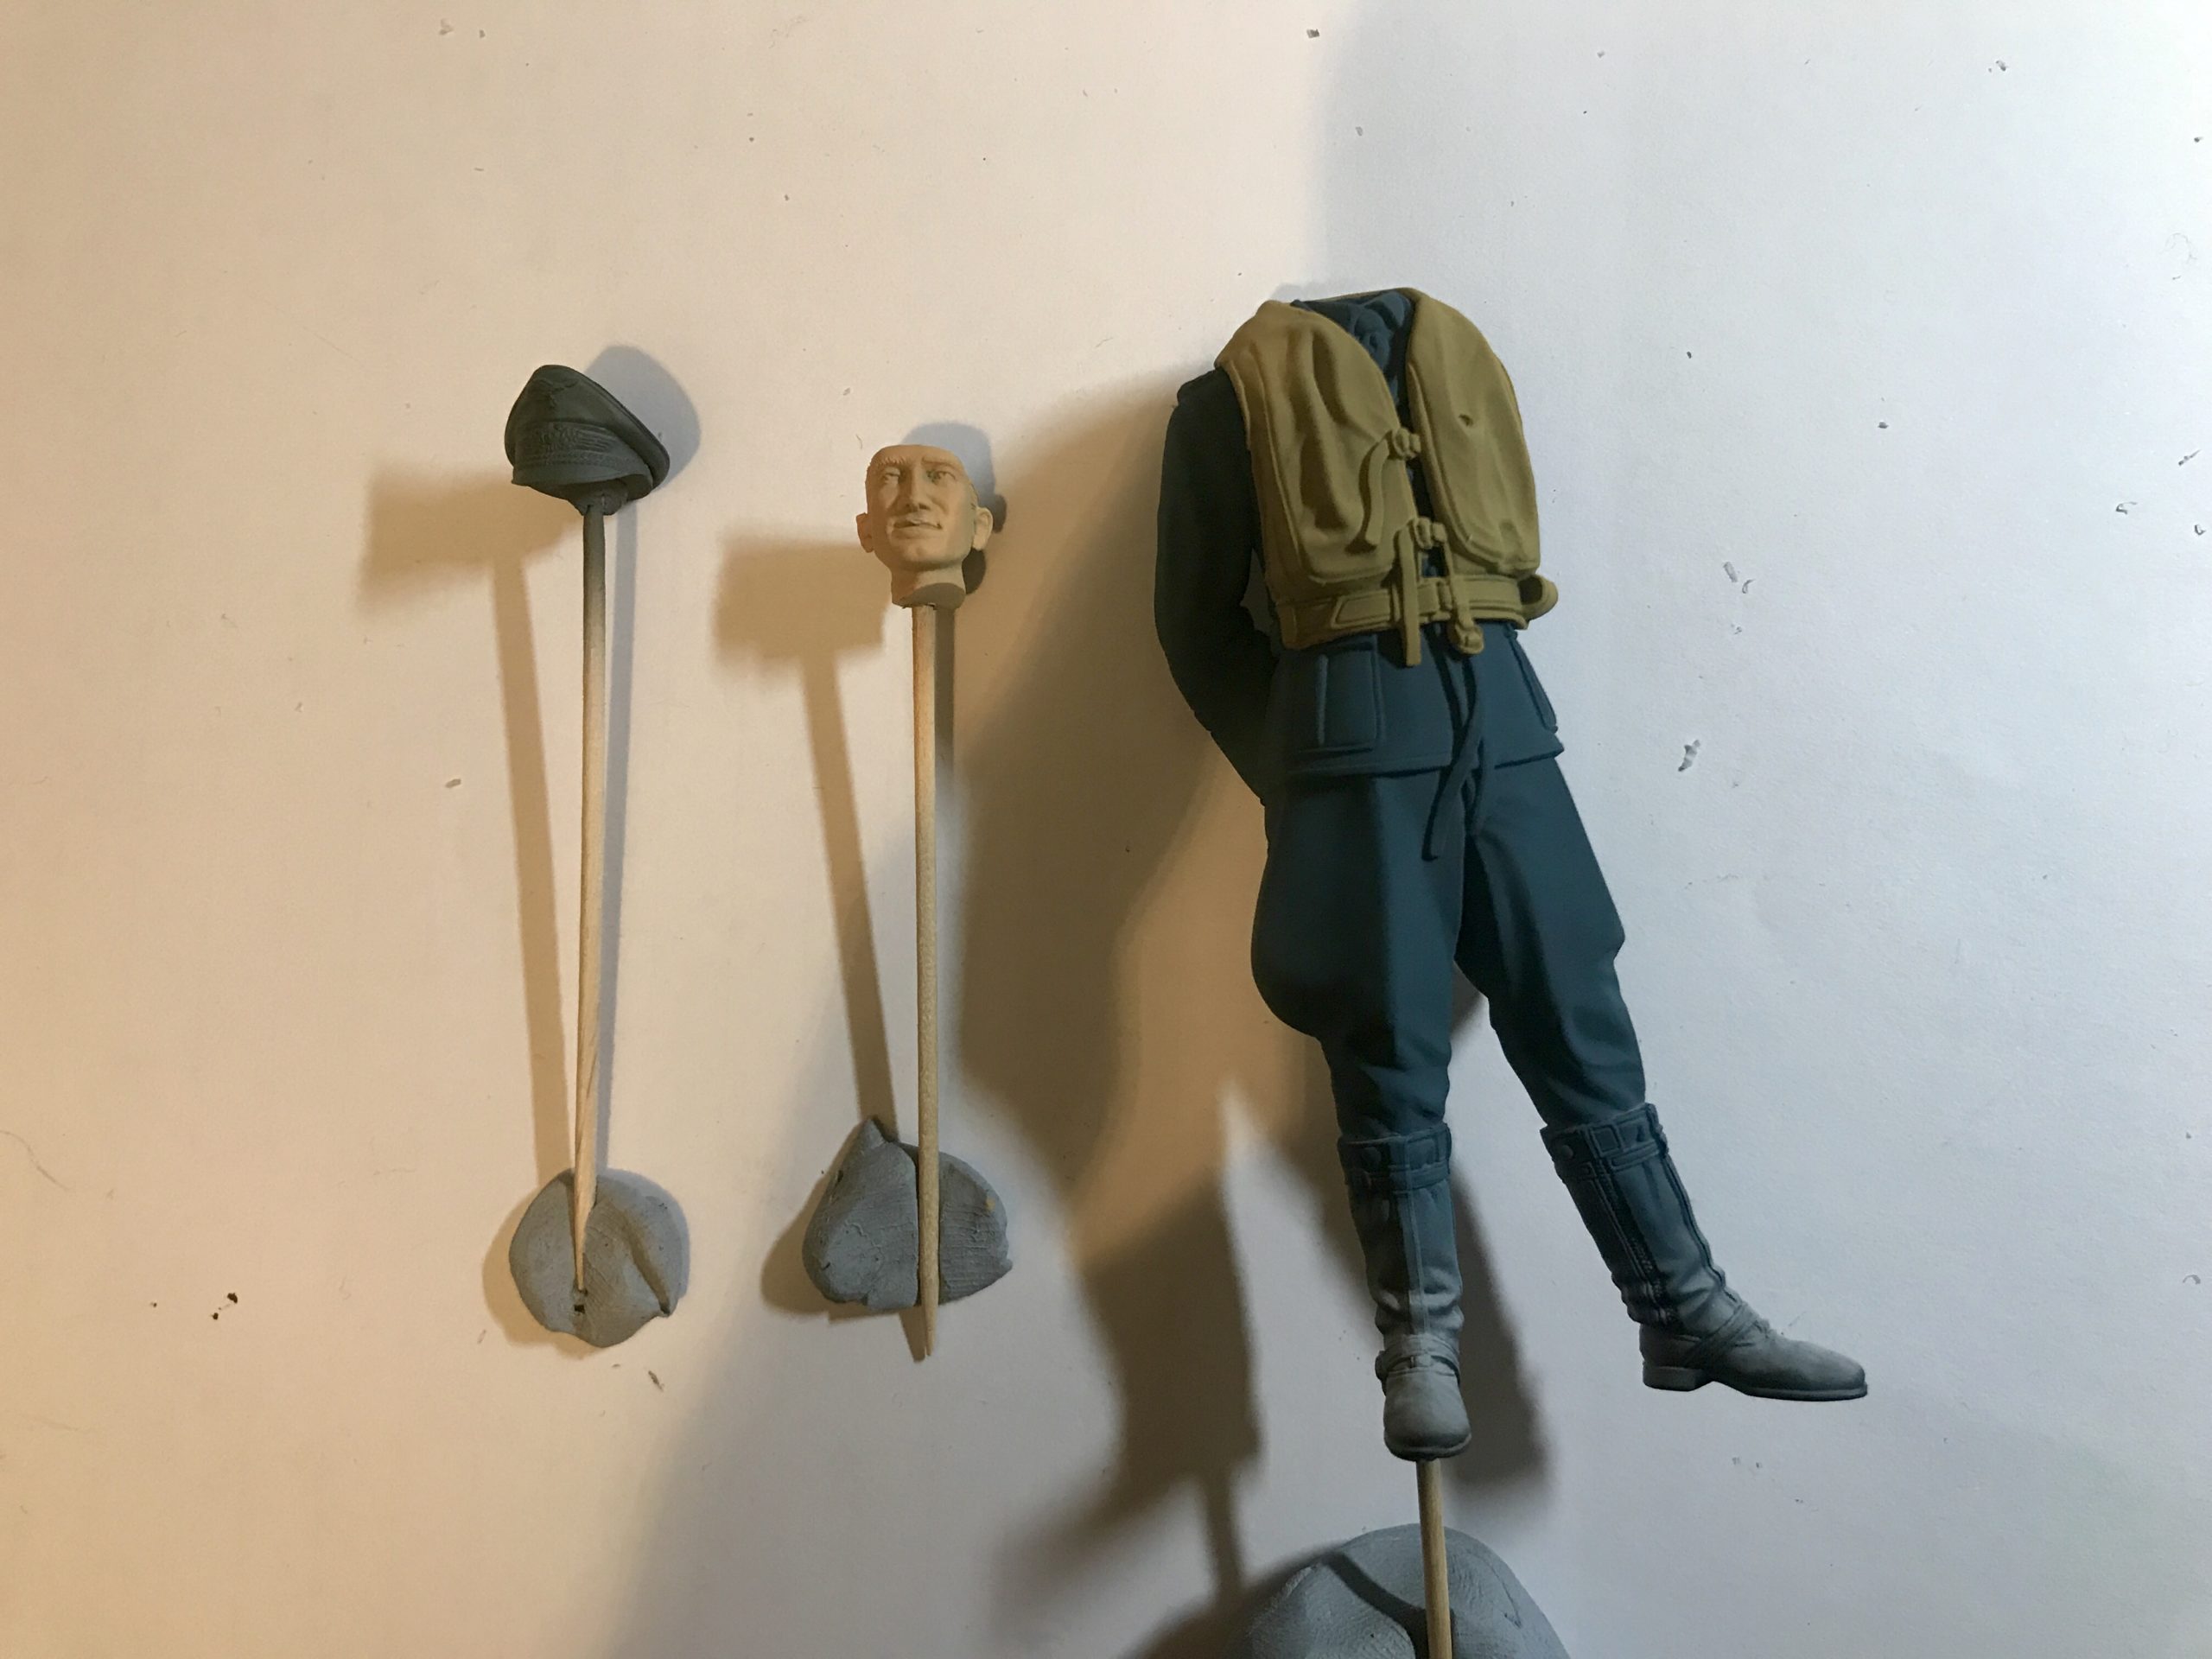
I use silly putty for masking on figures.
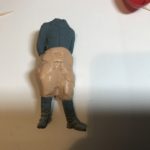
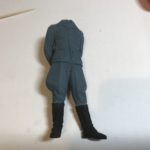
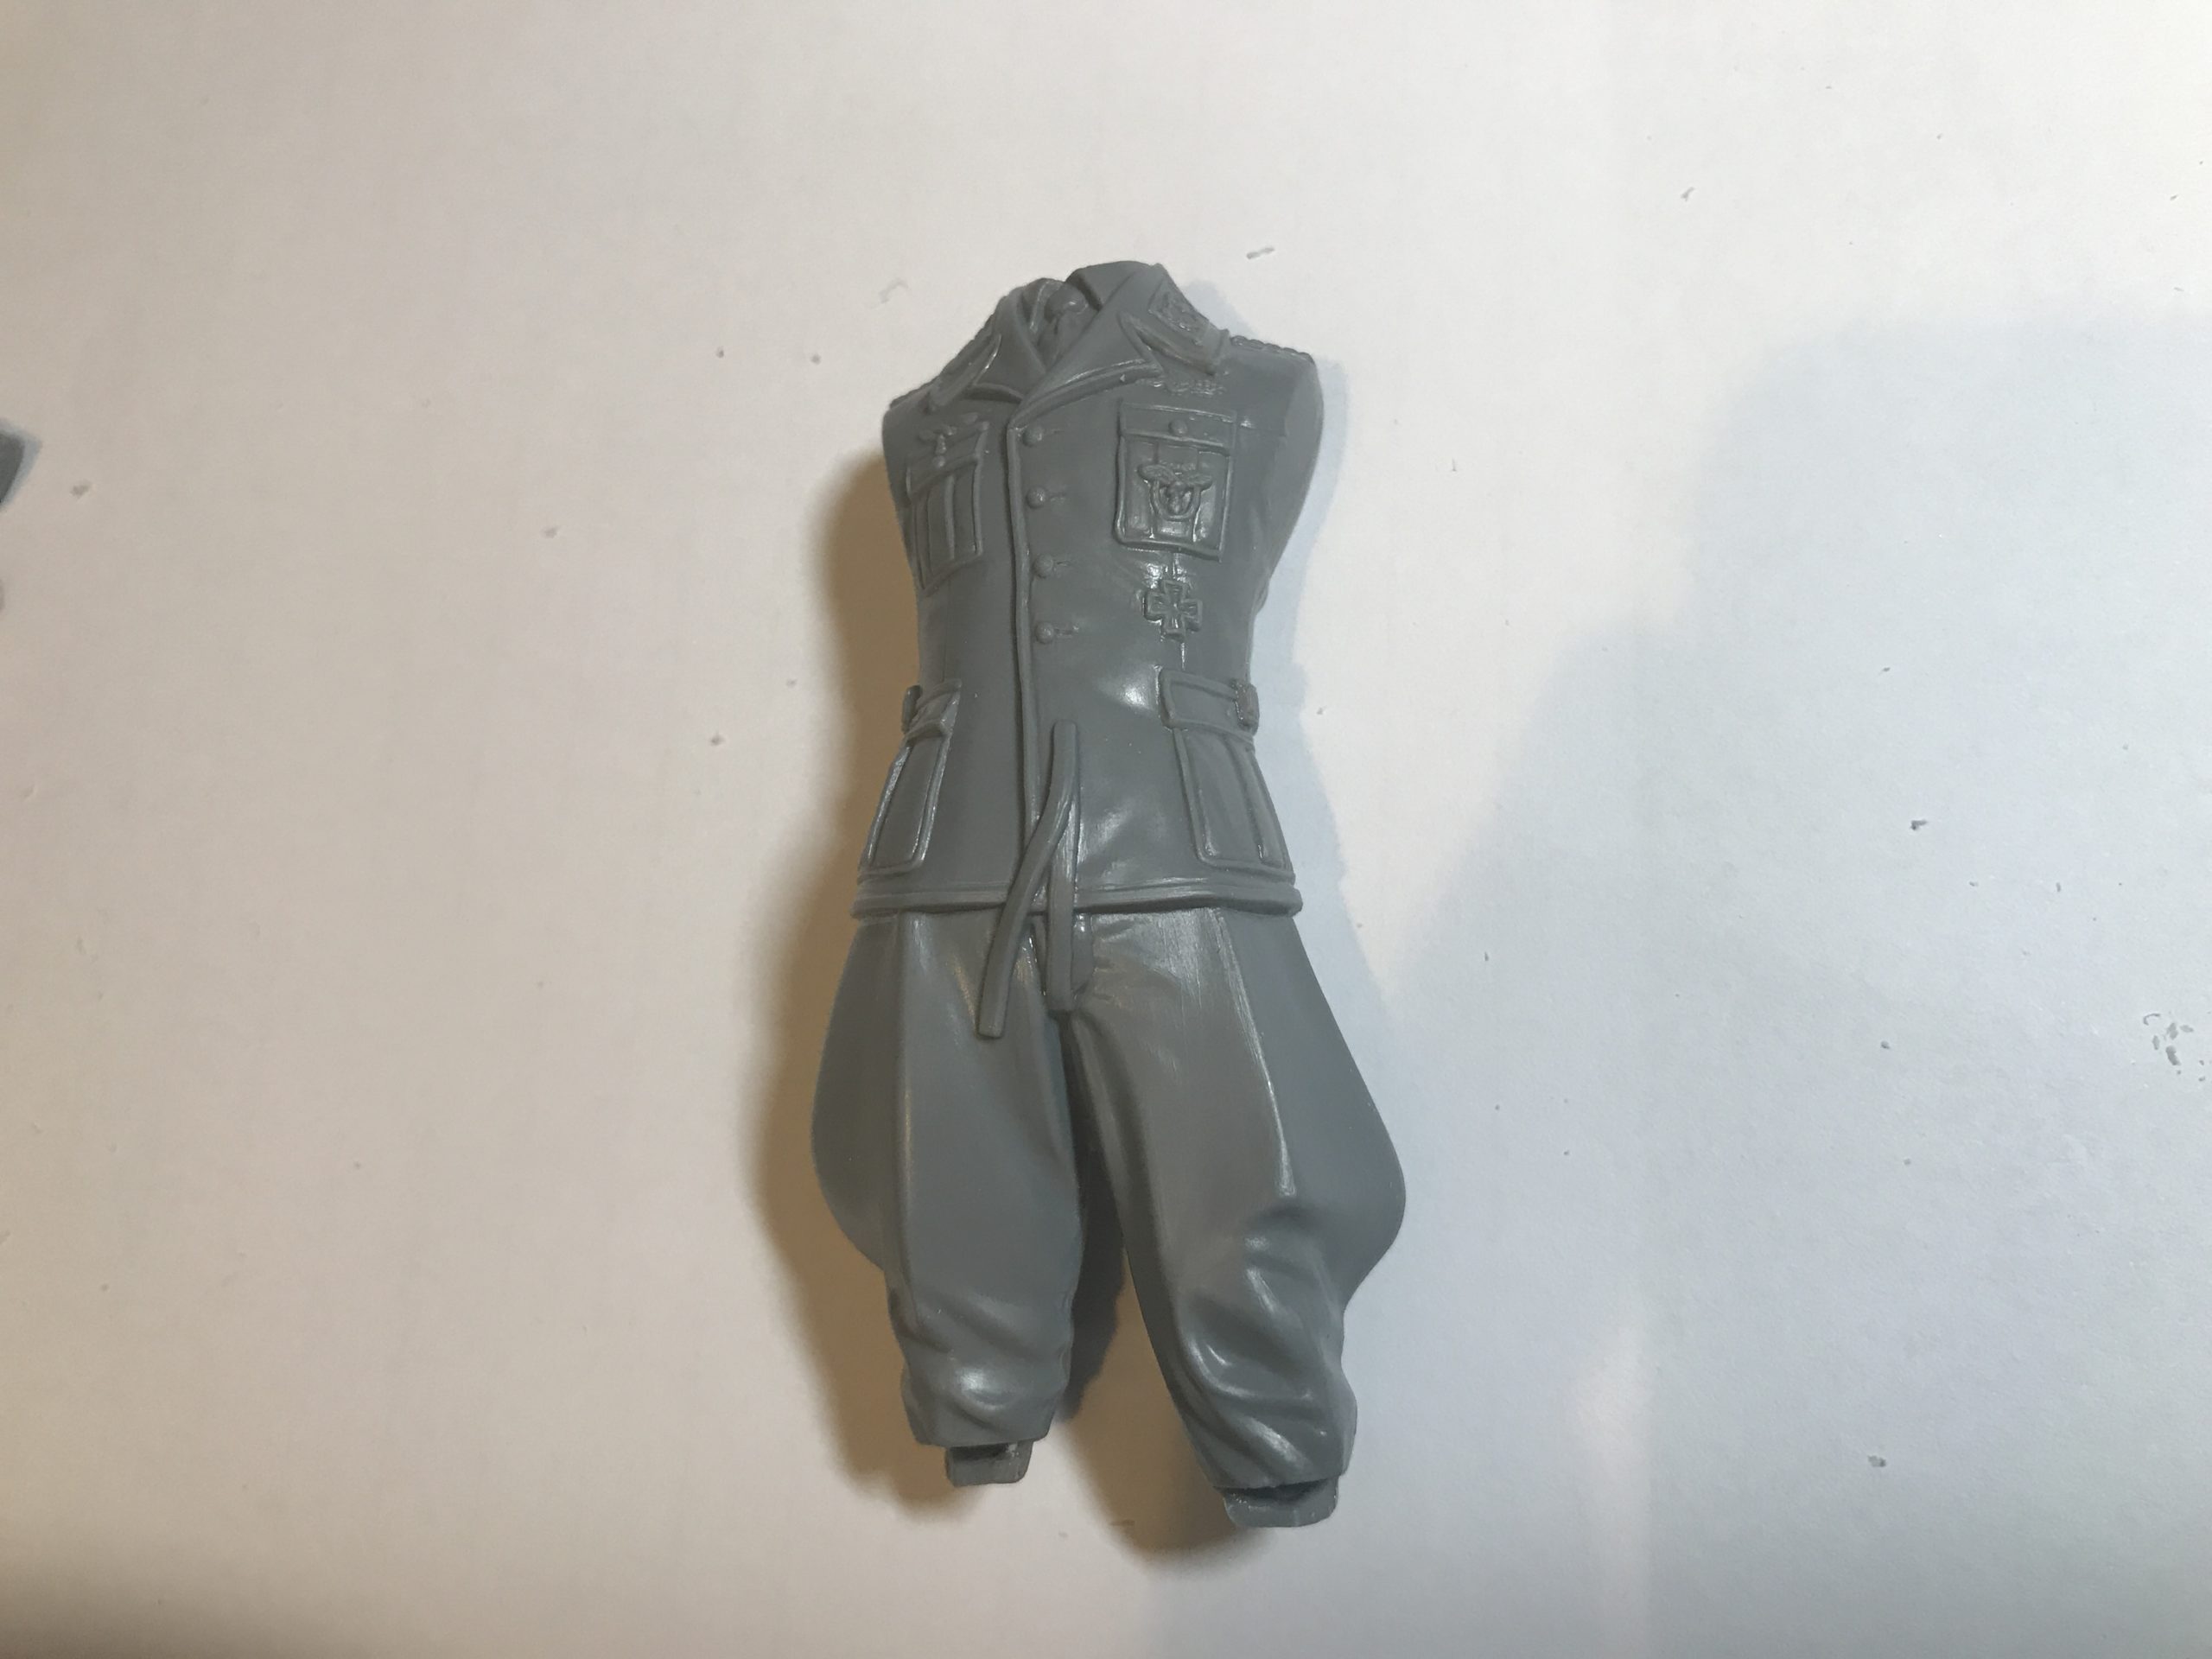
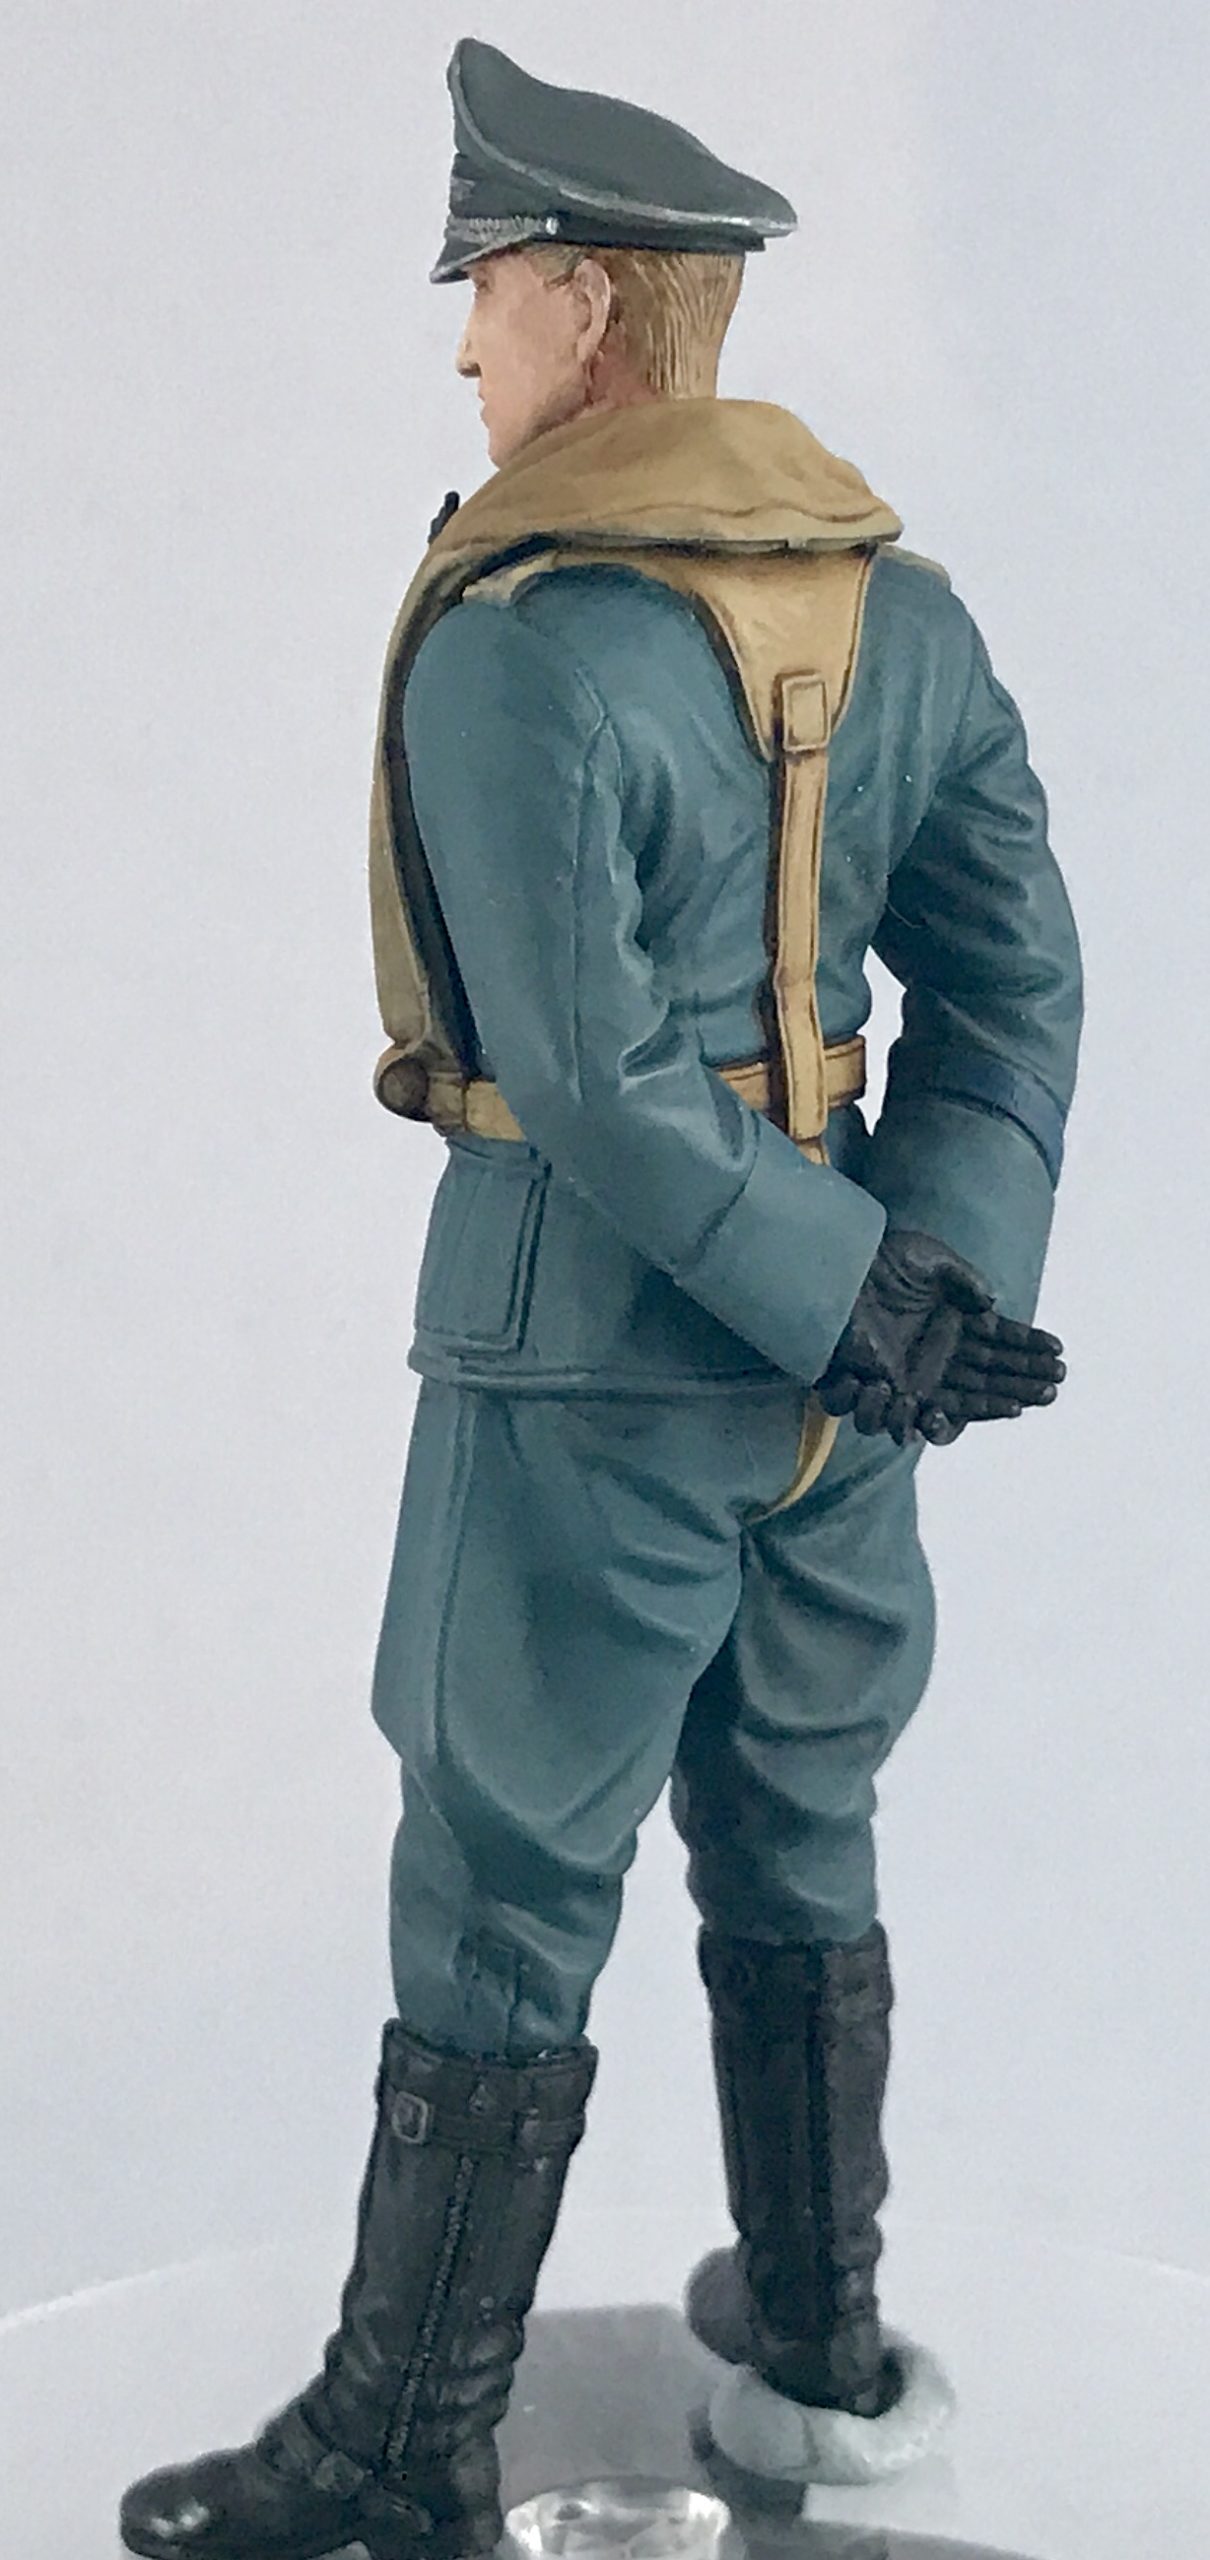
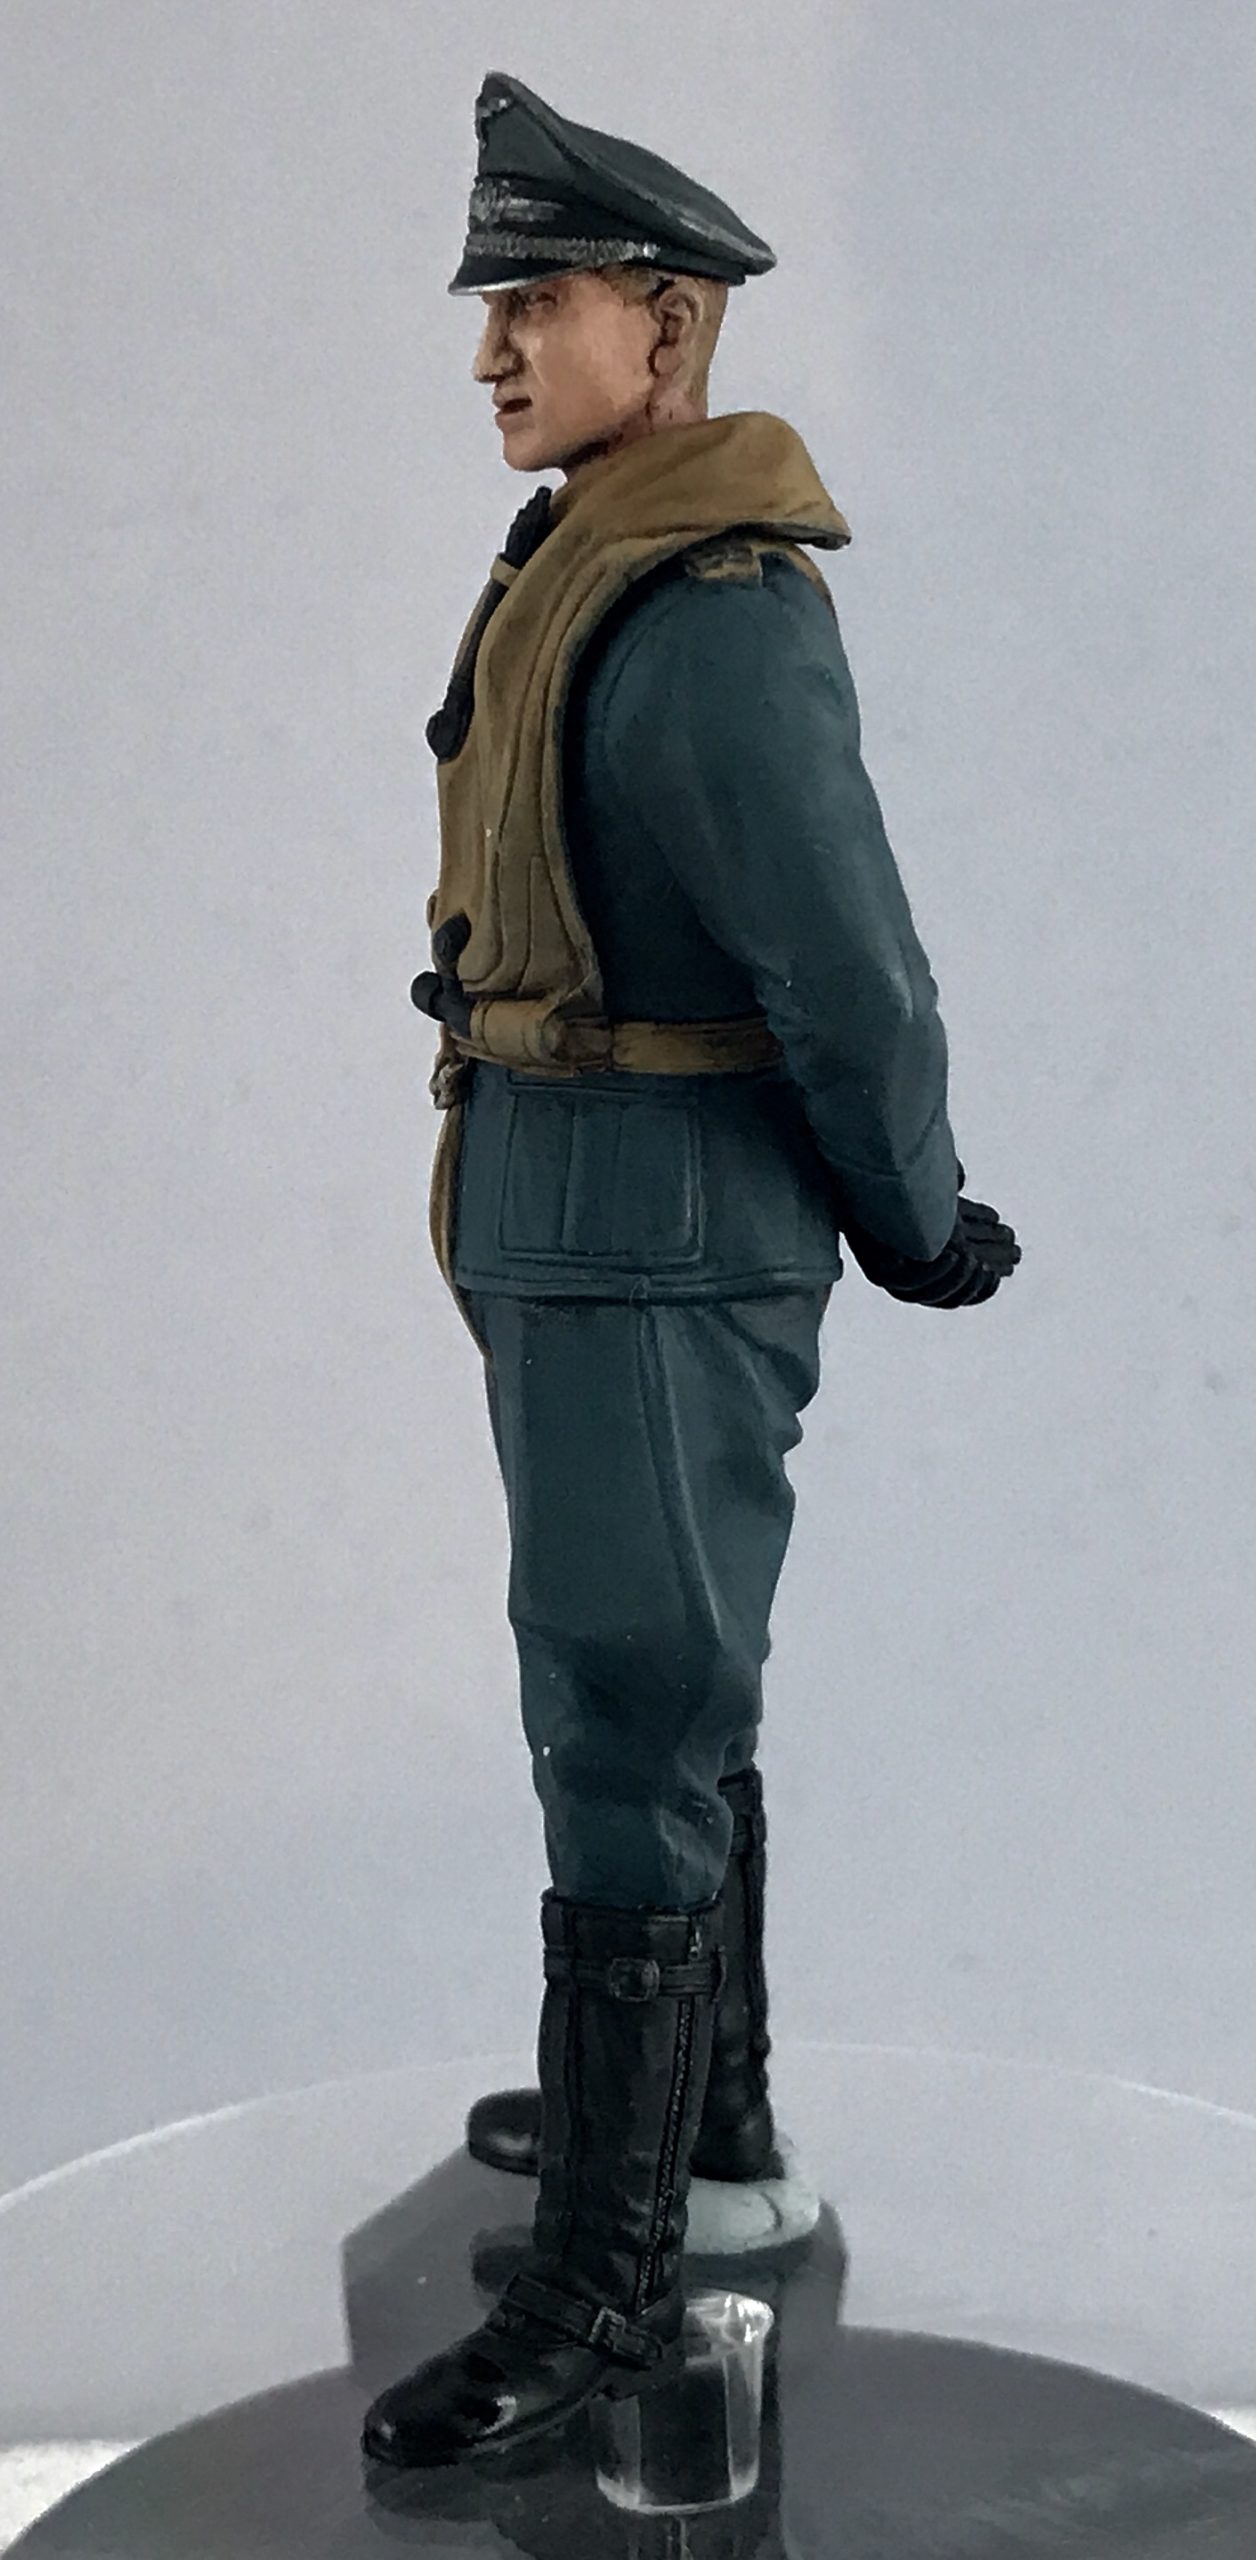
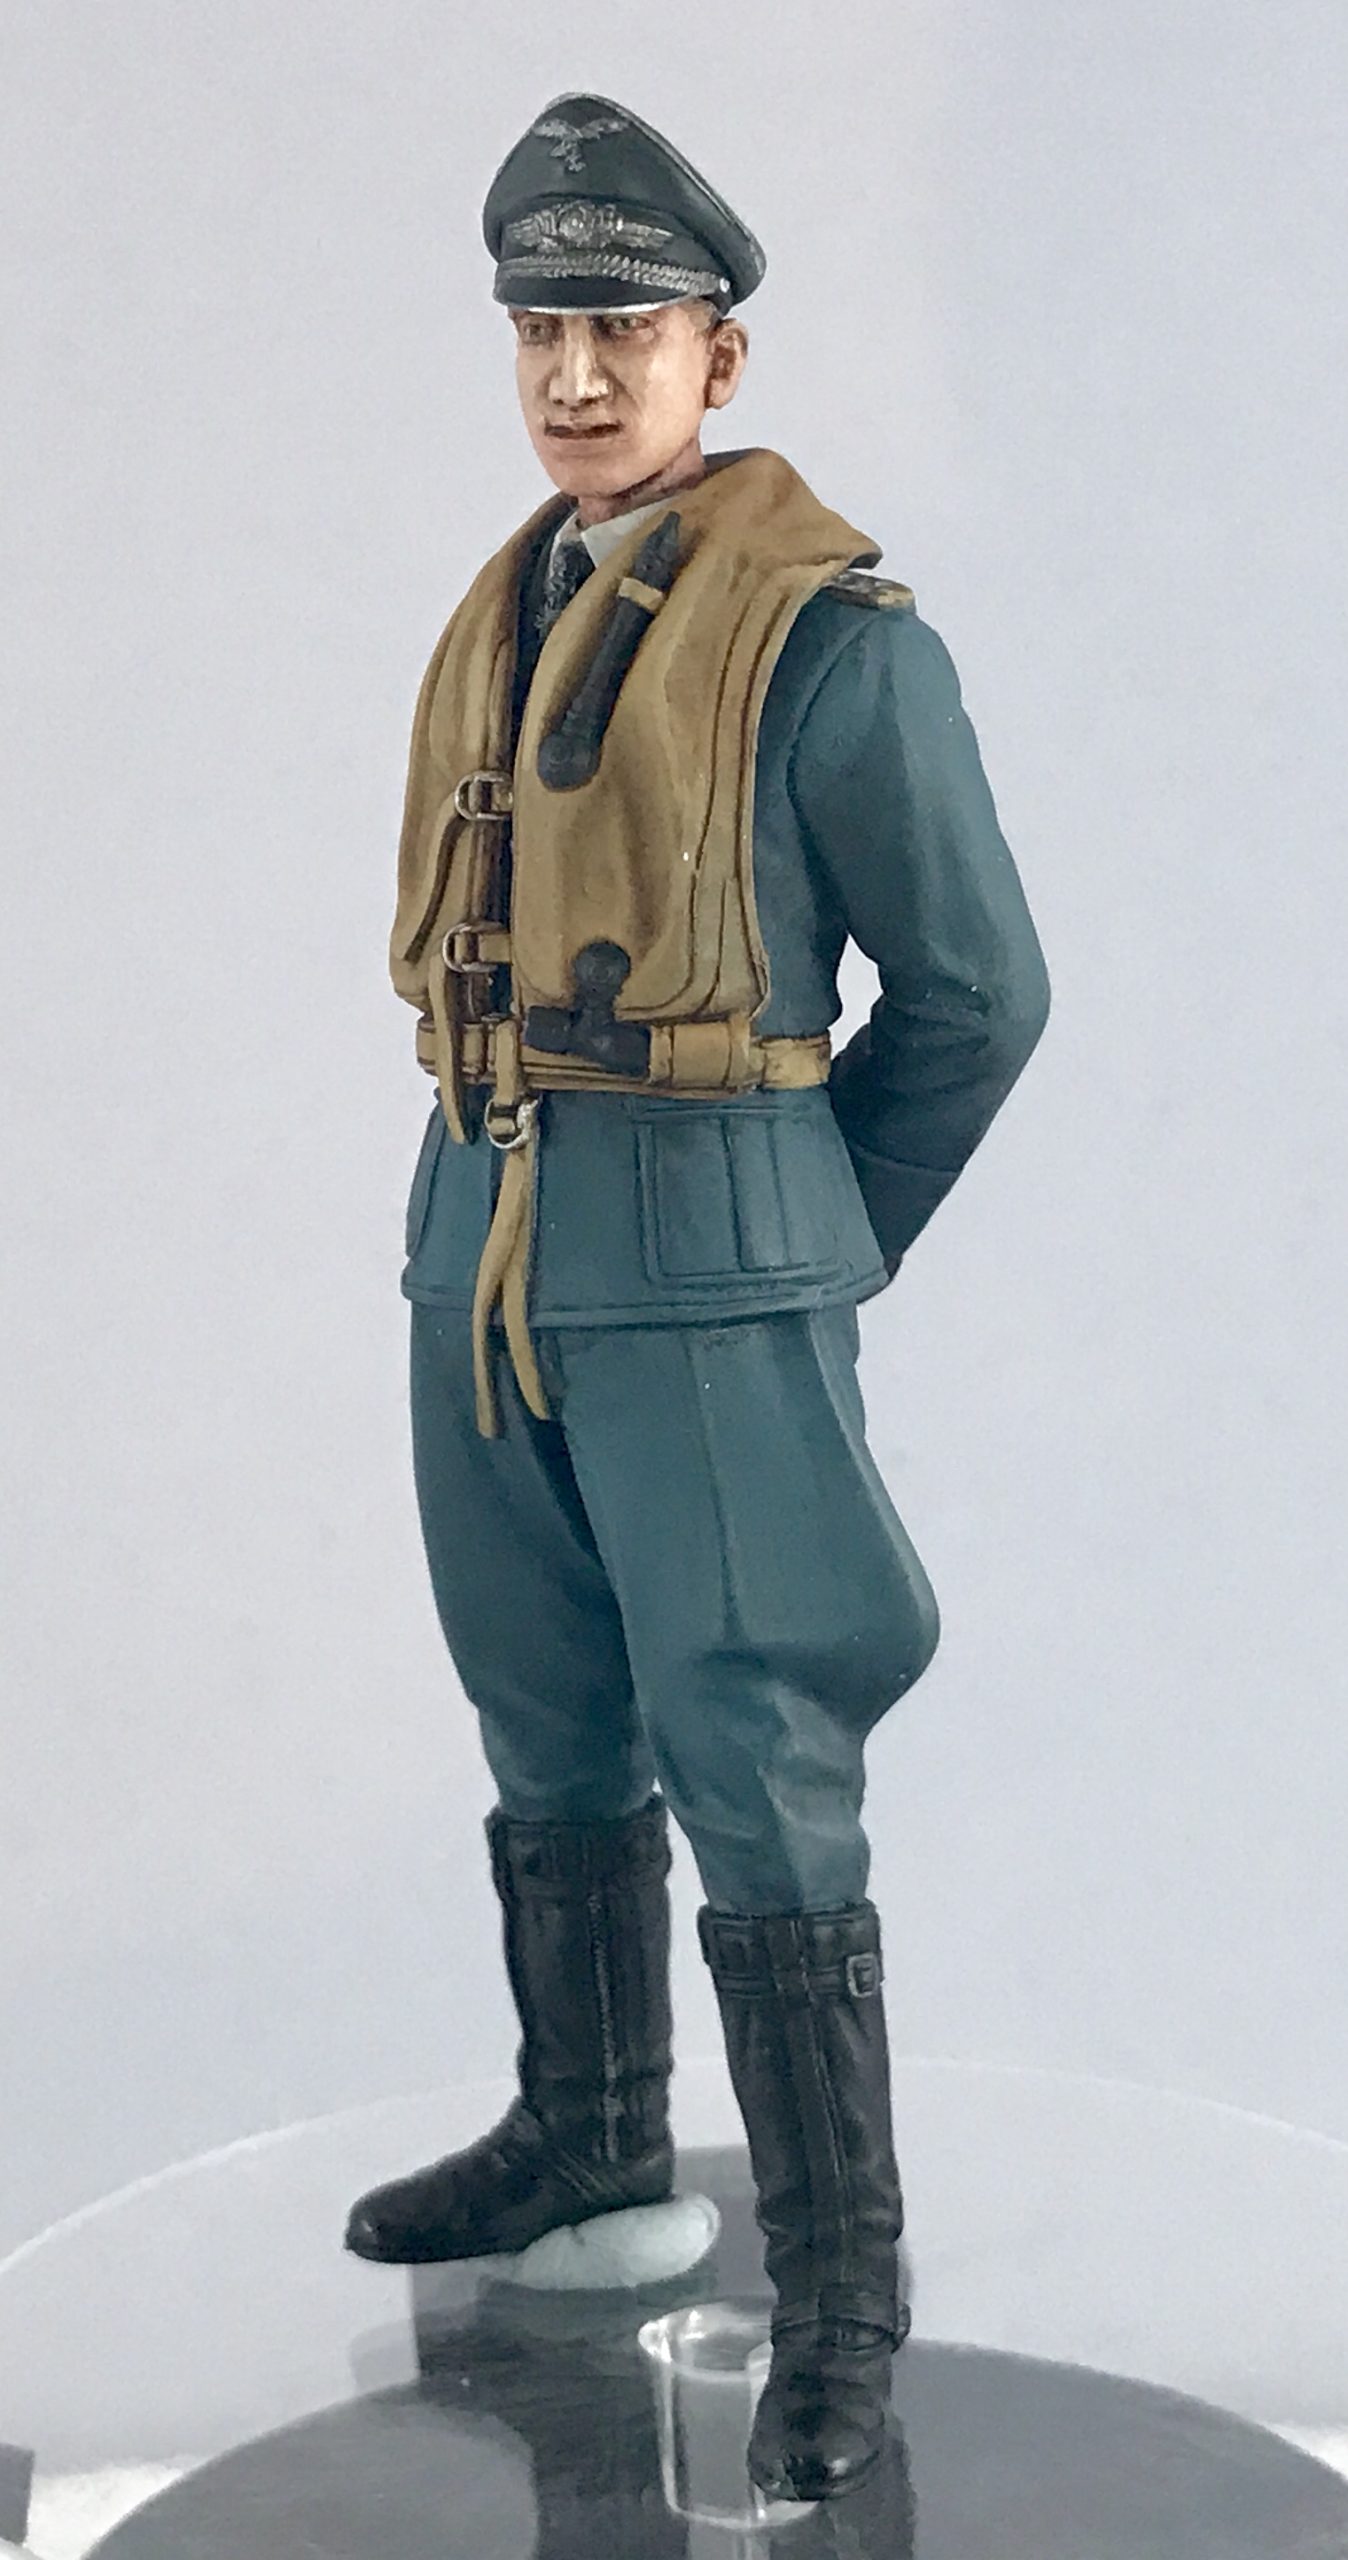
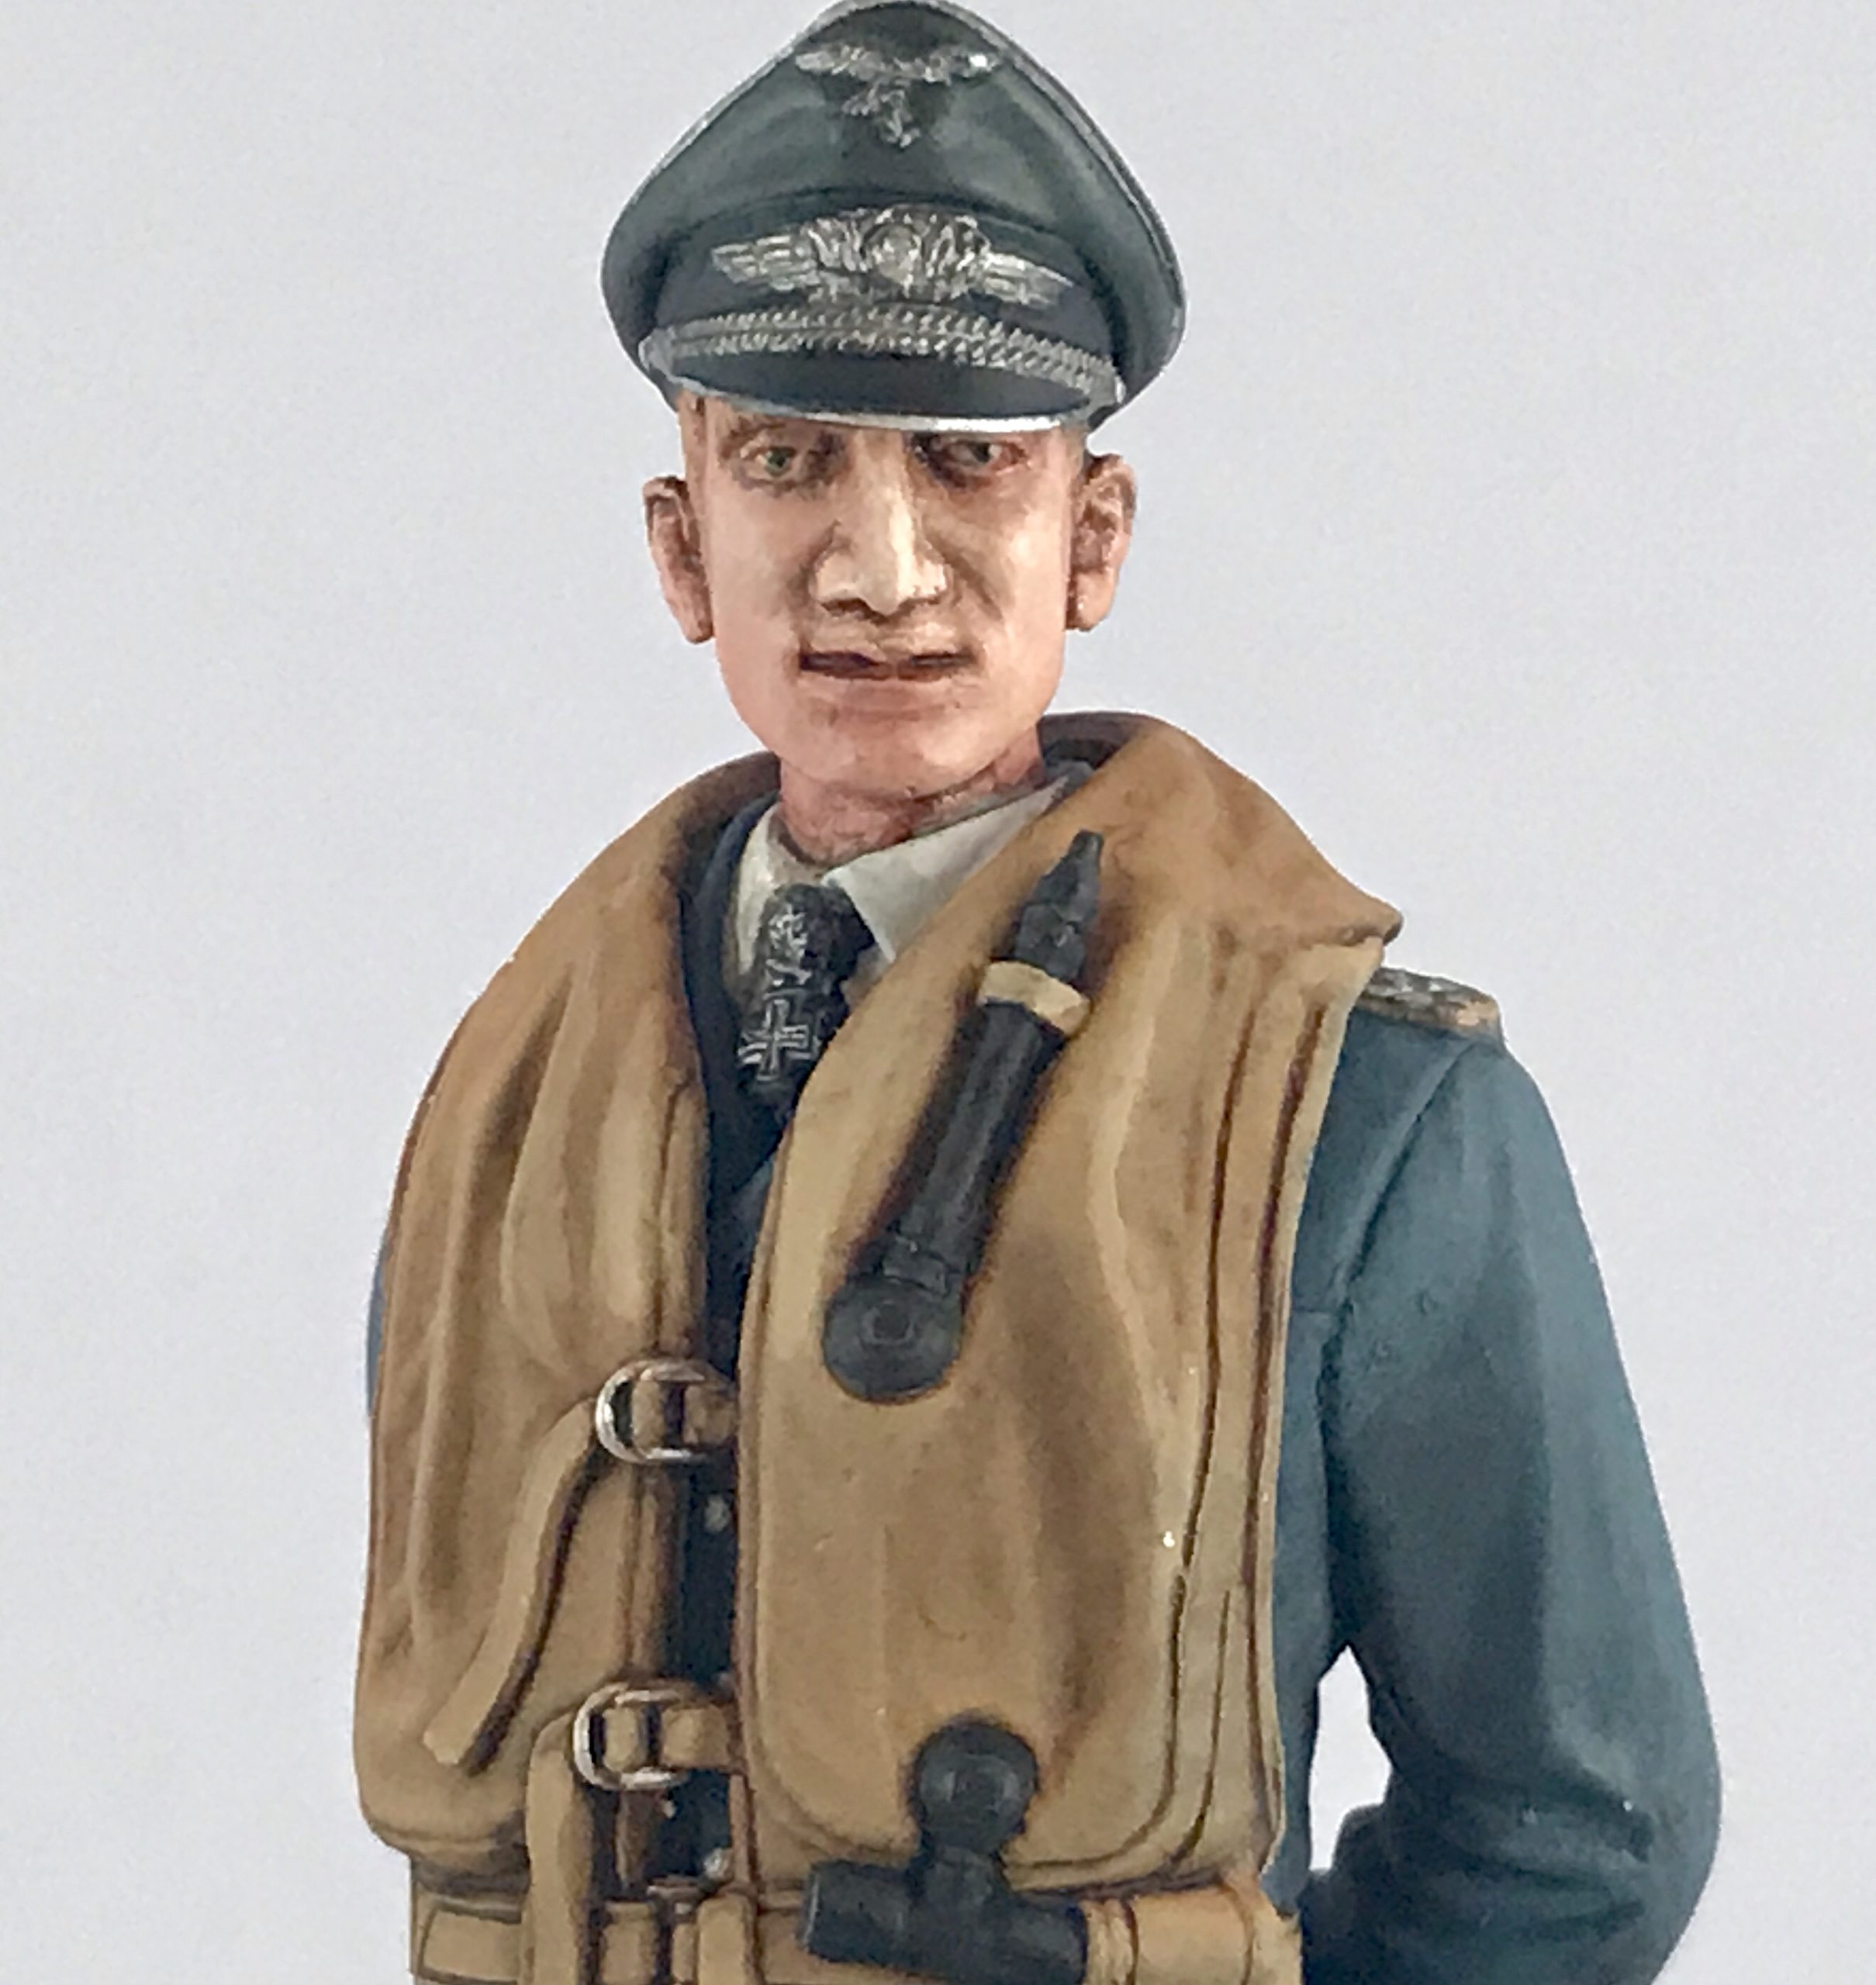
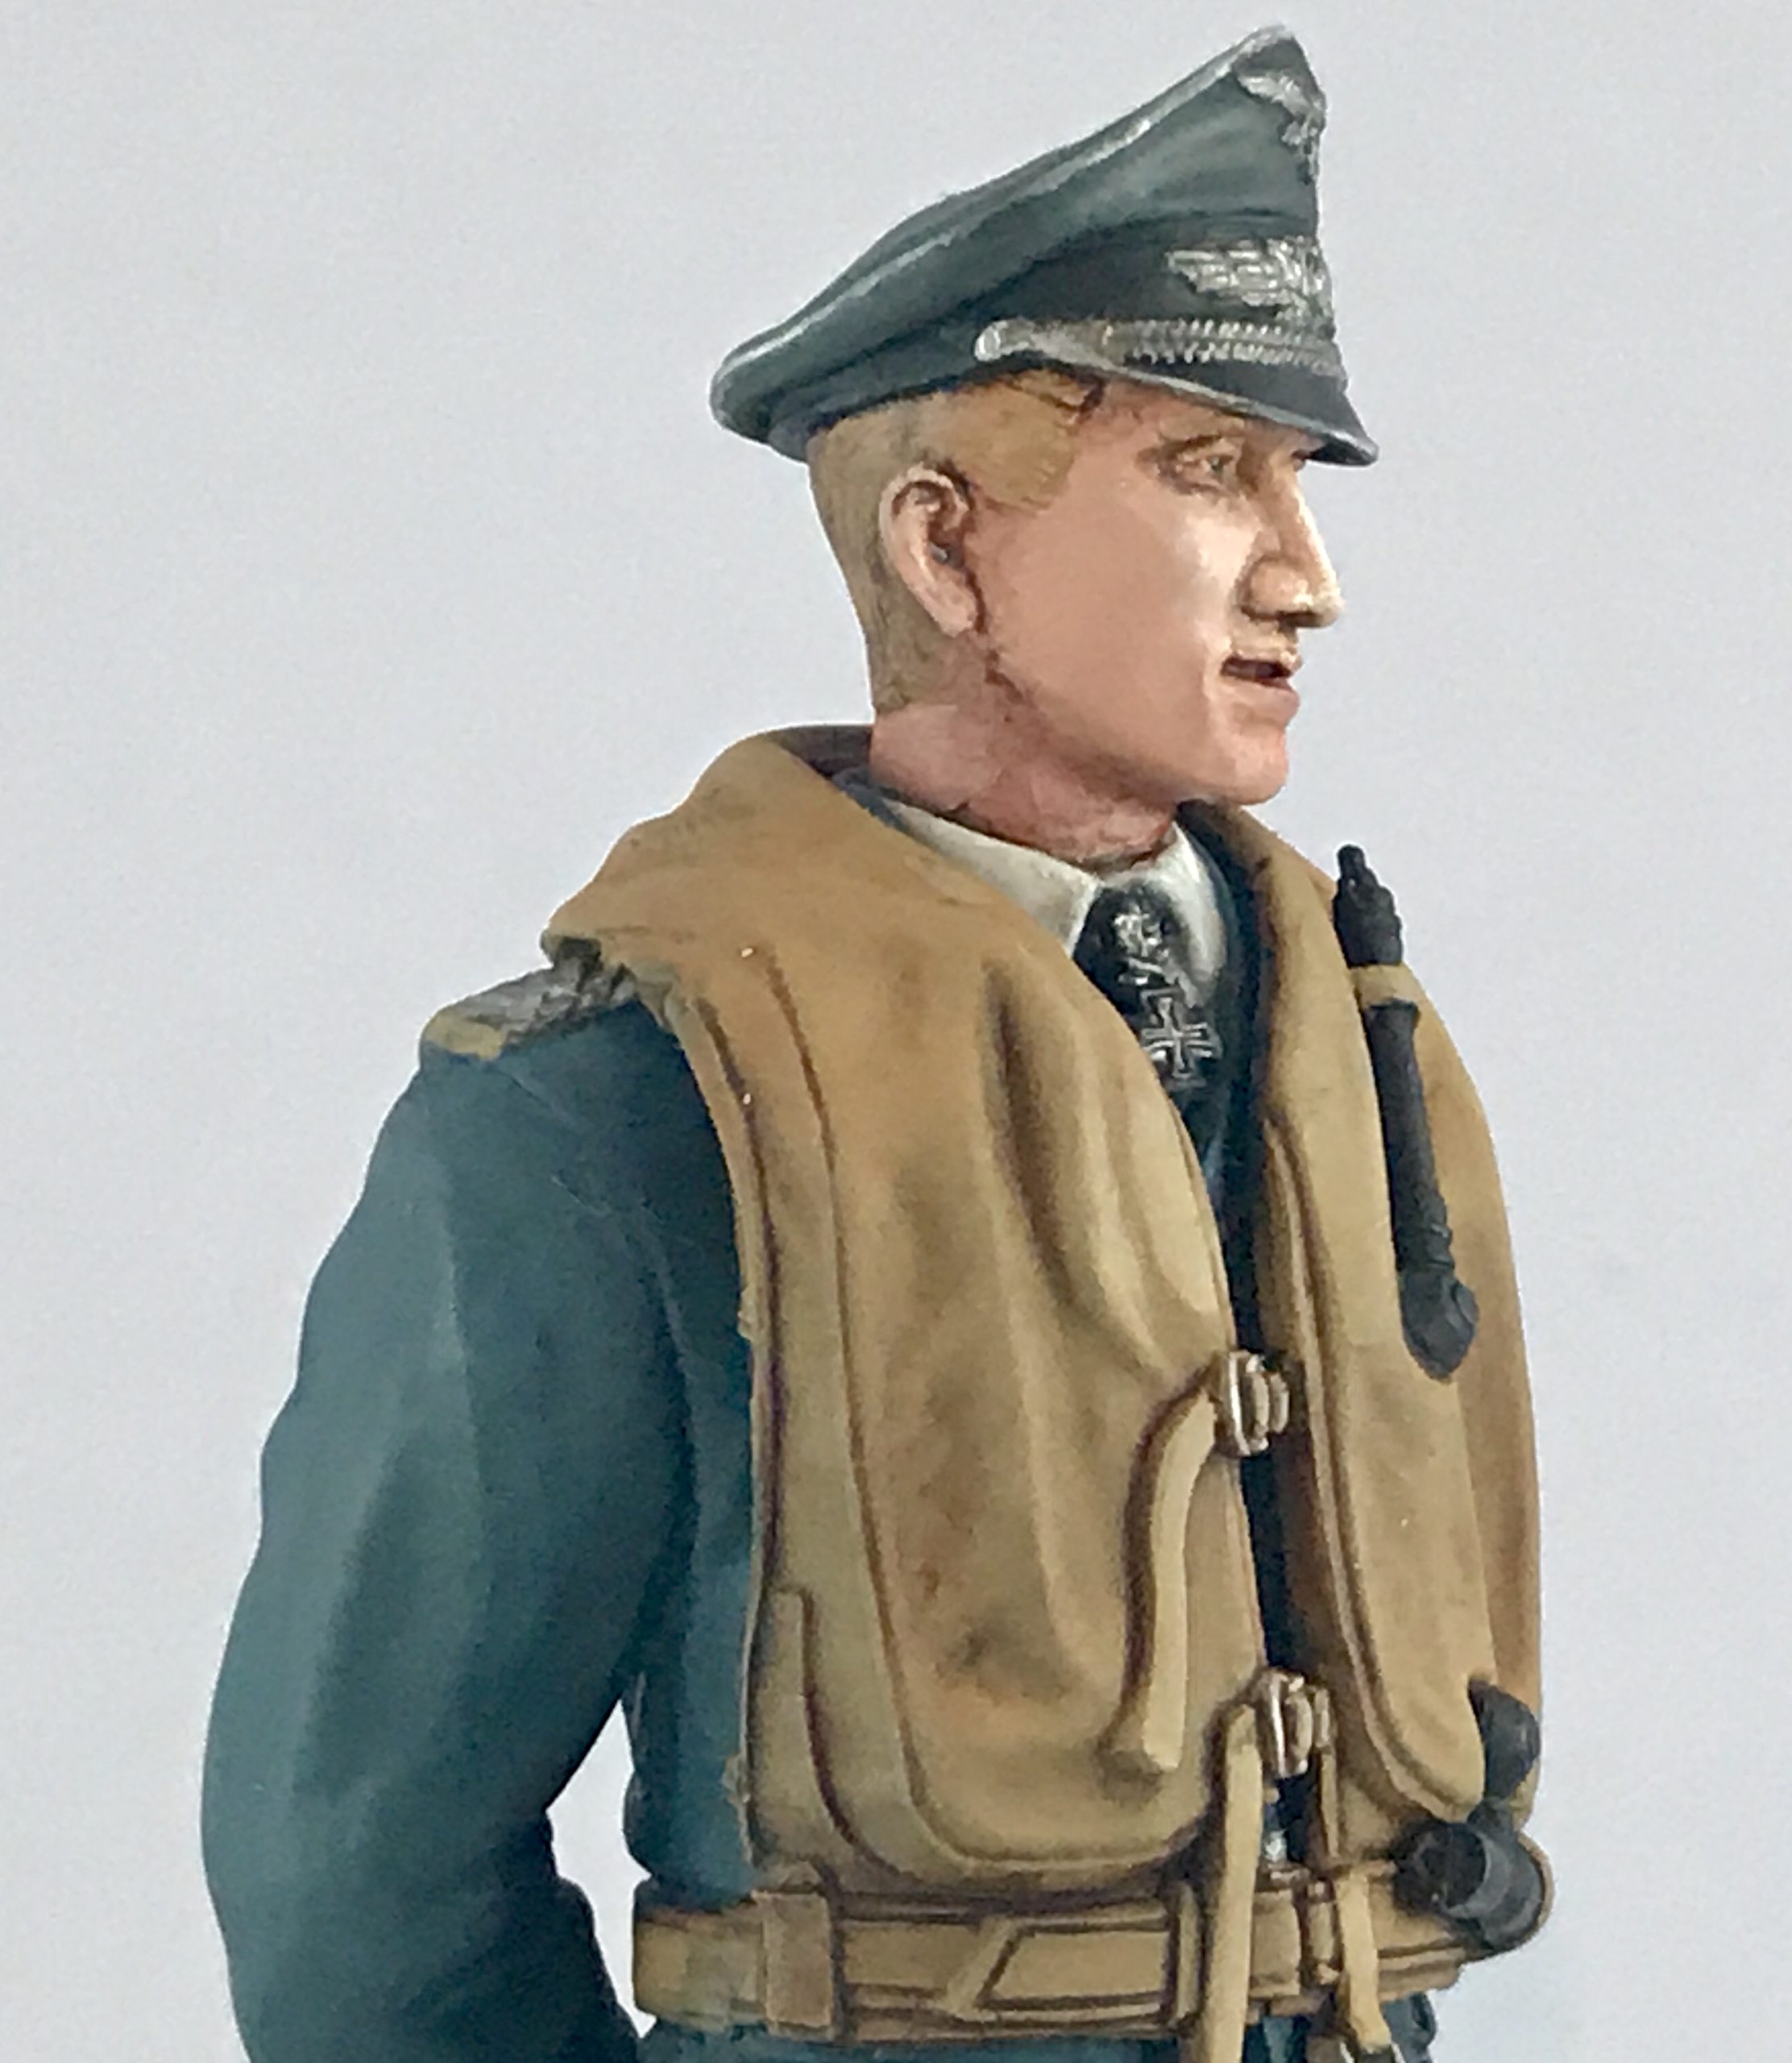
Here is the figure after its basic painting, it looks clean and crisp but requires an oil wash to add a bit of realism to the material surfaces and create shaded areas within the creases and gaps.
I used an oil wash to add detail in basically every crevice.
To make my oil wash I mix my oil paints with white spirit and apply the wash wherever I fancy. e.g over the face. When the wash is dry, using thinners you can gently wipe away the wash. The wash will come away from the most raised surfaces first, leaving the wash in the crevices.
In the next picture you can where I did not clean the wash away from around the eyes and nose – this creates a shadow in the area and makes the area “pop” and really adds dimension. It was the exact same process around the jacket buckles and straps.
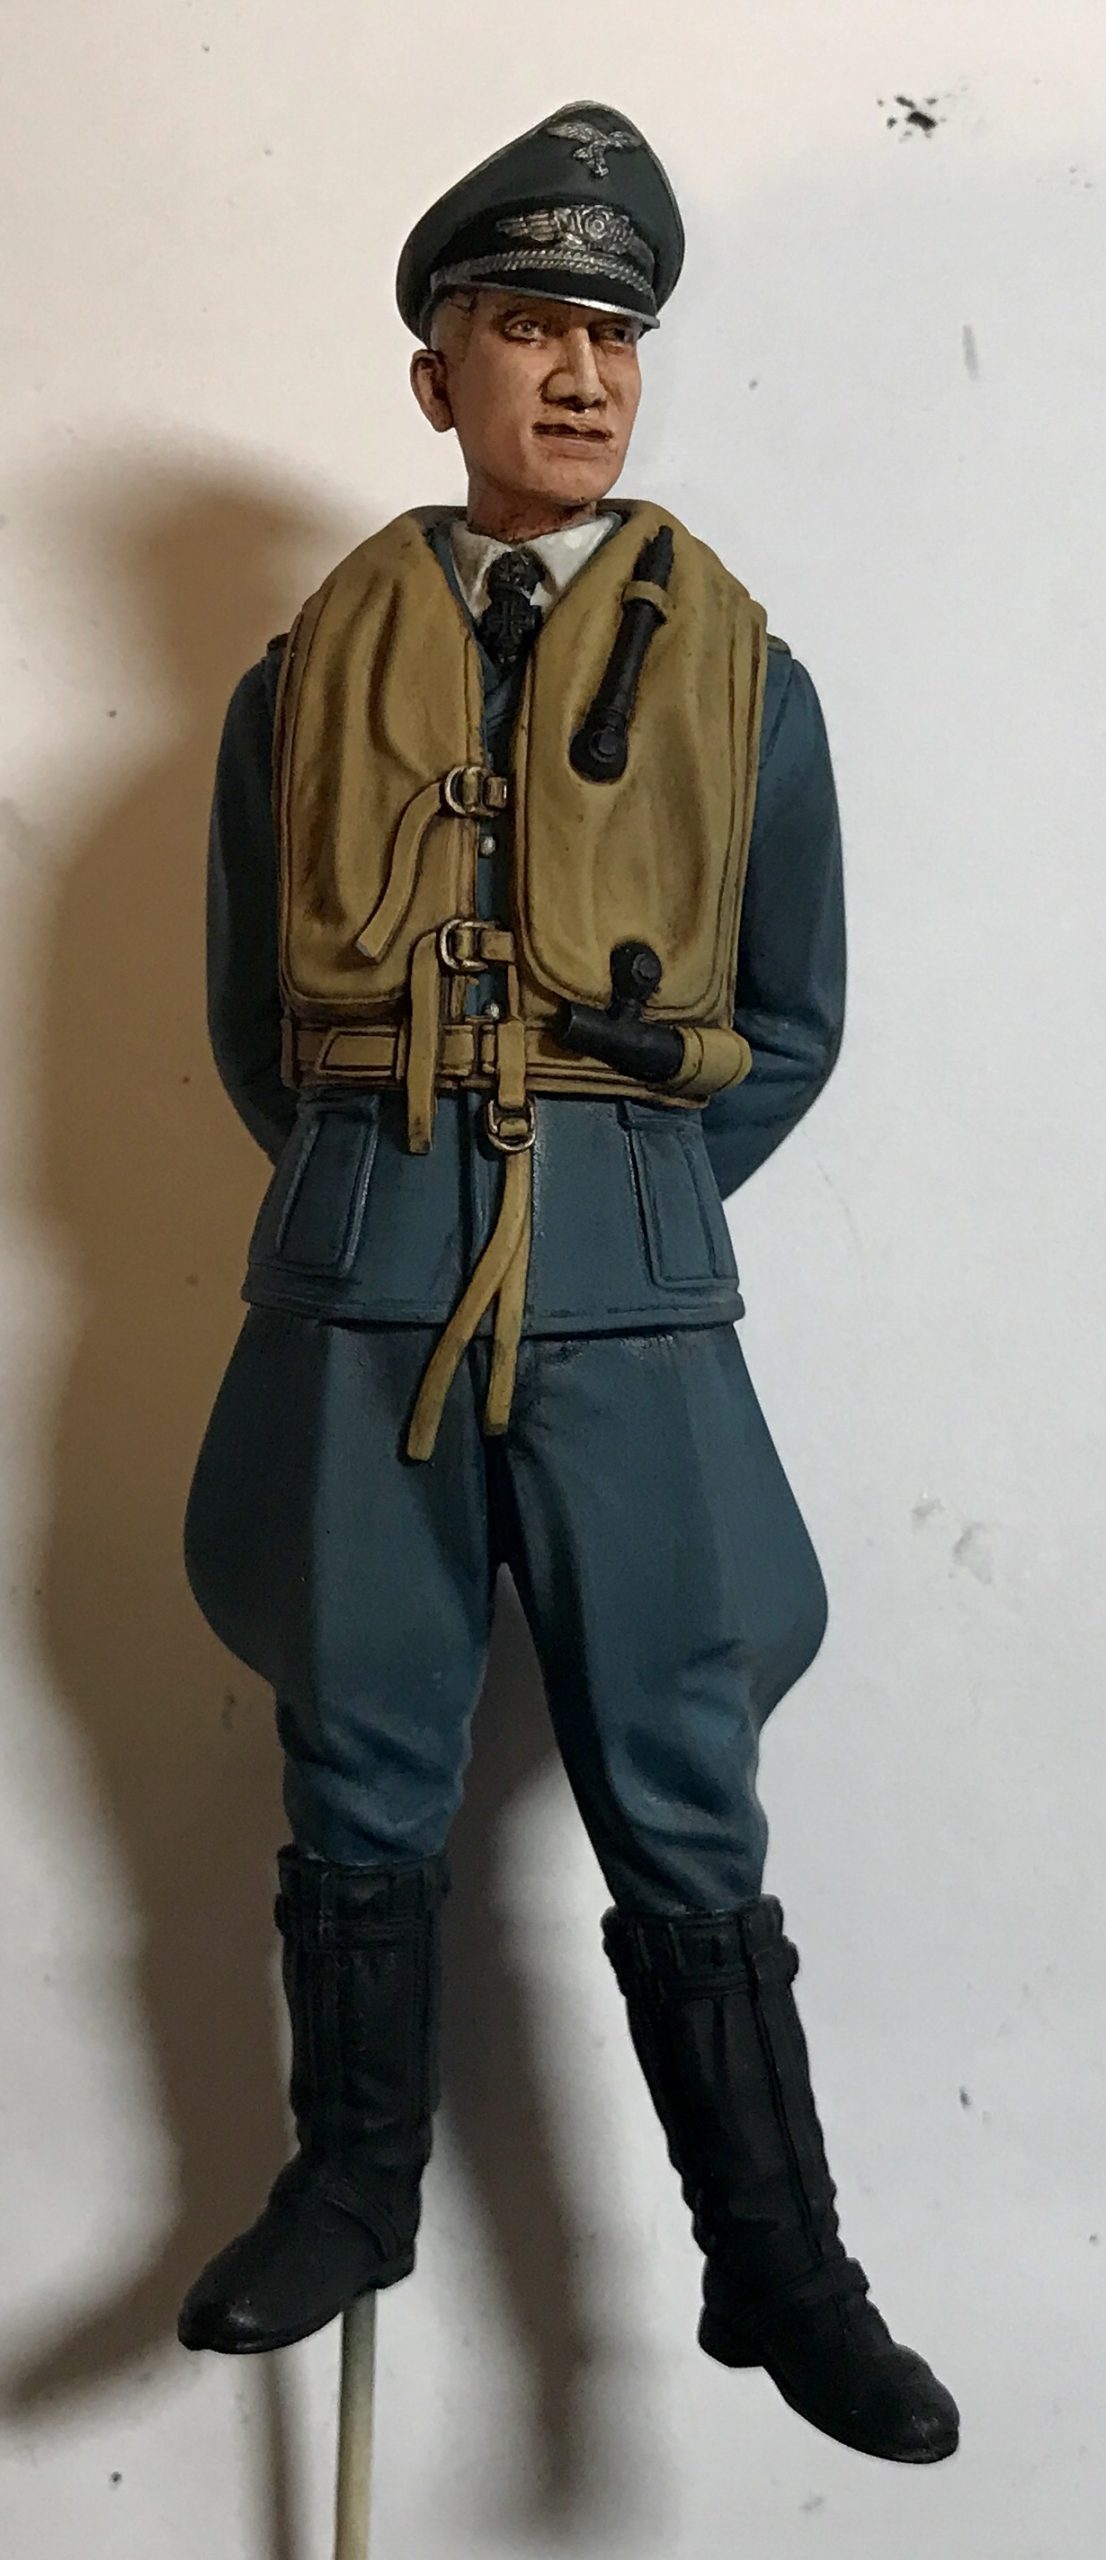
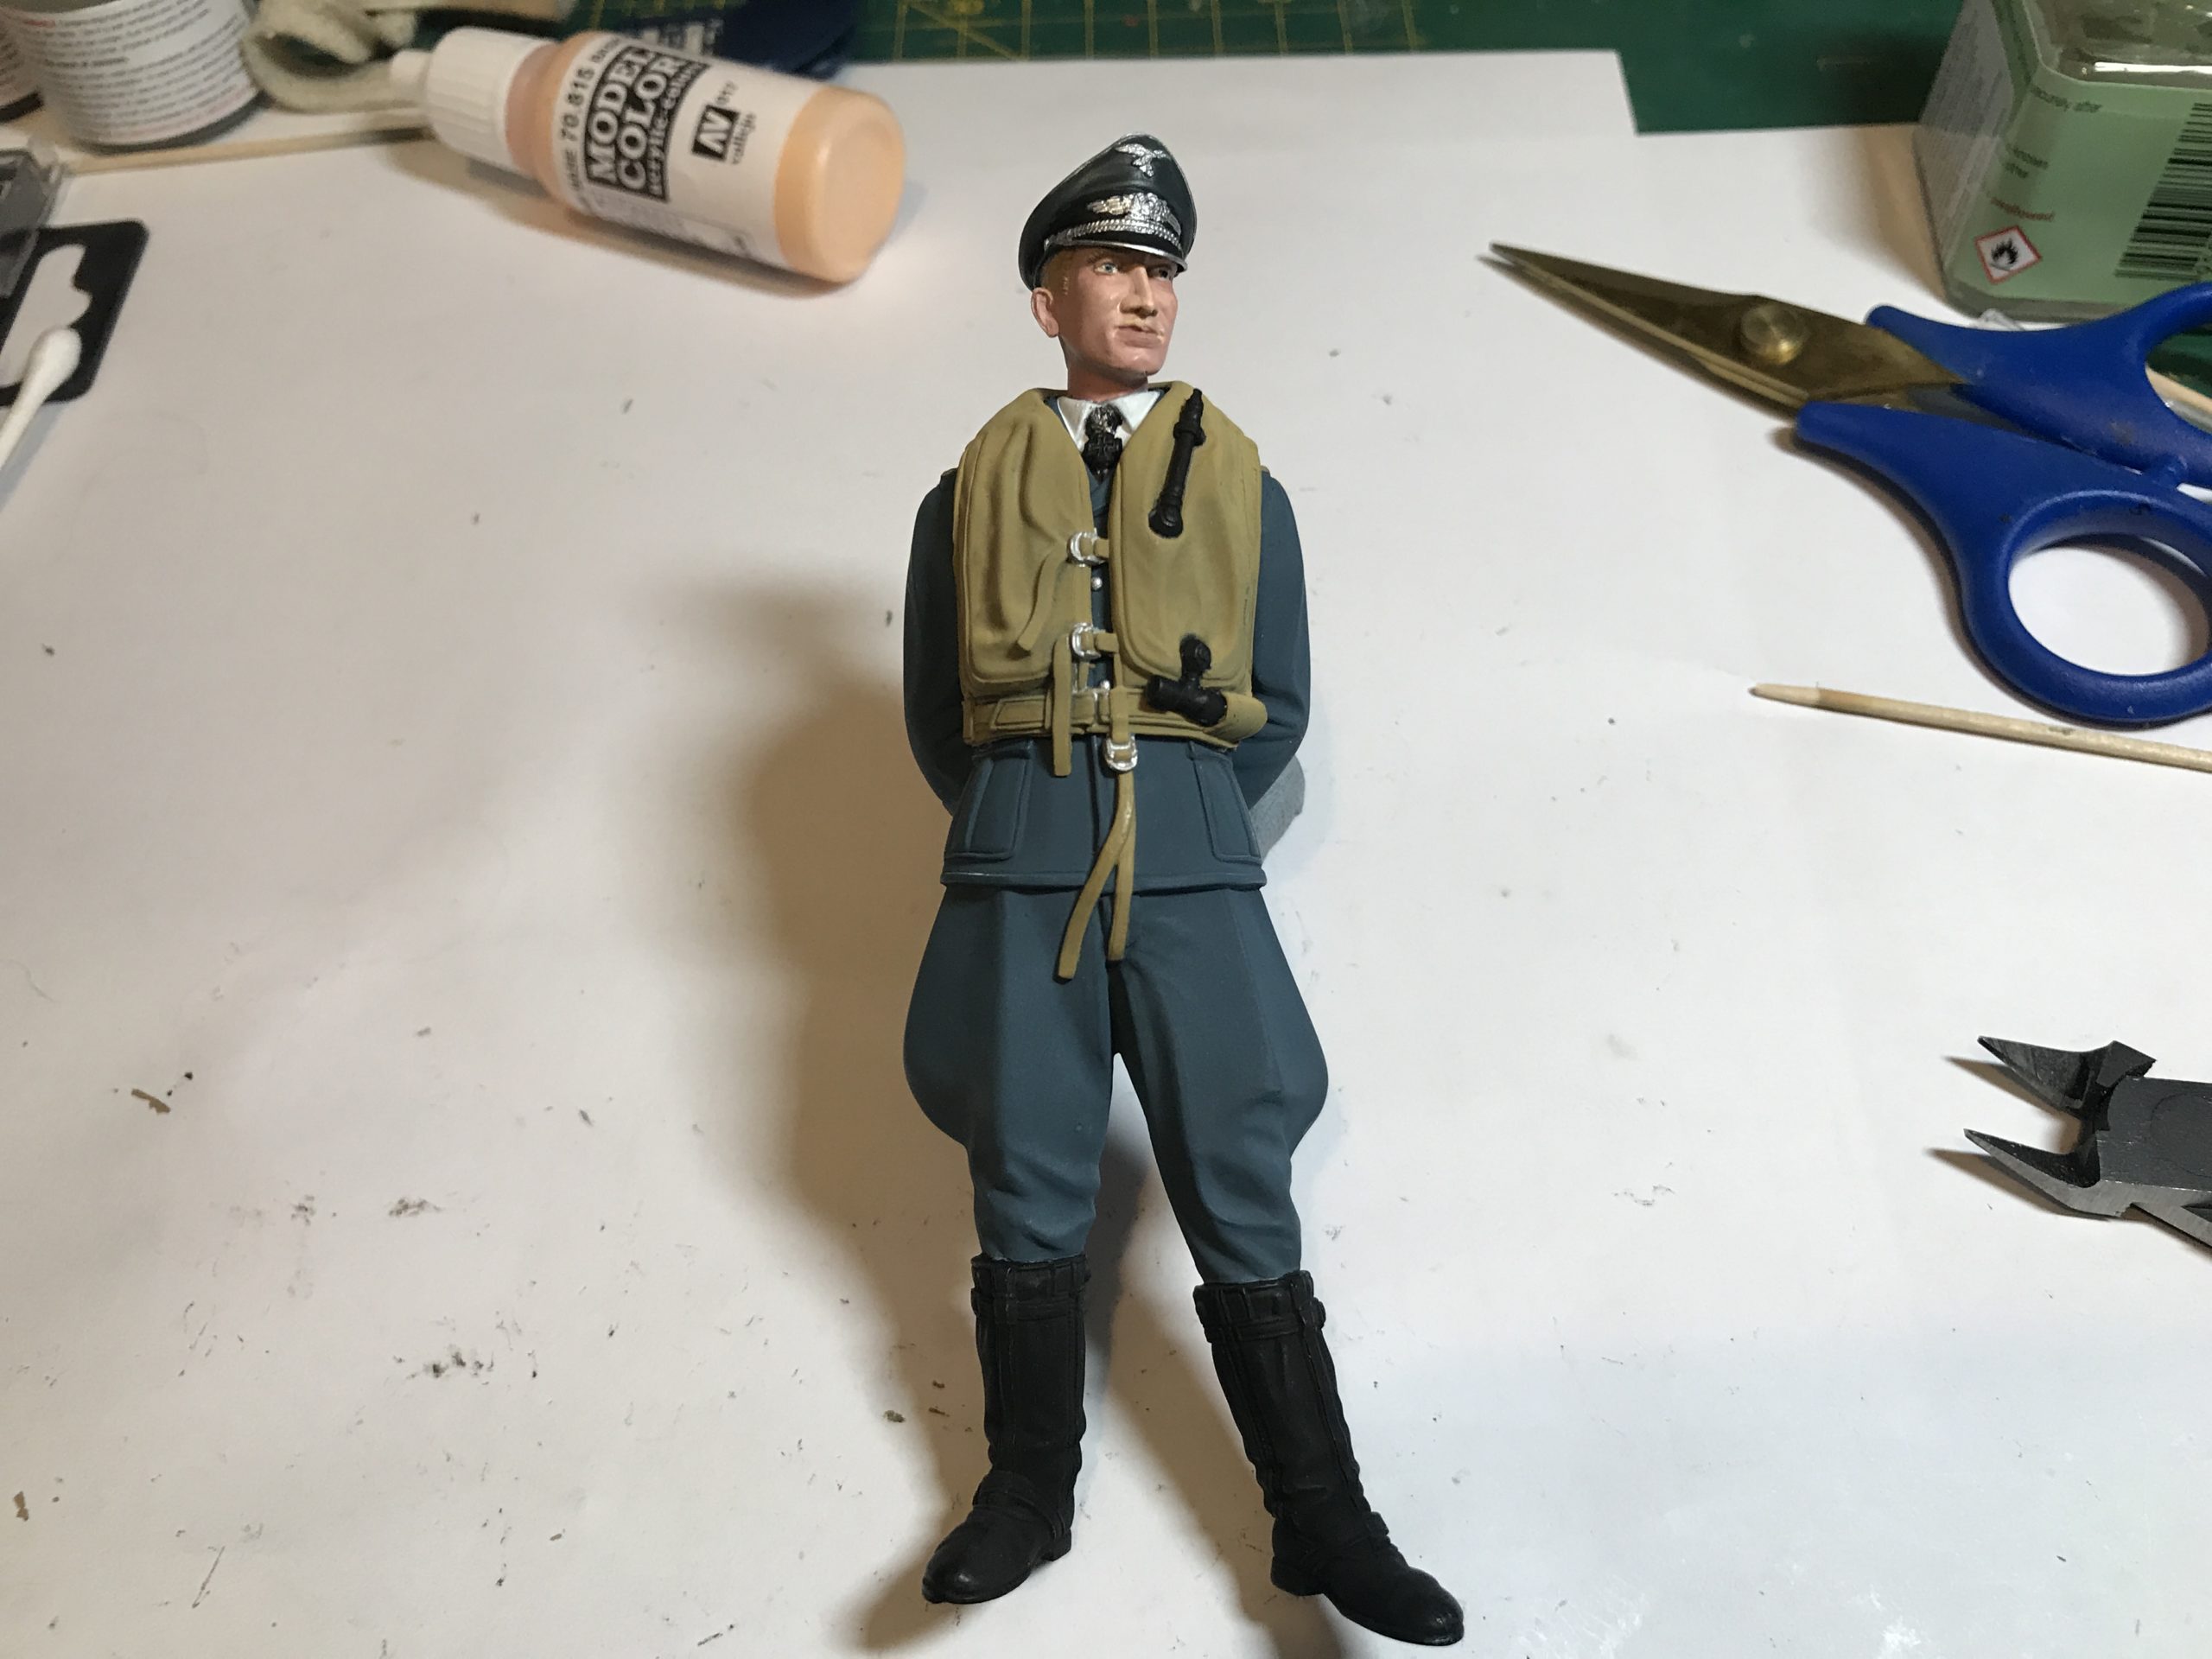
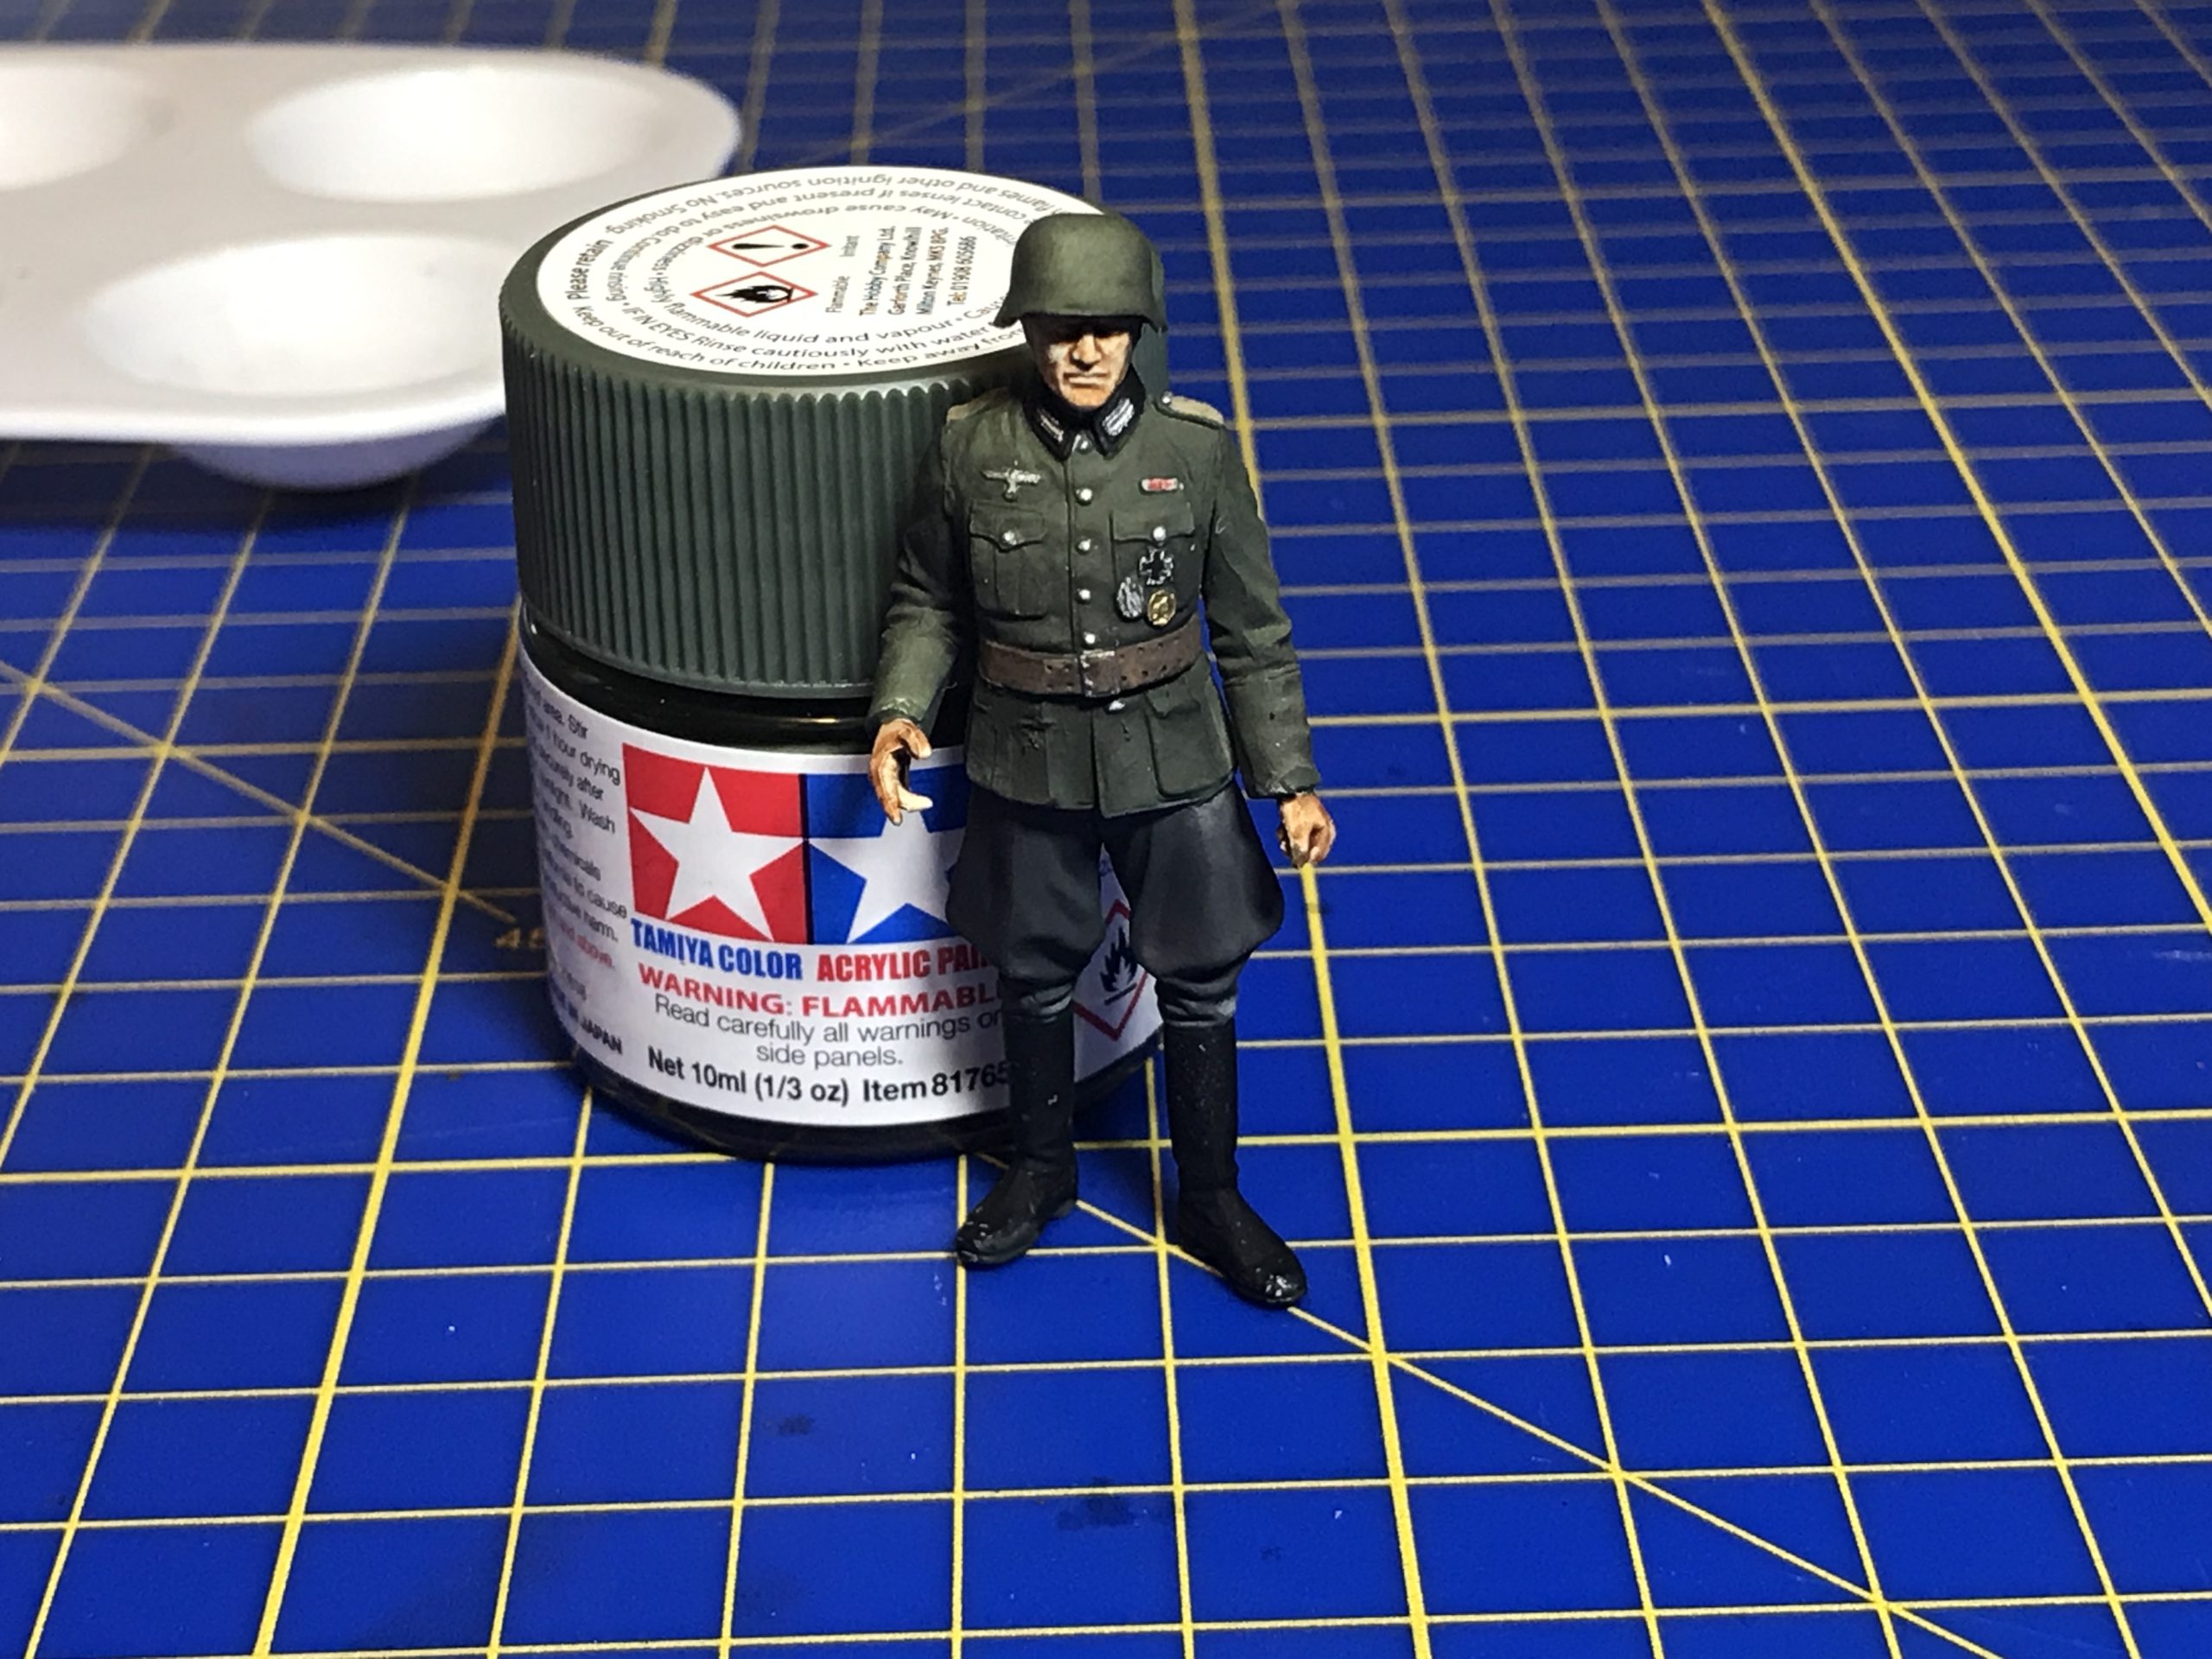
Finished figure.
The same techniques can also be used for 1/35 figures – Like this handsome fella.
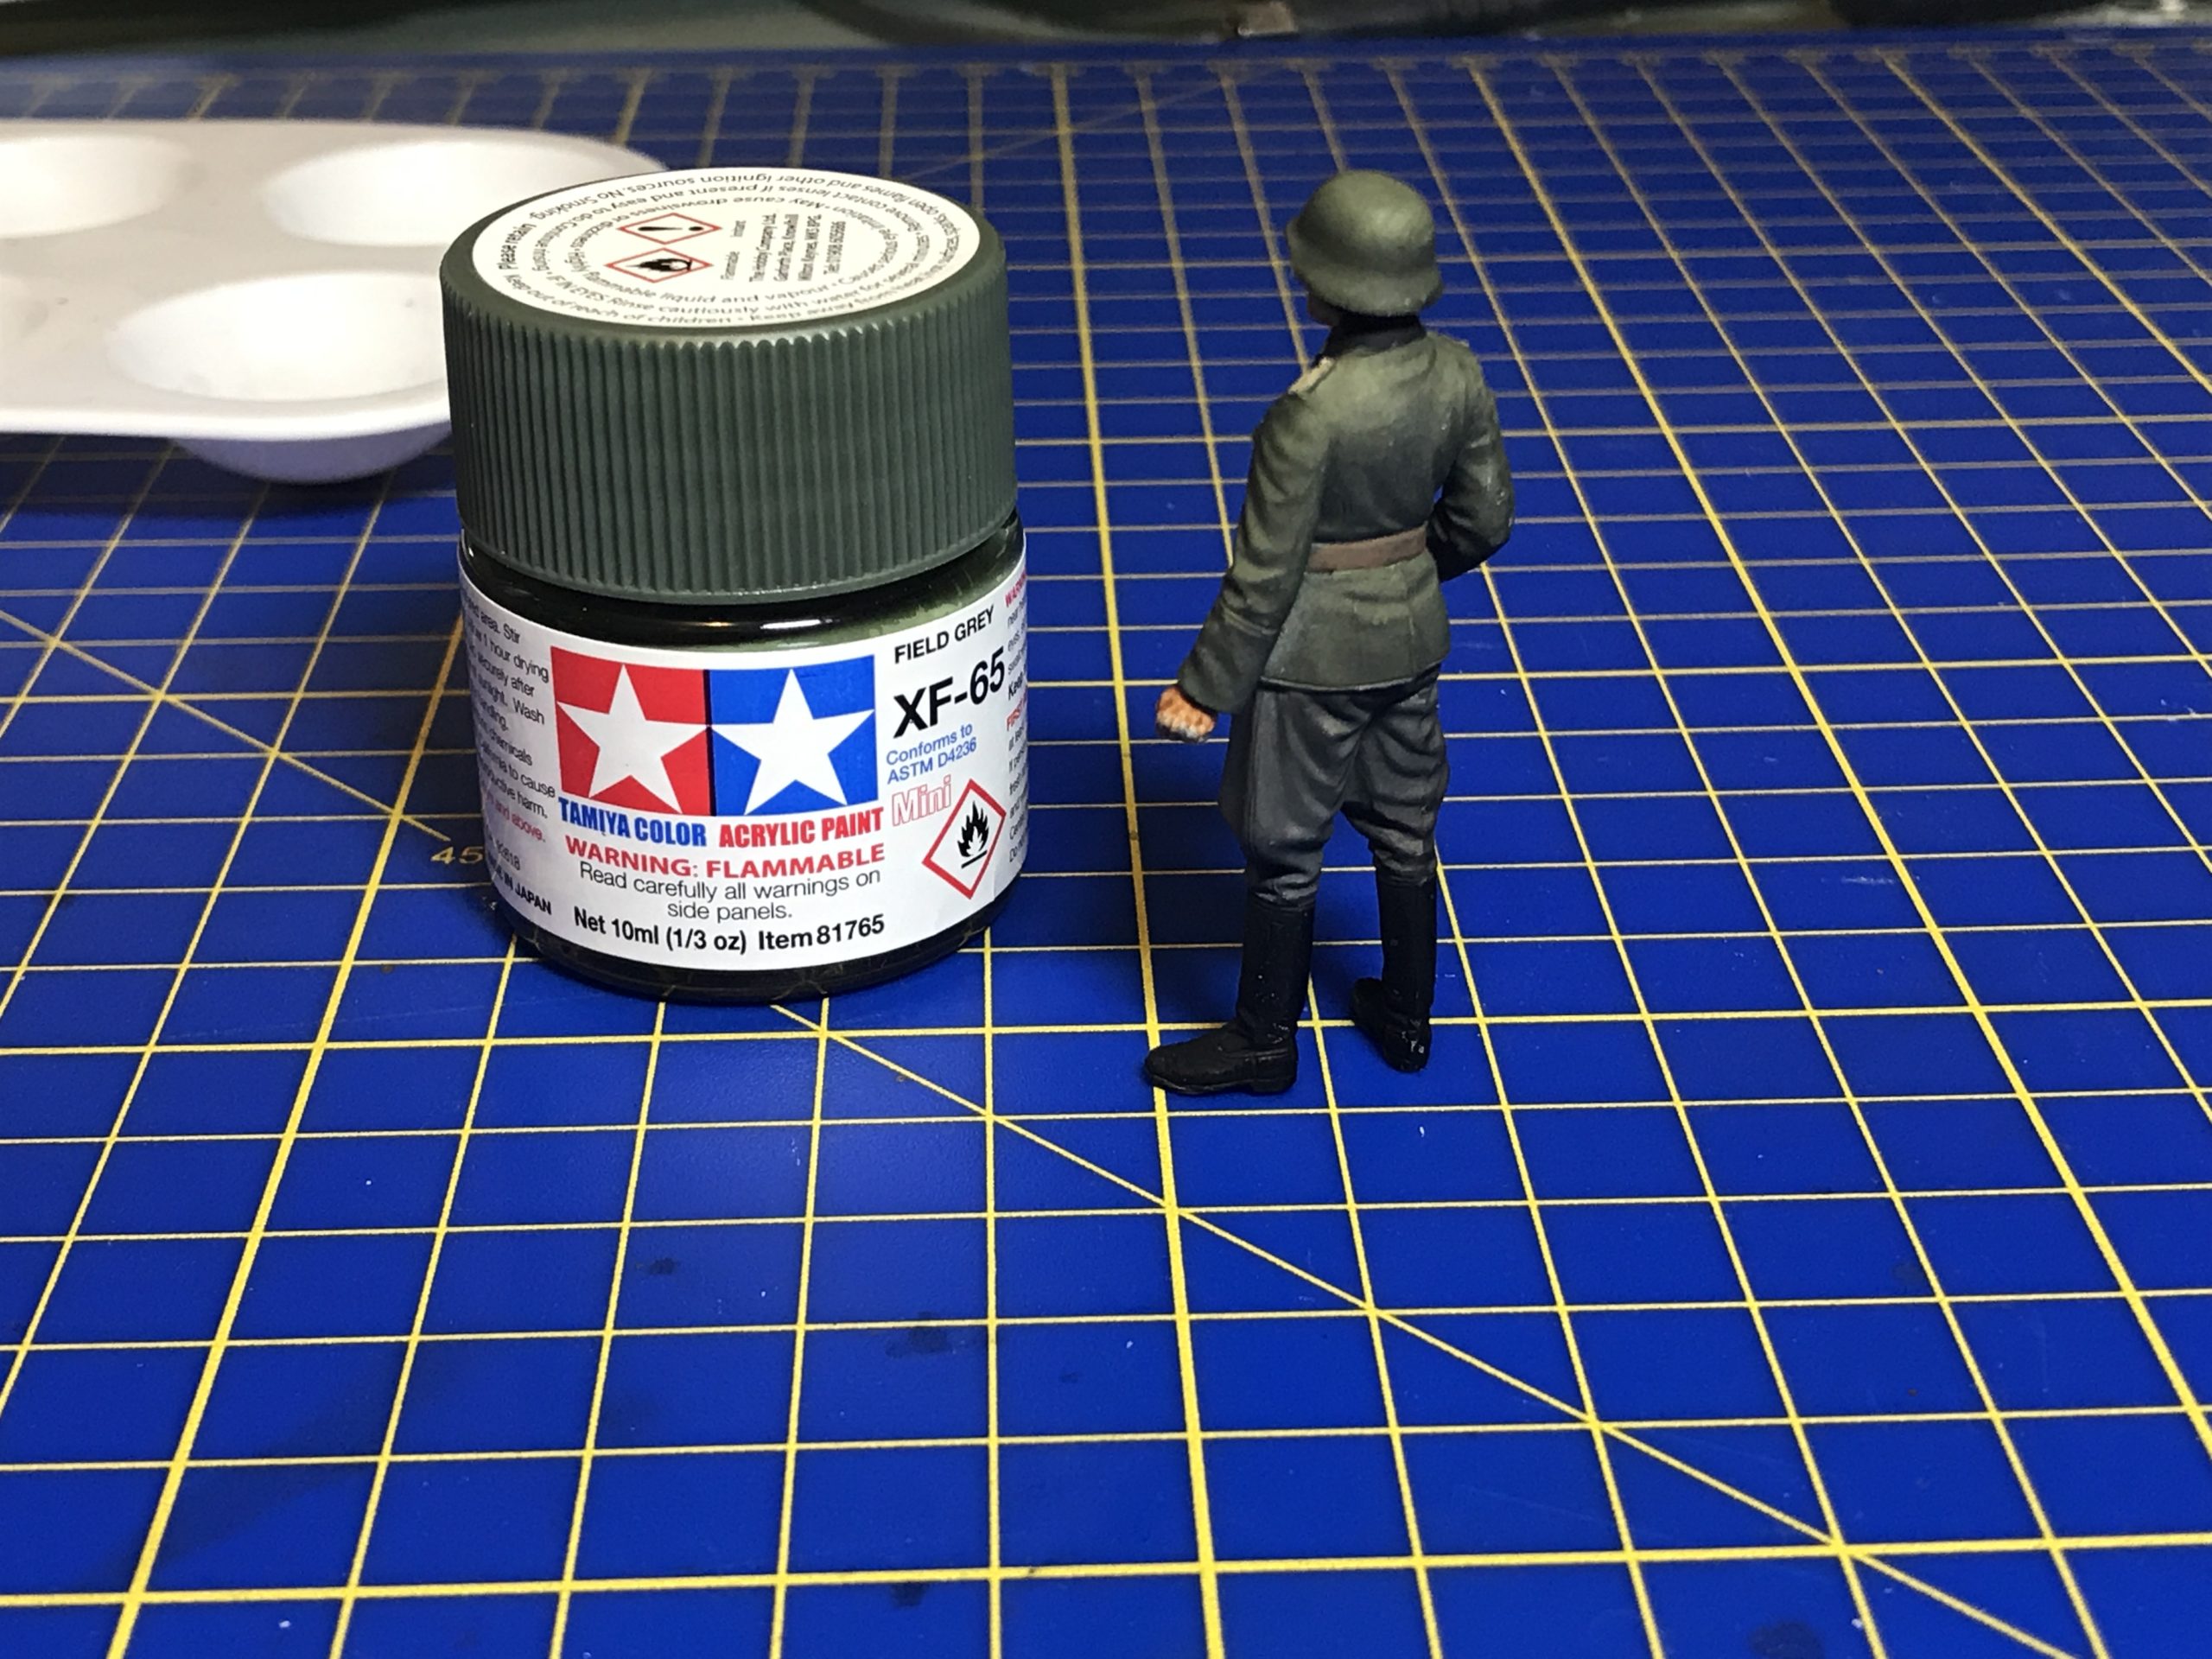
Note that I haven’t attempted to paint eyes on the smaller scale figure, at this size you would really only see a shadow. Once again I used a wash of oil paint to the face and kept adding thinners to wash away the oil until the effect I wanted was achieved.